Ridge Rider
-
Posts
641 -
Joined
-
Last visited
Content Type
Profiles
Forums
Events
Gallery
Everything posted by Ridge Rider
-
Welcome George, there is a lot of knowledge, skill, and inspiration on this forum. I know it has vastly improved my learning curve and skills since getting back into the hobby myself.
-

Hey Everybody glad to be here .
Ridge Rider replied to The Danish sprue wrangler's topic in Welcome! Introduce Yourself
Your screen name grabbed my attention, welcome John. "i need hobby to have a release from stress of everyday life .and i enjoy building things. " Same here. -
Eric Goodrich`s:: "IRON LUNG" - On the Workbench 2/8/16
Ridge Rider replied to John Teresi's topic in WIP: Model Cars
I love it. Another incredible build. -
I couldn't have said it better John. I would like to see it in person but the sketch seems to just have "it".
-
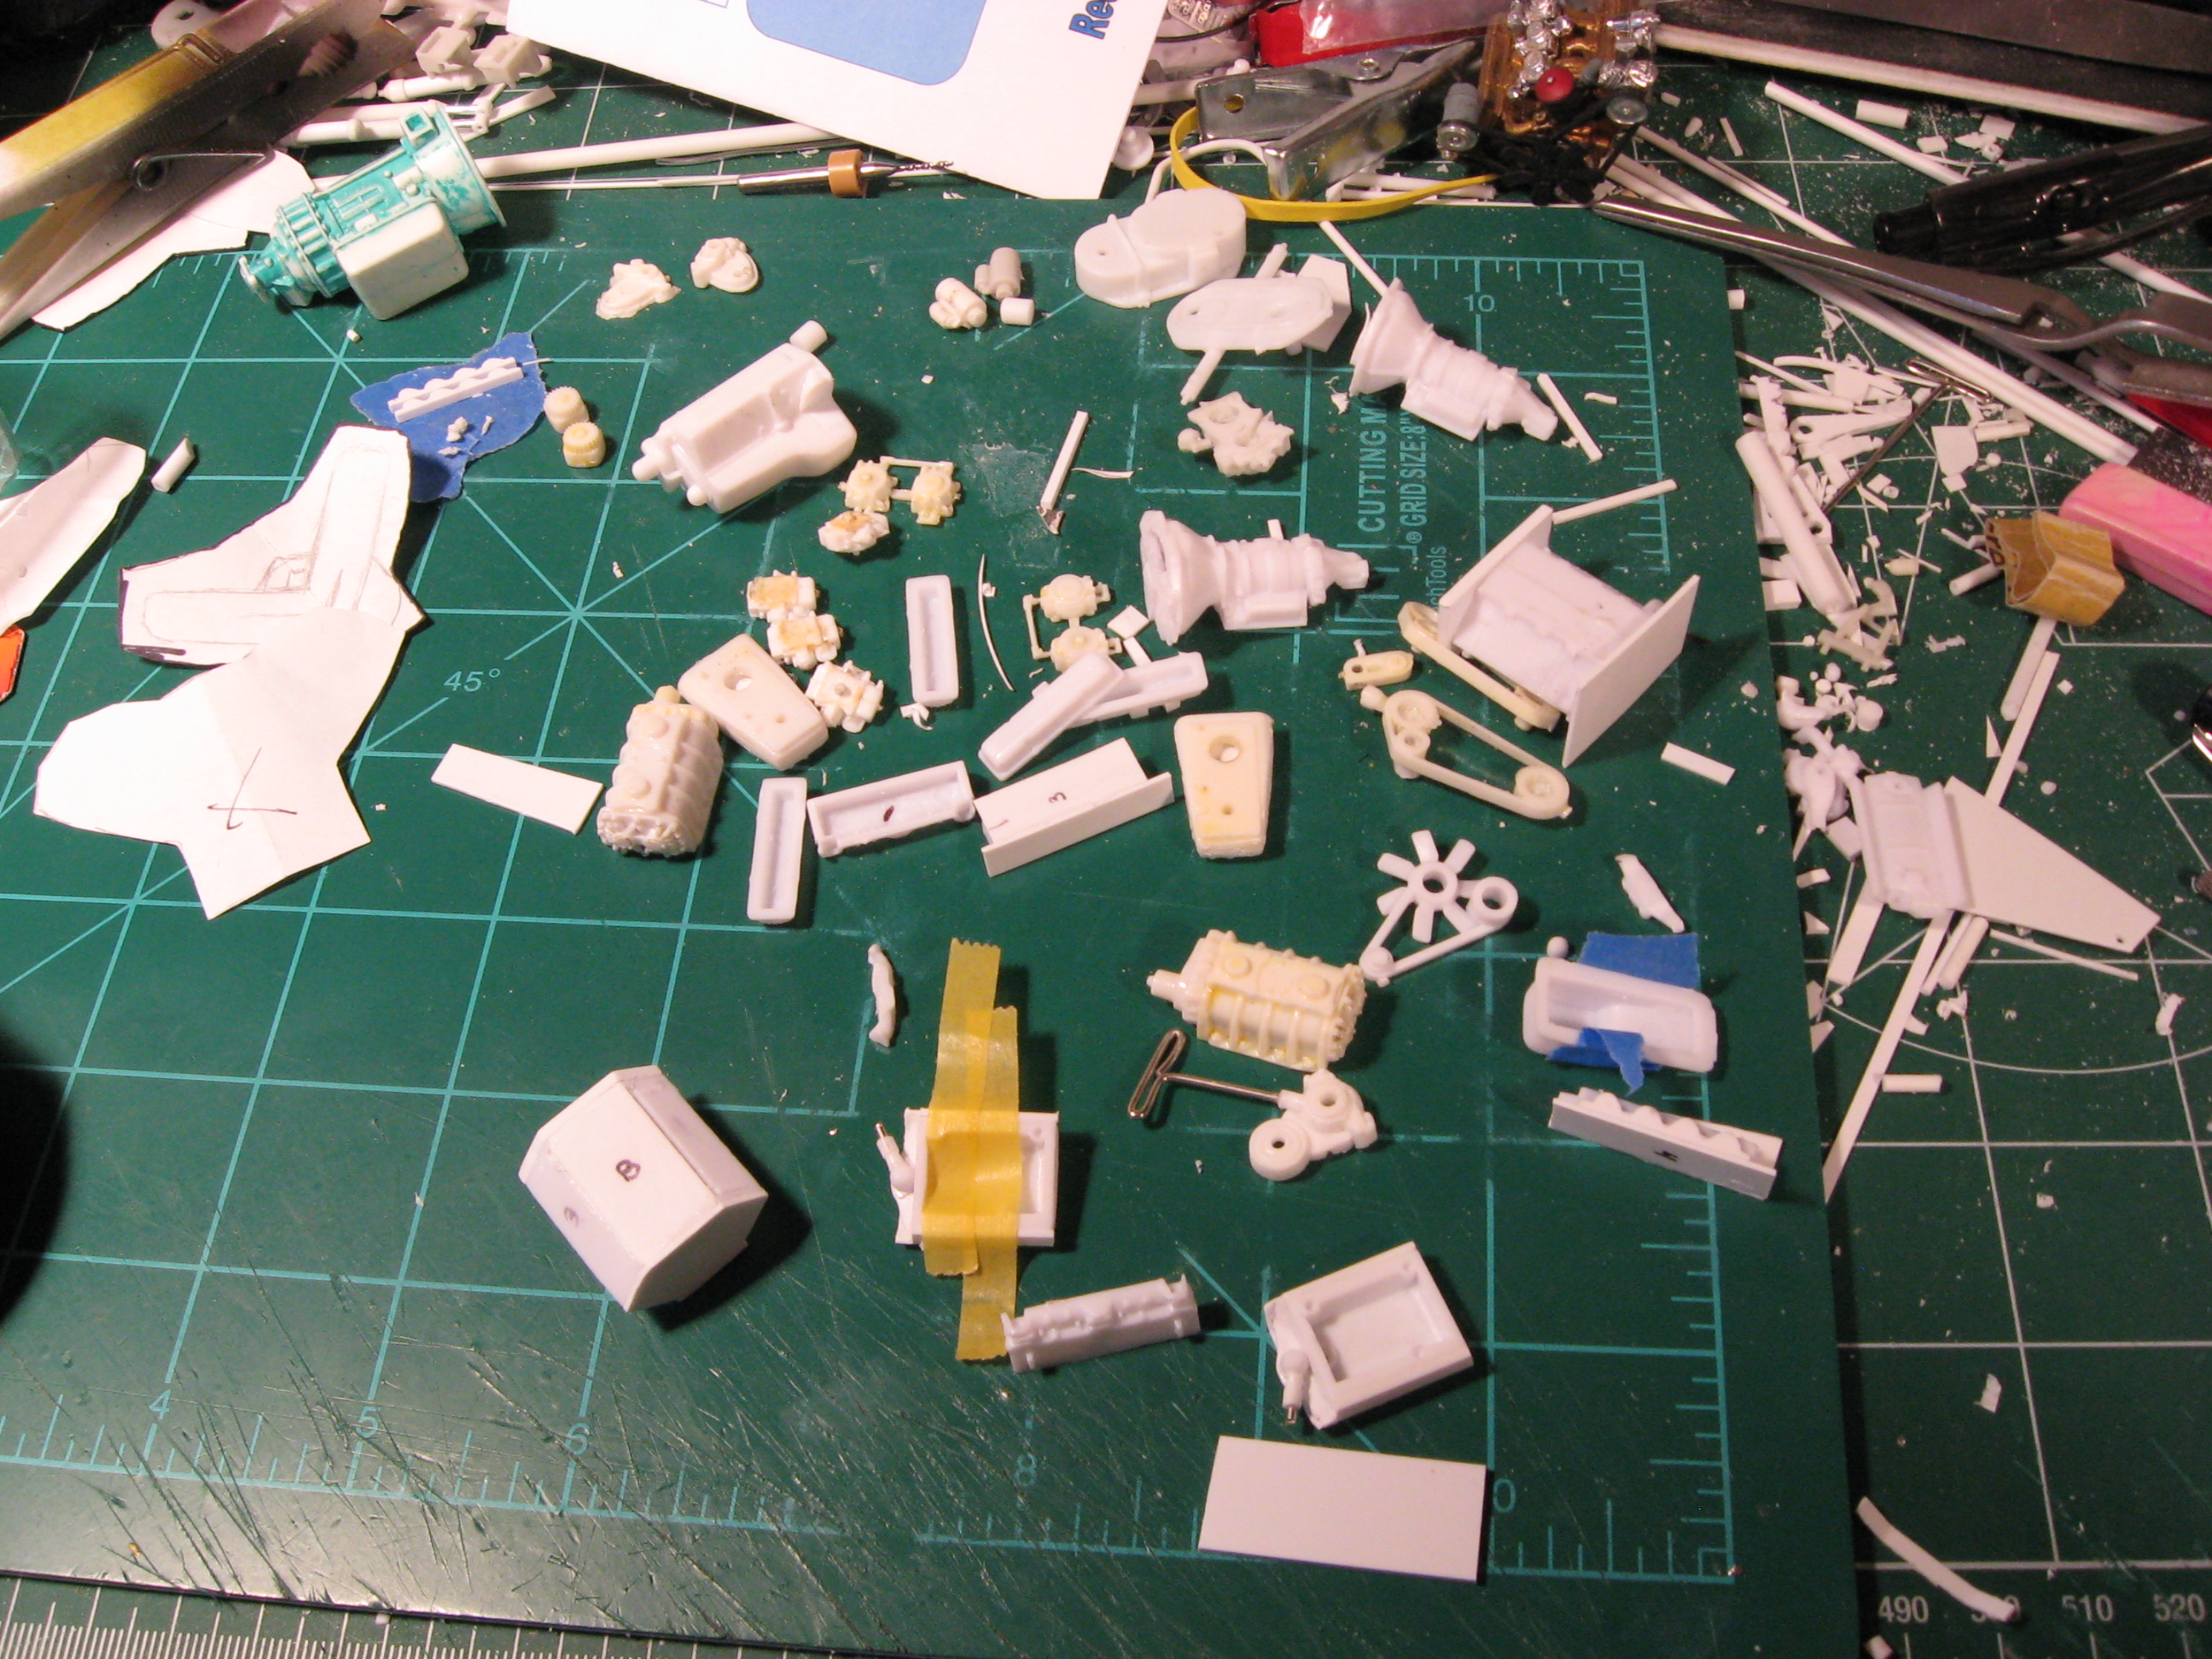
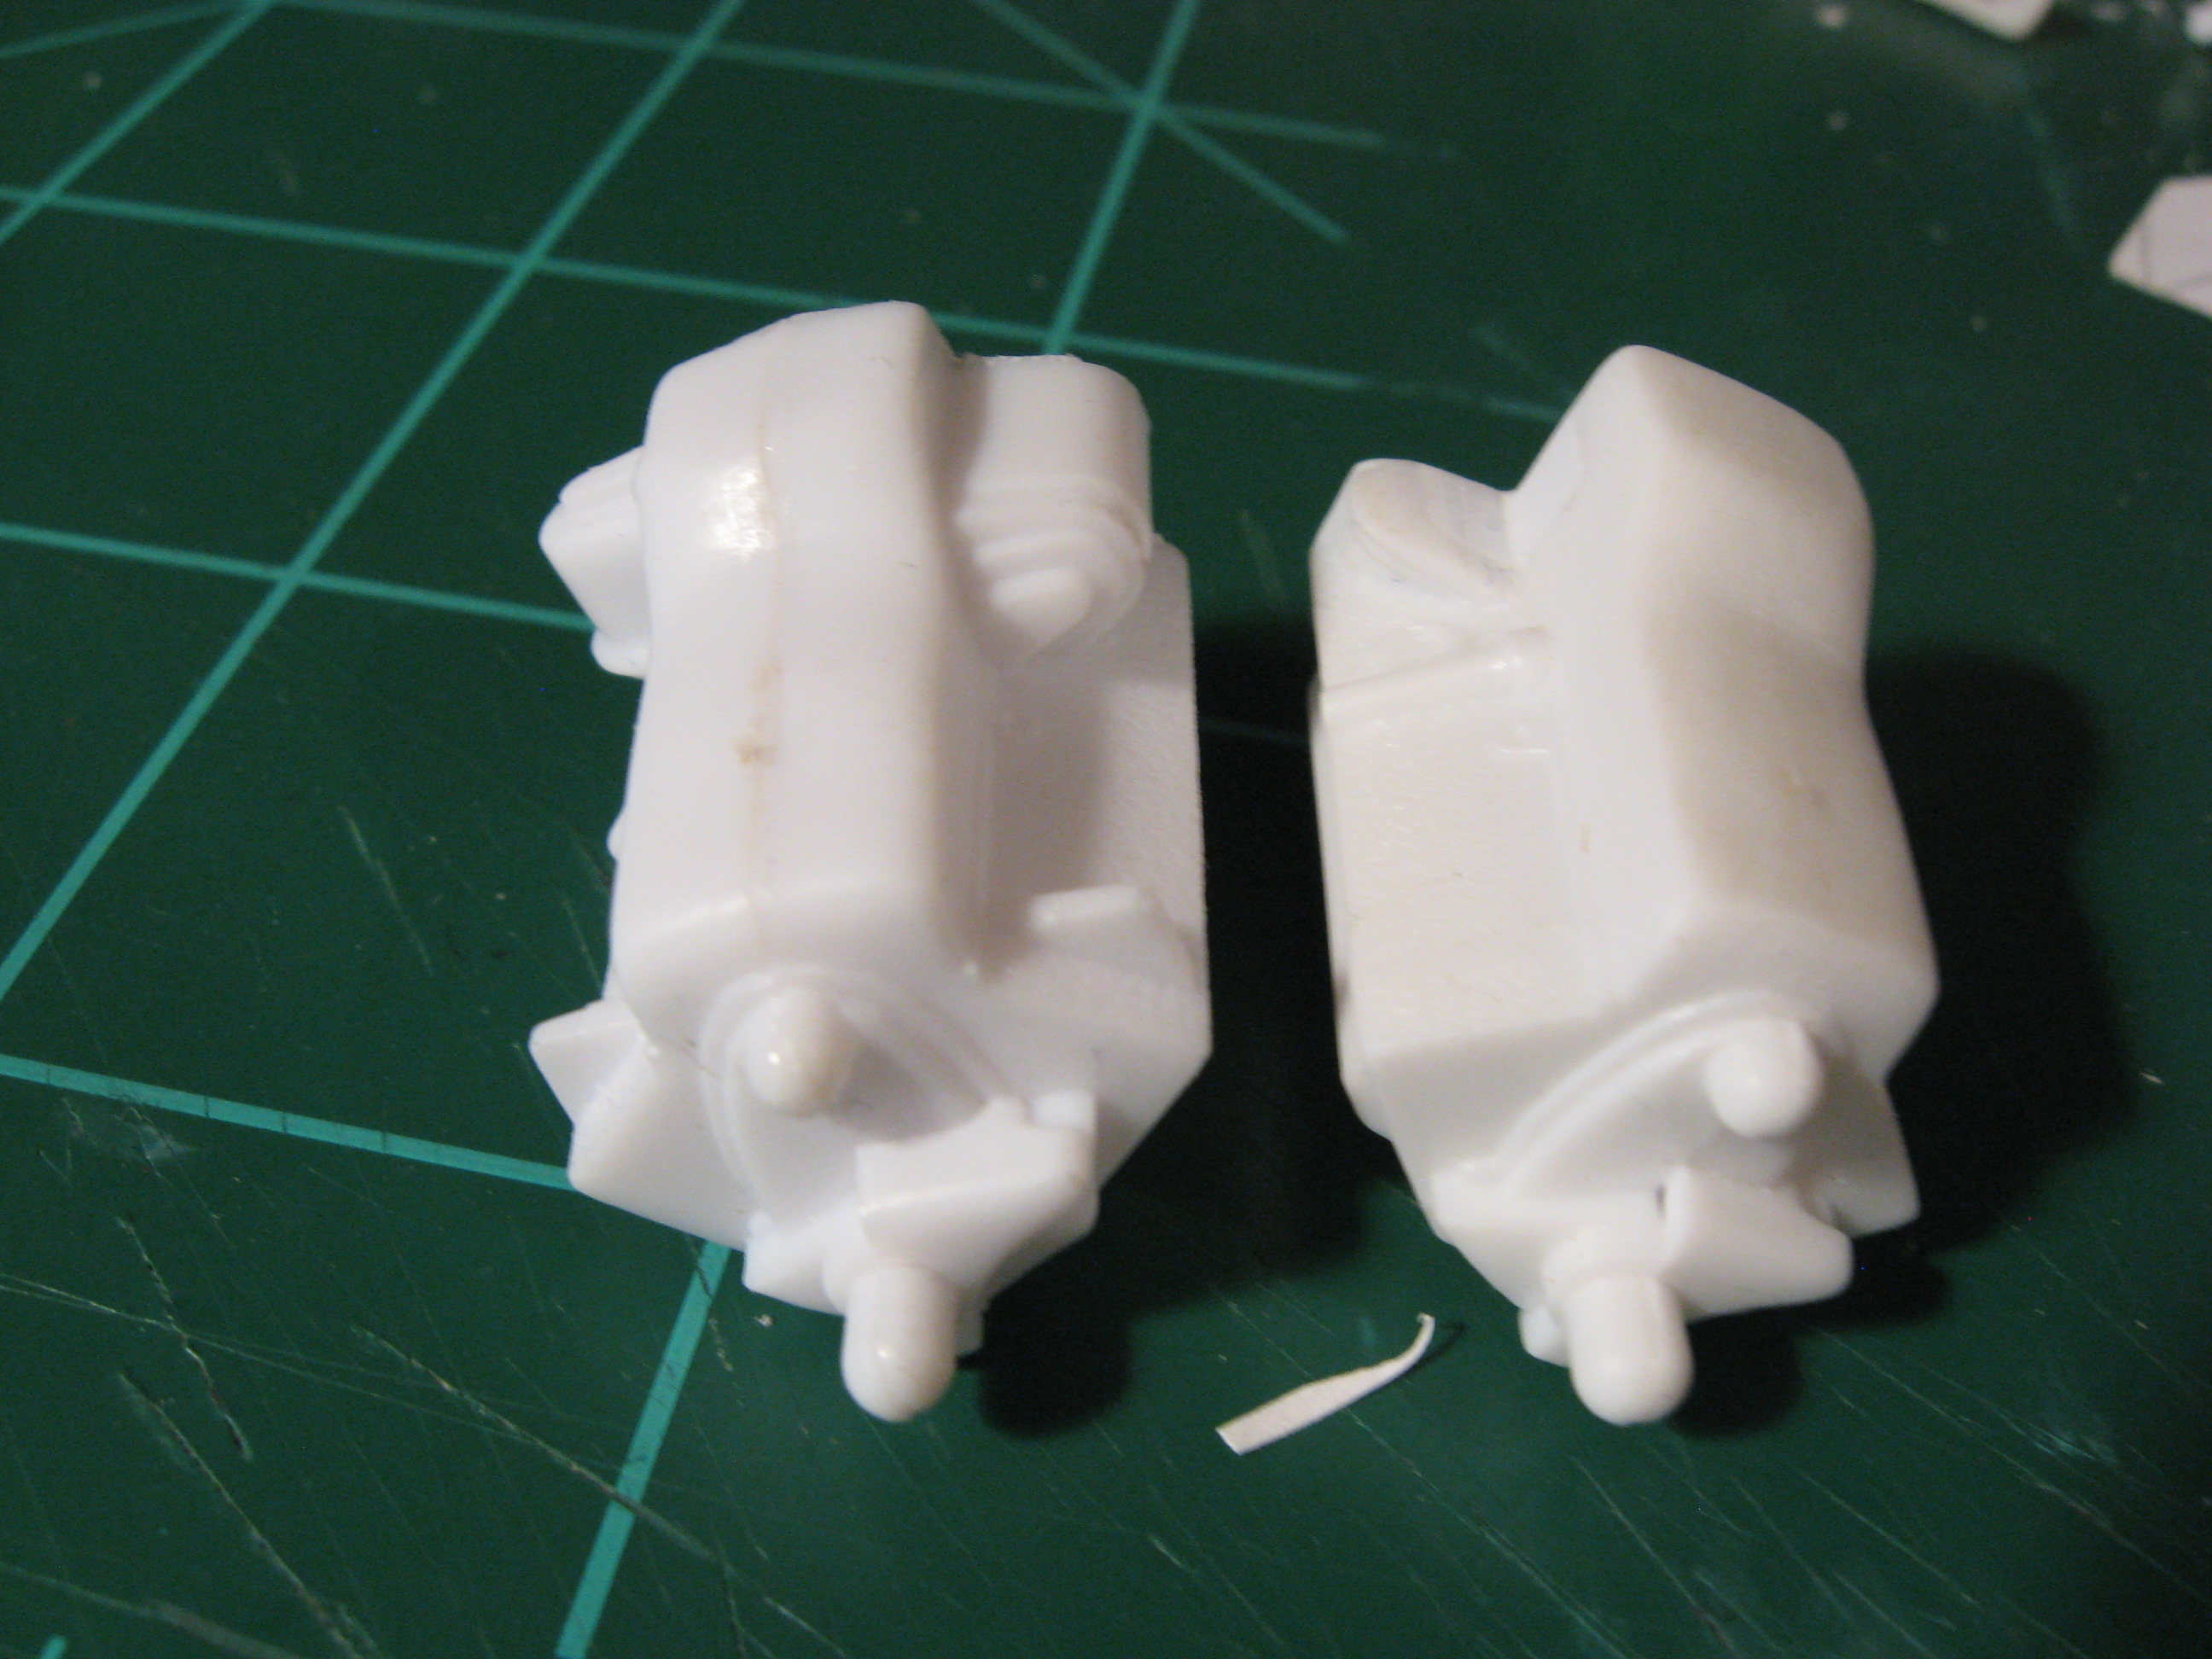
Thanks for the kind words guys. I feel like I am playing that whack a mole game with this engine conversion. I address one problem to only have two more pop up. I am lengthening and heightening the block . The length gives me a little more room for the thermostat housing in the front and distributor in the back. I am heighting to fabricate a bigger and more realistic head, more realistic fit for the gearbox, and to accommodate the water pump/blower belt and pulleys. The mess before the staged pictures. I'm sure many can relate. In progress. Stock water pump, head and block on top row. In progress is underneath. The water pumps are from the parts box and may be Mopar origin. The heads are being widened and heightened as well as four even exhaust ports added. The blocks and an intake manifold. It is definitely more work in the engines than I was hoping or even planning for but it is just asking and needing these modifications. I still don't know if I will be happy with them but I will keep trying to move forward for better or worse. Thanks for looking. Steve
-
Those are some nice pics Ed. What pleased me today was my massage therapist. A real one---hour and a half deep tissue. I'm standing a little straighter and in less pain. More bench time?
-
That is pretty cool, I like what you've done so far. Tiking/Charles does have some neat models. Keep at it.
-
Boom Haul - Pic Update!!!
Ridge Rider replied to tiking's topic in Model Trucks: Big Rigs and Heavy Equipment
Outstanding work. That cribbing is a nice addition. -
That looks real good in primer-it really shows the detail. Looks like I need more closet space.
-
Thanks guys. While doing some more research I found out the gearbox was originally built for a turbo 400 tranny. I was having a hard time getting the Allison to work. Now I can tweak the gearbox and use the caddy blocks. A mockup of the Camaro blocks. It was tighter than this quick picture and camera angle is showing but I didn't like it. The caddy blocks on the bottom-they do have a better look. I will use the blower but unfortunately it means more fab work in the engines than I was hoping for. Stock heads on the left- altered heads and manifold on the right. Another mockup . I hope I can pull off this conversion. I'm not hating it yet. Thanks for looking. Steve
-
Definitely a man's taste and style but it is pretty cool. I like it. http://www.wimp.com/father-renovates-gas-station-home-robert-guthrie/
-
In a perfect world yes they would be 502's but I was unable to find something suitable so these will have to do. With all the test fitting I don't think I could get a bigger block than this to work. I think I am going to modify and use the cadddys heads and valve covers which are a little wider in look without having wider blocks.Also the exhaust ports face more towards the ground which is needed for the headers between the engines. If this doesn't end up looking right to my satisfaction I guess it won't be the first or last thing I do more than once. Thanks everyone for the interest It's a good thing it's only plastic, easier to fix. Steve
-
You sure build some beautiful models Harry and this this another fine example. Thanks for sharing.
-
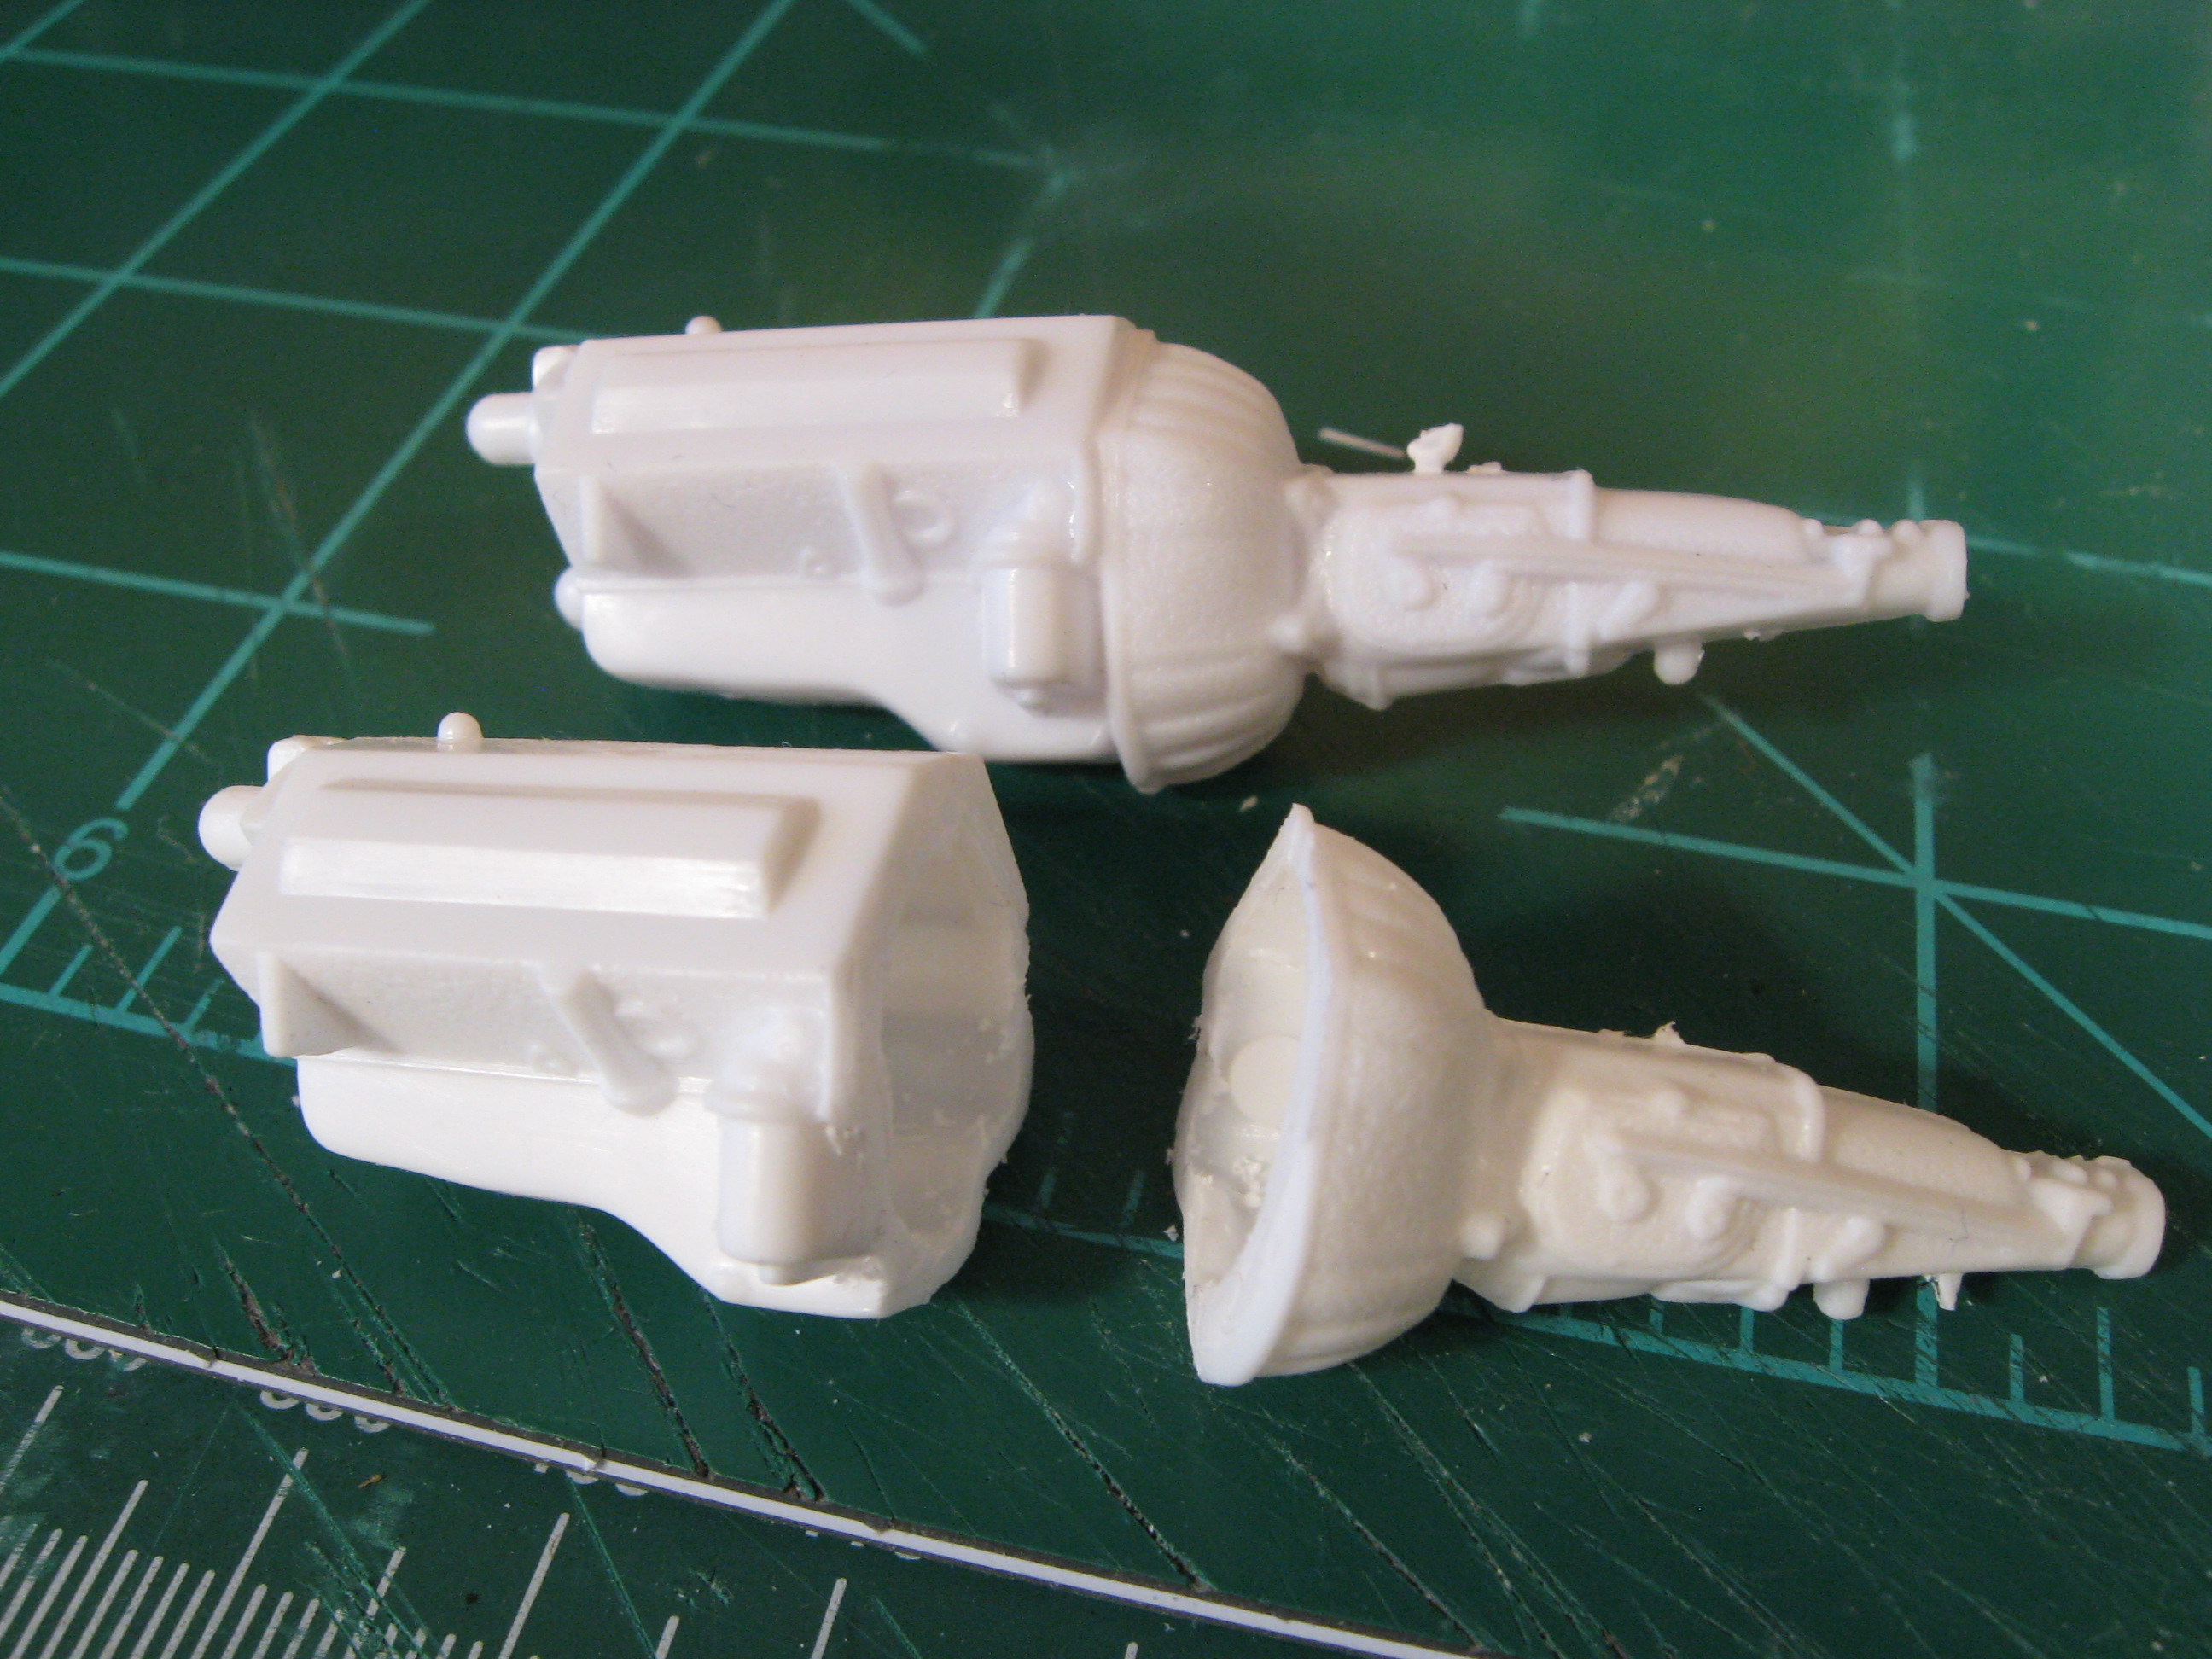
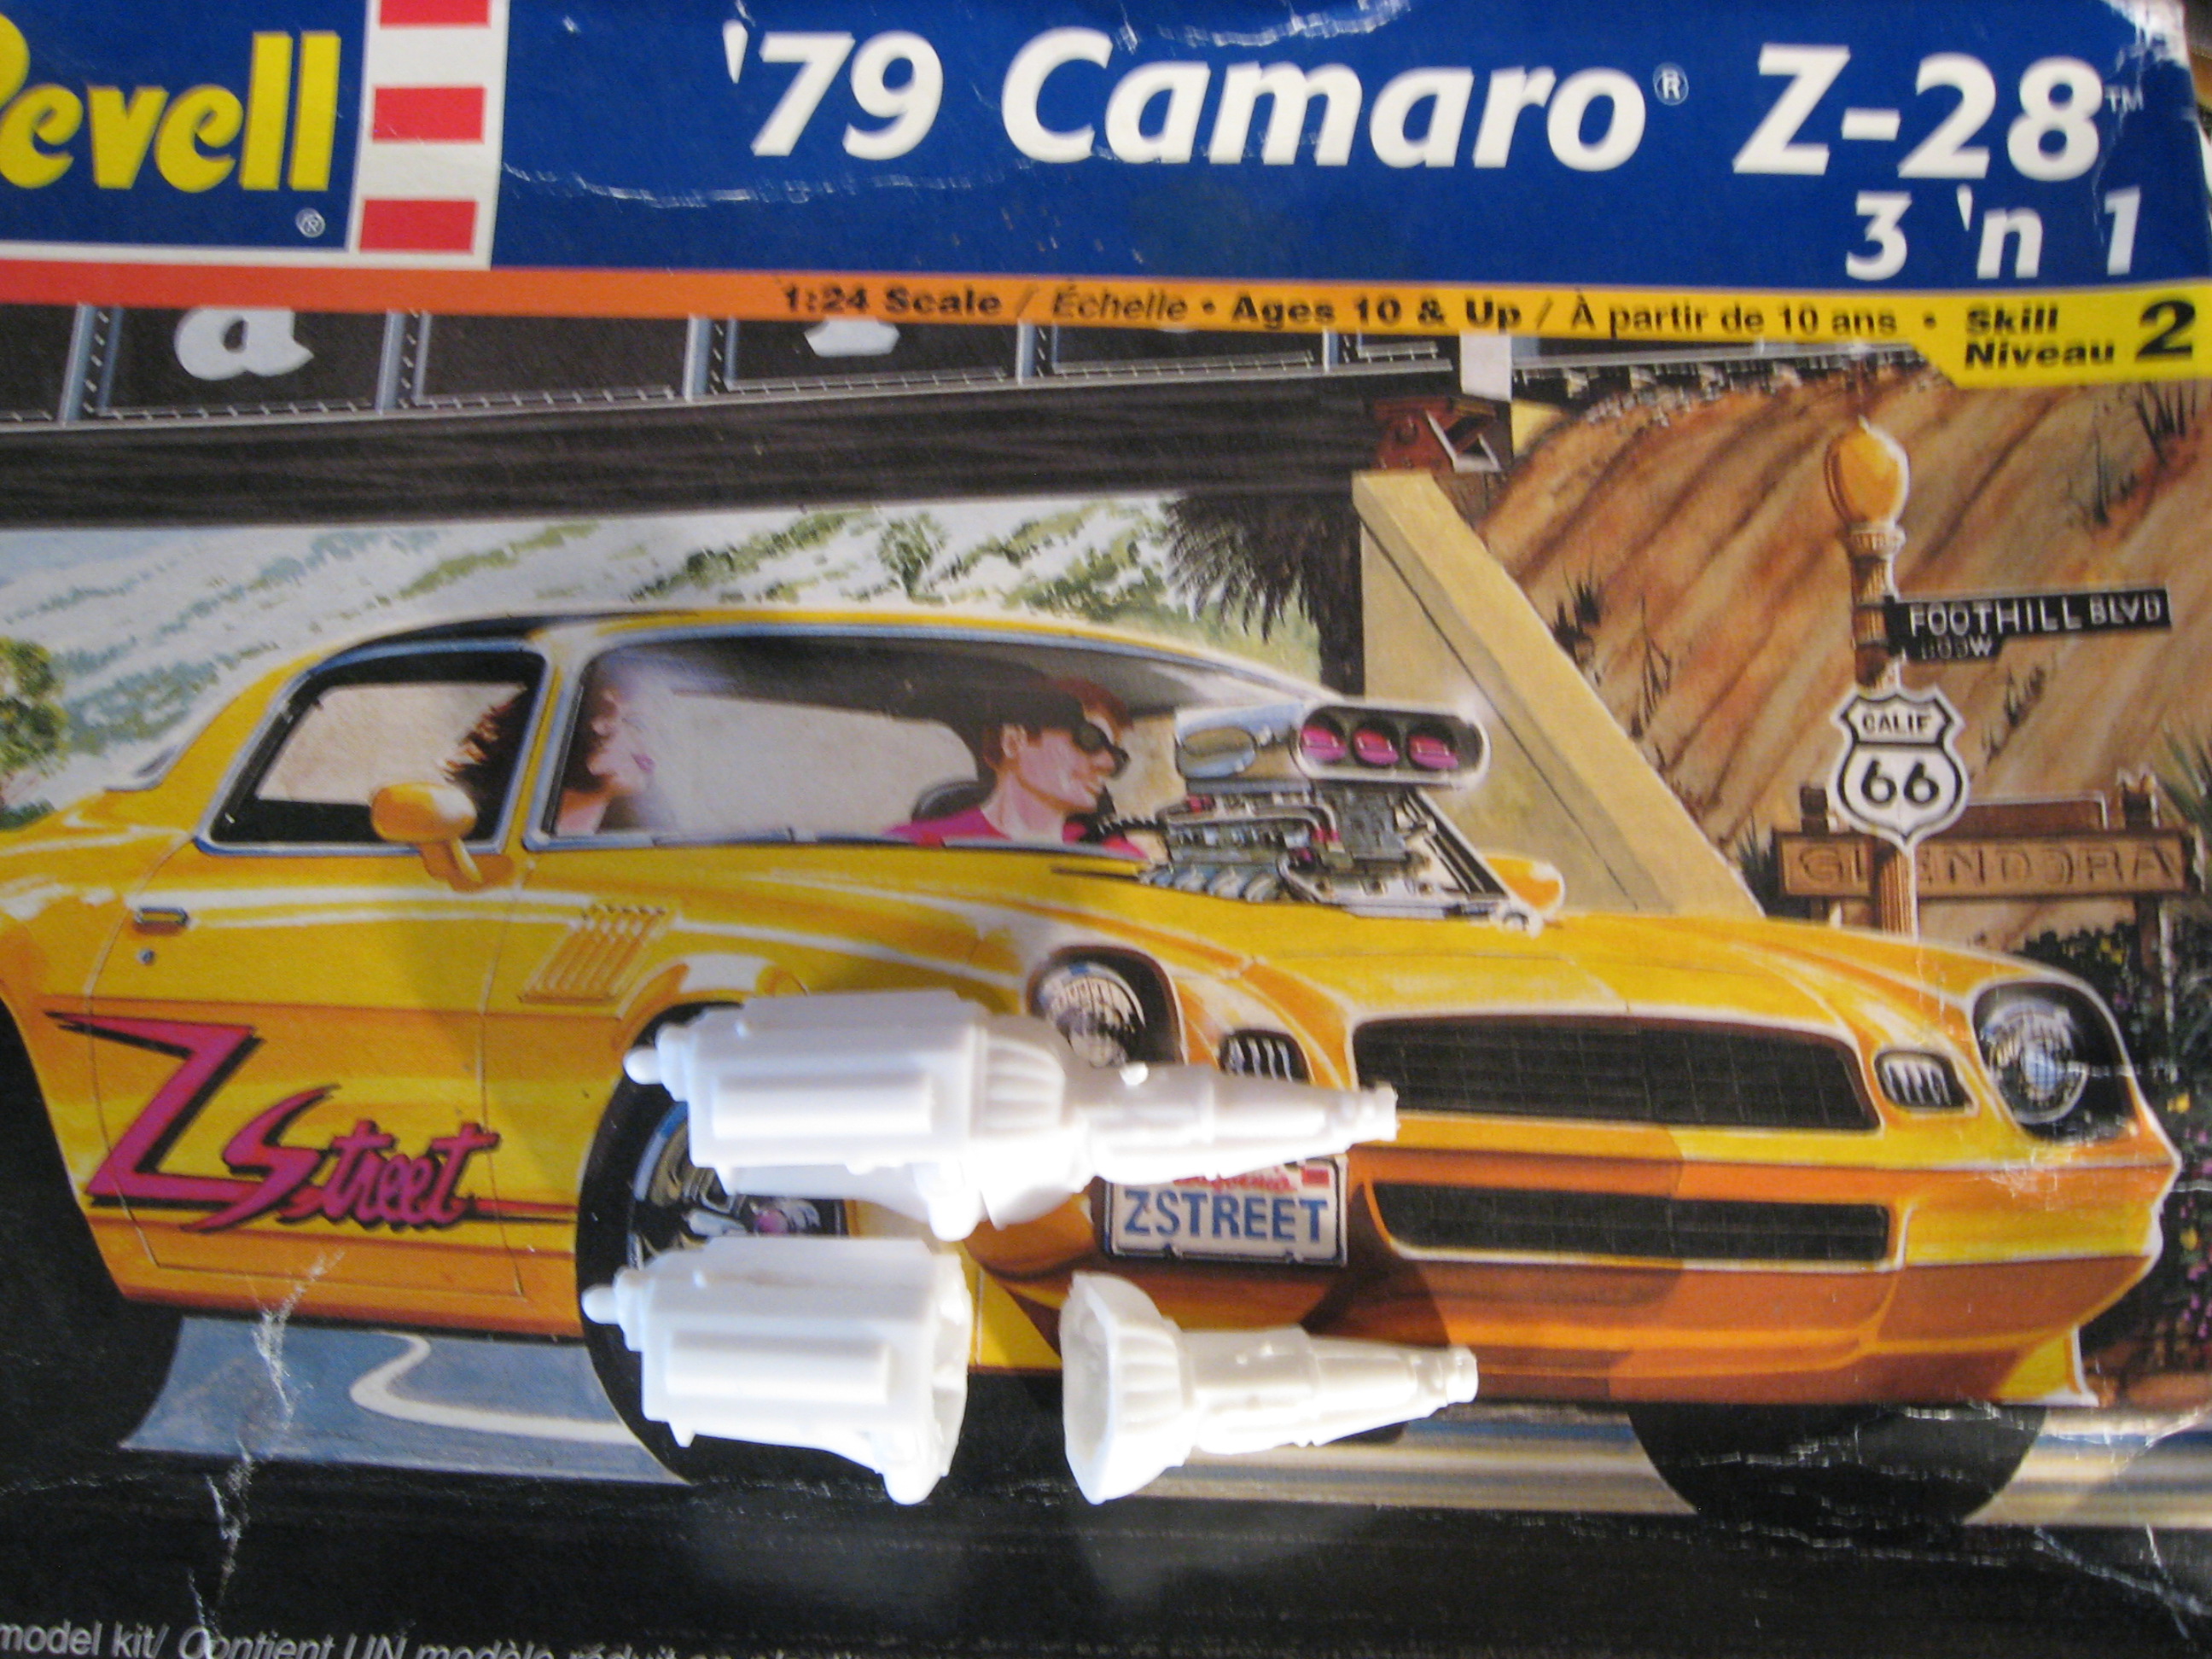
Thanks for the interest Joe and everyone else. I have not had a lot of build time or obvious progress. There is a bunch of test fitting and tweaking to get the parts I'm trying to use to work with how it was built and trying foresee any problems with that plumbing mess. I have decided on the engines from the Monogram 79 Camaro. They have the look I want but are simplistic blobs of plastic with molded in detail. I cut the trans off and removed the oil filter and starter. I will make filters and use parts box starters. This is the gearbox joining the engines. As of right now the bellhousing and trans looks bigger than what was actually used. I will get something to work but this will dictate the placement of the shocks, axle, intercoolers, and plumbing as well as the nosepiece so I'm trying to get it right the first time(for a change) Still moving forward-thanks for looking. Steve

-
Revell Germany London Bus
Ridge Rider replied to pturley84's topic in Model Trucks: Pickups, Vans, SUVs, Light Commercial
That is a beauty Paul. Ditto on what has already been said. -
'60 Chev Apache
Ridge Rider replied to Belugawrx's topic in Model Trucks: Pickups, Vans, SUVs, Light Commercial
That is just WOW Bruce. I'm loving your execution. Thanks for sharing. -
I like it Pat. My first bike was a 74 CR 250 Elsinore so I am fond of Hondas and have owned several but now ride Yamaha/KTM because they still make 2 strokes.
-
Another beautiful 67. Nice job.
-
I love both of them. Nice job.
-
I managed to knock over a tamiya extra thin cement bottle just two weeks ago. Being a short square bottle I thought it would be tougher-I was wrong. As a side note it does work great to remove the lines on a cutting mat.
-
That is nice. I like the dark wood.
-
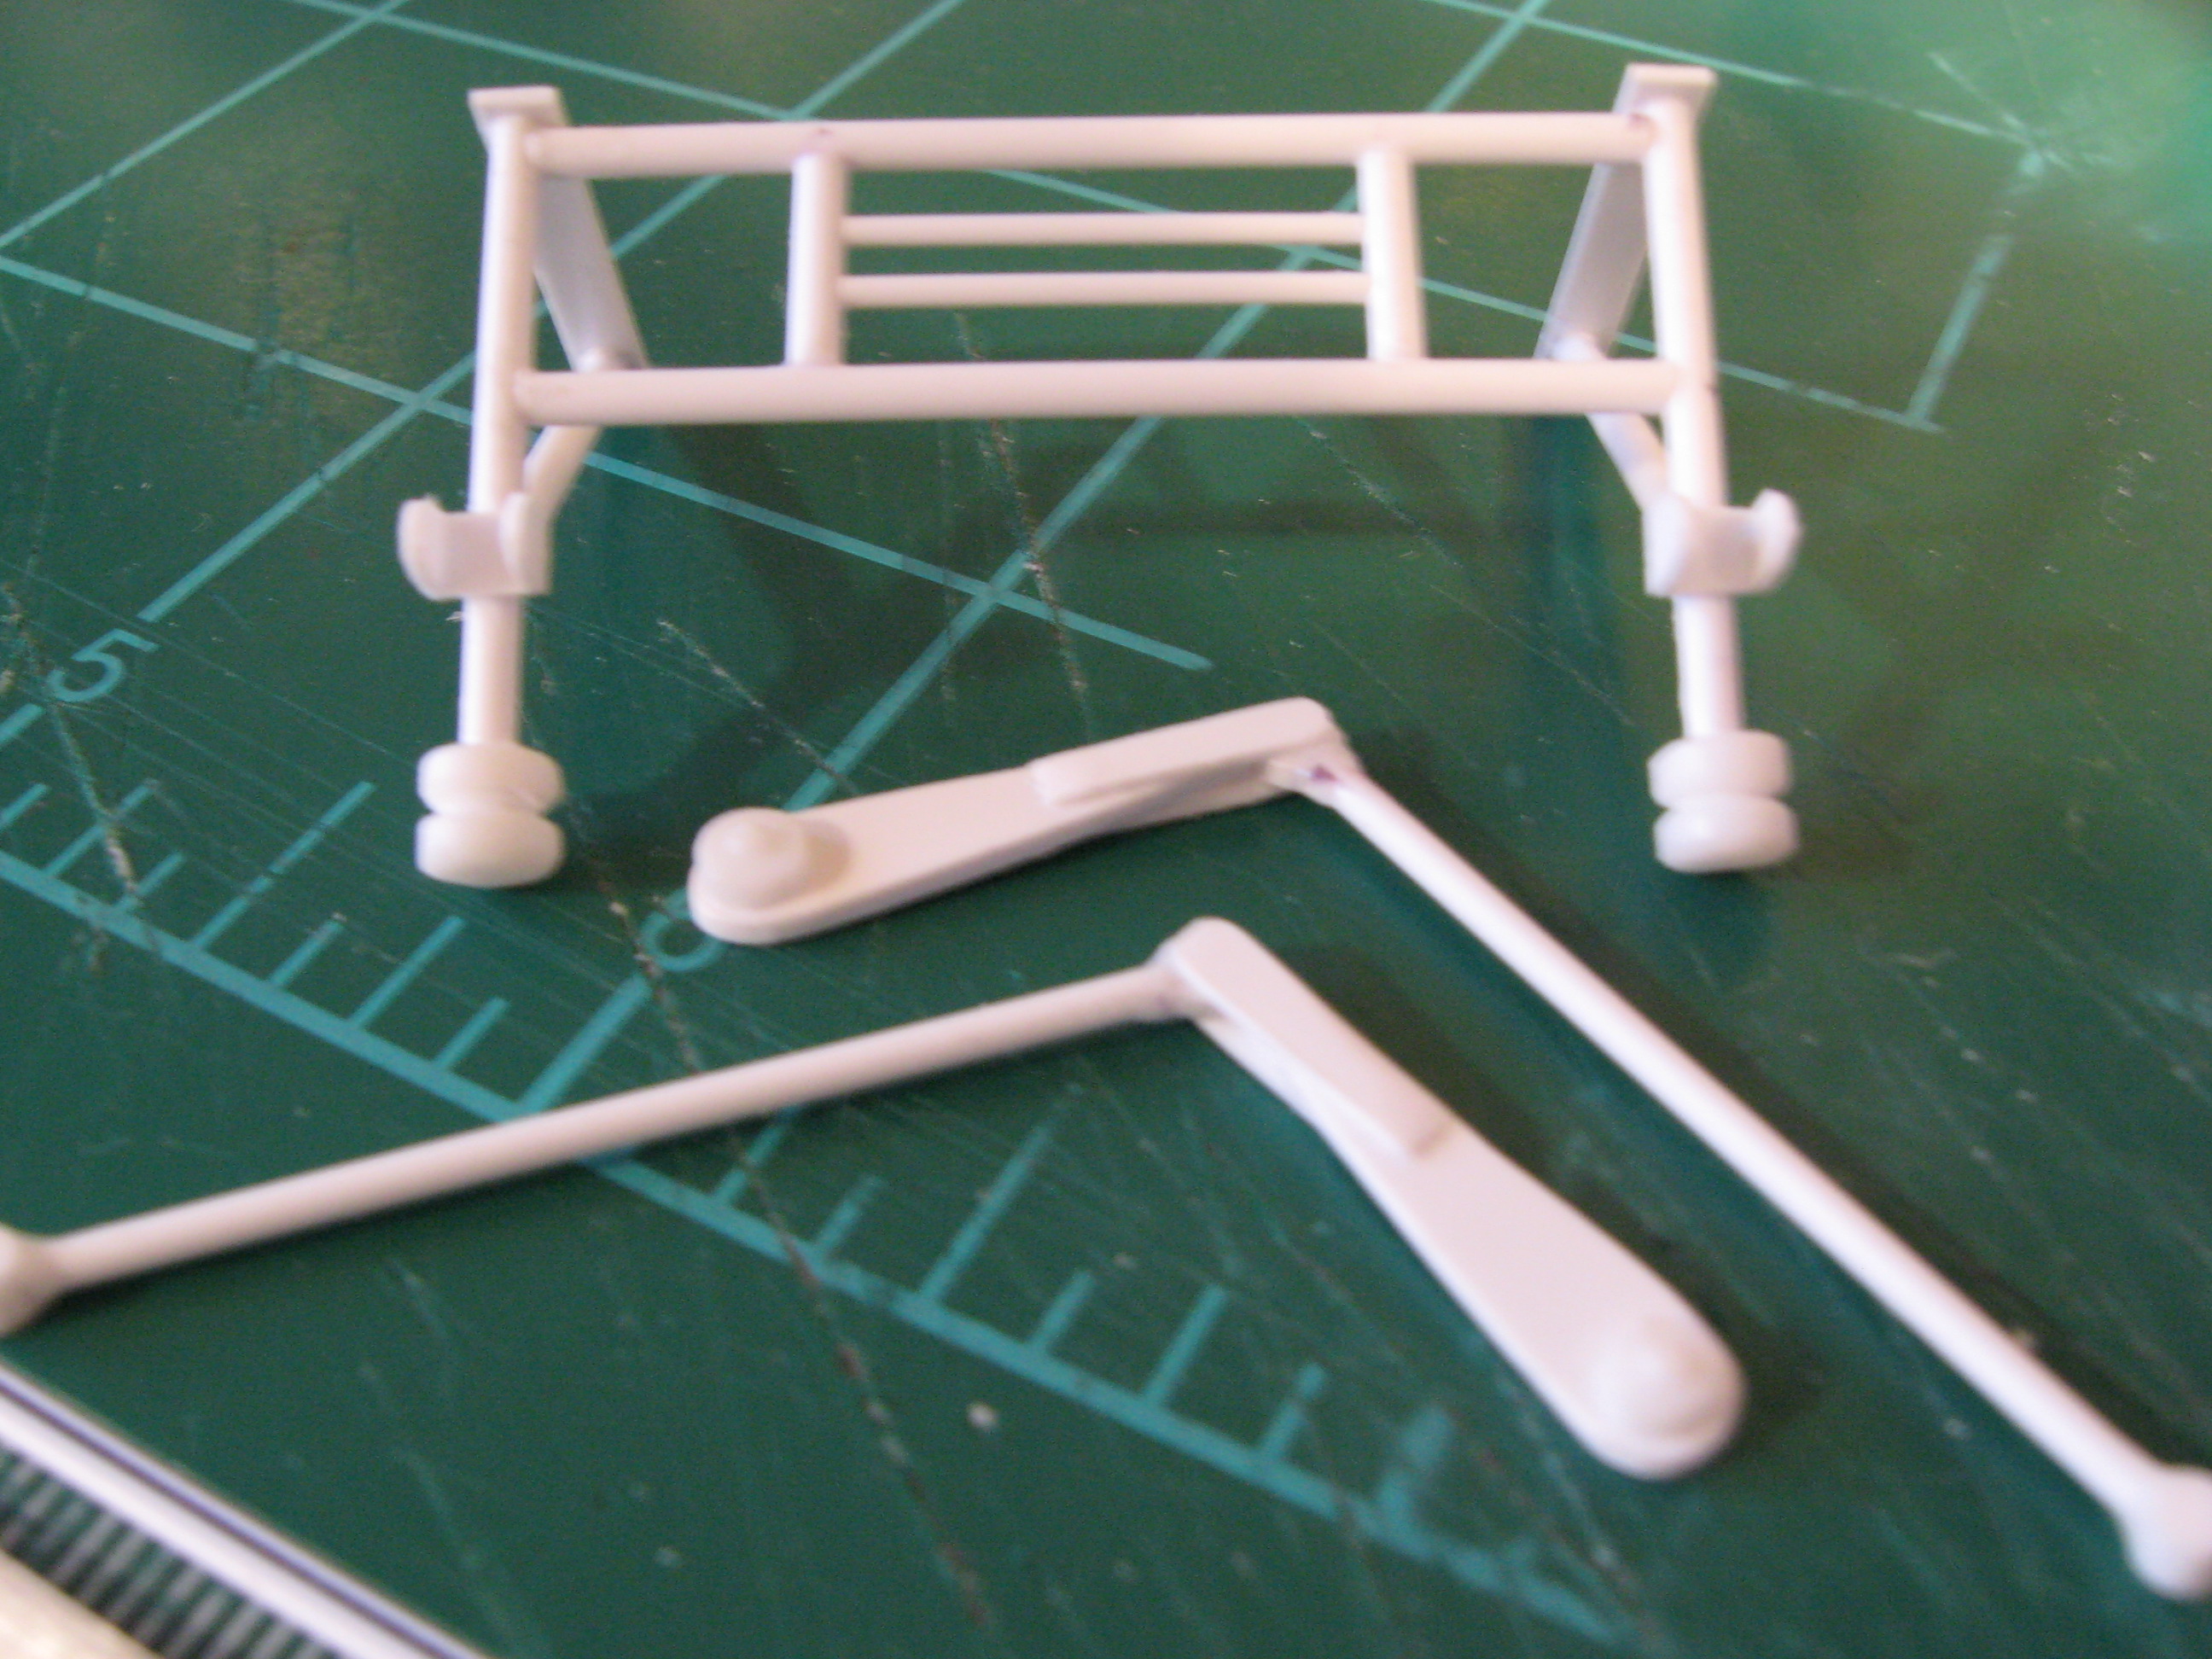
The axle is now permanently installed with radius rods built and installed. The rods were pinned and super glued for strength. I also built the stabilizers and bump stop structure which are dry fit for the pictures. I am quite pleased with results. Thanks for looking Steve
-
about how many models have you
Ridge Rider replied to bubbaman's topic in General Automotive Talk (Trucks and Cars)
That is very cool that you have built that many. I might own that many (500) but might have built 50 in my lifetime. I do wish I had any model from my childhood. I was very proud of my Great White Cuda and Magnum PI Ferrari . I would be curious to see how bad they really were. -
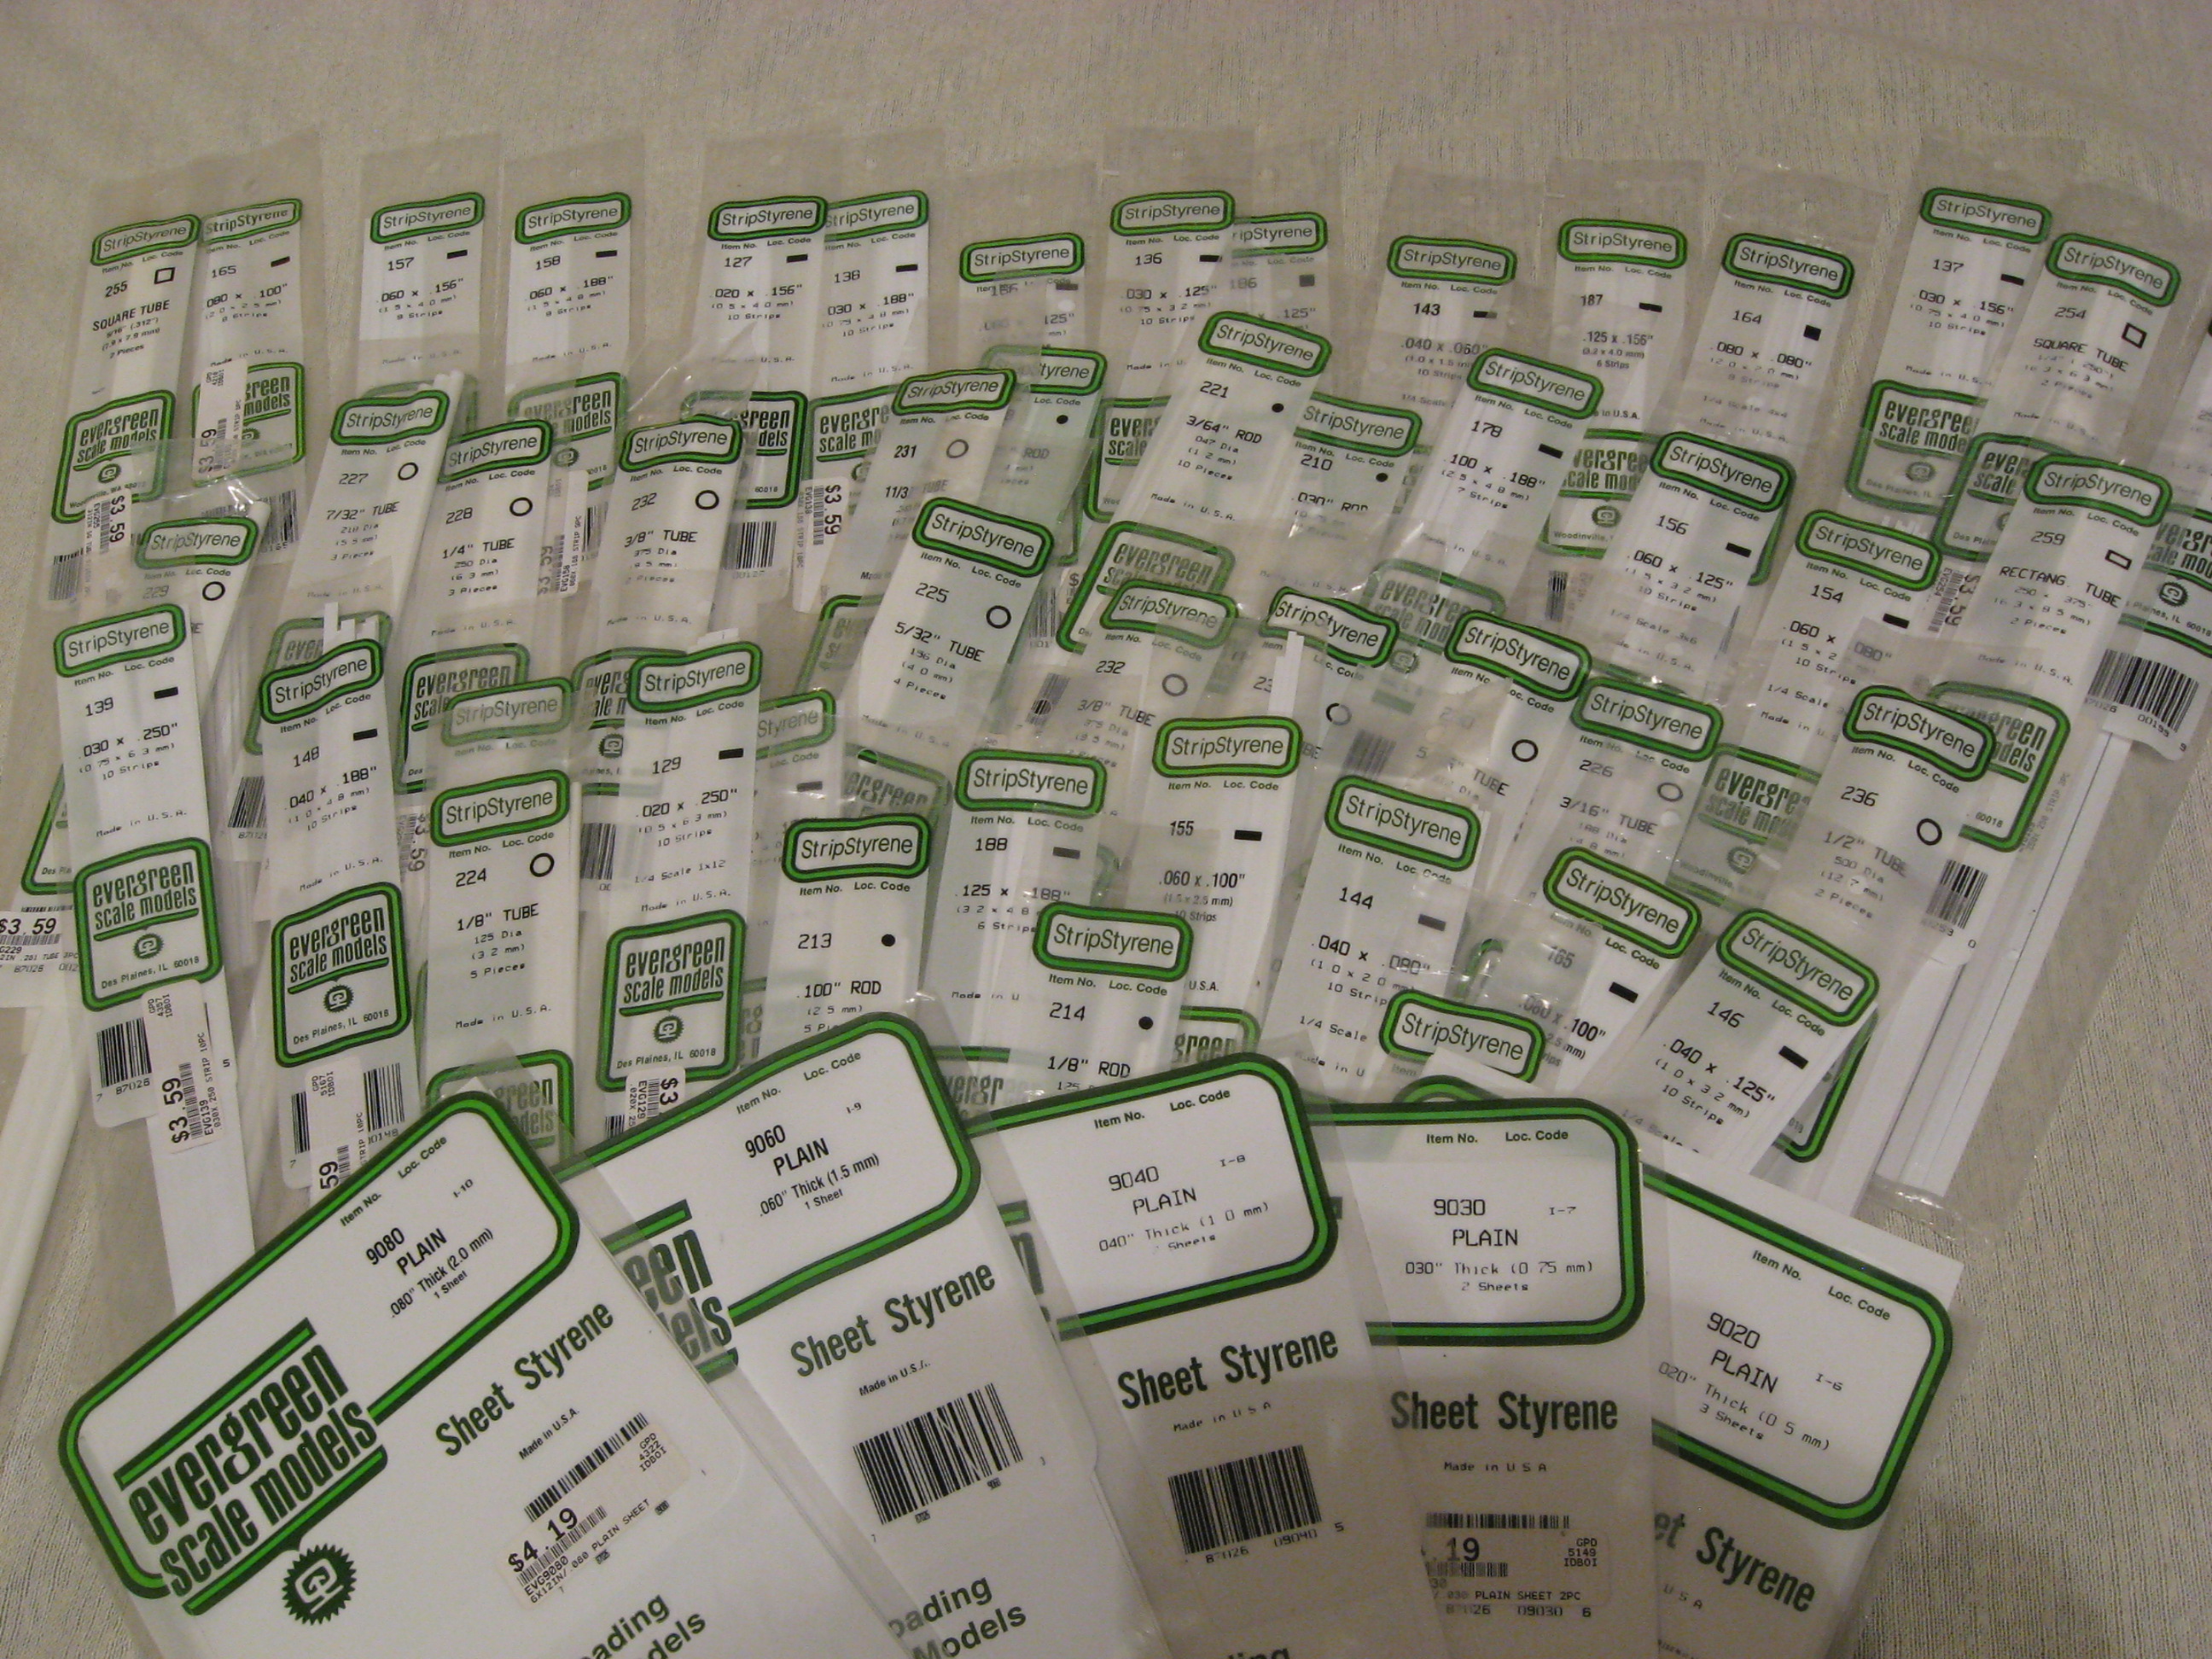
First off I want to thank everyone that is enjoying this build as much as myself. I had no idea of the time or detail I wanted or needed to put into this model. I like to wing it and let it happen naturally. I look at each part or sub assembly as a model in itself and try my best to replicate the look. It is going to take longer than I planned but I think it will be worth it in the end. I am pleased with my progress and have improved and developed new skills that I hope will lead to bigger and better projects. No updates yet but while I was never a Hobbytown USA fan(because they catered to the RC crowd) I am enjoying their out of business items offered locally at 50%off. This does help some with the scratch building. I hope to get some bench time this weekend. Thanks for looking. Steve
-
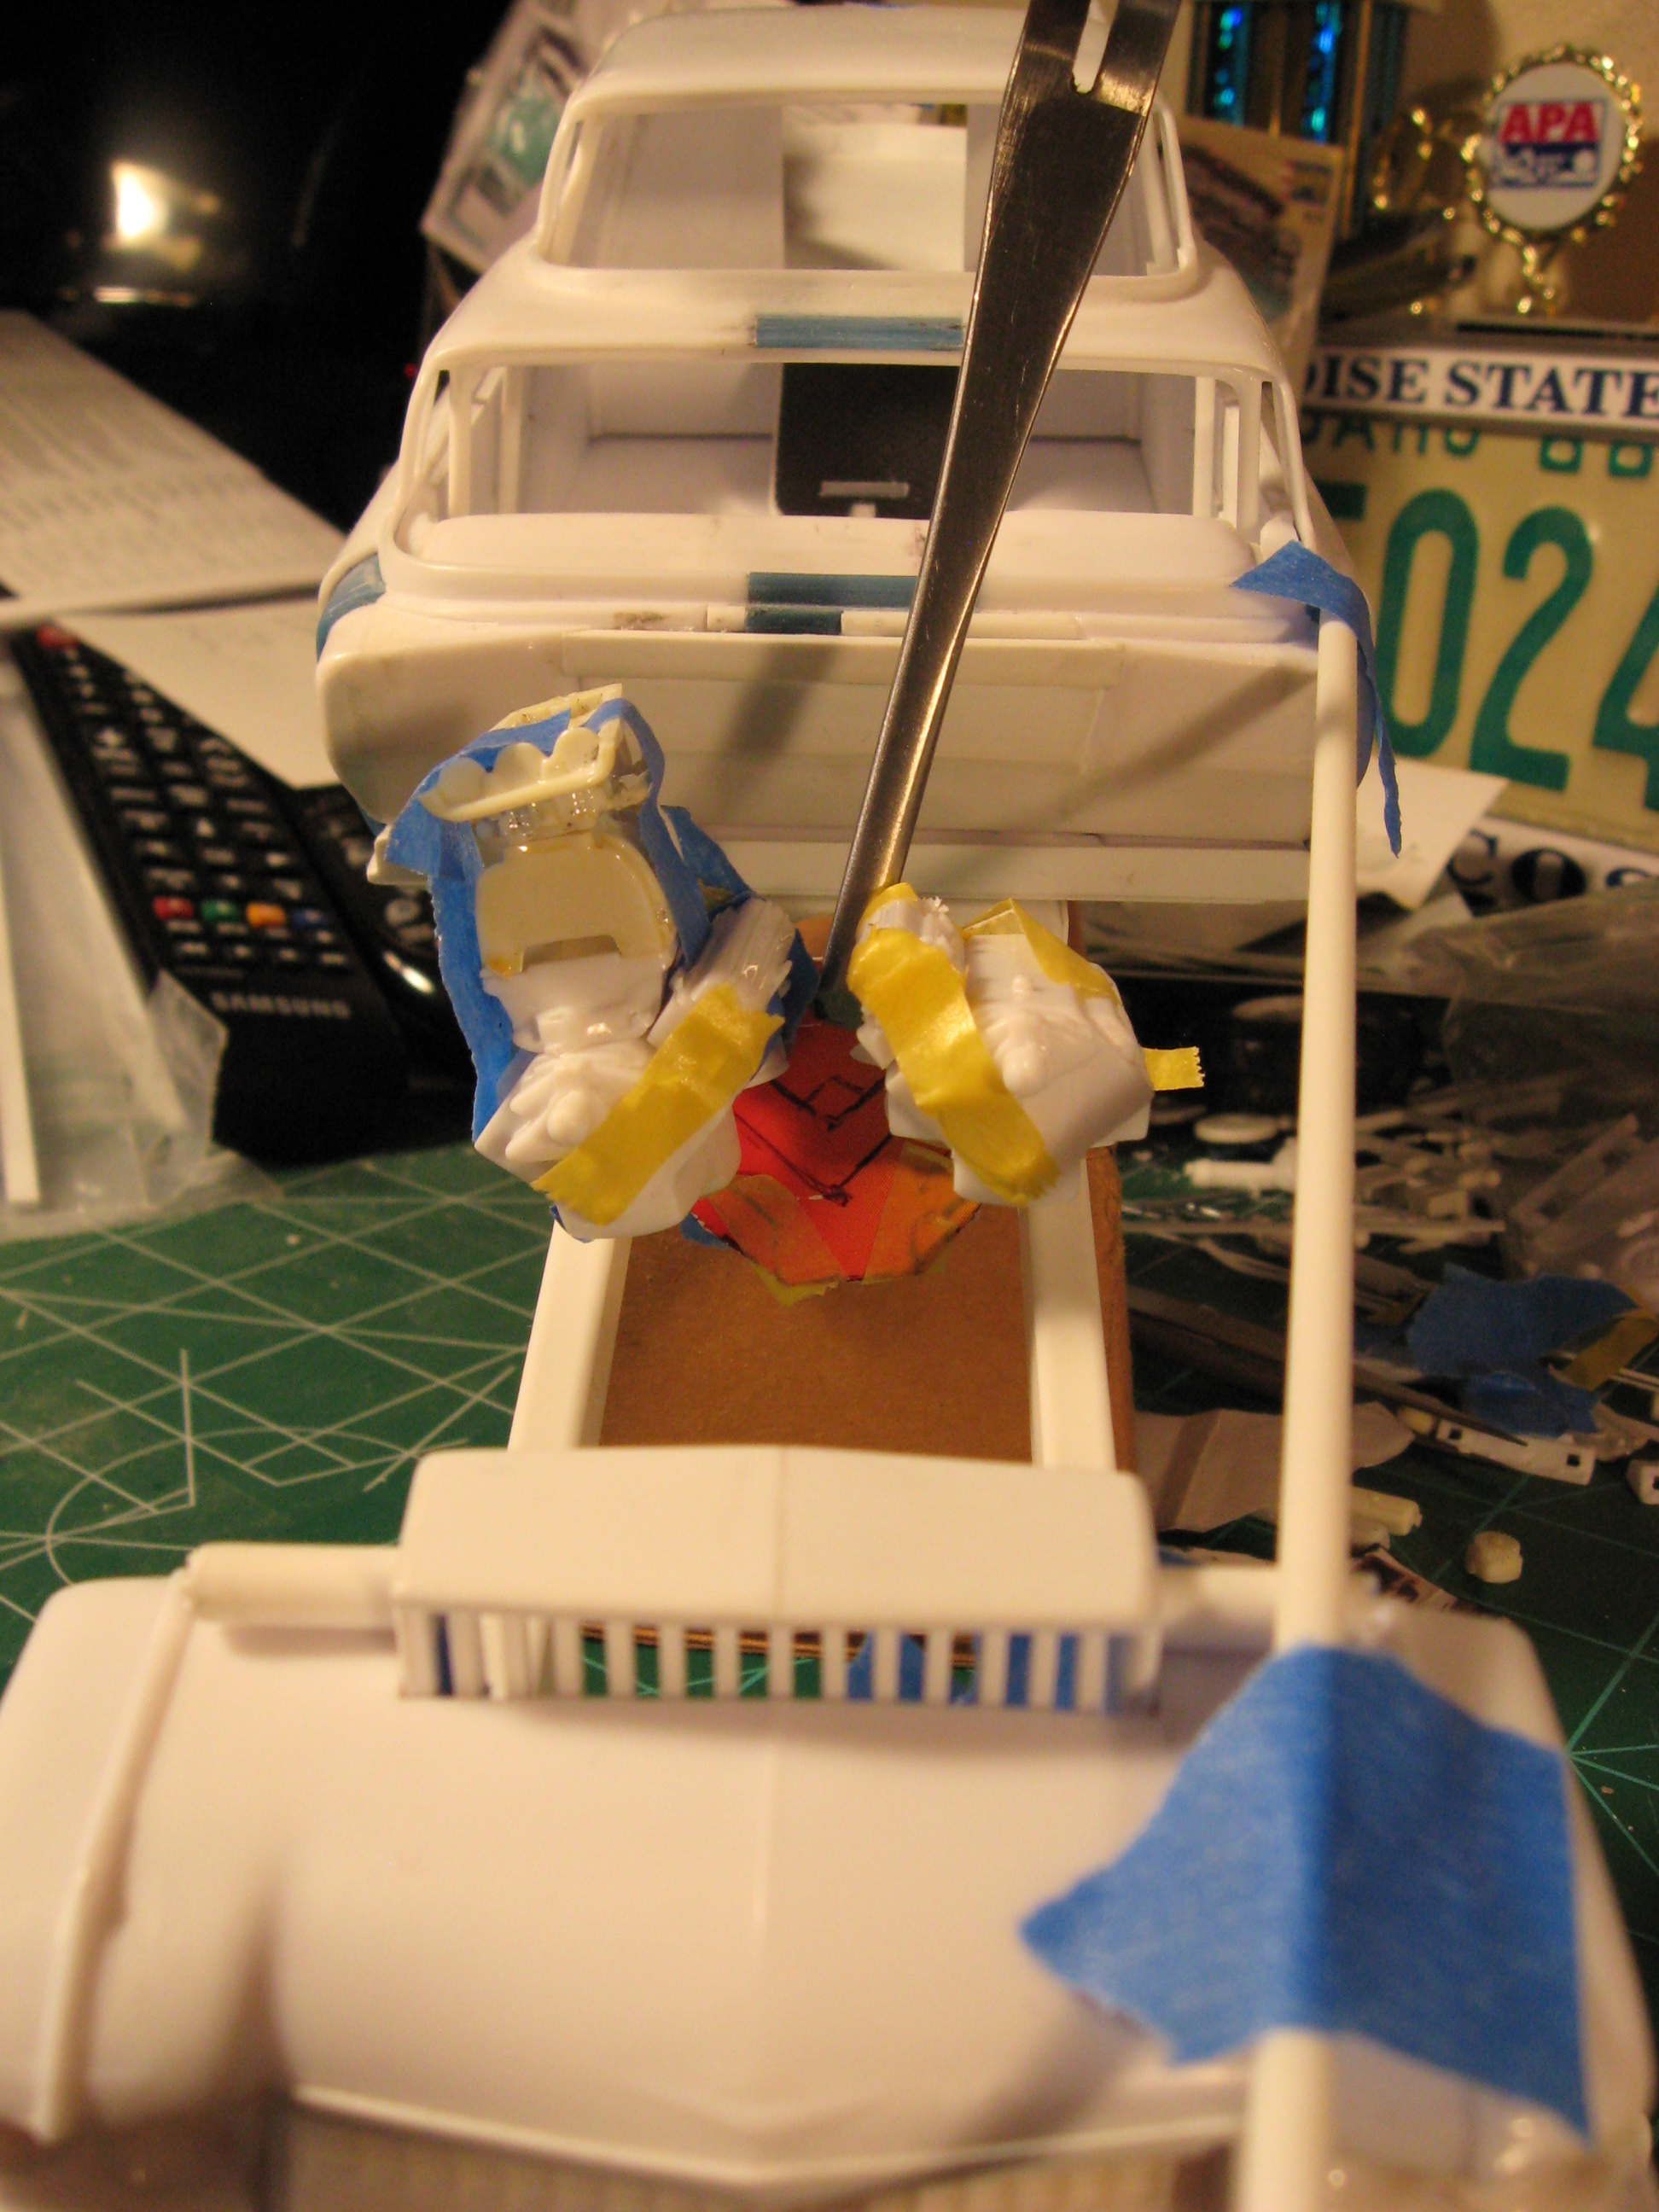
The last dry/test fit. Thanks for looking. Steve