Ridge Rider
-
Posts
641 -
Joined
-
Last visited
Content Type
Profiles
Forums
Events
Gallery
Everything posted by Ridge Rider
-
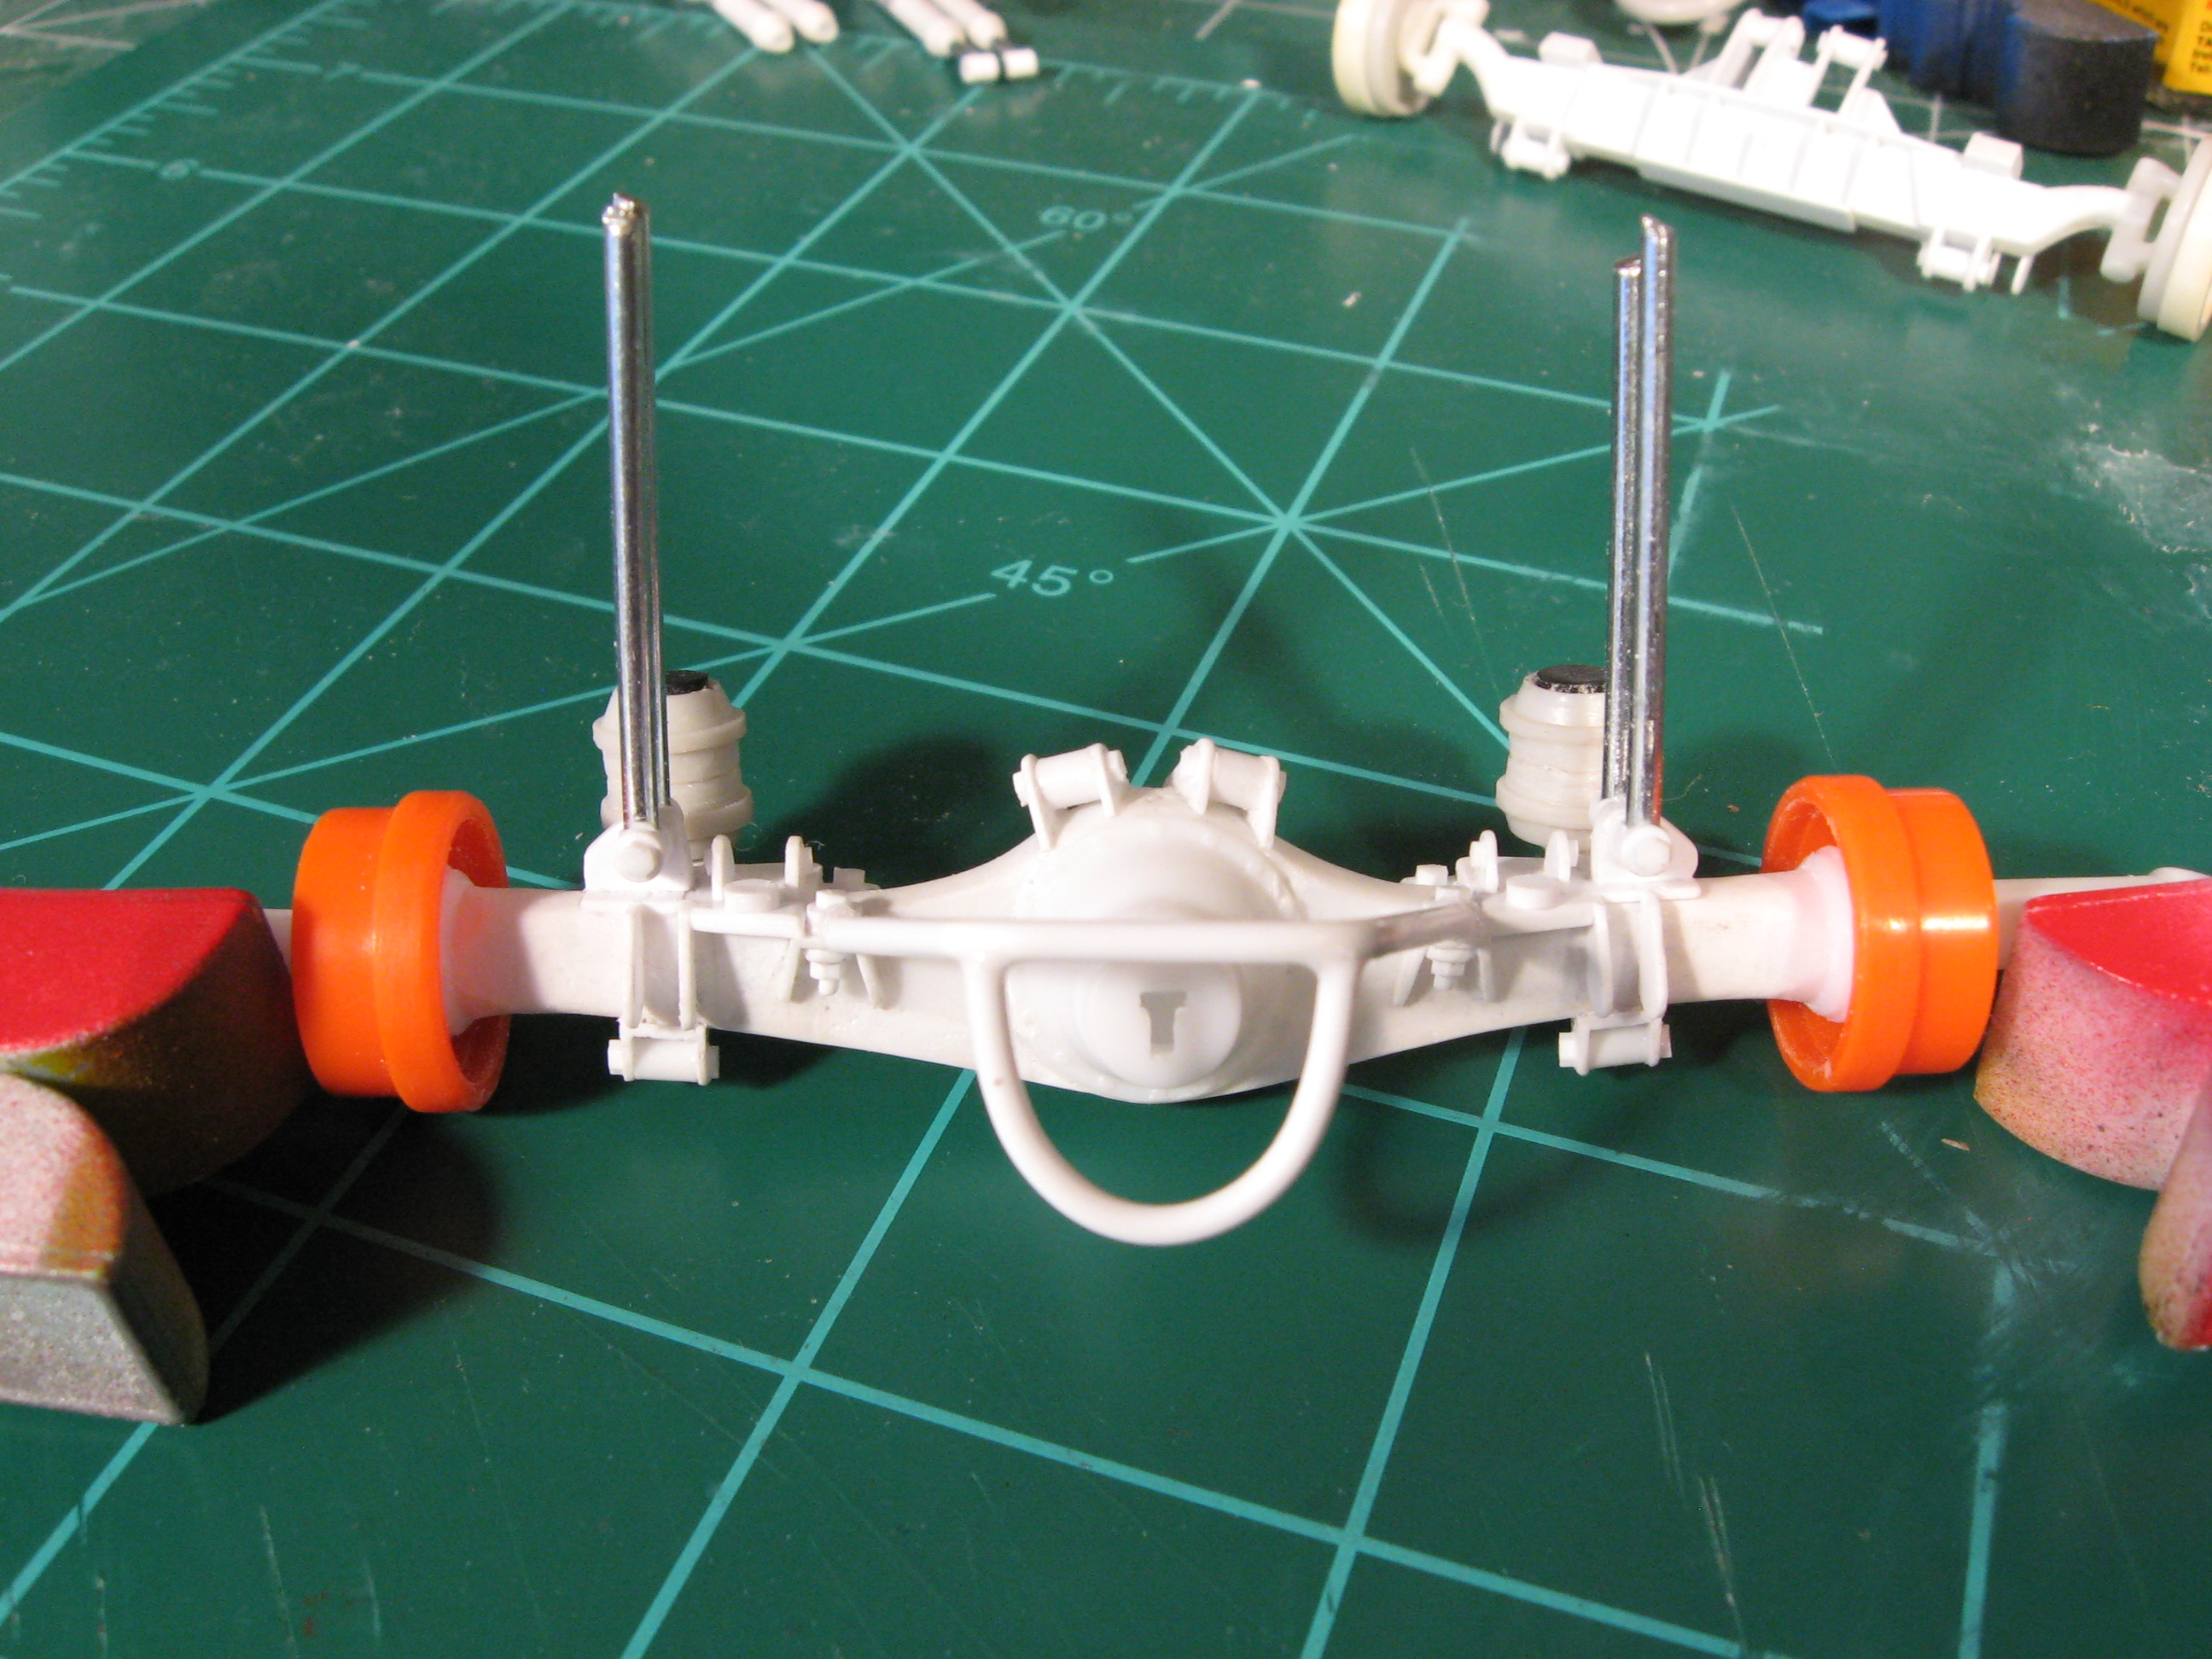
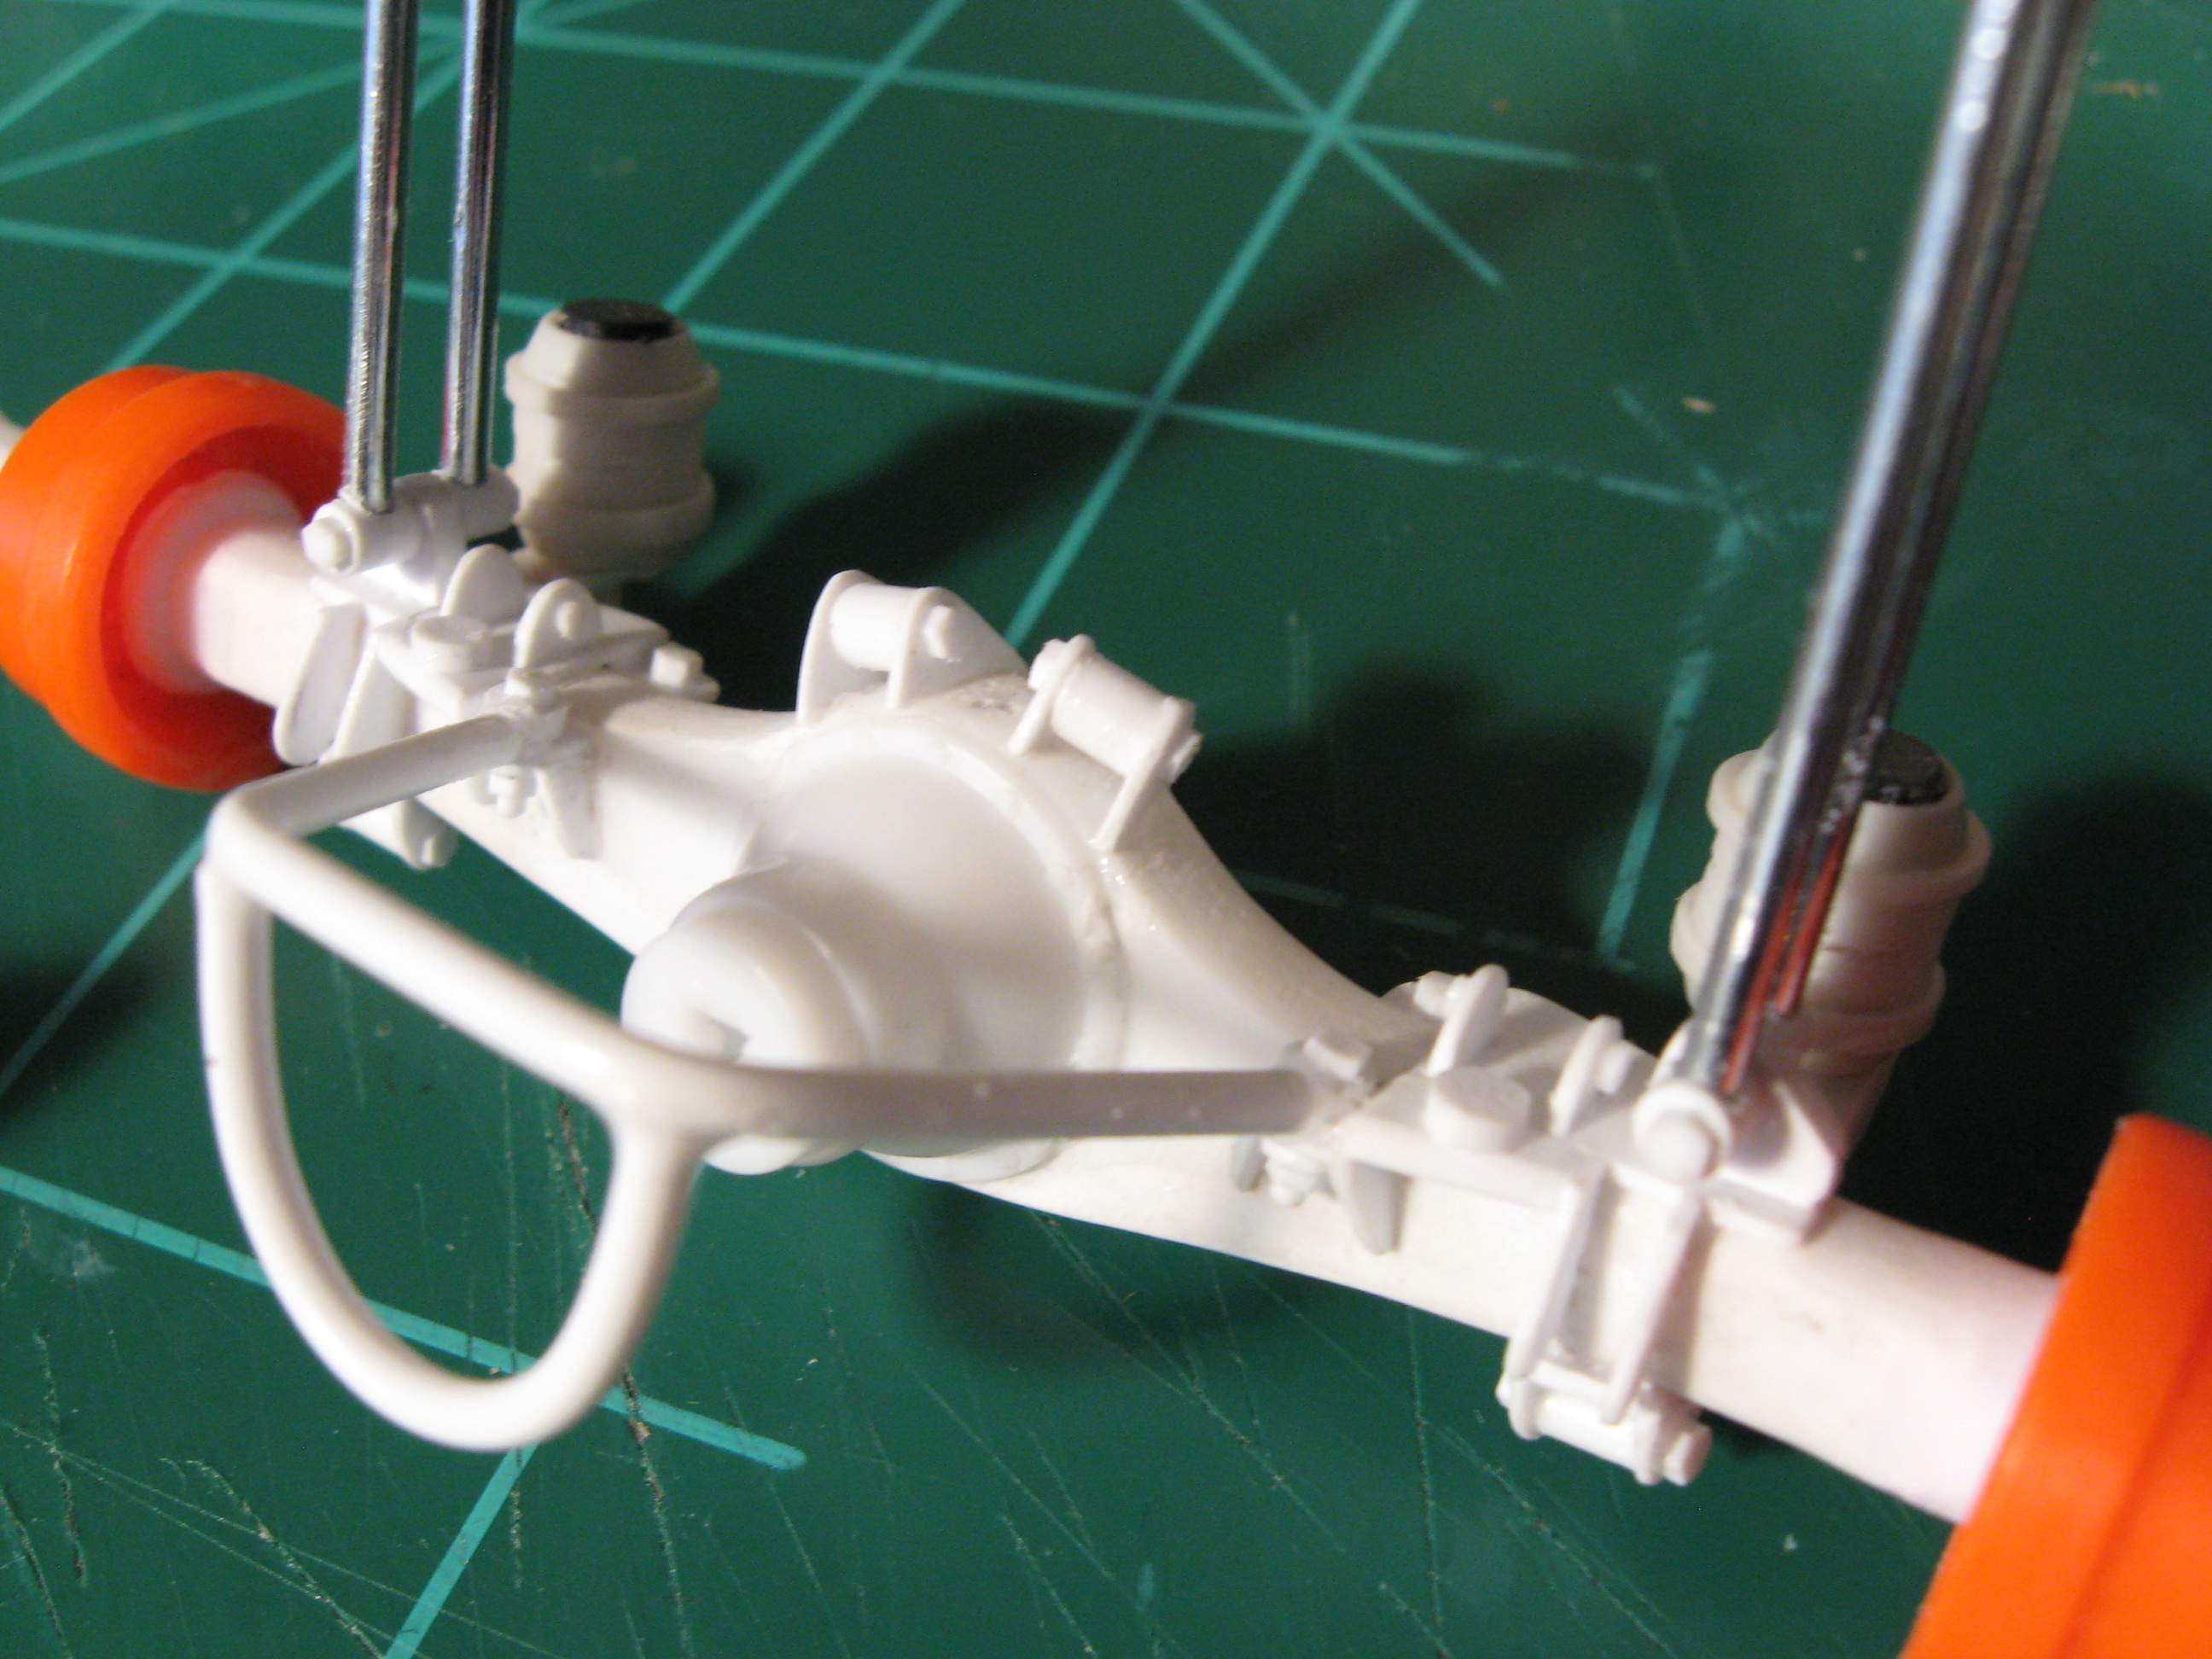
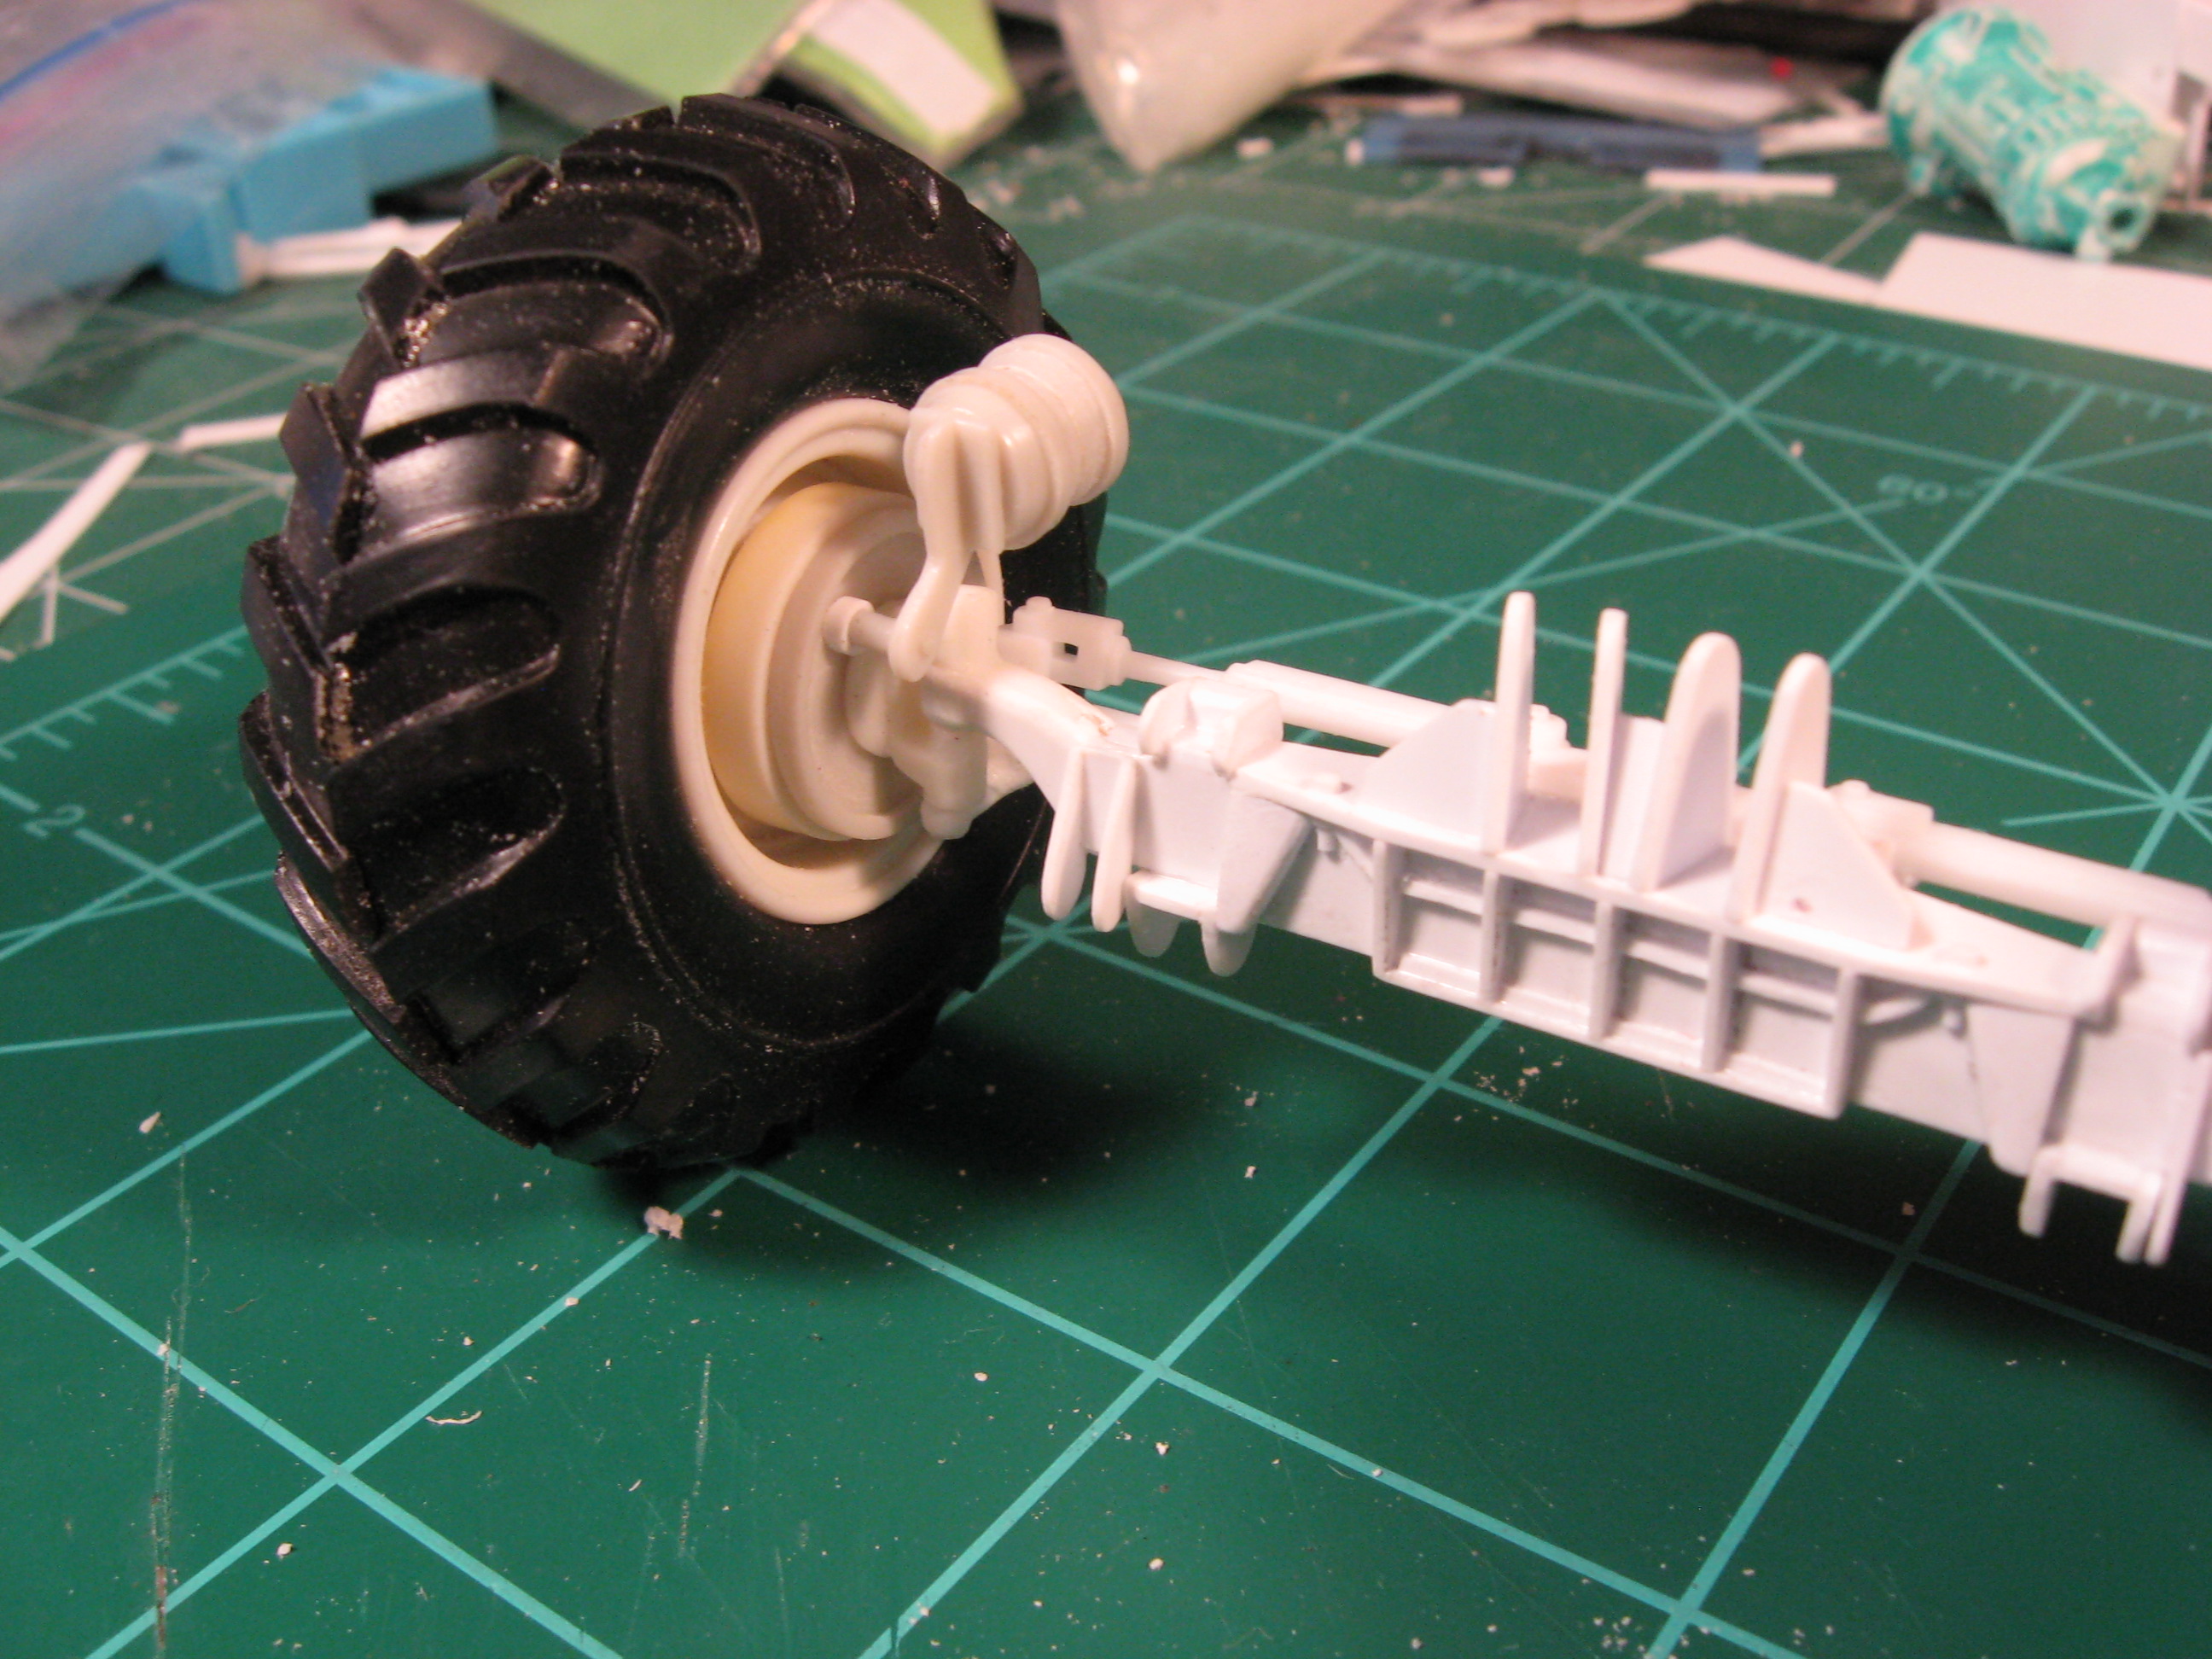
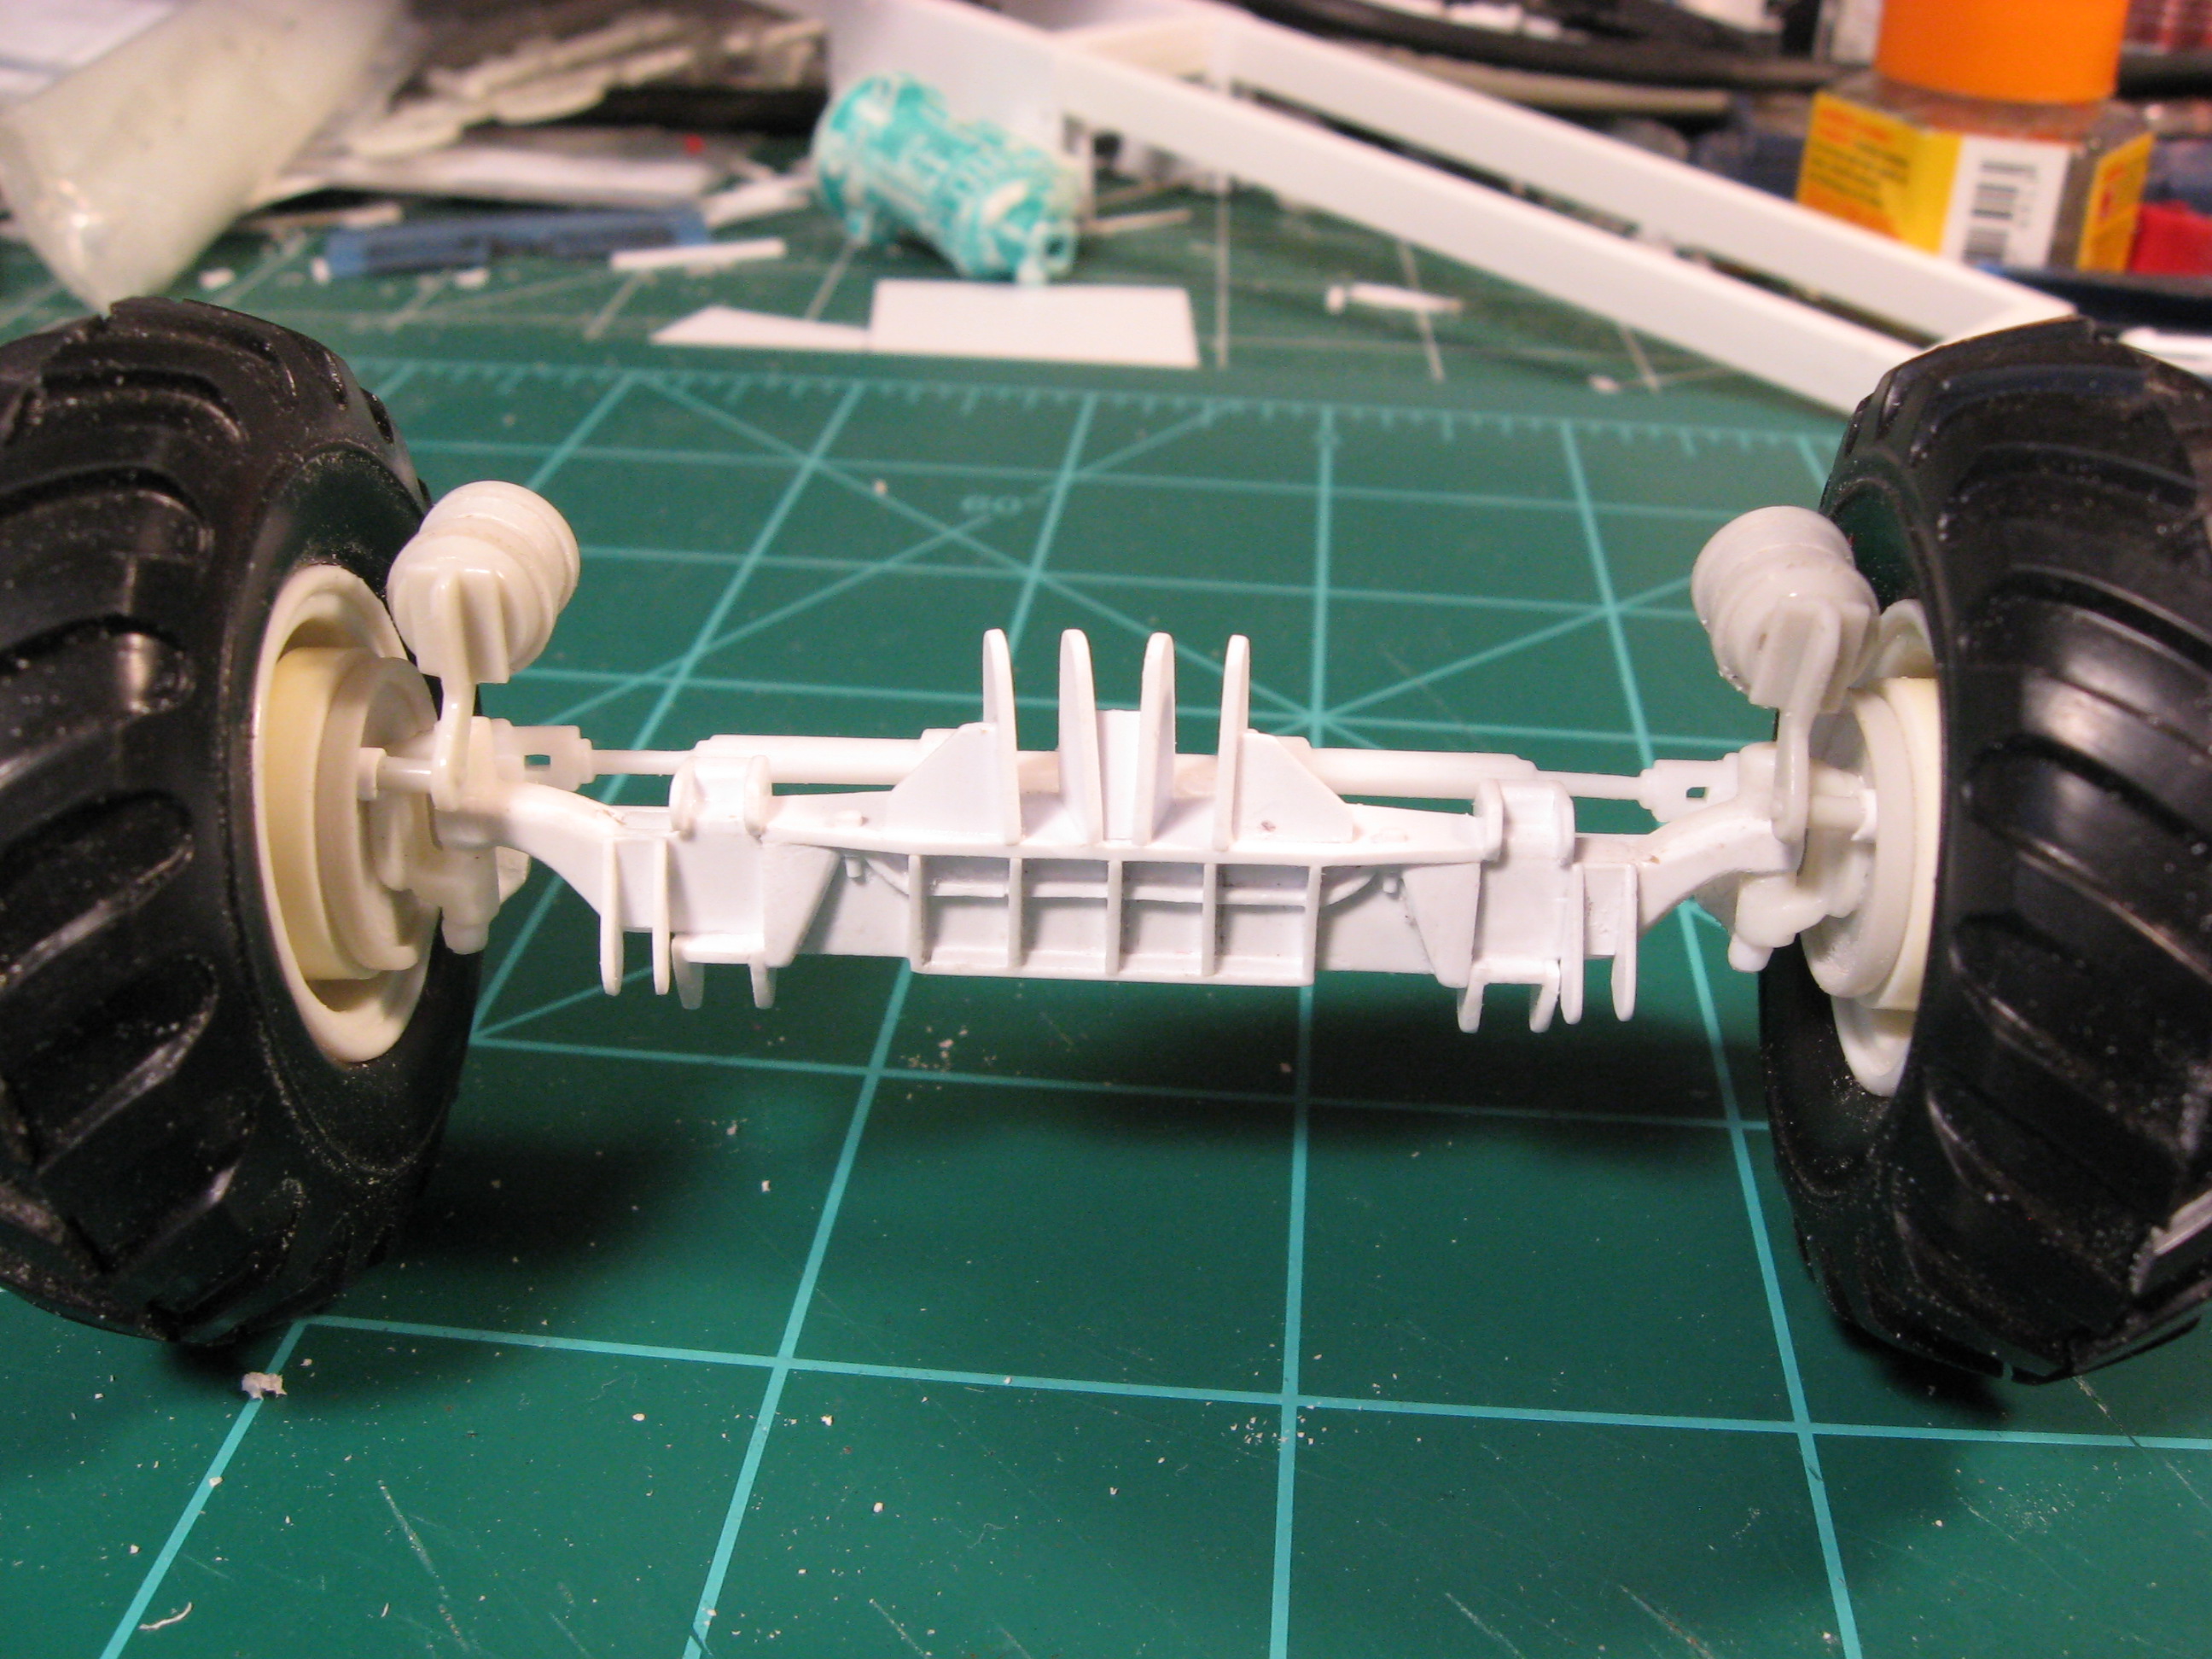
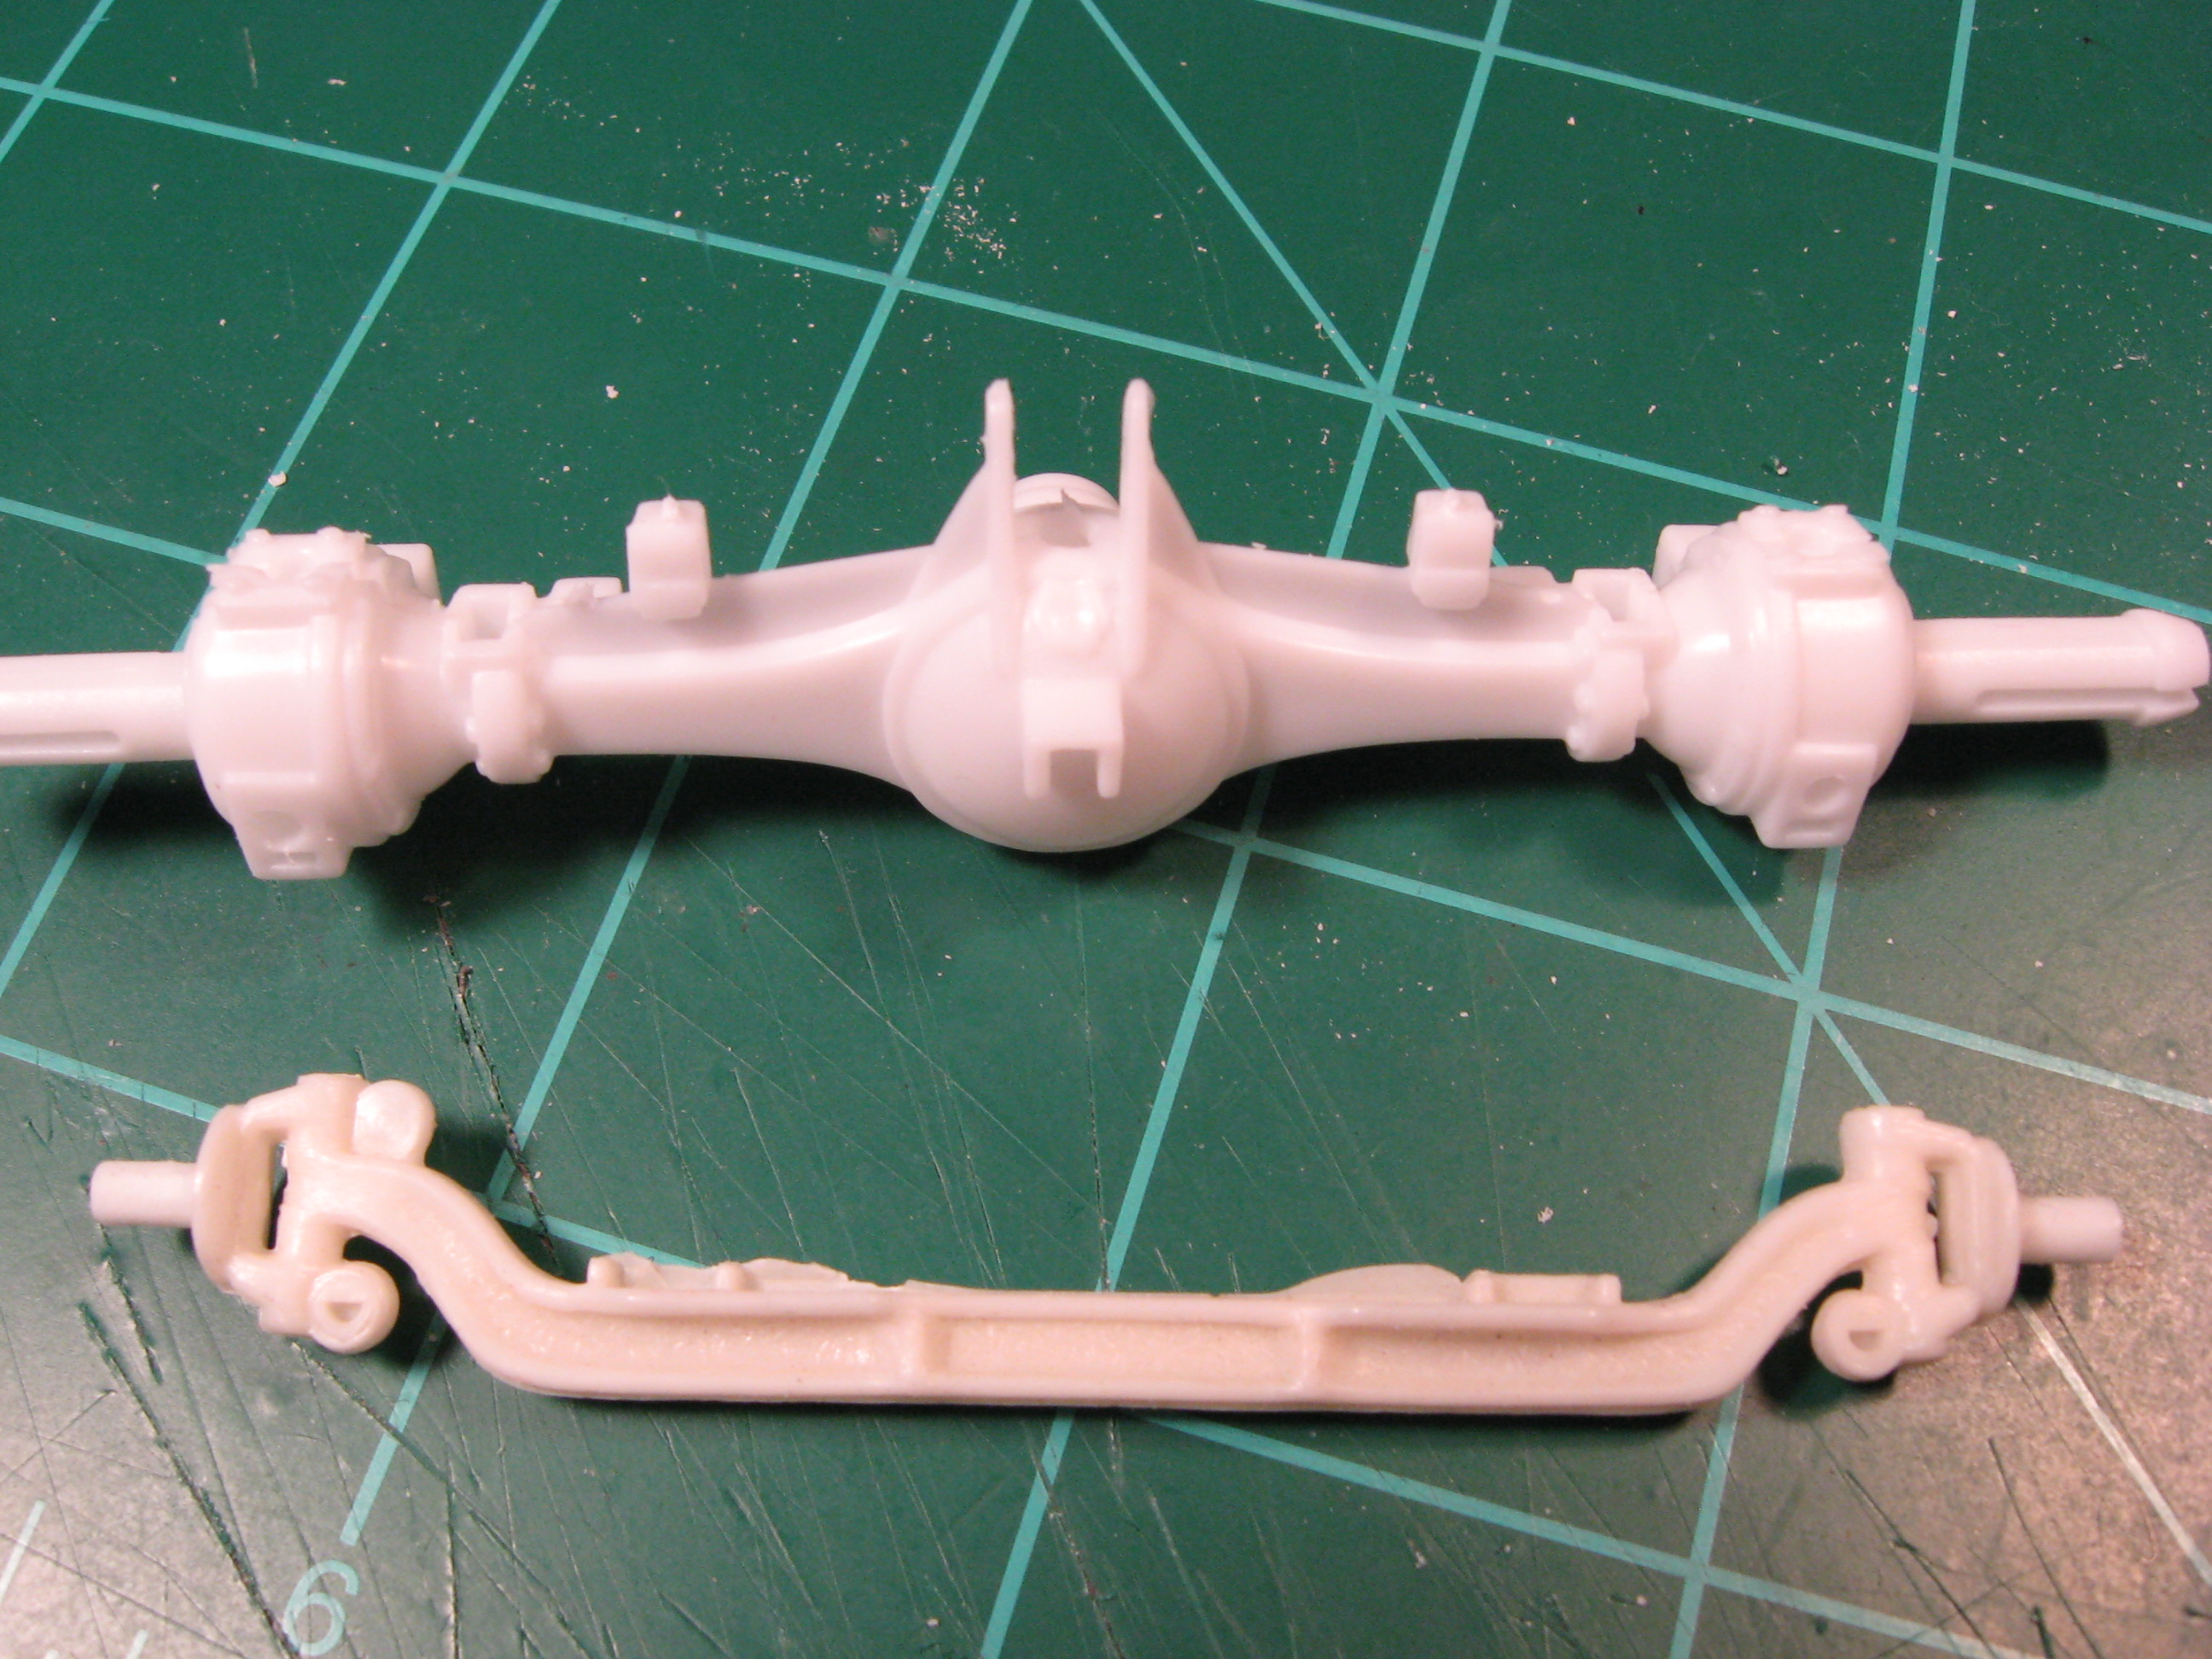
Thanks for the kind words. The rear axle was very time consuming with over a hundred fabricated pieces but I am now calling it done. Despite all the problems, I think it turned out as nice as the front axle. Now for the thousand words.

-
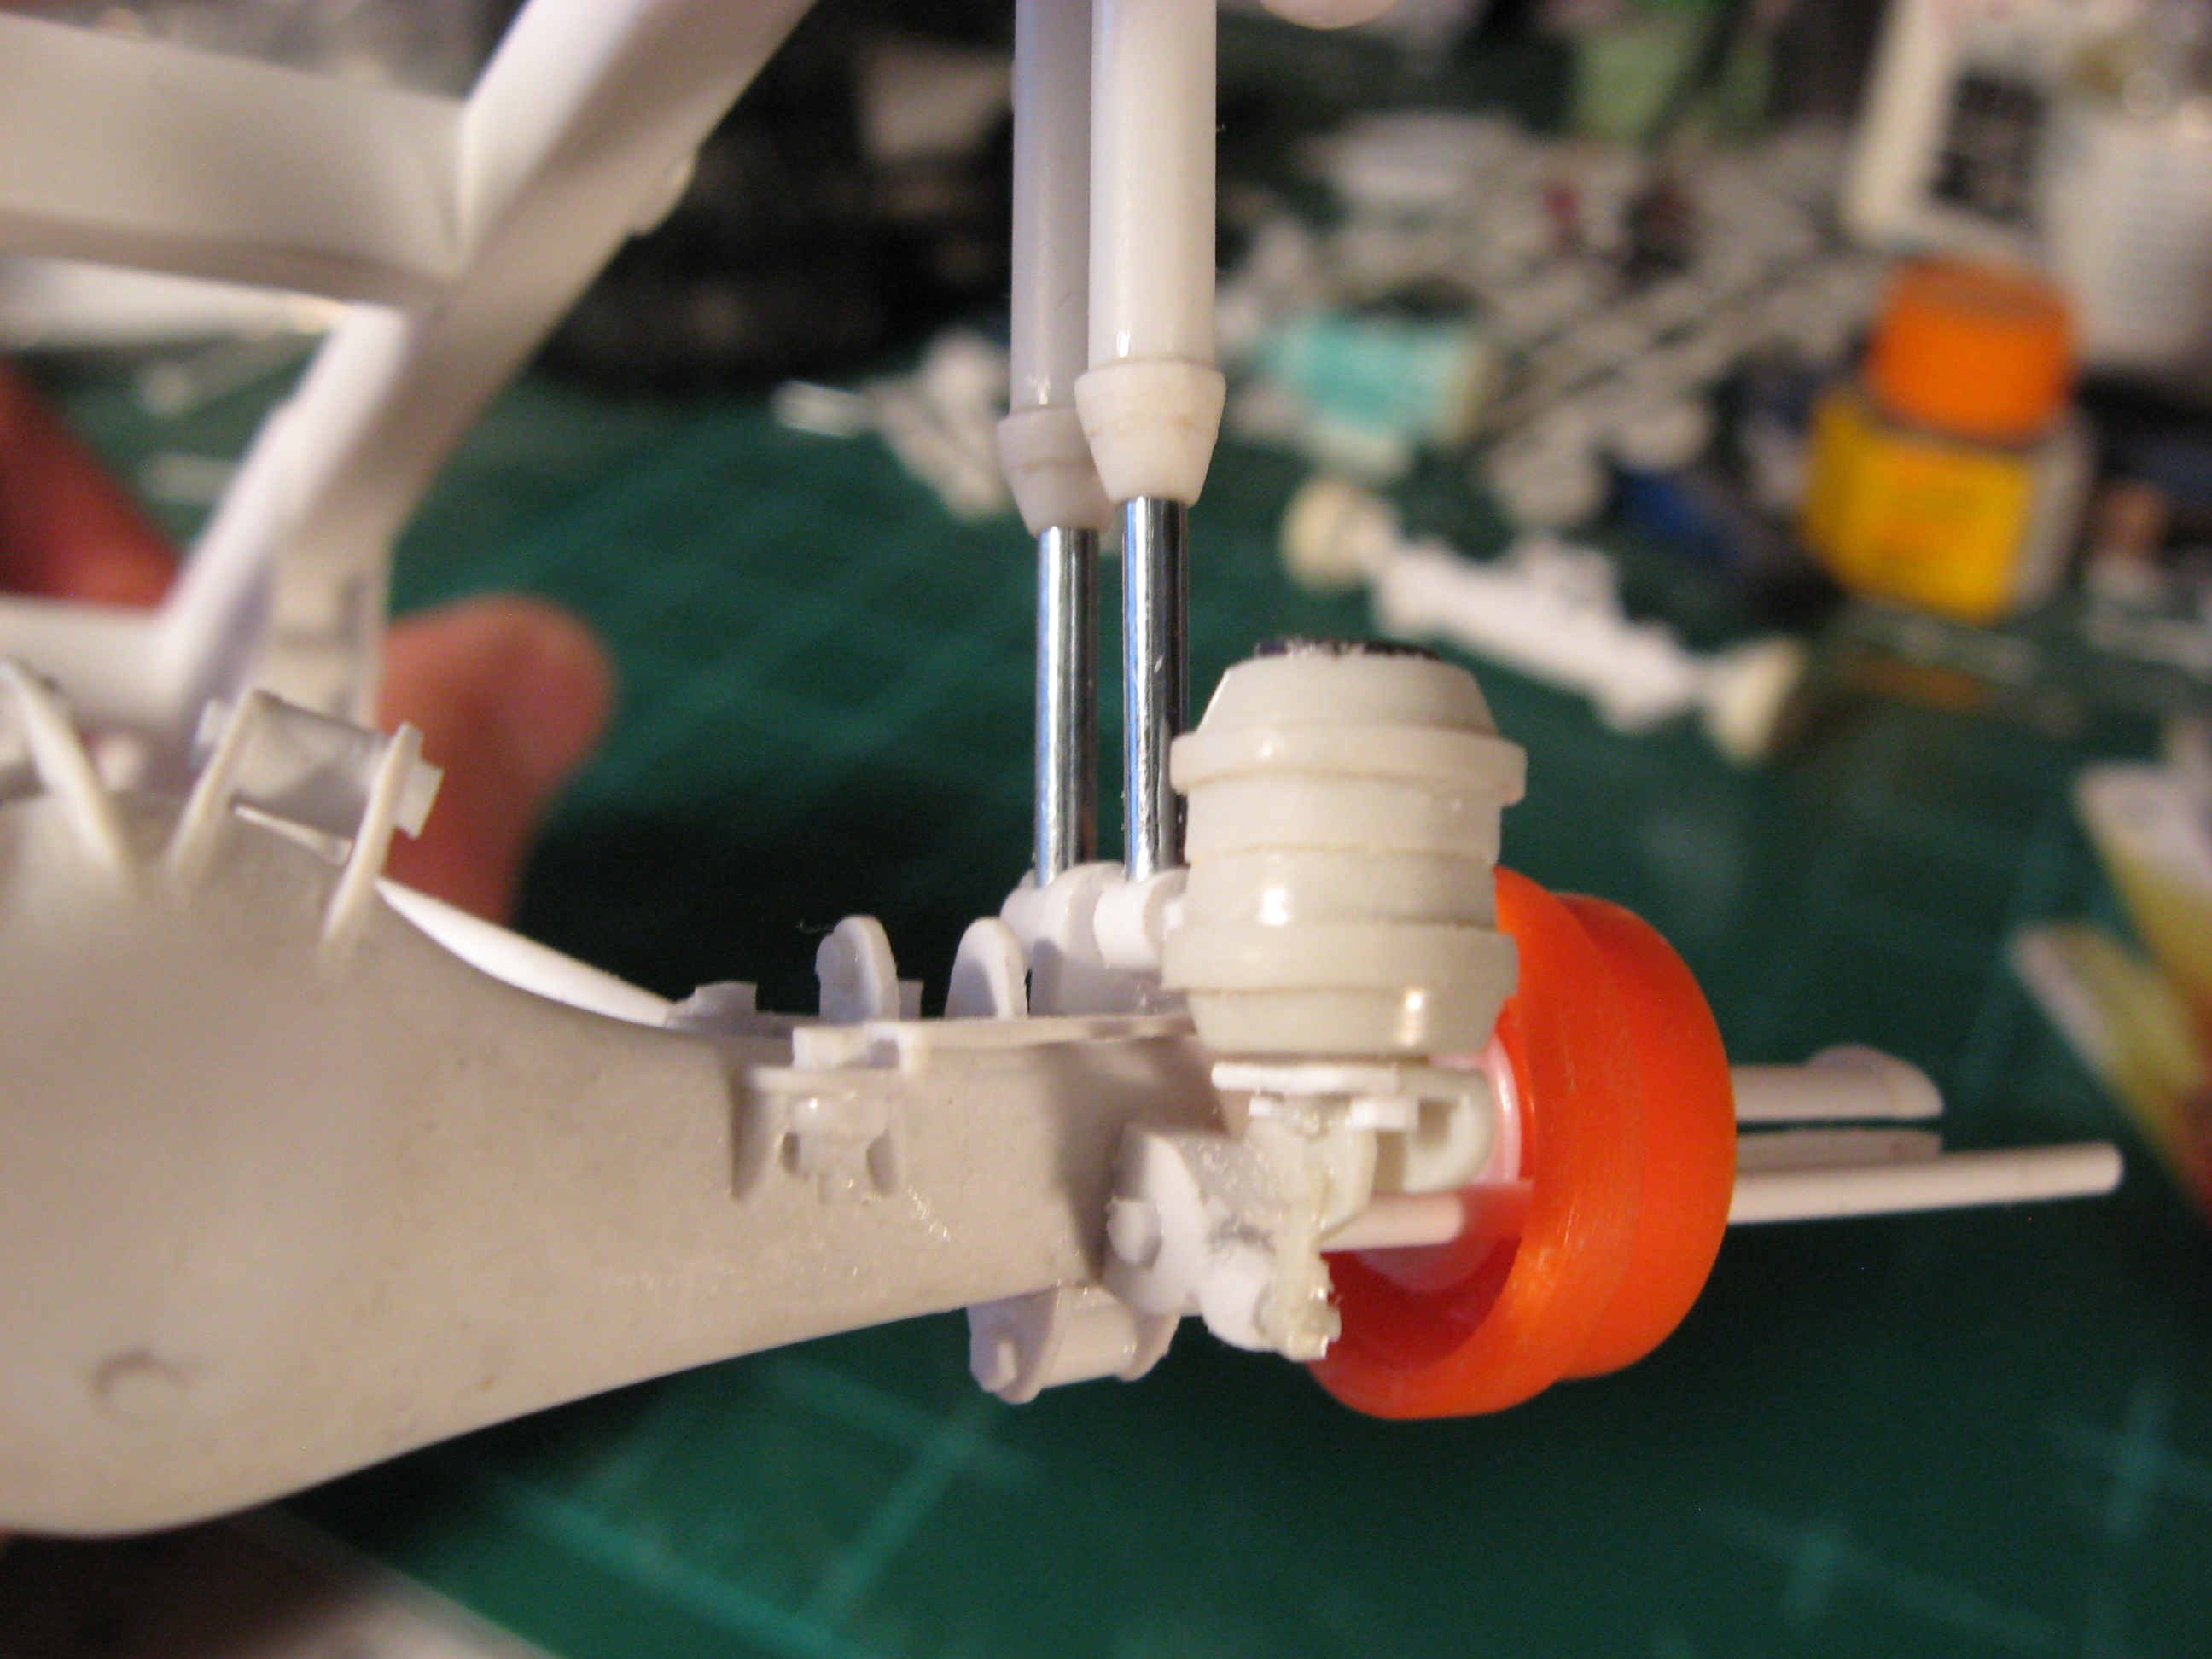
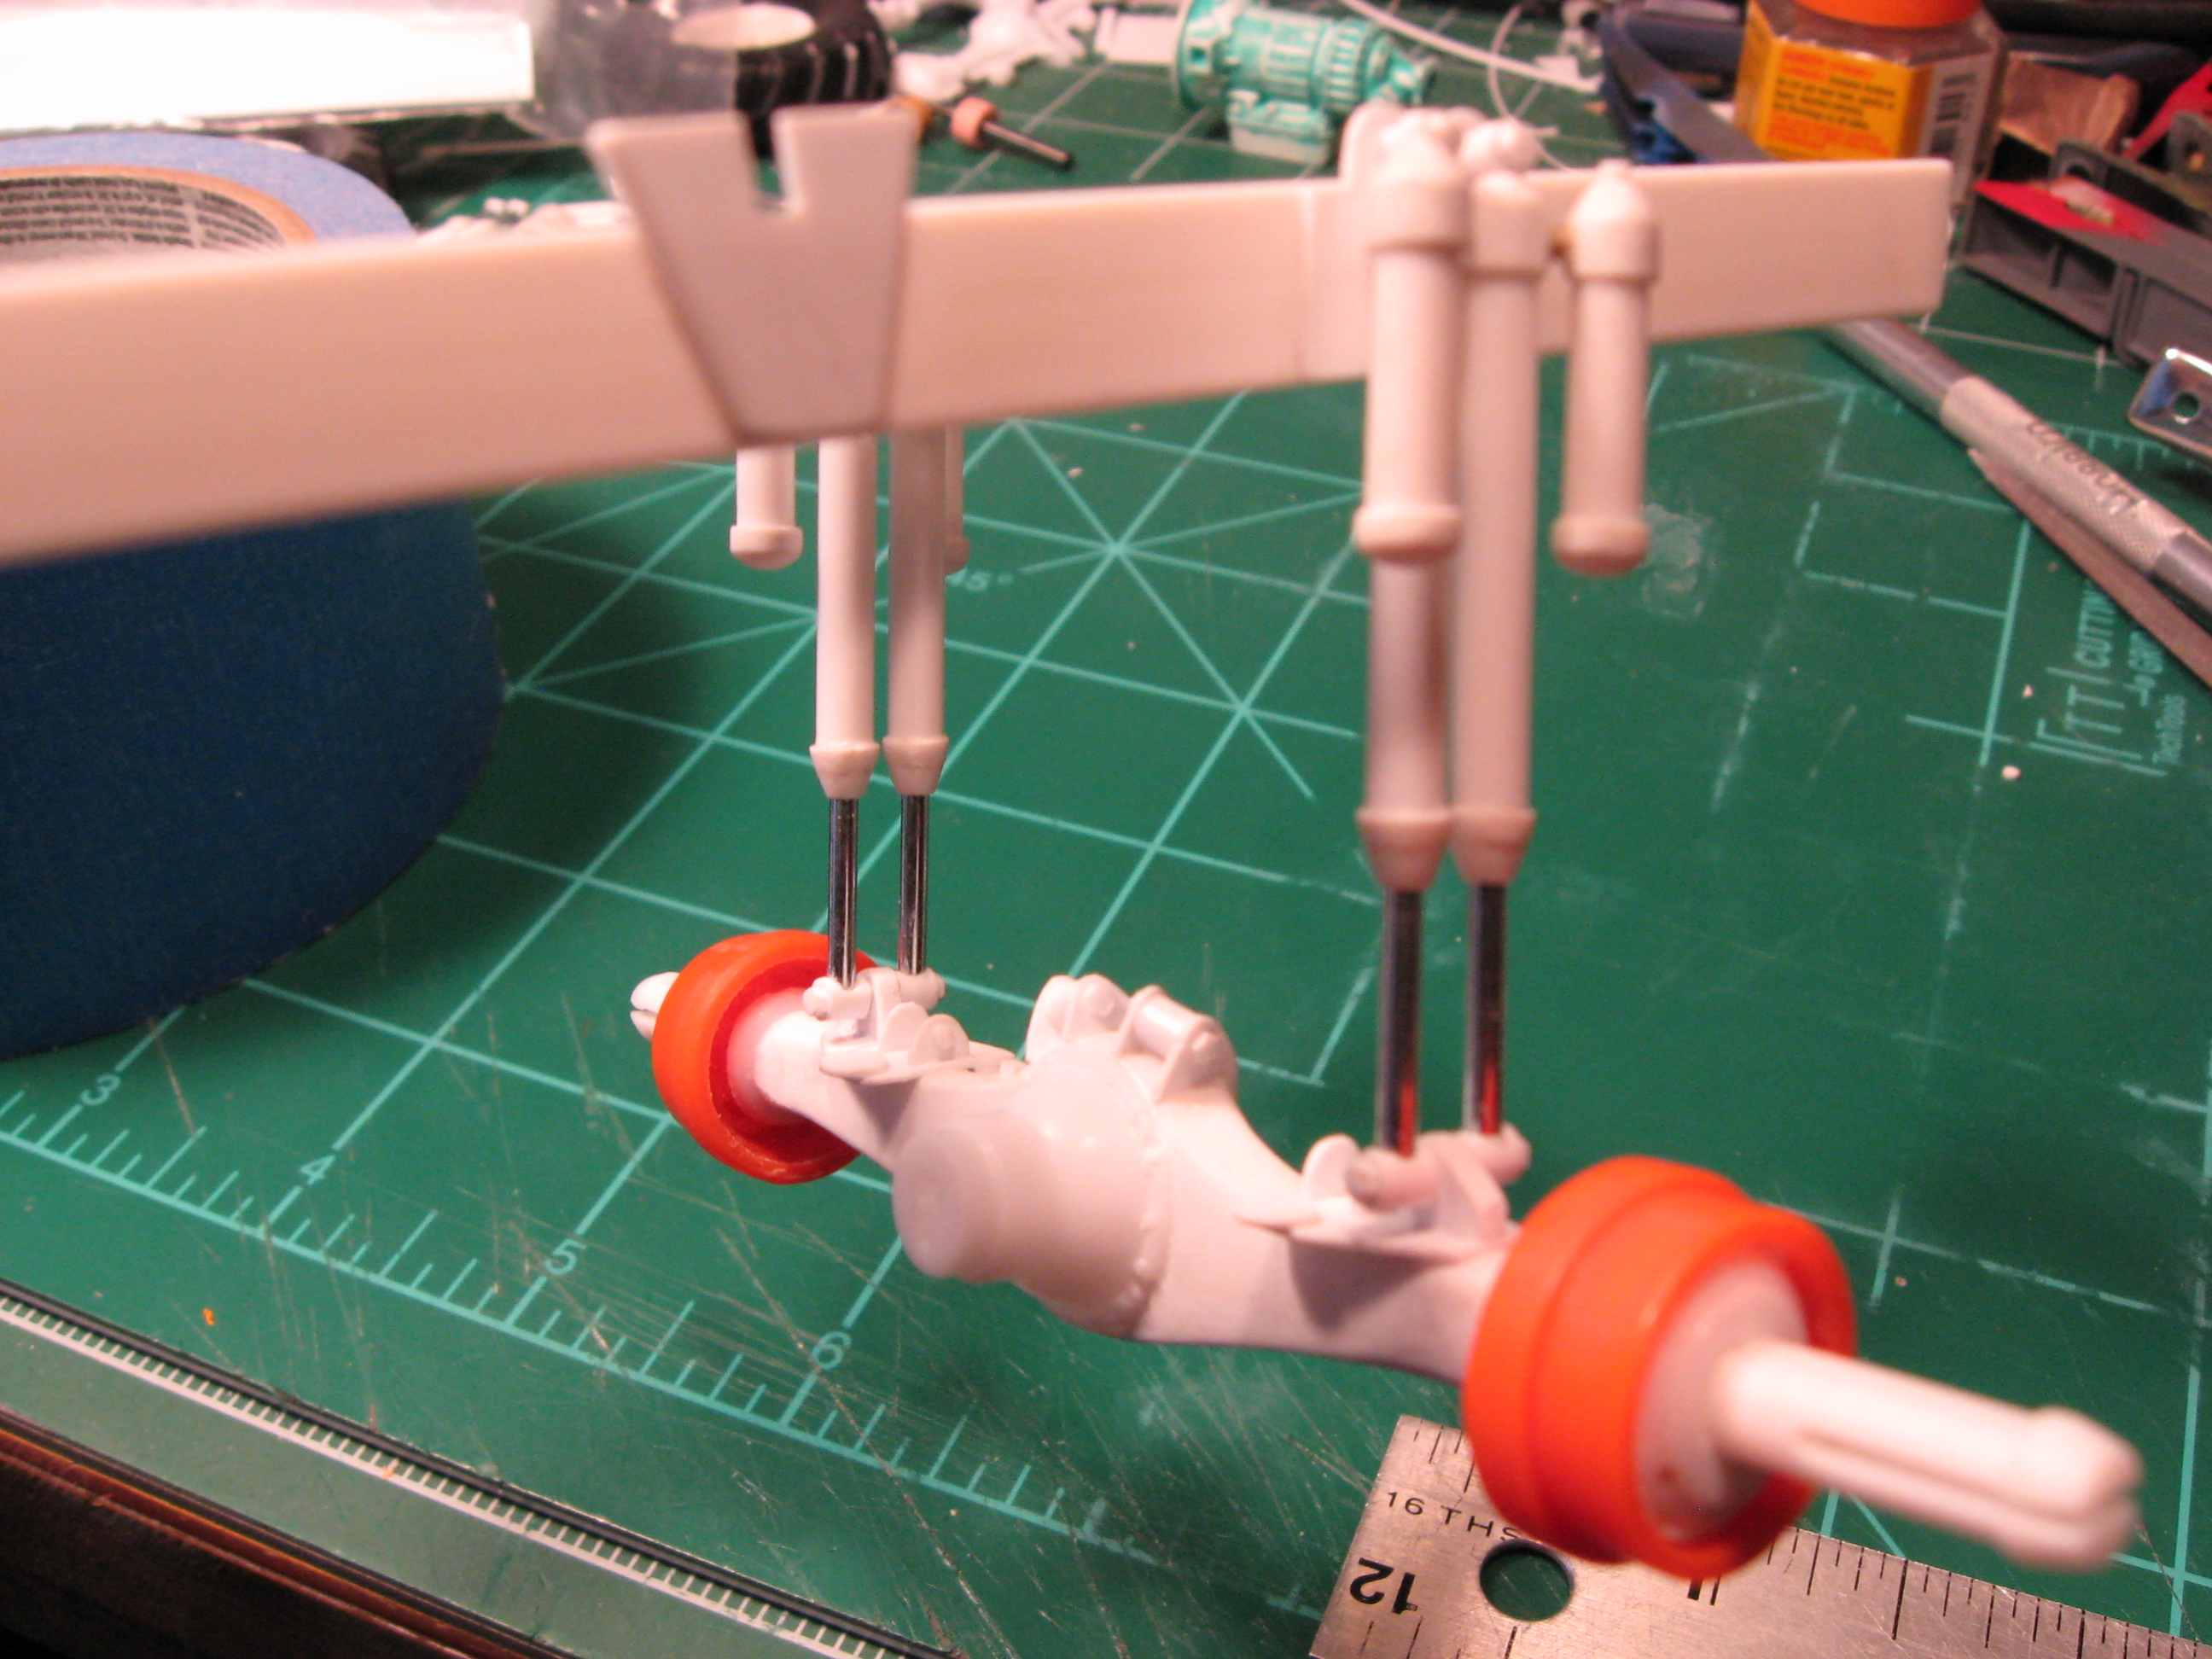
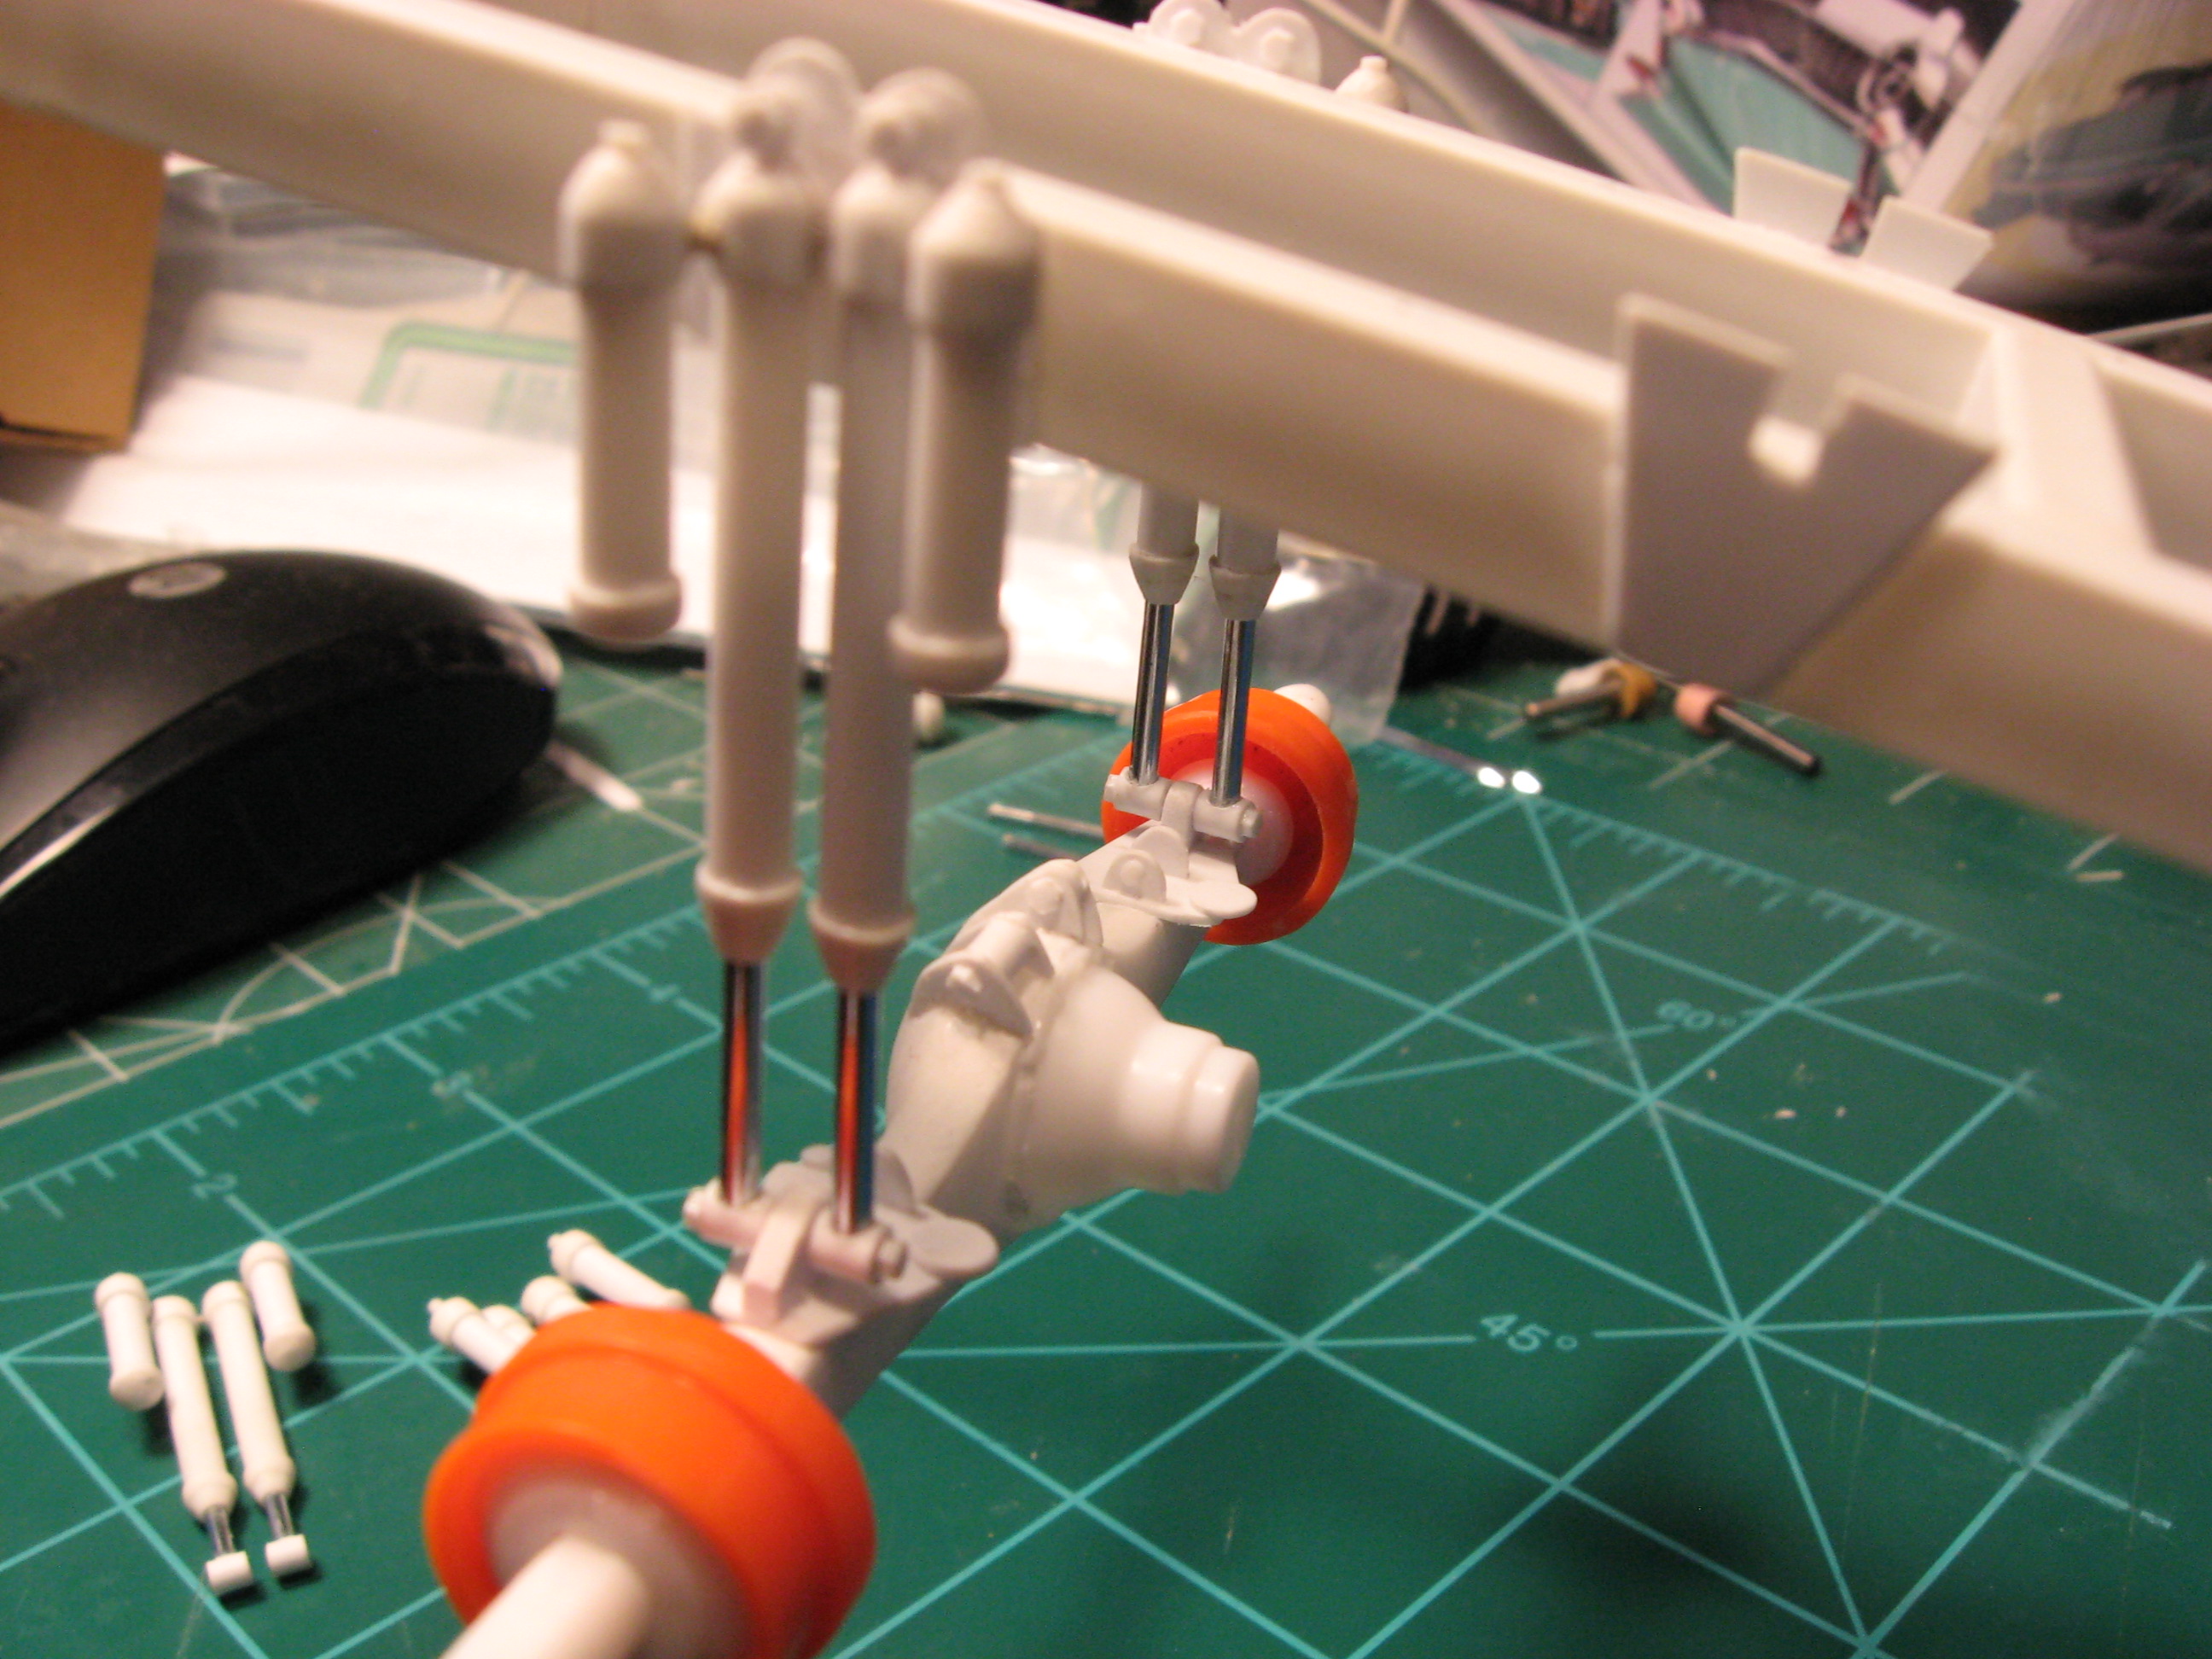
Hi guys thanks for following. I have been making progress but haven't had the serious bench time. Have I mentioned how tough it is to scale from pictures. Well after building 2 sets of shocks they just looked short so I had to redo them and make them a 1/4 inch longer. The shock body ends up 1 and 1/8" while the reservoir canister is 5/8". The rams are yet to be glued into the shock or to the axle. This is just a mock up and the axle is still in progress but this is where I'm at. Thanks for looking . Steve
-
I like the work shown and would also like more. The old cabovers to me are just so art deco cool.
-
 Once again- early 40's dodge pickup. Although I am liking Rob's idea of Studebakers.
 -
I don't know why but I love these wacky show rods and everyone's own vision. Well done.
-
I am hating these new replacement/improperly installed headlights that are dangerously bright to other drivers. It must be part of the me mentality, or just the idiots that seem to be so pervasive these days. Oh how I wish for simpler times with manners, courtesy, and common sense. Is that to much to ask for? Sadly I'm thinking yes. Rant over, I do feel better.
-
Bench time has been lean but i'm making a little progress. A quick update. I think the axle will work and have started detailing it as well as making more shock parts. I will post more pics when they are done. Thanks for your continued support. Steve
-
Why do we like the makes we do ?
Ridge Rider replied to cobraman's topic in General Automotive Talk (Trucks and Cars)
I couldn't have said it any better. -
Nice job-love it.
-
I like it! Well done.
-
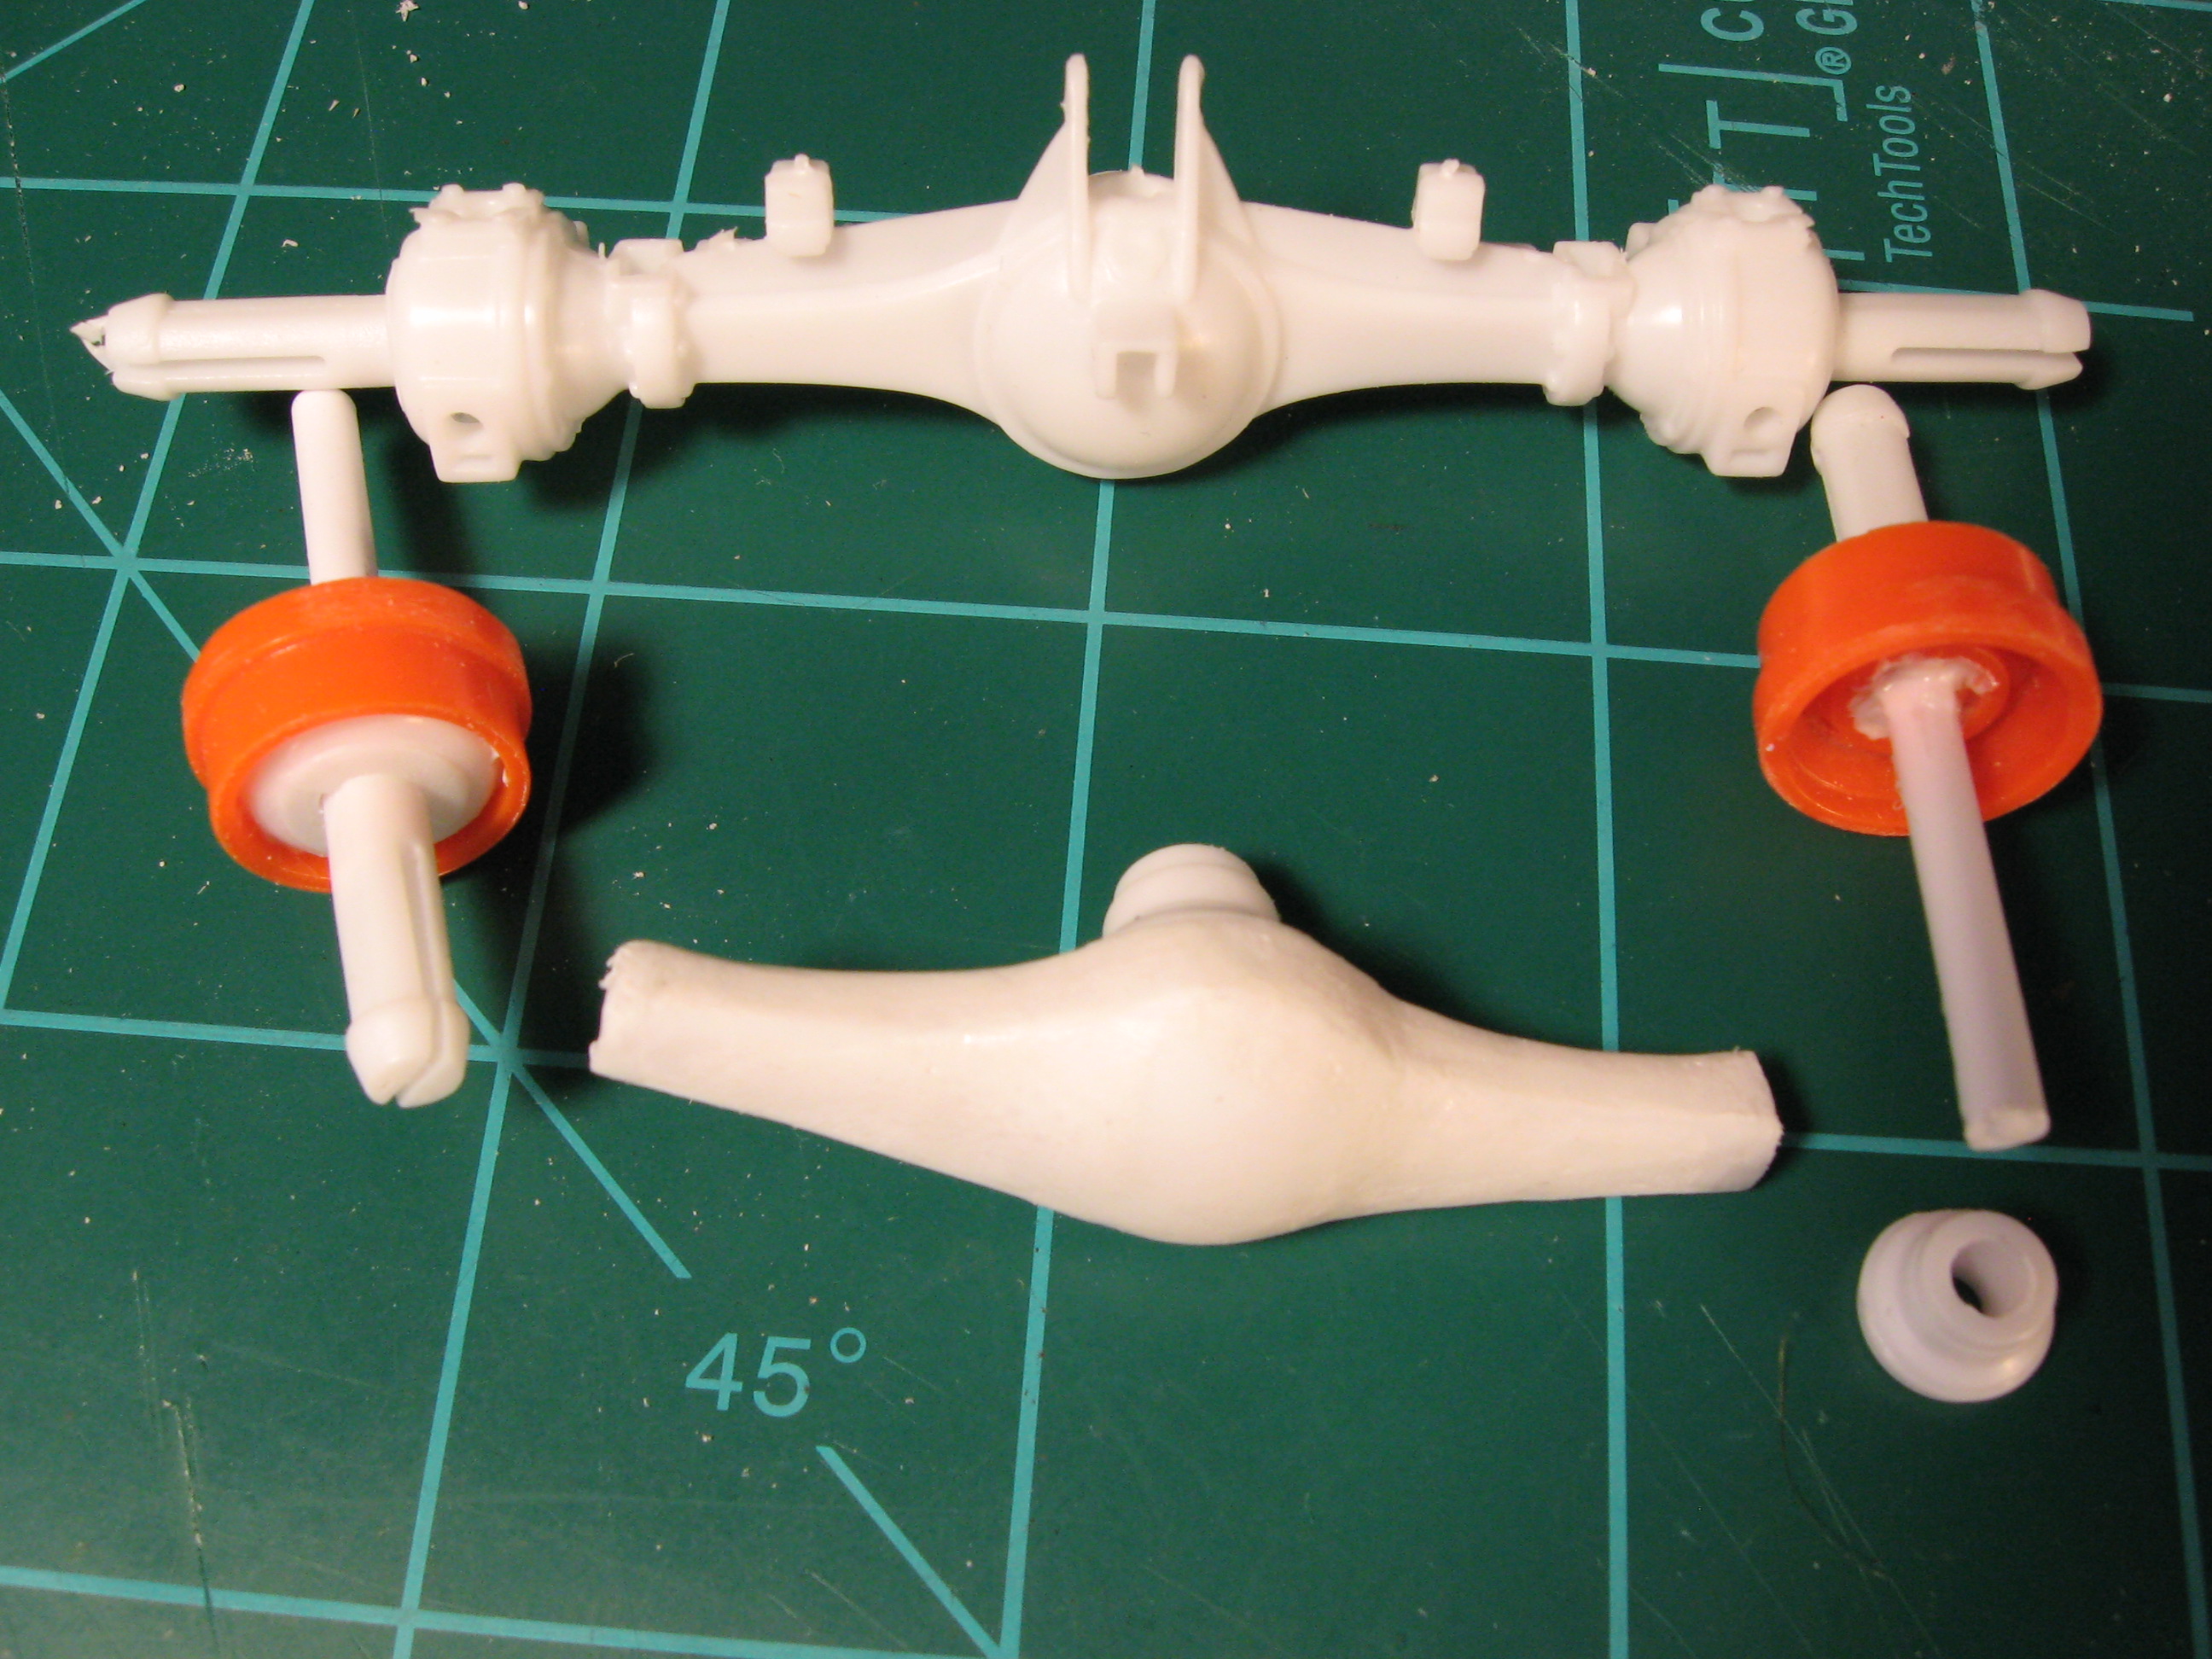
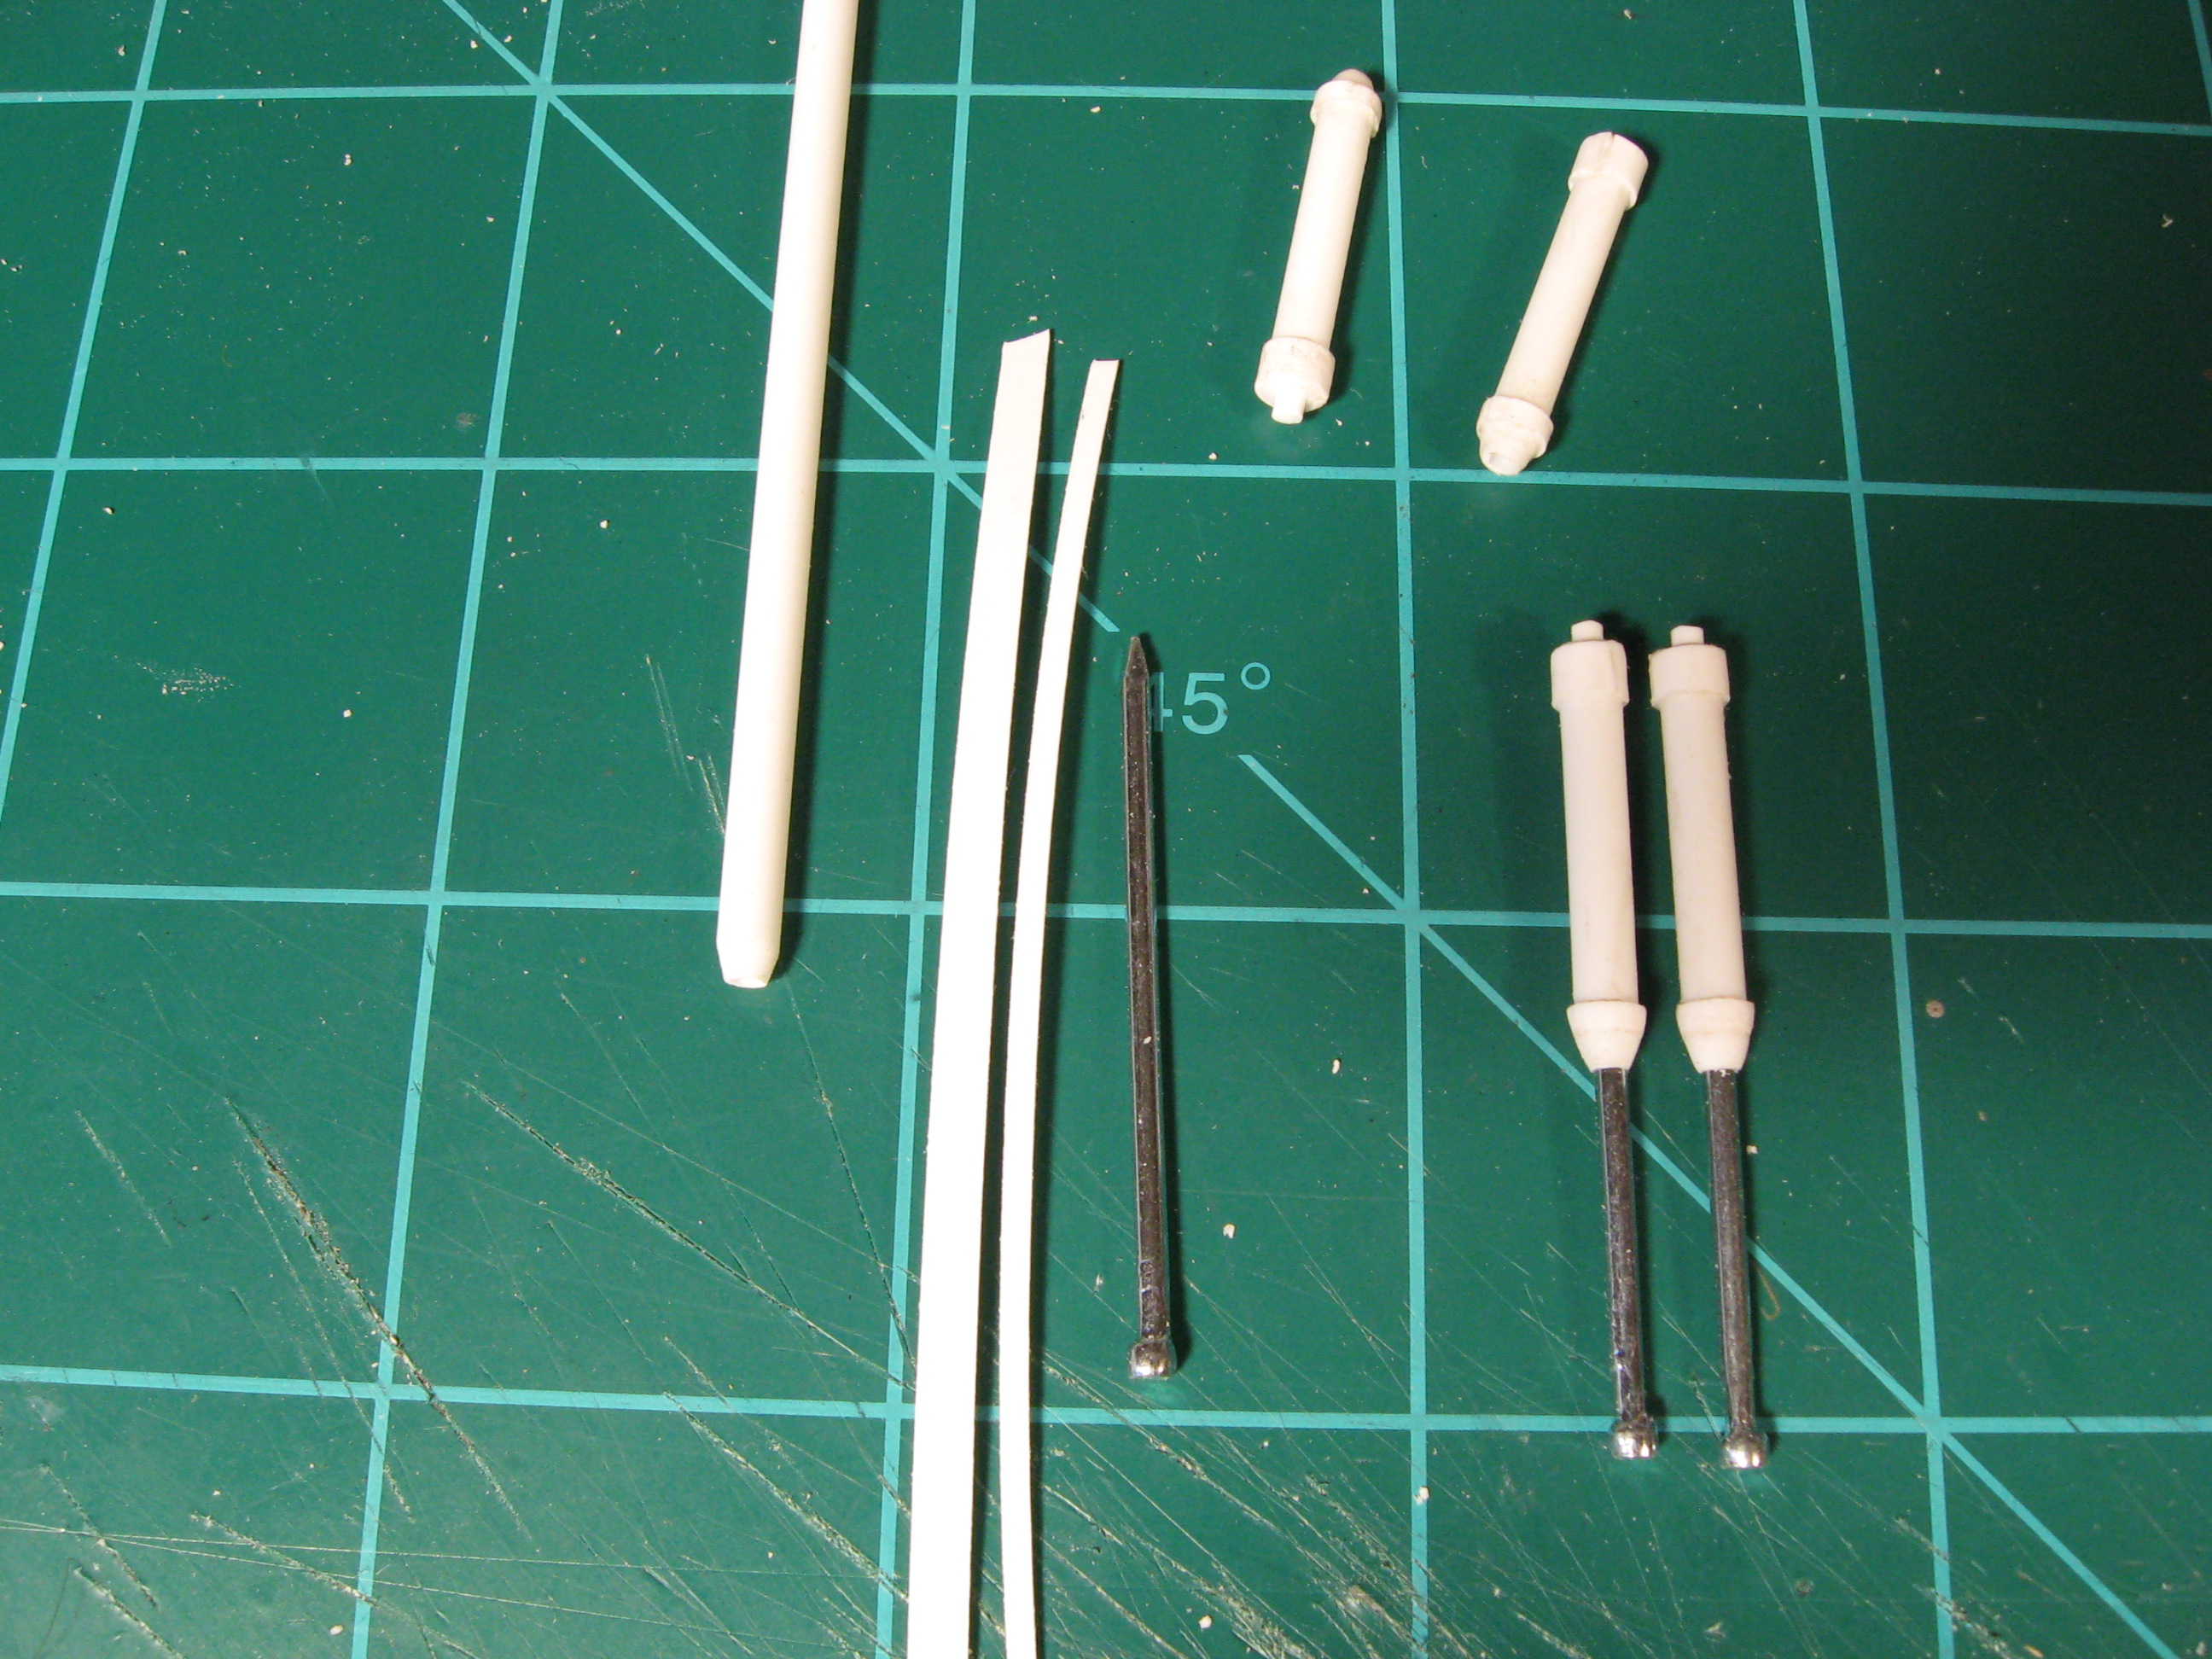
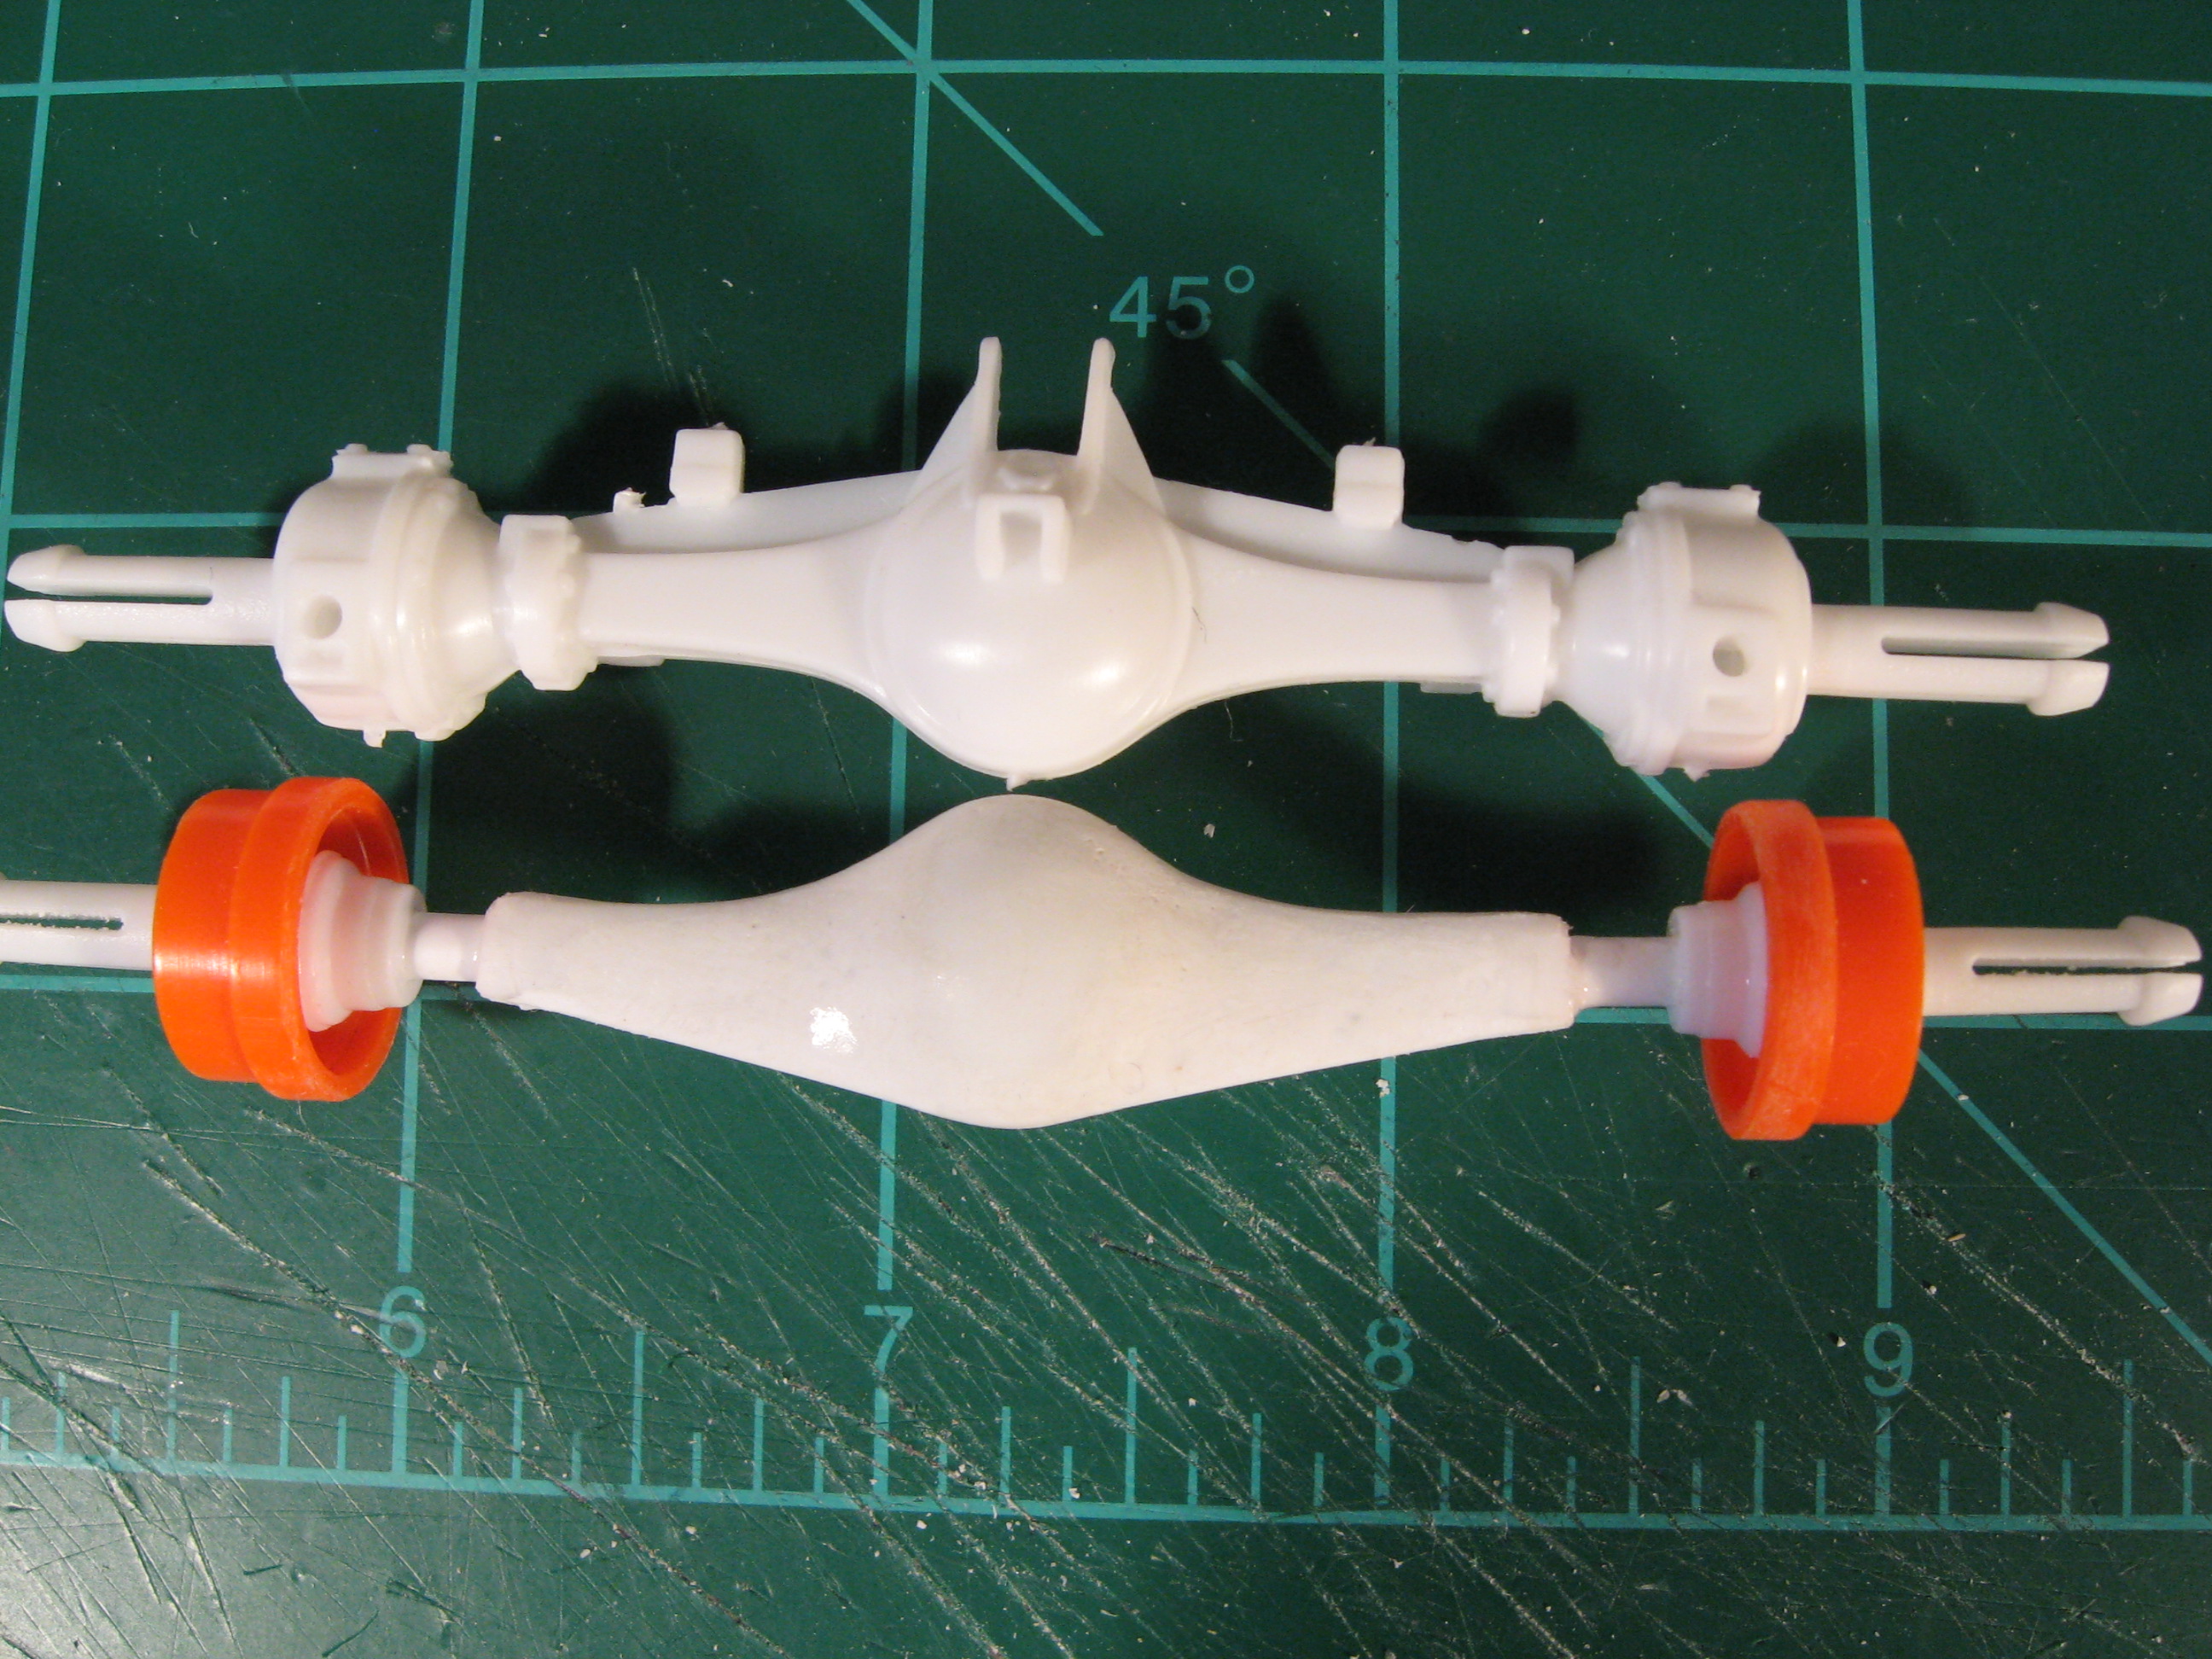
Thanks for the support guys. I didn't have much bench time this weekend and ran into a problem. The shocks mounts didn't have the room I needed on the rear axle. It needed widening and with the way I butchered and fabricated the first attempt I just kept the spindles and differential and am trying to add some strength again. The orange are parts box wheels, now brakes, drilled for 1/8" rod. The diff was drilled a little and rod cut to length and superglued. Now to fill it back in and shape it and hope everything works. I have shocks from many monster trucks but with the modifications to make them work I thought it might be easier to try to fab some. I'm using 1/8 tube, .010 strip and a nail for the ram. It's a bit of a pain but it is very close to the look I'm going for. Thanks for looking. Steve
-
Early 40s Dodge pickup. I have 4 builds I want to do as of now-maybe someday.
-
Interesting Read About A Modeler
Ridge Rider replied to oldcarfan's topic in General Automotive Talk (Trucks and Cars)
I do enjoy stories like this, thanks for sharing. -
Thanks for the positive response guys. I am surprising myself with how well this is turning out. I had a parts tree from a semi with some brake parts on it. They were very close to what I needed but all the parts needed modified to get this look. The wheels, canisters, and steering rods are all dry fit for the pic-if something looks funny. But I think it looks awesome. I will be moving on to the rear axle and hope it turns out as nice. Thanks for looking. Steve
-
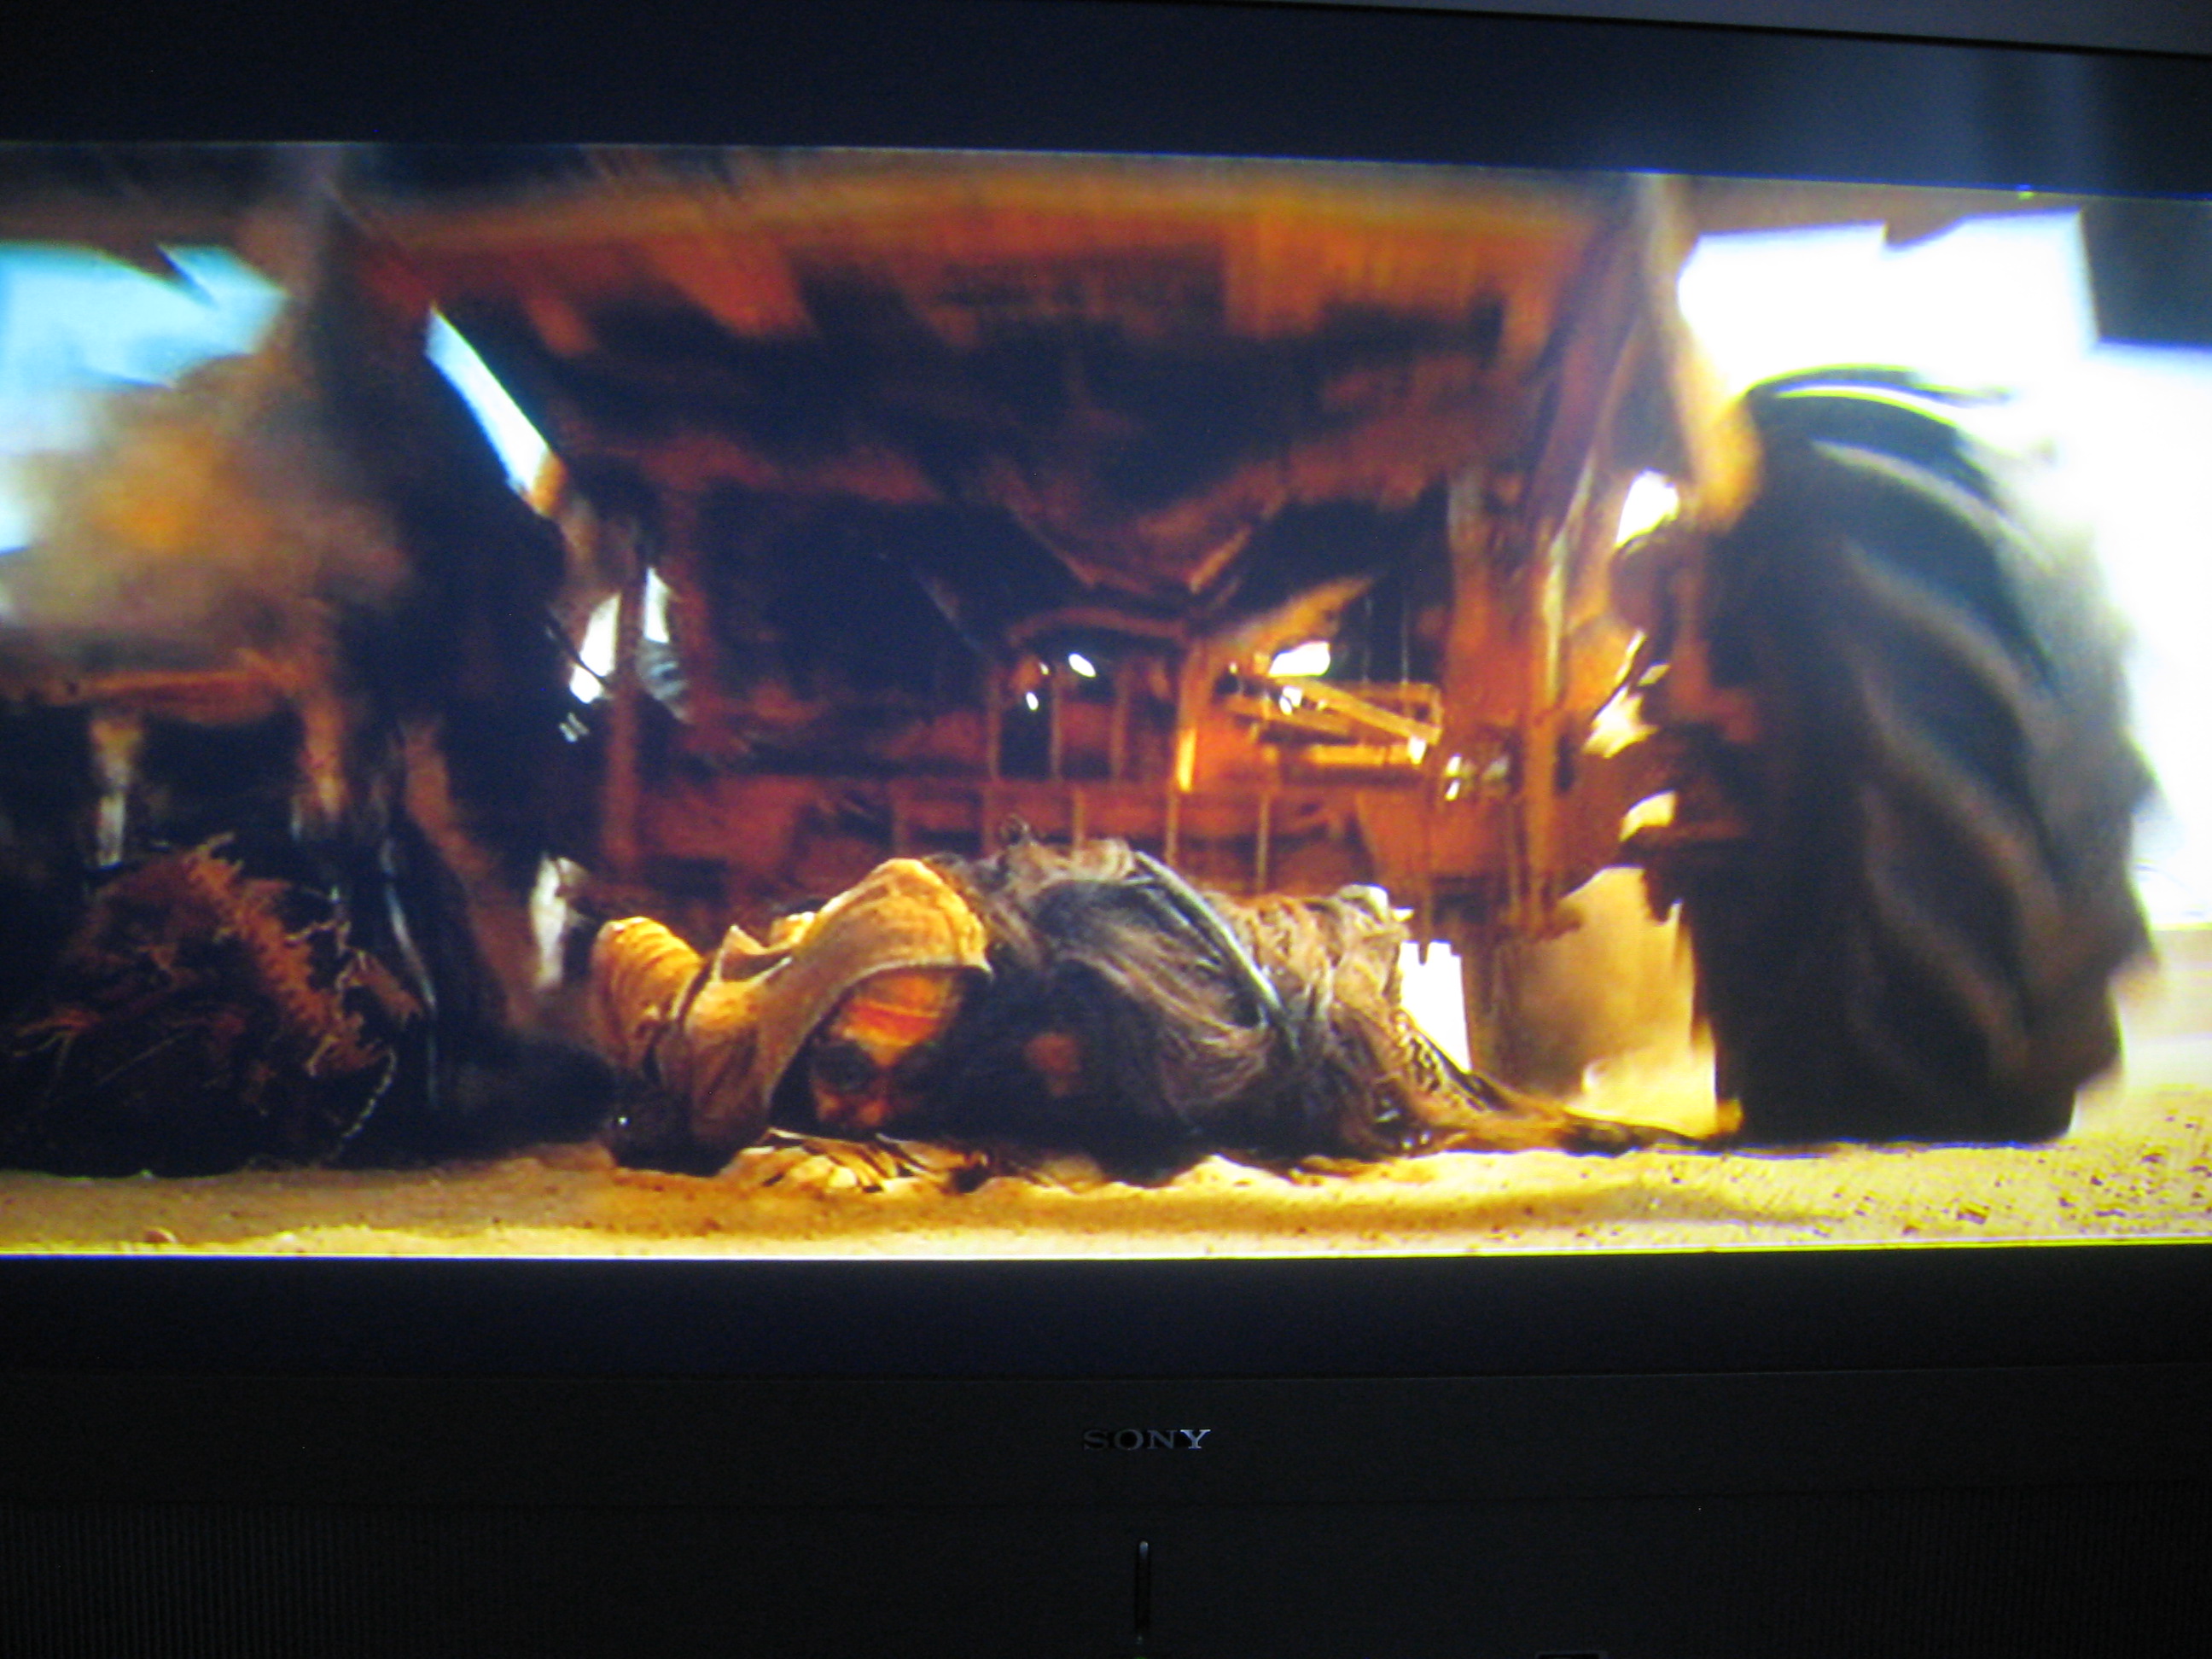
Thanks guys. I worked most of the weekend on the front axle while waiting for the rear one to cure. That is the one downfall of using styrene as my putty/filler. I still need shock and stabilizer mounts as well as brakes and canisters and also tie the steering knuckle to the rams, but I just had to share. I am very pleased with the outcome. It took me about 18 hrs and 57 fabricated pieces to produce this but I think it was worth it. This is the best pic of what I was try to build. My result Thanks again for looking and for your support. Steve
-
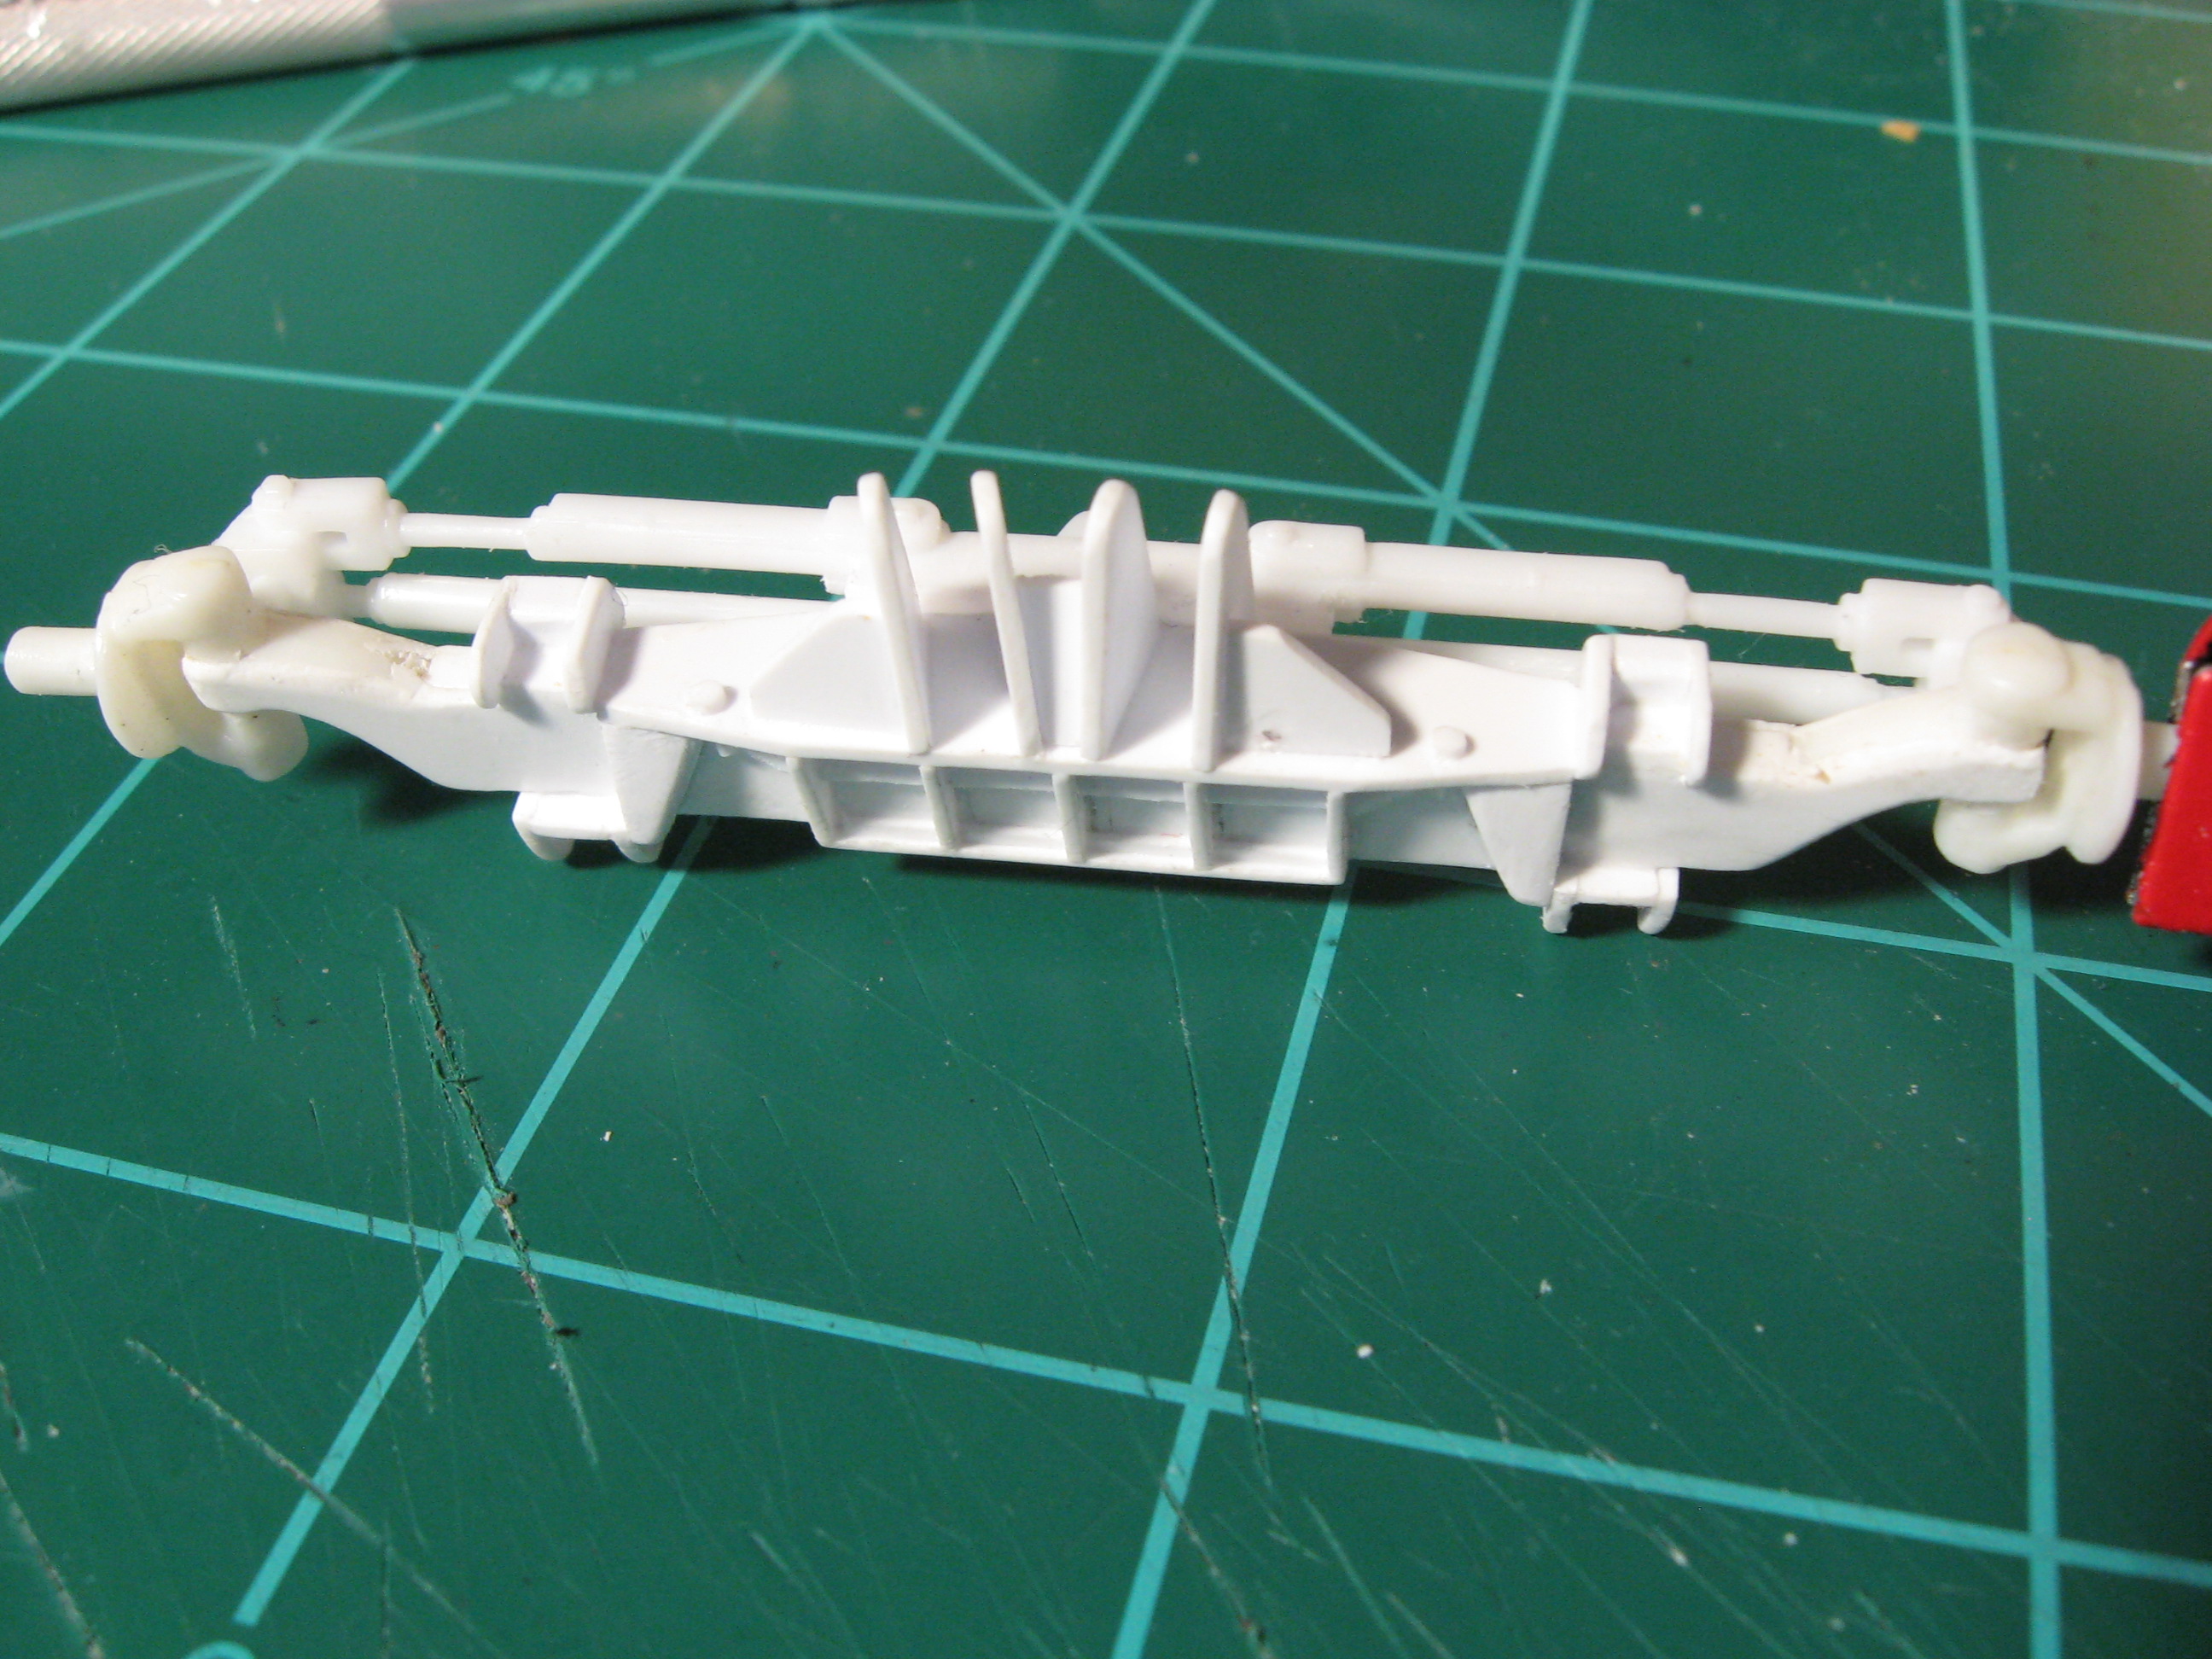
Thanks for the support guys, it does help to stay focused on this project. So I moved on to the undercarriage. I cannot believe how much time it has taken me to get an idea on what is going on under there. It definitely is not as well lit and documented as the other parts I have built. I don't know what this would be called but it will house the tranny and connect the radius arms. There will be some bracing done after the tranny and drive line are located. In progress axles. The rear is from the Lindberg monster truck and the front is a parts box semi axle. The shapes are close, now to add detail. I sourced these very cool turbos and found a parts box Allison tranny. I believe it is from a Kenworth Aerodyne. Thanks for looking. Steve
-
I really like the design and your execution of it. Thanks for sharing.
-
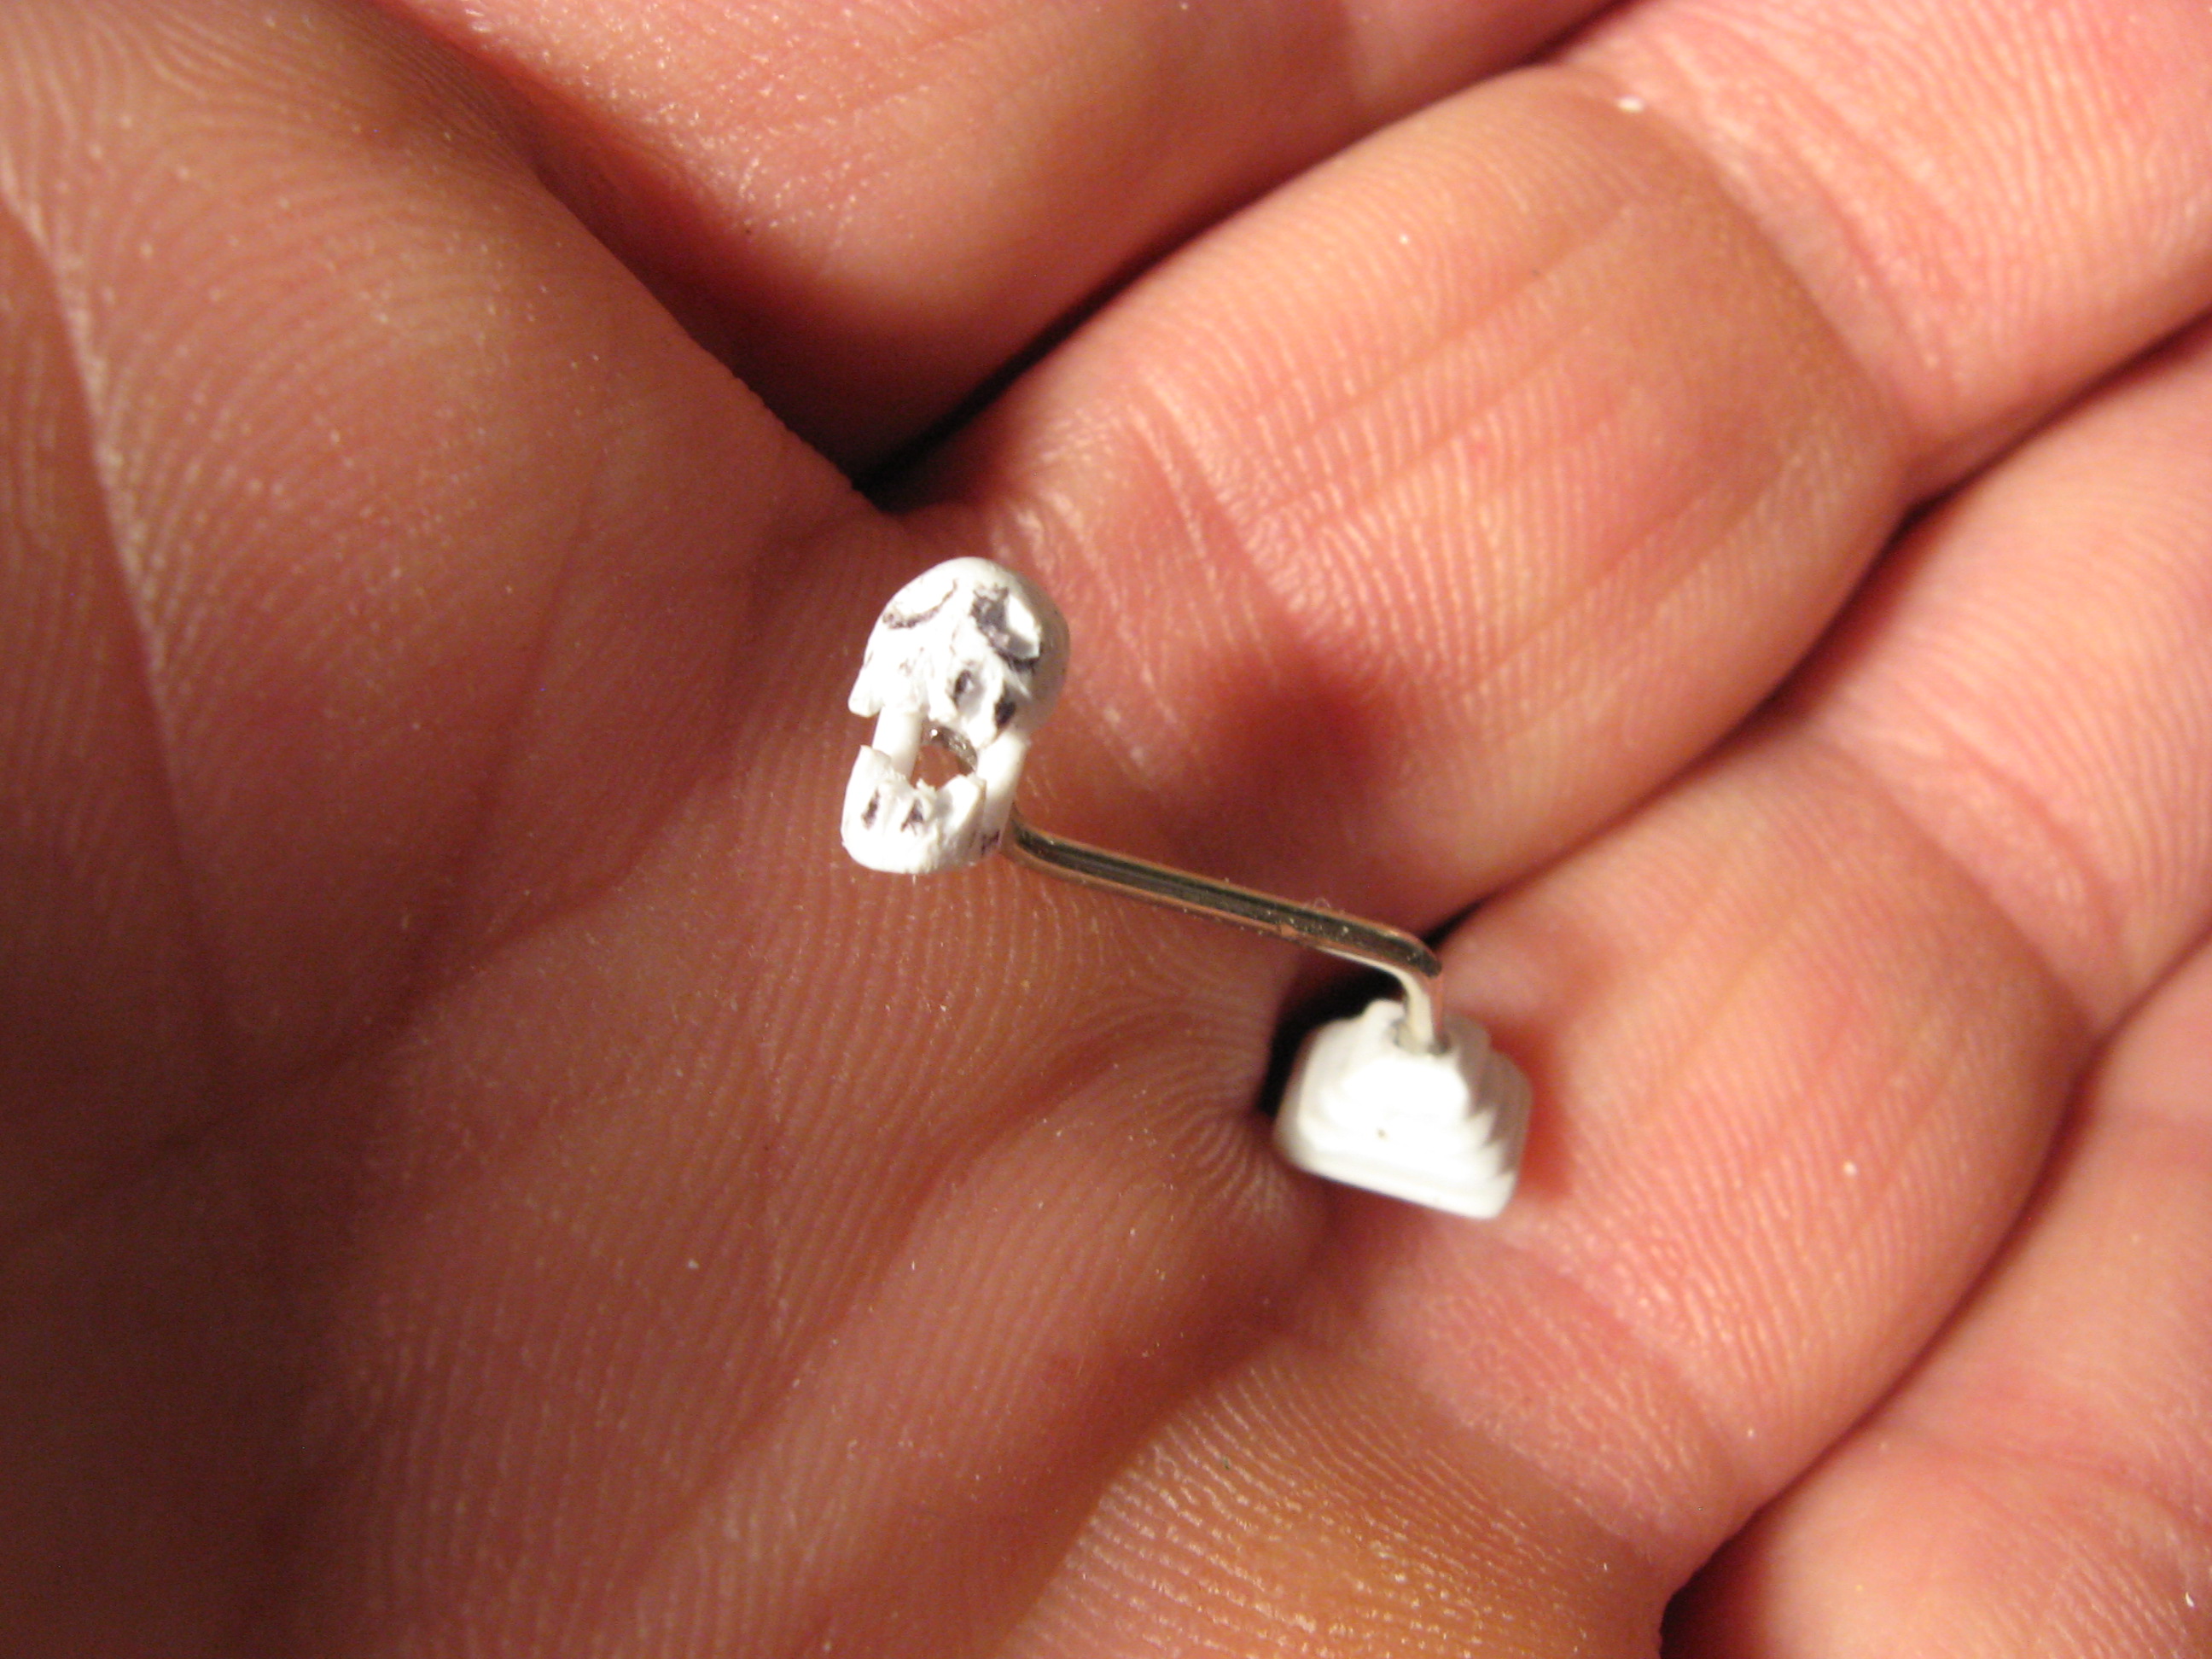
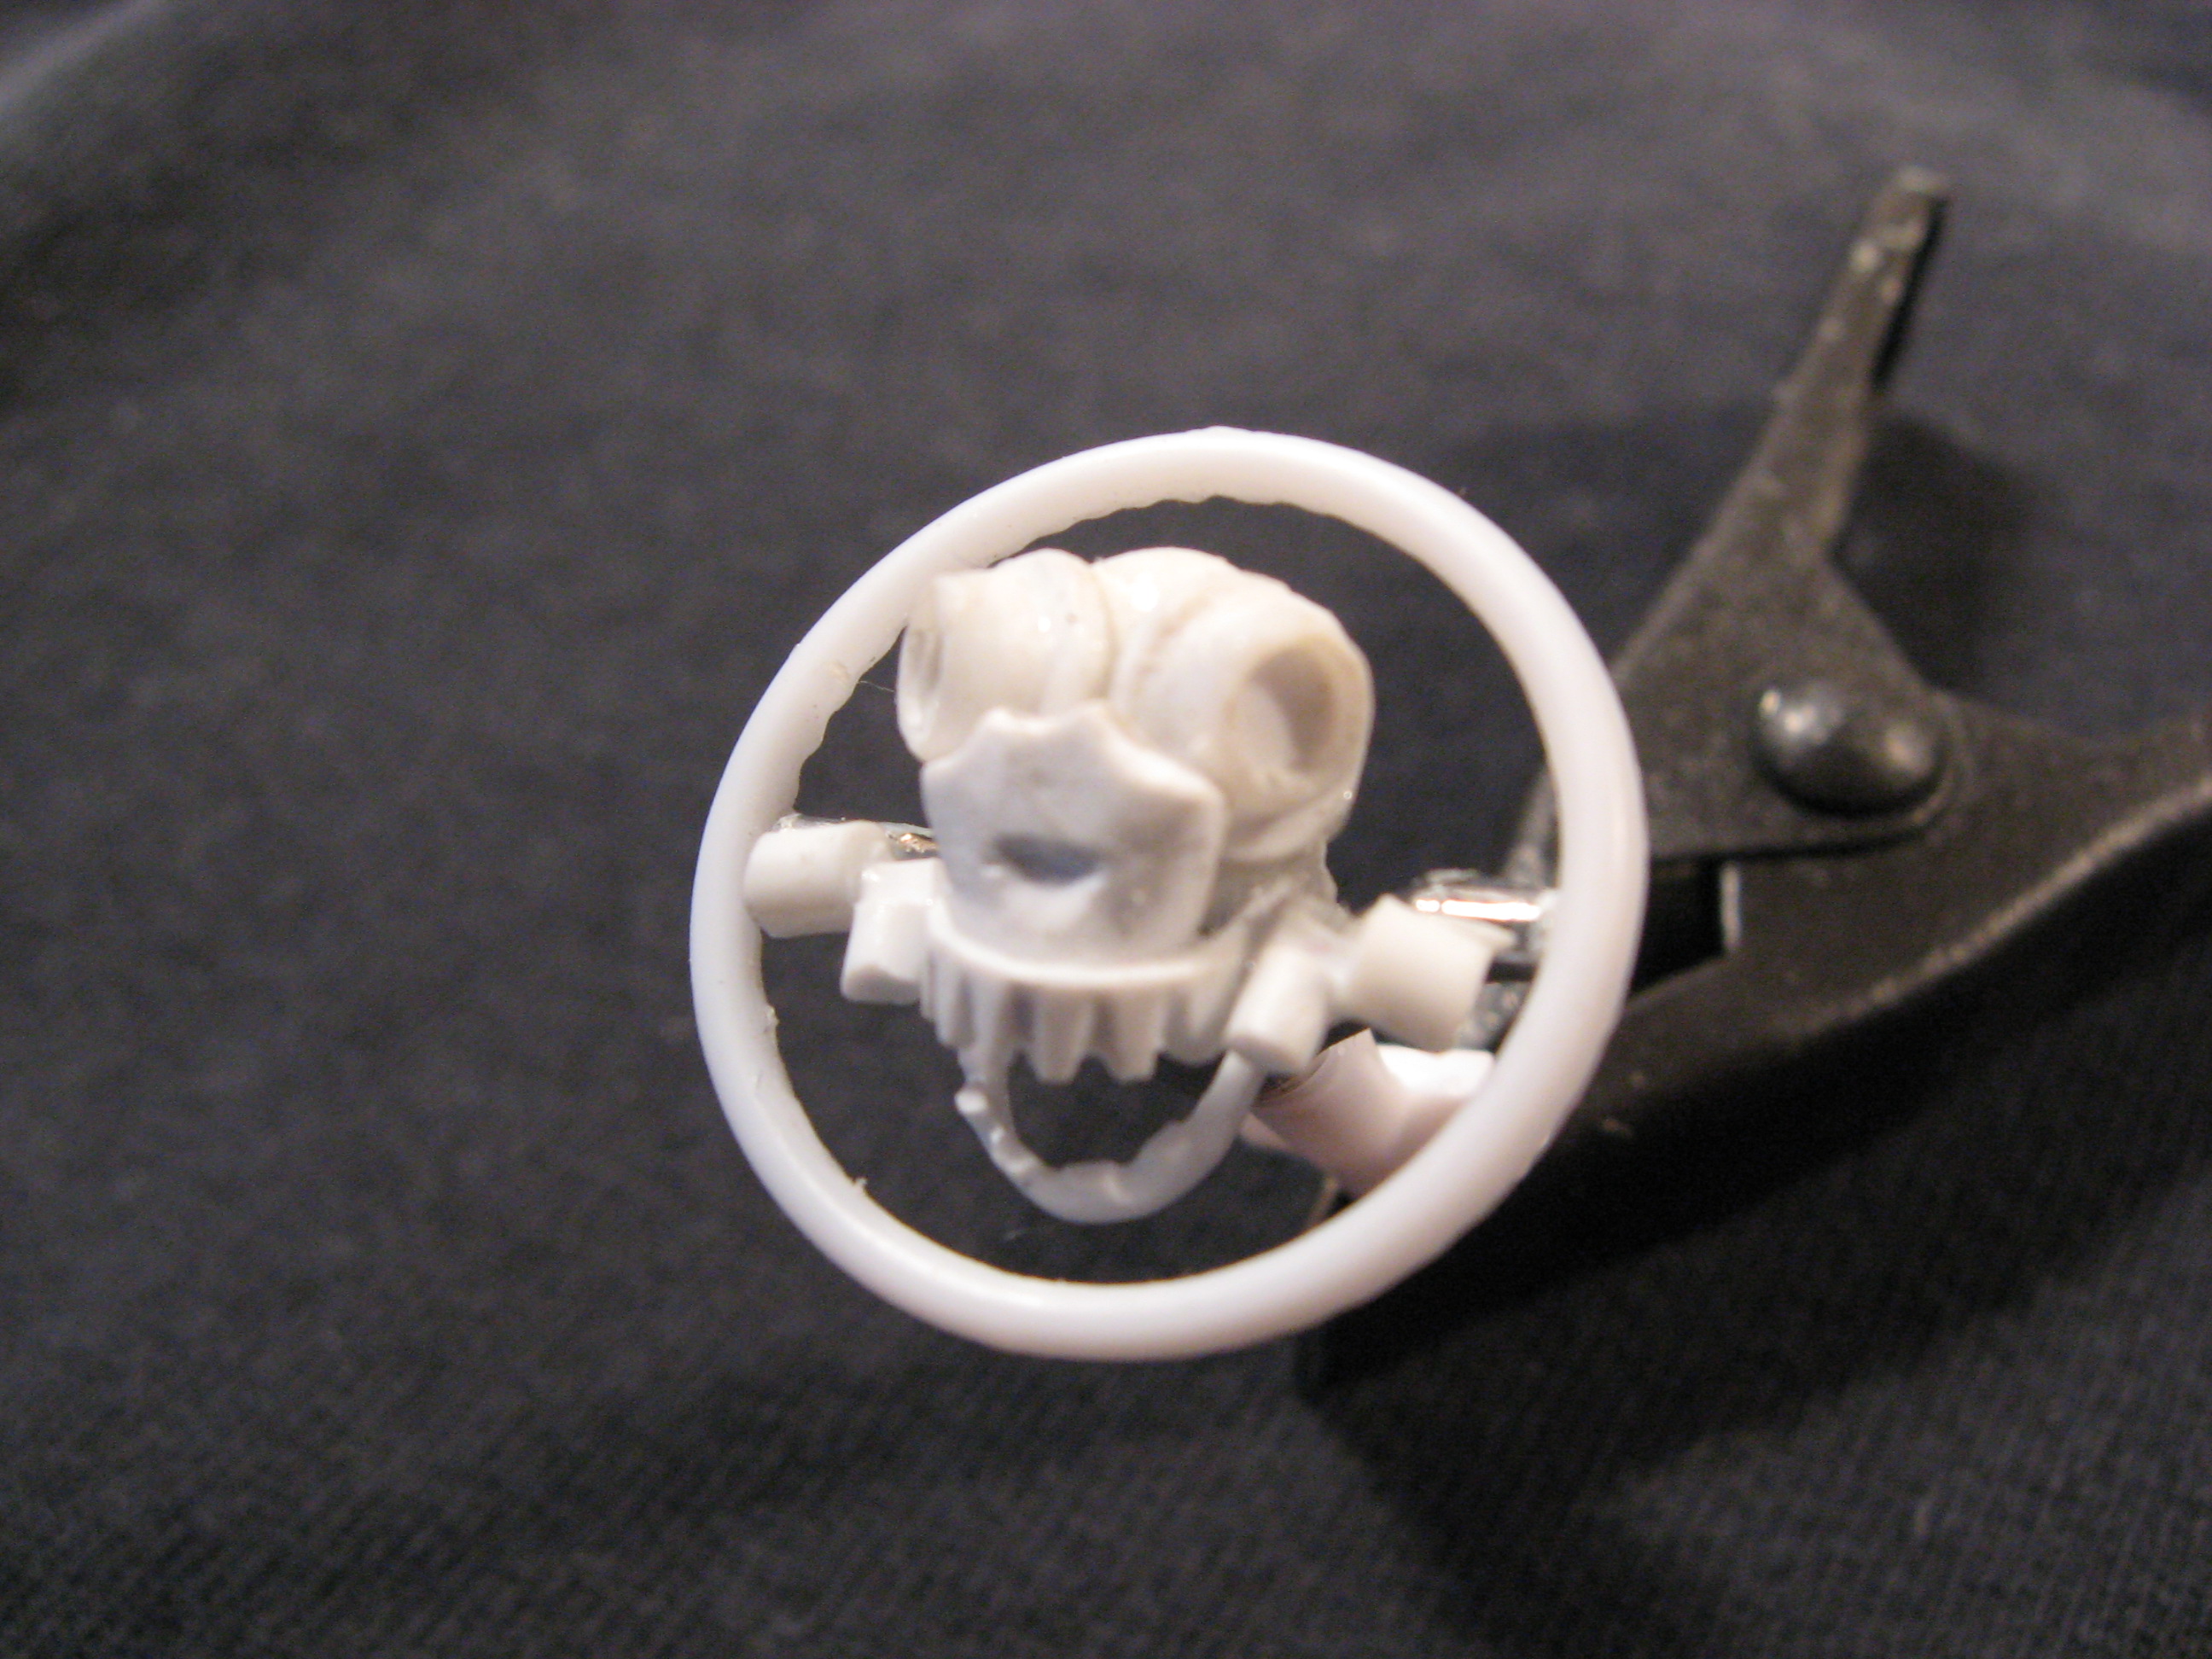
I have much more respect for the artists that carve grains of rice and pencil lead. I just had to try the skull shifter and considering the size and my patience it will do. I also did the dash compass and a dry fit on the interior. I think the seats may be a bit to wide but I'm not doing them a third time, I hope. Happy Holidays and thanks for looking.
-
What kit can this motor be found in?
Ridge Rider replied to Ridge Rider's topic in Model Building Questions and Answers
Thanks for all the help guys. I tracked down a 79 Camaro like pictured and it matches the blower/intake so I will go with this engine. The block does looks to be a 1/24 Monogram Mopar with this blower stuck on top. Thanks again. -
I messed up or lost enough pieces to build this a dozen times. This was giving my camera focus problems but I managed a few passable pics. I will try to add the "plumbing" on final assembly. The proportions are a little different and mine seems a little fuller but I think it represents the look pretty well and can live with it. Thanks for the support everyone. Steve
-
Thanks for following. Movie magic- in some scenes the passenger seat is solid and others it is split. I started with the first and ended with the latter. The drivers seat is still in progress but they came from a Revell 48 woody. I could not make the stock Cadillac seats work to my liking. While not perfect or an exact match I think I will be able to live with the results. I could not figure an easier way to do the roll bars so I built them into the roof and body assembly. That should be fun to paint/assemble. I am not big on super detail but steering wheels are a status symbol in this movie so my first in progress attempt. While not perfect it may have promise. I want to thank everyone for the help and suggestions and hope you stay along for the ride. Steve
-
What kit can this motor be found in?
Ridge Rider replied to Ridge Rider's topic in Model Building Questions and Answers
I think Bill is on to something being a mashup. I had thought it might have been this kit which is 1/24 and I believe to be a re-branded Monogram kit(blunc). It may have been the donor. The young man I did buy these parts from did like camaros. Thanks for the input guys. -
I am building the Gigahorse from Mad Max and have found a parts box engine I acquired but have no idea of the kit source. It has the look I need, dual carbs with a longer 3 holed intake. Also the oil pan is not separate, it is molded to the block (which I dislike). Any help finding this or one like it would be appreciated. Thanks , Steve
-
'65 Plymouth Satellite...The One That Got Away
Ridge Rider replied to Greg Pugh's topic in WIP: Model Cars
Nice story and the 1:1 is sweet. A nice start, thanks for sharing. -
I love the color. I have looked at the Clearly Scale parts and they seem very nice. I would like to know your opinion on the fit and finish if you wouldn't mind. I look forward to more. Thanks, Steve