Funkychiken
-
Posts
2,662 -
Joined
-
Last visited
Content Type
Profiles
Forums
Events
Gallery
Everything posted by Funkychiken
-
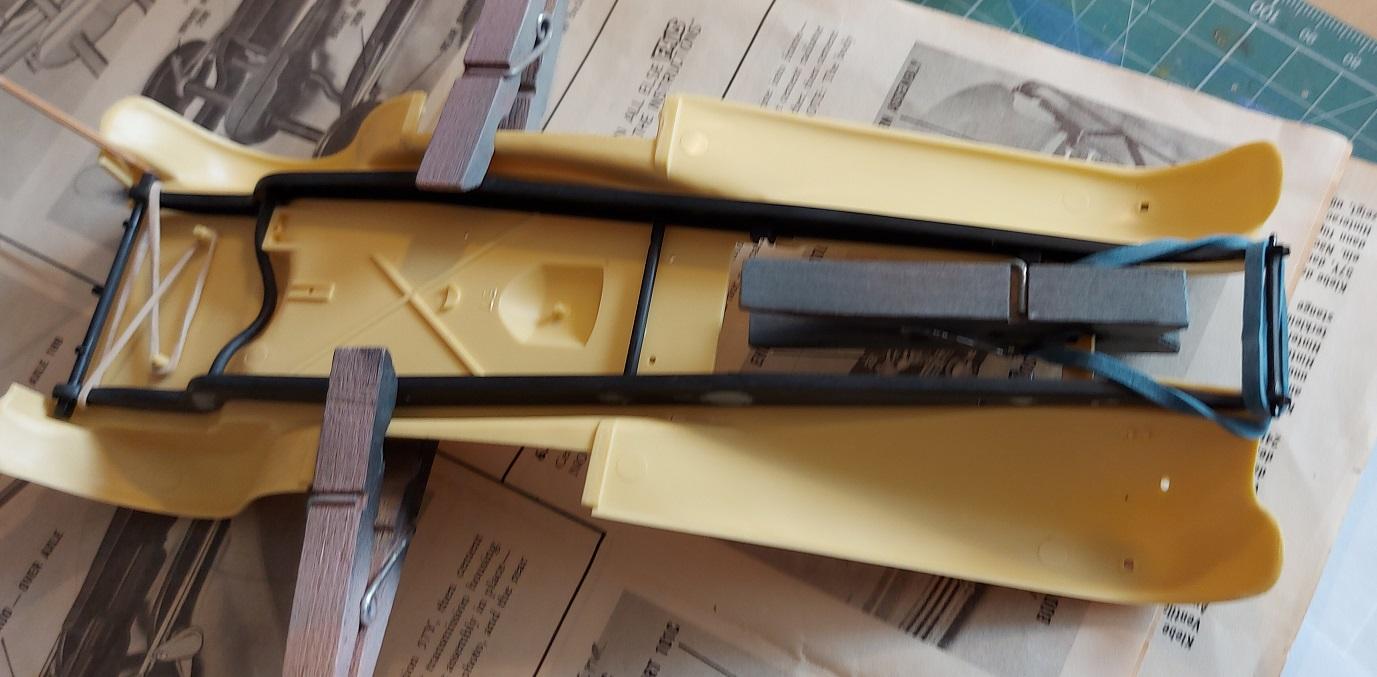
i've only spreayed the chassis (its a flat undercariage - but I painted it because the front lip and side edges show. (not pictured) and also completed the wheels Alclad II Aluminium with a coating of Zero Clear 1K. they look better now than they did in black...

-
Literally only cut the interior to get better front seats in. Not worth doing TBH, but the moulded in seats are tosh.
-
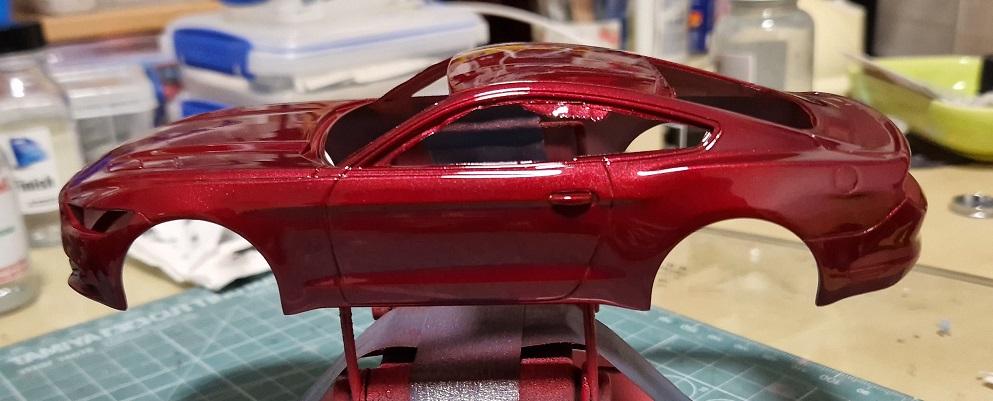
I was on a roll a few weeks ago I clear coated my Mustang with Zero 2K, it came out fairly good. With that one I used 50% Mr Levelling thinner for the thinner part. For this one, I thought I'd try and use 100% thinner for the thinner part of the mix. It turned out great. the smoothest finish I've had so far. Biggest problem was dust - and this may have something to do with the retarder in the thinner. It's going to take a lot to sand out the bits of dust, so I'm going to focus next on the chassis and engine.
-
That's a stunner!
-
The carbon decals are looking great! Bad luck with the pair coming away with the templates... Still coming along nicely!
-
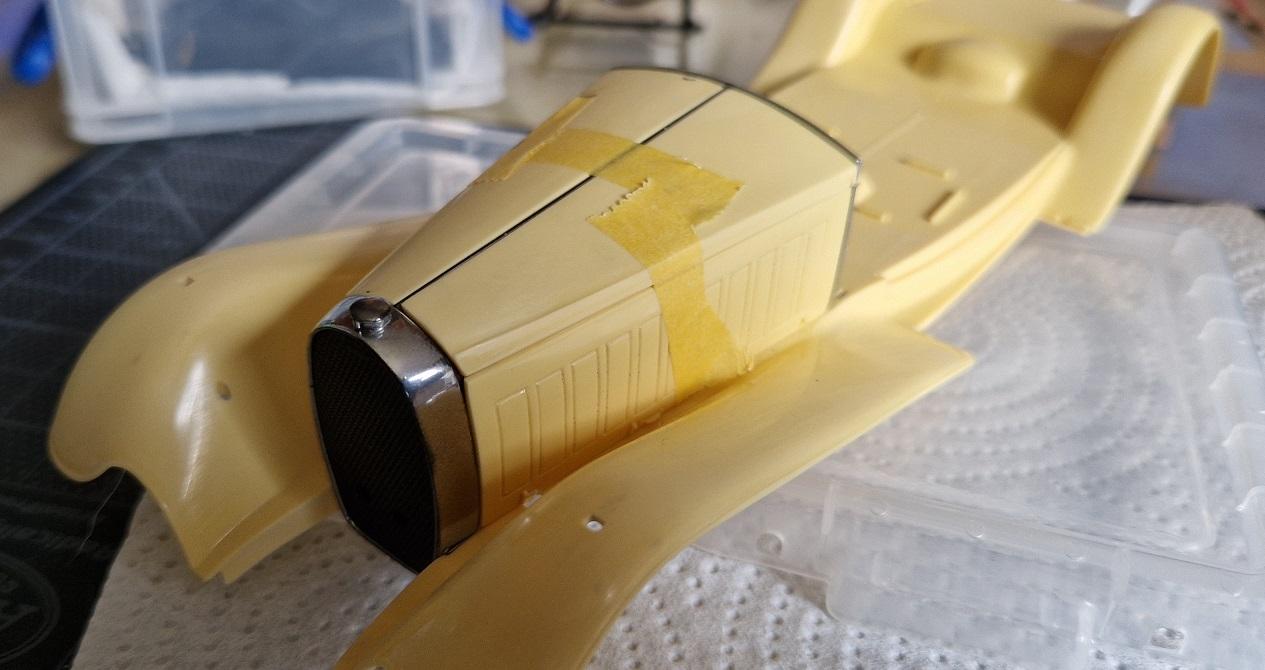
The coach had a split in the rear left hand corner, so I glued in the interior door card to hold it together, and then went through a few rounds of filler and sanding. then the body parts were primered in Zero grey & base-coated with Zero interior cream. I'm not looking for authenticity, it's just a paint I had lying around, and it looks good!
-
I used the body again as a jig to pre-assemble the 2 bits for each of the Left & Right sides of the engine cover. I had wanted to put a piano hinge on it, but that would have been too much hassle and beyond my skill set, so thats why I added the magnets. the fitmets points are not great, without doing this, it would be wonky
-
Wheels were stripped of chrome, I used Zero 1k clear over Zero black & the silver trim is actually Alclad II chome - just too many layers of it. I wanted a more silvery look as there is so much chome on the car it would all look the same...
-
Chassis was assembled using the body as a jig, its not got great attachment points for the cross members, so I did this pre-painting to ensure I stood half a chance of a strait and square chassis
-
I've stipped all the chrome from the kit, and there was a lot of it! lots of awkward sink marks like these to deal with
-
Great tip with the cables, and love the frankenstein type build... how many ferrari does it take to make a ferrari?!
-
Lol!
-
I've also added magnets to the engine cover, i've had too many hoods/bonnets fall off cracking the paint to not do it...
-
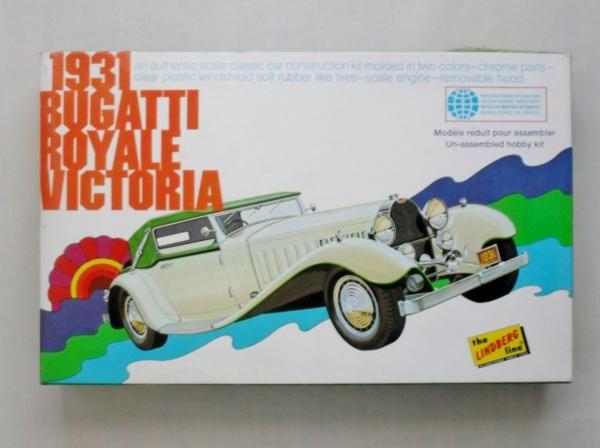
Its a big kit for 1:24, but probably about right considering how big the original is, here is the body shell pitched against a chassis for a 1:25 Ferrari 250 GTO
-
I bagged this off eBay a while ago, and whilst its a detailed kit, it has its flaws - especially with the sink marks & injector pin marks. I'm pretty sure I've seen this very car - if not one very similar in Henry Ford's Museum in Michigan. I remeber it being a beast. so its a nother build to hone the skills, looking forward to getting a good shine in 2K clear - even if that's either considered out of scale, or not appropriate for this age of car.
-
2001 Ford Expedition Lightning
Funkychiken replied to JTalmage's topic in Model Trucks: Pickups, Vans, SUVs, Light Commercial
It's a great mash up, ford should have done this in real life... -
1974 Ford F-250 4x4
Funkychiken replied to Mercuryman54's topic in Model Trucks: Pickups, Vans, SUVs, Light Commercial
That's a cool truck! -
Mazda RX-7s The Aussie way.
Funkychiken replied to ShawnS's topic in Other Racing: Road Racing, Salt Flat Racers
A Stunning set! -
Multimatic Motorsports Mustang GT4
Funkychiken replied to bogger44's topic in Other Racing: Road Racing, Salt Flat Racers
Is a stunning build! You've opted for more interesting decals than the kit came with for sure -
Matech Ford GT
Funkychiken replied to mgbdriver's topic in Other Racing: Road Racing, Salt Flat Racers
Looks fantastic, I also love the subject! -
Really sharp build, love it!
-
It's perfect! Love it
-
Monogram Corvette C4 Roadster (Geiger Widebody style)
Funkychiken replied to camaro69's topic in WIP: Model Cars
This is the first car kit I ever made, and 2nd kit ever too. I still have it! Love the car and those details are going to make this build super cool! -
I've primered with Zero grey, several coats and light sanding with Tamiya 1500 then 3 coats of Zero Pagini Red then 2 coats of Zero Smoke (transparent black) then 1 mist, and 1 wet coat of Zero 2K diamond clear. It's probably my best finish yet, but far from flawless... a bit of dust & pitting on the bonnet, will need to be sanded