Russell C
-
Posts
1,931 -
Joined
-
Last visited
Content Type
Profiles
Forums
Events
Gallery
Everything posted by Russell C
-
Welcome. I was raised in Tijeras, I remember when Edgewood was hardly nothing more than an empty gas station along with a few other disused buildings.
-
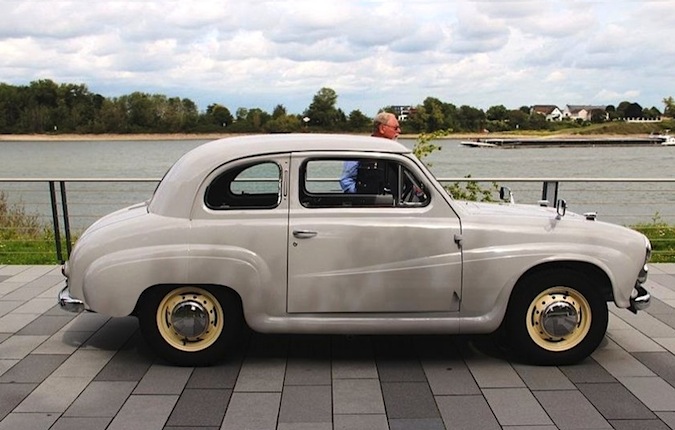
A custom from the Batmobile?
Russell C replied to JollySipper's topic in Model Building Questions and Answers
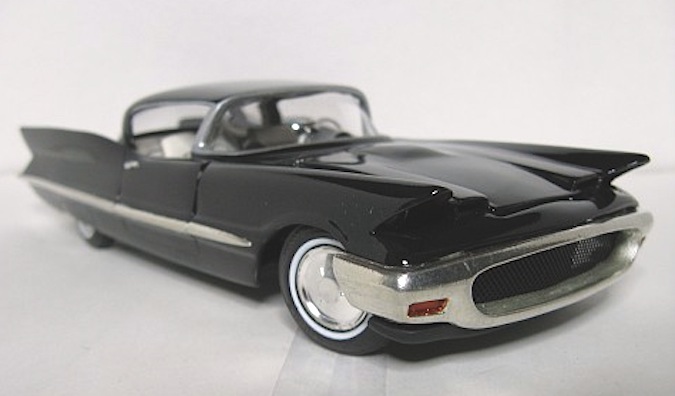
Our MCM forum member John Smiley's custom Futura.
-
Alternate-Reality 1935 Allison-powered LSR car
Russell C replied to Ace-Garageguy's topic in WIP: Model Cars
Had missed this one from years back. Most interesting! -
Crisp! Minus a couple of visual clues, the photos of the full car could pass for being photos of a 1:1 car.
-
Perhaps this one can serve as an inspiration: Town of Newburgh's Vince Lobosco won three awards at the 2015 GSL contest with his phantom '58 T-bird retractable hard top that used many - if I remember right - Danbury Mint parts on an AMT (?) T-bird kit. Click the "next" button here so see several more photos.
-
Anytime. Top heavy, yes, a bit, but the heaviest stuff such as the fridge, steel dinette frame & driver's side cabinets were at bedrail level or below. Still heavy overall, around an additional 800lbs to what was a half ton truck. Many of these rigs' owners put on rear air bags or overload springs to help out, some converted 'em to 3/4 ton.
-
They were '76 - '77s only. Brochure links: '76 Blazer Chalet / '76 GMC Jimmy Casa Grande / '77 Chev version / '77 GMC. For some odd reason, GM showed most of these without the front spare carrier, but to the best of my knowledge, all of these left the dealership with the spare on the front - there is no good place to store it inside the camper. Only one color combination (sort of) for the '76s, and 6 for the '77s.
-
To do the camper units for the Chalet / Casa Grande in proper factory stock fashion, you'd first have to figure out which of the 3 Blazer kits are scaled right in order to figure out what exact size you want to make the camper, and then you'd have to get measurements out the whazoo to get the whole thing right, which includes all the interior bits, and you'd have to also include a correct vintage '76-'77 Chevy / GMC grille. Then you'd have to do the stripe / logo decals, and that would involve clever measuring to make them go around the compound curves onto the back. Plus you'd need the rear bumper bracket extensions and the spare carrier for the front bumper. And then there's the decision of what to do about the pop-up roof - functional scissors lift? Static raised roof with stiff 'canvas' sides and a separate top-down roof panel? These would also need instructions on which paint to select for the assorted factory colors. I owned Chalet #1747 (had to sell it due to a lack of cash to keep it) and I'm the current caretaker of the old BlazerChalet website. Trust me on this, a camper unit to go with the MPC/Revell/Monogram kits would be a major kit effort. But I could probably steer you toward the nearest person I know of who owns one of these if you want to do the pile of measurements.
-
Can you fuse two cars together?
Russell C replied to Blackkat13's topic in General Automotive Talk (Trucks and Cars)
Sez Andy, the guy who confuses multi-cylinder engines into cars where sometimes 4 is enough. Gotta find pics of your 9/57 ... But I know you also had some other confusion with aero bits, a Porsche whaletail and a Valiant.
-
Mystery Model A (?) Kit parts
Russell C replied to Model Carnage's topic in Model Building Questions and Answers
Wow. I had bookmarked this page quite a while back of his various designs for inspiration. -
Can you fuse two cars together?
Russell C replied to Blackkat13's topic in General Automotive Talk (Trucks and Cars)
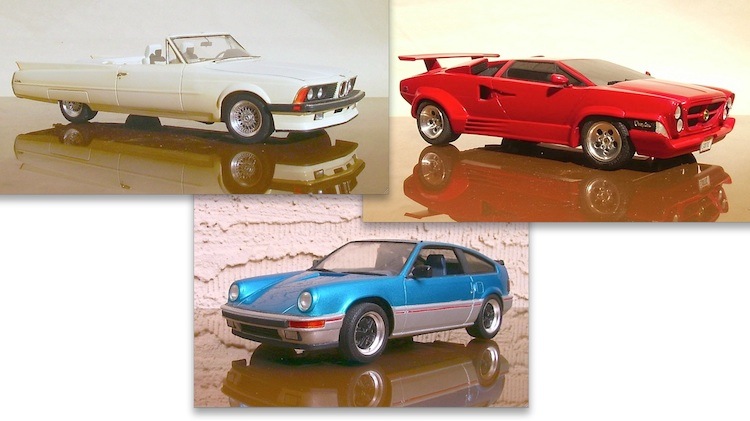
I resemble that remark! =) Thanks - Under Glass threads for BMW / Caddy here, the Lambo 300 here, and the Carrera CRX here. That's still a ton of fun for me, and I just love your trio combos. It is hard to commit design blasphemy while getting the proportions right. -
Can you fuse two cars together?
Russell C replied to Blackkat13's topic in General Automotive Talk (Trucks and Cars)
Yes! Will be adding to the confusion with at least 3 projects I'm tinkering with. Stay tuned. -
Can you fuse two cars together?
Russell C replied to Blackkat13's topic in General Automotive Talk (Trucks and Cars)
Some might say I was a bit confused back in the '90s.
-
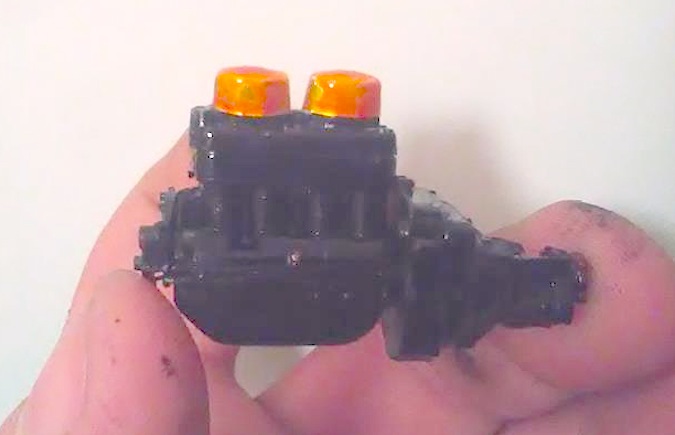
Inspiring work by Juha Airio
Russell C replied to Ace-Garageguy's topic in General Automotive Talk (Trucks and Cars)
You can say that again. I saw his Delta 88 in person at the GSL contest years back. Man, what a nice engine. -
1950's Construction tires
Russell C replied to landman's topic in General Automotive Talk (Trucks and Cars)
https://www.ebay.com/itm/Resin-Cast-Fleetmaster-Uniroyal-Rear-End-Truck-Wheels-1-25-Scale/321589204660 -
https://calendar.ipmsusa3.org/event/modelzona-2017
-
Post your crazy IMSA cars...
Russell C replied to aurfalien's topic in General Automotive Talk (Trucks and Cars)
That's the kind of crazy I like. Meanwhile, if Group 5 is related close enough, this is another design I bookmarked. The guy at DeviantArt does quite a few, if you rummage through his gallery. -
Post your crazy IMSA cars...
Russell C replied to aurfalien's topic in General Automotive Talk (Trucks and Cars)
My favorite is still Scott Colmer's 51 Fleetline/956 GTP from his old thread. http://www.modelcarsmag.com/forums/topic/17453-one-very-old-build-51-fleetline956-gtp-blend/ -
You may know me by another name?
Russell C replied to retriever's topic in Welcome! Introduce Yourself
Wow. Never heard of the Automotion forum, utterly tragic on the deep-sixing of the photos. I tried various ways to see if the forum could be dug out of the Internet Archive, but no luck. I've learned elsewhere that stuff on the internet never exactly disappears, it just sometimes becomes exponentially harder to find in some cases. Perhaps guys with much more expertise might know of ways to dredge up the photos. Welcome to this forum, though! -
This one: http://www.modelcarsmag.com/forums/topic/126688-source-for-good-gauge-decals/
-
Autoquiz #342 - Finished
Russell C replied to carsntrucks4you's topic in Real or Model? / Auto ID Quiz
Ya learn something every day. Or at least I do anyway. In the effort to find a photo of Hill's car .... ... I should have guessed folks would go and race these things. https://www.youtube.com/watch?v=VMtrlPGtc5E -
I don't think Dirk Joseph is a member here, but someone knows where he's at, we could ask how he did the ghost flames on his chopper that was at this year's GSL contest. The photo at this link doesn't do it justice, they were really subtle flames on the upper surfaces that I didn't see at first.
-
Autoquiz #342 - Finished
Russell C replied to carsntrucks4you's topic in Real or Model? / Auto ID Quiz
Still don't know what it is. Suppose then it must be like chopping and sectioning an American Bantam, you'd end up with an oversize pedal car needing a major hole in the roof so you could sit in it. -
Autoquiz #342 - Finished
Russell C replied to carsntrucks4you's topic in Real or Model? / Auto ID Quiz
No idea. Open to chopping the top and sectioning the body, though.
-
19?? Whatisit?
Russell C replied to Cpt Tuttle's topic in WIP: Model Trucks: Pickups, Vans, SUVs, Light Commercial
Yep, I had mistook those as errantly placed air cleaners even after I tried to alter the contrast of the photos. I had also forgotten that I'd bookmarked this MCM thread by Travis Medford for future reference to use in my own '31 Ford project. And I just found this other MCM one by Tom King on the Riley heads.