John Goschke
-
Posts
1,920 -
Joined
-
Last visited
Content Type
Profiles
Forums
Events
Gallery
Everything posted by John Goschke
-
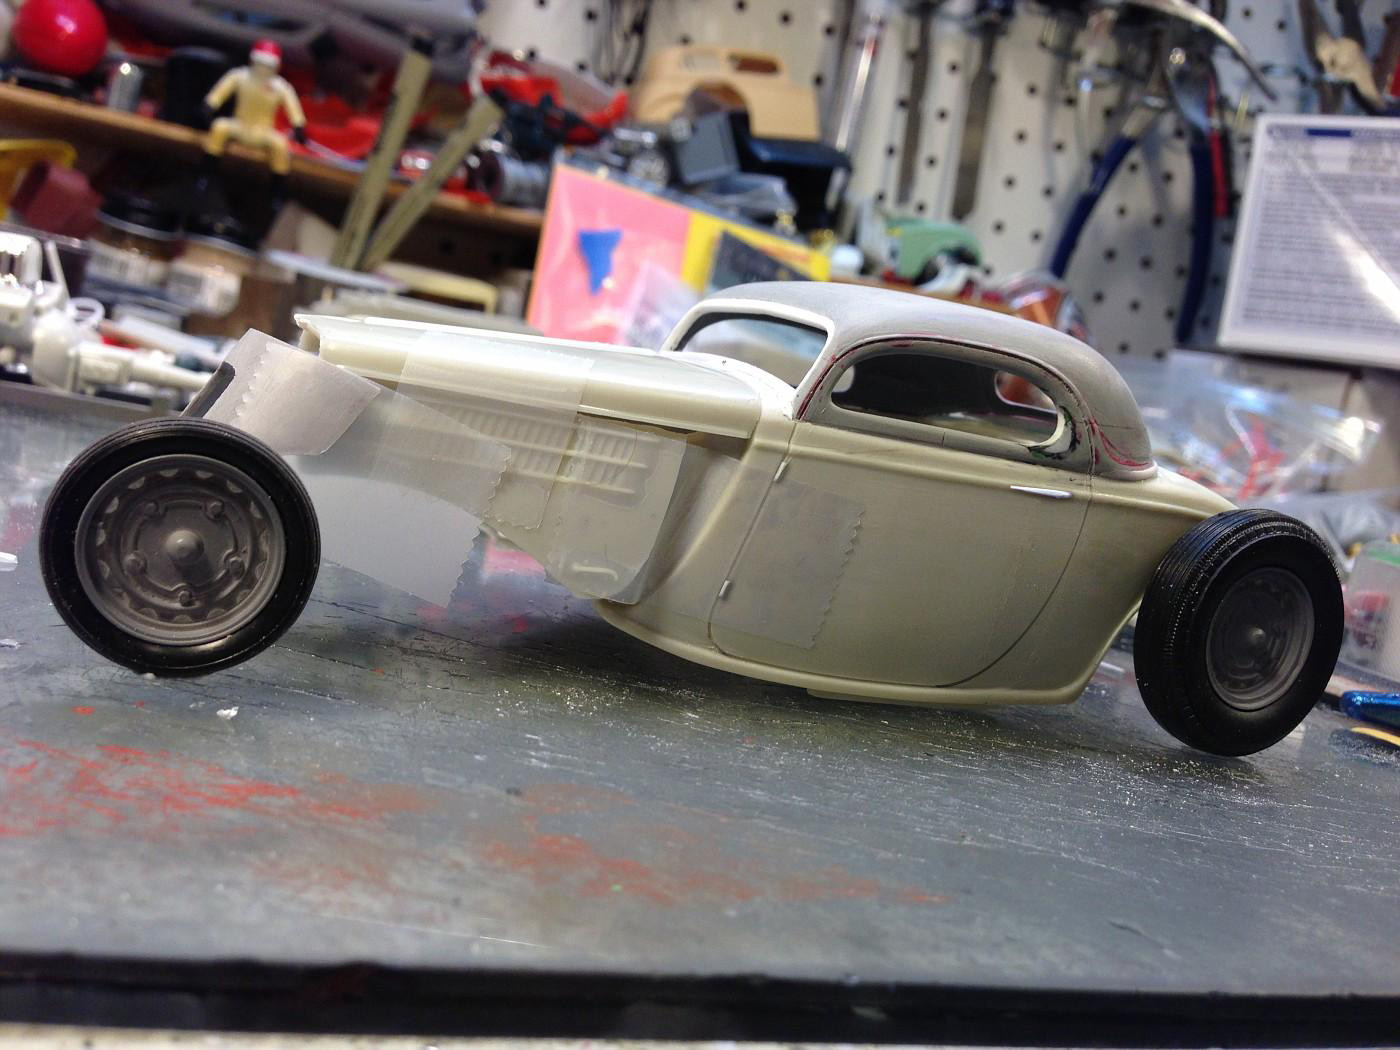
K&R Kustoms+Rods 33/36 Coupe -update Halloween
John Goschke replied to Rocking Rodney Rat's topic in WIP: Model Cars
I keep looking at this, thinking "swoopy front-hinged door..." Thankfully pixels are easier to fill and scribe than plastic!
-
'58 Fairlane 500 Semi-Custom! Finished at Last!
John Goschke replied to John Goschke's topic in WIP: Model Cars
Thanks, JC! I hope to get back to the Sunliner at some point. It's actually a bit farther along than you see it here, and I'm pretty sure I've figured out how to make the top look better. Thanks, Bo! Always happy to help folks learn something about building models – even it's by showing what NOT to do! -
Nice work bringing this one back from the dead.
-
K&R Kustoms+Rods 33/36 Coupe -update Halloween
John Goschke replied to Rocking Rodney Rat's topic in WIP: Model Cars
Oh, baby, nice body! Brilliant idea and execution! -
What a gem – just beautiful!
-
Good Old FoMoCo! Playin' fast and loose with the automotive terminology to everlasting confusion of succeeding generations of car enthusiasts everywhere! Beautiful build, Tulio, particularly that interior! This kit sure looks right from every angle.
-
'58 Fairlane 500 Semi-Custom! Finished at Last!
John Goschke replied to John Goschke's topic in WIP: Model Cars
Thanks, Bill! I've got a convertible project, too, parked on the back lot at the moment, stalled 'cause the fit of the Modelhaus up-top is a problem. Yeah, Chris, AMT's '65 Bonneville is THE poster child for kit asymmetry with that nutty driver's side window opening! "A"MT = "Asymettrical" Model Toys? ...and one of the reasons my wife will have to "finish" more than a few of my projects when I depart for the big hobby shop in the sky! Thanks, Ron! Thanks, Rusty! I loved my '58 Fords, but my '63 Buicks were better road cars! Thanks, Marty! -
I like it. That's the same color combo as the rusty-but-ran-good $150 four door sedan I had in the '70s – nothing more fun than a cheap '58 Ford!
-
'58 Fairlane 500 Semi-Custom! Finished at Last!
John Goschke replied to John Goschke's topic in WIP: Model Cars
There you go! Sounds great - love that kind of plastic surgery! I had two real '58 Fairlane 500s and my parents had a '58 Del Rio when I was kid. Both my Fairlanes had FE engines, a 4dsdn with 352 4v and Cruiseomatic, and a 2dht with 332 4v and Fordomatic and were kinda thirsty. Never owned a Y-block car. -
'58 Fairlane 500 Semi-Custom! Finished at Last!
John Goschke replied to John Goschke's topic in WIP: Model Cars
Thanks, David! I hope that even if someone doesn't care about '58 Fords (How could that be?!), they can apply the same techniques to their Chevelle or whatever. -
'58 Fairlane 500 Semi-Custom! Finished at Last!
John Goschke replied to John Goschke's topic in WIP: Model Cars
Yep, Chris, I discovered that, too! It's never safe to assume that one side of these old kits is going to match the other! -
Great looking model! The body on this kit looks just about perfect. What model year does it represent?
-
'58 Fairlane 500 Semi-Custom! Finished at Last!
John Goschke replied to John Goschke's topic in WIP: Model Cars
Thanks, Peter! With 20+ projects in various stages of completion, I'm trying to get away from the "work on something else" and, especially, the "start a new project" thing. -
'58 Fairlane 500 Semi-Custom! Finished at Last!
John Goschke replied to John Goschke's topic in WIP: Model Cars
Thanks, Chris! But just because I'm nuts doesn't mean you have to be! My usual regime is to use the kit glass though I'll probably wind up using clear packaging plastic ("PETE”) here. The windshield in these cars wasn't a compound curved piece, in other words there is no top-to-bottom curve, so all that's needed is a flat piece cut to shape and bent around to fit in the opening. I think the rear window may have had a slight top-bottom curve, but it doesn't appear so in the profile shot of the real '58 posted above, so again a flat piece cut and bent to shape is sufficient. No vacuform needed! Thanks, Terry! Thanks, Rusty! I feel like it's been worth it. Particularly the personal victory over the typical impulse to park it and work on something else. Thanks, Wayne! Having owned two of the real cars I really wanted, as much as possible, to capture the look of of the original. -
'58 Fairlane 500 Semi-Custom! Finished at Last!
John Goschke replied to John Goschke's topic in WIP: Model Cars
Thanks, Bill! Yep, you're right, rooflines and, I'd add, window shapes and proportions are critical to a good likeness in scale. All the iterations in 1/25 of this roofline have issues, including this '58, AMT's Trophy series '57 Fairlane 500, and the original annual '58 Edsel and the new-tool '58 Edsel. -
Looks great!
-
Wow! I've got four '58 Ford kits and I'm still jealous! How sick is that? Anyway, I'm also really glad for you, that looks like a good one. Looking forward to the post-stripping pics. Just a bit of vintage kit trivia... The '58 Fords are AMT kits, not SMP. SMP did the Chevies and Imperial in '58 AMT did the Edsel, Ford, Buick, and Pontiac.
-
'58 Fairlane 500 Semi-Custom! Finished at Last!
John Goschke replied to John Goschke's topic in WIP: Model Cars
Well, here's an update that should appeal to accuracy geeks like me who agonize over proportions and contours - the "rivet counters" who drive our fellow modelers crazy by pissing in the Cheerios when a new kit comes out that is a bit off. But here we're talking about one of the oldest kits in our hobby and one of my favorites, which actually has quite a few flaws, in addition to a multitude of mold lines. The clunky rendition of the window moldings, especially the windshield and rear window are the ones that really need fixing, to my eye anyway. The actual '57-'58 Ford Fairlane 500 and '58 Edsel Pacer share the same roof stamping, stainless window moldings and chrome vent window frames. The only difference being the stamped grooves in the '58 Ford's roof. One distinctive feature of this roof is the overhanging edge of the moldings over the windshield and rear window, which AMT completely missed. Another less obvious feature is the stainless side window channel for the quarter window and the corresponding hinged flap that flips up when the door is opened and closes over the top of the vent window frame (and door window when it's rolled up) when the door is shut. The flap and the channel show as another stainless molding below the drip rail when the car is viewed from the side. On my old 1980 build and on this one I fixed these errors, but my first round of repairs revealed another problem that almost made me park this project back on the "Shelf of Doom," and why the old build never looked quite right. More on that in a bit. The car below is an Edsel Pacer four-door hardtop, which didn't have the hinged flap. The windshield moldings and ventwindow frame are the same as the two-door though. The top of the front fenders on the kit are a bit high resulting in a hump at the cowl where it meets the lower windshield molding. In profile the top of the front fender has an exaggerated curve down to the front edge over the headlight. When viewed from the front it's easy to see that the outside edge of the fender-top groove is higher than the inside edge. These were repaired with some pretty aggressive file work and sanding to bring the fender down closer to the correct shape. Then the panel lines between the fender/cowl and fender/rocker panel were scribed in. Then I turned to resculpting the windshield and rear window moldings as I did in 1980. In the rear I carved off the extra upper molding that protrude from beneath the one above it and filed the top surface of the molding so it doesn't stick up so far from the roof and sharpened the edge of the molding. Then I scribed a line inside the edge of the molding to define the thin overhanging edge before carefully carving, shaving, filing and sanding underneath it to create the recessed portion of the molding. Essentially the same was used on the windshield molding. [img style="max-width:100%;" src=" I also reshaped the vent window opening to a more accurate shape that included only the frame itself, not the inner frame for the glass. Next I used Tamiya extra thin cement to glue a strip .03x.03" stryrene strip inside the side window opening like a weather strip, then a strip of .01x.04" strip was cemented to the outside of the "weatherstrip," overlapping onto the top of the vent window frame to represent the stainless flap and channel. Then I mocked up the car up and didn't feel quite right about the result. In profile, the front portion of the roof on the real car has a definite curve down toward to the windshield, a feature I was actually hoping to be able to ignore since the front edge of the kit roof is pretty thin where there is a locating groove for the windshield glass. Studying my reference photos further I finally realized that in a 3/4 angle front view the top edge of the windshield glass is nearly in line or slightly higher than the bottom edge of the drip rail, while on my model the top edge of the windshield was at least three scale inches higher than the of the drip rail! Cue the cursing, followed by about a week of pulling out parked projects deciding if maybe one of them could be moved forward more easily. Ultimately my desire to finish this build won out and I decided to do what was necessary to improve the roof and the proportions of the windshield and side window openings. Most importantly to "not let perfect be the enemy of better!" This included adding material to the inside of the front of the roof and the upper windshield opening, cutting out the vent window frame, and saving them for later replacement after the side window opening was enlarged to the top of the drip rail. The top of the windshield opening was then reshaped to bring it just a bit higher than the top of the new side window. Then the remaining side window molding was filed and sanded off and the front of the roof was filed and sanded to the curved profile. After which I scribed a line back from the front edge of the roof the distance of the width of the windshield post to represent the back edge of the roof molding, then the roof was shaped a bit lower behind this line. In reshaping the roof I had to lose the fine overhanging edge, so that was replaced with a strip of .03x.03" styrene and the grooves were rescribed on the front of the roof. I cemented the vent window frames back in after backing them with .01" sheet styrene, opening them up, and leaving a ledge for the vent glass to be added later. The large side window molding was replaced with .02x.08 strip filed and sanded to shape, then the drip rail was added using .03" square rod. The weatherstrip and channel were then added as before, with a scribed line to represent the break between the flap and quarter window channel. While the windshield opening, glass fit, and the passenger vent window frame opening still need some refinement, I'm really glad I did this work and didn't park it again on the "Shelf of Doom!" -
Looks great in that color!
-
Such beautiful workmanship and attention to detail.
-
Love it! Definitely looks period correct.
-
1967 Pontiac Bonneville. 2/20, COMPLETE!!
John Goschke replied to StevenGuthmiller's topic in WIP: Model Cars
Nice work so far, Steve! These cars have such a sleek shape! -
Great job!
-
Double Ditto!
-
Ryan Cochran over at Jalopy Journal just recently had a blog post on this wonderful old hot rod. Be sure to check out the video with the sound up! https://www.jalopyjournal.com/?p=35035