StevenGuthmiller
-
Posts
15,071 -
Joined
-
Last visited
Content Type
Profiles
Forums
Events
Gallery
Everything posted by StevenGuthmiller
-

Well it’s finally announced.?
StevenGuthmiller replied to NYLIBUD's topic in General Automotive Talk (Trucks and Cars)
A friend of mine who used to own and run a small grocery store jokingly used this line when he said it was time to let an employee go. It would probably apply with these people in nearly every circumstance. "I don't know how we would ever get along without you around here, but starting tomorrow, we're going to find out". Steve -
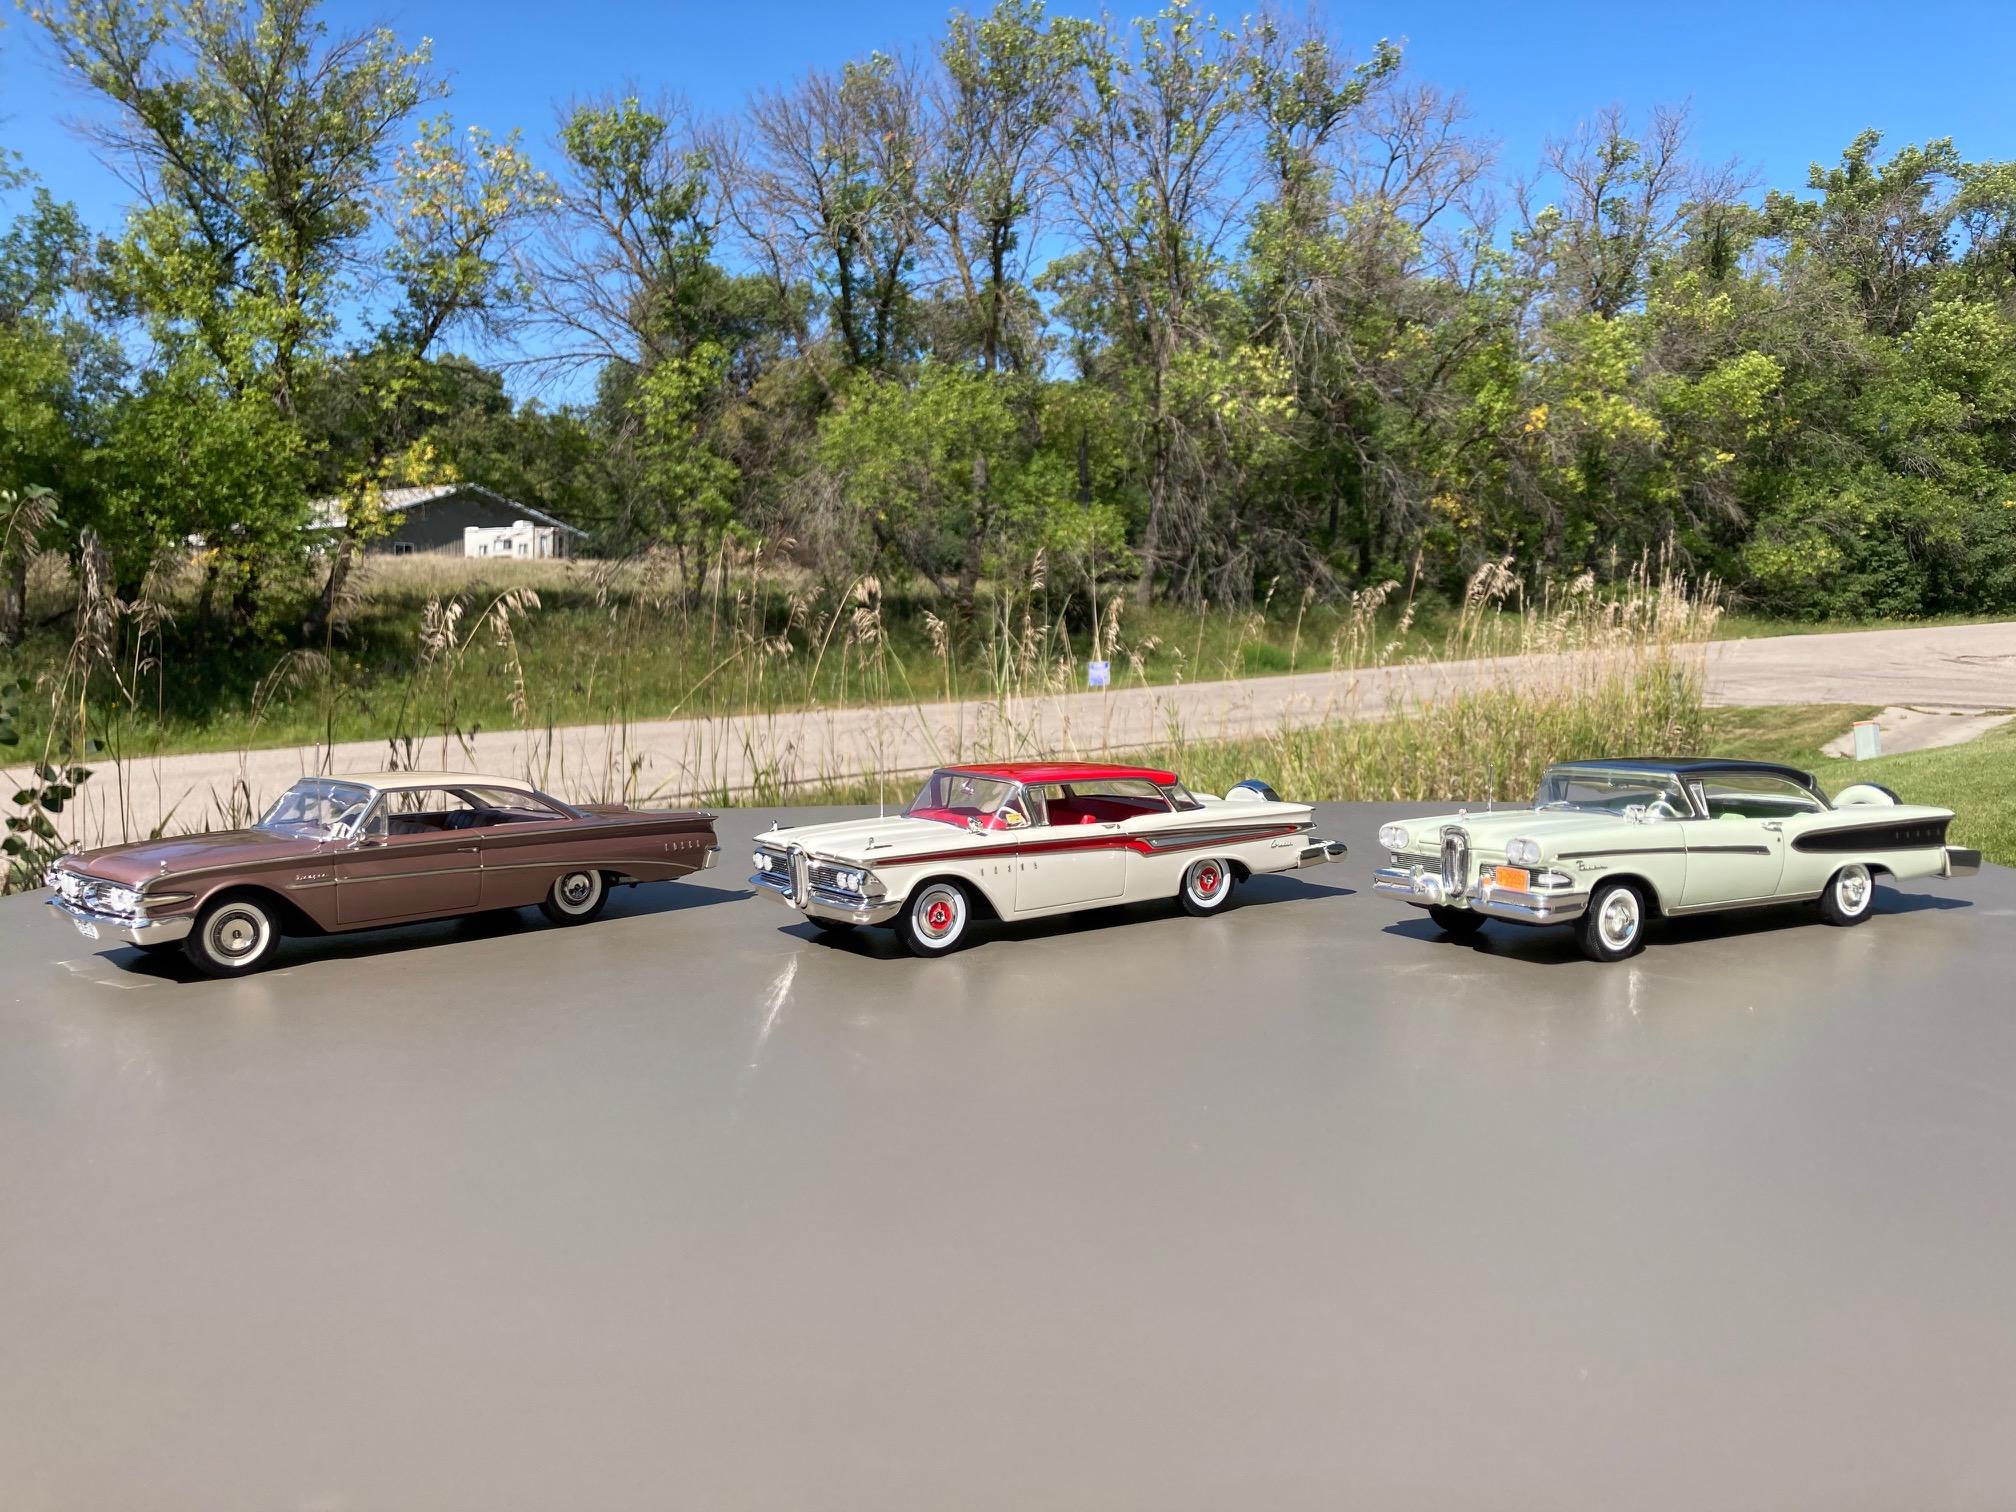
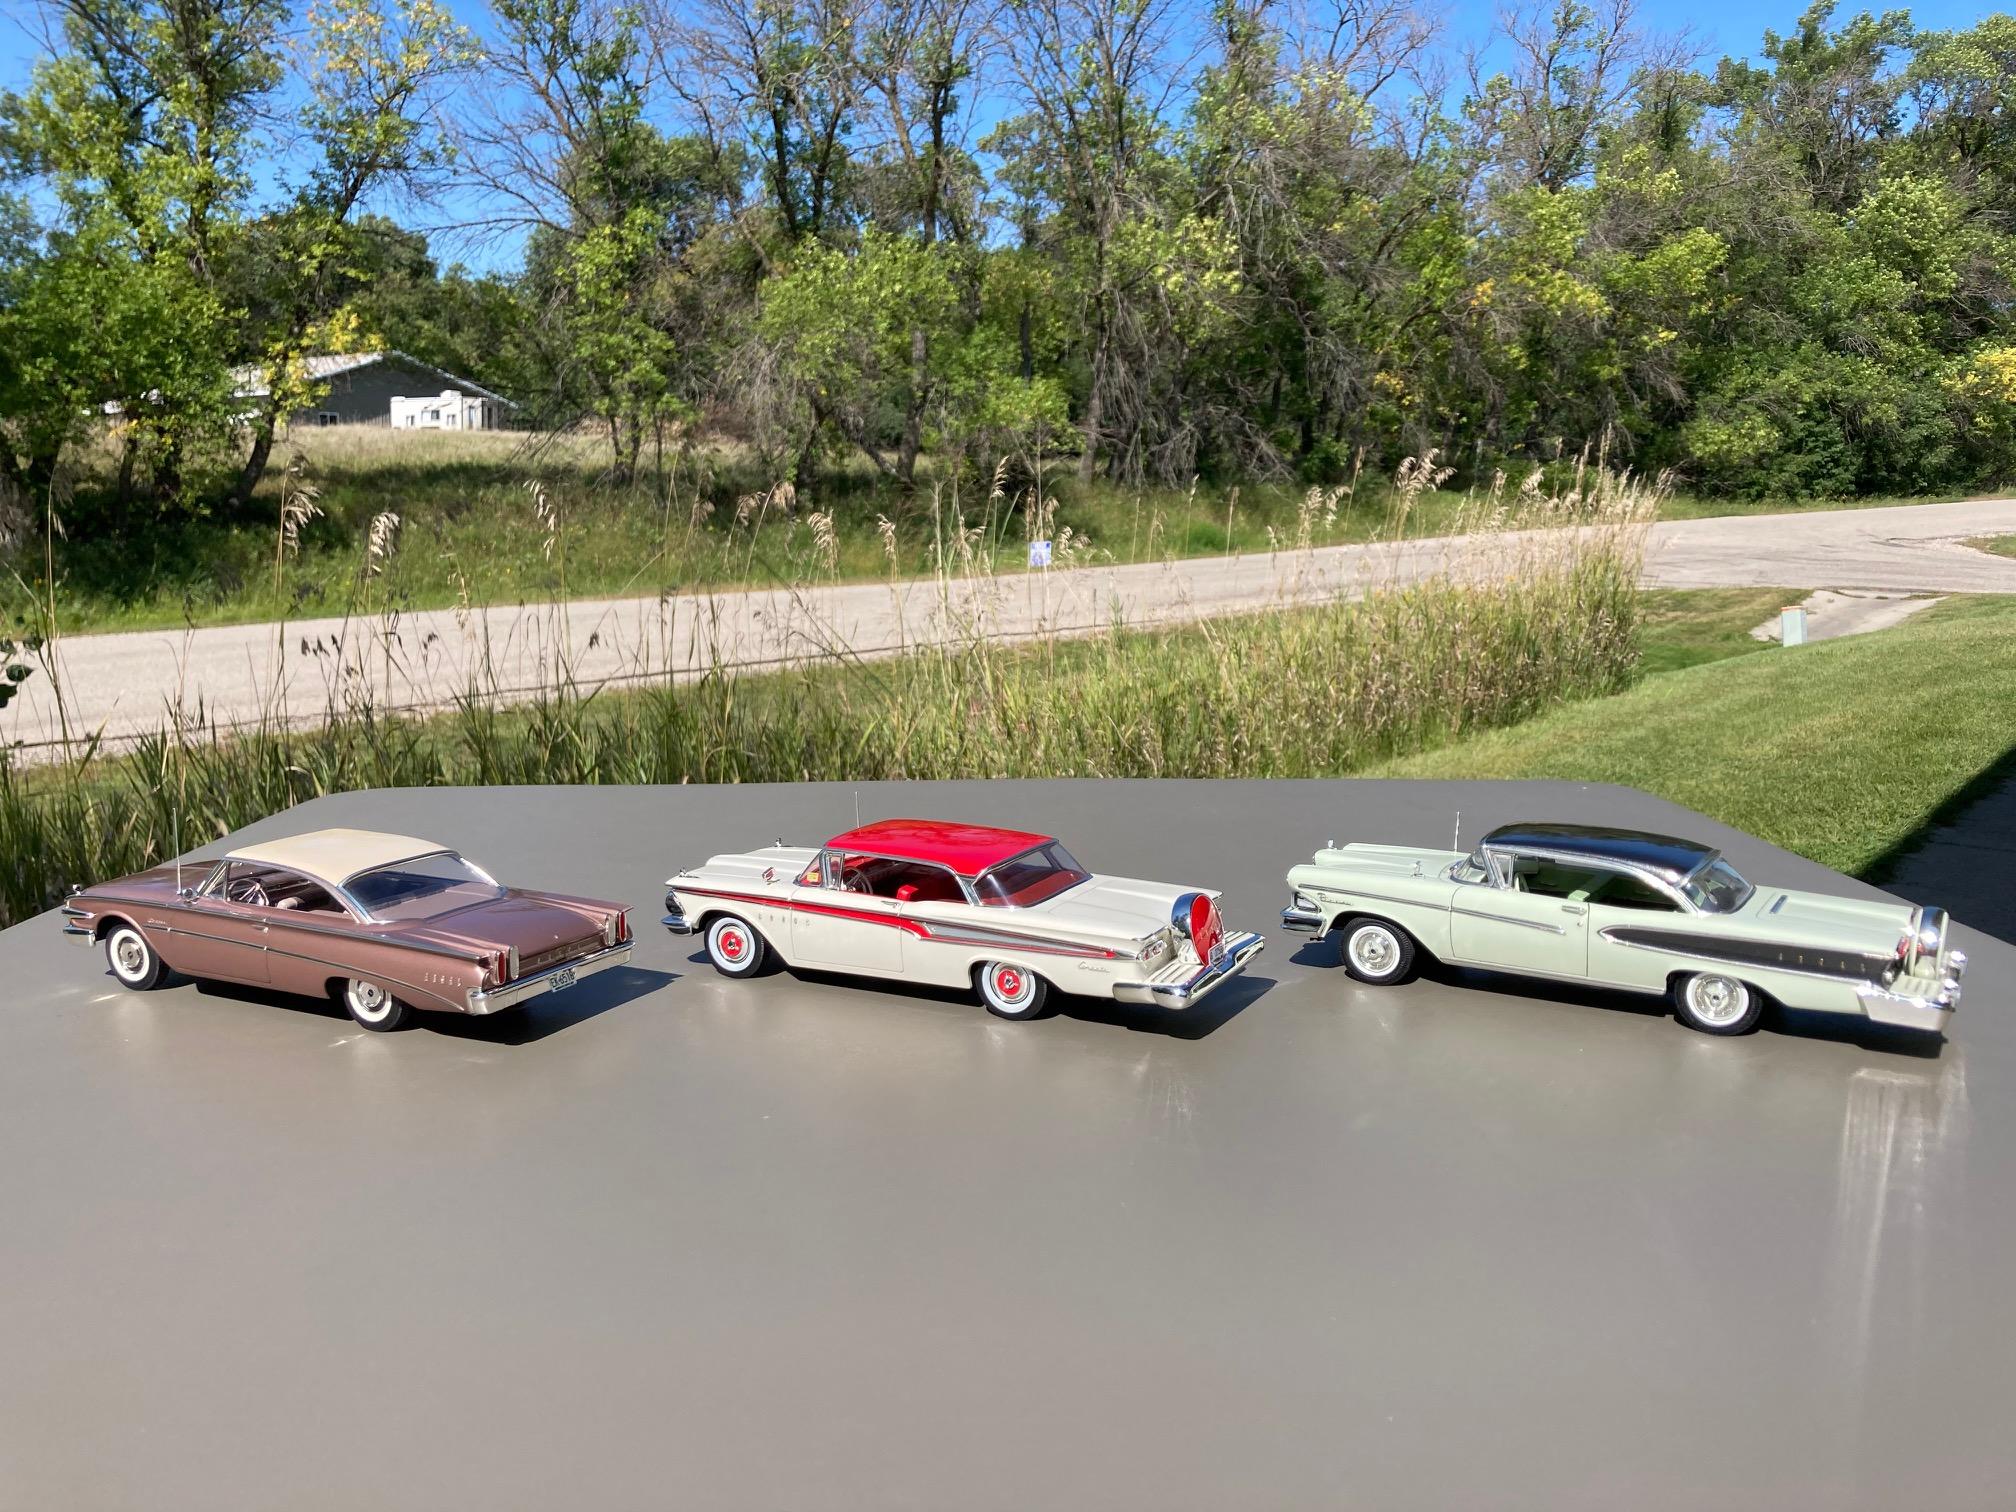
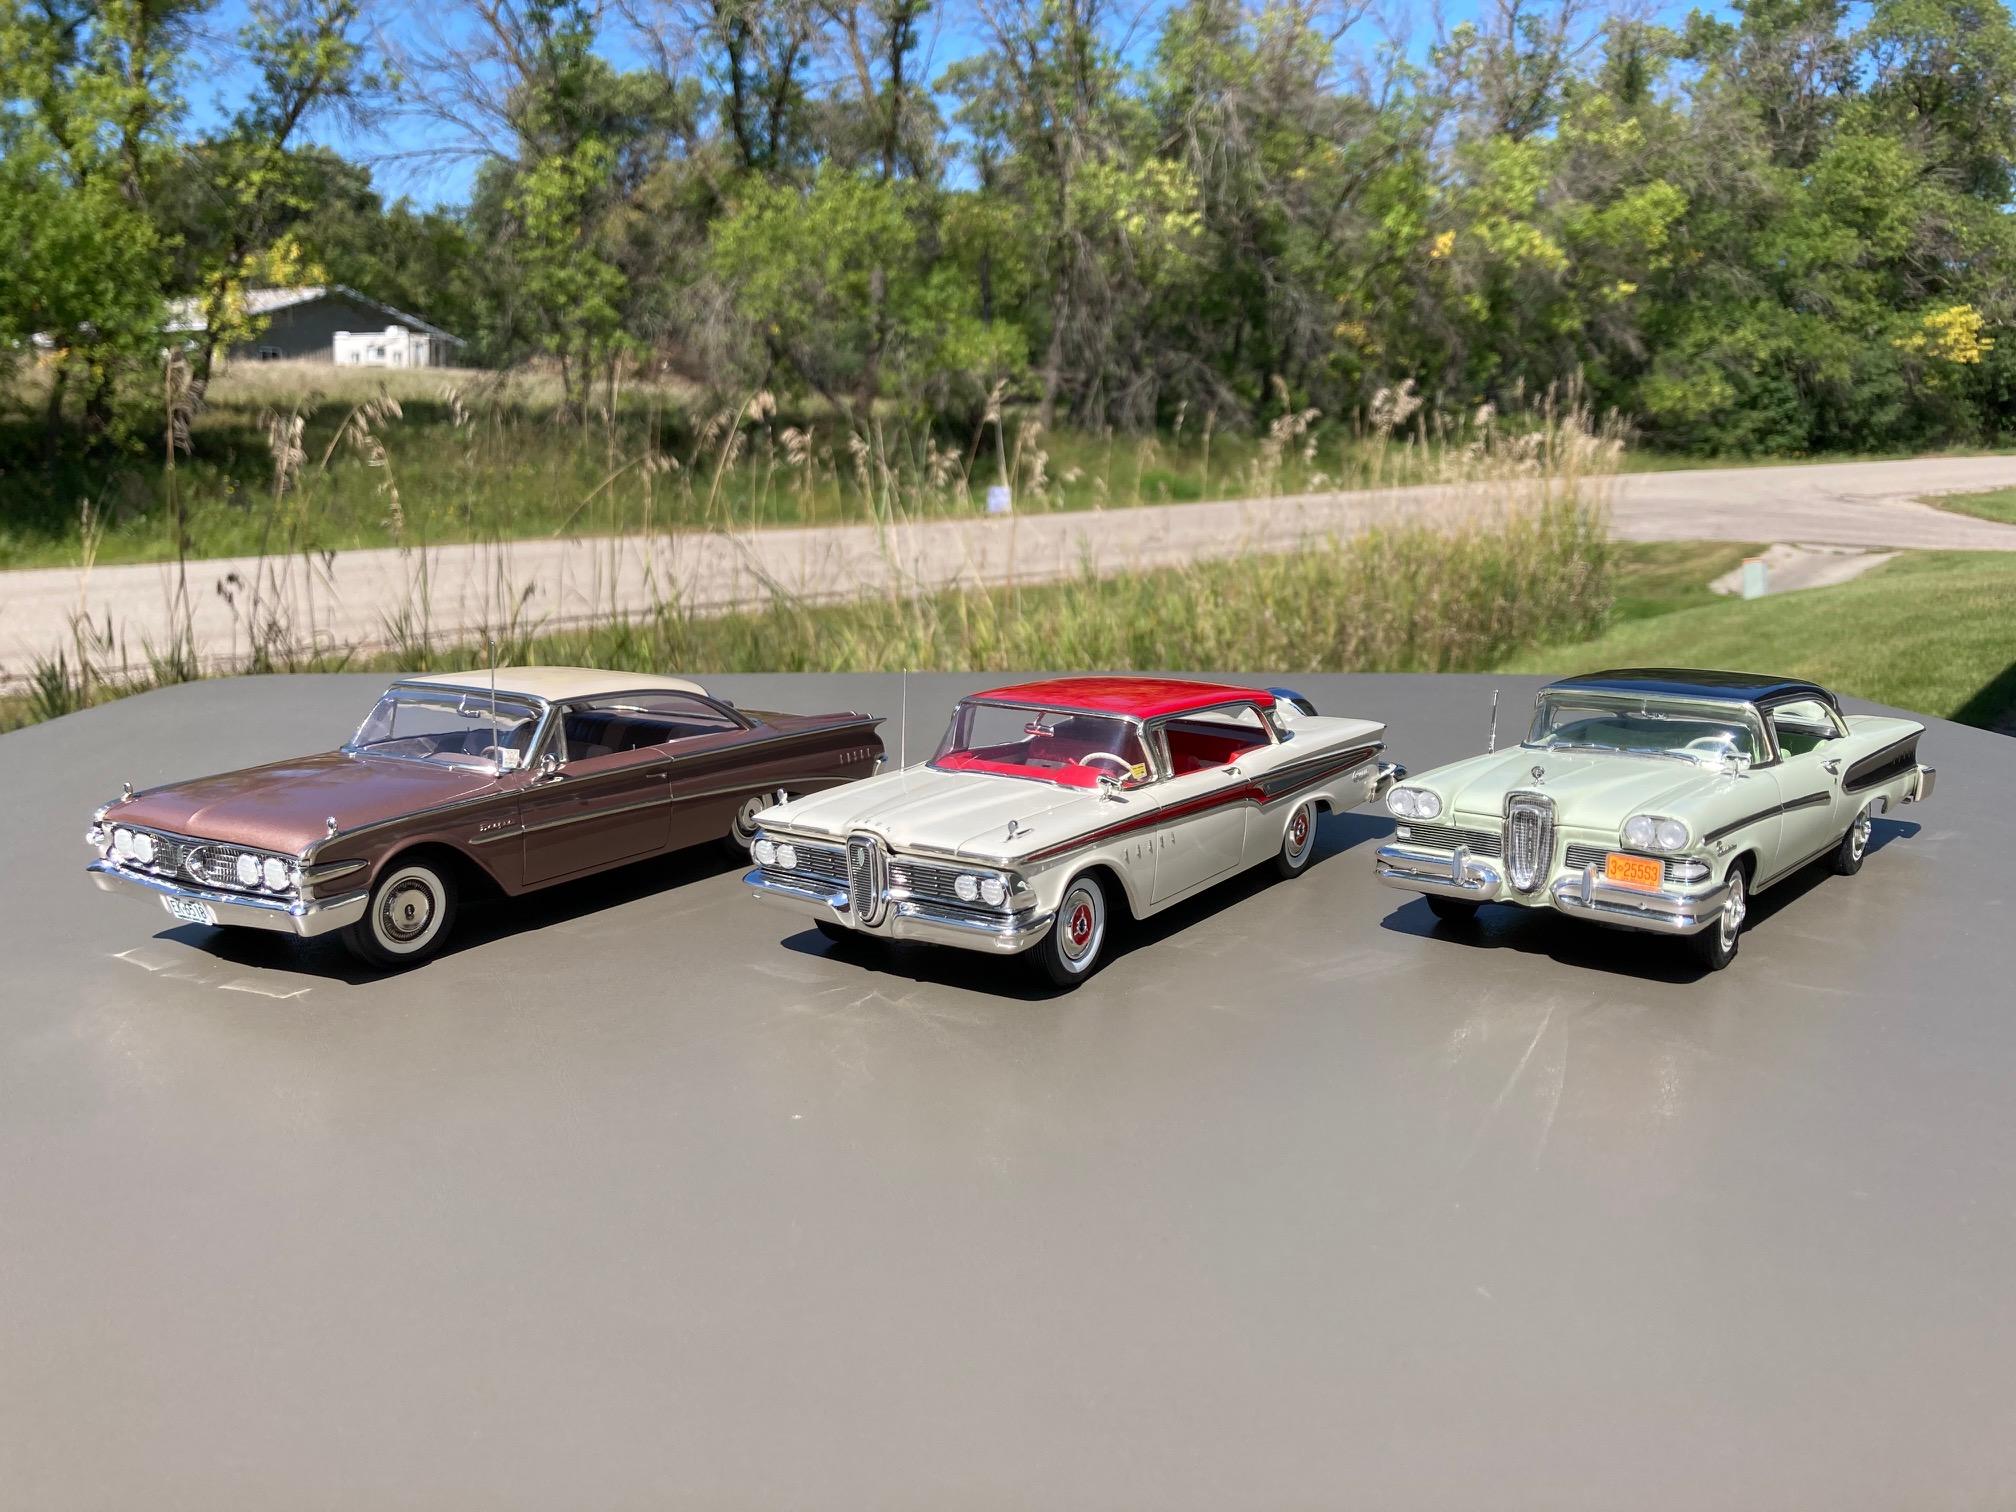
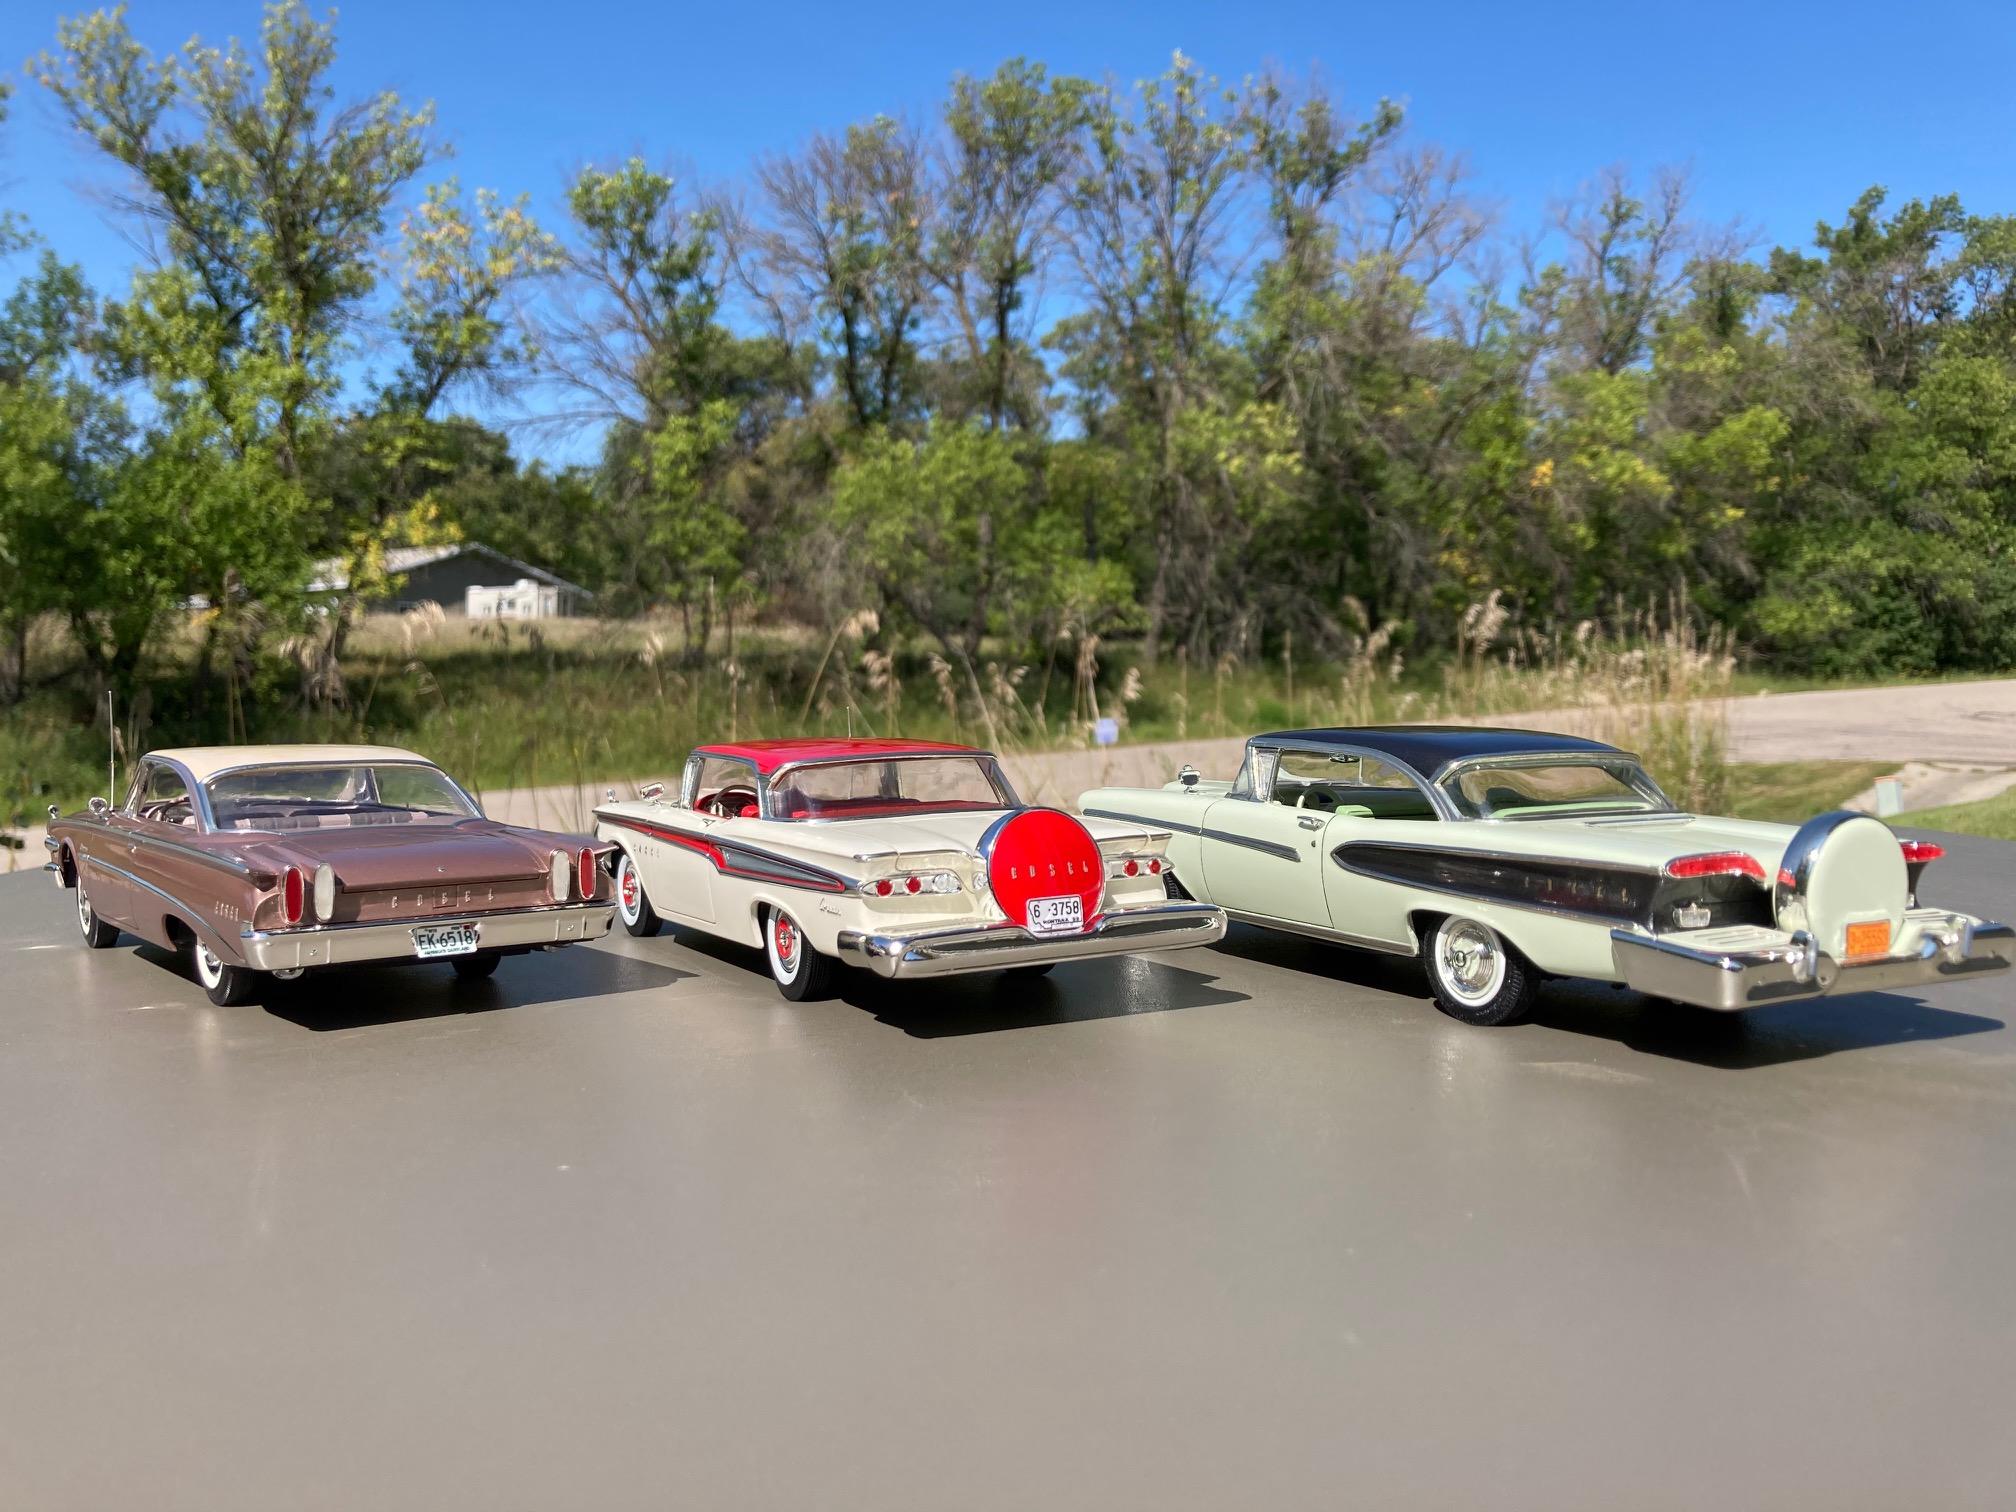
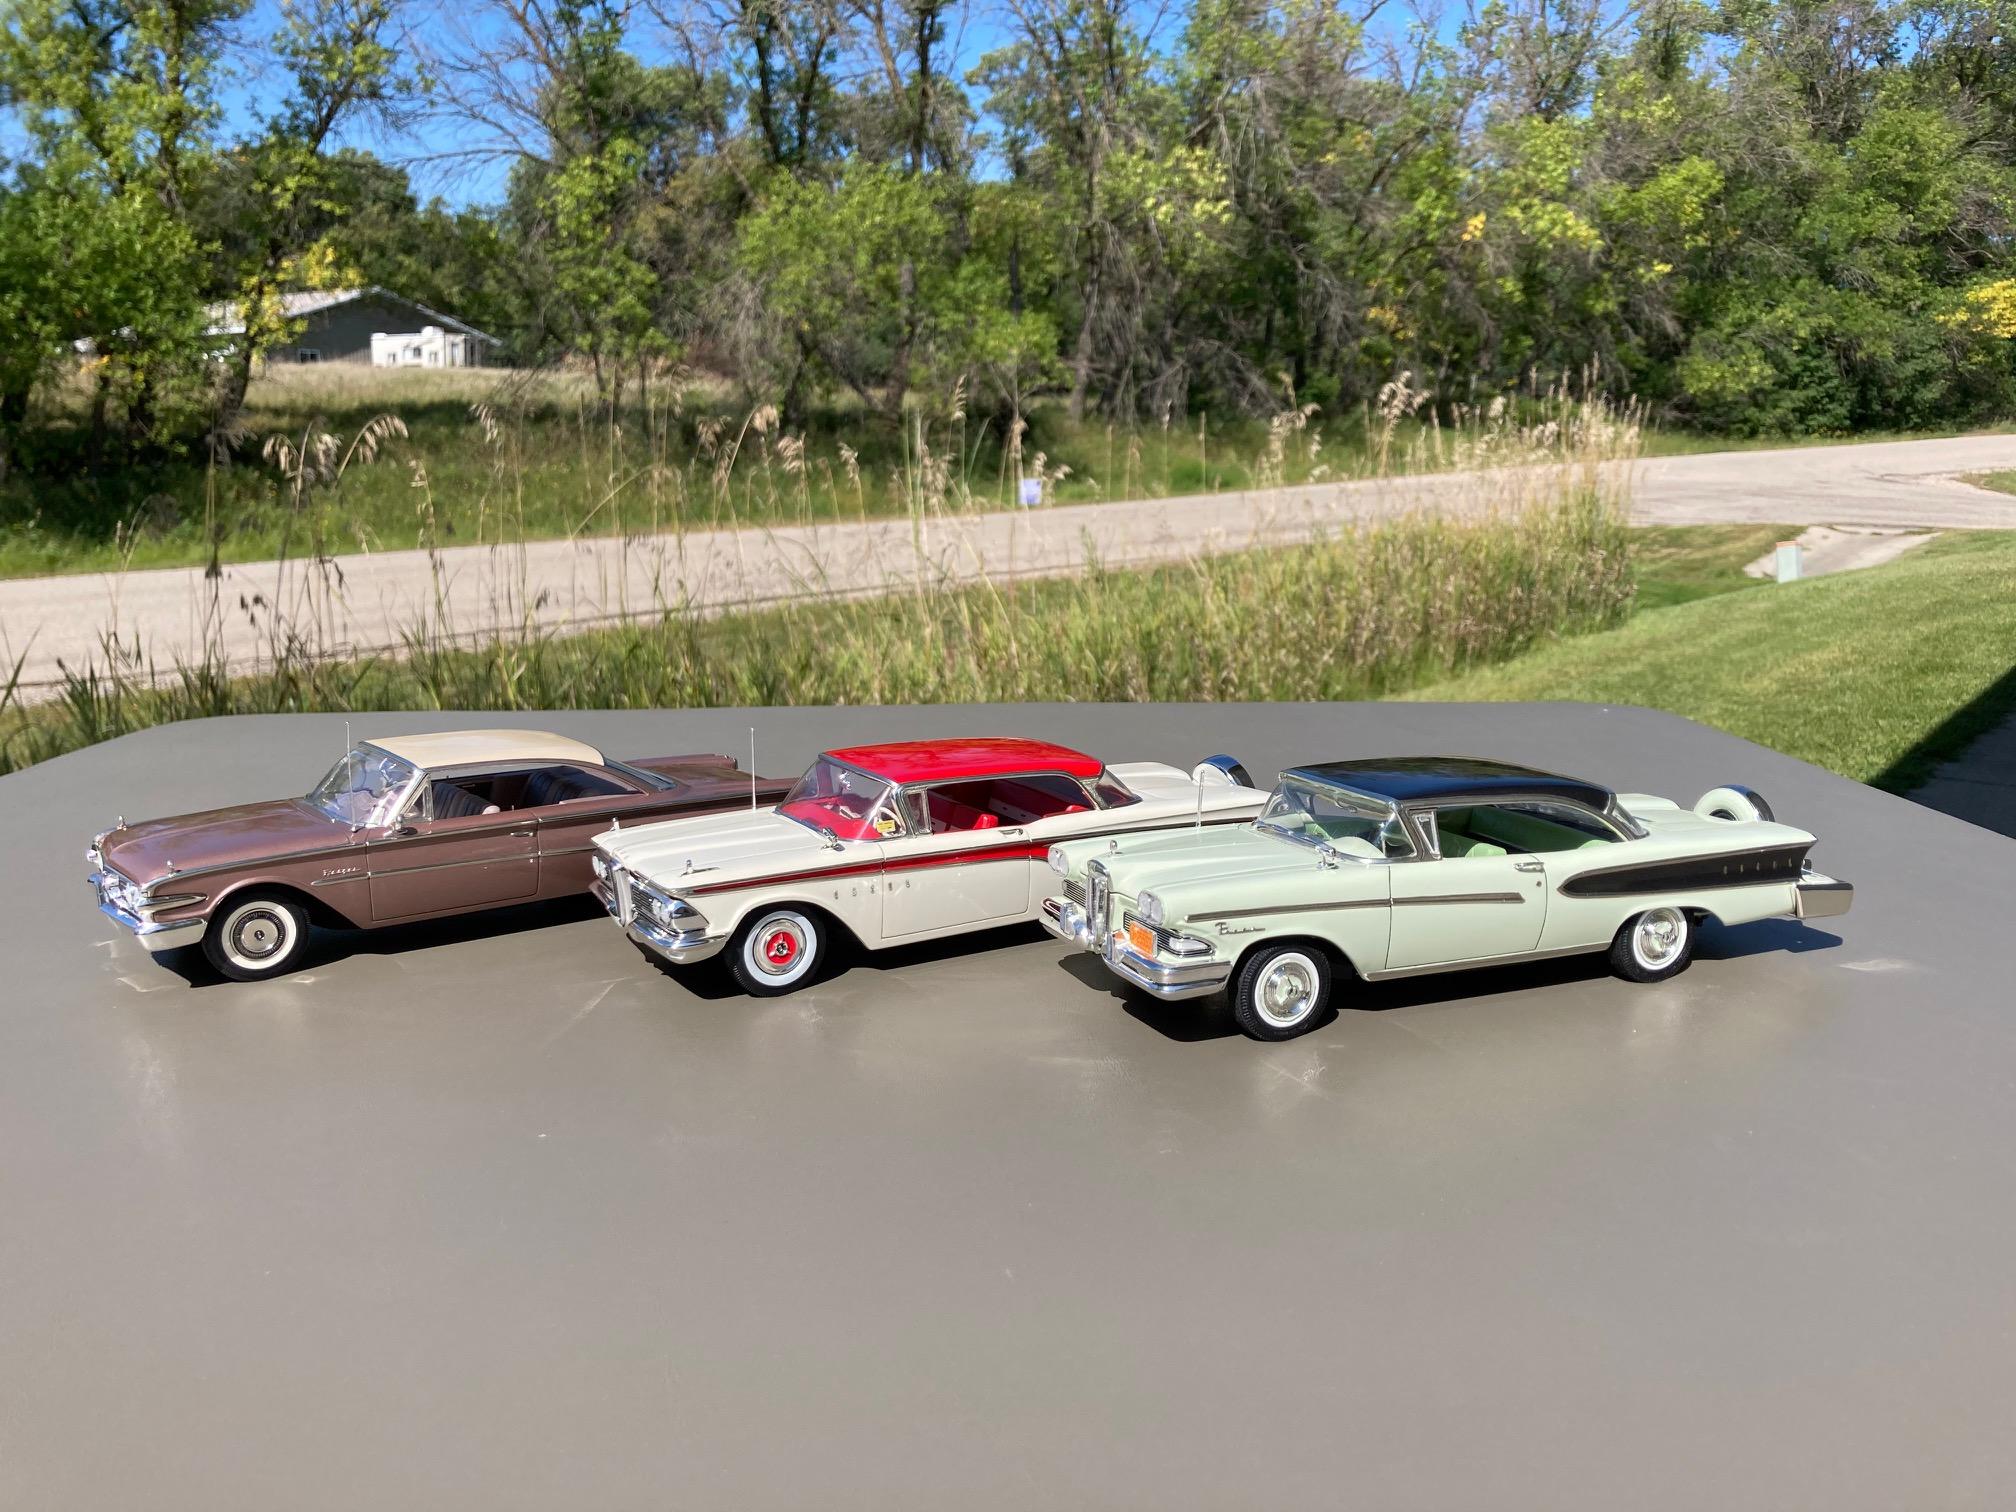
Hi Bill. The '58 is the new (newer) AMT kit. I built this one some time ago, and it's really not my best effort. If I ever do another one, I'll dump the cheesy looking AMT whitewalls for better ones and work on the stance. Better colors would be in order too. The '59 is one of the AMT, molded in blue "Trophy Series" kits, with an added Modelhaus conny kit. The '60 is an original AMT "3-in-1 Customizing Kit". Steve
-
Thanks guys! Steve
-
Still on my "re-photography" crusade with some of my old subjects, I decided that I needed to get an Edsel family portrait. Steve

-
Well it’s finally announced.?
StevenGuthmiller replied to NYLIBUD's topic in General Automotive Talk (Trucks and Cars)
And I read somewhere that electricity prices in Europe are up 300%. Of course it's all blamed on Putin, but I thought most countries in Europe were going green anyway, so what's with the dependence on Russian oil? Throw up a few more wind generators and solar panels and you should be good, right? Steve -
Detail Painting the Edges of XKE Windows
StevenGuthmiller replied to Miatatom's topic in Model Building Questions and Answers
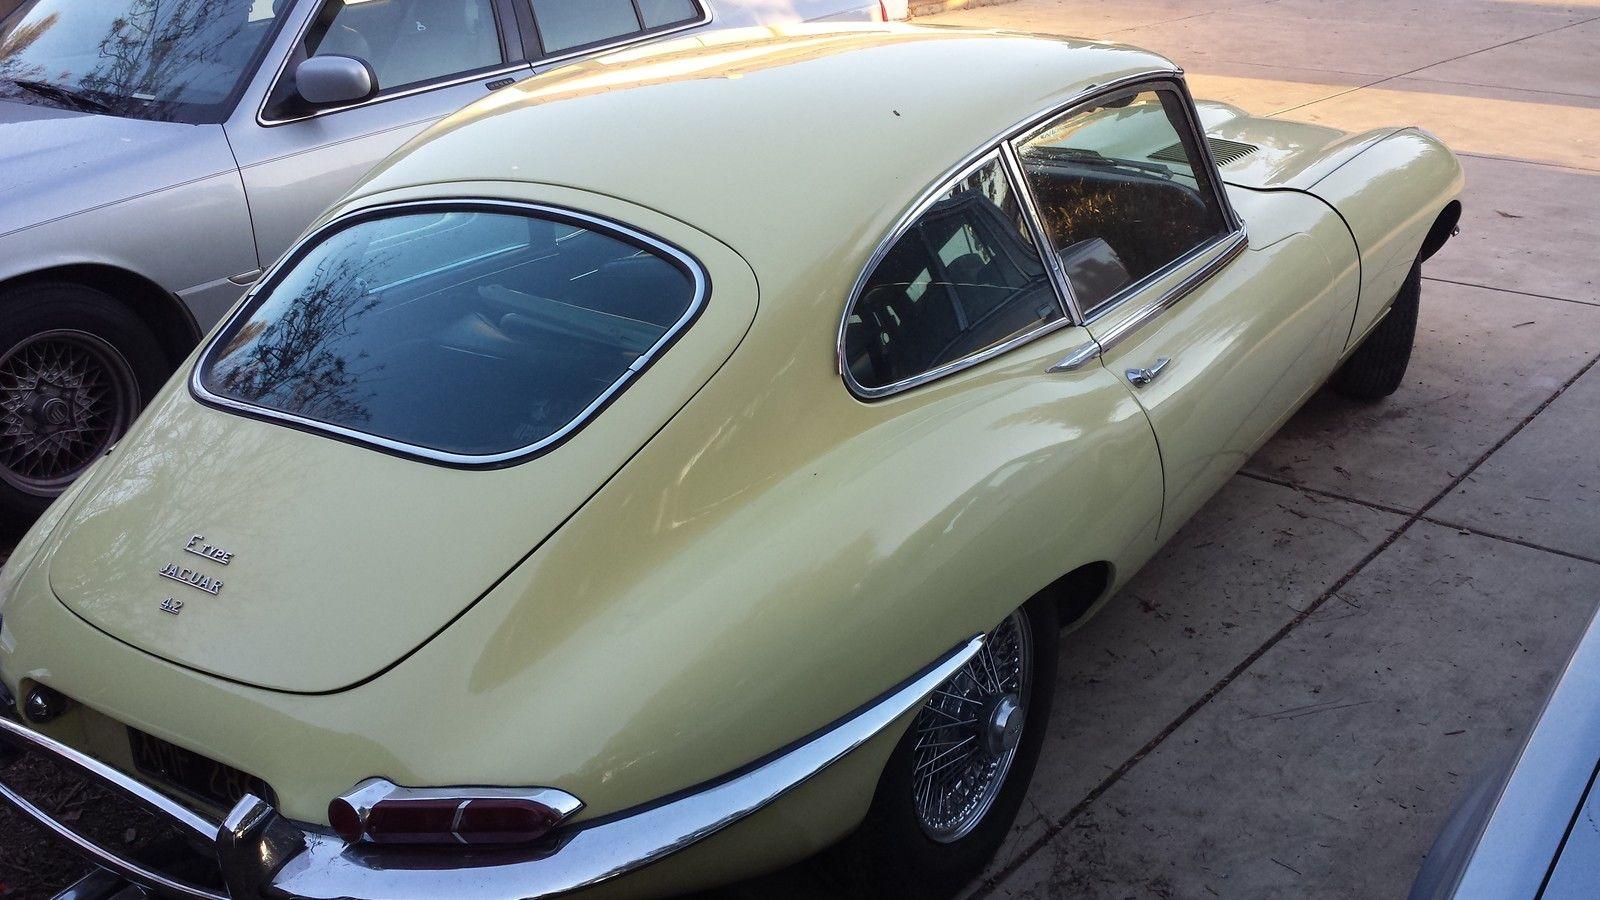
It appears as if the rear glass trim on the Jaguar XKE is in 2 pieces, with a splice in the center of each side's vertical section. That's where I would splice my 2 pieces of foil together. Steve
-
Detail Painting the Edges of XKE Windows
StevenGuthmiller replied to Miatatom's topic in Model Building Questions and Answers
I’m not sure that I get your meaning. The corners of the glass in this car appear to be quite rounded in comparison to most rear windows, so yes, I would say that the inside of the corners need to be rounded. Steve -
Fireball Red Line Tire
StevenGuthmiller replied to TransAmMike's topic in Model Building Questions and Answers
This post just made me consider that an instance like this might be a good opportunity to try thinning the enamel with lacquer thinner and trying that route. Do you suppose that the lacquer thinner might correct the enamel drying issue on vinyl tires? Steve -
Detail Painting the Edges of XKE Windows
StevenGuthmiller replied to Miatatom's topic in Model Building Questions and Answers
The same way that you would do it if the trim was on the body rather than the glass. Trim around front or real glass is never a single piece on the real car, so place your foil seams in the same places that they appear on the 1:1. Usually those seams are not right in the corners, but somewhere near the corners on a straight section. Usually, I’ll start with either the top and bottom followed by the sides, or vice versa, and overlap by just a fraction of an inch. Steve -
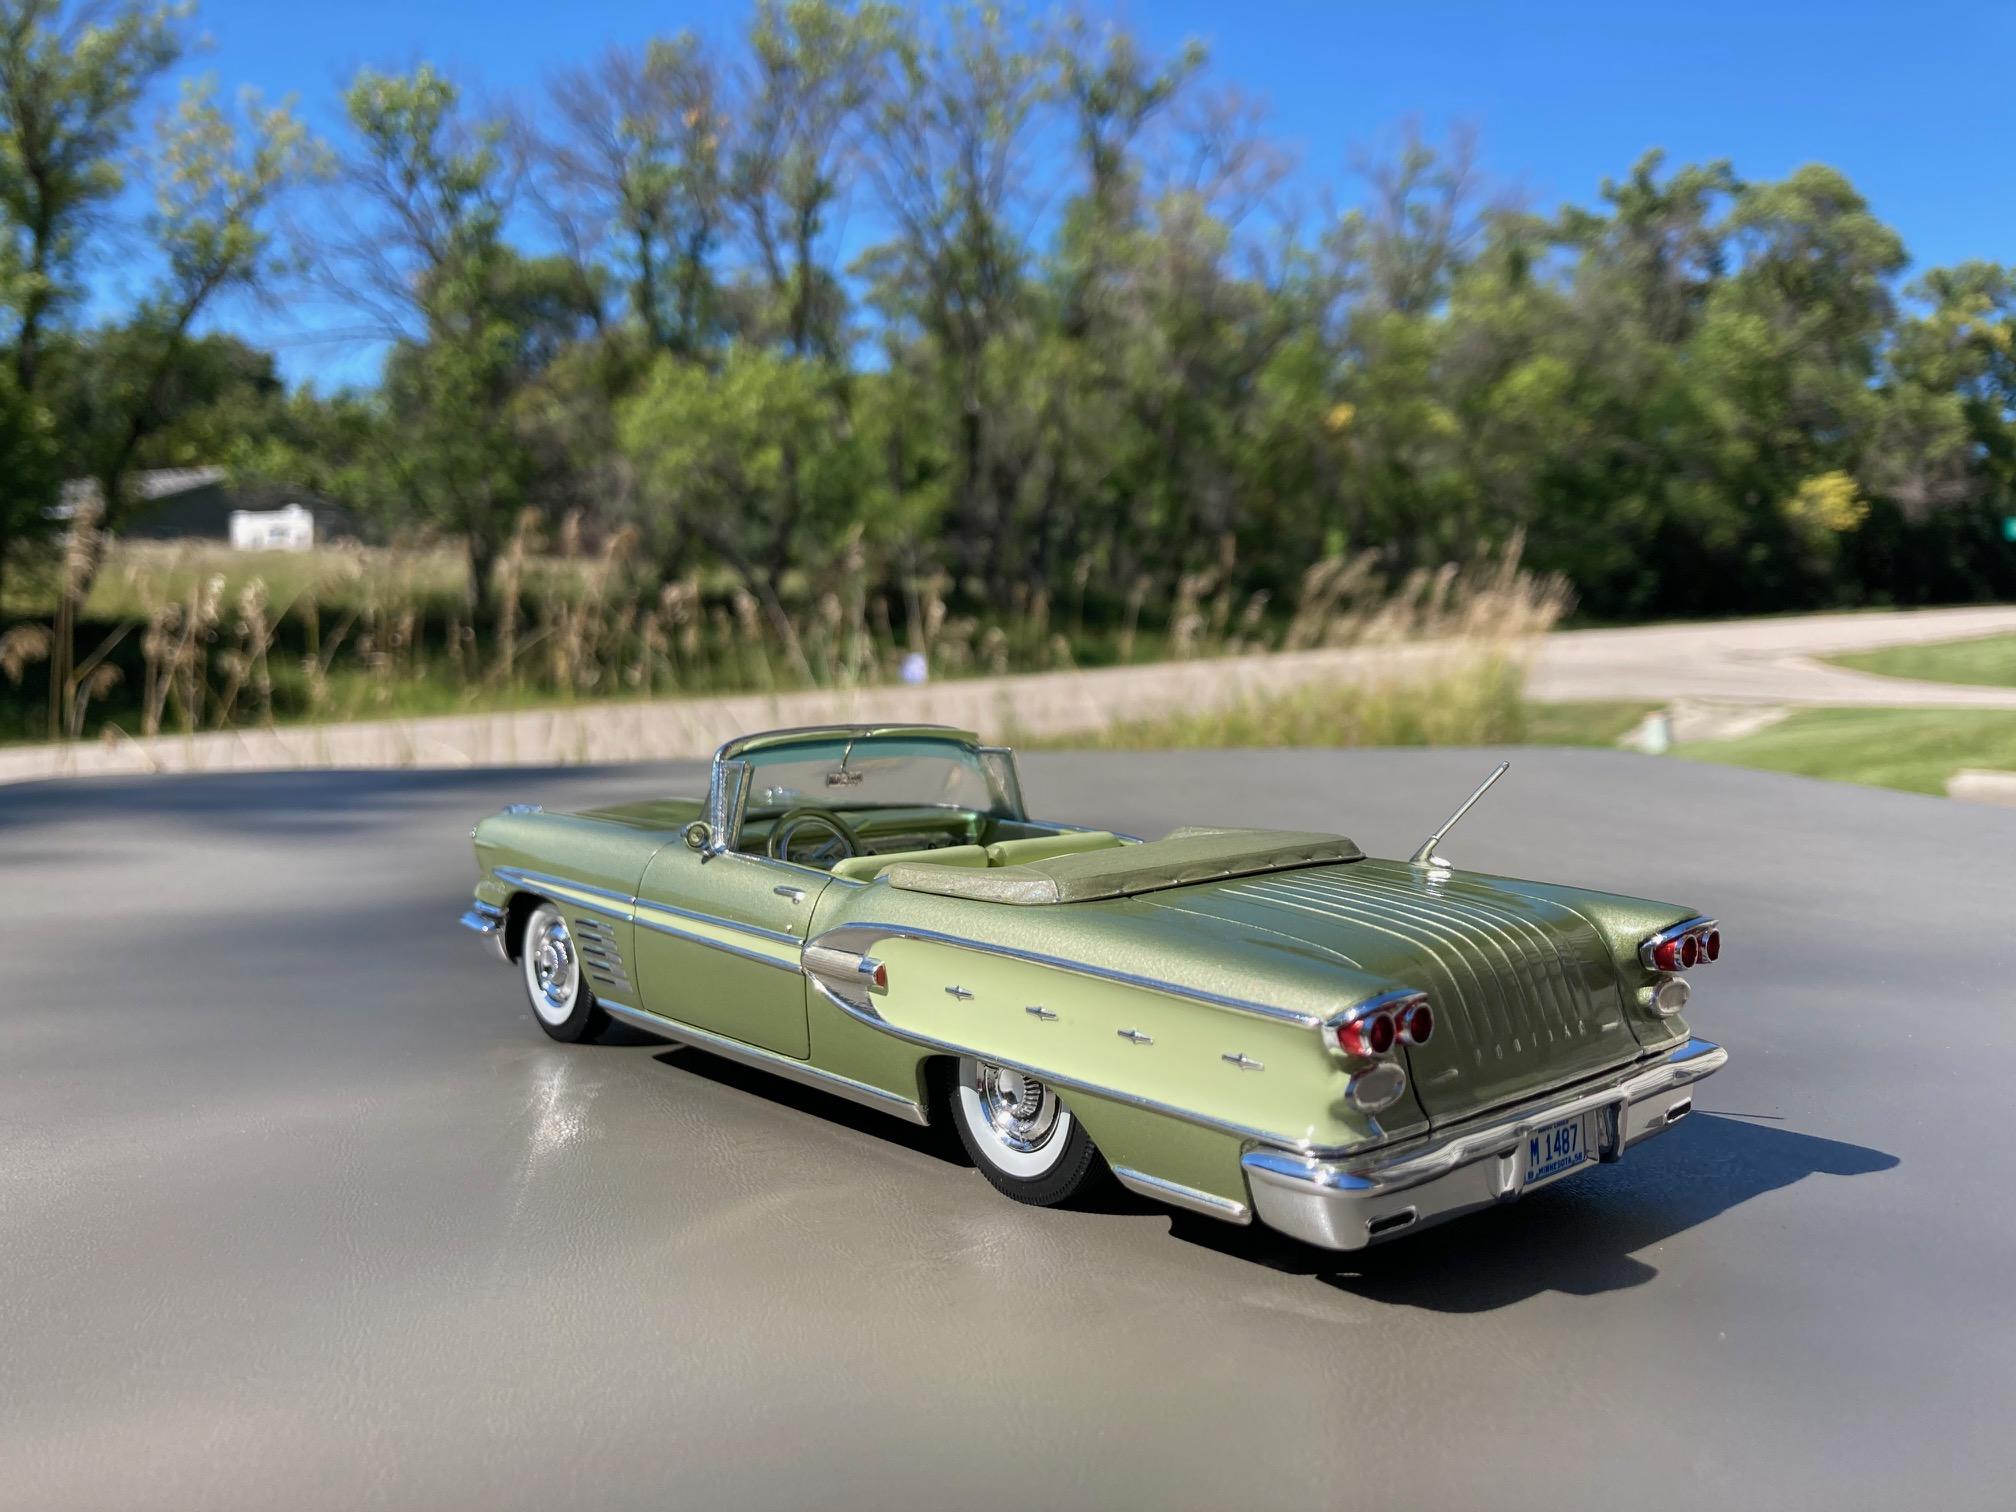
Terrific Job!! The only thing that I would have done differently is to use a turquoise for the engine color. Steve
-
Fireball Red Line Tire
StevenGuthmiller replied to TransAmMike's topic in Model Building Questions and Answers
The flat will be fine as long as it's covering okay. If the tires have any age to them at all, they would look pretty much flat any way. I didn't use any sealer or anything. They came out exactly how I was hoping that they would. The craft paint shouldn't need one either. Once thoroughly dry, it shouldn't go anywhere. Steve -
Fireball Red Line Tire
StevenGuthmiller replied to TransAmMike's topic in Model Building Questions and Answers
This is why I didn't want to thin the paint when I did them. Depending on the paint, thinning can affect the coverage qualities quite a bit. I preferred fewer coats with a little bit of clean up. Steve
-
Detail Painting the Edges of XKE Windows
StevenGuthmiller replied to Miatatom's topic in Model Building Questions and Answers
Absolutely! A no-brainer. Steve -
Trim off the pins and replace them with the correctly sized plastic rod. A pretty simple fix. This is the sort of thing that guys who do a lot of parts swapping and modifying do without thinking about it. Steve
-
Well it’s finally announced.?
StevenGuthmiller replied to NYLIBUD's topic in General Automotive Talk (Trucks and Cars)
I rest my case. Steve -
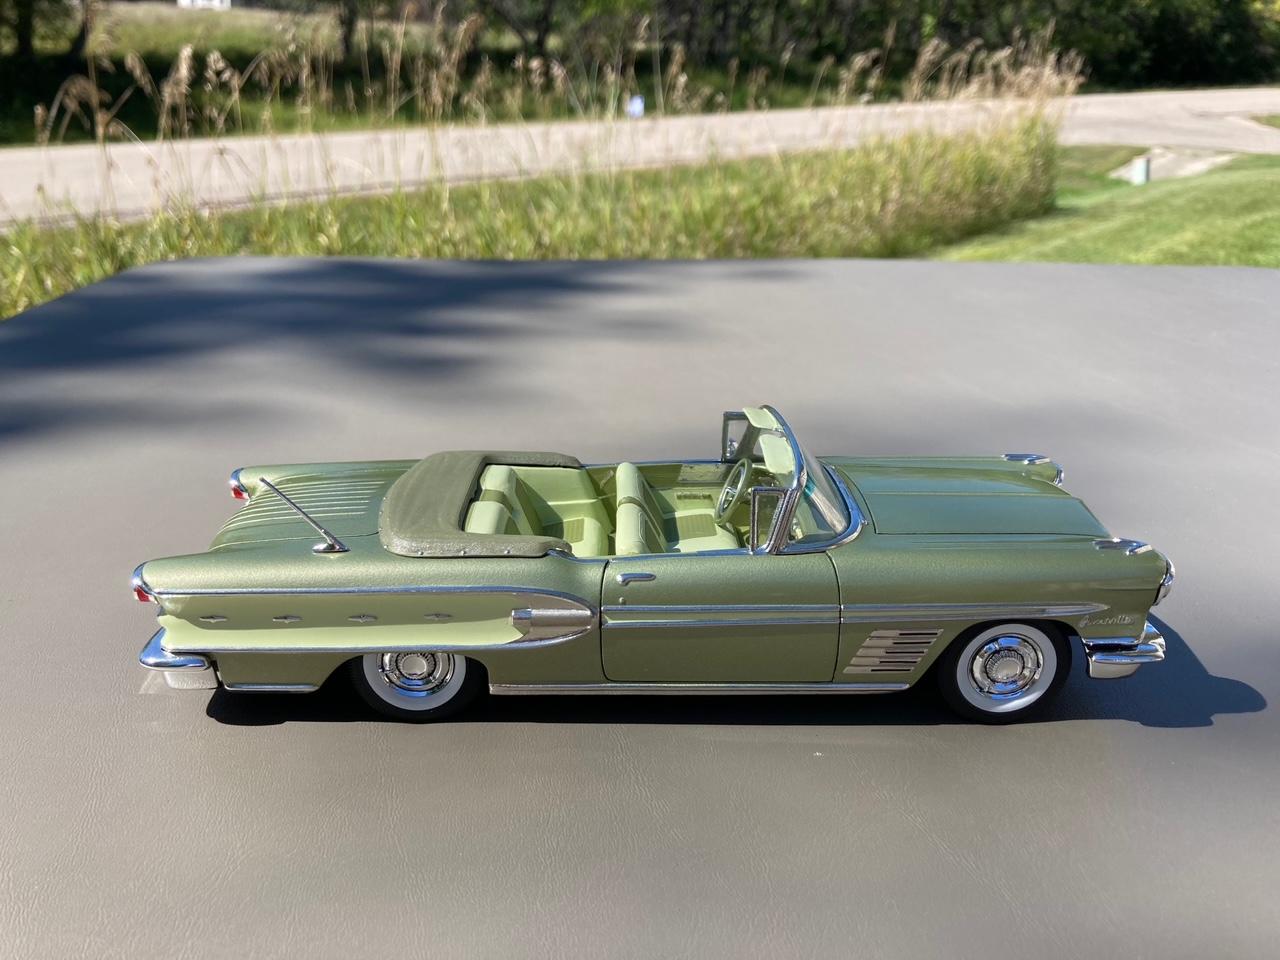
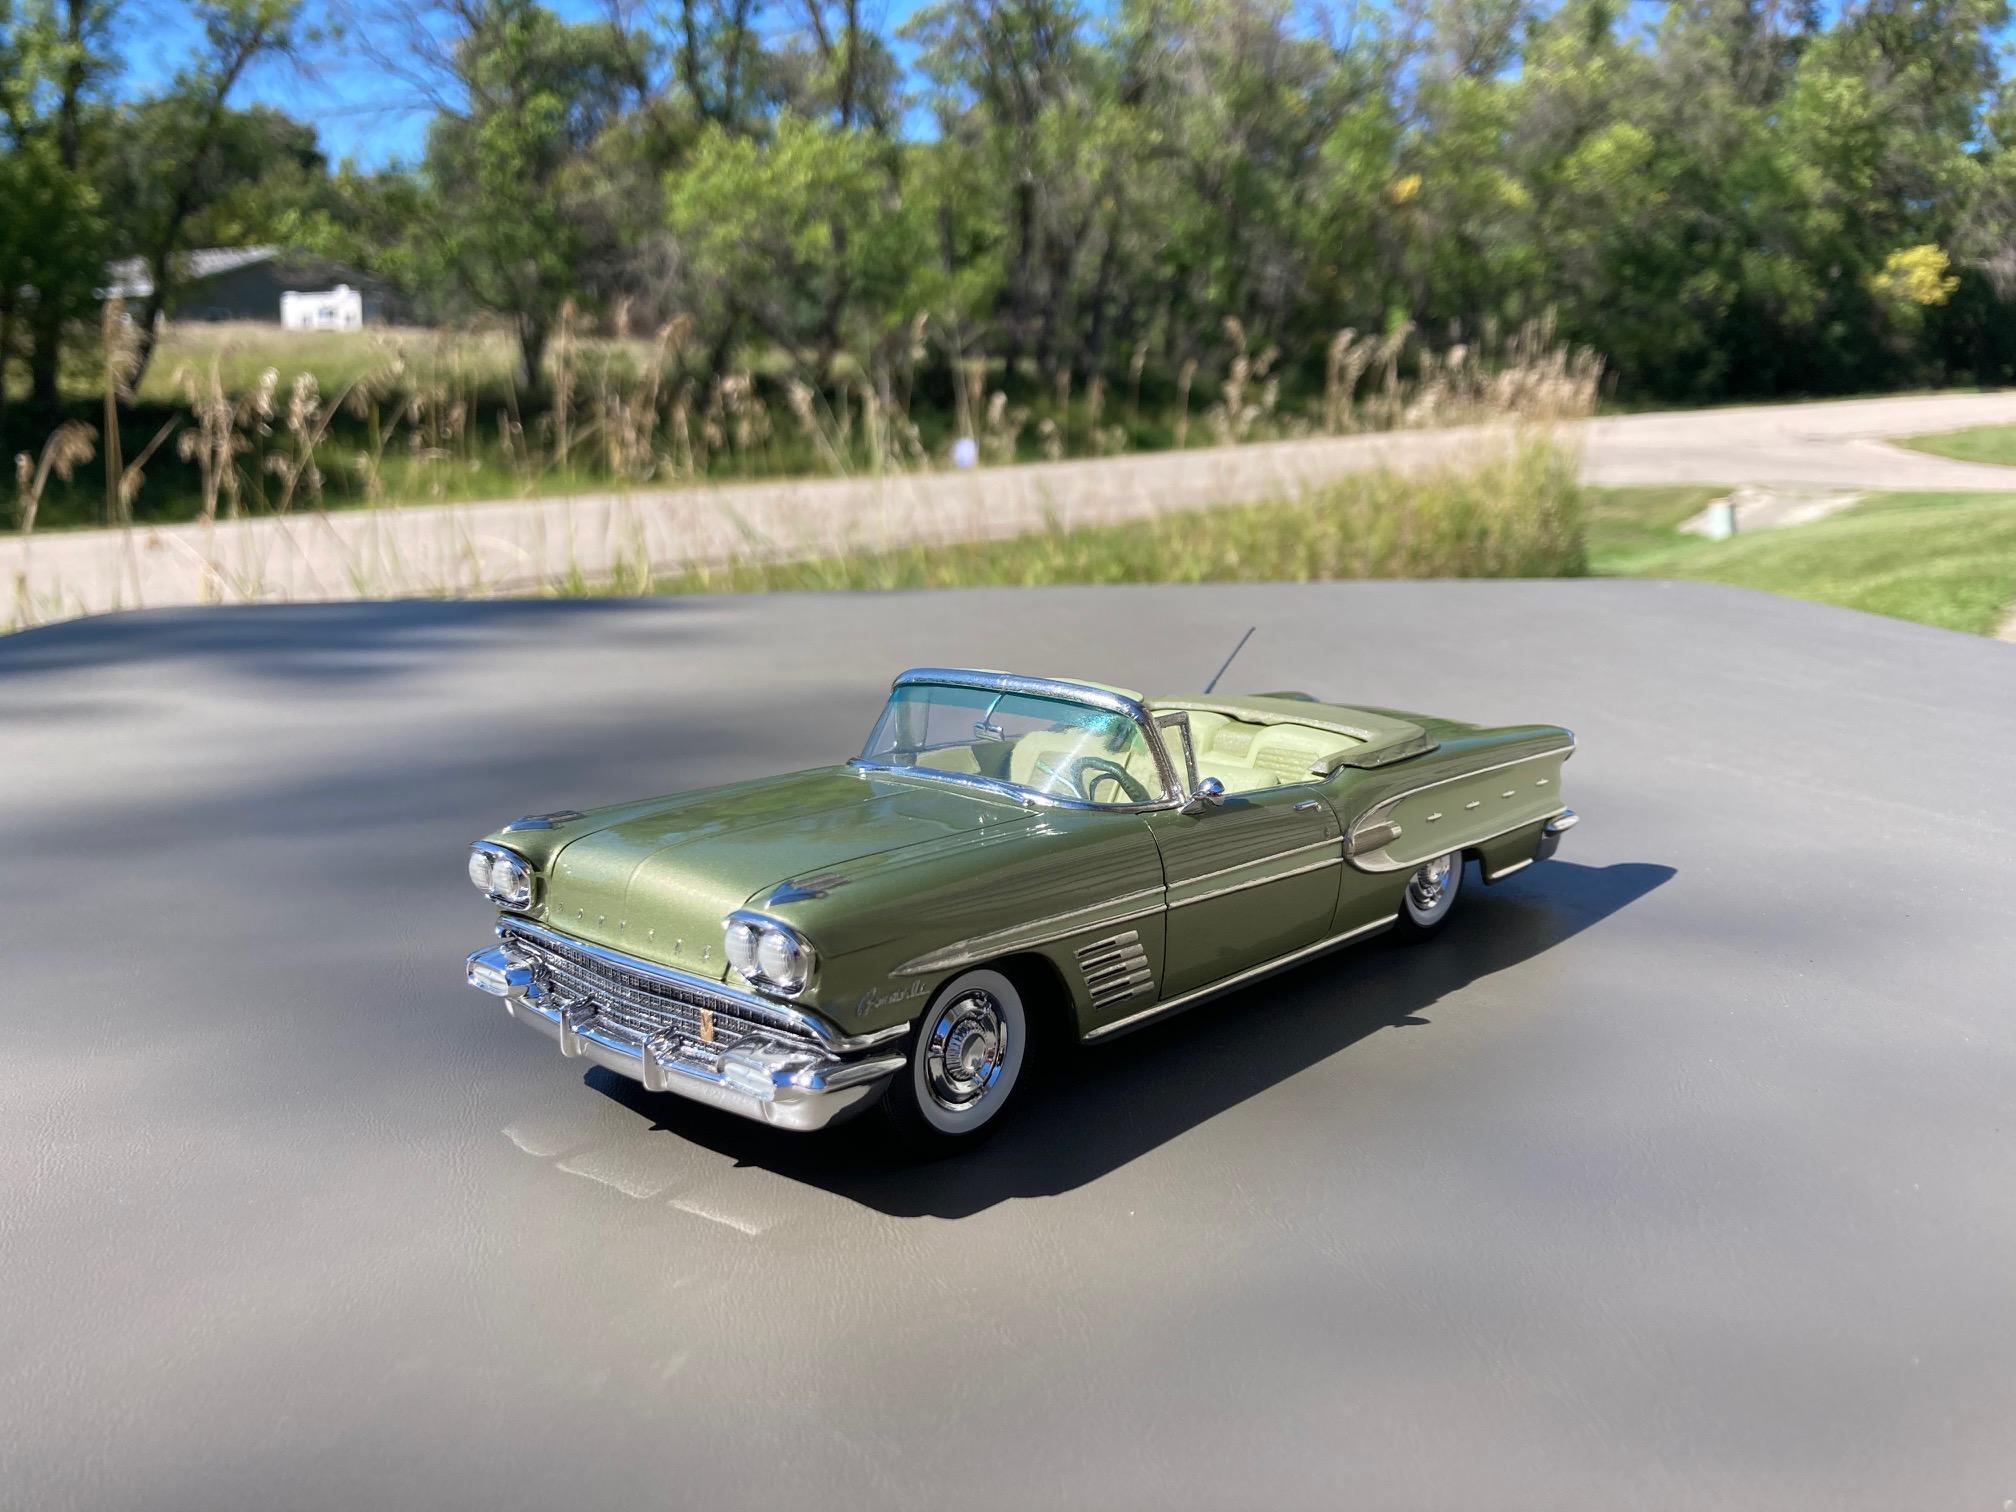
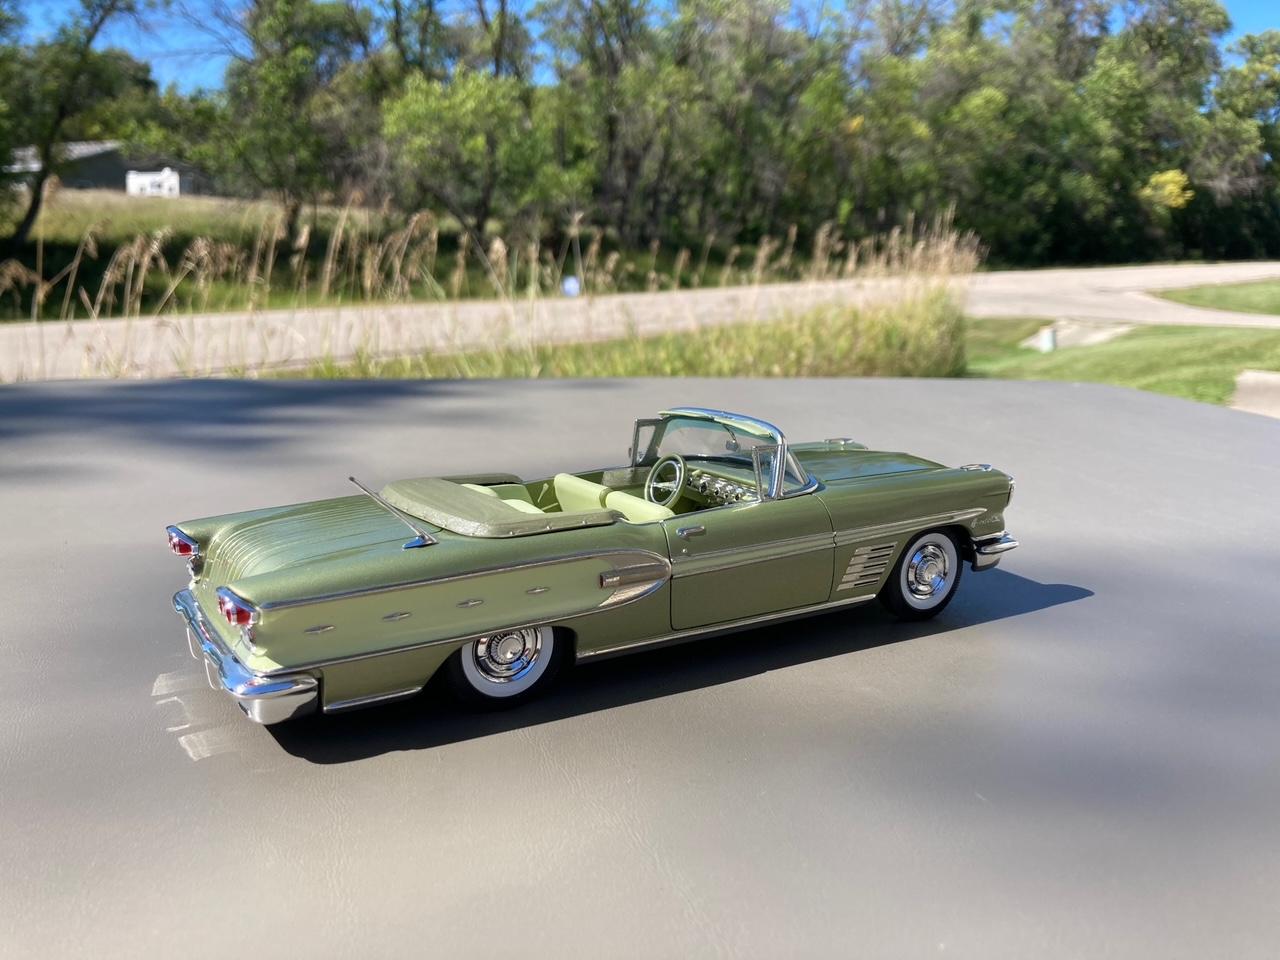
Old build, new pics. Steve
- 50 replies
-
- 12
-

-
Fireball Red Line Tire
StevenGuthmiller replied to TransAmMike's topic in Model Building Questions and Answers
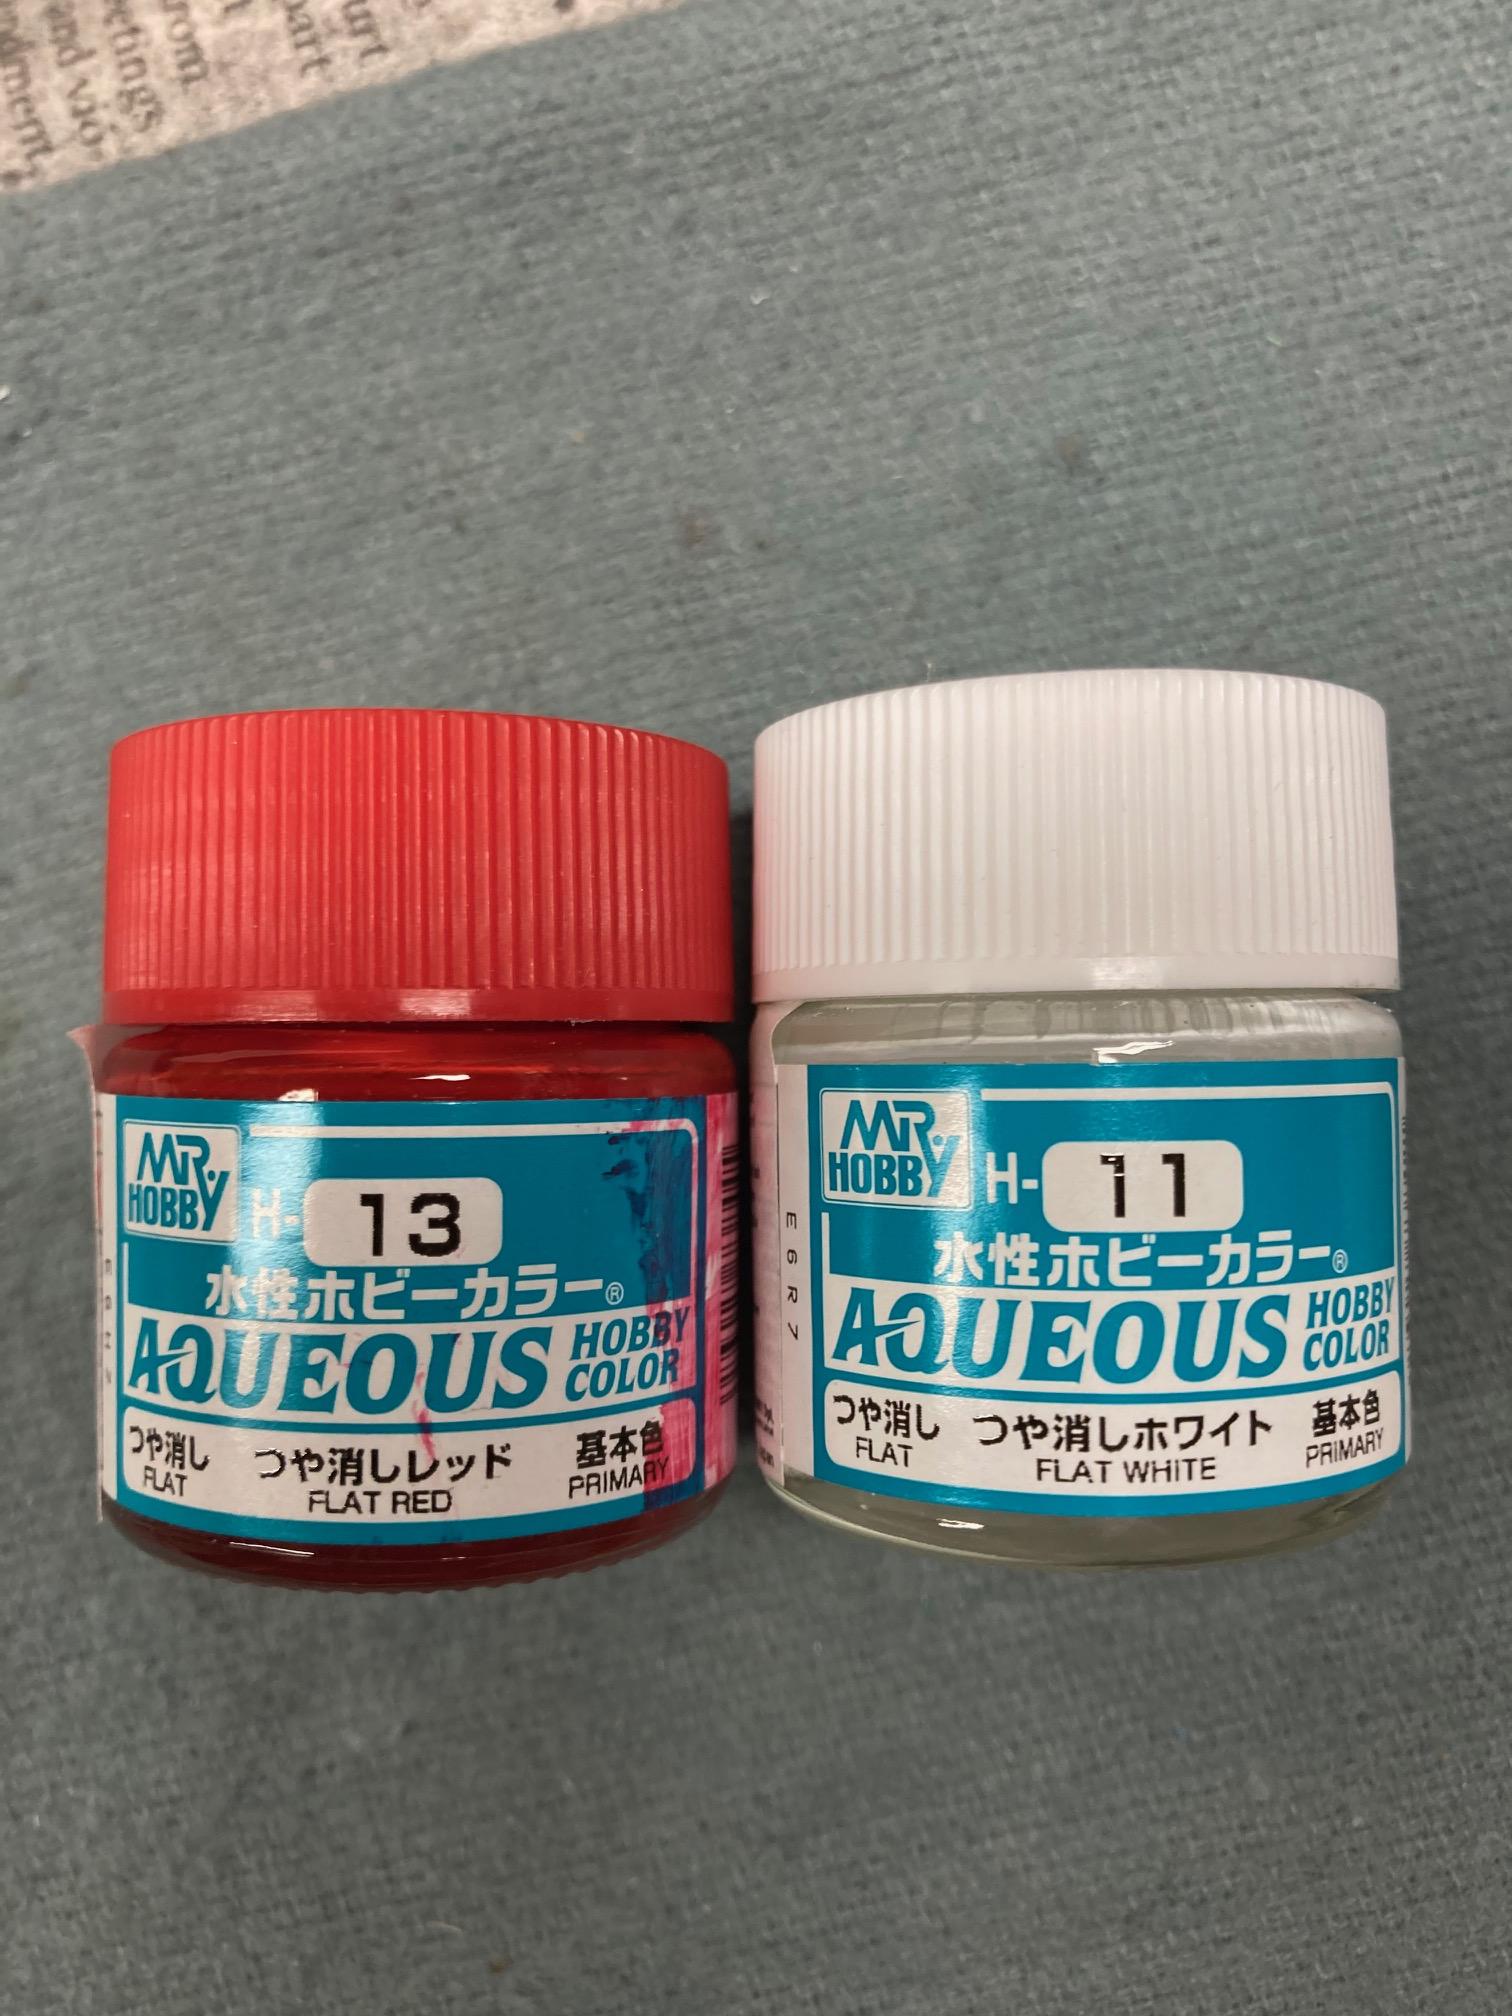
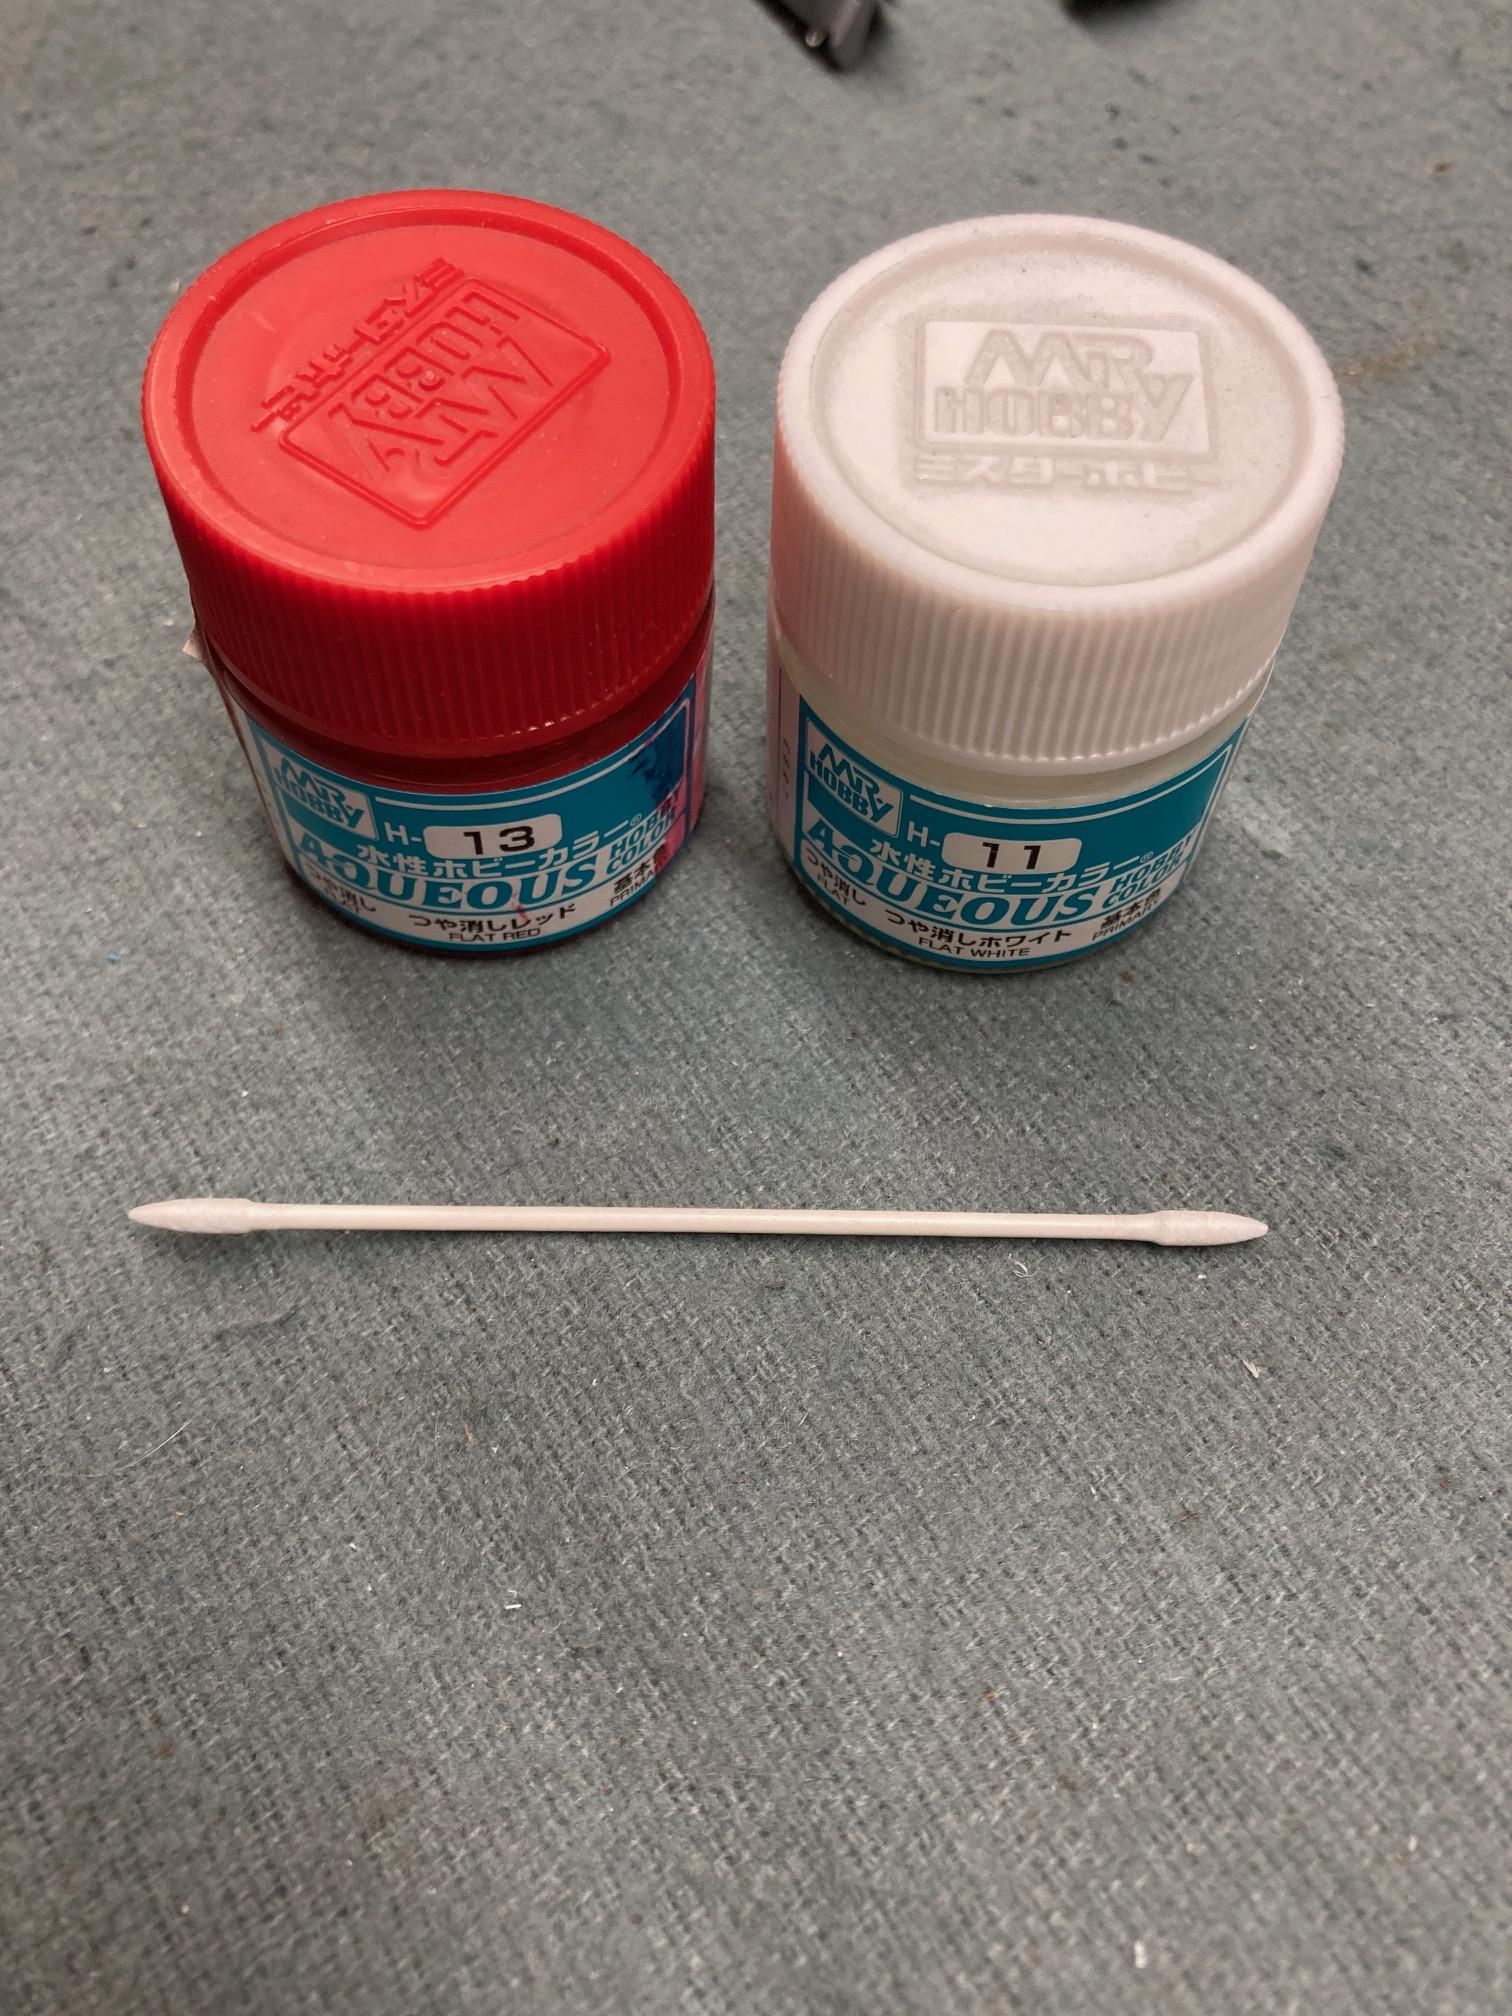
By the way, the Mr. Hobby paints pictured above were relatively thin, so the “capillary” action mentioned above does apply, just not necessarily all of the way around the tire in one shot. I didn’t thin the paint because I didn’t want to adversely affect the coverage, but I’m sure that thinning slightly might help with that. I just prefer to use paint directly from the jar if possible. Less messing around. ? Steve -
Fireball Red Line Tire
StevenGuthmiller replied to TransAmMike's topic in Model Building Questions and Answers
Thank you Alan. Steve -
Fireball Red Line Tire
StevenGuthmiller replied to TransAmMike's topic in Model Building Questions and Answers
The only reason for the white paint is to make the red brighter. My guess is that if you have a hood opaque red acrylic, the white might not be necessary. An extra coat of red might do just fine. Steve -
Well it’s finally announced.?
StevenGuthmiller replied to NYLIBUD's topic in General Automotive Talk (Trucks and Cars)
? Steve -
Well it’s finally announced.?
StevenGuthmiller replied to NYLIBUD's topic in General Automotive Talk (Trucks and Cars)
Isn't it nice to have people to make all of our decisions for us in life? Especially when it's a bunch of bone headed hacks with political science degrees who have never had a real job in their entire lives? It makes me feel so protected. Steve -
Fireball Red Line Tire
StevenGuthmiller replied to TransAmMike's topic in Model Building Questions and Answers
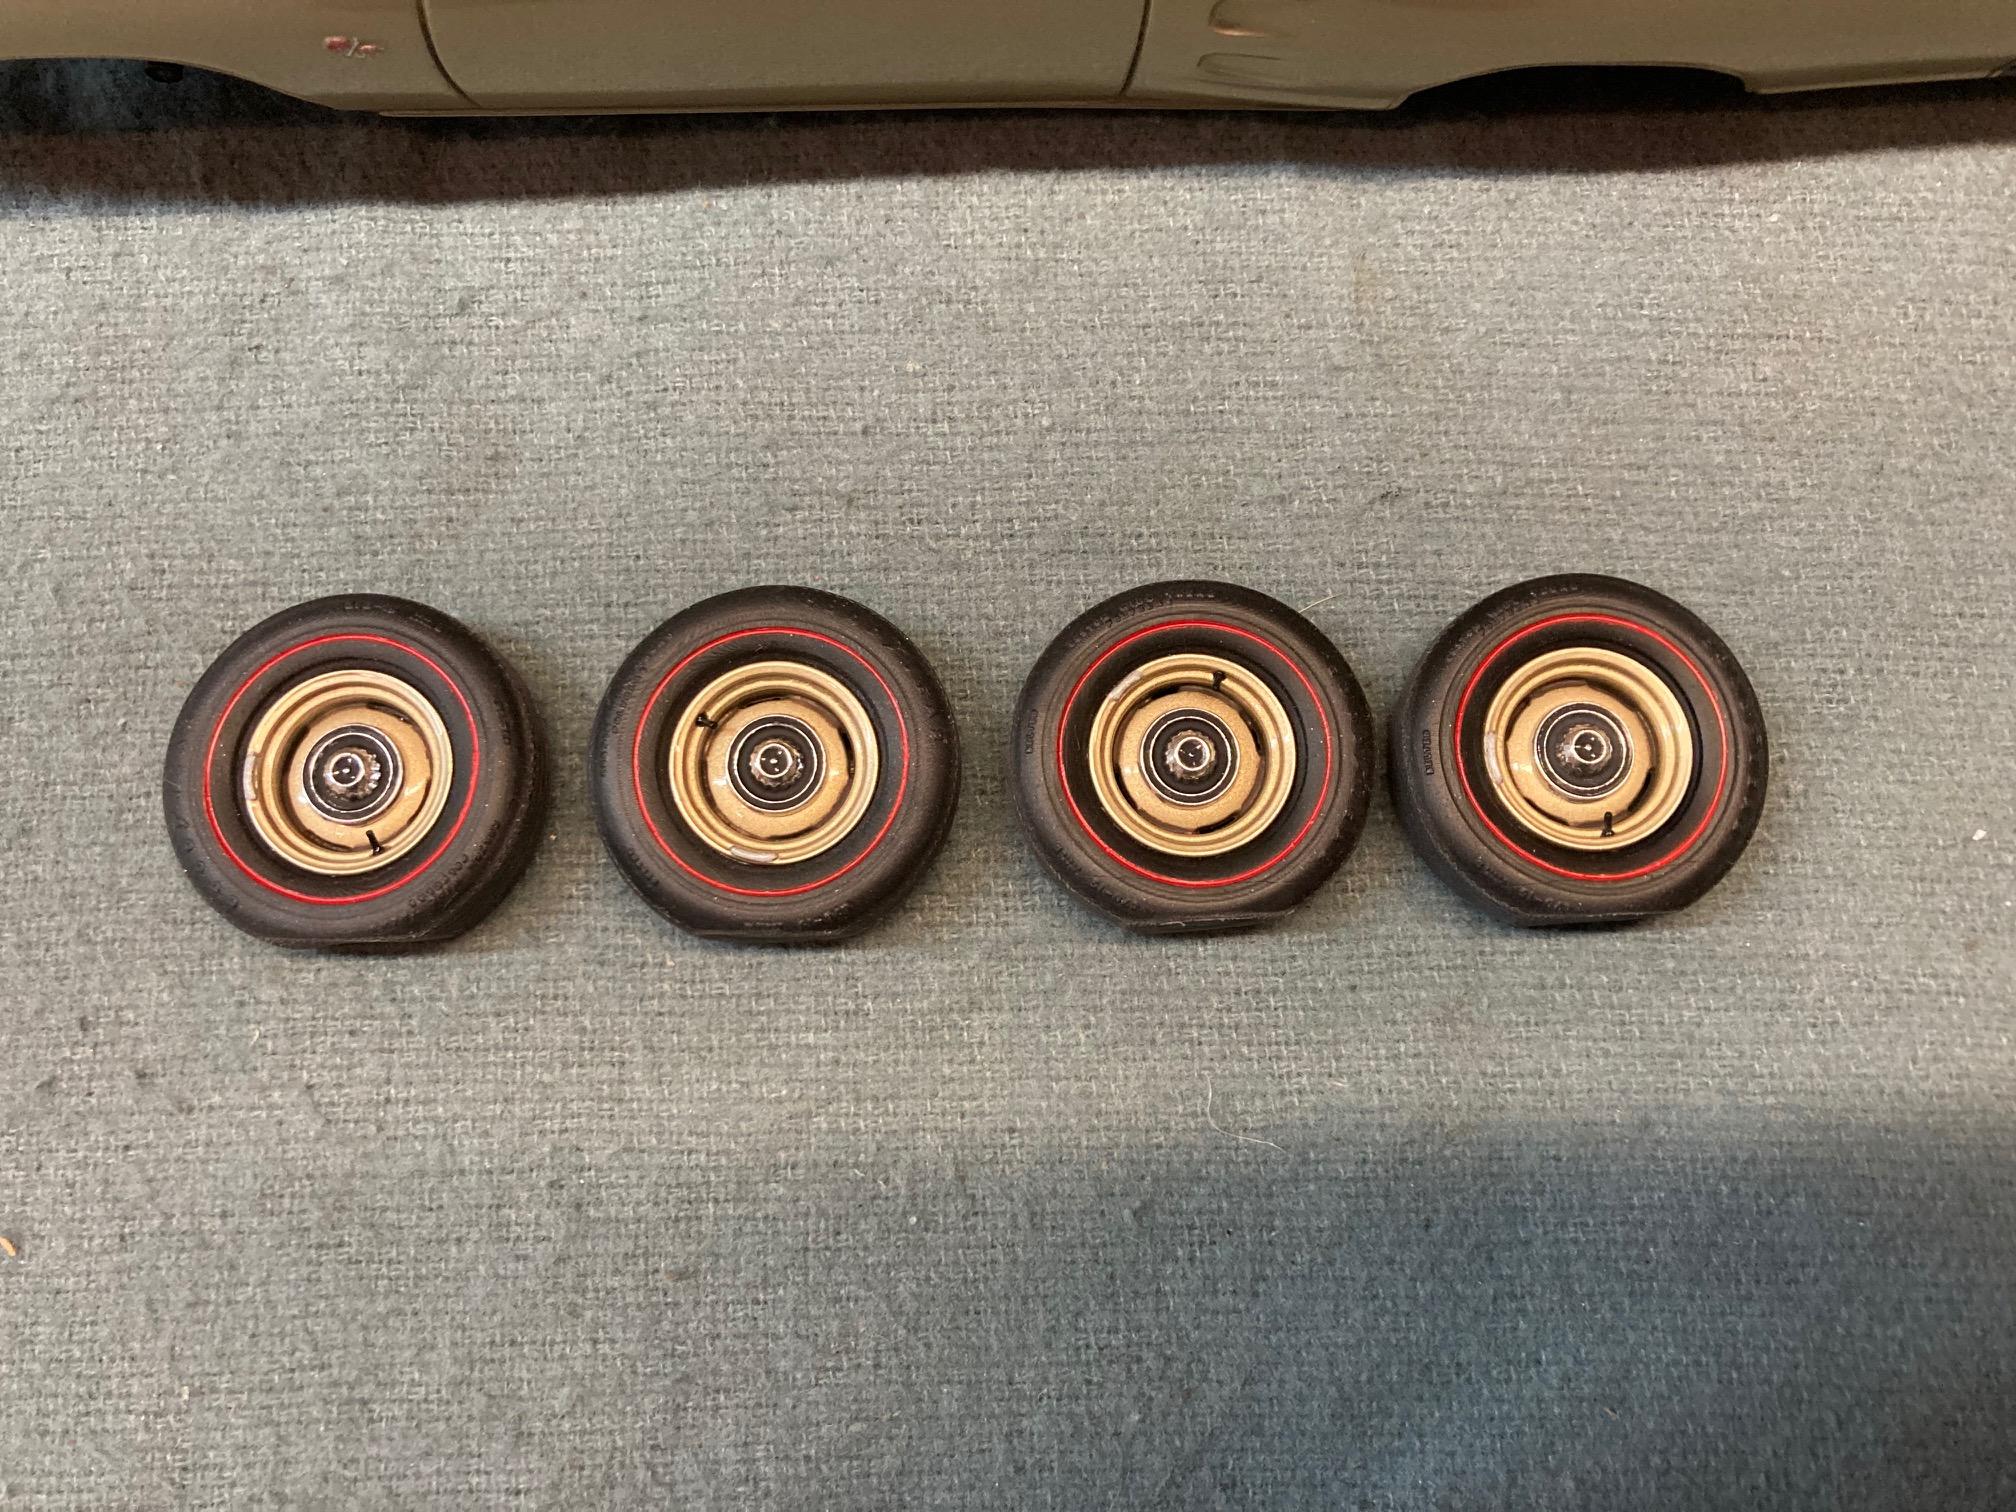
These are the one's that I used, but I don't think the brand of paint should matter much, as long as it's a good acrylic paint. The technique is much more important than the brand of paint. I didn't thin it, I just used a small brush and flowed the paint into the groove as well as possible, let it dry for a short time, and then went around the edges of the groove lightly with a Tamiya swab dipped in mineral spirits. I put a coat of white on each tire, then went back and cleaned each one between each coat. I used 2 coats of white, followed by 2 coats of red. It worked very well for me. Steve
-
Well it’s finally announced.?
StevenGuthmiller replied to NYLIBUD's topic in General Automotive Talk (Trucks and Cars)
Yeah, I feel a lot better now. Steve -
Fireball Red Line Tire
StevenGuthmiller replied to TransAmMike's topic in Model Building Questions and Answers
Be careful using enamel. I can’t say what the results will be on these resin tires, but I have kit tires that I painted white walls on 20 years ago that still haven’t dried properly. Some kind of weird reaction between the enamel and the tire. Steve -
Well it’s finally announced.?
StevenGuthmiller replied to NYLIBUD's topic in General Automotive Talk (Trucks and Cars)
I want to know how long I have to live when I hit a patch of ice in North Dakota, with my Tesla, with a half a charge, during a raging snow storm, when it's 35 degrees below zero in January, and end up in the ditch. Or what is going to take place when I'm commuting back home from work in July in Phoenix in 104 degree temps and I get stuck in a traffic jam. Or when I decide to hook my camper to my new electric Ford pickup and take it a few hundred miles camping. Steve