StevenGuthmiller
-
Posts
15,071 -
Joined
-
Last visited
Content Type
Profiles
Forums
Events
Gallery
Everything posted by StevenGuthmiller
-

What Did You Have for Dinner?
StevenGuthmiller replied to StevenGuthmiller's topic in The Off-Topic Lounge
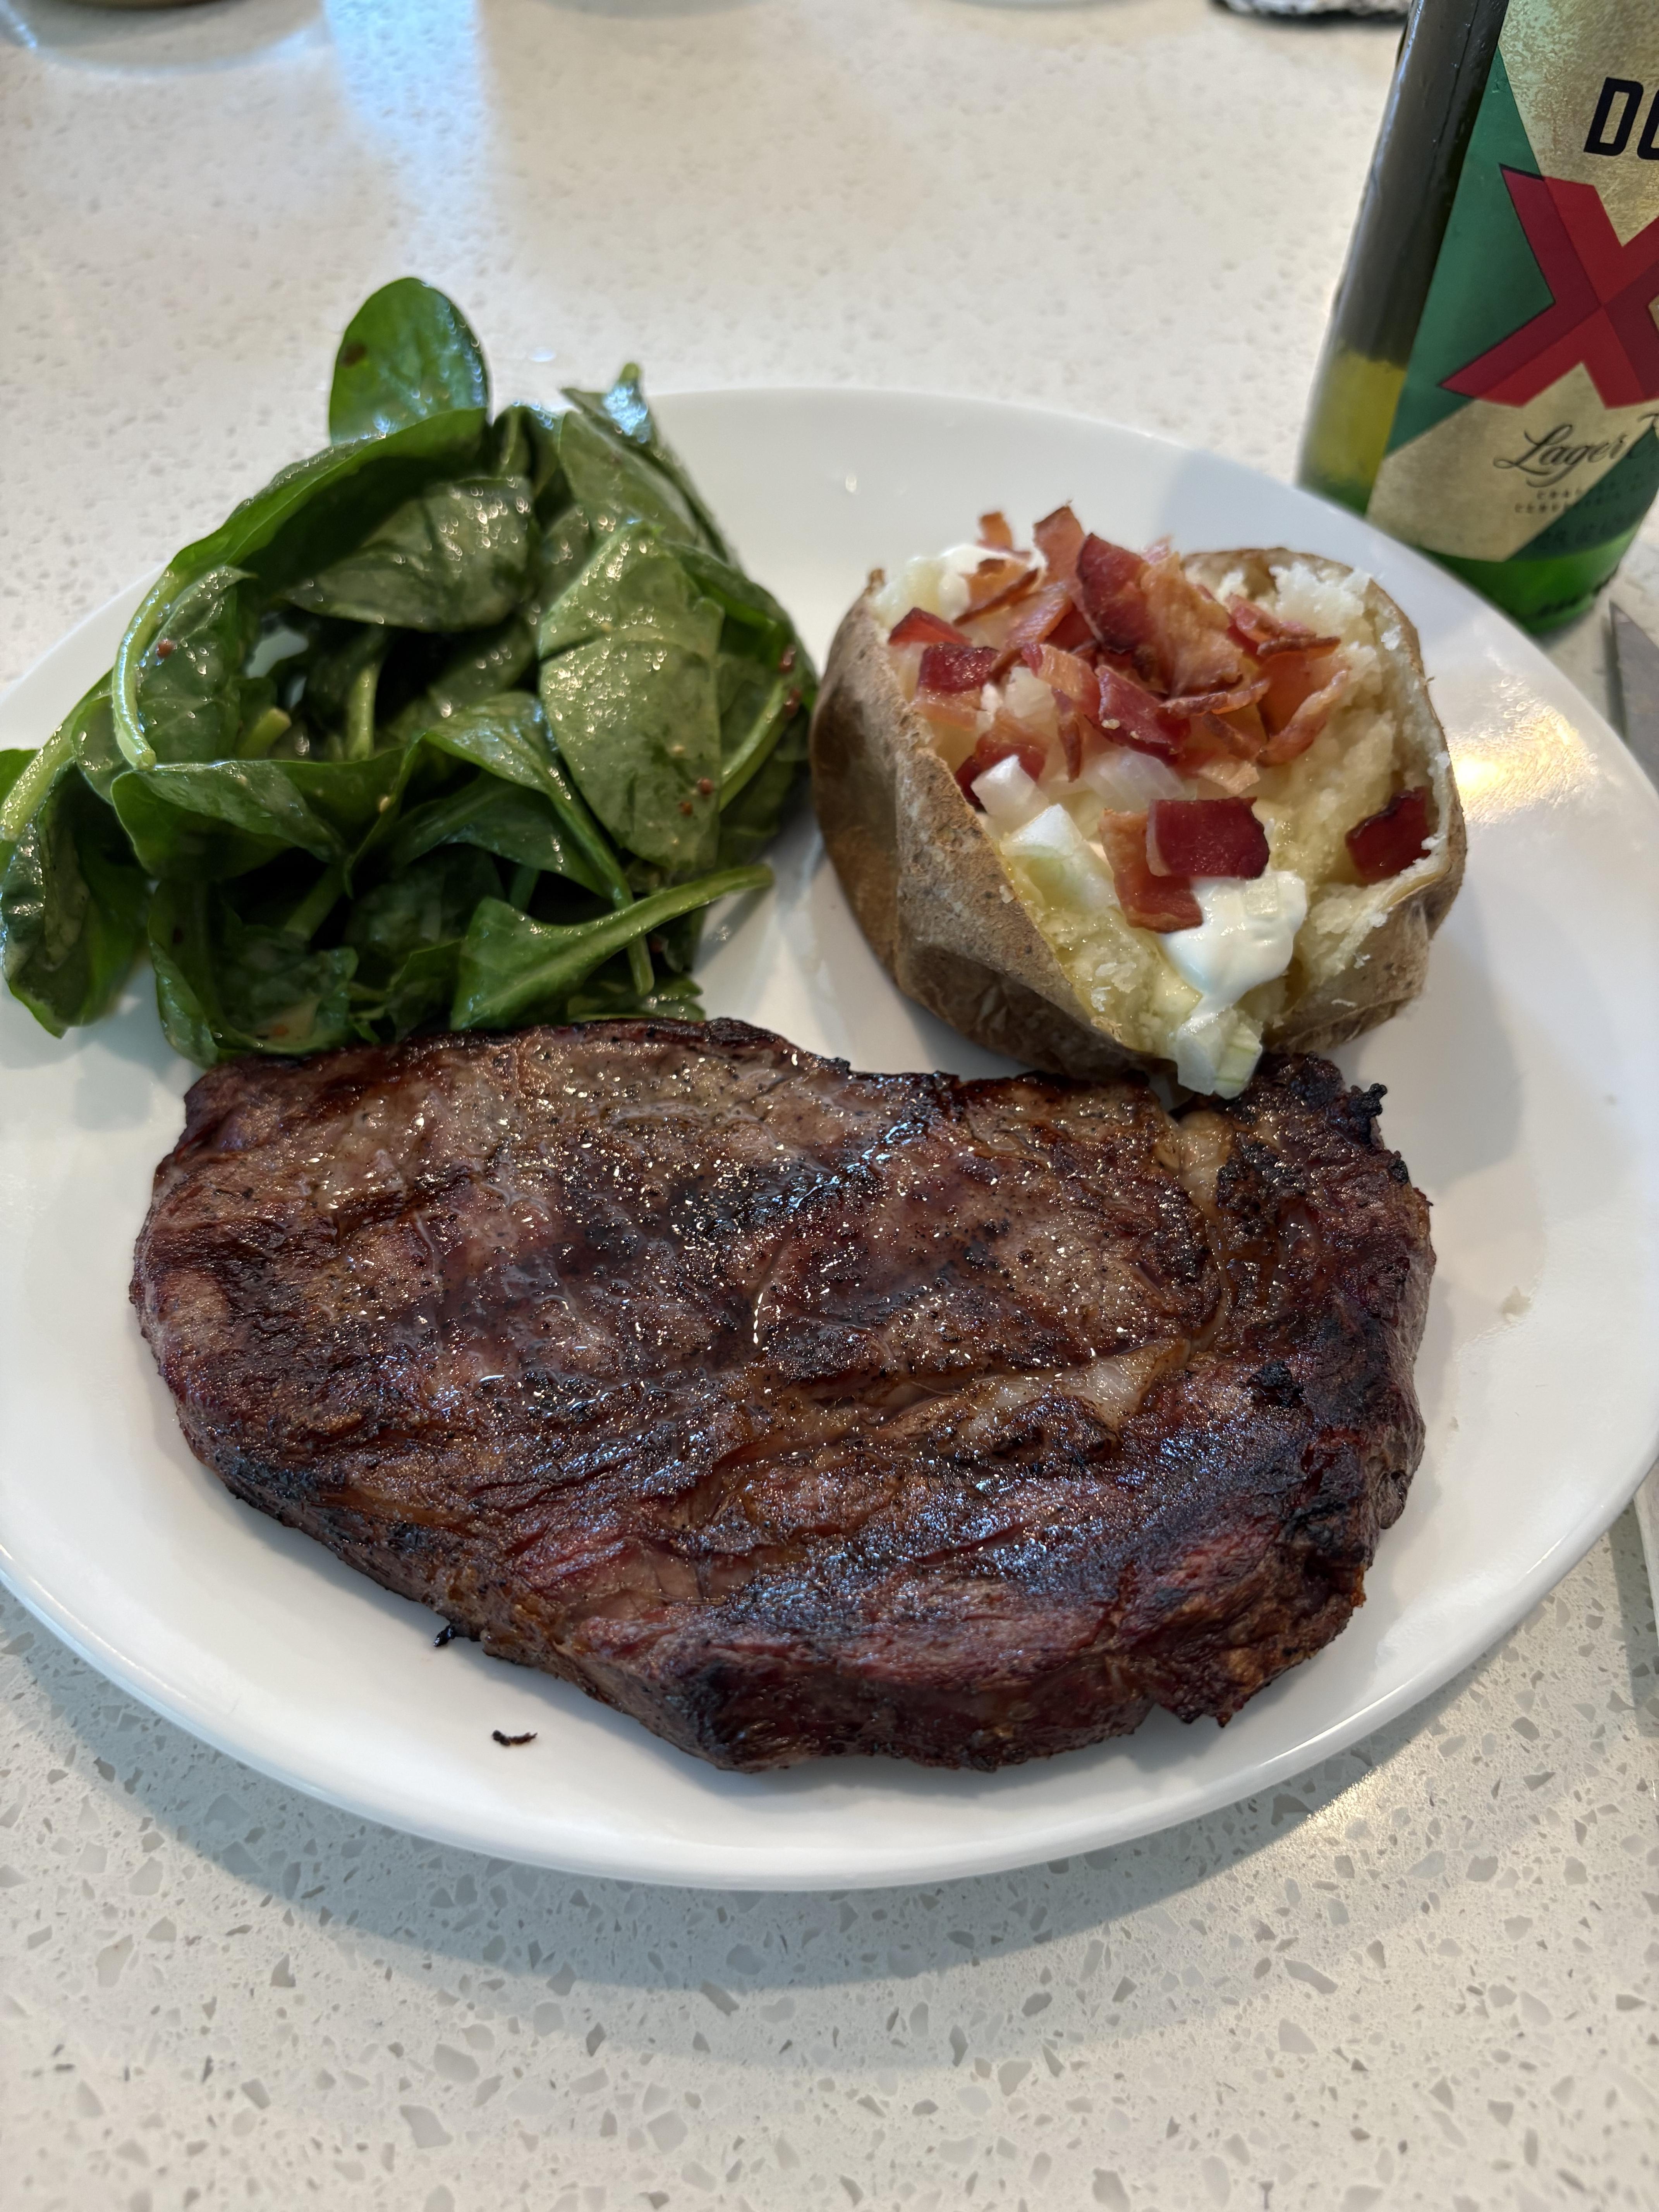
Ribeye with spinach salad and a baked potato with butter, sour cream, onions and bacon. Steve
-
What Did You Have for Dinner?
StevenGuthmiller replied to StevenGuthmiller's topic in The Off-Topic Lounge
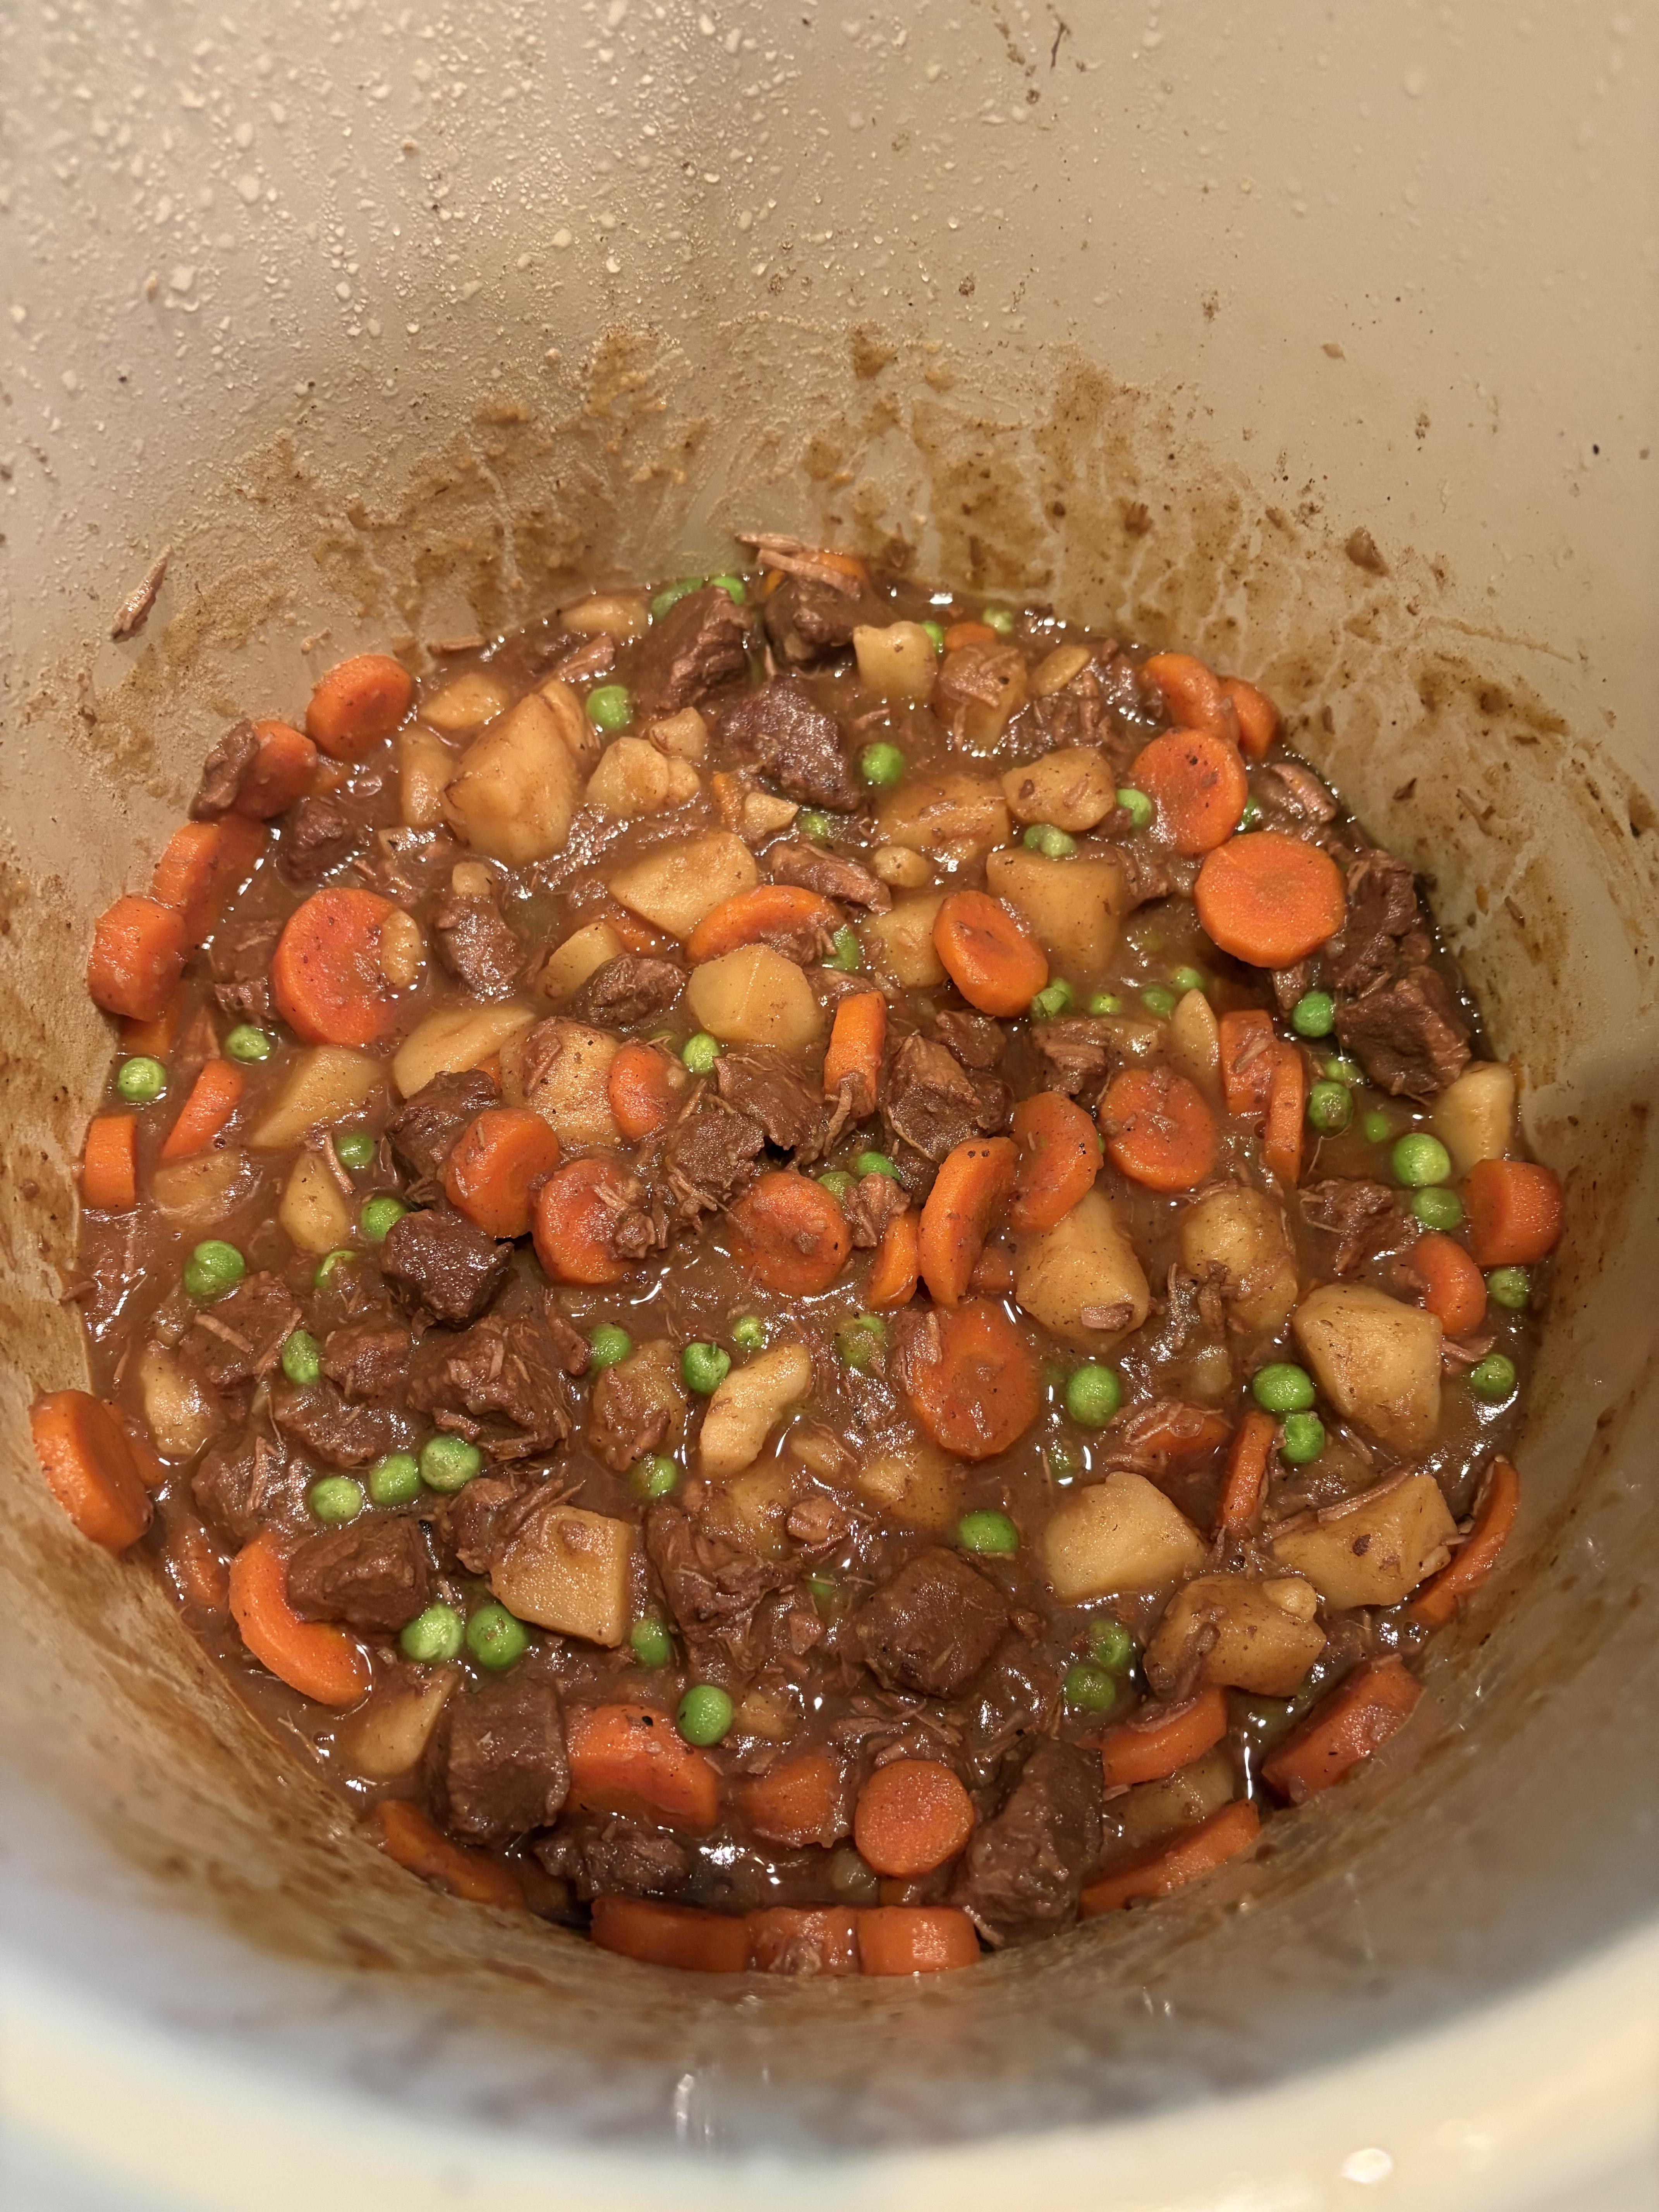
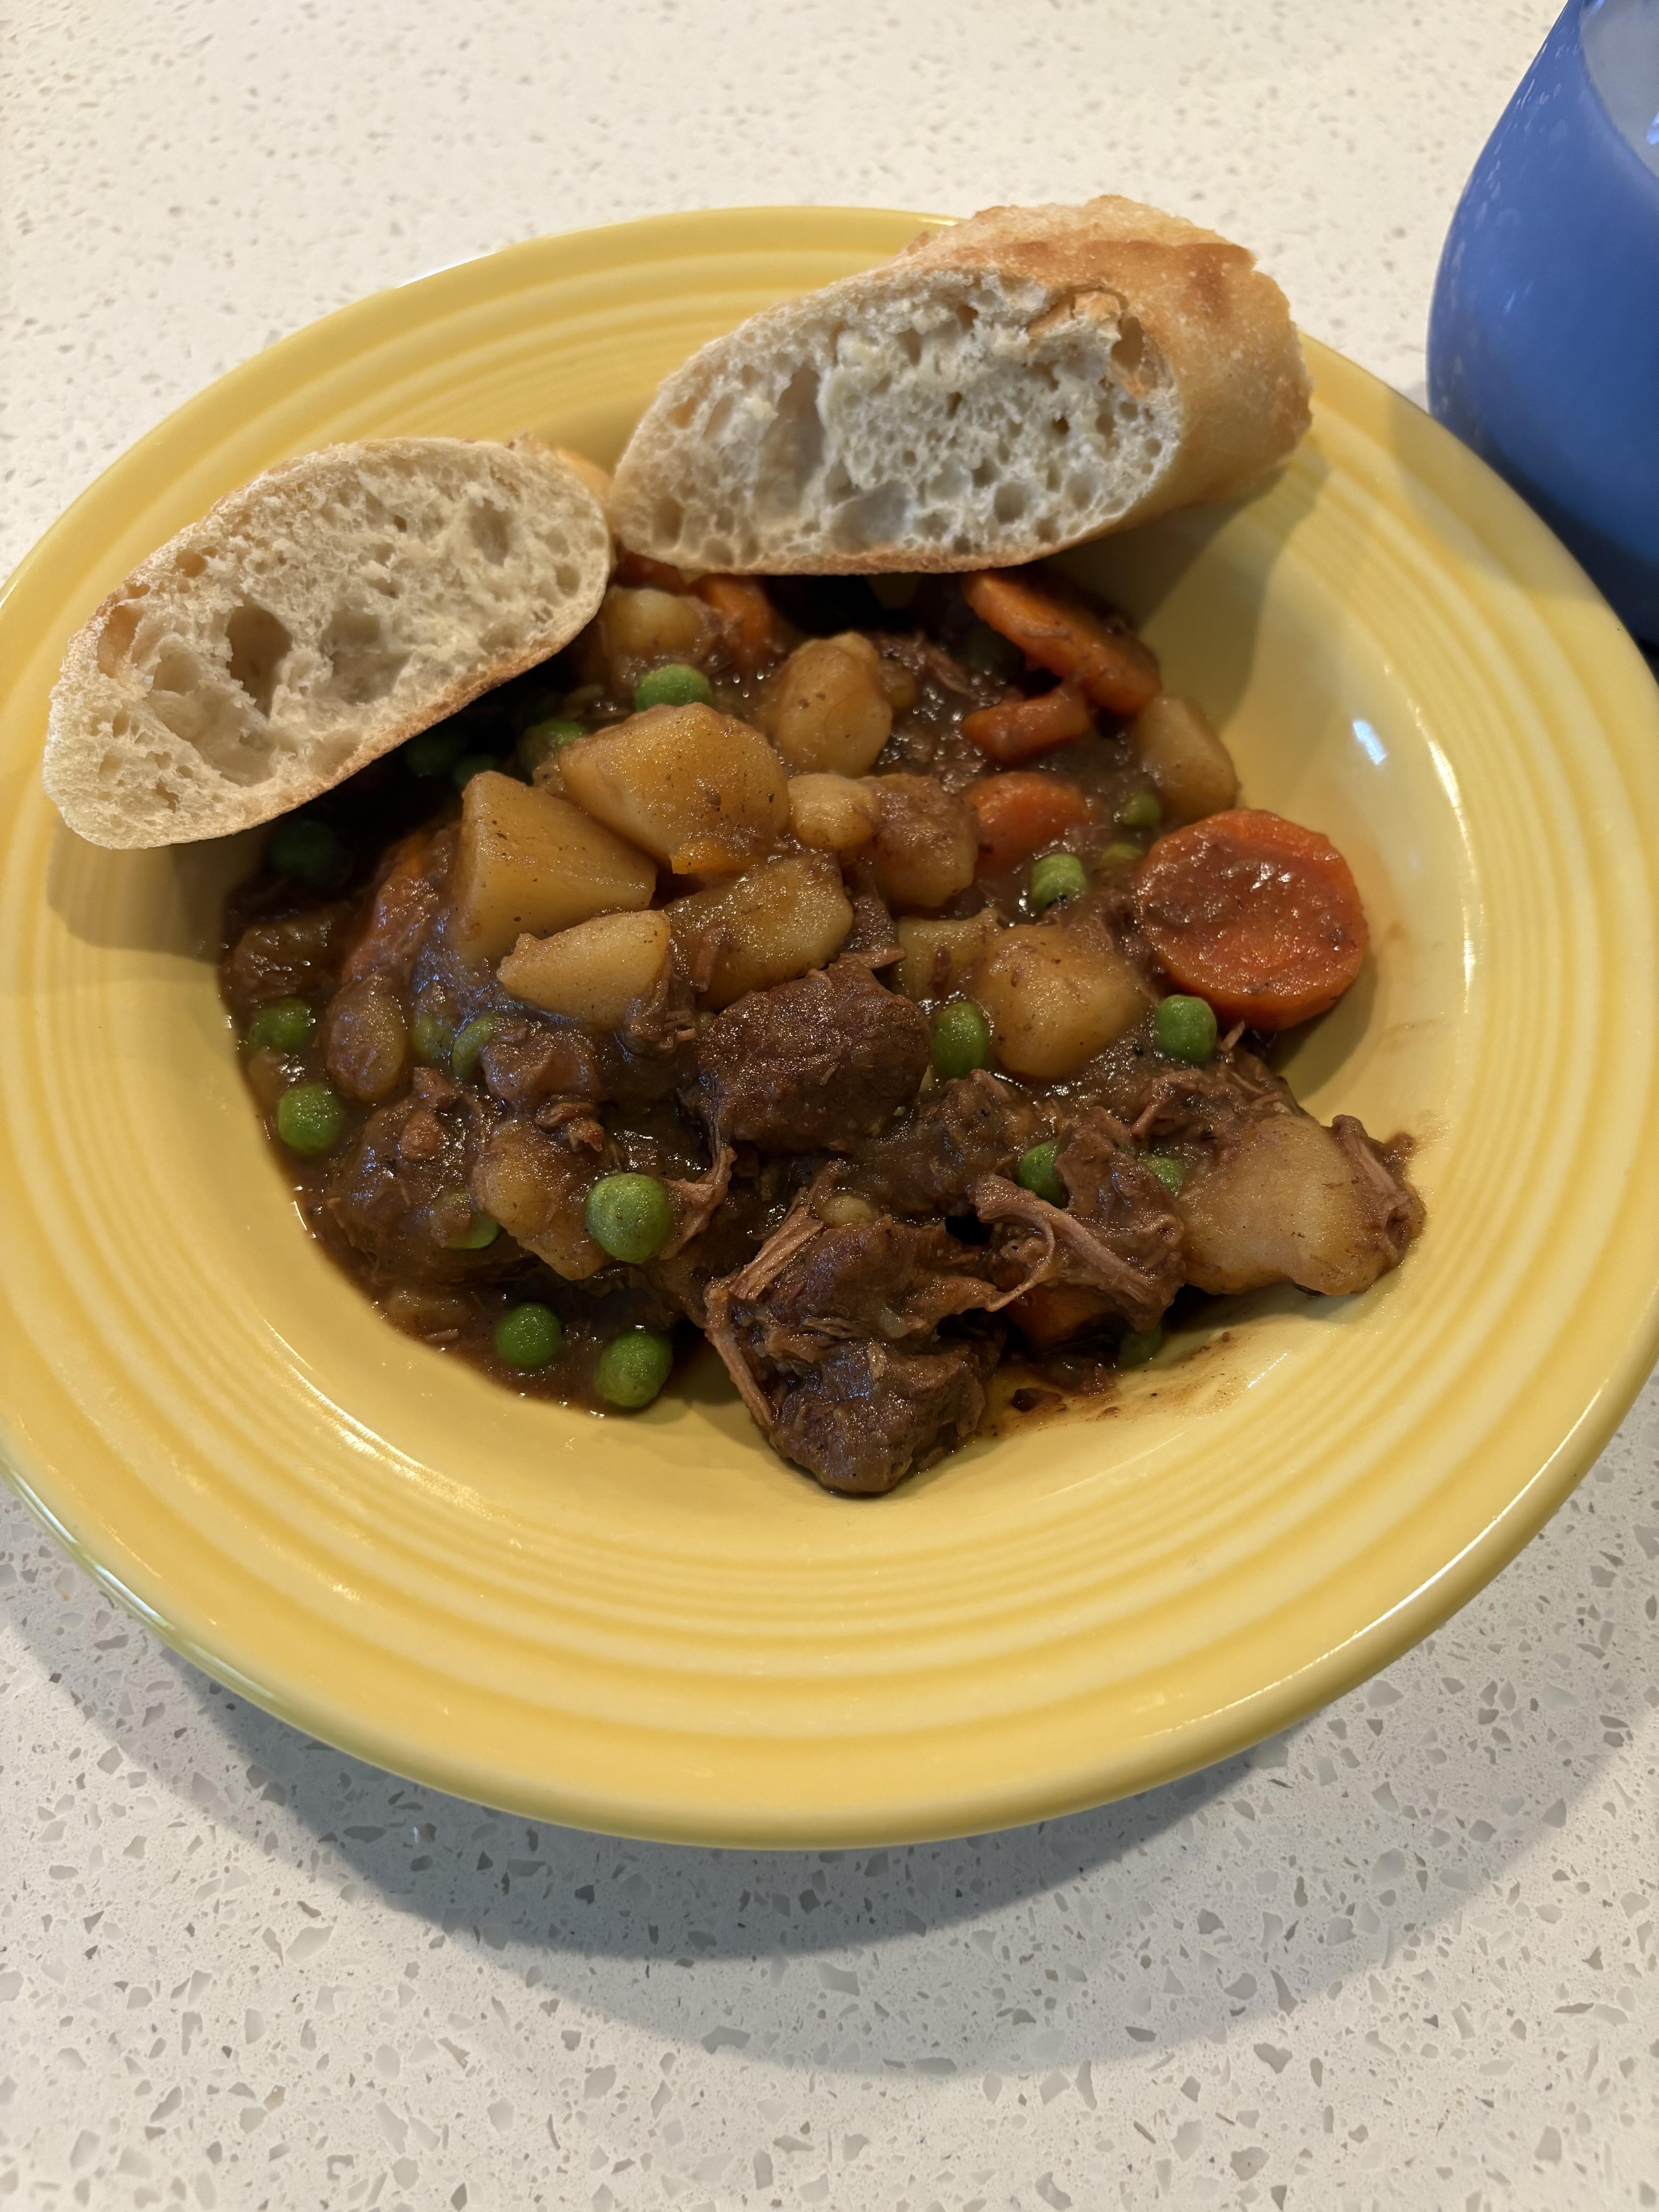
Big pot-o-beef stew. 😊 Steve
-
What Did You Have for Dinner?
StevenGuthmiller replied to StevenGuthmiller's topic in The Off-Topic Lounge
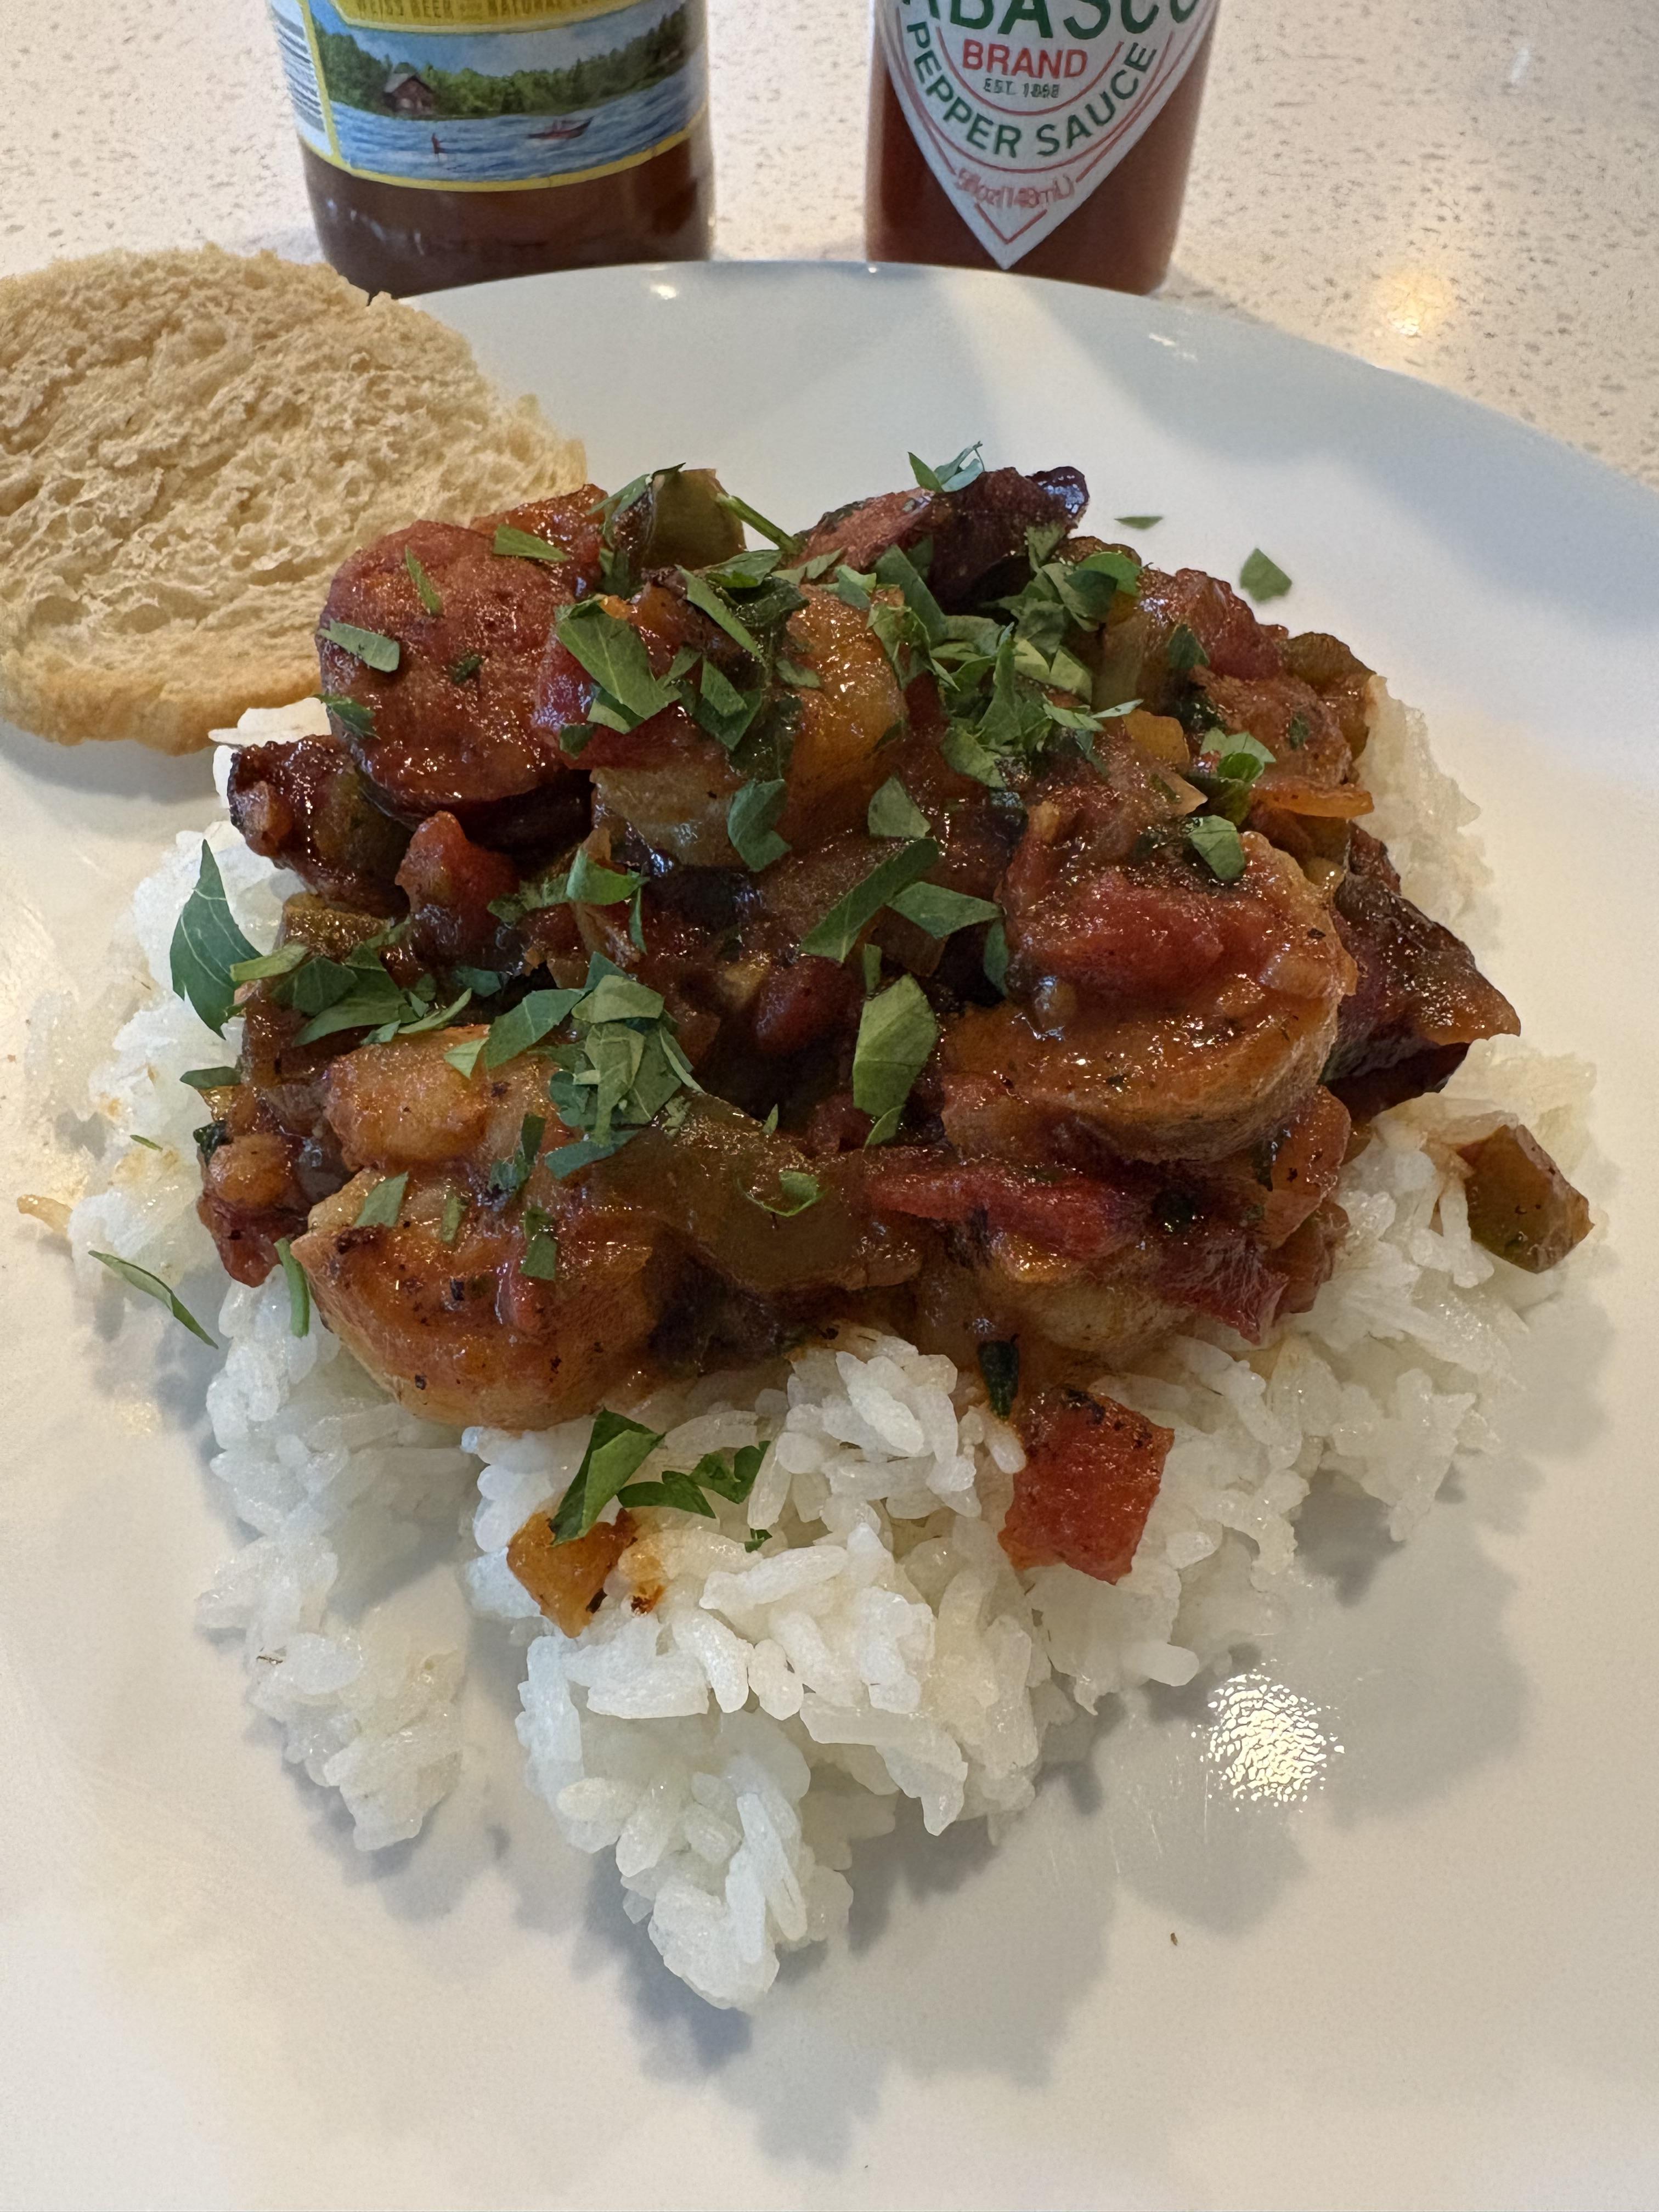
Shrimp and Sausage Creole with Rice and a Spinach Salad. Steve
-
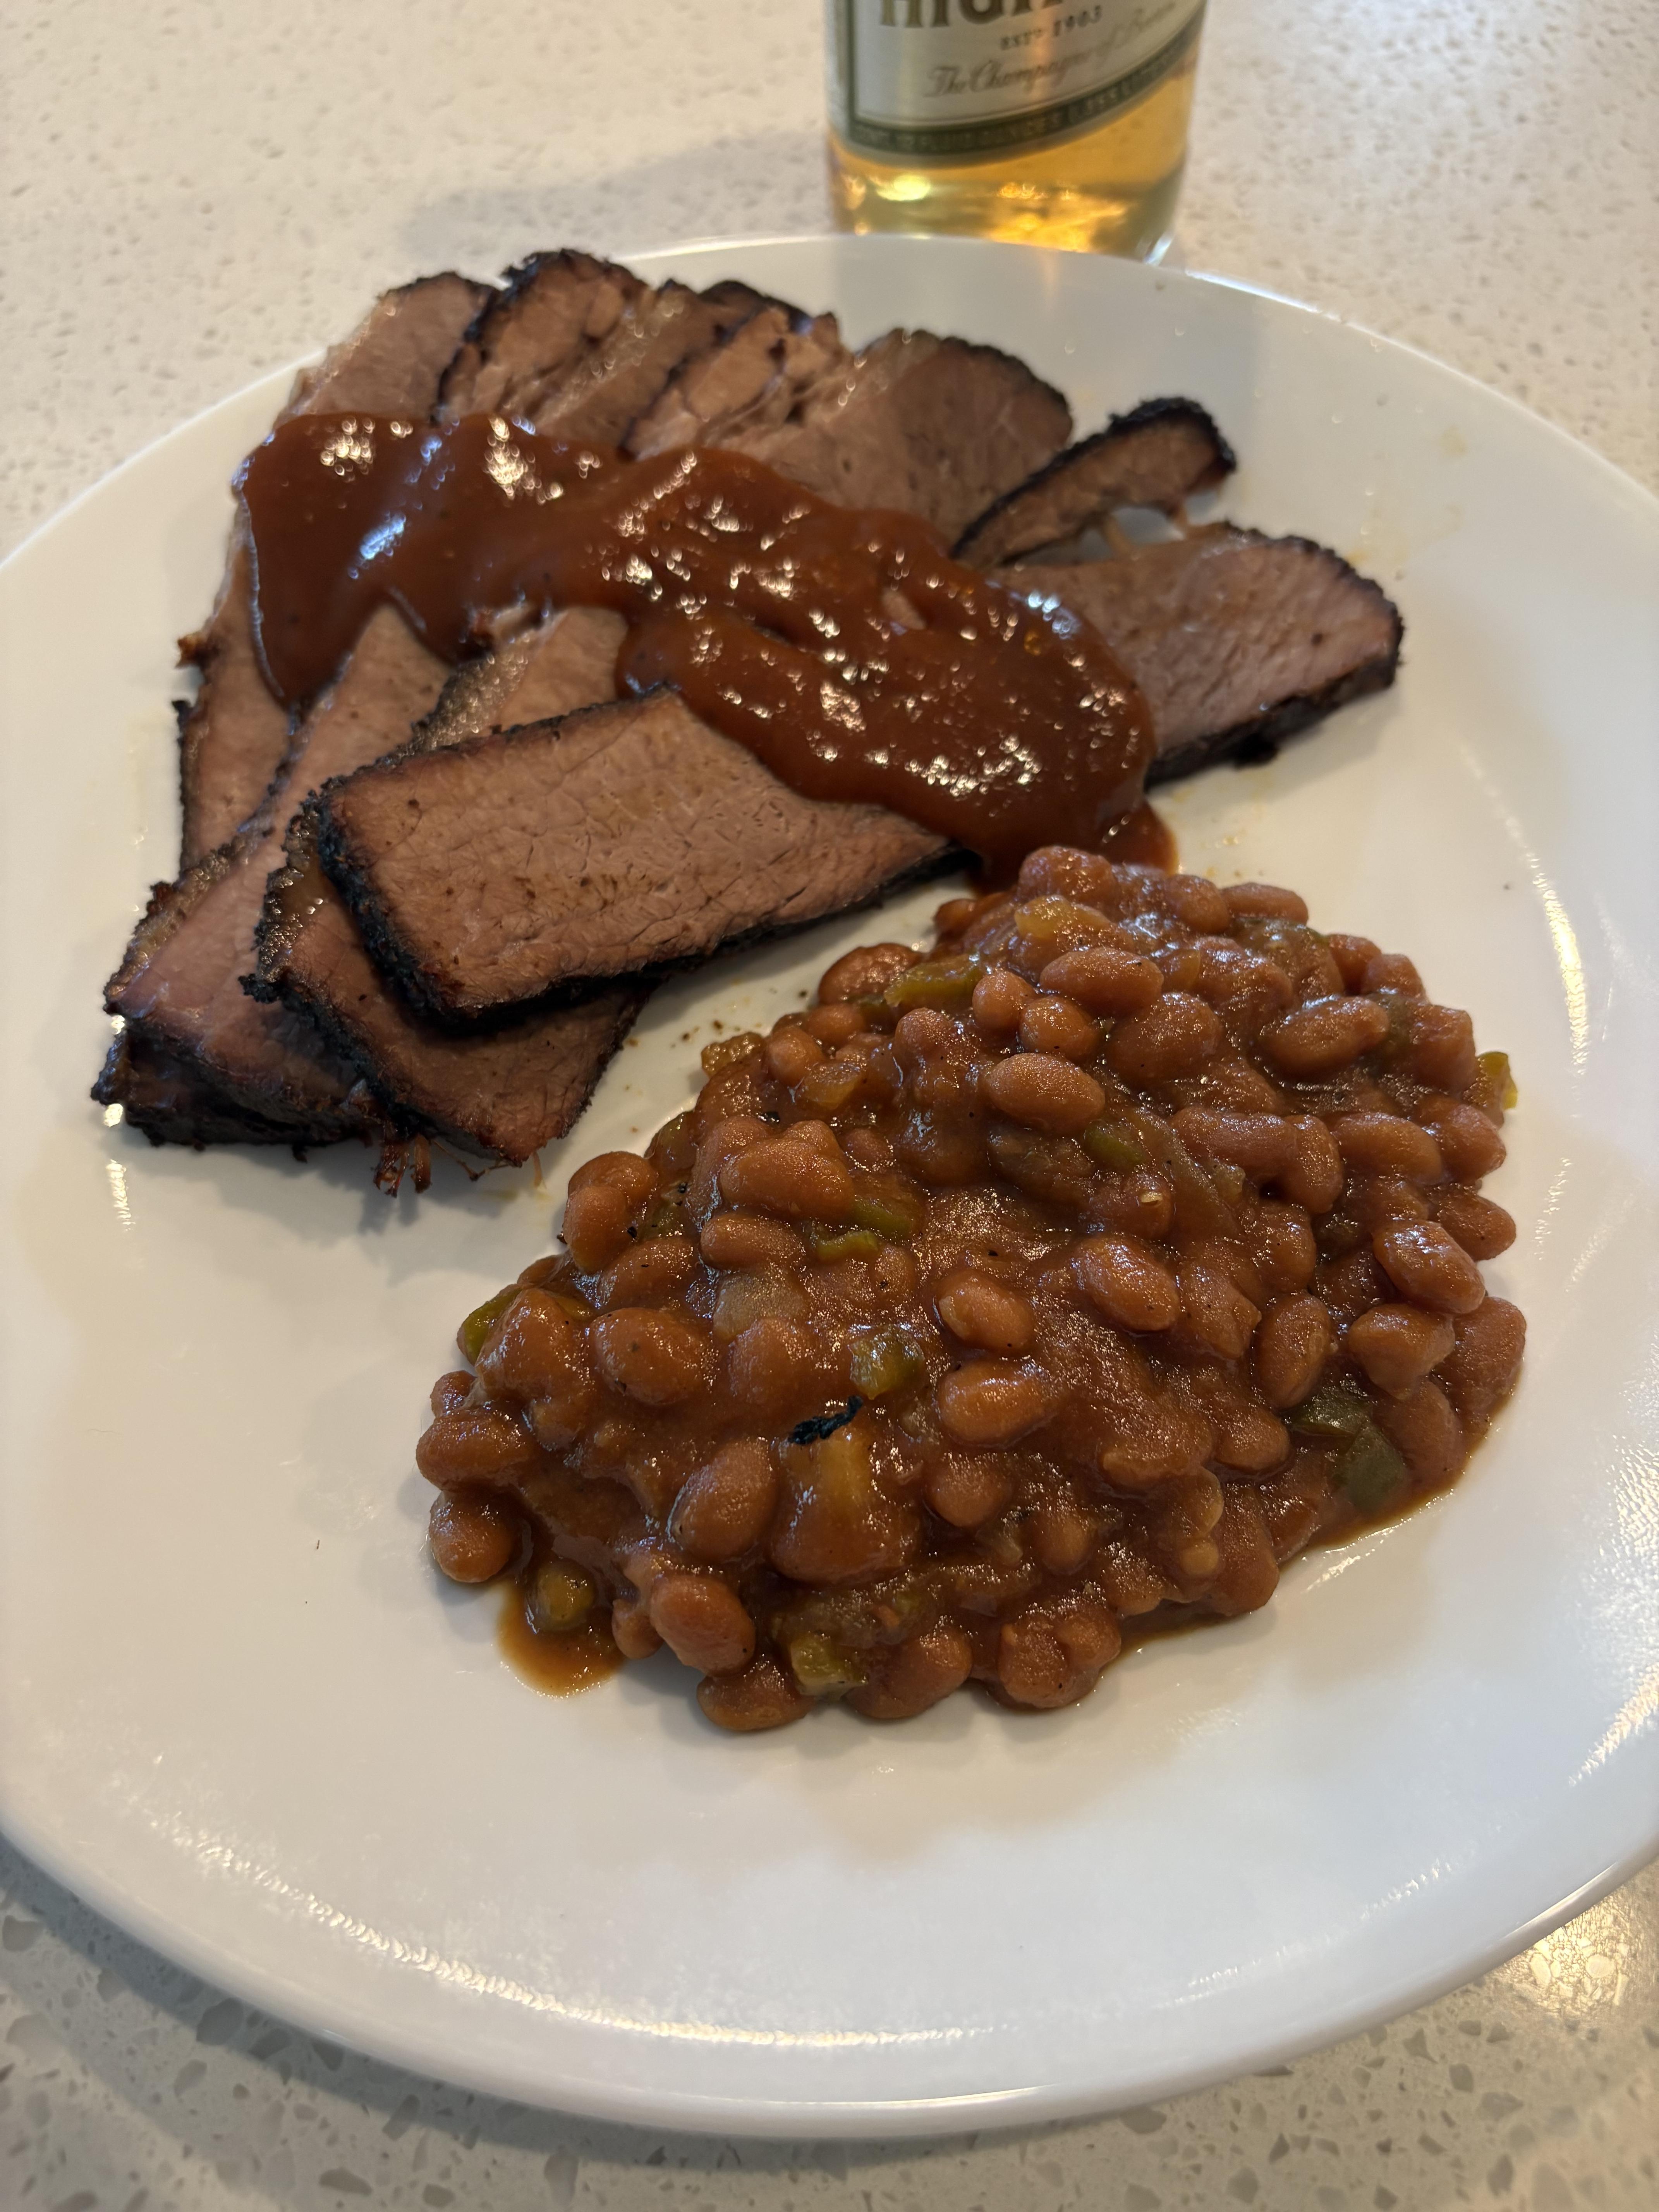
What Did You Have for Dinner?
StevenGuthmiller replied to StevenGuthmiller's topic in The Off-Topic Lounge
Smoked Brisket and baked beans. Steve
-
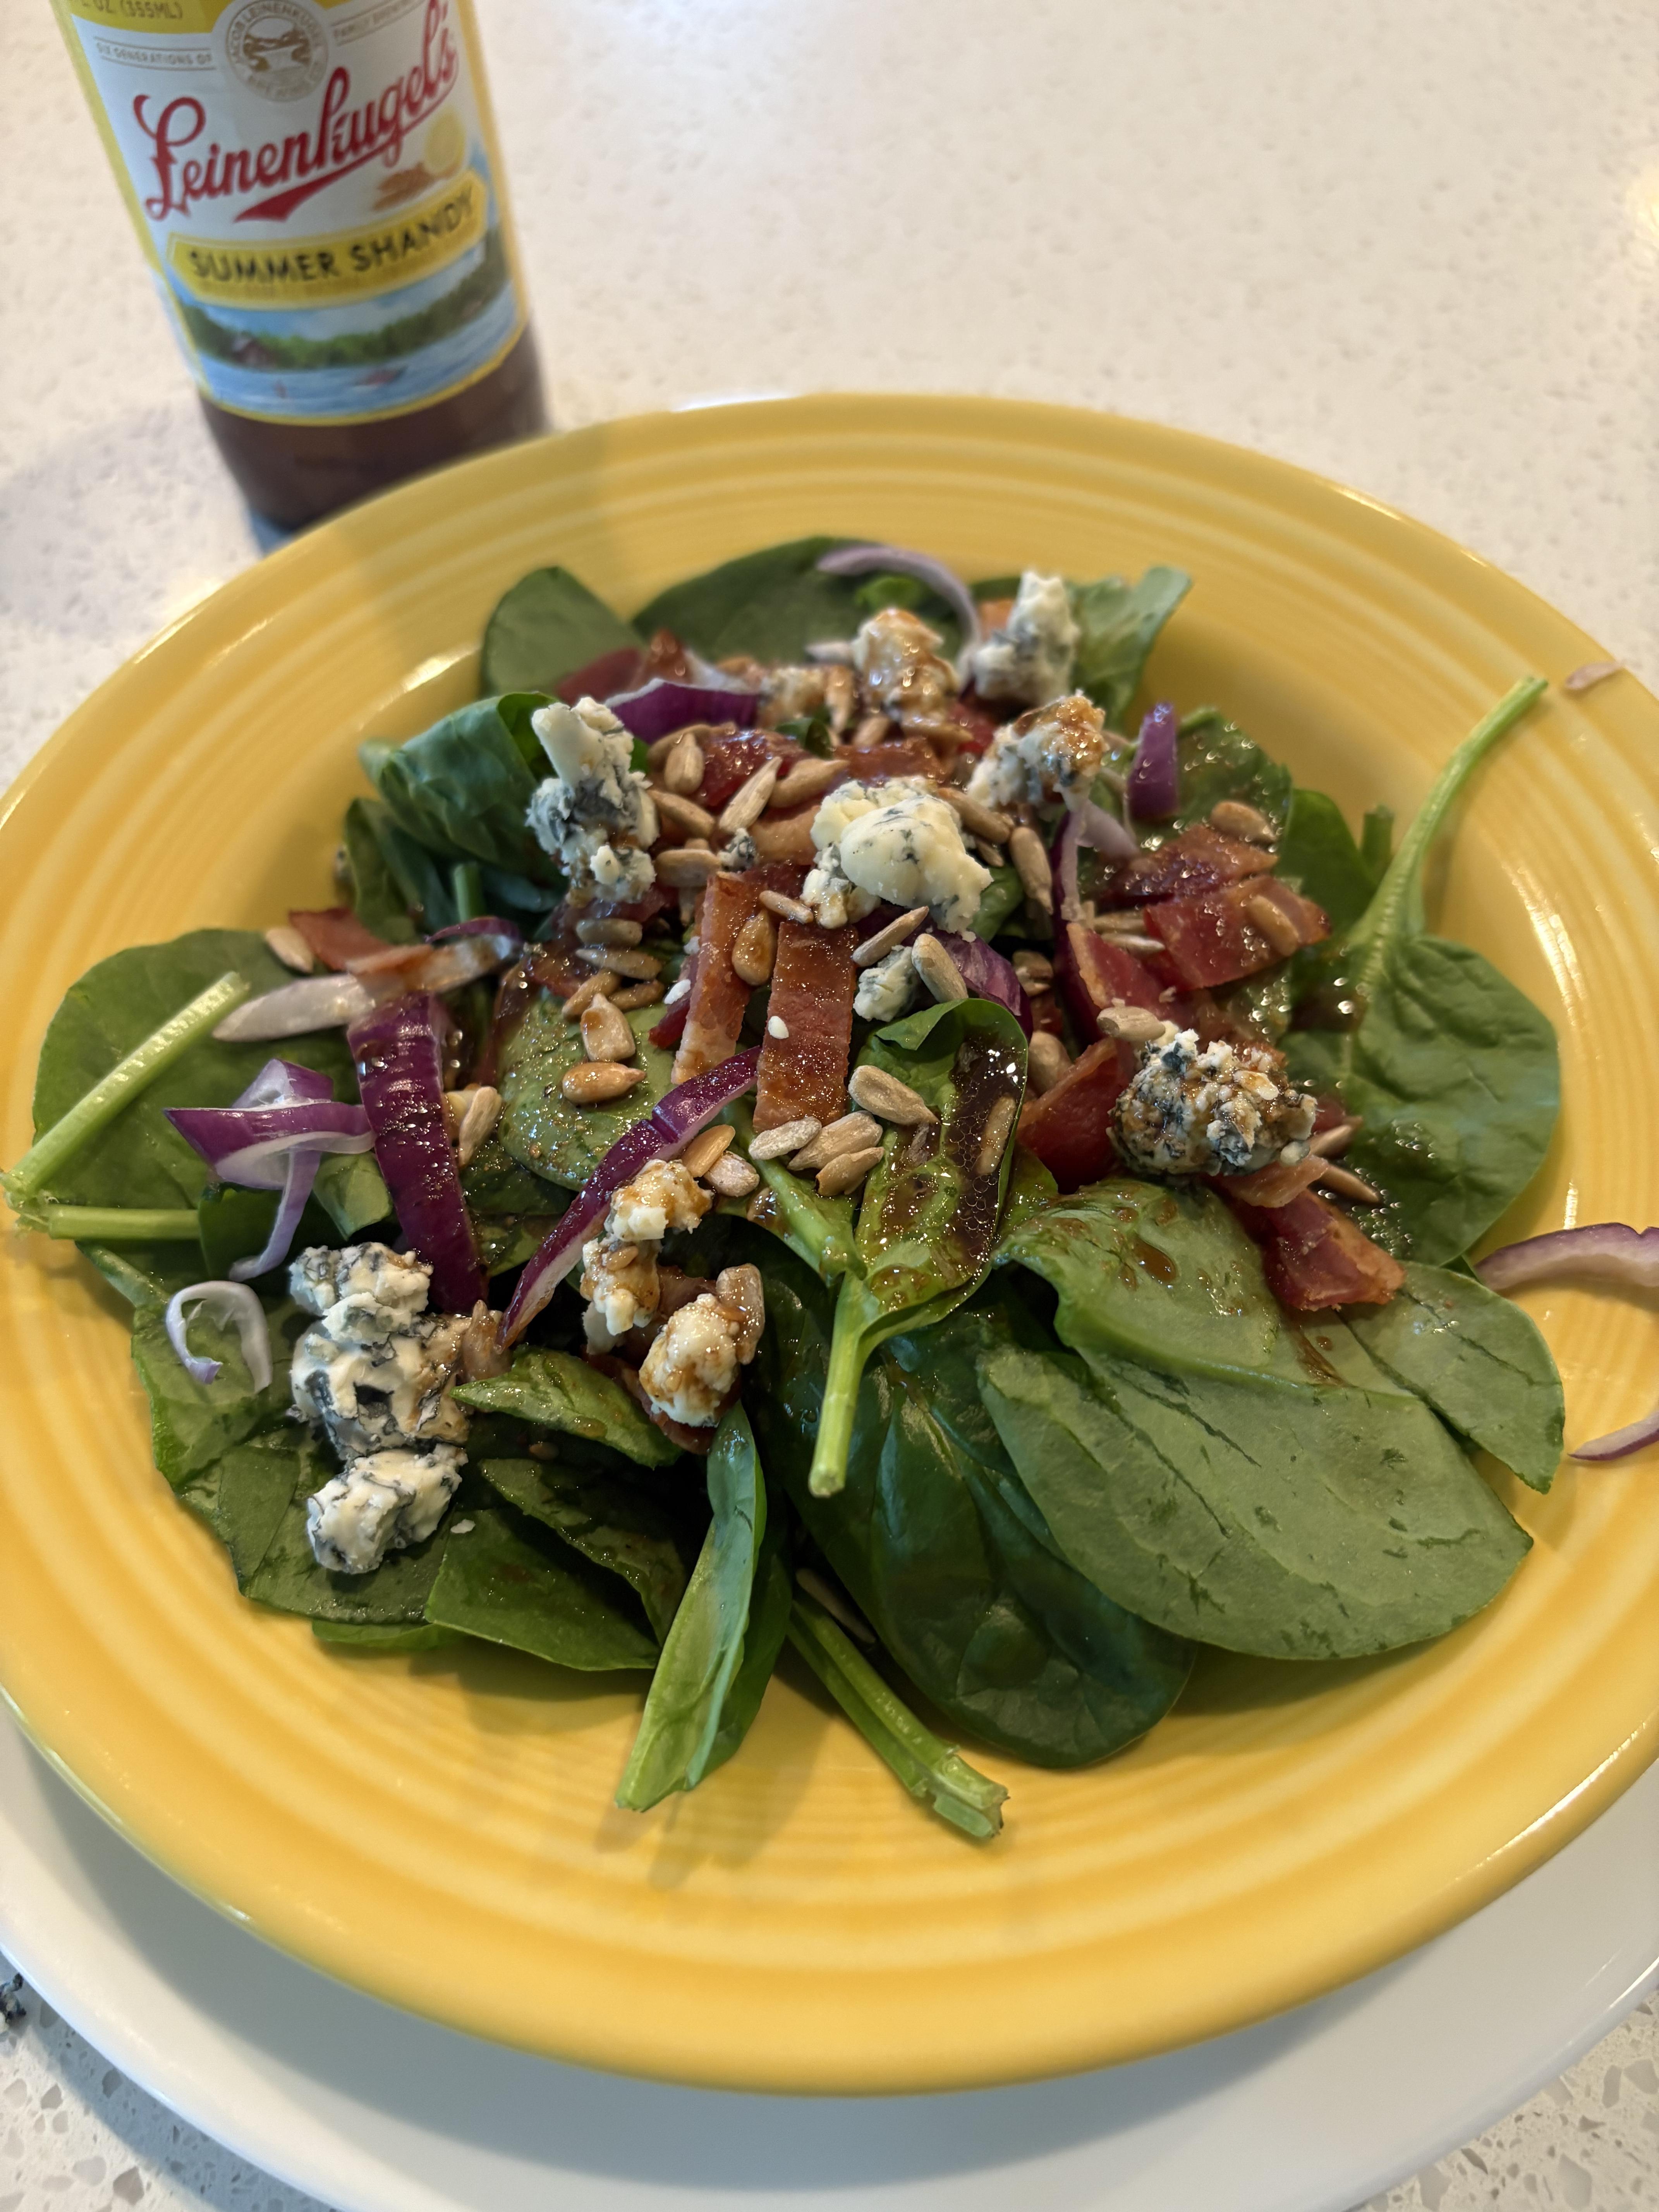
What Did You Have for Dinner?
StevenGuthmiller replied to StevenGuthmiller's topic in The Off-Topic Lounge
Here’s a few meals I’ve prepared over the past month or so. Grilled Pizza, with Alfredo sauce, bacon, mushrooms, fresh mozzarella, arugula and balsamic vinegar. Steve
-
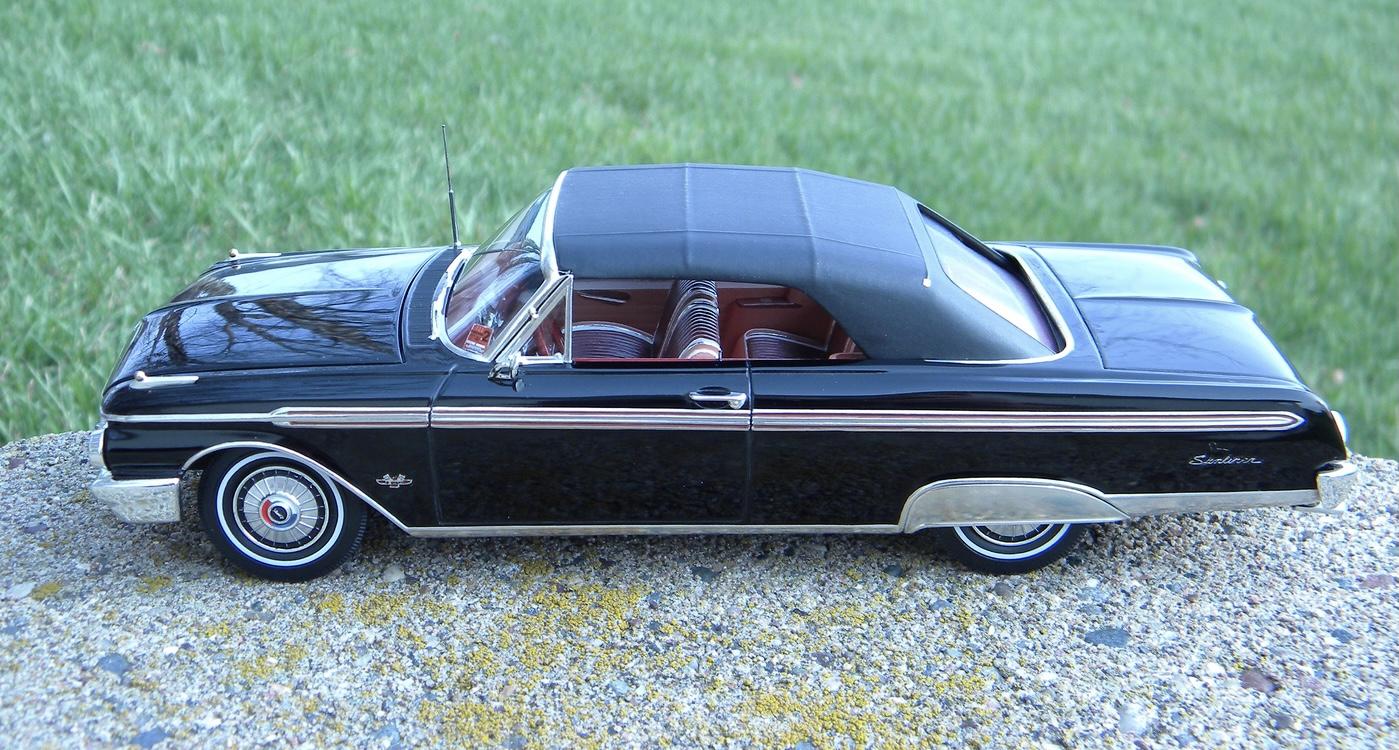
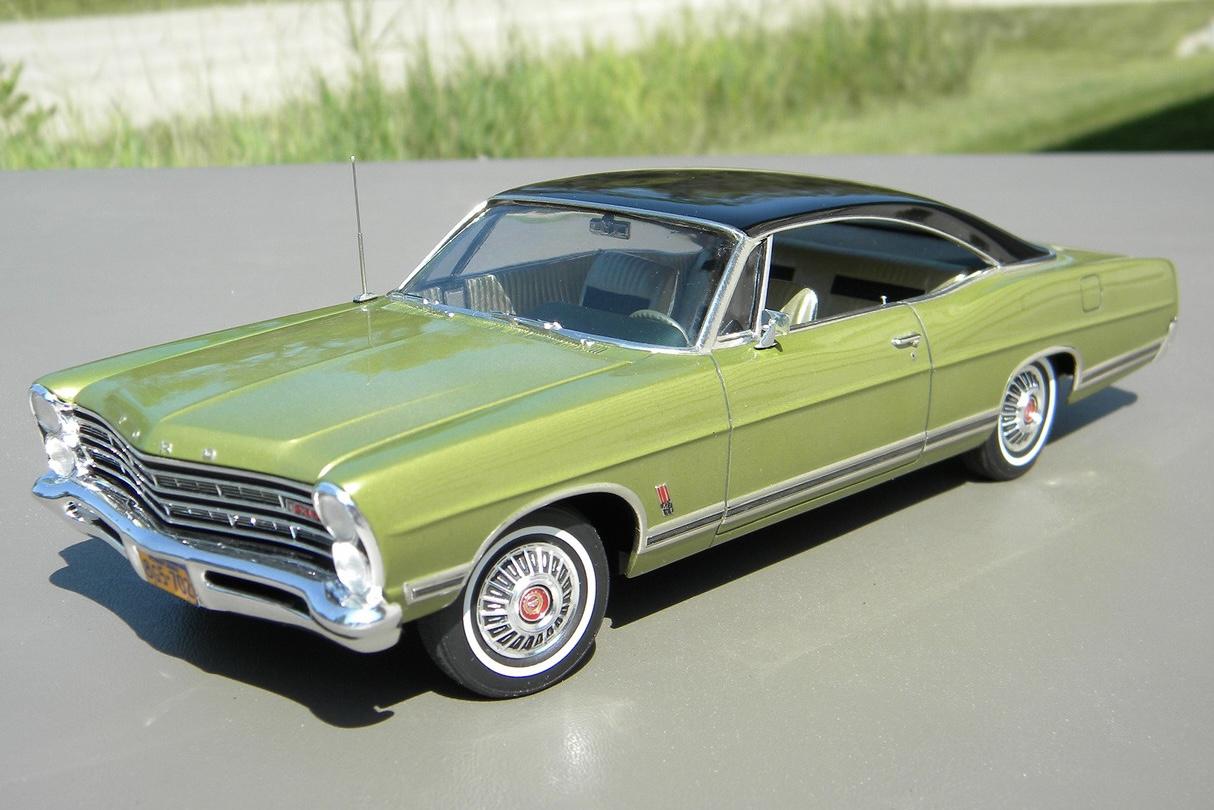
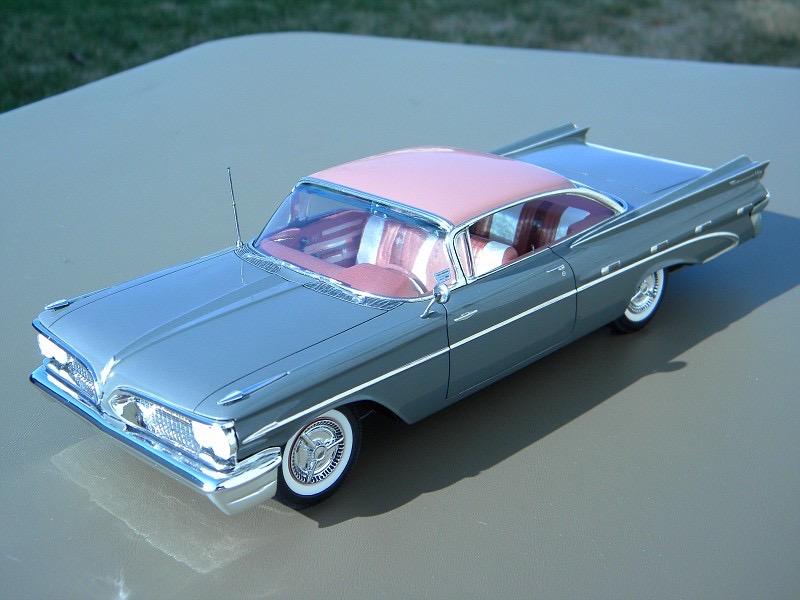
I don't do fancy custom paint as a rule, although I wouldn't necessarily be afraid to go there. It's just not my genre. My stuff is predominantly factory stock, so my paint work reflects that. I don't remember the last time that I posted anything in this thread, but here are a couple more recent and my "newest" favorite paint jobs. Steve
- 920 replies
-
- 10
-

-
Keep working on it. It might take a little while to get the hang of it, but I guarantee you that once you do, you'll never go back to doing it any other way. In all honesty, there is no comparison. Just go to a few shows and you'll quickly discover that the vast majority of the best car modelers on the planet are using foil for their trim. There's a reason for that. Steve
-
Could be. Or it might just be that you got a hold of a bad sheet, or the surface that you're applying it too isn't smooth enough. Foil works best when applied to a smooth, glossy surface. BMF was selling some bad product a couple of years ago due to supply disruptions during the pandemic, but have since returned to original production. You can do whatever you want, but what I will tell you is that I have models in my collection that were foiled decades ago that look exactly as they did 30 years ago, and I don't have to be concerned about what they're going to look like 20 years from now. Properly applied foil will last a lifetime, regardless of the environment or the amount of handling. Nobody can honestly guarantee the same for something like Molotow. It's a complete experiment. Molotow is an ink and was intended for use as a graffiti artist material and was never intended as a permanent solution for anything. It's for that reason that I don't expect it to have any long term viability and don't use it anywhere on my models. BMF is real metal and can be expected to perform as real metal would. I understand that there are those who become frustrated with the occasional subpar workability of BMF, but those who persevere and overcome the occasional difficulties with it are rewarded with a material that in my opinion, looks better than the other options, as well as something that they will never have to watch deteriorate before their eyes. BMF revolutionized the model car hobby probably close to 50 years ago now, and I highly doubt that any of the current "replacements" are going to ever have the same impact as foil has. I think of it from this perspective. Other than a slightly better finish, there's literally almost no advantage of a product such as Molotow over the old Testors "chrome silver" enamel paint. It's not any easier to apply, (except for the pen, which doesn't do a very good or accurate job anyway) and it is about as durable as the Testors enamel was too, rubbing off very easily with even average handling. Okay, so I've rambled enough, and anybody that knows me, knows my stance on chrome inks or paints versus foil and plated parts, so I'll just leave it at that. They're your models, so you need to decide on what will give you the best results. I decided on that, with respect to trim on models, probably close to 40 years ago, and have found no evidence that any changes have become necessary. A few more examples. Steve
-
Certainly! Just be sure that you have the correct foil, (original, or “new improved) Stay away from the “Ultra Bright” foil. It’s much harder to work with. Before I began replacing door handles on my projects with resin/3-D printed parts, I always used foil for everything, including door handles. You just need to take your time. These are all finished with BMF, and I have many more examples in my collection. Steve
-
Use foil. 😉 Steve
-
What is your favorite sports car?
StevenGuthmiller replied to WillyBilly's topic in General Automotive Talk (Trucks and Cars)
I’ve never been much of a sports car fan. Most of them are ridiculously expensive, and I’m not much into stuff that is completely unobtainable by the average human being. That said, I do enjoy my 2005 Honda S-2000. If I had to pick a favorite, it certainly wouldn’t be anything modern. I don’t find most of them particularly good looking. Probably a 1956-1967 Corvette, a baby bird, or possibly a early 60s Jag. The rest of them you can have. Steve -
If the blue is a lacquer and the white is enamel, you should be able to remove the white with possibly some mineral spirits without damaging the lacquer. Chances are high that even if that works, you may at least have to clear coat to even the color. By the way, you have the same problem at the base of the B-pillar where the white bled under the tape. Steve
-
Polishing compound to repaint
StevenGuthmiller replied to Chuckyg1's topic in Model Building Questions and Answers
Should be able to scrub it off with some Dawn liquid and hot water. Don’t know for sure about the formulation of the Tamiya polish, but it’s worth a try. If it doesn’t work, go to plan B and strip it. Steve -
Polishing compound to repaint
StevenGuthmiller replied to Chuckyg1's topic in Model Building Questions and Answers
What polish were you using? Steve -
Bare metal black foil
StevenGuthmiller replied to Matt87's topic in Model Building Questions and Answers
I bought one sheet of the black chrome WAY back when I first started using BMF, and never had much luck with adhesion. I stopped buying the colored foils many years ago because they’re all just regular foil with a colored coating which will rub off relatively easily. Steve -
I still have all of the photos that I keep on the hosting site on my hard drive. They're not going anywhere. My objective is not to insure that the photos that I post on forums such as this remain here forever. I view them as temporary. There's no guarantee that this board will remain in perpetuity either, so it's not high on my priority list that my photos will be able to be viewed here forever either. Steve
-
I’m still posting the vast majority of my photos through a hosting site. That way no storage space is used. Steve
-
Let me check. I’m pretty sure that some of the old Johan Hemi Mopar kits had racing or NASCAR options with a single 4bbl intake. Steve
-
Is A Sealer Needed Over Primer?
StevenGuthmiller replied to oldcarfan's topic in Model Building Questions and Answers
I use that exact “primer sealer” all of the time in place of the sandable primer, or in conjunction with it. Steve -
Masking for two tone paint
StevenGuthmiller replied to rossfox's topic in Model Building Questions and Answers
There are so many individual issues with different paints that it's becoming nearly impossible to figure out what's going on with many of them anymore. All that I can tell you is that if you're using automotive type acrylic lacquers, most of these problems go away. At least they have for me over the past couple of decades. Short of the fact that you need to be certain that your primer barrier is sufficient to guard against plastic damage from hot solvents, every other problem that I've ever had with other paints is pretty much a thing of the past. Using automotive lacquers, I've had to strip possibly 2 bodies in the past 10 years, and neither one of them were due to issues with the paint itself. Steve -
Weathering techniques question
StevenGuthmiller replied to JerseeJerry55's topic in Model Building Questions and Answers
It all boils down to how far down the rabbit hole you want to go. Do you plan on using these techniques on limited occasions, in specific areas? Or are you planning on using it liberally and often? For me, I'm not going to use weathering enough to justify spending a whole bunch of money on a lot of extra weathering specific materials. So my focus is on what can I do with what I already have on hand and use on a regular basis. I suppose you could call it being frugal. One of my biggest pet peeves is filling up my limited shop space with a whole bunch of extra stuff. I know from my own personal experience that most of those "extras" never get used. I tend to return to the tried and true "basics". But hey, that's just me. Steve -
Scale finishes has a "50s Chevrolet Blue" base coat engine paint if that helps. Steve
-
Usually, if you take photos with your camera on it's side, you have to rotate the photo anyway, so you can basically just as easily take photos with the camera upright and crop them afterwards. Either way will work to "fill" the photo. Steve
-
Weathering techniques question
StevenGuthmiller replied to JerseeJerry55's topic in Model Building Questions and Answers
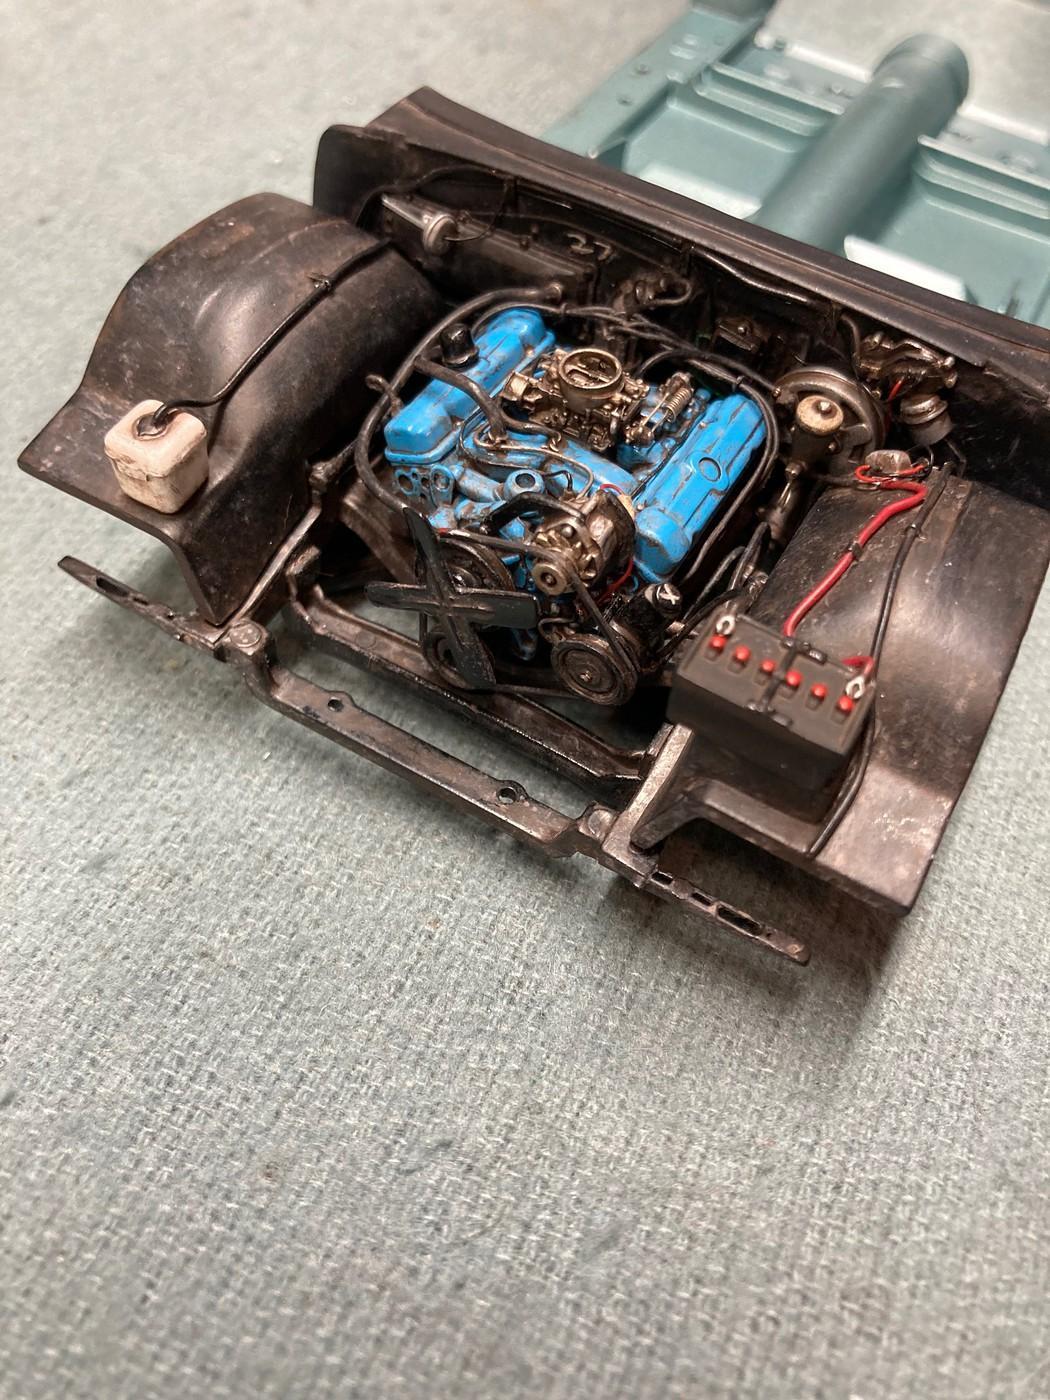
I suppose to some degree, but as is my philosophy with a lot of things, overthinking is usually more likely to net unrealistic results than just going with the flow. The sort of things you mention, (oil stains, flung mud, etc.) are just kind of the cherry on the cake. the main body of the weathering, (the type of things I incorporated into this Pontiac model, such as random rust, road grime and general dirt and filth) are basically randomly thrown around, with a few exceptions. Too much planning and regimentation can look just as unrealistic as too little, and of course, what you’re weathering depends a lot on how to weather. Just my opinion, but for basic light chassis weathering, I don’t think that a huge amount of attention needs to be paid to logic for the overall affect. Any “directional” affects can certainly be added at the end of the process should you decide to add them, but they’re not necessarily required. Steve -
Weathering techniques question
StevenGuthmiller replied to JerseeJerry55's topic in Model Building Questions and Answers
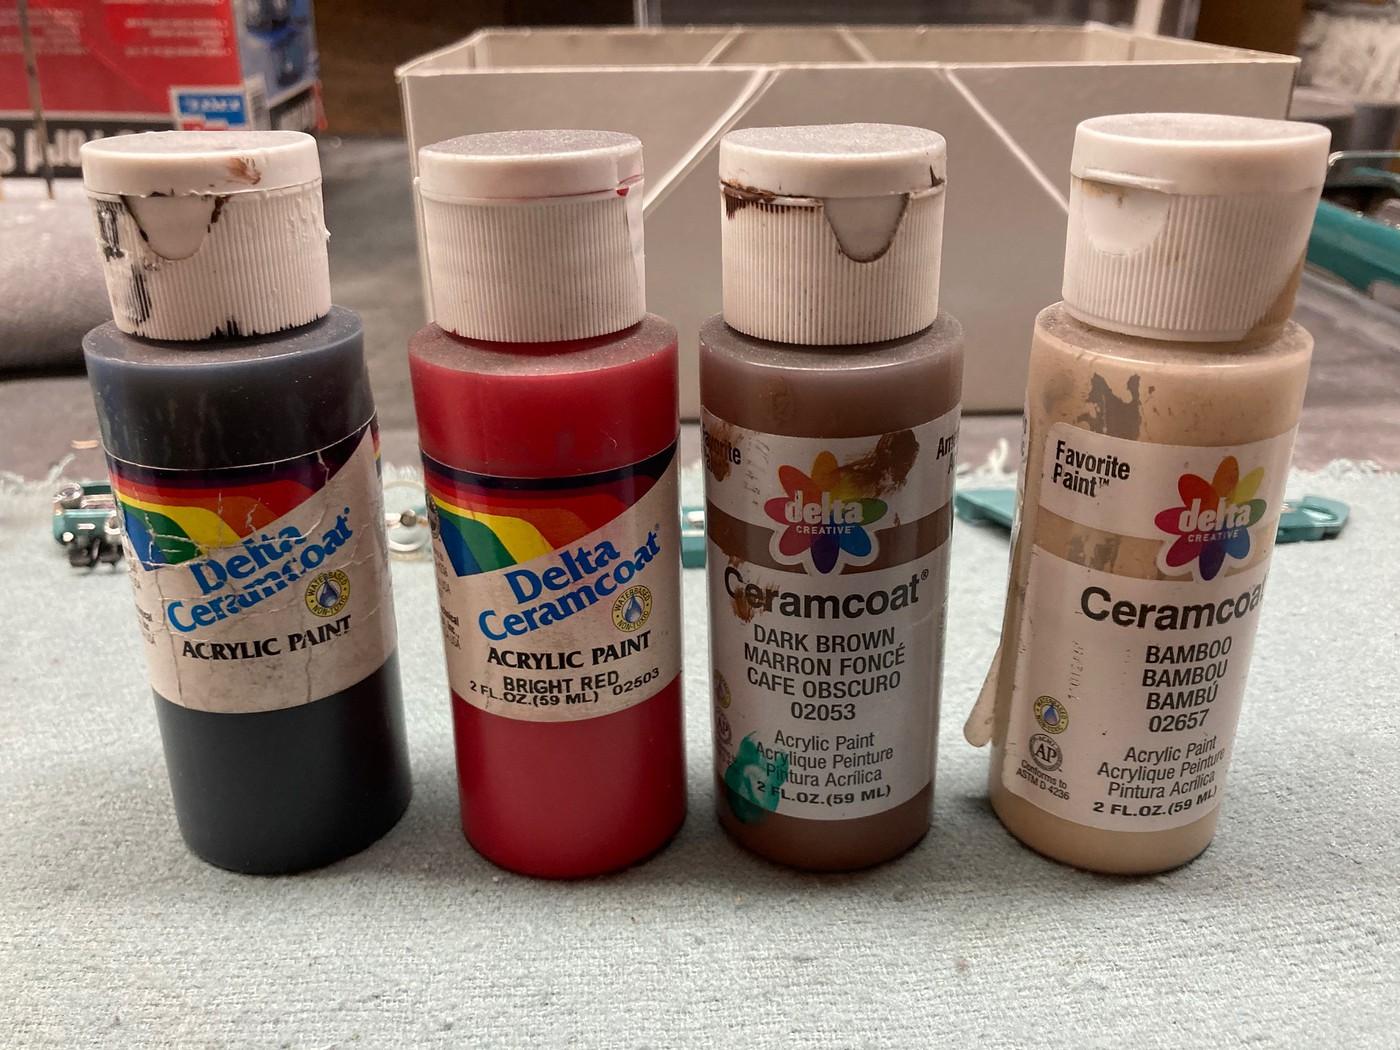
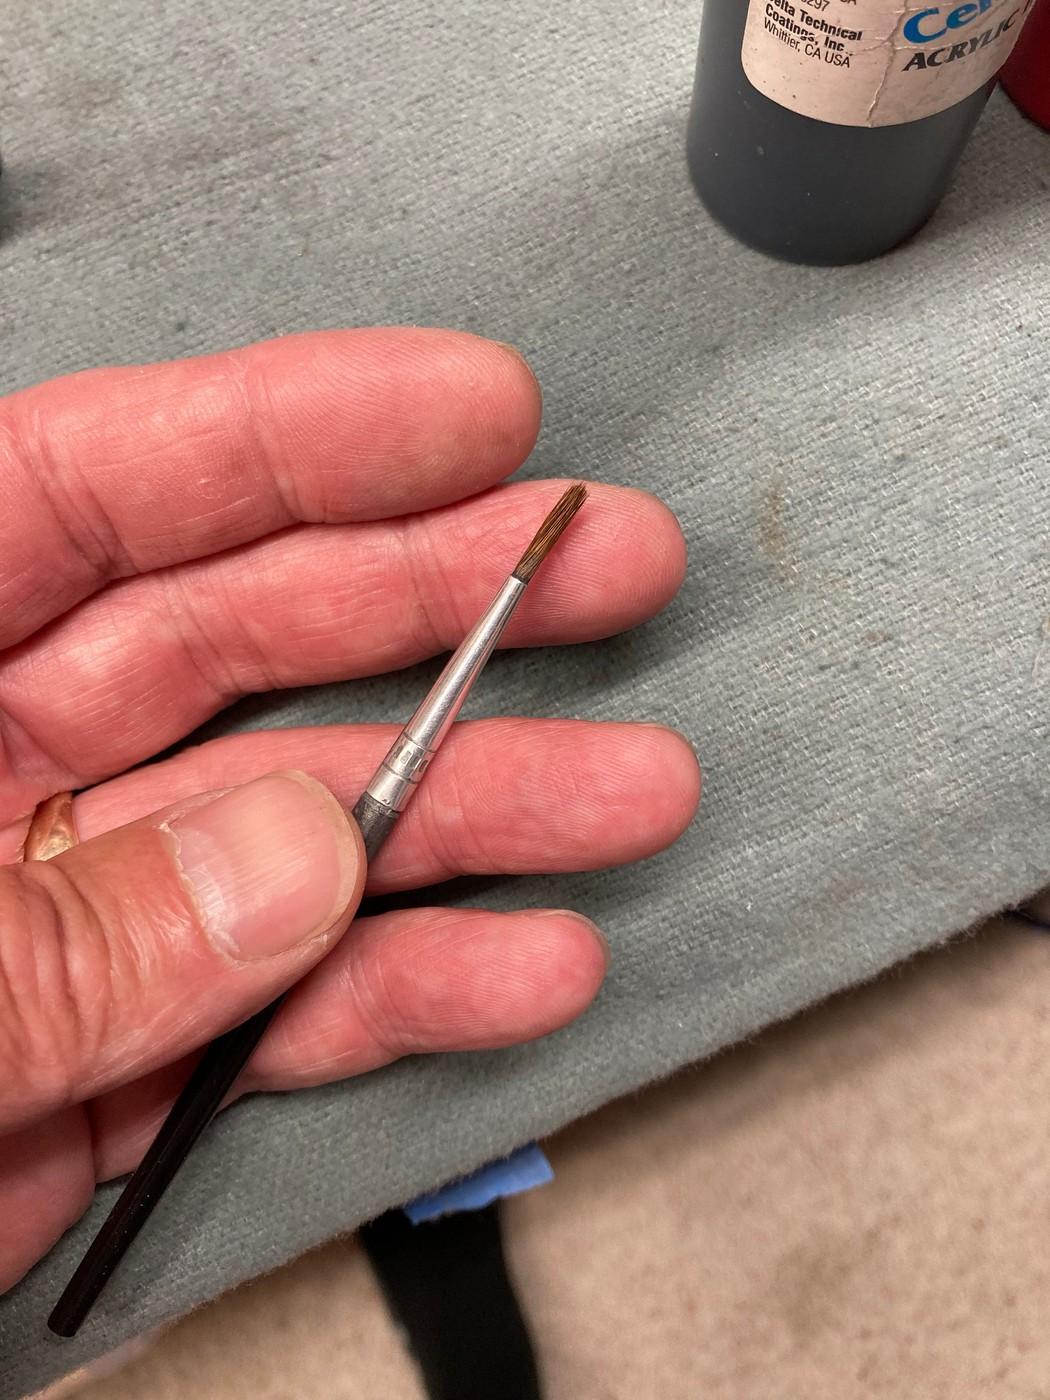
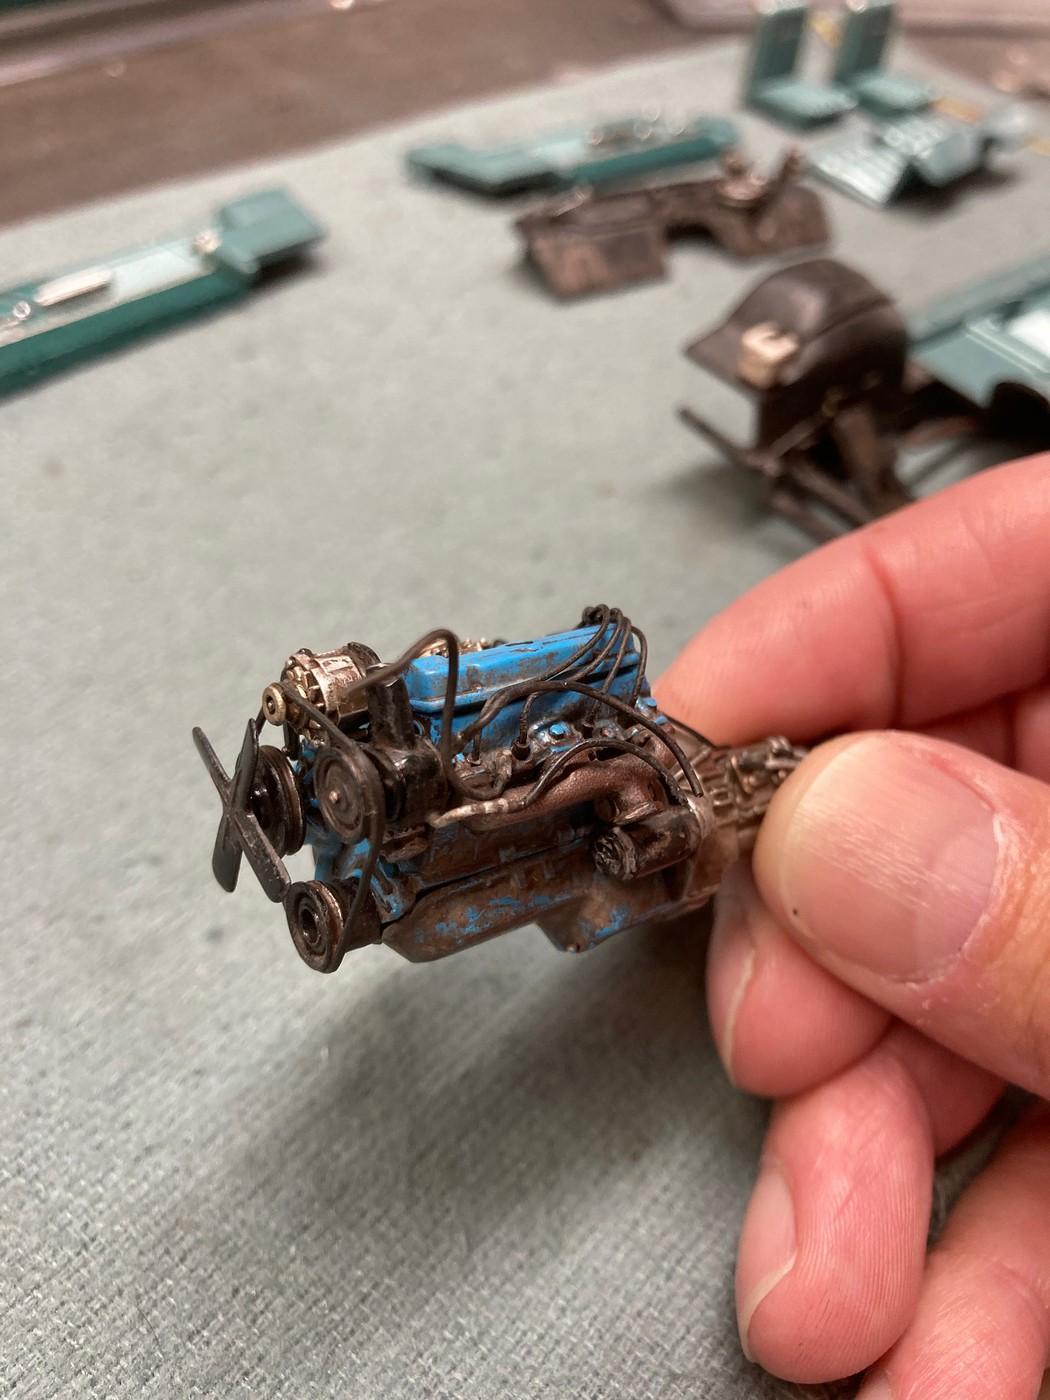
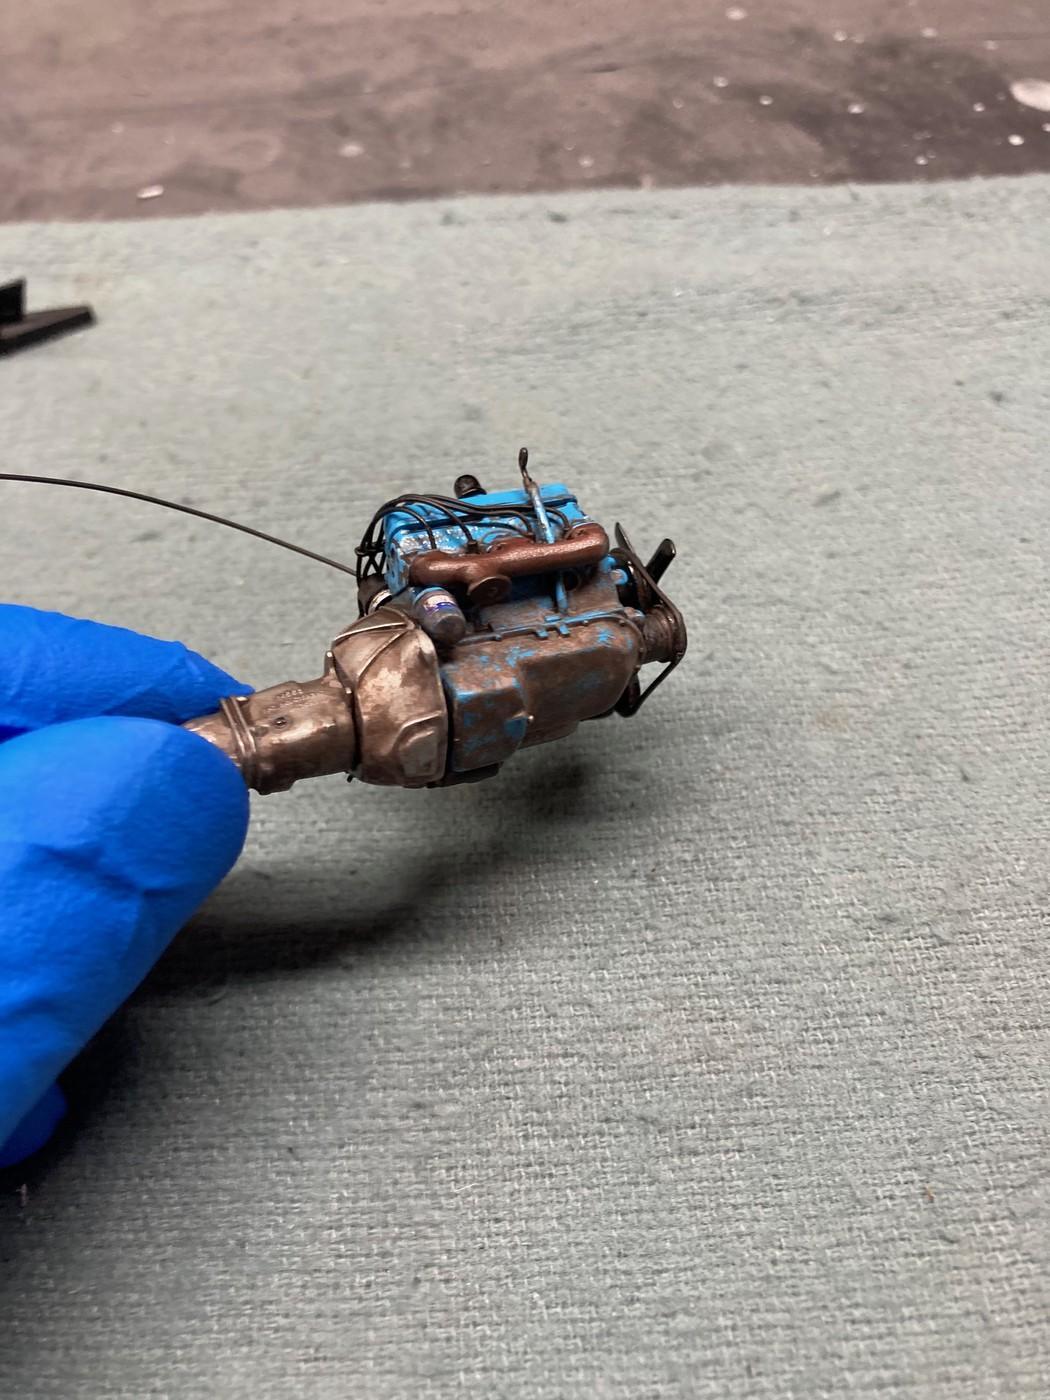
I mixed my own colors from a few different basic colors of craft paint to emulate 3 basic layers of grunge that I was looking for. Oily brown: (just dark brown and black) Rust: (brown with a little red) Road grime: (this is purely subjective and can vary a lot by your particular region, but I just used a little light tan) I started by mixing the colors and then thinning them to a wash consistency. Then, beginning with the oily brown, I washed over the parts. While the paint was still wet, I lightly "rolled" over the parts with a Q-tip to create a mottled affect, and then after the wash had dried somewhat, I used lightly dampened Q-tips to "roll" over the parts again to remove some of the paint in some areas. The key is to remember that there is basically no right or wrong look. It's weathering and is supposed to look haphazard. After the oily brown, I continued in more of a dry brush fashion with the rust, (trying to focus more on areas where you might find light rust) and the road grime, (again, in areas most likely to exhibit it) By a dry brush fashion I mean by dipping the brush in the paint and then rolling the brush over a paper towel to wick away most of the paint leaving almost no paint on the brush, and then using a dabbing motion to "stipple" the paint onto the model. Then again, using dampened Q-tips to dab and roll on the surface to "mute" the sharpness of the stippled paint, (if that makes any sense. ) Finally, I did another "dry brush" application, (as described above with the rust and road grime) with the oily brown. I used these same techniques and materials on the engine, focusing more on the underside of the engine and leaving the top side a bit cleaner. Oddly enough, the craft paint does a pretty good job of mimicking texture as well when applied in layers. Steve