taaron76
-
Posts
806 -
Joined
-
Last visited
Content Type
Profiles
Forums
Events
Gallery
Everything posted by taaron76
-
Al, you can't put a price on some of this stuff, so that's understandable. I'll be watching this one! Tim
-
I've been using this wire for a while, but figured I'd post some pics of these products and what I've been using them for. Hopefully this will help someone out with one of their builds. You can buy all of this stuff at Michael's and I'm pretty sure its on Amazon and other local craft stores. The prices are really good as well, and a few bucks will go a long way. This silver plated wire works great for fuel lines, brake lines and other similar uses. They make all sorts of gauges, but I use 26-28 gauge for brake/fuel lines, primarily. They also make it in copper and black, so more choices for different applications. It is sturdy enough to stay straight, but can be shaped to contour the undercarriage and chassis. This wire works perfect for emergency brake lines since it is actually braided, but you could use it for a number of different applications. I use the .46mm for the e-brake lines. They also make it in a few different colors. I just picked these up on Friday and use them and hose coupler for water lines and vacuum lines. The make them is 3 different sizes and will fit around a few different sizes of wire. They are really tiny, but figured I'd try one to see how it looked and it definitely will give you something with a little more detail instead of a hose going into a valve cover or manifold, etc. They also come in different colors. Here is one of the crimp tubes that I added to the vacuum line from the carb to the valve cover. Kind of hard to see, but it does add a little detail. I plane on using them more often with future builds. Anyhow, I realize not everything is a great idea, but figured I'd share what I've been using in an effort to help someone out. Thanks for looking! Tim
-
 Best of luck, Joe! I am entering my '67 Chevelle and a few others in a show up here on the 9th of May. It will be my first one, so probably the Chevelle, '62 Impala, 53 Ford NAStruck and the 67 Shelby... not sure yet. Motor is looking great!!! Tim
 -
'67 Chevelle SS 396 (Under Glass ***3-May-2015***)
taaron76 replied to taaron76's topic in WIP: Model Cars
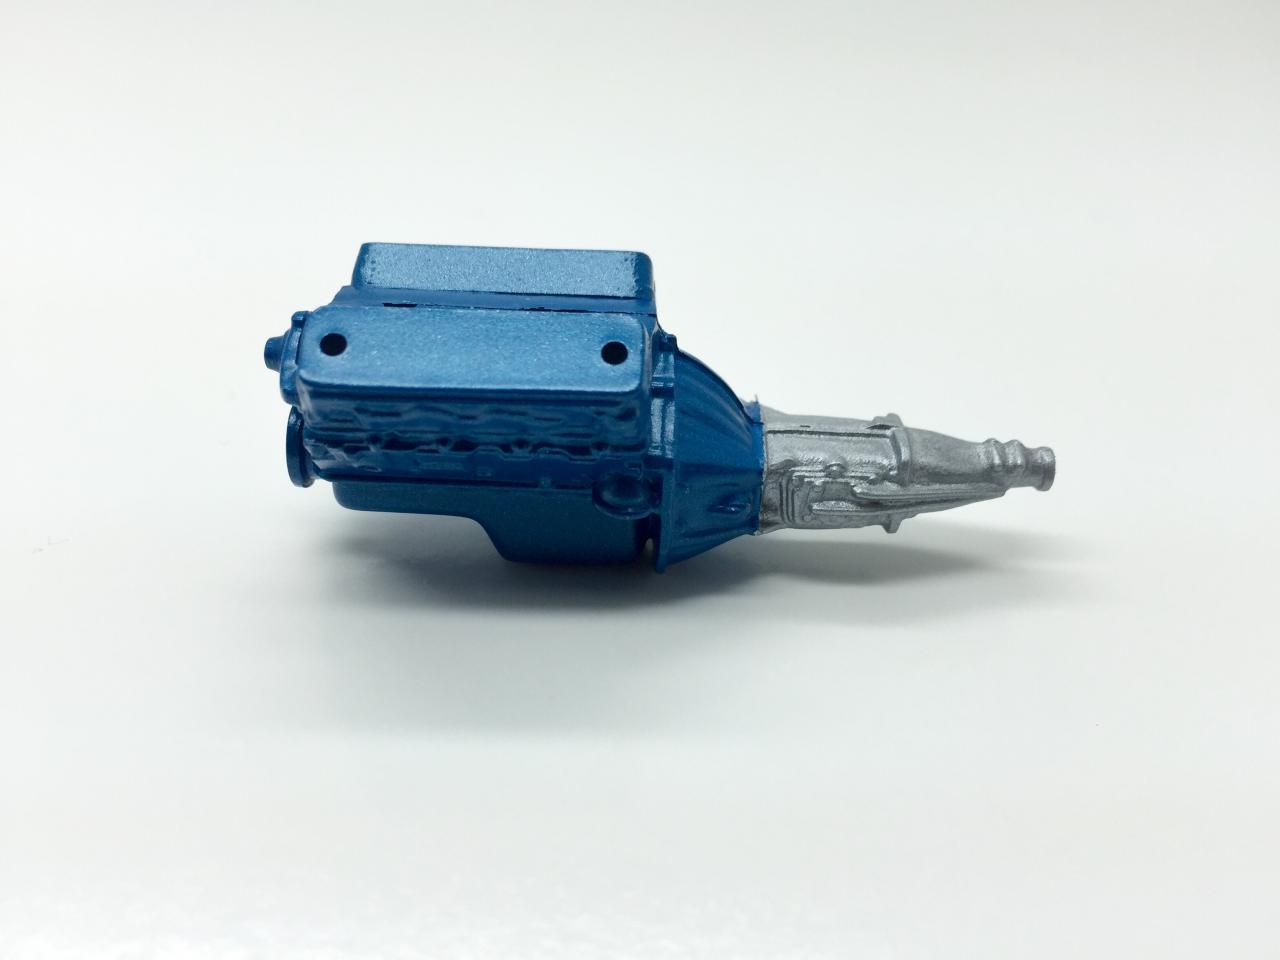
Most of the engine plumbing is complete. I had to add a couple of small details here and there, like an alternator bracket, but it is complete for the most part. Next up is running the brake lines, e-brake lines and fuel lines on the chassis. I'll be sure to drink my cup of patience prior to starting on that. lol Tim Last pic with the breather on. -
A pair of 66 Novas- small update for now on the wagon
taaron76 replied to microwheel's topic in WIP: Model Cars
Jim - basecoat/clearcoat are definitely the best risk reward of the build. If the paint doesn't turn out the way you want it to, it seems like everything else is all for nothing. I'm so picky about paint and finish though, but each one of them is different and no two paint jobs is easier than the previous one. Good luck on your hood. I had that problem a while back with a hood on my Shelby Mustang. Tim -
Me too!
-
It's cheaper as well... Nothing wrong with that. Its thinned and ready to be shot. Tim
-
https://youtu.be/lm9fqk2CfzY This is a great comparison. Spaz stix looks amazing and I think they carry here at my LHS. Tim
-
Spax stix? Details, details? lol Have you tried it yet?
-
So primer, gloss black, Alclad and then Alclad clear?
-
Looks great!!! Is the Alclad process a PITA, Joe? I want to start doing this and my local hobby shop has all of the colors except the gloss black. Can I sub anything for their gold black? Tim
-
'67 Chevelle SS 396 (Under Glass ***3-May-2015***)
taaron76 replied to taaron76's topic in WIP: Model Cars
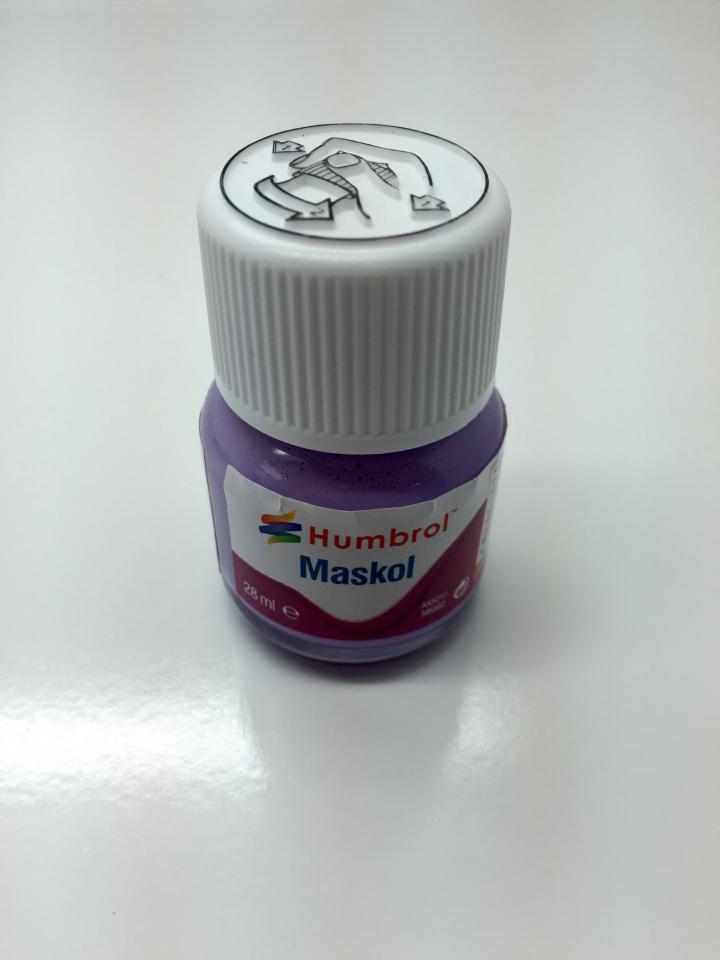
Jim - It works really good in the places that you can't get a good seal with masking tape. I covered the bell housing with it, let it dry for about 15 minutes and then taped the rest of engine off with masking tape. When I peeled the masking tape off, the Maskol came off with the tape with no harm to the paint and the separation line was great! I plan on trying it out in other areas in the future, but so far, its seems to be a really good product. The only drawback is that the smell is horrid. lol Tim -
'67 Chevelle SS 396 (Under Glass ***3-May-2015***)
taaron76 replied to taaron76's topic in WIP: Model Cars
No major updates today? But I did shoot some paint on the remaining parts for the motor. Have you guys ever used Maskol, made by Humbrol? I used it for the first time to paint the transmission and it works really good. It came off really easy as well. Tim
-
Sharp! Did the wheels look like that straight out of the box? They look great! Tim
-
A pair of 66 Novas- small update for now on the wagon
taaron76 replied to microwheel's topic in WIP: Model Cars
Jim - The roof looks like glass. Nice!!! Tim -
Looking good! Interior looks awesome! Tim
-
'67 Chevelle SS 396 (Under Glass ***3-May-2015***)
taaron76 replied to taaron76's topic in WIP: Model Cars
Color sanded the Chevelle to get some of the dust out today and followed up with one quick base coat, then put it in the dehydrator for about 30 minutes prior to shooting some clear. This one has about 6-7 coats of clear on it, which gives me lots of room to wetsand and buff. It came out pretty good, but hard to show the detail in these pics. The metallic is very subtle, but its there. Tim -
'67 Chevelle SS 396 (Under Glass ***3-May-2015***)
taaron76 replied to taaron76's topic in WIP: Model Cars
Just a small update from tonight... This blue is a combination of metallic teal, royal blue and metallic blue, so I'm not real sure what color blue you'd call it. I wanted something like electric blue with a hint of metallic in it and it seemed to be just that. I accidentally mixed Tamiya acrylic and Model Master acrylic and didn't realize it until after I put the first coat on. I kept my fingers crossed that there wouldn't be any adverse or unwanted effects from mixing the two, but it seemed to flow fine and dry nicely. It's in the dehydrator now and tomorrow I will give it a light wetland and then apply the clear coat. I thought I had enough clear, but there wasn't enough for the standard 5-7 coats that I usually put on. Oh well, this will give me the chance to colorsand a little, which I generally never do with the base coat. I know once the clear coat goes on, it will pull some the metallic out in the paint and make that blue pop a little more. Tim -
'67 Chevelle SS 396 (Under Glass ***3-May-2015***)
taaron76 replied to taaron76's topic in WIP: Model Cars
The pleasure was mine, Ron. It was nice meeting the gang from M.A.M.A and everyone was very inviting and courteous. I look forward to getting together with more of you all. Hopefully this one will be ready for the show on the May 9th. I'm going all out on this one, so hopefully it turns out good enough to get a couple looks. Regardless, its still fun! Tim -
'67 Chevelle SS 396 (Under Glass ***3-May-2015***)
taaron76 replied to taaron76's topic in WIP: Model Cars
Thanks Carl, I always appreciate your welcomed comments. Cheers buddy! Tim -
'67 Chevelle SS 396 (Under Glass ***3-May-2015***)
taaron76 replied to taaron76's topic in WIP: Model Cars
I'm sure you will make something out of nothing with the front end. That's what makes this hobby so fun. Thanks for the compliments! Tim -
'67 Chevelle SS 396 (Under Glass ***3-May-2015***)
taaron76 replied to taaron76's topic in WIP: Model Cars
Awesome Jim, thanks! I figured you'd make just about anything you could without purchasing it, first. I'll have to get a little creative, but that shouldn't be too bad. Thanks again! Tim -
'67 Chevelle SS 396 (Under Glass ***3-May-2015***)
taaron76 replied to taaron76's topic in WIP: Model Cars
Jim, what did you use for your brake proportioning valve? For the e-brake cables, I will strip some wire that I have in order to get them close to scale. I think I have the right scale wire for the fuel lines. Tim -
can you post pics of your Acrylic painted models? Thanks!
taaron76 replied to foxbat426's topic in Model Cars
I only use Tamiya acrylics or Testors/Model Master acrylics... but most of the time, Tamiya. I used denatured alcohol to thin it and use it as cleanup as well. You can use water, provided its still wet. It's all in the technique and wetsanding/polishing. Here are a few... Tim -
Steve, you are a machine! Can't wait to see this build from start to finish. TIm