CapSat 6
-
Posts
1,202 -
Joined
-
Last visited
Content Type
Profiles
Forums
Events
Gallery
Everything posted by CapSat 6
-
 That's true. I have them- and they're really well done, highly recommended - but a plastic one would be a lot of fun!!!
 -
Rear Tail light conversion
CapSat 6 replied to Snoopy47's topic in Model Building Questions and Answers
Agreed- looking at the Lemans tail panel above, you might just be able to cut a new tail panel out of flat Evergreen plastic or a spare hood/ body, scan and print pictures of the bright piece and taillights, add each picture to some pieces of Evergreen cut to fit, and combine them. -
Rear Tail light conversion
CapSat 6 replied to Snoopy47's topic in Model Building Questions and Answers
I think it's cool that you're building a Lemans...I haven't often seen these done. I think they looked just as good as the GTO's that were based on them. I'm not too familiar with the '66 GTO kit myself. It would probably depend on how far you want to go, and how skilled you might be, to replicate the Lemans tail panel. Snake's idea of printing a picture of the Lemans panel is not a bad idea- "Trompe L'oeil"- to fool the eye- sometimes works very well in modeling. To go farther with it than that will take some time and effort. If I were to do the conversion, I would first fill in the areas where the GTO taillights are. Are there big square holes where the taillights mount, or just the "vents" that the taillights show through? If the "vents" are molded into the tail panel, I would cut those areas out, and then make flat, rectangular pieces from Plastruct sheet plastic, or even cut from the flat area of a scrap hood or body, glue them into the leftover holes, let the glue set up, then putty them with Squadron white putty or Tamiya Putty, sand the putty smooth, primer and paint. If there are just big, square holes, then just cut the pieces to fit as described above, glue them in, fill them, sand them, primer and paint. The "Pontiac" lettering looks different in each of those two panels. If that difference bothers you enough, you might also want to remove the lettering, or, it might be worth your while to preserve it if you think it would be harder to replicate it more accurately. I might be inclined to leave it as-is from the GTO panel. That would leave you with either a panel with just "Pontiac" lettering, or a flat, featureless panel. Looking at the two different panels, it does also appear that there is a slight character line in the Lemans panel that is not there in the GTO panel. You may or may not want to replicate that as well. I would almost be included to leave it as it is, without the character line. If working with a featureless panel, you could glue a thin strip of Plastruct down the middle of the panel, putty it, and sand it to shape. You would really probably only be able to do this if you removed the Pontiac lettering first. If you wanted to recreate the lettering, you might be able to find a photoetch sheet for a GTO or another Pontiac that will have "Pontiac" letting of about the same size. You could also "foil cast" the letters before you remove them- cover each letter with a thin metal foil, pressing it over each letter to shape, press clay onto the foil, carefully pull the shaped foil off of the body with the clay, fill the backside of each letter with small amounts of epoxy or kit plastic melted with model glue, wait for the epoxy or glue to fully set up, pull them out of the clay, cut each letter to shape, and attach them to the new panel. You can probably Google "foil casting" or look it up on YouTube for details on the process. Lastly, the taillights. Some modelers have taken larger scrap taillights, and carved the needed shapes out of them, or used clear red toothbrush handles to do the same. Once the shapes are carved out & sanded to shape, they can be polished to look glossy again. It's going to take some practice & skill to make the changes you want, but then again, this one isn't overly-complicated. It might be just the right little project in order for you to get some scratch building experience under your belt. I must say that my success with things like this is so-so at best. I have foil cast emblems in the past and it's not very hard at all, although the little letters you might want to do might drive me crazy. Then again, the same little letters done with photoetch might be the same effort. I have modified scrap taillights to make different ones on occasion, and that isn't extremely hard, either. I have never tried the toothbrush handle thing for taillights, but I have read about it and it the techniques makes sense. I have found that once I start on modifications like this, I'm usually pretty encouraged with the initial results, which makes me want to continue. I hope that helps. Maybe this will give you a starting strategy...? -
I remember using the Mopar Performance Chrysler Engine blue some time ago (I had some leftover from painting an intake)...it was perhaps too thick for my taste...but maybe Duplicolor is more like their touch up sprays...maybe I’ll get some and give it another try...
-
Right on, Michael!!! Look for me at Chryslers @ Carlisle this year!!! ;)
-
Correct. "Hemi Orange", as in the canned Testor's stuff, is presumably supposed to be the same as the body paint- which in 1:1, had an extremely fine metal flake in it. It's so fine in fact, that you really couldn't see it on a car unless you got just a foot or two from it. I'd like to solve this problem, too. To me, Chevy Engine Red is too red, same with Chevy Orange. Regular old Testor's Orange is maybe too bright orange for street Hemi Orange (and not yellow enough for Race Hemi Orange). I want to create some spoon samples I can take to some car shows this summer to compare to the real thing (Street Hemi, Race Hemi, Air Cleaners)... You could just go with Mopar Street Hemi Orange paint, or even the Duplicolor stuff from Pep Boys, but I agree with the above- it's too thick, as it's been formulated for steel 1:1 engines. It would be nice if SOMEBODY offered this in Model Enamel. Hemis, and even 440+6's, & 340's, are dead common in scale.
-
Resin wishlist for new Dodge D-100 Longbed kit
CapSat 6 replied to CapSat 6's topic in Truck Aftermarket / Resin / 3D Printed
Also- I'm thinking that now the raw material for somebody to produce a 1/25 Ramcharger body is going to be more affordable soon...we just need somebody to step up to master and offer one in resin. So: -better side mirrors, that look more like the base model units. -grilles for different years (and the appropriate hoods and lower valences). -Ramcharger body (see above) -4x4 suspension (this is already available from a few different sources). -dare I dream? a body, grille, hood and bed for a 1981- 92 Dodge Ram -D200/300 hubcaps and wheels -Wagon wheels, like the ones found on Warlocks and Macho Wagons Can anybody think of anything else you would like to see? -
Very nice!!!
-
I found from one online source that the clear lenses were used on trucks produced until 2/1/78, then they changed over to amber, so all '77's and early-build '78's used the clear lenses. Otherwise, there were some changes to option availability, etc. between both years, but for the most part, the '77's and '78's looked the same to me.
-
What we really need is the standard type side mirror. It looks like the new kit will have two styles of mirror, but neither of them look like this. Most of the trucks of this vintage that I’m seeing seem to have this style mirror:

-
Looking for 1/16 scale tires & wheels
CapSat 6 replied to Bullitt's topic in General Automotive Talk (Trucks and Cars)
Some kits are getting parted on eBay right now. There’s a seller who does some 1/16 wheels in resin- just search for “1/16 resin” and they come up. Also- do a web search for “Competition Resins” or “Ted’s Modeling Marketplace”, or go to www.slixx.com for some other 1/16 offerings. Finally, there are a few 1/16 items available at www.shapeways.com. The search engine on that site is a little tough to use, but start with “1/16 wheel”, or even just “1/16”, follow the links to the stores within Shapeways that look likely, and you will find some things. -
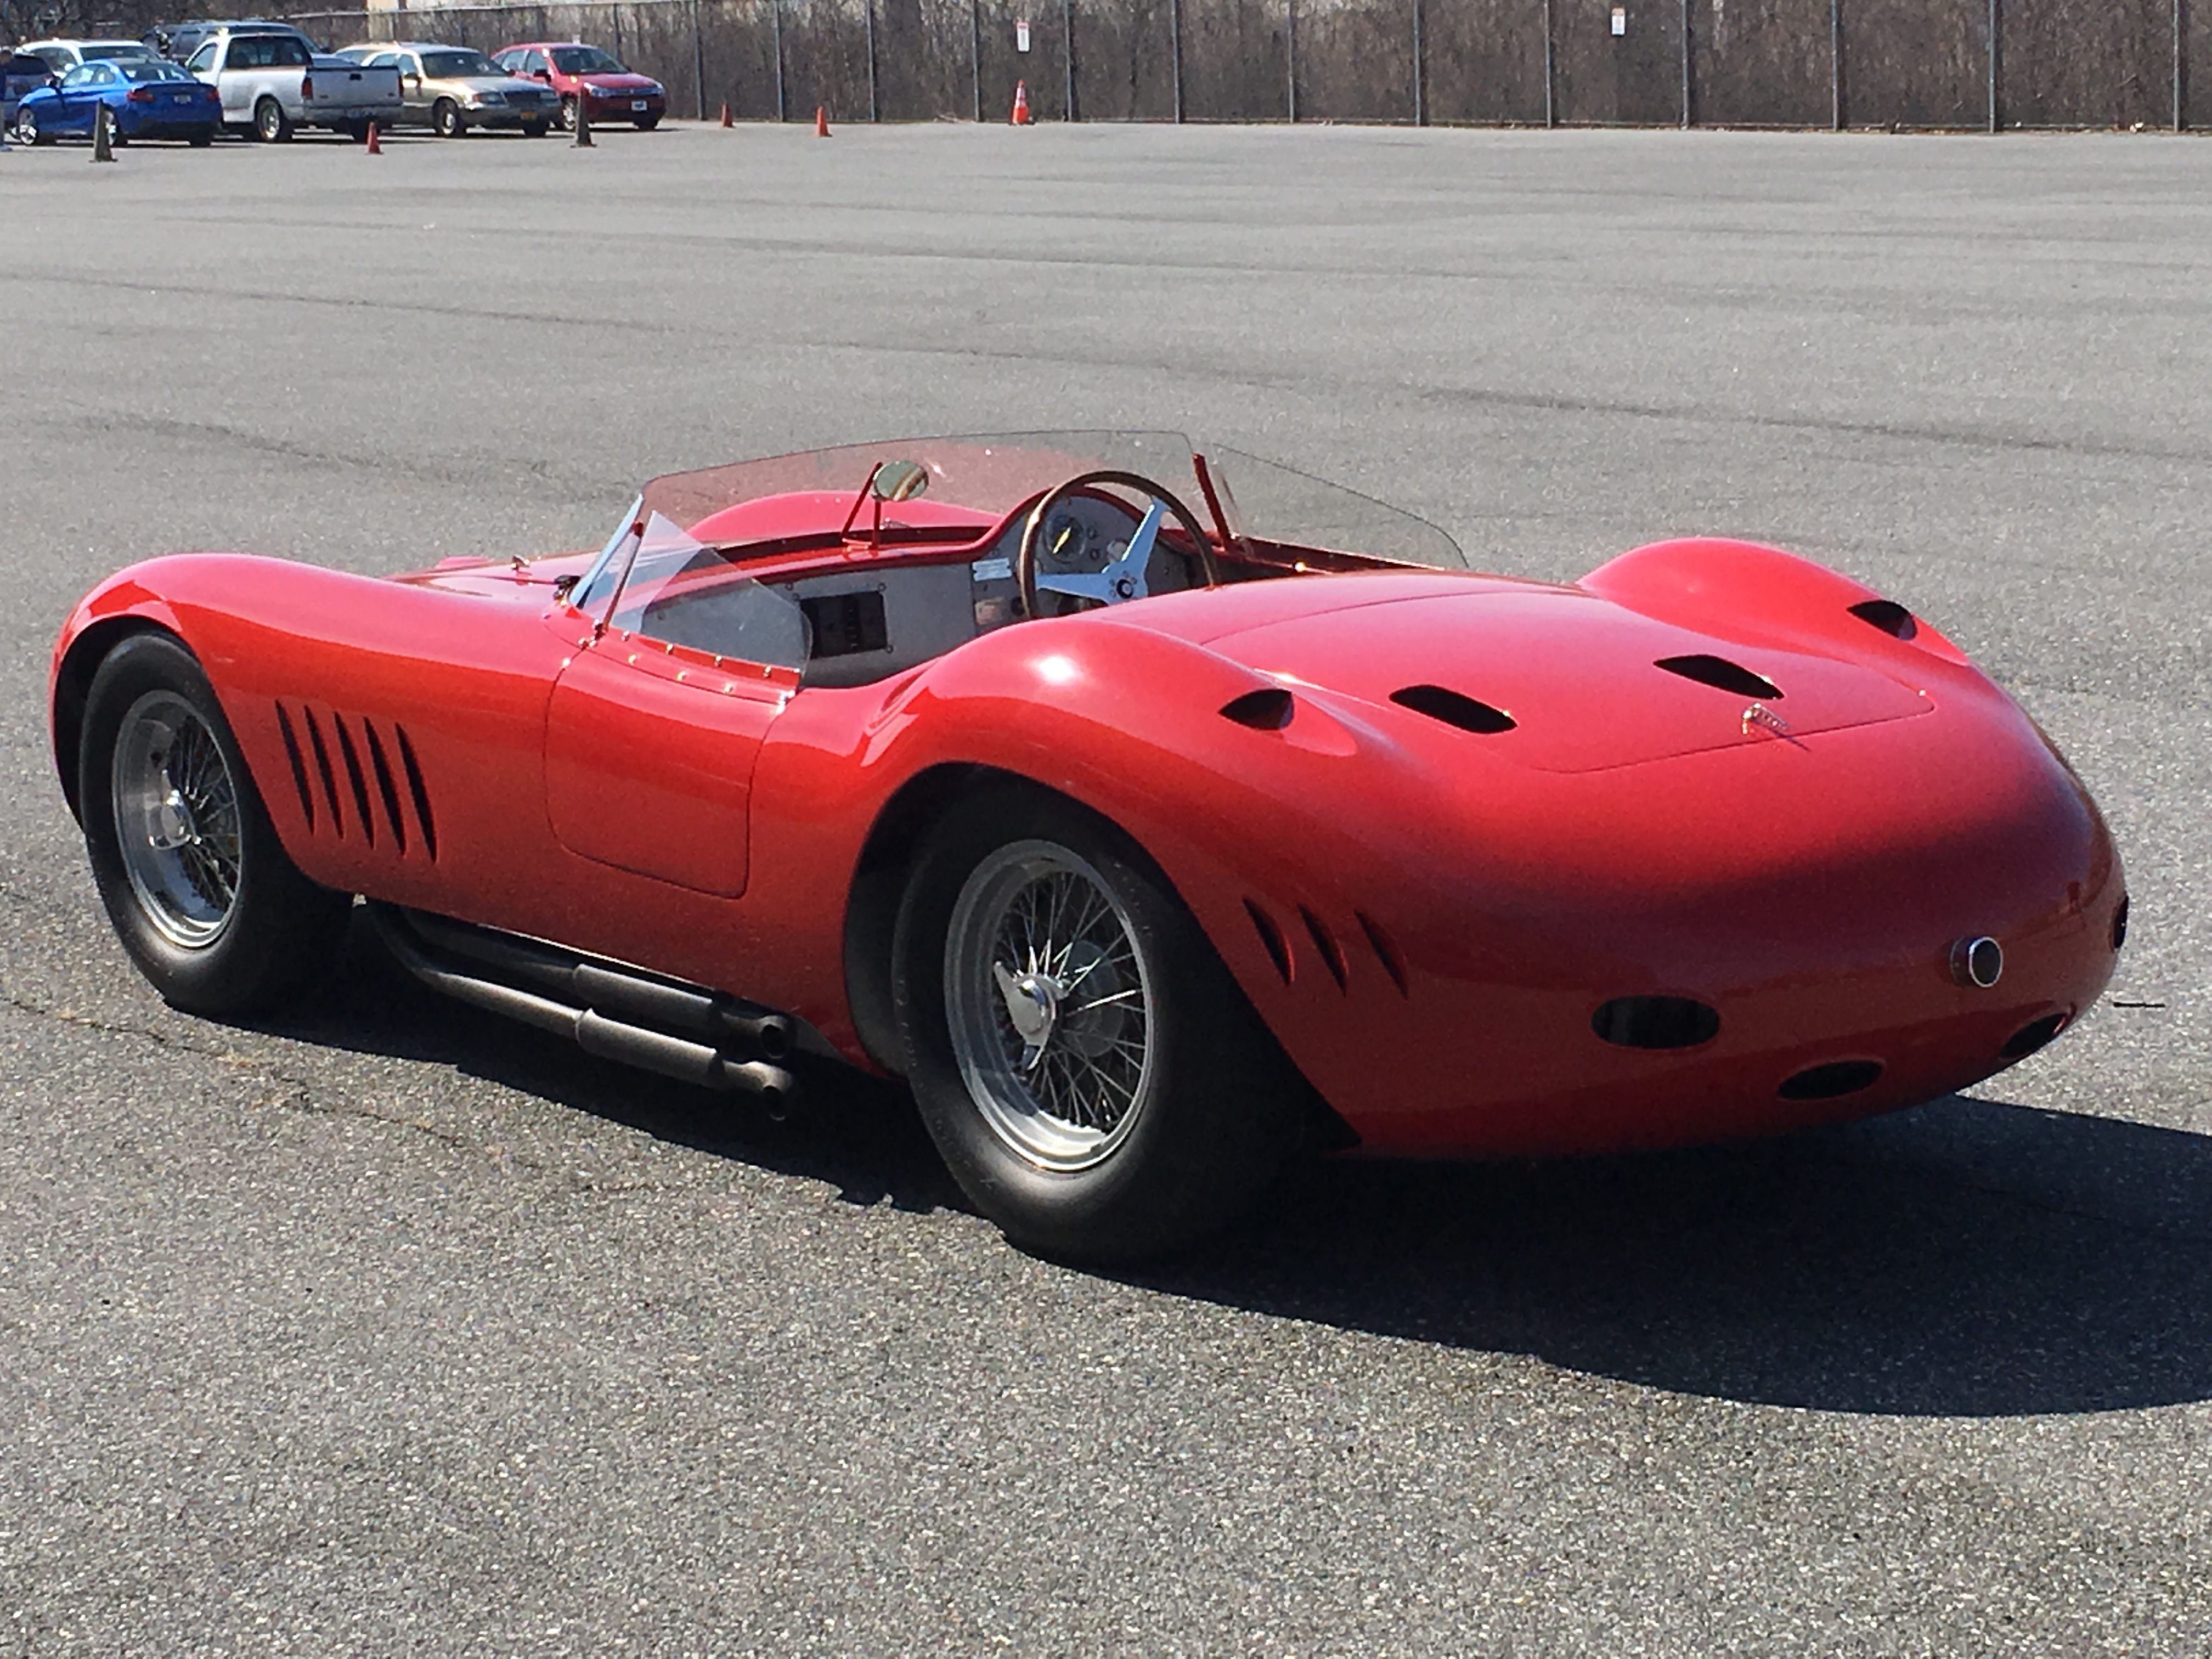
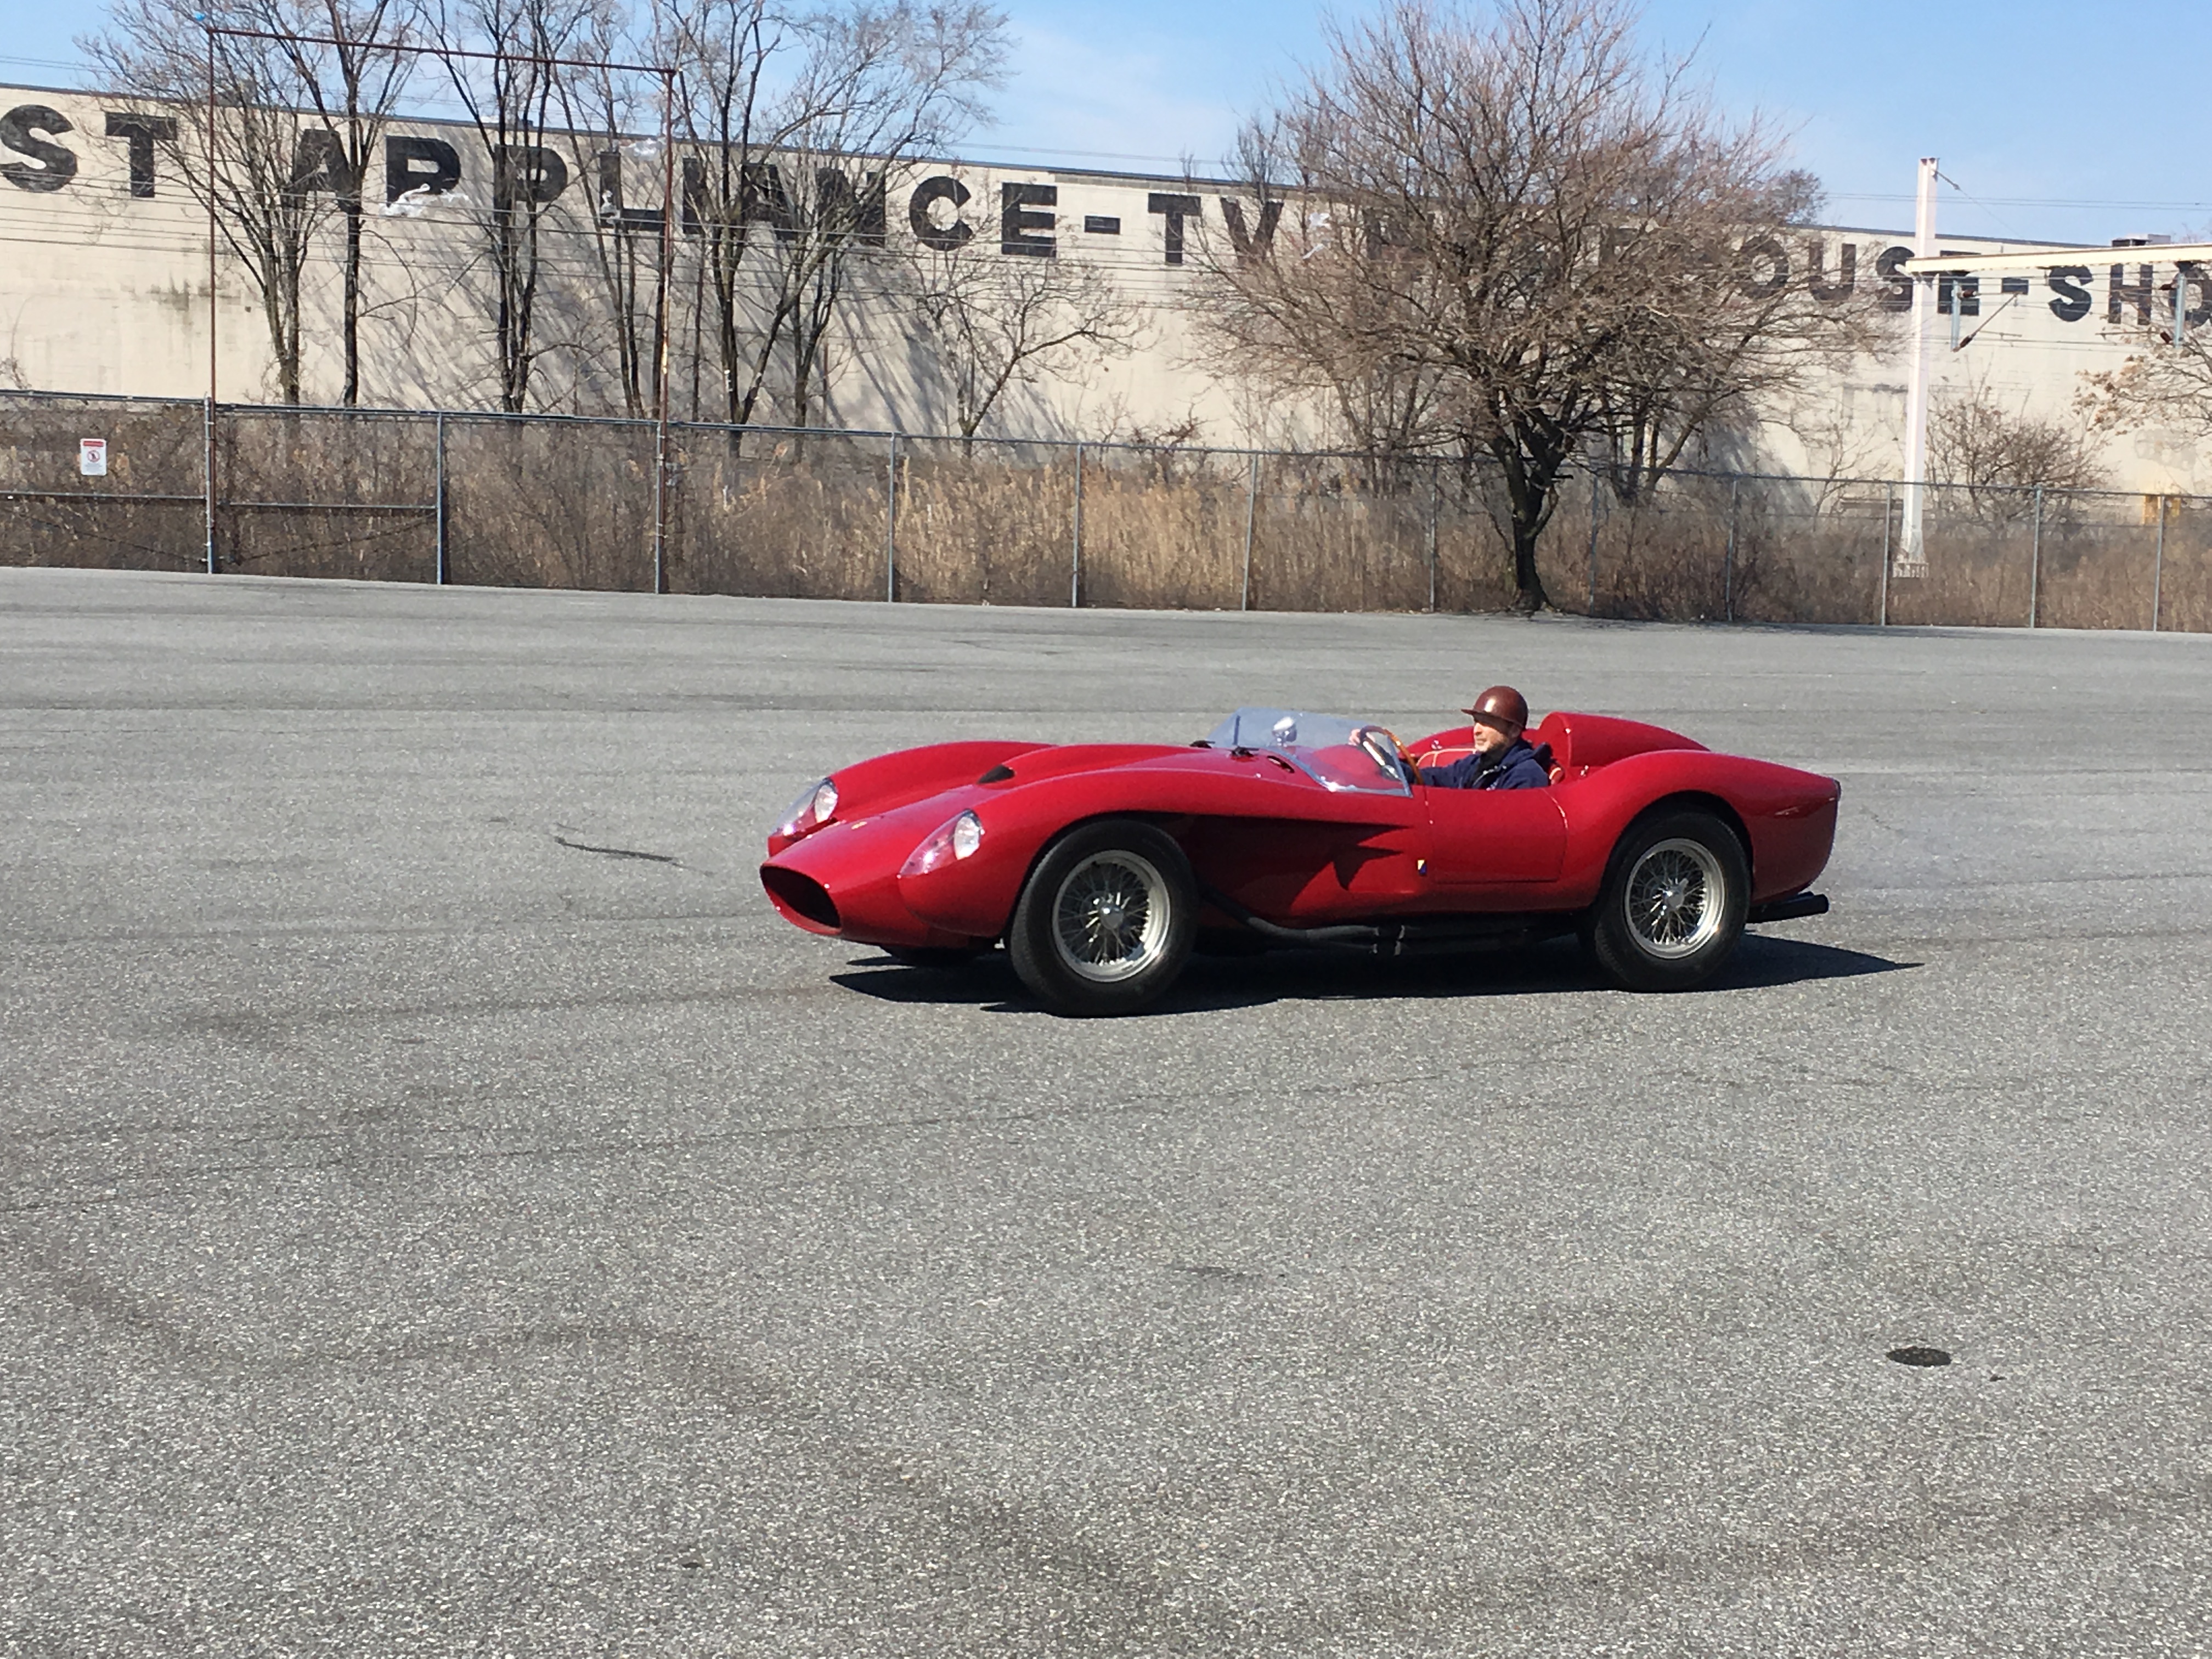
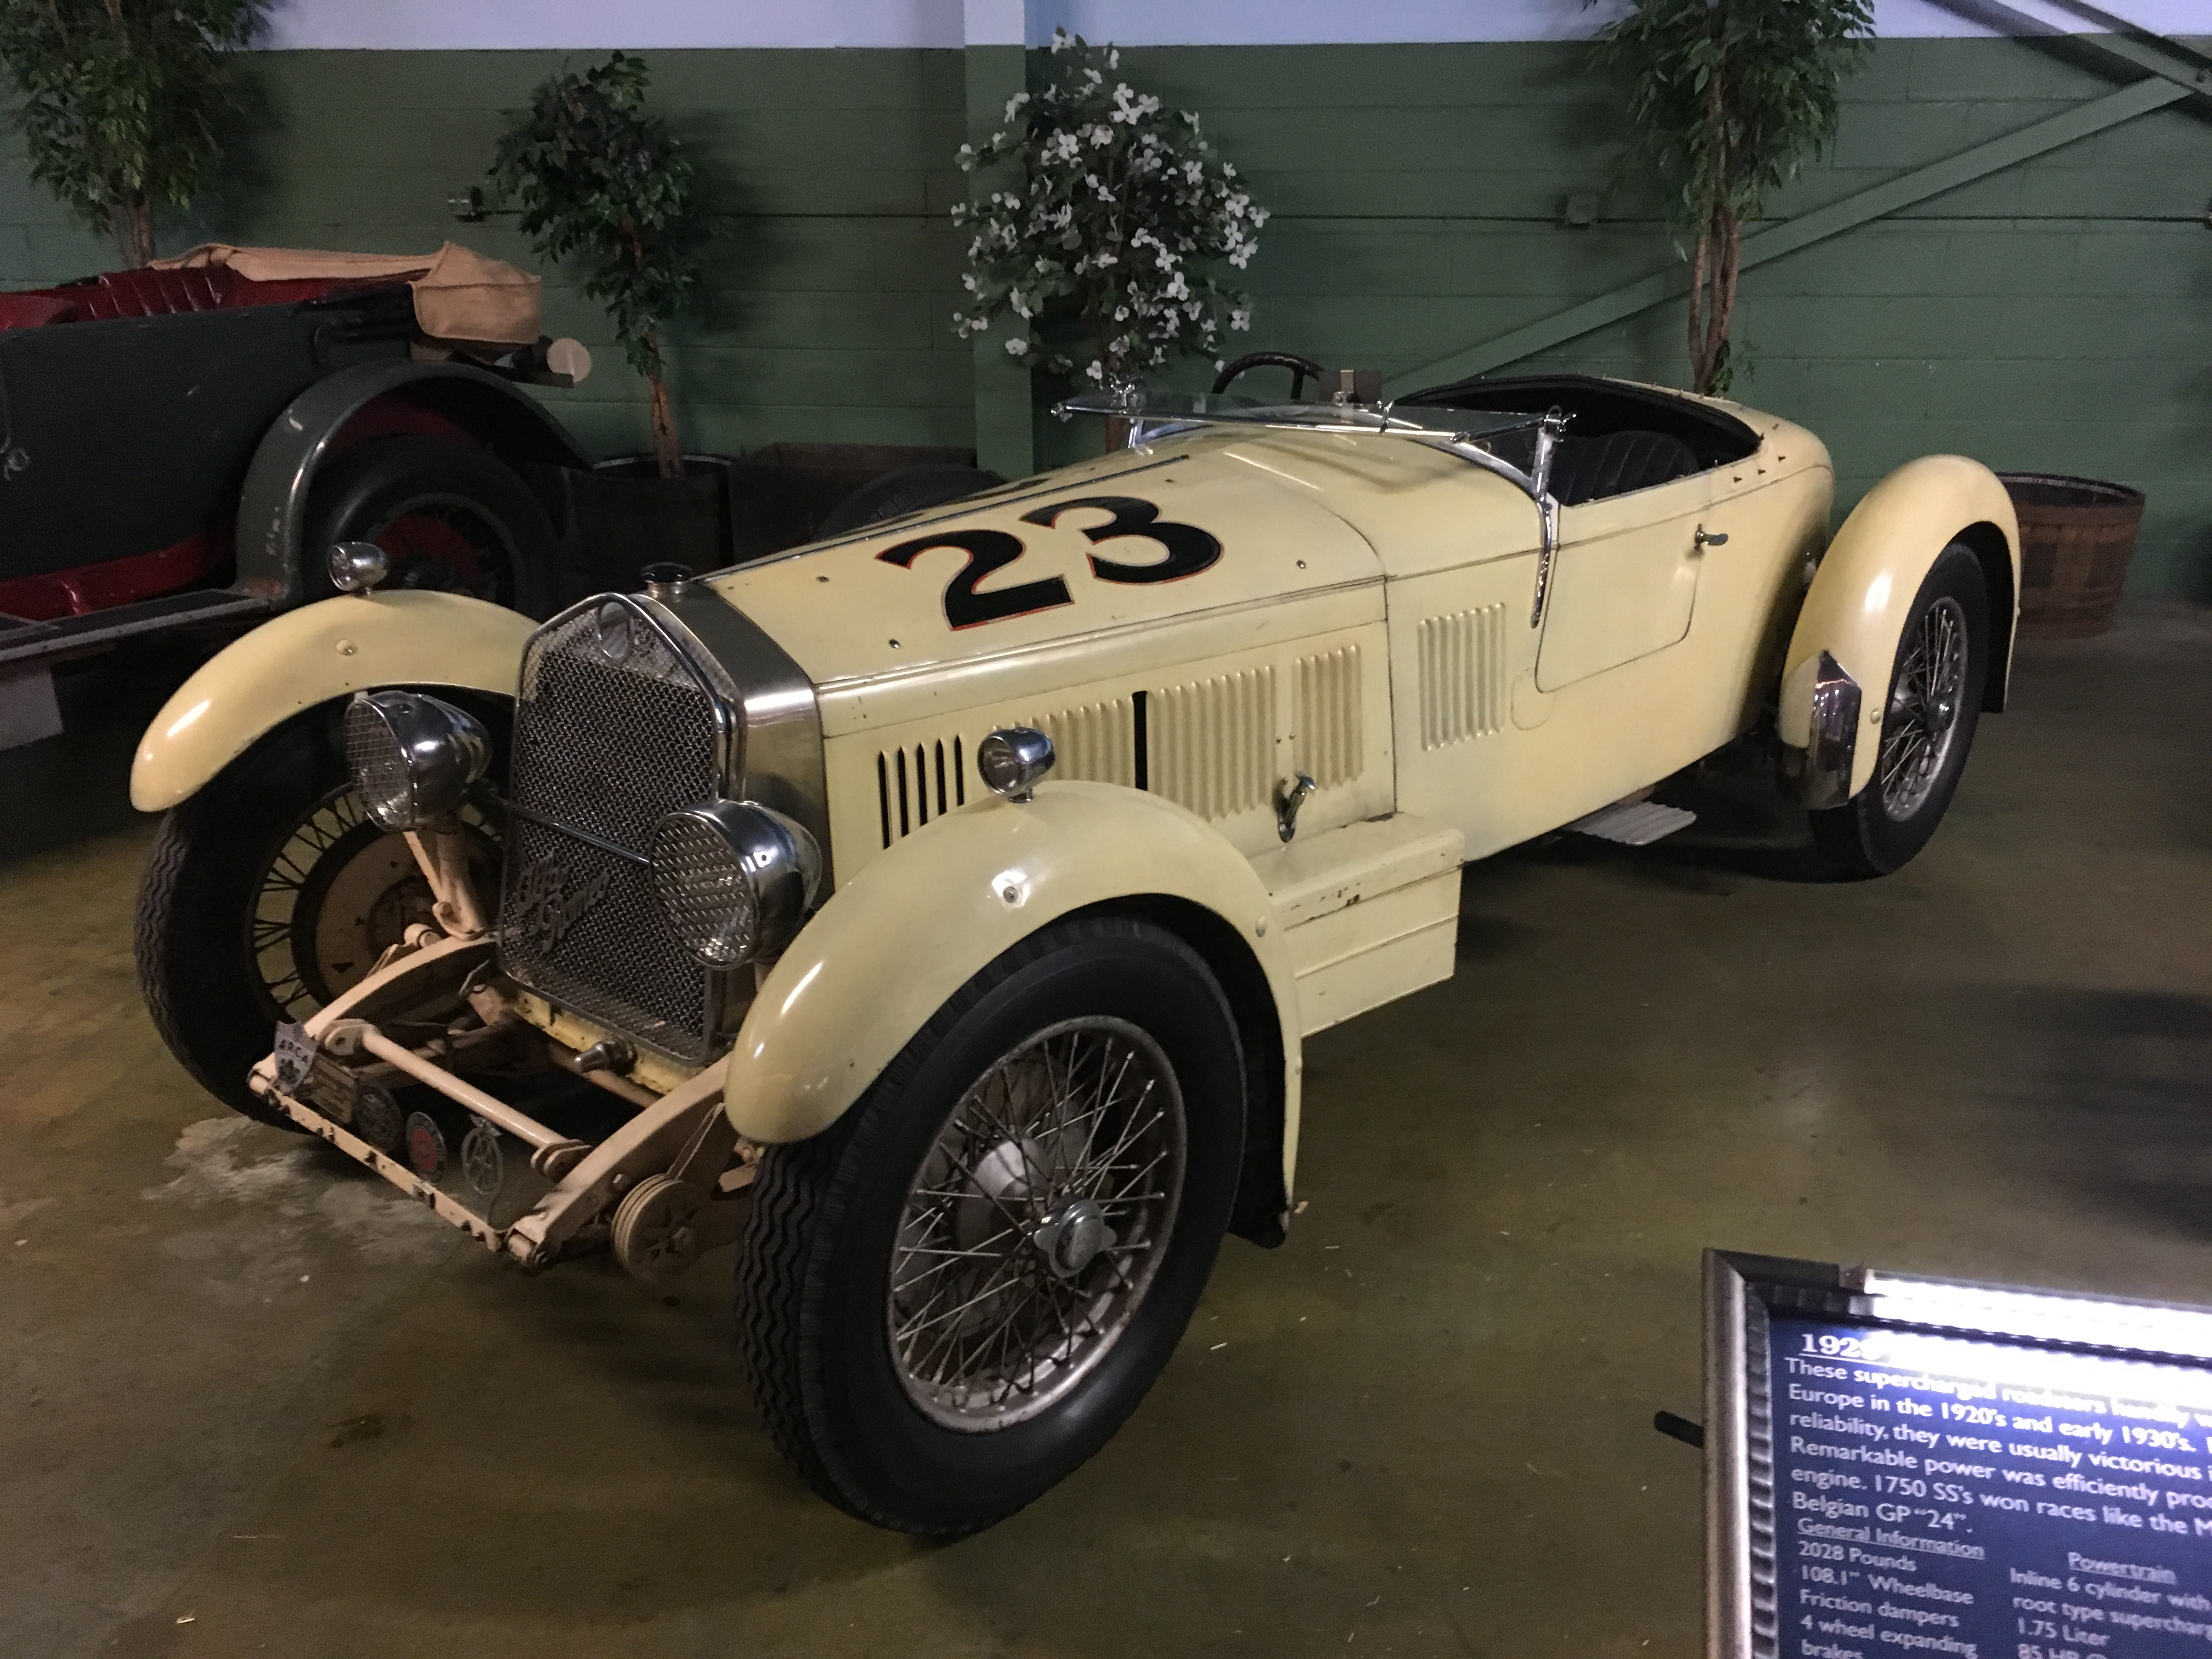
And some of the real cars...
-
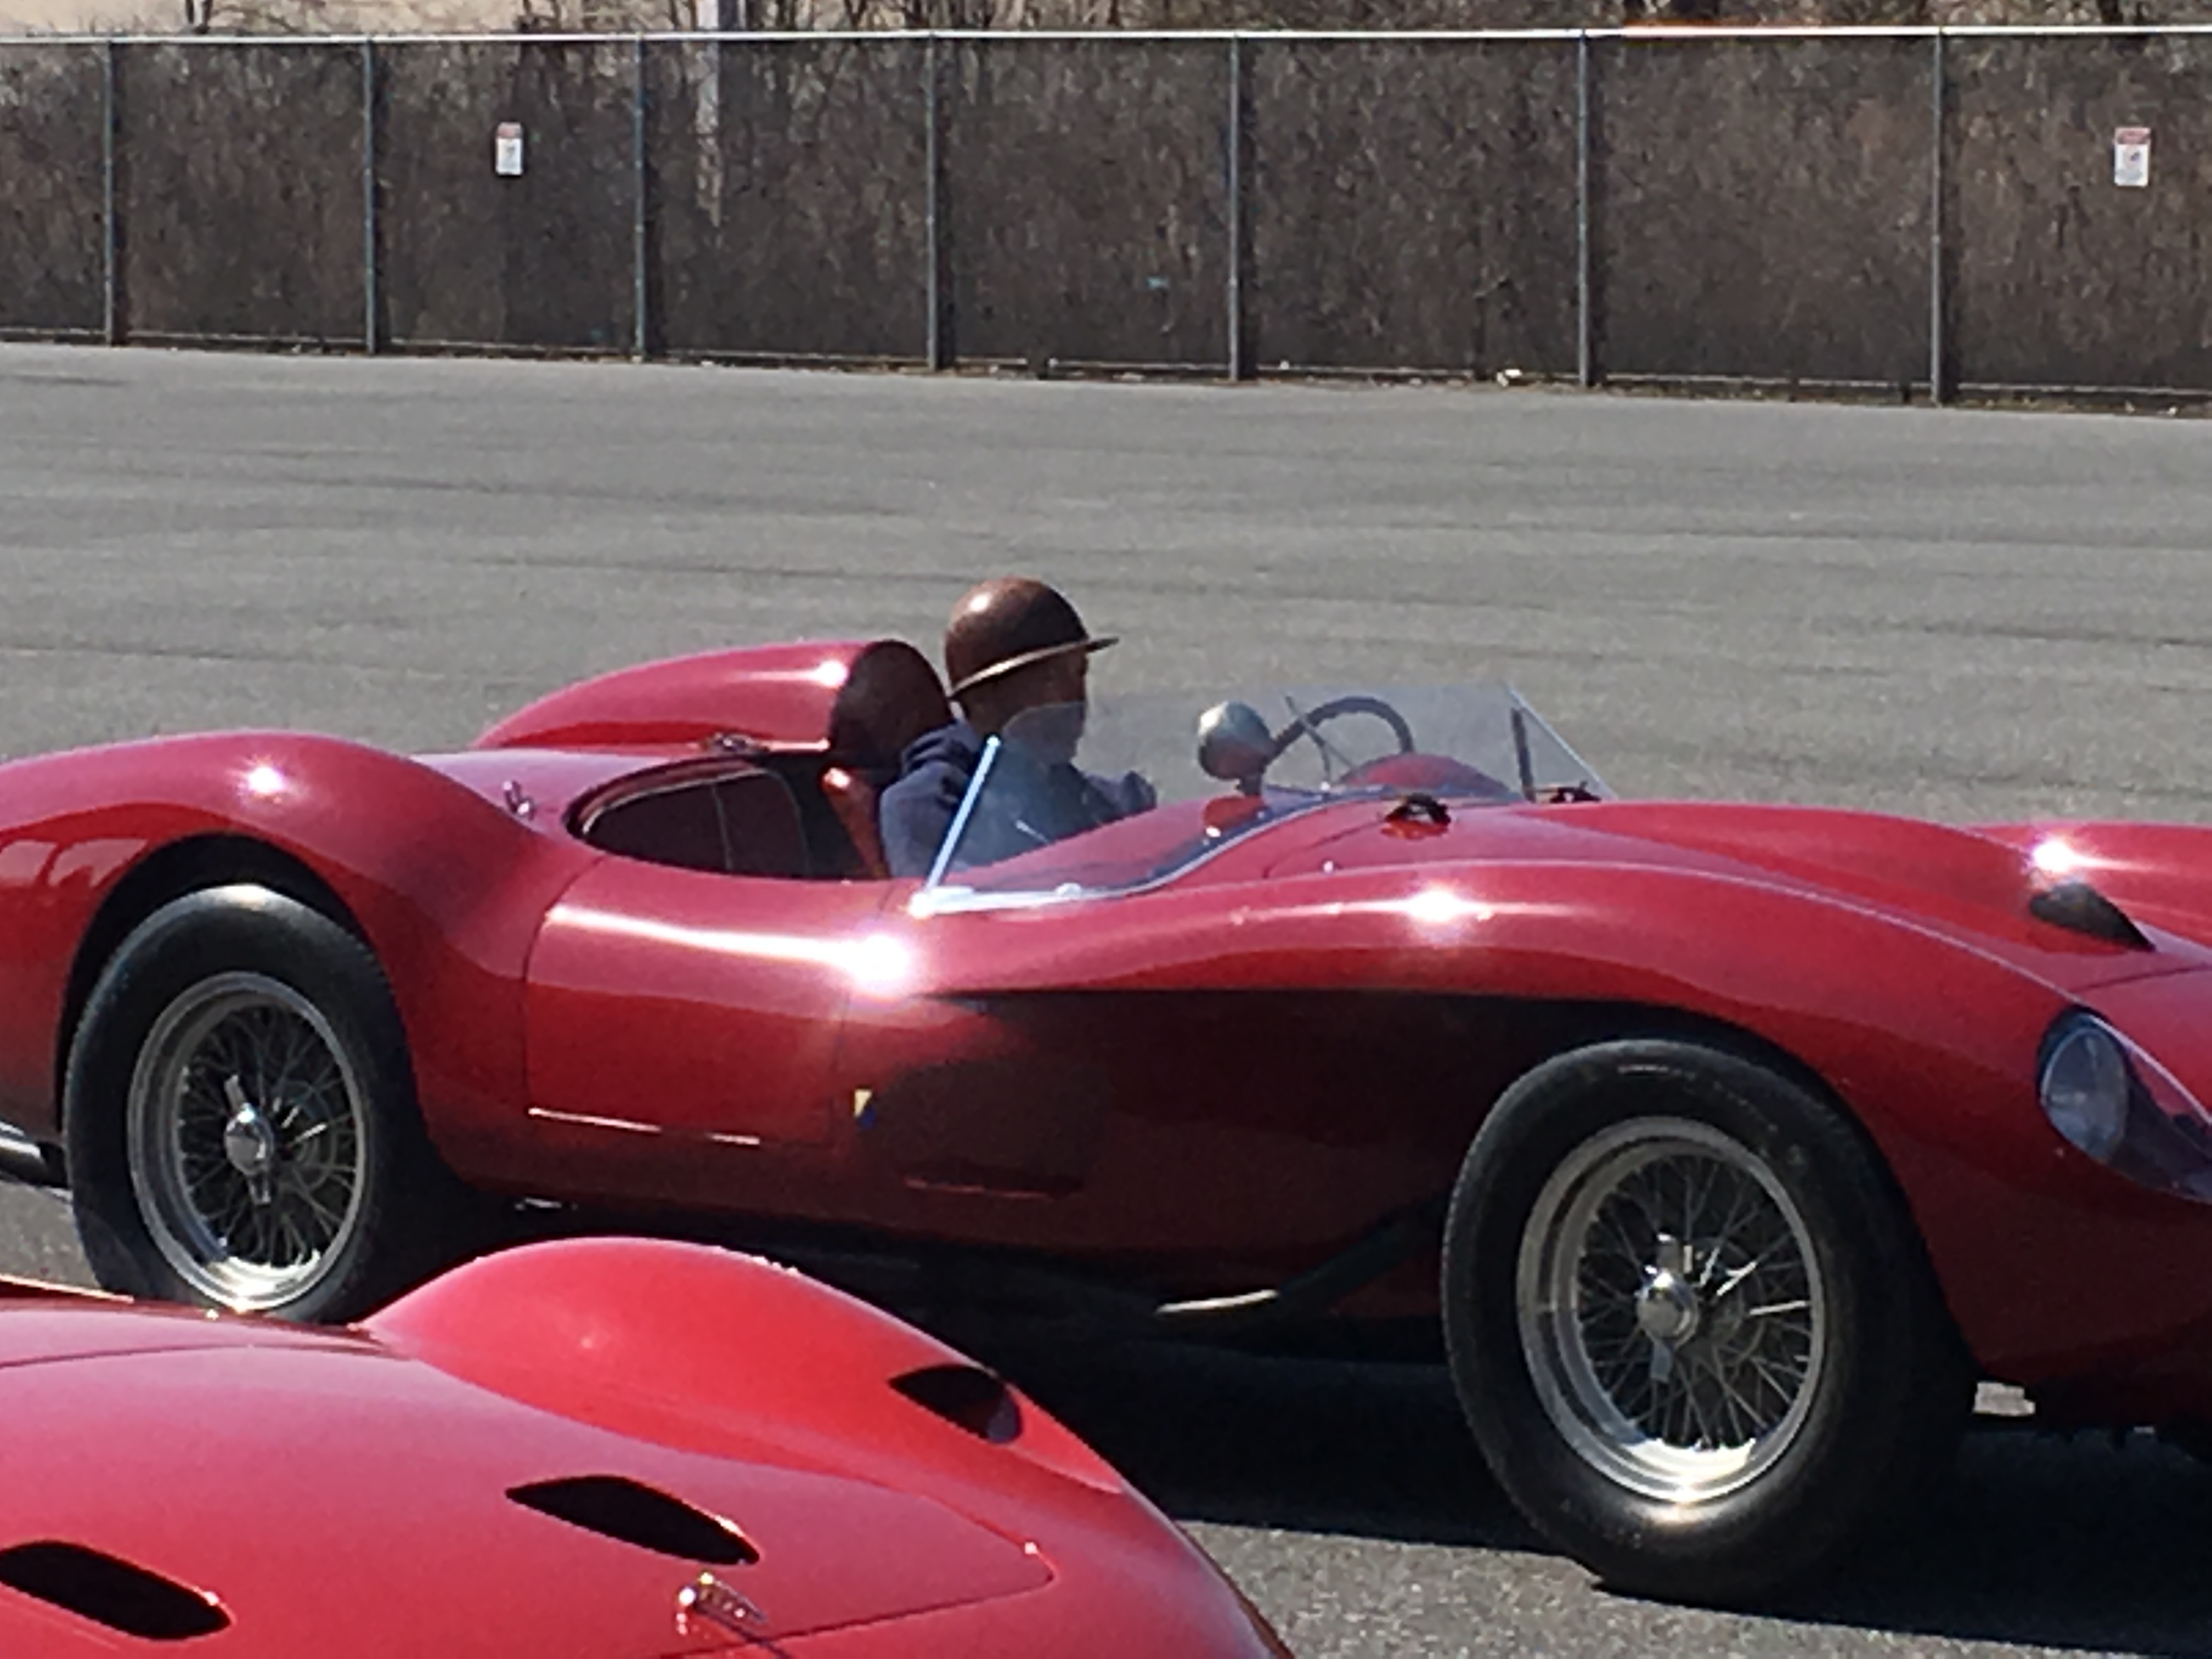
More pics...
-
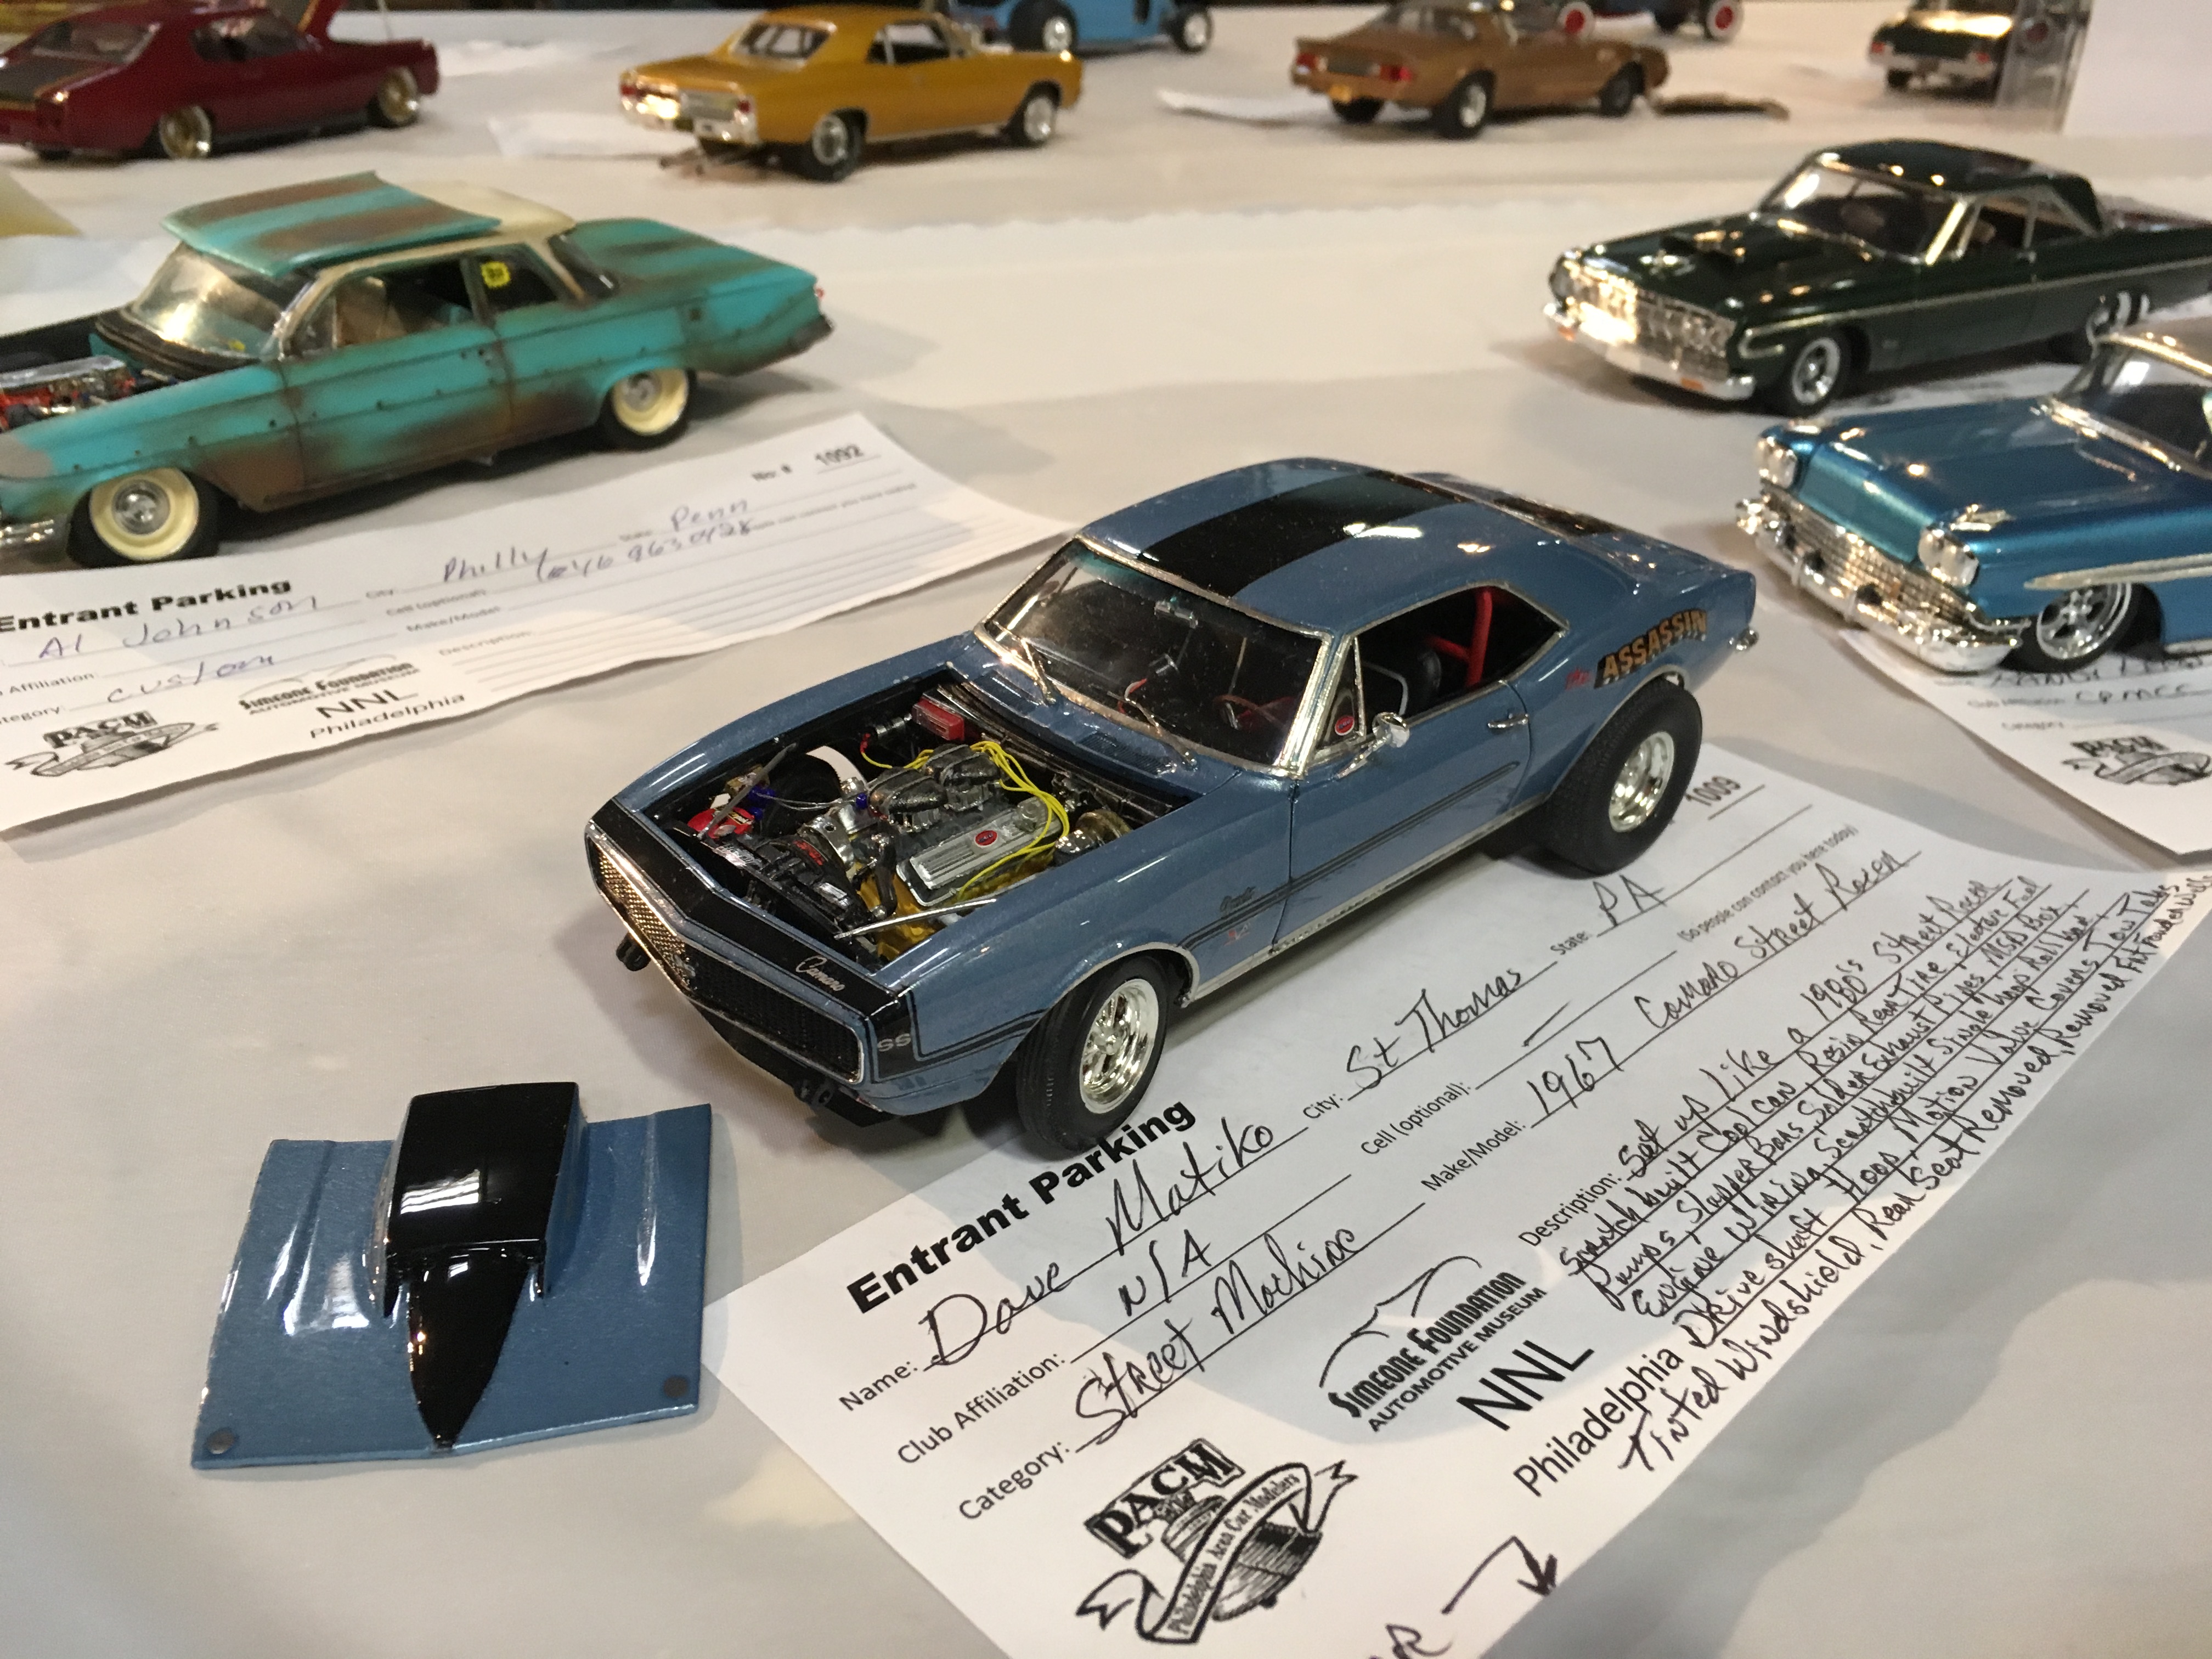
What a great show!!! Here are some of my pics...
-
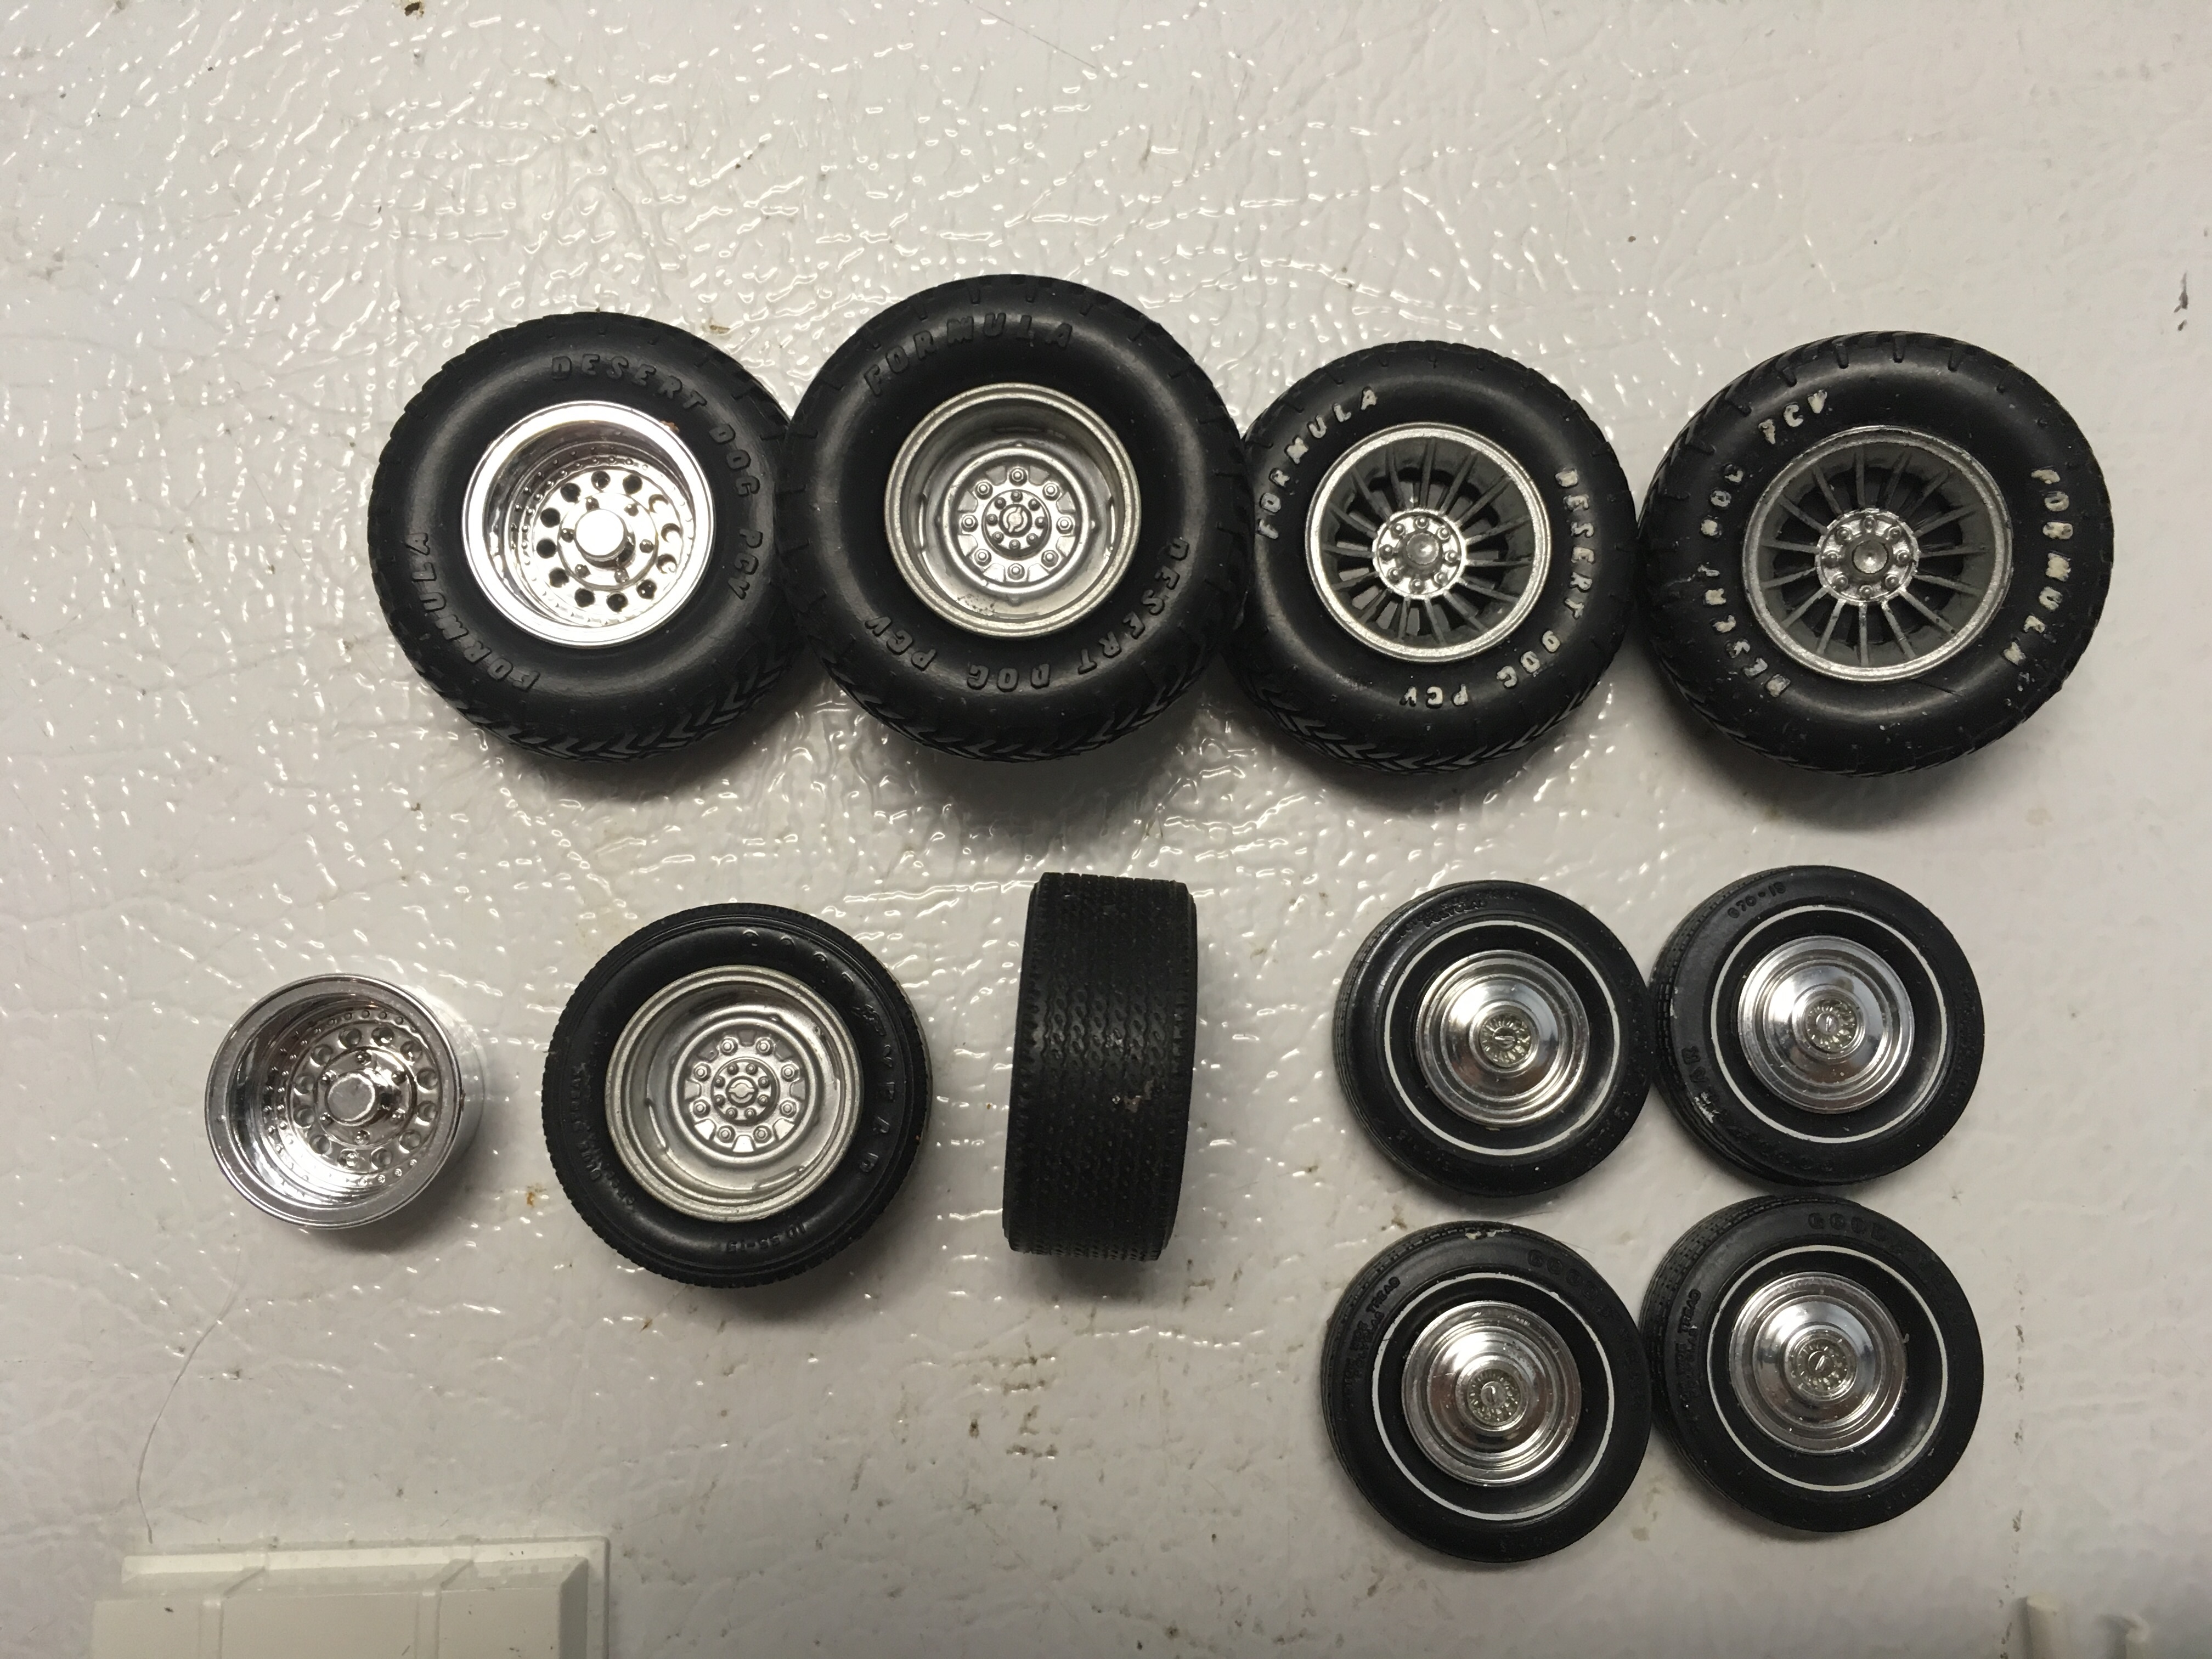
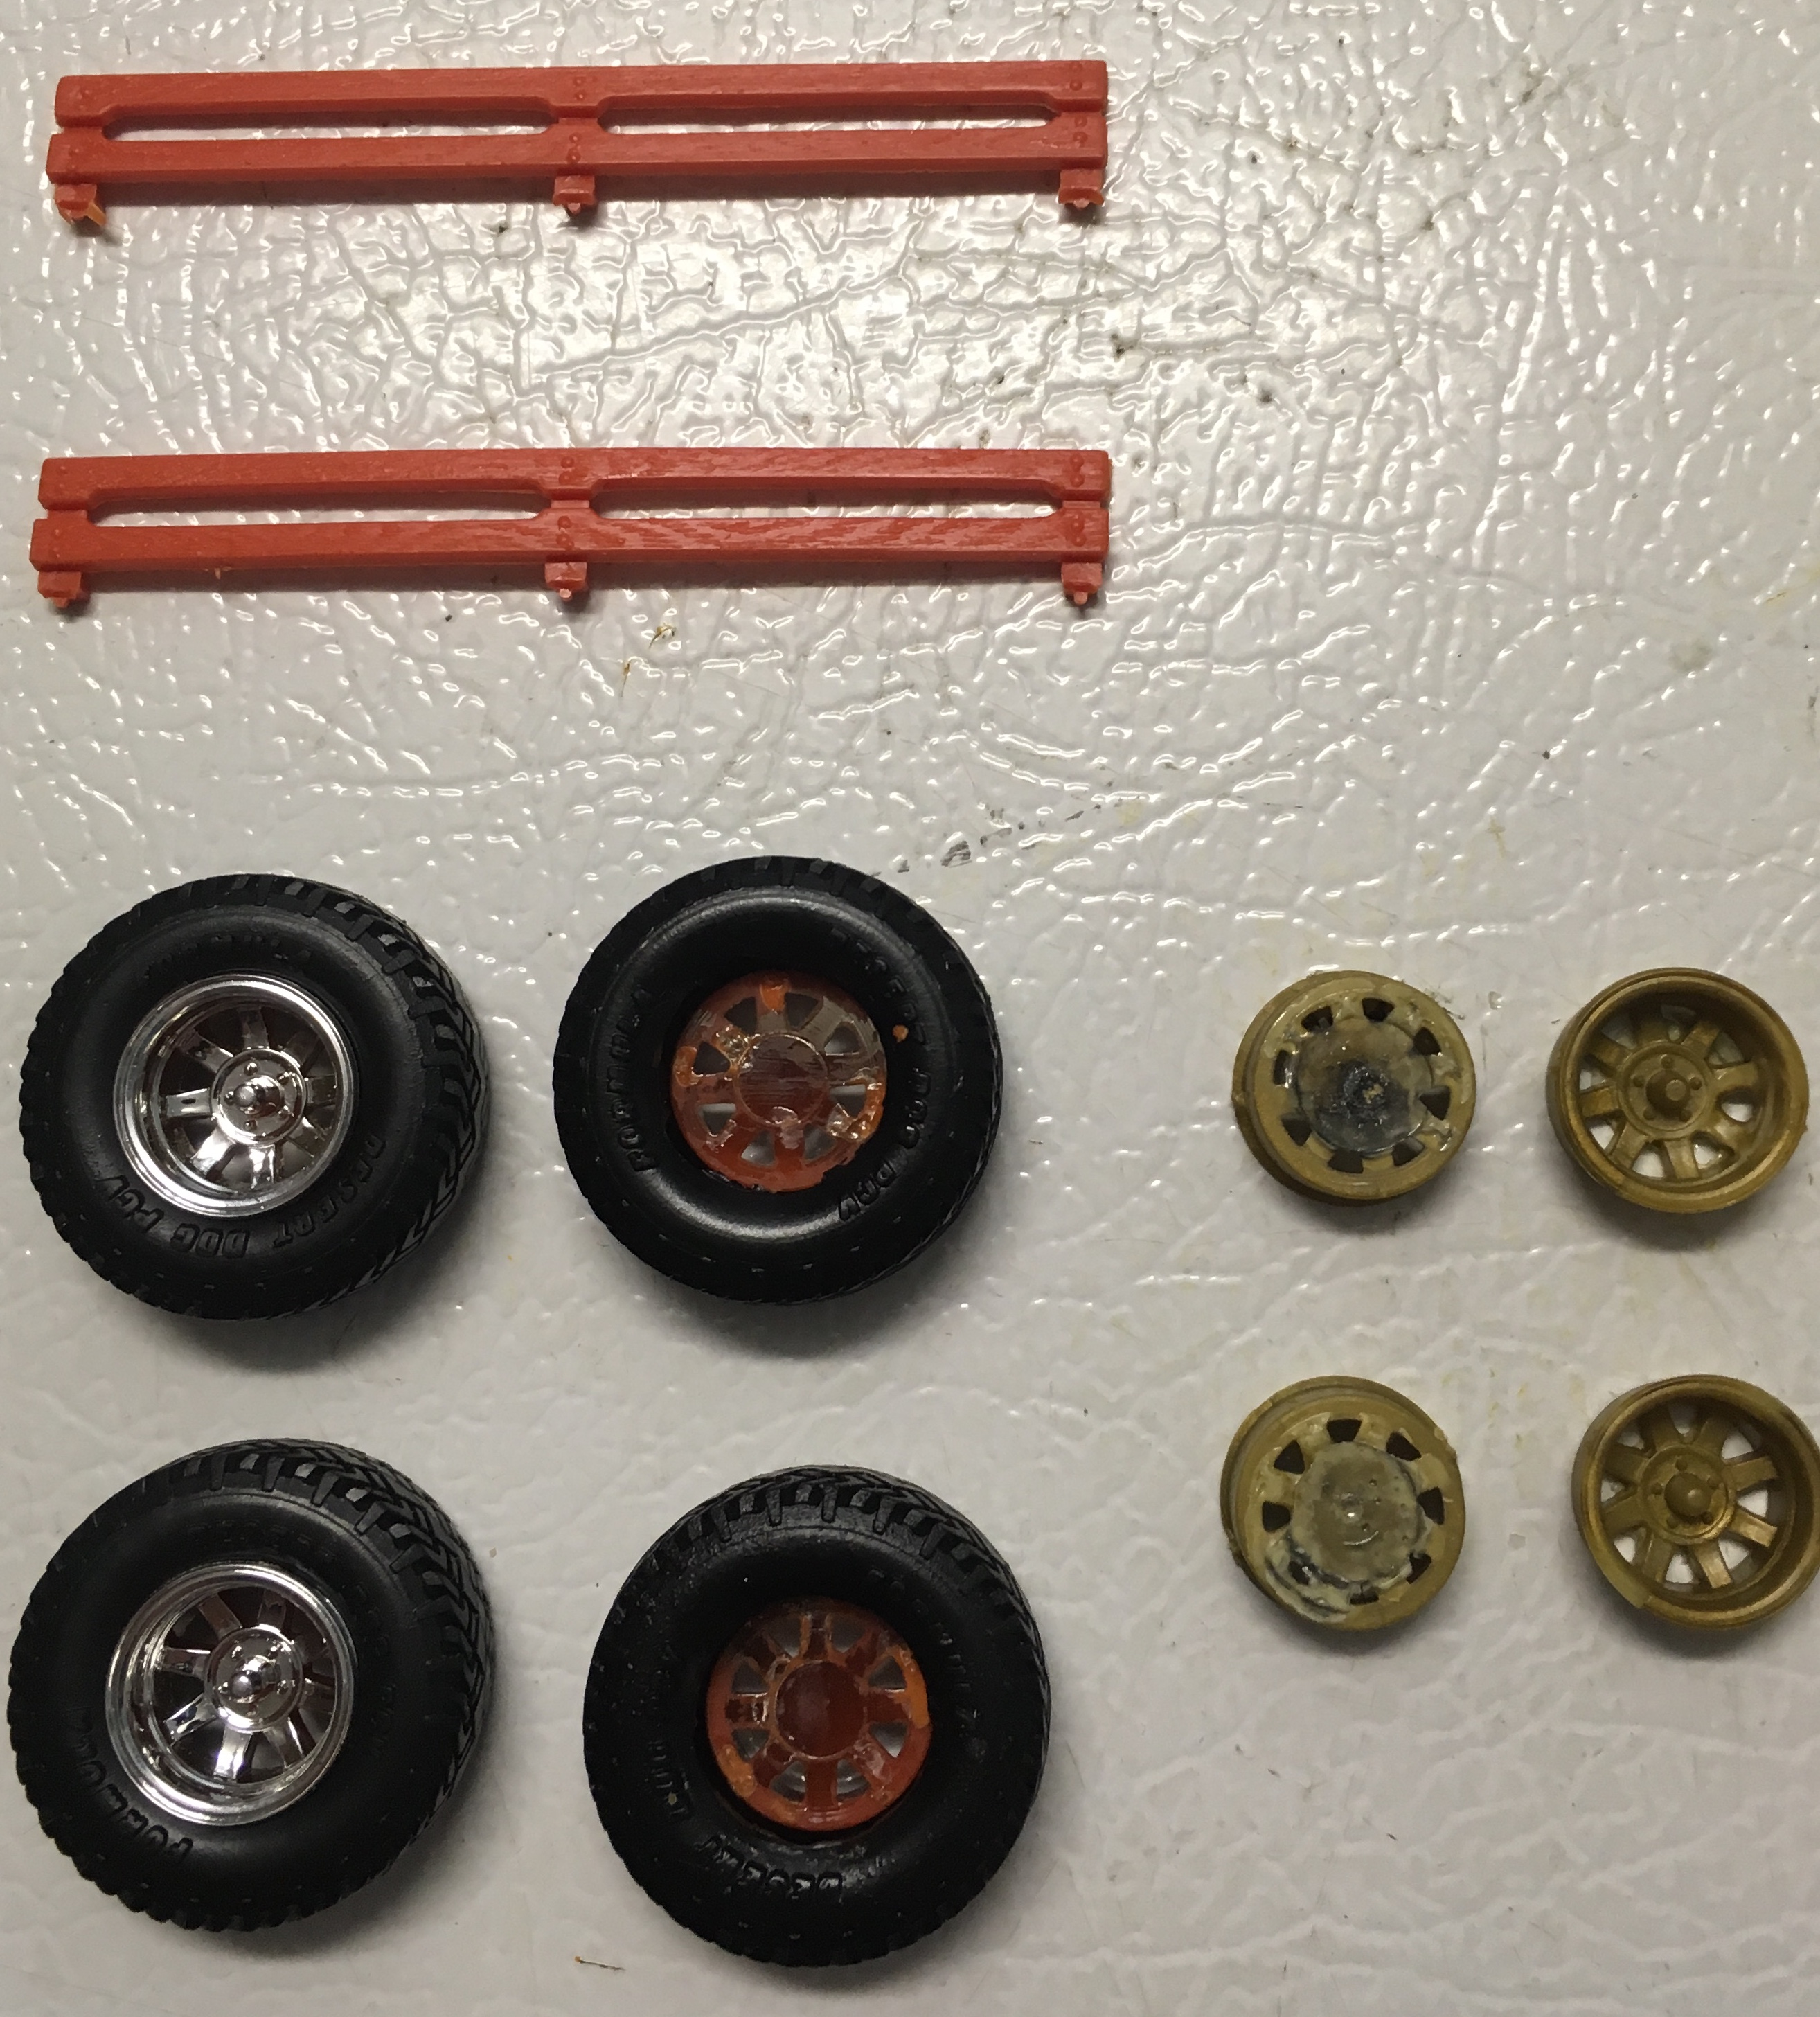
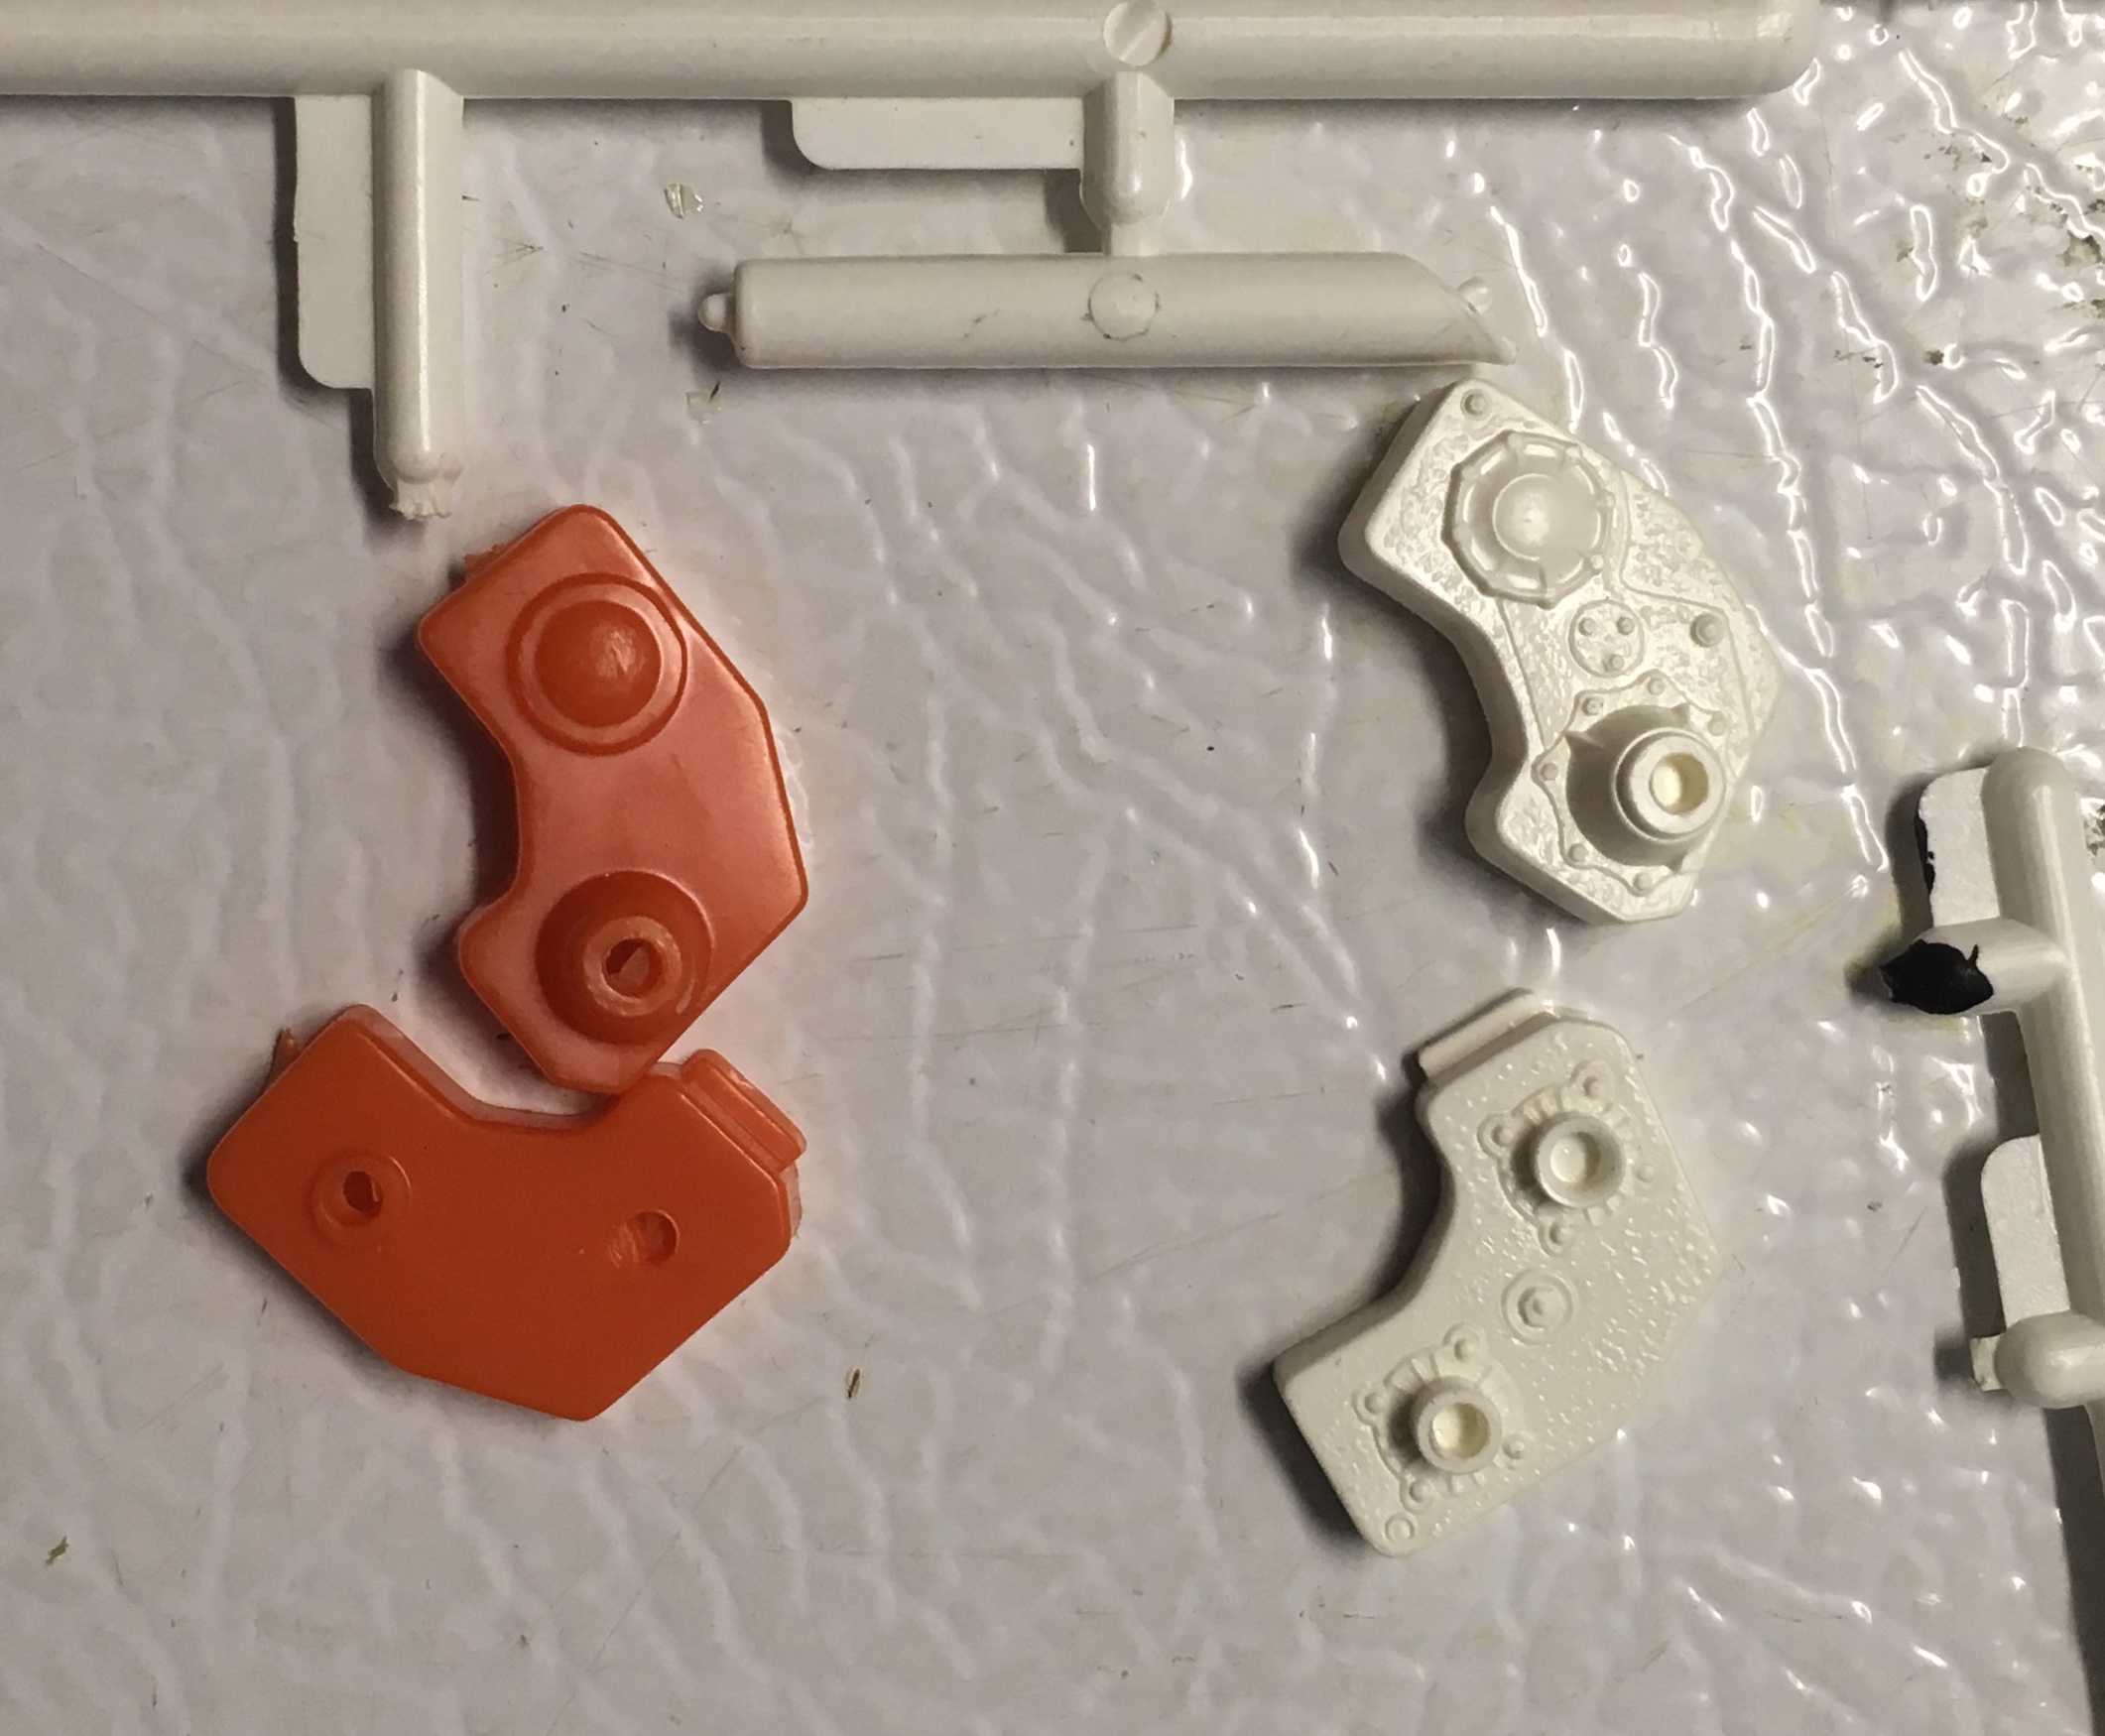
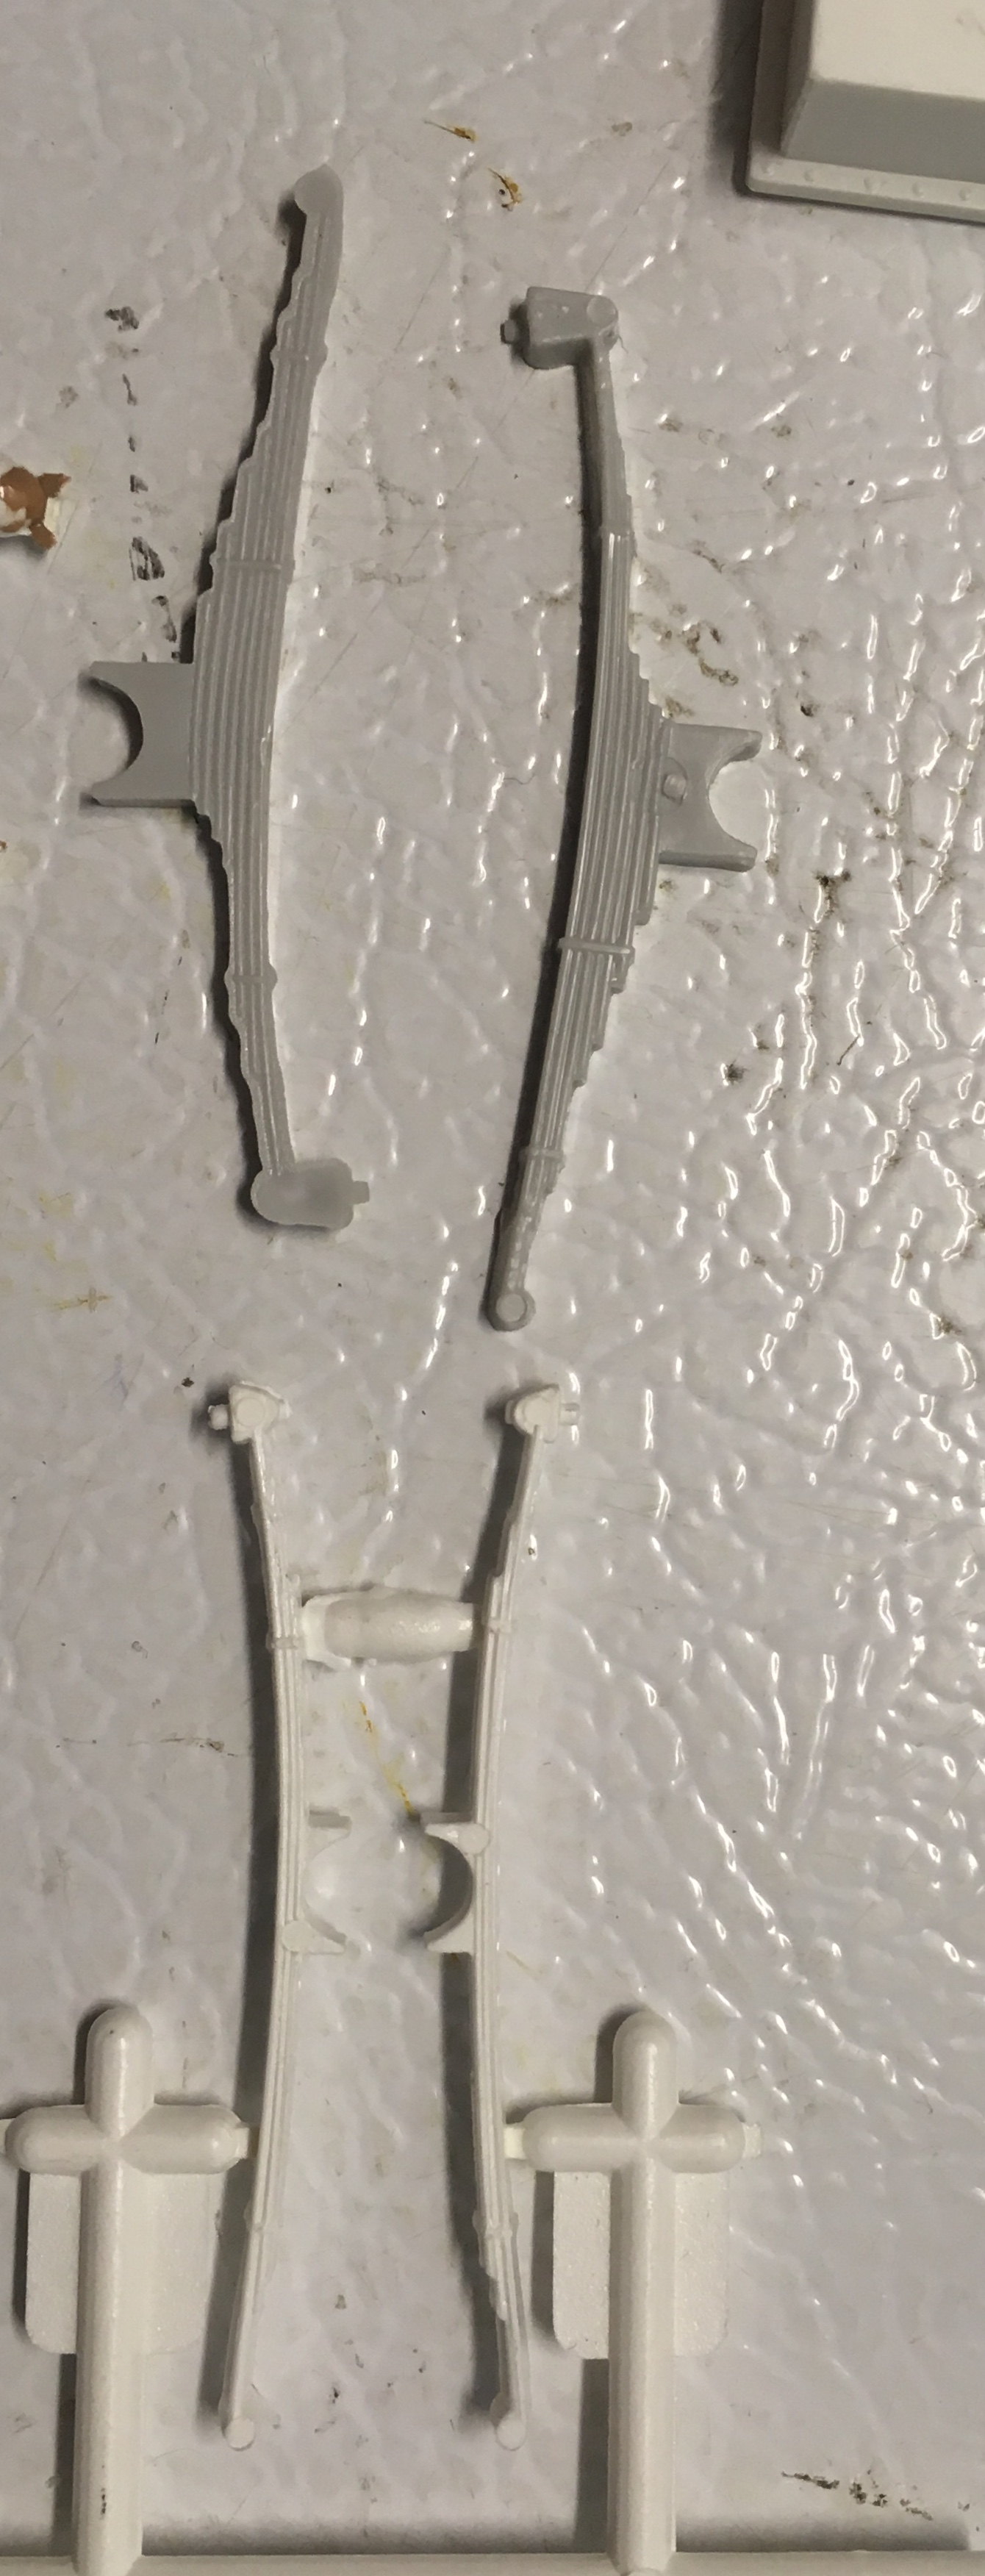
EDIT: sorry, pics are out of order, they simply would not upload properly... I just did a little archaeology, for fun... Shown are: (left, orange)- the monster truck transfer case, and (right, white) the transfer case from all of the annuals/ Warlock. Looking at Tim’s pics, it’s the Monster Truck transfer case. Still- Rodney noted above that the annual piece is still the wrong style for Dodges of this vintage... The gray rear springs are 4x4/ LRX (to give the Lil Red it’s rake). The white ones are original 4x2 rear springs. Tim’s pic seems to indicate that the 4x2’s are the ones that will come in the new kit. That shows that they have looked at the details and made some choices in this release. More fun...The top tires pictured are: the tires from the “ThunderStruck” Dodge (now available in the MPC Jeep Commando and GMC 4x4). The first wheel is from the Mitsubishi/ Dodge D-50 4x4. The second wheel is the 4x4 wheel from all of the annual Swepline Dodge pickups. The third and 4th wheels are from the “ThunderStruck” Kit. The bottom left two tires are the tires you got as 4x4 tires in all of the annual Dodge Sweptlines. YUCK!!! The bottom rights are the wheel covers from the 4x2’s from ‘72-‘73, maybe further on (I’m not exactly sure). I think these caps fell out of use by 1978, in any case. I plan to use a set on a 1974 Dodge Monaco diecast to replicate our old family car. If Round 2 were ever to do a 4x4 release, they could do worse than to use the ThunderStruck combination, if they could find those parts. Bedrails and wheels / tires from the “FireFighter” 4x4 Utiline (same Parts as for the Warlock, the gold wheels are from a Warlock Kit). For the Warlocks, they were on their own tree, in gold. These tires are smaller than the ones in the picture above them, although the same style, they’re sized for a scale 15” wheel. These are what could be found in order to offer a 4x4 Macho Wagon.
-
Thanks for the review, Tim- you made my weekend!!!
-
Agreed!!! ???
-
So the video for March’s releases is out...I’m dying for info on this one! As I suspected, based on the box art shown several weeks ago, it’s a 2wd long bed (“Sweptline”). Looking at a really bad screen capture of the underside of the box, I see a few other things: - it looks like the dog dish caps are newly tooled, and that there may be one other wheel option. I’m seeing wheel backs and wheel fronts in the white parts, and also, wheels in the chrome parts. My guess is that the chrome wheels will be the 5 hole wheels from the Lil’ Red Express, which would not be incorrect for a D 100. - at least some of the service parts (roof lights) have come back. Maybe we’ll get some of the hand tools and Jerry can that came with the earlier issues of this kit, too? - just the 2wd version in the box. What I’m hoping here is that maybe this is a planned first release, with different content (4x4 parts) coming later. If they could find the 4x4 parts and the wheels from the Warlock, along with the roll bar parts, they’re pretty close to being able to offer a Macho Wagon. This does actually represent a truck that MPC never offered- as I believe that the ‘77 and ‘78 Annuals (other than the Lil’ Red) were 4x4 only. Out of the box, it makes a great work truck, or donor for a tow truck or other service truck. I used to work with a guy many years ago that had a 2wd D100 like this as a daily driver. It was a very clean truck that he used just to get around town with. I always thought that truck was pretty cool. Personally, I don’t miss the side trim (I would remove it for most 4x4 or work truck builds anyway) nor do I mind that it’s a long bed, because the long bed & frame could always be cut down to a short bed size (or a resin bed could be used). This one will sell, simply because all of the old MPC Dodge Pickup kits seem to bring big bucks - just getting glass and taillights for old builds seems to be a challenge these days!
-
Thanks for the kind words, guys! Hoping to get back to this one and post some updates soon!!!
-
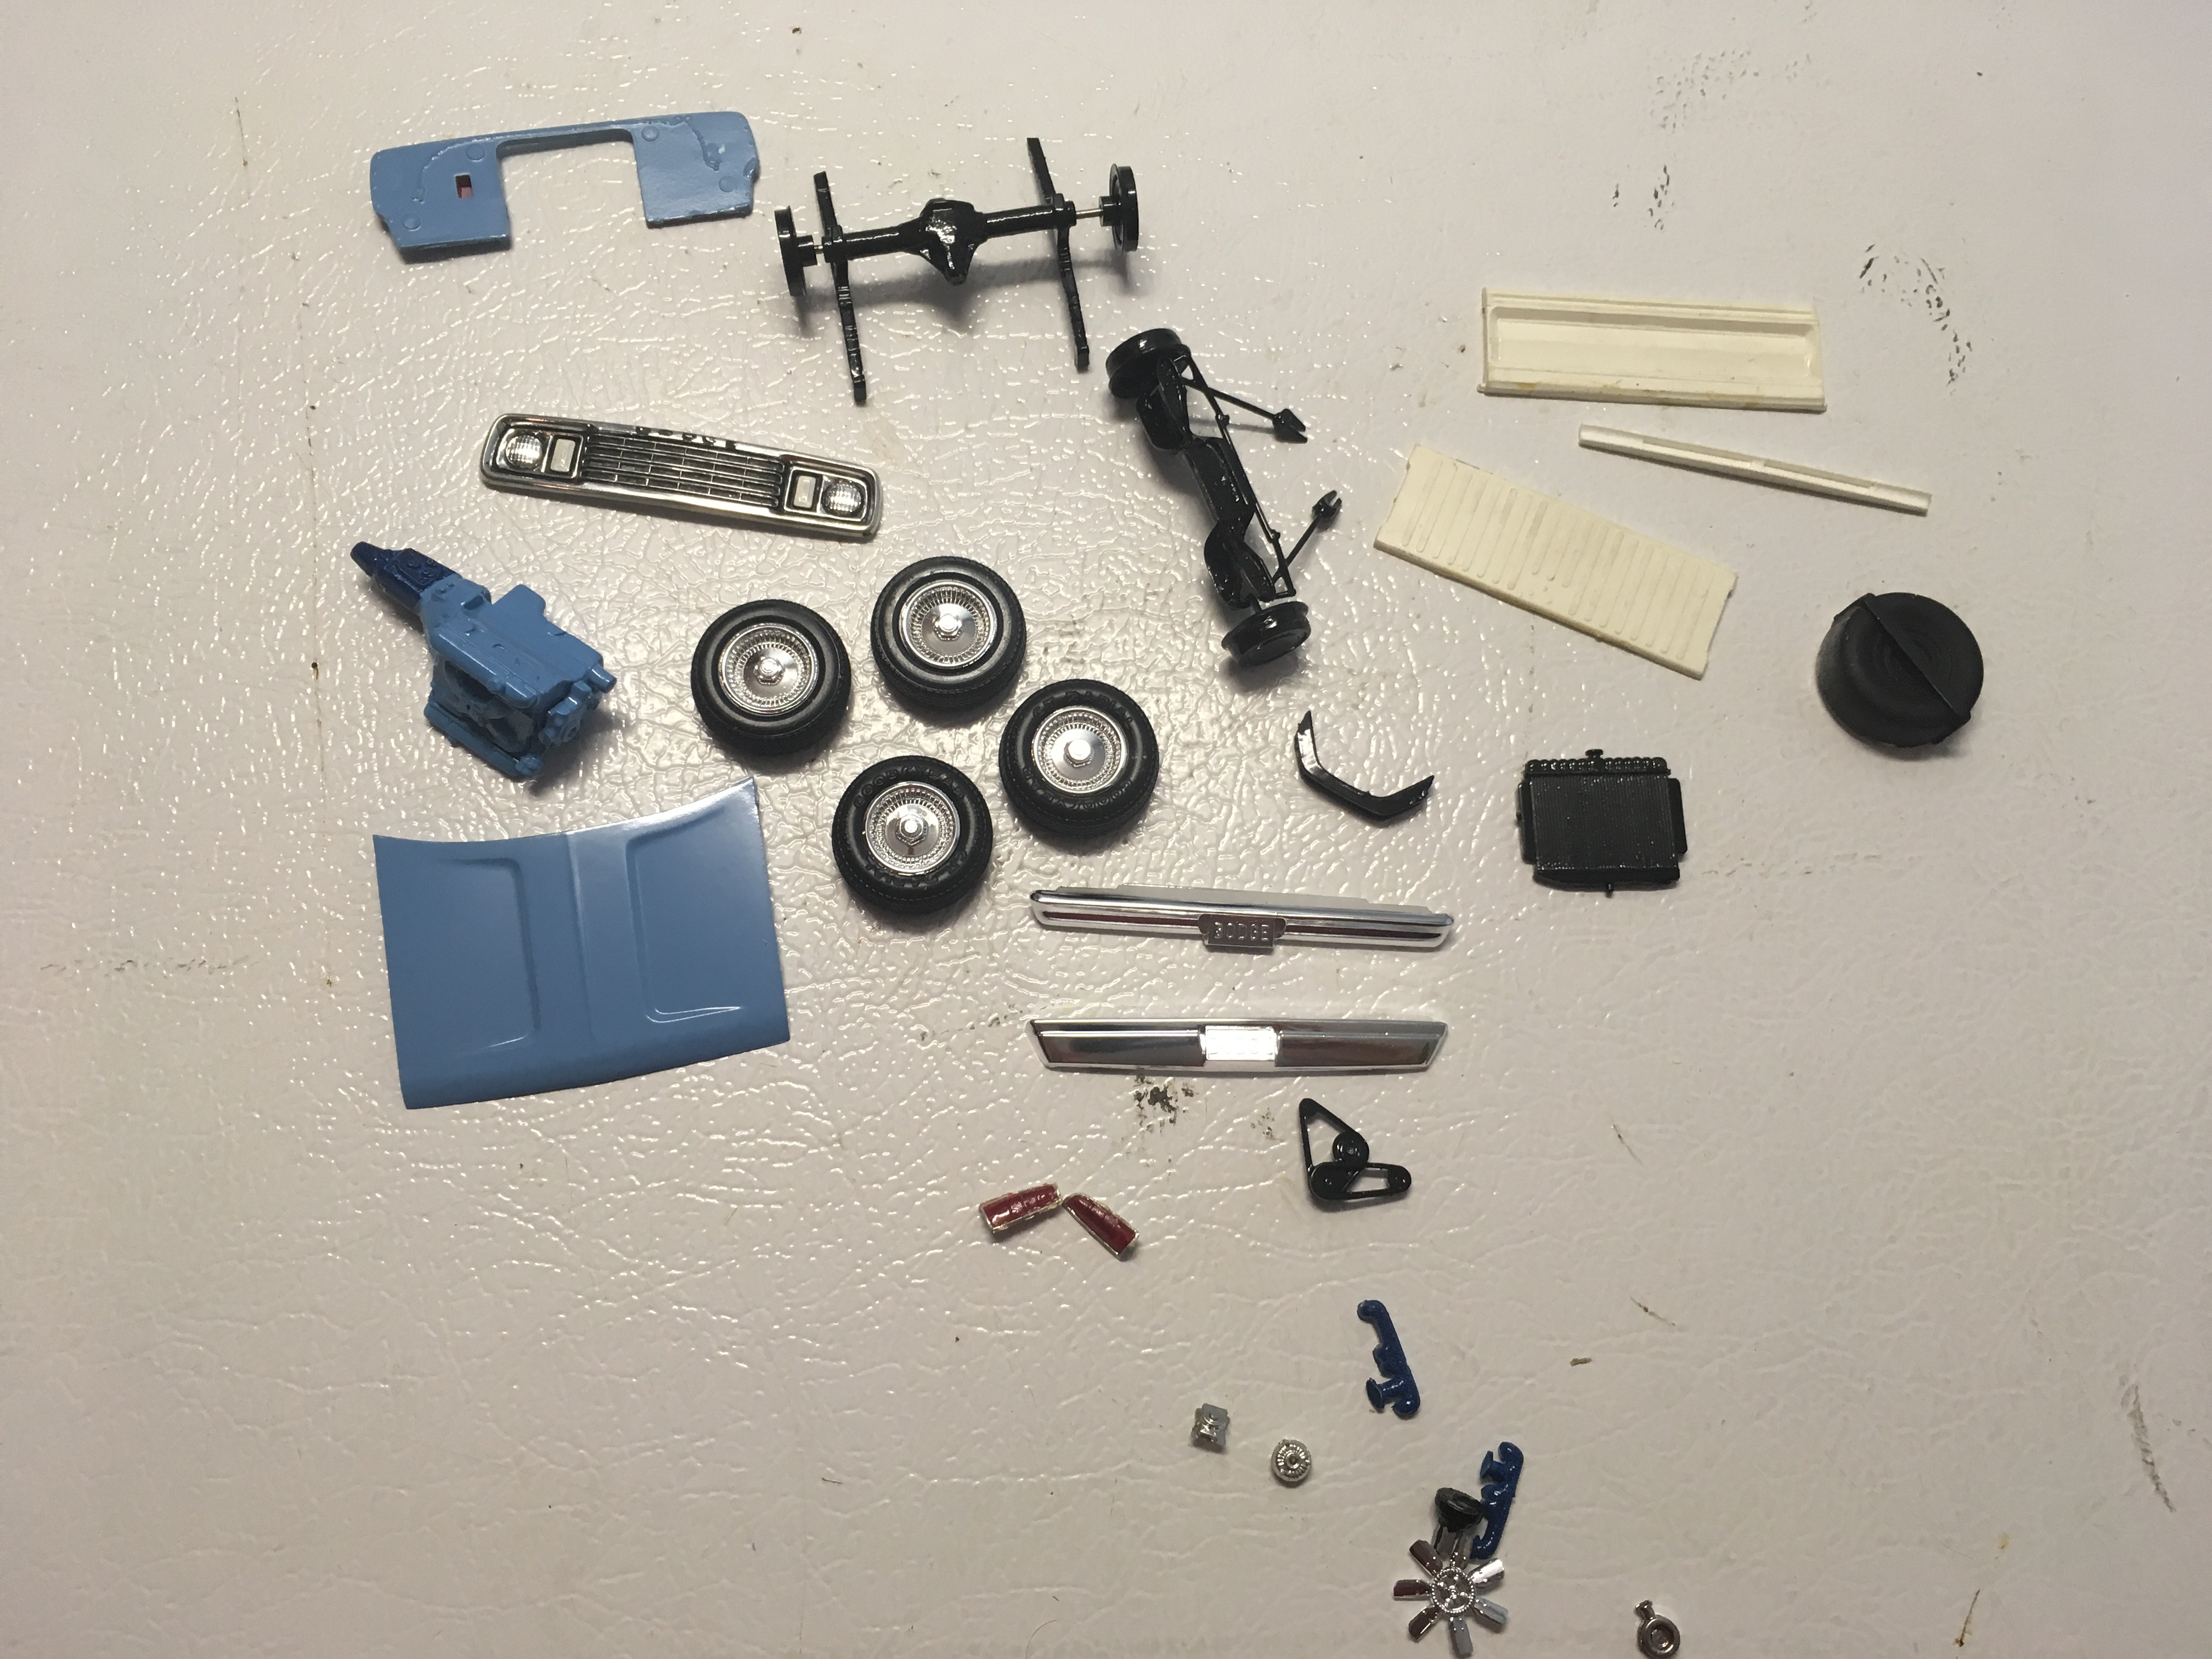
Now that I'm looking at the pics, I think the chrome foil on the upper trim spears has to be redone- I might not have used a very sharp knife on them when I did them way back when. They look fuzzy in closeup. Also, the "DODGE" lettering in the grille is terrible. Part of that is because on the real trucks, these were inset, while on these grilles, they're raised. They are tough to paint with chrome reflections, etc. I'm SOOOO glad ( )that I have a modern digital camera that calls out all of these glaring errors, I just hope my eyes are up to making these corrections!!! Oh yeah- and I need a driveshaft, and some side mirrors...
-
I think the suspension is more or less Lil’ Red Express, making this a 2wd. I might try to knock the ride height down in the back a little, bit leave it with a slight rake; I seem to remember these had a slight rake from the factory (when unloaded). Also, in this pic, you can see that it’s all just barely hung together - I will try to get it all to line up better than this when I assemble it.
-
Also- I forgot to paint the tailgate and the front lower valence...I think I used plain old Testor’s sky blue, so hopefully I can get them to match. I painted the turn signal lenses in the grille white, probably to replicate the clear ones. My online sources indicate clear ones were used until about 2-1-78.
-
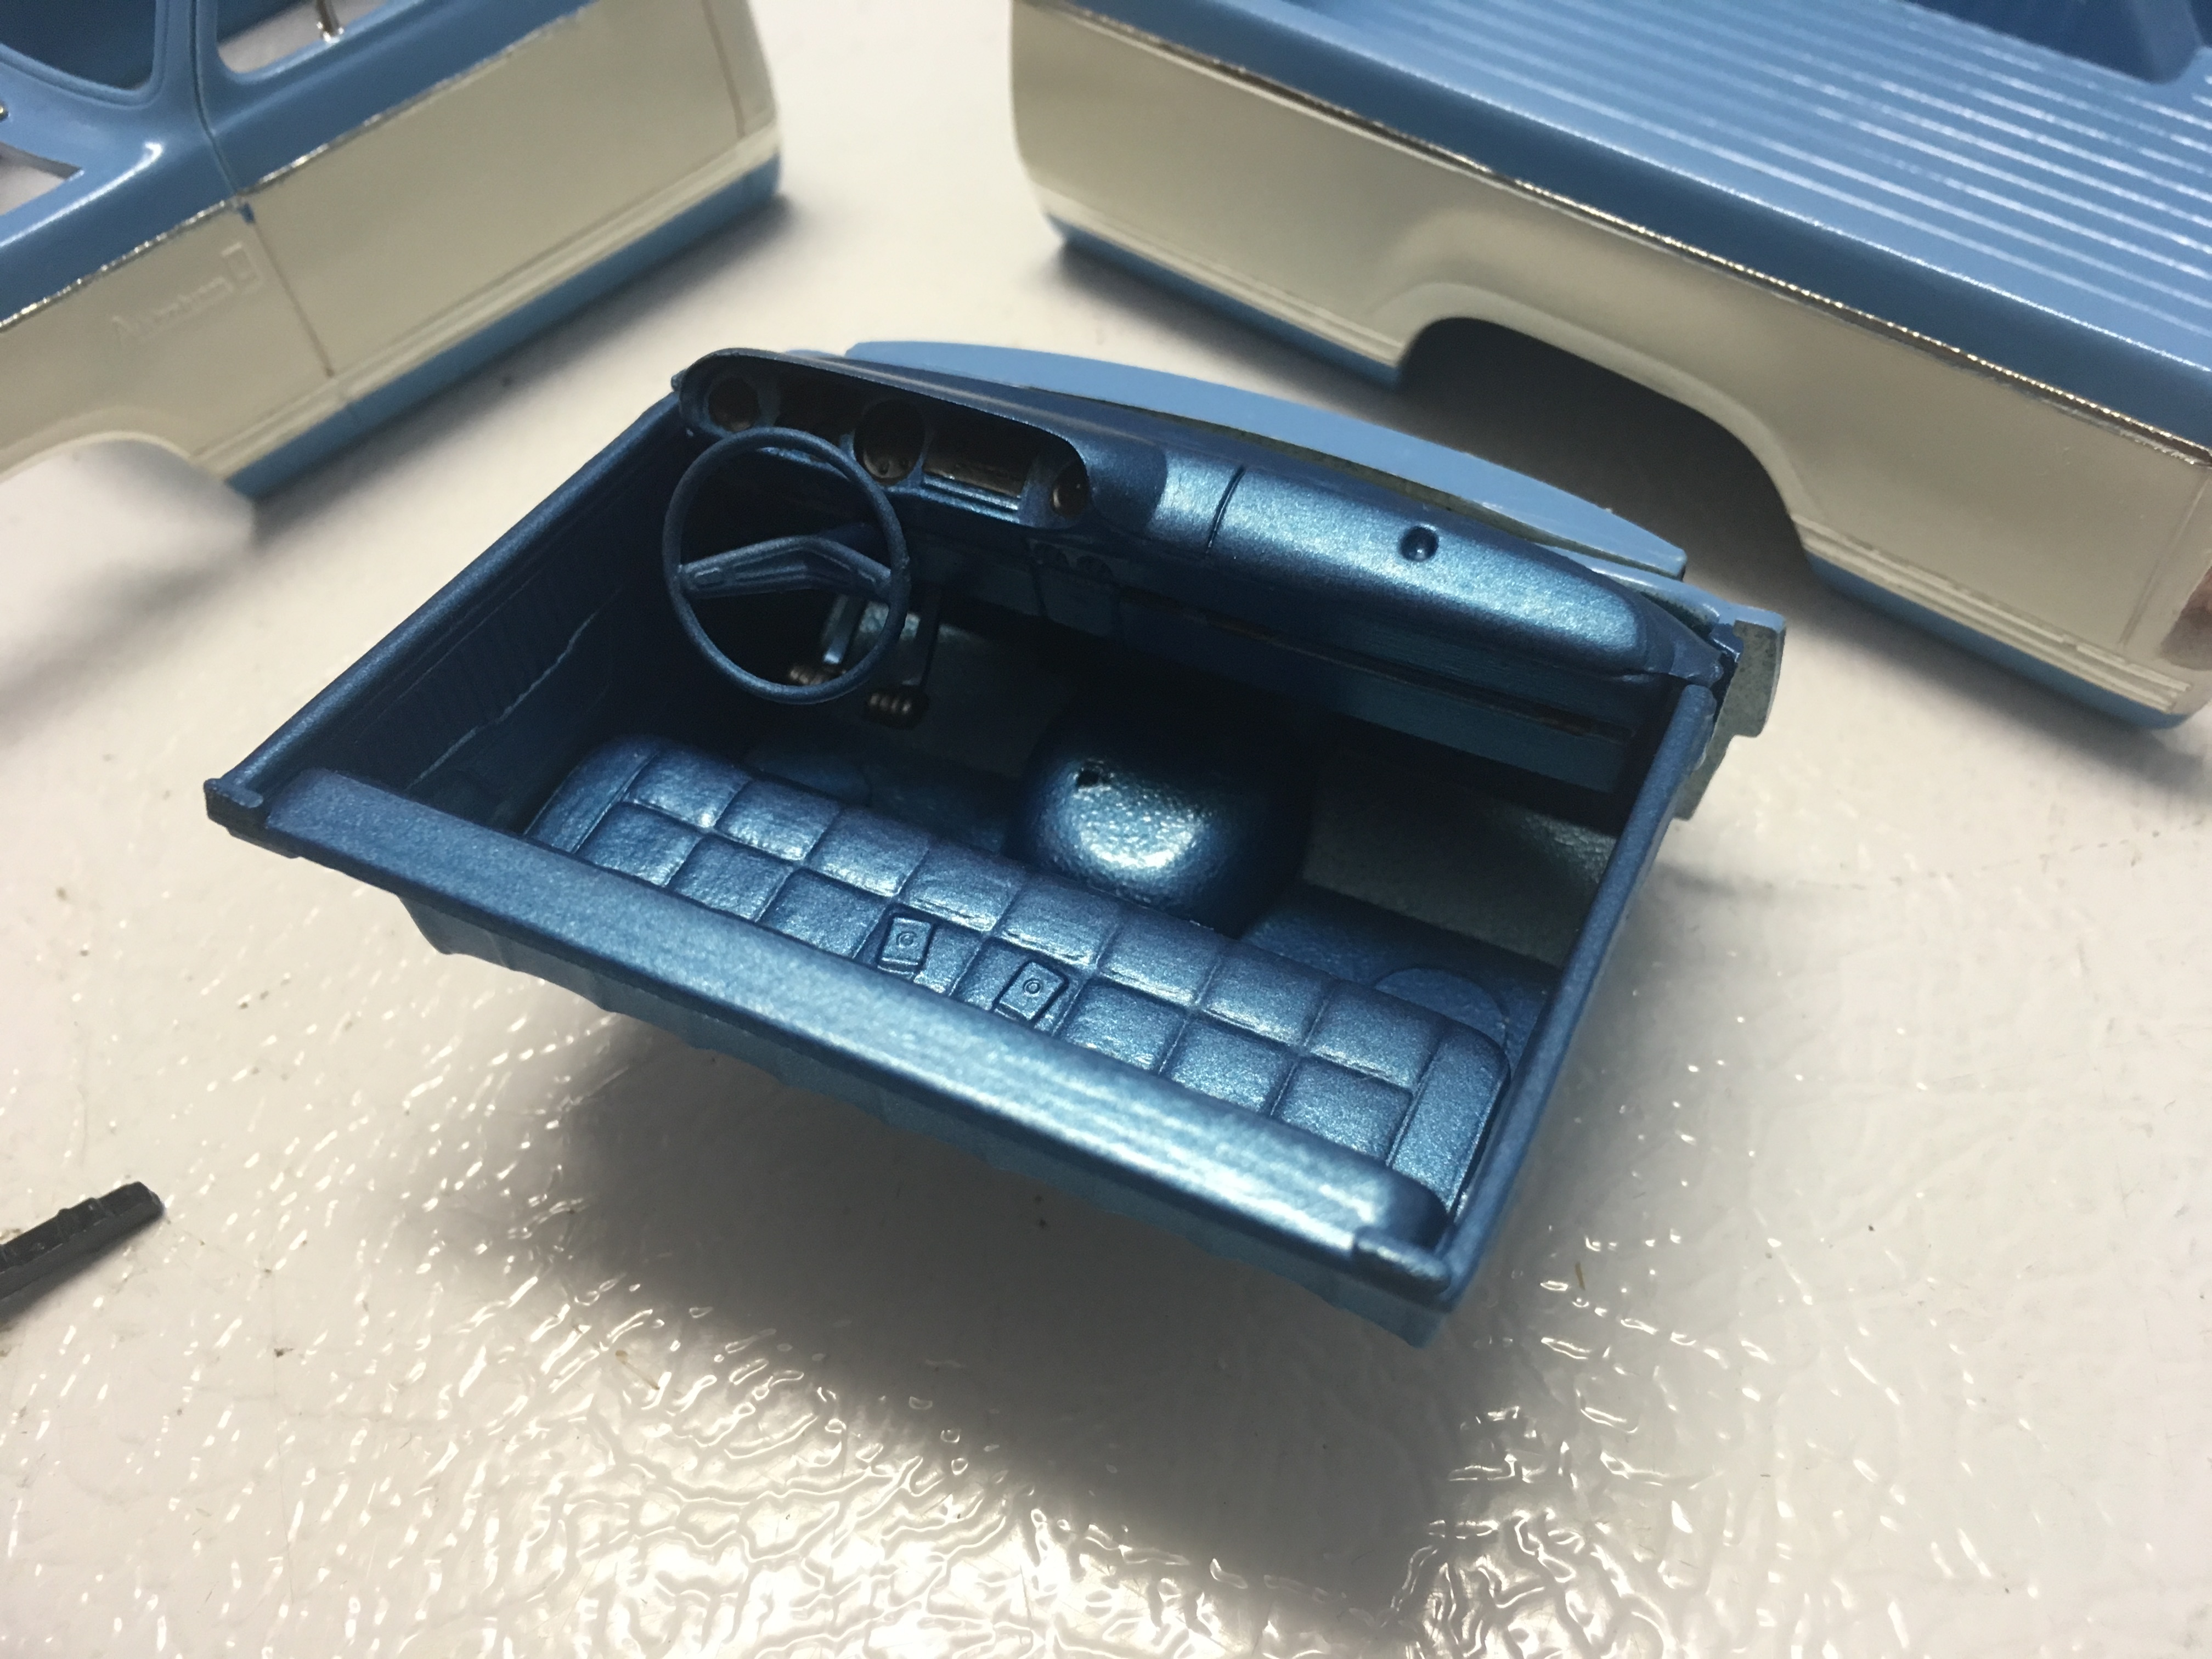
Now that I’m 20 years late on this, I want to try to work in some improvements. I want to use the engine from the AMT ‘71 Charger R/T, and maybe change the wheel choice (these are stock hubcaps from the old MPC Dodge Vans from about 1979-up). Also, the detailing in the interior isn’t quite right, and I want to work on the appearance of the grille a little.