Dann Tier
-
Posts
8,151 -
Joined
-
Last visited
Content Type
Profiles
Forums
Events
Gallery
Everything posted by Dann Tier
-
LOL, its crazy isn't it....
-
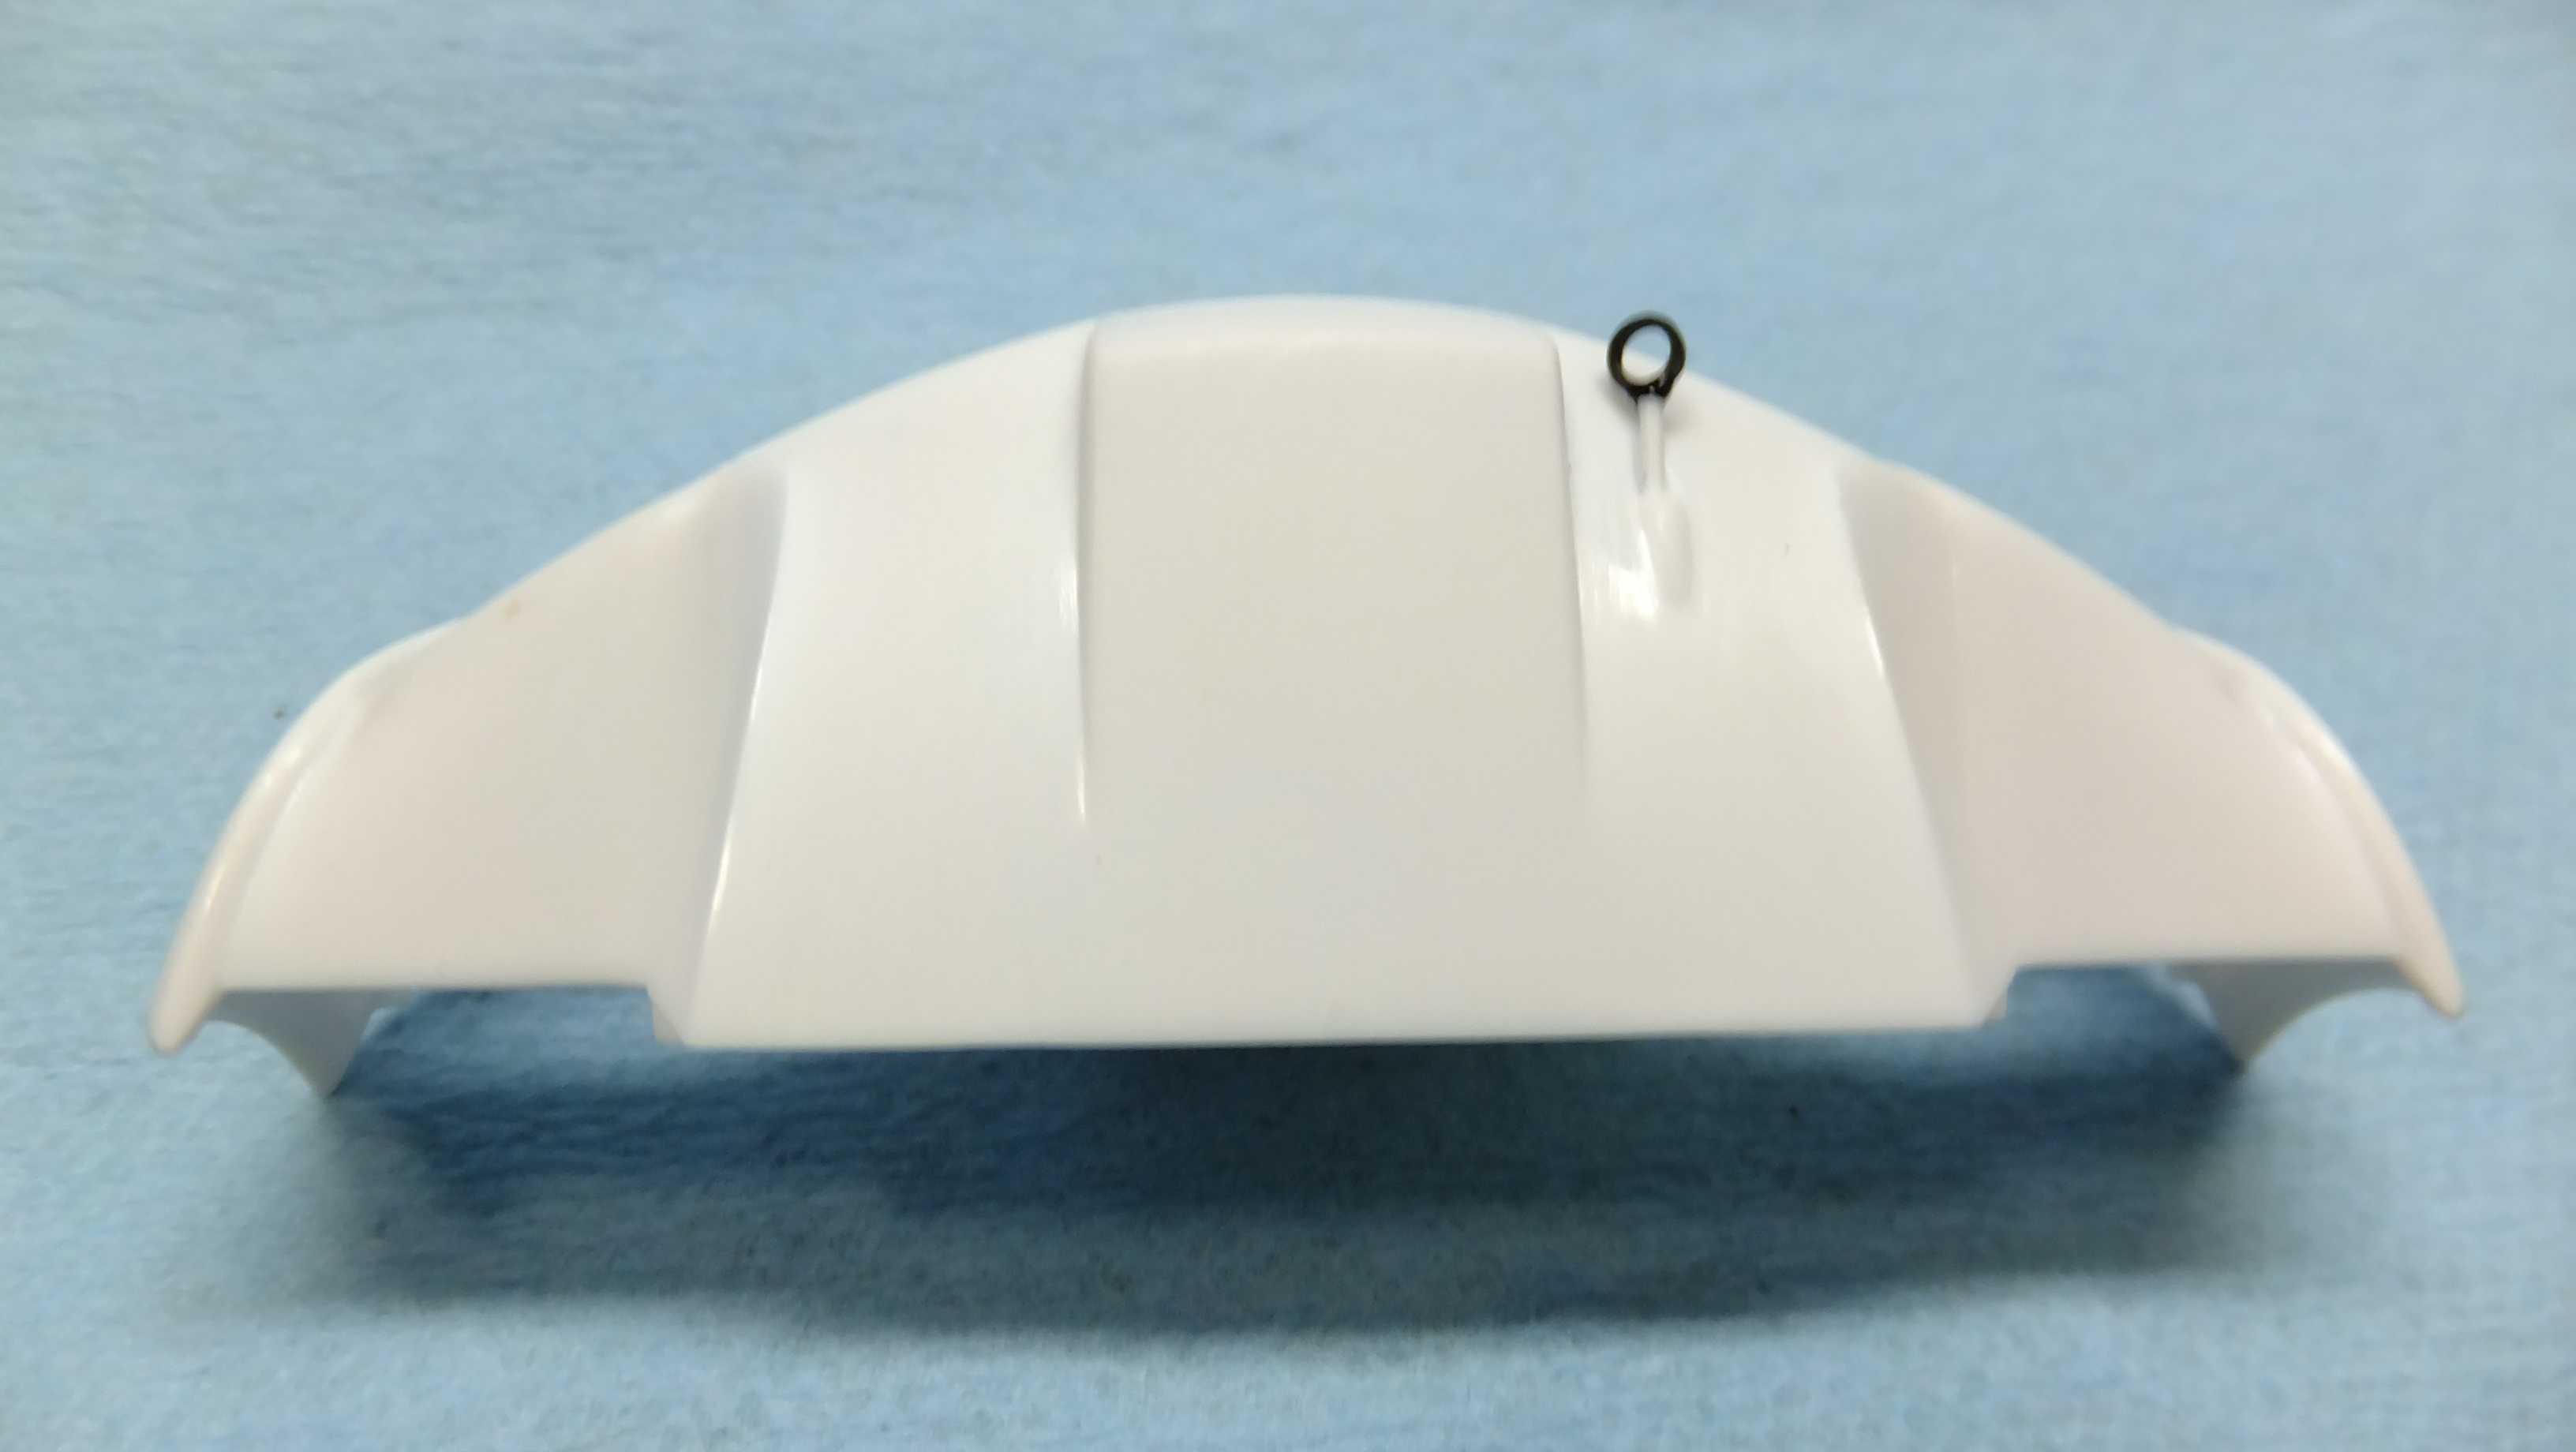
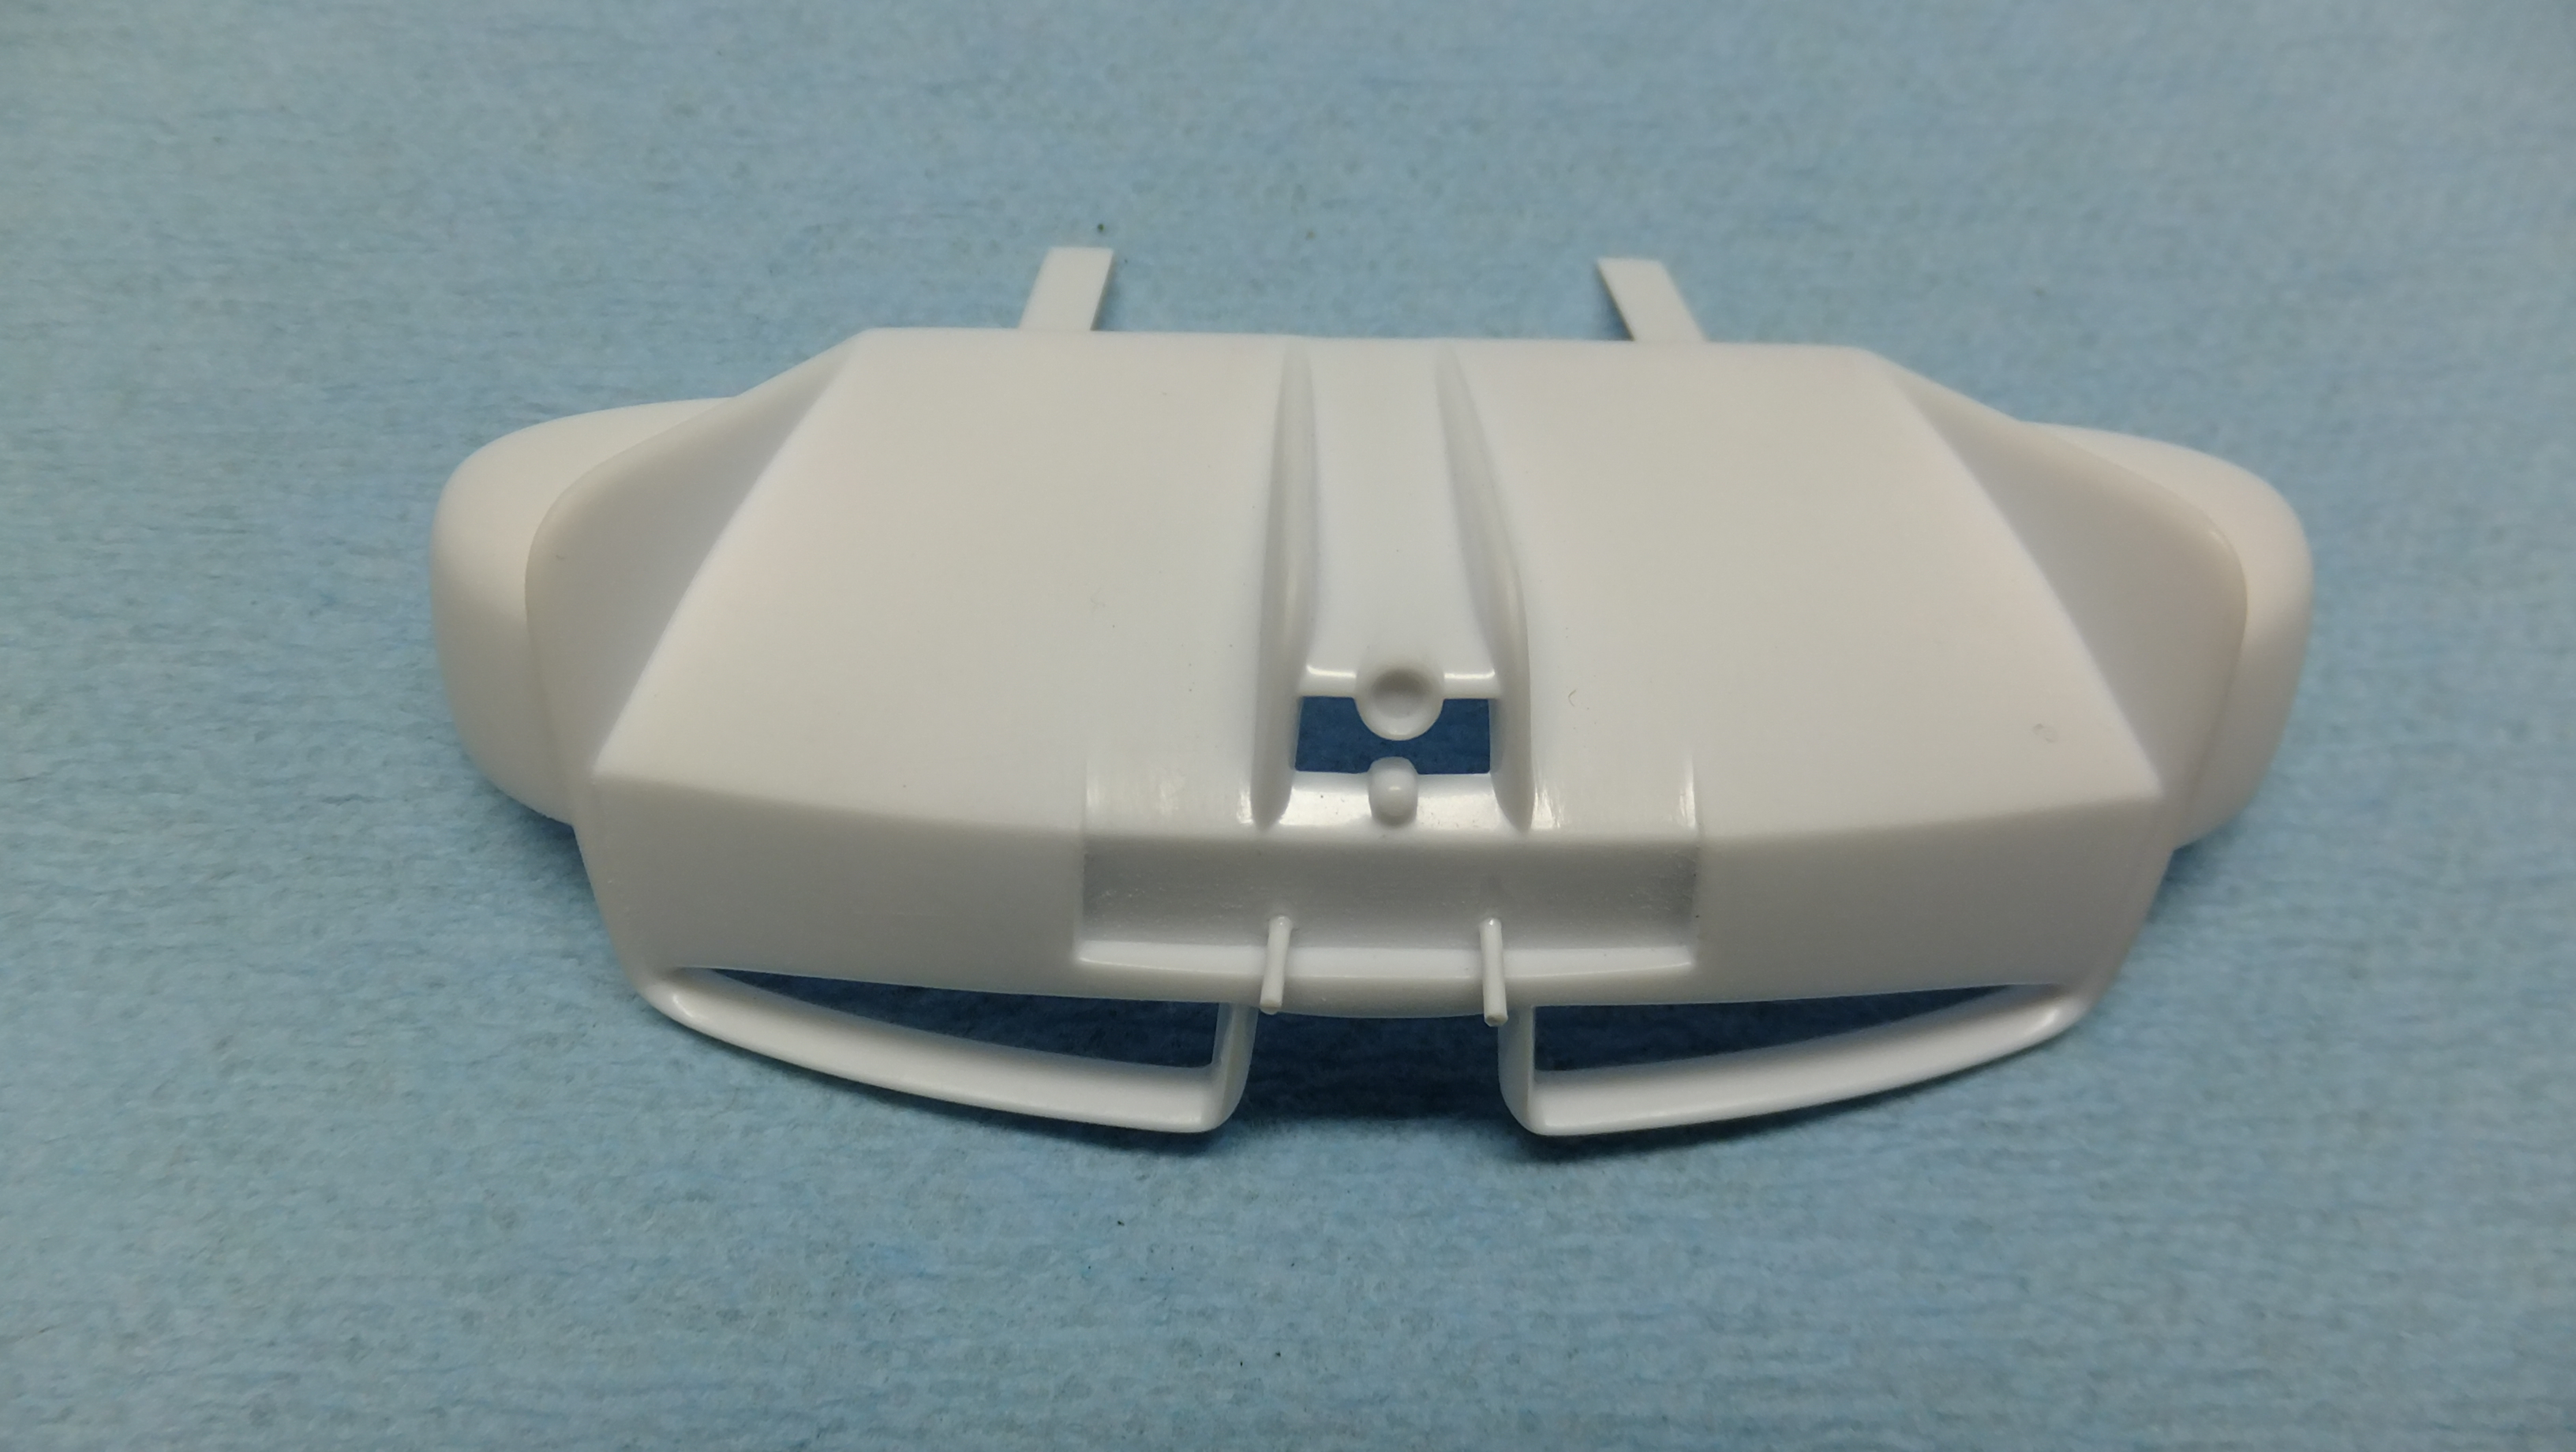
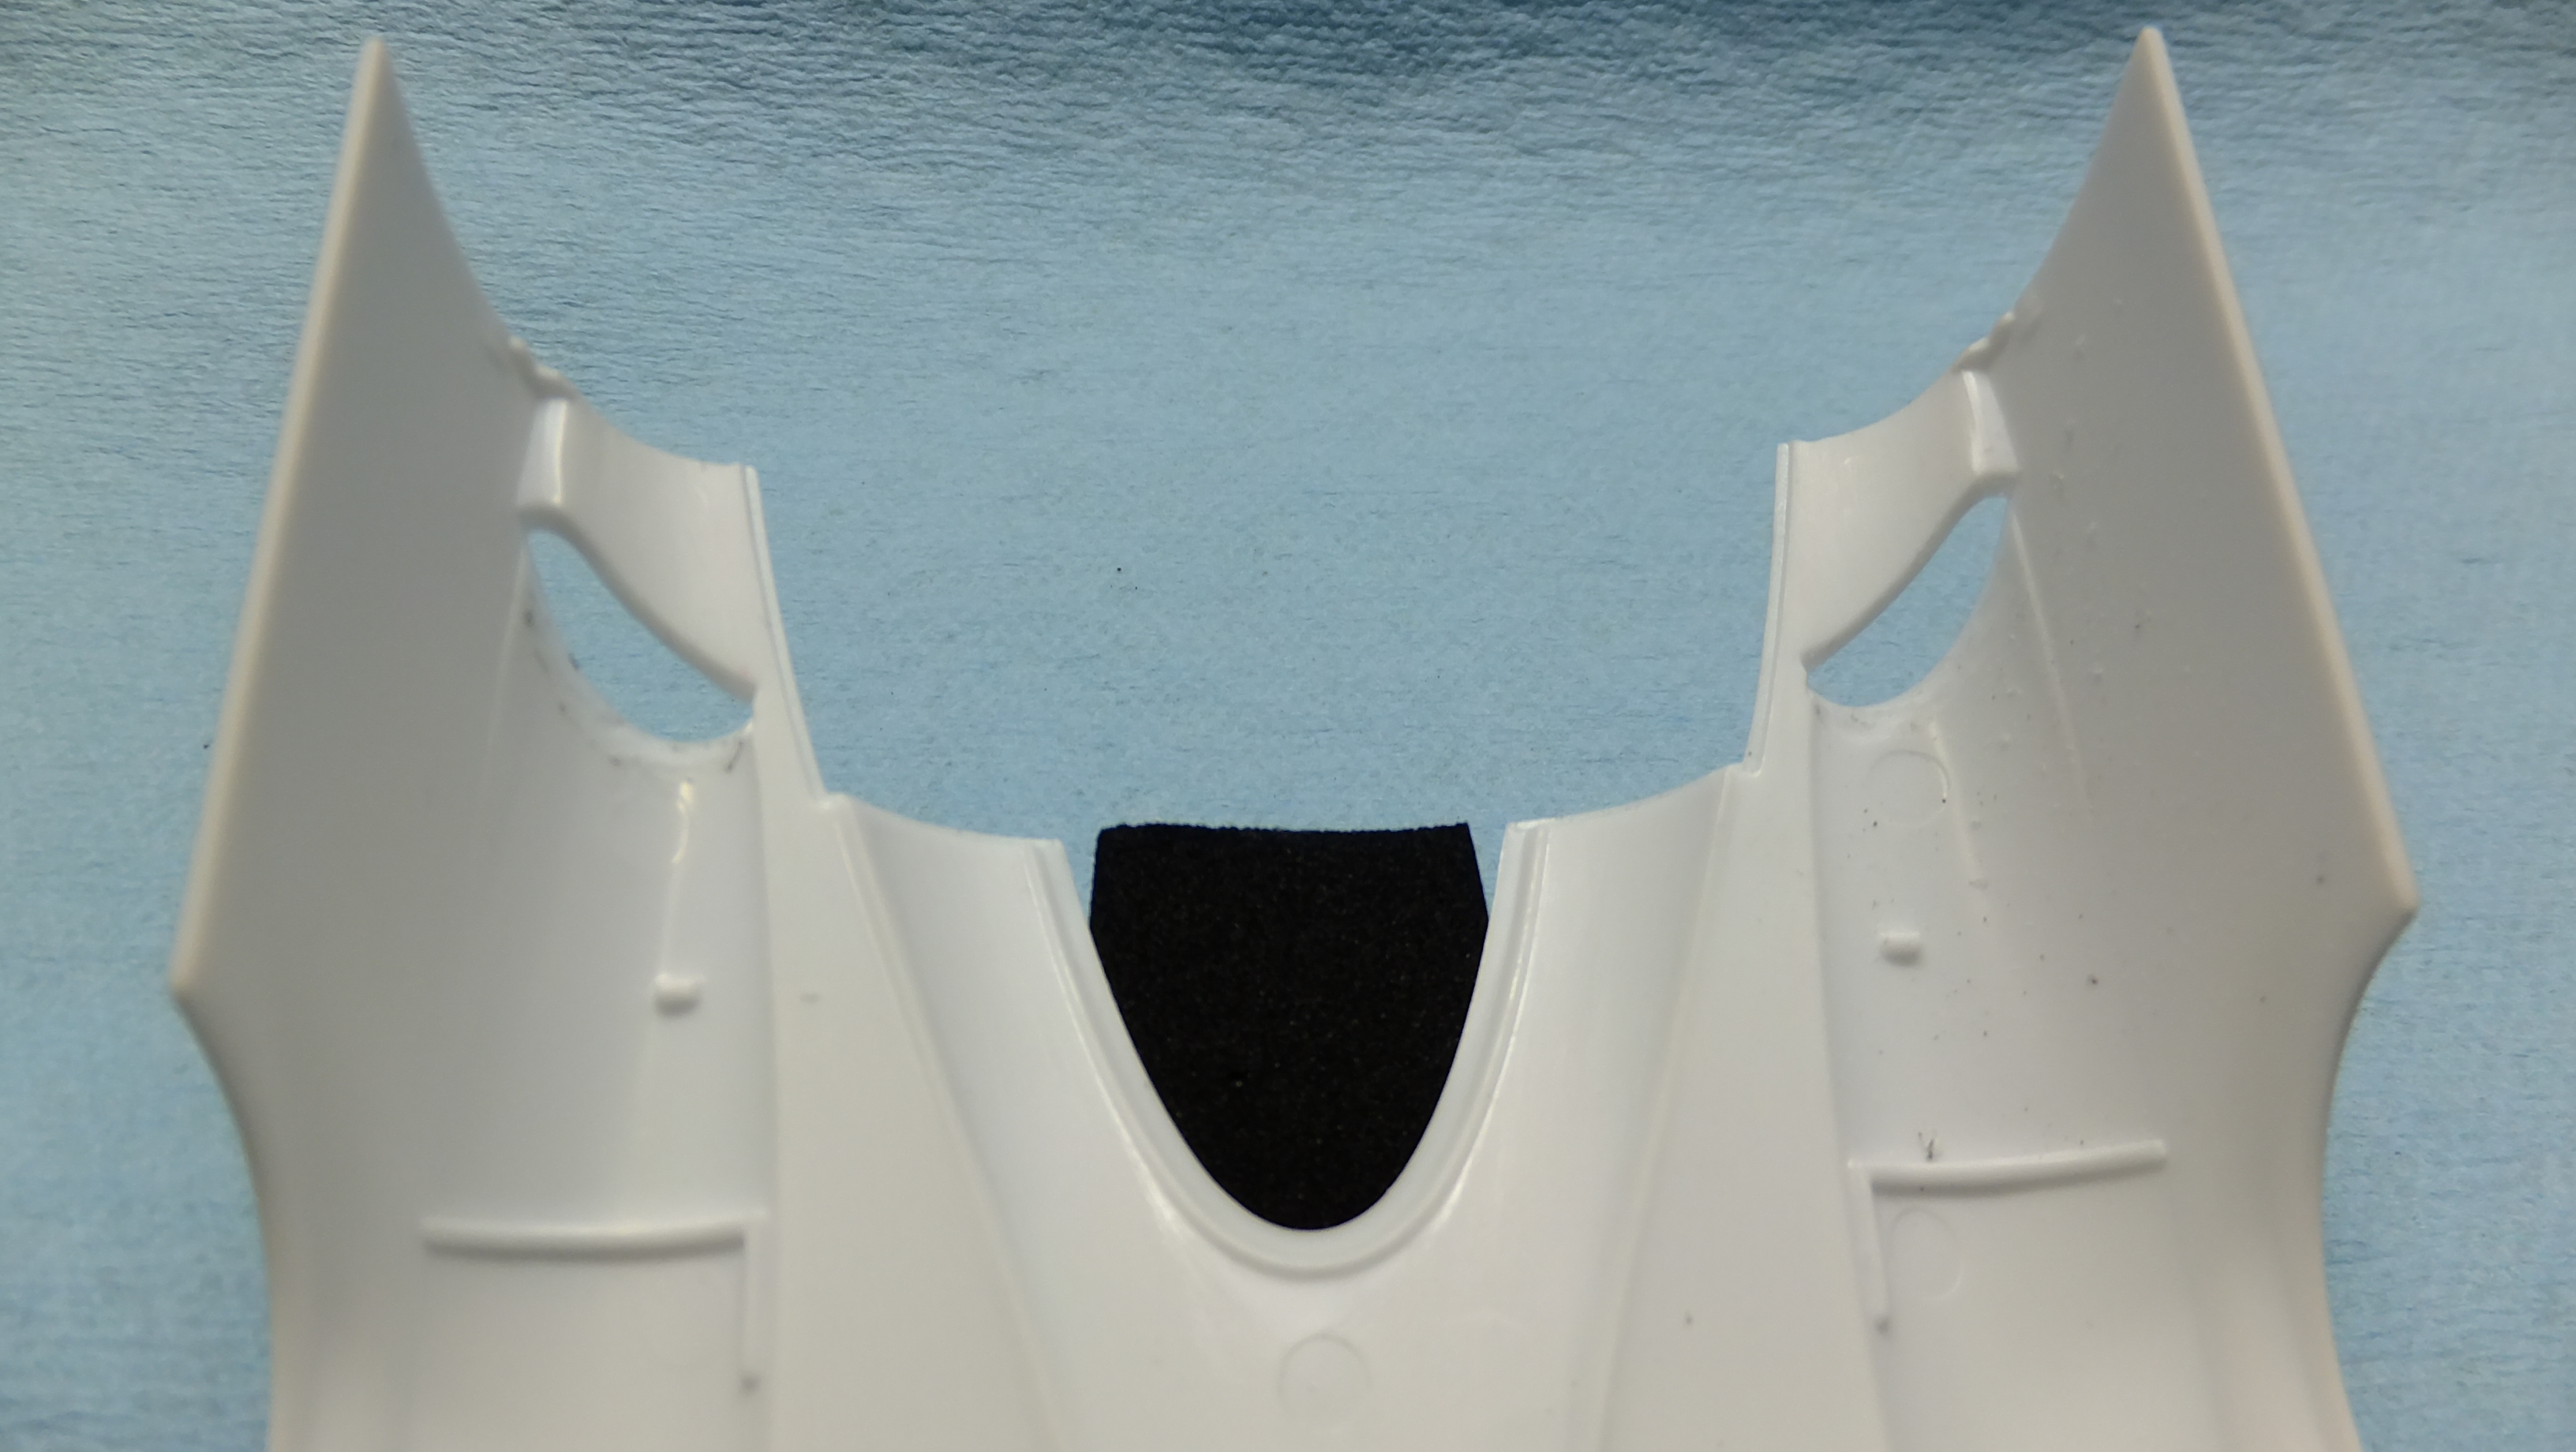
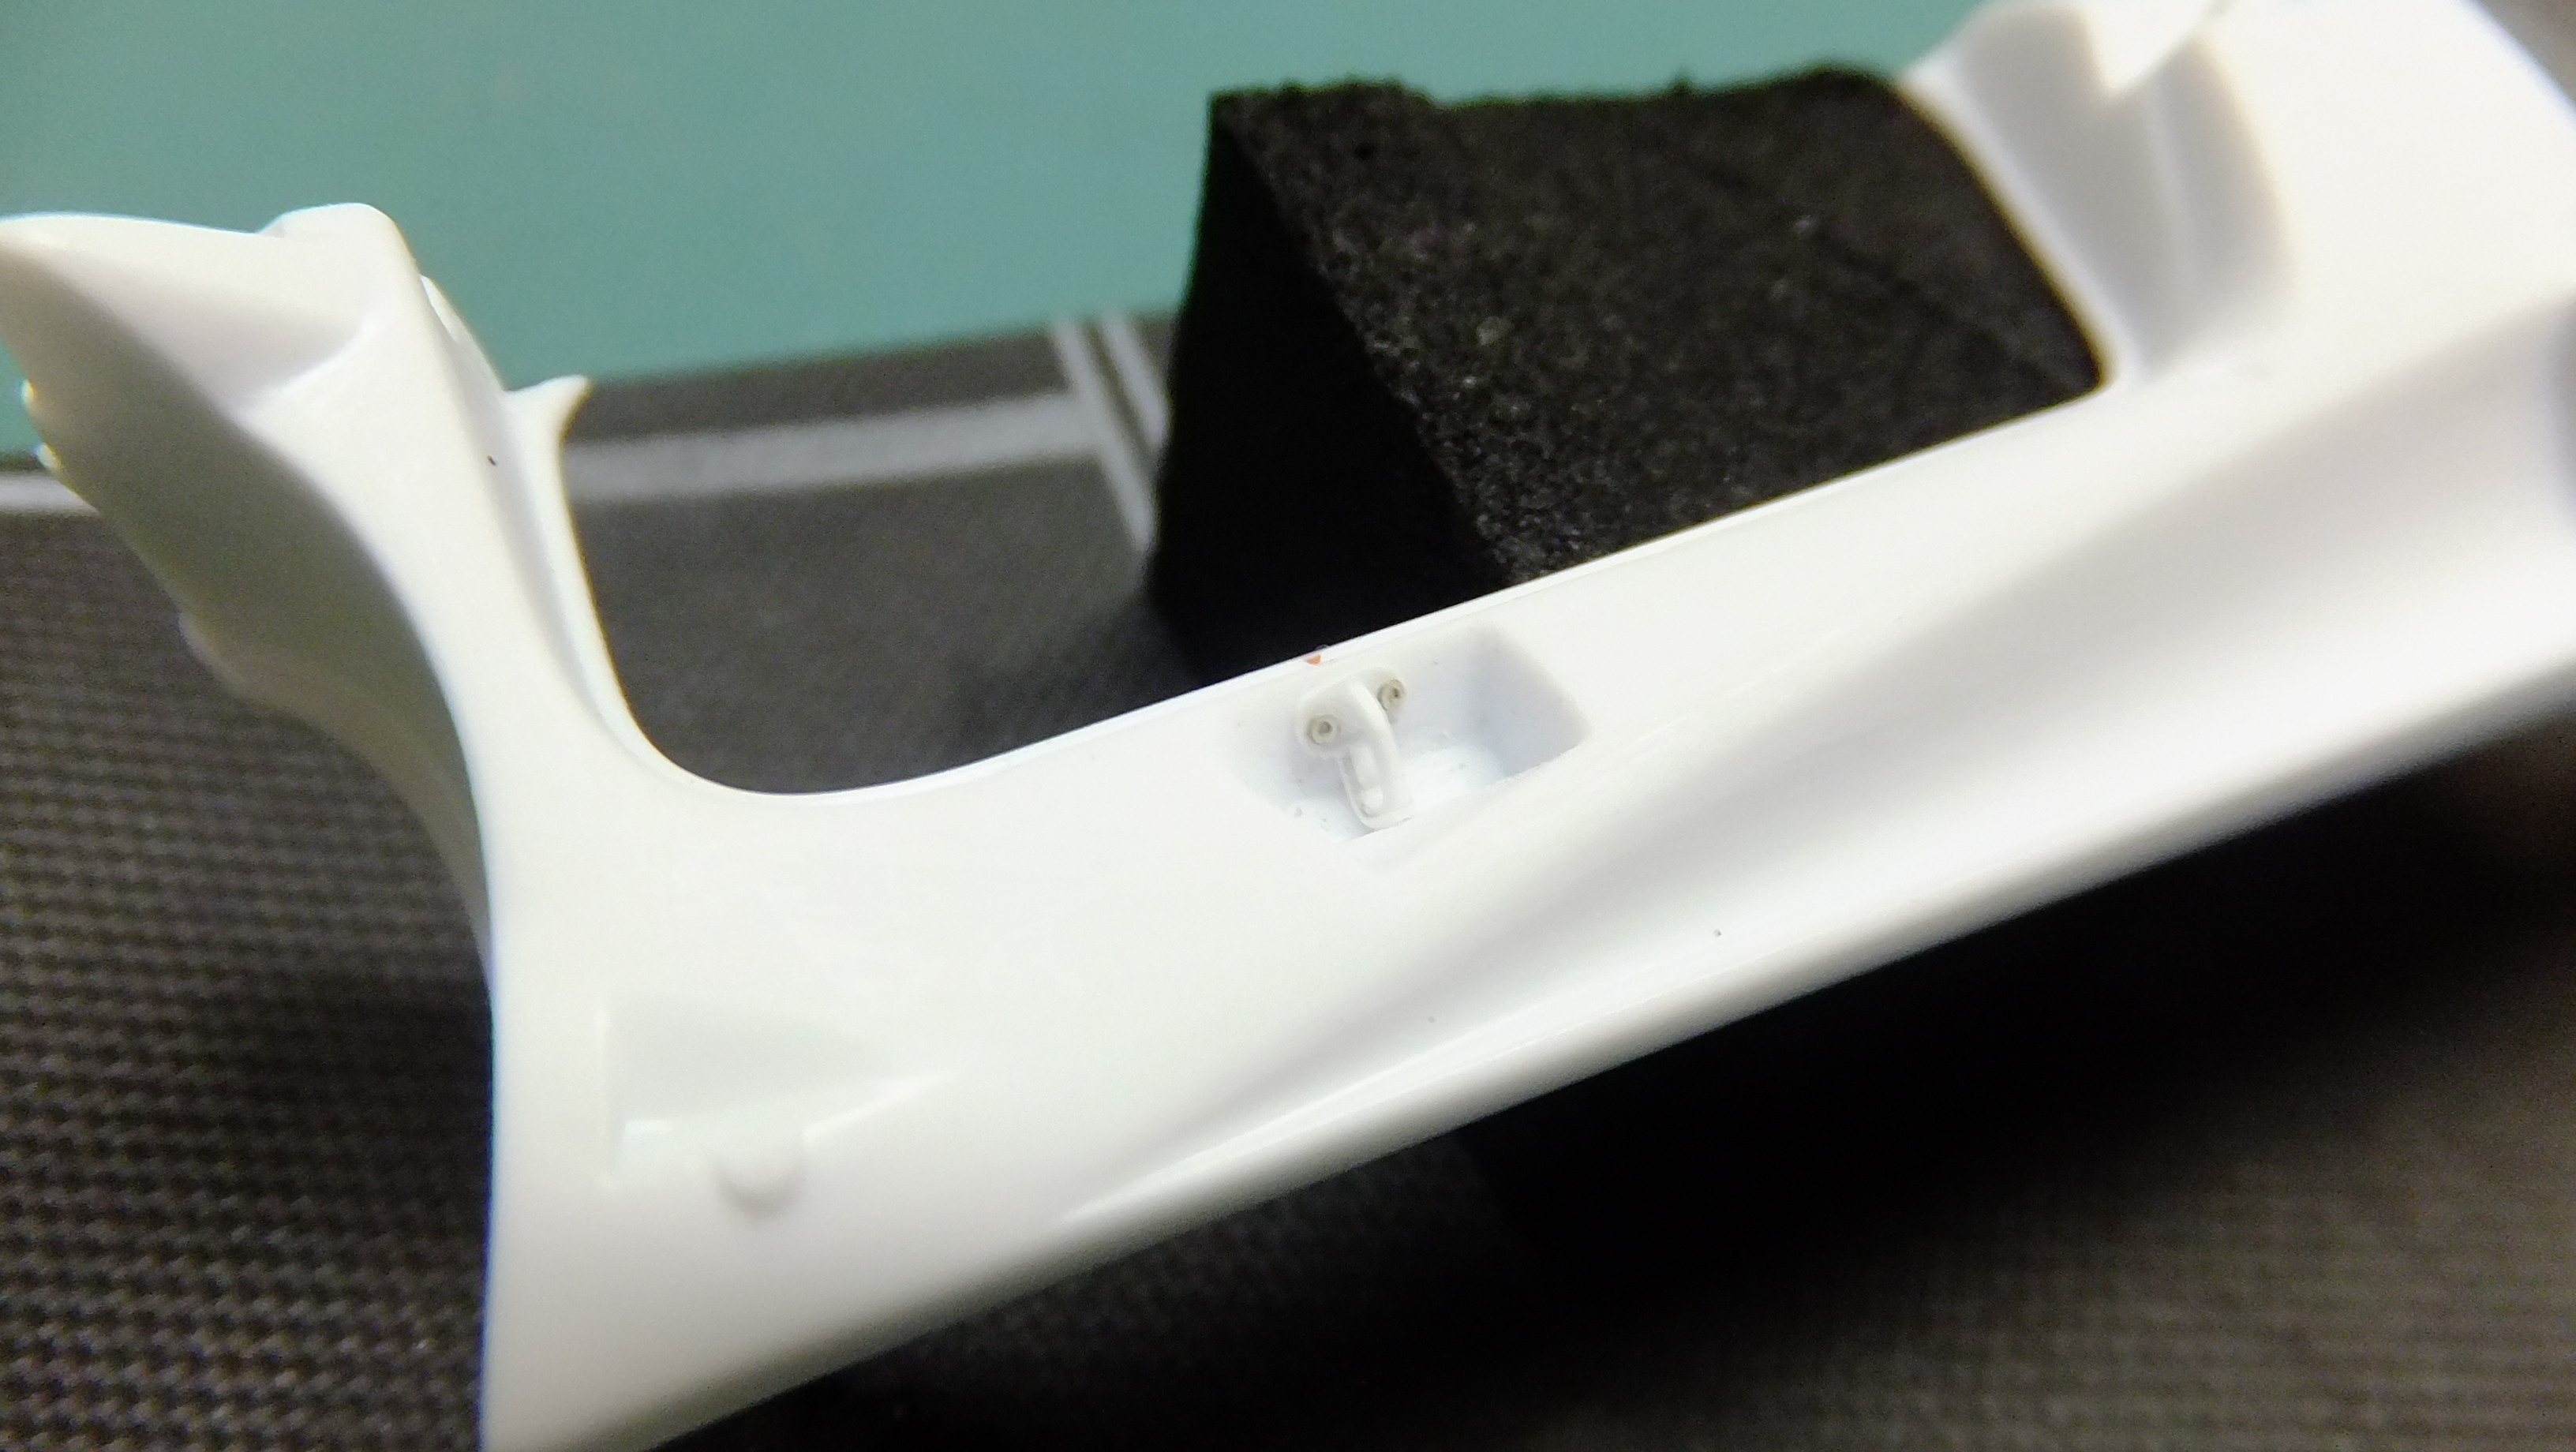
Here are a couple of parts that I forgot to post.....looking at the rear corners of the cowl, you can see where I added the brackets for the micro magnets. If you look closely, you can also see that I ground-away the rear positioning points of the fender-wells, so that you can still slide them into place.

-
Thanks, Jason!, I don't think they stopped production of it.....did you order your kit through a hobby shop?....I tried to support our local hobby shop, until a year after I ordered mine through them, so I decided to just get it from Hobby Link...….got it in like ten days. The photo-etch set is very nice, other than having Zonda pedals. I hope your build goes great!!
-
Hey, everyone!, Great news; I finally have the last bits done that allows me to start actually painting the body parts!! Here I have the front, and rear cowl hinges together.....I had to create the shock-ends with styrene rod, and I added styrene "rings" to the rear splash guards, so that the micro magnets I glued to the ends of plastic rods, can adjust up, and down to get the right gapping with the rear bumper. Just glue still when you get that proper gapping! My next move is painting the body!!!
-
-
-
Beautiful work sofar!!!!! looks like a pretty decent kit …..
-
LMAO...….you got me!!
-
LOOKING GREAT!!!!…..love that fuel filter!!!
-
I will hook you guys up with that!
-
You got it, Shaun!, i'll do it by tomorrow!
-
Thanks, Atin!, let me know if you want me to post step-by-step photos of how I made my door catches, and I will
-
Got a bunch more done tonight, all I have left to do before I paint the body, is to etch both sides of the gas-fill door, assemble the kit provided factory hinges, and make the brackets for the micro-magnets on the rear cowl!!!
-
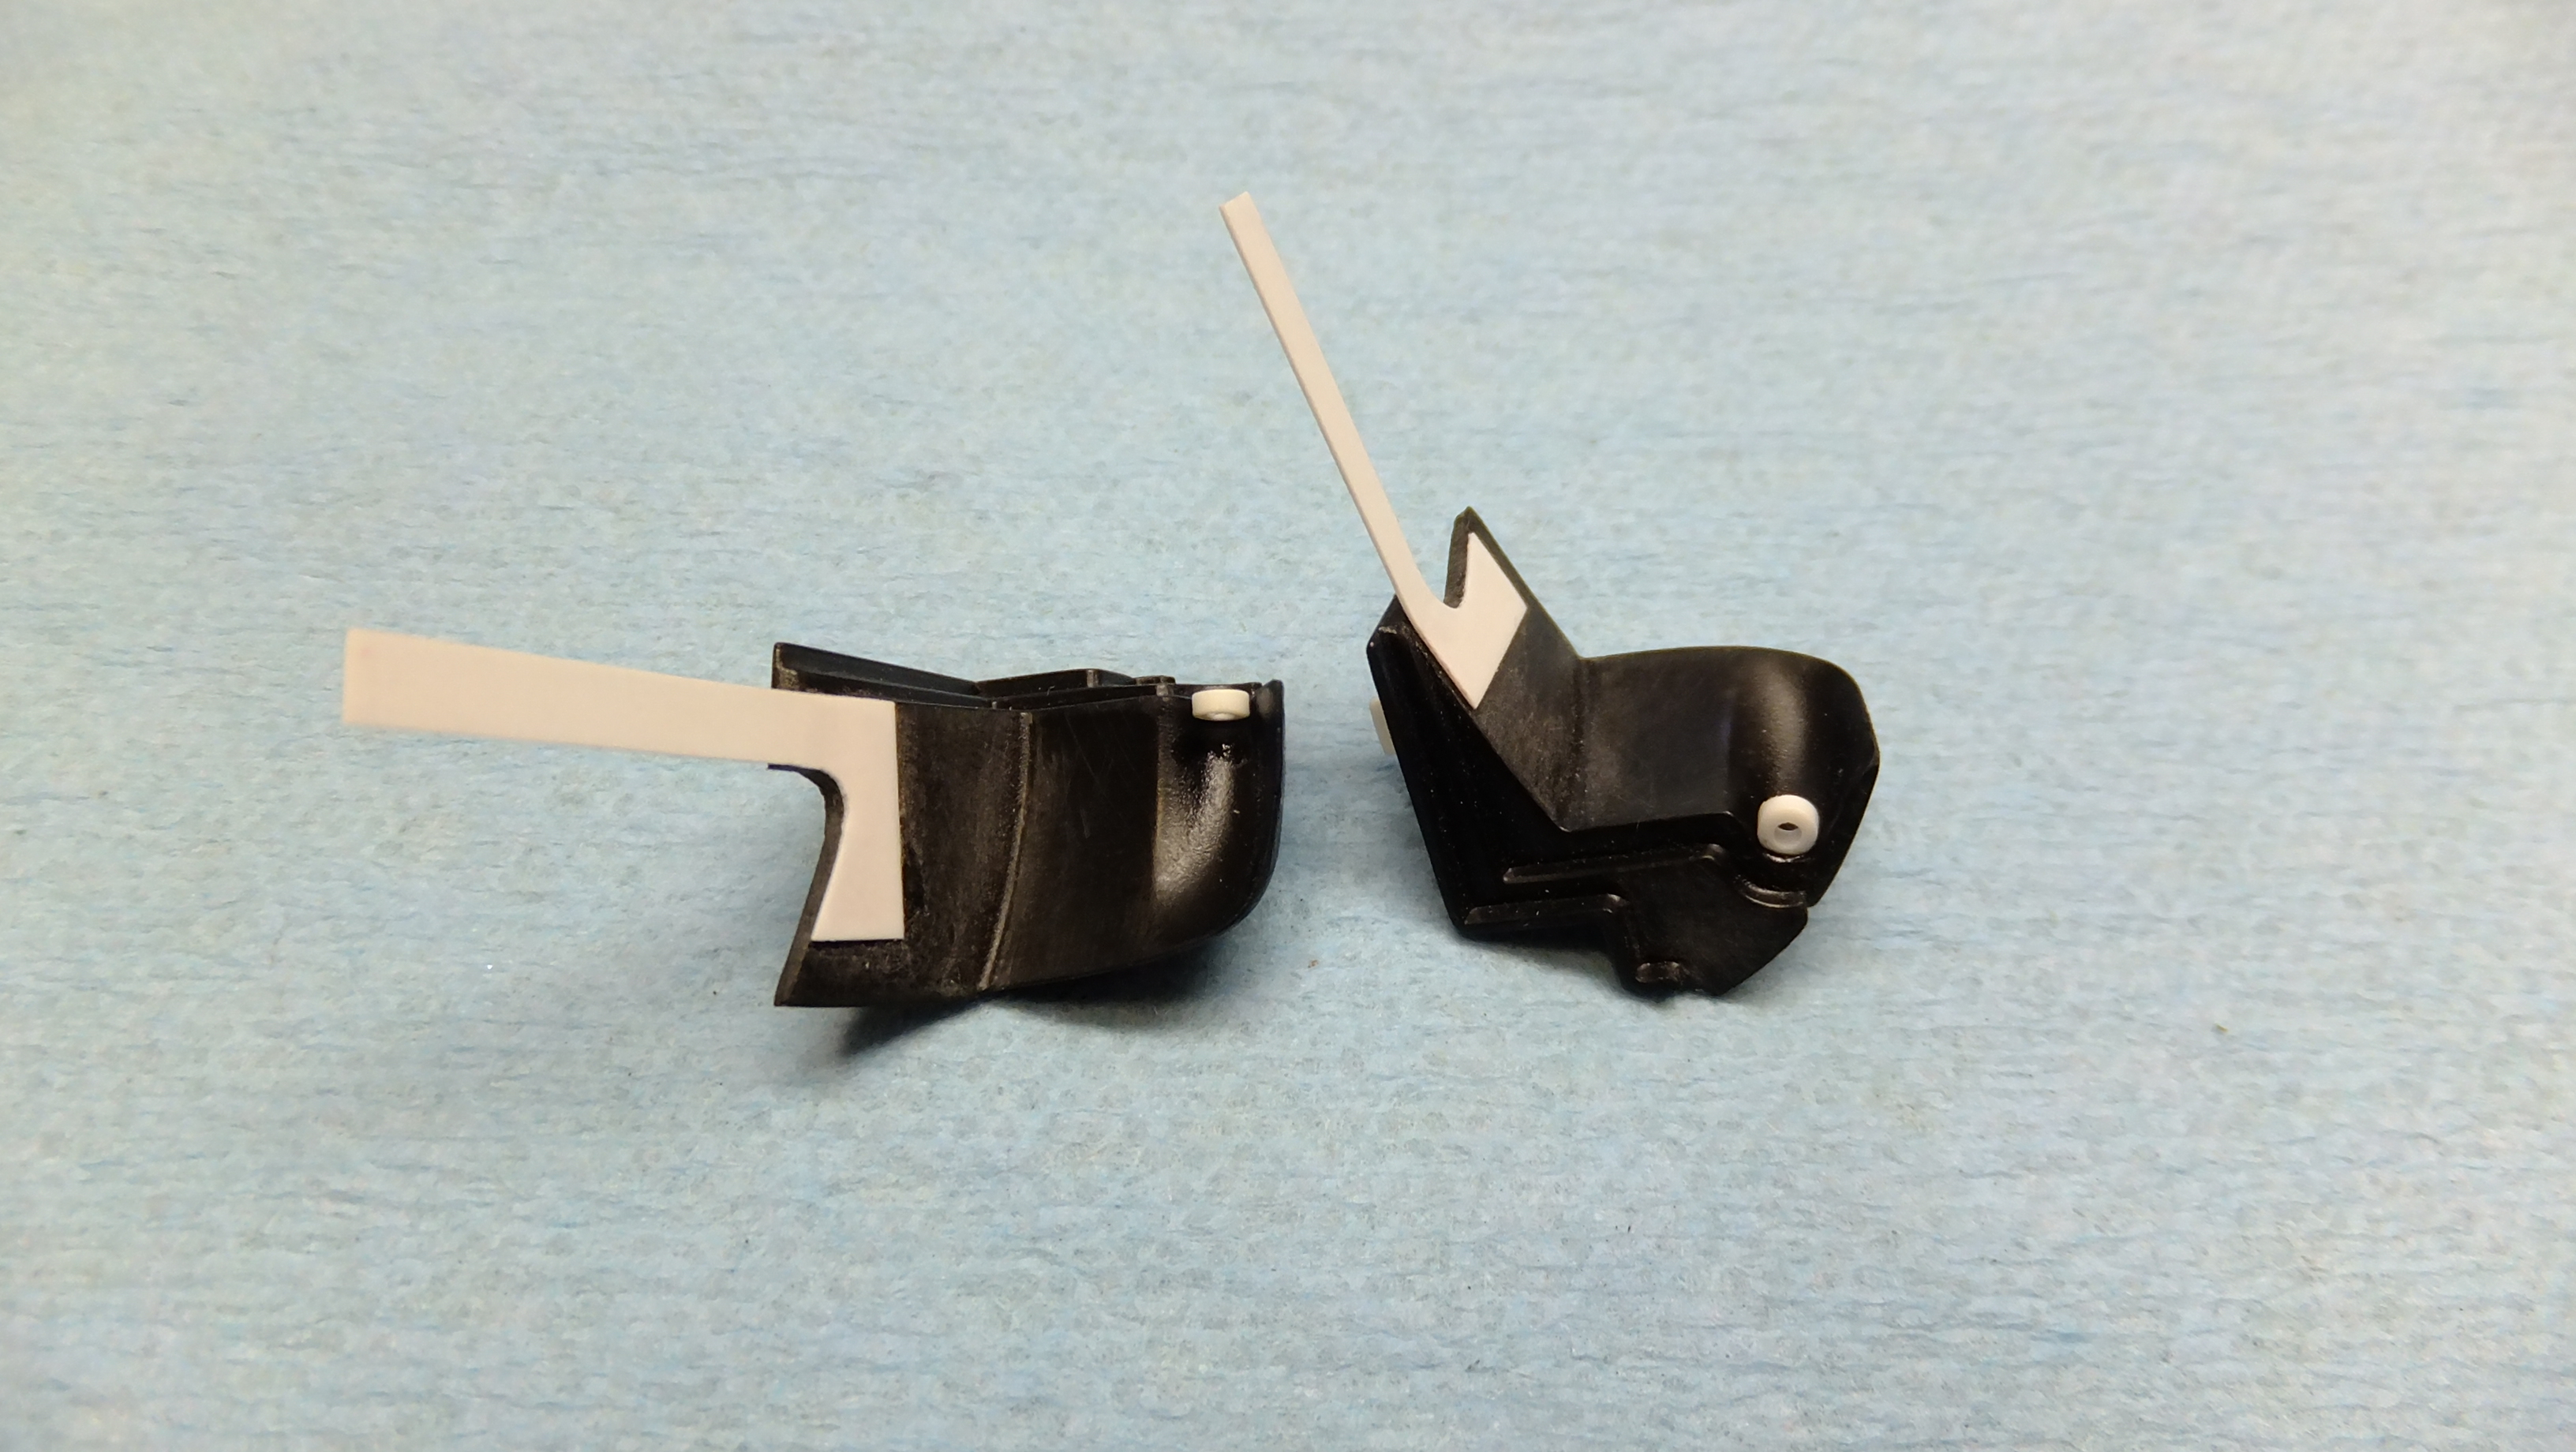
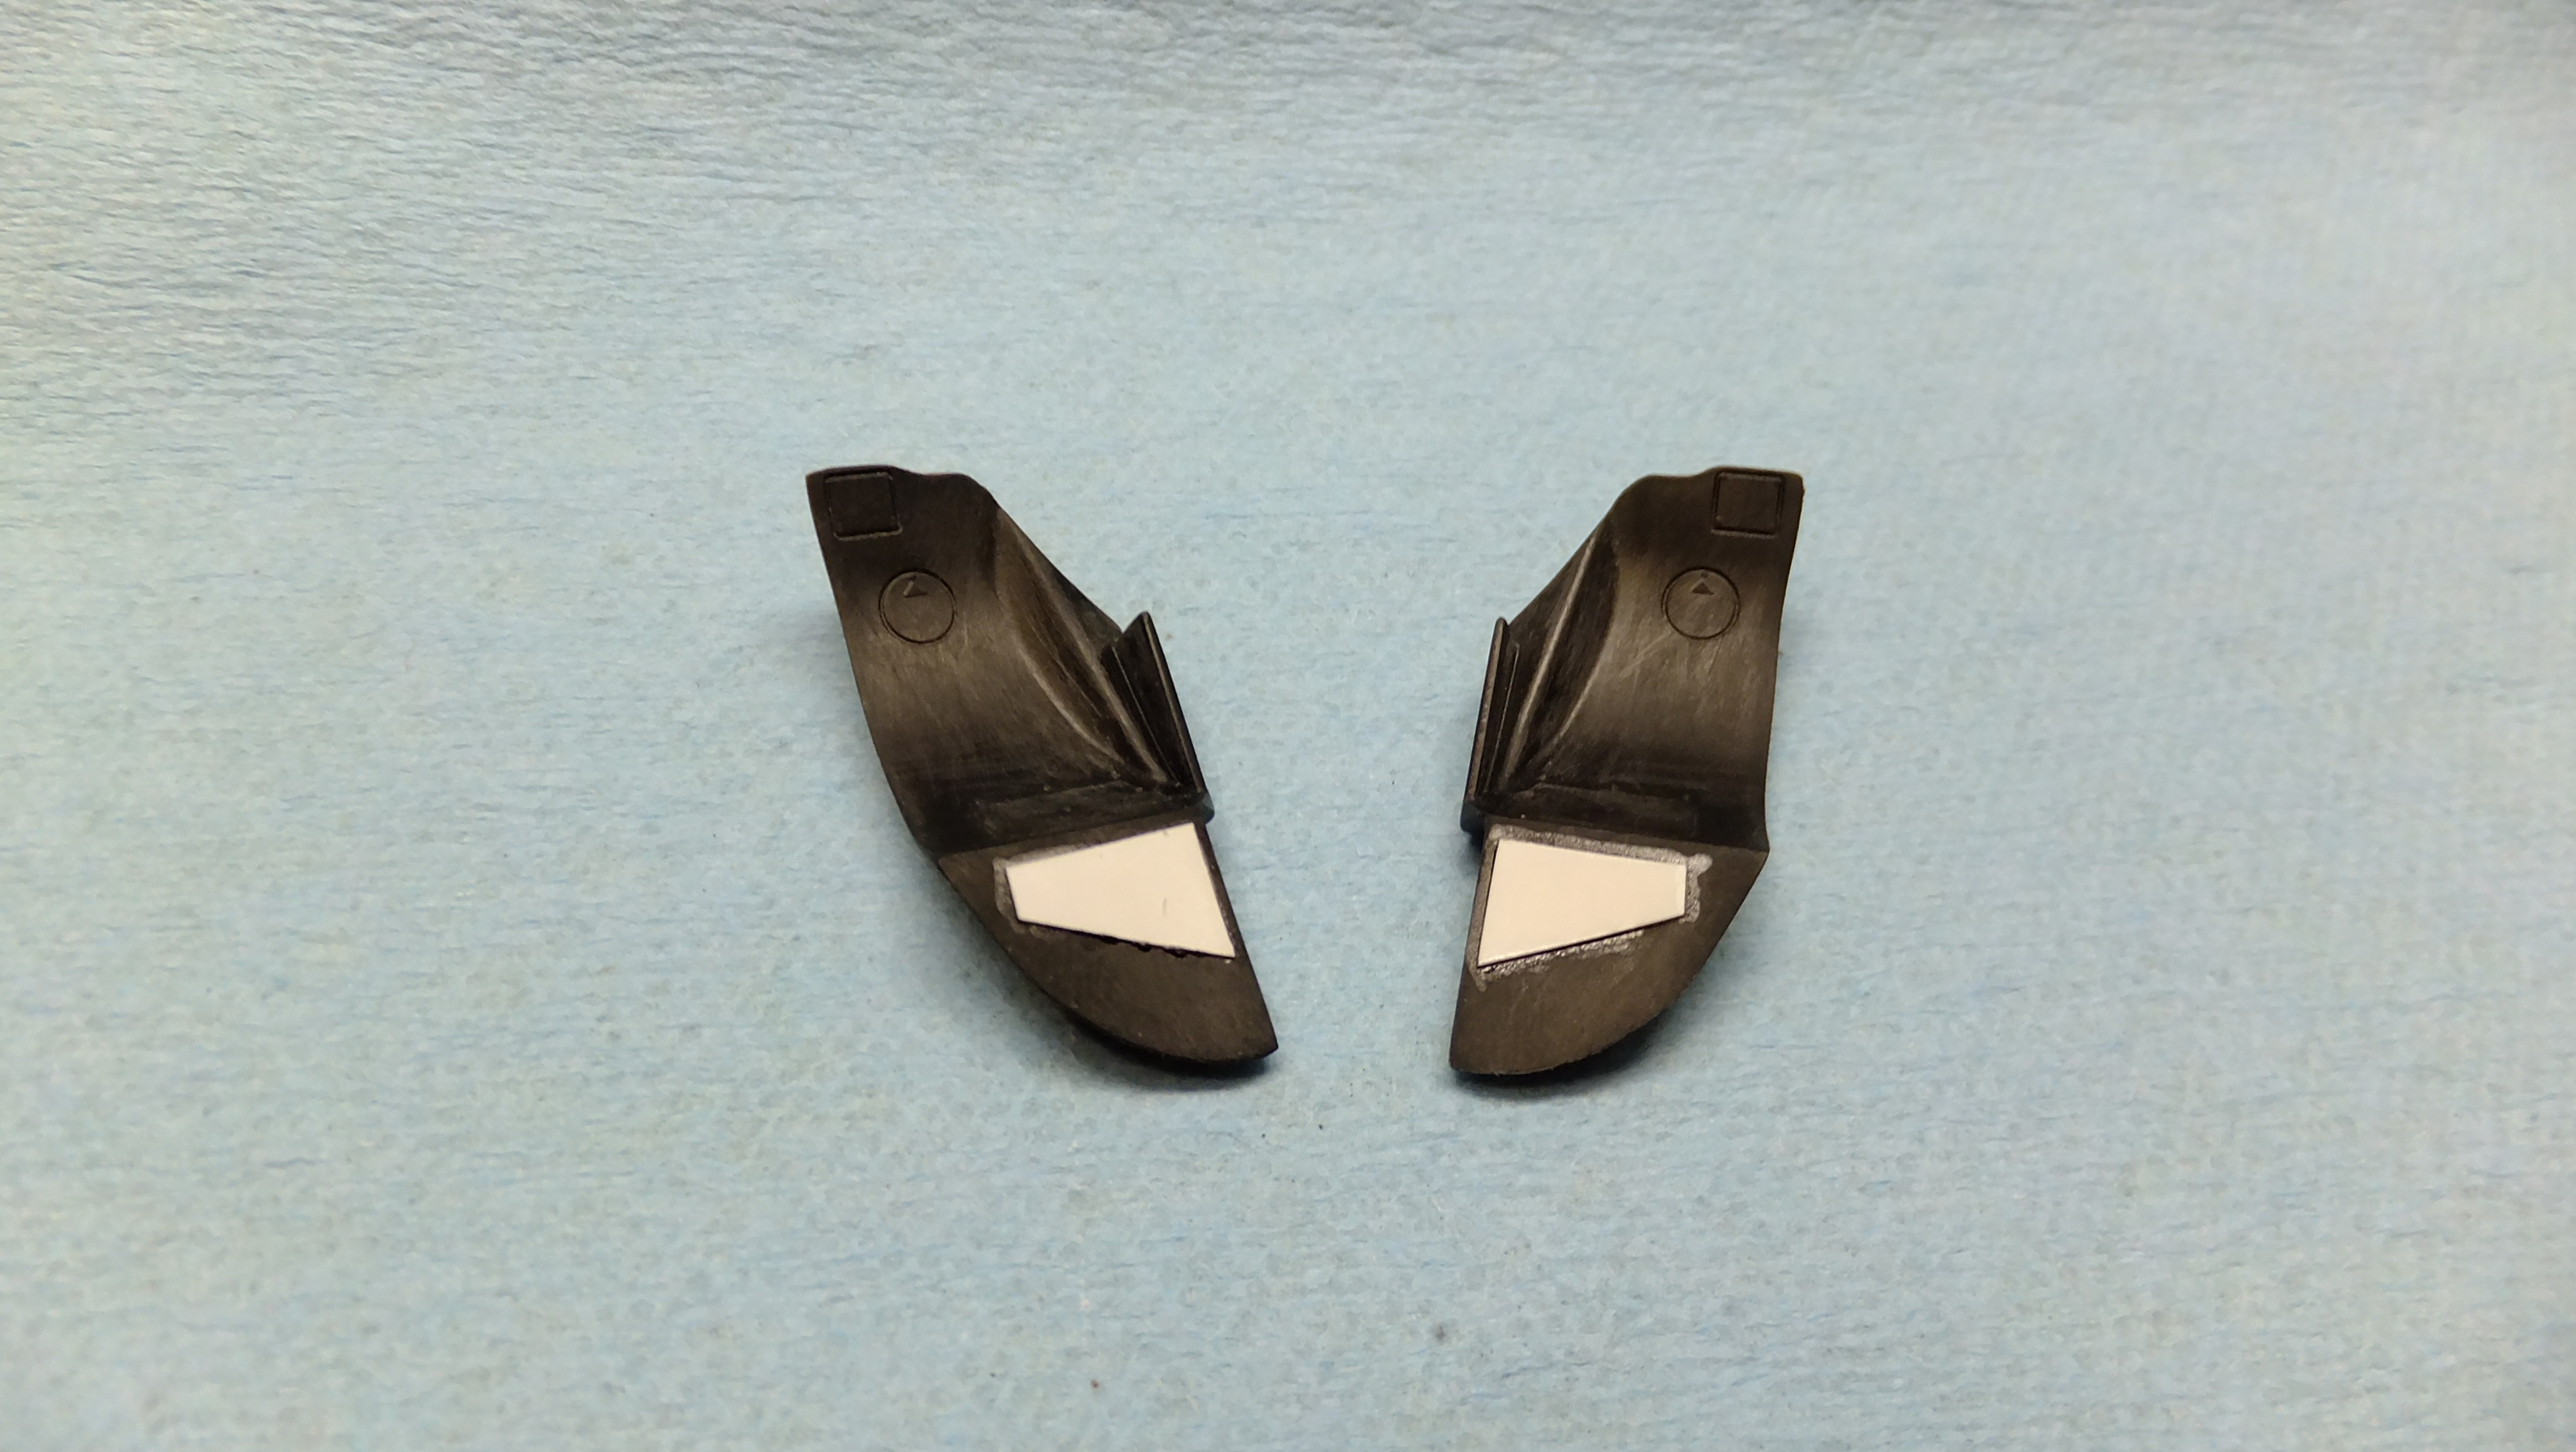
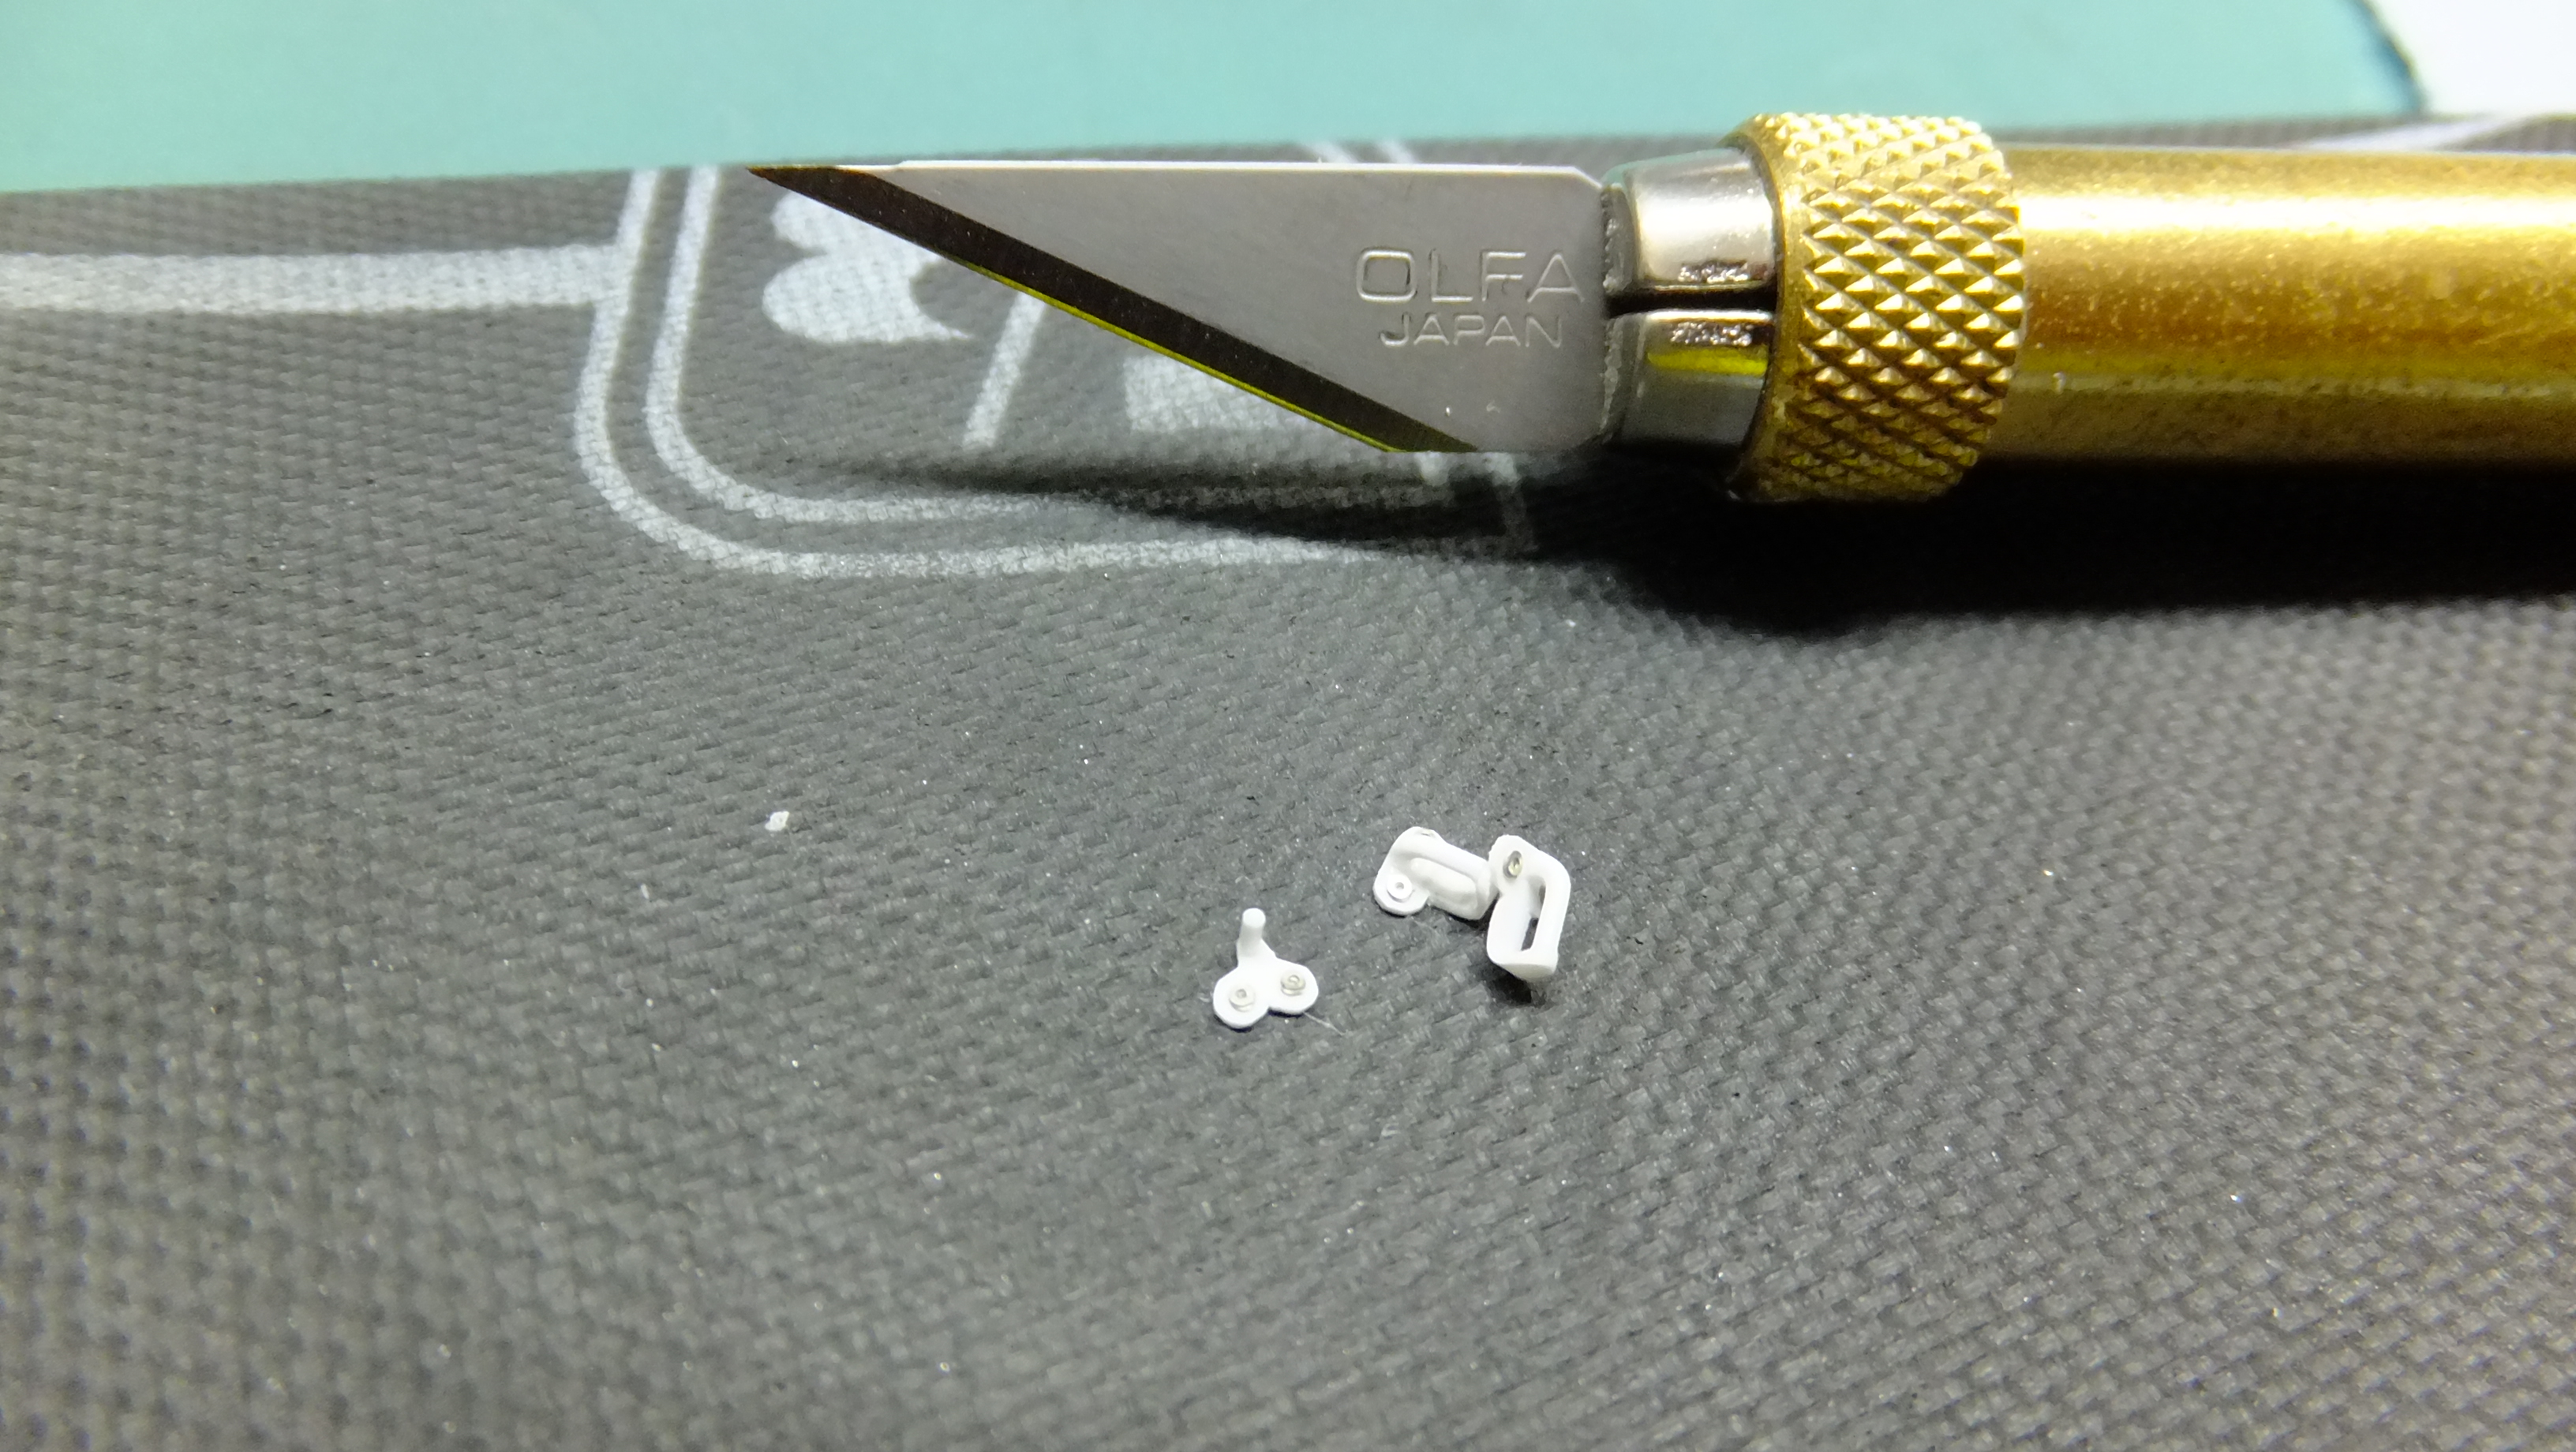
Well, I had one of those days that while sanding those tiny cowl, and door catches, I broke them. Its all good though, because the new ones look even better!!….here they are....
-
…..and de-chromed grilles
-
Lol......i'm not a professor, just someone who LOVES to create art!! I'm glad you have the kit, and that I can help.....I could feel everyones frustration, and I knew I could help. I am actually going to send MANY photos to Aoshima to show them how it shoulda been done, and i'm even contemplating sending photos to Heracio himself. If he only knew how this kit was designed, I think he would be shocked......
-
Okay!.....gotcha!! lol
-
NICE!!!......cant wait to see it!!!
-
That's not my intent.....I want to help people with this kit
-
What do you mean, Pat??….and thank you, I was hoping this build would help, and inspire people to build this kit with confidence...
-
Thhanks, Chad!, I try to just use styrene from Evergreen, or Plastruck as much as possible when I scratchbuild. the screws are photo-etch. By the way; hows your Pagani going?
-

Coyote...have you built it?!.....lets see it!!!
Dann Tier replied to Dann Tier's topic in Model Cars
Ya, that is ALOT of horrible chrome!!…..99% of the time, I always strip kit chrome -
Coyote...have you built it?!.....lets see it!!!
Dann Tier replied to Dann Tier's topic in Model Cars
Thanks, bud!, I will build it some day....lol -
Coyote...have you built it?!.....lets see it!!!
Dann Tier replied to Dann Tier's topic in Model Cars
Sorry to hear that....yes I do have one to build... -
WELL DONE!!…..it looks so cool!!