Plastic_Passion
-
Posts
589 -
Joined
-
Last visited
Content Type
Profiles
Forums
Events
Gallery
Everything posted by Plastic_Passion
-
Rusty 1960 Chevy Fleetside
Plastic_Passion replied to Cardz's topic in Model Trucks: Pickups, Vans, SUVs, Light Commercial
Just exquisite!!!! Truely amazing. I can feel the seats now. And hear all the clunks and creeks! Beautifully done! -
AMT 1950 Chevy Truck
Plastic_Passion replied to jdhog's topic in Model Trucks: Pickups, Vans, SUVs, Light Commercial
How did you do your bed? I've had this truck in limbo for years and dug it out last night..... -
Ford F 150 amt 1:25
Plastic_Passion replied to alexandr1977's topic in Model Trucks: Pickups, Vans, SUVs, Light Commercial
This came out extremely nice! I like what you did with the frame/floor pan too! I converted mine to a 4wd. I didnt spend as much time on mine as I kitbashed it with the revel bronco suspension. Very nice job on yours! -
Its great! I work in a machine shop and somehow this seems fitting.
-
I know what you mean about the multi piece it.... I've been chopping up what was going to be a 67 camaro but am having 2nd thoughts. Seems either extremely technical or like a huge pain in the ass. I was thinking of deconstructing the whole front clip. ?.....? nope..... too silly for this old amt.....I'll just try new things one at a time.
-
I love the last line in this!!!! Looks like a cats breakfast lmao halarious ????
-
I used this in my lightning model as a bed rug. Was decent tho seems more like the fabric you'd see on a woofer box generally speaking. The only other thing I didnt really like was how kind of unforgiving it is. Like going around molded in center consoles.
-
To each their own.
-
No problem! It's good to know there are options out there for different looks and different materials to use.
-
I do love the flocked look. I havent done flocking mainly out of laziness I suppose.... I have to order it from somewhere and just havent.
-
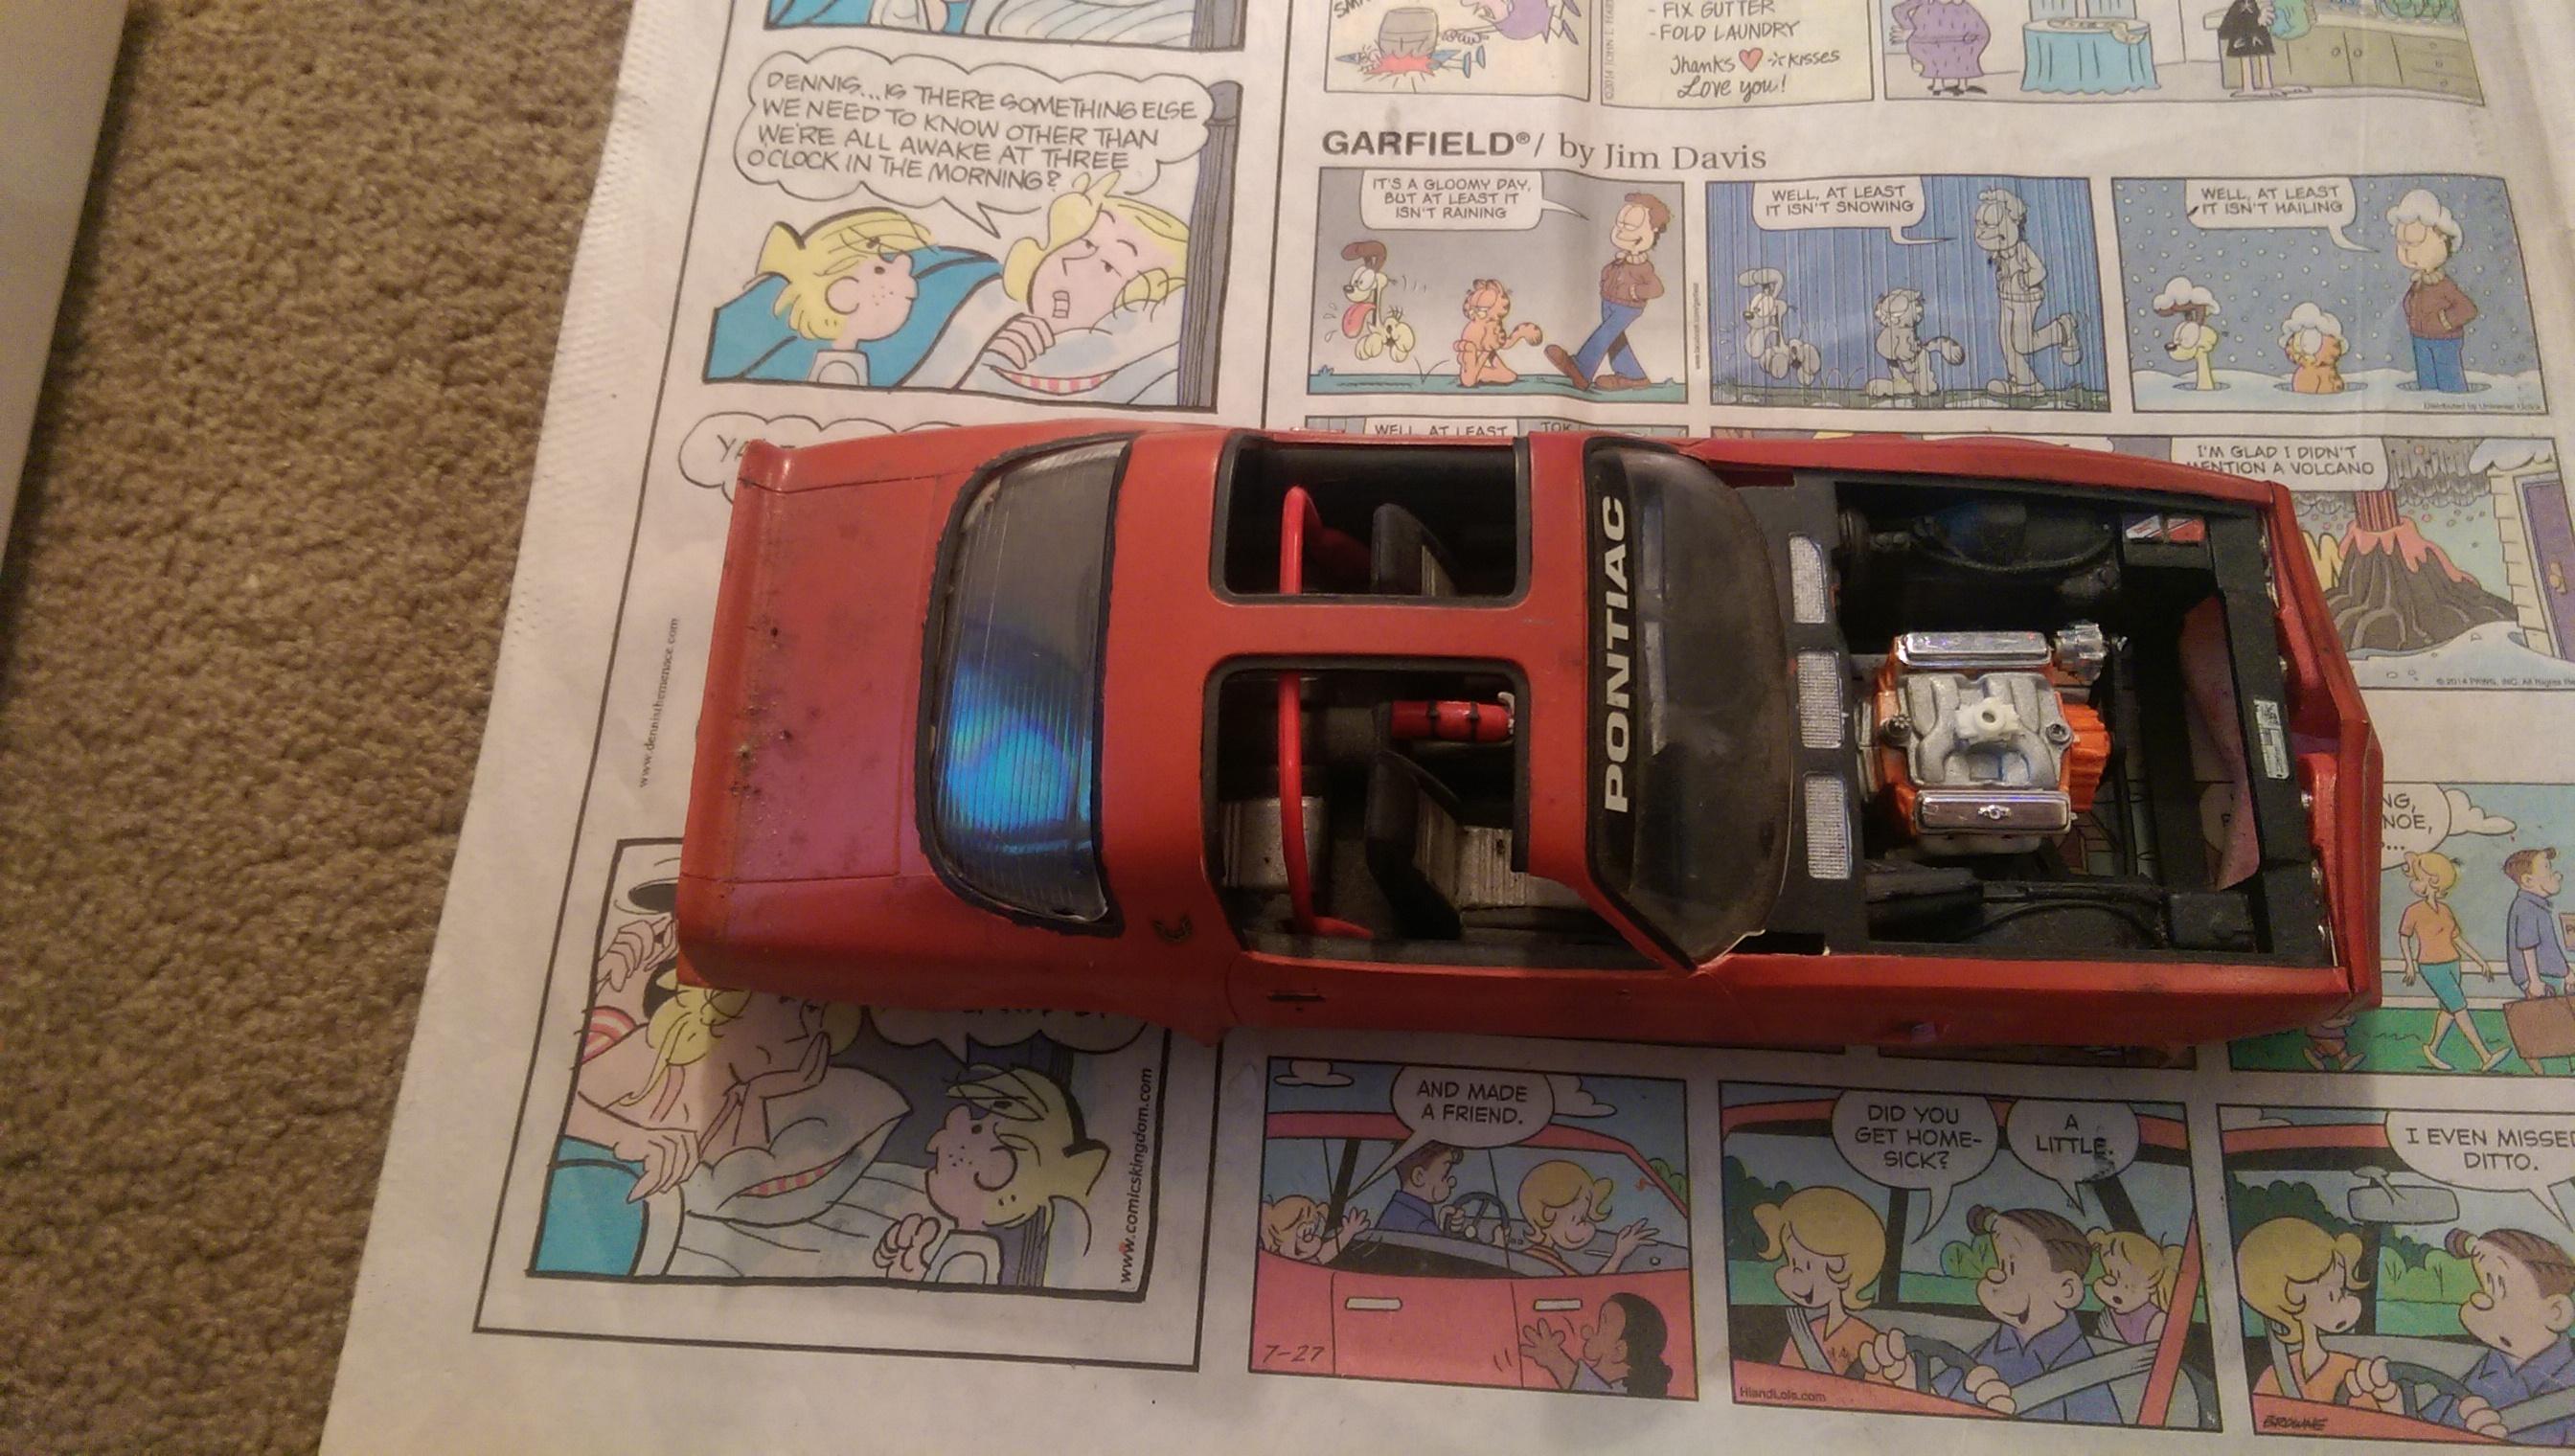
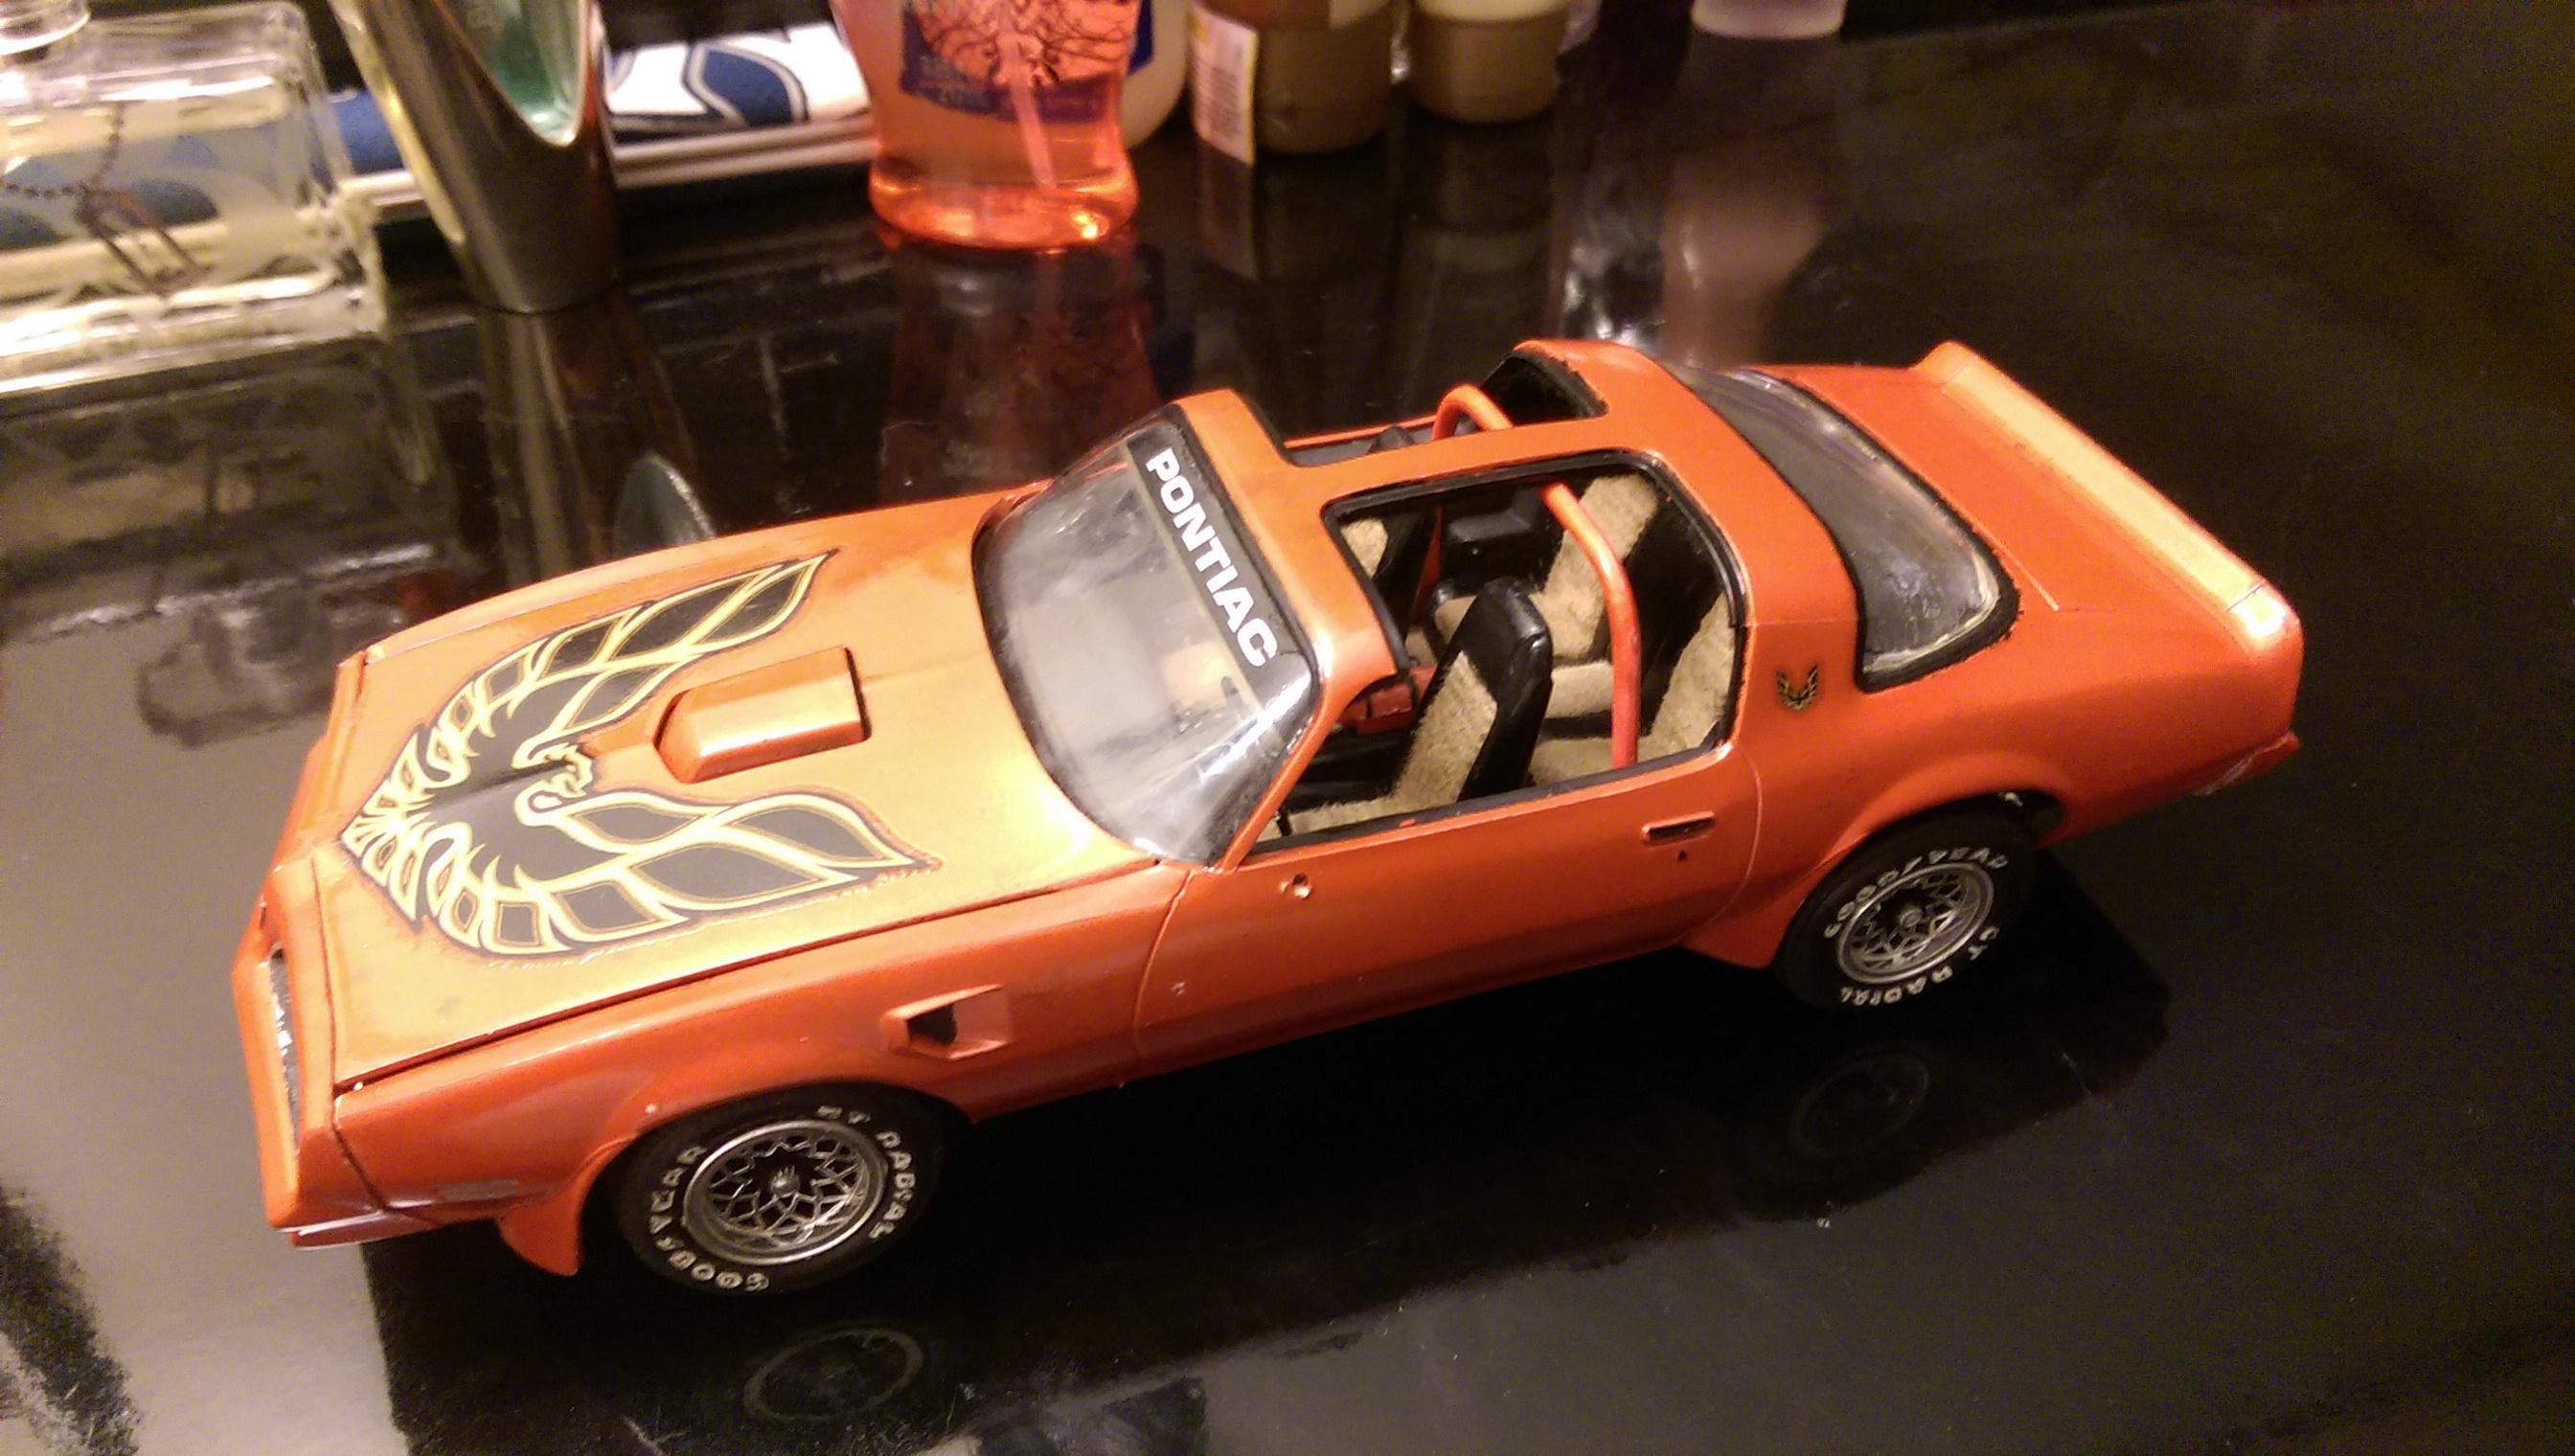
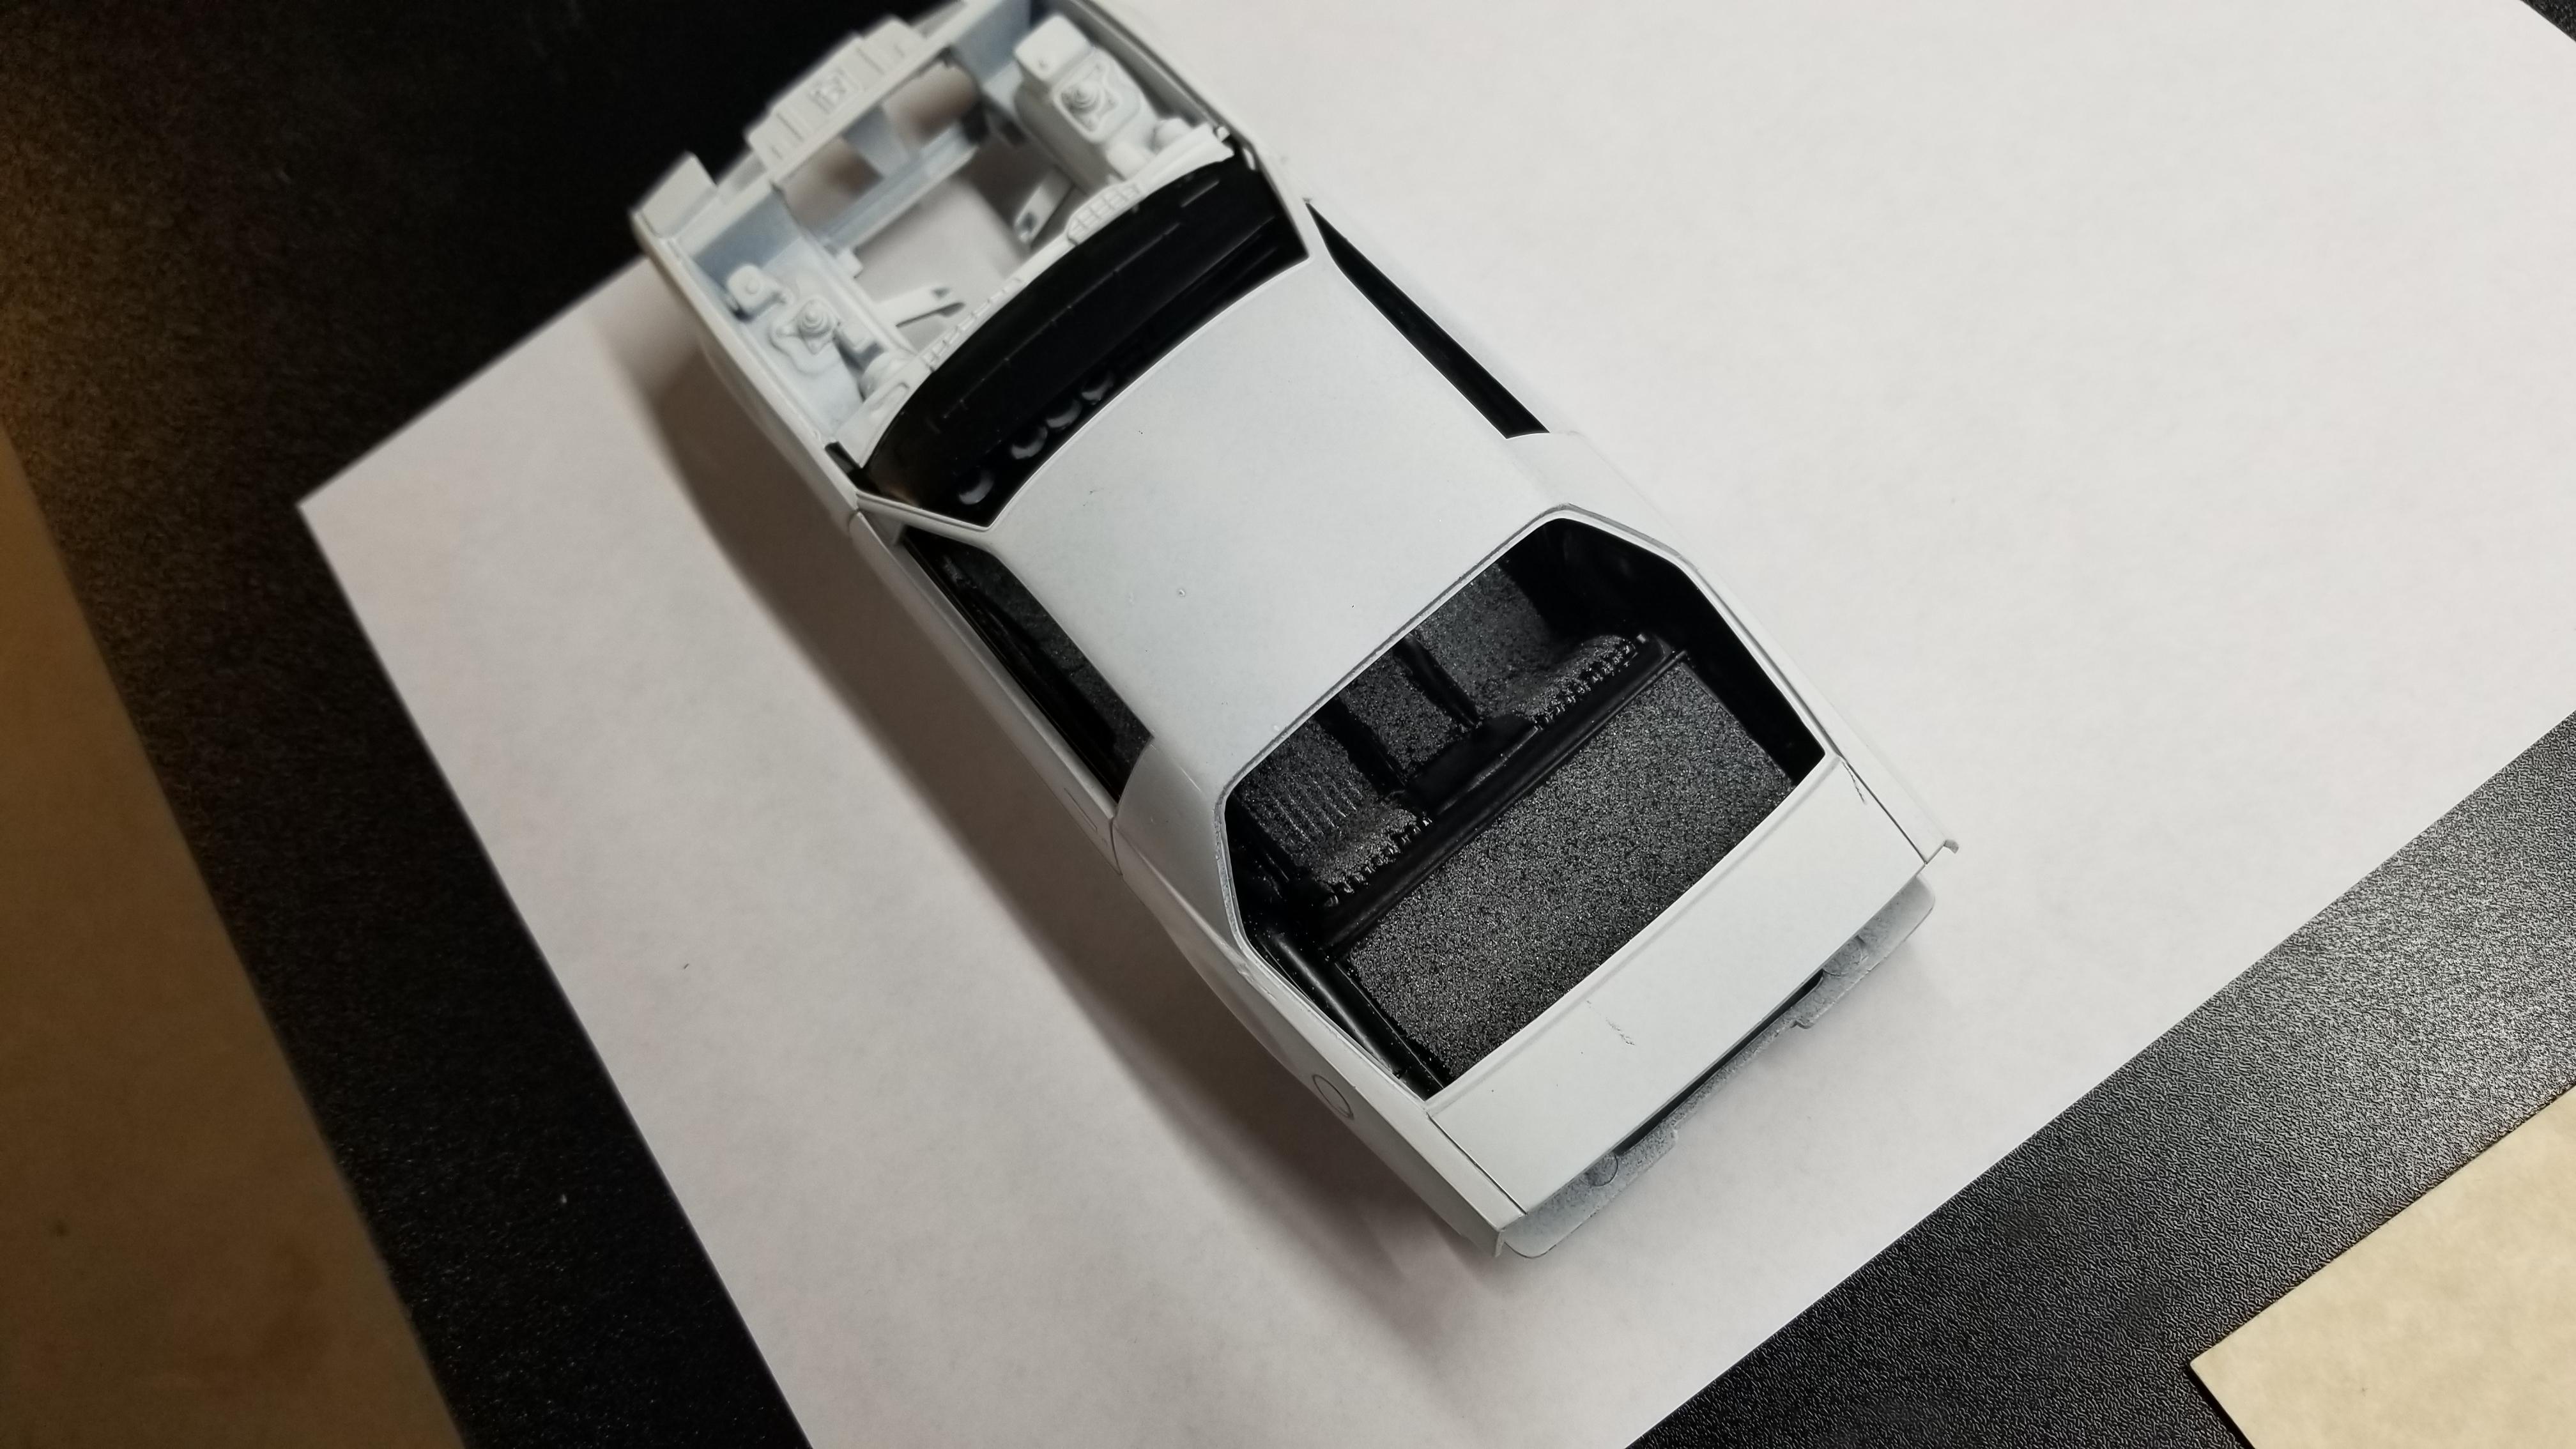
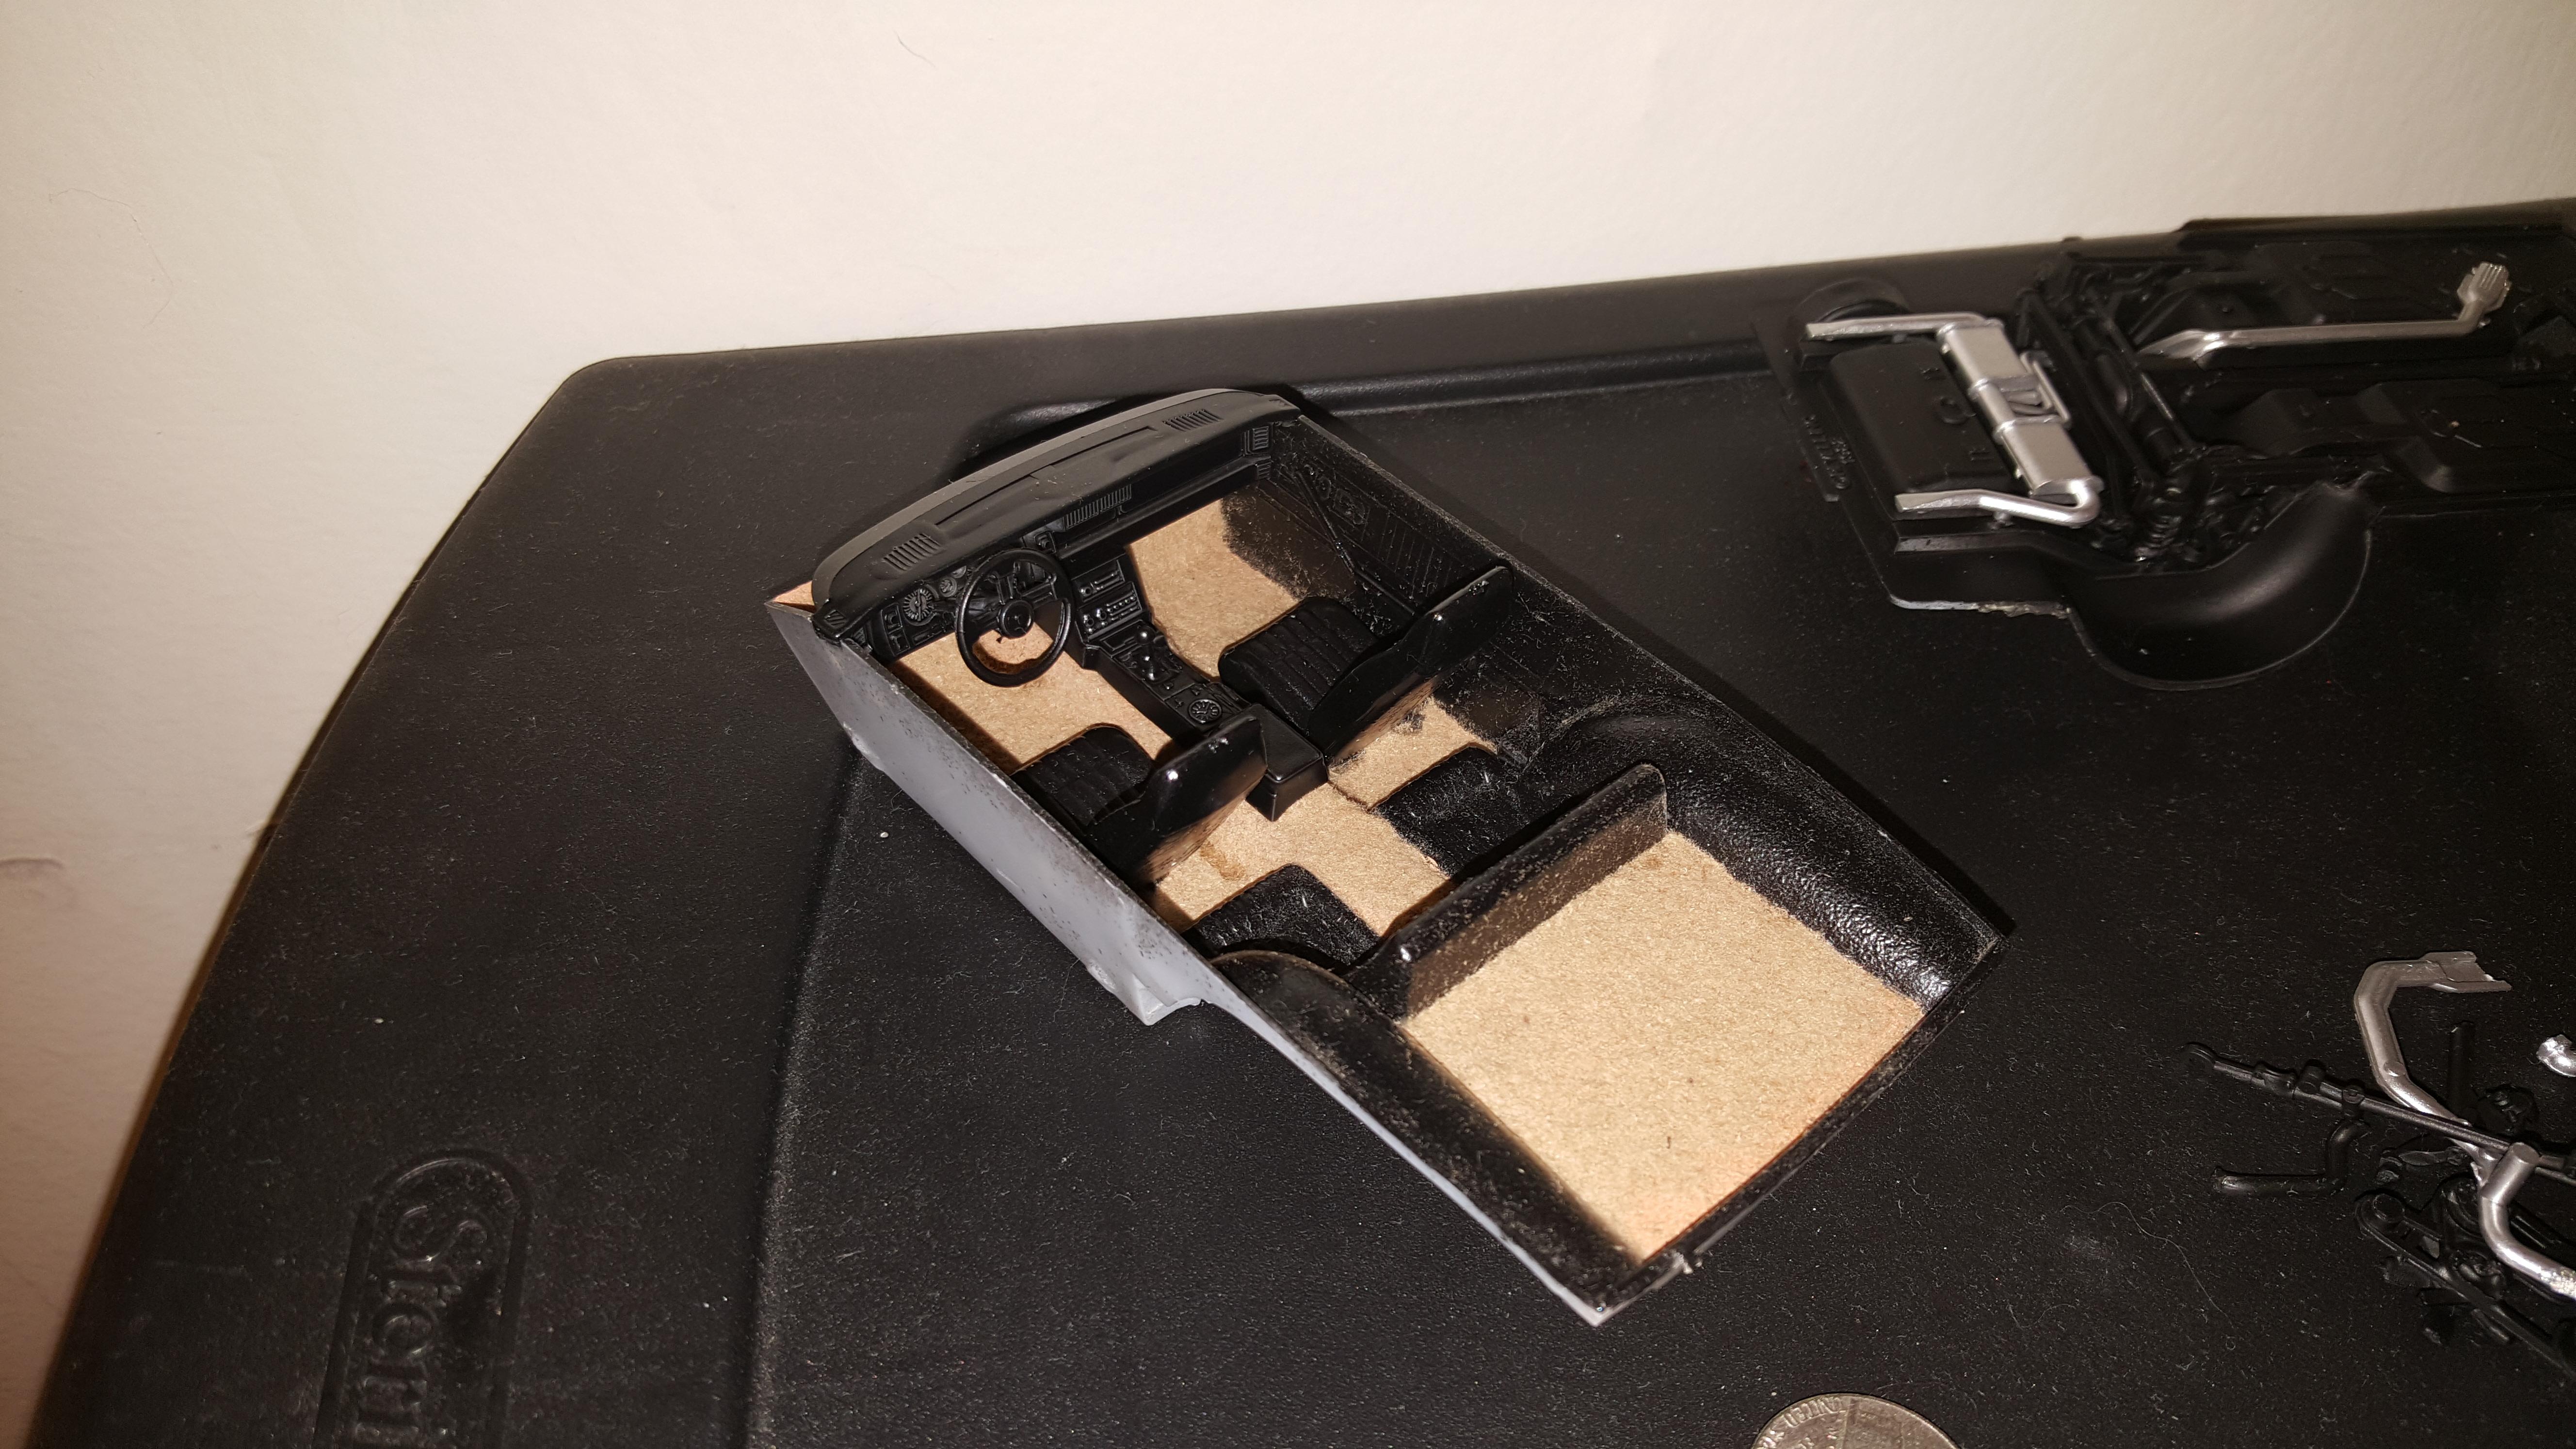
Brought this black and silver to black leather/tan cloth. Sorry the pics aren't great for this.

-
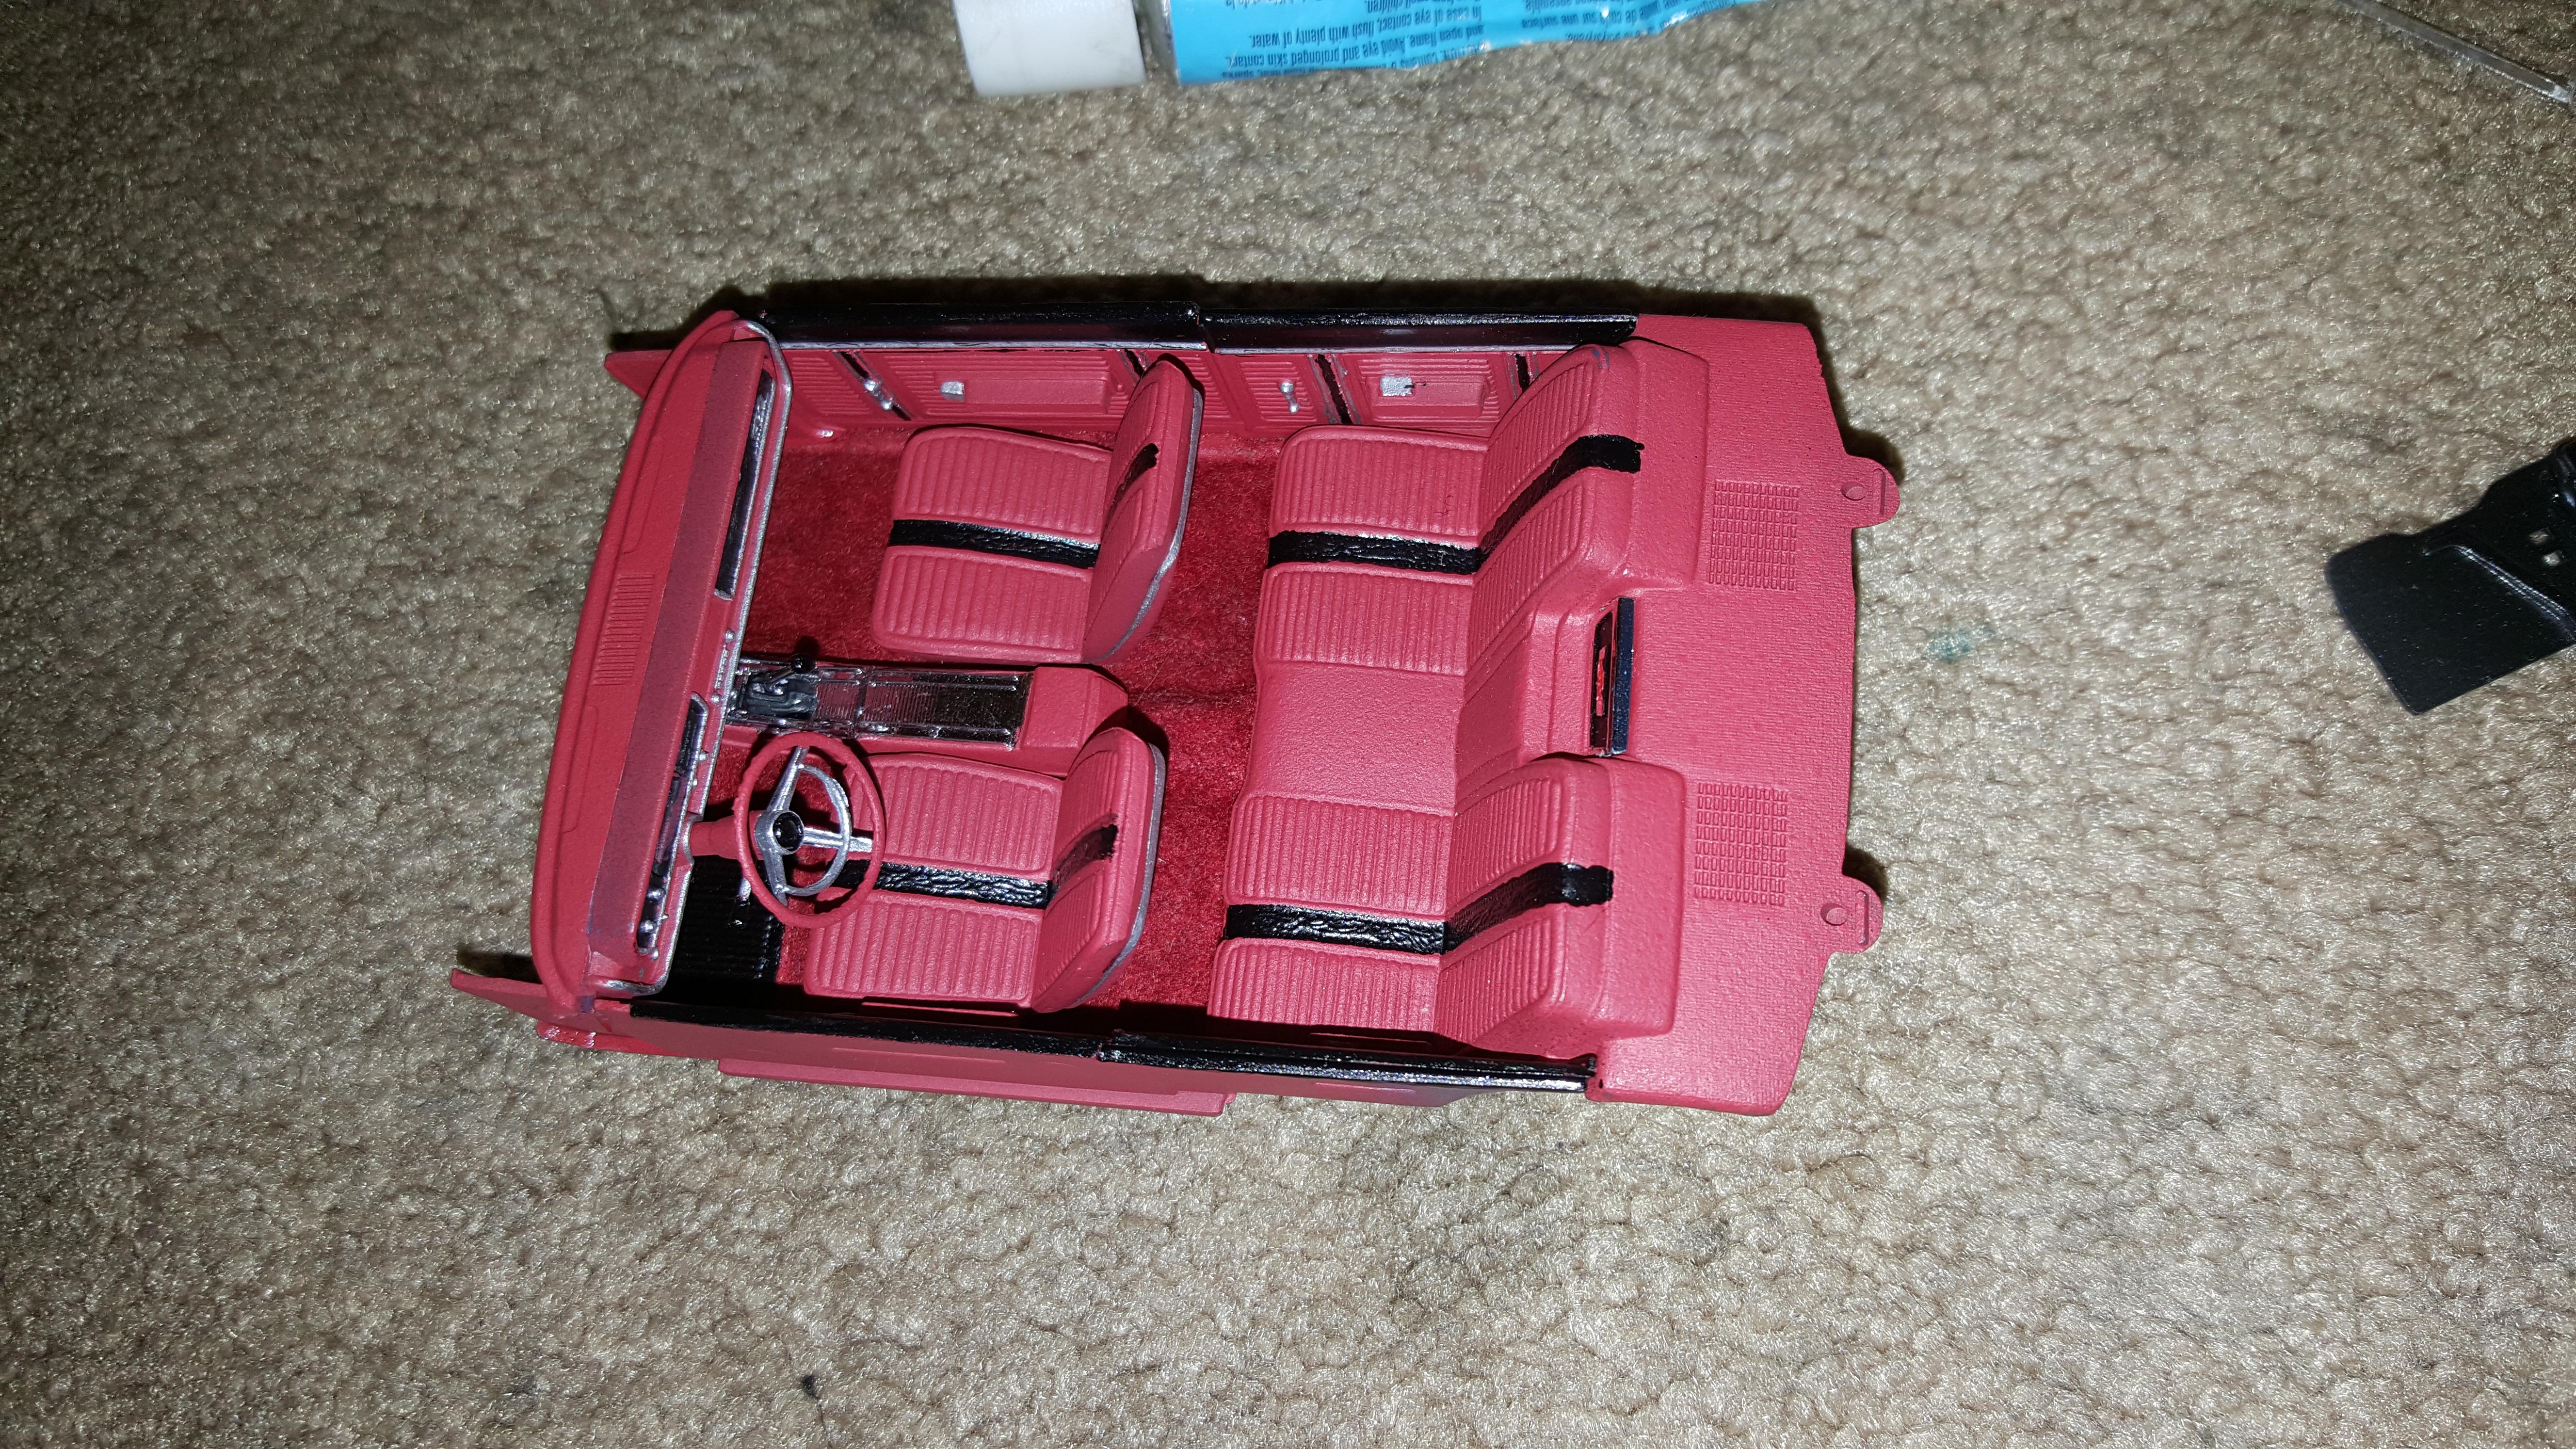
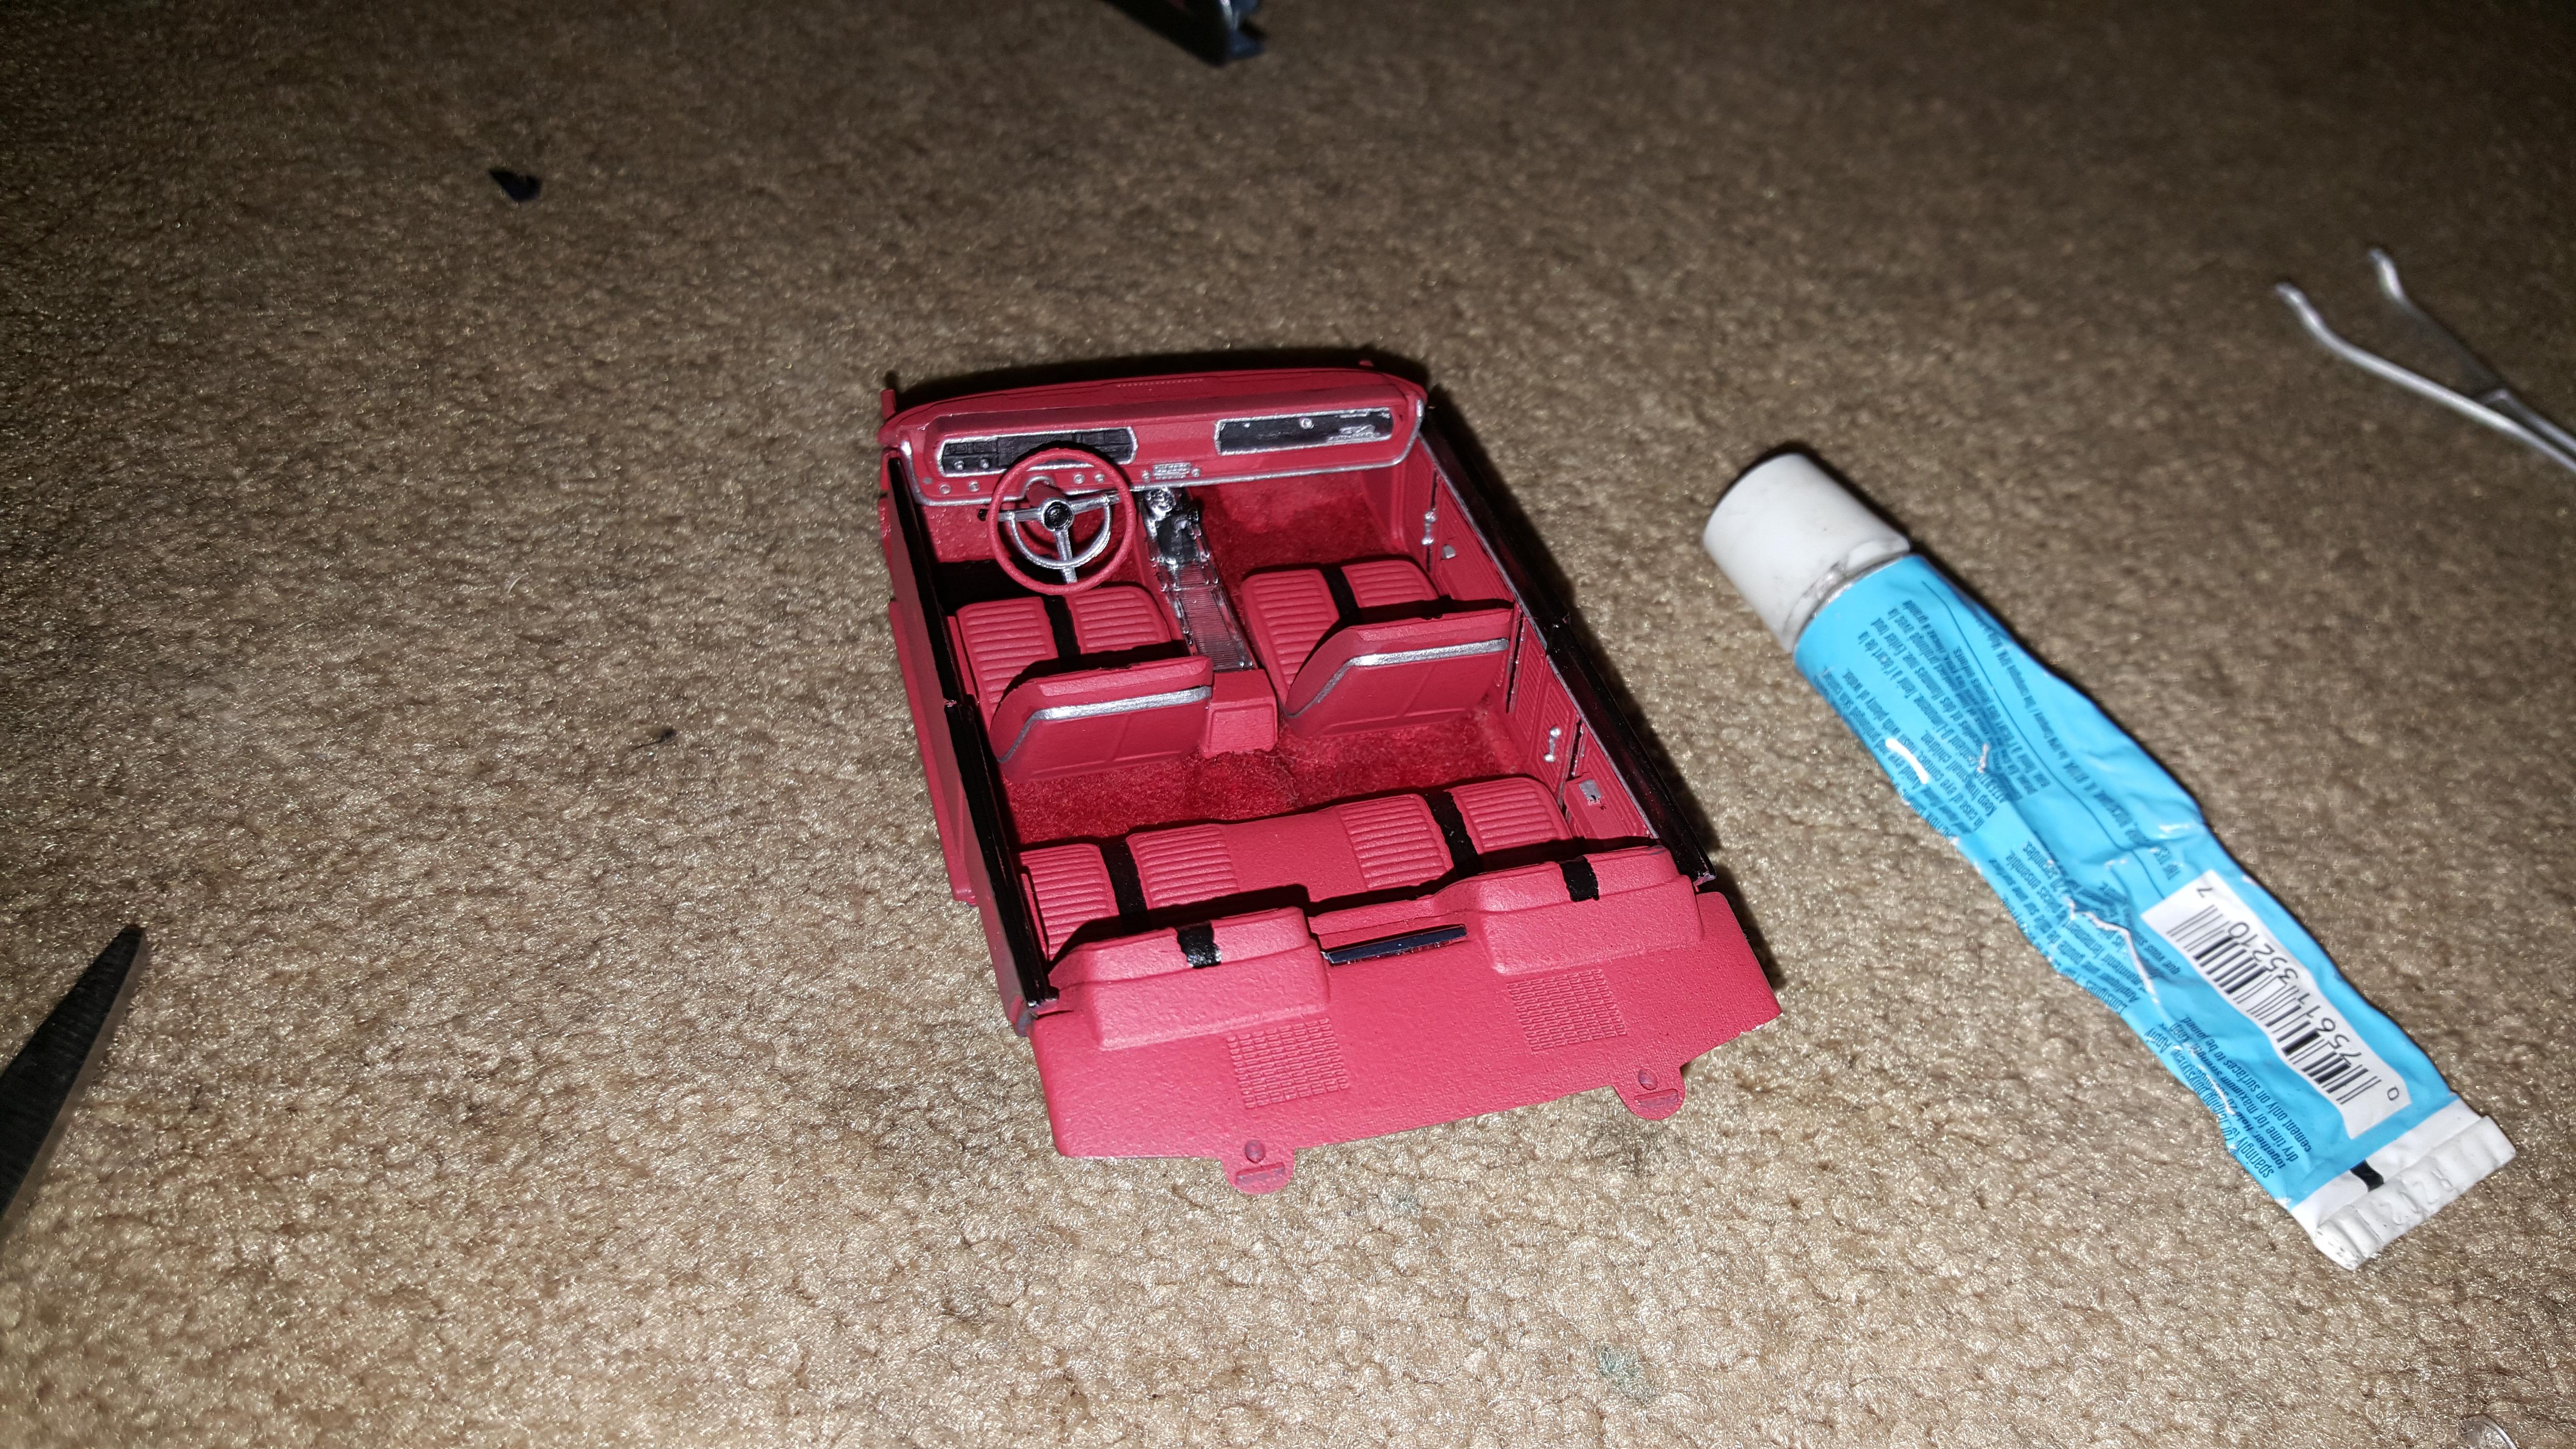
You can always mix colors too. I mixed a little black in with red. For this GTX
-
As I said I work in sections so I'm not racing the glue. Had to make more for the rear deck.
-
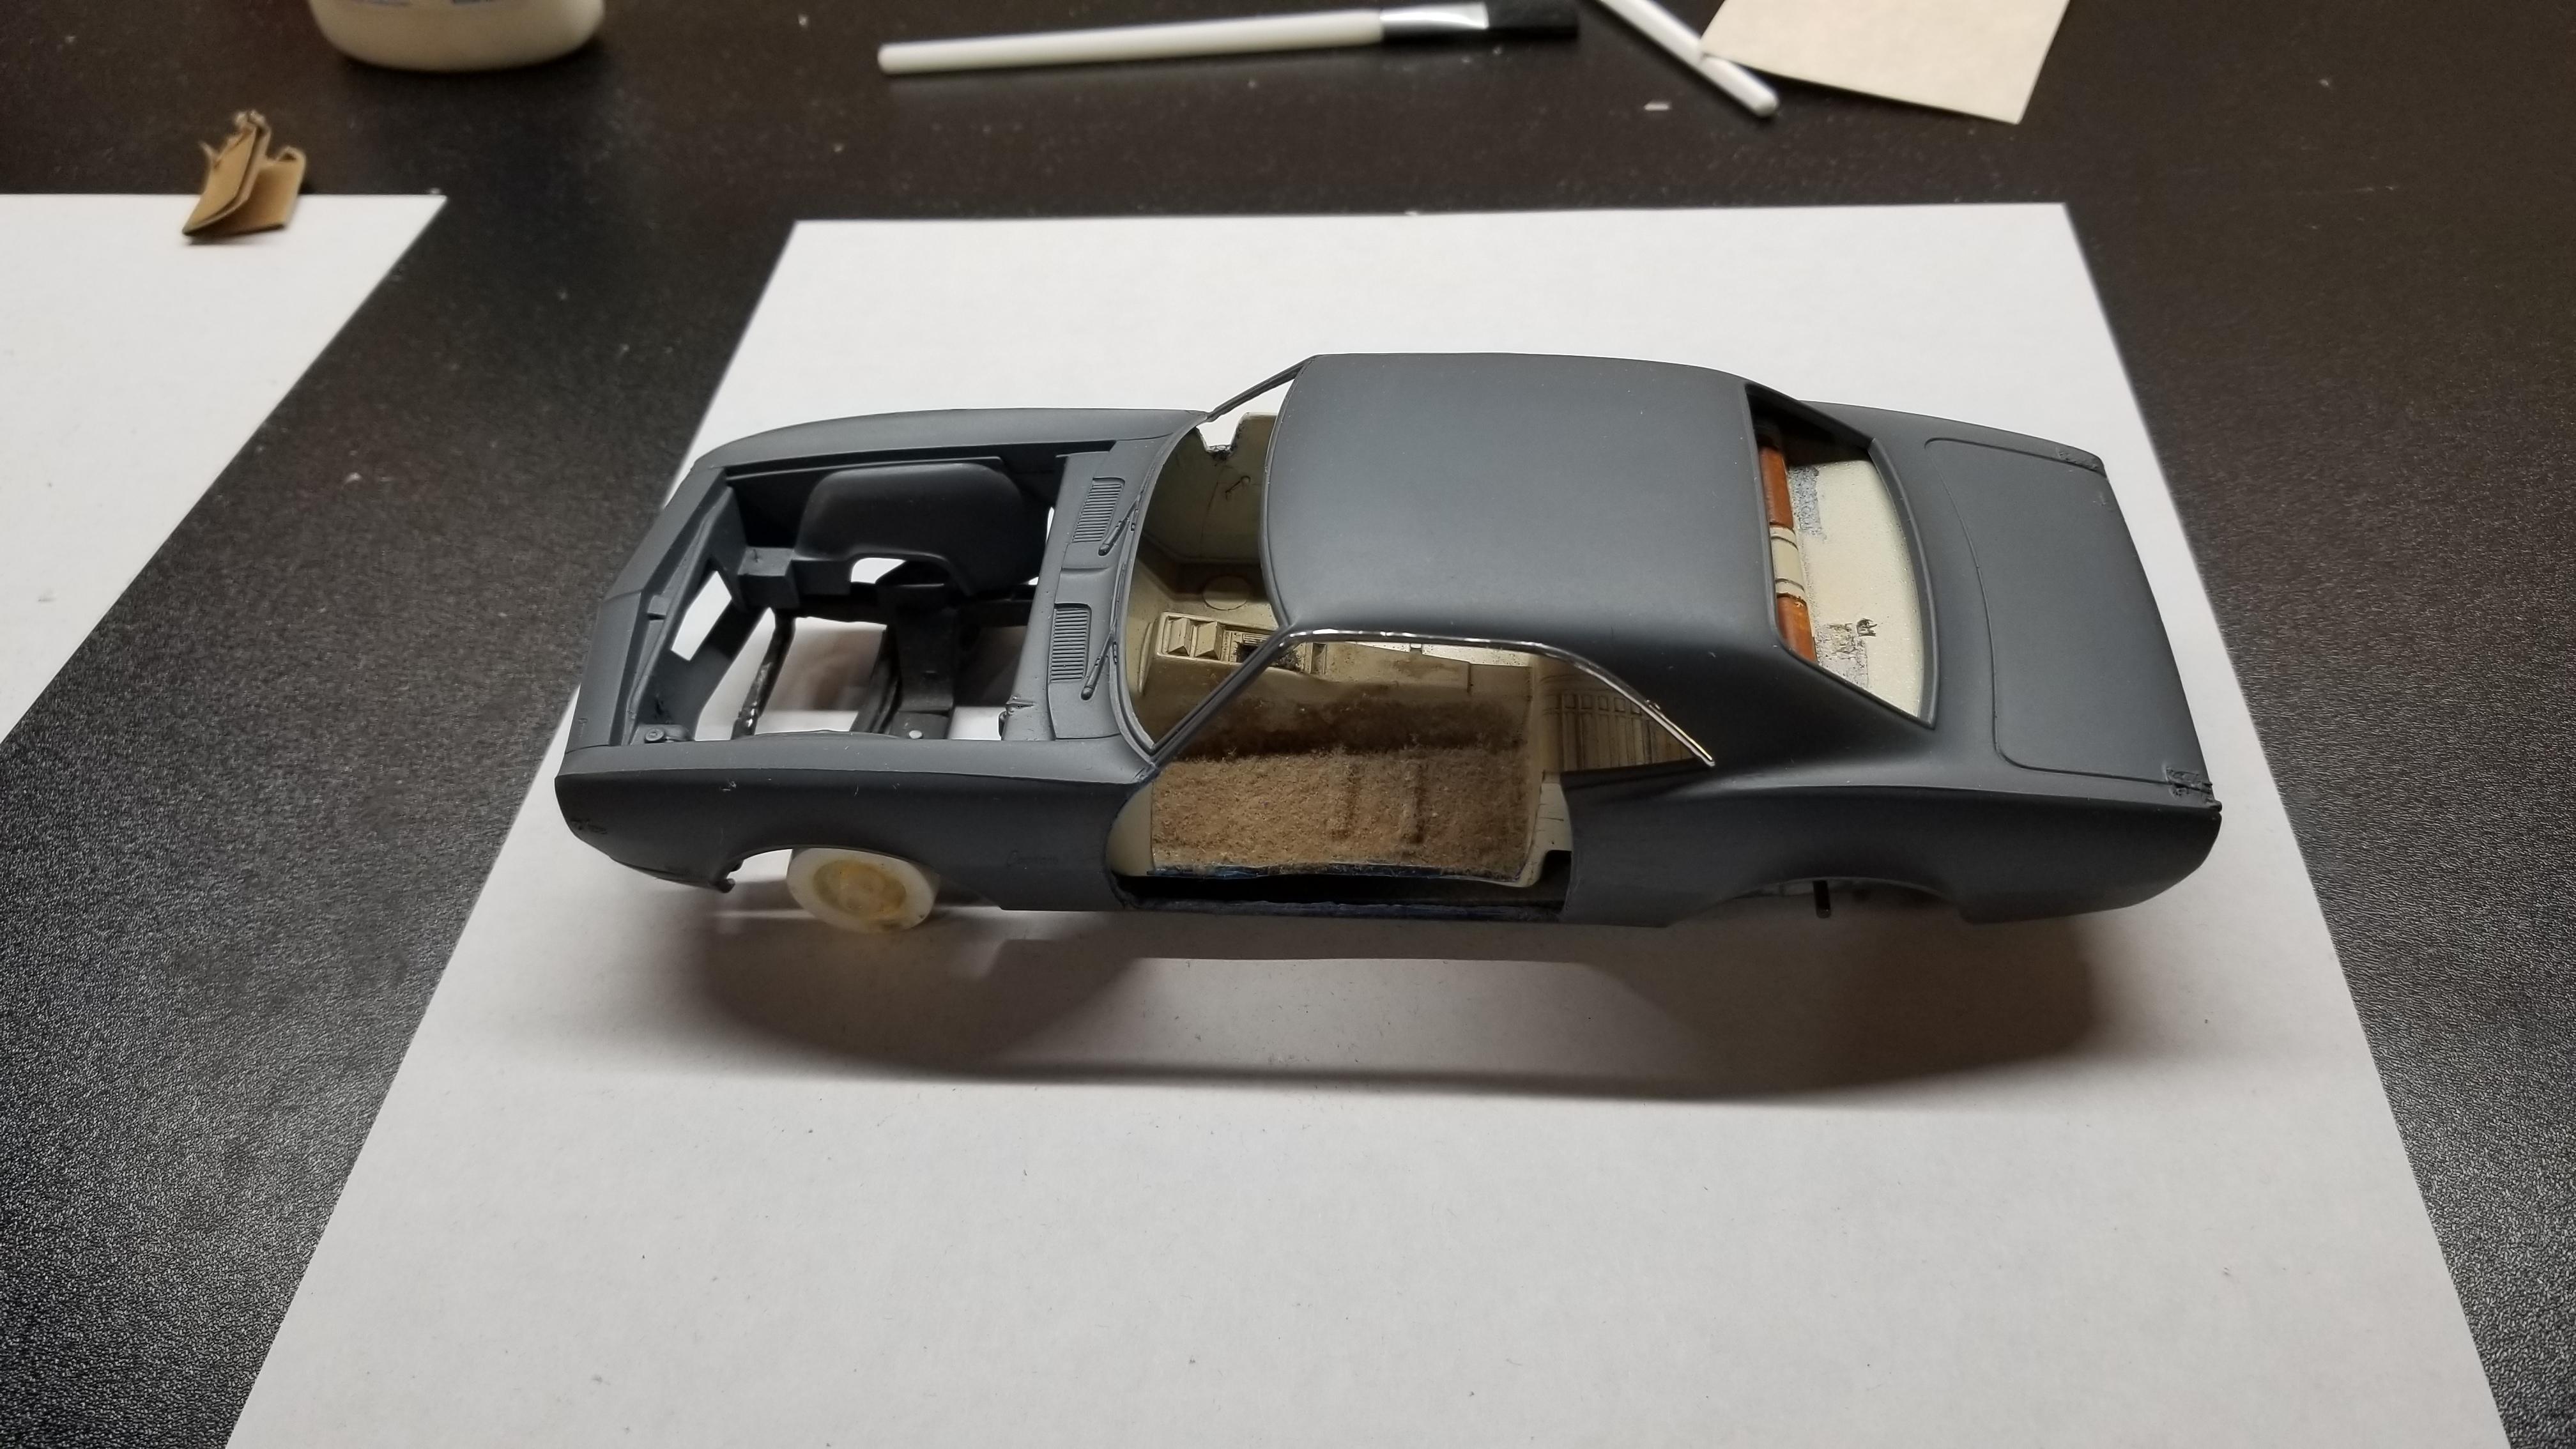
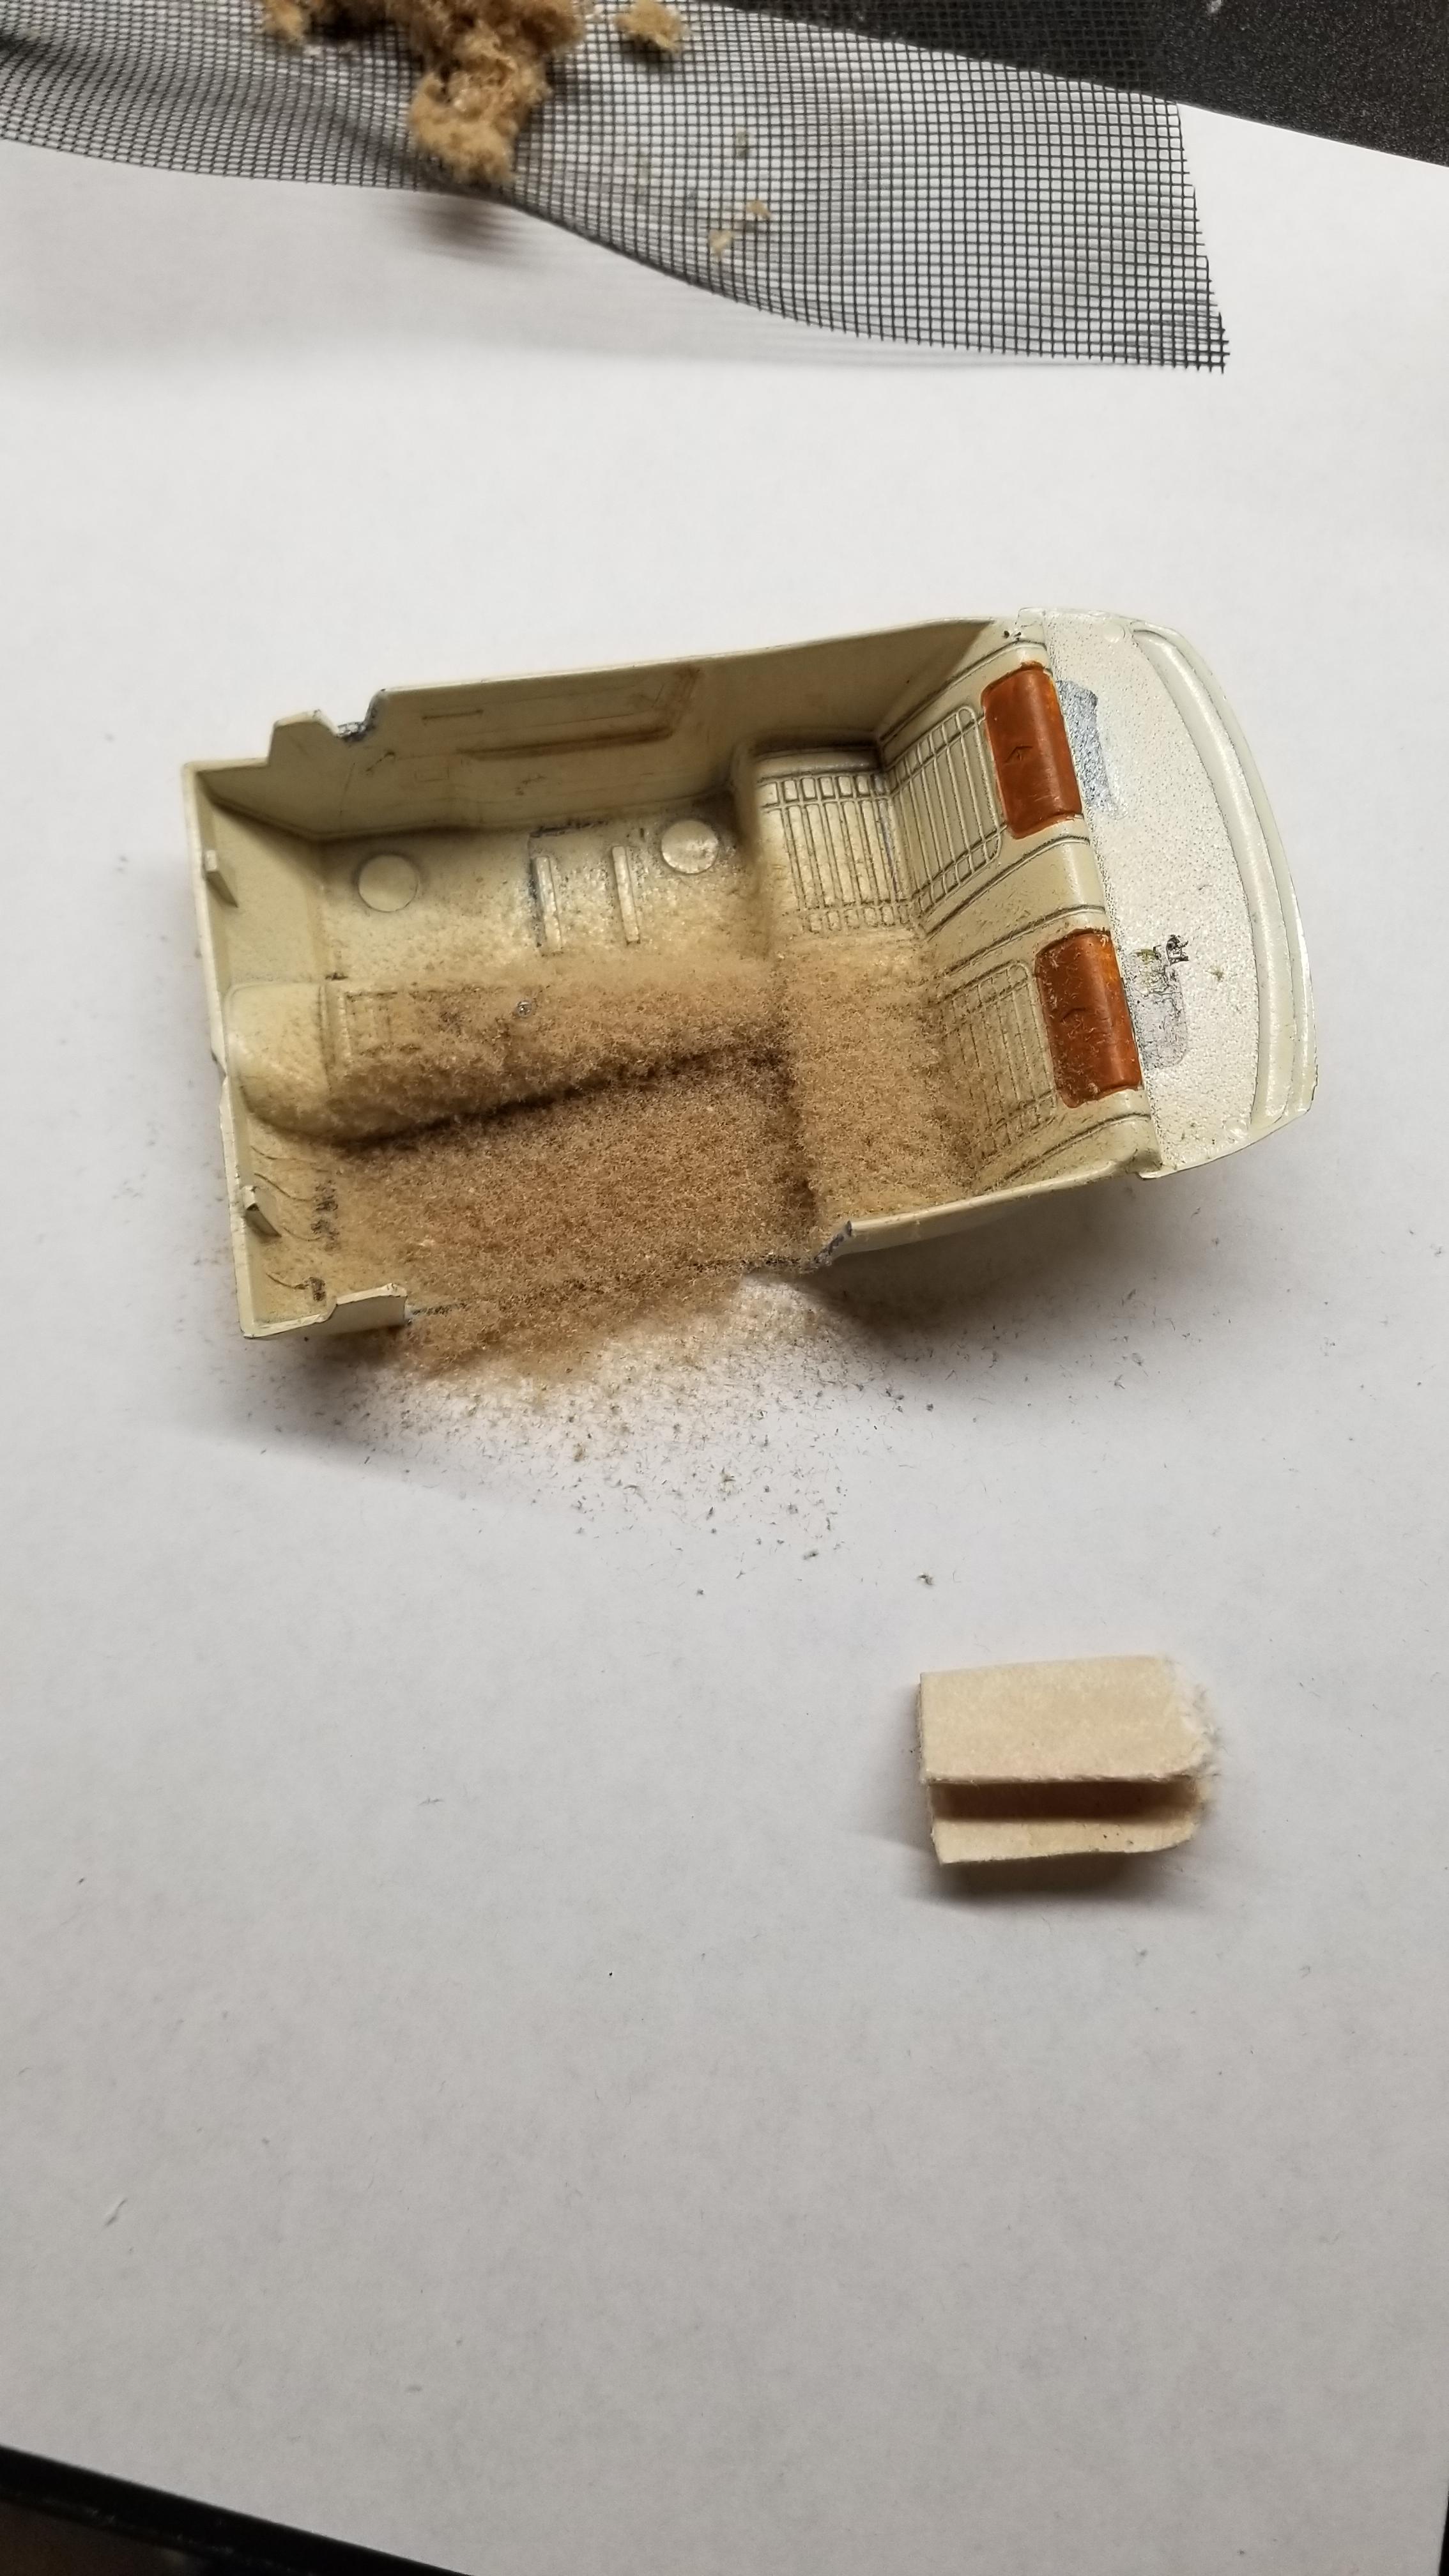
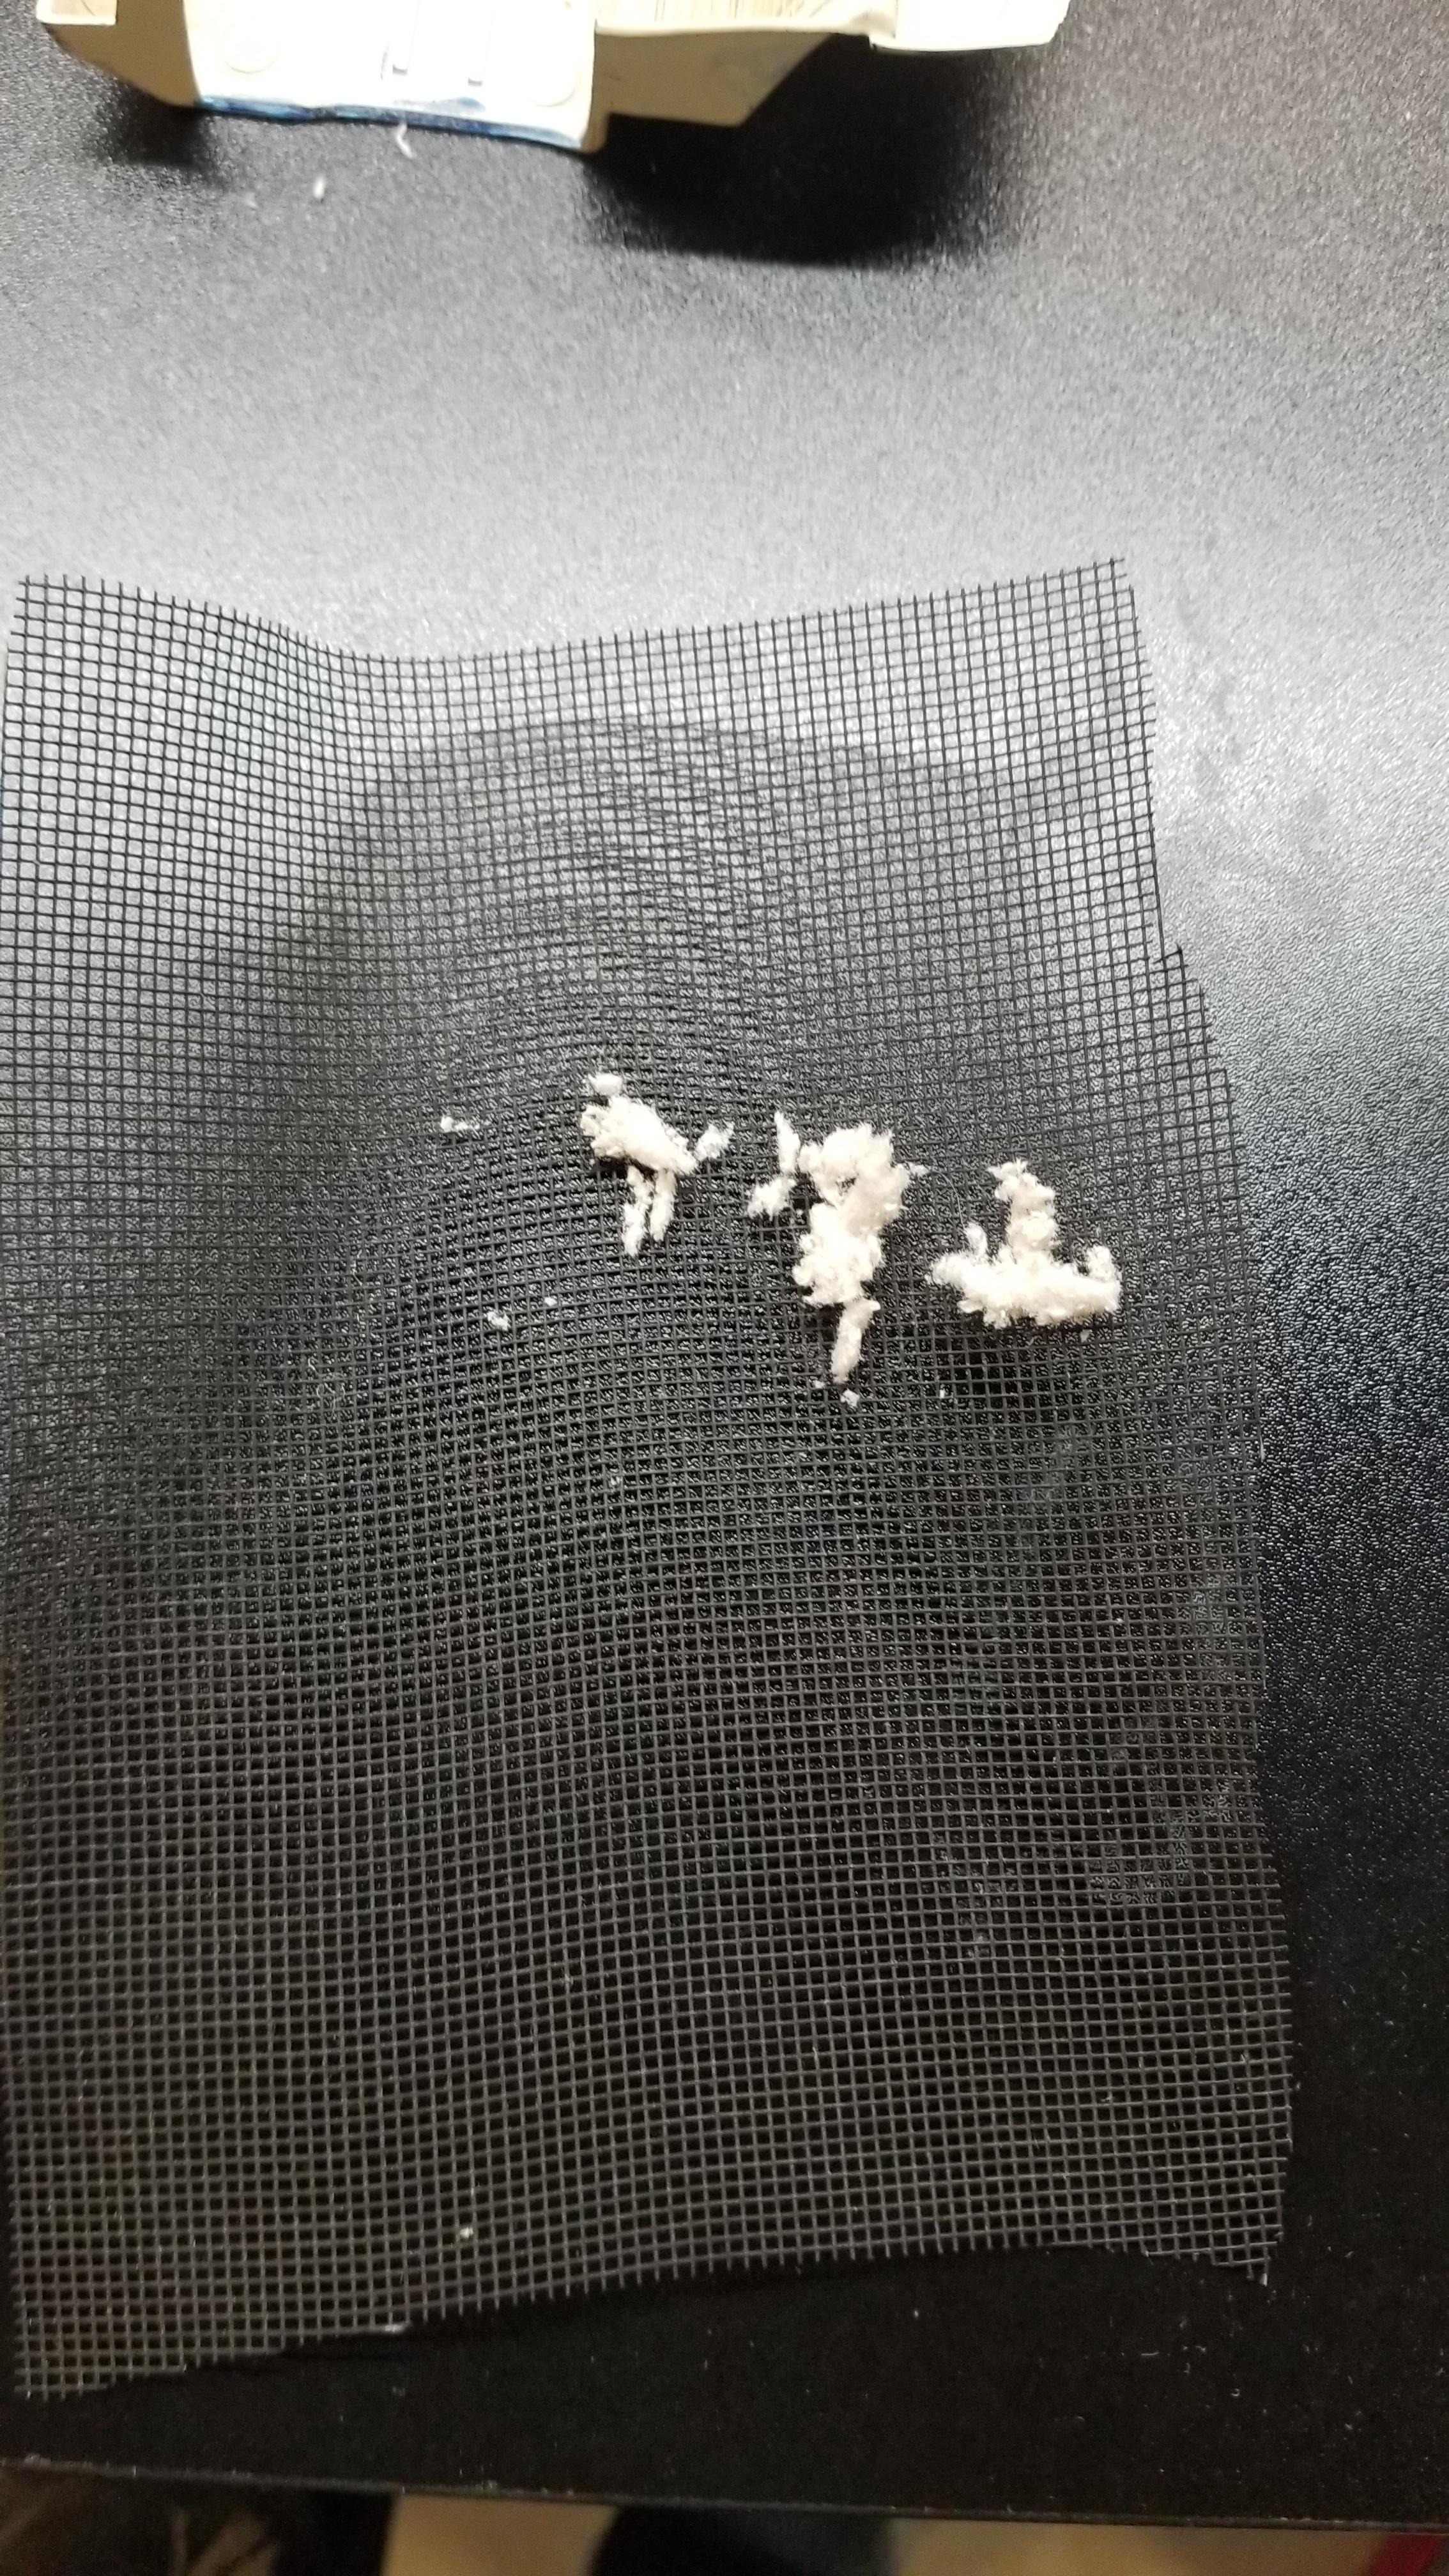
If your doing carpet you can just put your screen right over your tub. If doing like seats or doors then I'd suggest a small container. Transfer your shavings from the paper to the screen. Put the part on a fresh sheet of paper. Rub the shavings over the screen. You can push the material down a little with your finger or some other tool. Wait a few for it to dry then tap off the extra on the paper you originally used. This can be recycled for the next section of carpet material. You can always touch up areas too. Just be careful how far you go with the brush and glue.
-
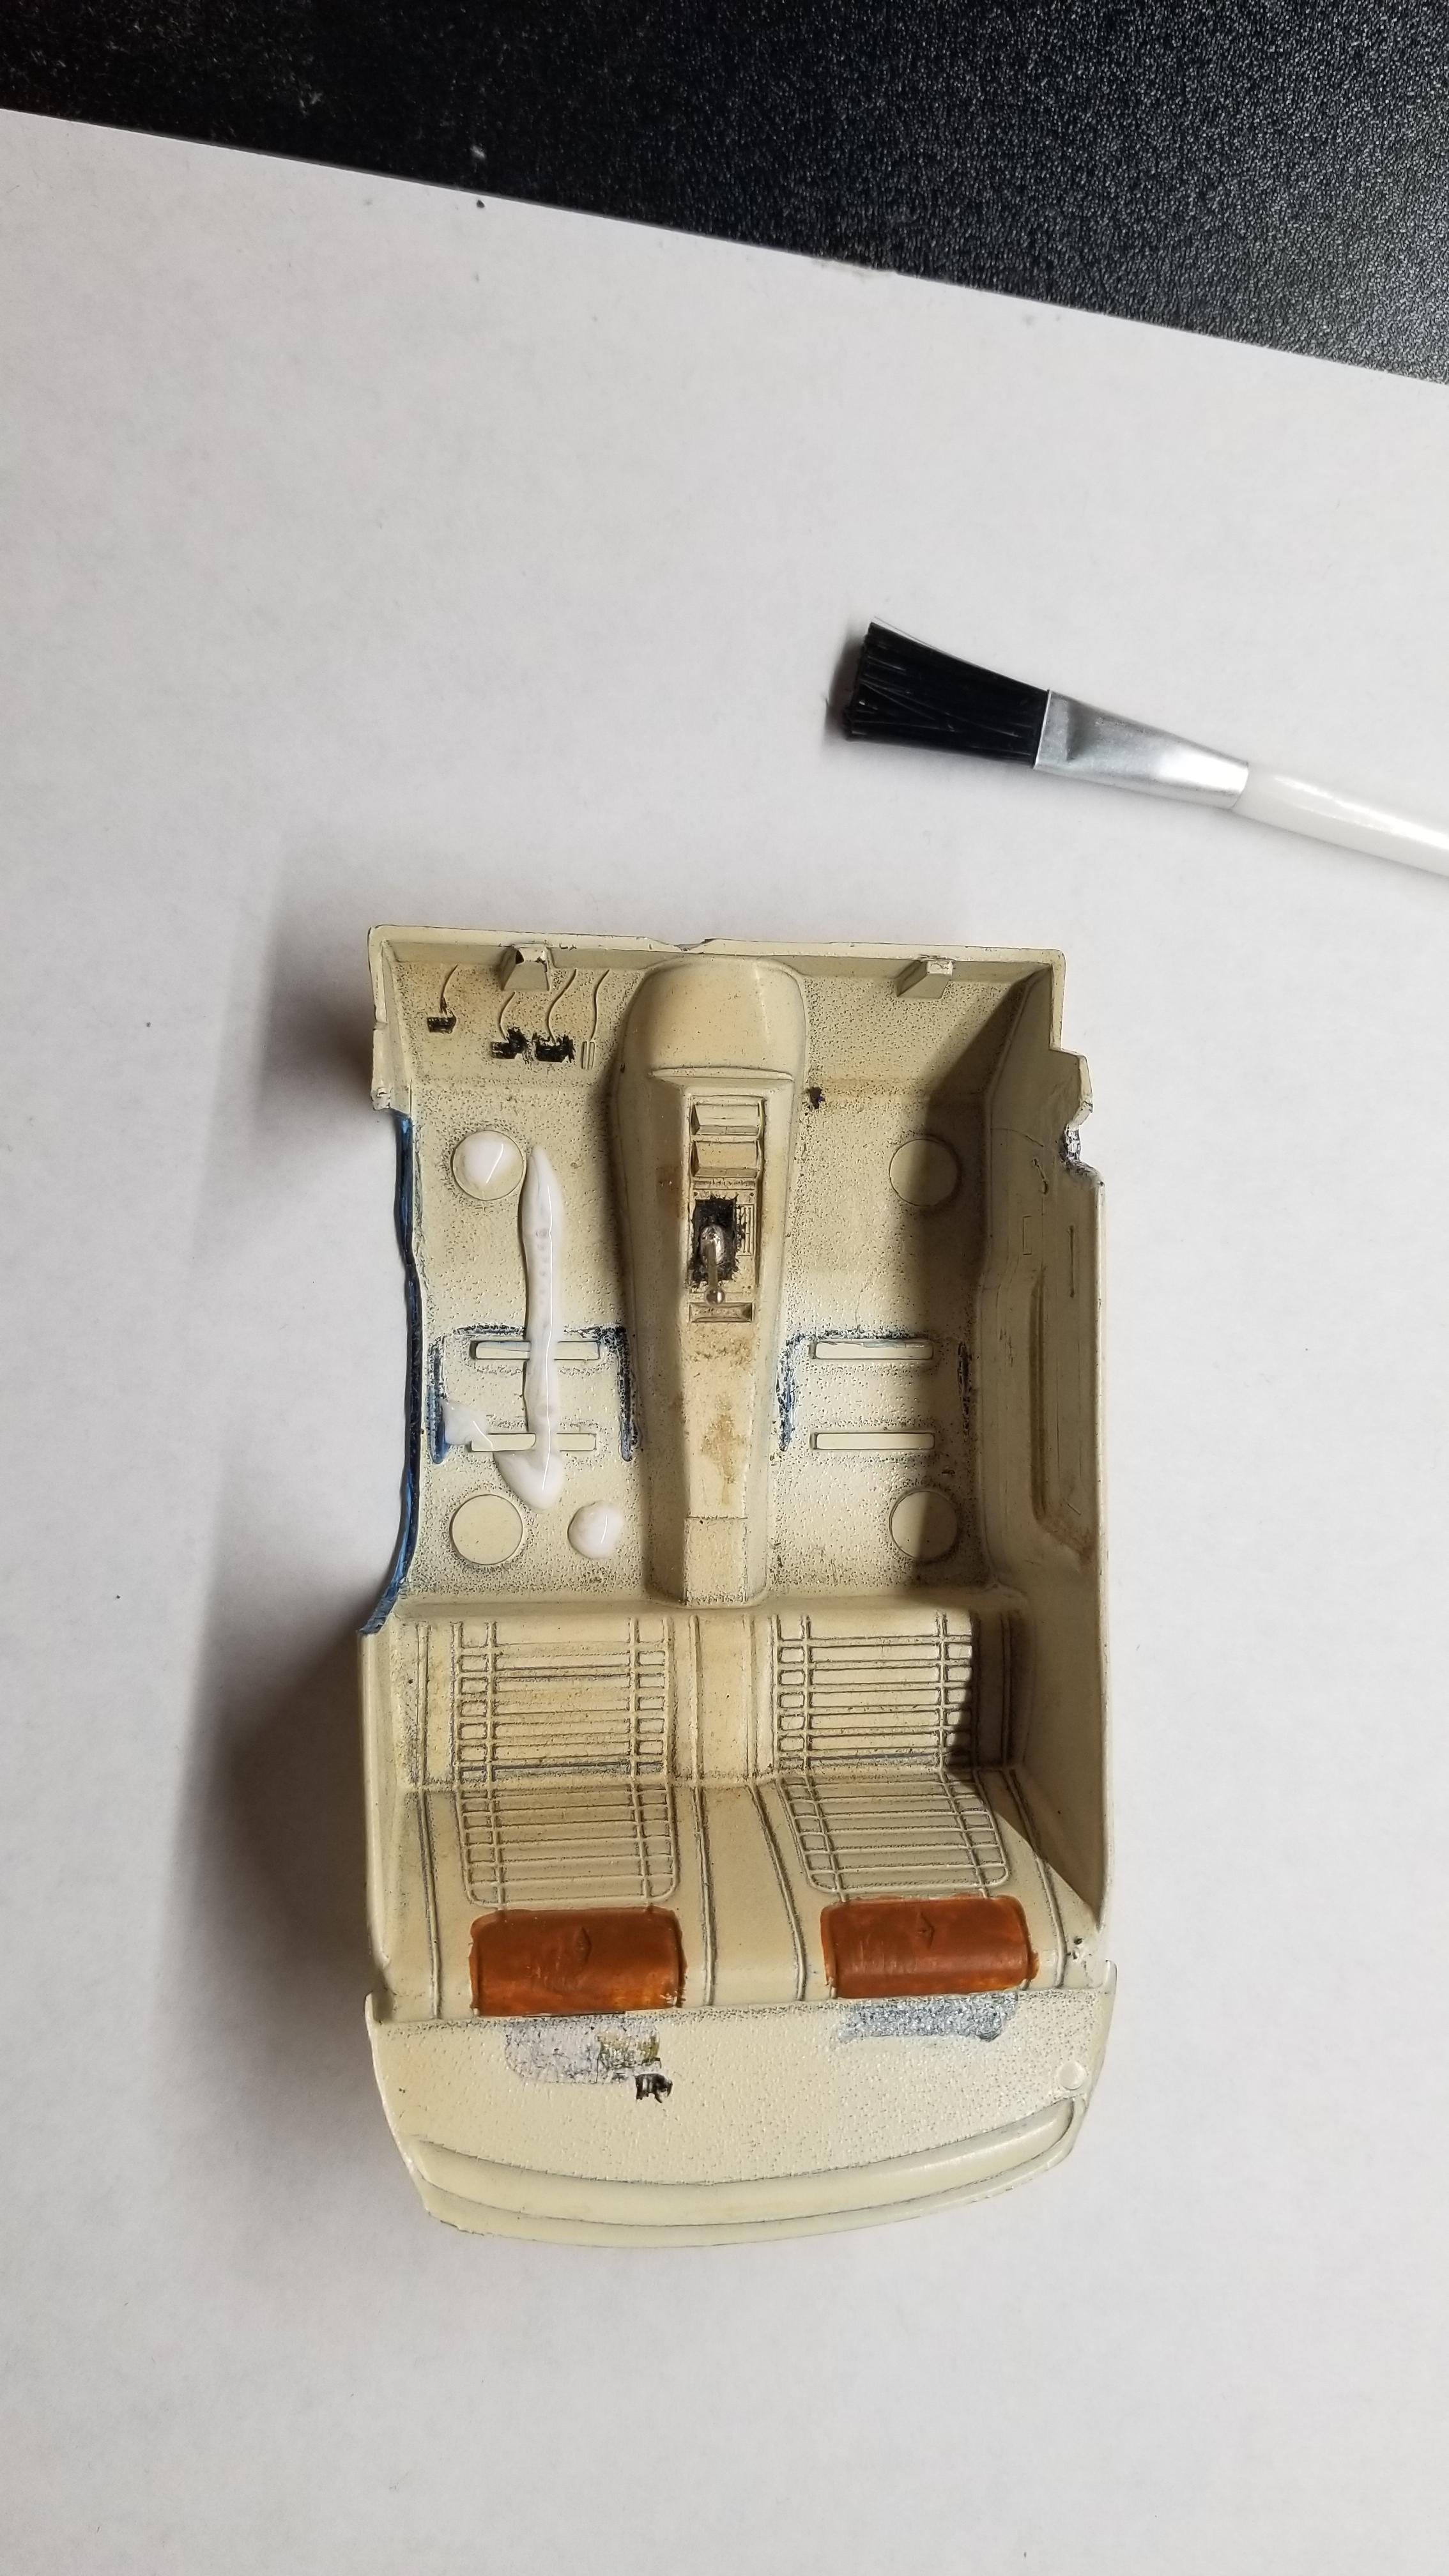
Next paint your modge podge or Elmer's on your part/tub. Work in sections and rinse your brush fairly quickly after. No need to rush for the brush but dont forget it.
-
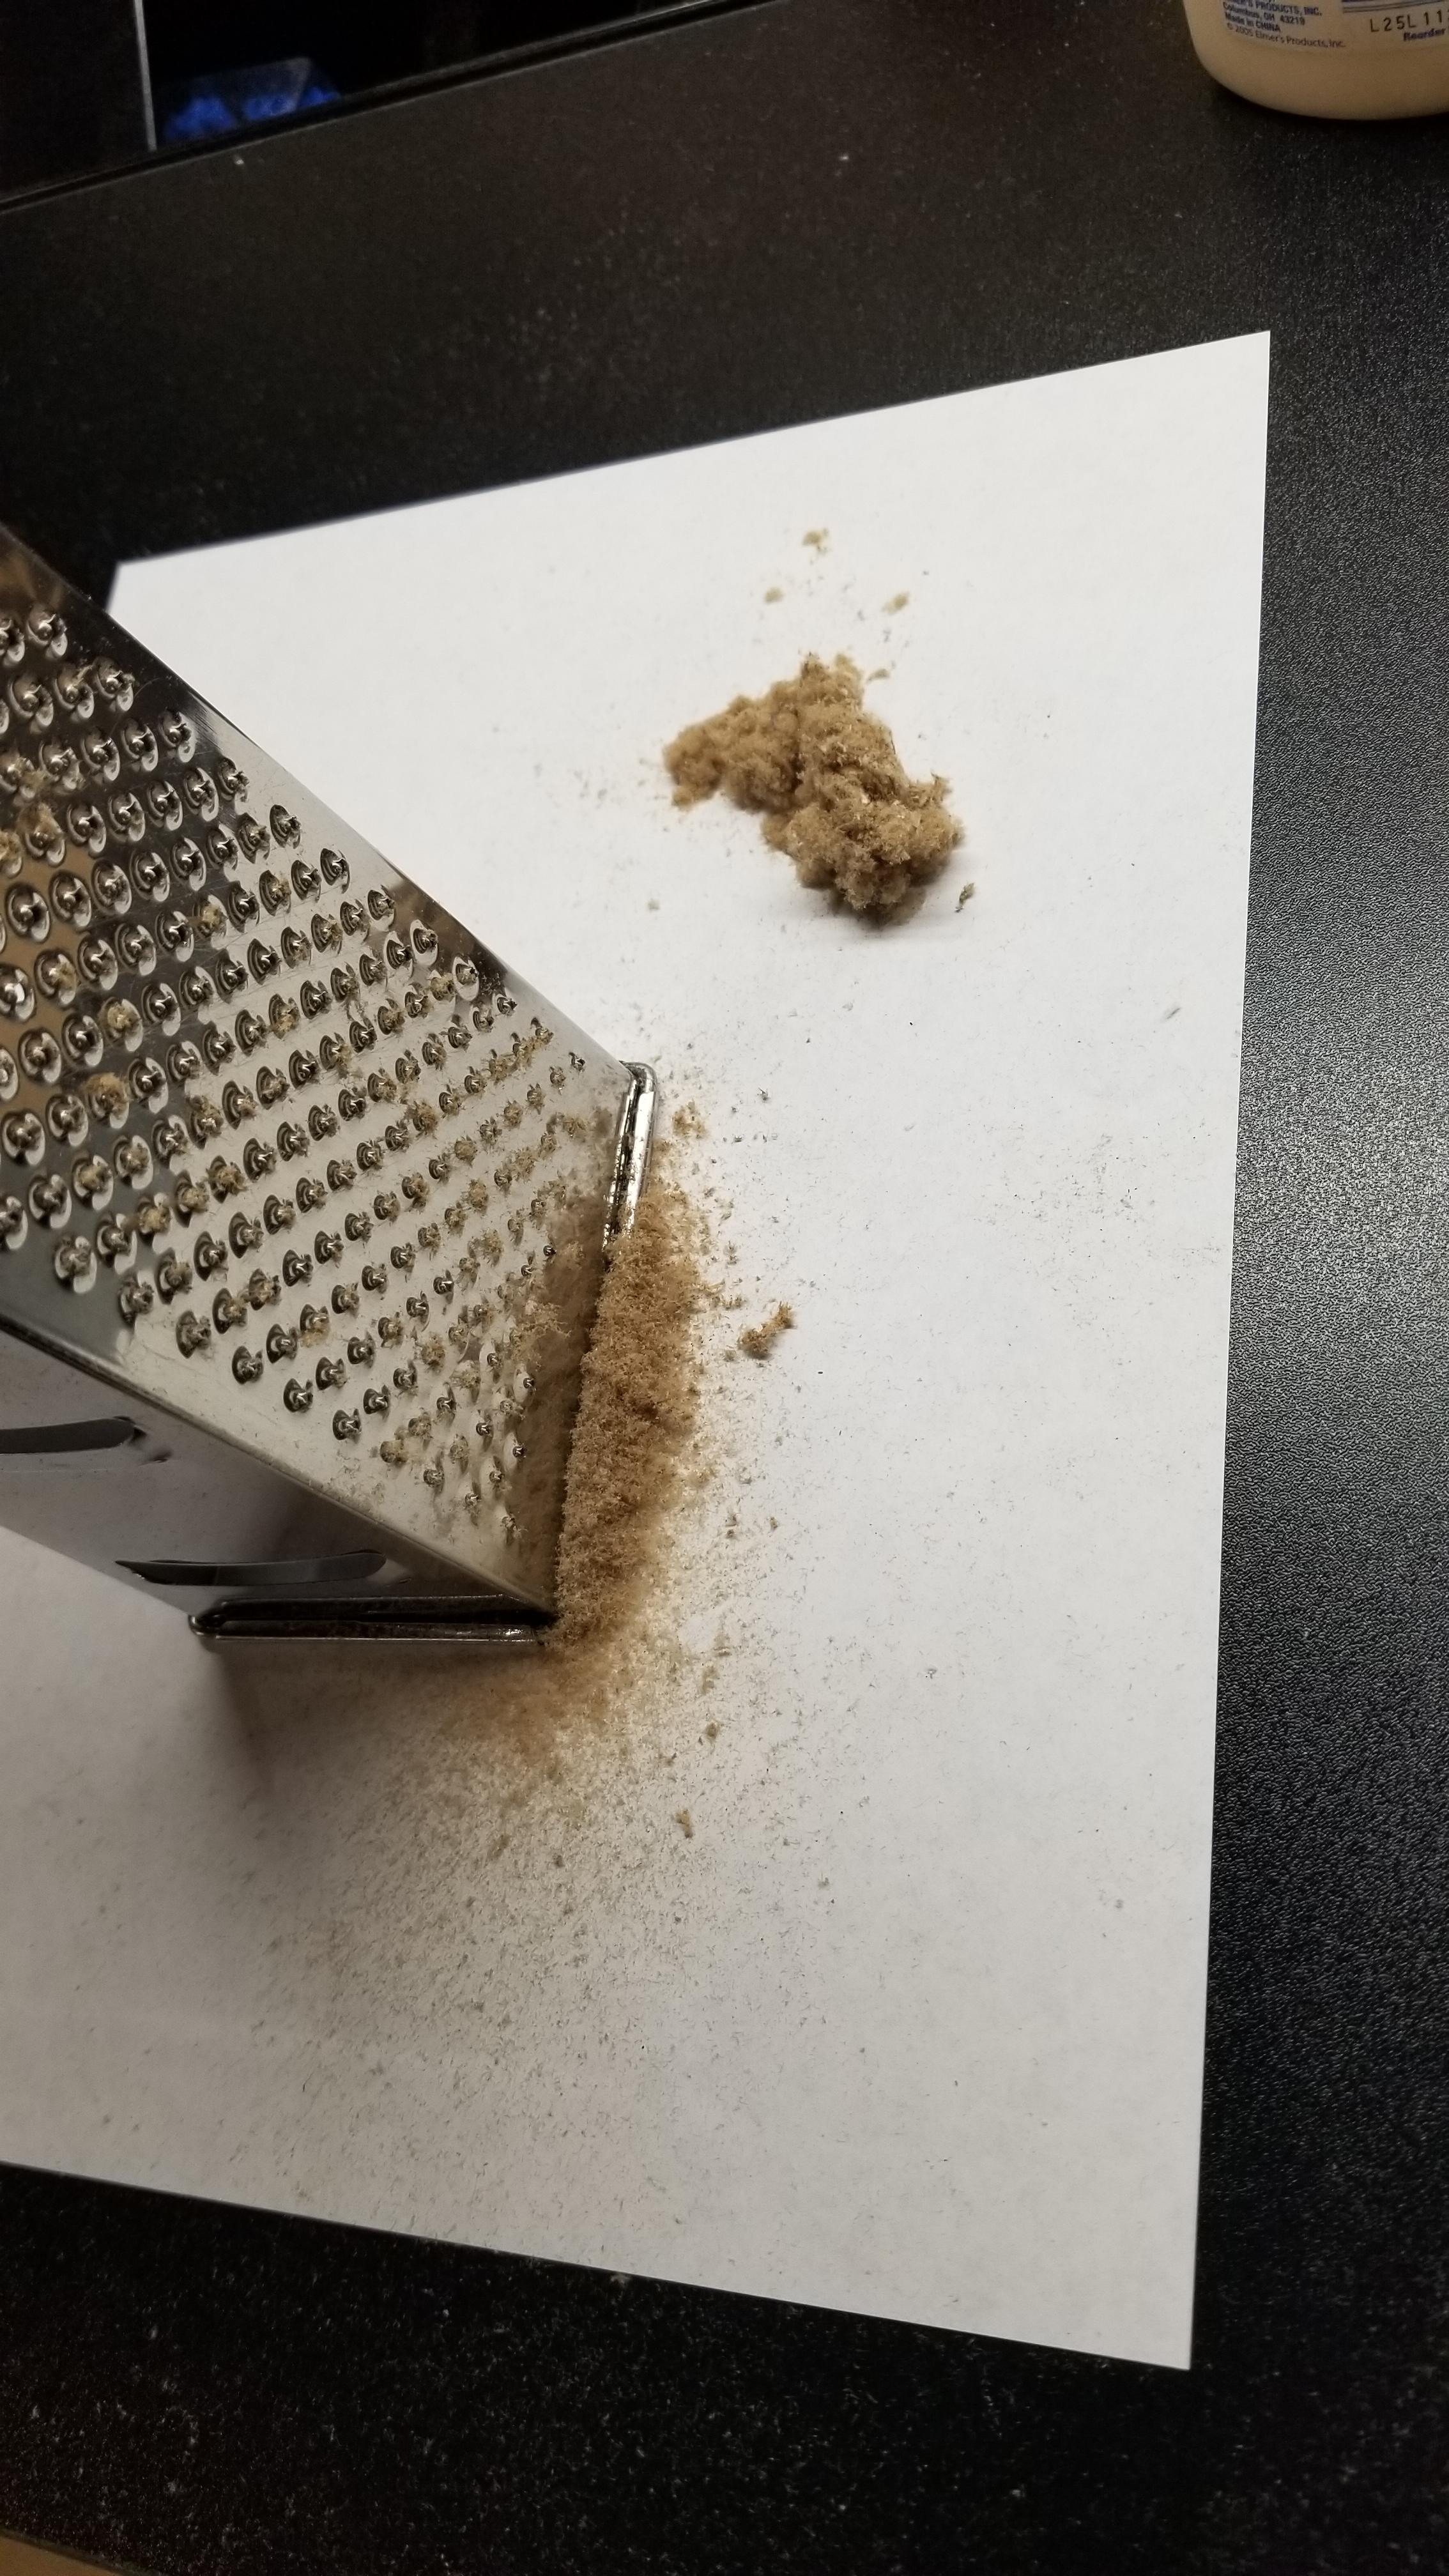
So using the medium holes and going at a 45° angle in all directions, (Dont have to really press. Let the grater shred the paper. Not your fingers.) You should end up with a decent pile of stuff. The pile shown is made from a cardstock the size shown next to it.
-
I cut up my cardstock and fold it over a few times to give my a rigid piece to grind down. I try to keep my paper at a 45° angle on the grater. Also I use the medium sized holes. The small holes make a mess. You can see the result of this on the following pic of the screen. This is unusable. Its essentially twine.
-
For this you'll need some things. Here is my layout. Modge podge, or Elmer's glue, (Both are acrylic and water washup) a couple different sized brushes, 2 sheets of computer paper, screen, a cheese/veggie grater, scissors, and your cardstock.
-
Next up is the subject I'll cover most. It's the most time consuming and requires the most work. However it provides an edge over the felt. You can keep details if done correctly. Cardstock/cardboard. Please note these are NOT the same. Cardstock can be found at an arts store. Hobby lobby. Michaels. Ac moore... ect ect. Make sure it's the same color on both sides.
-
Felt is very readily available and I use (if I use) non self-adhesive.
-
Felt...... goes without saying... cut. Paste. Carpet.... not a huge fan of this but sometimes...meh.... I did a bed carpet in this lightning . It's one of those never going to tow? Going to the show kinda rides.
-
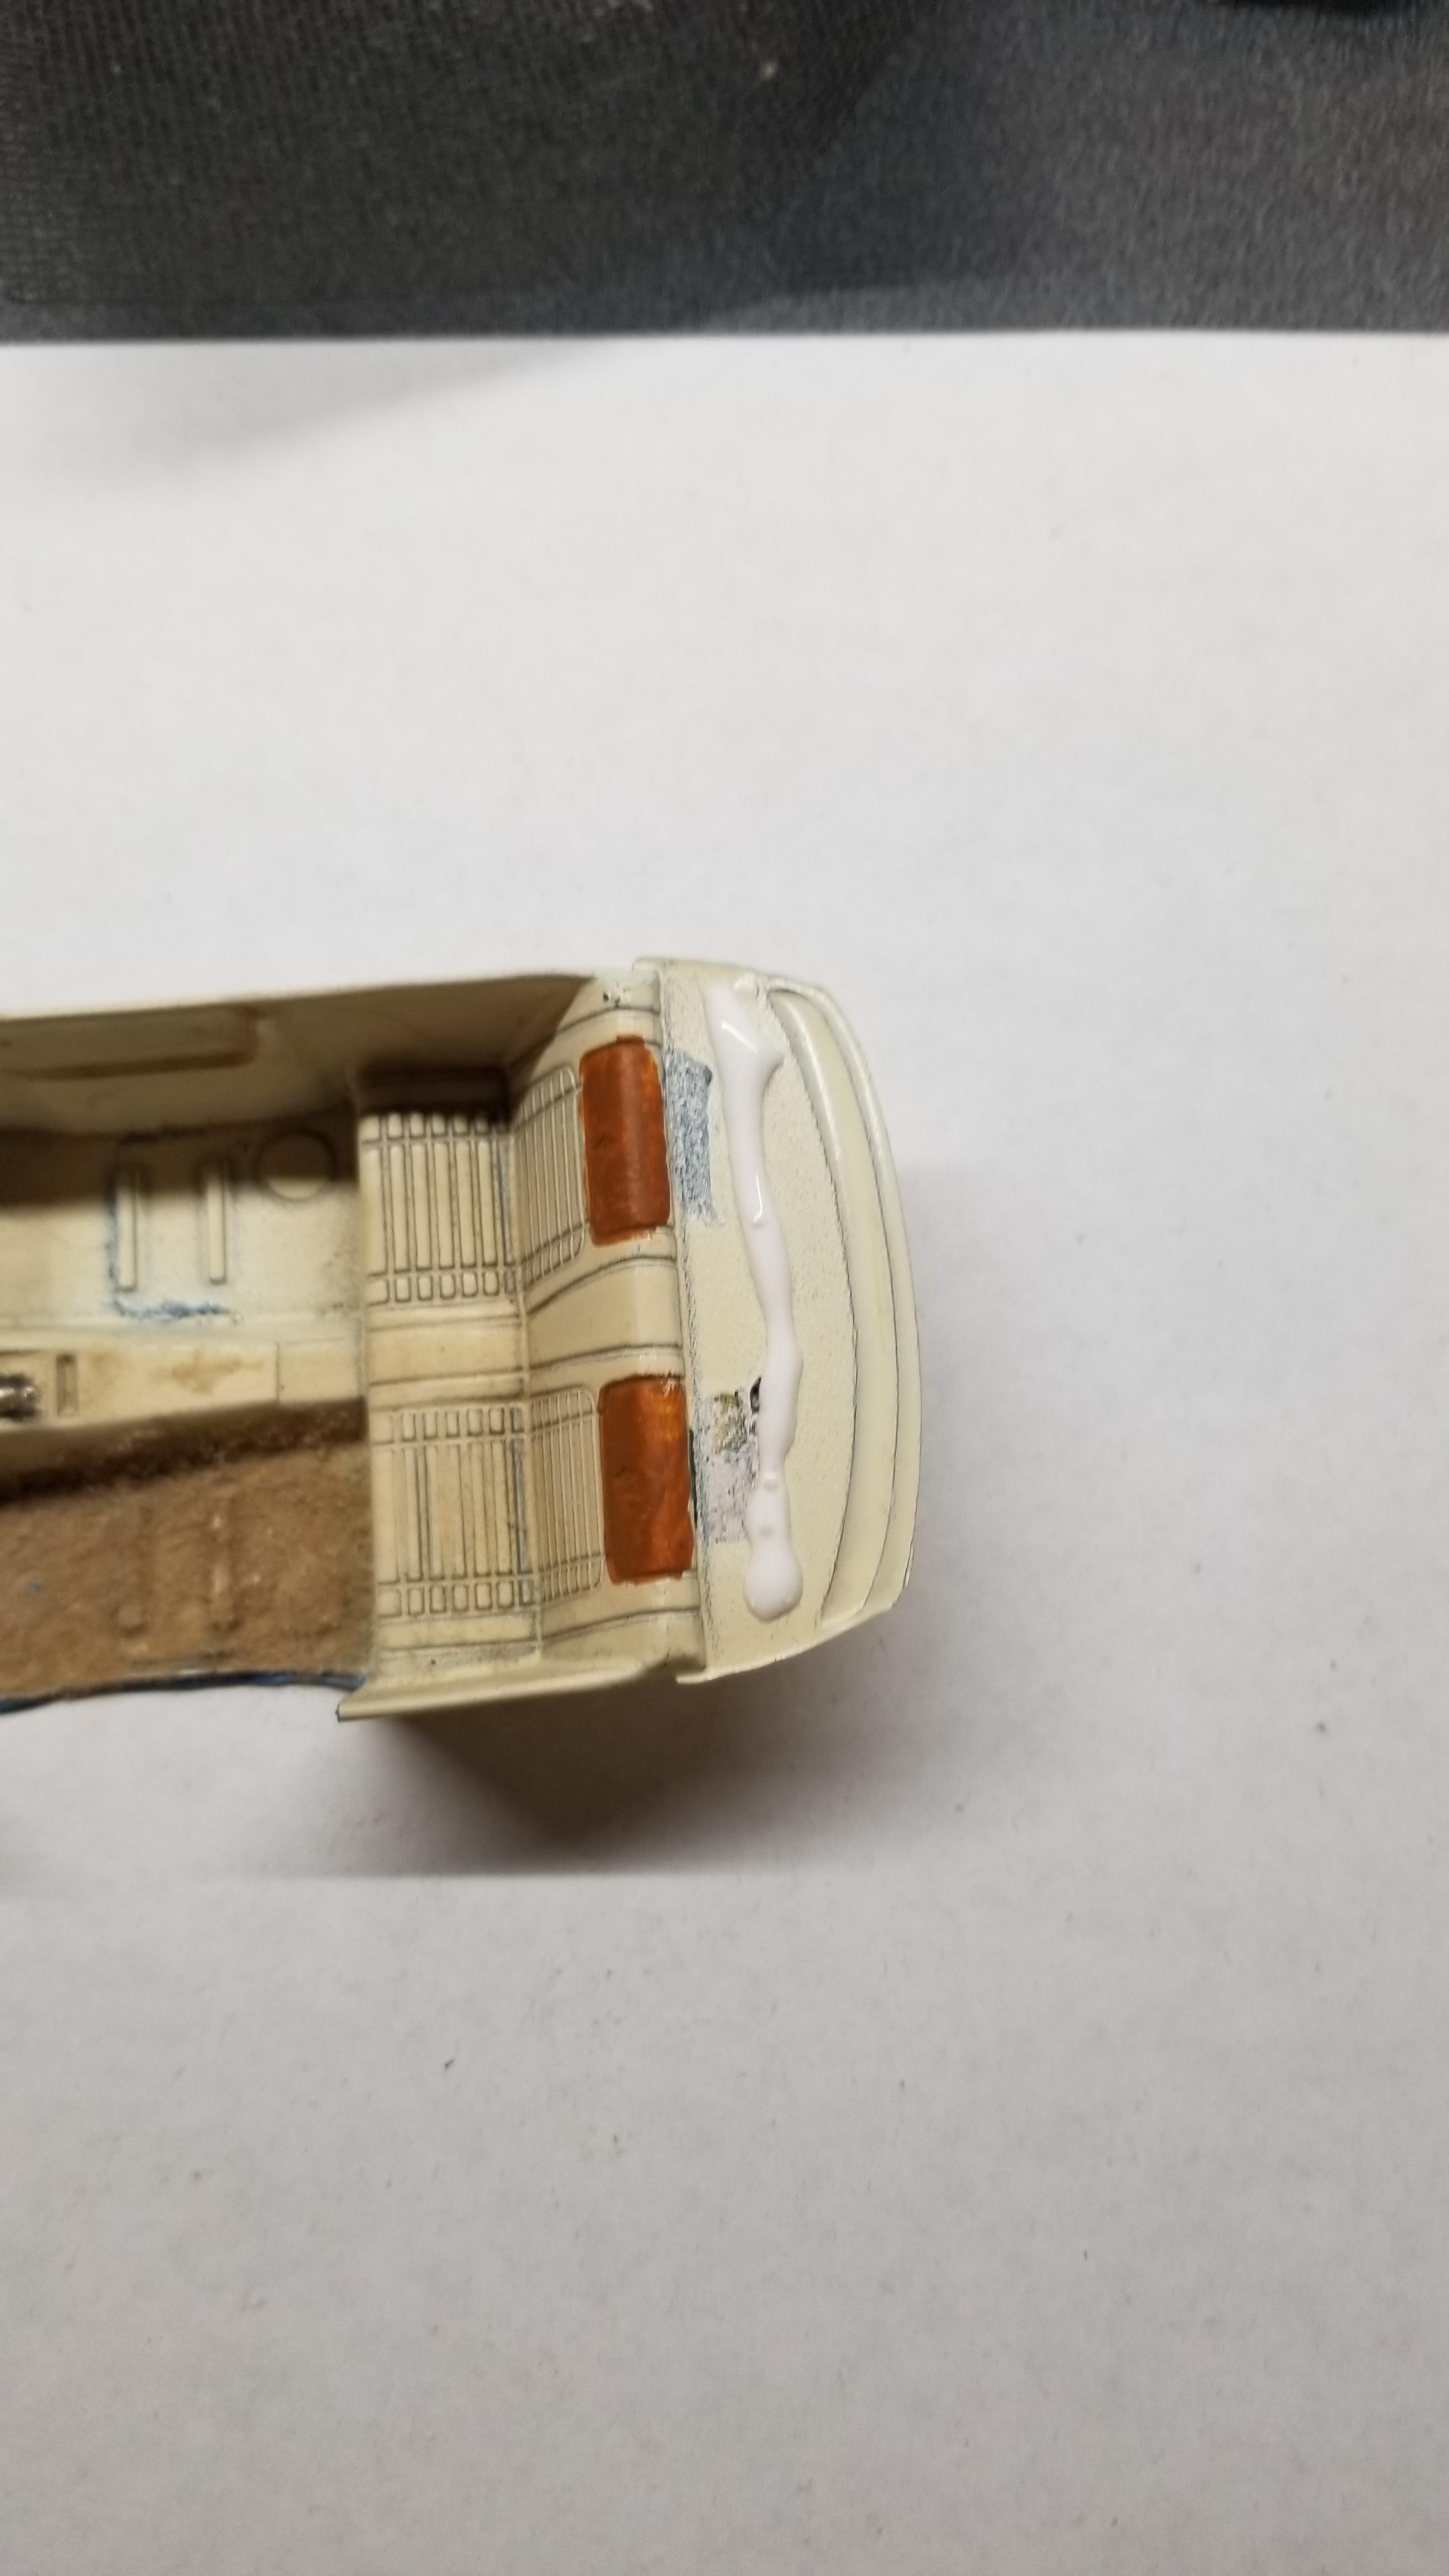
Just wanted to go over some options for carpet/seat/door panel fabric. There are a couple different options to choose from. I'll be covering one specific technique I've been using with great results. I will go thru the techniques in order of experience. Please feel free to add any techniques you may have. And by all means improve them if you can. I do not take credit for any techniques covered in this post. The pics I've posted in the following context are of my own work. But just the work. Not the idea. Without further ado. Flocking. Flocking is the material on the strip that touches the windows of your car. The strip at the bottom that runs the length of the door. Its fuzzy like felt. But its flock. And to flock correctly you need a flocking gun. In the scale world you dont need the gun. I have not used flocking, but have seen people flock their cars and they're gorgeous.... usually. Embossing powder. Embossing powder is essentially an alternative to flock. I have the least amount of experience with this technique. In all fairness I didnt use exactly embossing powder either. The stuff I used was more like a gritty sand. I applied it over Elmer's white glue. I painted the glue on with a brush and sprinkled(essentially dumped) the powder(sand-ish) over the top waited for it to dry then tapped off the extra. I was okay with this as an experiment. I wouldn't be overly satisfied with this as my finish piece. I'll touch up the spots I missed or was a little lack luster on. The material seems fragile on the tub and too much handling would be certain tragedy. Or rework. Which isnt fun any way you look at it. Wouldn't use this method as my go to with the product I used. There are other powders on the market that do look great.
-
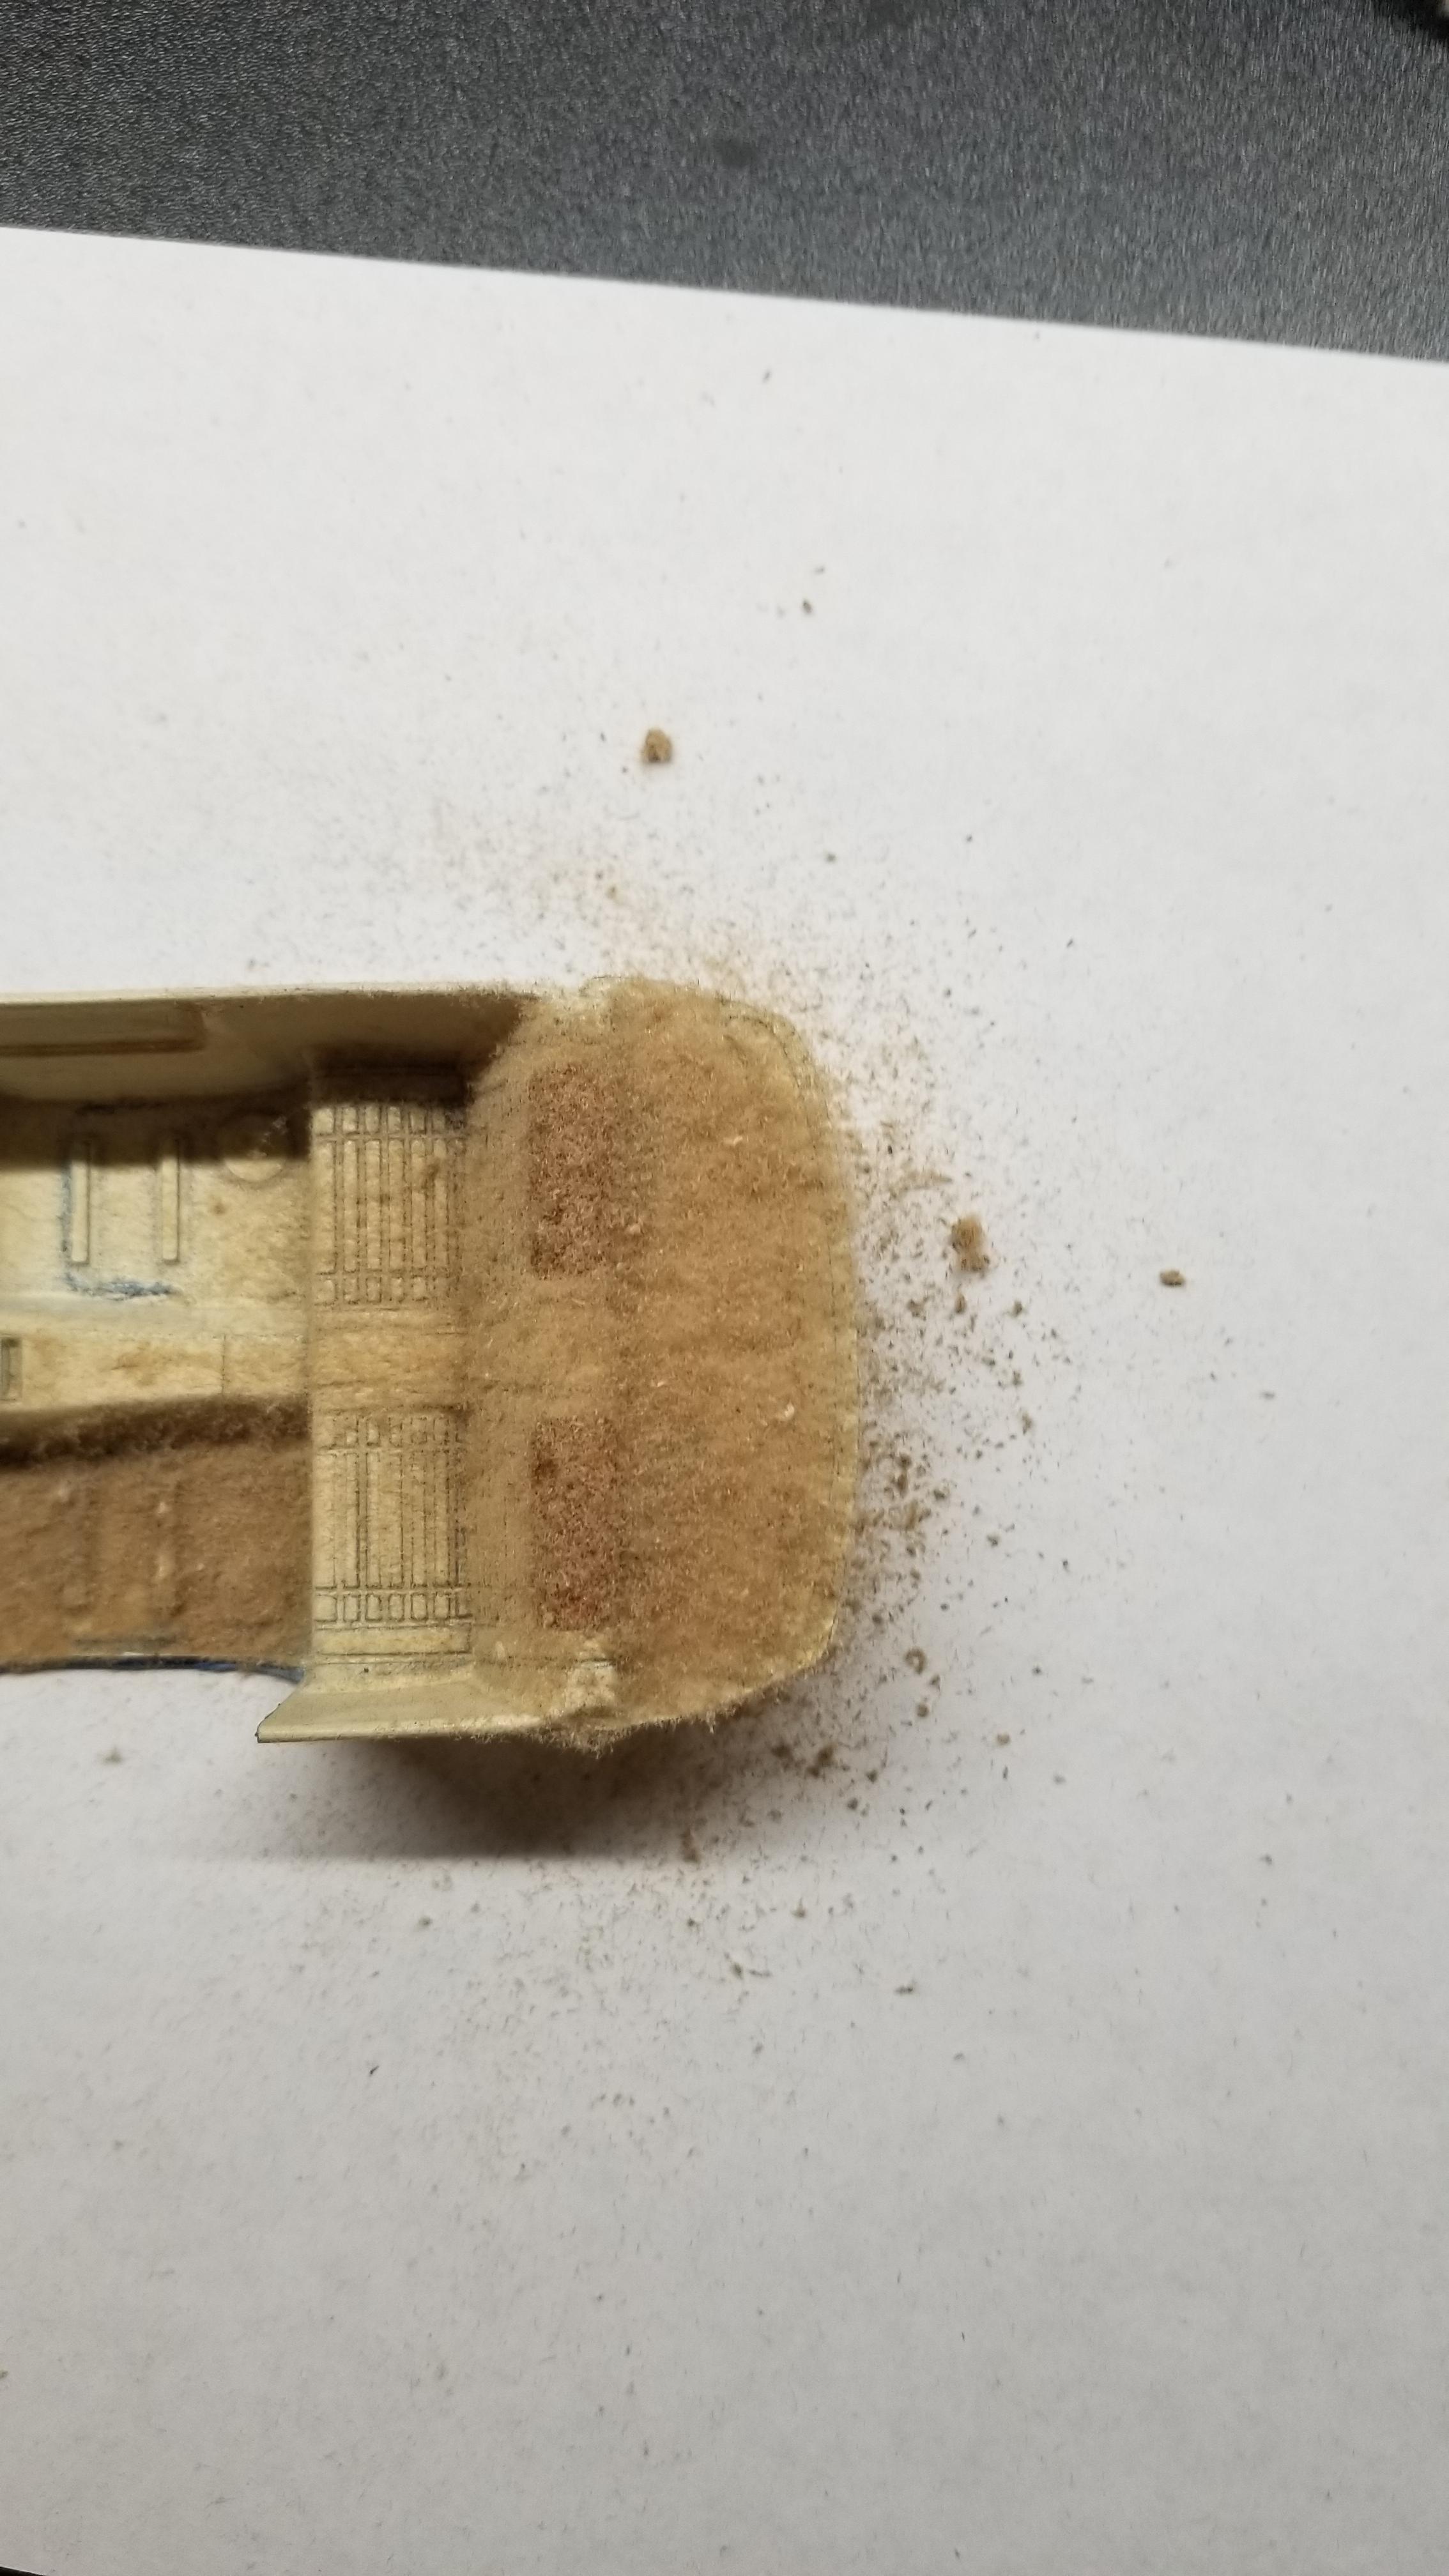
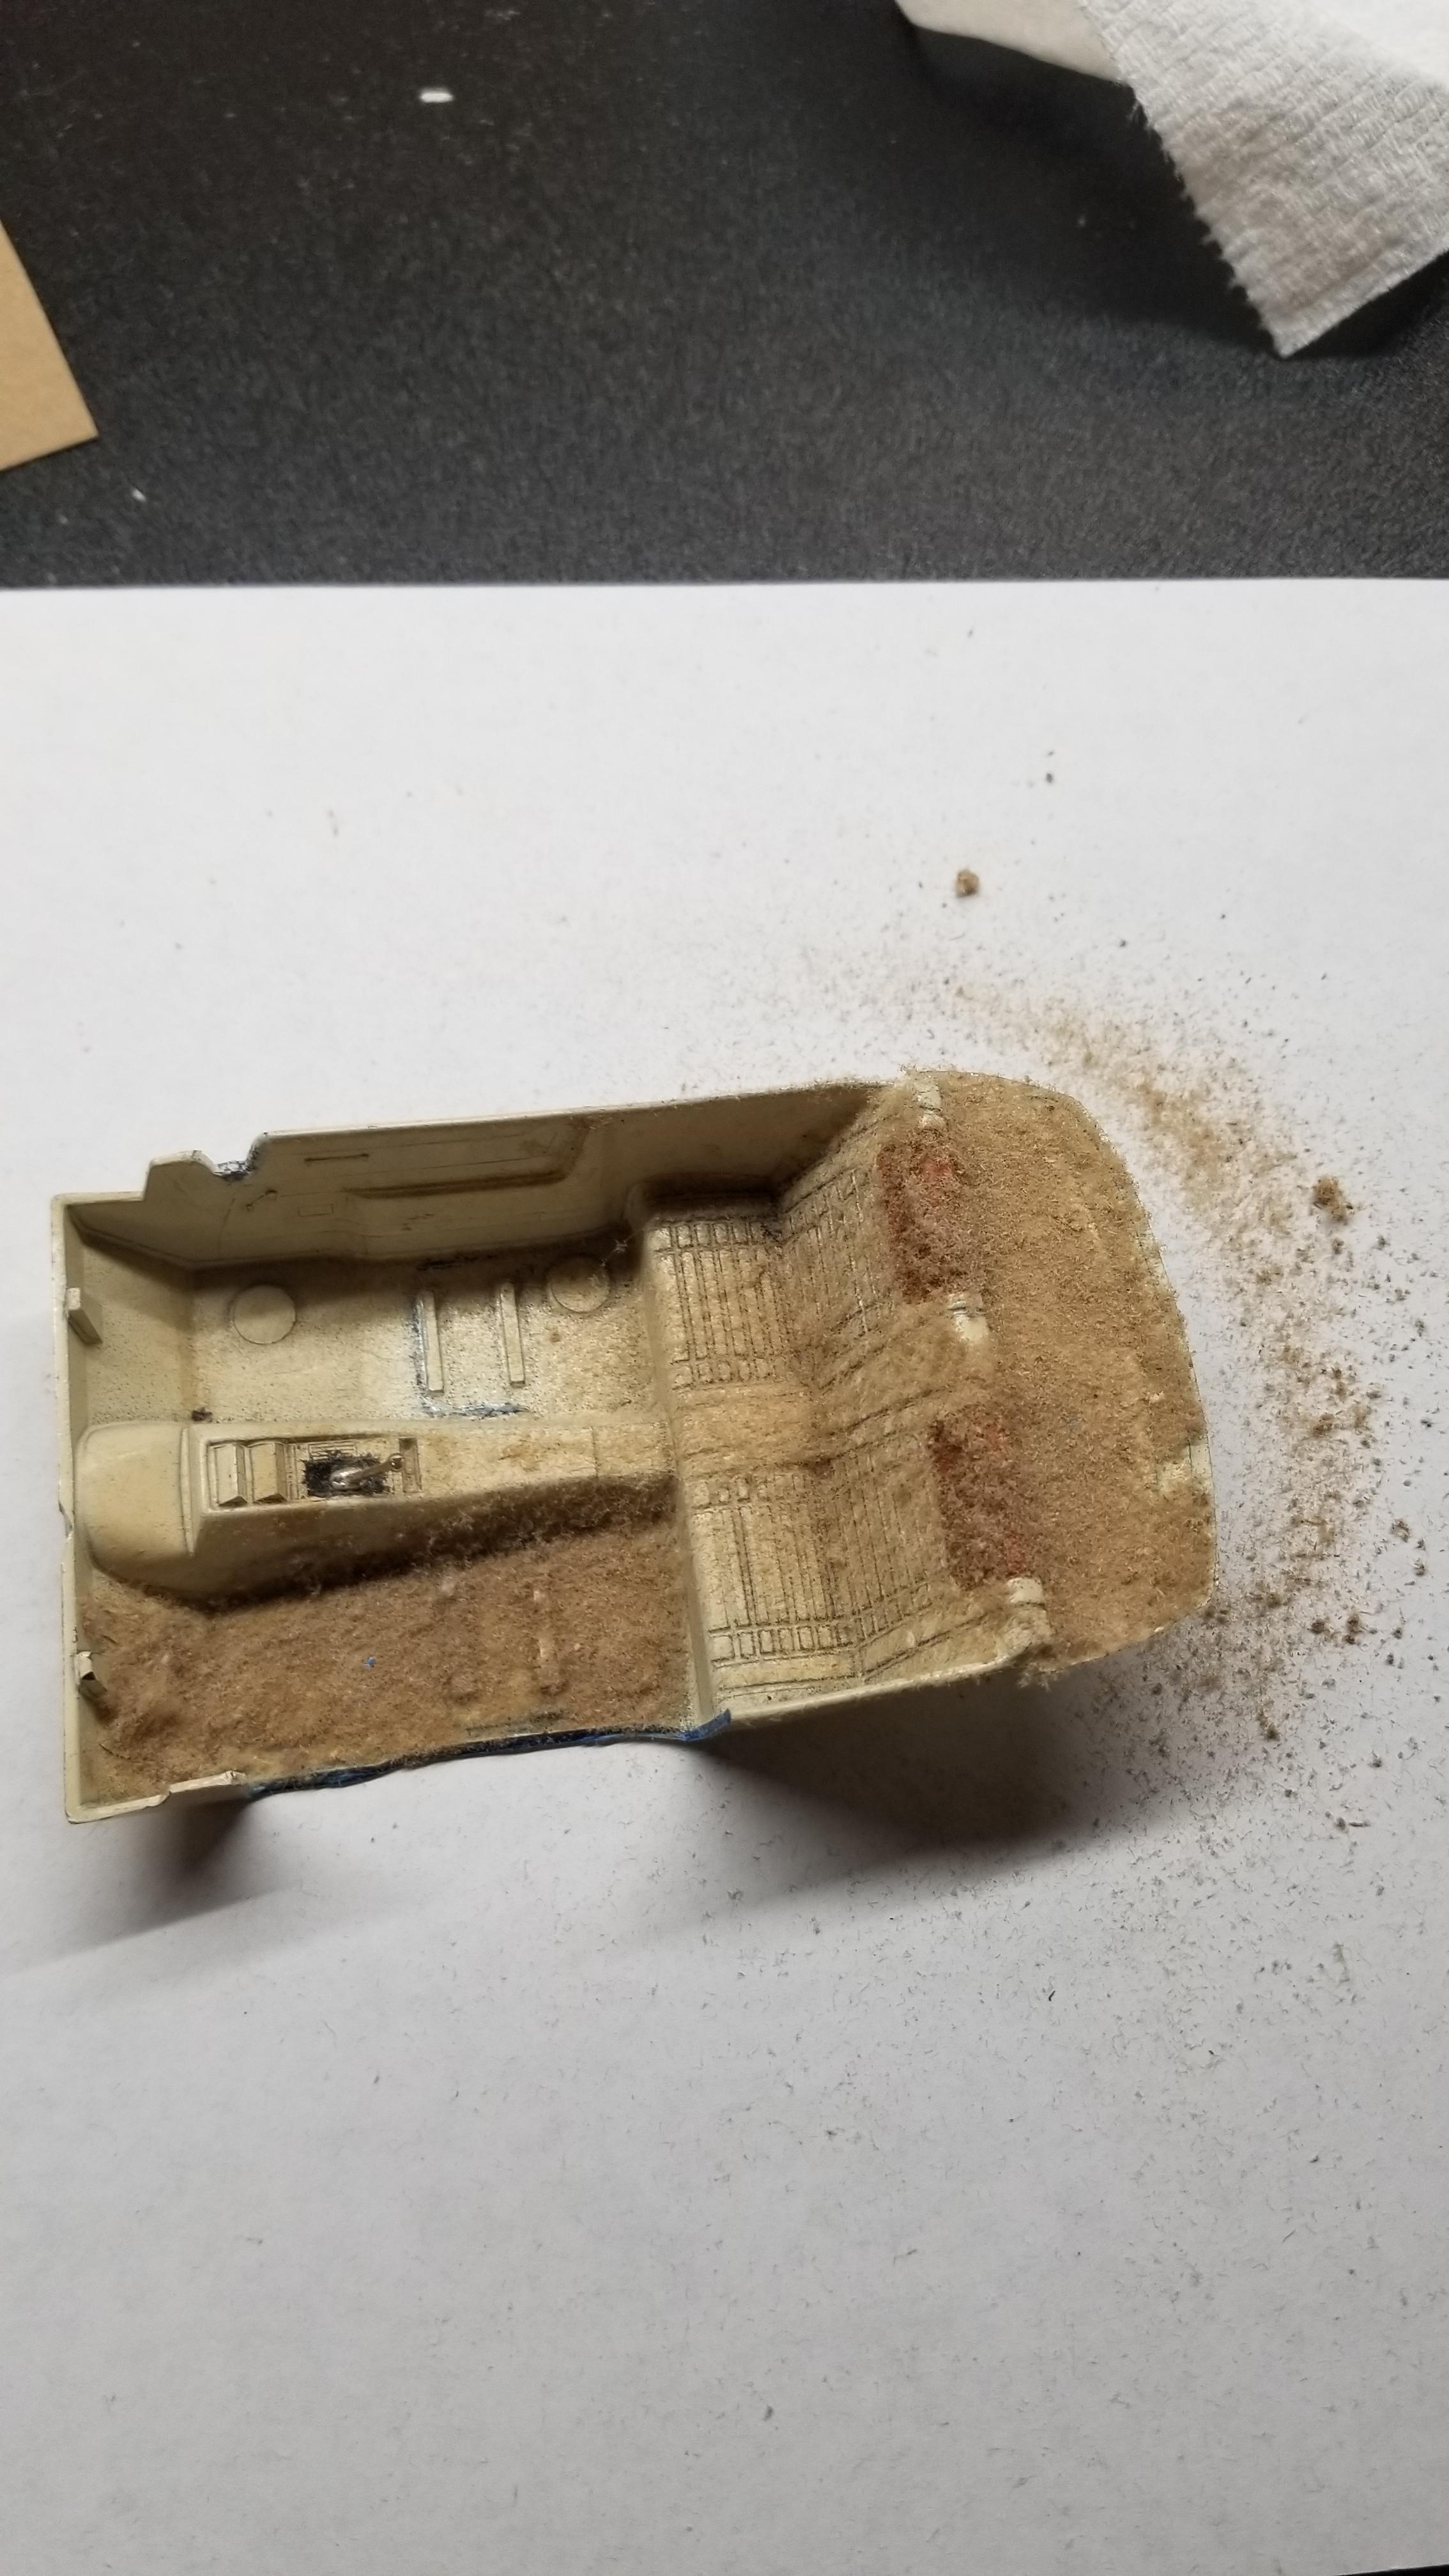
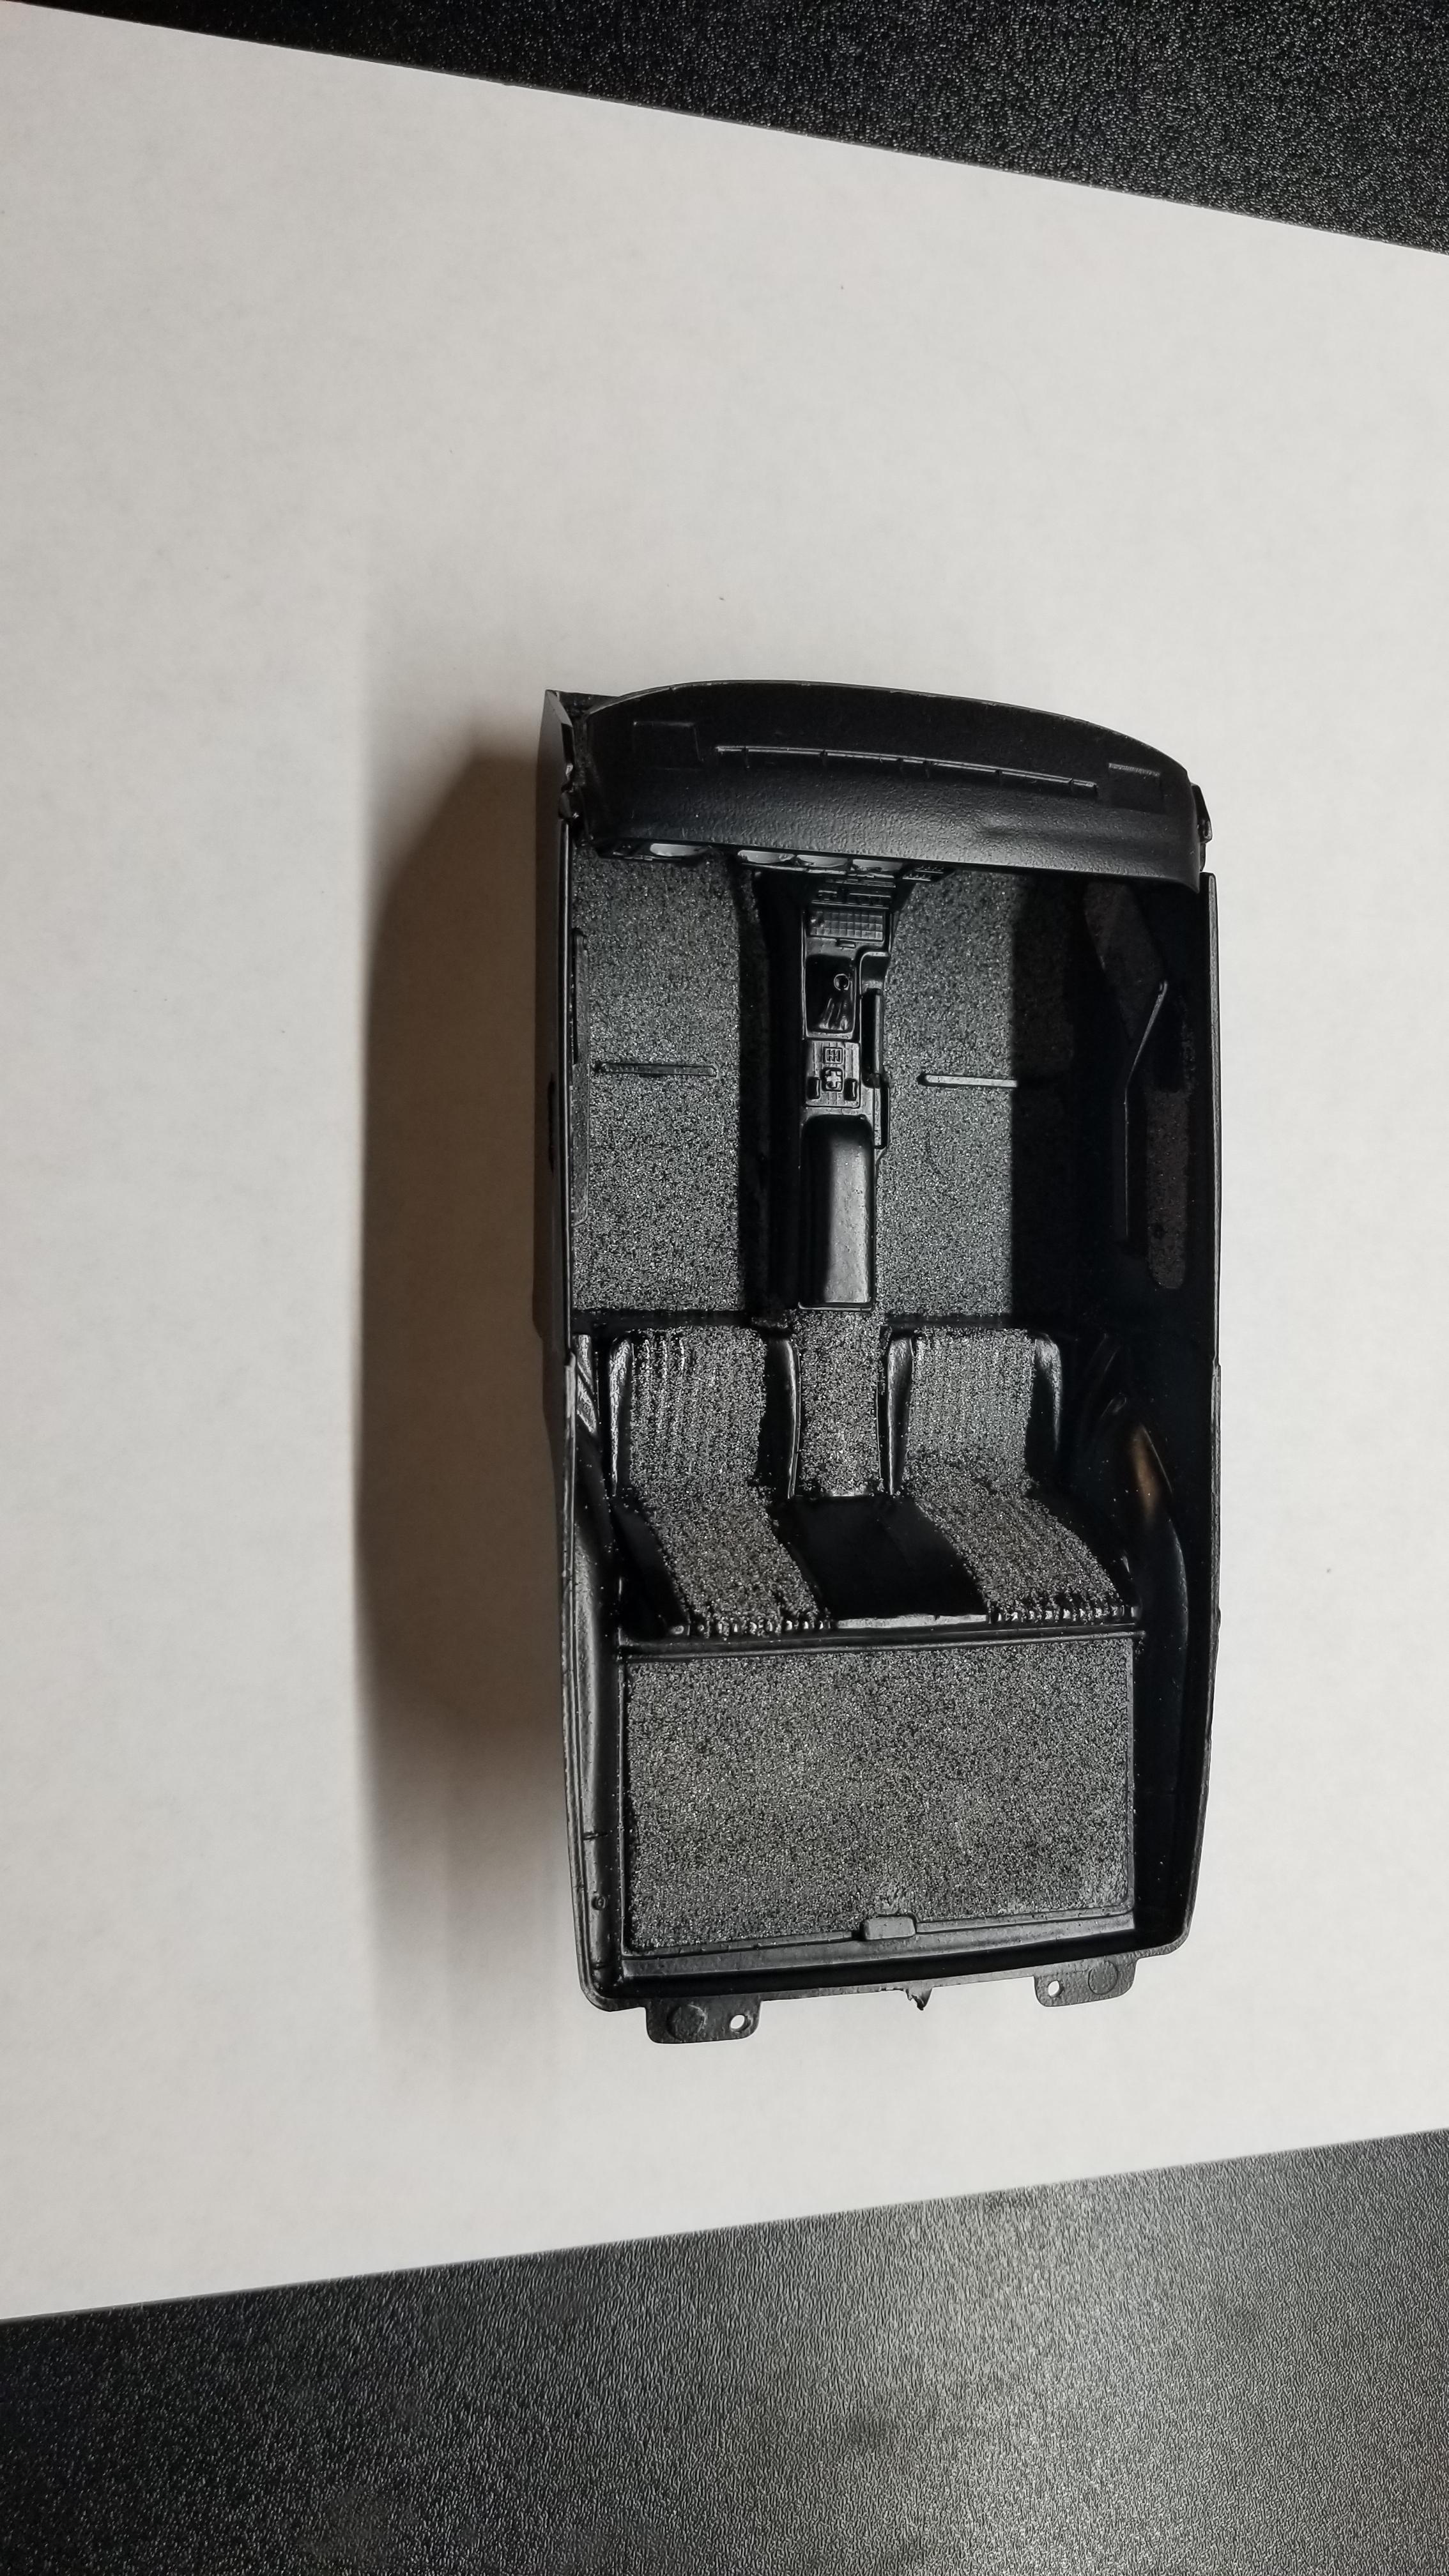
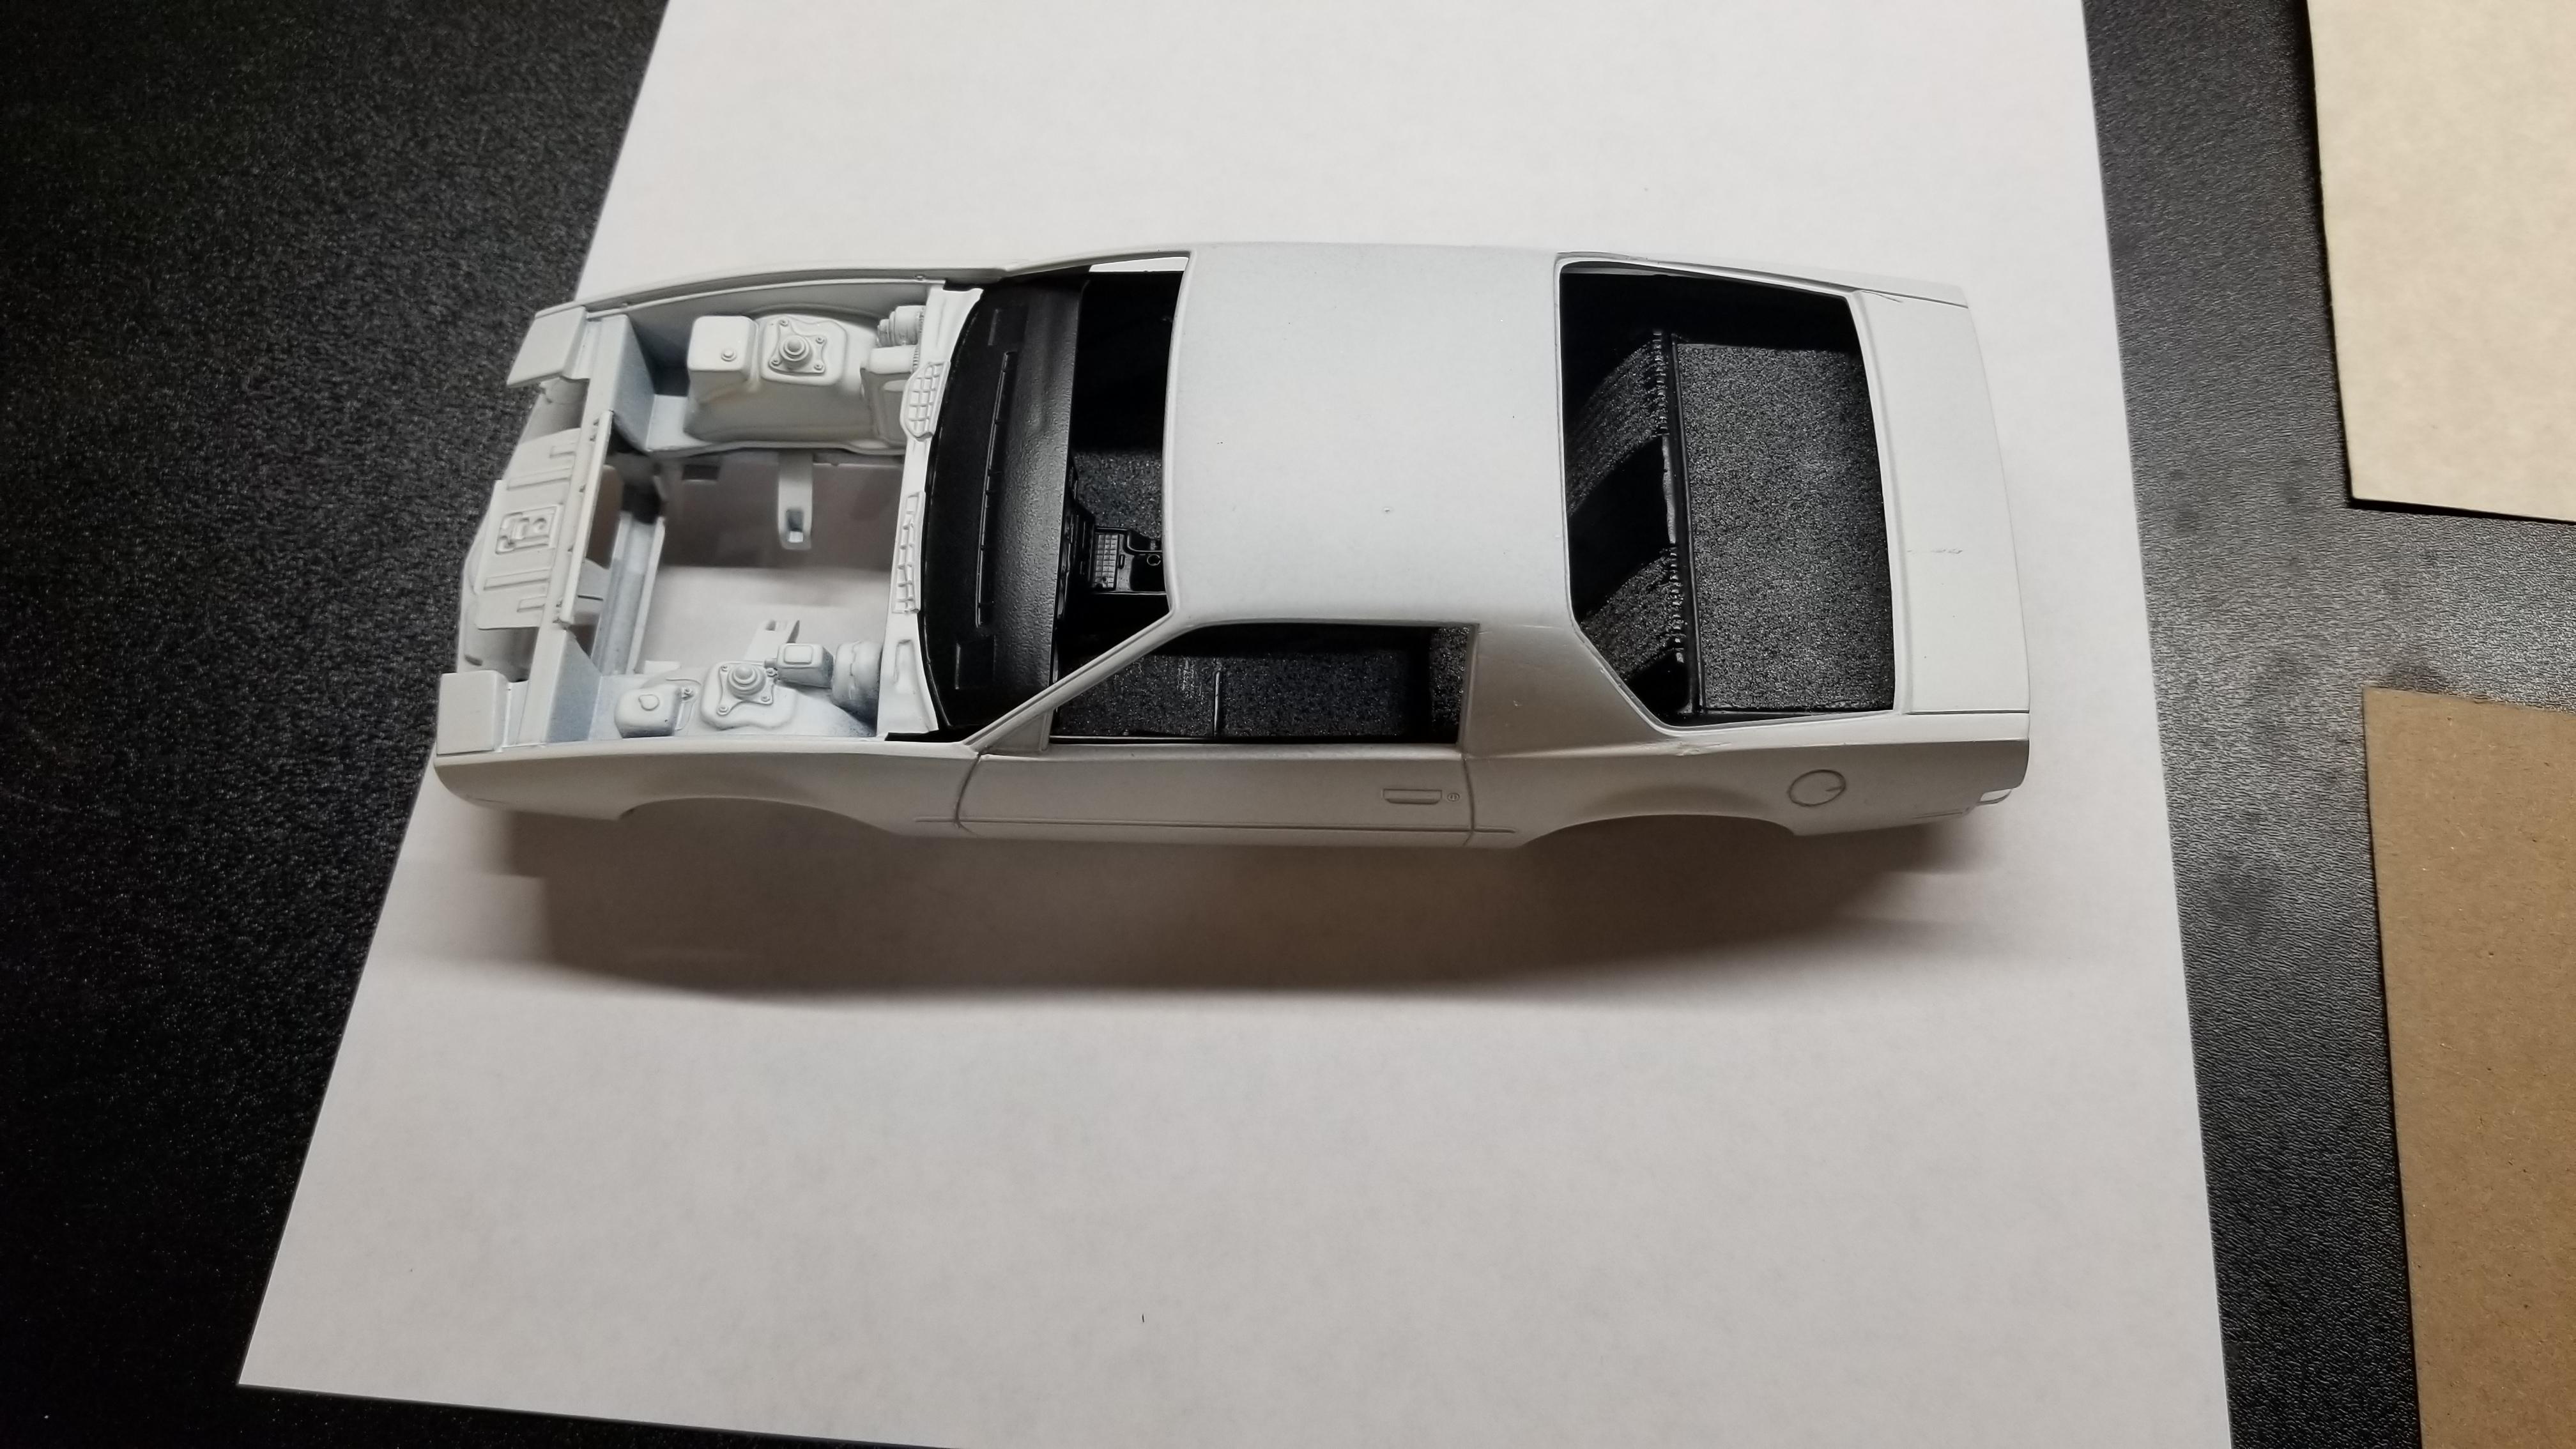
I dont use the typical flocking material to make my carpeting. I run card stock through a cheese/veggie grater then pile it on top of a piece of screen. Then I use a brush to apply Elmer's white glue to the floor. Place the interior tub over a sheet of paper on a counter or table. Then I "Sift" the shredded card stock over the Elmer's glue and gently push it down after I've sifted it. Then I tap off the extra onto the piece of paper. Then you can load up your screen again. Work in sections so you're not racing against drying time. They do make specific flocking powder that people have good results with but I havent used it. Welcome back to the hobby!
-
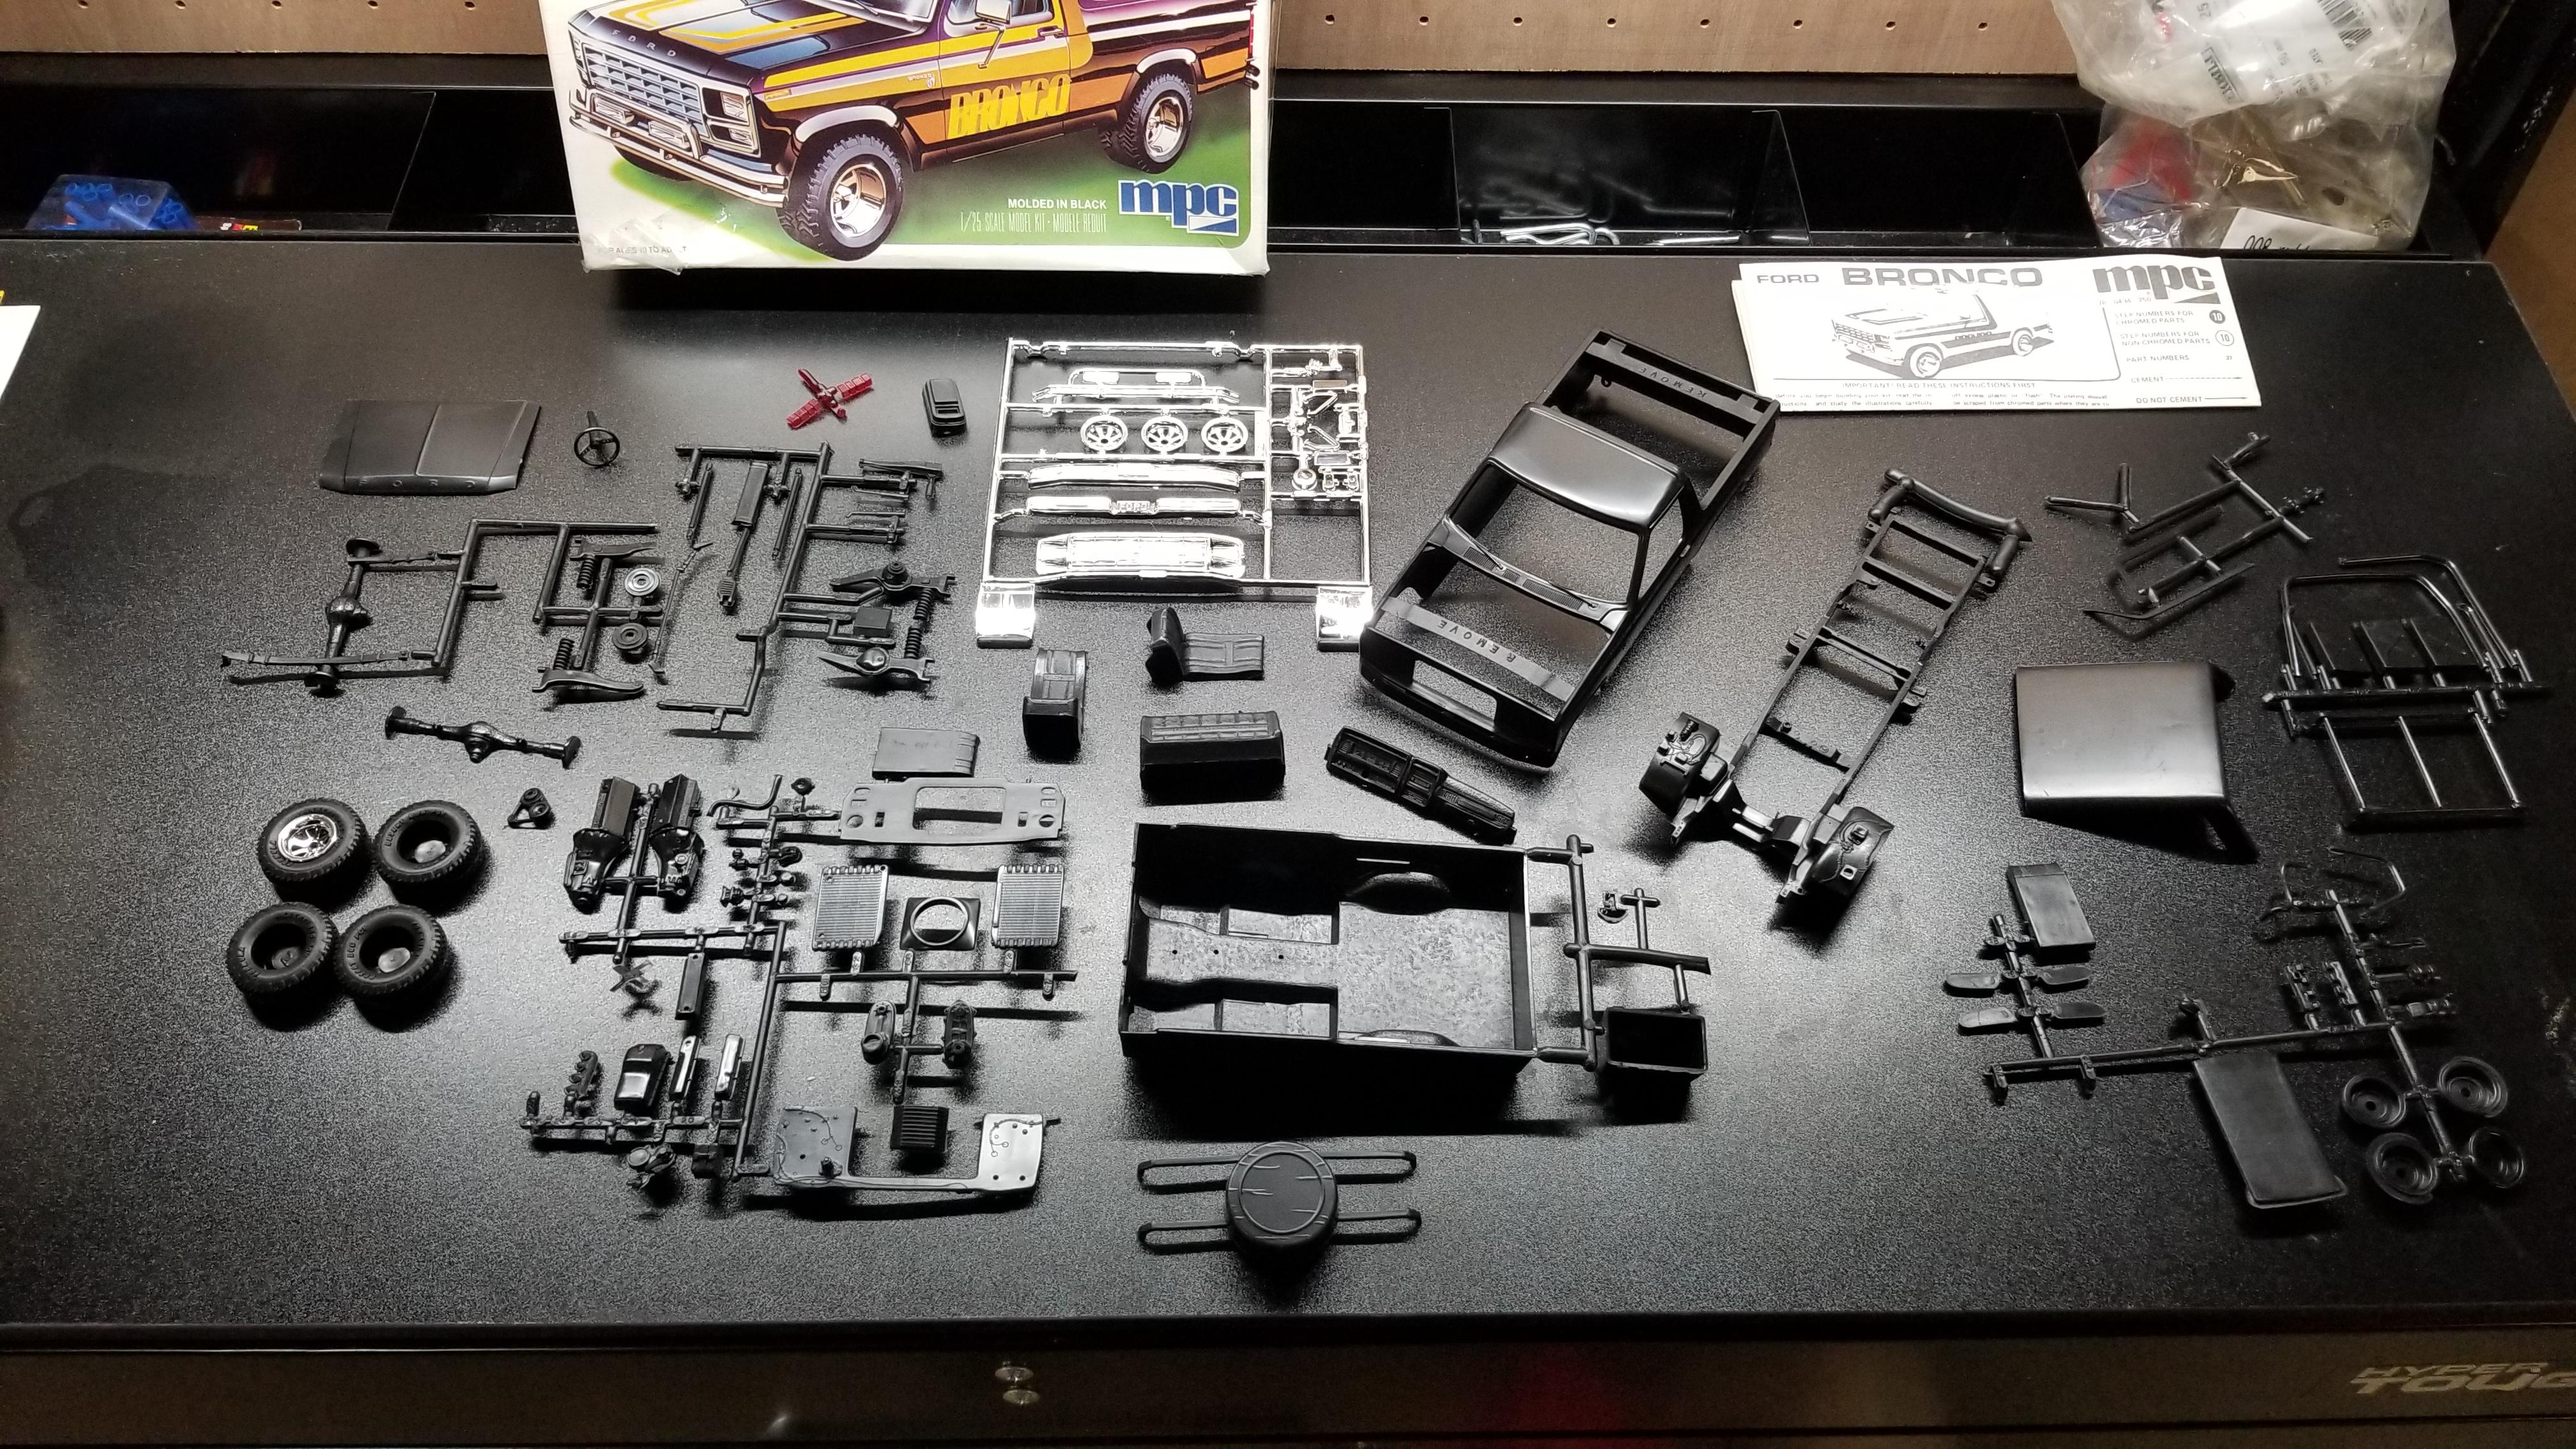
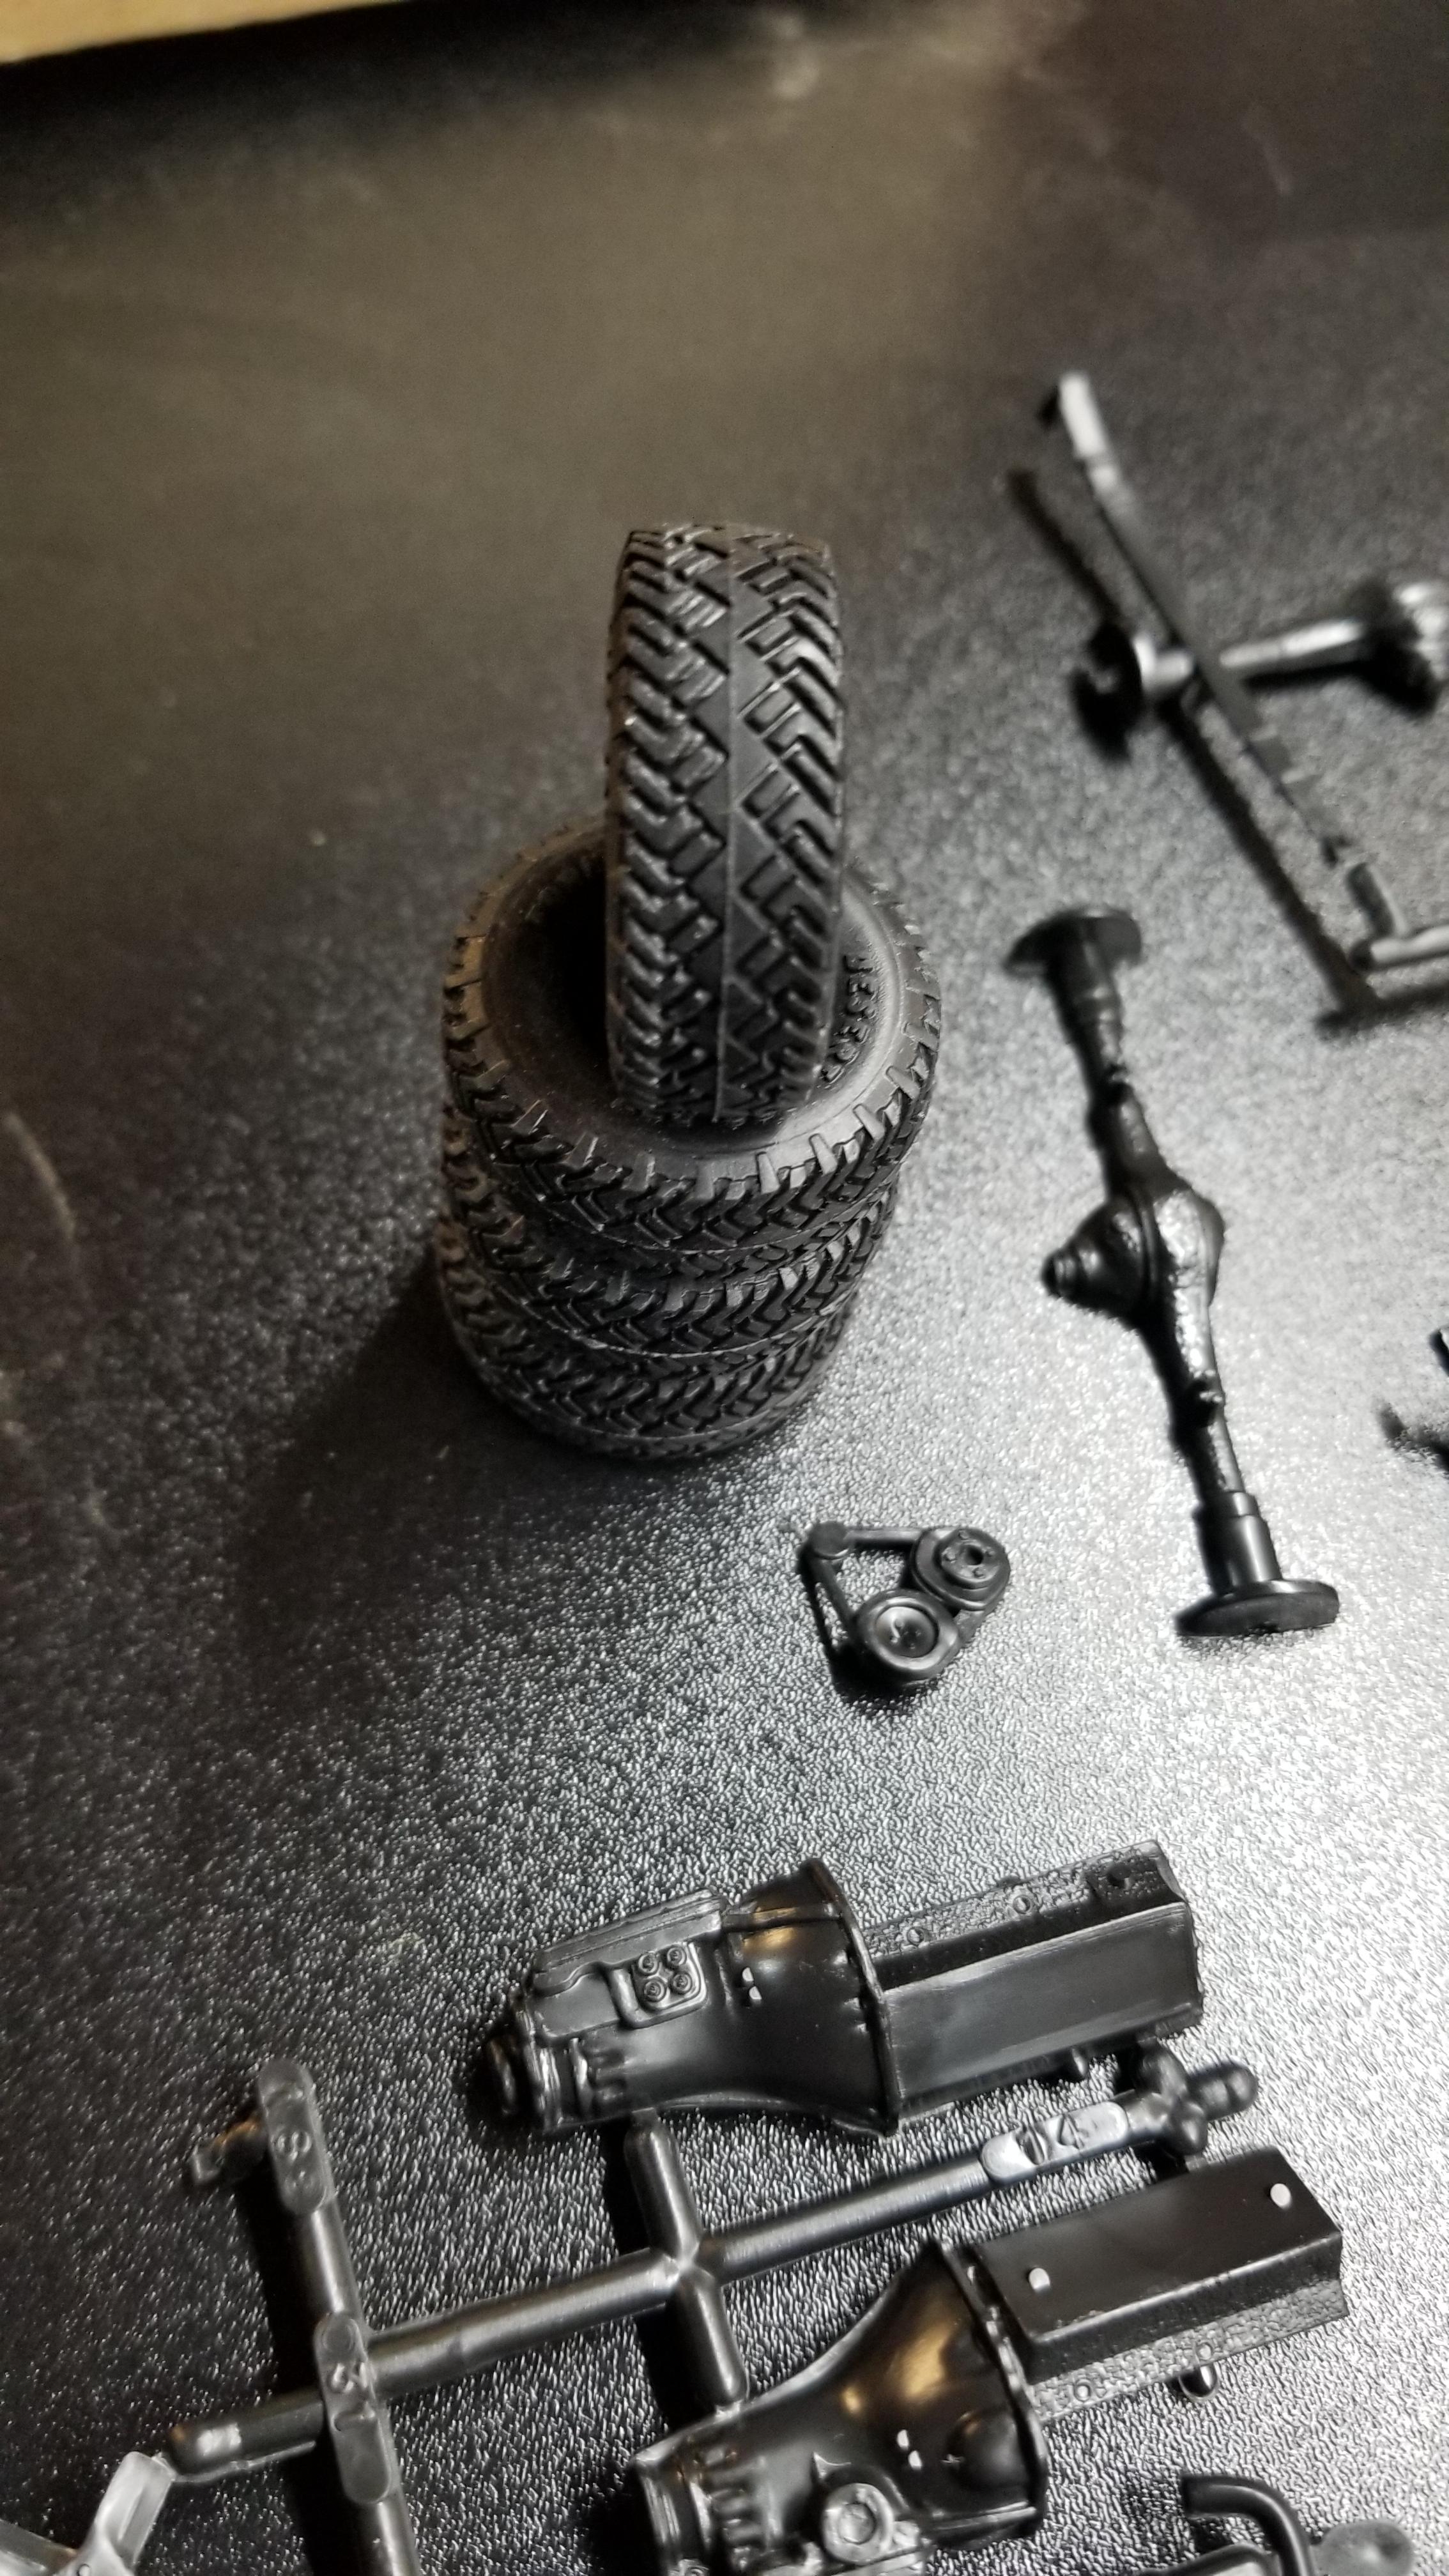
MPC Bronco
Plastic_Passion replied to Plastic_Passion's topic in WIP: Model Trucks: Pickups, Vans, SUVs, Light Commercial
-
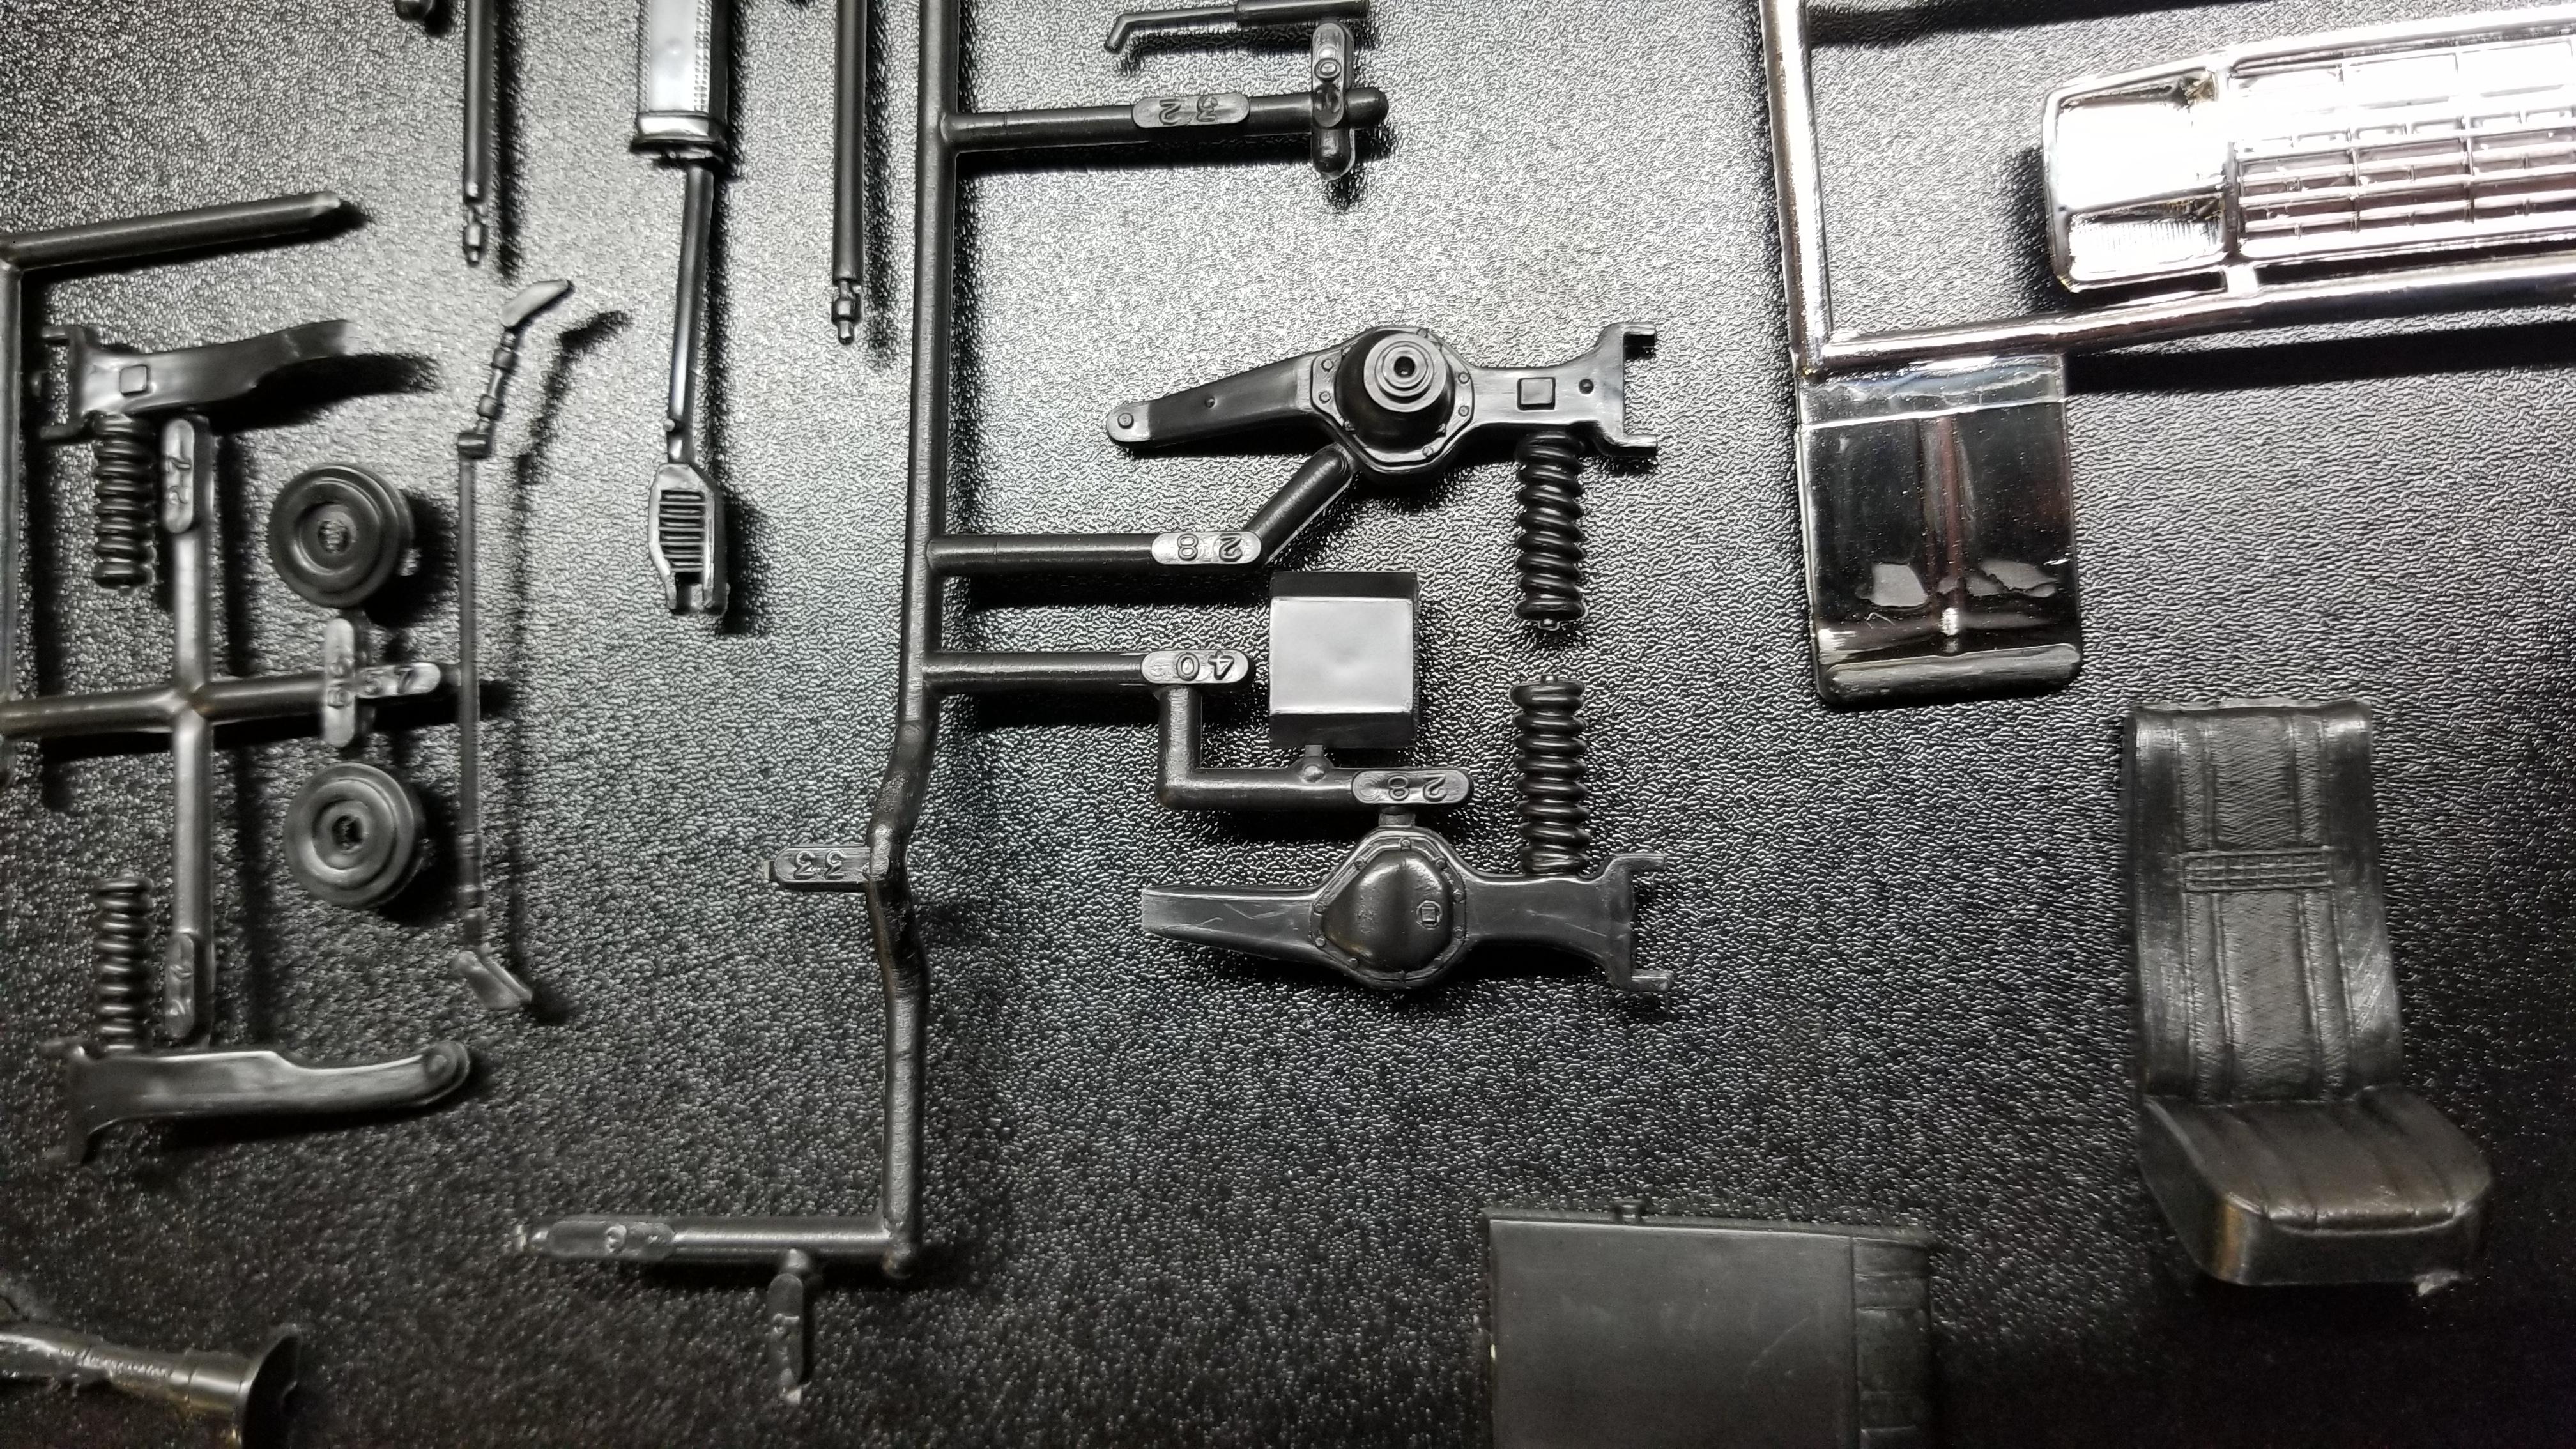
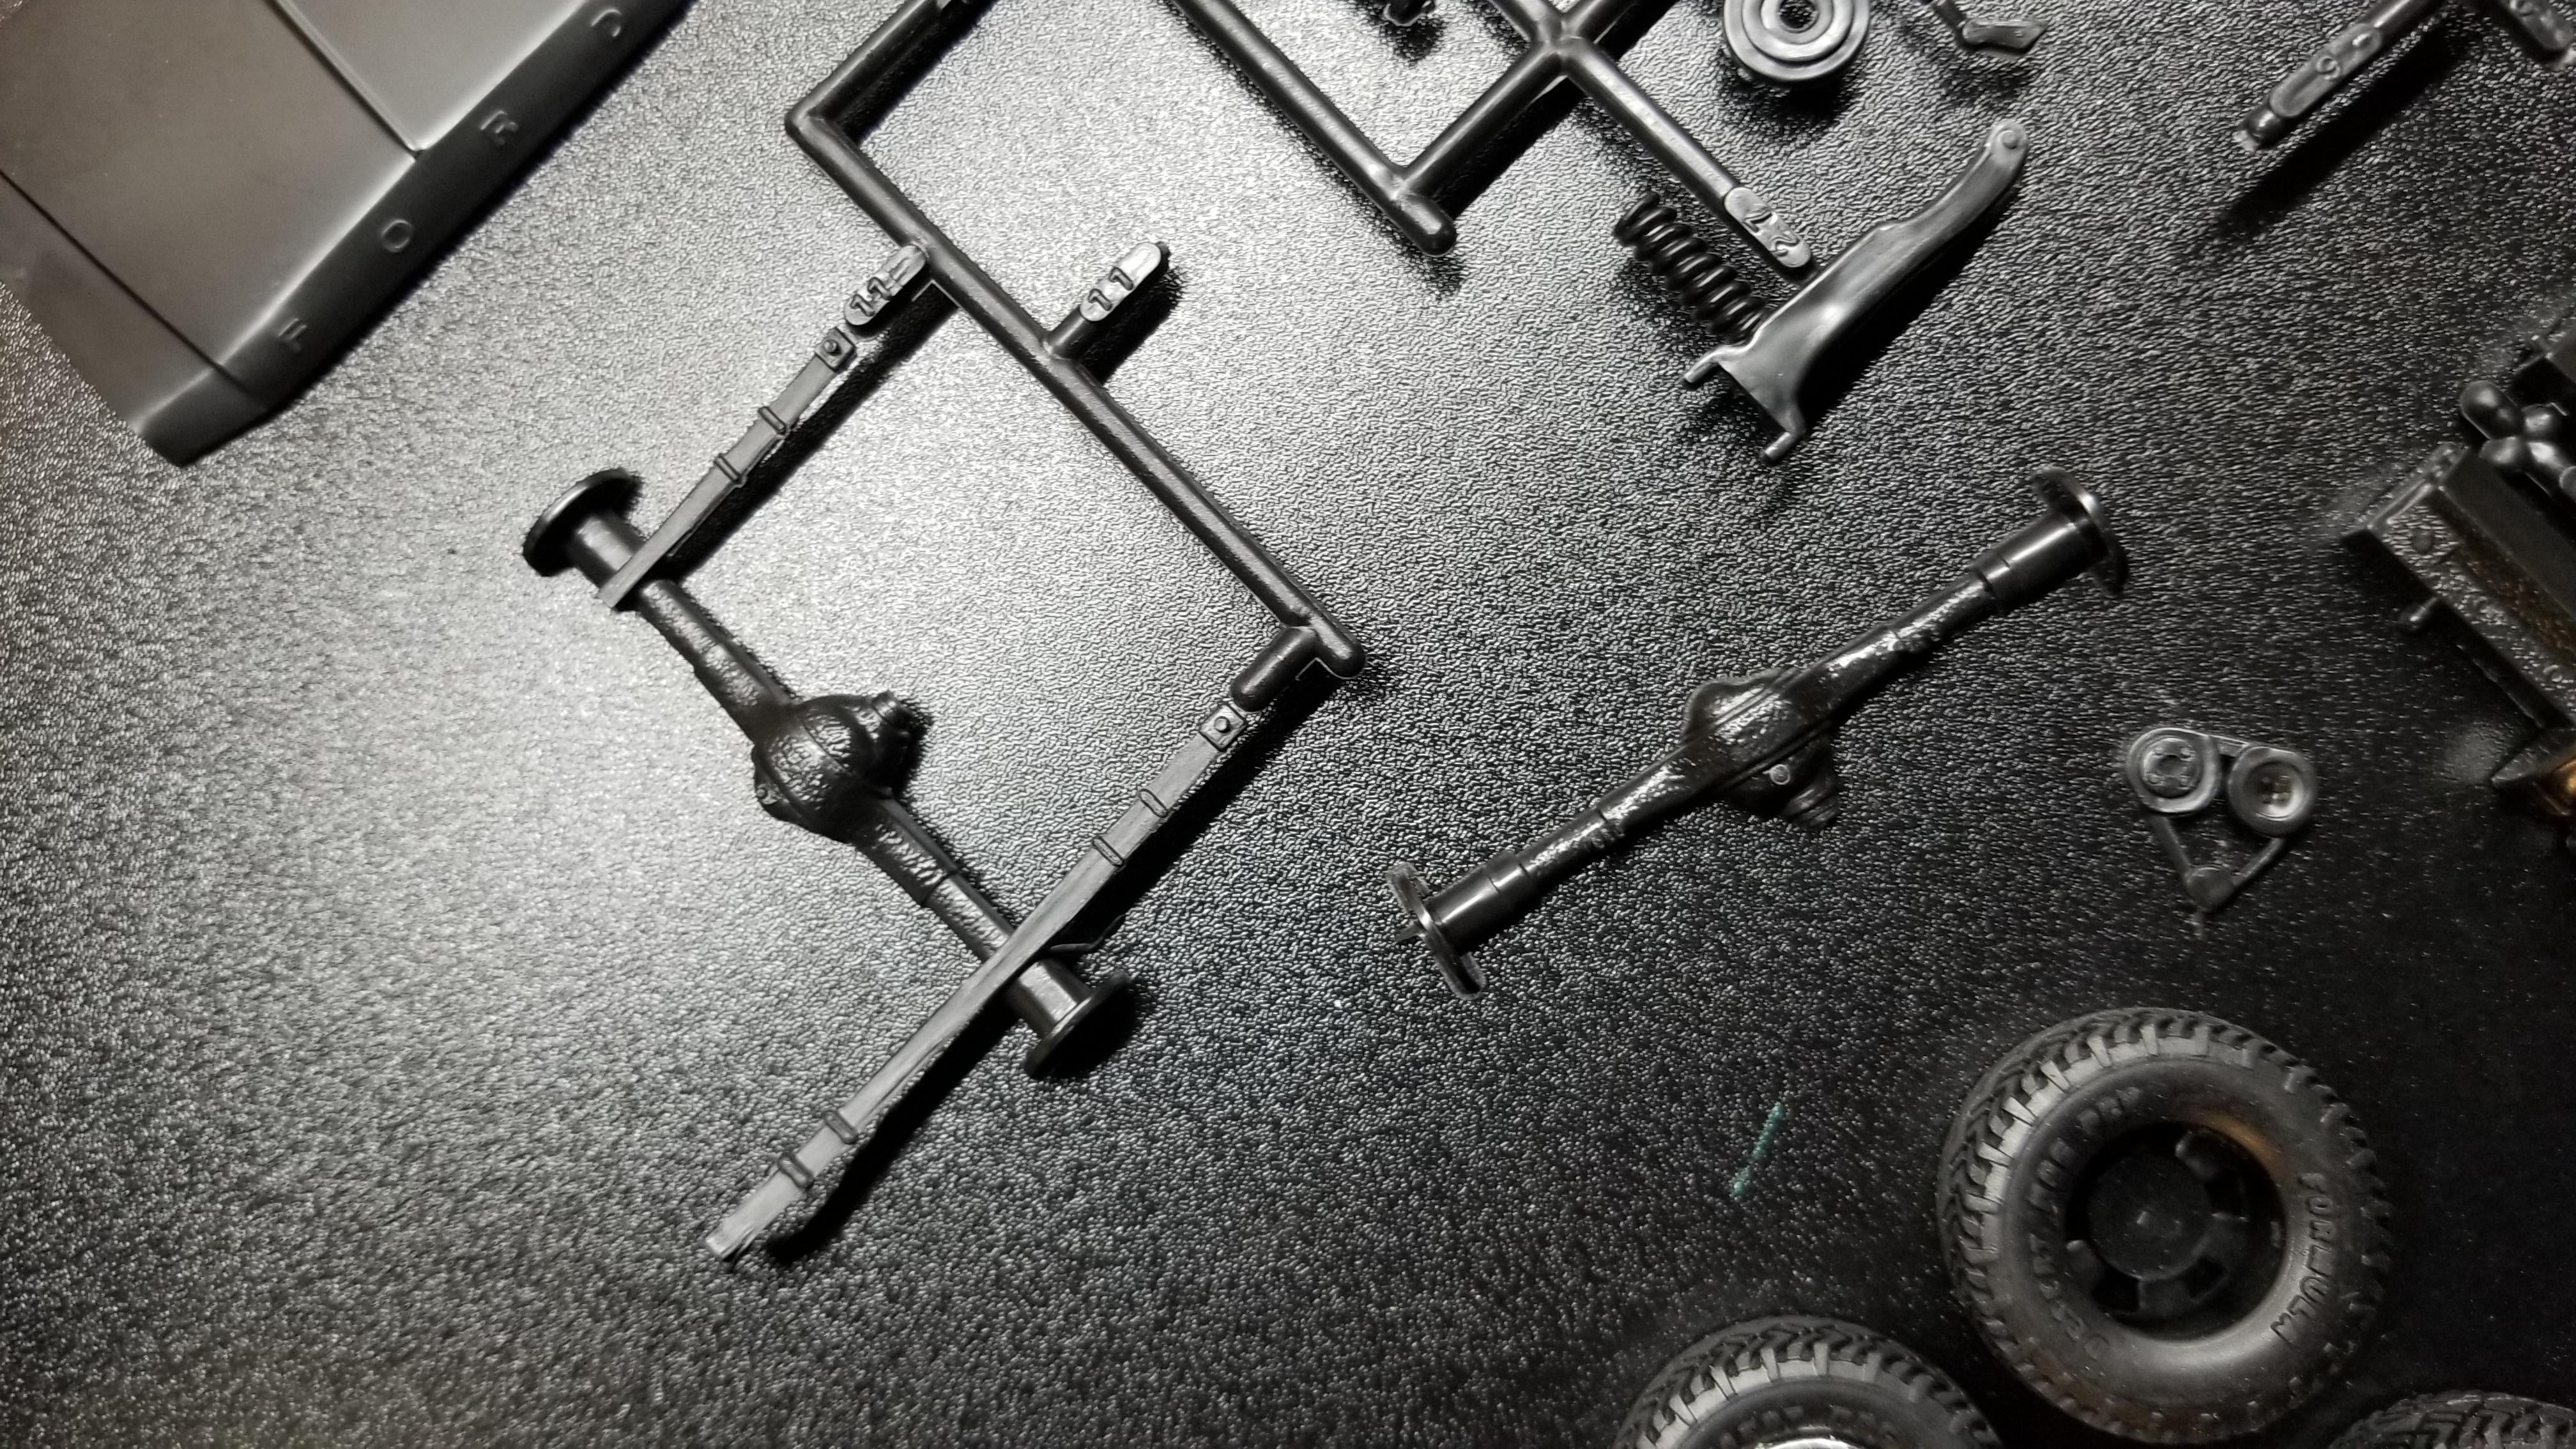
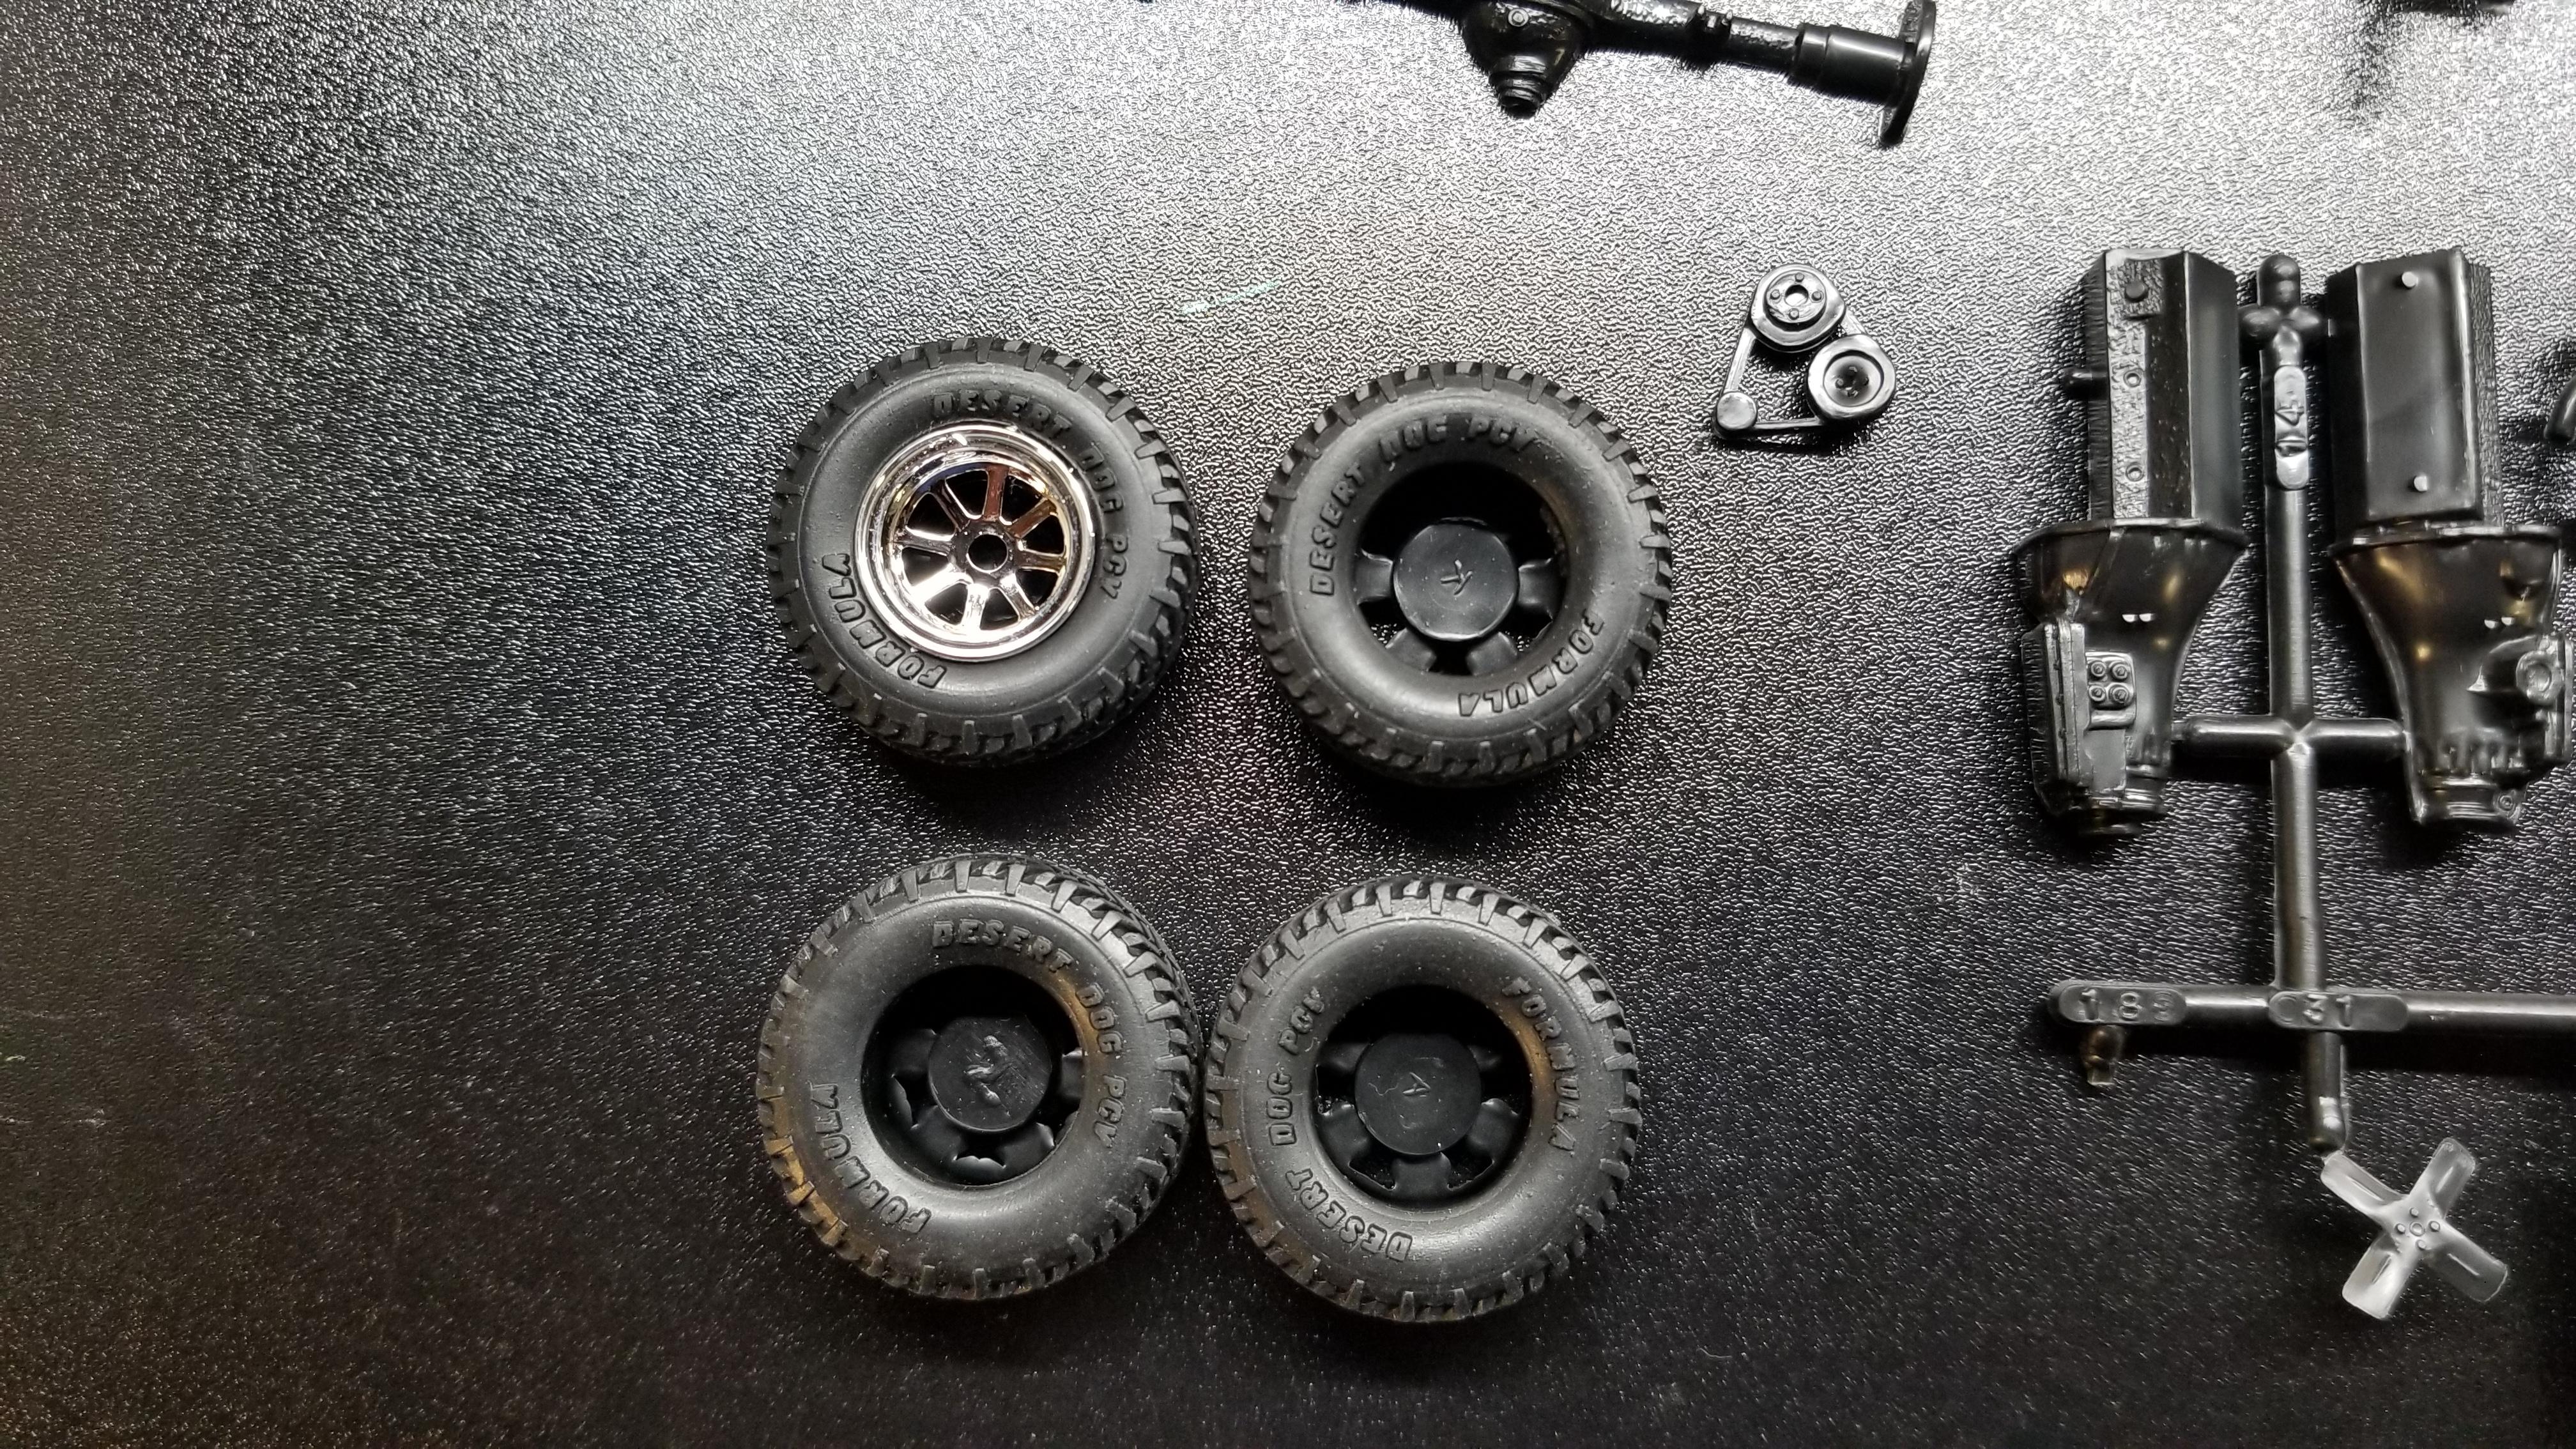
Just got my bronco. Bought it on ebay. Threw a bid on it for s's and g's. Then I won it lol. Well I've only built the revell kit. I'm extremely impressed by the MPC kit. The fact that the front suspension is 4 parts is just great!!! Makes me want to mold them for some other ideas. Lots of detail tho. Now to dream it up...