Rocking Rodney Rat
-
Posts
1,995 -
Joined
-
Last visited
Content Type
Profiles
Forums
Events
Gallery
Everything posted by Rocking Rodney Rat
-
Trippy..... -RRR
-

3-d printers ... $180-$200???
Rocking Rodney Rat replied to tedd60's topic in General Automotive Talk (Trucks and Cars)
I just want to be able to make a hamburger in a 3D printer. I'm hungry.... -RRR -
K&R Kustoms+Rods belly tanker update: 8/12/17
Rocking Rodney Rat replied to Rocking Rodney Rat's topic in WIP: Model Cars
I believe Early Years Resin has a couple tankers available in 1/25th scale. I prefer to make my own one-off.... -RRR -
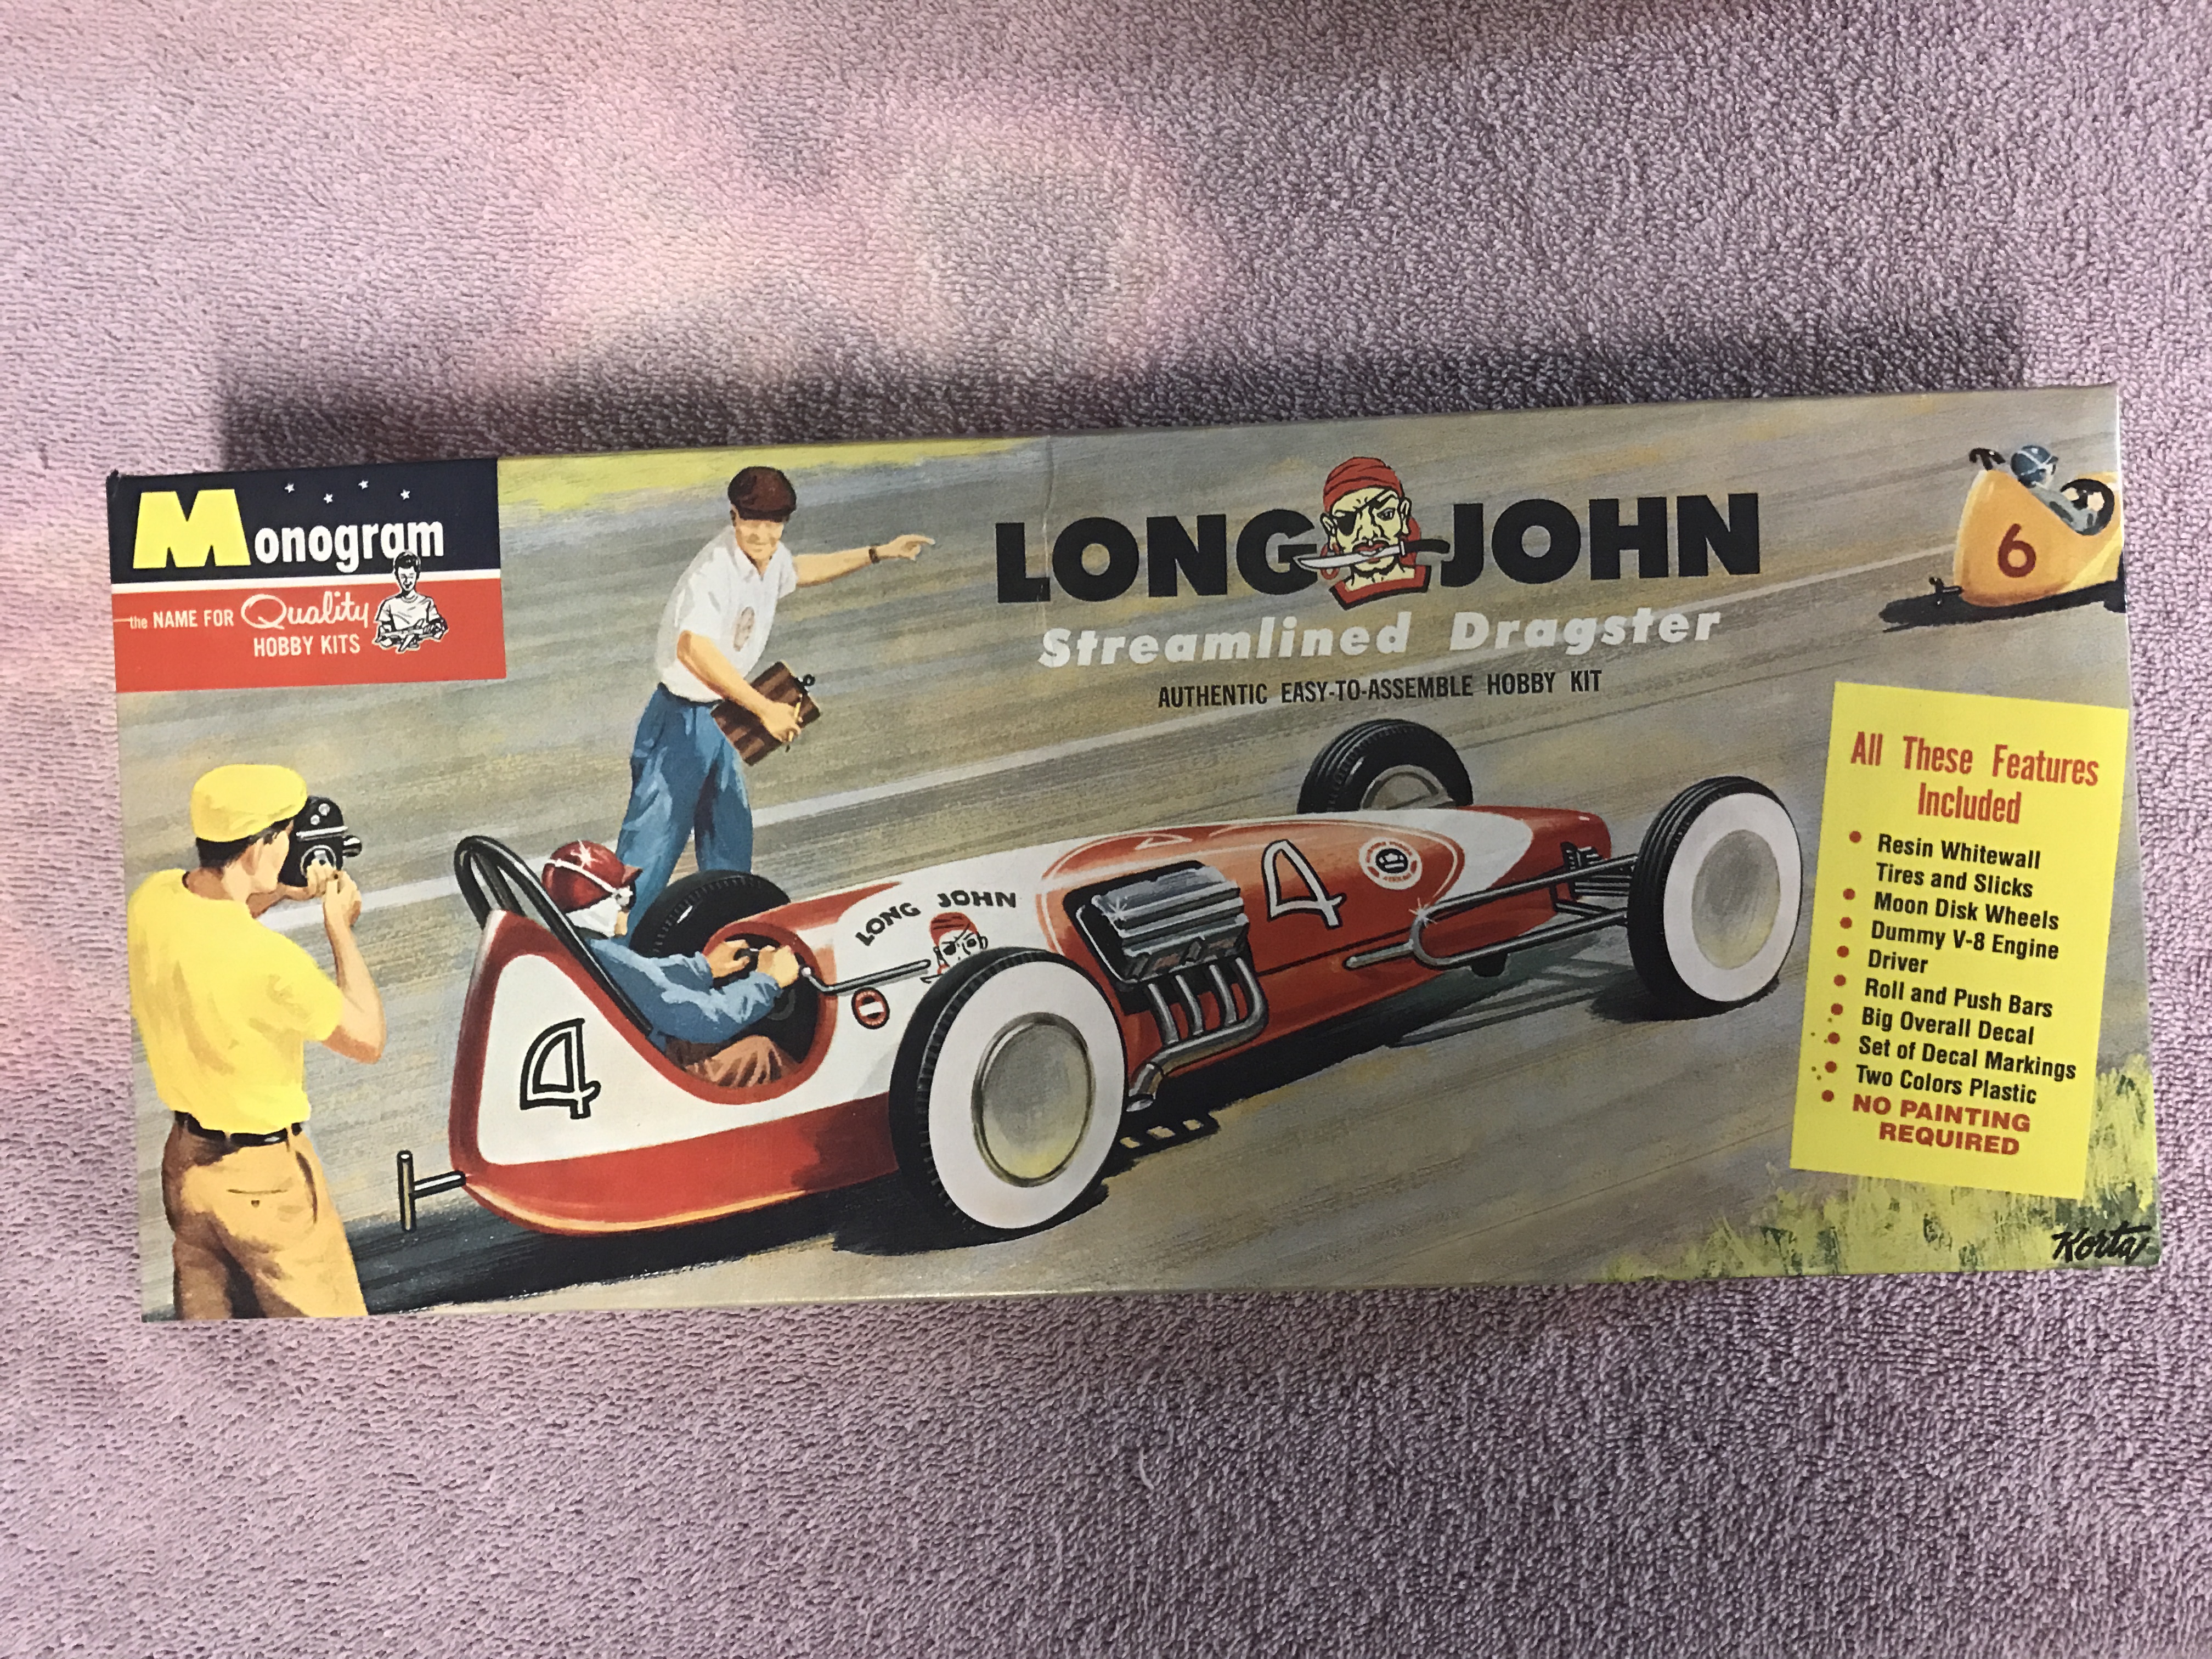
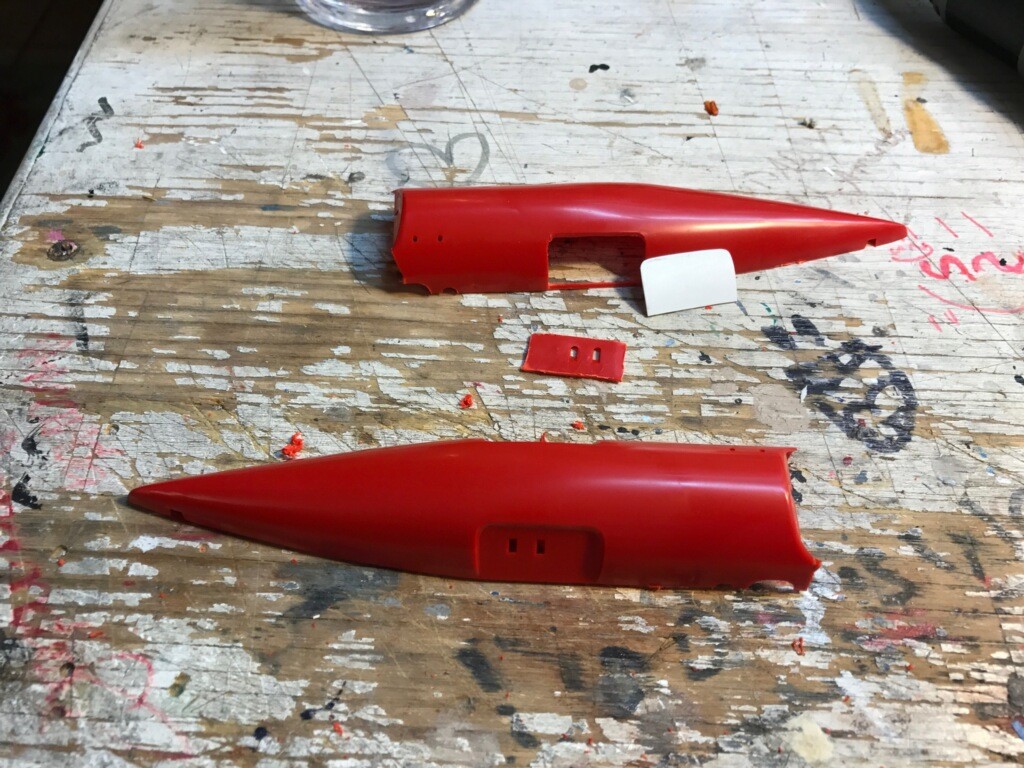
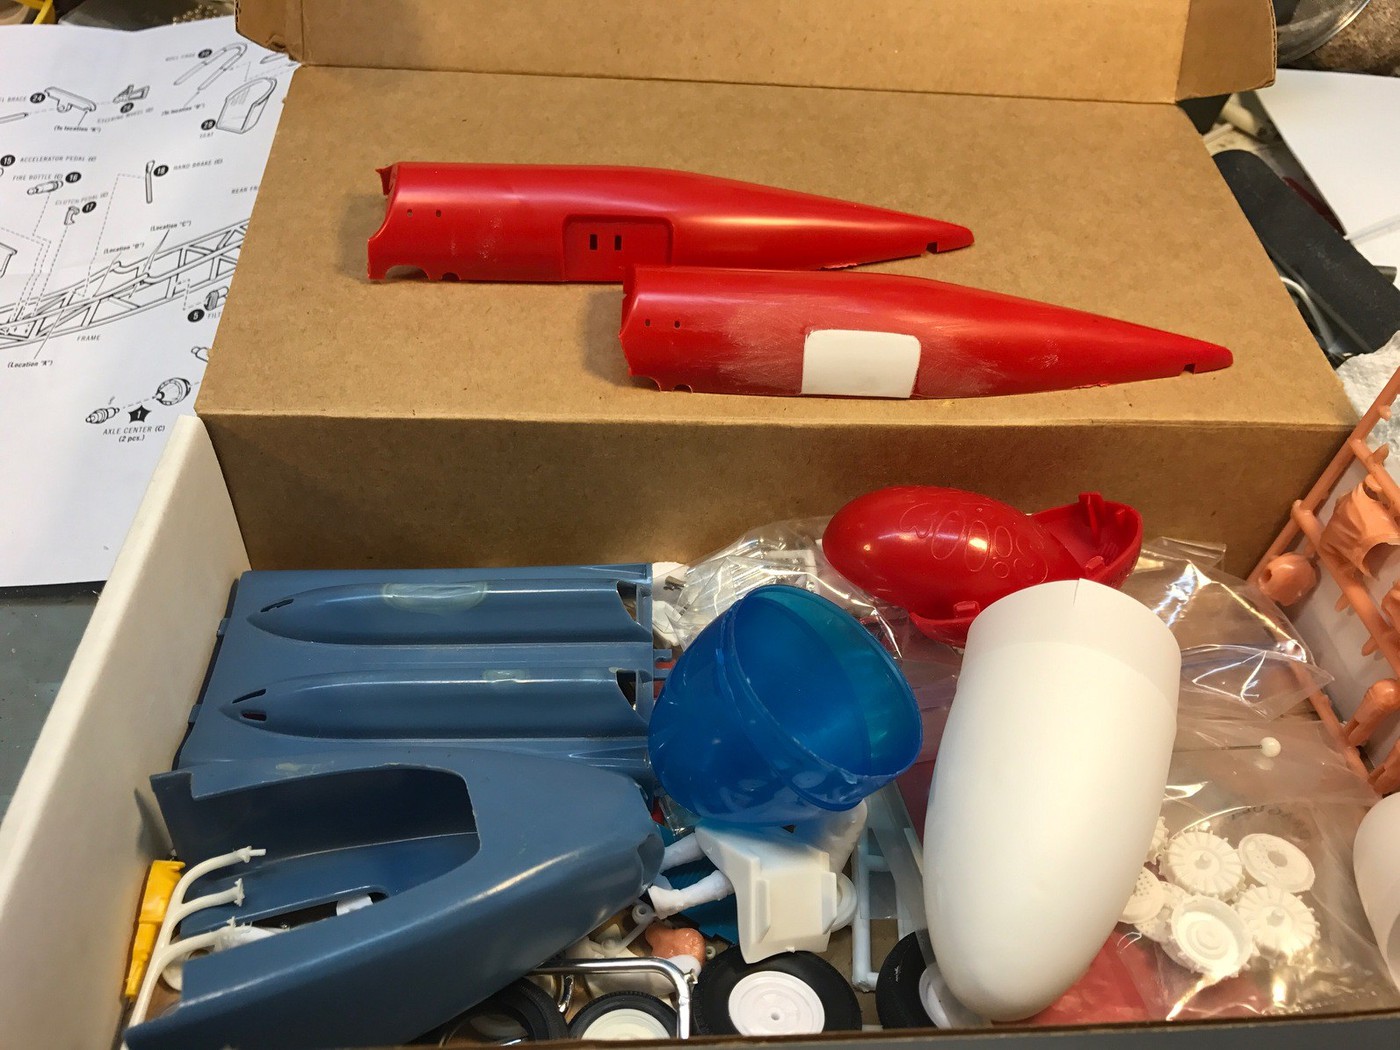
I have wanted to build a salt flats/dry lakes belly tanker for many years. These streamlined racers were built using external accessory fuel tanks from airplanes during WWII. After the war, racers realized these belly tanks made suitable streamlined 'containers' for a driver and an engine (and not much else). After looking around on line at a few resin options (always a last resort for me, I prefer to work in styrene), I decided it was time to take the plunge and build a body. The starting point is two of the top halves of the old Monogram Long John Silver streamliner... The driver area portion of the LJS body was hacked off and the head/valve cover indents were cut out and filled with sheet styrene as a start. We are using the LJS body turned around. Then the whole box full of parts was brought up to the Woodstock shop (yes, that messy desk in the last pic, see the coupe sitting there?) on a recent weekend where the real work could begin. I gathered a few options to make the 'nose' portion of the body. A plastic 'easter egg' that we've all seen, another 'egg' shaped container for silly putty and a couple of vacu-form rocket (Estes like) noses I found on line were considered...stay tuned for more updates as we "hit the salt"... KK & RRR

-
Kit Karson's '33 3hree Window Coupe
Rocking Rodney Rat replied to Kit Karson's topic in WIP: Model Cars
Is this thing done yet???? -RRR -
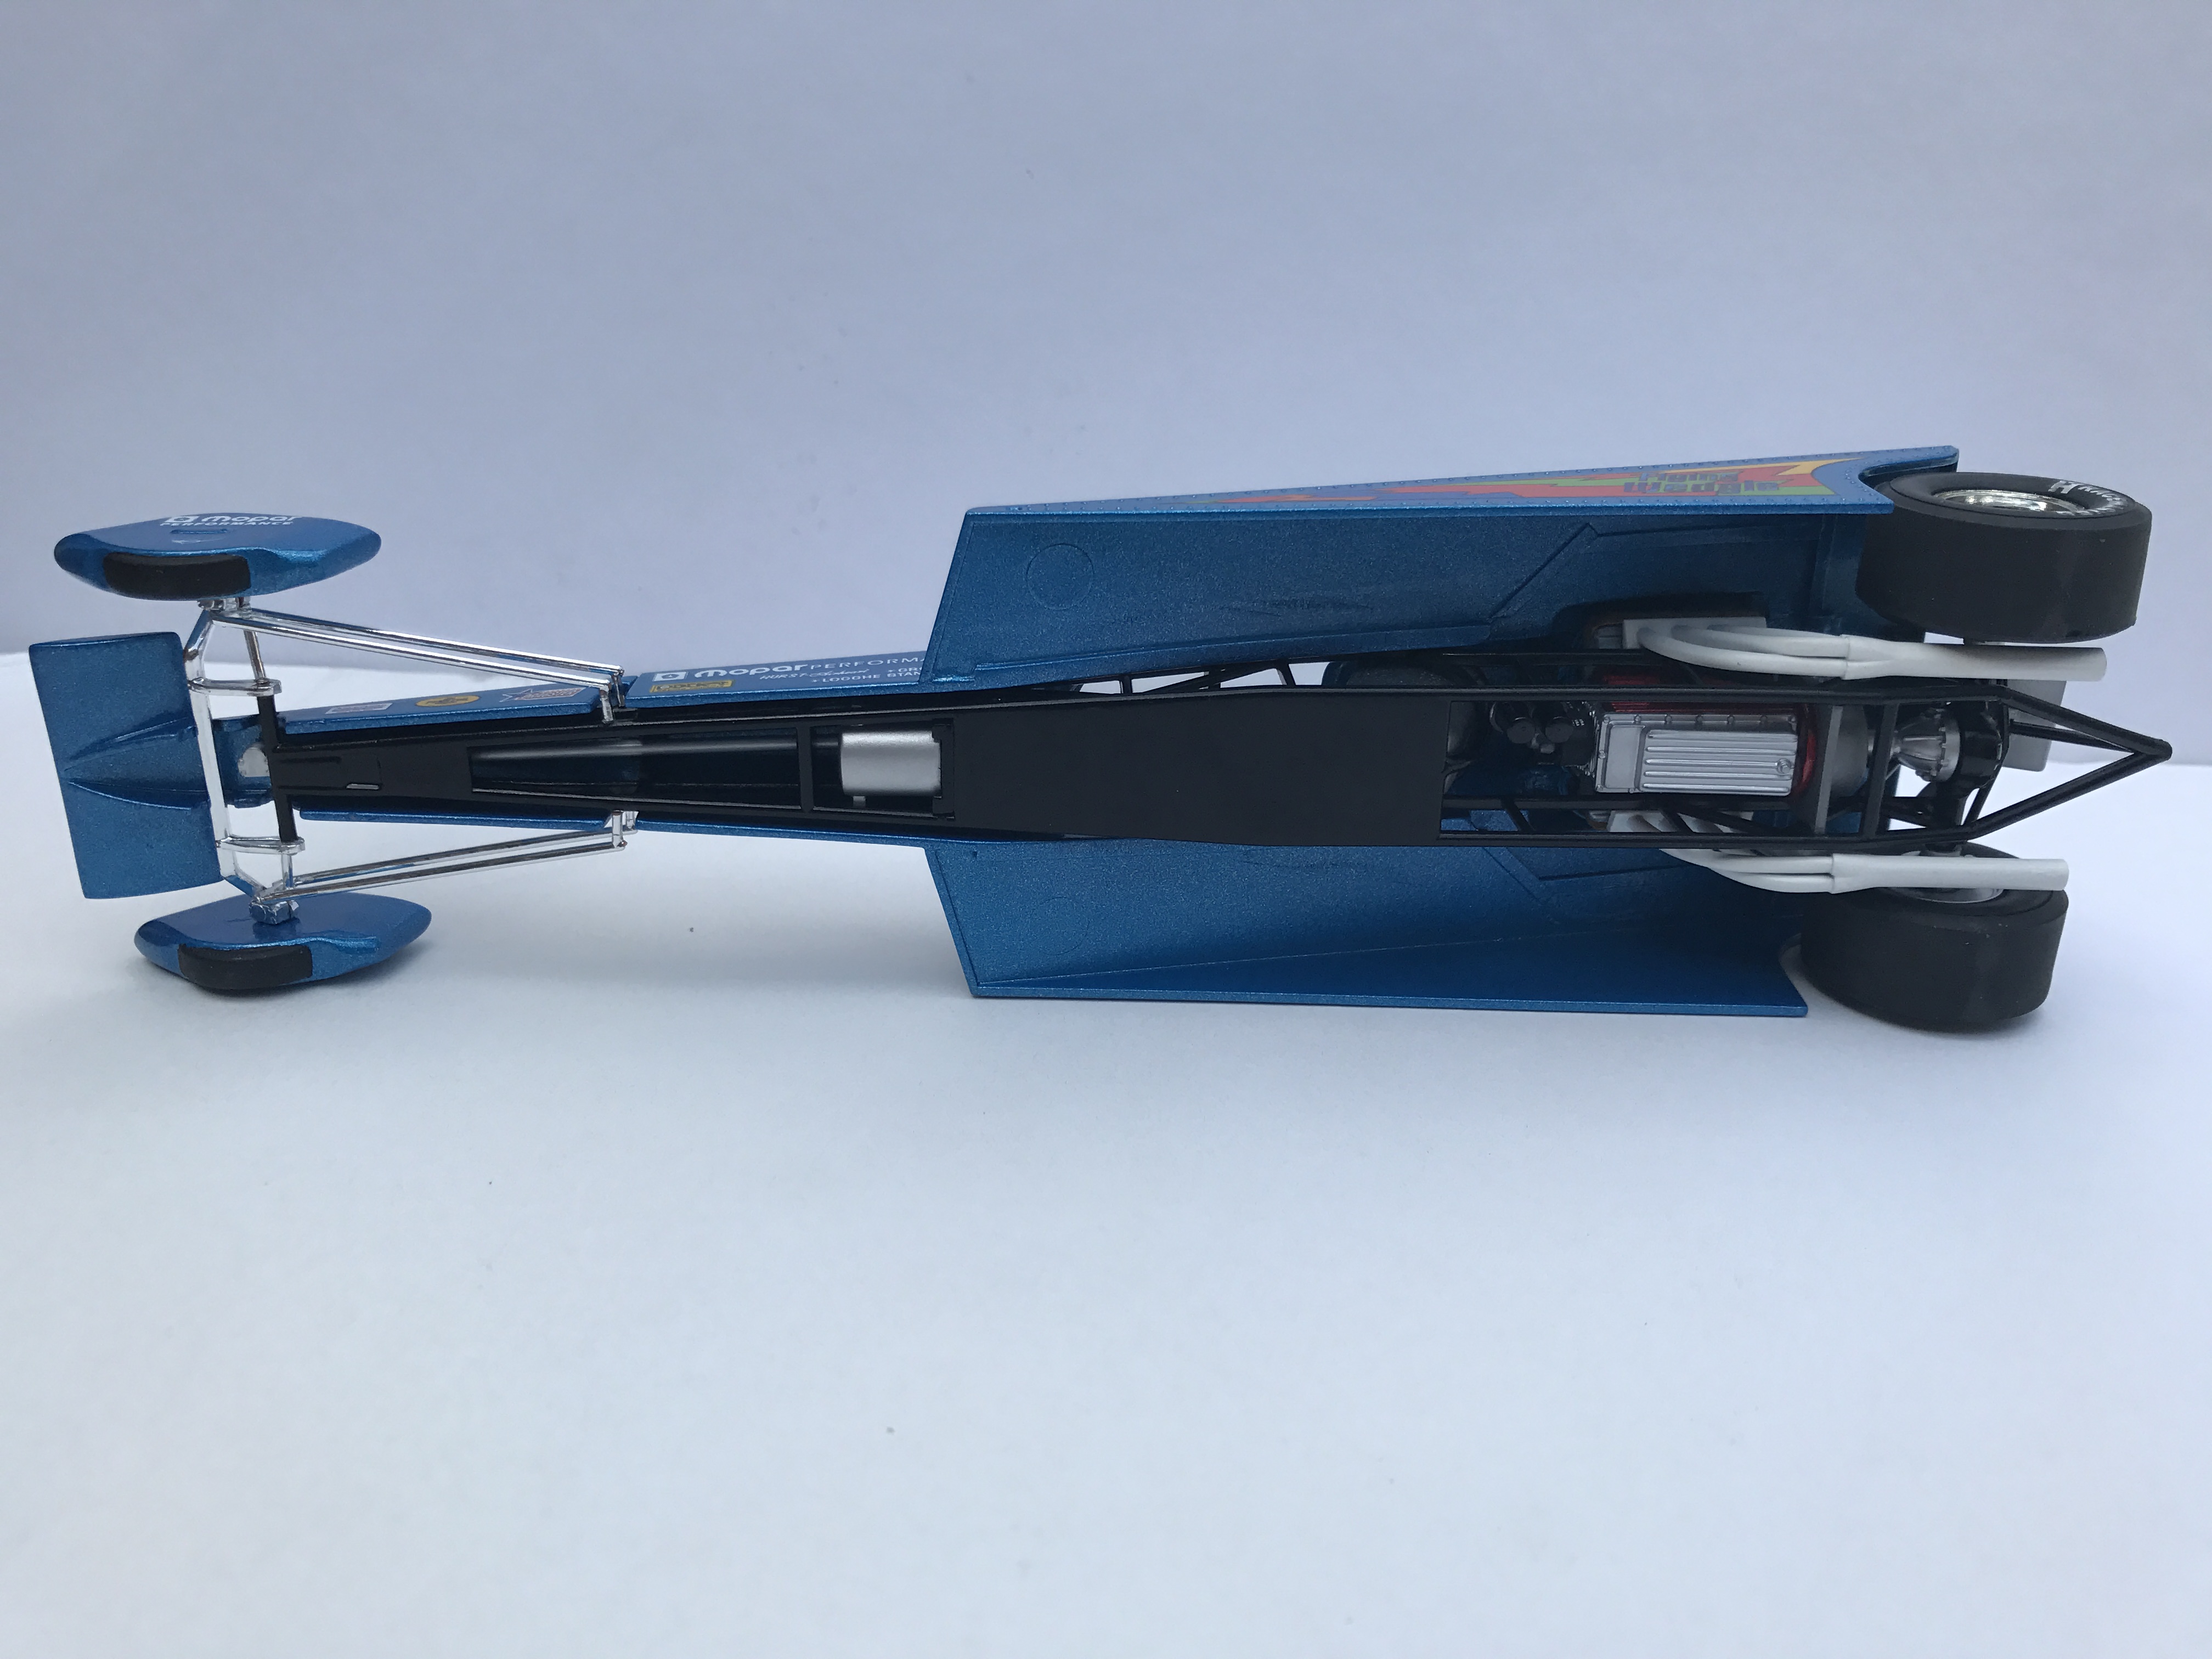
The FLYING WEDGIE (it took two sets of decals to do that) dragster. Based on the recently updated and reissued AMT Flying Wedge. I took the canopy from the Cosmic Charger, widened it and molded it onto the wedge body. The canopy 'glass' was vacu-formed after making a buck by widening the original CC 'glass' piece. The engine cover section is also the canopy extension from the Cosmic Charger with much scratch building to house the Hemi. Front pontoons are from the Cosmic Charger as well. Rear tires and wheels from Polar Lights funny car. Headers are cut up and chopped down from the MPC Jawbreaker kit. A few other bits and pieces from the parts box but otherwise mostly the Wedge kit. Paint is Testors "One Hit" Icy Blue. Some decals from Slixx and other places. Build up pix here: http://public.fotki.com/jferren/wedge-dragster/ Thanks for looking.... -RRR
-
I Really Like Like This Hobby,,,,, But
Rocking Rodney Rat replied to Fortheloveofgassers's topic in WIP: Drag Racing Models
In my experience, Slixx decals DO NOT like lacquer clear paint. They will craze (wrinkle up) with lacquer clear overcoat. Perhaps a few light coats of lacquer could work but then you'll most likely have a rough surface to contend with (adding more clear until you have too much). I use Testors Model Master Enamel Top Coat #2936 with no problems over Slixx decals. The trade off with enamel is that it doesn't dry as hard as lacquer making polishing difficult, it's almost impossible to get enamel to buff out without having a hazy surface. That's my experience, I live in a very humid climate and I'm sure that contributes to painting woes. Remember, never spray lacquer over enamel, the enamel will craze. Enamel over lacquer is okay. My $.02 and worth both pennies. Now, go paint something.... -RRR -
De-Rail'd -AA/Fuel Coupe
Rocking Rodney Rat replied to Rocking Rodney Rat's topic in WIP: Drag Racing Models
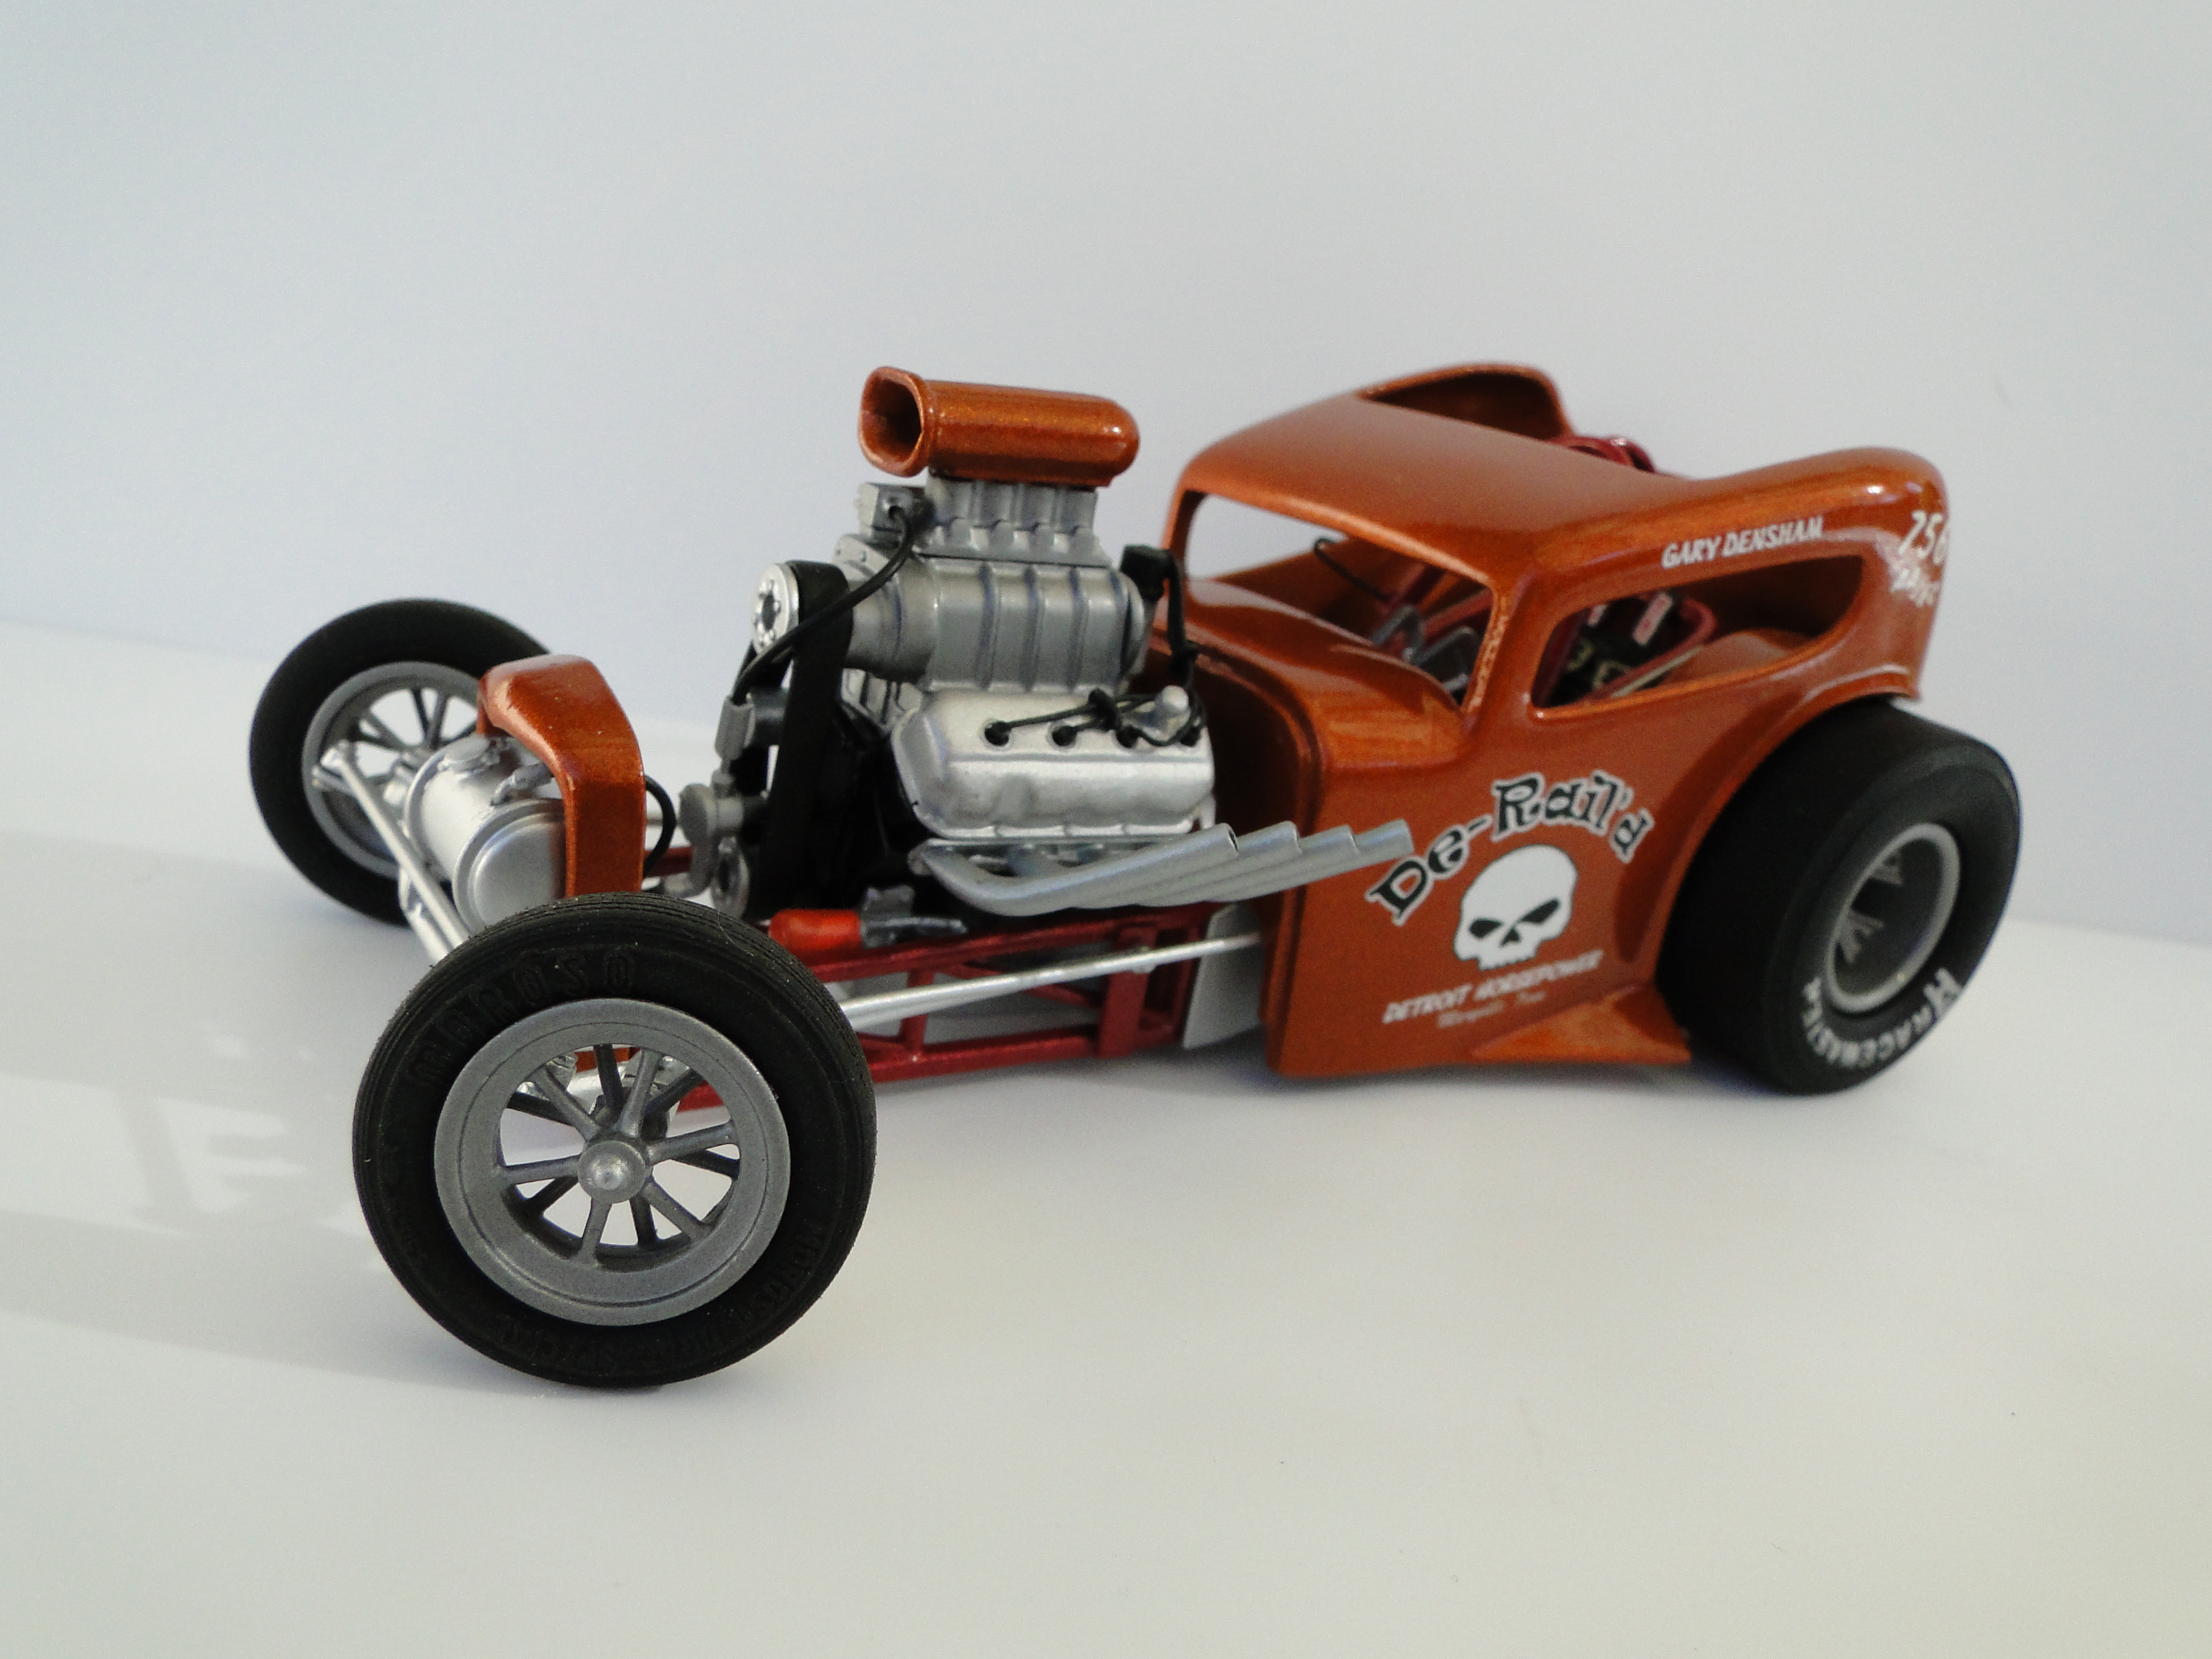
I agree, it is a nice color. Those paints go on pretty heavy, so be careful when shooting them. And they don't 'run' when you apply too much, they bubble up making a huge mess.... -RRR -
Thanks, Marty...looks like I decided to add door handles halfway thru the photo shoot! Ha!! (rockin' out to Japandroids right now).... -RRR
-
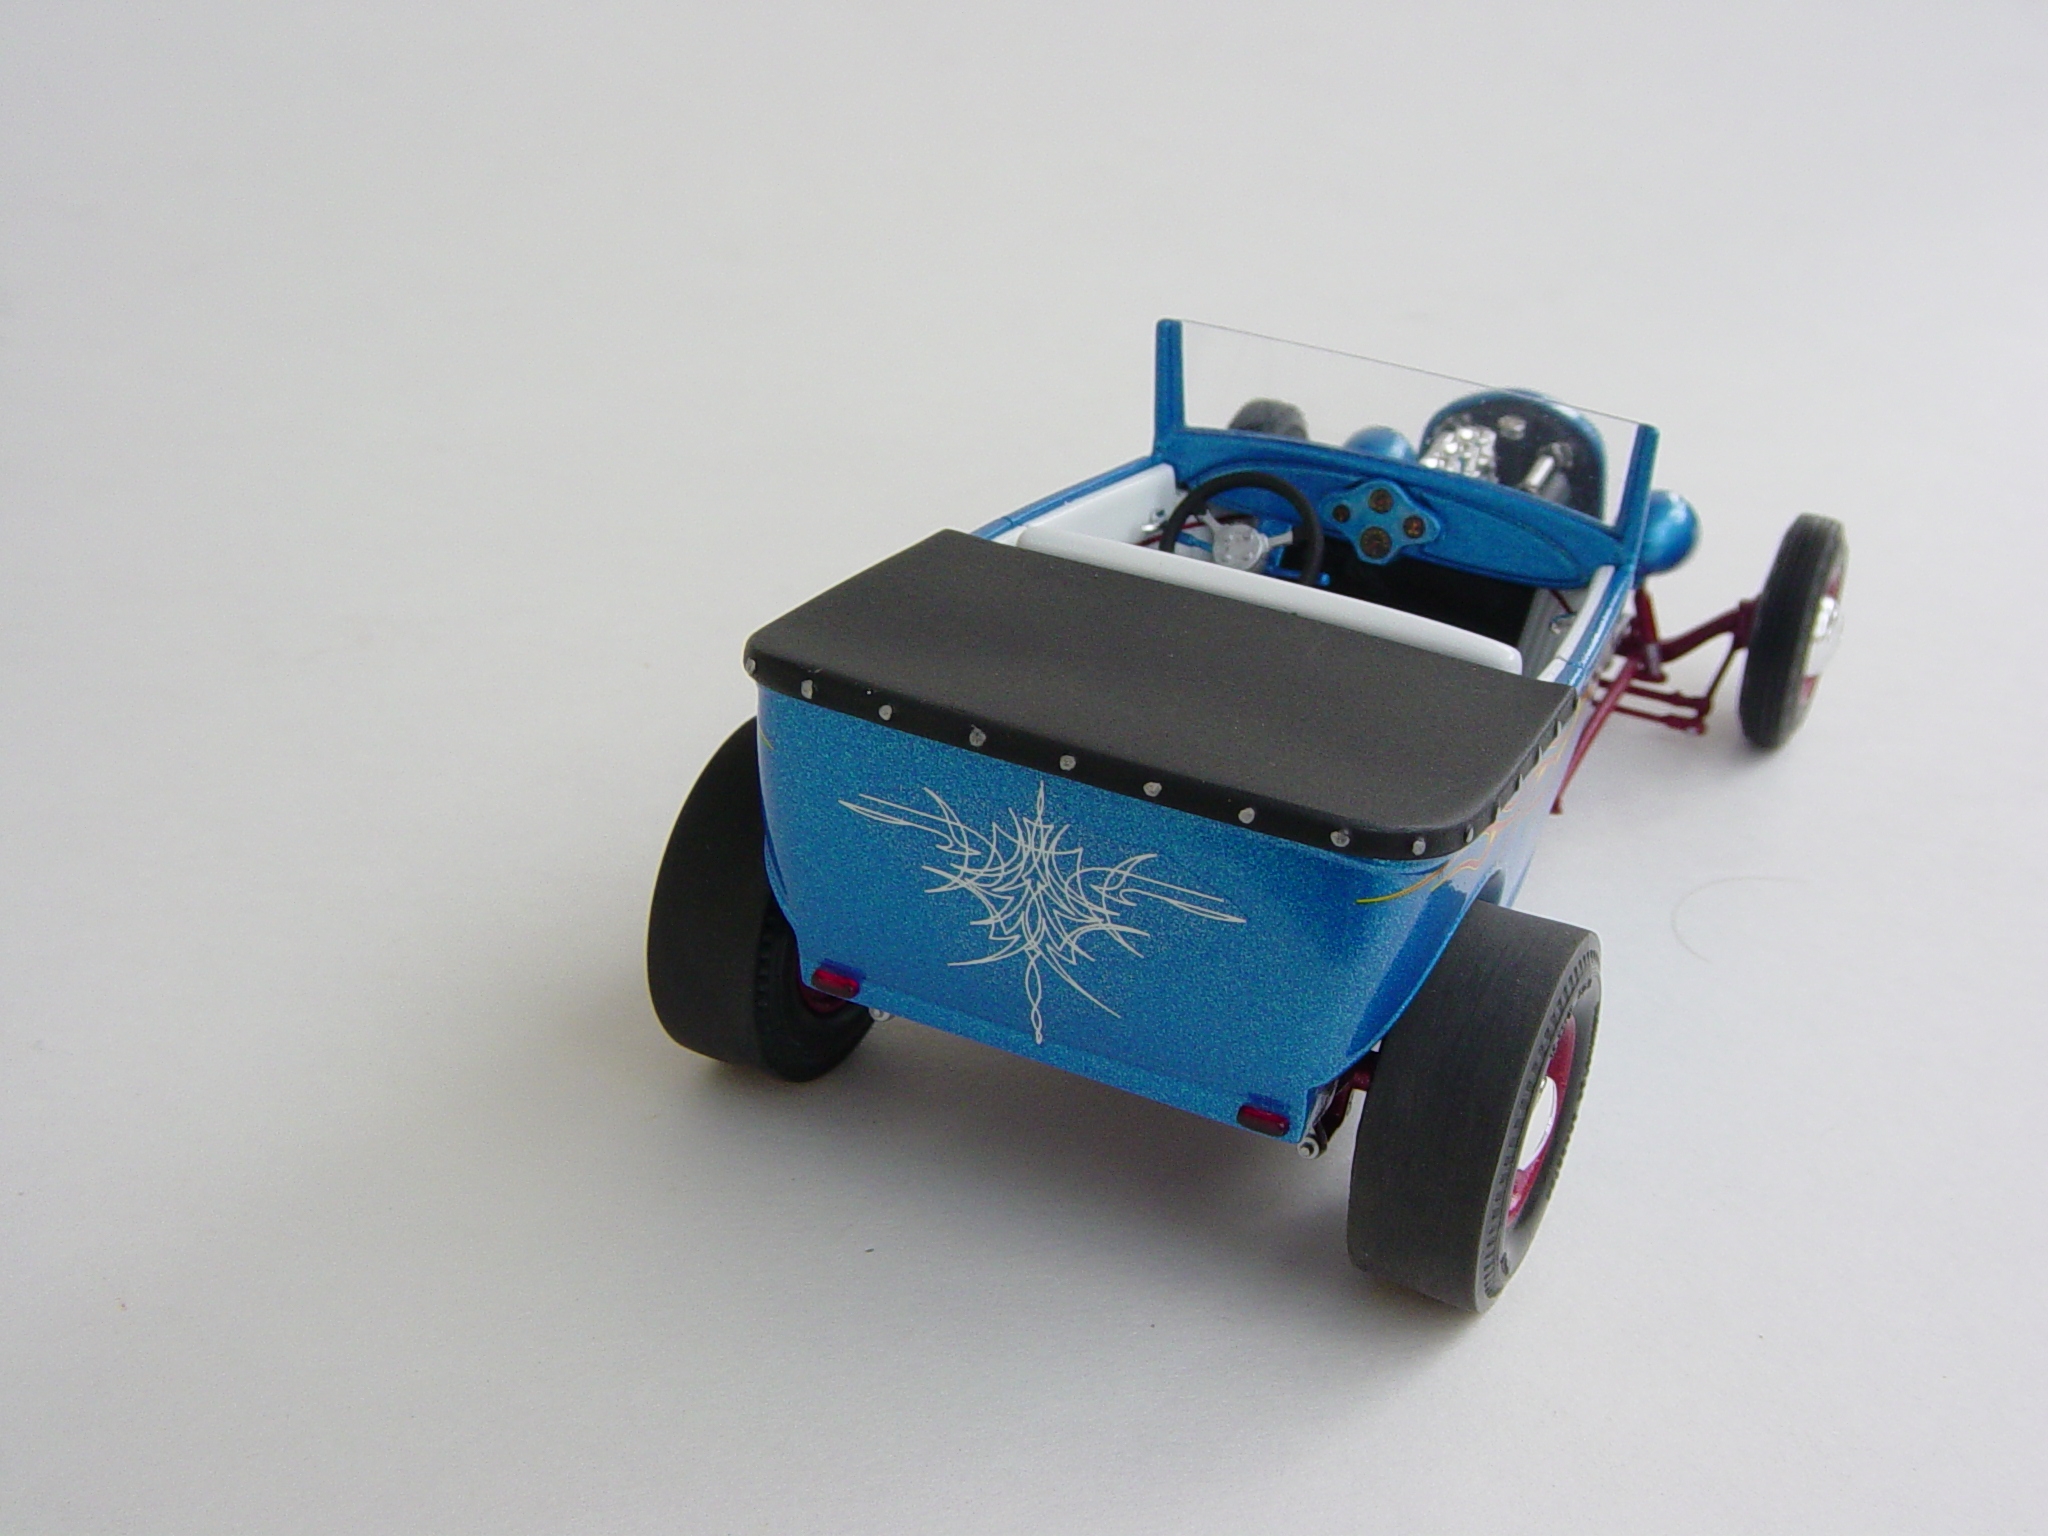
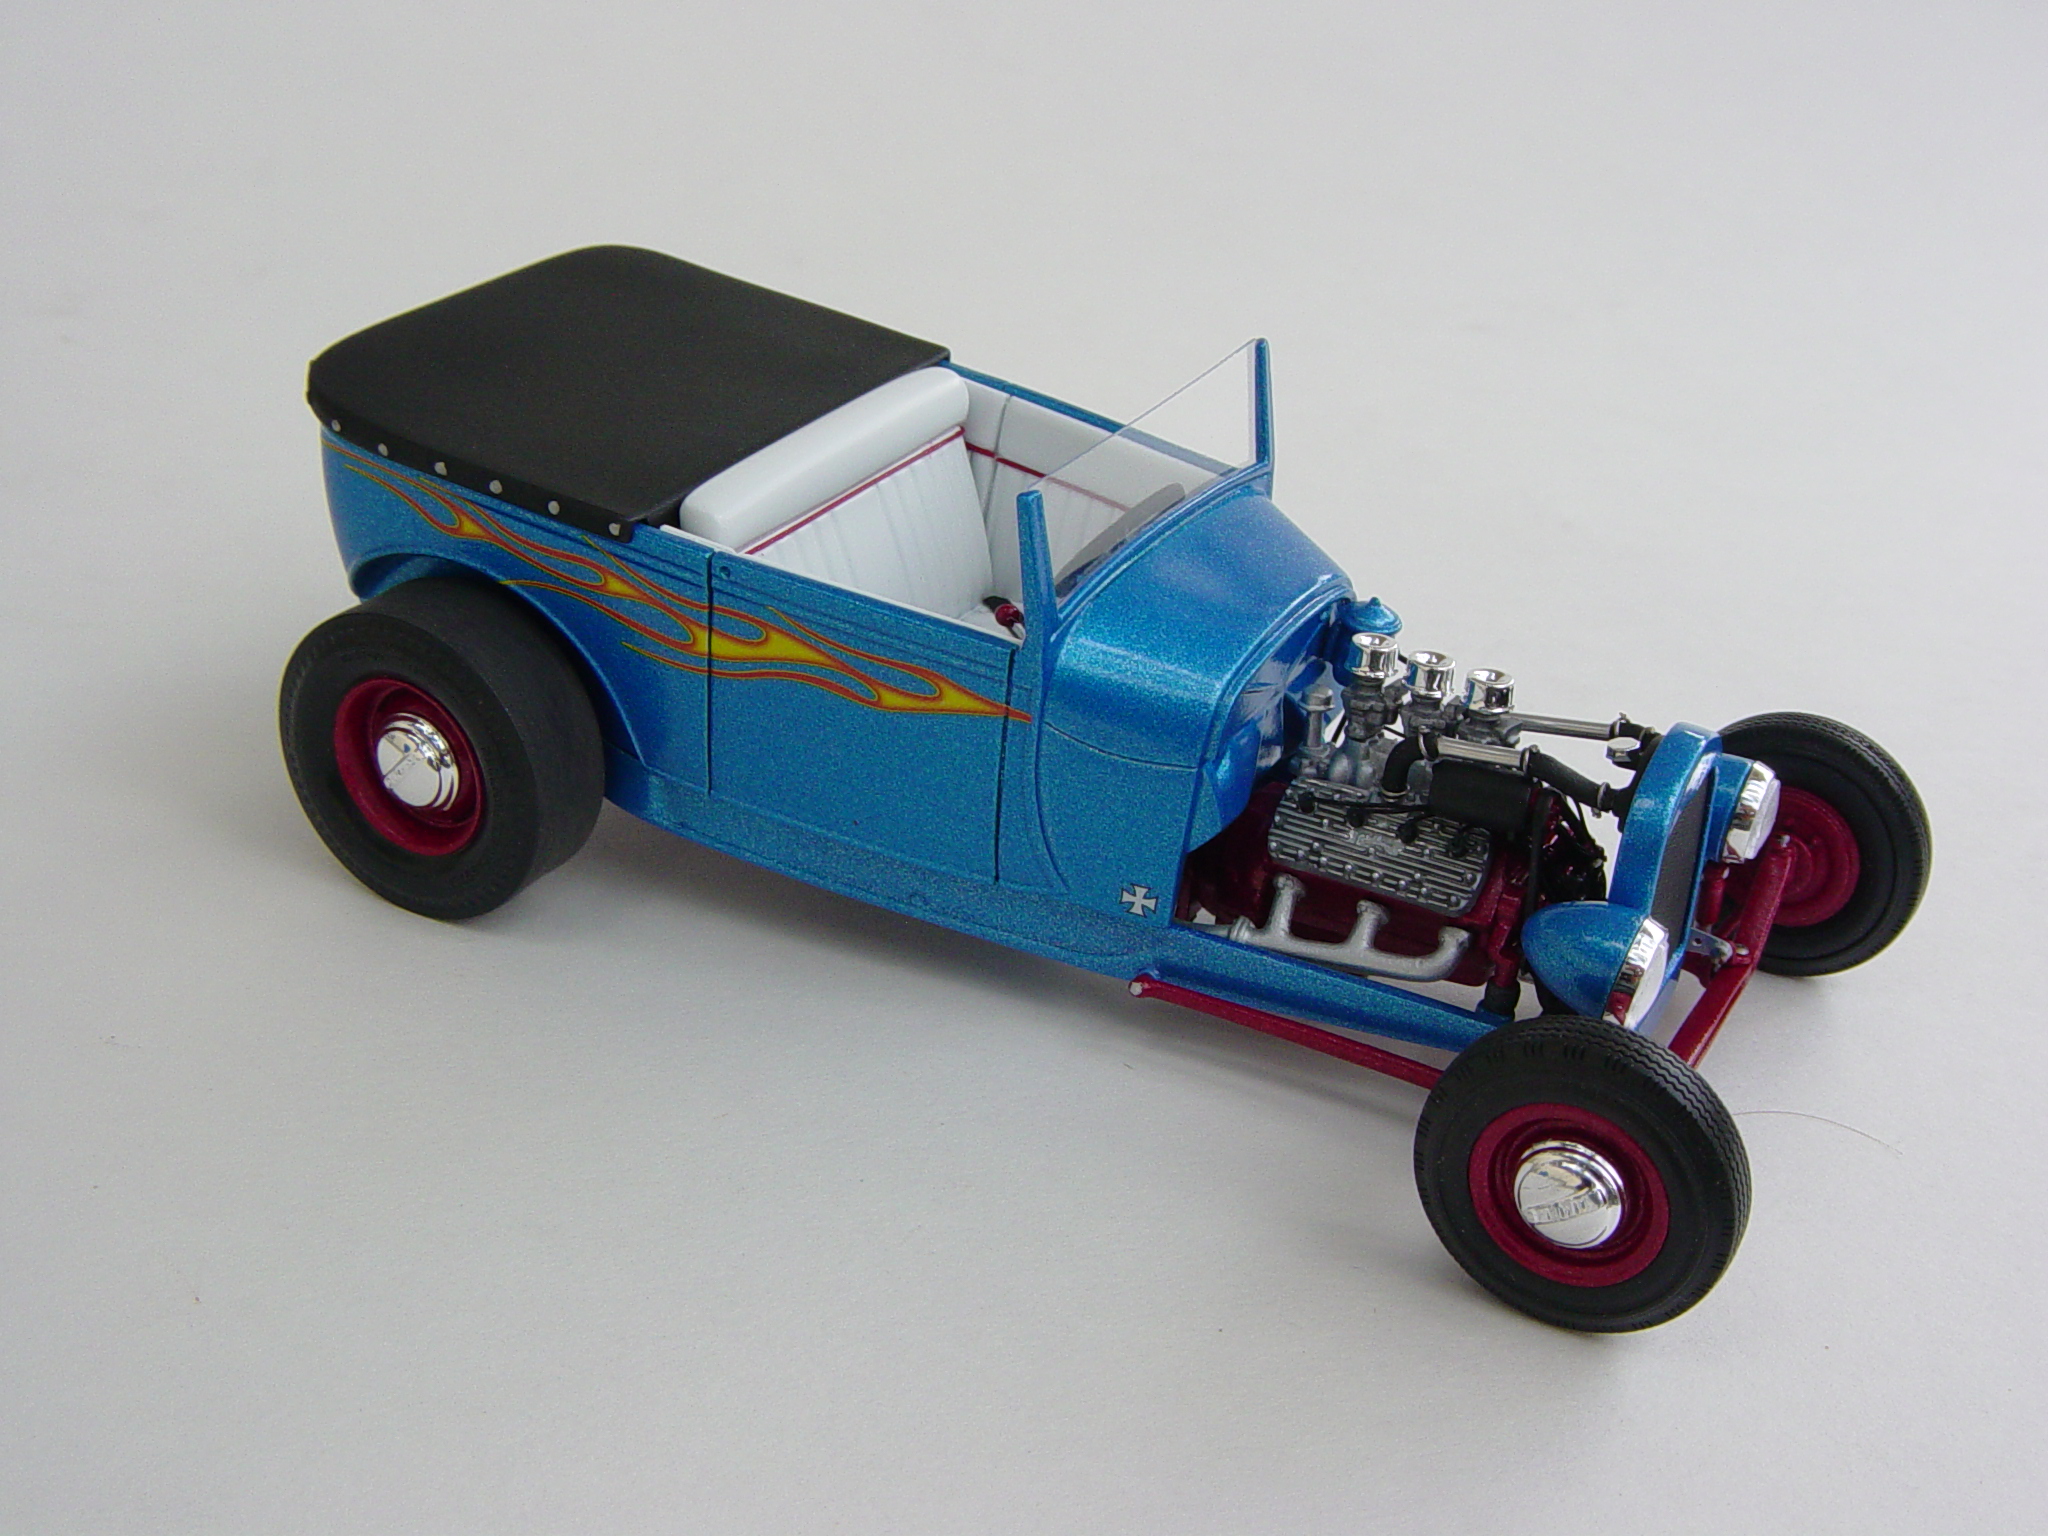
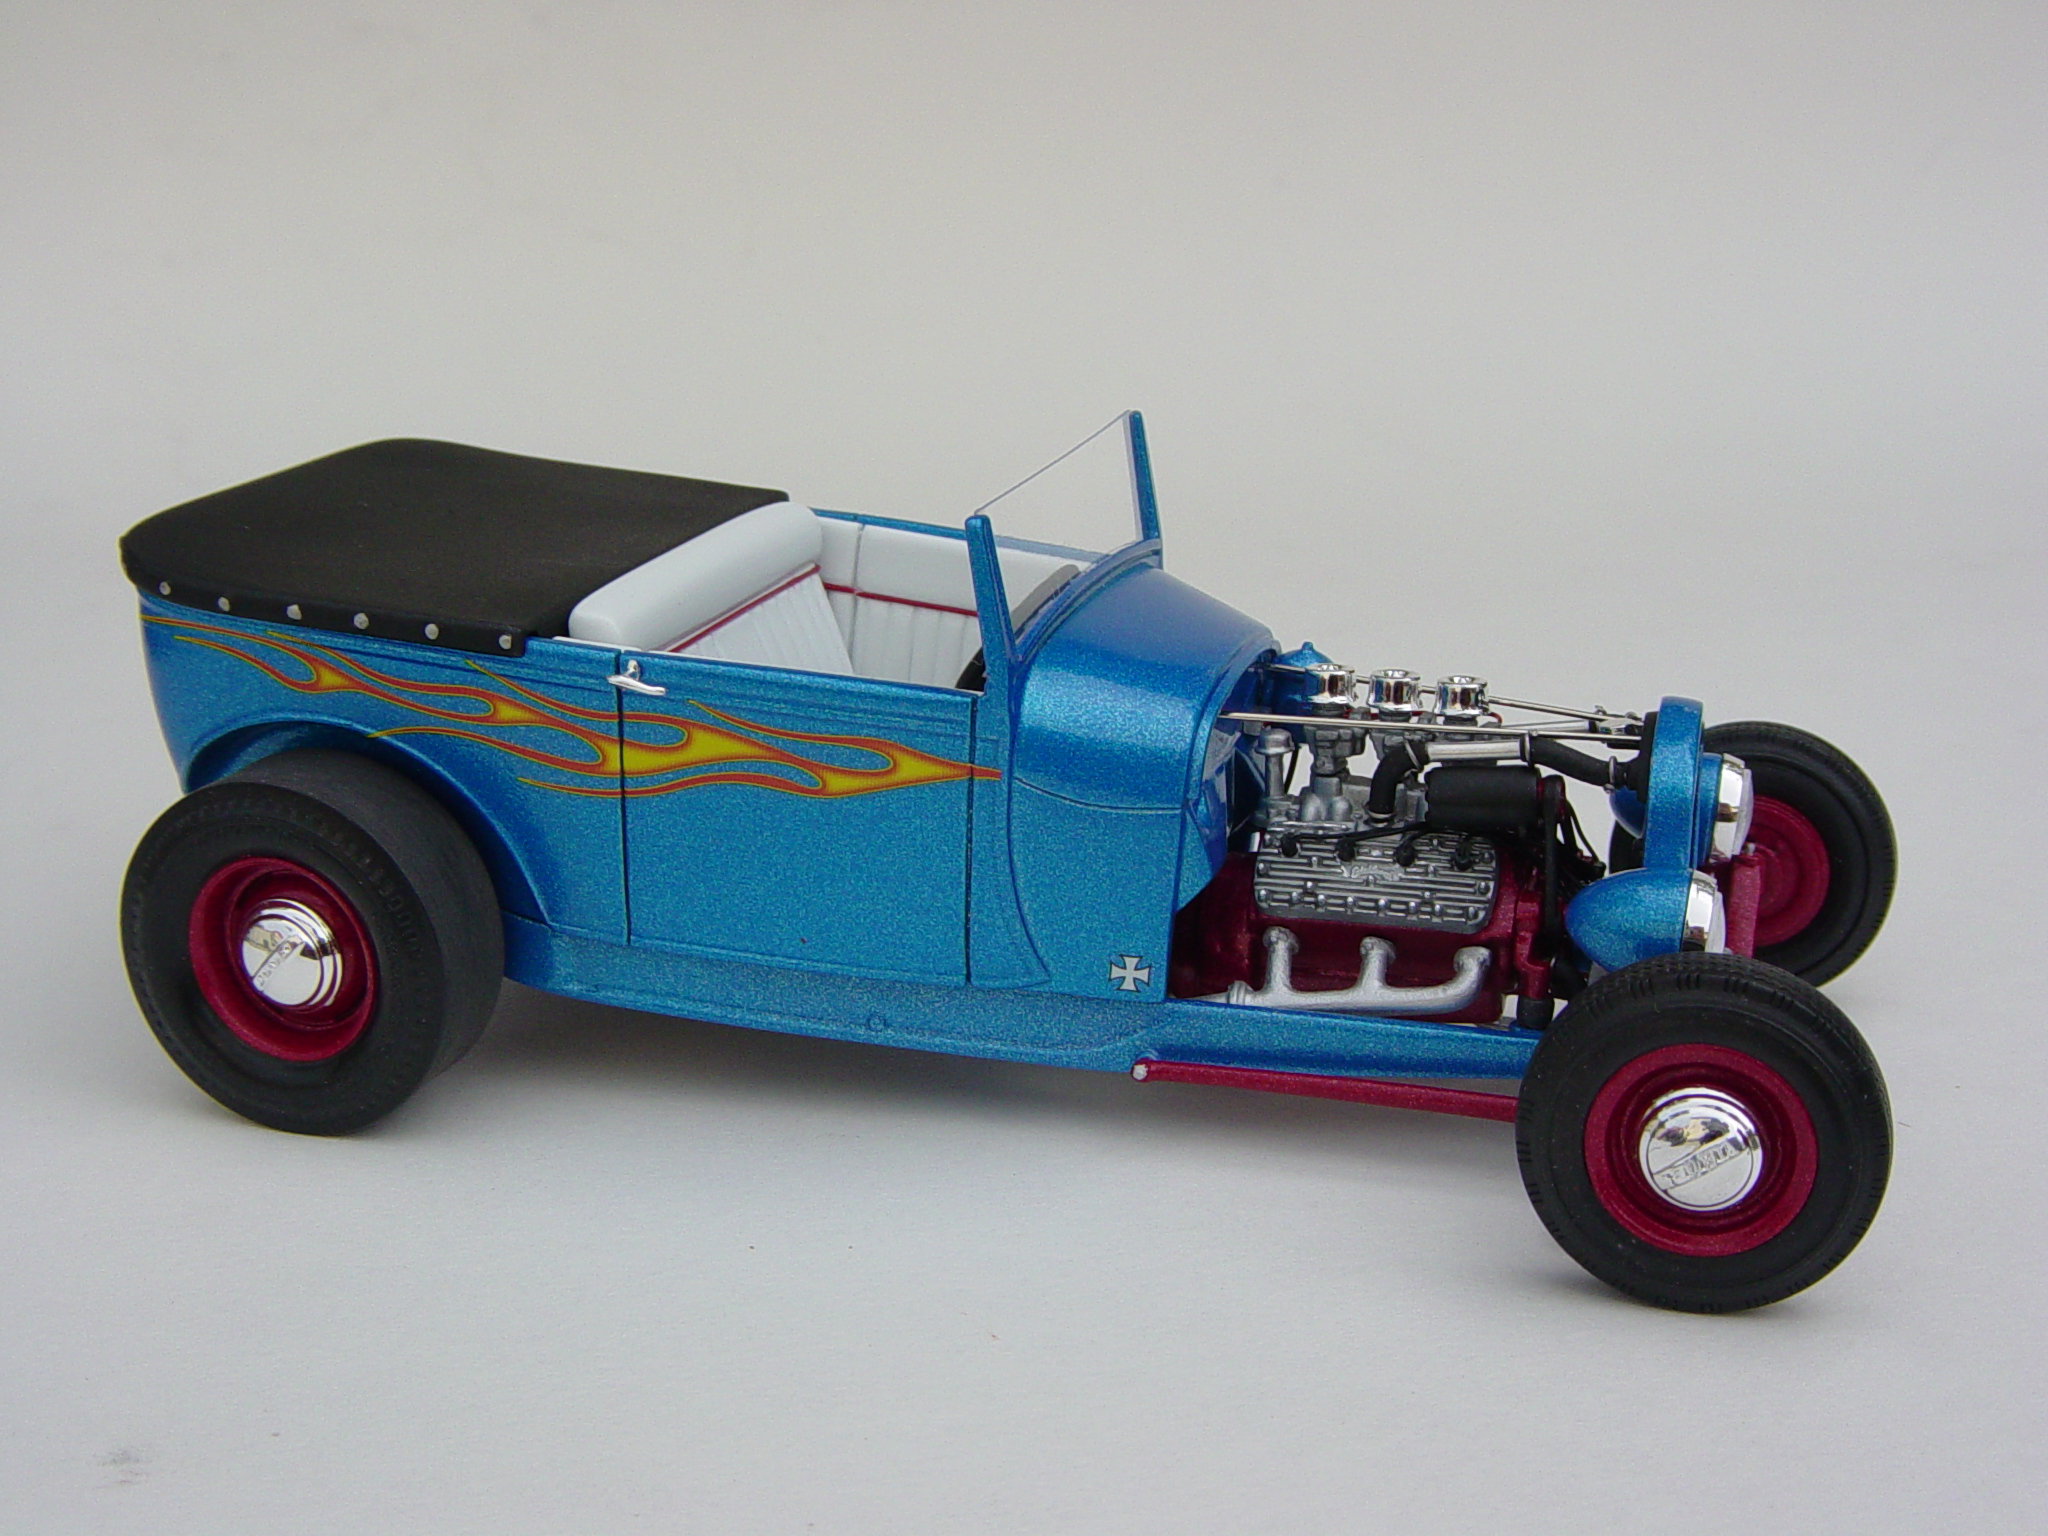
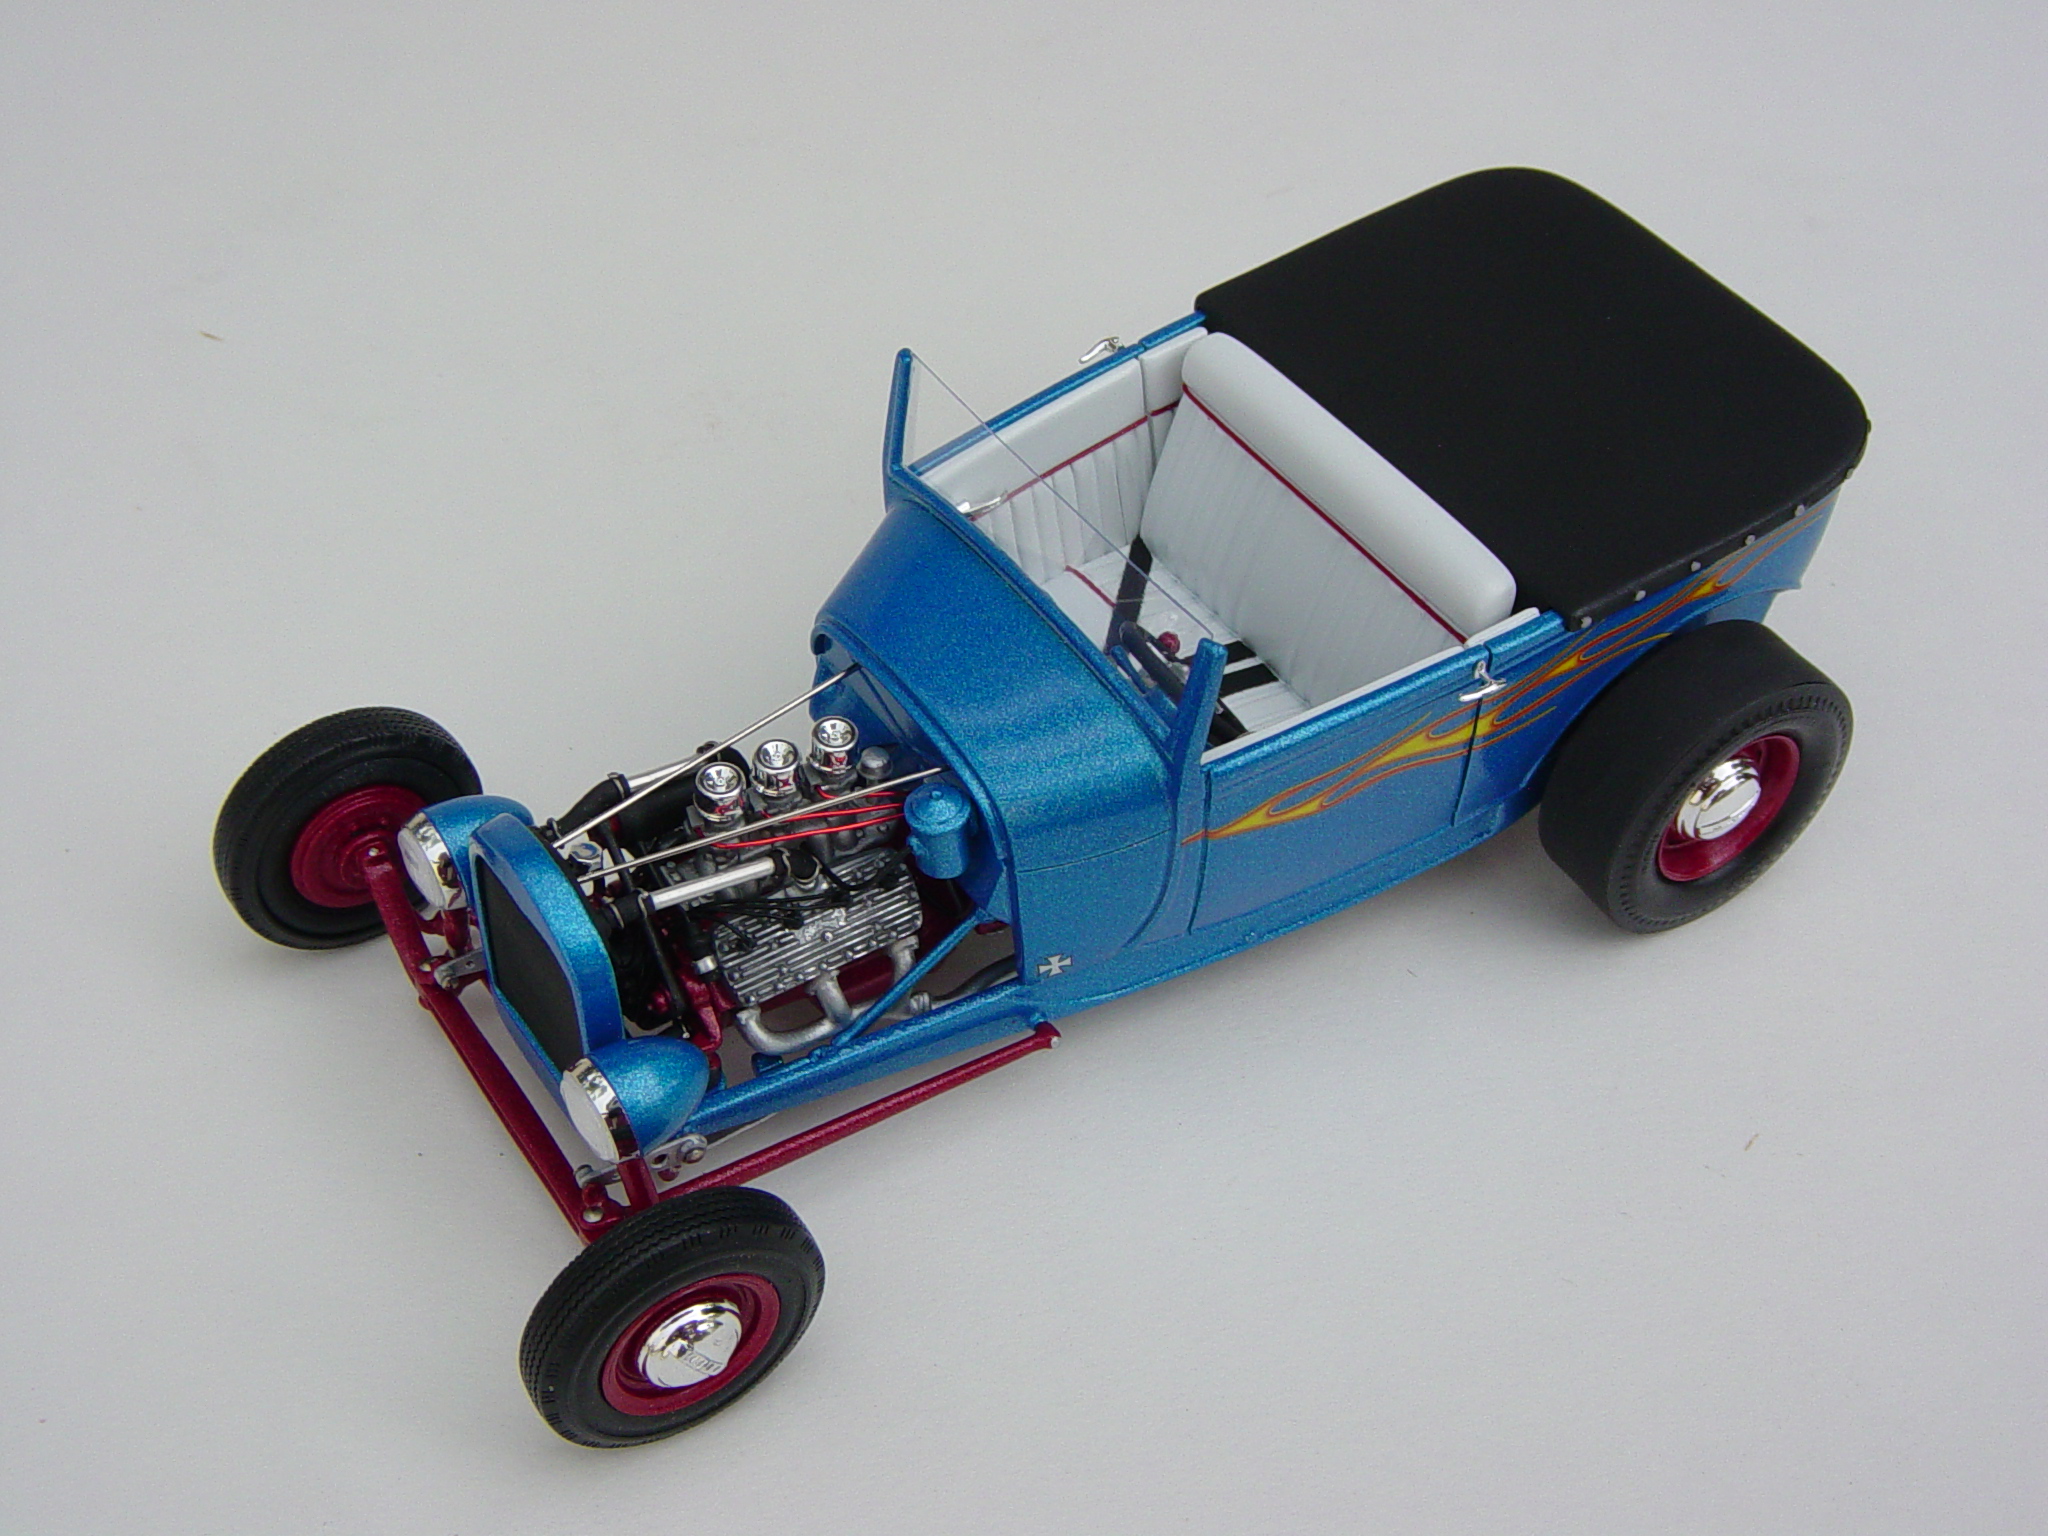
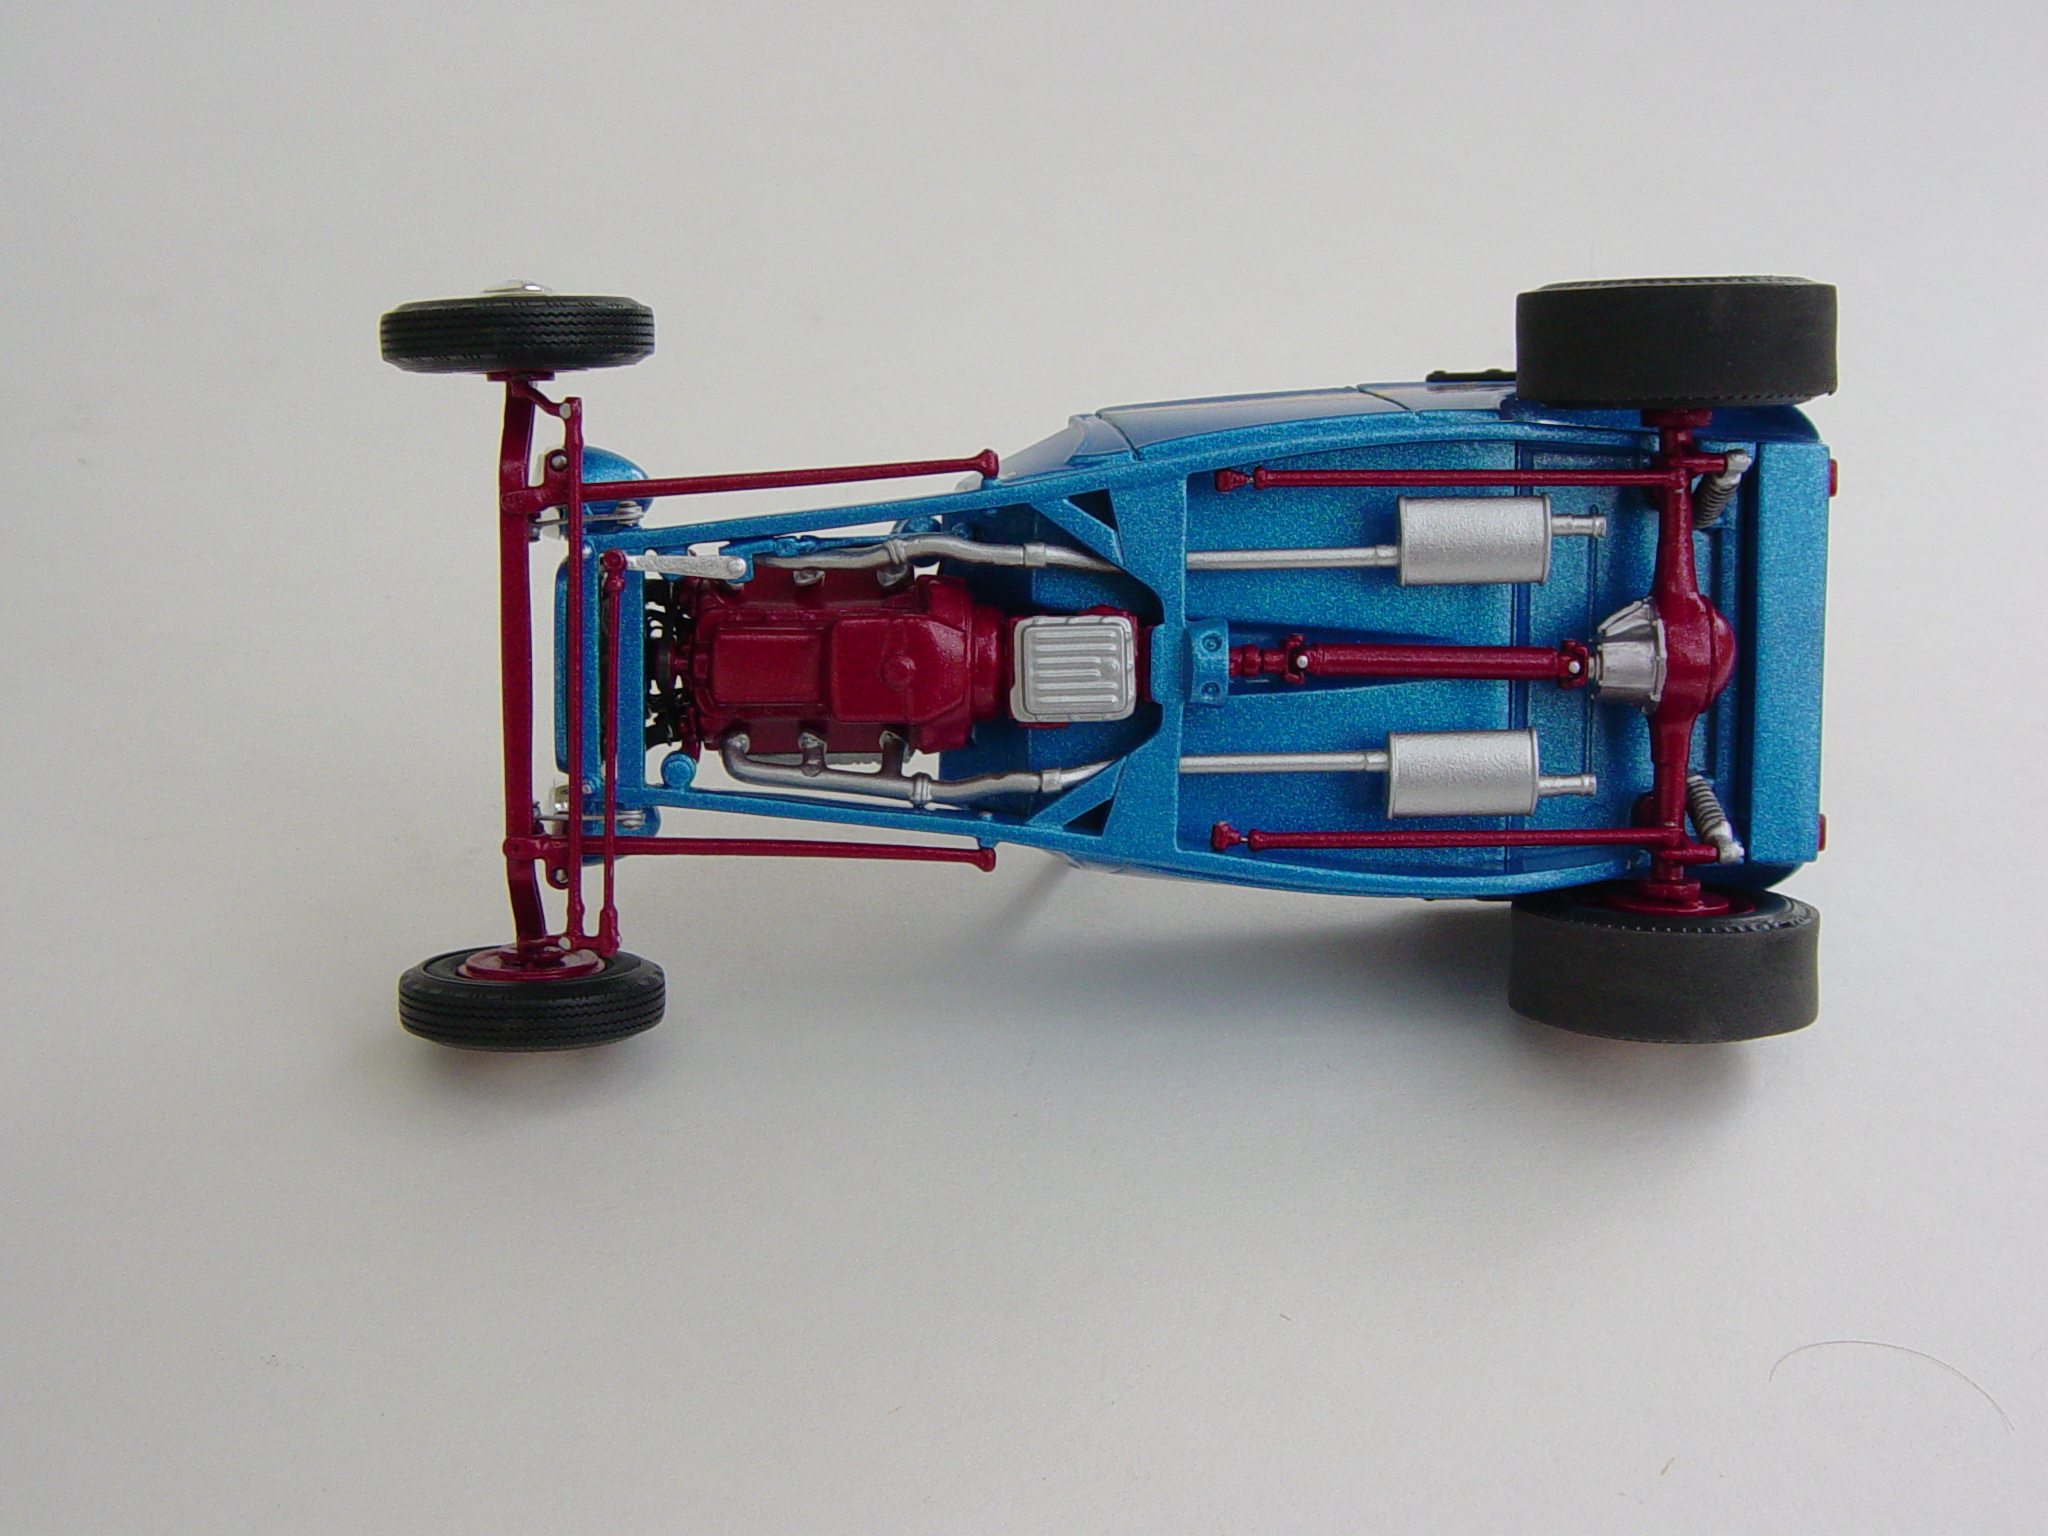
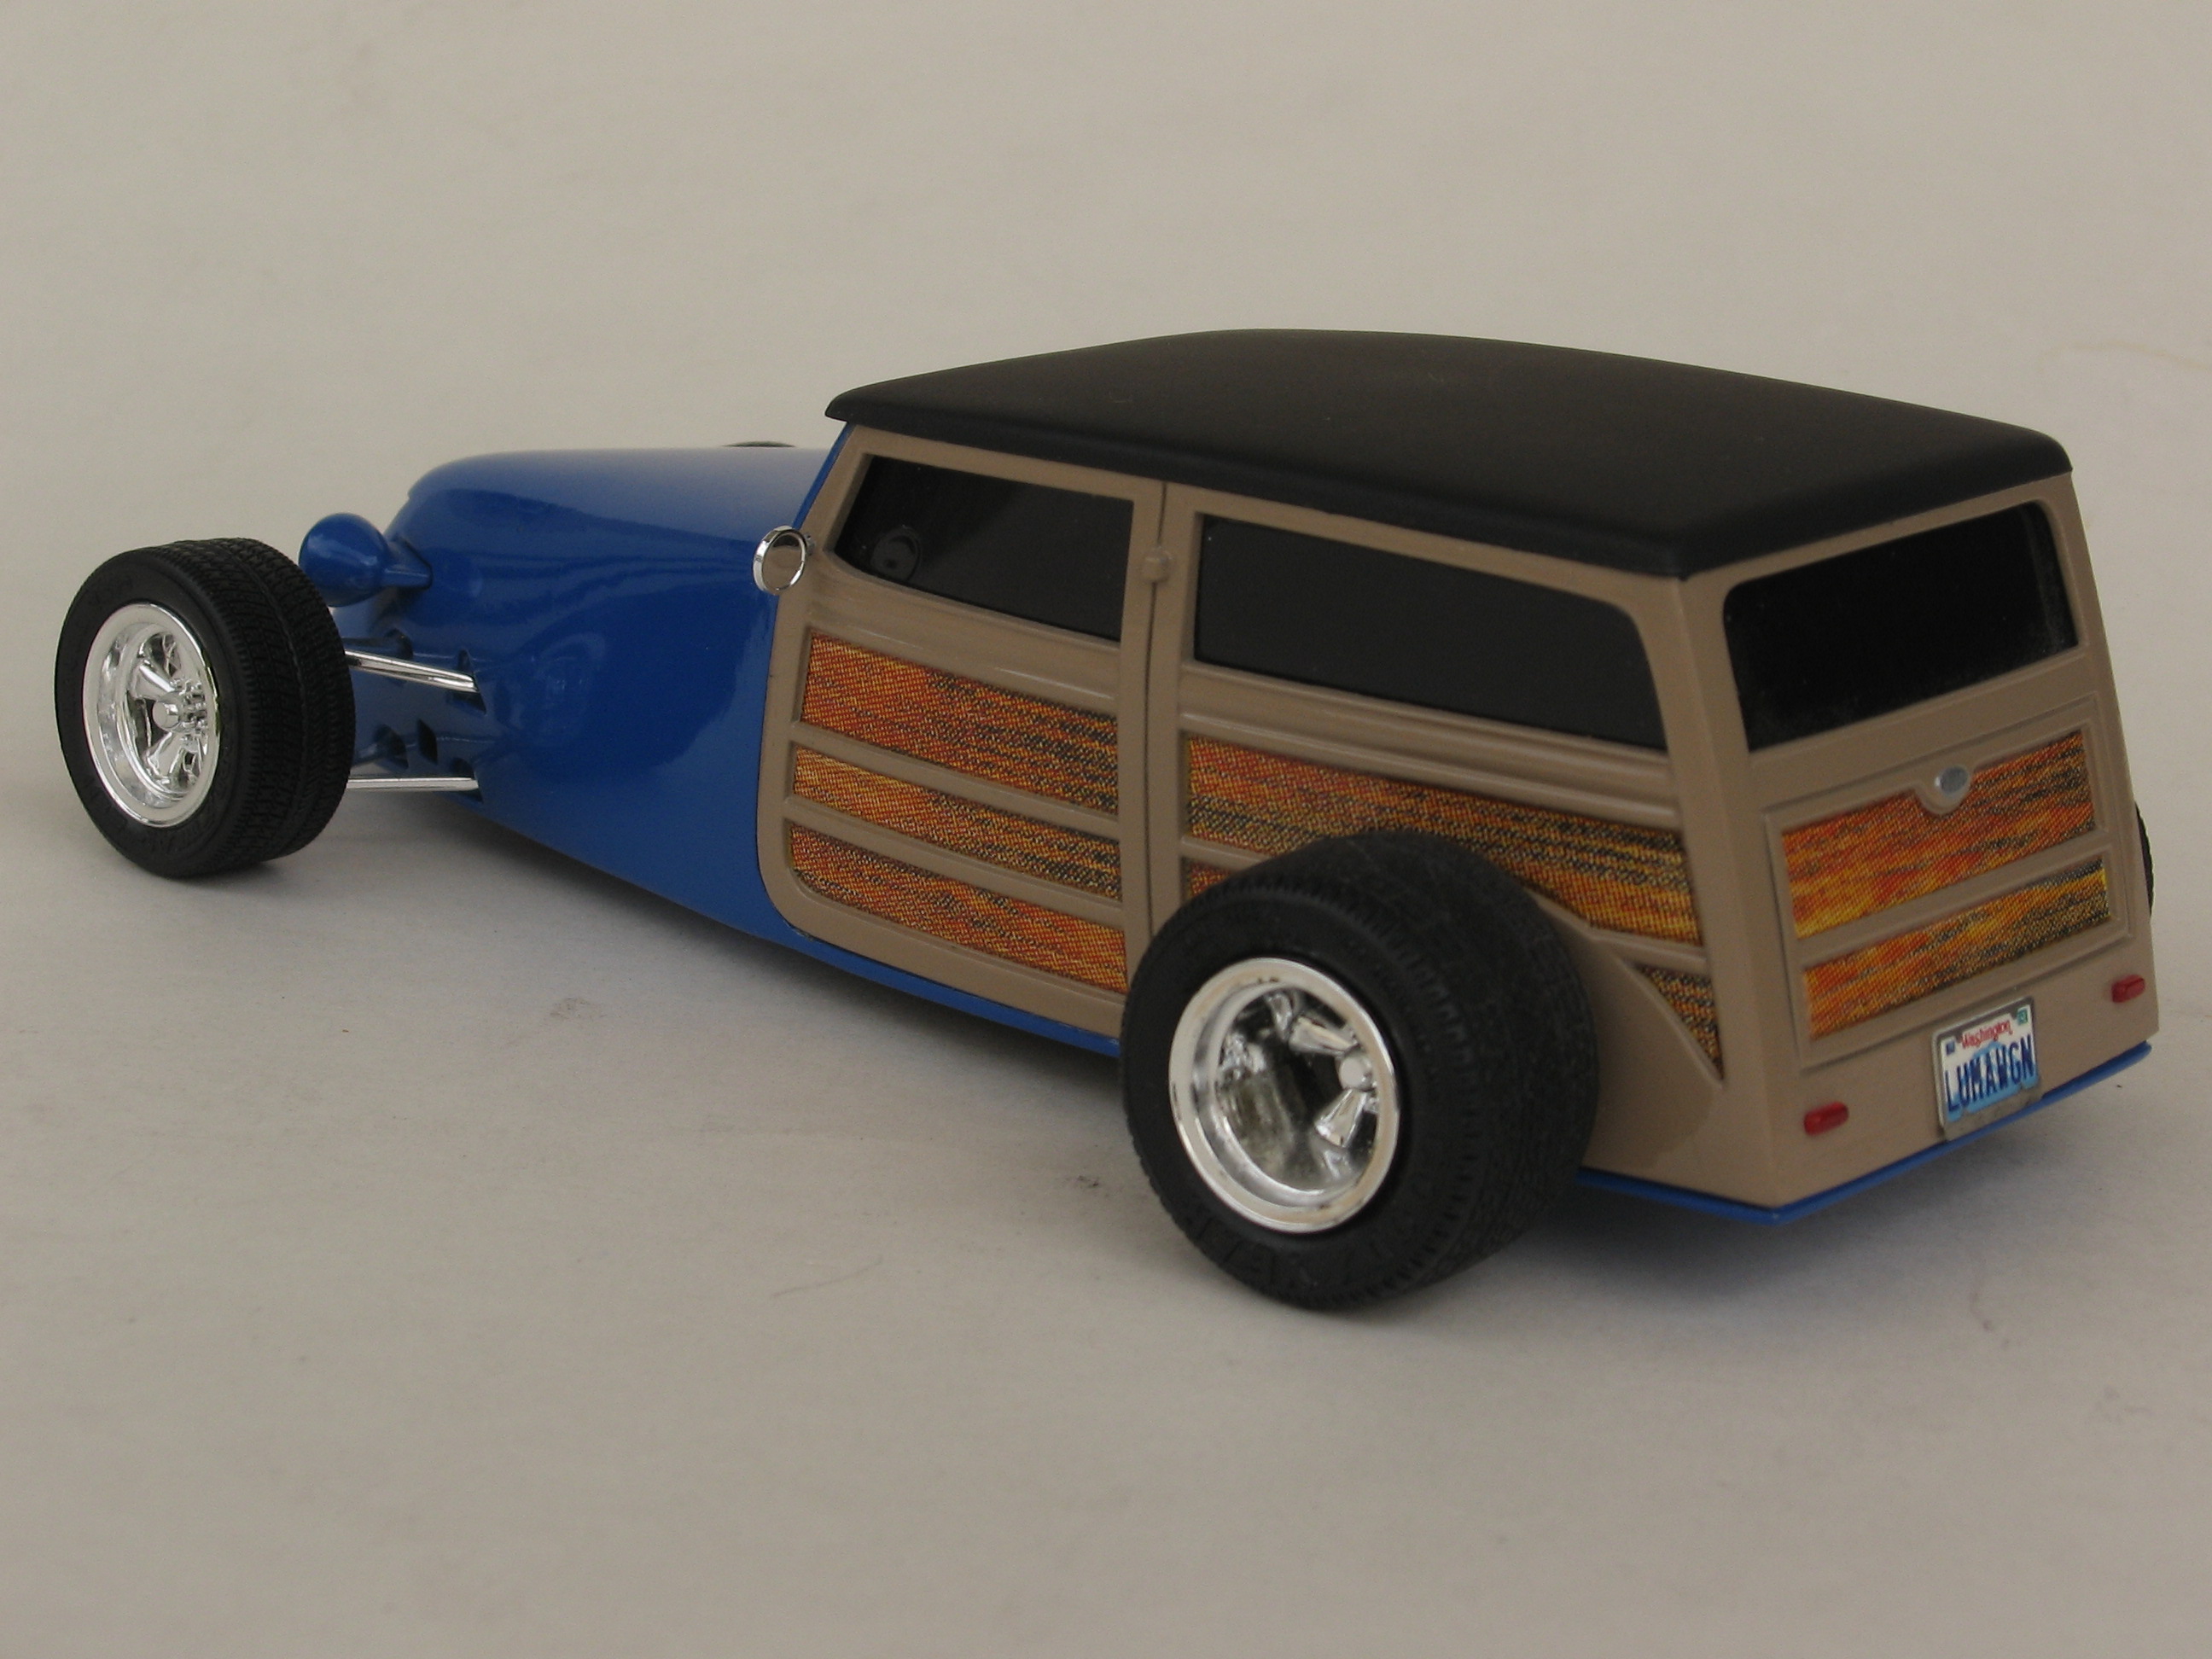
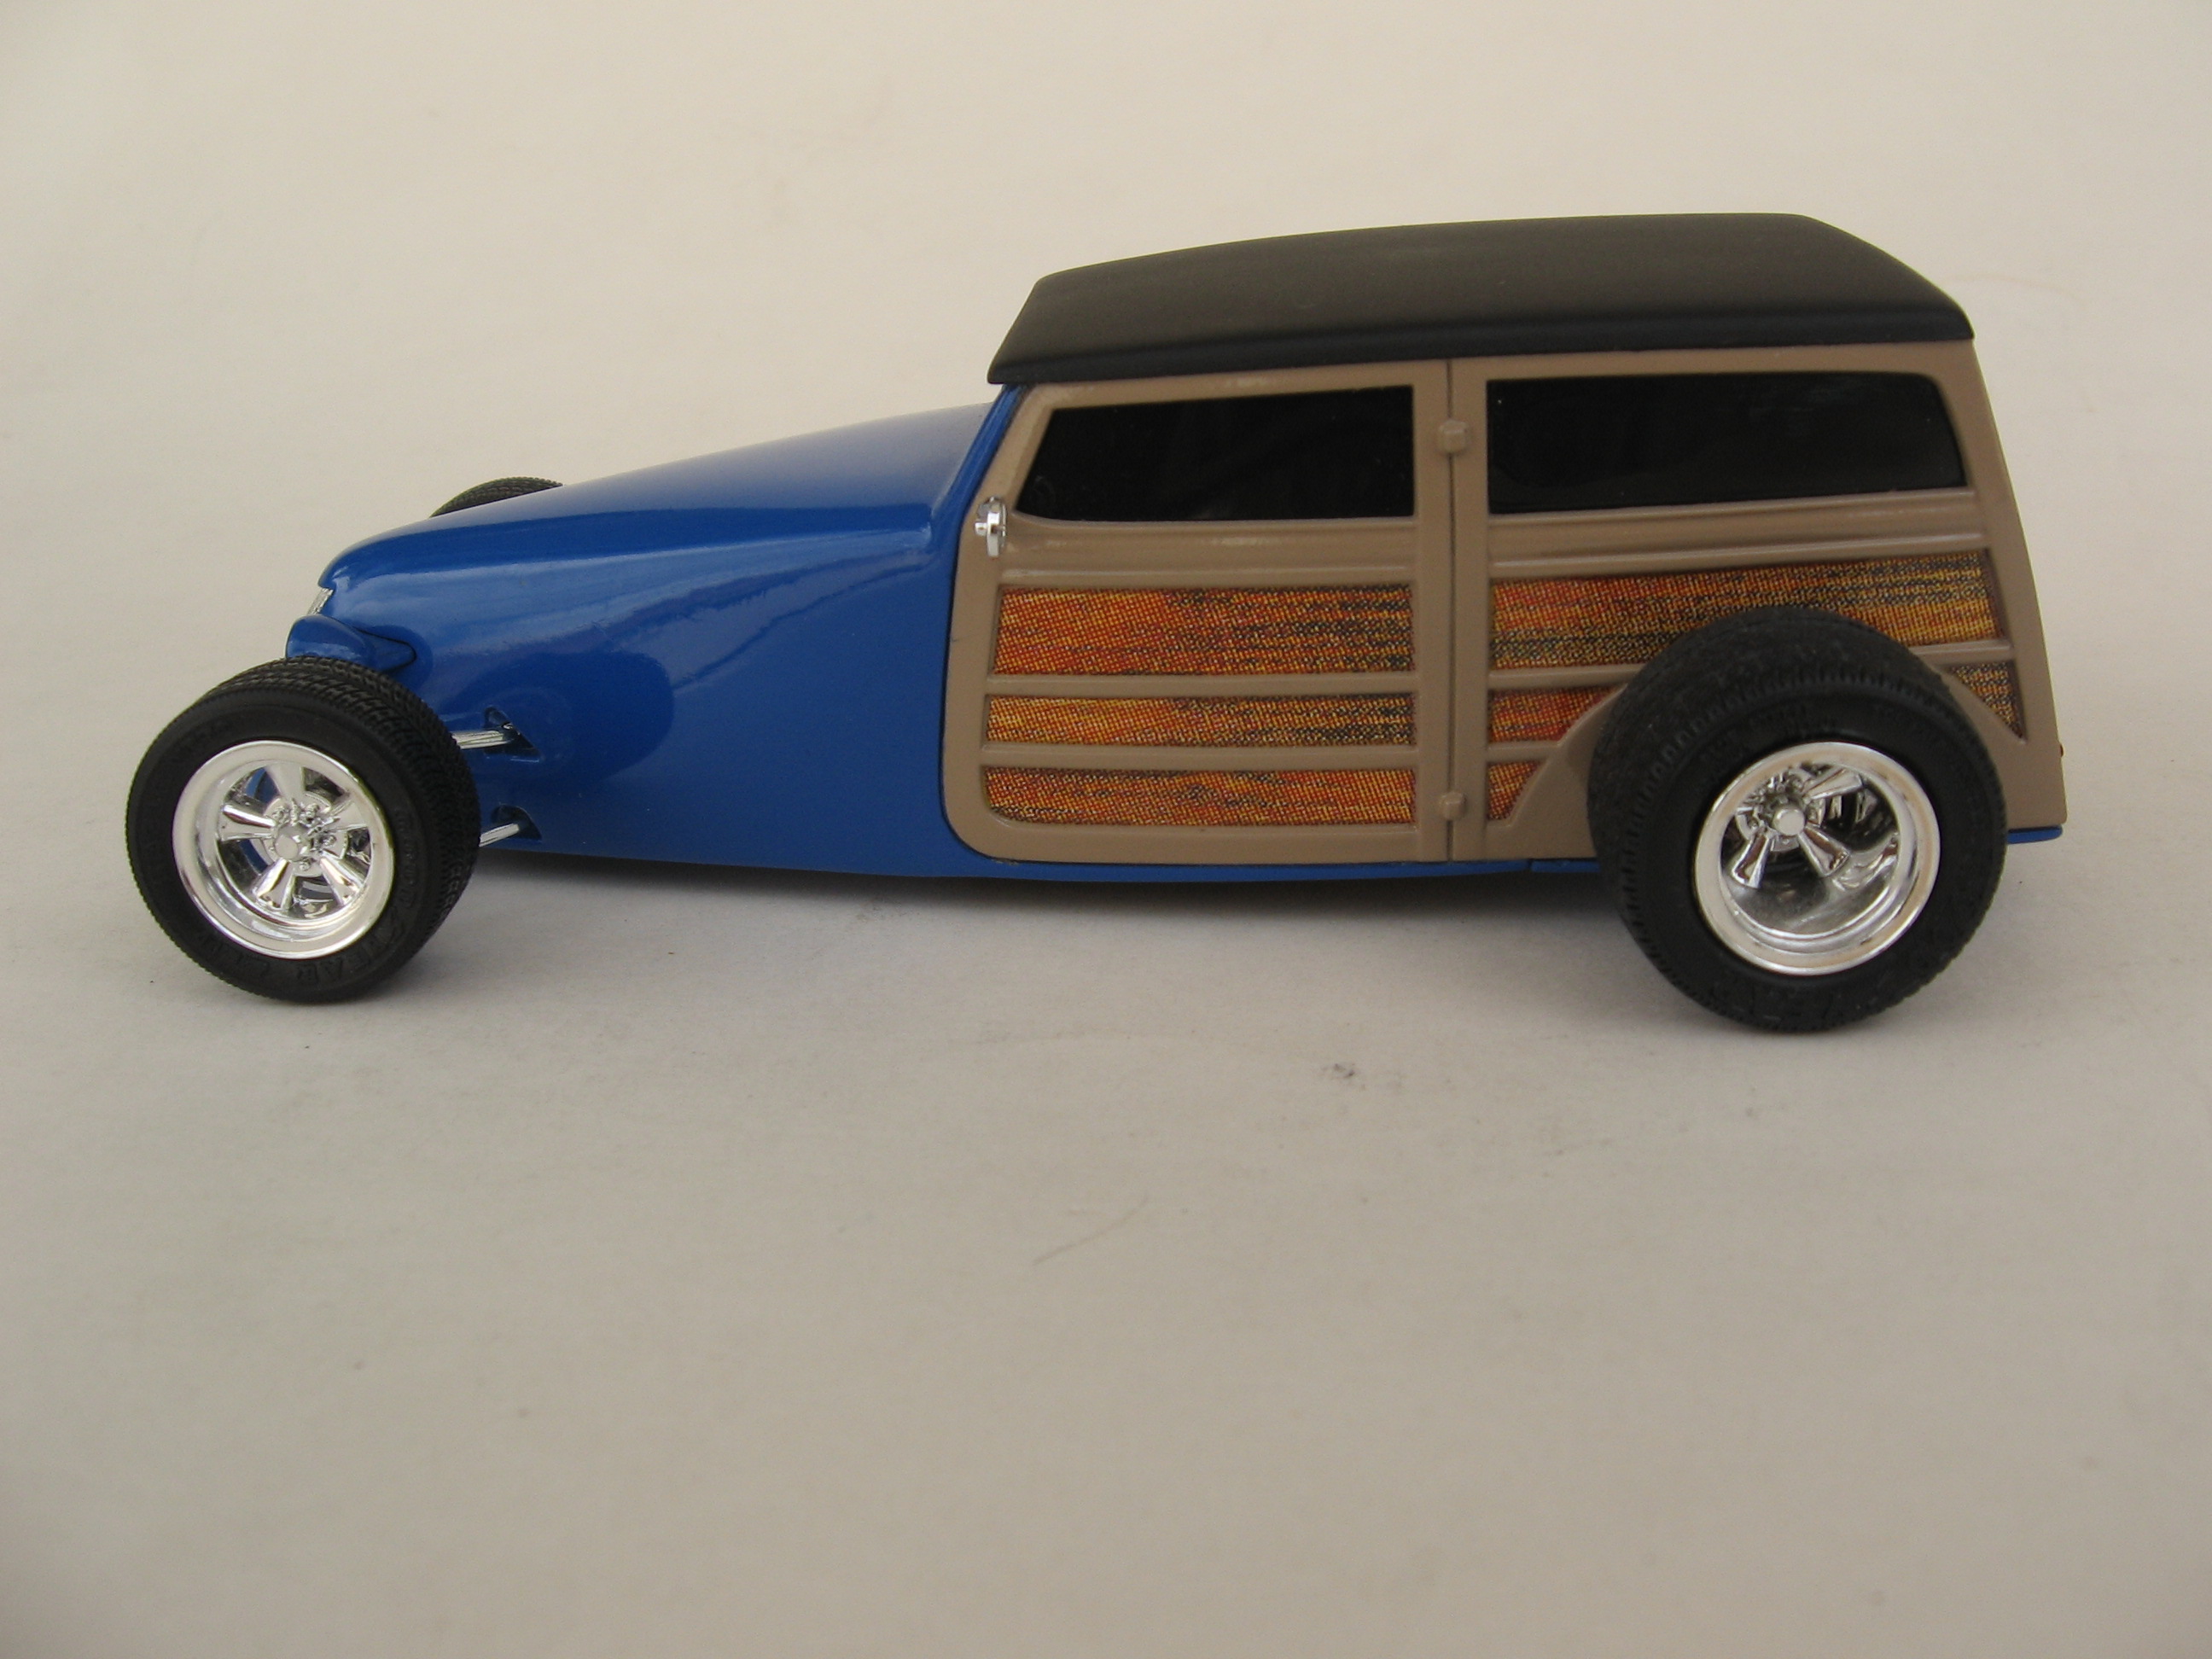
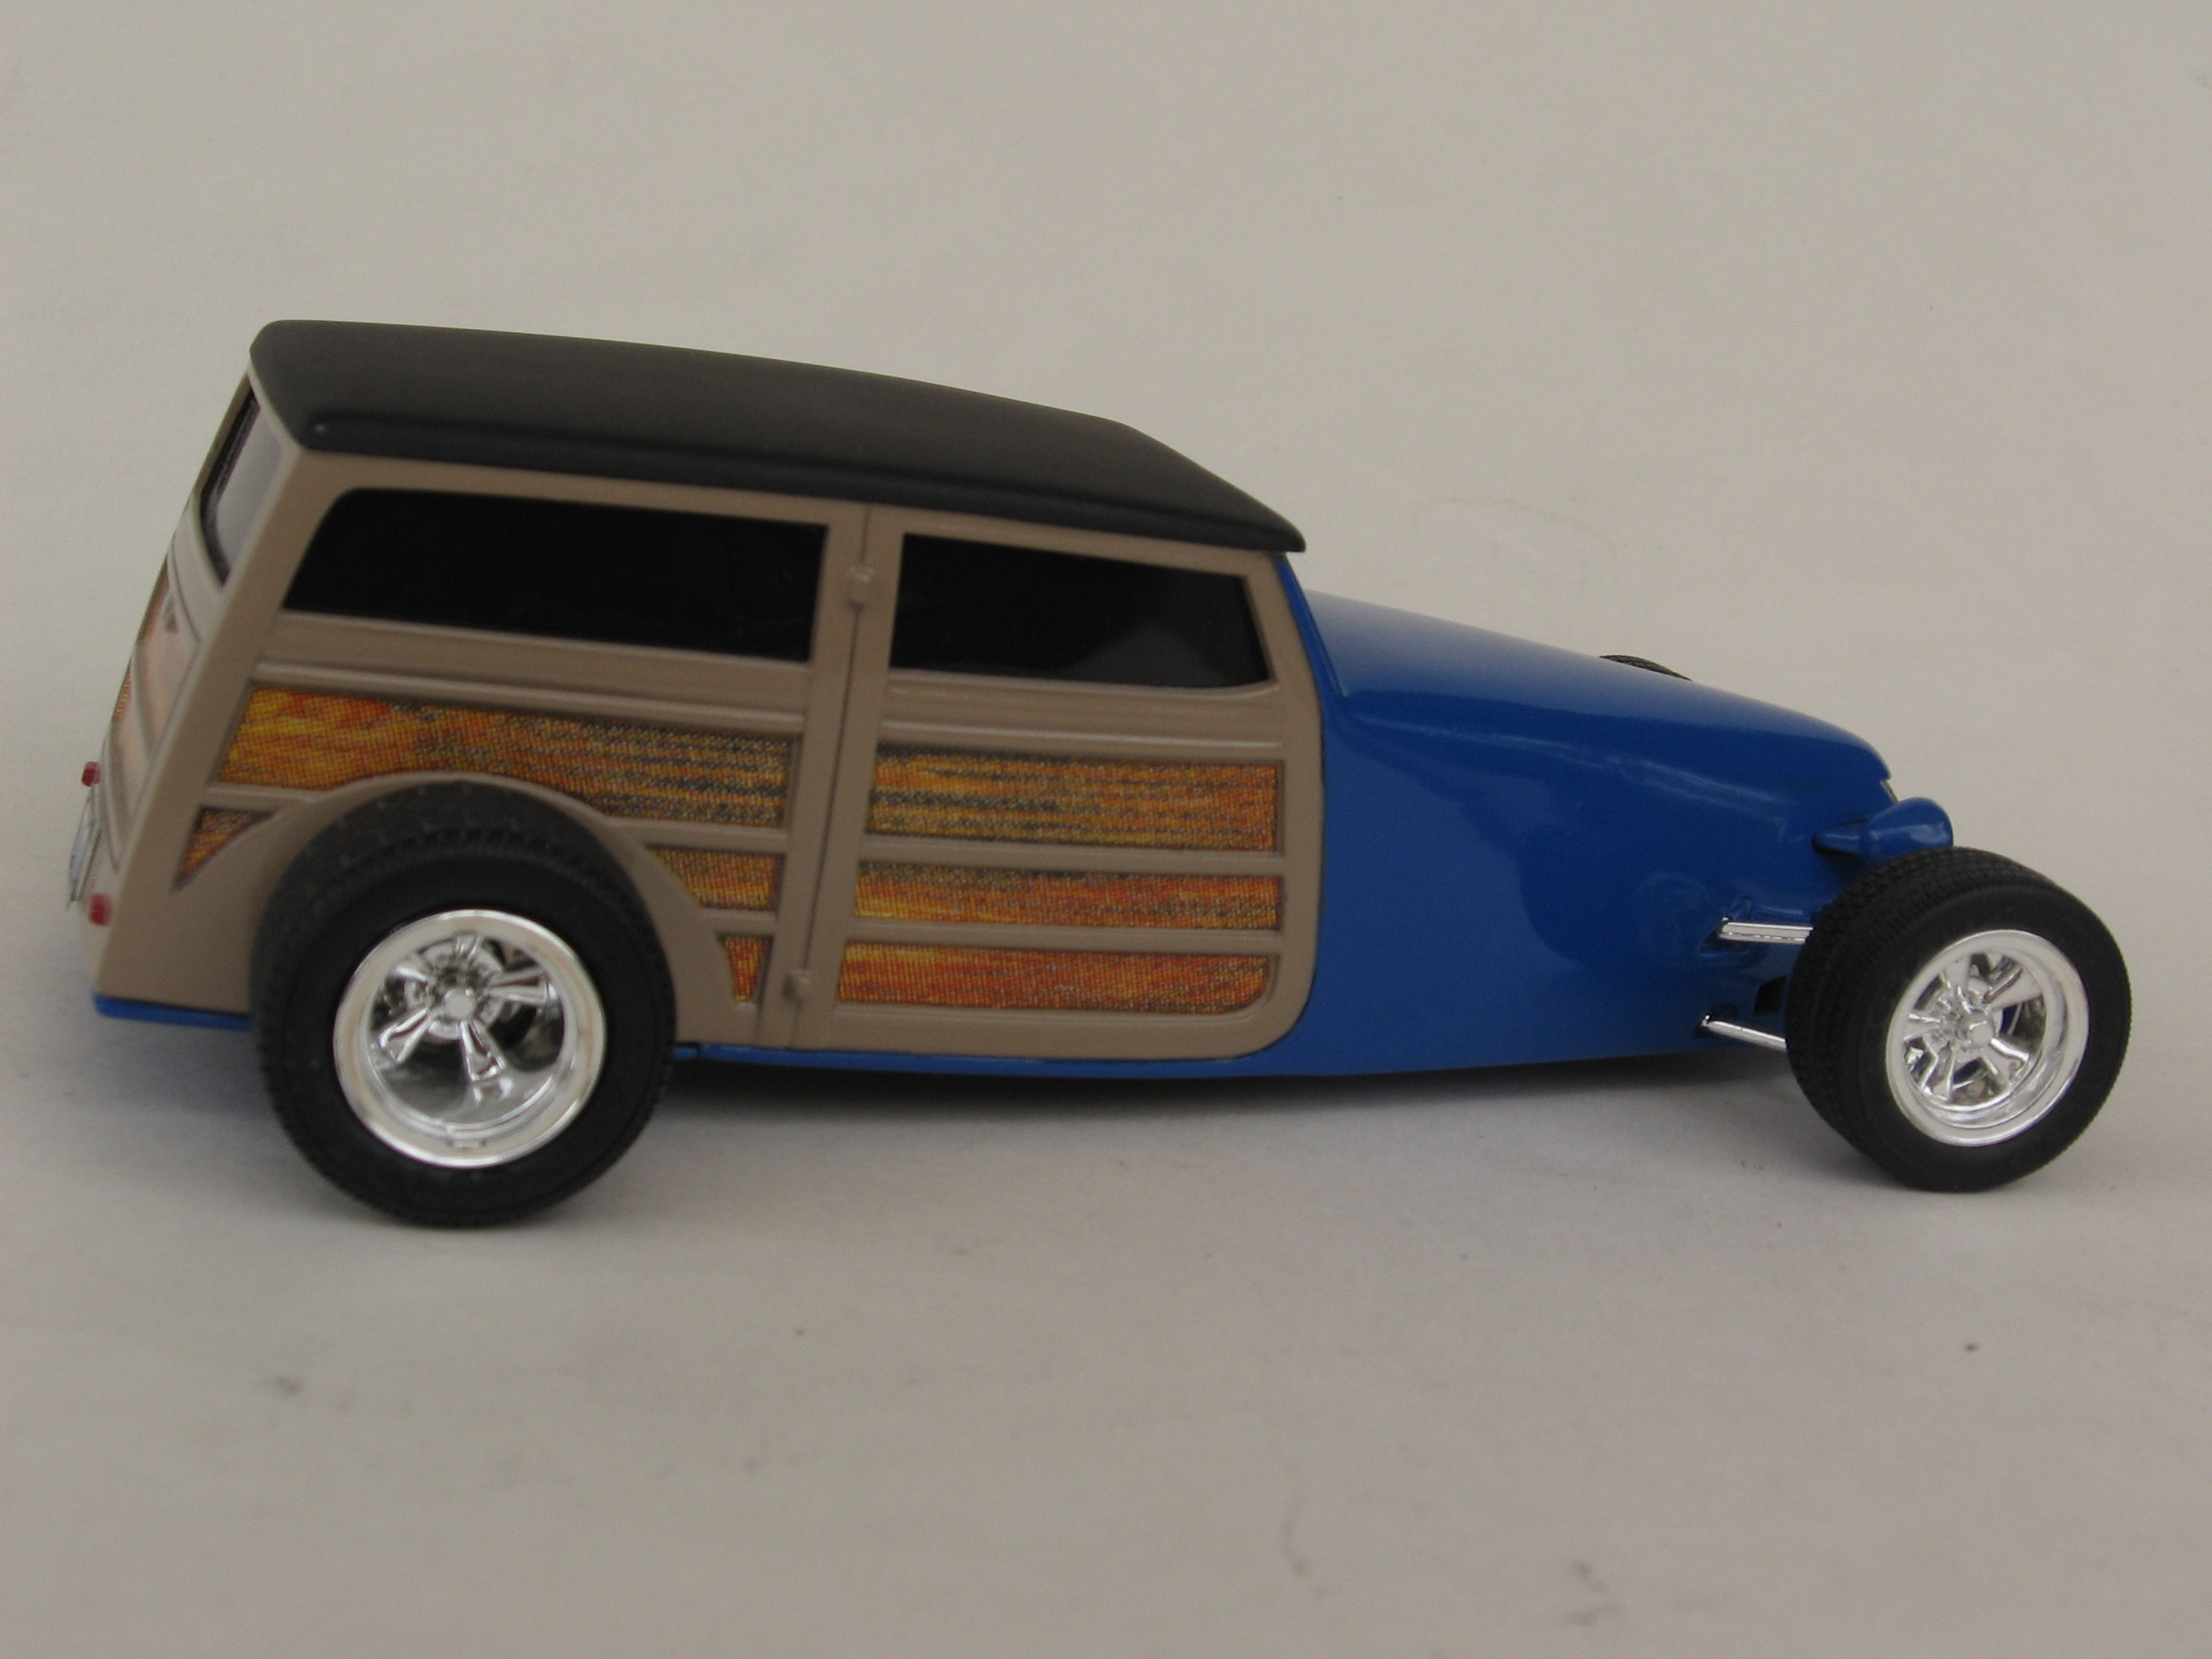
This was built several years ago. I started with an old Revell '29 sedan (as I recall). I chopped off the greenhouse and shortened the body by removing material from behind the doors. The tonneau cover is made from Evergreen sheet plastic. The frame is from the Revell '32 with a Revell flathead for "motorvation". The front suspension is a torsion bar setup. In hindsight, it would look better with whitewall tires. Build-up pix here: http://public.fotki.com/jferren/a-tub/ Thanks for looking.... -RRR
-
-
What if the Aluma Coupe collided with the Speedwagon? -RRR
-
your best, KK... -RRR
-
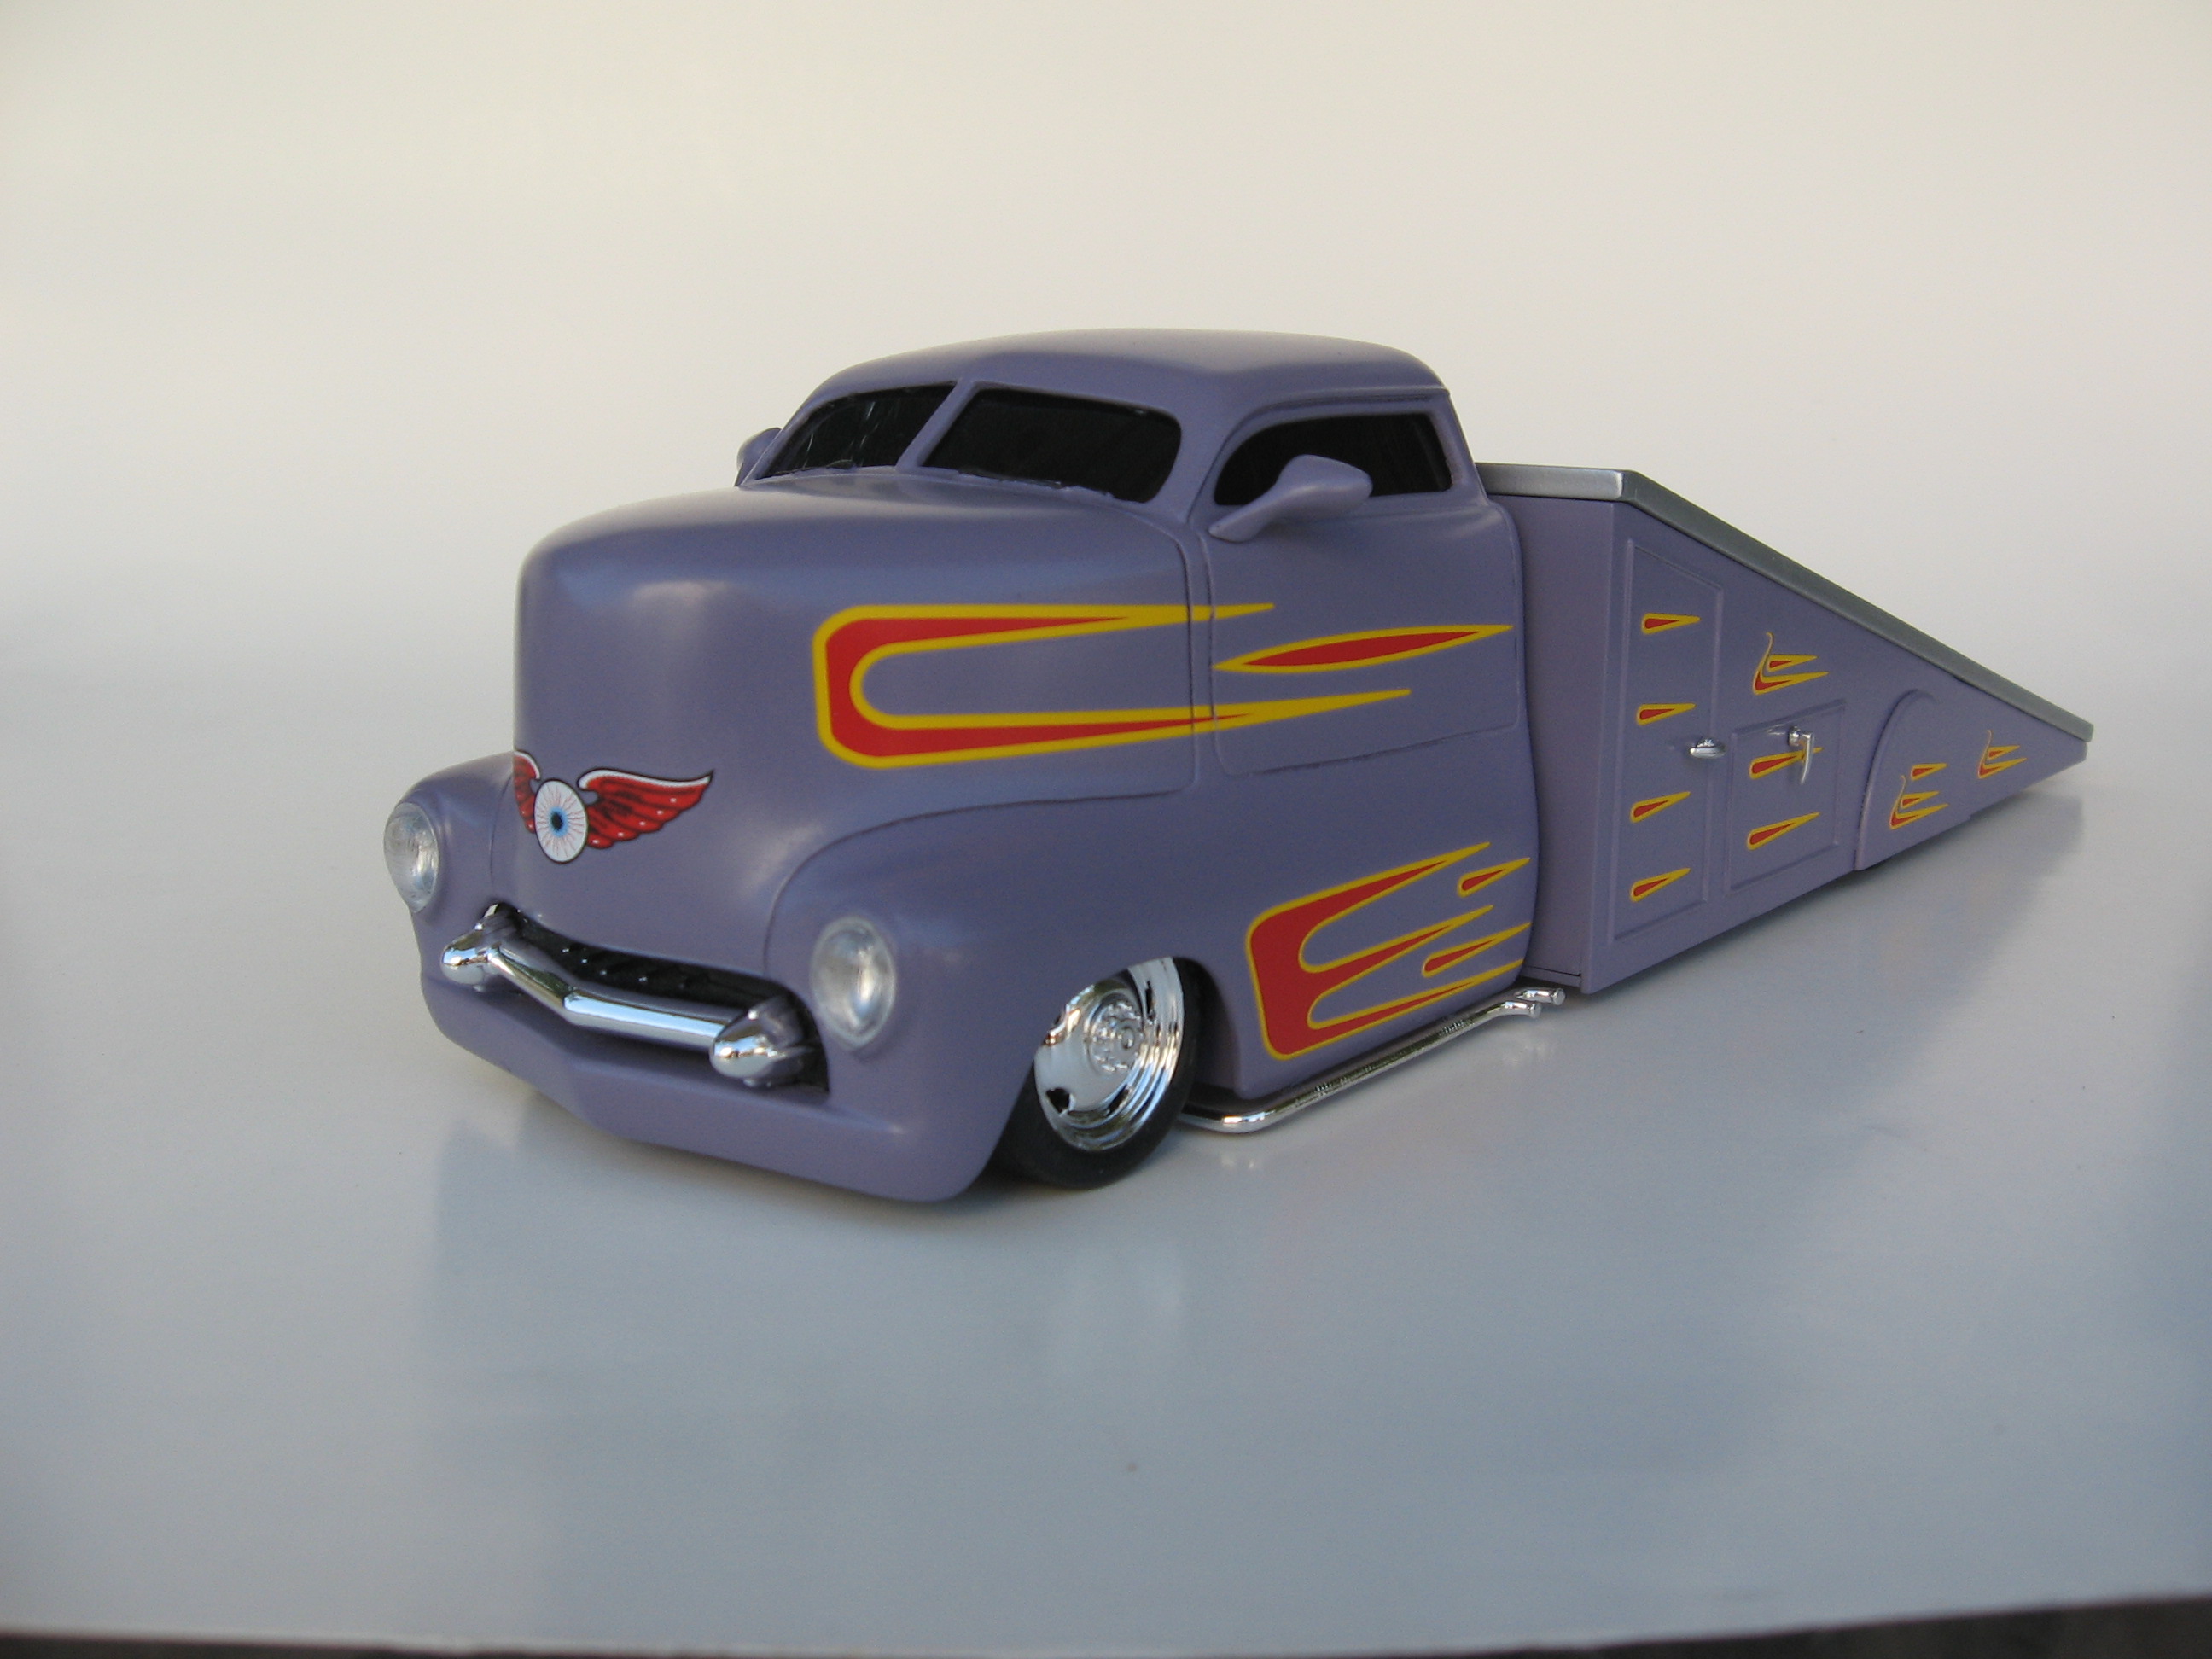
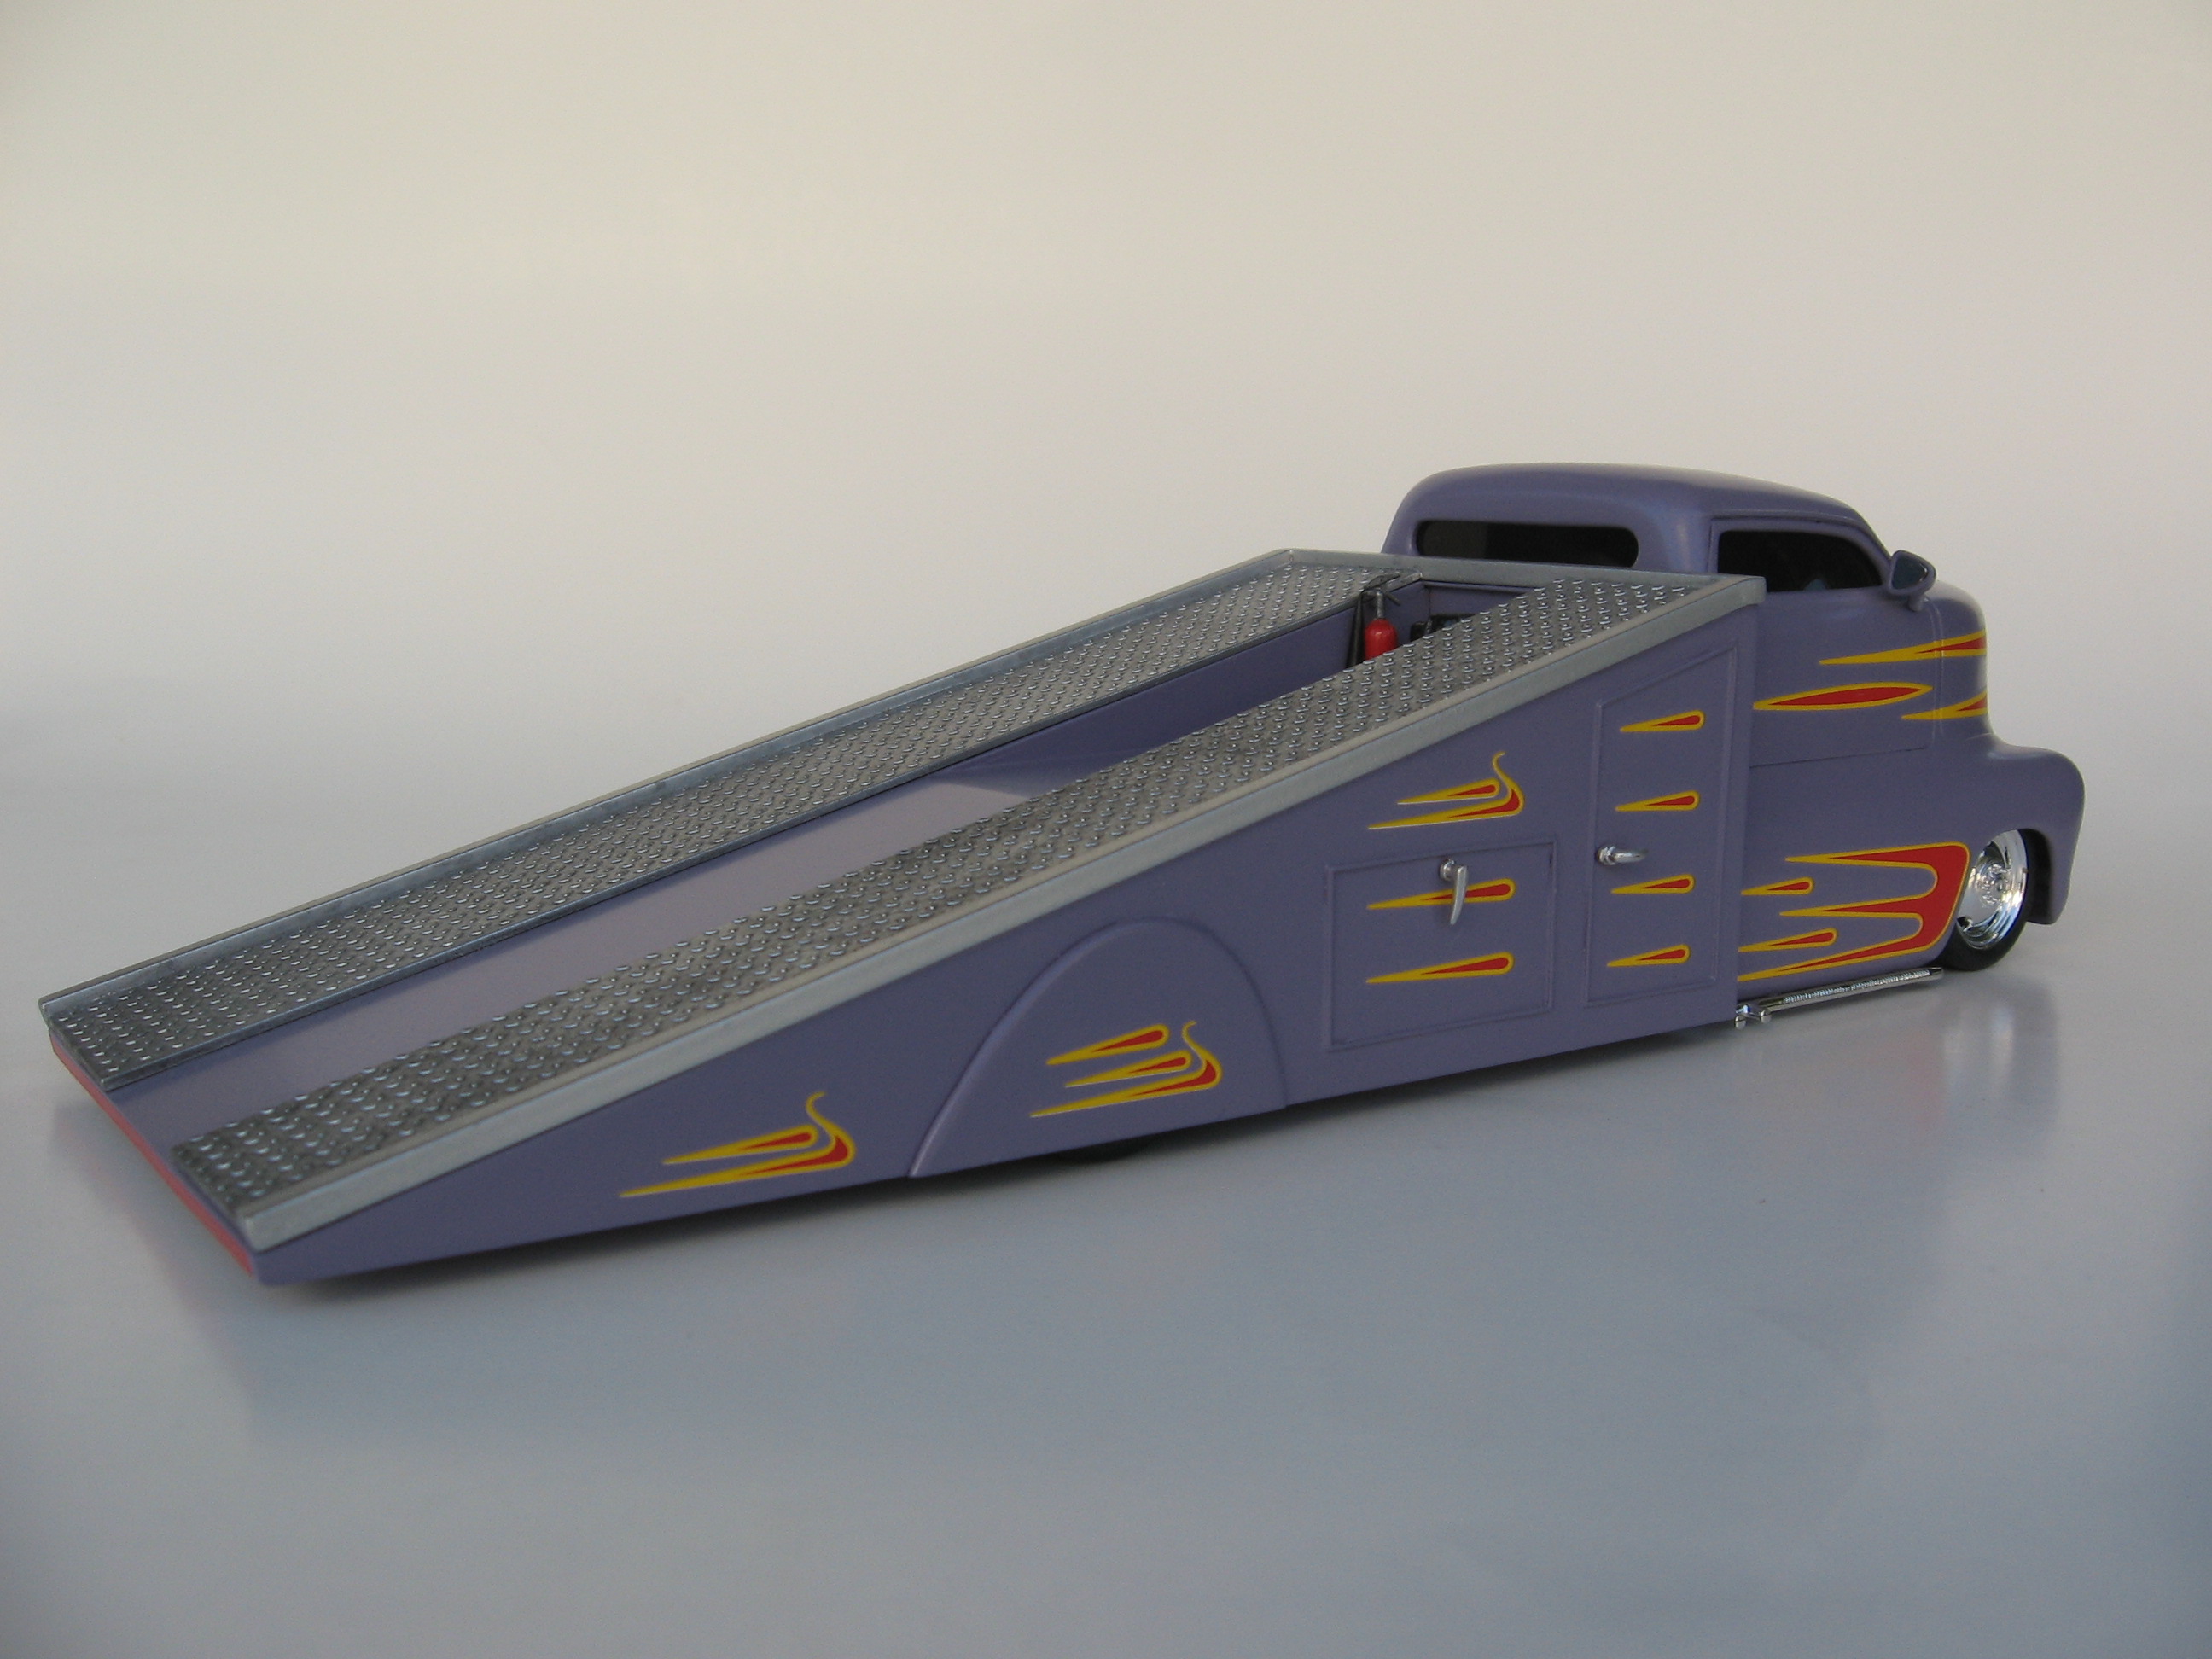
This is the body I started with: http://jimmyflintstonestudios.com/?product=nb140-1949-mercury-cab-over-truck -RRR
-
Revell '30 Model A 5ive Window Coupe
Rocking Rodney Rat replied to Rocking Rodney Rat's topic in Model Cars
The front wheels and tires are from Revell (available in several kits, '48 Ford, '40 Ford, '32 Five window coupe etc.) The rear tires are from the Monogram 1941 Lincoln with the steel wheel put together from the Lincoln kit outer rim with the inner rim from the Revell kits. See pix here on how to make those rear wheels: http://public.fotki.com/jferren/tall-rear-tire-with/ -RRR -
Wowie Zowie!!!! I just read through this whole thread. This is your best to date! Keep up the good work. Ya got me wanting to build another rod!!! What to do is the question. Actually I have another started project to finish (in addition to finishing the Flying Wedgie) before I tackle another project. -RRR
-
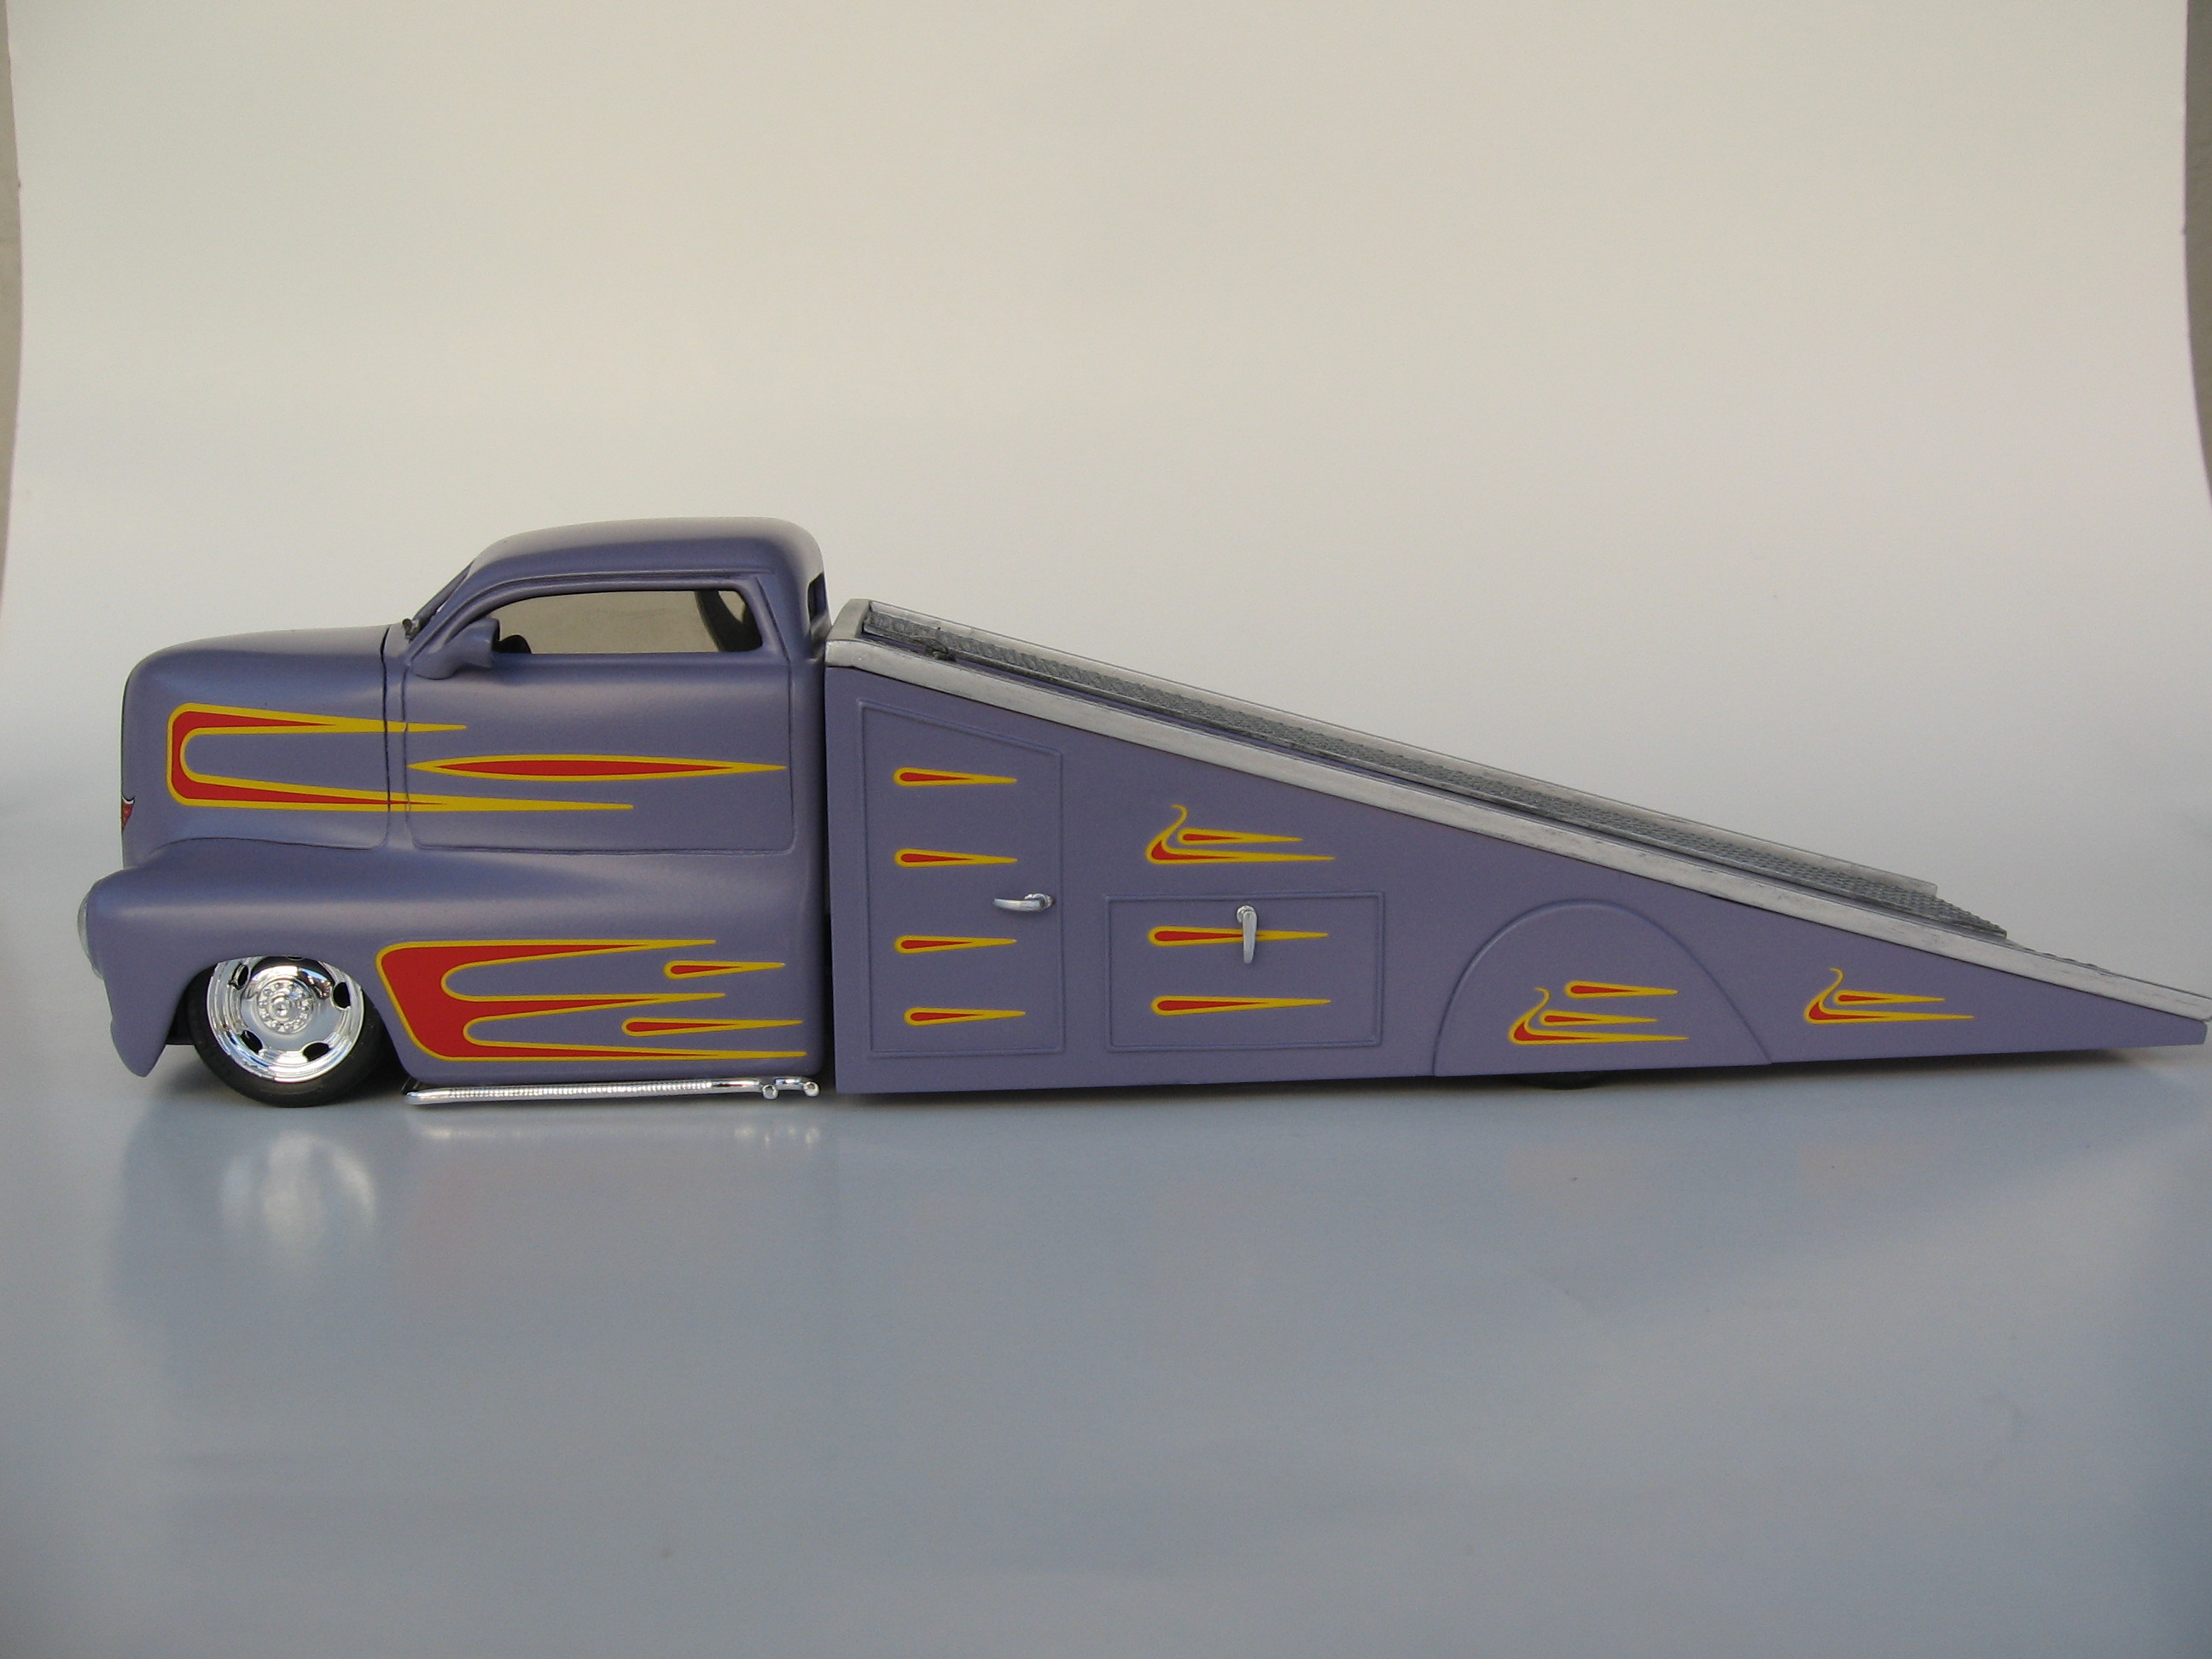
I built this using the Jimmy Flintstone Merc COE resin blob. I cut the body in half and chopped the top. The bed is scratch built. Decals are from Slixx. Done slammer style (no interior or chassis). -RRR
-
K&R Kustoms+Rods '32 Smooth Double Nickel
Rocking Rodney Rat replied to Rocking Rodney Rat's topic in Model Cars
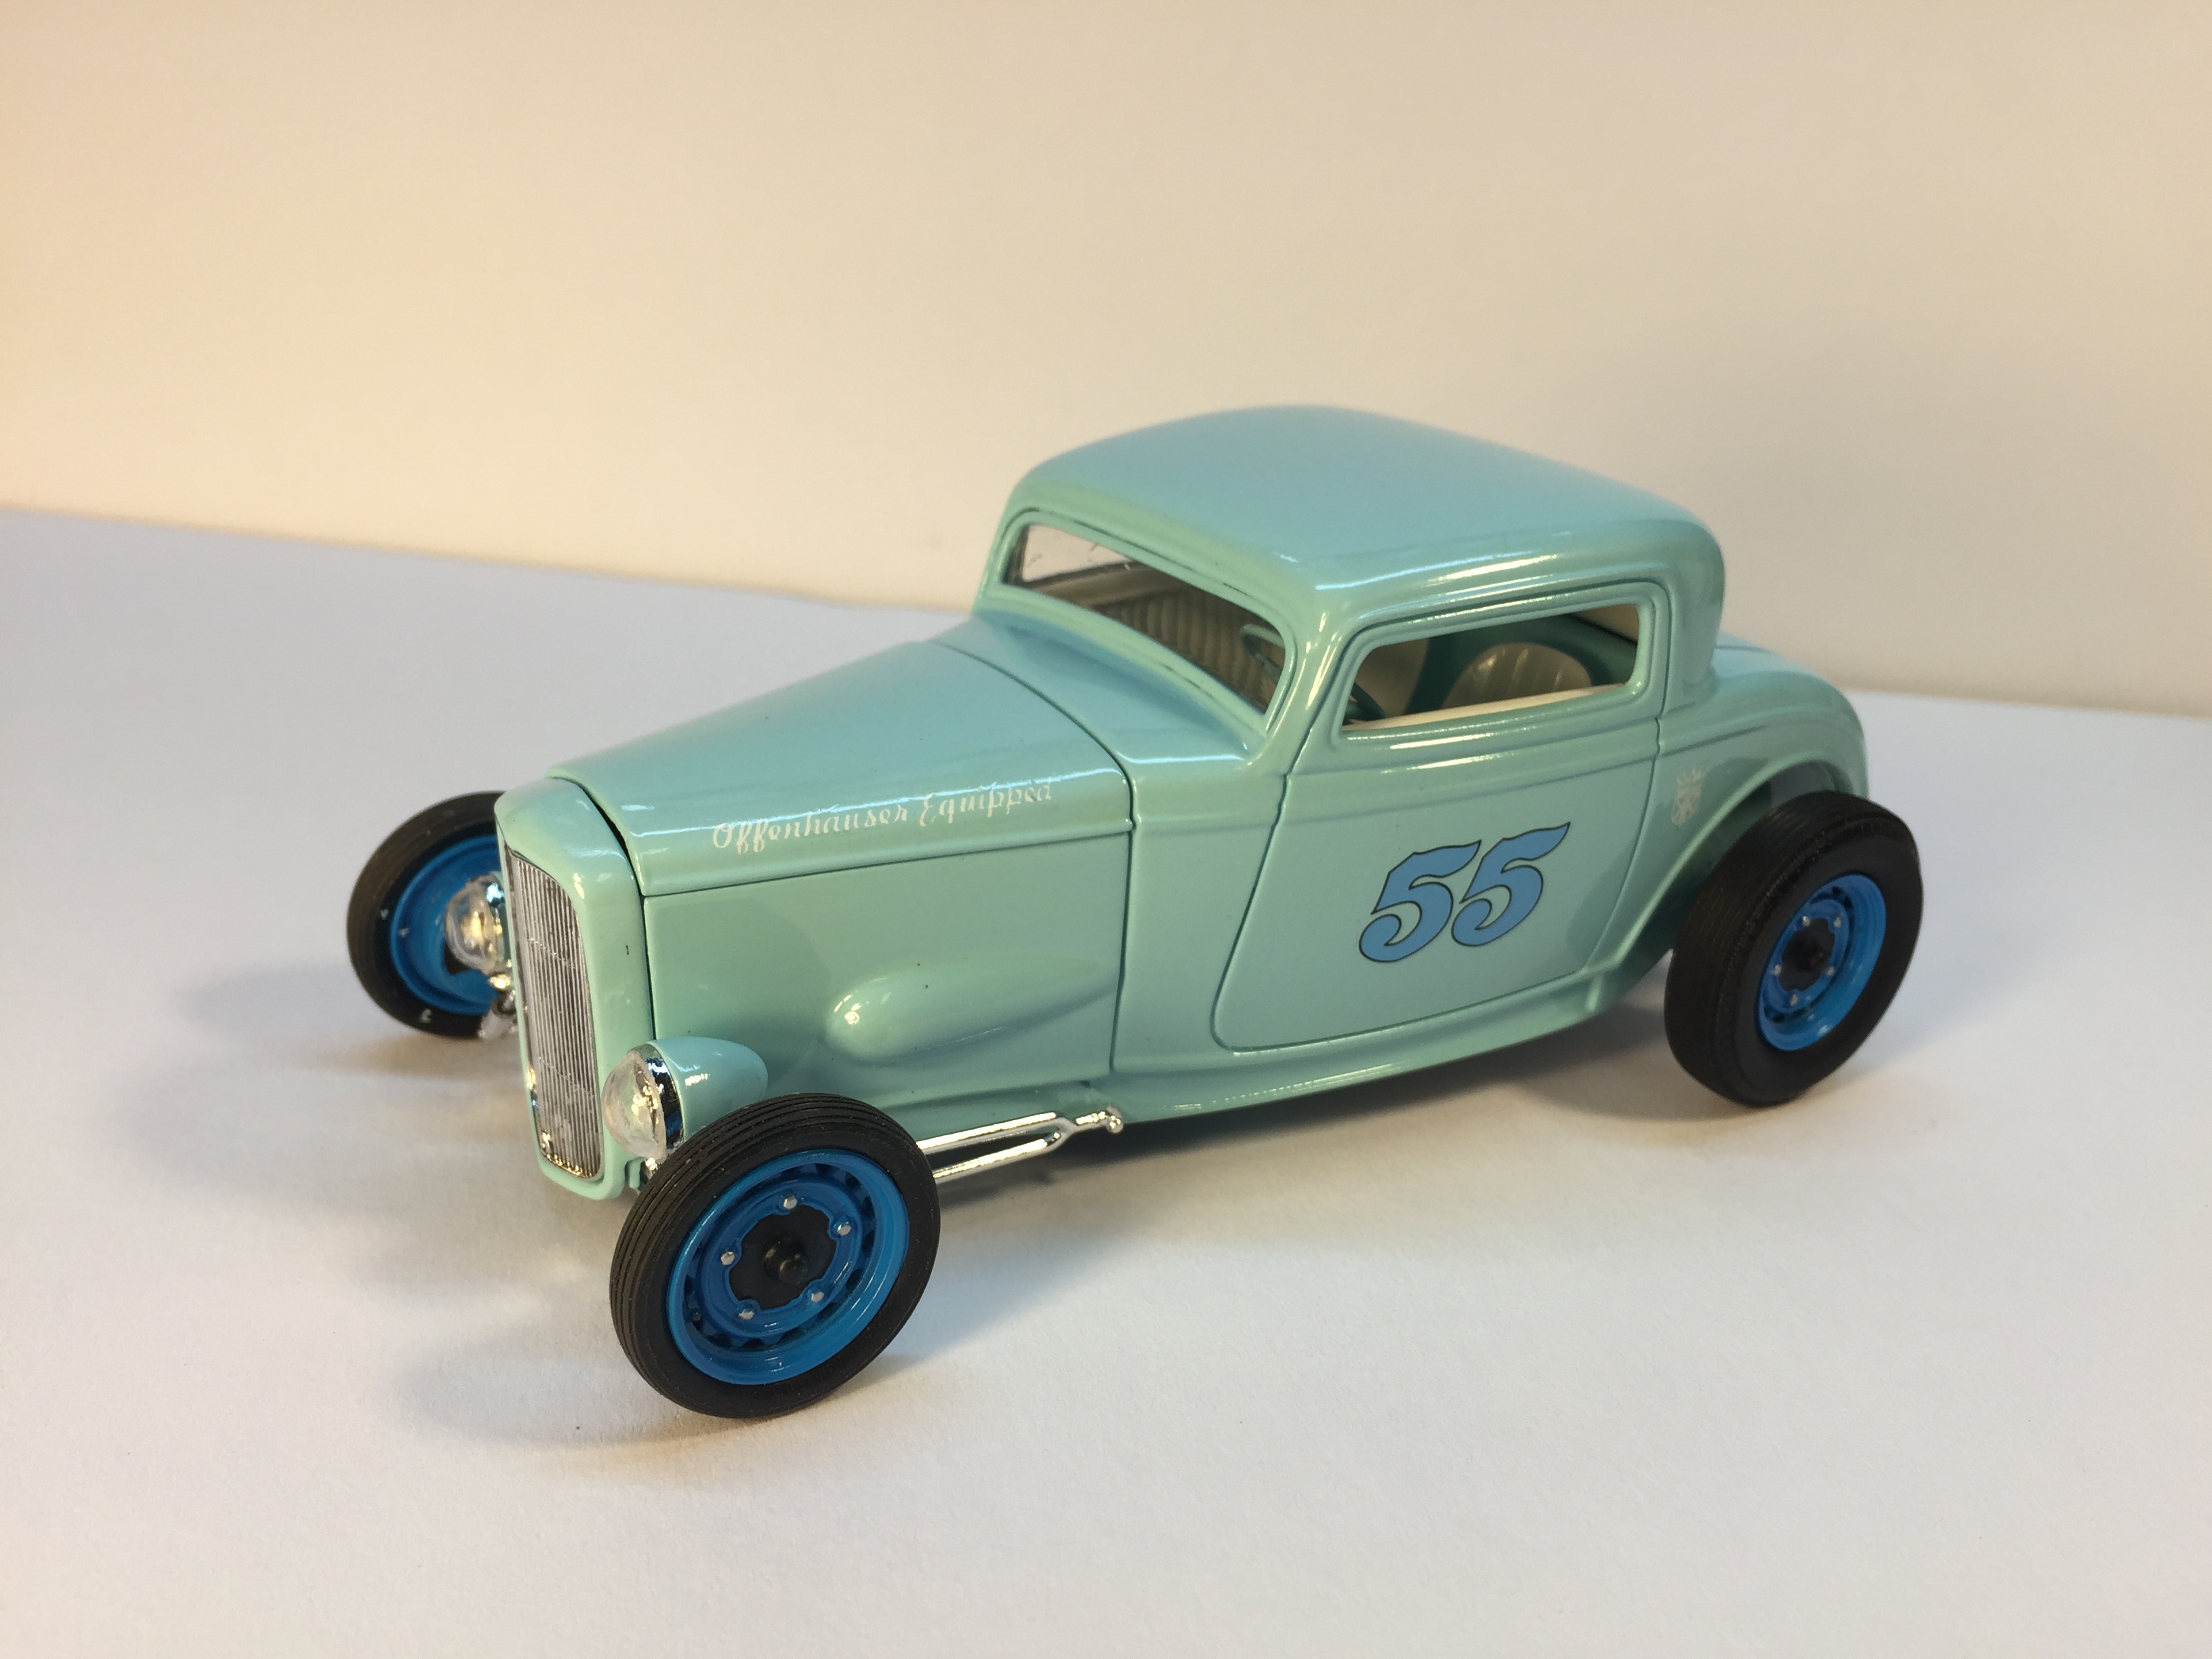
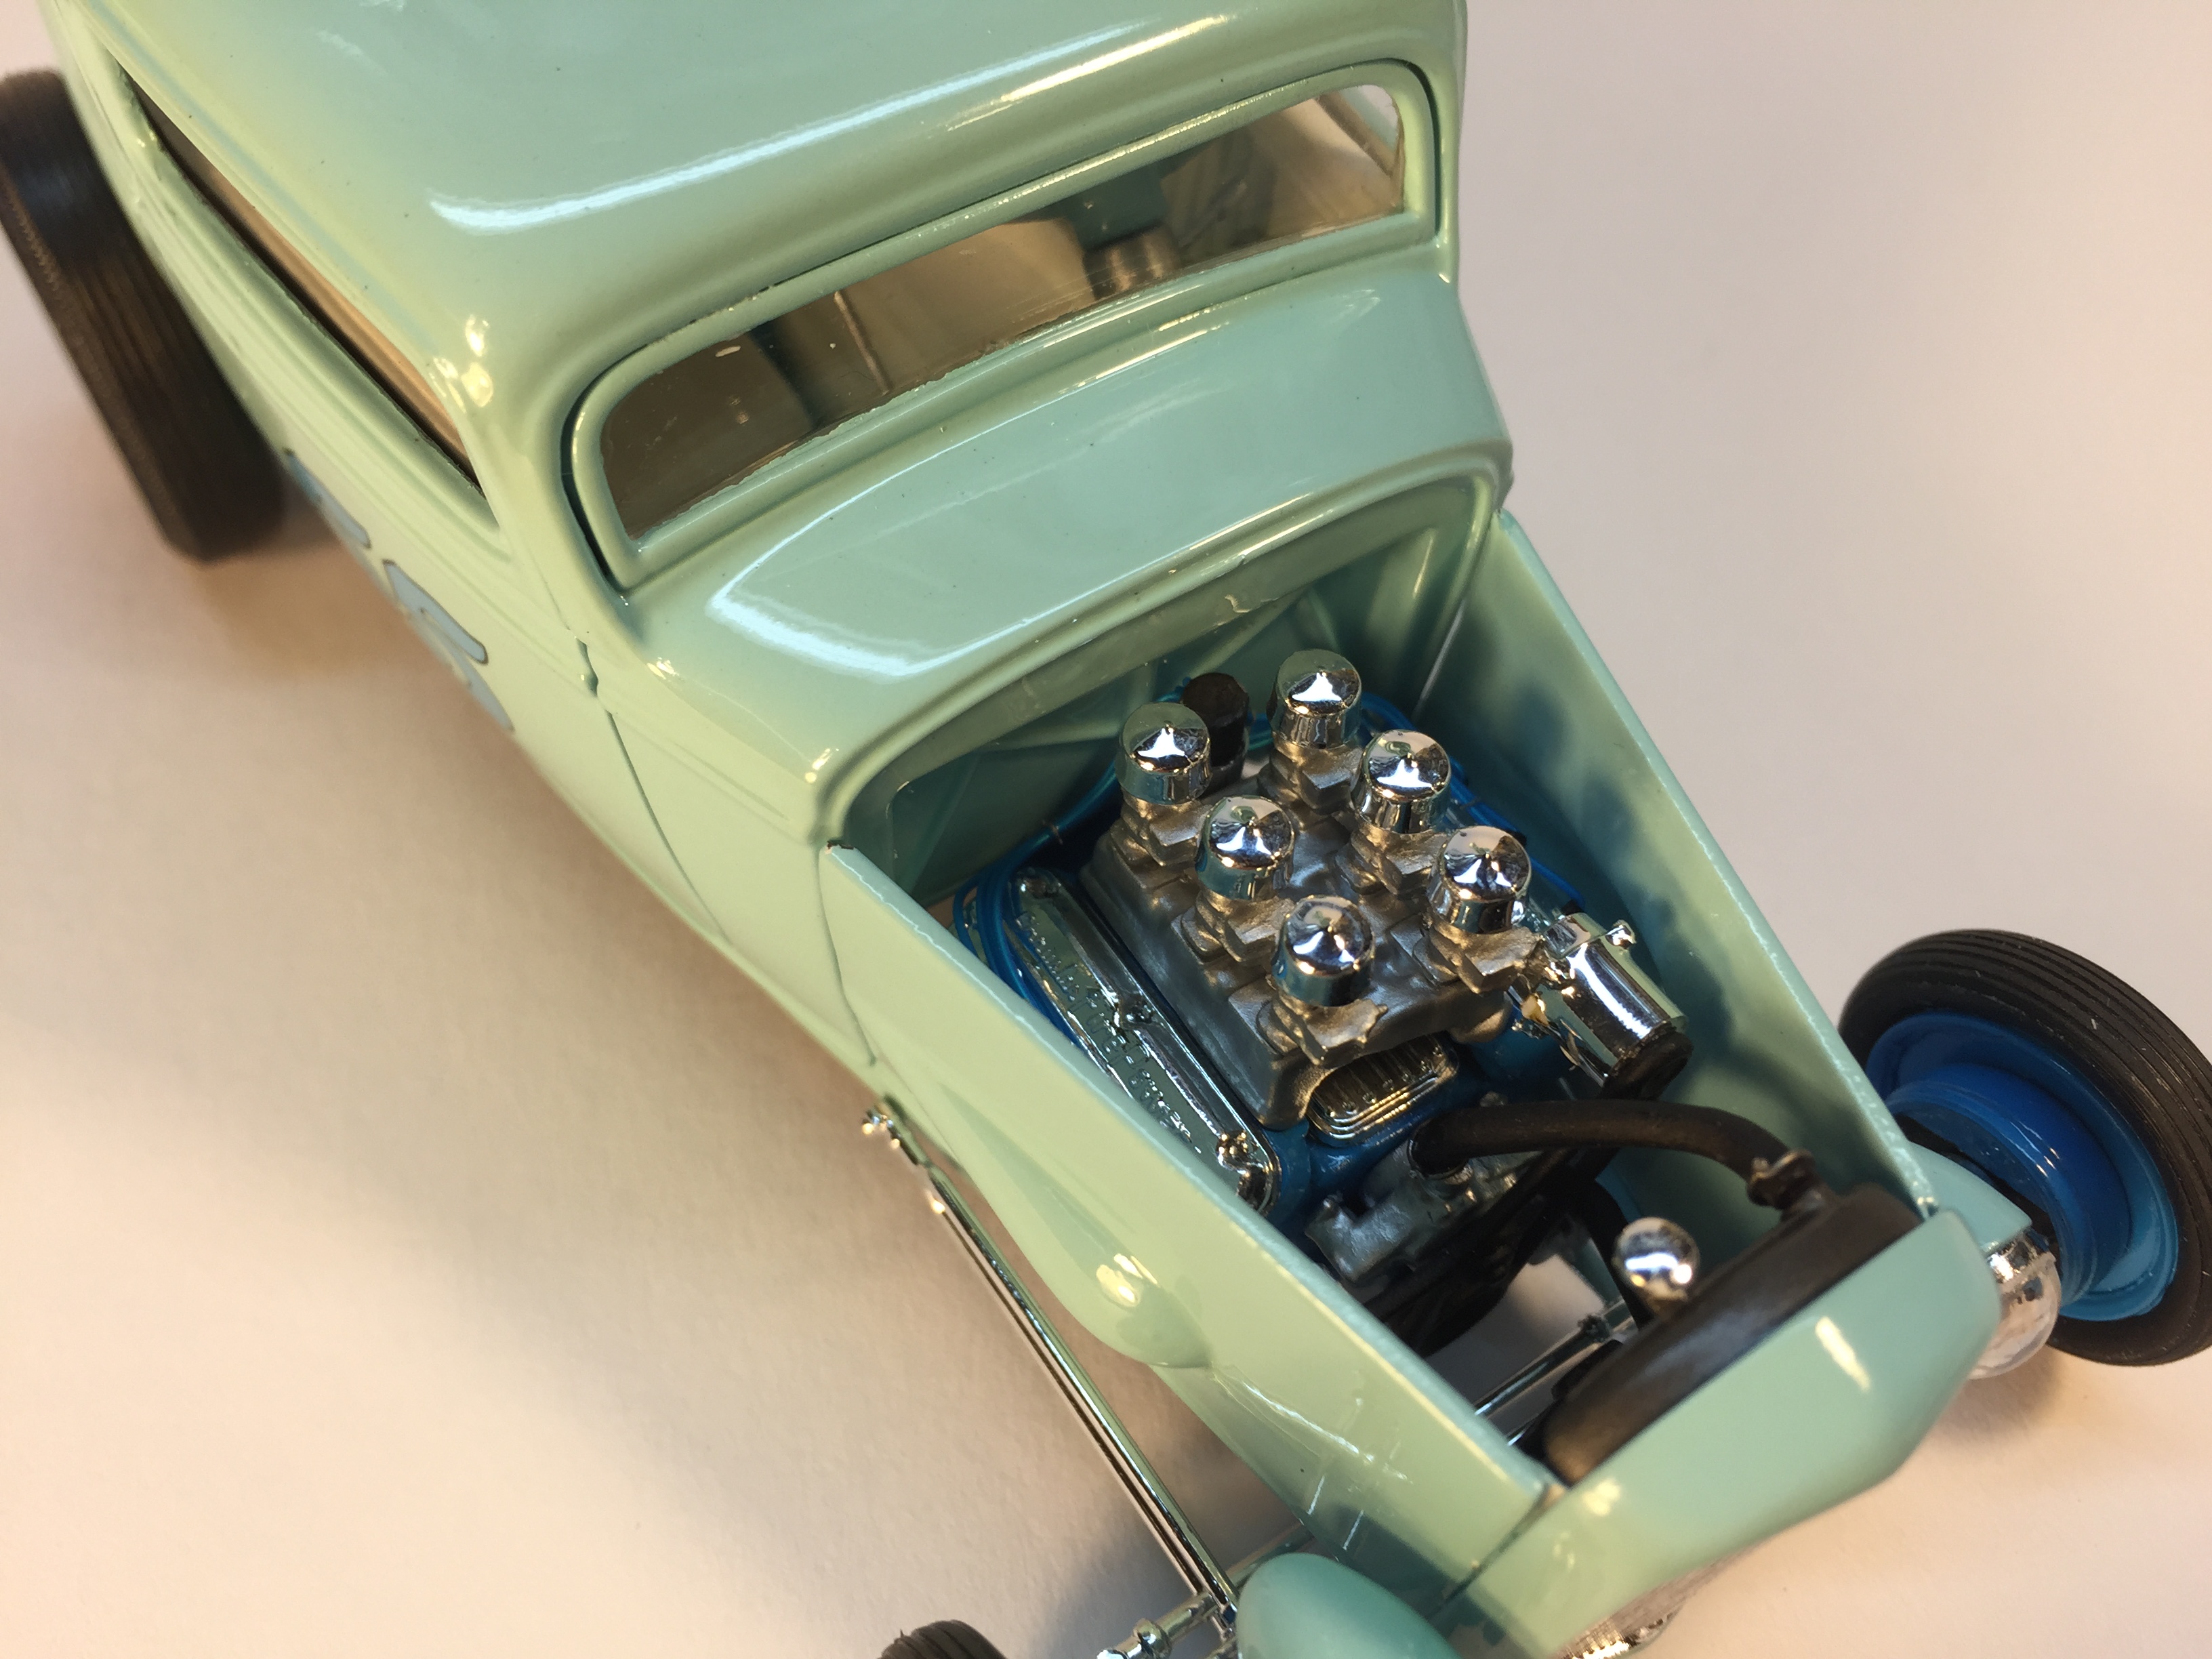
Hood sides are made from stretching the smooth sided Revell '32s and adding blisters that are from the floor pan (in some versions of the?) Revell Orange Crate '32 sedan kit. And, yes '36 headlights, from the AMT kit. -RRR -
Reet, Daddy-o!!! -RRR
-
hello from the tropics
Rocking Rodney Rat replied to Rocking Rodney Rat's topic in Welcome! Introduce Yourself
Thanks Bernard. I think we got started on TRaK several years ago. The mod there was a bit heavy handed (IMHO) I guess he had to be based on the narrow scope (not necessarily a bad thing) of the board. I got tired of all of the infighting and general bs there. Then I was convinced to join fb. Again, too much drama, political bs and the like. I have been off line as far as modelling goes for about two years (?) or so. I'm trying this. I'd love to see a rod and kustom area in which to post as that's my specialty....so in the meantime I'm posting up a bunch of stuff. We'll see how it goes... -RRR -
We need more hot rods being posted here!!! Build-up pix here: http://public.fotki.com/jferren/32-smooth/
-
Shorty Nova Wagon
Rocking Rodney Rat replied to Rocking Rodney Rat's topic in WIP: Drag Racing Models
You can see all the build-up pix here; http://public.fotki.com/jferren/shorty-nova-wagon-/ -
Yes it does look like a salt flats streamliner doesn't it? Thaks for all the kind words, gents... -RRR
-
Shorty Nova Wagon
Rocking Rodney Rat replied to Rocking Rodney Rat's topic in WIP: Drag Racing Models
Yes, I use the Testors Metallizers. http://www.testors.com/product-catalog/testors-brands/model-master/metalizer-lacquer-paint/sprays Titanium, Magnesium, Stainless Steel, Aluminum Plate along with Tamiya Silver Leaf. I like the subtle different shades each color has, it breaks up the monotony of painting everything 'silver'. A helpful hint on the metalizers, use the metalizer sealer overcoat otherwise the paint will rub off on your hands and make quite a mess. -RRR -
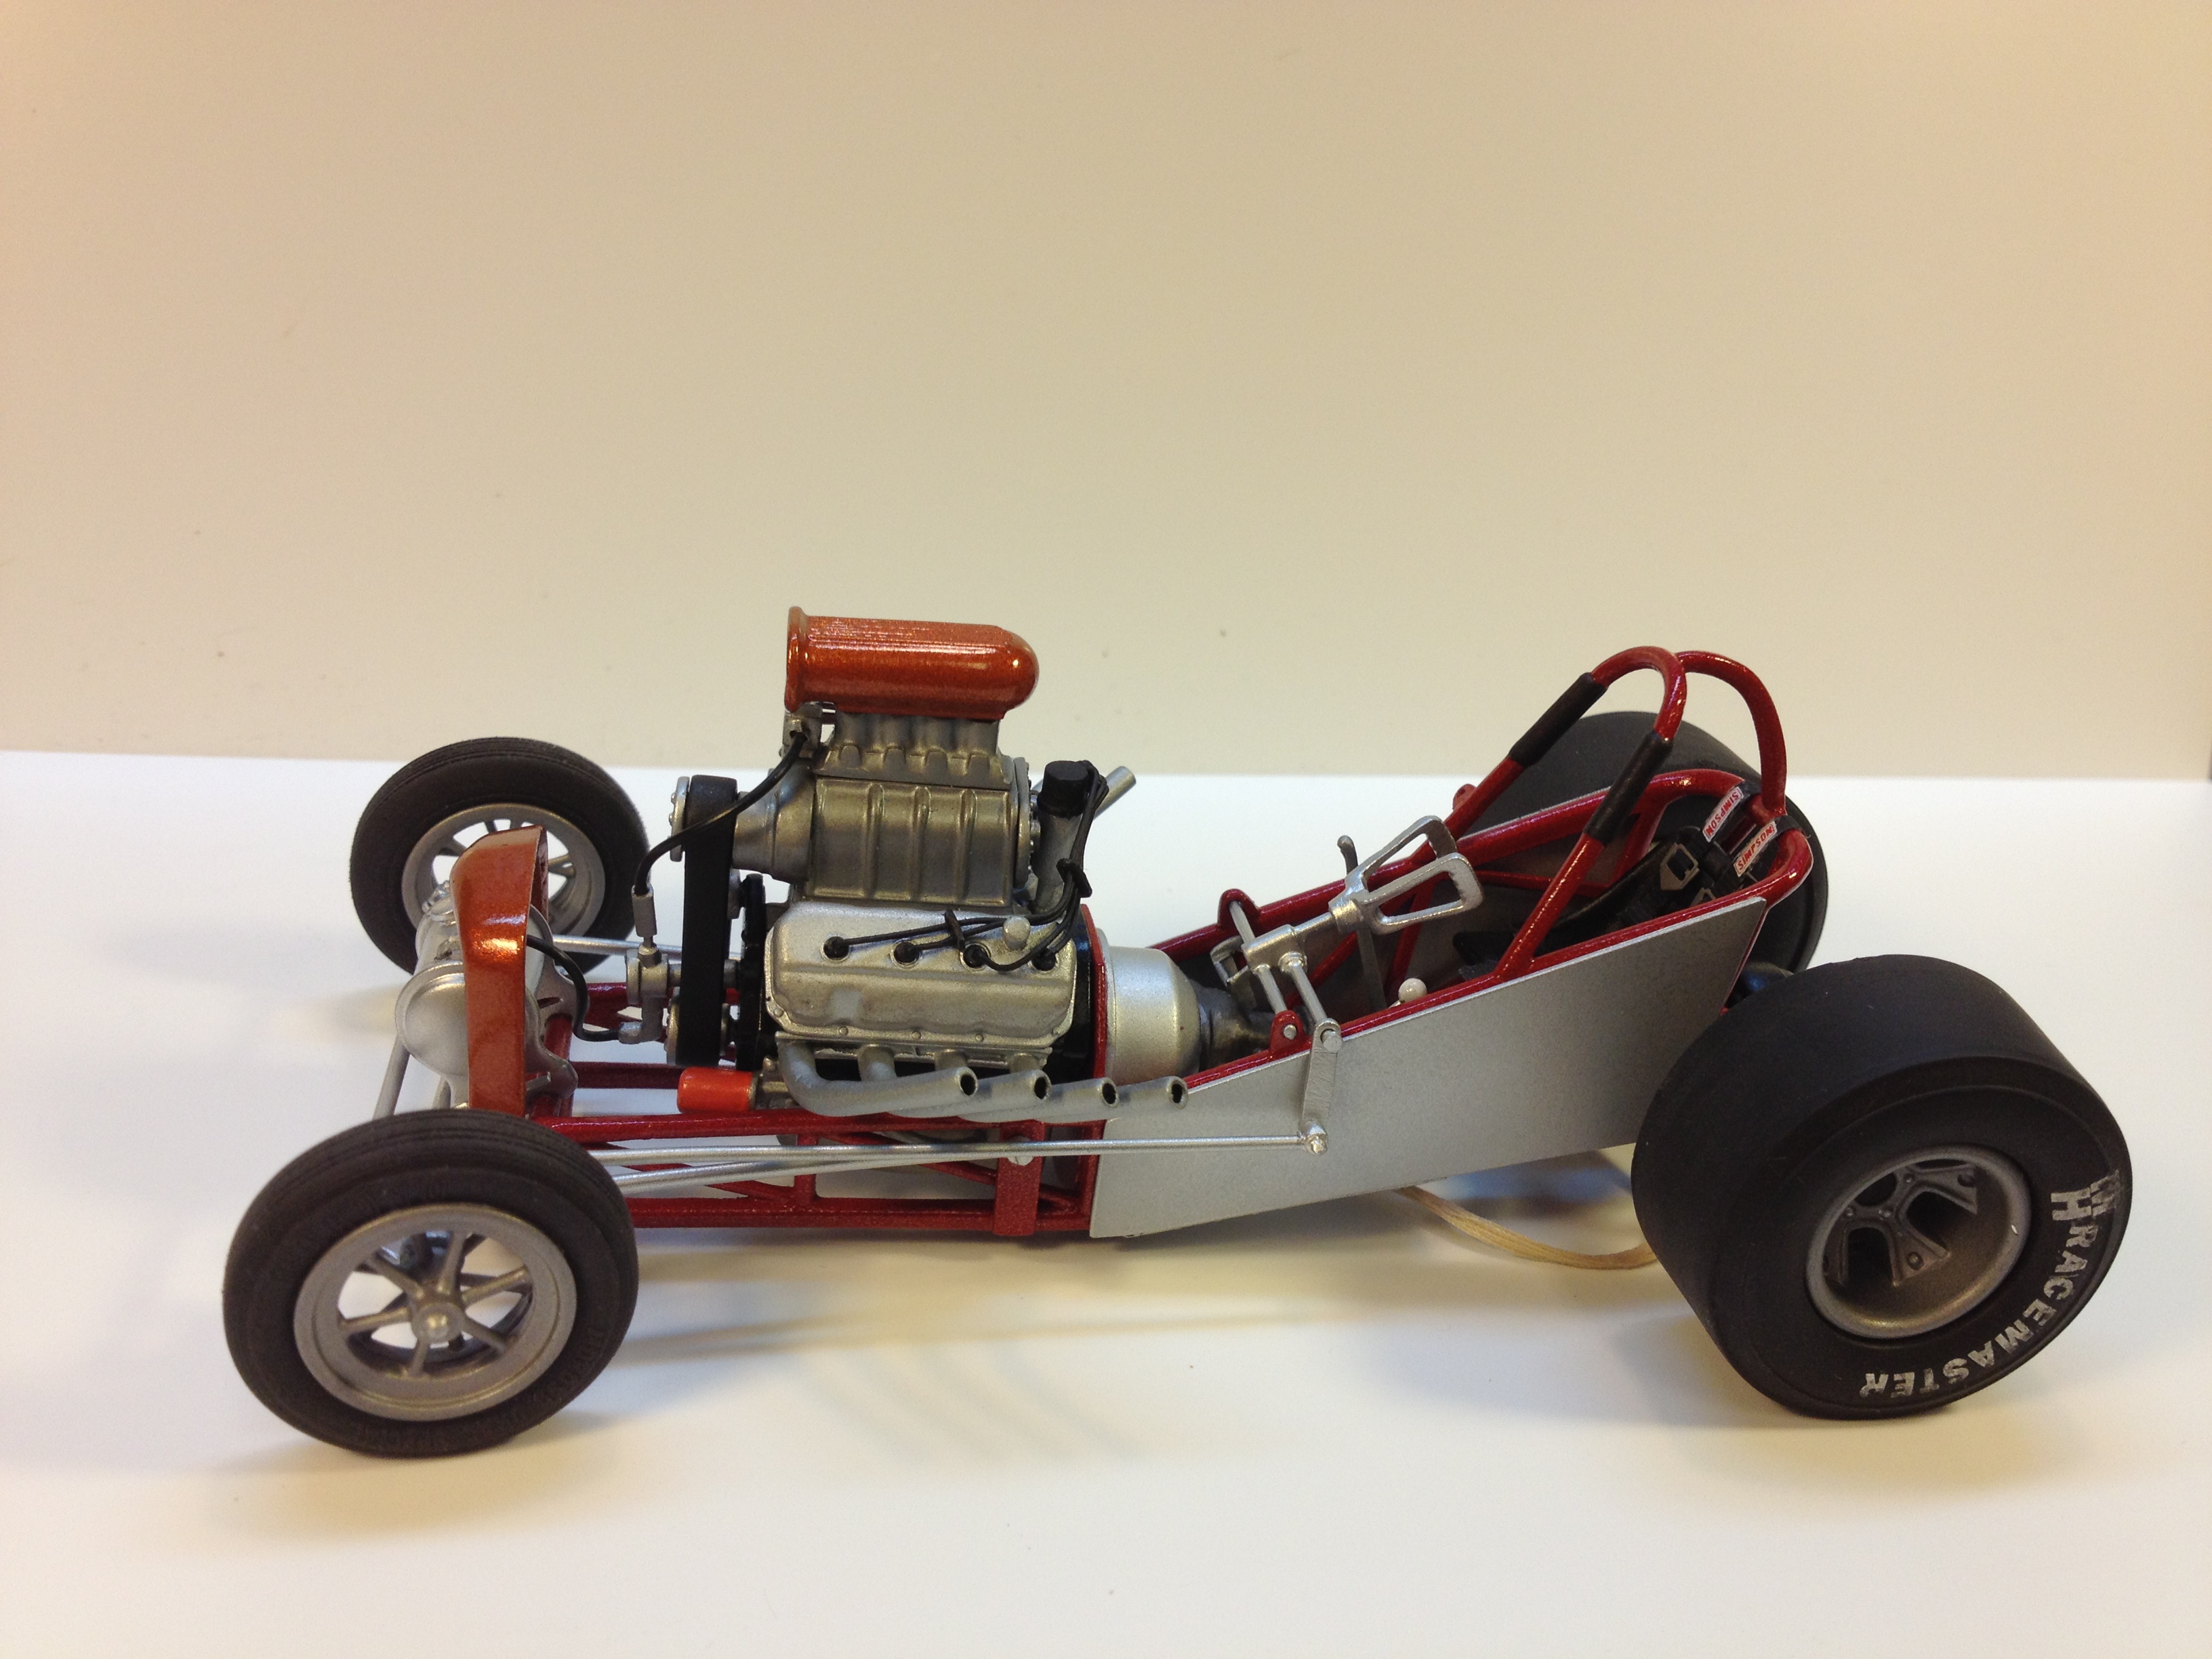
Build-up pix here: http://public.fotki.com/jferren/rear-engine-dragste/