absmiami
-
Posts
4,794 -
Joined
-
Last visited
Content Type
Profiles
Forums
Events
Gallery
Everything posted by absmiami
-
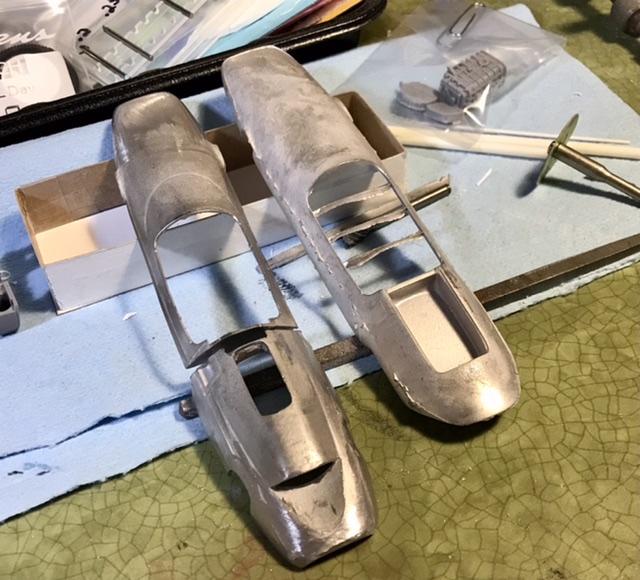
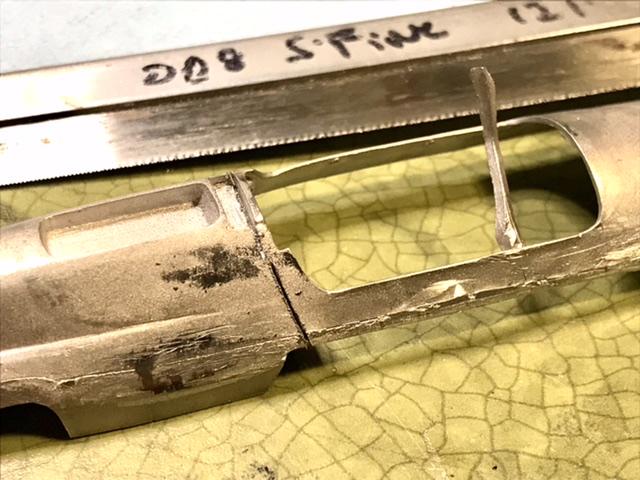
 Comparing the body top castings of the Lotus 25 And Lotus 33 kits - the abbreviated tail was also used on 25s later in the ‘62 season …
-
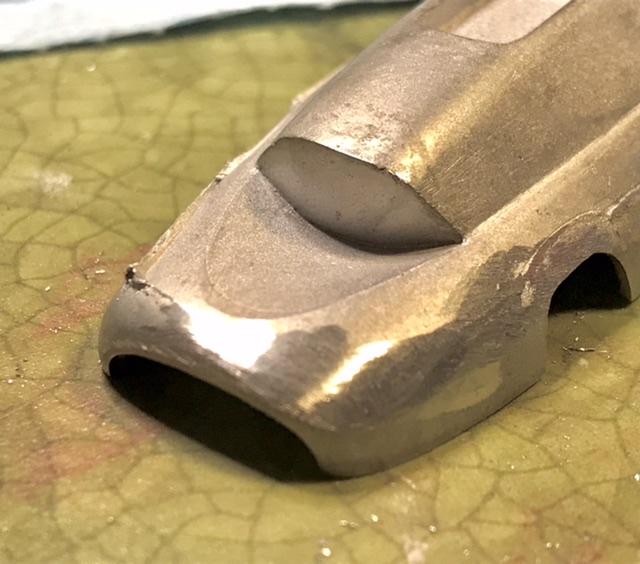
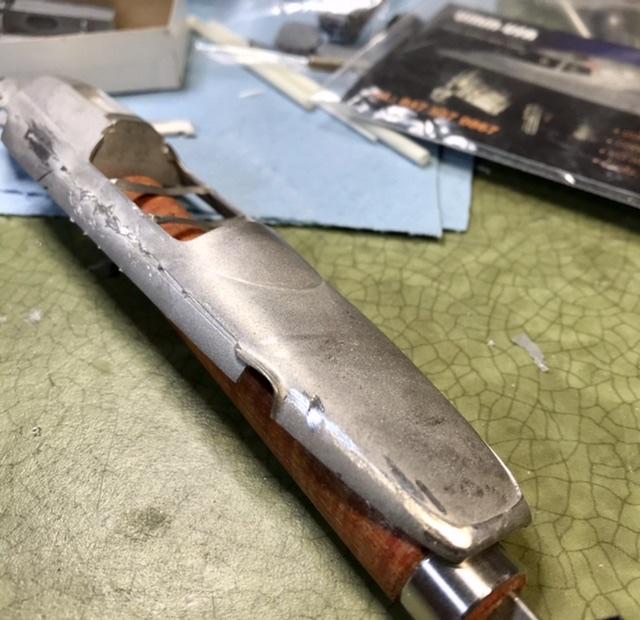
Older white metal castings always required alot of work - lots of flash and mold lines to remove …
-
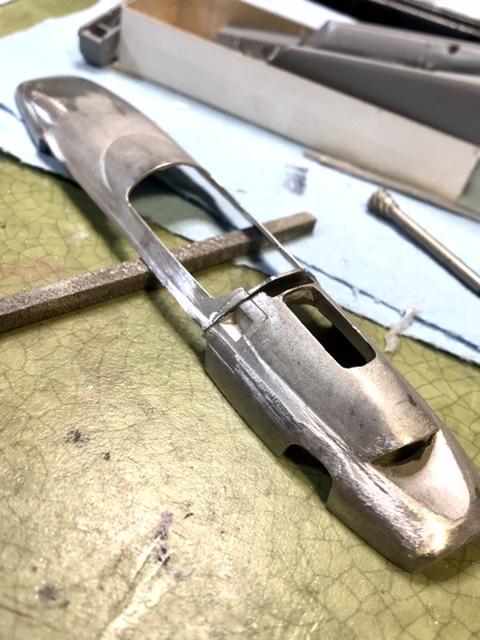
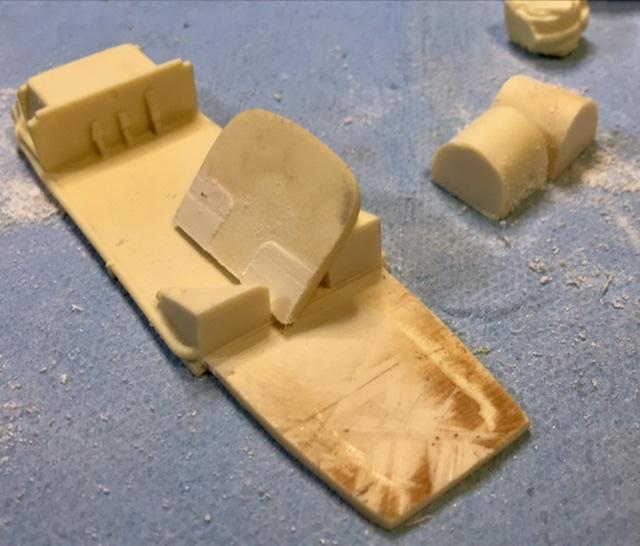
The parts count and engineering is the same as the Sharknose kit - i started by removing the sections of the upper body casting that should be seperate - and i removed the nose and cowling fr the eng cover … ill use the nose section and trans cover fr the lower body casting but not much else …
-
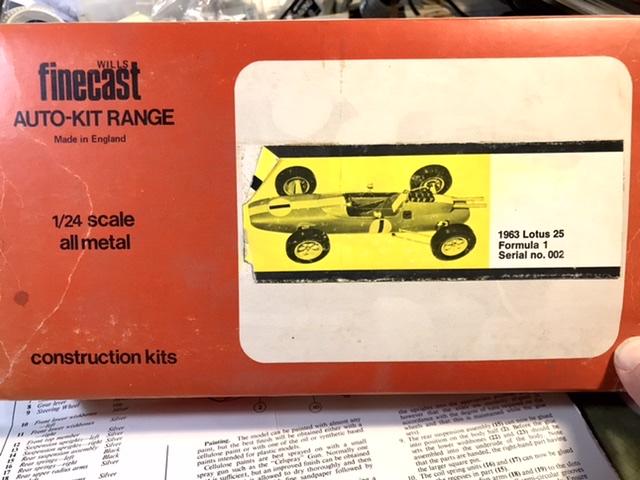
It's amazing that nobody ever produced a really good 24th scale Lotus 25. Christian Ghoul [sp] made one but sold very few. Tamiya of course did the later spec 25 in 20th scale - but I'm a scale snob - so its the Wills Finecast 25 kit or bust. No effort was made to reproduce the monocoque chassis - and there is no engine - but you gotta start somewhere ...
-
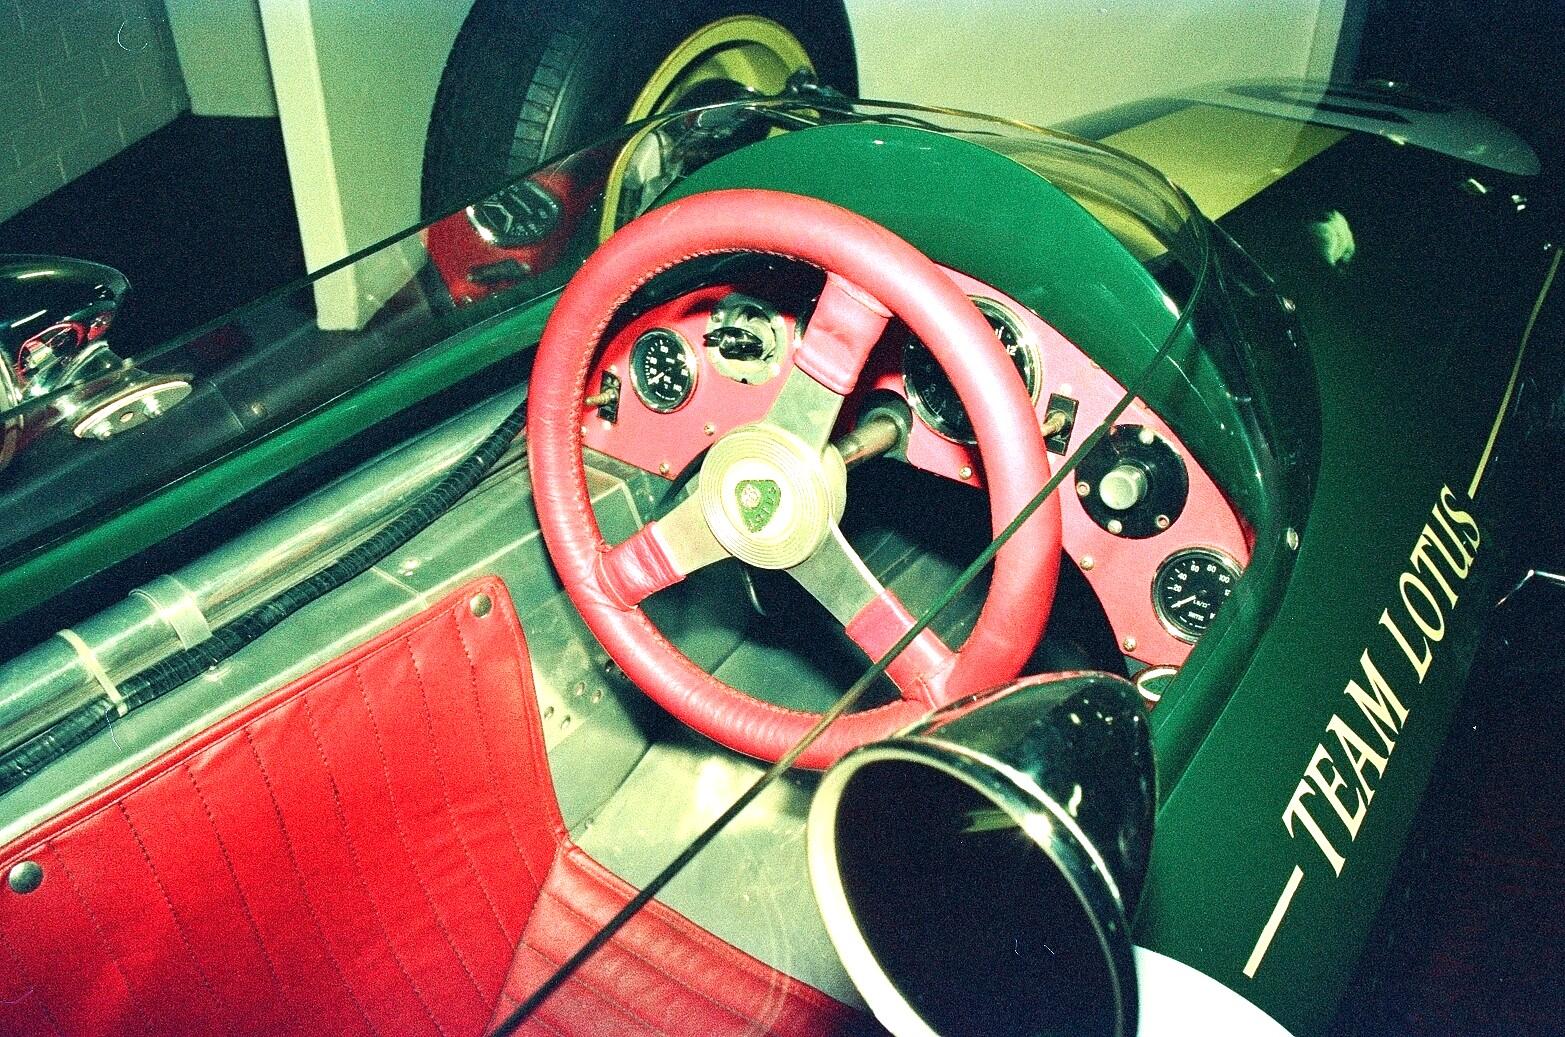
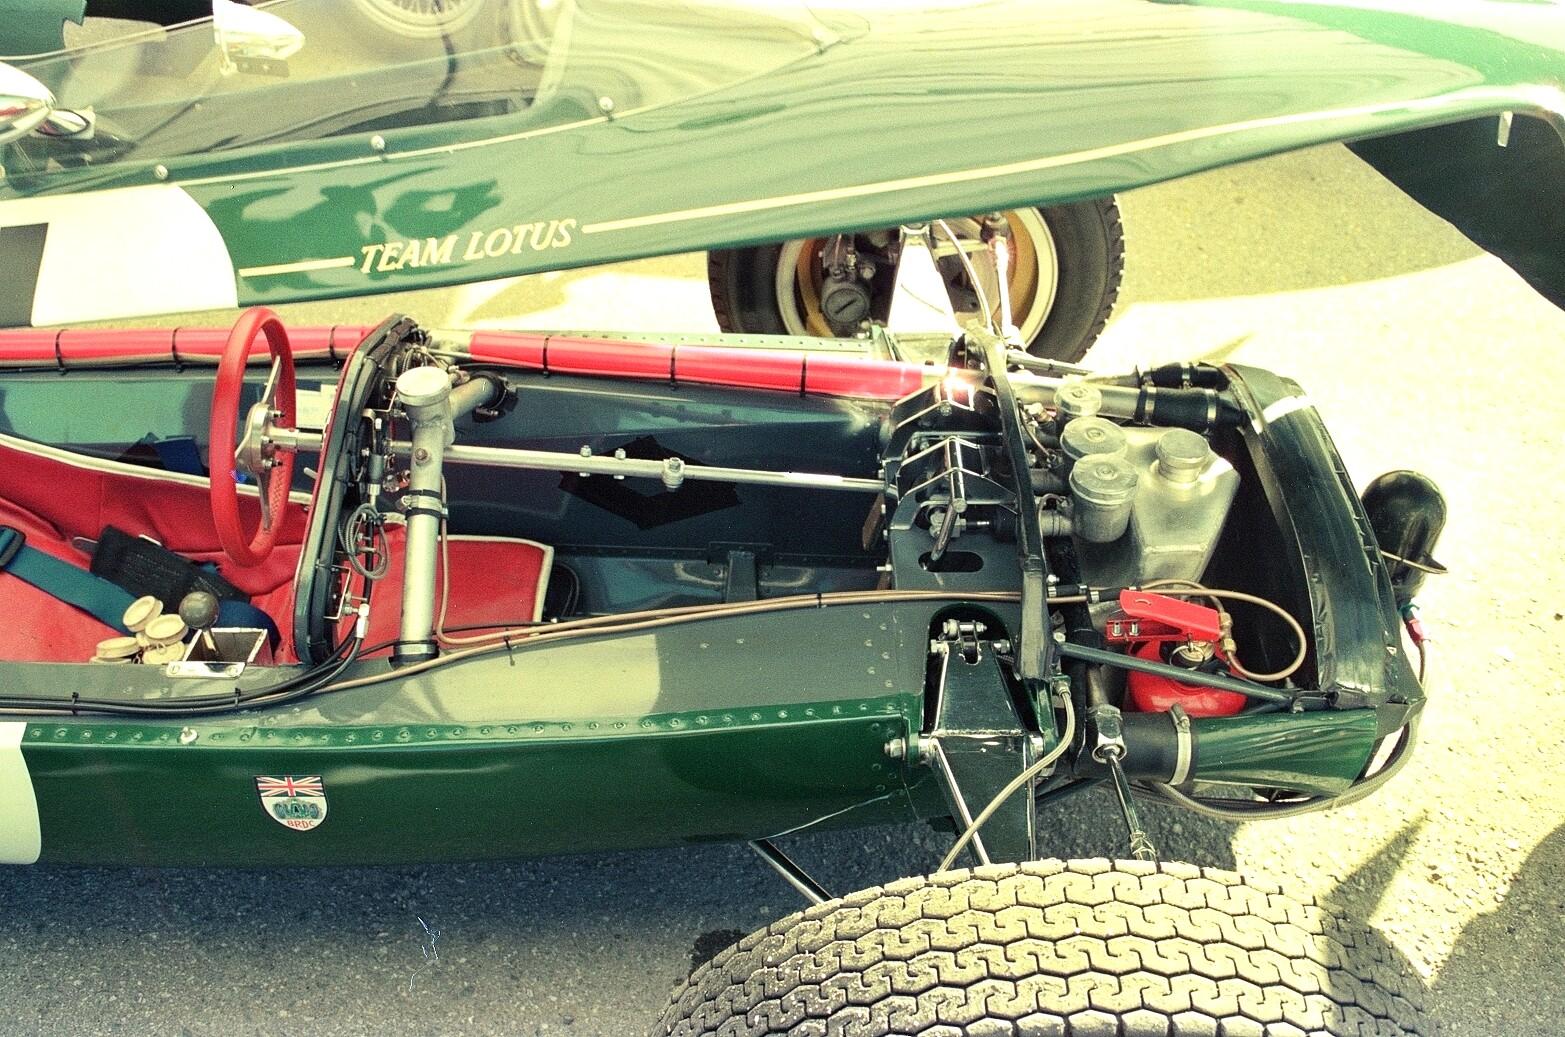
So the Lotus 25 - after some early challenges - carried Jim Clark to his first world championship - and is - to my mind - the first modern Grand Prix car. Wills Finecast produced this kit - 002 - and then the Lotus 33 kit. The 25 went through many changes - the kit builds the early 25 - with the full length engine cover - and the engine for most of 1962 was Weber carbed - fuel injection came later - The MotorSports Images on line site has wonderful black and white photos of the 25 exposed chassis at Zandvort - which is great - because the two or three surviving 25s have been restored to 1963 spec with fuel injection and abbreviated tails - and I've decided to make the early spec 25 ...
-
Team Lotus had its 8 cyl Climax bolted to two metal chassis extensions in what became known as the first monocoque grand prix car - the future had arrived ...
-
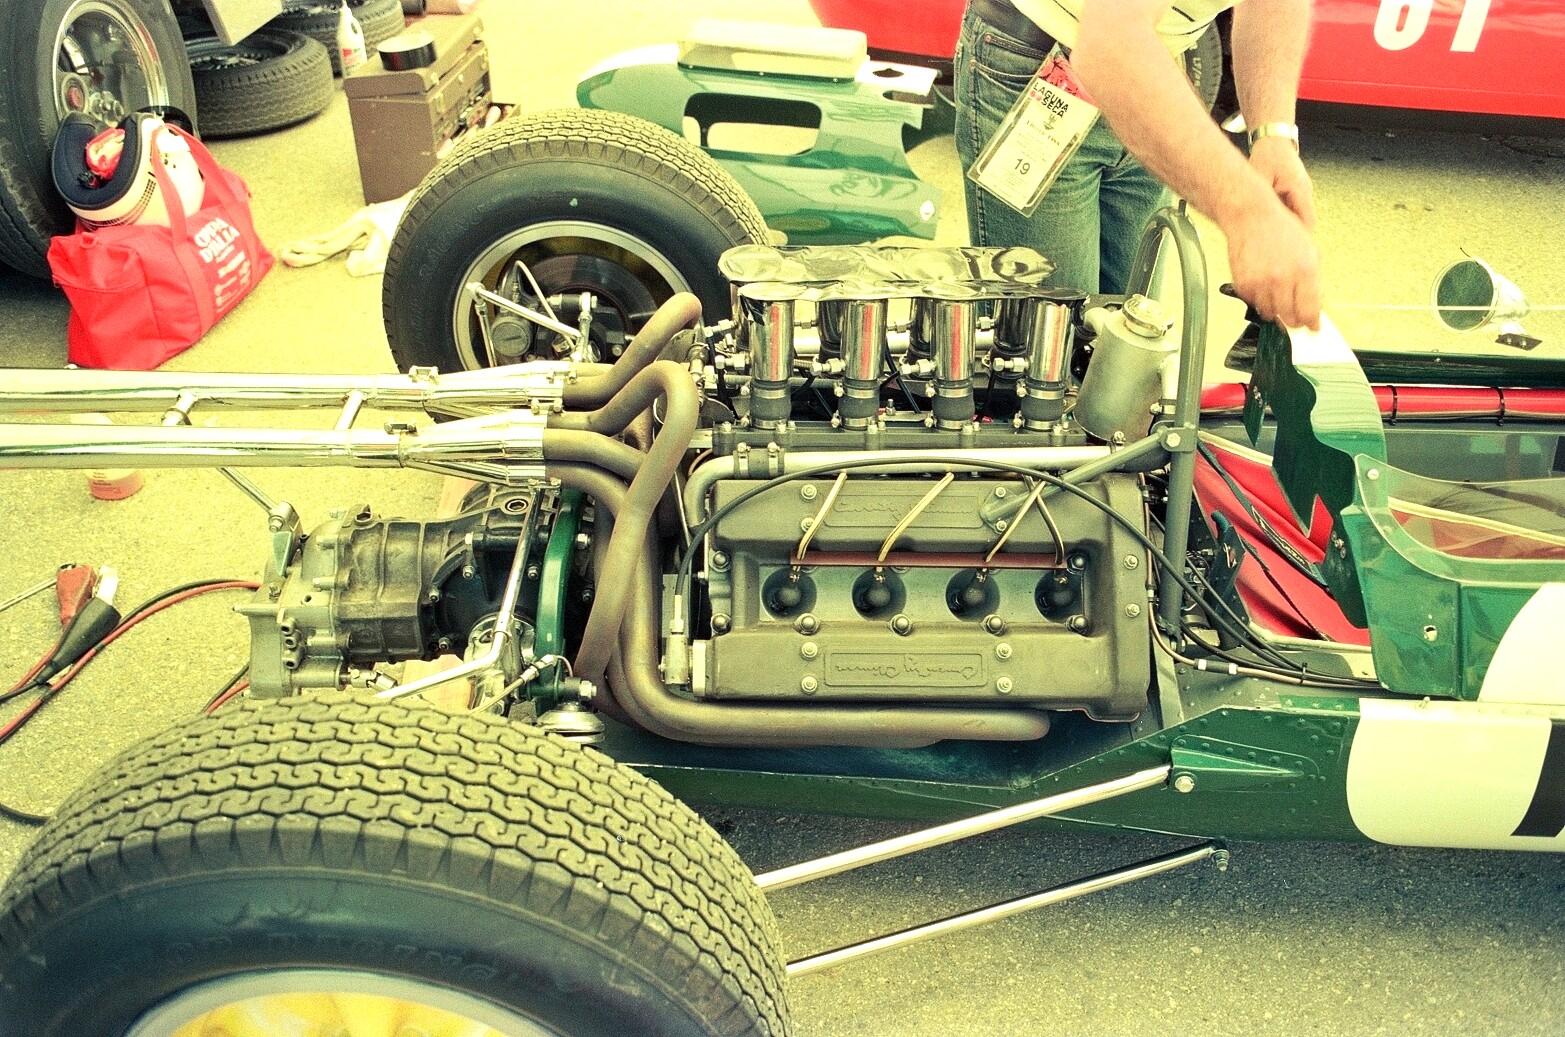
In the winter months of 1961/2 Lotus sold brand new tube framed Lotus 24s to privateers looking to run the new Climax and BRM engines under the new 1 1/2 litre GP formula. All was well until these privateers showed up for practice in the early spring Zandvort Grand Prix - and this is what they saw in the Team Lotus paddock...
-
Shocks will look good cause RC used wire that will give the shock coils scale thickness - well played …
-
Betting Mr Bacon knows where i took the head-on shot of the Lotus 25 …
-
1/24 Ferrari 333SP
absmiami replied to Rich Chernosky's topic in Other Racing: Road Racing, Salt Flat Racers
You can run But you can’t hide … -
1/24 Ferrari 333SP
absmiami replied to Rich Chernosky's topic in Other Racing: Road Racing, Salt Flat Racers
RC - head on over to the WIP threads - i’ve opened ours … -
Gurney fan - me too - Rev’s has the BRM on display - let me know if you need pix ….
-
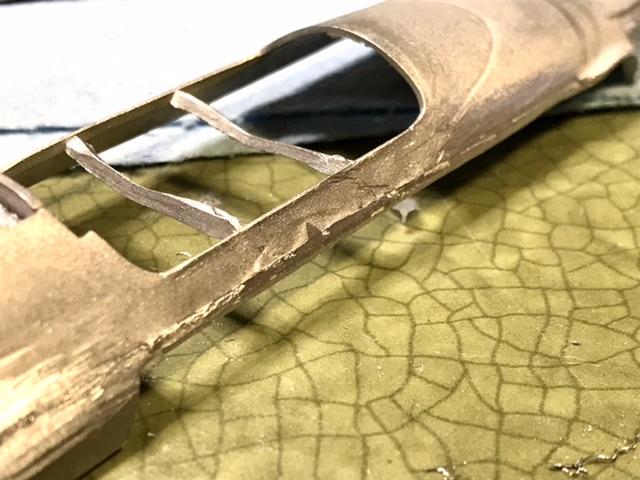
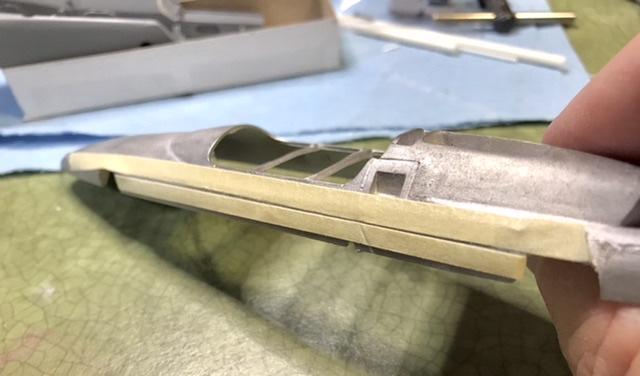
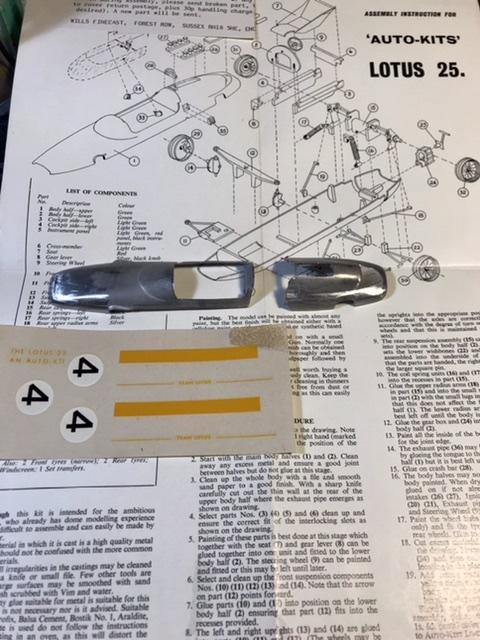
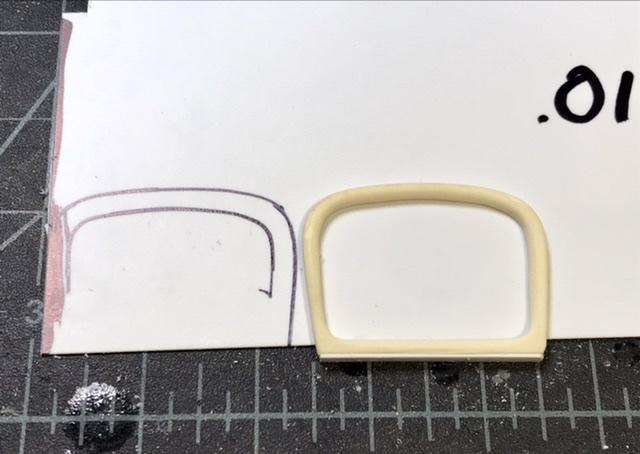
The bodies of both kits are - top and bottom - with no real effort to conform to the actual panel lines of the cars - so there is a lot of work to do here …
-
Rich Chernosky and I tend to like the same subjects - he usually posts in the Under Glass - A long while back we made a trade of 2 old Will's Finecast white metal kits - he wanted a Ferrari 156 "Sharknose" kit and he offered me his 1963 Lotus 25 kit - both are curbside - in production for many years but now becoming somewhat collectible - both 24th scale - and both featuring scale accurate white metal bodies... Rich has just started to build the Sharknose and has agreed to post his build on this thread - whilst I wack away at the Lotus 25 ... So here it goes ... Guessing you are all familiar with the 25 - I've had the rare chance to photograph two of the survivors ...
-
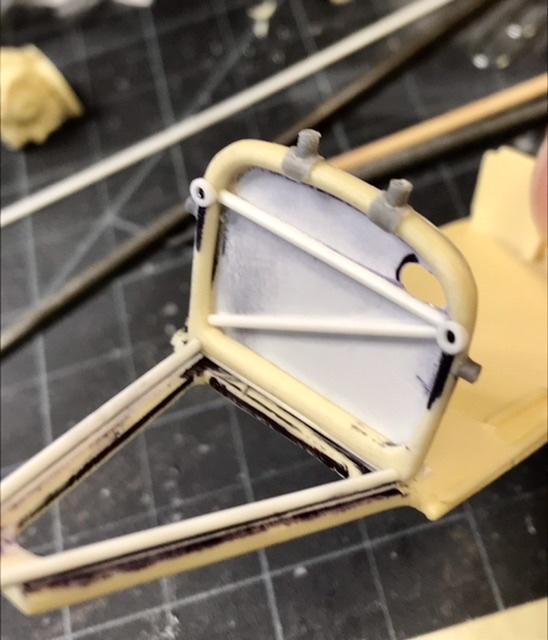
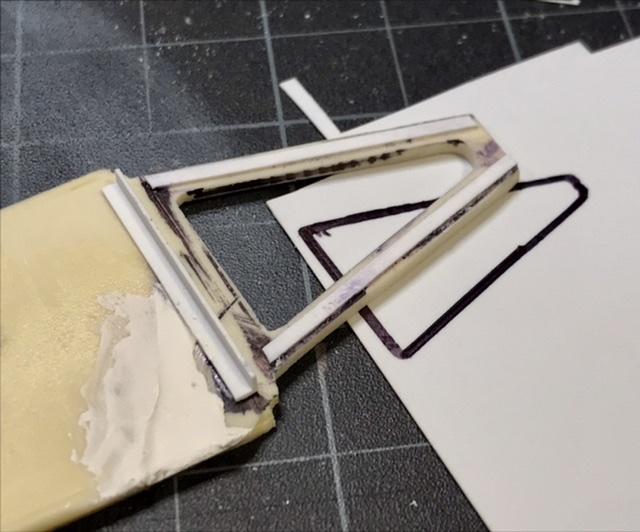
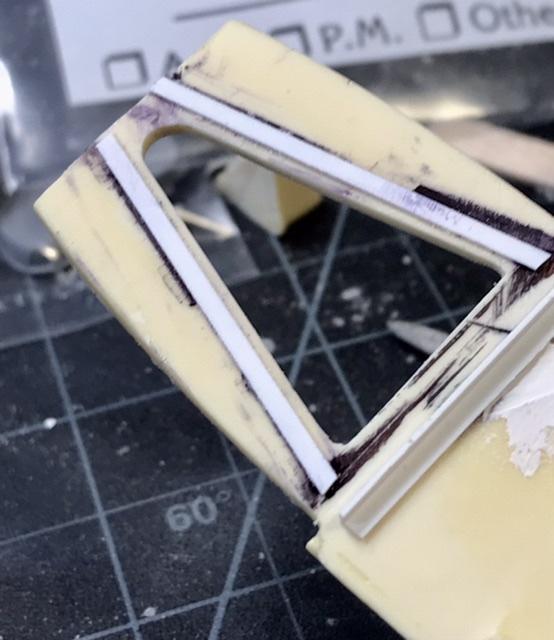
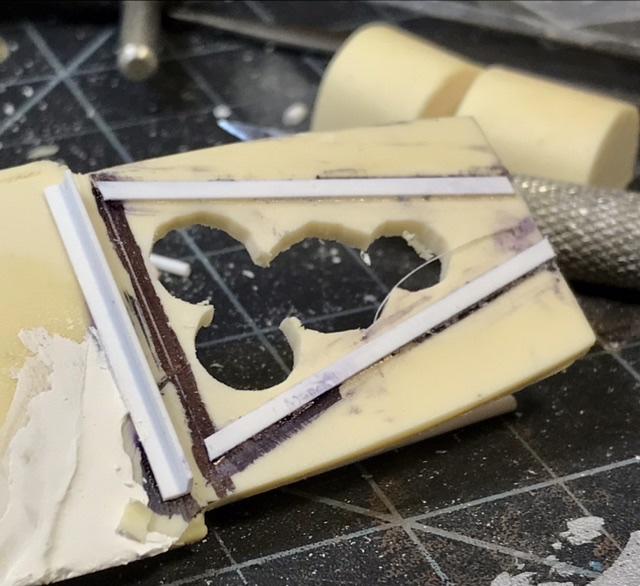
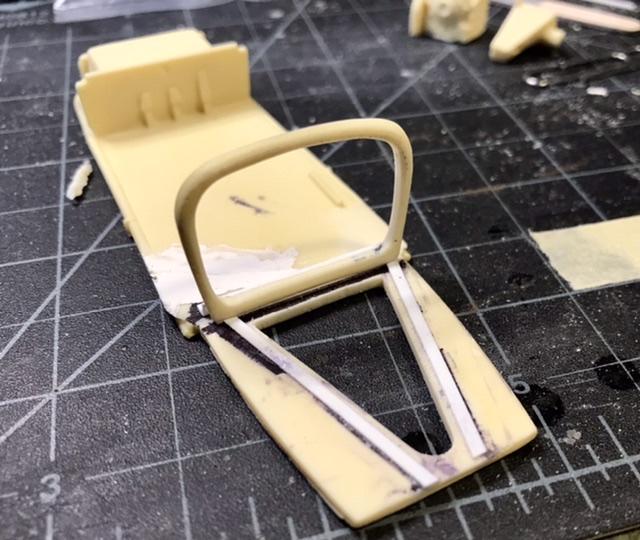
For the main frame members- i’m using .047 Evergreen and .040 for the secondary members - that’s just a little over-scale - but it wil make assembly just a little easier - the bulkhead sheet is .012 Evergreen …
-
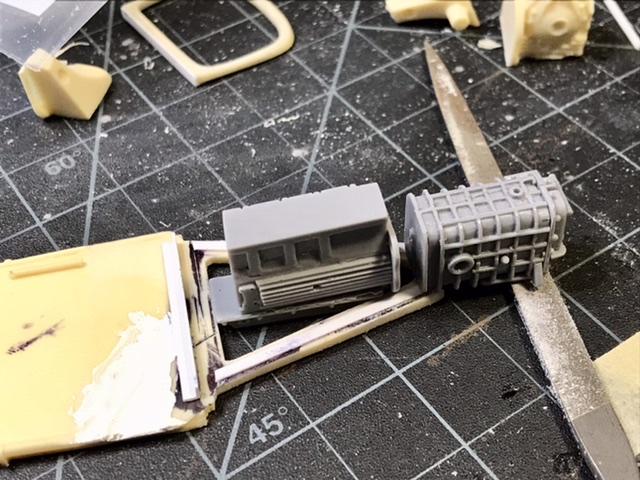
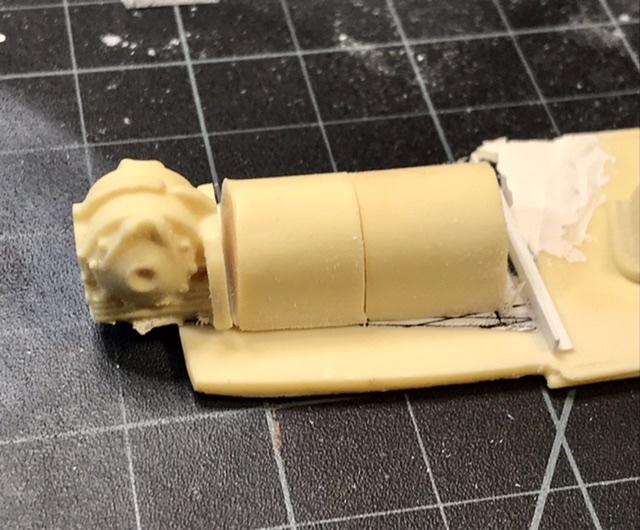
The Walker team used the Colotti gearbox - thats the Casting you see behind the Climax eng block - the Team Lotus cars used their “queerbox” trans - similar to the unit in the back of the 16 …
-
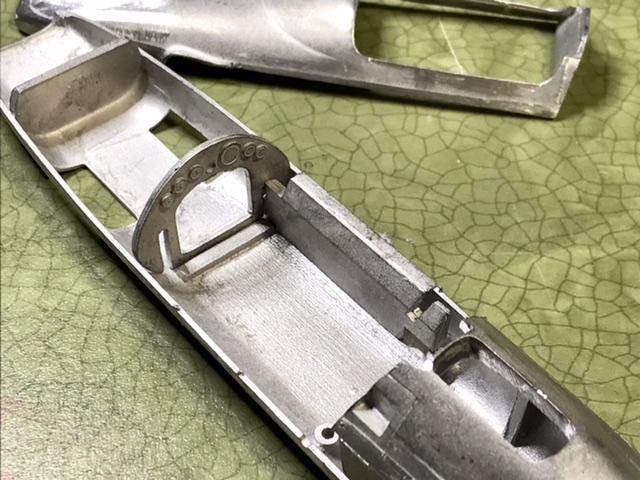
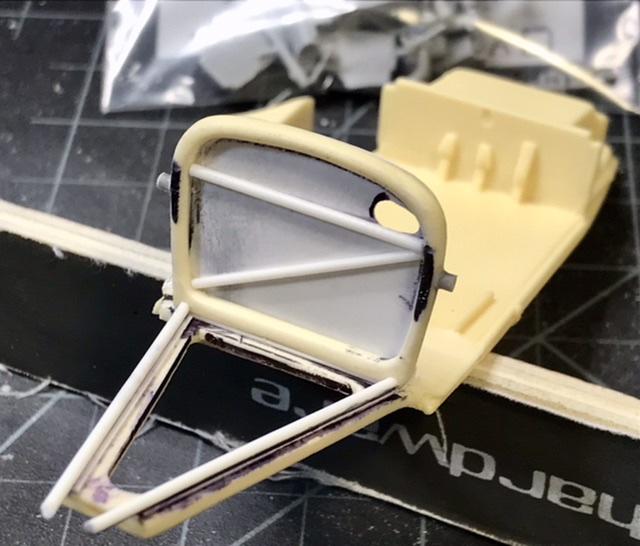
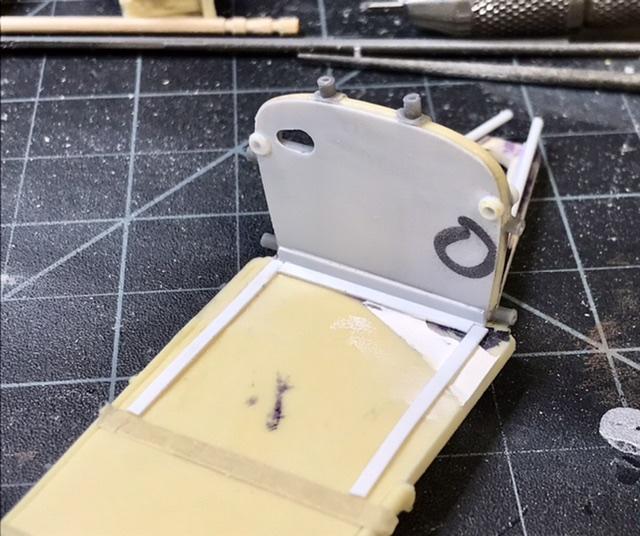
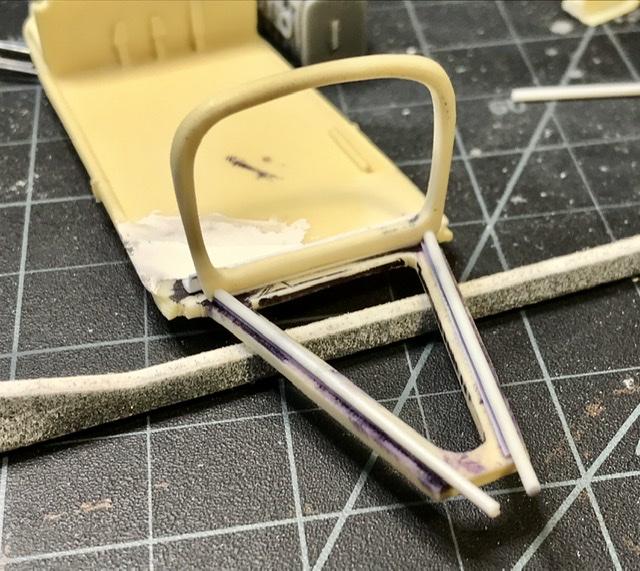
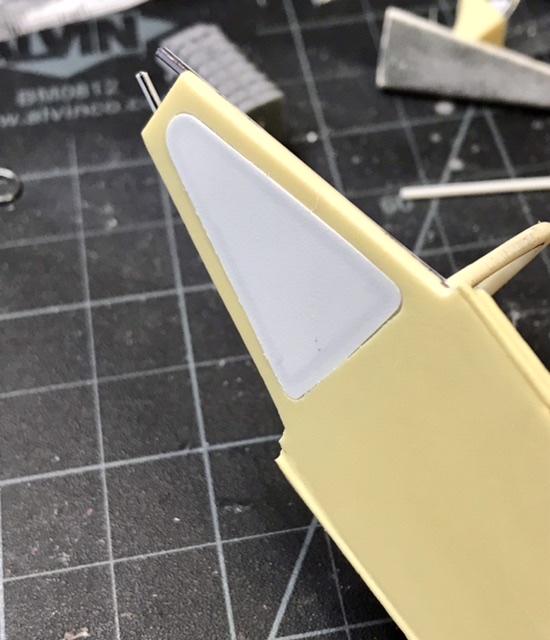
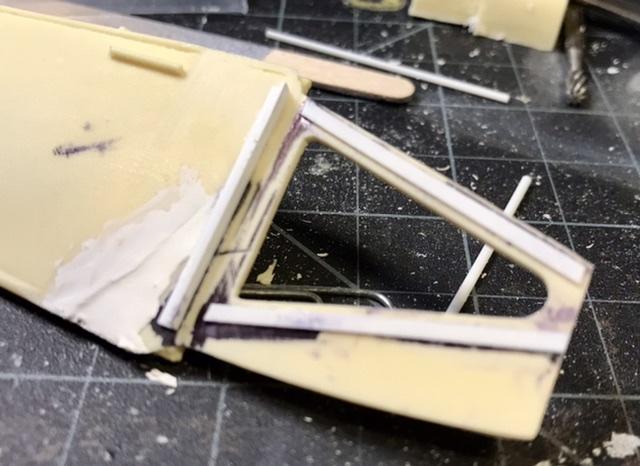
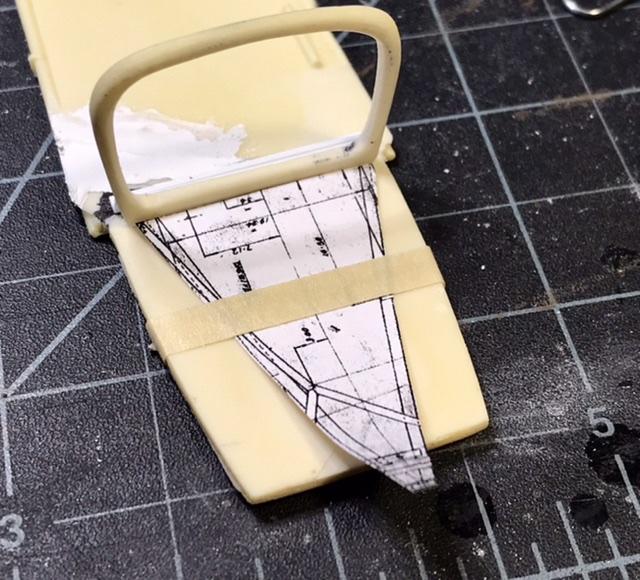
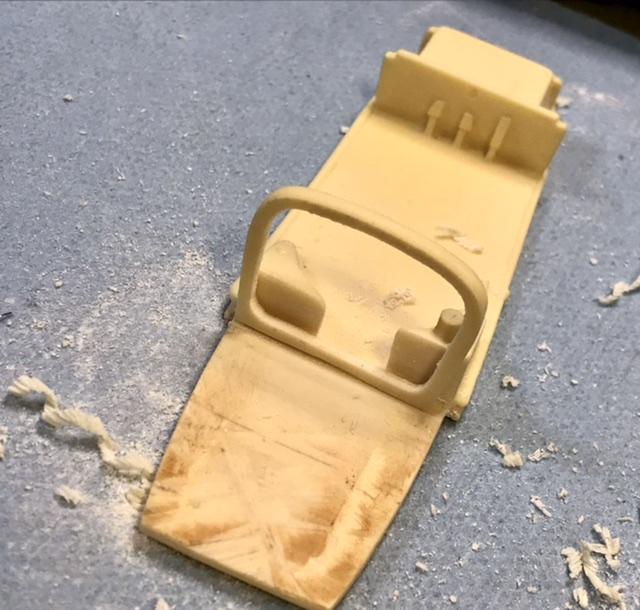
I want to make the engine compartment frame - but i kept some of the base plate in order to permit the finished part to be casted - this requires a thin plastic cover over the sump opening - that will be easy to remove on the casting -
-
Chapman - with some help from Len Terry - re-arranged the Series II 16 frame bulkheads - to move the Climax four behind the driver - and narrowed the frame - i’m using the kit engine bulkhead so that I’ll have a finished part that the resin body will slip over …
-
Correct - and well played - in 1959 Colin Chapman had a problem - the 16 was unsuccessful - rarely finishing and not winning - so he designed the next season’s car to carry the engine in the back - with a space frame - like the Cooper - but lighter - at this point - a Lotus had yet to win a grand prix … Classic Team Lotus has the factory drawings - reproduced in Ian Wagstaff’s Great Cars book on Stirling Moss’ Walker team Monaco winner “Lotus 18 The Autobiography of Stirling Moss’s 912” -
-
Aston DB4GT Zagato chassis 0186/R
absmiami replied to Dave B's topic in WIP: Other Racing: Road Racing, Land Speed Racers
Yup - same in Miami …
-
Aston DB4GT Zagato chassis 0186/R
absmiami replied to Dave B's topic in WIP: Other Racing: Road Racing, Land Speed Racers
How does Santa get to Tasmania when its 80? Degrees out … -
Posted - on my phone - right below an on line ad for - Girls wear transparent shirts in public ? - more, Mr Boyd - more …