Dragonhawk1066
-
Posts
3,932 -
Joined
-
Last visited
Content Type
Profiles
Forums
Events
Gallery
Everything posted by Dragonhawk1066
-
Thanks, yours is definitely a nice build. I certainly can't wait to start building it, just the engine/trans and a few more smaller parts to paint and it will start to go together. Ride height will probably end up just like yours.
-
Thanks guys. I really like the color and picked it because i think it doesn't look too wild and would look good with either the stock or custom wheels.
-
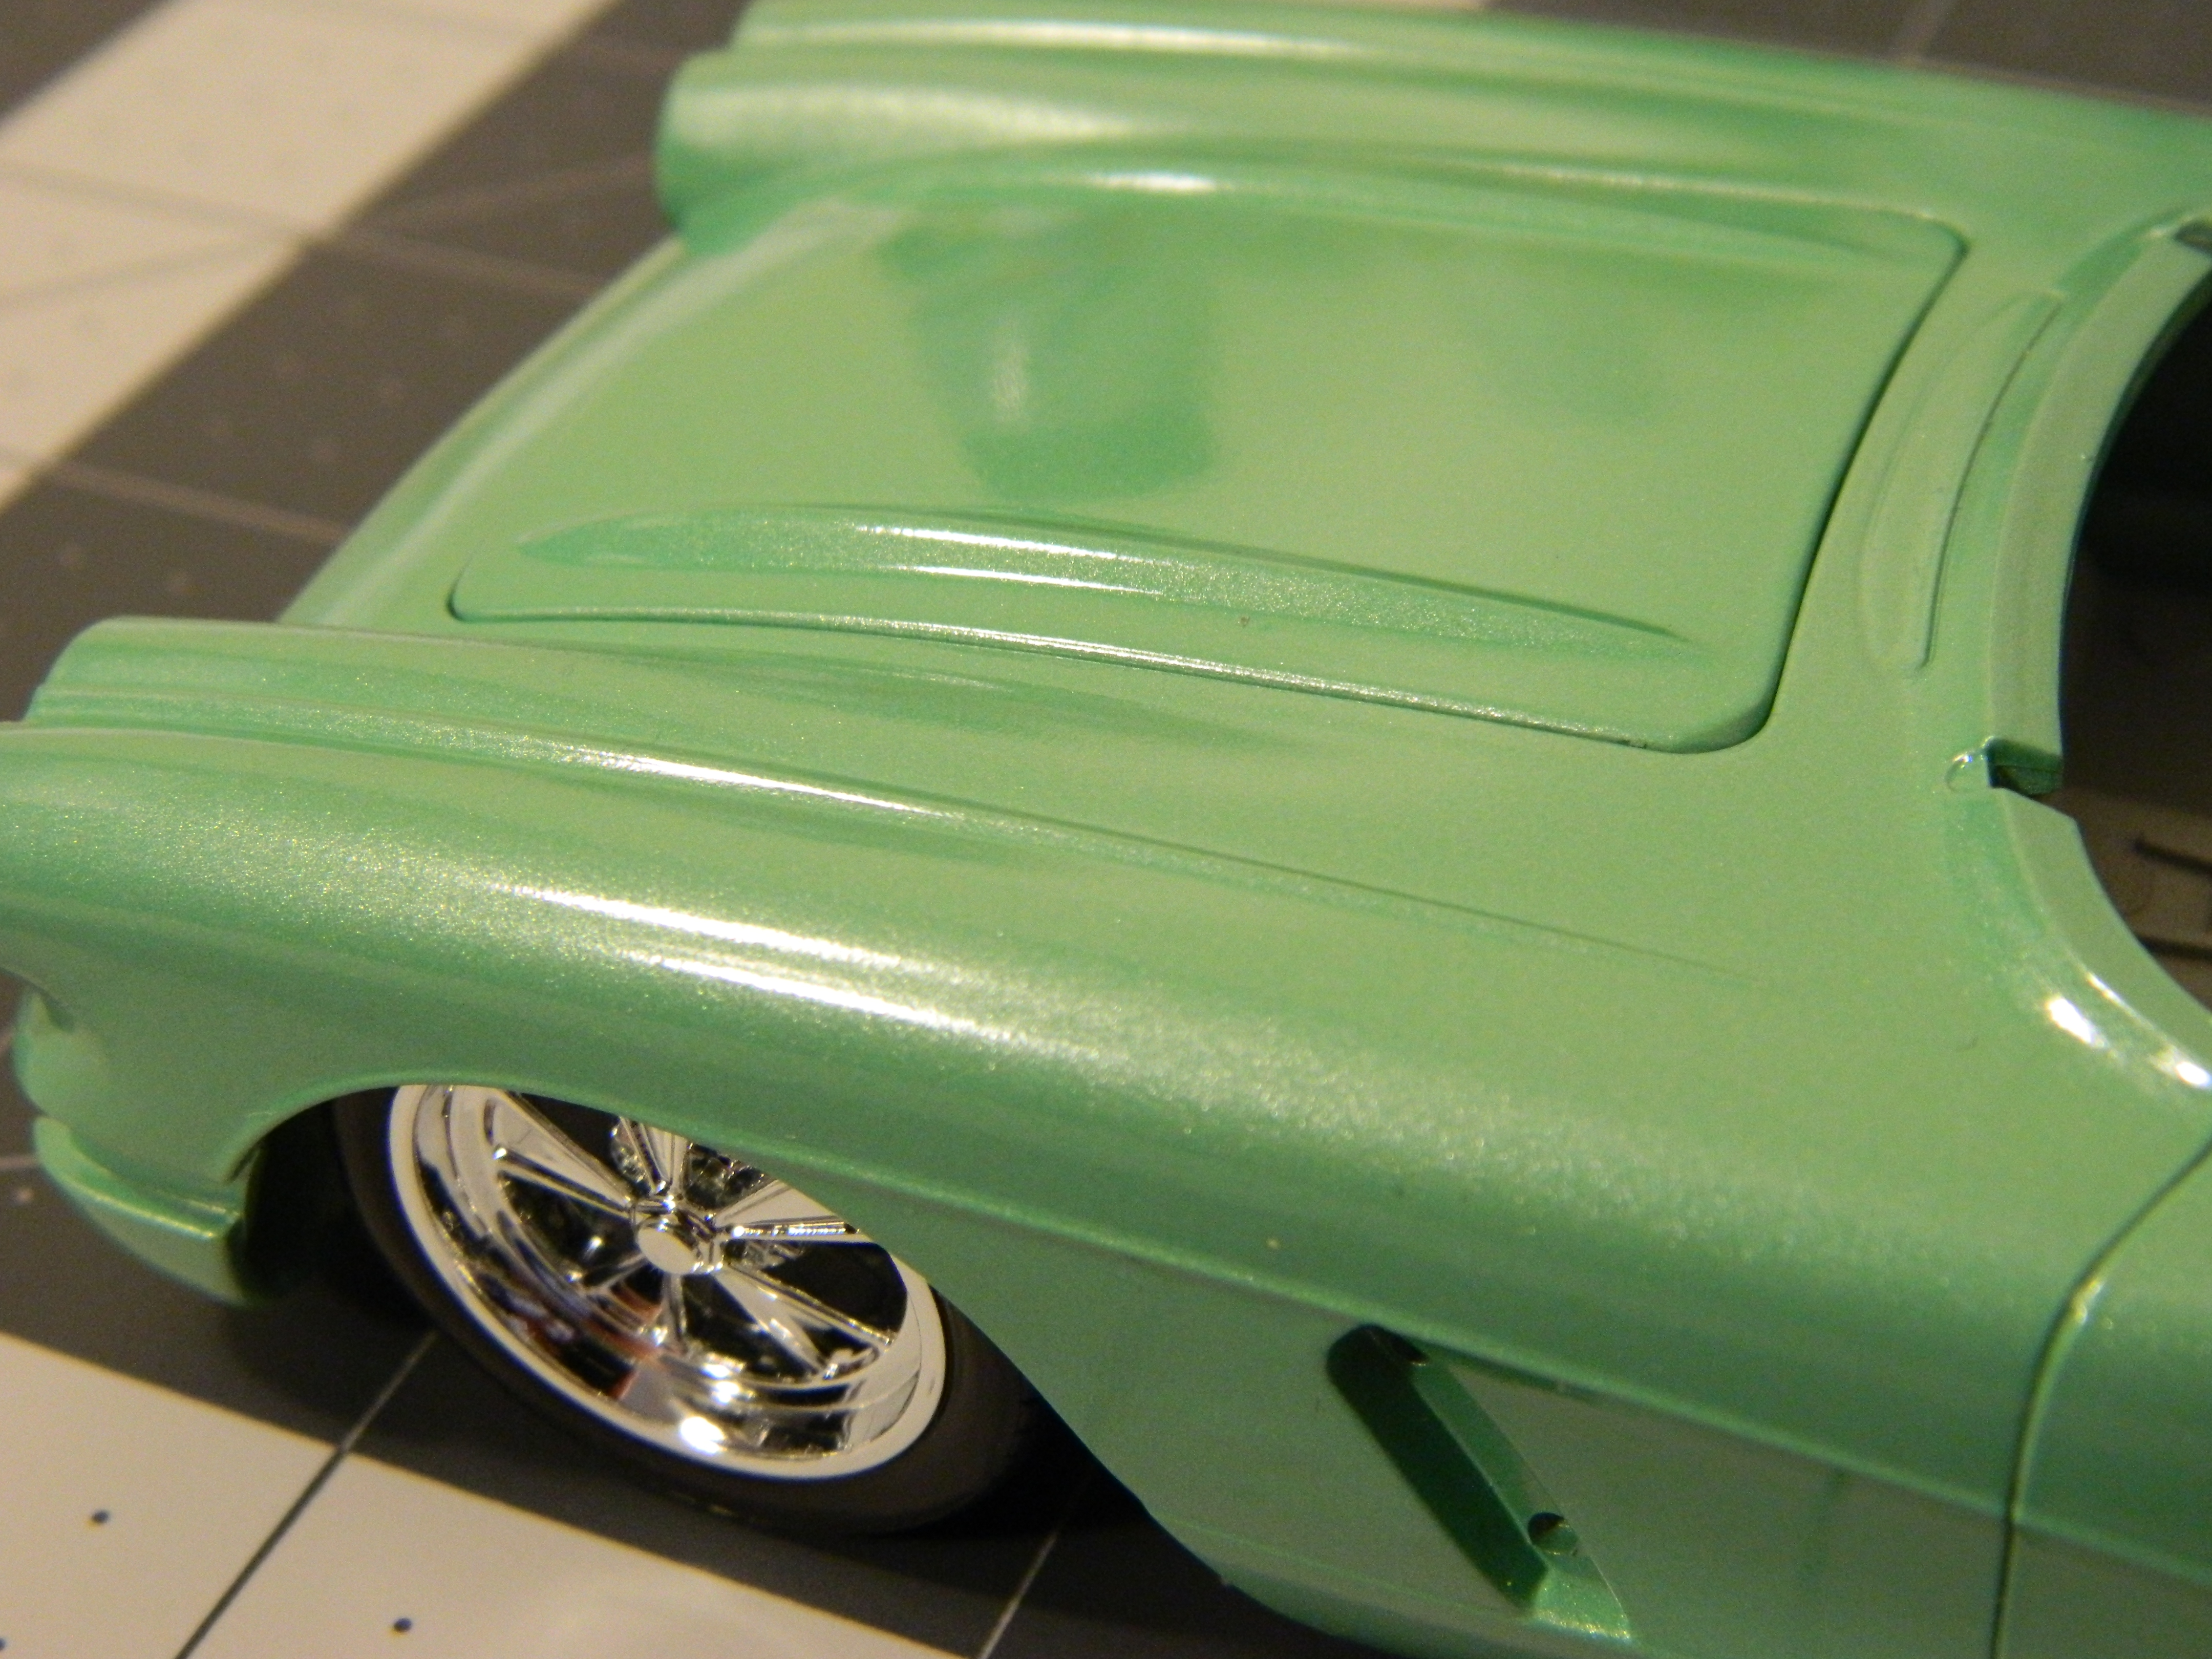
Thanks! The color is Tamiya TS-60 Pearl Green sprayed from the can, with a couple coats of their clear.
-
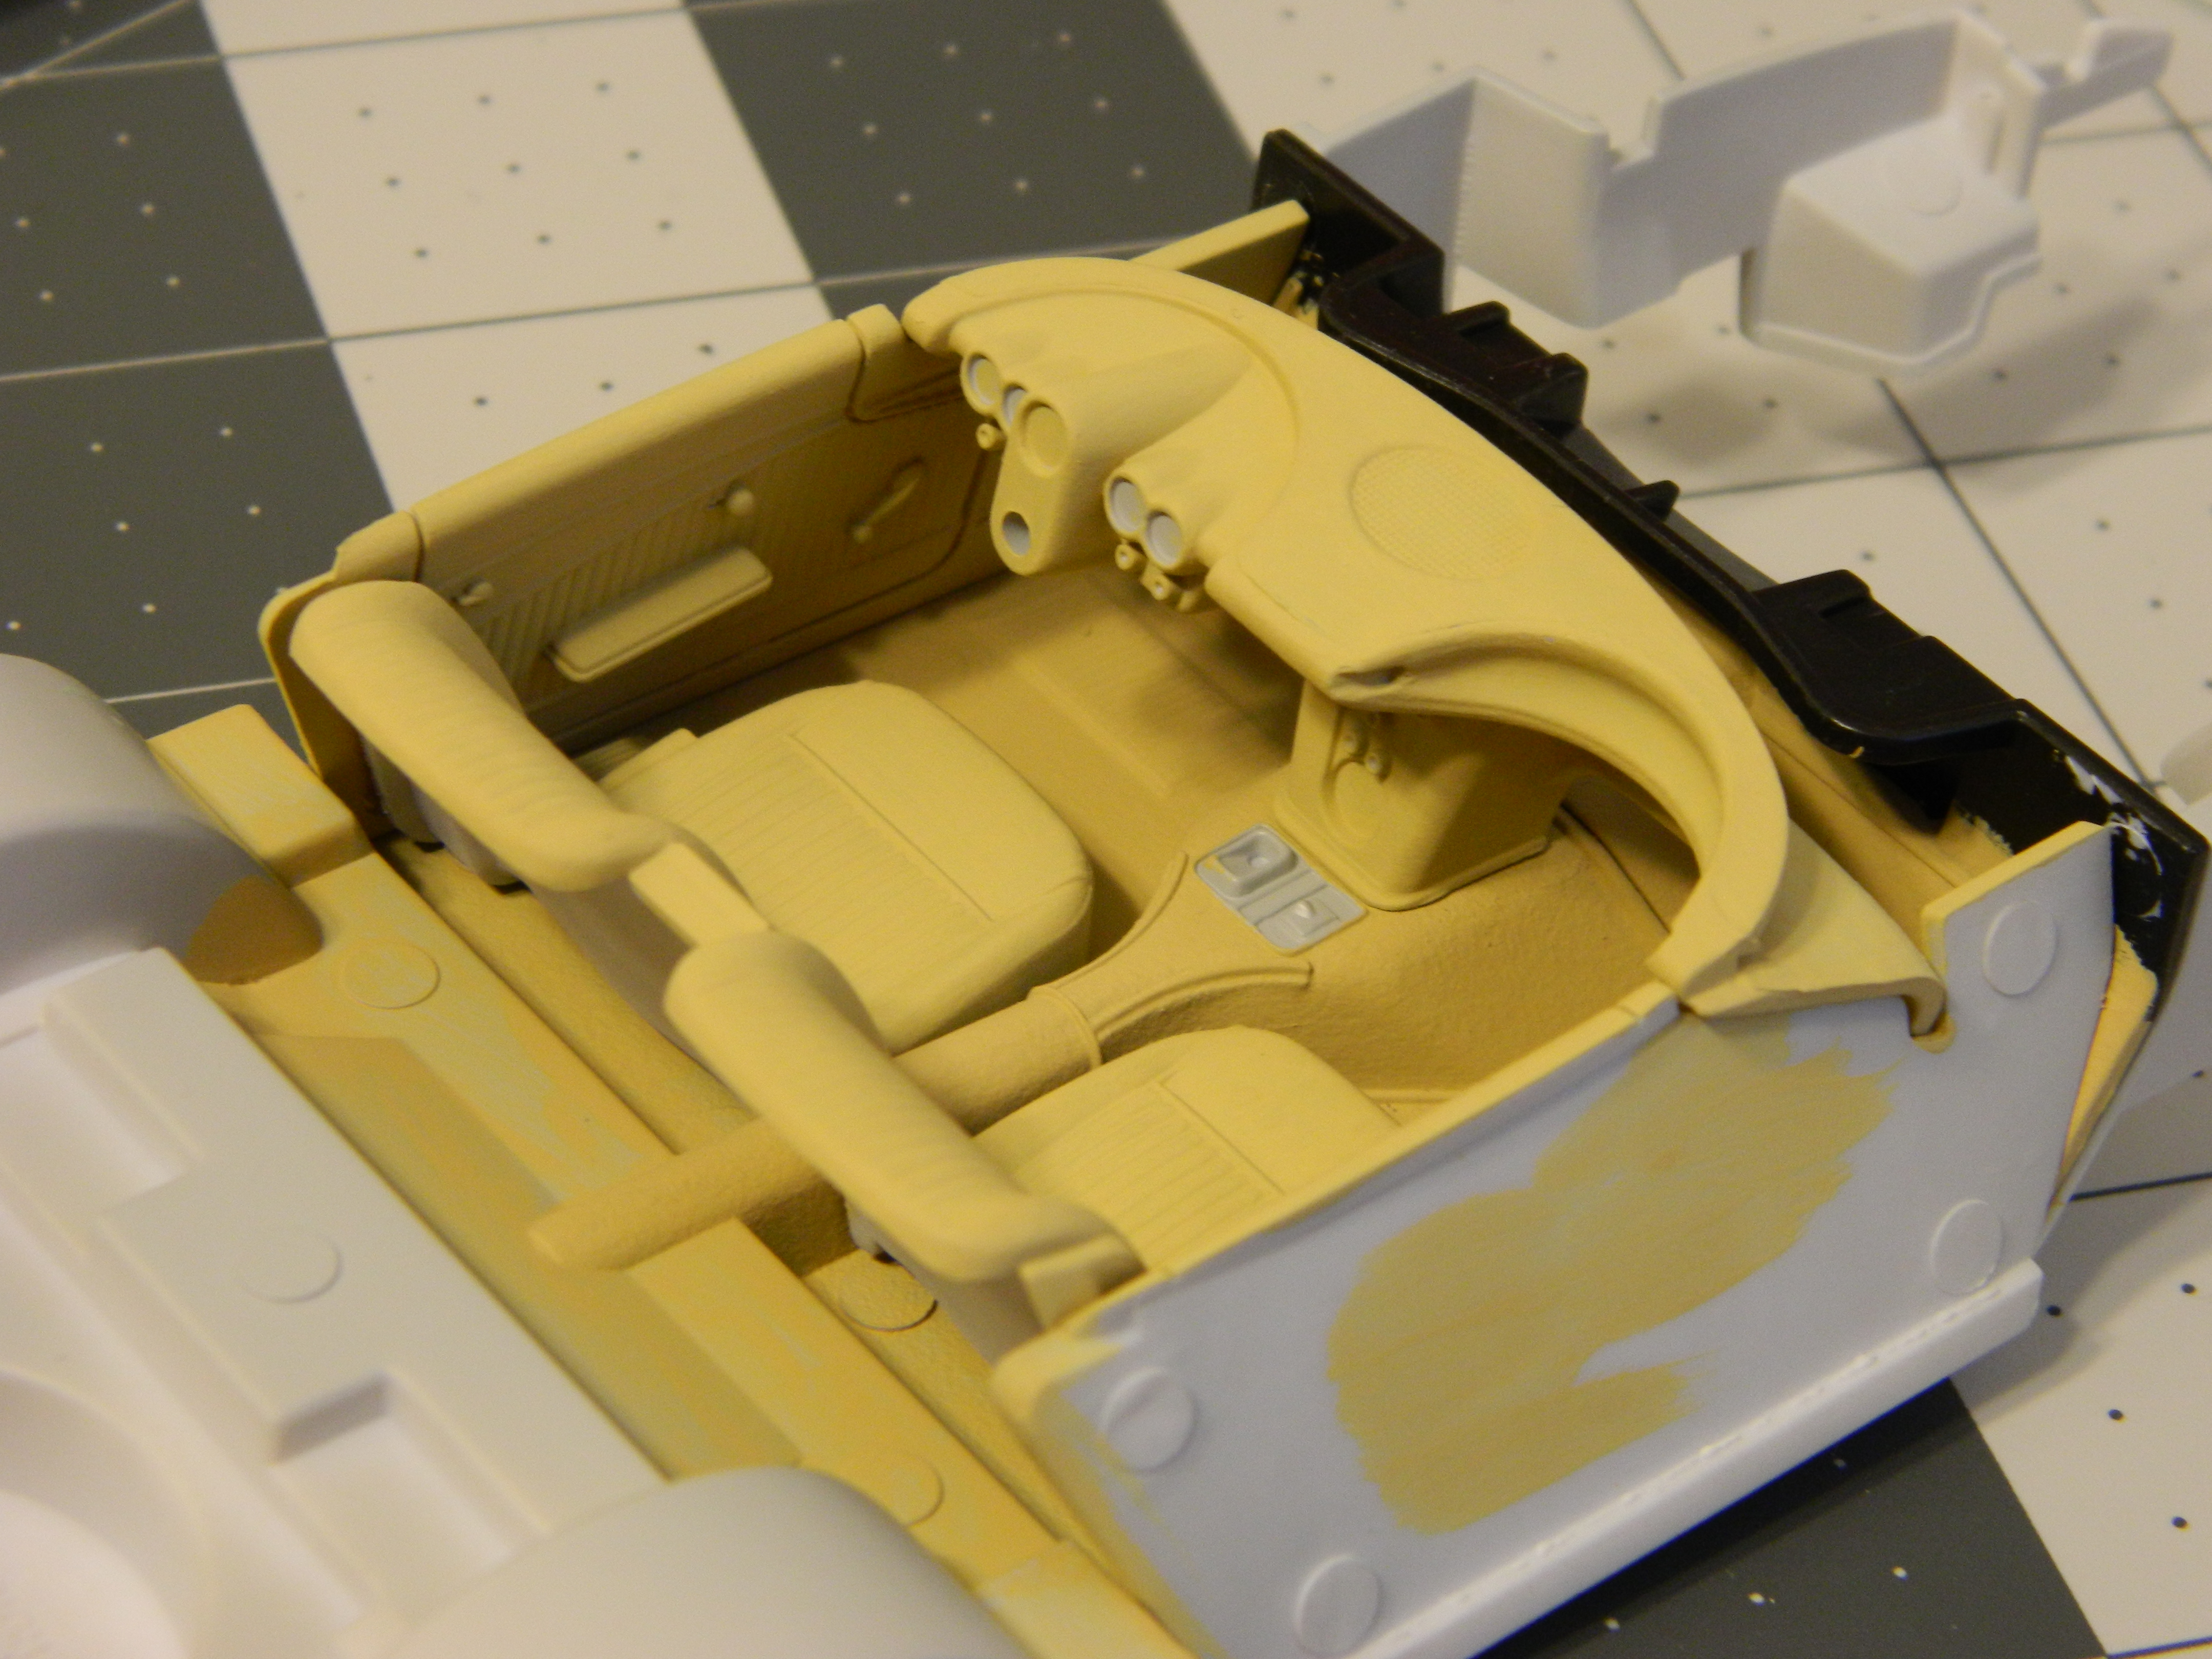
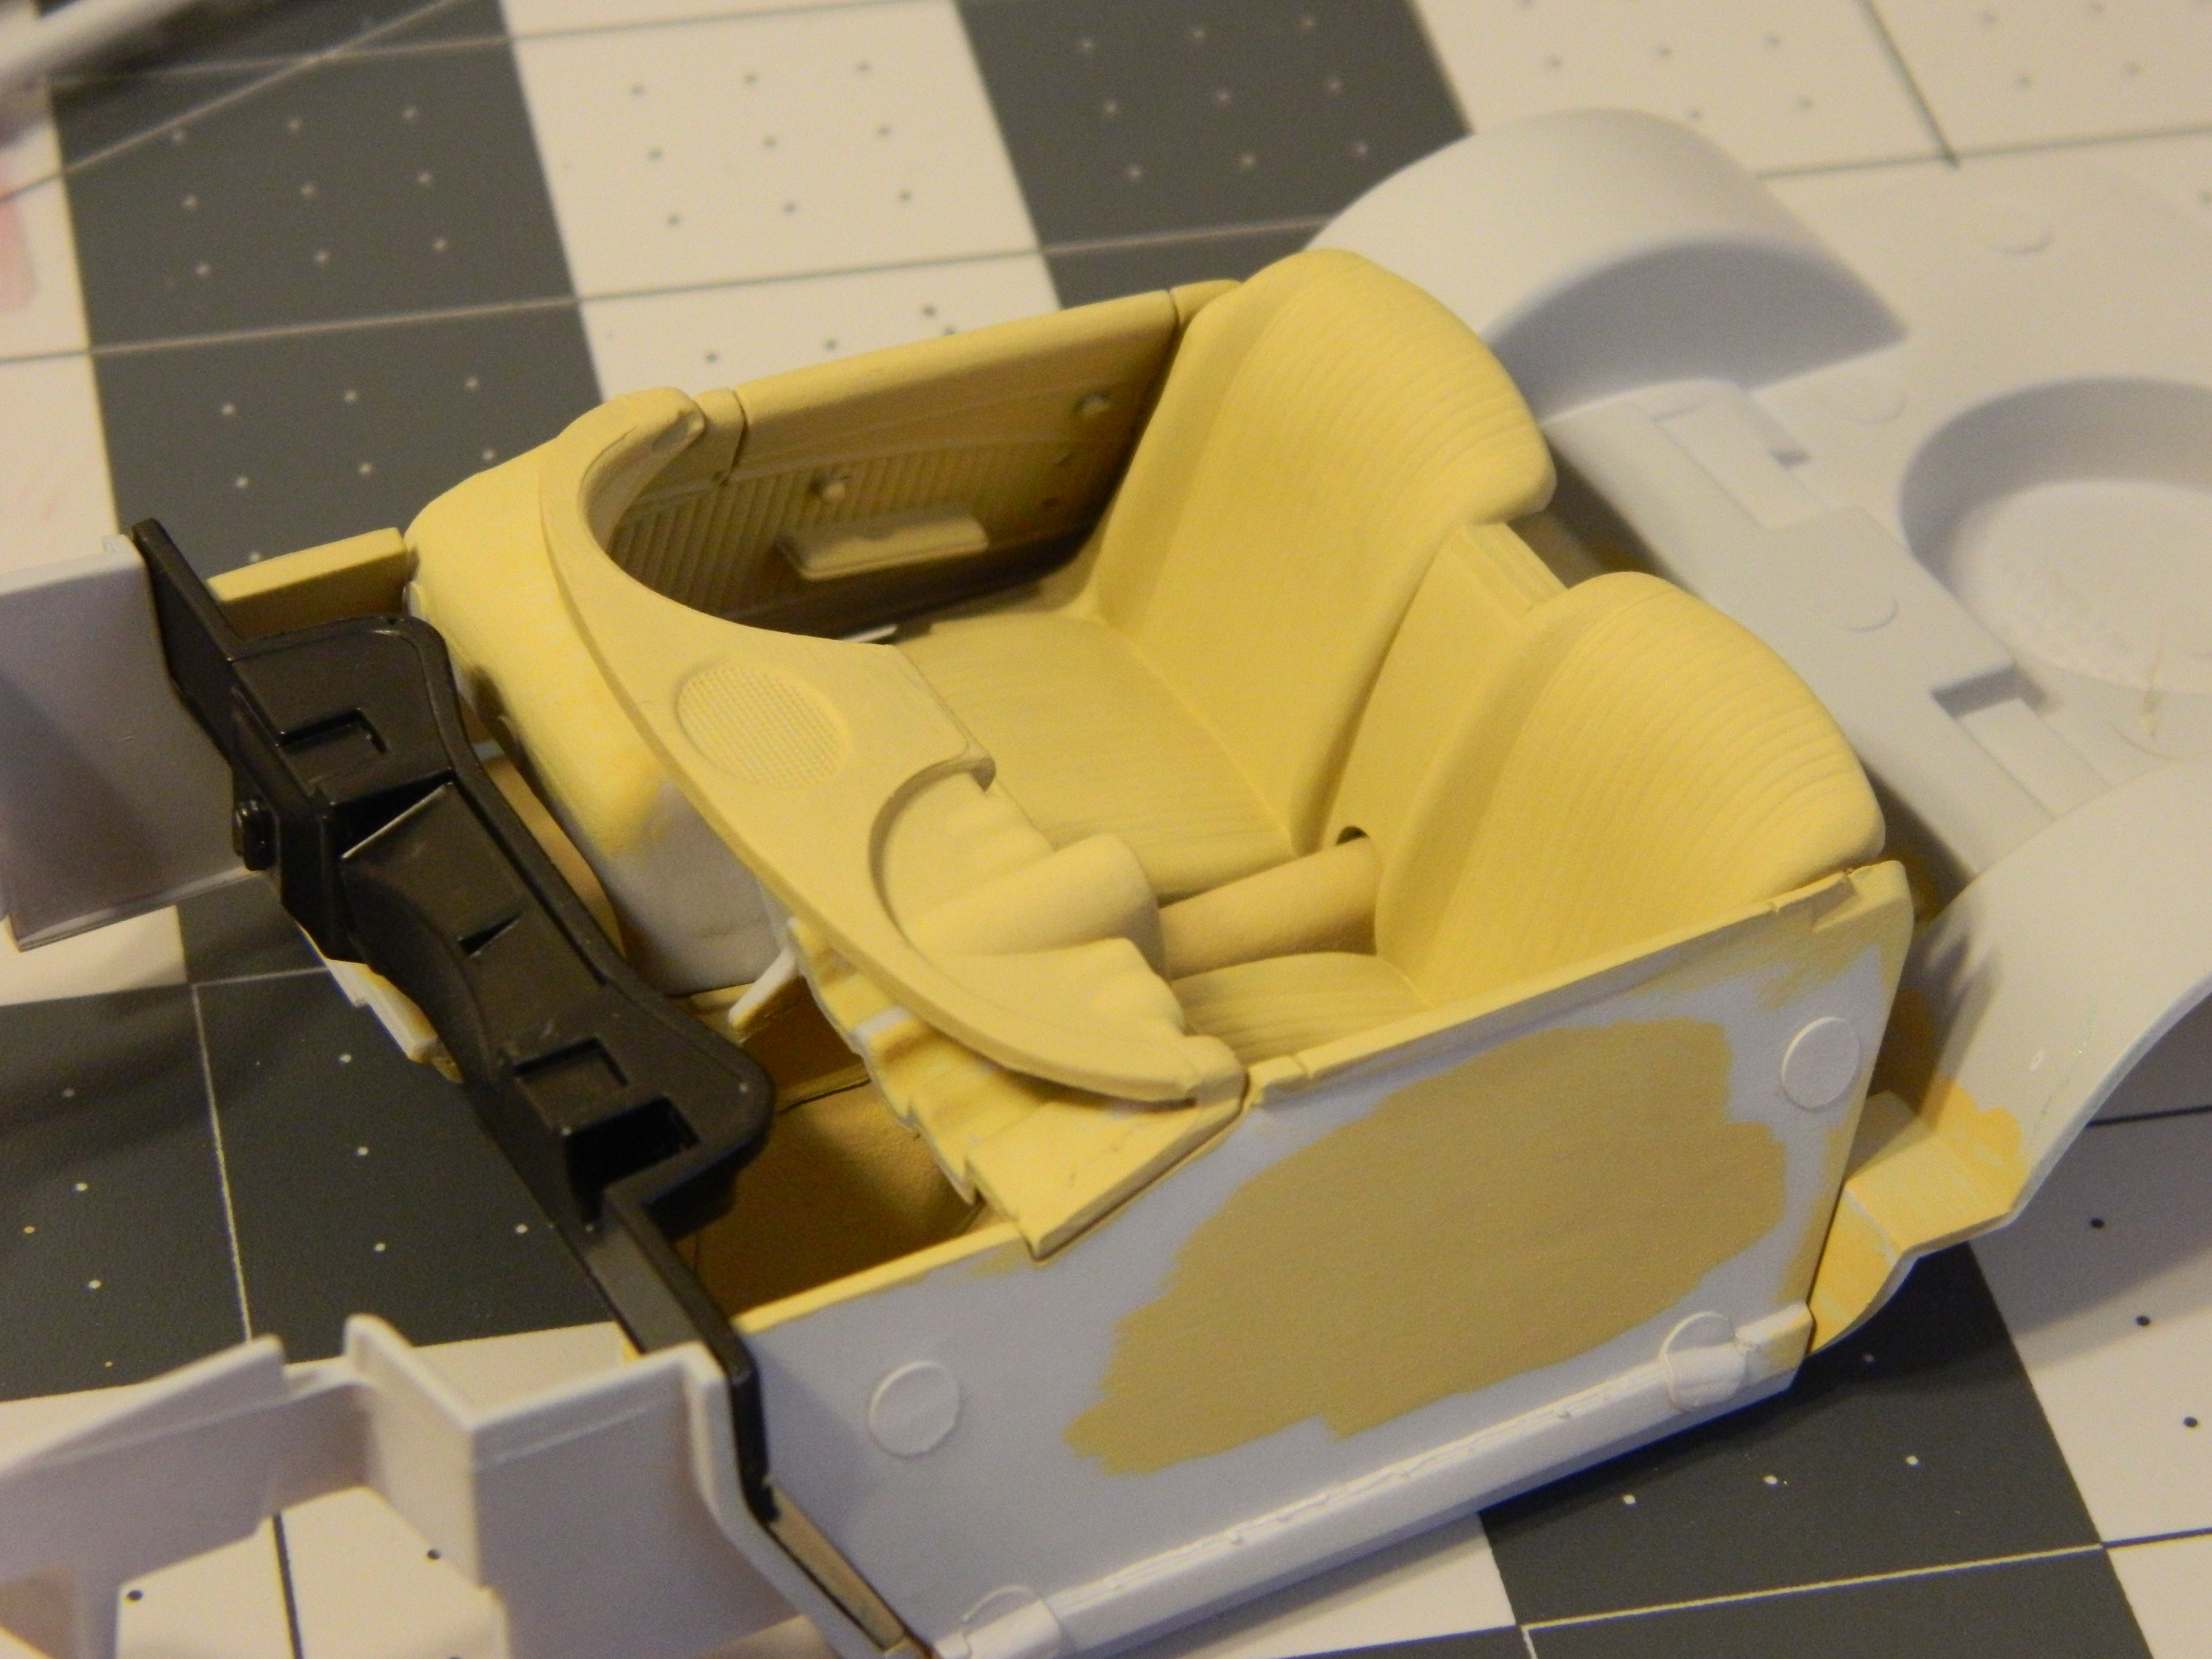
Got the base color for the interior done in Apple Barrel Craft Acrylic Khaki, and the carpet in a mixture of the Khaki with some Brown added. Just have to go over the seats, dash and door panels with some Satin Clear to add a little shine, but not too much. Not the actual ride height, but hopefully pretty close.

-
I agree with all of you wanting a 74-76 Firebird/Trans Am. I think that would be a pretty good seller, I know I would be good for at least two. We also need a re-issue of the 70-73 style, with Firebird, 400 Trans Am, and SD455 options available in the same box. I would be forced to buy 2 or 3 of those too.
-
This project is looking awesome so far. The paint is very nice and very smooth, I love it. This is going to look phenomenal when done and I can't wait to see it finished. You are inspiring me to try something similar!
-
Great job! Looks mighty fine!
-
Nice job! Looks really good in gold.
-
Looks really good for a "quick build". Especially the paint.
-
That turned out mighty fine!
-

'70 Chevrolet Chevelle SS 454 (Revell snap-kit, 1/25 scale)
Dragonhawk1066 replied to Tommy124's topic in Model Cars
Nice work! I'm going to have to pick up one of these Chevelle Snappers, as it appears to have the best body representation of the kits available. -
An all-time holy grail build- 69 Charger Daytona
Dragonhawk1066 replied to Kmb0319's topic in Model Cars
Outstanding job! Great color combo, I used the Mystic Emerald on one of my builds and loved it. The engine detail is excellent as well. -
That looks absolutely stunning. Love the color and incredible details.
-
Another test paint job that turned out well!
Dragonhawk1066 replied to rsxse240's topic in WIP: Model Cars
Yes, I agree with Greg here. I would love to see what a couple coats of clear does to the Lambo and the spoons. -
Yeah, it's a lot of fun so far. 18 different colors! Man i bet that turned out nice. I'm not going to detail it that much, but foiling the glass was a little tricky. In hindsight, I should have just bought the snap kit with the figures but the combo pack was too hard to pass up for the same price.
-
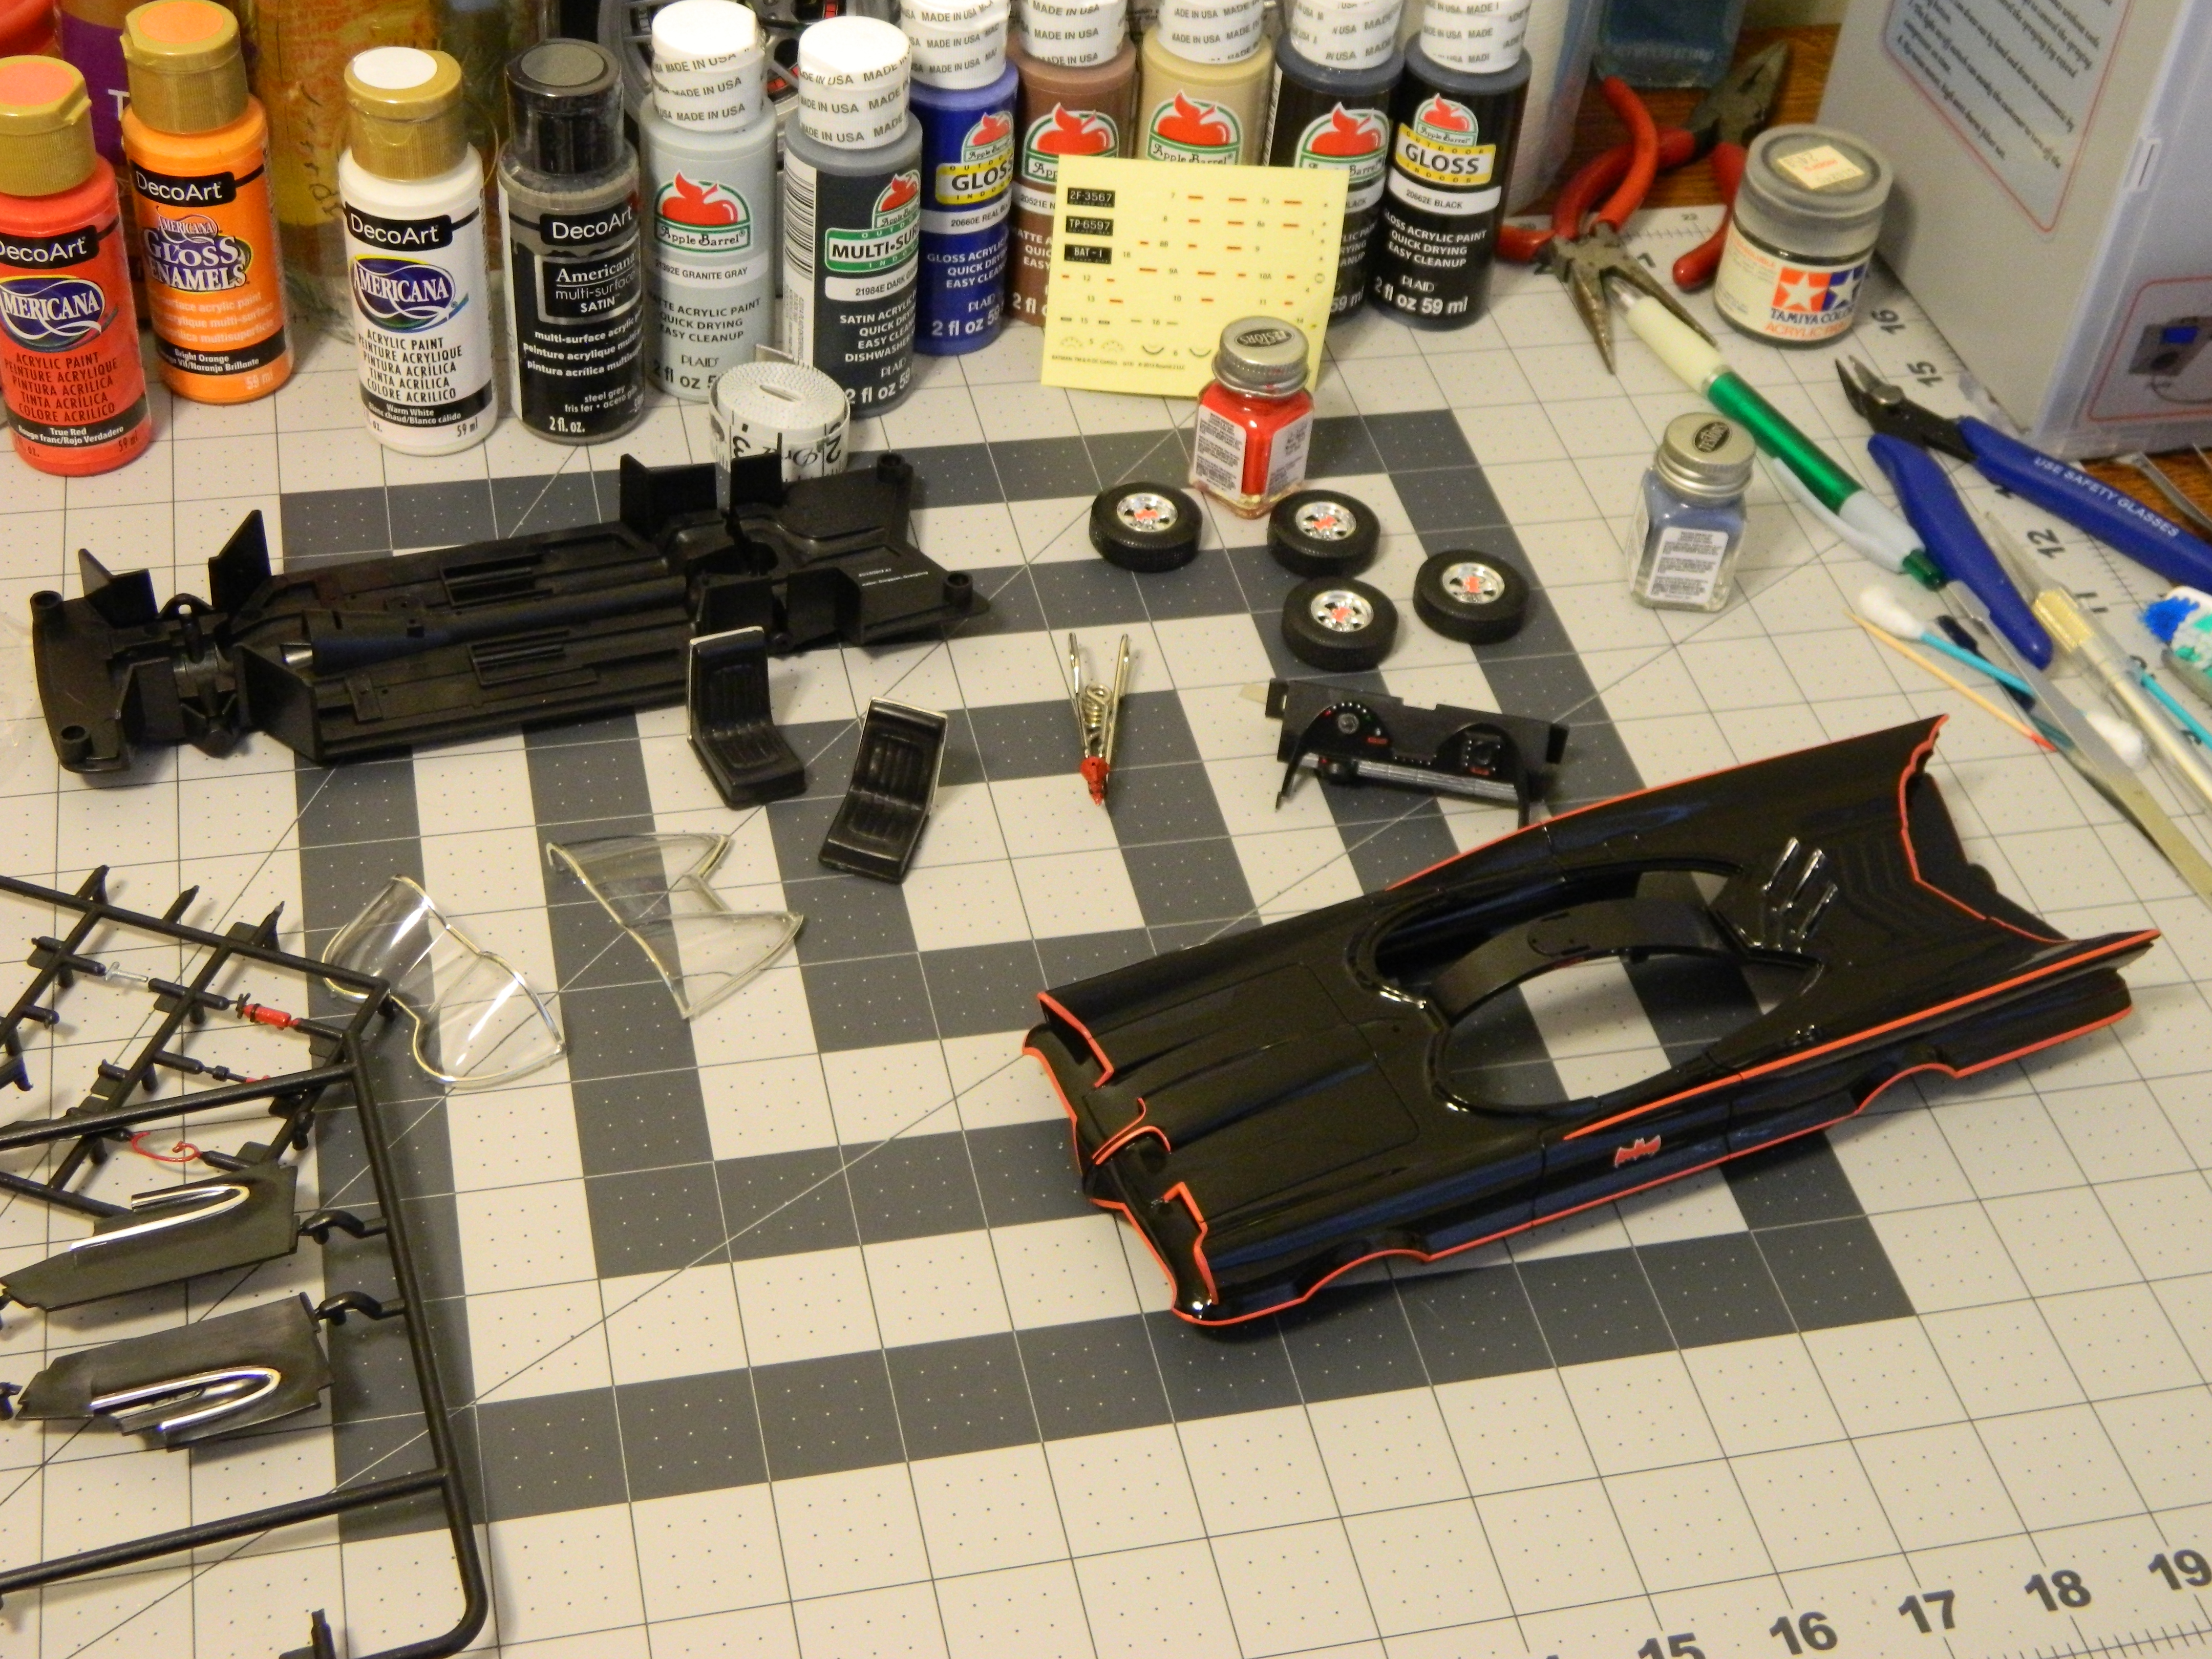
Haven't done anything since November, so before getting back to my '62 Corvette, I thought I'd knock off a quick Snap kit. It's the snap half of the glue/snap 2-pack I bought earlier this year. It has a pre-painted body, so I won't be taking any credit there, but there is enough foiling and other detailing necessary to make a decent replica. In hindsight, I probably should have just gotten the snap kit with the figures, but I went ahead and got the duo kit for the same price even though I really don't need 2 Batmobiles.
-
Superbly done!! Outstanding detail and great color! Gives me the motivation to get going on mine this year.
-
Nice work! Dash looks really good.
-
Looking forward to seeing this one done.
-
Nice work! The blue one looks great too!
-
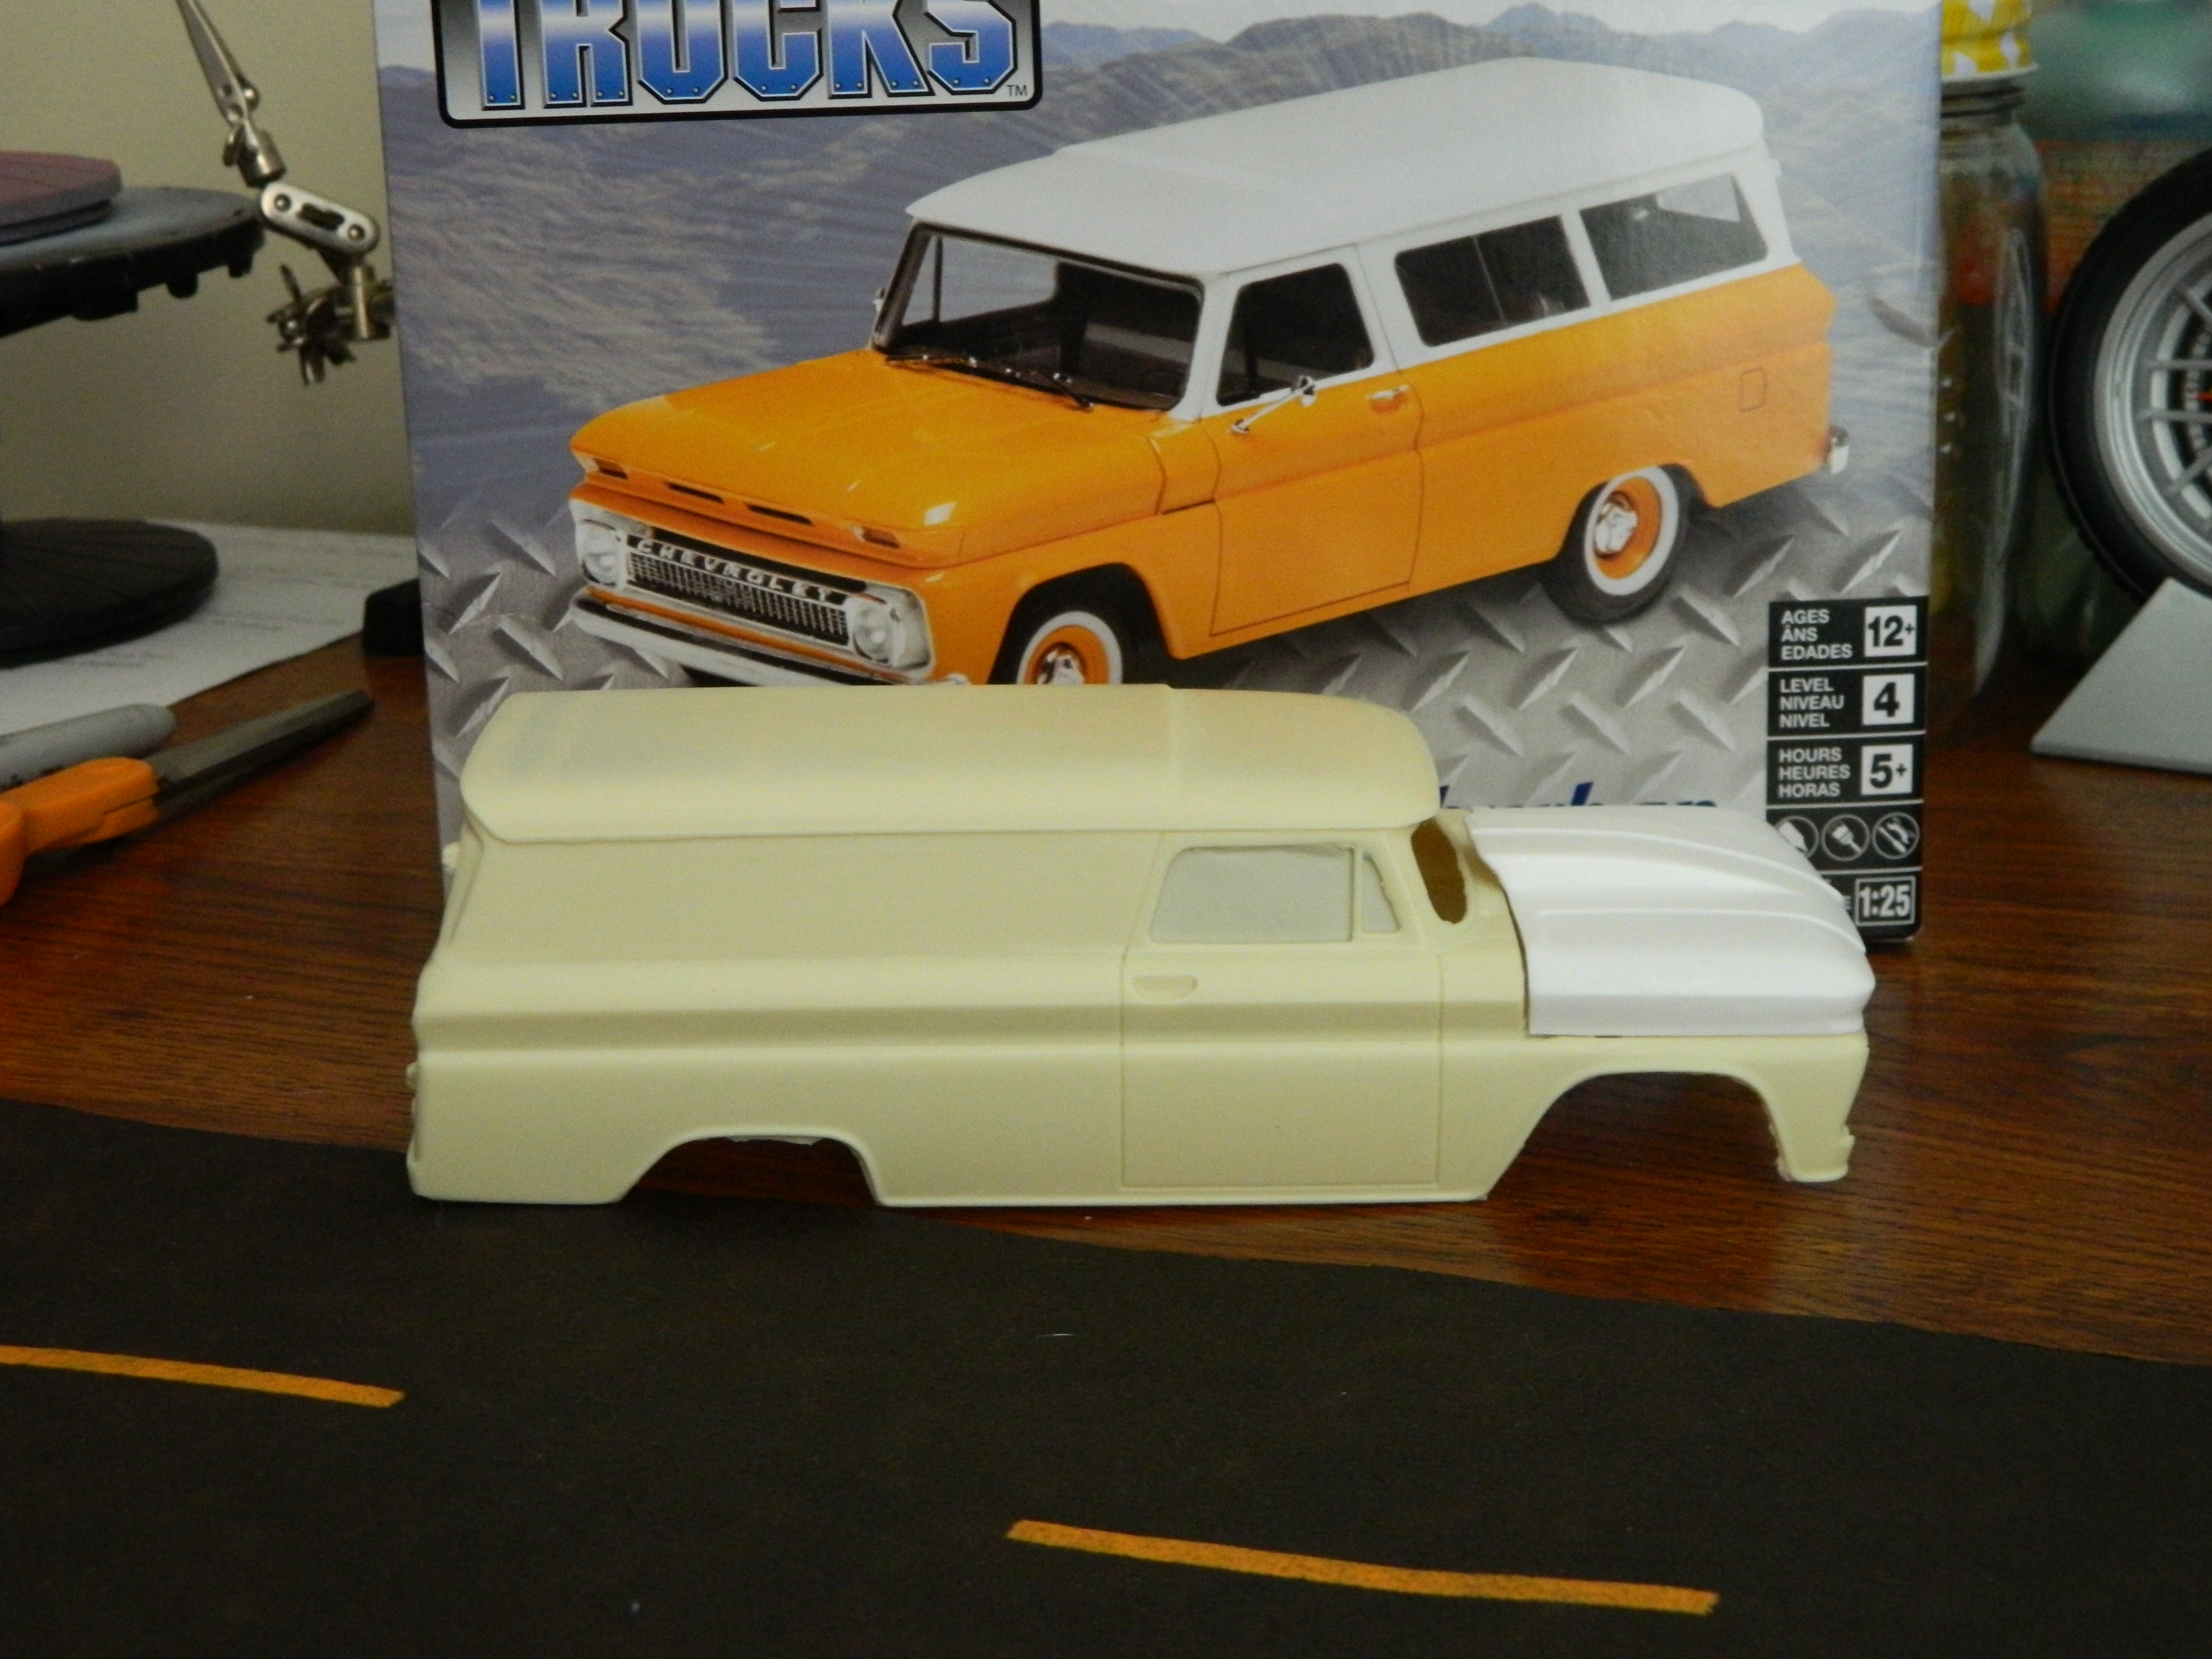
Mailman brought these to me last week. 1966 Suburban chopped sedan delivery by Jimmy Flintstone and a cowl induction hood for it from Lex's Scale Modeling for a project for later this year I hope.
-
Another mighty fine looking build from you. Really like the color choice.
-
Looks fantastic! Great details!
-
Recharged - Ex General Lee with new engine...
Dragonhawk1066 replied to Antikainen's topic in Model Cars
Nice job on a well thought out concept! -
I like the concept! Nice job!