bobss396
-
Posts
3,649 -
Joined
-
Last visited
5 Followers


Recent Profile Visitors
12,768 profile views


bobss396's Achievements
MCM Ohana (6/6)
-
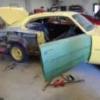
 This was one of their many new products. The wheels come assembled and chromed.
-
A huge shout out to a great new vendor.
-
These were the Dodge Demon club entries, judging was people's choice. Lenny in the club won, he put a slant 6 in his entry.
-
I was vending so I didnt get around the tables too much. The wire wheels on the Buick are from Heath's Model Works LLC and are spectacular. They made the trek from West Sand Lake NY. Www.heathsmodelworks.com One of my clubbies made the Jarzombek #1 and hauler.
-
What Did You See In Your Yard Today?
bobss396 replied to Tim W. SoCal's topic in The Off-Topic Lounge
Waiting for breakfast...
-
I need to take some pix of my garage picked Schwinn 26" beach-ish cruiser. Coaster brake, no frills. I put new tubes & tires on it, and a rear fender rack. It rides great. My brother is into high end road bikes. I think he owns about 17 of them. He takes very long rides every week.
-
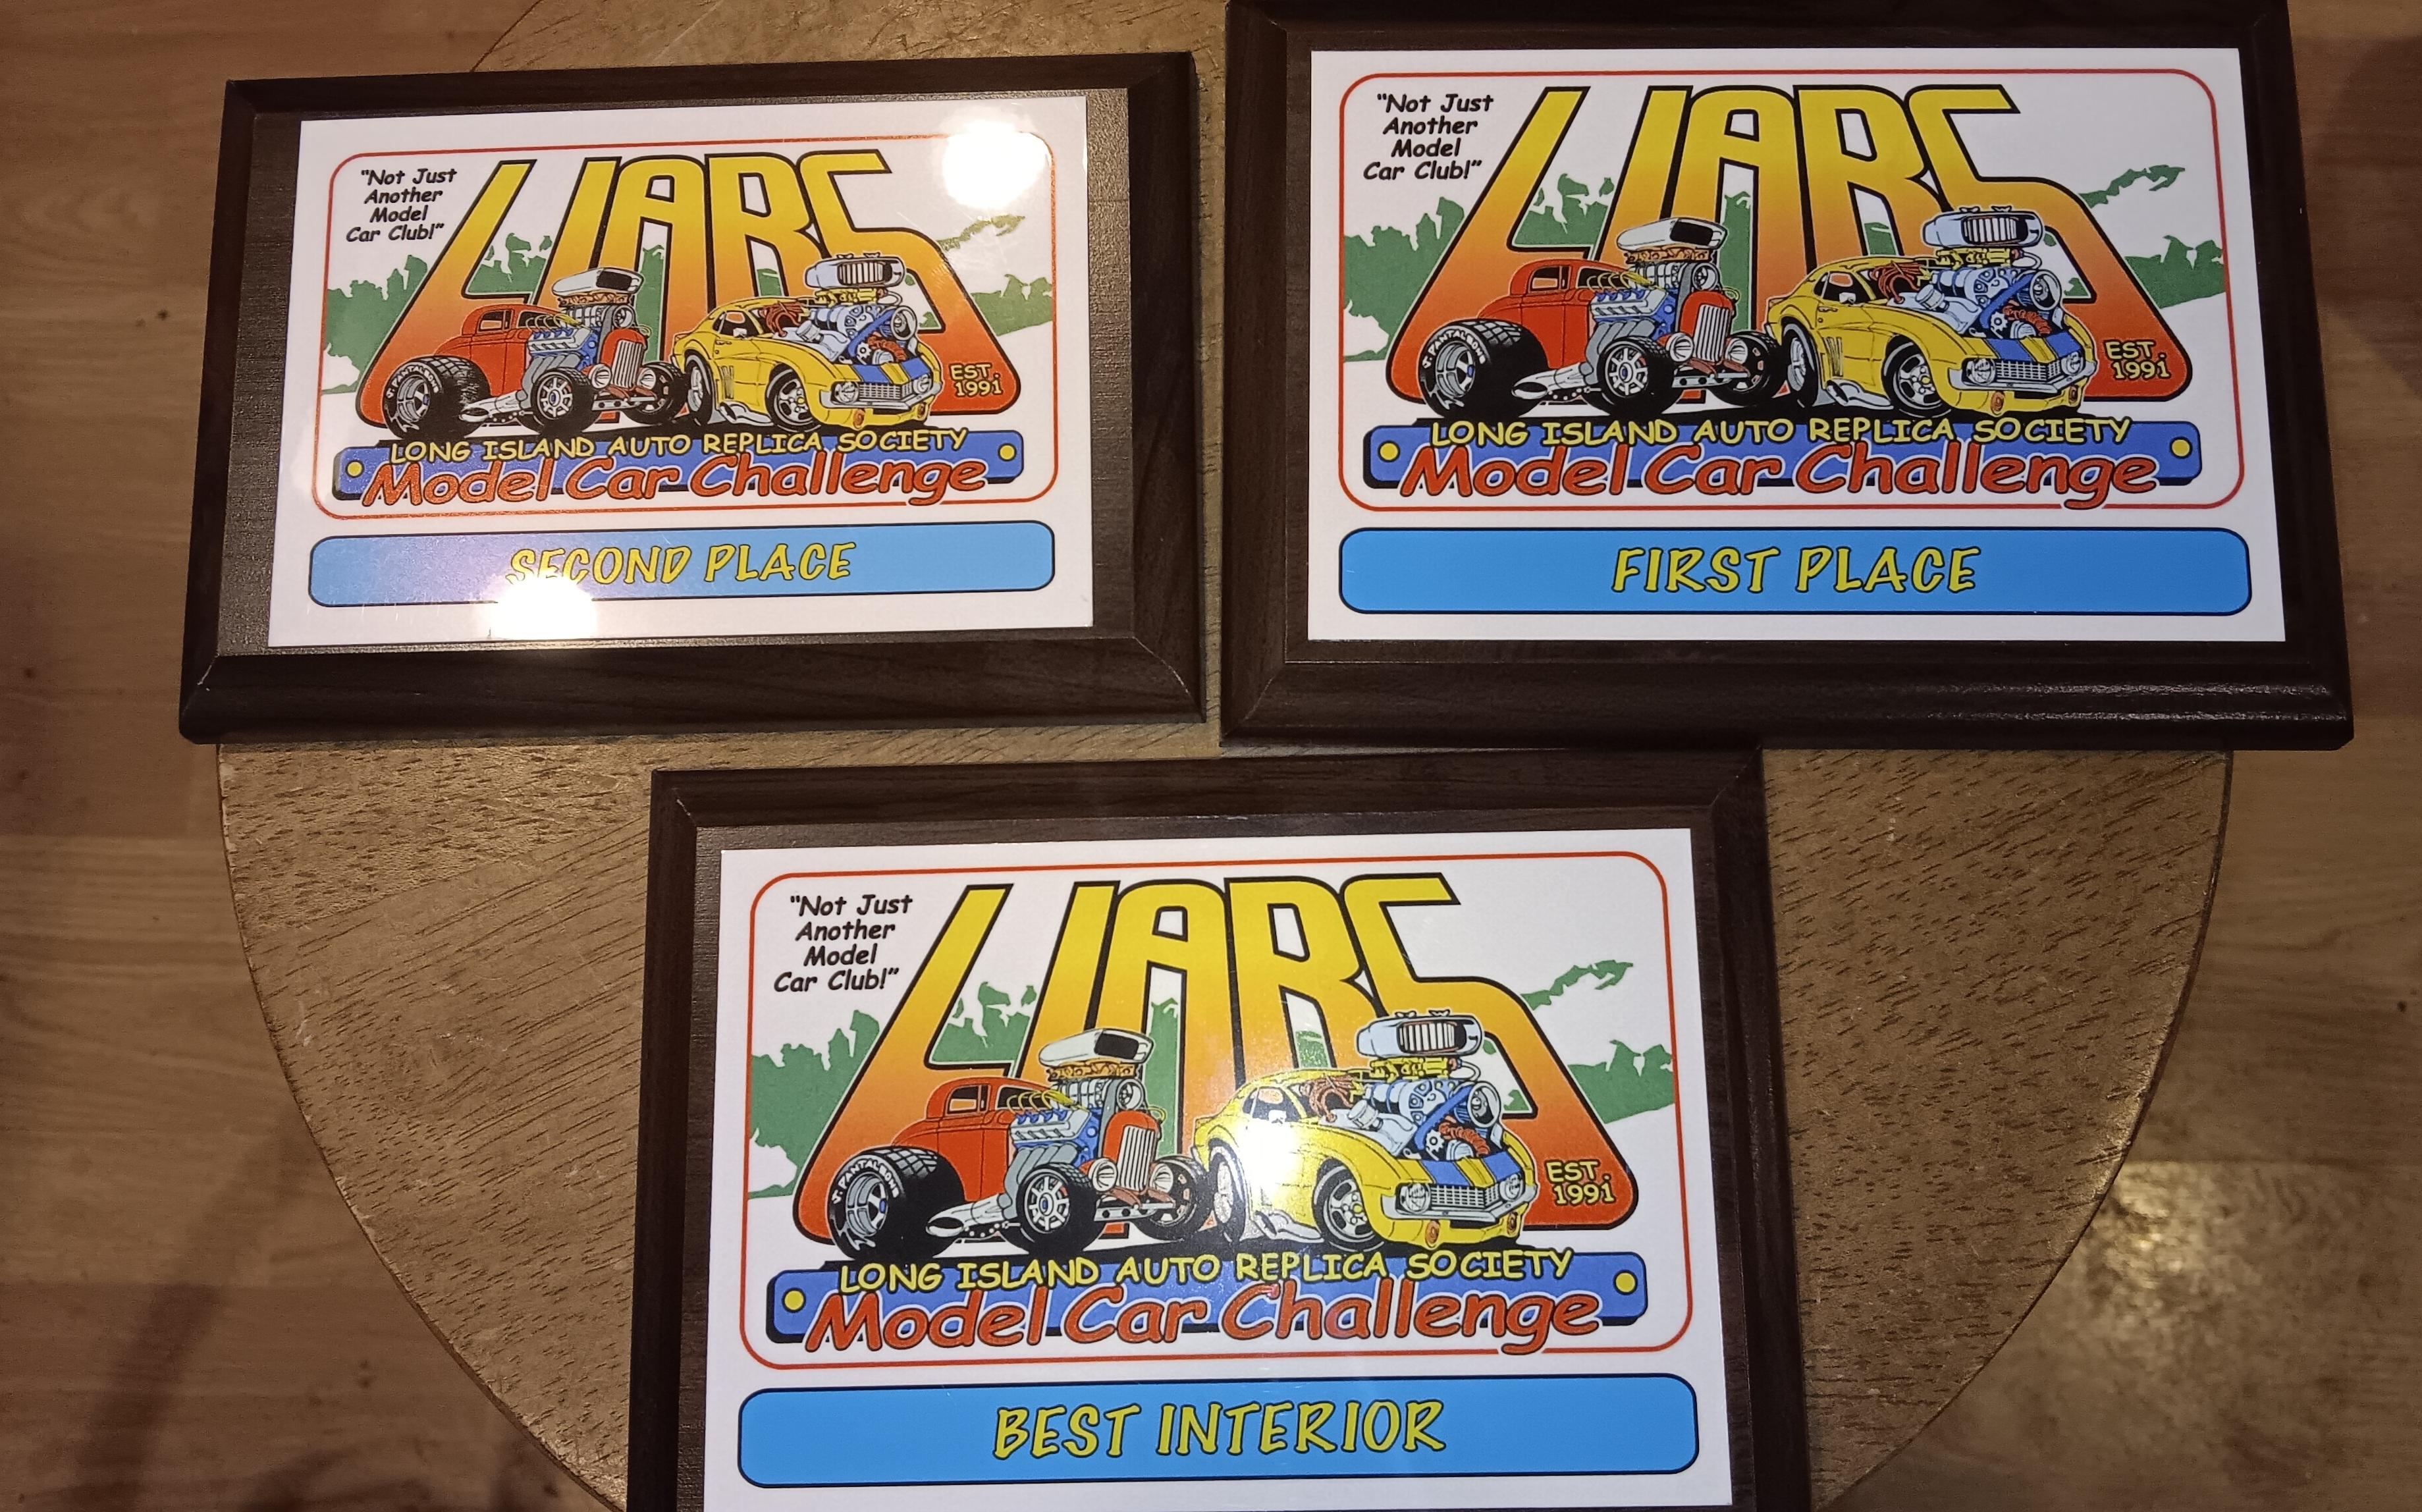
I did pretty well, 3 awards. 1st in open wheel comp with the '63 Corvette modified, same car best interior. And 2nd place with my GMC wrecker.
-
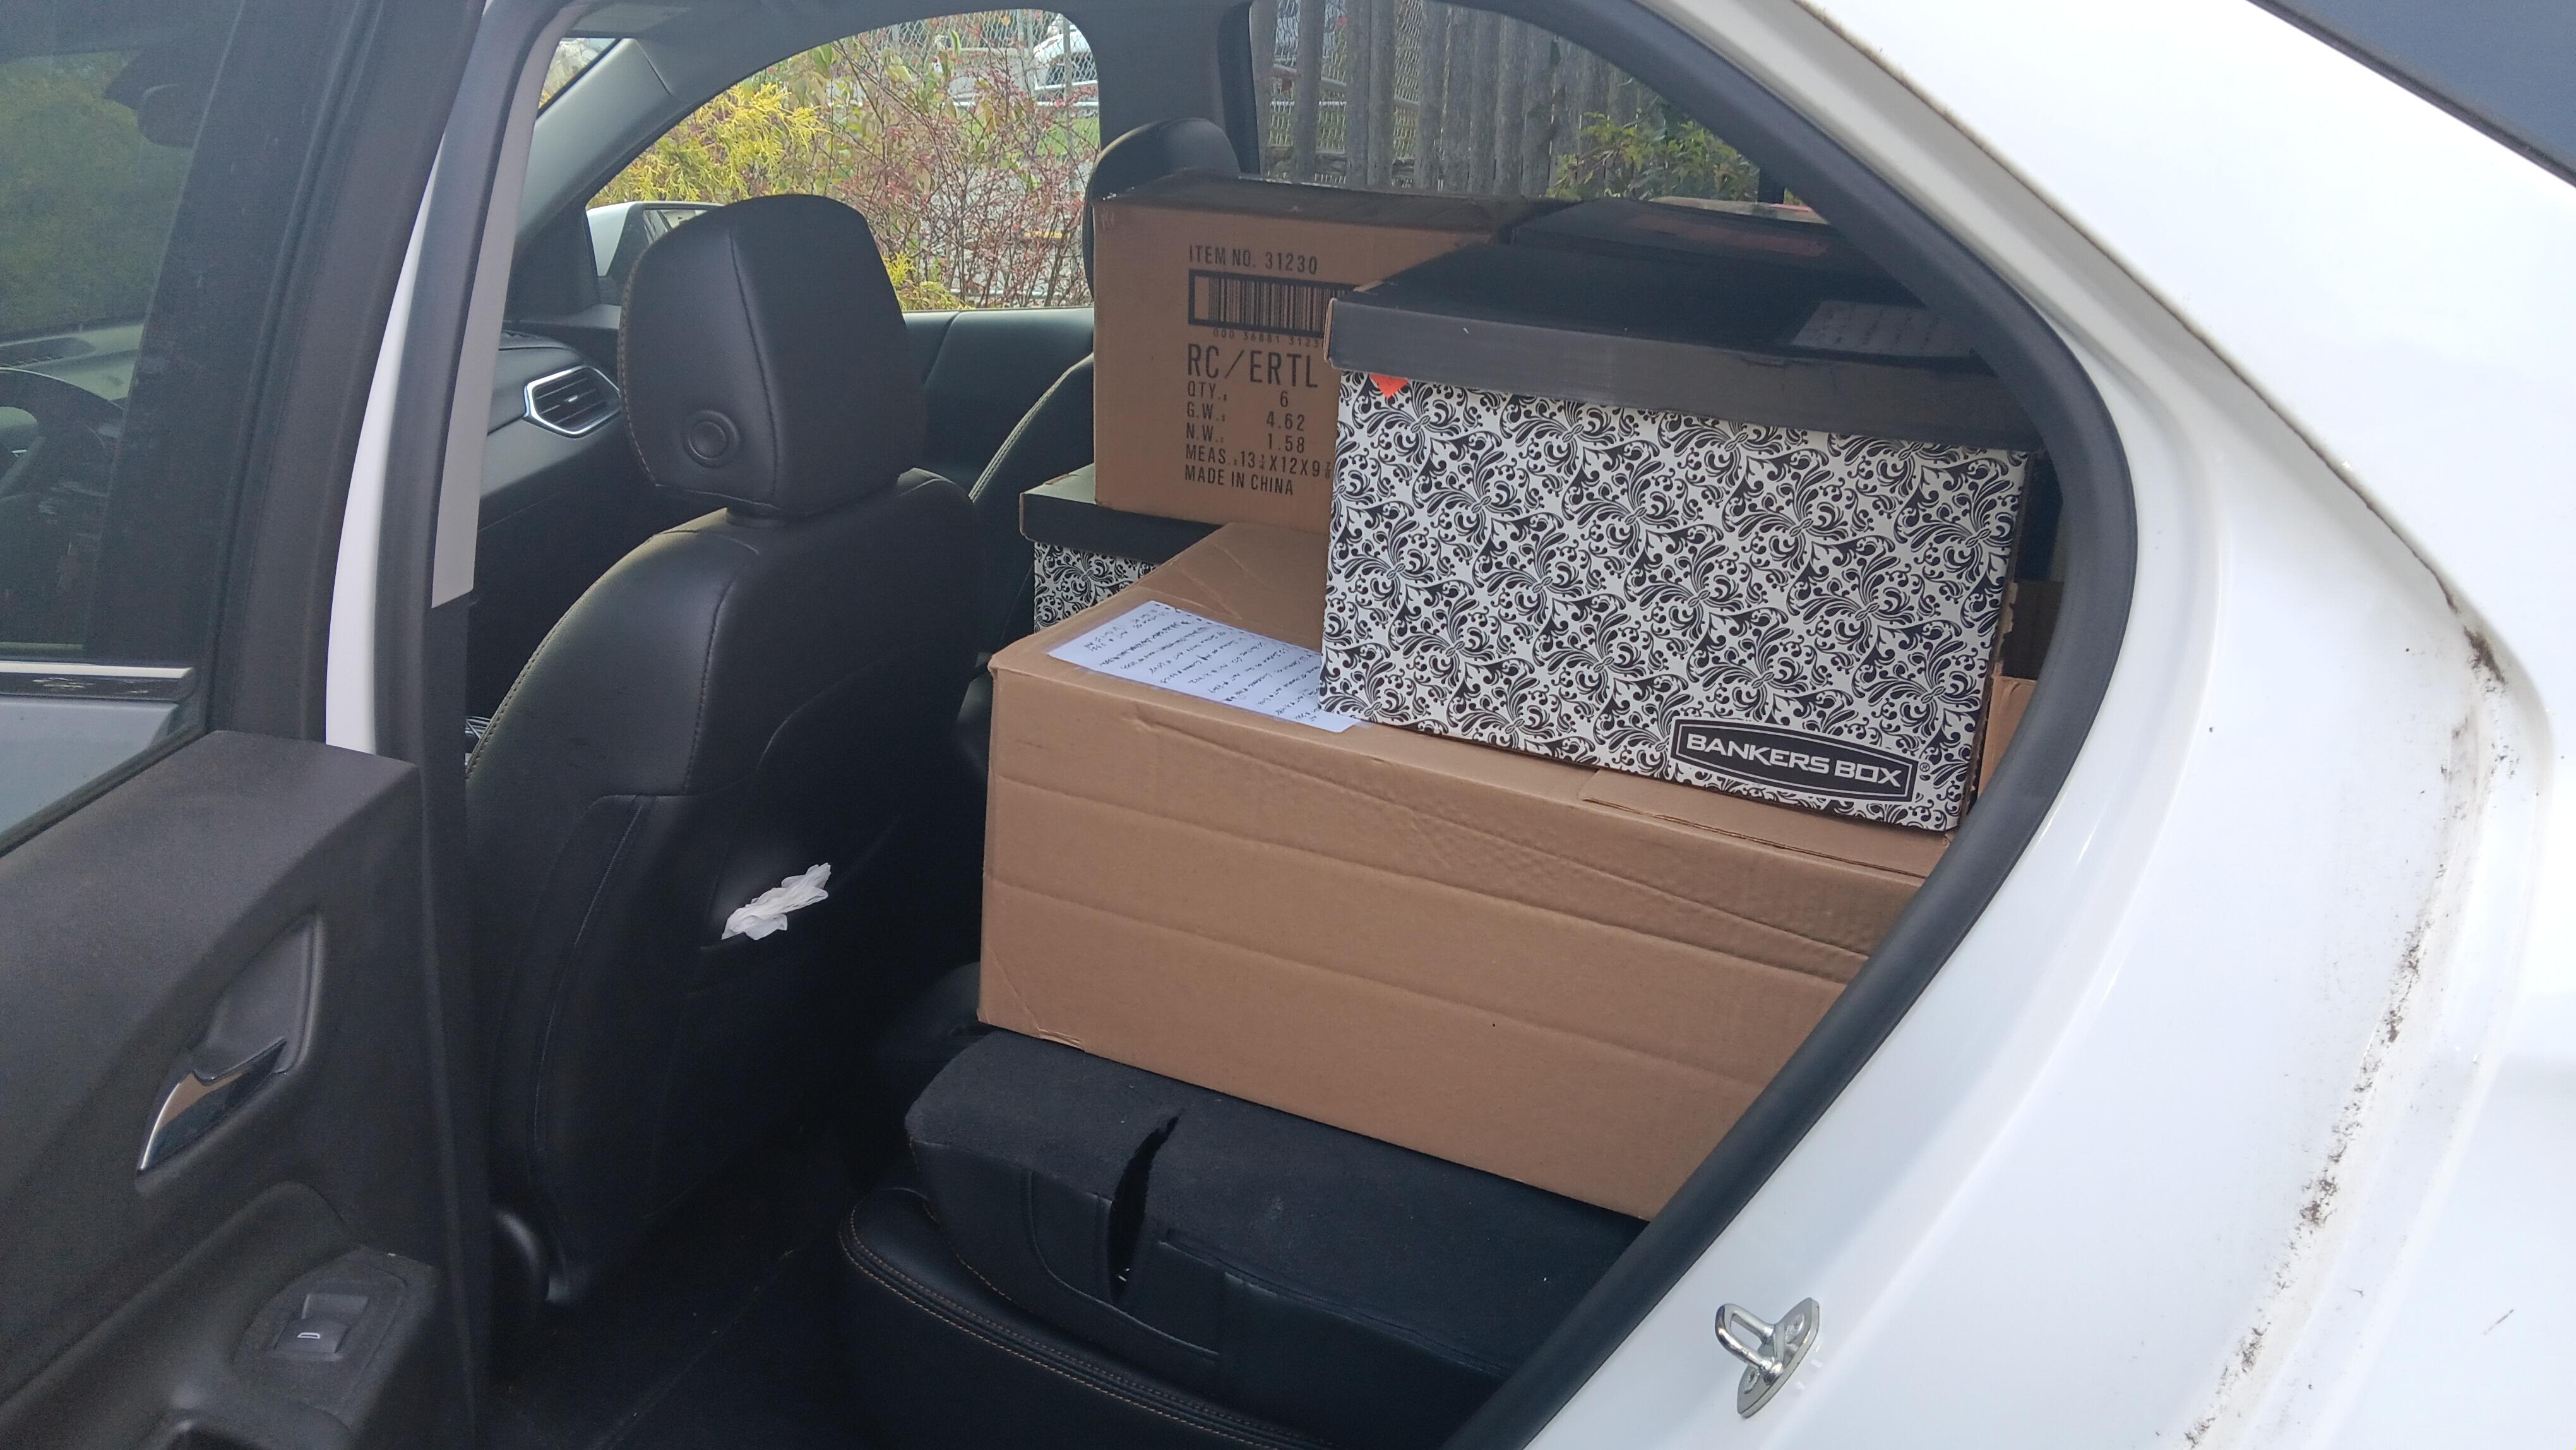
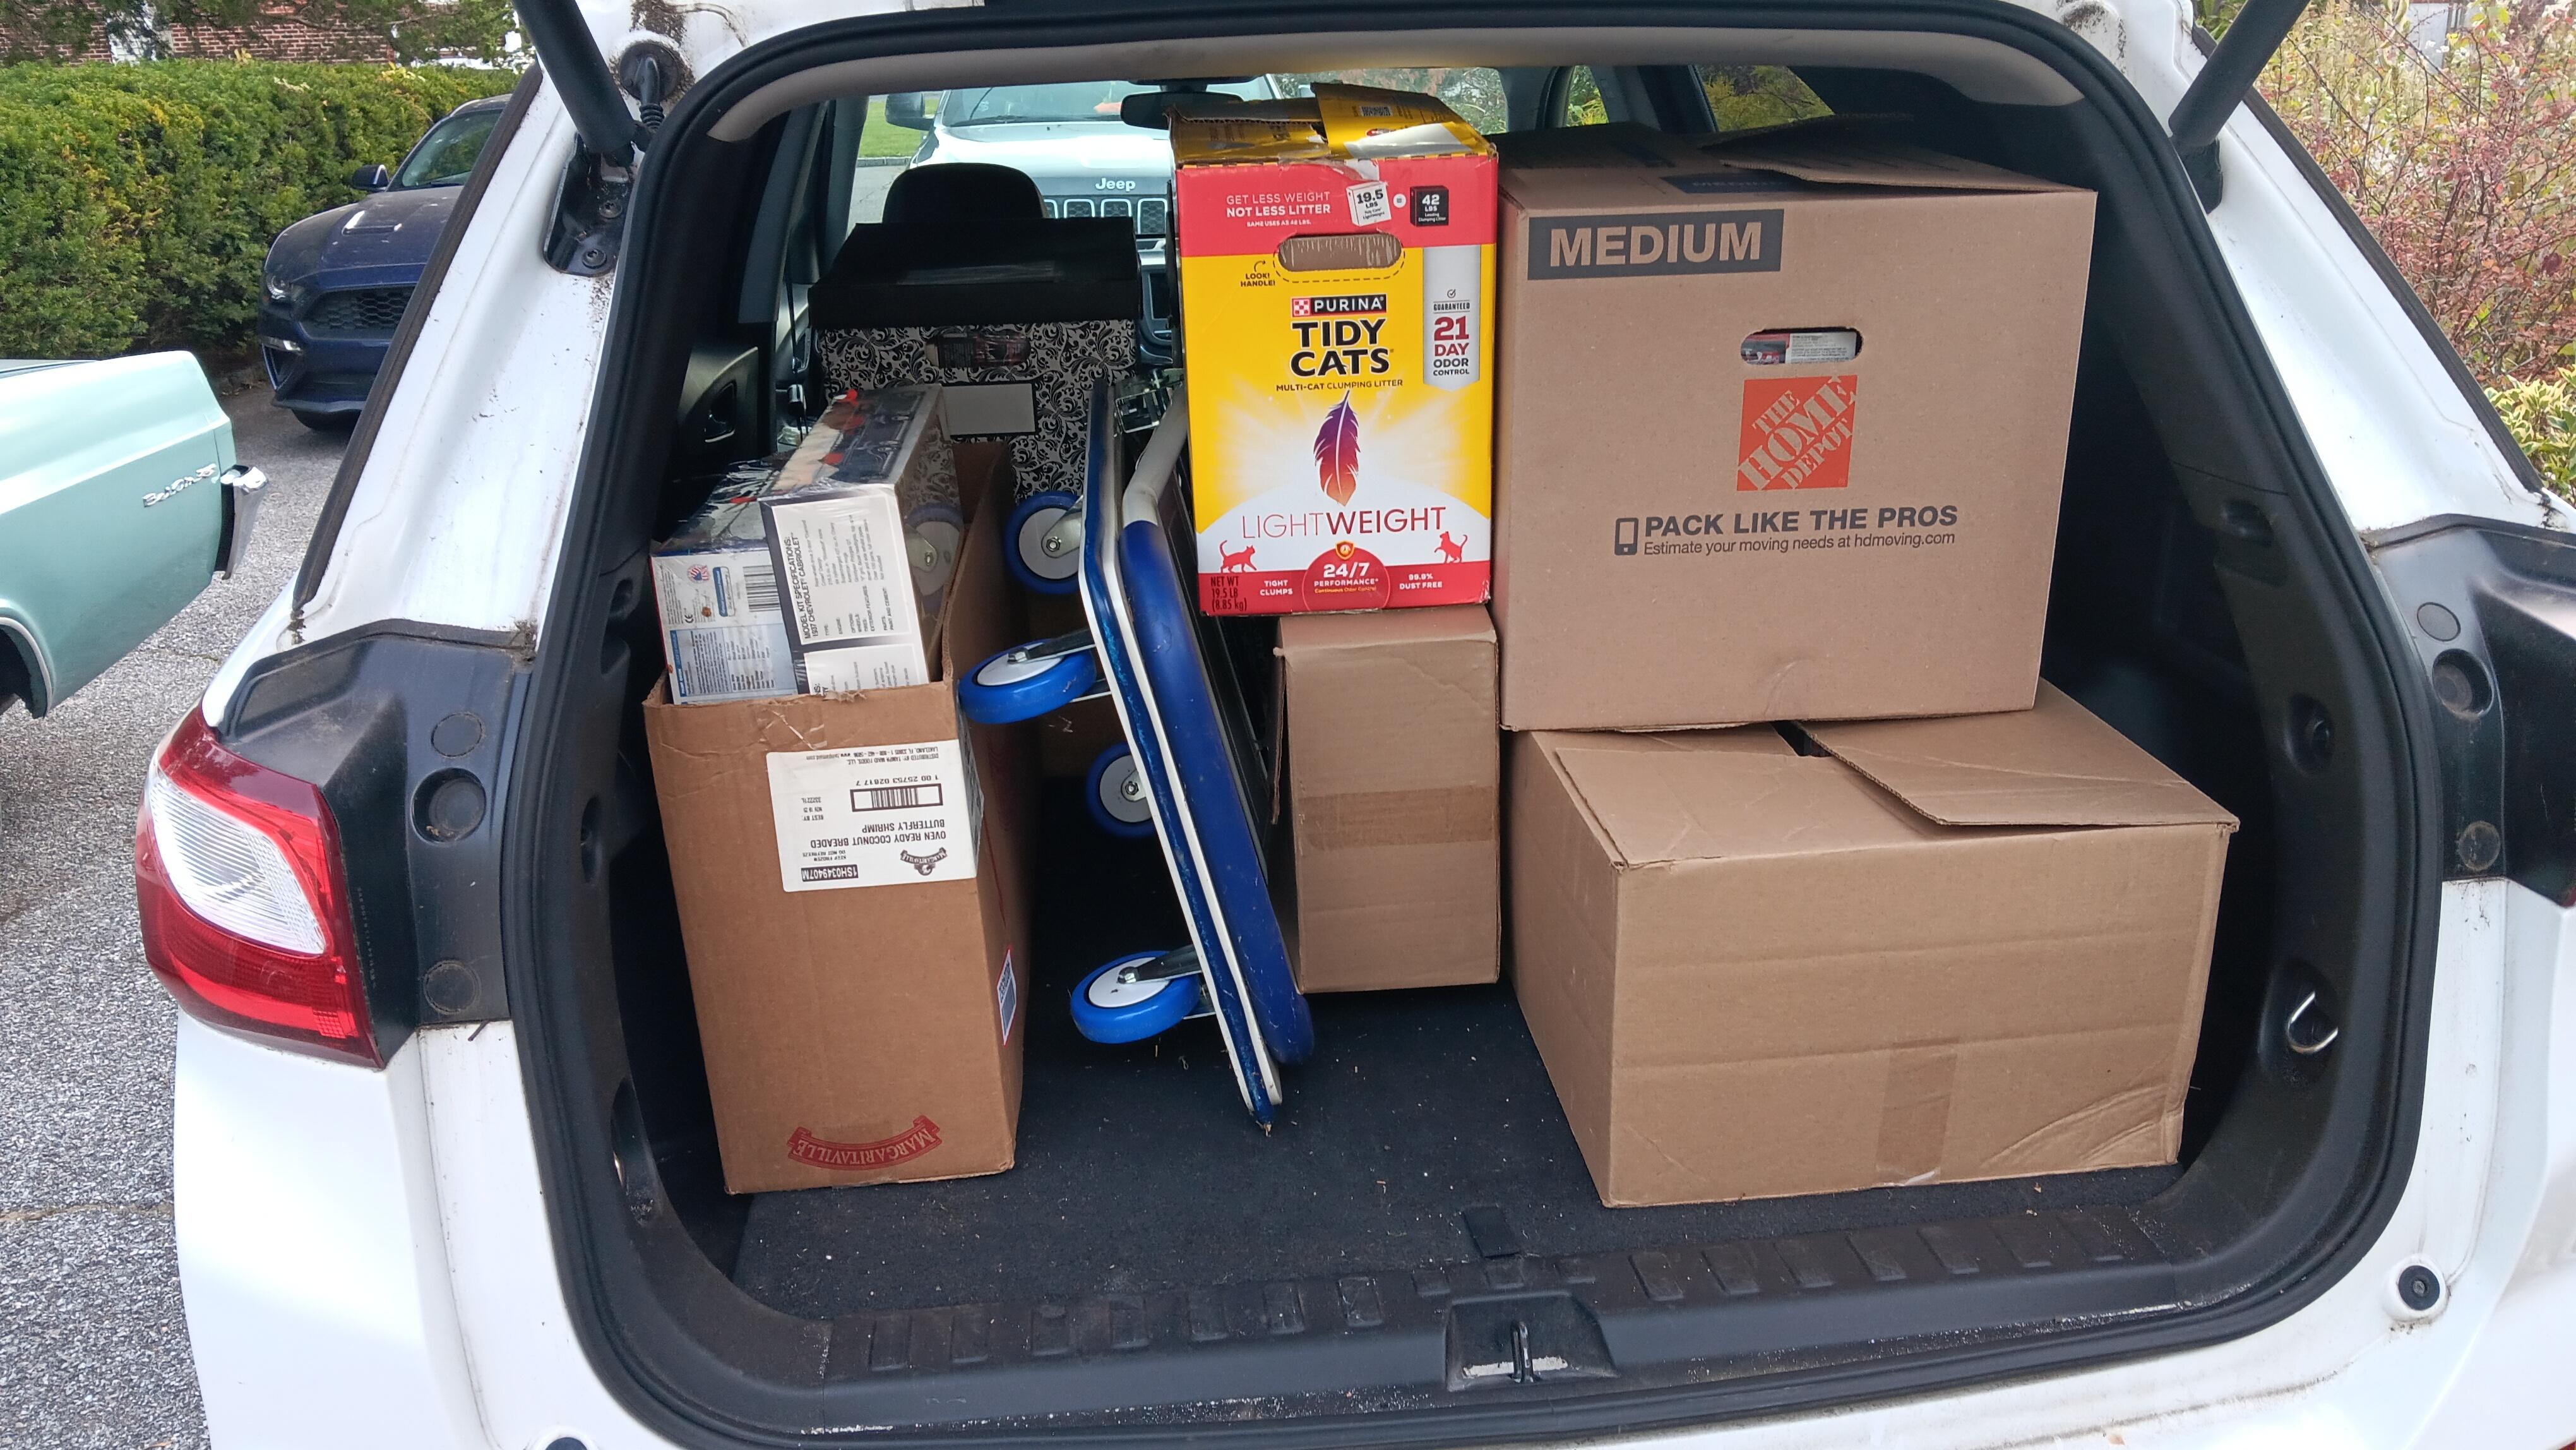
Locked and loaded for tomorrow's show.
-
Thanks, I hope so. I wasn't going to push to get it done, my girlfriend talked me into it after I told her it was a contest sub theme, only club members entered. I had a minor clear coat issue, I wound up polishing it out a few days ago.
-
Thanks. I wanted it to be a bit understated. I will probably pick up another one and use the decals on it.
-
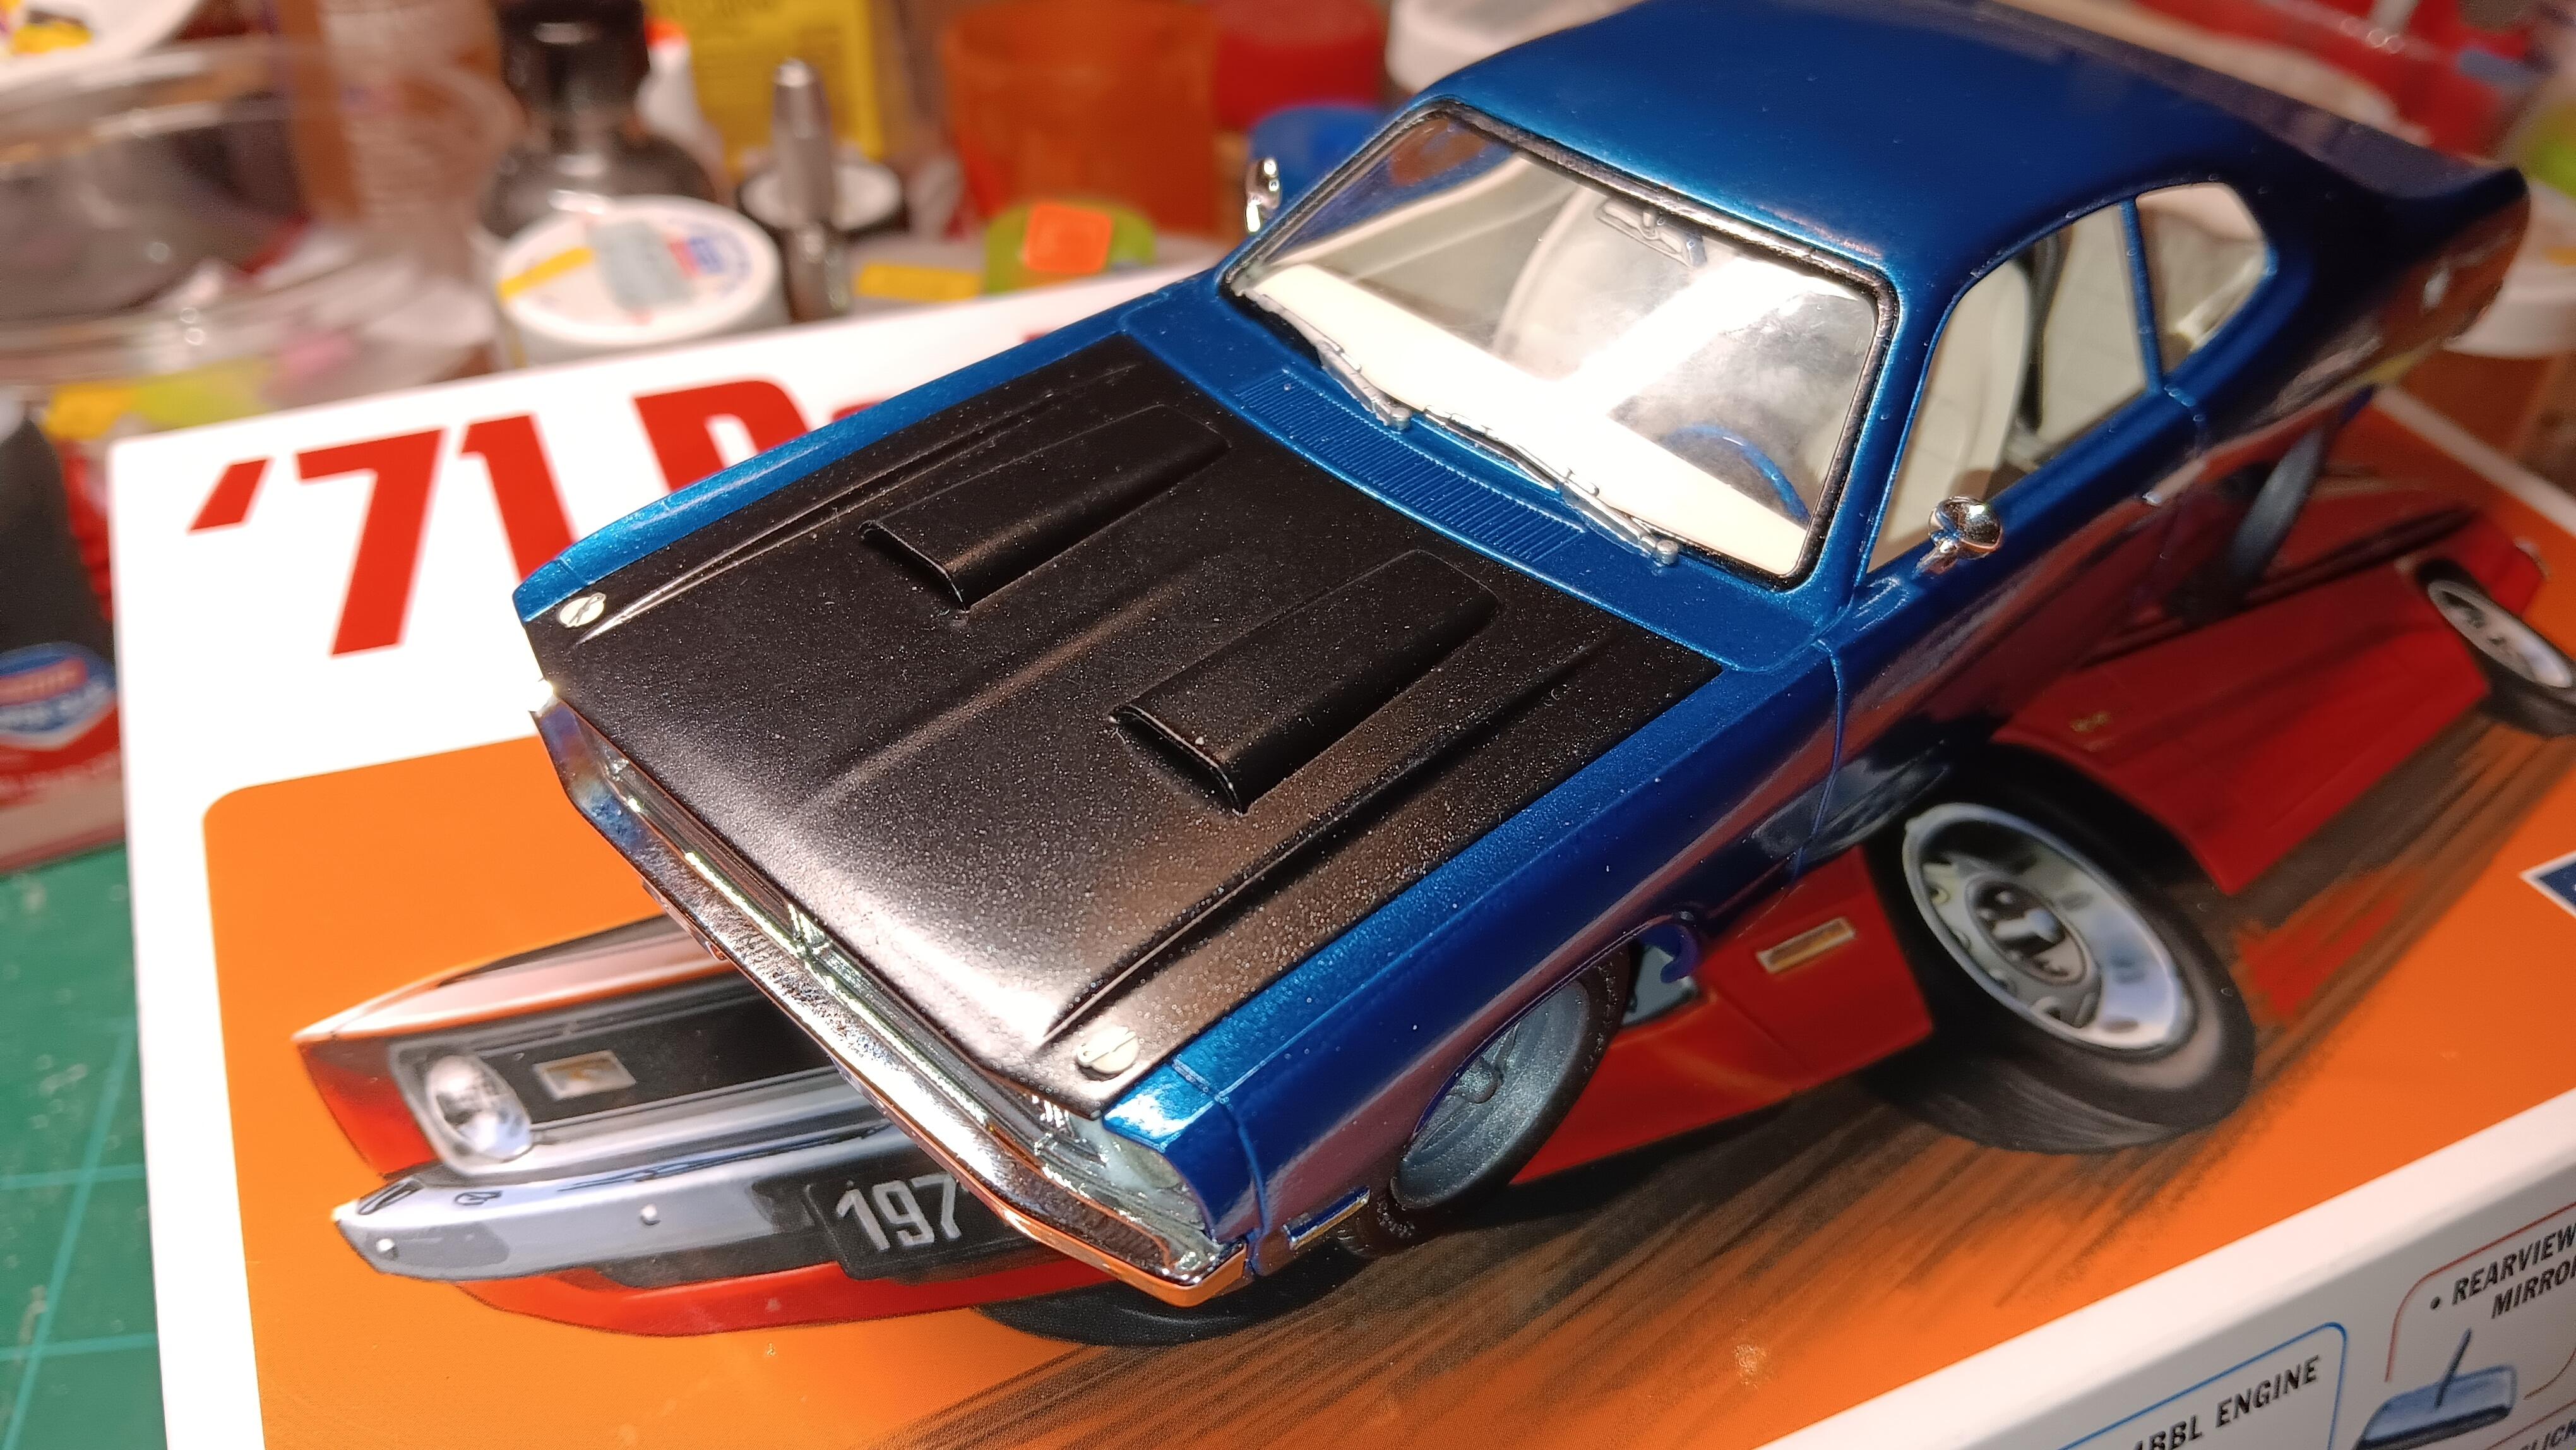
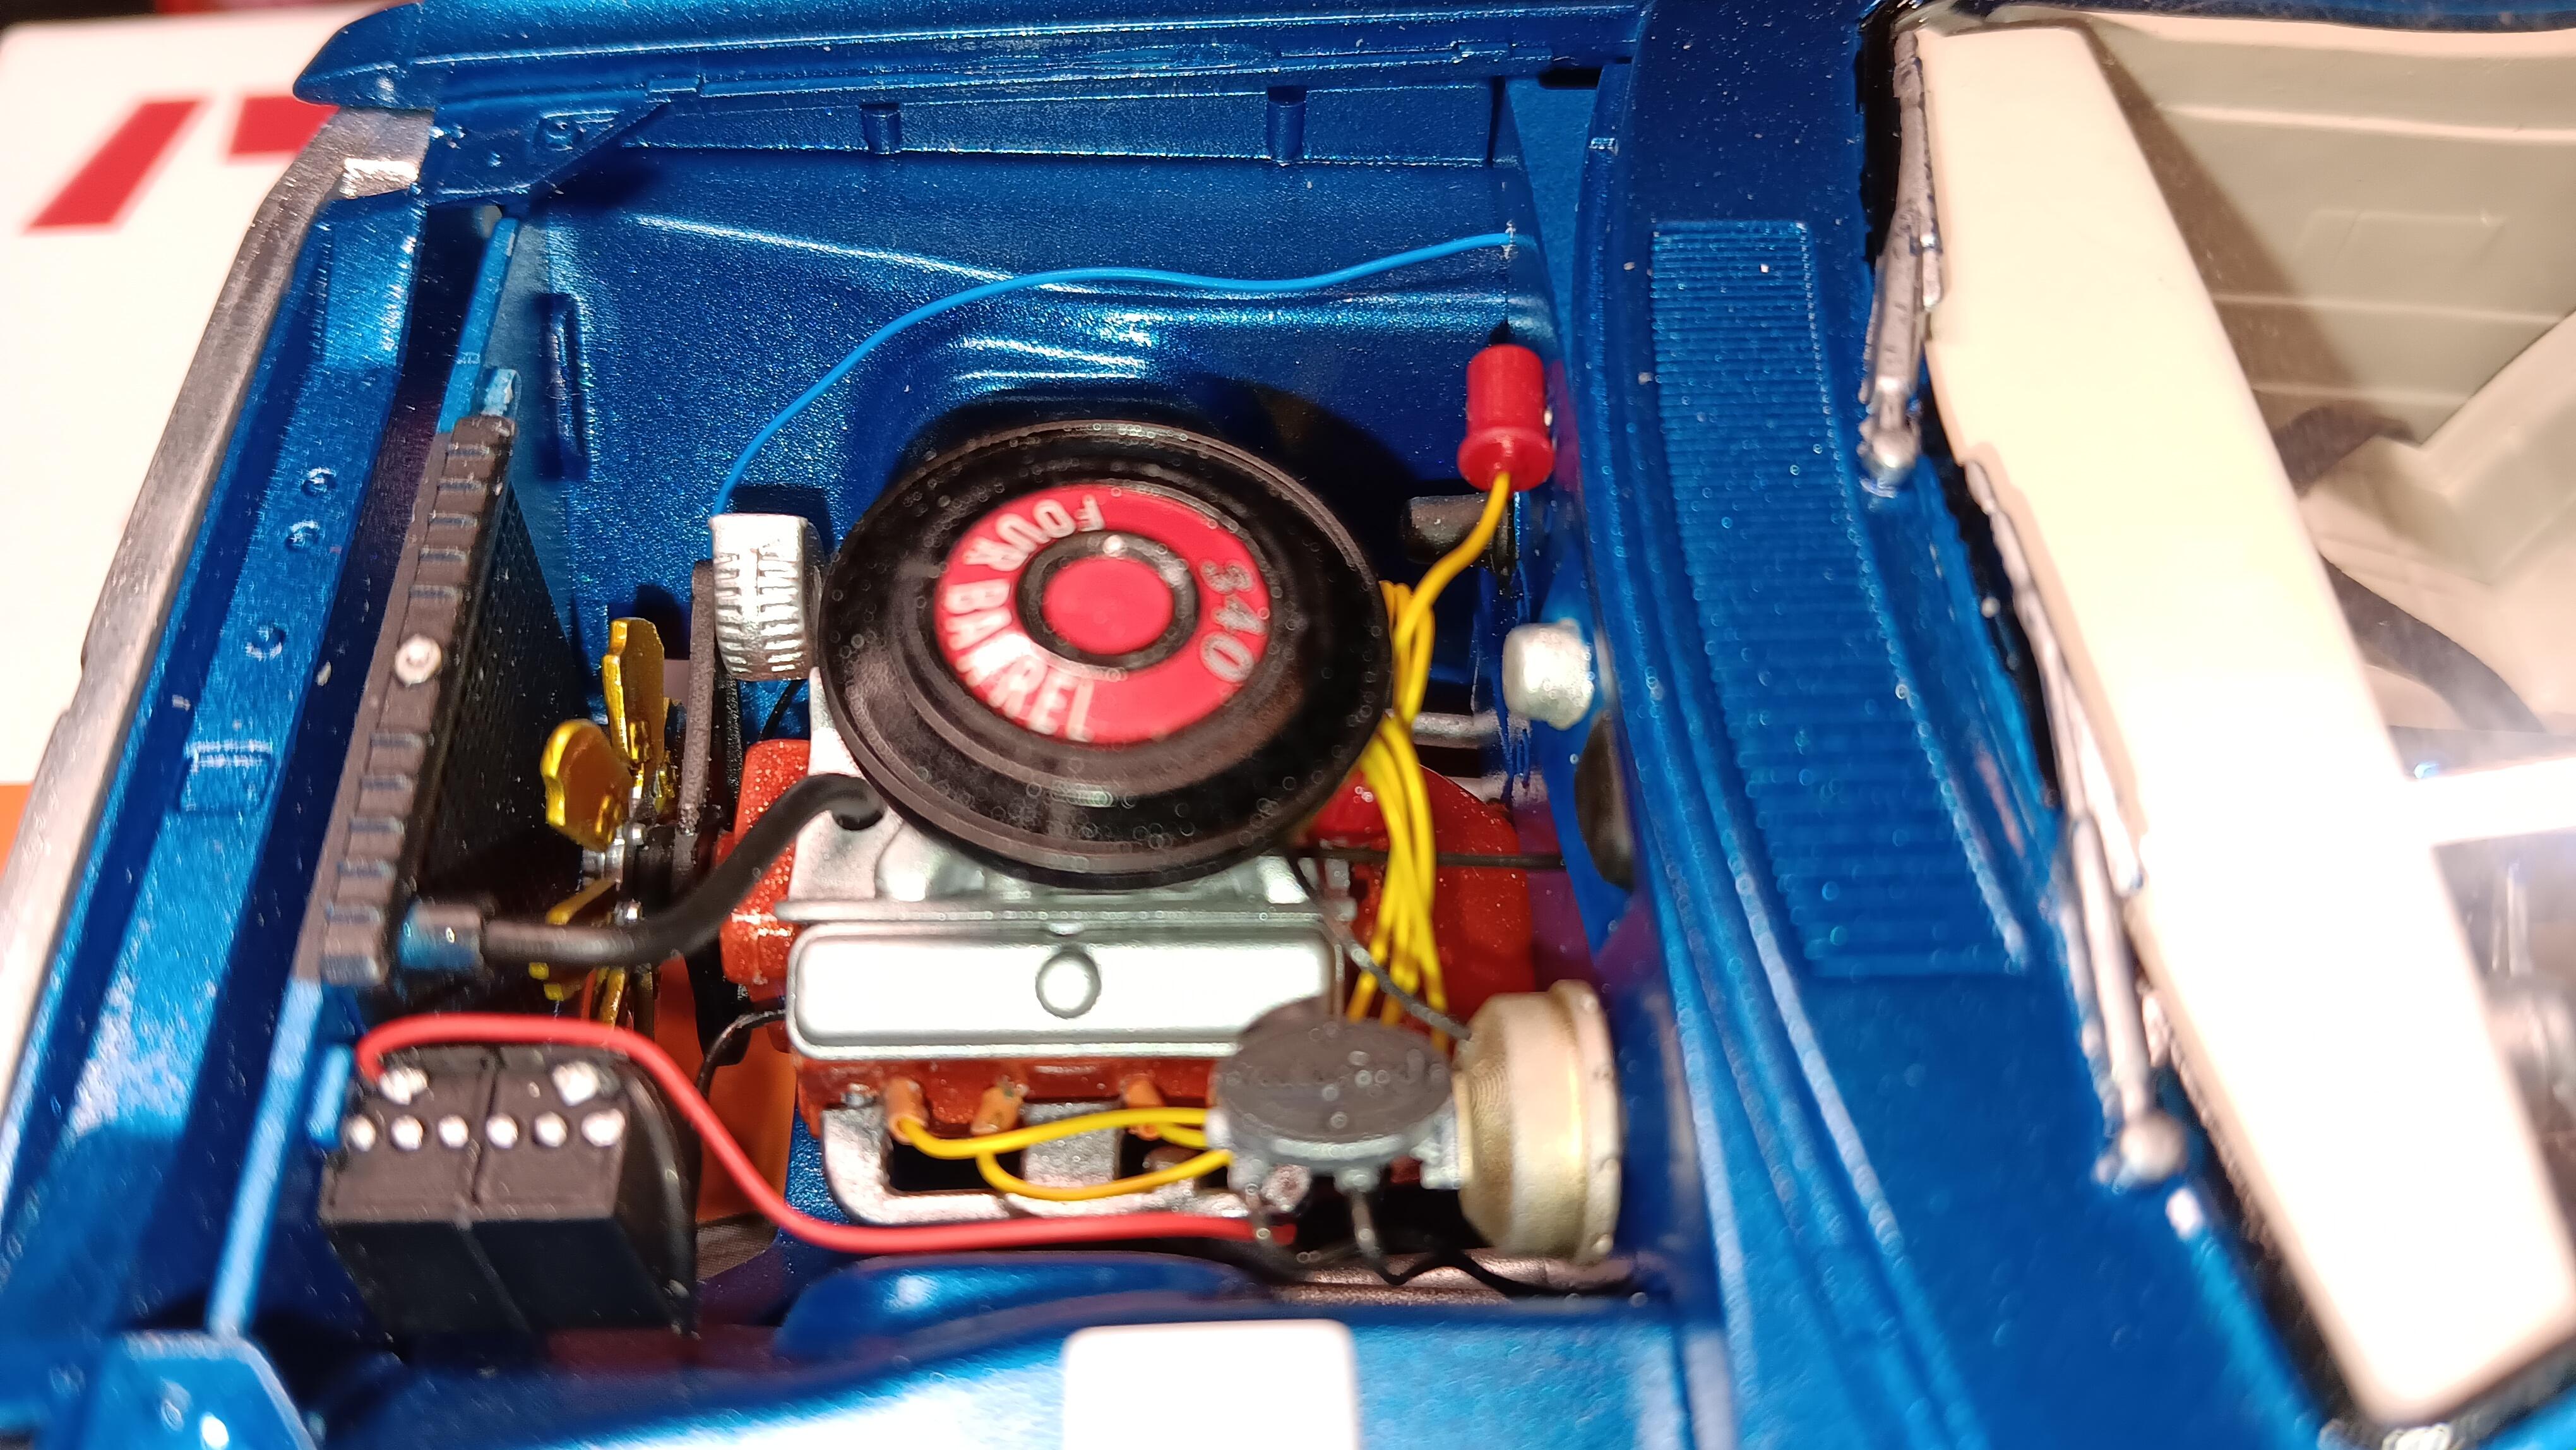
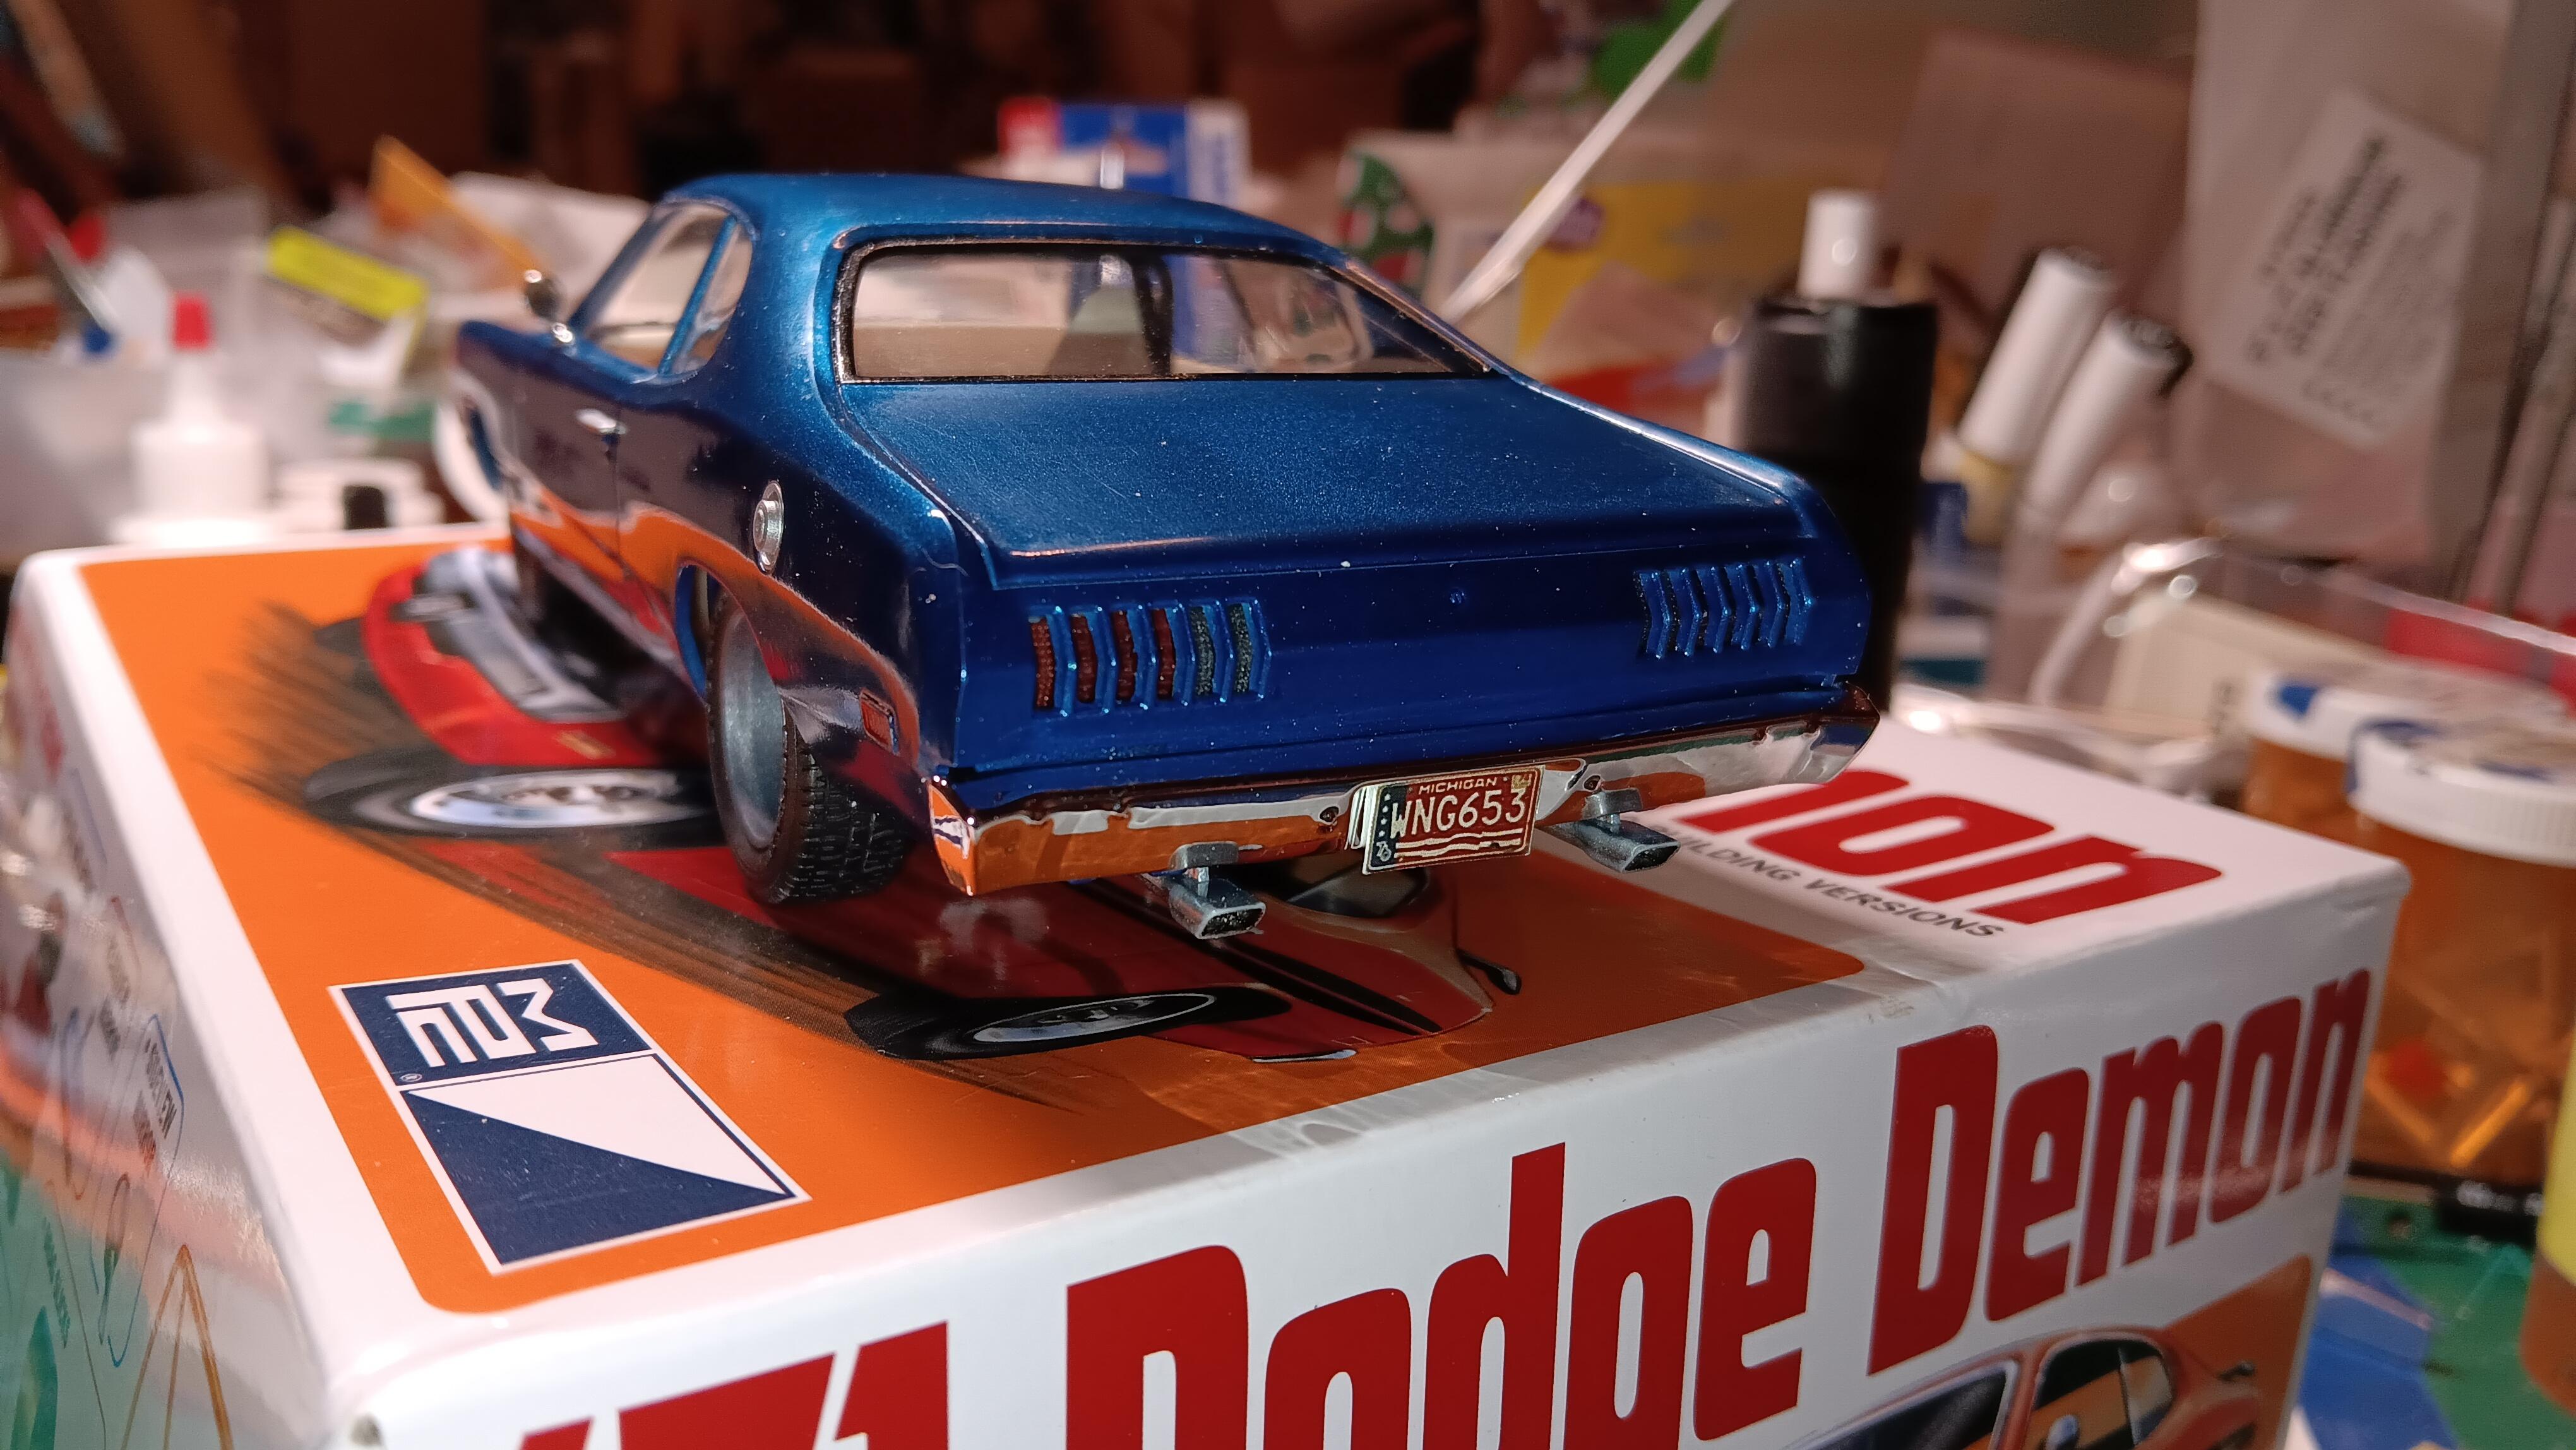
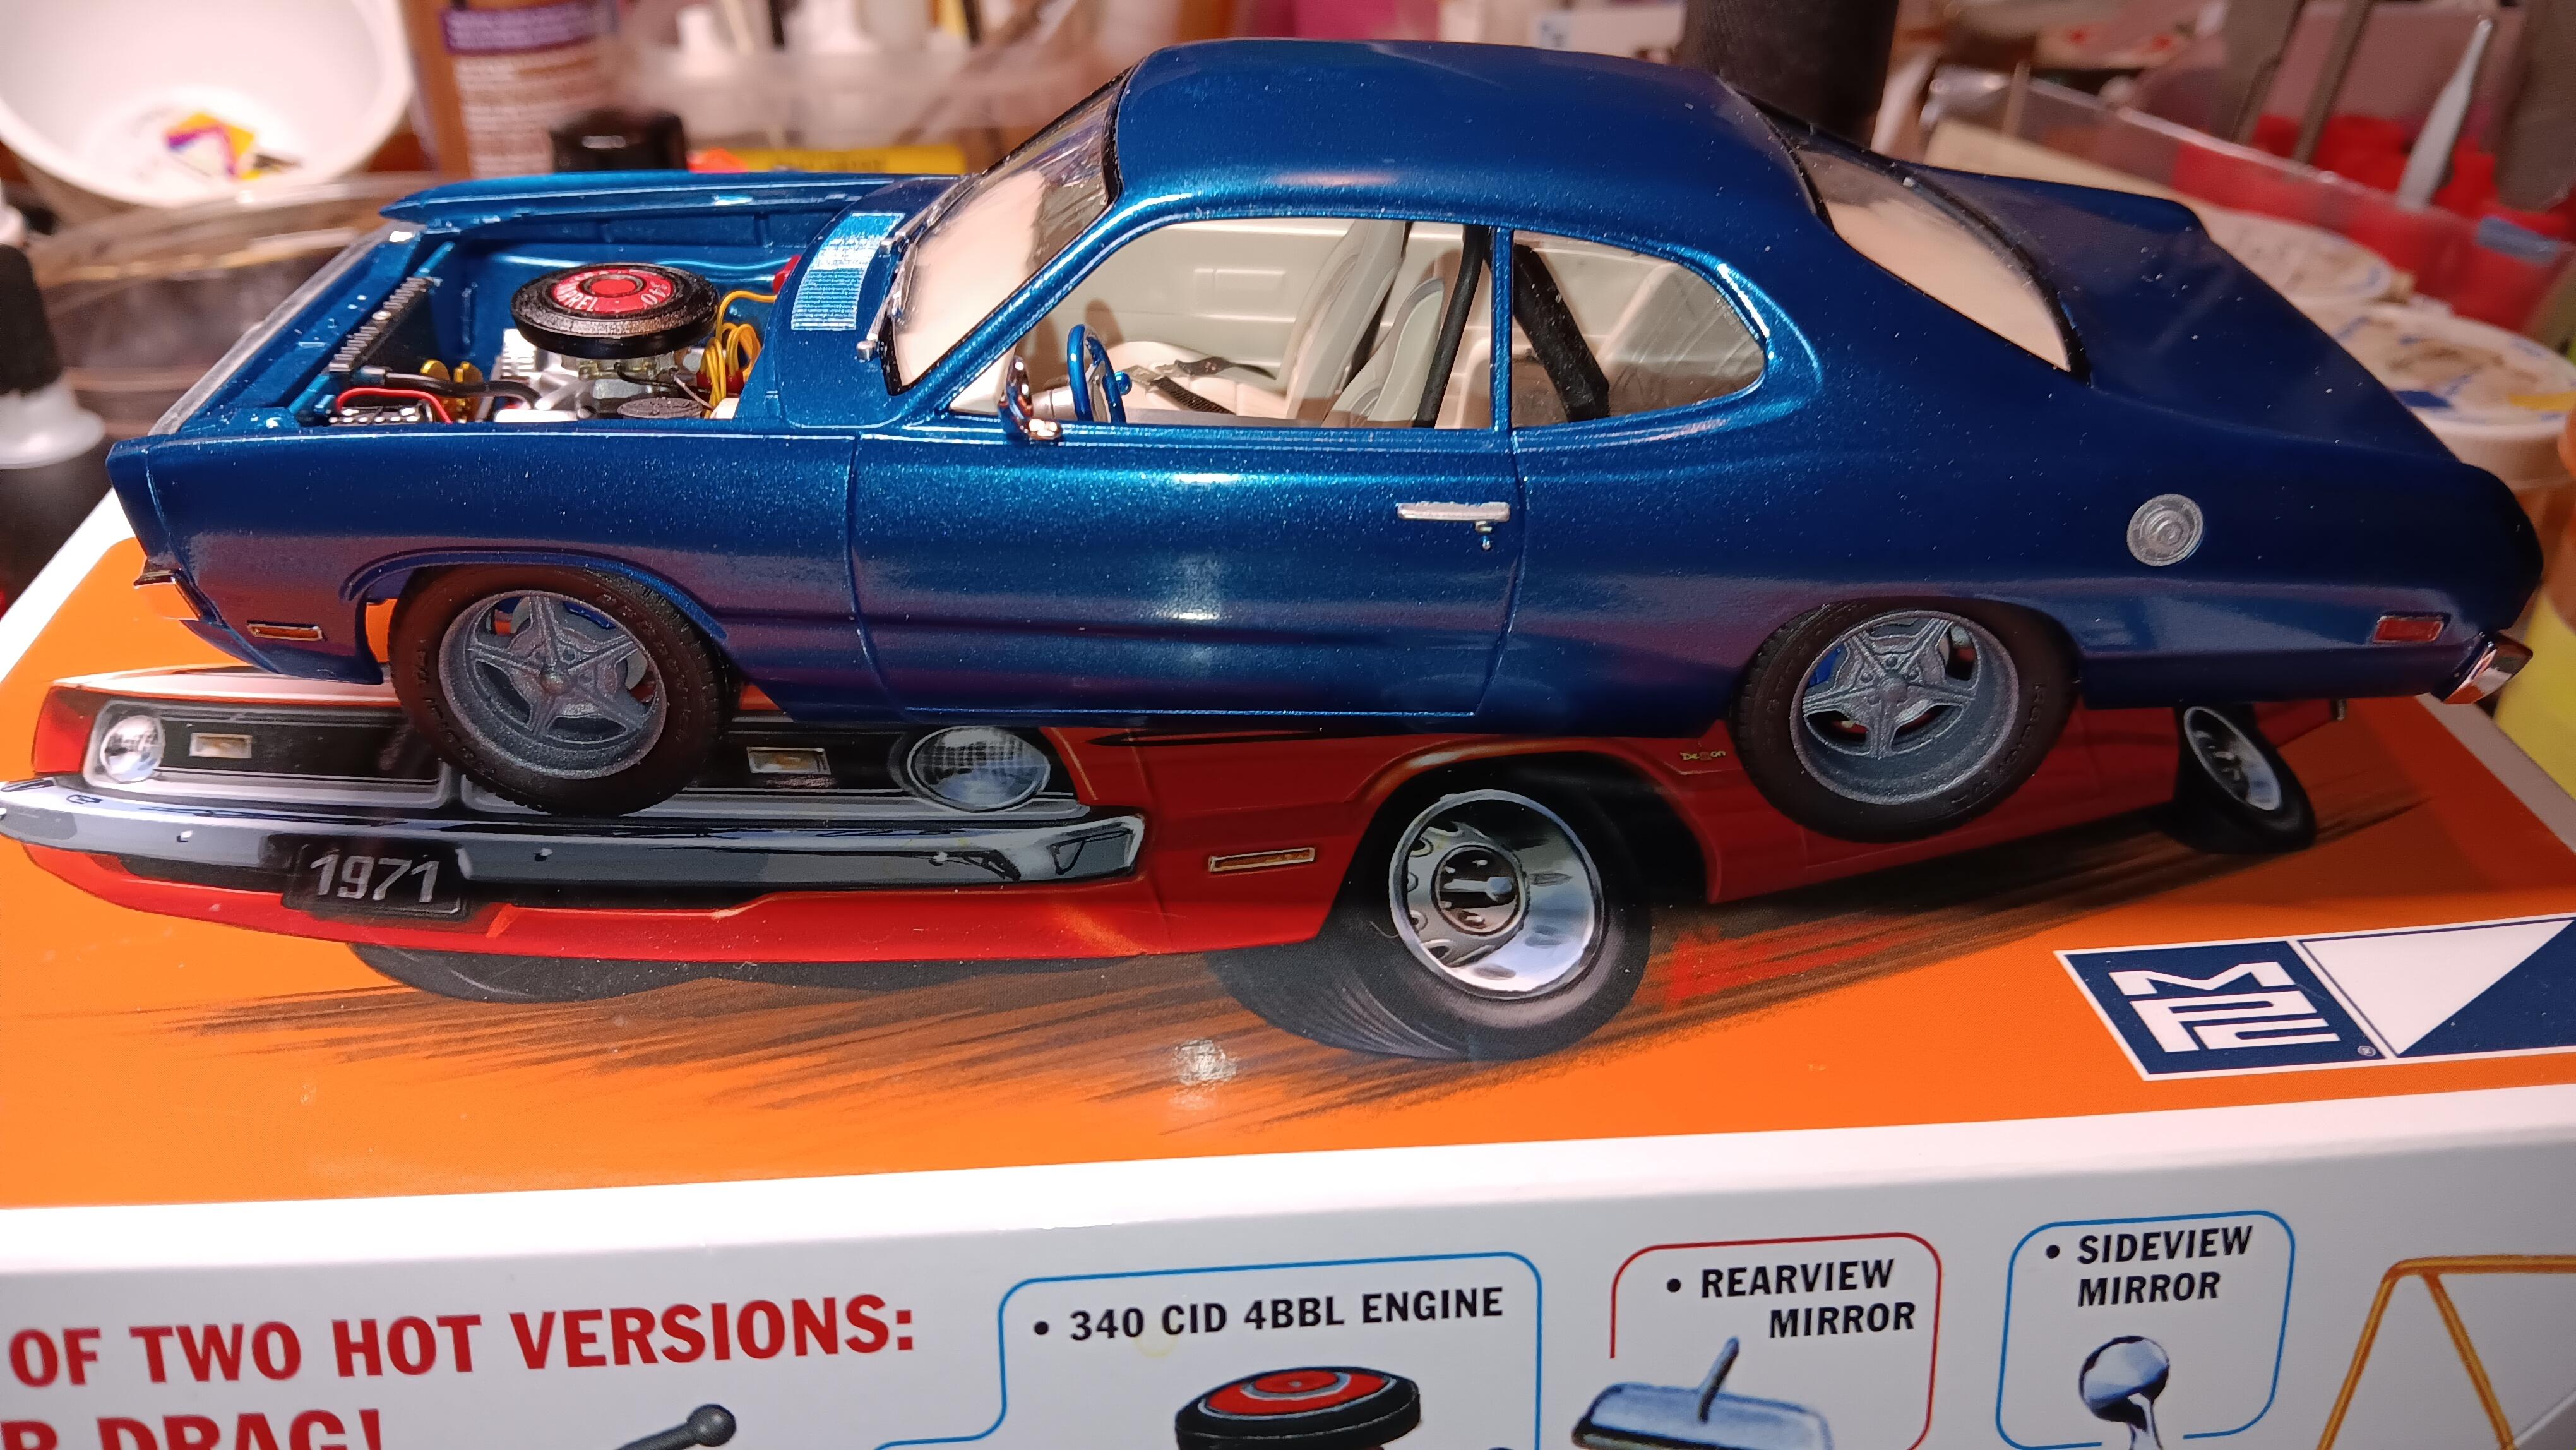
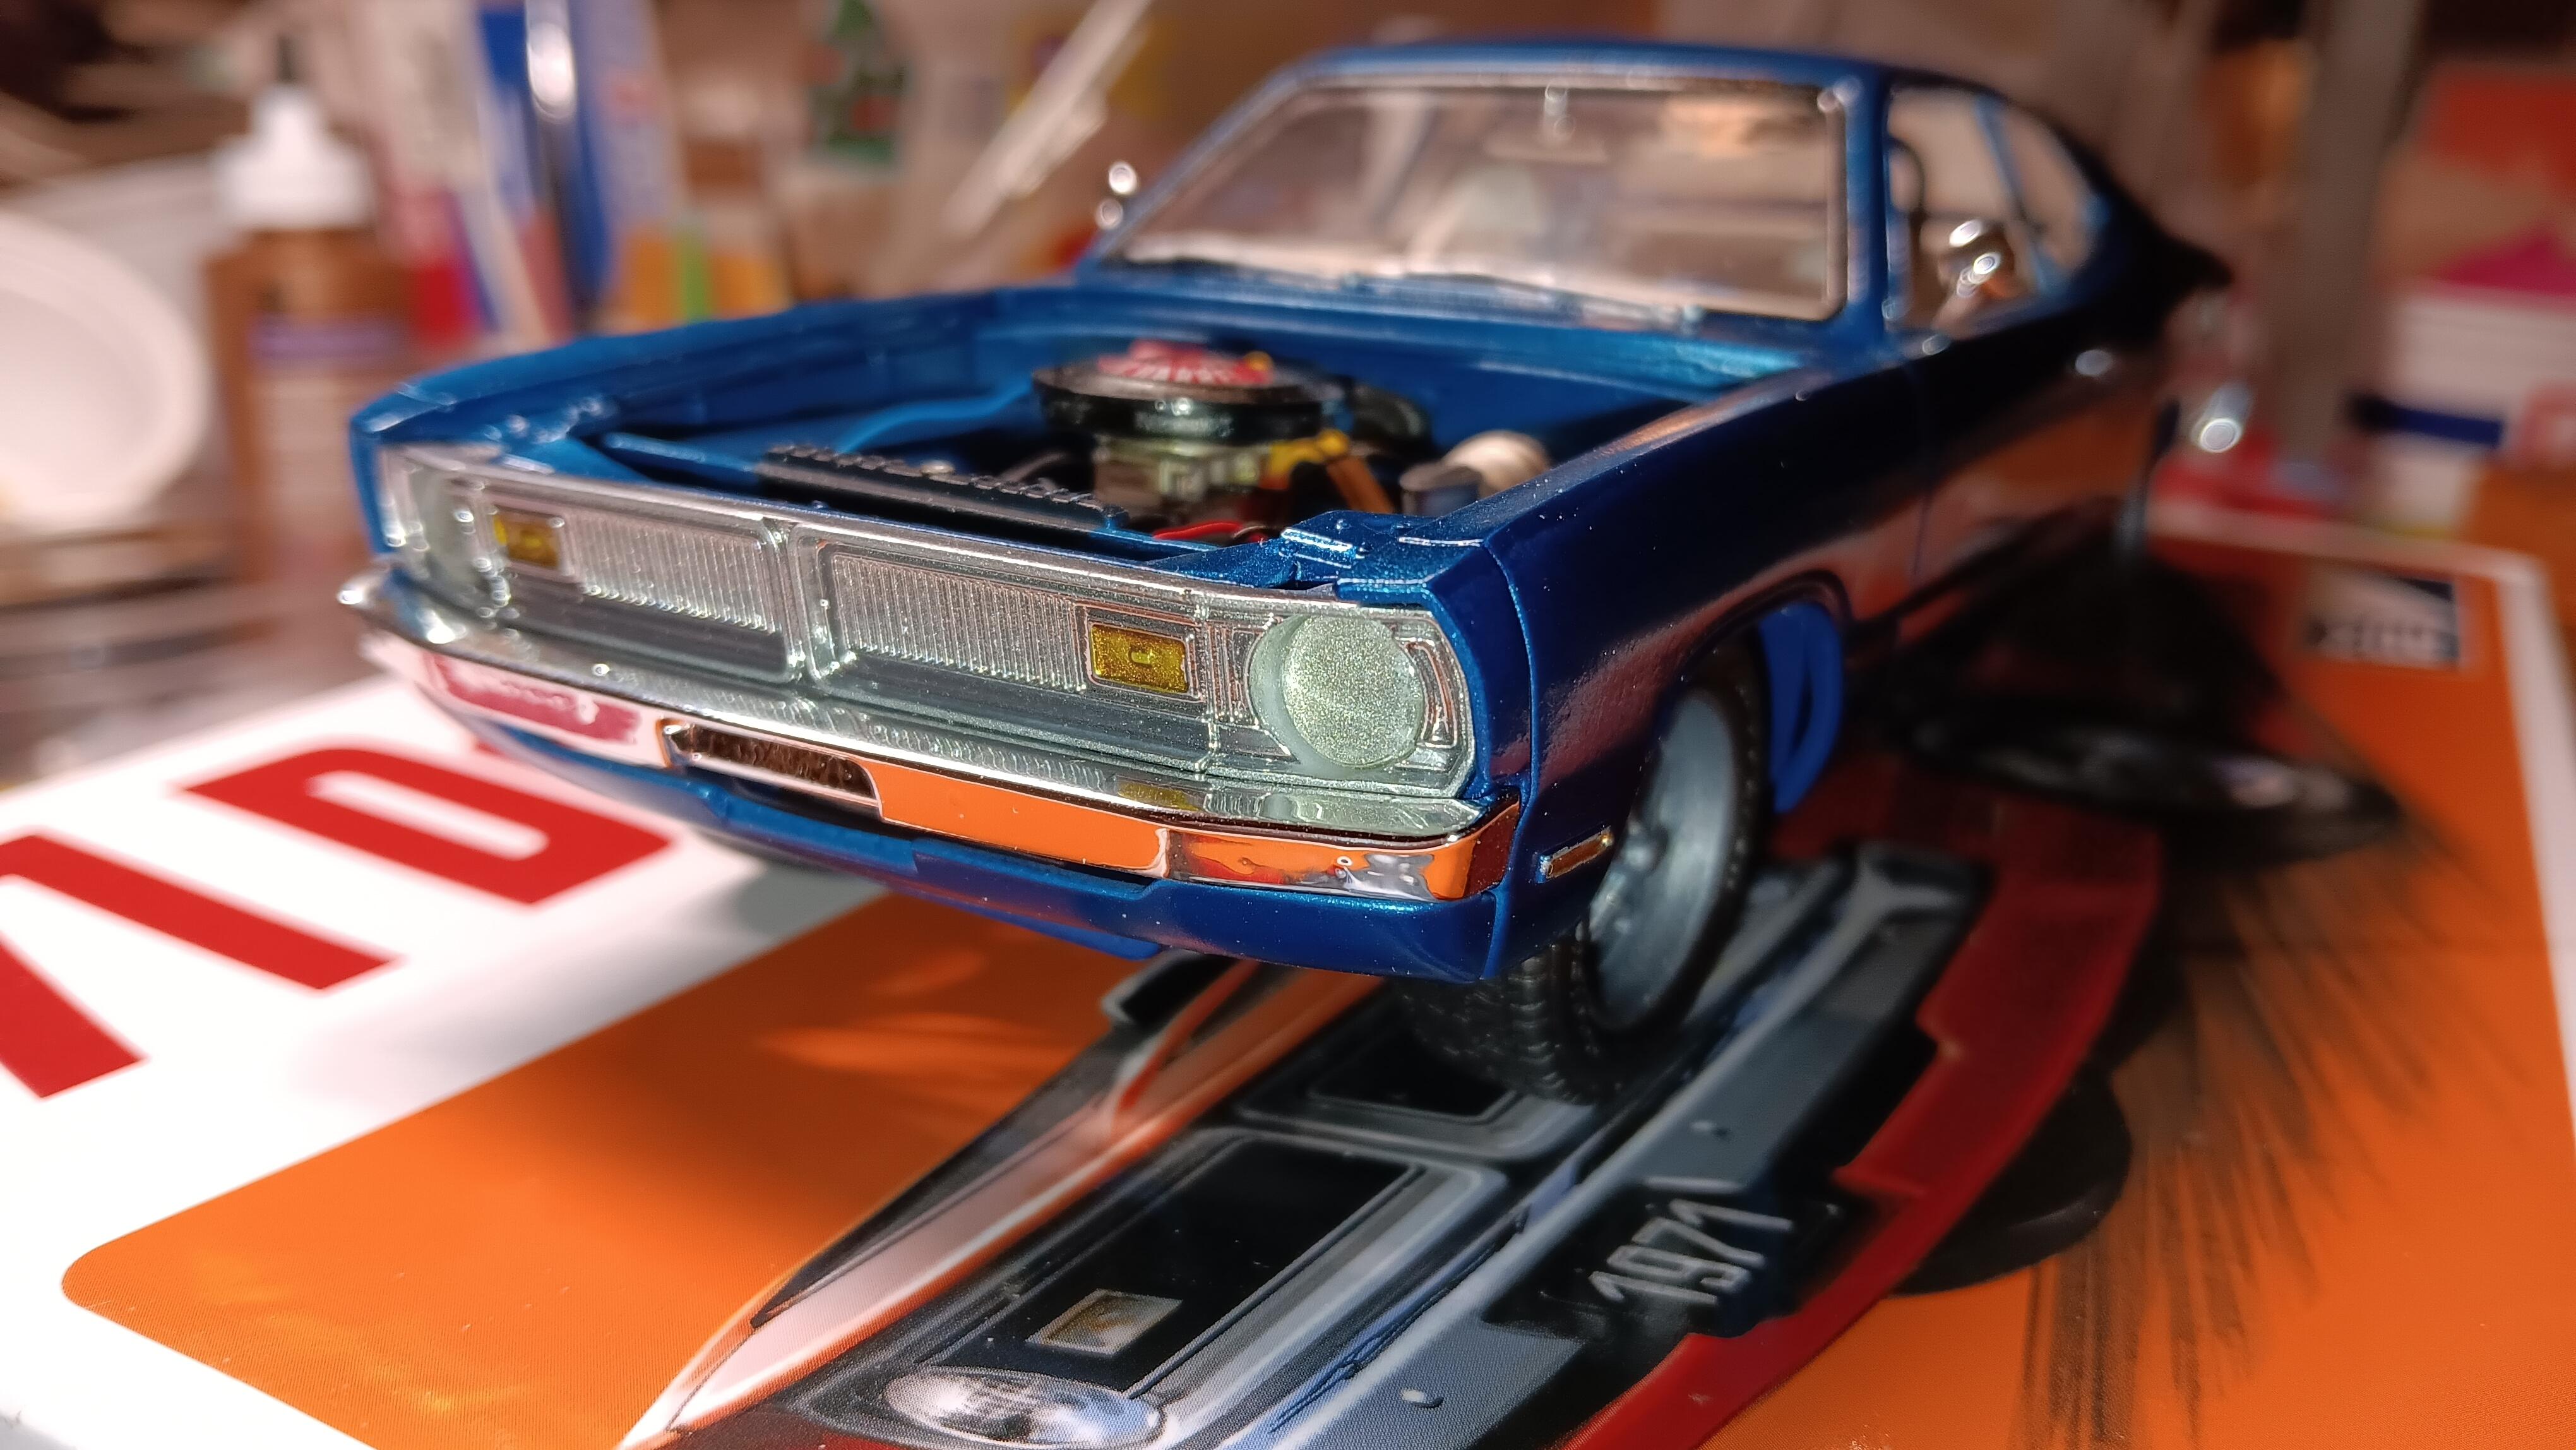
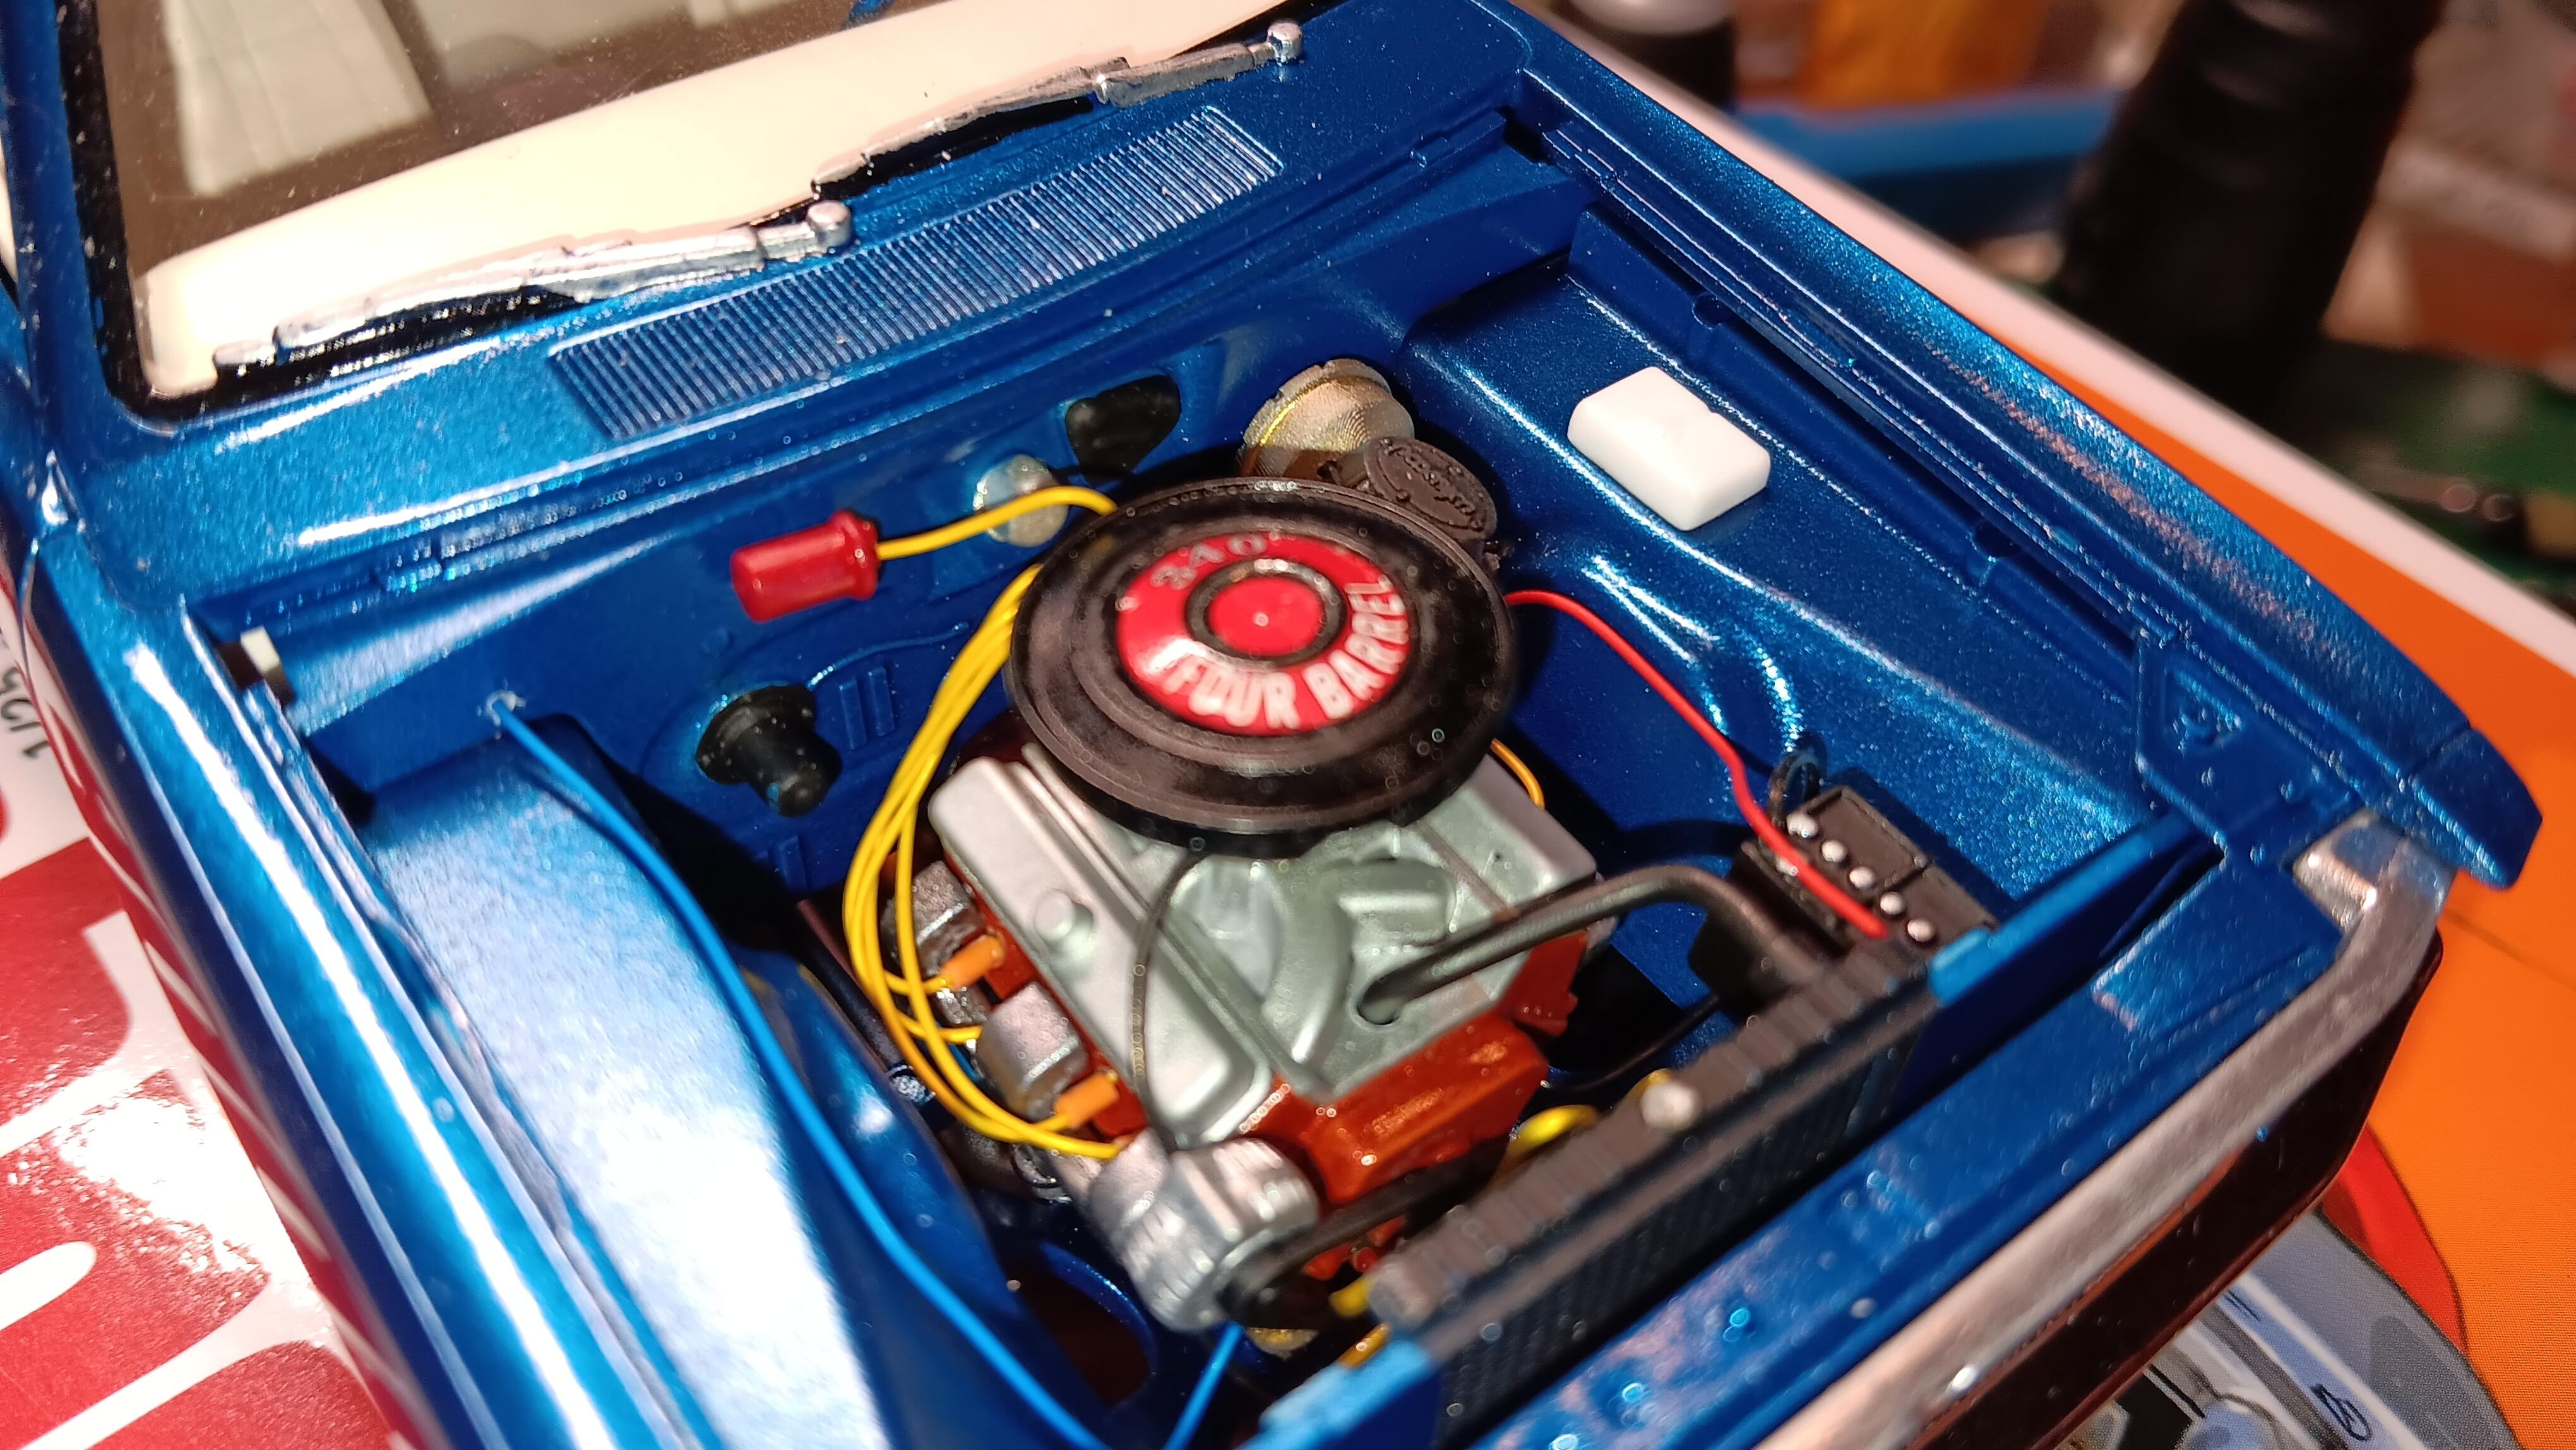
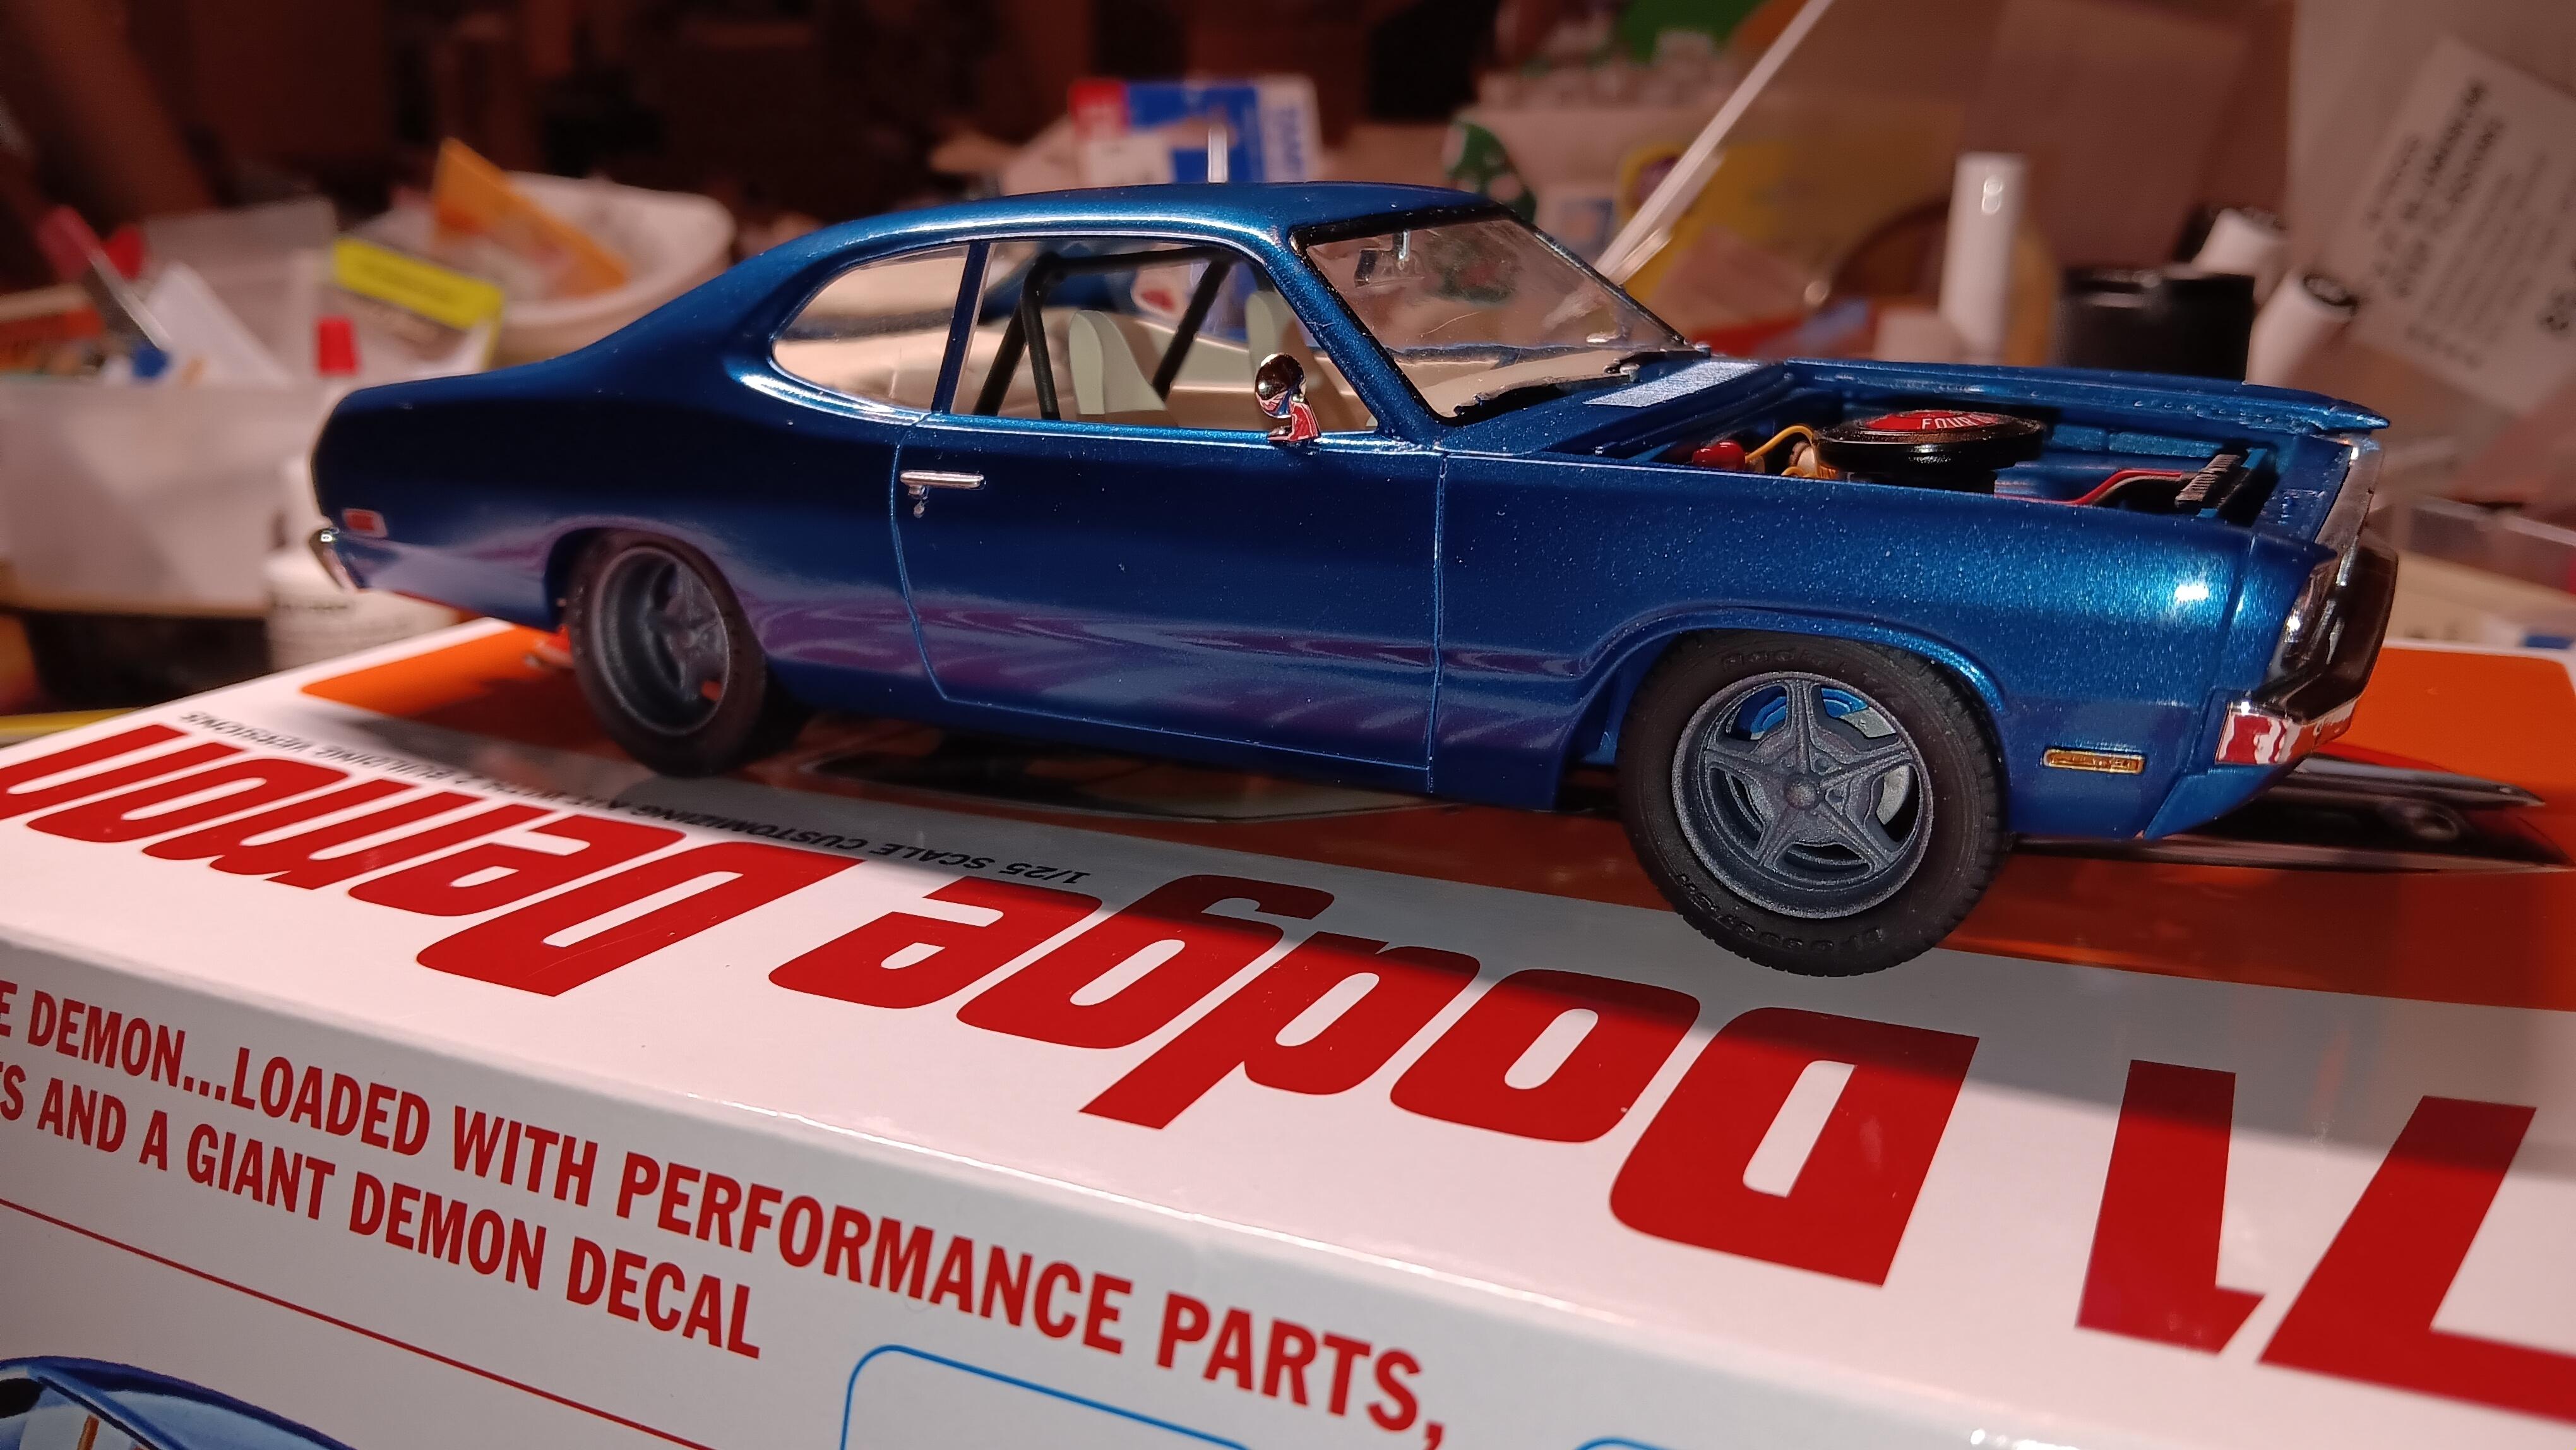
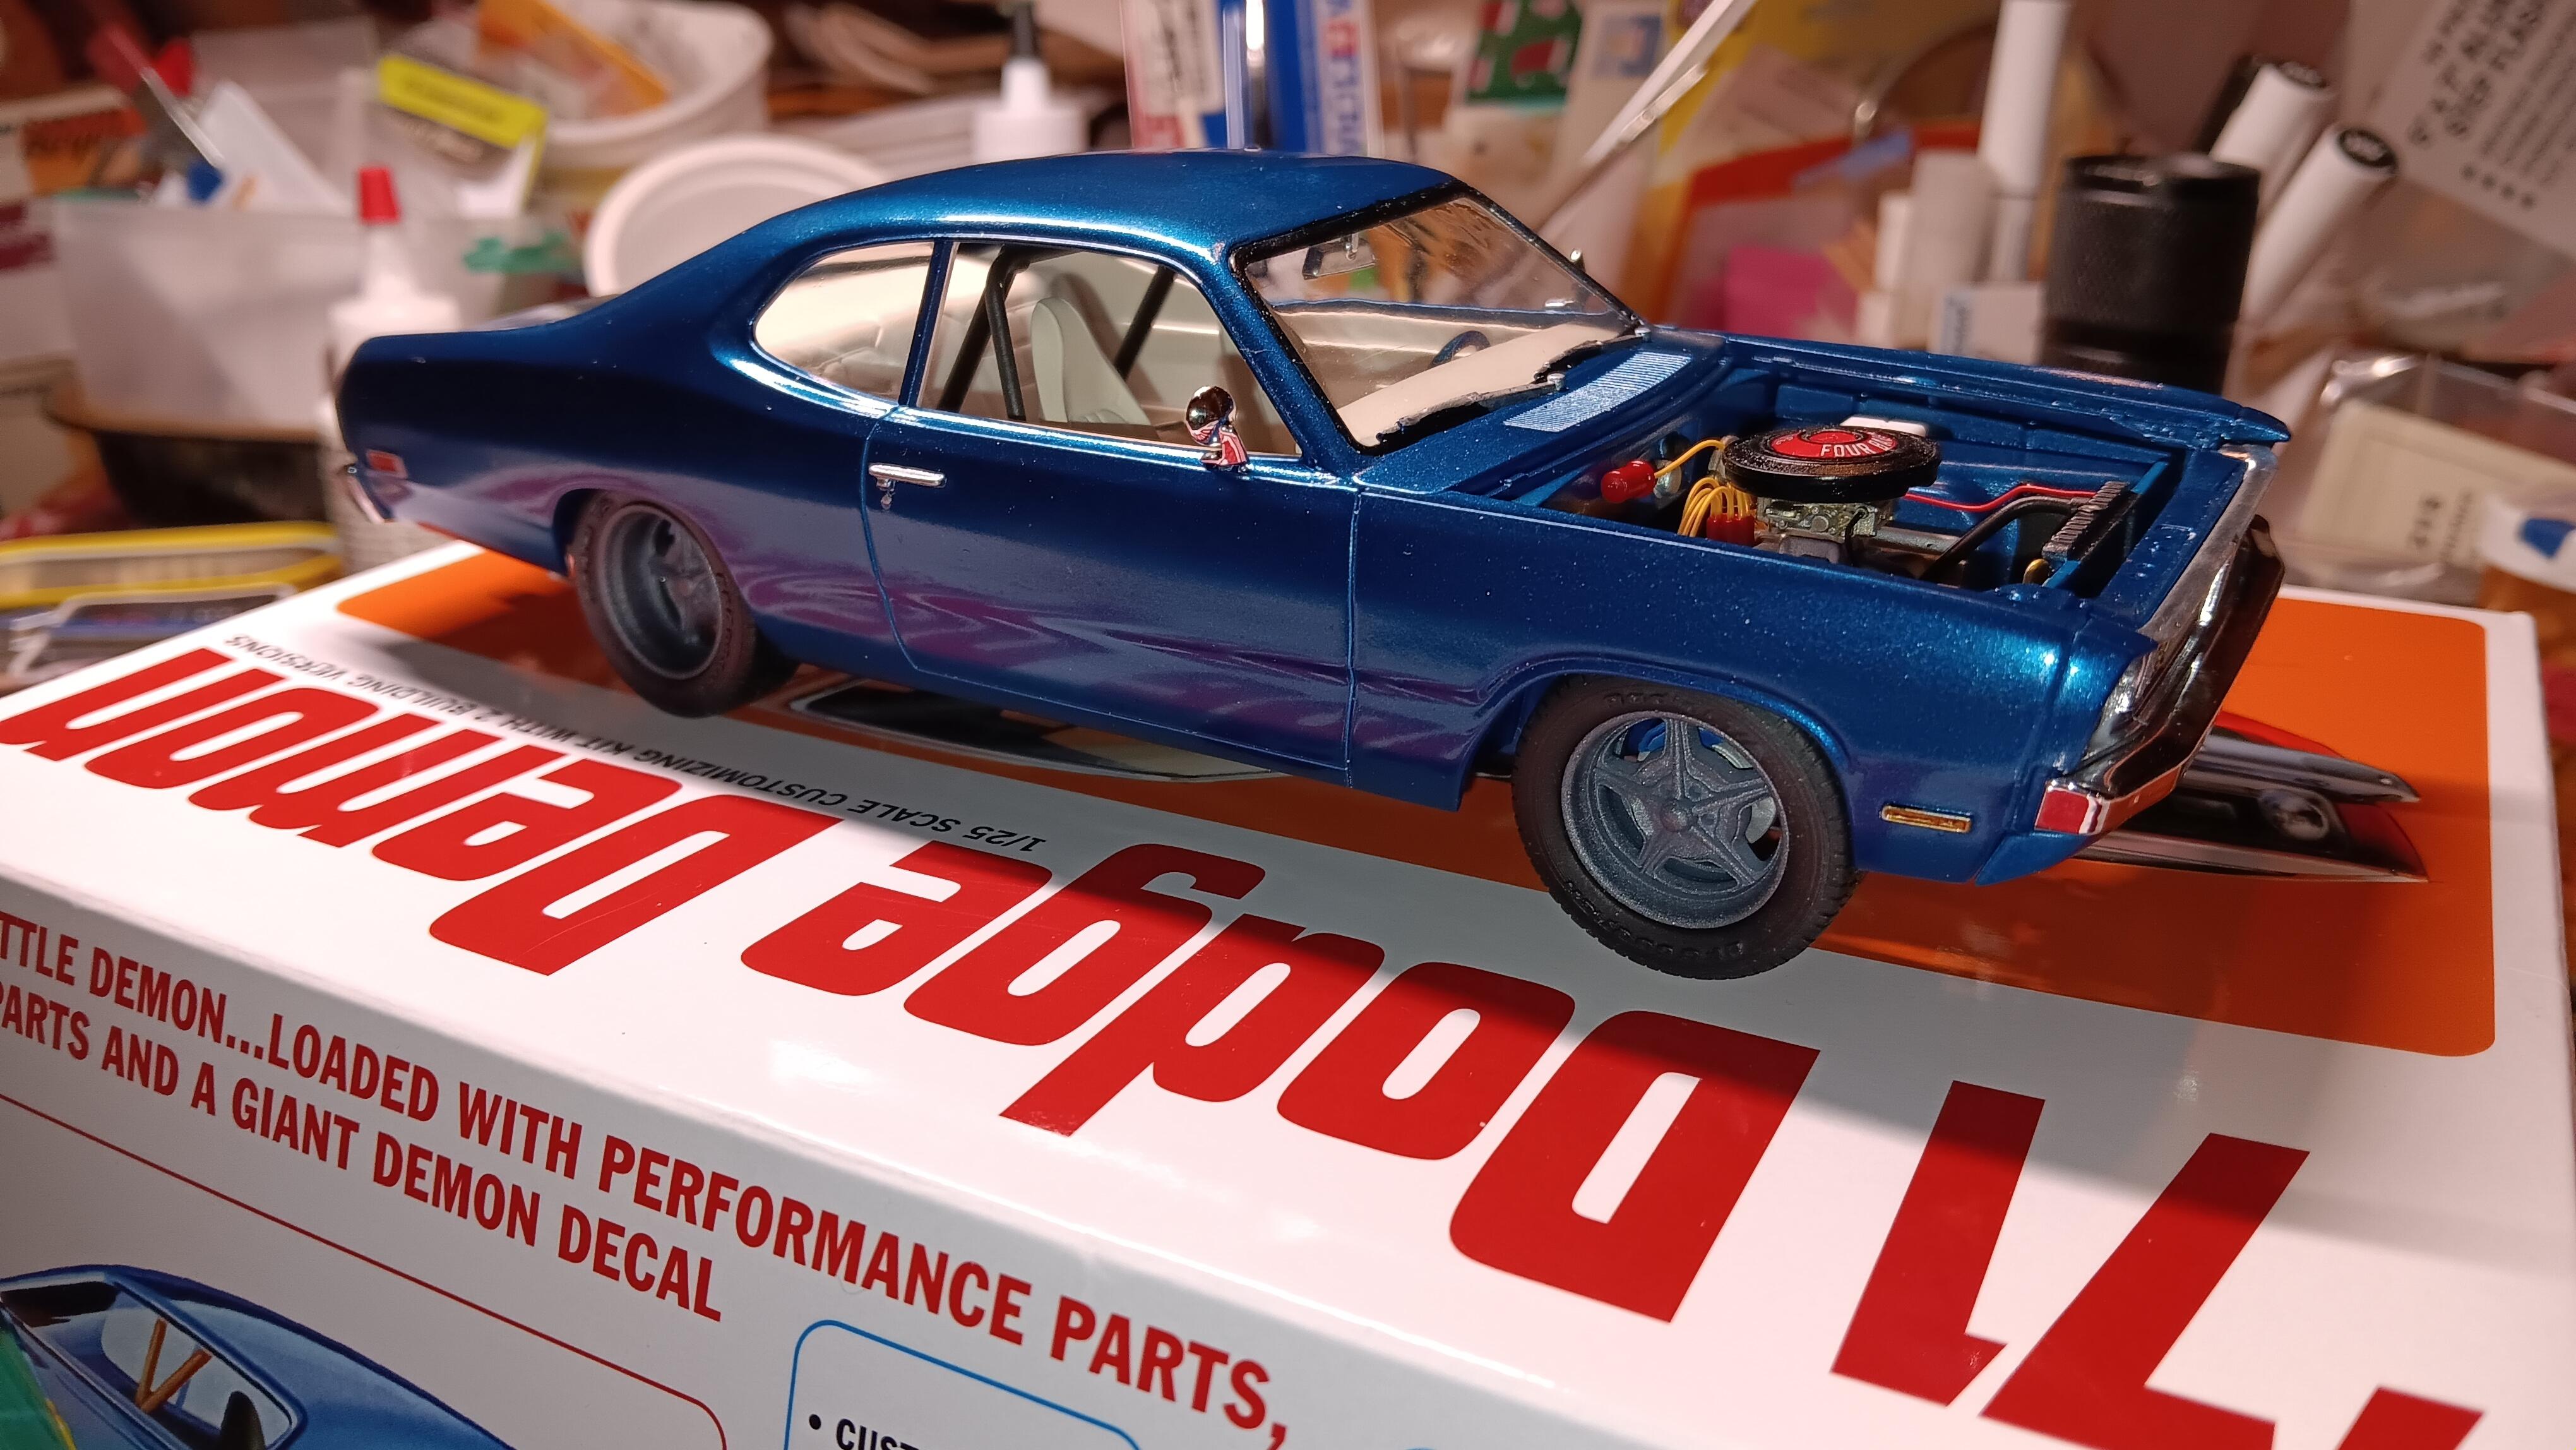
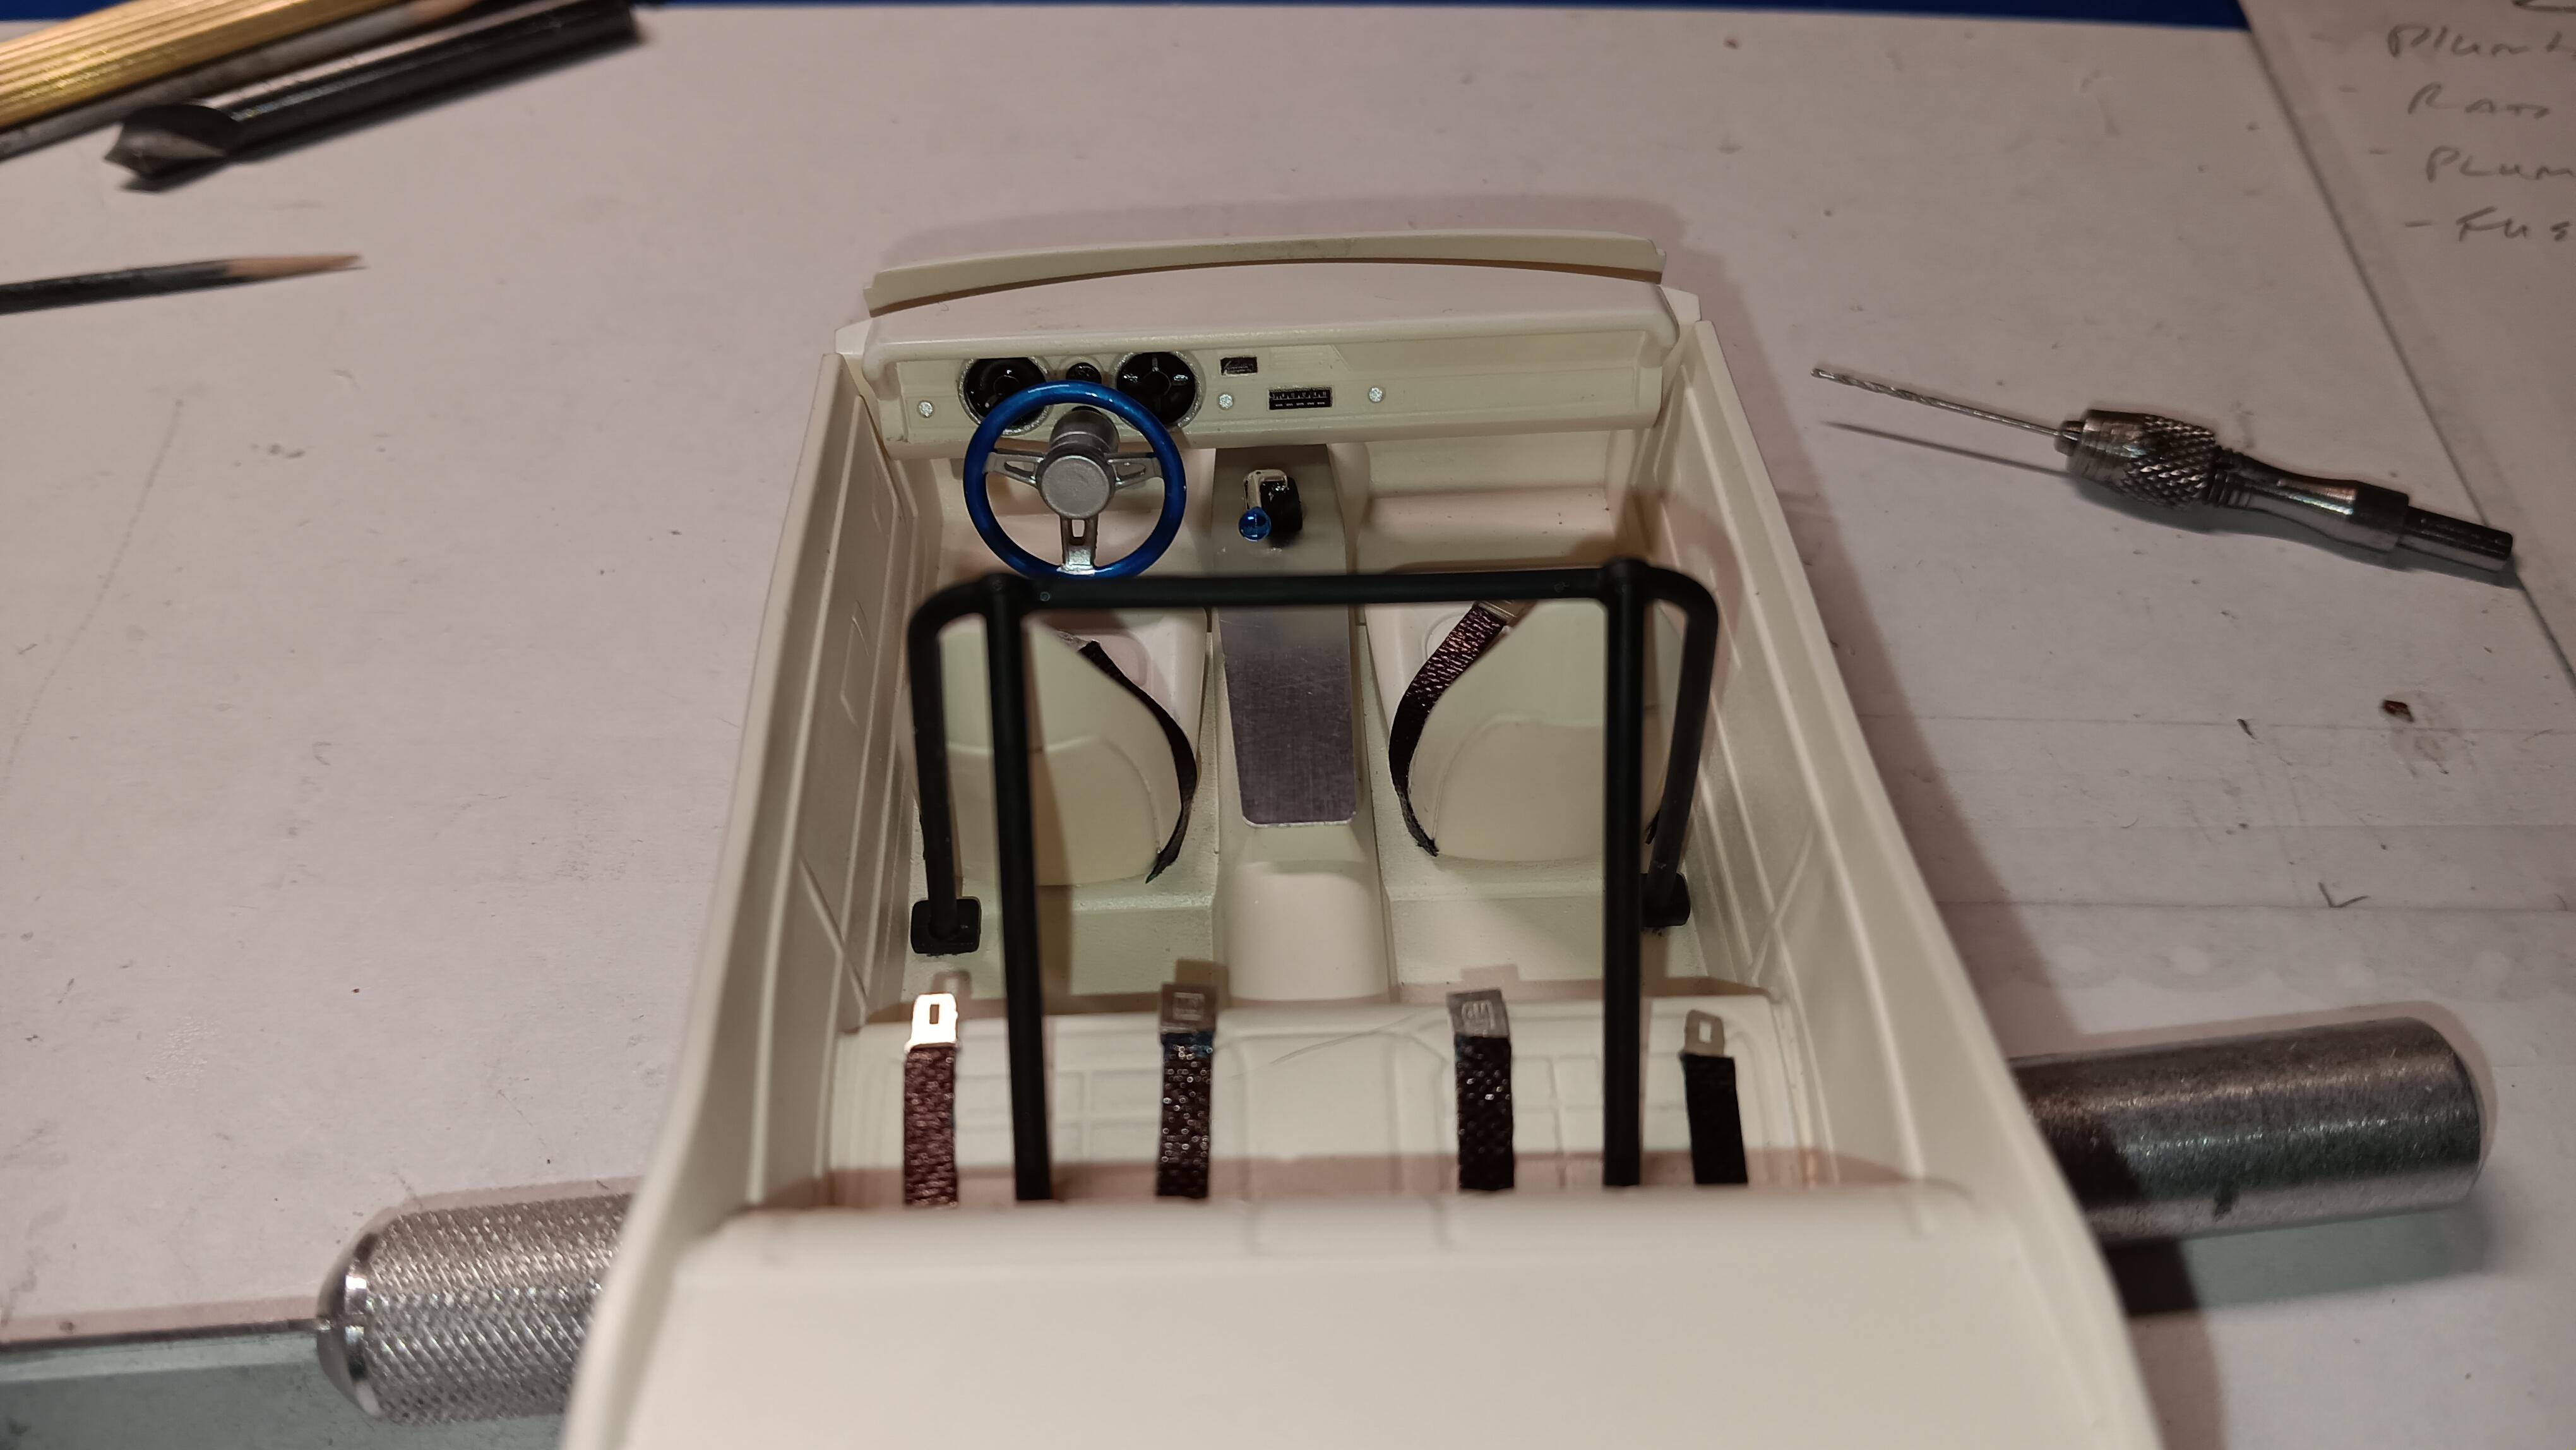
Just finished, #2 for 2025. Just in time for the LIARS contest on the 8th. This is a sub theme, I think we have 10 or 12 cars in it. Box stock-ish. Paint is Duplicolor. Some 3D printed parts like the wheels from VCG Resins. I botched up painting the console insert, so I made an aluminum cover for it. Hood pins are Pro Tech items, quite nice. I'll try to take more pictures at the venue on Saturday with all the entries.
- 15 replies
-
- 13
-

-
What Did You See In Your Yard Today?
bobss396 replied to Tim W. SoCal's topic in The Off-Topic Lounge
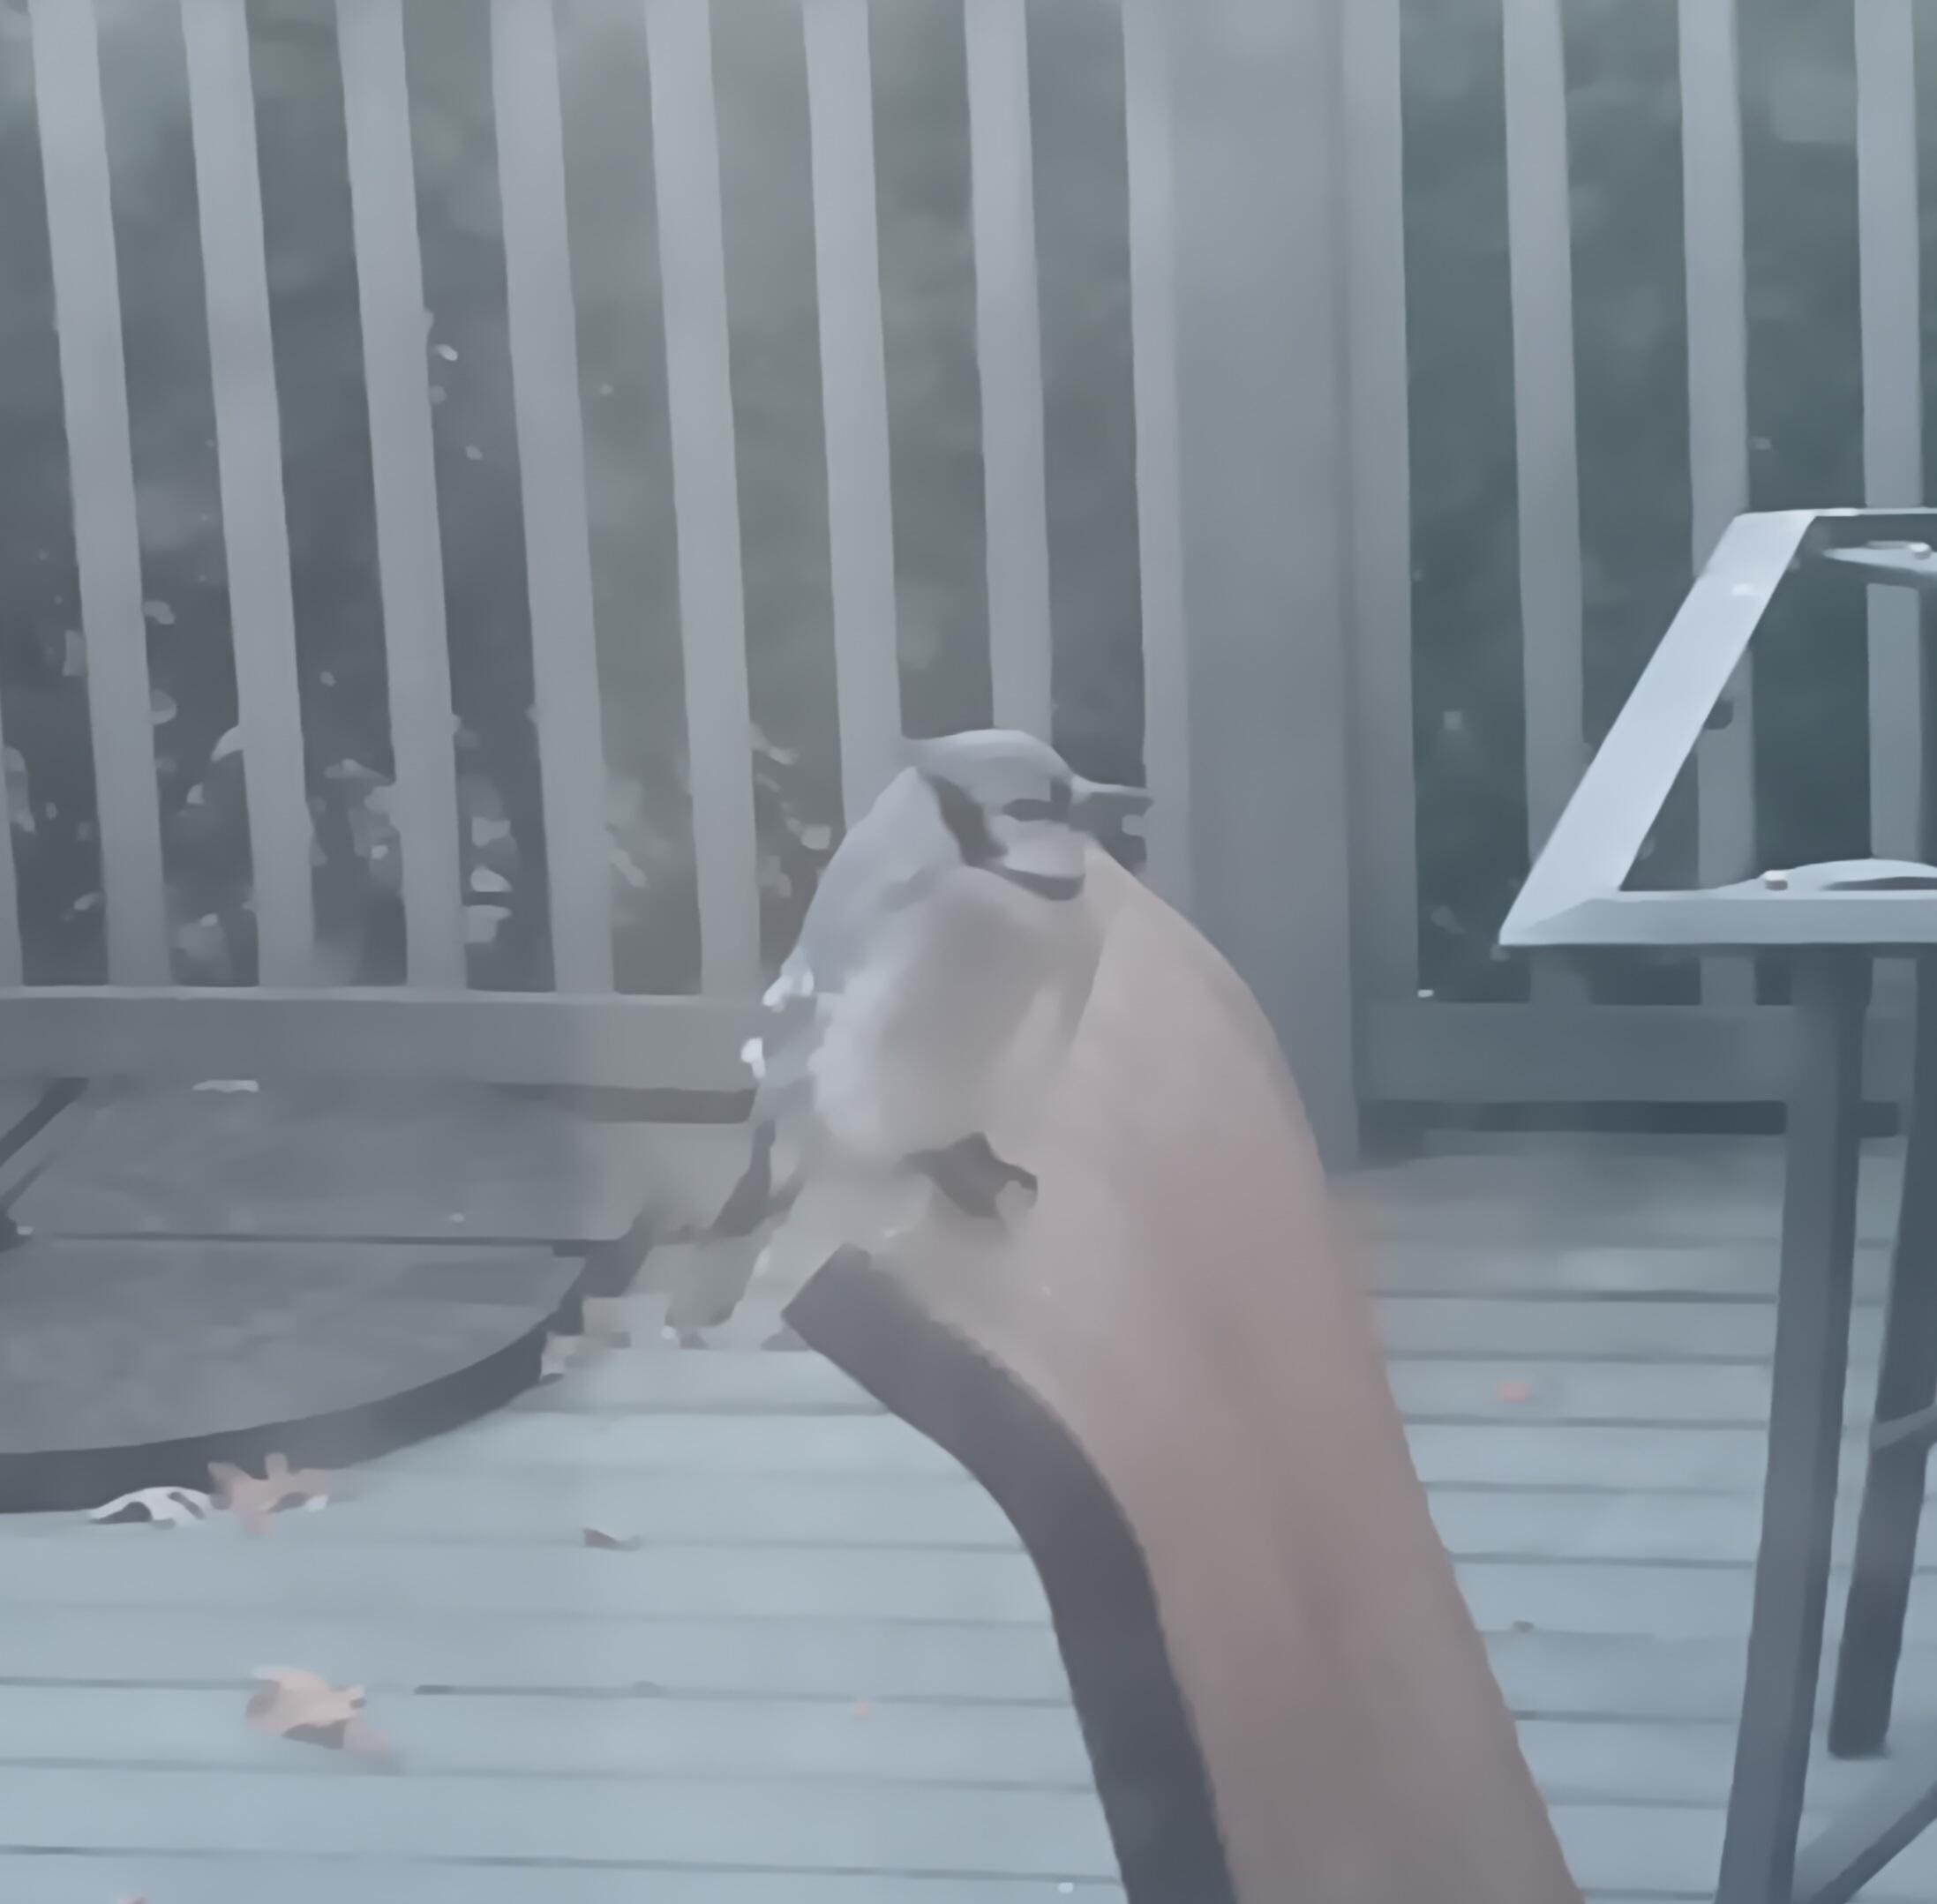
More Bird Buddy action. Looks like the bluejays pretty much took it over. One gave me a pretty good moon shot. ce1db40d-165e-4fee-a0de-658234479be4.mp4 e9596db4-5684-466d-aa27-c5c4a2e3db7d.mp4 5094f99e-33d5-4819-abfe-a5c710c5c59a.mp4 58bce90a-7a45-4356-b1a3-3de6f0cd5e13.mp4 8b7a8e9a-48c8-4678-be80-f23322f11c2f.mp4 9df2654e-d2fc-4ec6-9158-523fd3189ef3.mp4 a0dd6e80-659a-443d-96c1-2008720a7875.mp4 -
aluminum rod inside styrene tube
bobss396 replied to fiatboy's topic in Model Building Questions and Answers
I have a bunch of floral wire I use in Evergreen 3/32" tubing. The I.D. is 3/64" if it helps anyone. I pin sections and the cage to the floor using 3/64" brass rod for strength. I use plastic rod as well. I think it was Plastruct that had one with wire inside of it. I used that up a while ago. I should revisit their product line. -
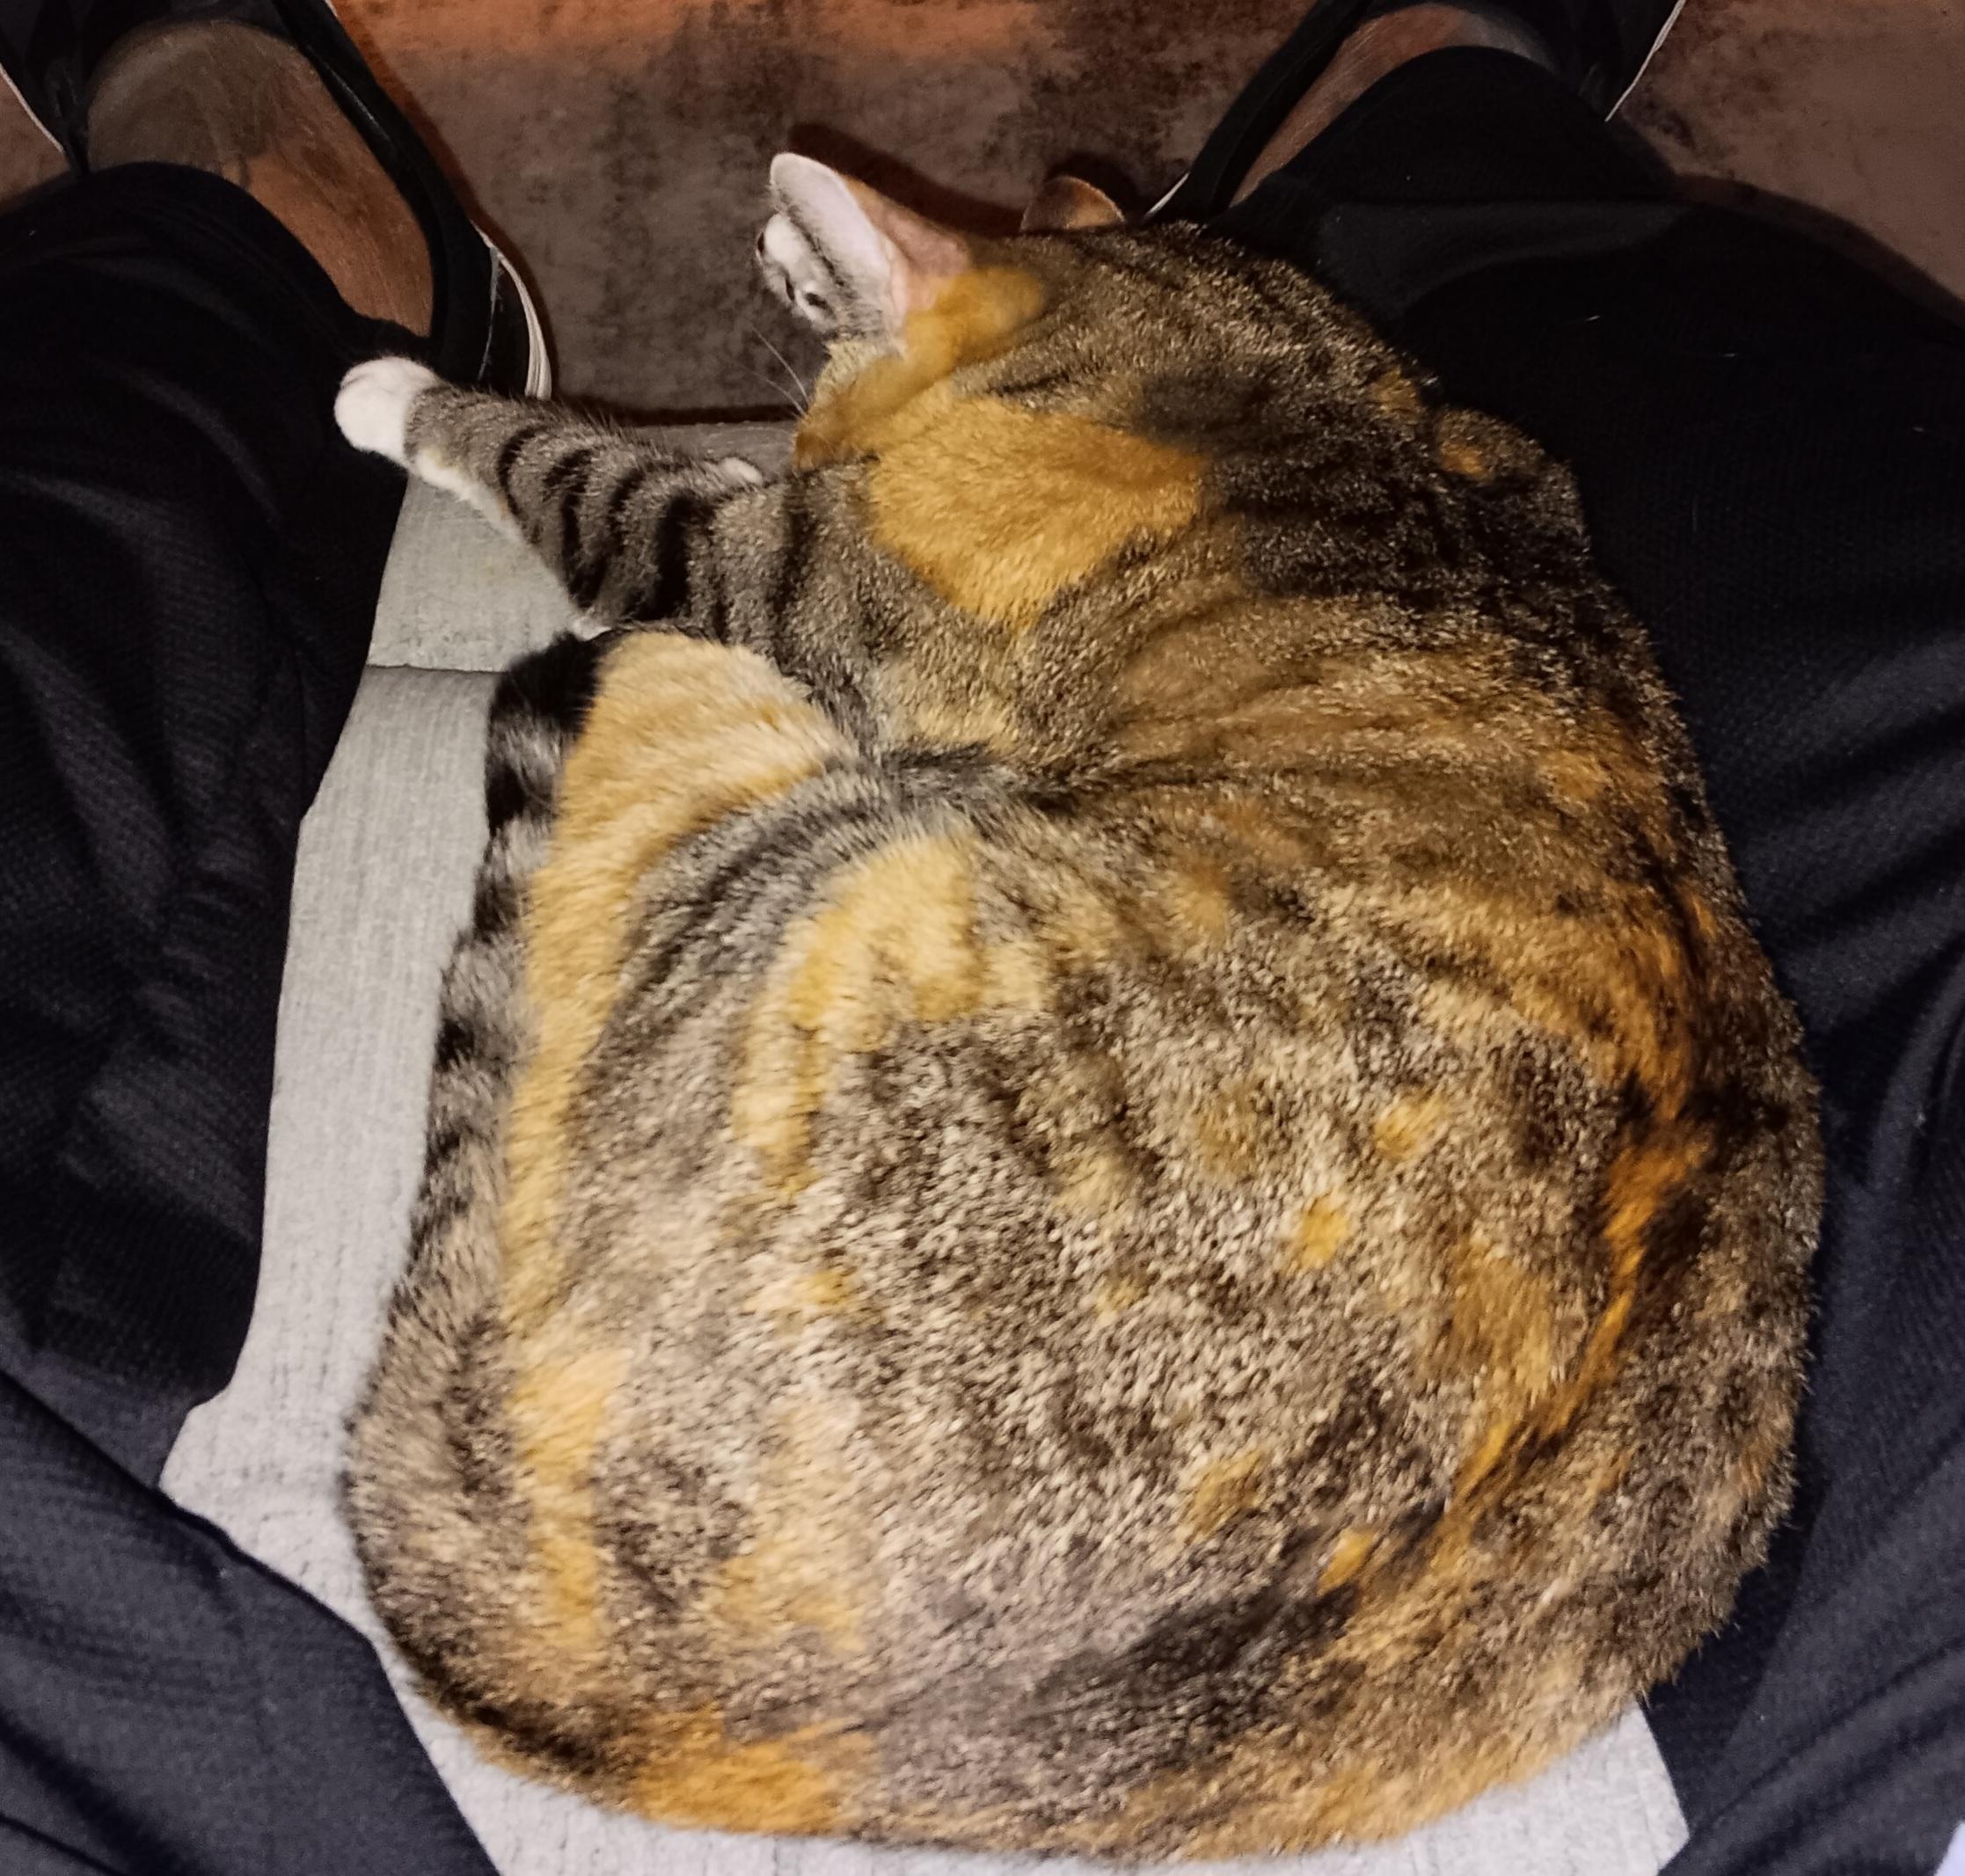
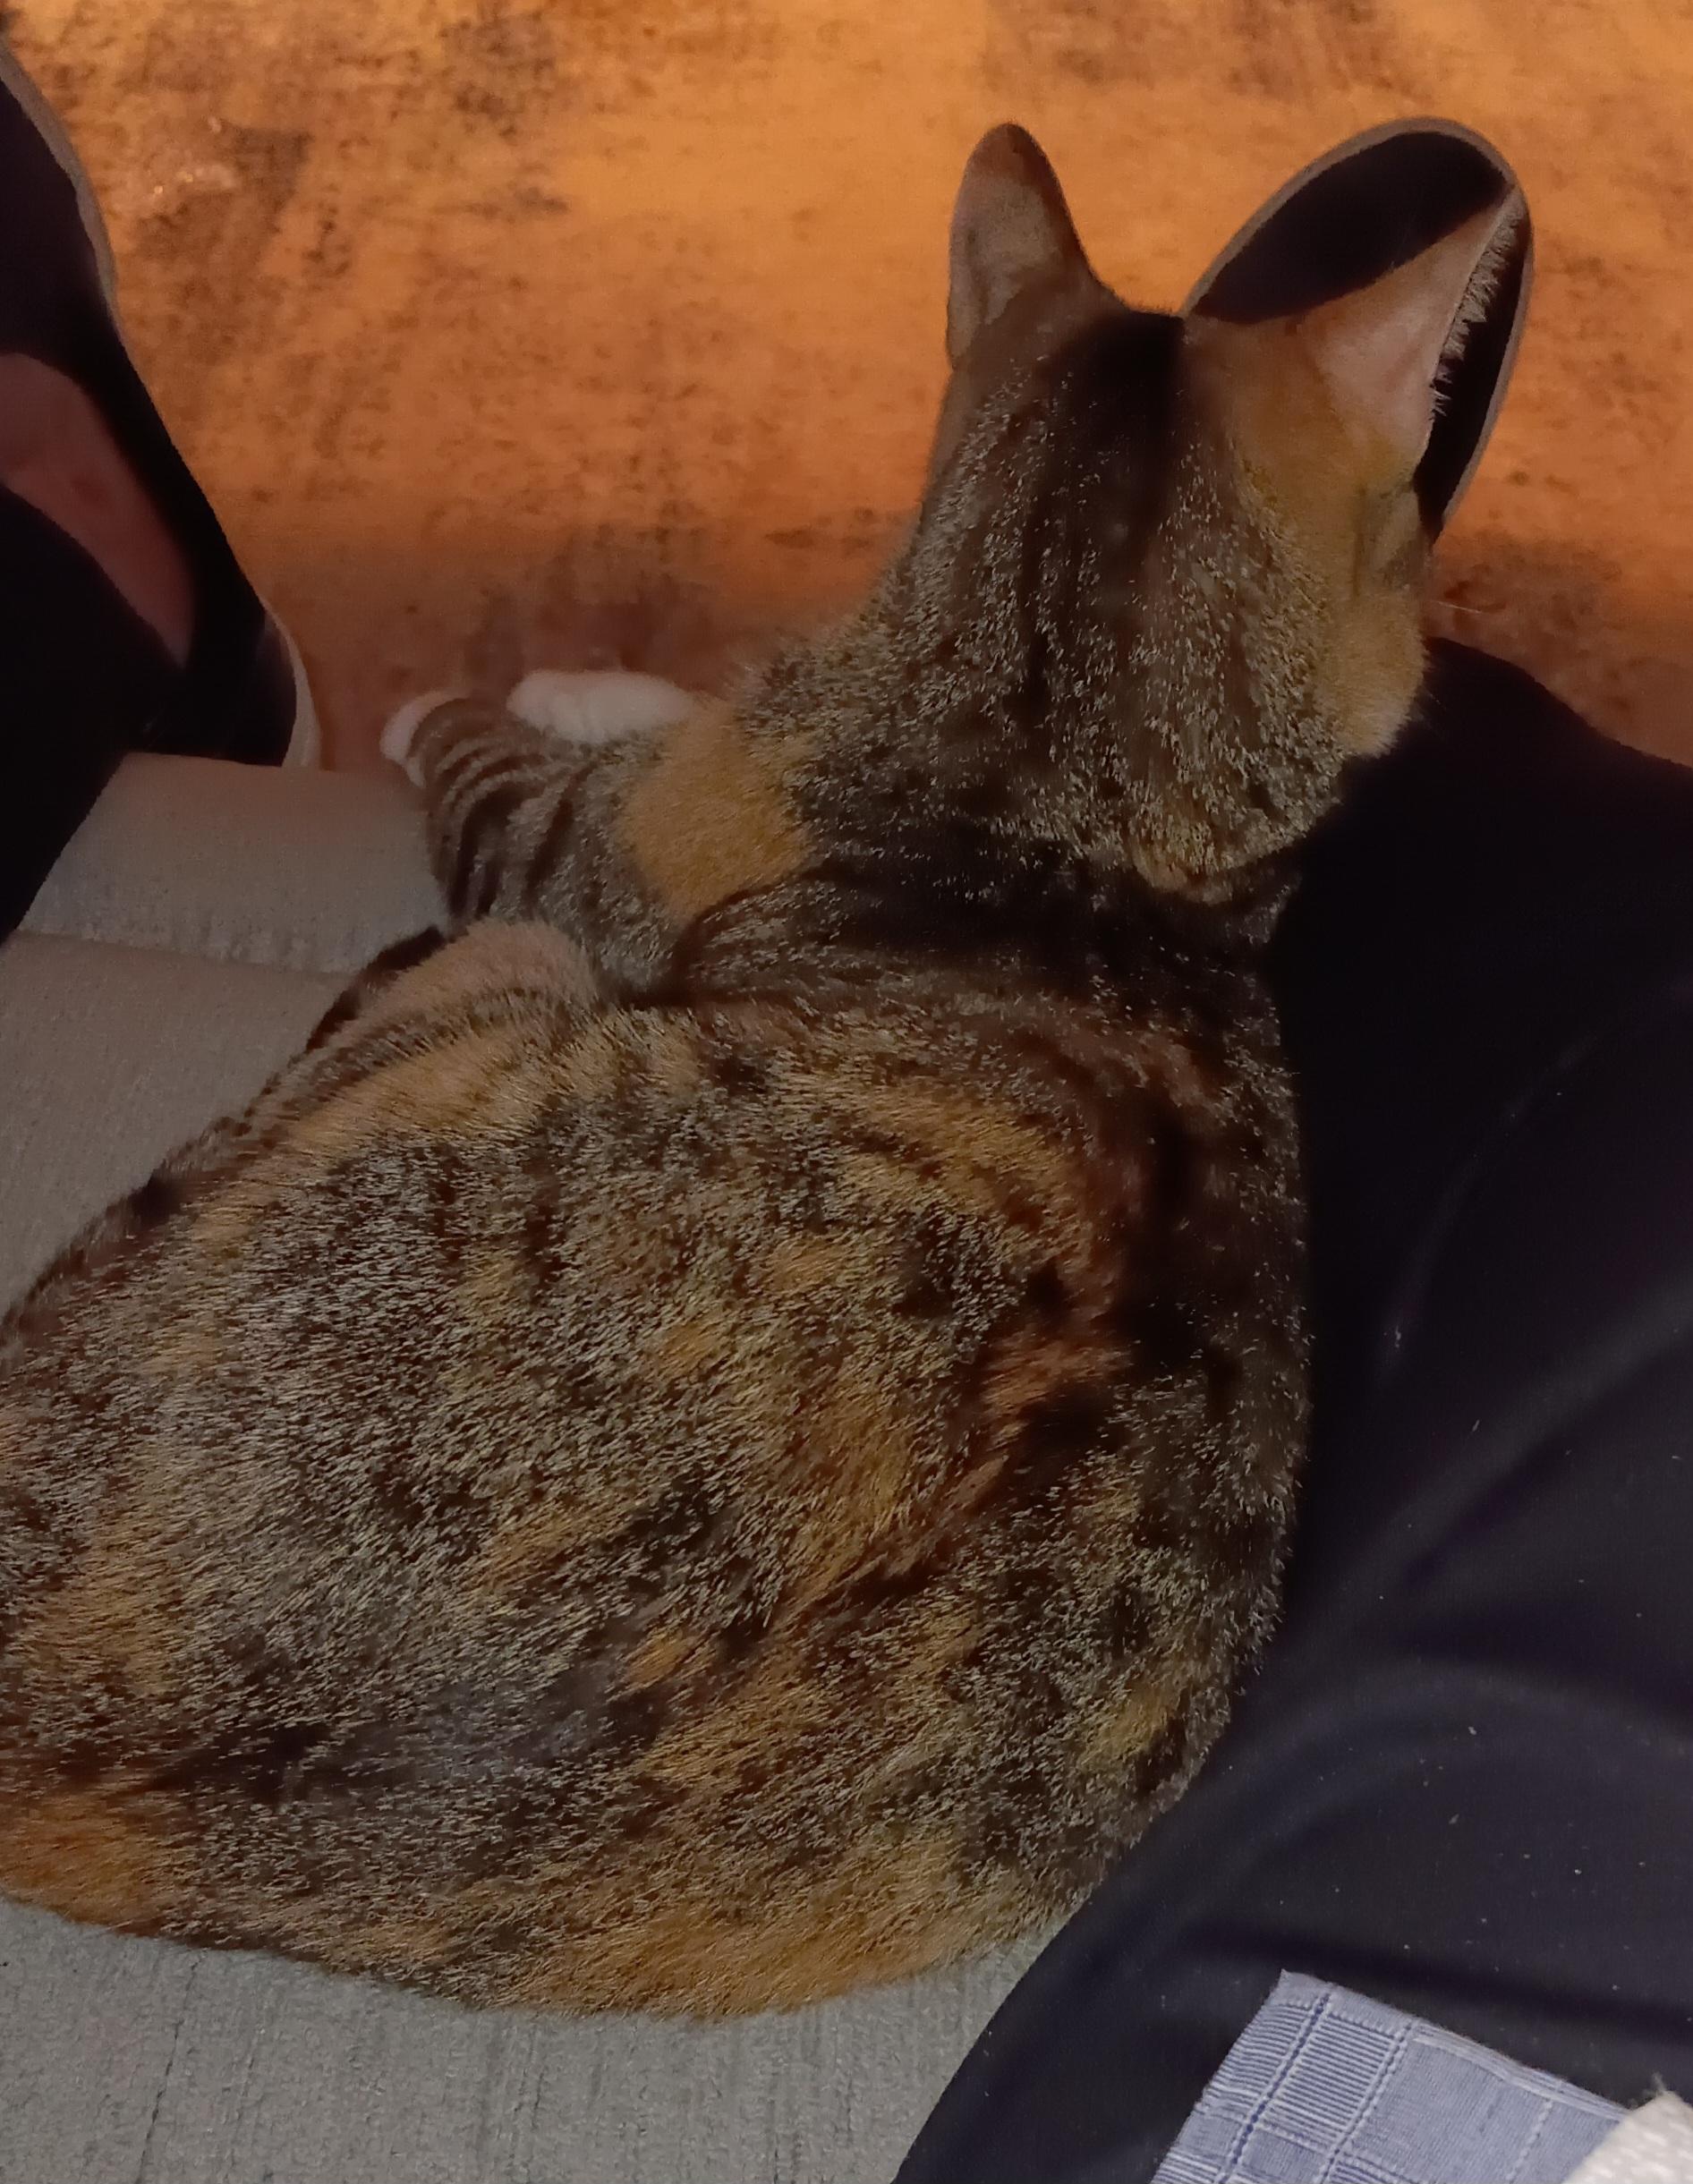
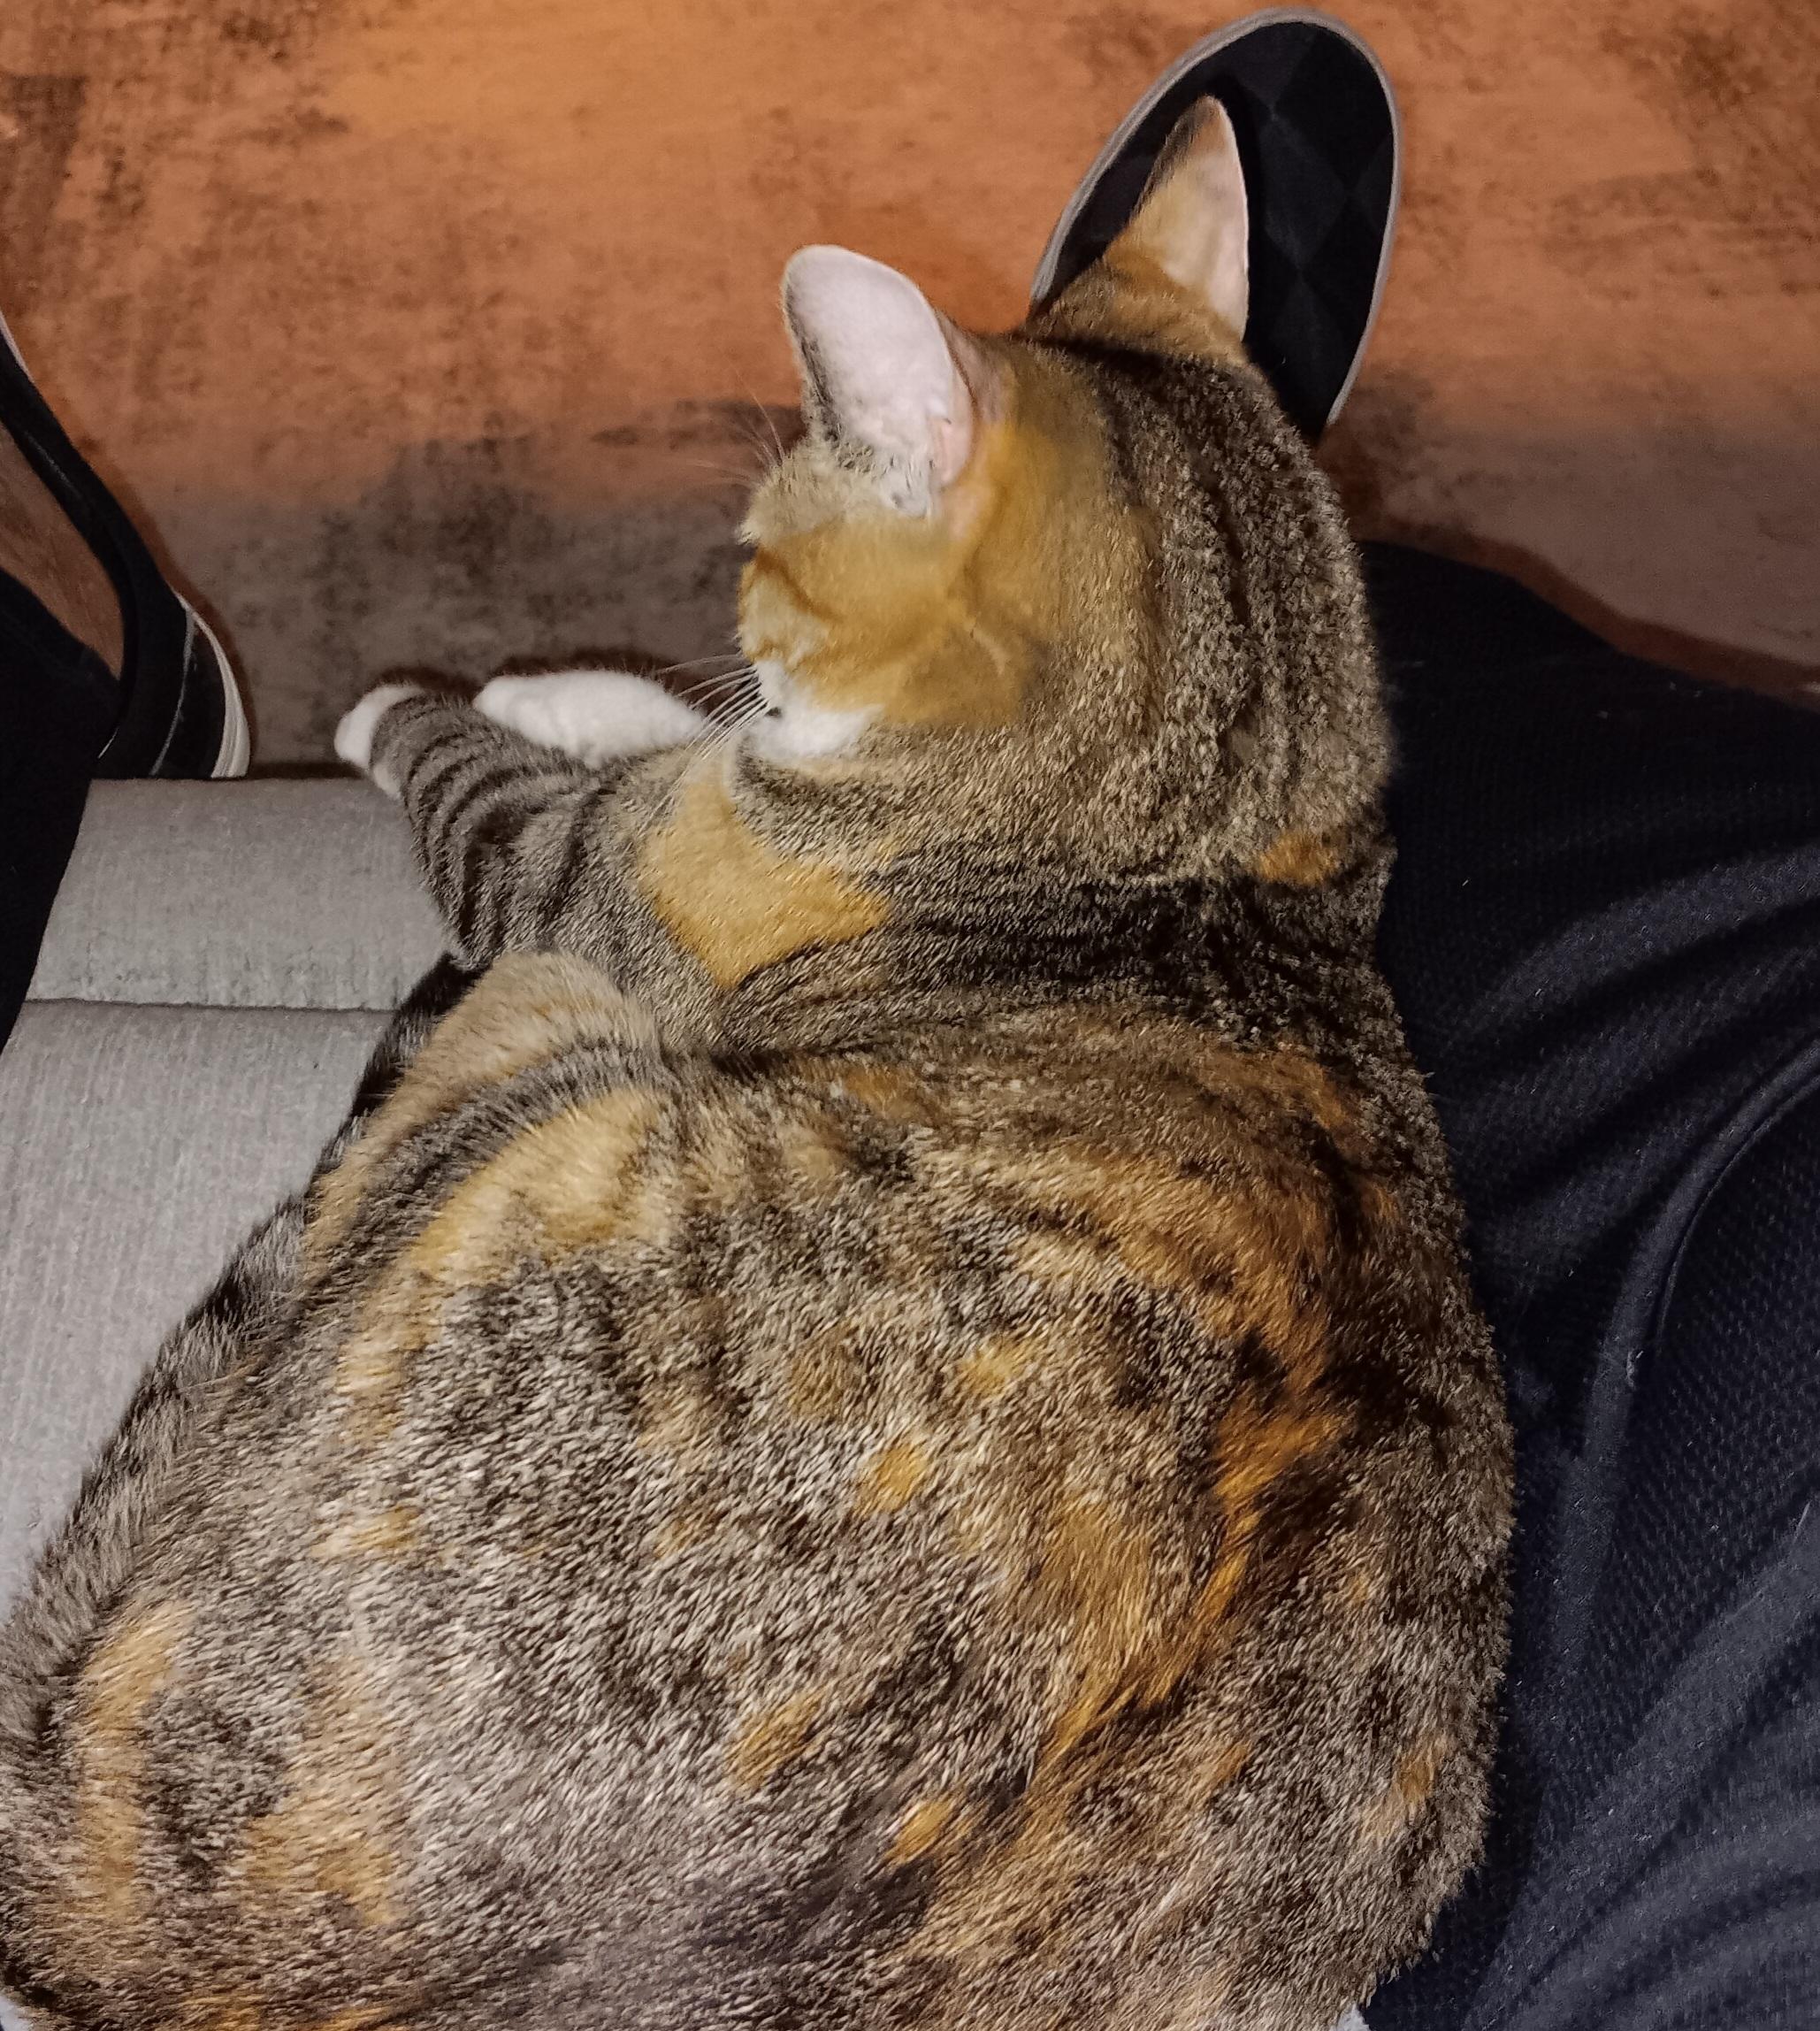
Lounging with Brie yesterday.
-
A Sad Situation
bobss396 replied to Falcon Ranchero's topic in General Automotive Talk (Trucks and Cars)
I looked on Rock Auto for a gas tank, under $150. The bumper/fender fillers are definitely around.