bobss396
-
Posts
3,653 -
Joined
-
Last visited
Content Type
Profiles
Forums
Events
Gallery
Everything posted by bobss396
-
 Have you tried the Plastic Performance cages? They are a good start. Ron Coon has a couple of printed cages that save a load of work. Pictured is the Ron Coon one, also carried by WFC Motorsports. They come in 2 widths. I added the Petty bar.
-
Still quite cool for late May. It still managed to rain a bit. It did break 65 F. The pool is still somehow below 58 F.
-
I have one of these kits. It will have to be something I have to build with no other distractions. I have some weathering supplies, down to the red that real vets tell me that we're crawling in the mud over there.
-
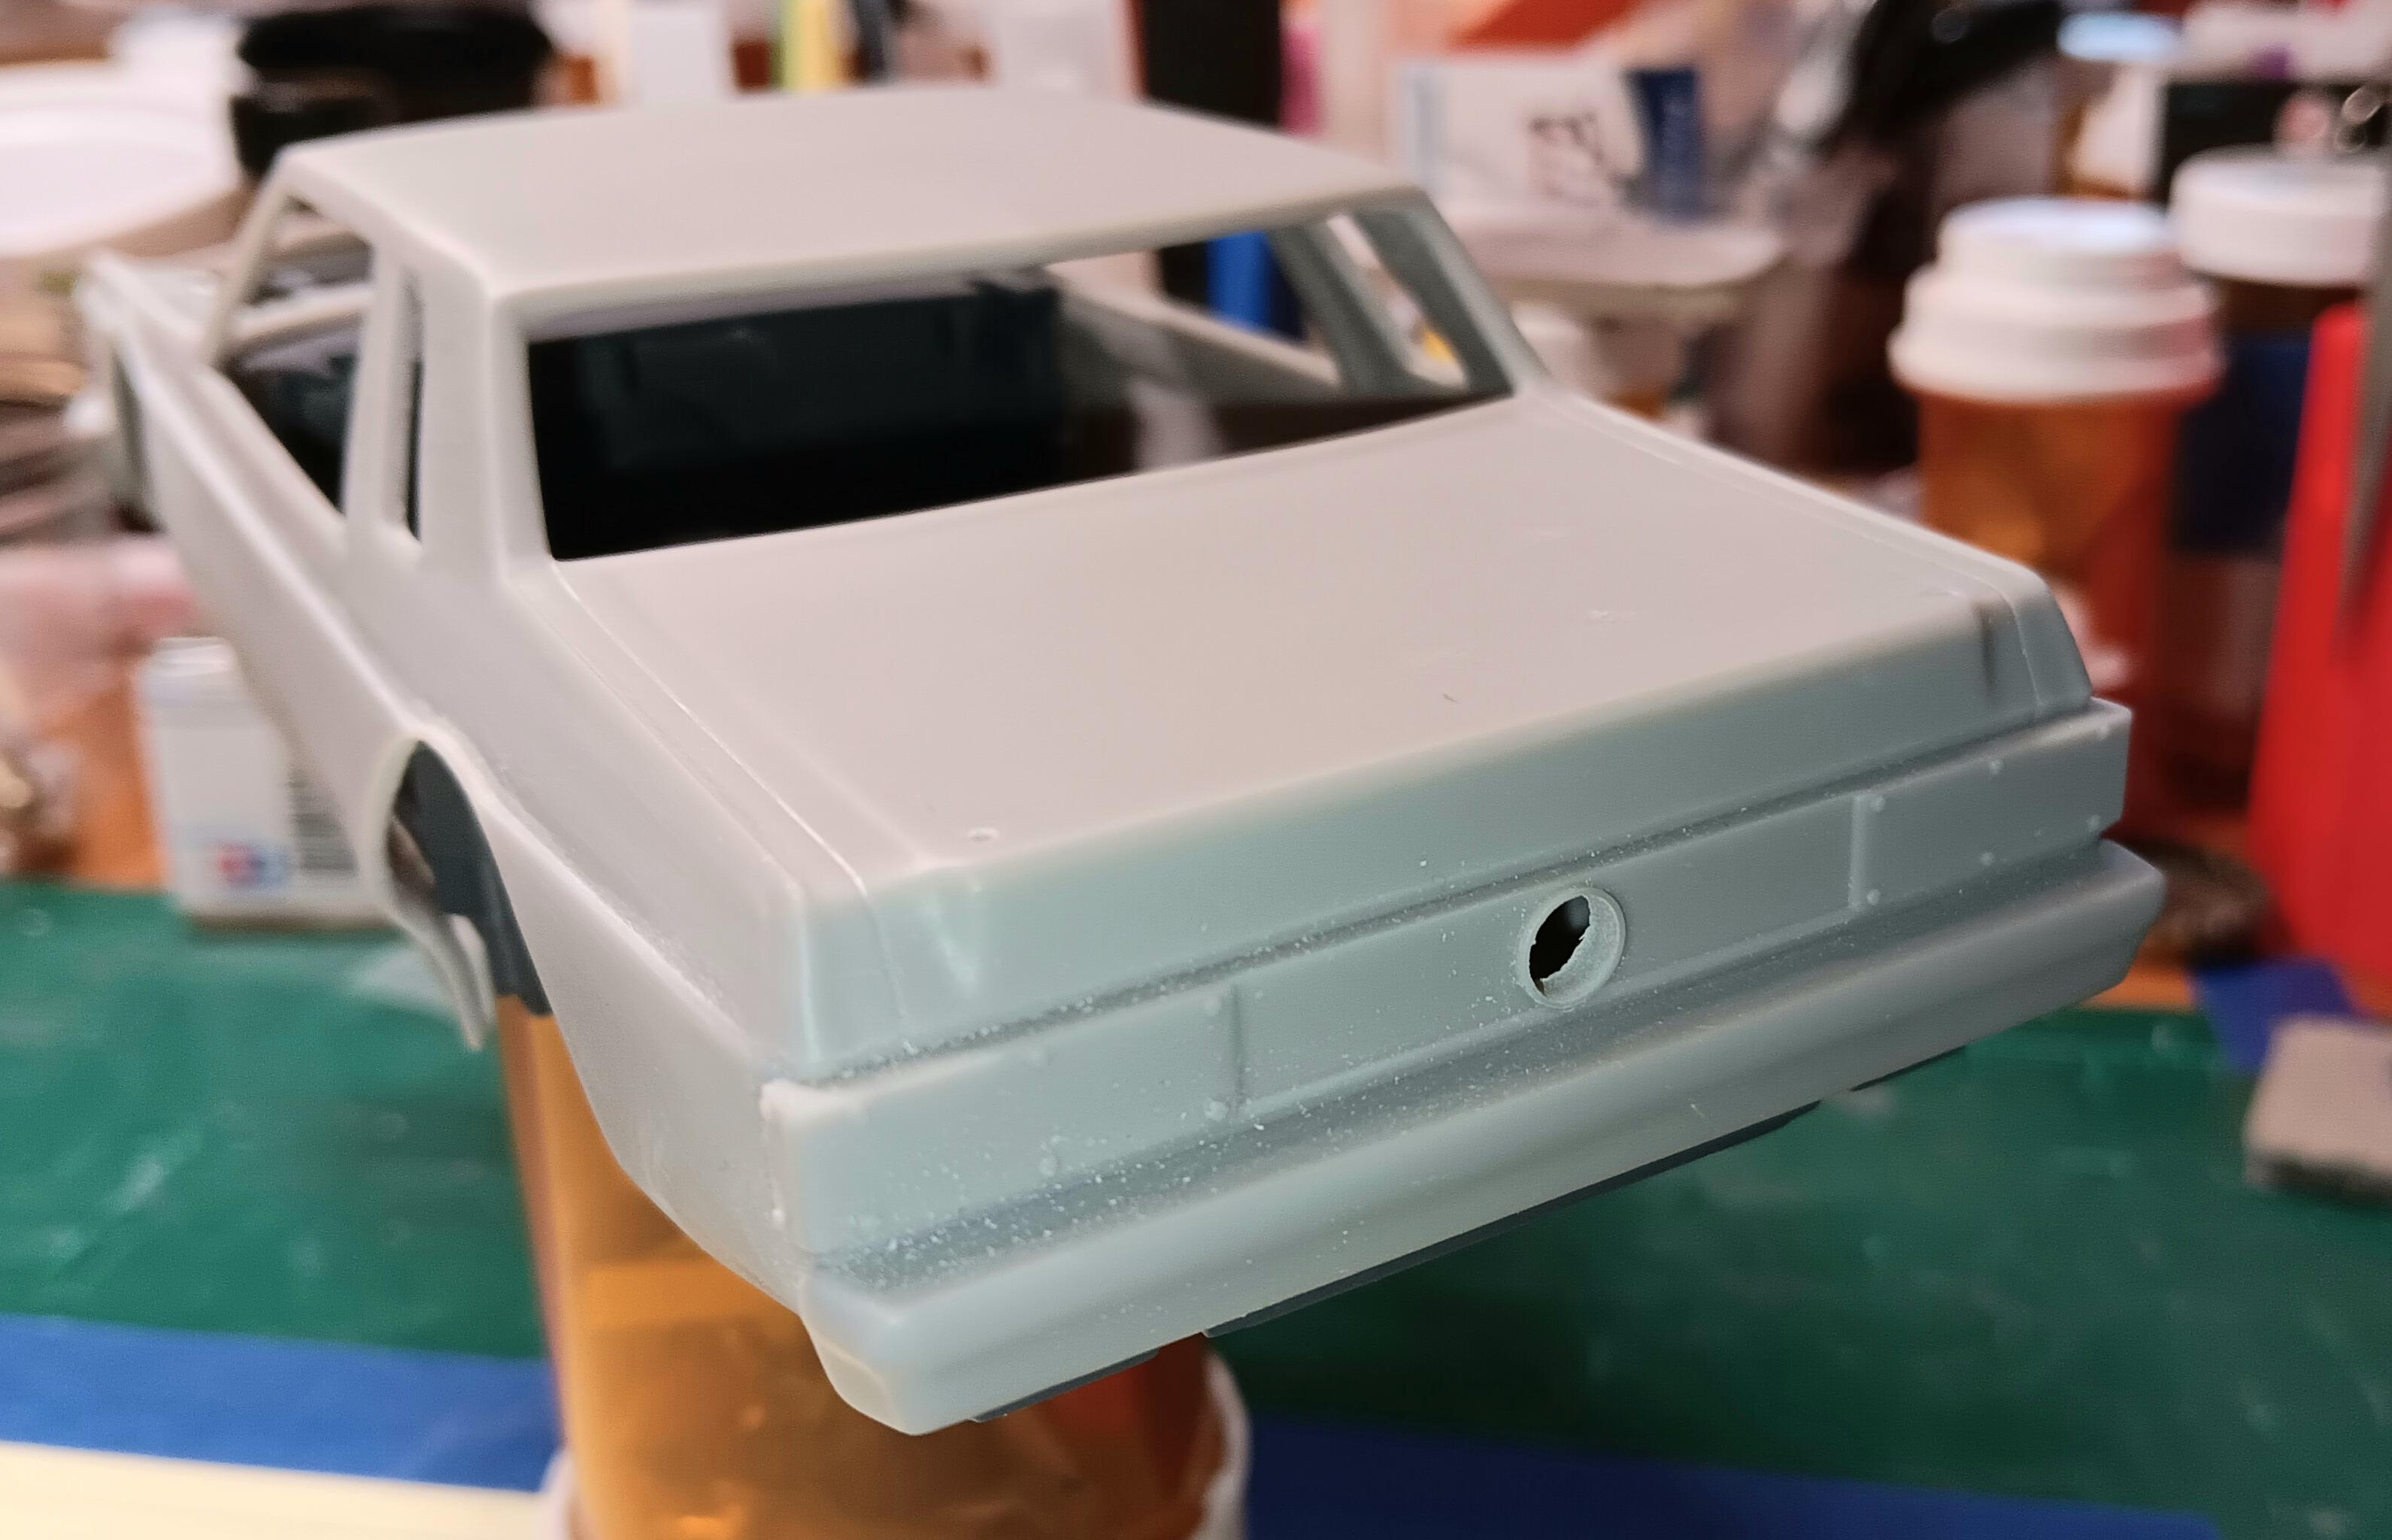
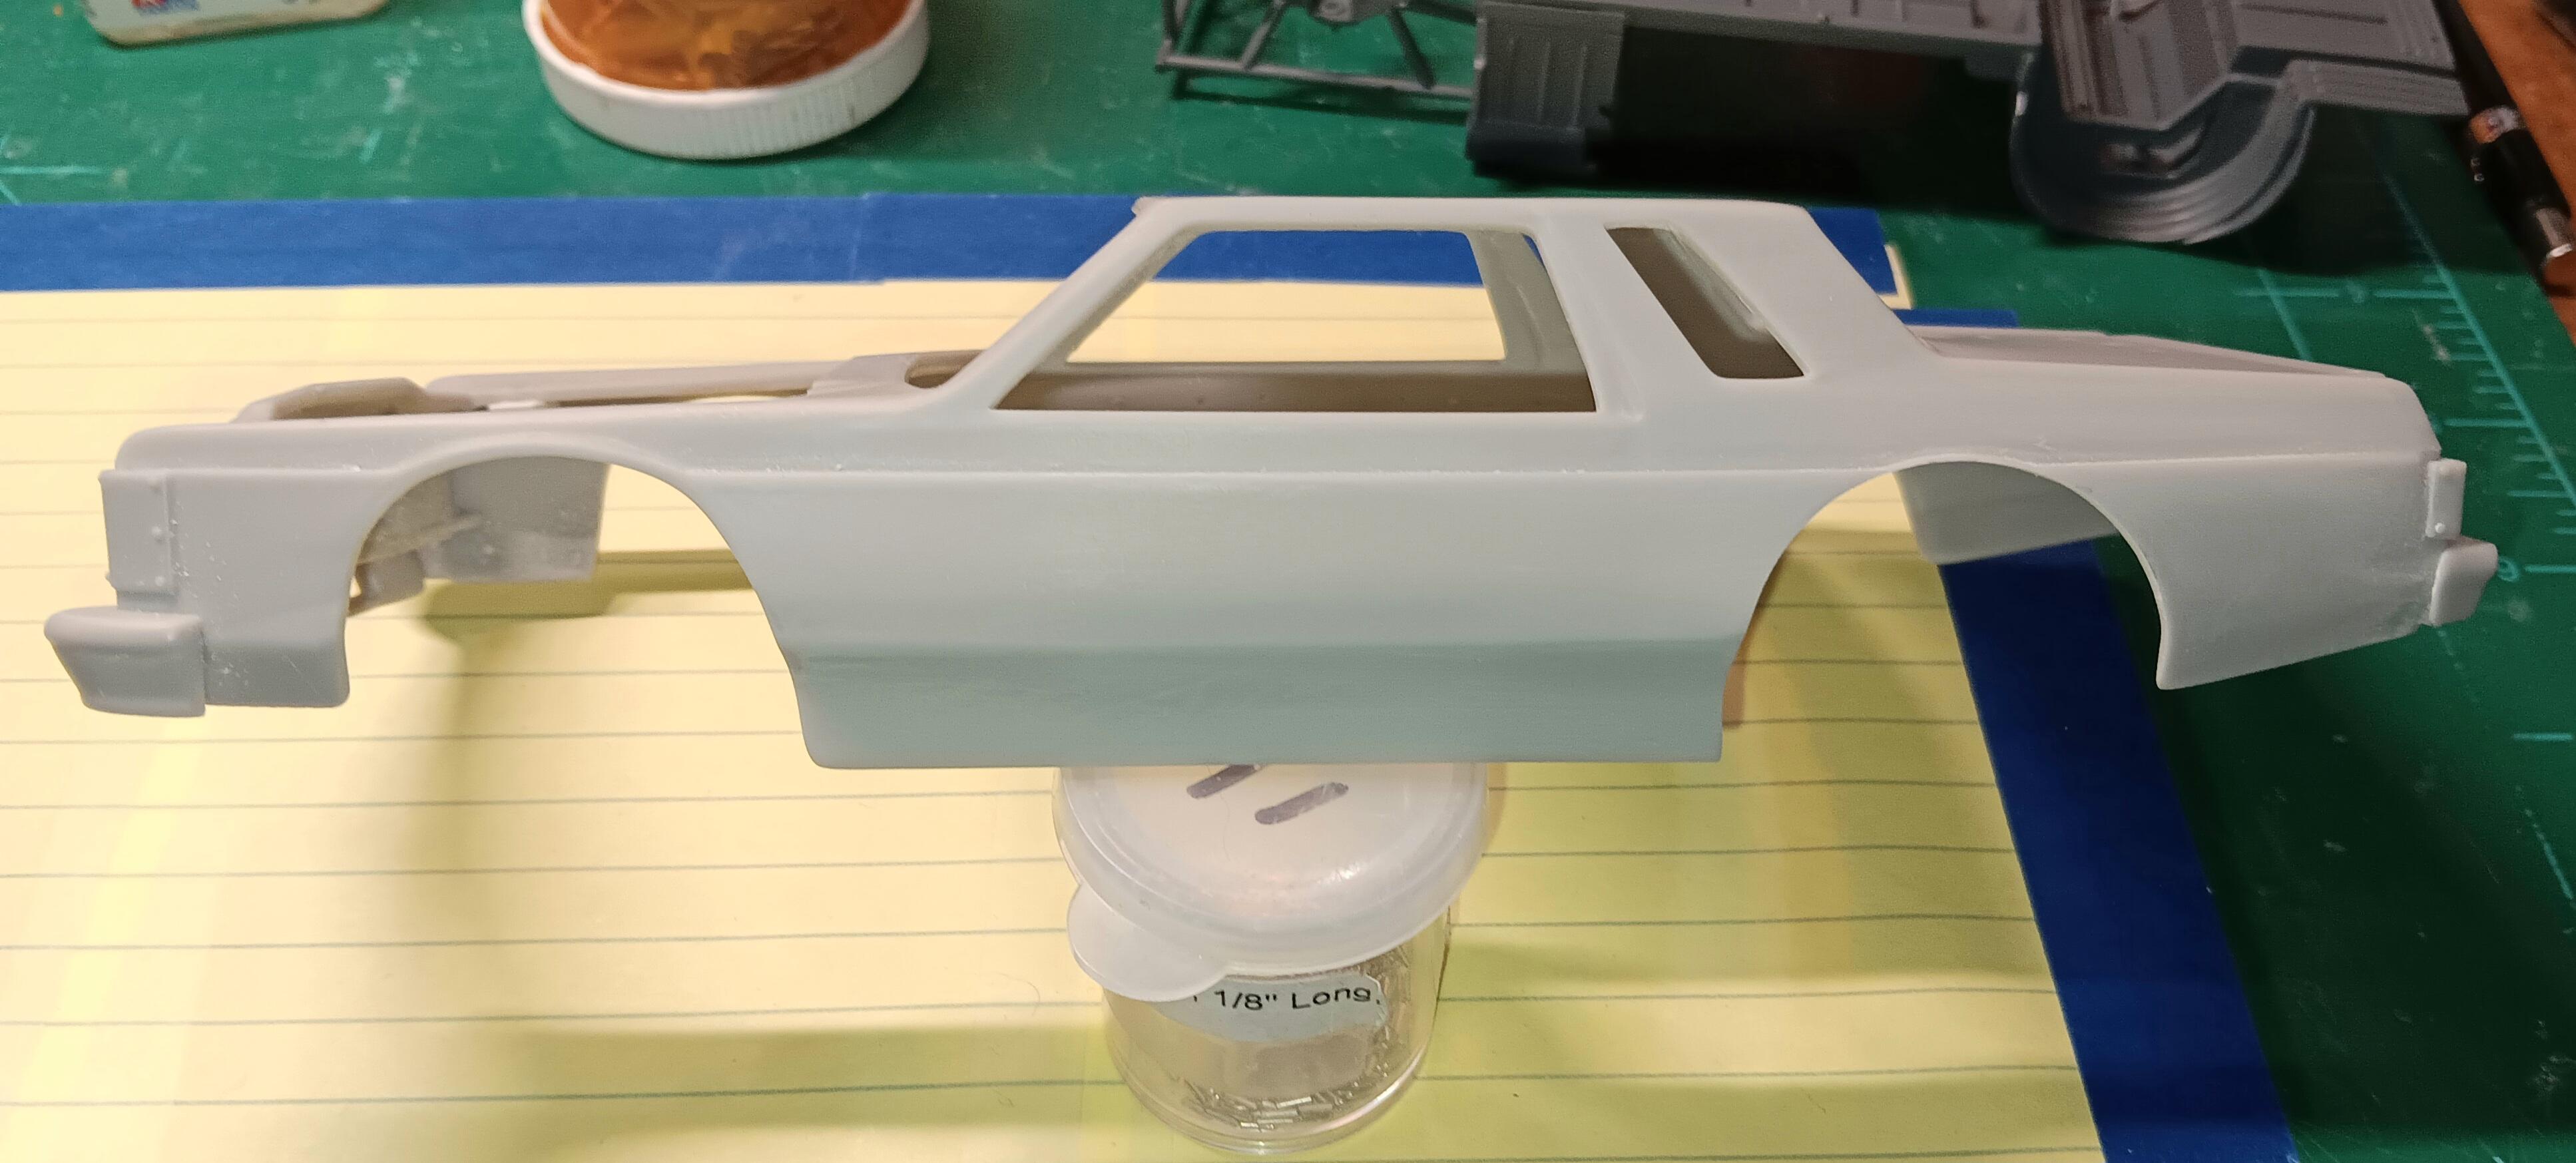
These were massive cars in their day, possibly the widest body ever made by Ford. But you killed it, very nicely done!
-
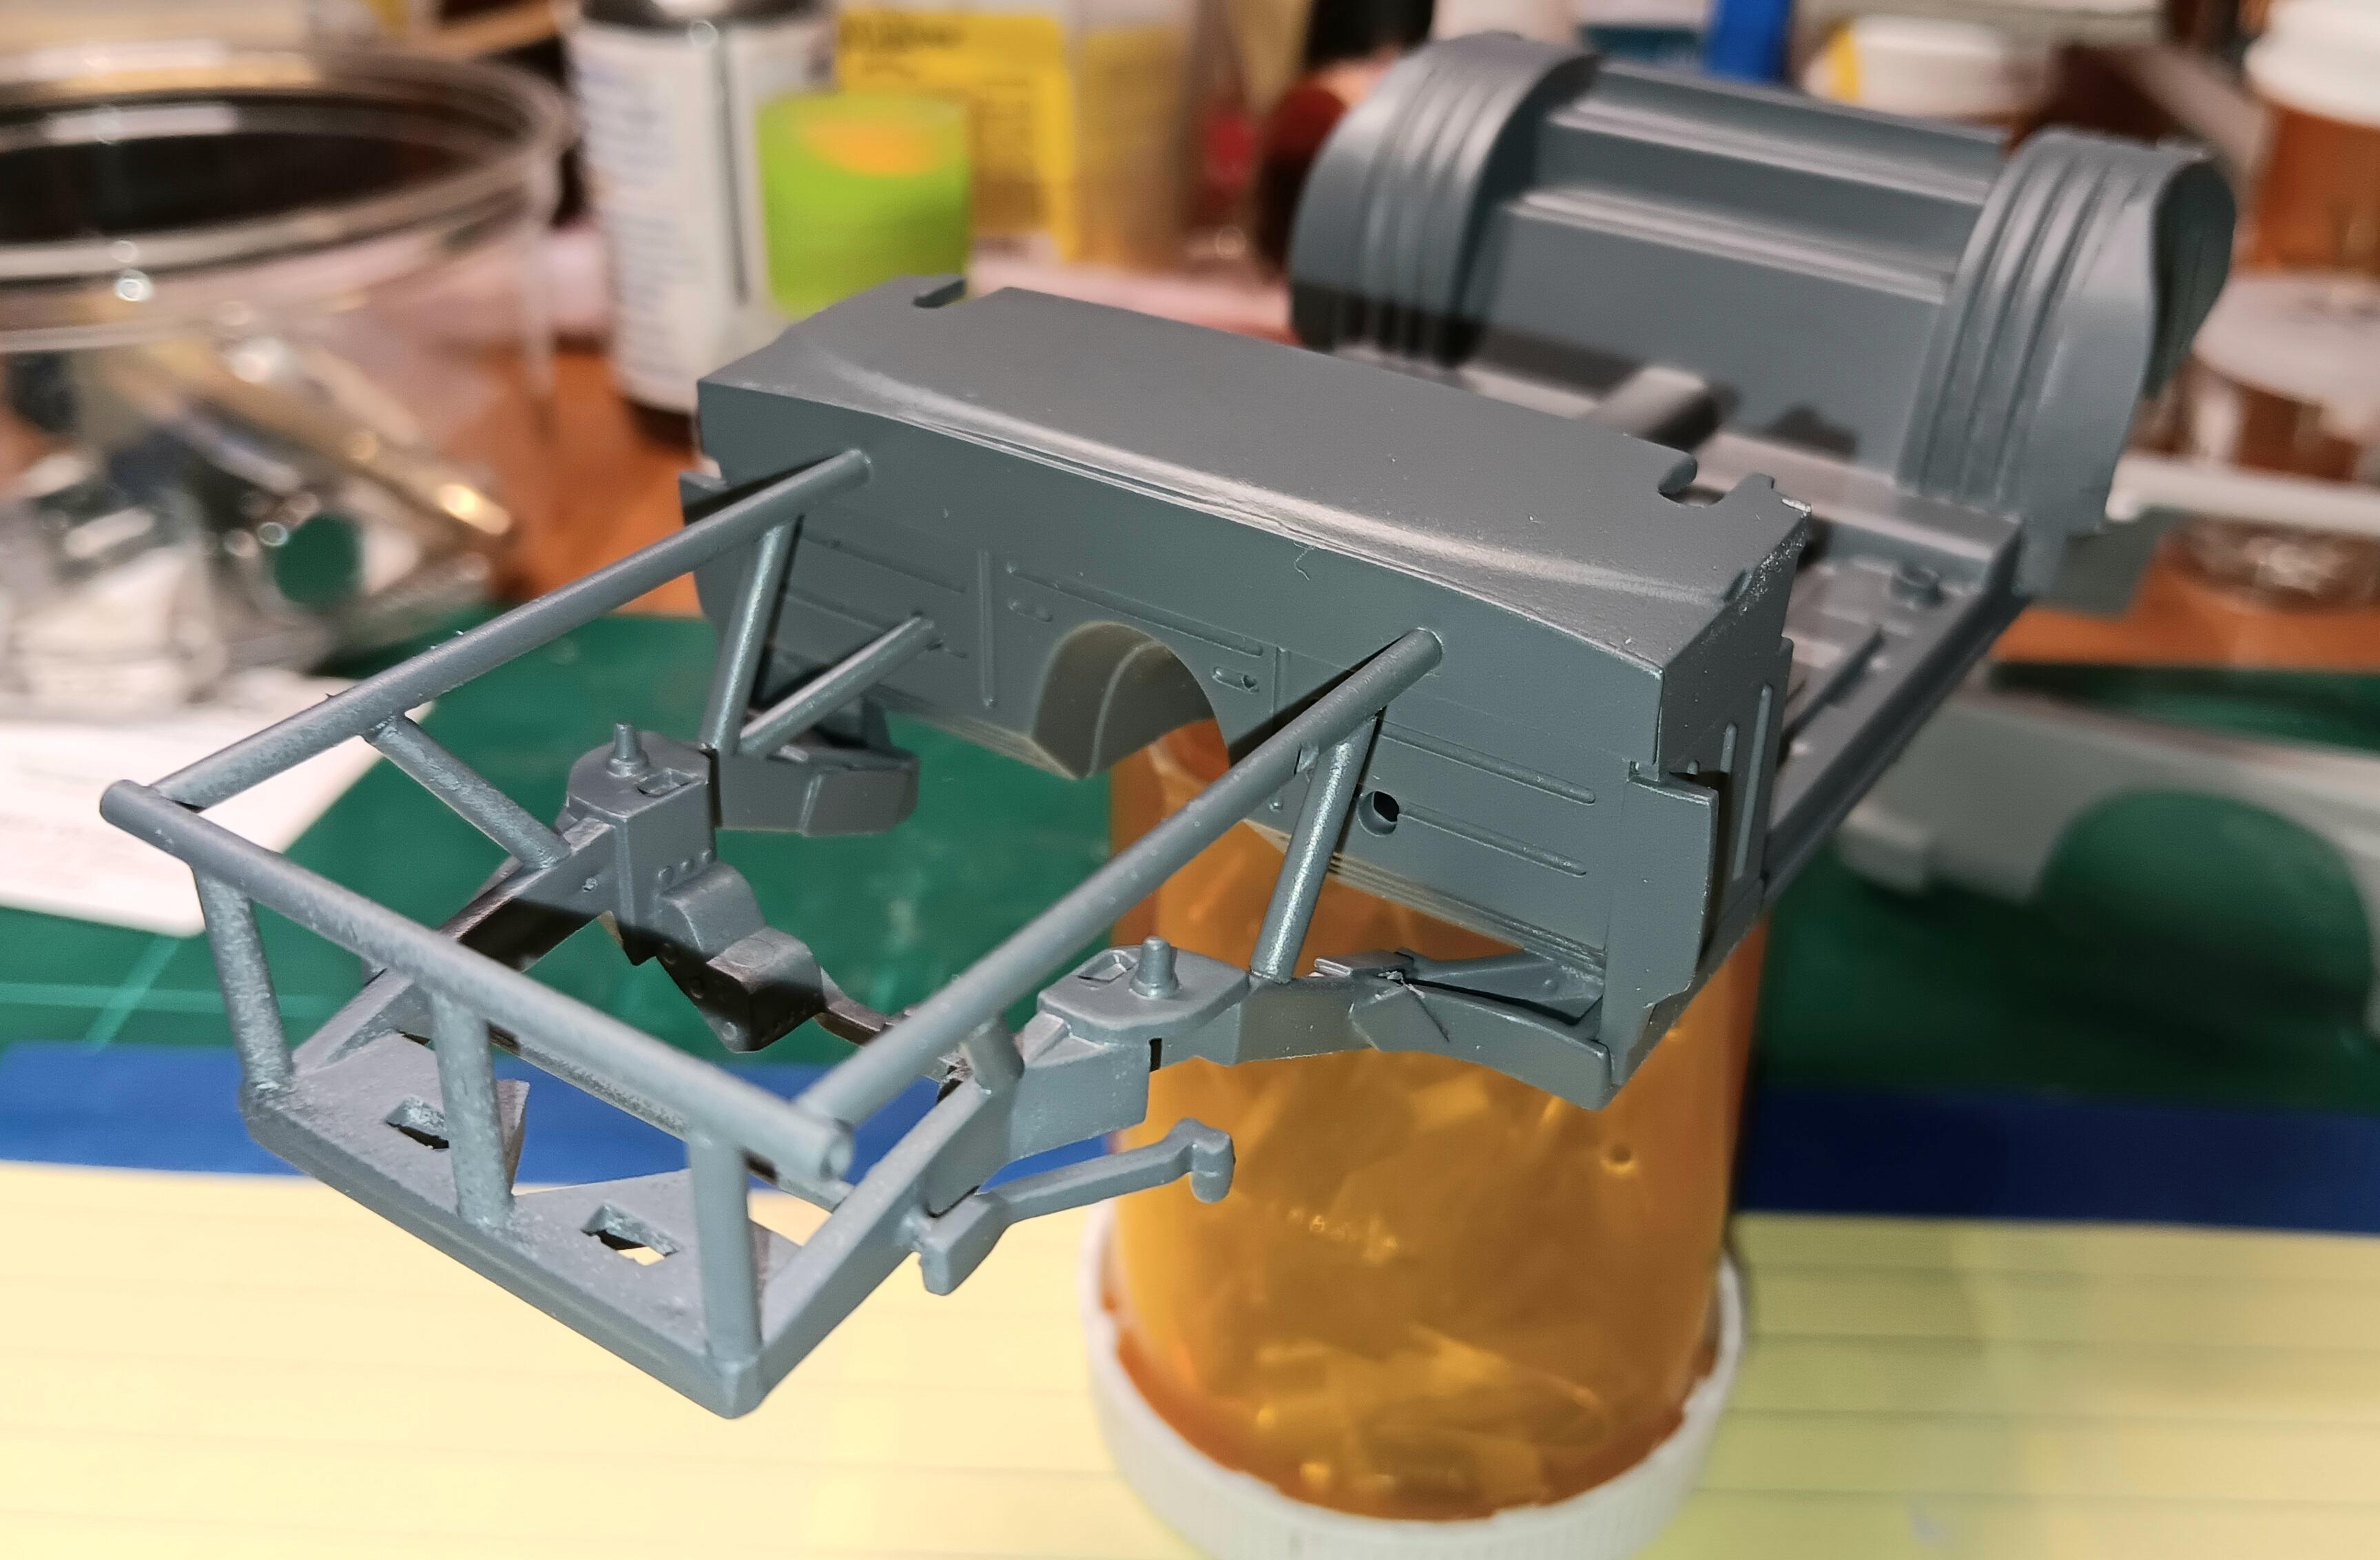
Thanks. I'm back on FB for modeling only! No politics, no family drama. People are doing very innovative things with these rudimentary kits. I've tried to get some 3D gurus to help design new parts, like a complete roll cage, better front and rear suspensions. I may have to do this myself. What I have seen is truck-arn rears being used. Genius level stuff. The same car had an AMT front chassis stock car clip grafted onto it. I did this cage with .093" plastic tubing, since it is easier to splice with a center hole. I have some .080" tube, but it is thin-walled. I have to mess around with it some more. It does take .062" rod and aluminum tubing. I just think that the .080" tube looks more realistic.
-
Ford Granada Stock Car WIP
bobss396 replied to bobss396's topic in WIP: Stock Cars (NASCAR, Super Stock, Late Model, etc.)
Definitely too much going on. I'm putting the Corvette modified to the front. -
Ford Granada Stock Car WIP
bobss396 replied to bobss396's topic in WIP: Stock Cars (NASCAR, Super Stock, Late Model, etc.)
I'm pulling this from a dark place. I still have to pick paint and decals. The fuel cell is for my Corvette modified. I lost it a couple of weeks ago and used something else. It got mixed in with the Granola. -
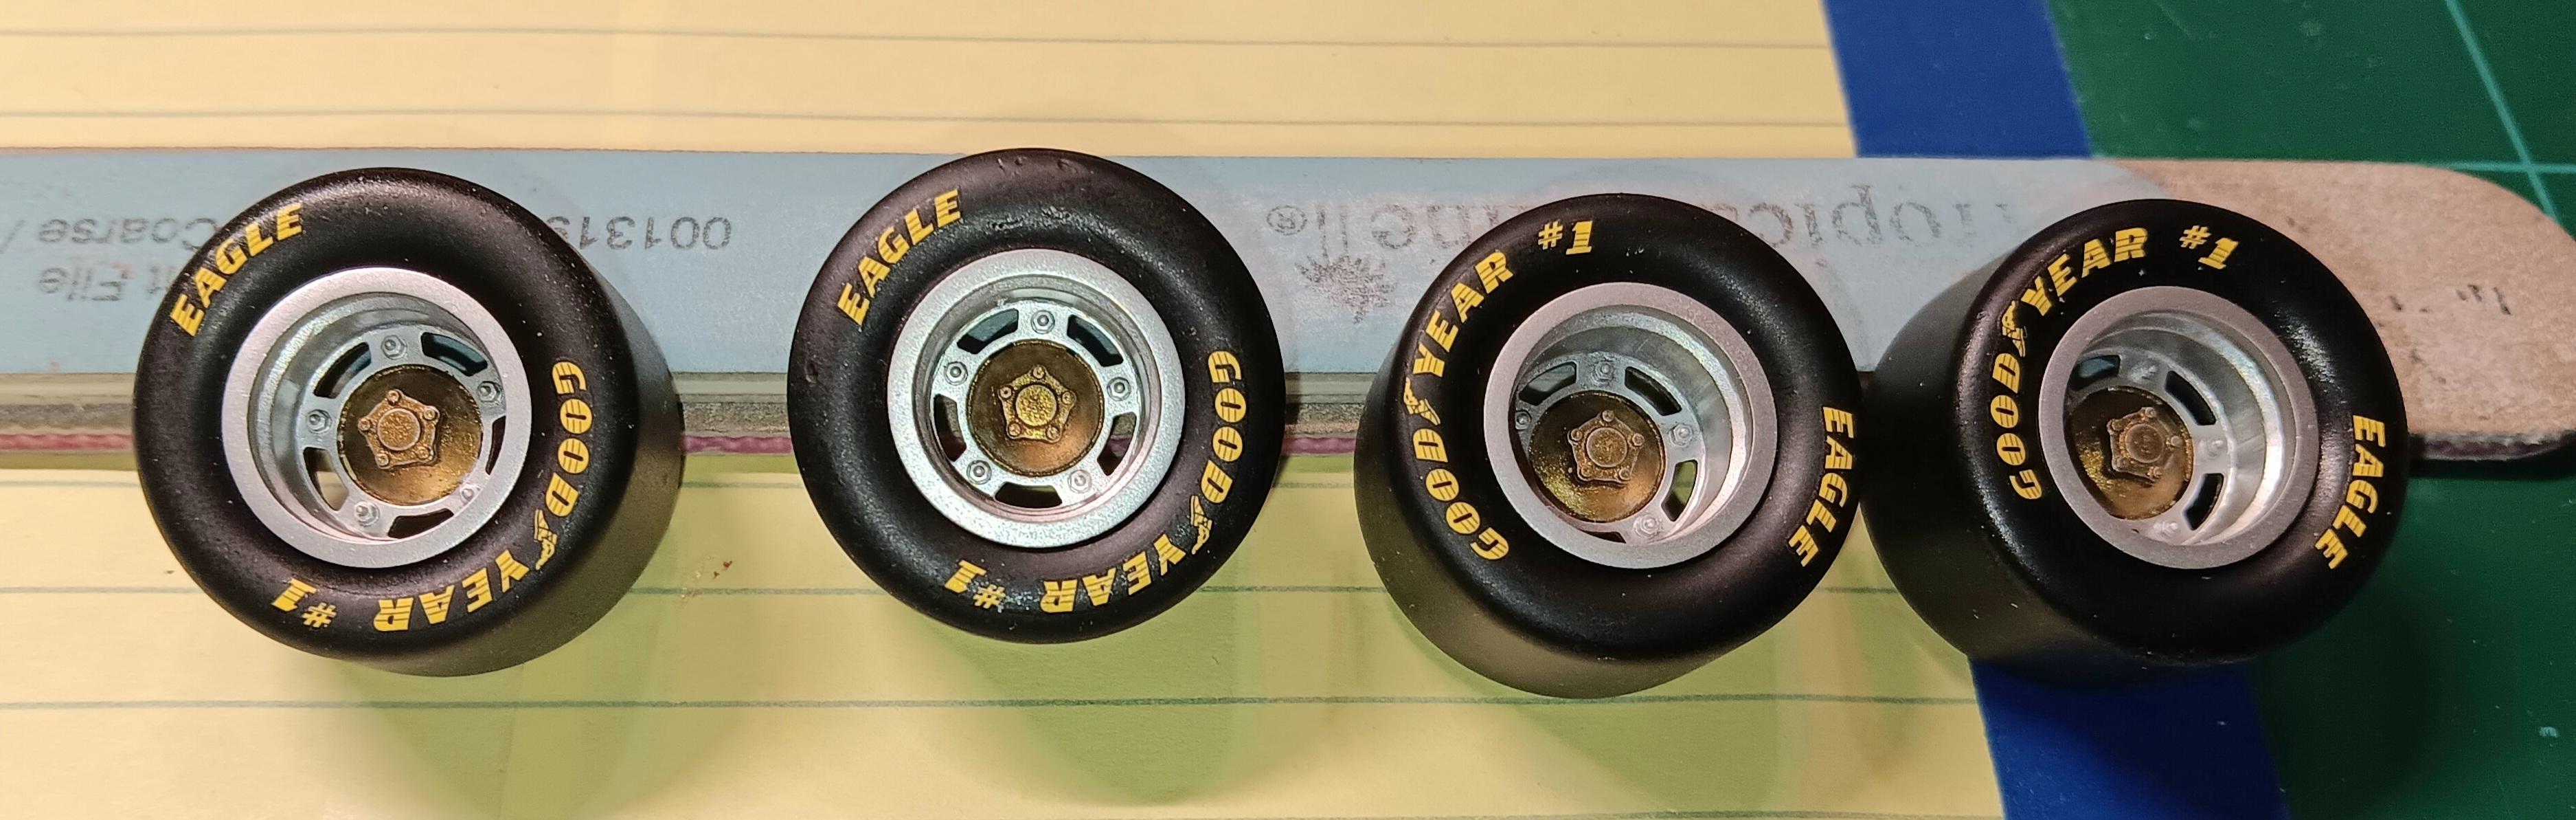
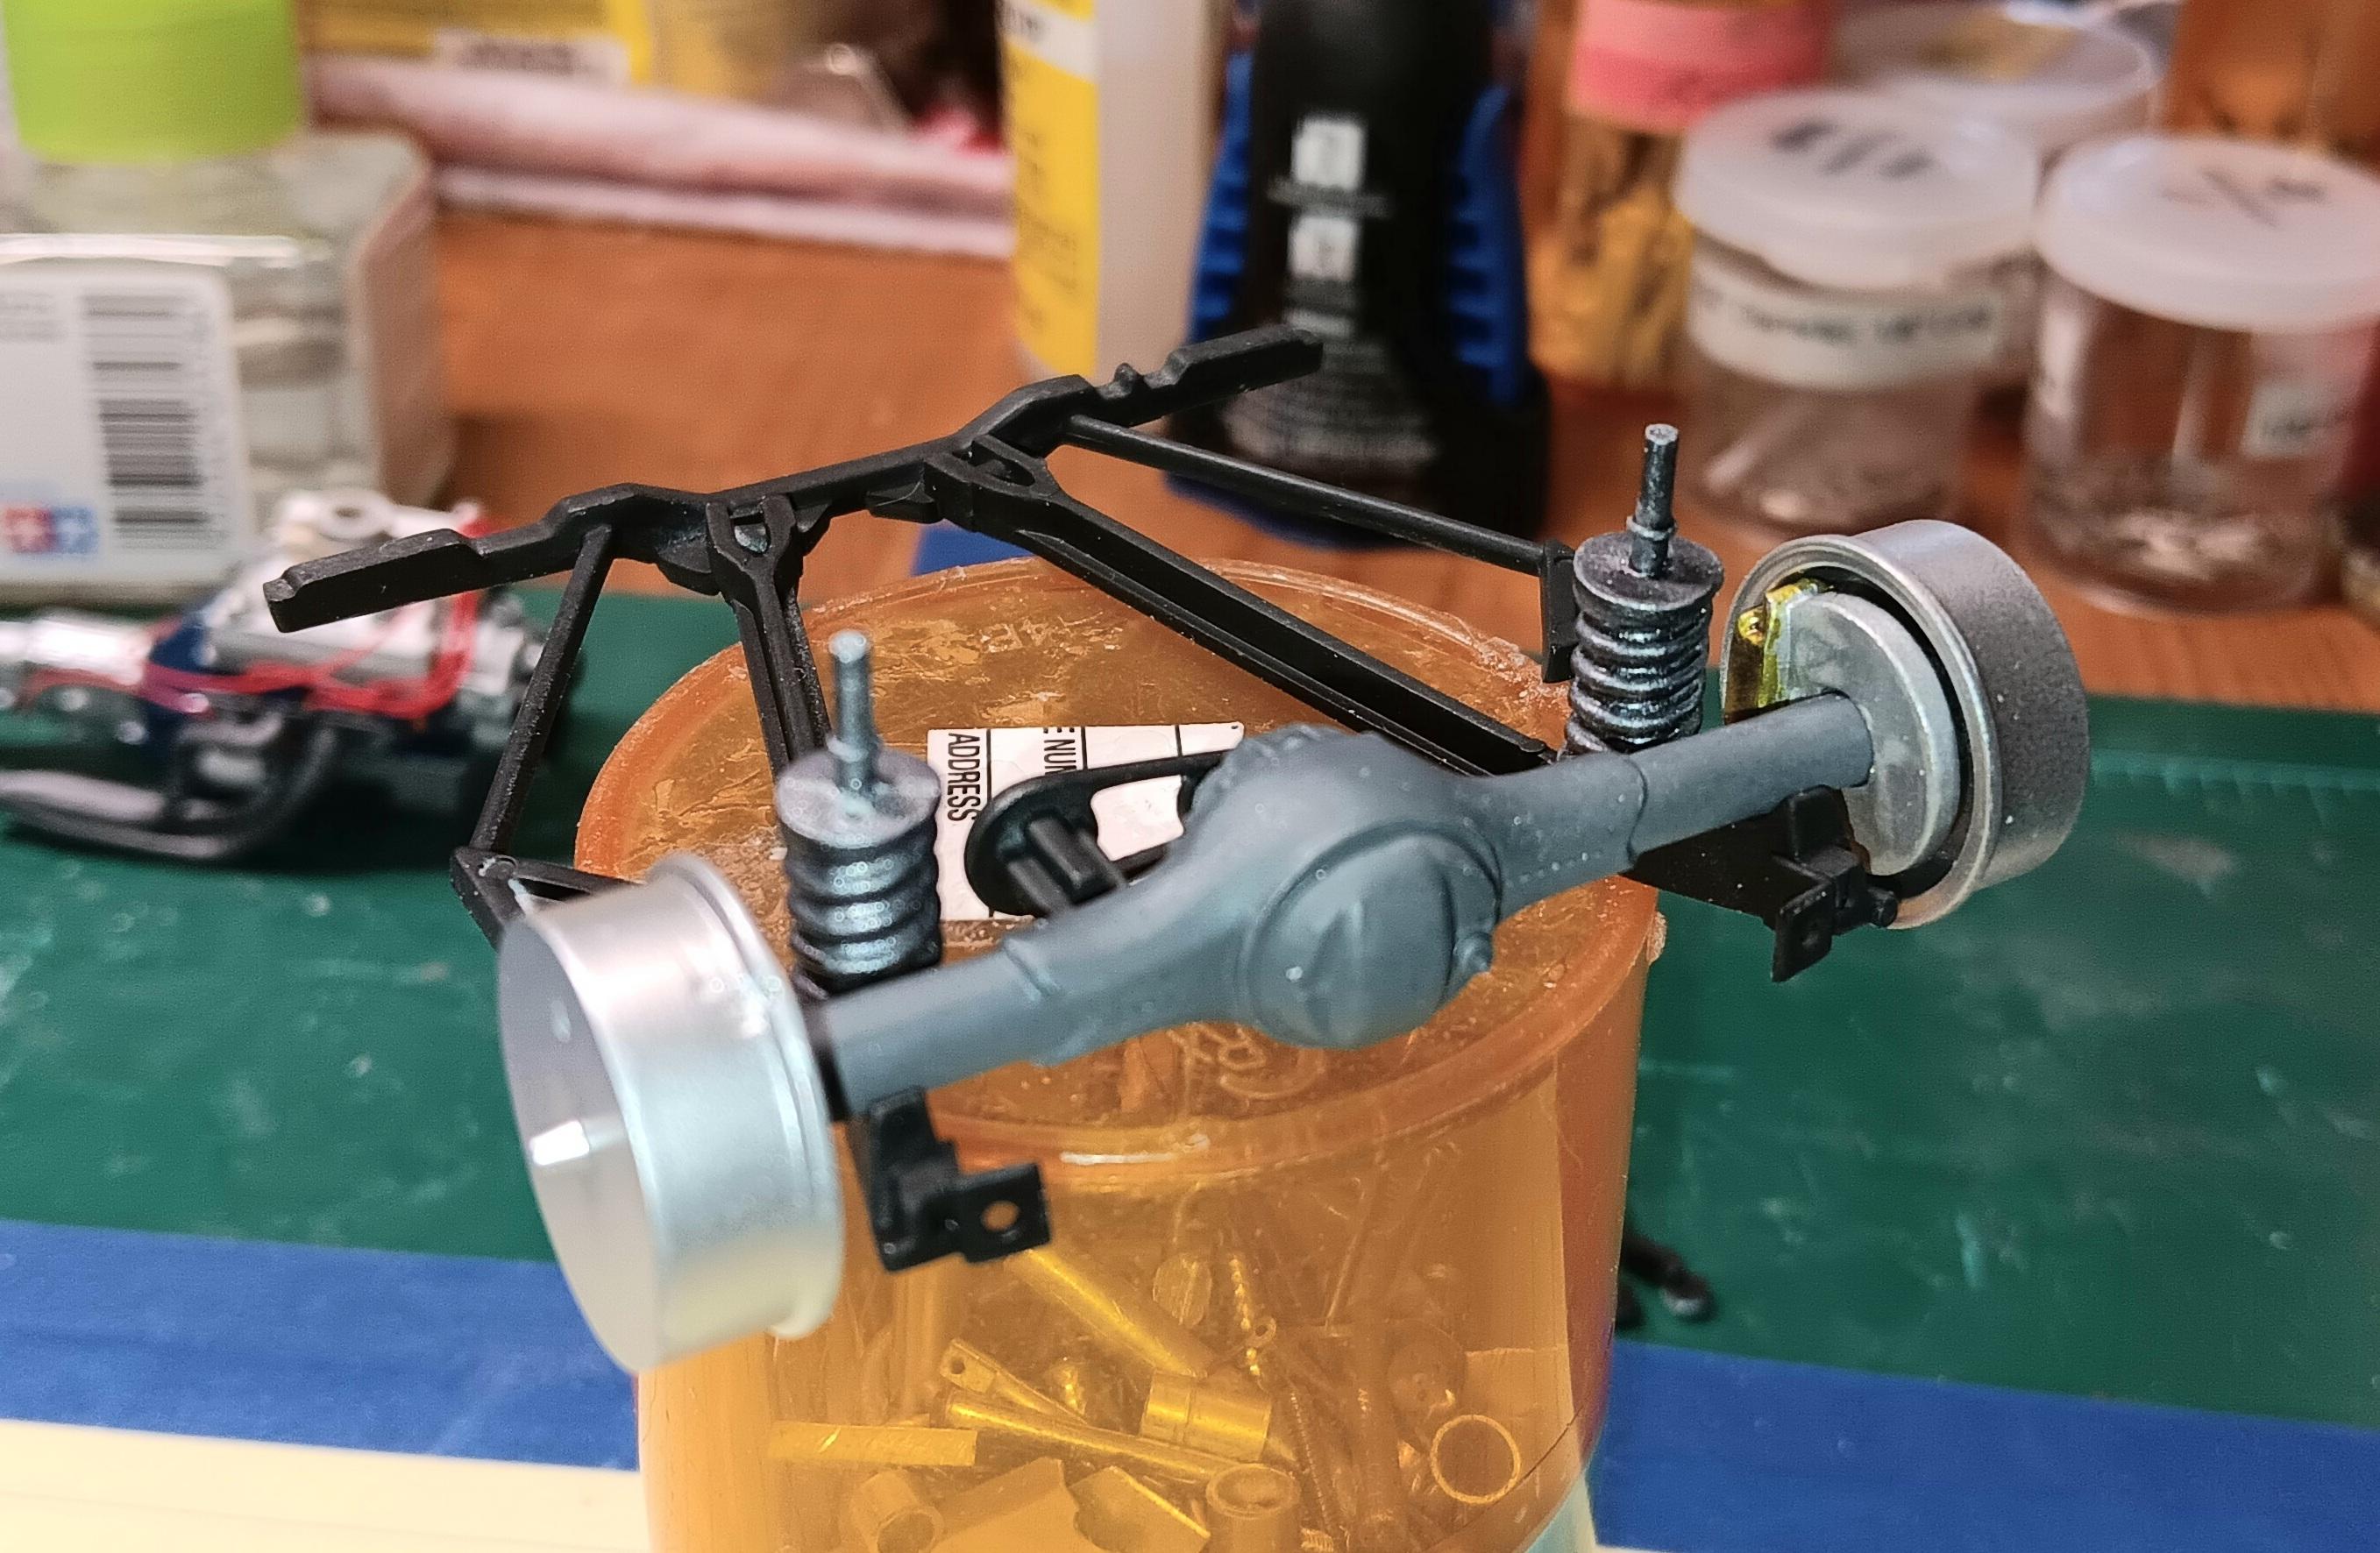
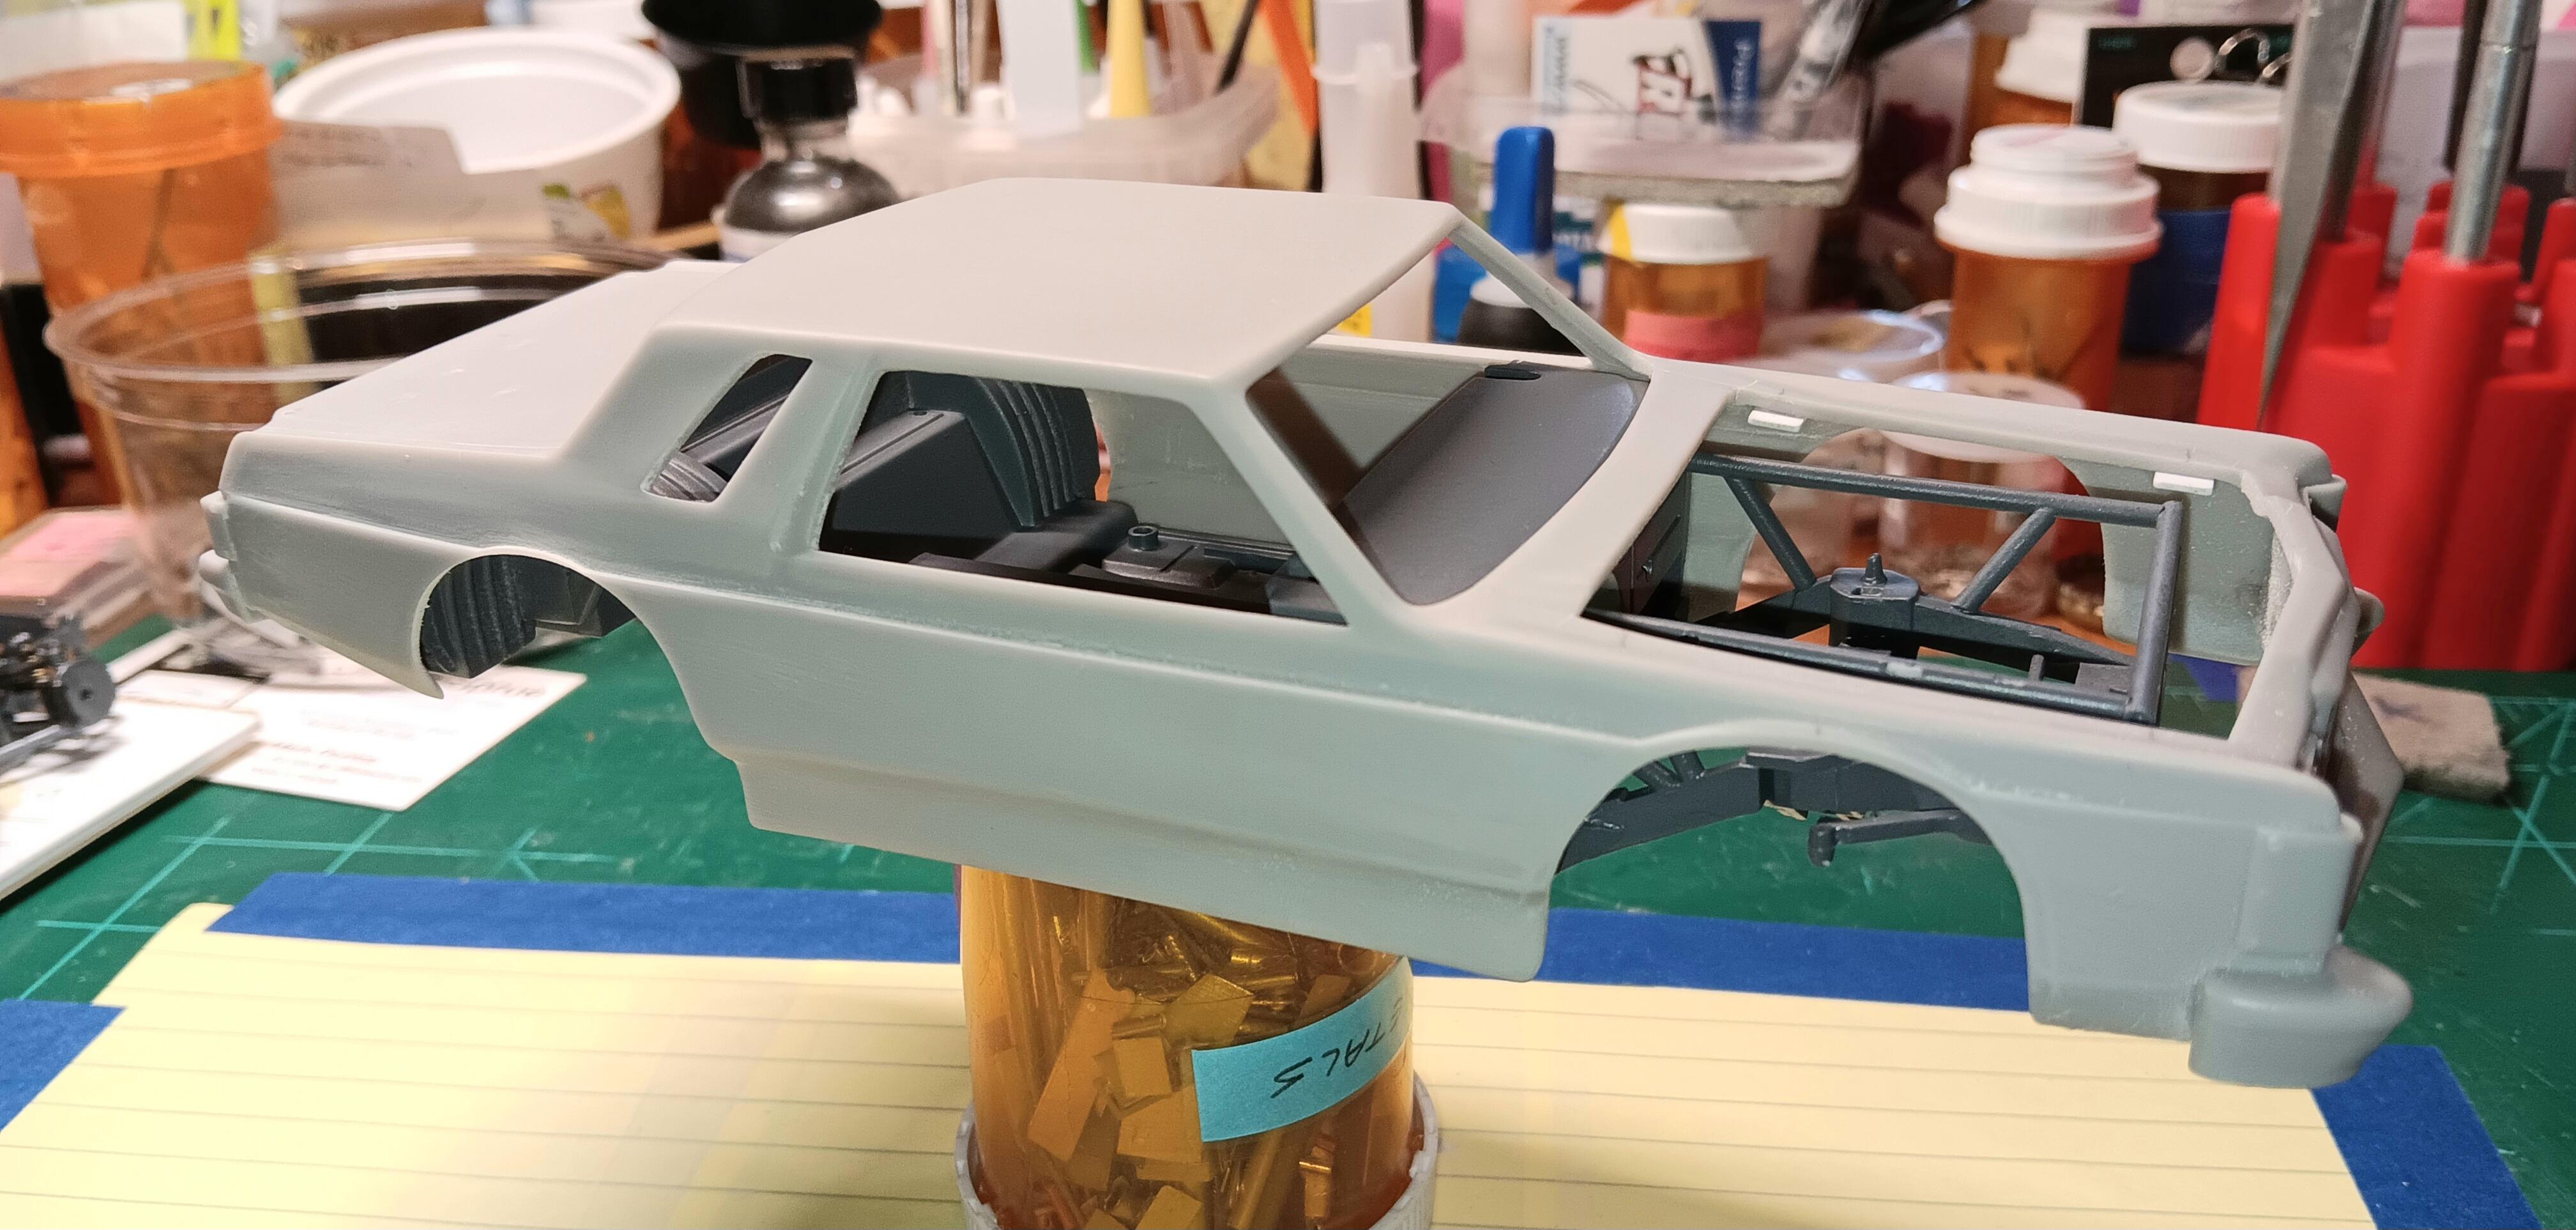
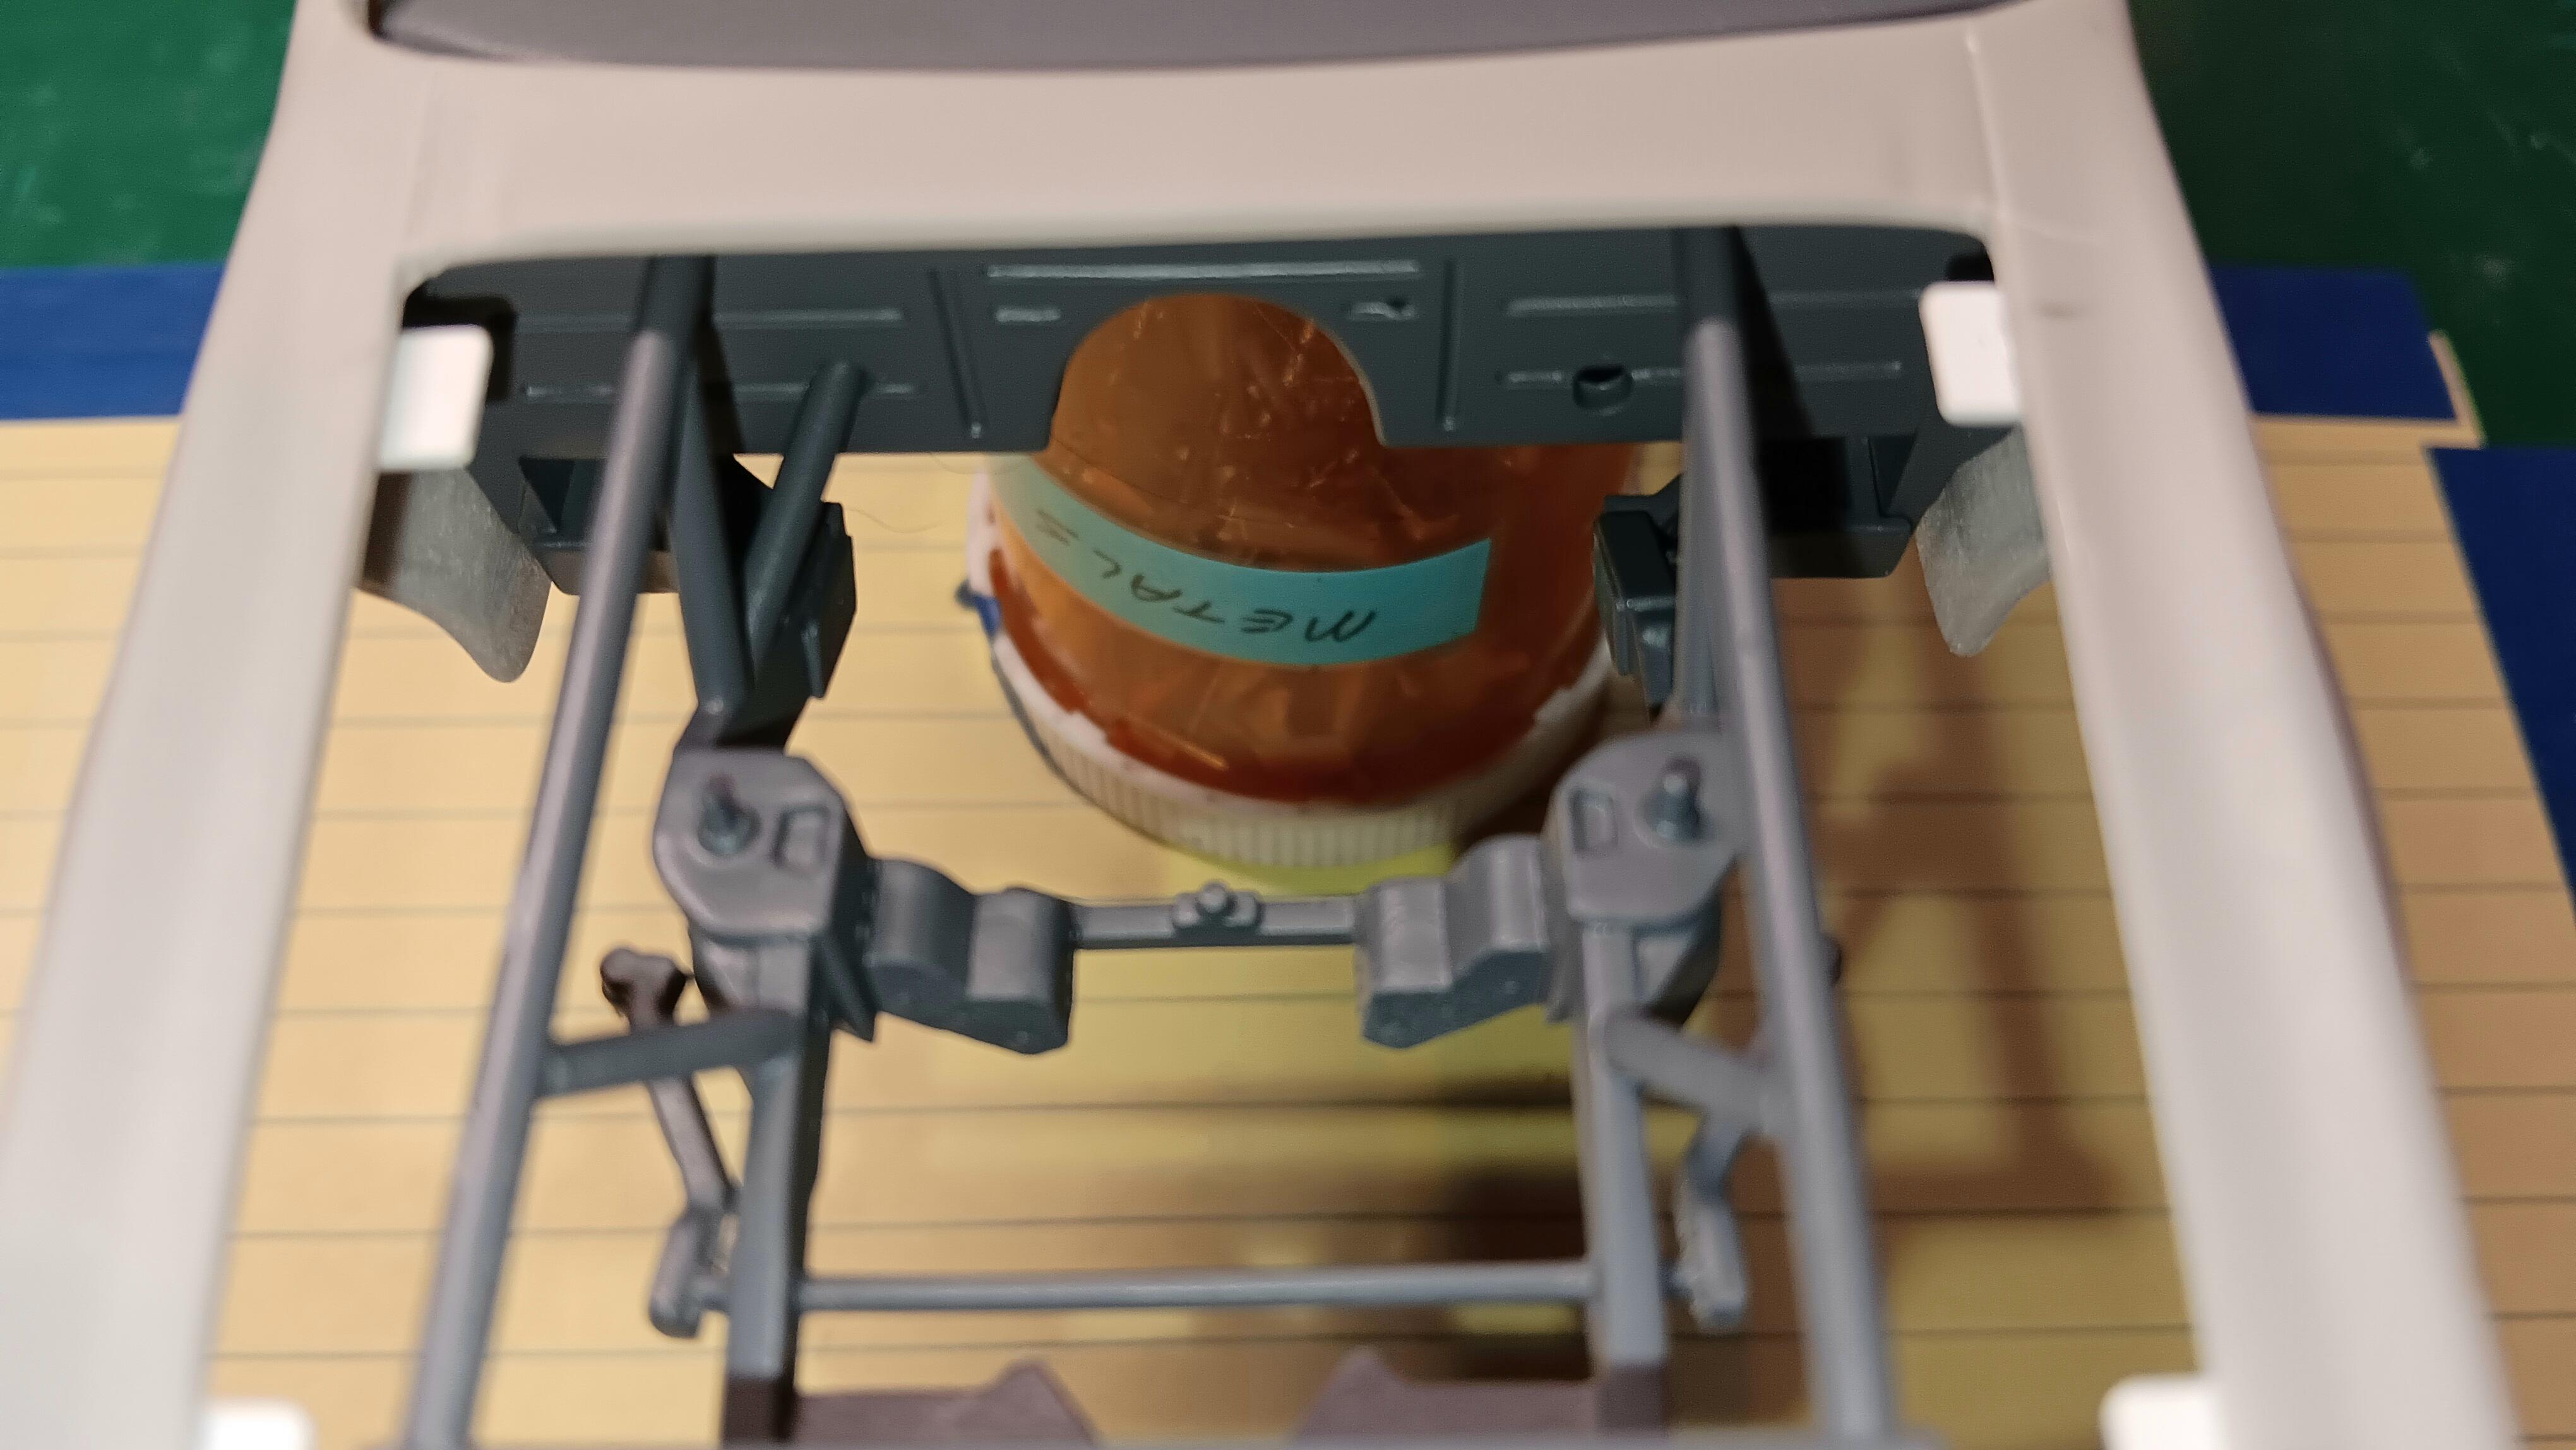
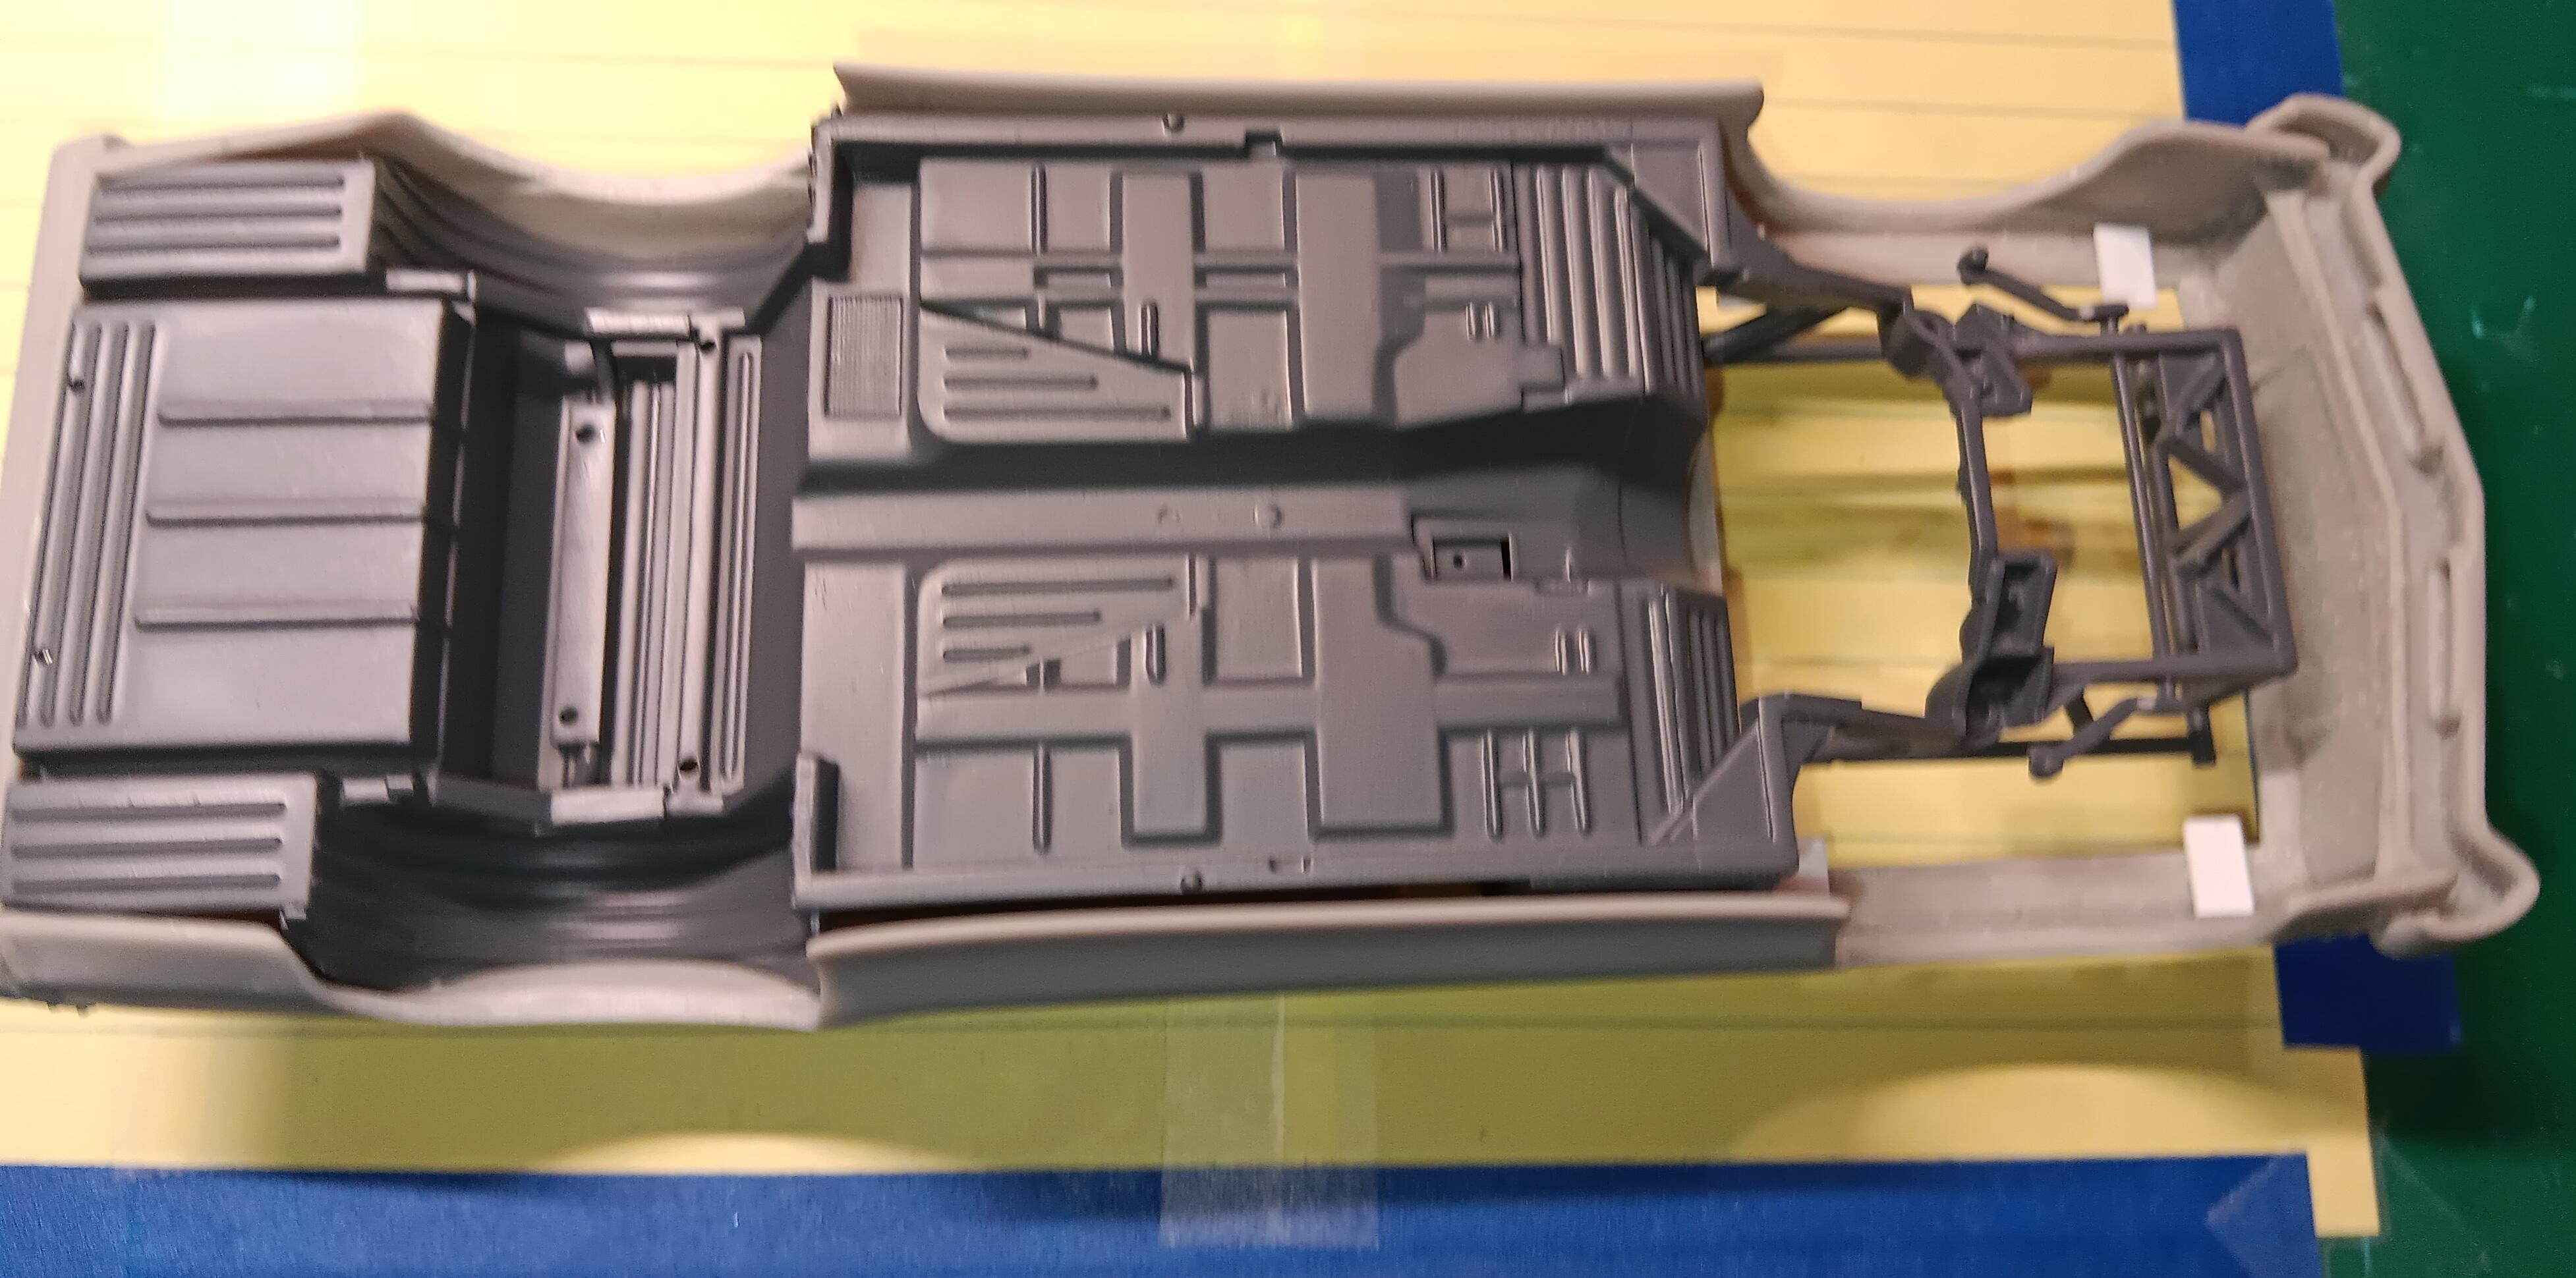
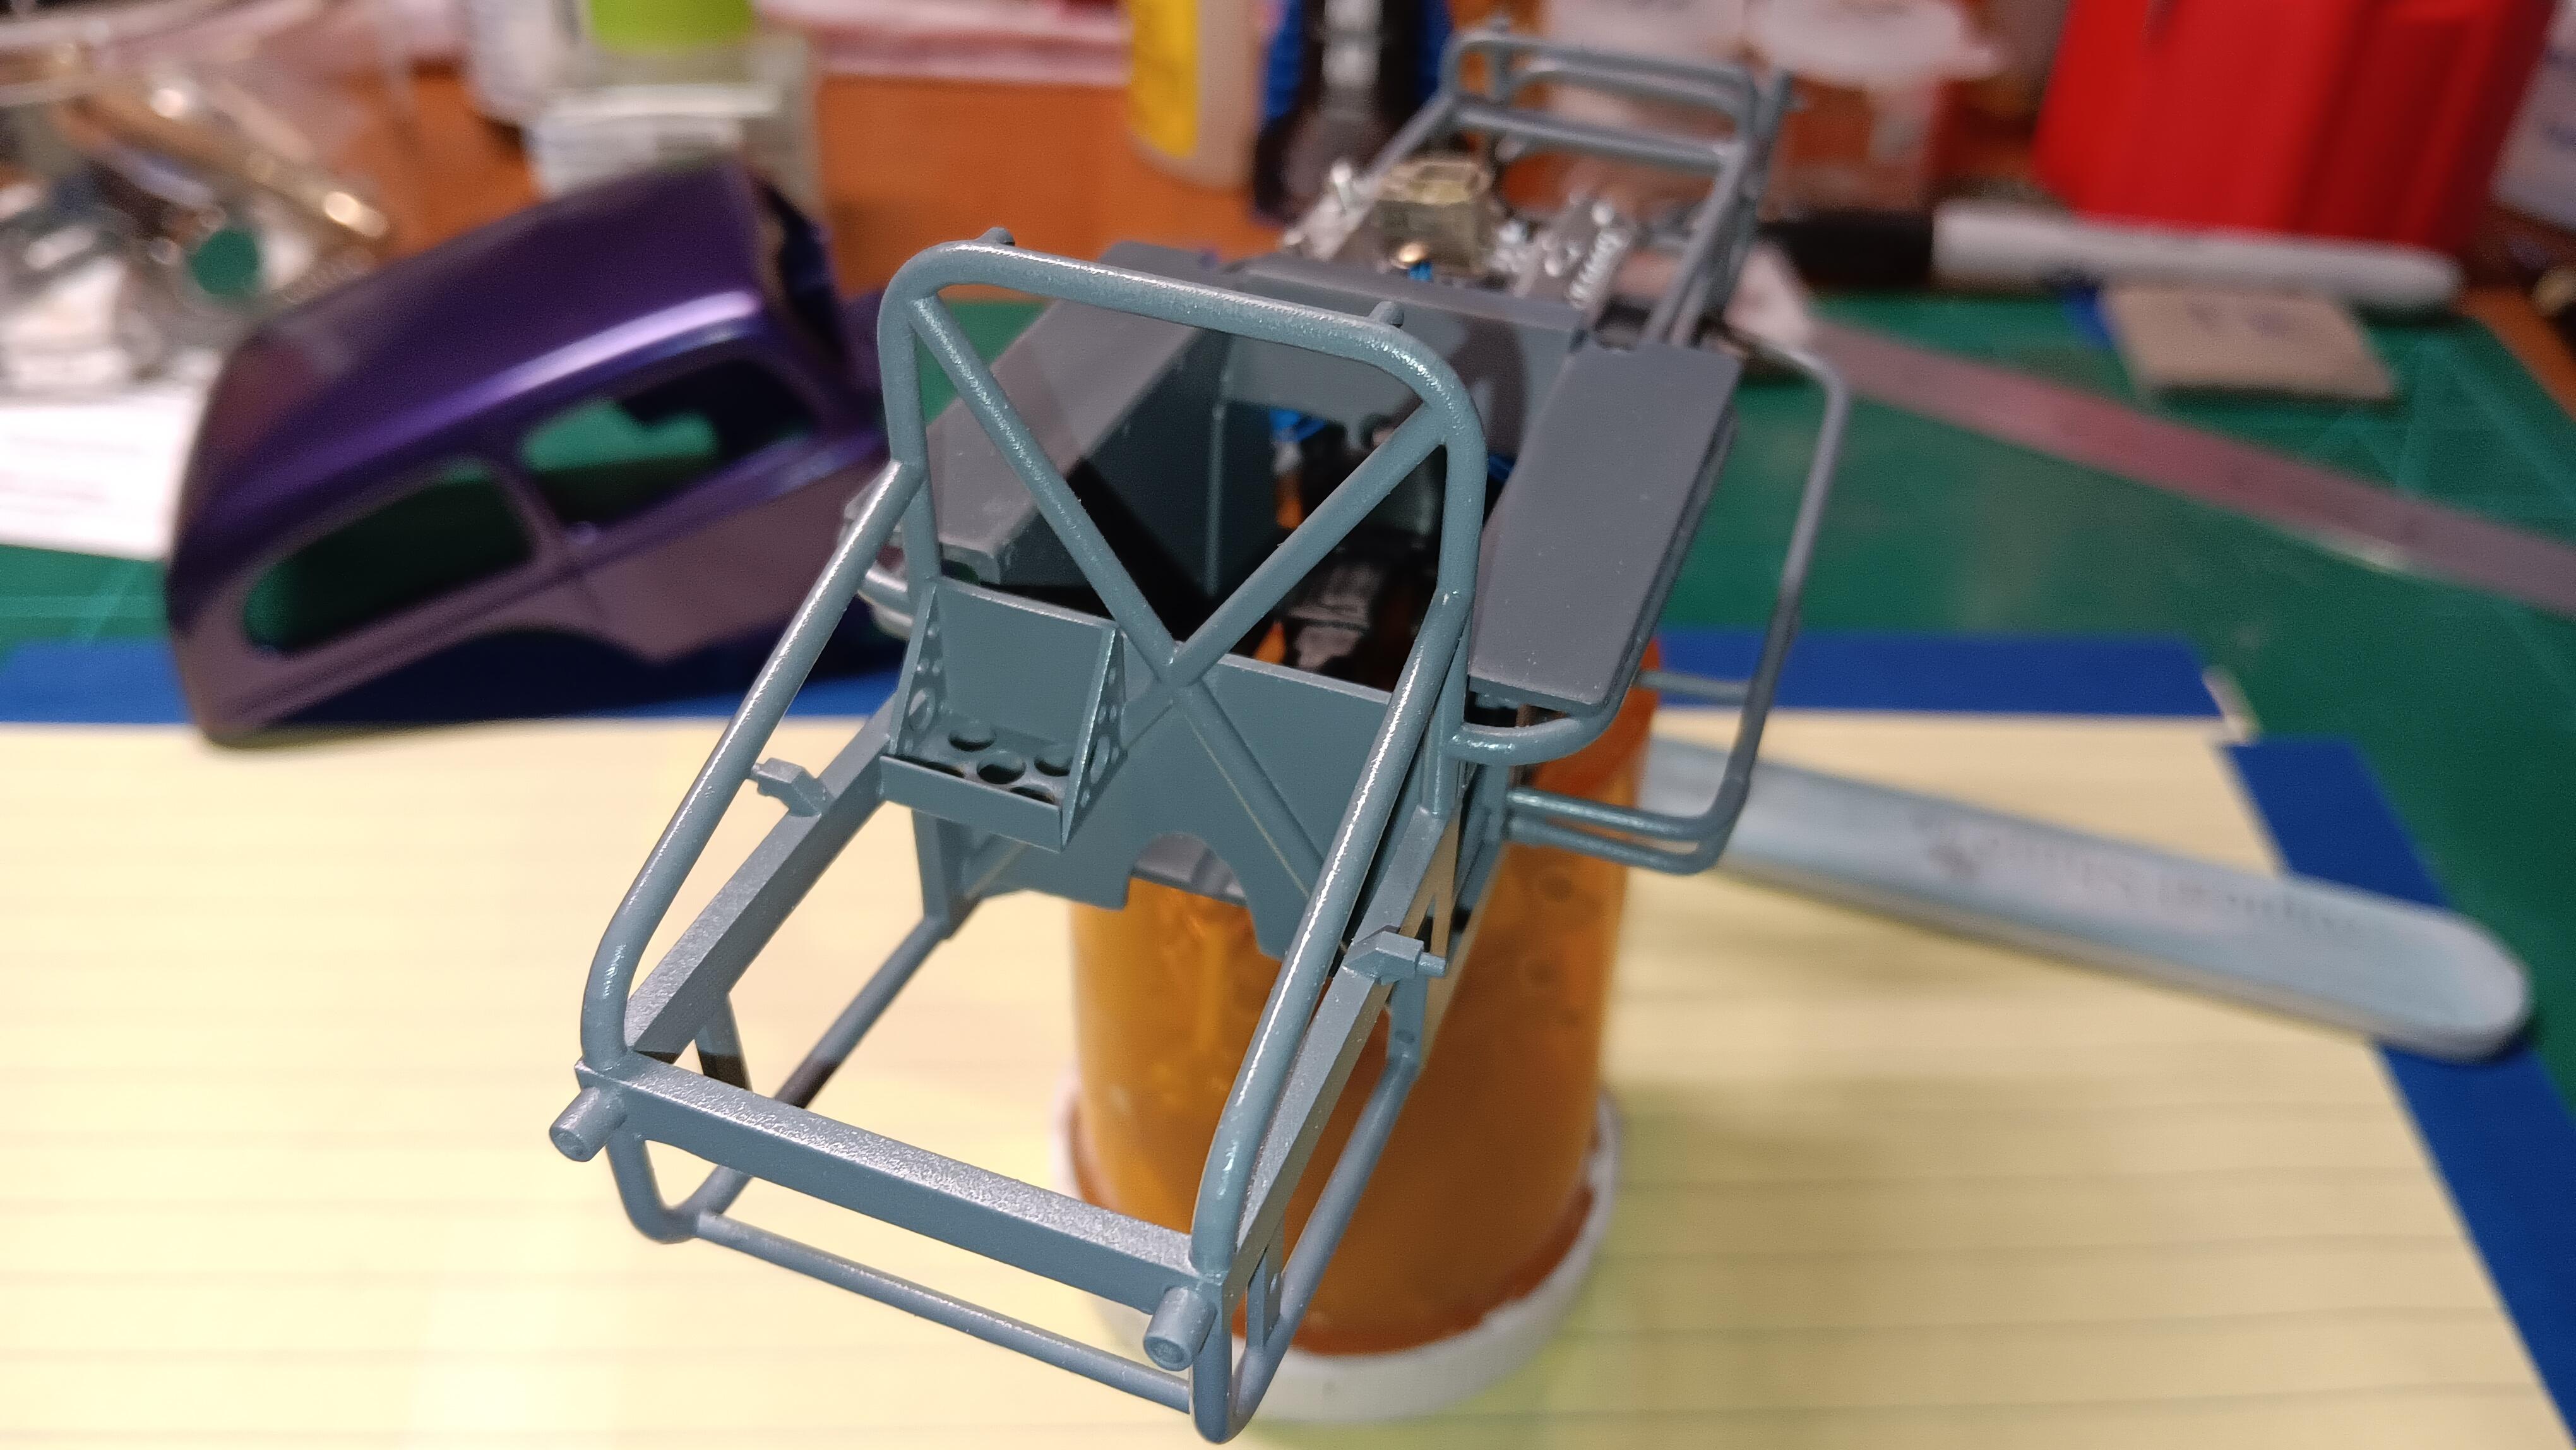
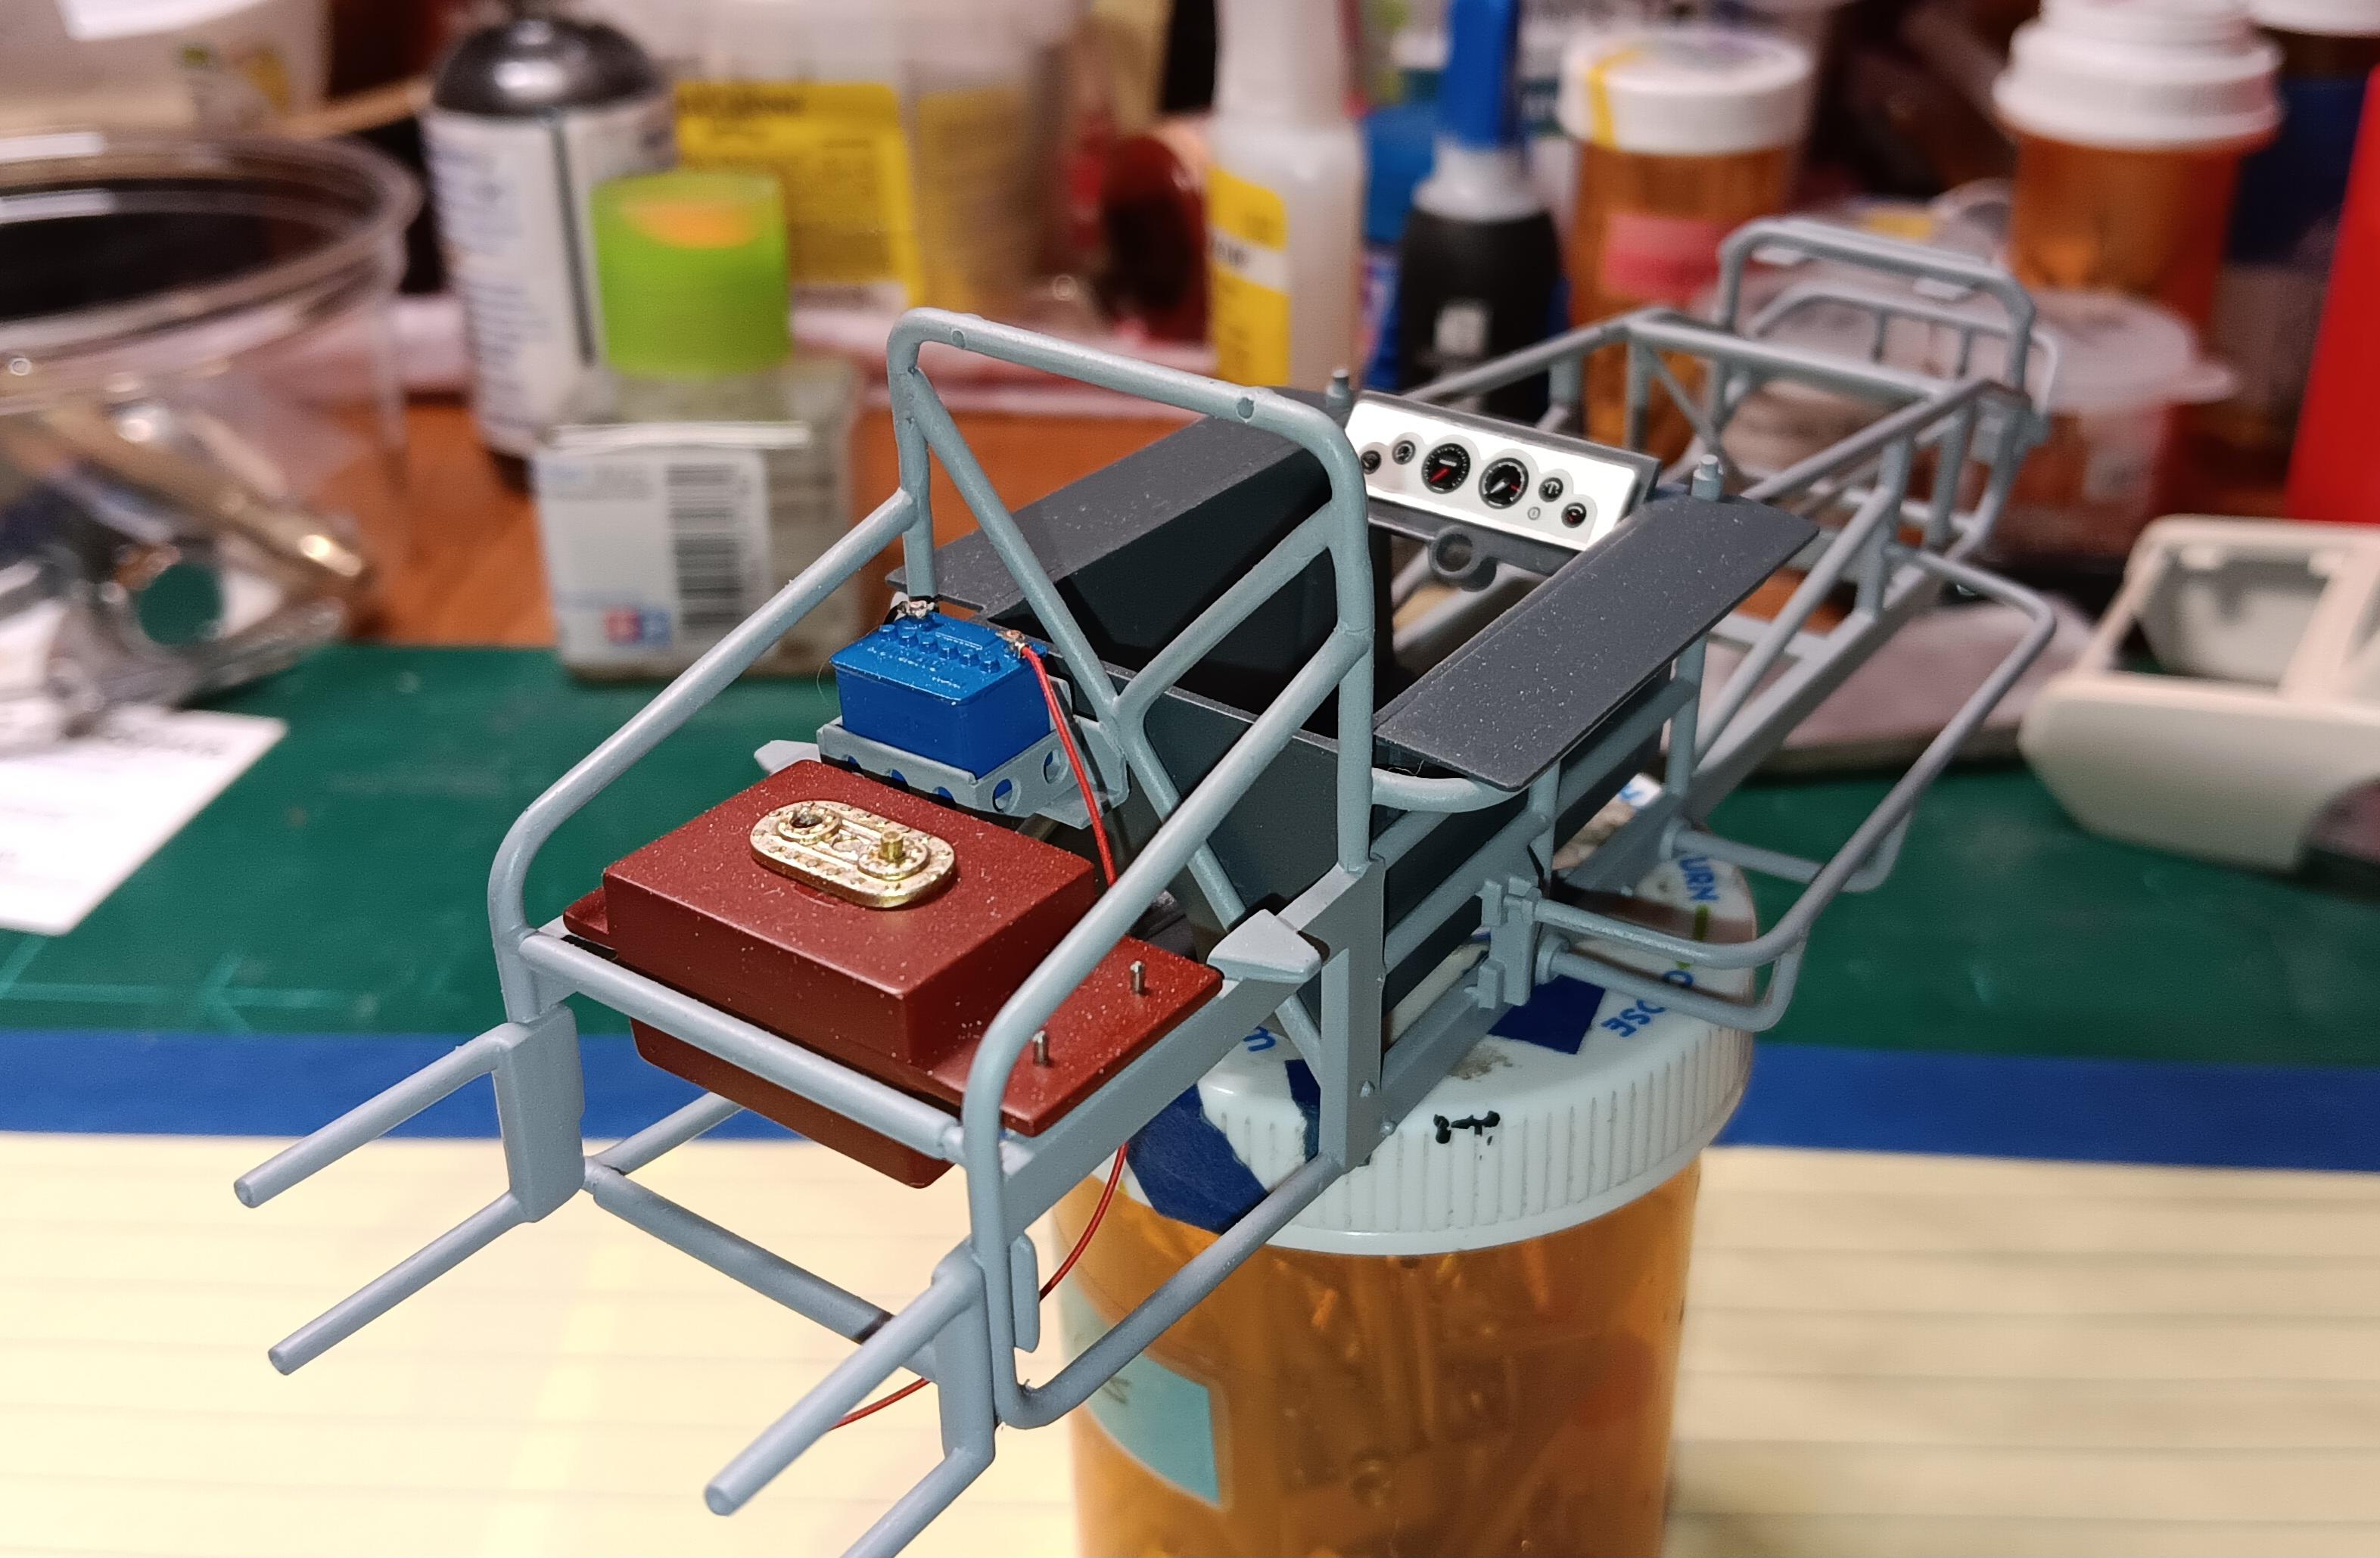
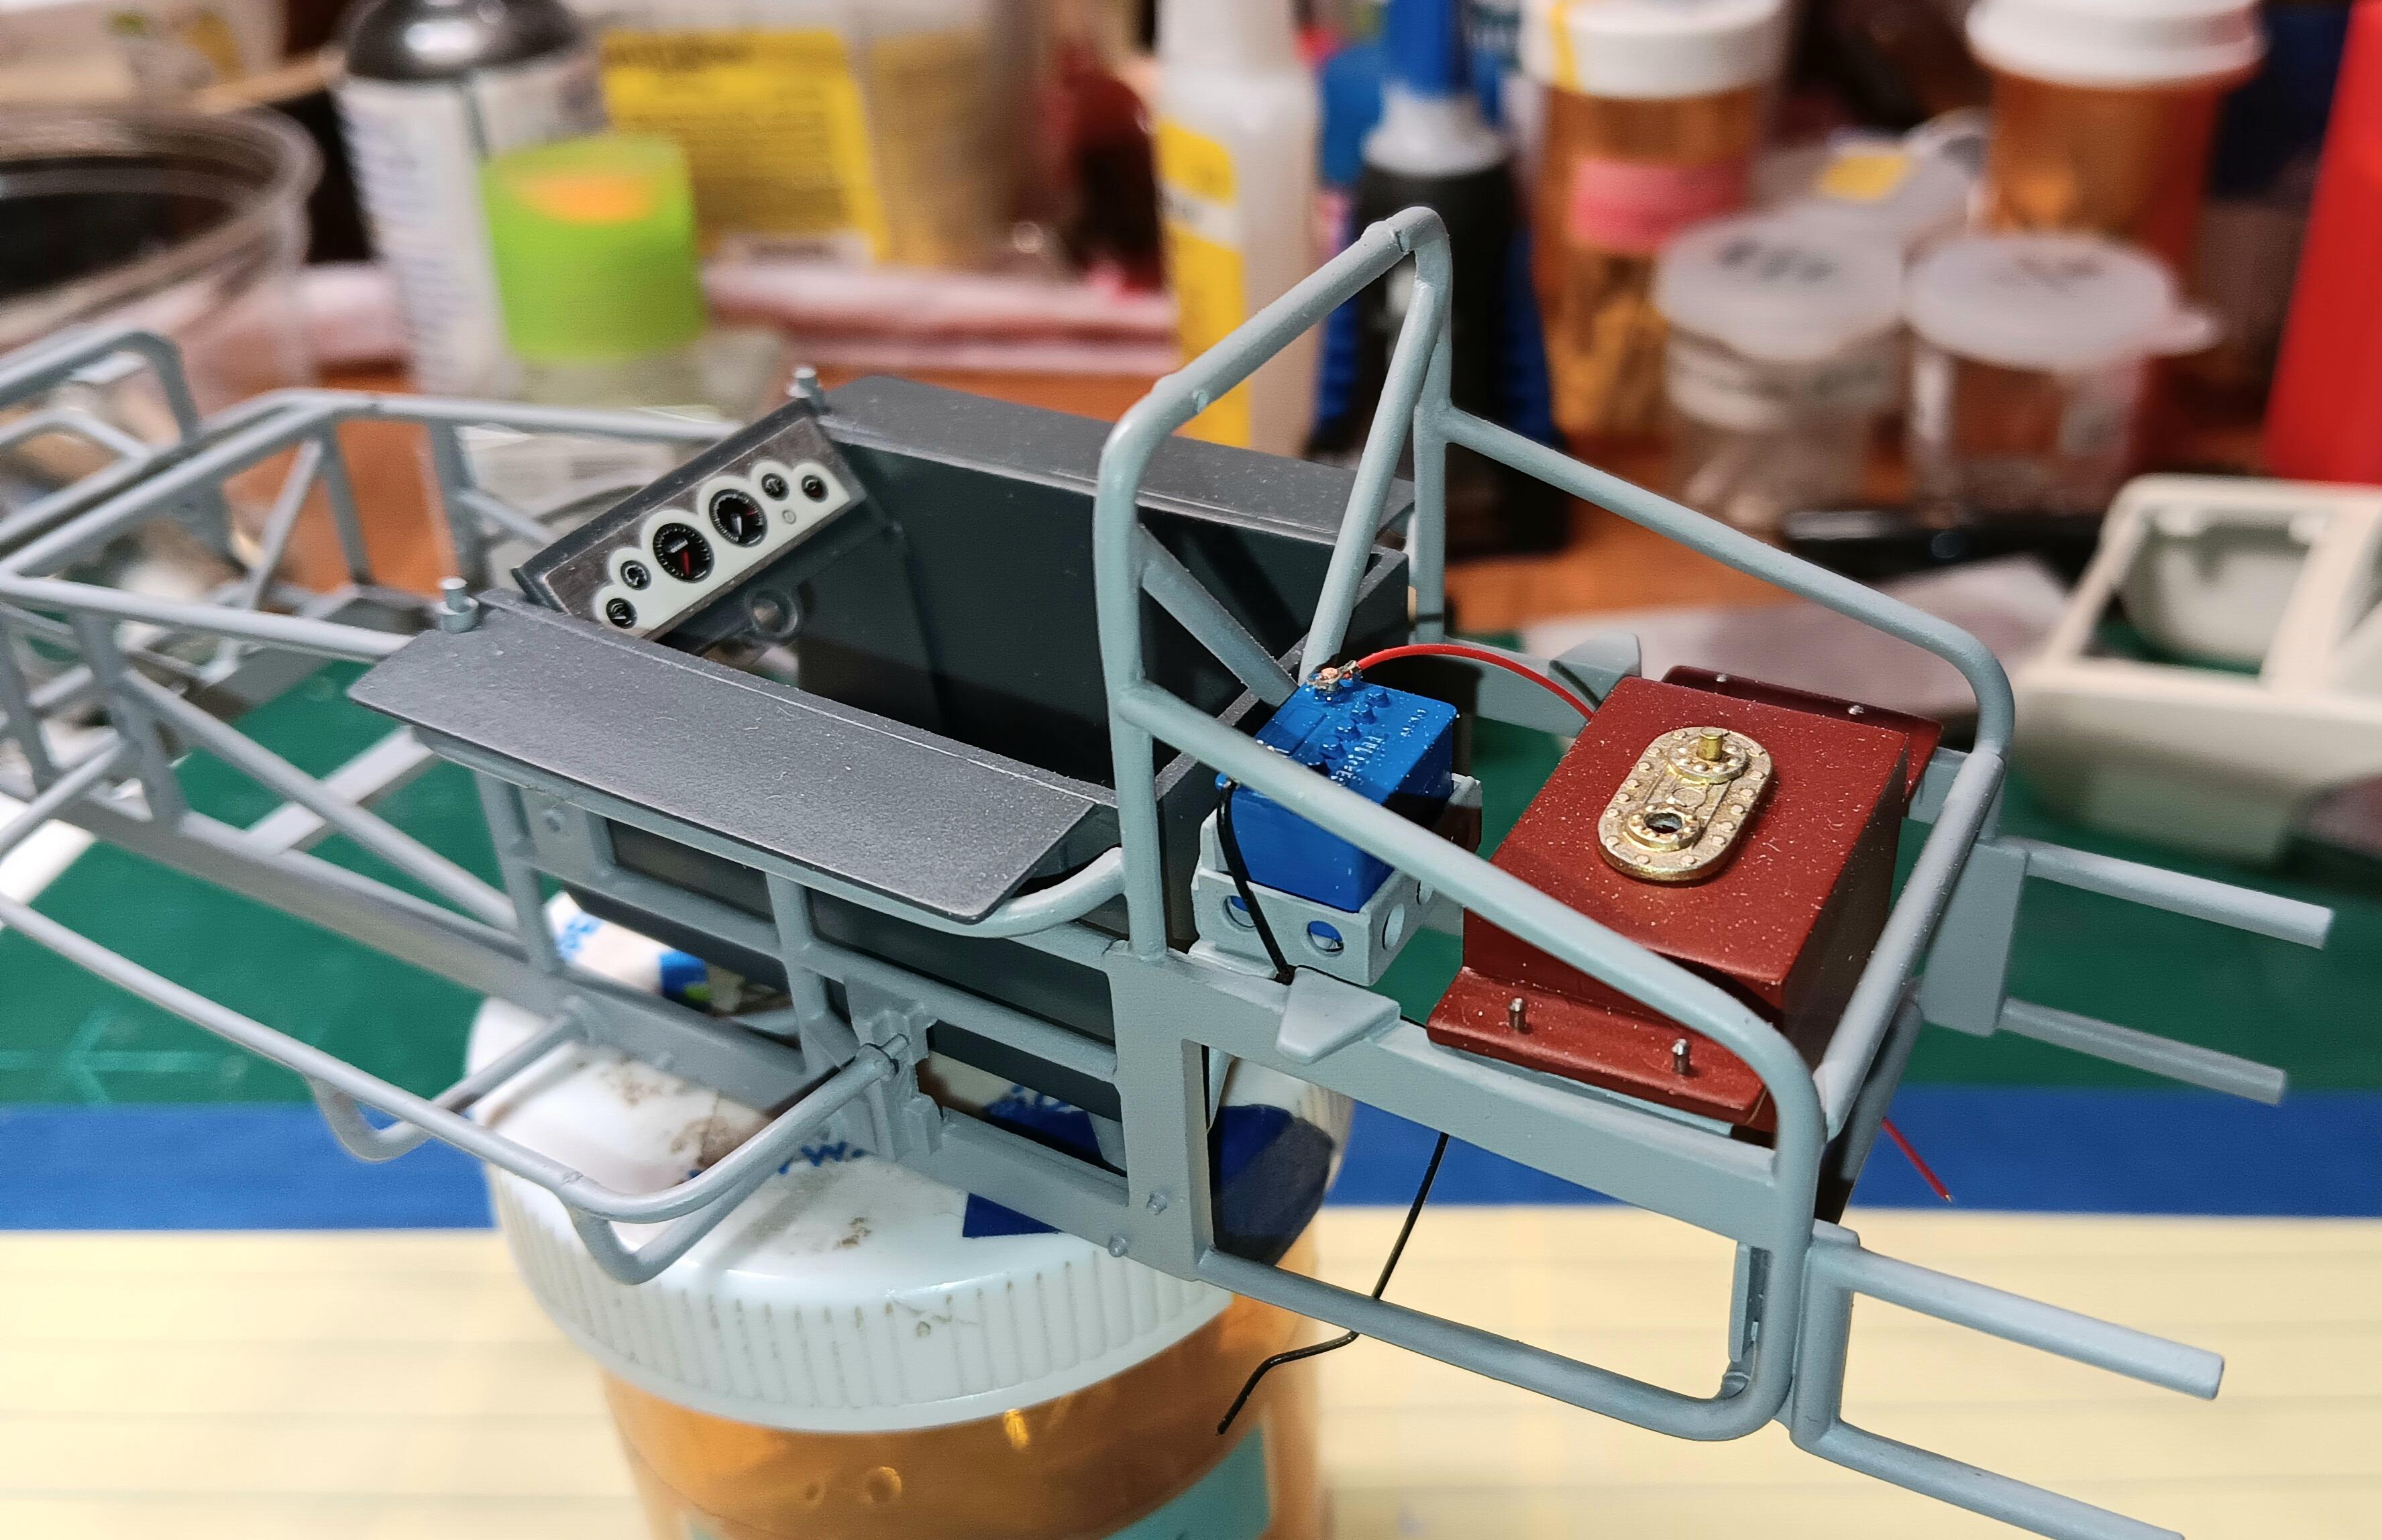
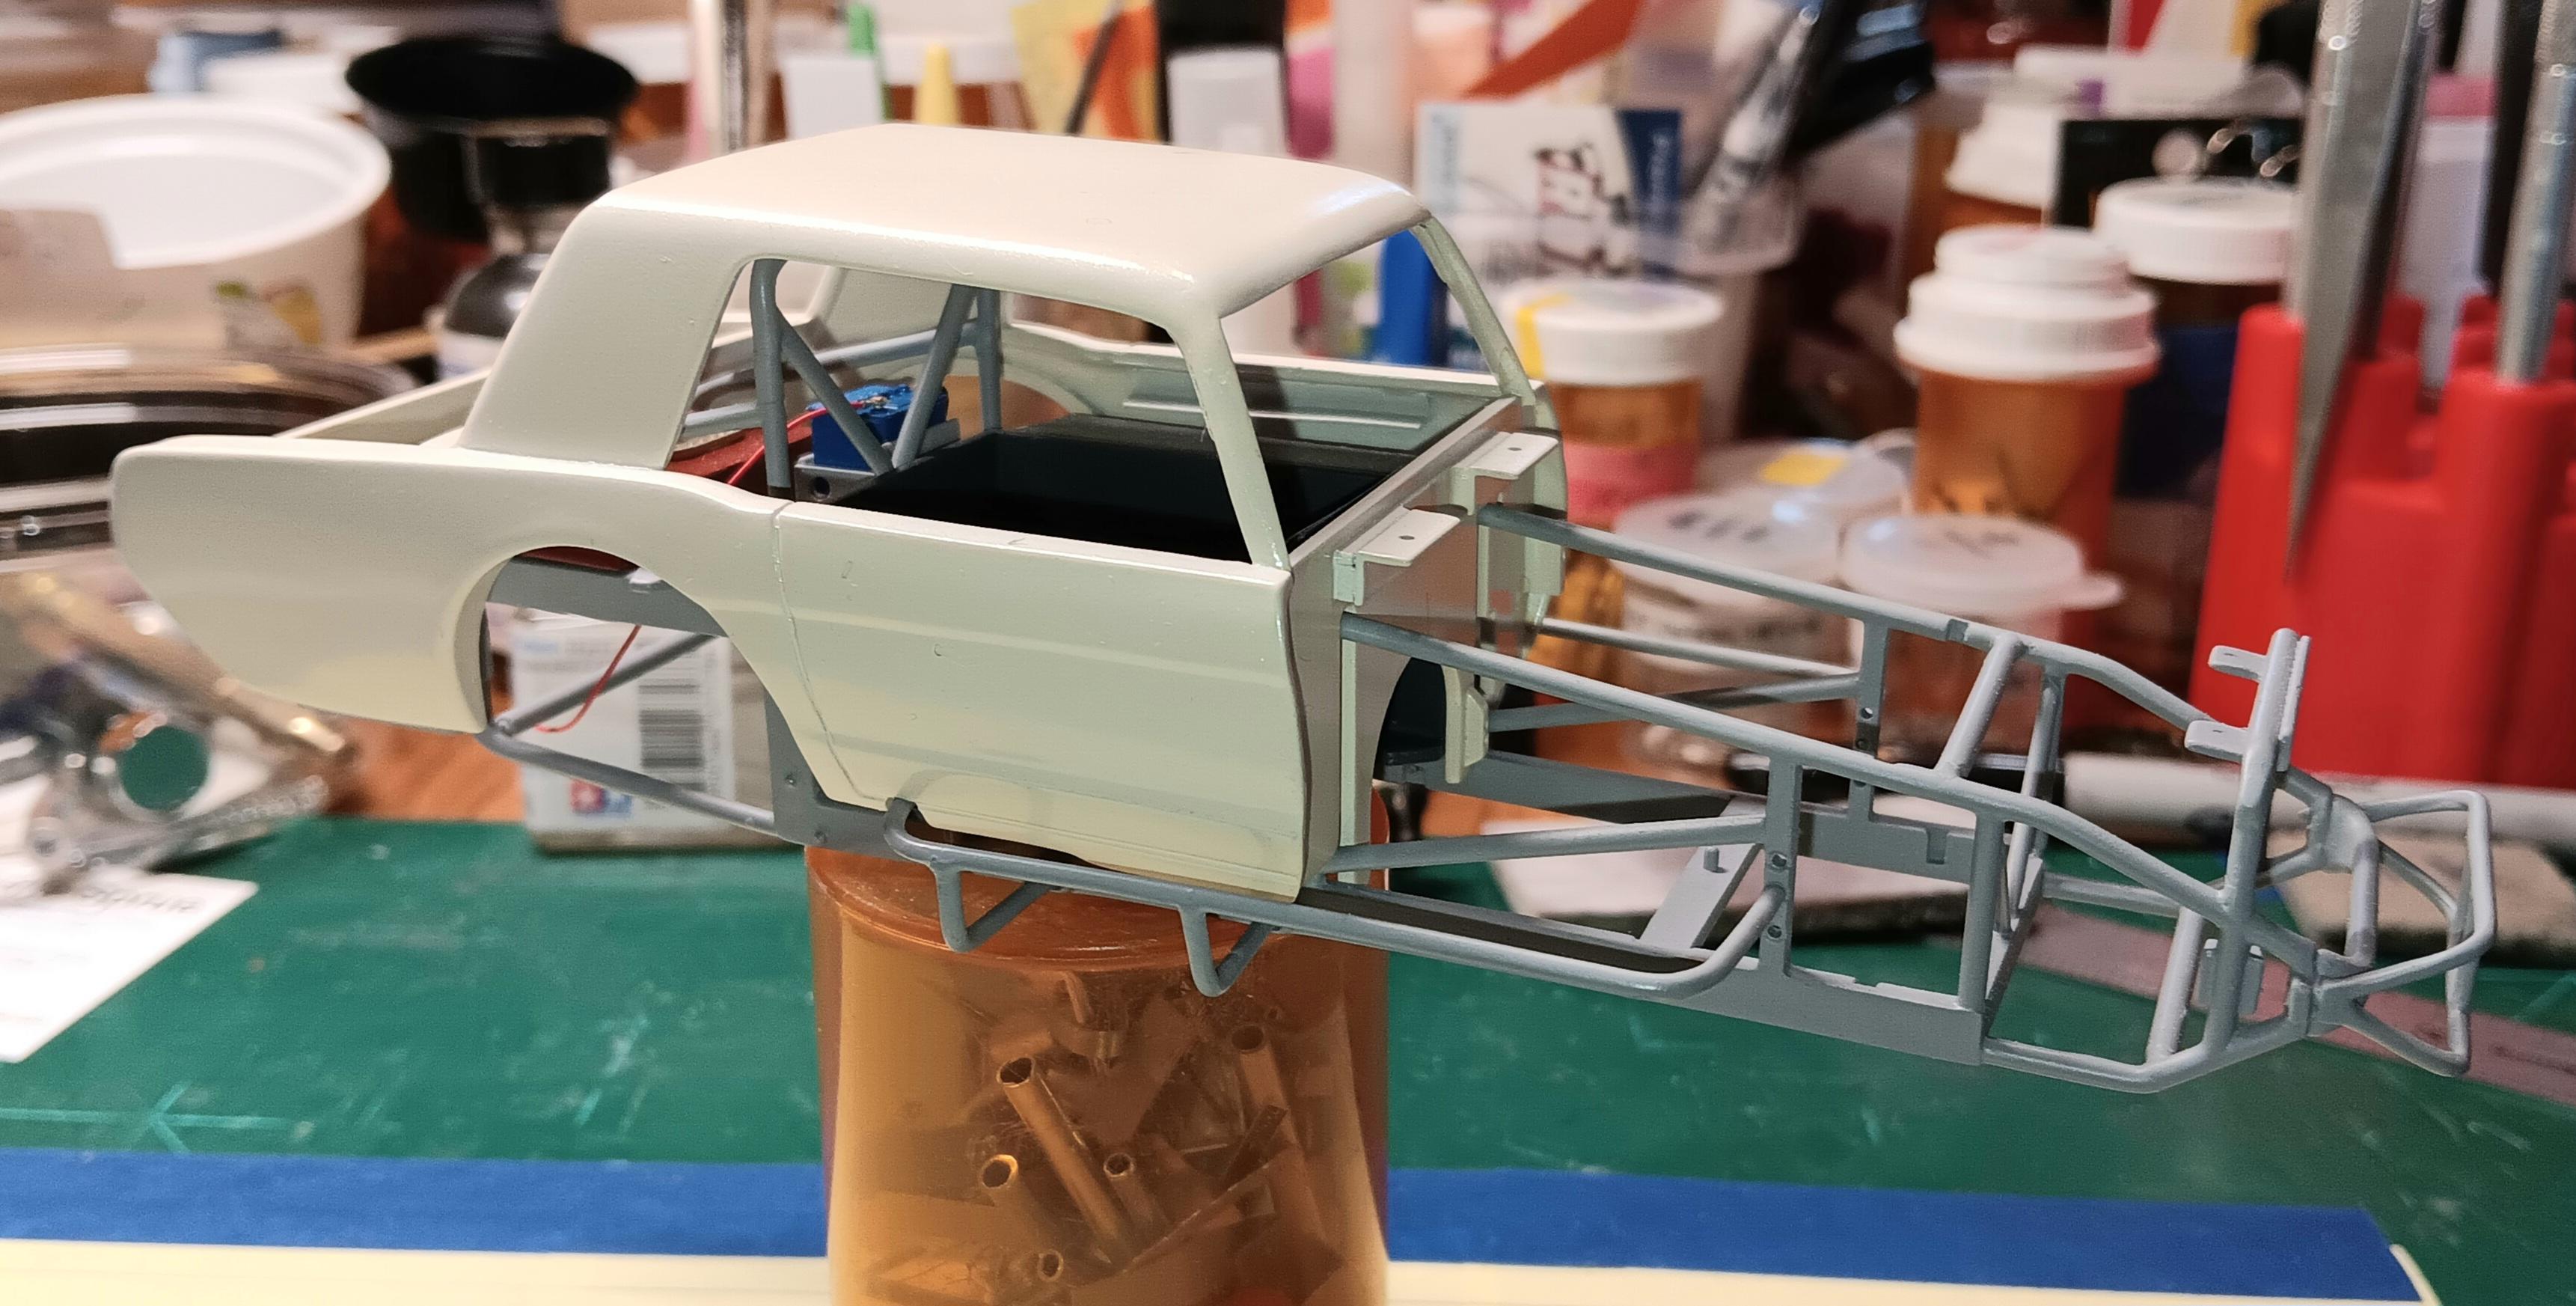
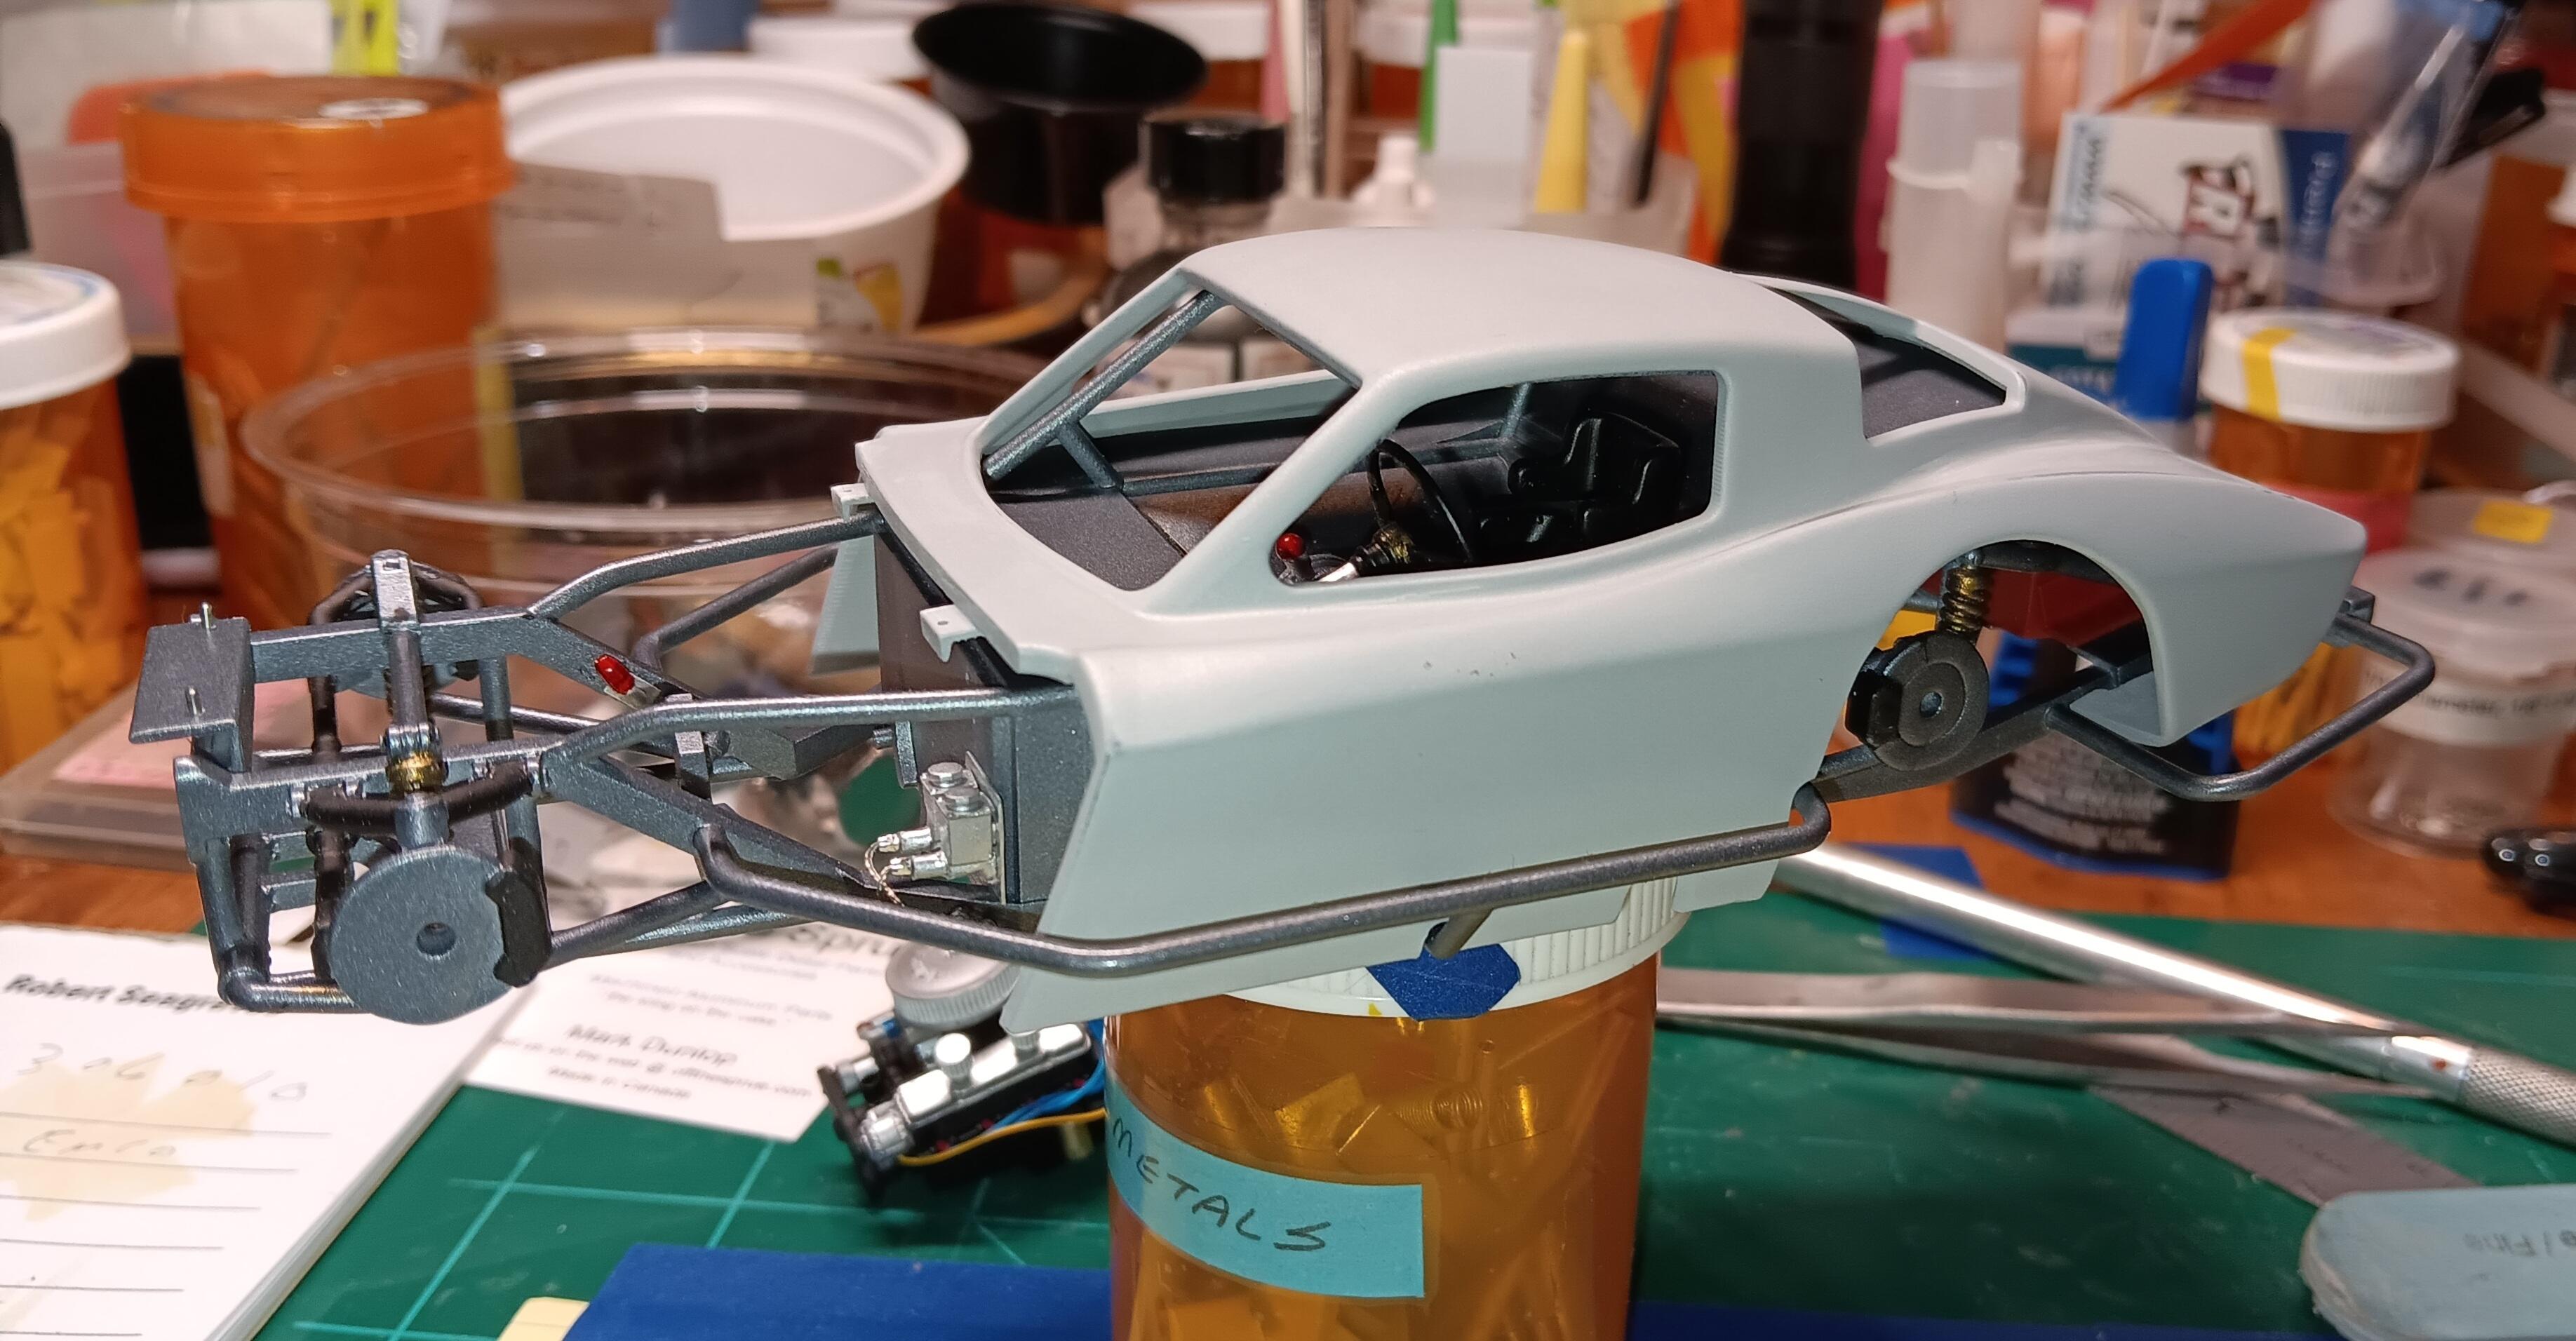
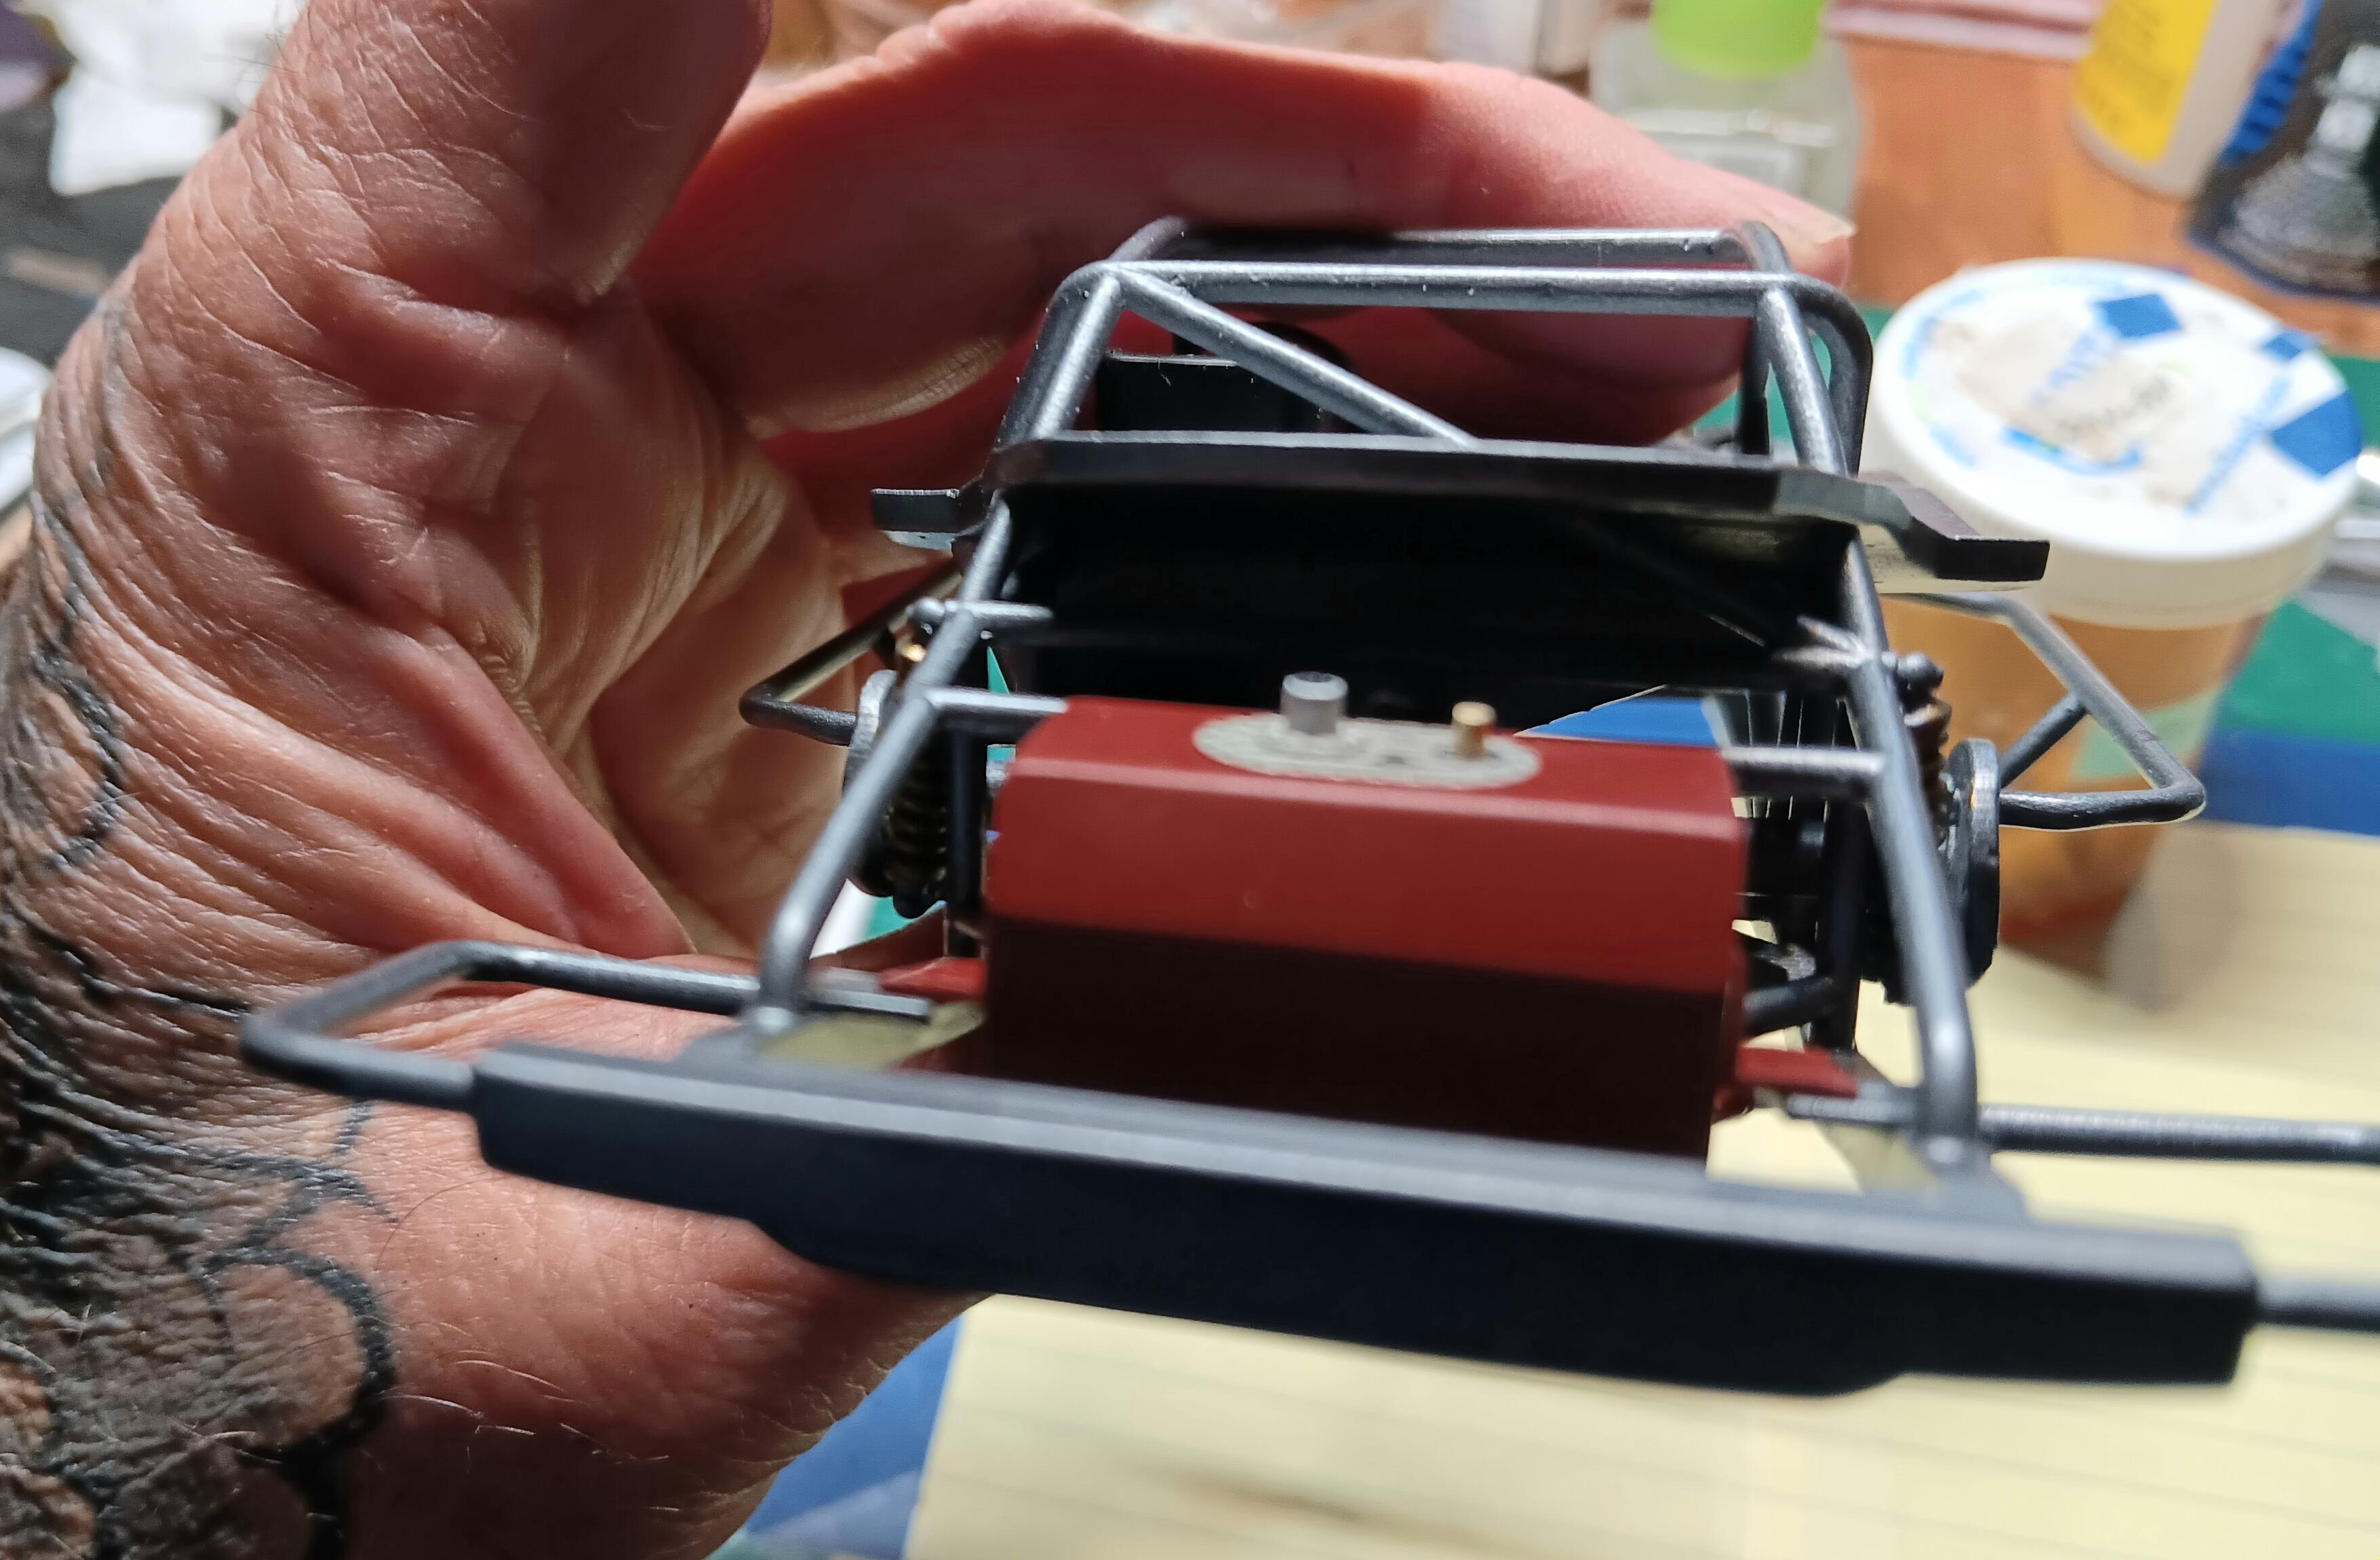
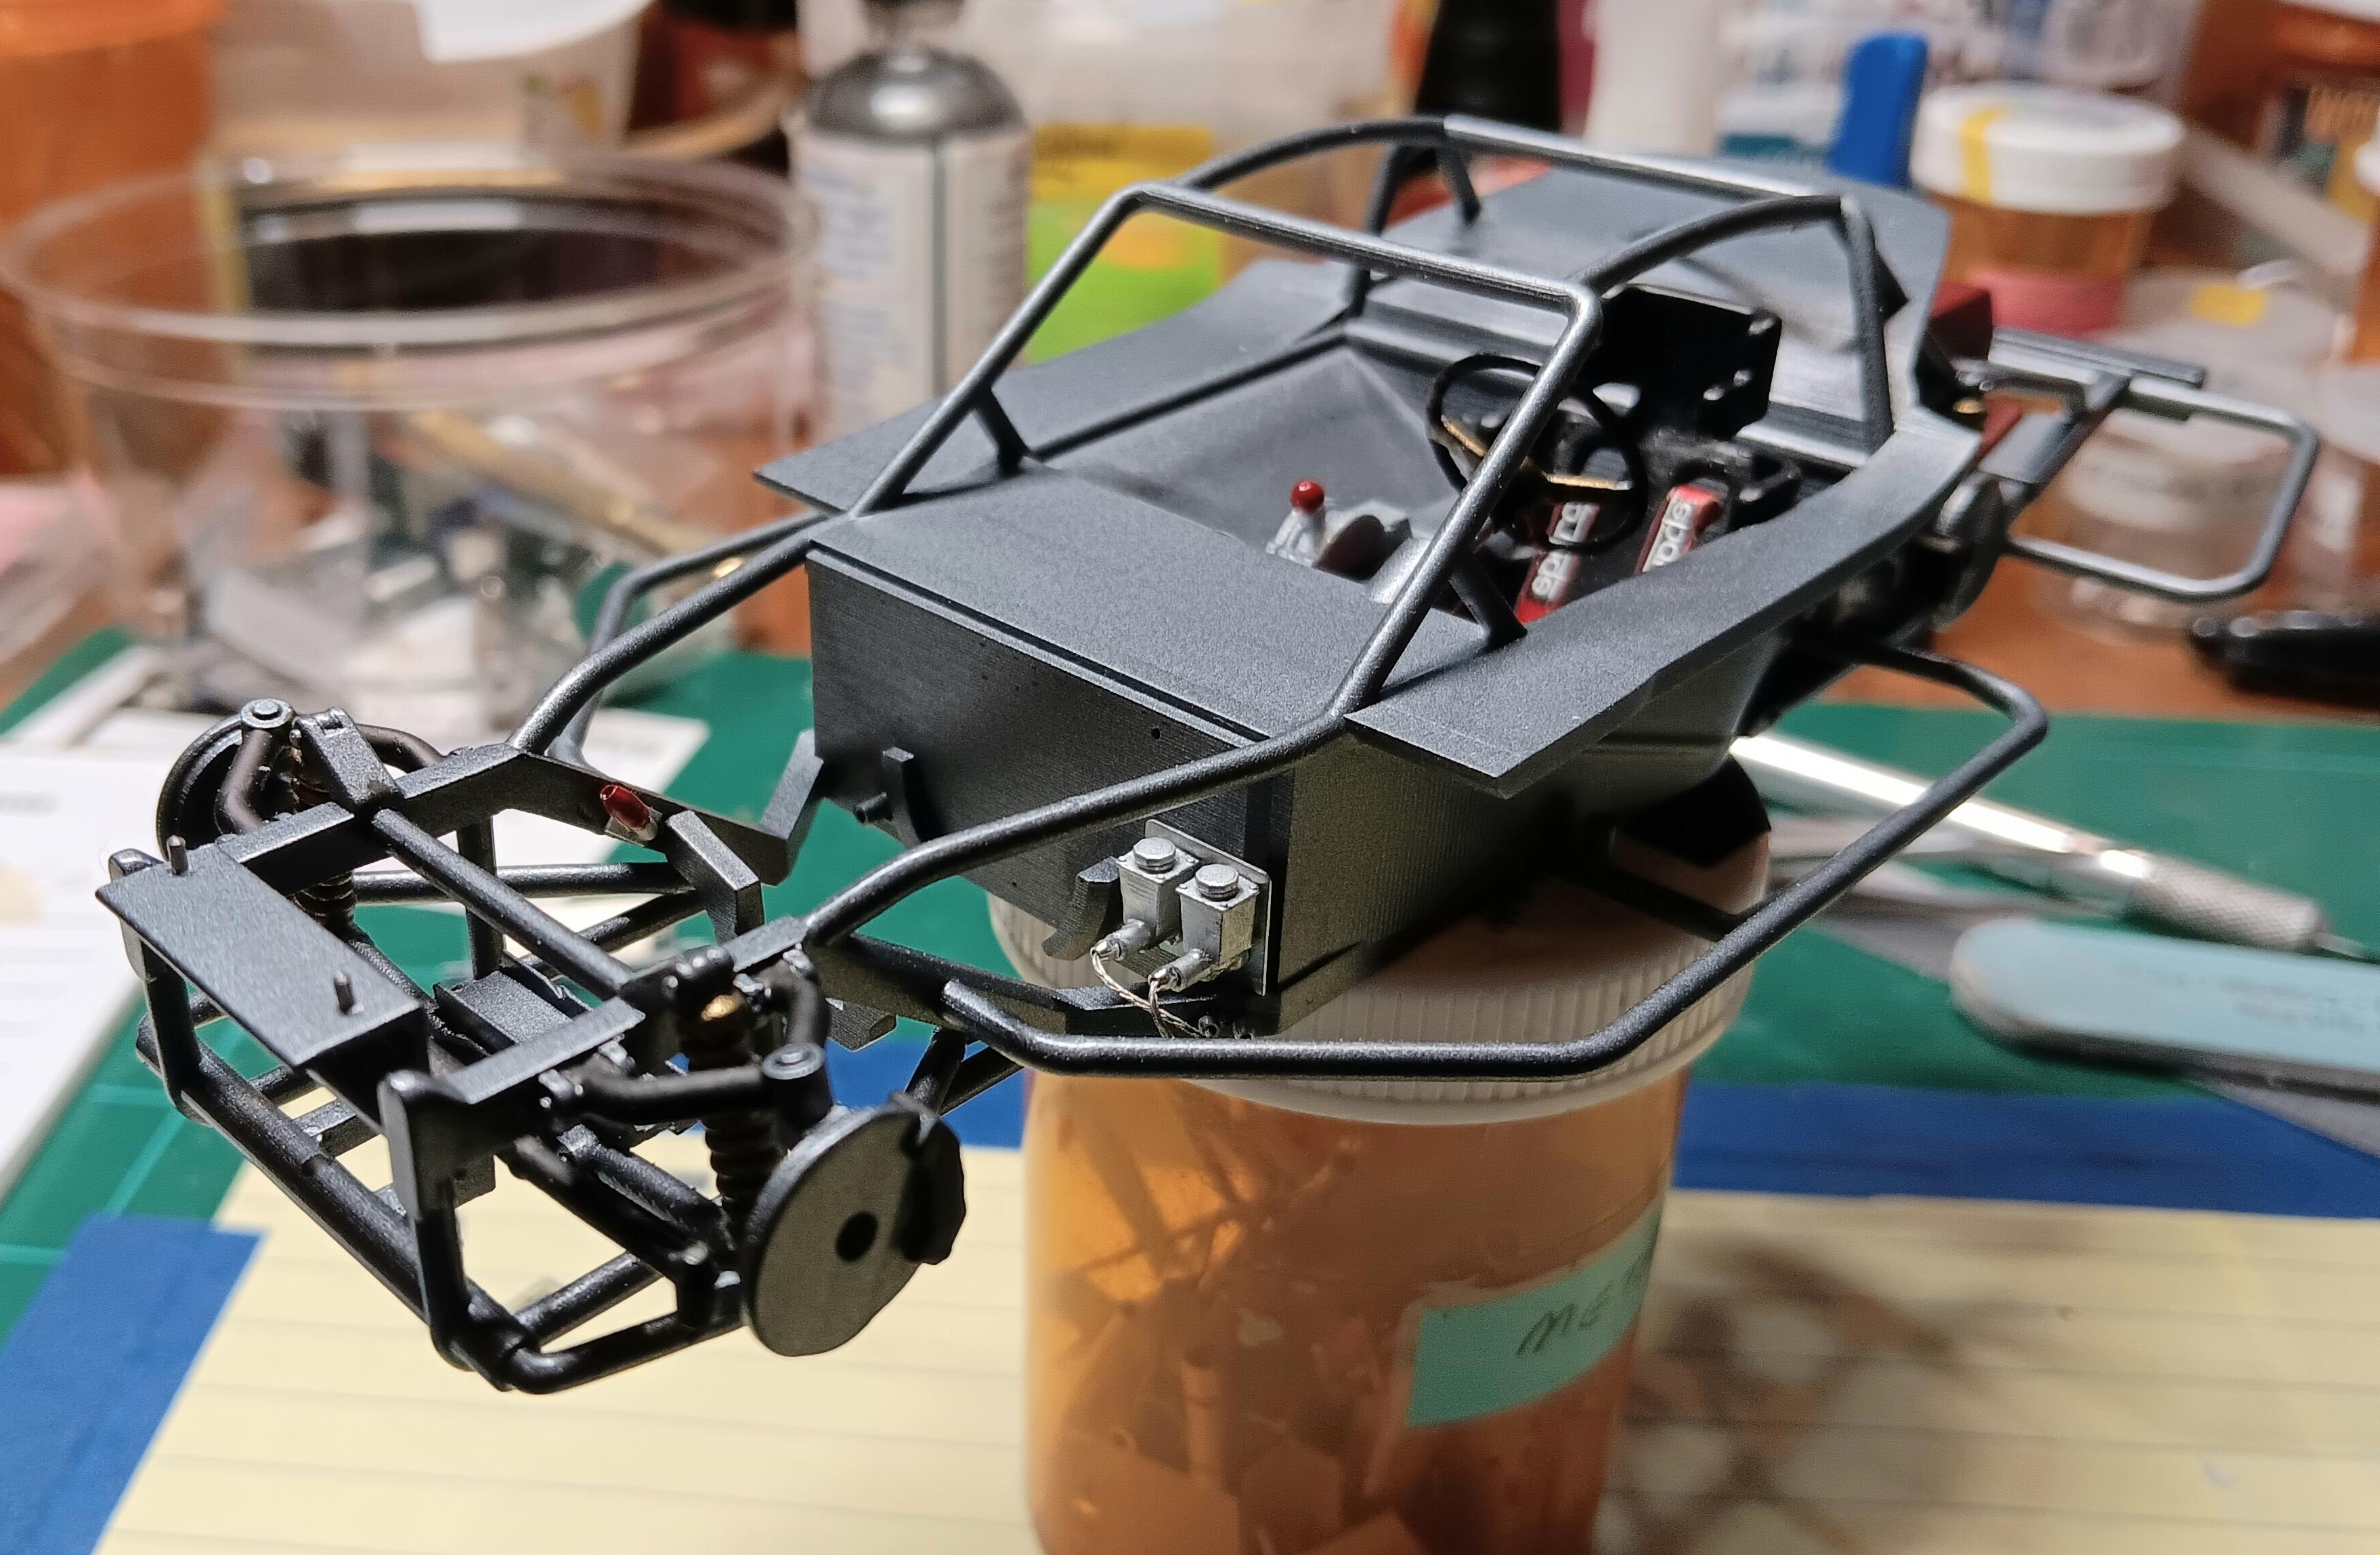
This is a fill in project. Body is from WFC Motorsports on Etsy. I opened the hood up. Again the downside is the molded in bumpers. The body was extremely clean. AMT Maxwell House kit gave up the chassis. Cage is also an WFC item, also carried by Ron Coon. I may have to massage the front wheel wells once I complete the chassis. That was painted with Tamiya TS-4 gray. Wheels and tires are from Ron Coon. Tire decals from Mike's Decals which are excellent. I use black primer, then paint the sidewalls with Tamiya TS-14 black, then apply the decals. Go over those with Mr. Surfacer matte clear. Most details are painted. The radiator and triple master are WFC items. Dash is from Jayes Model Car Garage. Shifter is from him or Ron Coon, both are quite good. I still have to make a windshield frame and "glass".
-
'35 Chevy DIRT Modified
bobss396 replied to bobss396's topic in WIP: Stock Cars (NASCAR, Super Stock, Late Model, etc.)
Body and chassis have paint. I'm holding off on the hood until I locate the air cleaner hole. Chassis is Ace Hardware light gray. Body is Mopar Plum Crazy. Wheels and tires are from Ron Coon Resins.
-
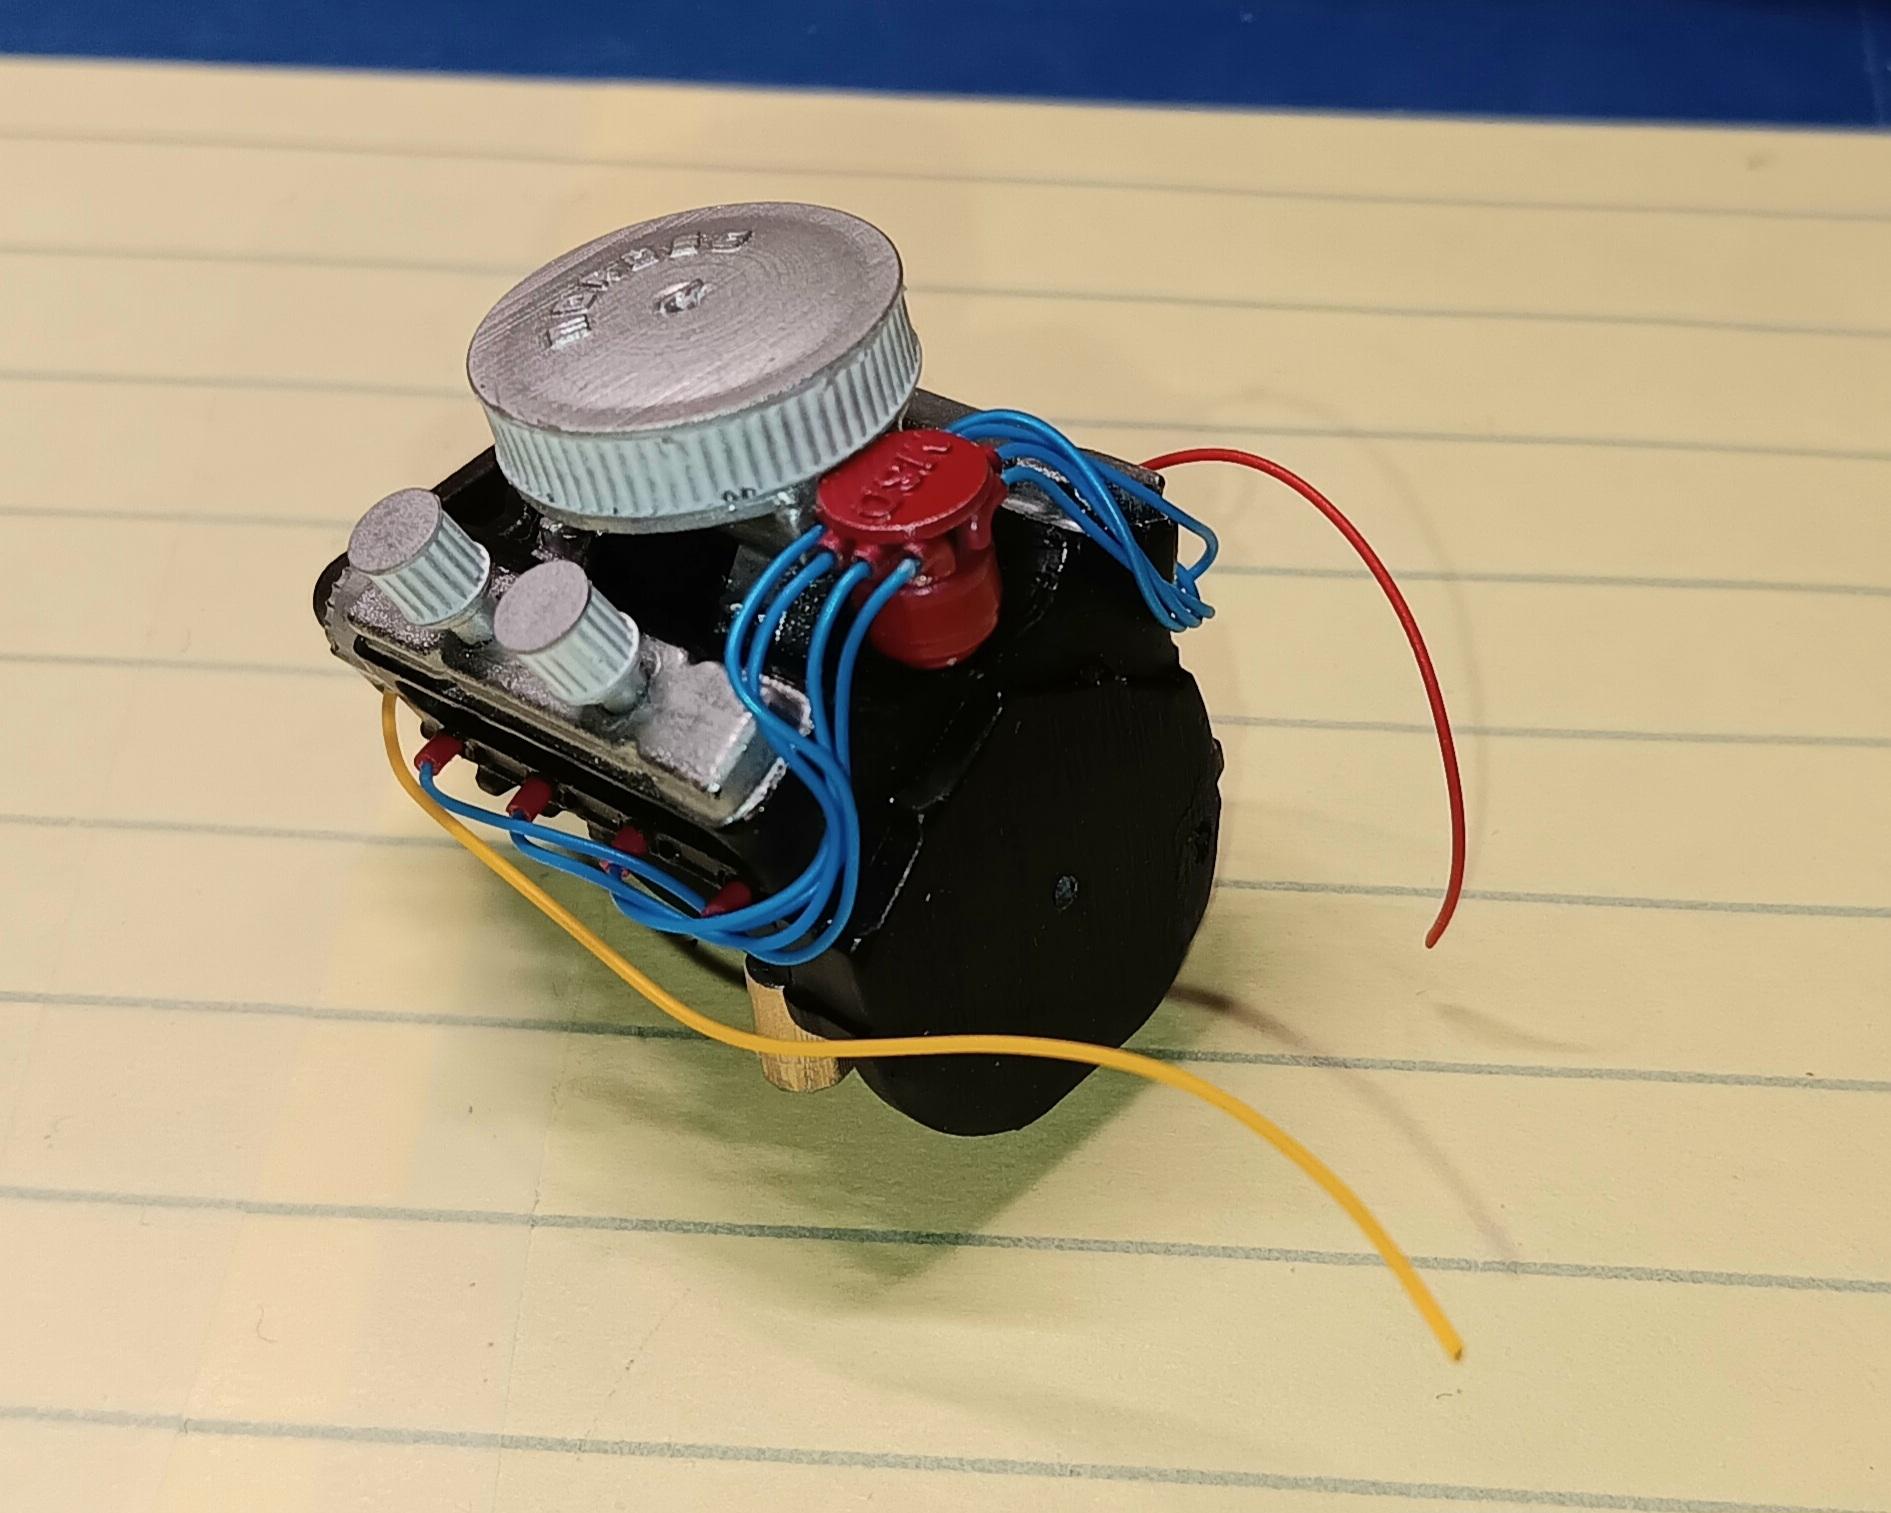
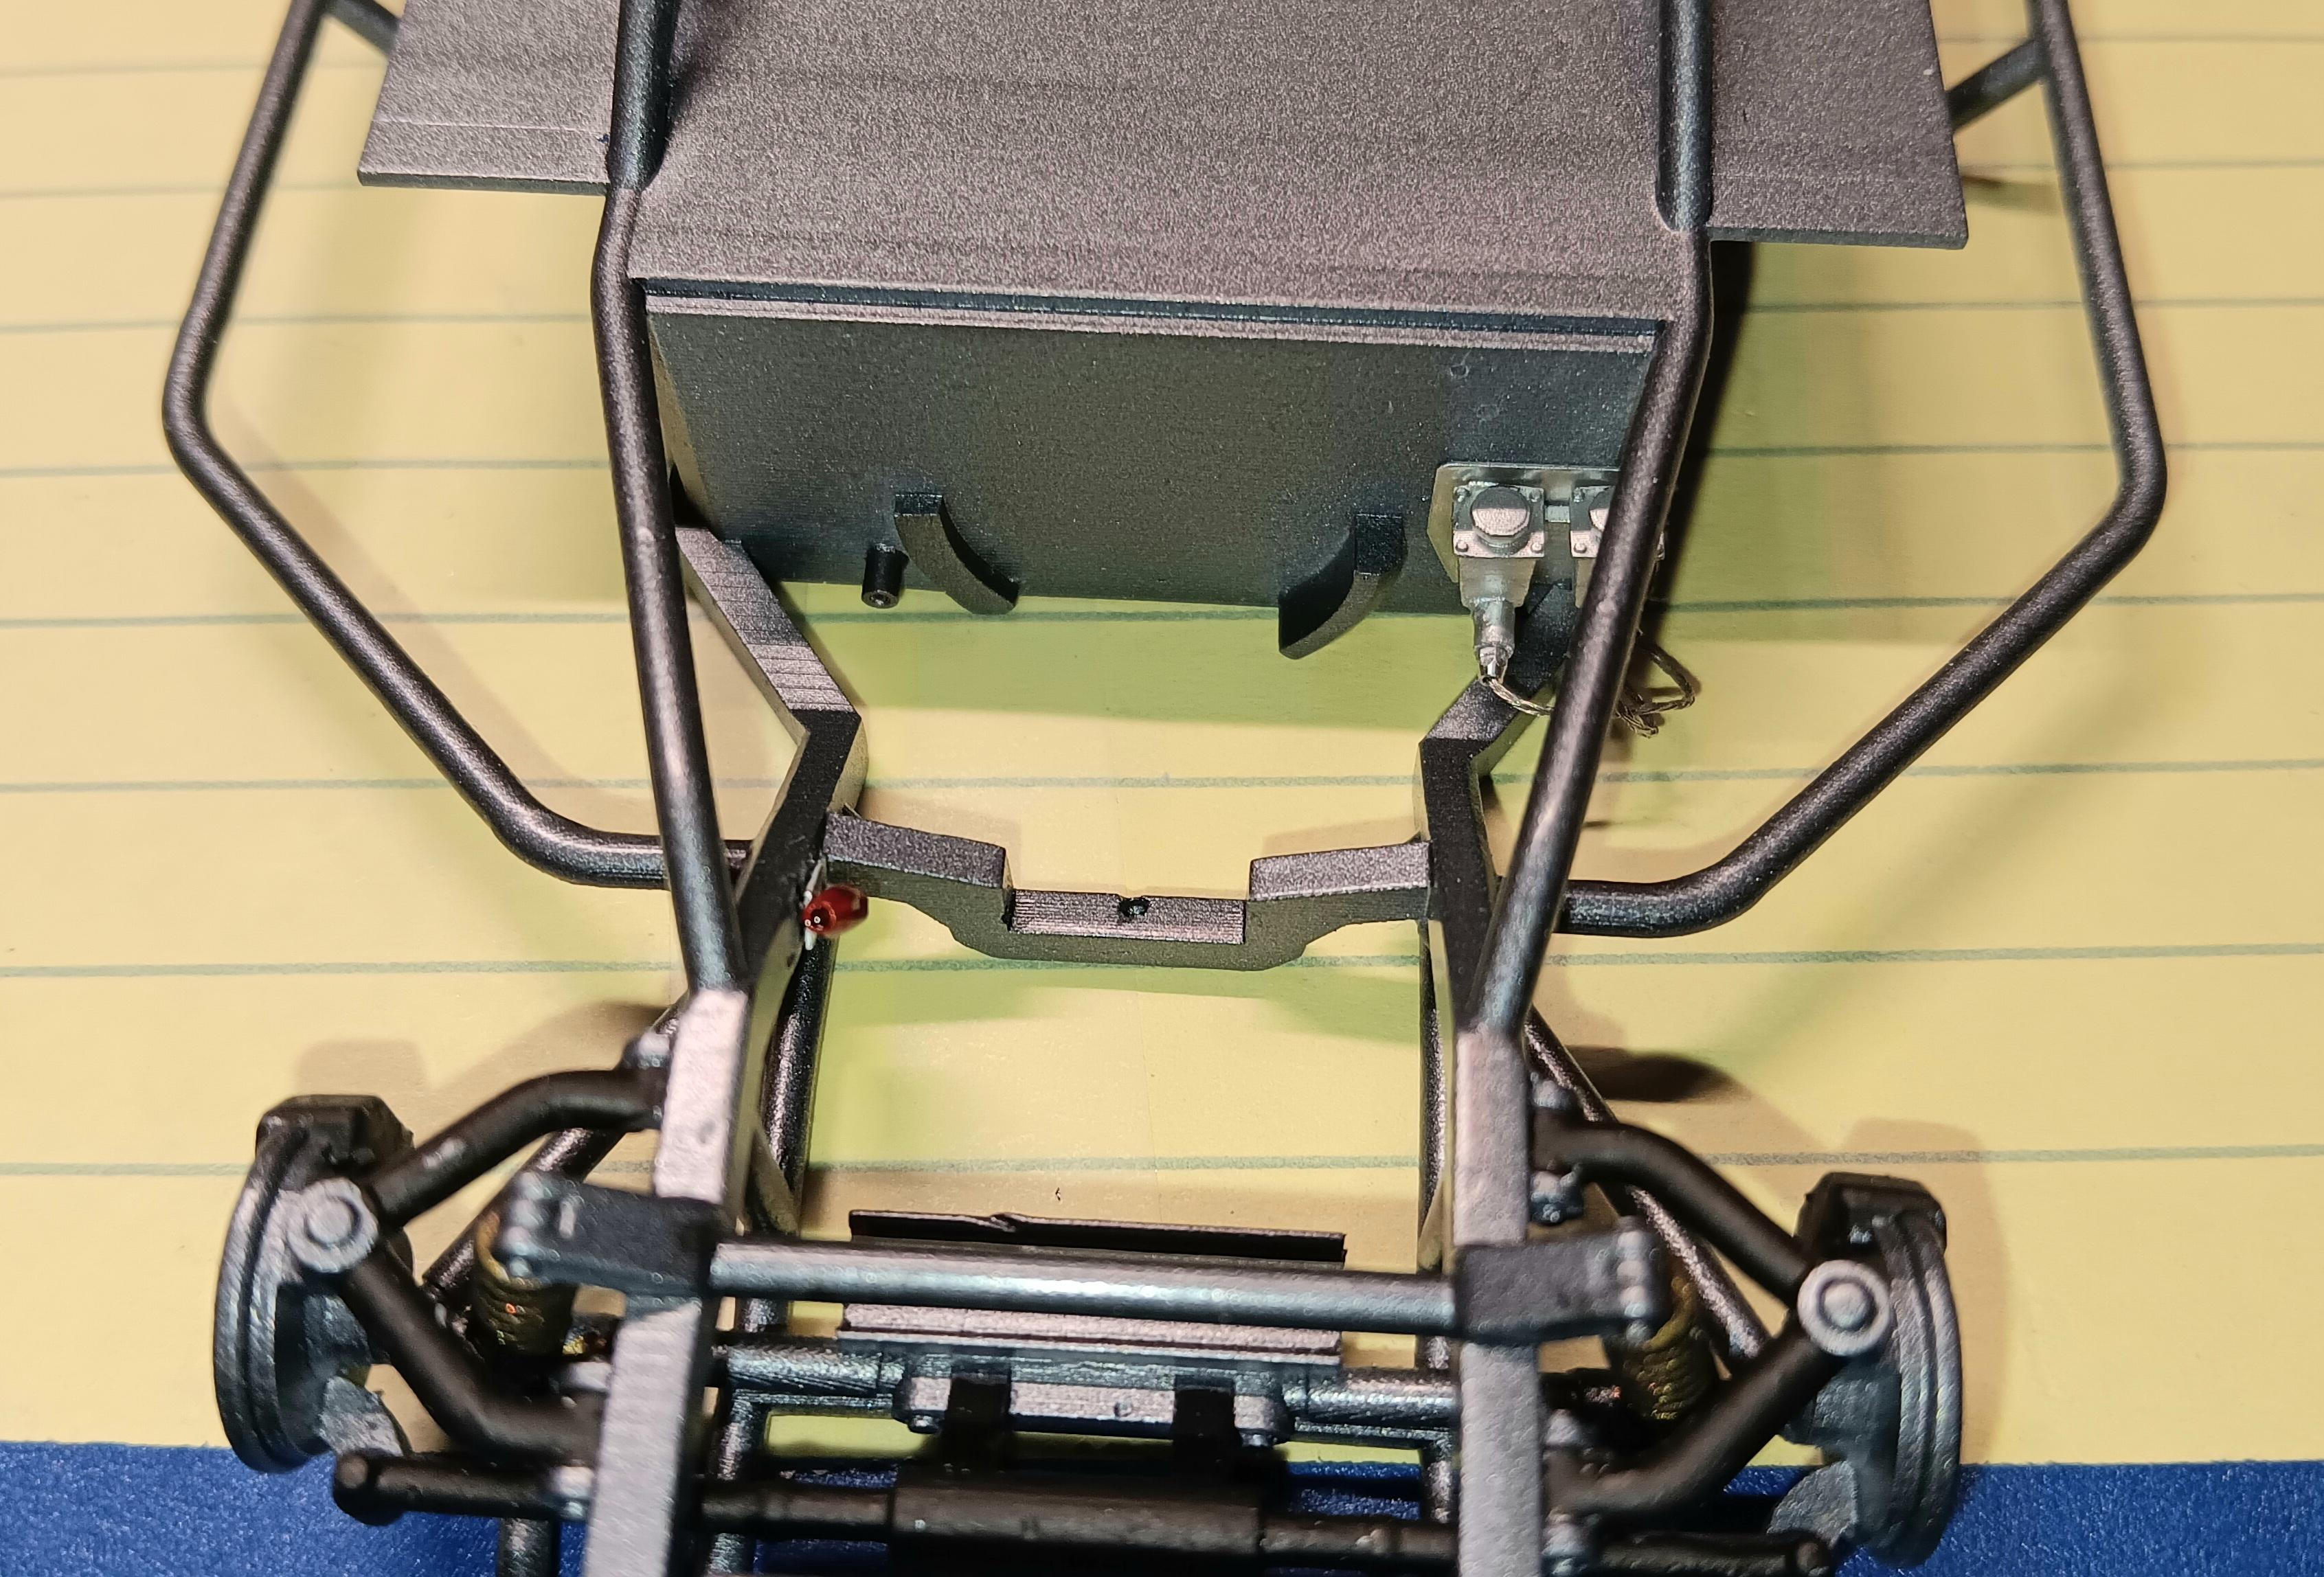
Mustang is painted, Duplicolor white and Tamiya TS-65 clear pearl. Fuel Cell and battery came out pretty good. I added an oil fitting to the rear of the engine that hits the firewall...
-
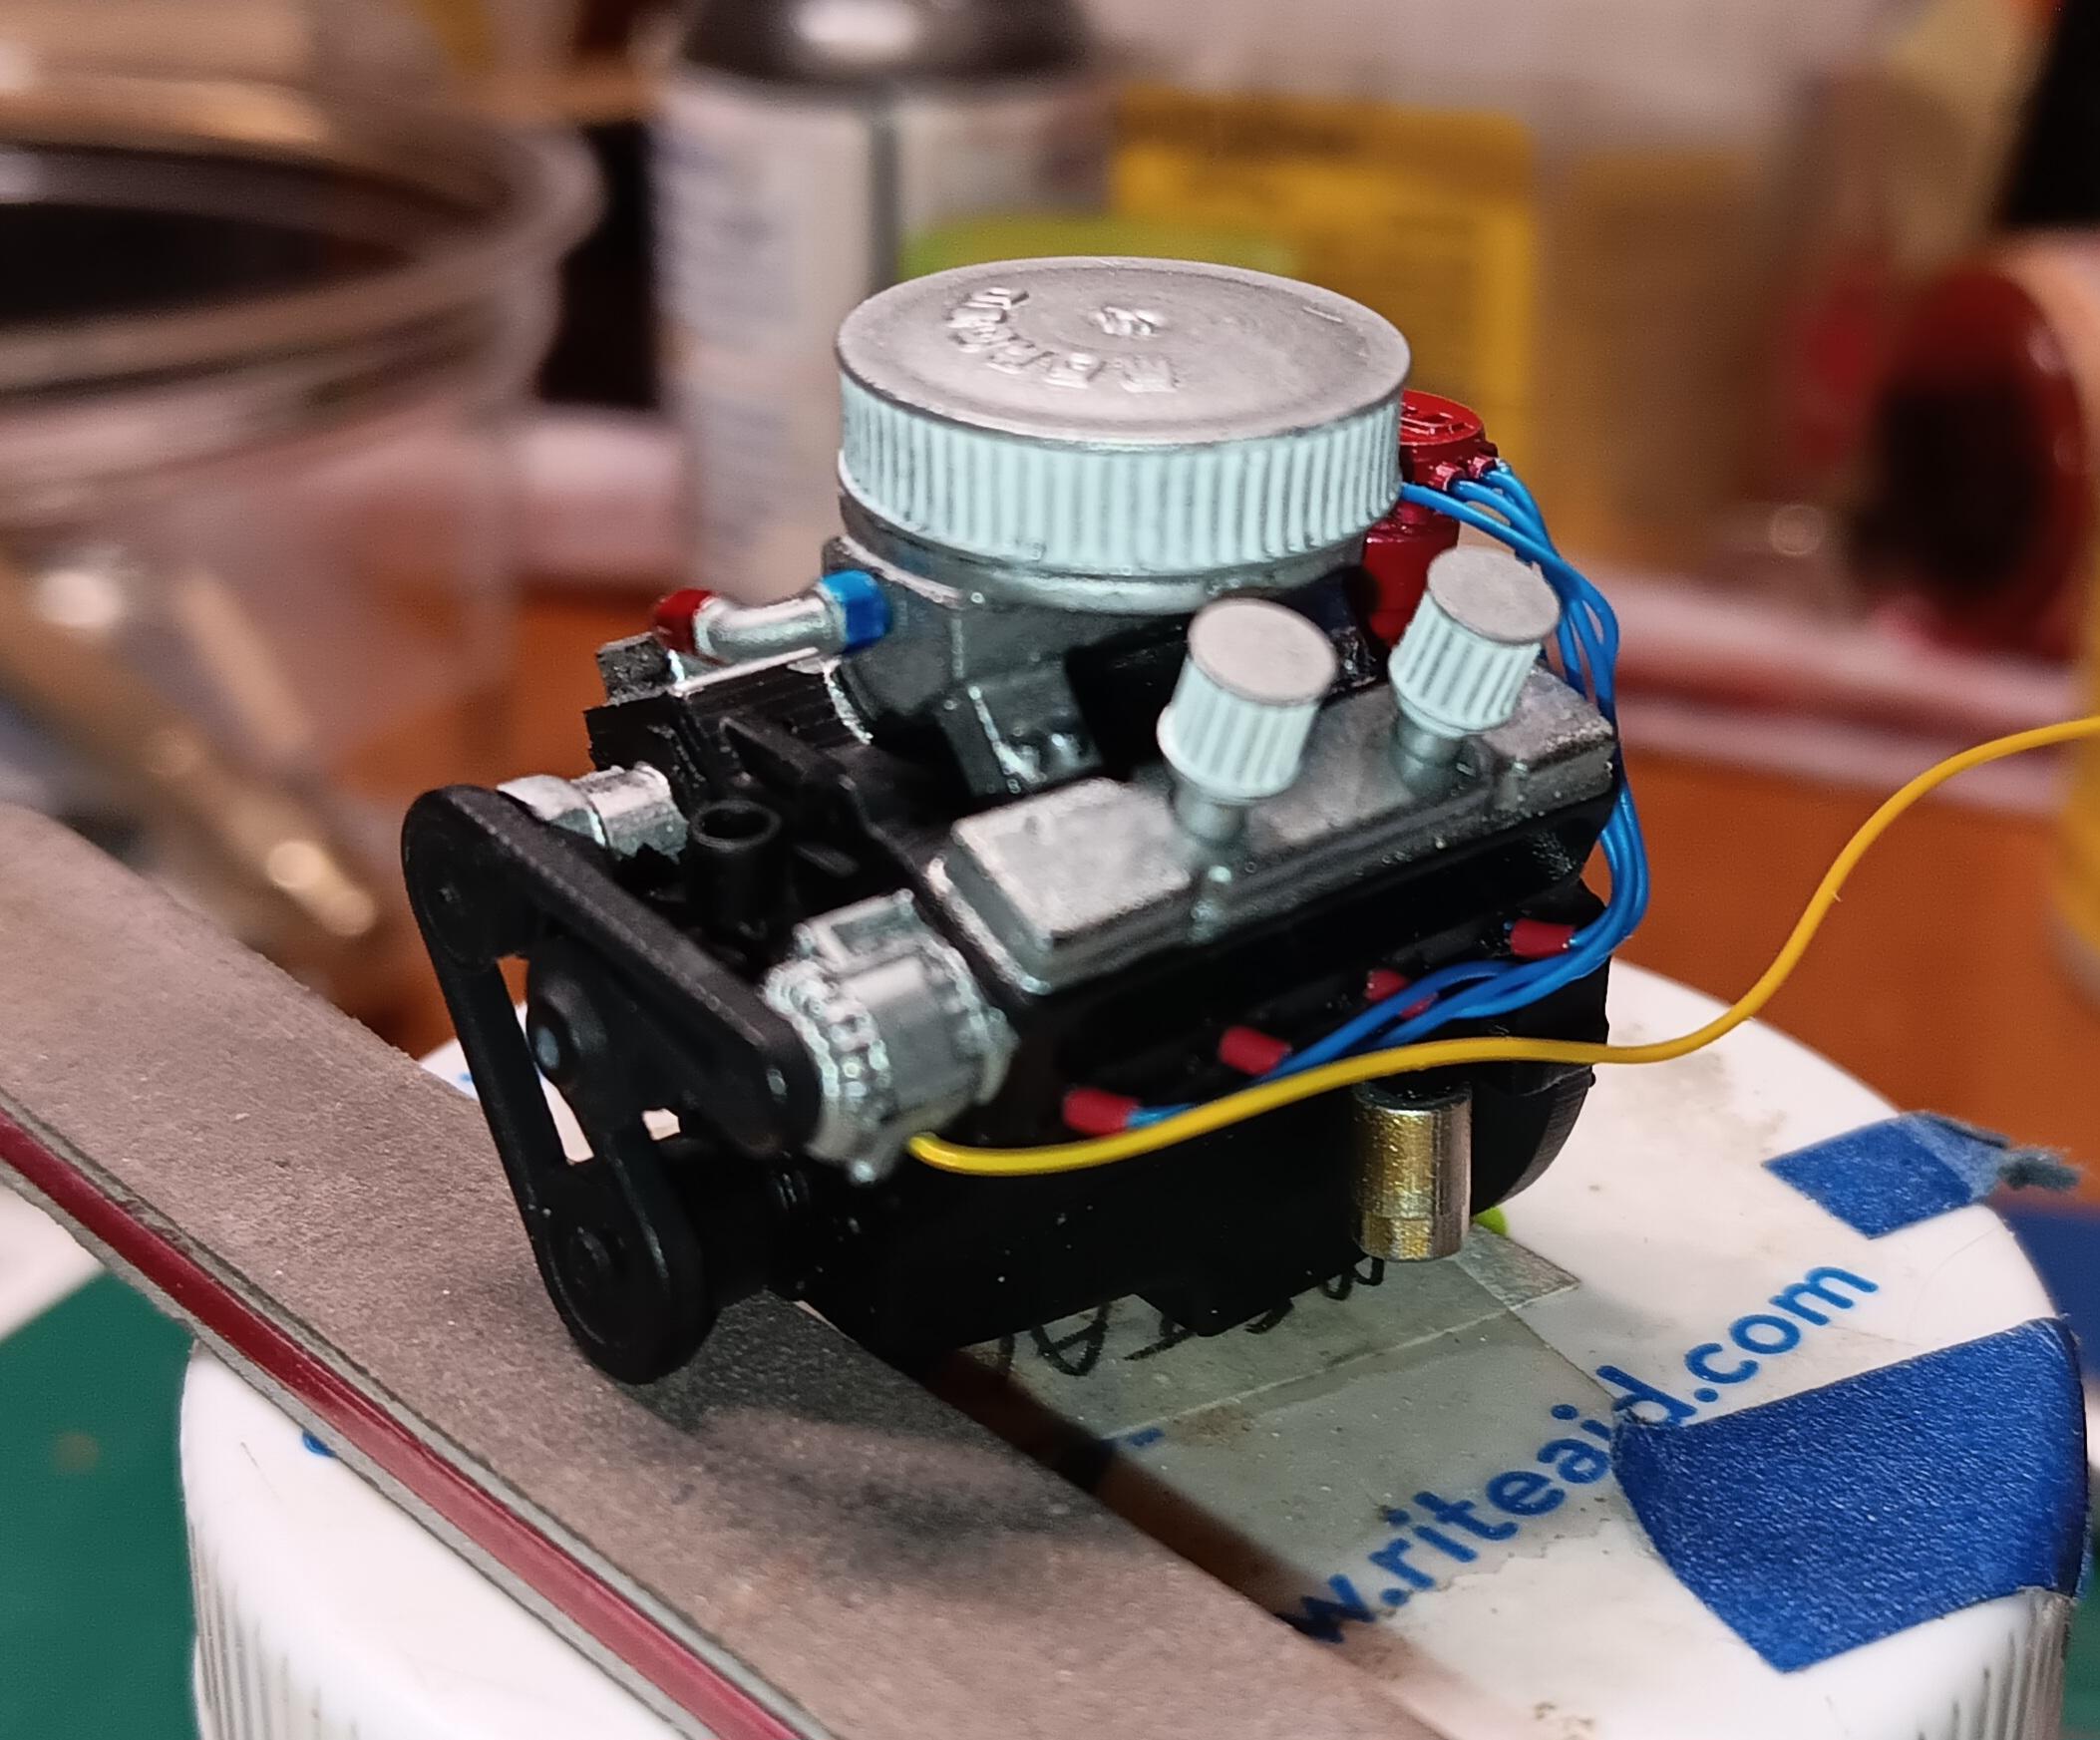
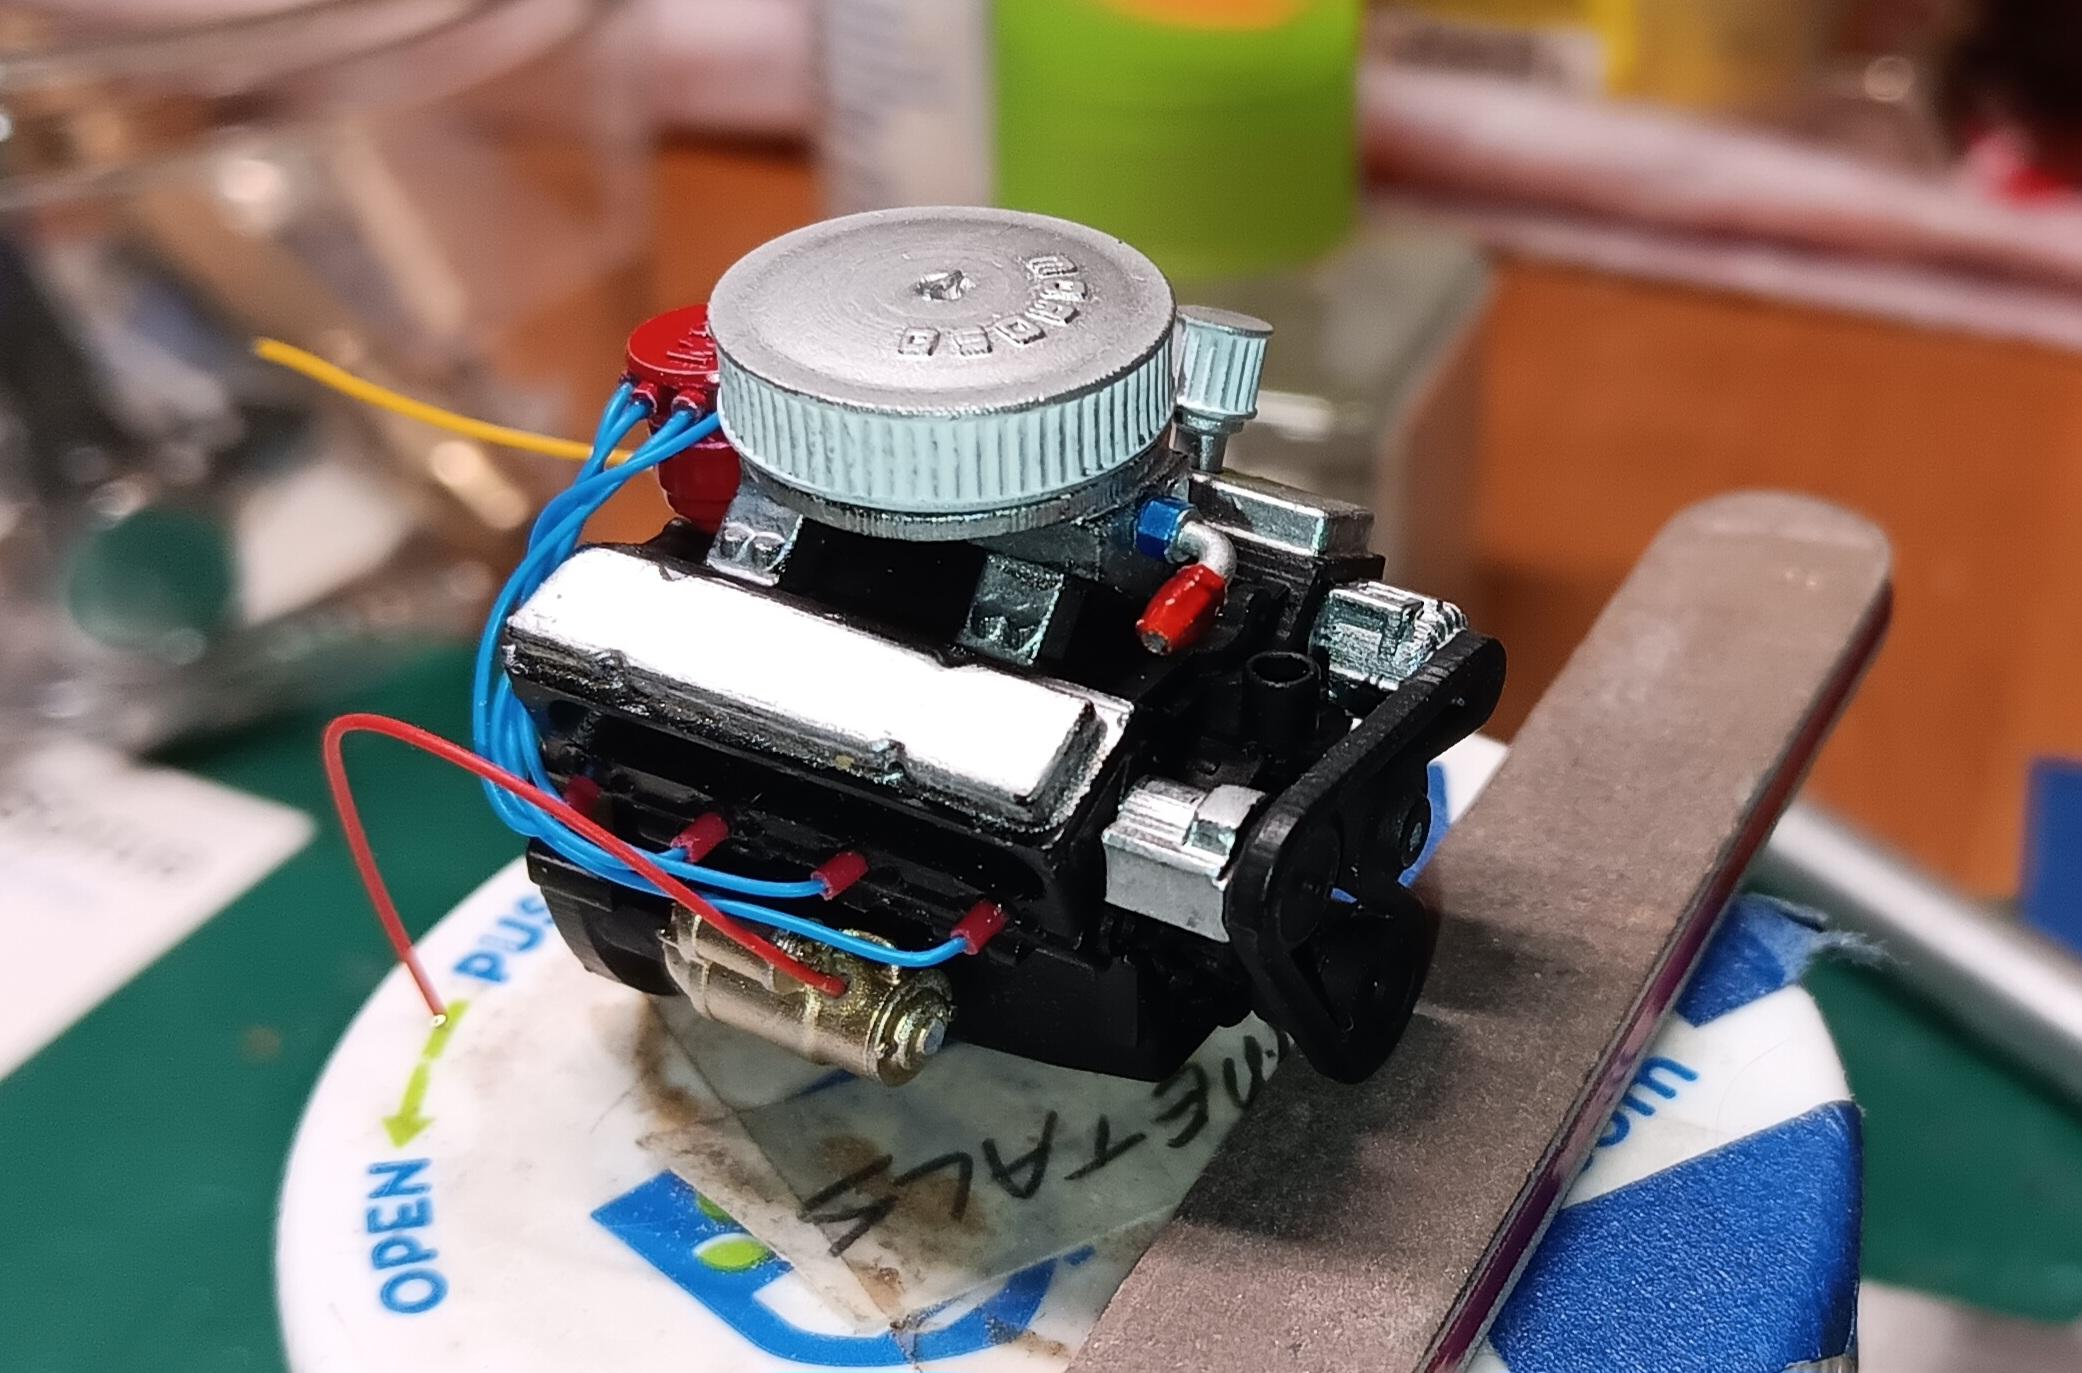
This is a 3D printed kit from A-1 Raceworks 3D Resin Prints. The owner Paul Koehler is very good to deal with. The down side is that the engine and chassis are 1-piece assemblies. I detailed them using some AK paint pens and Vallejo acrylics. The wheels/hubs are also 1-piece. The chassis and body take some clean up, the detail is good overall. The engine took some doing to paint it up. Distributor is from Jayes Model Car Garage. Breathers are from Ron Coon. Oil filter and starter from VCG Resins. Fuel cell was modified for a better fit. Added a battery that is hard to see. Tires and wheels are outstanding. Wheels are Tamiya TS-30 Silver, hubs brush painted Vallejo Bronze. Tires are Vallejo black primer. Tire decals are from Mike's Decals
-
'35 Chevy DIRT Modified
bobss396 replied to bobss396's topic in WIP: Stock Cars (NASCAR, Super Stock, Late Model, etc.)
Thanks. I'll post more pictures. Progress is similar to the Mustang. Body and chassis are painted, decals picked out. -
I did an AMT '32 a couple years ago and make the cowl vent fixed. I added some brass screen to it, more bother than it was worth.
-
It was called a formal roof. All of mine were like that. One had a 351W, another a 302 and a real Joe Friday 4 door with the 250 6 cylinder.
-
I'd be careful with dry ice. But not a bad idea. I'd wrap that in a towel, drape the whole cooler with something heavy to keep the coolness in. Maybe fab up a quick and dirty over-box from construction foam, the type with foil on one side.
-
It looks like we're having a repeat of spring of 2003 and 2013. 2003 was the 1st year of our pool. It rained so much I got it open in almost July. We had a few days where it broke 80. 2013 started out as wet but we had some hot days. I had the pool water checked, only need alkalinity-up. The water temp dropped to 58...
-
What Did You See In Your Yard Today?
bobss396 replied to Tim W. SoCal's topic in The Off-Topic Lounge
Nature can be quite brutal. Last year I started spring with 6 squirrels, then I was down to 3, now I have 4 or 5. So I must have little ones mixed in. They don't have a very long life span. I had one with a partial tail, something happened to that one. -
I have paint on the body and chassis so far and started the chassis assembly. Next is the injector plumbing, another stumbling block. I'll shoot some pictures soon.
-
Yesterday was 45 F and rainy, never got past 50. The past 2 days have been washouts. Today is cool, with the yellow thing in the sky making an appearance. When I opened the pool a week ago, the water was 67, now it is 62... I did get all my vegetables planted a couple of days ago.
-
3rd 3d Supermodified
bobss396 replied to TonyK's topic in Other Racing: Road Racing, Salt Flat Racers
Who sells those kits? I have some 3D printed modified and street stock kits. -
I had a few 1969 Fairlanes, none with a 428. They were cool cars.
-
Do you have any under-floor storage, like in the back of an SUV? That may cooler than on a seat or in a trunk. Another thought, how about using a cooler?
-
What Did You See In Your Yard Today?
bobss396 replied to Tim W. SoCal's topic in The Off-Topic Lounge
Crows are notorious for stealing hatchling from nests. I saw 2 cardinals going after one some years ago that just stole a chicken from them. -
What Did You See In Your Yard Today?
bobss396 replied to Tim W. SoCal's topic in The Off-Topic Lounge
I saw an Oriole a few days ago. Very rare in my area and very early to see one. -
'57 Fairlane Sportsman
bobss396 replied to Belugawrx's topic in WIP: Stock Cars (NASCAR, Super Stock, Late Model, etc.)
The old NASCAR kits had decent engines in them. Another I like is the 427 in the 1965 Ford kit.- 21 replies
-
- 2
-

-
- amt/ertl 1:25
- rc2
- (and 1 more)