Pico
-
Posts
537 -
Joined
-
Last visited
Content Type
Profiles
Forums
Events
Gallery
Everything posted by Pico
-
Clear coat.

-
Chrome decals were made using the Decalprofx system. It's a very "fiddly" and difficult system, but once mastered, can produce excellent chrome decals.
-
Chrome !
-
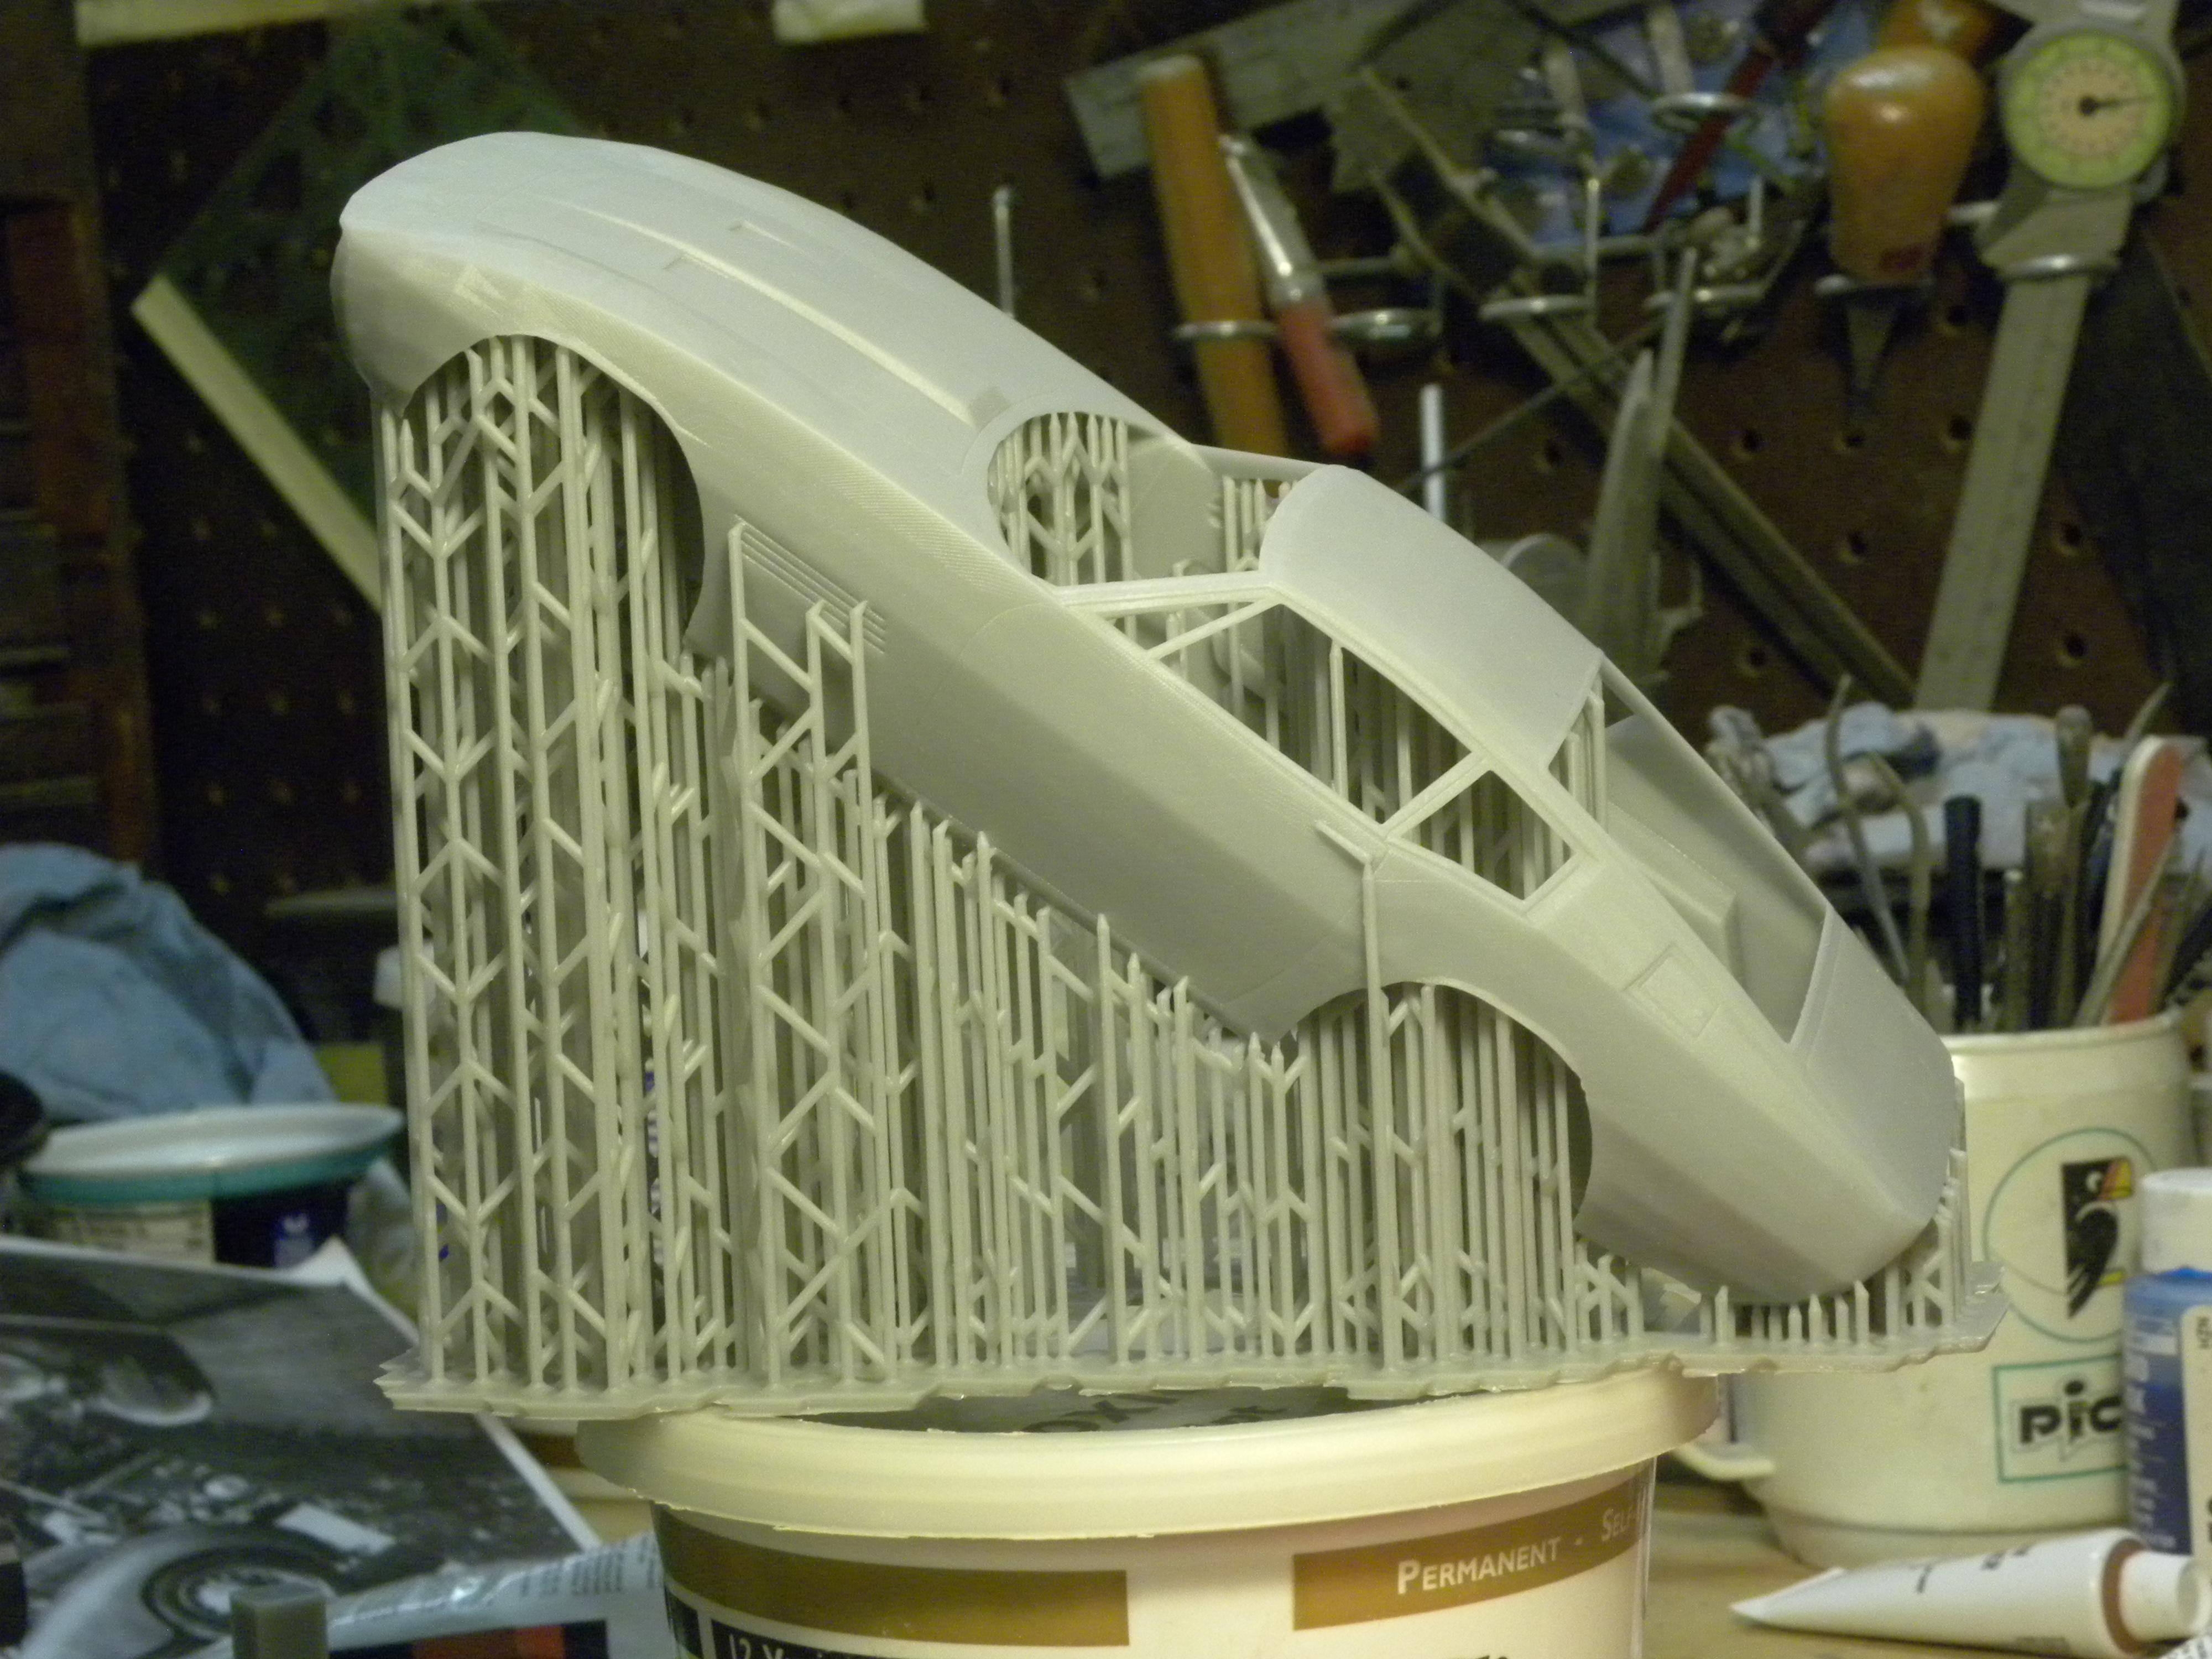
I use Prusa SL1 for support generation. It's very simple to use. ChiTubox support generation is awful, but I use it for slicing and think it works alright, but I don't have any experience with other slicing programs.
-
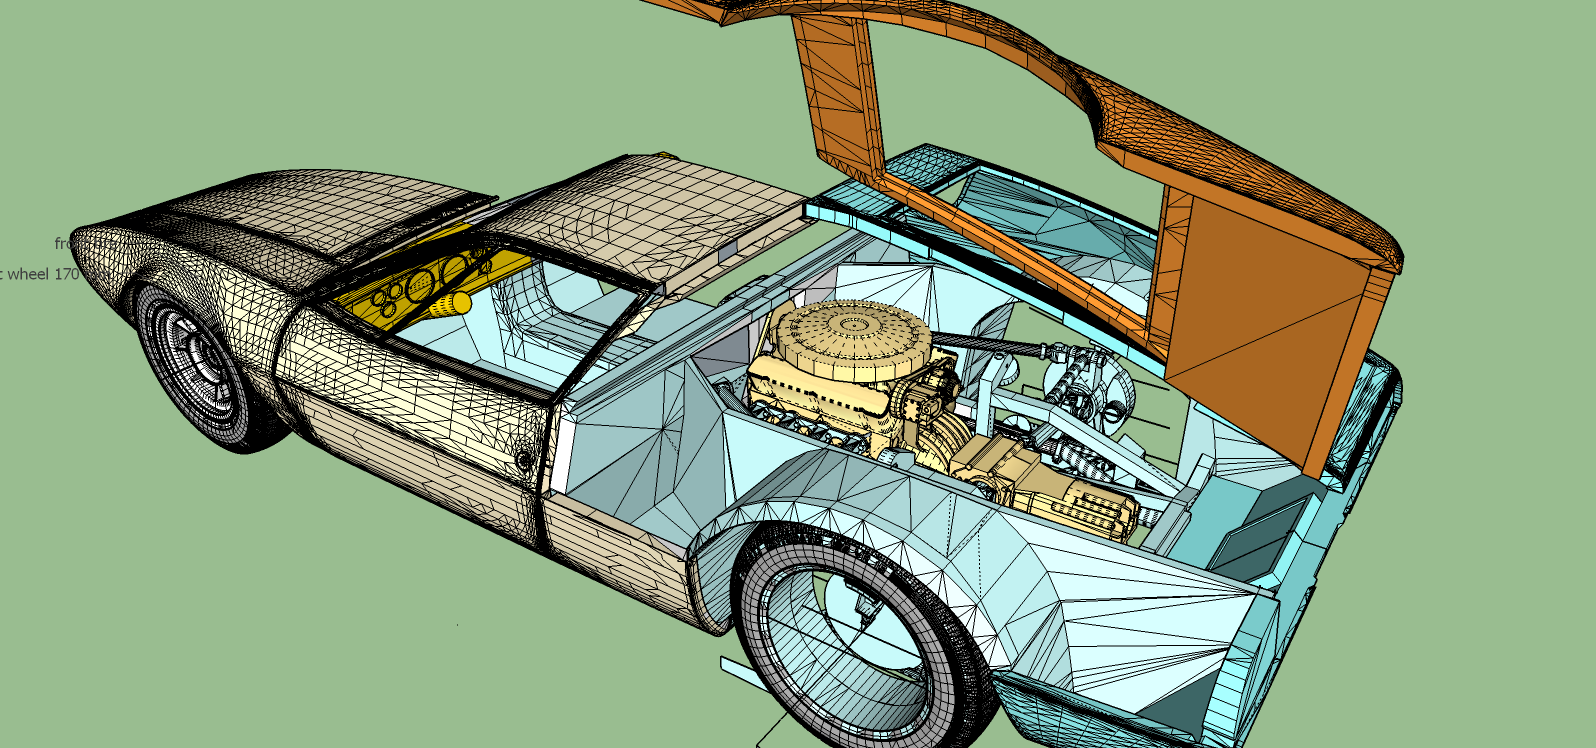
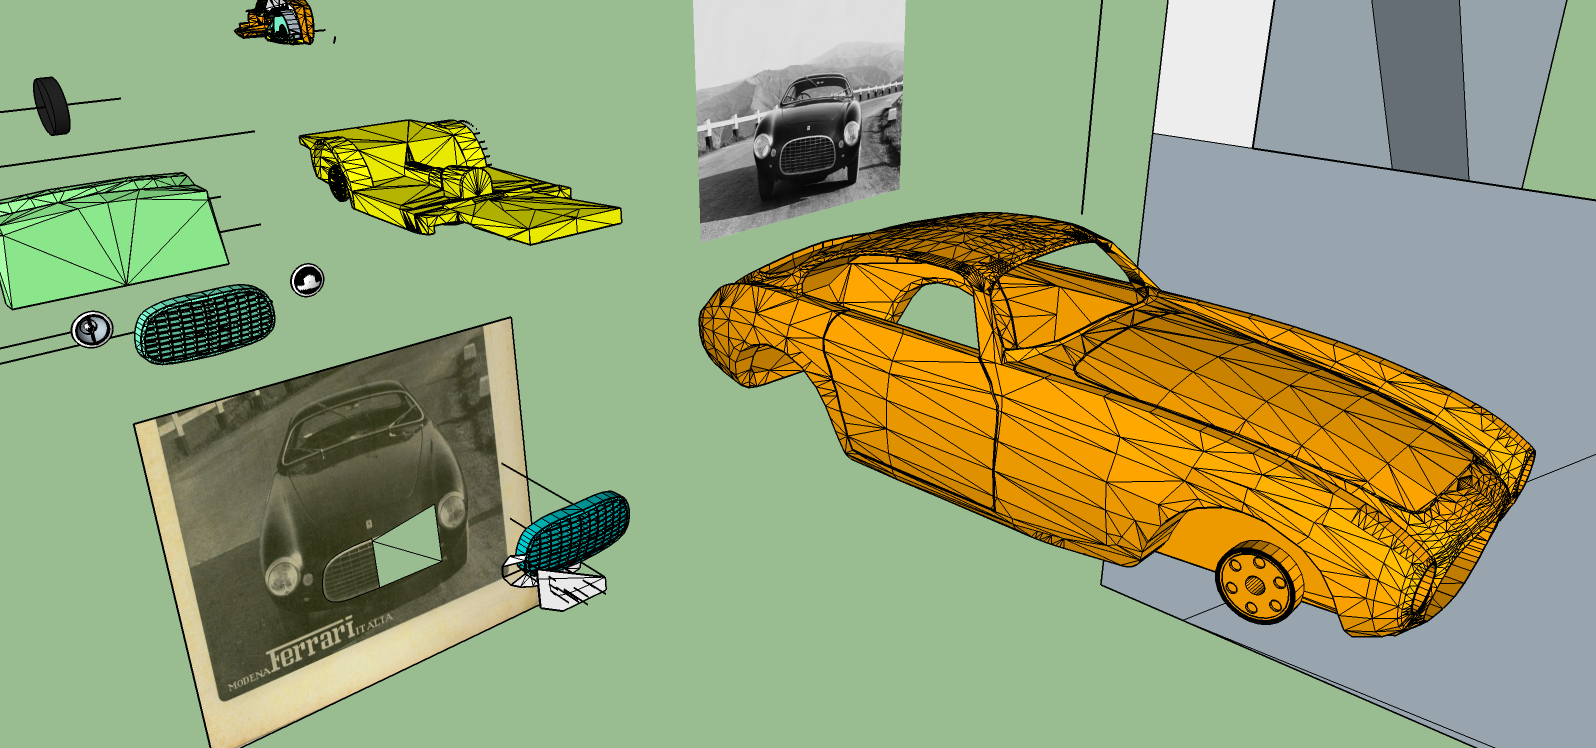
Both Maserati and Mangusta are files from the net. They are not printable , however, without a great deal of work to modify them to be printable. The Mangusta suspension, chassis, wheels, etc, was designed by me.
-
It could, but I'm designing it to fit in my Anycubic Photon.
-
Thanks! ....but you ain't seen nothin' yet.
-
Mad Mike does some good work.
-
Alfa Romeo 8C 2300 / Brass Build
Pico replied to Dougritt's topic in WIP: Other Racing: Road Racing, Land Speed Racers
Superb work. -
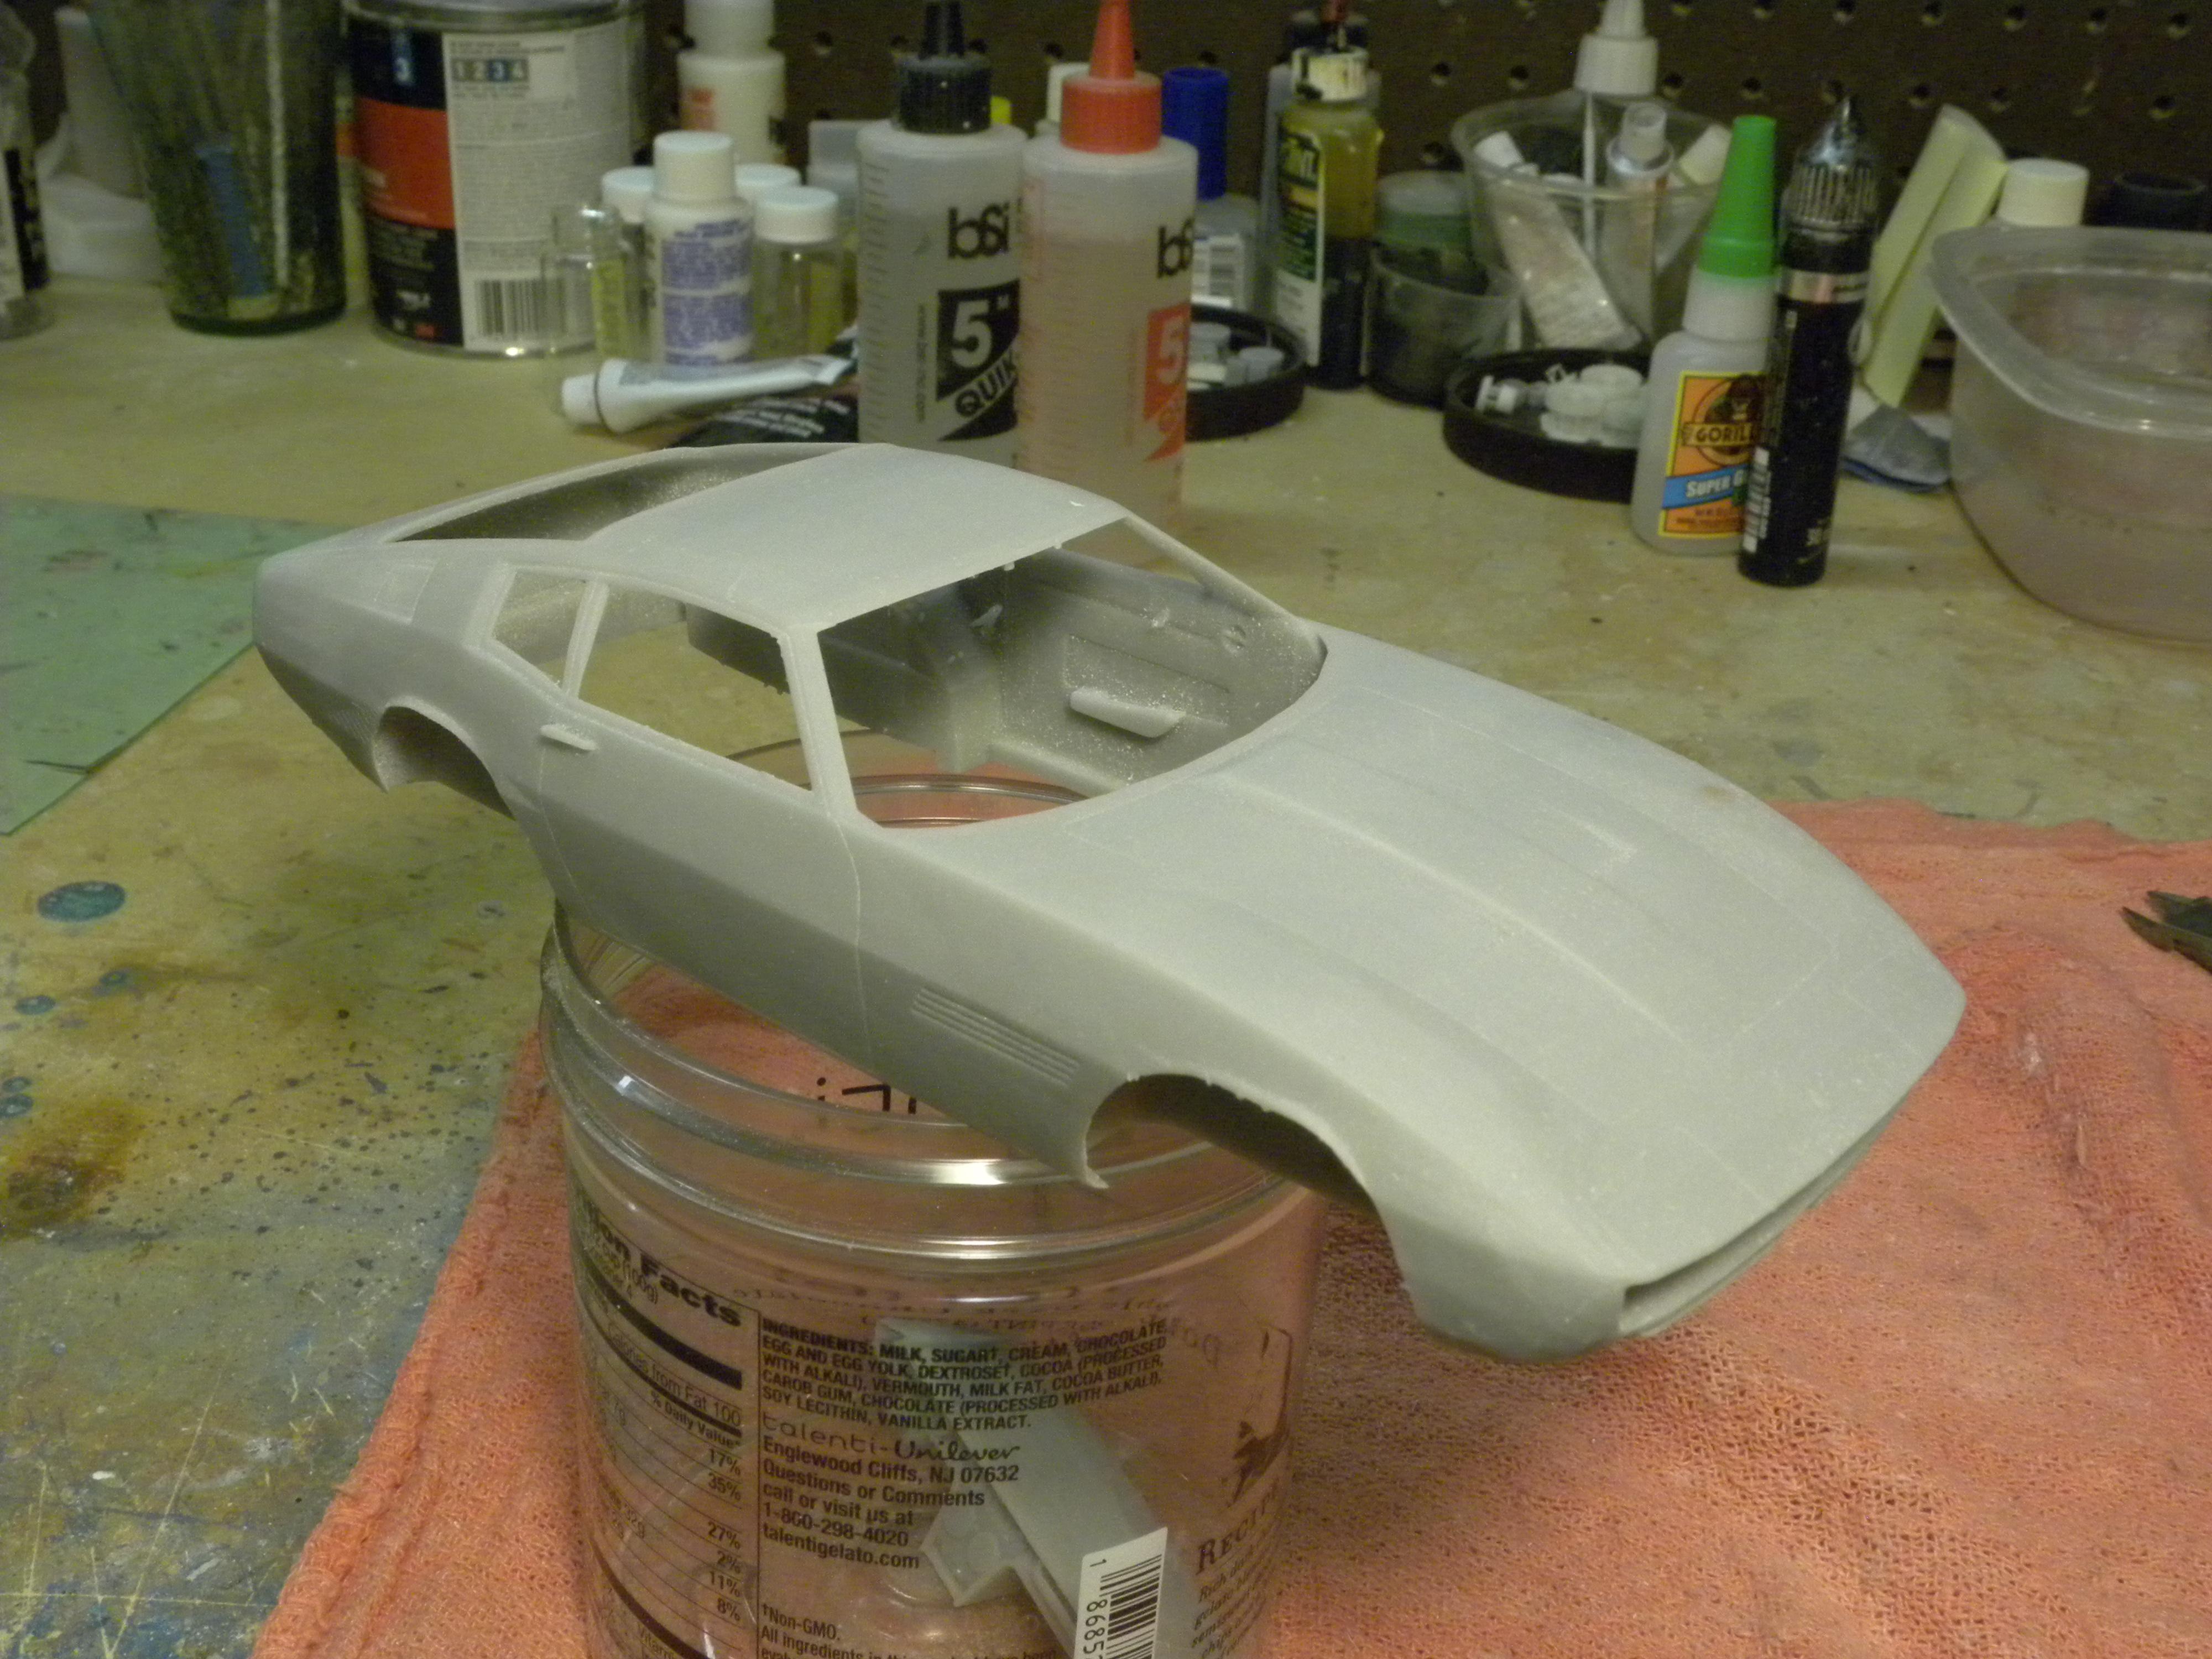
The body was fairly smooth to begin with, being high-poly ( many small flat planes make up the surface) and the resin printing method produces a smooth surface. Much better than, for instance, Shapeways, which is a fuzzy, nylon like material.
-
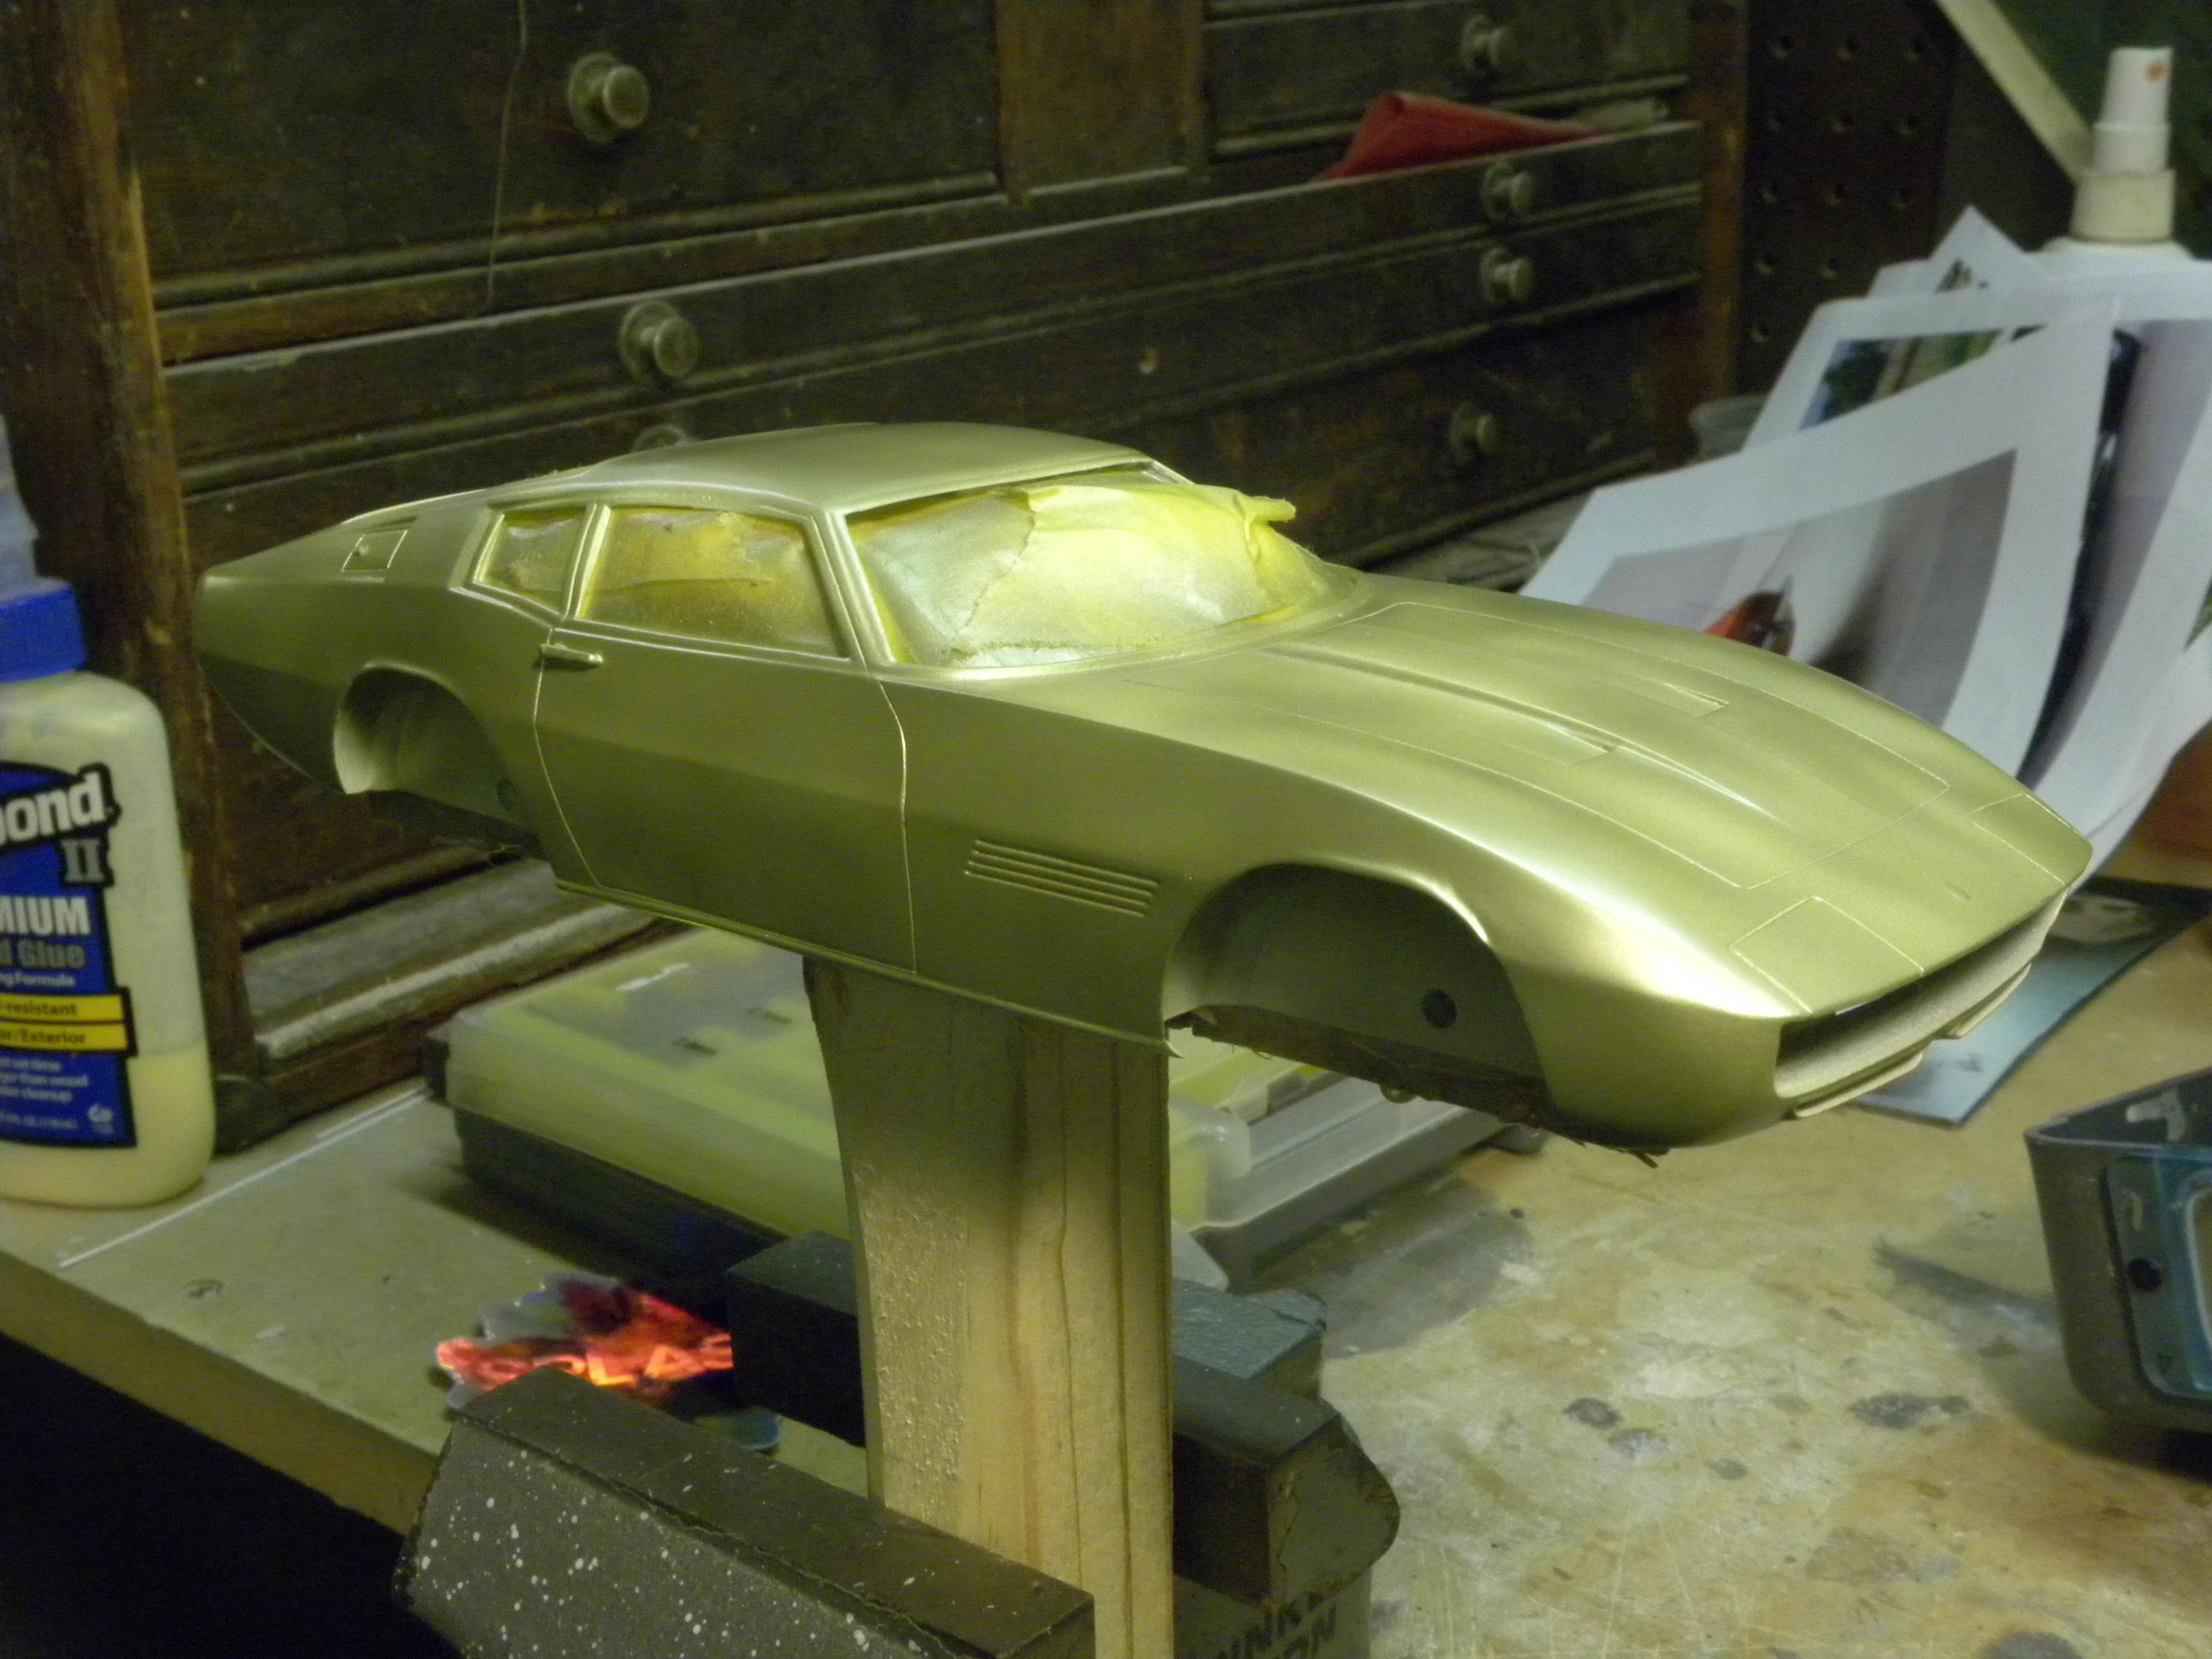
Last coat of paint.
-
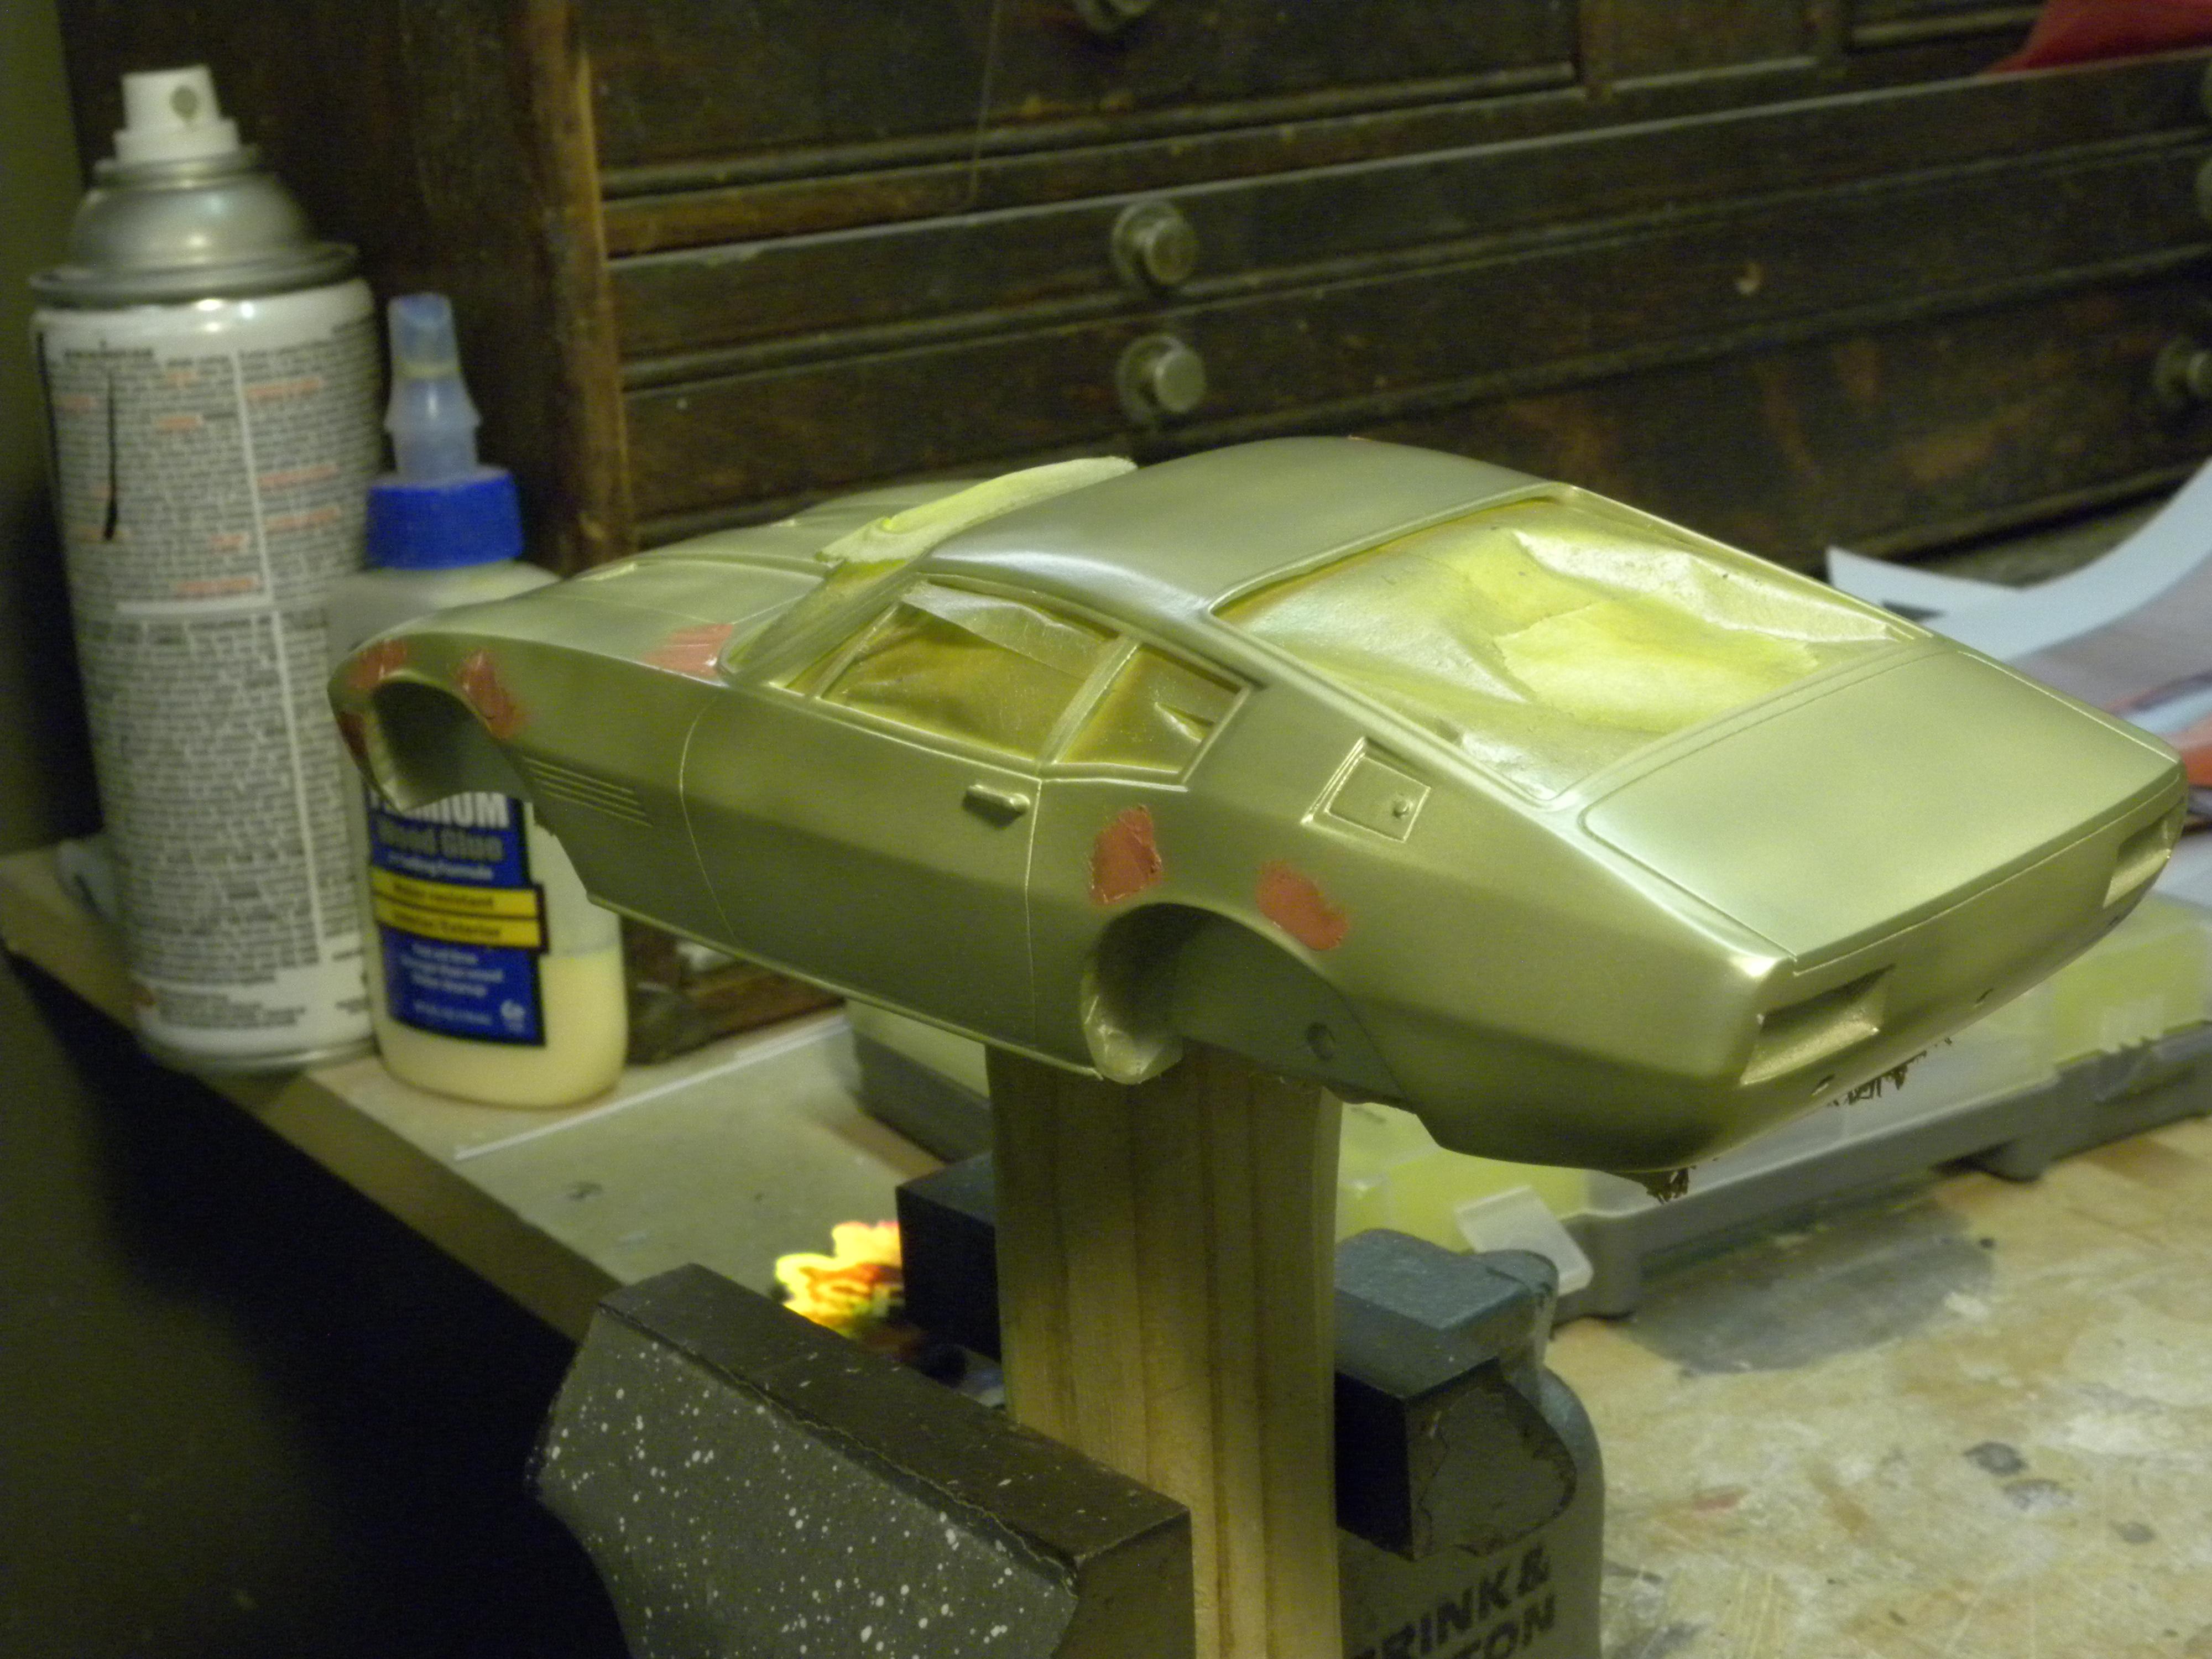
More touchup.
-
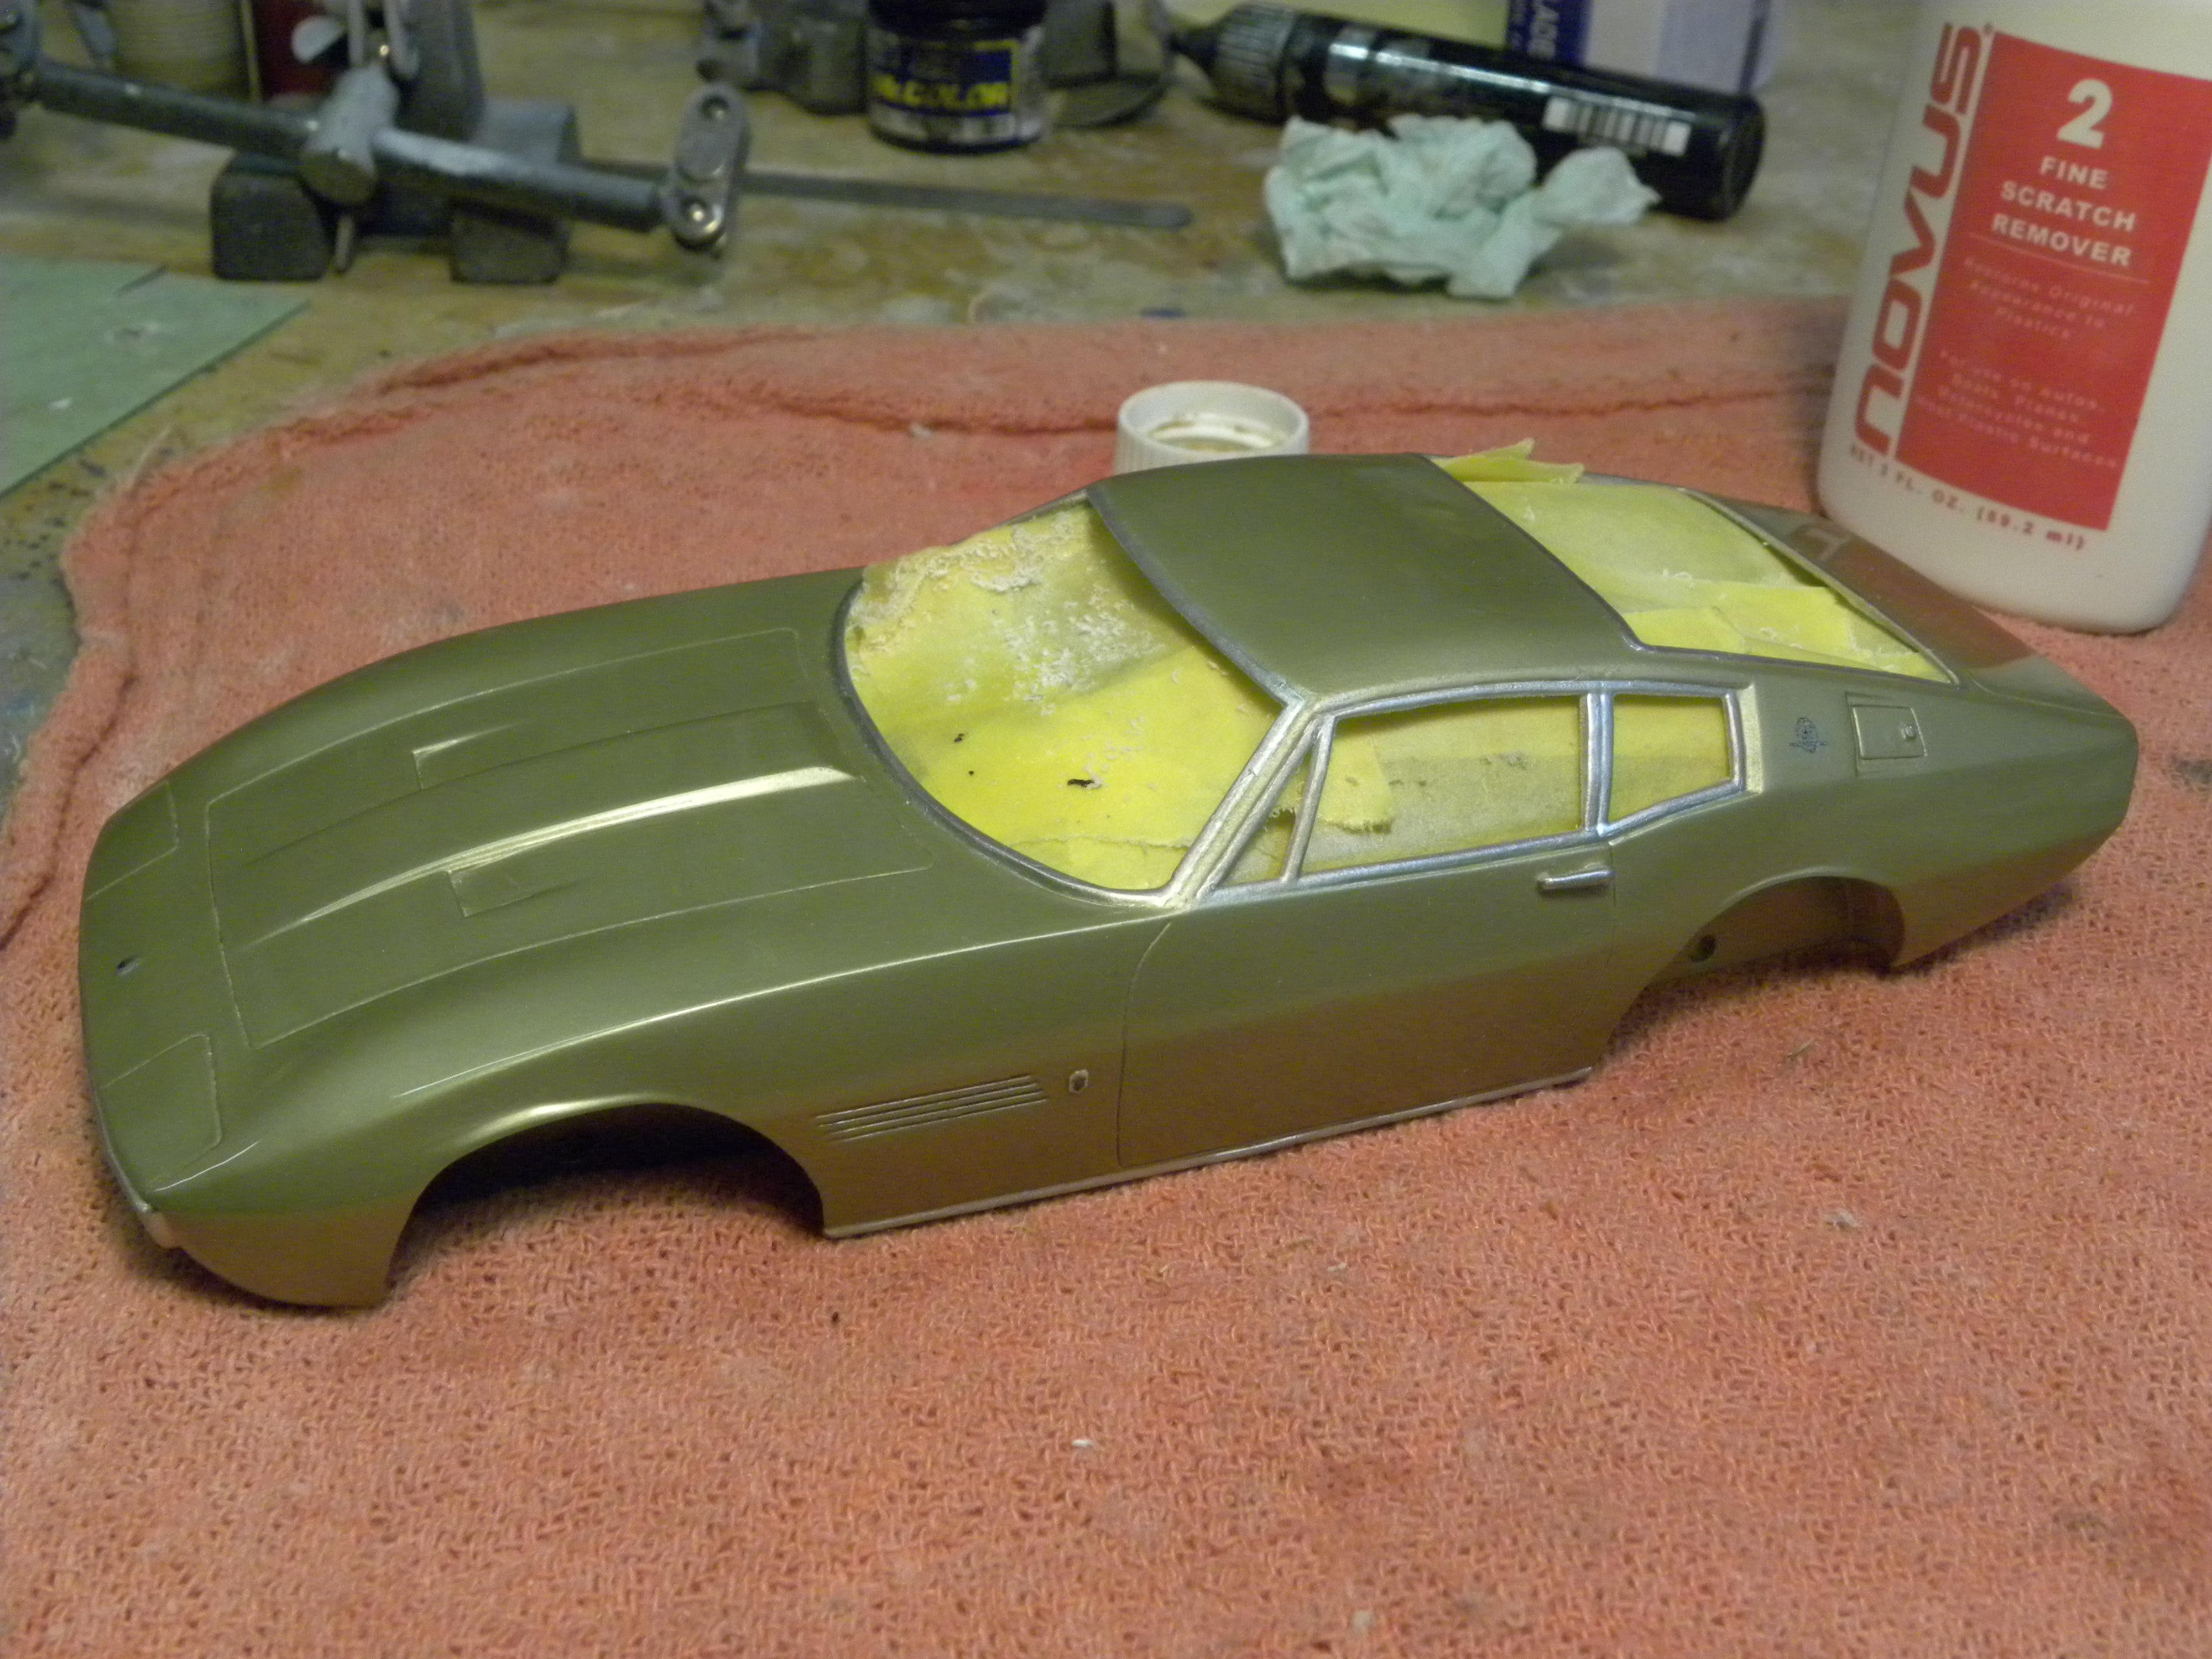
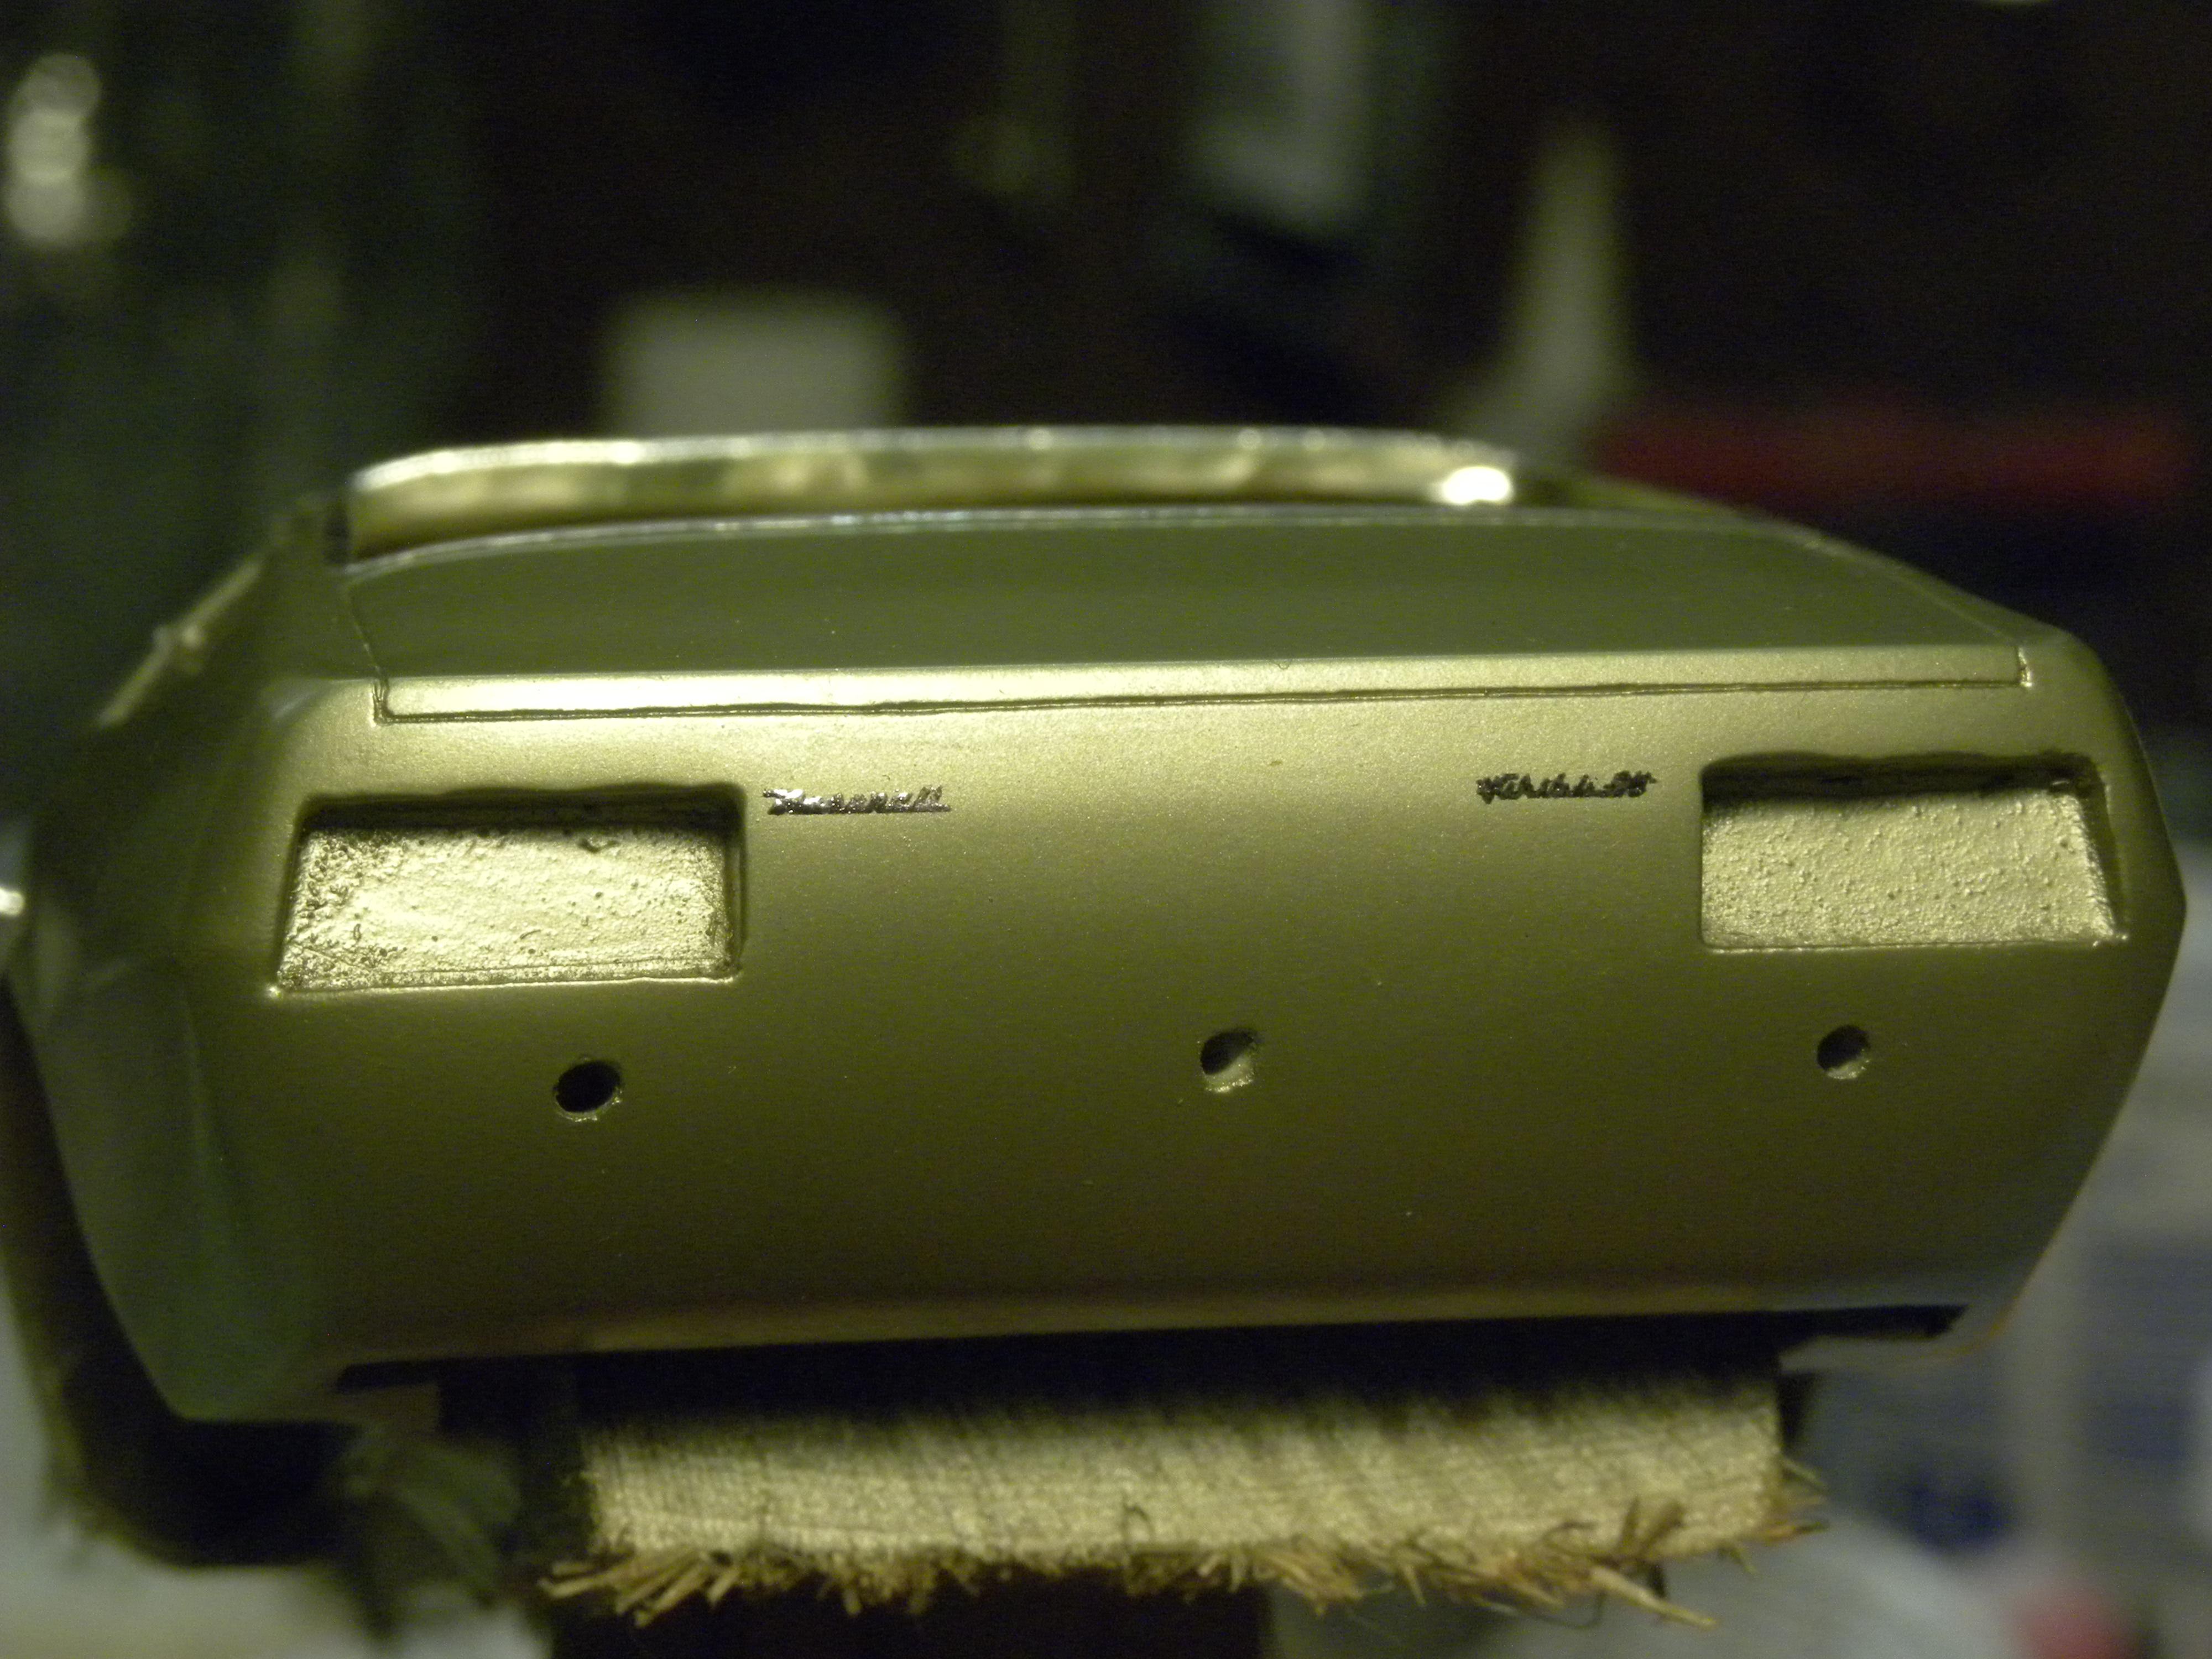
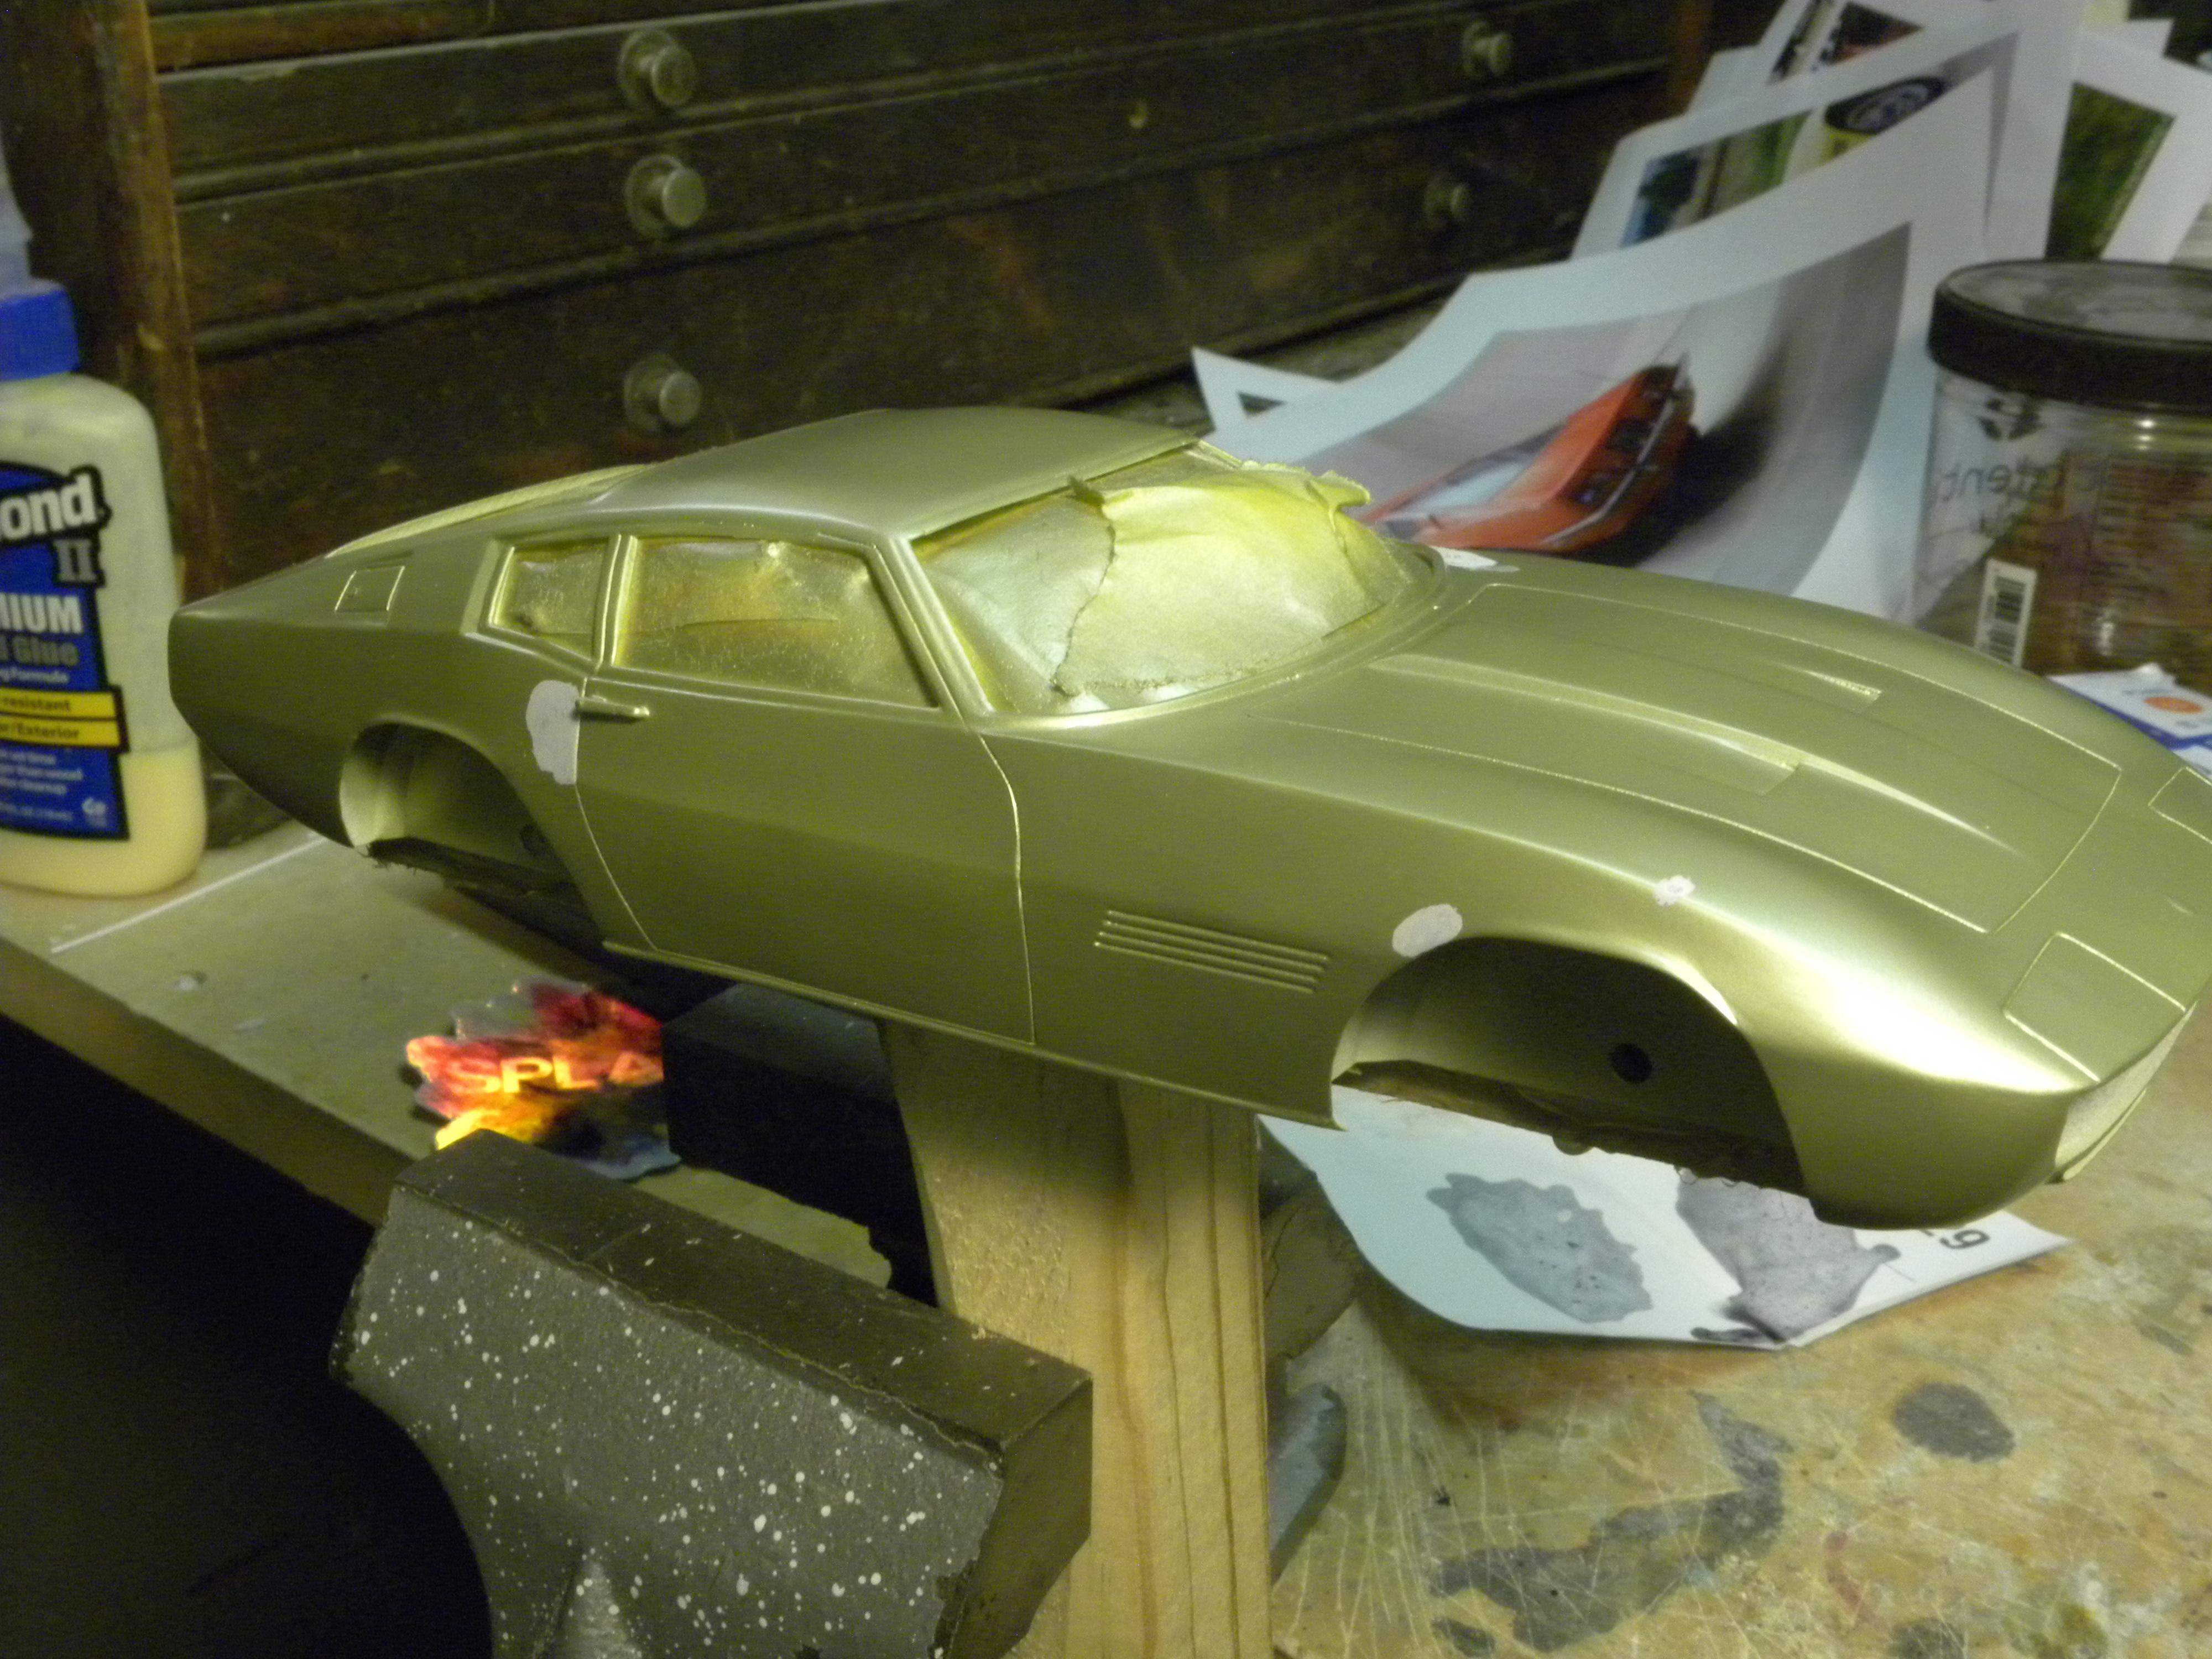
That metallic paint shows the bodywork flaws.
-
Splash Paints anniversary gold.
-
If you were a swinging sixties Euro playboy, what better way to cruise between the gambling dens, fleshpots and watering holes of Rome, Paris, and London than in your oro metallizzato and bianco Ghibli; to match your gold bellbottoms, white silk shirt, and gold chains?
-
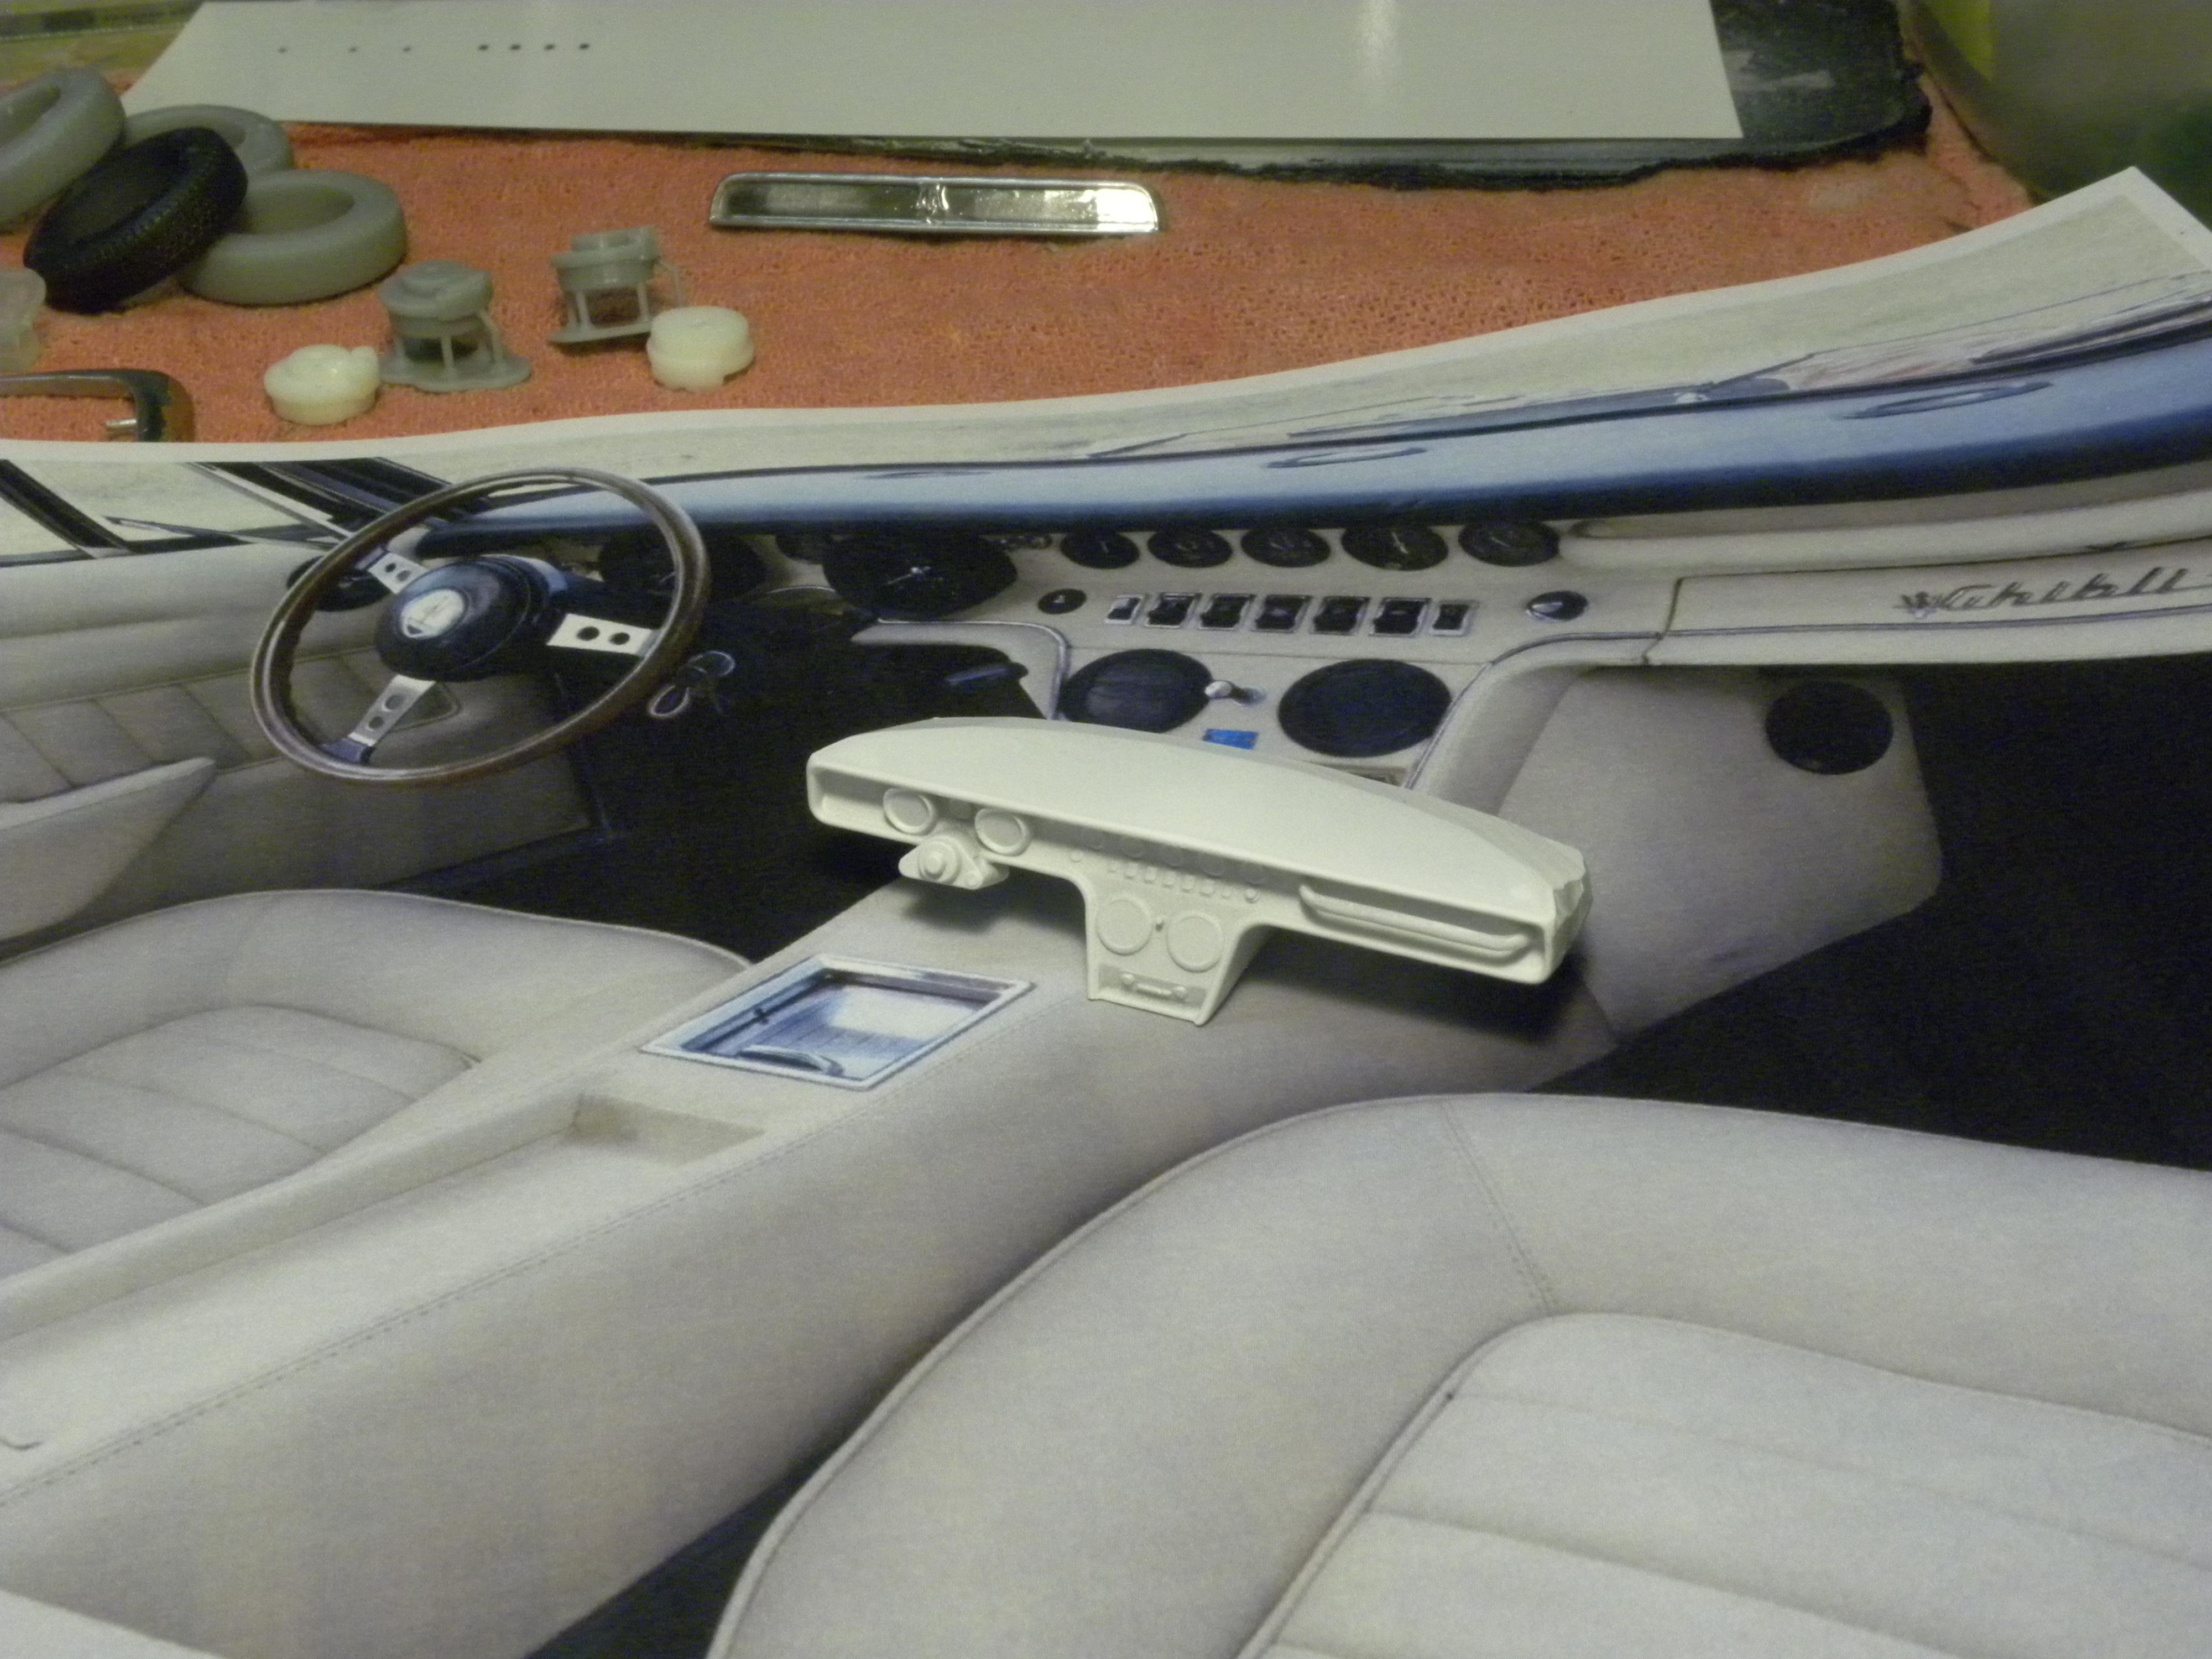
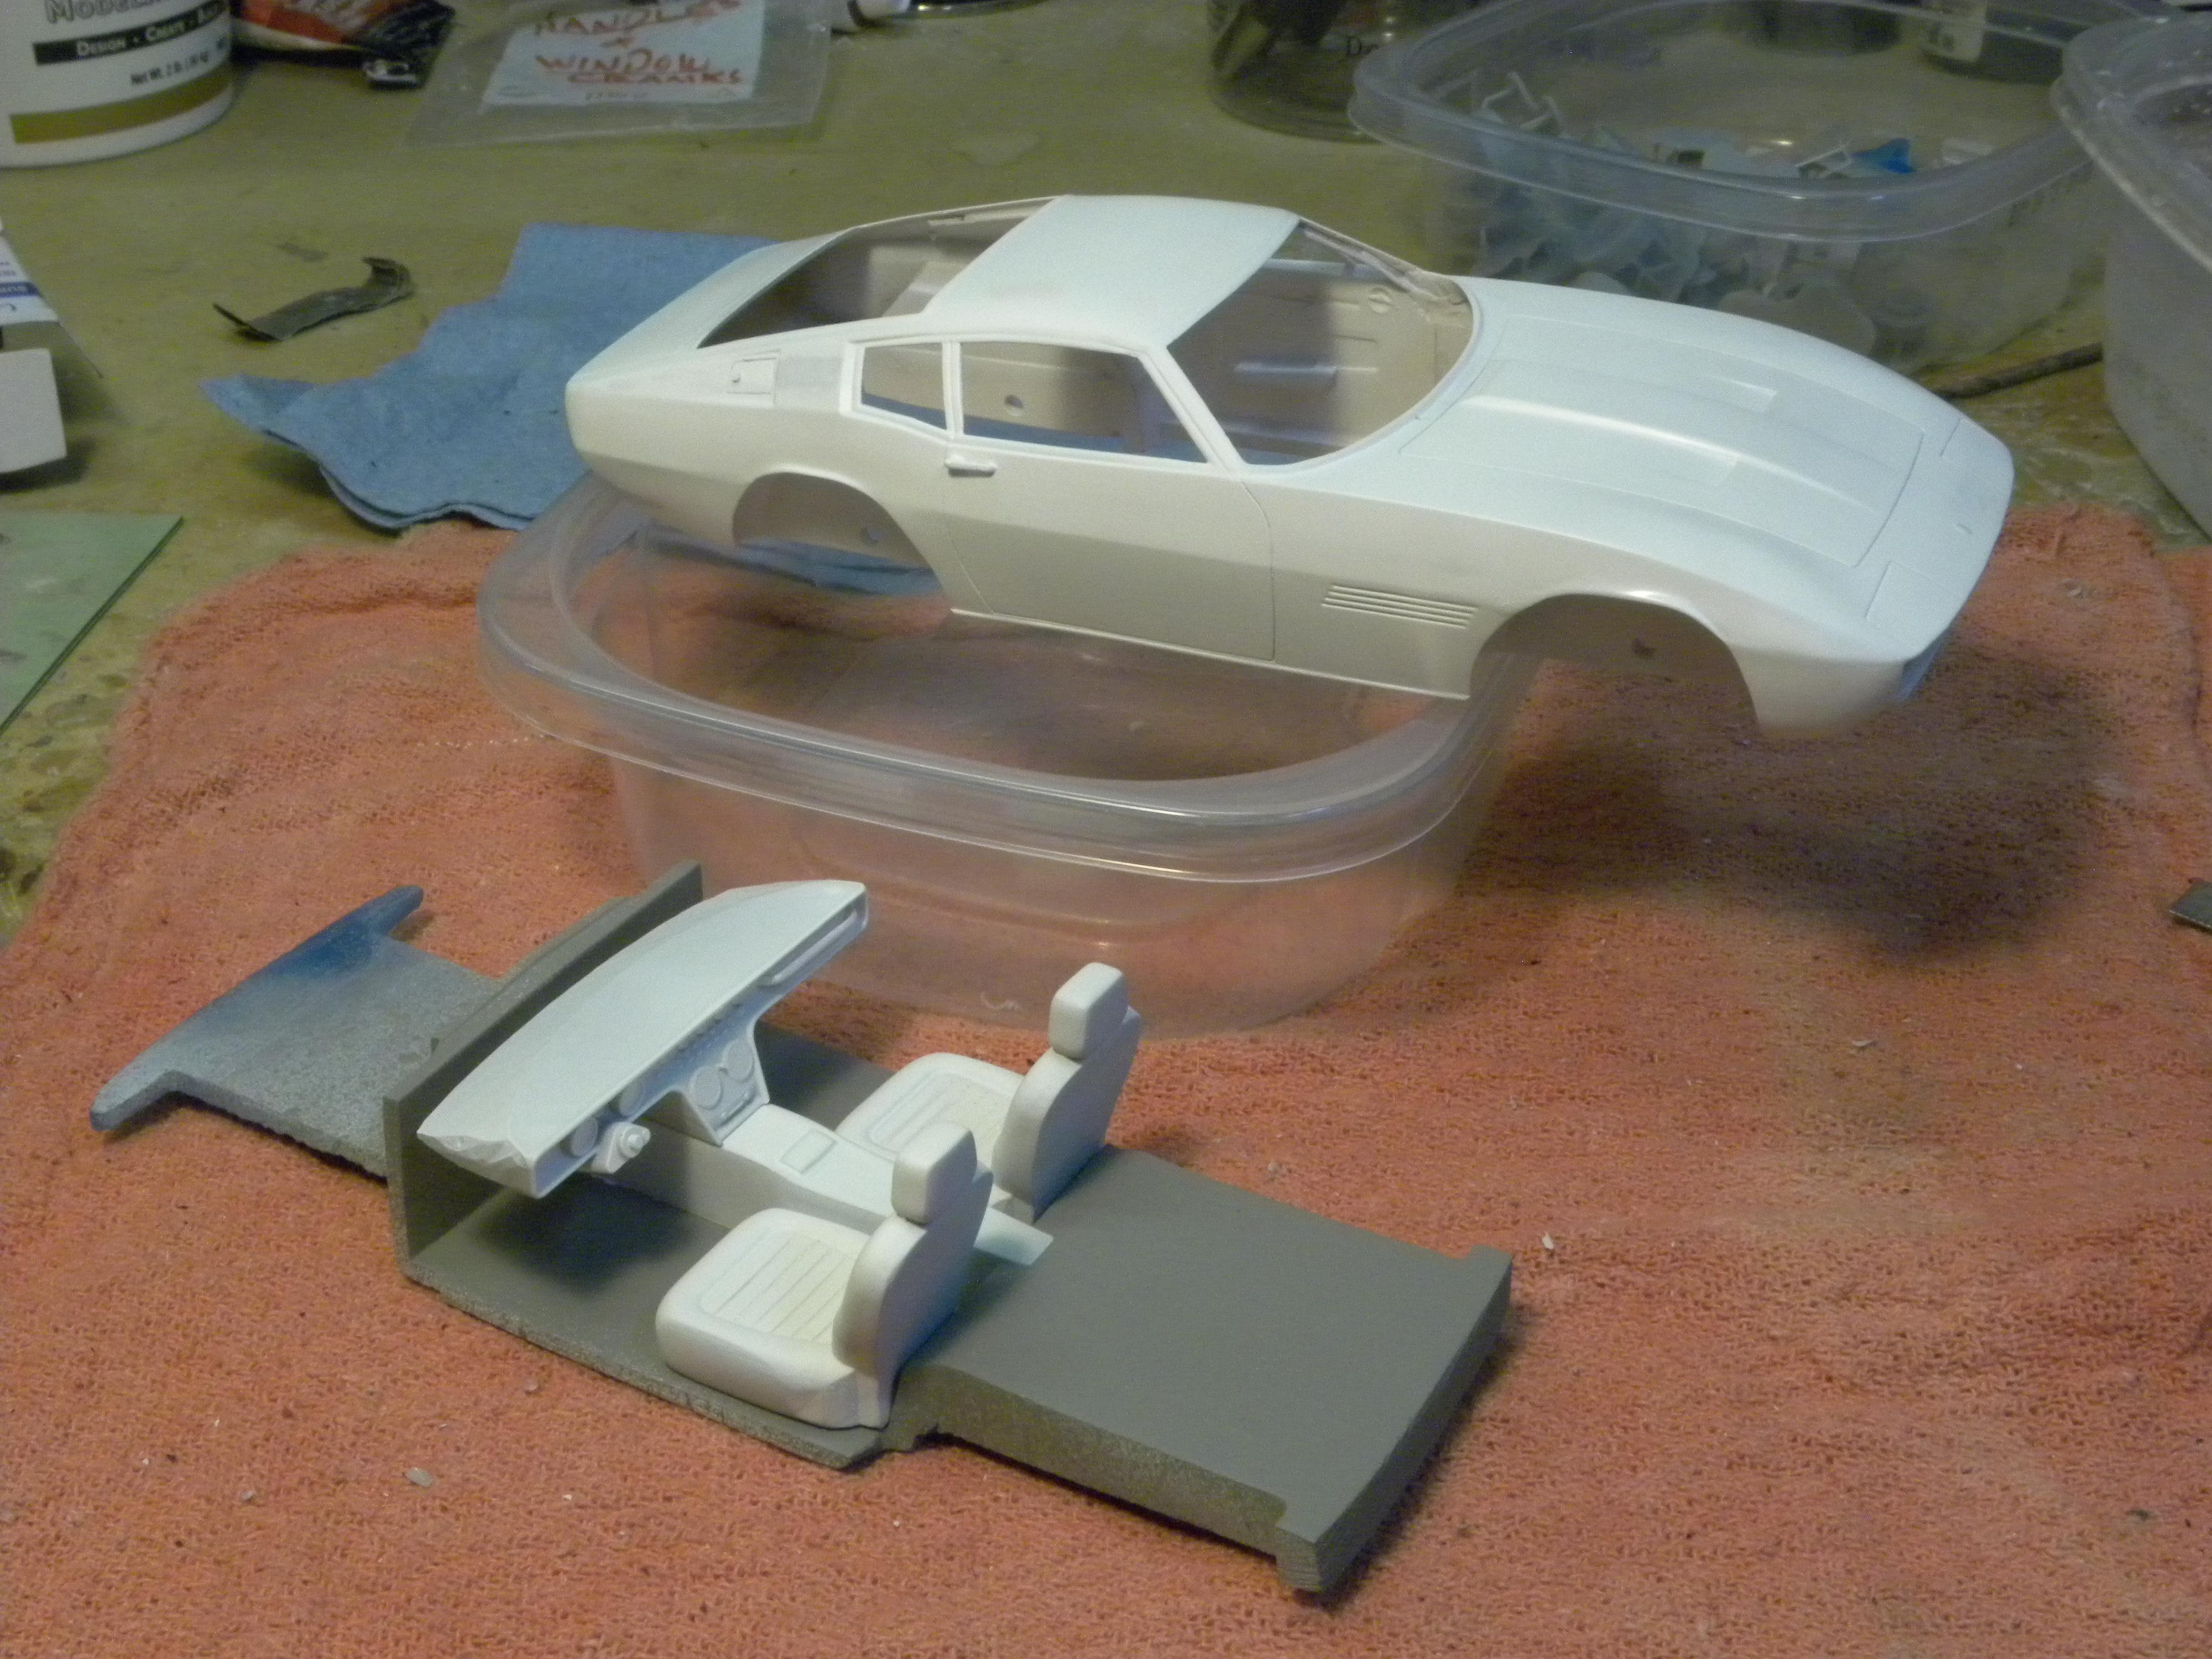
Interior and "chassis".
-
It will not. However there will soon be two printers on the market that will: the Anycubic Mono X and the Elegoo Saturn. The Anycubic has a build volume of 192 X 120 X 245 mm (7 1/2 X 4 3/4 X 9 1/2") and the Elegoo's volume is 192 X 120 X 200 mm ( 7 1/2 X 4 3/4 X 8"). They should be released this month; I suggest you wait until the prices drop, rather than ordering immediately. My Photon started about $500, and I waited until it was $300, a year ago, now they are about $175. Another thing: the printer that made my body does a good job, there will always be some filling and sanding, but either the Anycubic or Elegoo will have a better resolution than it.
-
Fabulous resource, thanks!
-
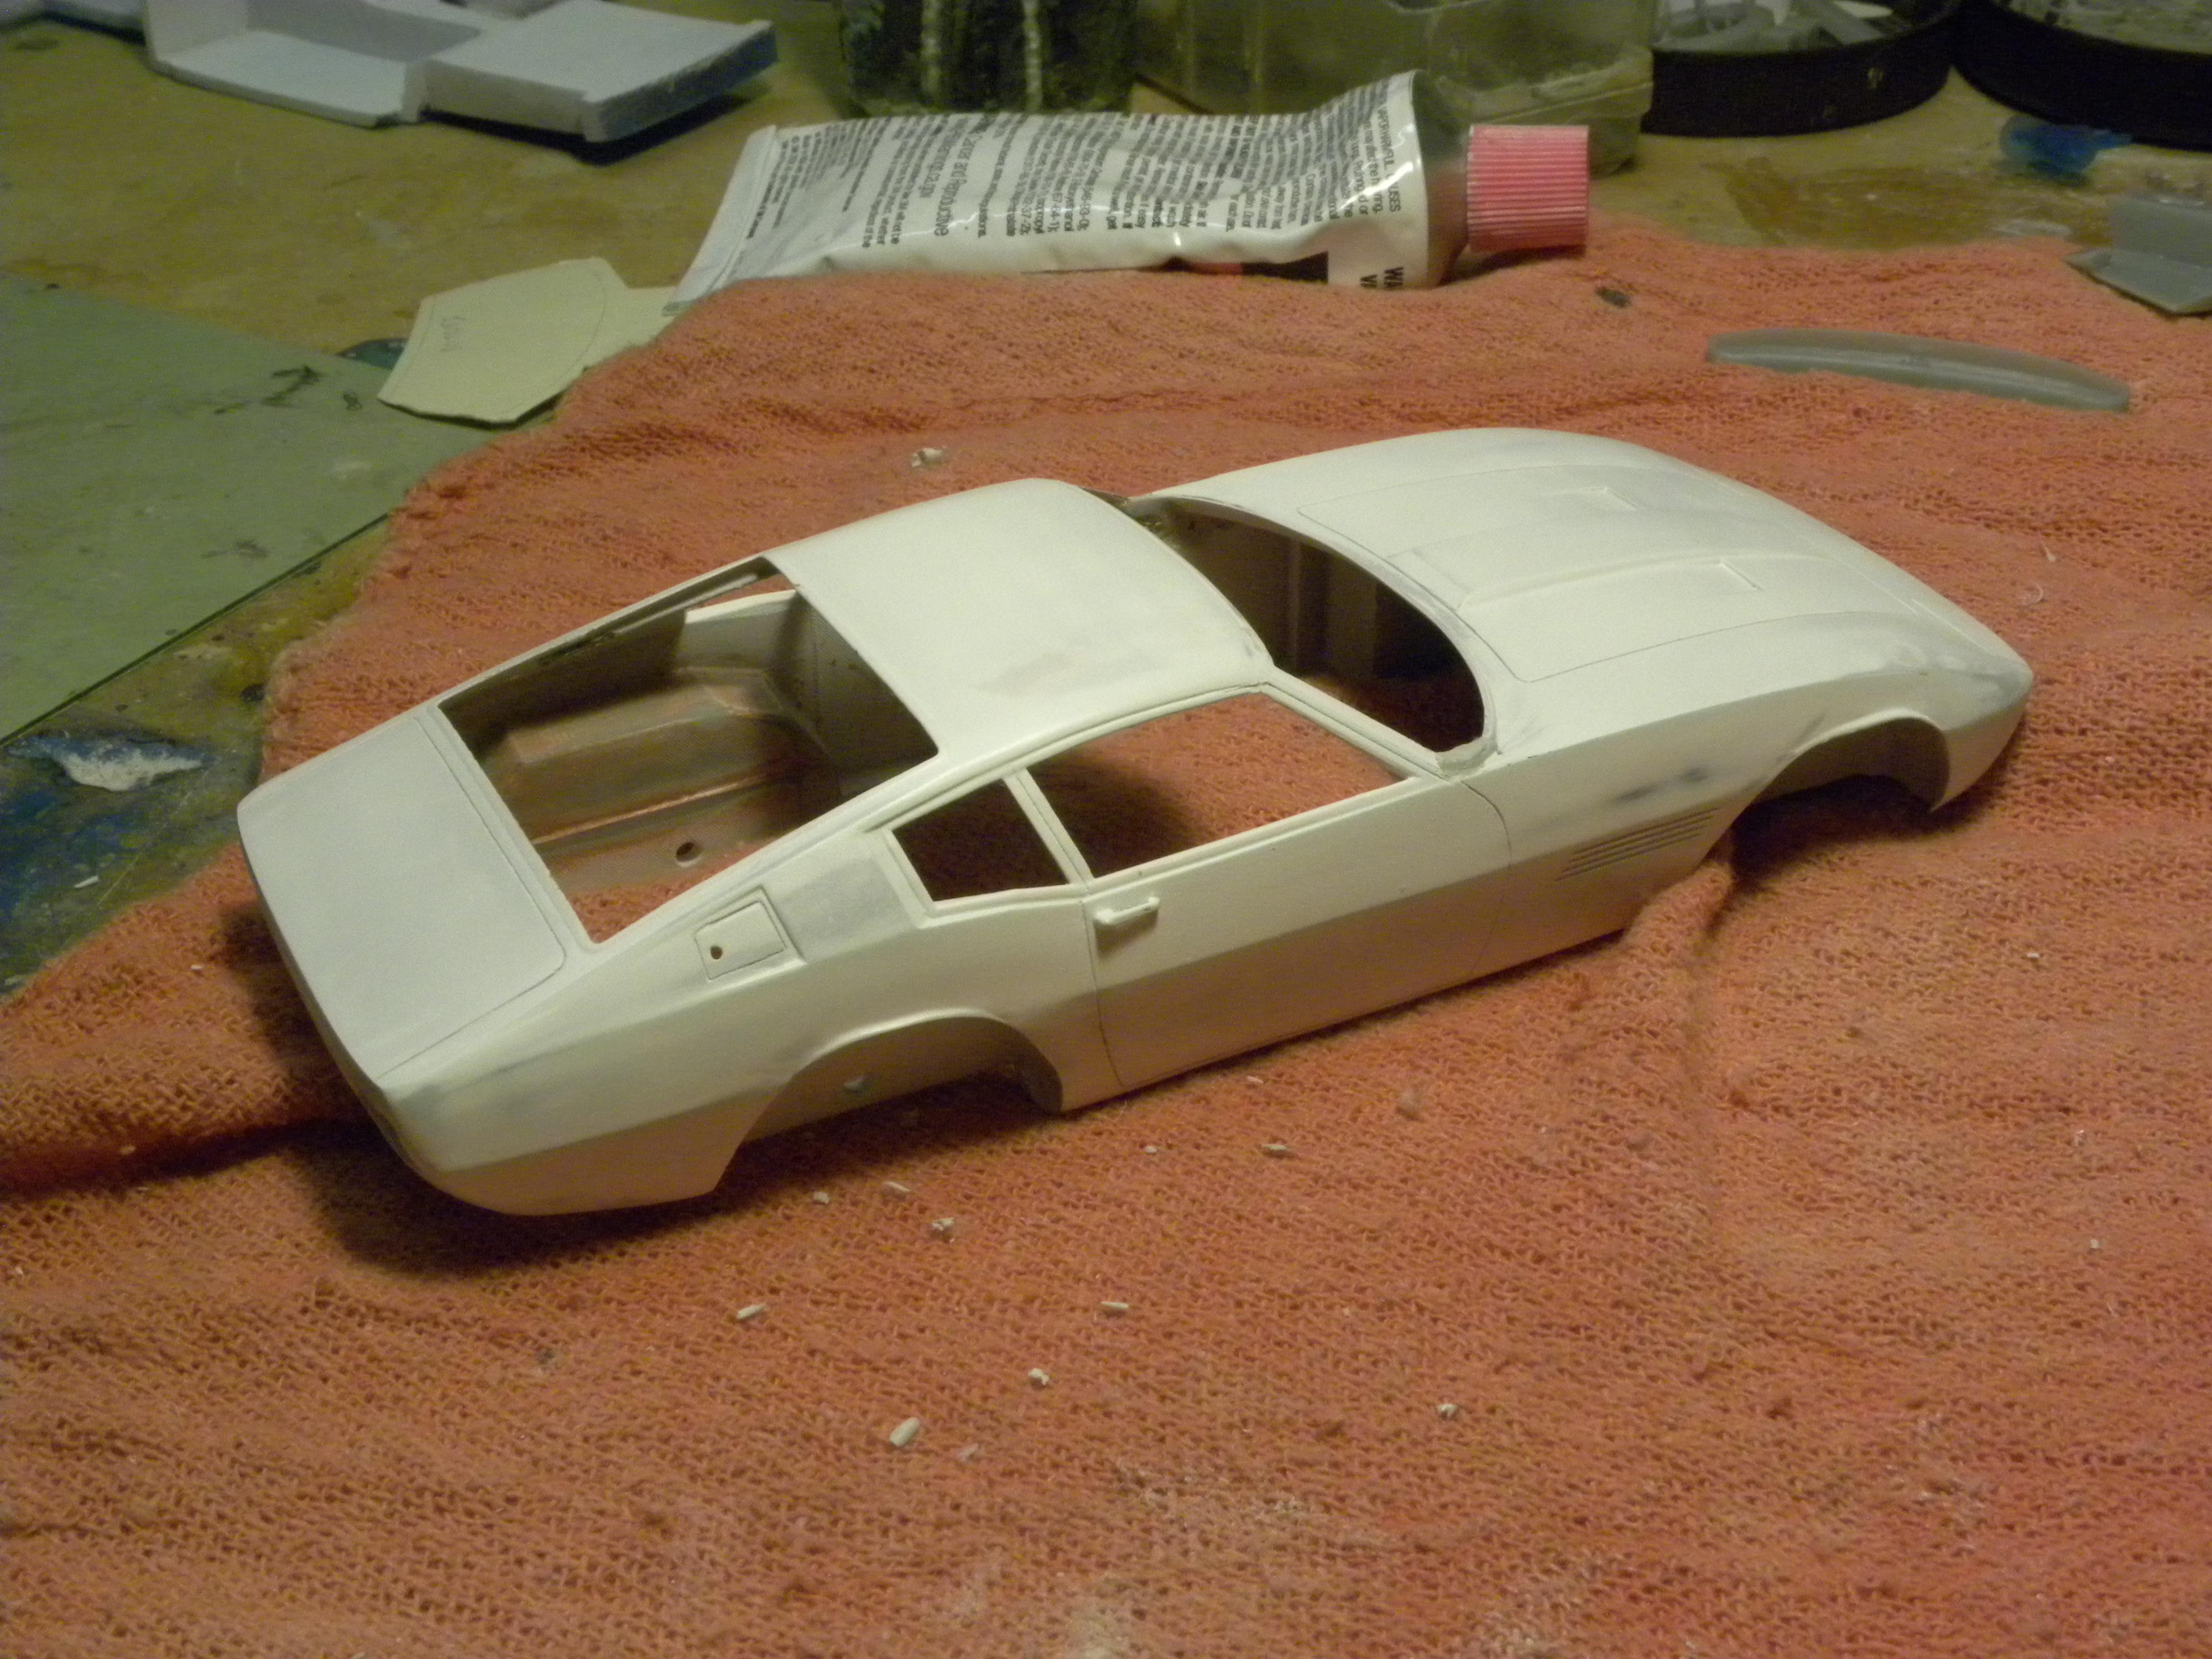
Primer and sanding time.
-
Probably about 10 minutes, using wire cutters. Have to be careful with the short pieces, don't want to apply too much force, it may push and break part of the model. Whittle away the support in that case.
-
Support cleanup.
-
The raw material received from the 3D printer who prints my 1/24th scale bodies. All other (smaller) parts are printed on my Anycubic Photon.
-
It's a lot of design work. Here's an image from mid February. The body, chassis, dashboard-firewall, and body are more or less finished and I am working on the details as the grille and headlights with the lenses.
-
It is 1/24th.
-
The real thing at the start of the race.