Pico
-
Posts
537 -
Joined
-
Last visited
Content Type
Profiles
Forums
Events
Gallery
Everything posted by Pico
-
Very nice !
-
They did it to drive future model builders stark raving mad.
-
Images from this site show mostly black tires, although Torchy in #13 and other cars in that photo seems to indicate a lighter color tire. Photo Gallery - andre morel Race race car delage - Schram www.lezebre.eu
-
Tires white in 1925? I don't think so. My general impression is that all manufacturers past the mid teens made black, or dark tires. Here is a 1925 Michelin ad of that tire.

-
Nice work.
-
No pics yet.
-
Lookin' terrific!
-
3D print resolution tip: I have recently upgraded from an Anycubic Photon to an Anycubic Mono 4K and been astounded by the increase in resolution.
-
Thanks, everyone!
-
Come on, you can do it.
-
untilAtlanta Car Model Enthusiasts will host our 25th anniversary show on November 6th 2021 at the Smyrna Community Center. Generally we have 550 car models but probably more this year. For more information see our Facebook page. Here is a link to our club site about the show, including a printable PDF file of our flyer with all information : 2021 ACME Southern Nationals | ACME (acme-ipms.com)
-
Maserati Tipo 151/3
Pico replied to Dave B's topic in WIP: Other Racing: Road Racing, Land Speed Racers
Well done , considering what you started with. -
Don't give up on the leather top idea yet. Go to ebay or esty and search for " glove leather scraps". You will find plenty thin leather there. Get lambskin, as it is the thinnest and softest. If too thick, get a skiving knife and remove material from the back. Here is a photo of a sample that I have; it's .030 mm (1/64"). It is very soft and flexible. I'm using it as a sample to see how well it takes stains, which is very well.
-
Maserati Tipo 151/3
Pico replied to Dave B's topic in WIP: Other Racing: Road Racing, Land Speed Racers
You would get a better quality print if you used a resin printer rather than a filament printer. Or have Shapeways print it. The Maserati Zagato will be very complex and will be a serious learning experience for you. Keep us posted. -
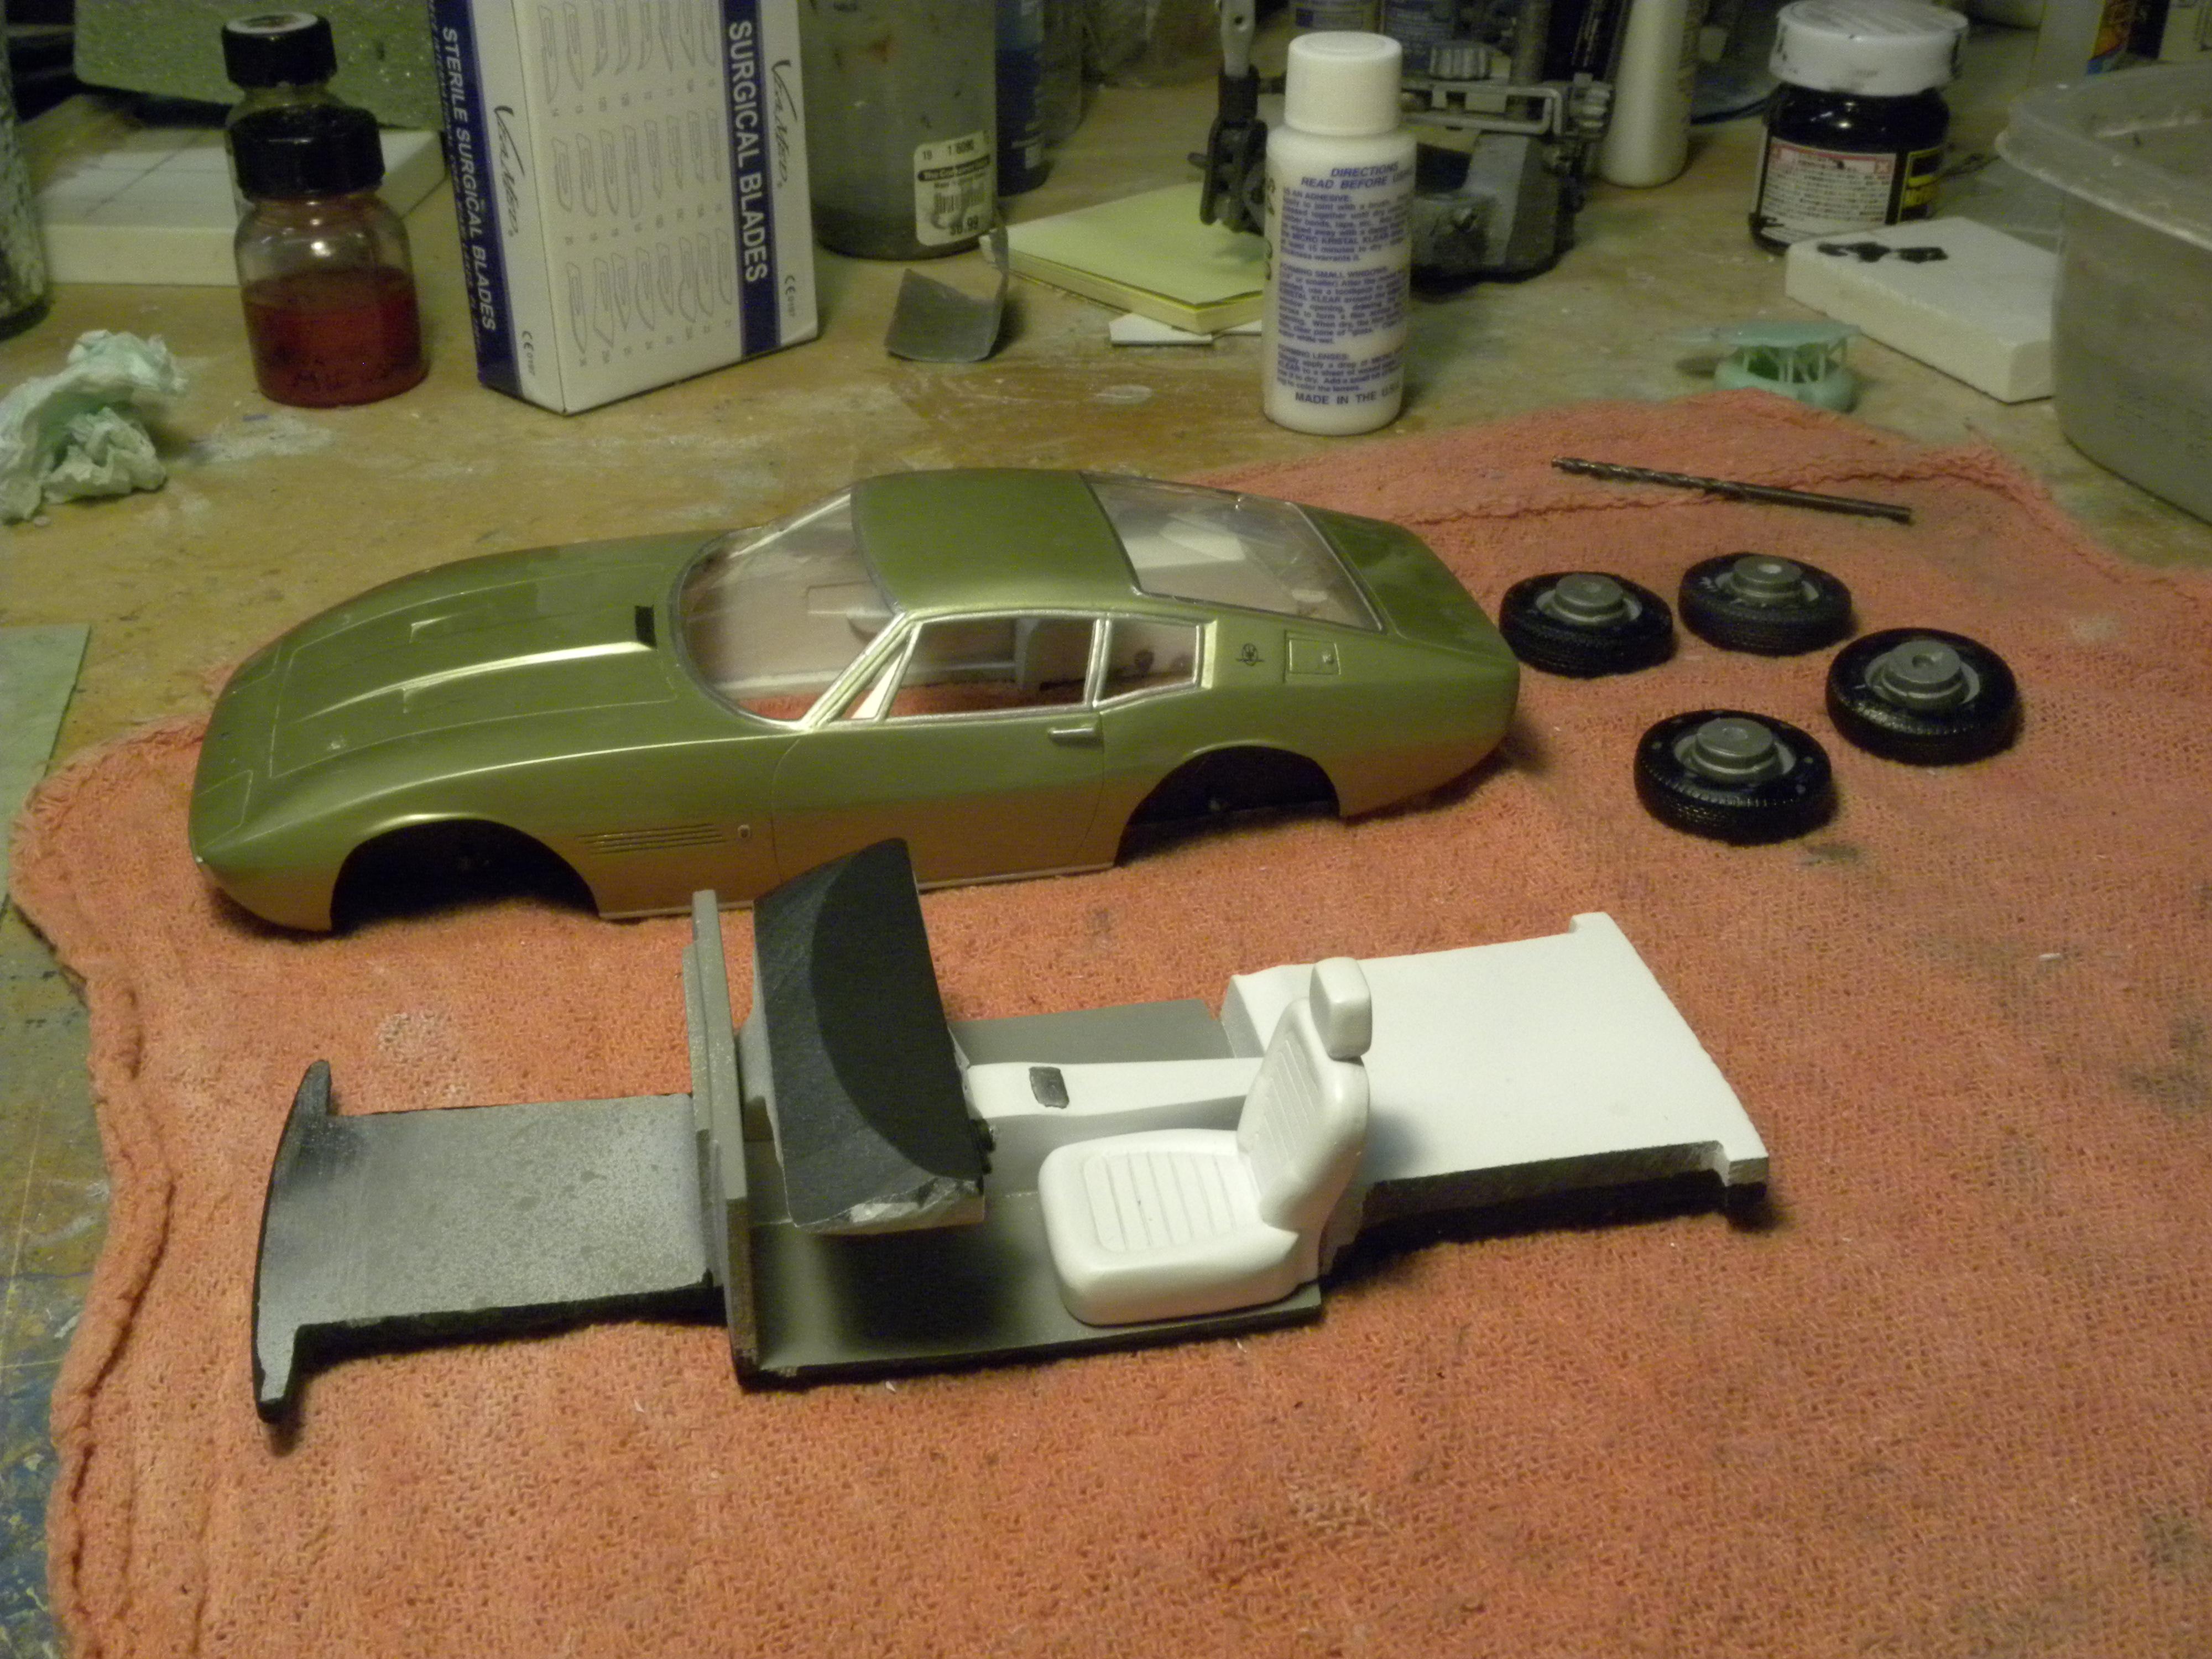
A Italeri kit was used as a base, the body was sheet plastic with putty applied to it. Not very well. which caused a bit of work for me. It wasn't resin cast.
-
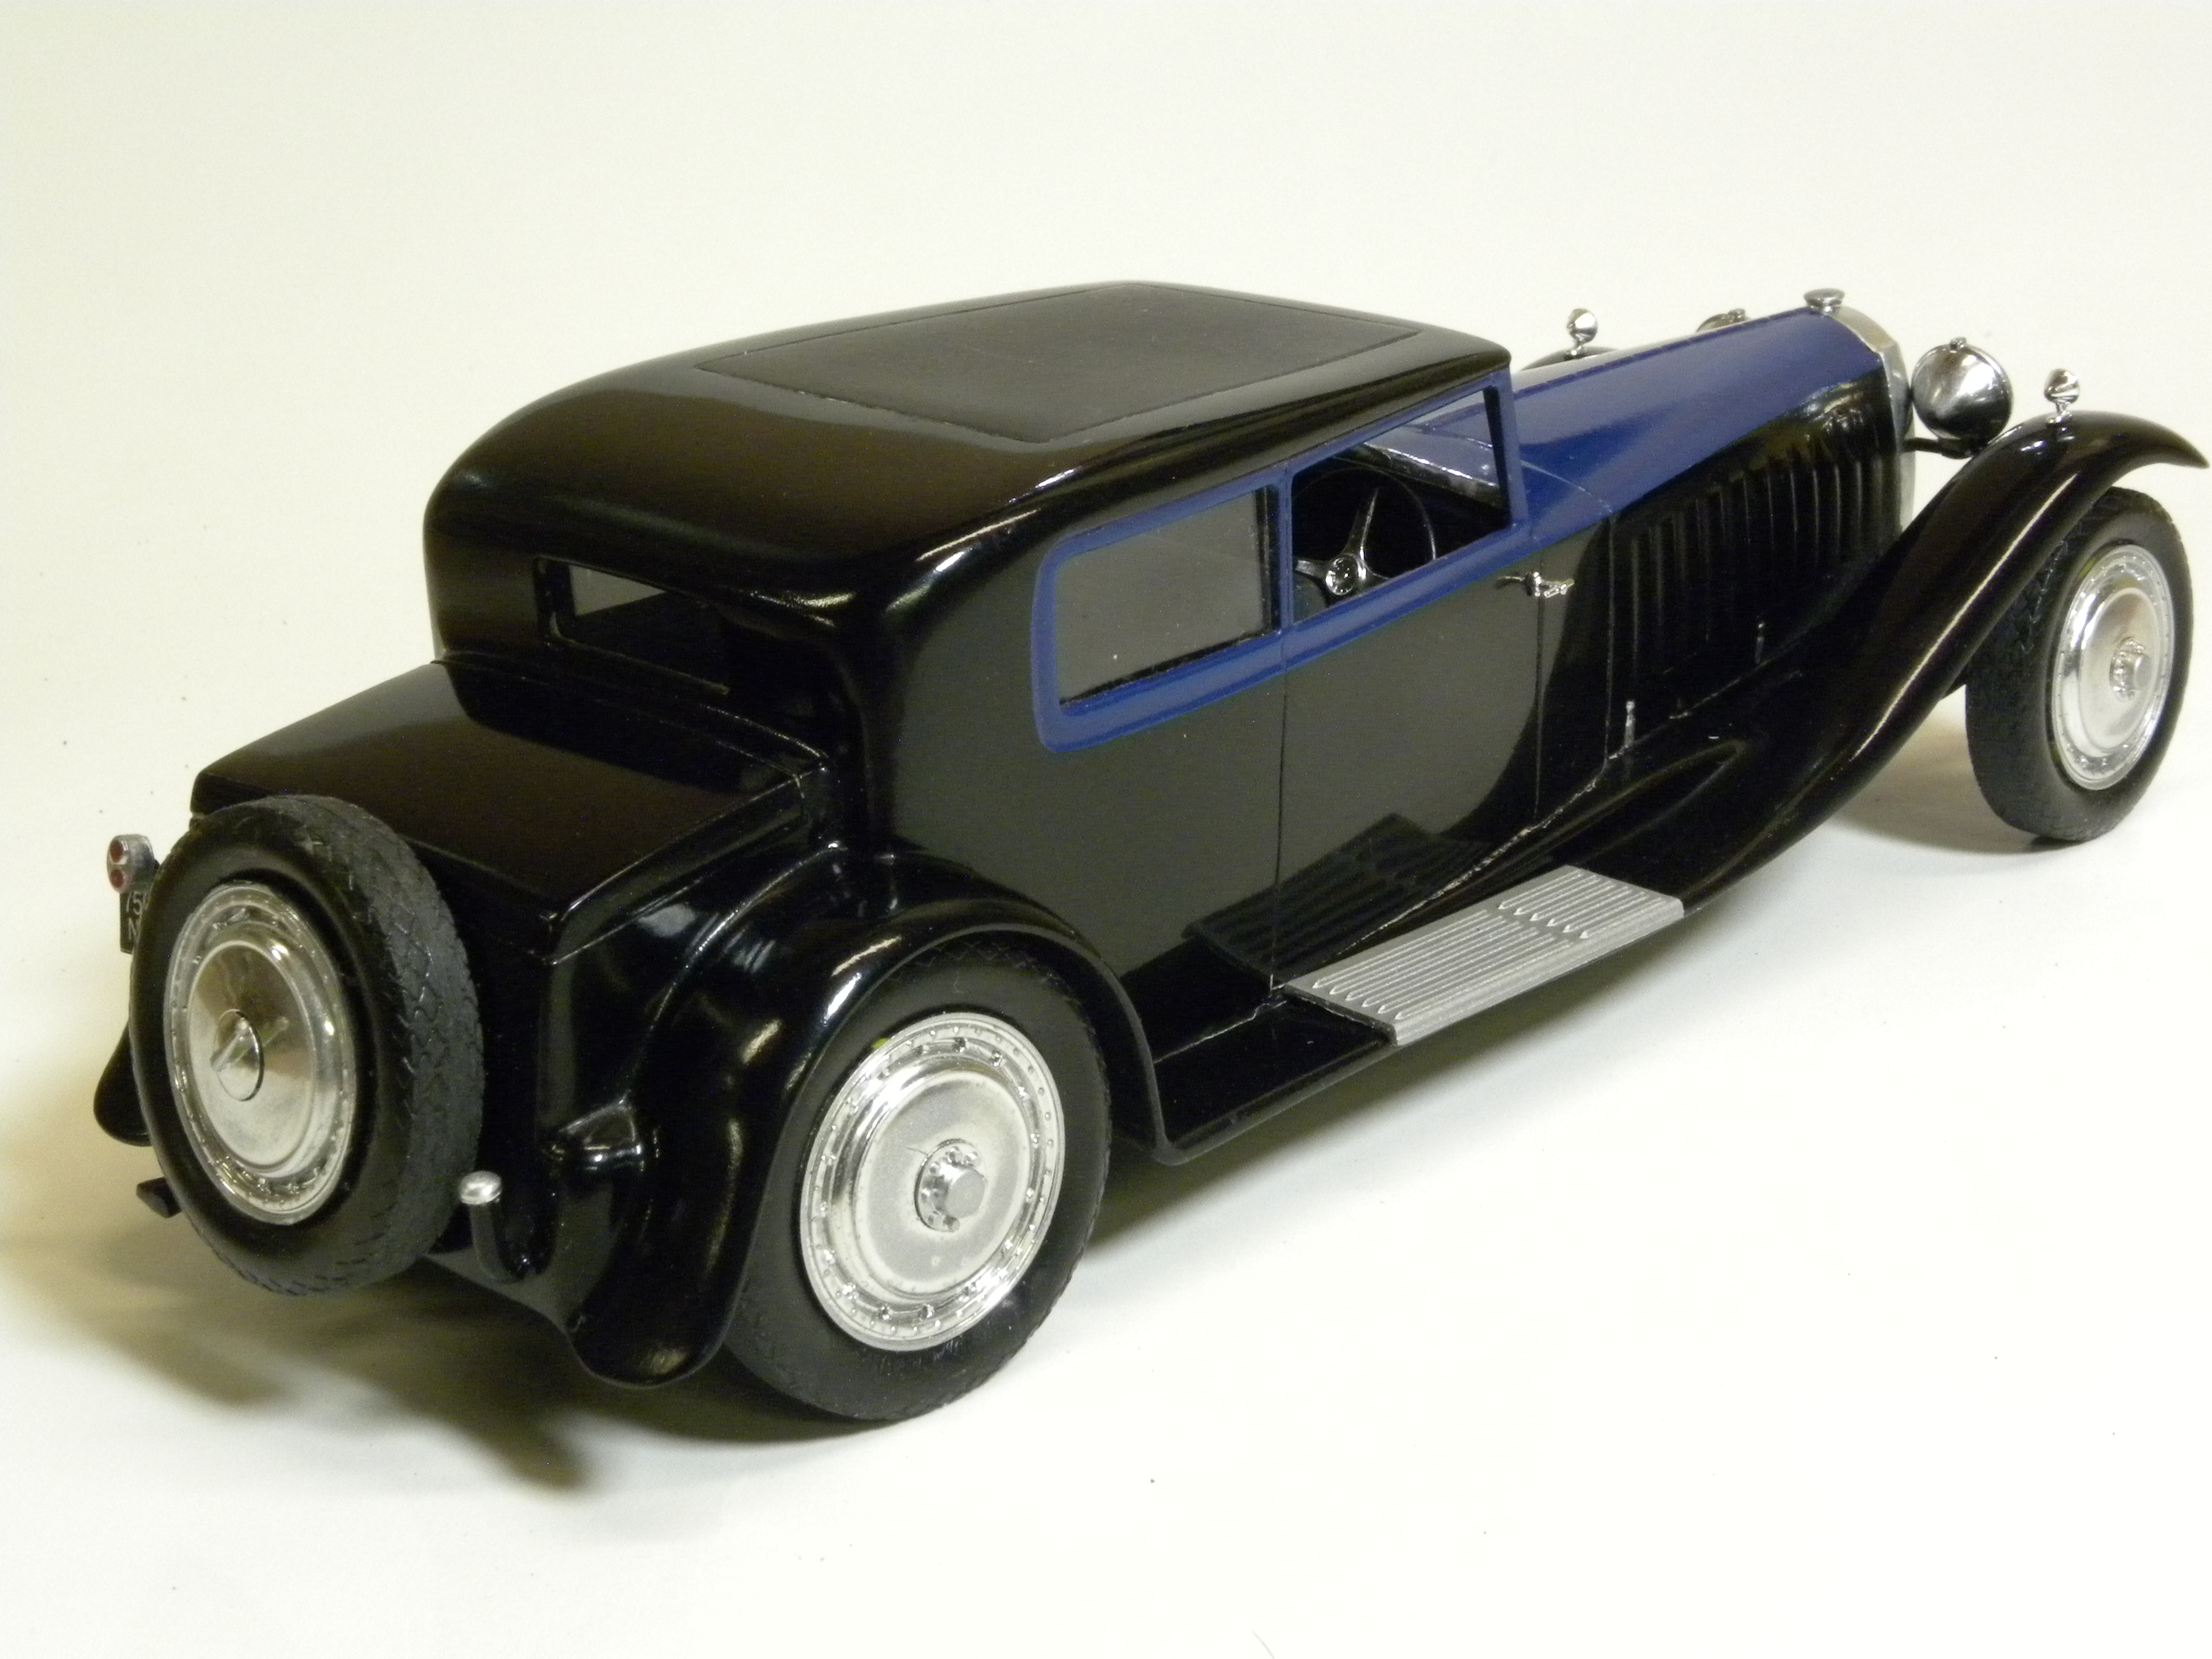
I acquired this from one of this forum's members (Thanks, Eric). He got it from a well known South African resin caster, but is not his work. Who made it is unknown. It was really third rate work and I spent a considerable amount of time smoothing out the body, reshaping the trunk and correcting other areas. I'm fairly satisfied with the results. I consider the Kellner coupe to be the most attractive of all the Royales.
-
Bernard, My Maserati A6GCS from South America looks different, also. The panel lines are cleaner and narrower. Seats are different and the door line on the left side is different. I suspect what you got is a knock off.
-
Maserati A6GCS Spyder
Pico replied to absmiami's topic in WIP: Other Racing: Road Racing, Land Speed Racers
How many unfinished projects do you have on your workbench? -
Cooper barn find
Pico replied to absmiami's topic in WIP: Other Racing: Road Racing, Land Speed Racers
Excellent work. -
Cooper barn find
Pico replied to absmiami's topic in WIP: Other Racing: Road Racing, Land Speed Racers
Excellent work as always. -
The Mangusta haunts me and the quicker I get it done, the better I can sleep.
-
Thanks for the compliments! I'm now finished.
-
Almost on the road.
-
Progress.
-
It's time to slap it together.