

Pico
-
Posts
537 -
Joined
-
Last visited
Content Type
Profiles
Forums
Events
Gallery
Everything posted by Pico
-
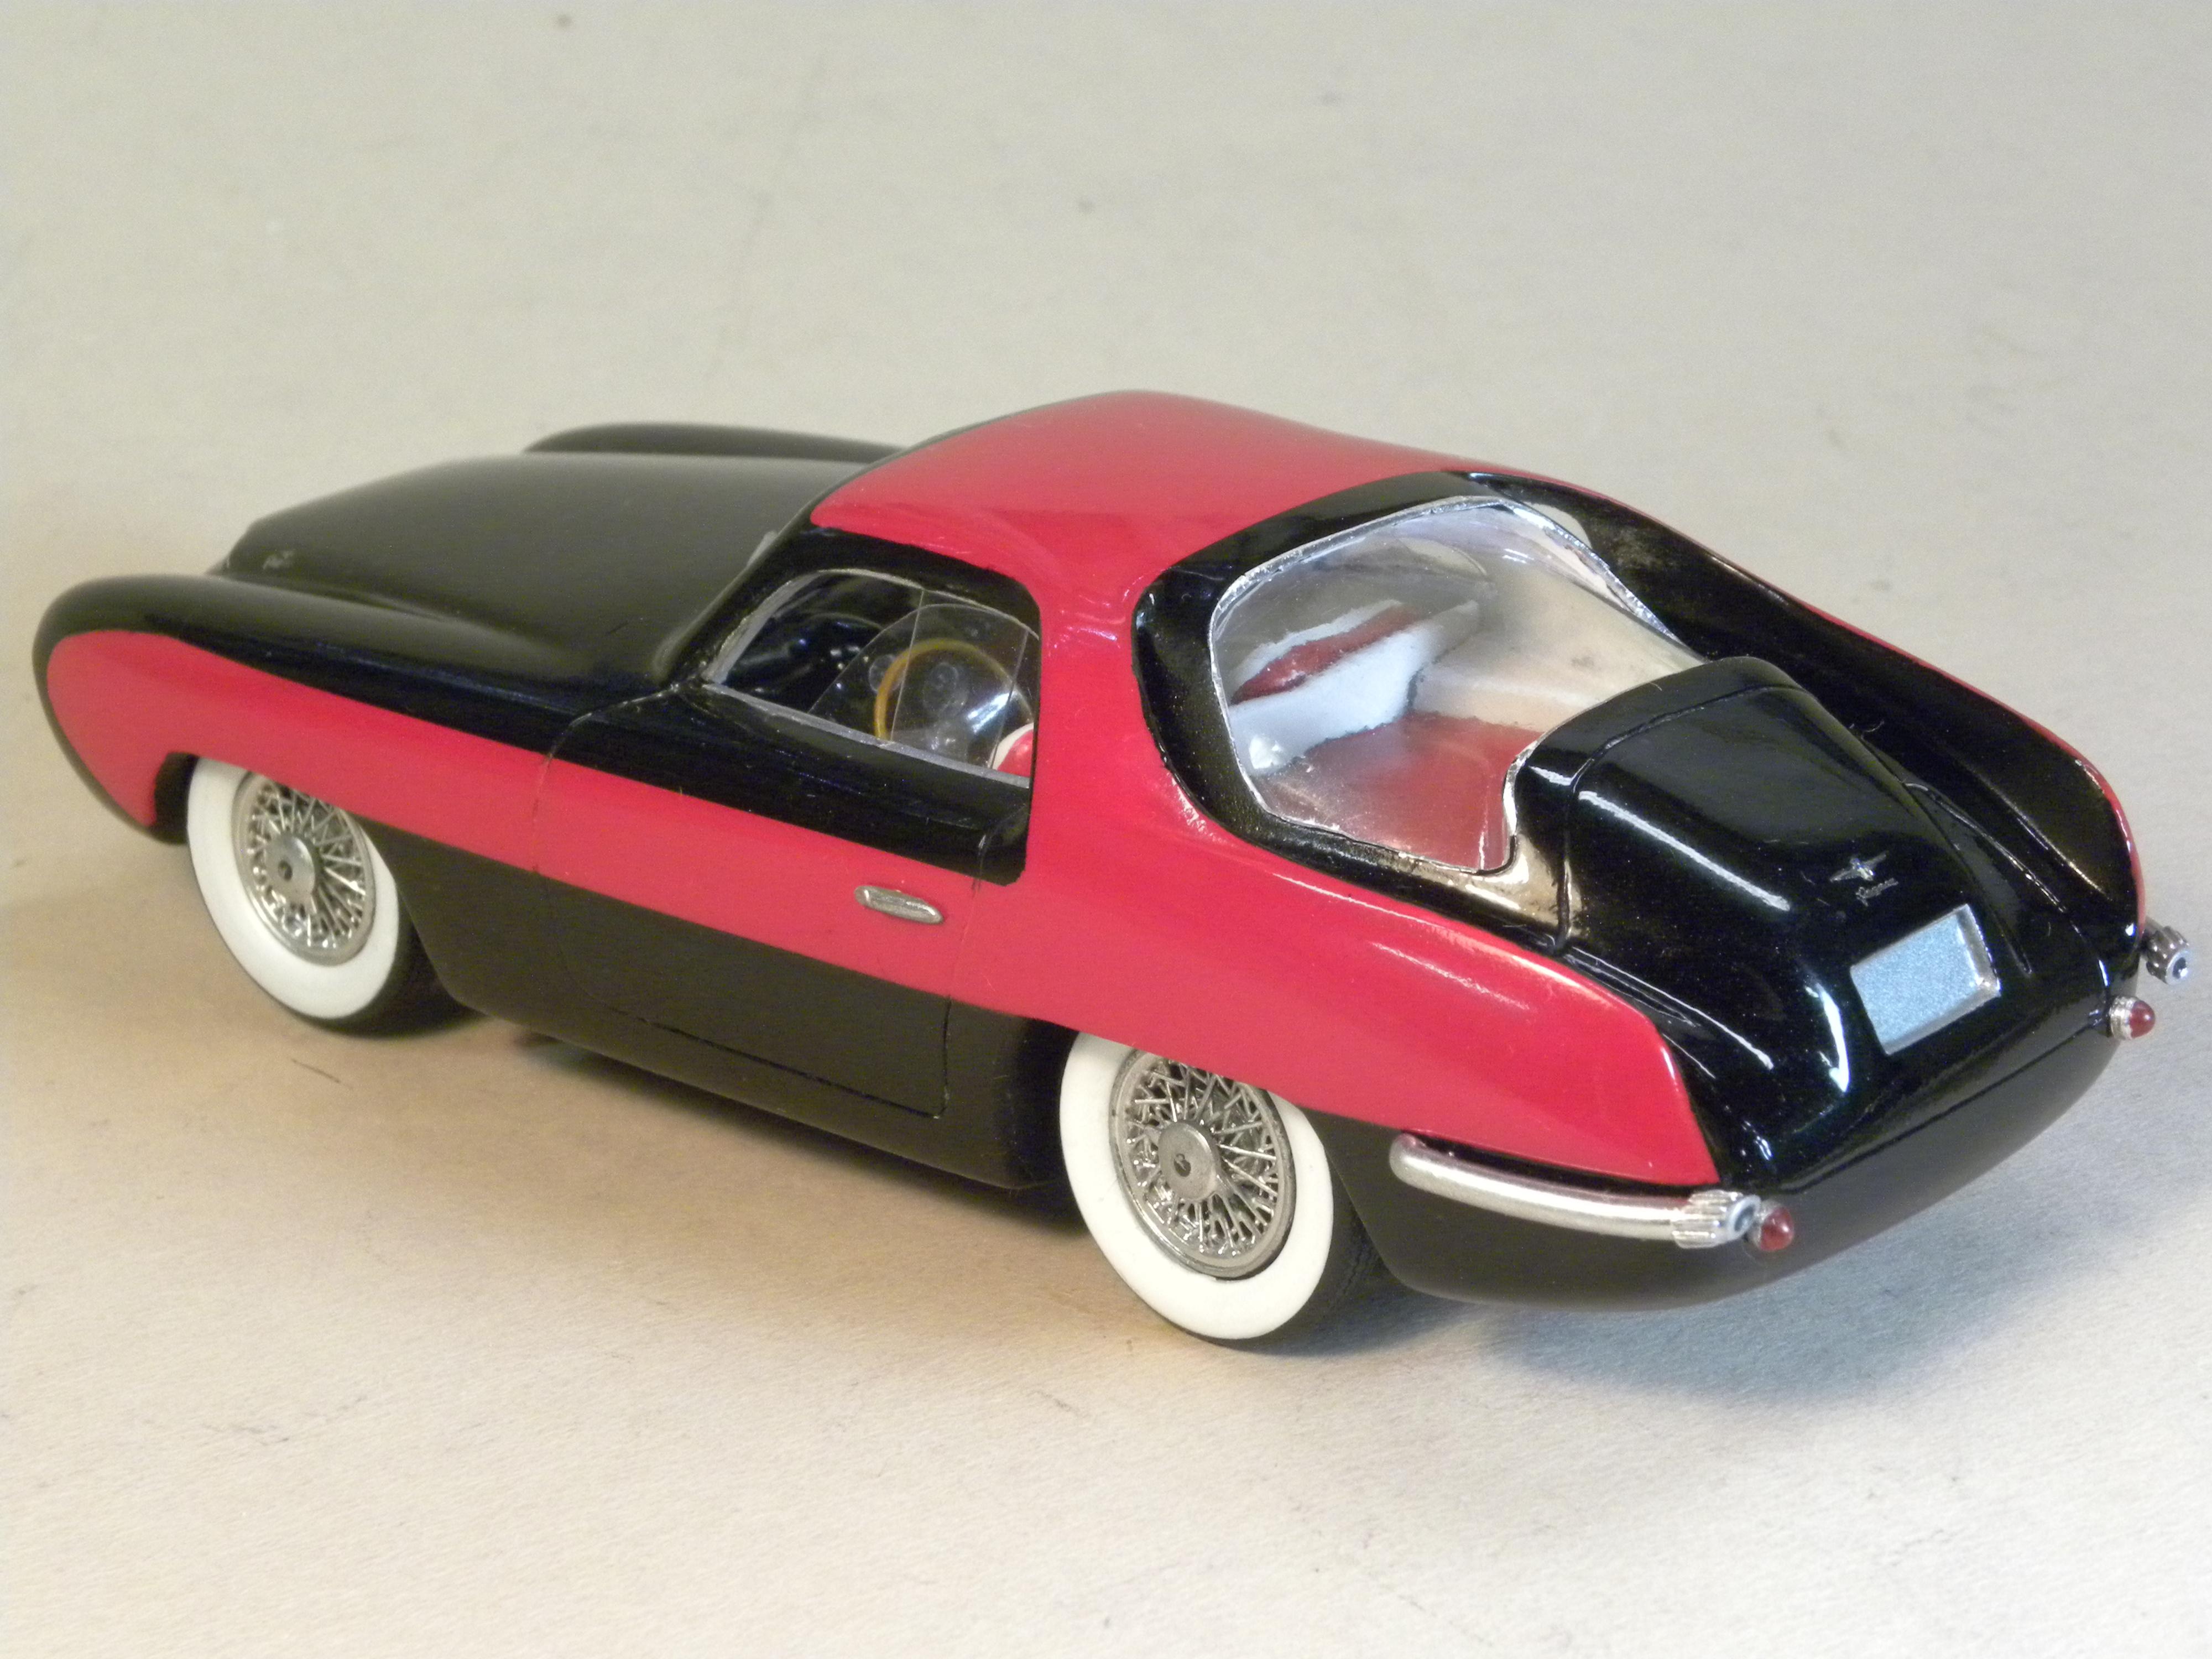
Recently completed and glad of it. 1951 Ferrari 340 America chassis 0082a, the 1951 Mille Miglia winner. I started with a video game spyder, added the roof to it using Sketchup, as well as designing the grille, chassis and interior. The body was too large to be printed in my Anycubic Photon, so it was divided into two parts and printed separately. Lots of body work involved. I designed Pirelli Stelvio tires for this model. White decals were made using the Decalpro system.

-
Thanks very much! I'd like to visit again, we had an excellent time.
-
The T50 is more my idea what a modern supercar should be.
-
Thanks to everyone for the compliments. This has been a challenging, but fulfilling project, that I learned a lot on. I hope some of that learning has been picked up by many of you guys. Andy: just looked up the new Delage, didn't know anything about it. All of those hypercars are trying to out scoop, swoop and crease all the others. Maybe not a good idea. I would like to see a return to the aesthetics of the 50's.
-
Finished.
-
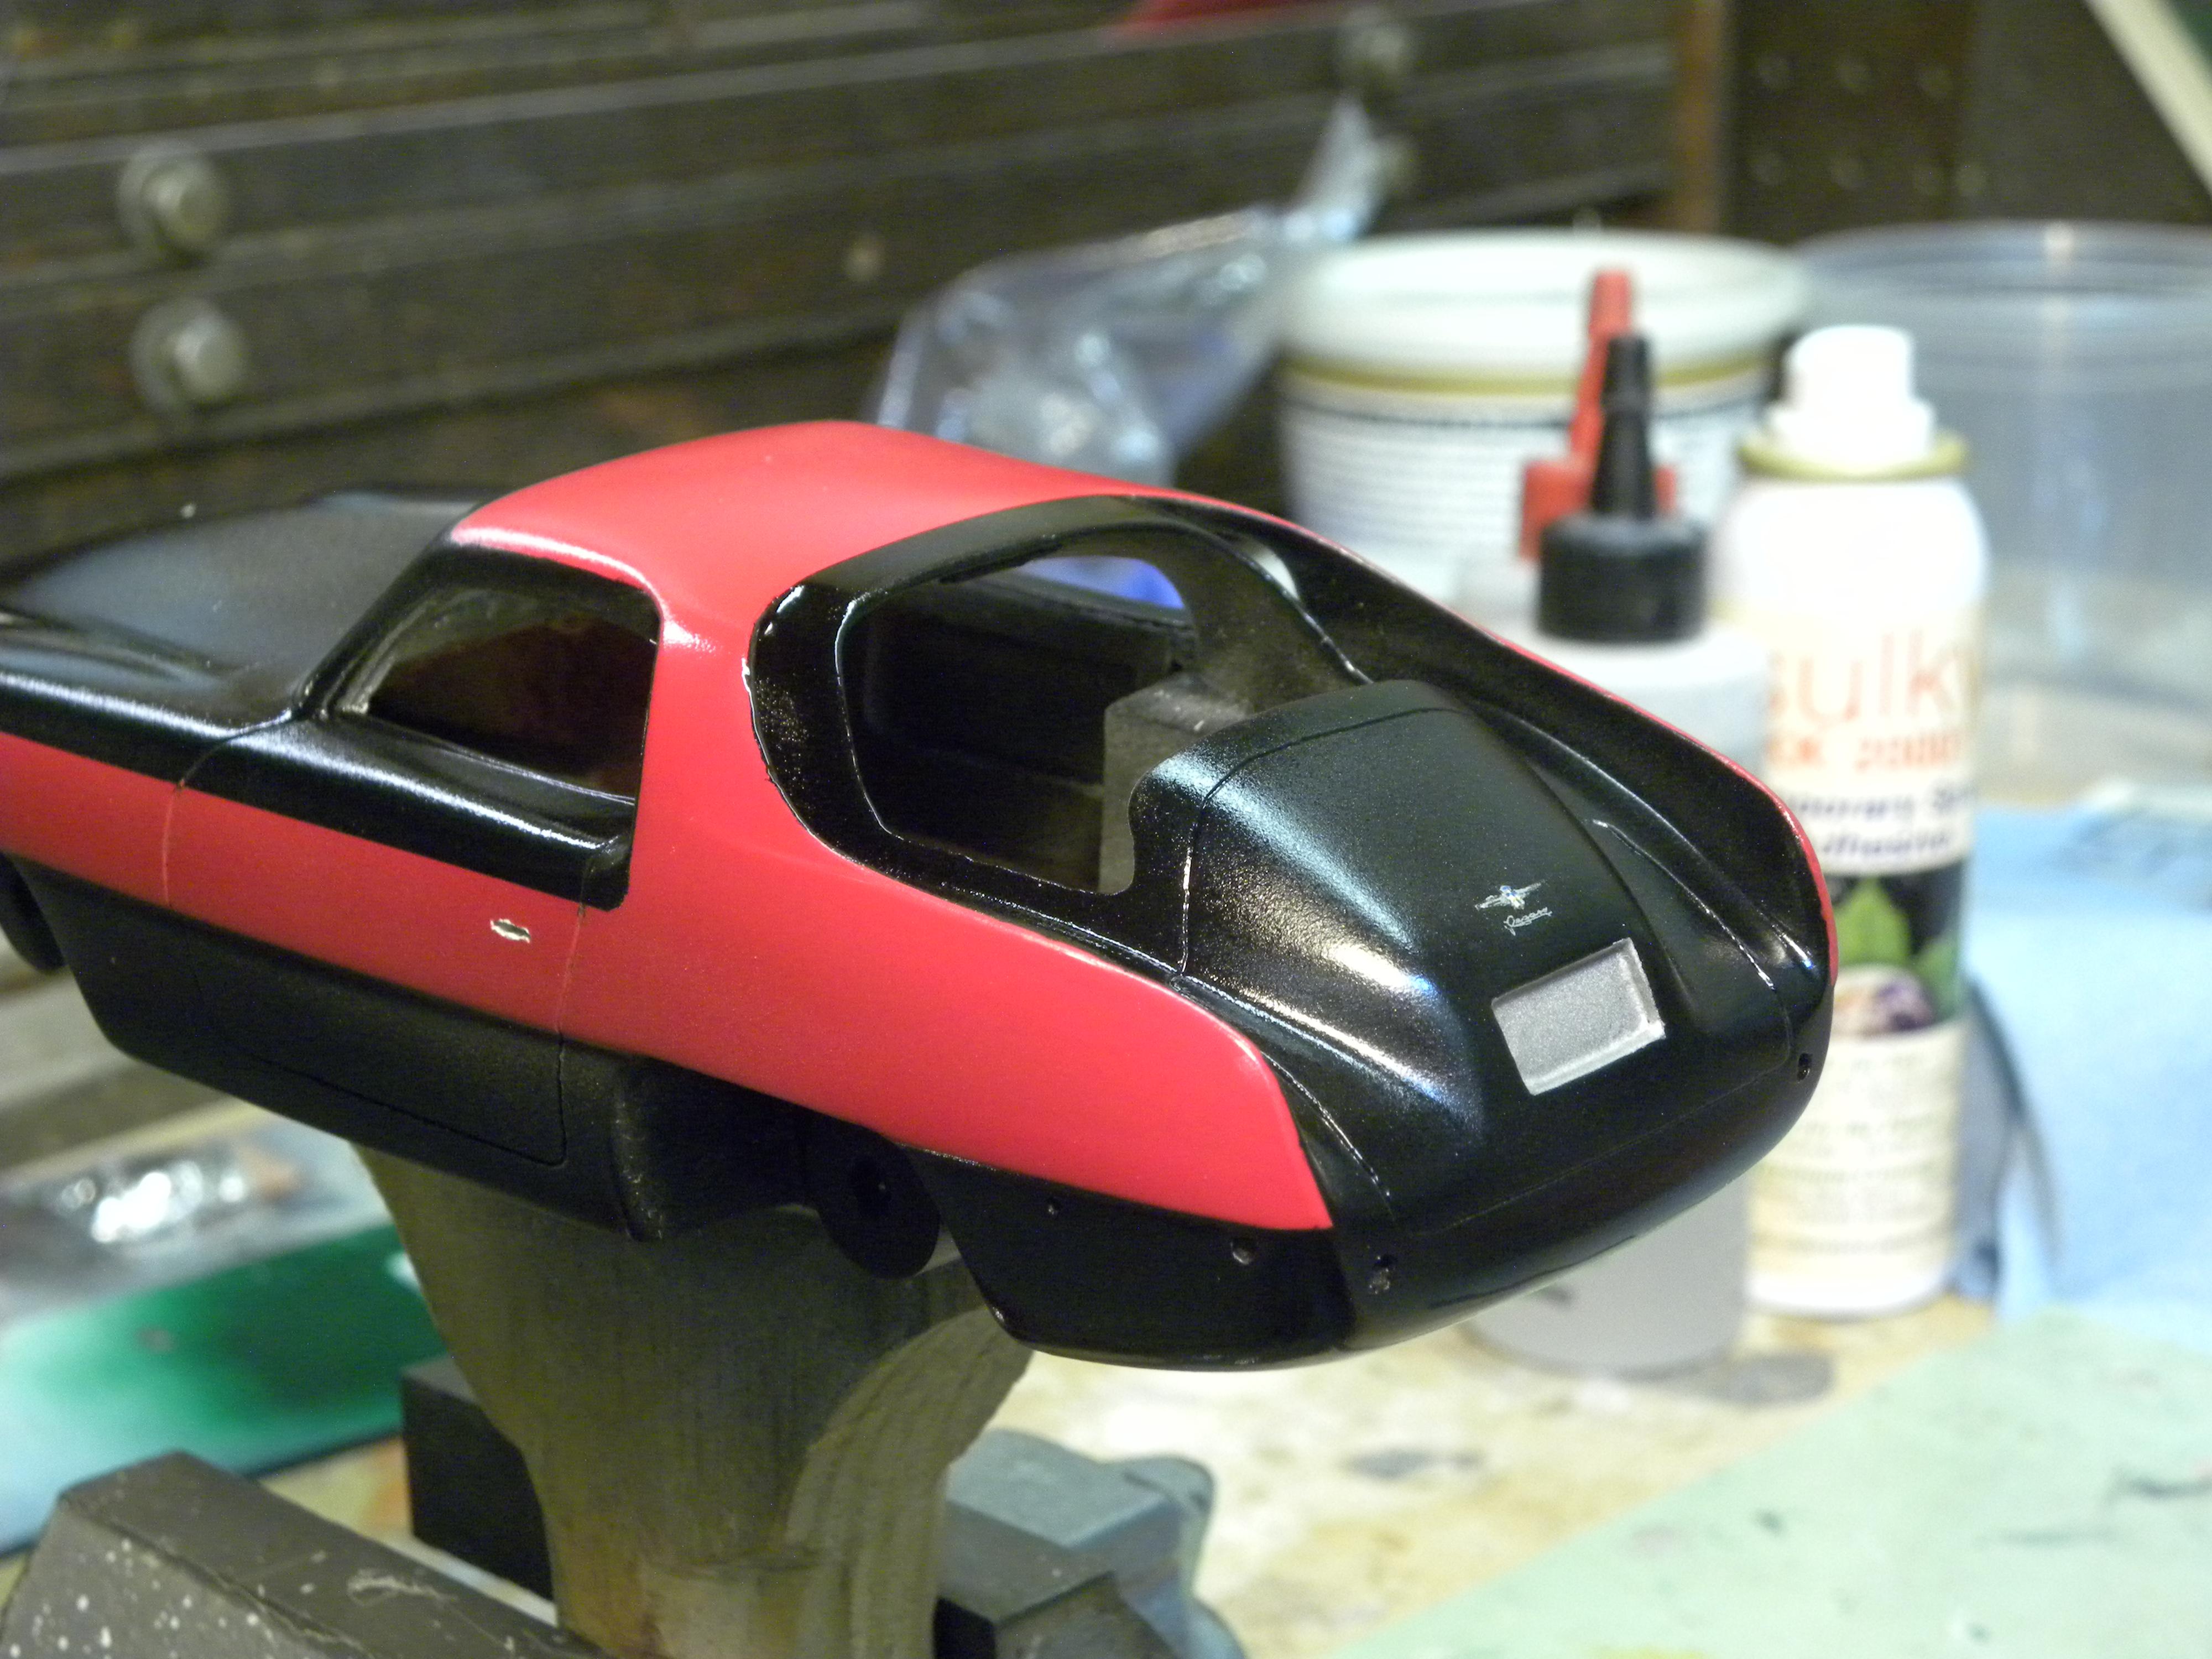
Rear window was vacformed, others are sheet. Pleats run across the seat in the car today, uncertain about 1953. Exhaust pipe install.
-
It's time to slap this job together.
-
Nearing the end.
-
Inspirational thread.
-
Clear coat.
-
Molotow on the wire wheels. The monster knock off has the black Pegaso decal.
-
Chrome decals.
-
Experimenting with a different material. I will be using the last of my stock of resin cast tires on this model. However, I designed and and printed Pirelli Stelvios for the Osca (see in "under glass") and am working on Pirelli Cinturatos for future projects.
-
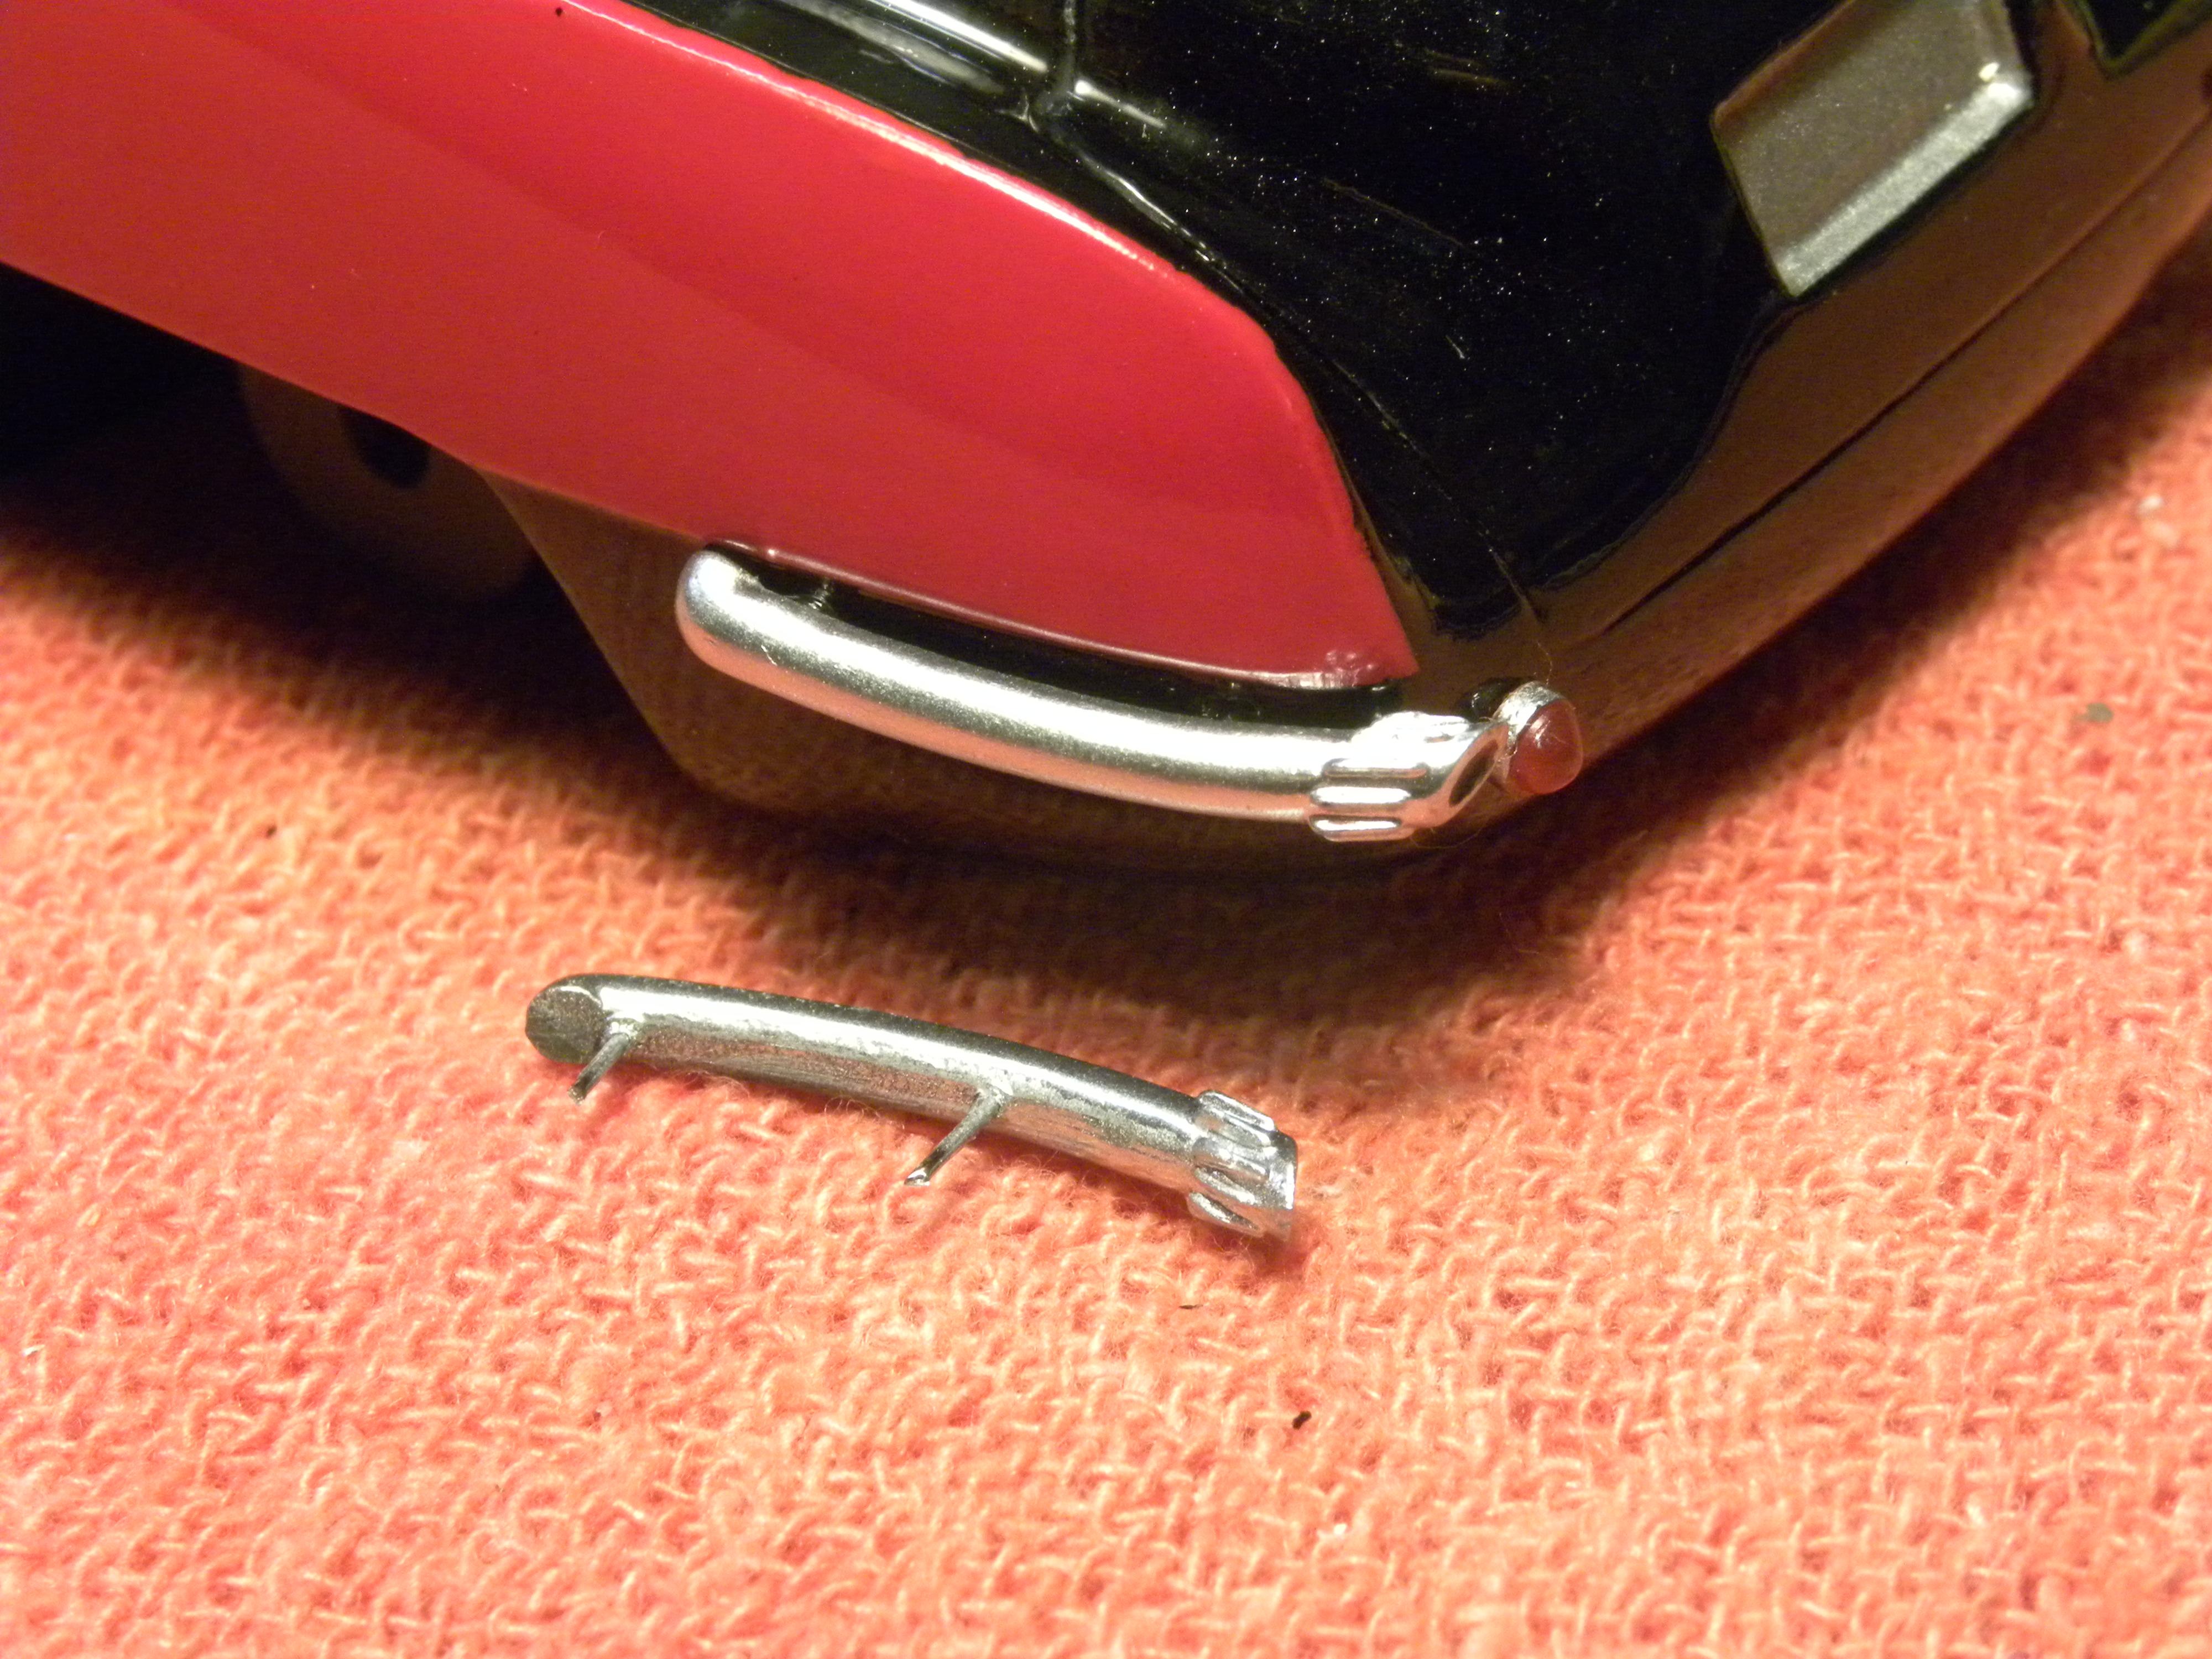
It's necessary to be careful with a 3D printed part; they are brittle.
-
It's not difficult once you catch onto it. Here I have taken the mesh and added planes on the inside to give the model thickness, so it can be printed.
-
3D printed parts done on my Anycubic Photon. Those spokes are .0015" (.038 mm) in diameter.
-
The car I modeled is here on the Osca Owners Group home page: http://oscaownersgroup.com/
-
It's time to print chrome decals. I make vector art in Inkscape and print them using Decalprofx: https://decalprofx.com/index.html.
-
There is a great deal of design work involved, but when you have developed those skills, you can make anything.
-
Started with a 1/43d diecast, which I scanned and modified for 3D printing, then output at 1/24th scale. Also designed in Sketchup the oval grille, chassis plate and dashboard. The wire wheels and Nardi steering wheel were previously designed for another model. That's all printed also on my Anycubic Photon. Water slide decals designed in Inkscape and printed on an HP copier. Car was owned by Briggs Cunningham and driven by Bill Lloyd and Stirling Moss.
-
Superb work.
-
Don't overlook another of my favorite modeling materials: Eves Apoxie Sculpt: https://avesstudio.com/shop/apoxie-sculpt/. I formed the flying buttresses, going from the rear fender to the roof with it.
-
Also called tooling or modeling board. Here is a UK supplier: https://www.mouldlife.net/renshape-boards-154-c.asp. It comes in many different densities, so you may want to get some samples. I got a chunk from an ebay supplier, at a reasonable price after searching for a long time.
-
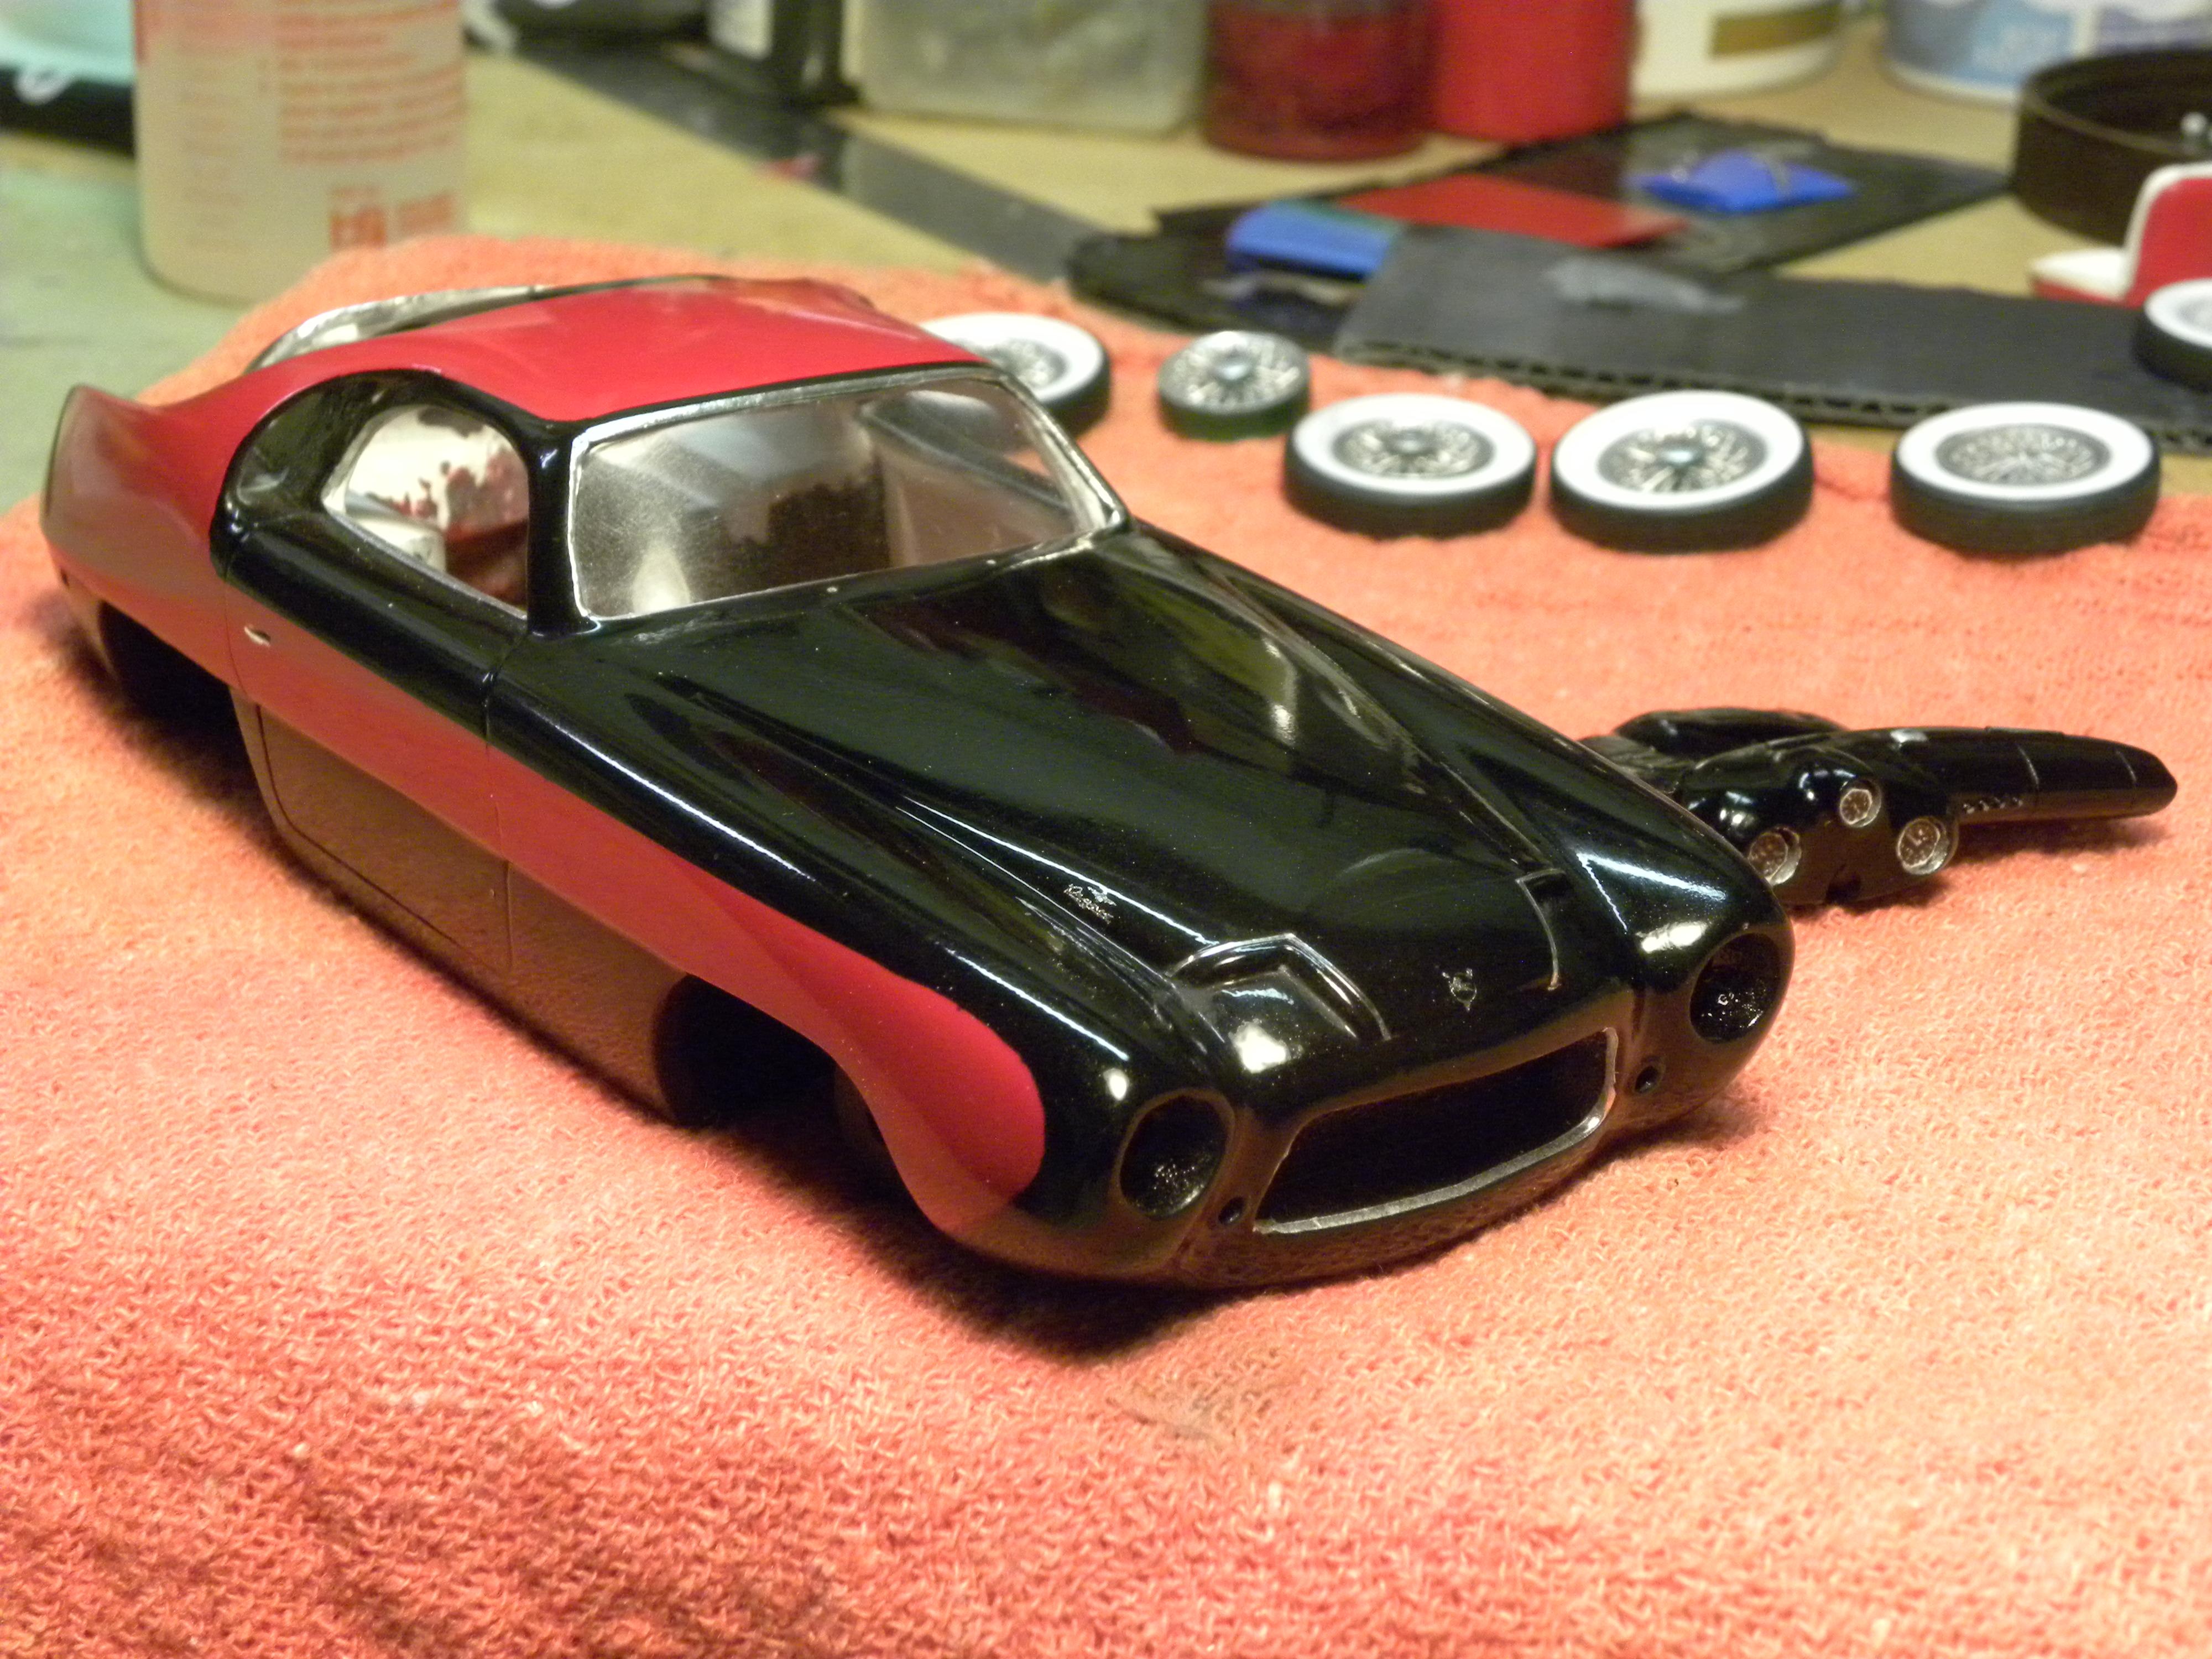
Cleaned up nicely.
-
Beginning to look good.


.png.2e8014a8ec1599a33e06776a0db29a9f.png)


.png.f450c146e8a391da6992b45b28ba9047.png)


