Pico
-
Posts
537 -
Joined
-
Last visited
Content Type
Profiles
Forums
Events
Gallery
Everything posted by Pico
-
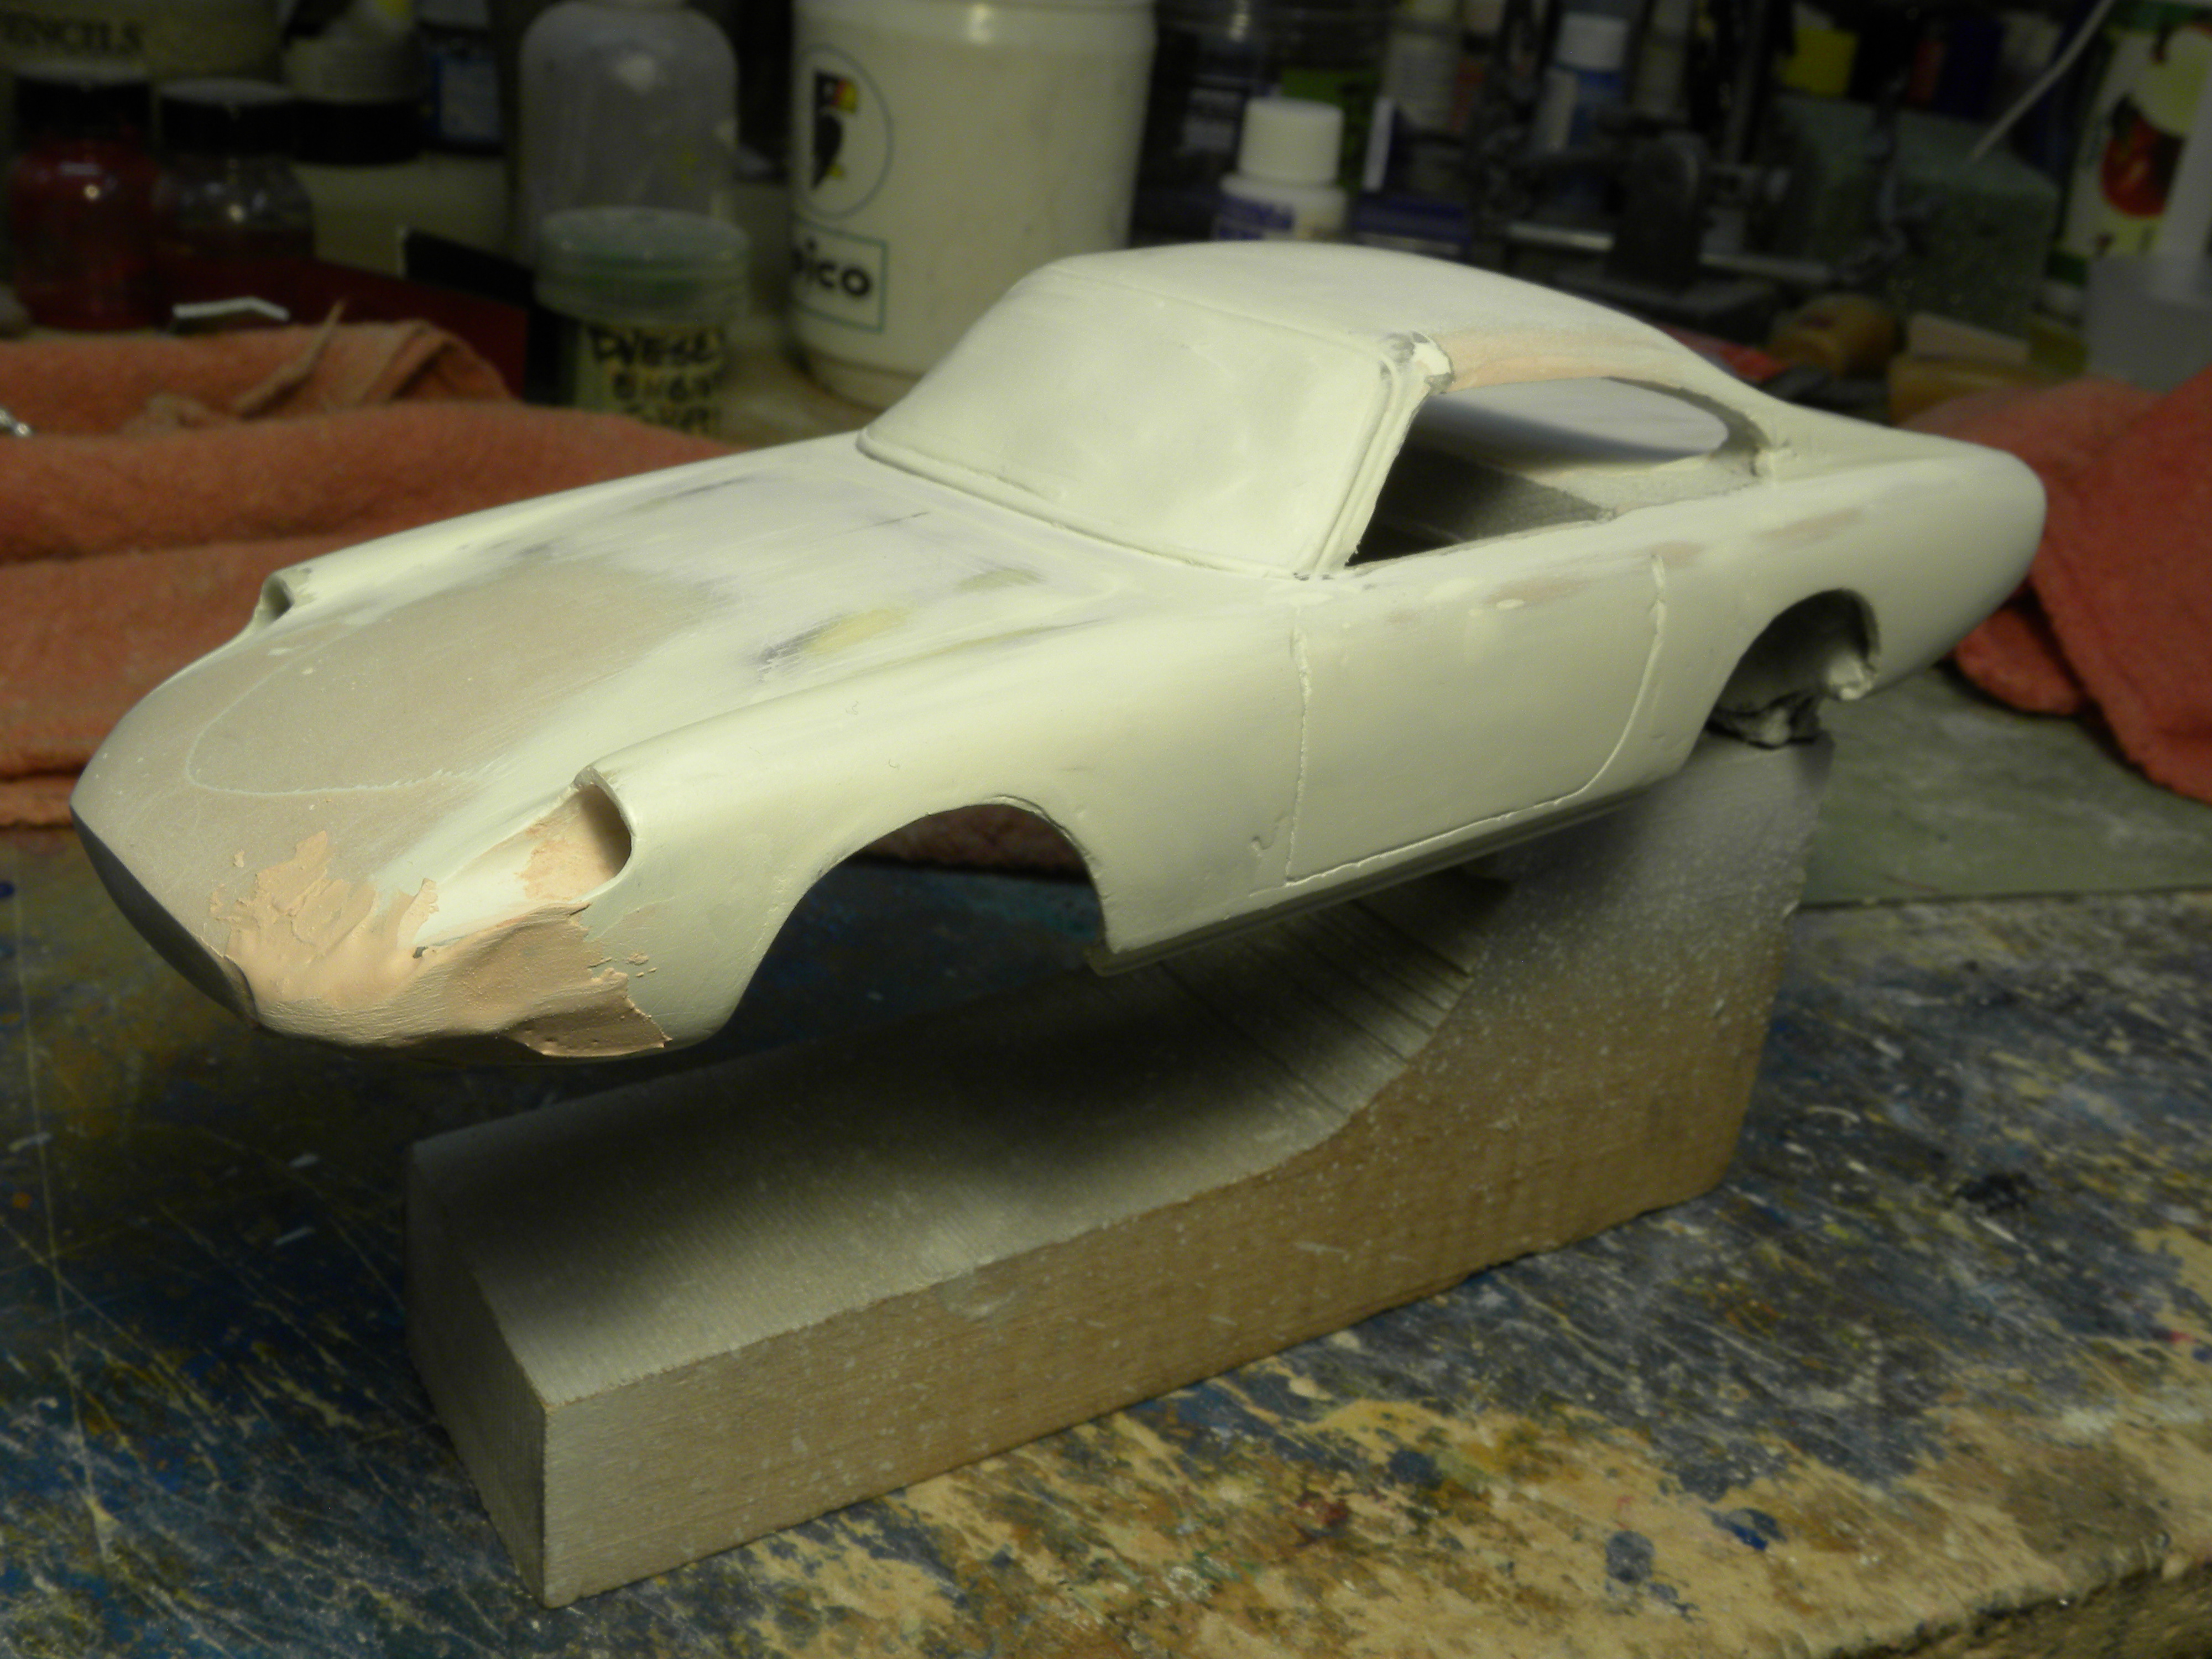
Fits well but needs some refining around the edges.

-
Profil 24 Quality question...
Pico replied to Ace-Garageguy's topic in Car Aftermarket / Resin / 3D Printed
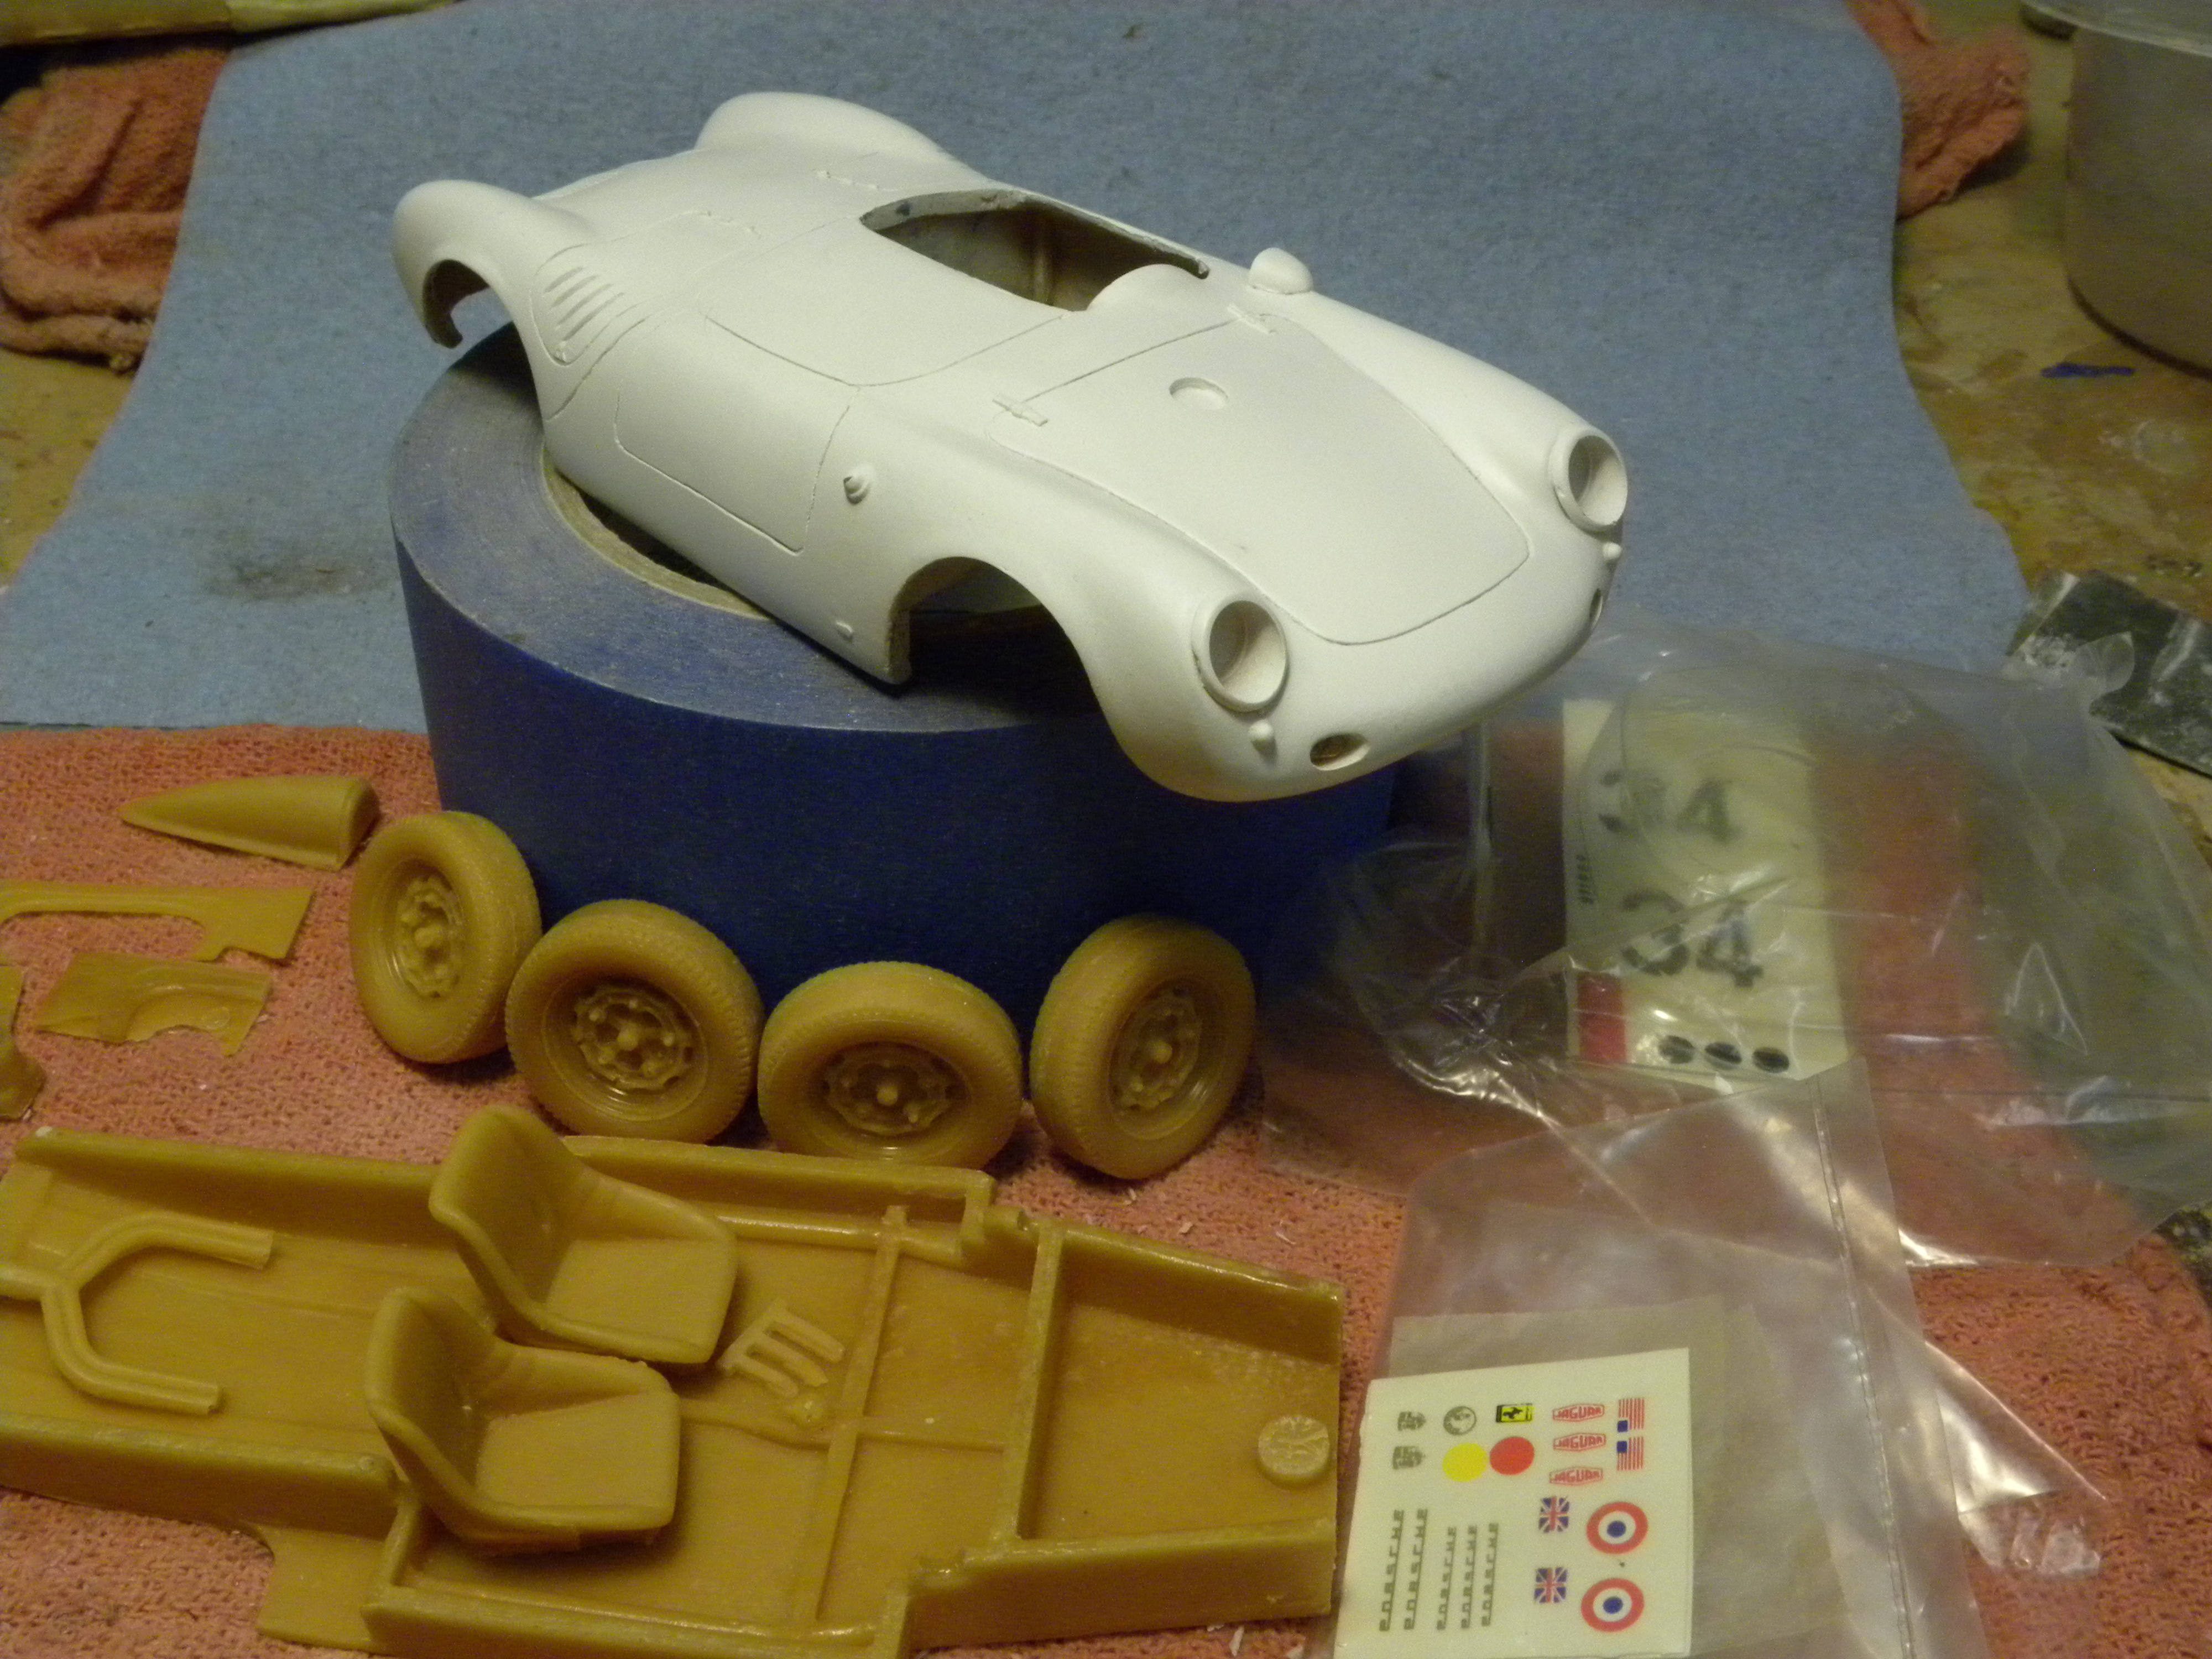
550 spyder obtained from the late John Johnson about 15-20 years ago.
-
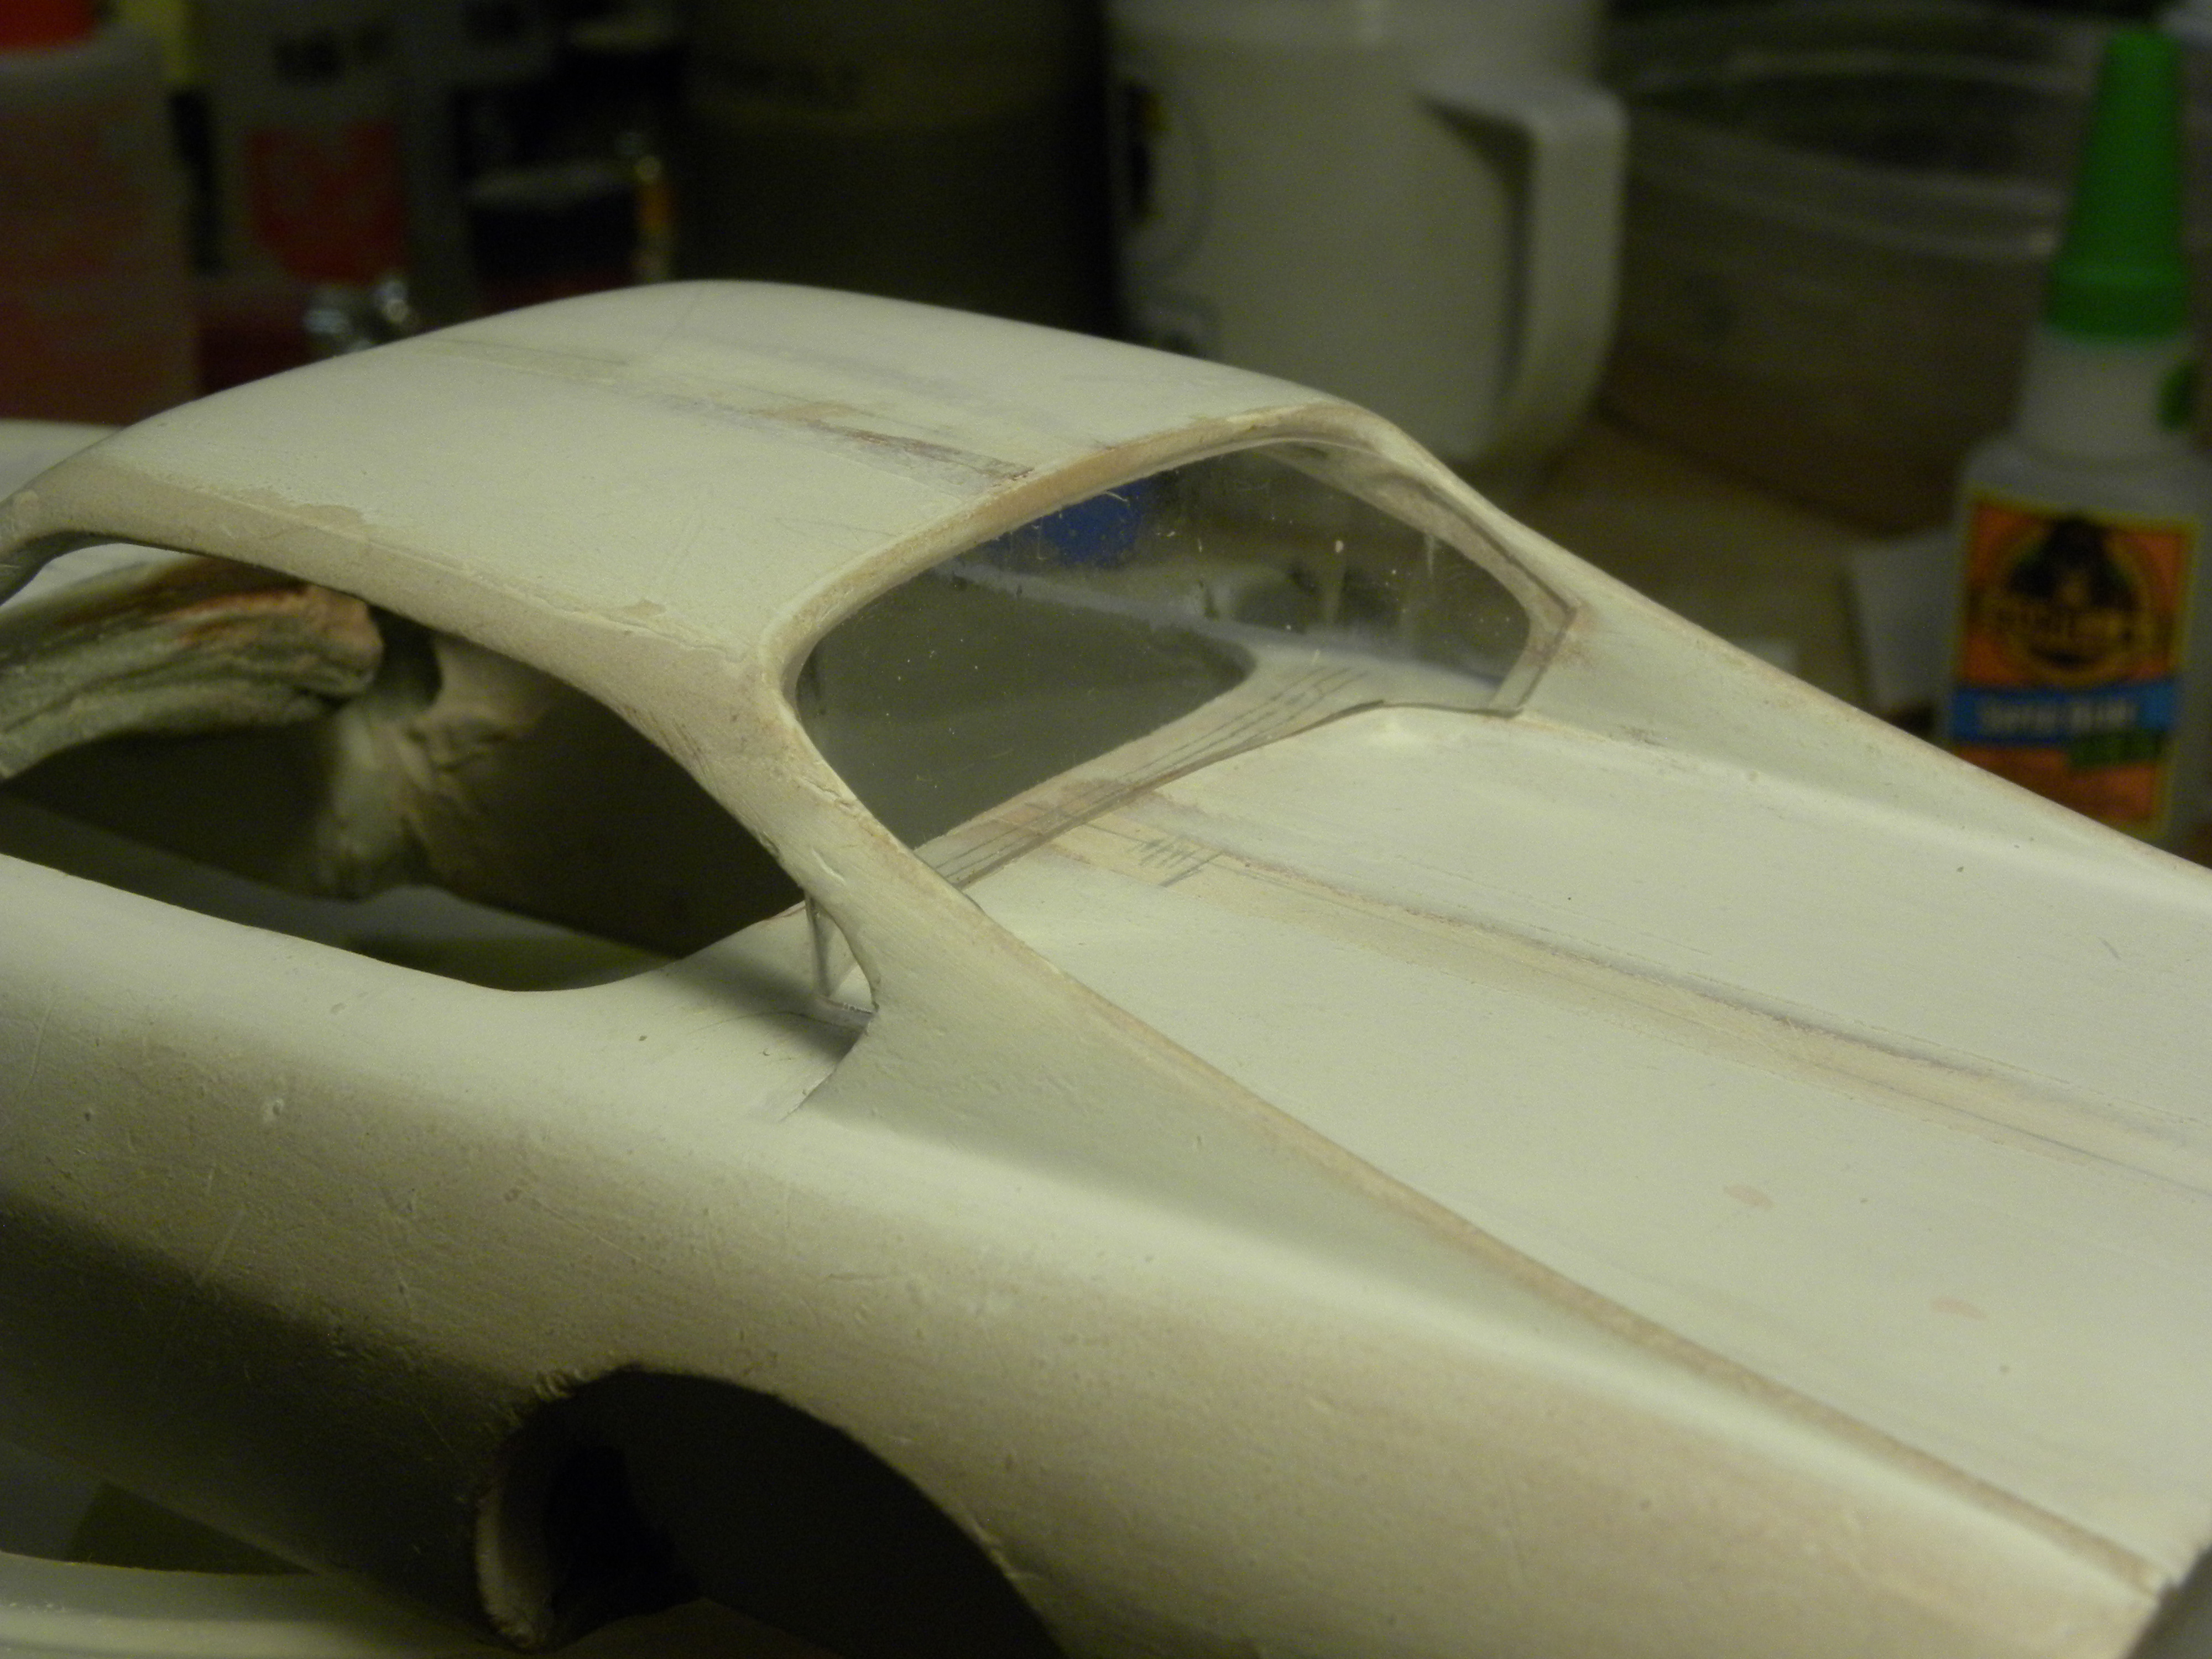
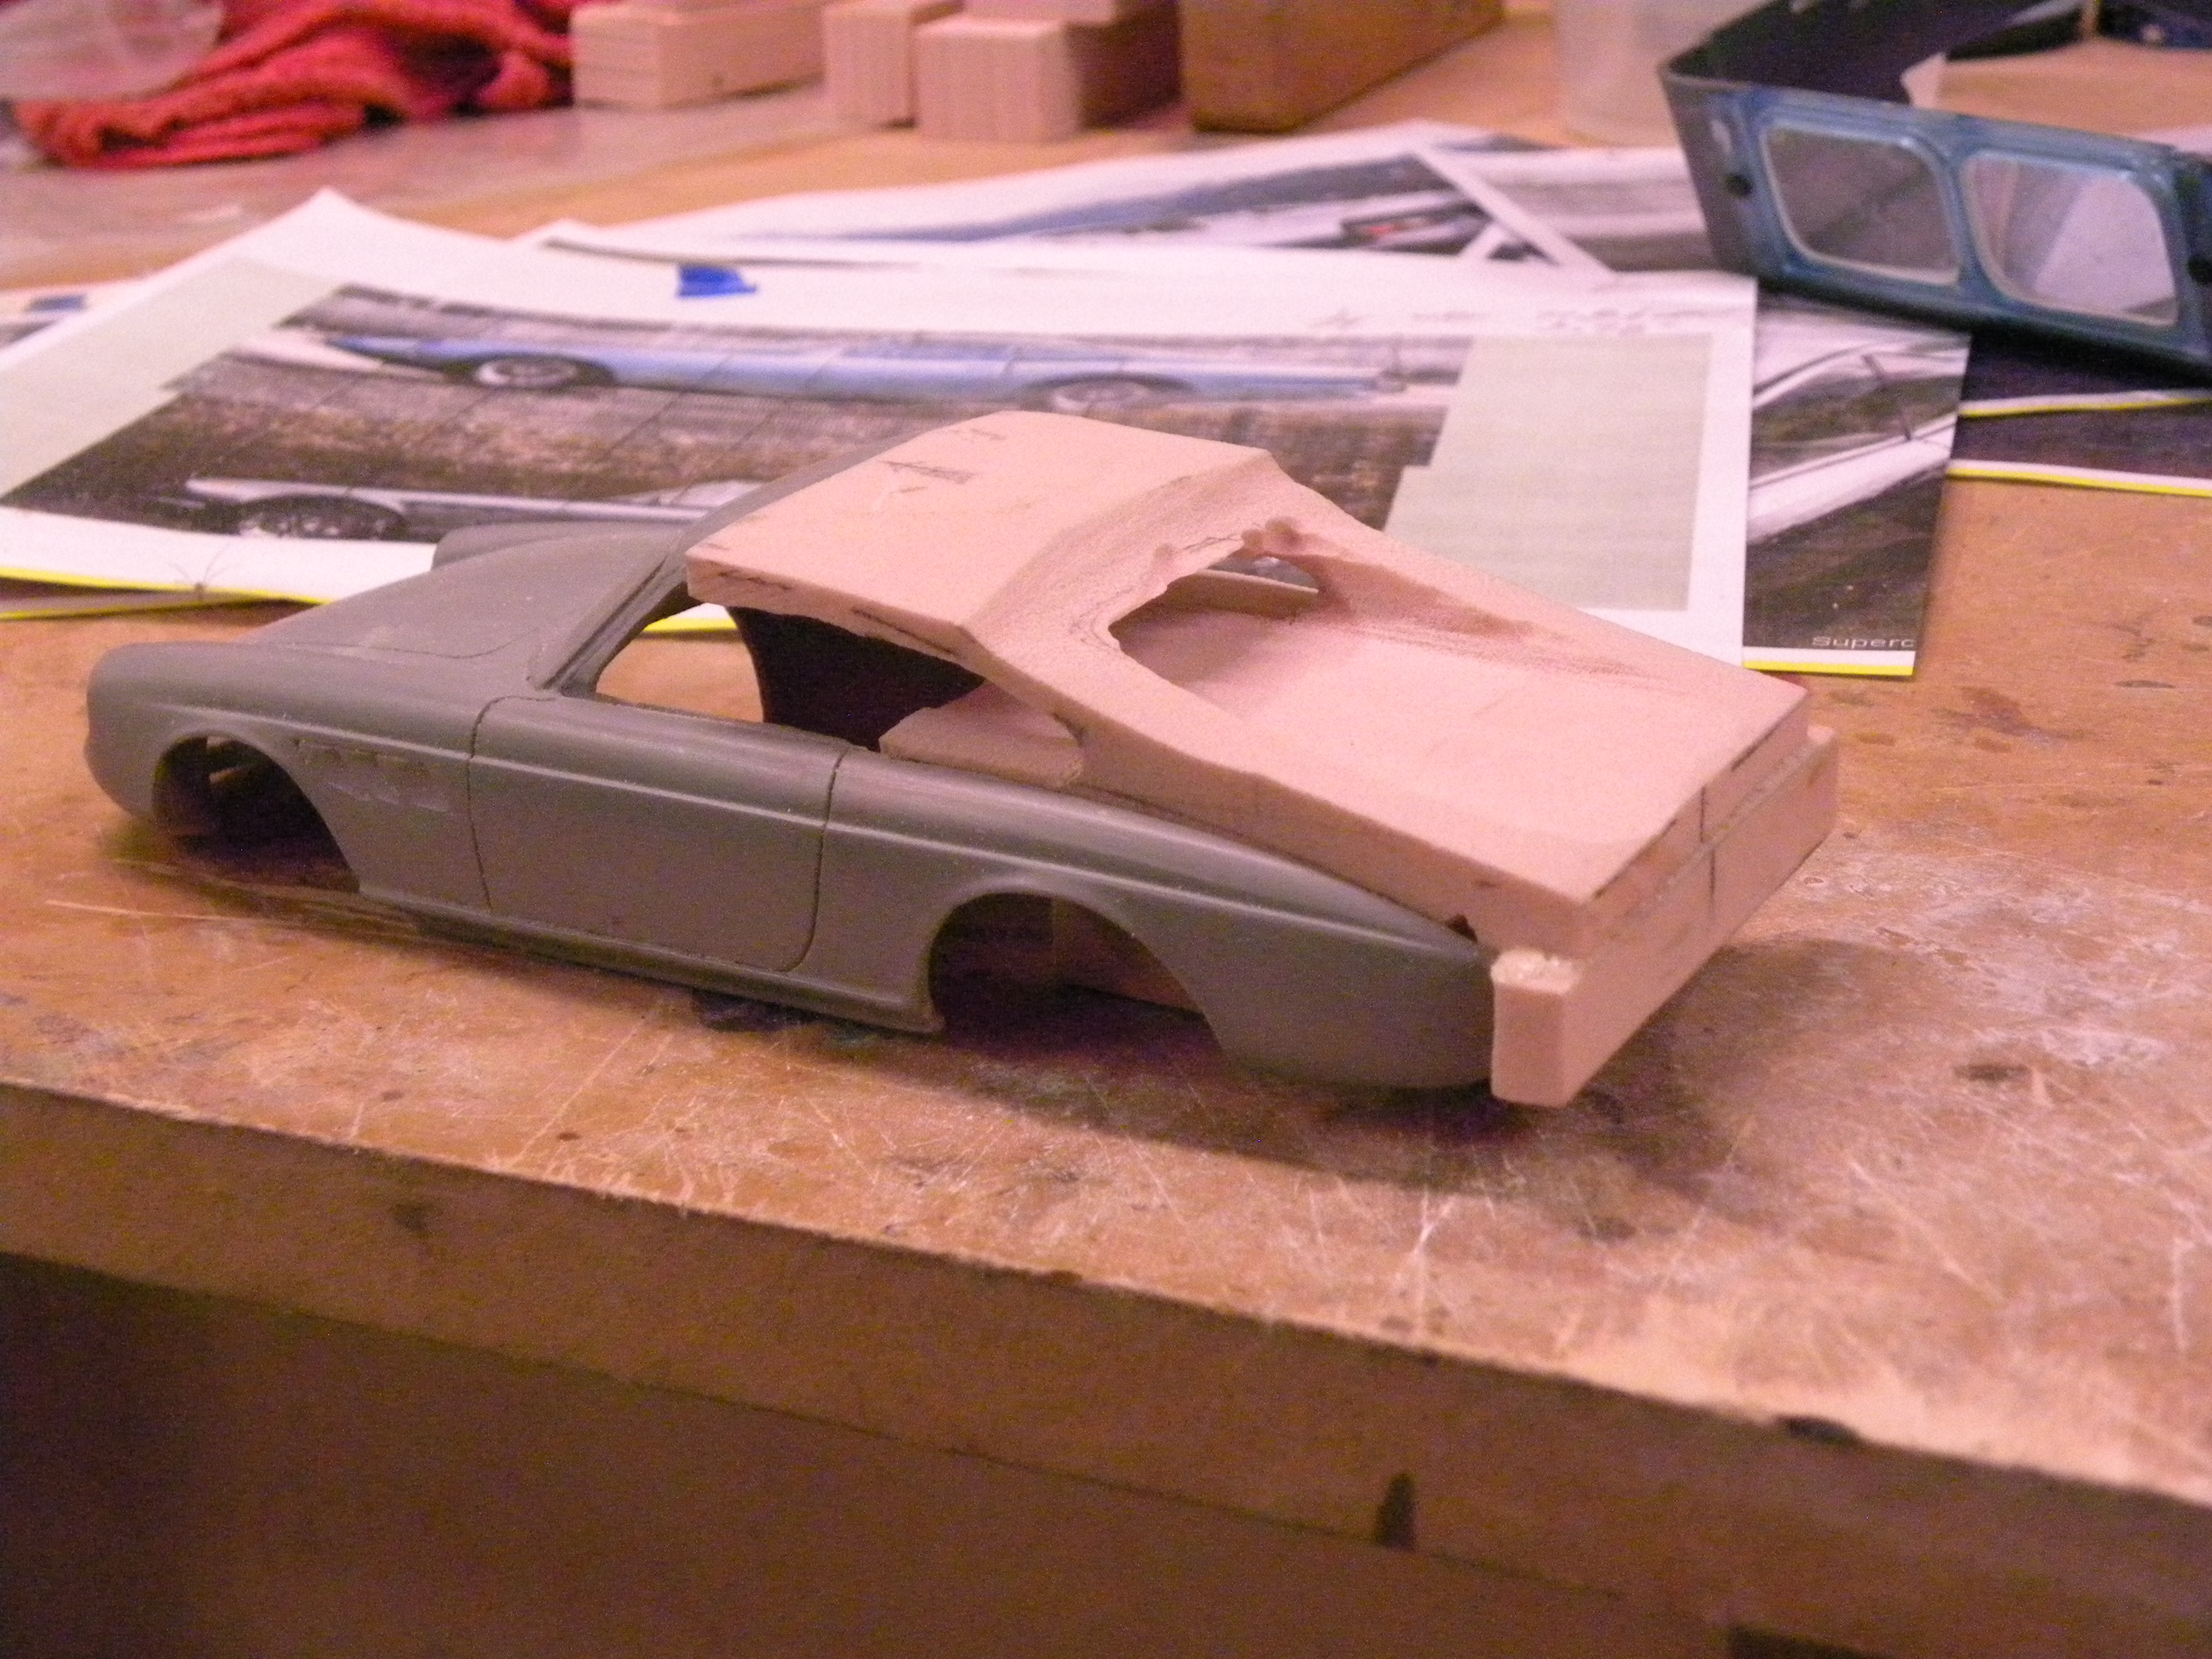
Plug, made from epoxy putty, for vacuum forming the rear window. I squish it into the opening, then carve and sand it to shape.
-
Profil 24 Quality question...
Pico replied to Ace-Garageguy's topic in Car Aftermarket / Resin / 3D Printed
What? What? Beck replica?? You been holding out on us. -
Profil 24 Quality question...
Pico replied to Ace-Garageguy's topic in Car Aftermarket / Resin / 3D Printed
Like to see it! -
Profil 24 Quality question...
Pico replied to Ace-Garageguy's topic in Car Aftermarket / Resin / 3D Printed
Which kit are you considering getting? ACME president Webers has the Aston Martin DB2, the shape of the body is not quite correct. However, I have the 1937 Alfa 2900B and 1927 Renault record car and both are good. If you ever show up at an ACME meeting, we could bring them along. -
Nice work!
-
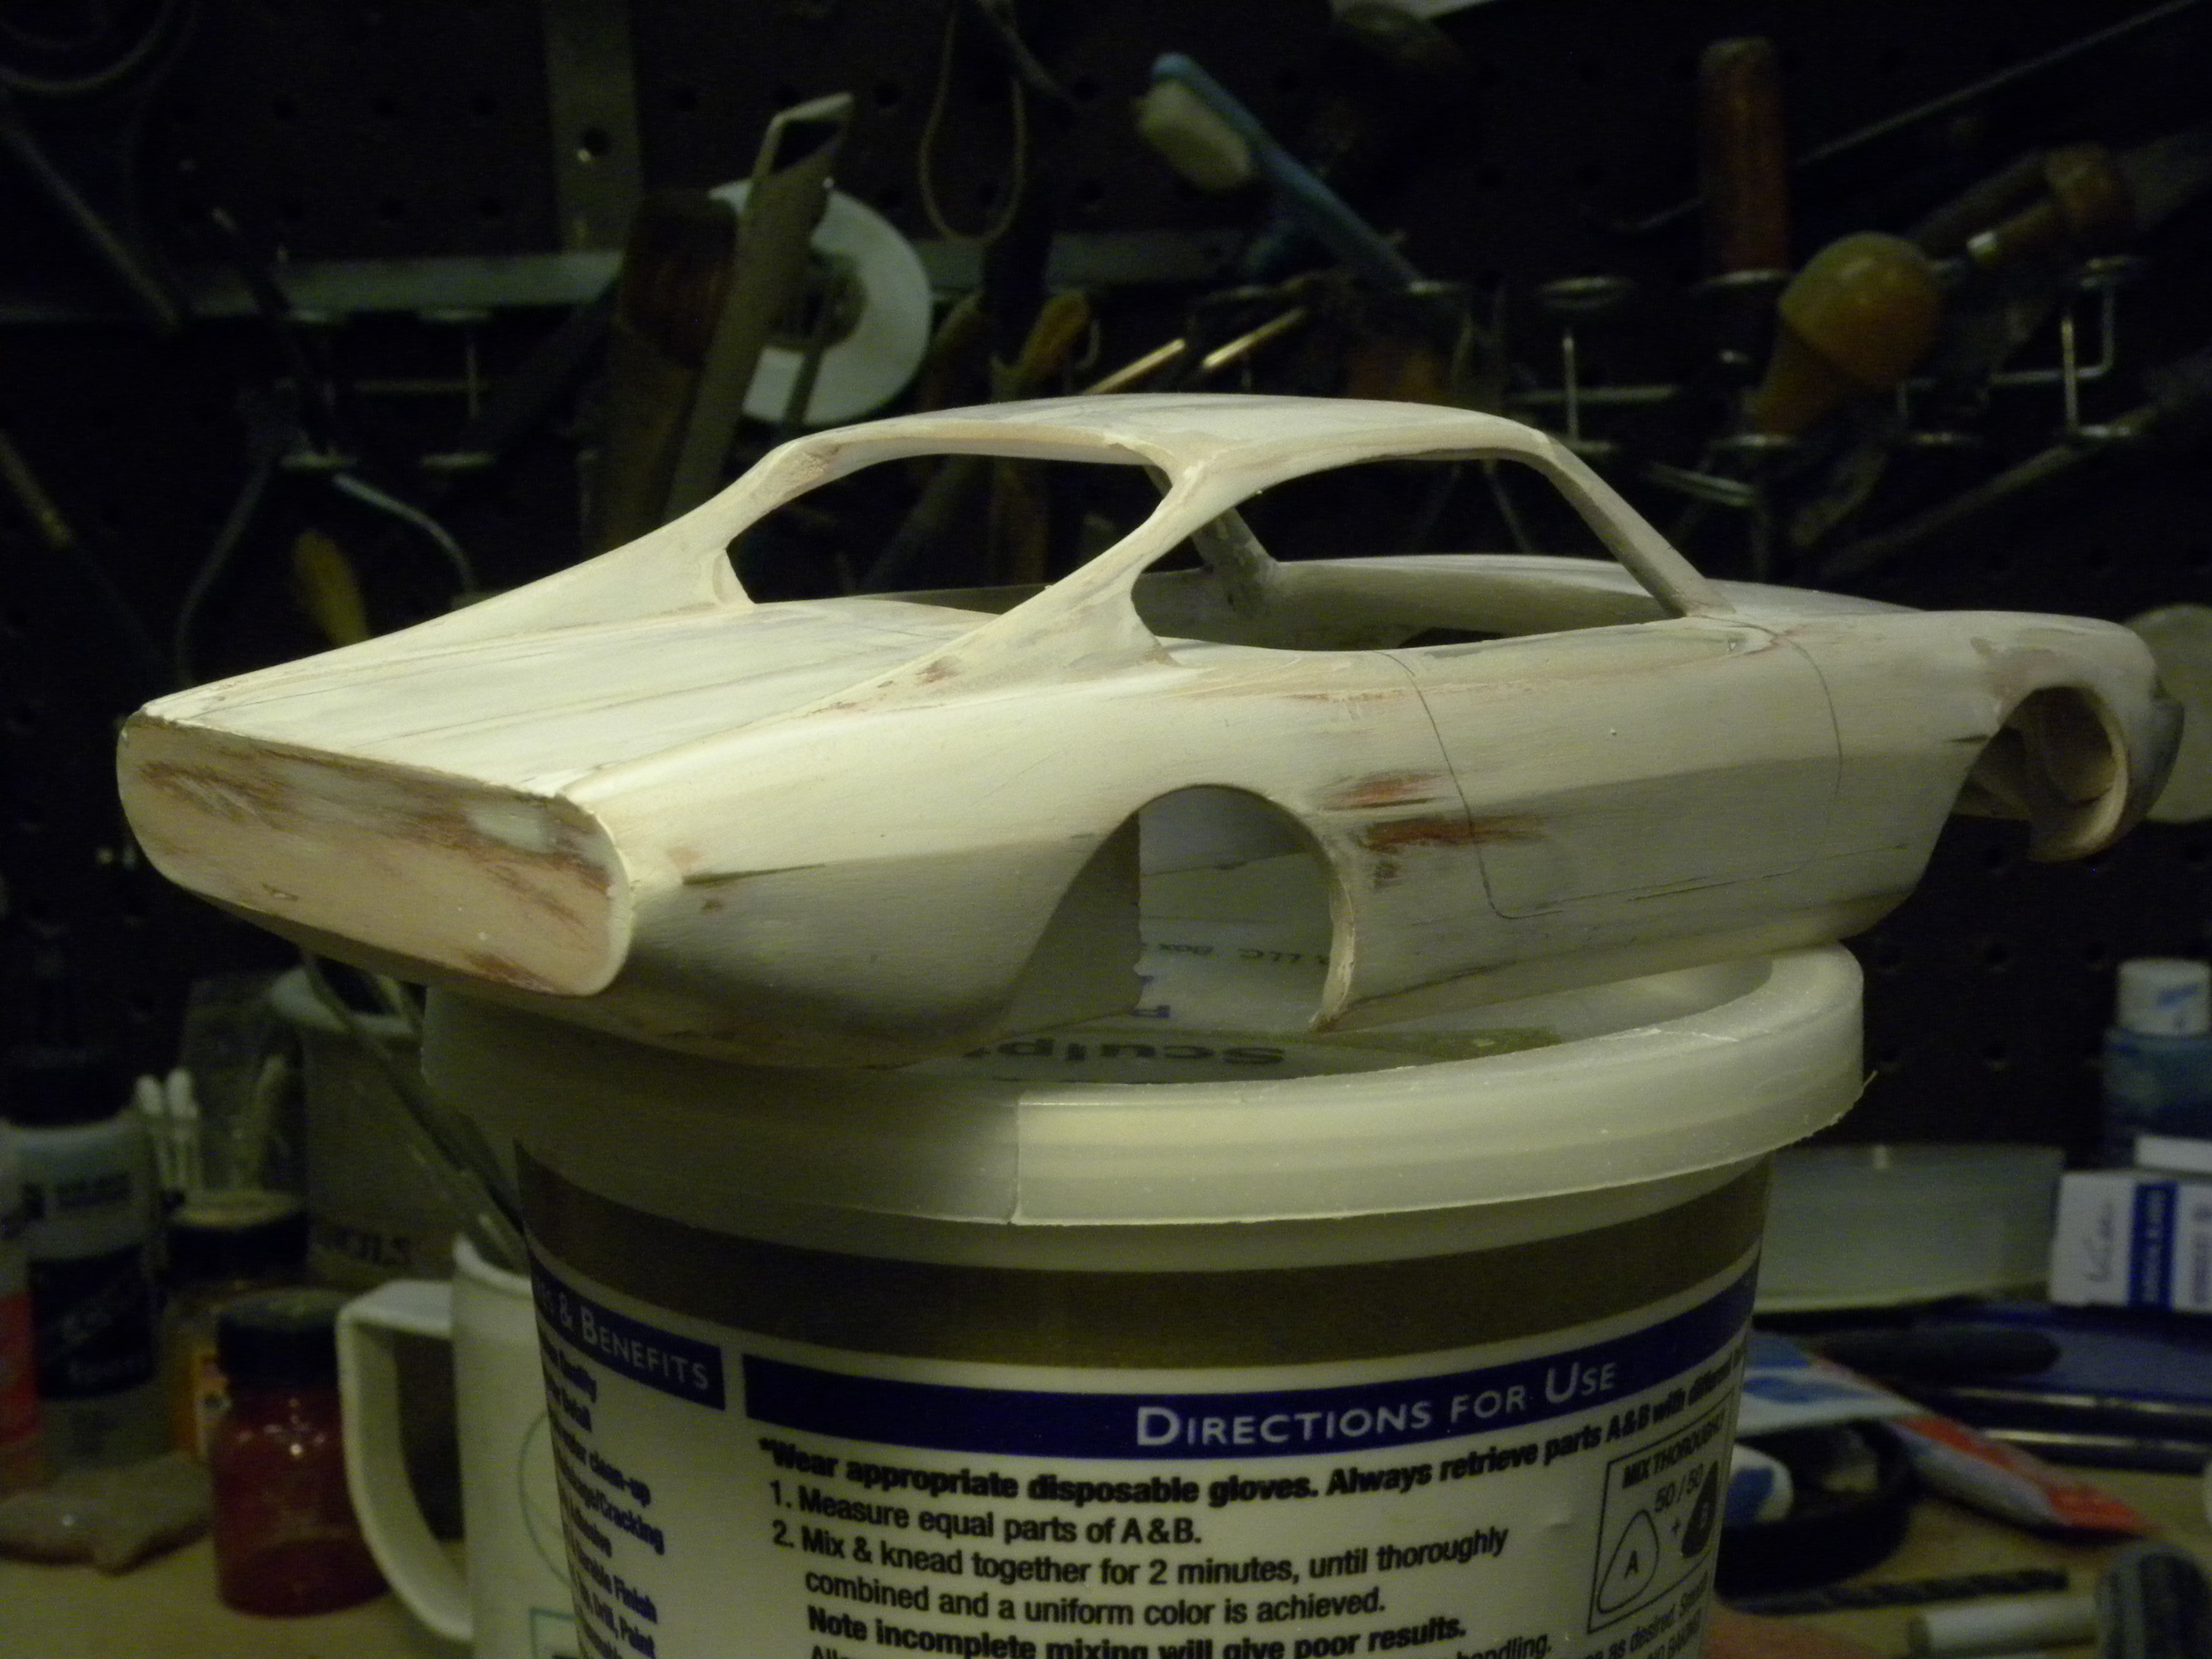
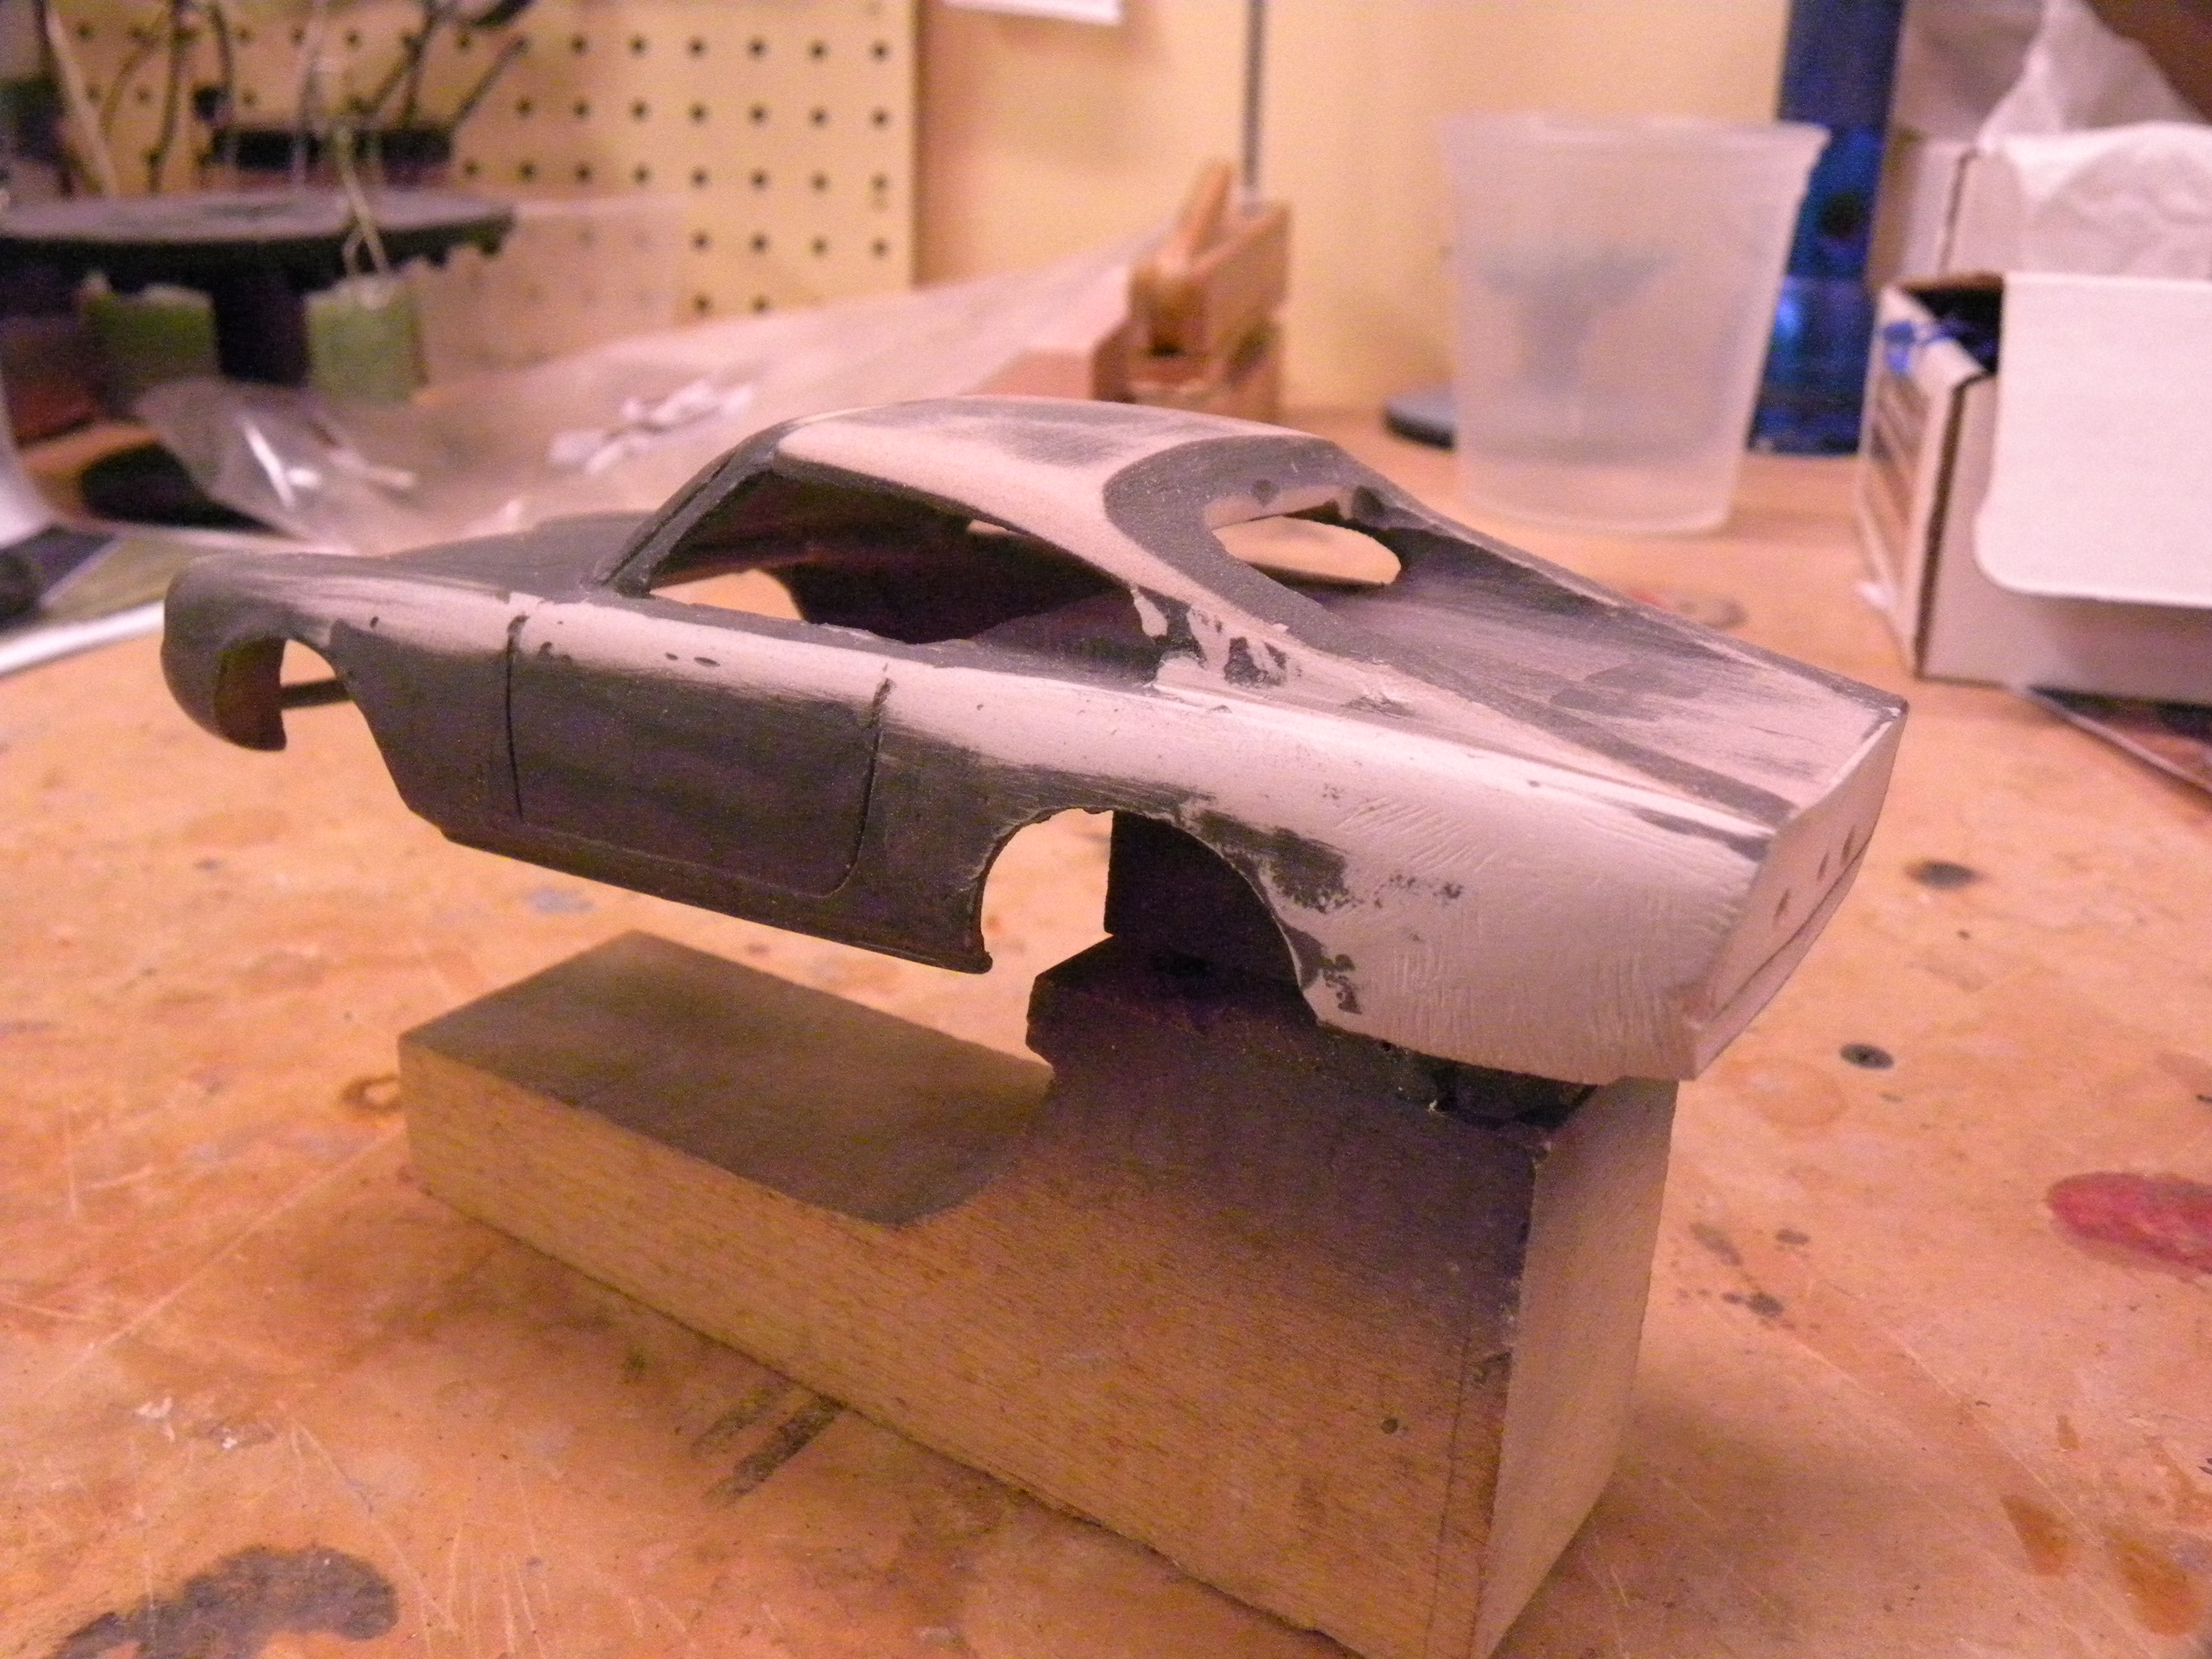
Rear end looking good.
-
I continue to hack away at it...
-
Two cups of java to kick the ol' brain cells into gear and I is crankin'!
-
Refining the rear.
-
I'll be watching...
-
Progress is slow..
-
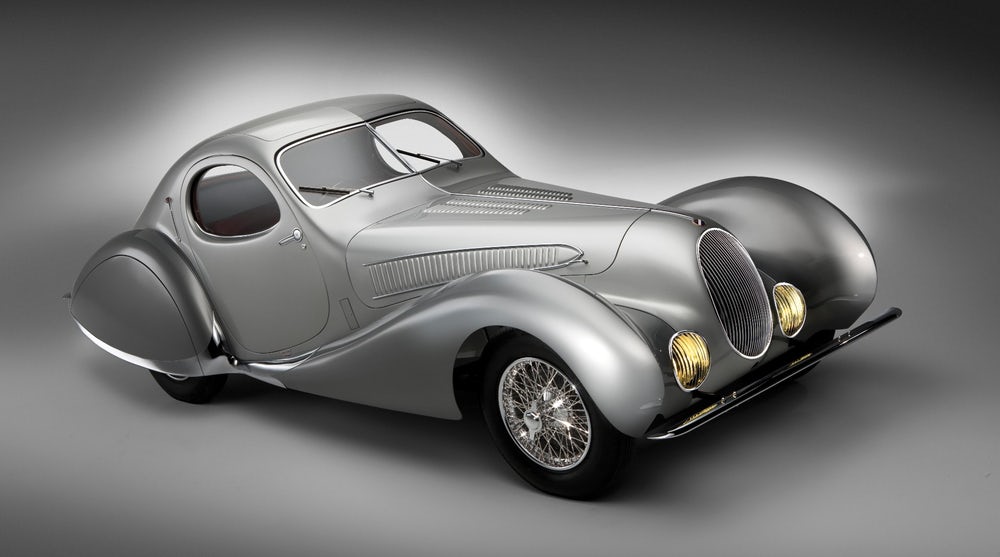
Most beautiful cars of all time
Pico replied to El Roberto's topic in General Automotive Talk (Trucks and Cars)
Talbot Lago "teardrop".
-
I'm looking forward to a full day of work today.
-
Progress.
-
I wake up to the smell of Bondo dust in the morning...
-
Slapping on the bondo.
-
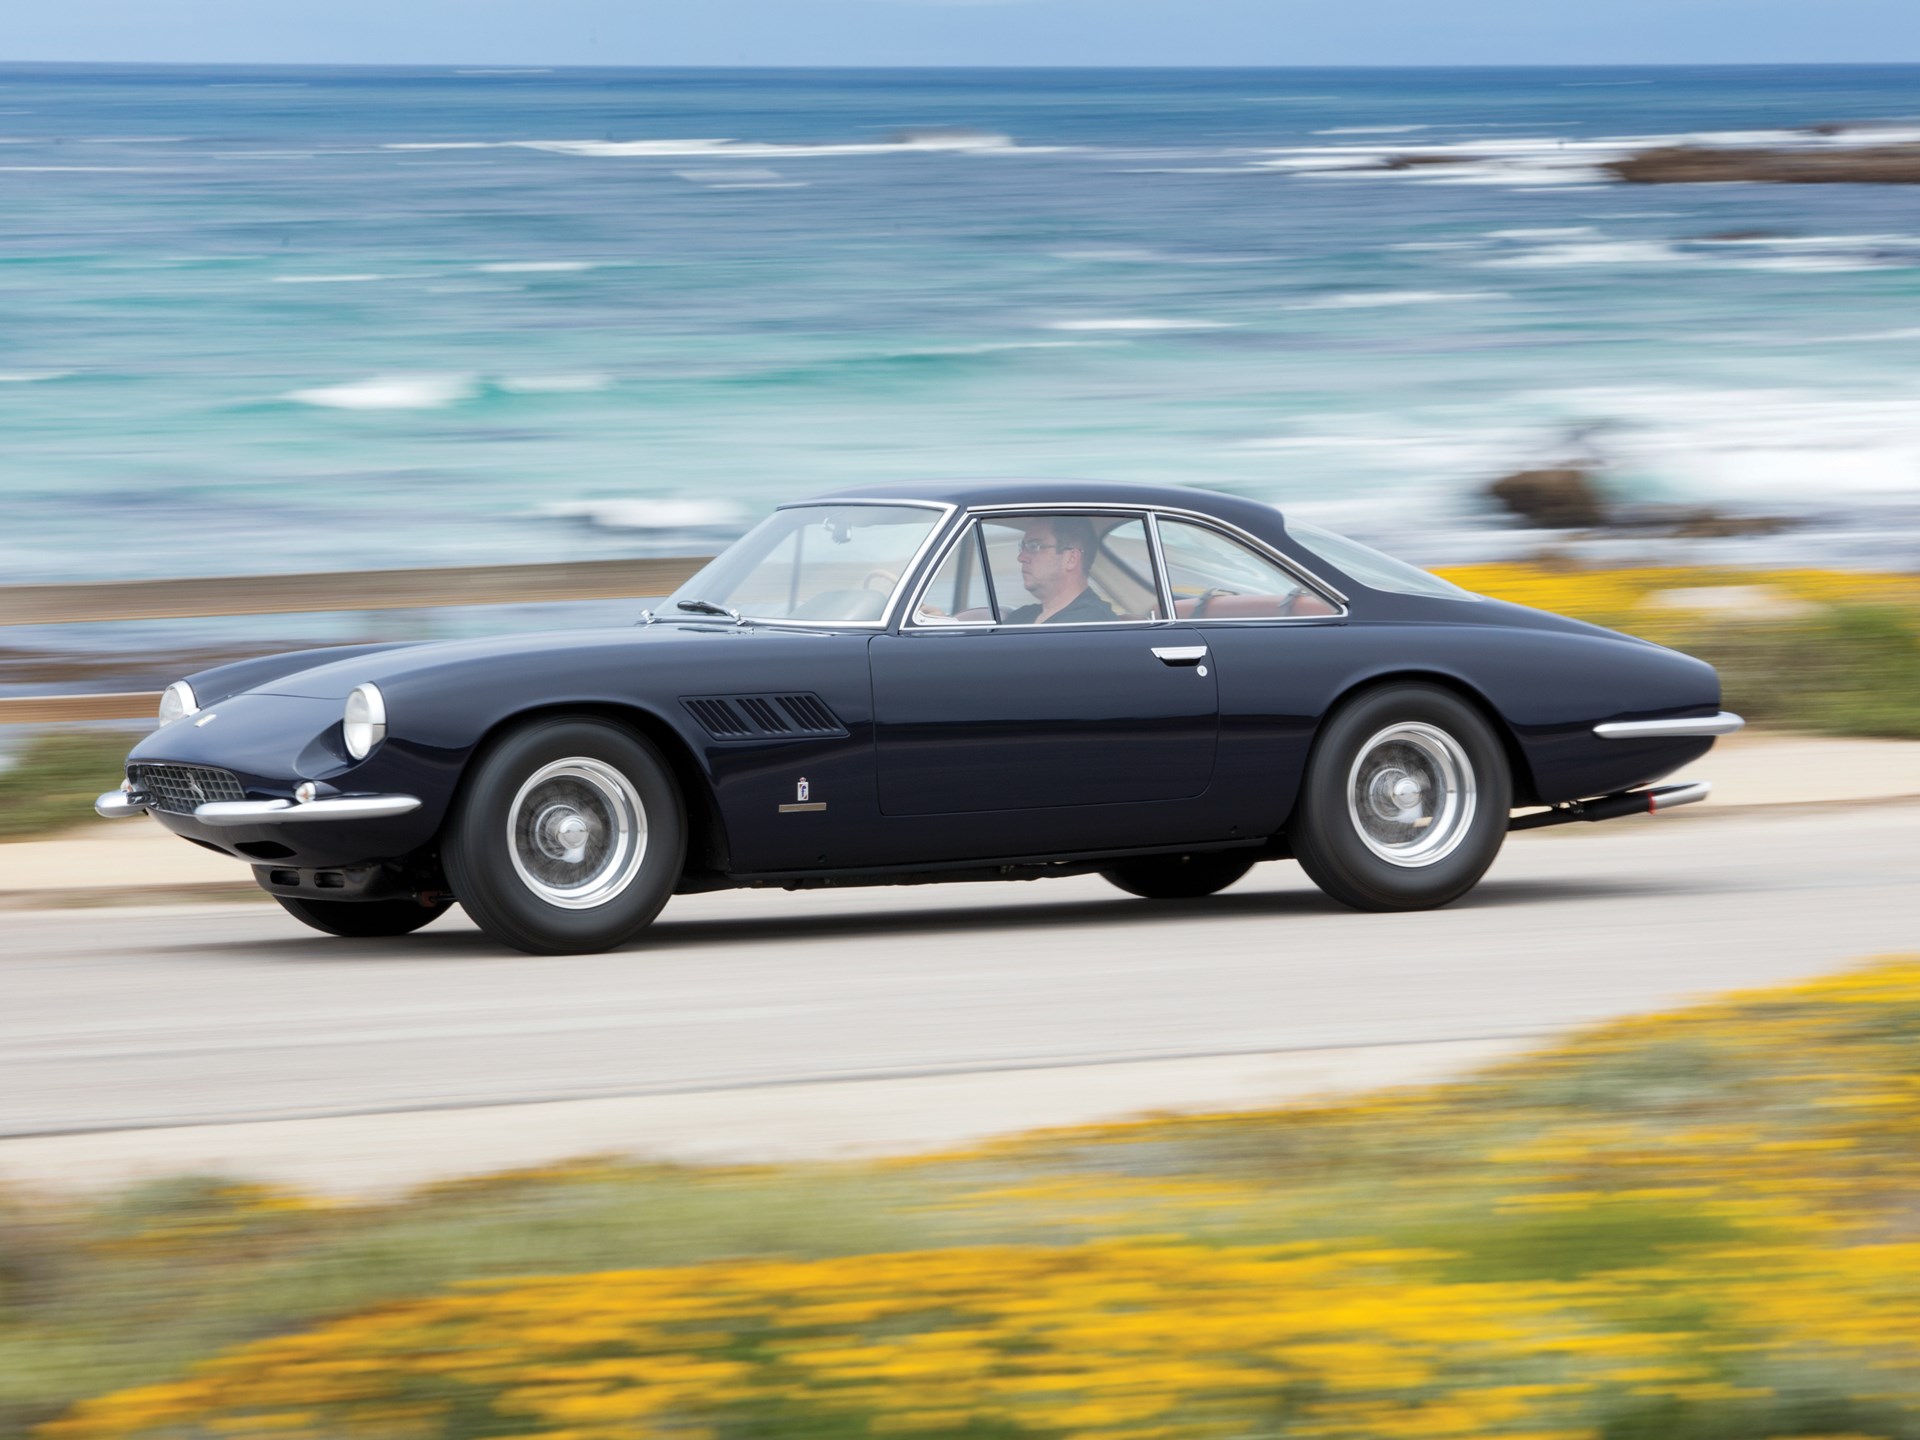
Good article on the car: https://winstongoodfellow.com/ferrari-330-gtc-speciale-living-like-royalty/#!
-
Here is a link to the Photobucket of Niko Neimi, who mastered the 500 Superfast. Scroll down to find the Superfast: https://s20.photobucket.com/user/nniemi/library/Scale Kraft 212MM?page=1
-
Airtrax did the 500 Superfast, I don't have the Perma-grit cutters.
-
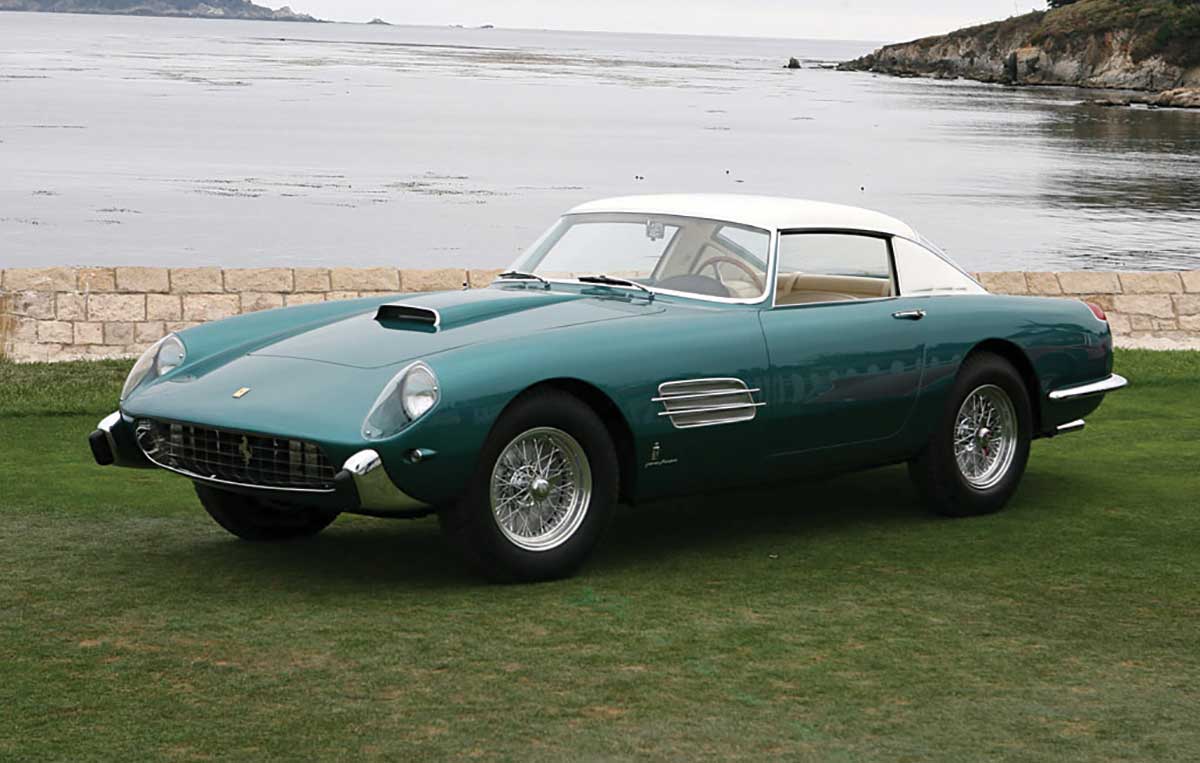
The de Rethy car styling is a continuation of Pinifarina's top of the line extended nose/ oval opening started in 1957 with the Superfast; and used in all special coachbuilt cars as the 1964 500 Superfast and 1966 365 California Spyder. However, it incorporated the extended C-pillar of the upcoming 1968 Dino. Pf stylists are not well known, but I think all are the work on Aldo Brovarone.
-
Sometimes I use a jewelers file, sometimes a weed rasp.
-
Ha! If I had a cad file of this, I would print it and it would literally snap together. And I've done it - see my Fiat Supersonic.
-
Implant surgery complete.