GeeBee
-
Posts
4,030 -
Joined
-
Last visited
Content Type
Profiles
Forums
Events
Gallery
Everything posted by GeeBee
-
So have I, I bought one when they were first released, got out of the hobby in the mid 1990's due to starting up a new business venture, and sold all my kits, got back into building models in the early 2000's, I've bought and sold a few of these since, I've had the paint since 2013, it's about time I actually got round to building one.
-
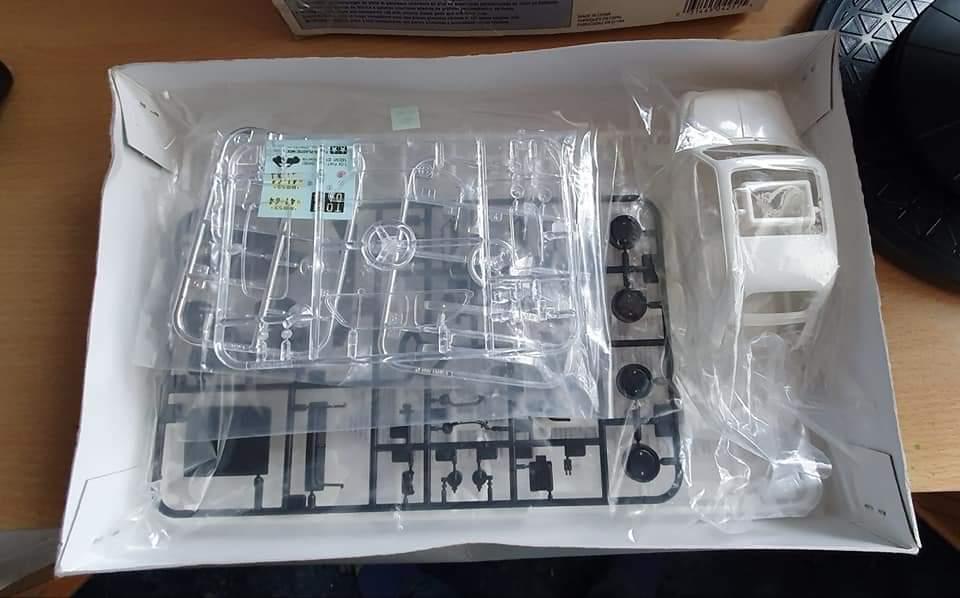
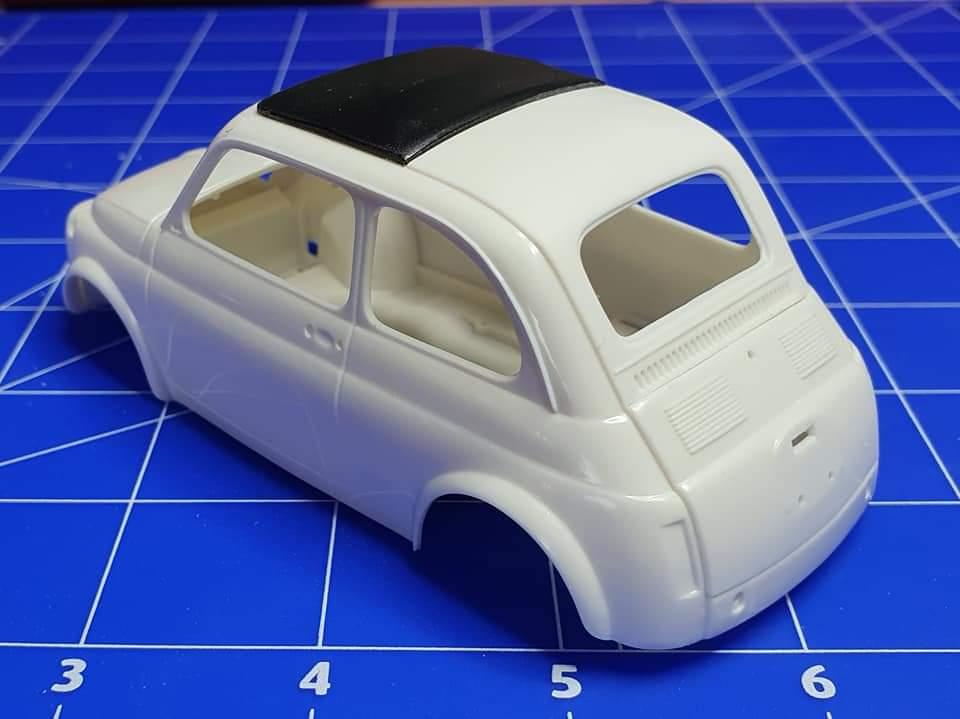
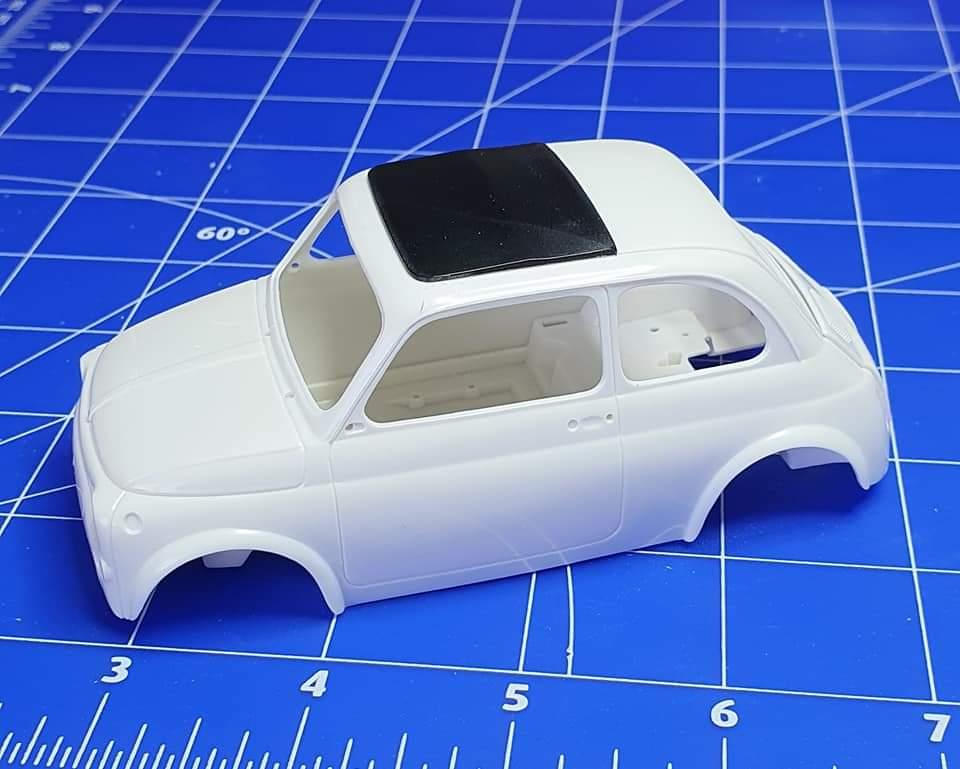
I've had this one sitting on the side for a while, after buying it on eBay, sadly when it arrived the tyres and polycaps were missing, a good friend got in touch with me to say he had the parts I needed, so as I've got a few models on the backburner ready for airbrushing, I'm going to make a start on this one, I've had the paint mixed up for a few years, Positano yellow, which was the colour of my second car, a Fiat 128. it's been a while since I've built a Tamiya model kit, I think the last one was the Citroen 2cv, I think I need to build more of my Tamiya kits in the stash, the parts fit is superb, just a very fine mould line to remove running along the top of the rear window, but the rest of the bodyshell is devoid of any more mould lines, the engine cover and sunroof are only dry fitted at the moment.

-

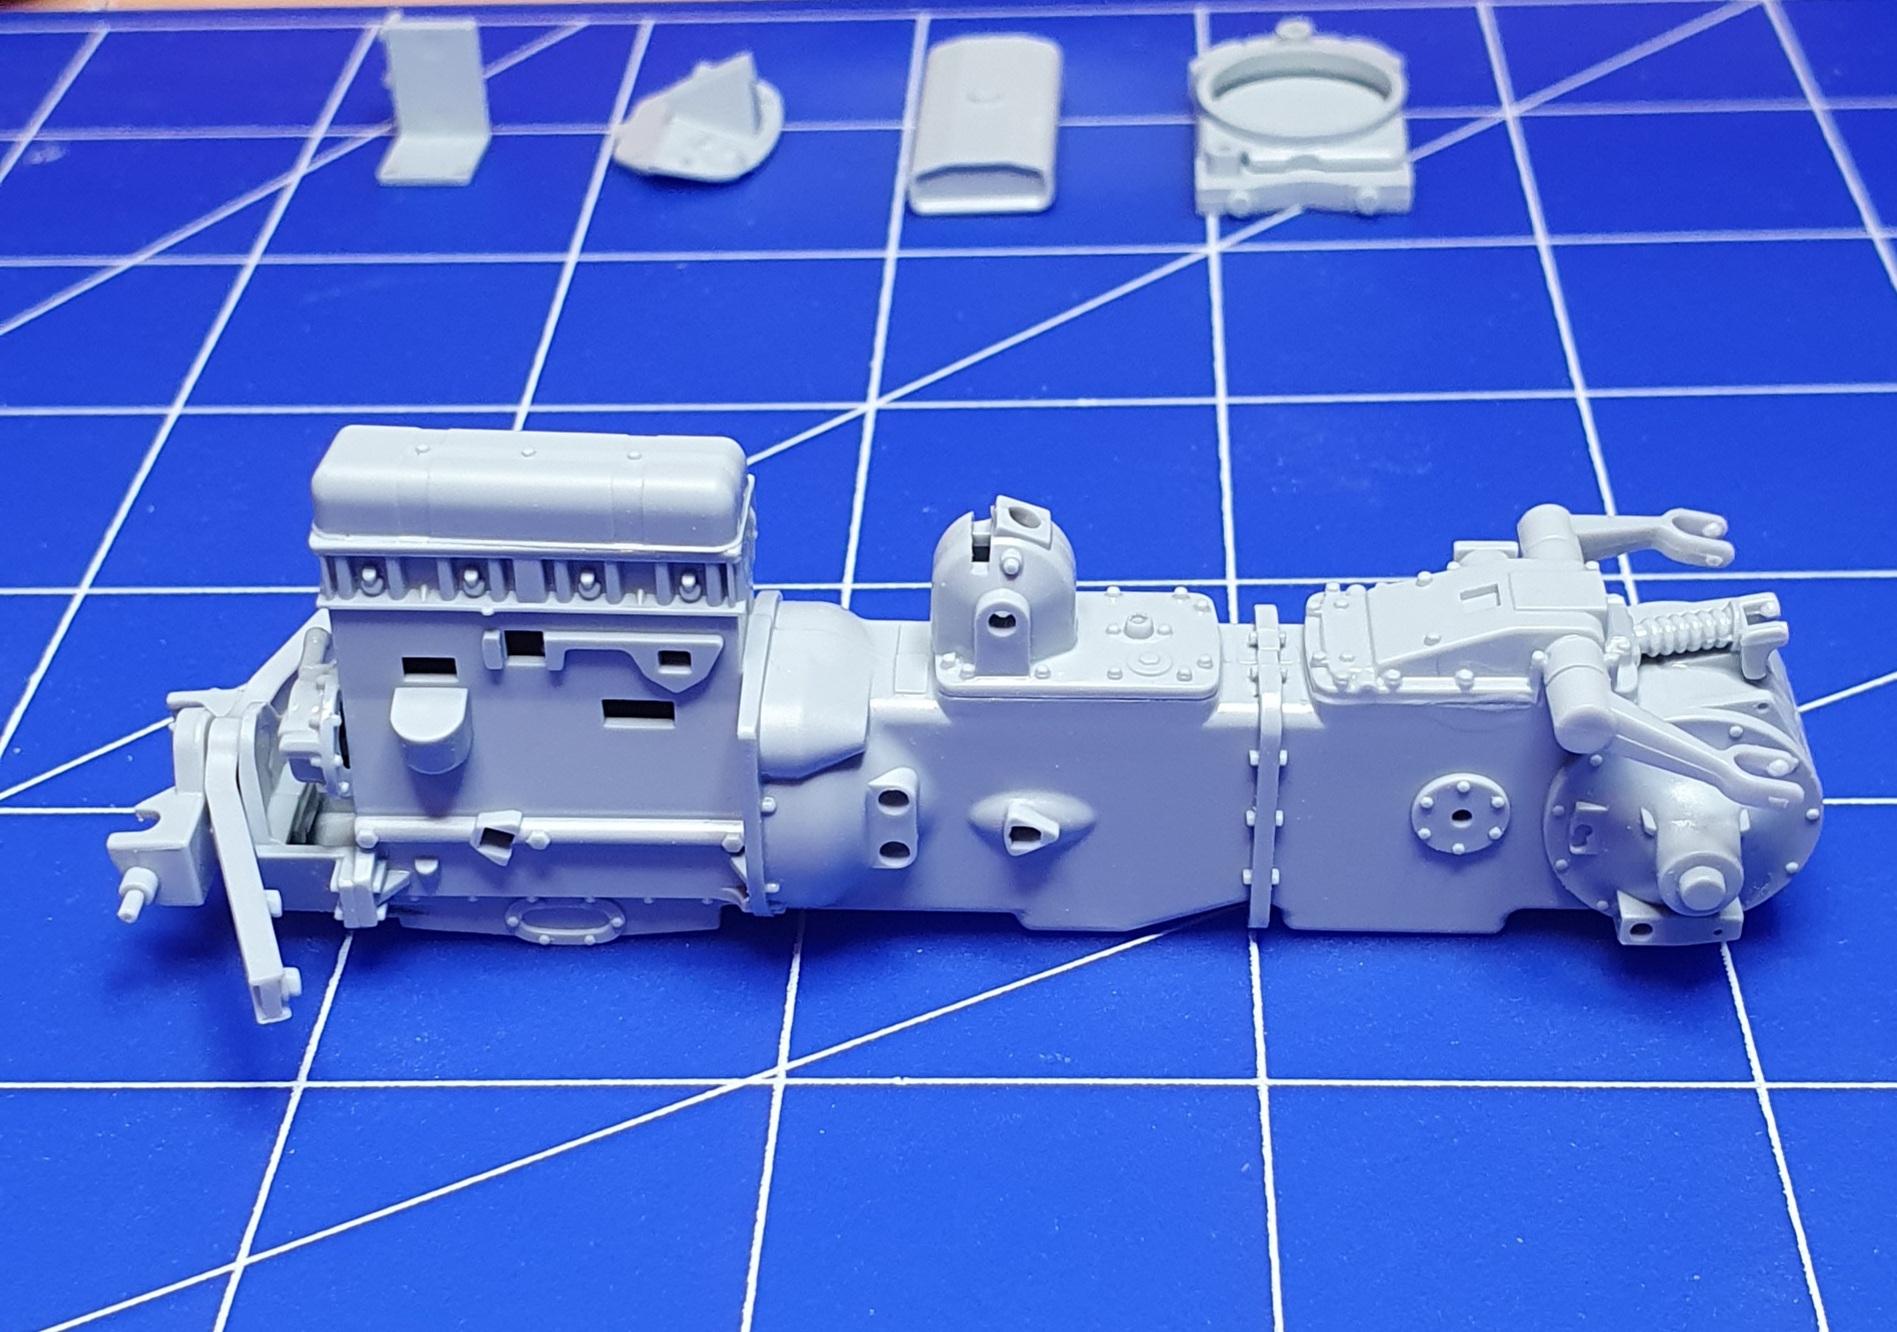
Heller ferguson FF-30
GeeBee replied to GeeBee's topic in WIP: Model Trucks: Big Rigs and Heavy Equipment
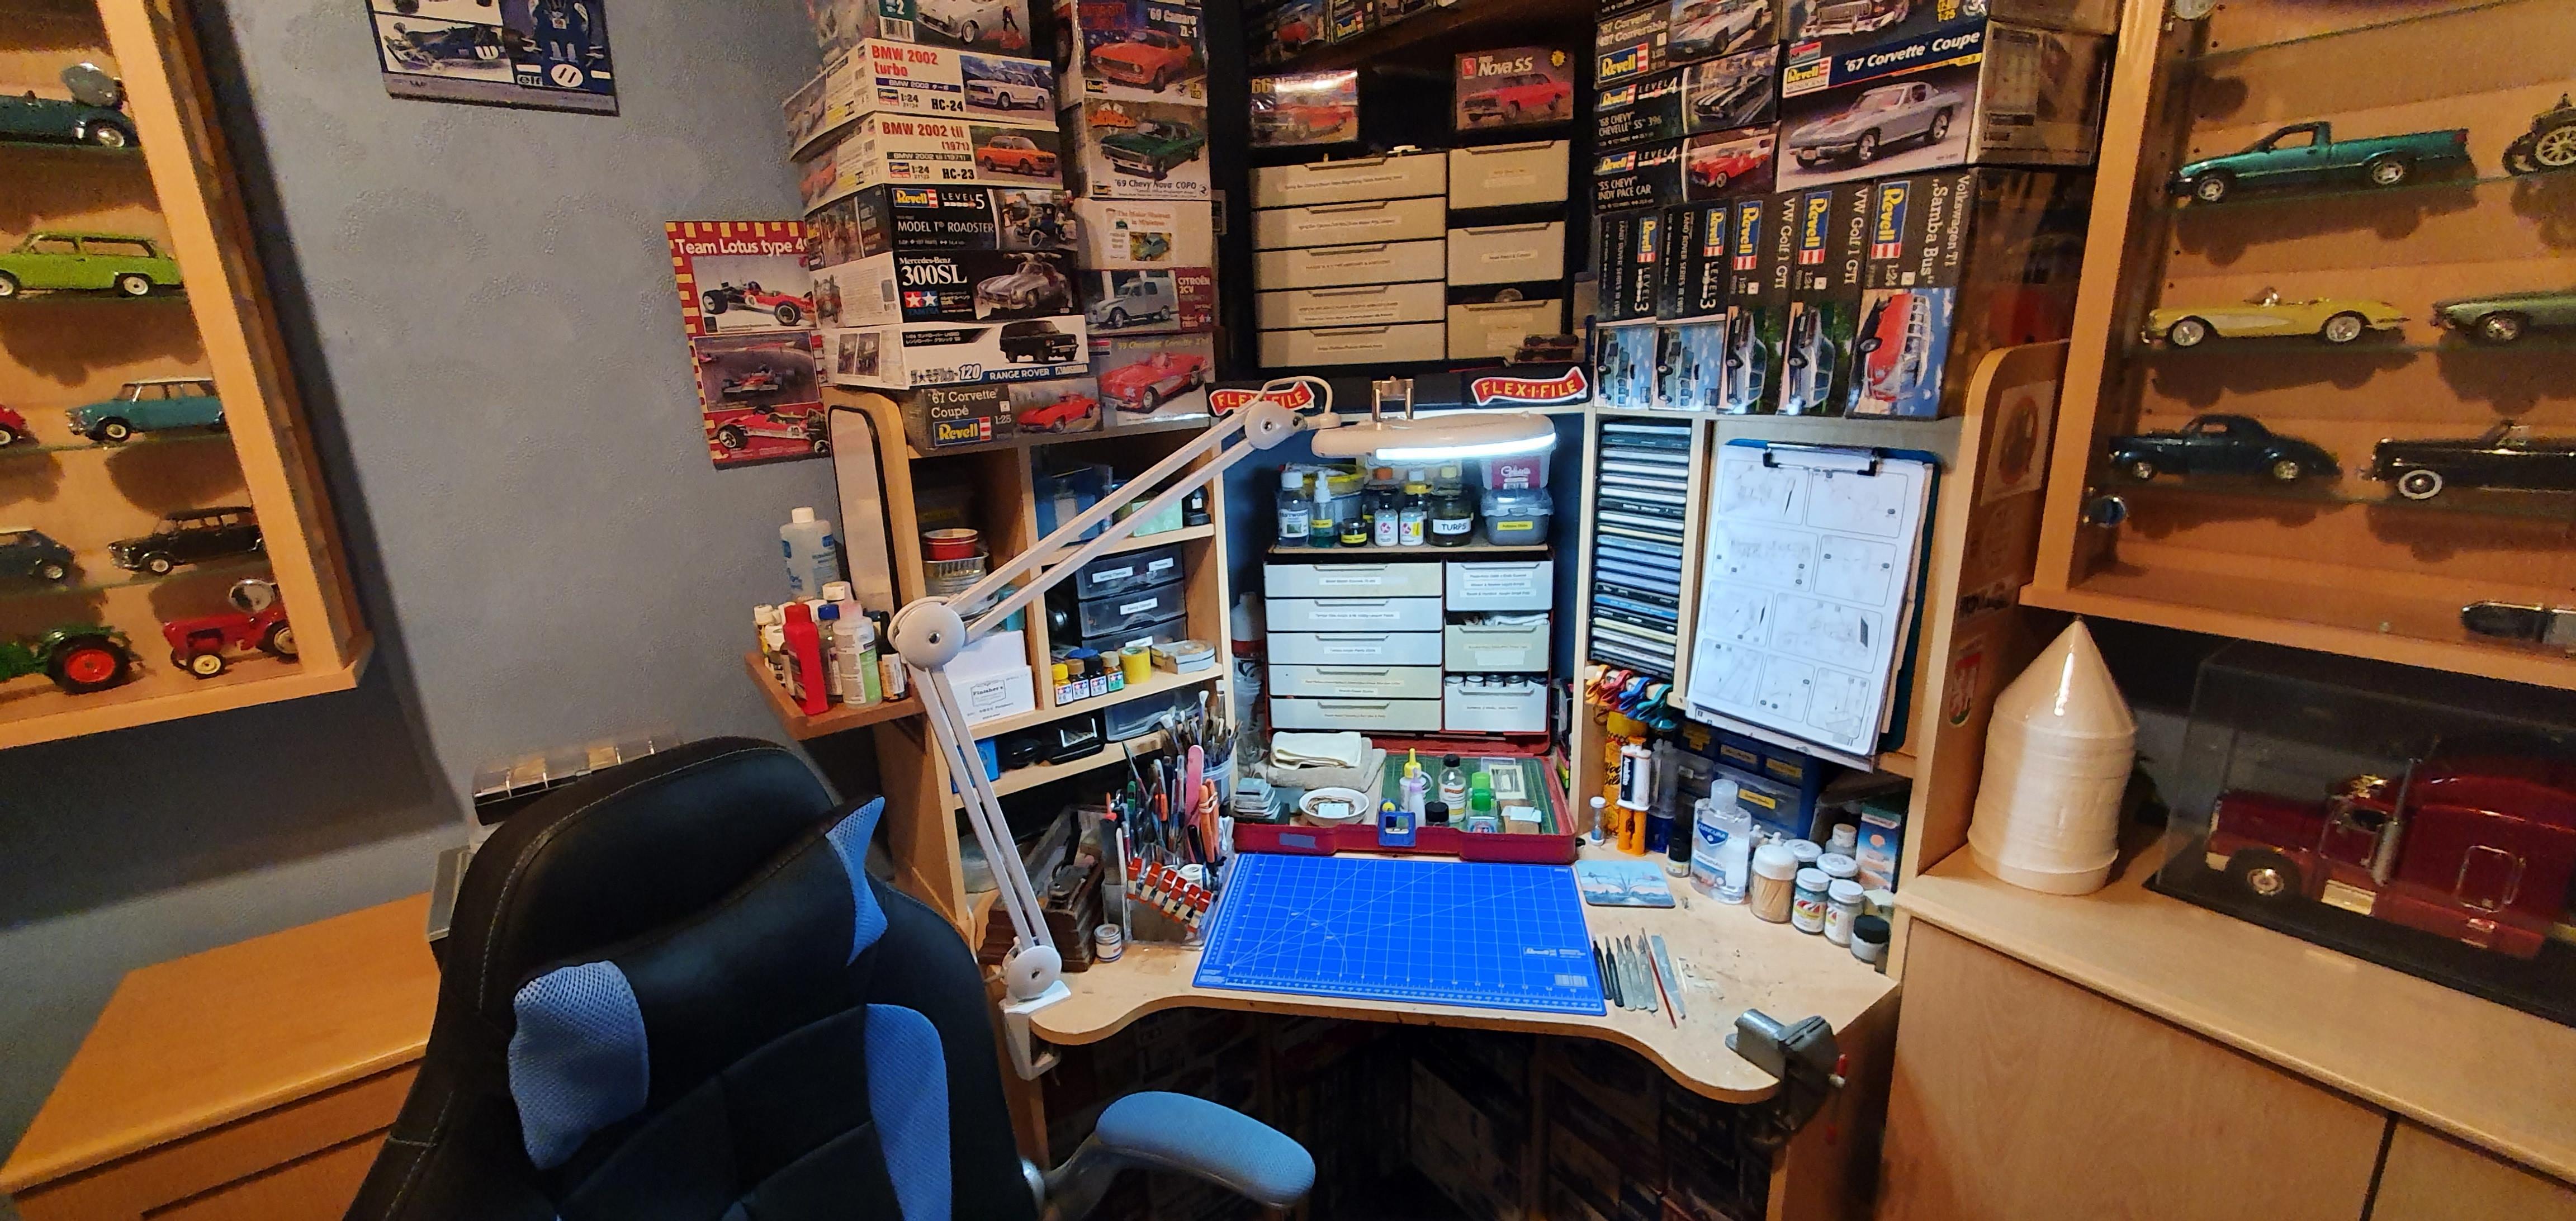
I only have a small building bench, but I can't stand or work in clutter, as I'm working on getting my new spray booth up and running, I'm unable to get any airbrushing done, so tonight I had a tidy up, bench is nice and clean now.
-
Dashboard gauges - a few questions
GeeBee replied to bh1701's topic in Model Building Questions and Answers
I cut them out using a pair of Tamiya decal scissors then attach them using clear acrylic craft glue, I don't remove the moulded in details.
-
Heller ferguson FF-30
GeeBee replied to GeeBee's topic in WIP: Model Trucks: Big Rigs and Heavy Equipment
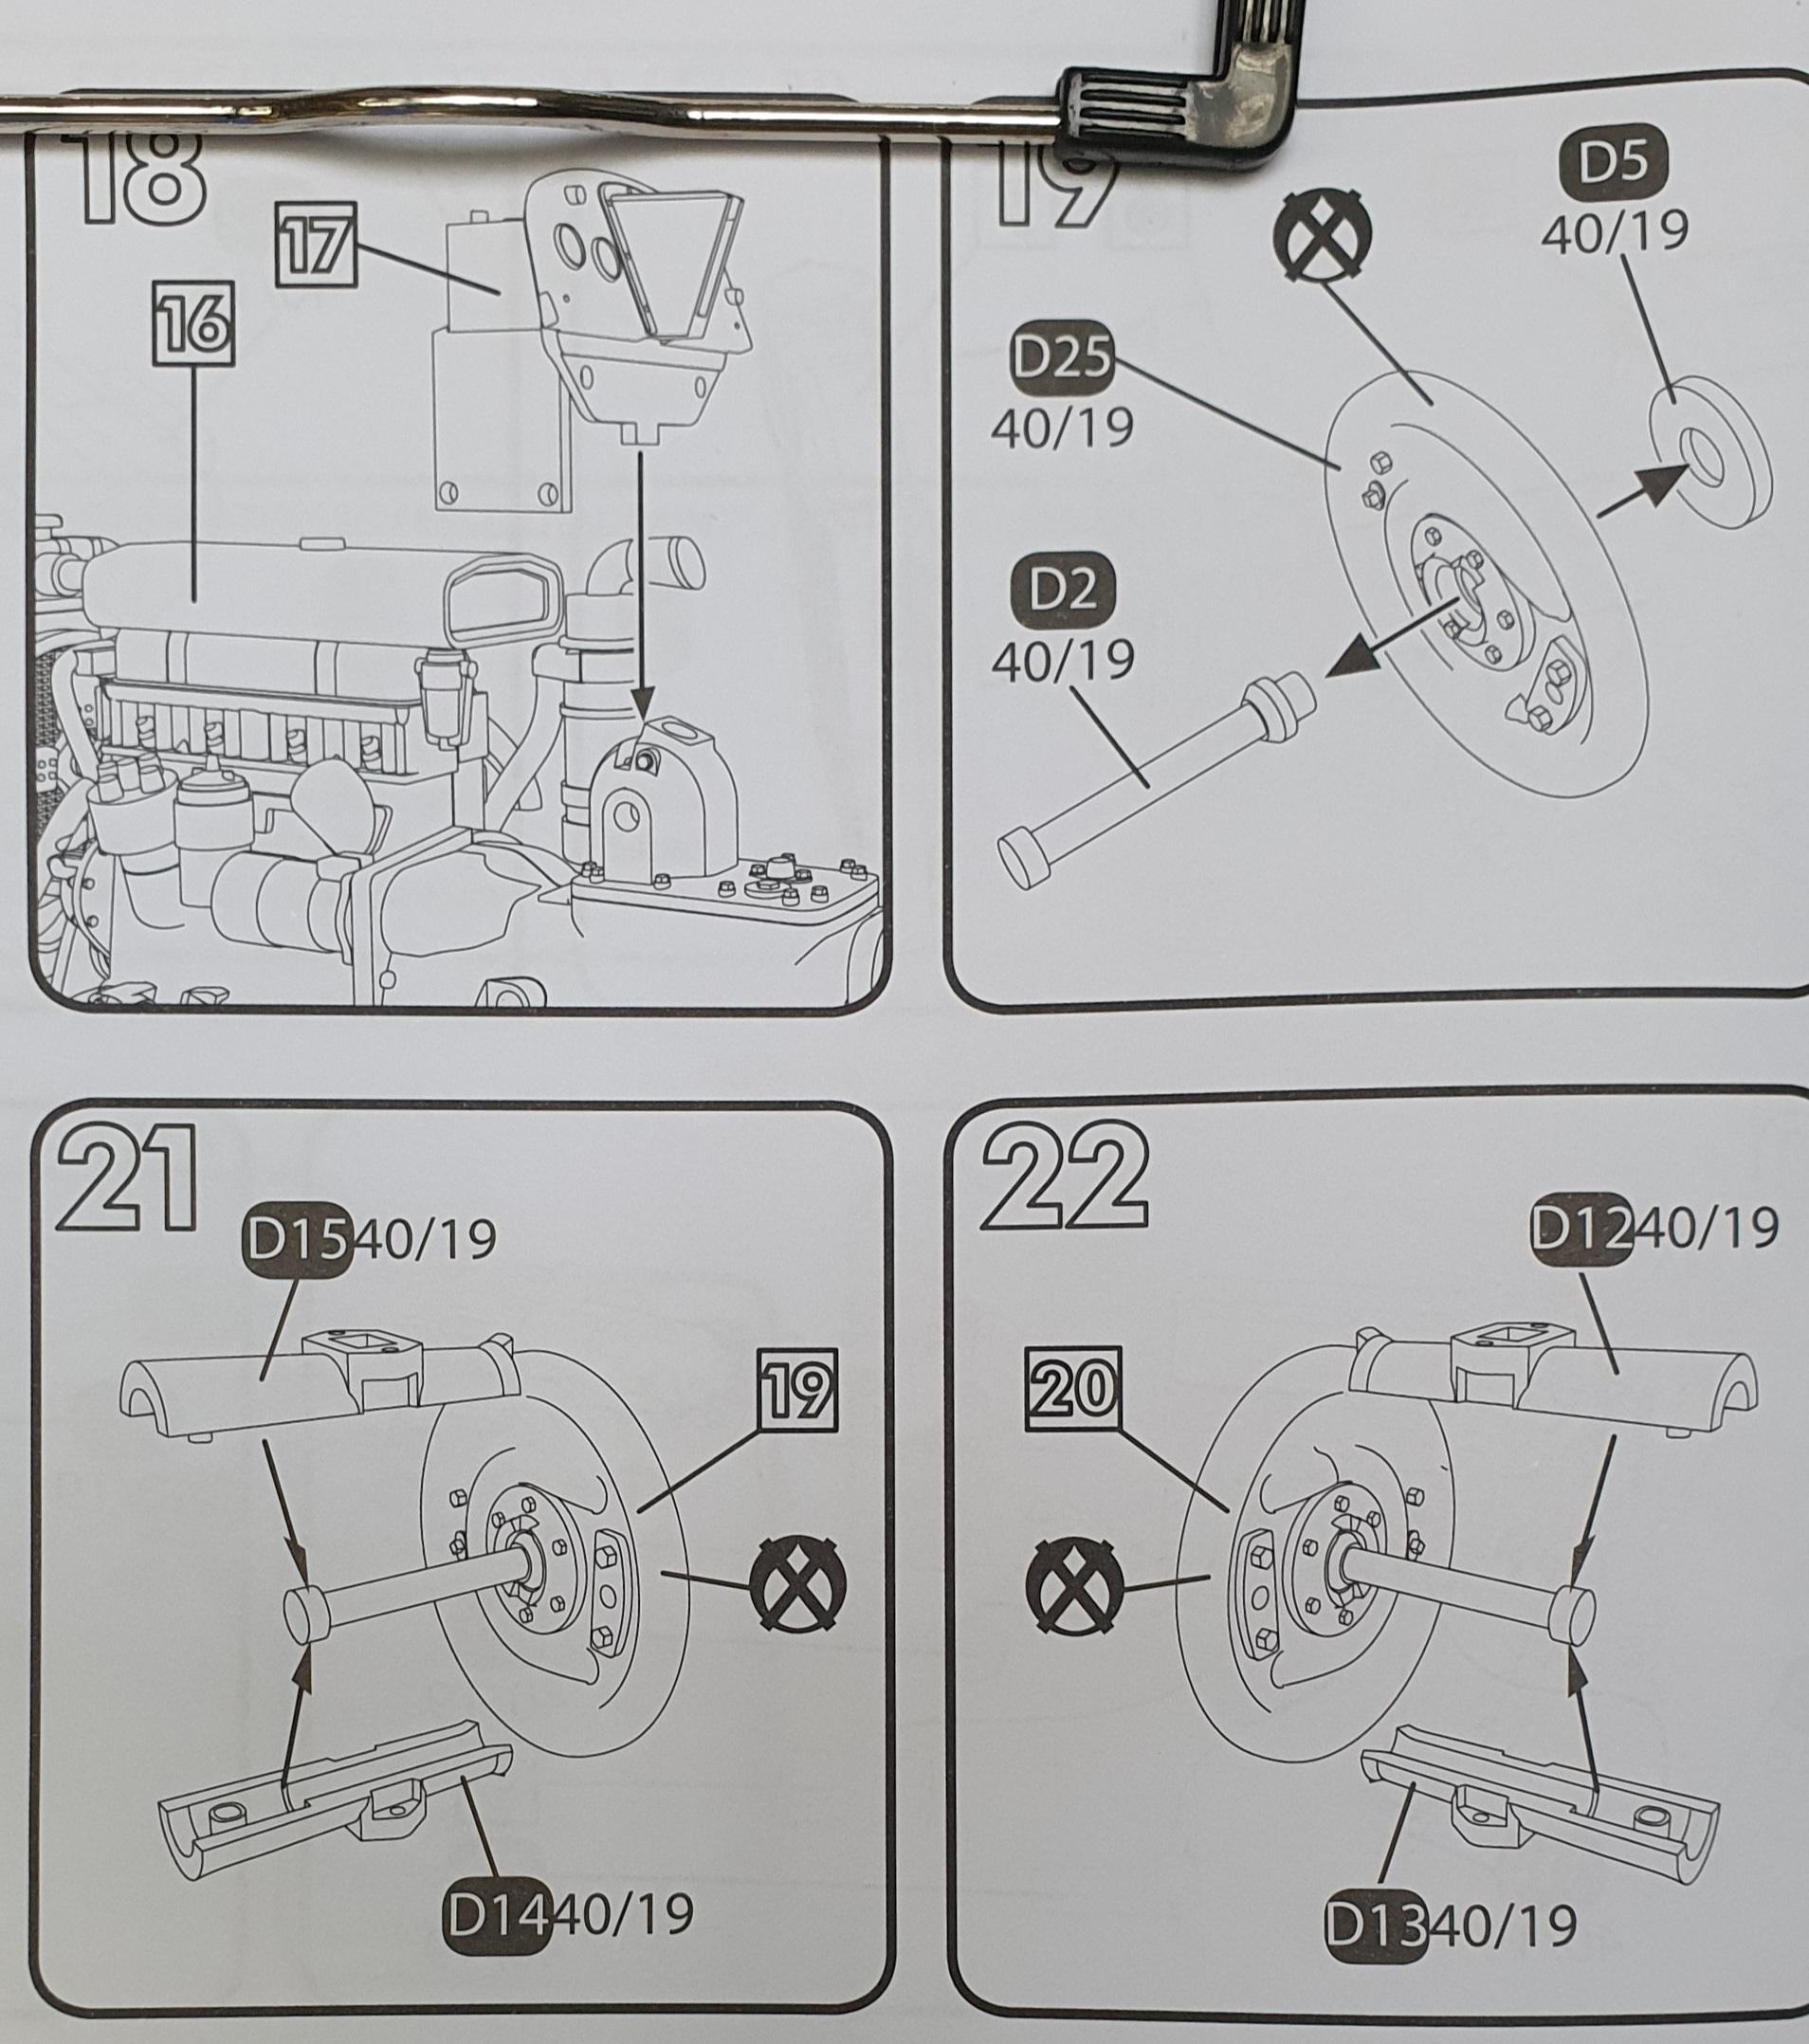
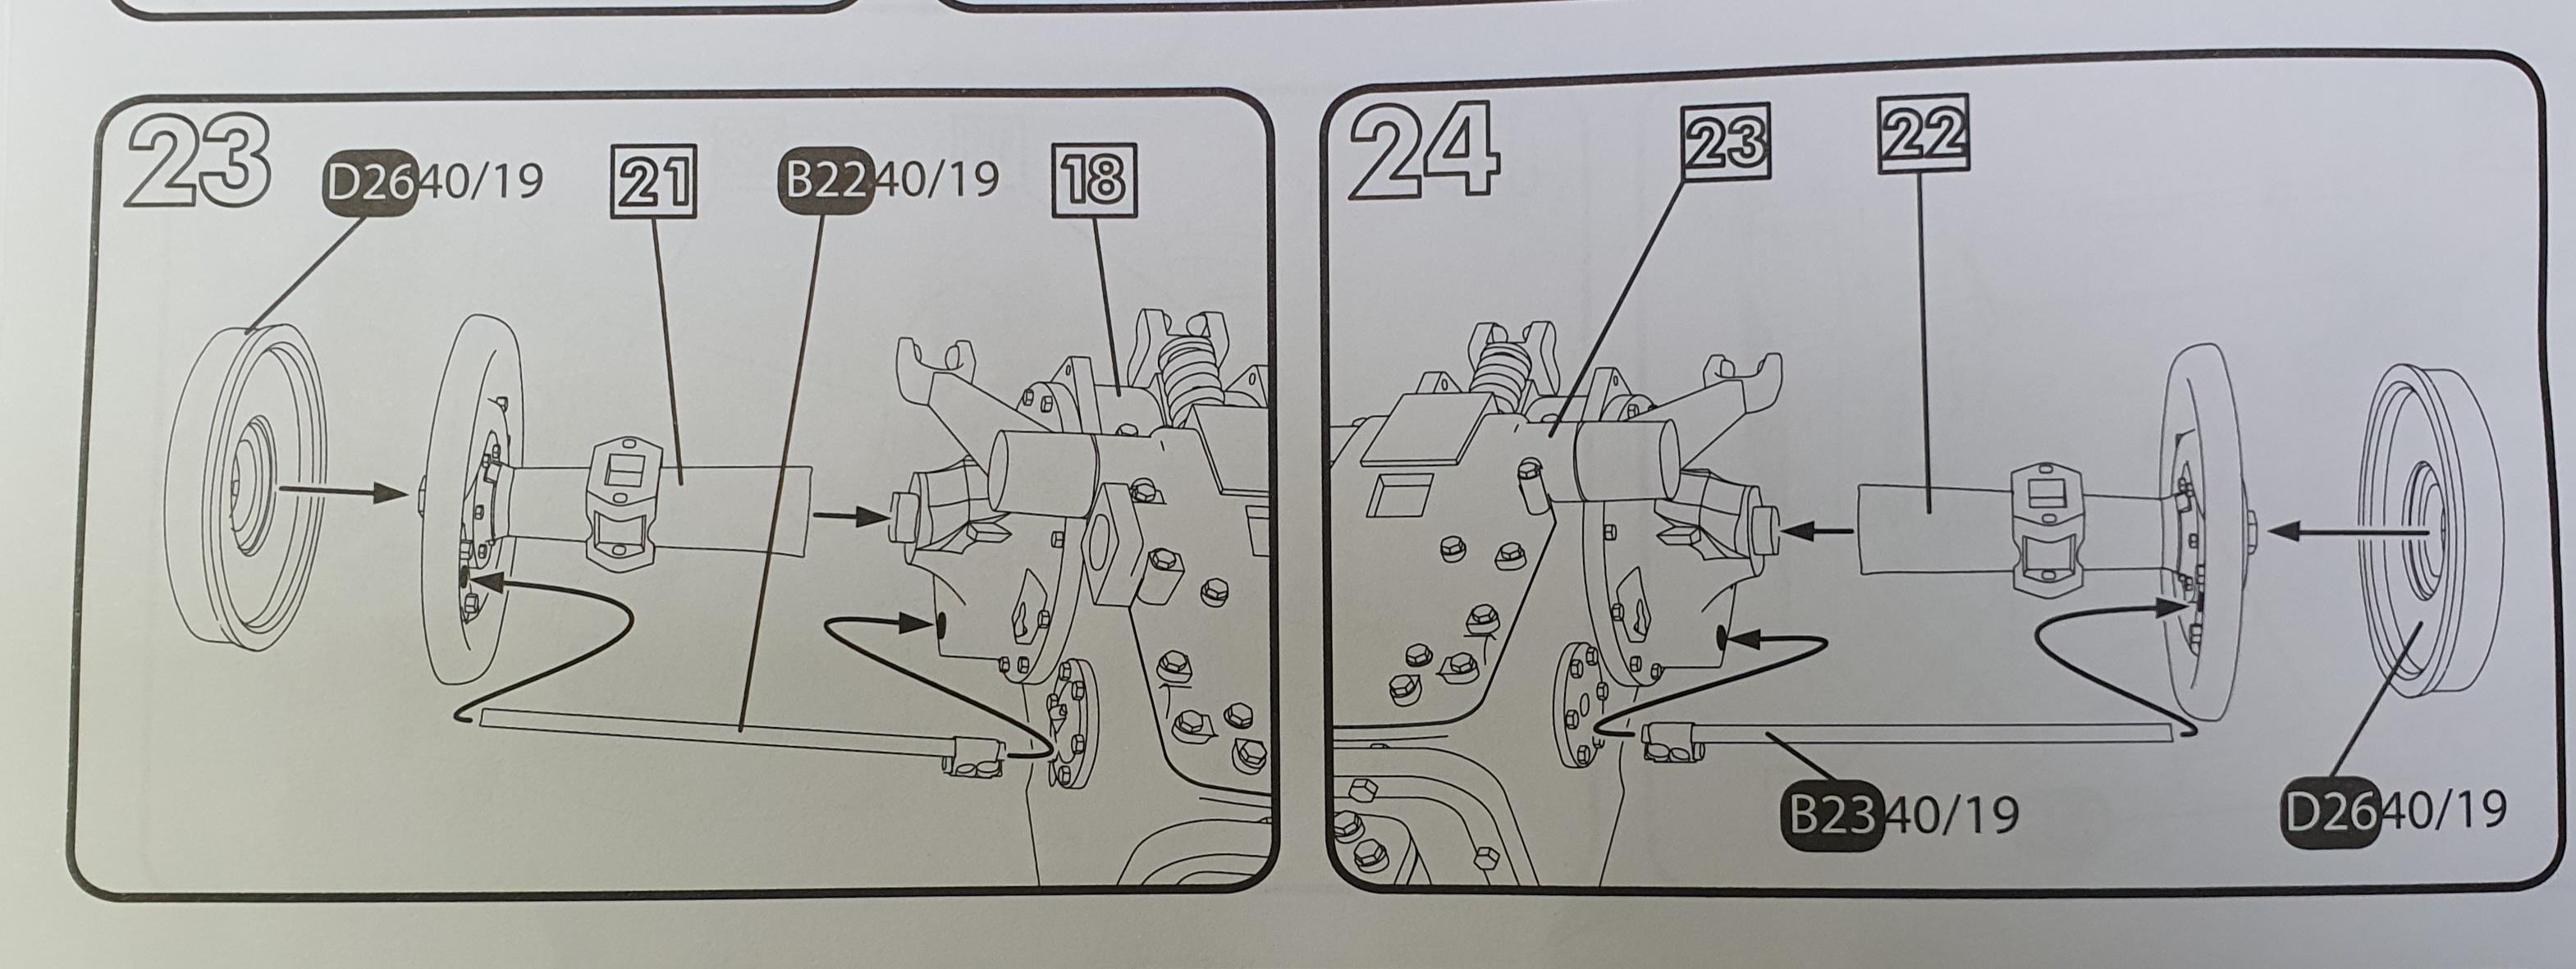
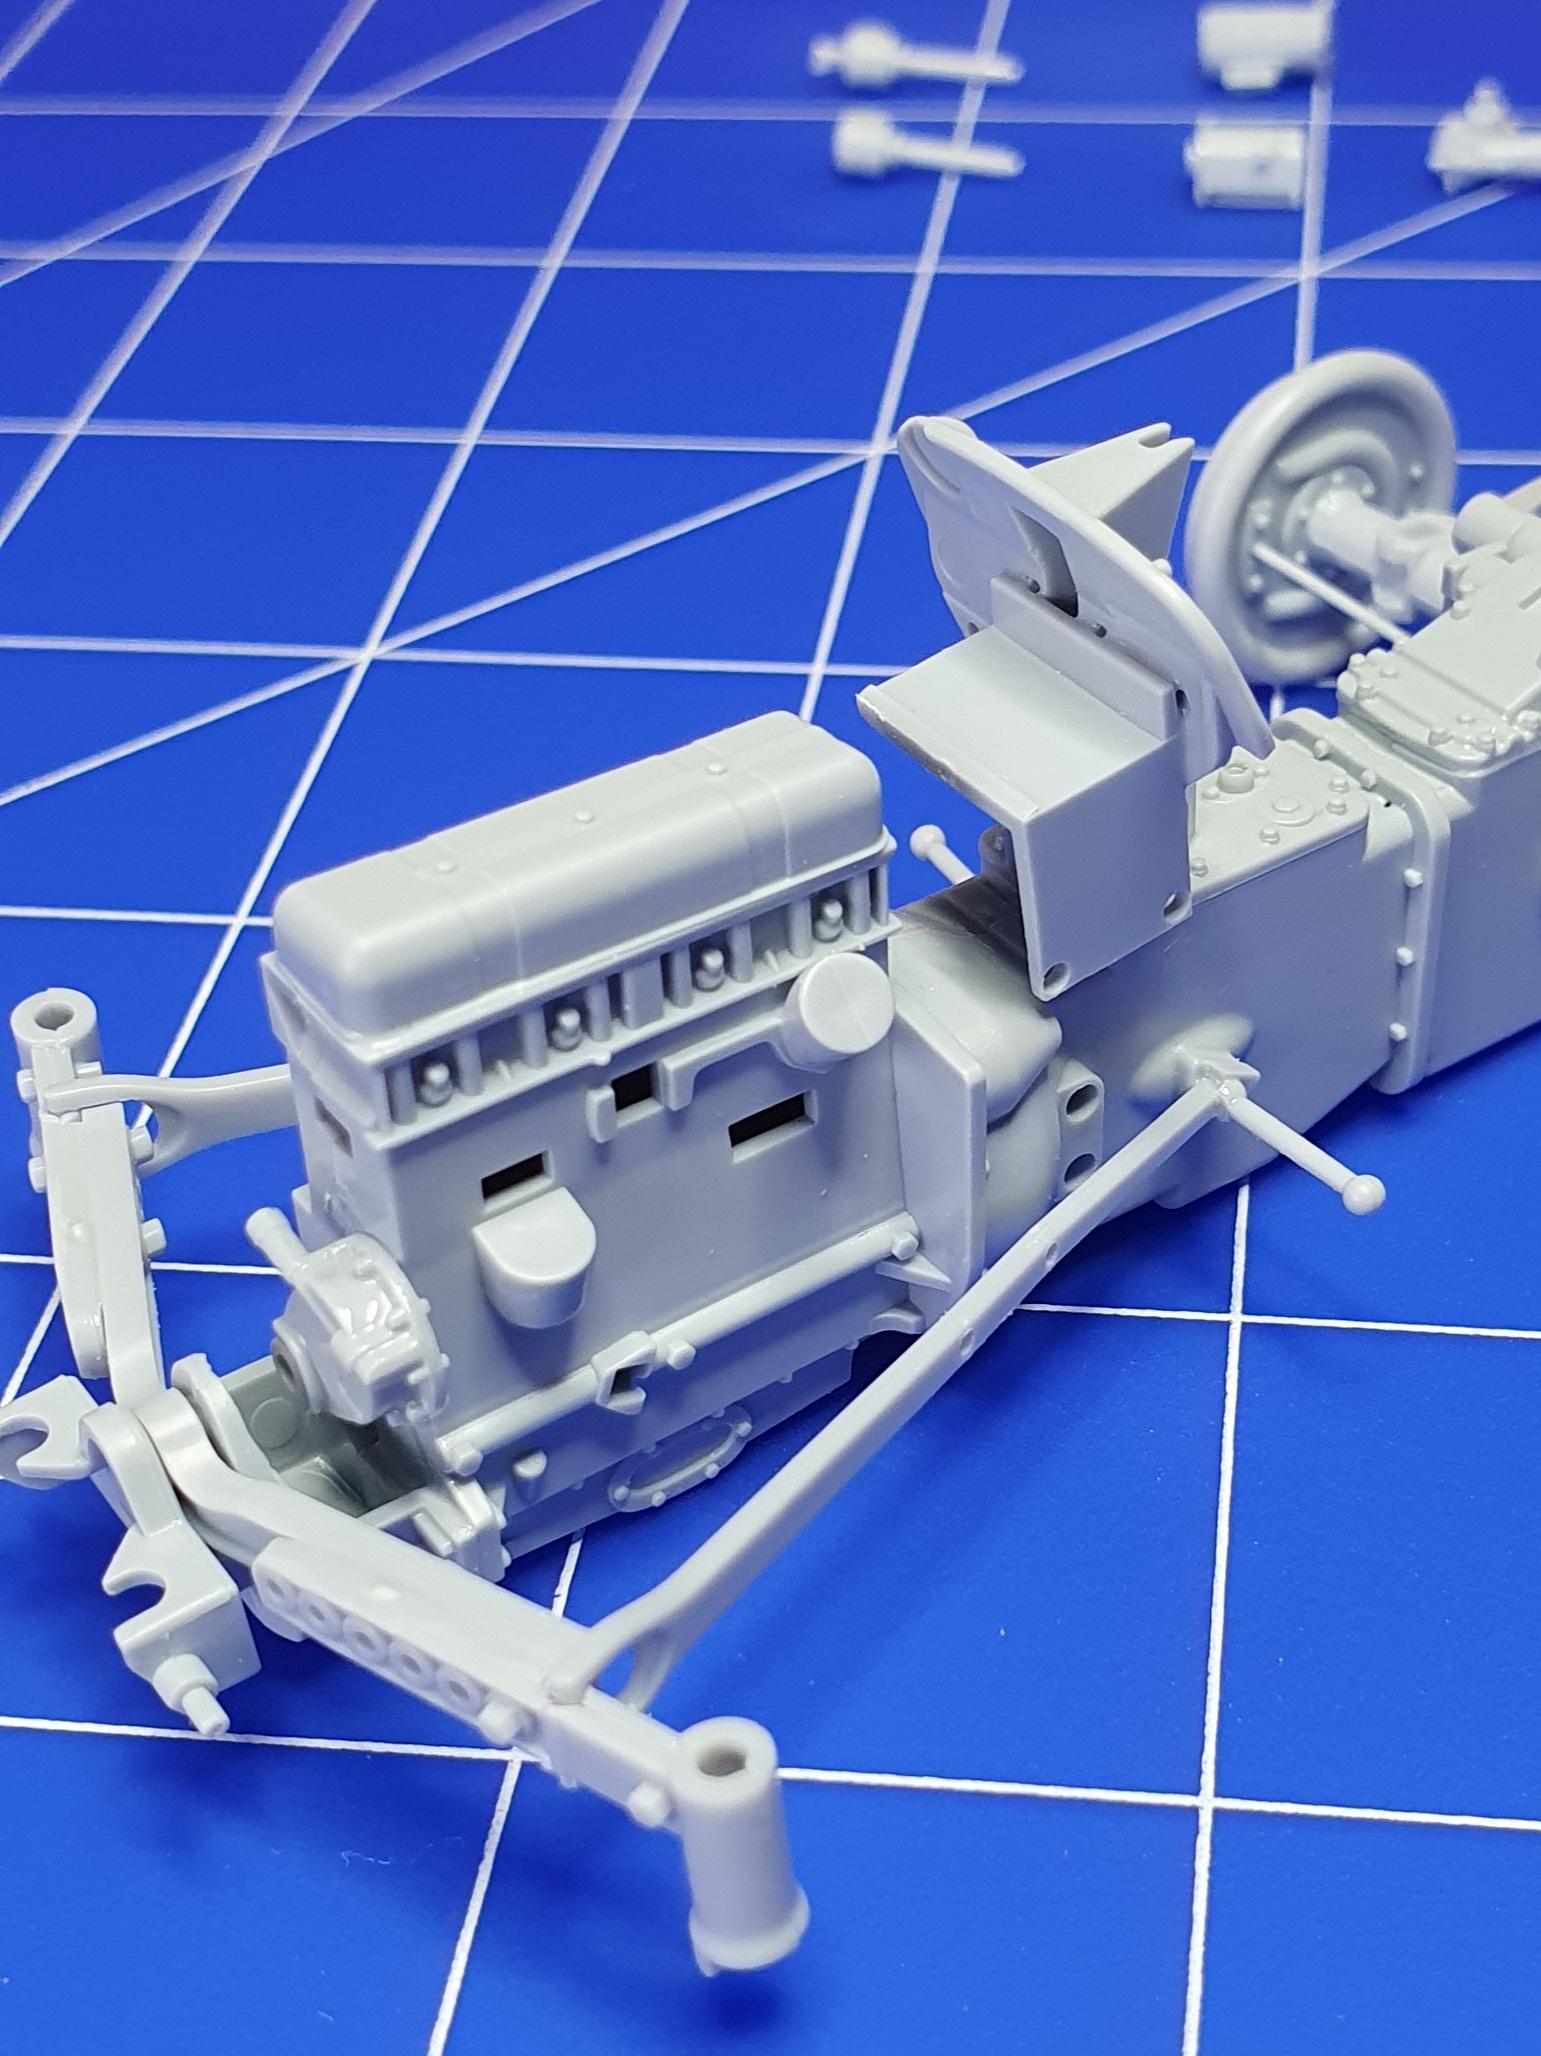
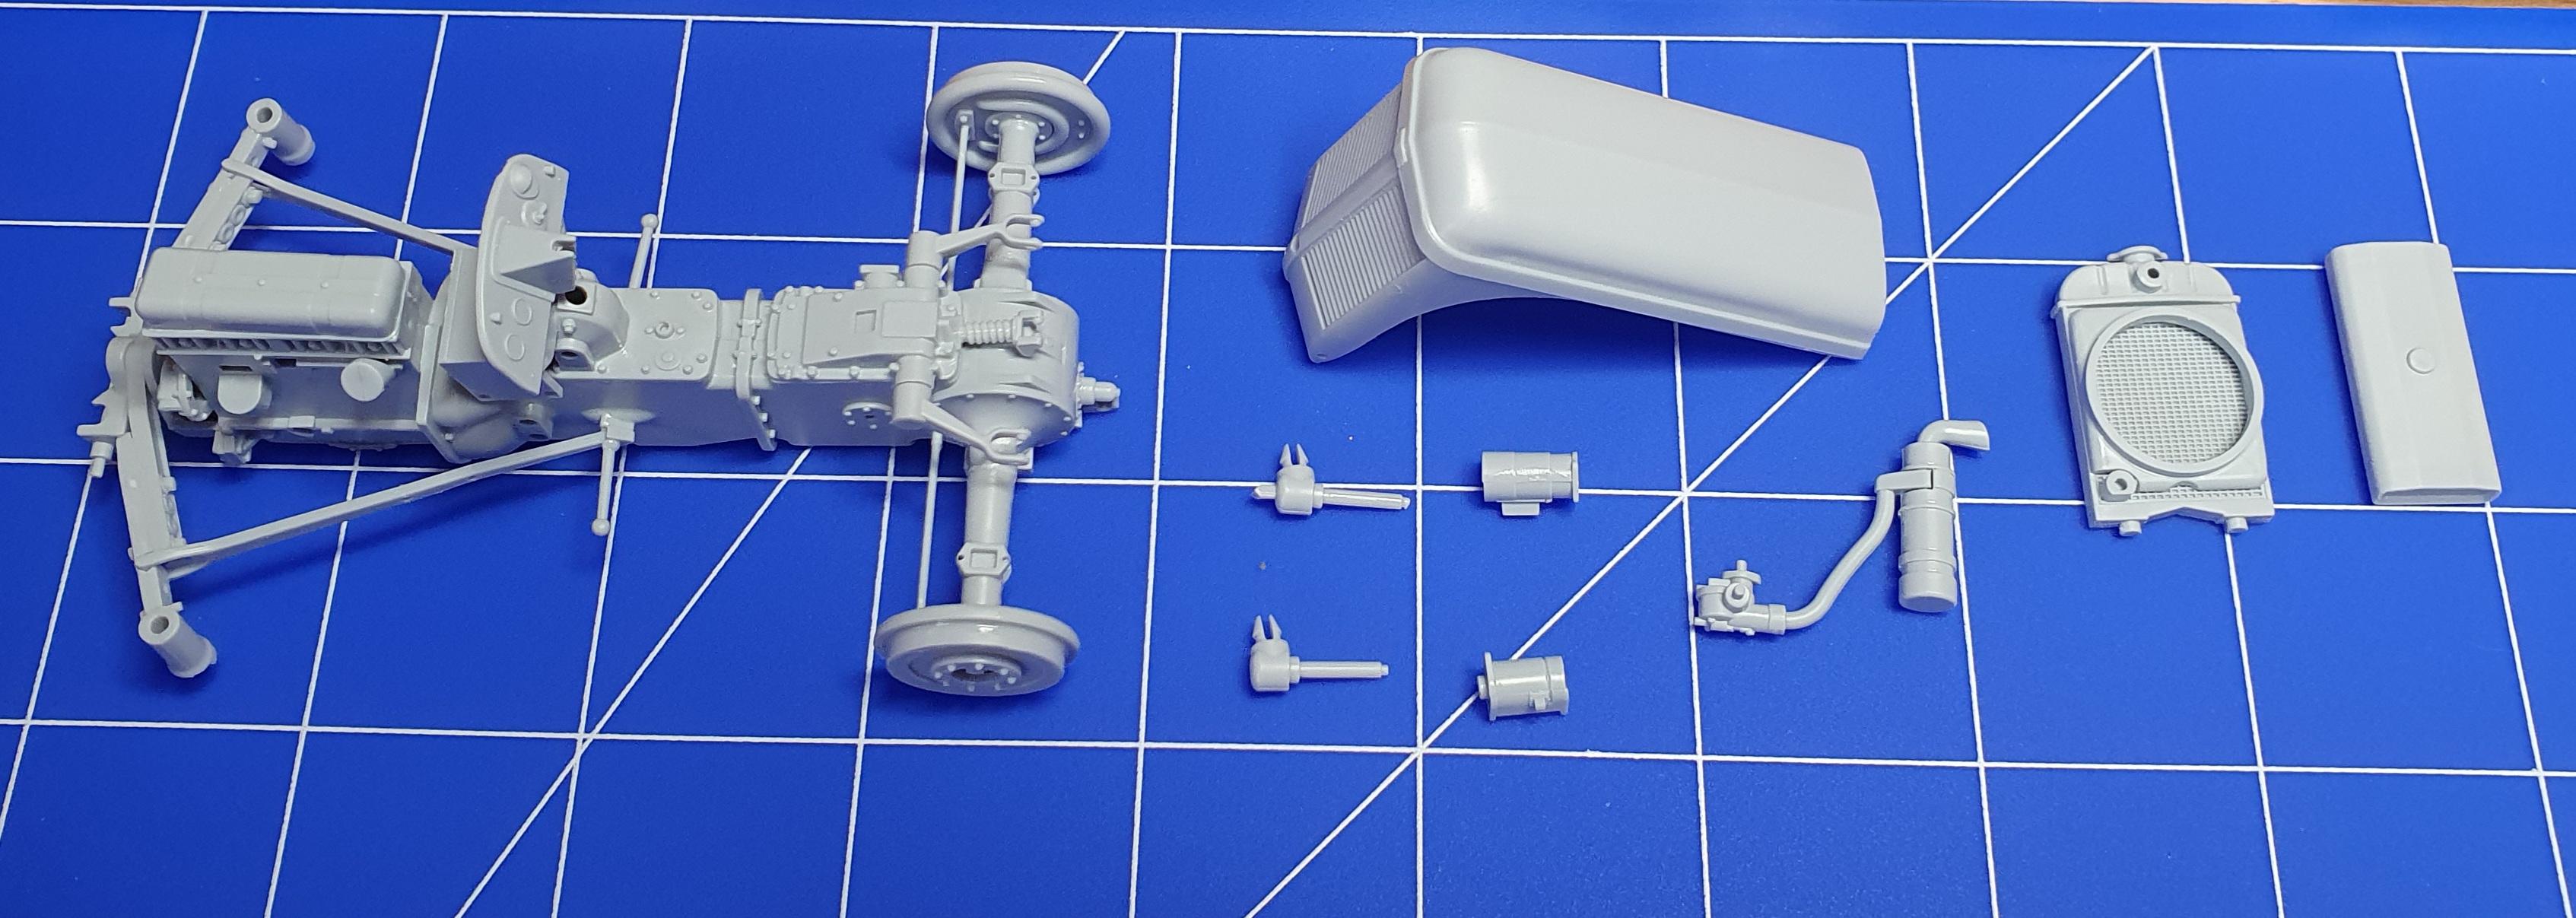
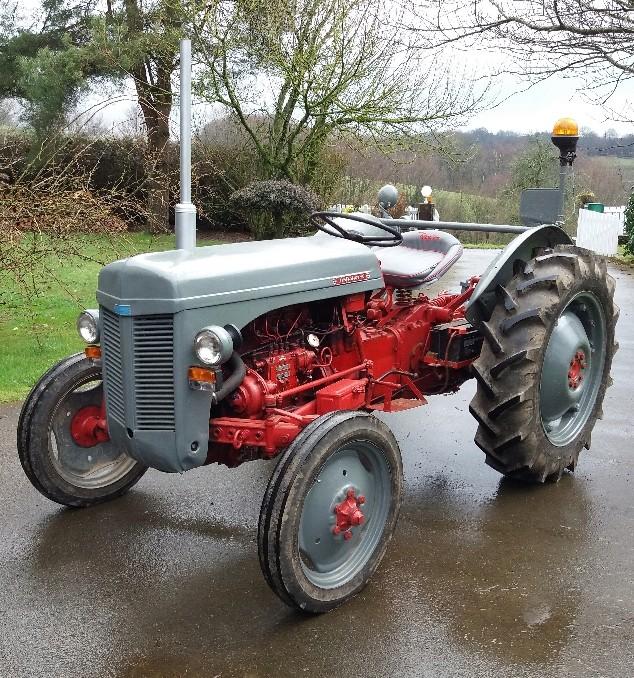
It really is a nice kit, the parts are really well moulded, the instructions could be better though, I've never even sat on a tractor, but I got interested in them when I worked for the Classic Car weekly magazine, travelling to all the Classic car and transport shows where there was always a good selection of classic tractors on show. -
Heller ferguson FF-30
GeeBee replied to GeeBee's topic in WIP: Model Trucks: Big Rigs and Heavy Equipment
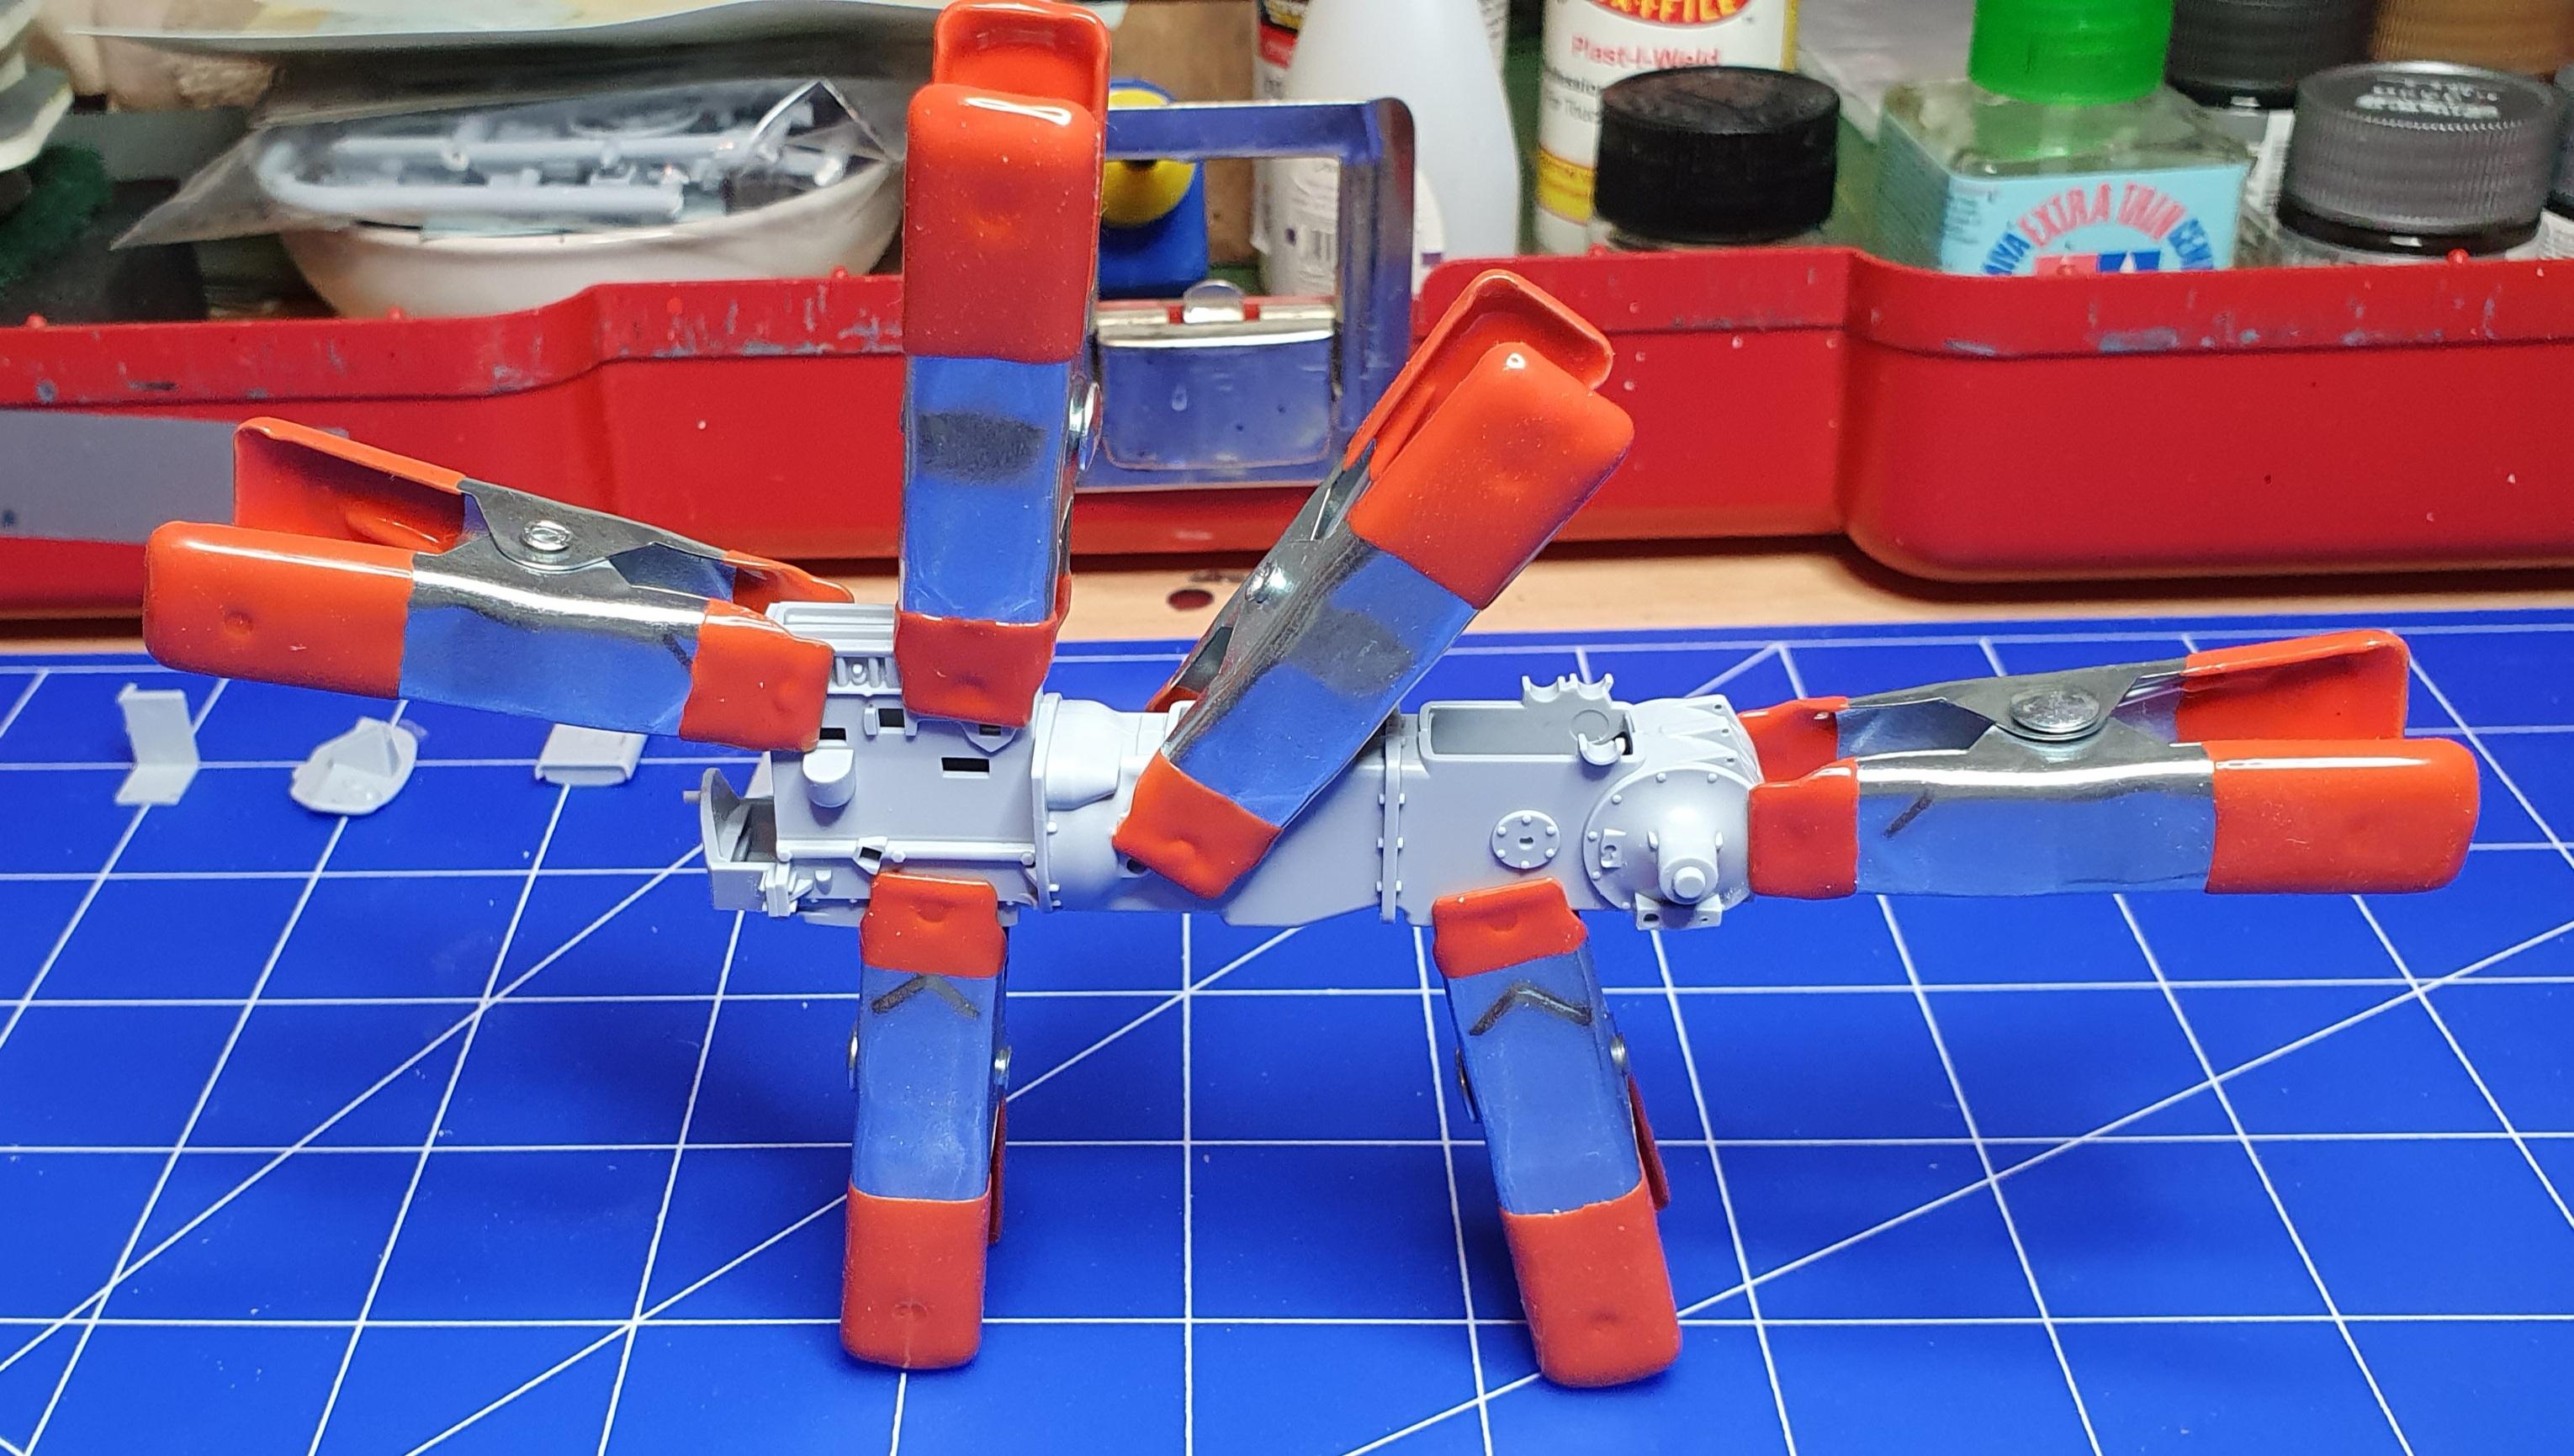
Thank you, the instructions are well drawn, if you study them and look at the parts in the next few sections it's easy enough to work out that the parts need to be swapped over, with the photography, I cheat a little as that's my day job. -
1969 Pontiac Firebird Trans Am (AMT) in Cameo White w/ Blue Stripes
GeeBee replied to Tommy124's topic in Model Cars
X2 -
I've already got one of these in the stash, but this came along at a price I couldn't refuse, being factory sealed is a bonus.
-
Heller ferguson FF-30
GeeBee replied to GeeBee's topic in WIP: Model Trucks: Big Rigs and Heavy Equipment
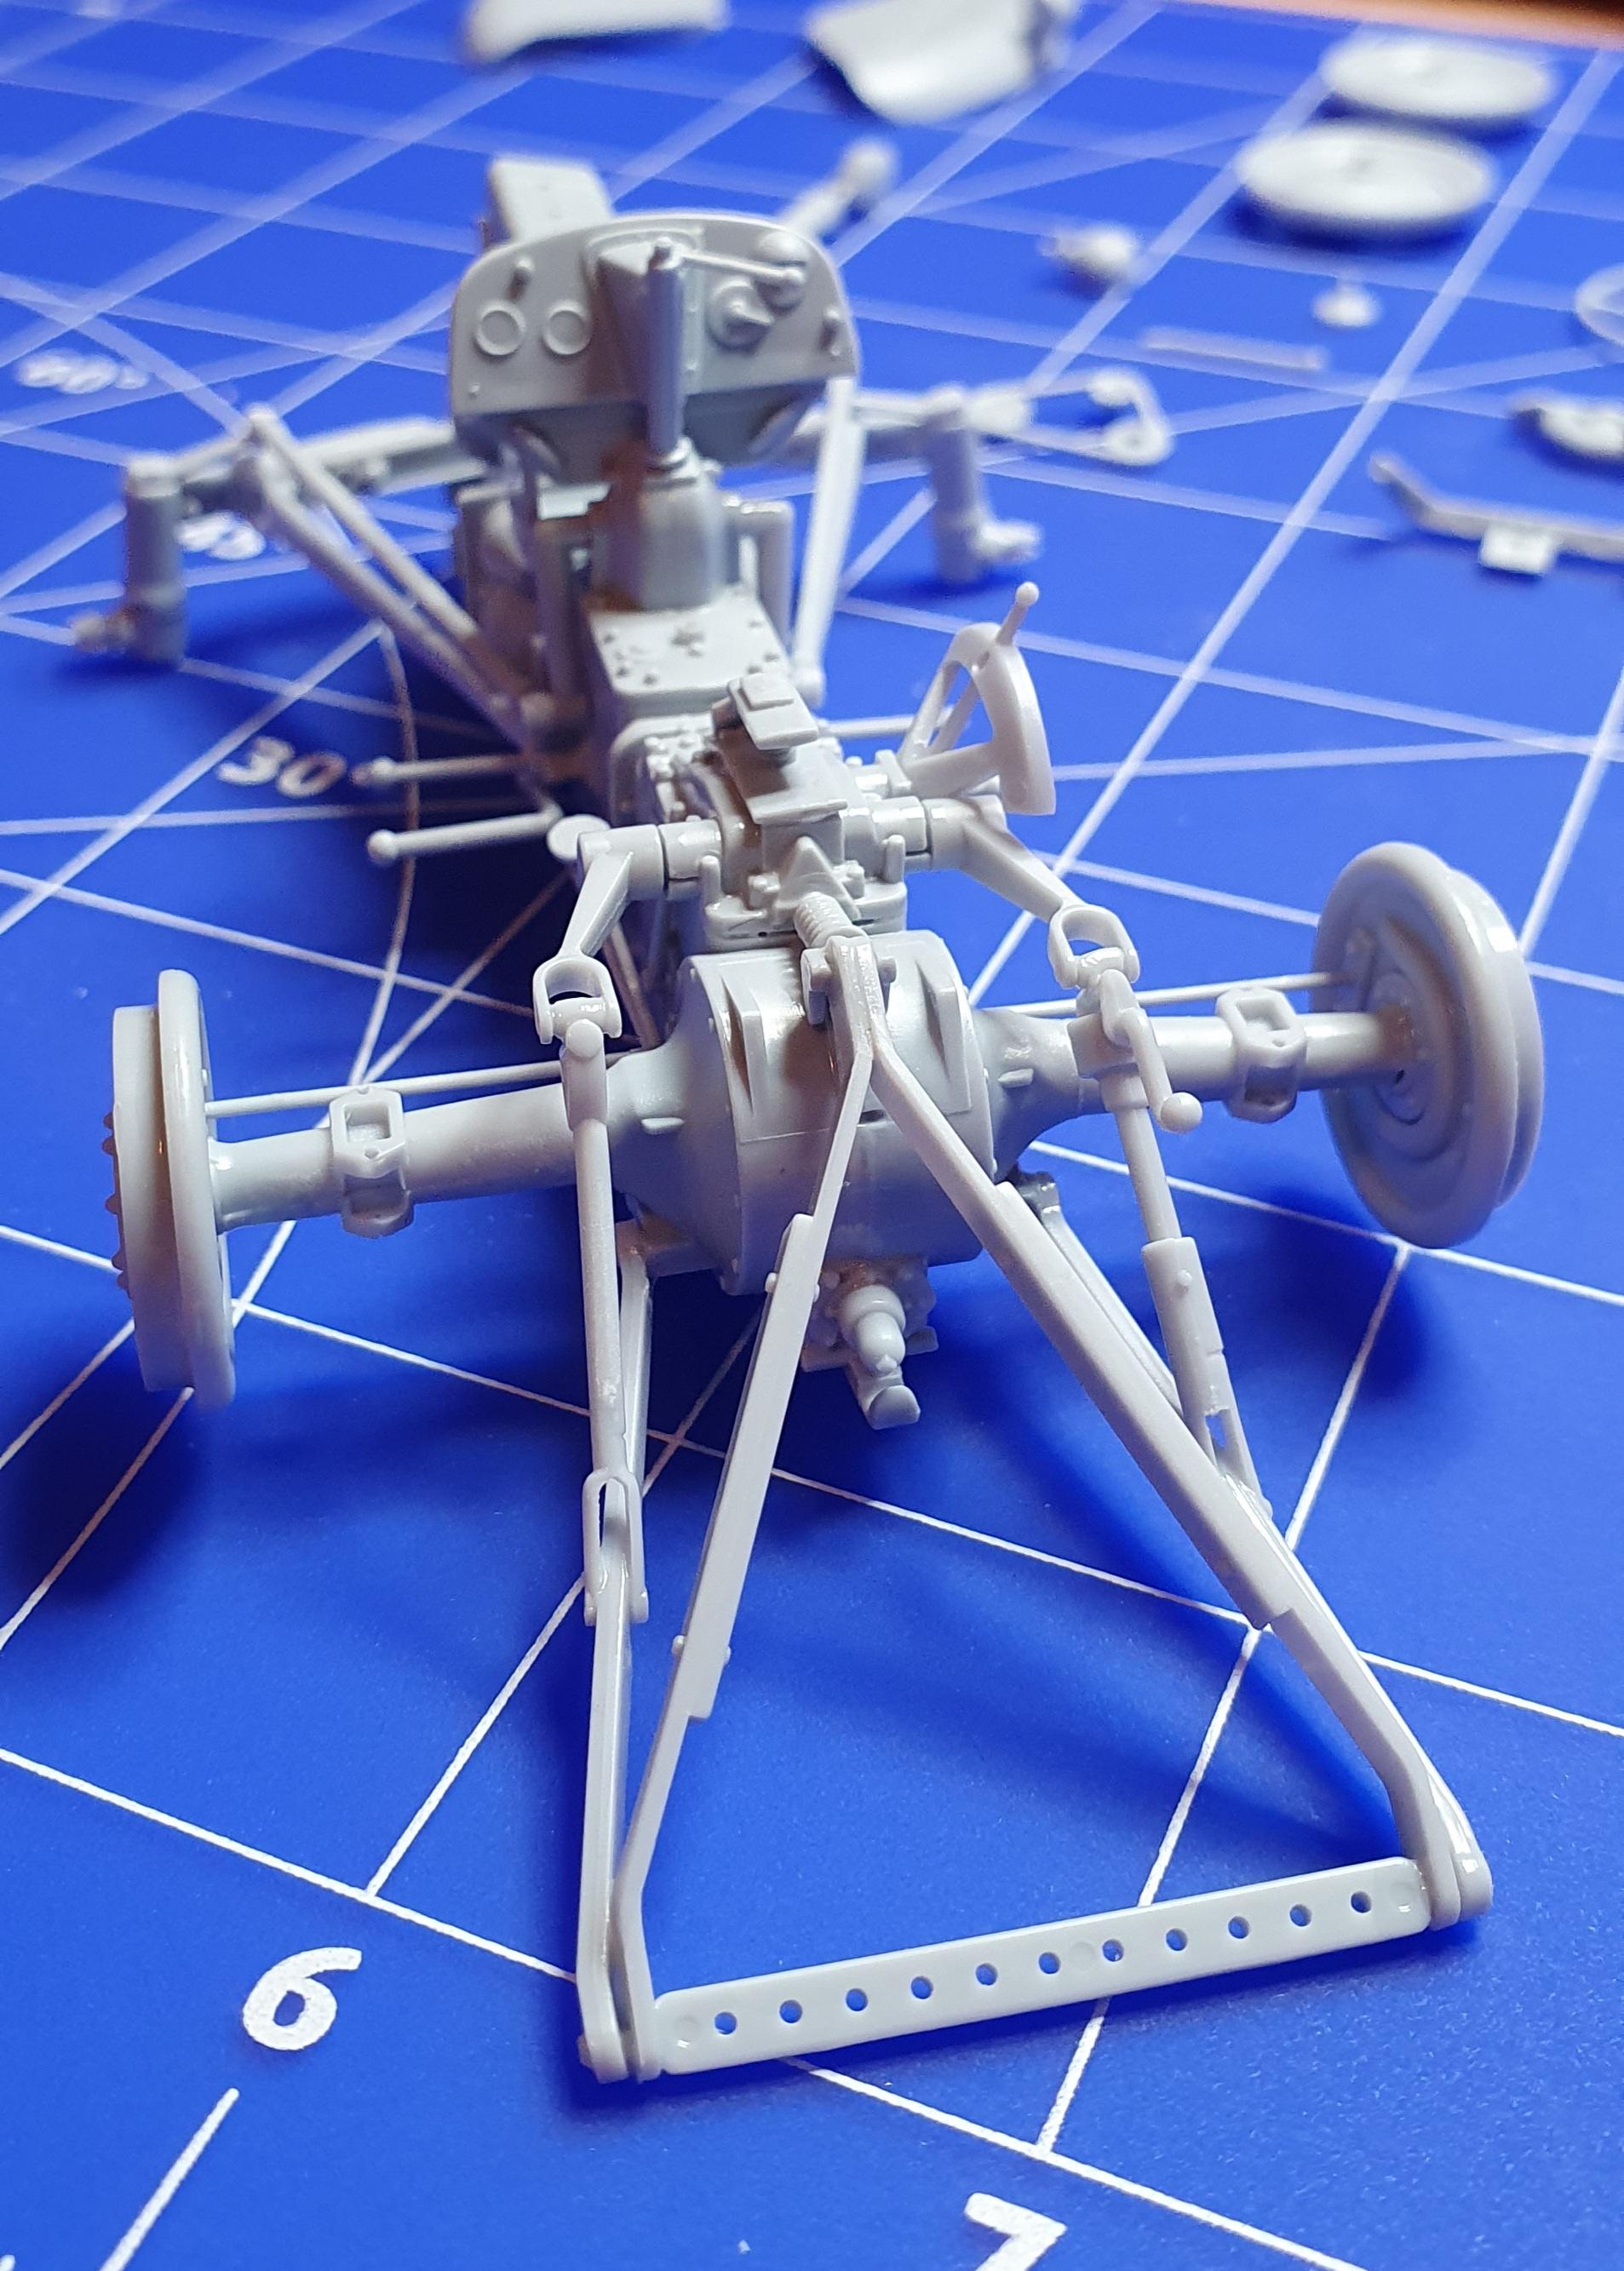
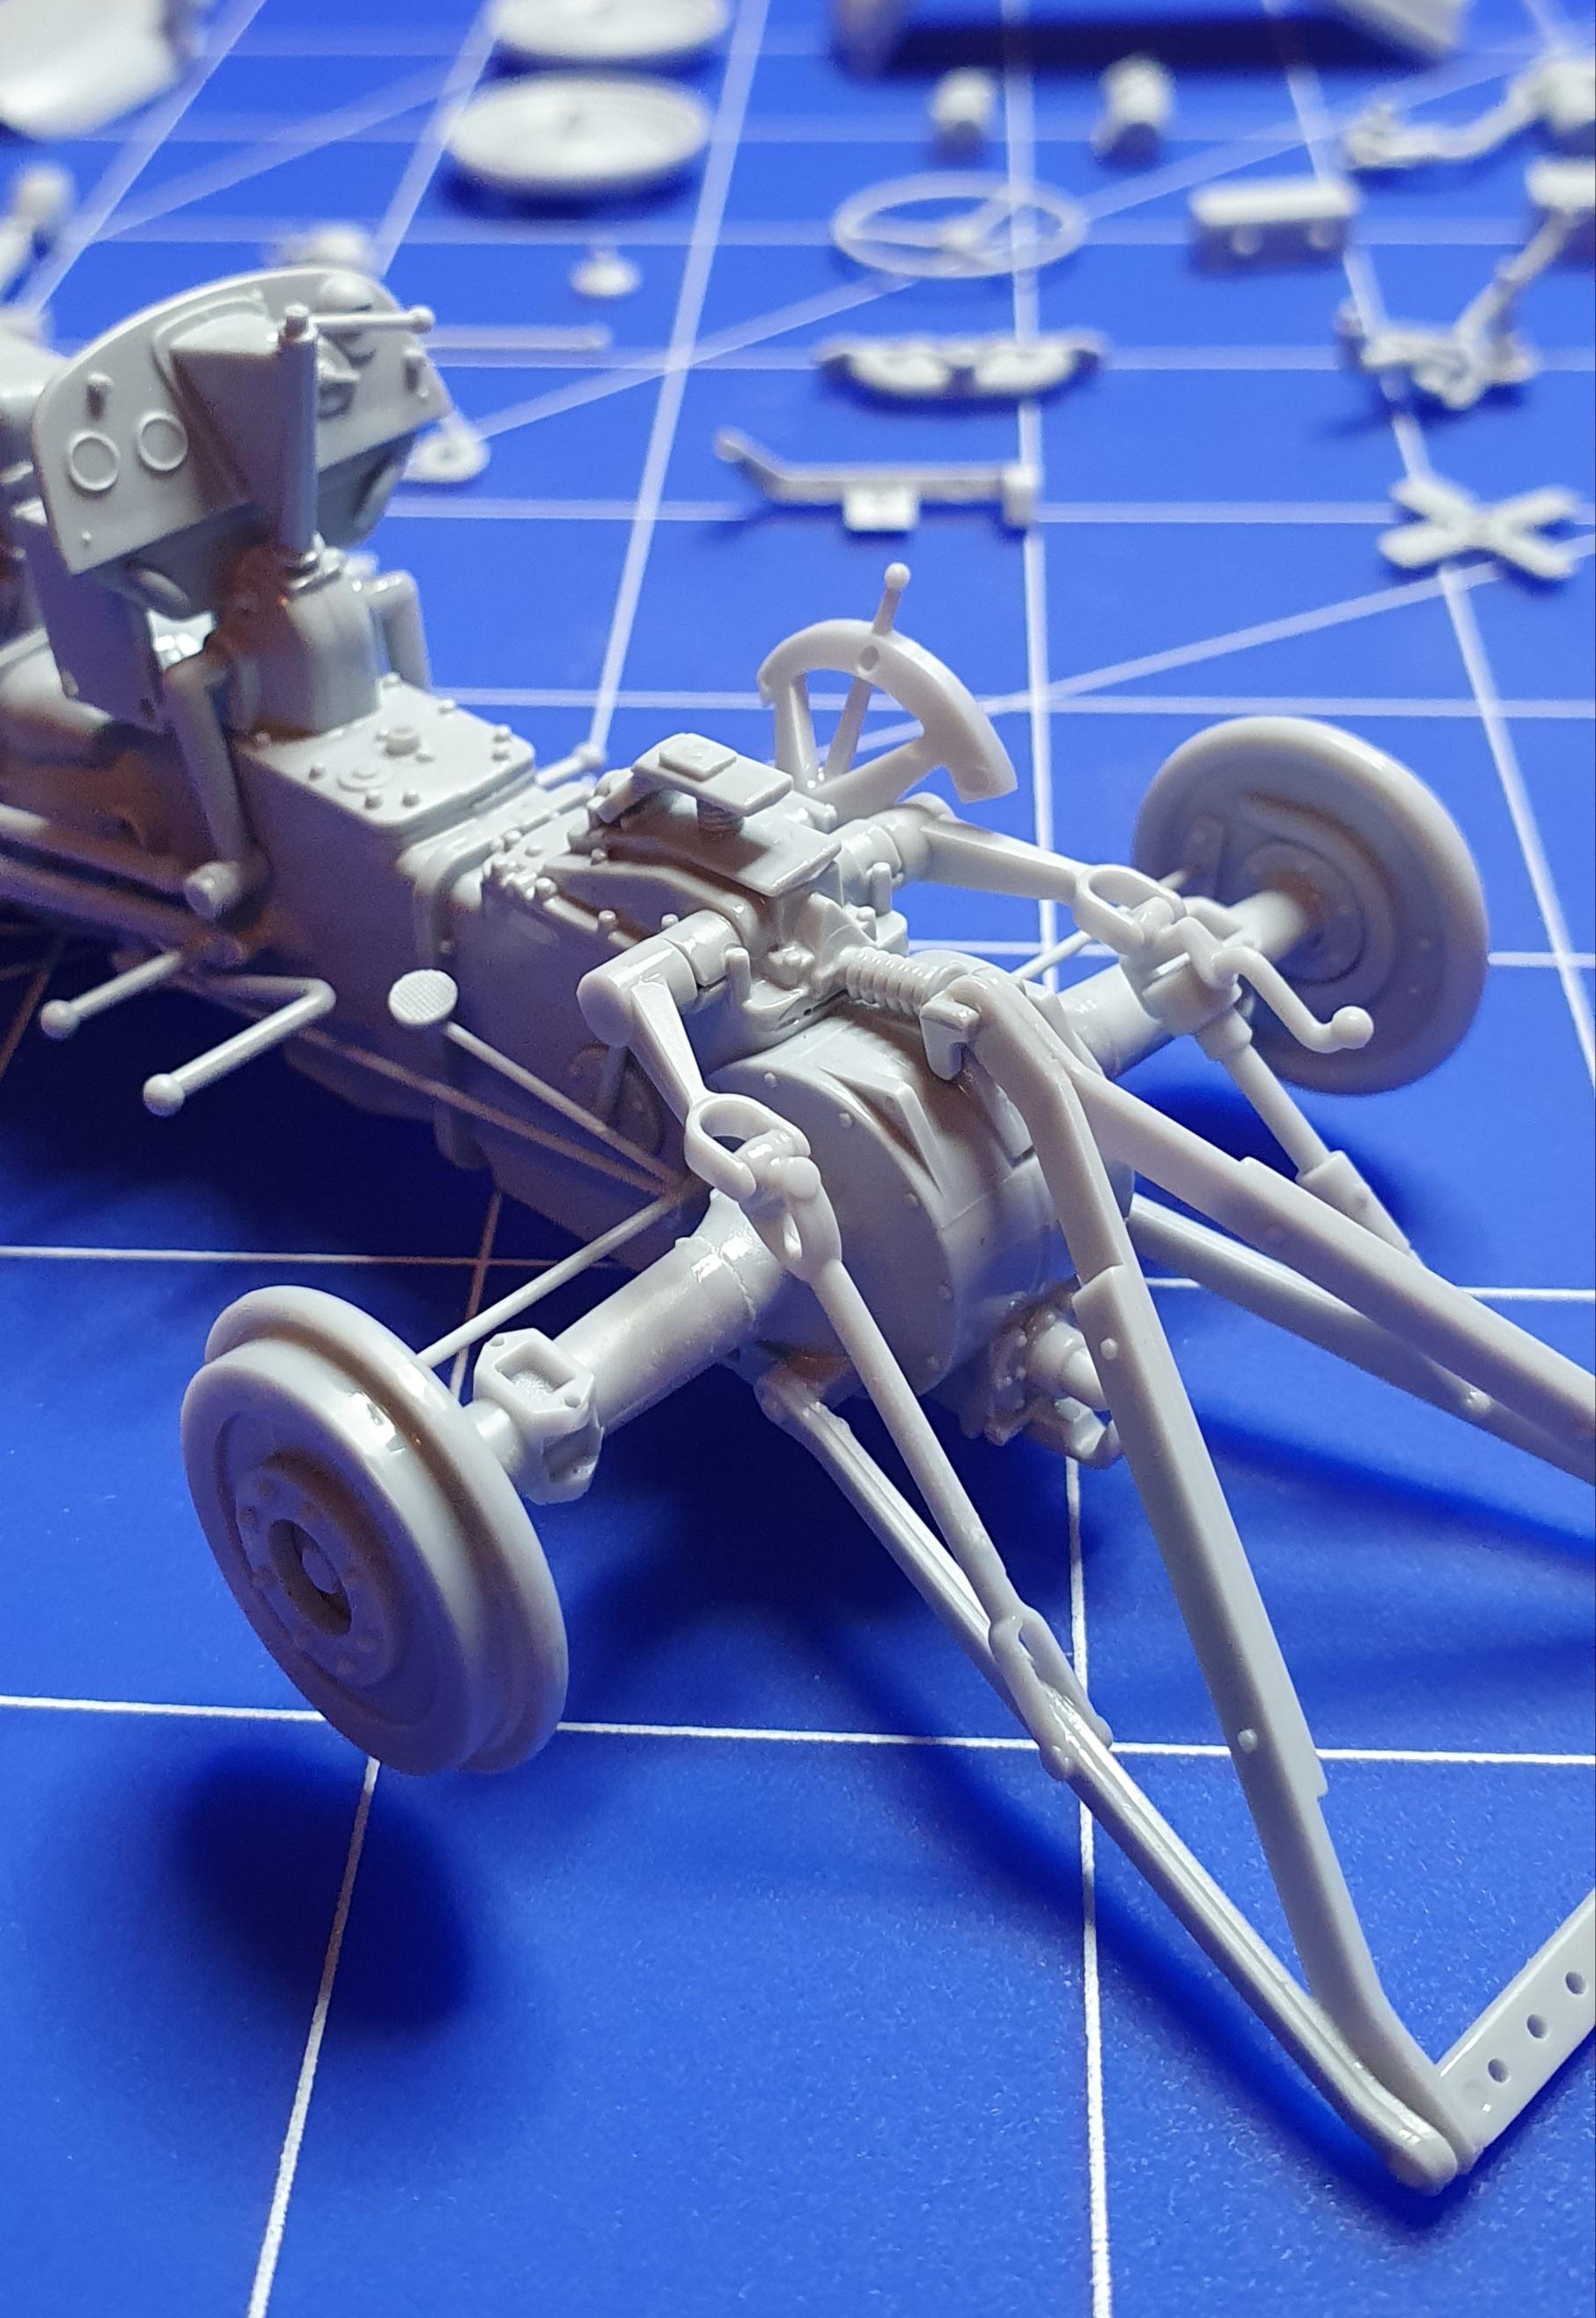
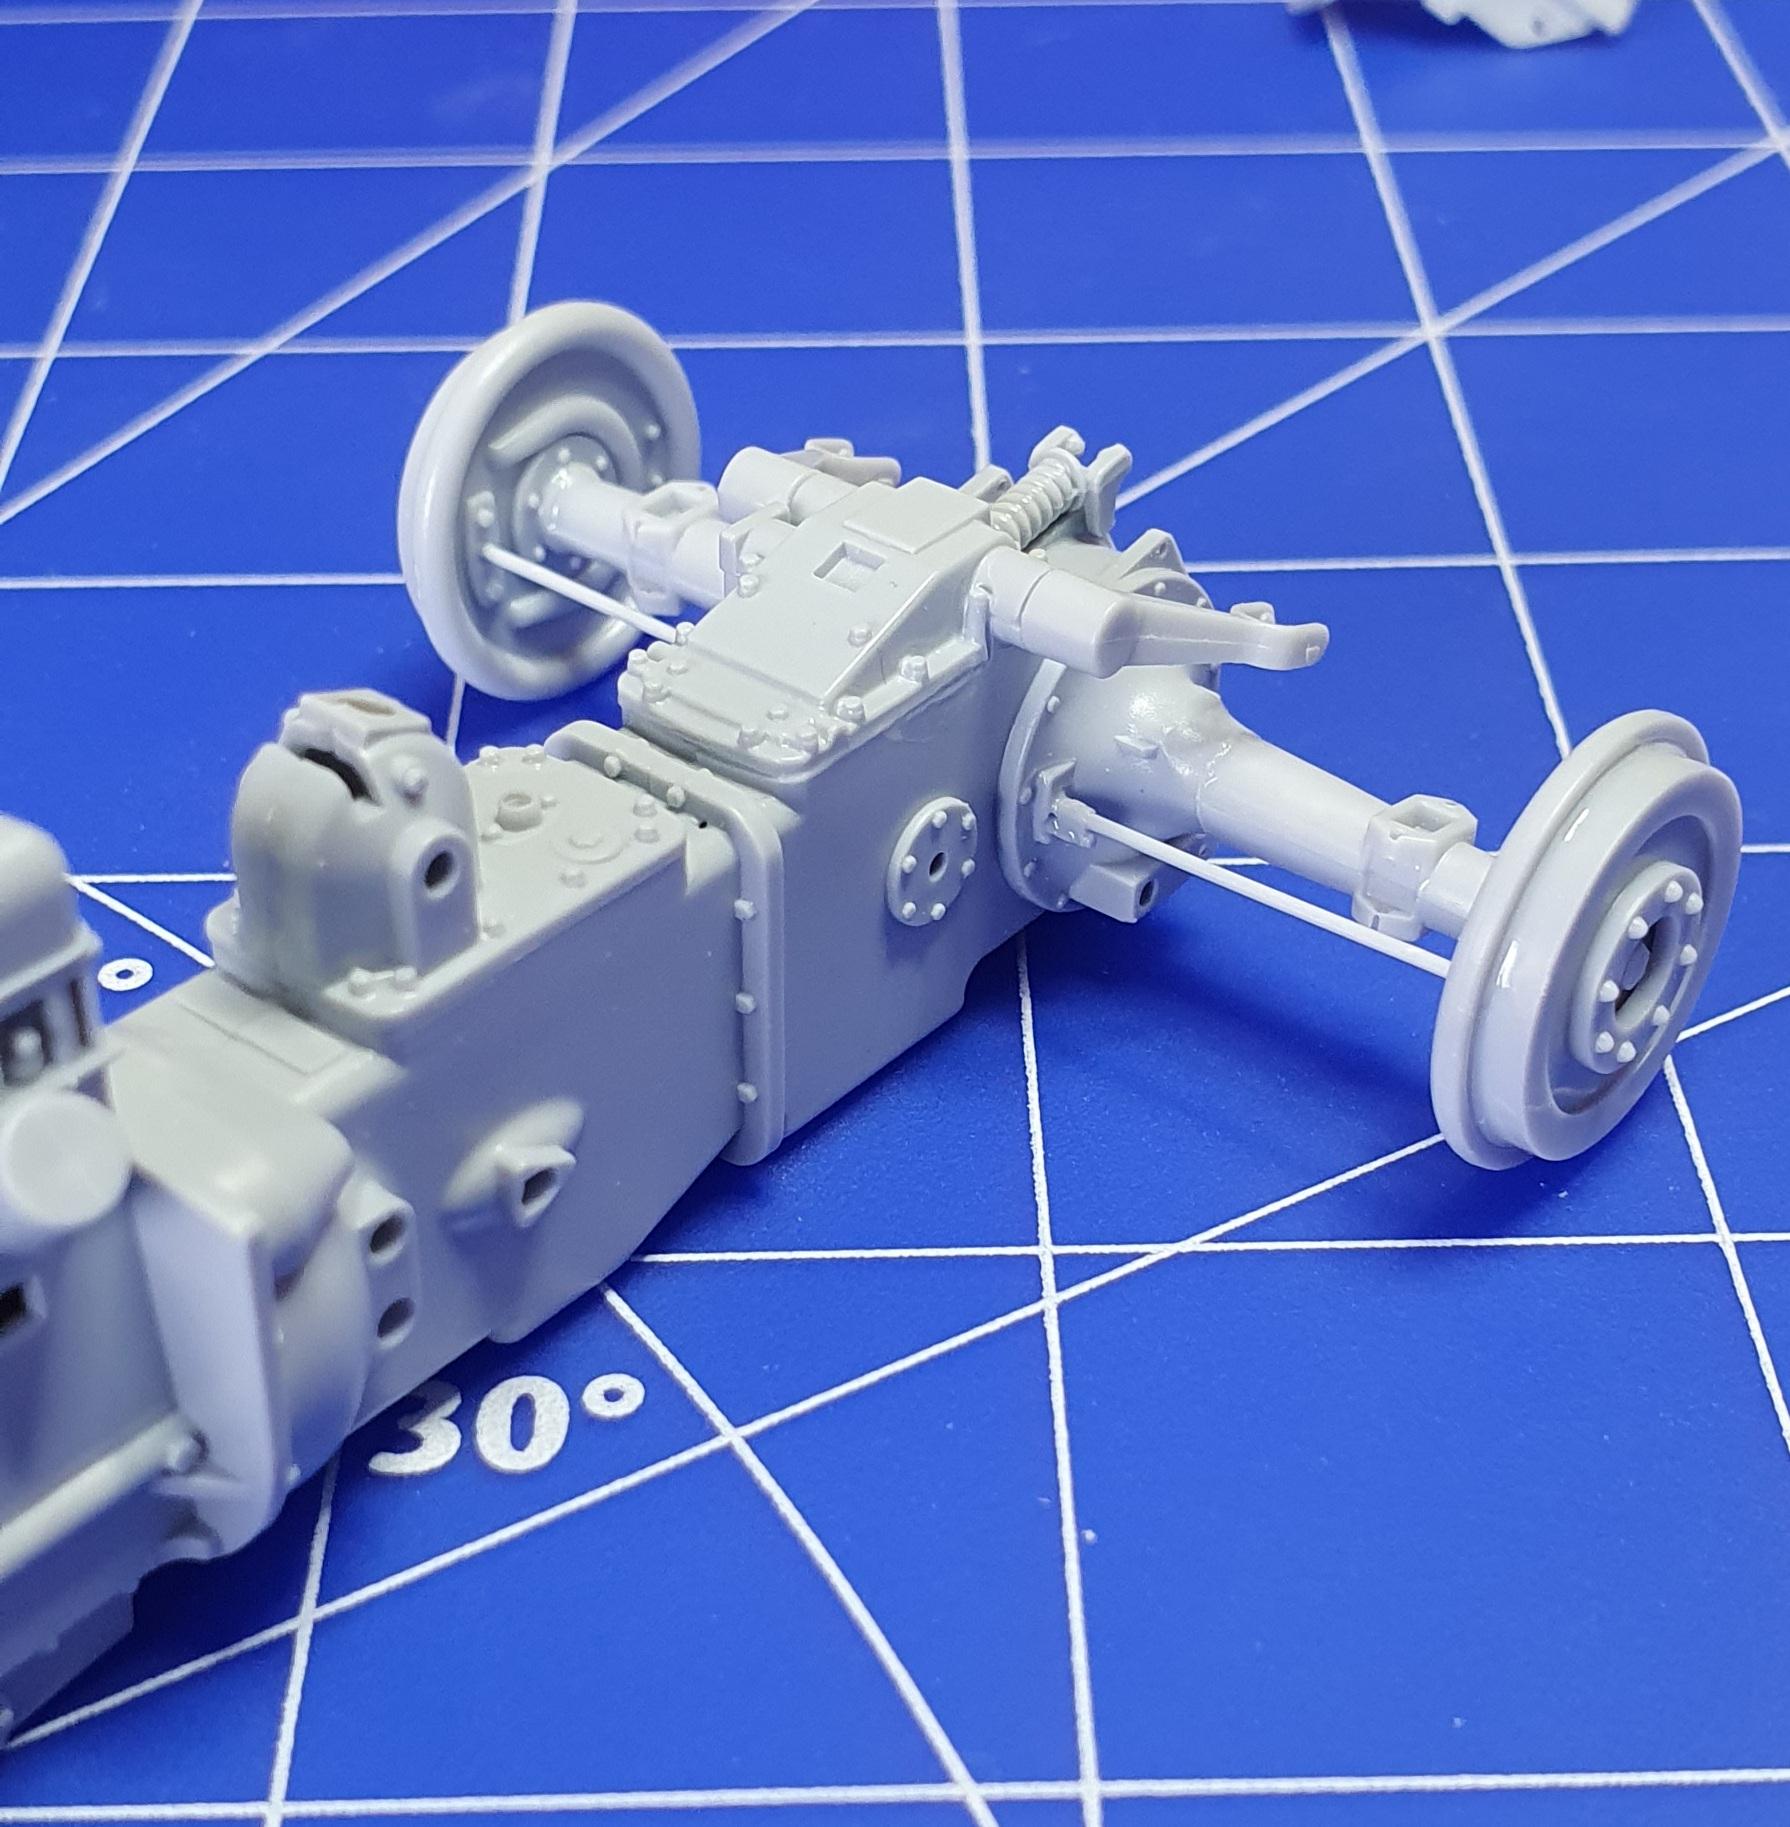
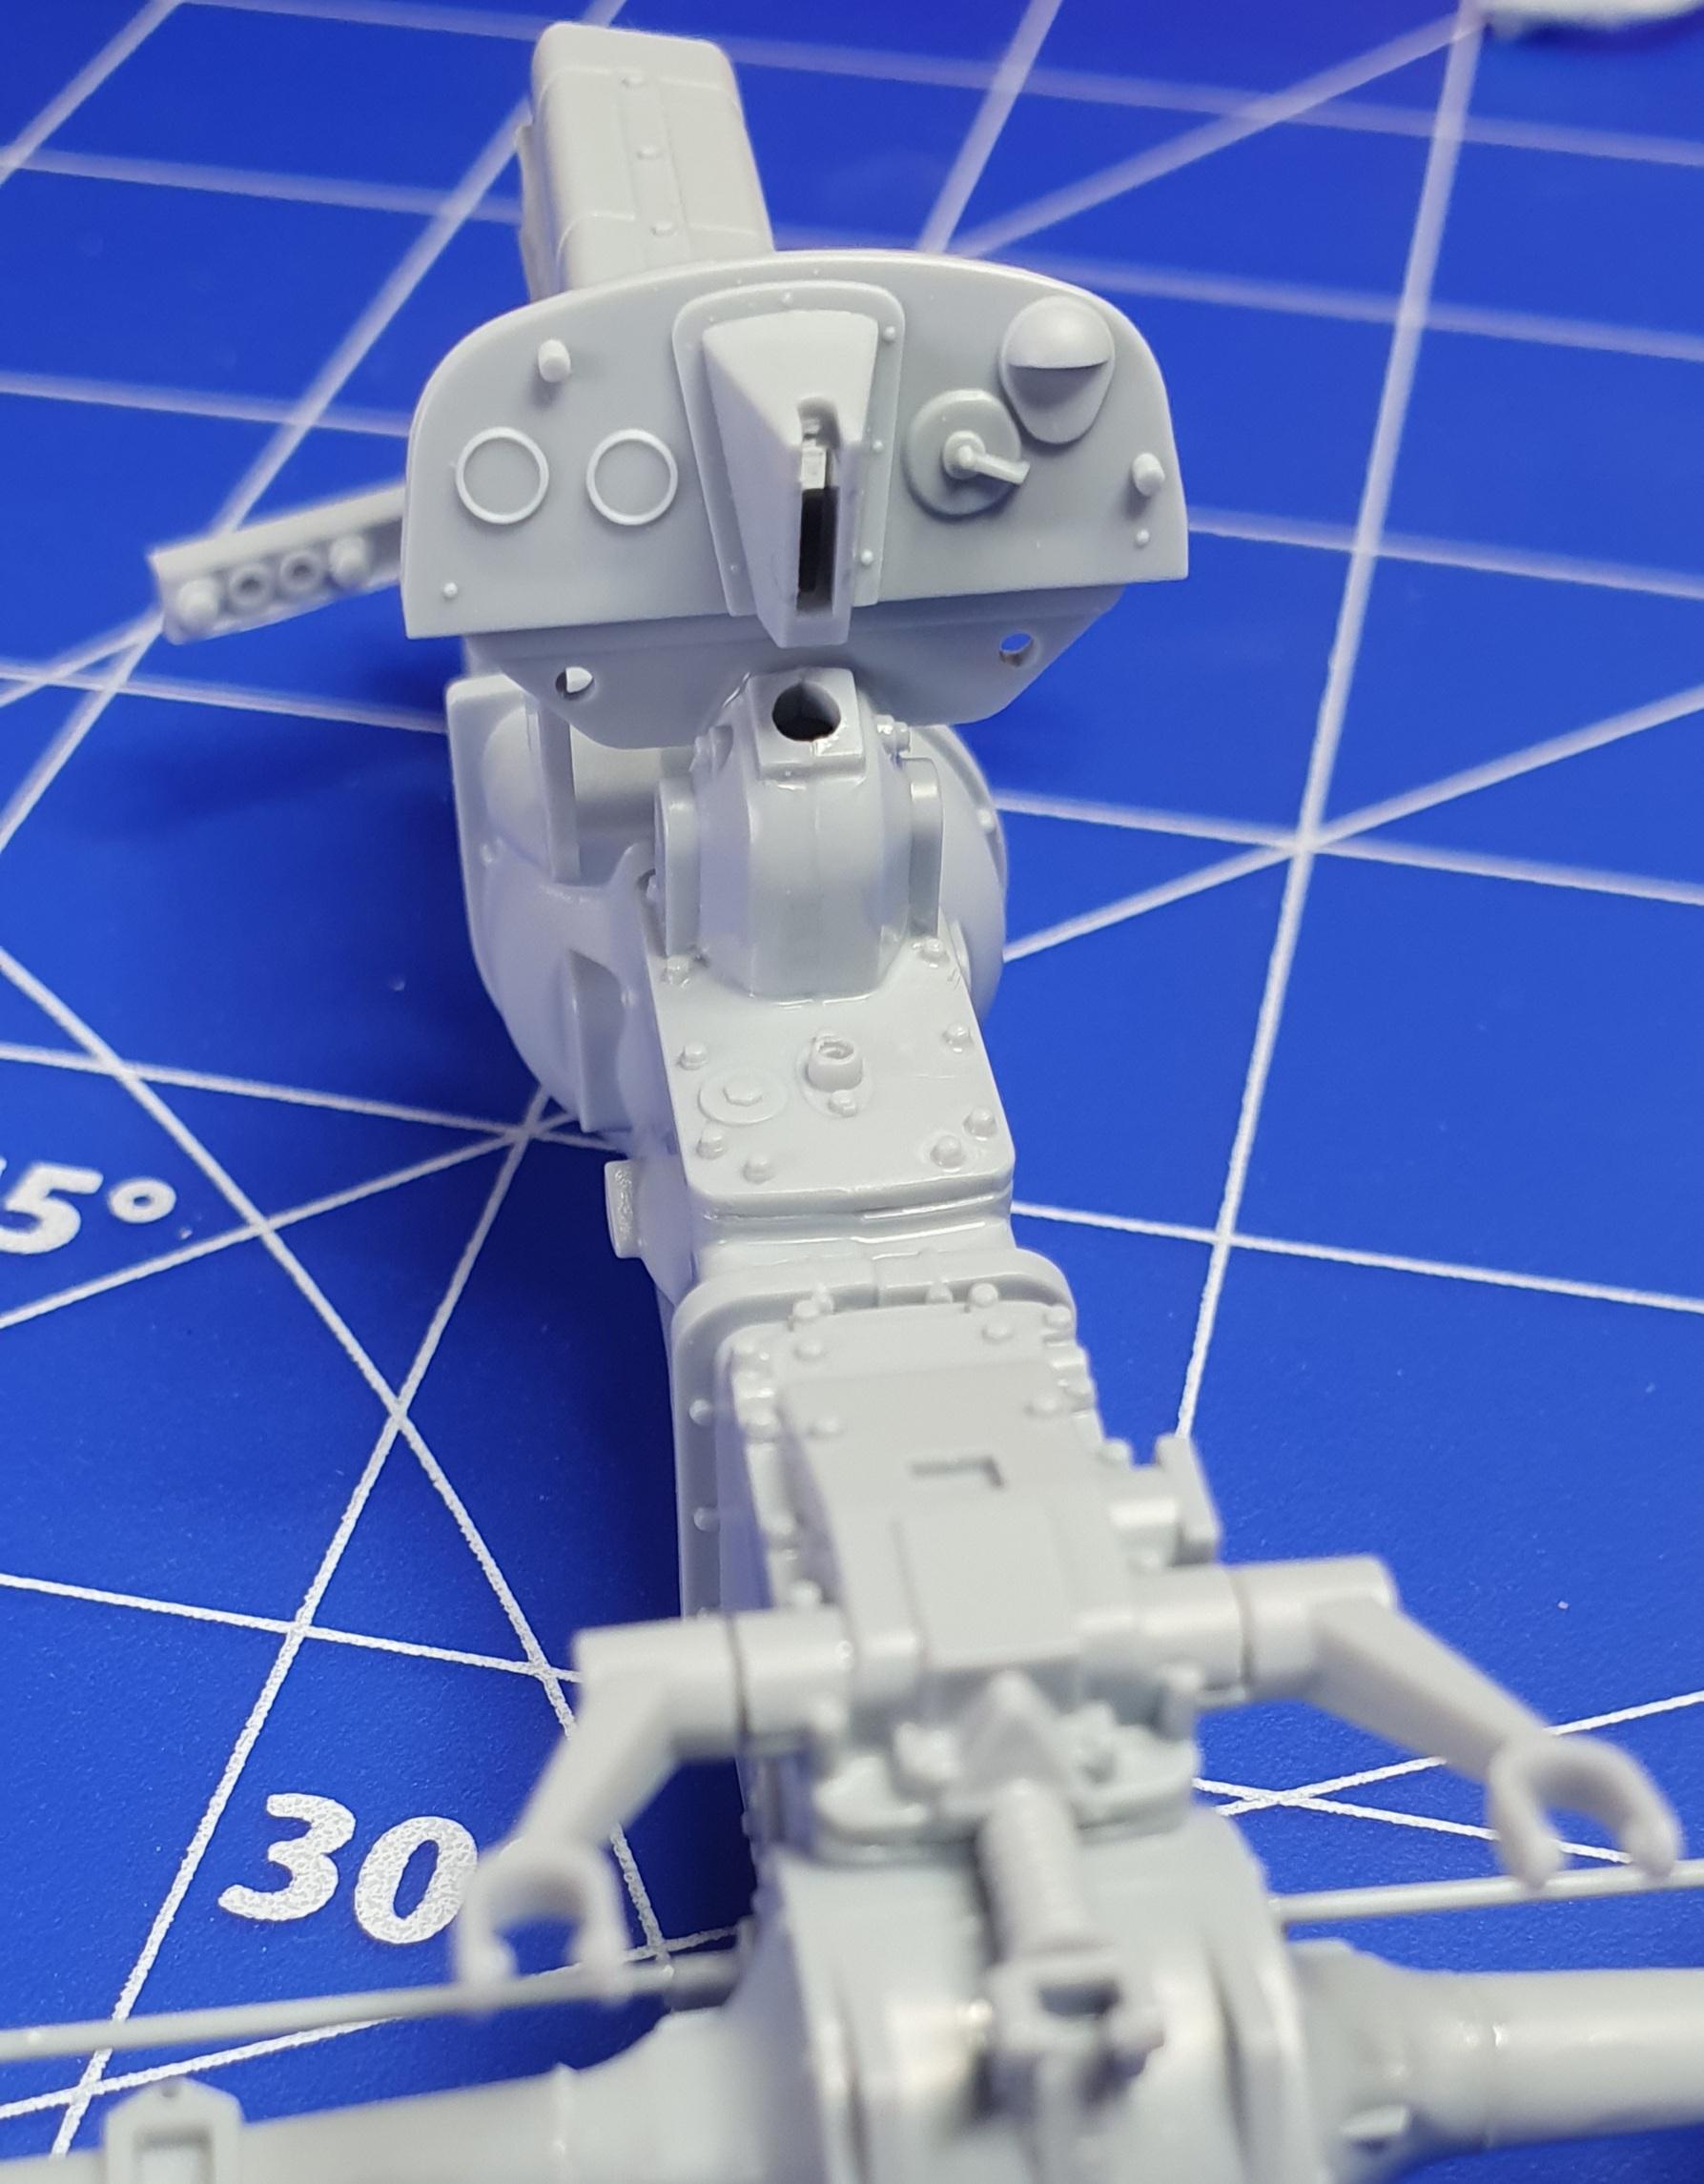
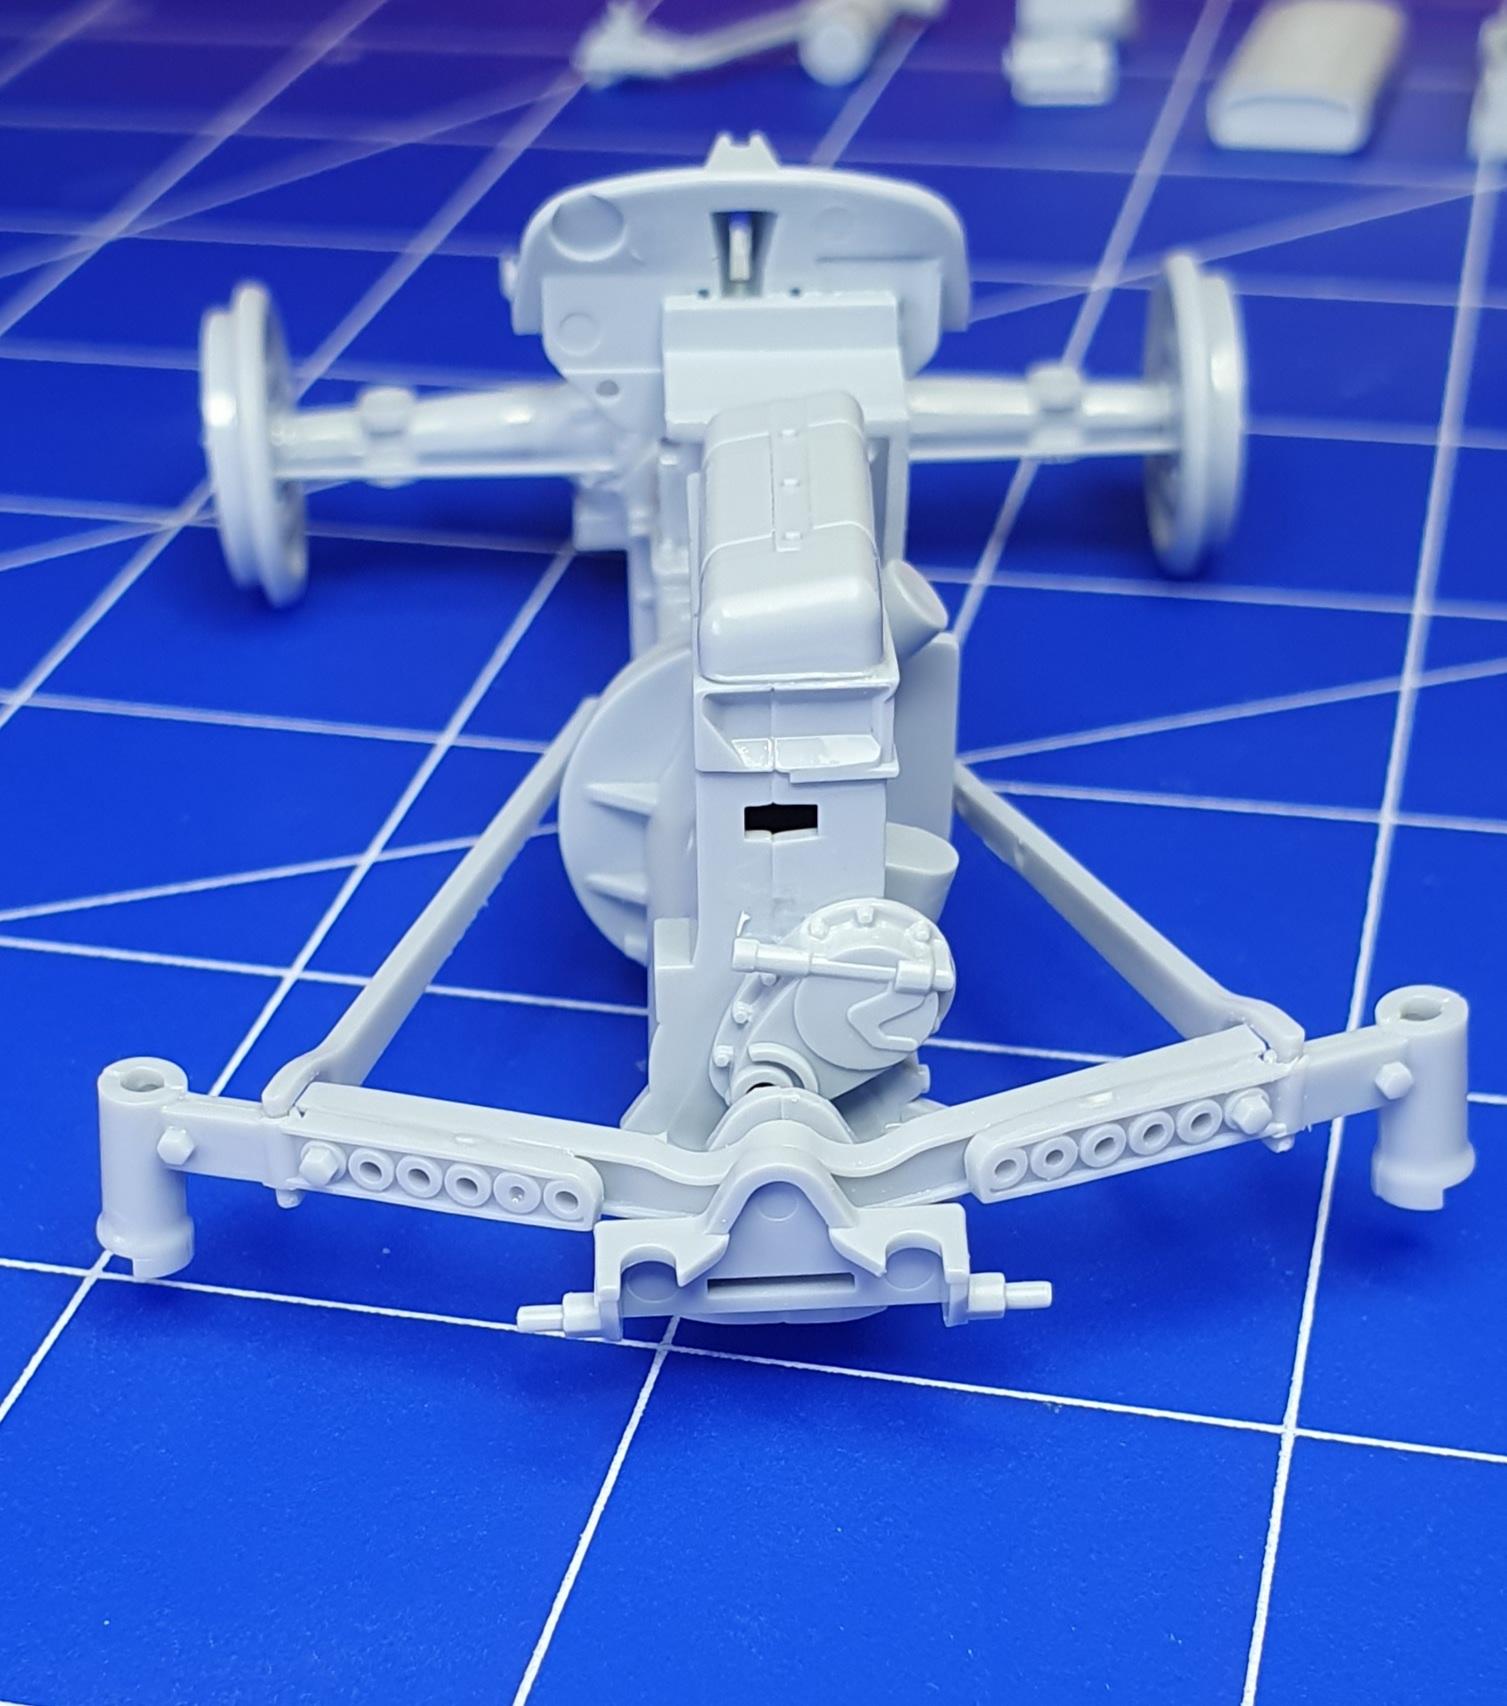
Rear linkage fitted to the Ferguson, so many parts, 7 to be precise, and pretty tricky to get them all lined up.
-
Volvo 445
GeeBee replied to Vilperi's topic in WIP: Model Trucks: Pickups, Vans, SUVs, Light Commercial
Very unusual subject, look forward to seeing this one progress. -
Heller ferguson FF-30
GeeBee replied to GeeBee's topic in WIP: Model Trucks: Big Rigs and Heavy Equipment
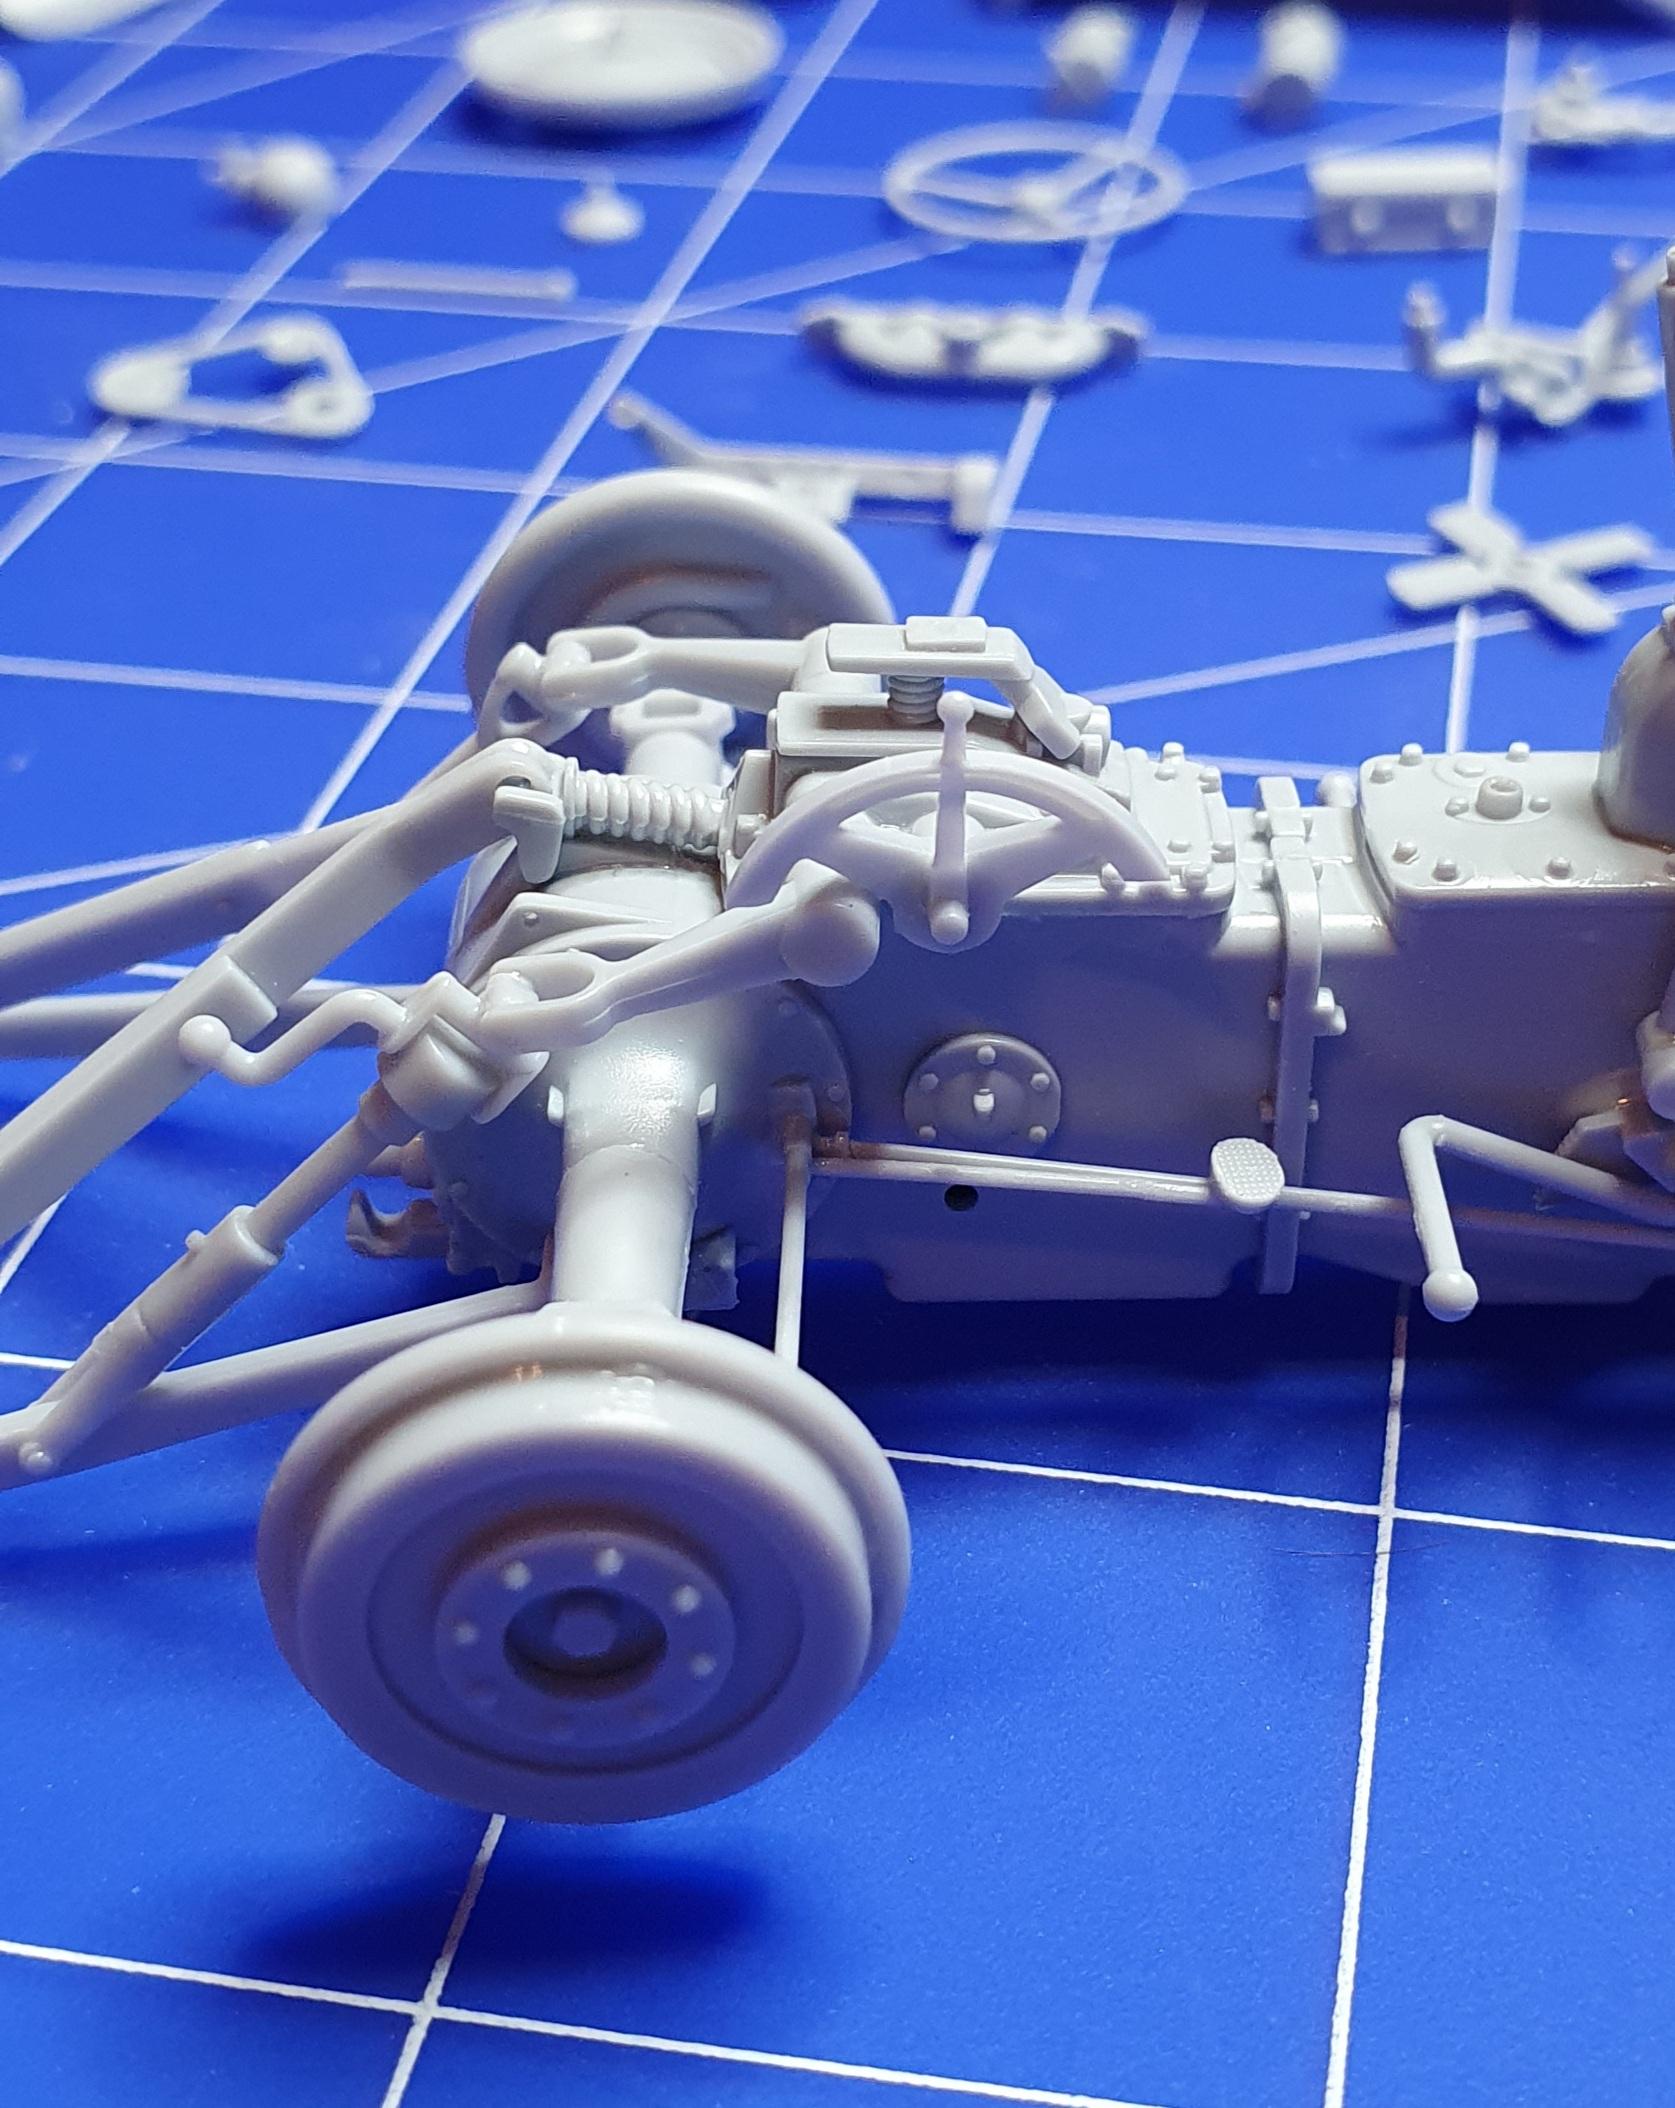
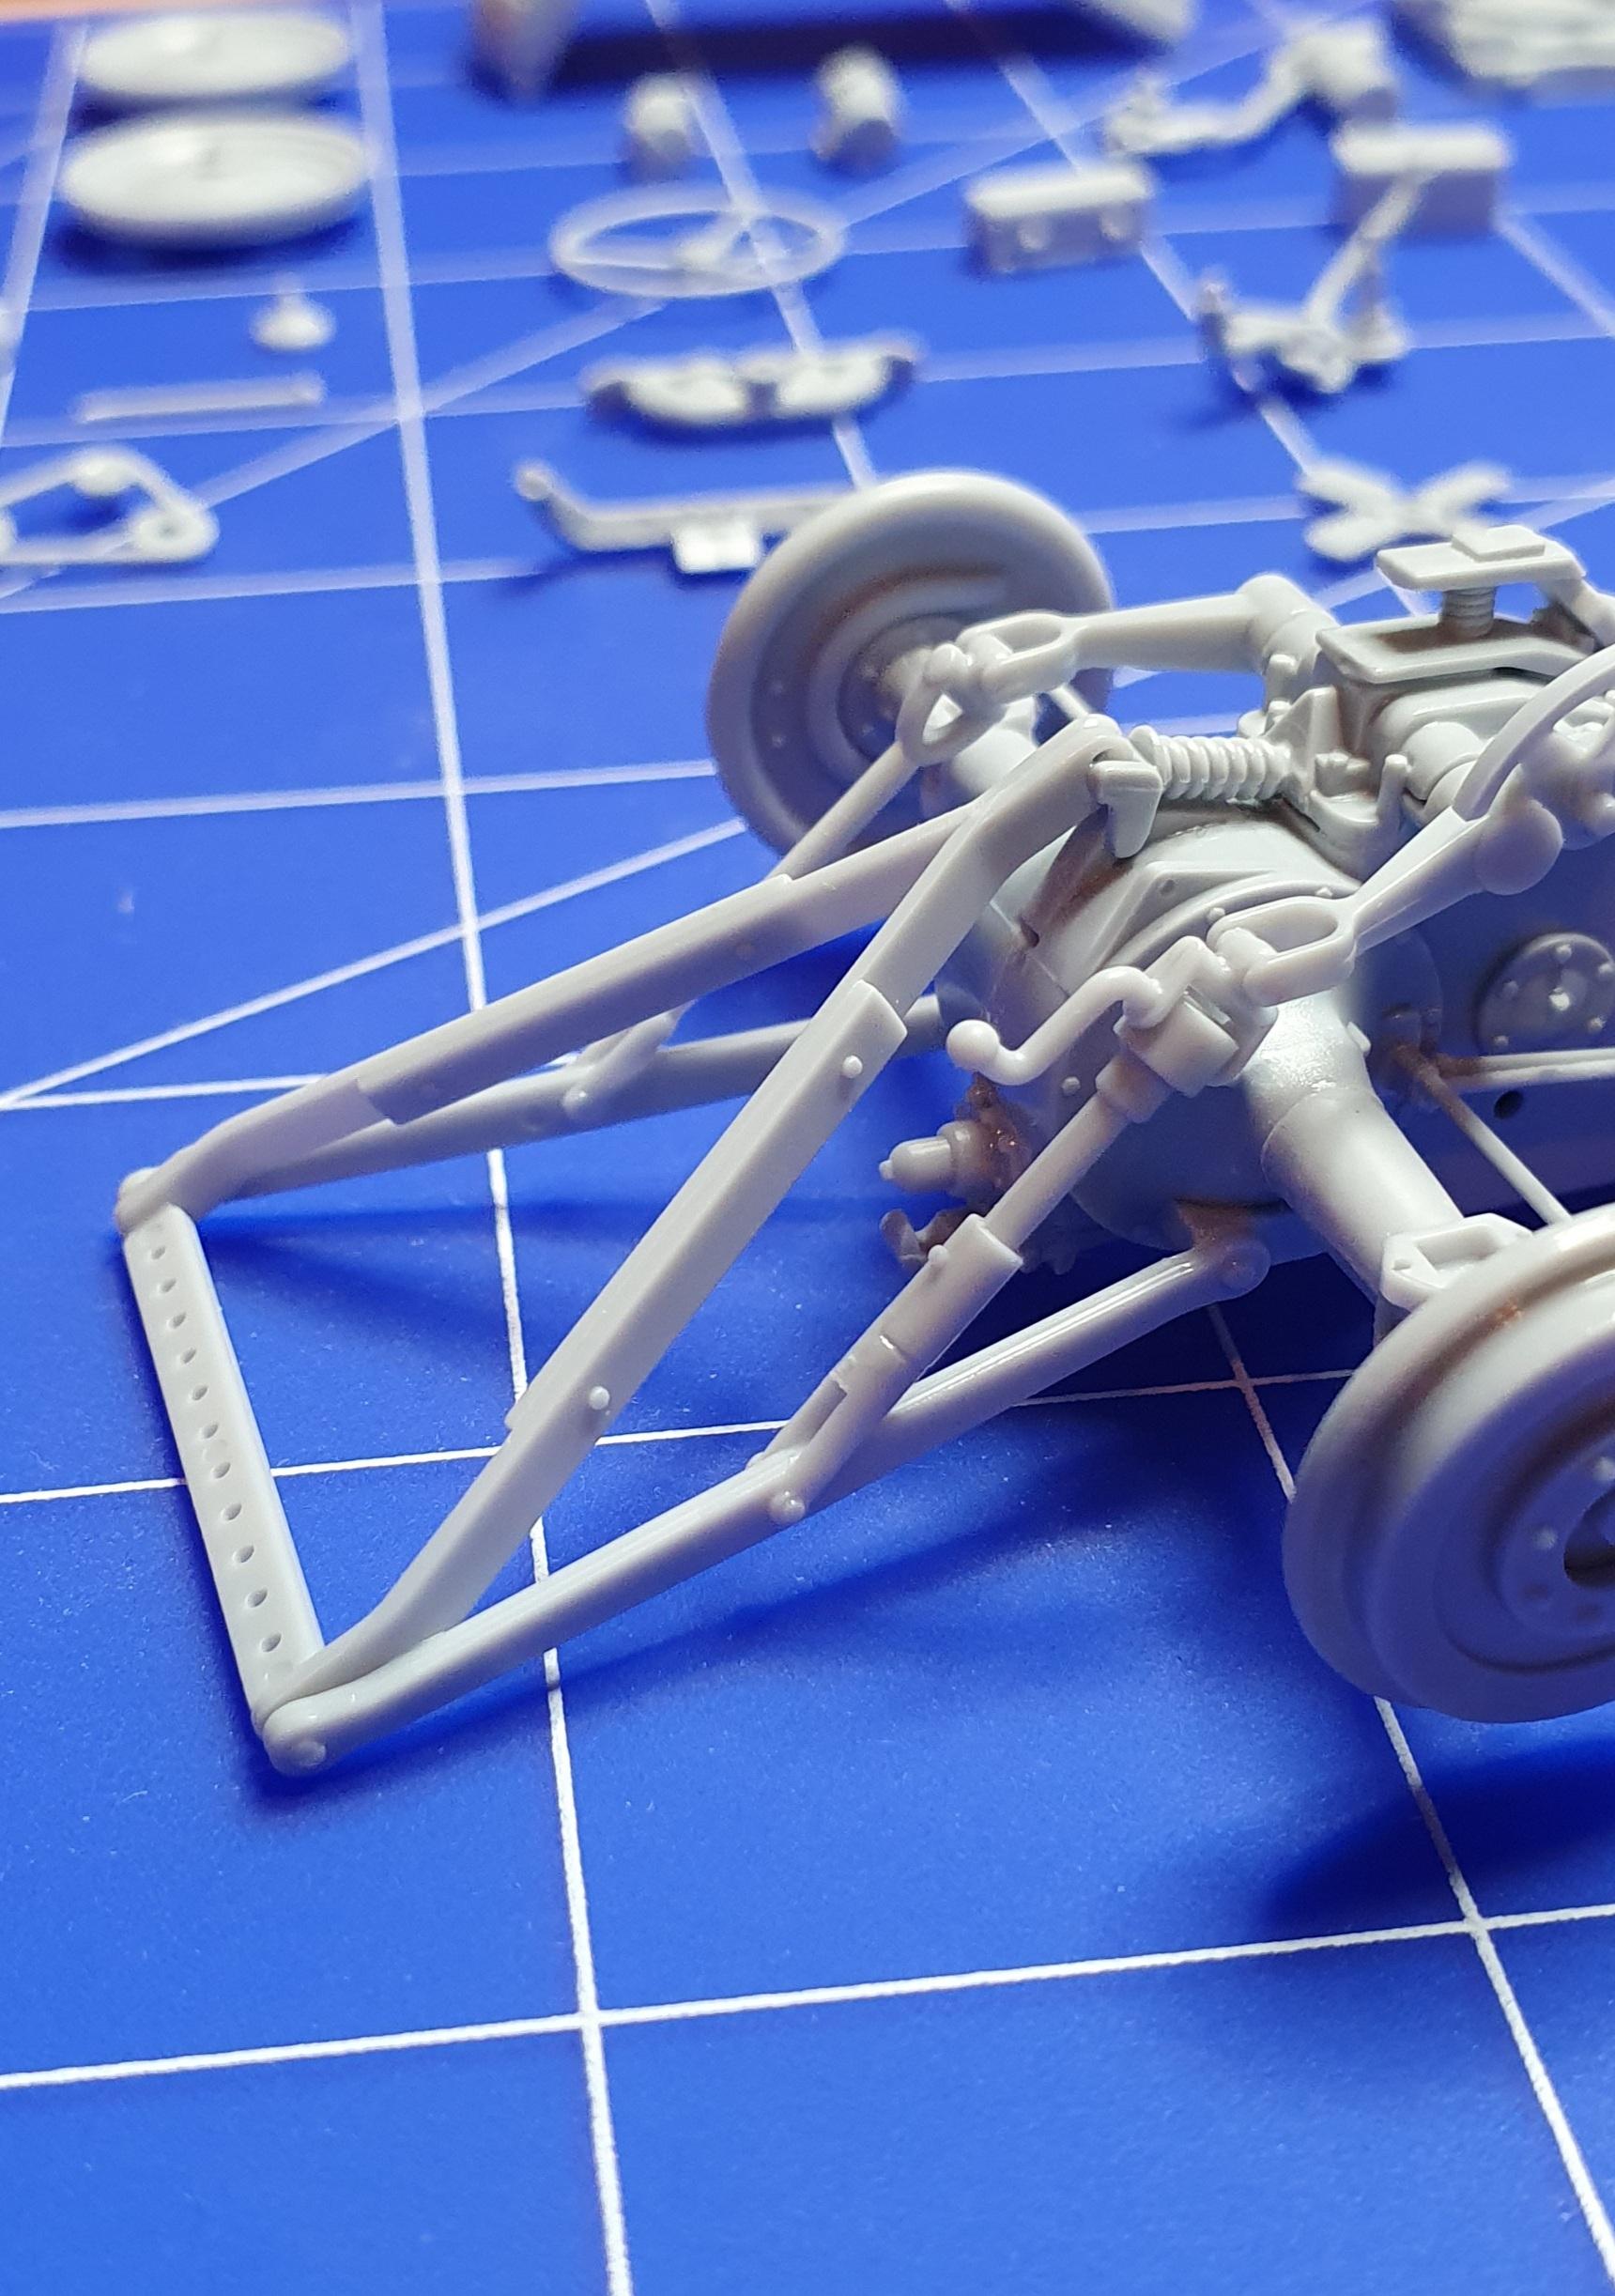
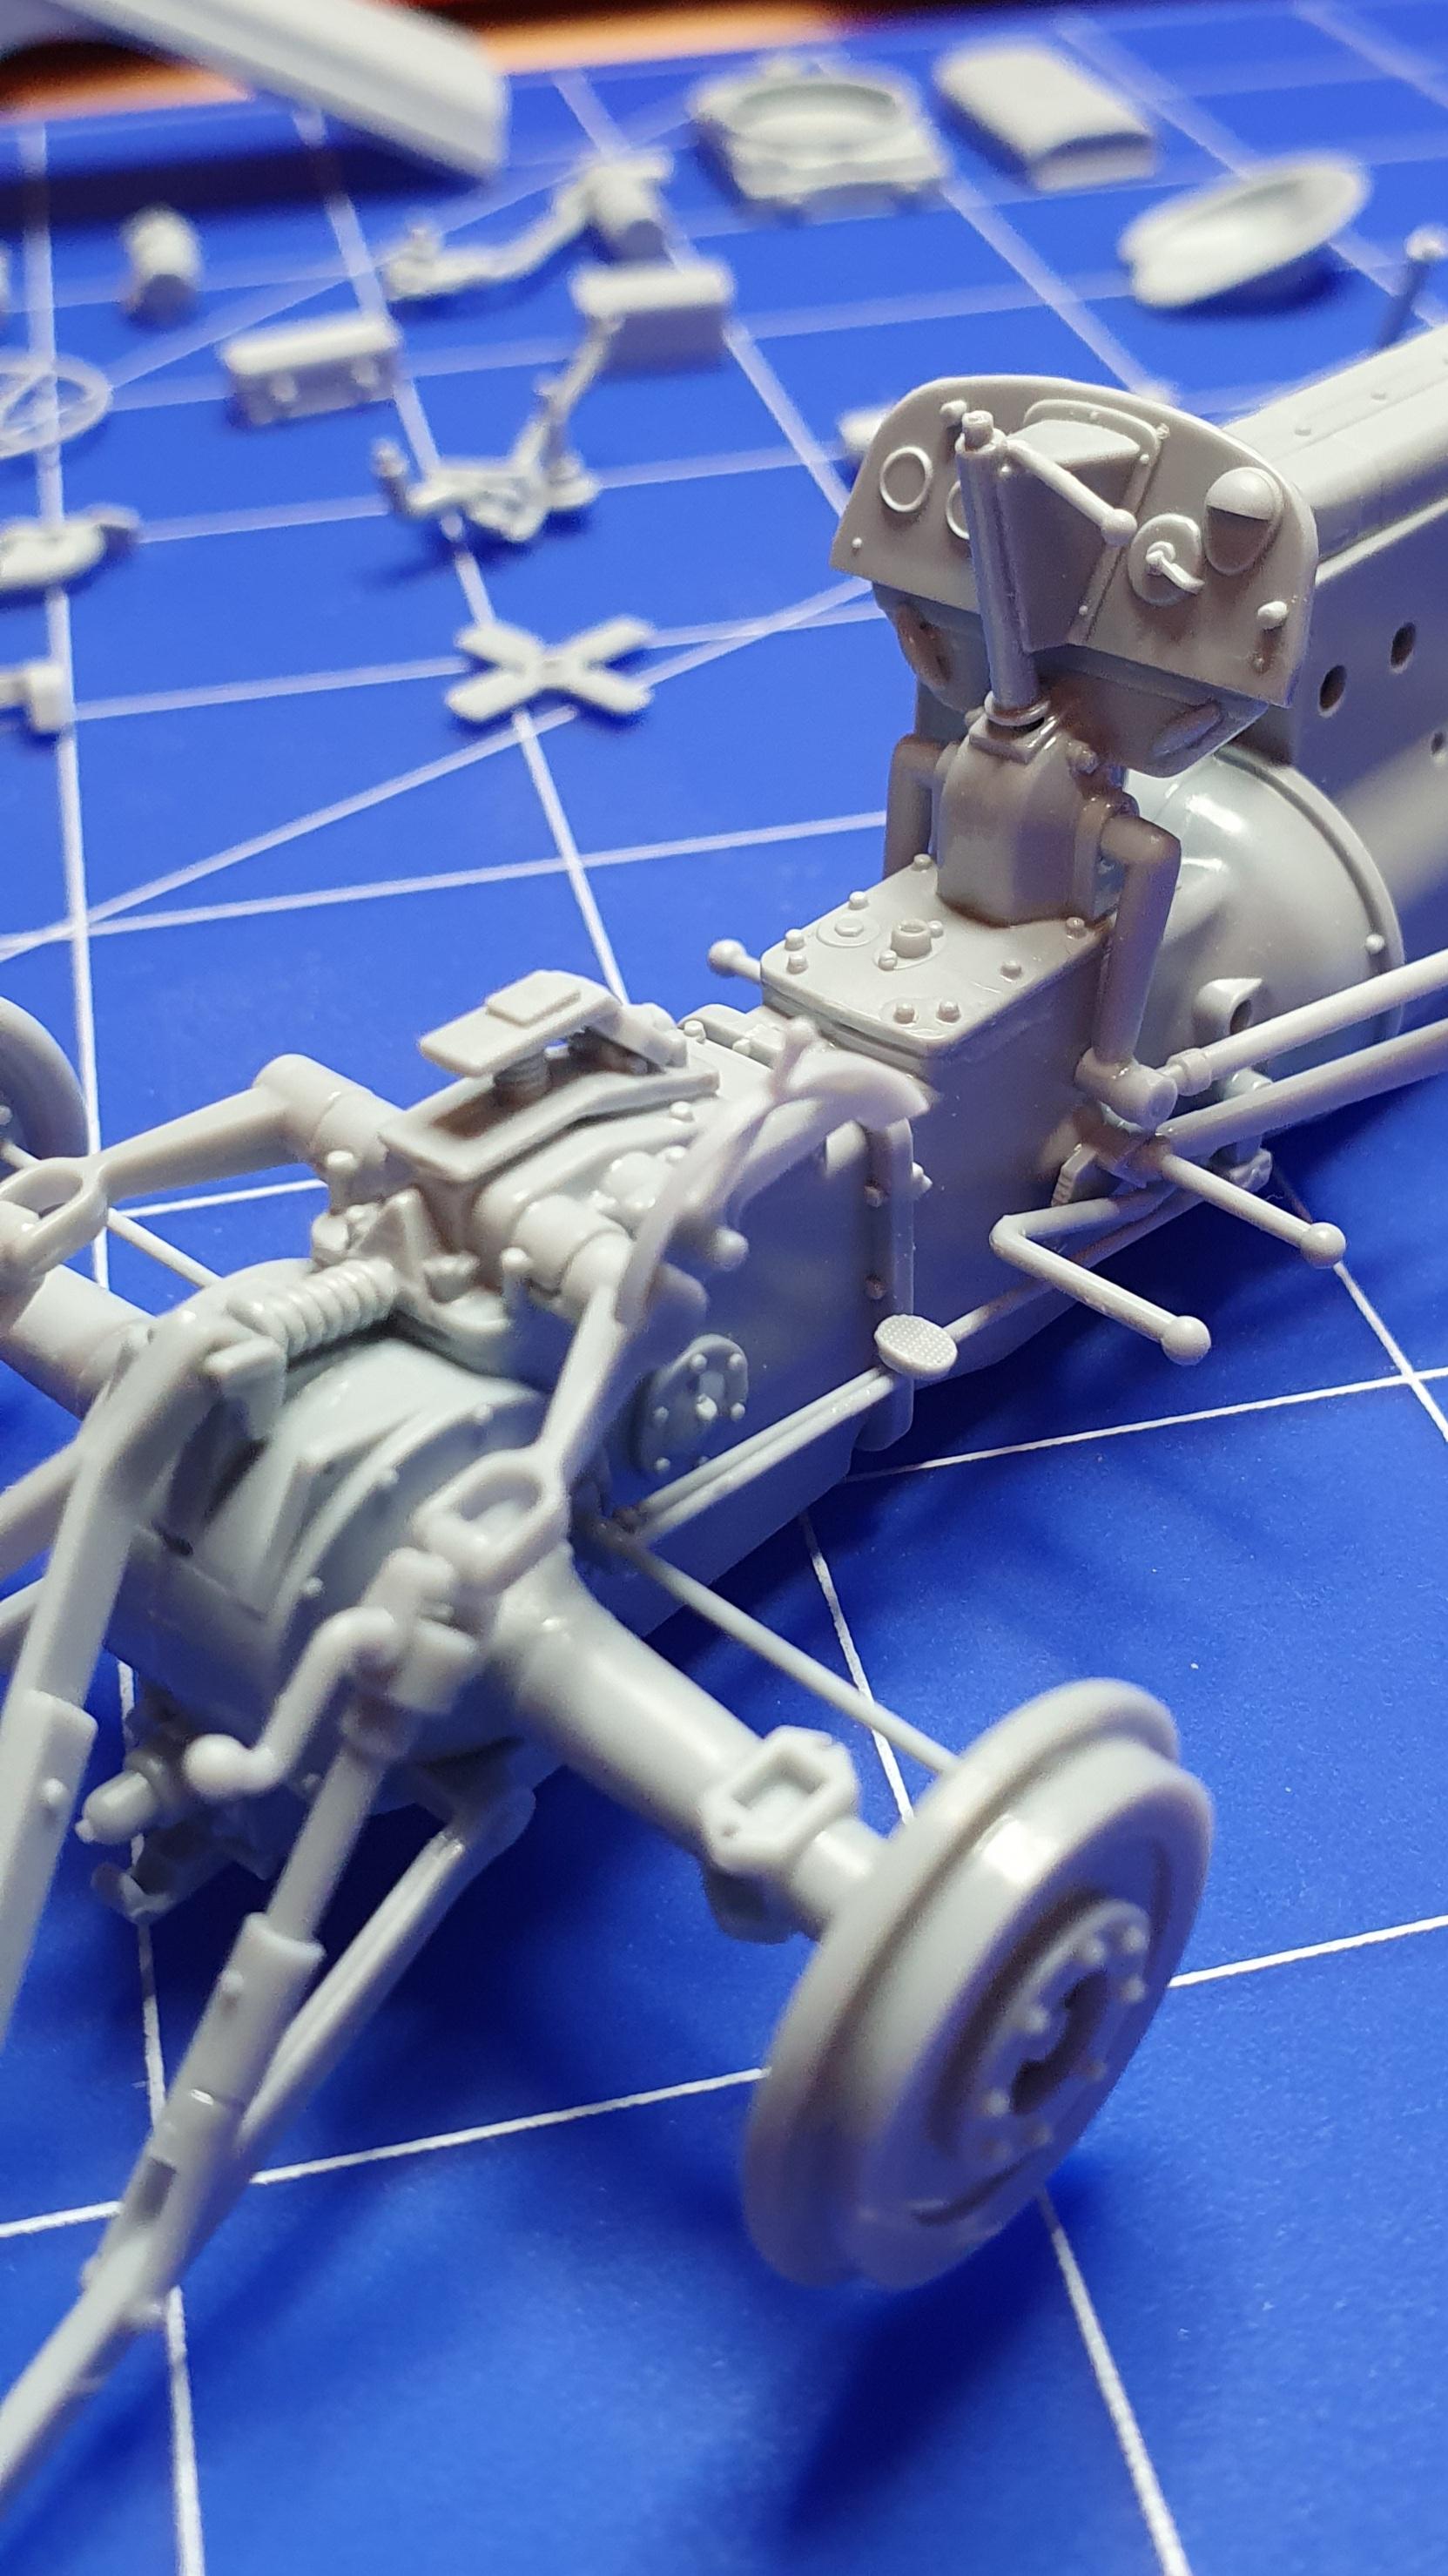
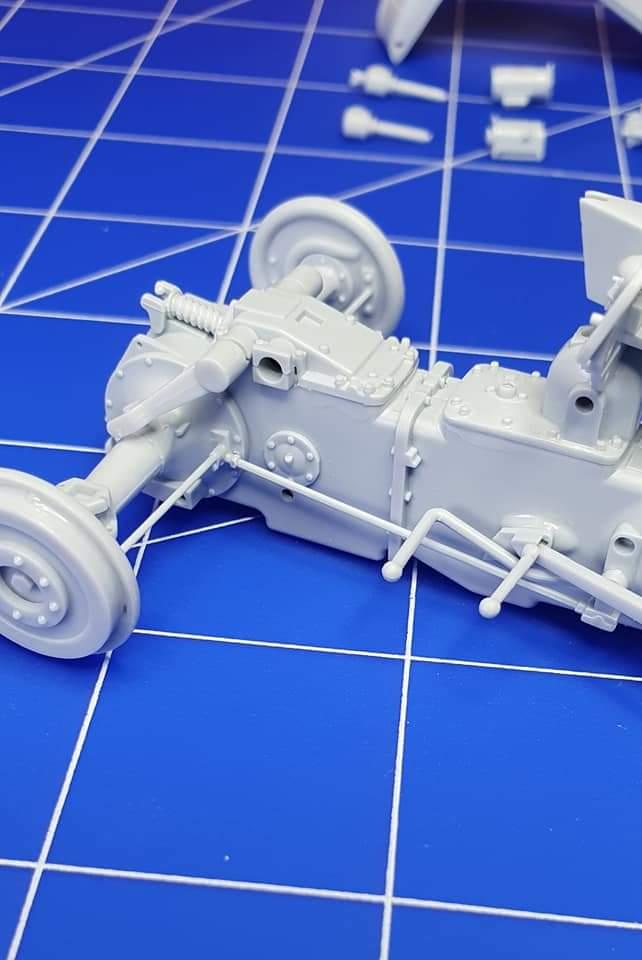
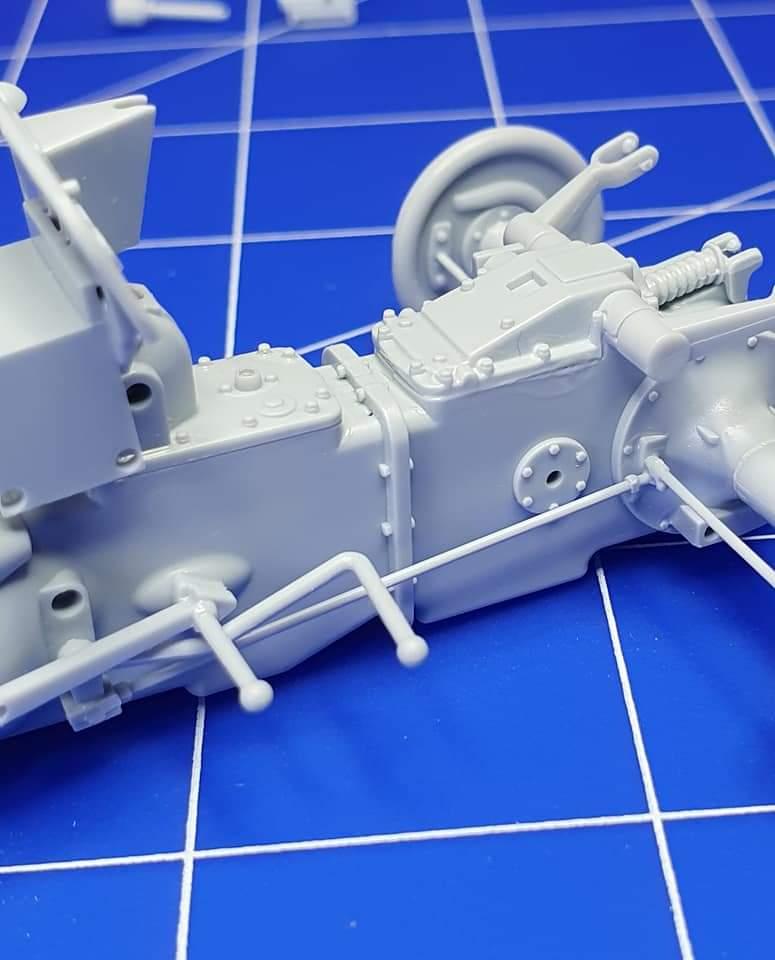
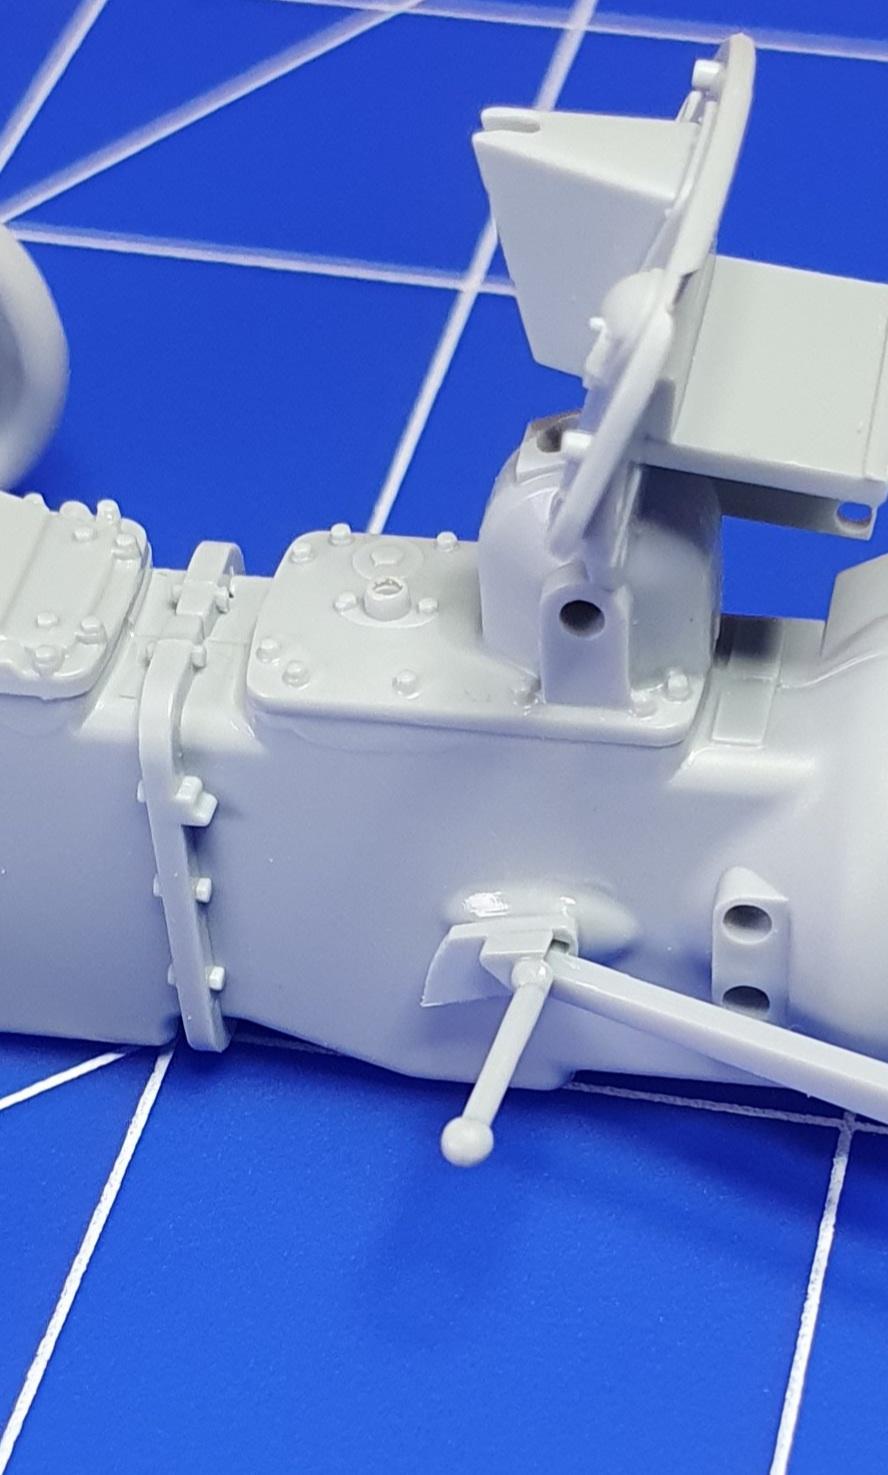
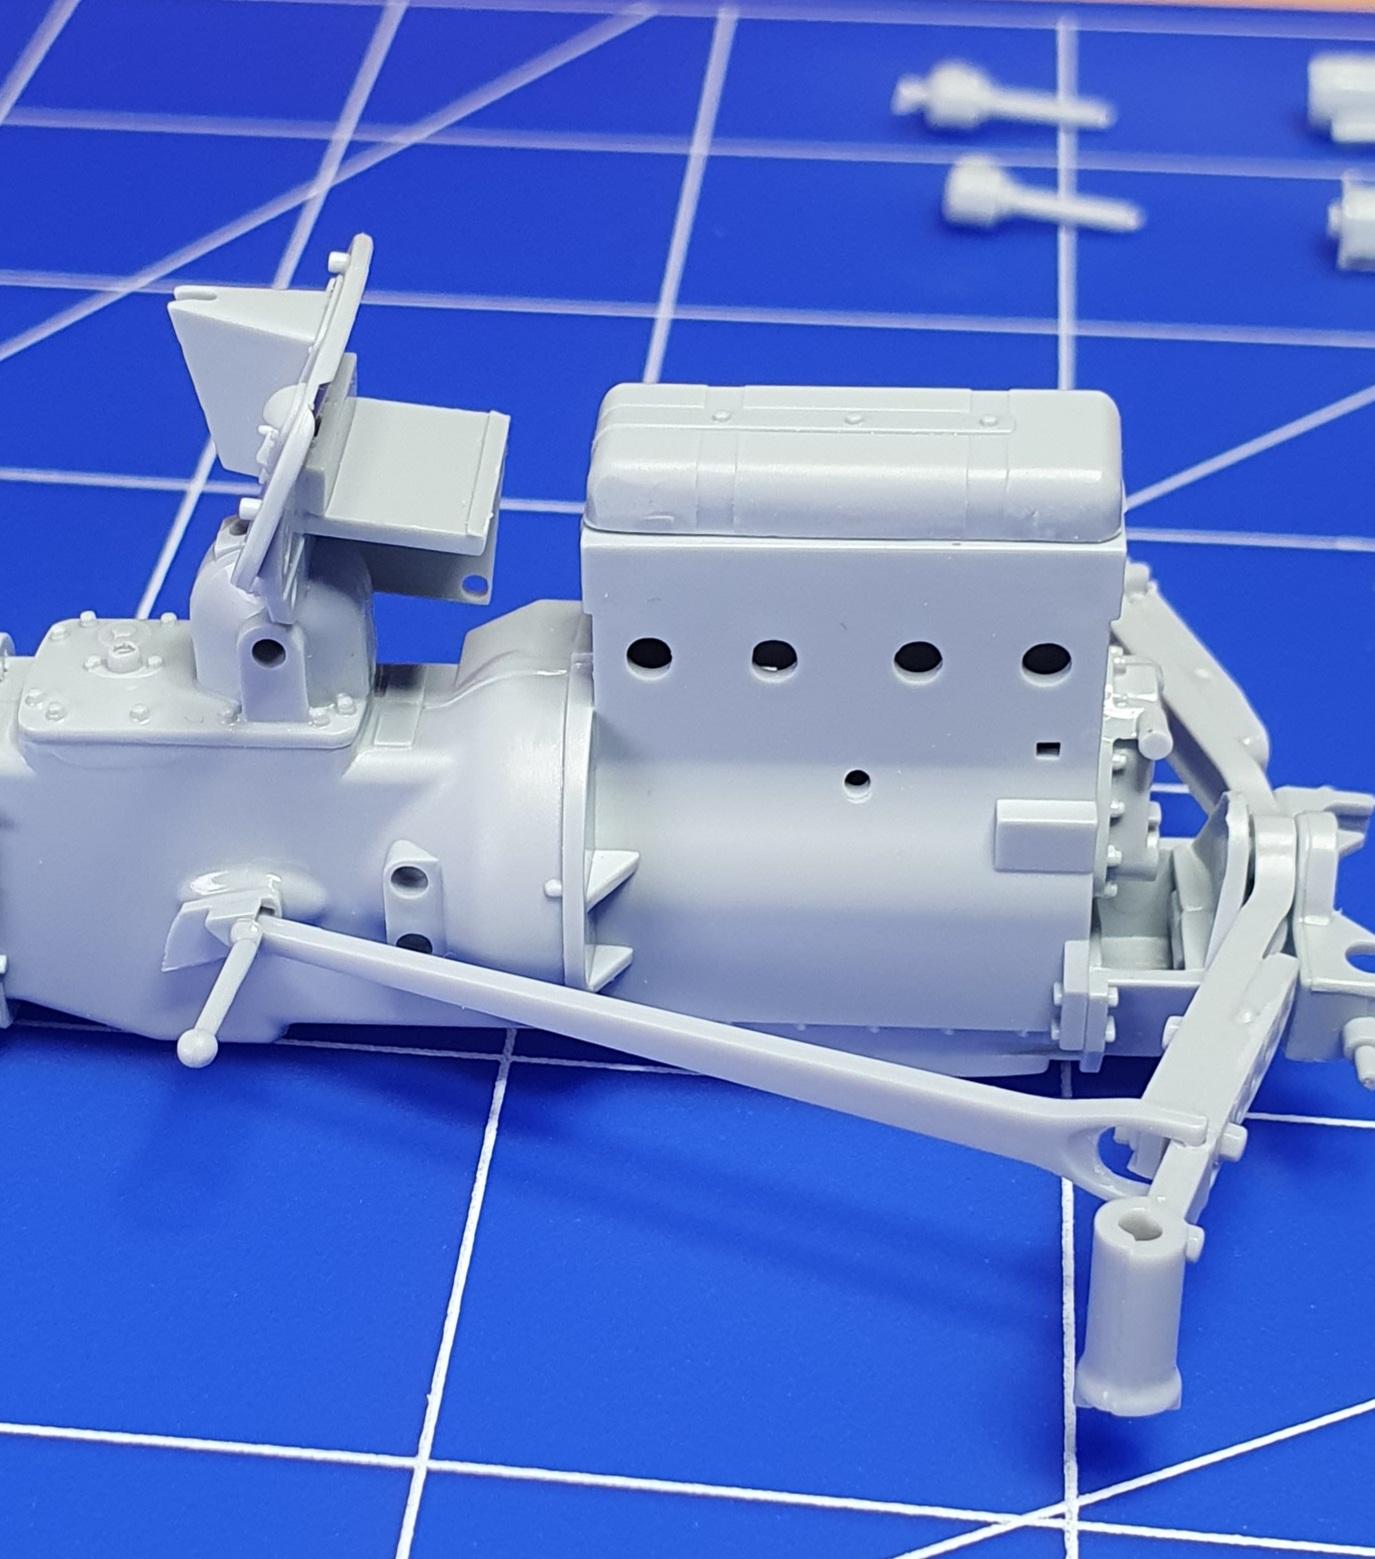
Brake rods and pedals fitted, these are items i deviated slightly from the instructions, they tell you to build them all together and then fit them to the model, I dry fit the foot pedal then add the rod, first gluing it first to the base of the pedal and then to the rear axle casing, and then a few drops of liquid cement to the pedal and pushing it flush with the chassis using a pair of tweezers, I also fit them after fitting the front axle support rods, and not before, doing it this way helps holding the pedal assembly in place as it gets trapped between the chassis and support rods.
-
In the UK they were built in Brighton in the old locomotive works, under the licensing in the UK at the time, they could only have 3 wheels and the reverse gear needed to be blanked off so they could be driven on a motorcycle licence.
-
Superb build, not that I remember it,but apparently i spent the first year of my life in a carrycot placed on the backshelf of my Dads isetta when we went out.
-
Heller ferguson FF-30
GeeBee replied to GeeBee's topic in WIP: Model Trucks: Big Rigs and Heavy Equipment
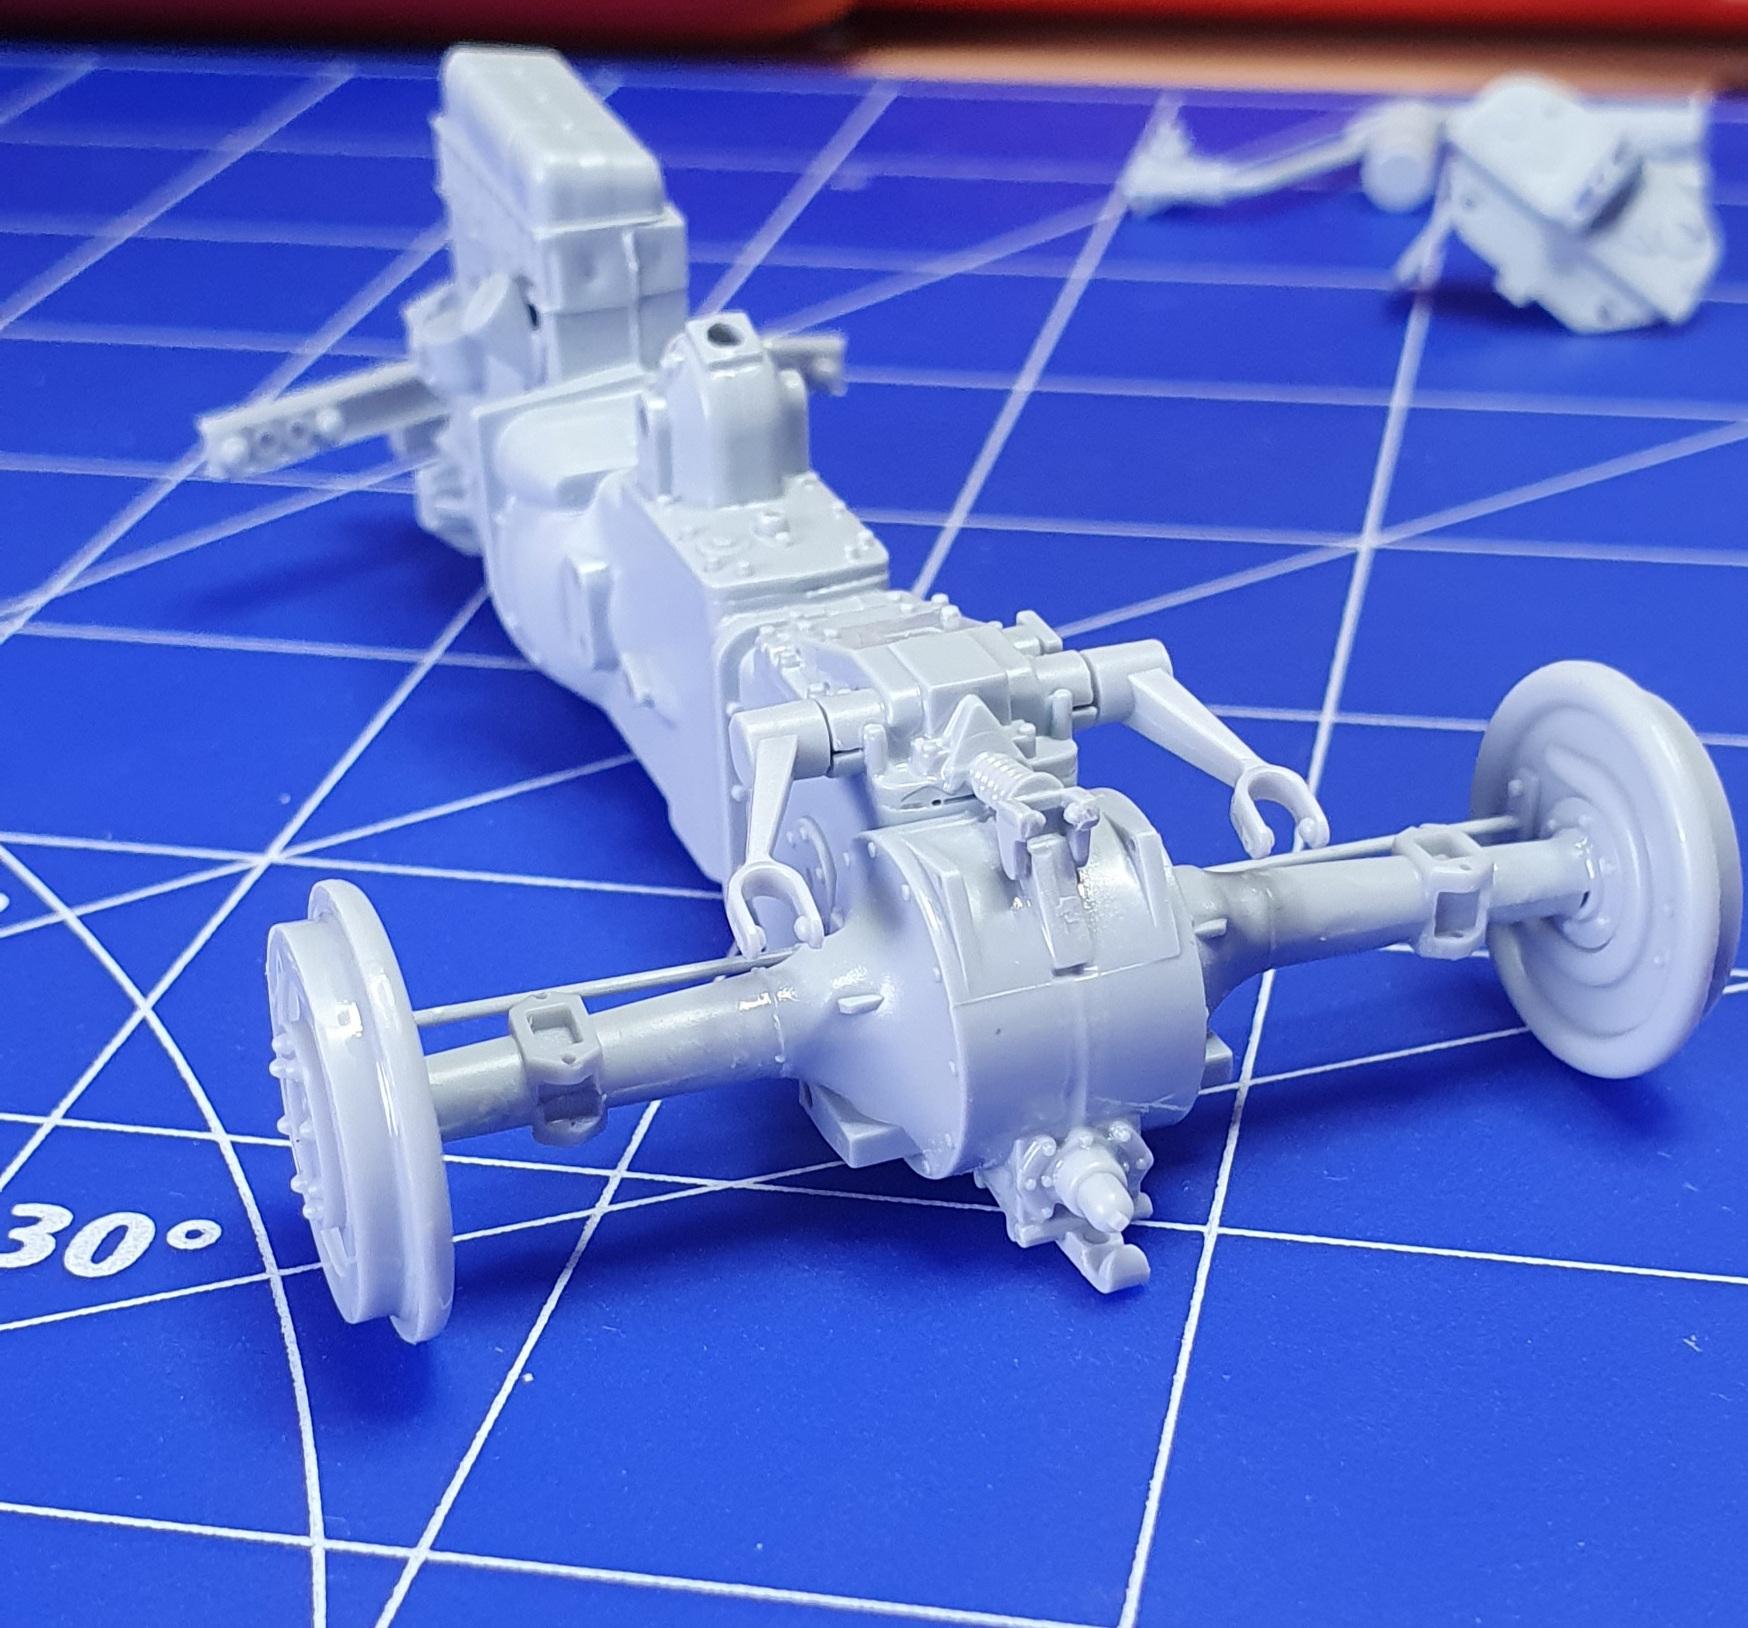
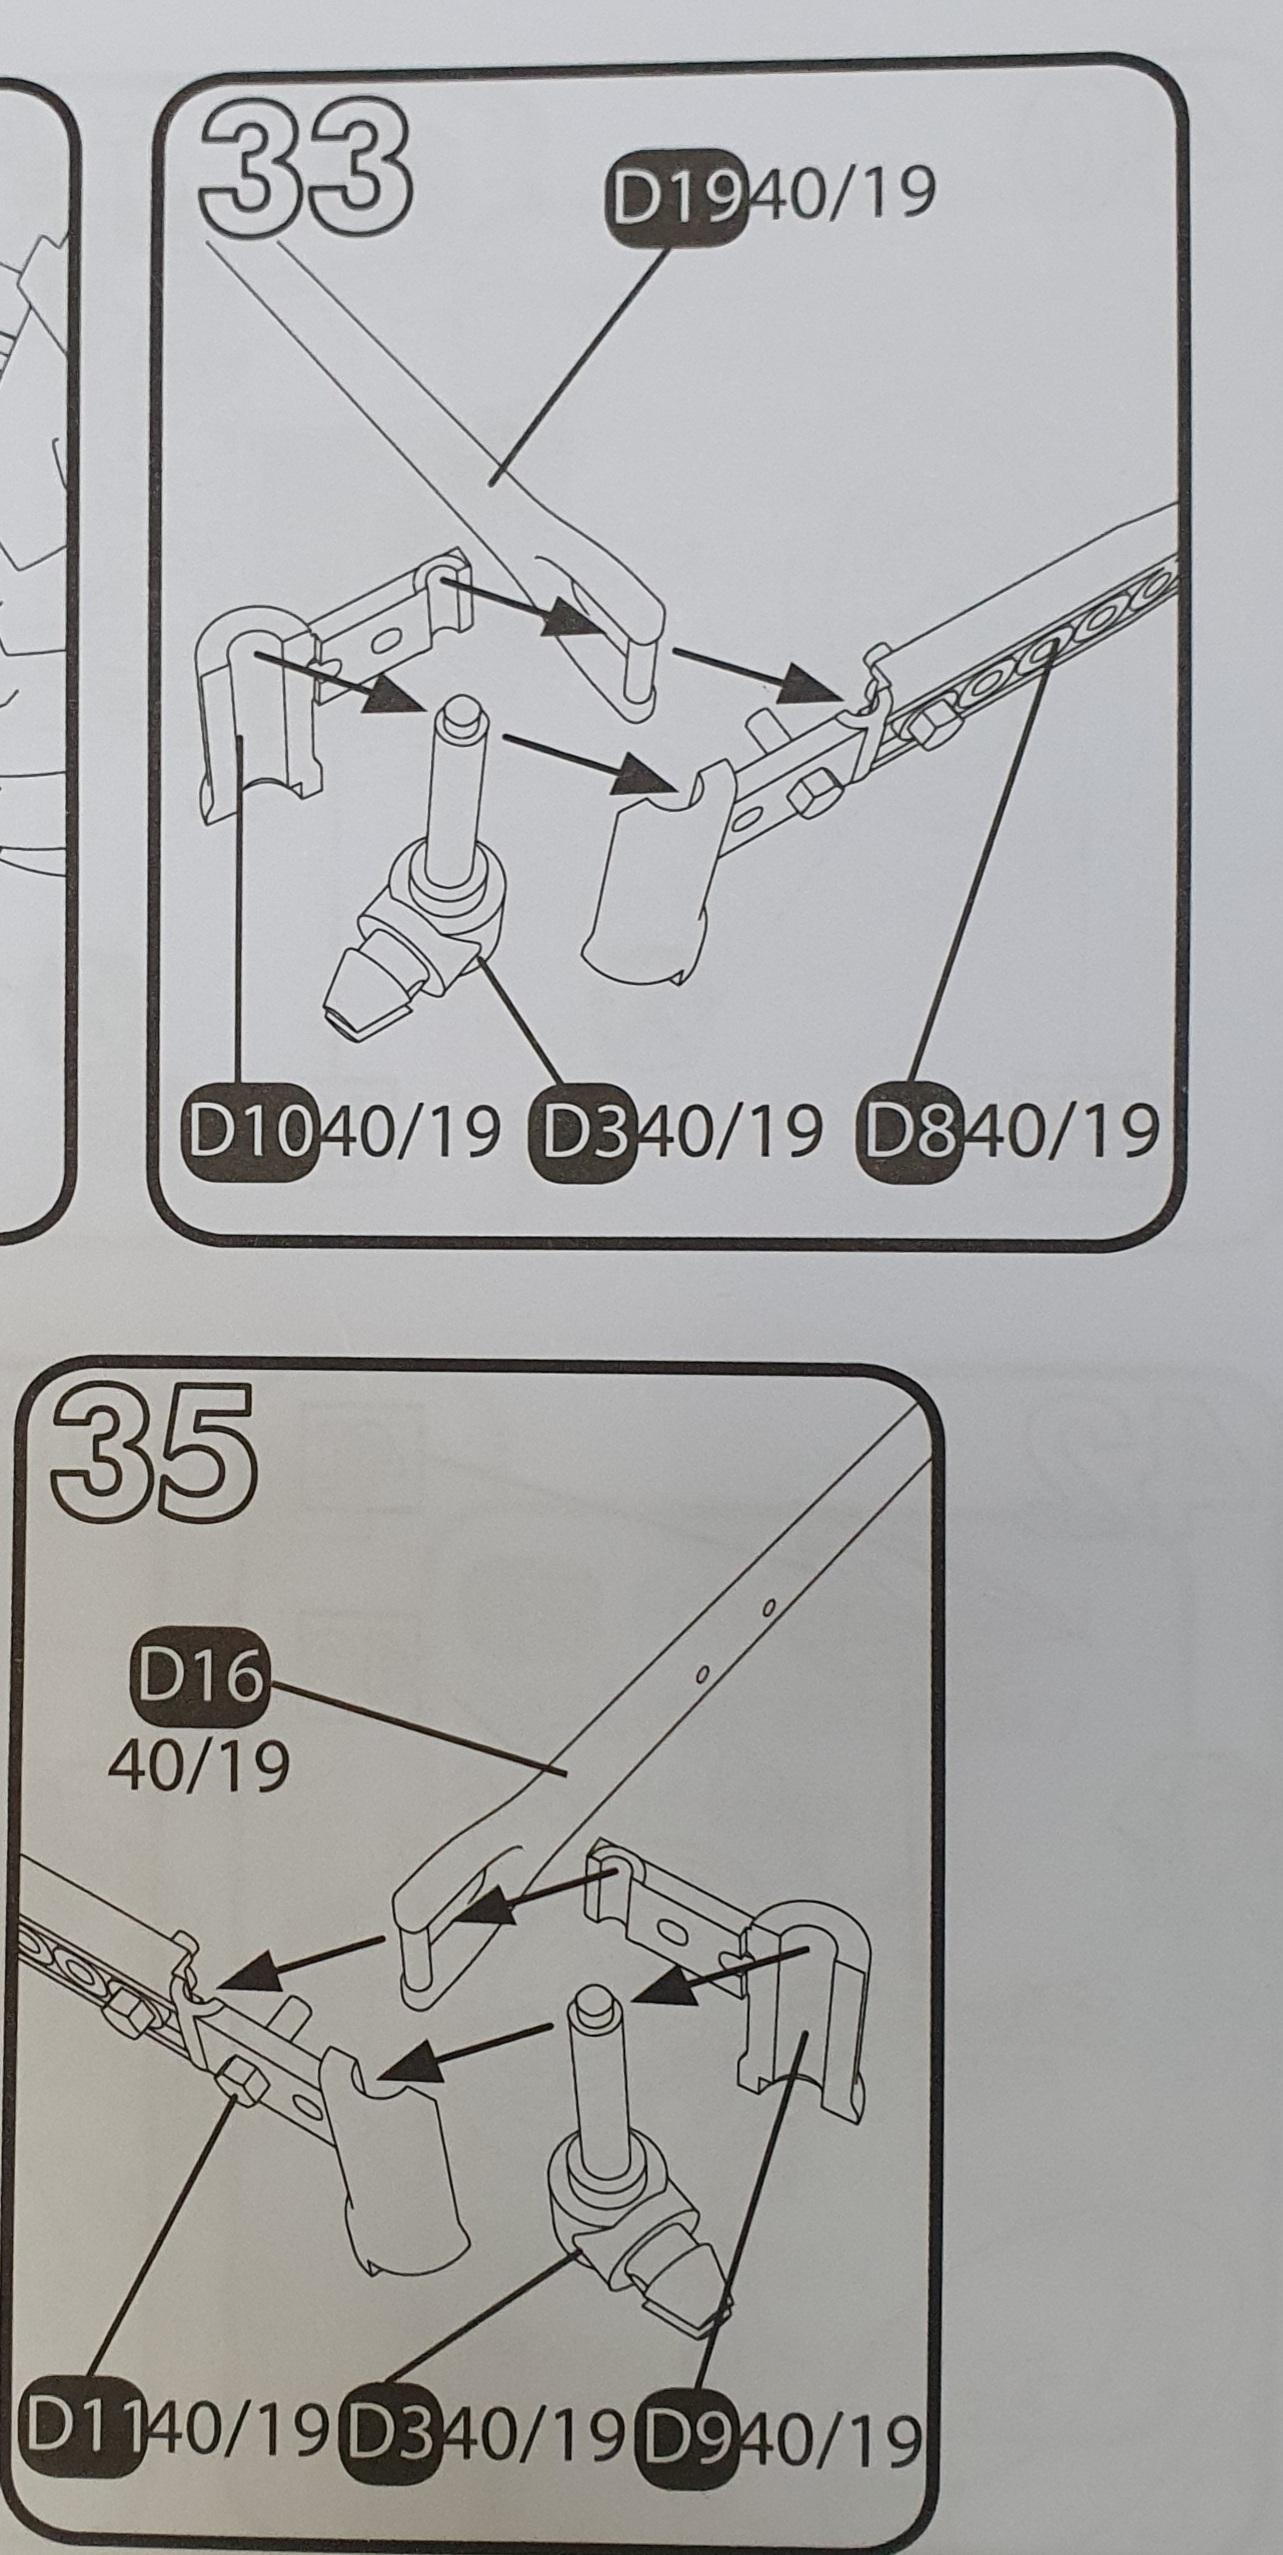
A little more progress, while building the other Ferguson TE-20 I found that some of the instructions have been written incorrectly, for sections 23 and 24, swap the parts over, otherwise the mounting for the wheel arch and brake rods will be in the wrong place, it's the same with the front axle.
-
With airbrushing on hold until I get the new workshop sorted, I decided to make a start on this one
-
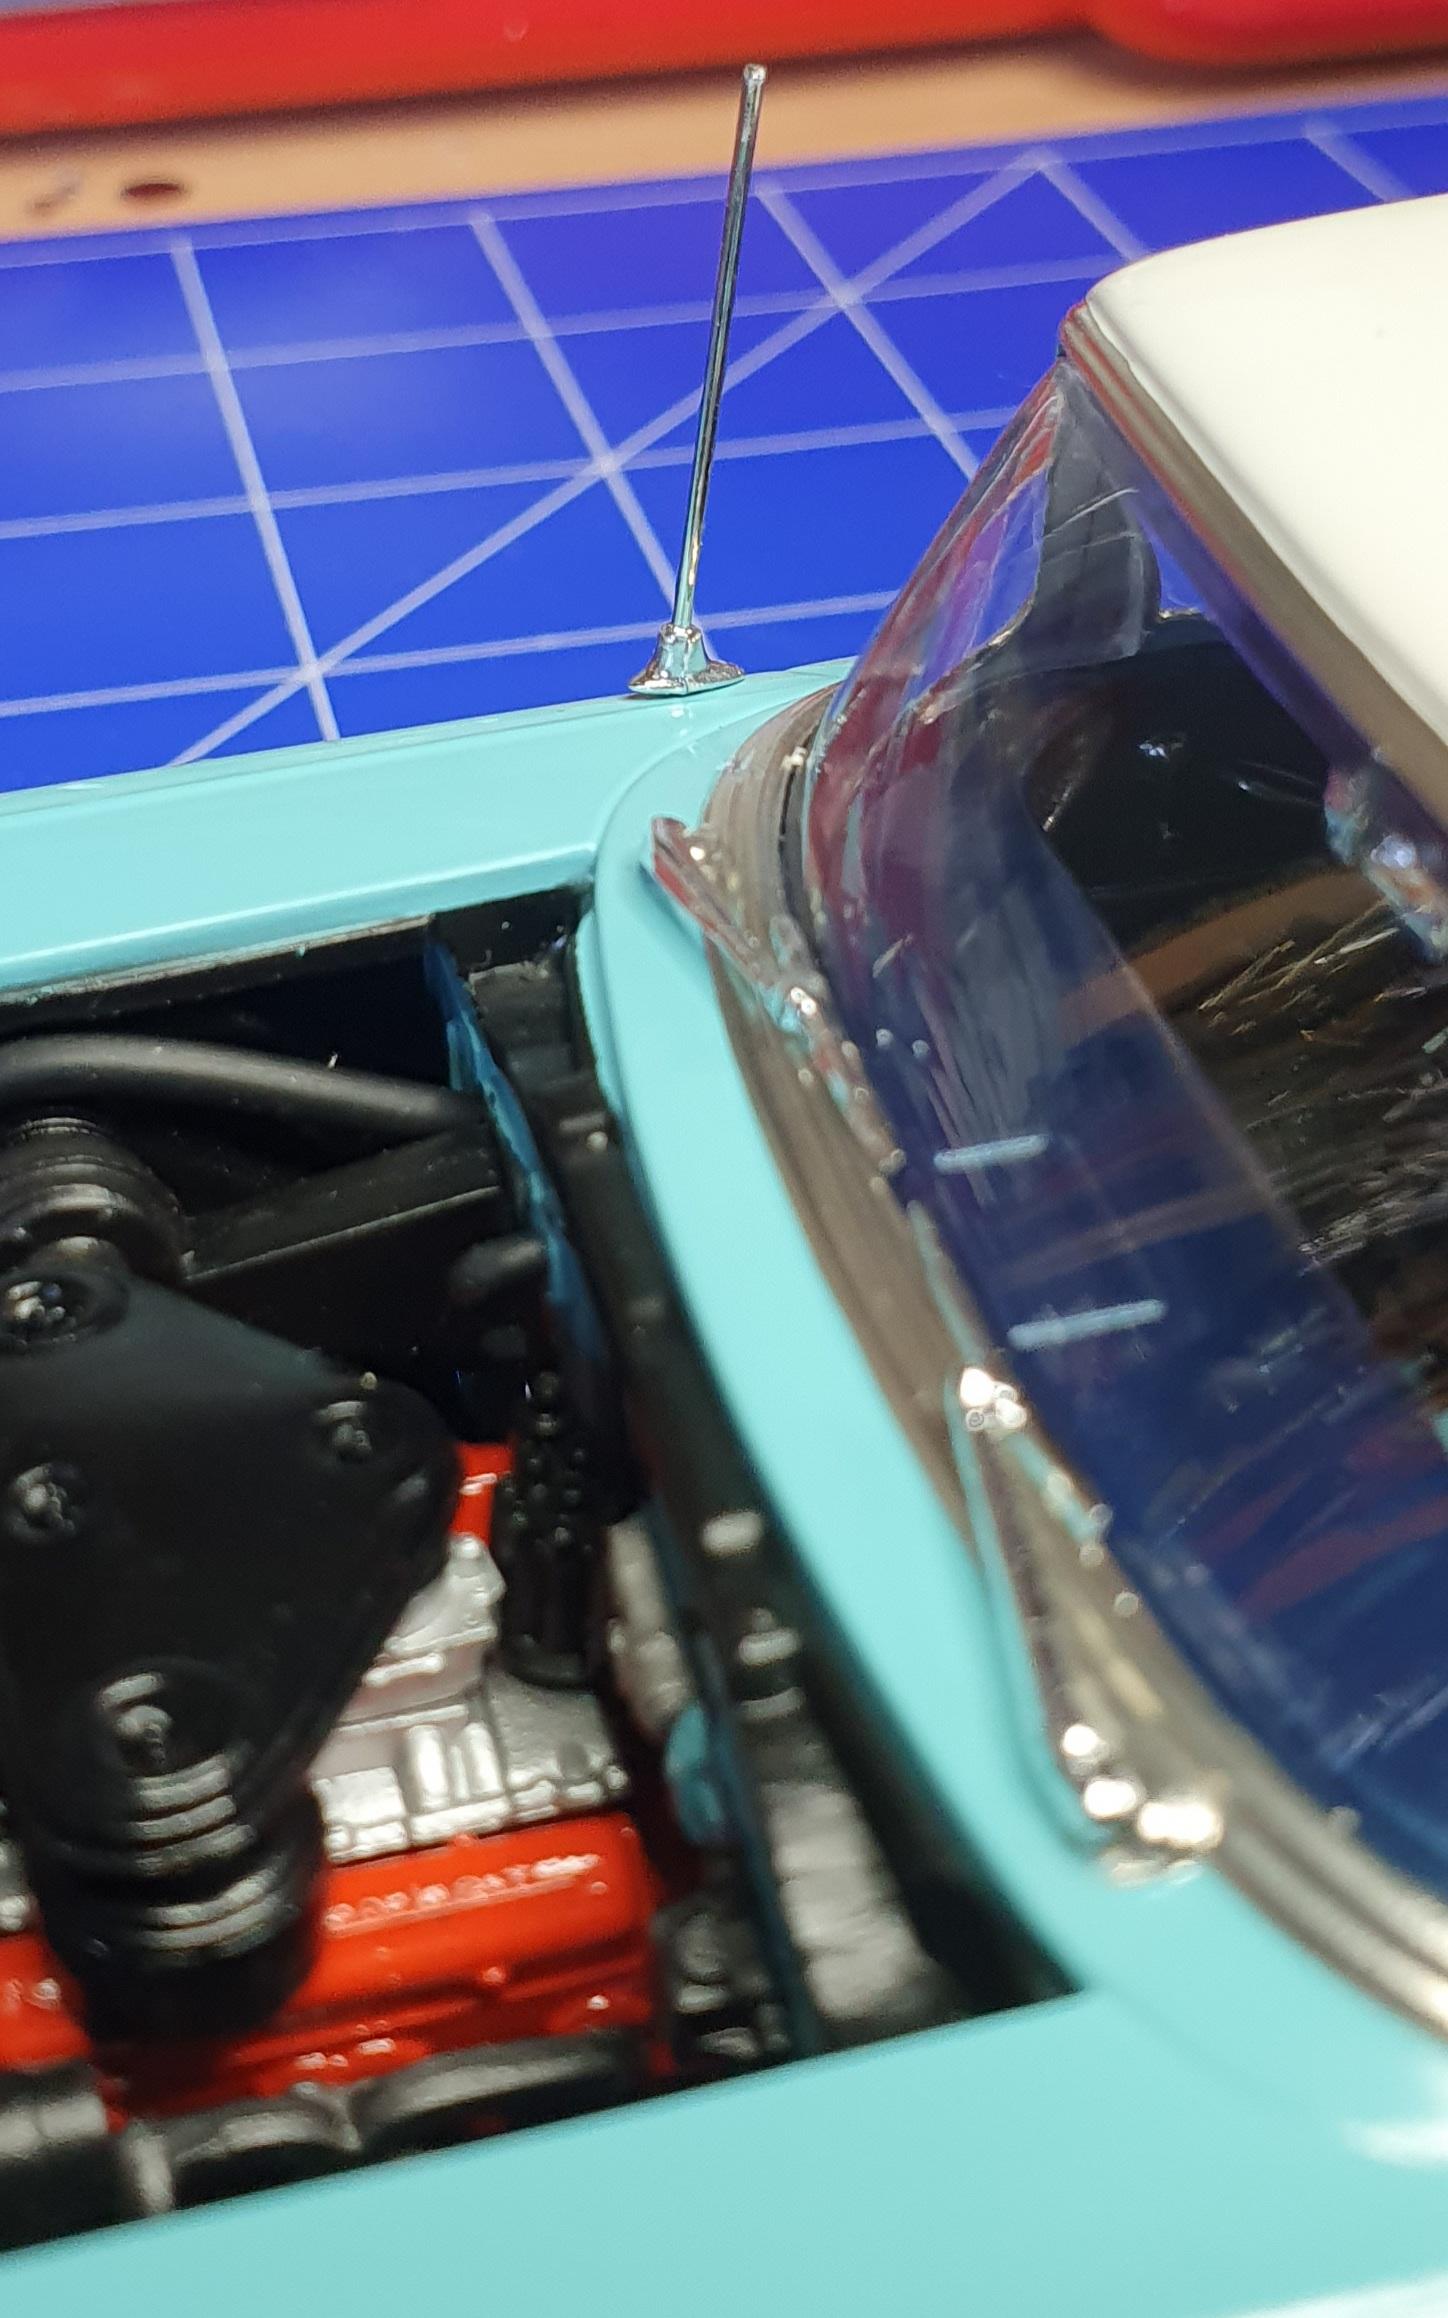
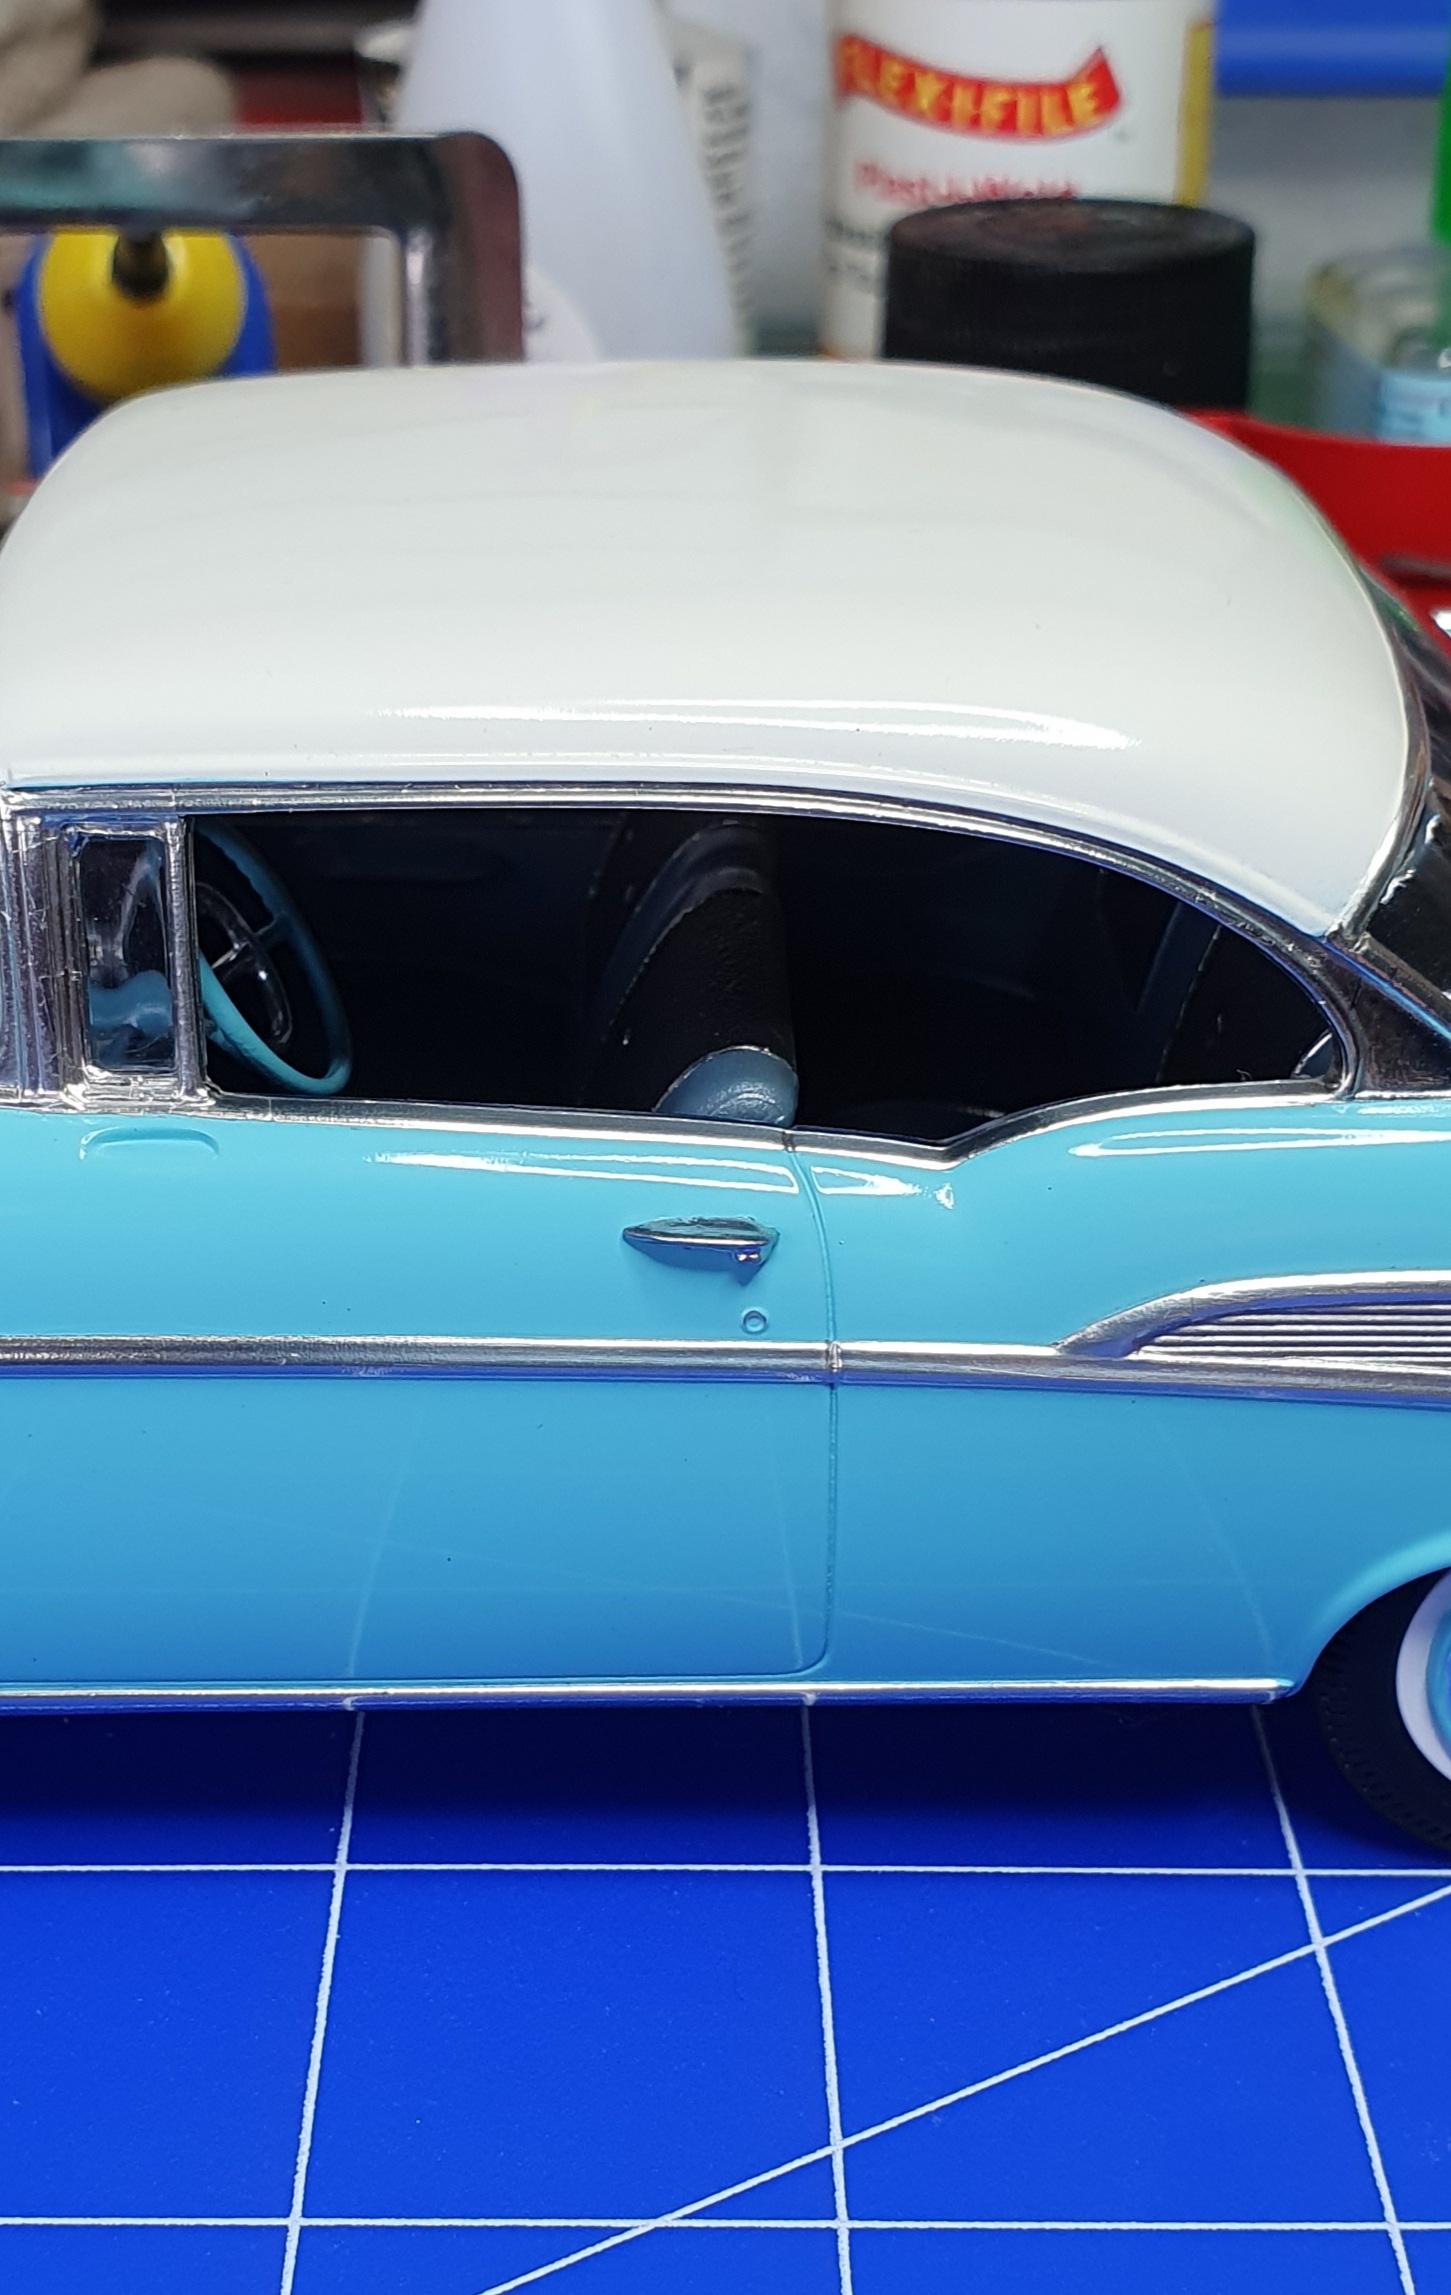
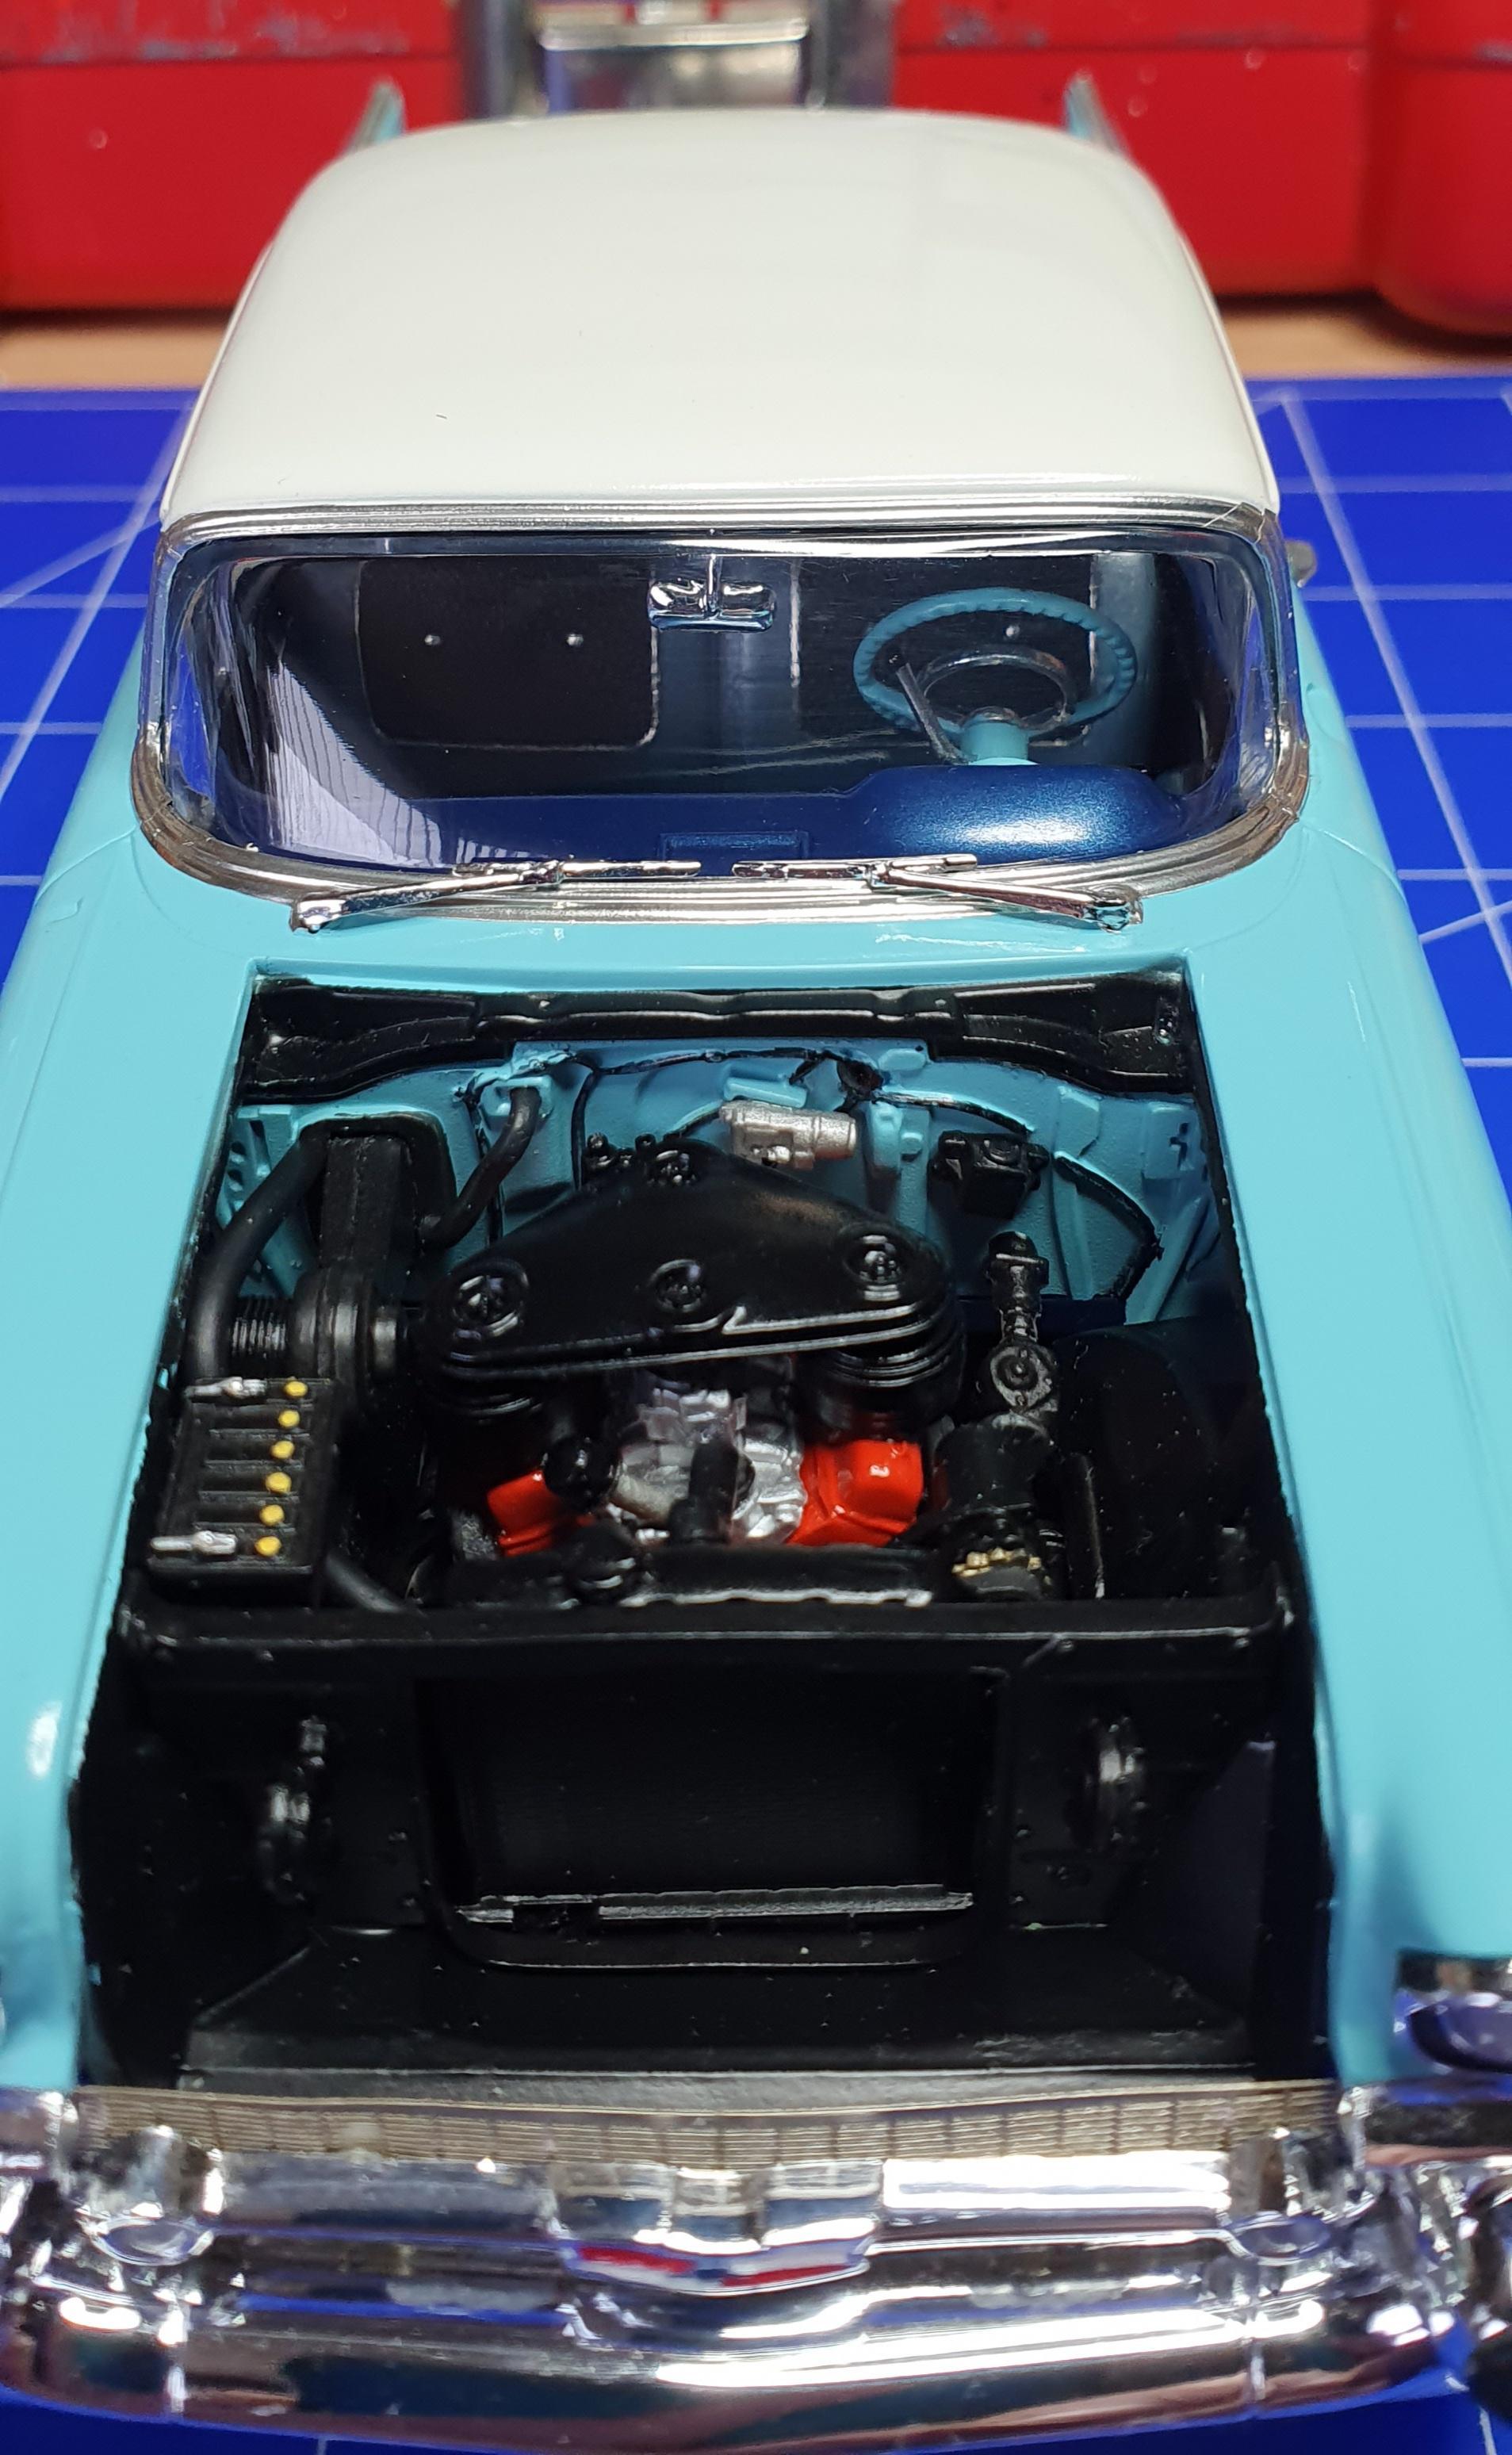
Radio aerial fitted, I didn't like the plastic mast as it looked a little over scaled, so I cut it off, drilled the base and inserted a cut down dressmaking pin, the base was then re-chromed using Molotow liquid chrome. Only thing left to do now is airbrush the front and rear scripts on the bonnet and bootlid in gold, and a few decals in the engine bay then it will be posted in the "Under glass" section.
-
Thank you, Amt kits can be hit or miss, luckily this is one of their good ones, makes working on it a pleasure.
-
What he said....
-
Now that's a really nice build, nice job on the Alclad.
-
Looks like you're on the home run, good luck with the final coats.
-
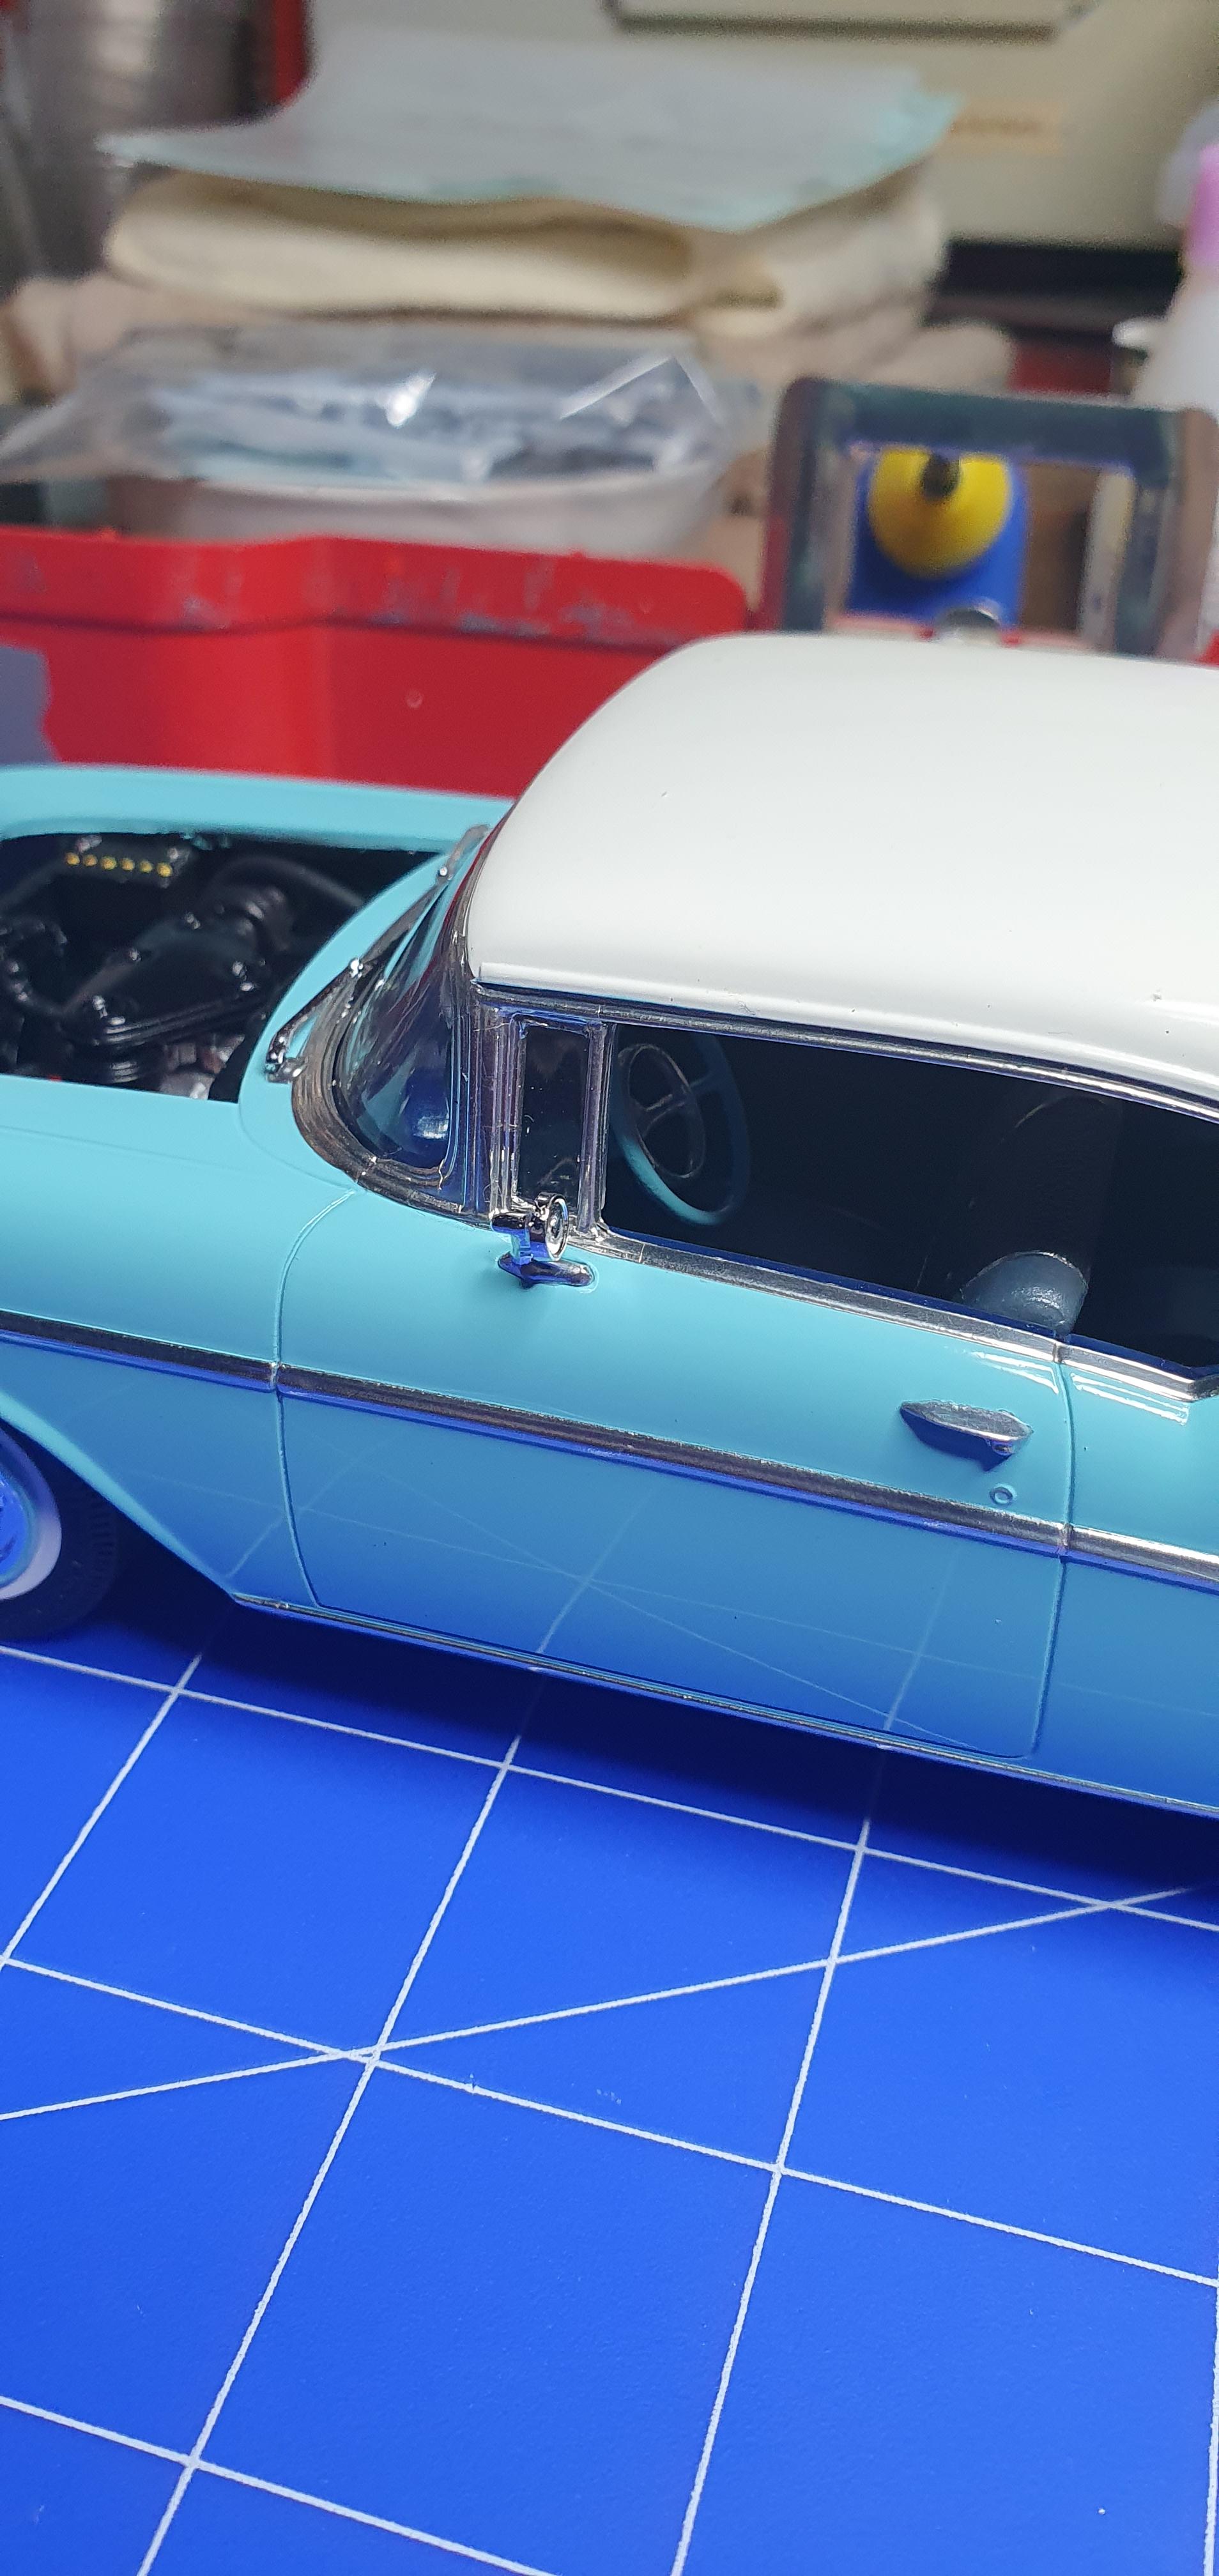
Door mirror fitted, thank god for 90 second Araldite....
-
Until I've set up my new workshop where I'll be doing my airbrushing, I'm back on this one, getting all the little chrome parts fitted, the door locks will be done using the photoetched parts.
-
Not that I needed another Land Rover but it Seems not many we're watching this one on eBay, with the item ending in the early afternoon helps, ended up getting it for £20 ($26) including shipping.
-
There still available here in the UK, but the formula has changed, there now water based, I've got quite a few of the older versions, thinned with lacquer thinners they airbrush really nice.
-
Revell Cobra racer 1/24
GeeBee replied to Venom's topic in Other Racing: Road Racing, Salt Flat Racers
Superb build, I really need to build a Cobra....