GeeBee
-
Posts
4,030 -
Joined
-
Last visited
Content Type
Profiles
Forums
Events
Gallery
Everything posted by GeeBee
-
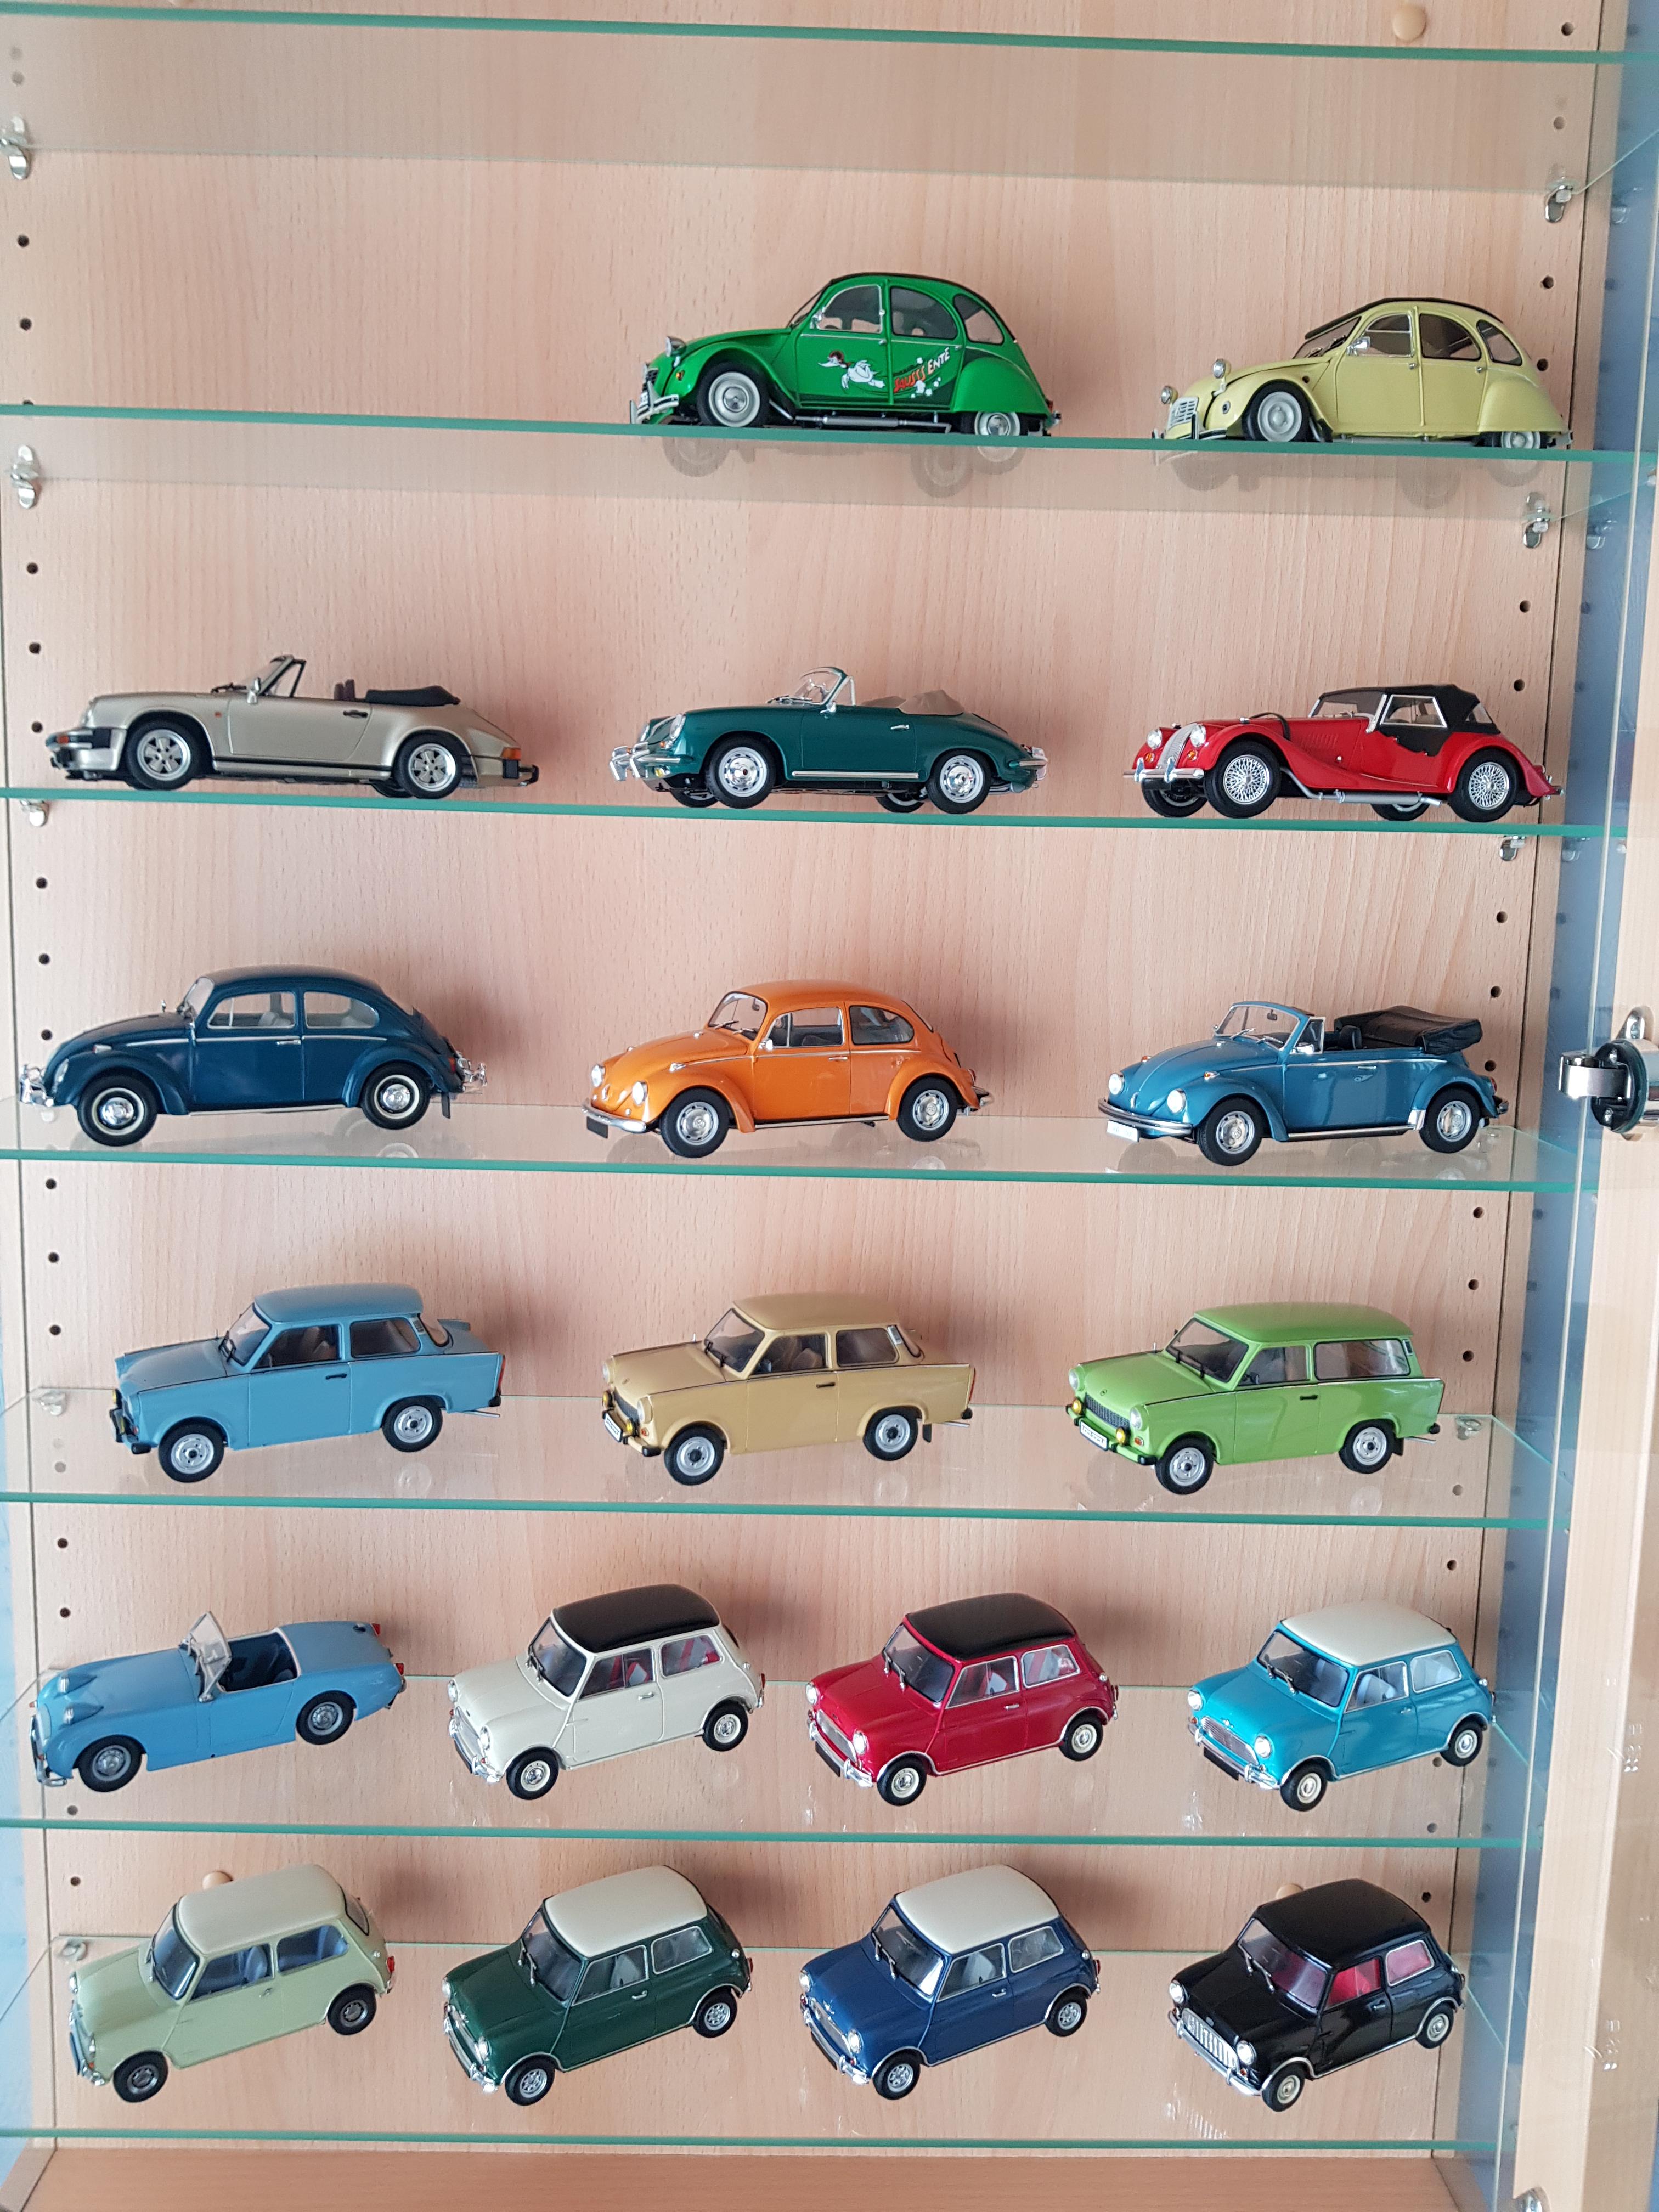
I suppose building smaller European cars helps, plus not having sausage fingers helps also, when I get to build the larger American car models the parts seem huge.

-
Should this one not be #444 ??
-
Very nice build....
-
 Very nice photos, I haven't been to any classic car shows since I stopped working for Classic Car weekly.
 -
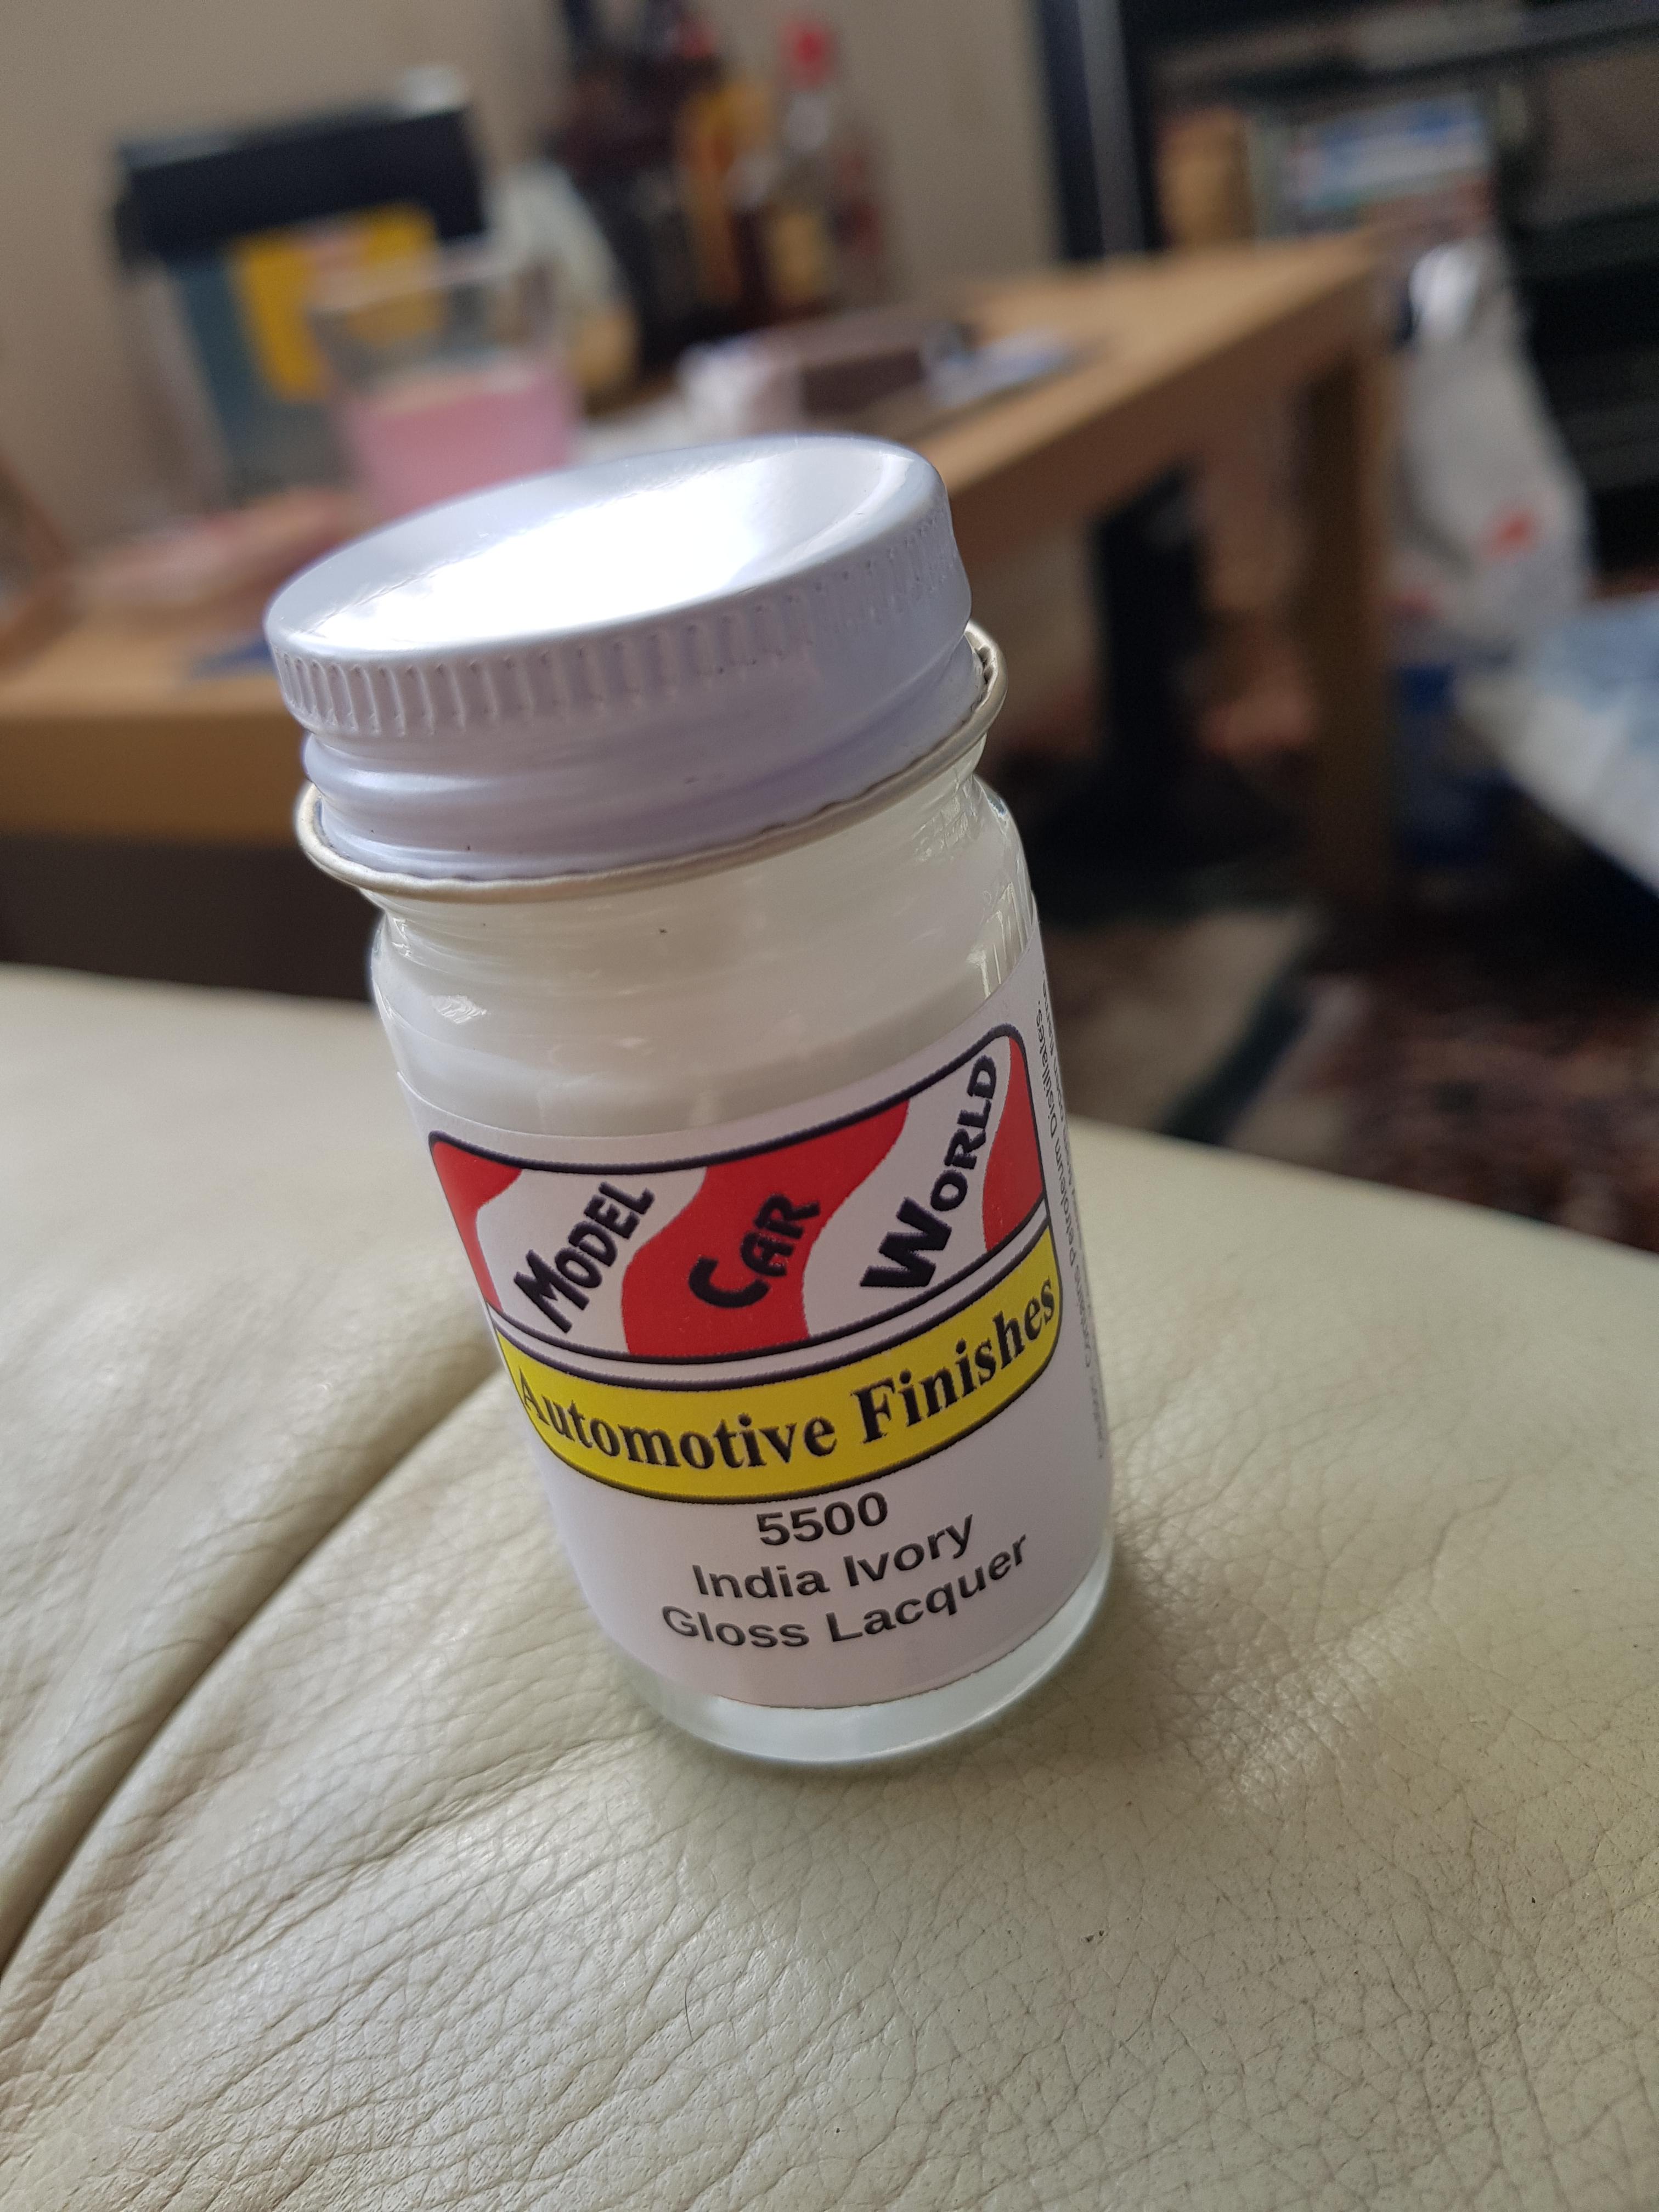
Plans for the Oldsmobile https://mcwfinishes.com/shop?keywords=Oldsmobile&olsPage=products%2F1950-oldsmobile-88-fastback-sedan&page=14
-
A few added to the stash, the Oldsmobile was a gift, even though I did already have one in the stash, I'm not one to turn down a free kit.
-
I've got another one in the stash, I haven't even though about colours for that one.
-
Just do it, doesn't matter if you build the saloon or Estate version, they go together like a dream.
-
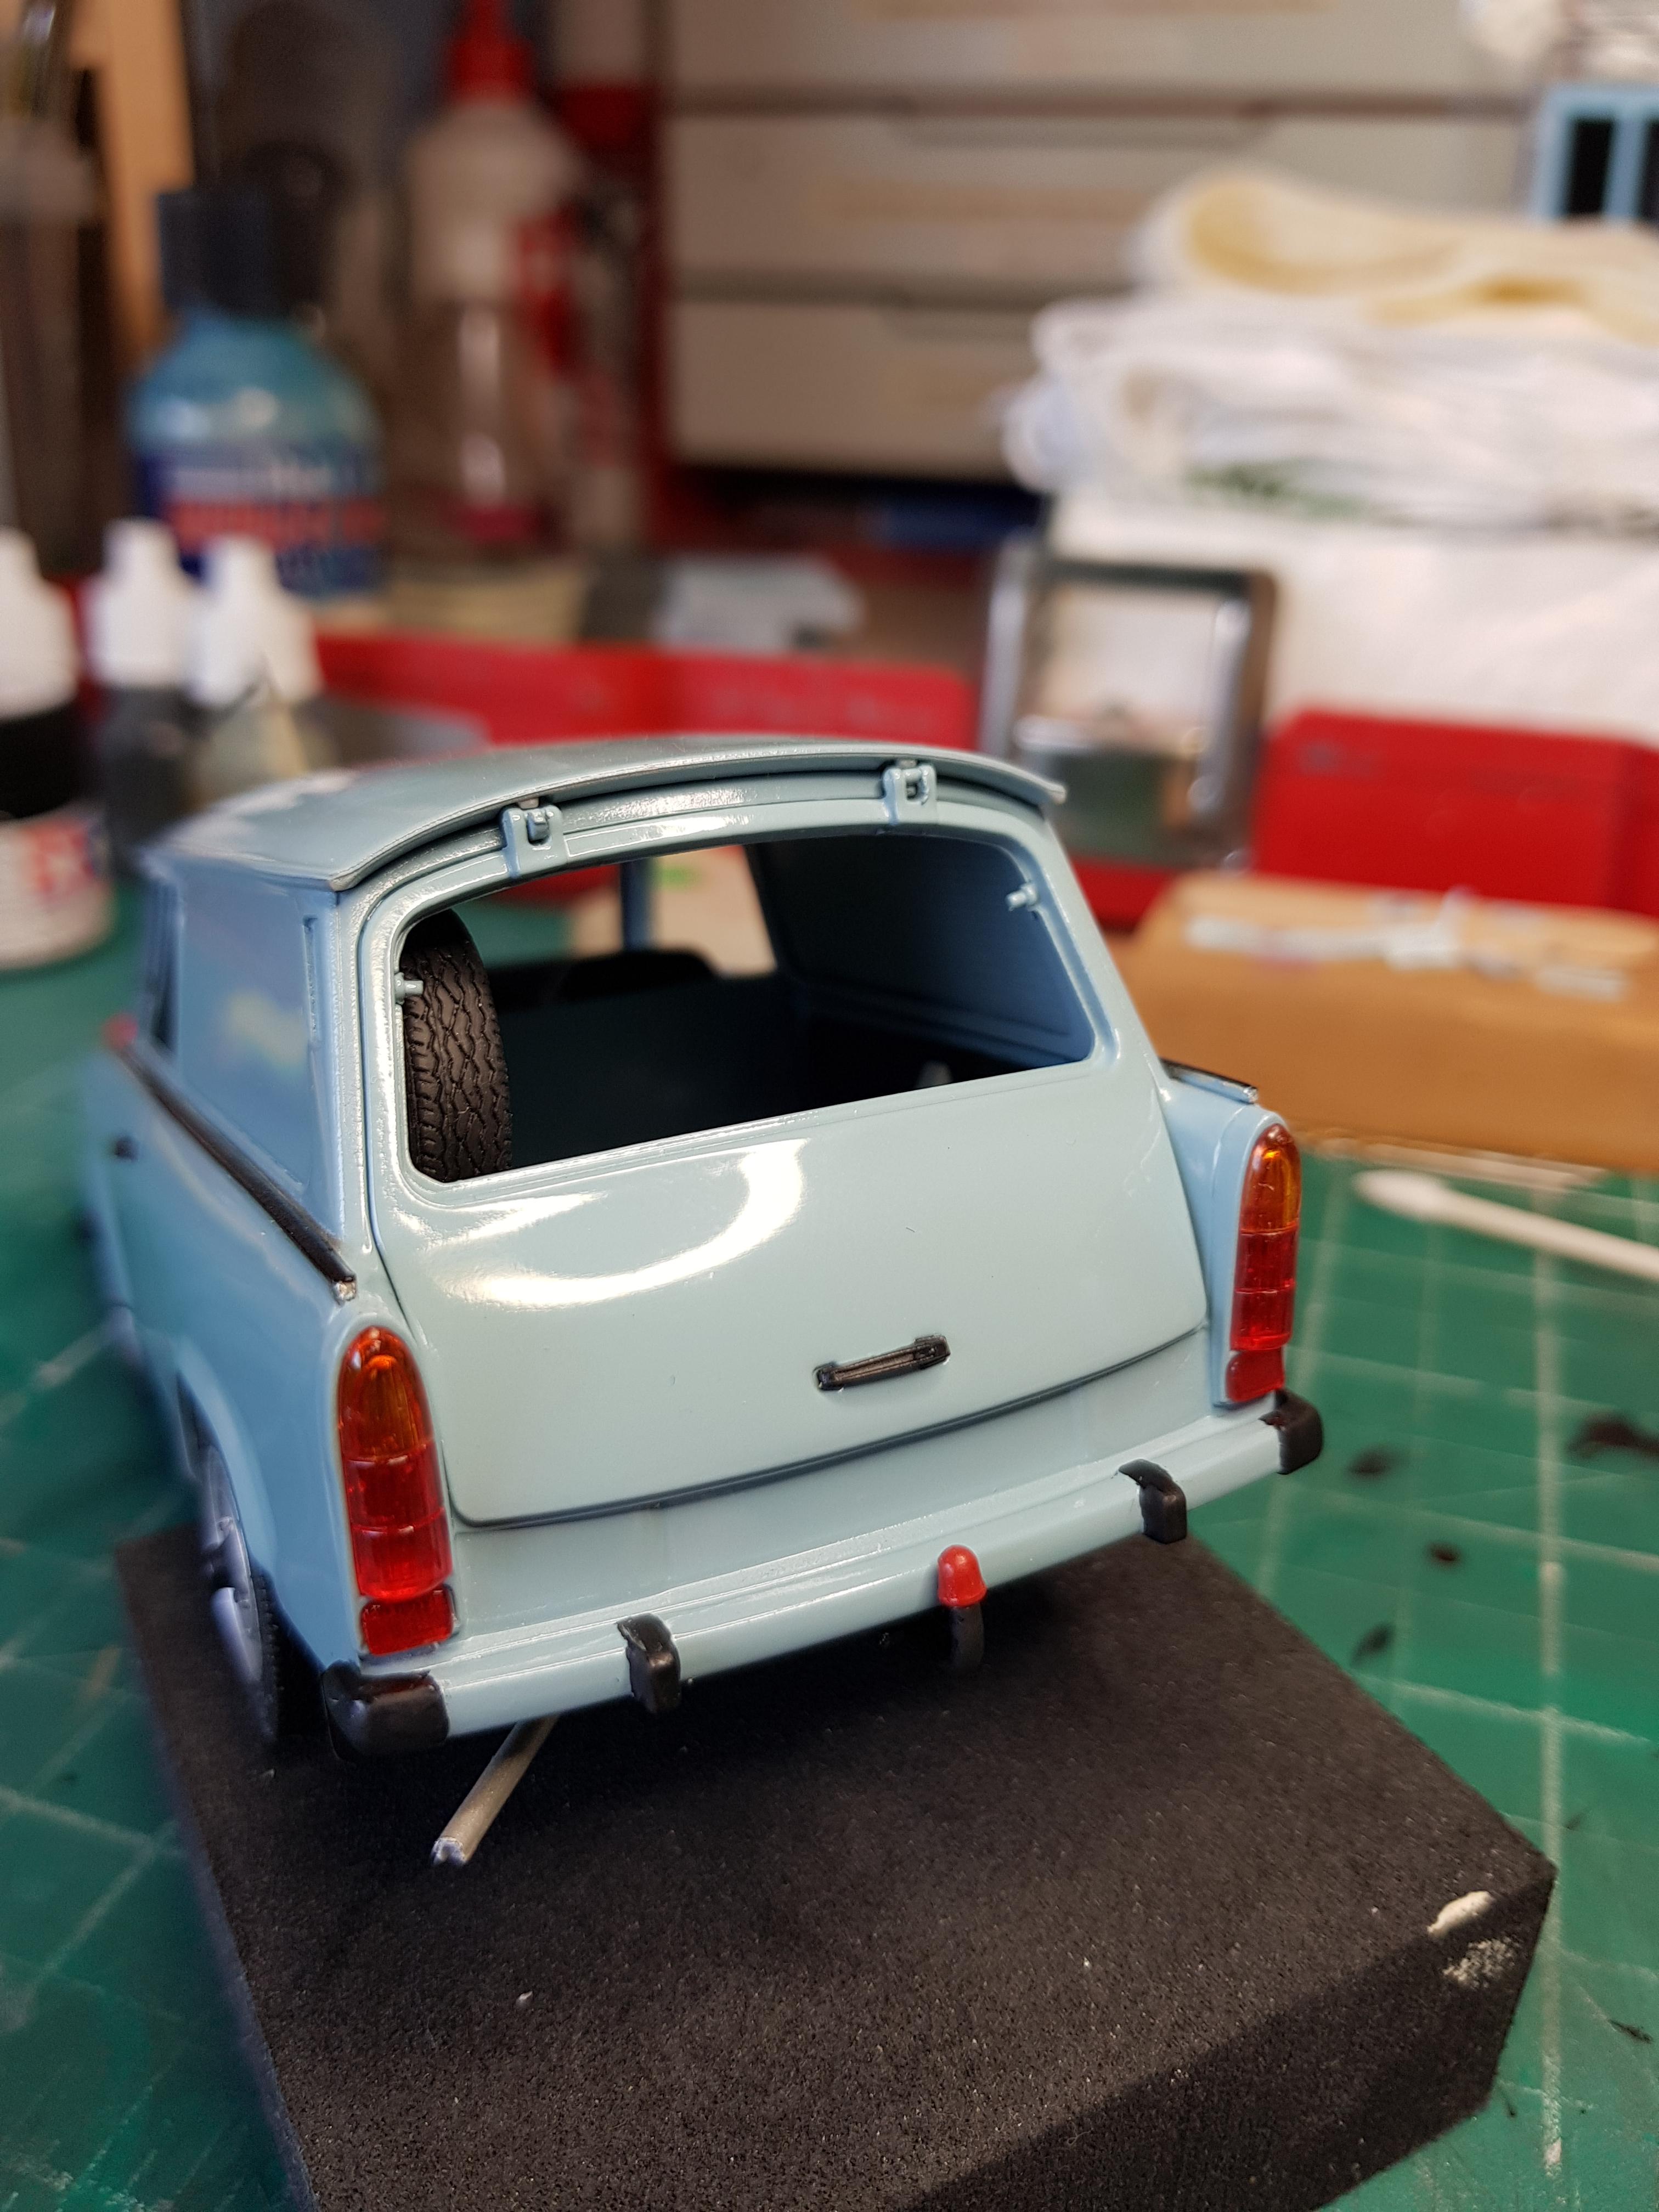
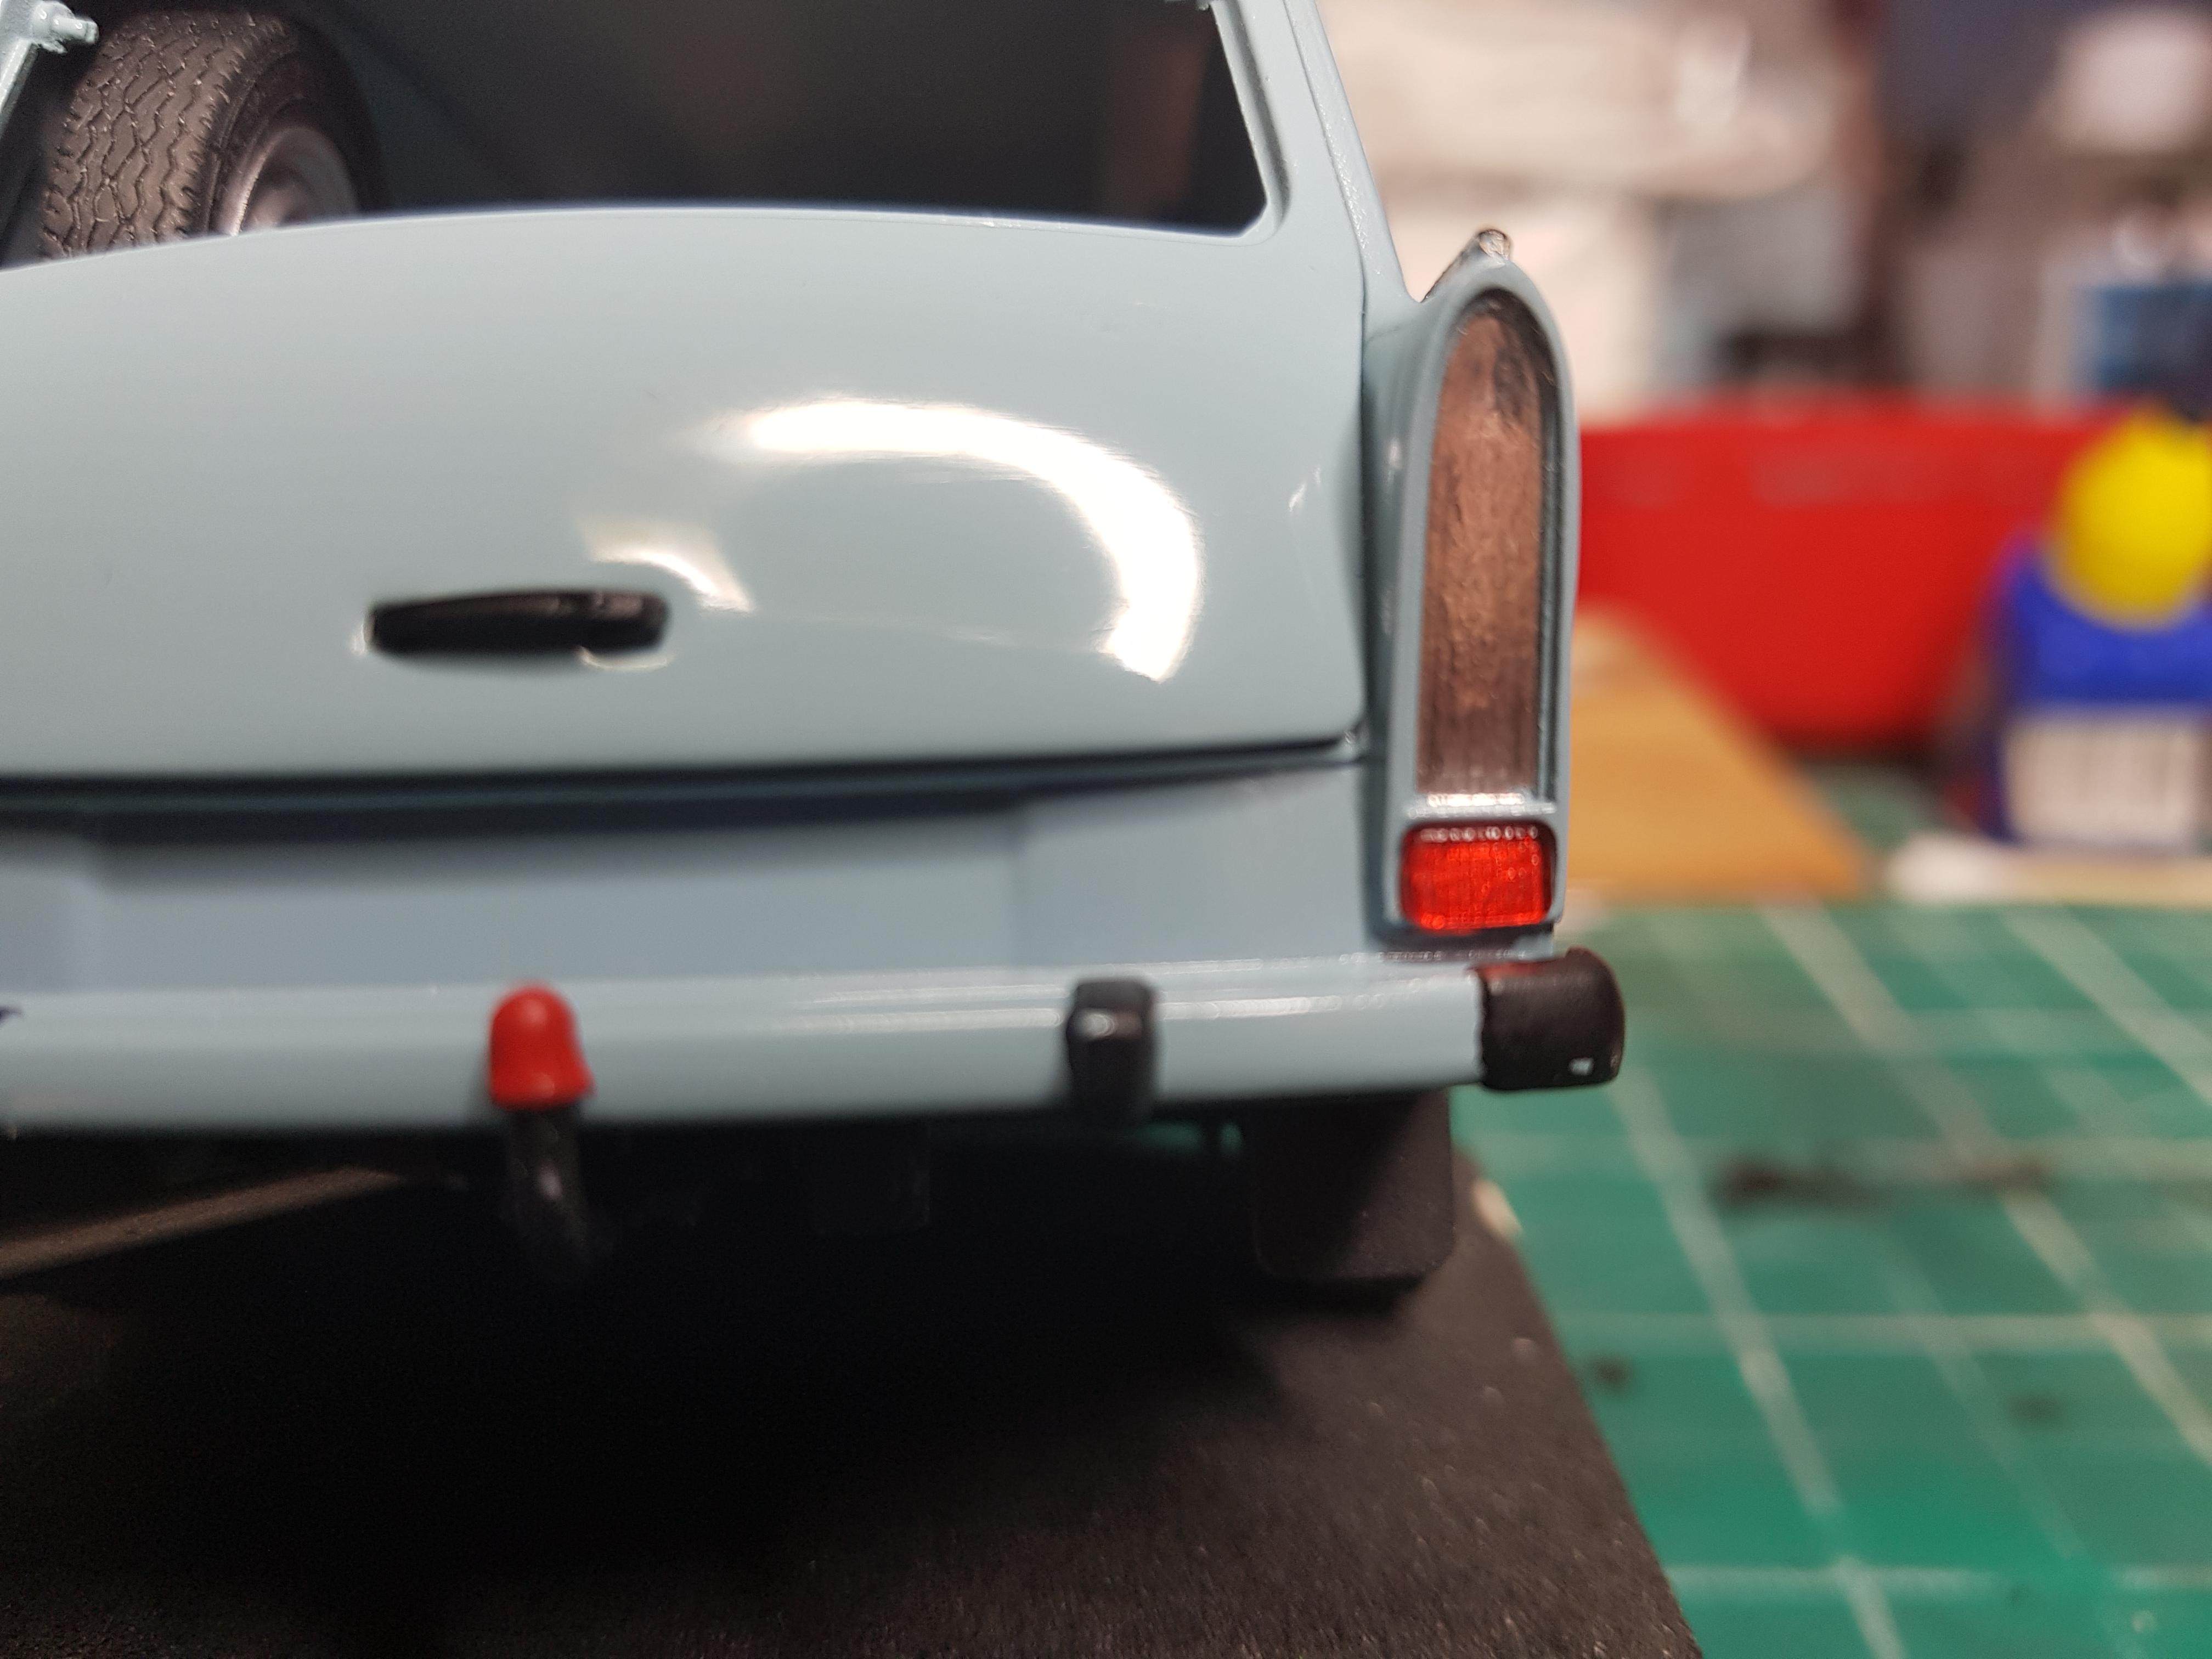
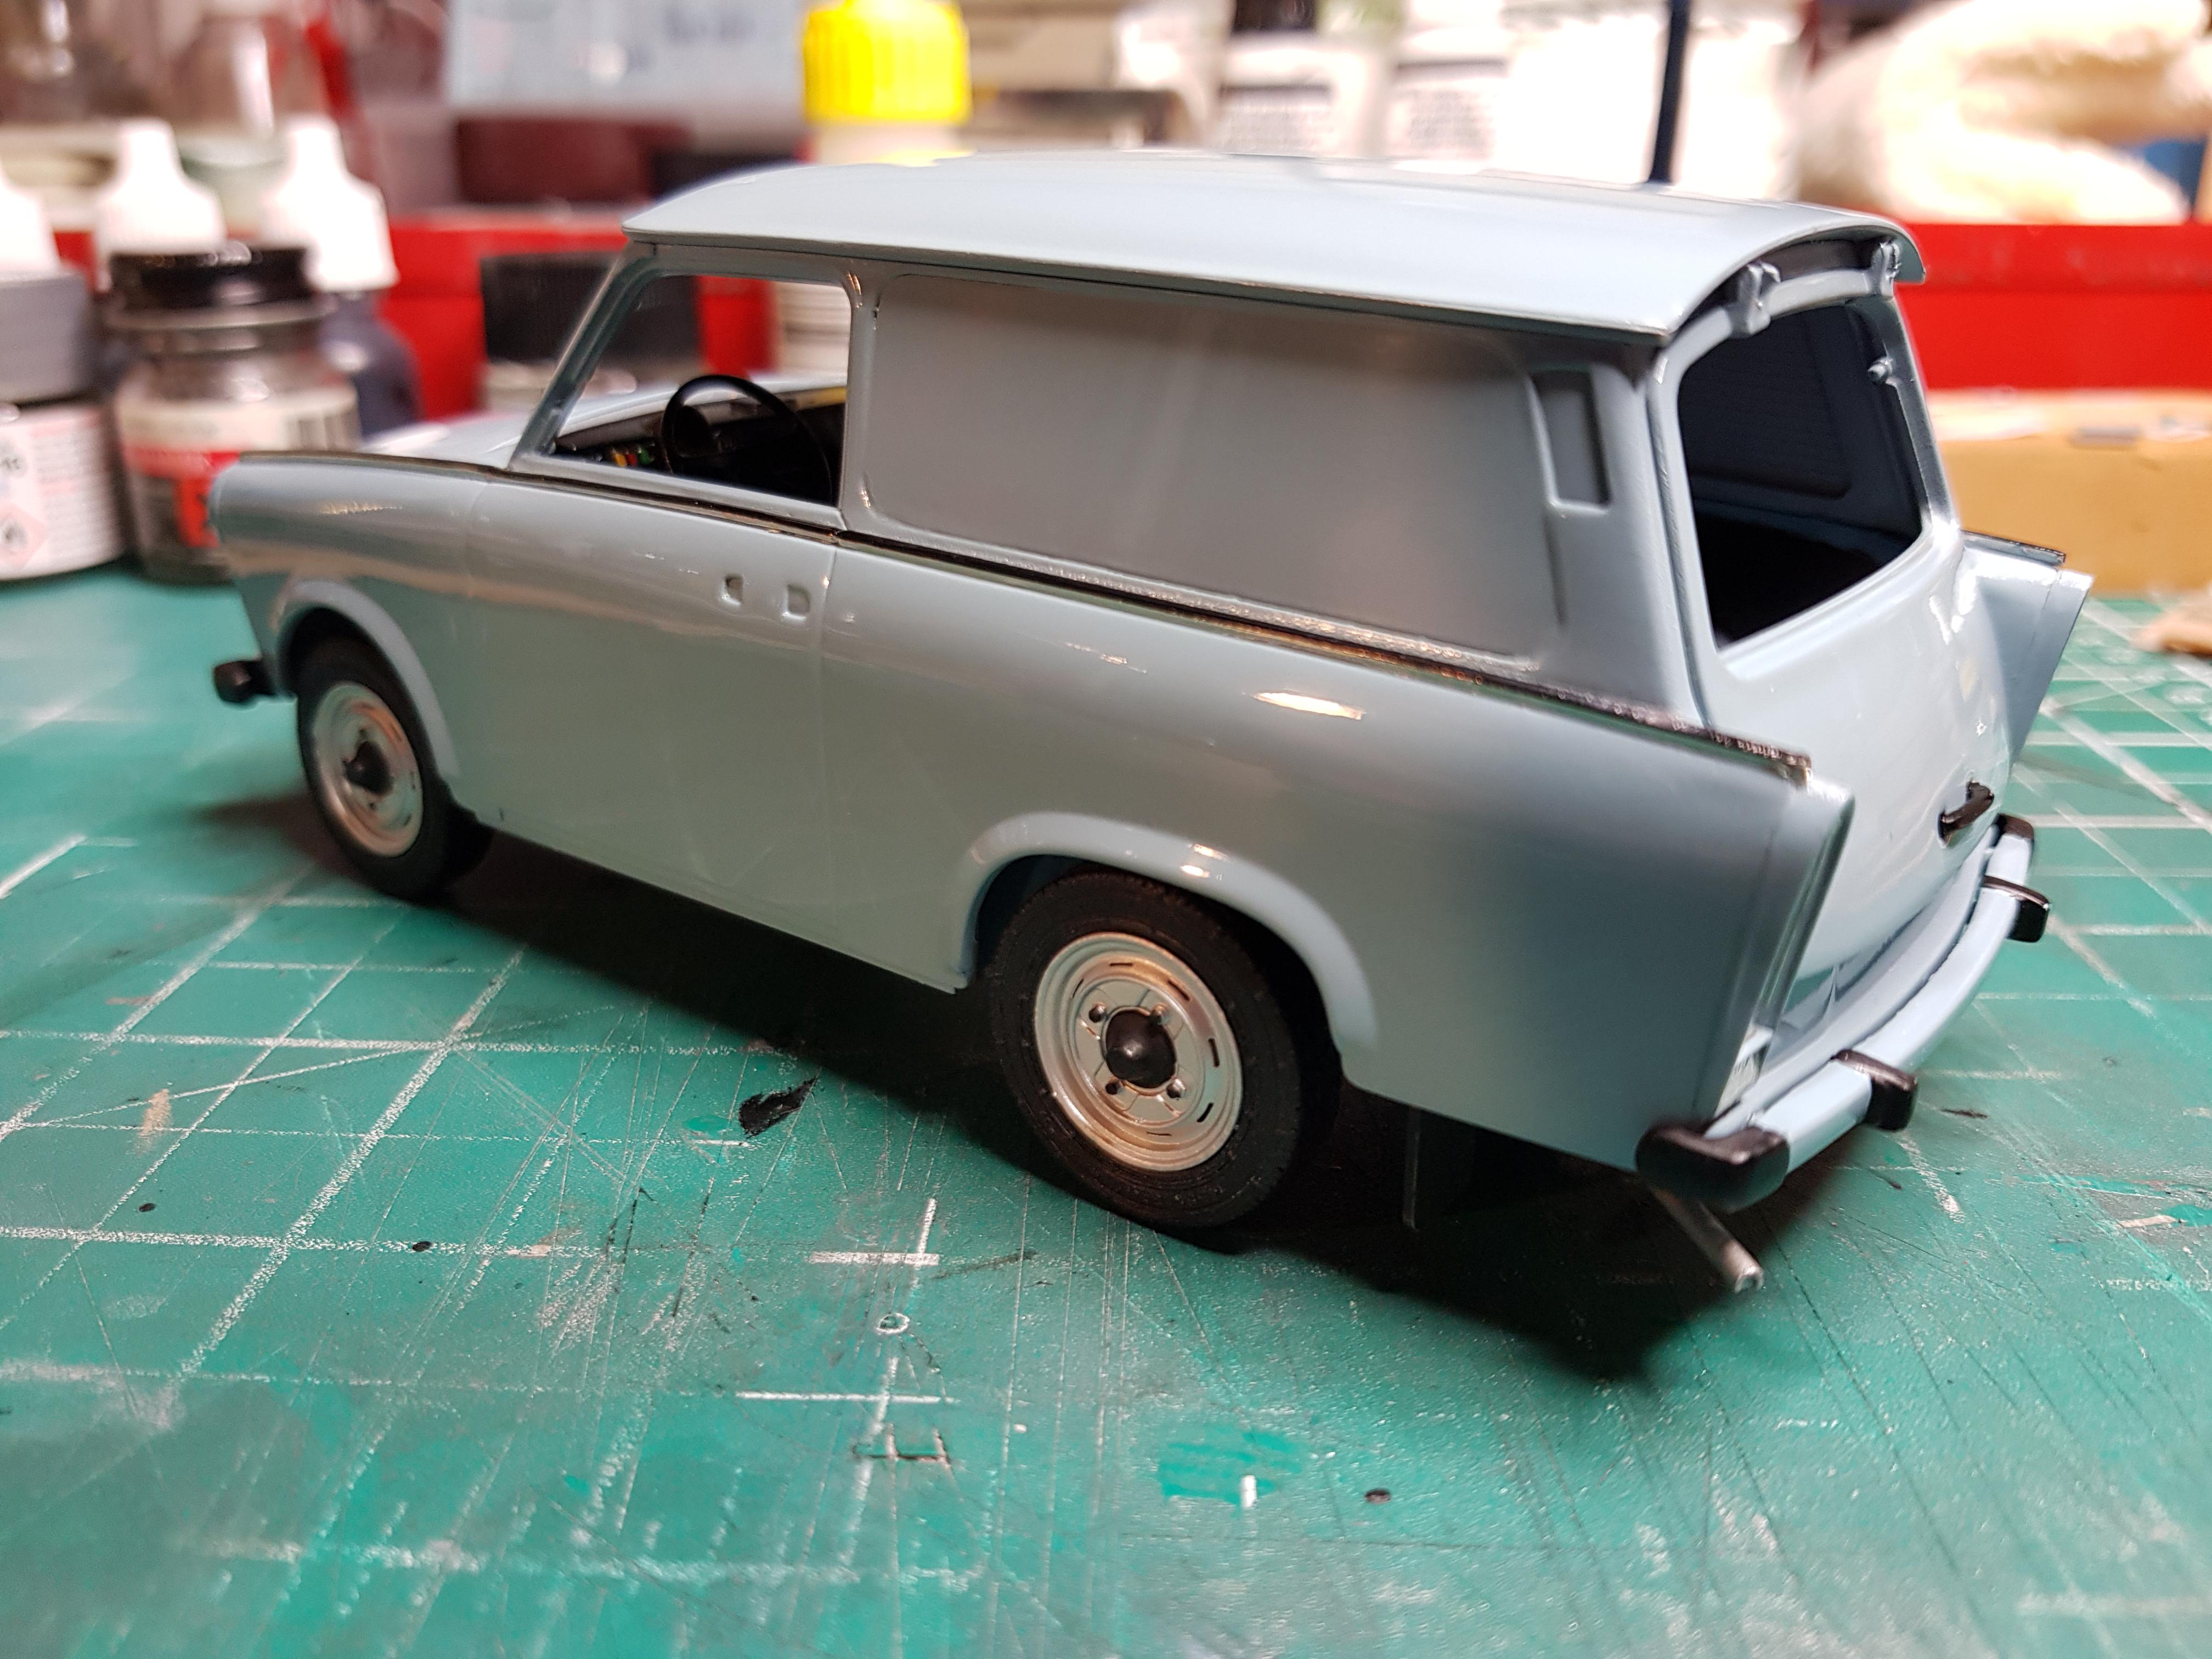
Rear lamps fitted, getting so close to the finishing line now.
-
Absolutely superb work....
-
Very nice build,very realistic weathering....
-
Pretty much all my painting is done using an airbrush, i only used brushes on small detail parts, yes the small parts do need scraping to get them to glue properly,although using 2 part epoxy glue doesn't need the plastic to plastic bonding.
-
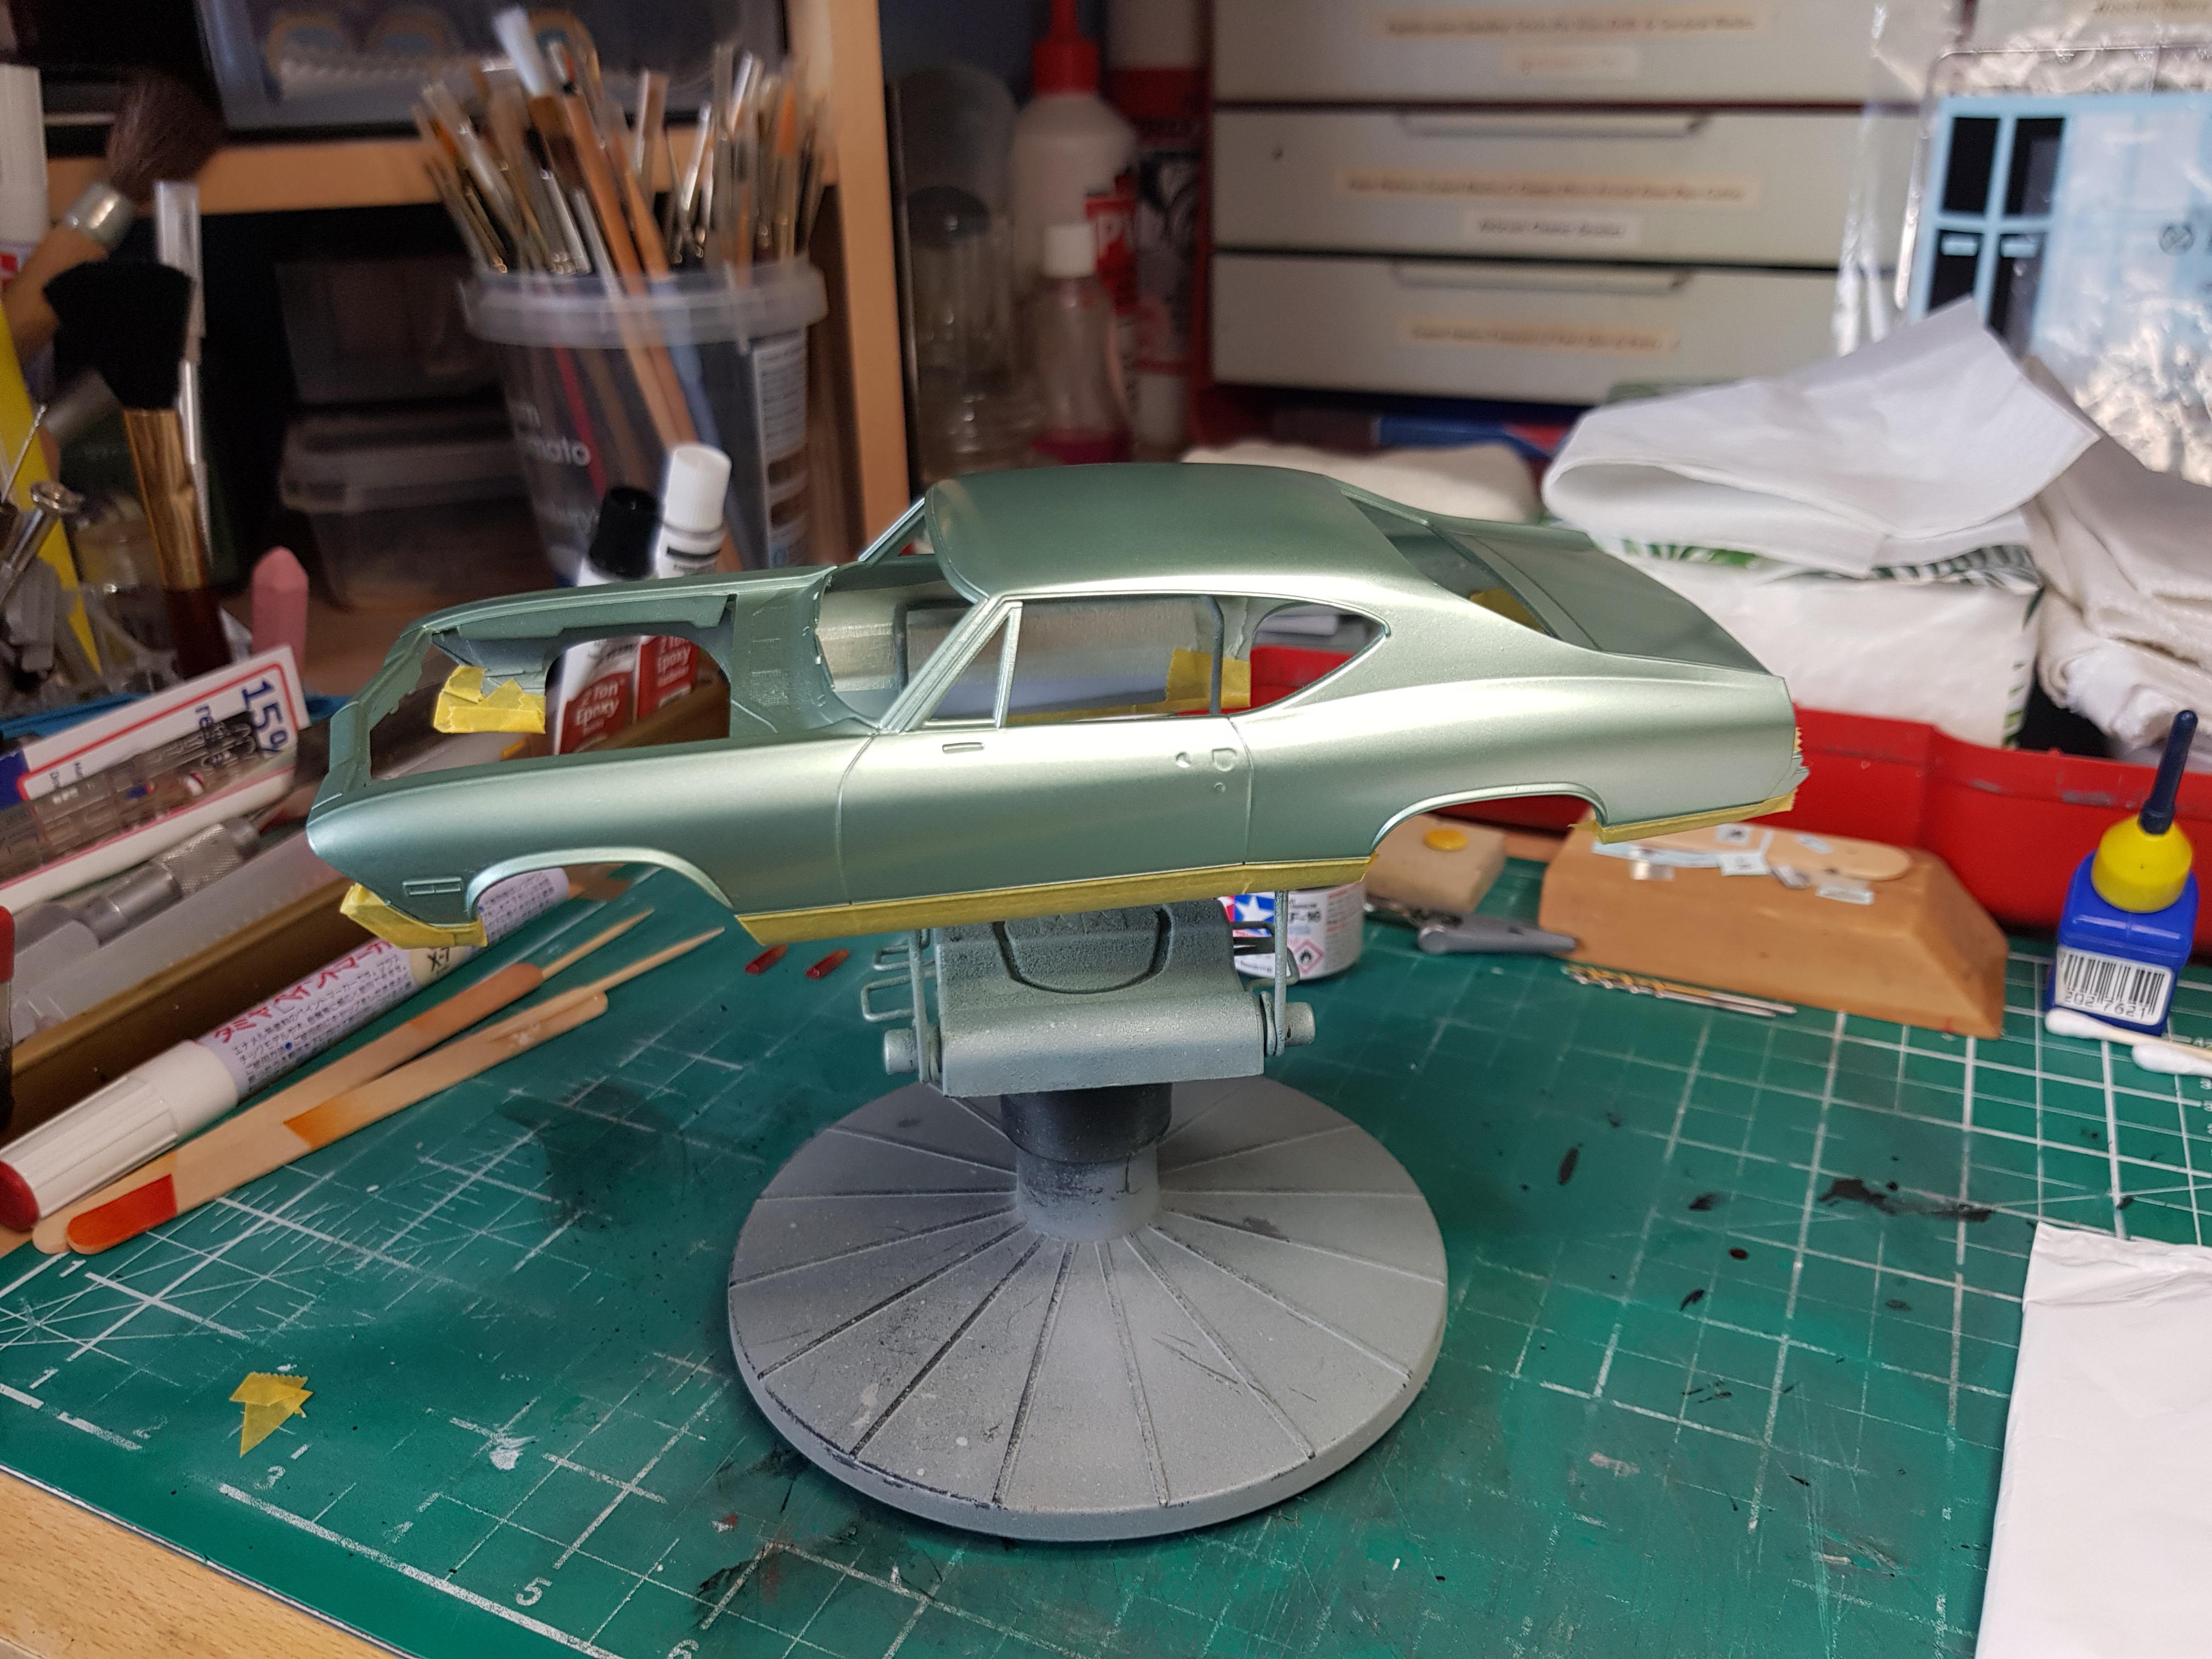
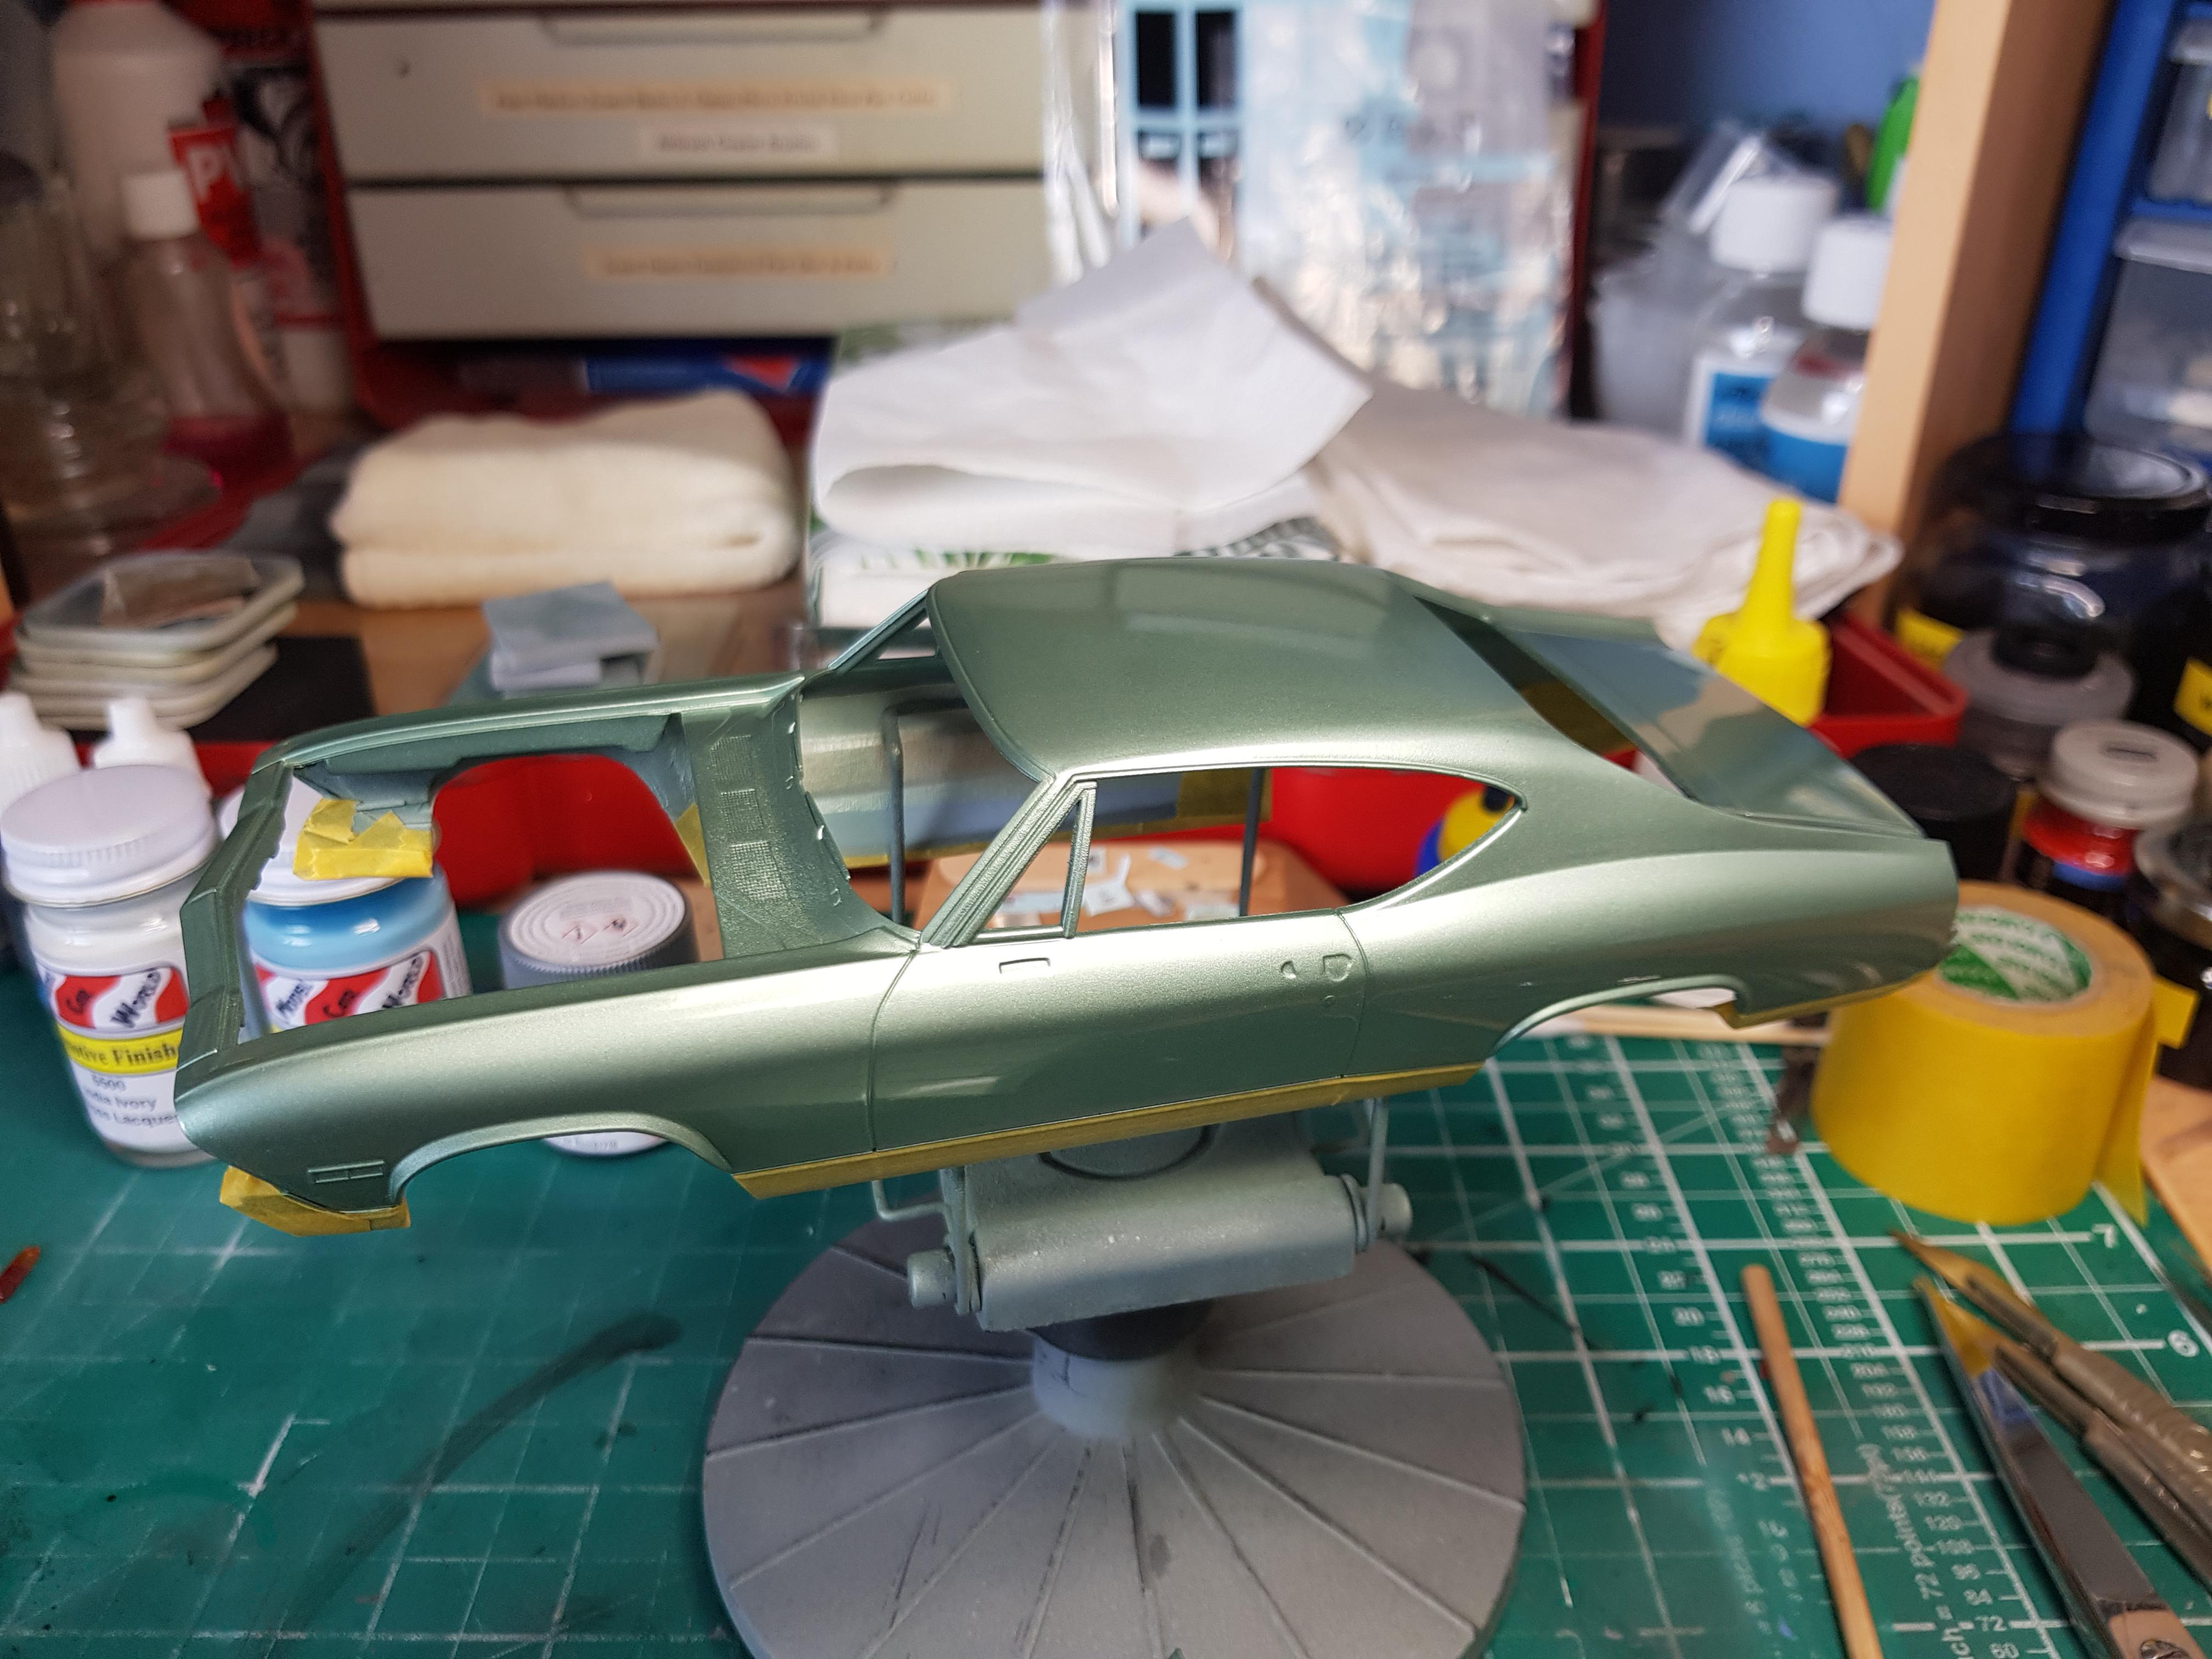
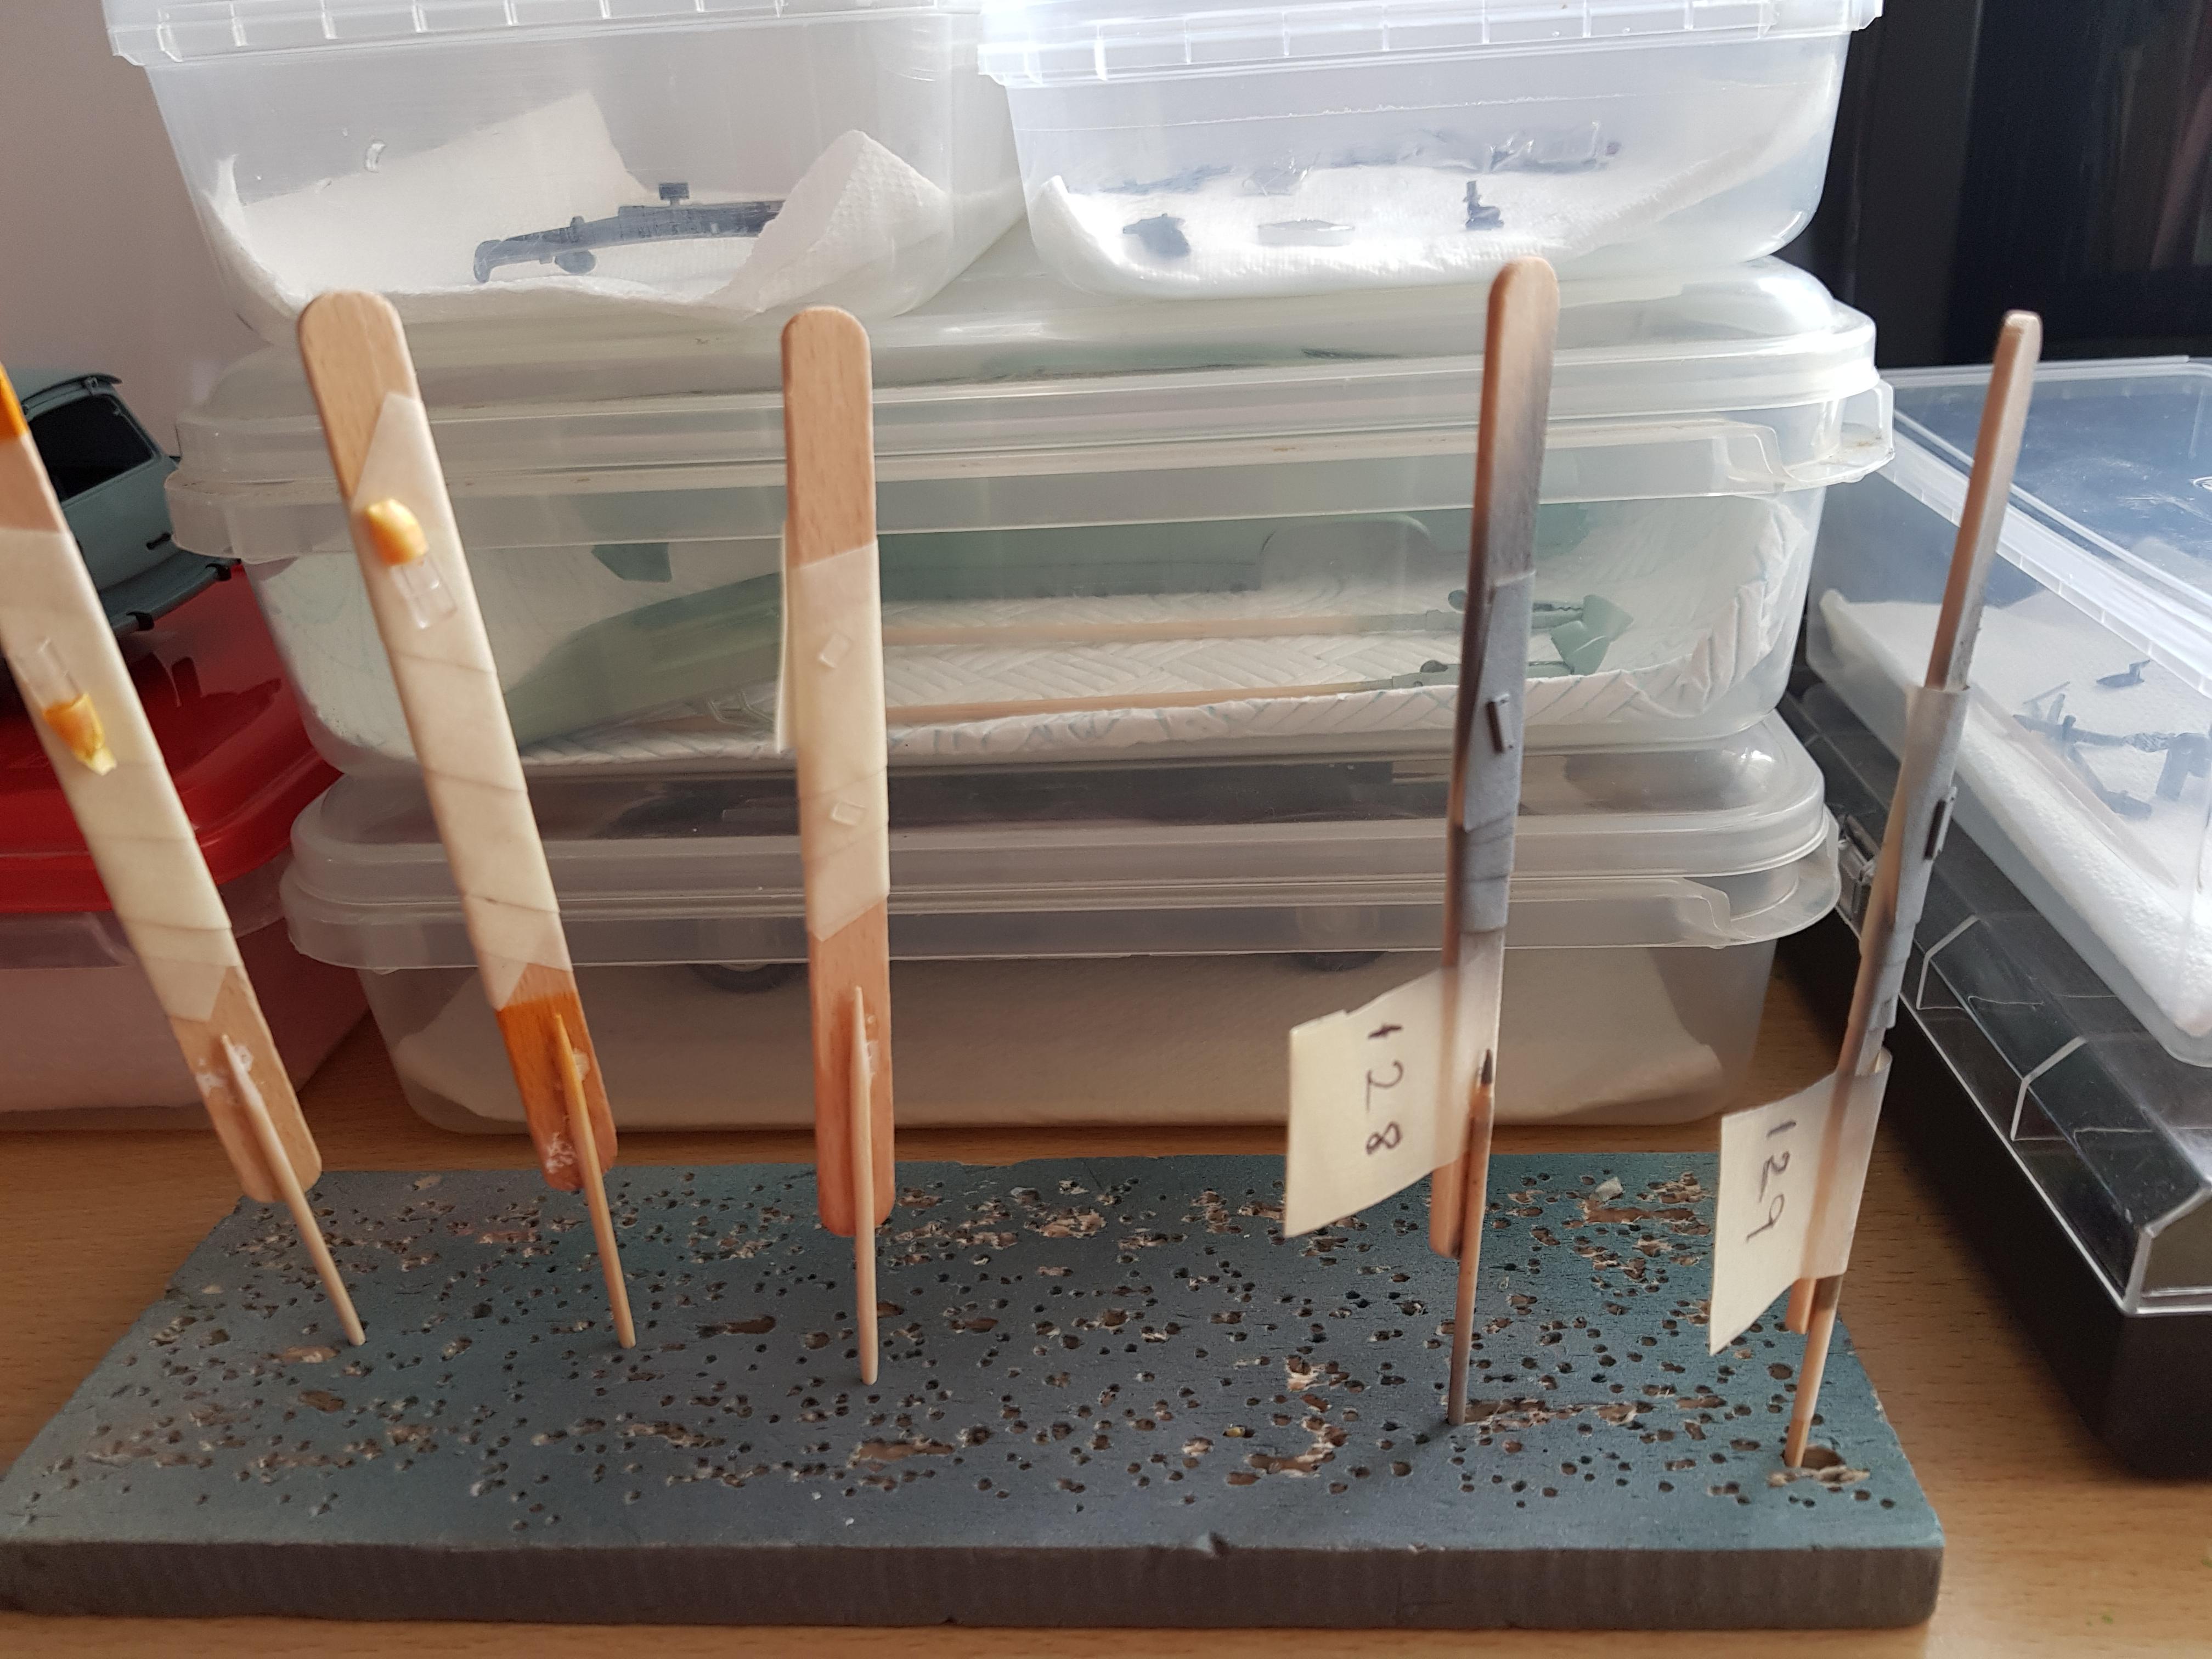
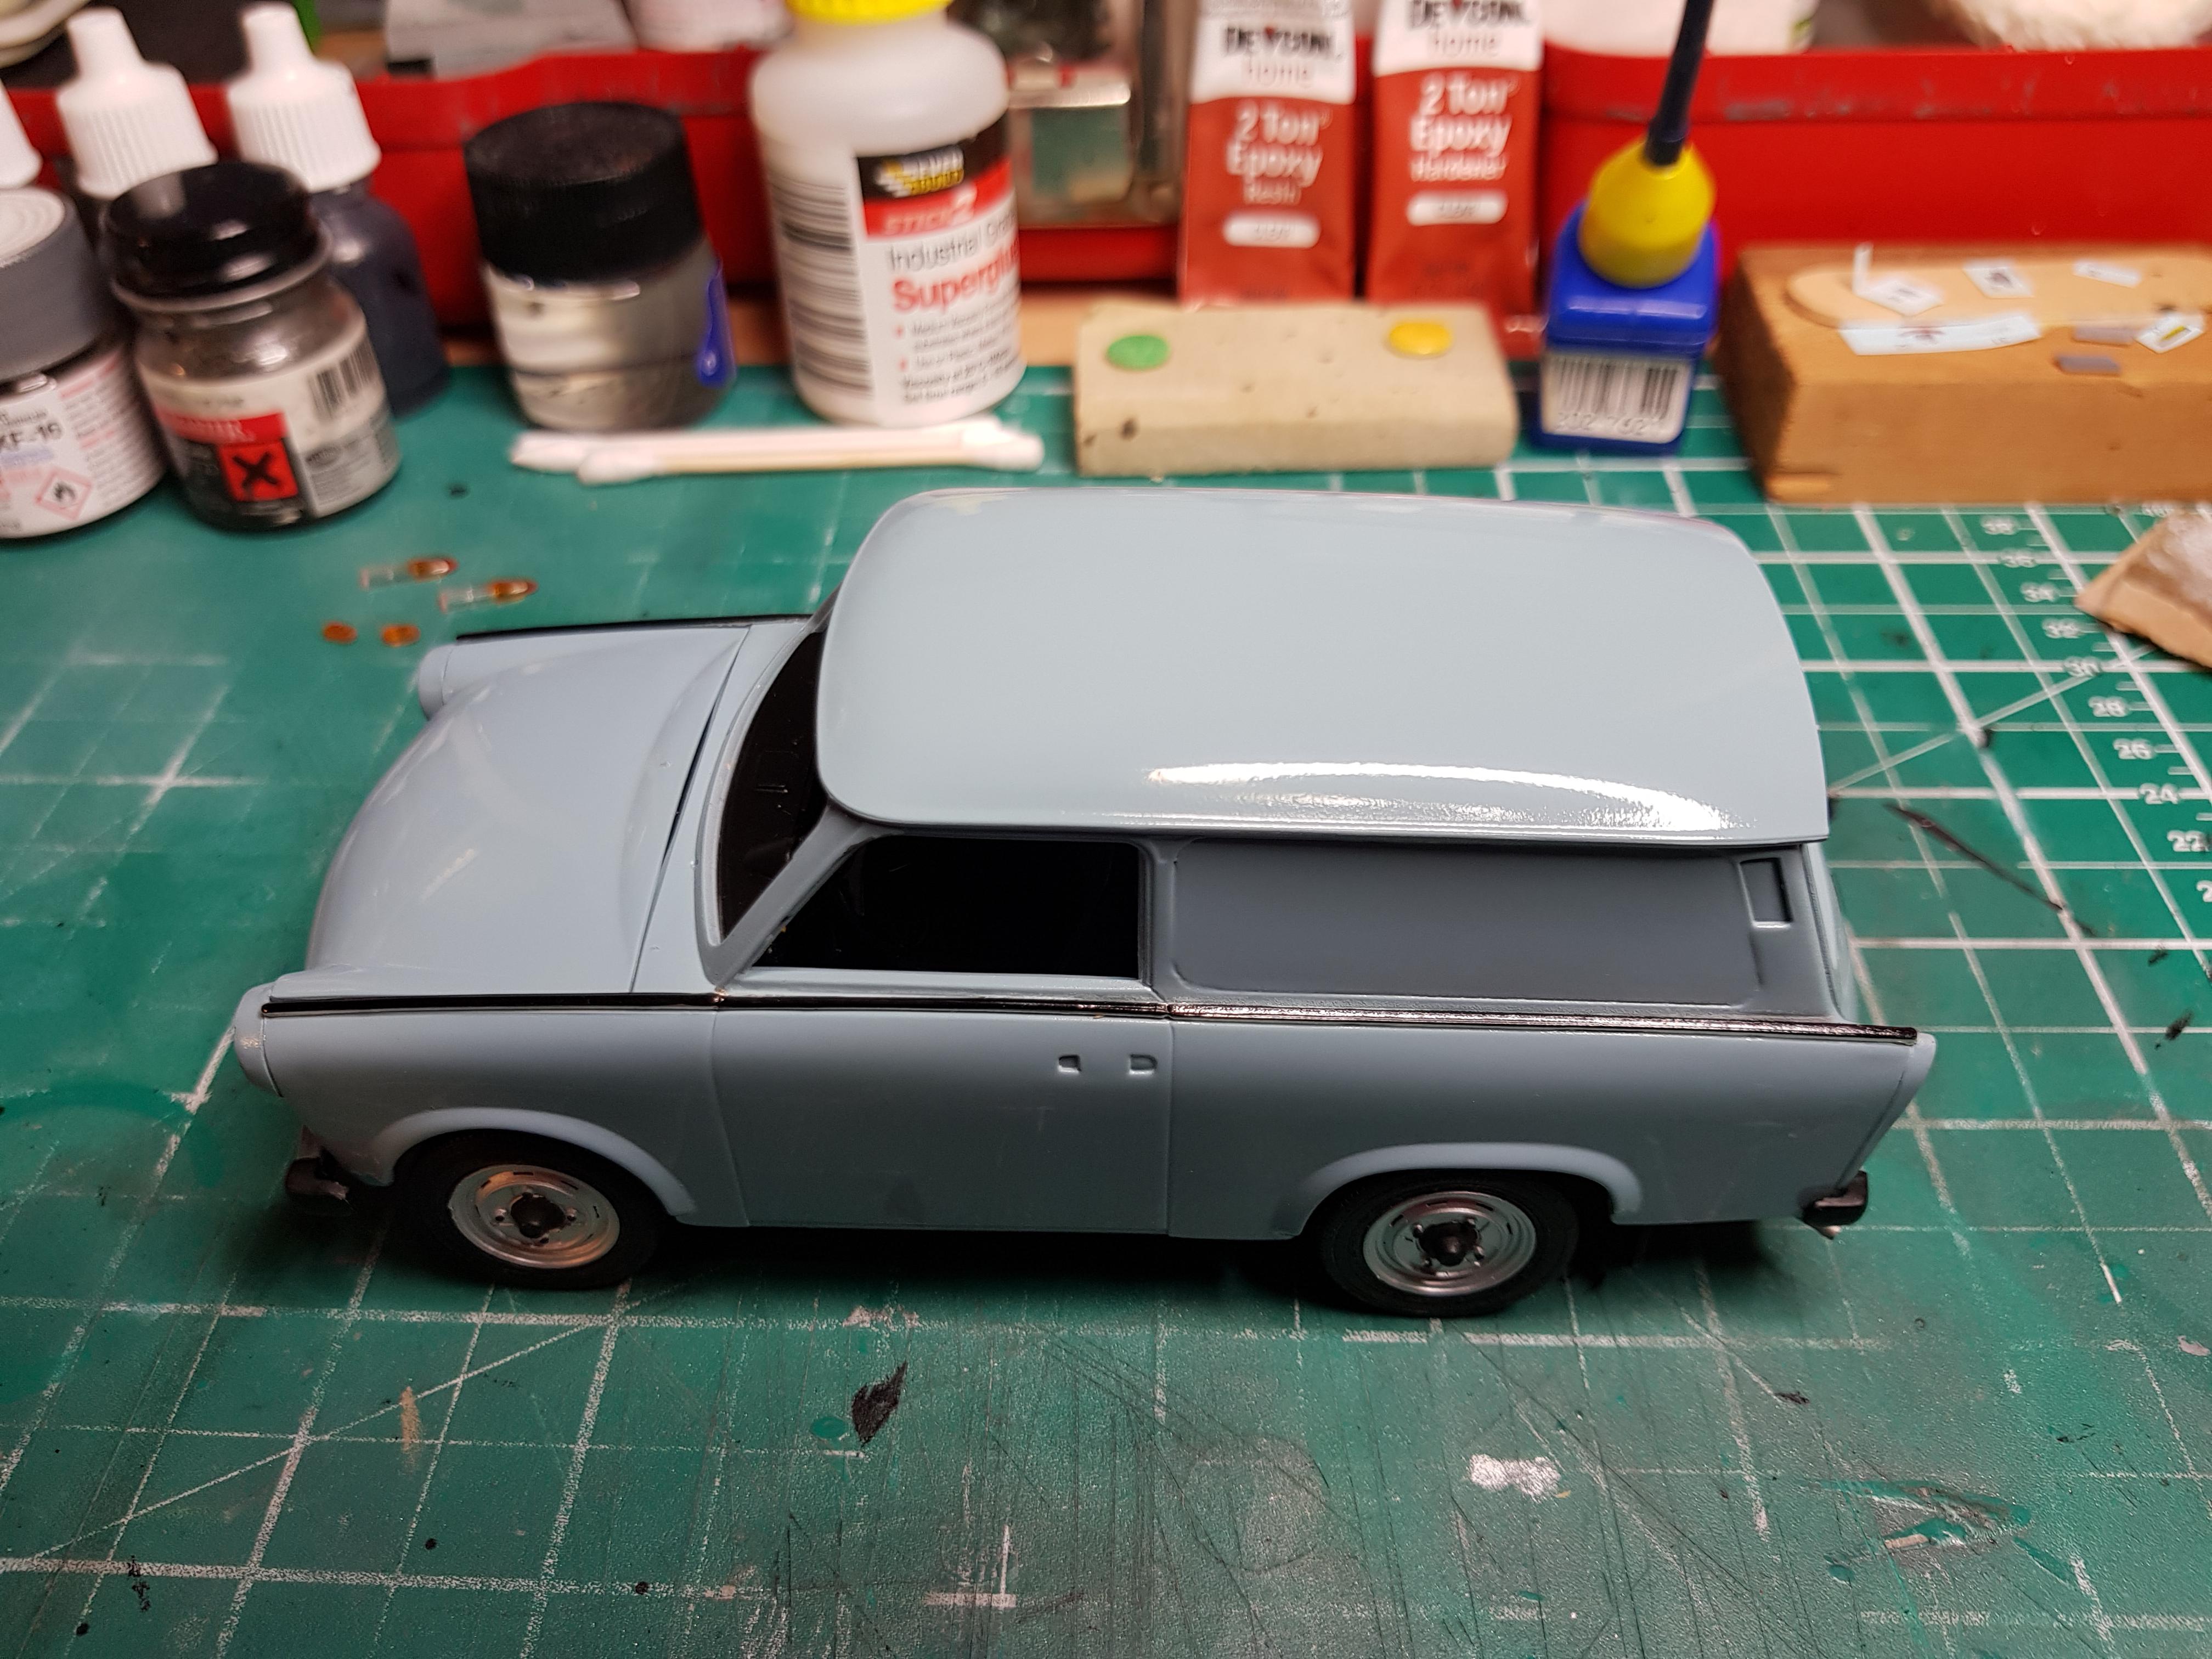
Masking tape removed, I'll leave it to dry out before masking the roof to airbrush the body
-
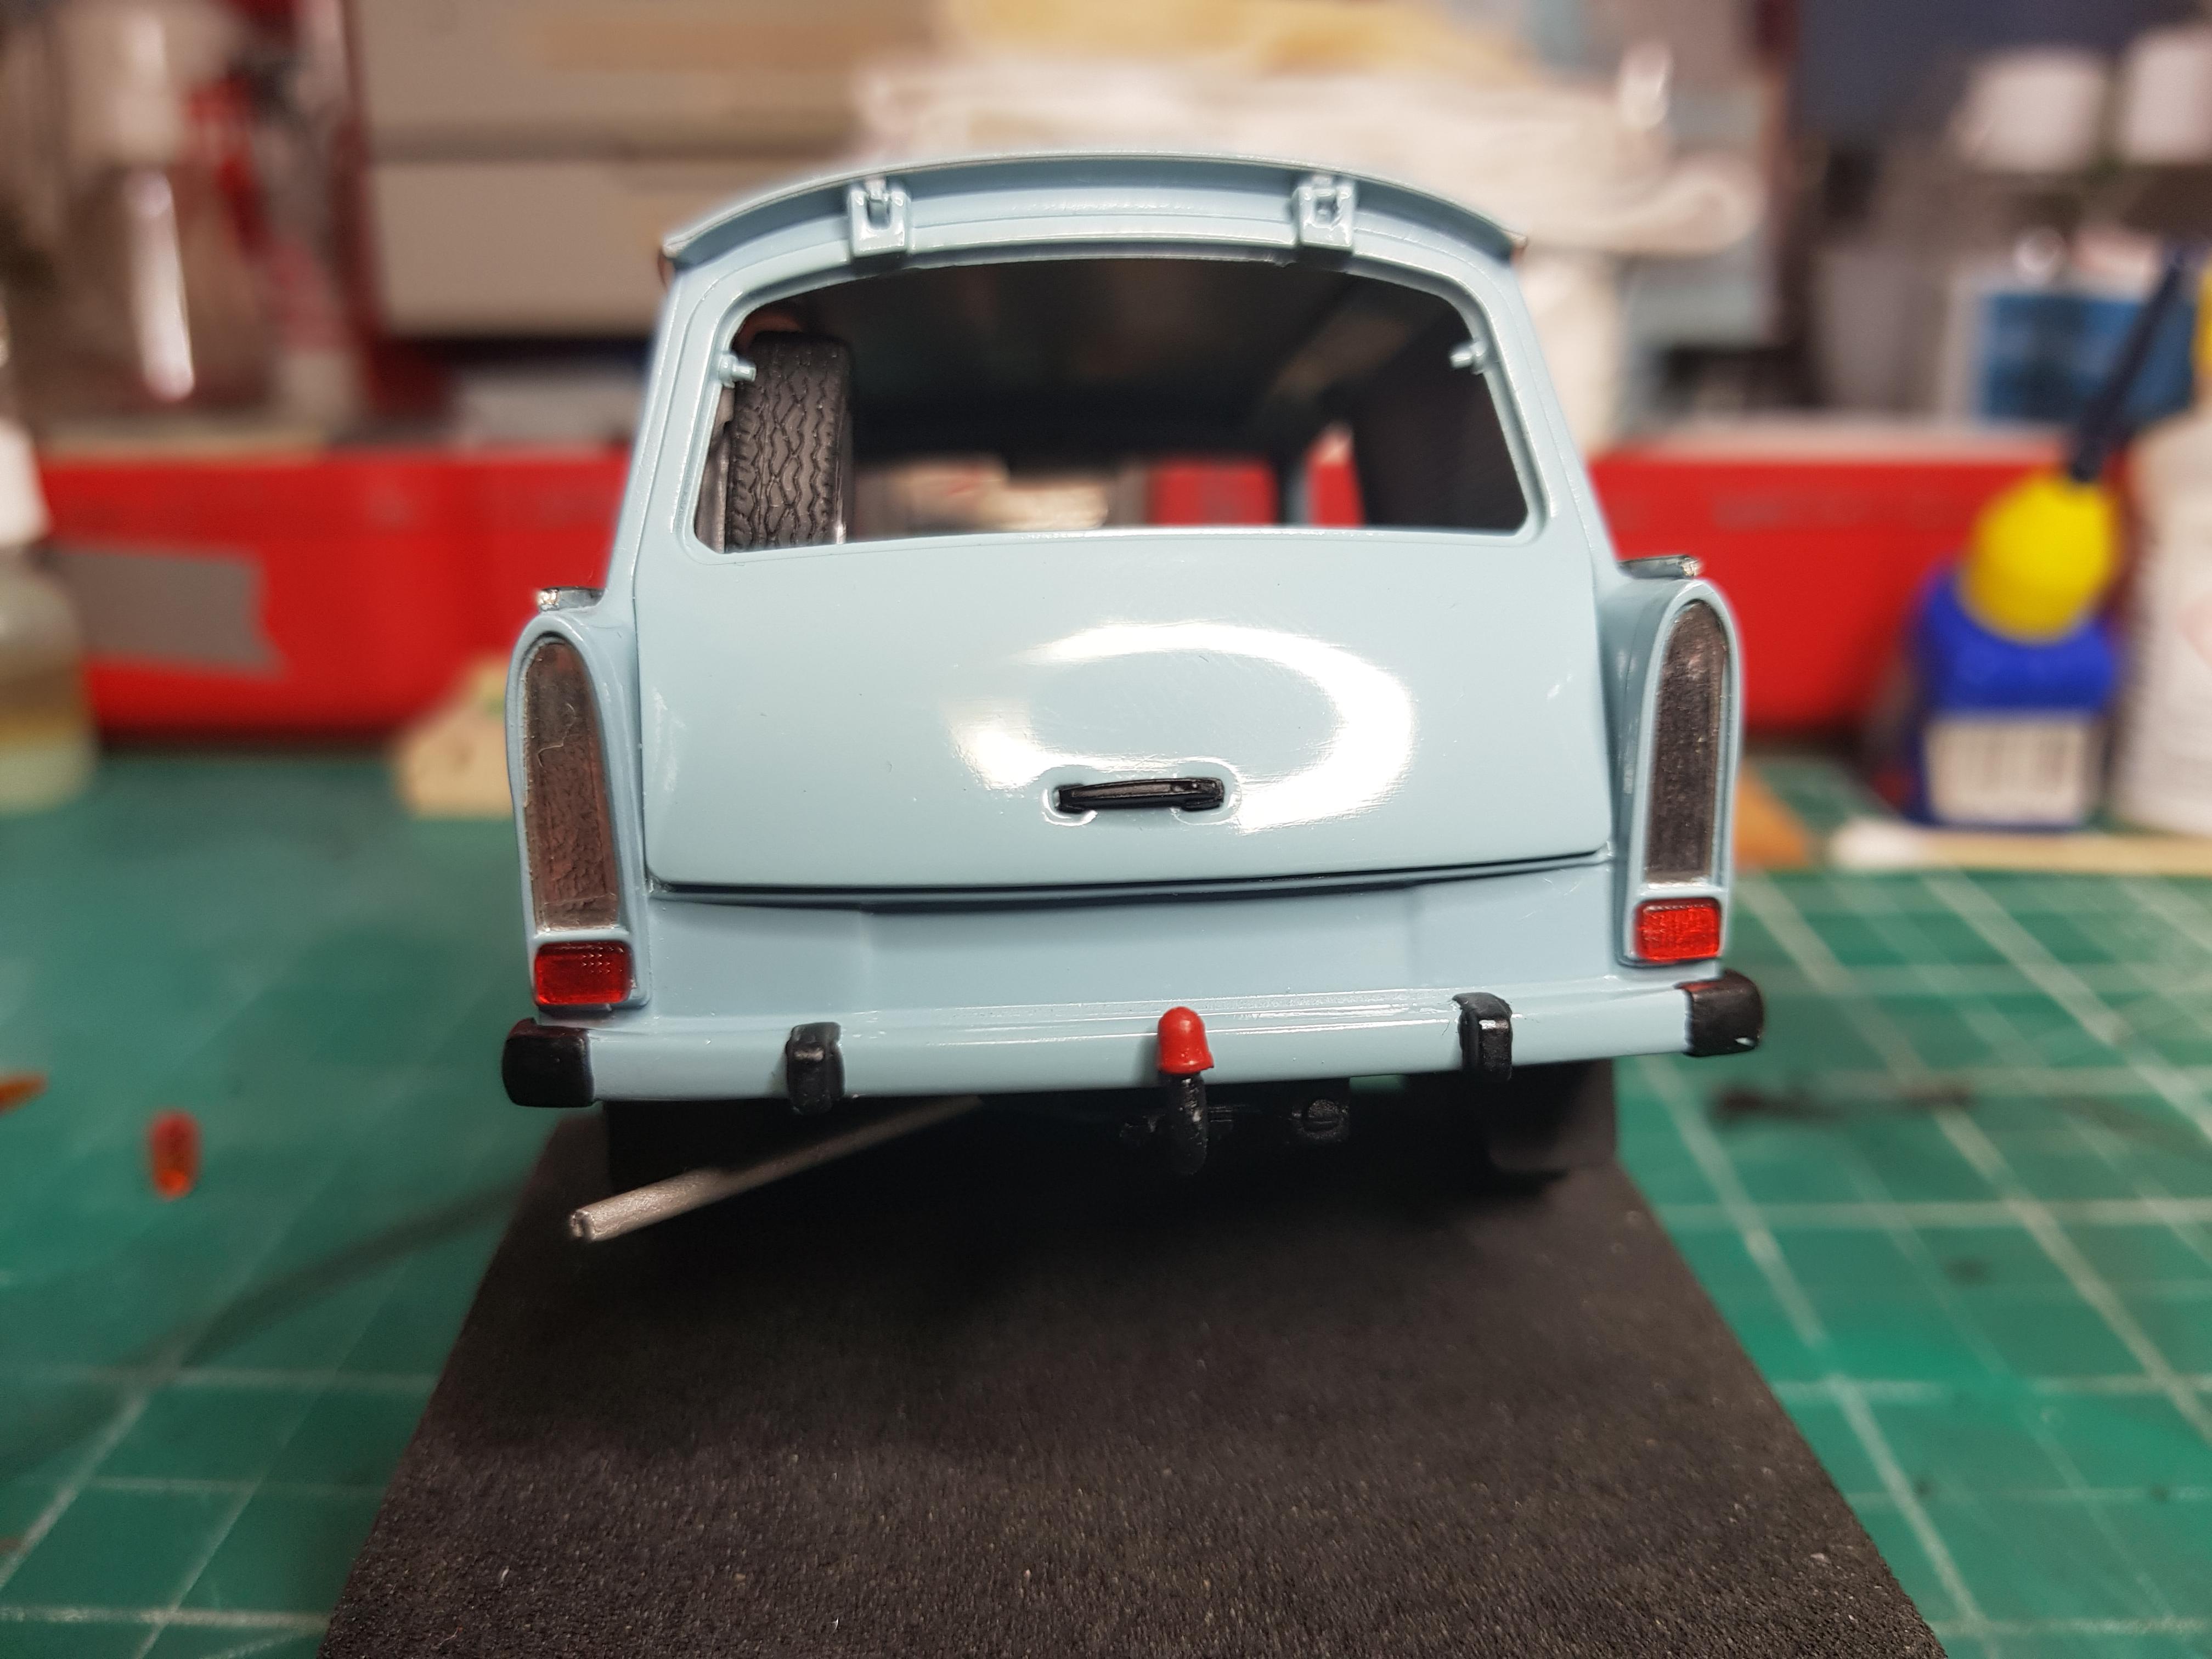
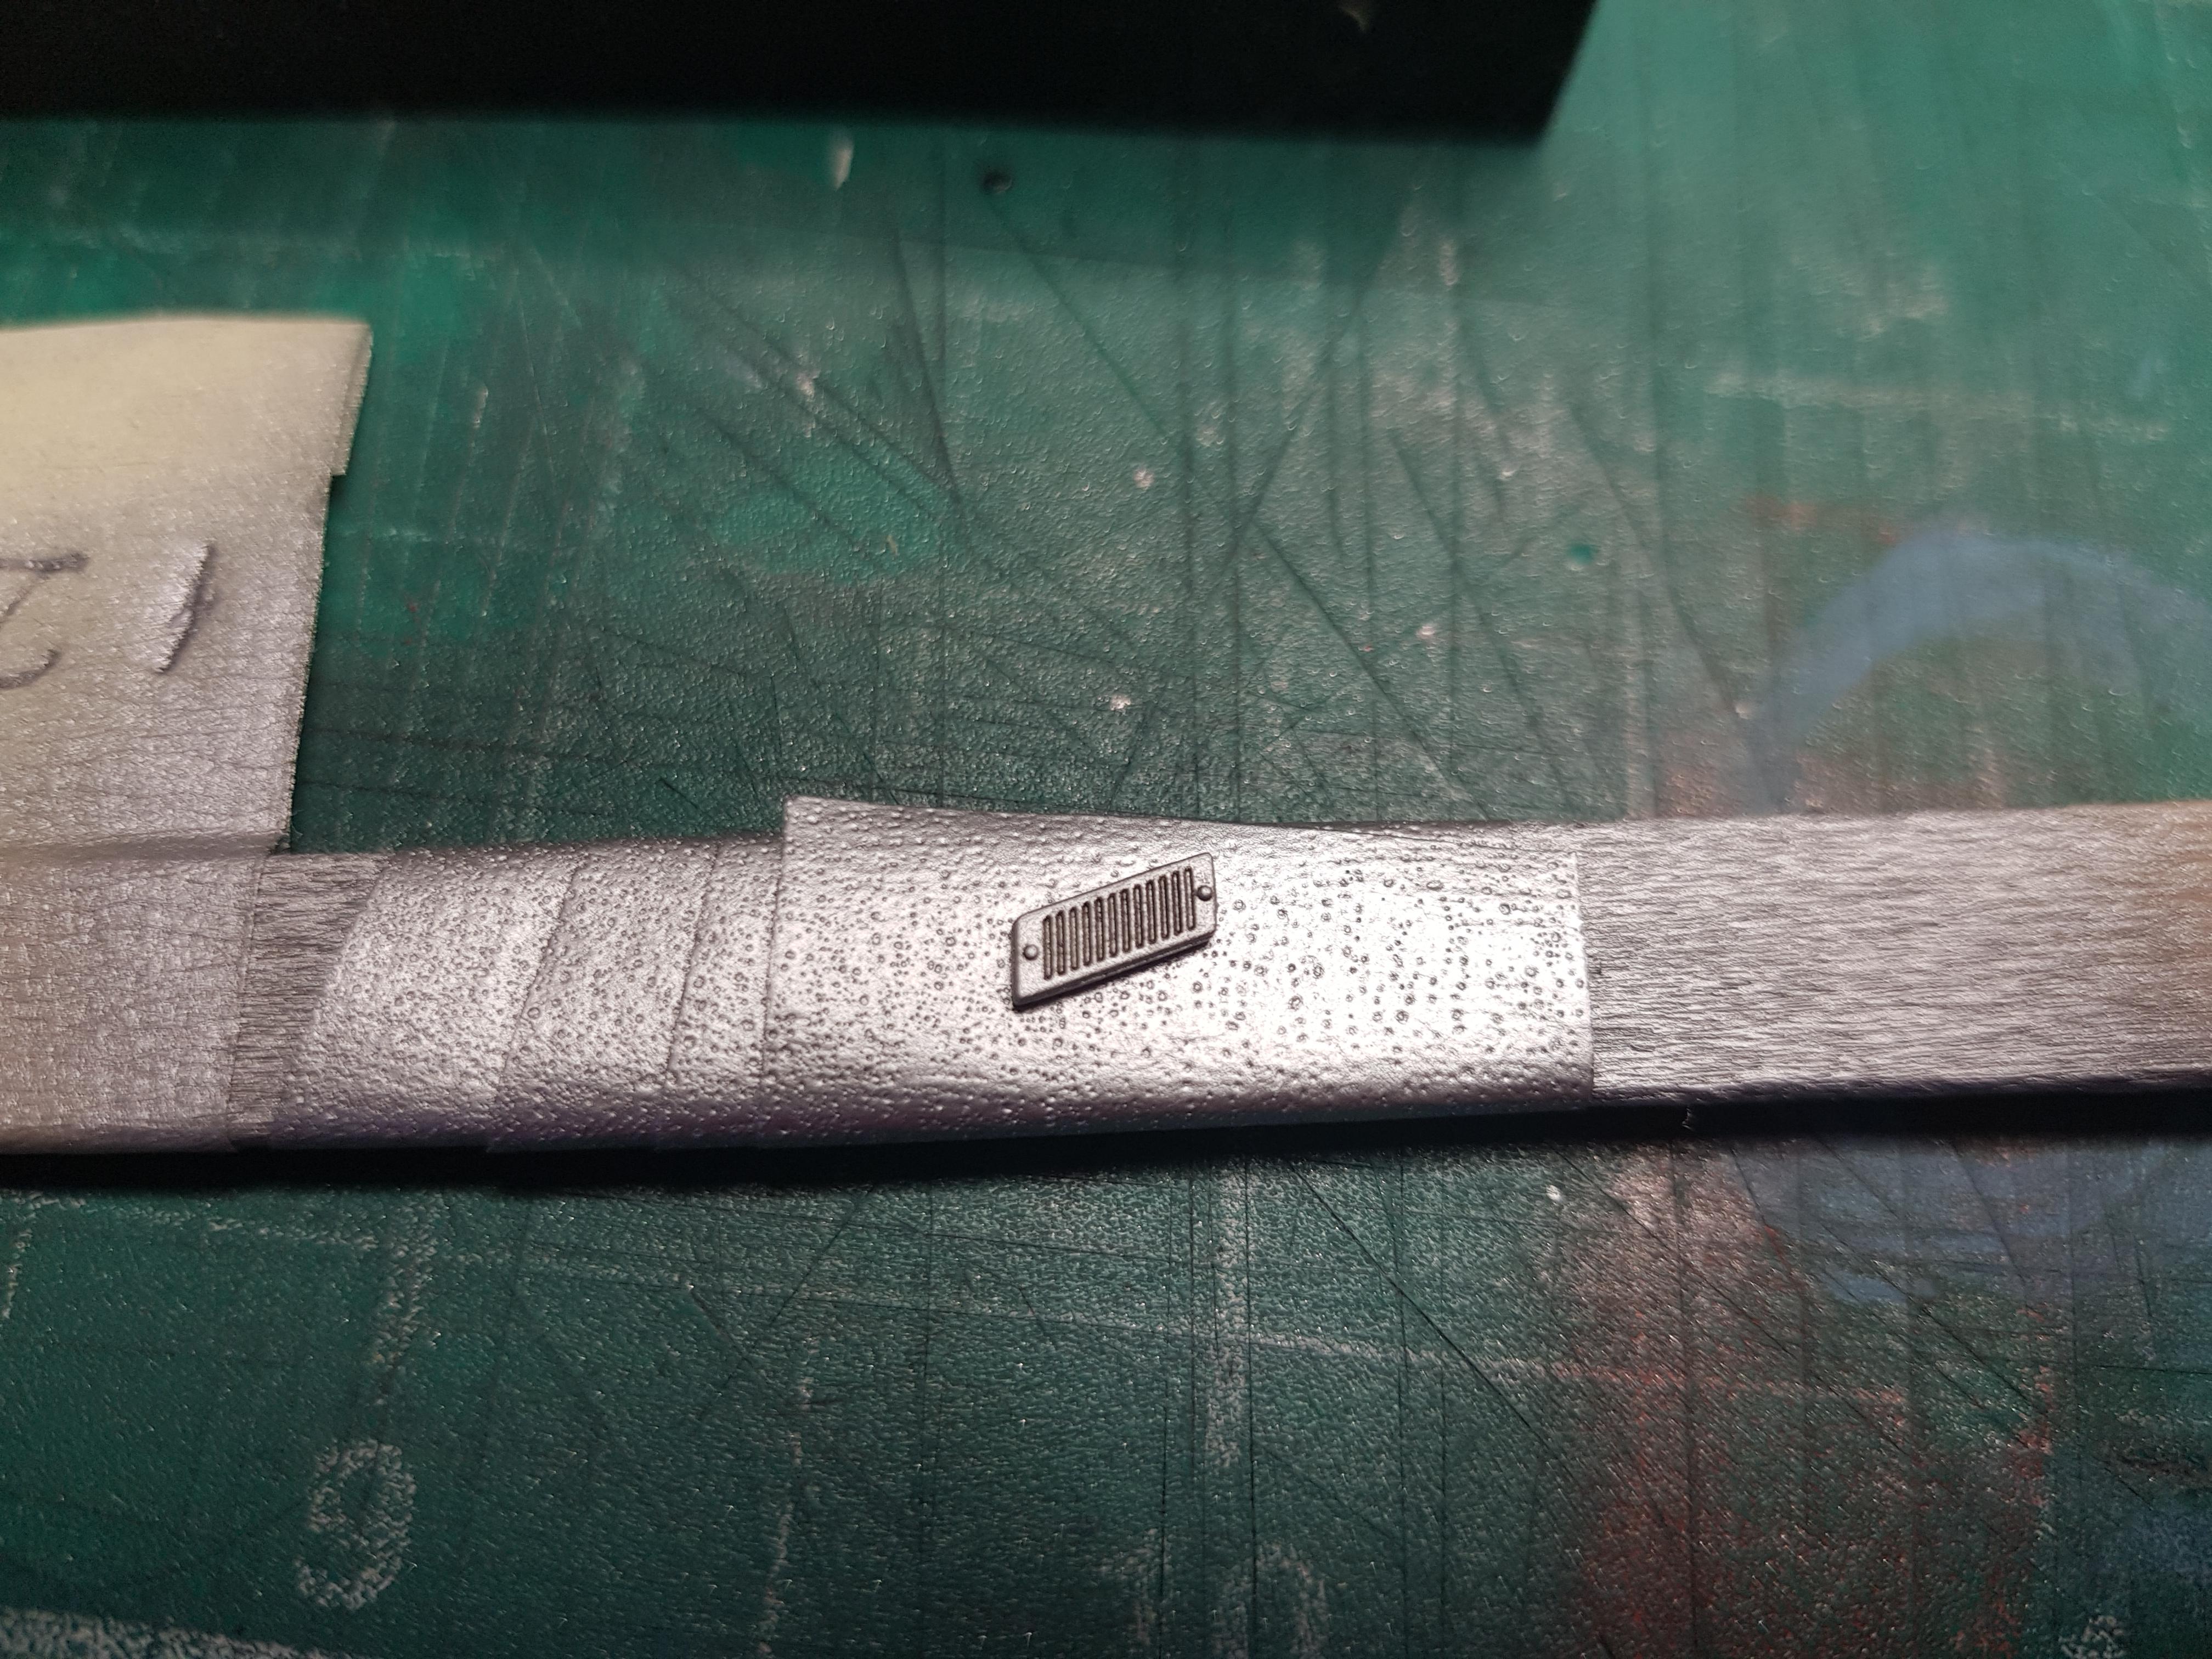
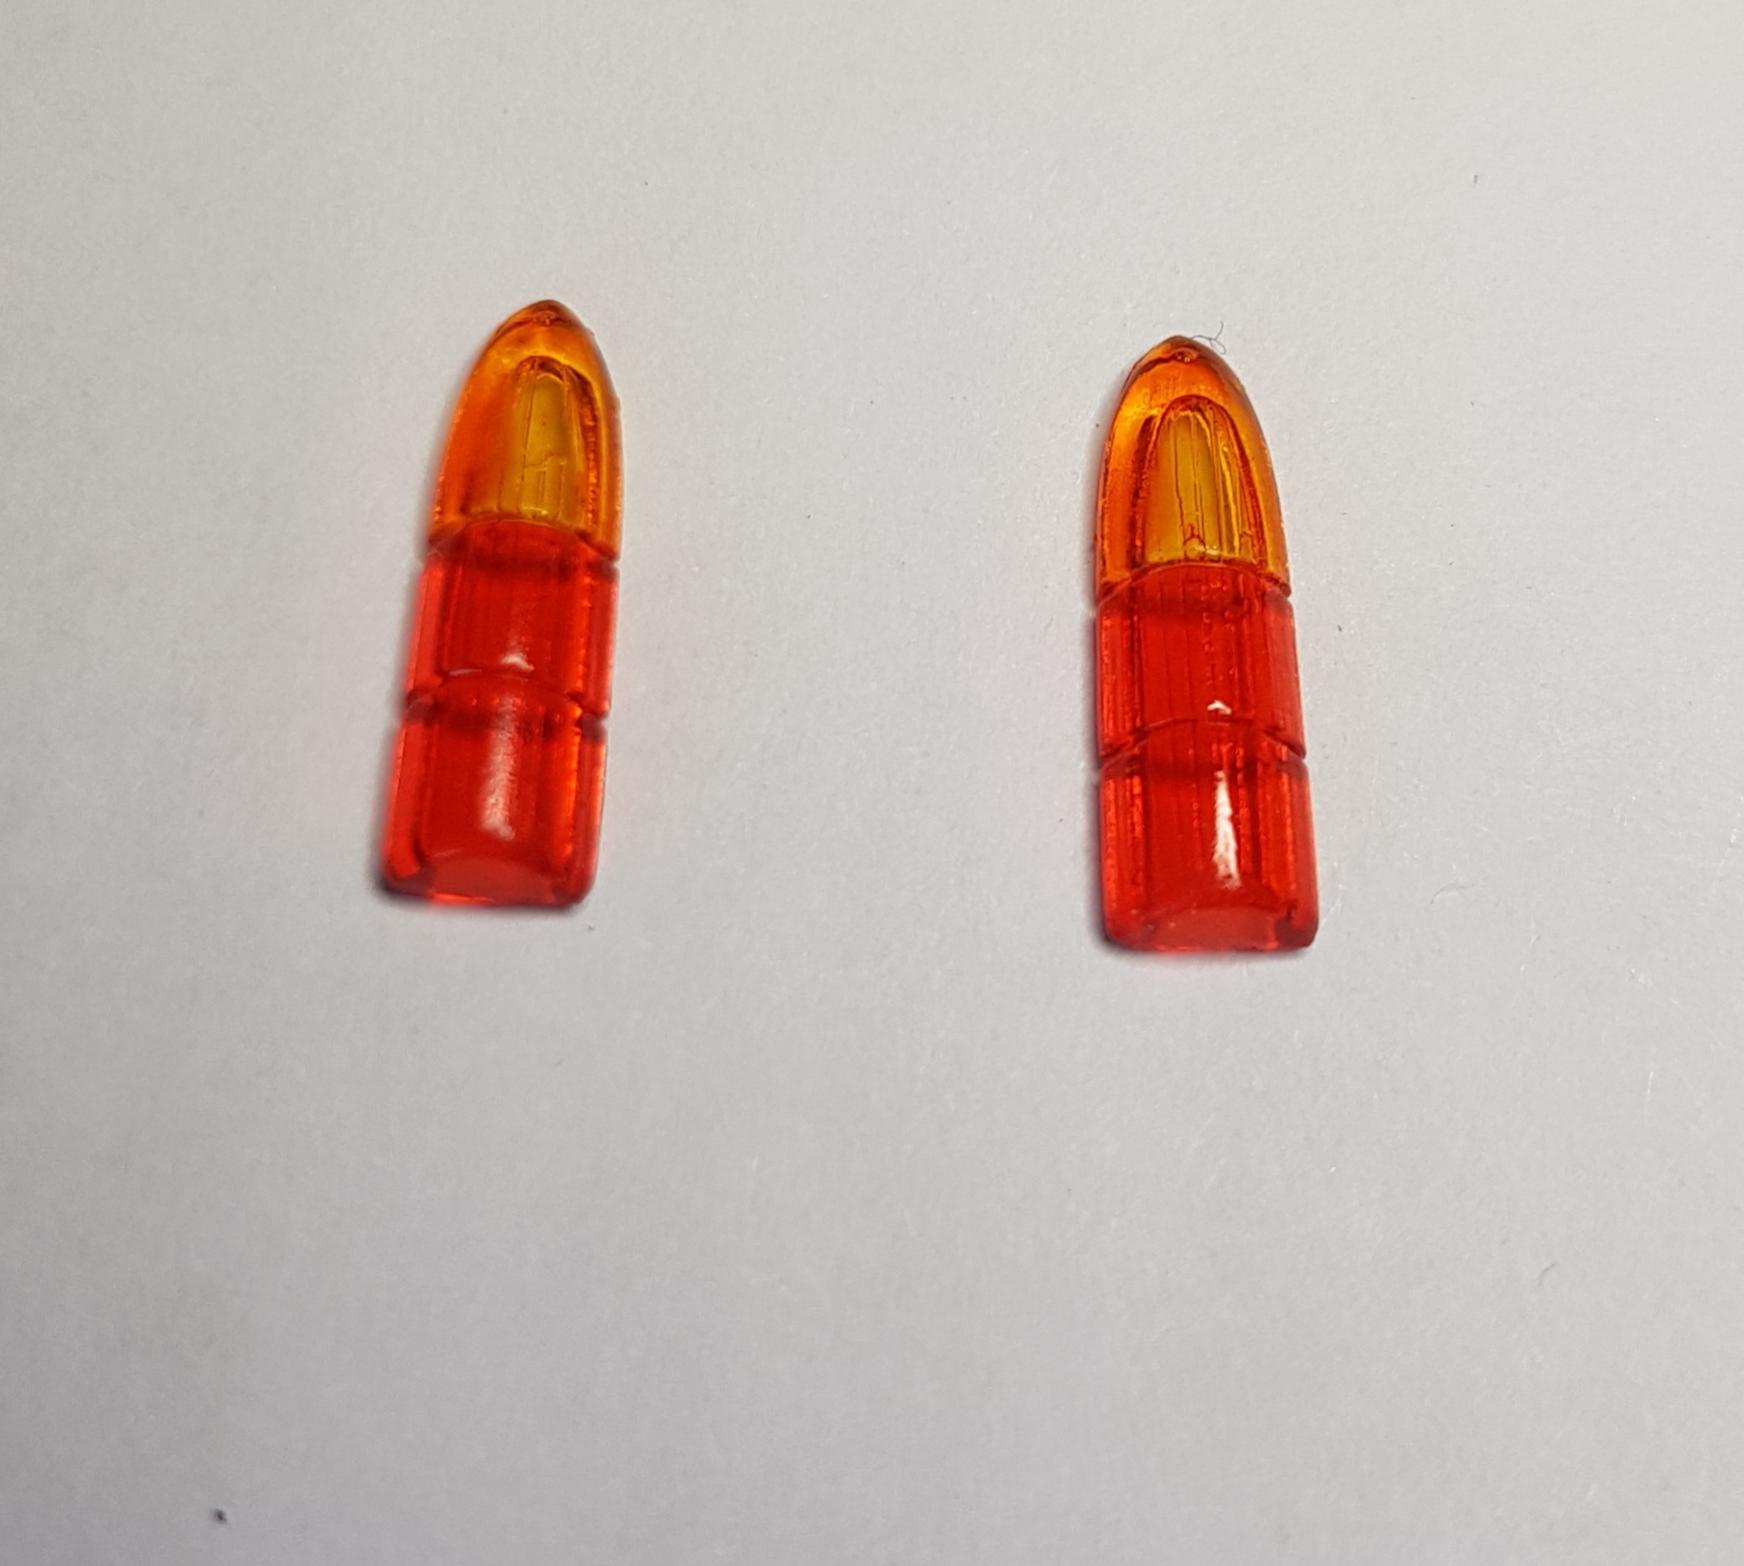
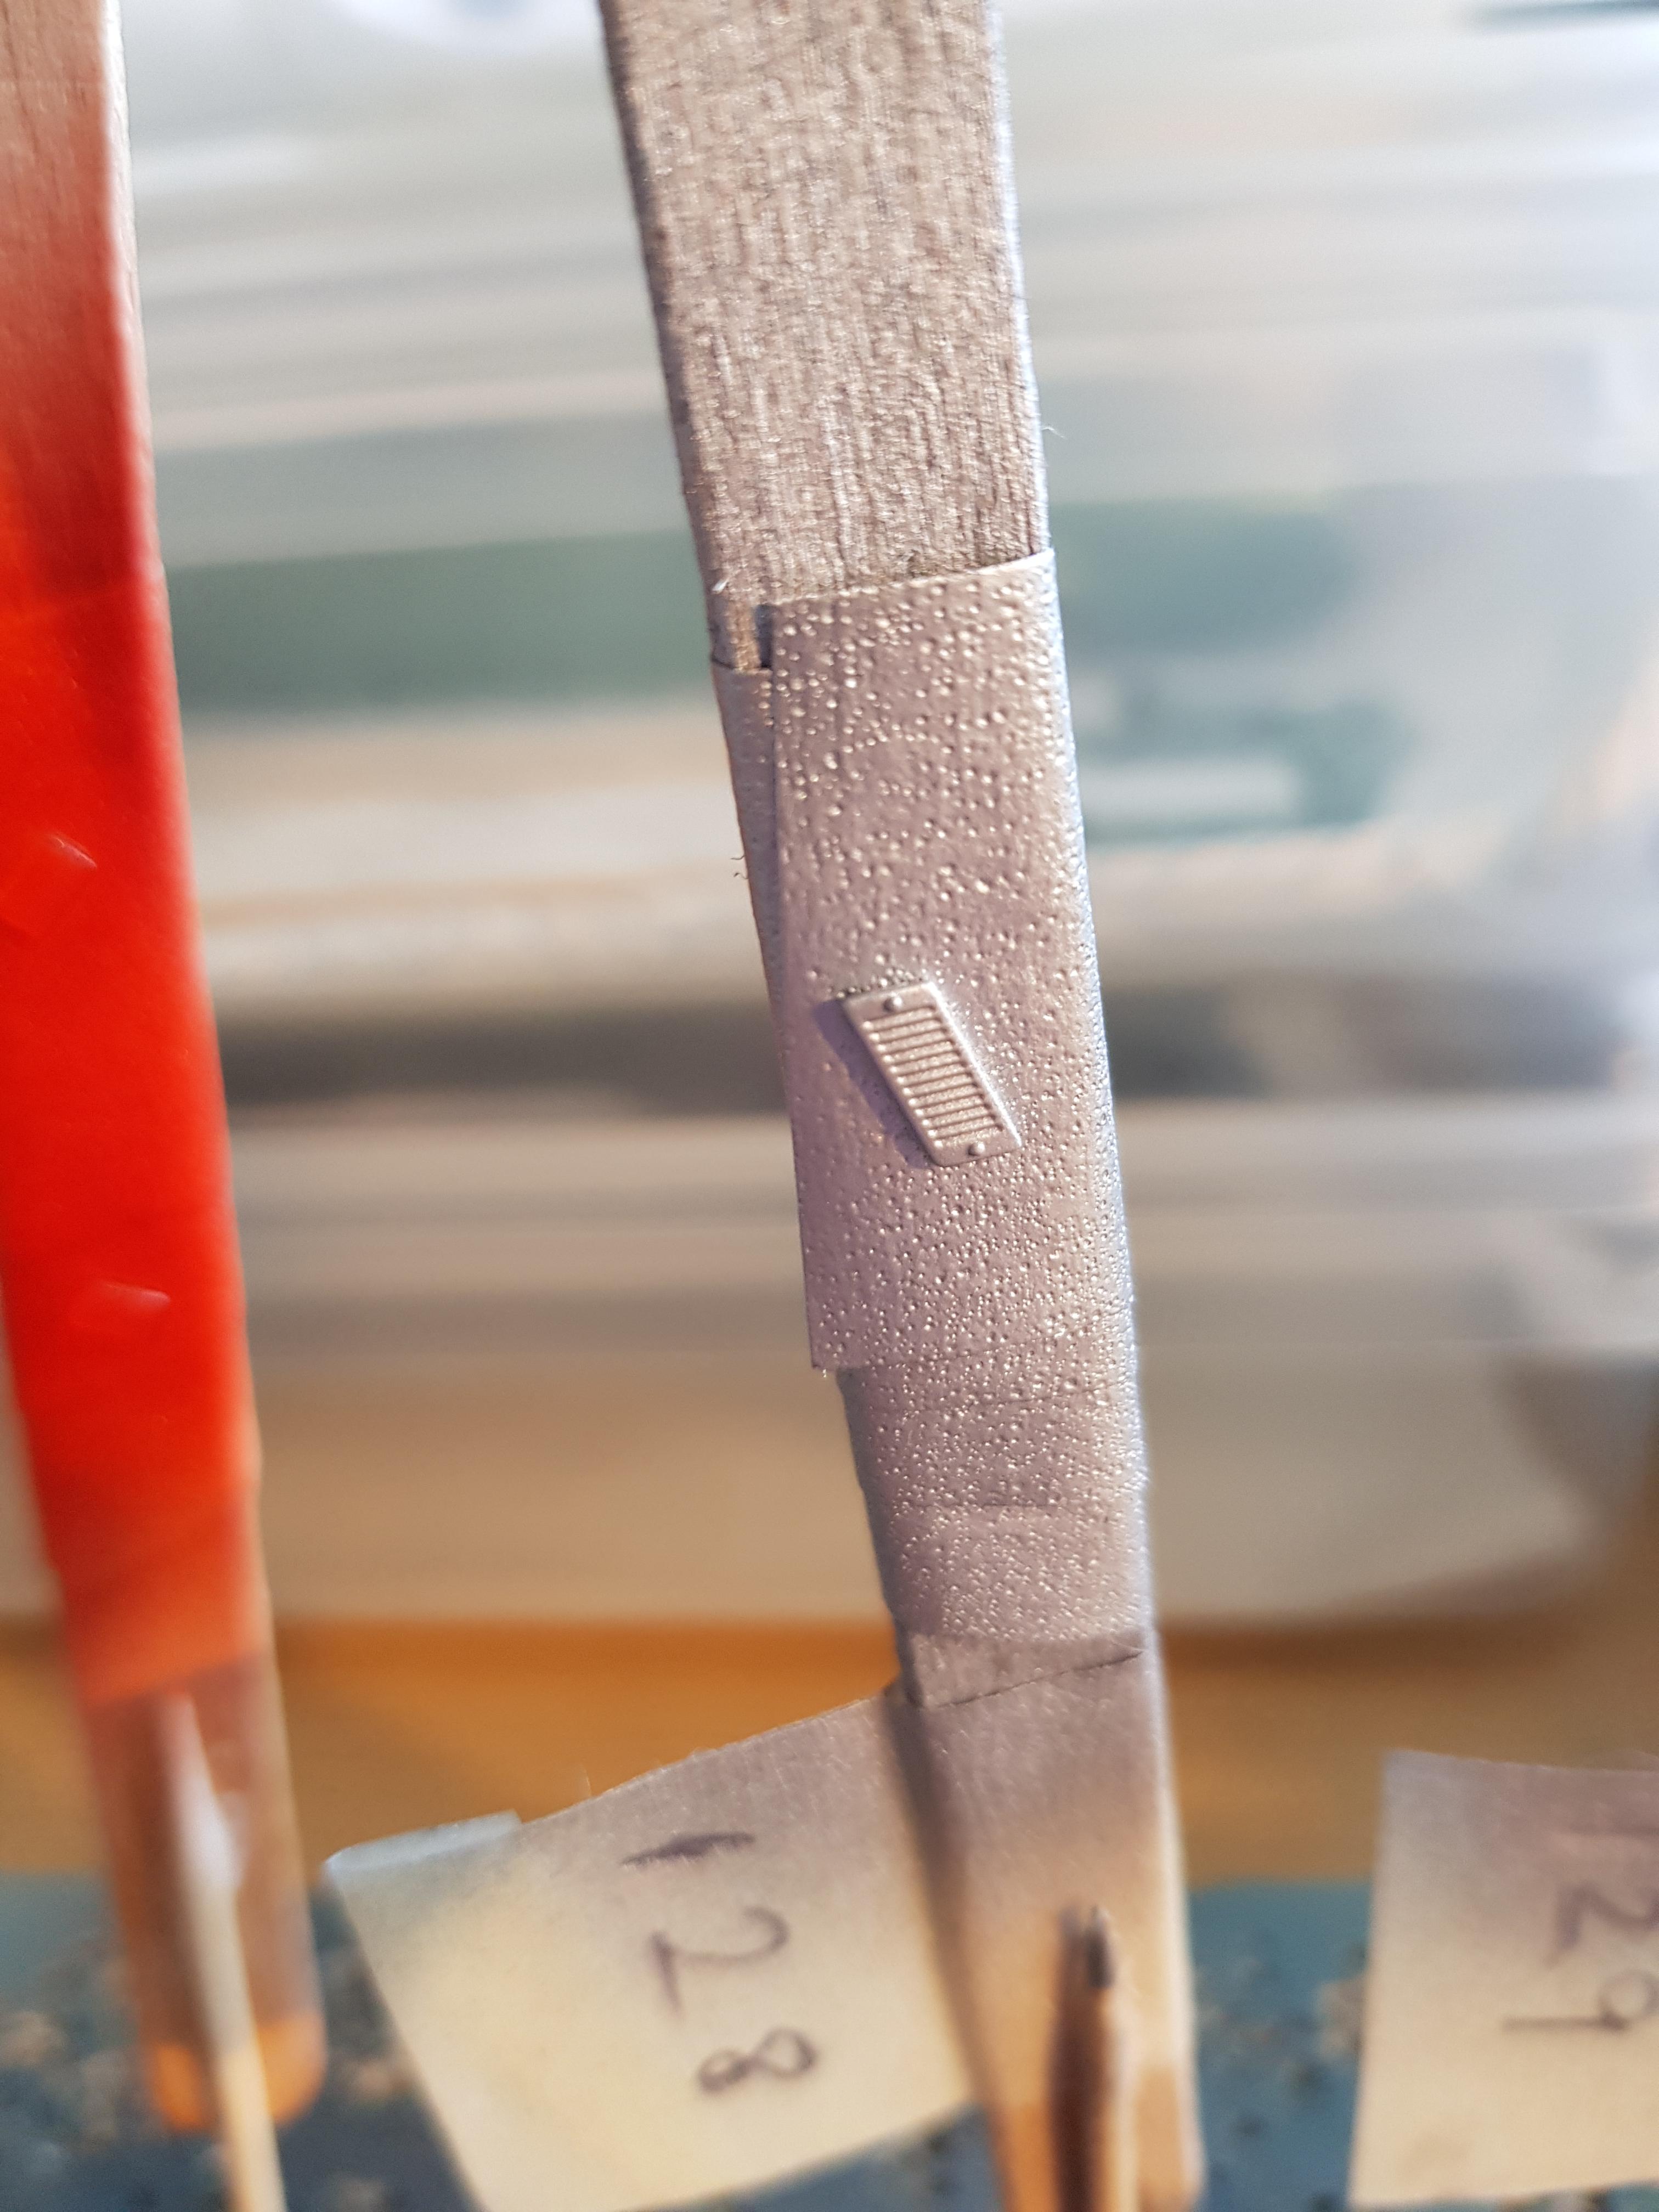
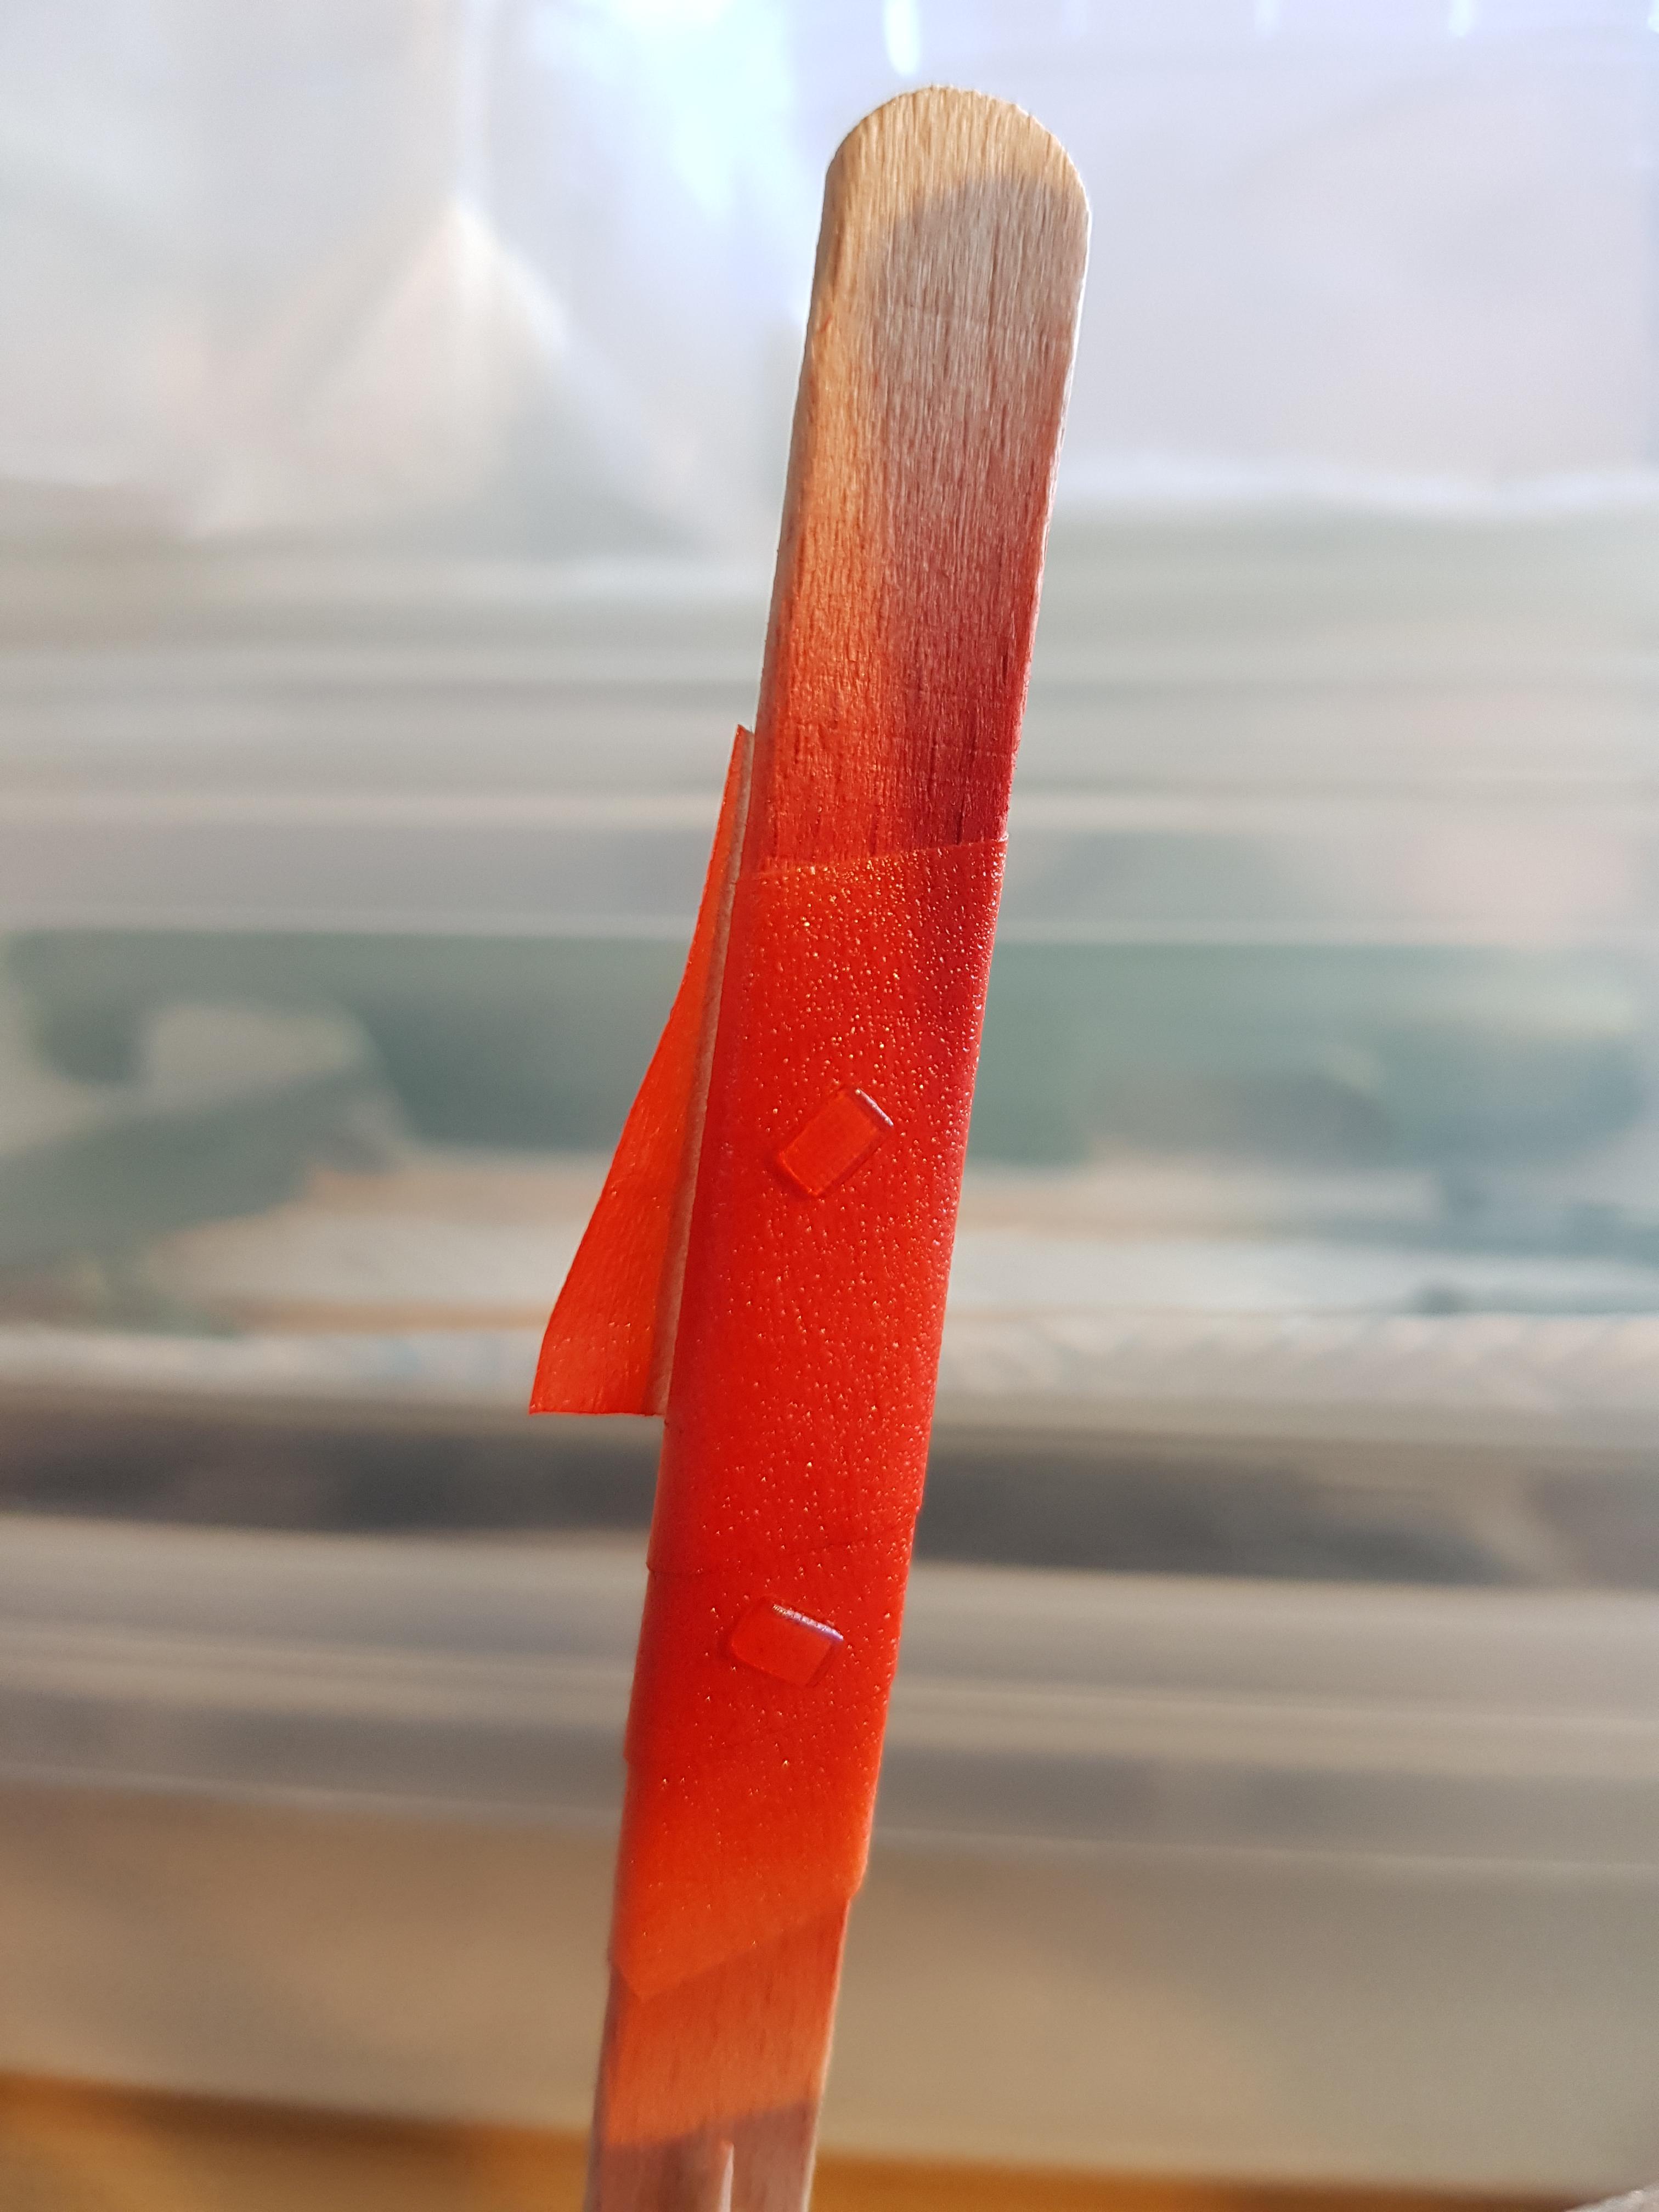
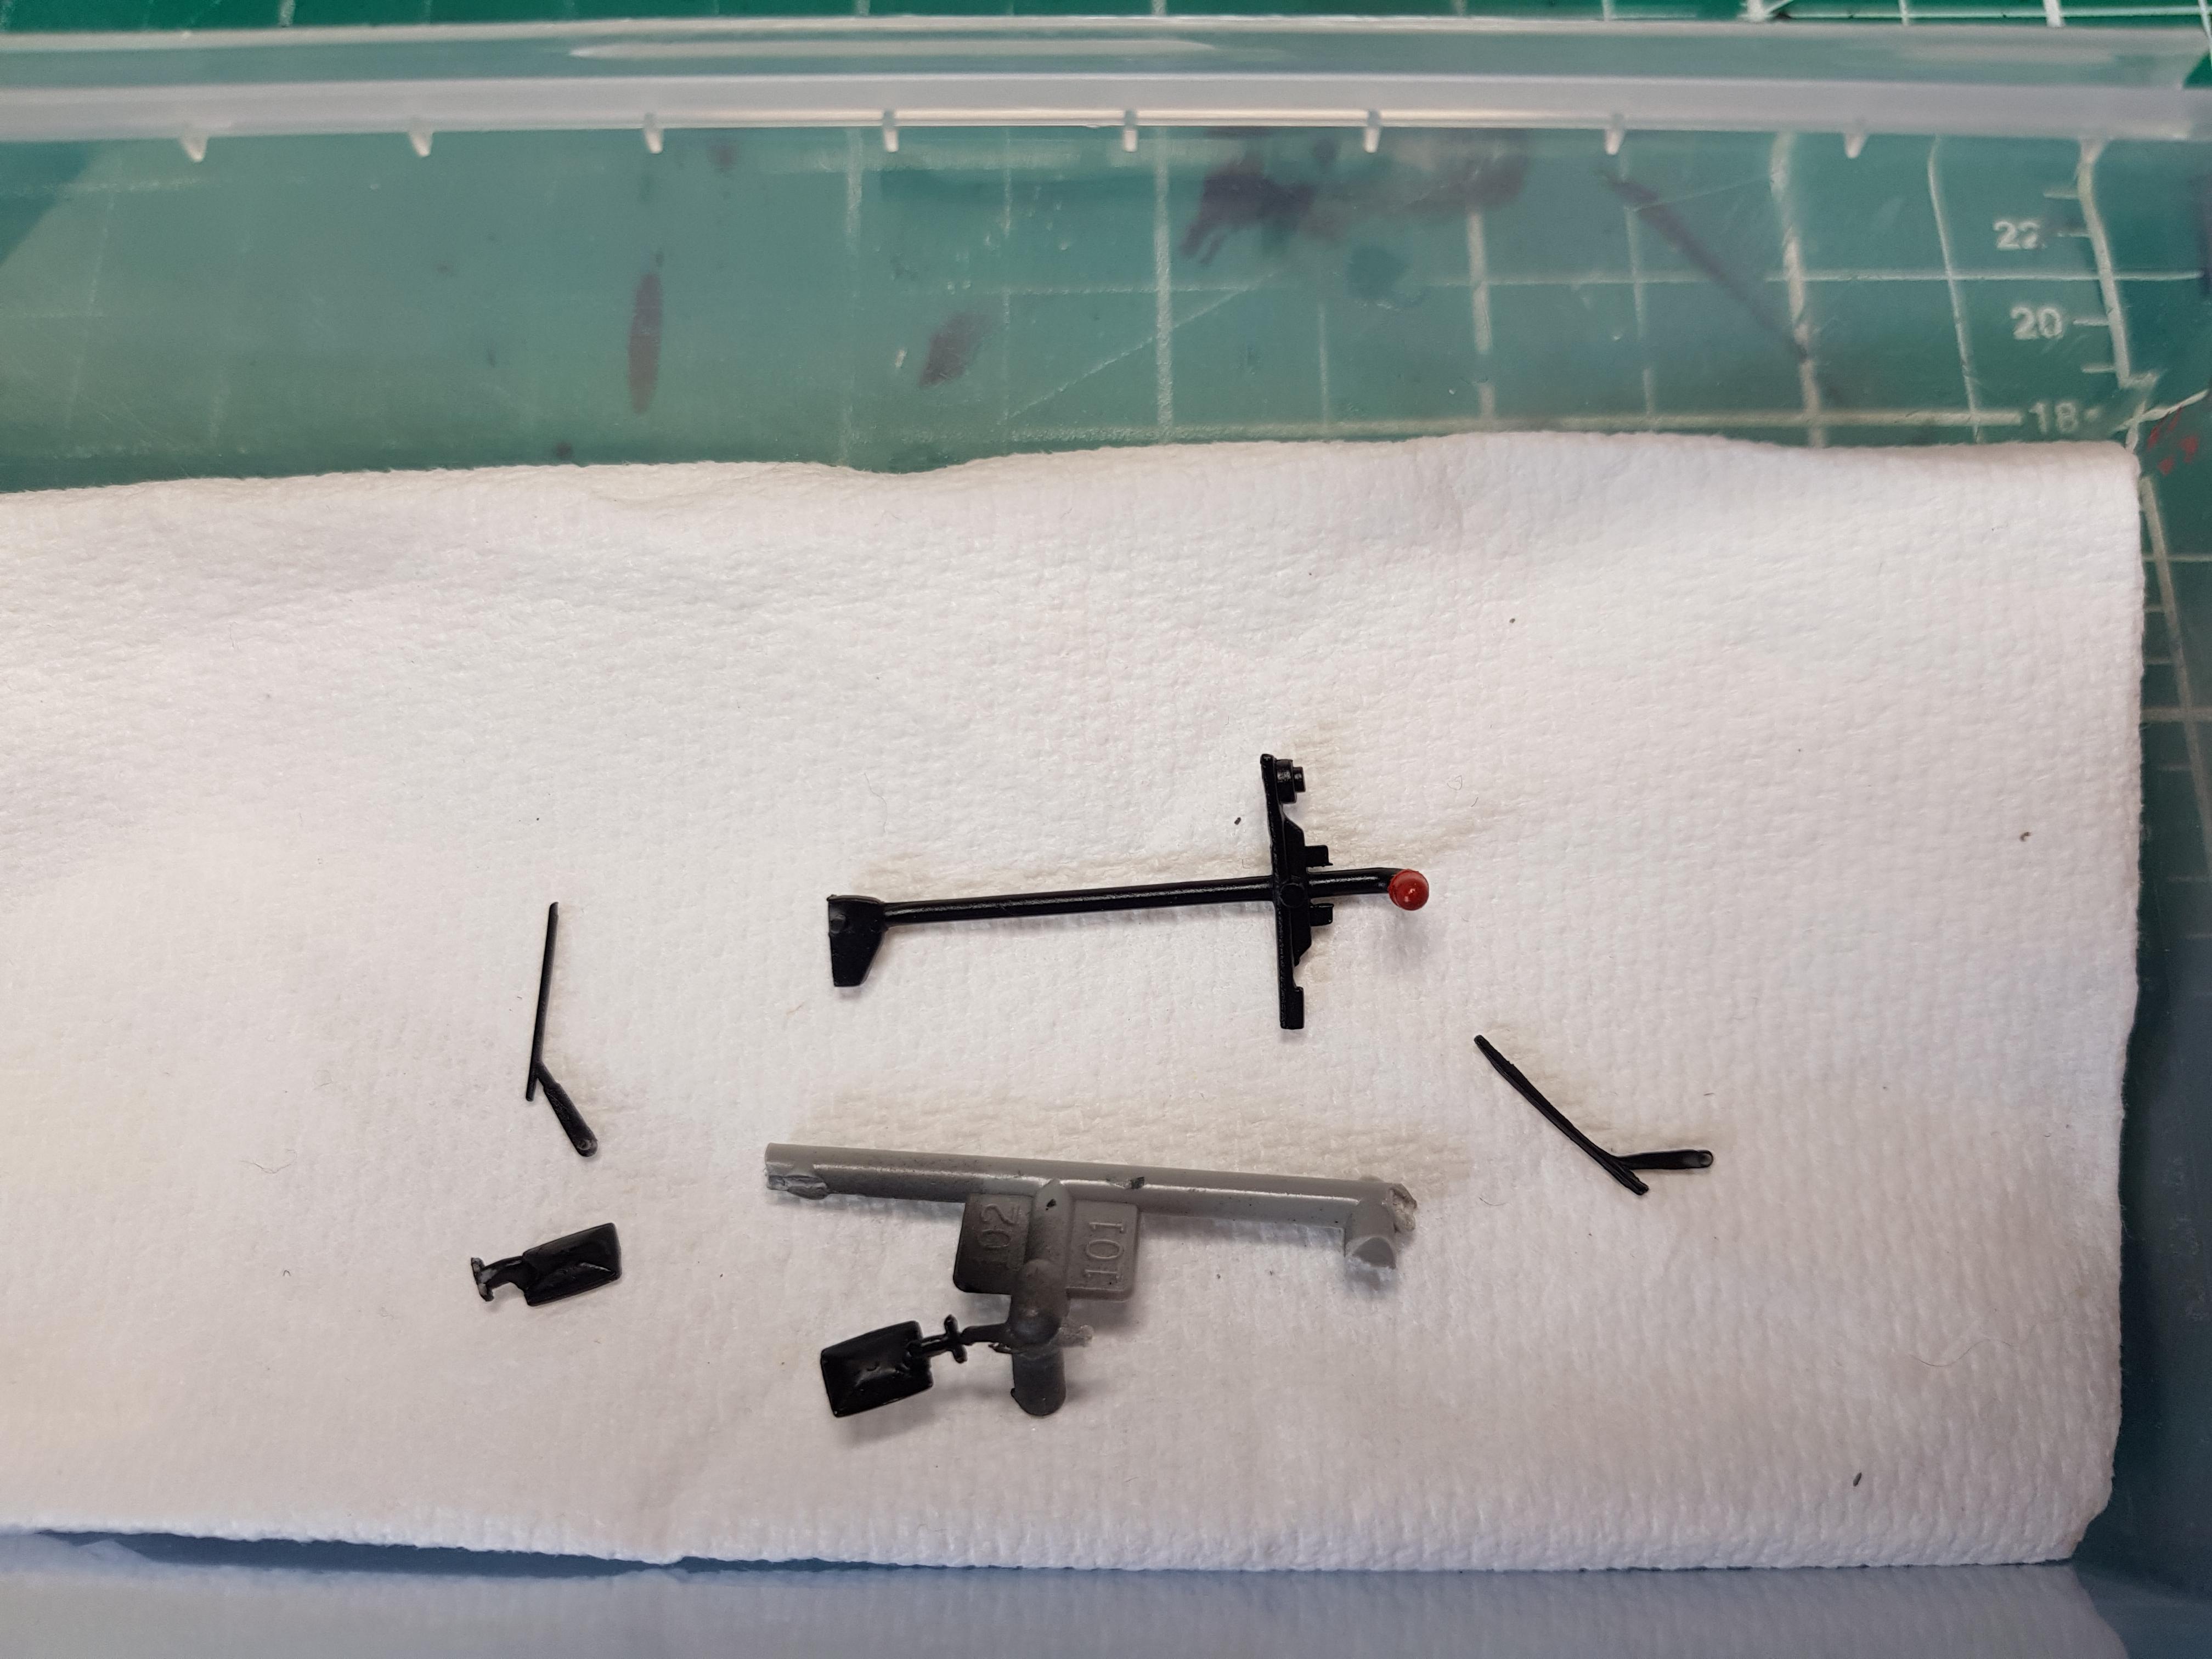
Carrying on with the smaller details, rear reflectors airbrushed using Tamiya clear red and fixed in place using some 10 minute epoxy ,rear C pillar air vents airbrushed using Tamiya Silver leaf and a black wash added to bring out the details, tow bar fitted,with the cap picked out using Tamiya red enamel.
-
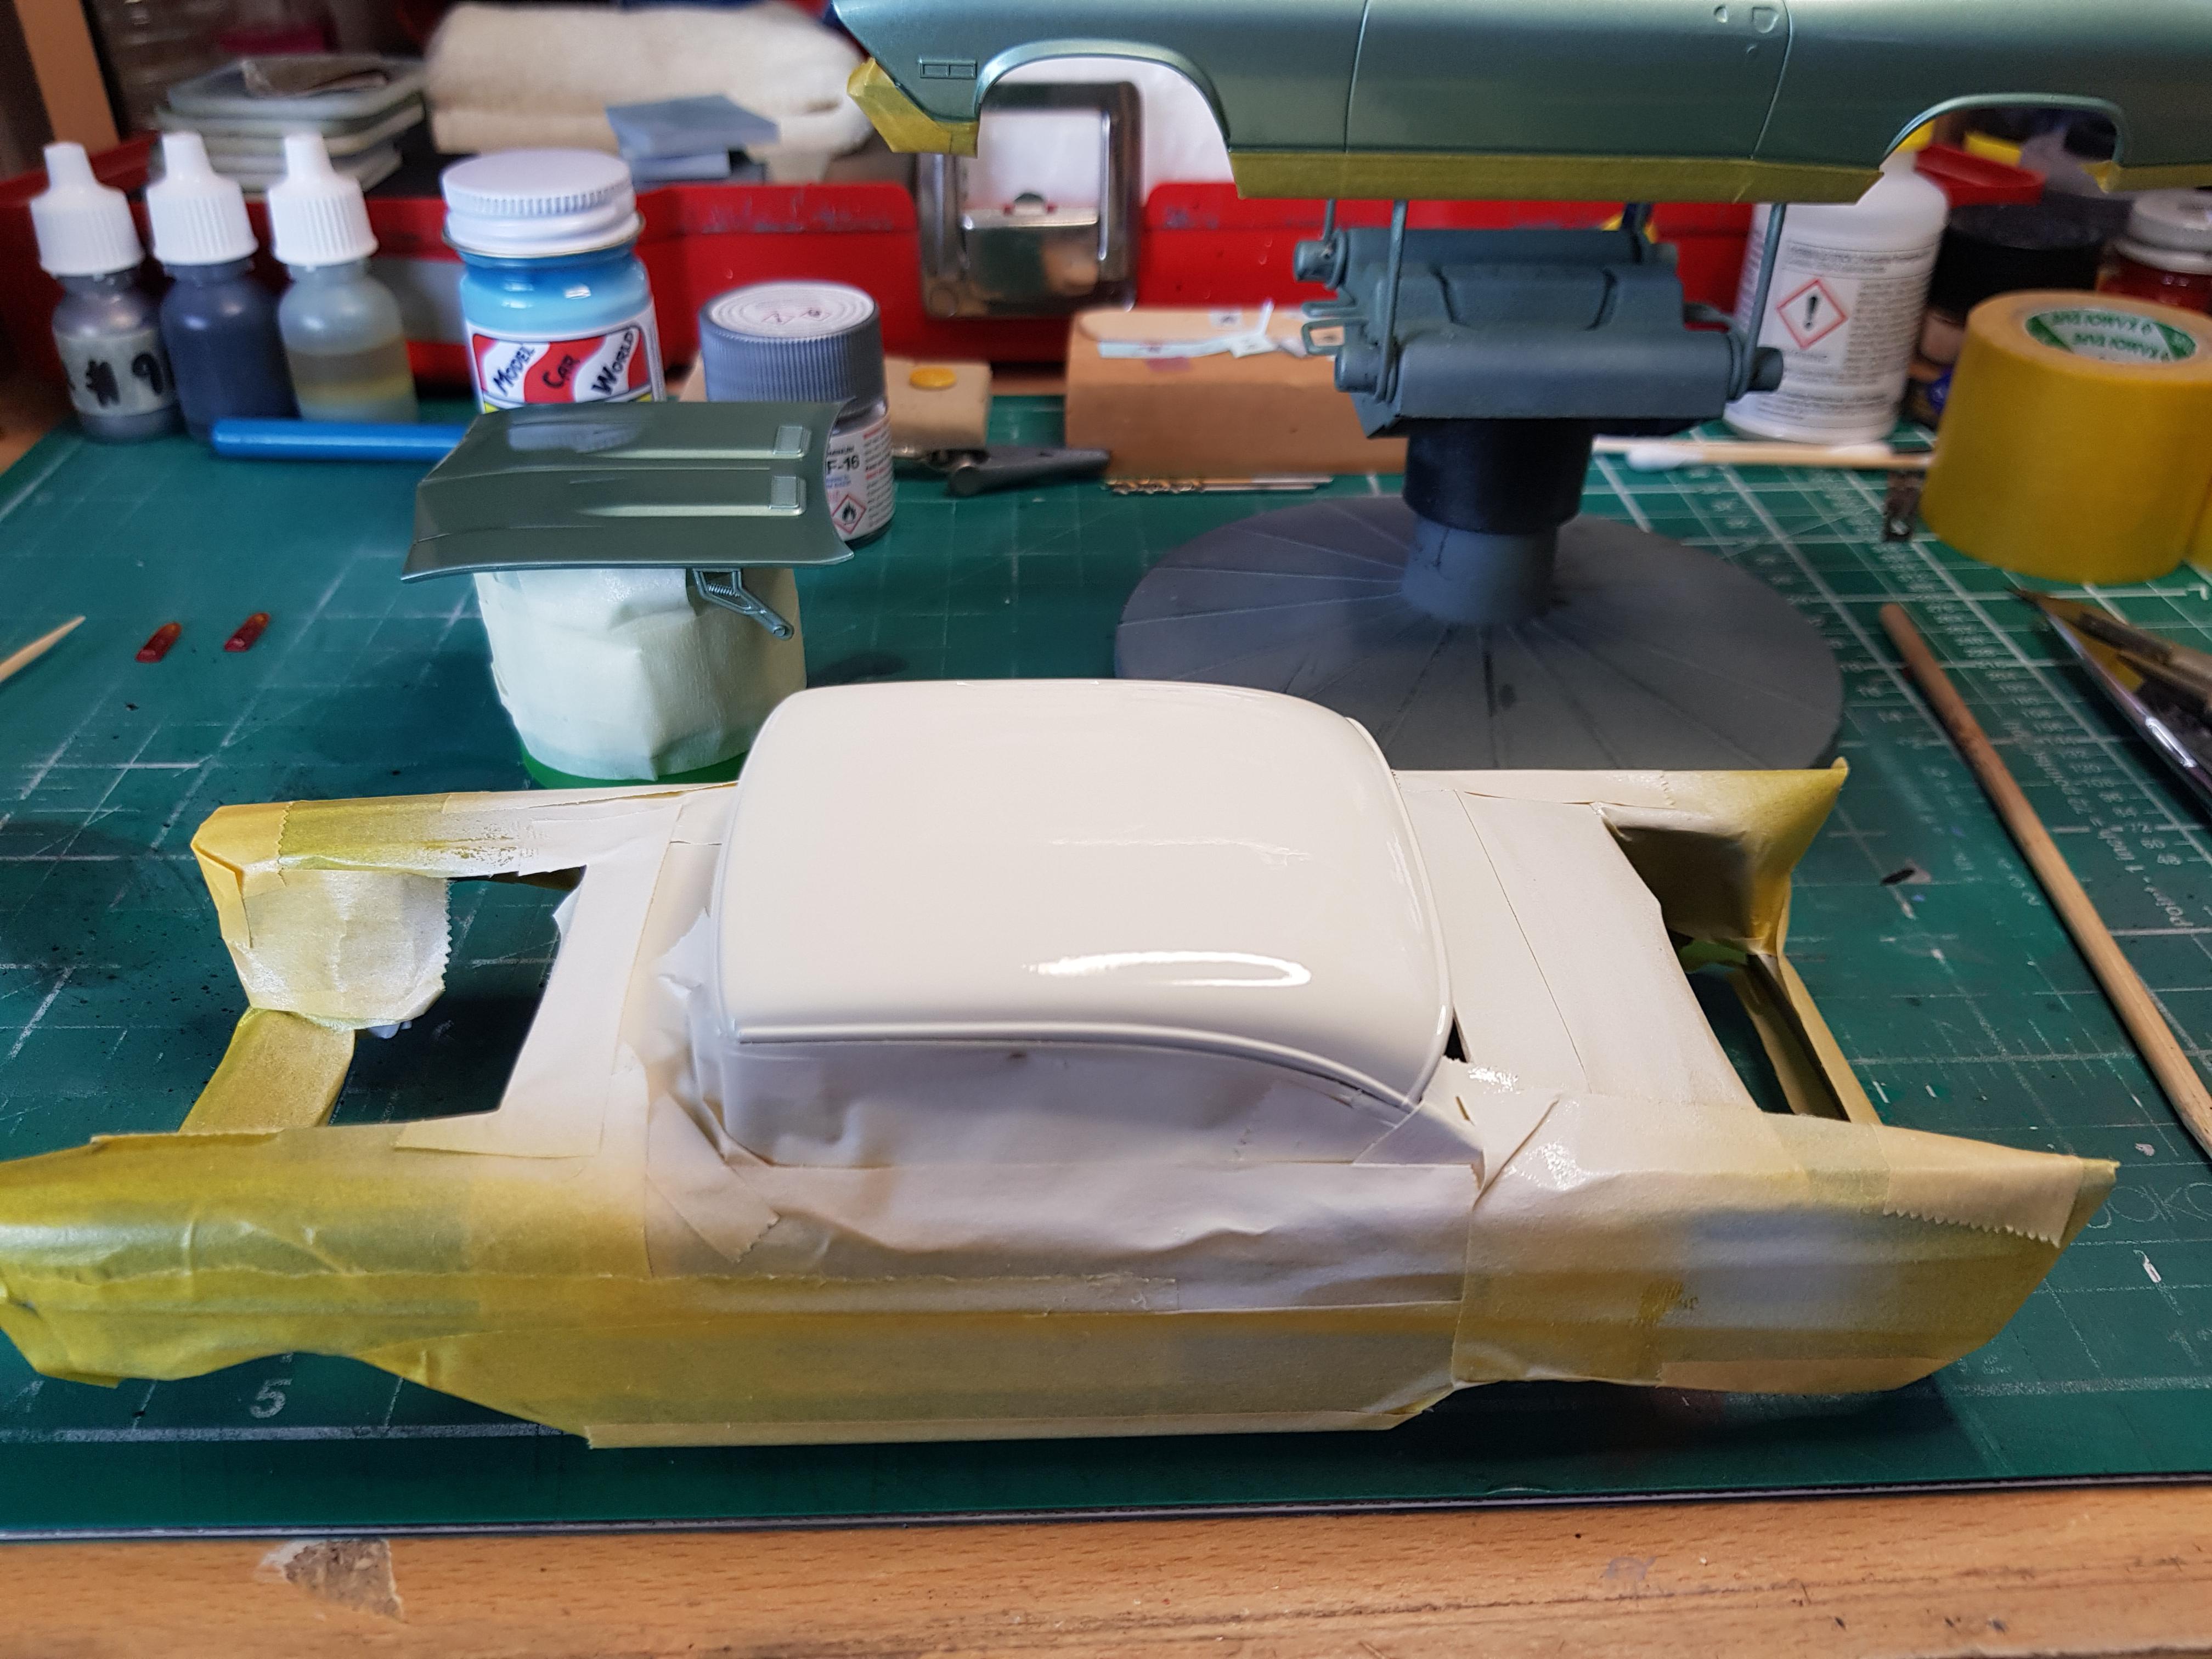
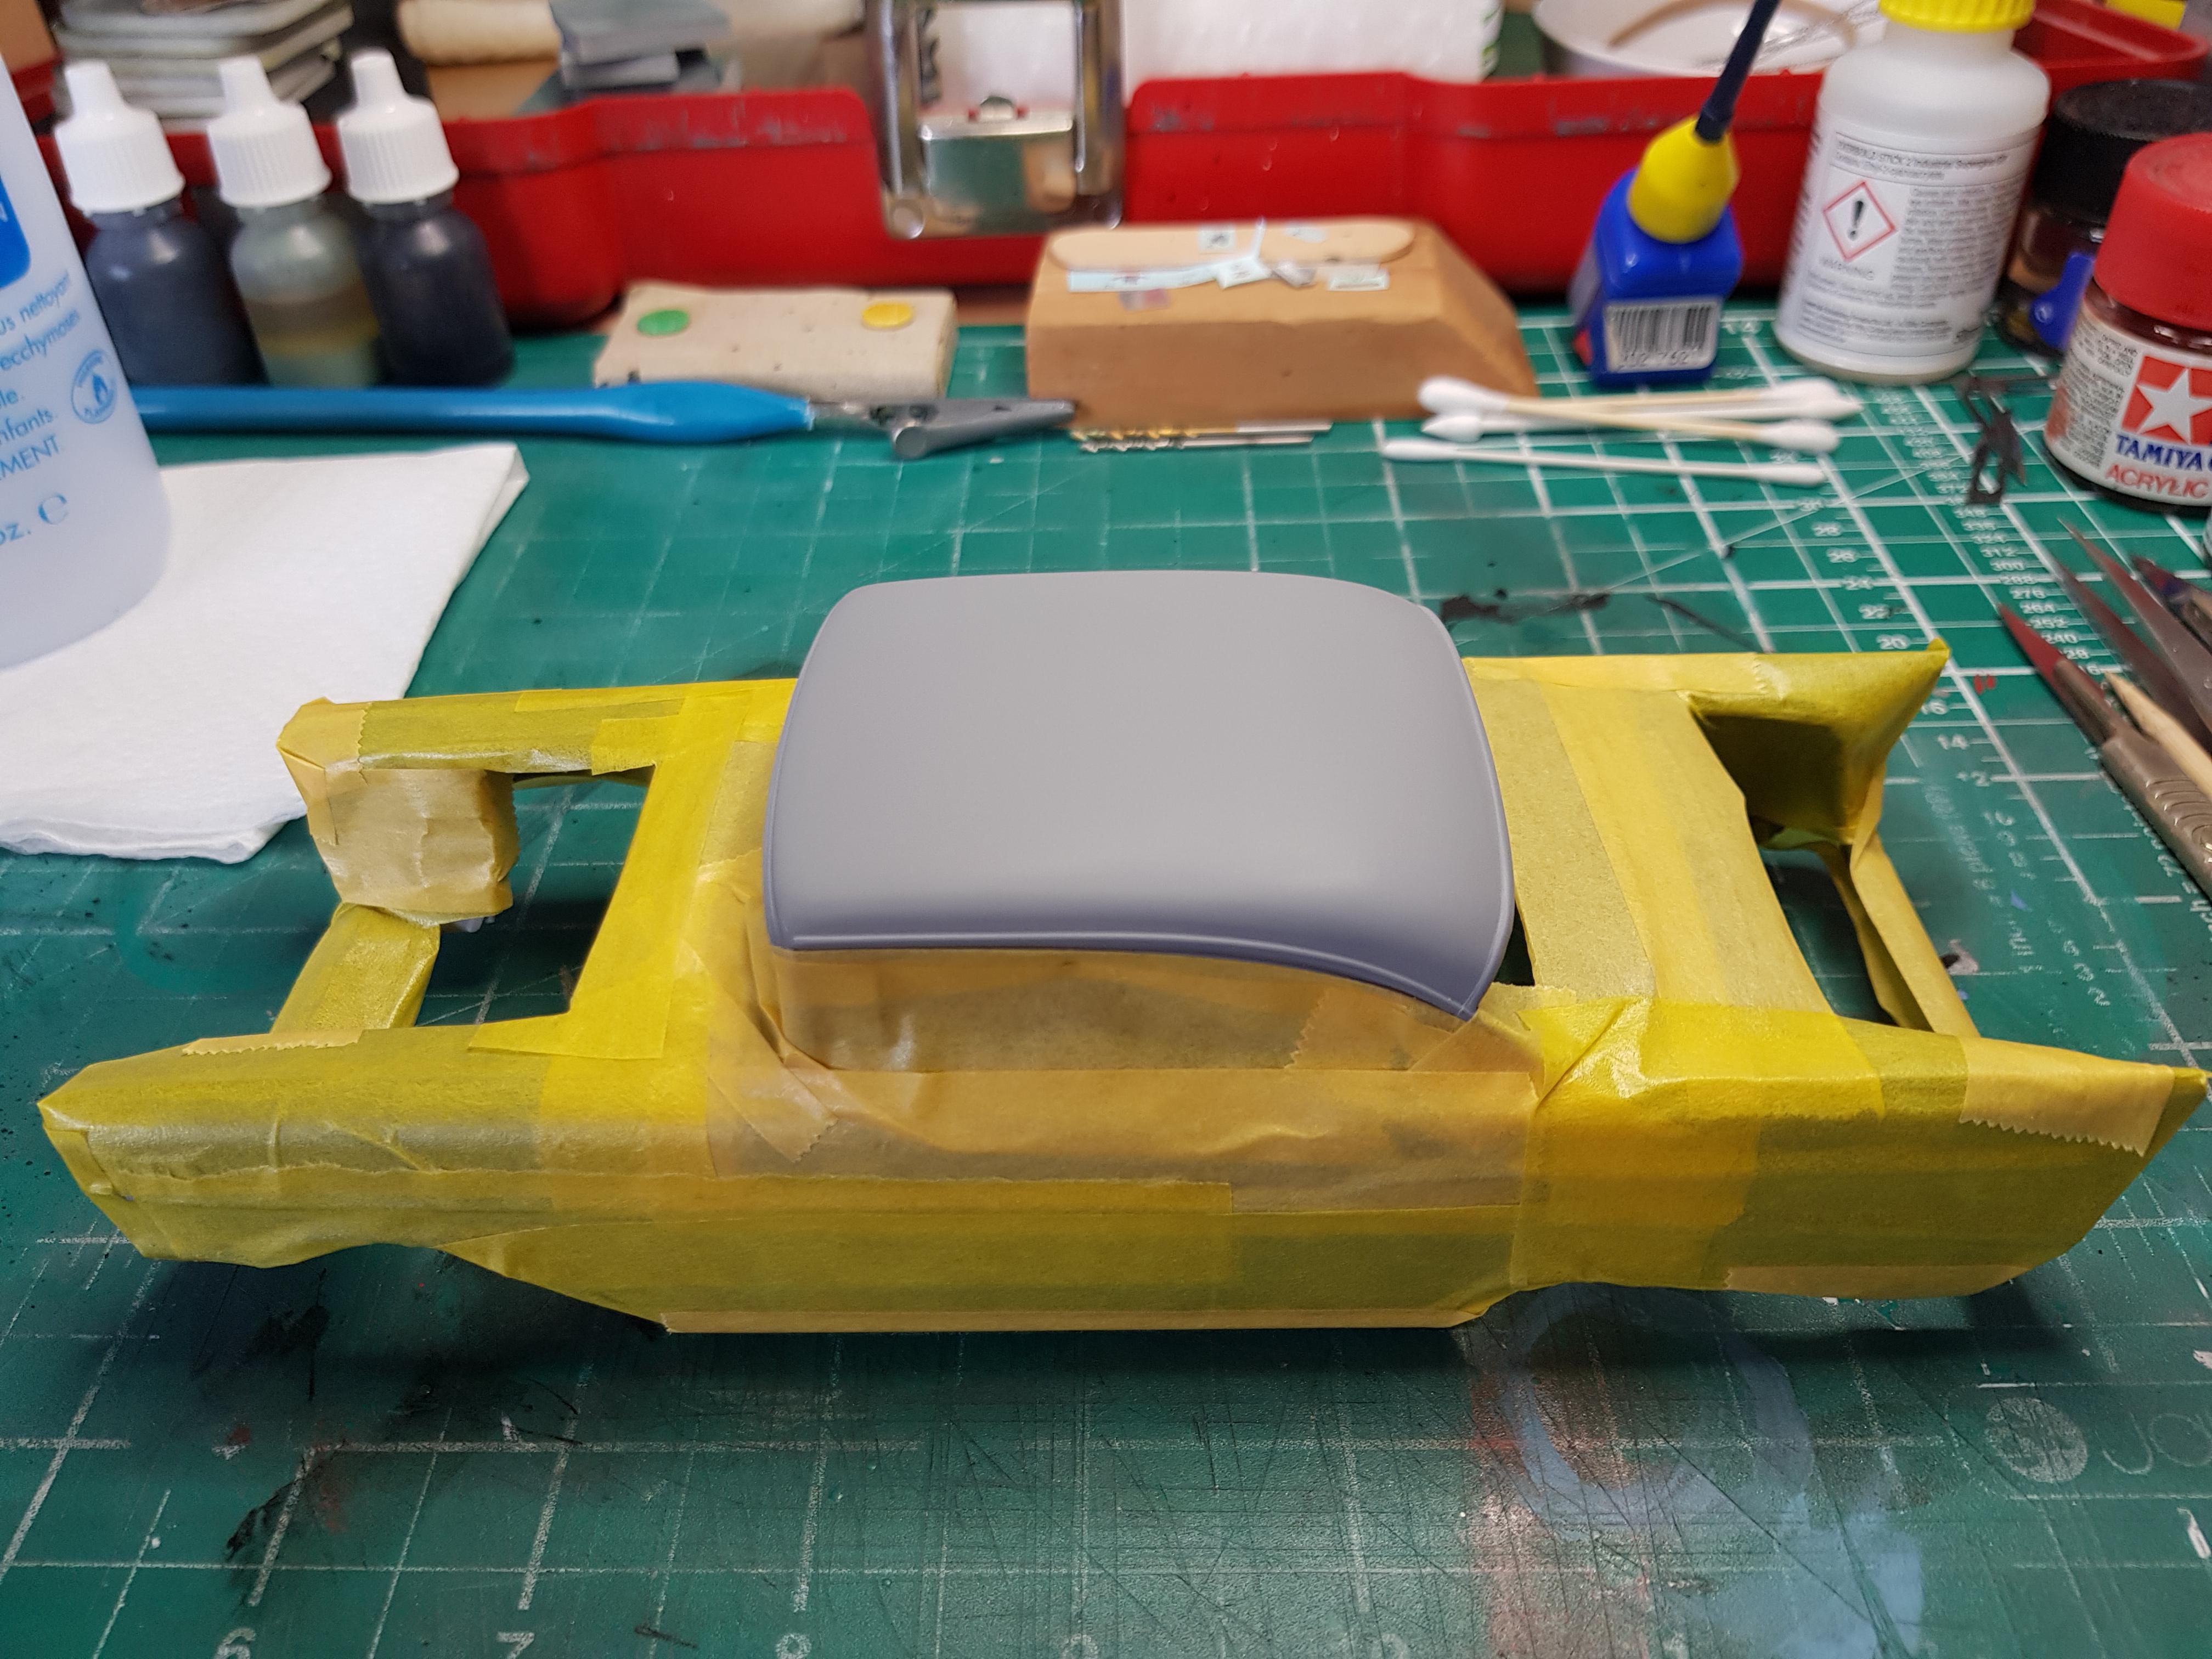
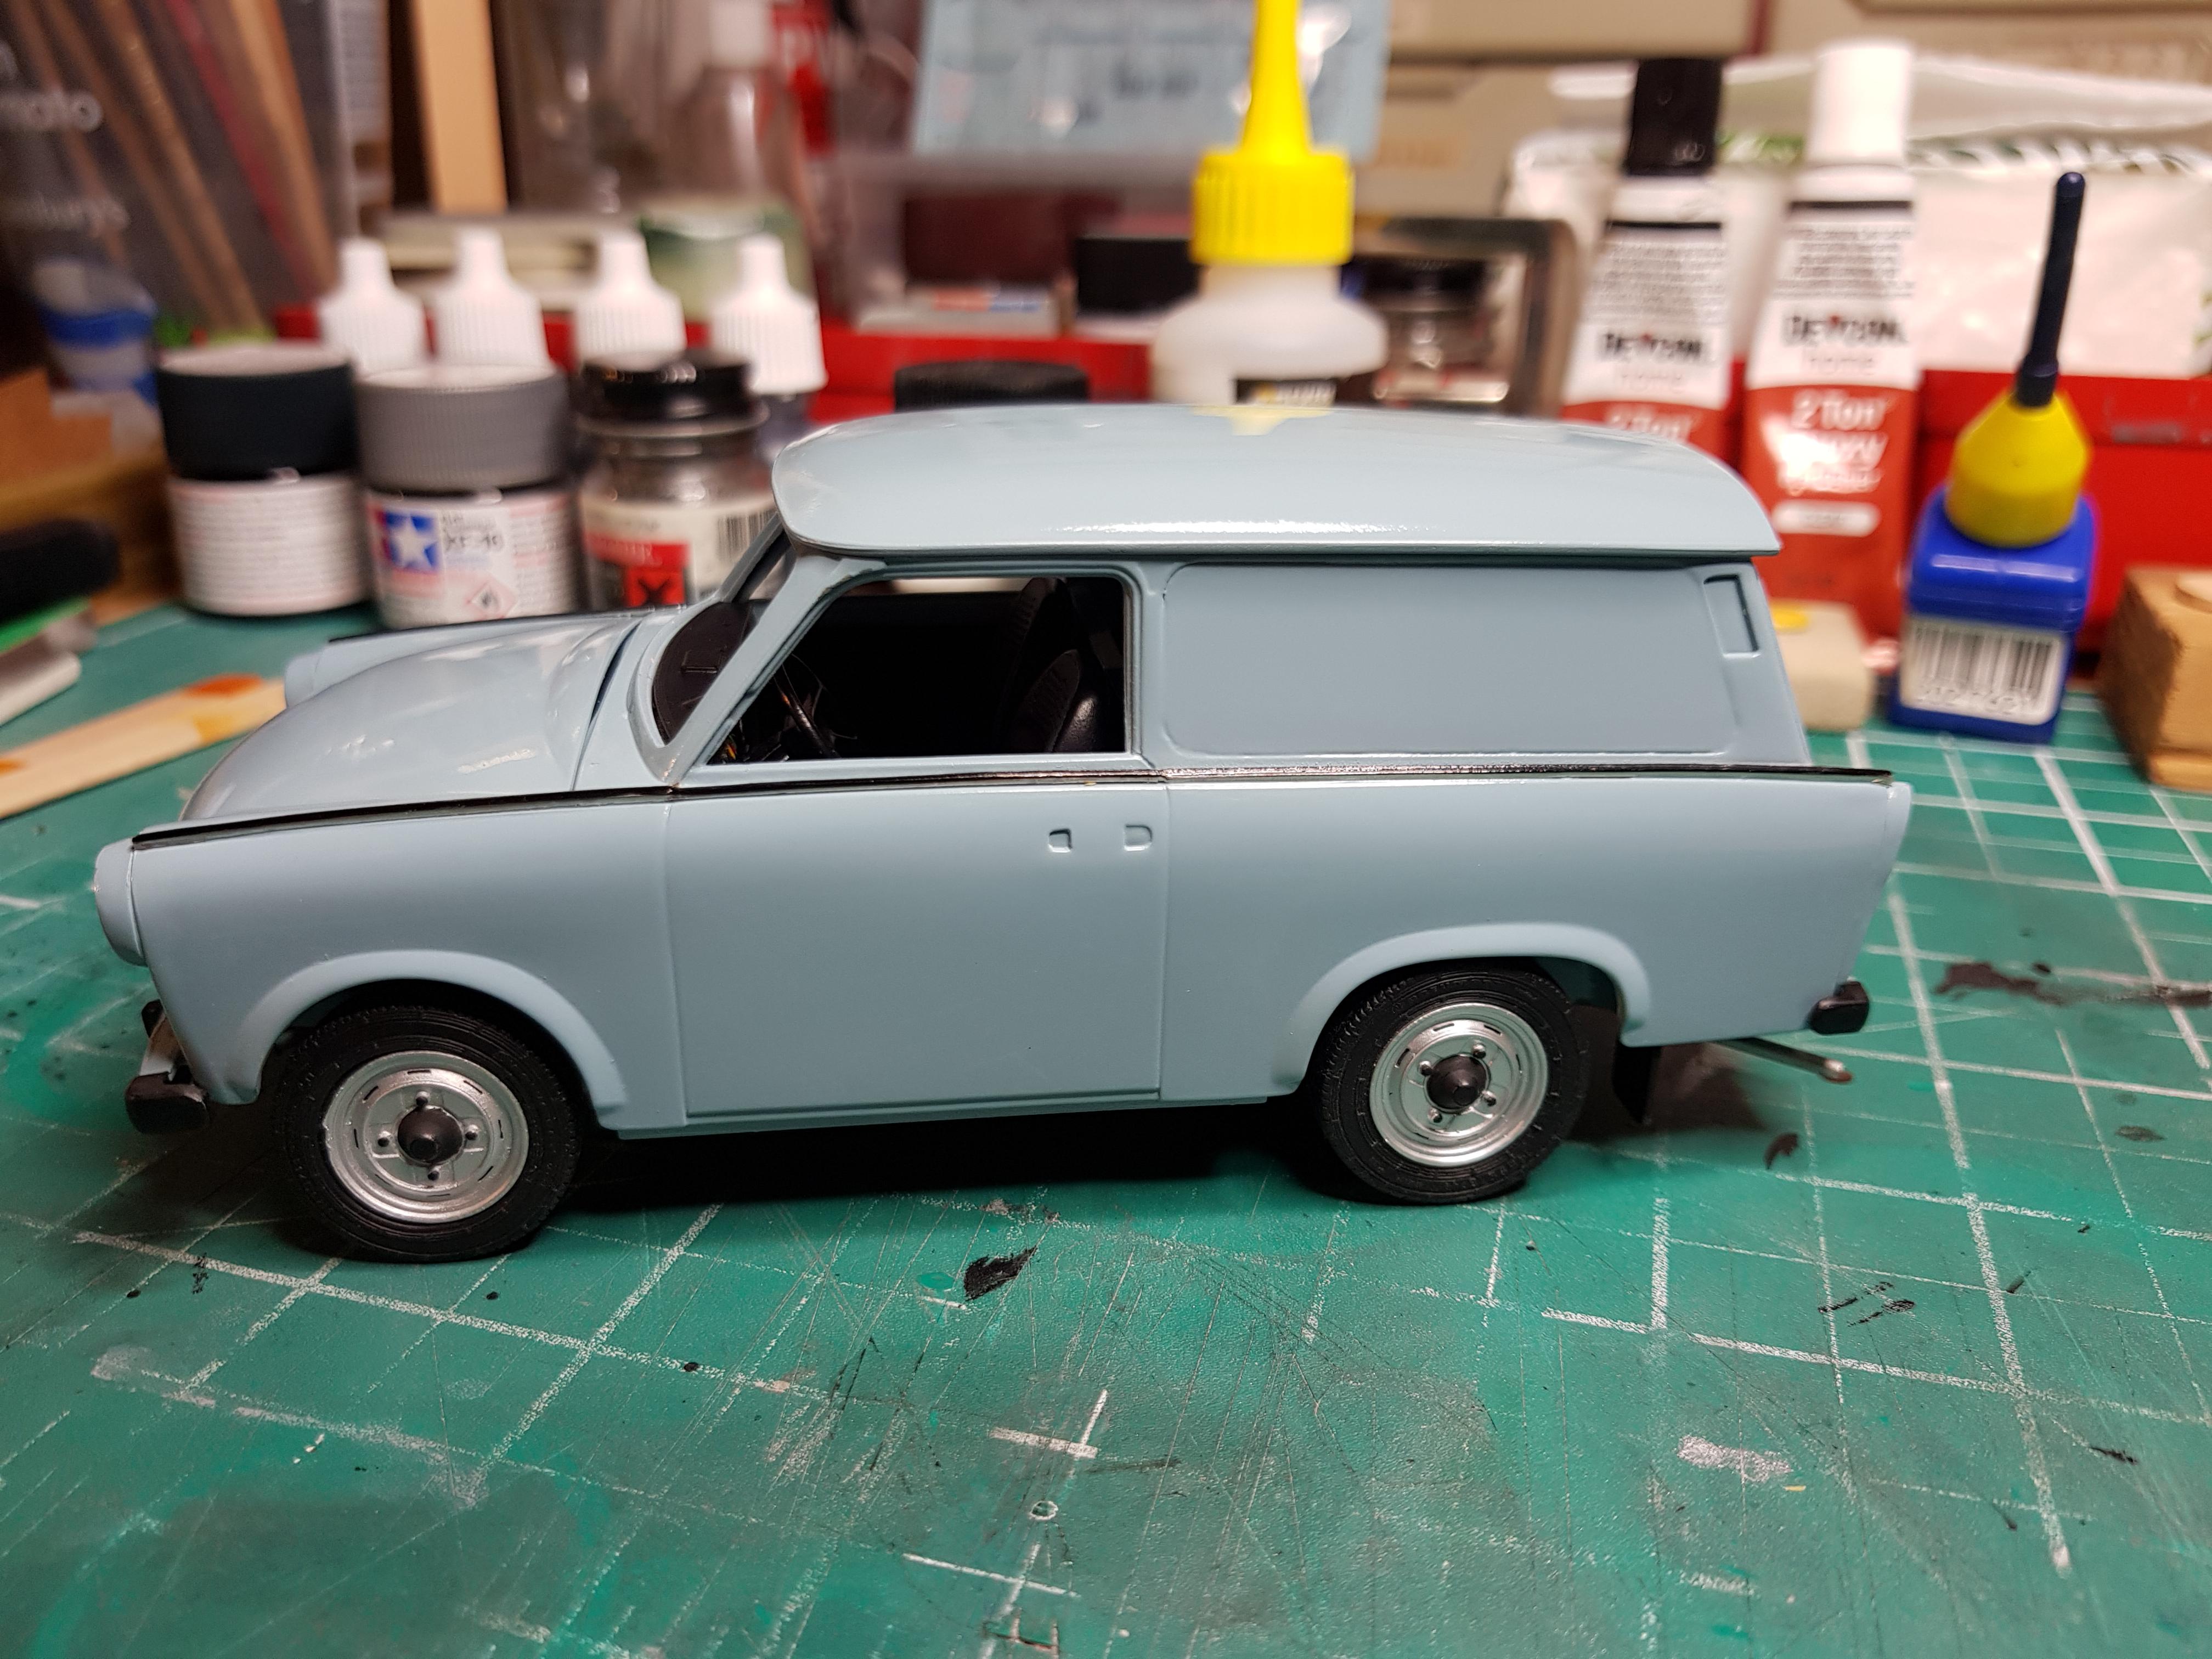
I was going to polish the paint on this one, but I've just got way too much work on at the moment, so I took the easy way out and clear clearcoated it, one small dust nib to remove from the bonnet, and a good polish will be all it needs, then I need to airbrush the bottom part in black, I masked it off so the clear didn't make the paint too thick.
-
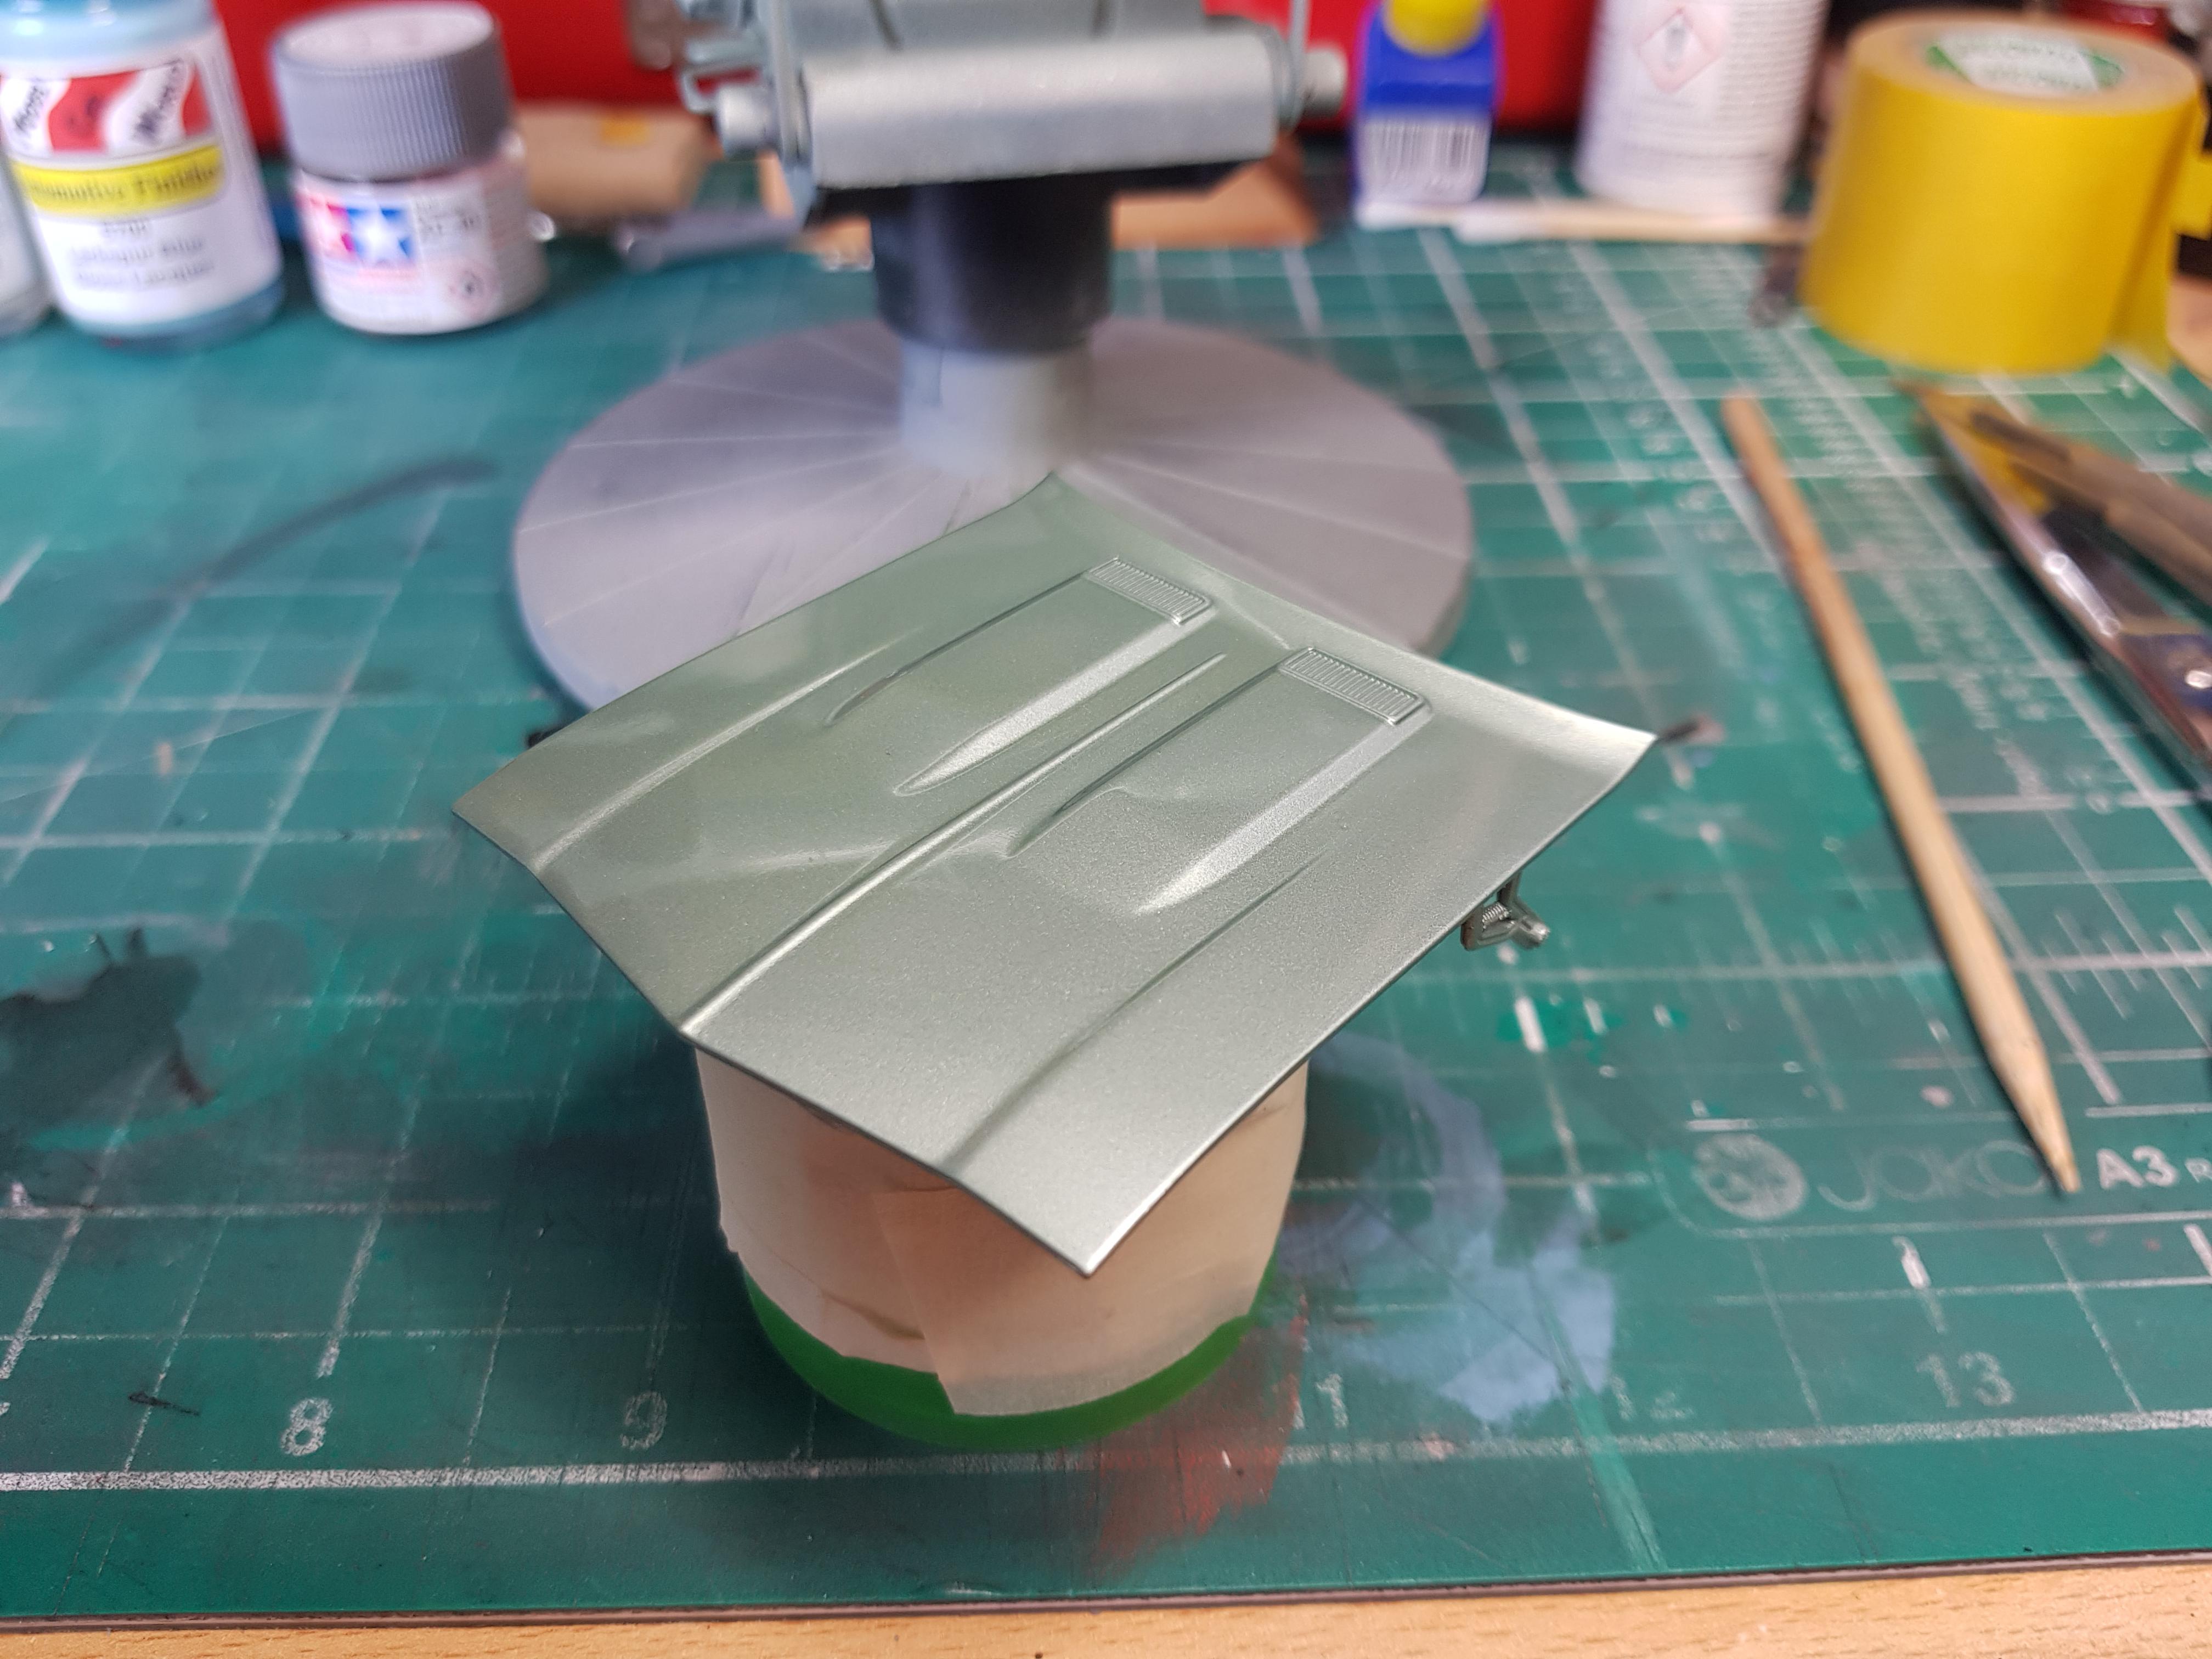
Managed to get a little time this morning to get a bit of airbrushing done
-
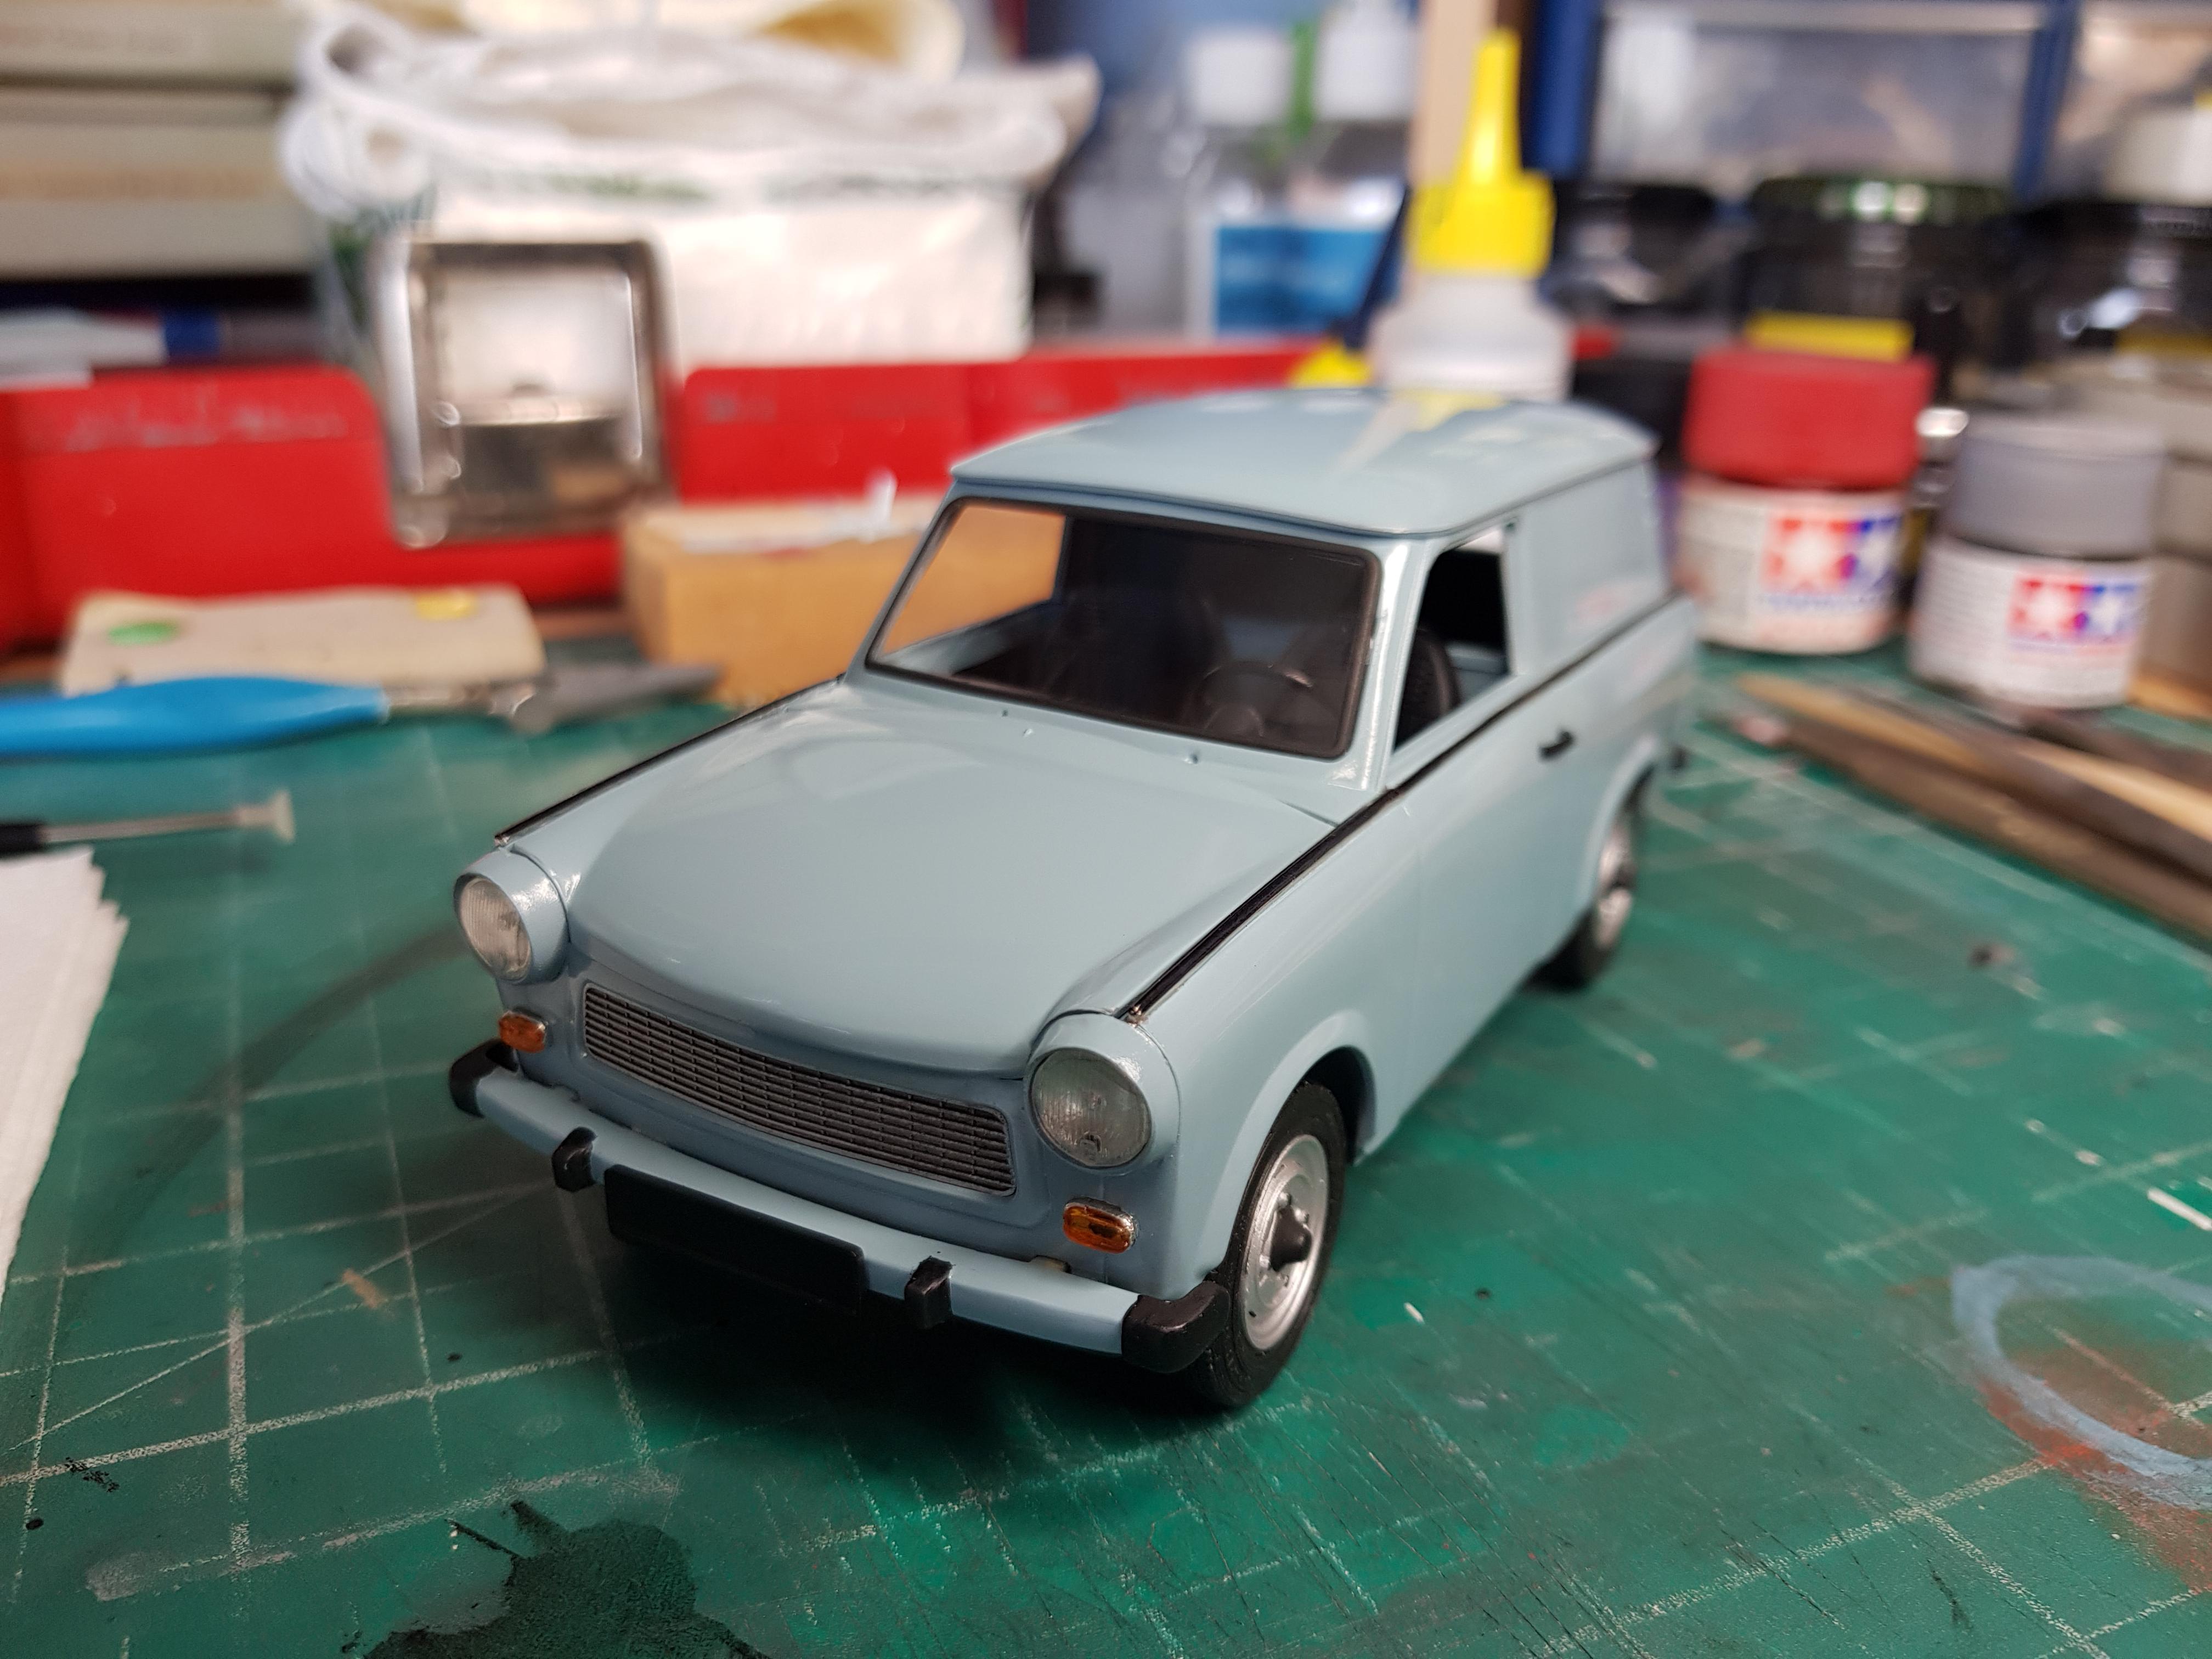
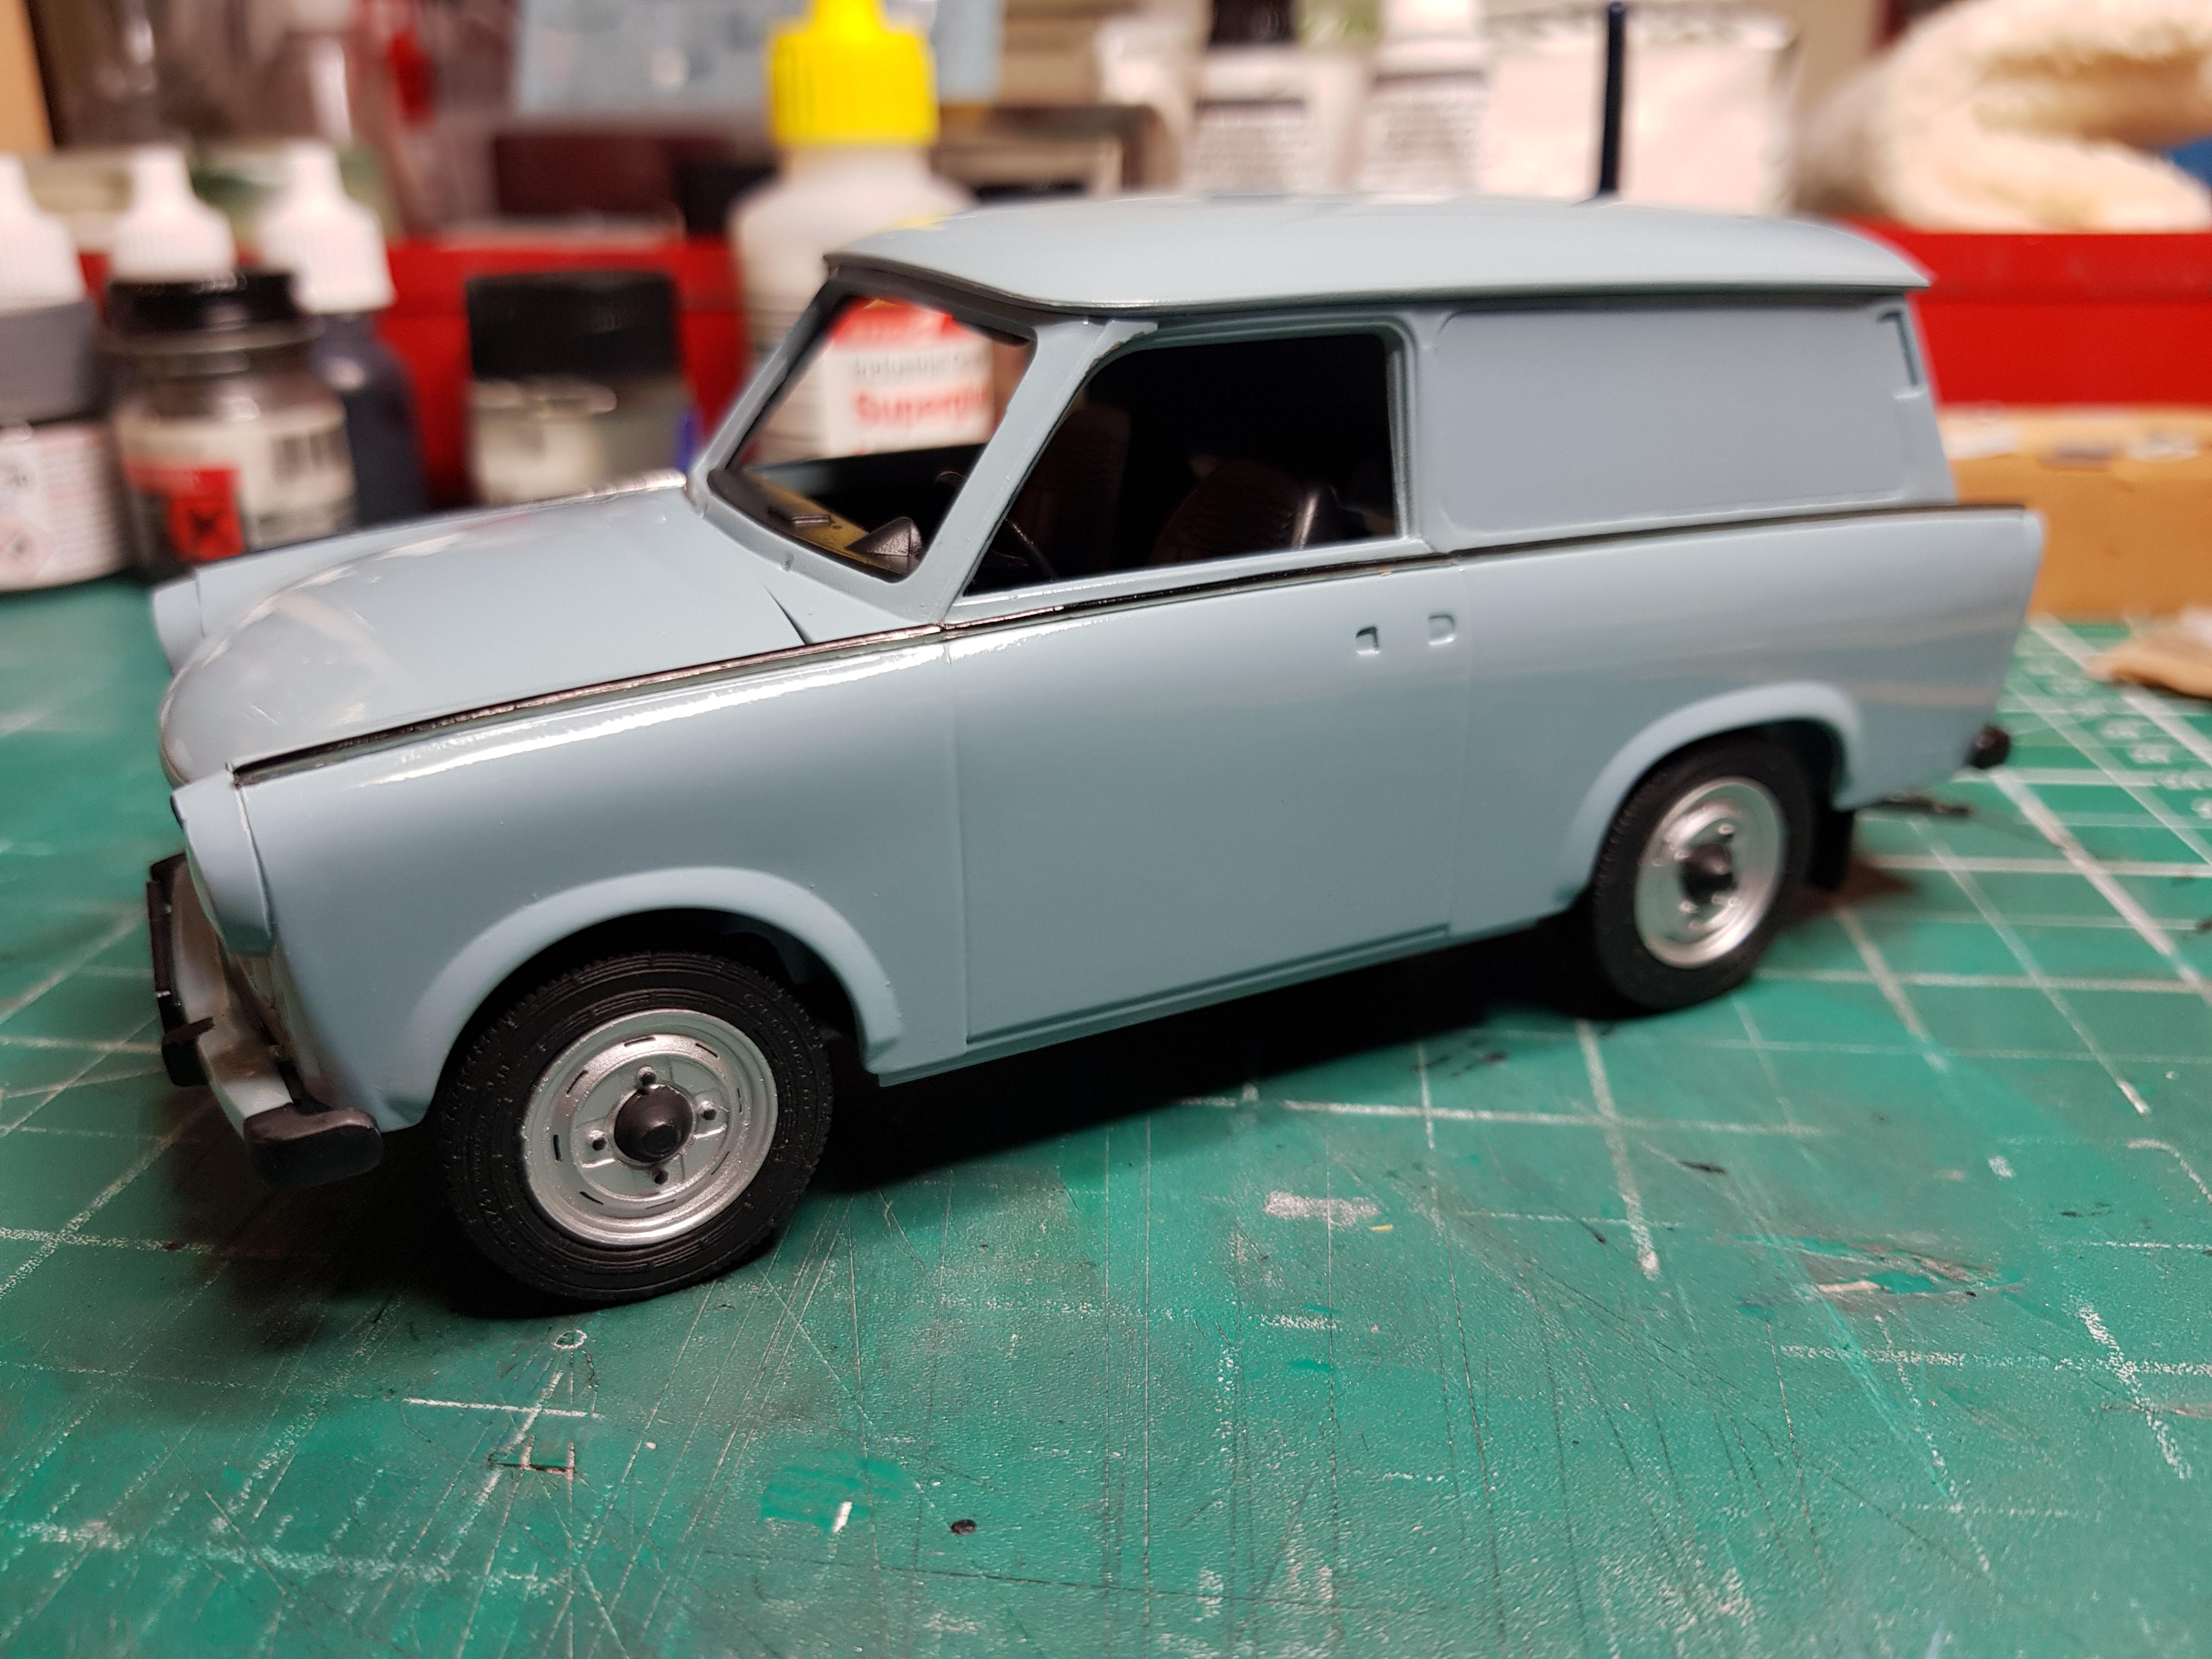
That's everything painted for the Trabant Lieferwagen, just a black wash to add to the rear lamps and side vents, I'm hoping to get it finished this weekend.
-
Revell Trabant 601S 30th anniversary of the Berlin Wall
GeeBee replied to GeeBee's topic in Car Kit News & Reviews
I was in Germany when the wall came down, unfortunately I was stuck in Wolfsburg while working at VW, around 230Km from Berlin,so I only saw what was going on while watching the tv in the hotel, so never managed to get a bit of the wall. -
Only on parts that look the same,but are in fact sided, like the exhaust, otherwise i don't bother marking them.
-
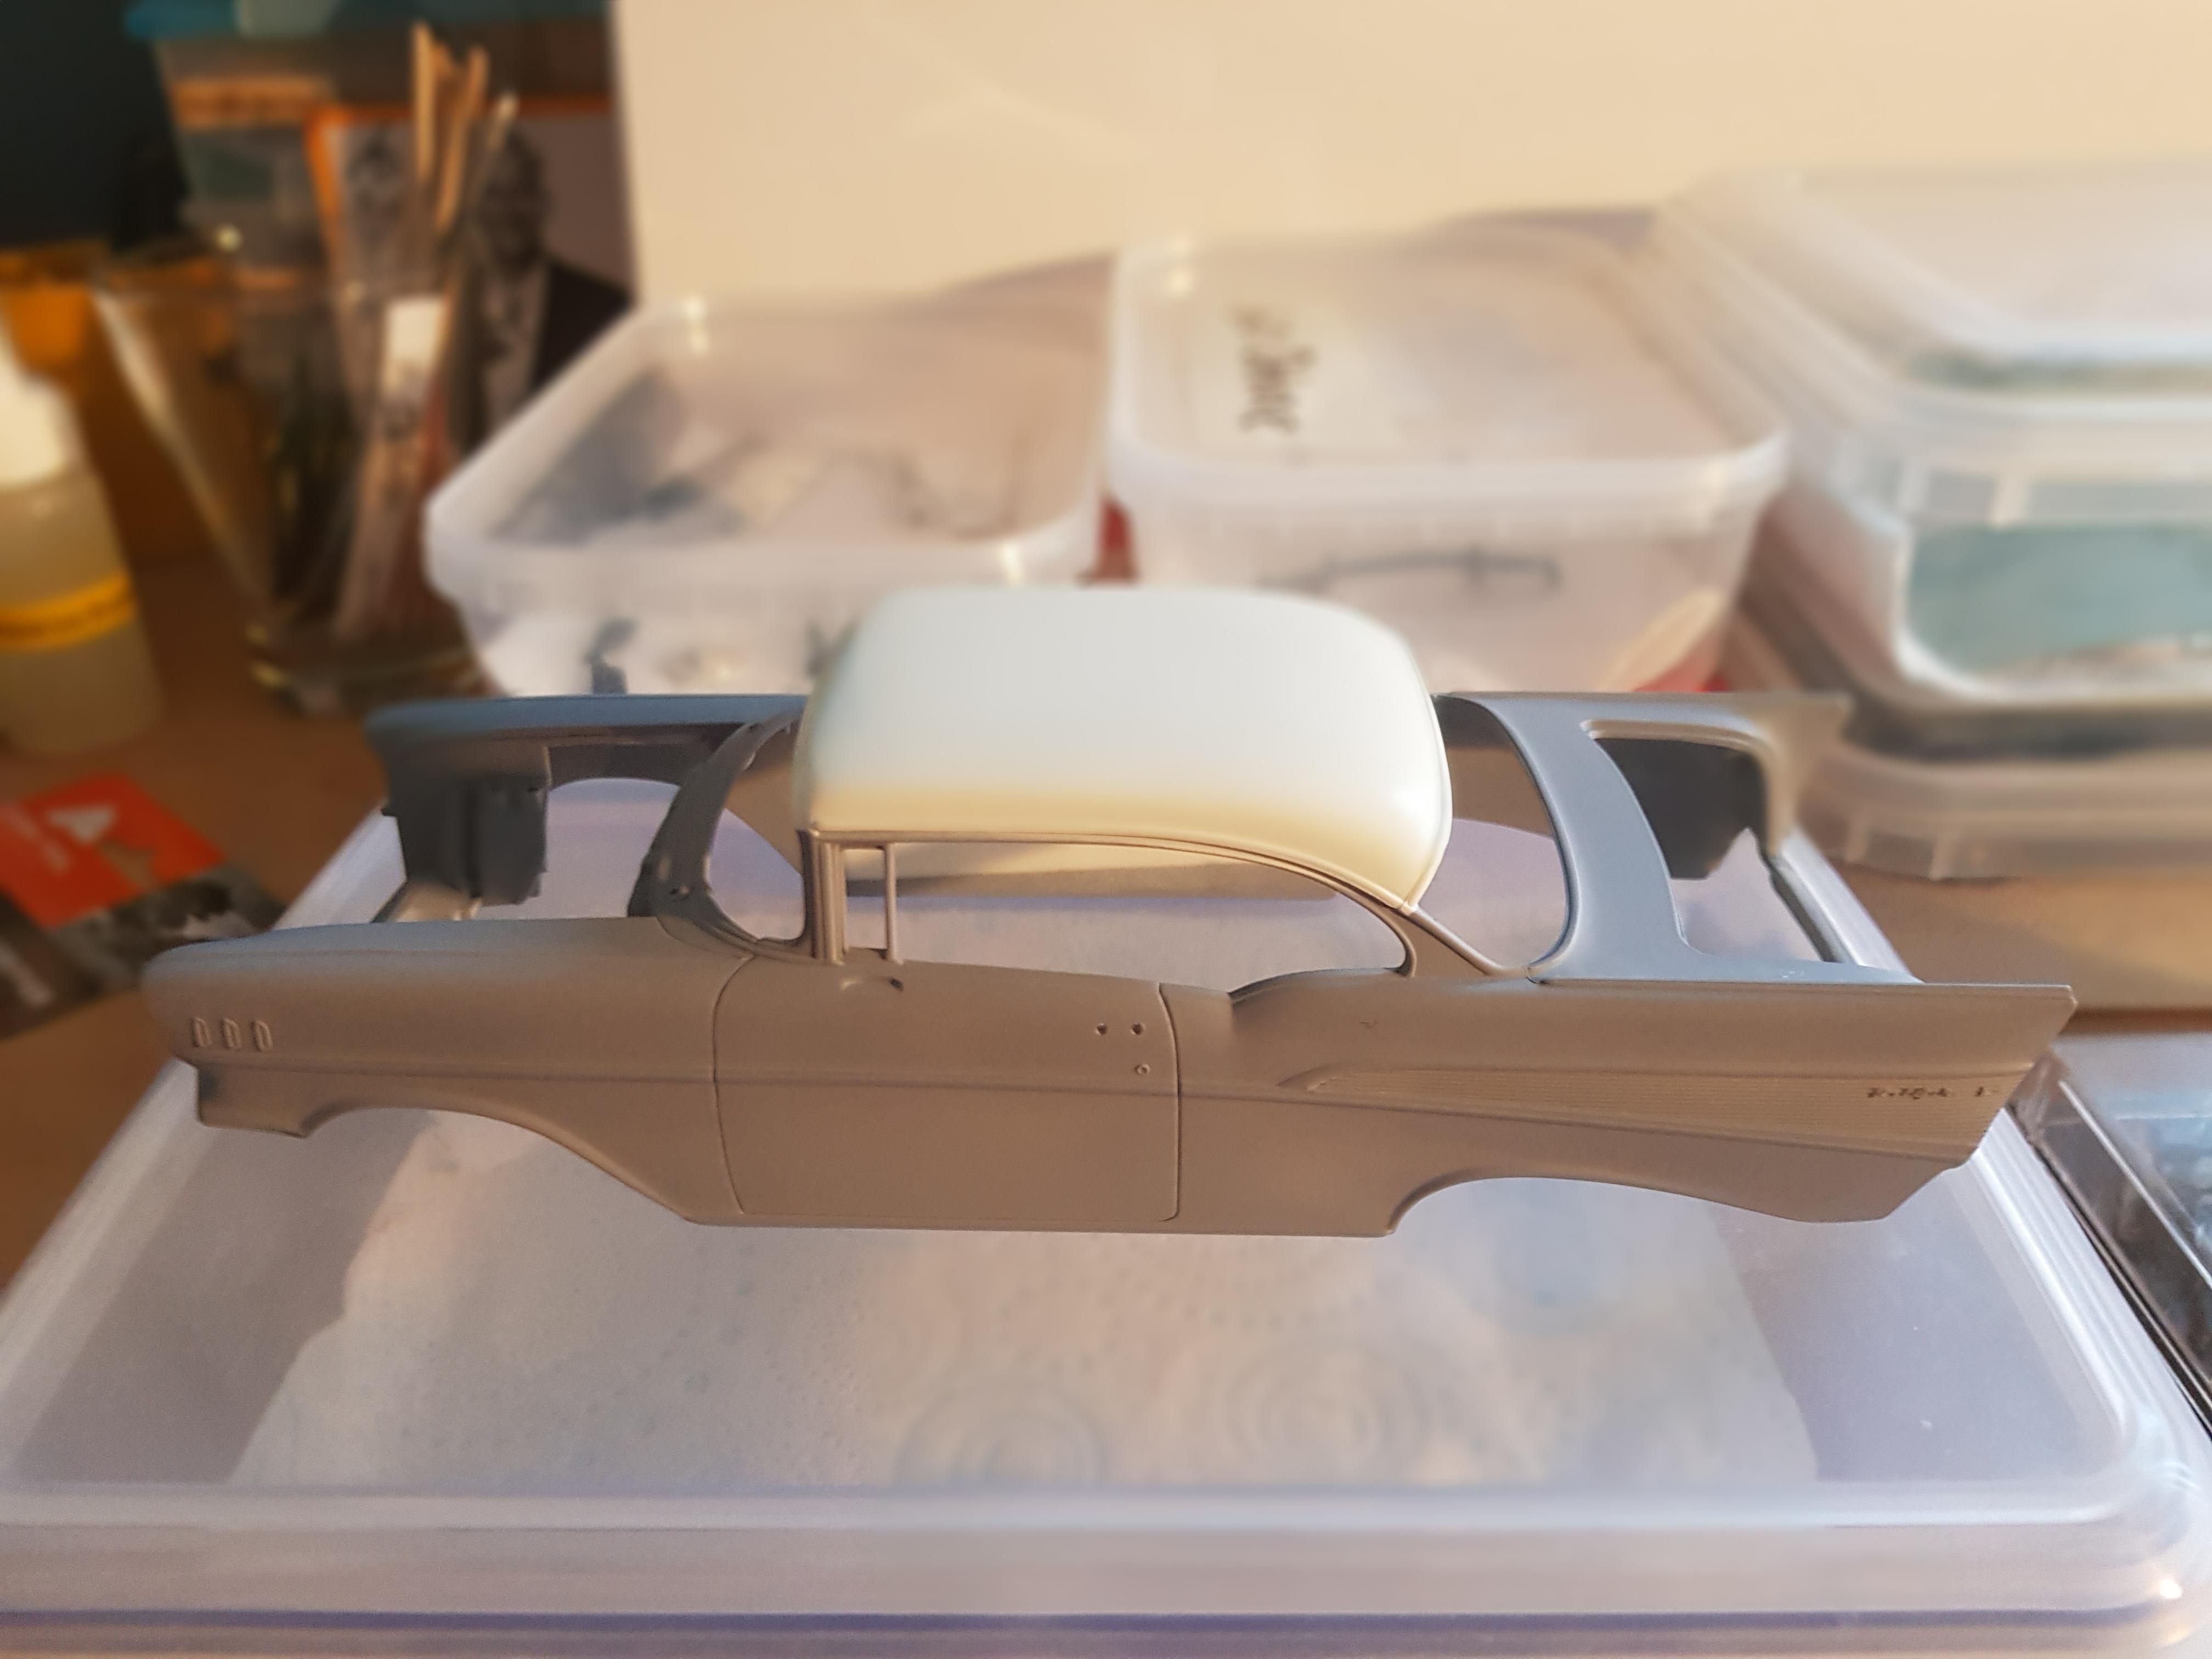
AMT '57 Chevrolet Bel Air roof masked up,hopefully I'll get it painted tomorrow
-
Front windshield fitted, just a few parts to get airbrushed, which I'll get time to do tomorrow, then there's just a few more parts to fit than this little Trabbi is finished, it's been on and off the backburner since June 2015, I'm hoping to get it finished by the weekend.
-
37 Ford Panel Wagon
GeeBee replied to SnozzaP's topic in Model Trucks: Pickups, Vans, SUVs, Light Commercial
Superb build,love the colour scheme. -
The wheel didn't have enough room between the wheel arch and roof to get it in like that, the wheel arch in the kit is totally different to this photo, probably because I was using the Universal, if I was to do it all over again I would scratch build some different wheel arches, I came up with something very close.
-
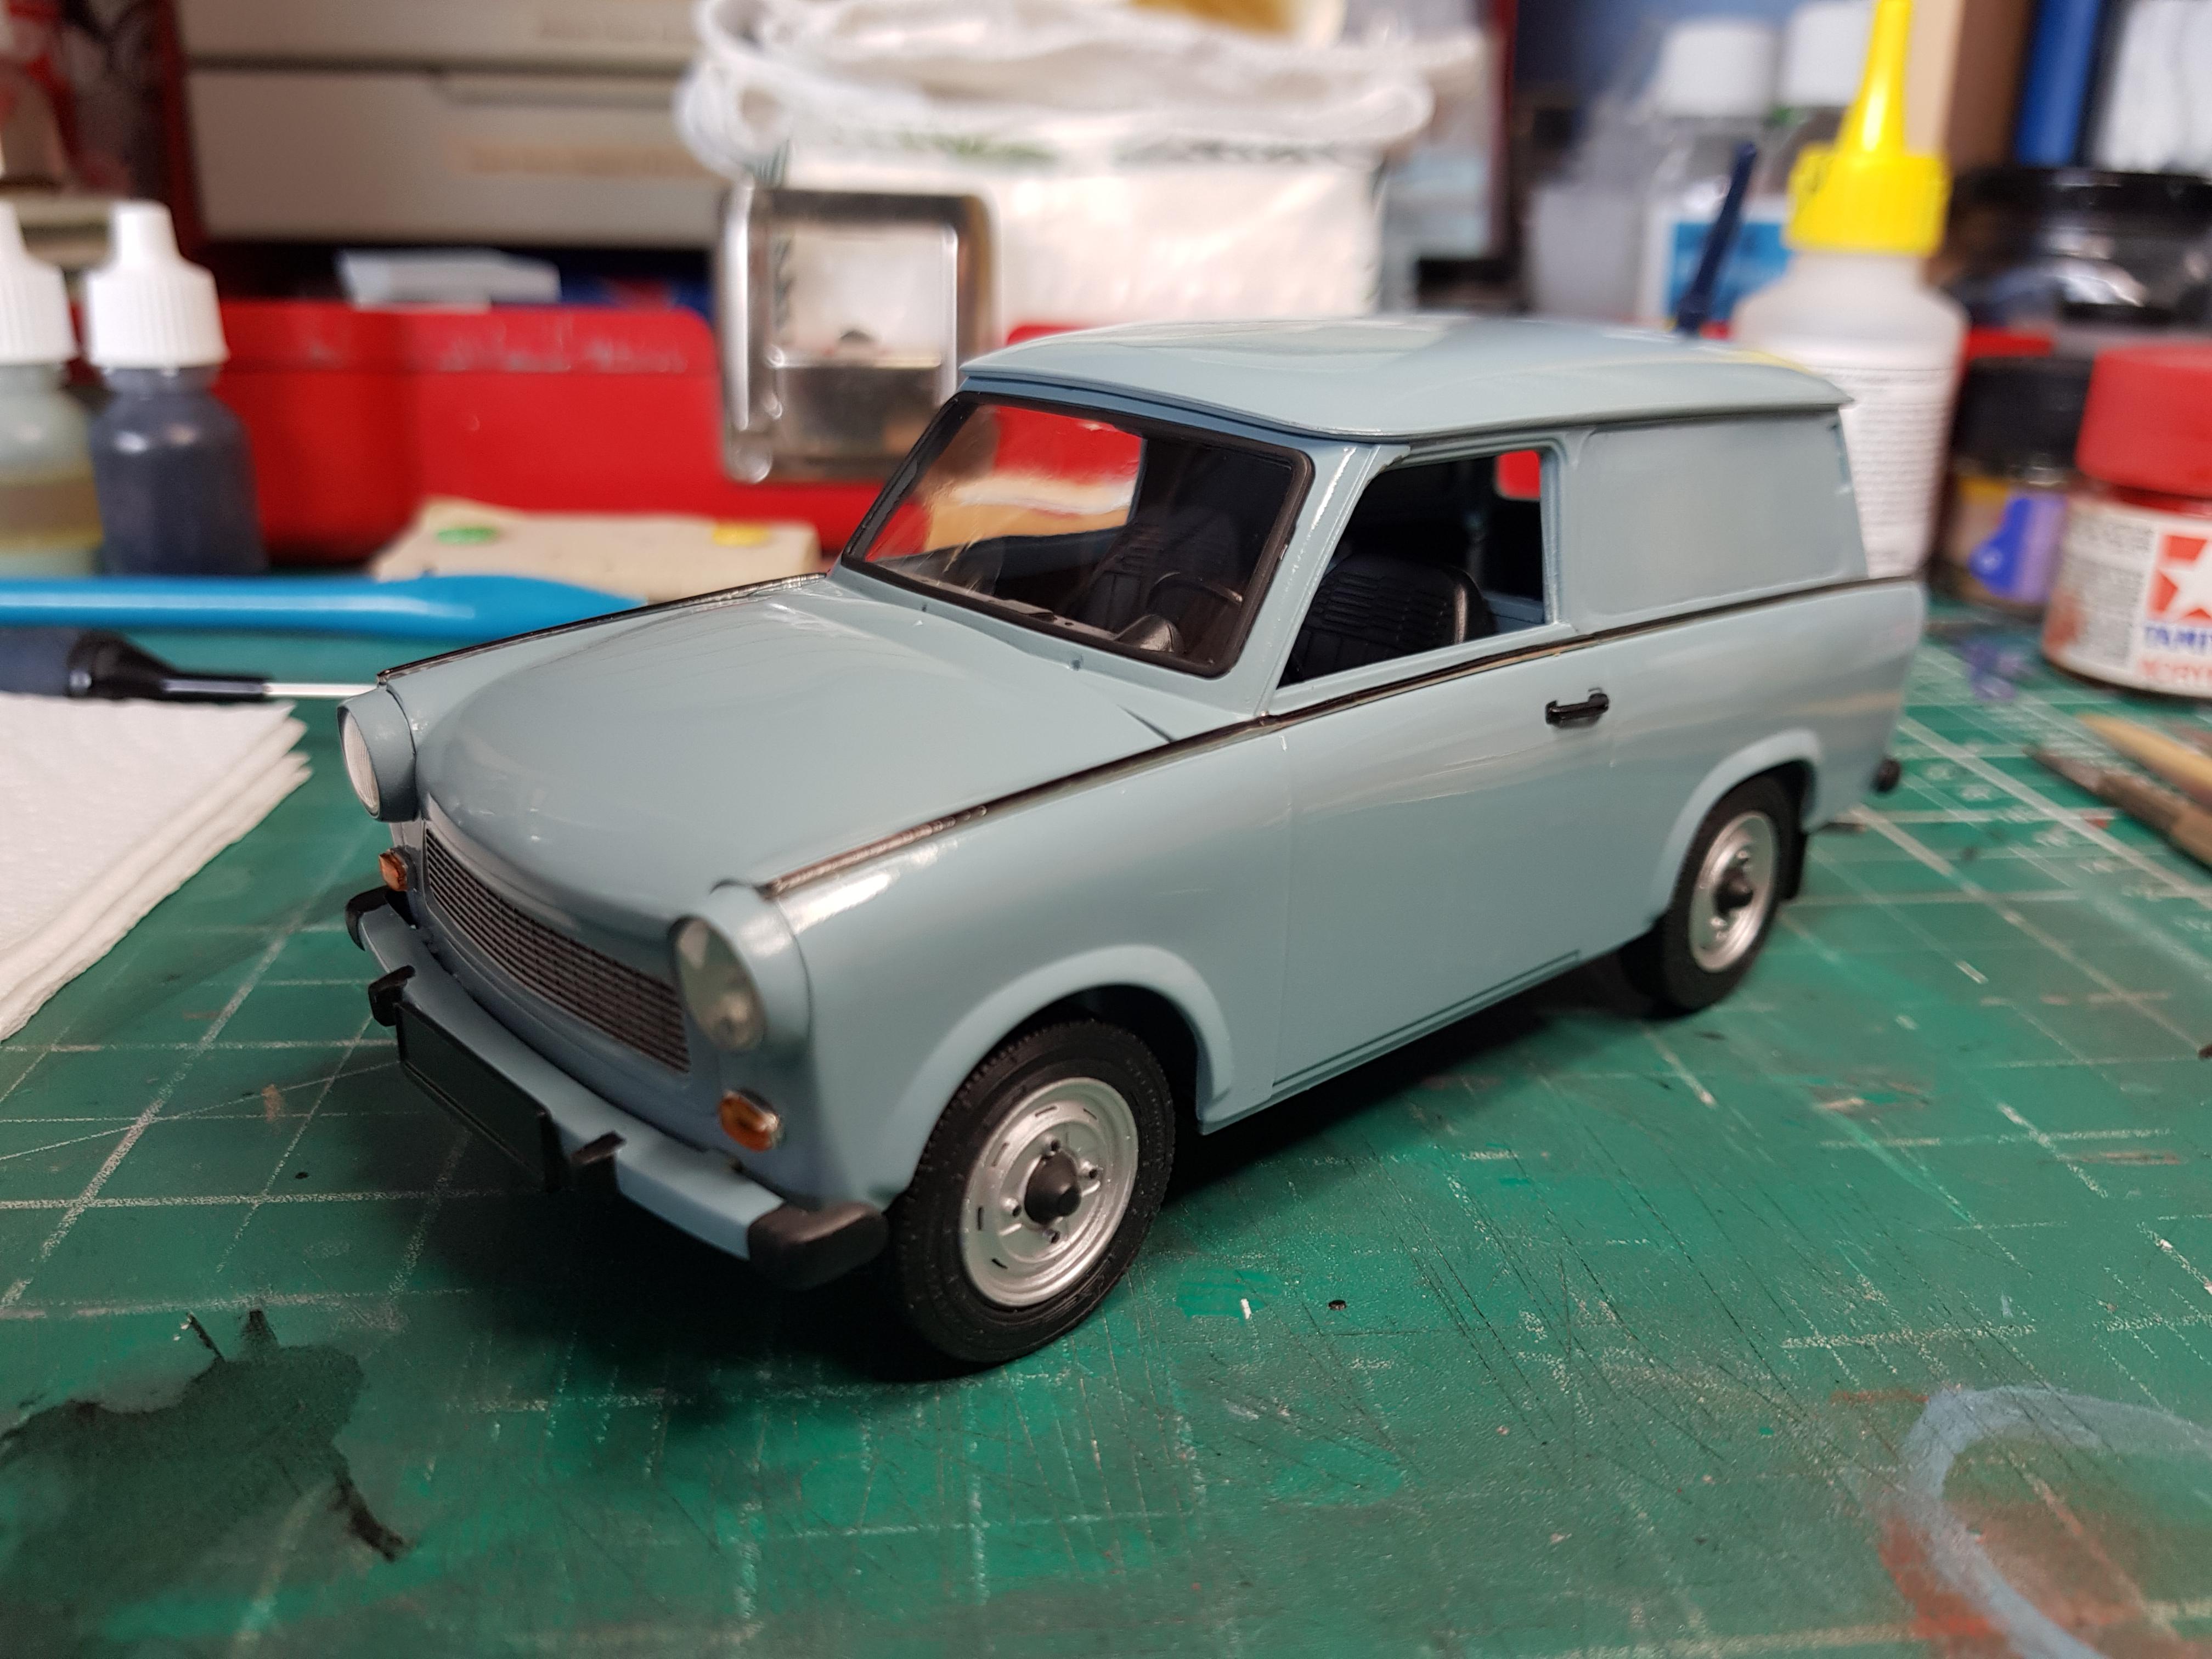
Roof panel and rear tailgate fitted, only the front indicators,rear lamps and reflectors,door handles and windows to fit, and she's ready for the display cabinet.
-
It has been 30 years since the first Trabant 601 sailed through the Wall to West Berlin. Revell honors the memorable event with a special set, which includes a diorama in the form of a 3D puzzle on which the built model of the satellite can be placed.- Kit of the Trabant 601, including instructions and decals