GeeBee
-
Posts
4,030 -
Joined
-
Last visited
Content Type
Profiles
Forums
Events
Gallery
Everything posted by GeeBee
-
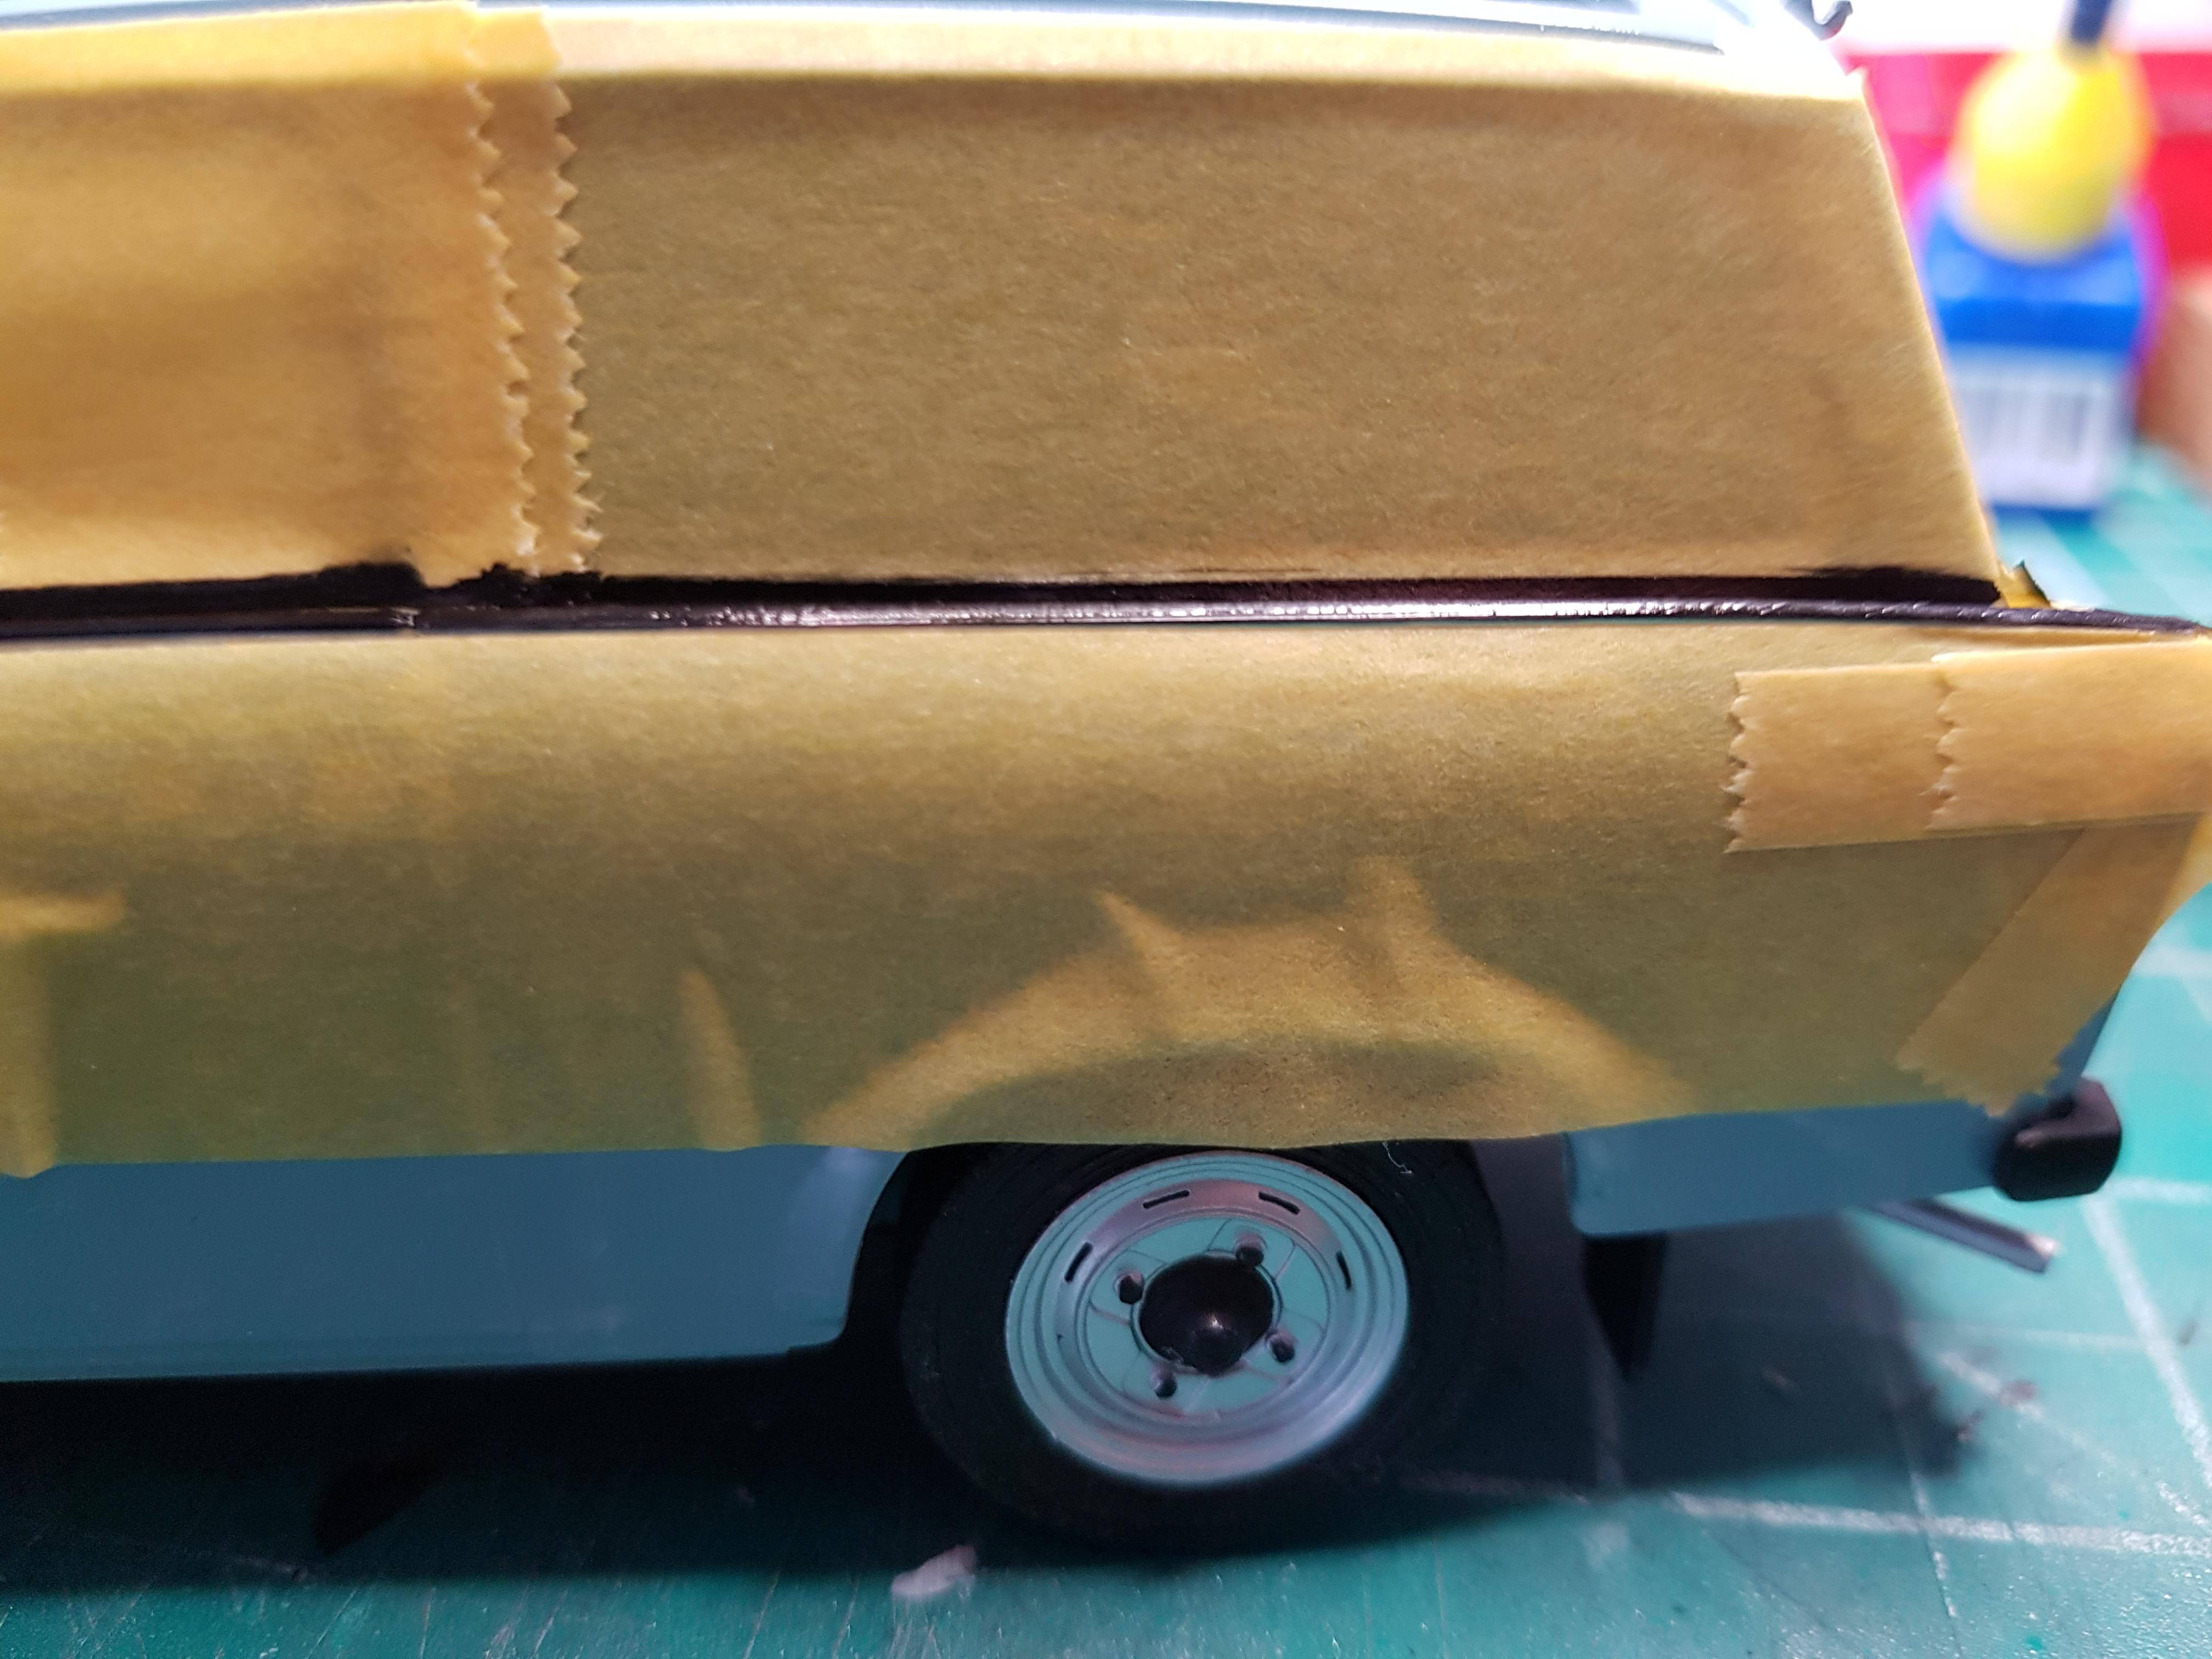
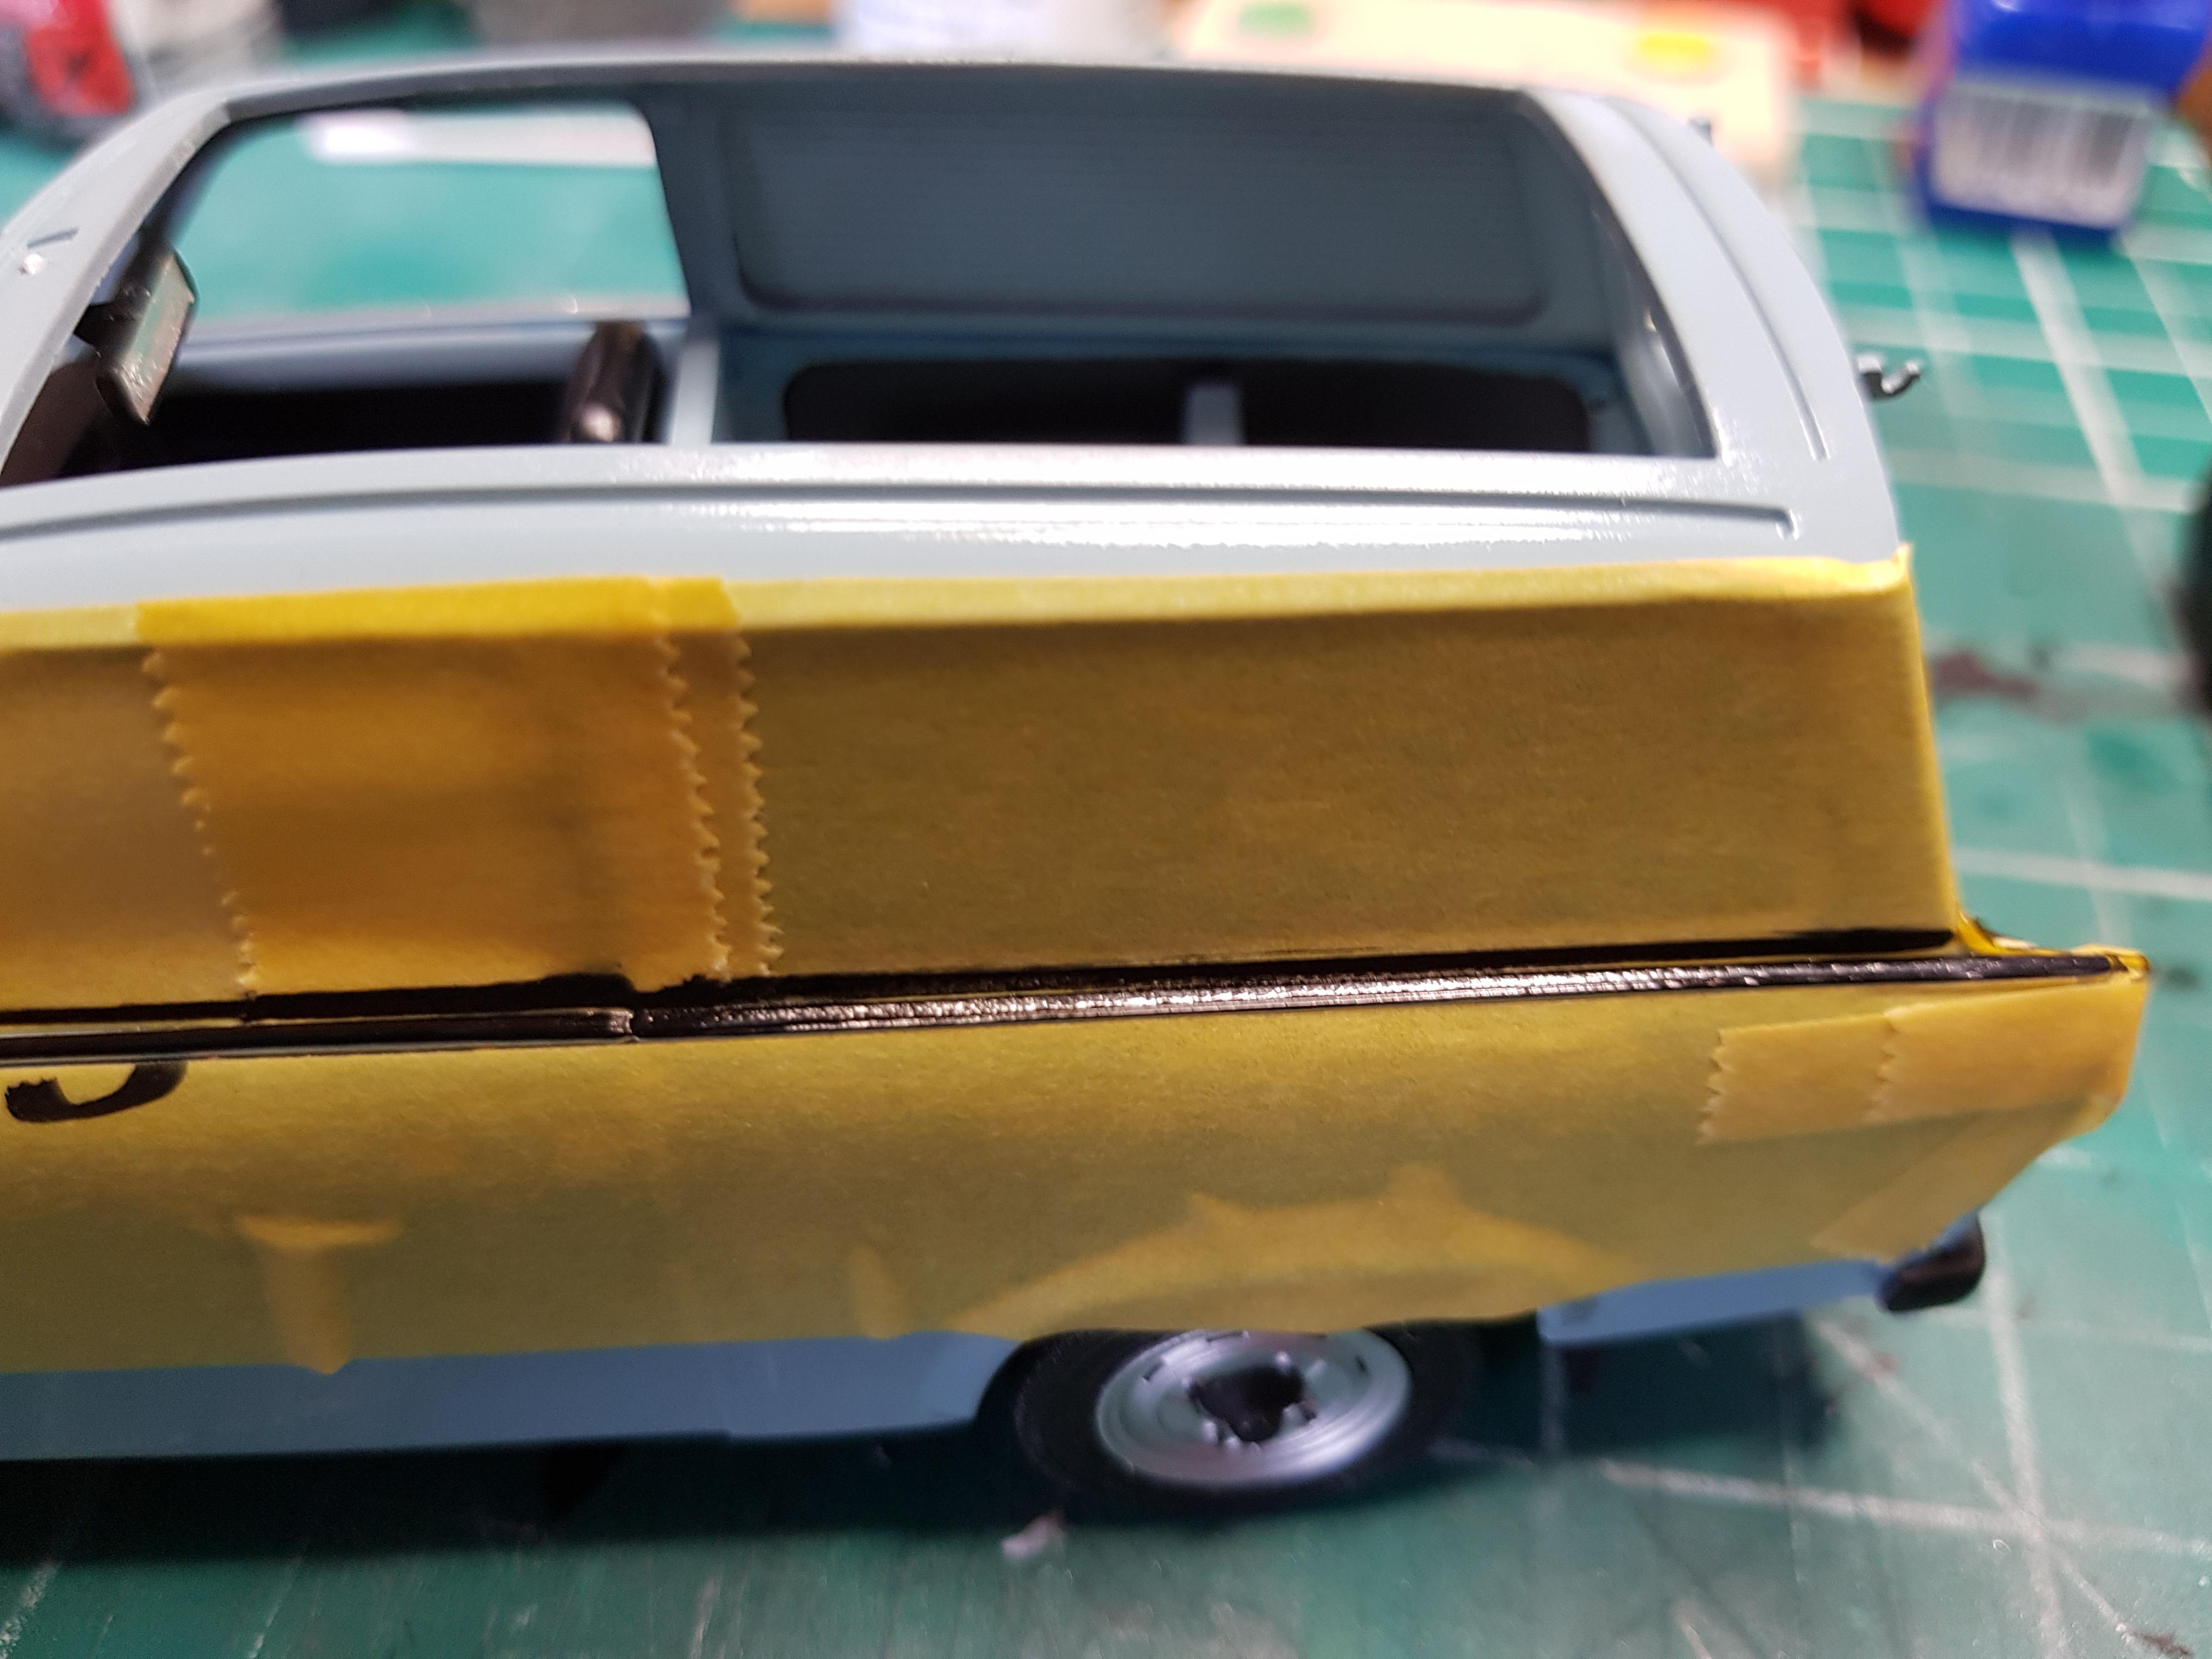
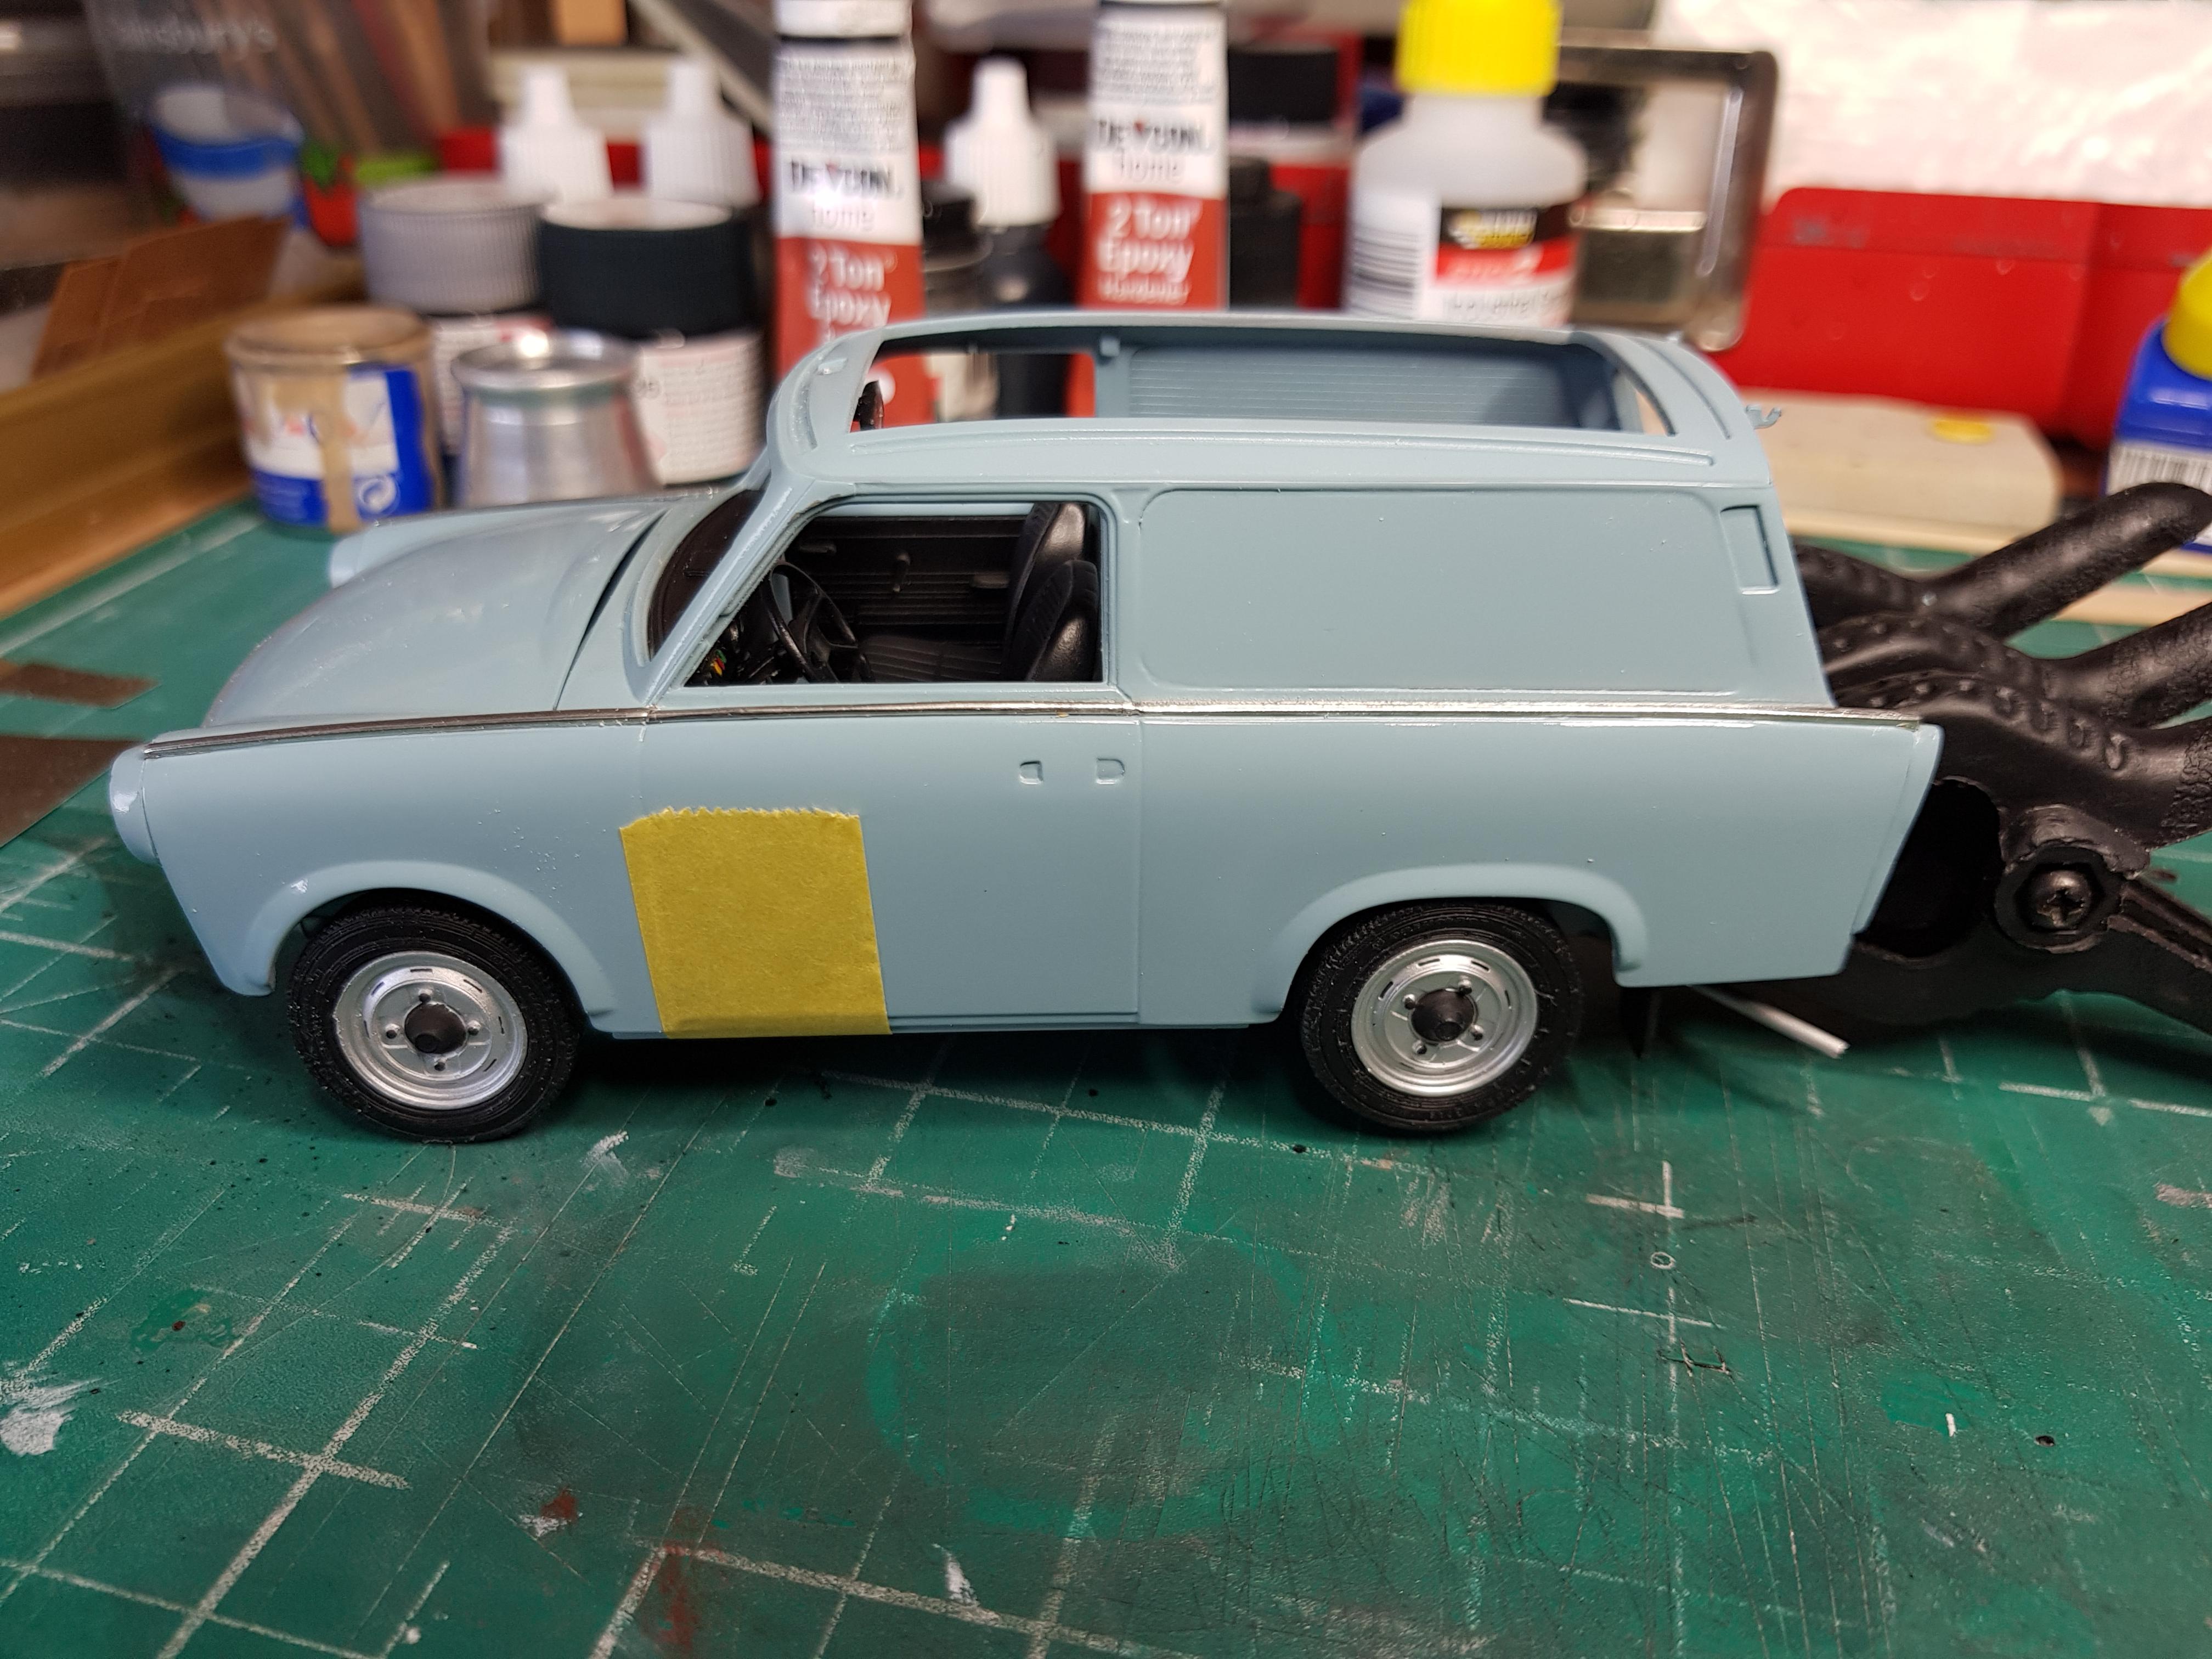
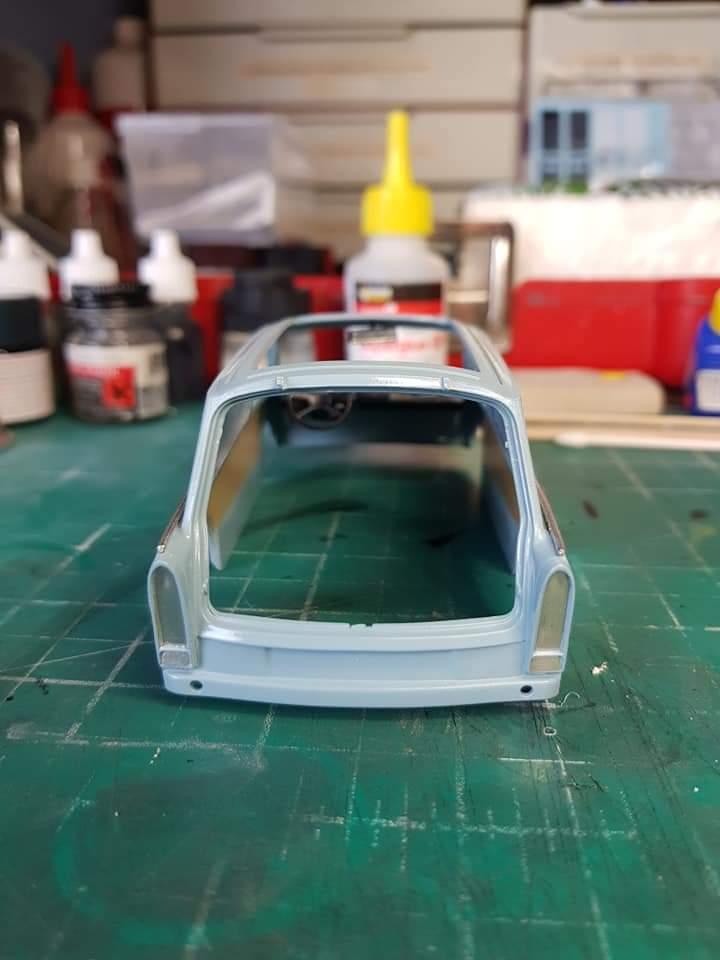
Masking tape removed, just the other side to do now

-
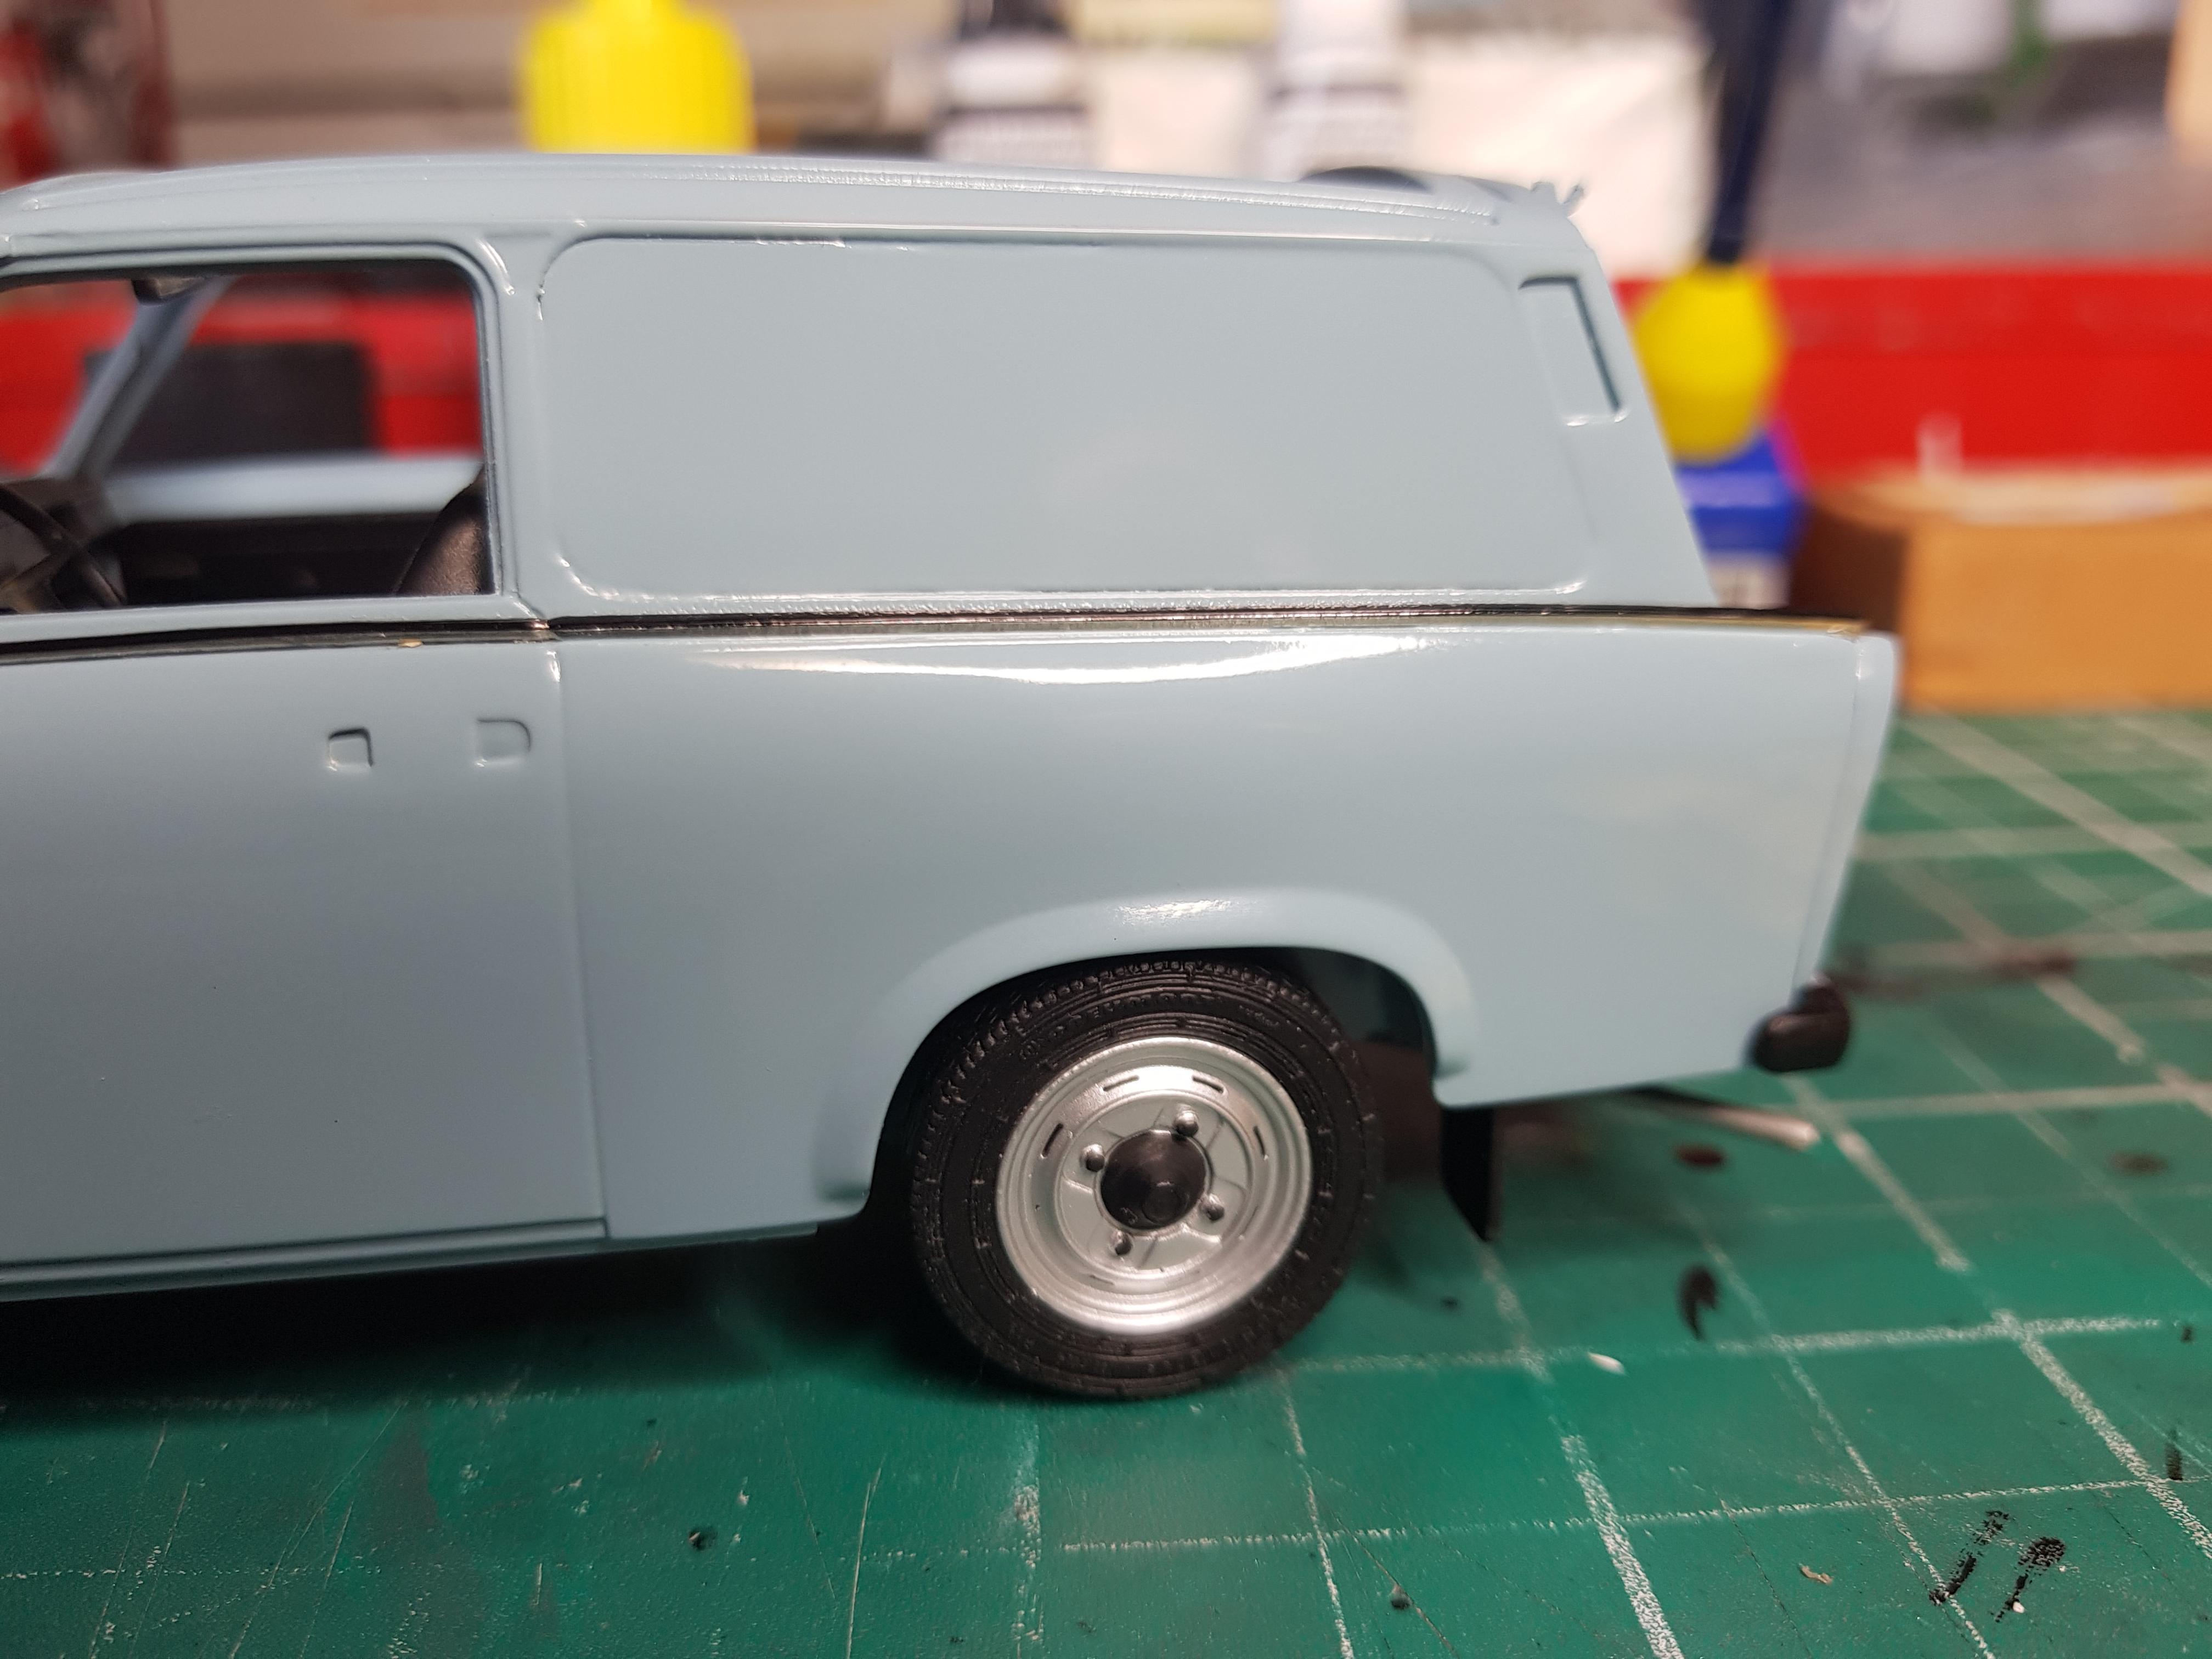
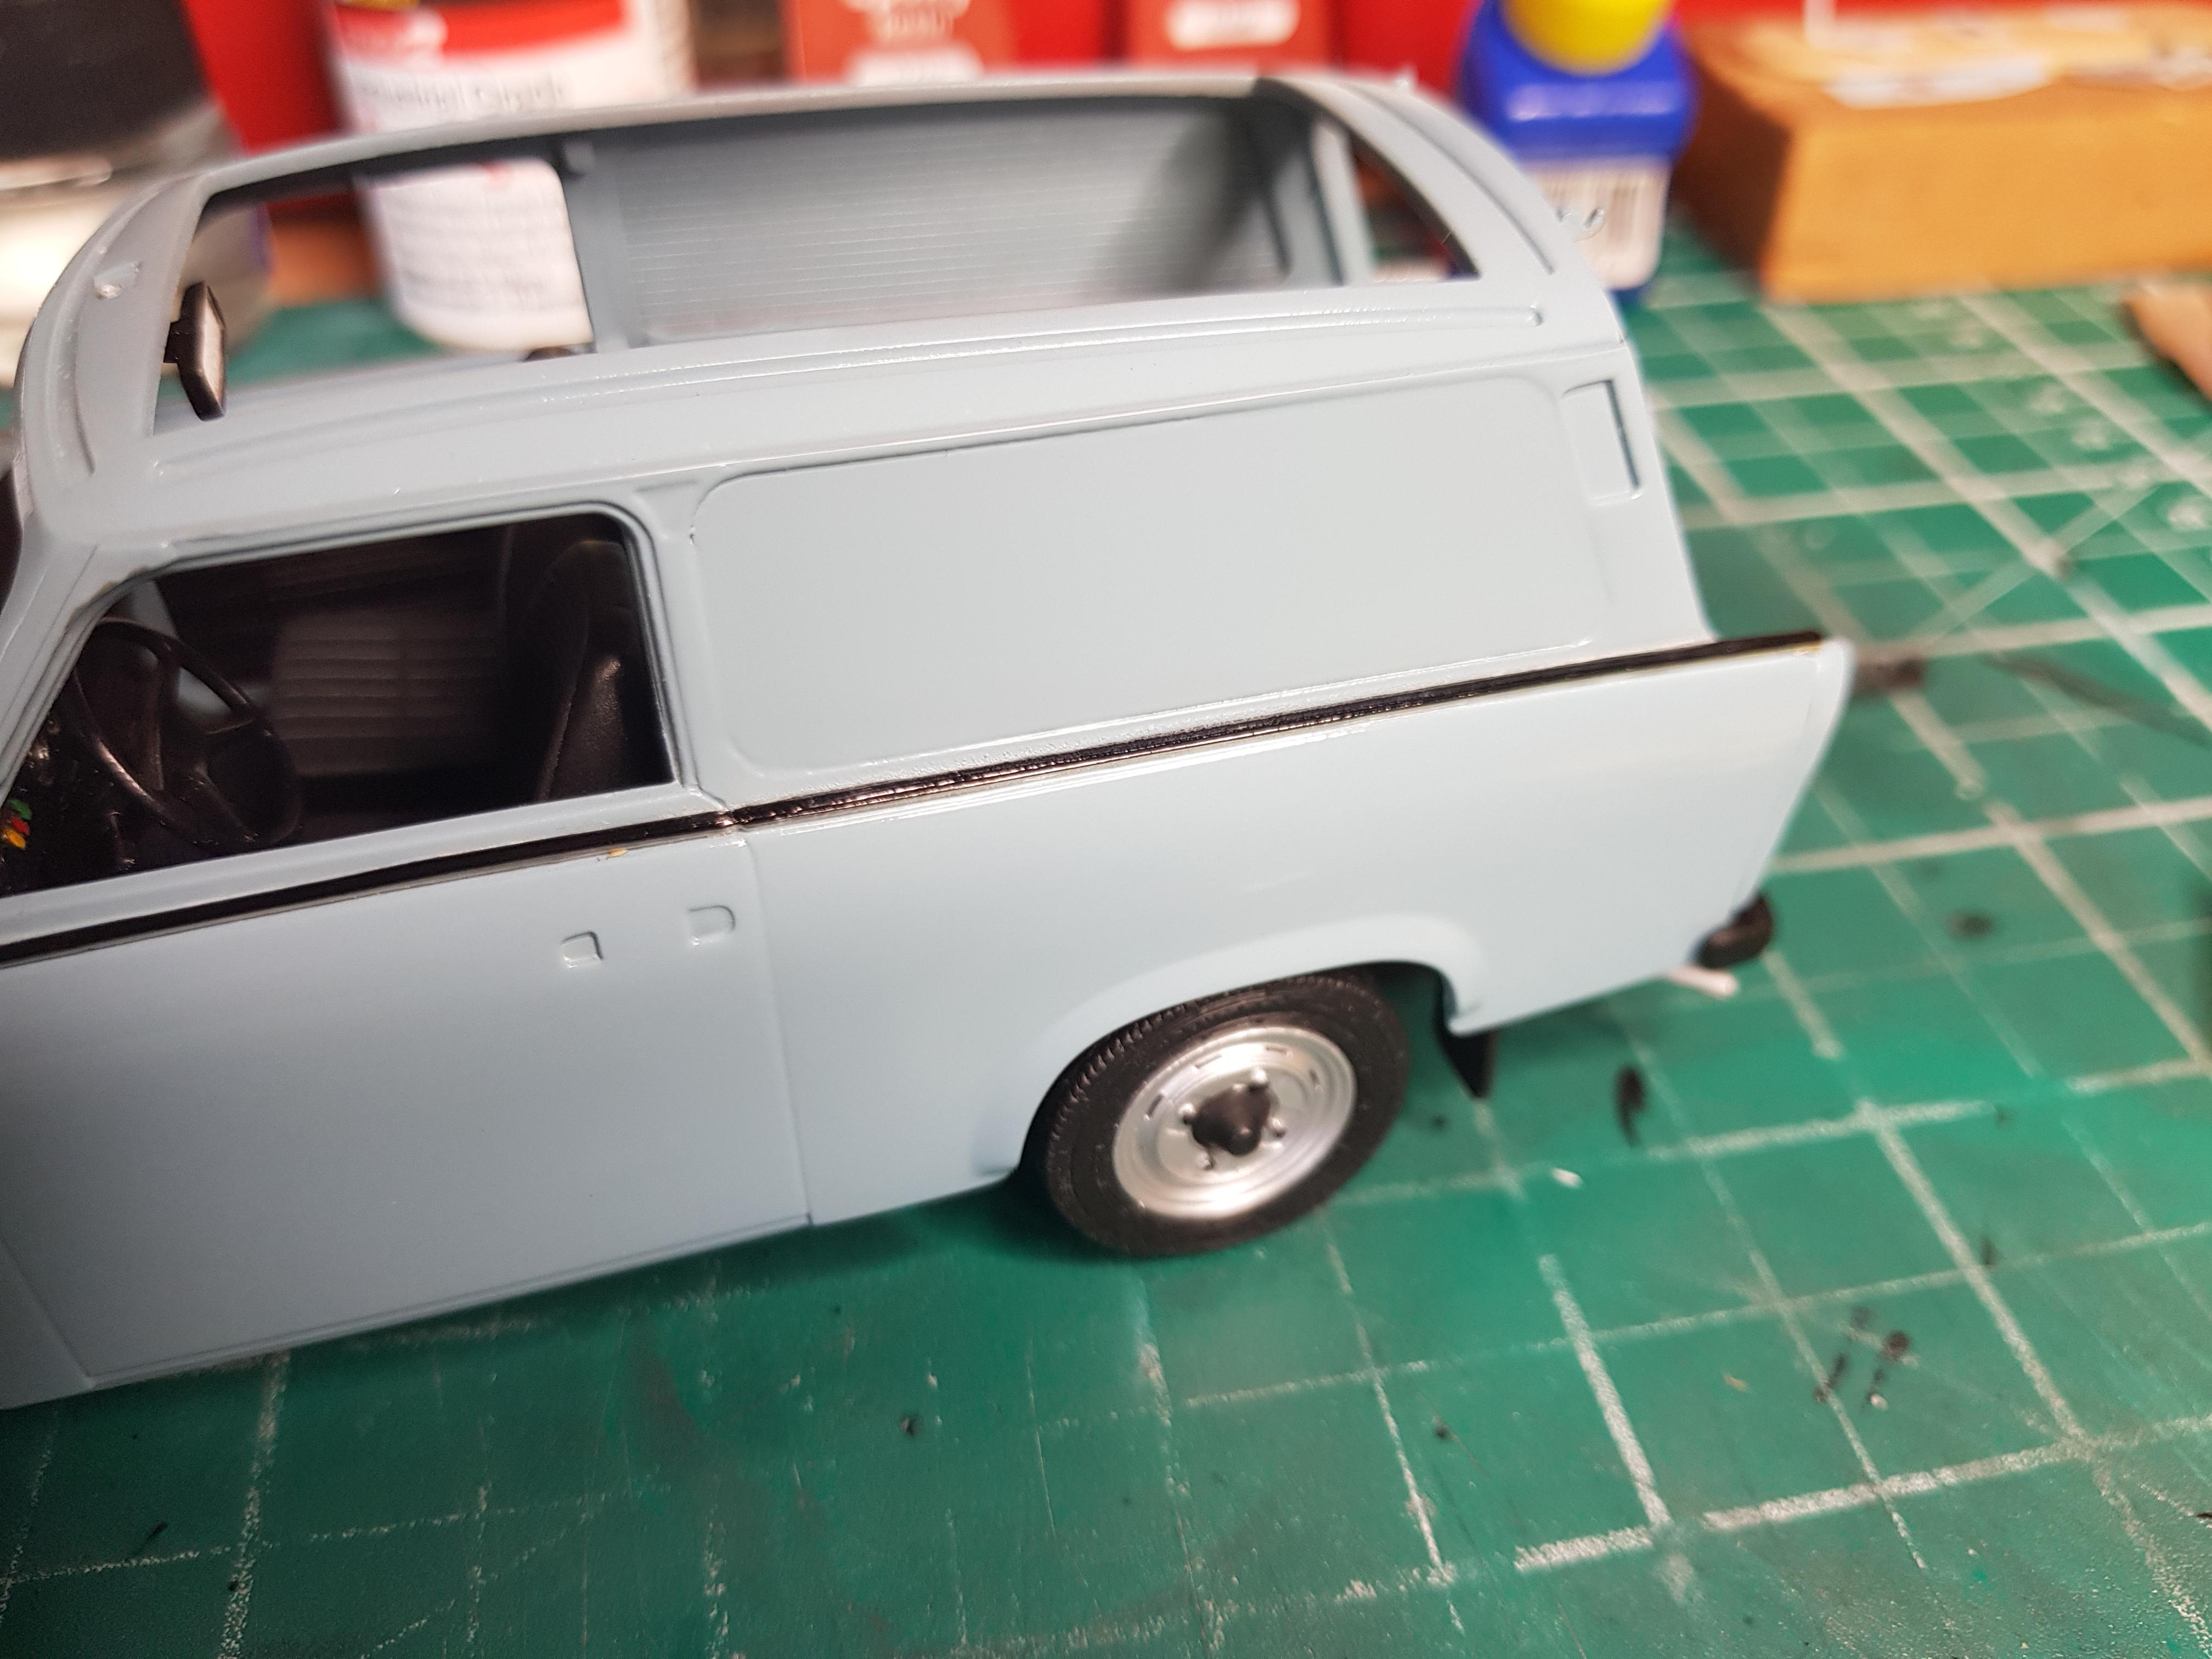
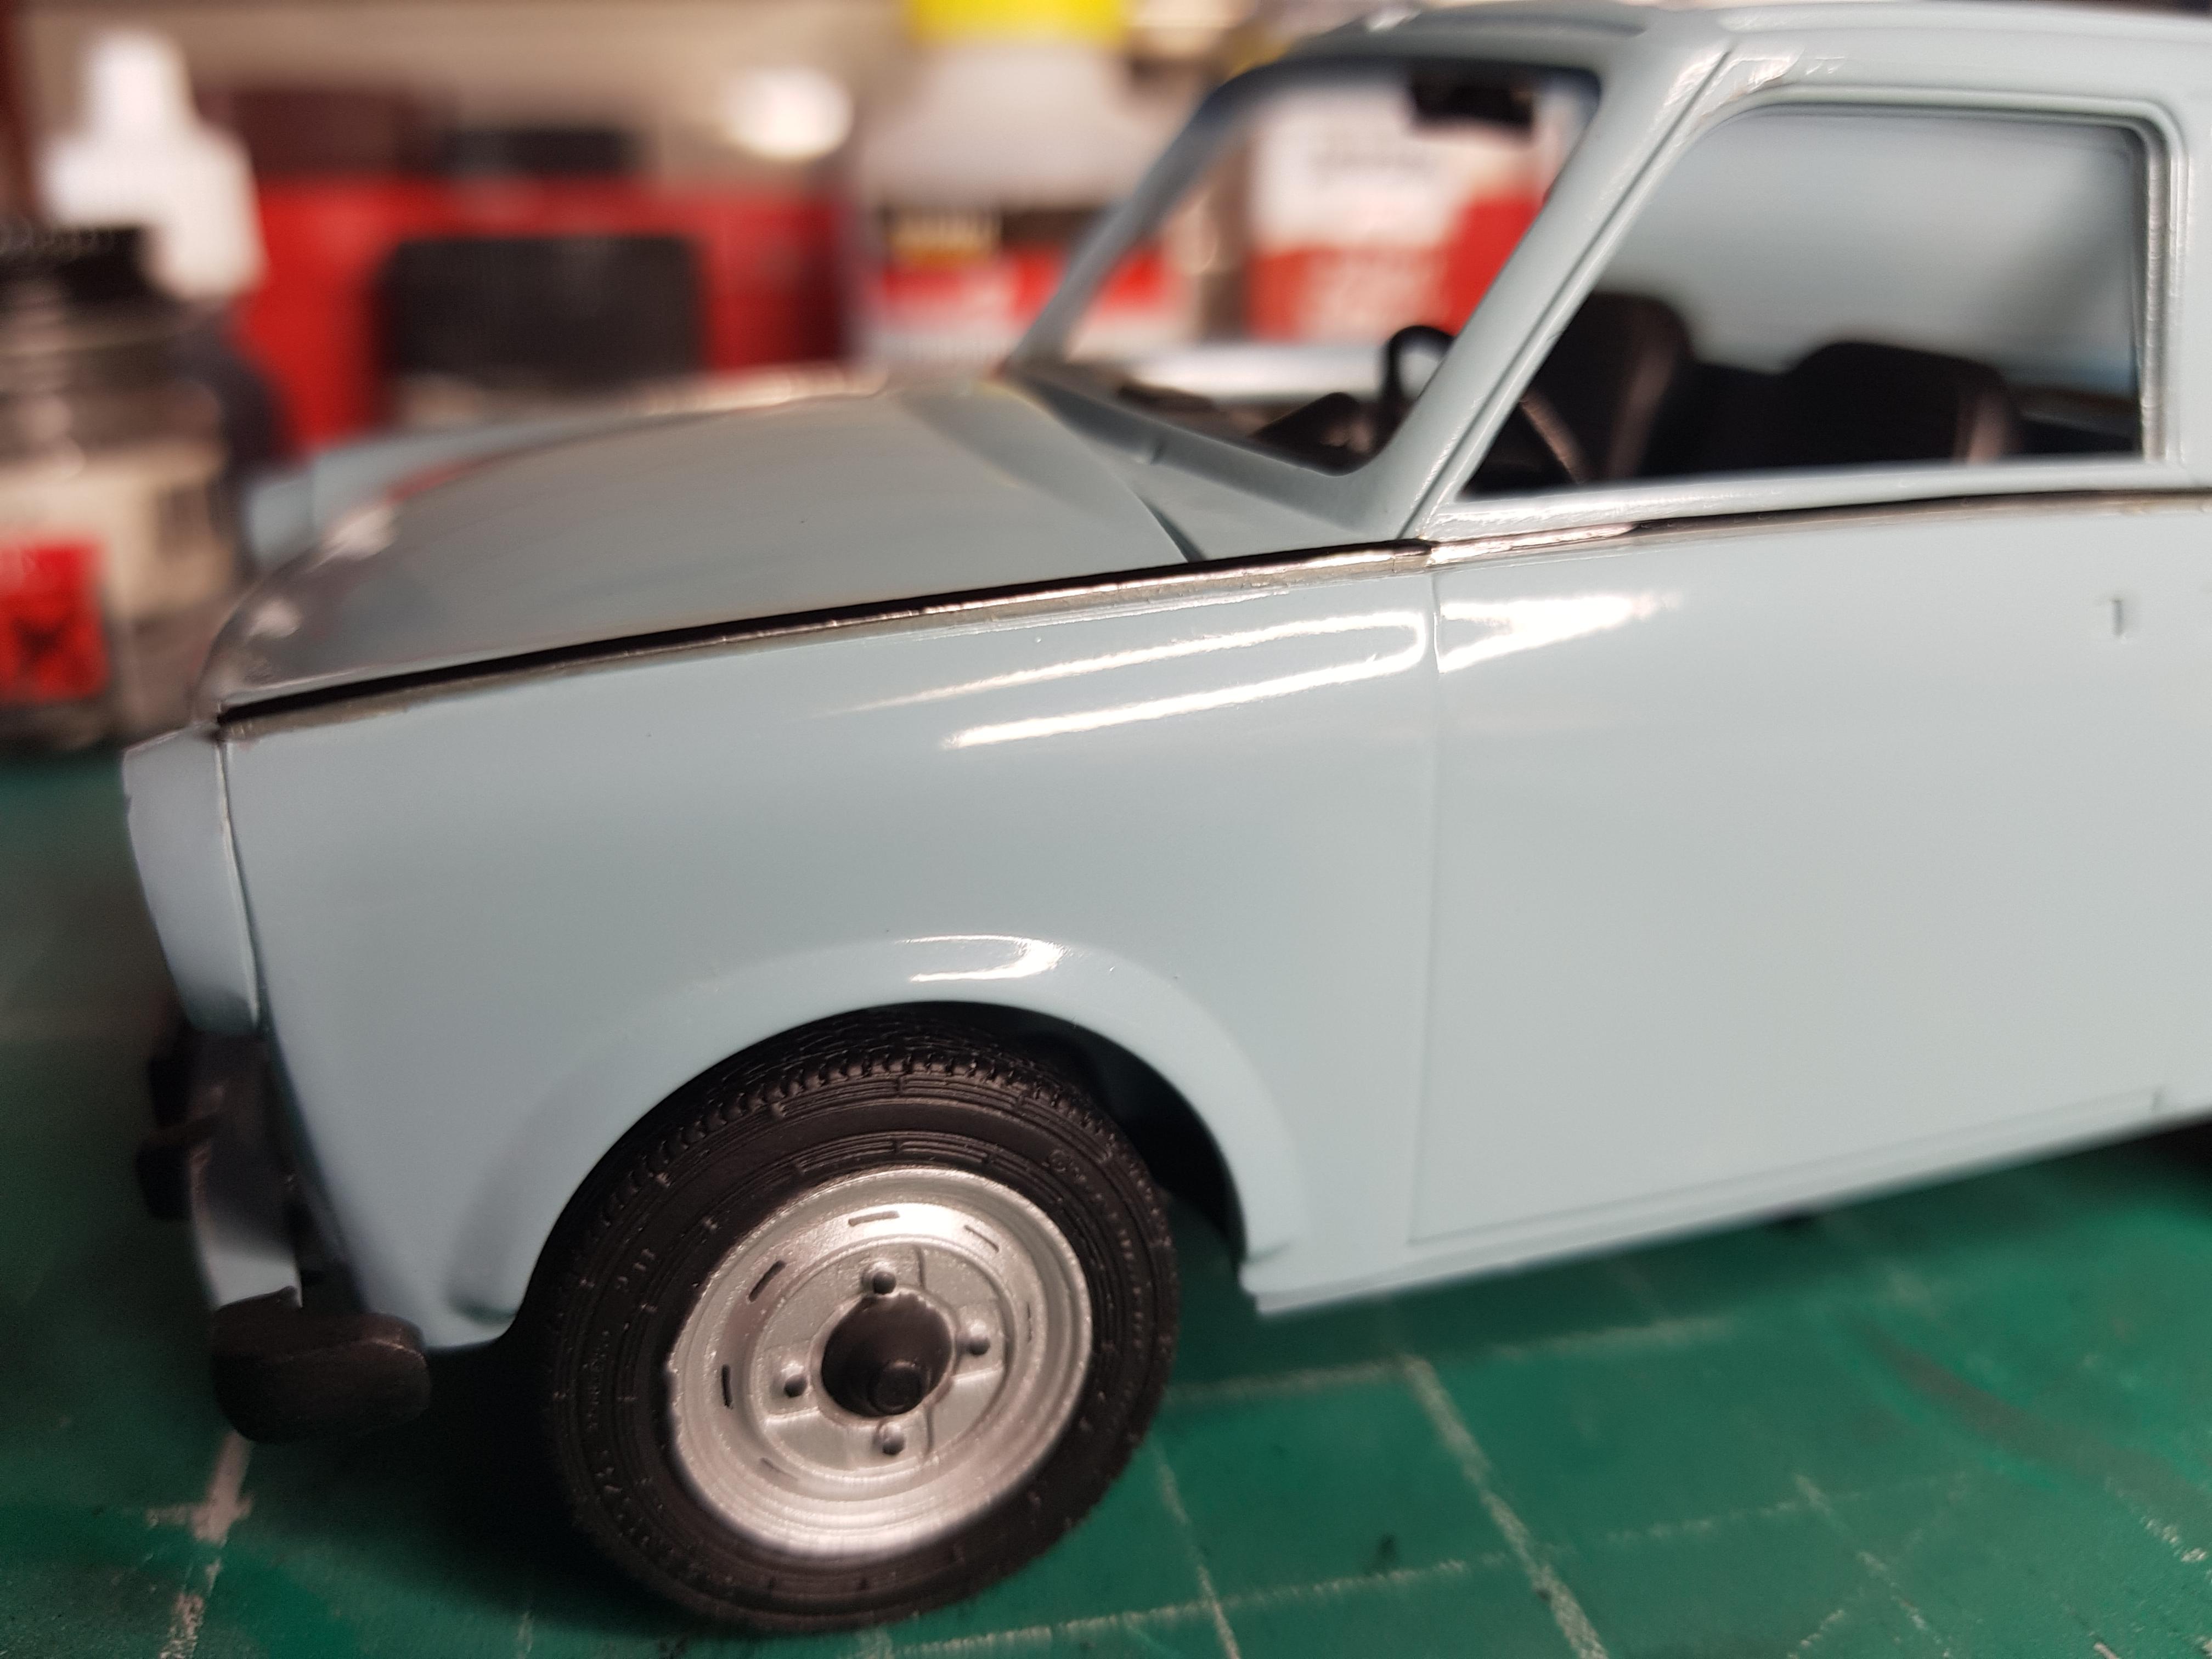
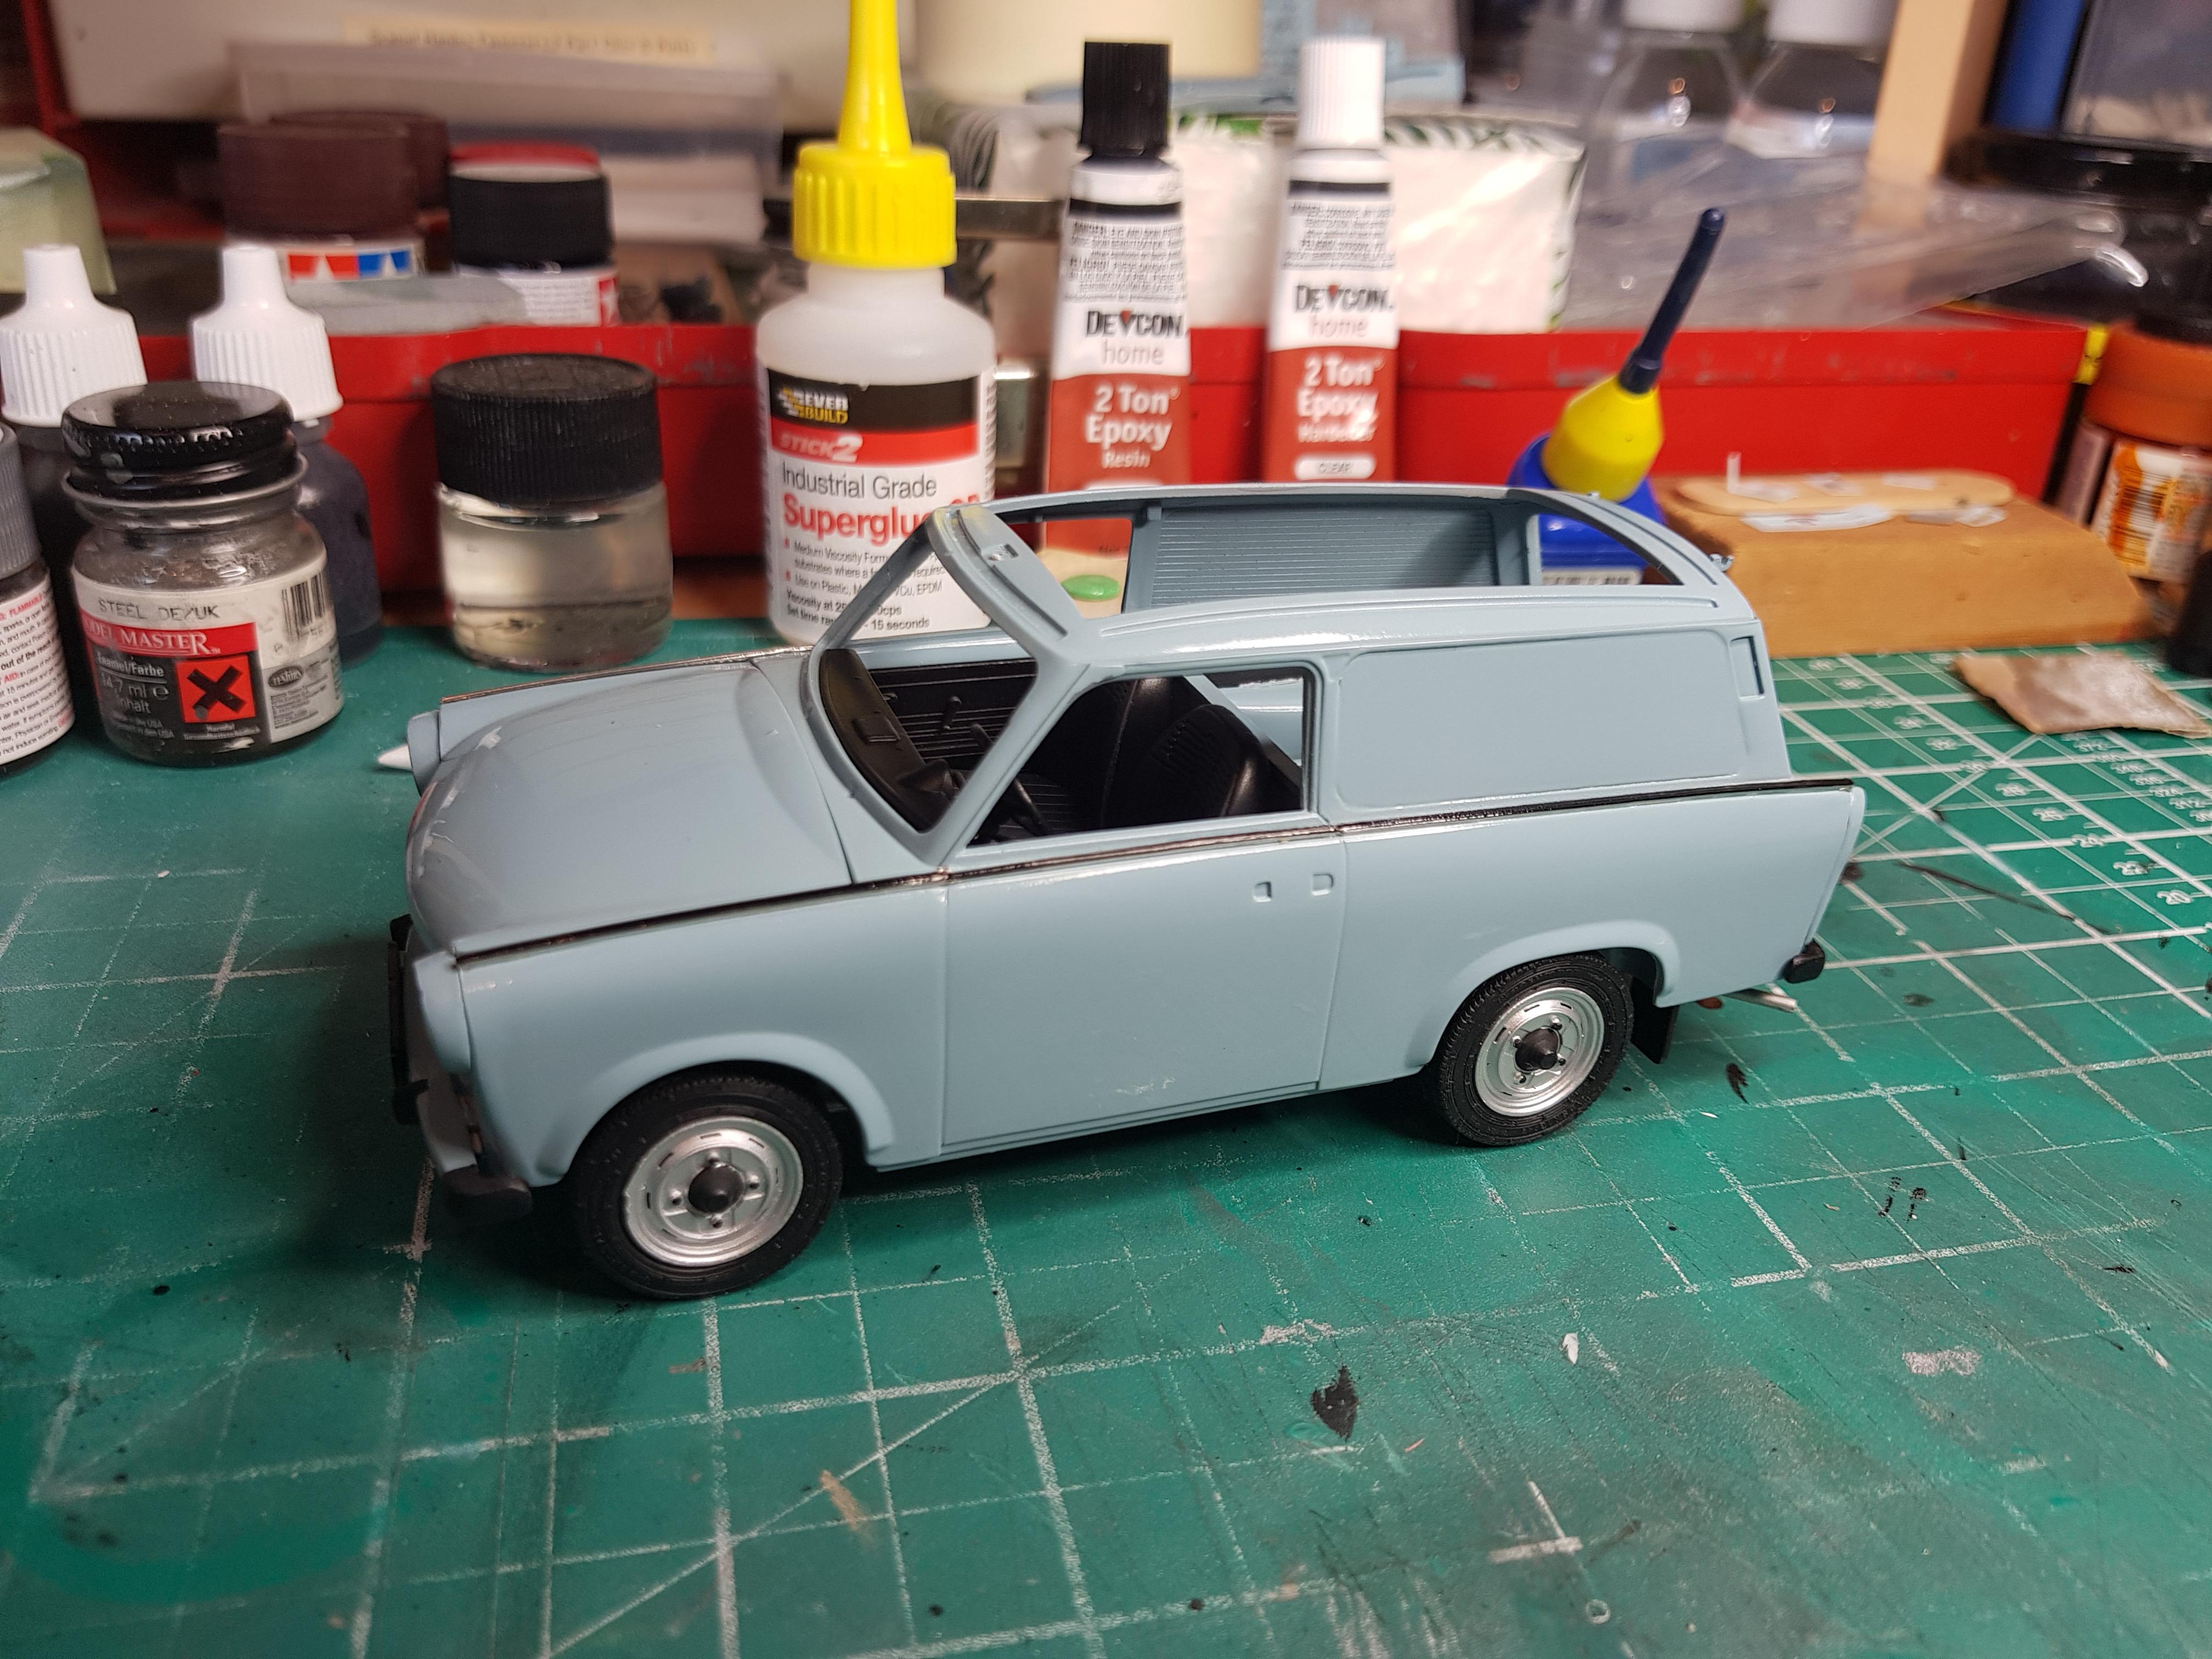
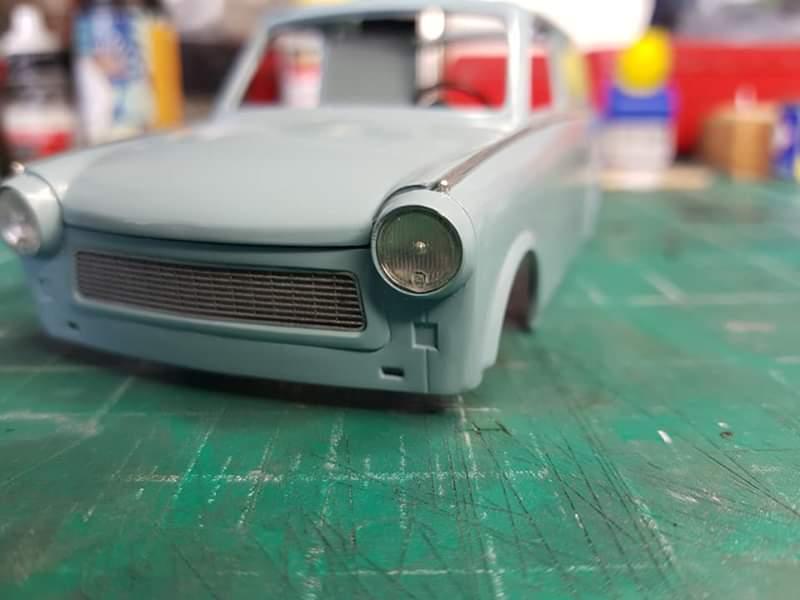
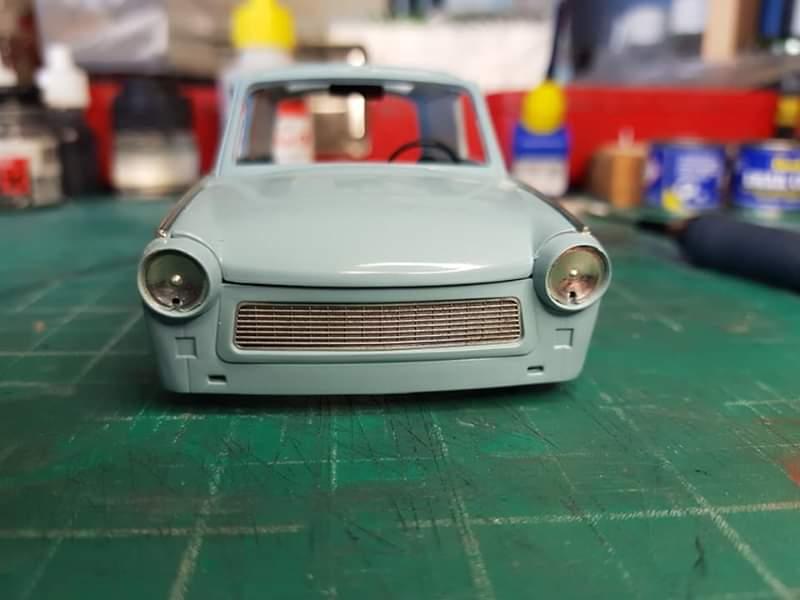
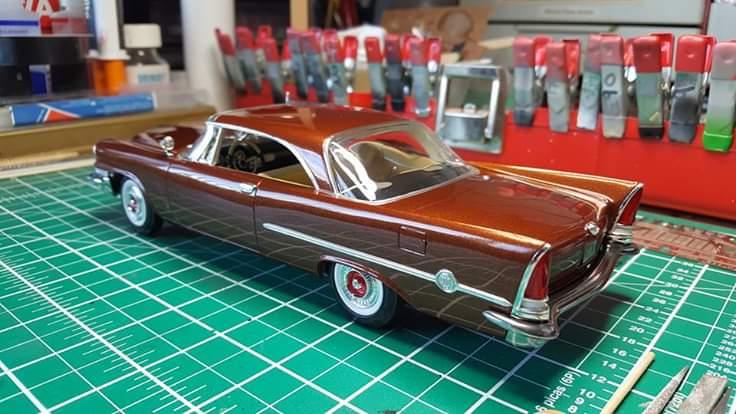
Rubber trim on the one side done, using a chisel edge permanent art marker, pretty hard to see under the bright light, it's the first permanent marker I've found that hasn't got a purple tinge to it when dried.
-
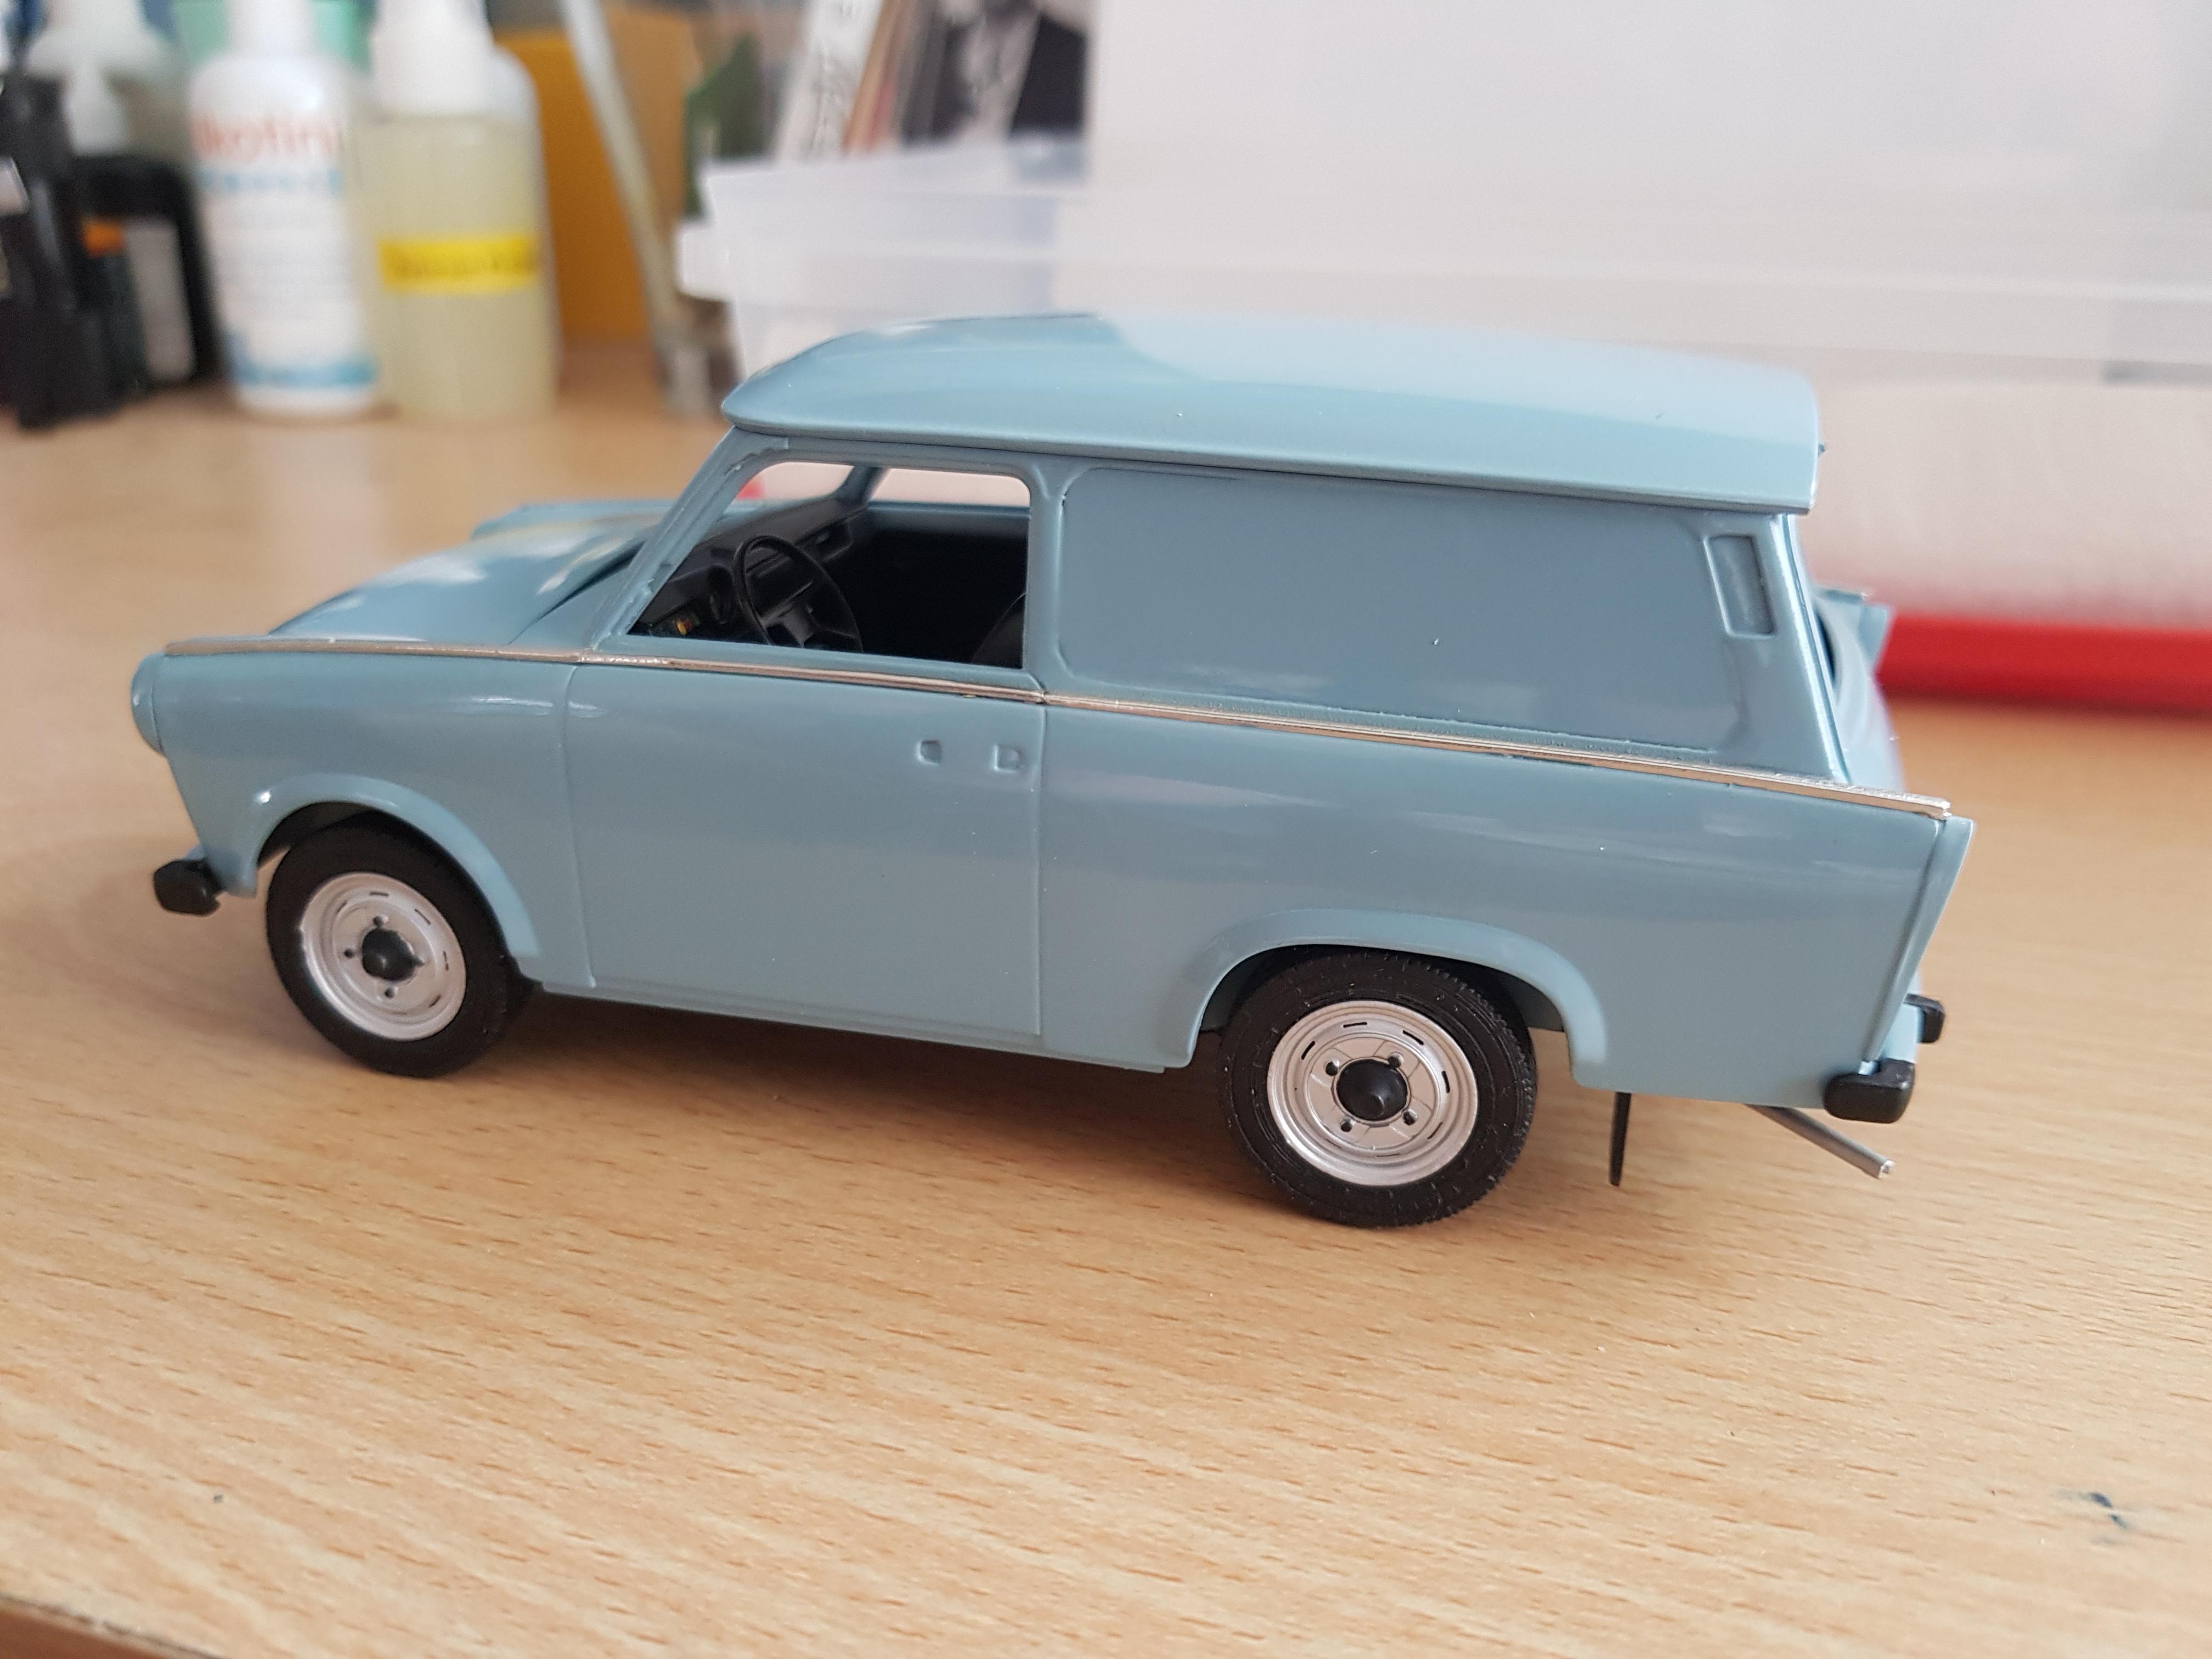
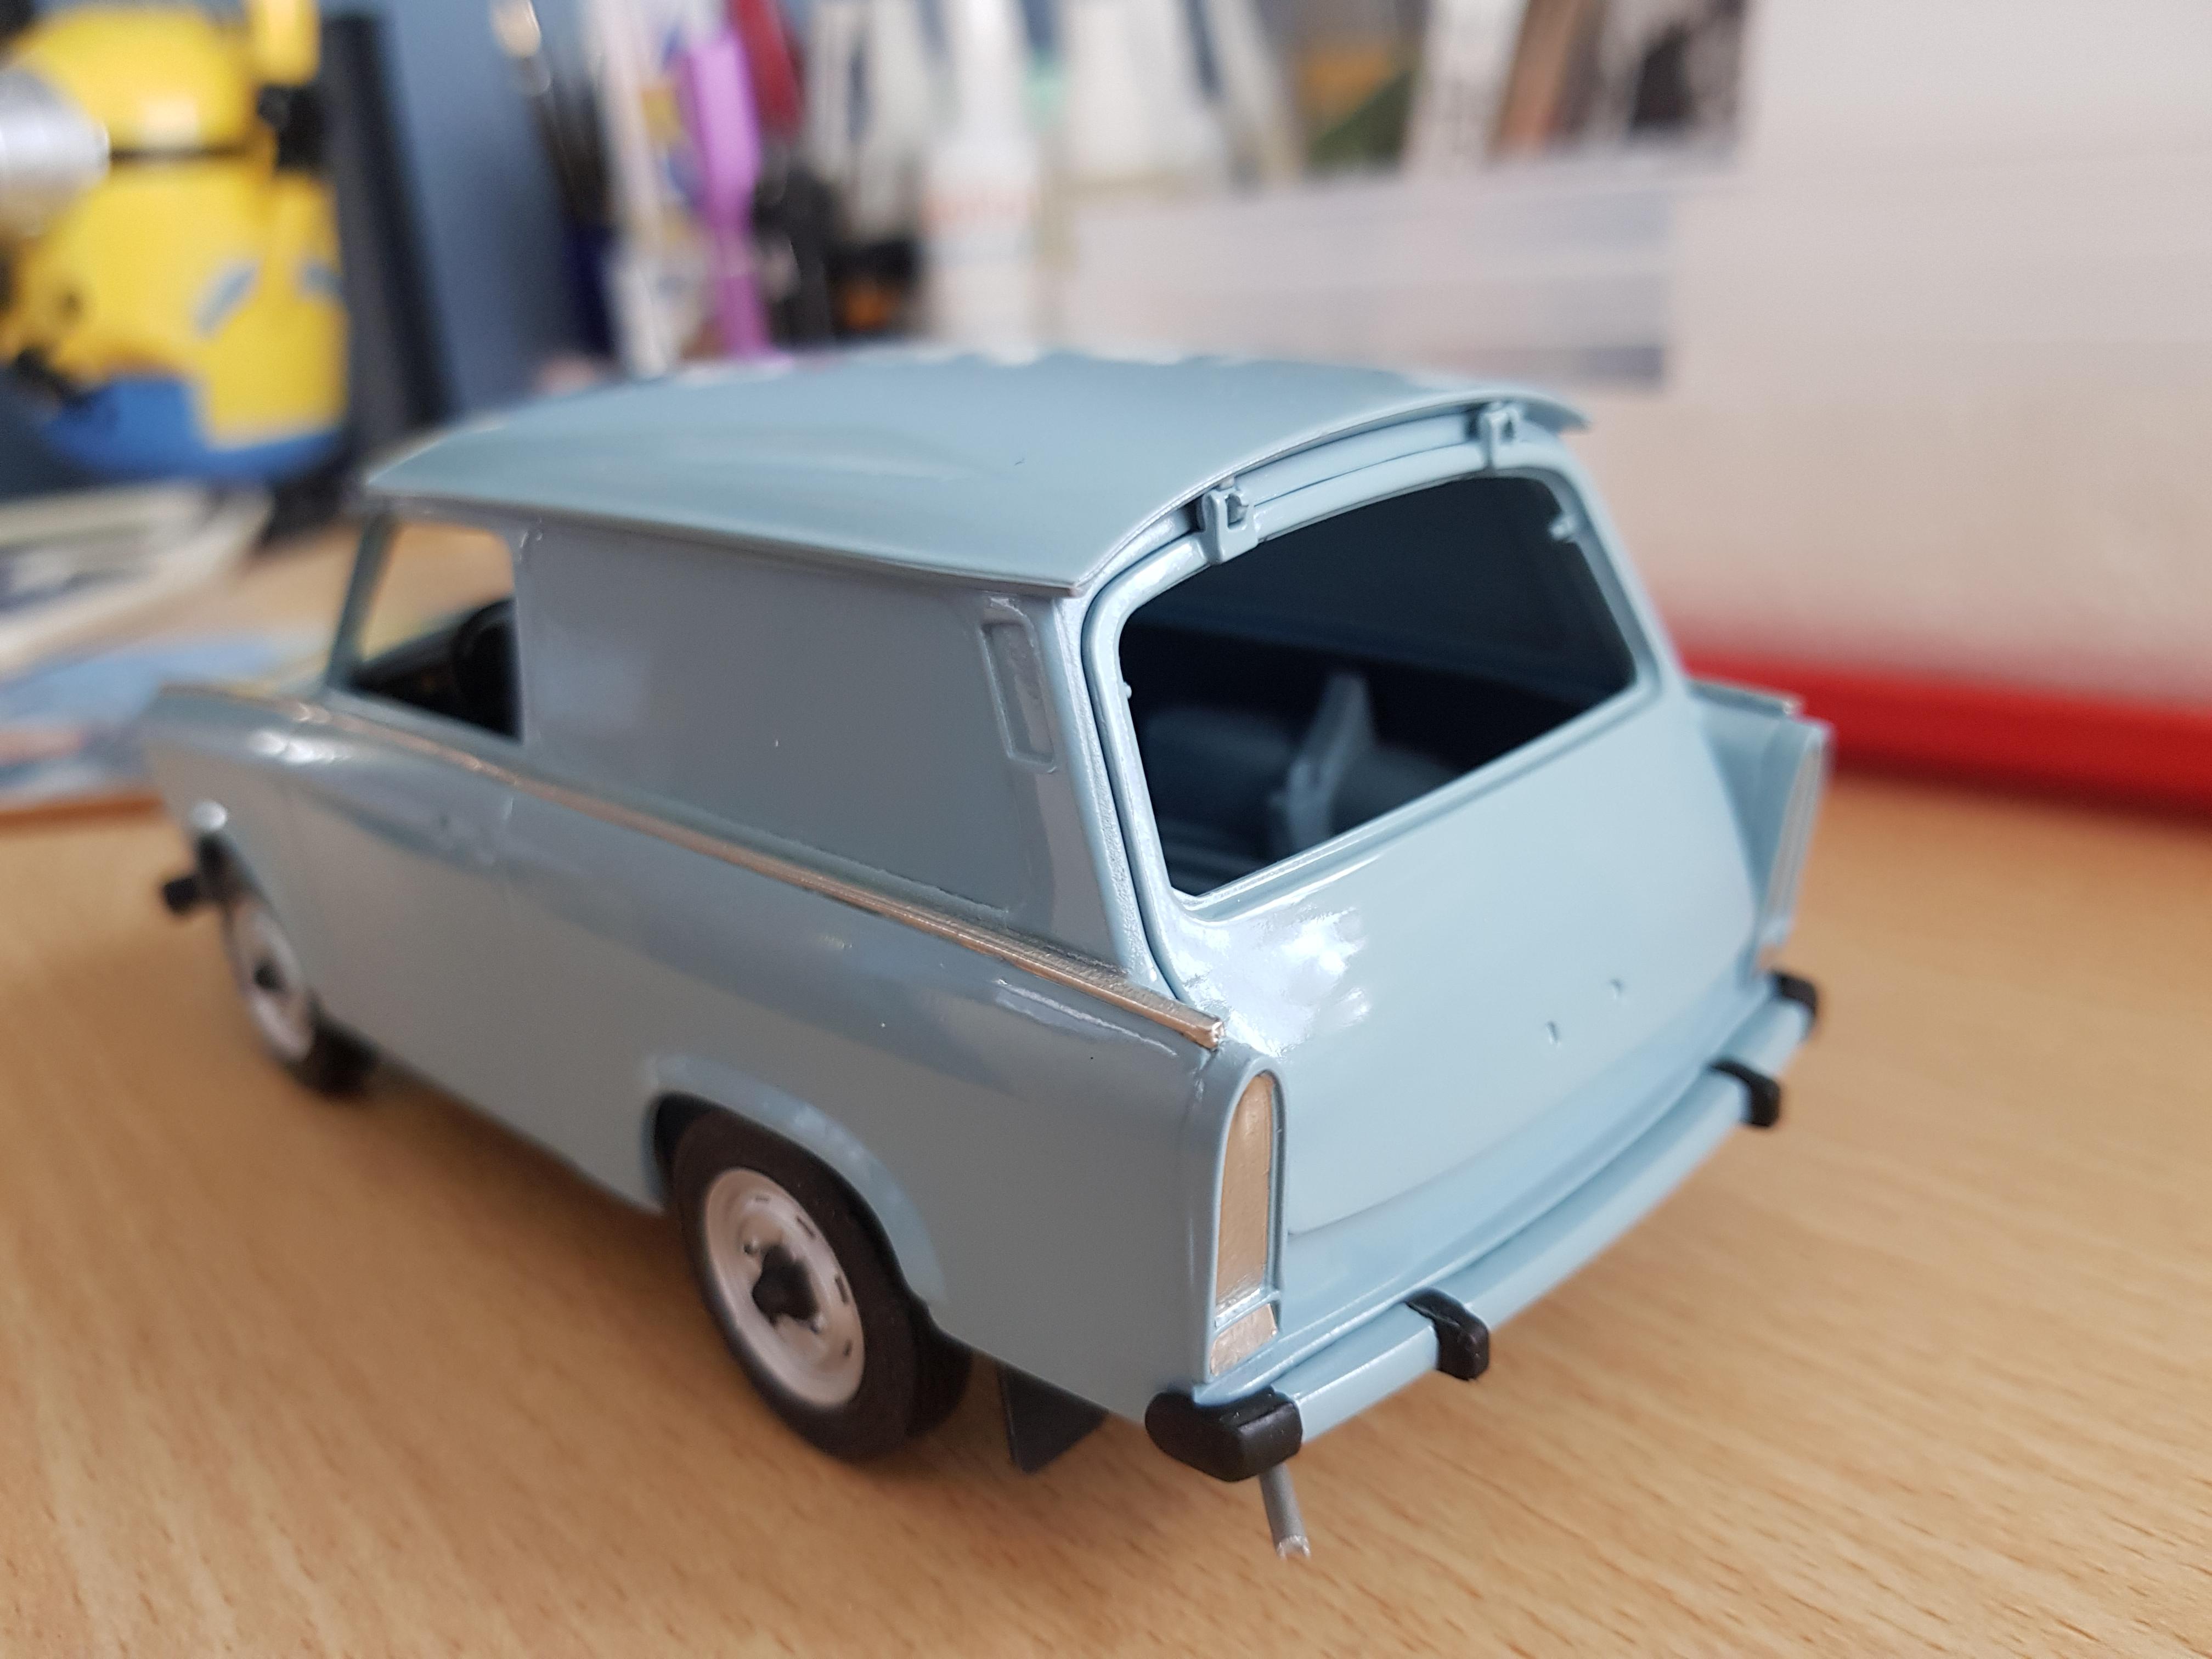
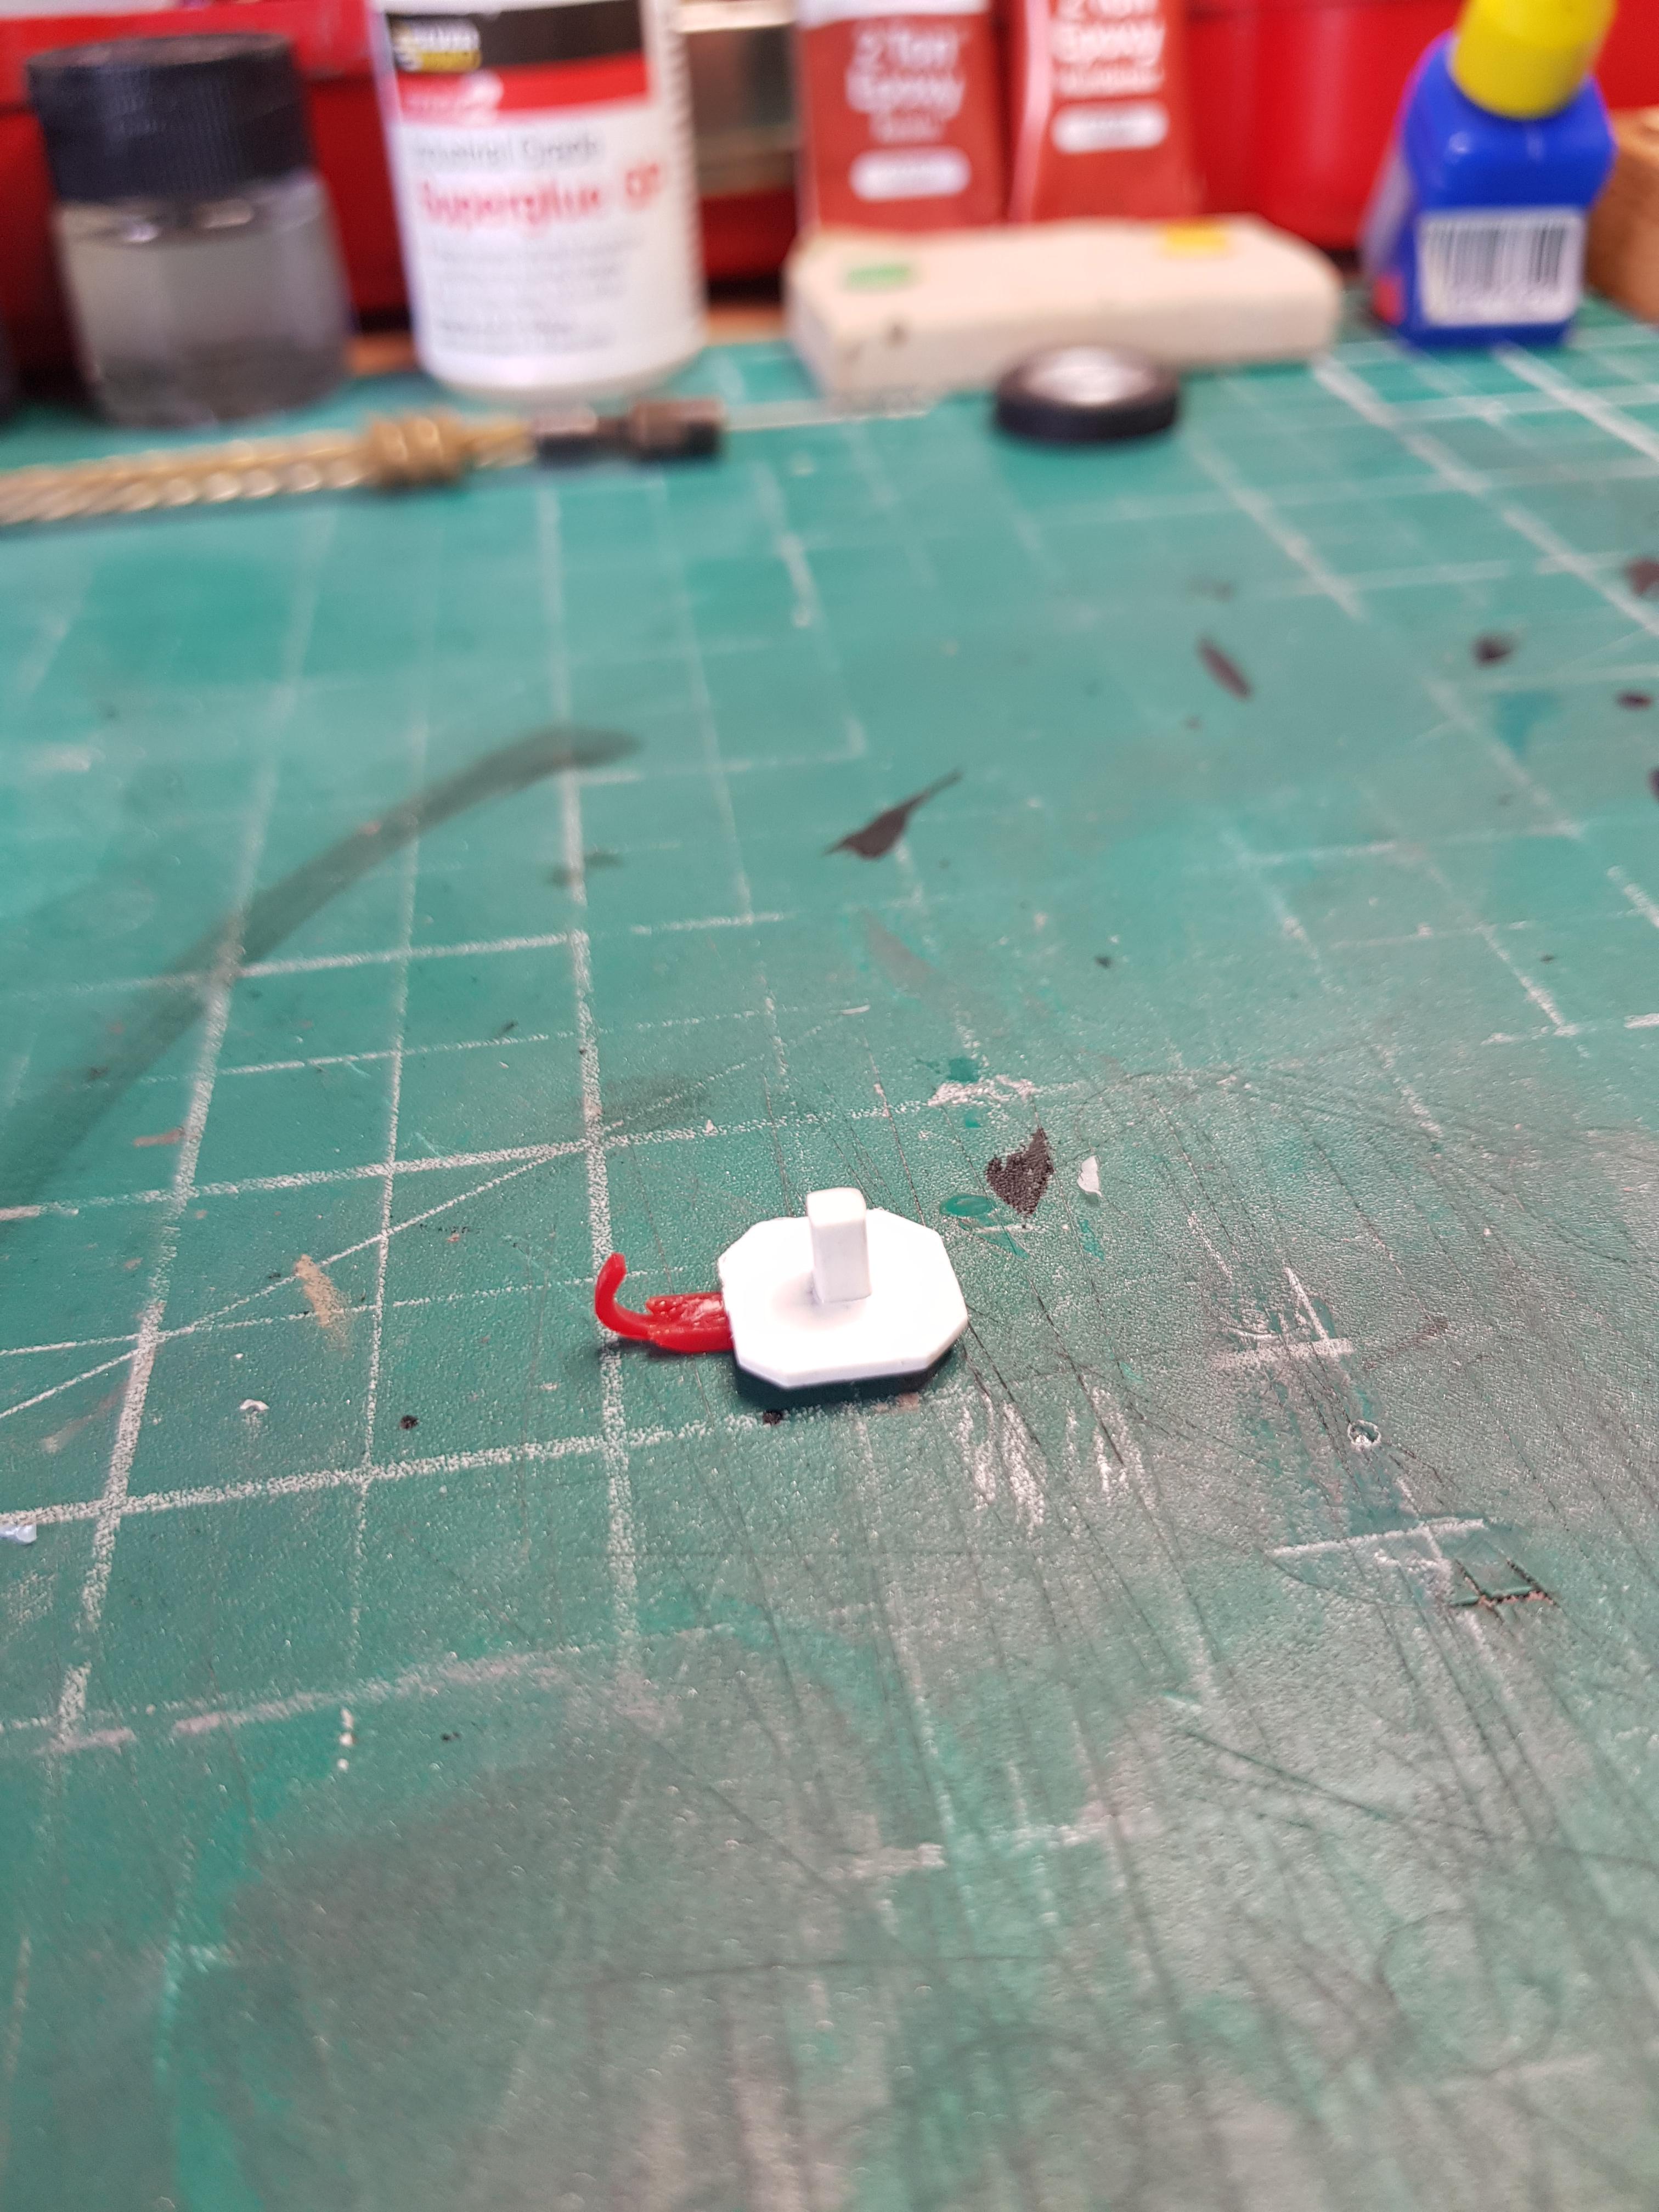
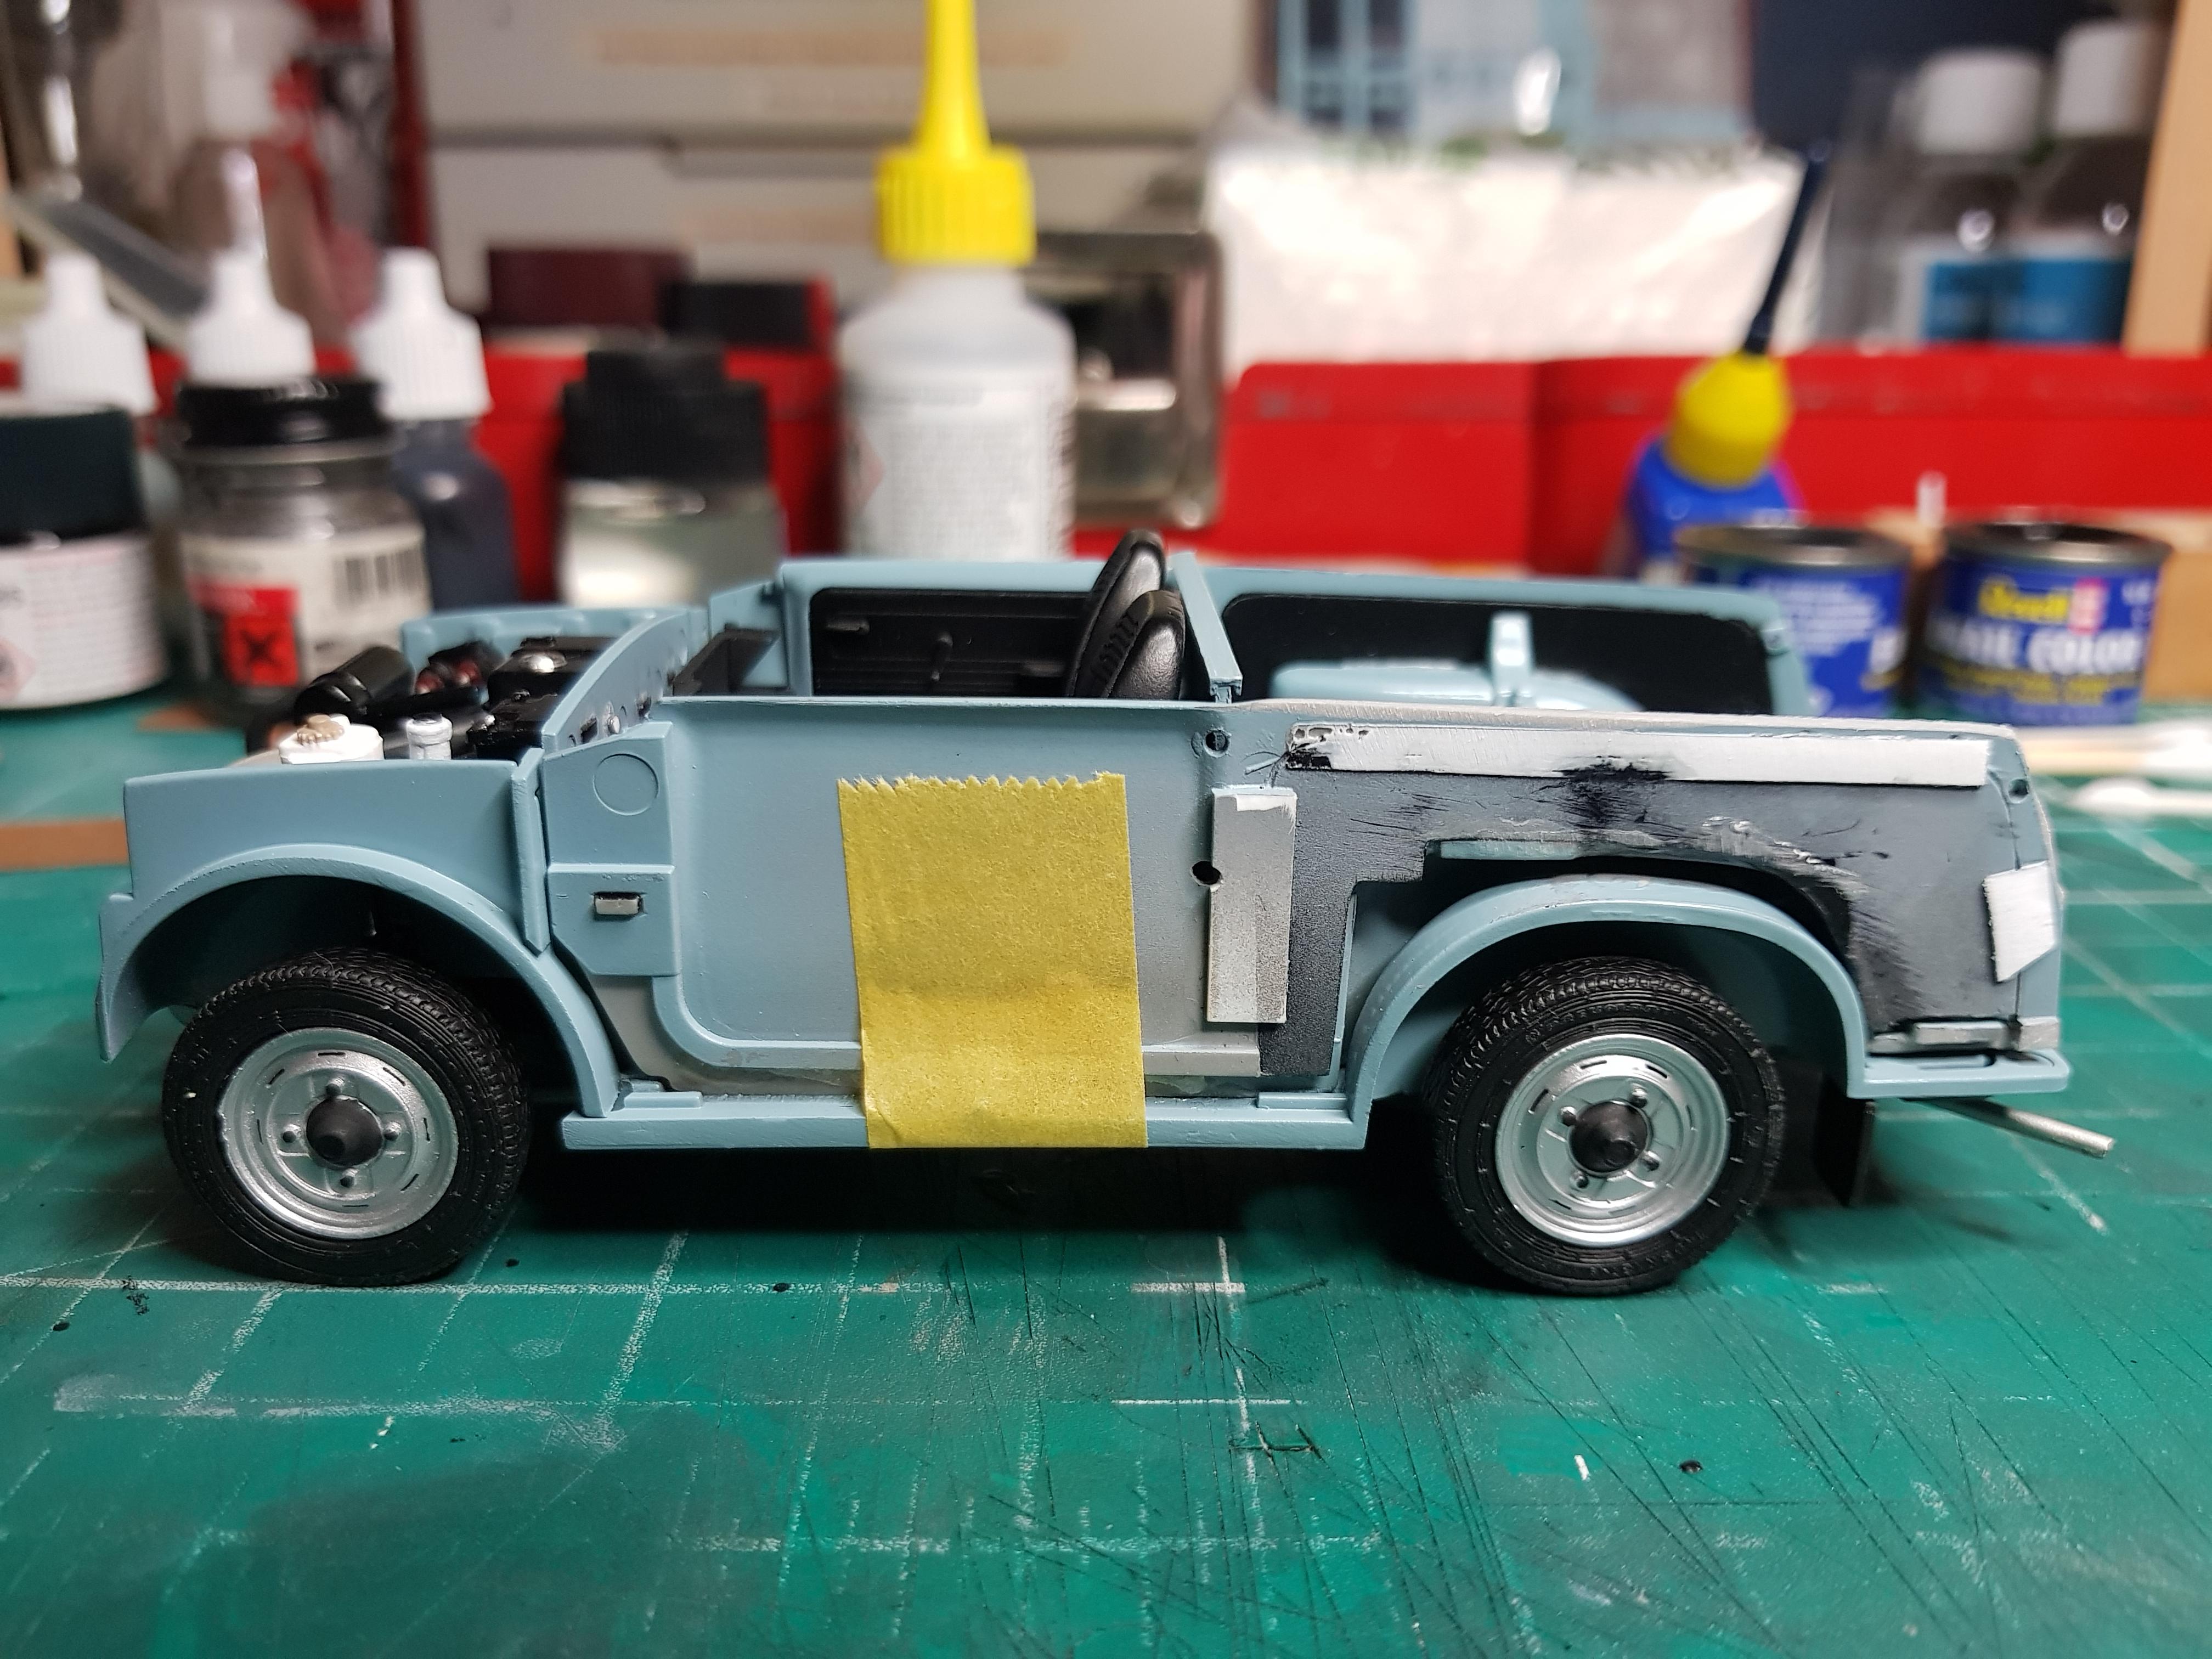
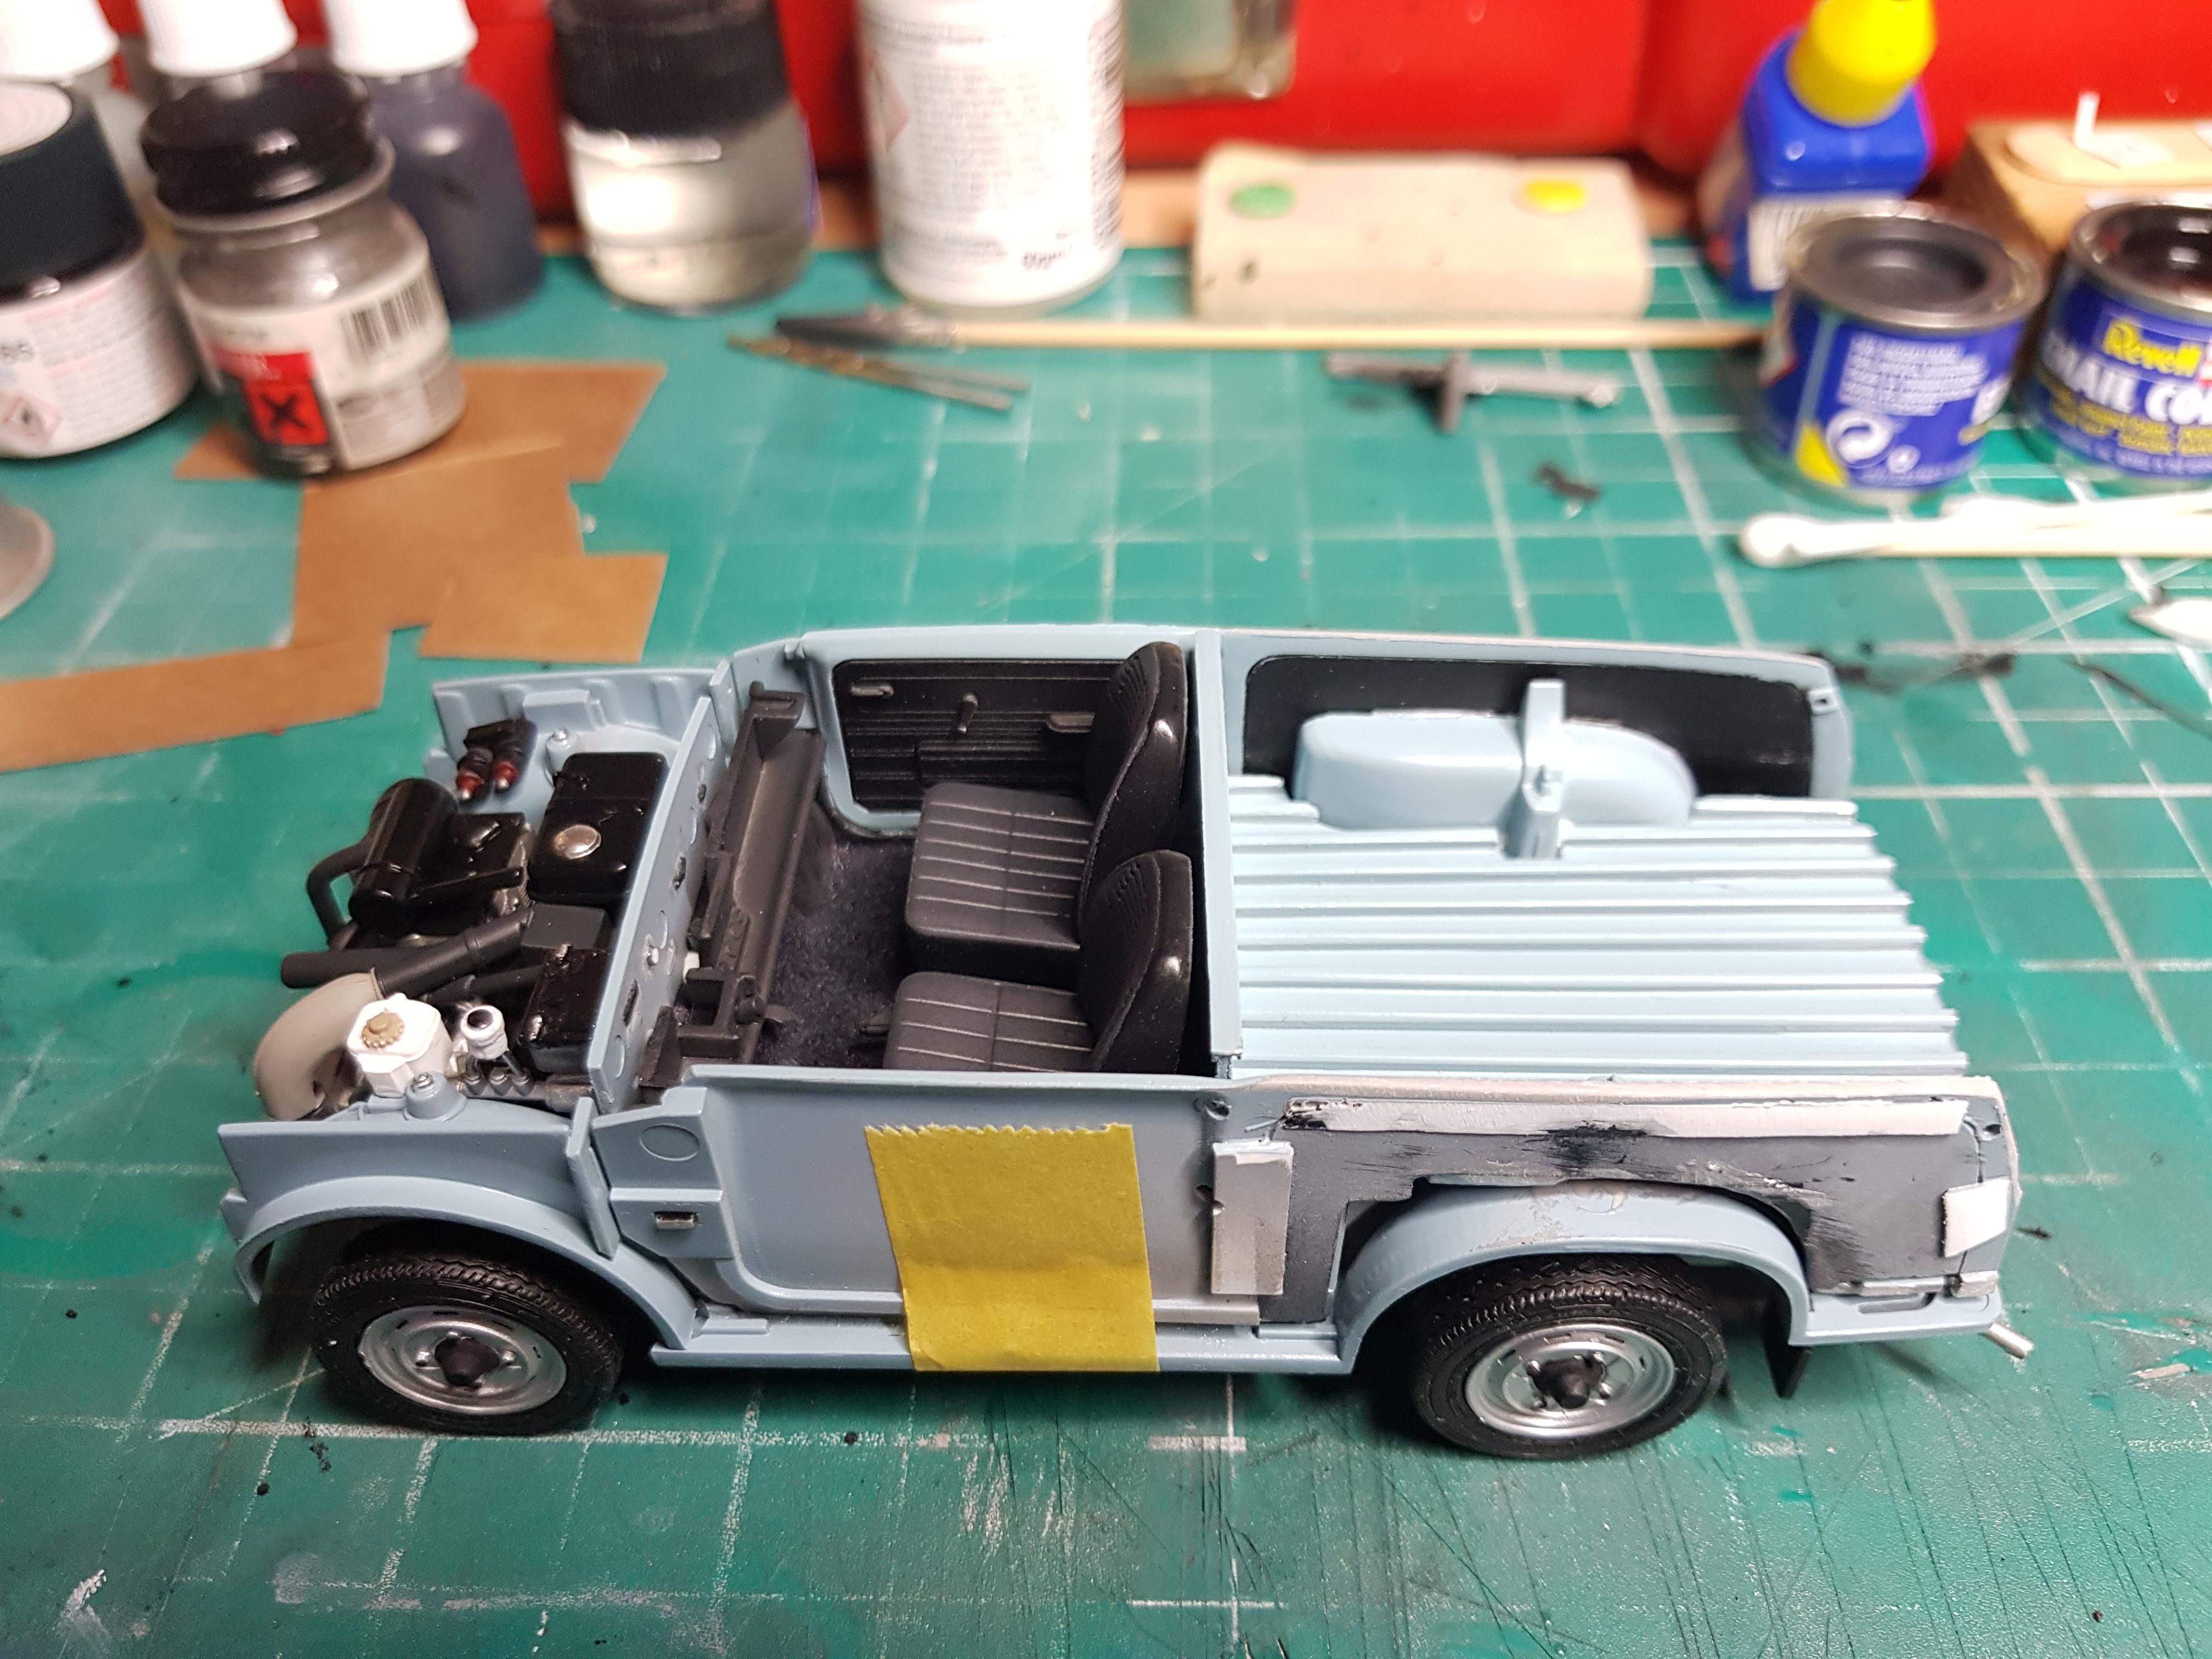
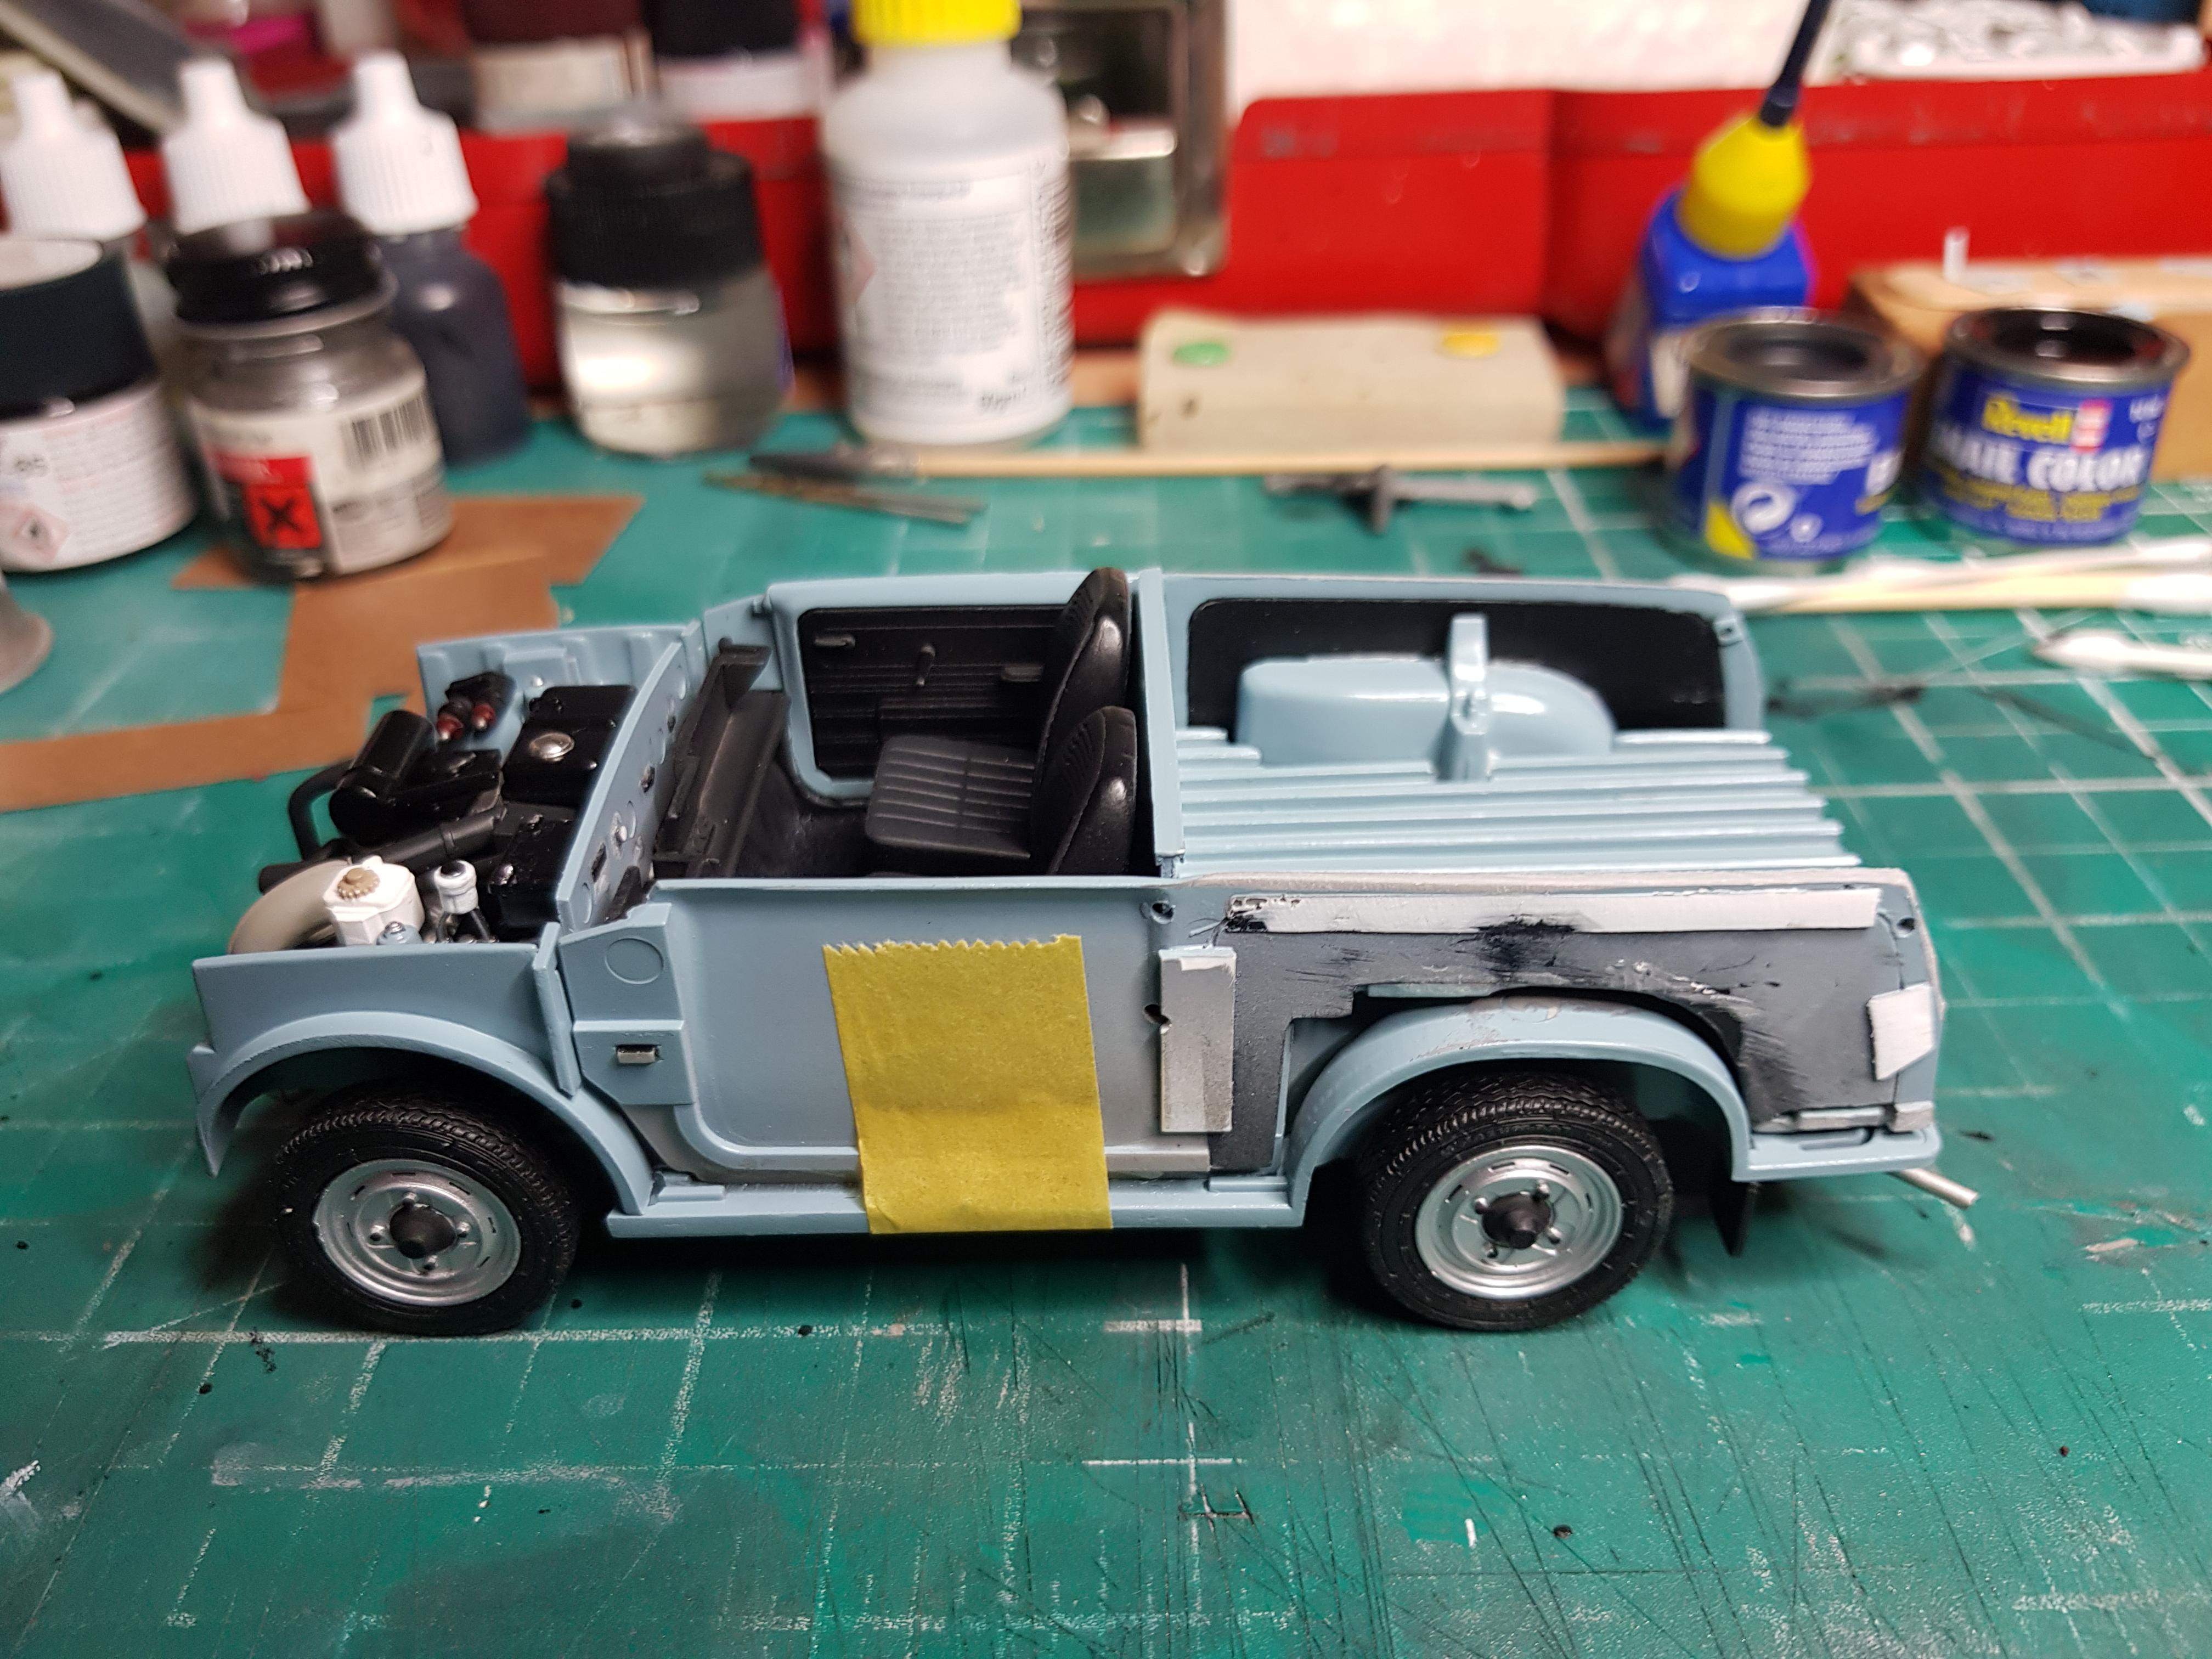
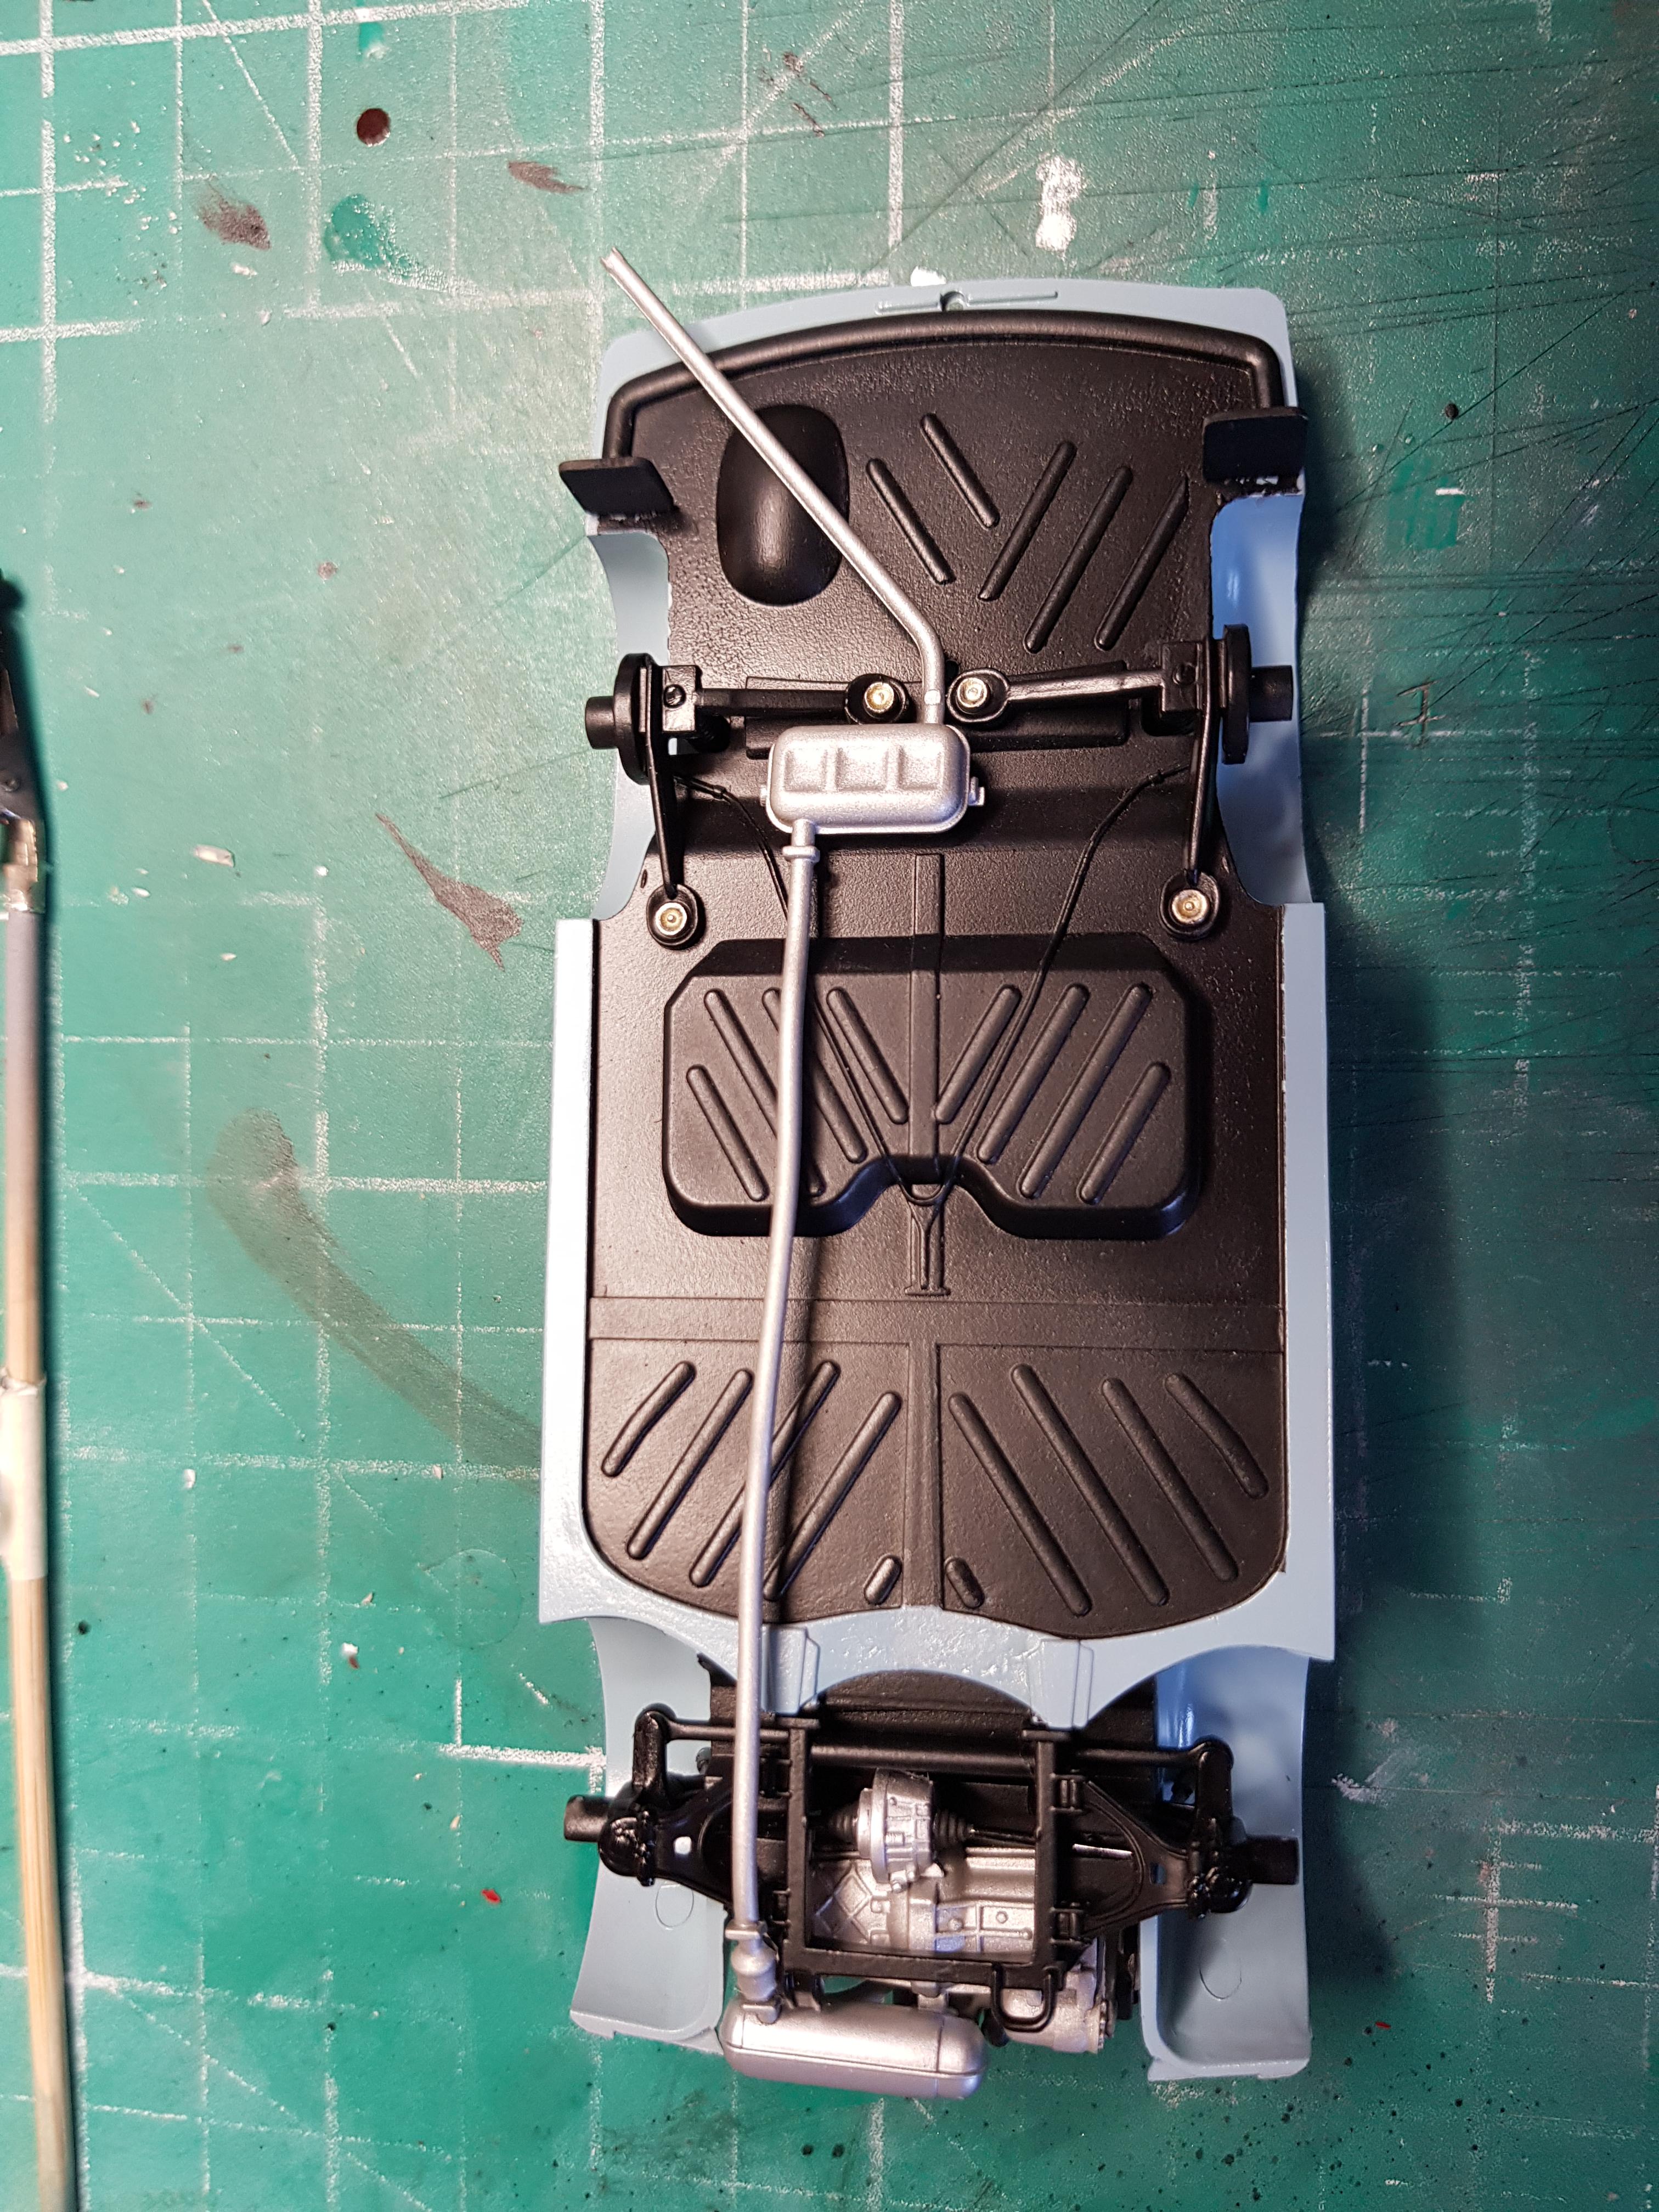
Nearing the finish line, because of the difference between the kit wheel arches and the few photos I've got of the 1:1, it wasn't possible to fit the spare wheel on top of wheel arch, so it will go as close to it as I can get, a spare wheel mount was scratch built from a square of styrene sheet and a few modified parts from the spares box.
-
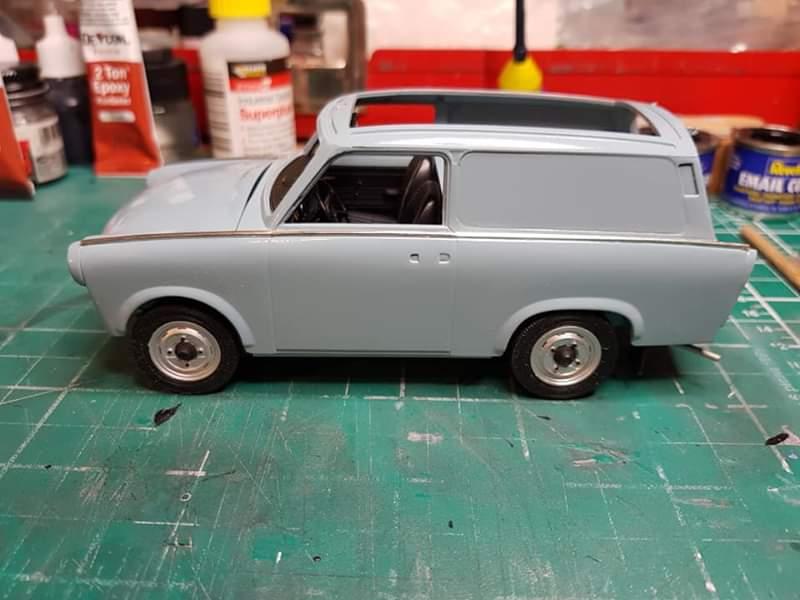
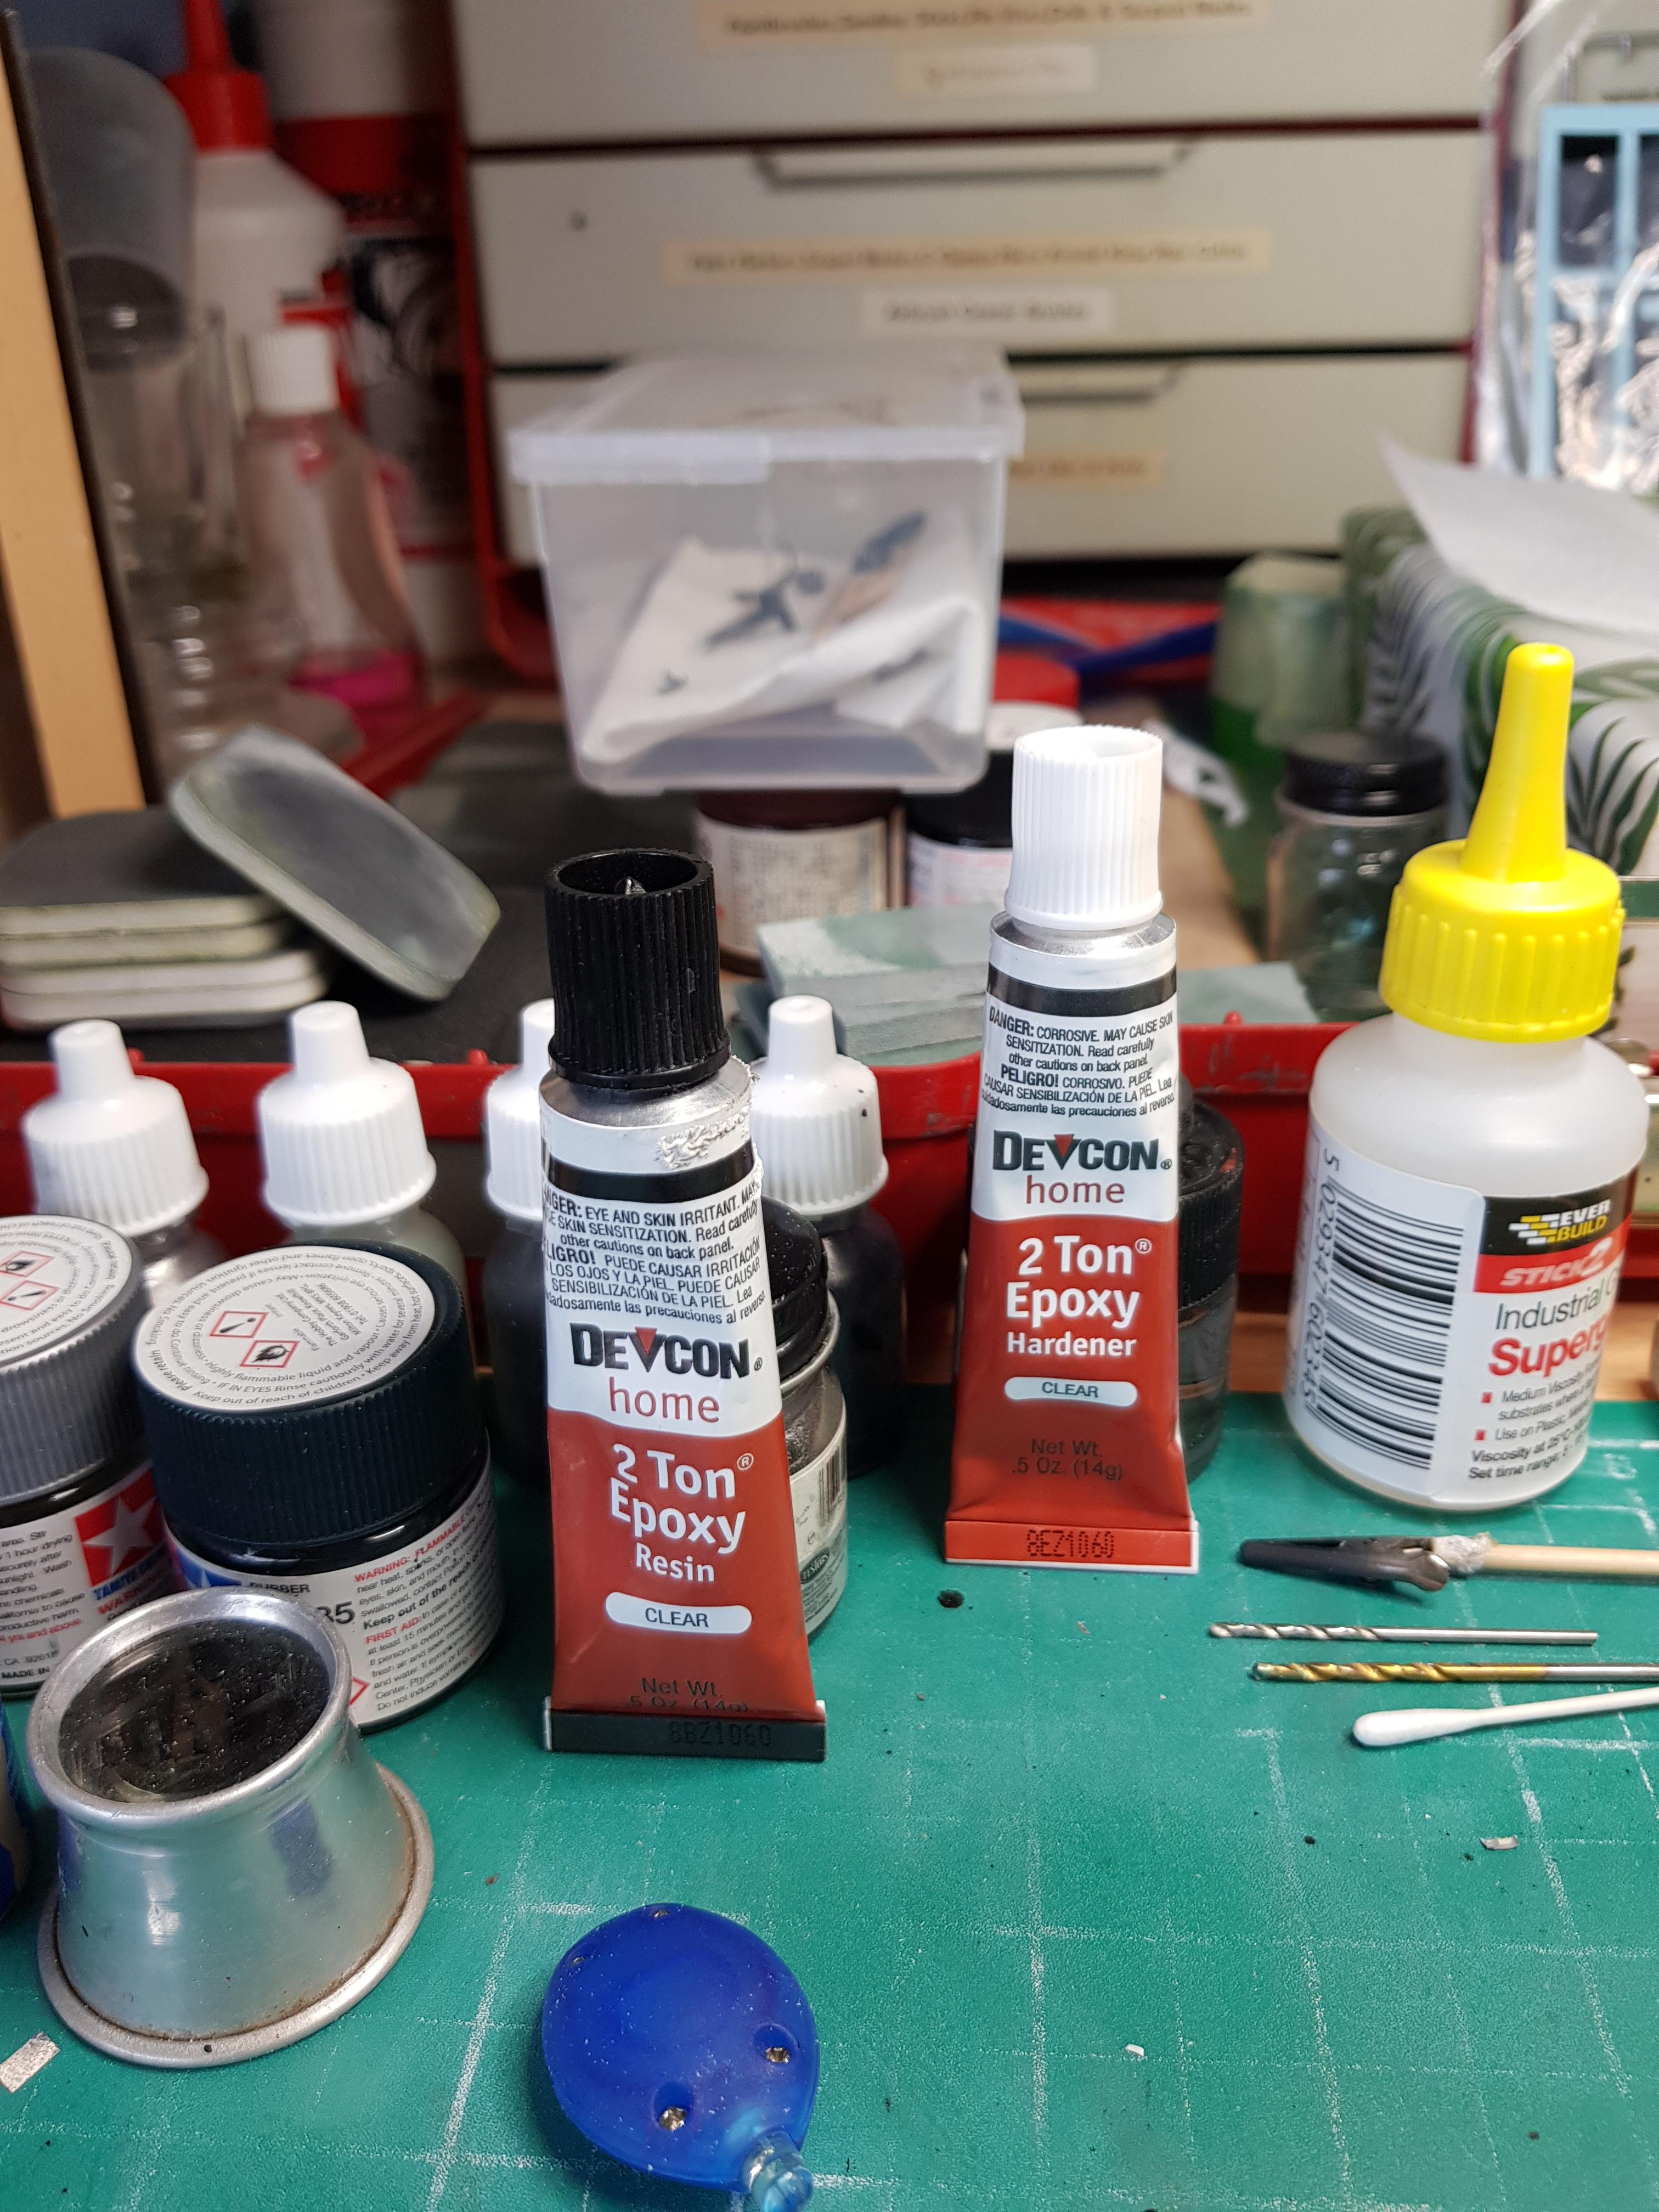
Cheers Dann, can wait to get this one finished, the epoxy glue set up and thankfully all four wheels touch the ground at the same time, got the headlamp lenses fixed in using UV resin
-
Thankfully the epoxy glue arrived this morning, so first thing I did once I got home was to glue the Trabbi together, I think the Devcon will be strong enough
-
Due for re-release later thin year
-
A little more progress this morning before i had to head off to work
-
Apparently....
-
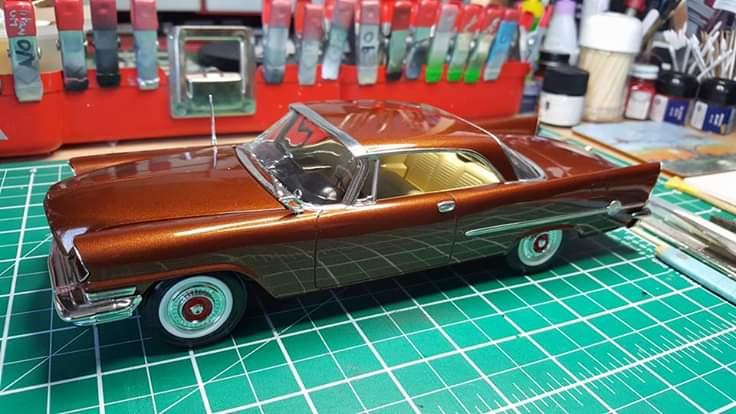
I've never used MCW Lacquer until Mike took it over, as the old company wouldn't ship them overseas, I did actually ask him last week if the metallics needed a clearcoat or could they be polished, he told they polish out just like they would when they painted the real thing at the factory,as his paints are actually PPG Acrylic lacquer, this Chevelle i painted came out glossy straight out of the airbrush, and should look great with a little polish.
-
MCW Lacquer paints are not basecoats, including their metallic finishes, they polish up superb and no need for a clearcoat
-
I could get my paints a lot cheaper if I bought them from Gravity in Spain, but they require clear coating, I prefer paints that I can polish out, like the real vehicle would have been painted with, I tried Scale finishes, but that got stripped,as it never actually dried, and the paint actually had dust in it, so now I use nothing but MCW lacquer for all my American vehicles, they really are the best I've used.
-
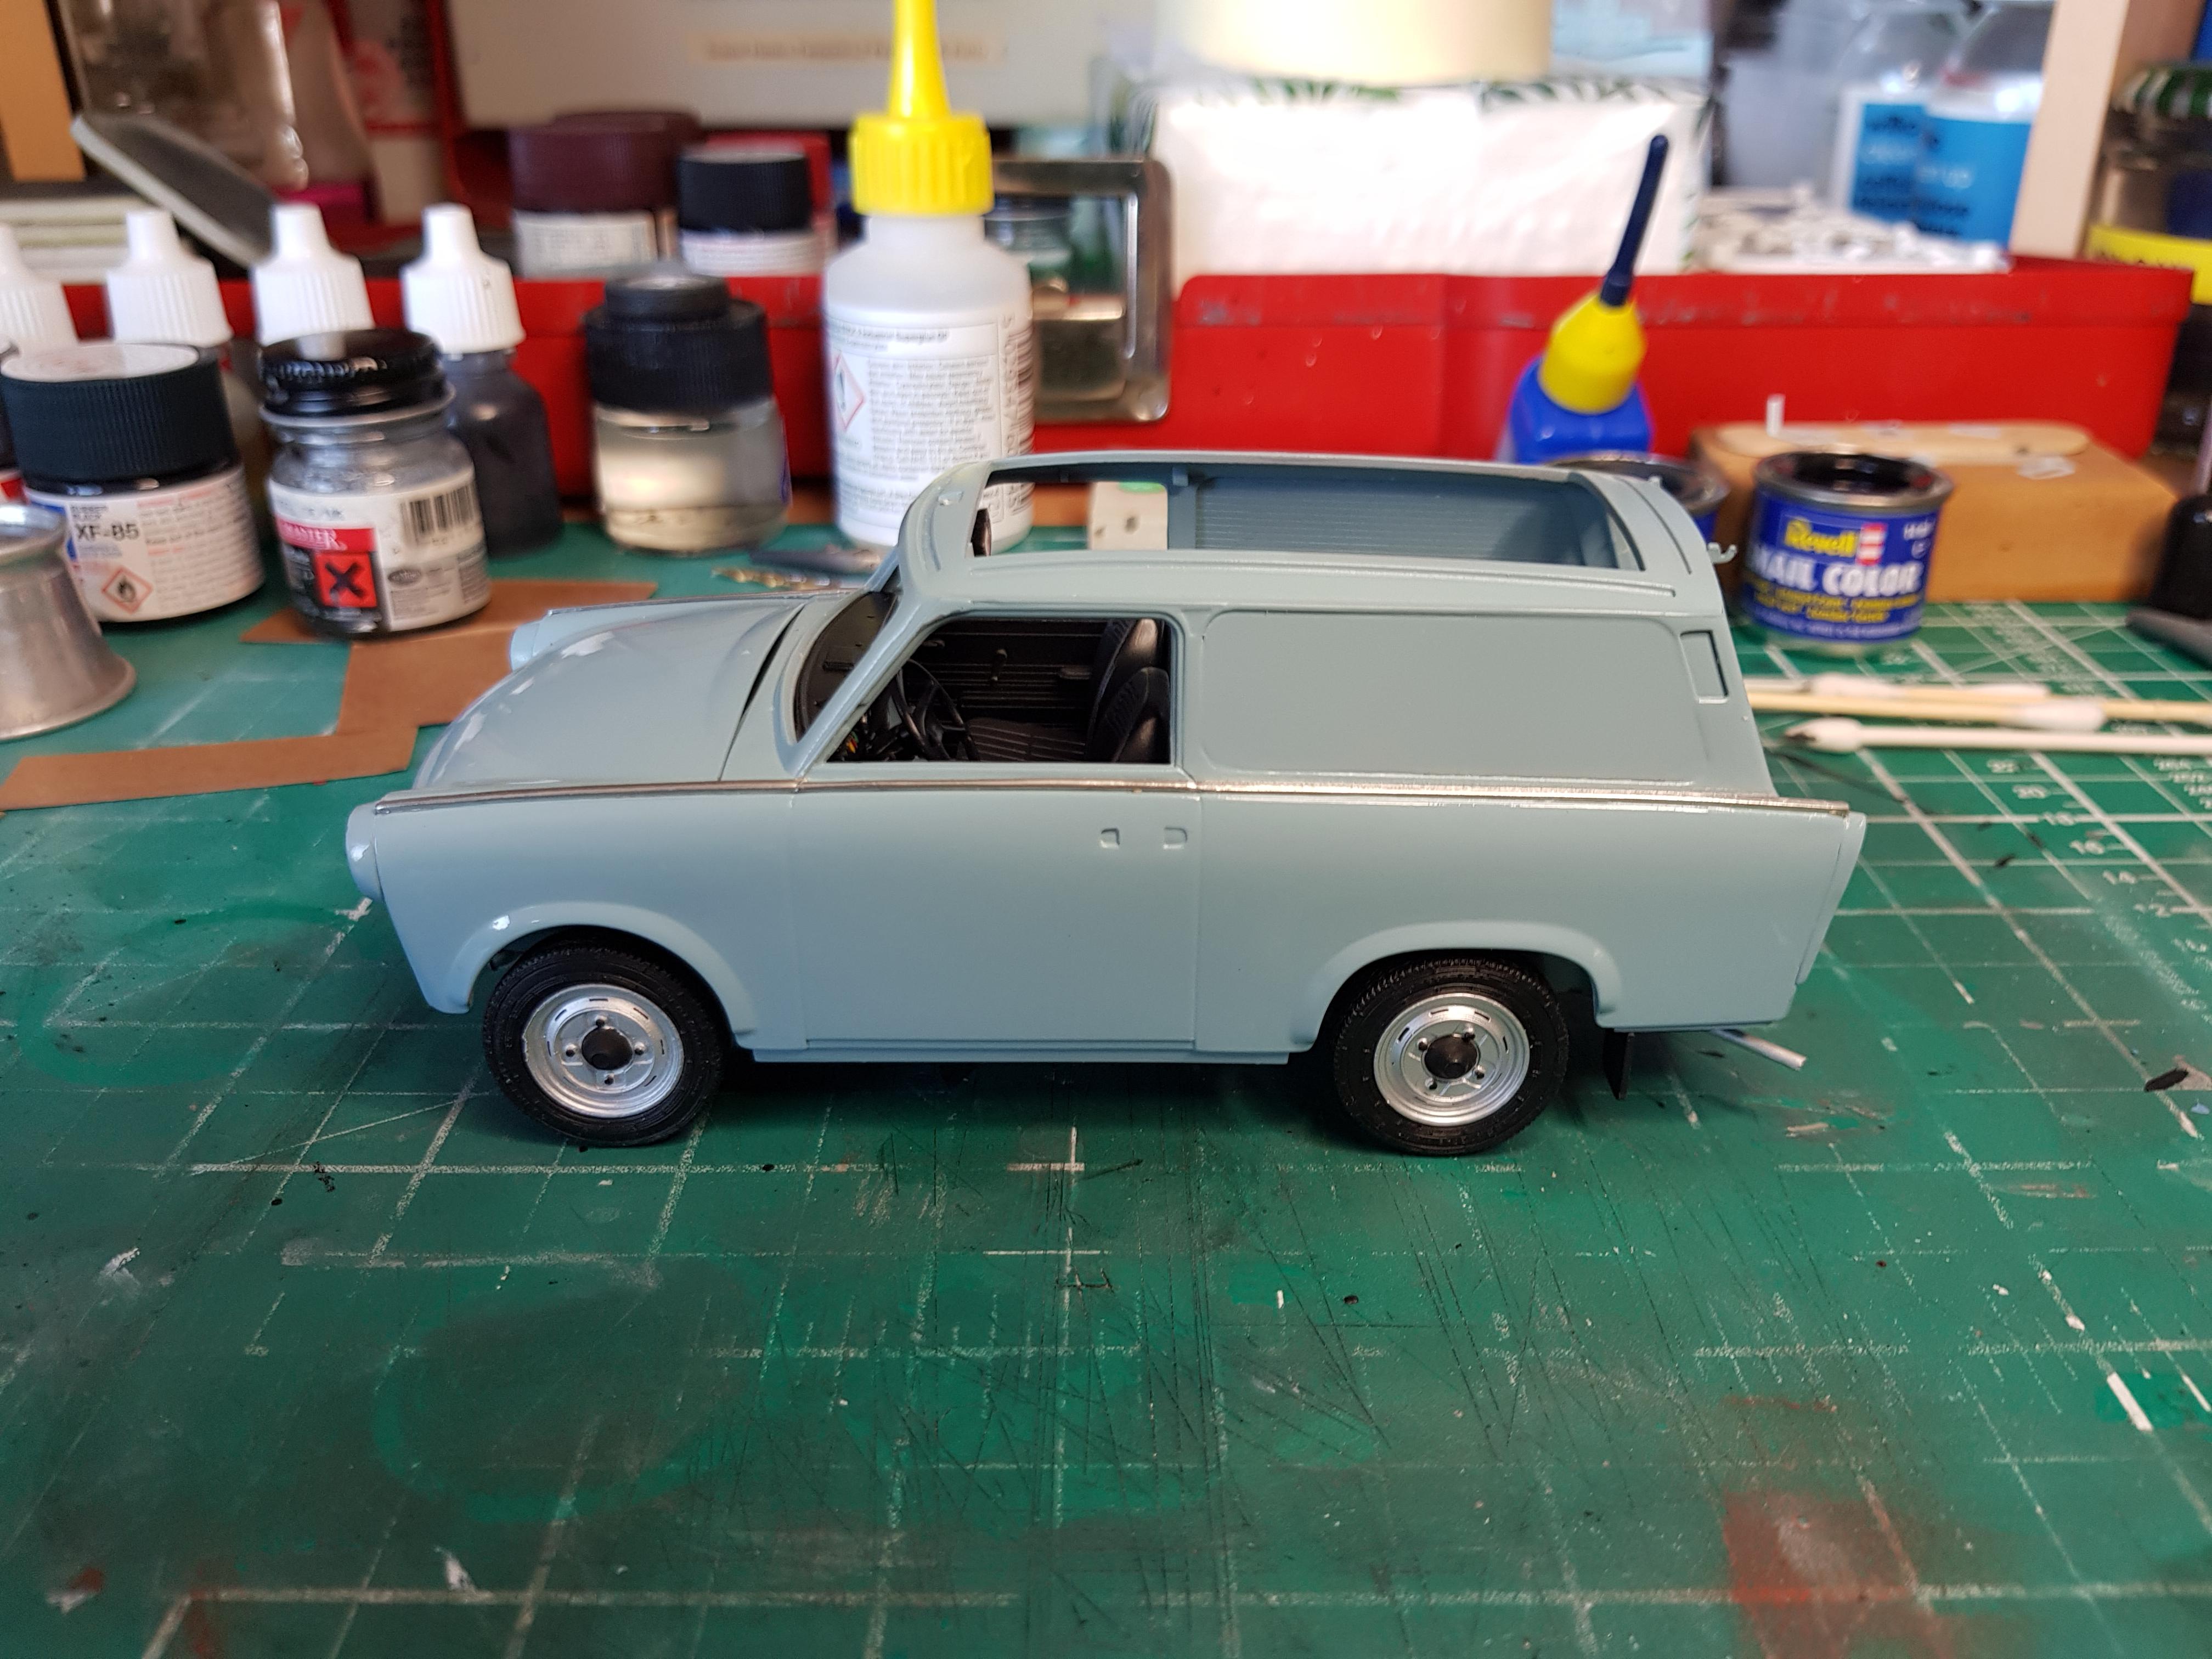
Body and chassis dry fitted together, just waiting for some slow setting epoxy to arrive so I can finally get them fitted together permanently, starting to do the headlamp reflectors in aluminium Bare metal foil
-
I've built 2 saloons and a universal already, all painted in genuine Trabant colours which i had to import from Germany.
-
 I picked mine up this side of the pond for the equivalent of $21 with the shipping.
 -
A little more progress today
-
Engine compartment finished, just the towbar to fit onto the chassis,although the Instructions say to fit it before the exhaust goes on, it will actually fit afterwards.
-
Land Rover
GeeBee replied to mrmike's topic in WIP: Model Trucks: Pickups, Vans, SUVs, Light Commercial
Glad to be of help, just shout out if you need anymore info' -
I built the standard non pre painted kit a few years ago, went together without any problems at all, you'll enjoy building this one.
-
Land Rover
GeeBee replied to mrmike's topic in WIP: Model Trucks: Pickups, Vans, SUVs, Light Commercial
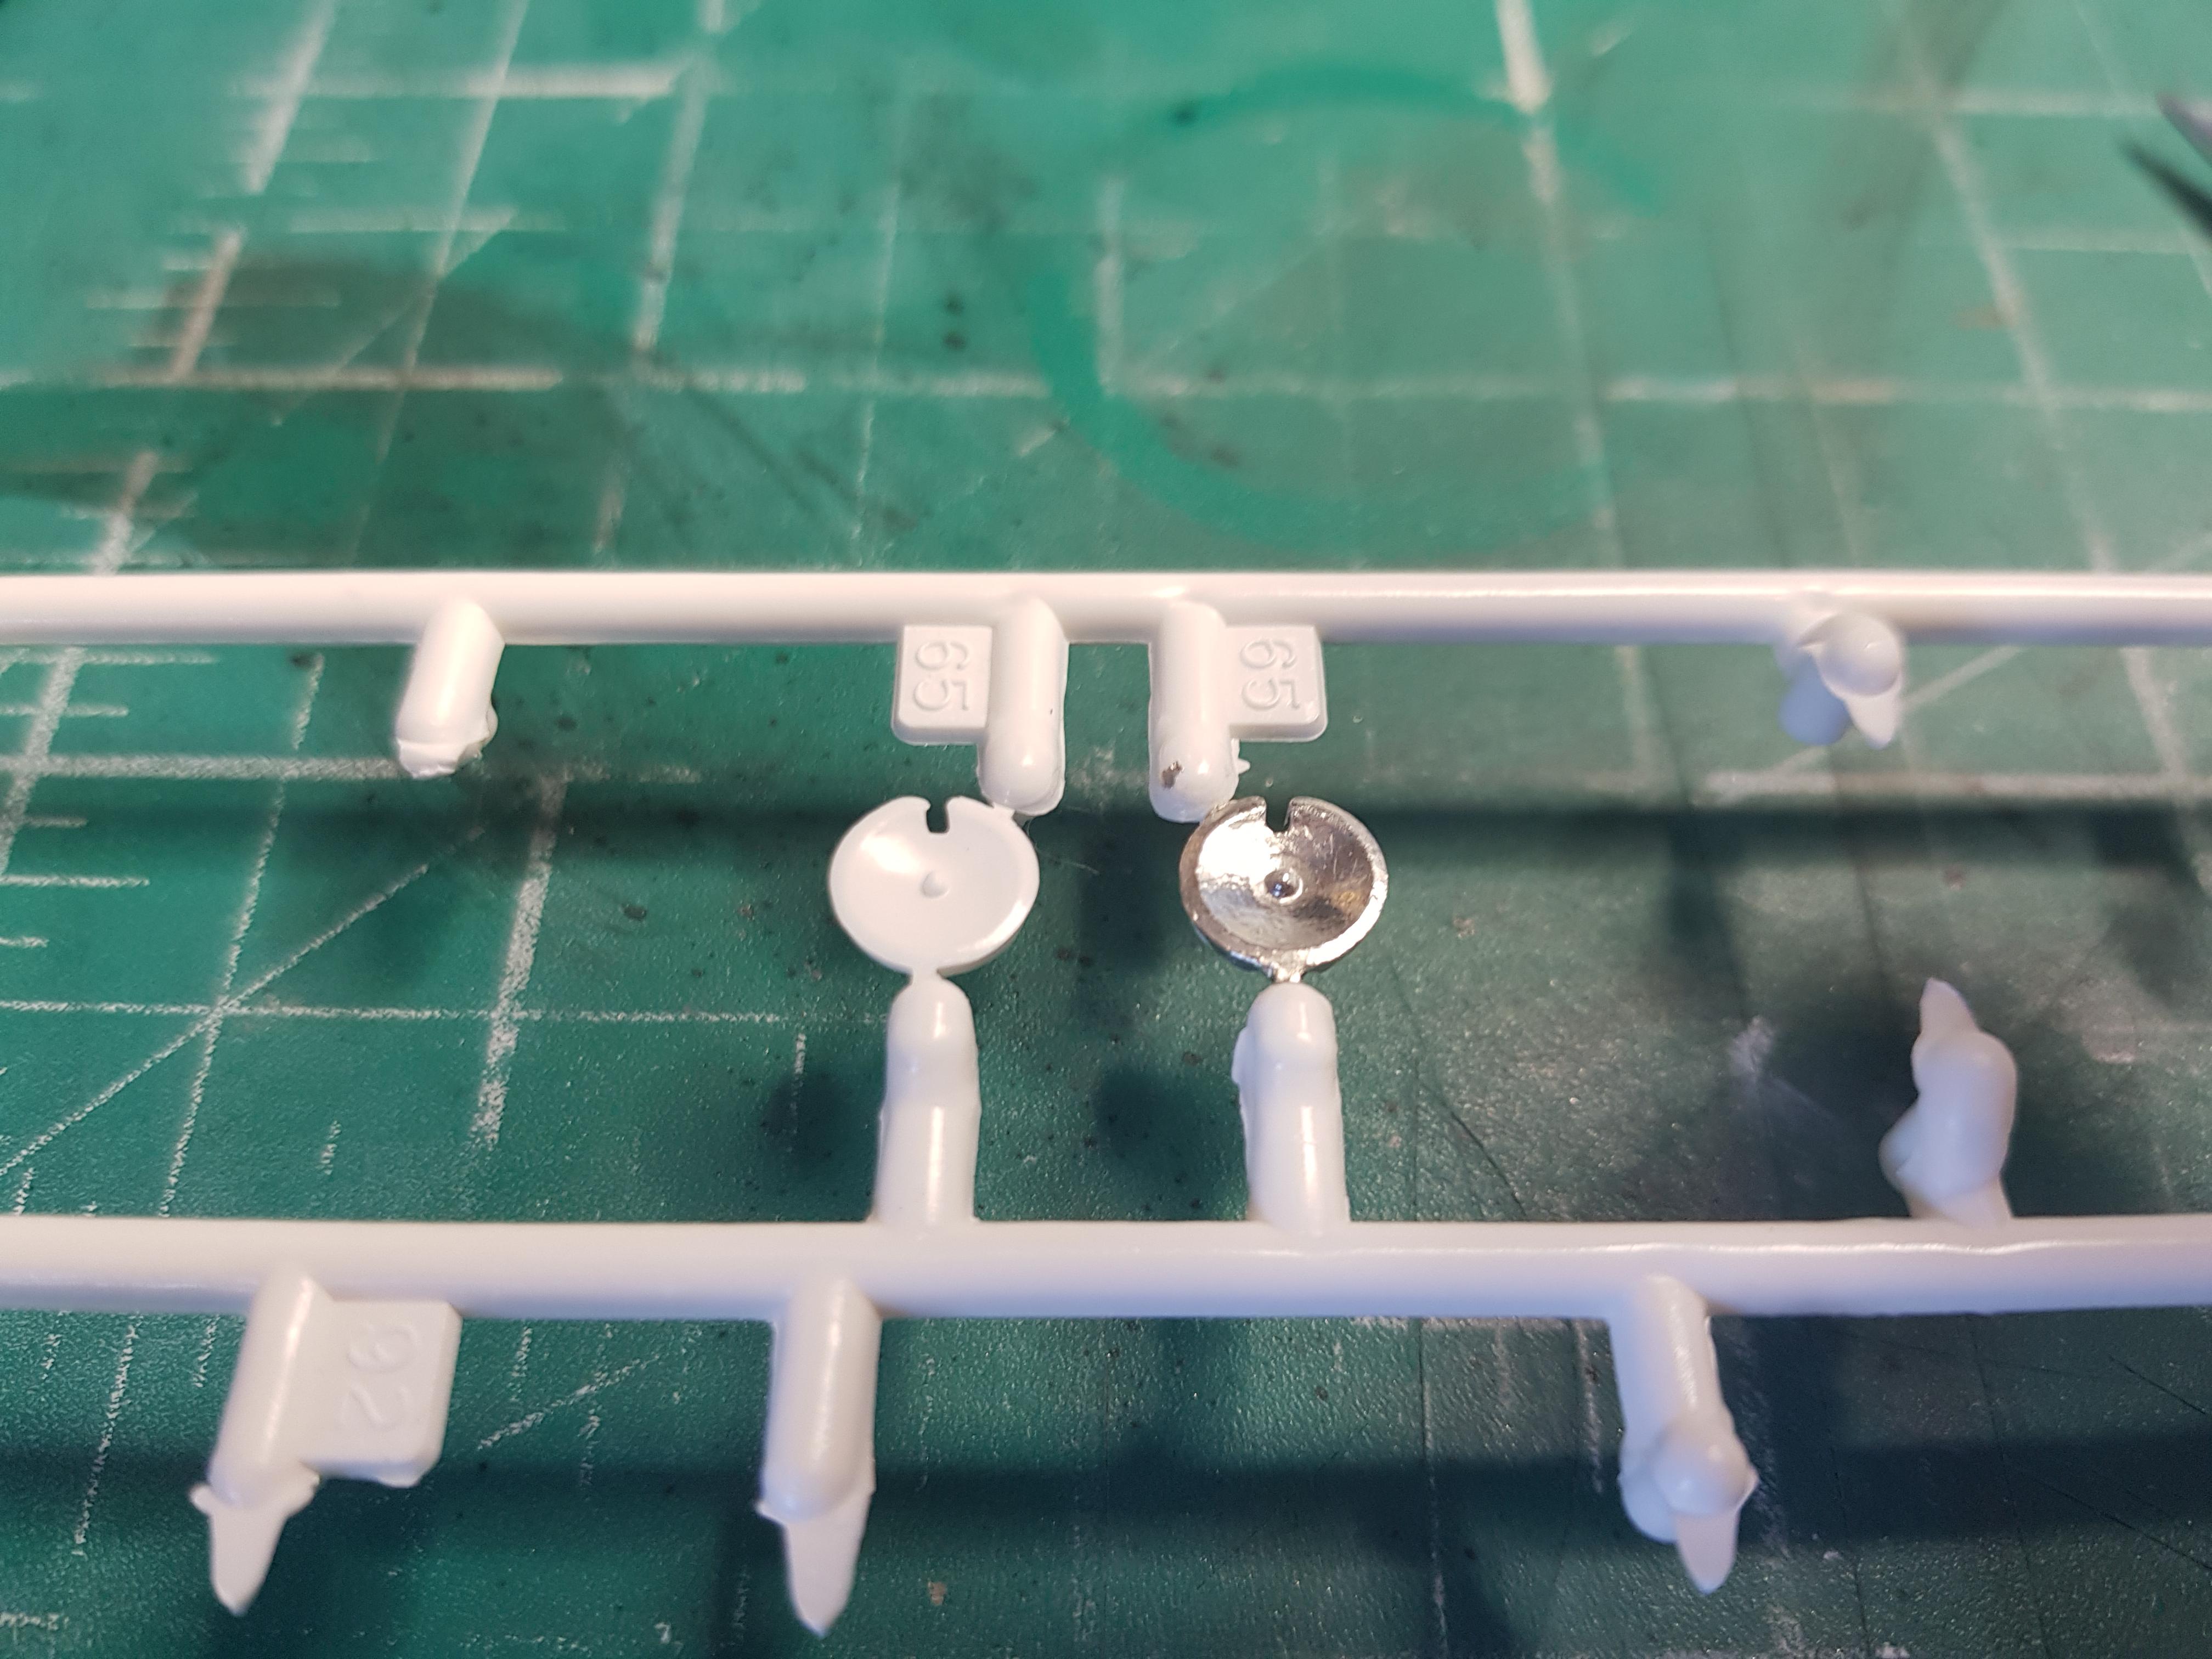
the distributor goes in a slightly different position above the oil filter,it was driven off the camshaft.
-
Another one added to the stash
-
I was speaking to my contact at Revell yesterday, I was told the release date was 1st of November for U.K release.
-
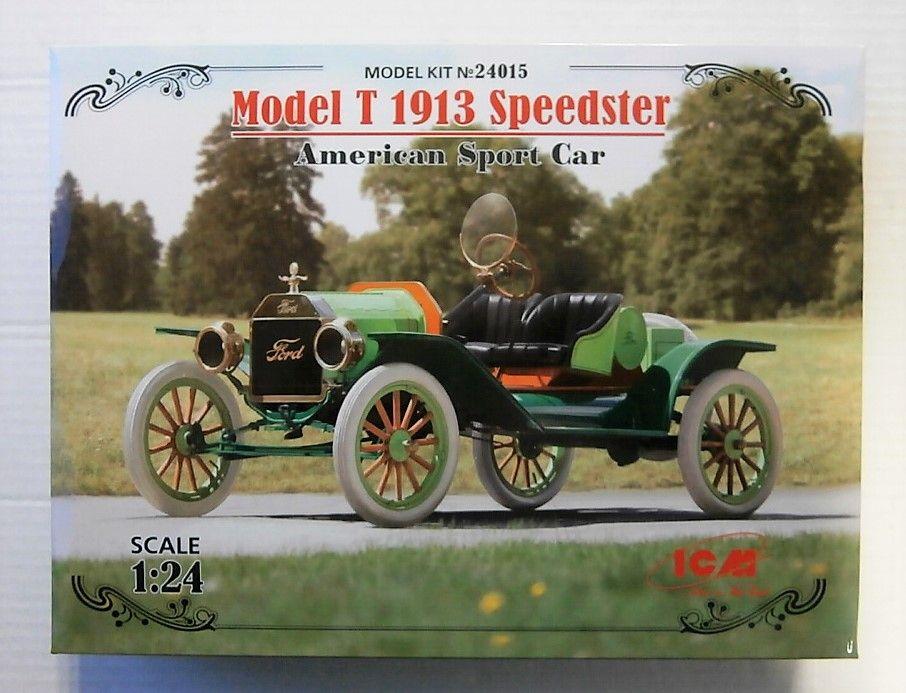
I'll be getting one of these soon, the Revell one arrived this morning, quality looks great, it's a ICM model reboxed with a sheet of very nice decals.
-
One simply can't have enough Ford Model T's, do I've just ordered one of these
-
Very nice, when i was working for VW back in the late 80's and mid 90's, one of the staff was restoring one of these, I wonder if he ever finished it.....
-
Very nice build, the dark green really suits these old British cars.