MarcelT4
-
Posts
231 -
Joined
-
Last visited
Content Type
Profiles
Forums
Events
Gallery
Everything posted by MarcelT4
-
Who doesn't love a mock-up? Let's see yours!
MarcelT4 replied to Belairconvertable's topic in WIP: Model Cars
Now with a little putty and new primer.
-
Who doesn't love a mock-up? Let's see yours!
MarcelT4 replied to Belairconvertable's topic in WIP: Model Cars
I created and 3D printed the grille. -
Who doesn't love a mock-up? Let's see yours!
MarcelT4 replied to Belairconvertable's topic in WIP: Model Cars
My new project.
-
More pics wip.
-
Hello, I have a 1968 Camaro modified with all the technology of the 2010 Camaro. The front & rear axle with all the suspensions were installed. Also the exhaust system is from the 2010 Camaro. The center section of the new model was integrated into the hood. The taillights I have made with 3D printing. The decals are self made.
-
Who doesn't love a mock-up? Let's see yours!
MarcelT4 replied to Belairconvertable's topic in WIP: Model Cars
And now finish.
-
Who doesn't love a mock-up? Let's see yours!
MarcelT4 replied to Belairconvertable's topic in WIP: Model Cars
Today clear coat.
-
Who doesn't love a mock-up? Let's see yours!
MarcelT4 replied to Belairconvertable's topic in WIP: Model Cars
1971 Plymouth Duster
-
I made the side parts myself. From Sheet.
-
Here a few WIP pics.
-
Starter kit are this https://images.app.goo.gl/aULAXnN1qv28ckcR6 It is a monogram.
-
Hello, here I show you my 1939 Chevrolet from Revell. The roof is chopped. The rear fenders were widened and moved up. The front fenders were also widened and the running boards were adapted. The chassis is changed, all suspensions and rear axle are selfmade. LS3 engine with Supercharger. The paint is Candy-Blue 2 over silver and 2K clear coat. The rims were created and printed by myself. Also the interior in Corvette C2 style
-
Thank you
-
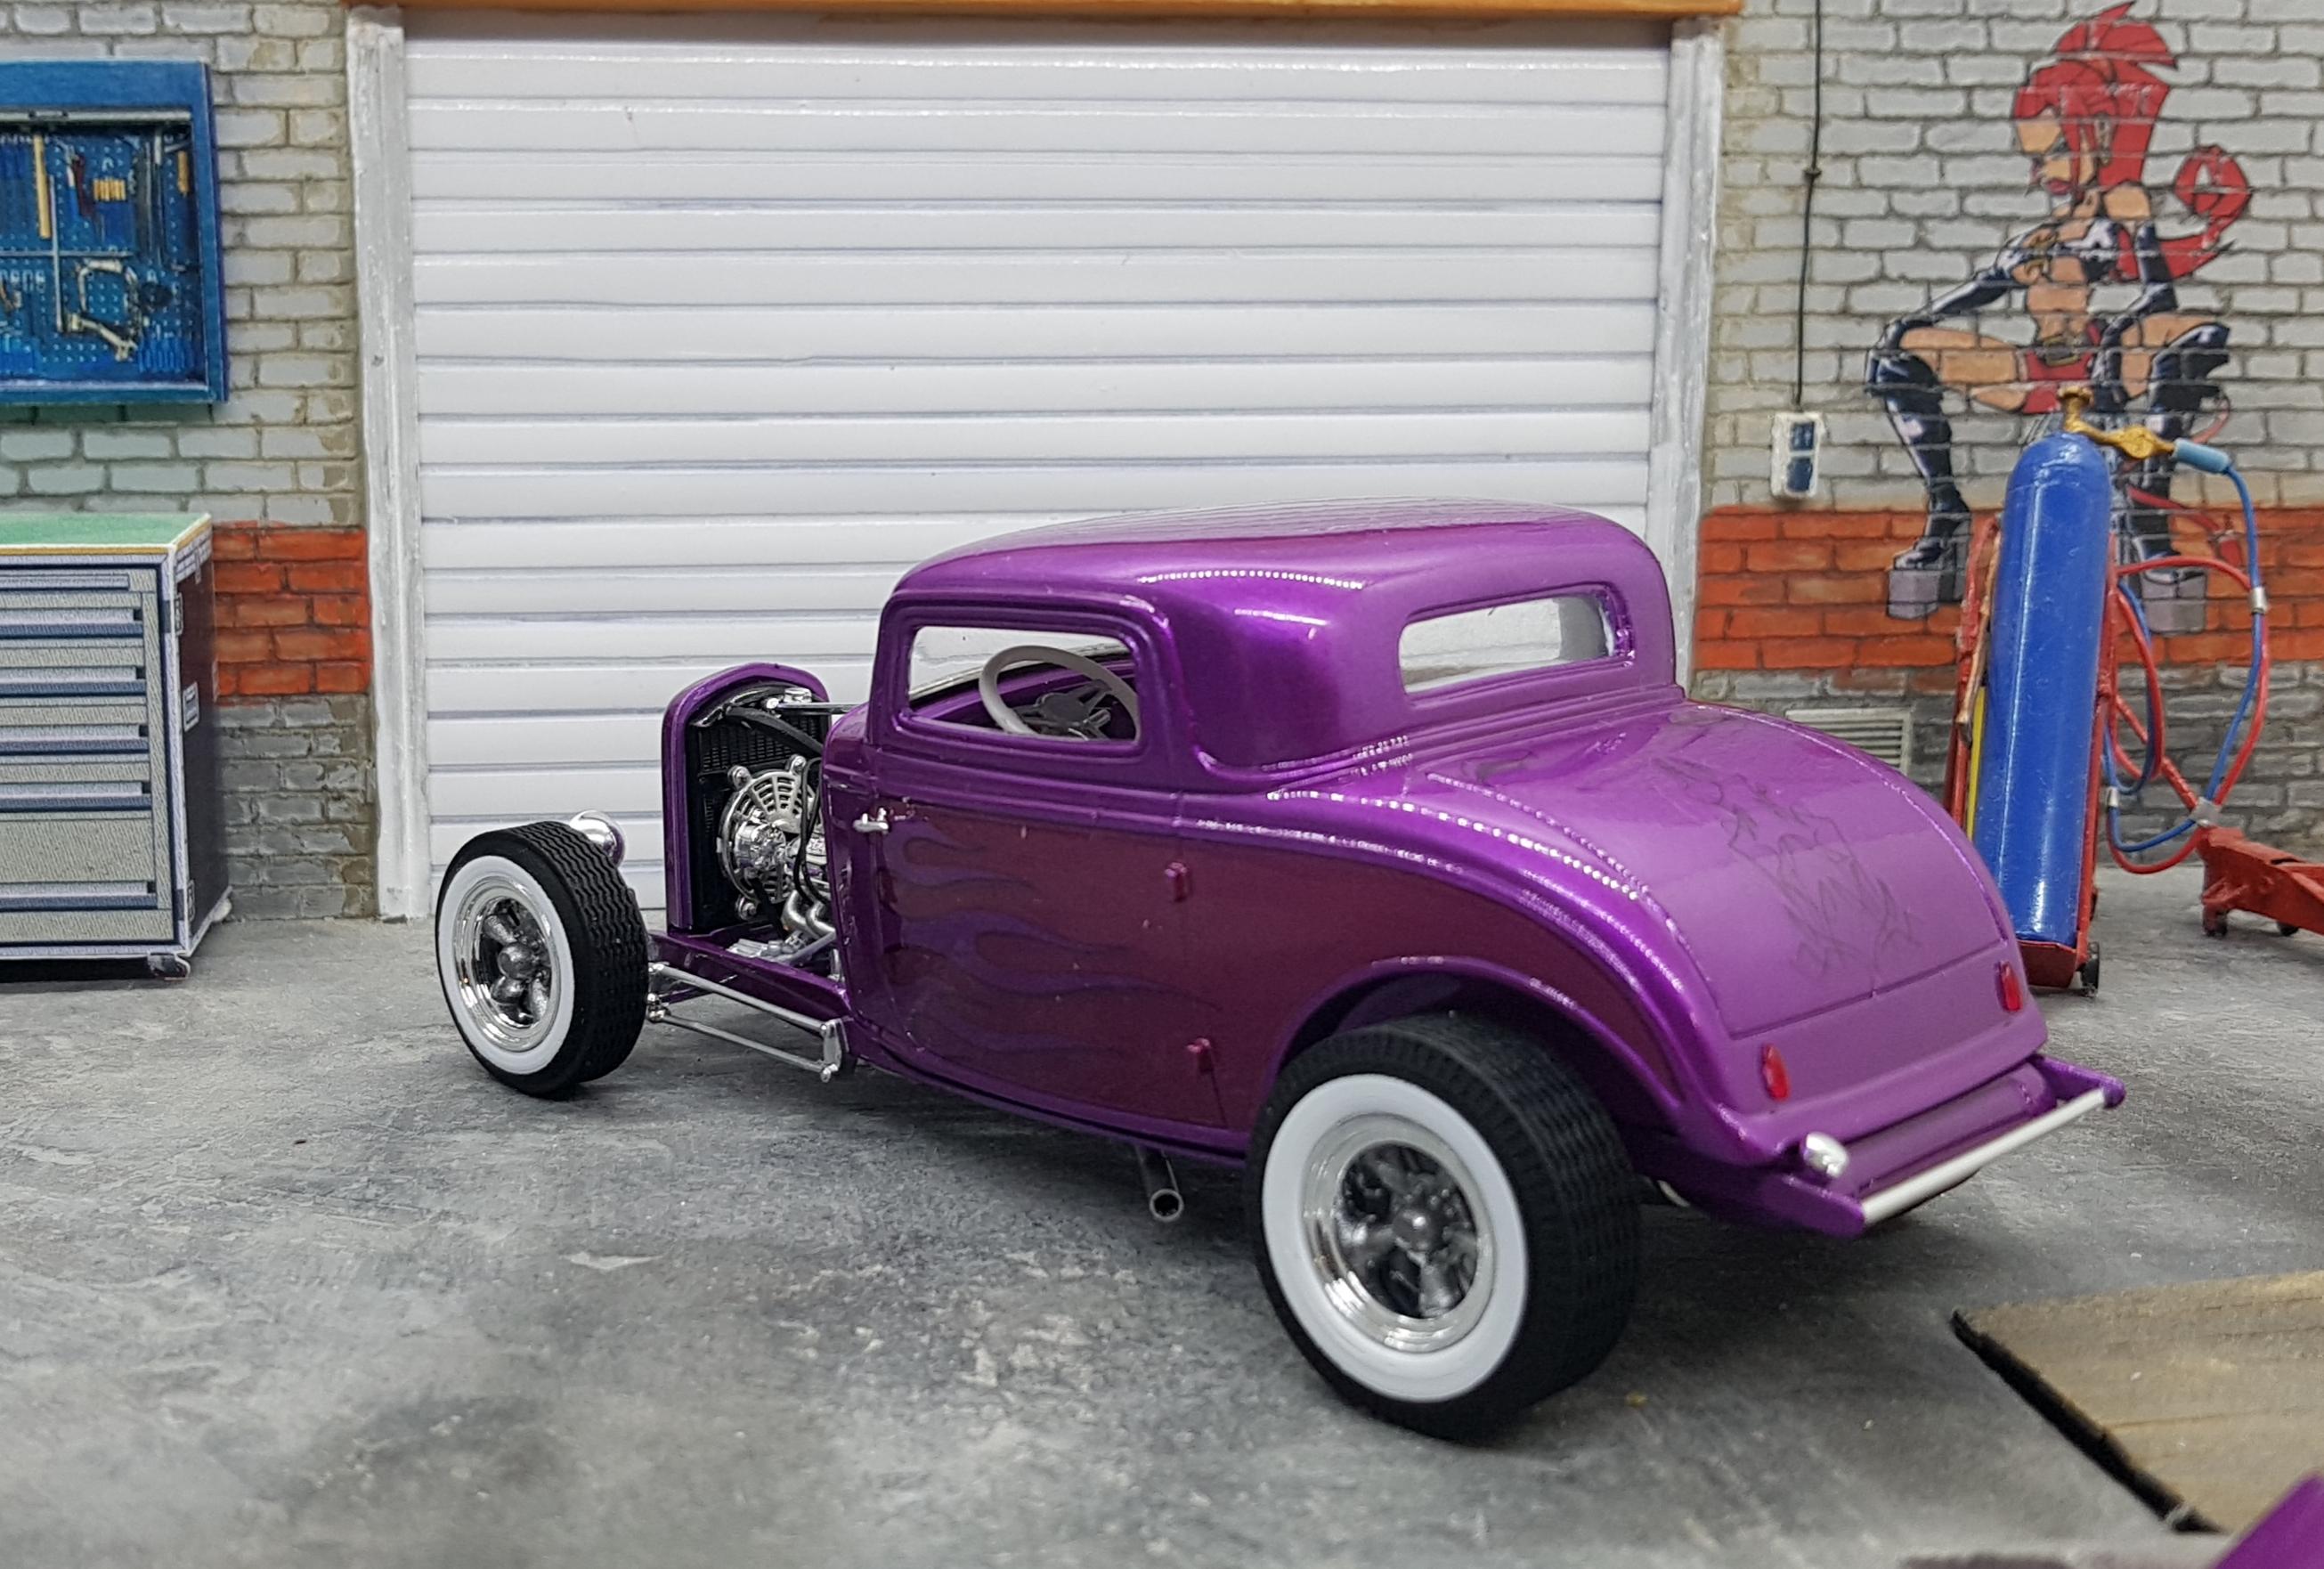
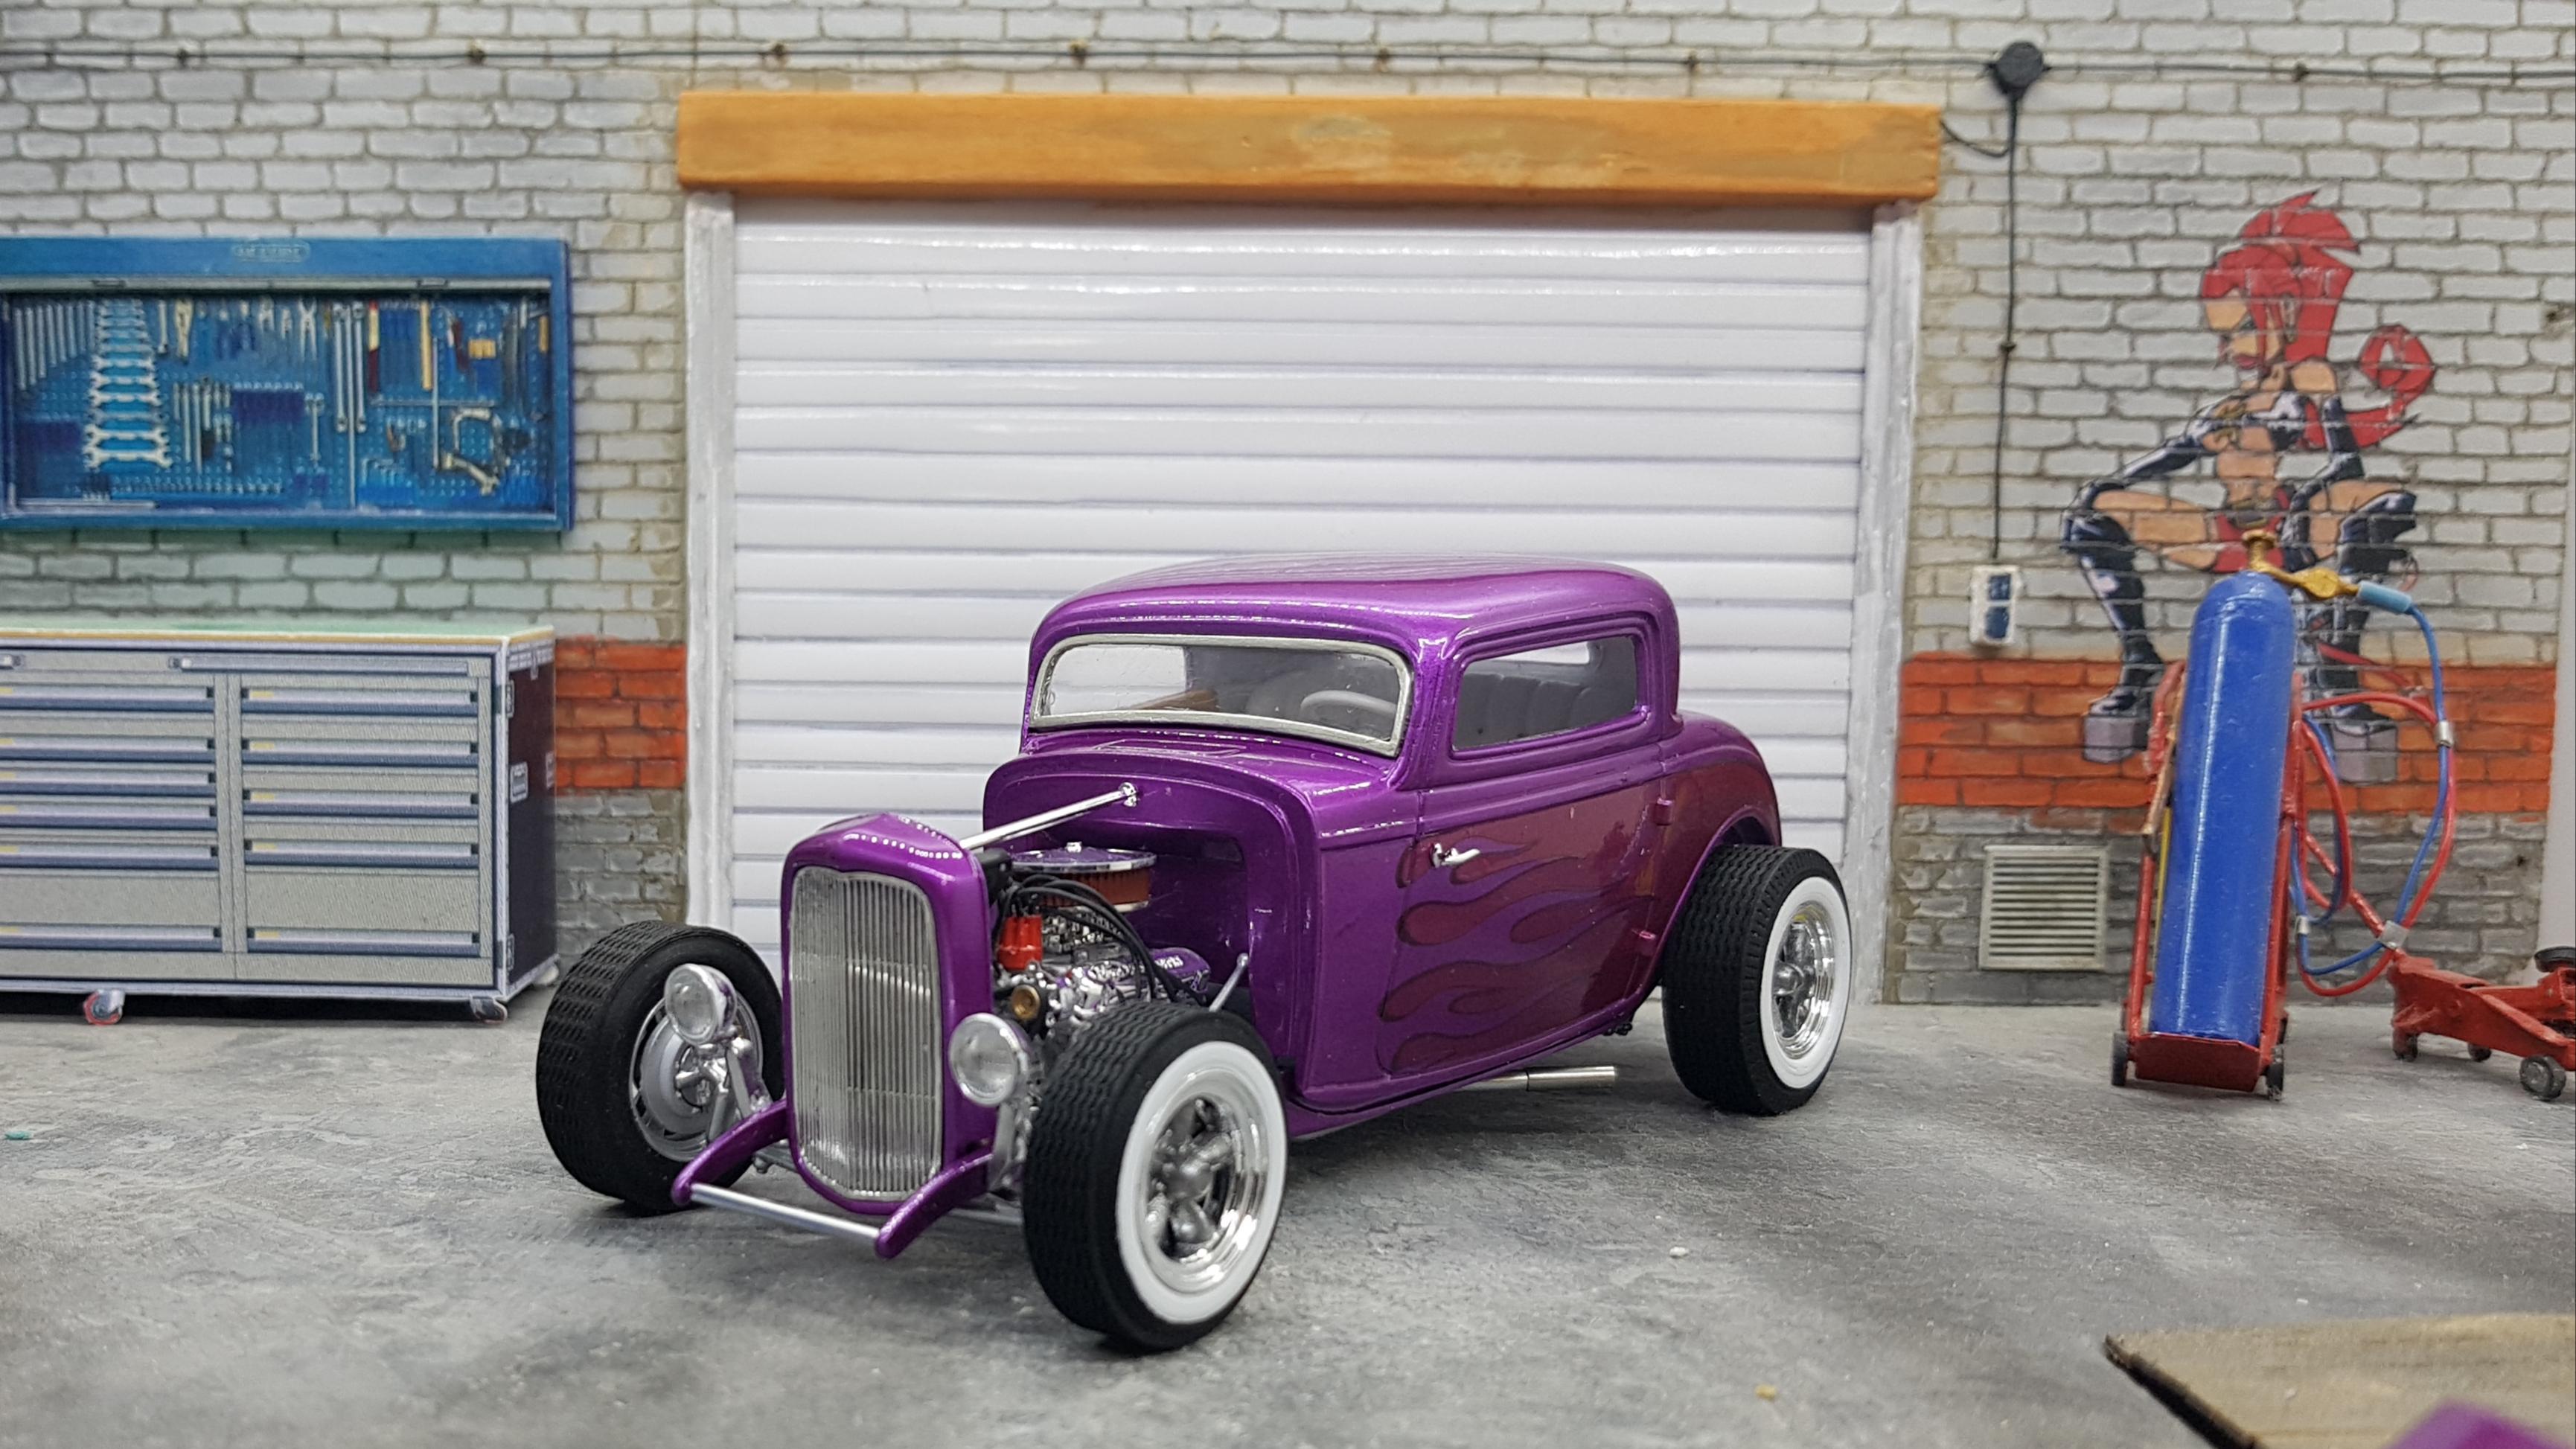
That is correct. I thought if it was built without fenders, it was a high boy. But it's not always a Rat Rod. Then what do you call this version? Just Hot Rod?
-
Thanks.
-
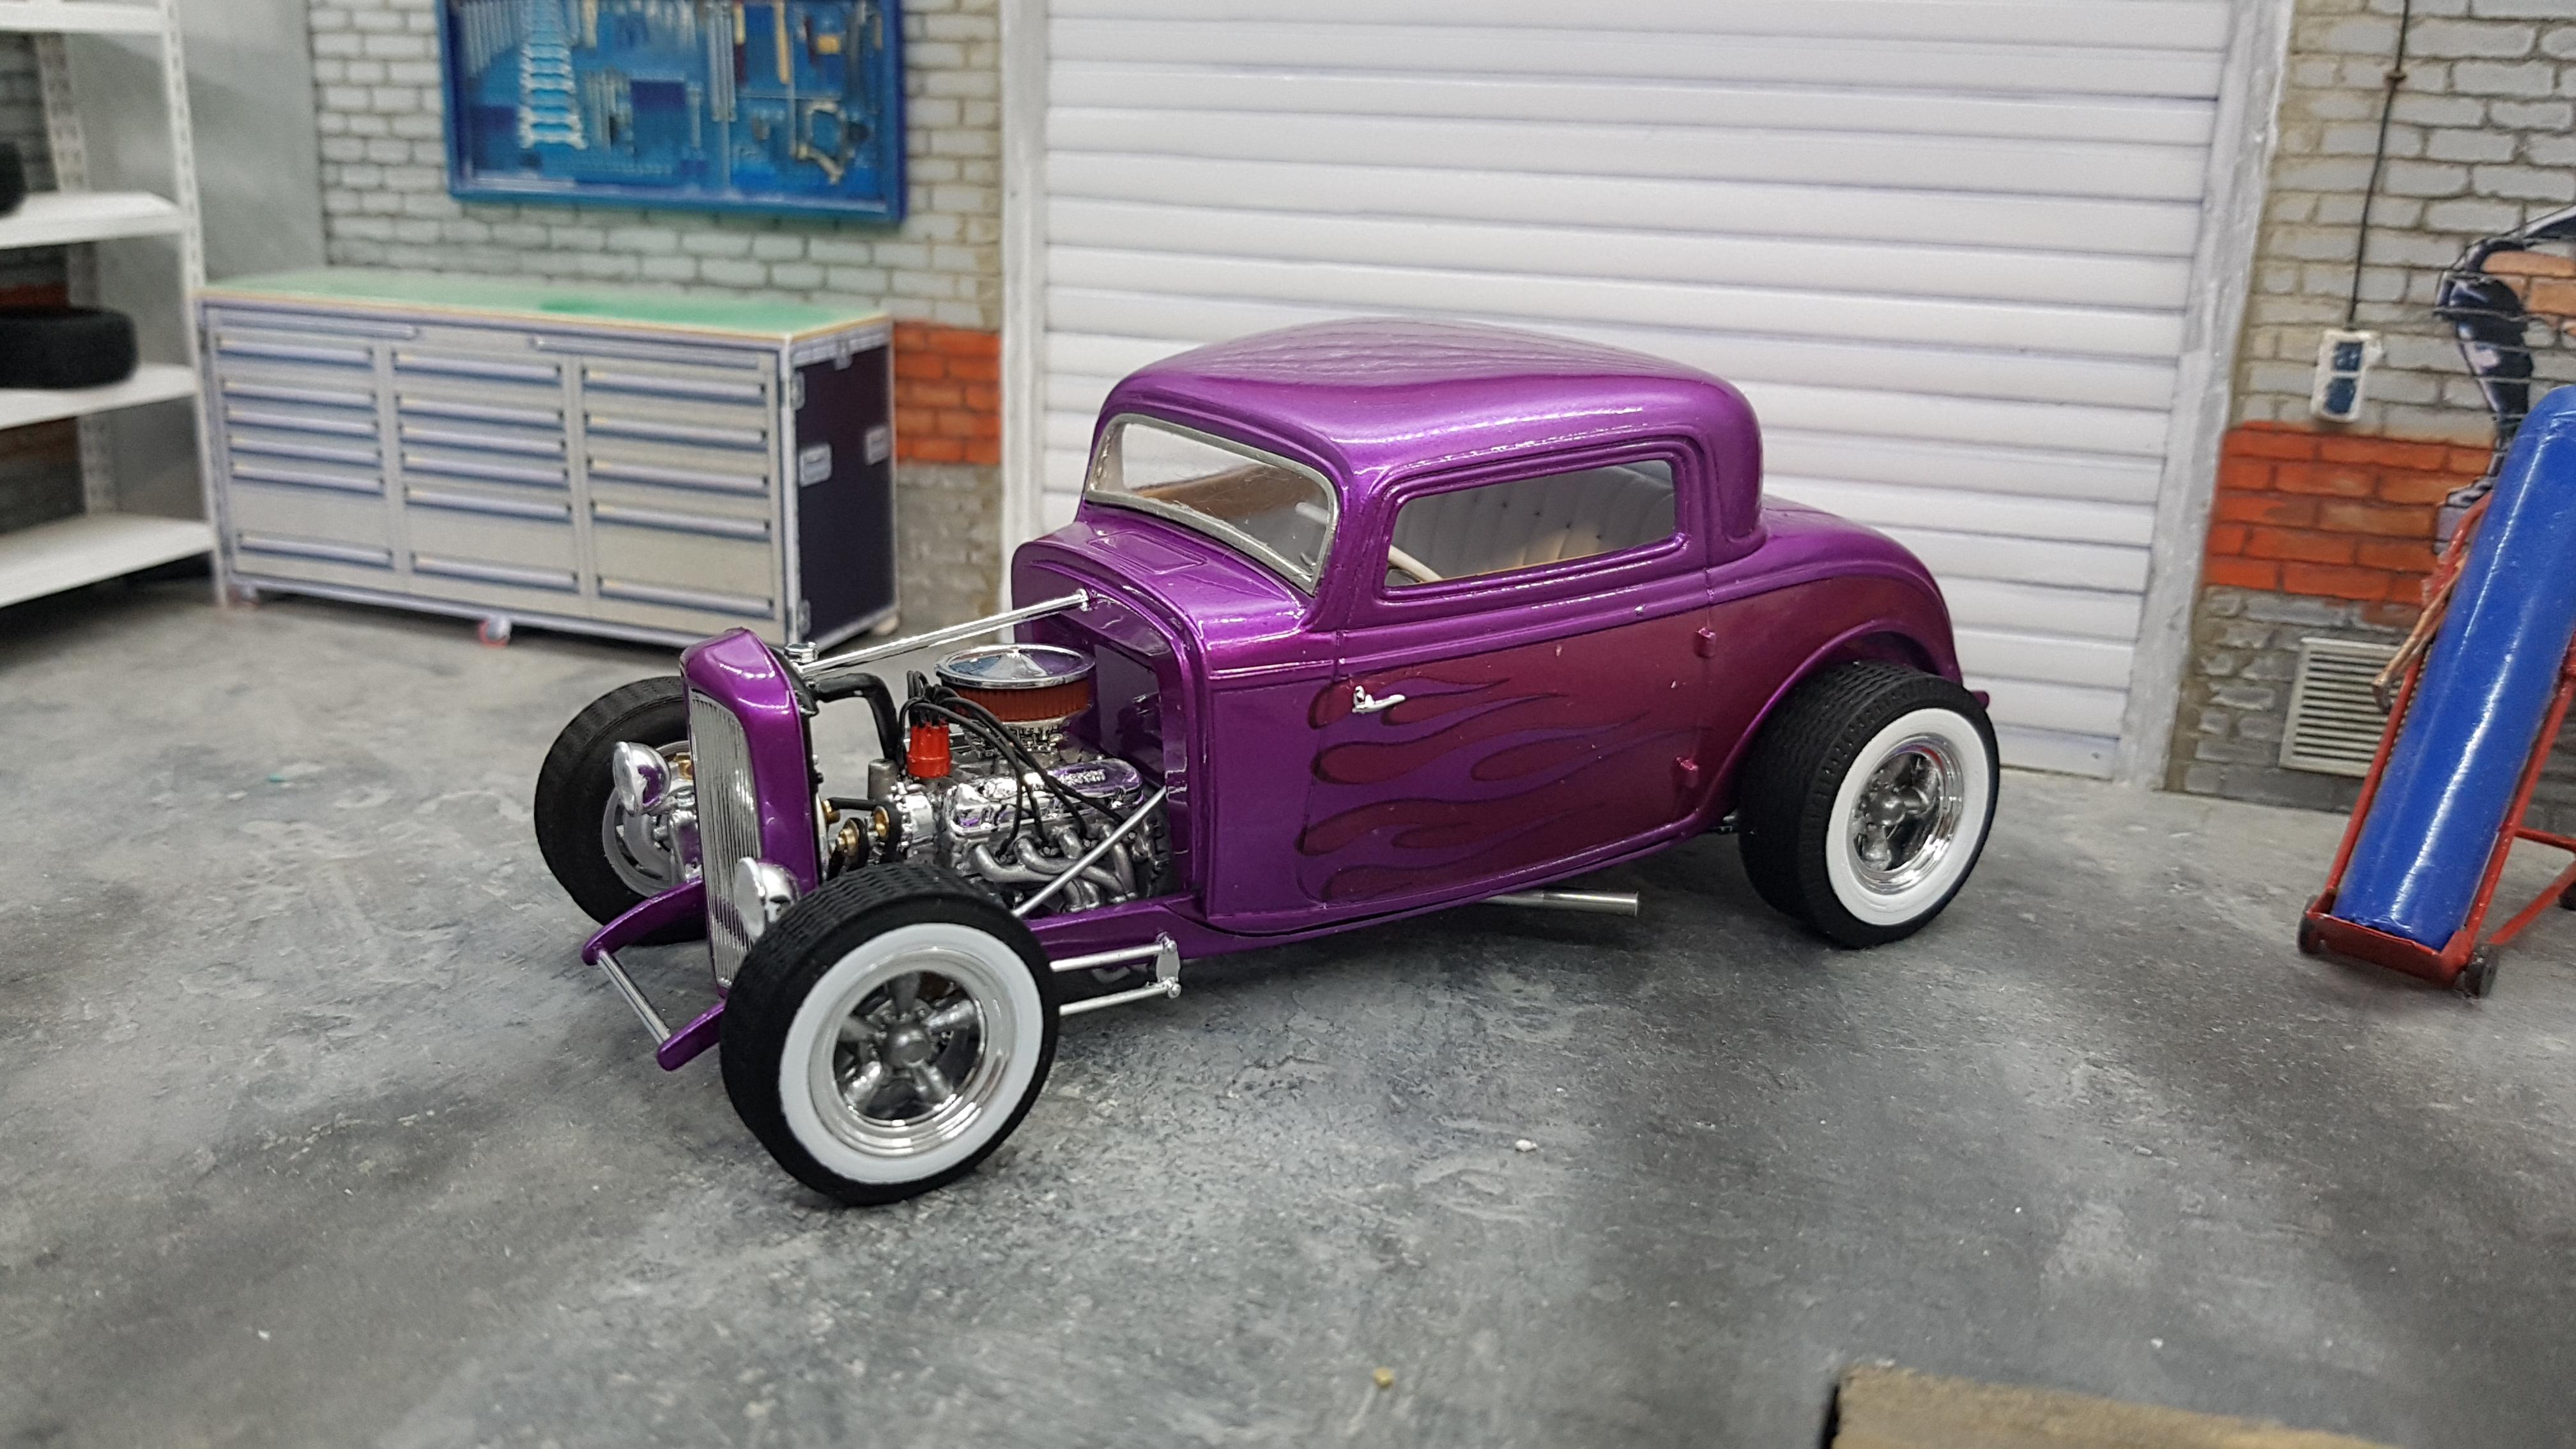
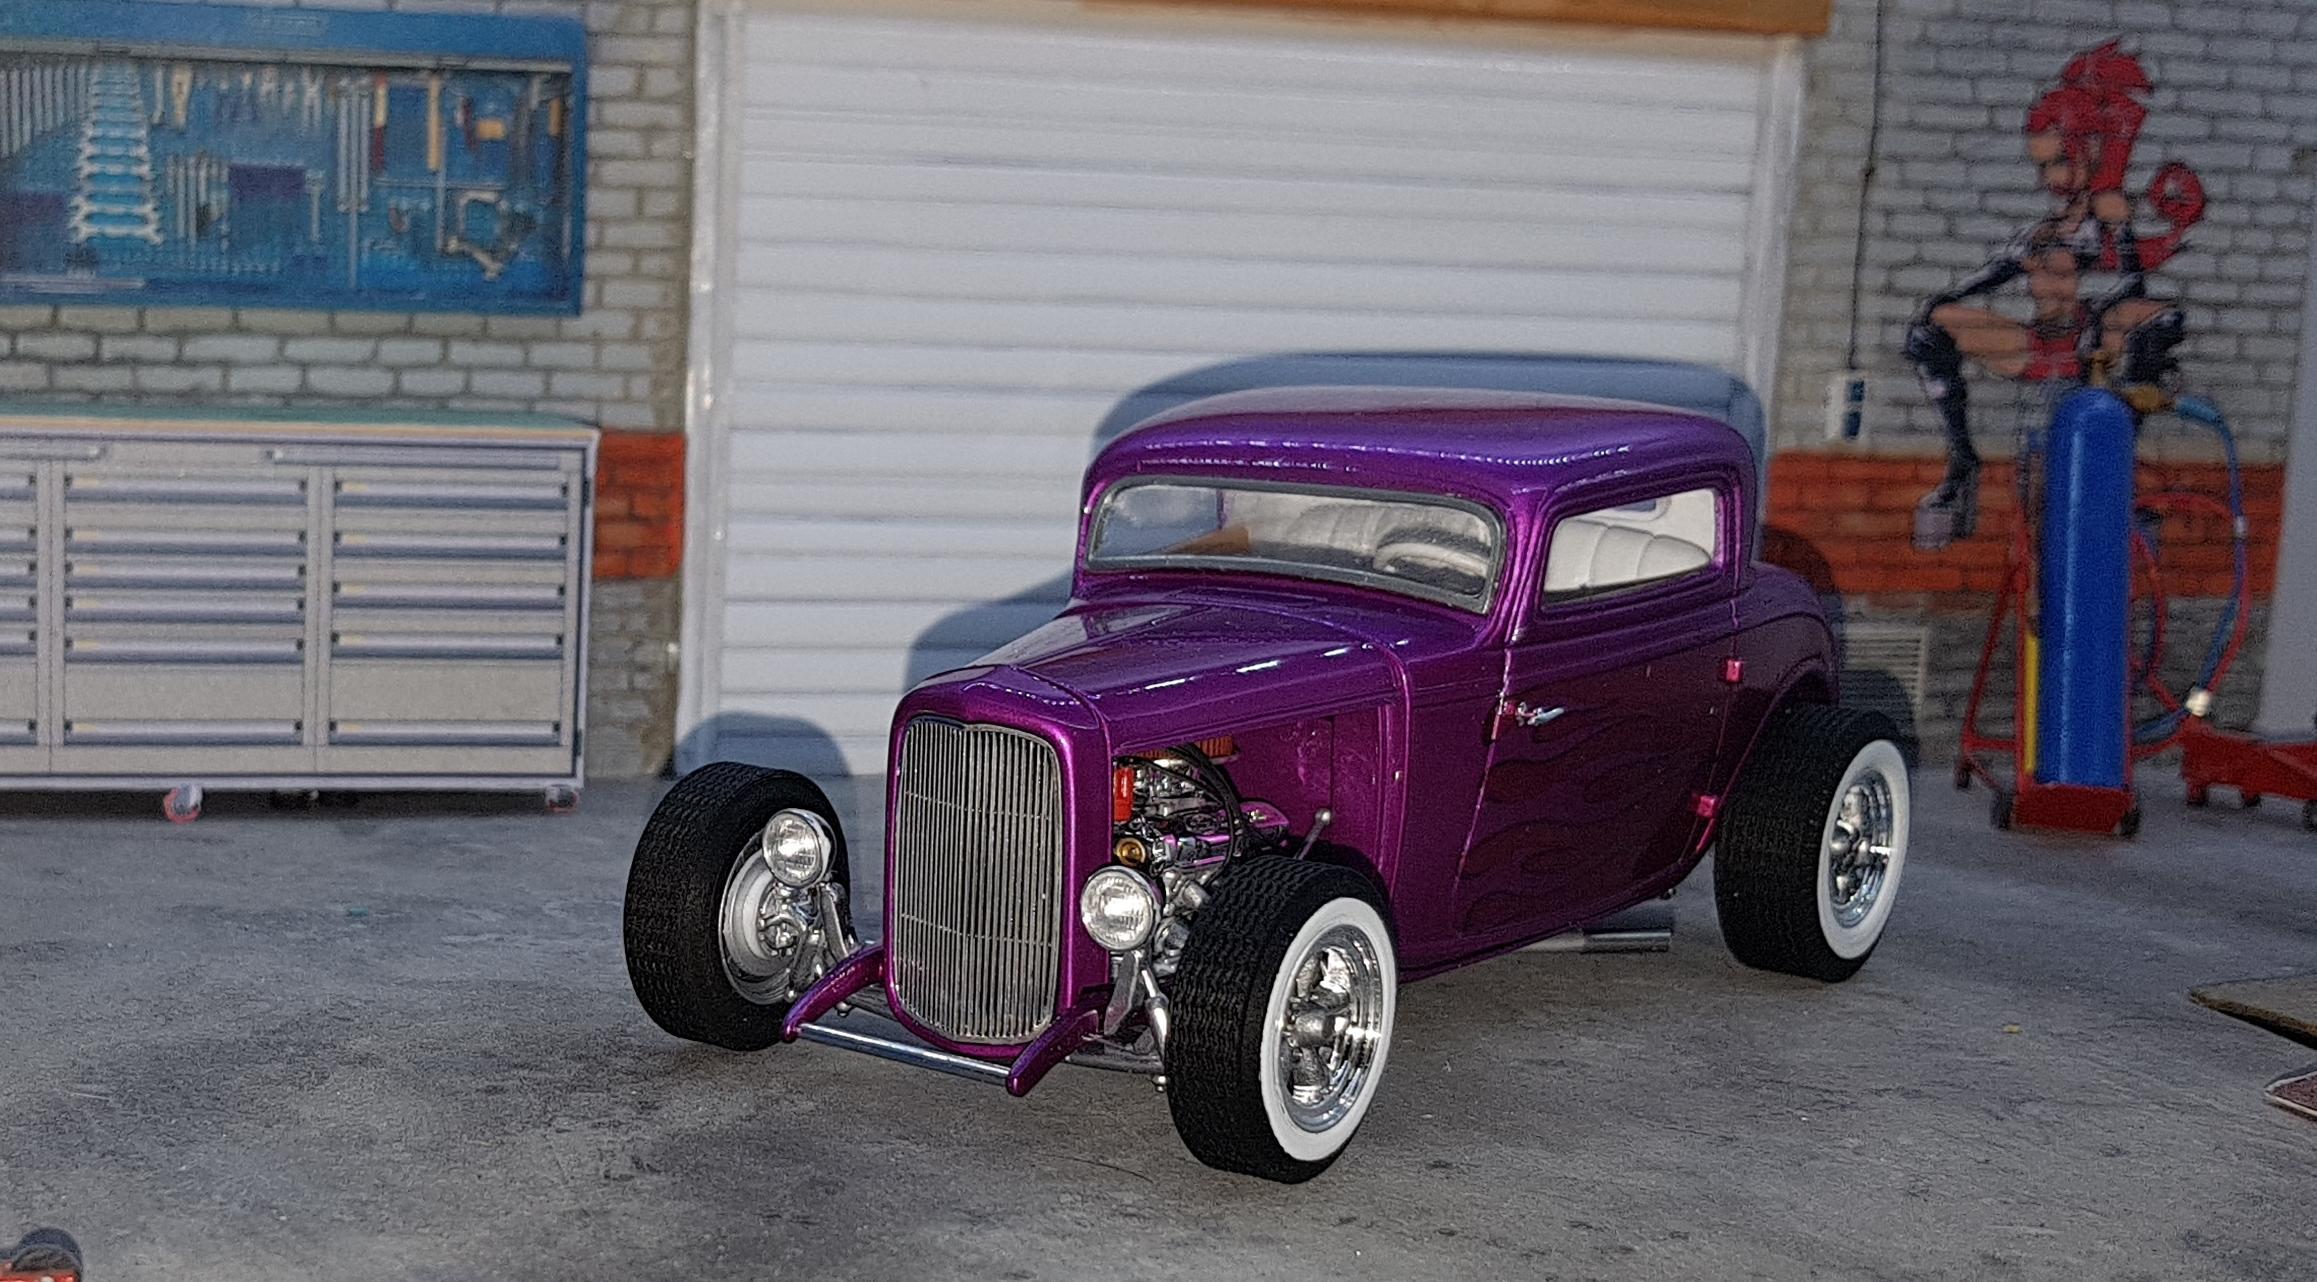
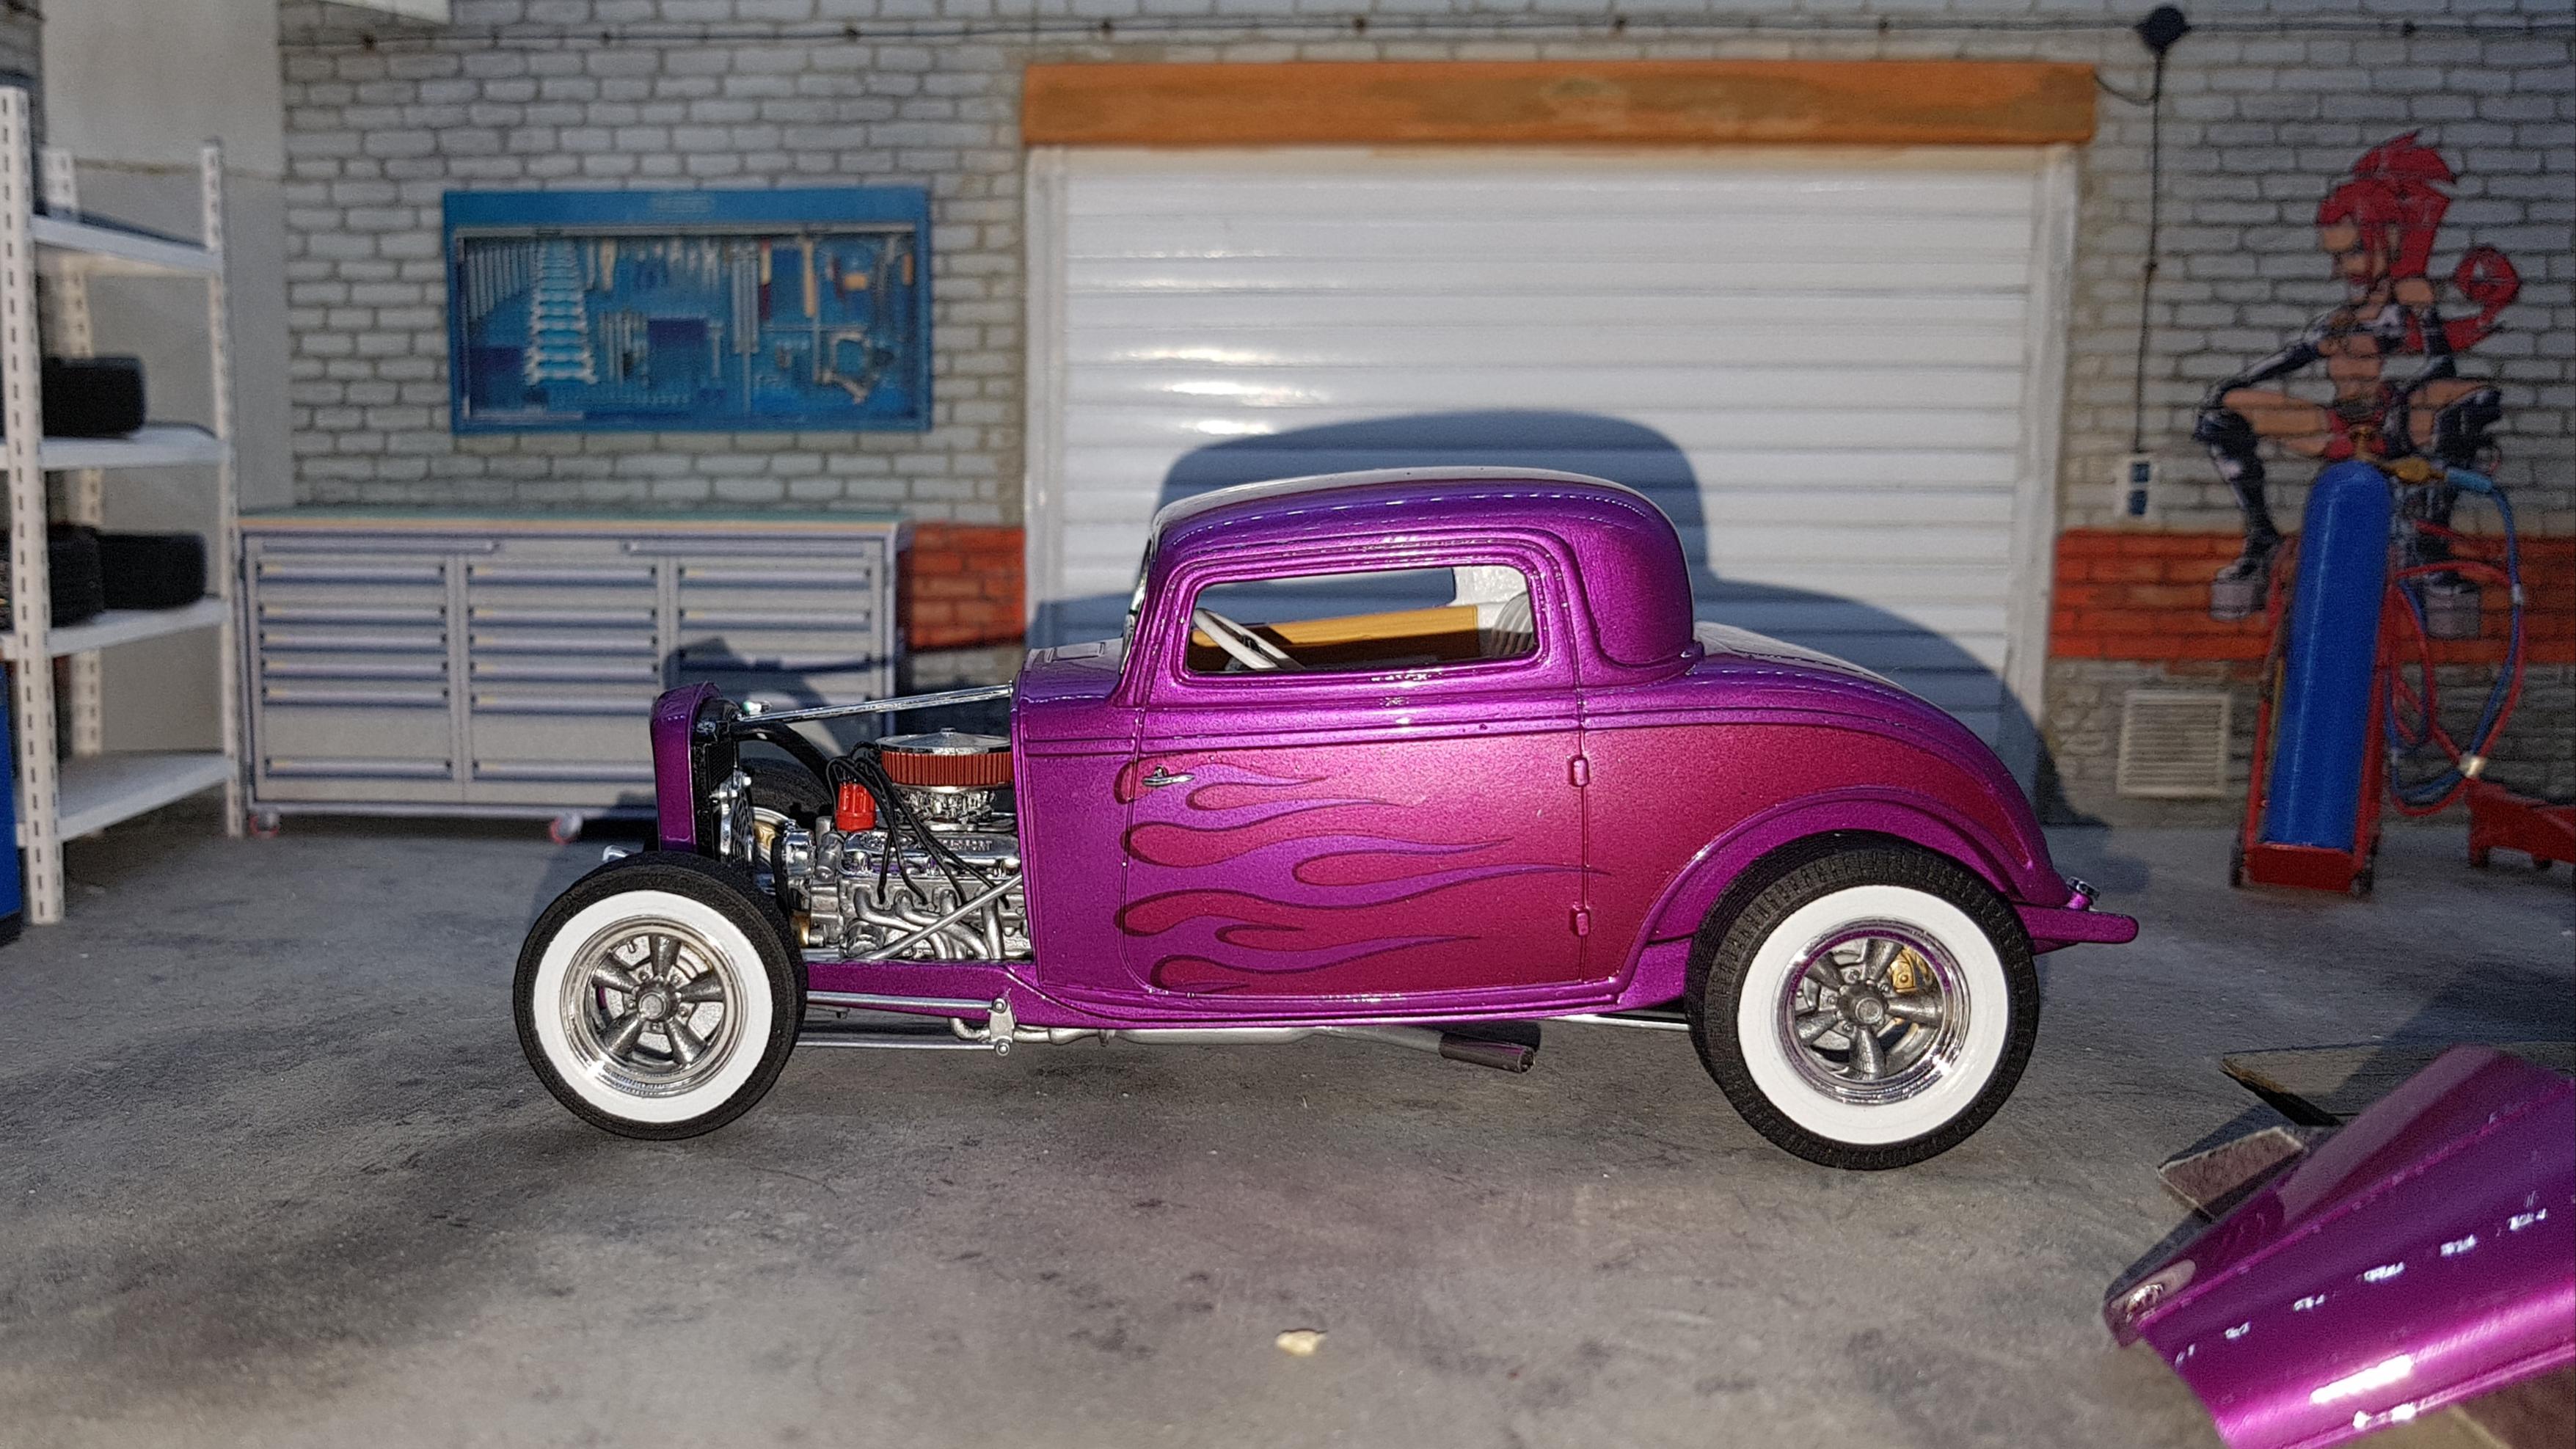
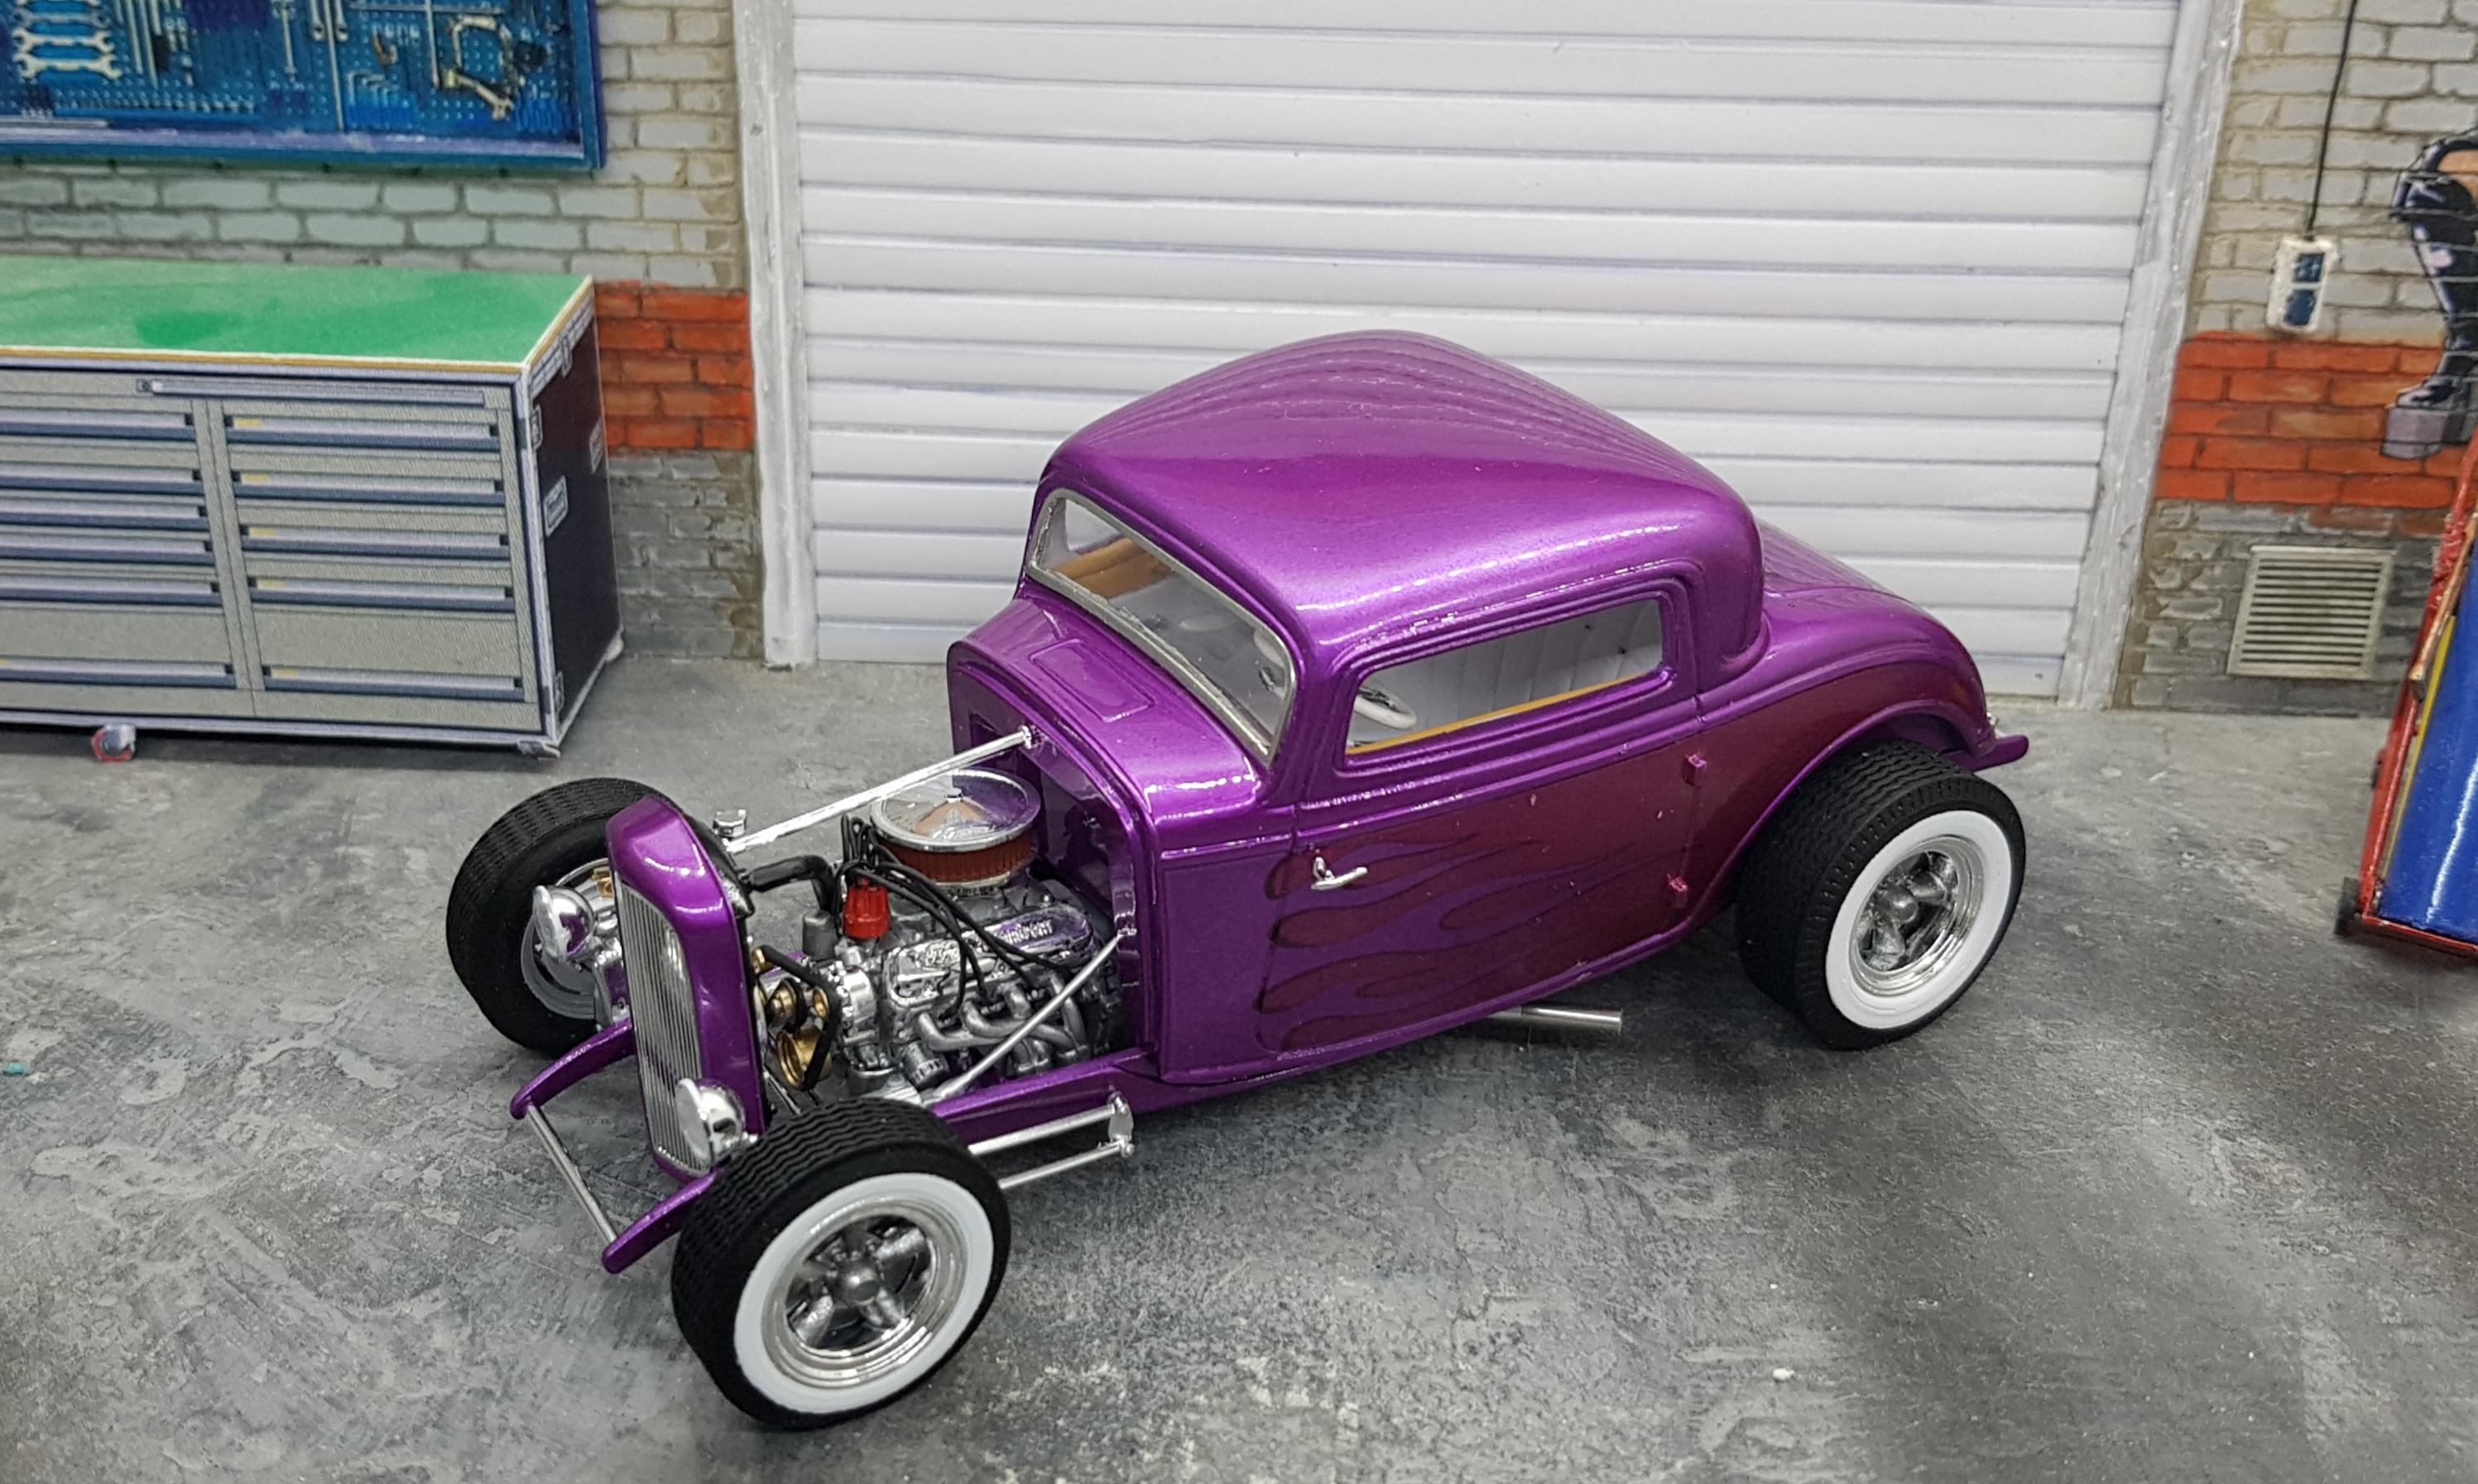
That's only Candy-Violet over silver and Gold groundcoat.
-
Thanks. The Body paint is Candy-Violet and the flames are painted. Tires are 3D print and the Whitewall are painted. I have this car chopped and channelled.
-
Here my newest build.
-
LaFerrari in Blood-Red Candy.
-
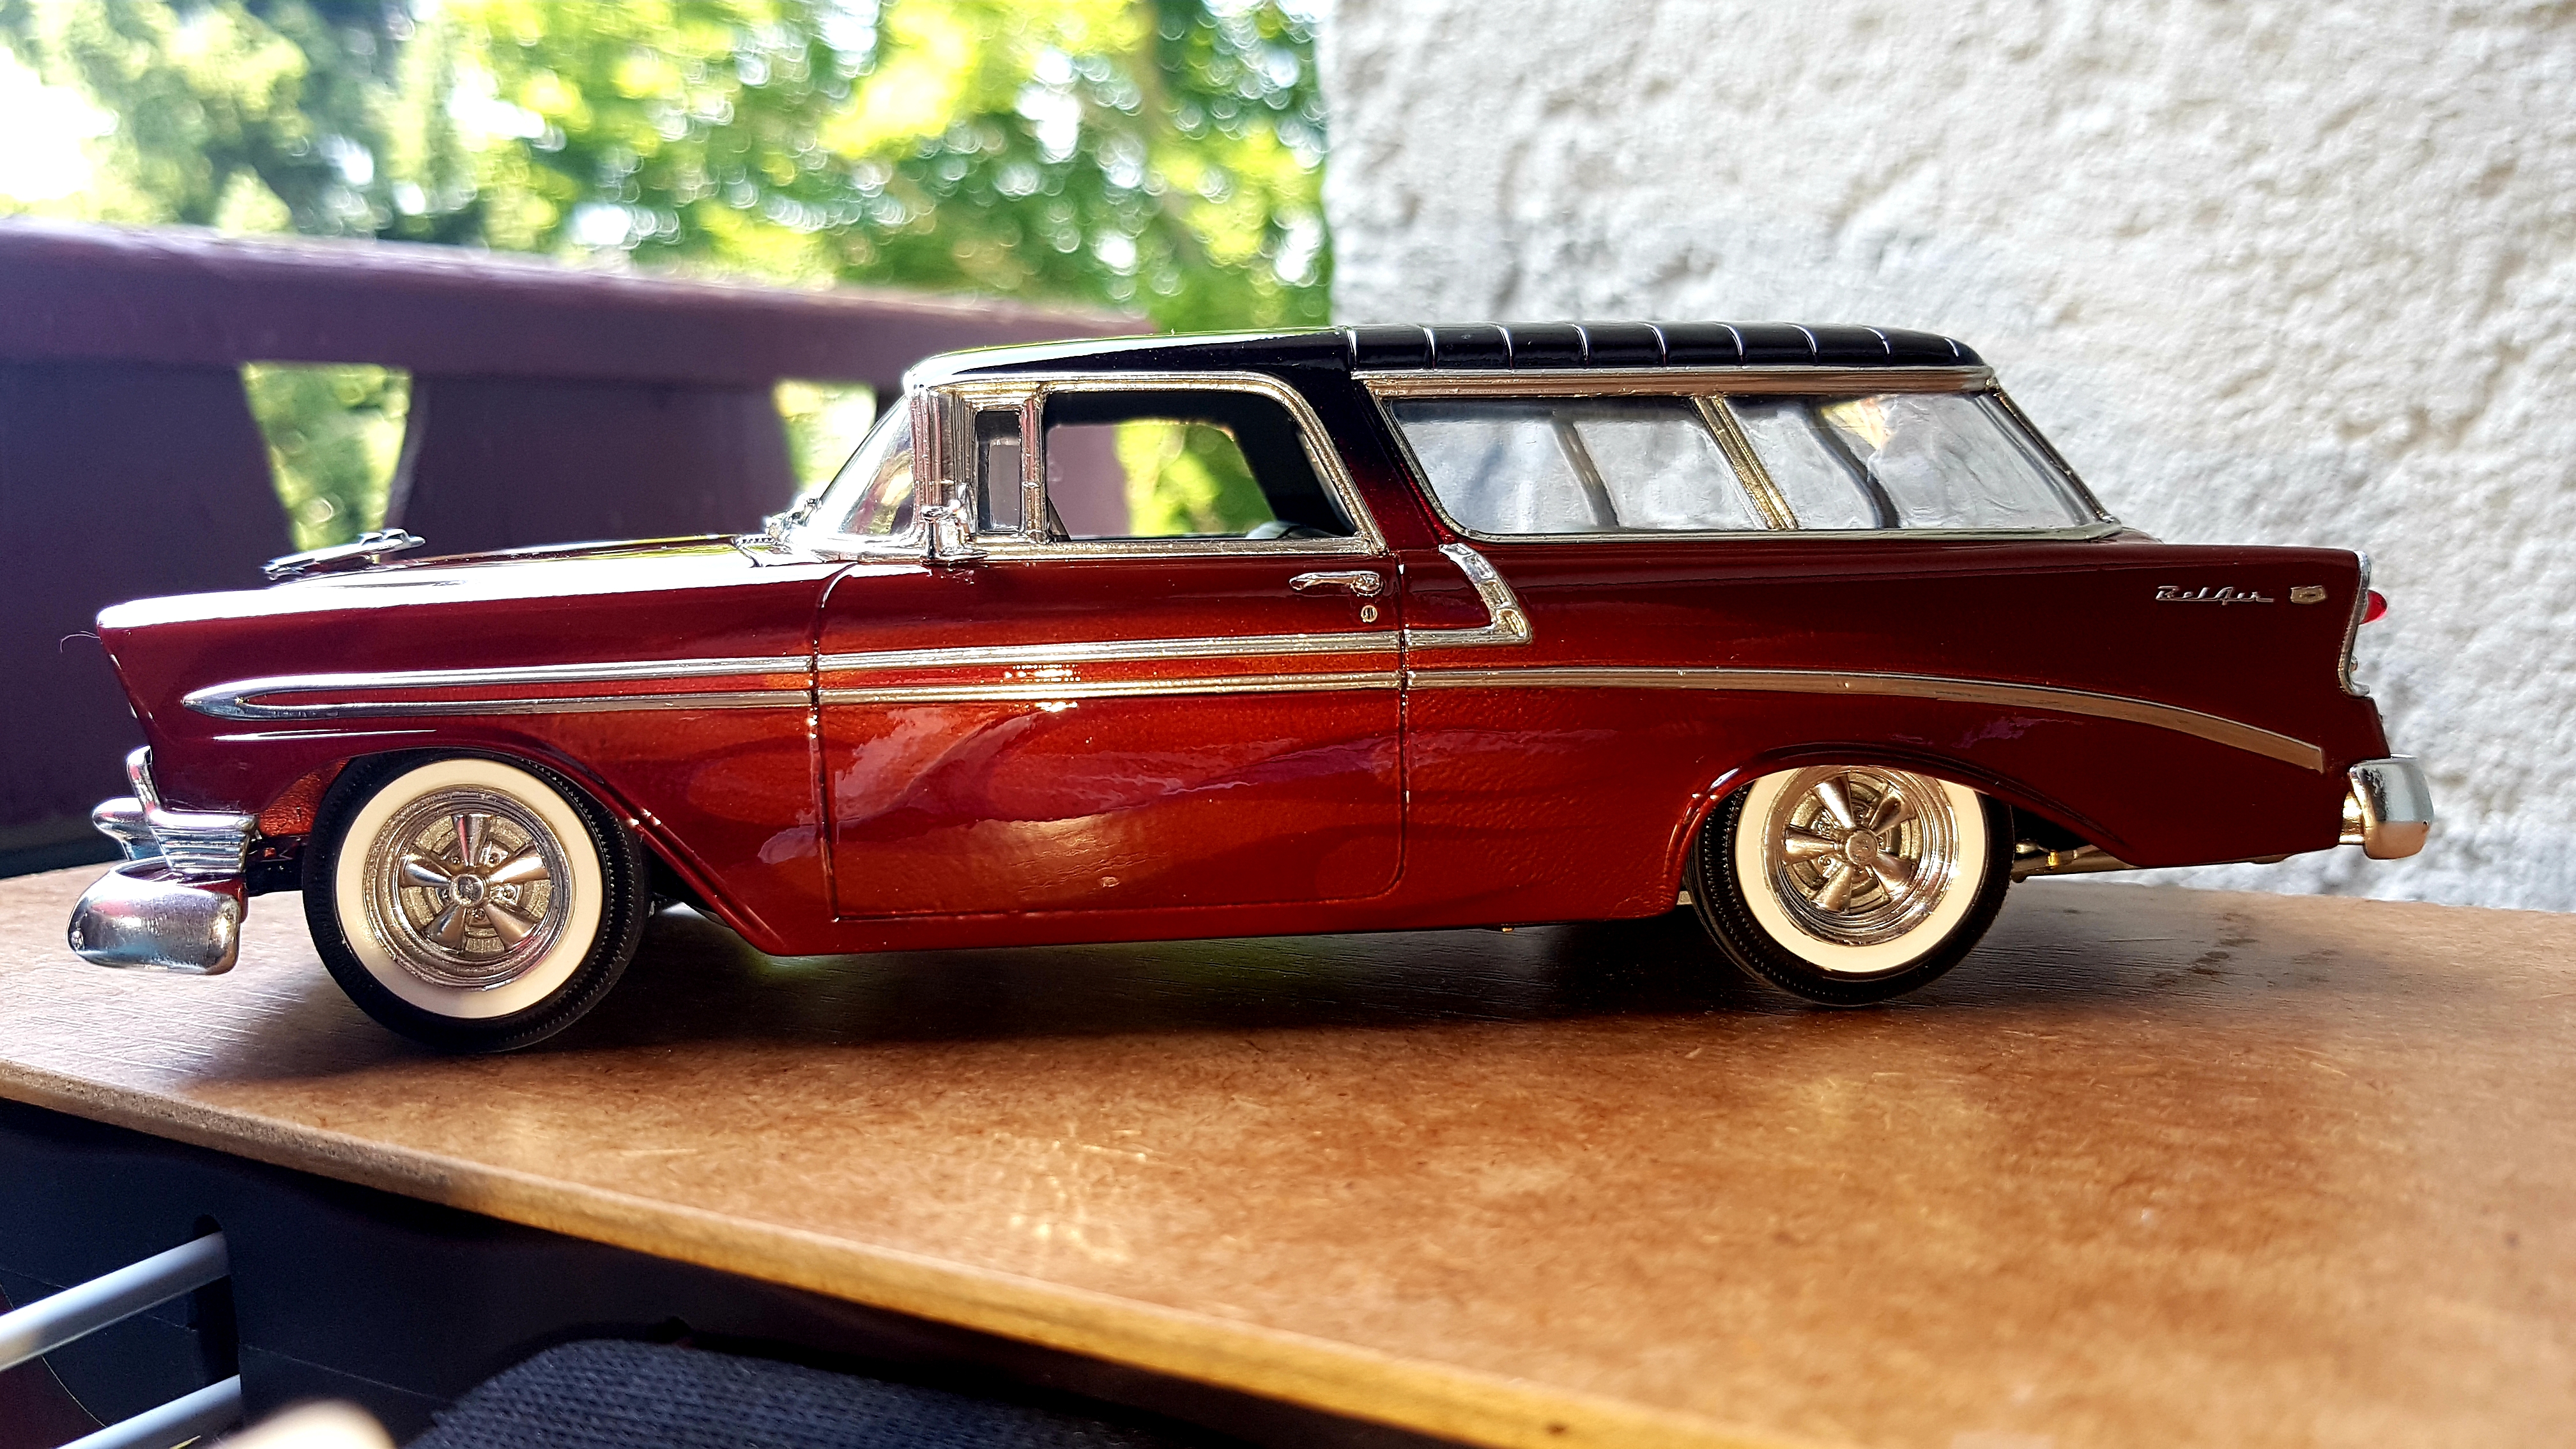
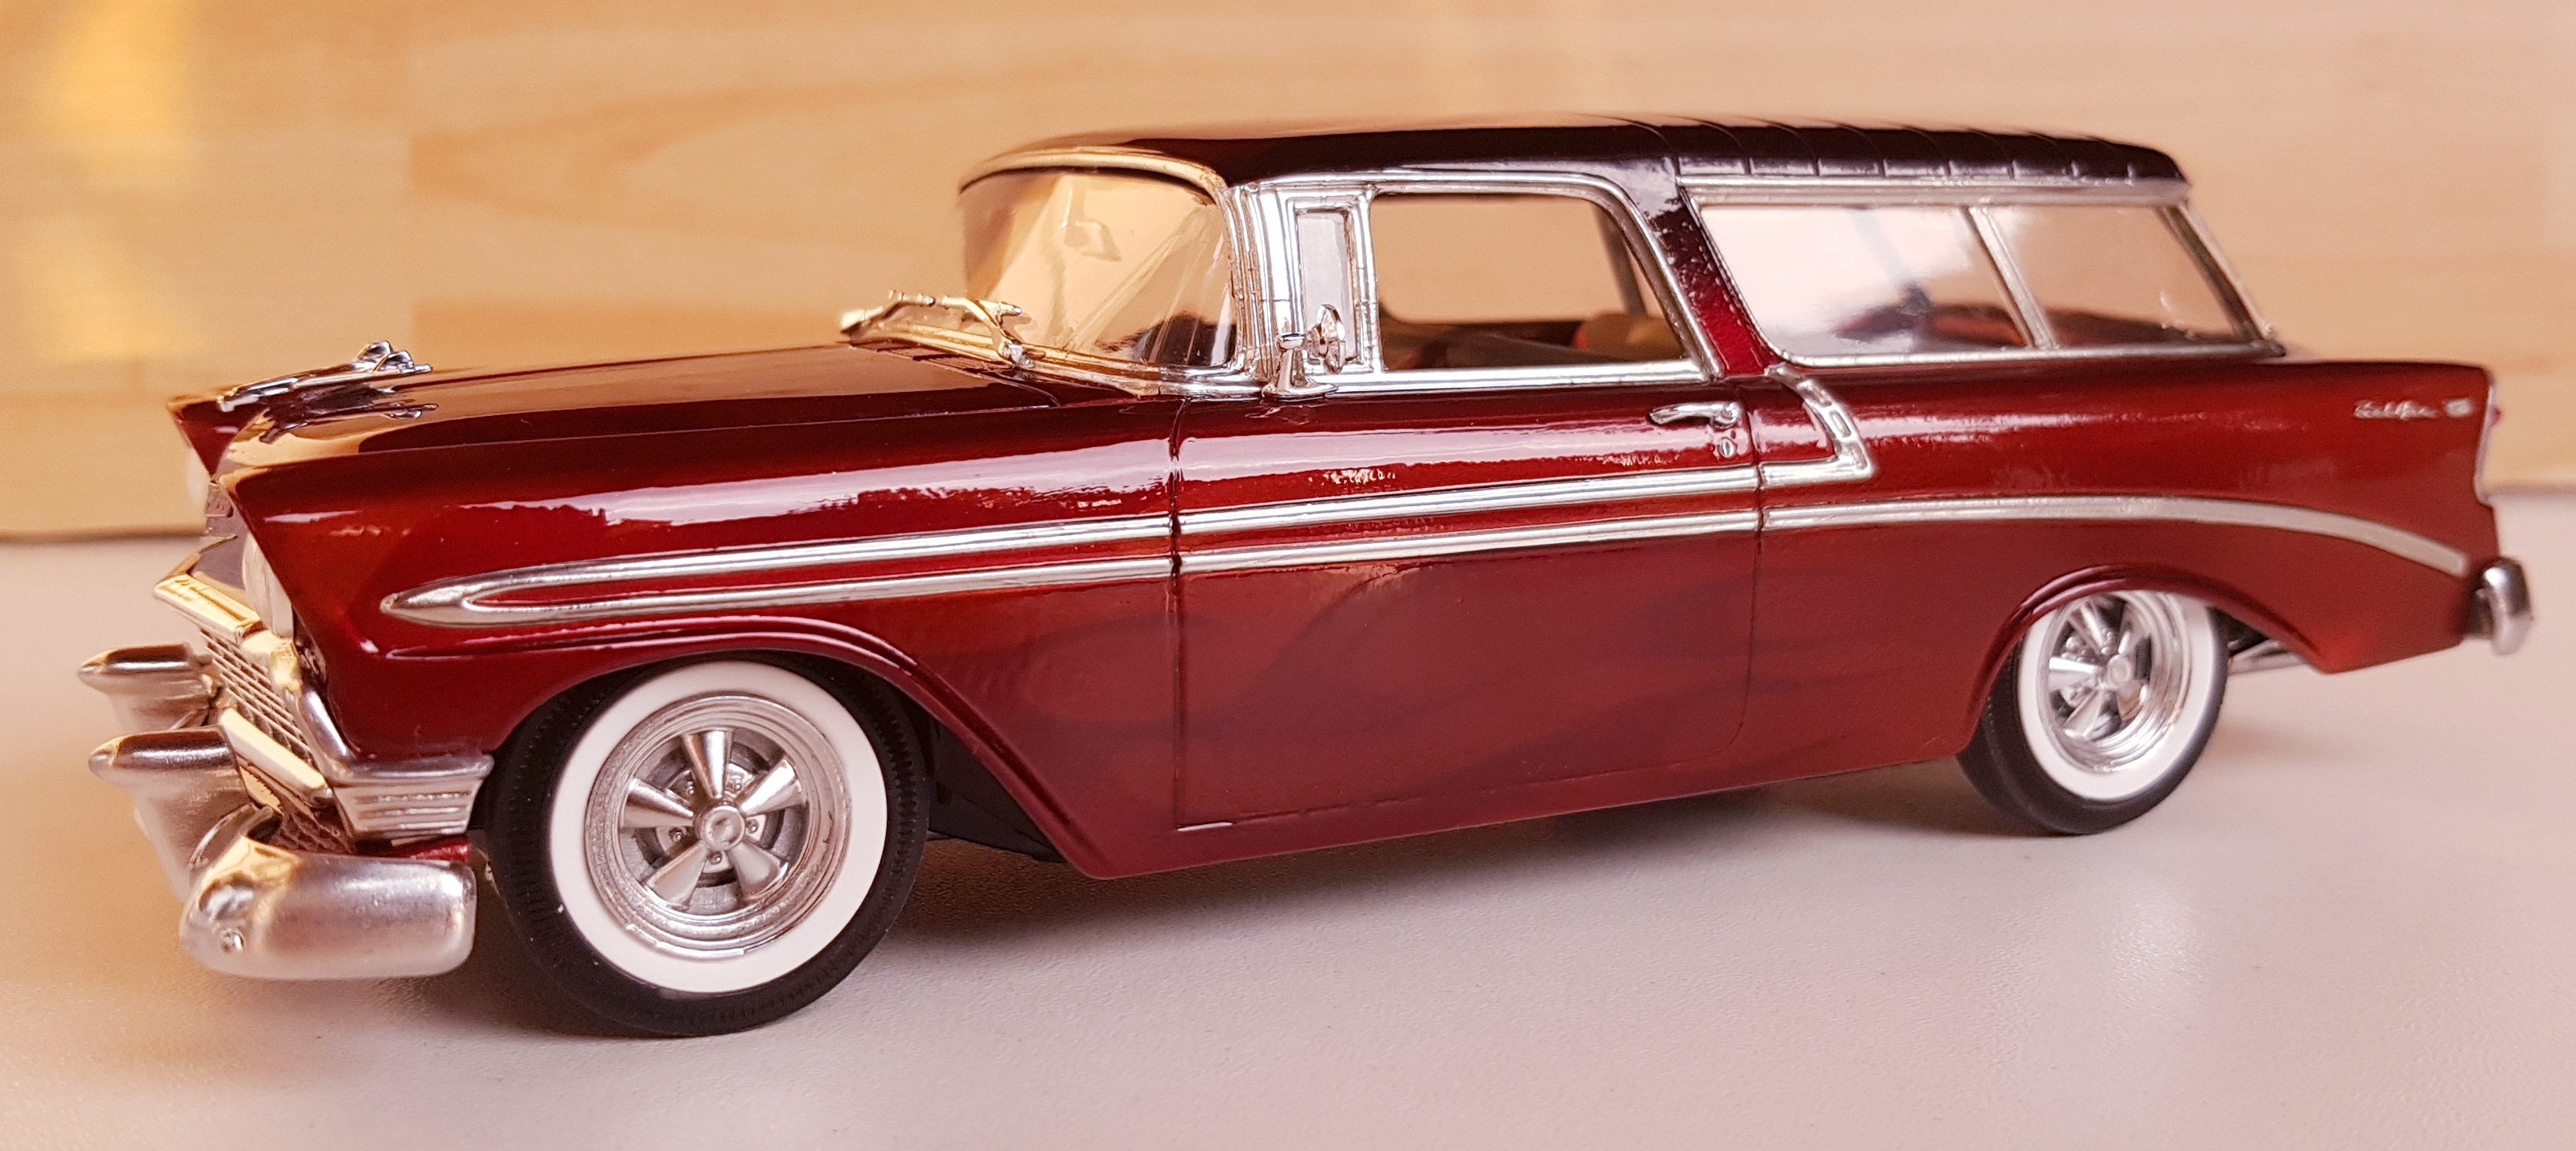
Here a 1956 Chevrolet Nomad with Candy-Paint.
-
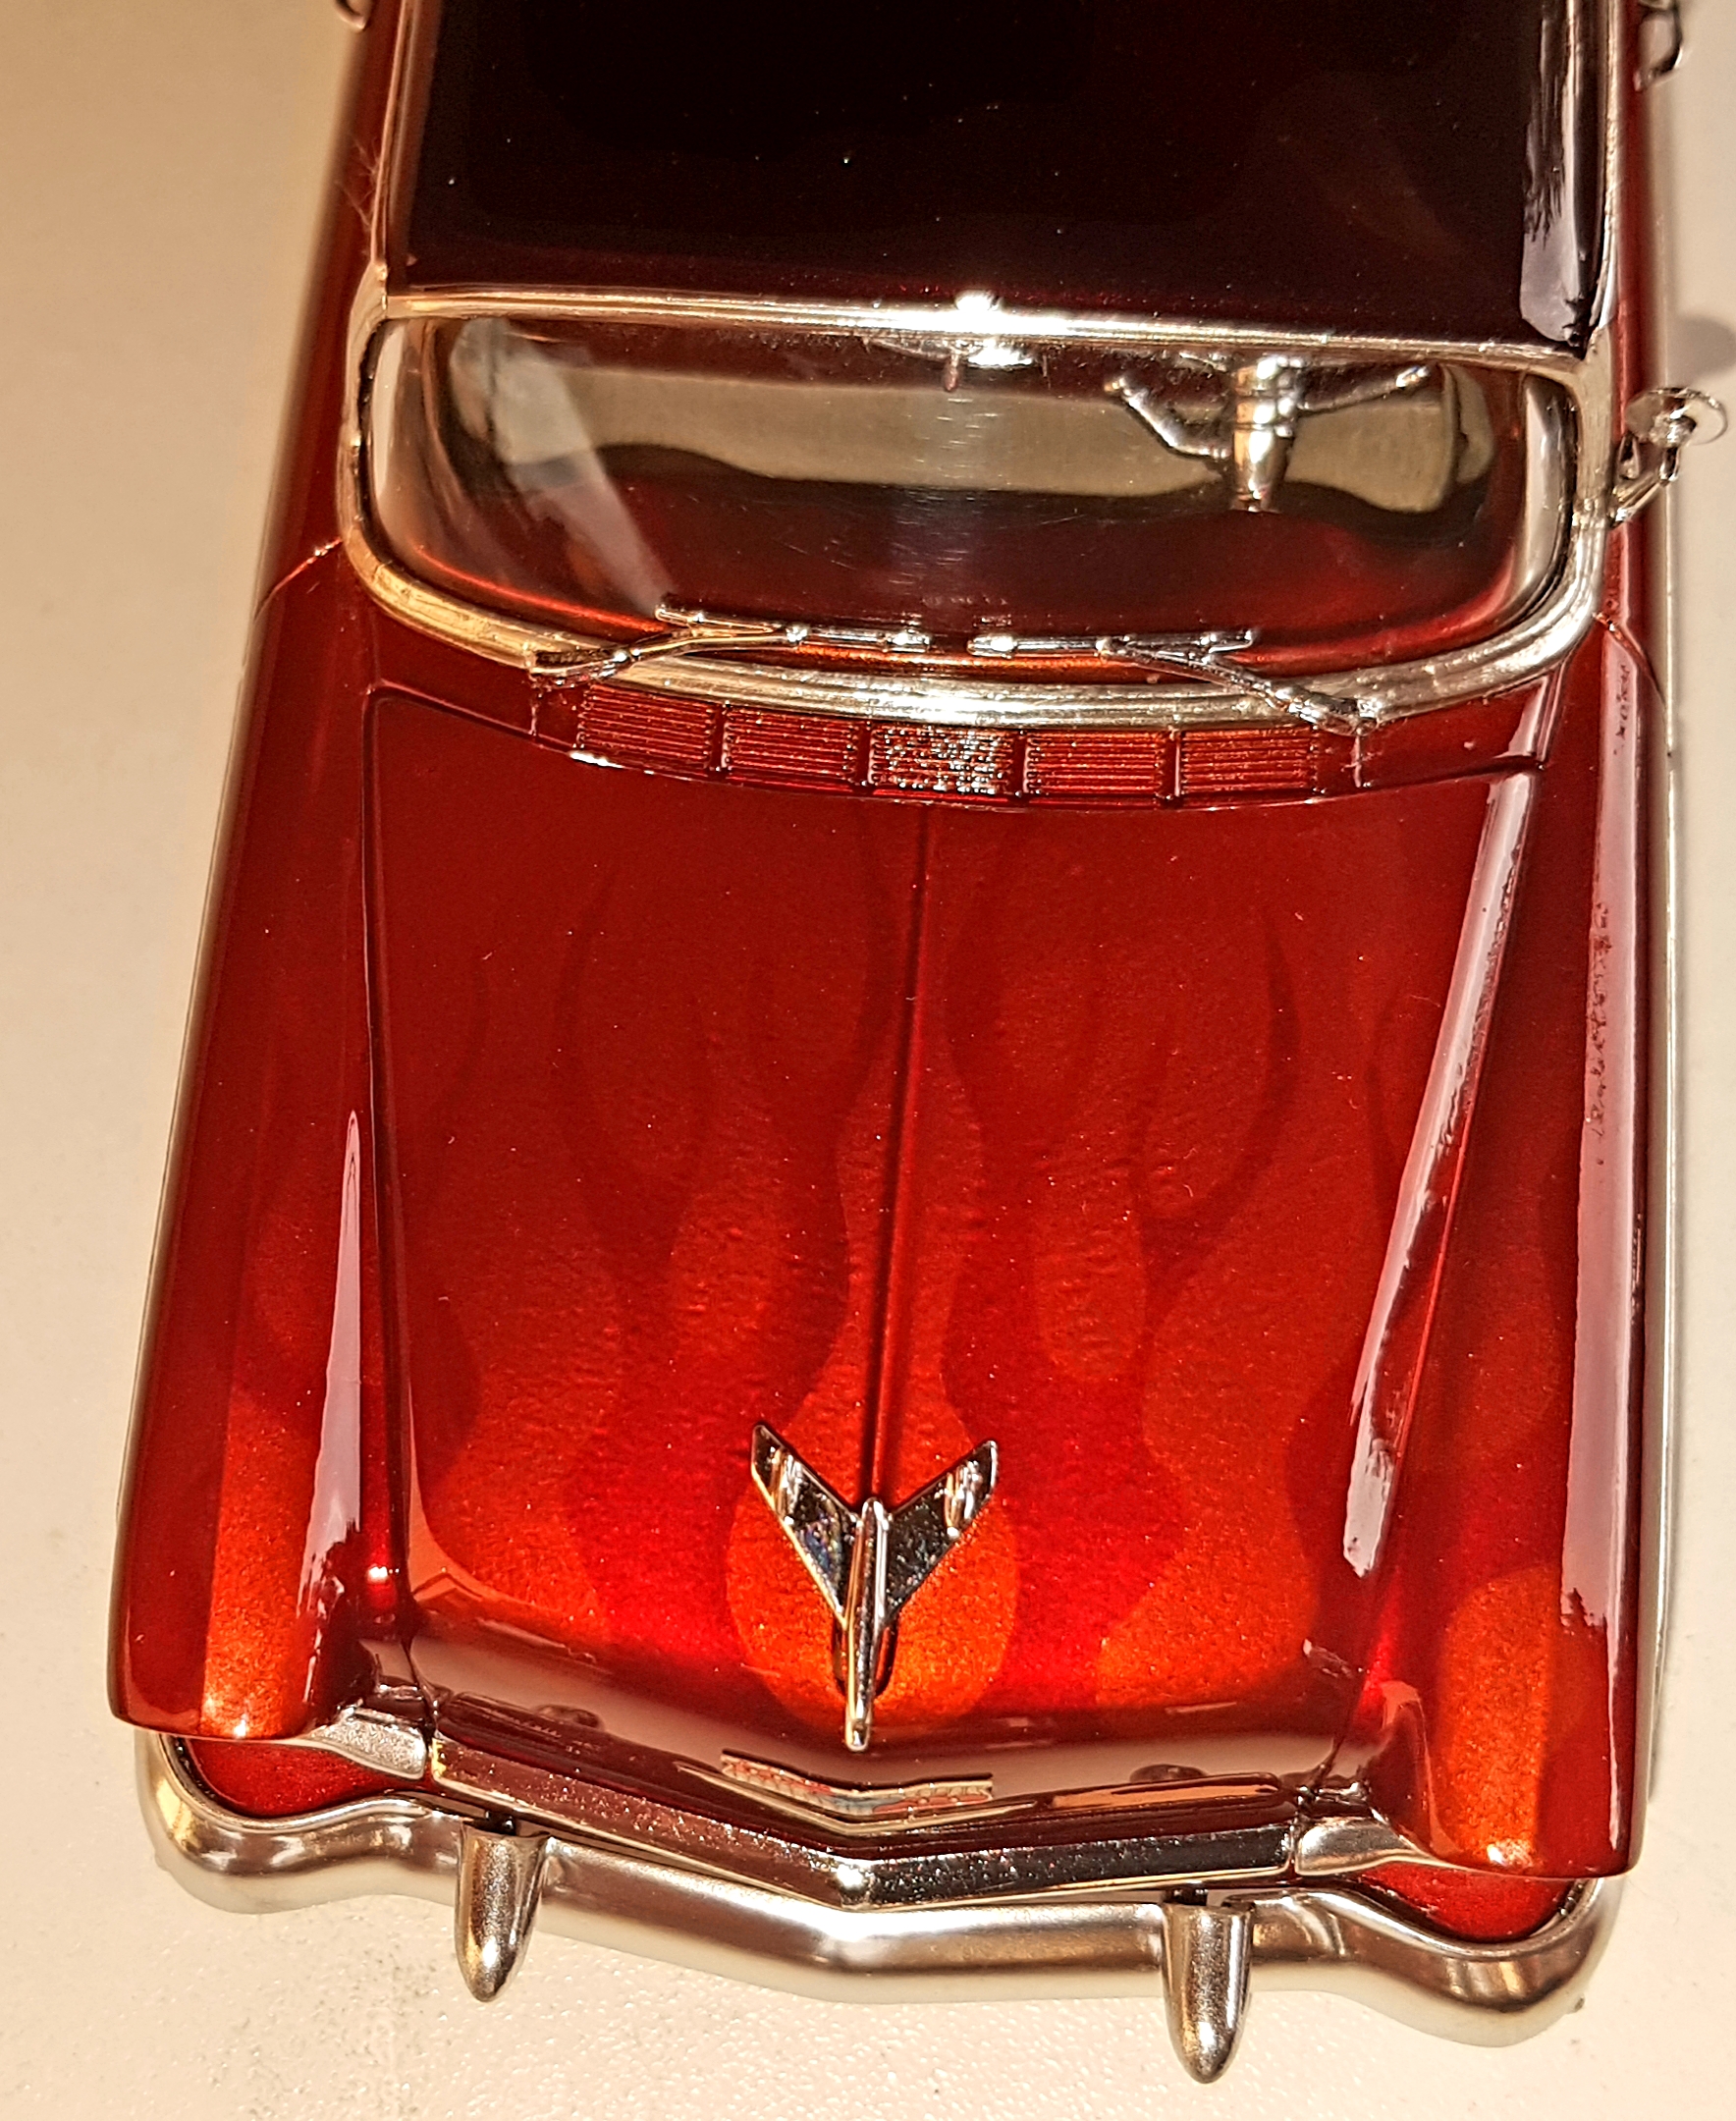
Hello, here my own favorite paintjob. Paint with Zero Fine Silver, Zero Candy Flame Red, Tamiya Smoke, Tamiya Clear Red and finally Zero Paints Diamond 2K Clear. A very cool Candy effect.
-
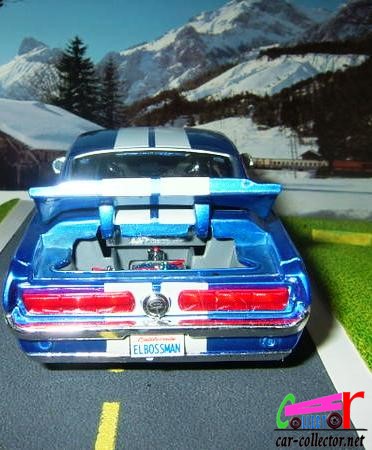
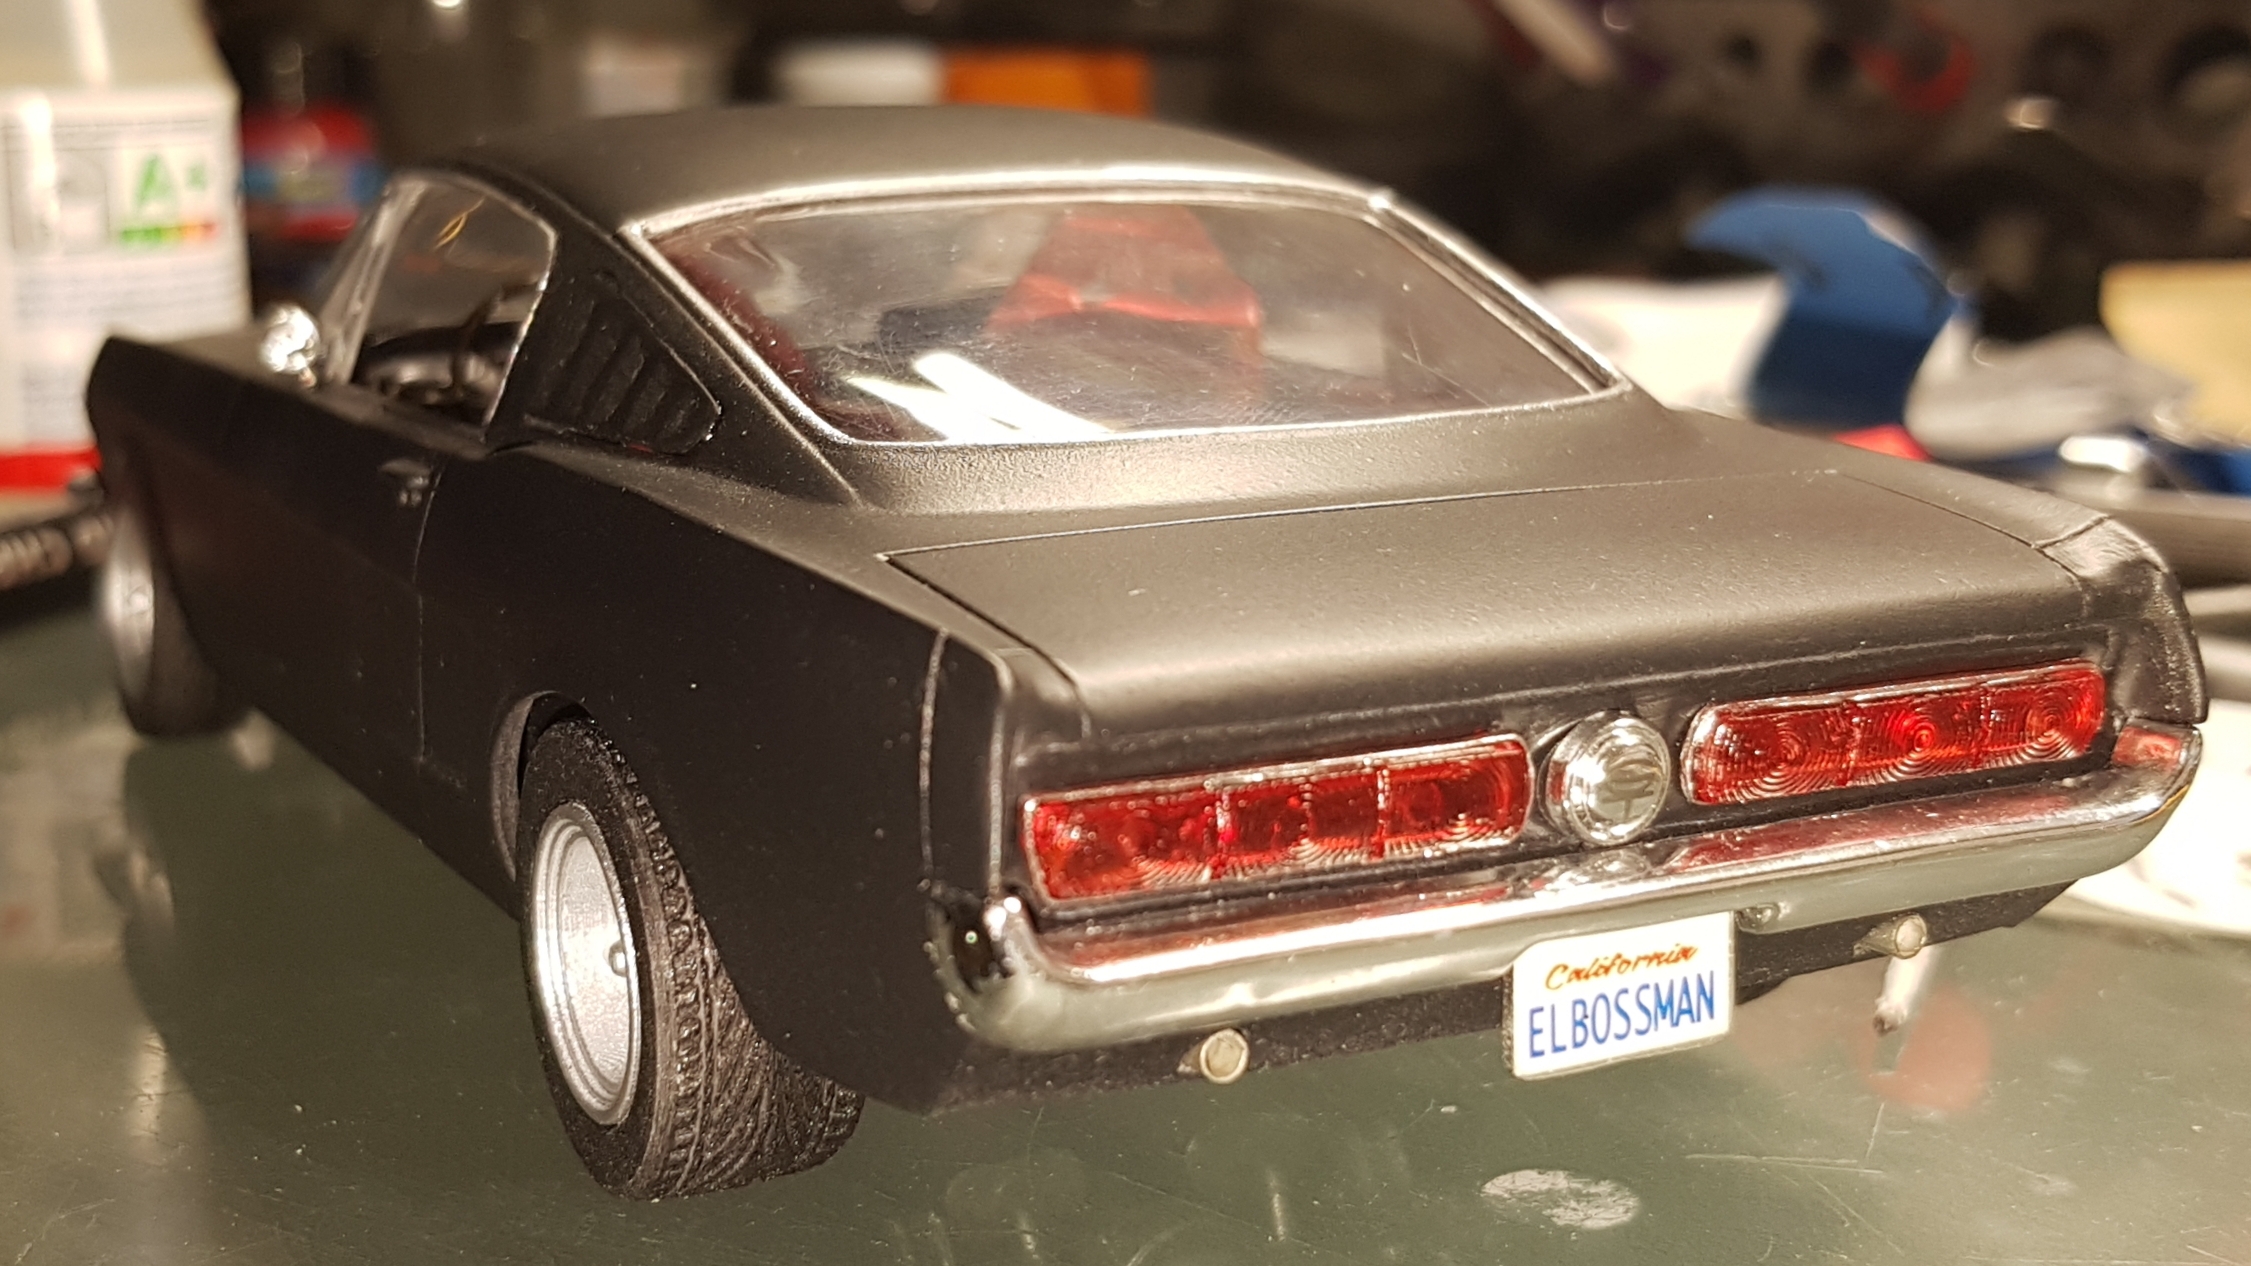
The taillights and rear panel are from a overtuned Maisto Pro Rodz Mustang. I stripped the varnish and repainted them with Tamiya clear red and Molotow.
-
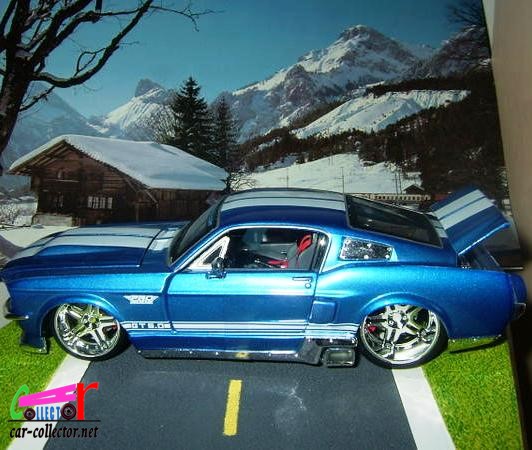
Here are some pictures of the almost finished Mustang. I hope it still pleases you.