mitchy
-
Posts
147 -
Joined
-
Last visited
Content Type
Profiles
Forums
Events
Gallery
Everything posted by mitchy
-
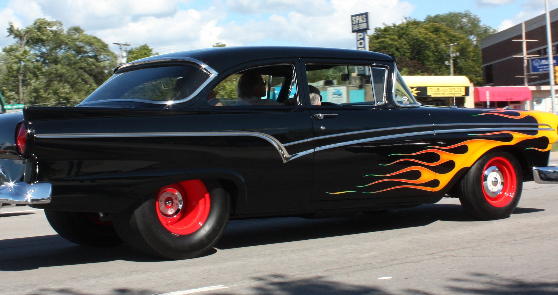
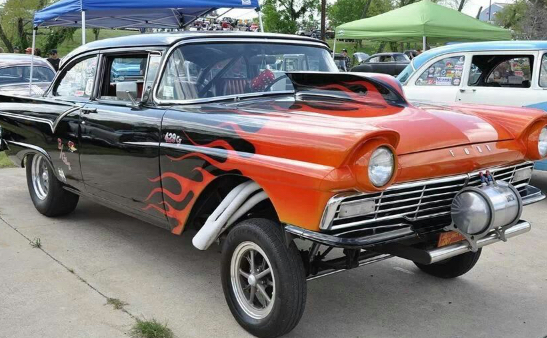
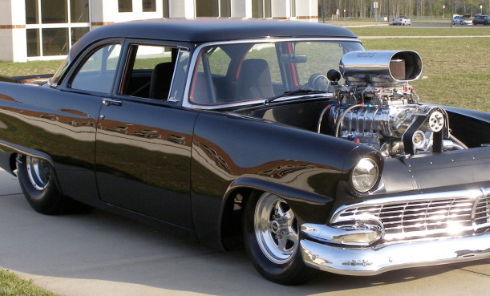
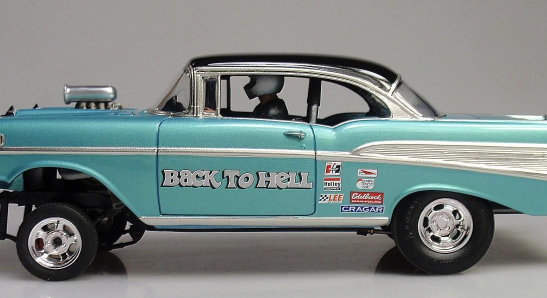
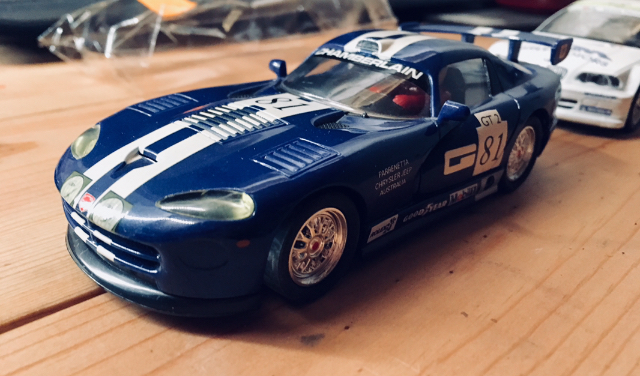
You’re right, I’m planning on some chassis/drivtrain mods to get the rubber tucked underneath. Its my first glue bomb resurrection so I’m happy to get my teeth stuck in and get cutting. I’m not sure exactly what style yet, but I’m aiming in the direction of these Googled pictures: Thanks to the photo donors

-
Loving that work sir.
-
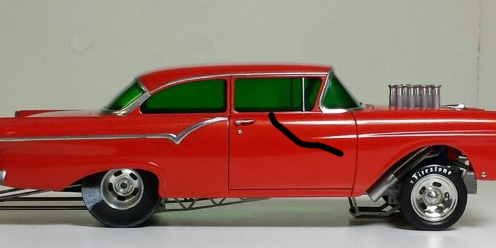
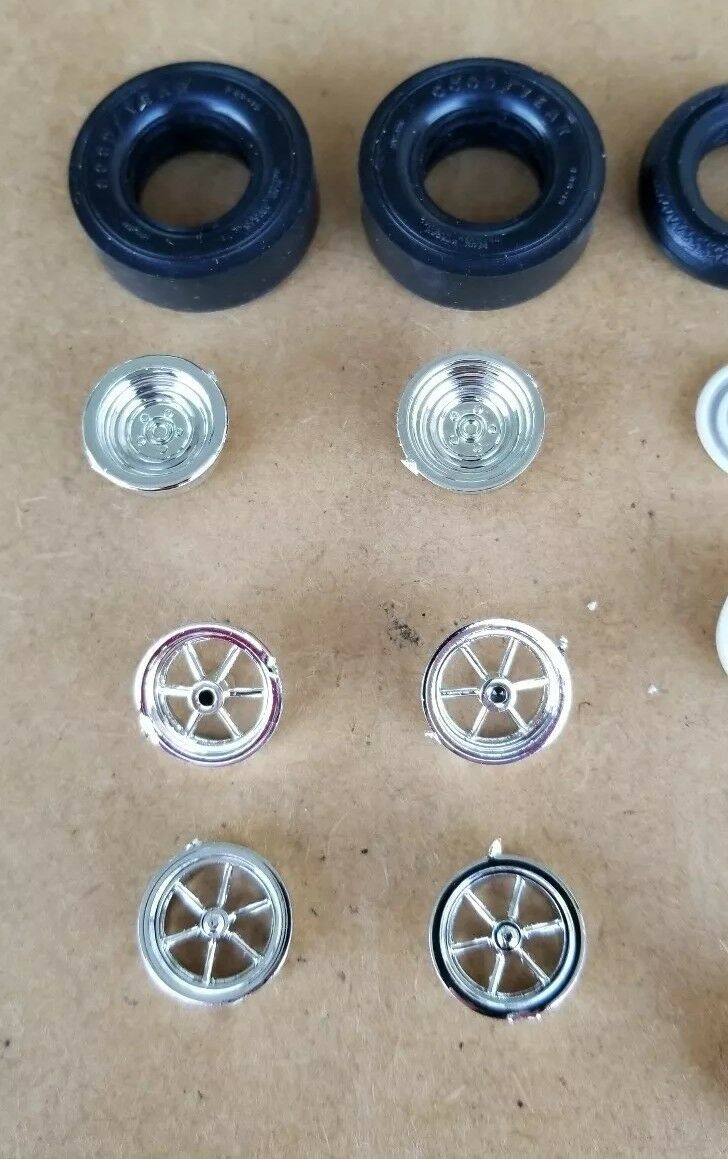
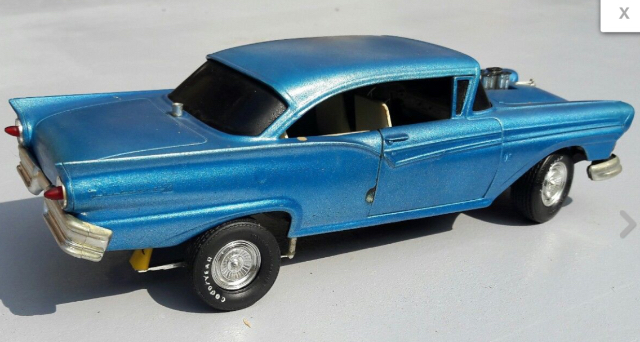
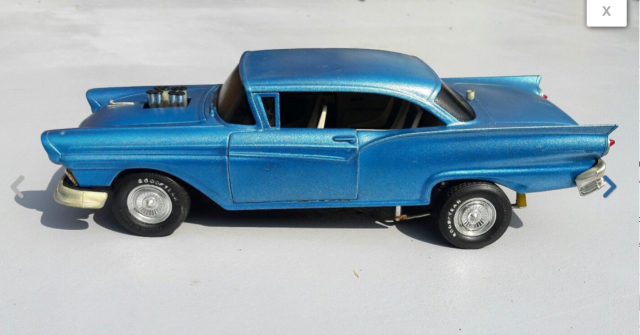
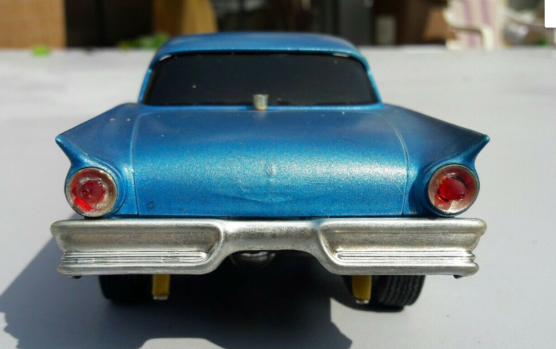
As if I didn’t have enough going on, I picked up a few more projects his week- I found a cheap 1957 Fairlane 500 built model with some home-made ‘mods’, jacked up back end, an upside down rear bumper and blacked-out glassware: Somewhere out of this ‘beauty’ I shall create a beast (or should that be vice-versa?) I think its going to be very smooth and low, as yet undecided on the colour, but I have a few ideas. I won some custom wheels and rubber on the ‘bay that will be added to this fine auto, perhaps some drag slicks squeezed under there.... As bought..... wheel choice? Thanks for looking, more to come.
-
Great job, -there’s nothing better than inventing new uses for feminine cosmetic accessories to get the job done! Love the Charger
-
Wheels painted and test fitted, the rear axle is too wide, and the wheels themselves are too chunky, but it will do. It is reasonably close to my reference photo. Now to add the final details and get it ‘under glass’... thanks for looking ref. photo:
-
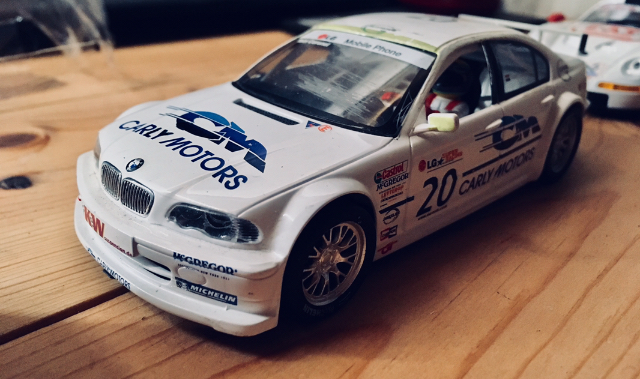
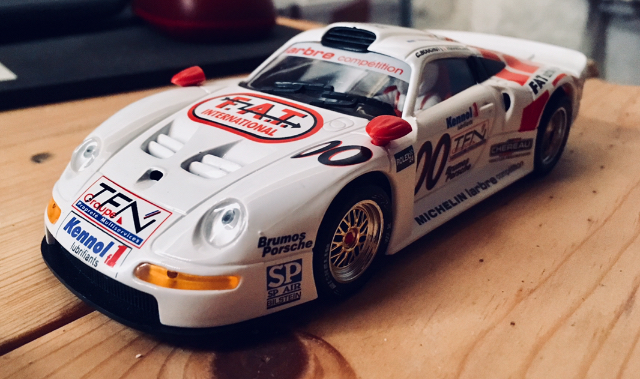
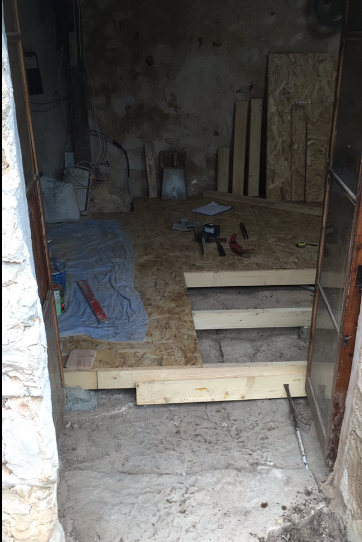
I’ll be sure to post some pictures.... the modern 1:32 cars a really special, the detail makes one worry a little in using them! therefore I got some good second-hand ones at a very good price too! Still working on the play room...
-
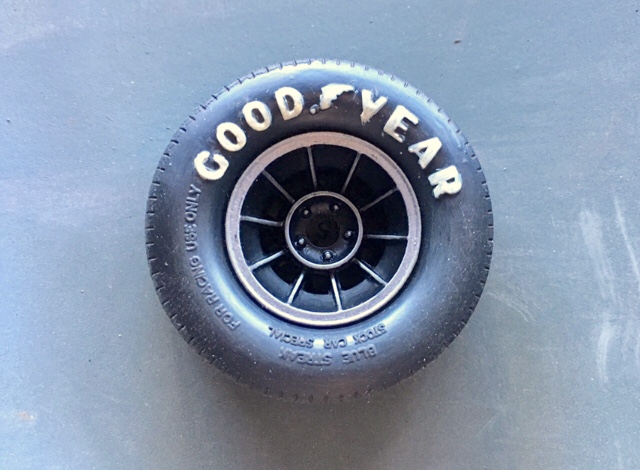
I have been painting wheels today. As I have finally got around to removing the chrome, I thought I might try to paint one of the Charger wheels. I AB’d the rim in silver, then hand brushed in the dark grey elements. My tyre lettering needs some work!
-
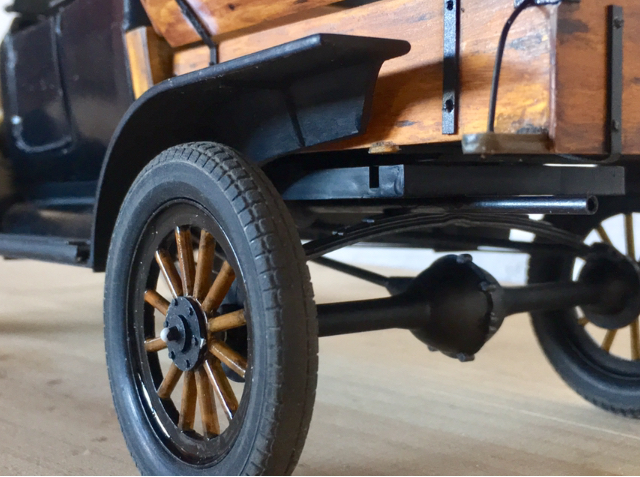
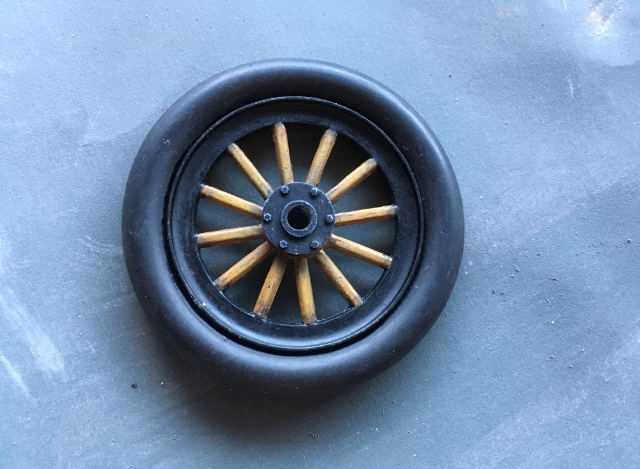
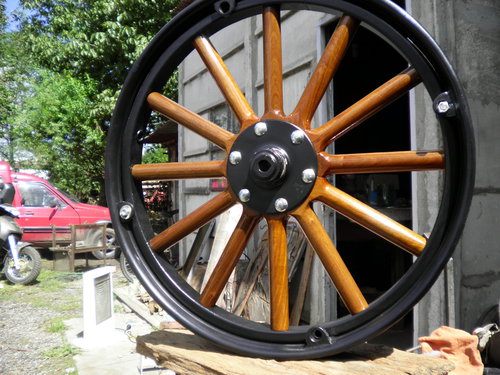
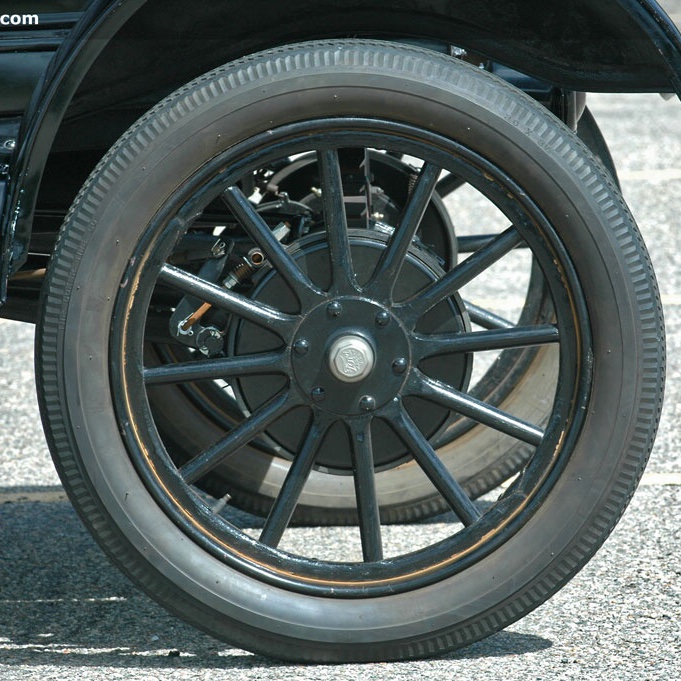
At last I got around to remove the blingy gold chrome off the rims, trim the tyre locating flange off the outside edge, and have a little play with some paint. The tyre is in fact an o-ring, the kit tires are a bit too chunky for the front, and treadless tyres (!) were available back when. I have gone for the natural wooden spokes with some staining/weathering to go with the used maintained look of the model..
-
Haha you got me!
-
Thank you. I’m stalling whilst getting another model moving, but I shall soon have this one under glass...
-
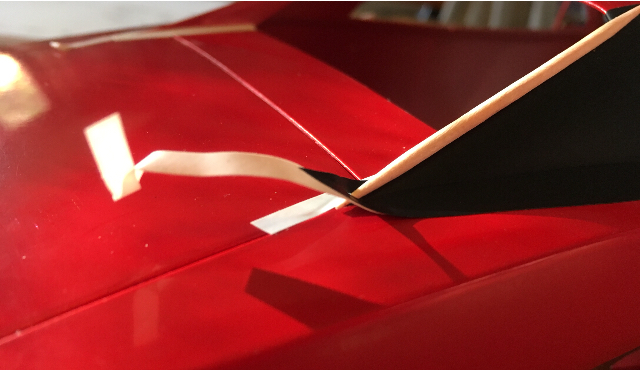
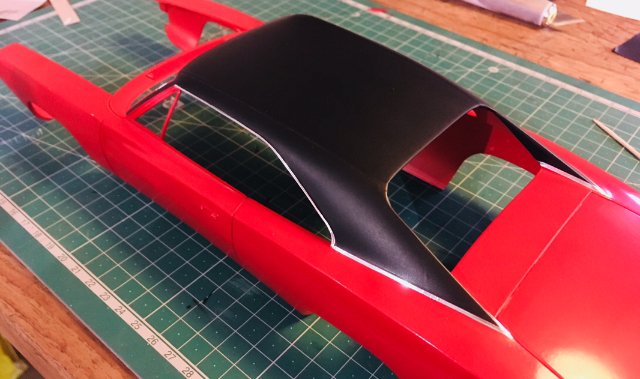
I can more easily polish the paintwork prior to applying the beading. This gives a fully polished paint surface right up to the vinyl, without having the beading in the way: Mark out the limits of the vinyl with precision masking tape, and check that there is enough vinyl to cover the area! Vinyl applied; worked well into the corners and edges of the masking tape beneath: Cut with a fresh blade along the inner relief edge of the tape and all along the periphery, and carefully weedle out the excess, using any means available. A toothpick is the perfect tool to hold down the vinyl at this very acute convergence point: Use a finger nail or toothpick to get the vinyl’s edge into those nooks and crannies. Then small strips of adhesive alu tape are carefully run where necessary: The top roof section is then measured and fitted after the two sides. Bingo!
-
Yep, and hand-painted black at that!
-
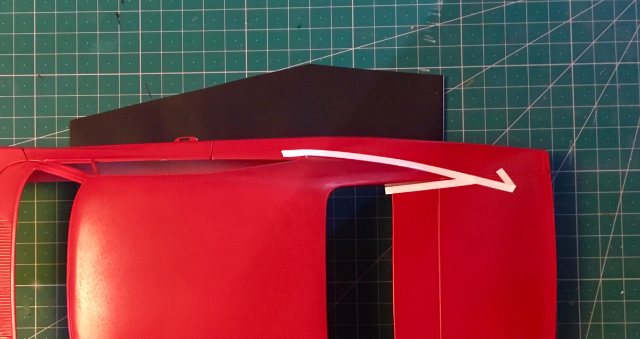
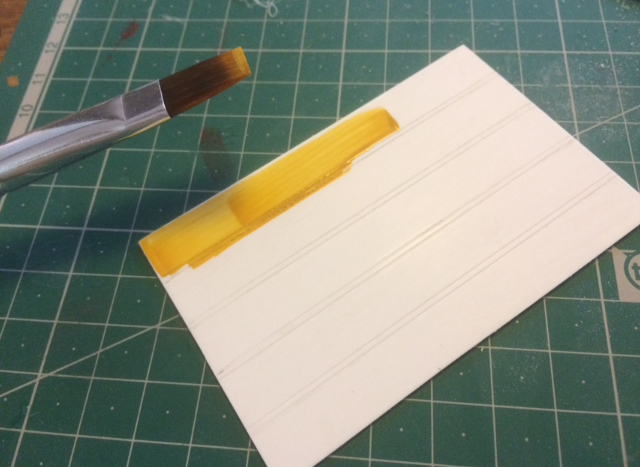
Good question! My method is to lay down some resin masking tape to mark the limit of the vinyl roof. This will give me a marked edge to burnish the vinyl up to. I then carefully cut along this edge, much like one would with BMF, and remove the excess vinyl, along with the masking tape. I have some heavy aluminium foil tape that I cut into strips and apply as trim. The trim is quite flat rather than round, and the thick alu tape mimics this very well:
-
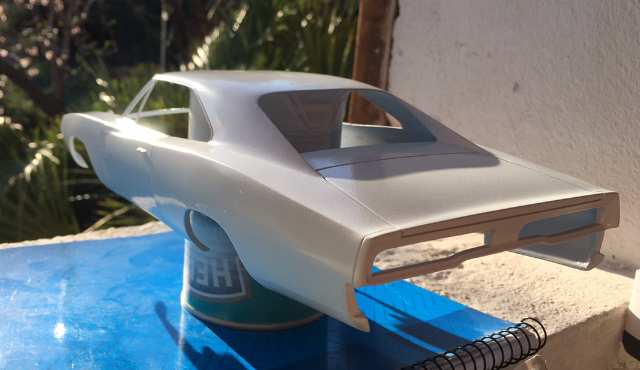
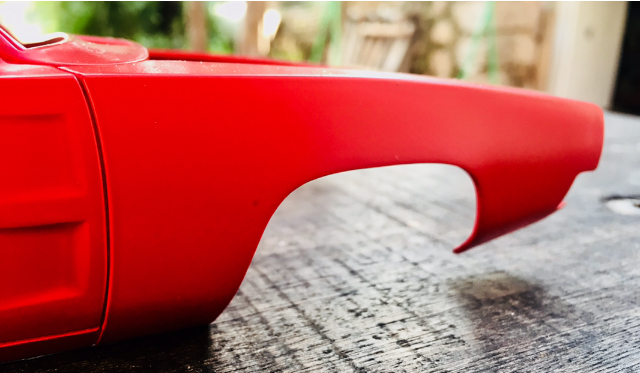
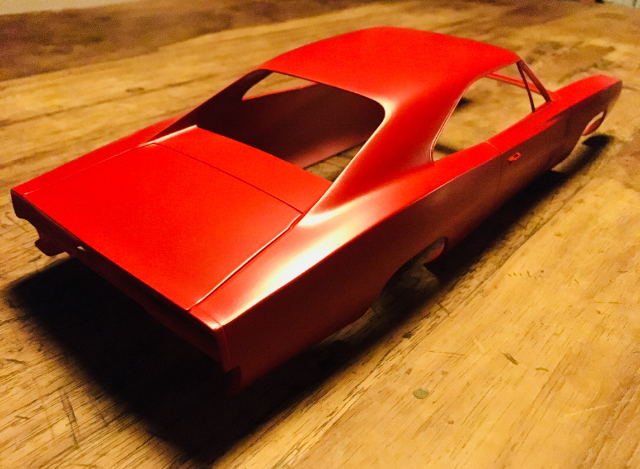
I managed to get the paint on over the last few days. Vallejo Premium grey primer over the bare plastic, some sanding and corrections, Tamiya fine white straight from the can (magical forgiving stuff, I care not if you disagree!), and a custom blend (I count the drops into the AB), 10 Vallejo Premium Red : 3 Yellow Ochre, and some distilled water, which gives that hot-but-not-quite-orange-almost-fluorescent colour I was after. I think a Charger looks best red and black (or blue or yellow or orange, white, brown, for that matter.....) Next up is a light sanding to lose any texture, and a polish- no need for clear, but that’ll have to wait. I can get on with the chassis and interior. Then its time to vinyl the roof and chrome up! Whoopee. ——— Tamiya fine primer looks awful lumpy when fresh, (but never fails to amaze once cured): Indoors: Outdoors, I can’t wait to polish! (Hey, There’s no filler cap on this model- hmmph!) Front wheel arches turned out great -phew! Better leave it to cure properly for a week or two, time for some other projects, Thanks for looking.
-
It is probably wise to put it on a bit warm, not really hot though. I actually put it on for this test at ambient temperature (approx 15C, 54F) and it went down quite easily. I think installers use some gentle hot air for complex bodywork contours. Wrapping it around the extremities like window returns probably requires a higher ambient temp, but I did not try it as I was afraid to pull the primer off whilst peeling off this test piece.
-
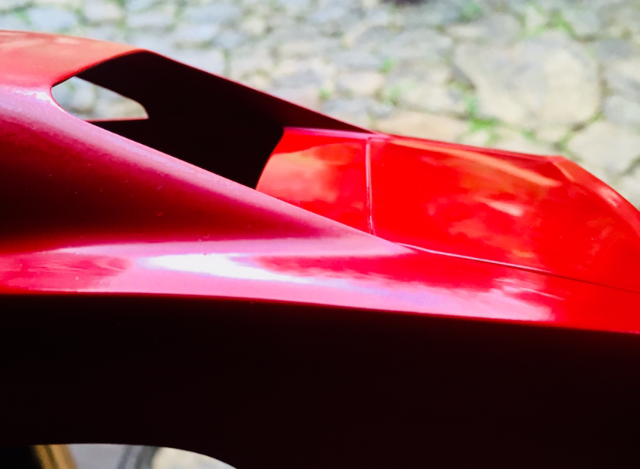
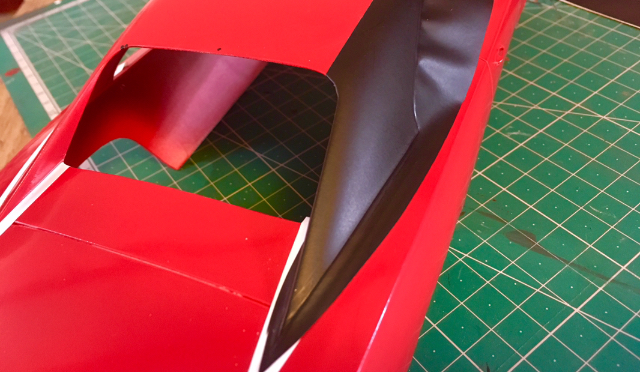
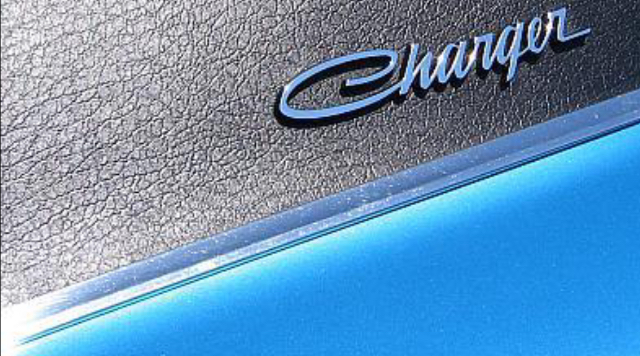
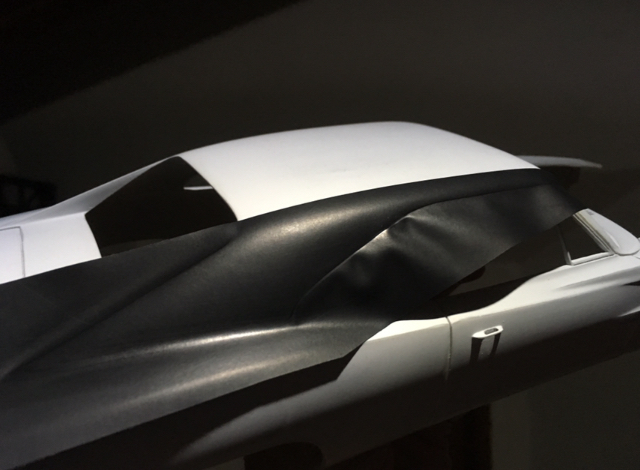
As a true 60s-70s fan, I am toying the idea of a strong body colour contrasting with a satin black painted vinyl-effect roof. I then remembered that I have some scraps of satin black 3M vinyl wrap, so I have just made a little test. Looks promising... The bonus is that it can be applied exactly as a real vinyl roof, with the overlap seam and all. Cool. Here’s a photo
-
Cool post, I shall be paying atention as I too am starting a custom Charger build, though not the same model. Thanks
-
 Hi I have been watching this build since the beginning- excellent work and thanks for sharing. All that work for the body to become the plug, that’s true craftsmanship. Big pat on the back! looking forward to more, thank you!
 -
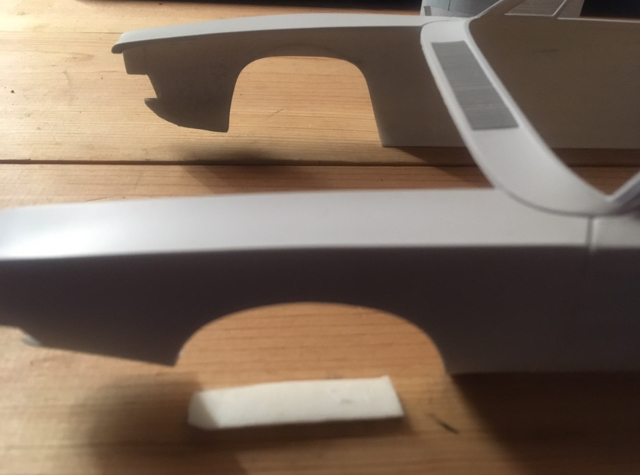
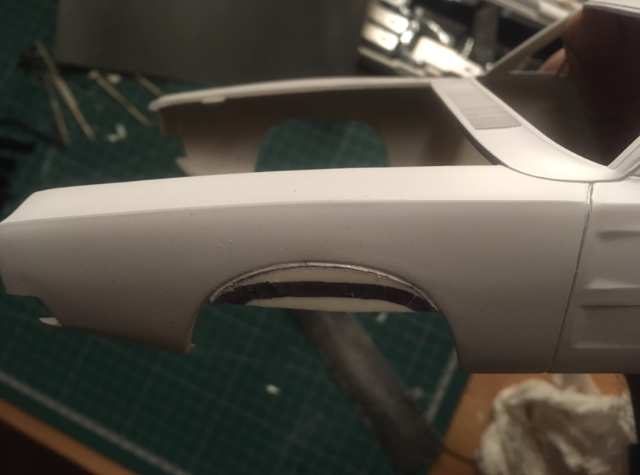
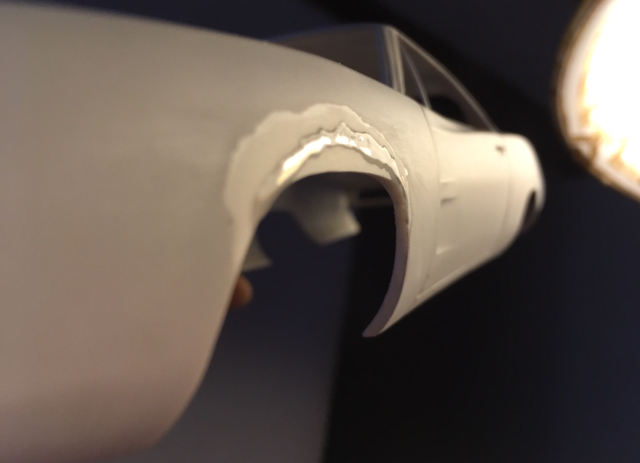
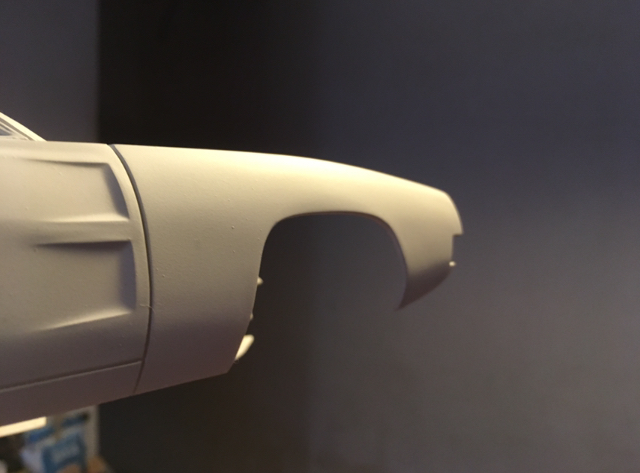
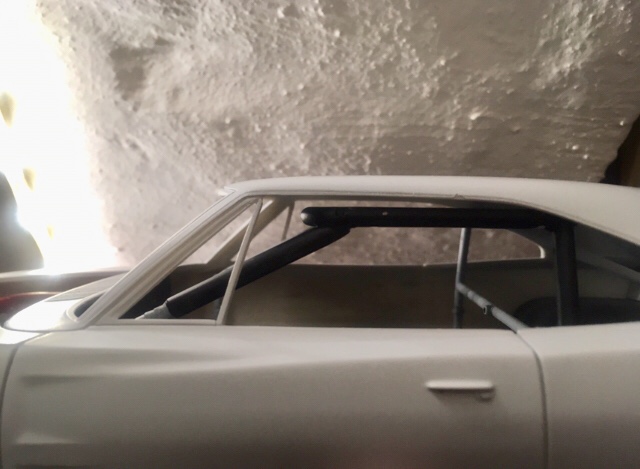
I have not done much over the xmas period, but I did start to fiddle with the MPC Dukes of Hazzard Charger.... I do not plan to build it in Dukes trim, it is a hash up of a few different models; Petty’s ‘73 Nascar charger, amongst others. There is no rear seat, no inner front wings (fenders) apparently the engine is not correct, tires way too fat etc etc so I ‘m going to build my own dream race-prepped street charger mash up. so far I have the 426 cu in hemi painted and built, and I am working on the body at the moment, adding front wheel arch tops as the kit comes with nascar style round-topped arches- I have replaced tbe missing plastic with the bonnet (hood) gap sprue so as to have exactly the same plastic as the front fenders for material integrity. Stock round-topped arch closest to camera, the repaired flat-top at rear: That piece of flat sprue was shaped and welded in place. It even has the correct curvature, so hopefully no stress or strain to crack in the future: Arch is shaped in situ, small gaps are filled with tamiya styrene cement: Righthand arch shaped and primed, lots of wet sanding to do still before the paint goes on, but a seamless repair: Nicely detailed hemi v8, but the manifold headers come with no exhaust pipes to empty into... go figure. I’ll have to make my own from scratch. Other little niggles appear whilst test fitting; such as the roll cage which is designed for the 73 Charger just does not work in this earlier 69 body- more chopping and bending to be done then... All in all not a bad model, but to build it box-stock would be somewhat disappointing for me. There is also a cubic tonne of flash on many parts, everything needs a good clean up, though the detail is more than acceptable. Even the engine block has molded in cylinders and pistons, the heads have the combustion chambers and valves, and even the camshaft and rocker assemblies are supplied. There is a clutch, also never to be seen once assembled.... Obviously some thought was put in to the simple enjoyment of the build, rather than the show of the final result!
-
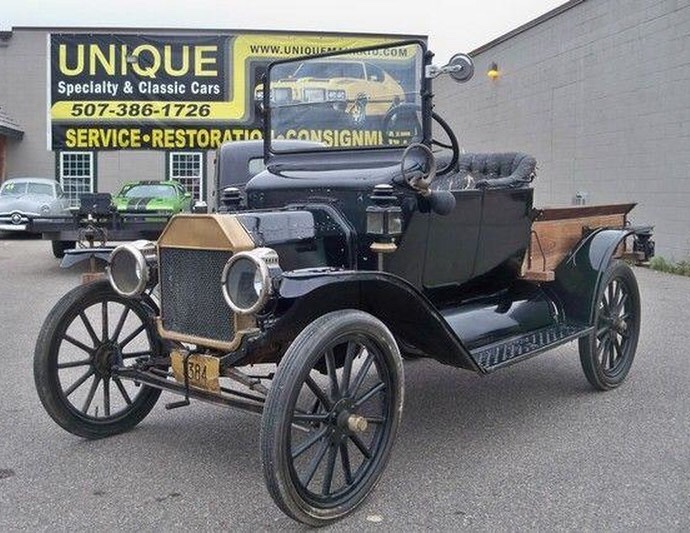
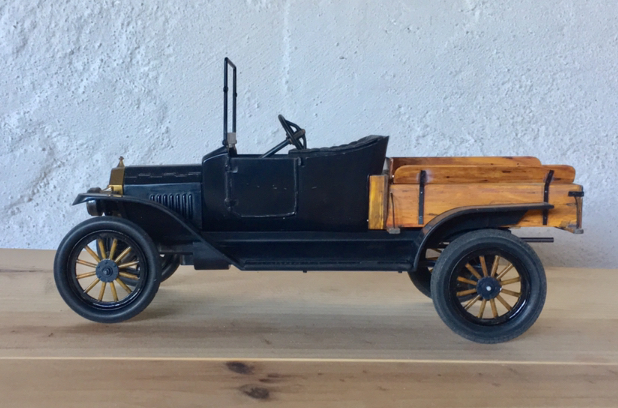
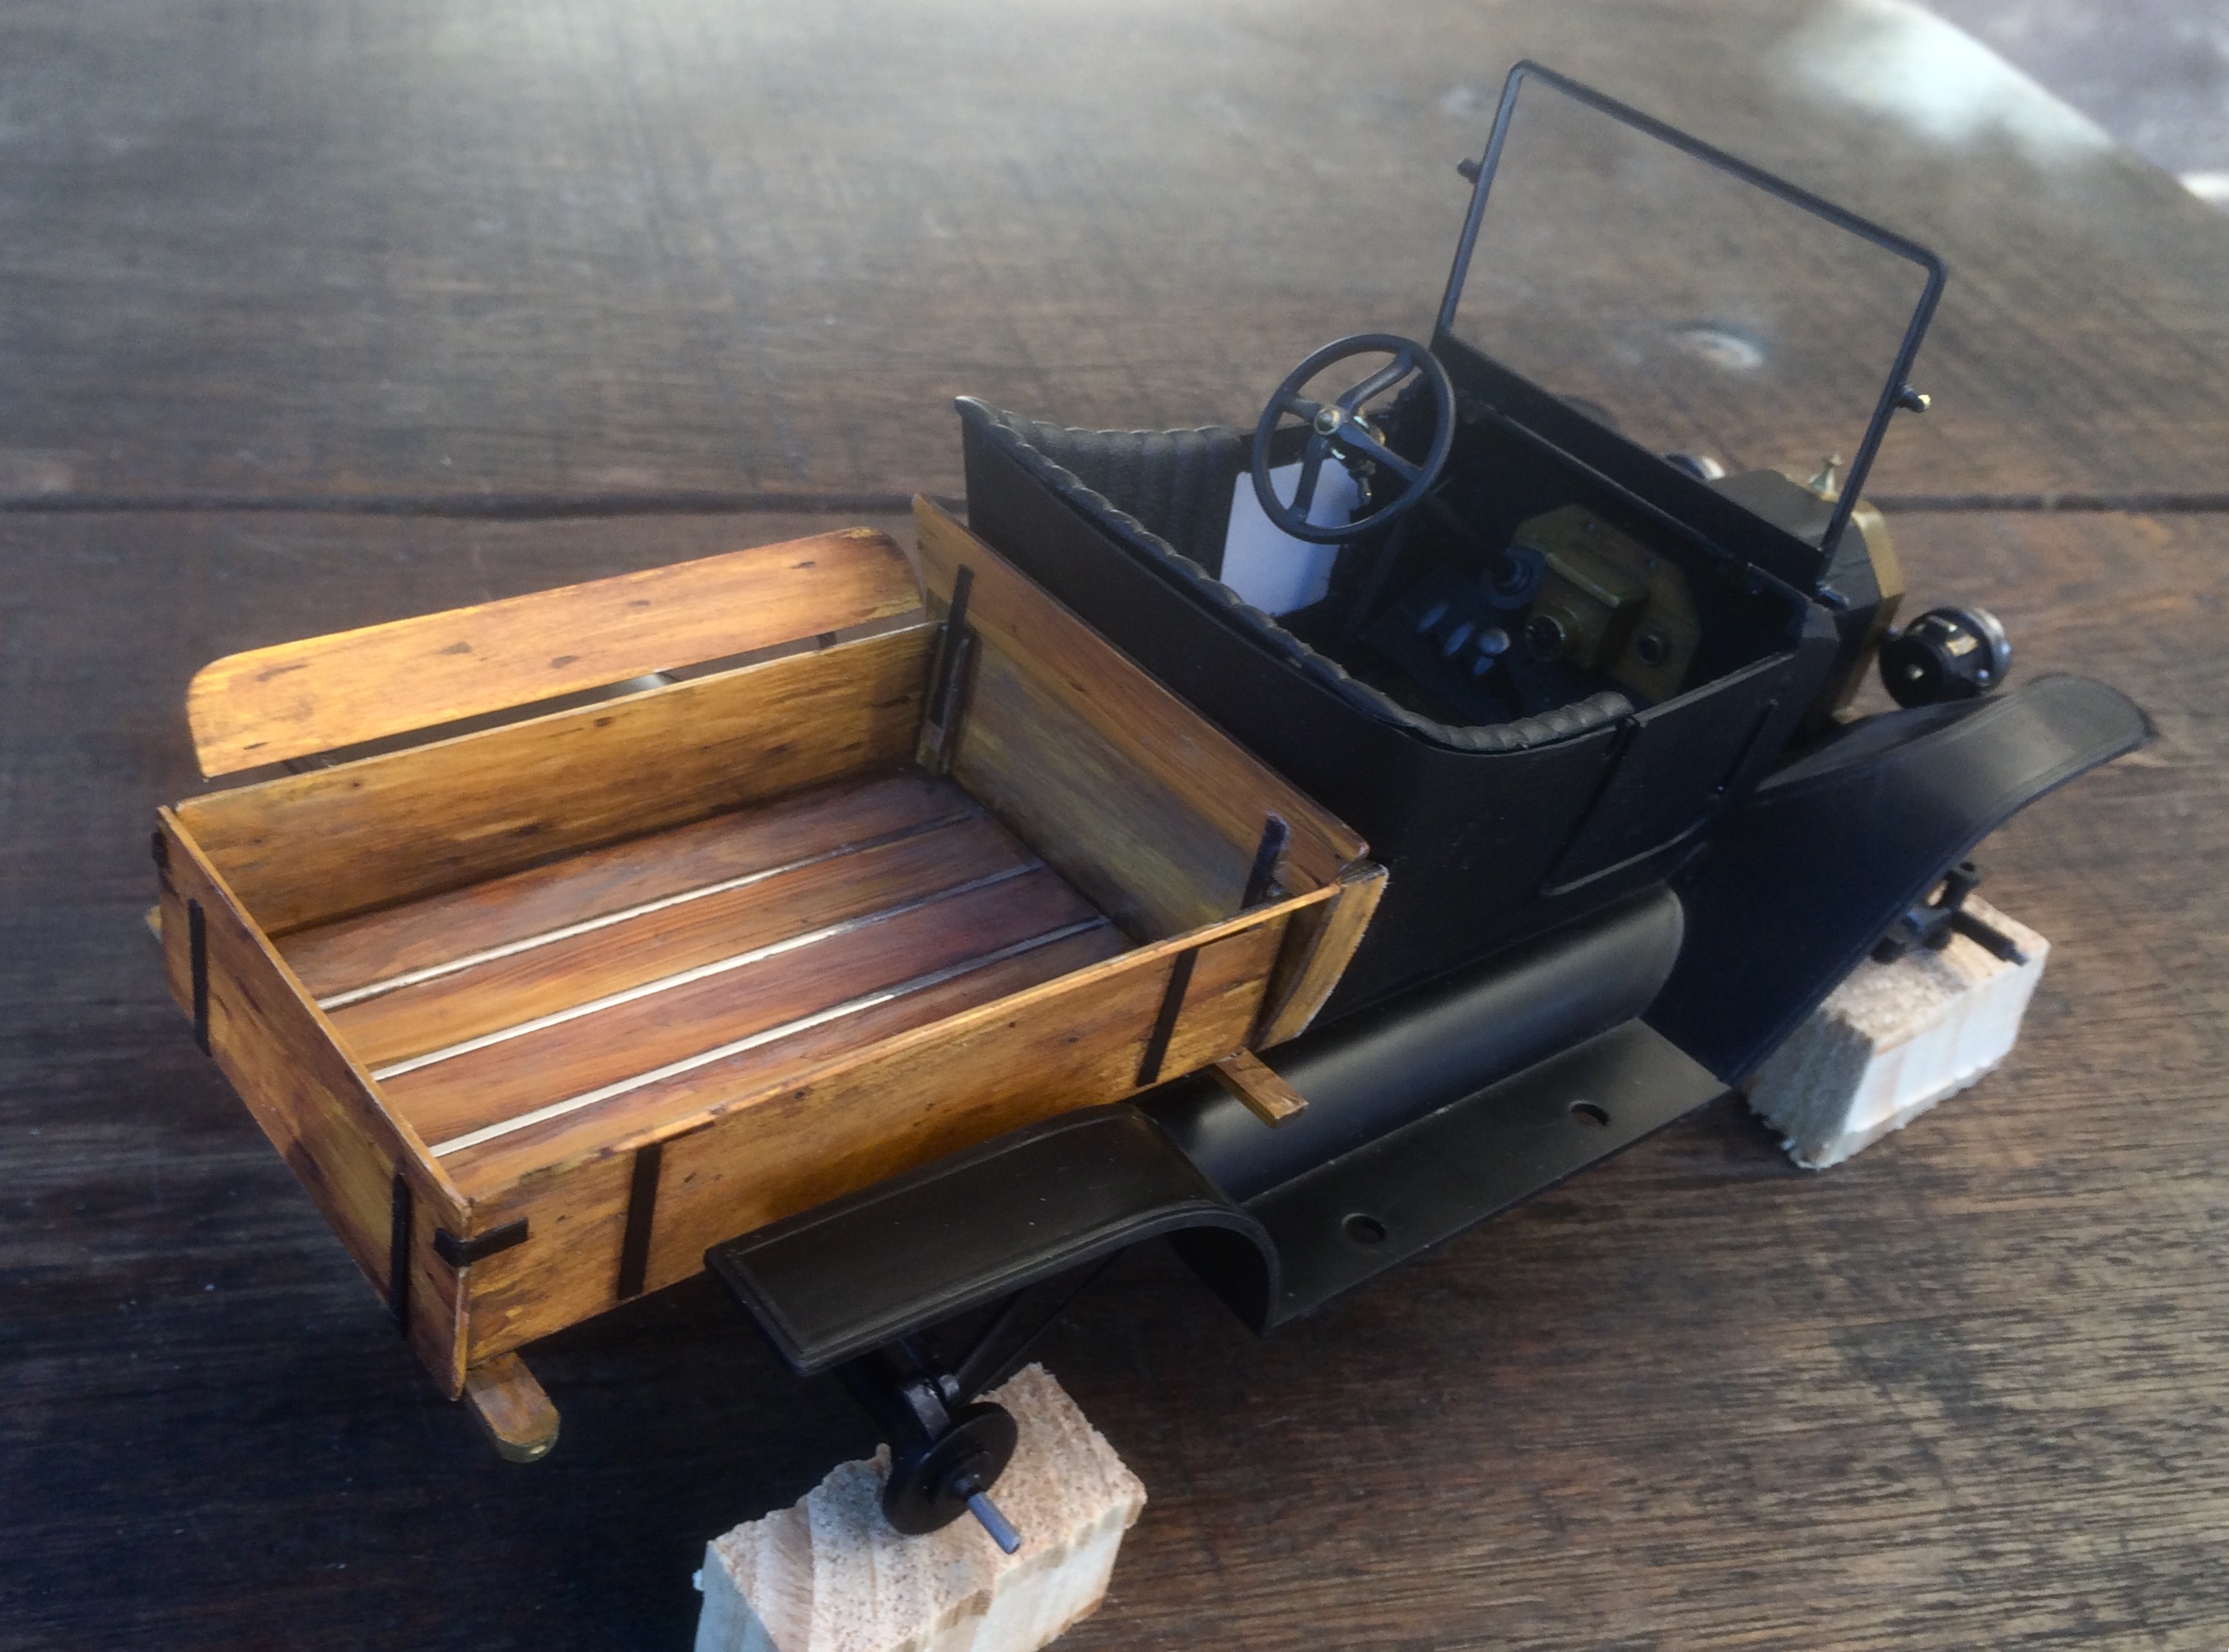
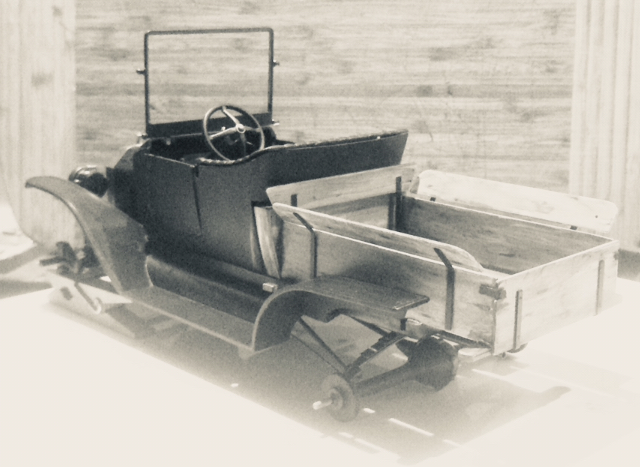
Not much progress made on any of my models over christmas and new year, but all that is left to complete the Tin Lizzie is add a few interior details, running boards, windscreen glass, spare tyre, and strip the gold chrome off the wheels and paint them. - I am undecided if they will be full utility black or black rim and hub with wooden spokes... I think the wooden spoke idea wins. pics courtesy of the ‘net:
-
Tamiya1/18 Lola T-160 TS
mitchy replied to mitchy's topic in WIP: Other Racing: Road Racing, Land Speed Racers
Hi Jasper This model is fairly straightforward, good Tamiya instruction, so difficult to make errors. It is an old kit, so one must expect a few mold errors, though nothing terrible- it is Tamiya 100%! Most of us like to look at 1:1 reference photos for our builds, as a model will almost always miss detail, and a lot of the enjoyment for me is to invent and add to the basic build. The Lola was built as a motorized model originally, some some scale features are sacrificed for function. I built some of the chassis in a different order to the instructions, as I wanted to fill some joints (not there on the 1:1) before painting, for realism. As always, read the instructions very well beforehand, take some heed to the paint colours; warning: I find that that if you blindly follow the instructions and paint silver the parts marked ‘silver’, satin black the parts marked ‘satin black’, you will end up with a very dull colour scheme. Simply adding a drop of black or white or other colours to these base colours between component and component you will have a far more detailed looking model for almost no extra work. as an example of what I mean, the cast aluminium engine parts are really a totally different ‘silver’ to the bare aluminium sheet chassis, polished alloy wheels, etc. Each part should have its own ‘silver’ finish and tone. if you follow tamiya’s colour instructions, all silver parts are the same, black parts all the same, and the finish can be quite boring as a result. -
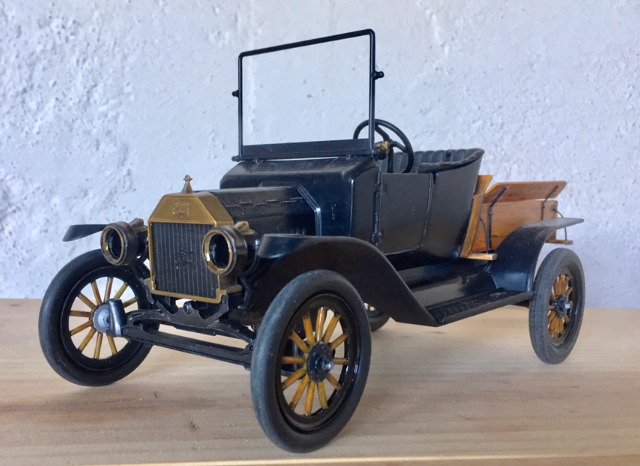
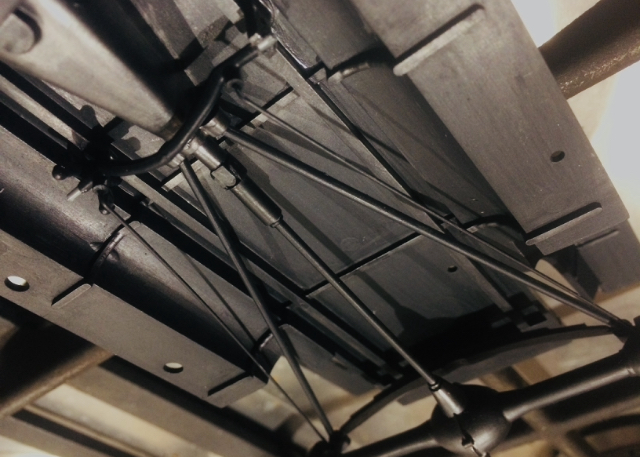
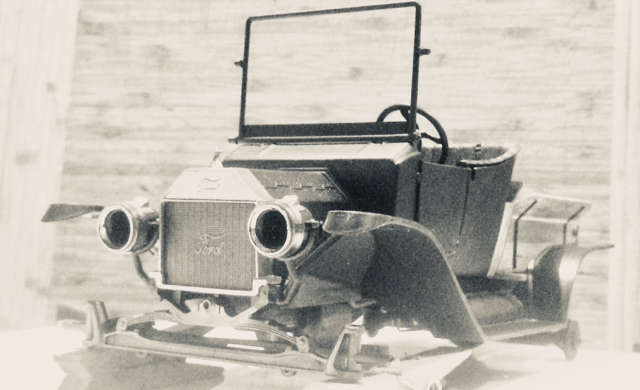
Adding a few vintage style build pics,,, Still missing the glassware, that’ll be the last on the list: underside with added hand-brake mechanism: “In good used condition”... converted from right to left-hand-drive: Thanks for lookin’
-
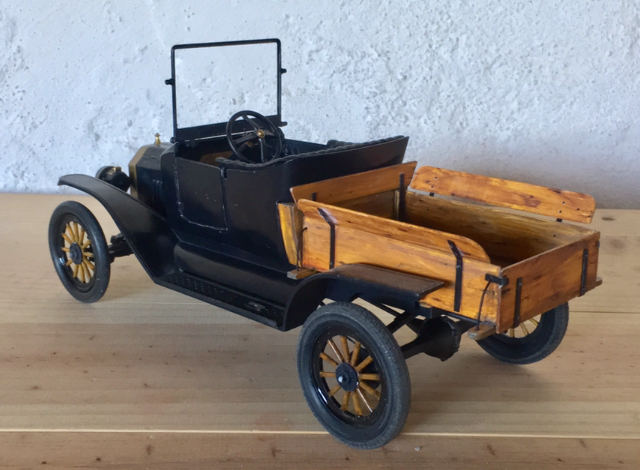
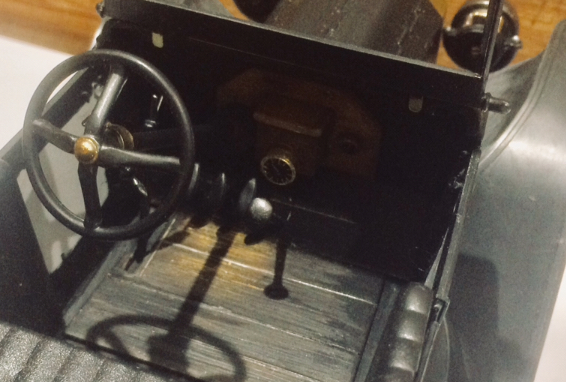
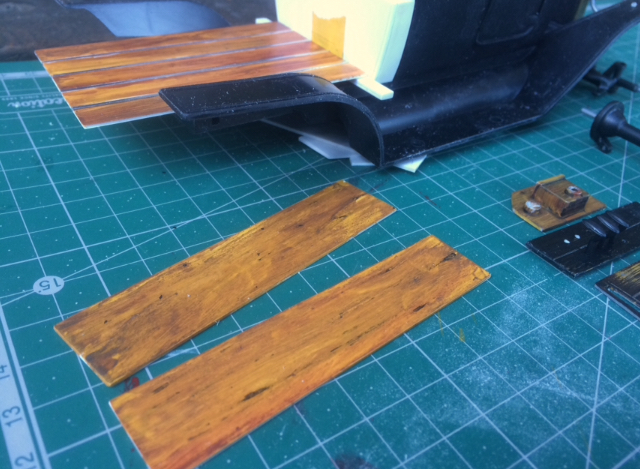
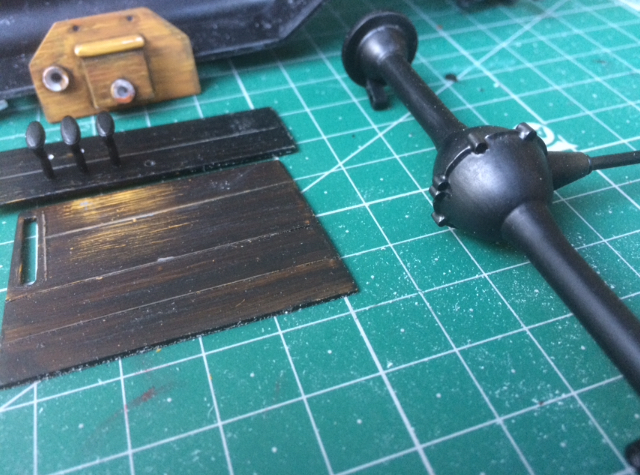
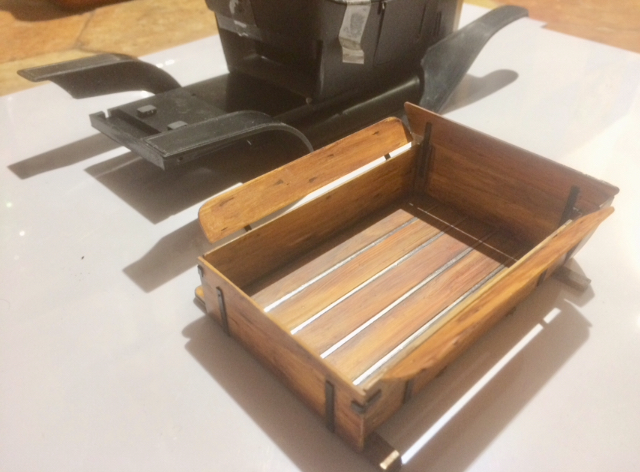
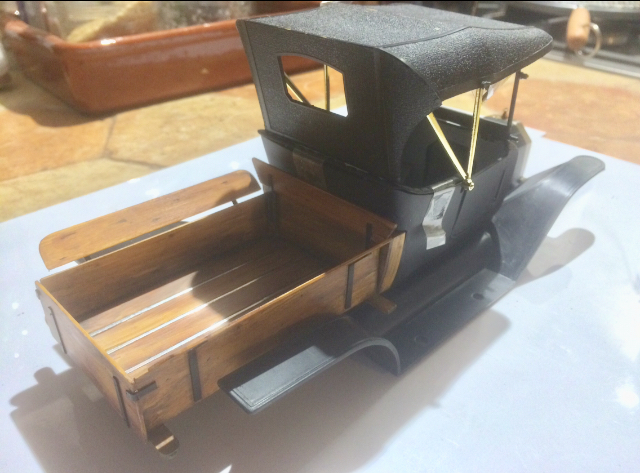
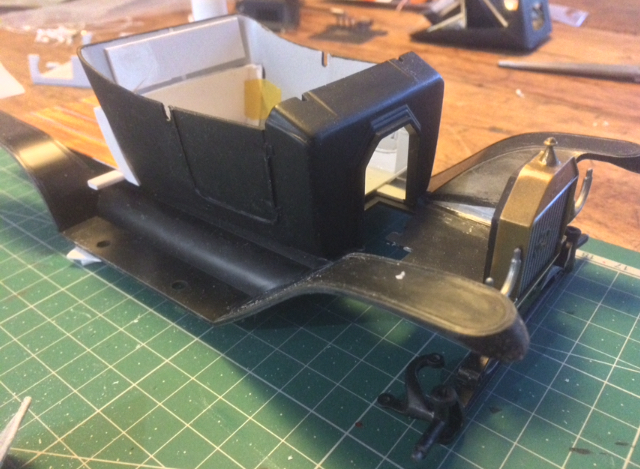
Yeah I totally agree, there will be none of the original guilded finish left when I am done. Even the wheels are guilded- it does nothing for the looks. I have done a little more on the bucket, given the doors more or less the correct shape, fine-tuned the front bulkhead and given it all an authentic brushed-on black. It will need some polishing, but the finish is already quite authentic. This is one model on which I don’t mind showing some ‘tool marks’, hehehe. The interior will sport some worn wooden floorboards and other details, the main floorboard is actually upside-down, as it comes with a weird texture- So I scribed my own boards on the reverse, this solved another problem; the hand brake lever was on the right, oddly enough this model is RHD! I’m changing that. The differential pumpkin was very naked, so I added some pieces of poly rod to mimic the bolt housings around the joint.,., painted vallejo Premium black by brush, as the rest of this model, then finished with a gentle rub with C1 metalizer powder. I love this stuff, it really transforms a dull plain black plastic part into something that looks like weighty cast metal. Other than that, I have completed the pickup bed, all poly sheet, painted and glued to look like real, knarly hardwood, Yellow ochre base: Finger-applied woodgrain (acrylic paint): Add a few wood knots, chrome beading added. A pale grey wash to back-off and unify the strong wood colours. Adding a heavy black wash in the seams and interior corners helps the final effect. The whole assembly just slips in: that’s all for now folks, thanks for looking.
-
Beautiful, I can't wait to see more! Insane tubing and manifold details. Clap clap
-
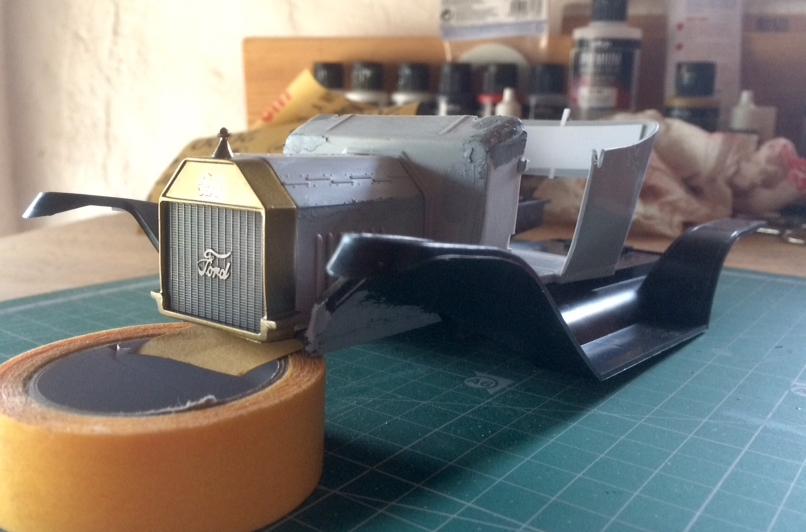
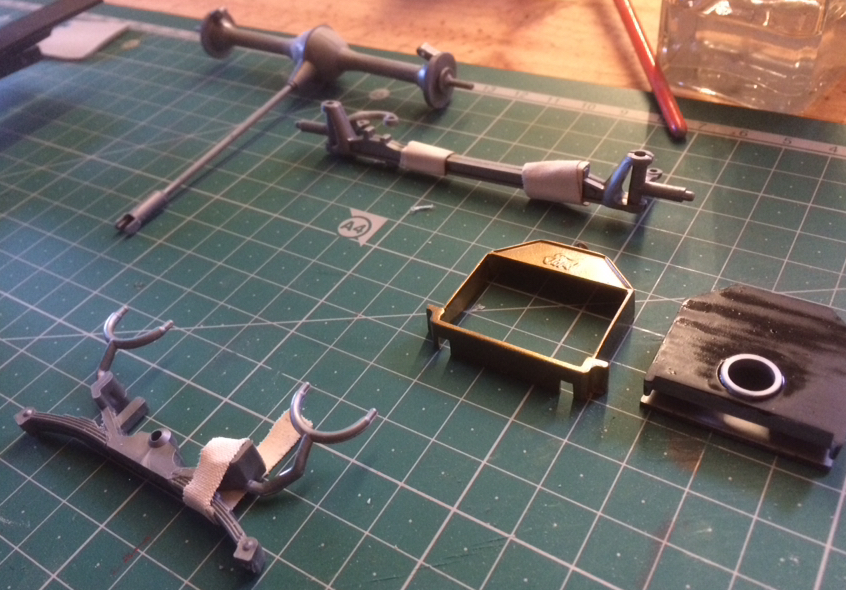
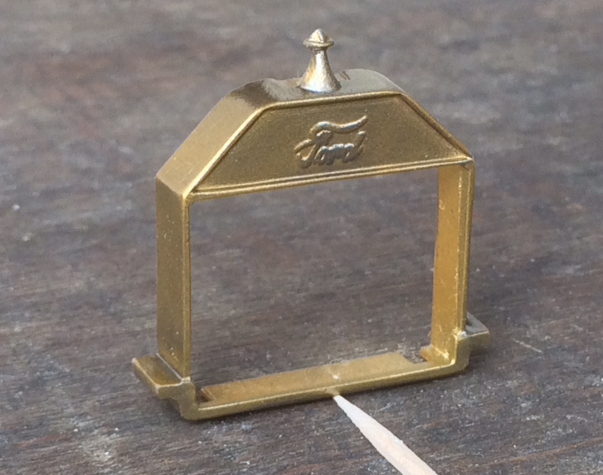
Thank you. Today I have made a little more progress. I am experimenting with a more subdued brass finish on the radiator shroud and other parts, thanks to Vallejo Model Color Brass which I diluted, misted then wetted on the bare grey plastic. Then I brushed very lightly a metalizer powder by C1 over parts of the now touch-dry paint and buffed softly. It looks like clean but not over polished brass, and is much more acceptable than the bright plated finish as supplied. It could be a little smoother, but I reckon a few coats of lacquer and sanding could fix that if necessary. Next up are the transmission, suspension and steering assemblies, now built and ready for some paint. Black, of course. As expected, every part removed from its tree so far has been, or shall be, modified somehow! The bodywork mods are now filled, ready for sanding. Thanks for looking.