.jpg.b9265433dc8c3b550370b1d0e4e4d2fc.jpg)
MarkJ
-
Posts
4,765 -
Joined
-
Last visited
Content Type
Profiles
Forums
Events
Gallery
Everything posted by MarkJ
-
.jpg.b9265433dc8c3b550370b1d0e4e4d2fc.thumb.jpg.915f5b46e3c9402eeaa6972073121c87.jpg)
Guess what it is.
MarkJ replied to MarkJ's topic in WIP: Other Racing: Road Racing, Land Speed Racers
Anton, forgive me but I can't remember the painting technique advise I gave that you are describing. What actual build was it? I think you might have me confused with someone else. -
Guess what it is.
MarkJ replied to MarkJ's topic in WIP: Other Racing: Road Racing, Land Speed Racers
Anton, congrats. You figured it out. Okay guys you can all go home now. contest over. -
Pierre, as per usual your build is an amazing thing to behold. The realism you add to your models is unequalled in its perfection by anyone else. it's always such a joy to watch the images over and over again picking up something new every time. As I always say, I cannot wait till your next offering to us mere mortals. Don't make us wait too long.
-
A better buick
MarkJ replied to Kevinjr26's topic in WIP: Stock Cars (NASCAR, Super Stock, Late Model, etc.)
Really looking forward to it. -
Rolls-Royce No Chemicals, No Paint, No Harmful Glues
MarkJ replied to Anglia105E's topic in WIP: Model Cars
Looks very good to me, David. It would be impossible to get them perfect at this scale and the materials you are using especially the shape of the covers you are having to deal with. You should be proud of your results for sure. Mark J. -
Looking awesome as usual, Pierre. Looking forward to the final presentation that you do so well with the photos in the background. Don't forget to post a link.
-
A better buick
MarkJ replied to Kevinjr26's topic in WIP: Stock Cars (NASCAR, Super Stock, Late Model, etc.)
Looking fabulous, Kevin. Looks like you had a lot to do on this baby. Can't wait for the clear and the final assembly on to the chassis. Make sure you post a link to the final photo forum. -
Guess what it is.
MarkJ replied to MarkJ's topic in WIP: Other Racing: Road Racing, Land Speed Racers
Thanks Pierre. That 24/24/24 setup is starting to give me a little hope, but I have to sit down and think it out which is never fun to do. -
Guess what it is.
MarkJ replied to MarkJ's topic in WIP: Other Racing: Road Racing, Land Speed Racers
Thanks, Ken for clearing that up for me. The problem is I will not be able to squeeze that many spokes on to my wheels so there will be a huge fudge factor to my wheels. Then again that would be 18 spokes per row. I guess I could do 2 rows of 9 holes on the center tube right below the knockoff nut. I'm having to drill .040-inch holes with a tiny drill and its painstaking work for an old man. I keep accidently crossing over from one hole to the next an end up with a slot instead of a hole. I guess just put two spokes in that hole. I still have a feeling I'm going to be missing a lot of spokes. But who's going to be counting spokes anyway? -
Pierre, those tires and wheels again look like you took the real ones and magically shrunk them down to scale. Just like everything else on the build. We should call you the weatherman.
-
Guess what it is.
MarkJ replied to MarkJ's topic in WIP: Other Racing: Road Racing, Land Speed Racers
Almost ready to install the wires for the wire wheels. When you look at a ref picture of a wire wheel and try to make sense out of it, it makes your head hurt. At least my head does. You have to install them in layers starting at the back of the wheel and moving to the front. Hopefully I can end up with 4 wheels that look somewhat the same. Usually in the past when I've had to make my own wheels the last one looks better than the first one. I had to make wheels for an IROC Camaro and that's what happened on that build. The trouble with my ref pictures is that no 4 wheels look the same and ref pictures of the actual car showing the wheels that it had were in motion. So, I will just end up with whatever I get and hope that they look passable. You've heard of rivet counting. Well, this will be wire counting instead and you're not really sure how many wires you should have in the wheel.
-
Guess what it is.
MarkJ replied to MarkJ's topic in WIP: Other Racing: Road Racing, Land Speed Racers
Mark, 30 years in the future. It's weird how wire wheels have stayed basically the same for a long time. -
Pierre, those springs are next level awesome. If only my fingers would work that well.
-
Guess what it is.
MarkJ replied to MarkJ's topic in WIP: Other Racing: Road Racing, Land Speed Racers
Mark, I need to google that to see what it is, but you are about 30 years off. Thanks for contributing to this quiz and wishing that I can continue. So far, I'm still sort of on track. -
Guess what it is.
MarkJ replied to MarkJ's topic in WIP: Other Racing: Road Racing, Land Speed Racers
Thanks, Steve, for saying that the tires will be round. I'm trying very hard to get them as round as I can and making 4 of them look the same will really be a challenge. I'm hoping the first wheel will be passable so I can continue on . -
Guess what it is.
MarkJ replied to MarkJ's topic in WIP: Other Racing: Road Racing, Land Speed Racers
Thanks, Pierre for putting in your thoughts and being right about the wheels, but like you said, there are hundreds of possibilities, but you have narrowed it down a lot. -
Guess what it is.
MarkJ replied to MarkJ's topic in WIP: Other Racing: Road Racing, Land Speed Racers
Very close Lee but keep on trying. -
Thank you so much, David. I really appreciate the kind words about the build and you stopping by during the wip for support. It means a lot. It's been fun watching your progress with the Rolls and your 'keep to it' attitude that's making it a very successful build.
-
Guess what it is.
MarkJ replied to MarkJ's topic in WIP: Other Racing: Road Racing, Land Speed Racers
Close but no cigar, Les and Sid I haven't got a clue what you are talking about. The model I'm trying to make I've only seen as a partial build diecast that you have to finish yourself but its thousands of dollars to purchase one so not going down that path. I probably just gave it away with that comment. Oh well back to work. -
Thanks, David. She is done and sitting with the others comfortably on the shelf with the middle eye level spot until the next build is done. I just started the next one so that will be a long time from now. Finished photos are in the nascar under glass section. The decals were not that old but homemade which makes them a bear to get lined up just right. thanks again for your comments about the build.
-
Man am I ever late to the party. So glad to see that your back in the saddle, Pierre and you're working your usual magic again. Can't wait for the next update,
-
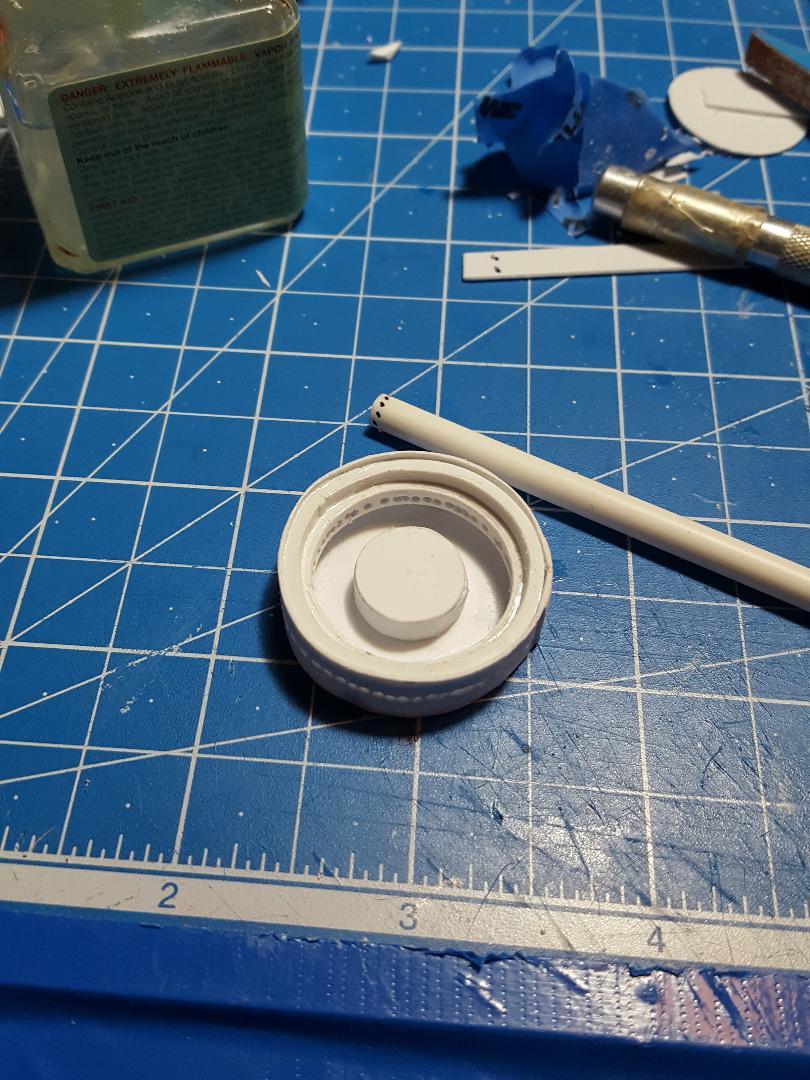
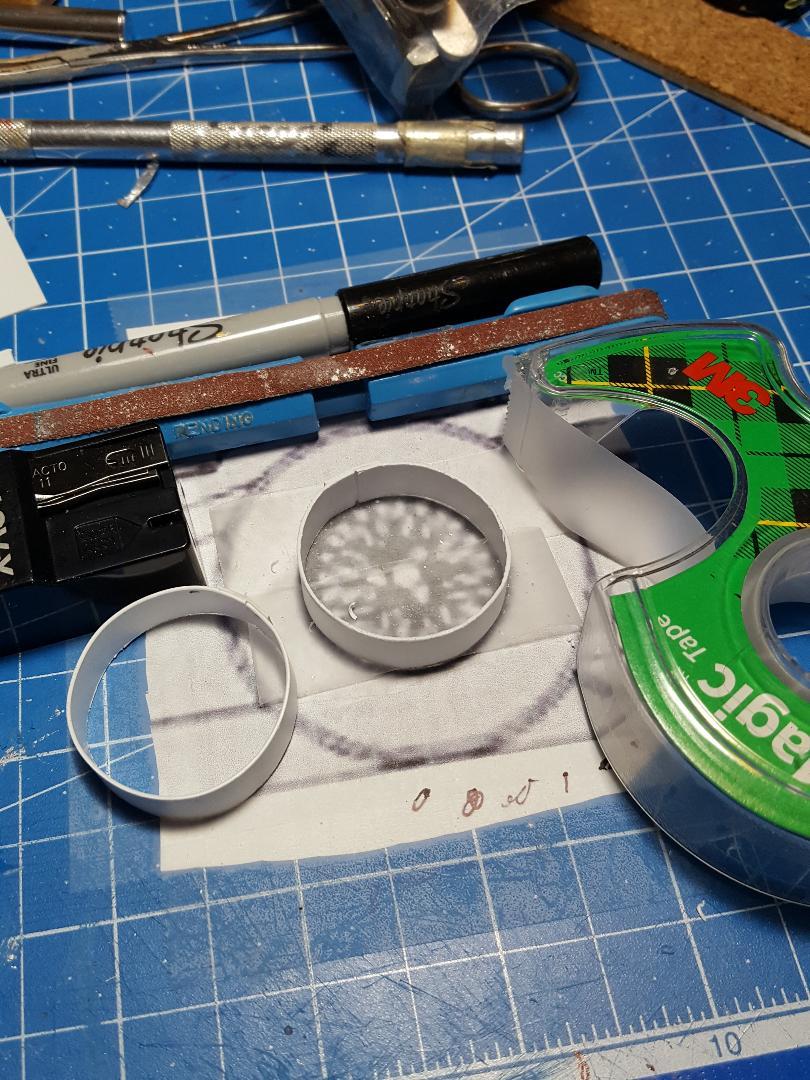
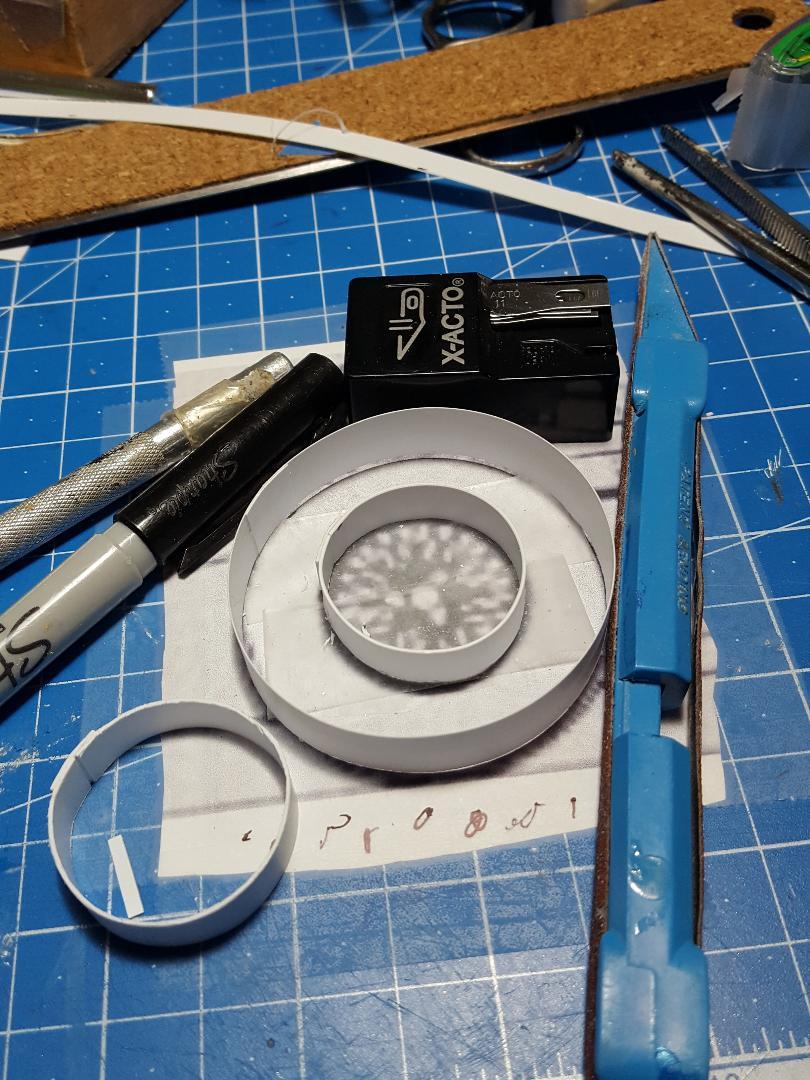
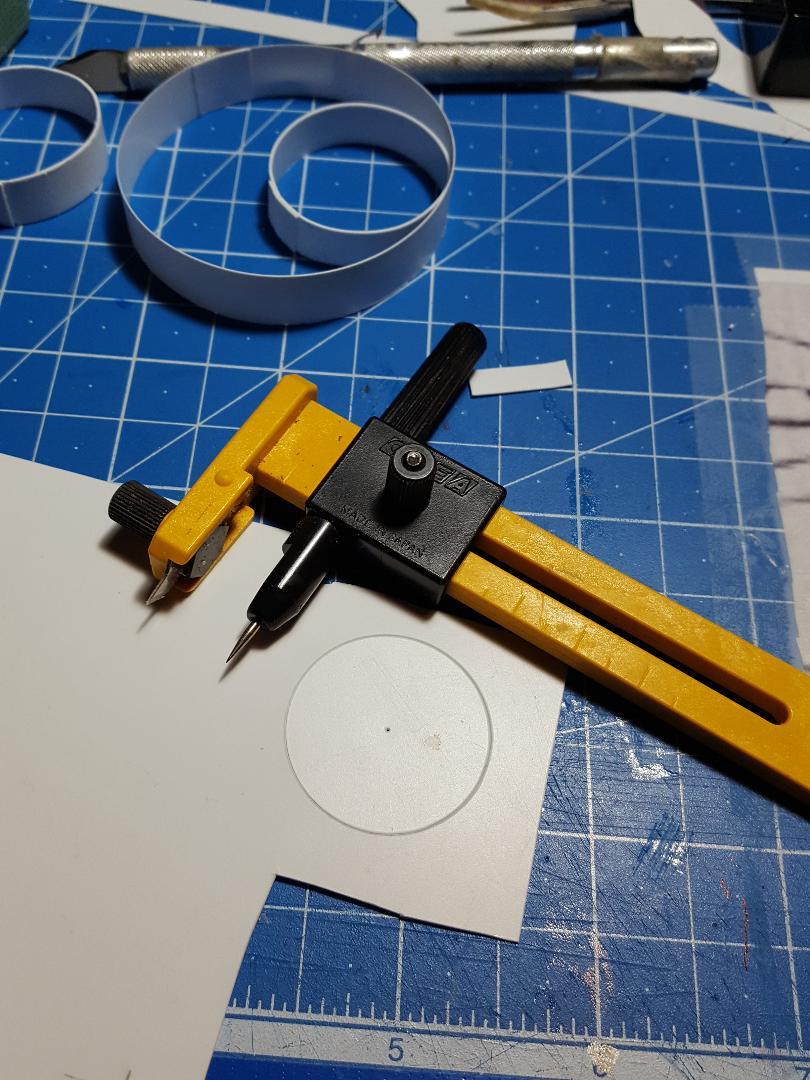
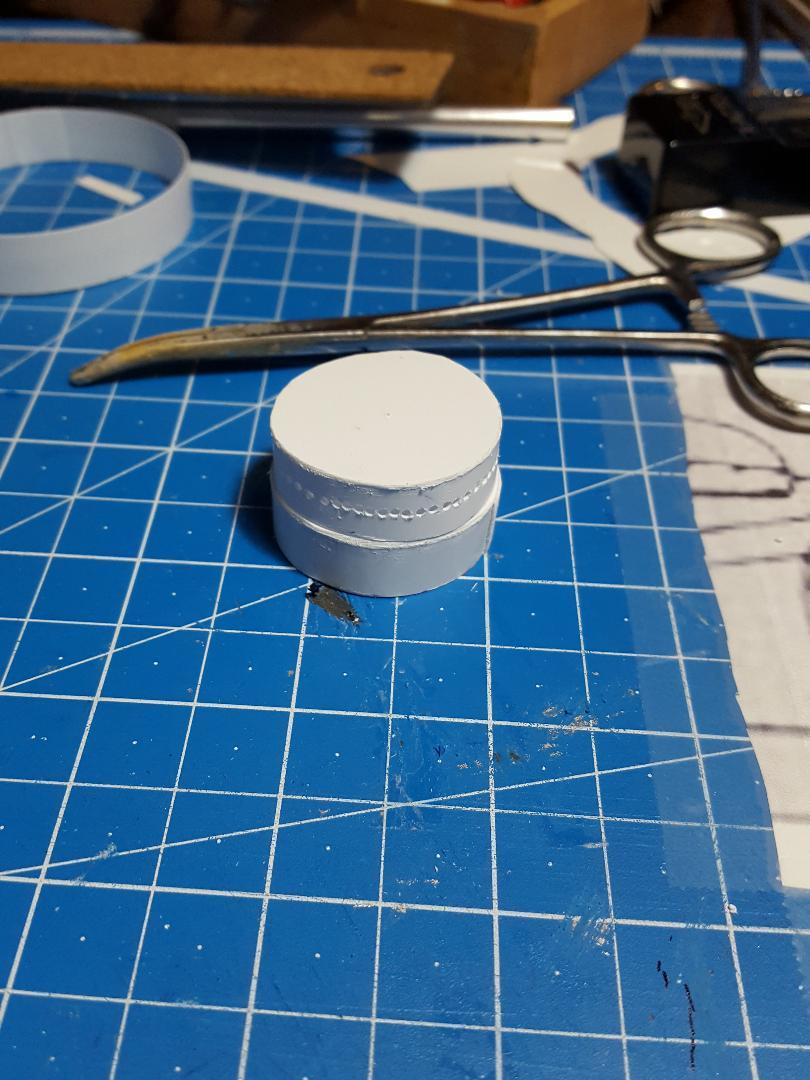
I decided to try to build a model with no kit and only using styrene and household products. First one to guess what it is gets nothing but the satisfaction of figuring it out first. I first searched for a kit and could find nothing, and I don't want to purchase a 3d printer or even learn how to use it. I will use 2d schematics and hope that they are correct and ref photos. I will make it 1/12 scale or very close to it, but it doesn't really matter. I chose this scale because making stuff is always easier if its bigger and the finished model should be about 13.5 inches long so it will fit in a 15-inch-long clear plastic display case. I will try to build the tires and wheels first and if I cannot for some reason I will give up on this idea and go to my stash and pick out a kit to build. Without the tires and wheels the body, engine, and other things won't be necessary. Wip pictures will be your clues to what it is and no "well I think it might be this type of car". The guesses have to include year model and full name of the vehicle. Now that you have got off the floor scoffing at my idea check out the first clues below.
-
Thank you, Ken. I appreciate the kind words about the build. Your flawless work is very inspiring and enjoyable to view.
-
Absolutely right, Bruce. There's really not that much going on under the hood on these vintage cars. But to get the correct look it takes a lot of time and effort. It's really all about the paint and decals on these babies. Thanks for visiting the wip and making the supportive comments you do about the builds.
-
Thank you, Jim. I appreciate your kind words about the build.