.jpeg.4c7adcf30d18ed99893024ed0cd4cd57.jpeg)
Quiet Eric
-
Posts
340 -
Joined
-
Last visited
Content Type
Profiles
Forums
Events
Gallery
Everything posted by Quiet Eric
-
This looks awesome! I would not use skirts.
-
.thumb.jpeg.8c79d9534dc815ba827147ab721a20d4.jpeg)
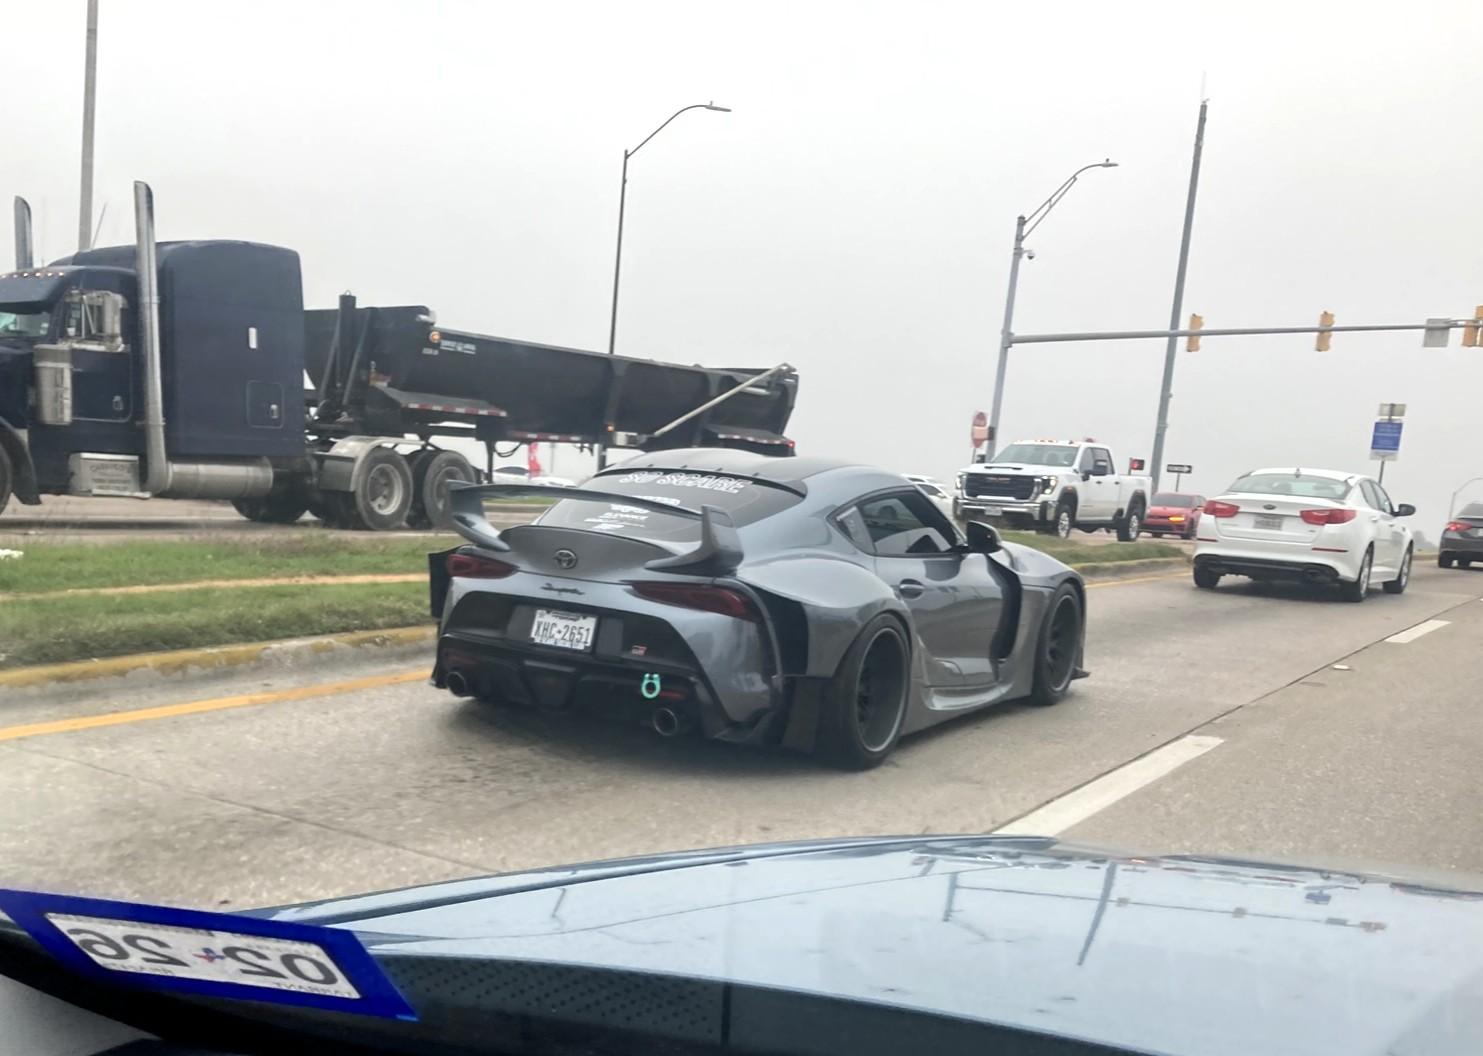
What did you see on the road today?
Quiet Eric replied to Harry P.'s topic in General Automotive Talk (Trucks and Cars)
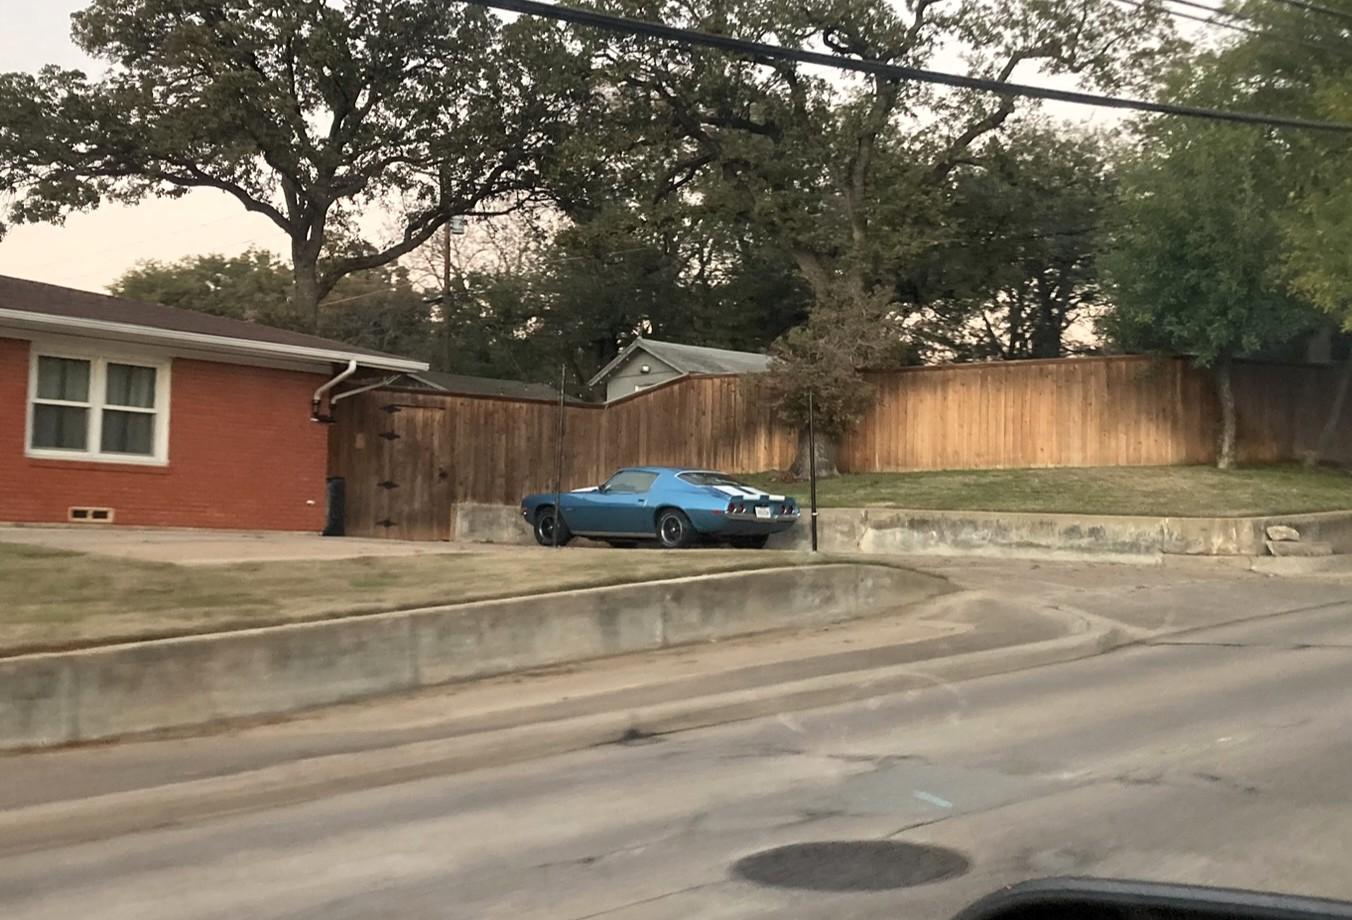
Yesterday while running errands, came across this pretty serious wide-body Supra. I've seen this Camaro in this same spot for years...always under a car cover, but you could tell what it was. A few months ago I noticed it wasn't there anymore. Then yesterday, it was back and looks great!
-
What did you see on the road today?
Quiet Eric replied to Harry P.'s topic in General Automotive Talk (Trucks and Cars)
'62 Cutlass convertible on the way home yesterday.
-
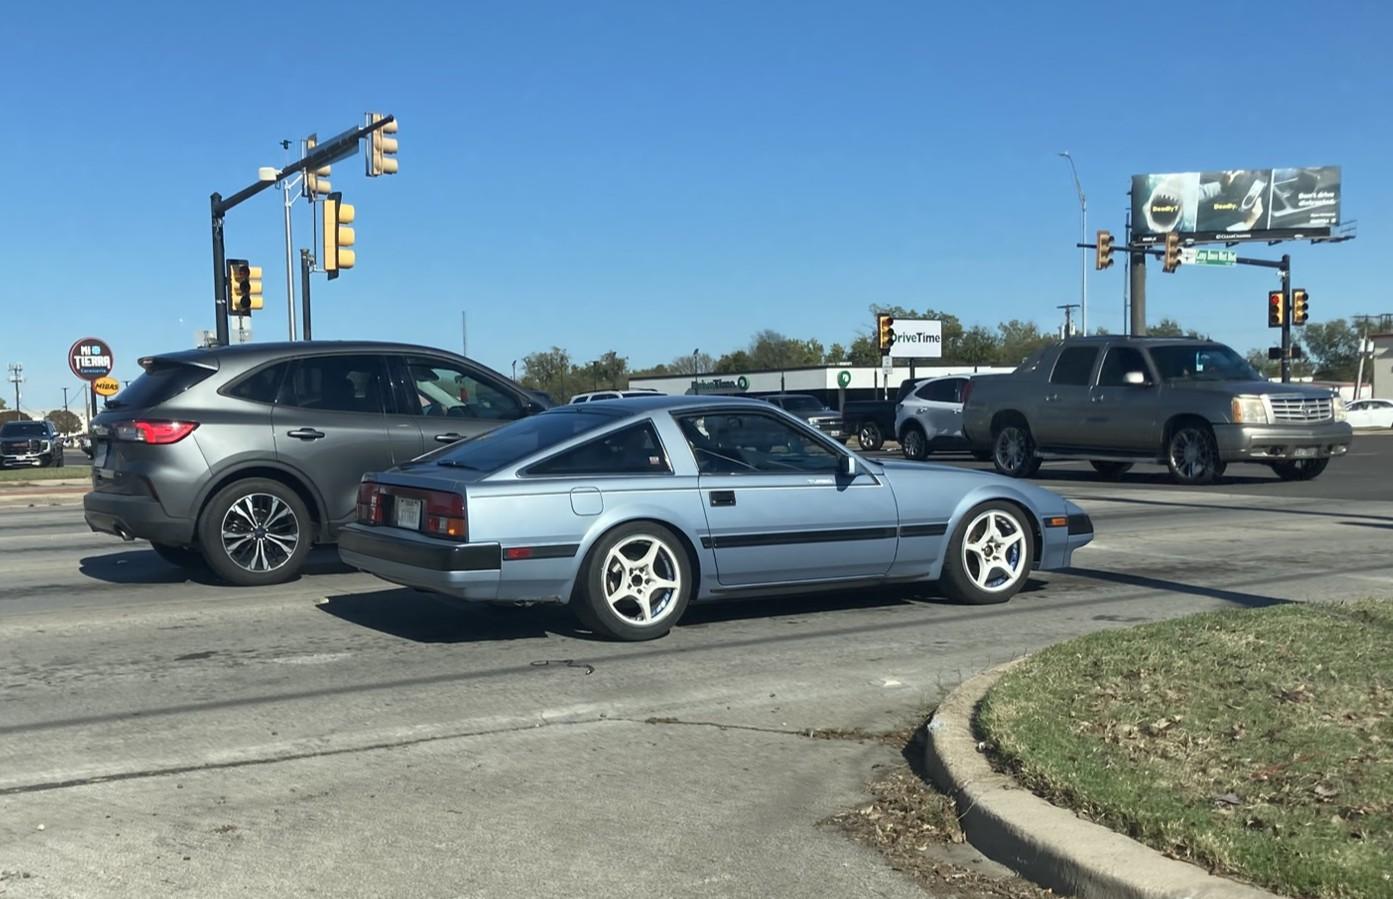
What did you see on the road today?
Quiet Eric replied to Harry P.'s topic in General Automotive Talk (Trucks and Cars)
Spotted this really clean 280z turbo while at lunch today. This was a couple weeks ago...a car photographer we use stopped by to take some pictures for a bring a trailer listing, and he was driving this really cool Alfa GT coupe built by Alfahaulics.
-
The Hollywood Knights 56 Chevy Sedan Delivery
Quiet Eric replied to Carcrazy81's topic in WIP: Model Cars
Awesome!! -
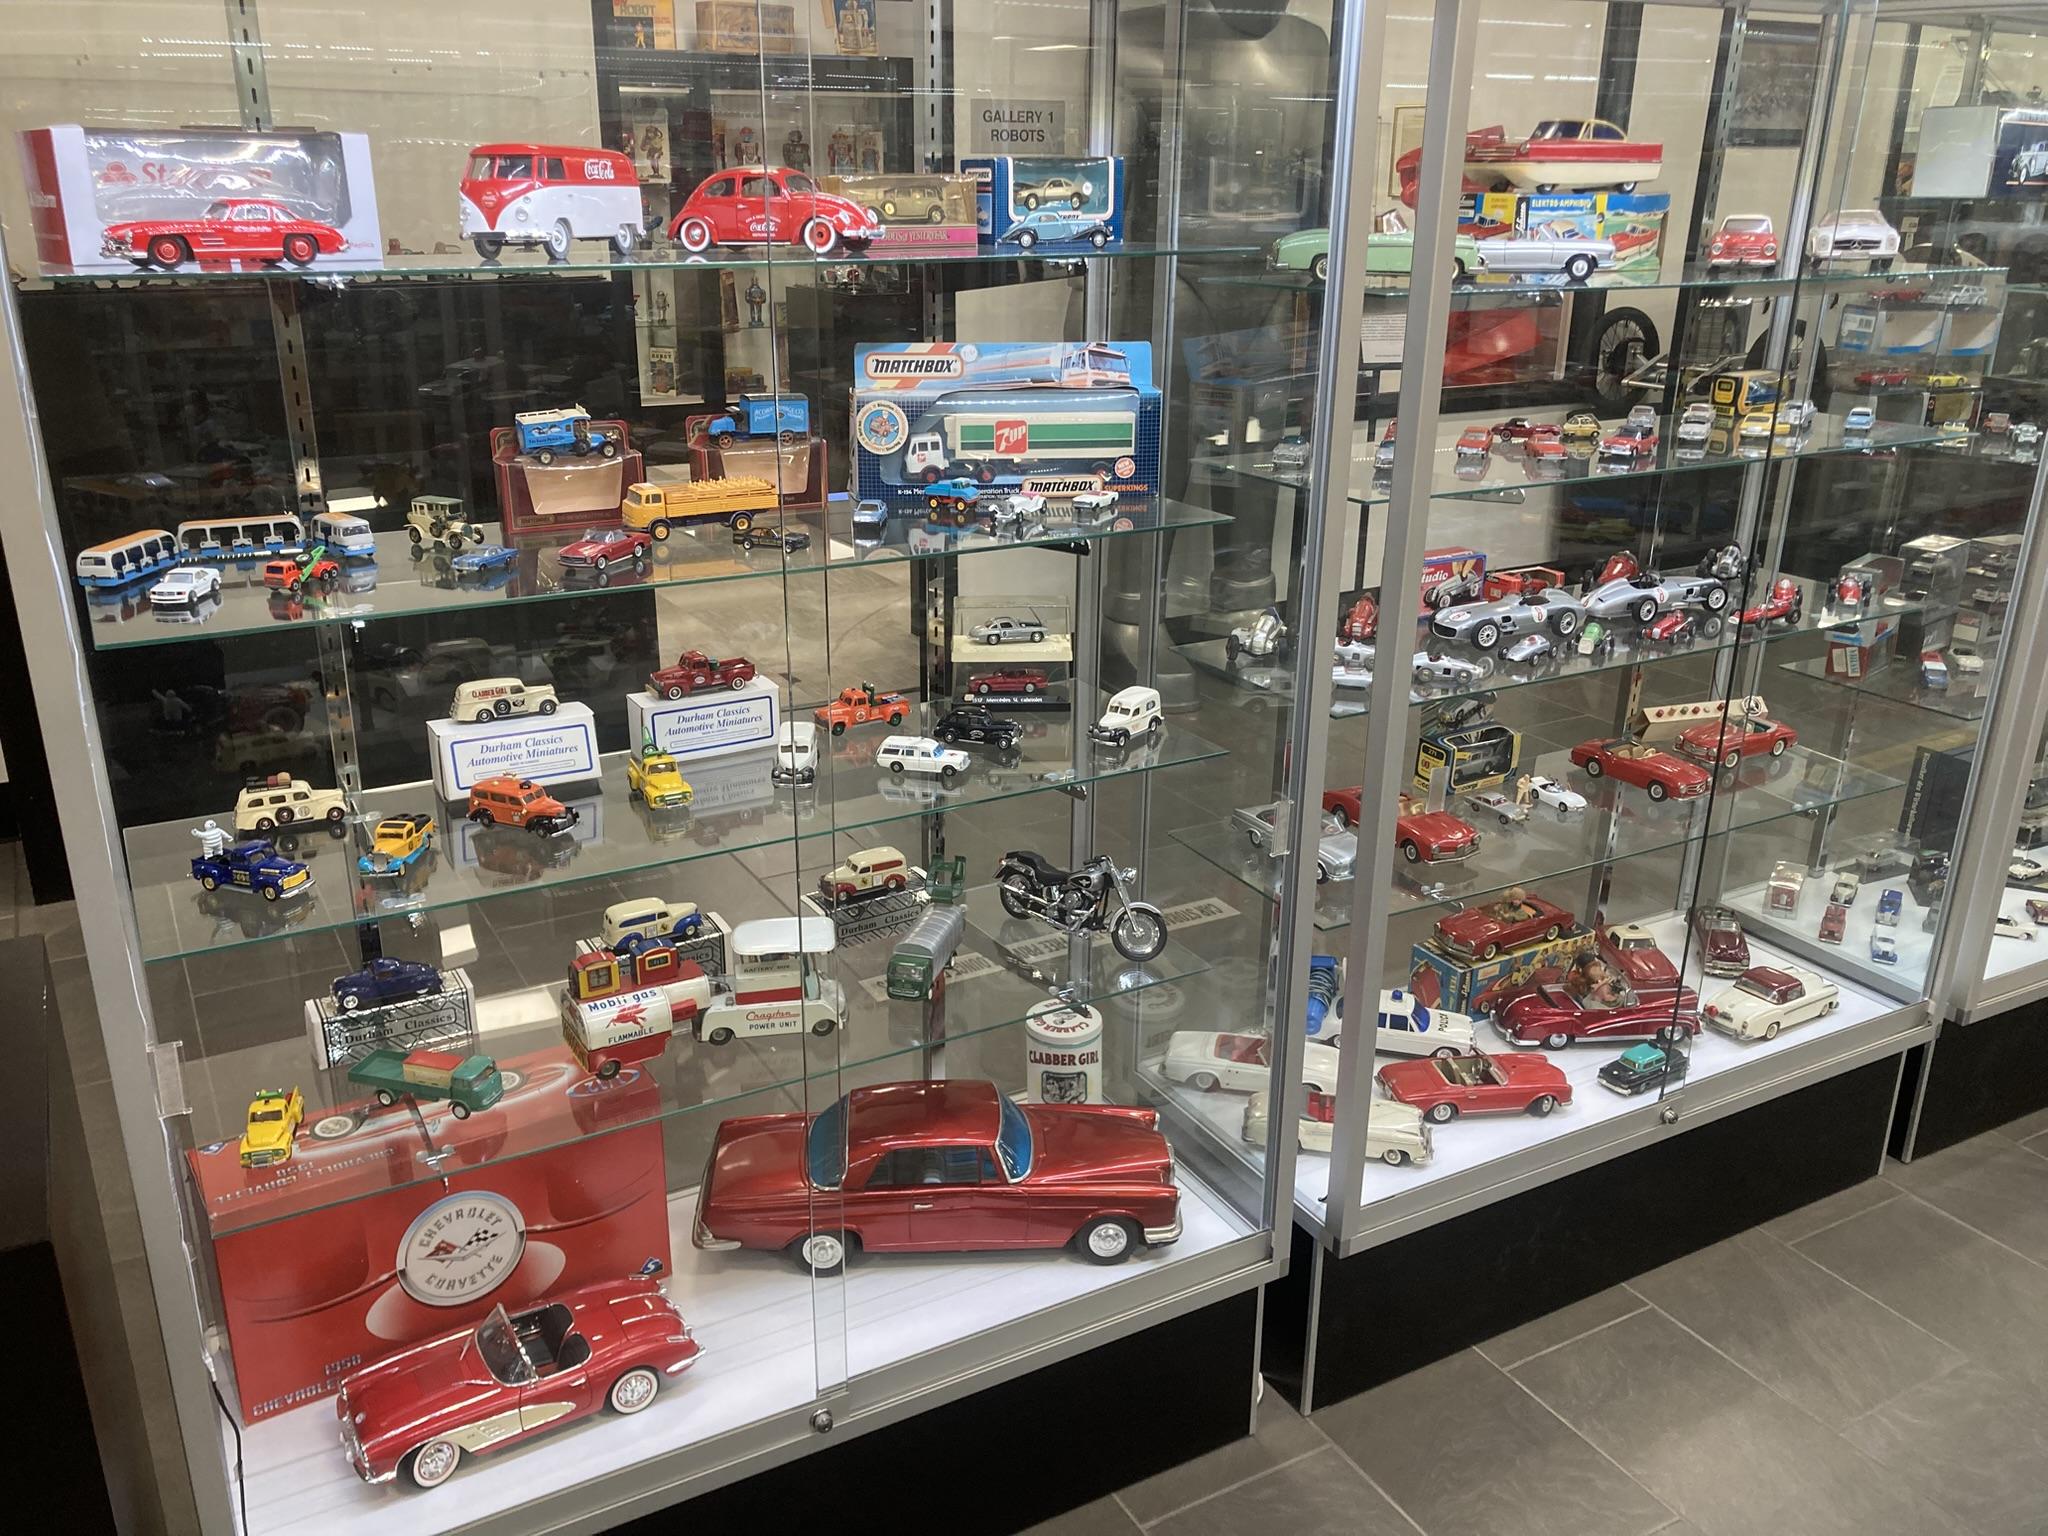
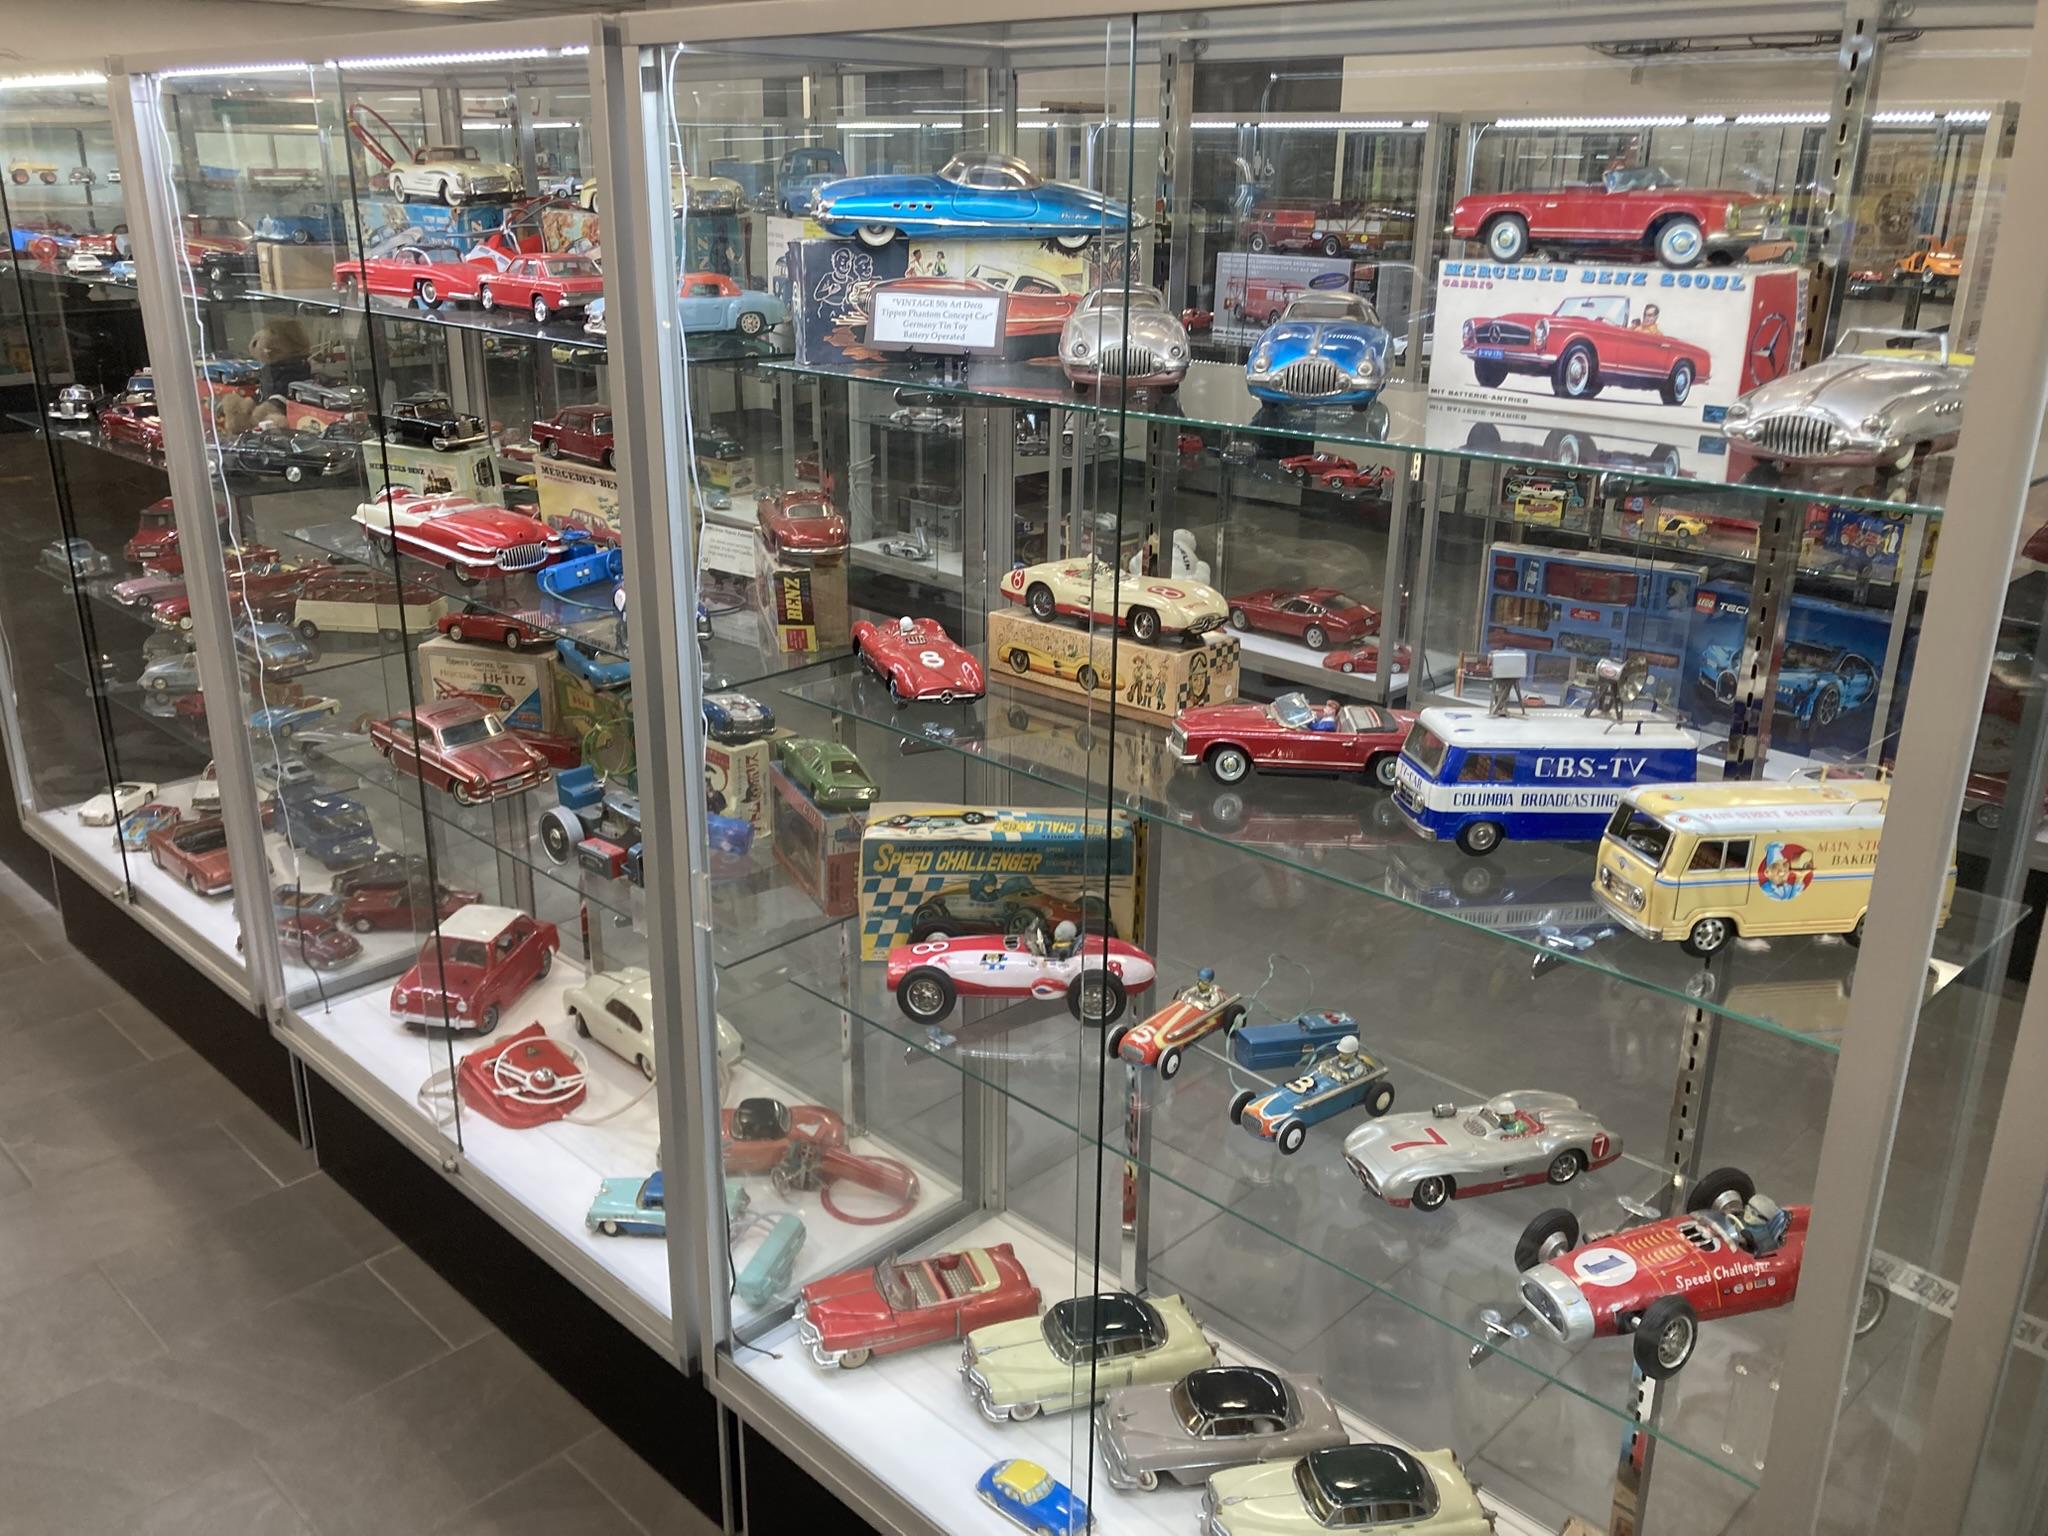
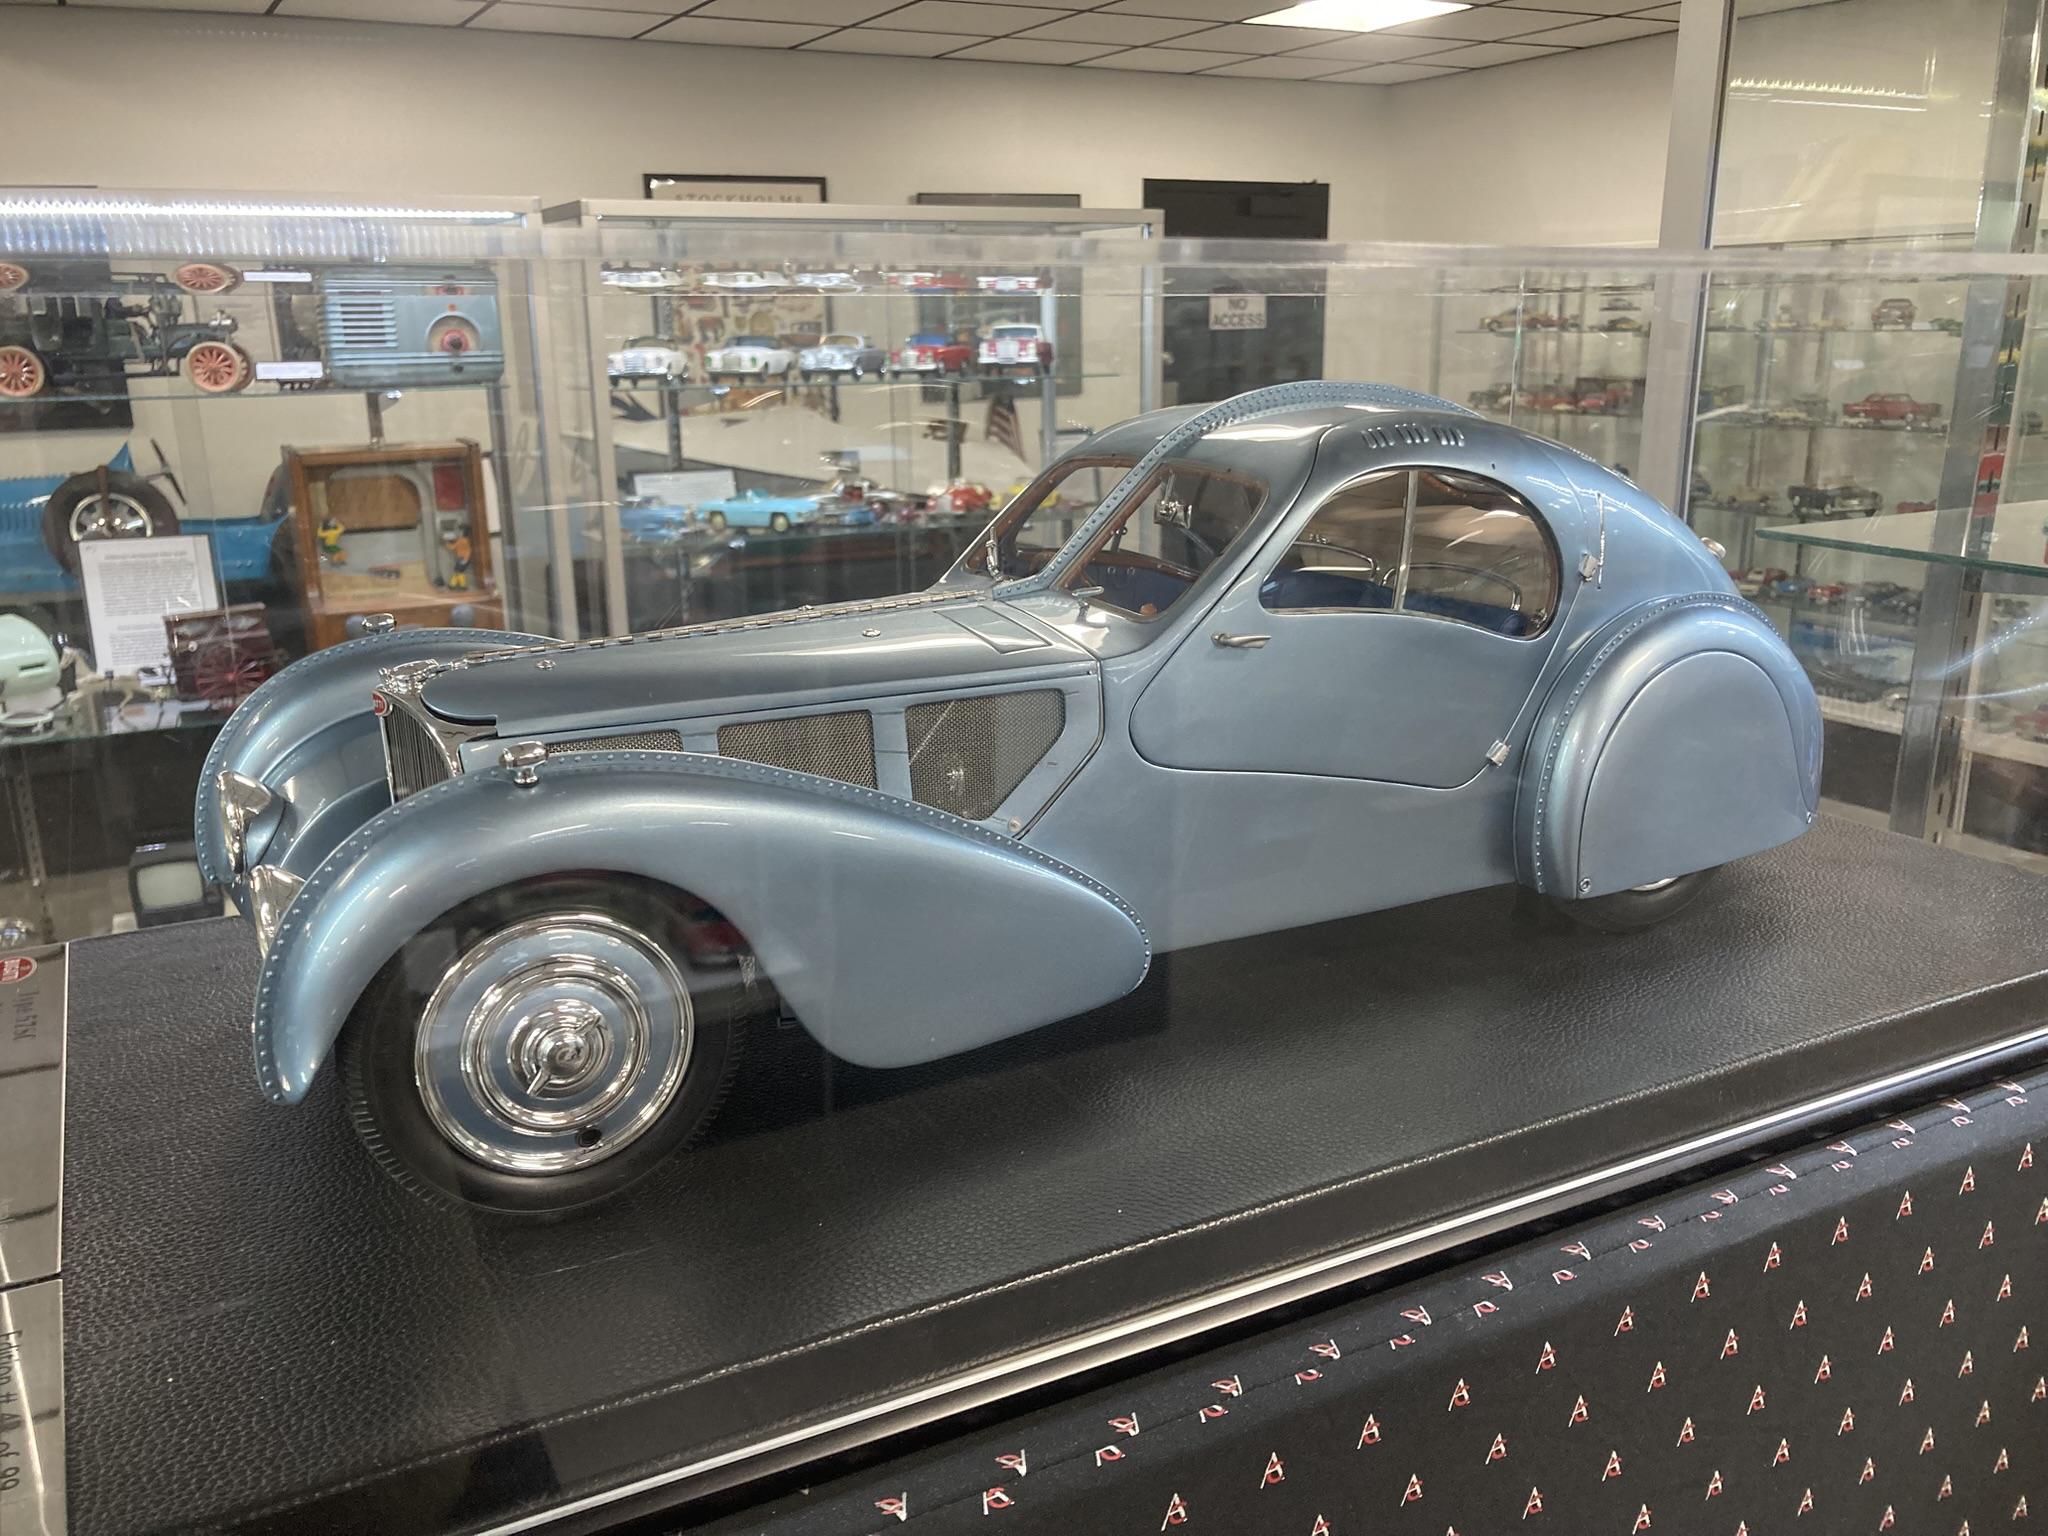
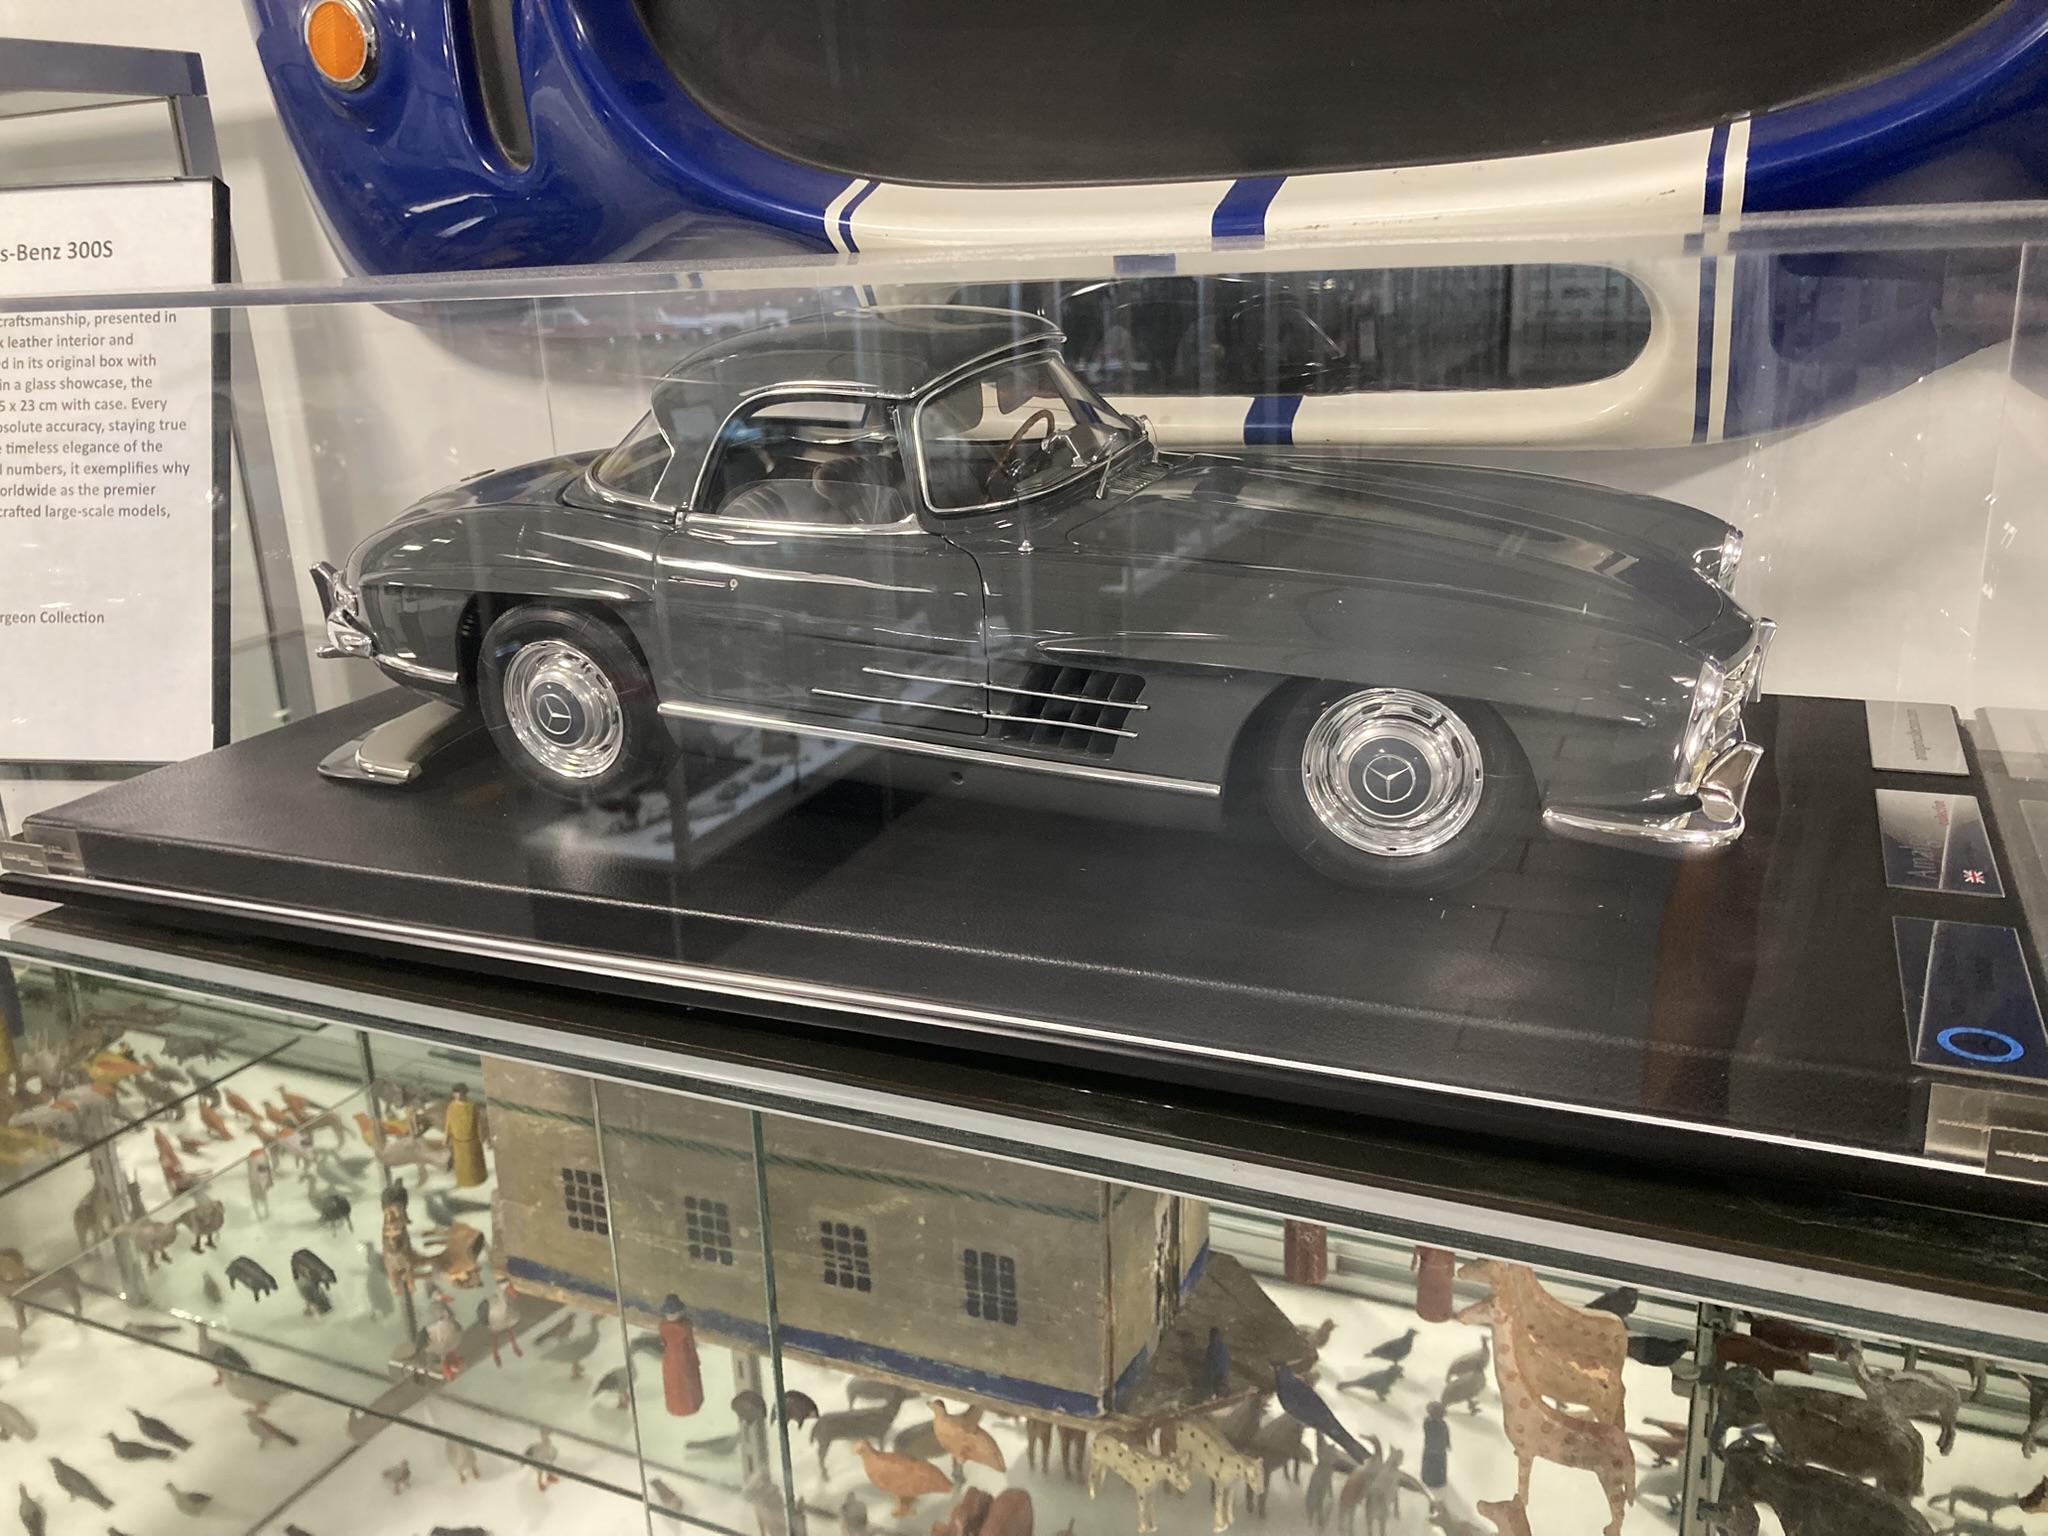
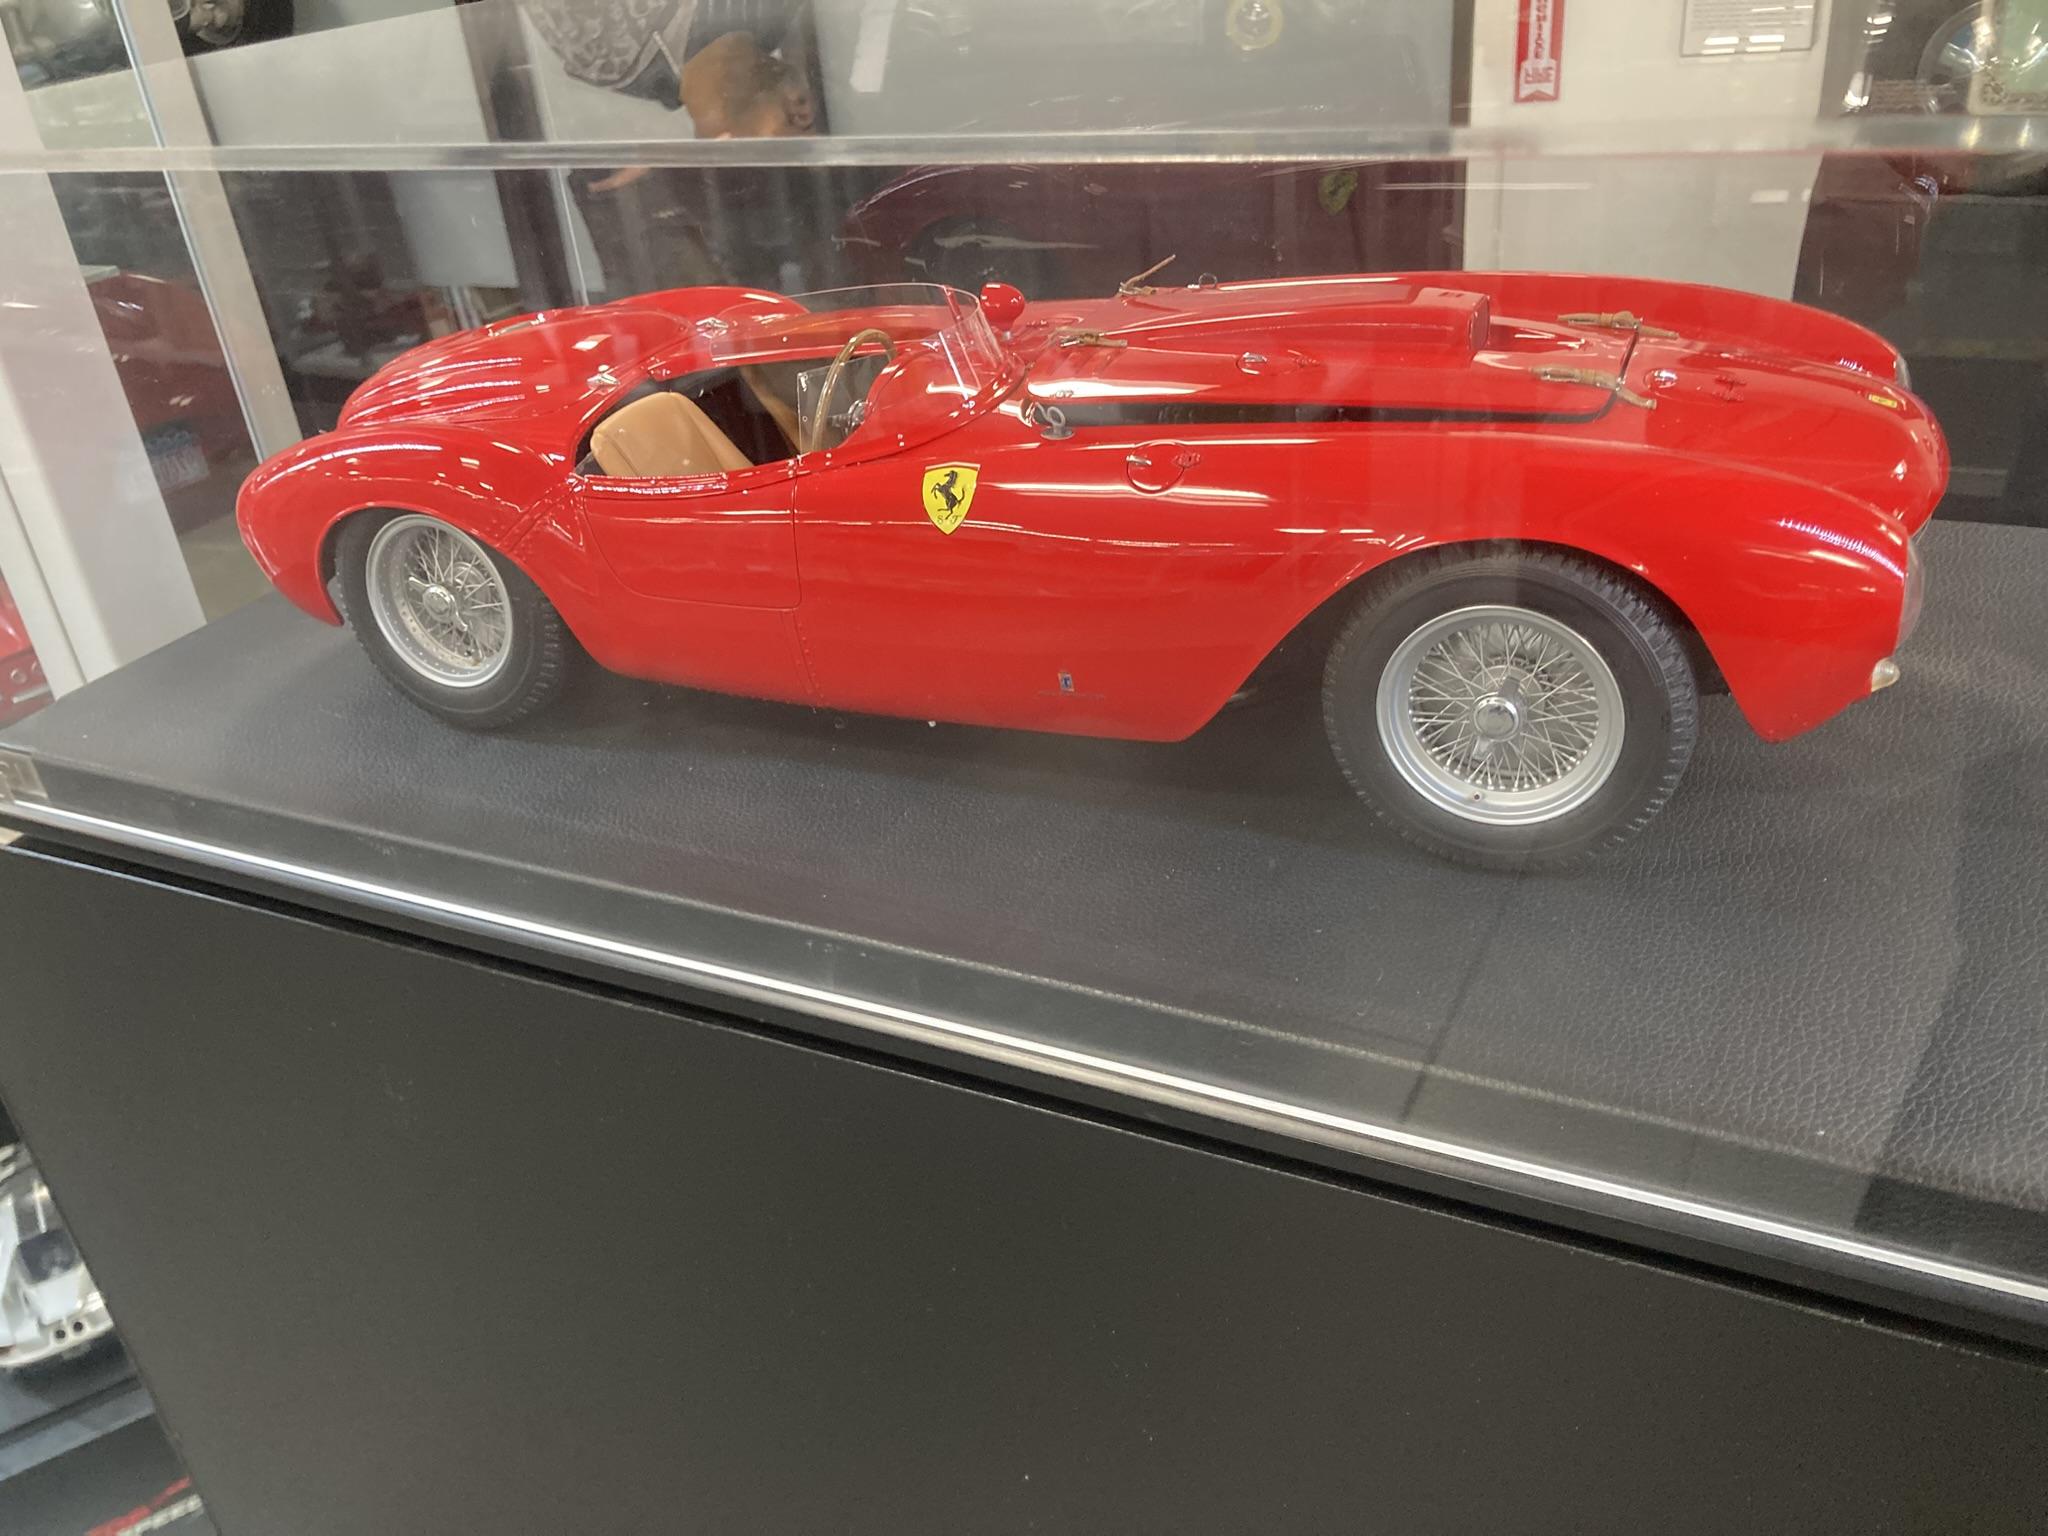
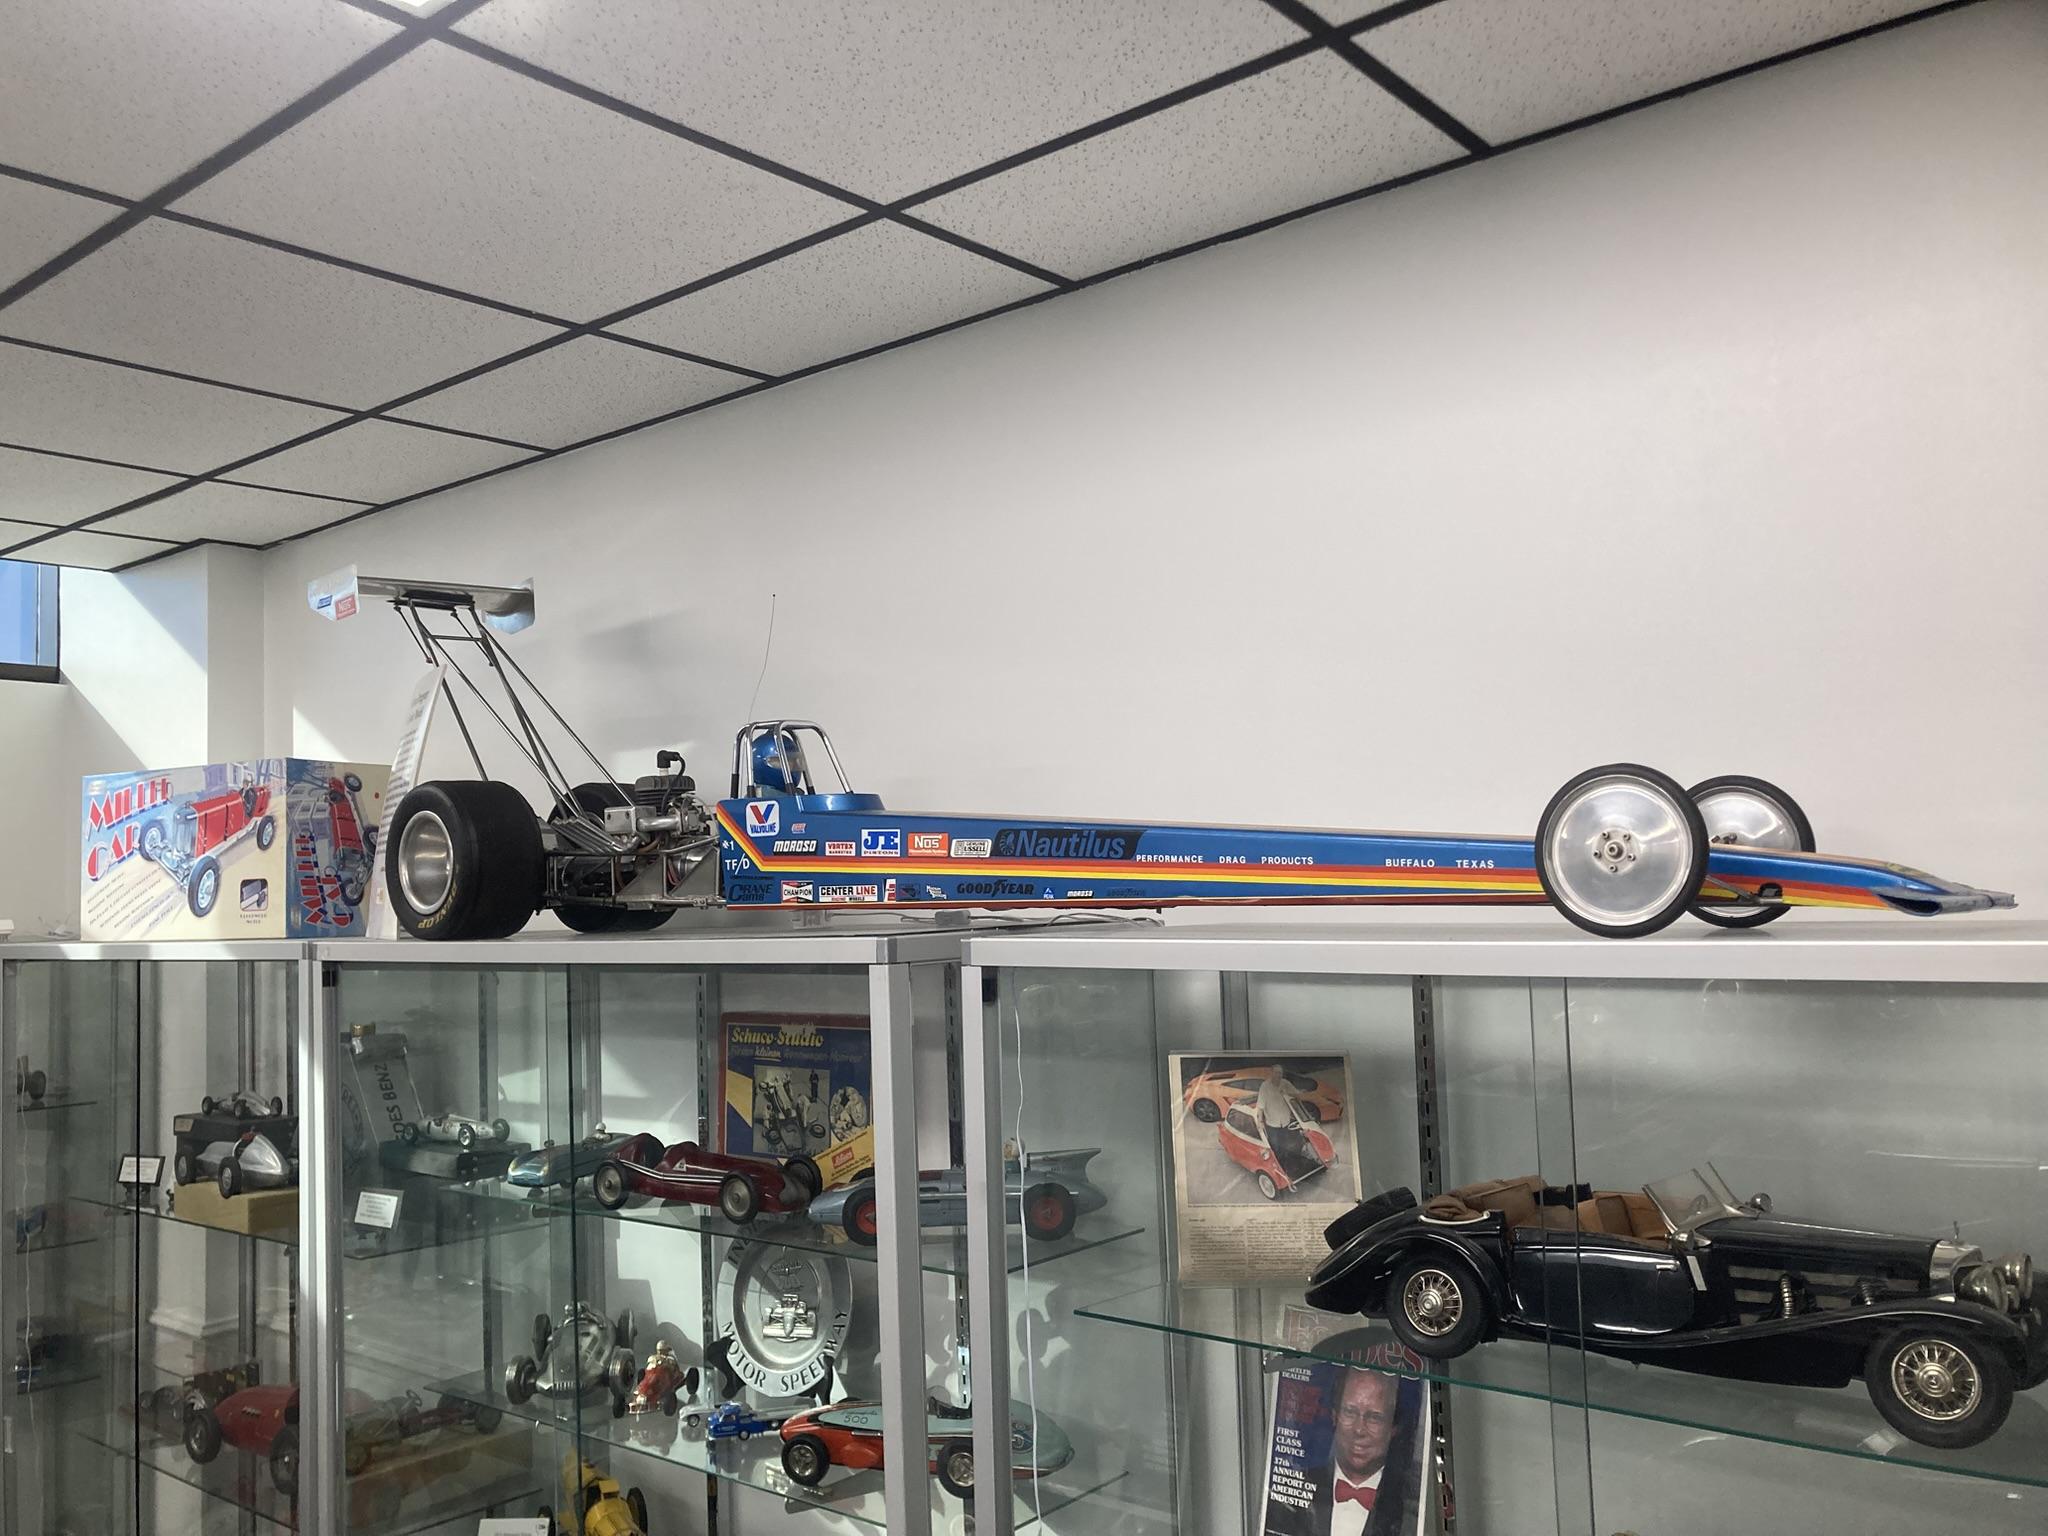
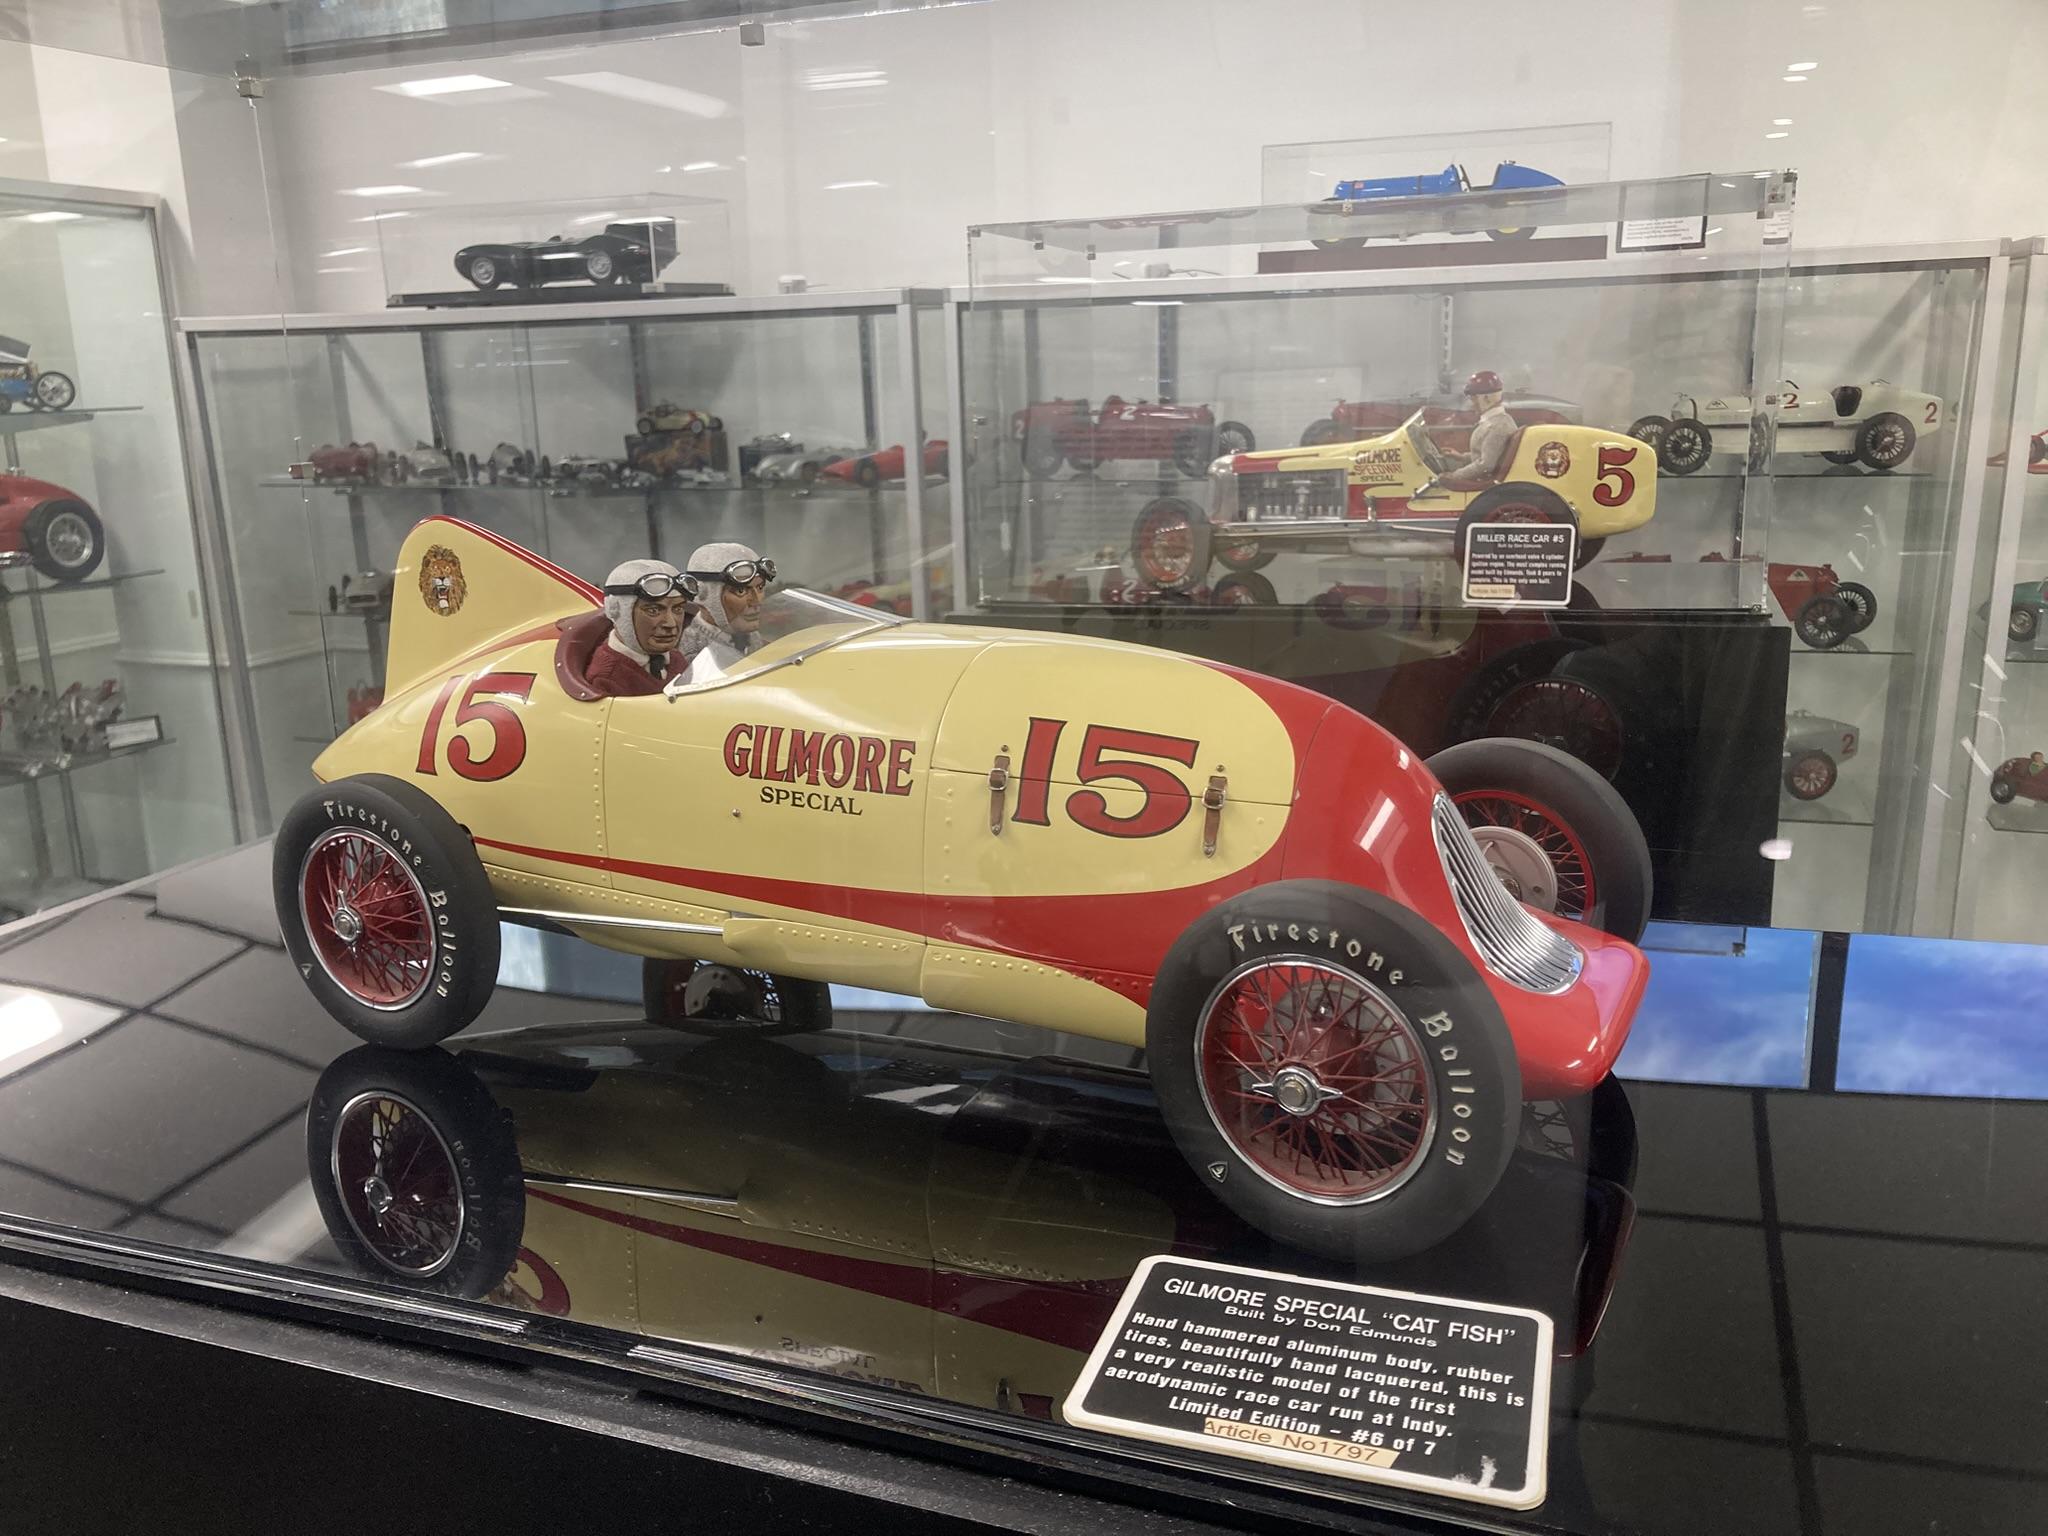
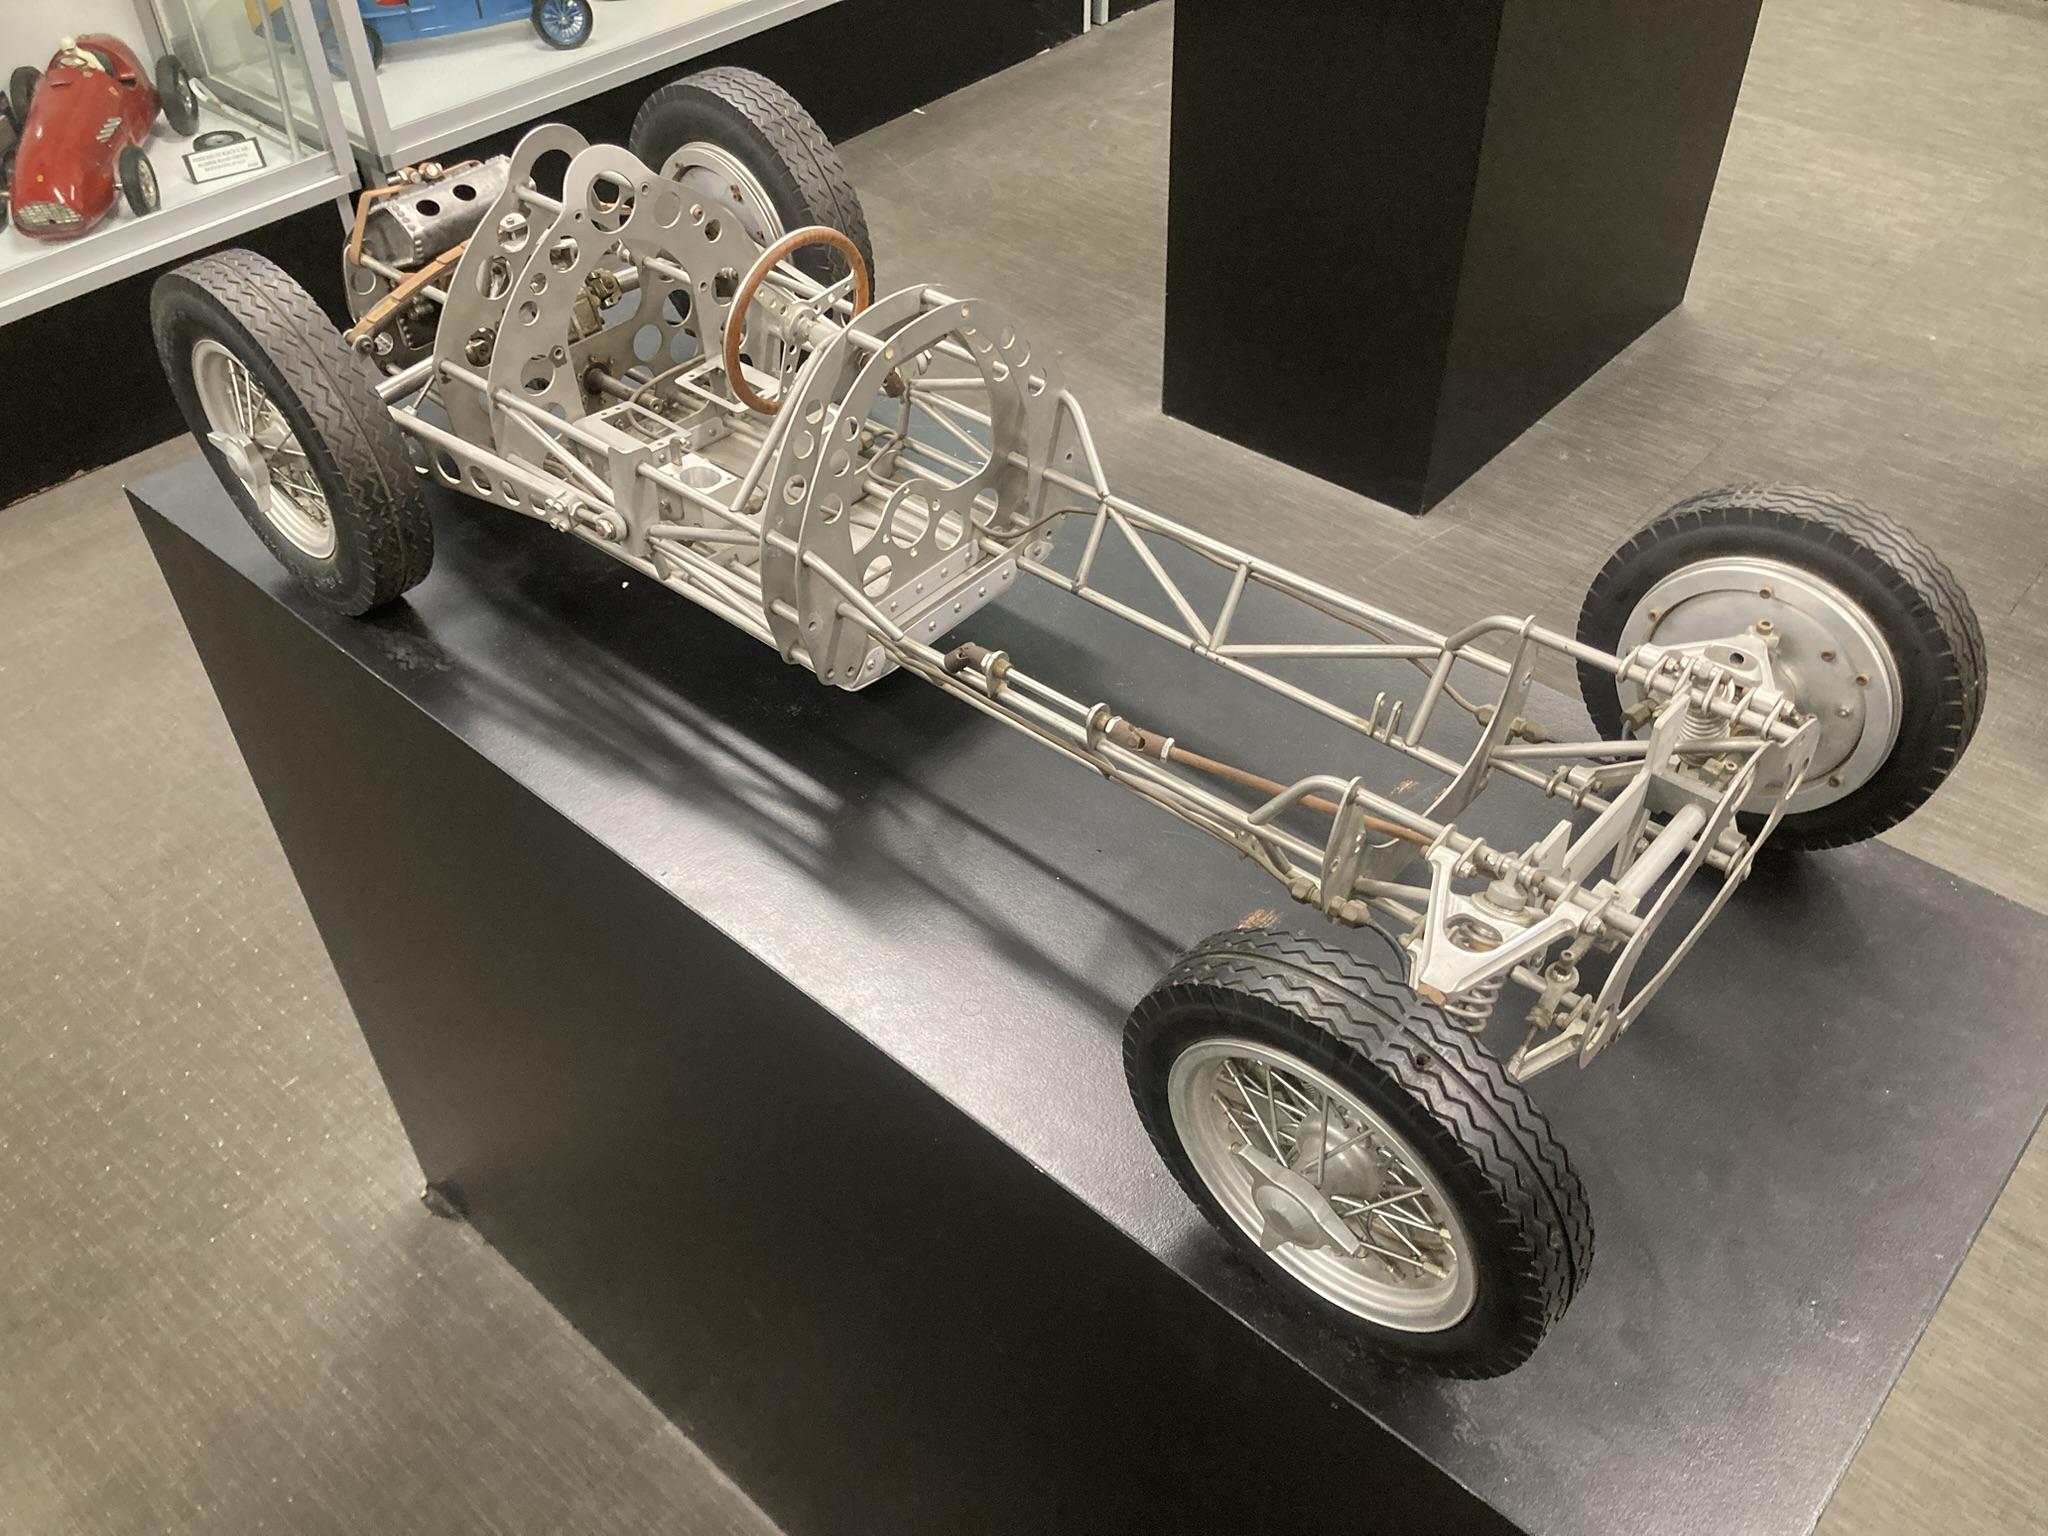
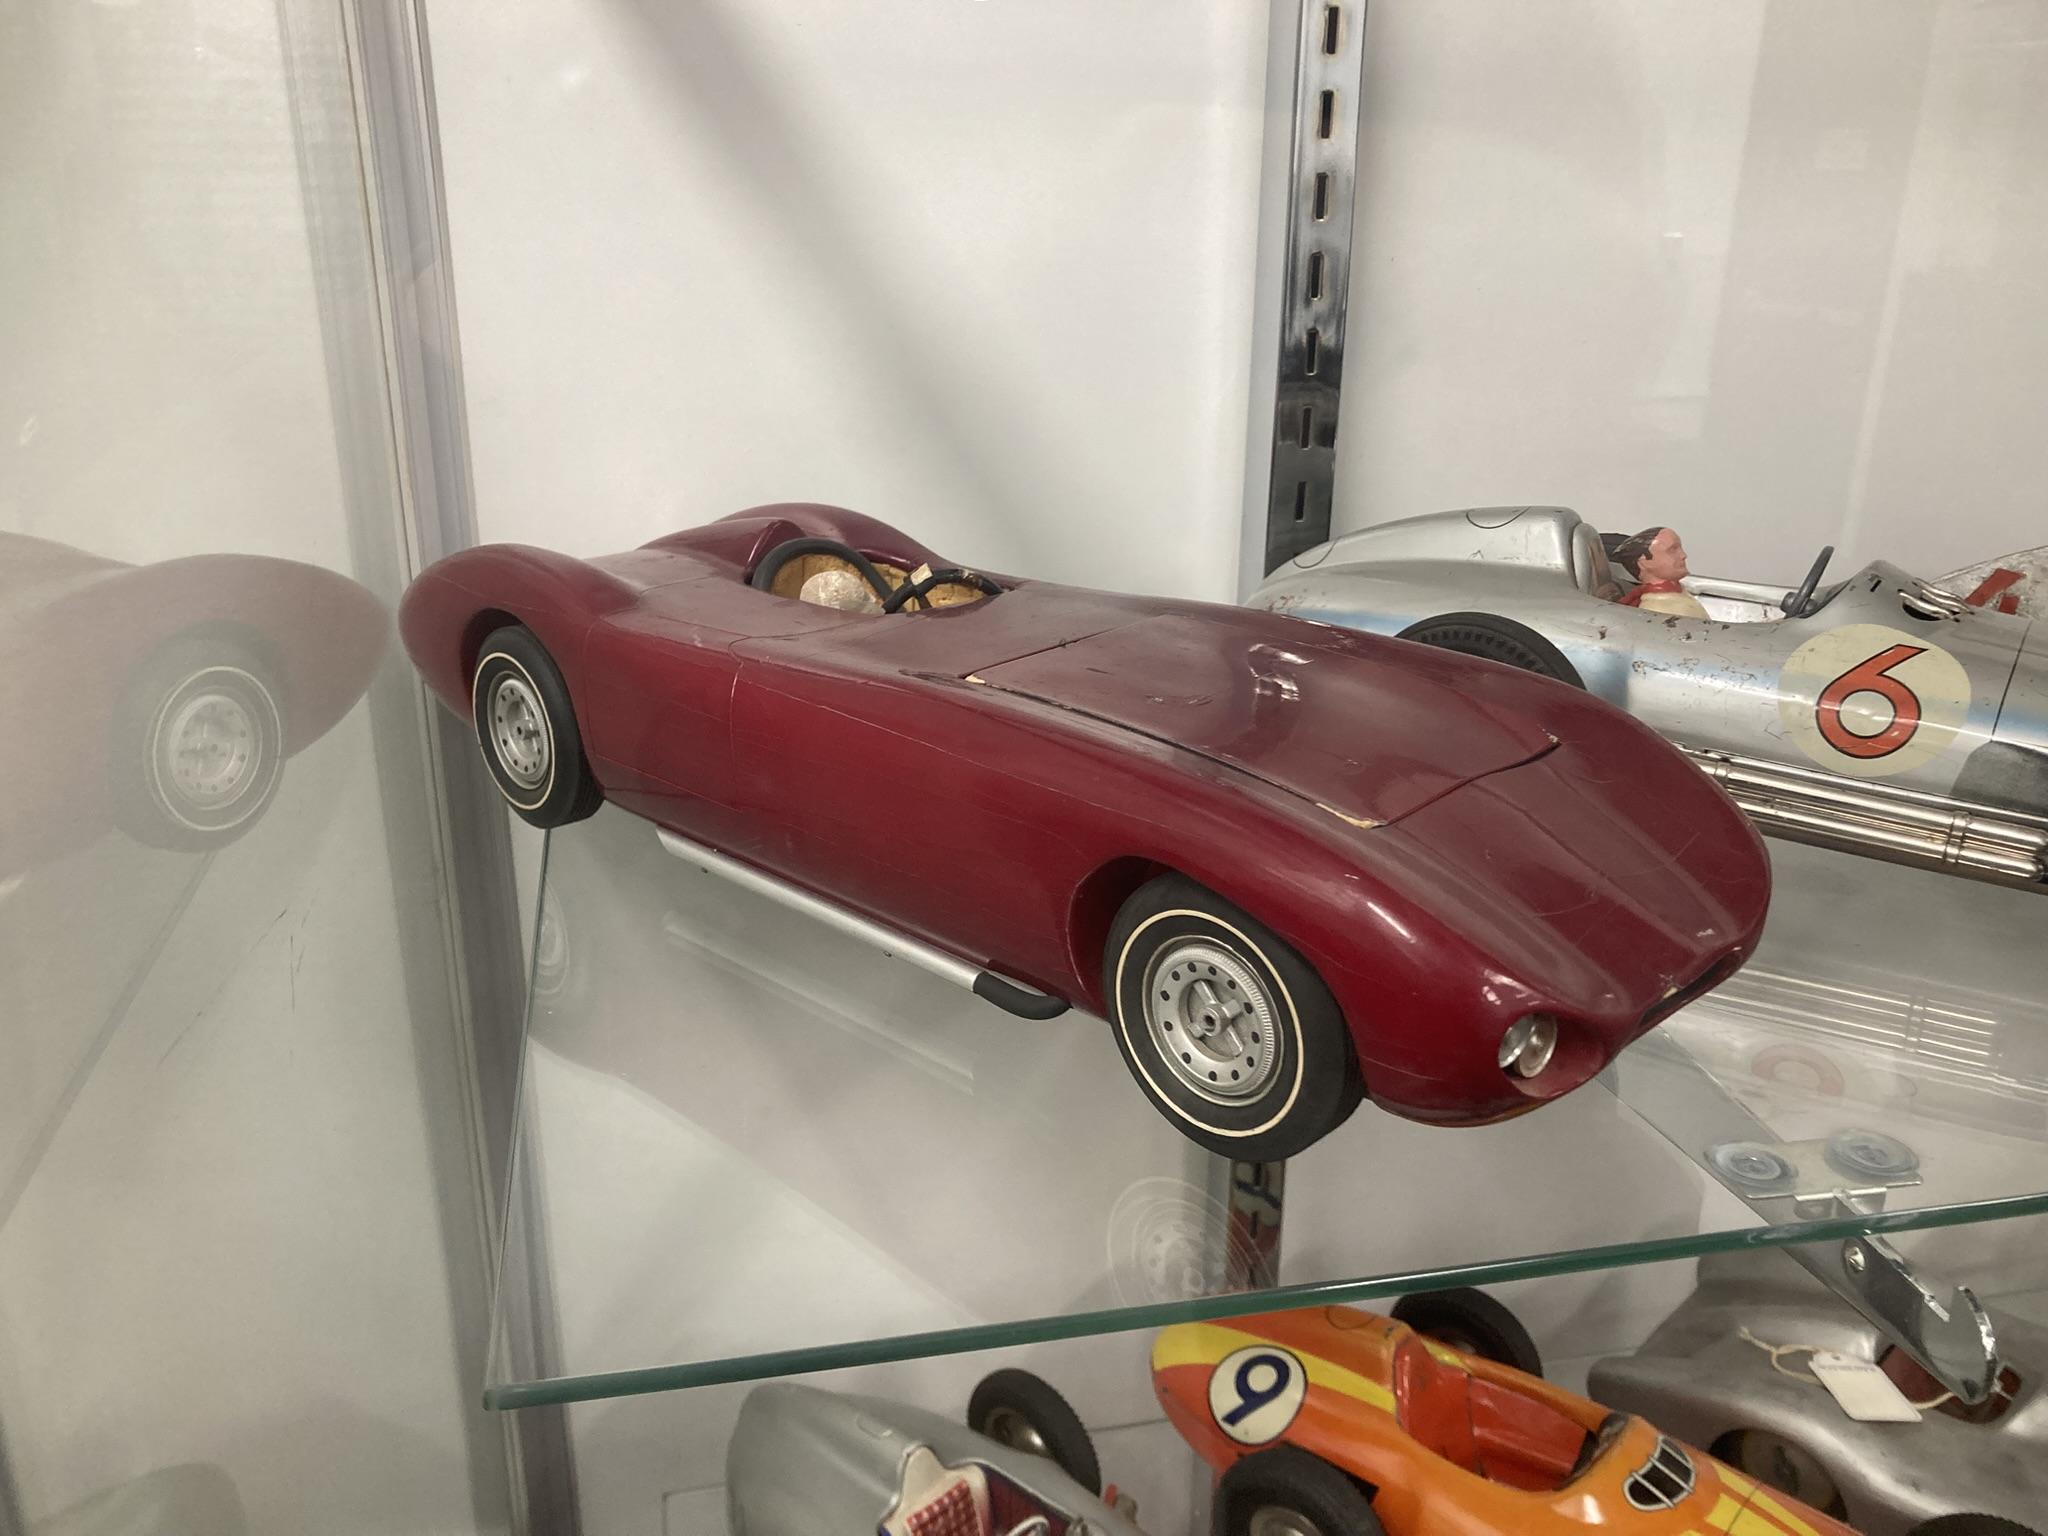
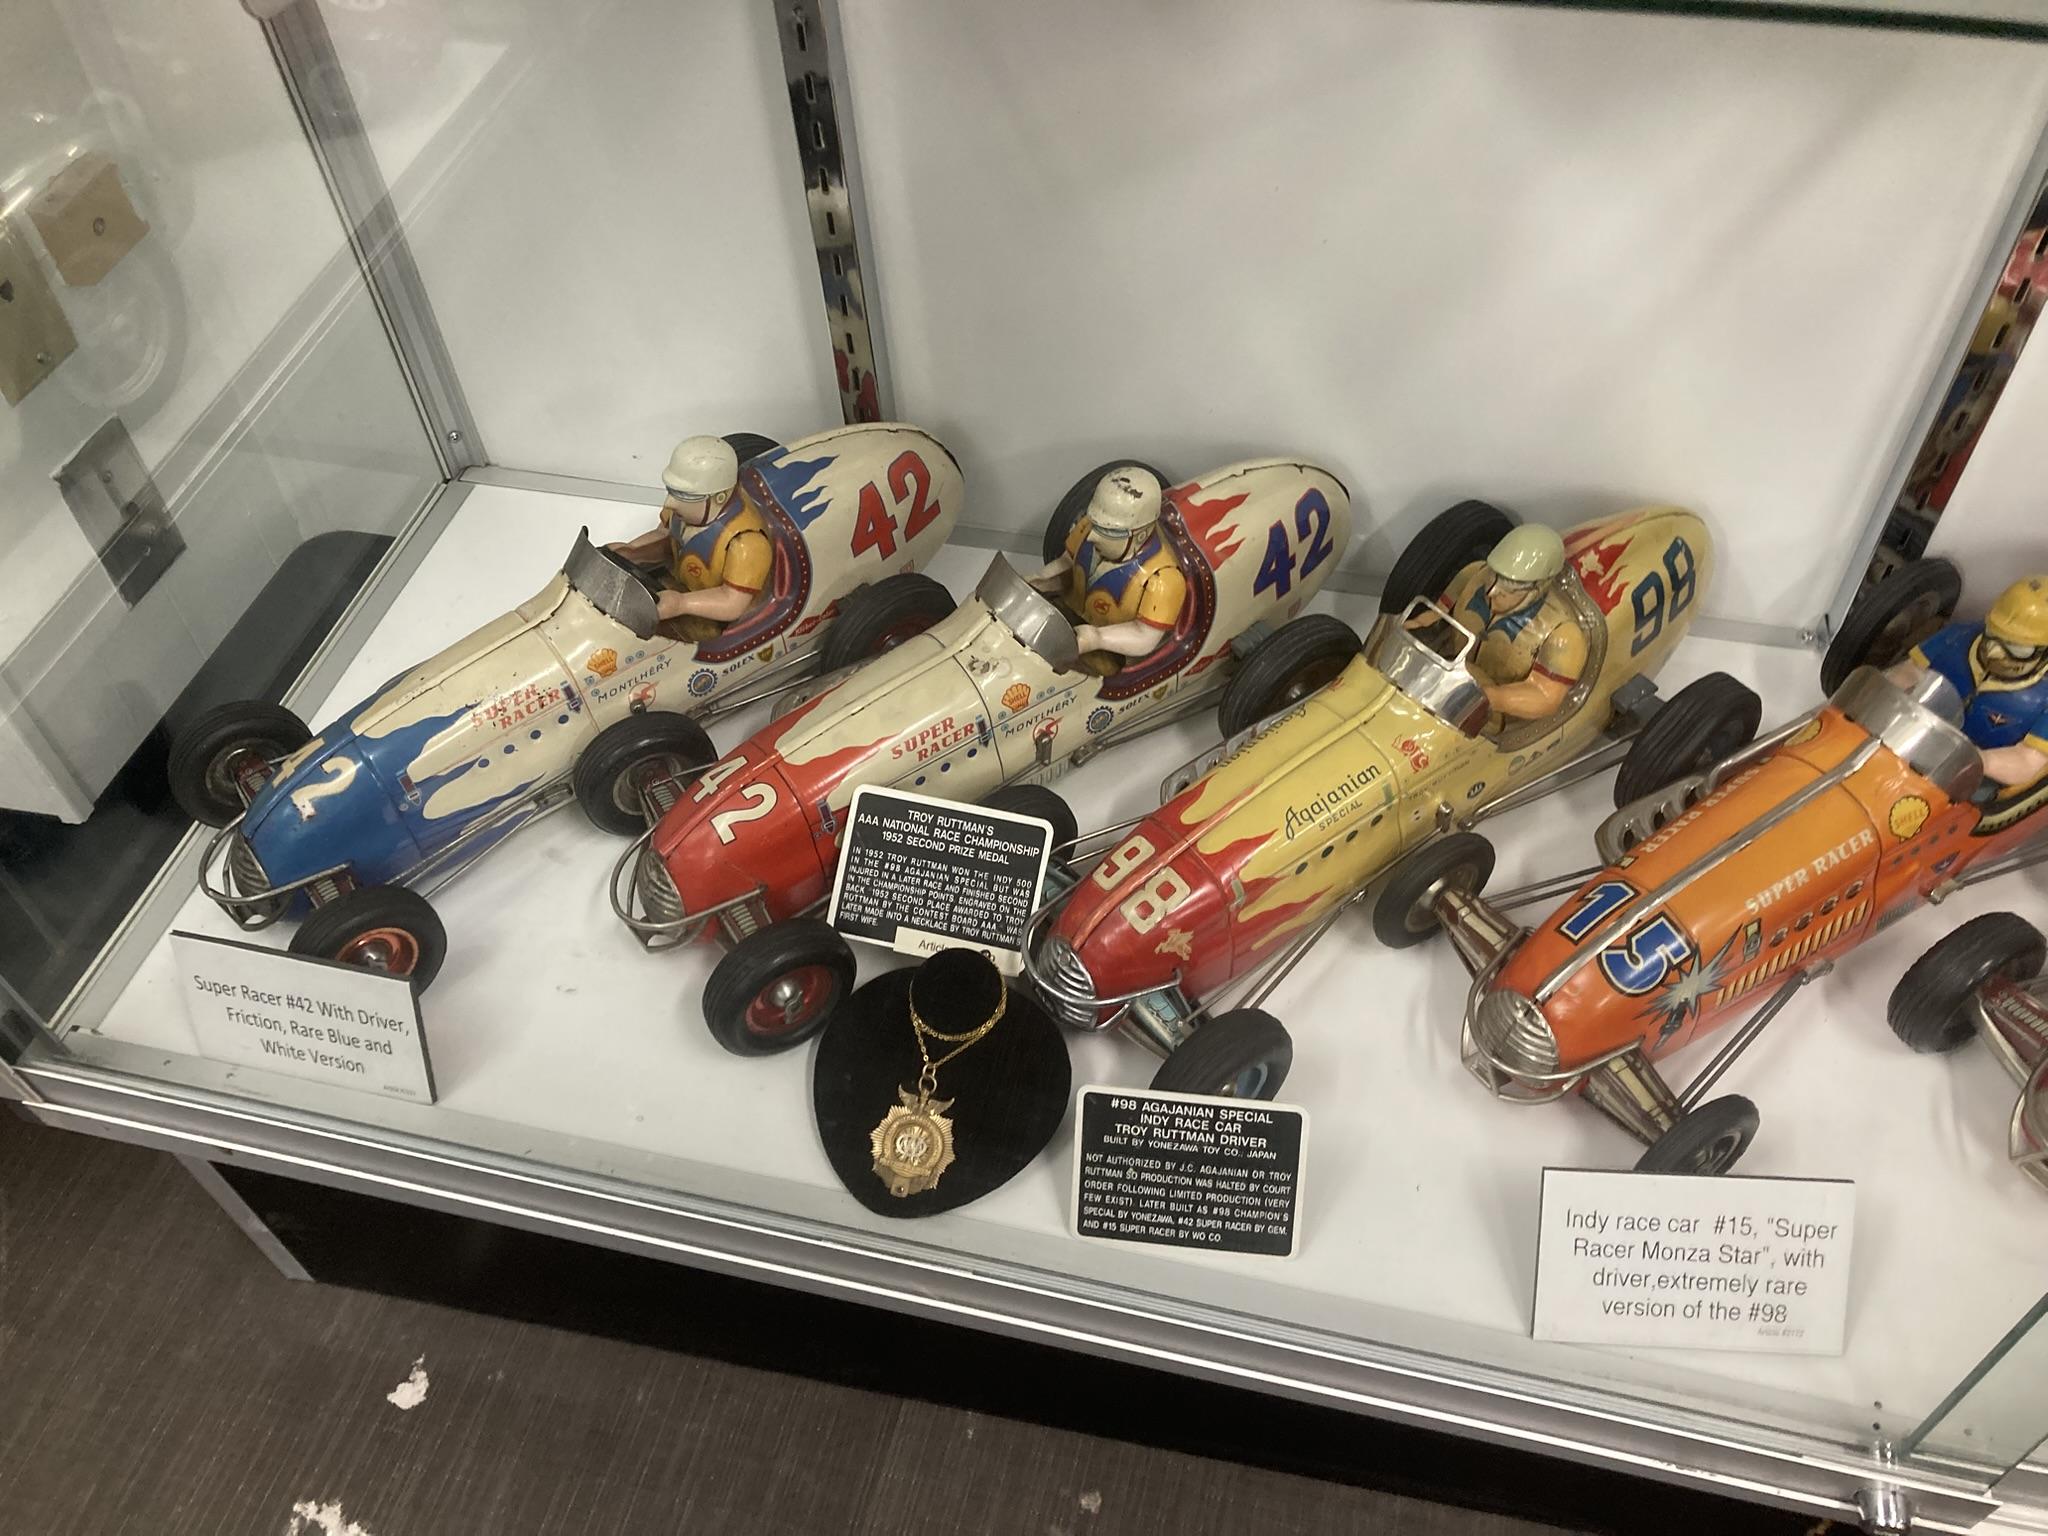
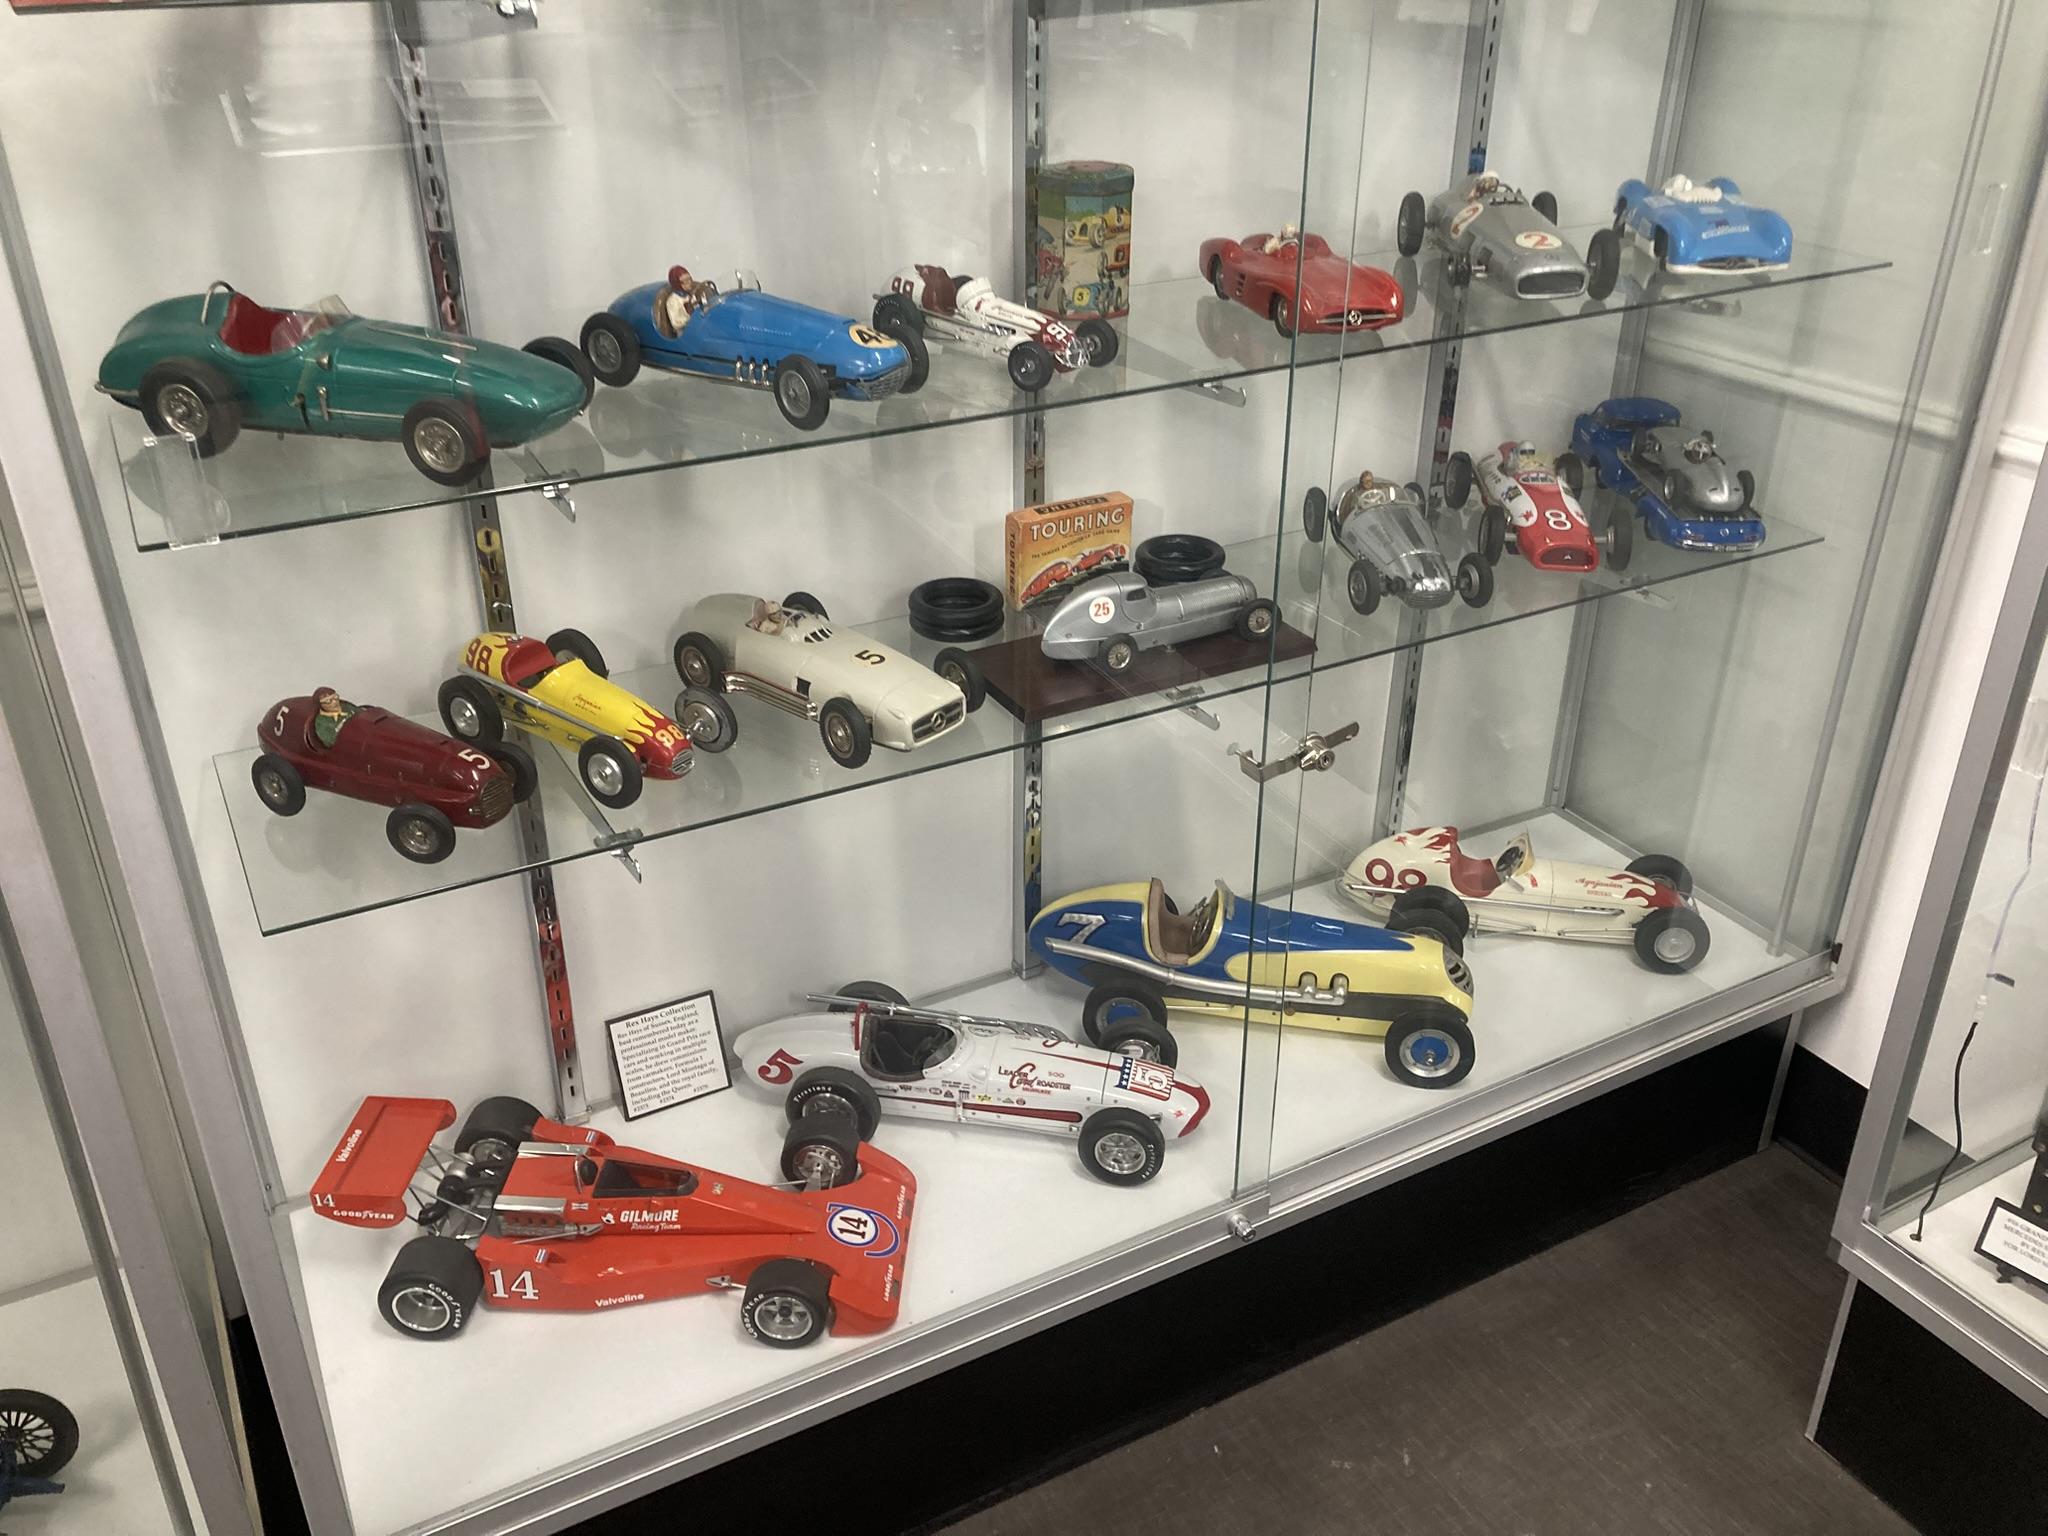
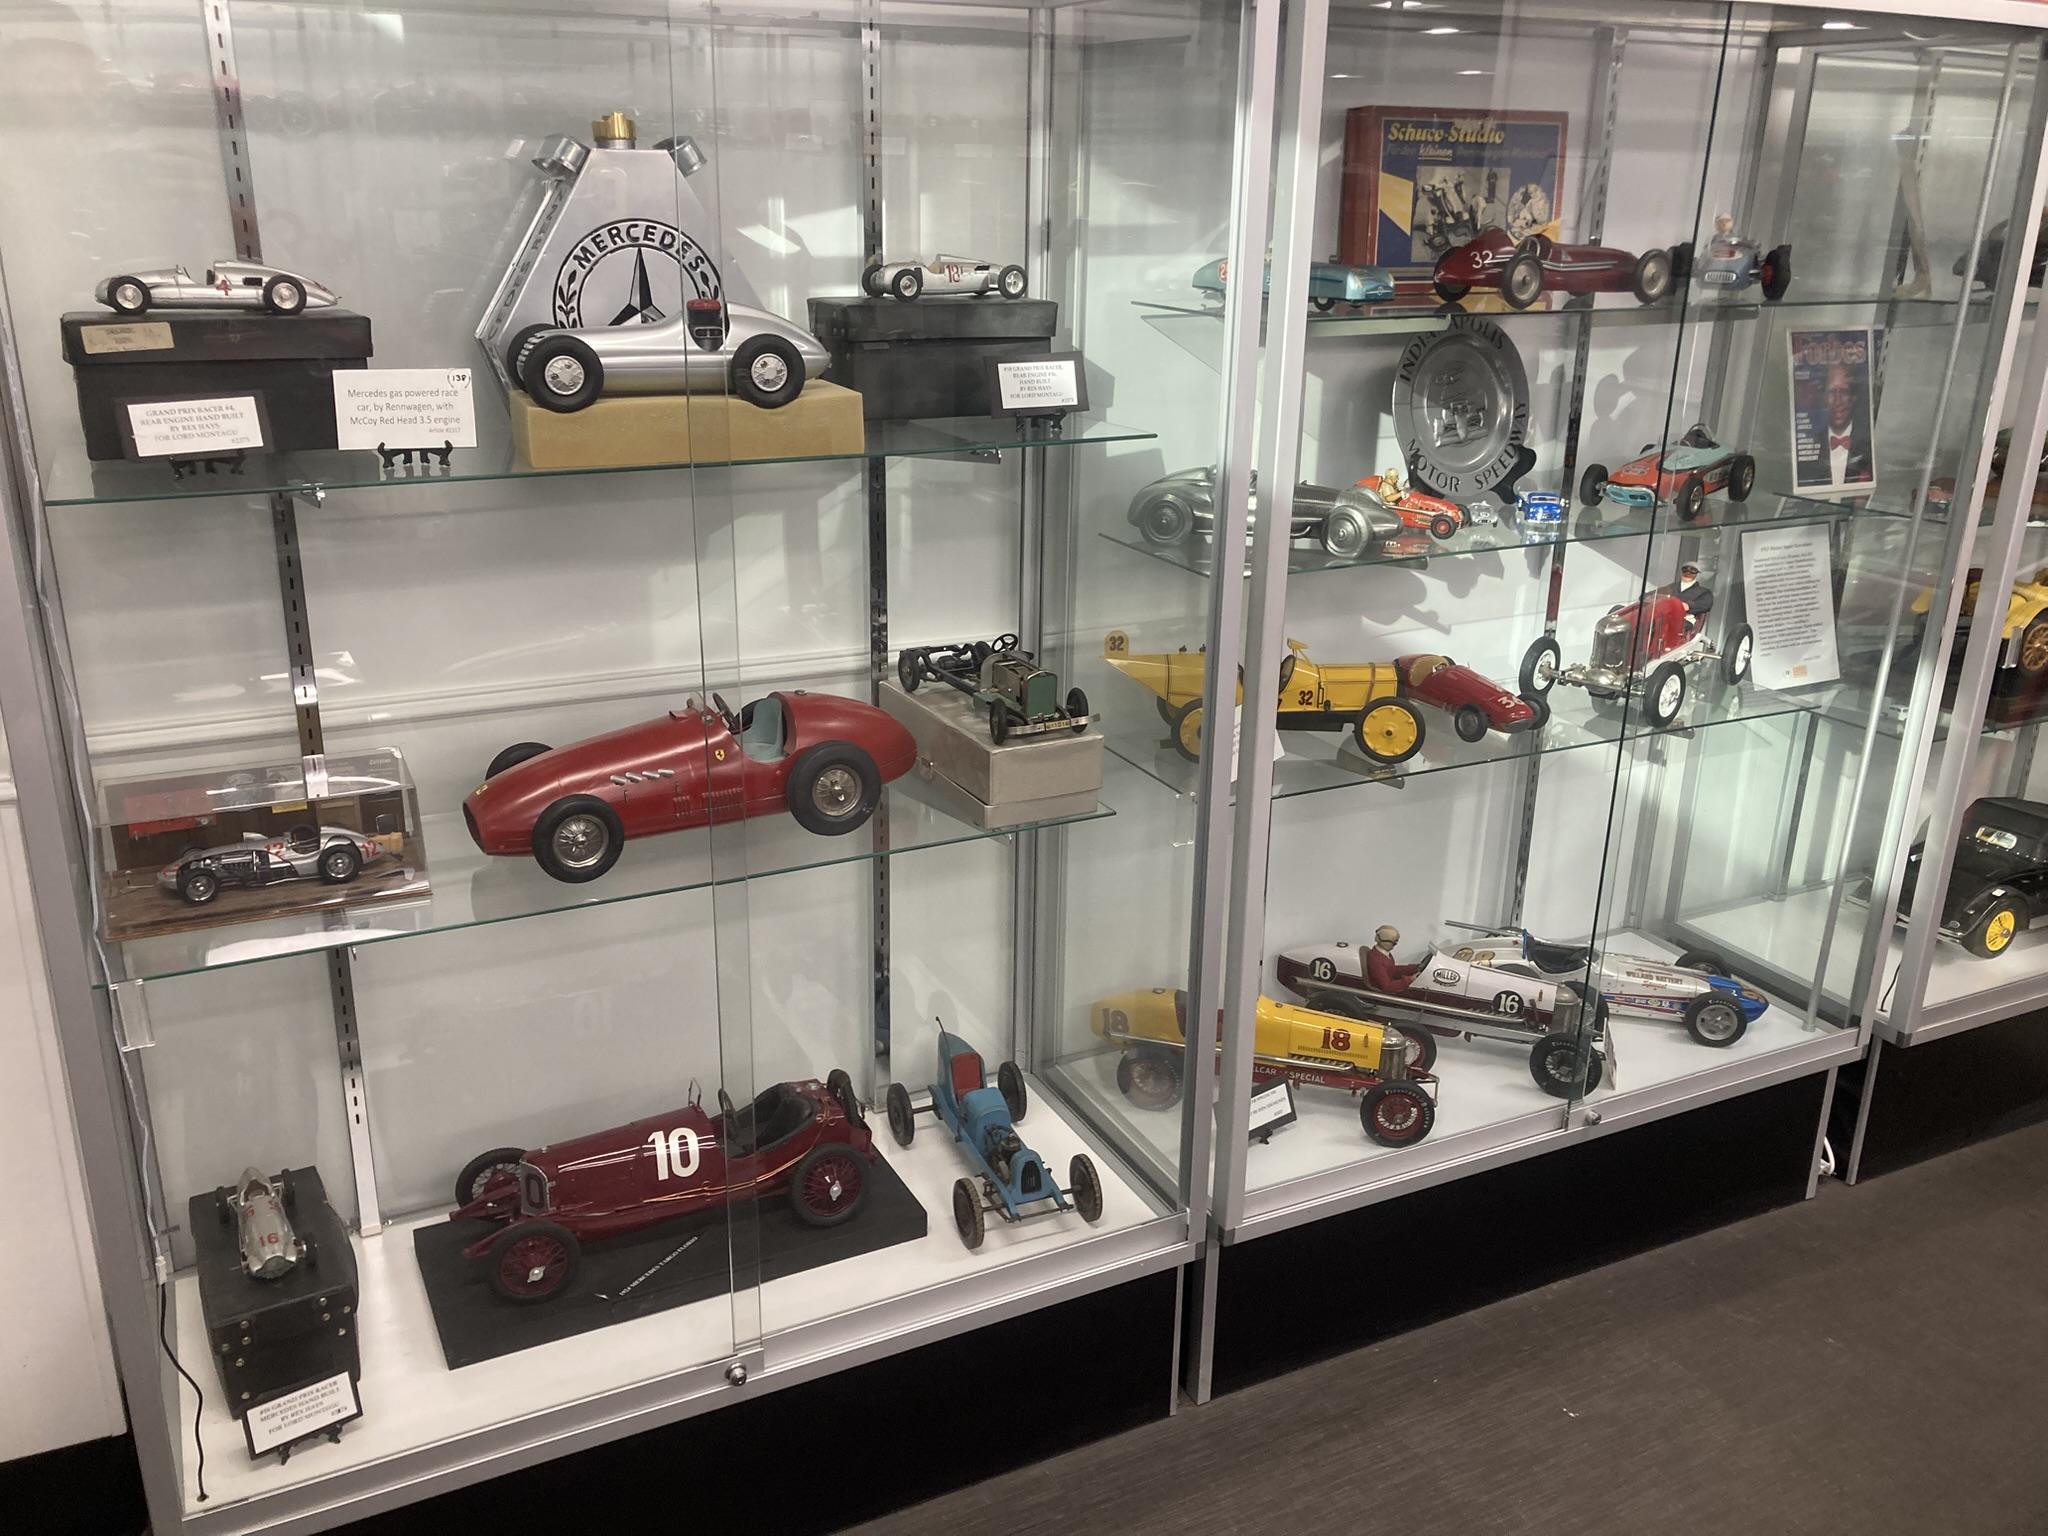
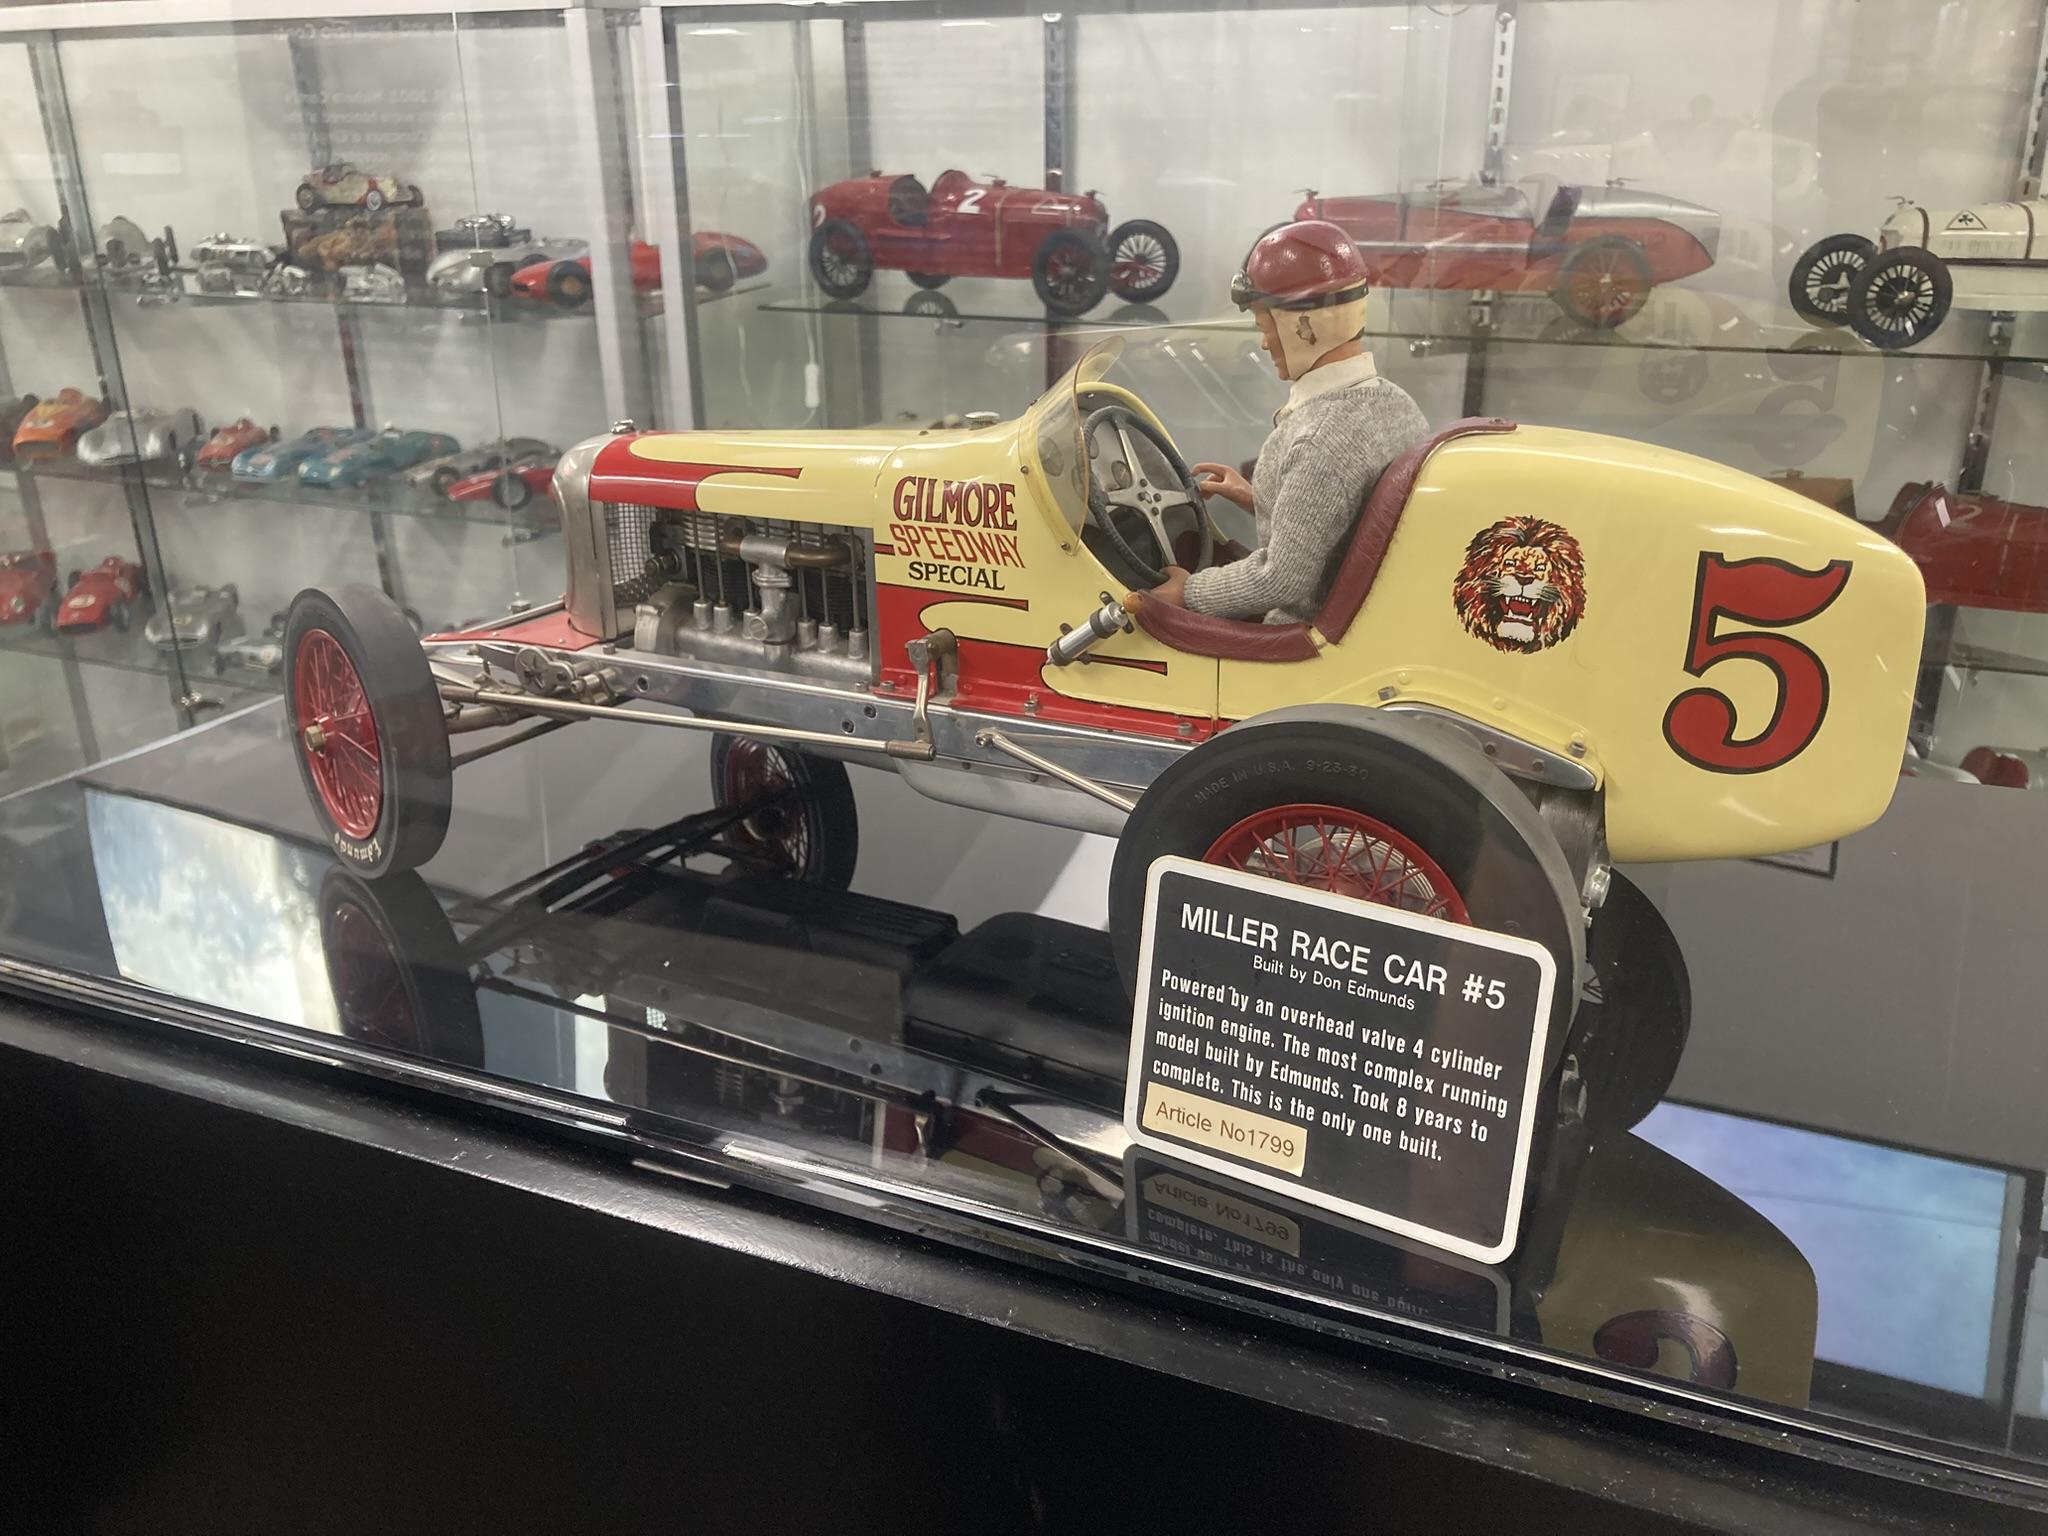
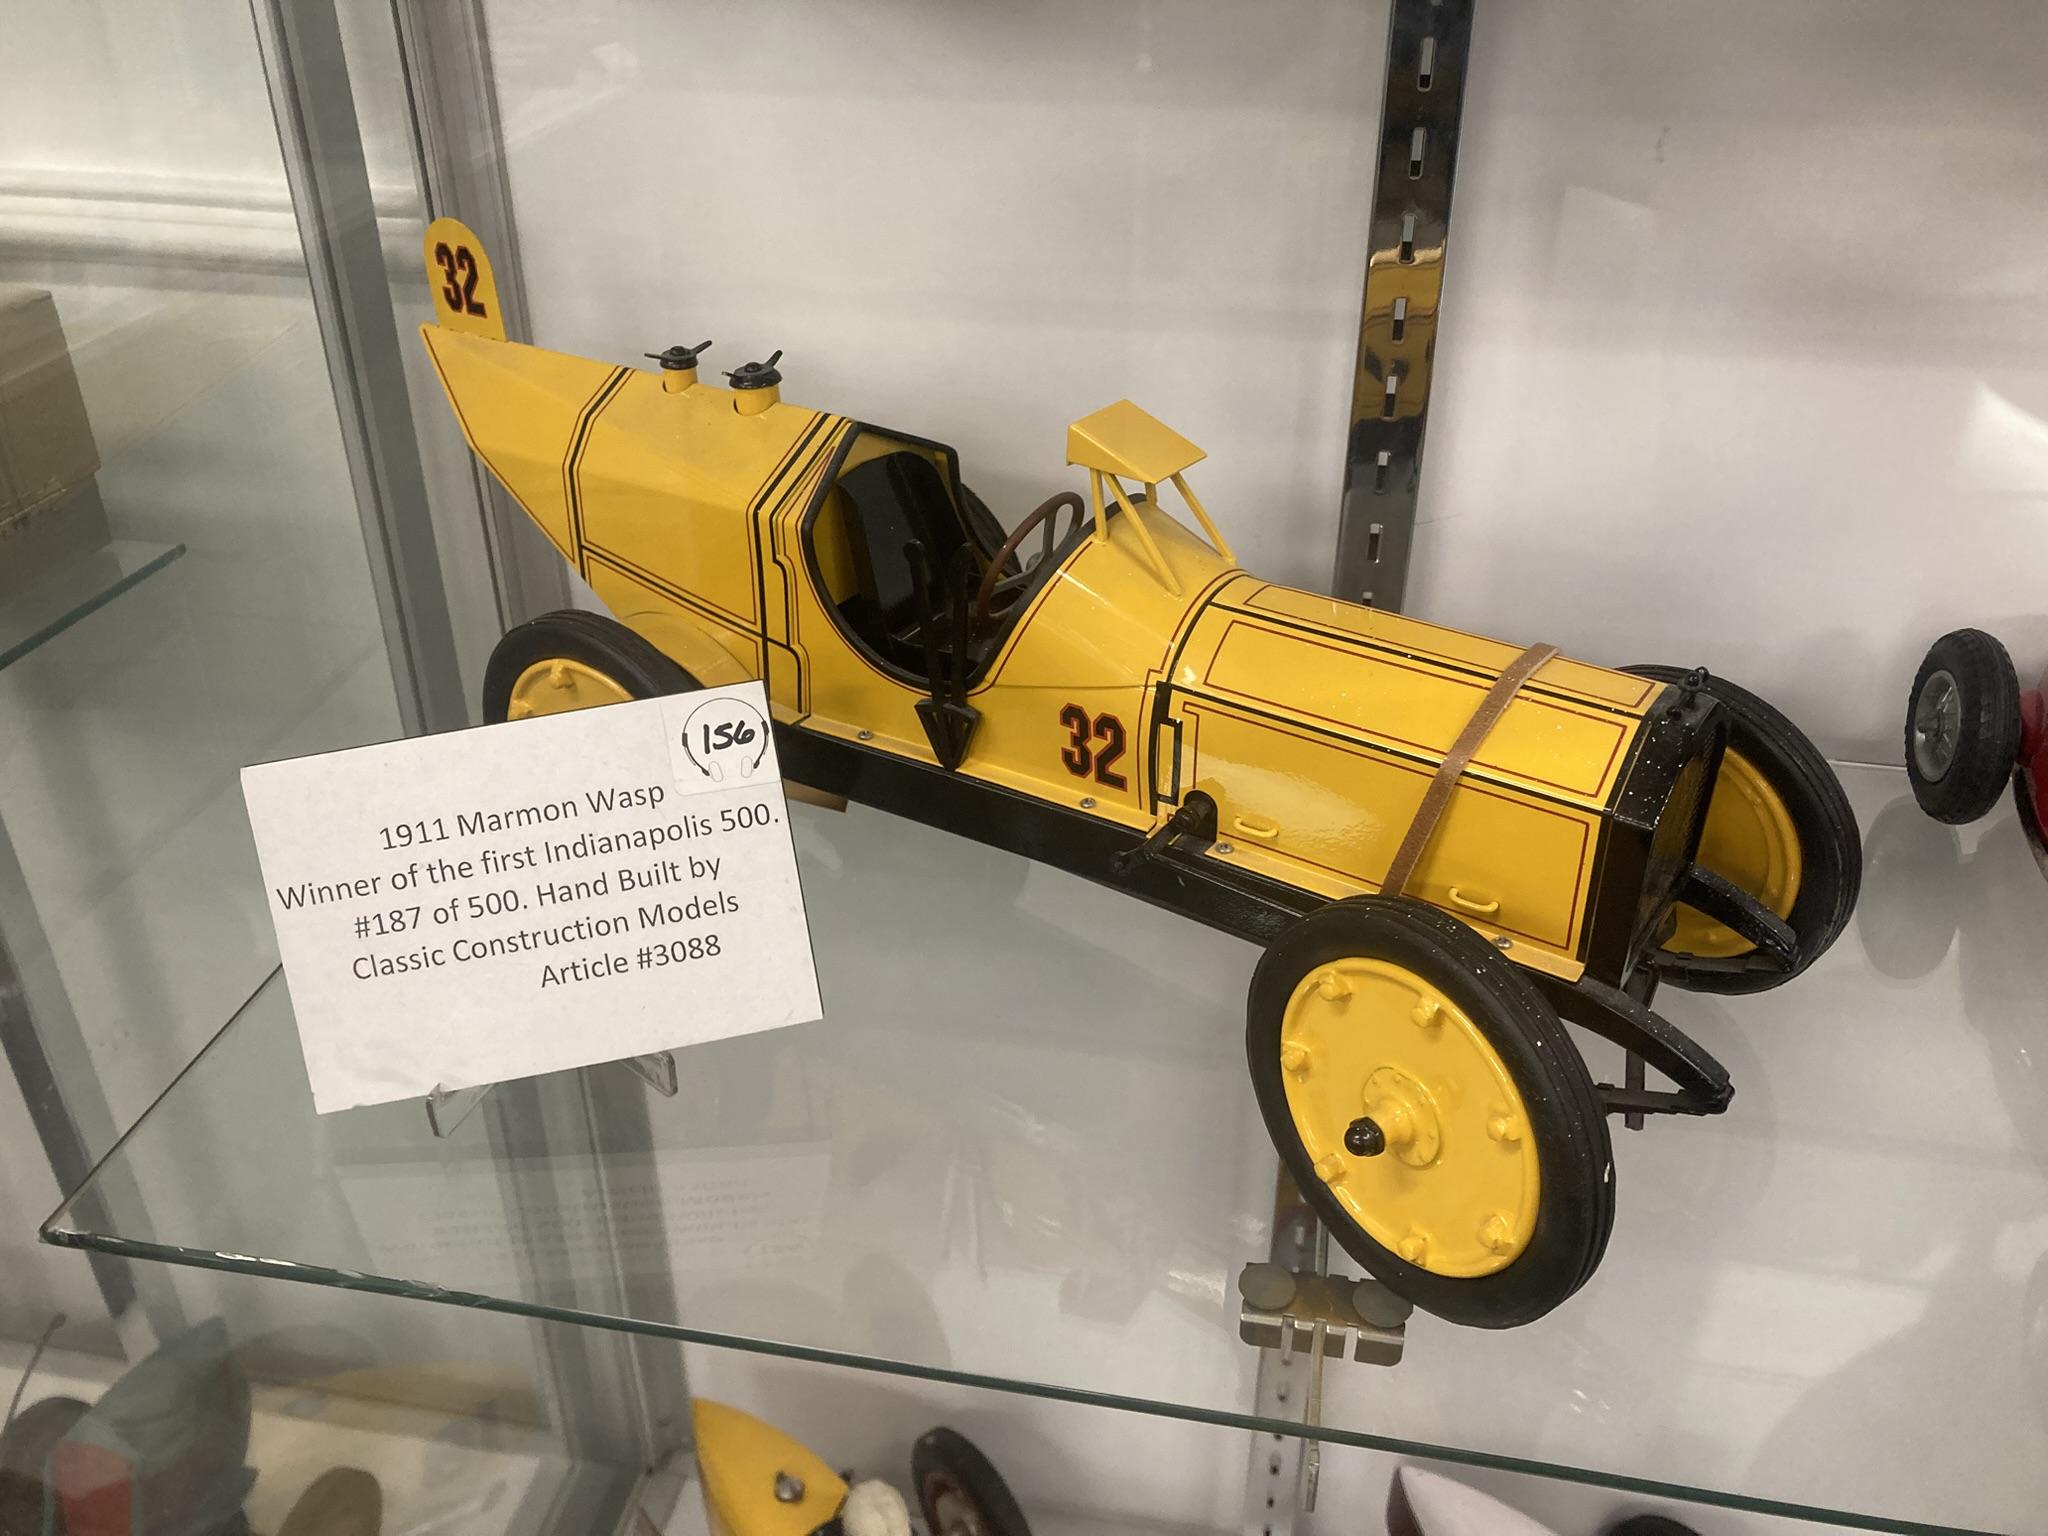
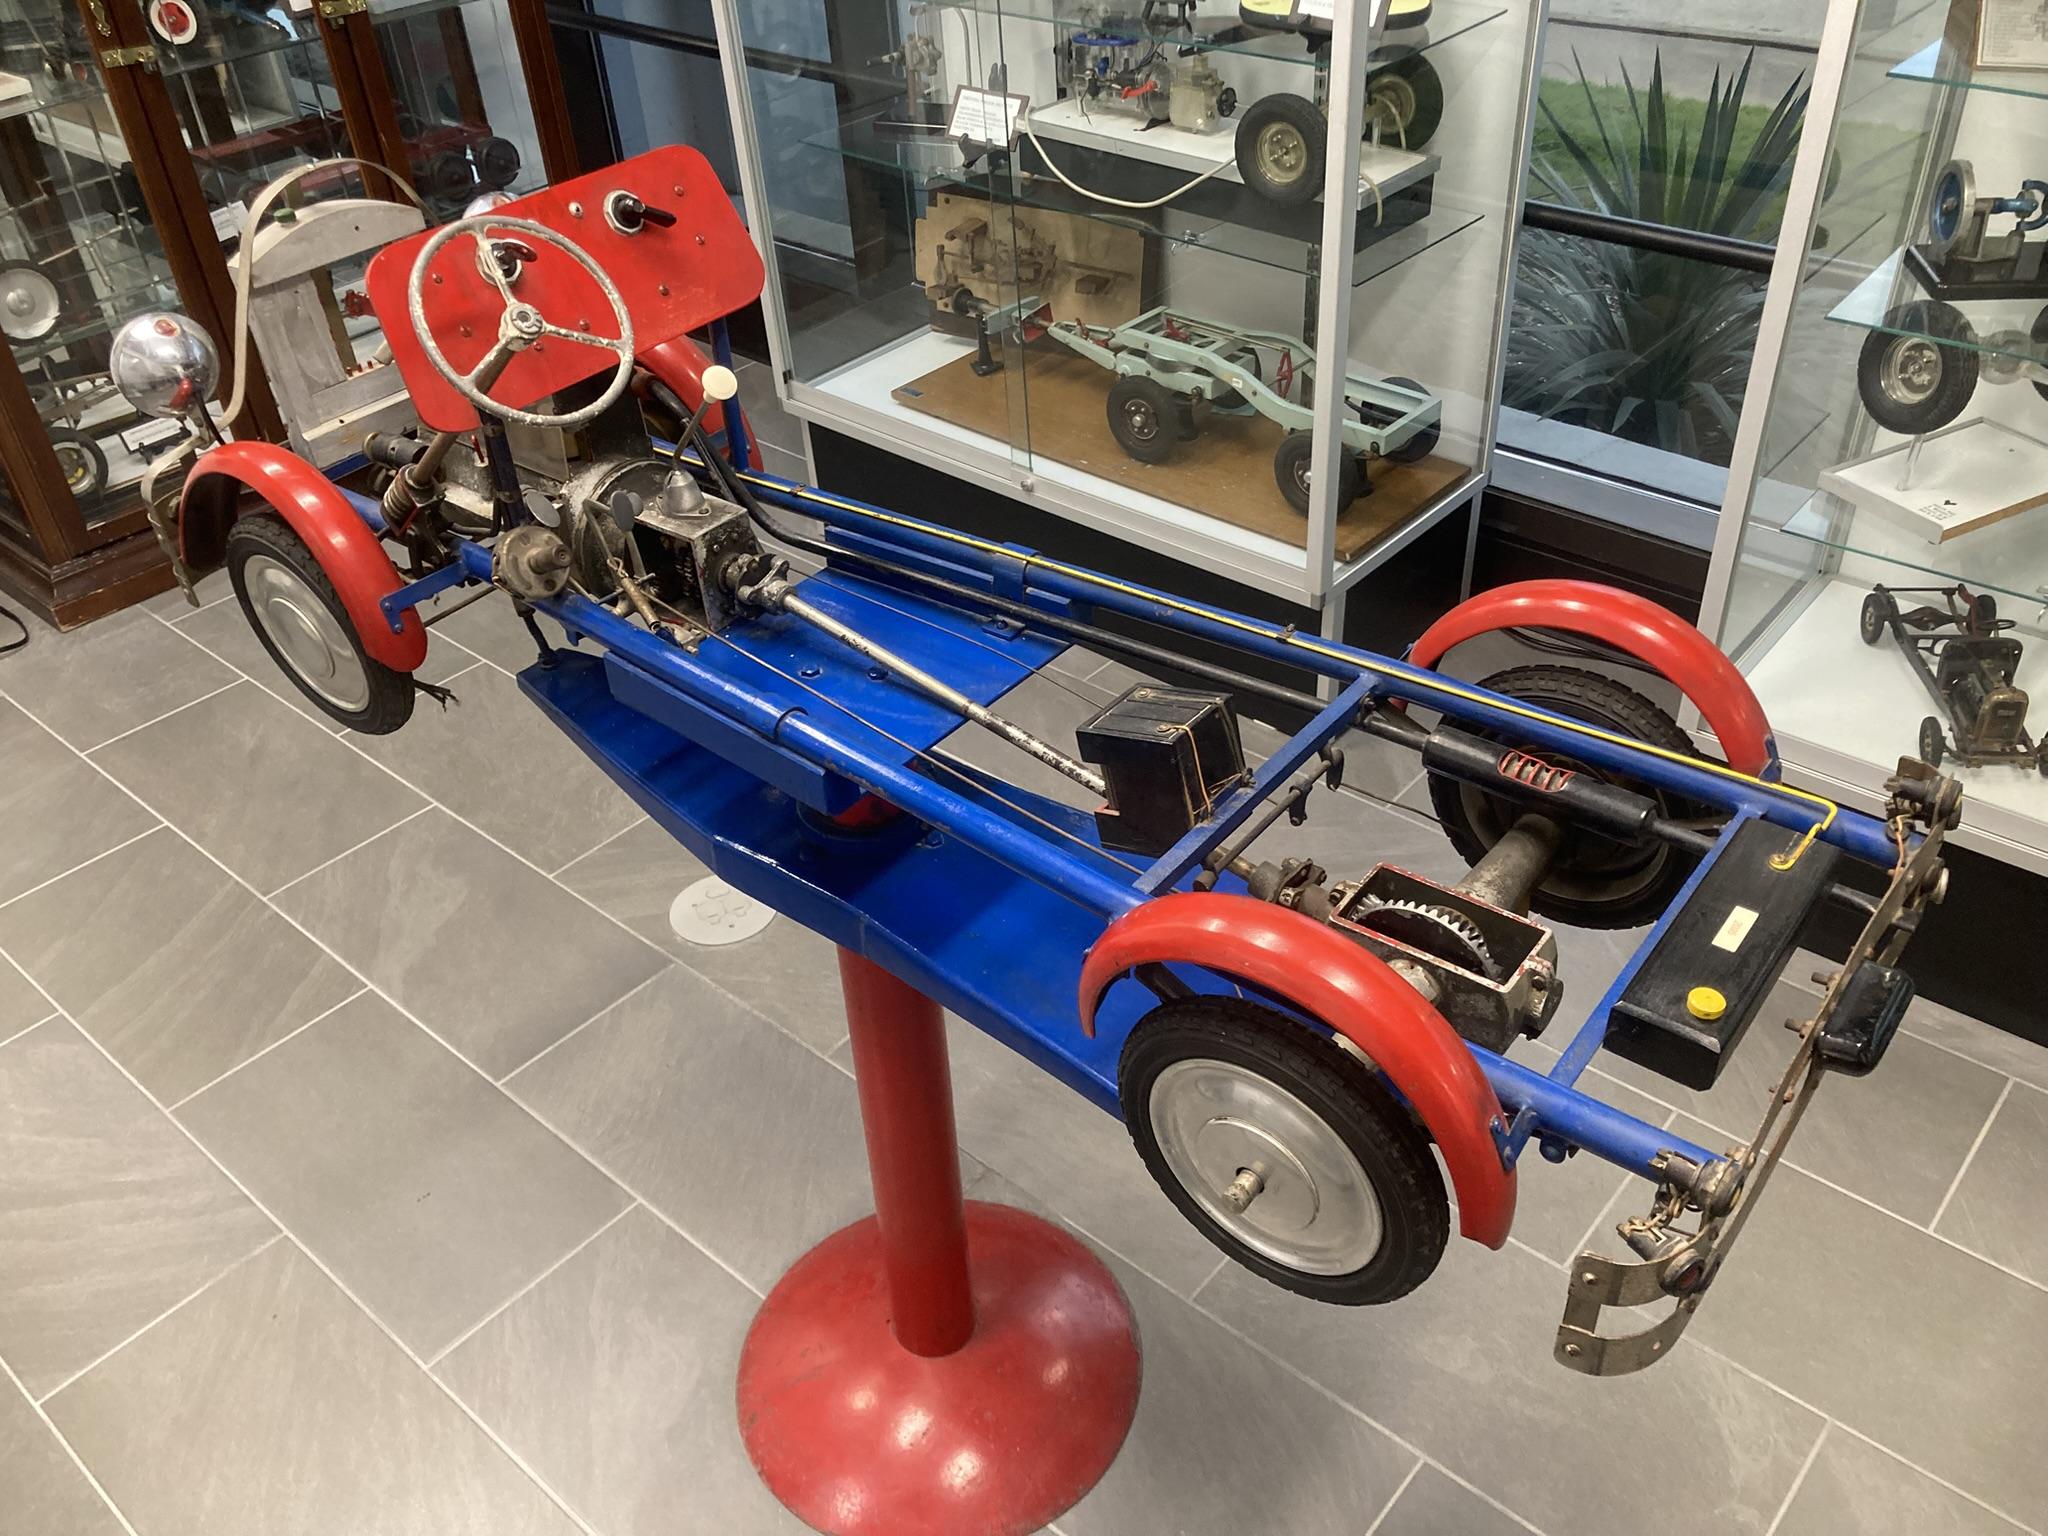
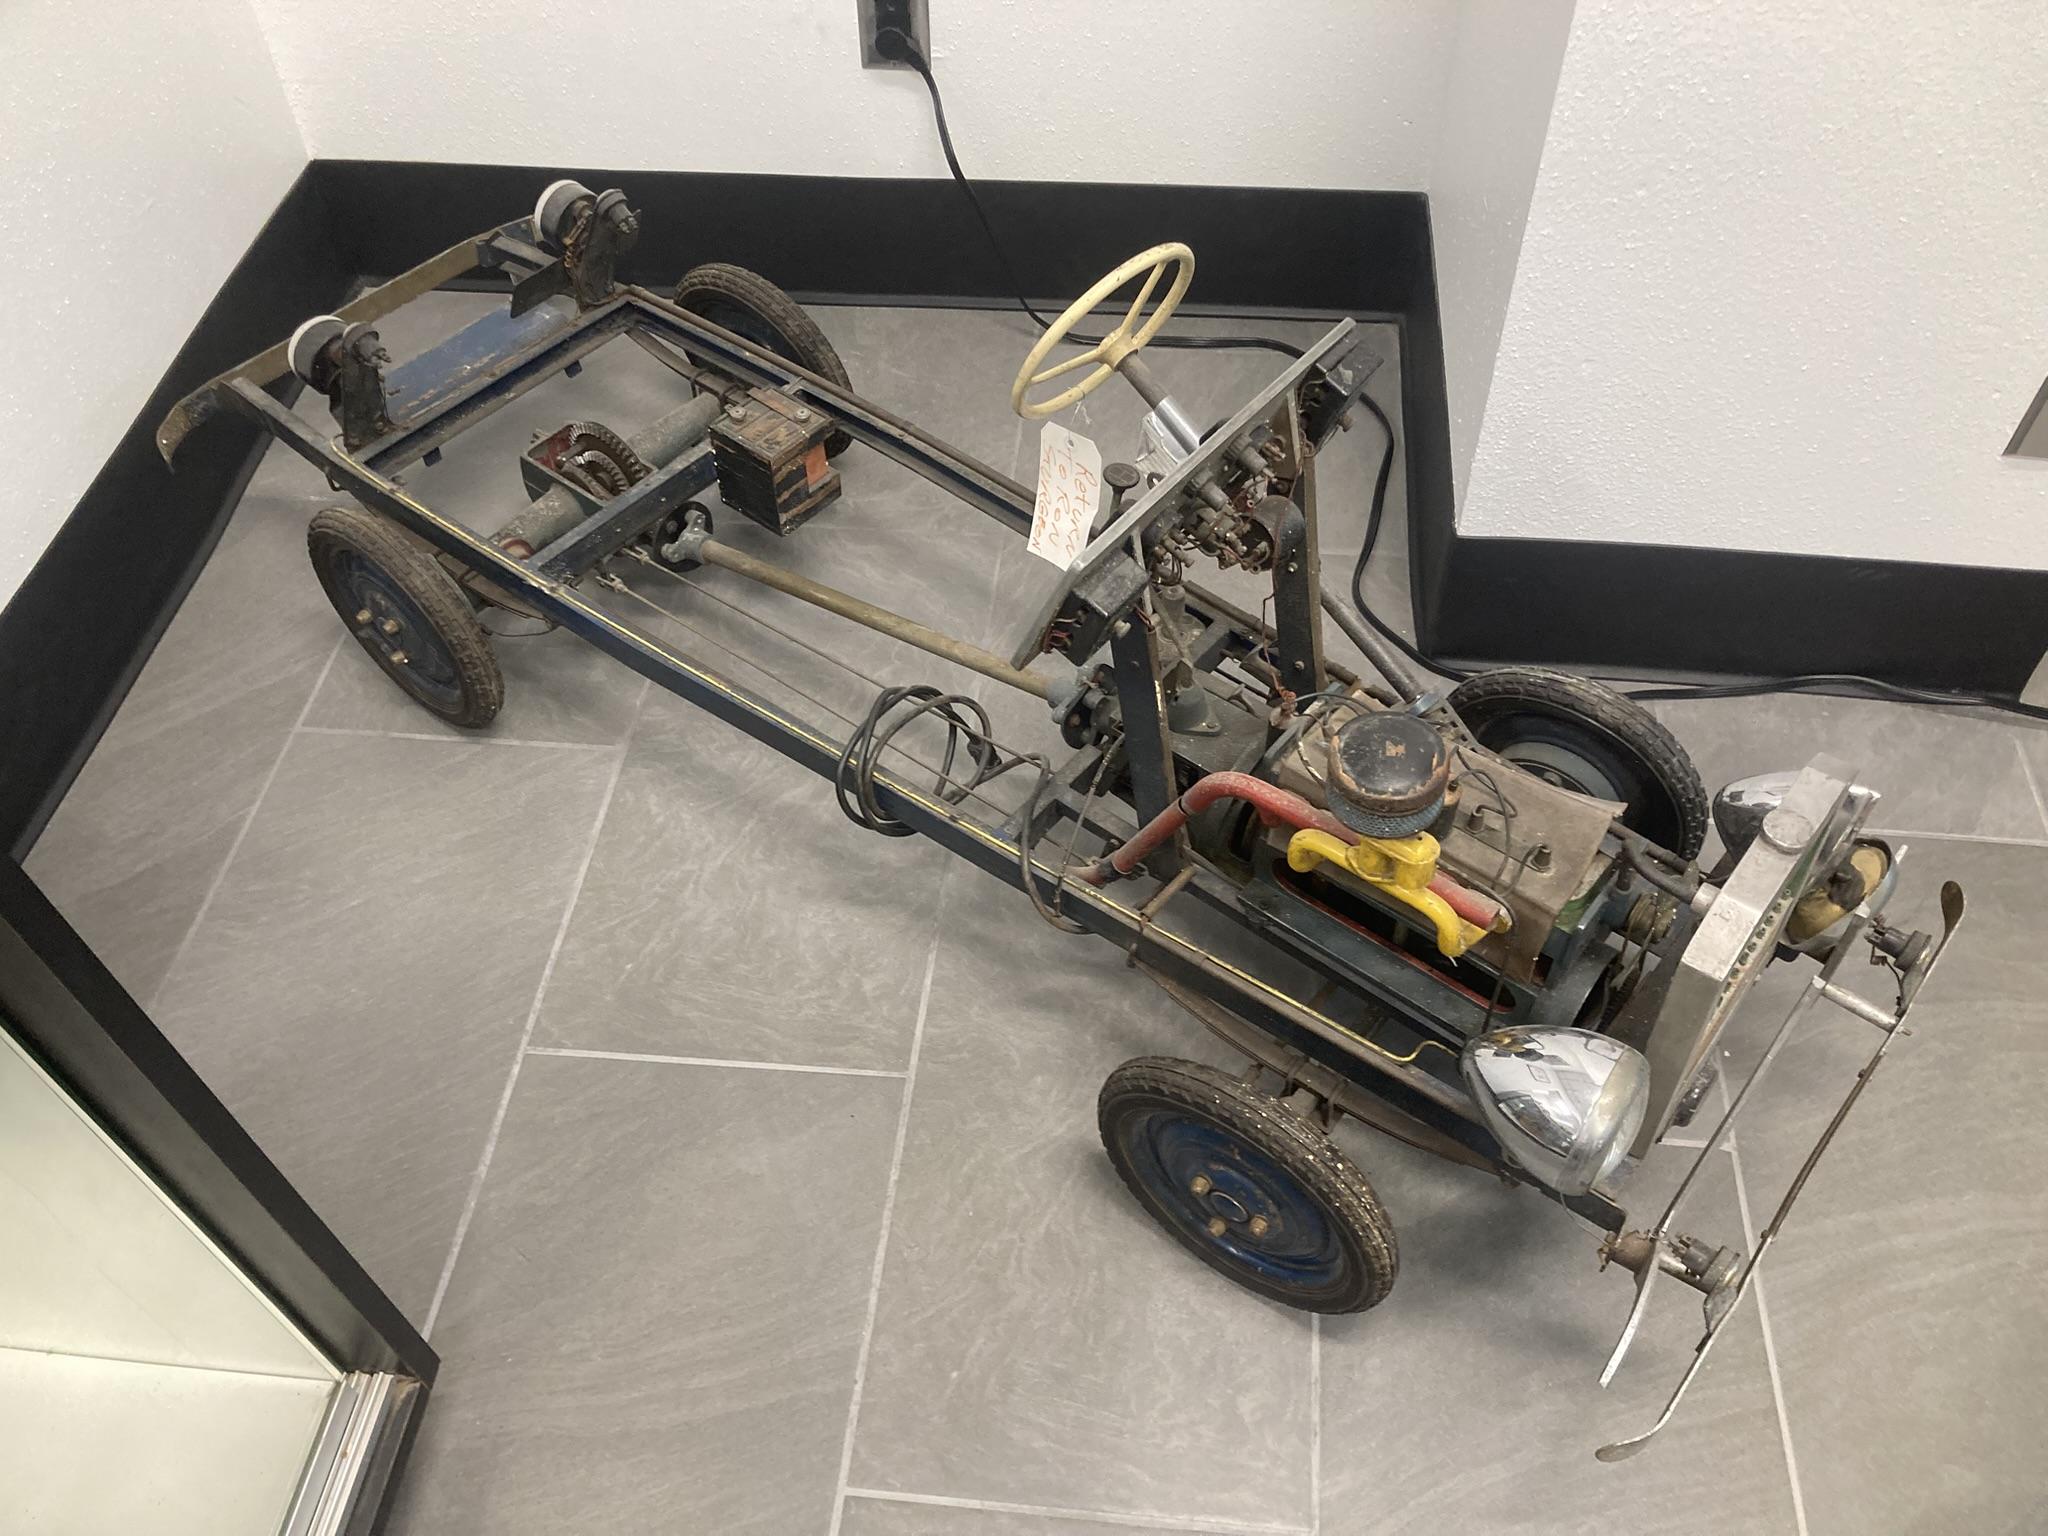
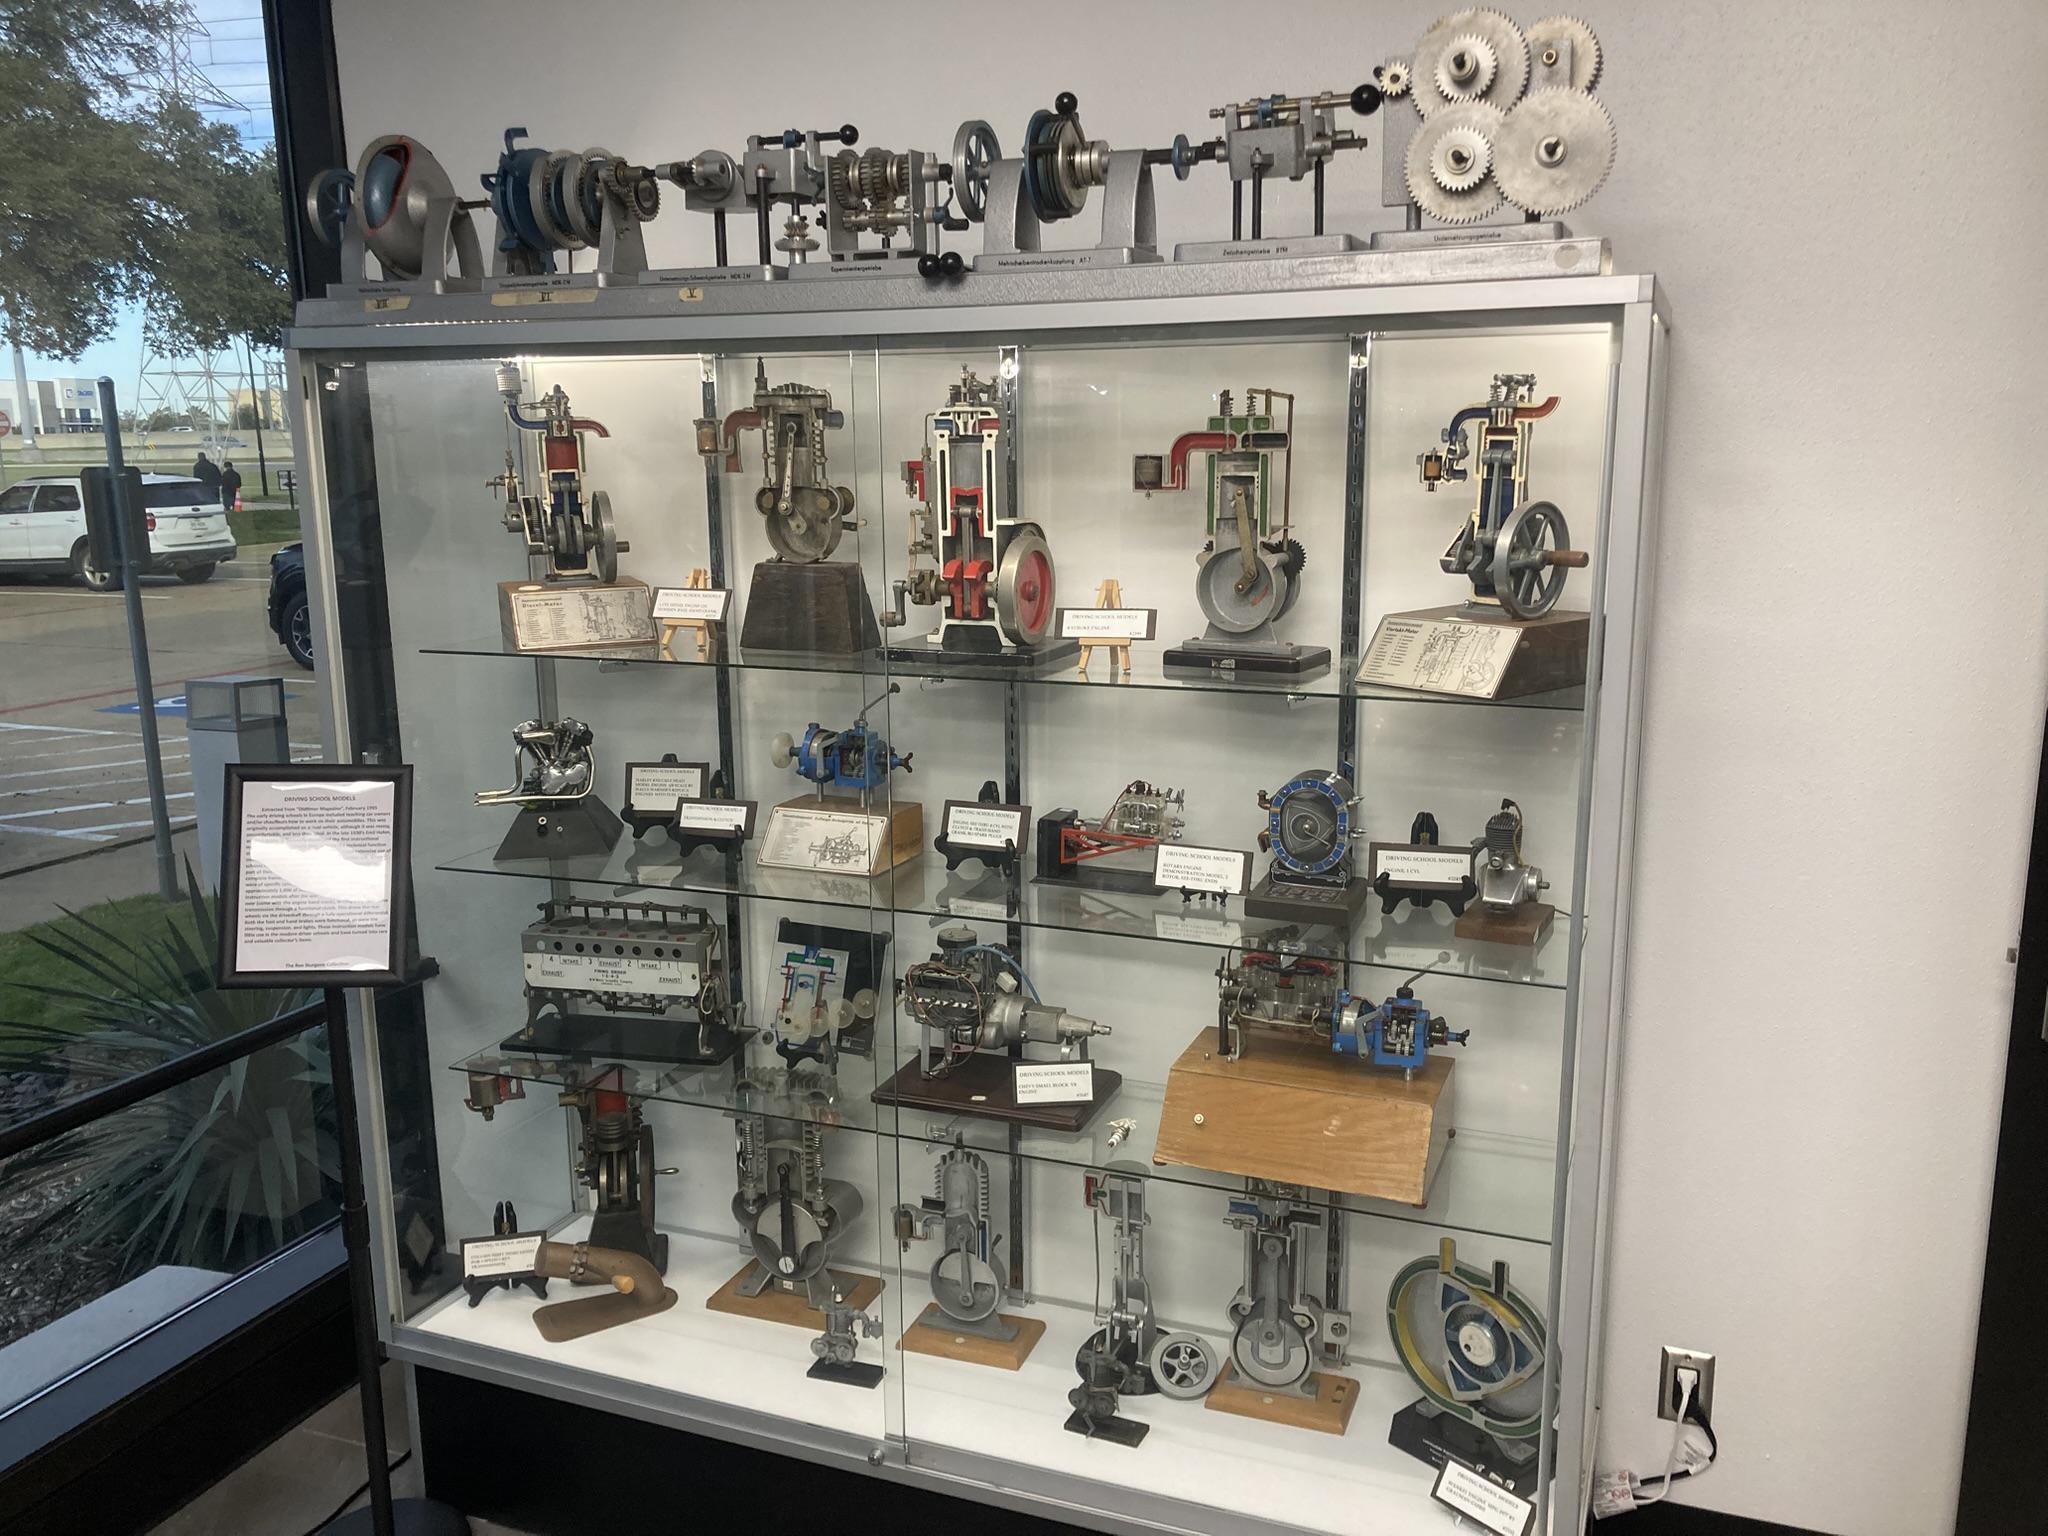
DFW Car and Toy Museum
Quiet Eric replied to Quiet Eric's topic in General Automotive Talk (Trucks and Cars)
All of the large single display cars were 1:8 by Amalgam. -
This place opened back in April of this year. The collection of Ron Sturgeon. I finally made it out there yesterday morning and was blown away by everything there. Here's some from the "toy" part of it all, with a link to the full album. https://public.fotki.com/quiet-eric/dfw-car-and-toy-mus/
-
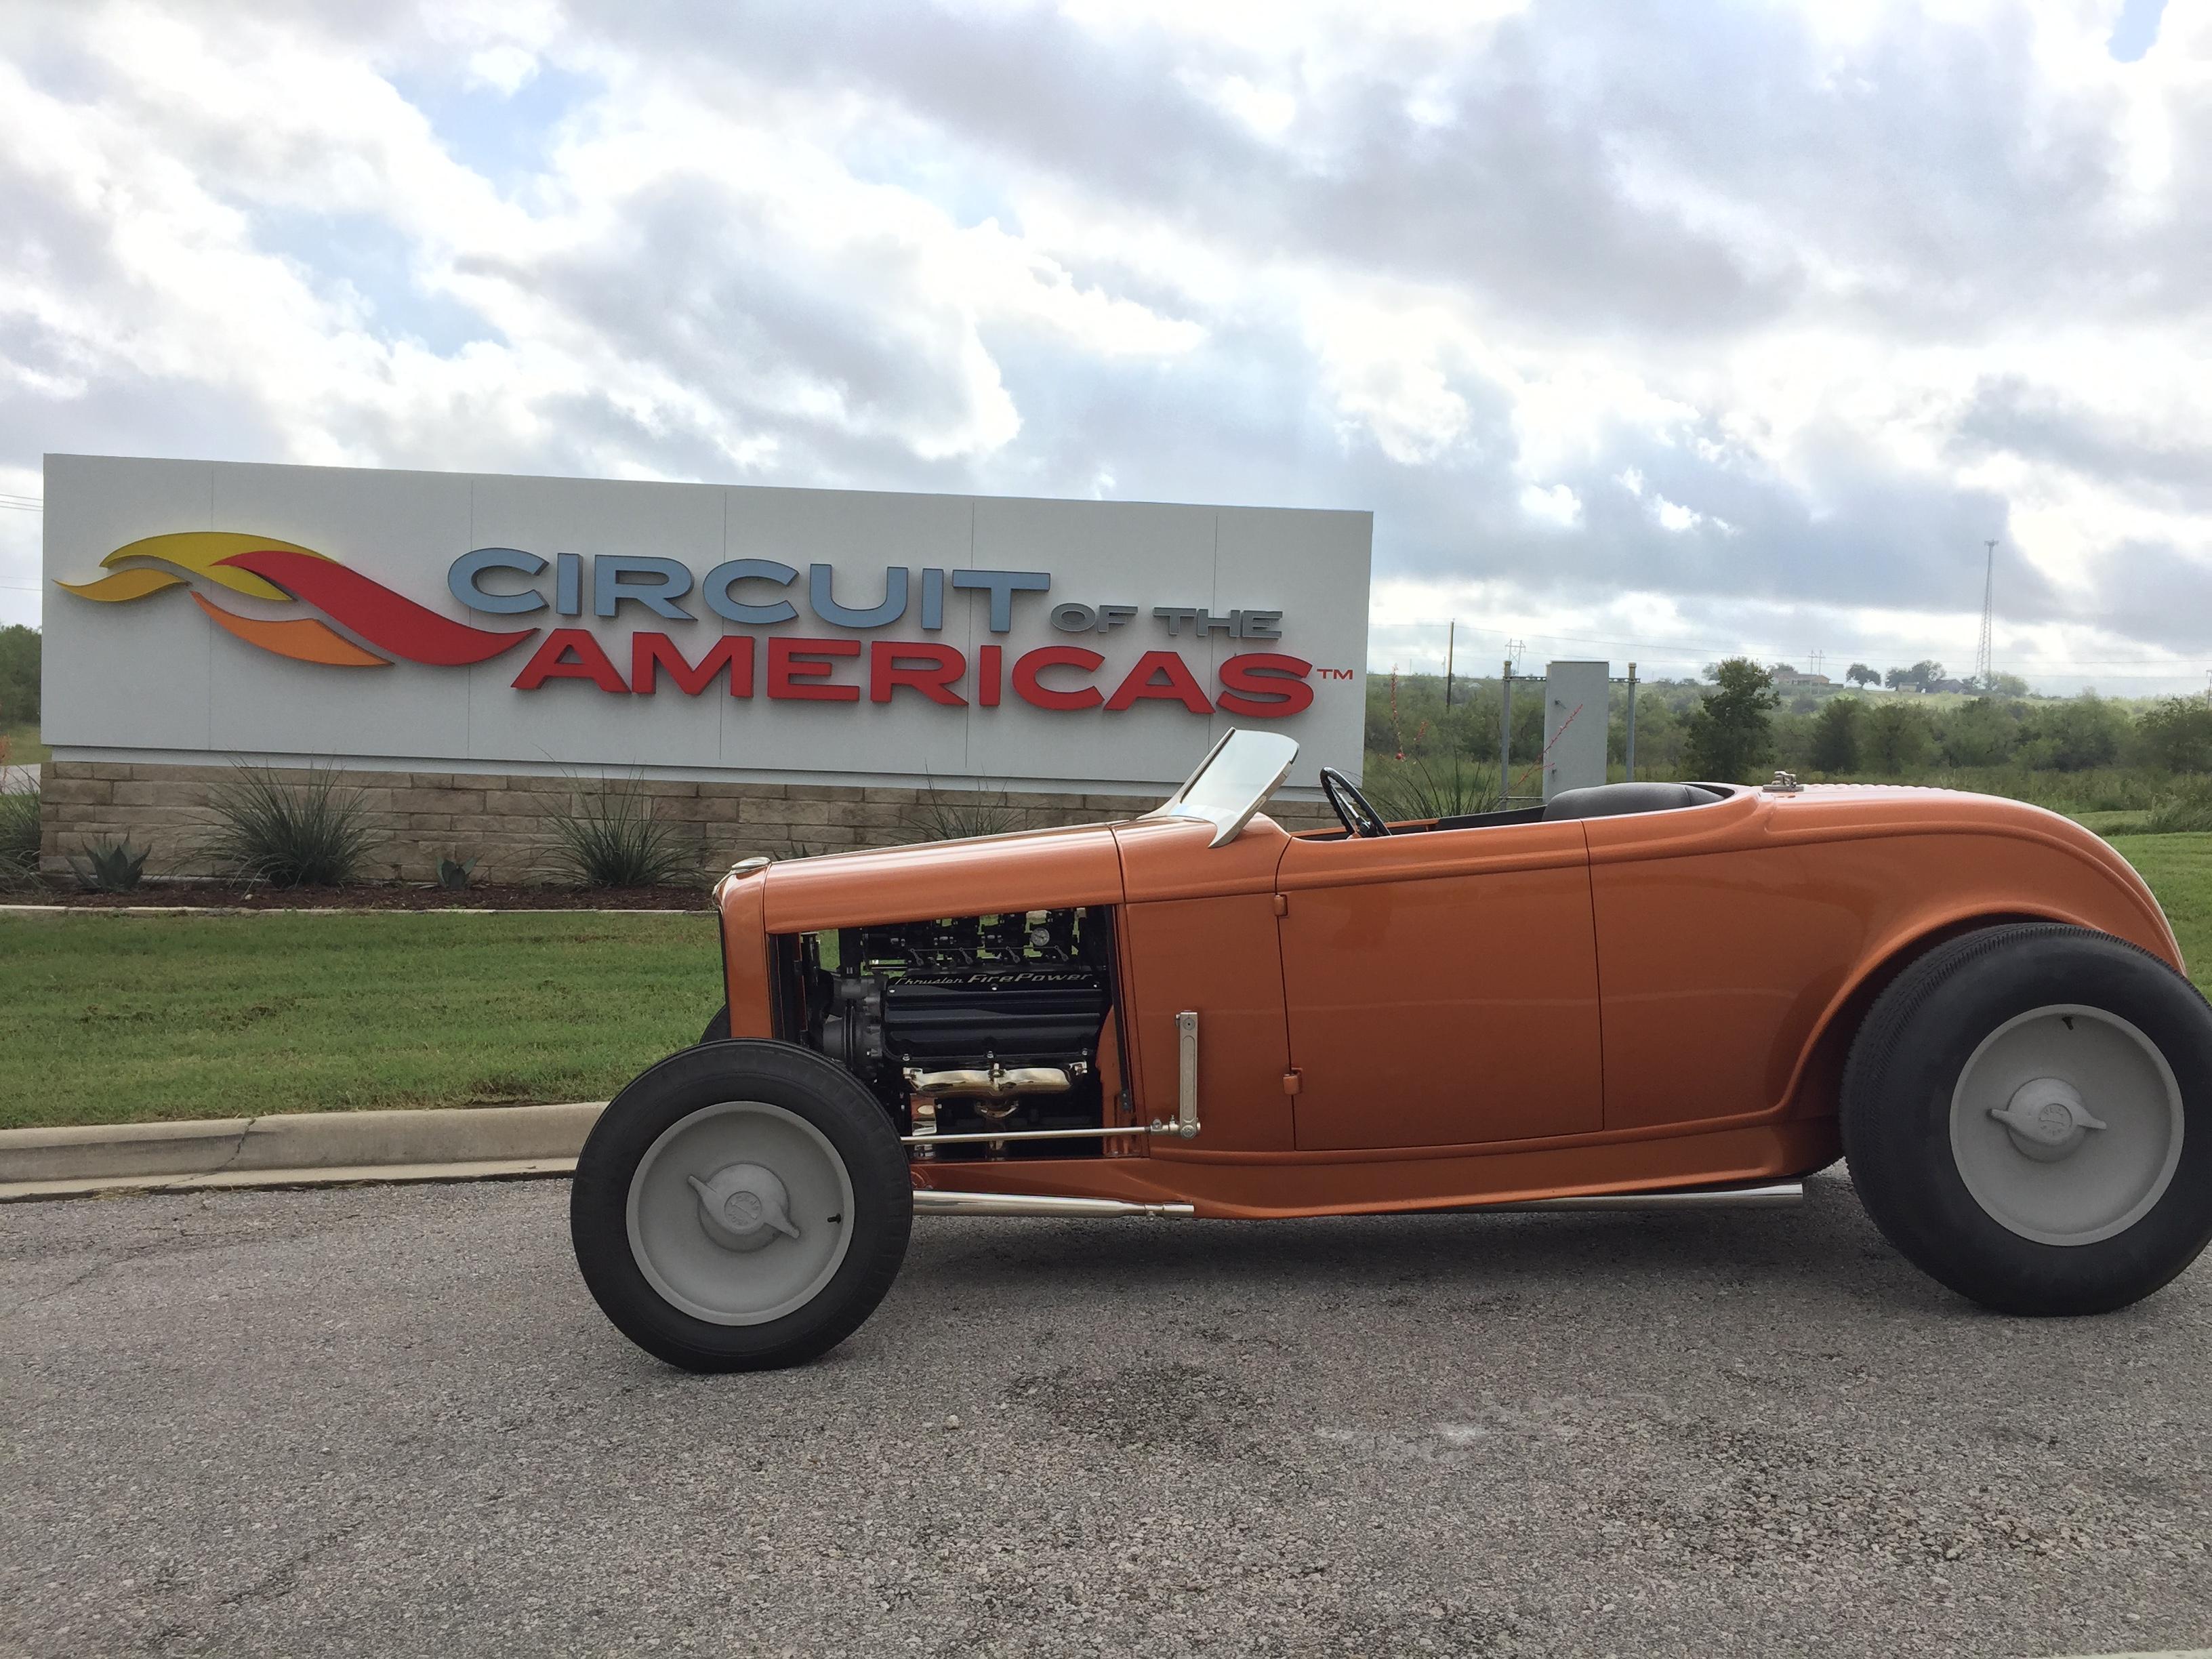
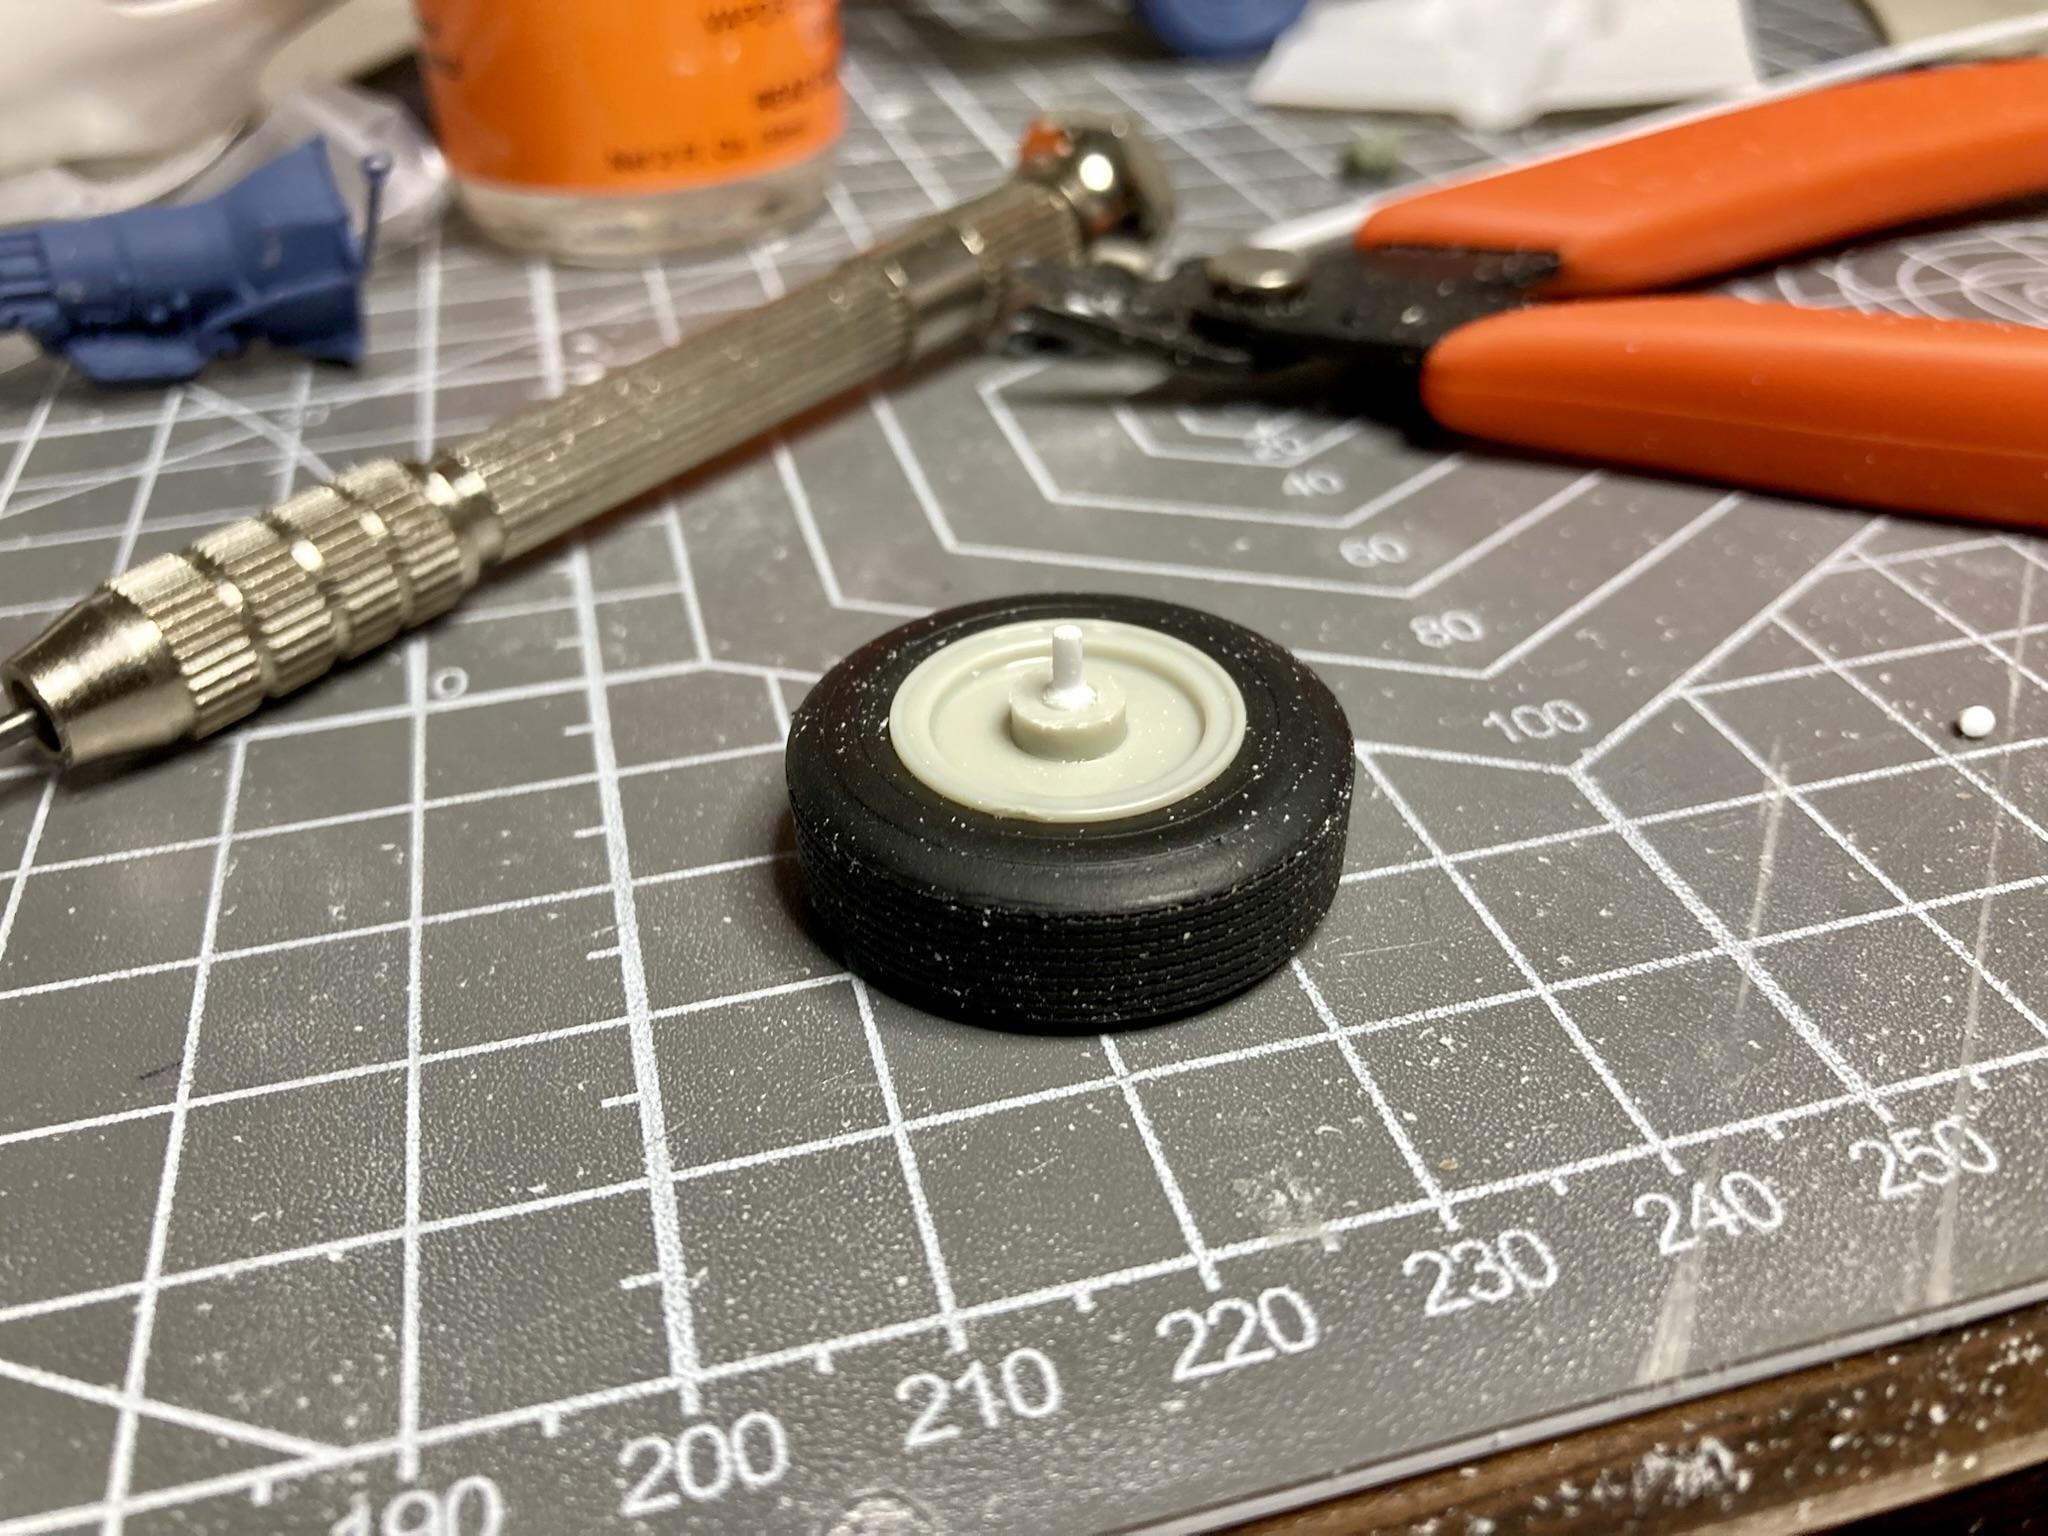
Glad this one was brought back up, love it! I built this one a number of years ago. Don't think anyone had done the Veda caps on these wheels before.
-
The center cap is a nice touch!
-
I never realized how different the front ends and hoods were between the years. Nice work on the conversion.
-
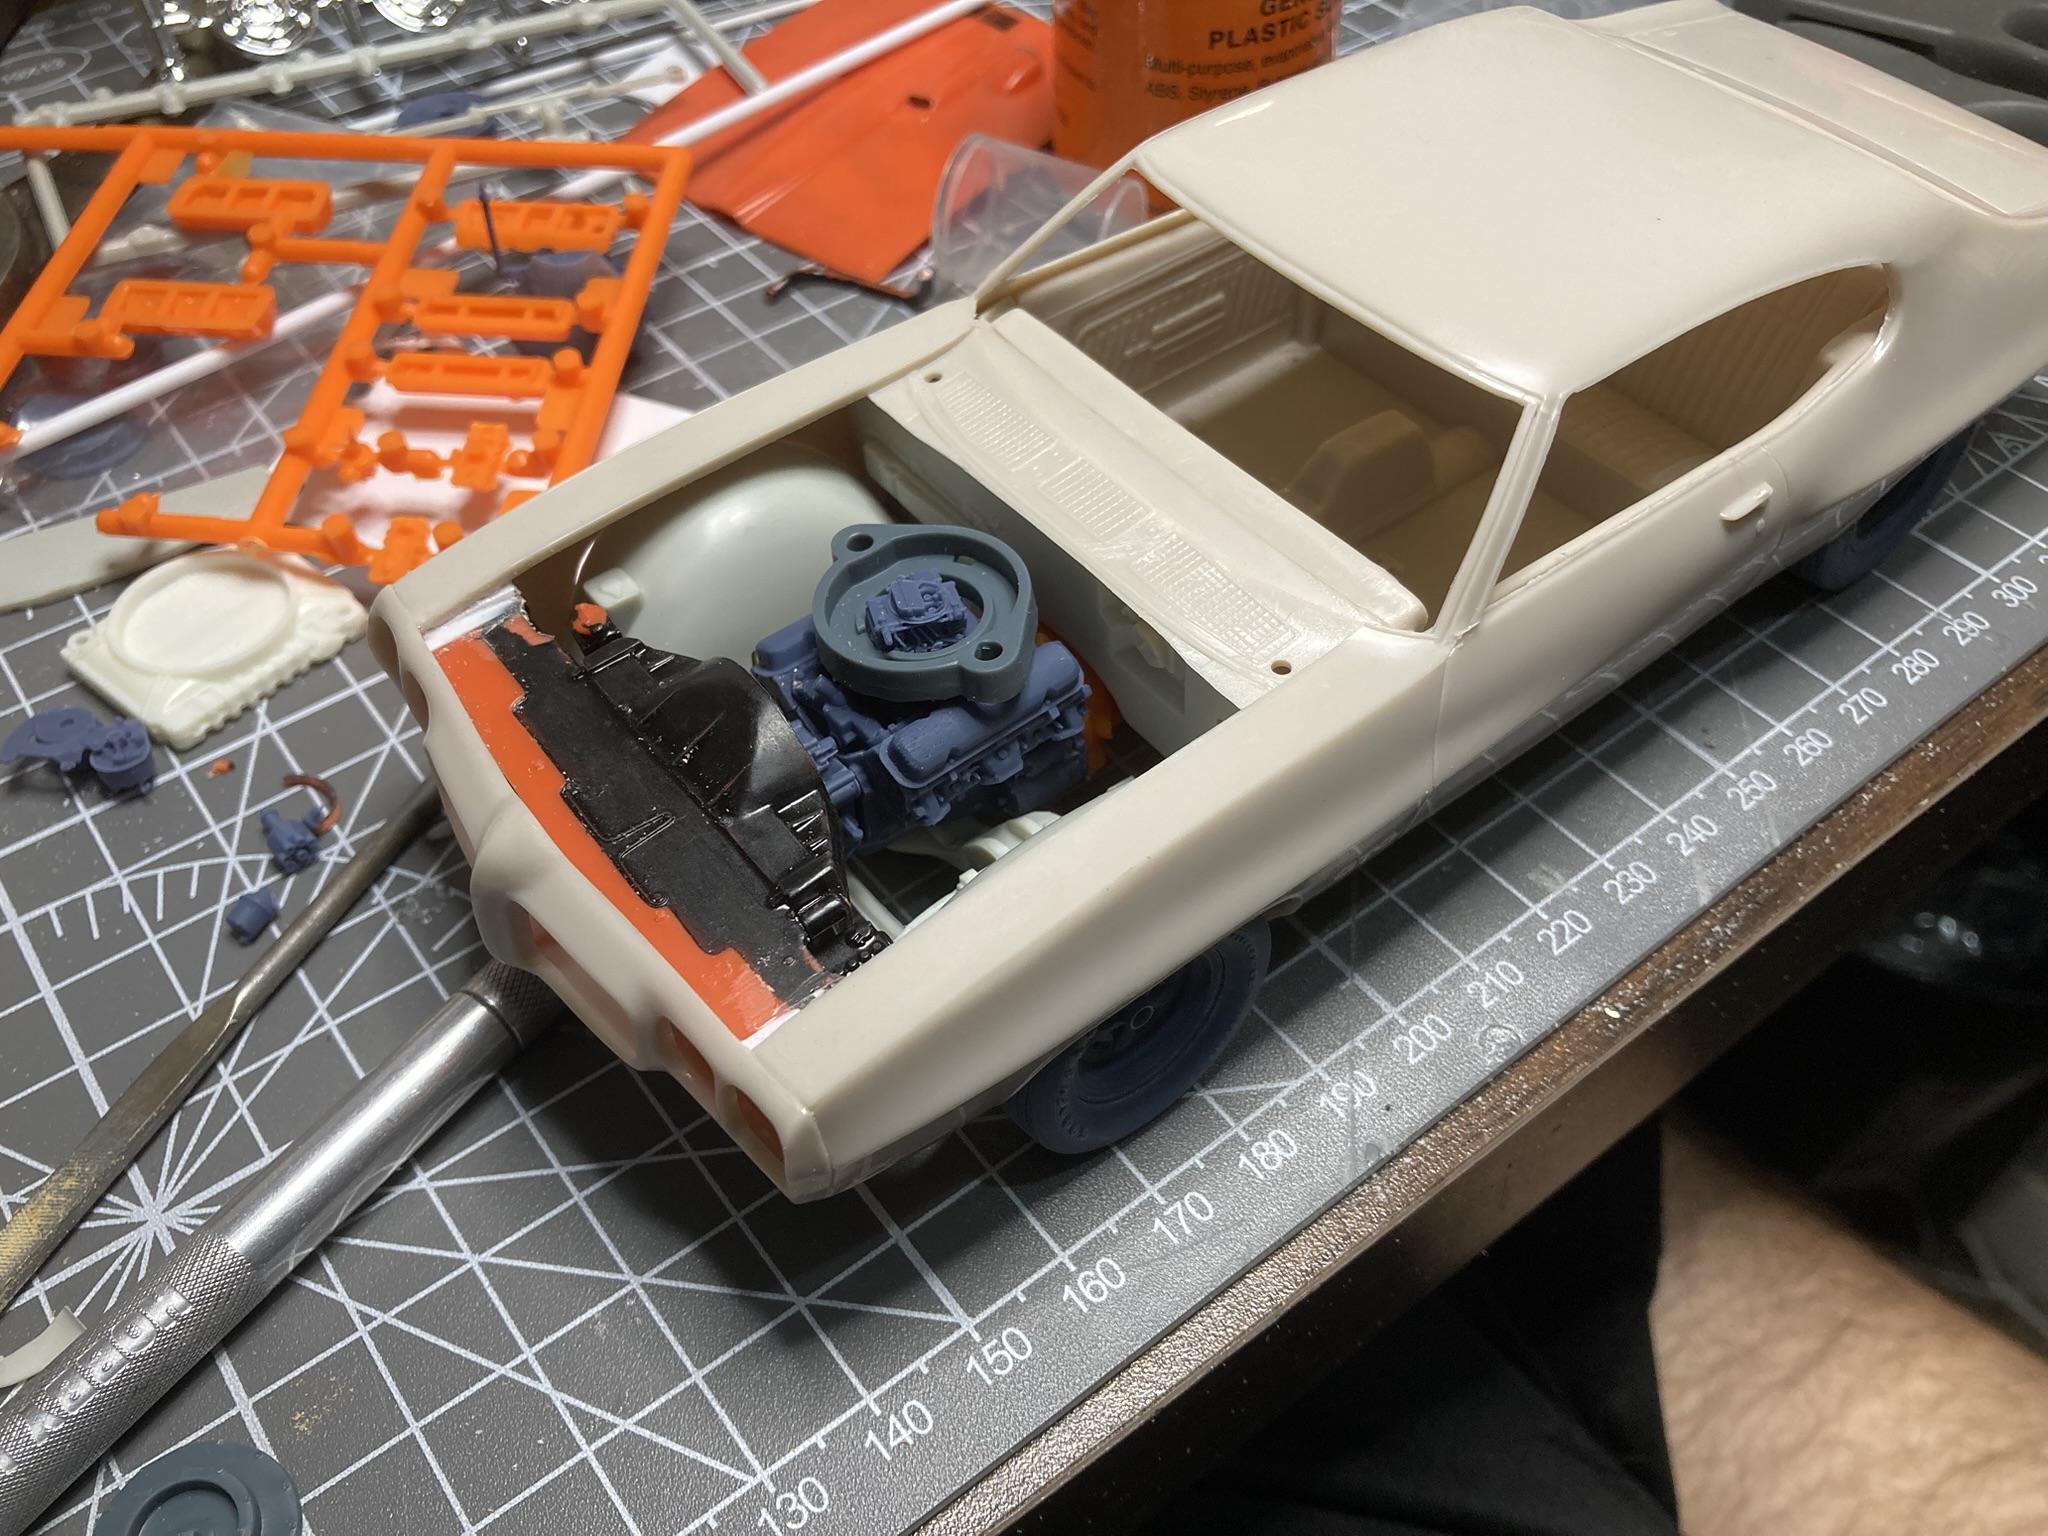
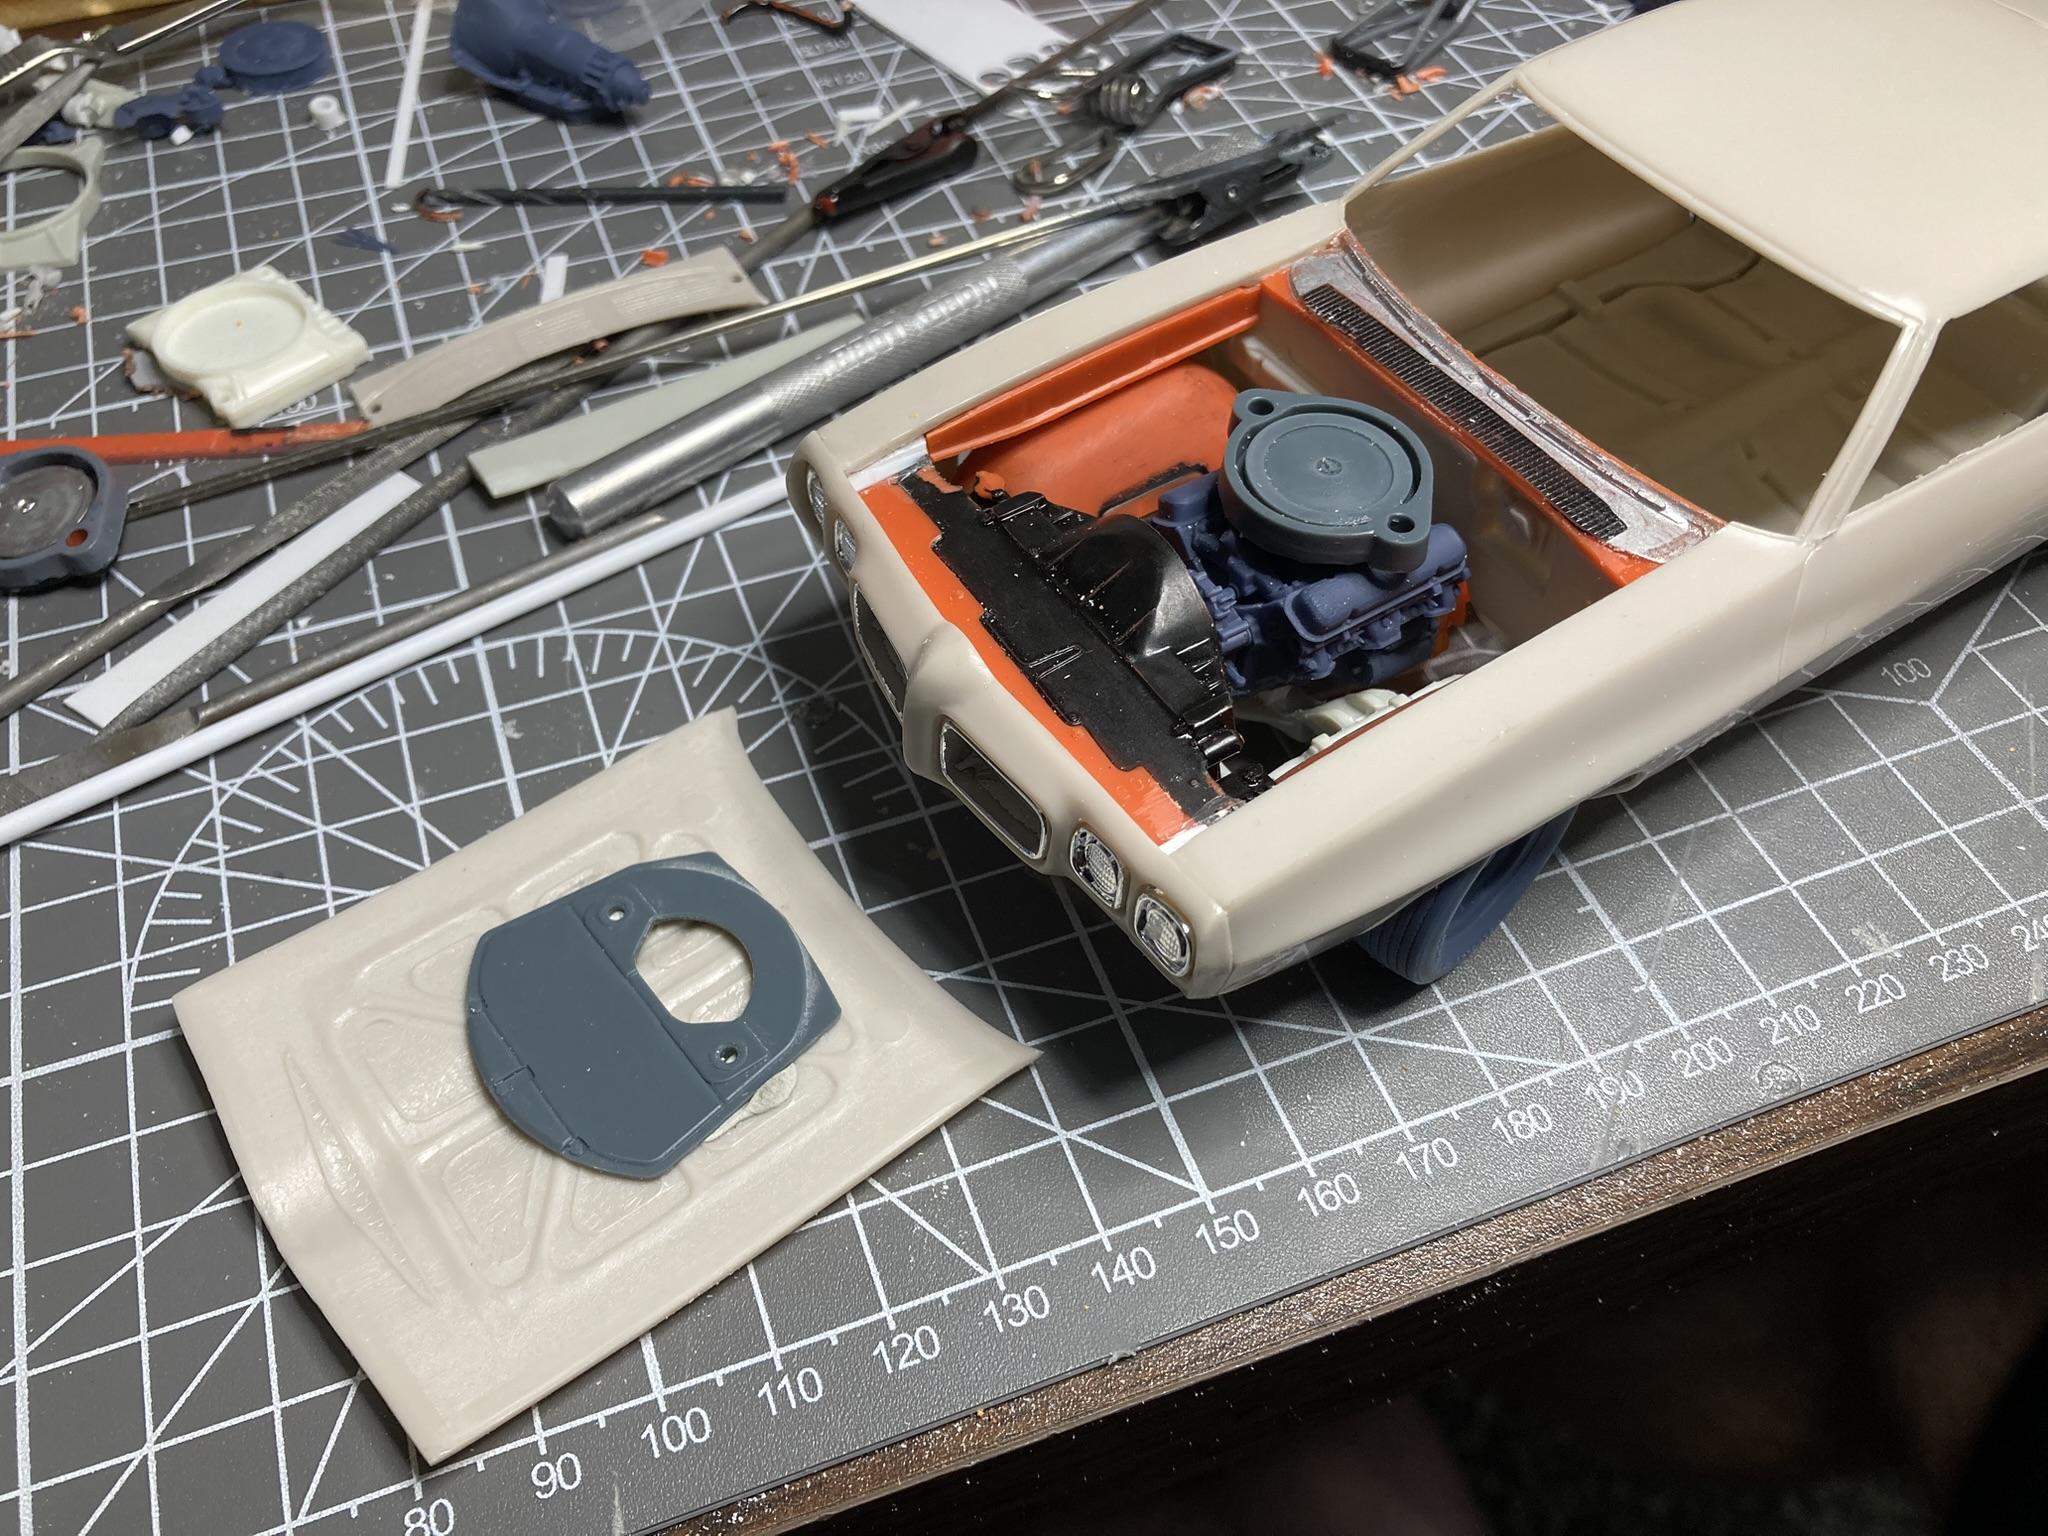
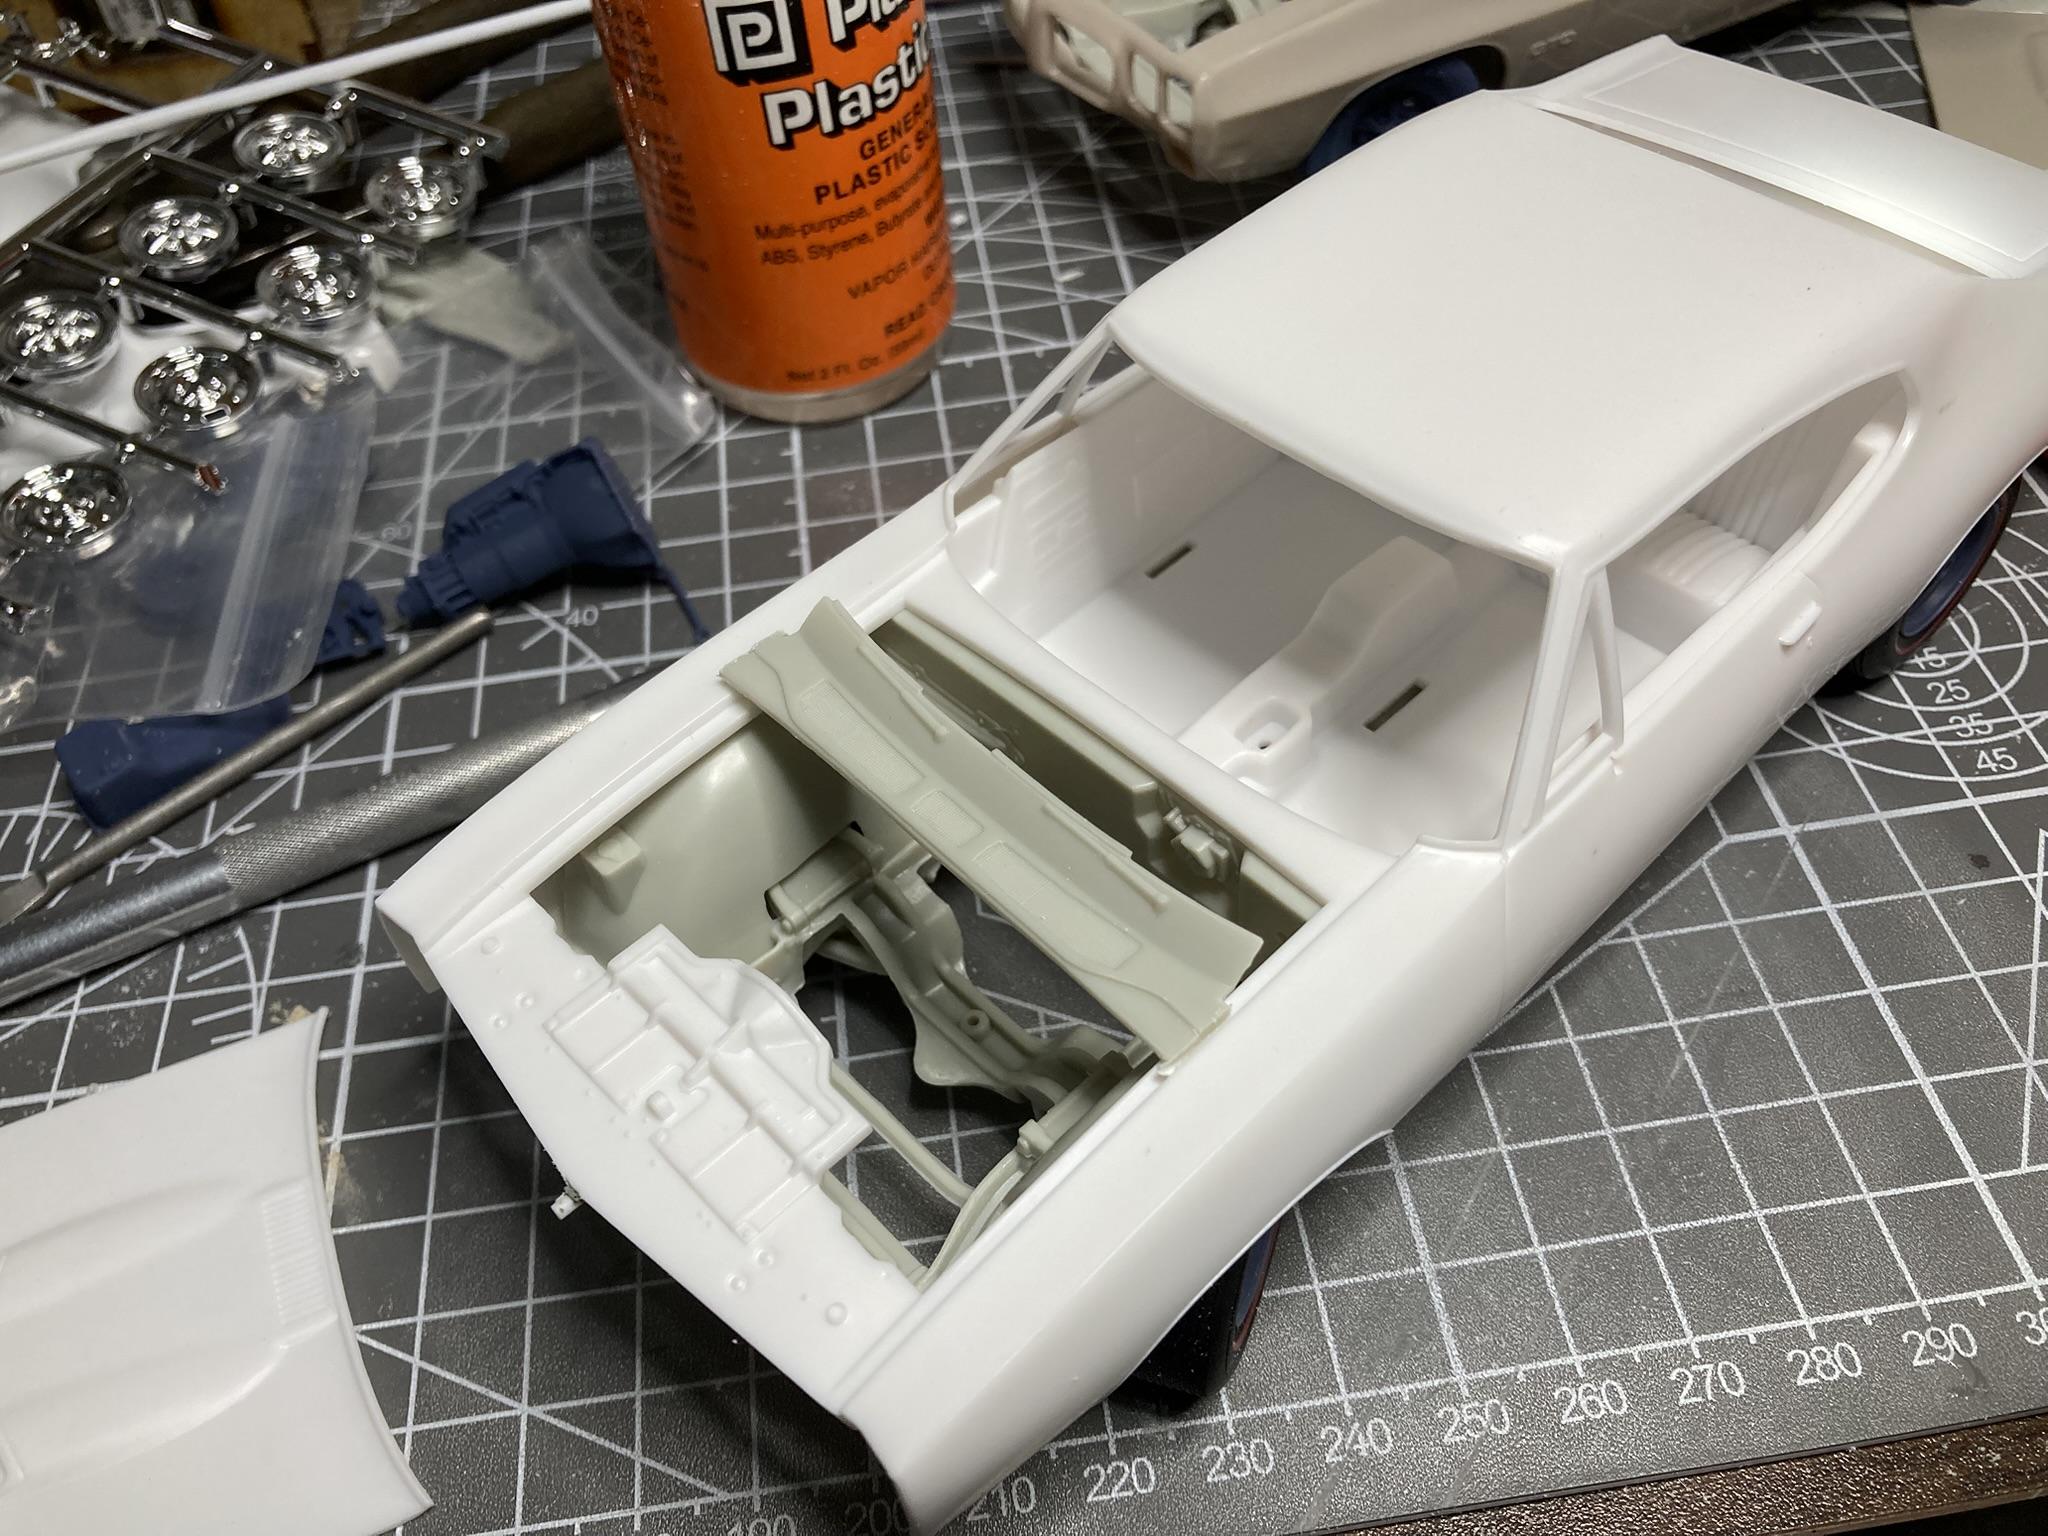
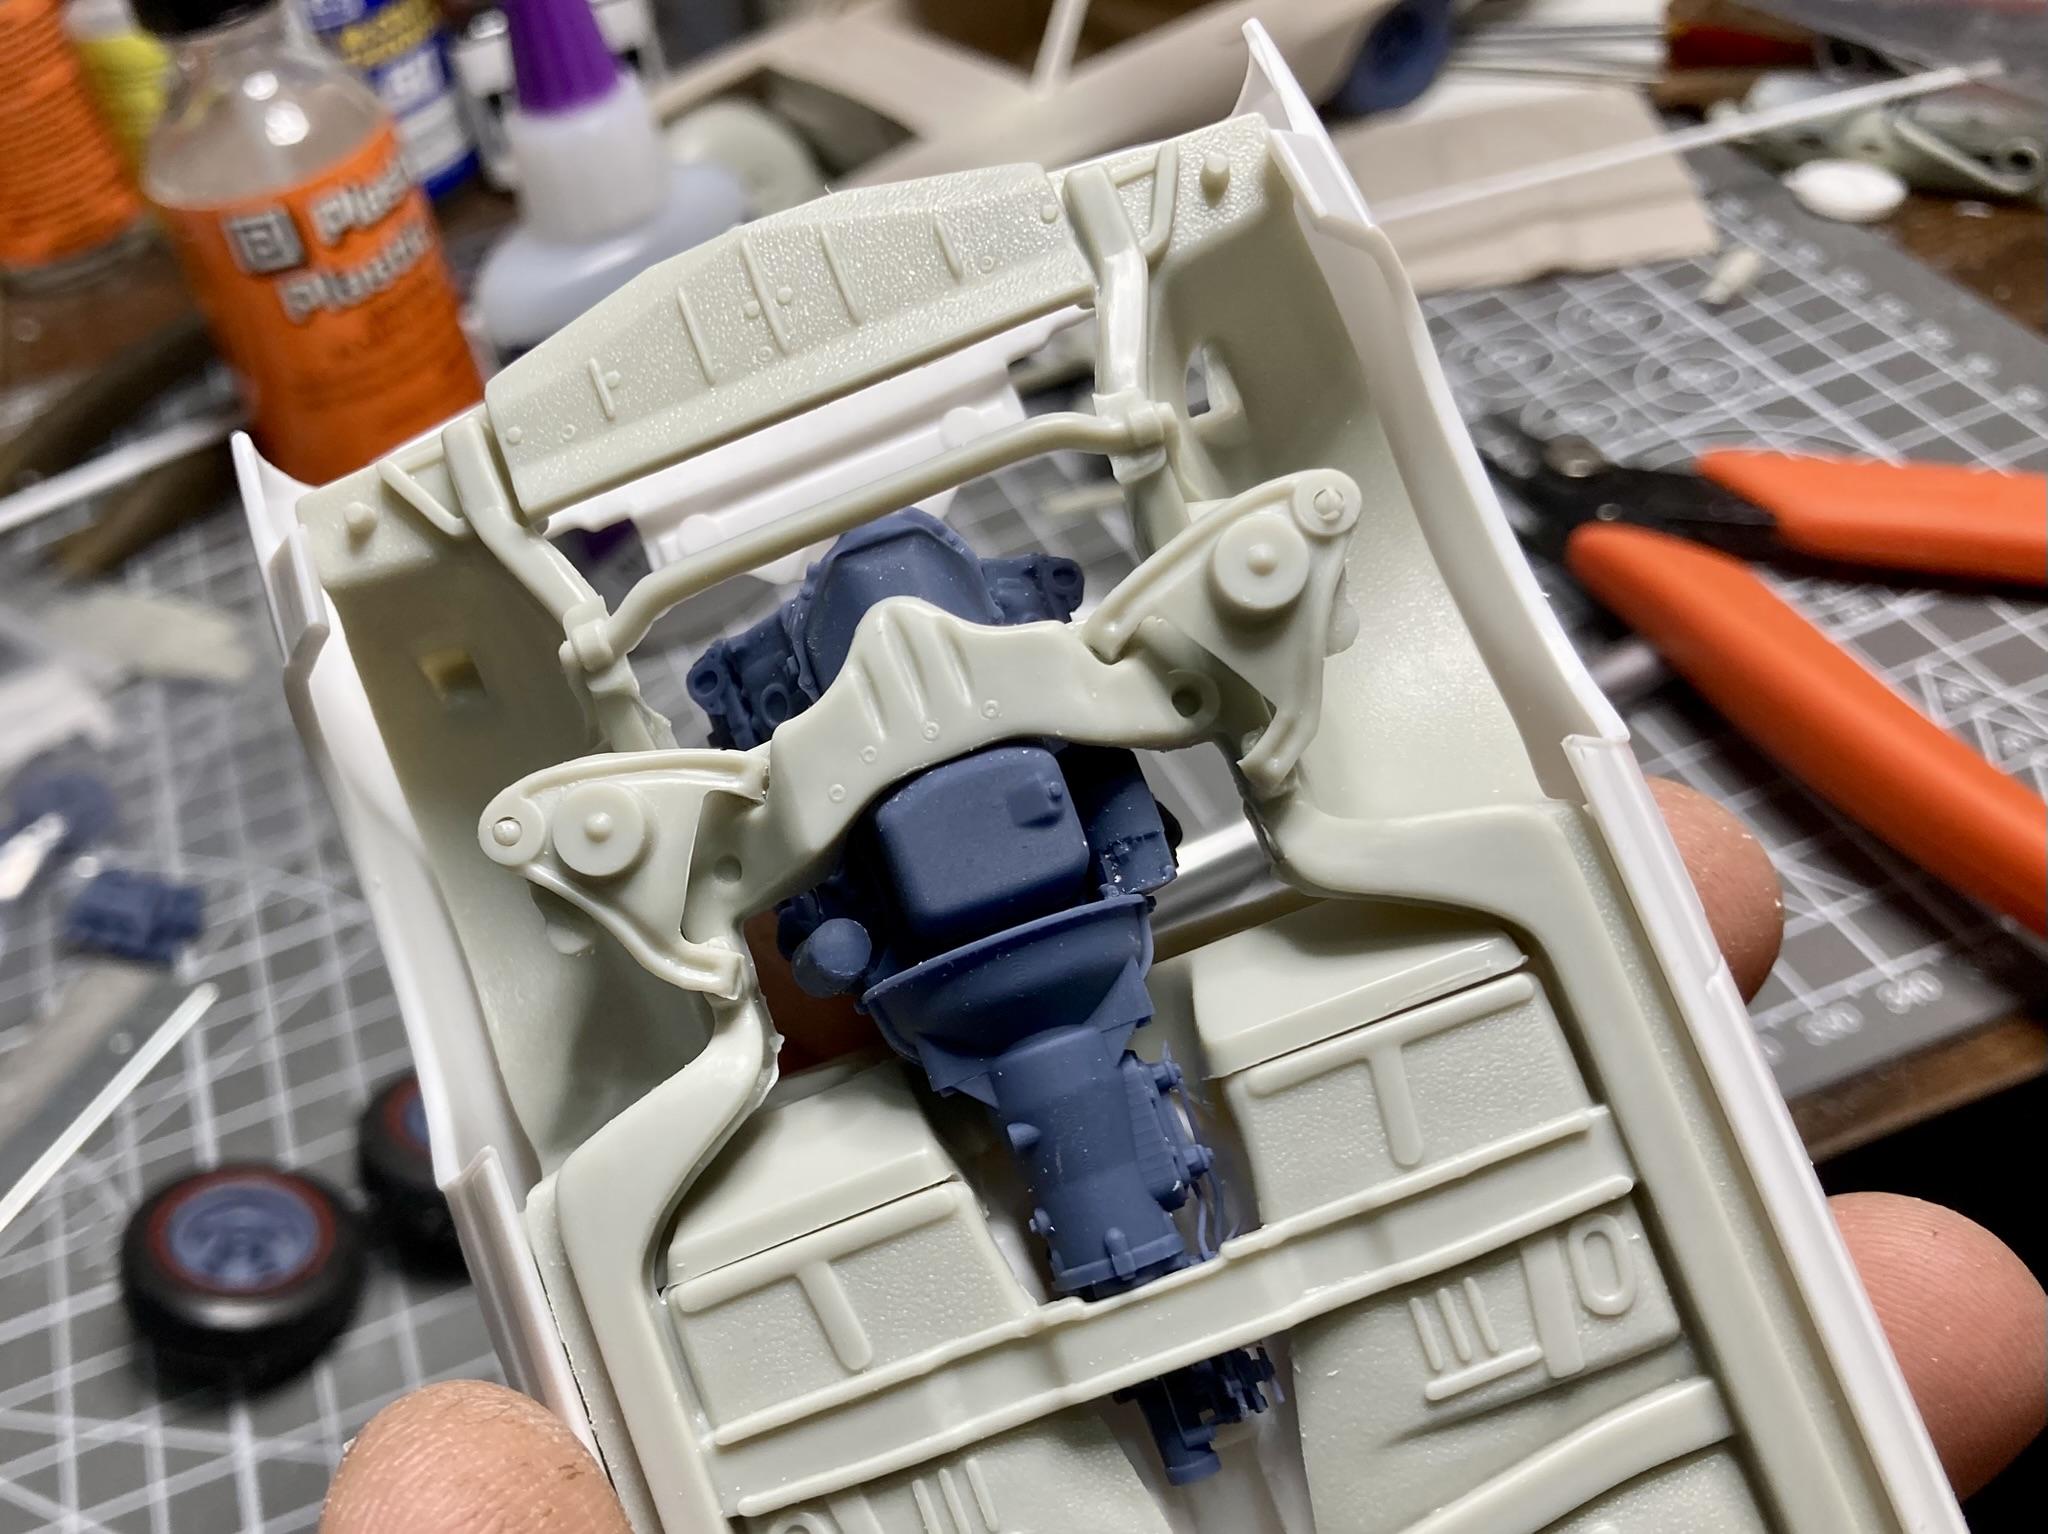
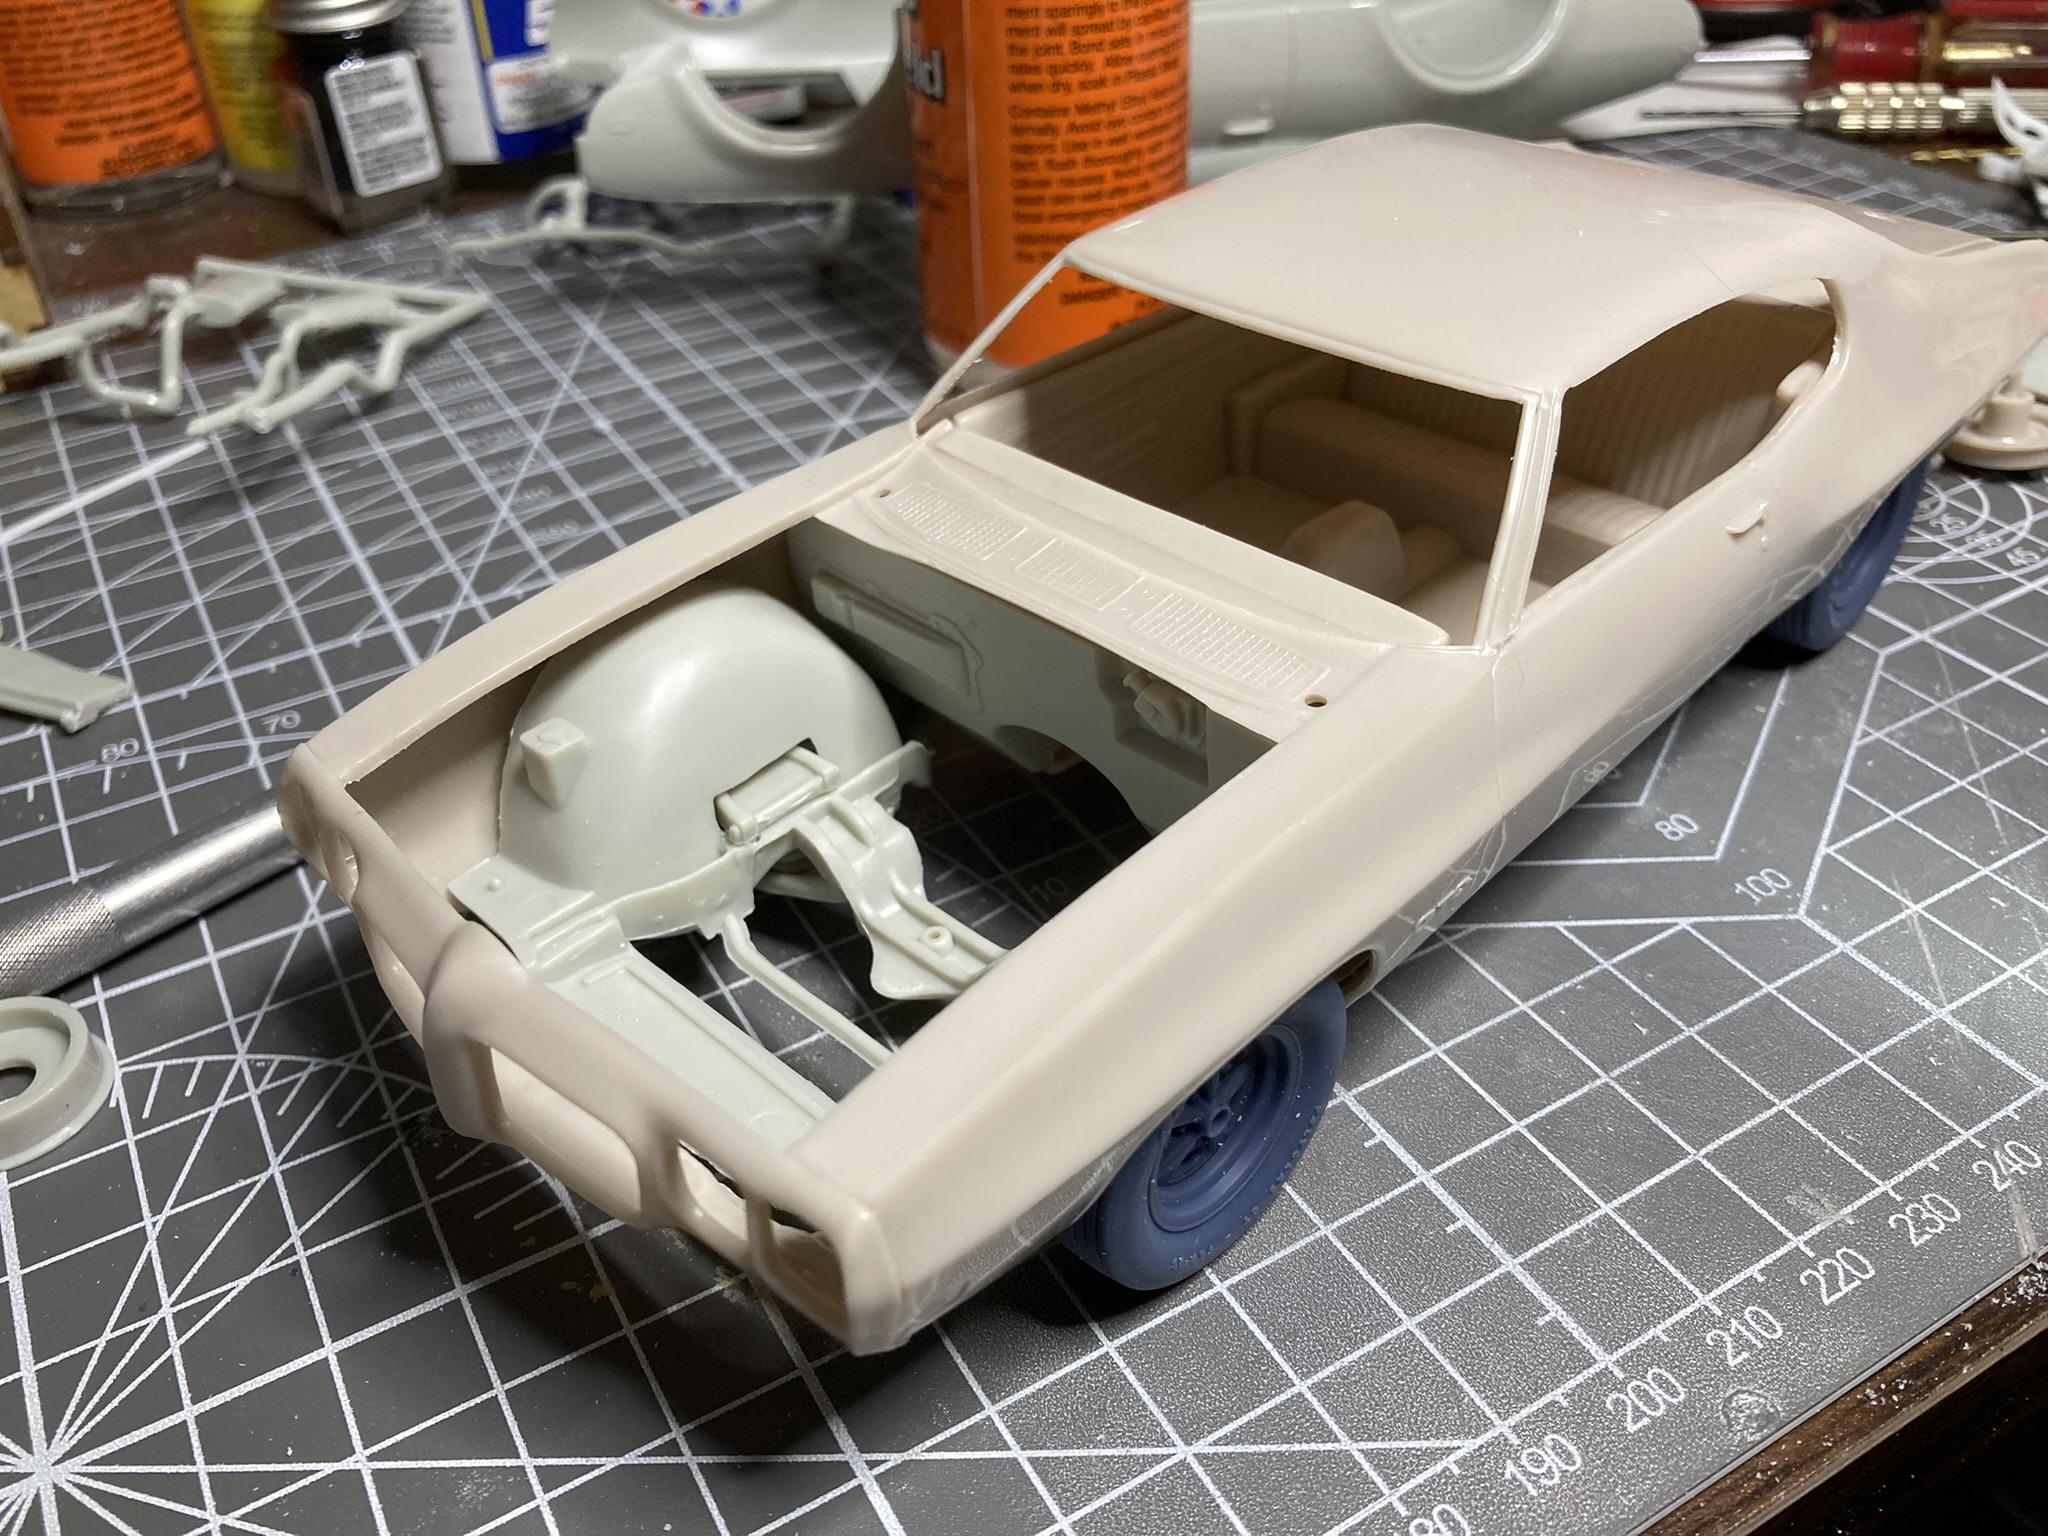
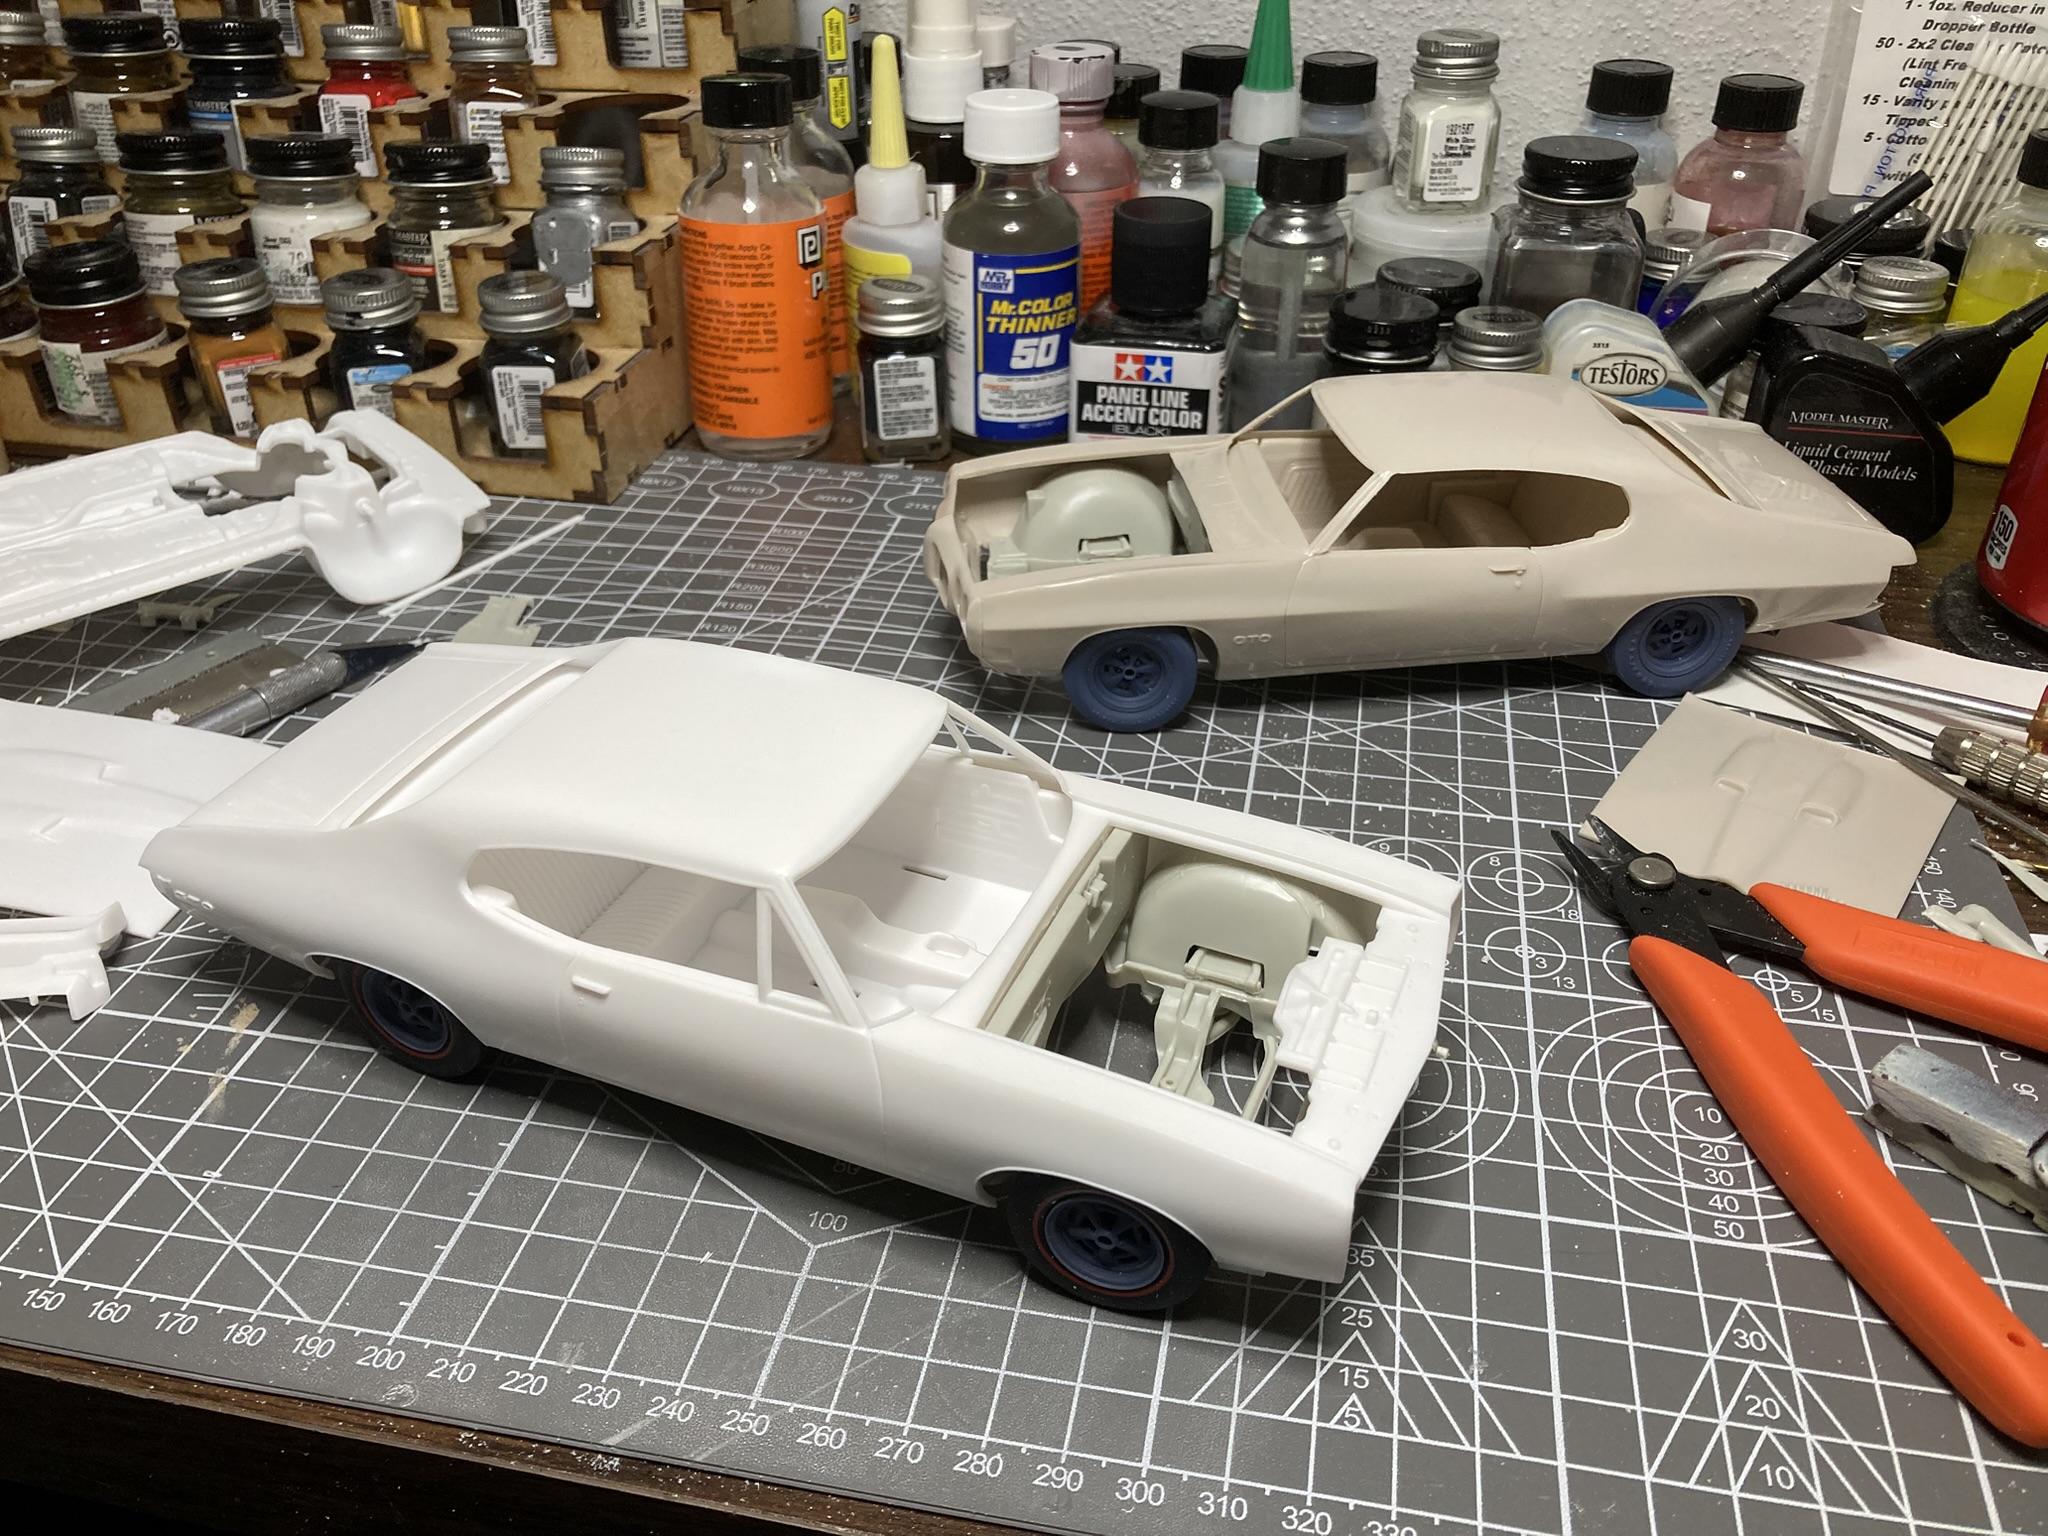
Got a little carried away on the '70. I realized that a '70 GTO had a very different engine bay than a '68 GTO or '69 Cutlass. I picked up a built '69 Judge to cut up, which is very similar if not the same to a '70. It's 1/24 but I was able to trim and fit all of the engine bay pieces to work here, including the inner fenders and cowl top. I did still use the Cutlass firewall. The framerails were also filled. I've got the engine fit with a 4-speed from the parts box. The air cleaner and hood duct piece is from Canuck 3d. I'll be using the same pieces on the '68.
-
Perfection!
-
Who doesn't love a mock-up? Let's see yours!
Quiet Eric replied to Belairconvertable's topic in WIP: Model Cars
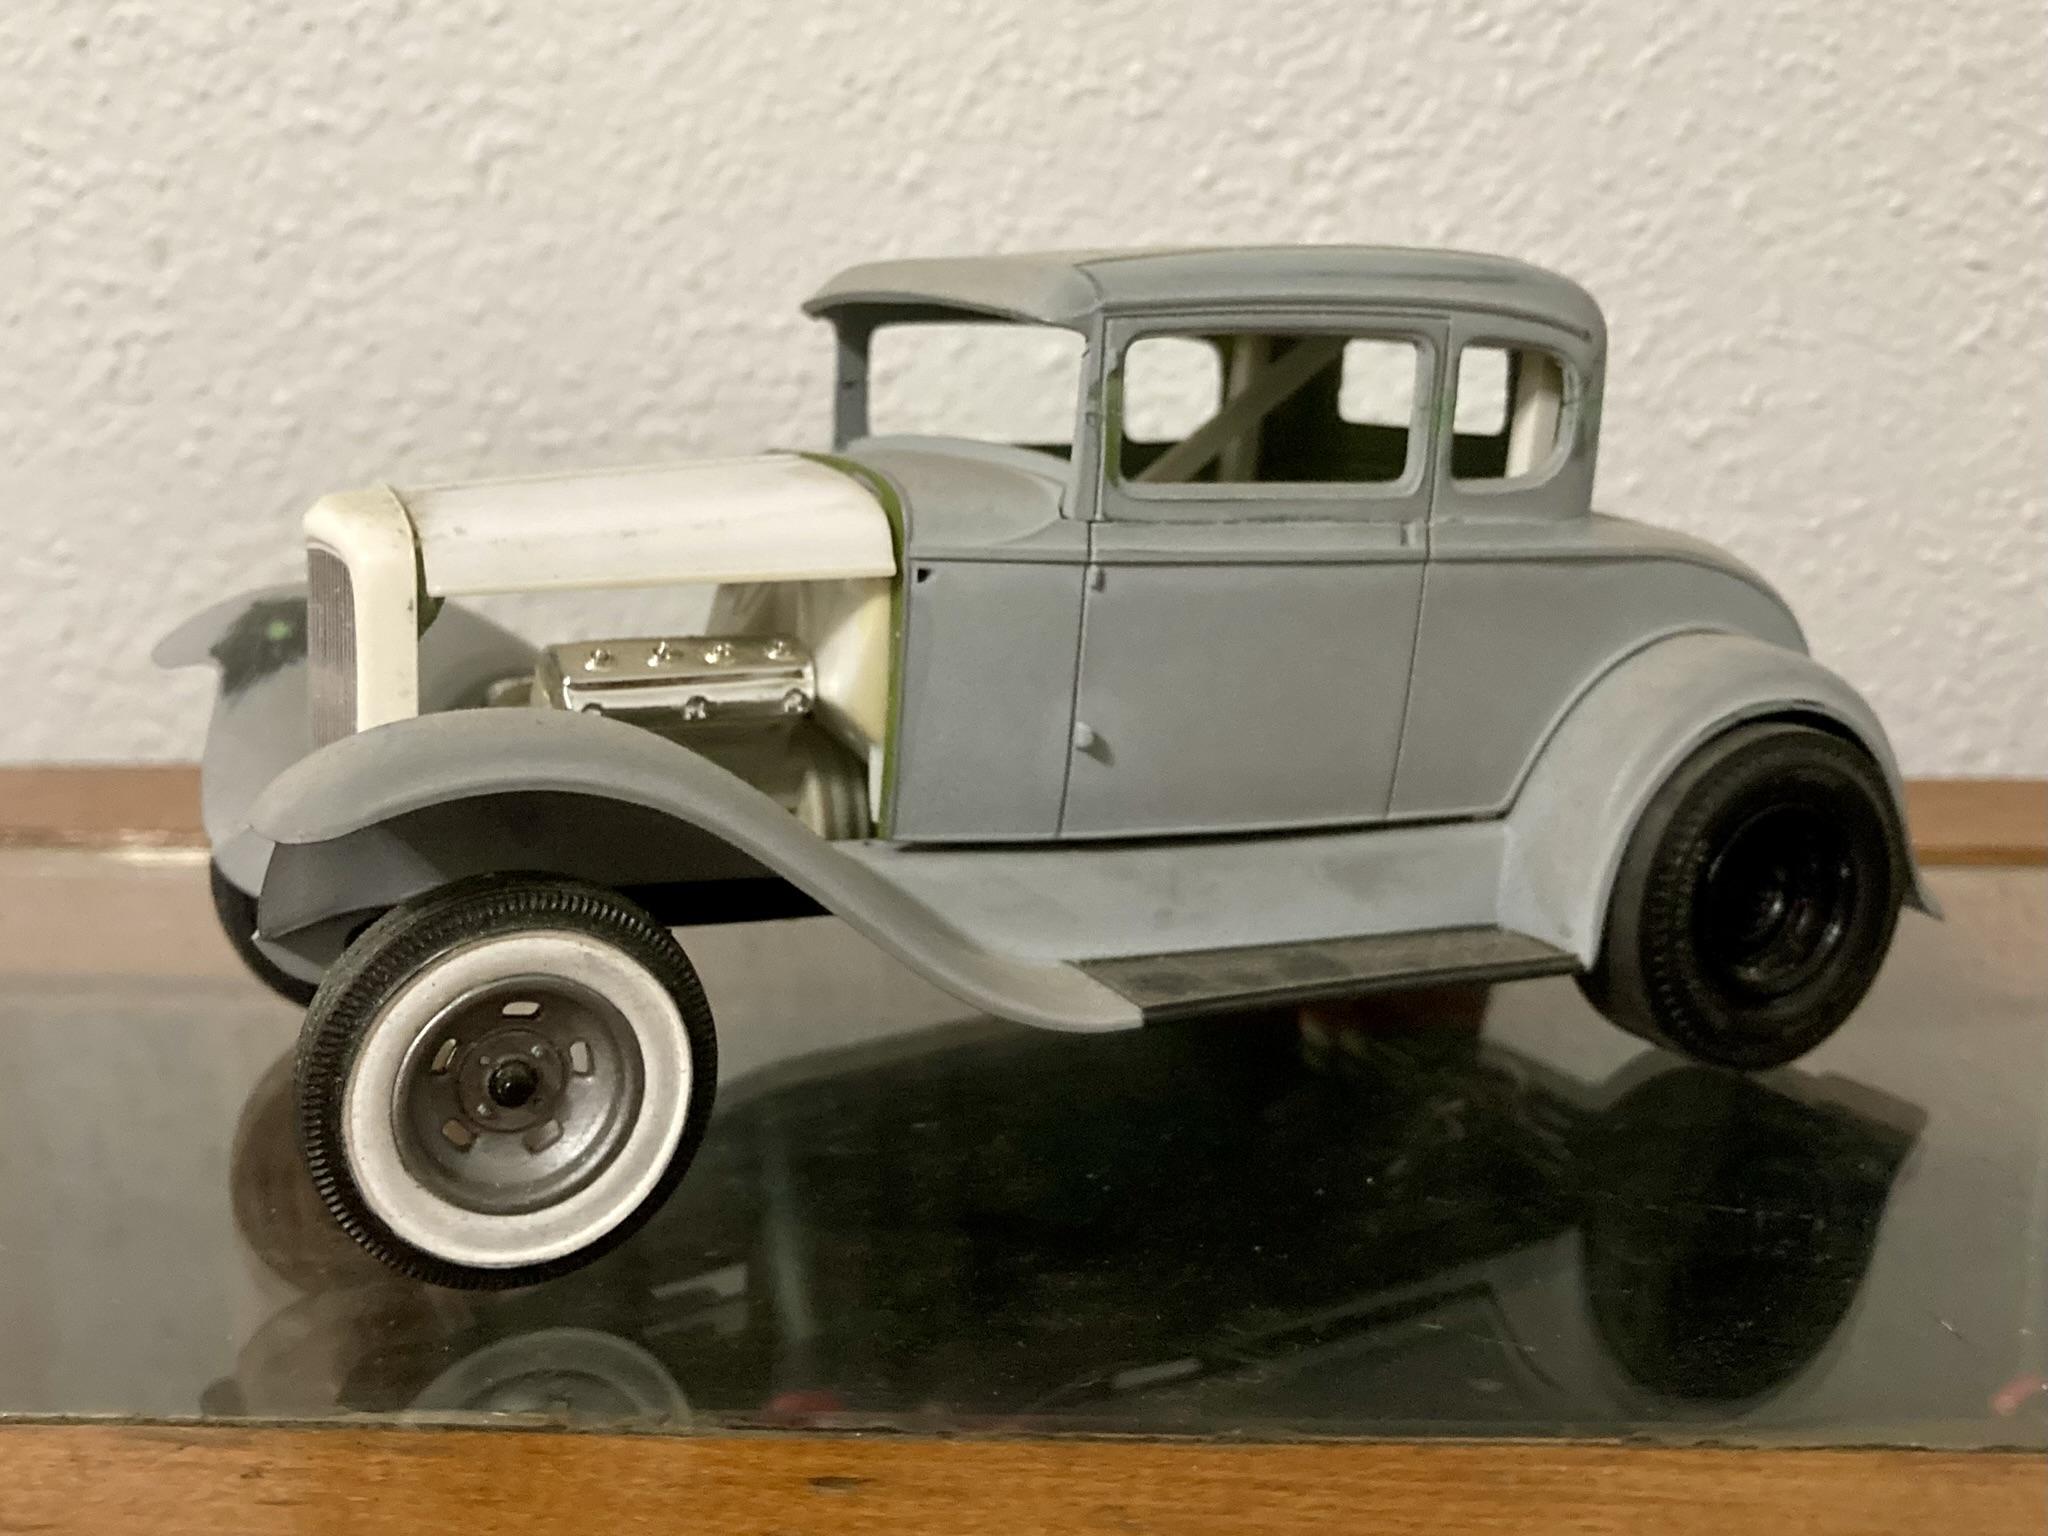
I started these two 20 years ago. There aren't many projects I've held onto since then but these have always been mocked up in my display case hoping for their eventual completion.
-
Looking good Tim! That cover of Street Rodder with Jim Benitez's sedan hit me pretty hard. That is one of my favorite "modern" era hot rods. Absolutely love the that color combination.
-
1957 Ford Del Rio "Shooting Brake" Ranch Wagon
Quiet Eric replied to LennyB's topic in WIP: Model Cars
Love this thread, just got caught up. Great work! -
Excellent work on the conversion and anything with Cragars is a winner in my book.
-
What did you see on the road today?
Quiet Eric replied to Harry P.'s topic in General Automotive Talk (Trucks and Cars)
That thing is killer!! -
Turned out really great, the stance is perfect and I love that hood.
-
Another good one. I like your process of adding bulk styrene then sculpting it to shape. For all of the file/sanding marks...do you sand them out entirely or fill with primer? A little of both?
-
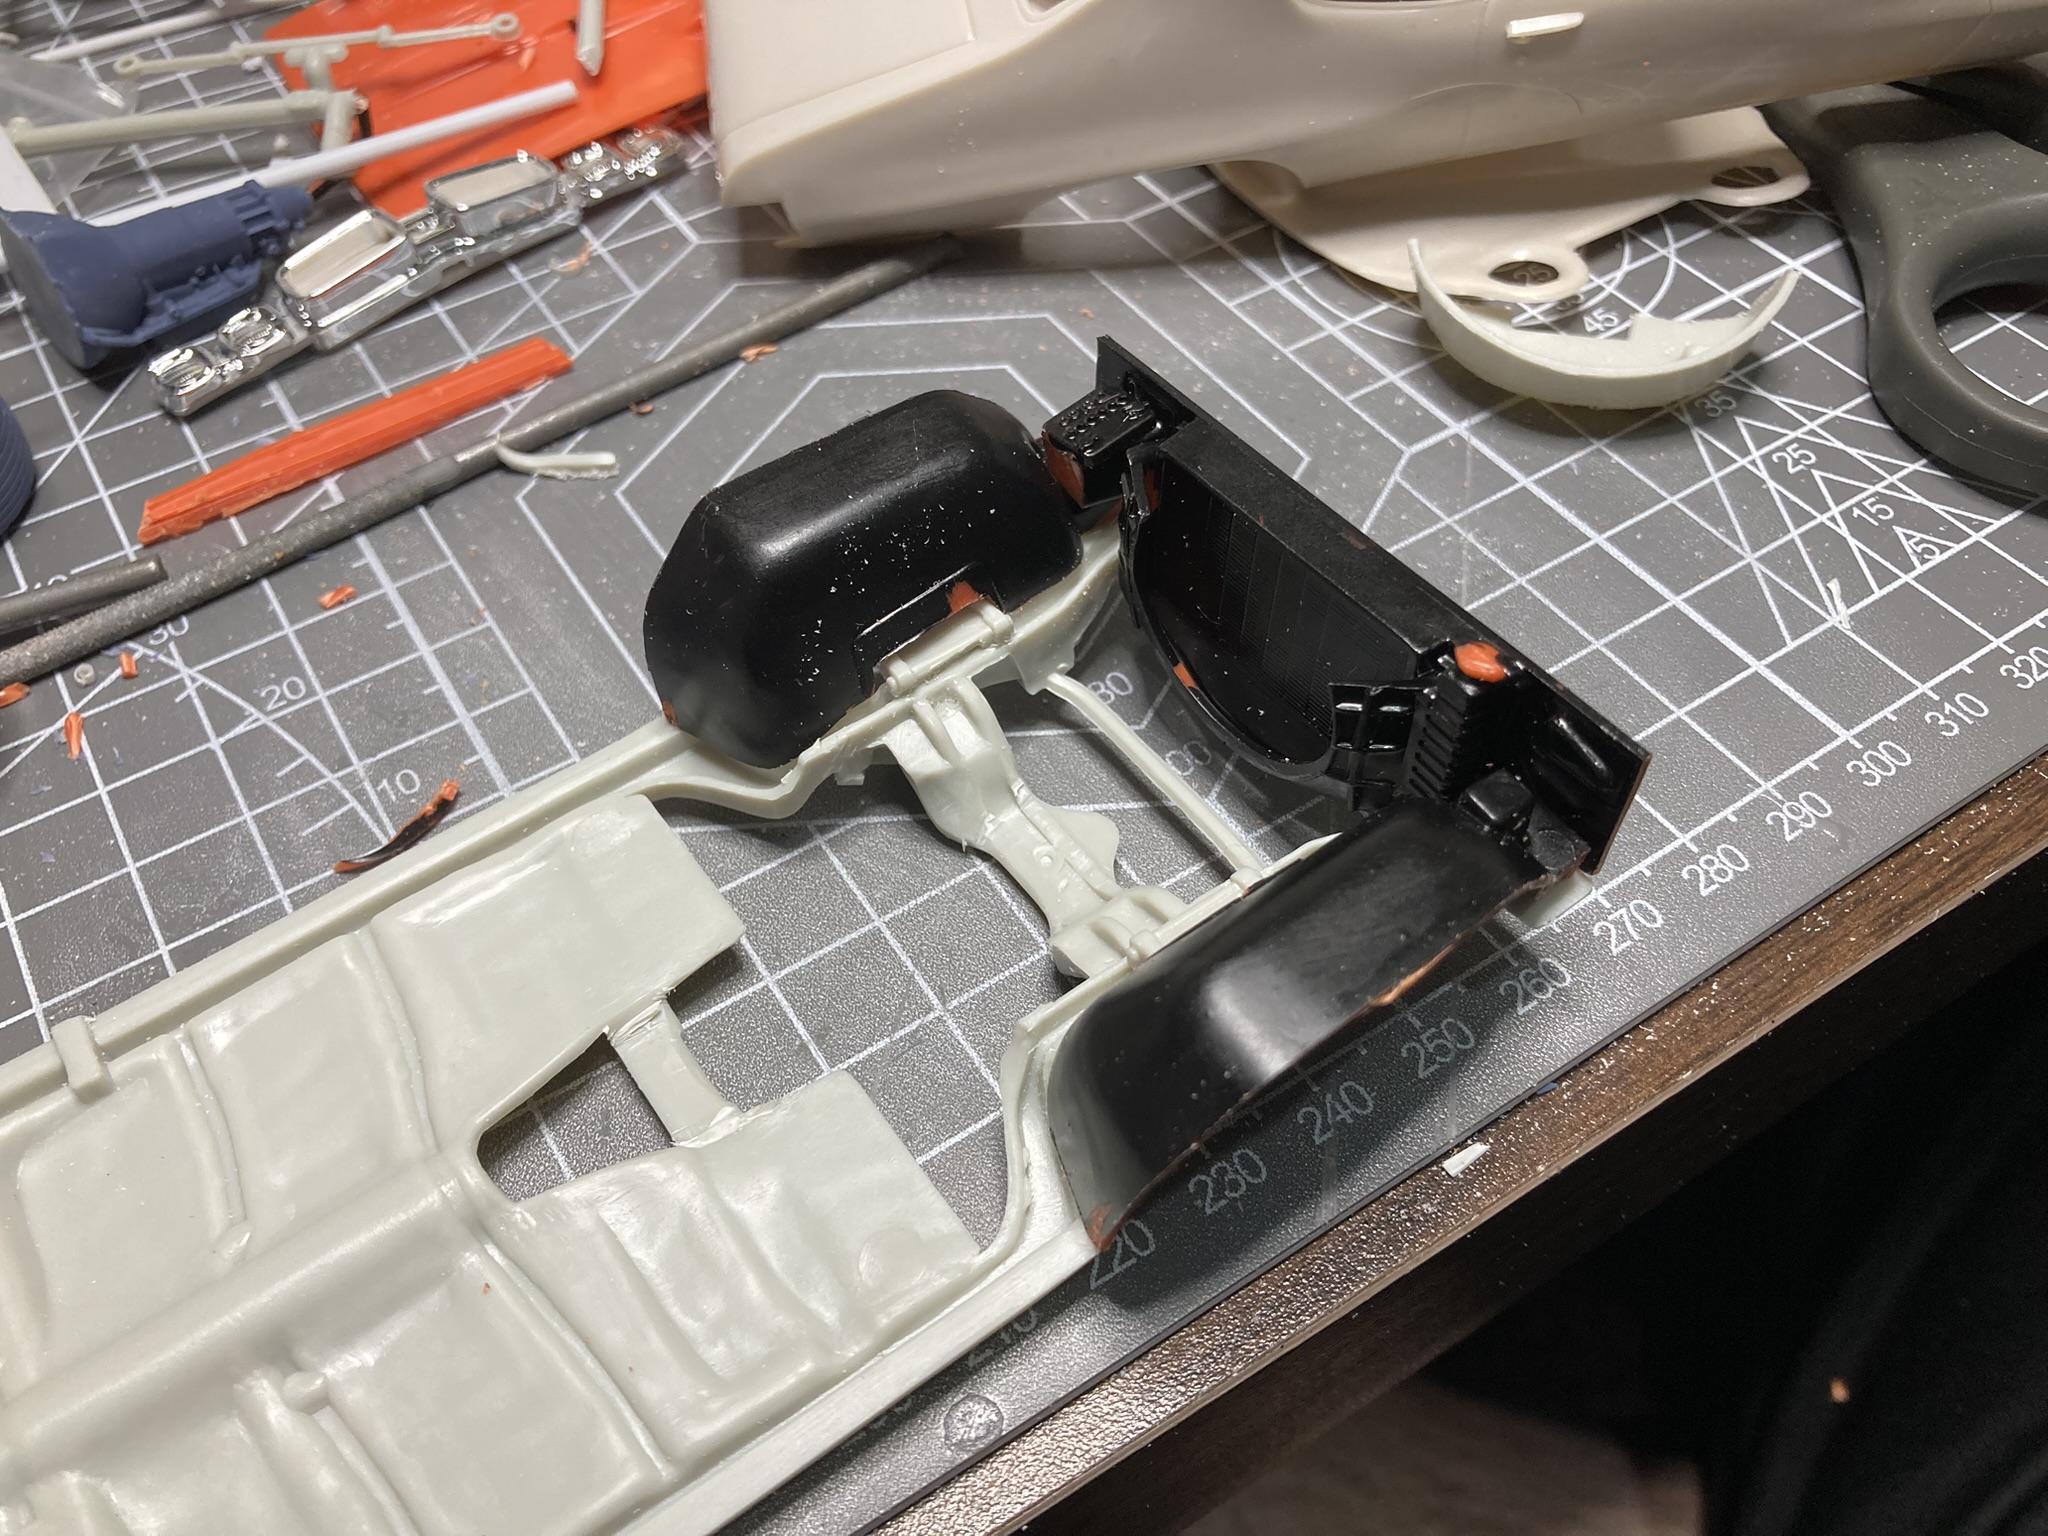
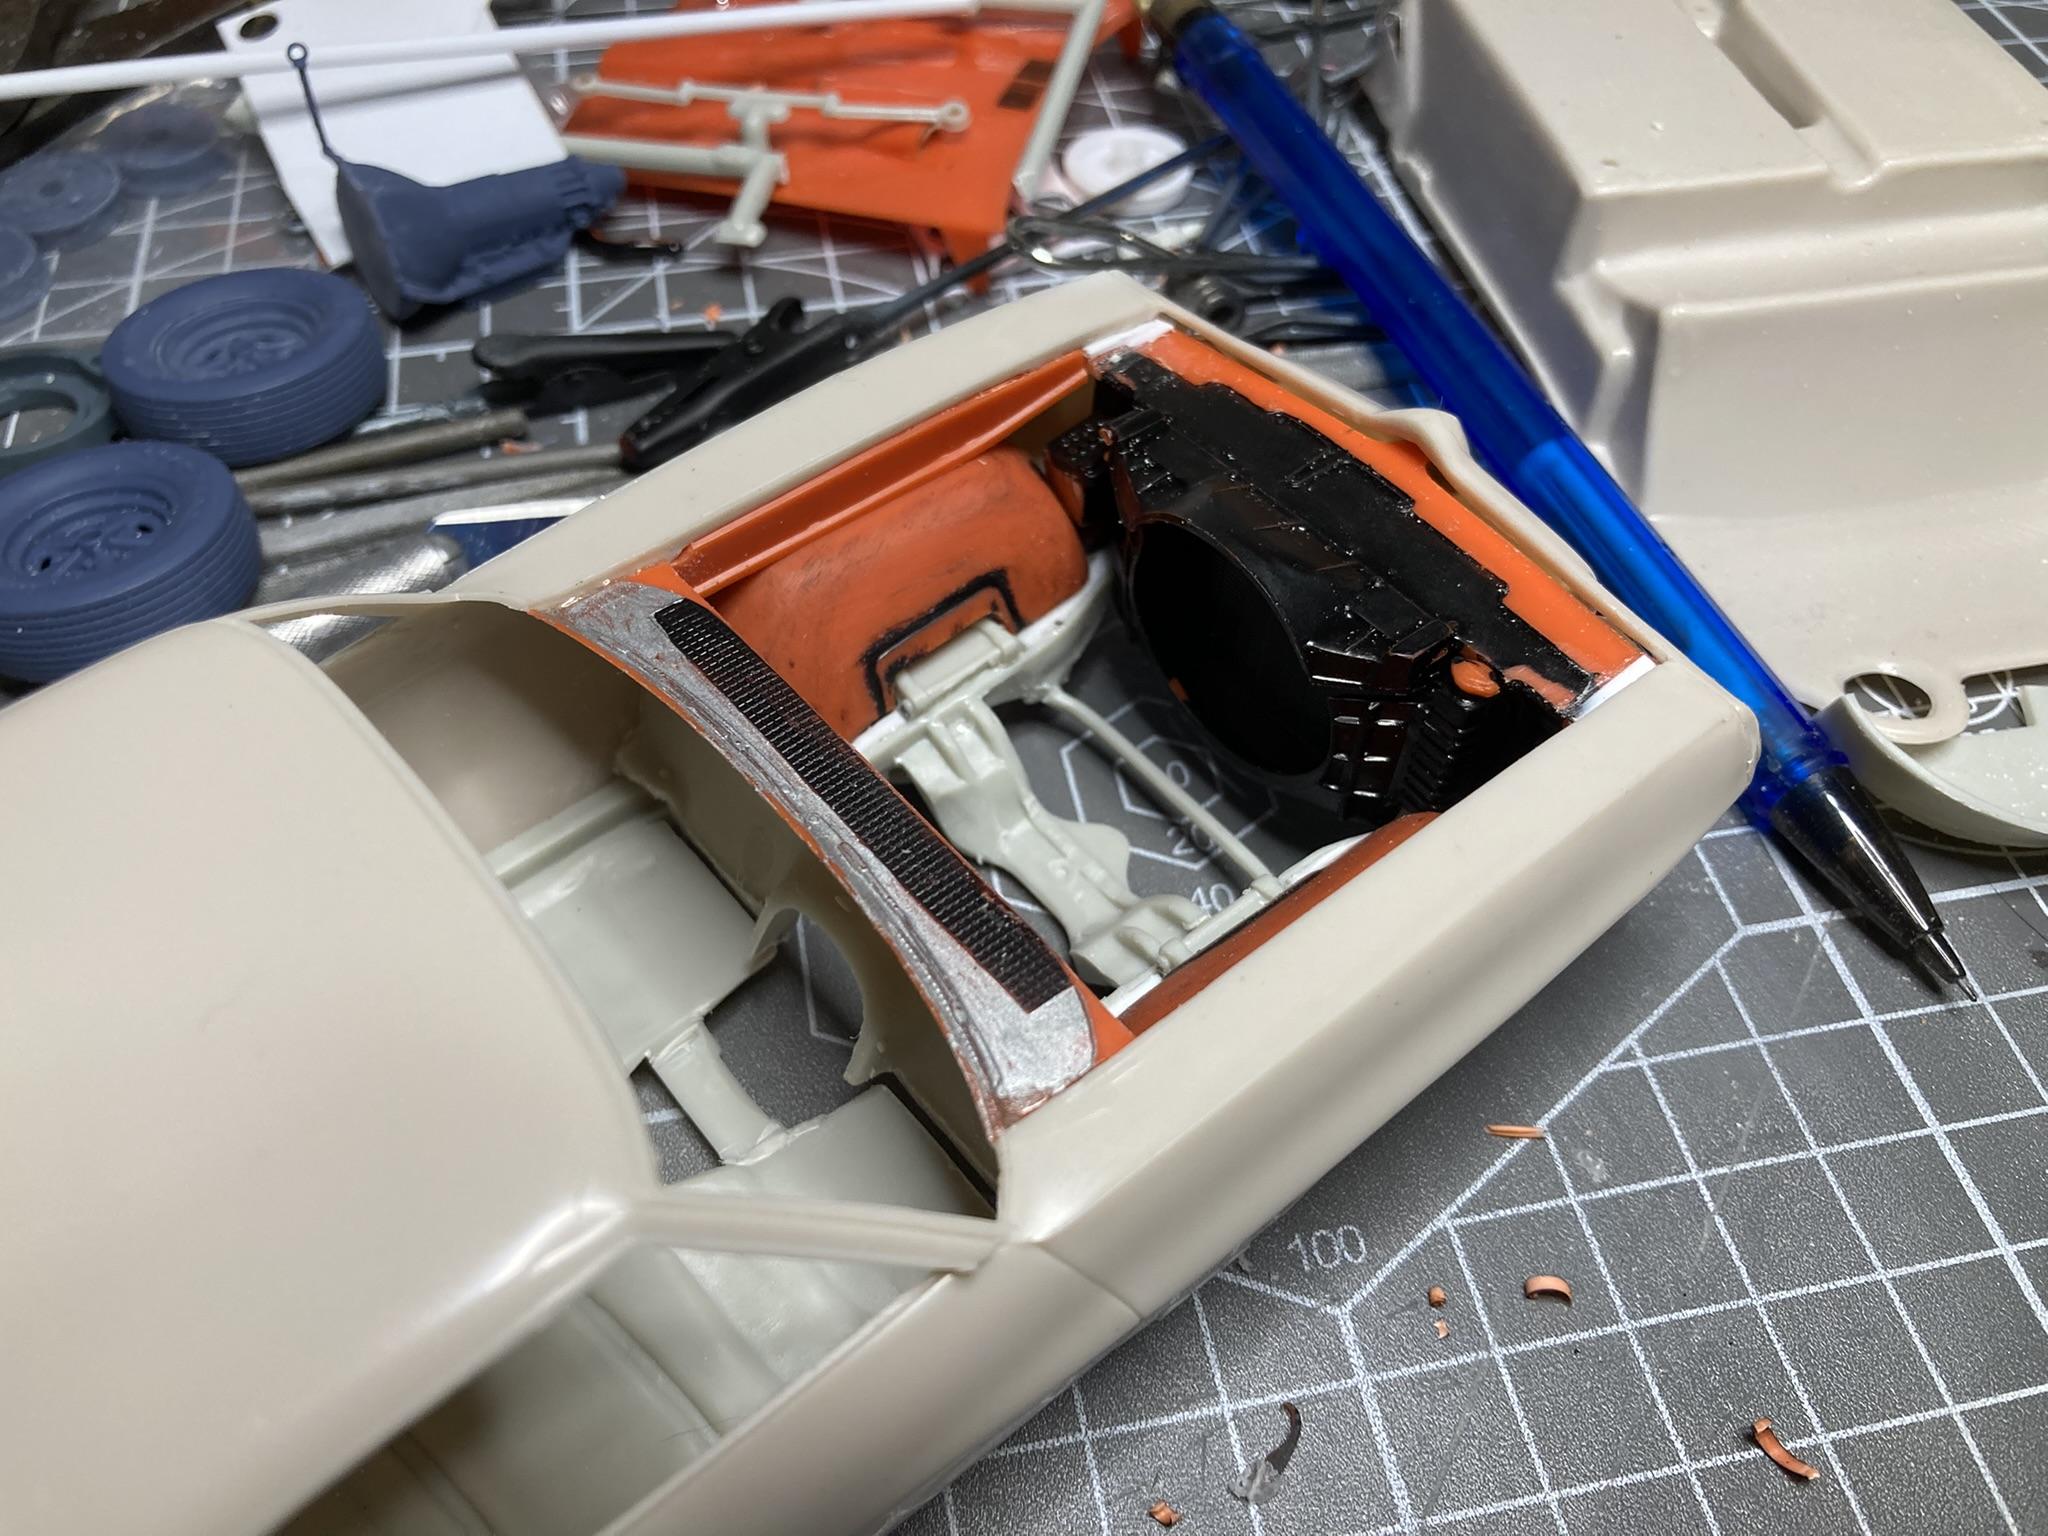
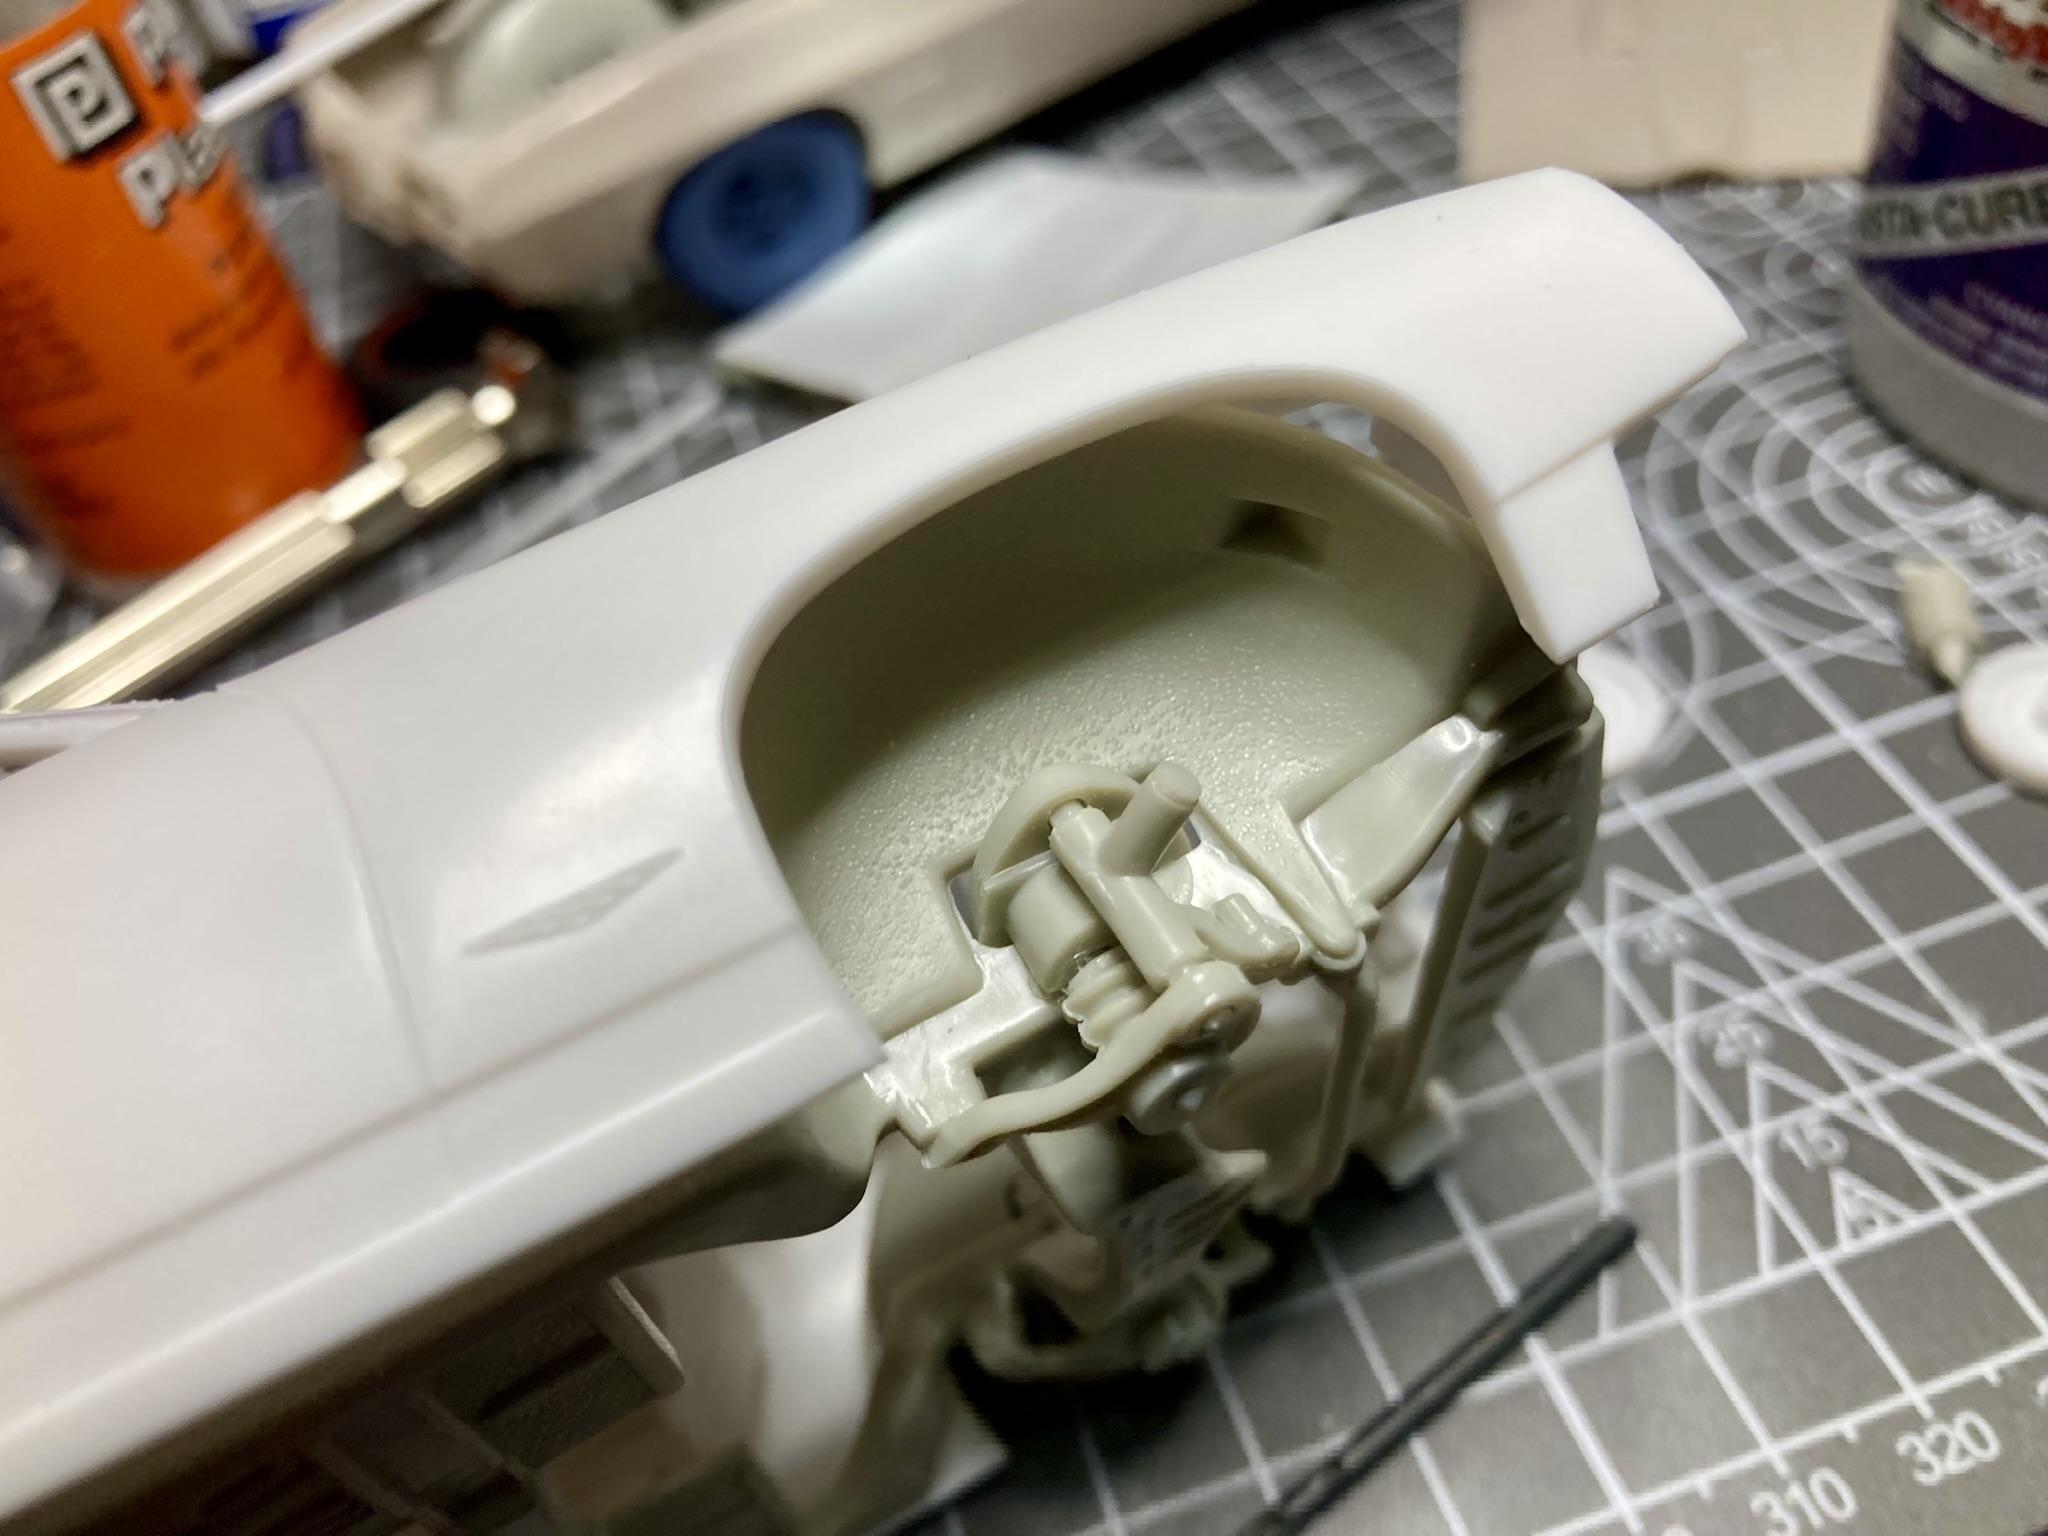
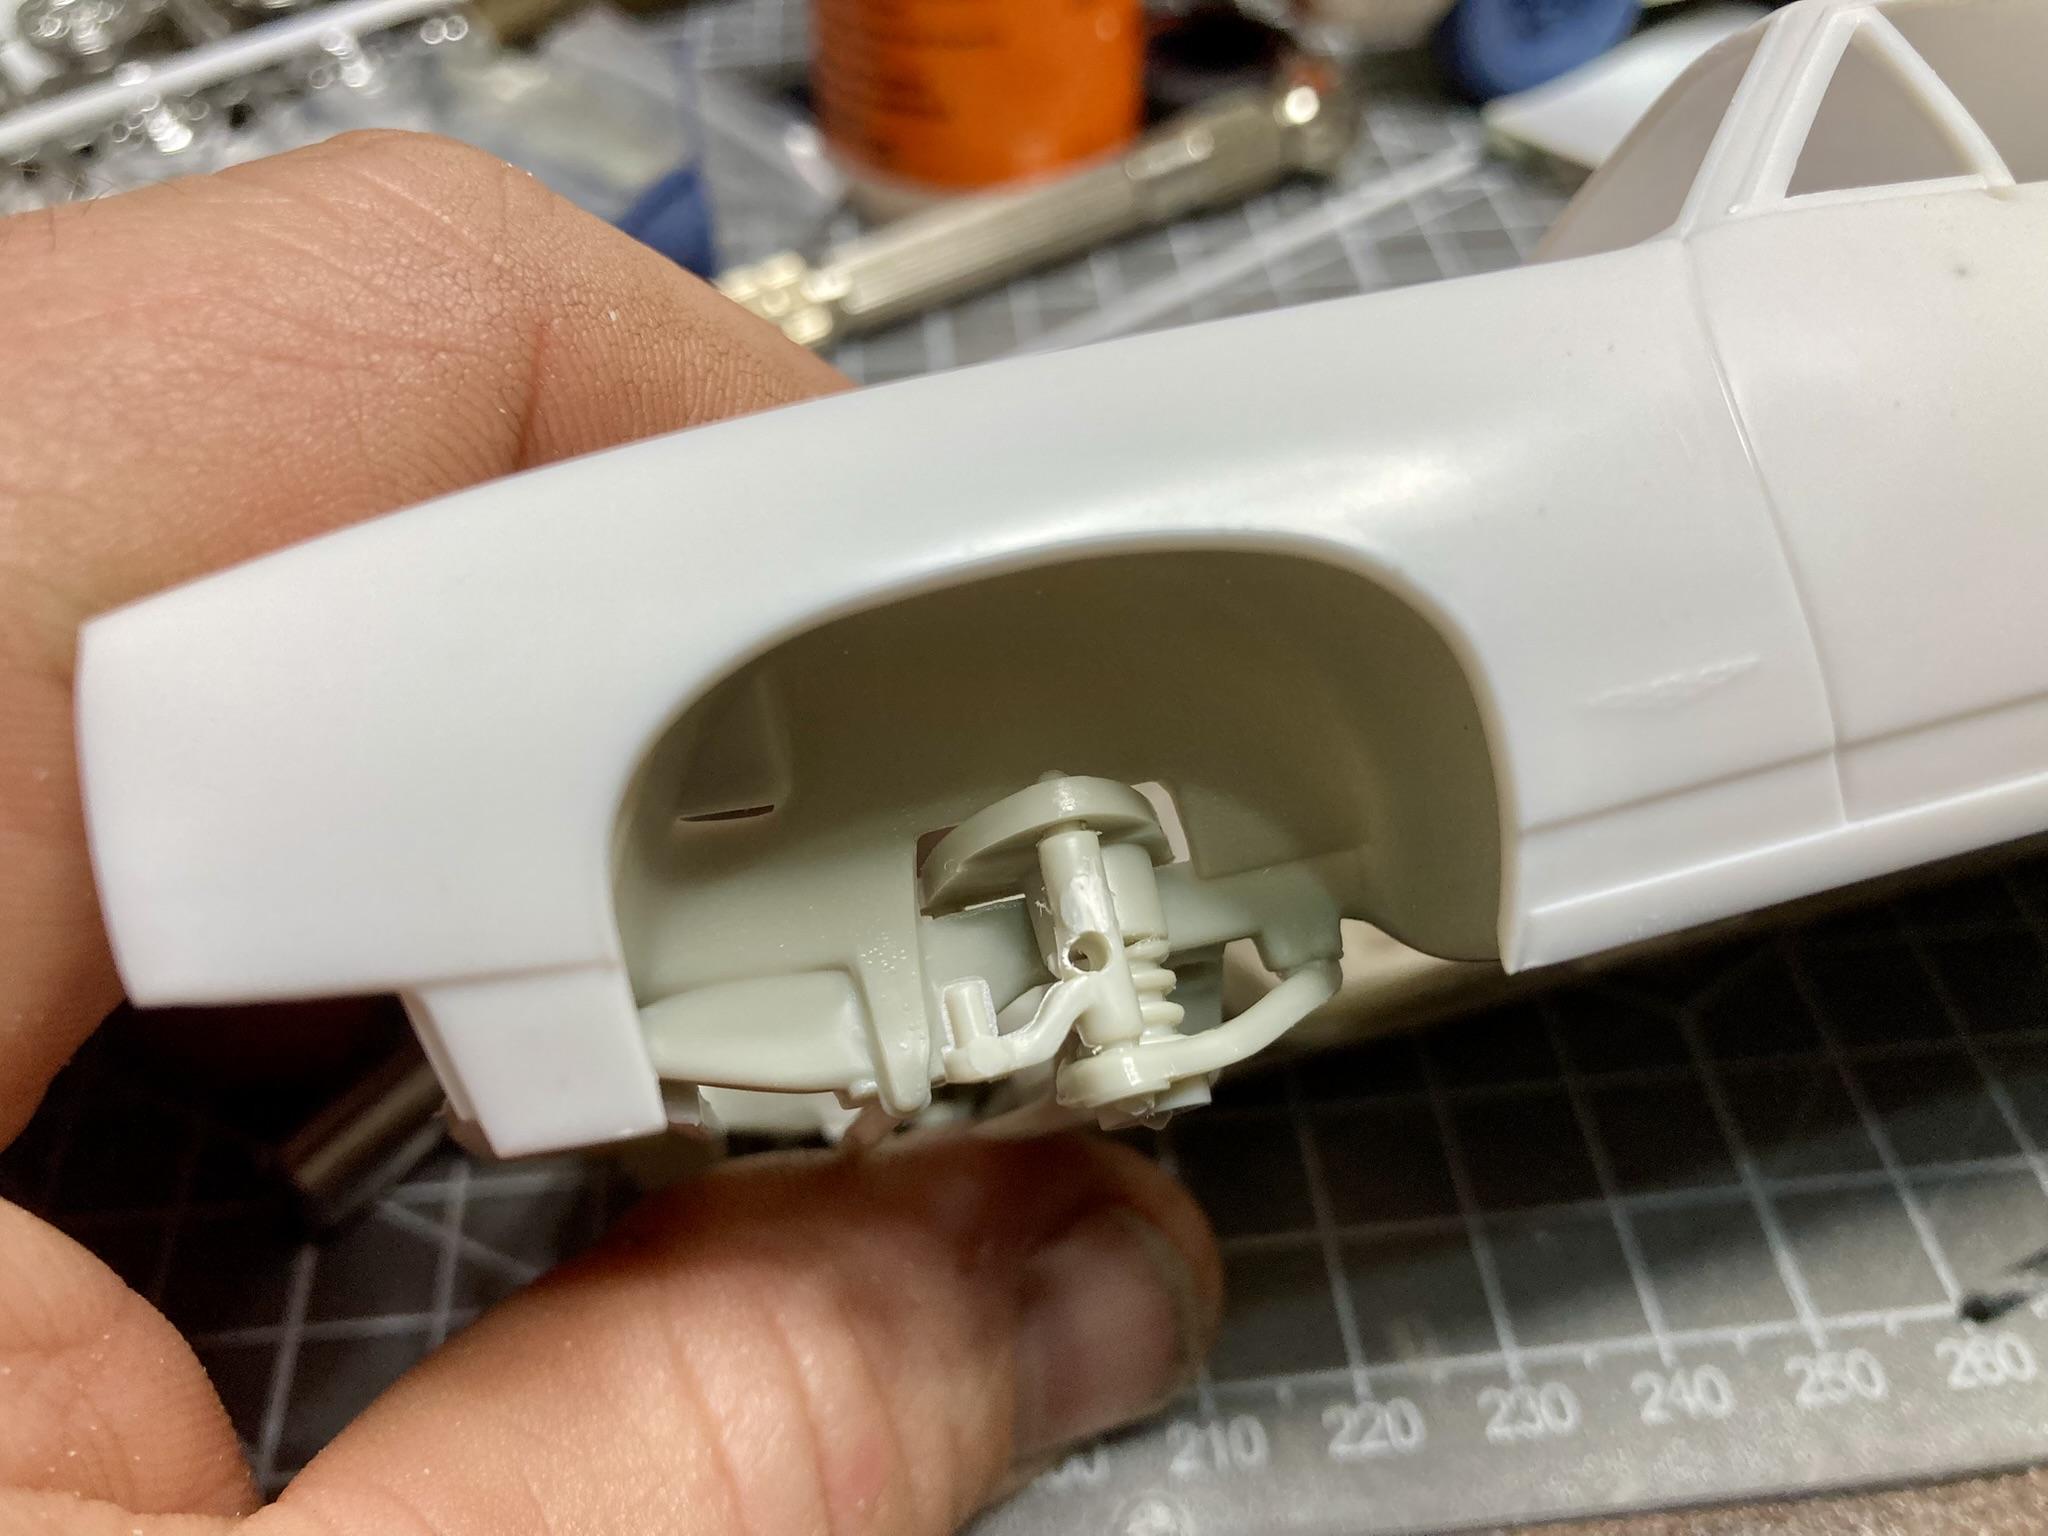
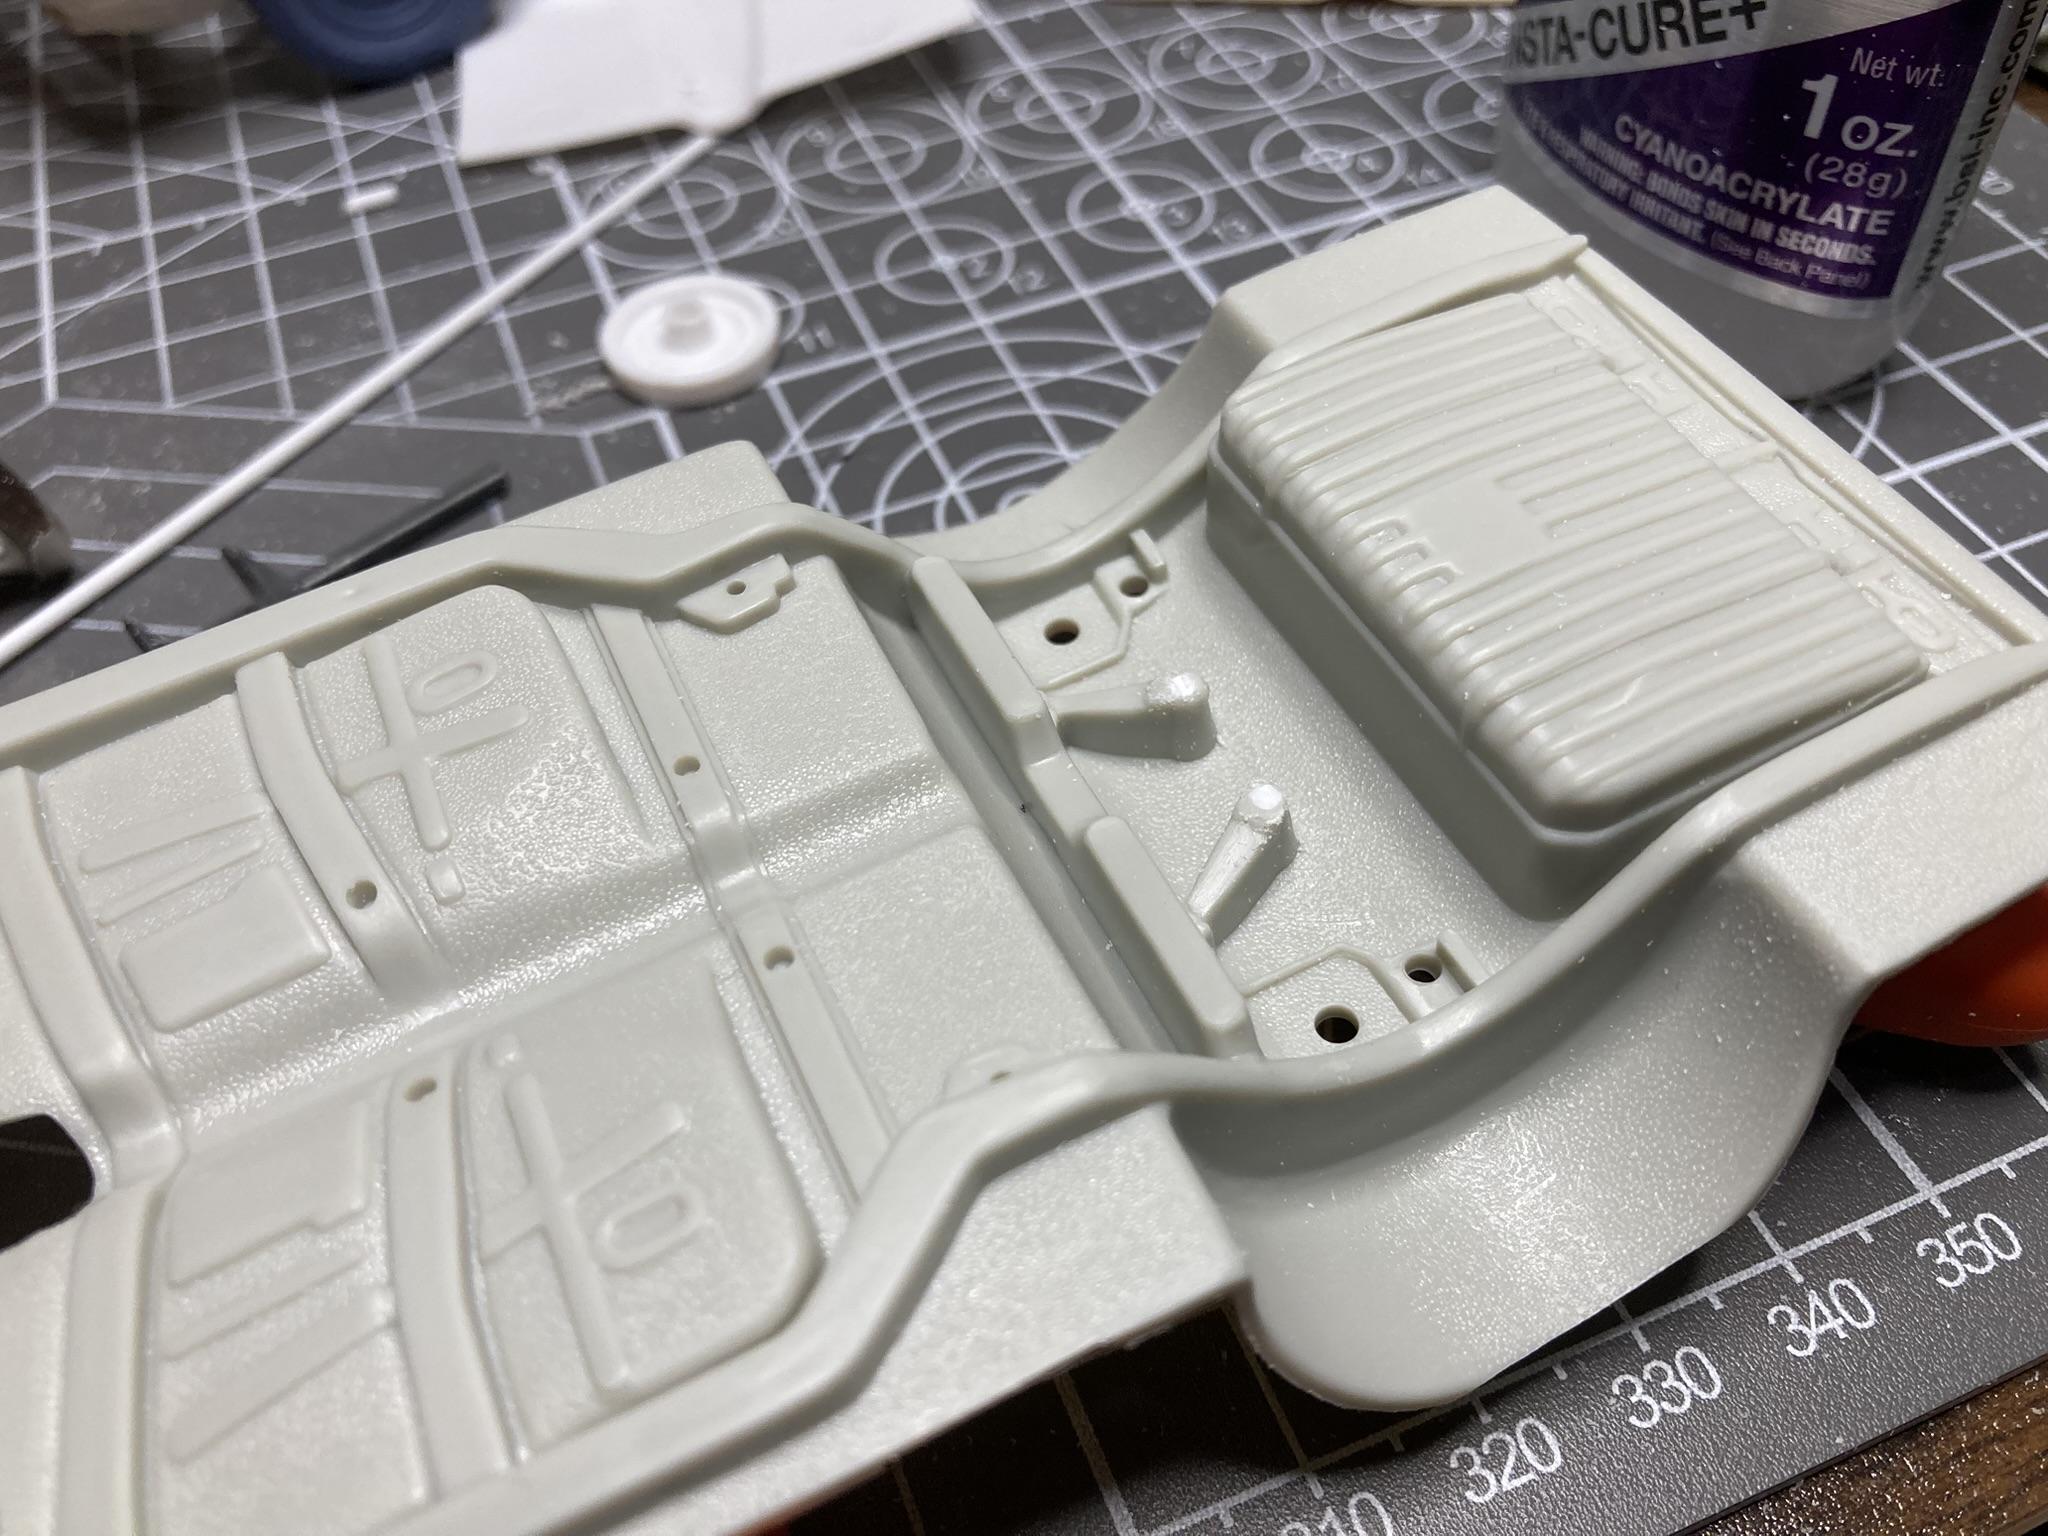
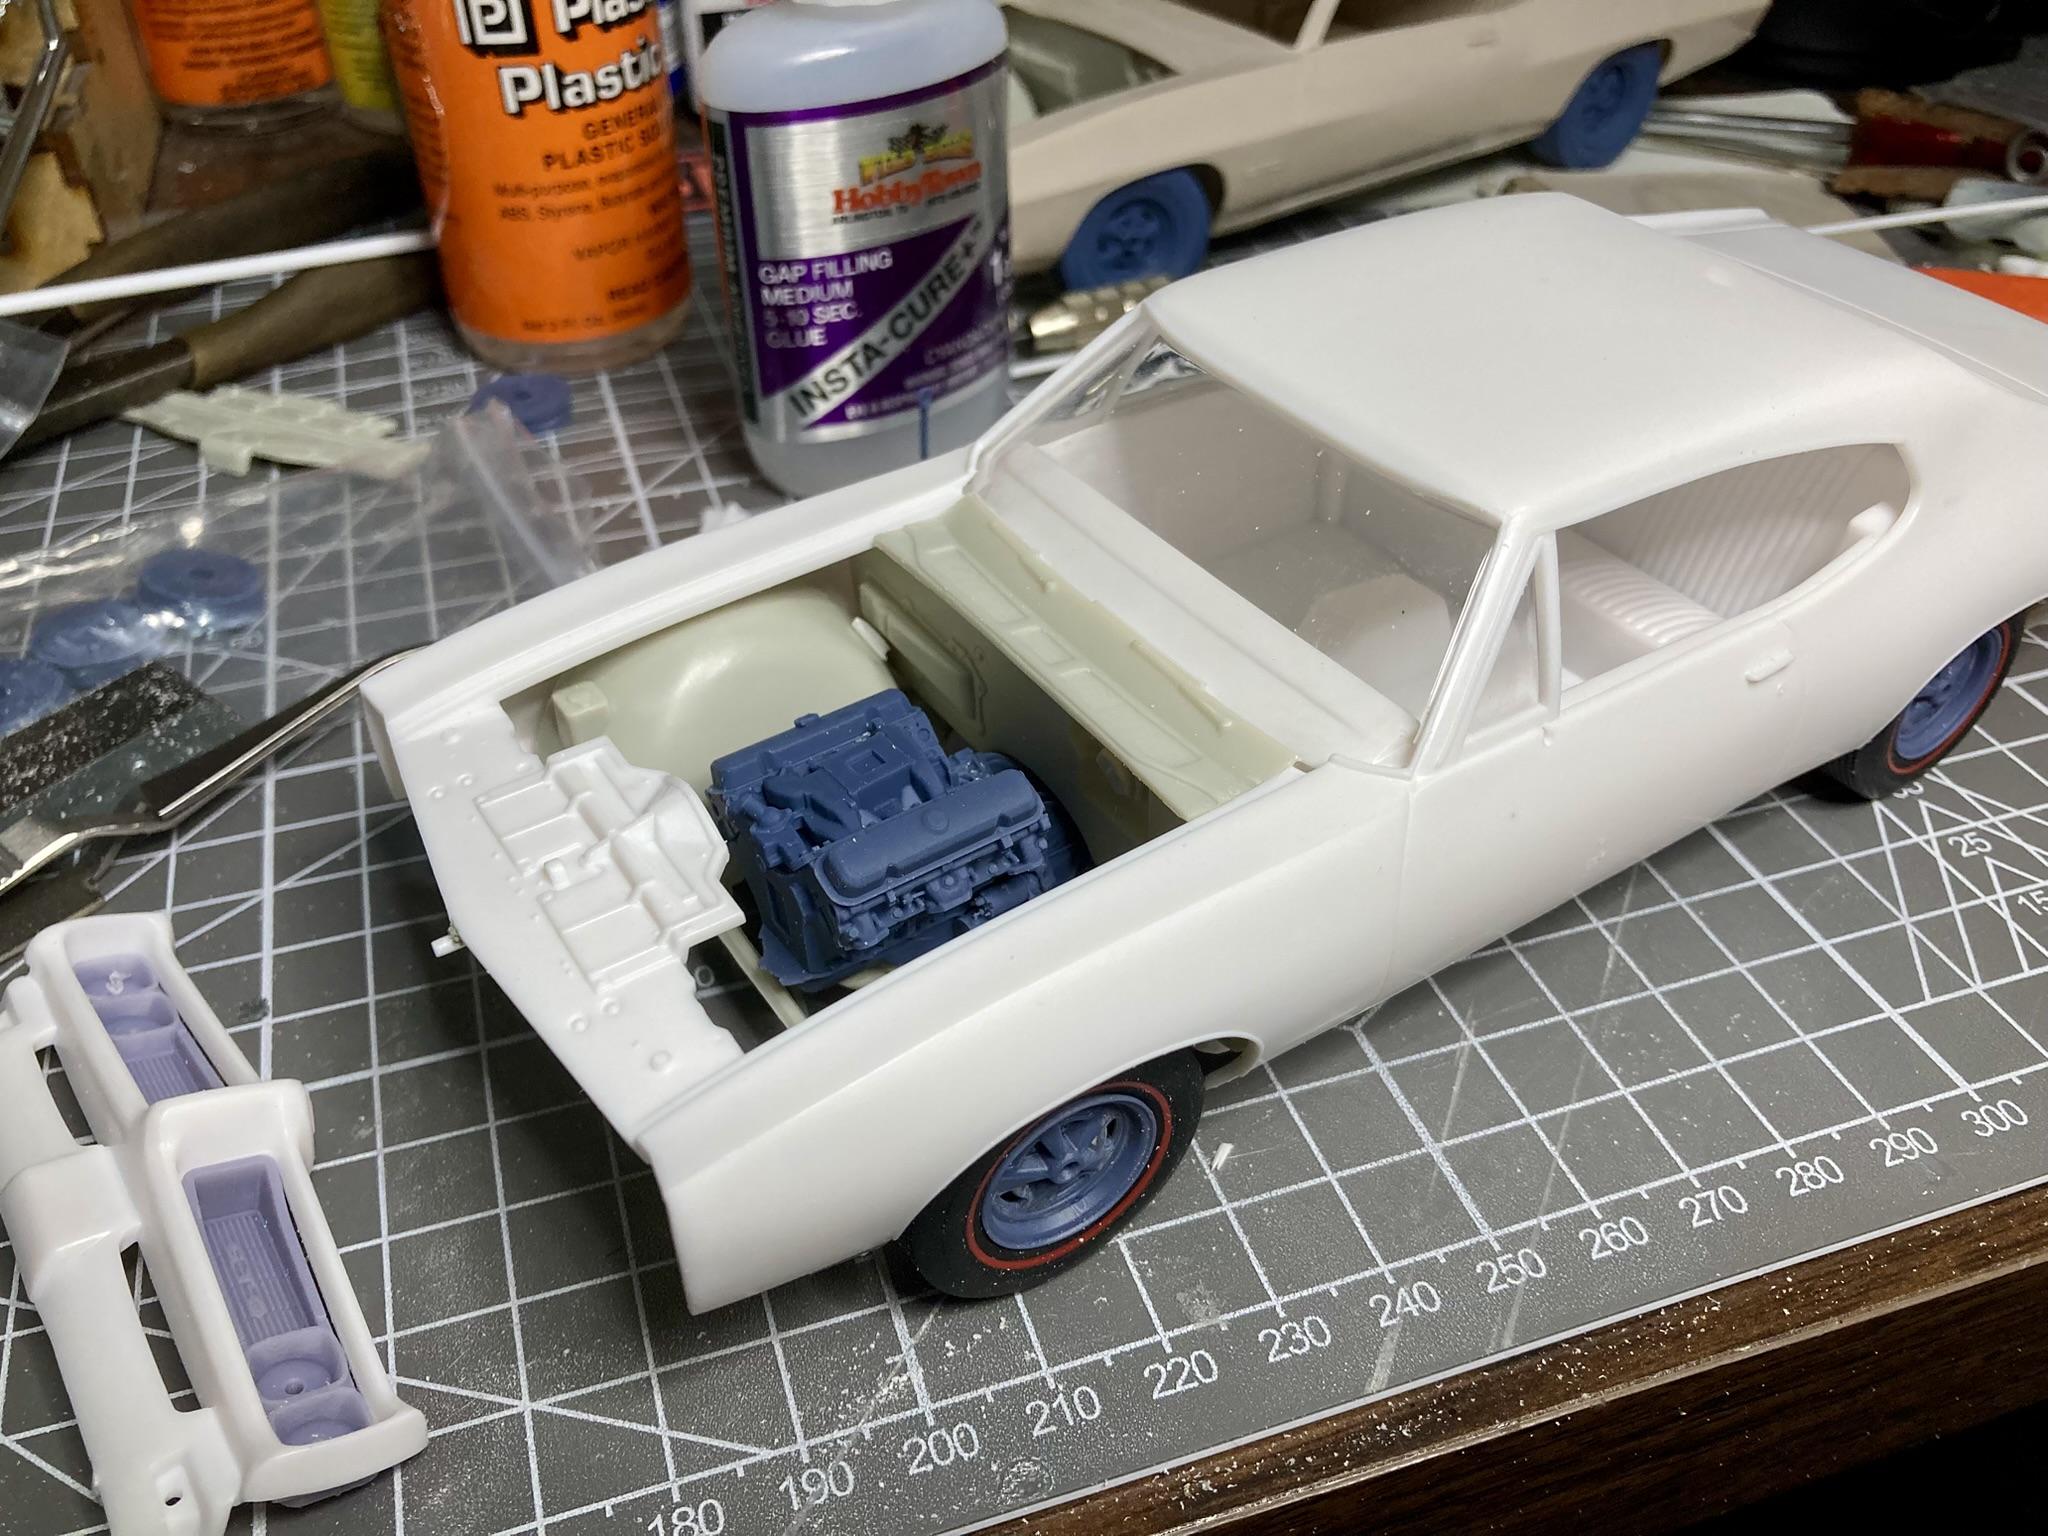
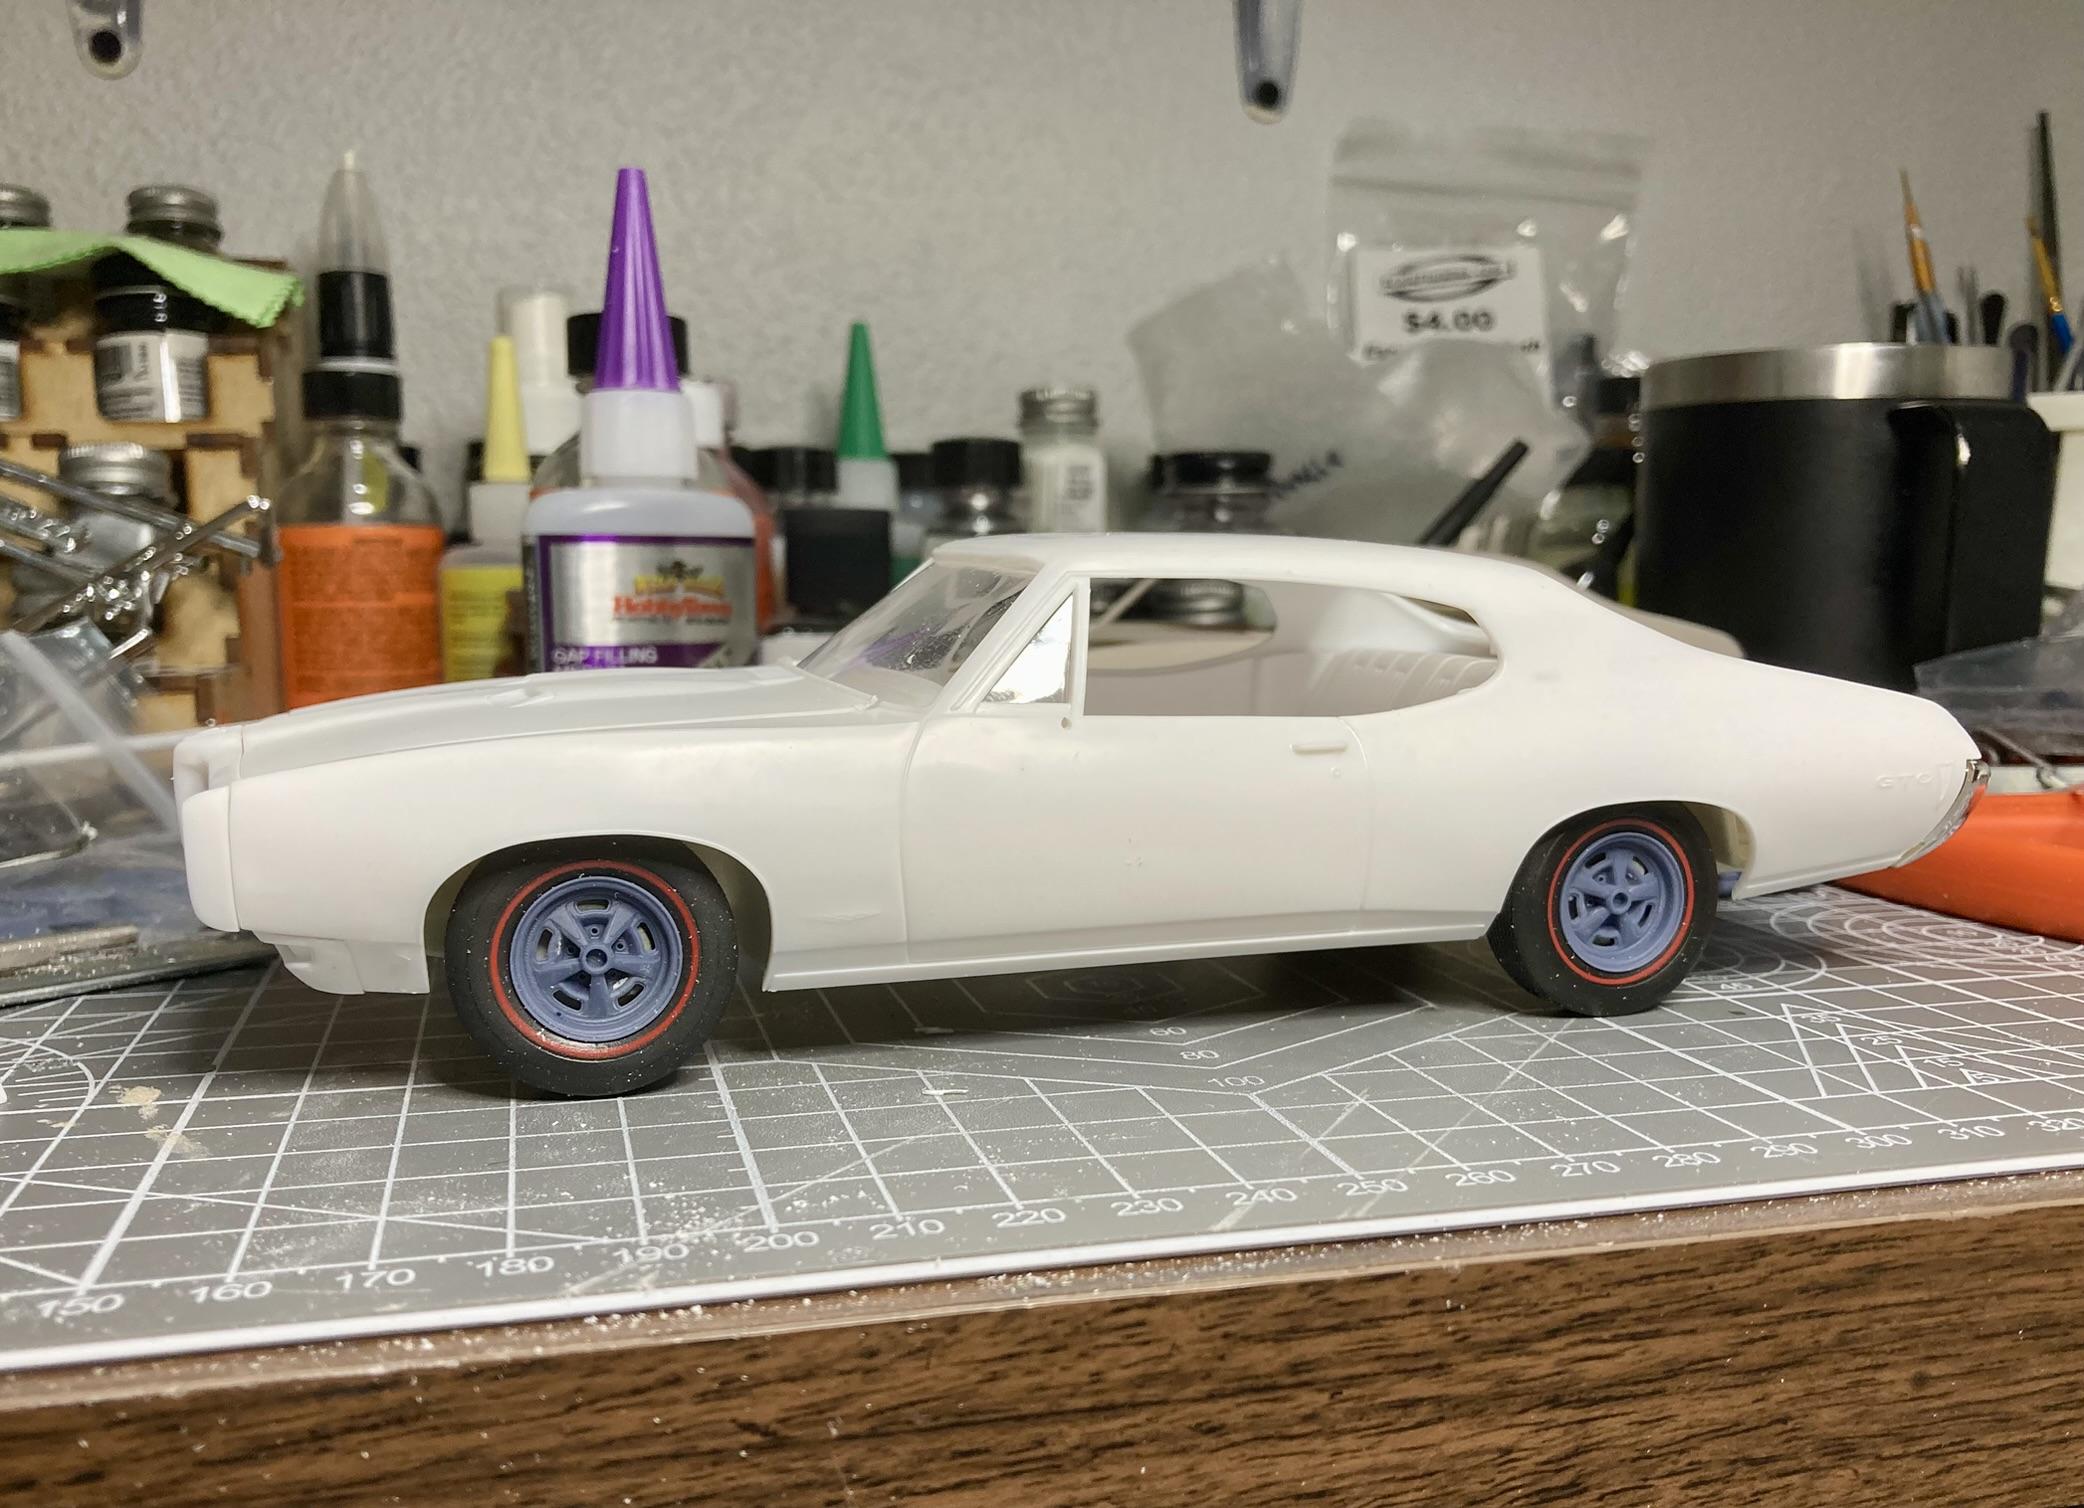
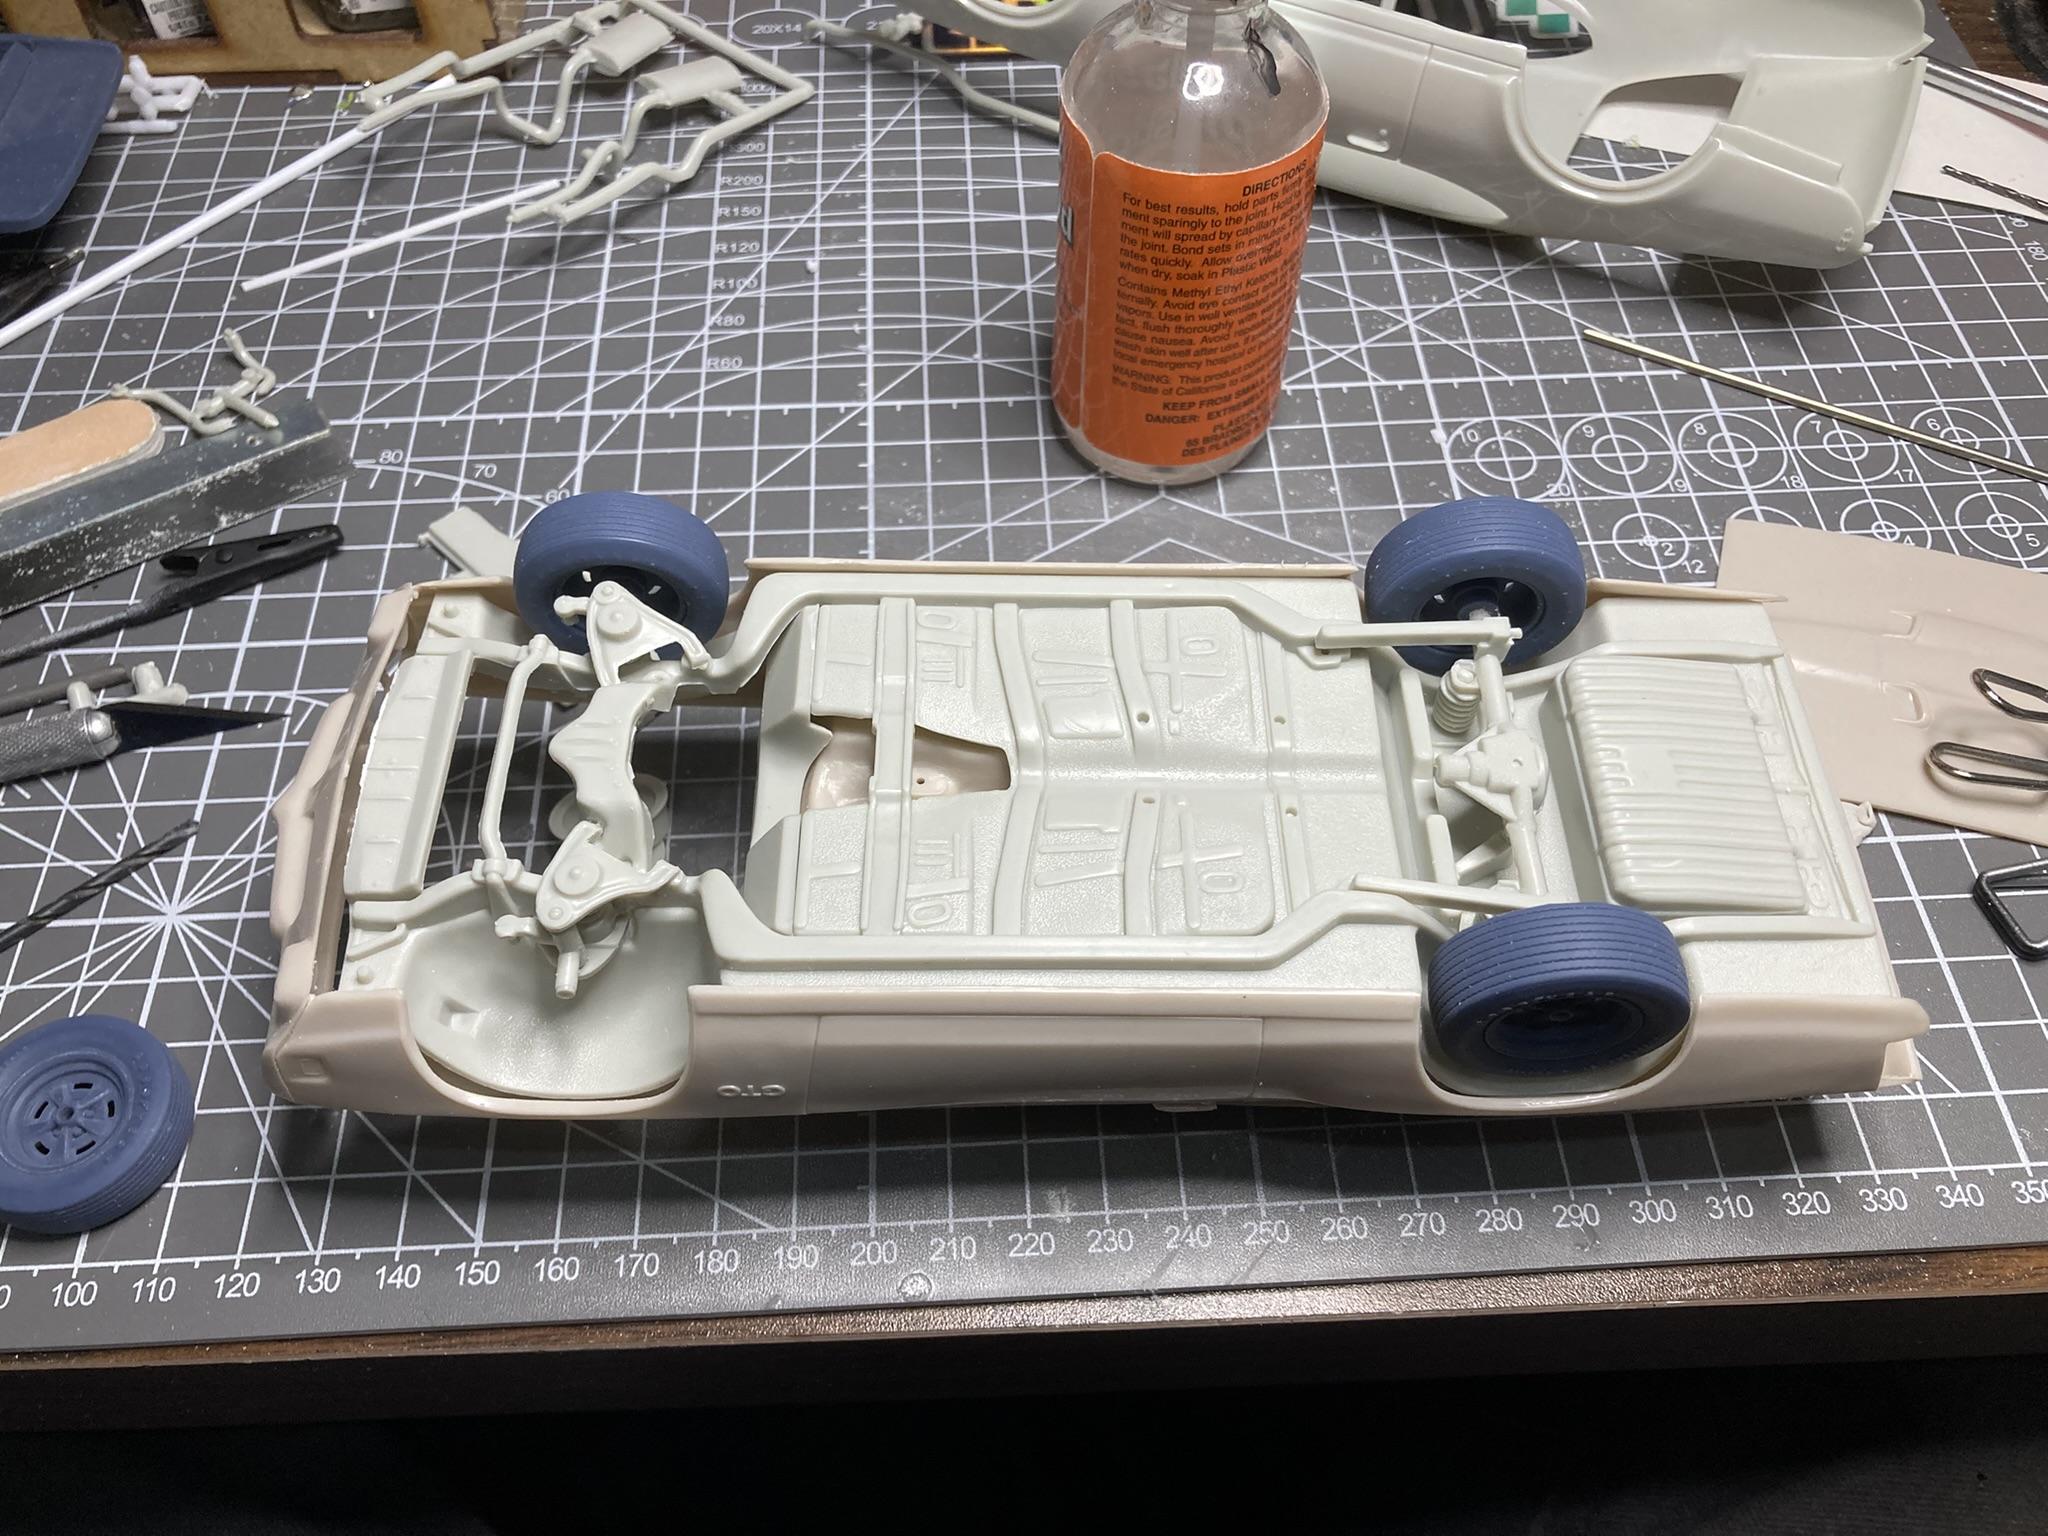
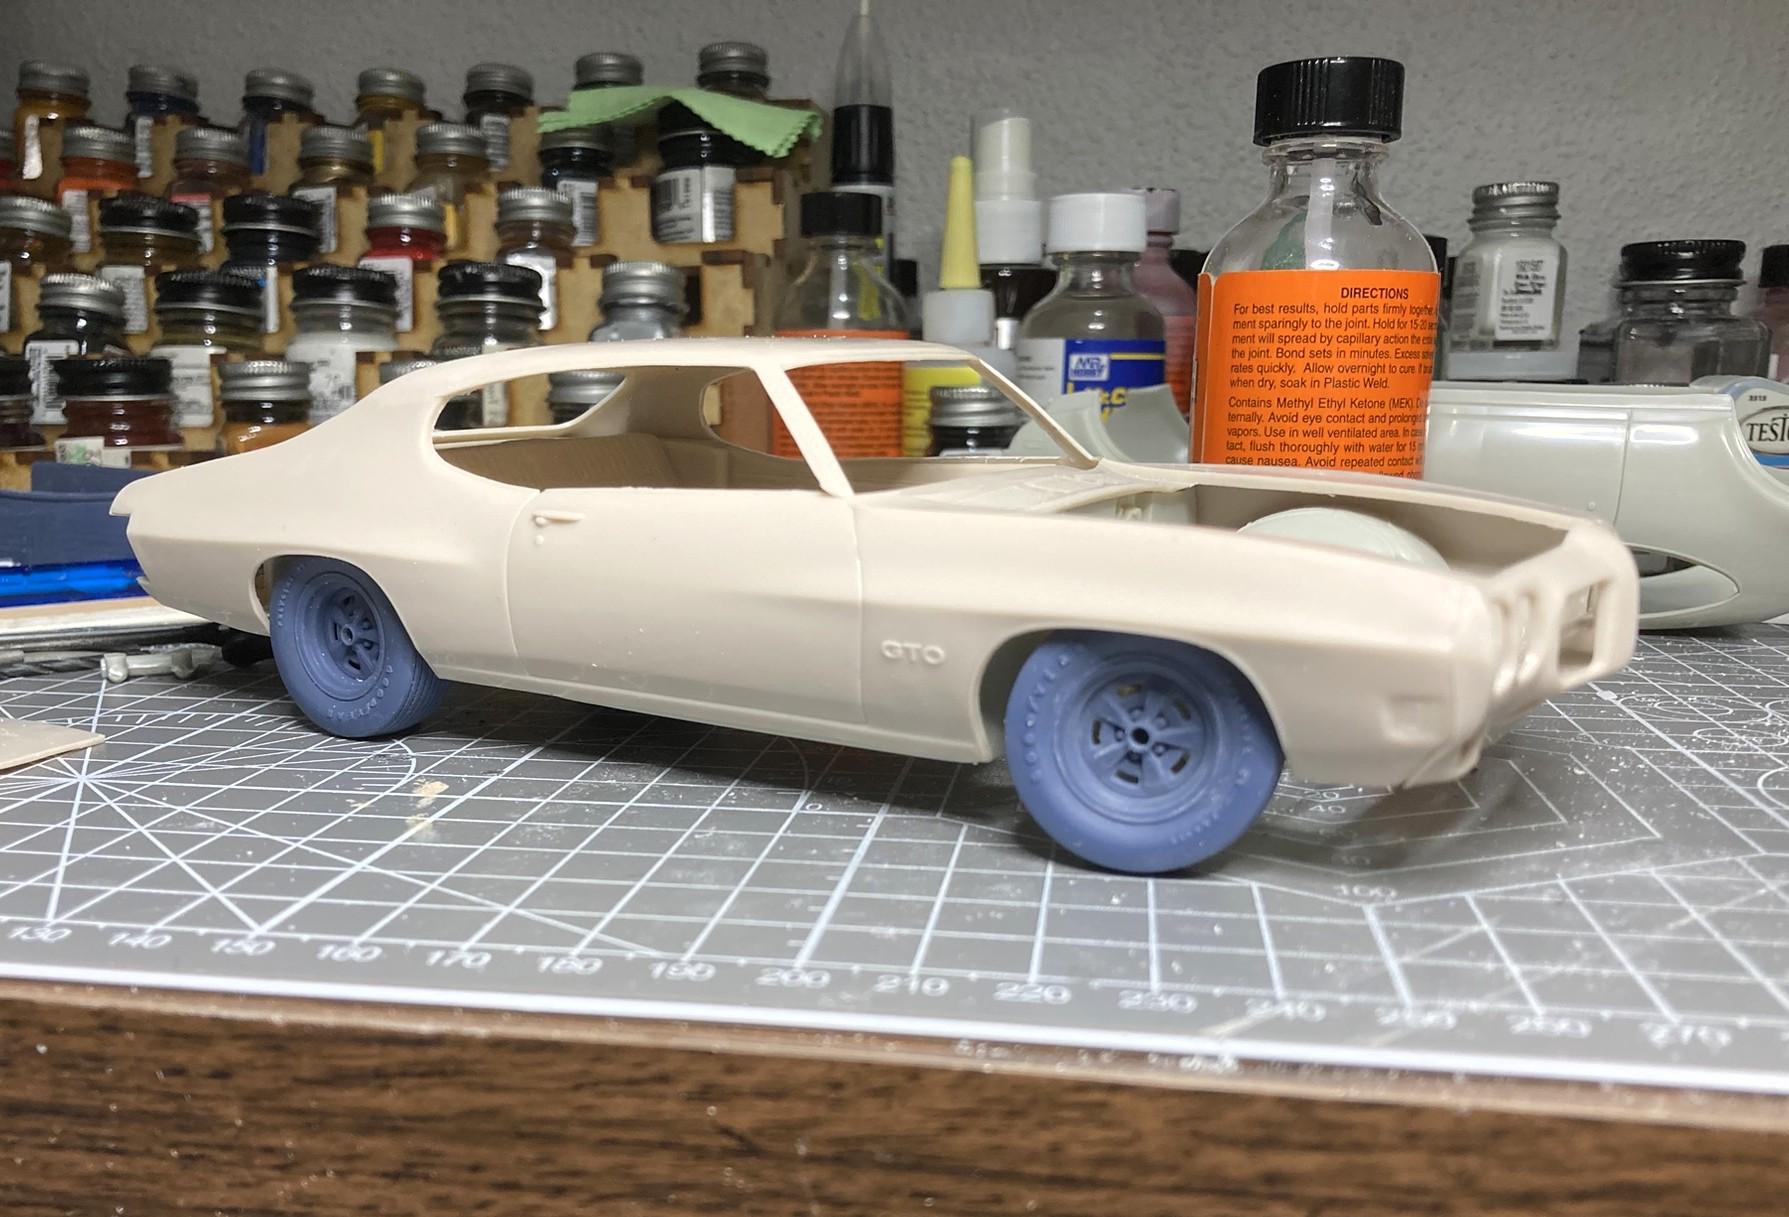
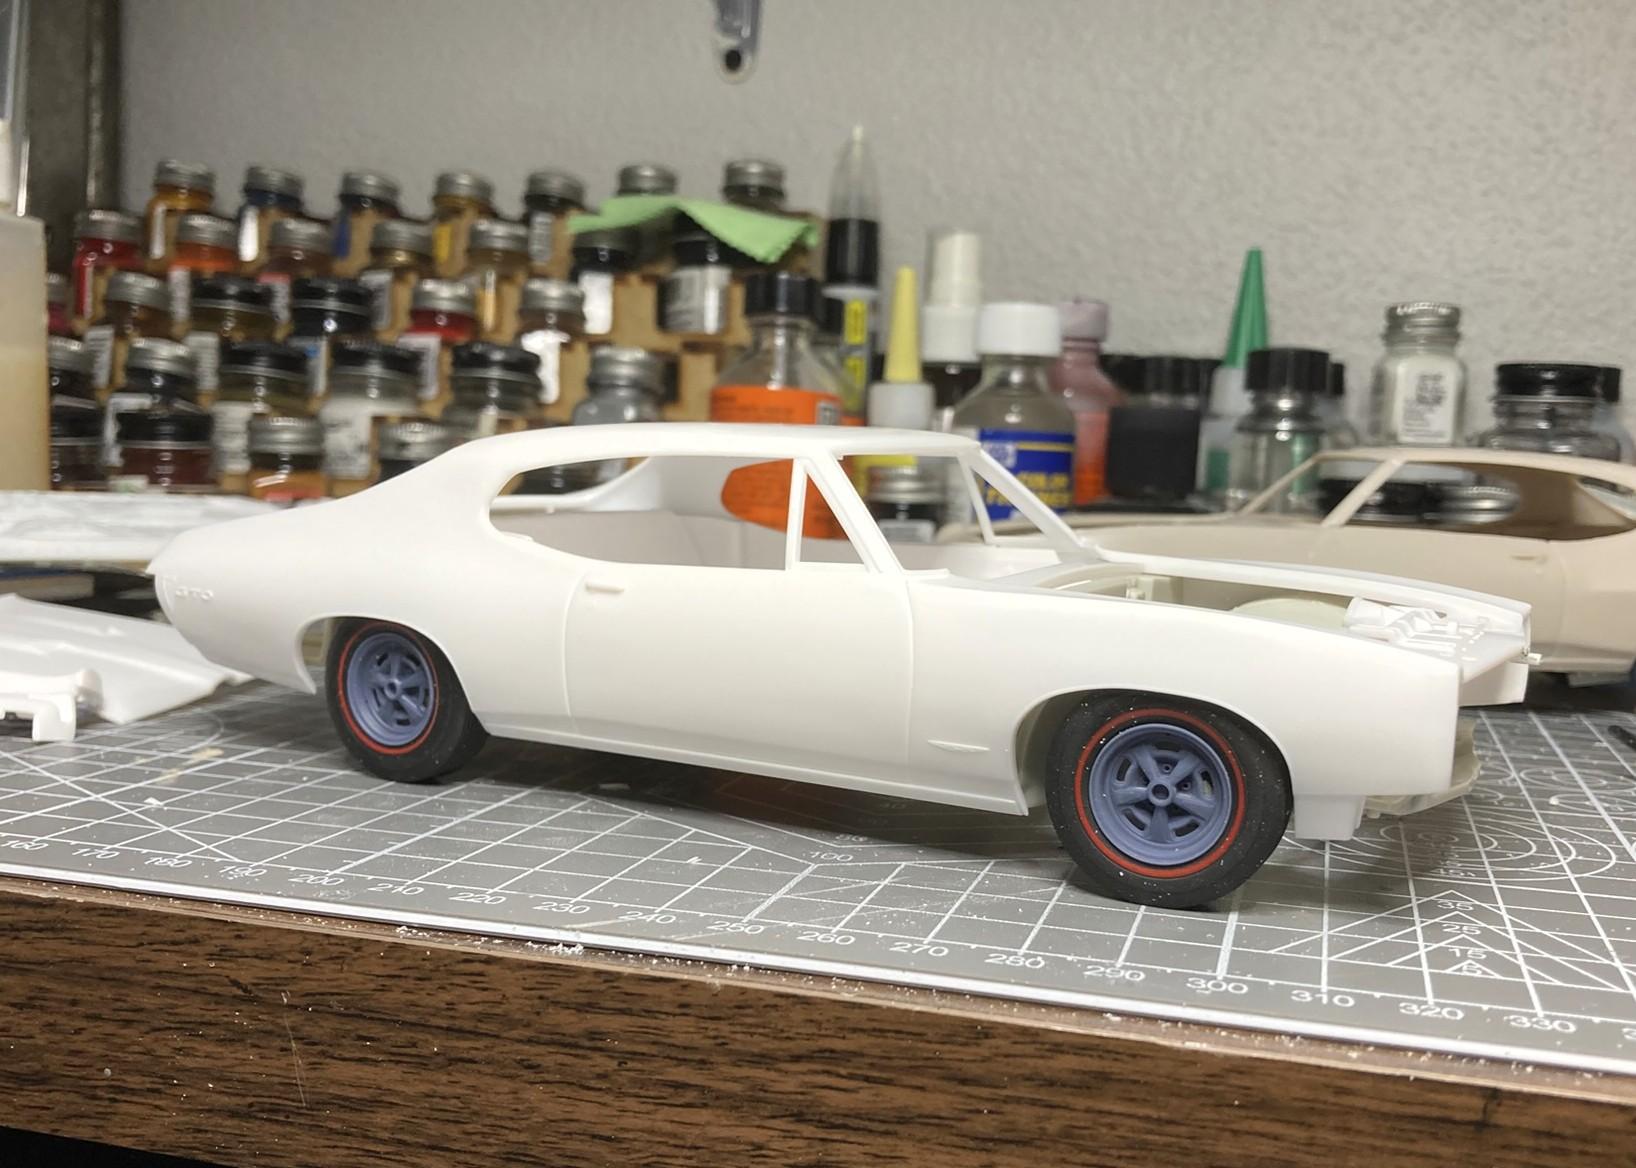
Some work on the '68 this morning. I added pins to the wheel backs from the Cutlass chassis on the front. Then cut the stubs off of the spindles and drilled a hole slightly down to raise the front end. Out back, I just filled the holes in the molded in upper control arms so the rear end wouldn't drop into them. It still stays located by the pins in the lower control arms. My engines showed up this morning too so I fit one with a 4-speed into the chassis. Had to clearance the front and transmission crossmember a bit, and do some work on the interior tub but it fits pretty good. I have a th400 for the '70 but thats going to be a little harder to squeeze on, so they might both be 4-speed cars in the end. I cut and fit the wiper cowl area from the Cutlass into the '68 too. The angle is all wonky, but thats the only way it would fit between the windshield and the hood and not make the hood fit weird. I think the slightly raised stance is pretty good.
-
What did you see on the road today?
Quiet Eric replied to Harry P.'s topic in General Automotive Talk (Trucks and Cars)
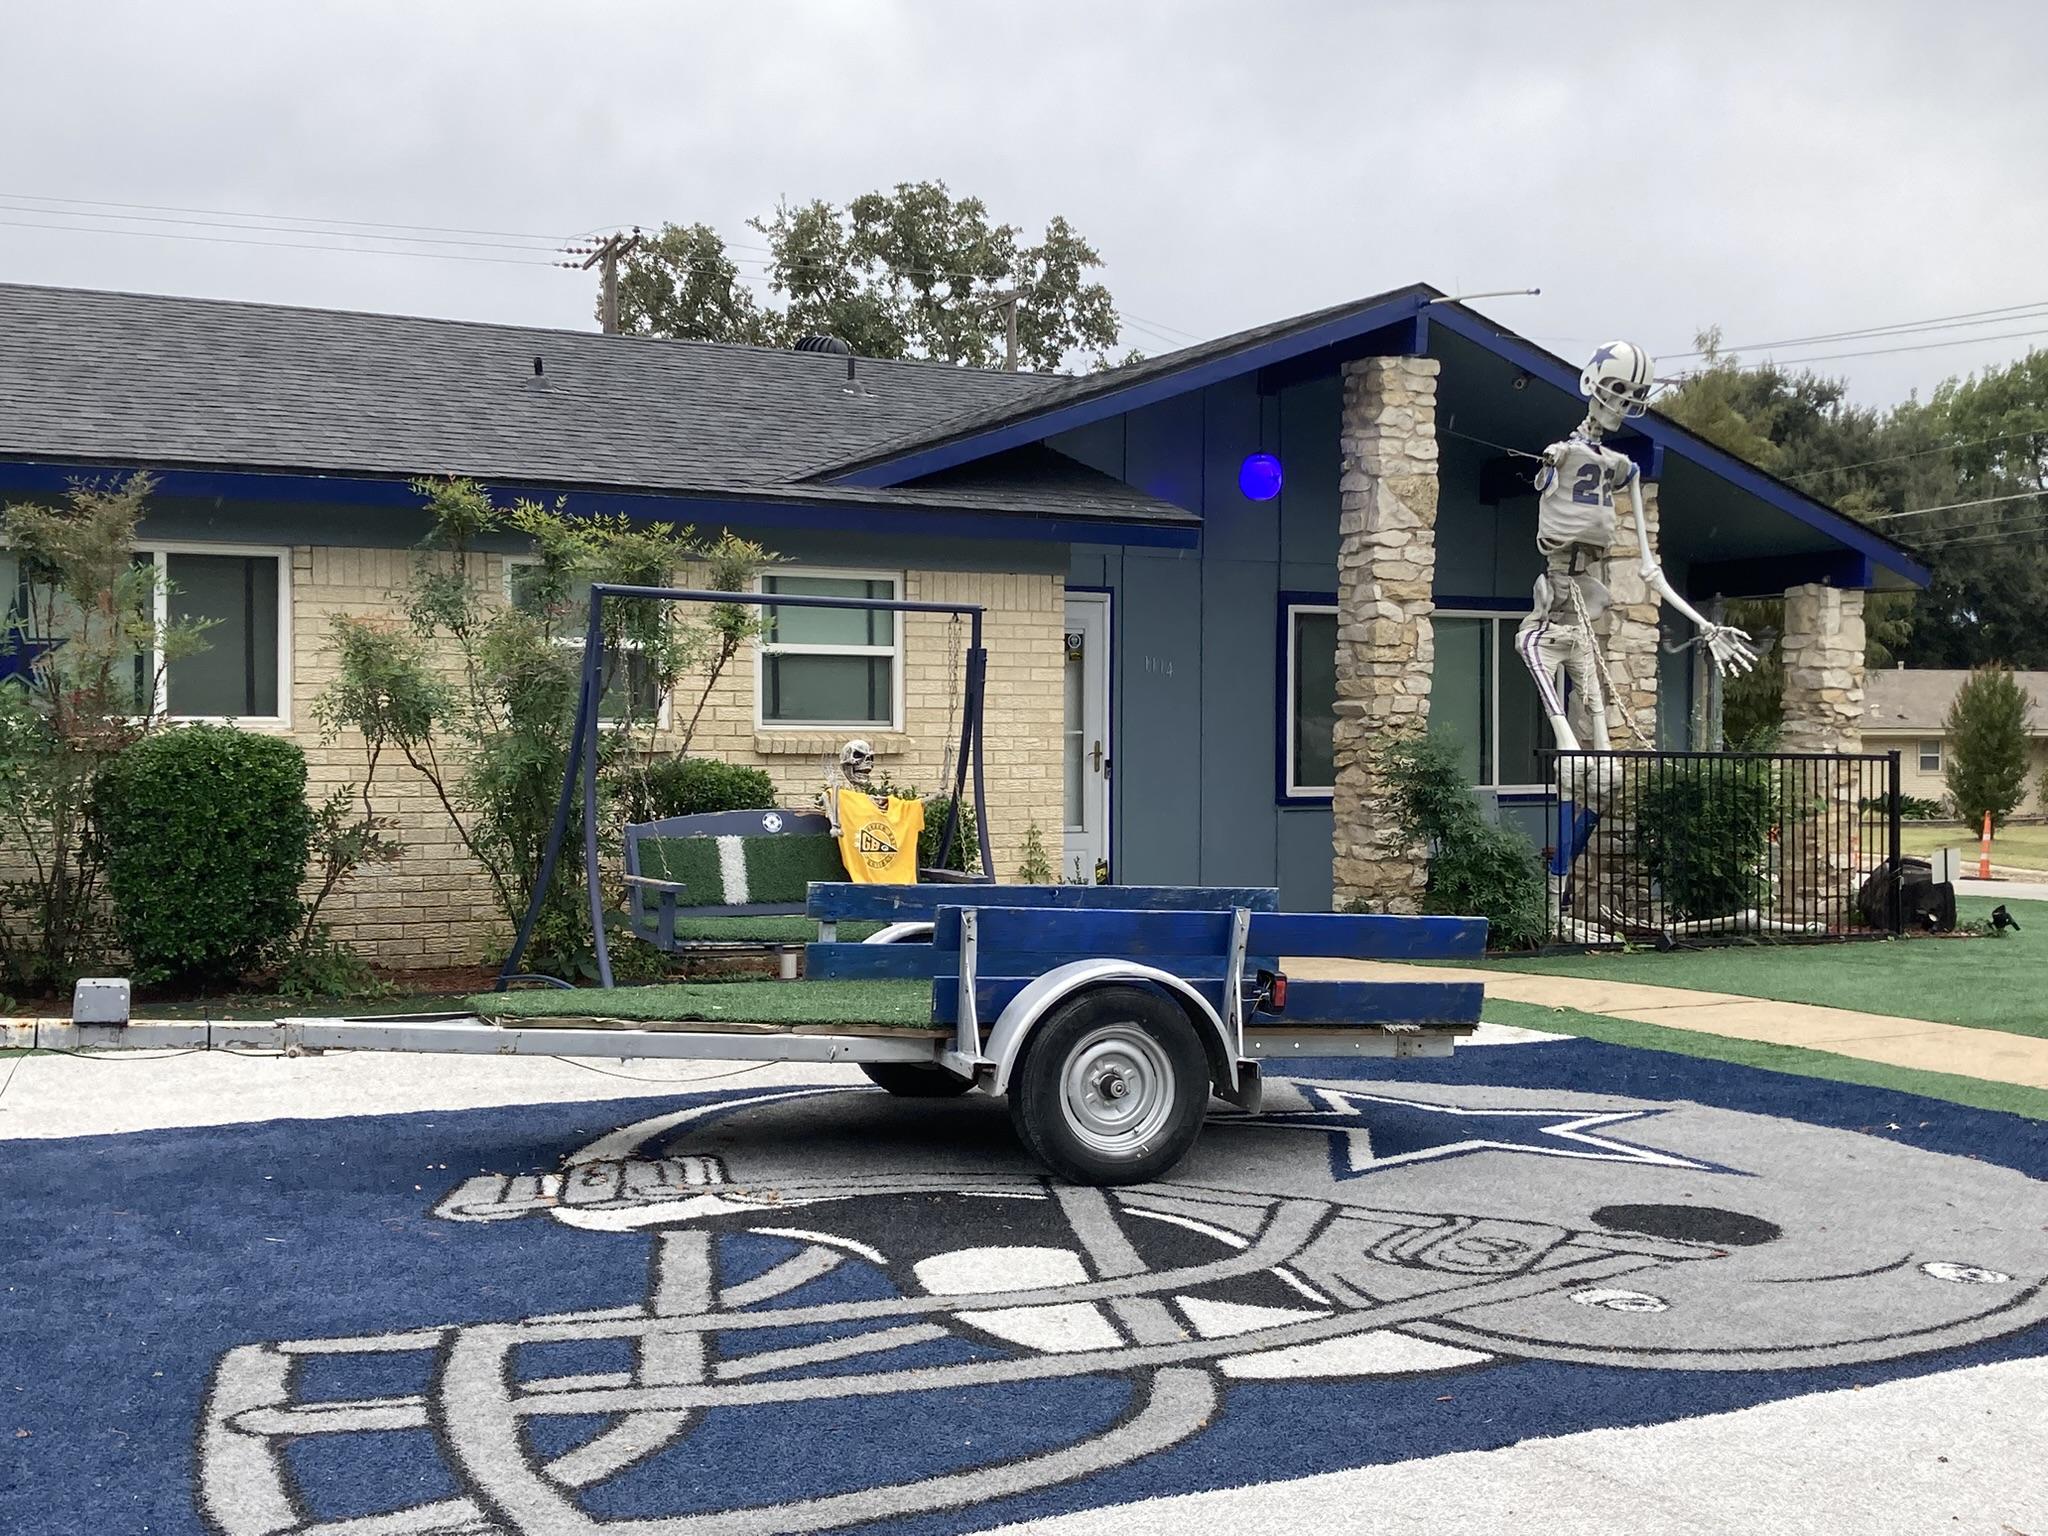
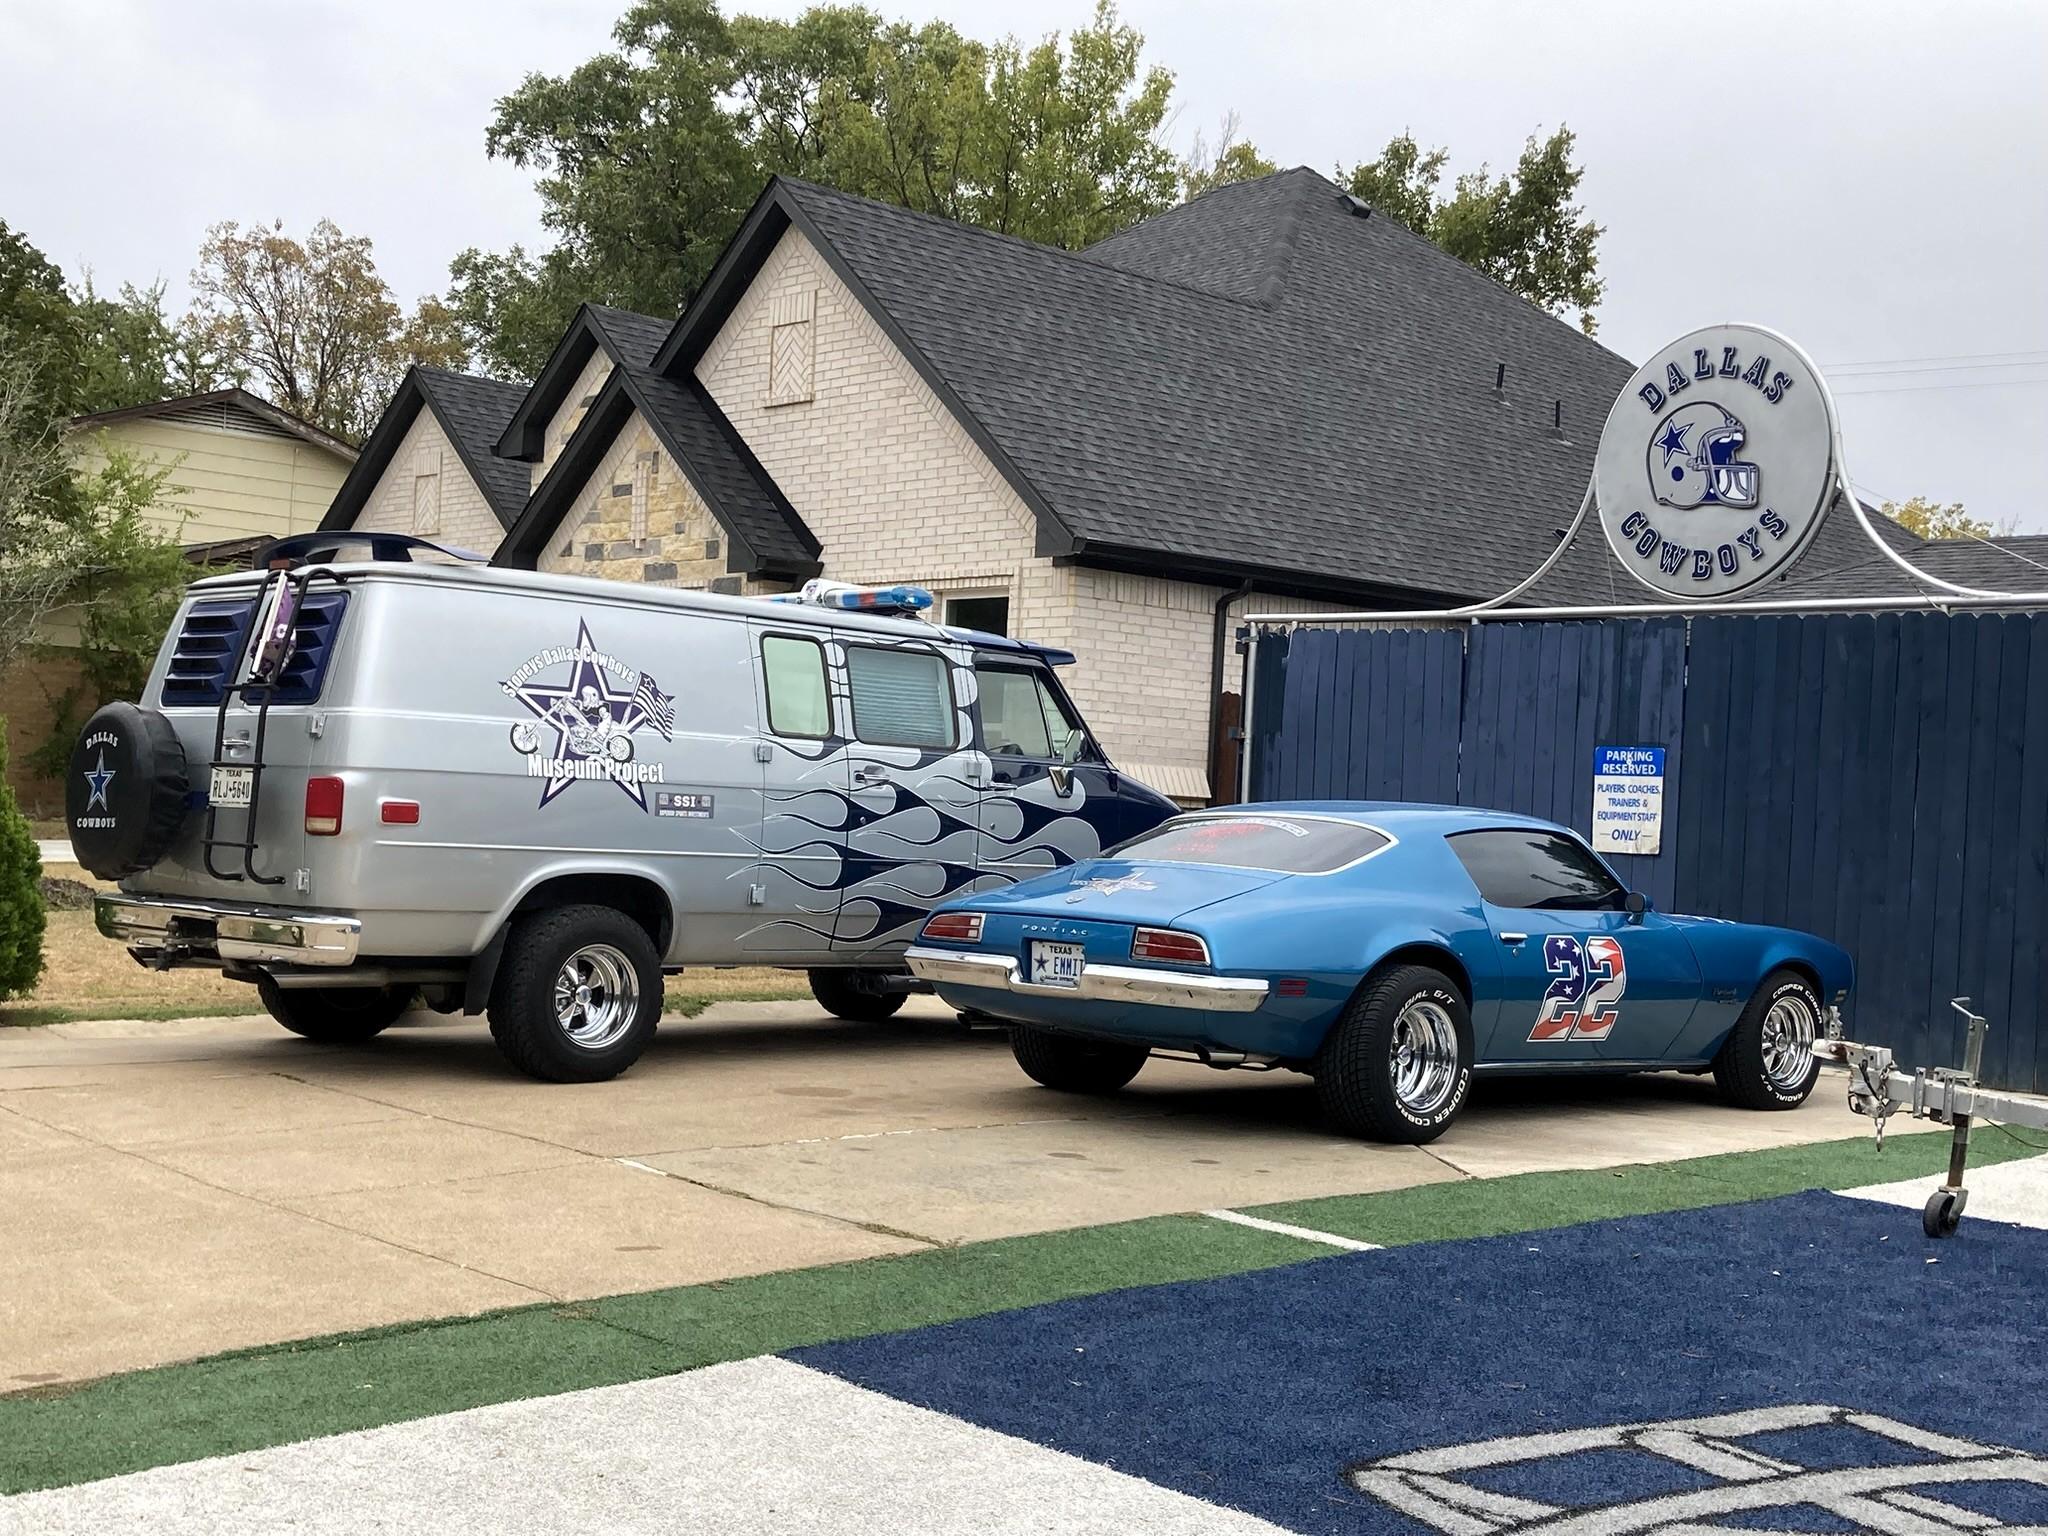
Heard about this guy for a while but only came across it this morning. His home is a self described "Dallas Cowboys Museum" and the entire front yard is astroturfed and painted like the field. Pretty good taste in cars though!
-
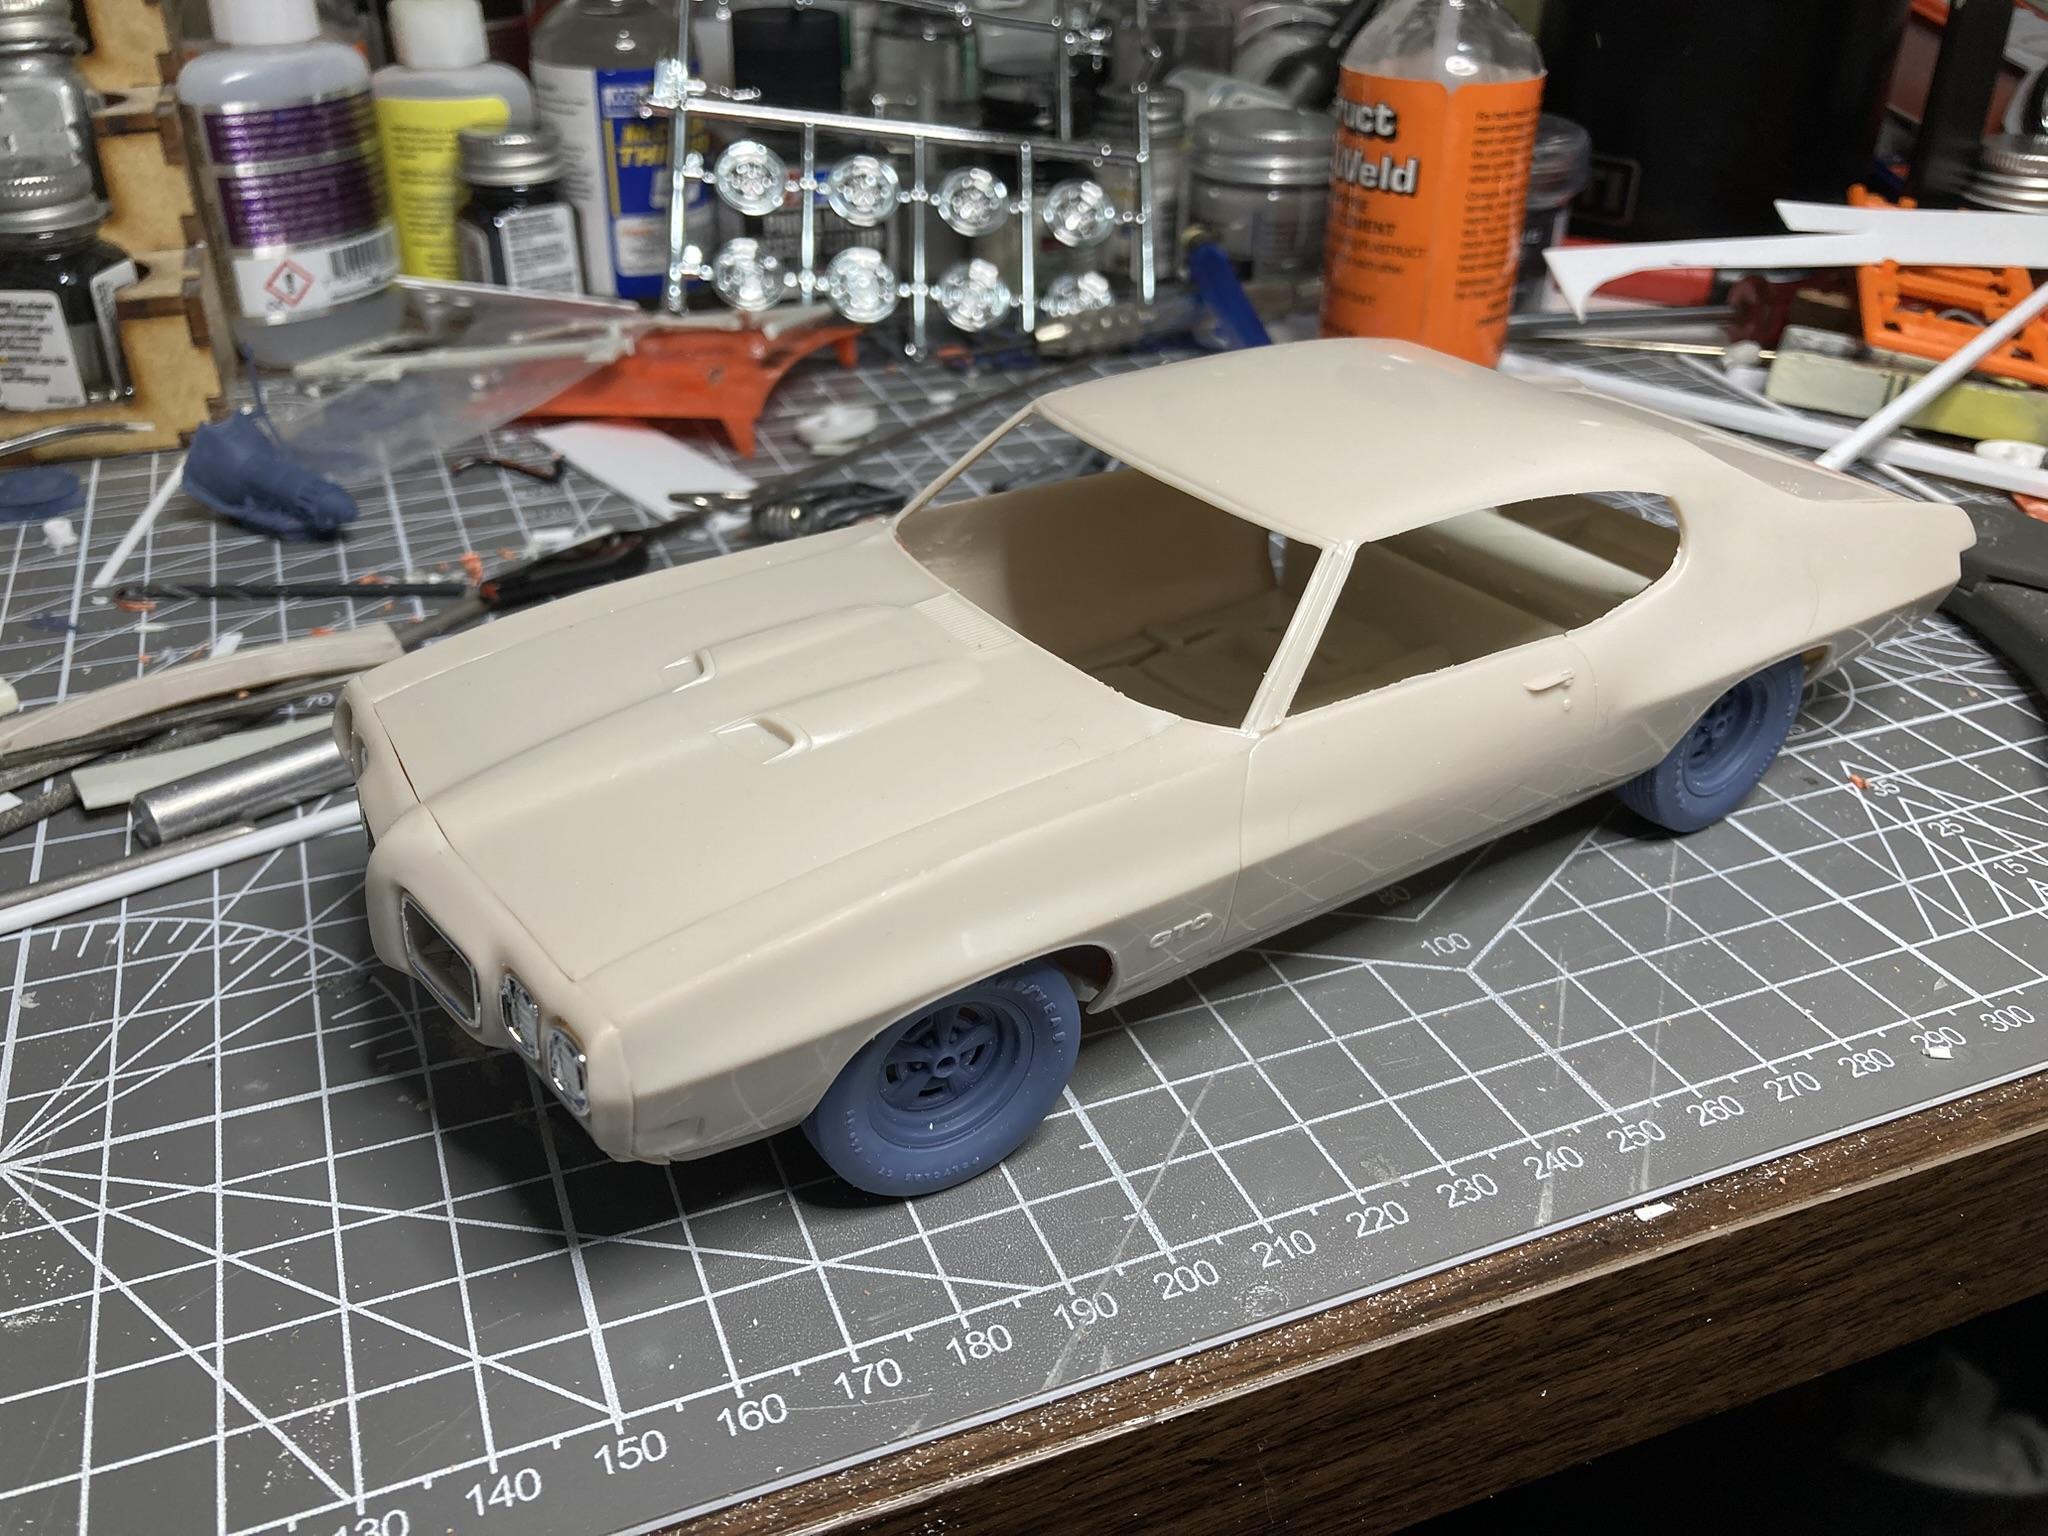
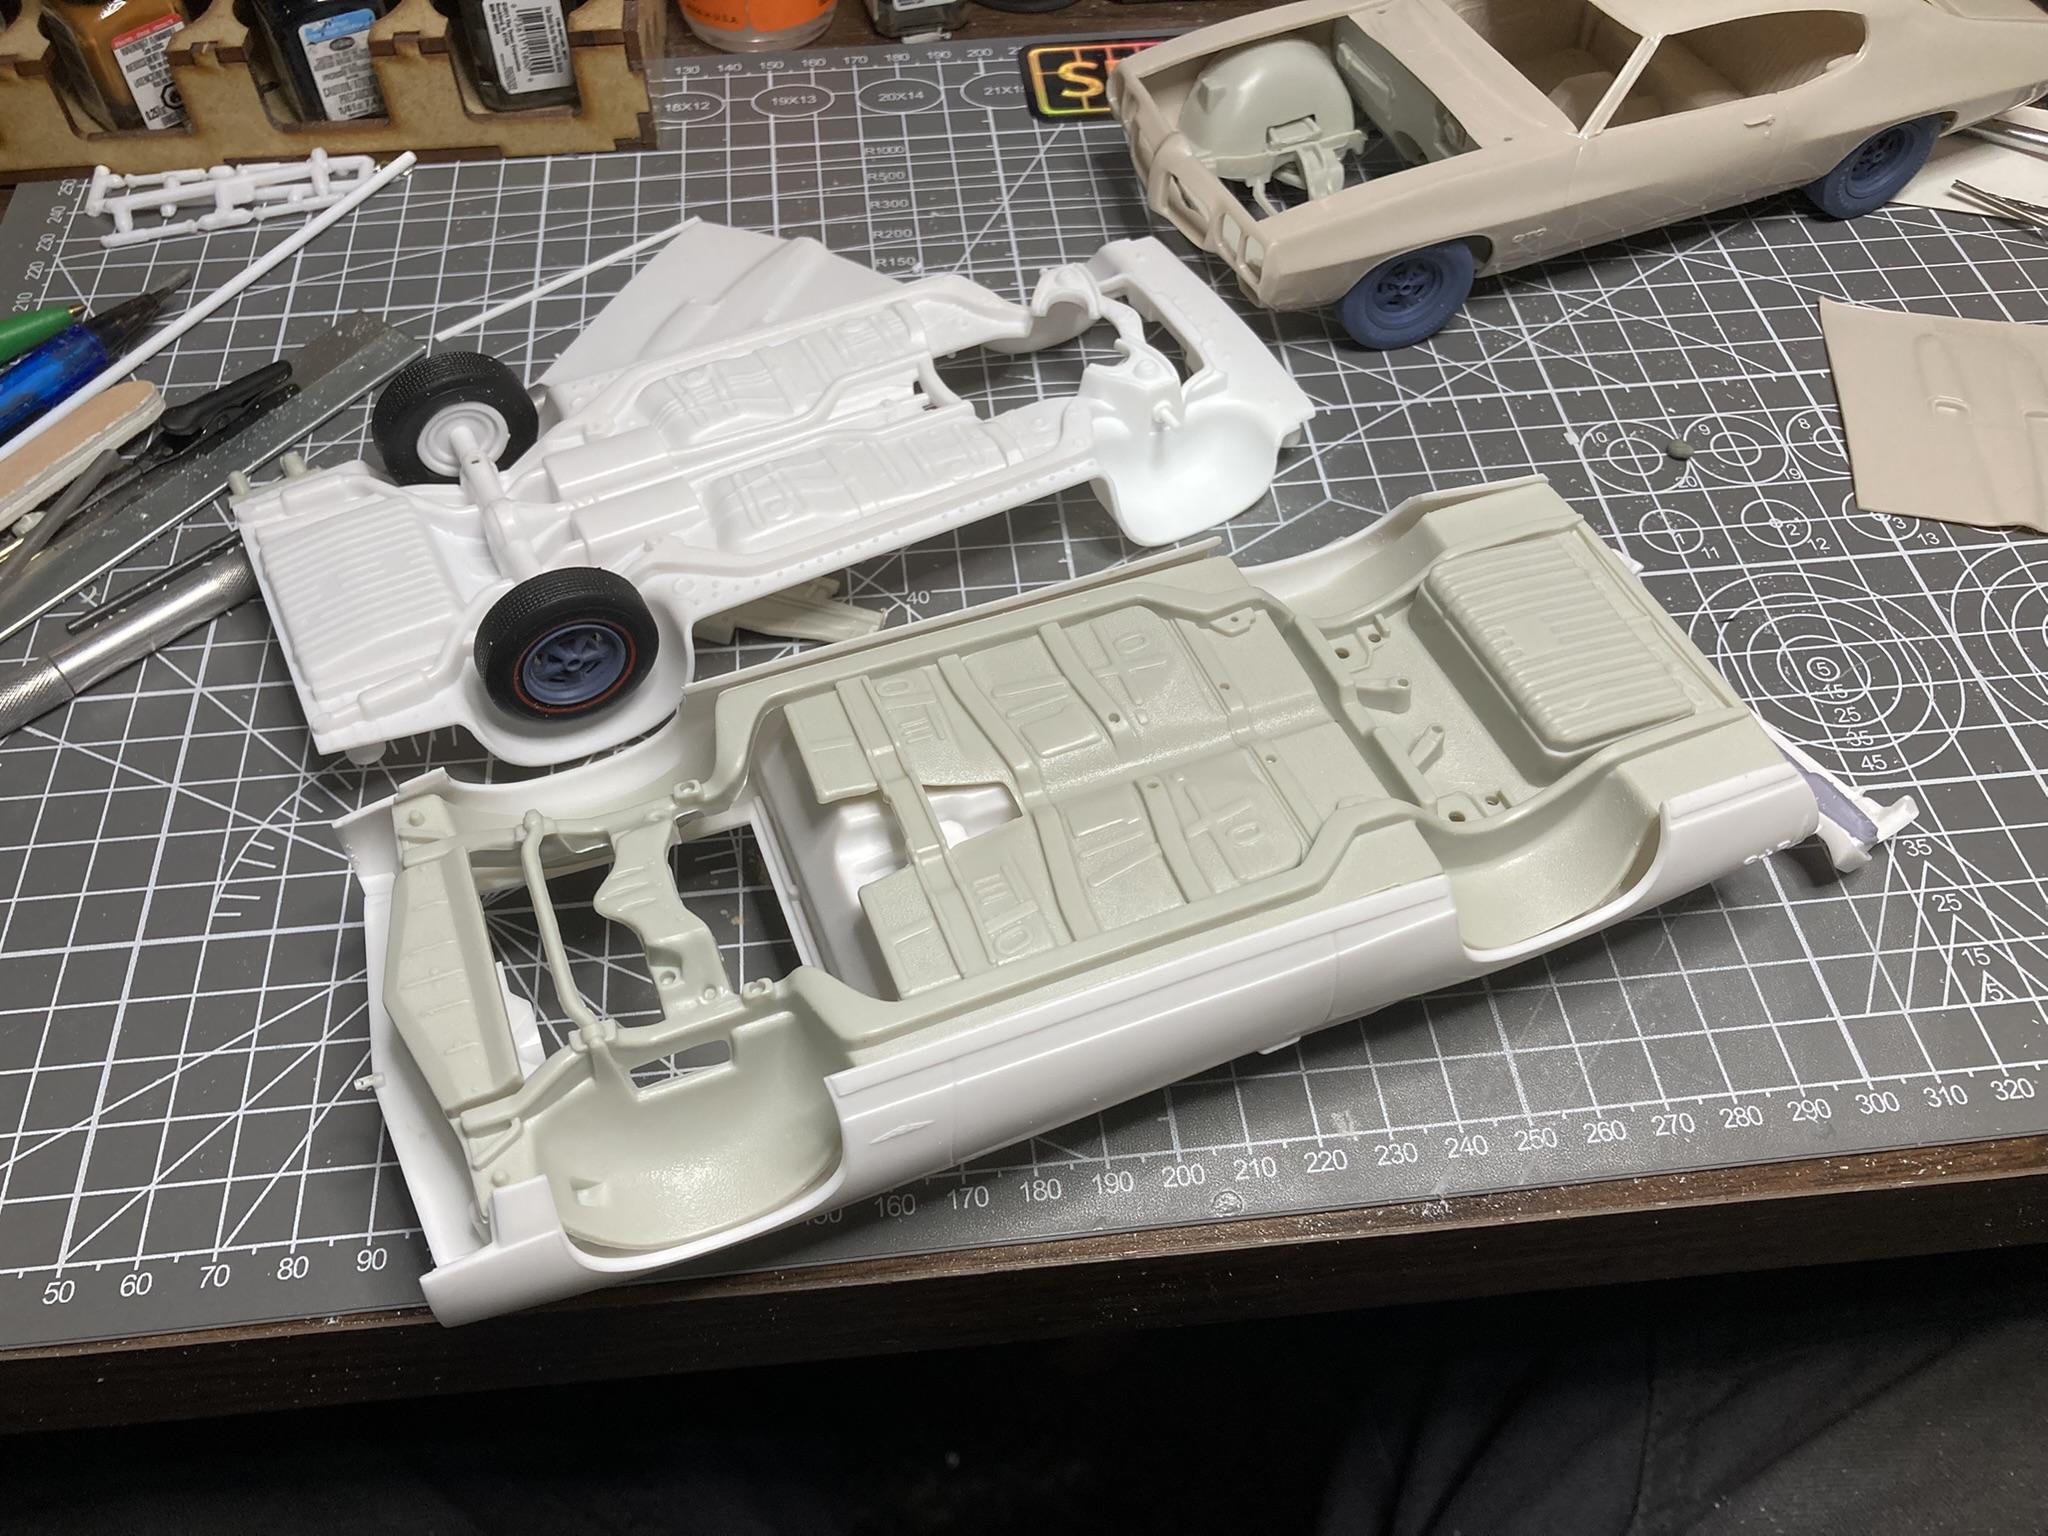
I shared these in the mock up thread, but now the real work starts. I was initially just going to do nice paint jobs on them and build mostly out of the box, but I couldn't leave them at that. The '70 is an original MPC with wheels and tires from Mean Machine. The '68 is the new "Craftsman Plus" kit with a standard grill from Iceman and wheels from Fireball. I'm using the AMT '69 Cutlass chassis for both of these and also have a pair of engines on the way from Texas 3d Customs. Each took a little bit of work at the rear wheel wells and the rear quarter panels to fit but I'm pretty happy with the match up. I need to get the stance on both up a little and work on the track width. Even the firewall is a good fit on both with minimal work. The '70 will be black with a black interior and maybe a black vinyl top, while the '68 will be Verdoro green with Ivy interior.
-
Whoa! Looks very promising.
-
What did you see on the road today?
Quiet Eric replied to Harry P.'s topic in General Automotive Talk (Trucks and Cars)
Passed this Toyota HiAce on the way home yesterday.
-
Steve Magnante did a few a while back similarly and called them "funny car folk art". I built a '65 gto altered wheelbase the same way, zero paint. I don't plan to make a habit of it, but it was a pretty fun and quick slumpbuster! Yours are pretty darn cool.