radiohd10
-
Posts
286 -
Joined
-
Last visited
Content Type
Profiles
Forums
Events
Gallery
Everything posted by radiohd10
-
Thanks fellas
-
Thanks! One of the best side effects of the airbrush is a smoother finish for the foil. It’s 1000x easier now Thanks dudes
-
Thanks - yeah it definitely stretched my ability to the limit. It’s the only way to get better though!
-
That’s a good question lol. This was the first time I tried it and the glass was pretty straight. With curves, vacuum forming may be the way to go. Gonna try the acetate on an el Camino I have in the queue and that should be telling.
-
Thanks guys! hahaha I’ve watched so many airbrushing vids on YouTube over the past 2 years I feel like I’ve been using one forever. I did a practice run on some spoons first too lol. The acetate thing is a game changer. I may start using it regardless of the kit glass quality. I saw other members of this forum using it too and now I know why.
-
thanks guys!
-
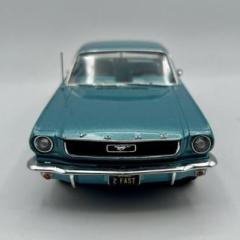
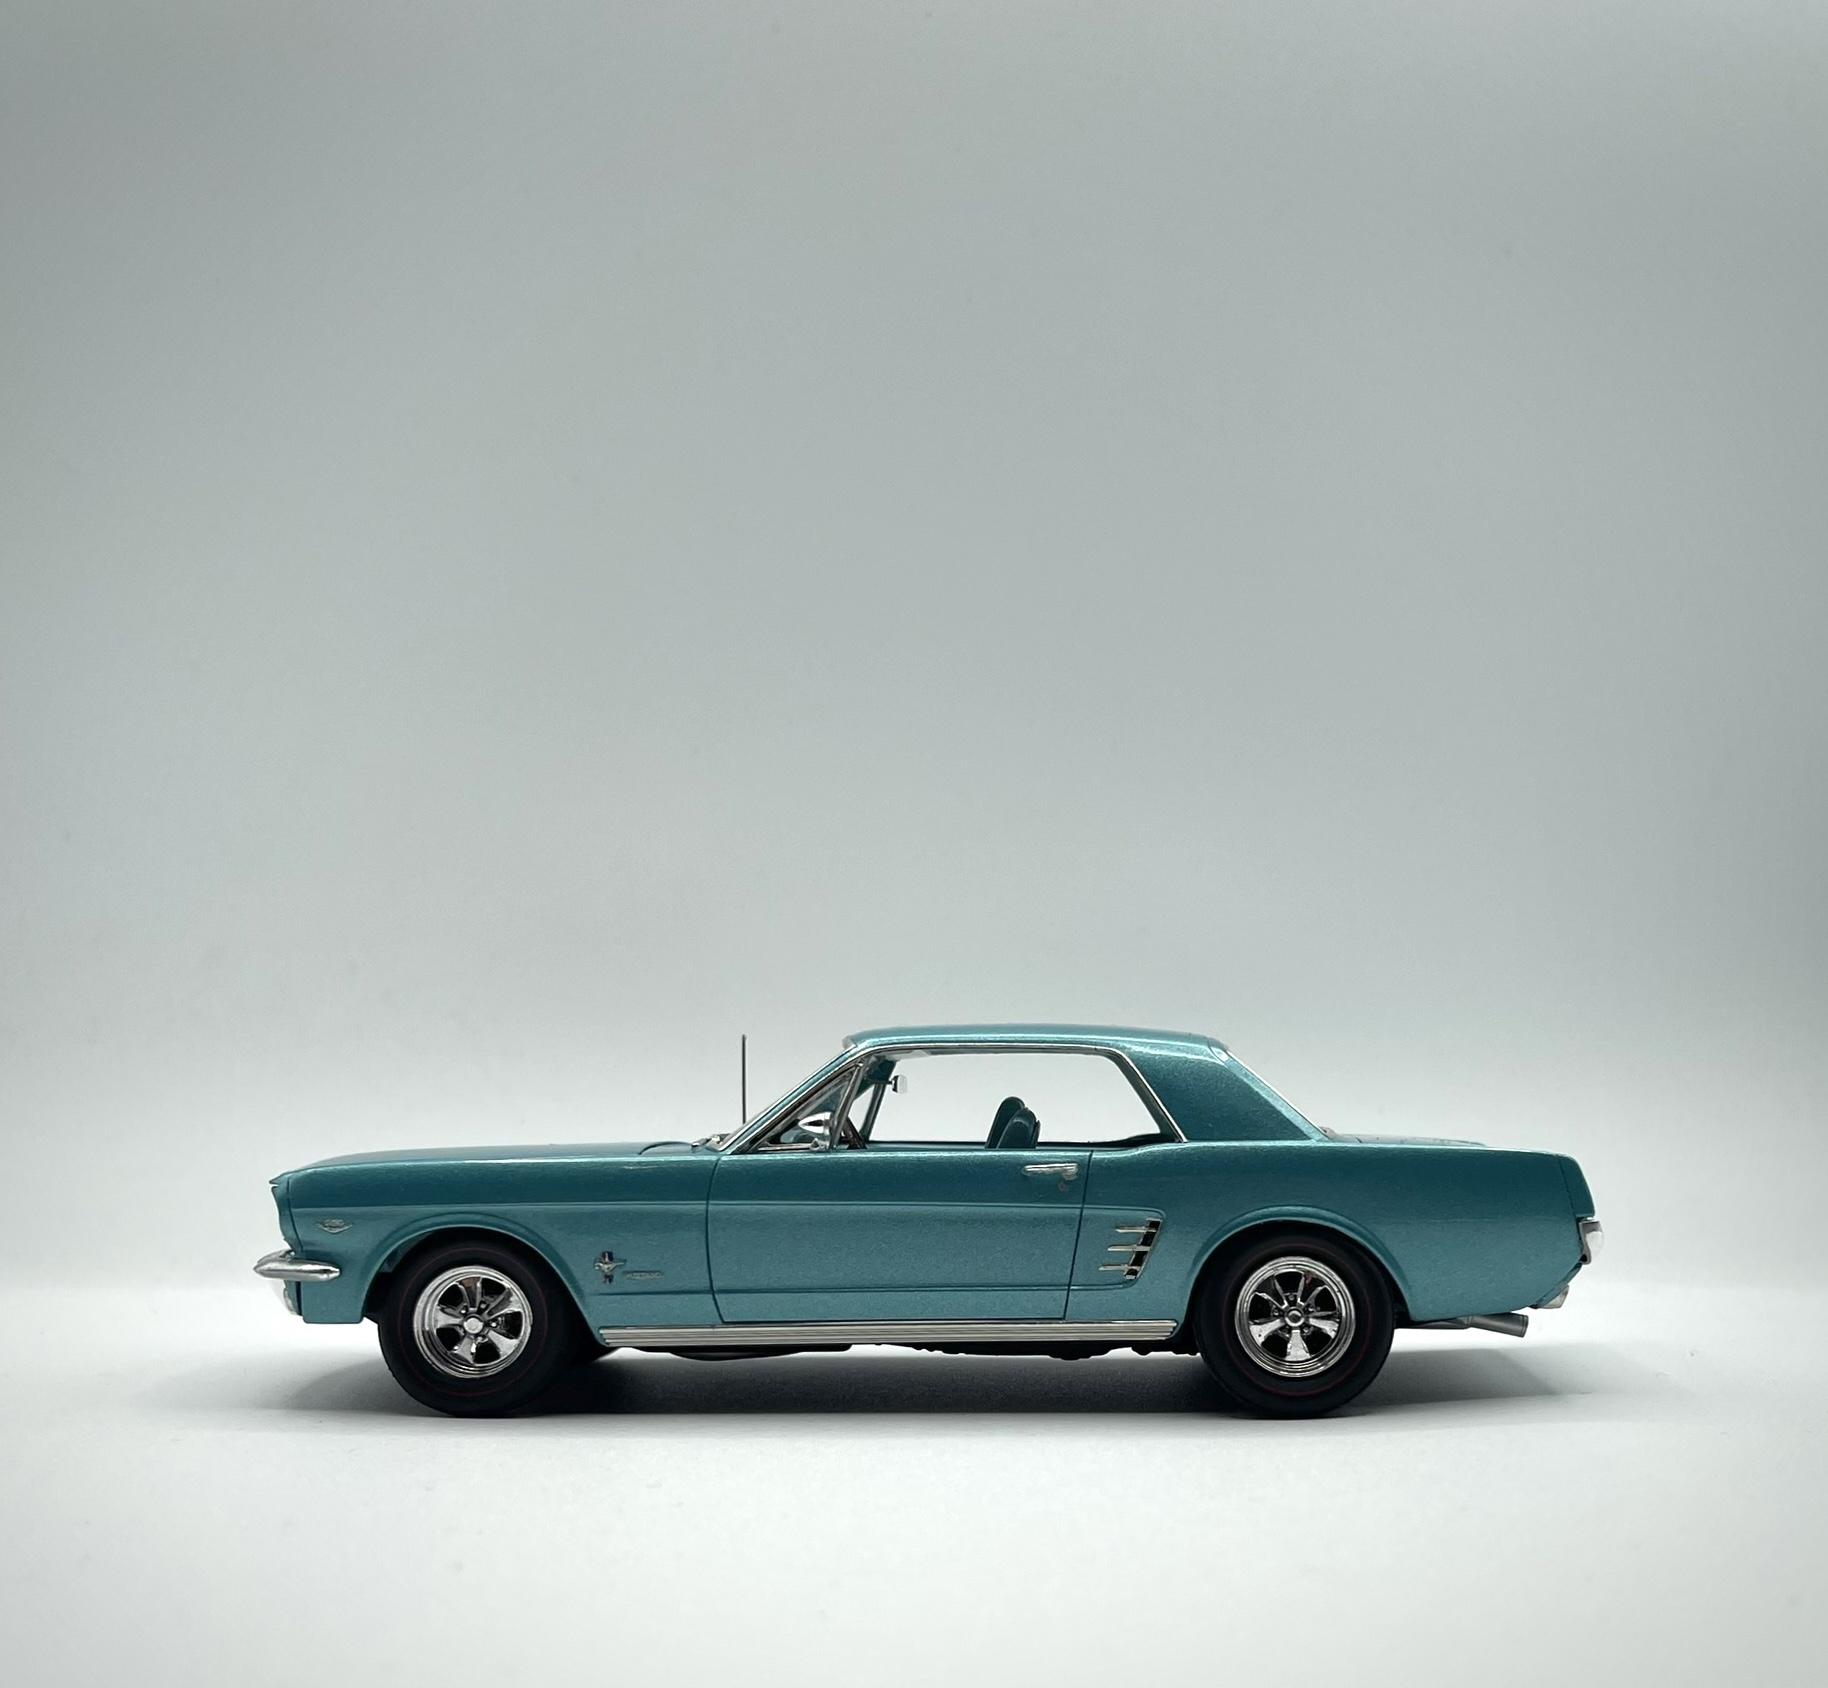
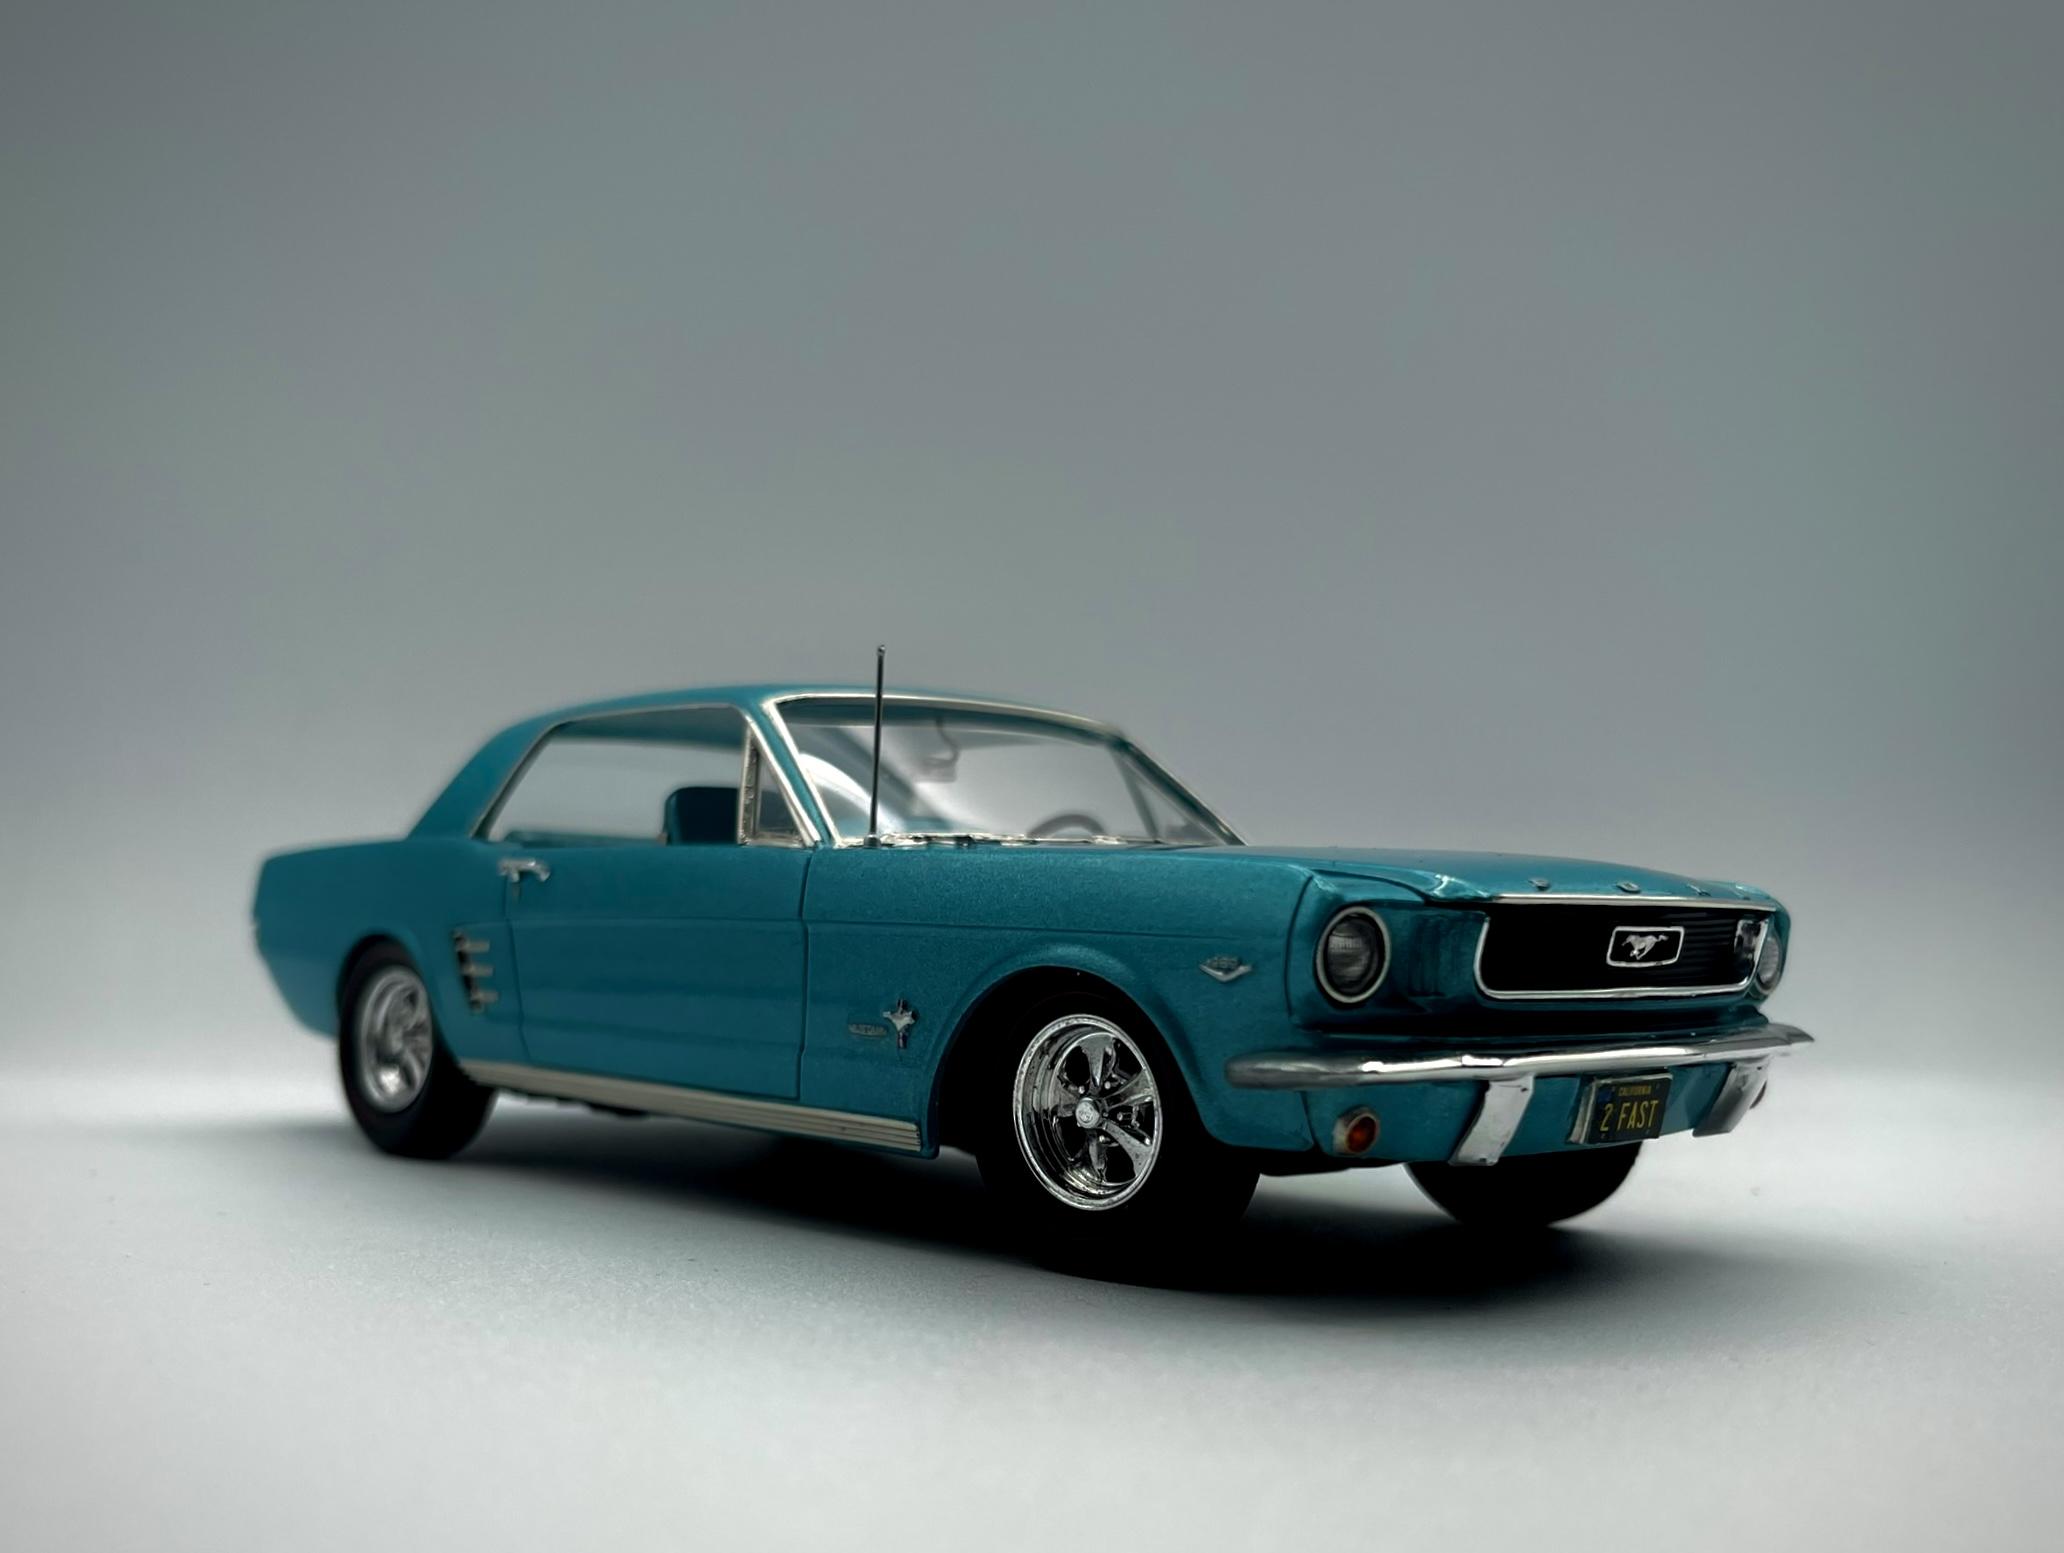
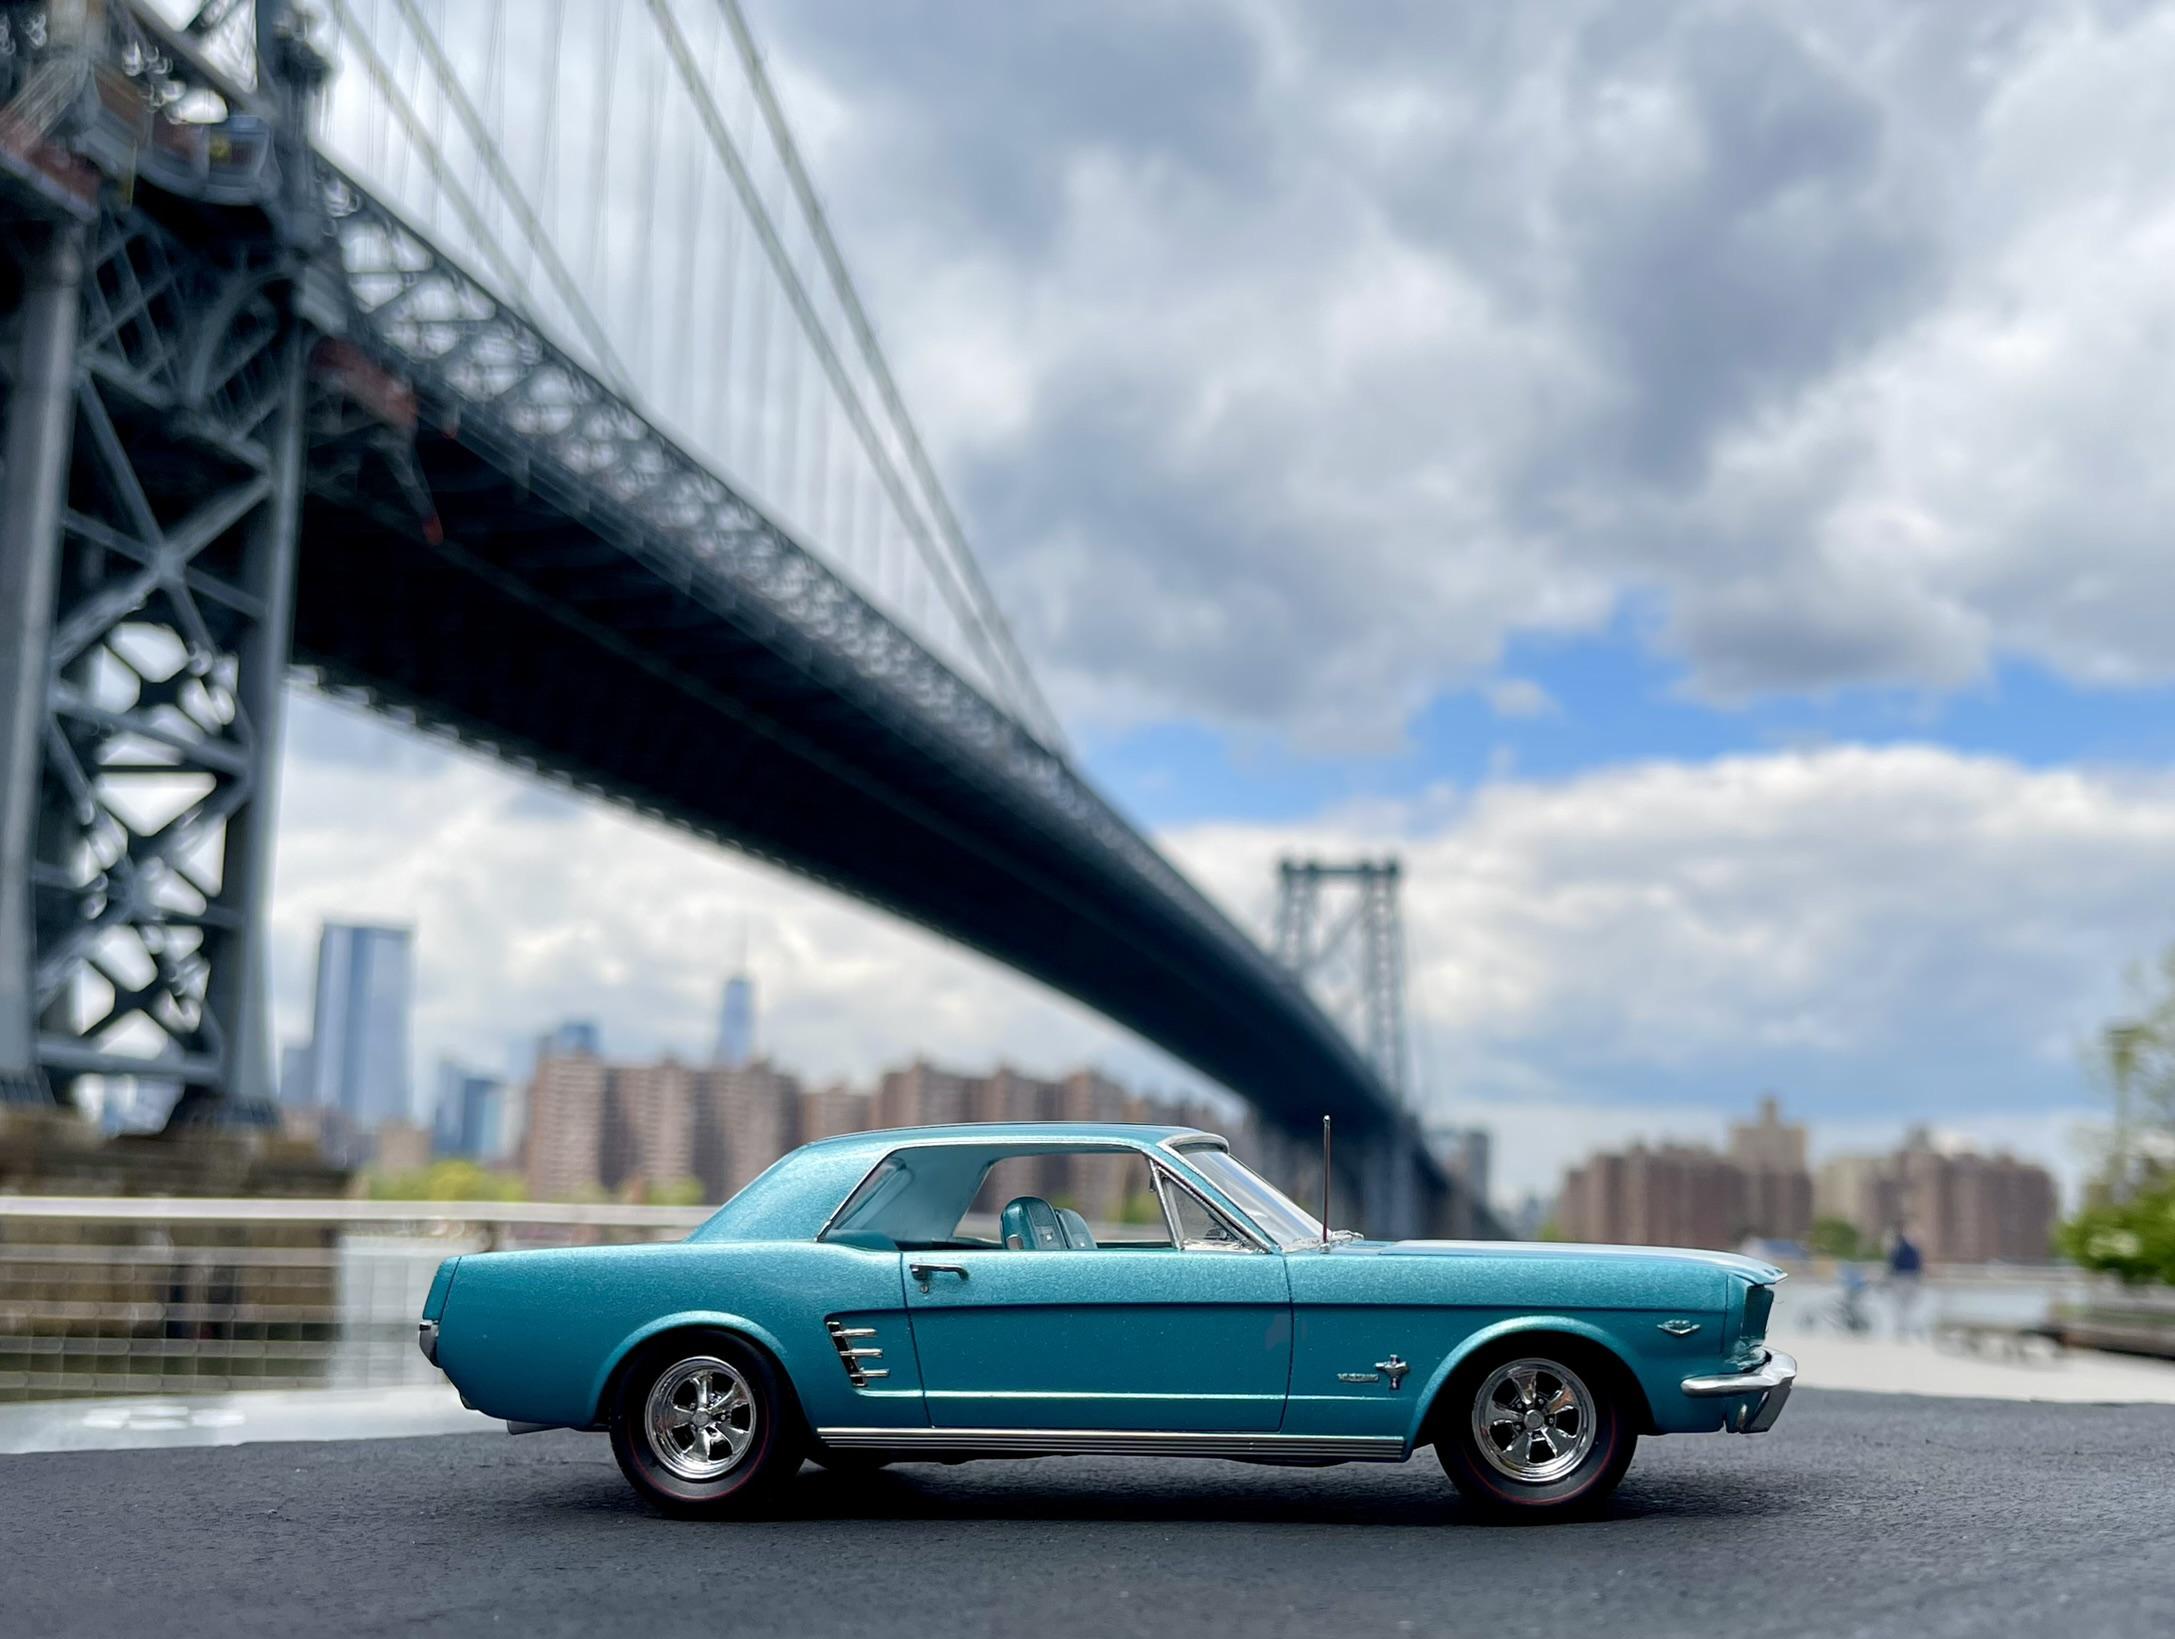
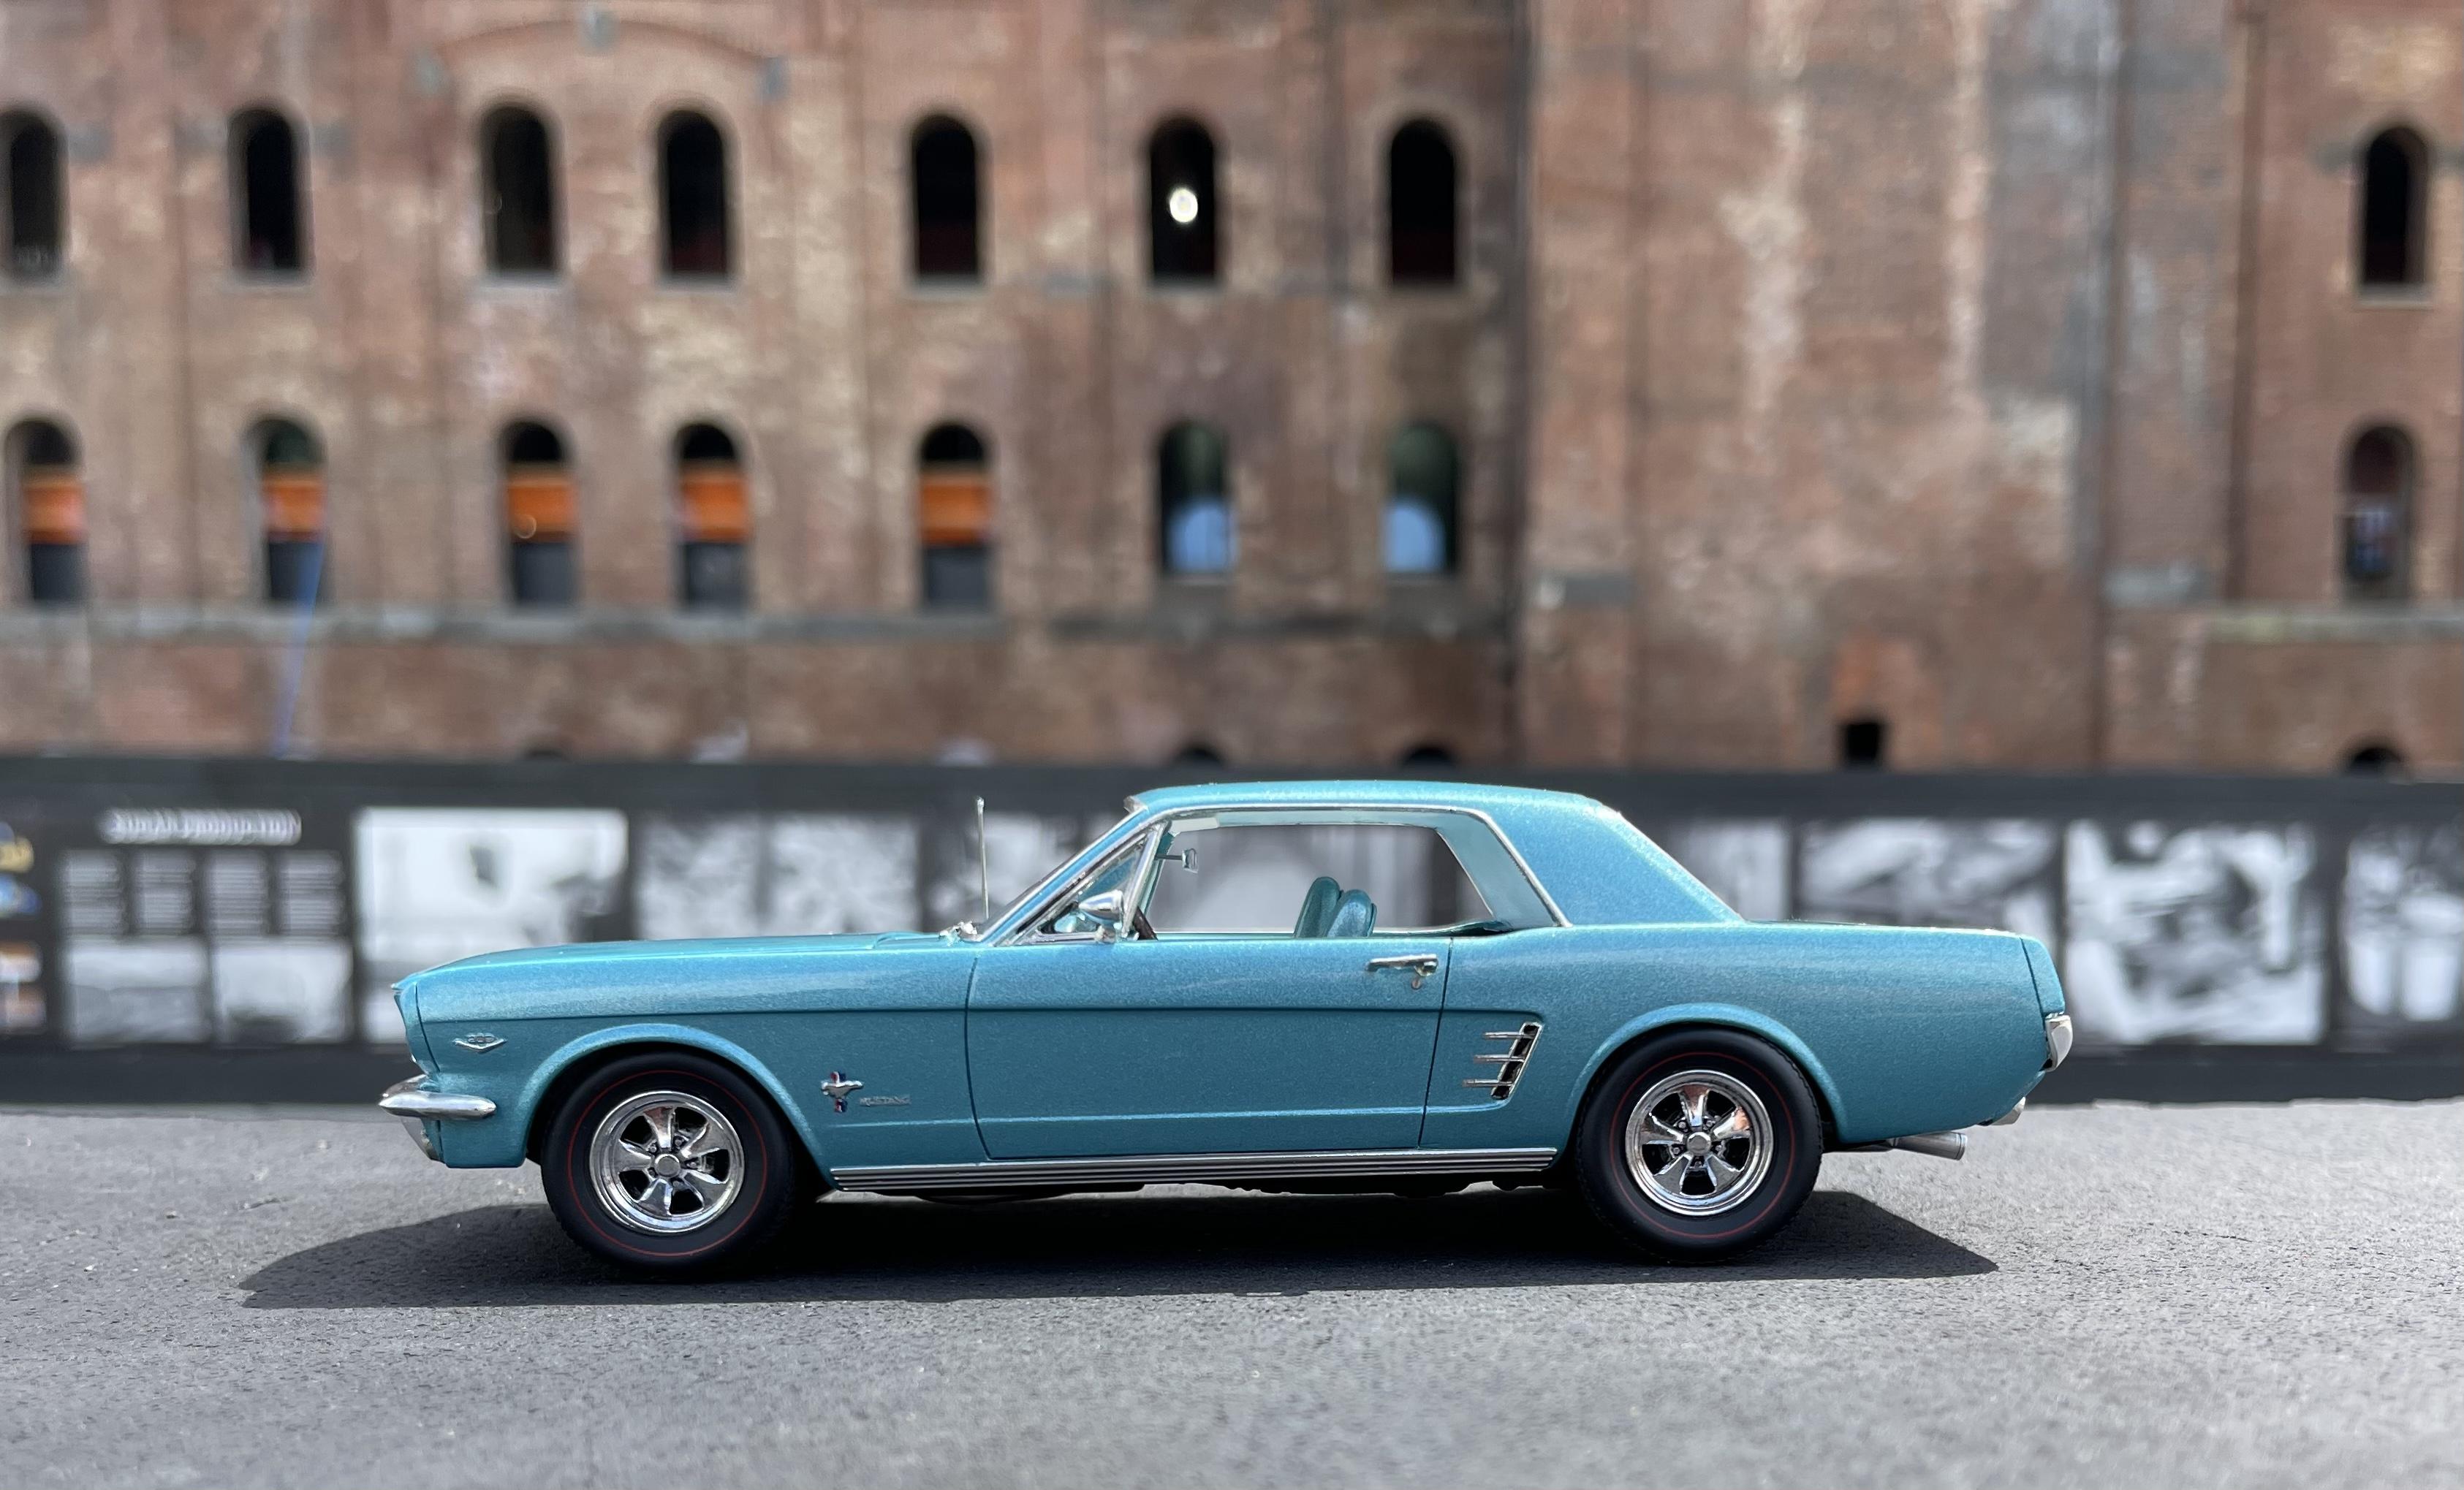
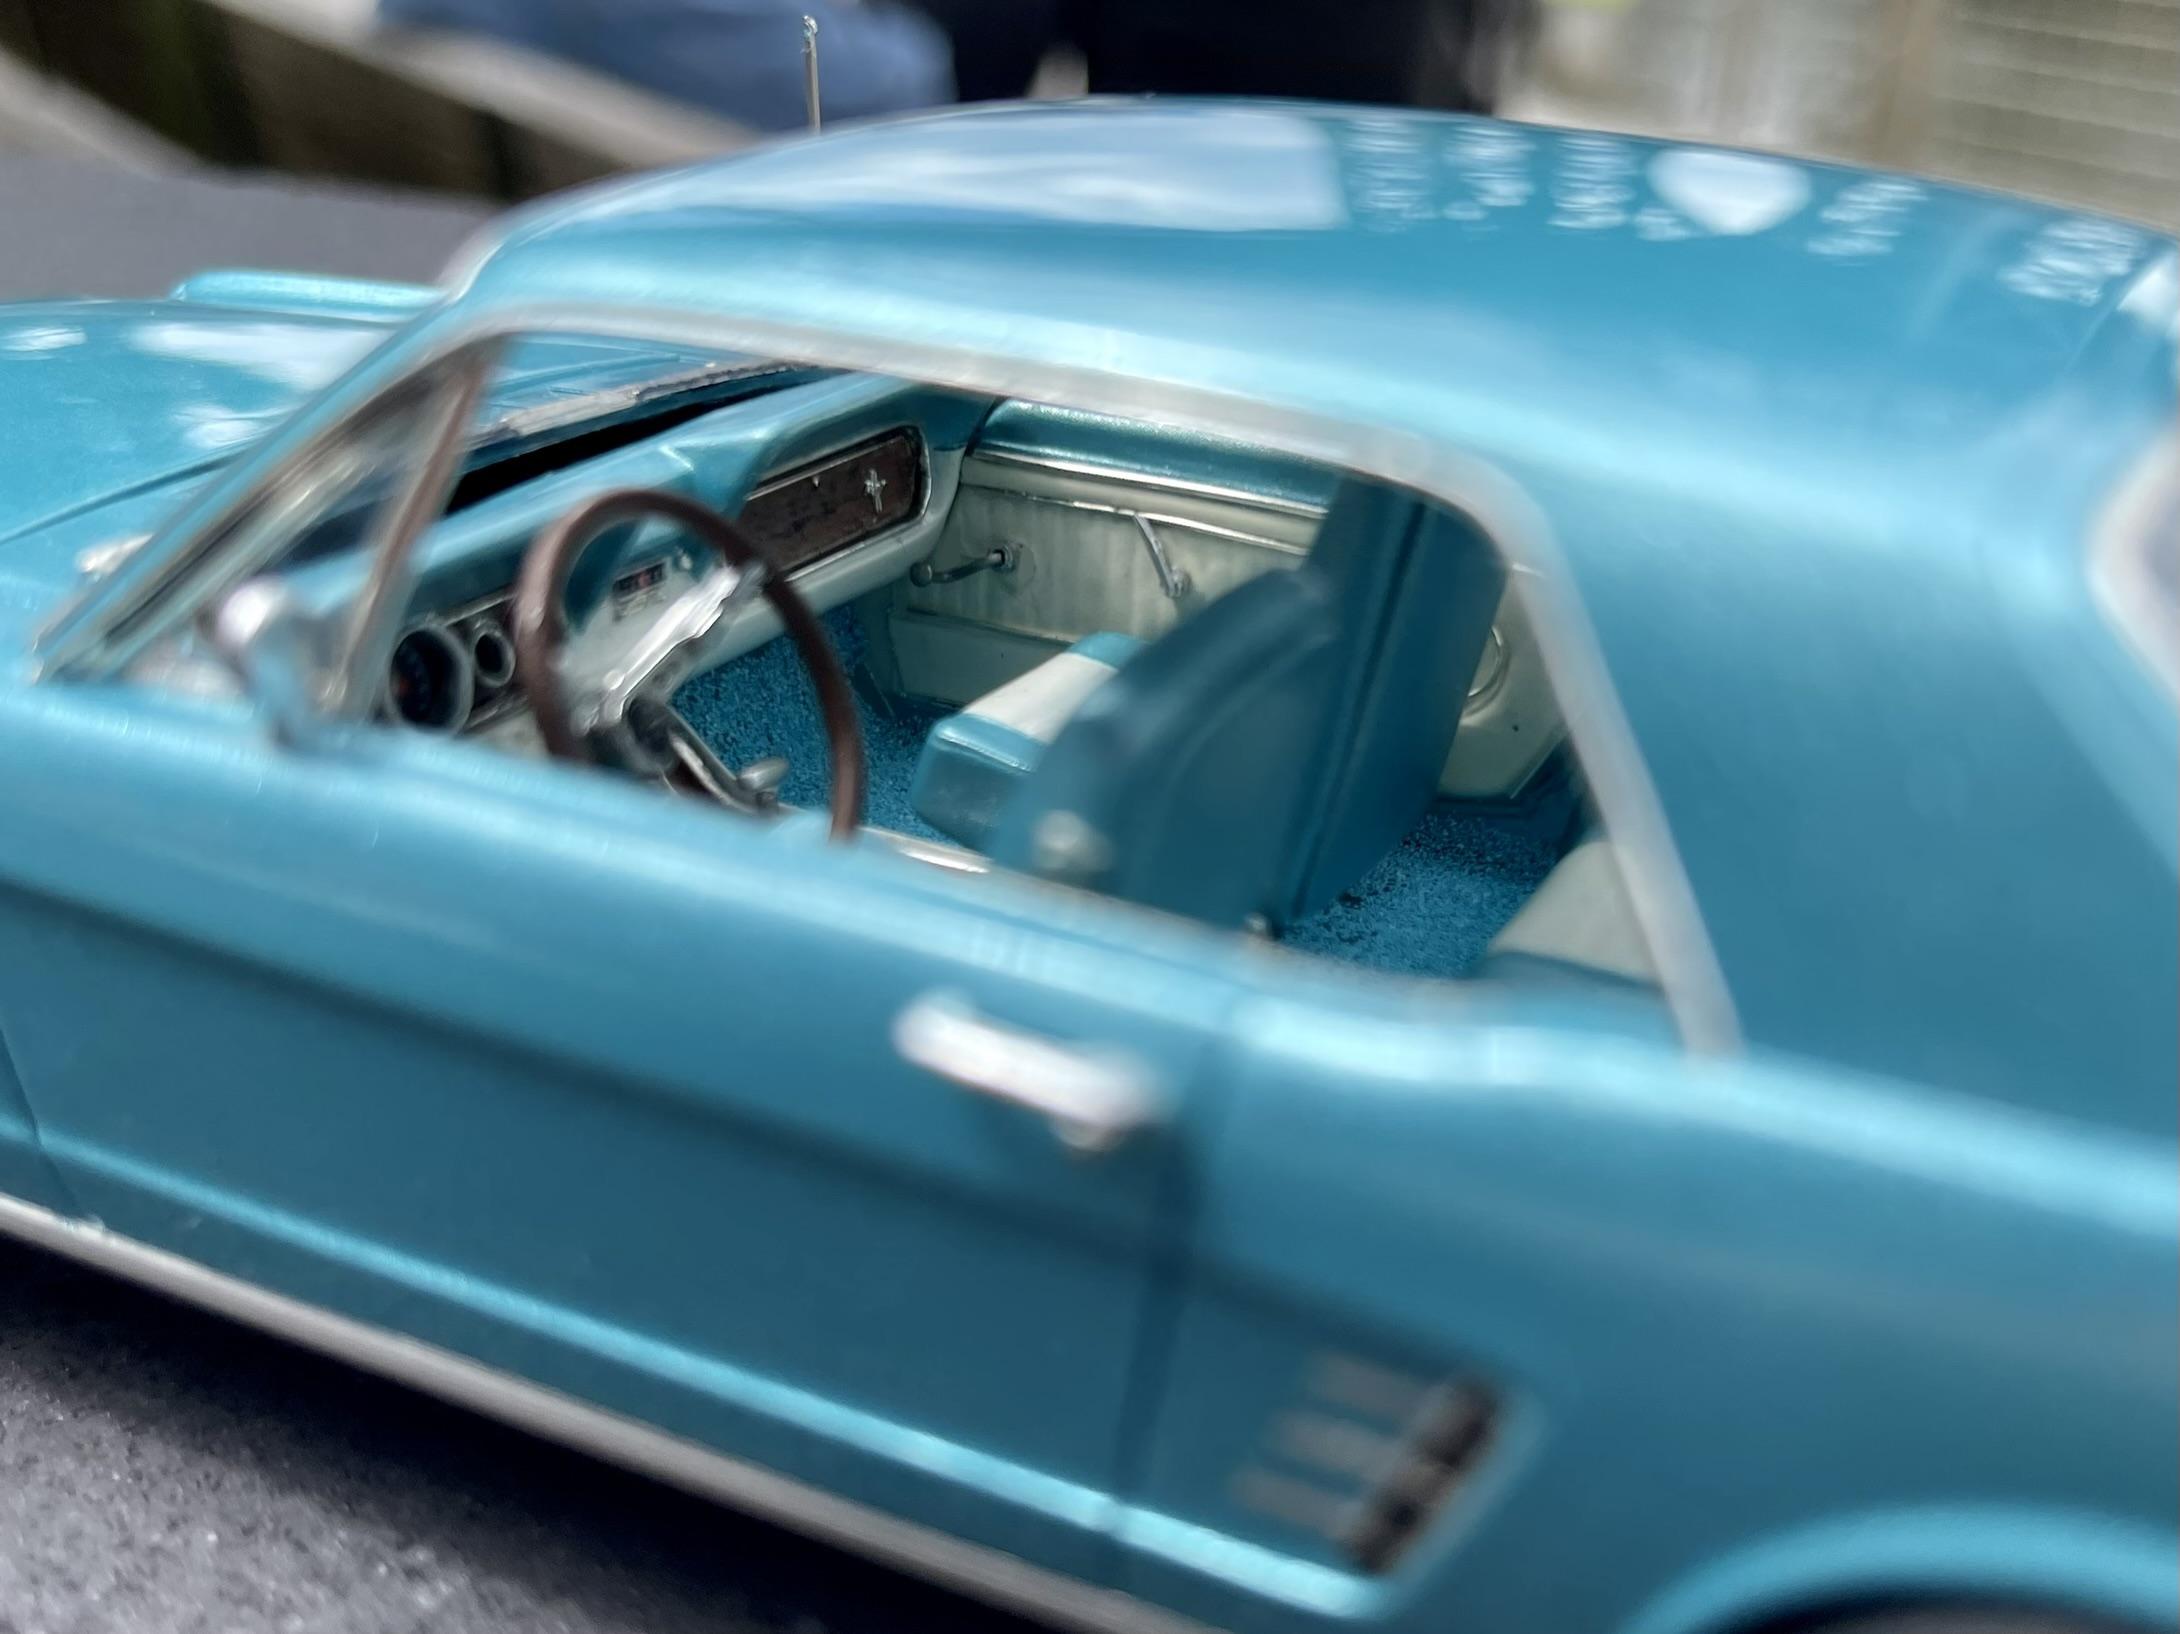
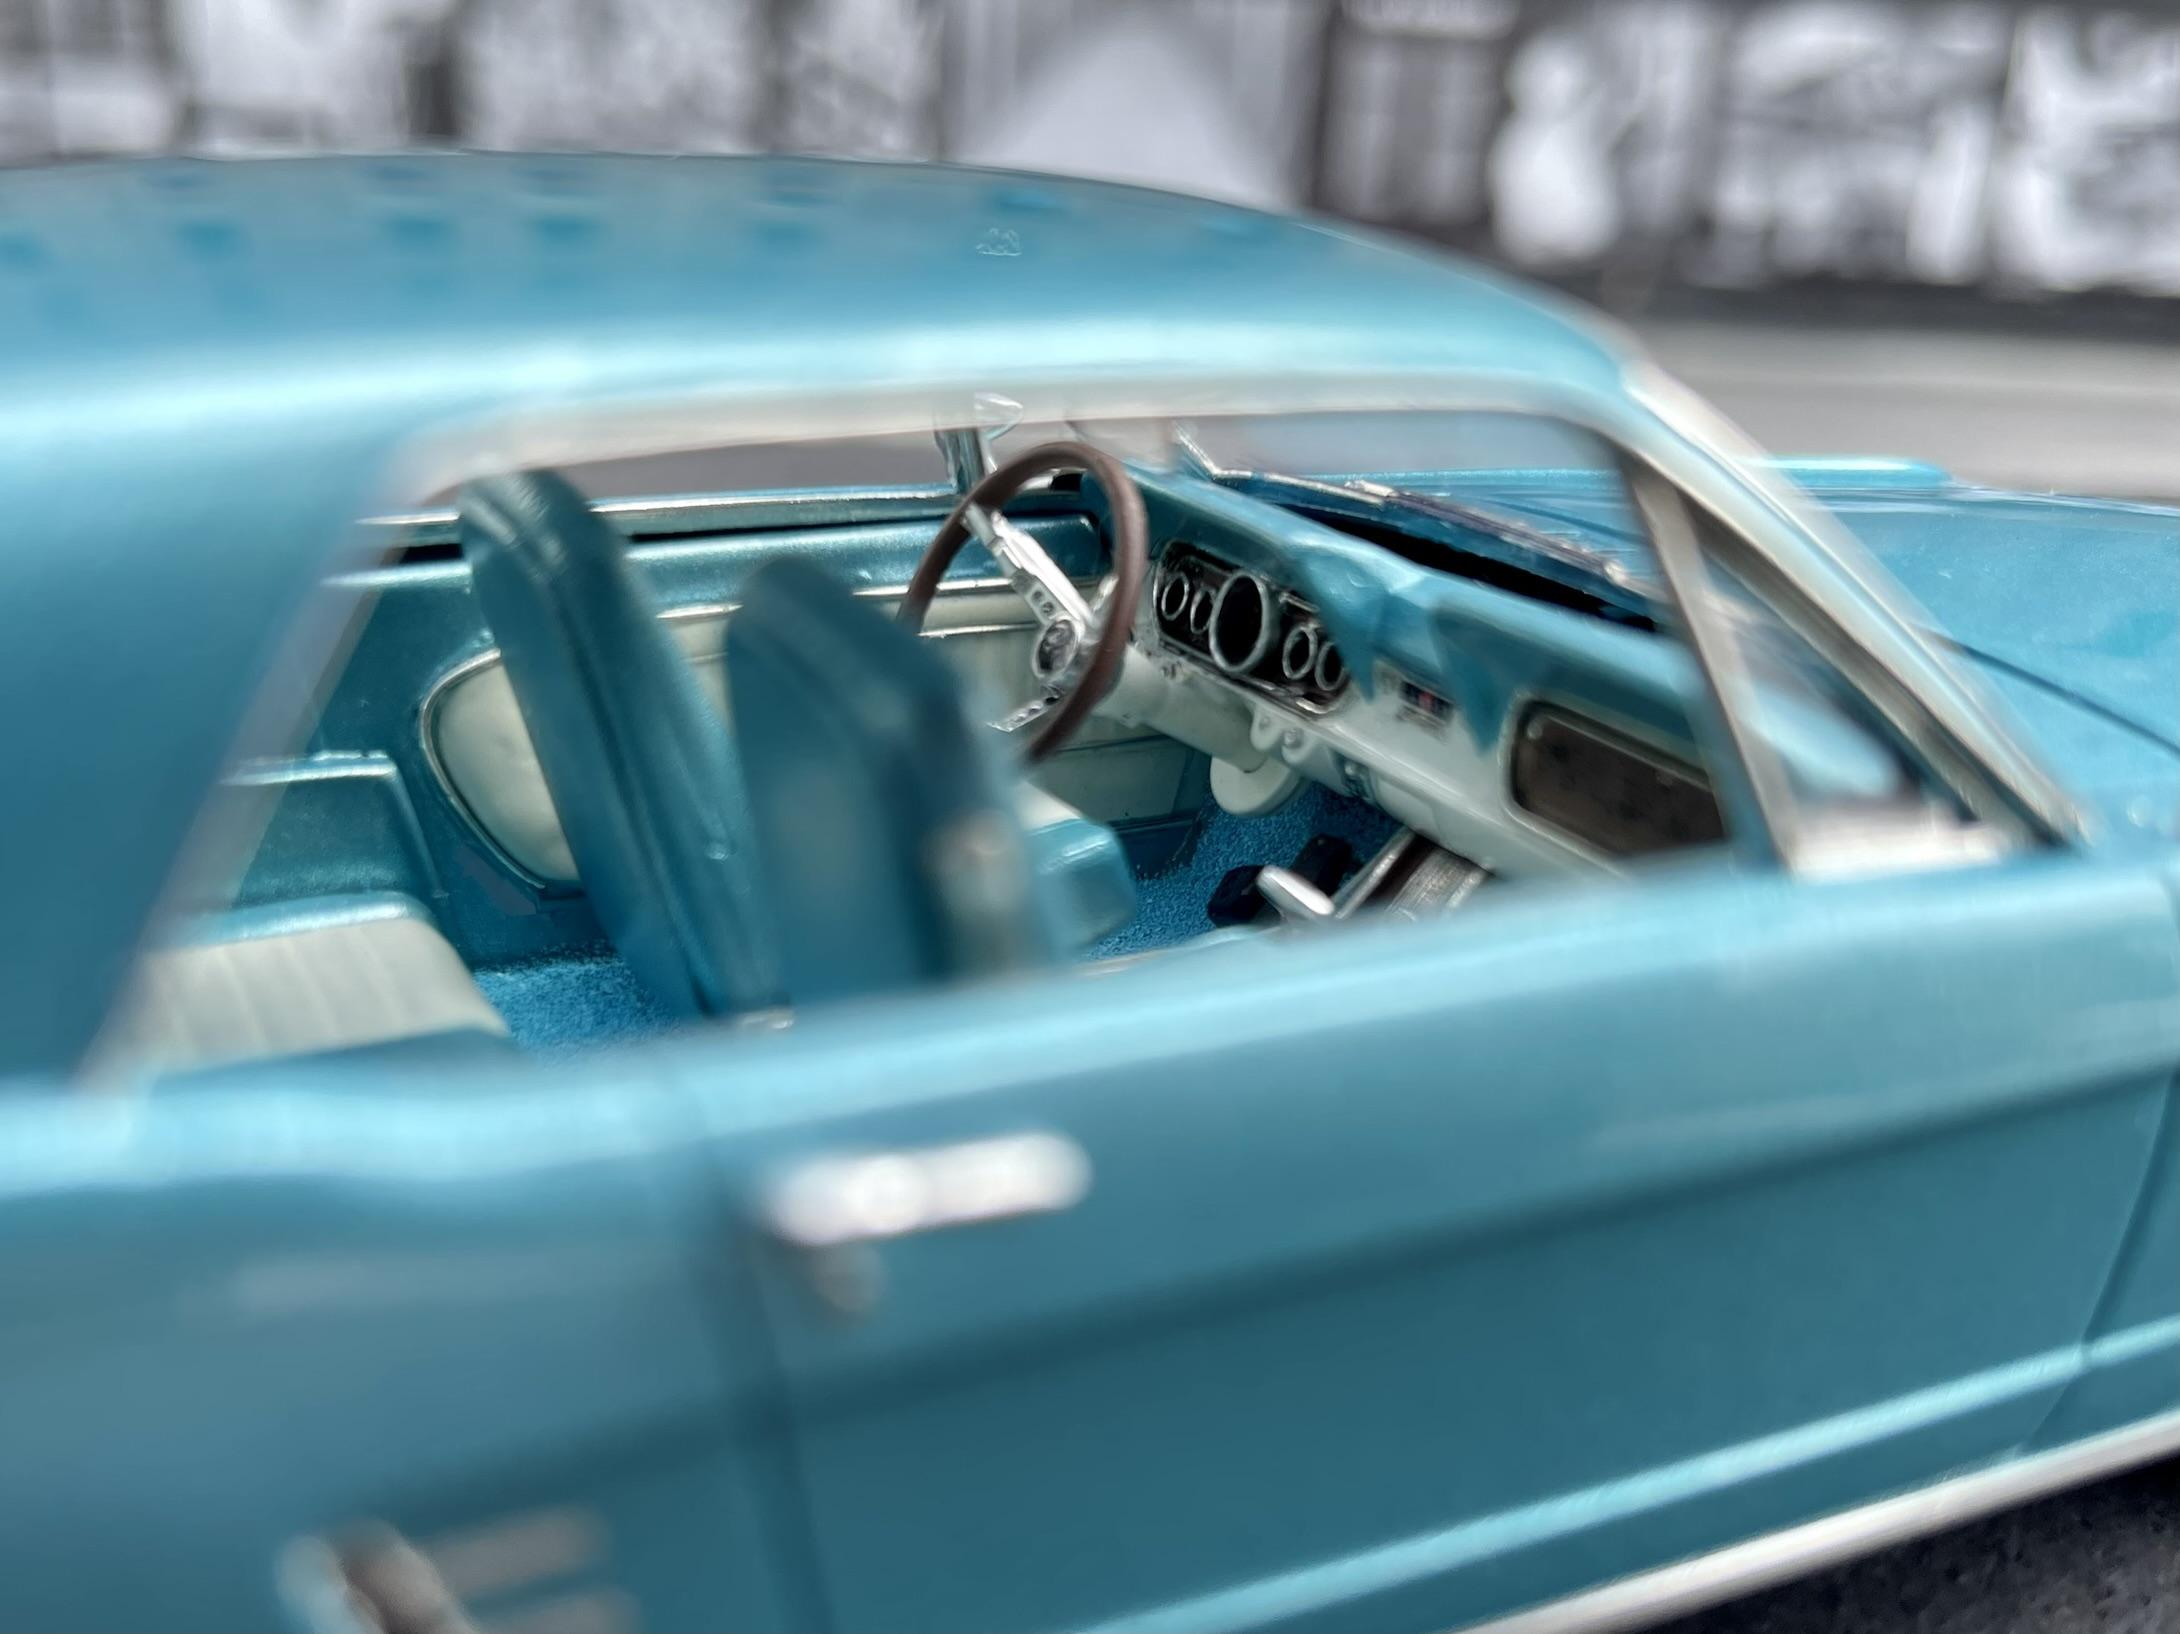
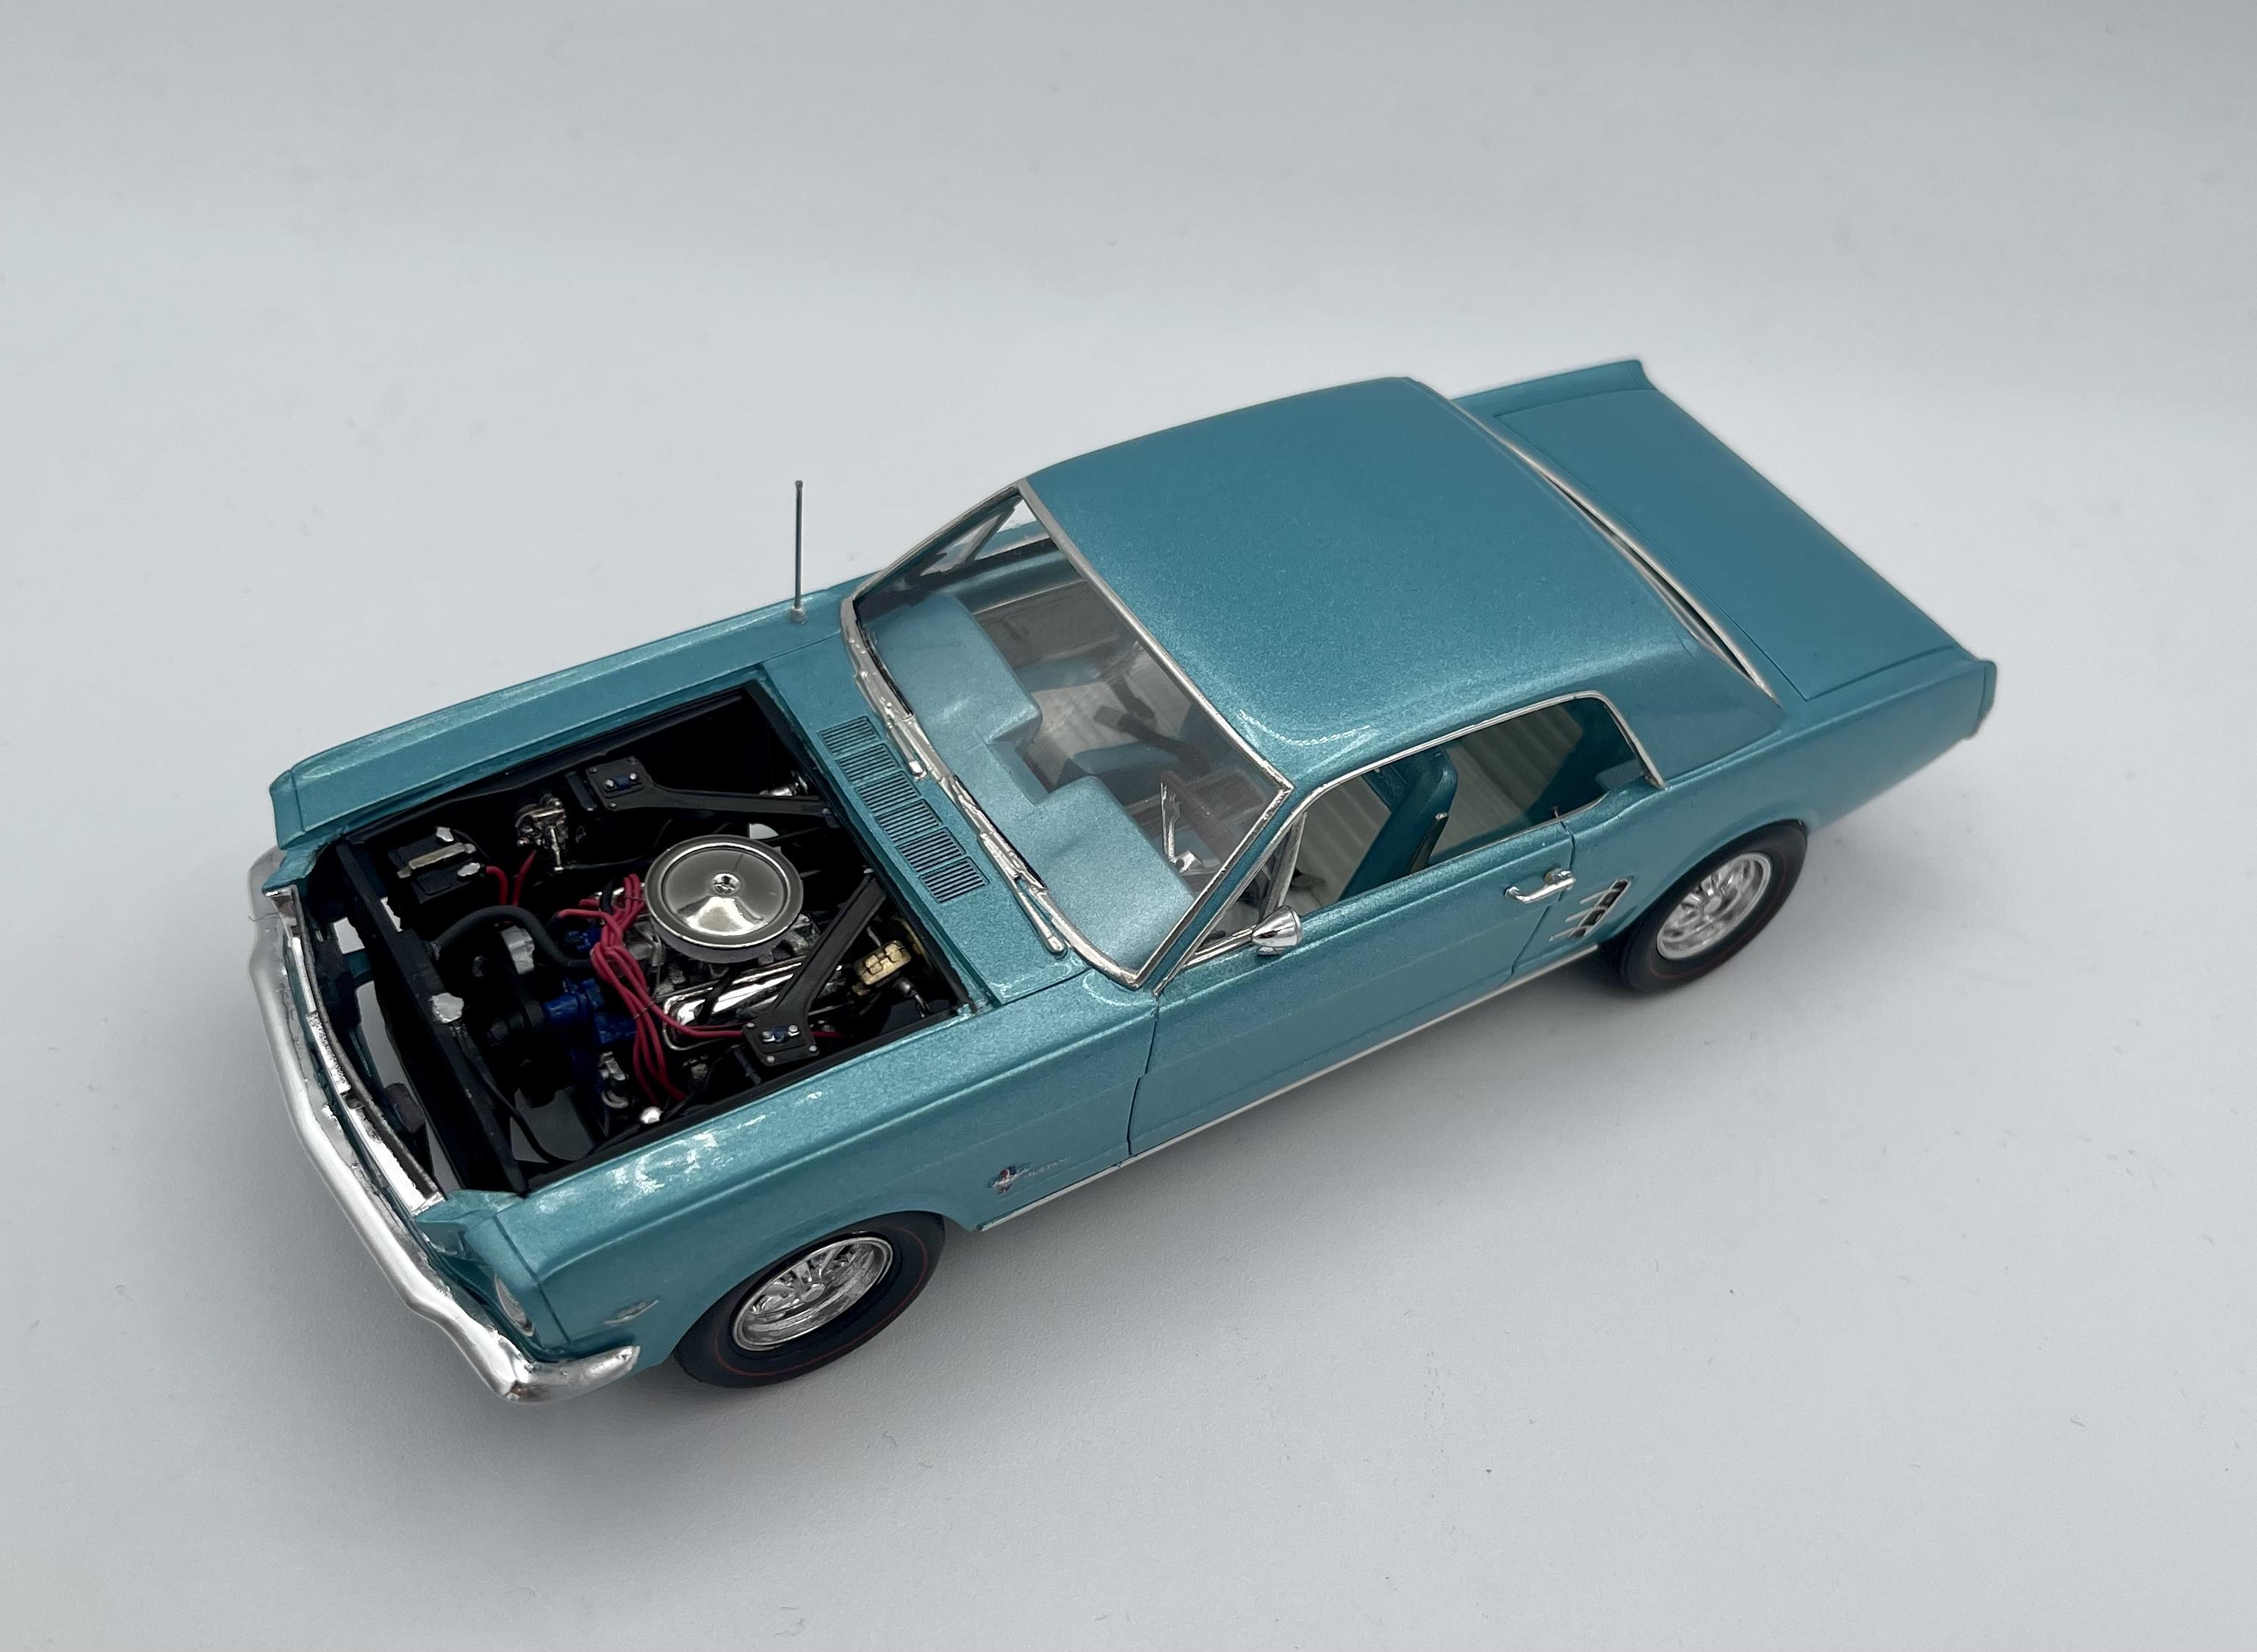
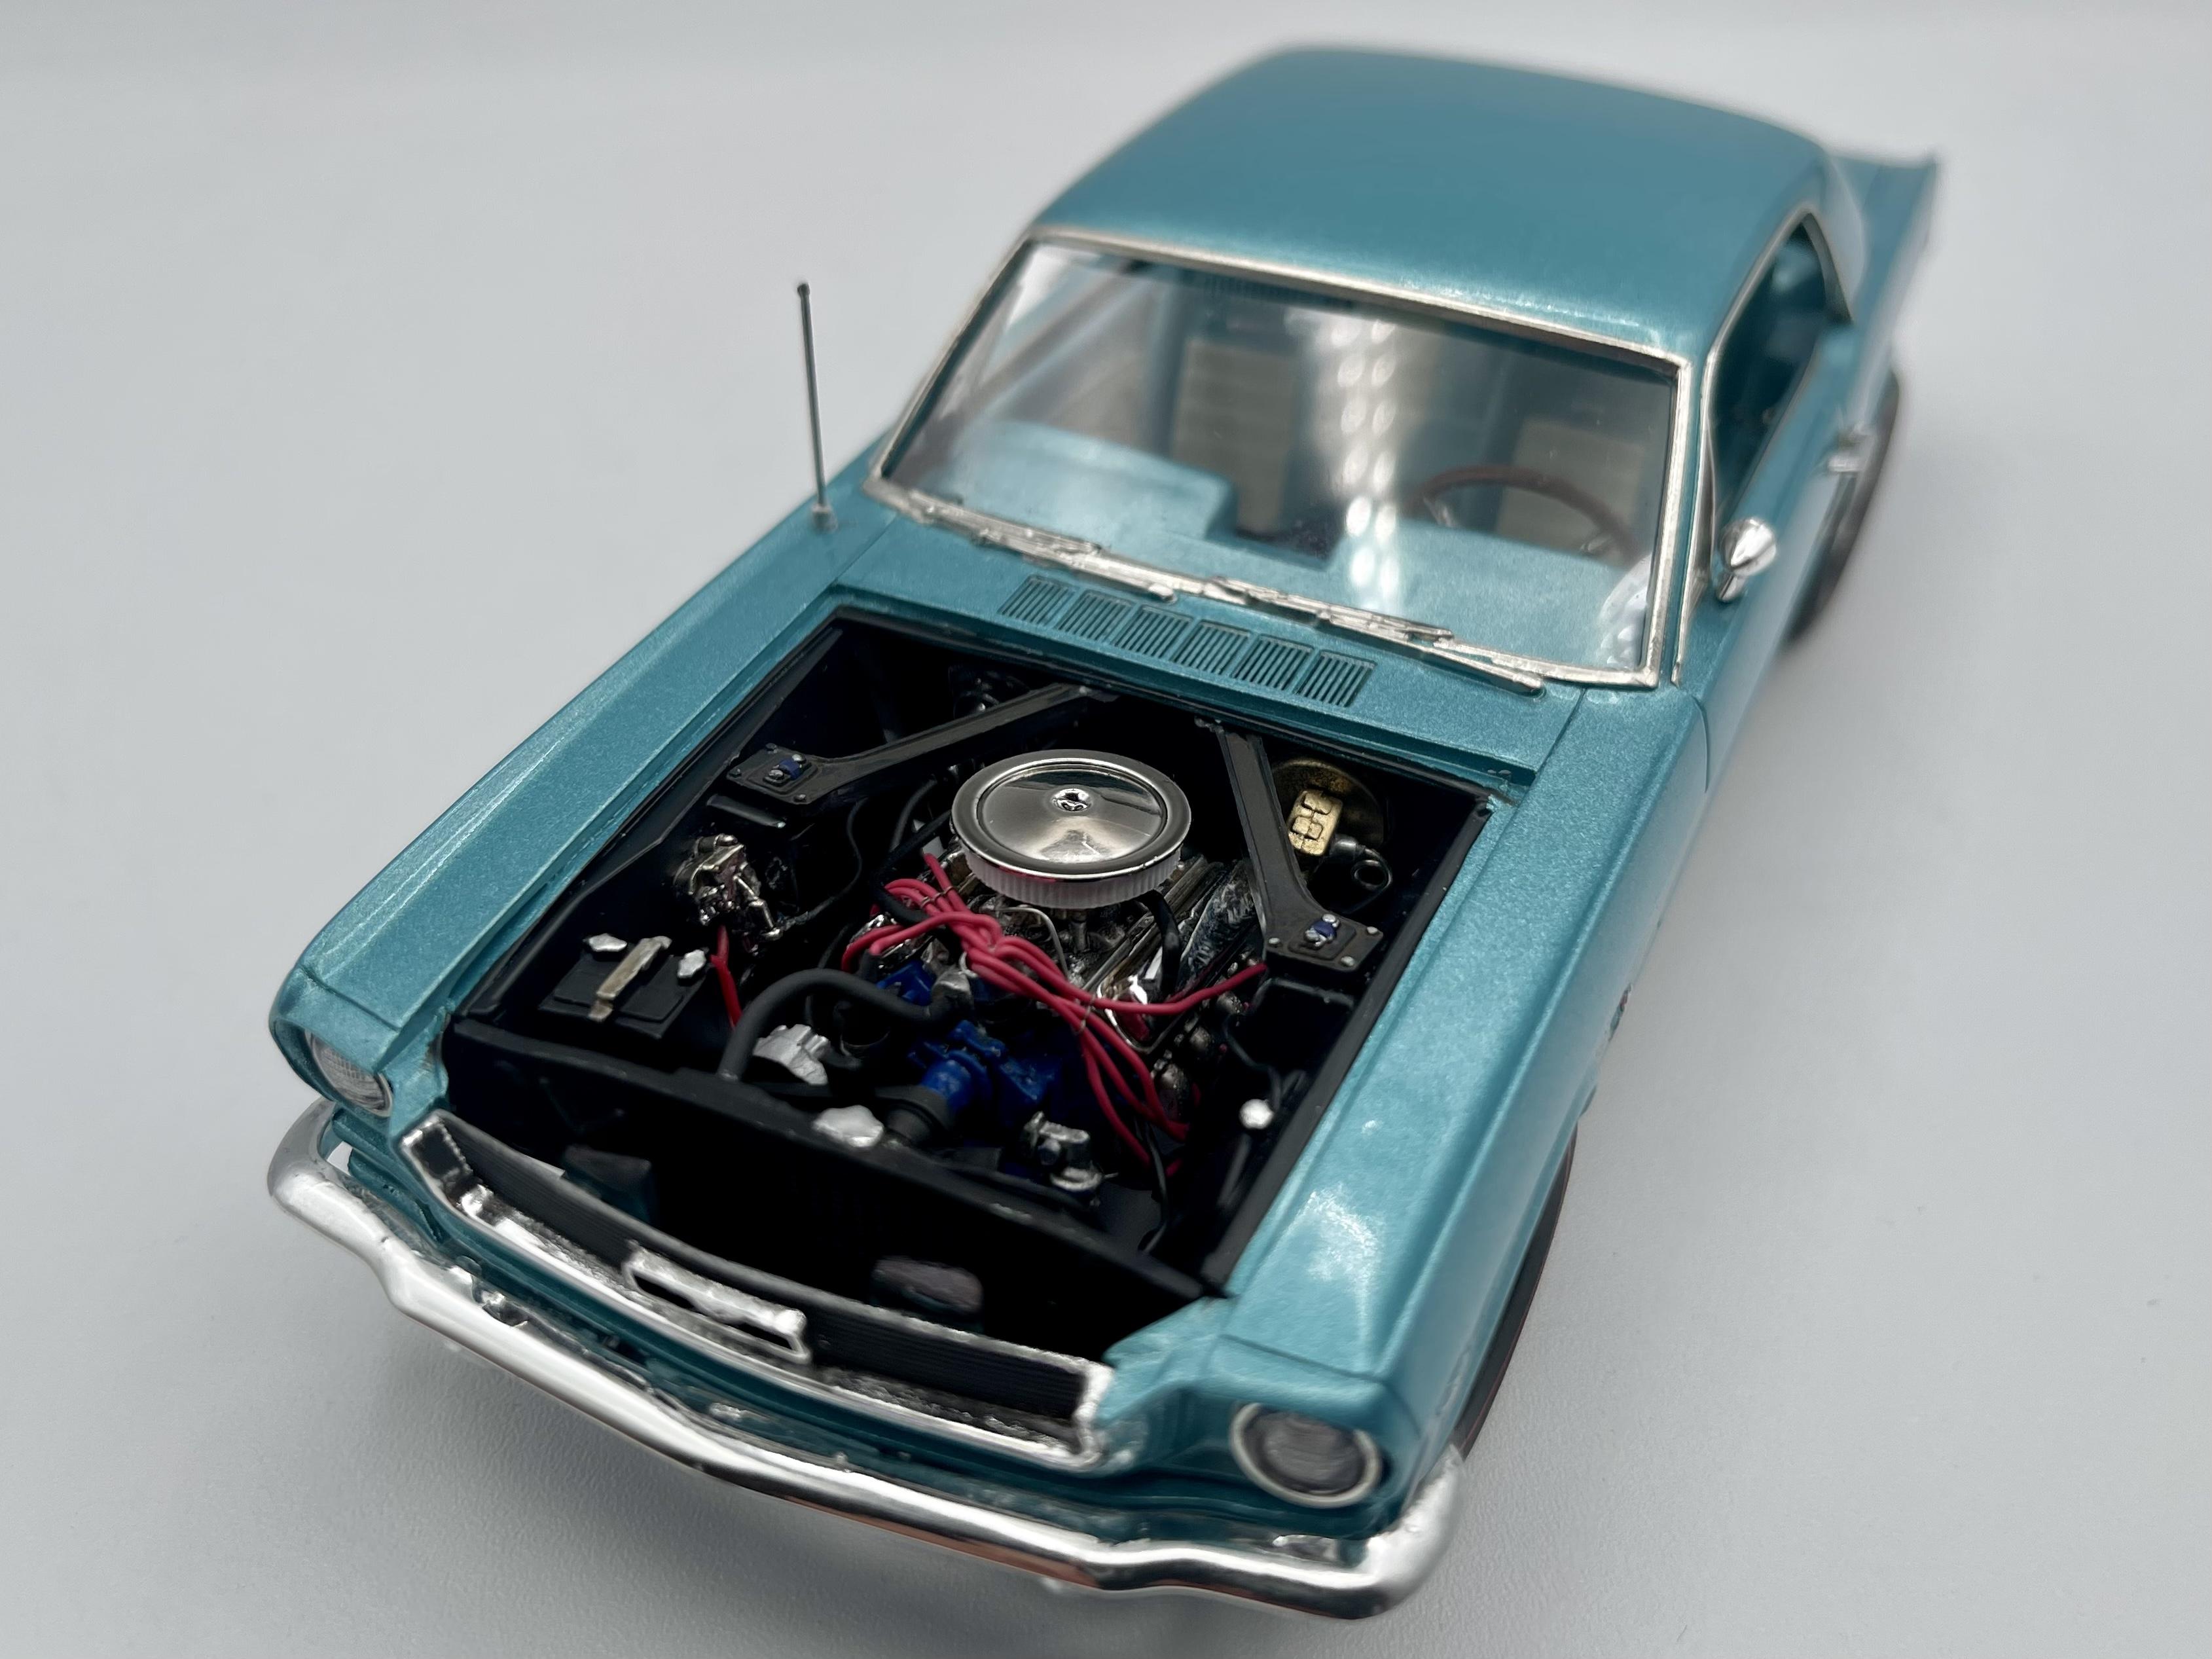
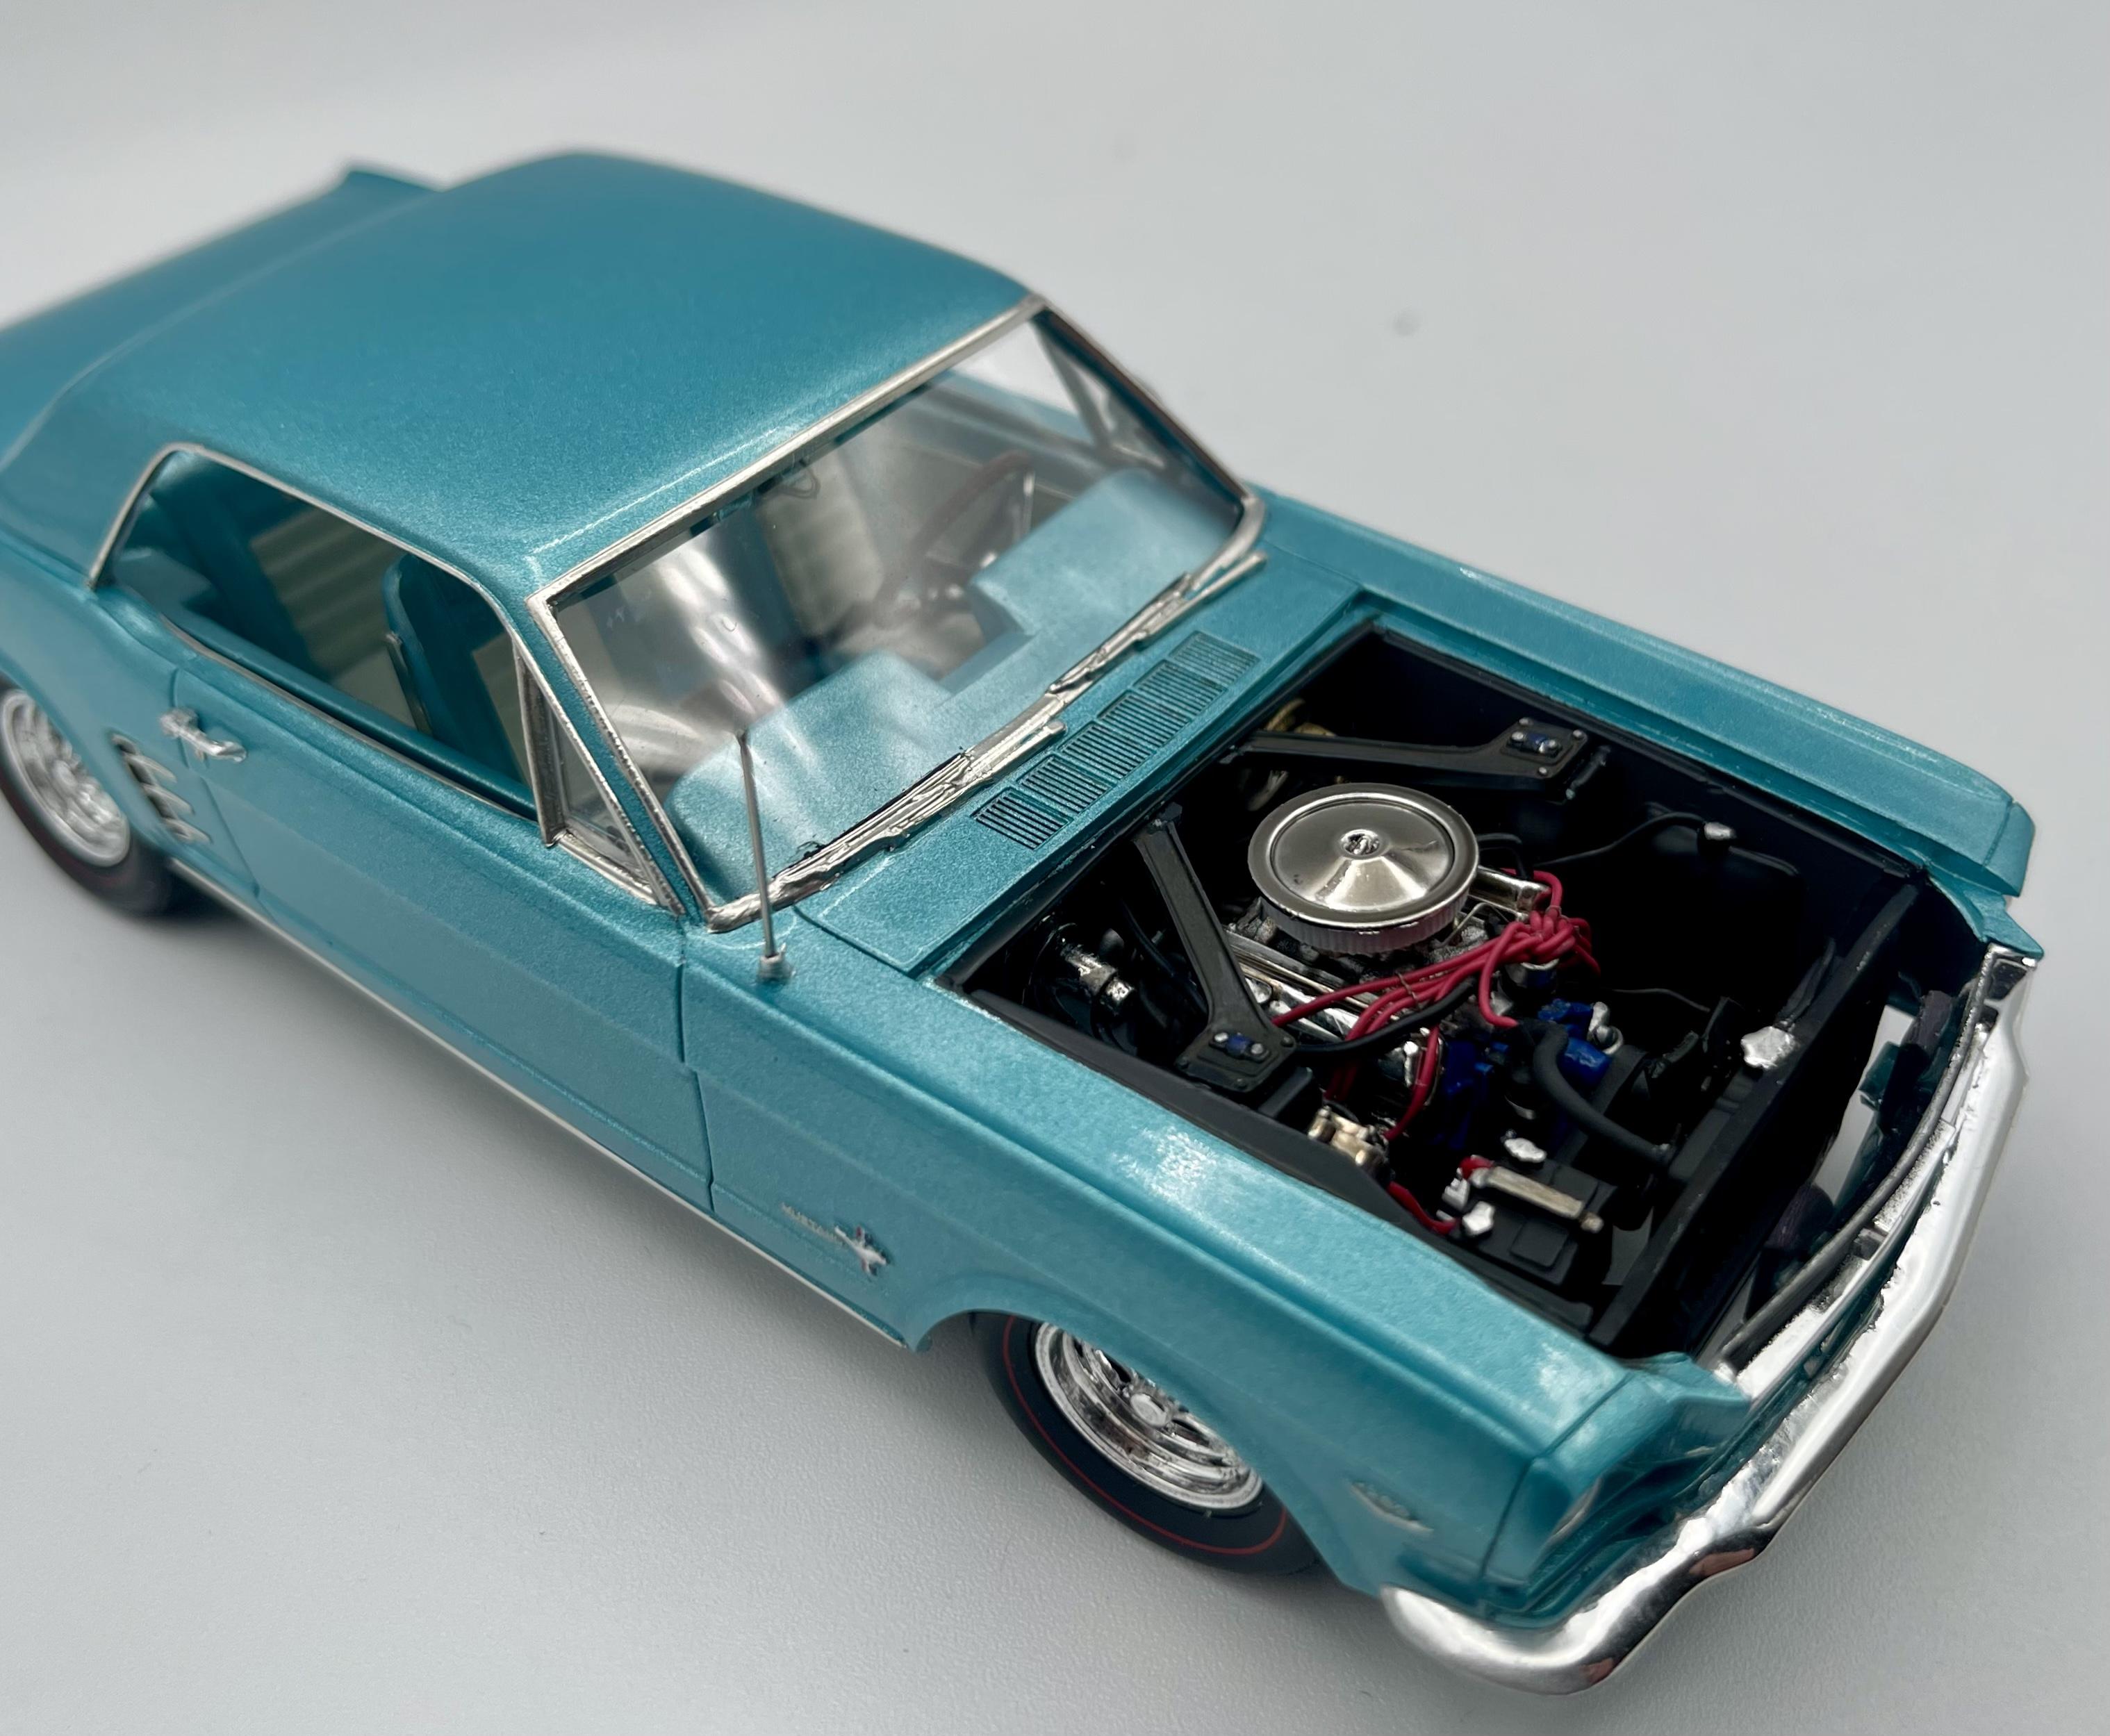
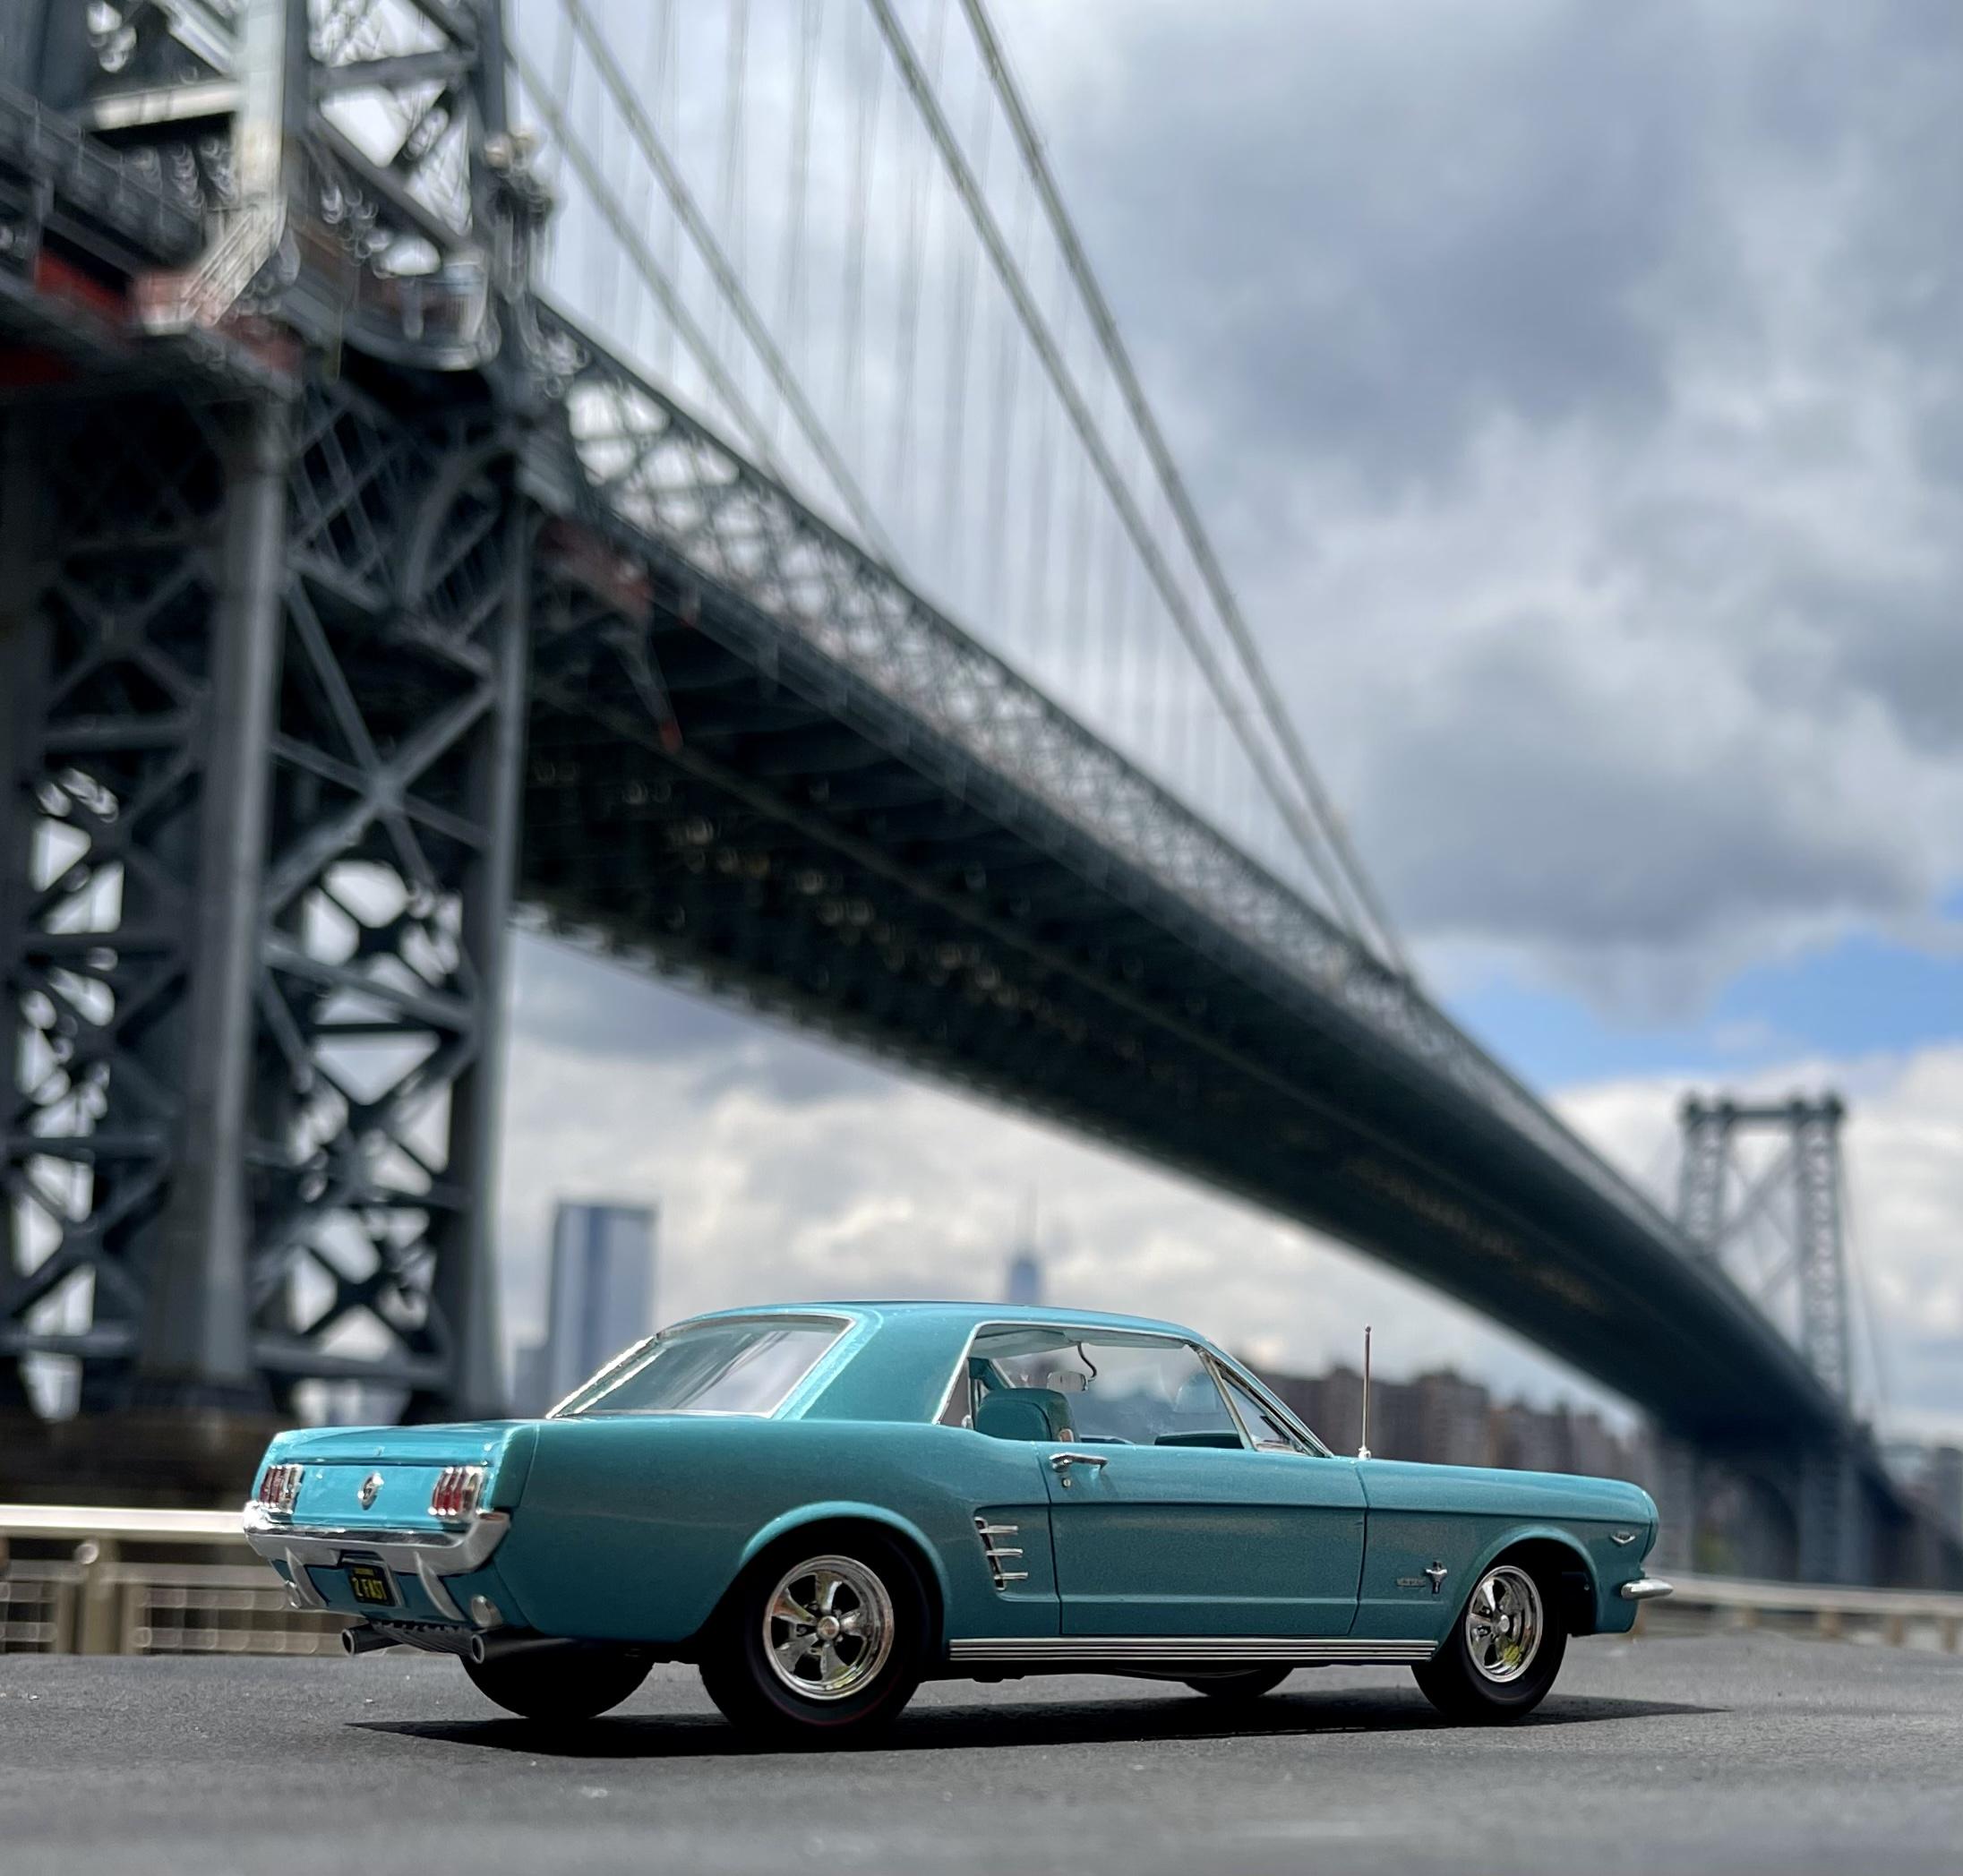
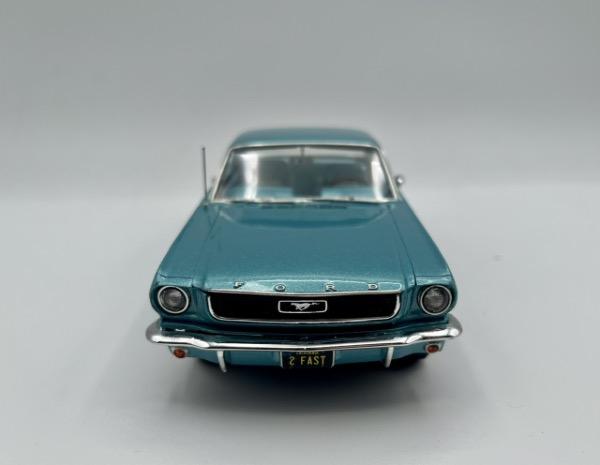
Well, I finally bit the bullet and got myself an airbrush - now I’m kicking myself for having waited so long. To anyone who’s on the fence about taking the leap - just do it. It’s actually easier than using spray cans and the cleaning isn’t nearly as annoying as I thought it would be. There are some great tutorials on YouTube and they’re just a lot of fun to use. Anyway, here’s my first attempt at airbrushing - a ‘66 Mustang Coupe. It’s a kit bash between the AMT ‘66 Hardtop and the AMT Shelby 350 GT. I used the ‘66 body/interior tub and everything else is either scratch built or taken from the ‘67. Sorry for the photo dump, but this thing nearly killed me (and I have no self control ?) Here are some build notes for those who like to know this stuff: I had to shorten the rear of the ‘67 chassis a bit to get it to fit properly. I also cut and grafted the waaay more accurate front inner fenders from the ‘67 to the body of the ‘66 so I could add detail to the engine bay. Most of the engine bay bits are scratch built but I also repurposed some things out of the parts box. The interior door panels needed quite a bit of added detail so I shaped and glued some styrene sheet and putty to them and used two different gauges of wire for the trim. The knobs and handles are aluminum sheets/tubing, and tailor pins. Had to build a rear view mirror and some sun visors too. I also added styrene to the back of the seats and to the sides for the chrome trim, sanded them to a more appropriate shape, and put them on brackets to lift them off the floor a bit. The trim around the windshield was a mess so I sanded it off and used some styrene strips and scribing to recreate it. I also had to scribe the panel lines around the front and rear lights because the kit inexplicably had the body smooth the whole way. Weird detail for them to miss. Also scratched some bezels for the headlights. The kit glass was unusable so I used clear acetate, cut to shape. I added some styrene strips along the inner A-pillars and around the rear windshield so I could friction fit the glass into position. All the chrome on the body (aside from the bumpers and wheels) is BMF and the scripts and emblems are foil under paint. The wheels were taken from another kit (68 charger I think??). Had to do quite a bit of reshaping to get the ride height sorted. It’s not perfect but it’s better than before. Body paint is scale finishes Tahoe Turquoise basecoat over Alclad silver candy base, clear coated with Mr Super Clear UV Cut Gloss. Interior paint is tamiya racing white under Tahoe Turquoise, with tamiya browns and blacks and clears for the wood grain. This build was a real pain in the butt, but I’m happy with how it came out. It’s probably my favorite car of all time so hopefully a manufacturer will put out a better representation someday. If not, I took notes, so the next one should be easier. Time to cleanse my palate with nice simple curbside ??

- 39 replies
-
- 11
-

-

-
This is great - thanks! I recently bought a light box and the results are decent but yours are next level. Will def try out those tips!
-
Beautiful. I need to learn how to light photos like that - amazing job ?
-
very nice! love that color combo as well
-
Awesome job! i'm working on one of these now too. I opened the hood in case i decide to convert it from a curbside at some point down the road, but I may just leave it be. I was also a little nervous about the size of the gaps in the door panels but yours looks great all built up! That should save me quite a bit of rescribing time lol.
-
beautiful build!
-
Builds like this are what push me to take more risks and step my game up. Simply amazing ? ?
-
Awesome job on a great kit. That color is sweet - definitely gonna pick some up for a future build. You’re right, the tail end on this one is really it’s only major fault. Sanding it out the way you did and adding a bit of styrene to the side section of the tail where it meets the bumper is really the only way to get it looking more accurate. Still looks amazing though - great job.
-
great job - that's a beaut!
-
Thanks fellas ??
-
Thanks man
-
Thanks guys!!! Thanks! Few things going on with the chrome. All the trim around the interior and the side floor panels are bare metal foil with tamiya black panel wash. The headlight brace is aluminum tubing that I polished out. The rear bumper is brushed on molotow (had to scratch build it since my kit was missing it). The rest is kit chrome that I sanded and misted with tamiya smoke (the secret sauce) and then touched up with molotow. Then I hit the parts that needed it (like the wheels) with tamiya black panel wash. Hope that helps!
-
Haha thanks - I’m a Boston sports fan but my friends loooove to constantly remind about them Rangers! (And mets, and giants, and yankees…smh)
-
Thanks! I’m still eyeing a few of of those Mercedes kits on eBay - will be using yours as inspiration! thanks fellas! It’s a great kit - highly recommend grabbing one of you can. ? thanks! Thanks guys!
-
Thx!!
-
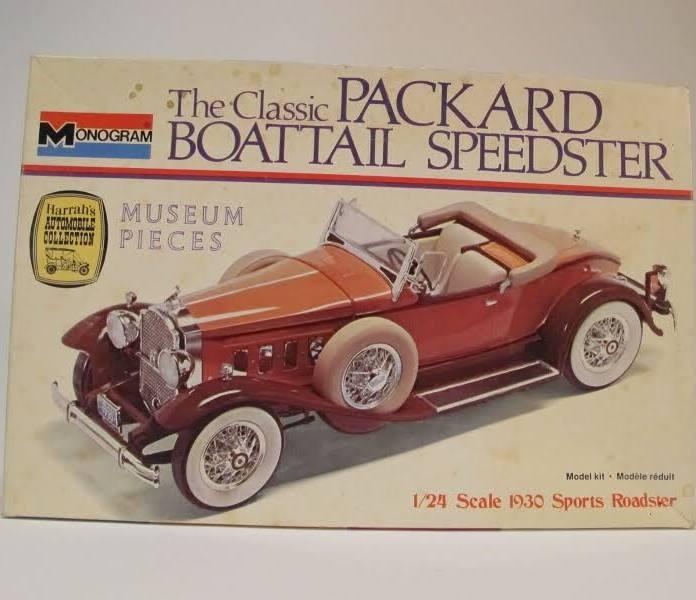
Thanks fellas! Thanks! Yeah me too. Luckily they’re pretty common on eBay - some a bit pricier than others. Thanks! I didn’t either until I saw it online. I bought it over a year ago but the missing parts scared me off building it. Finally just decided to scratch what I could and get it over with lol. It’s this one here… think it’s from the 70’s
-
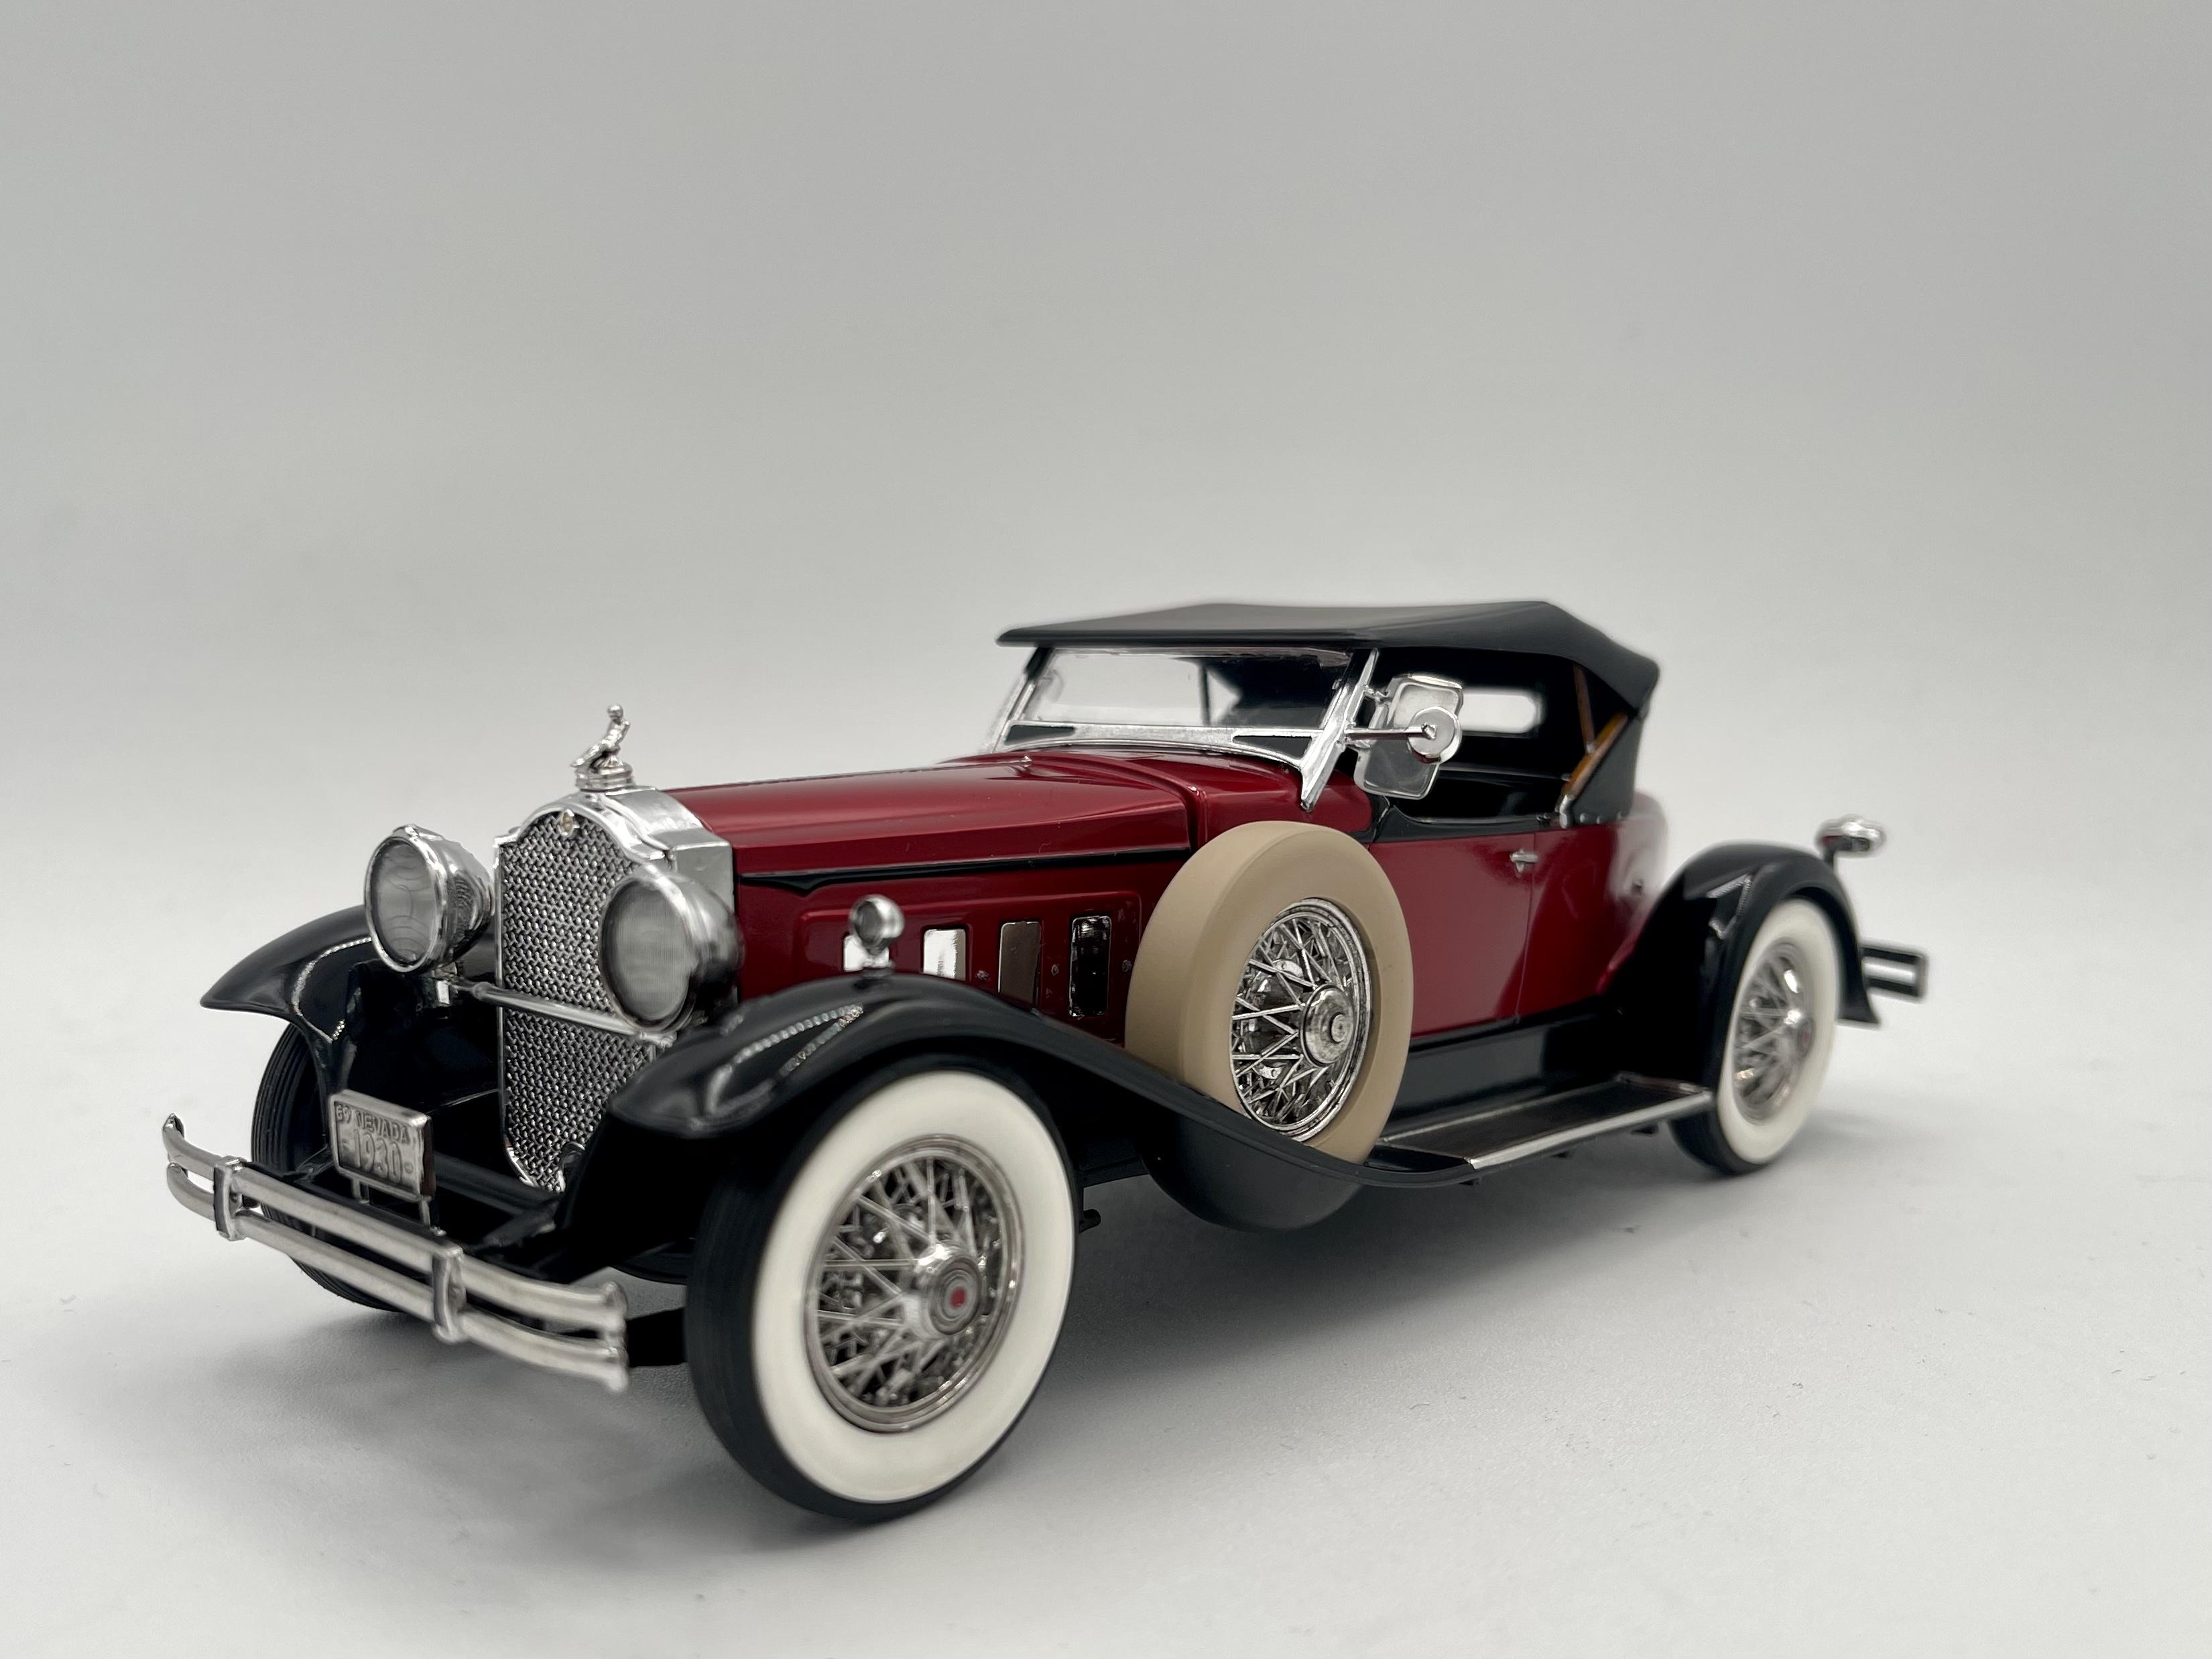
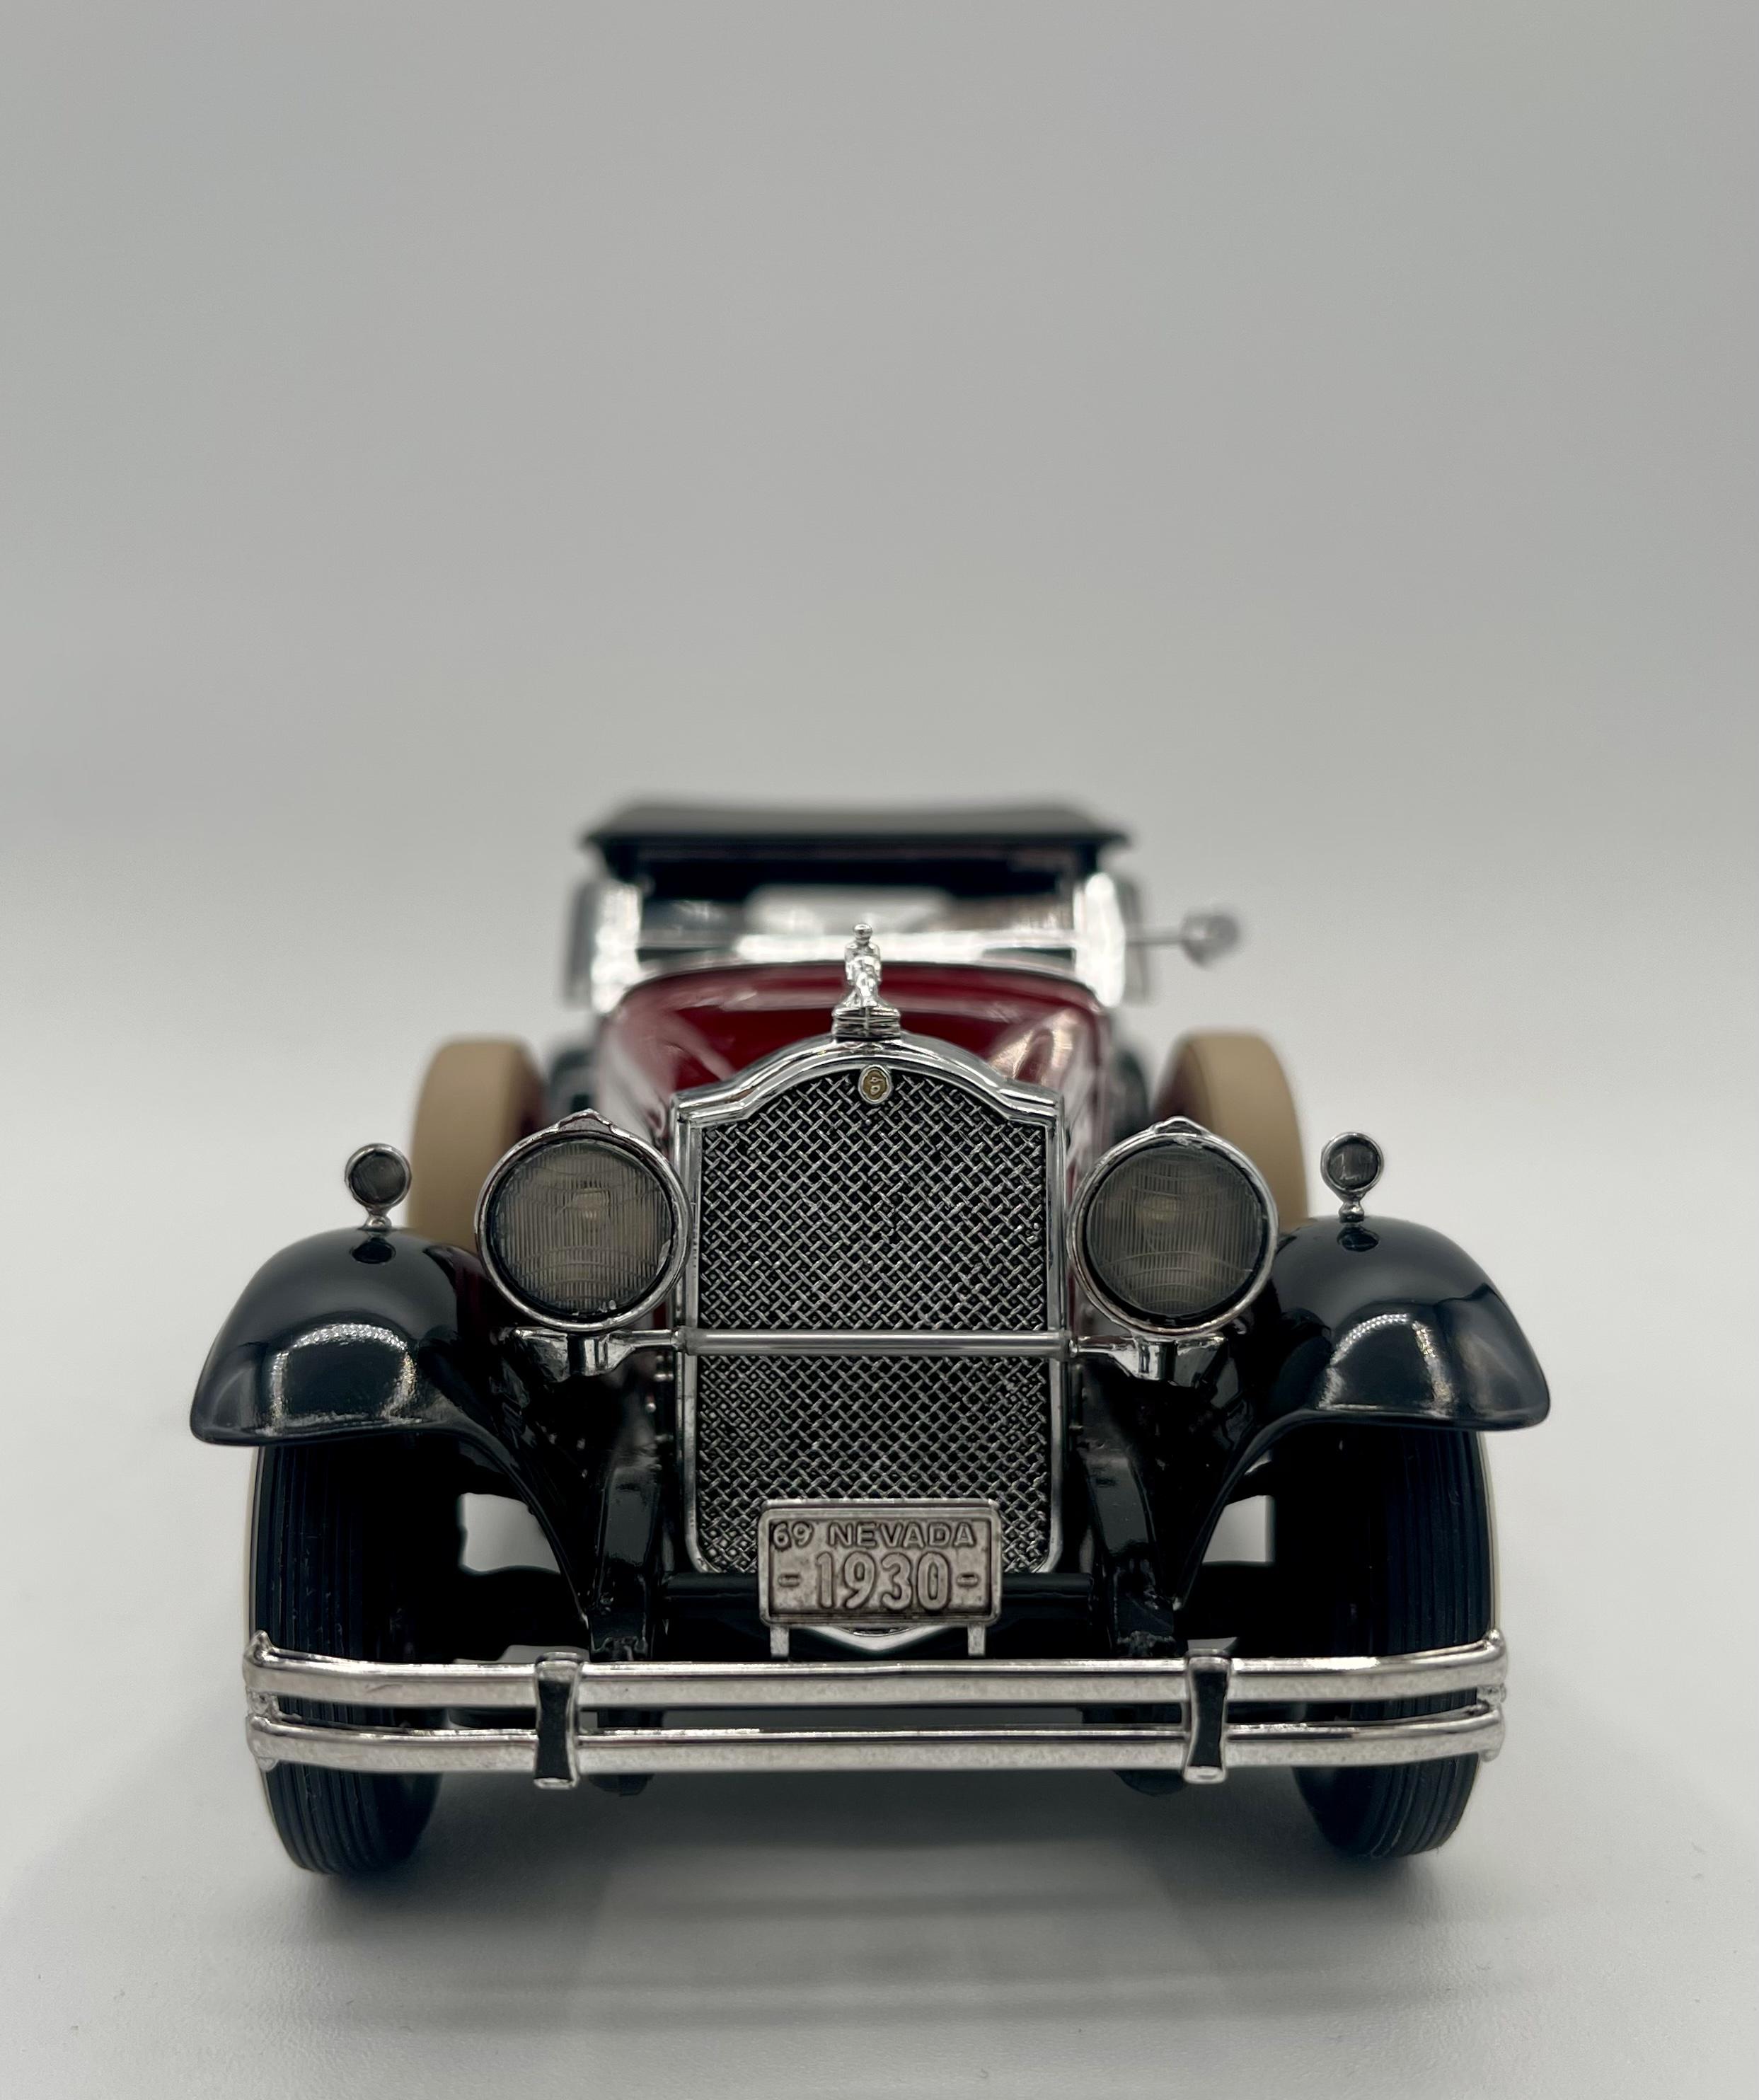
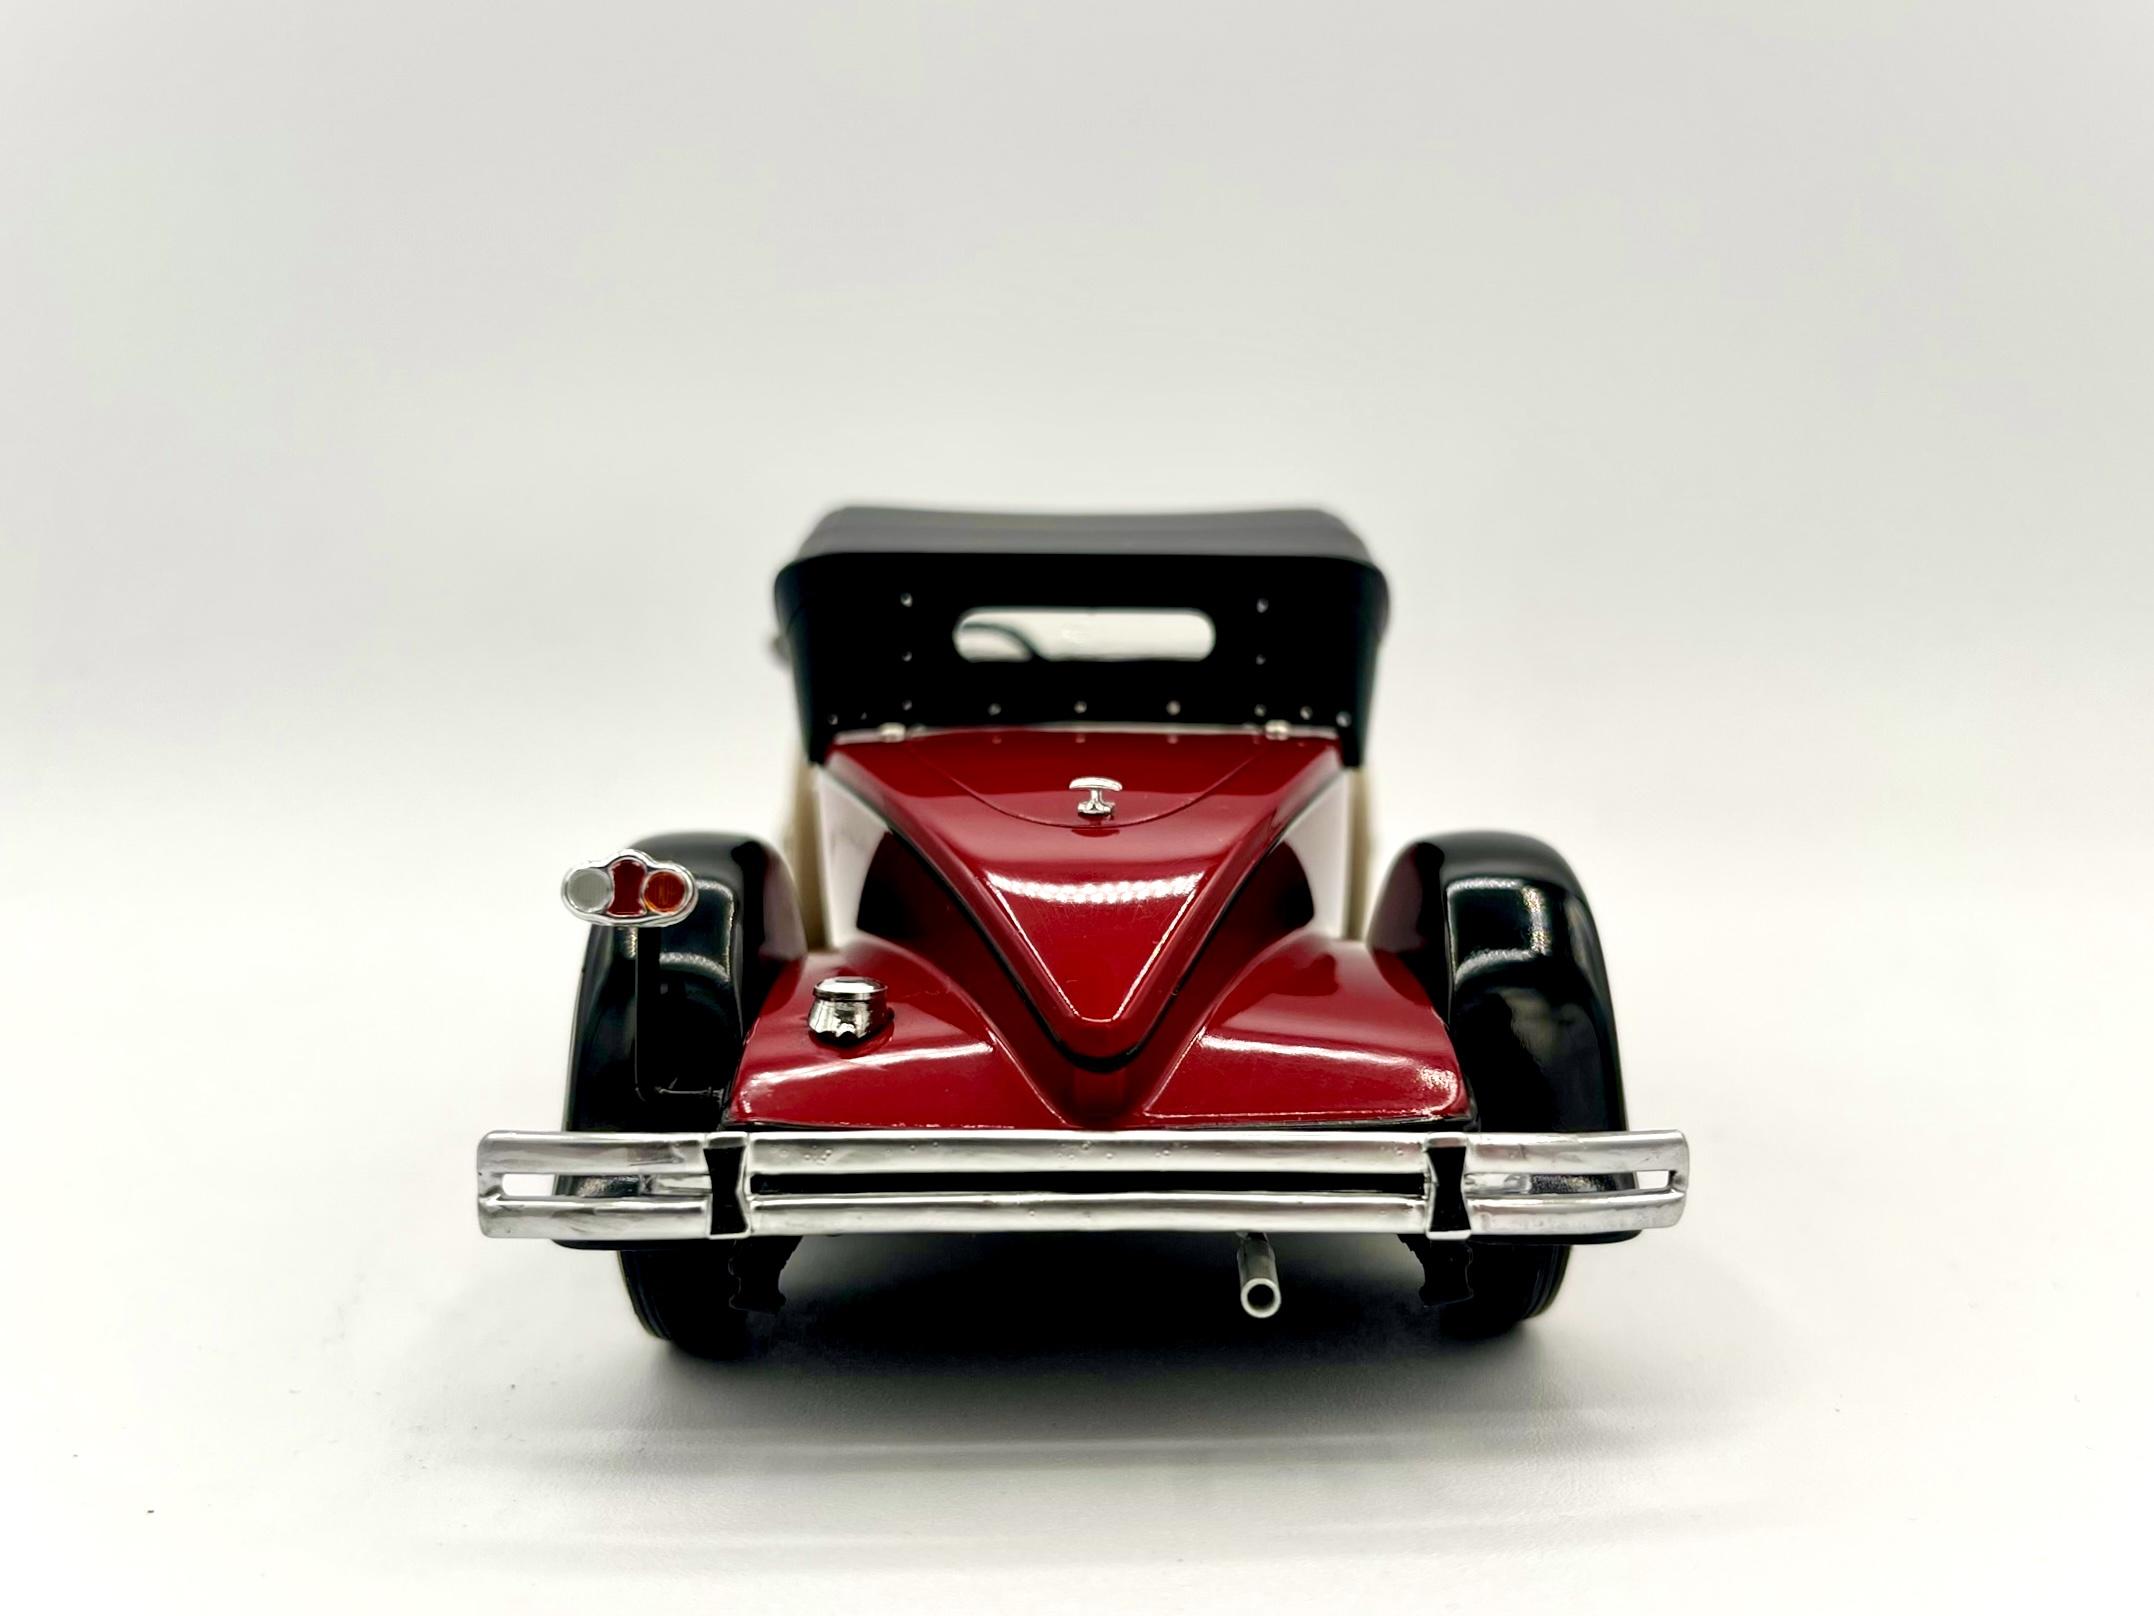
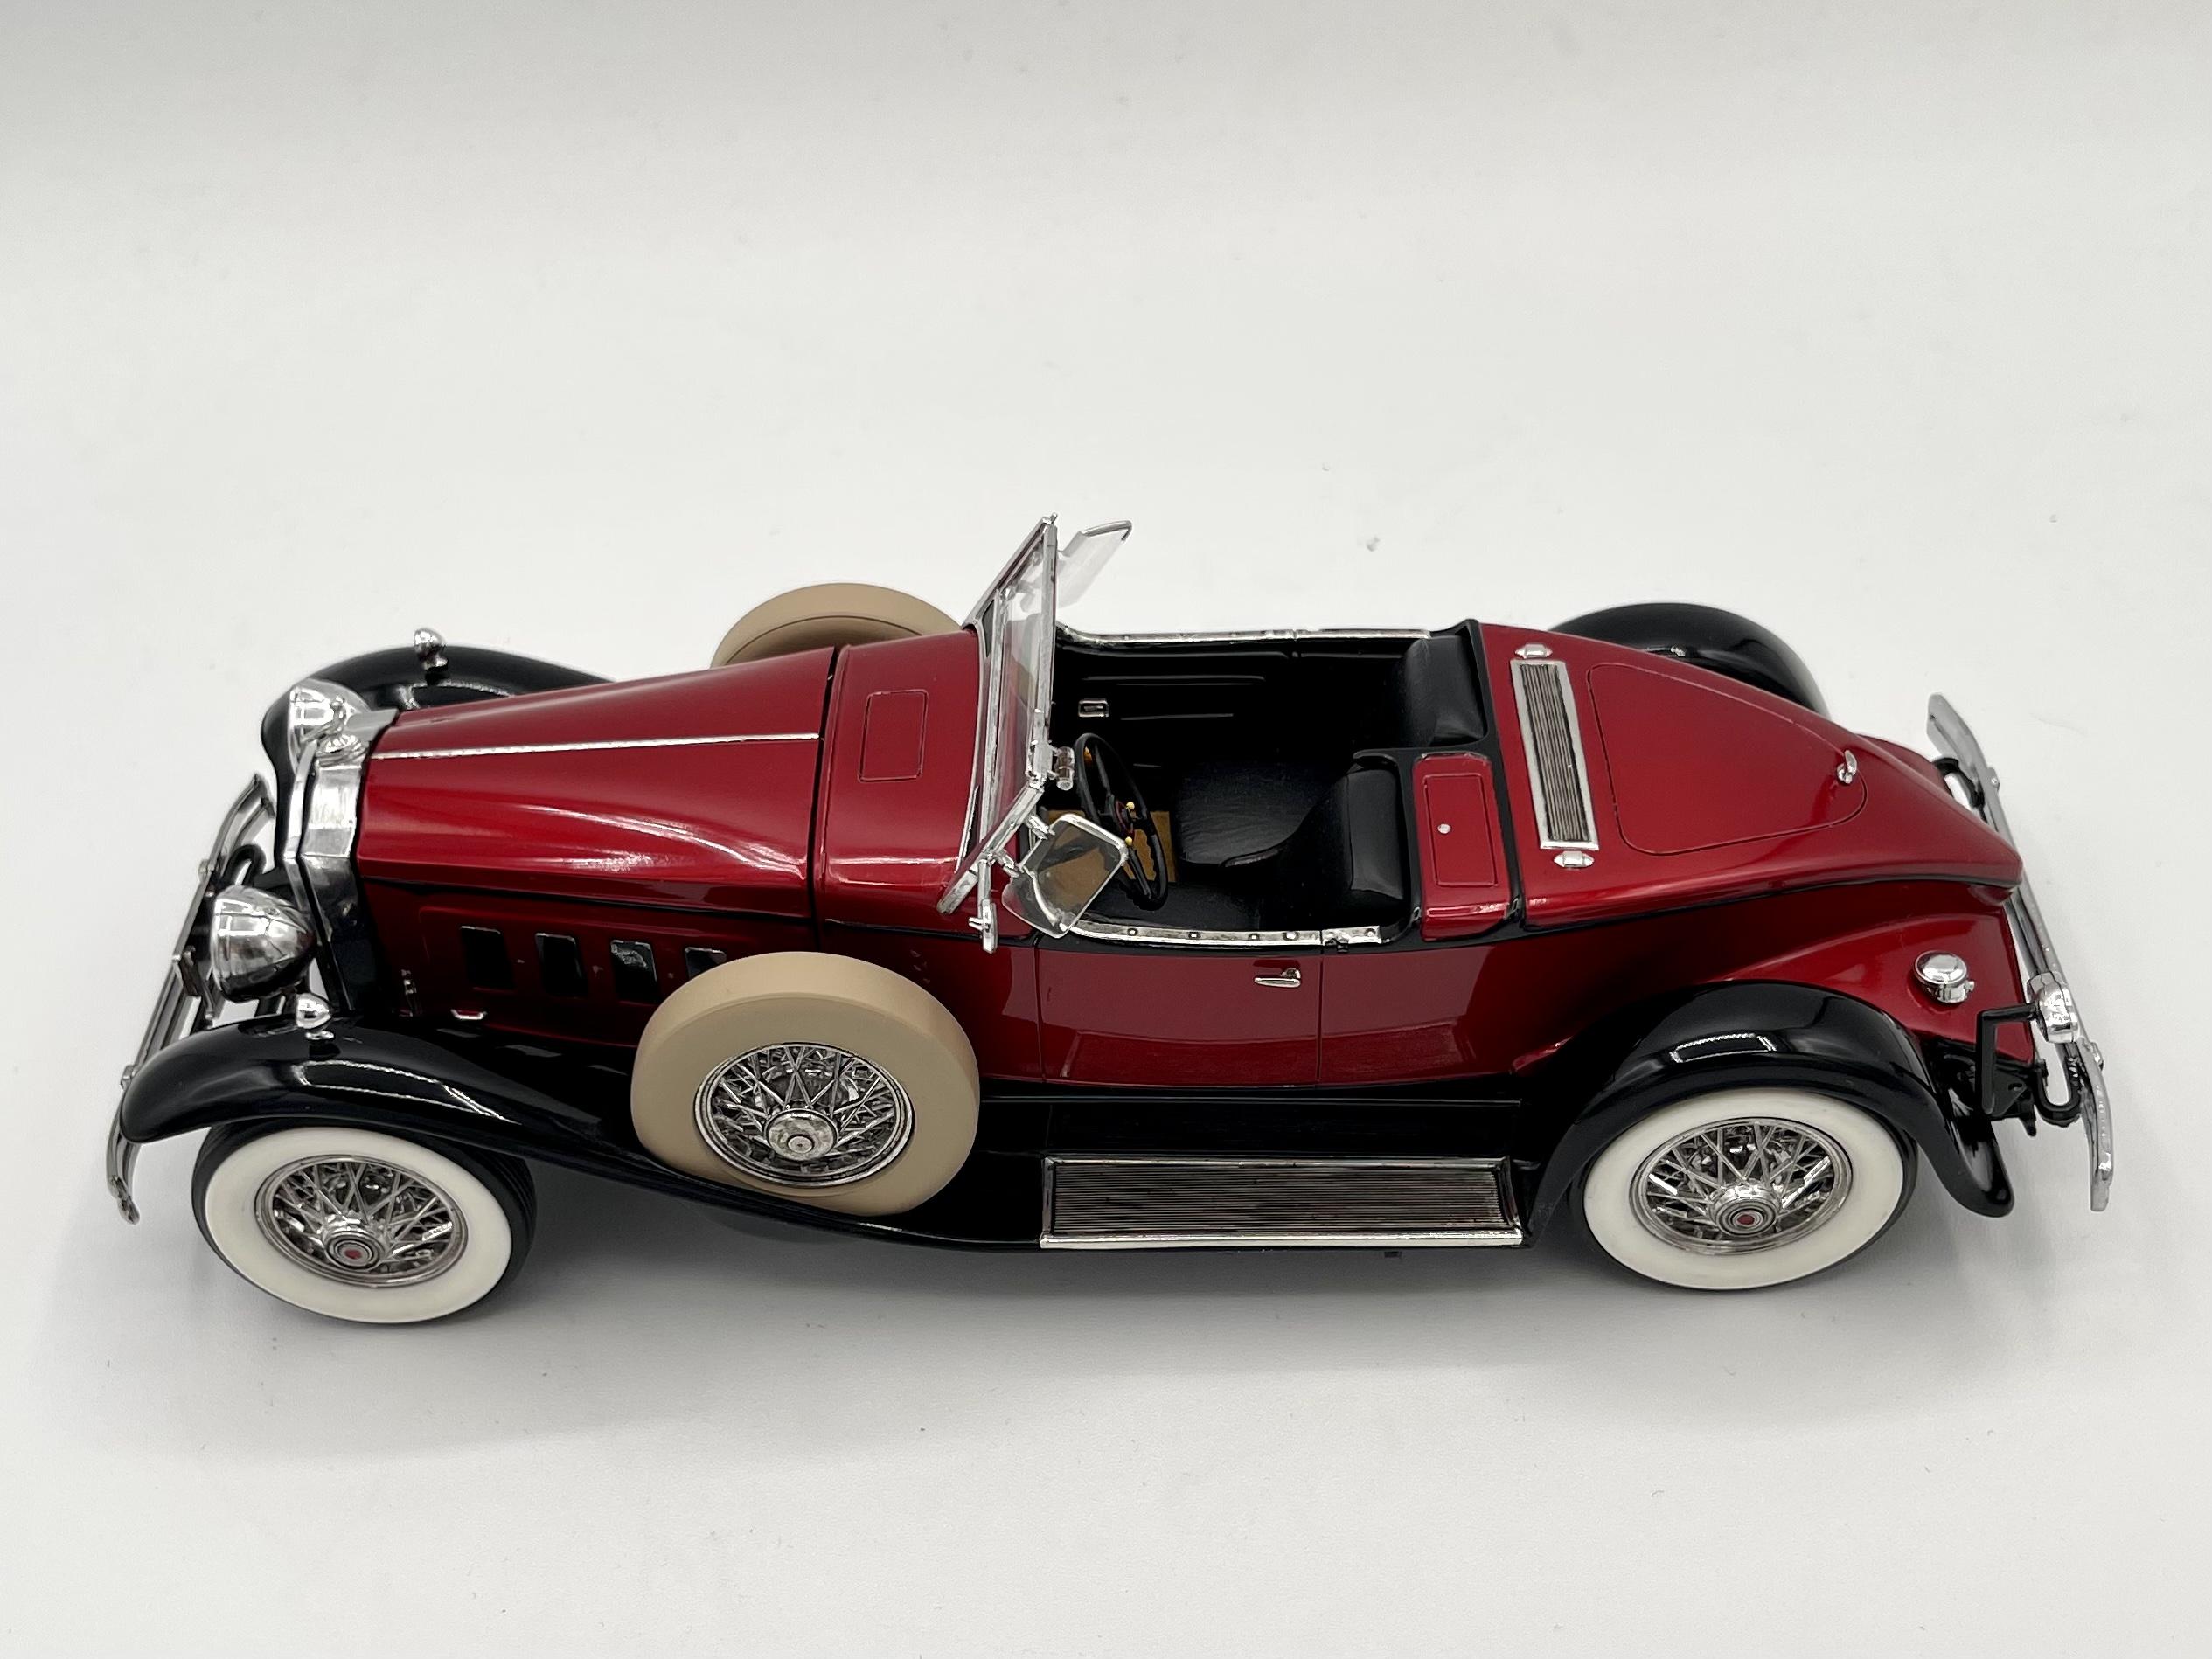
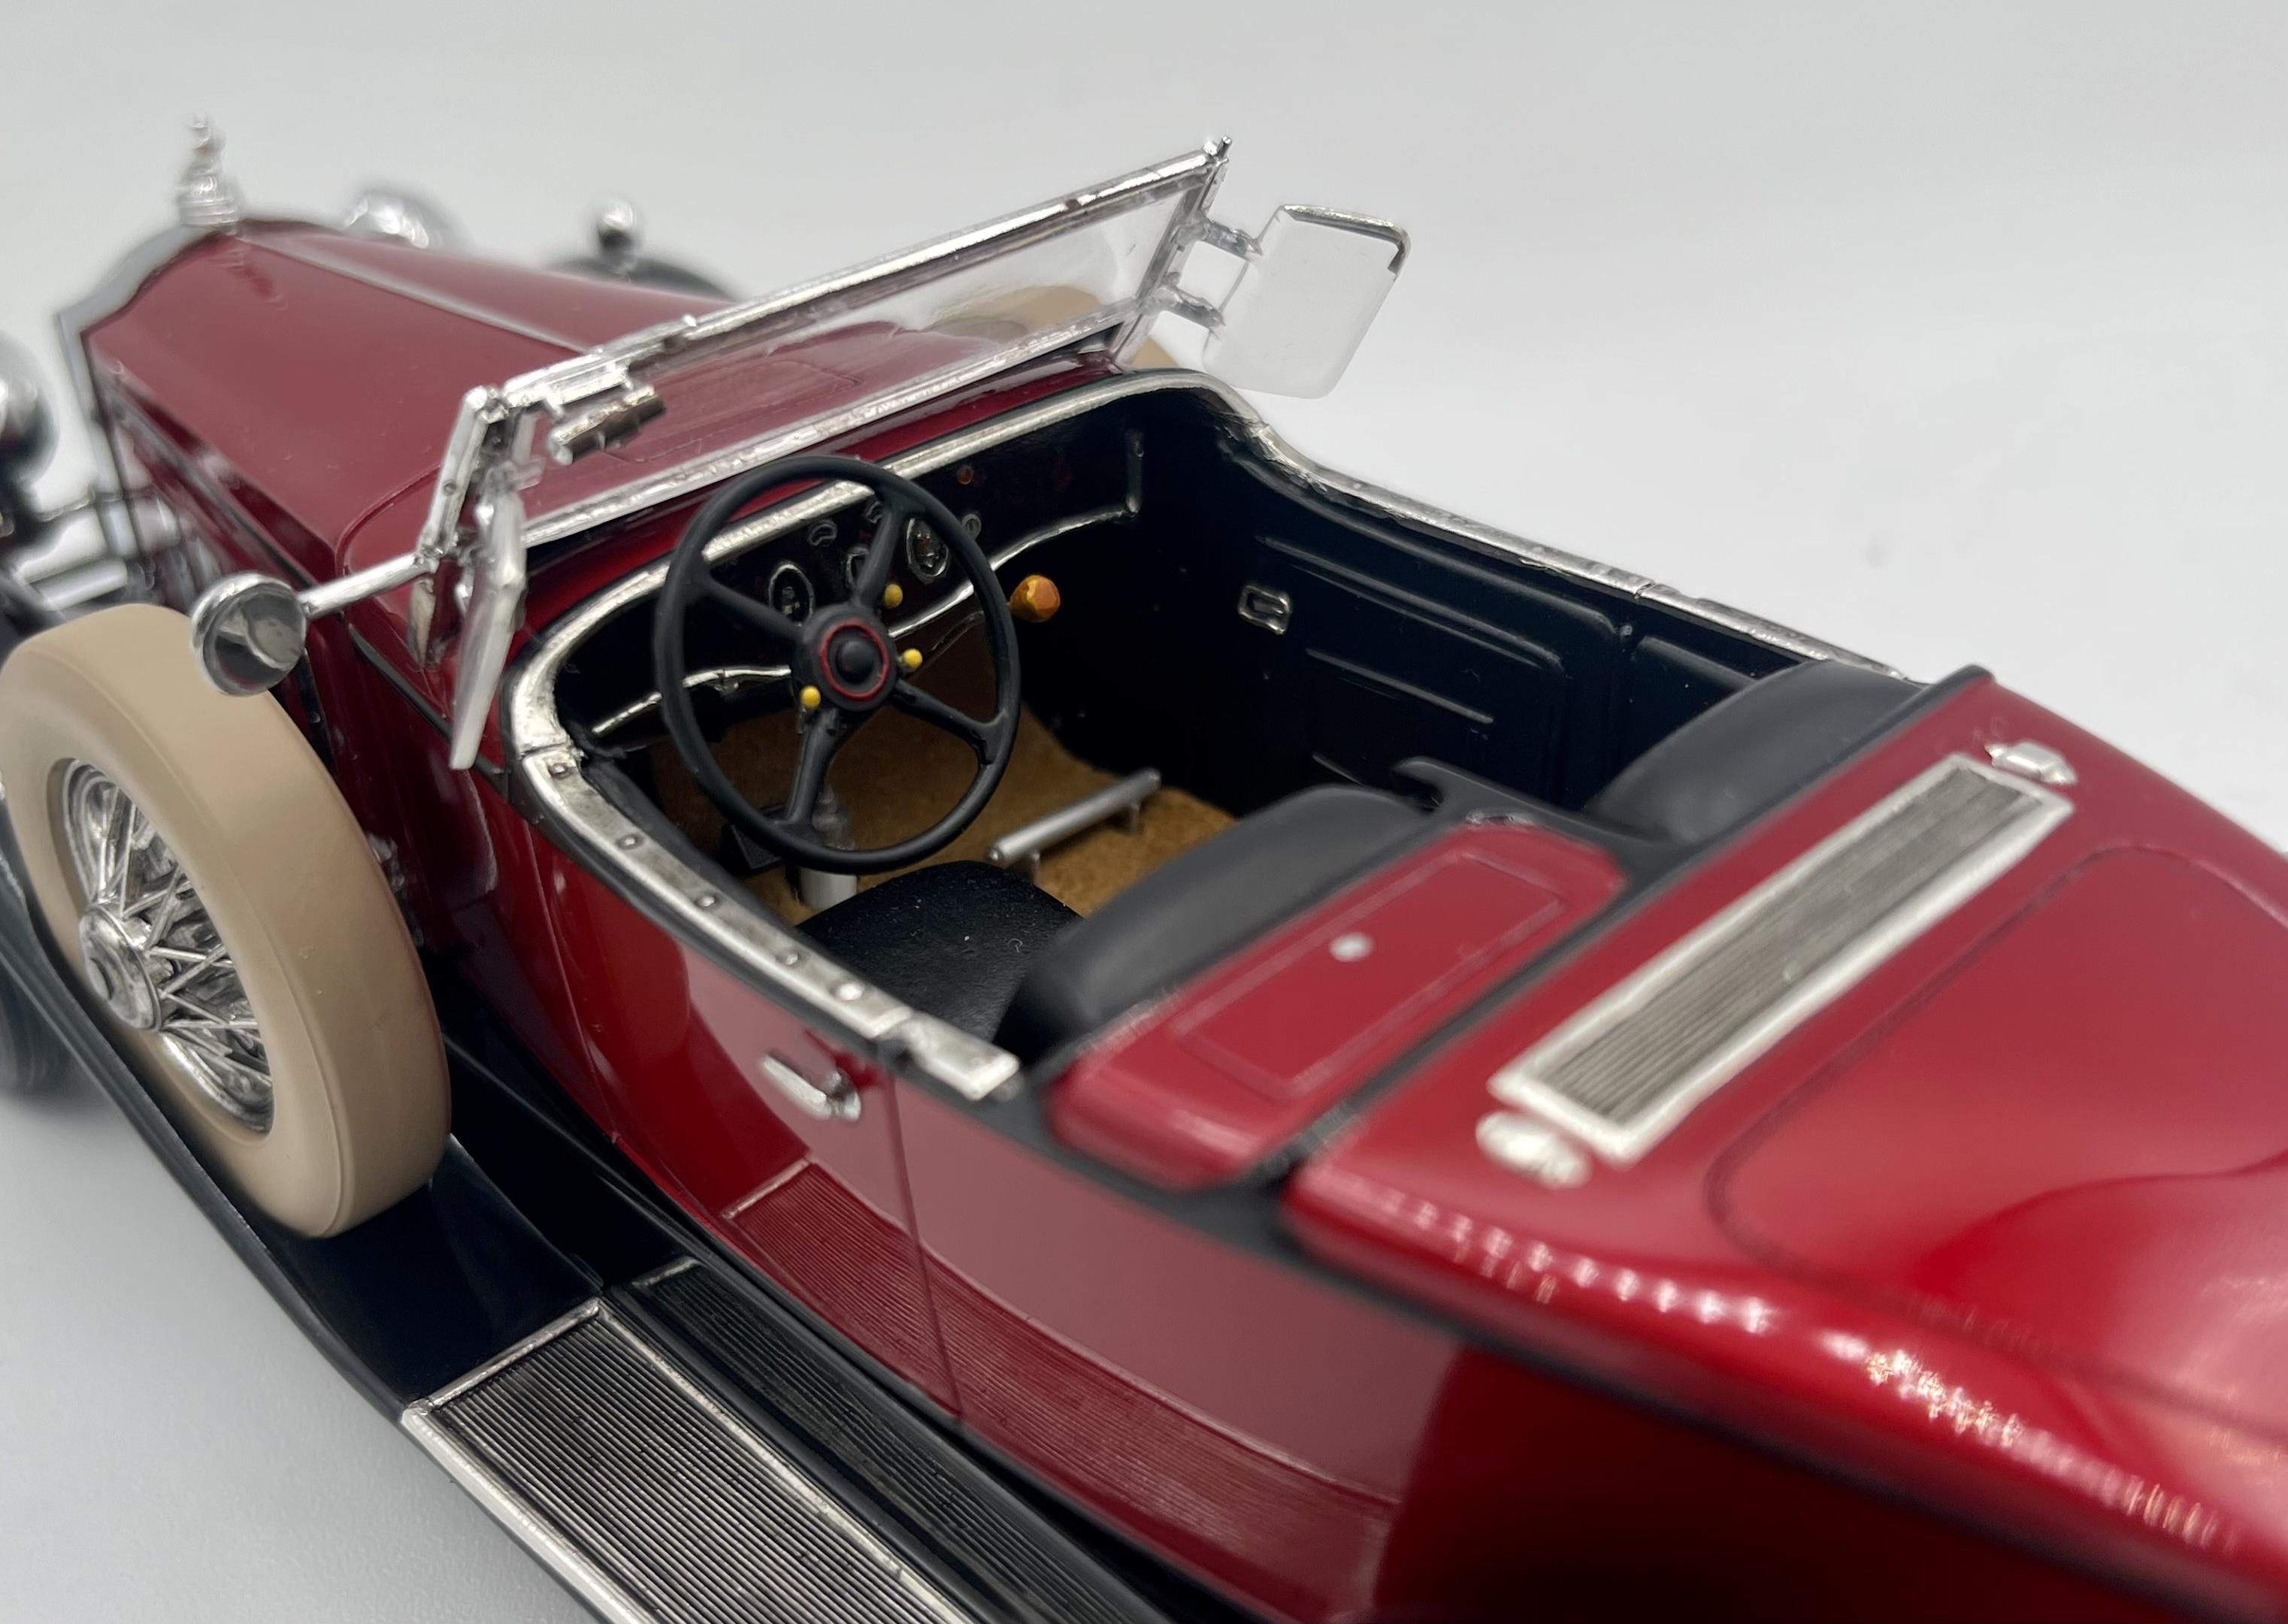
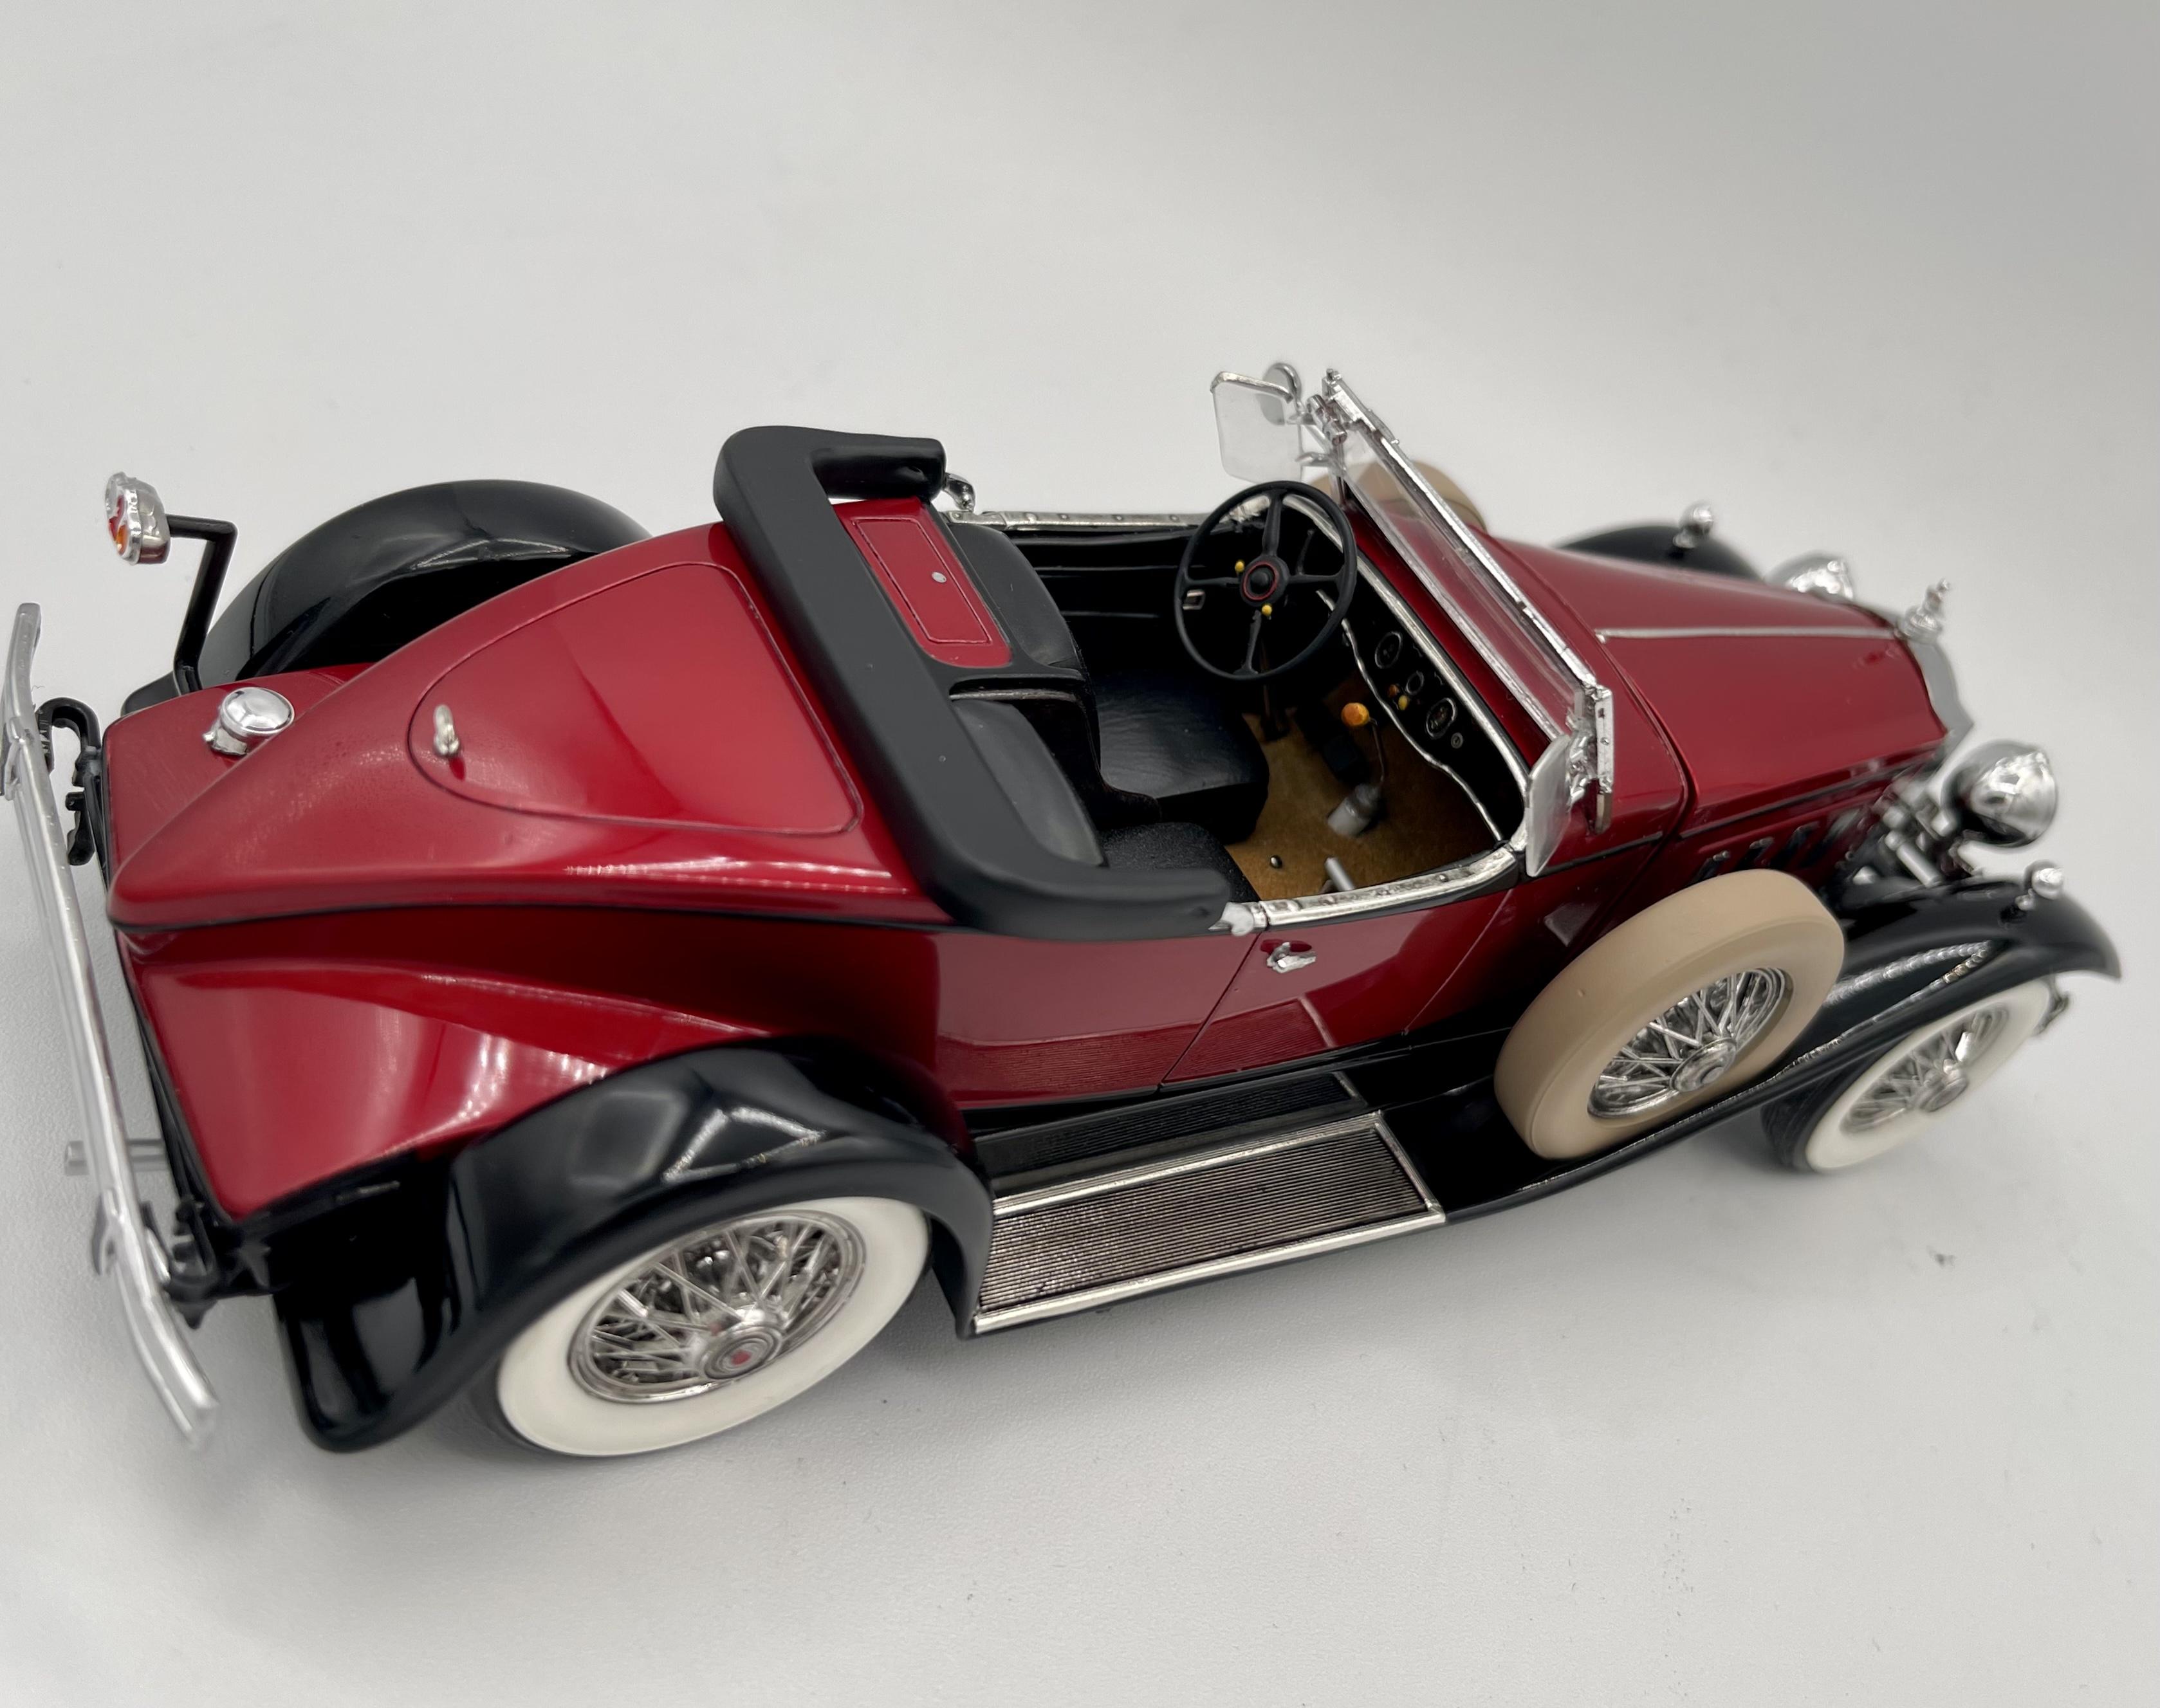
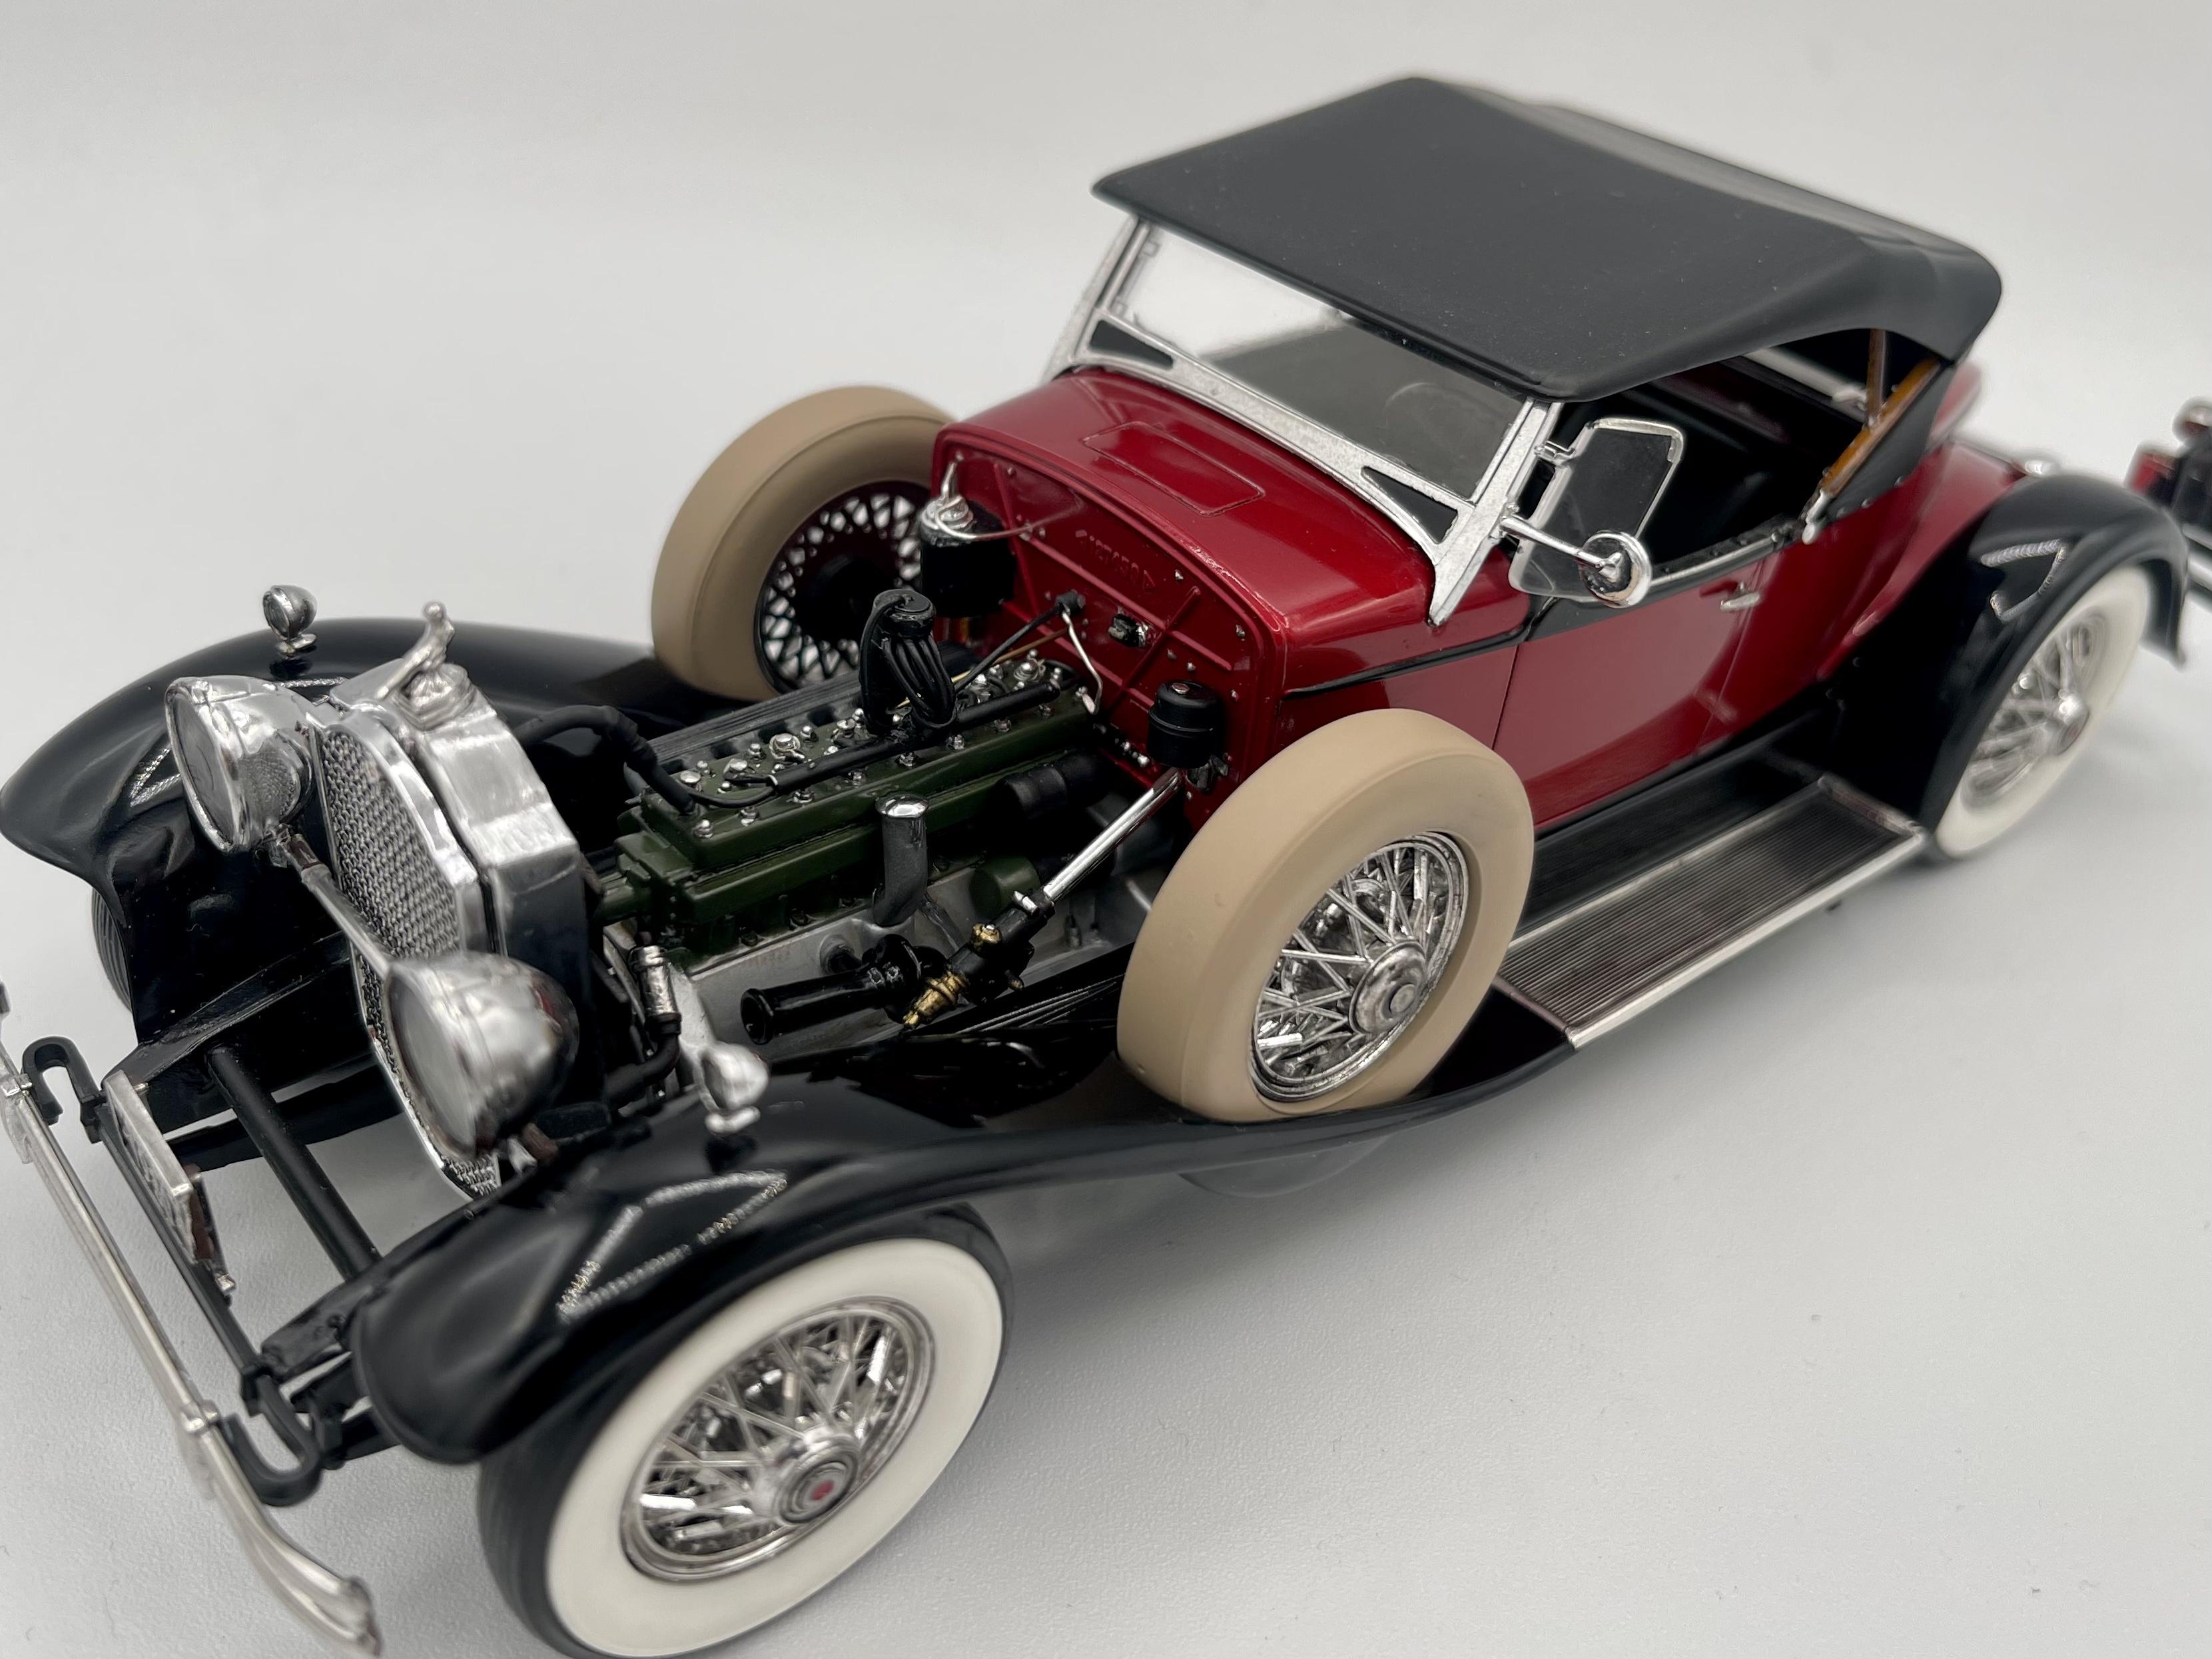
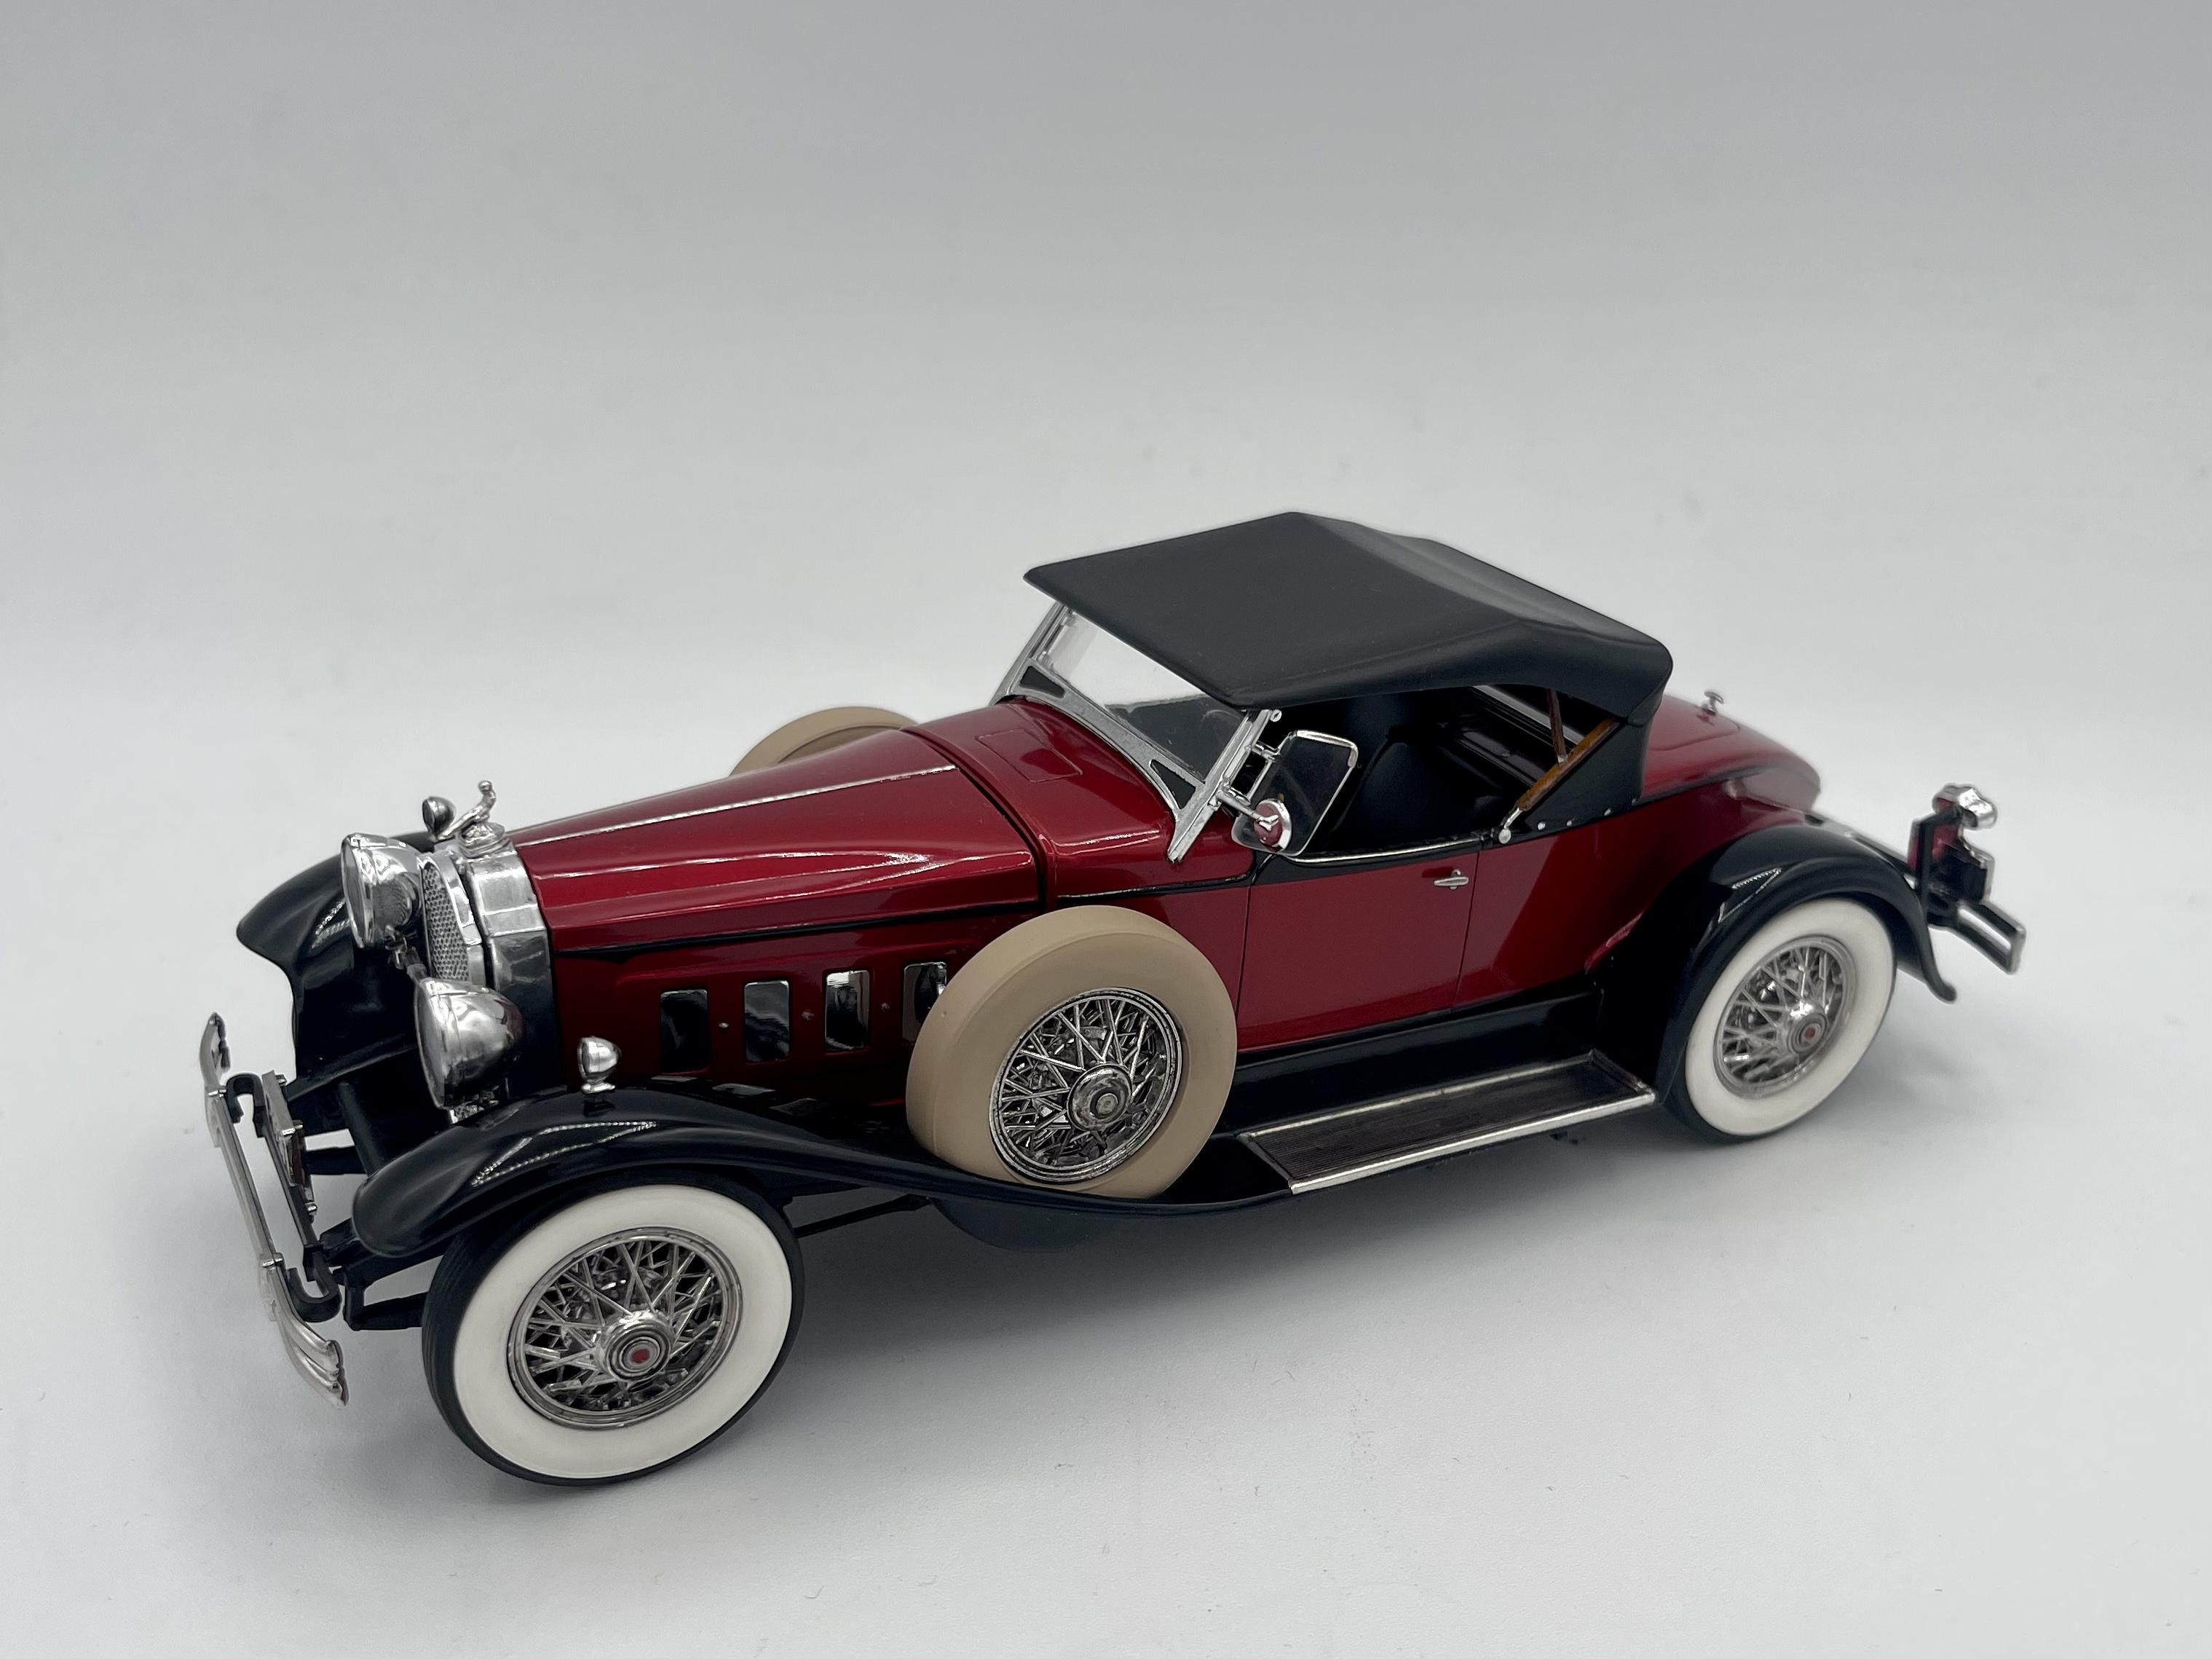
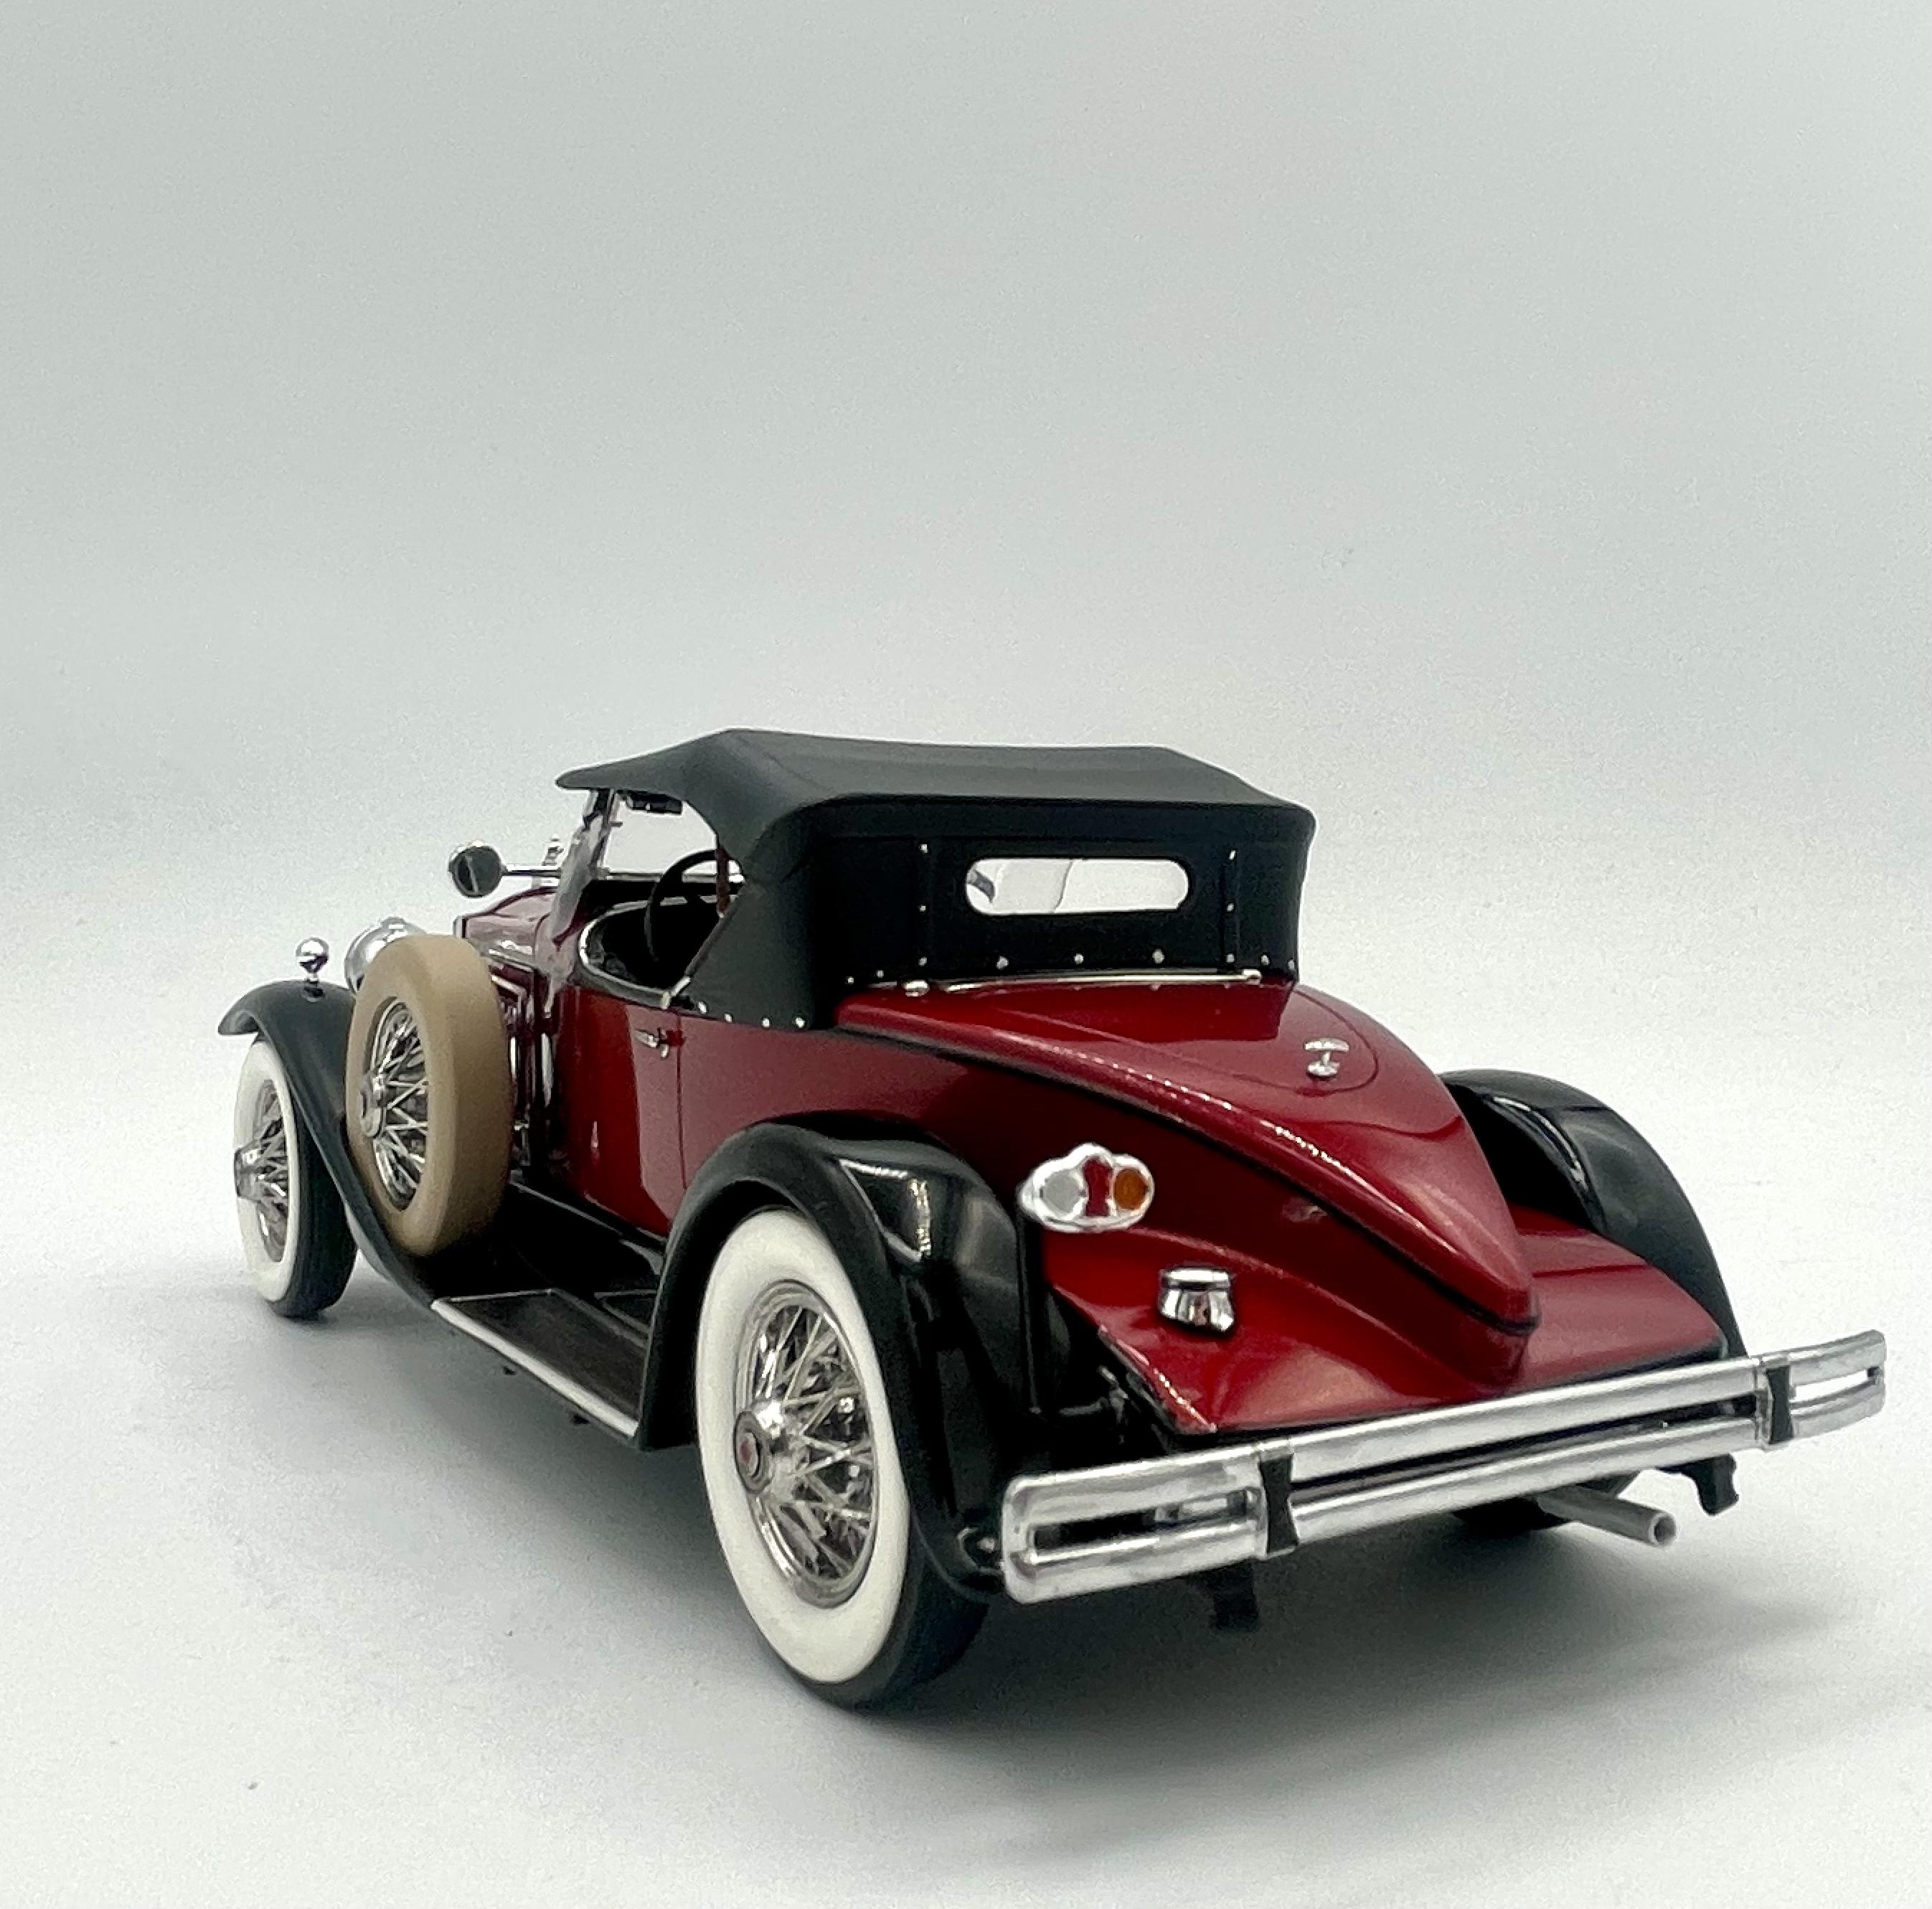
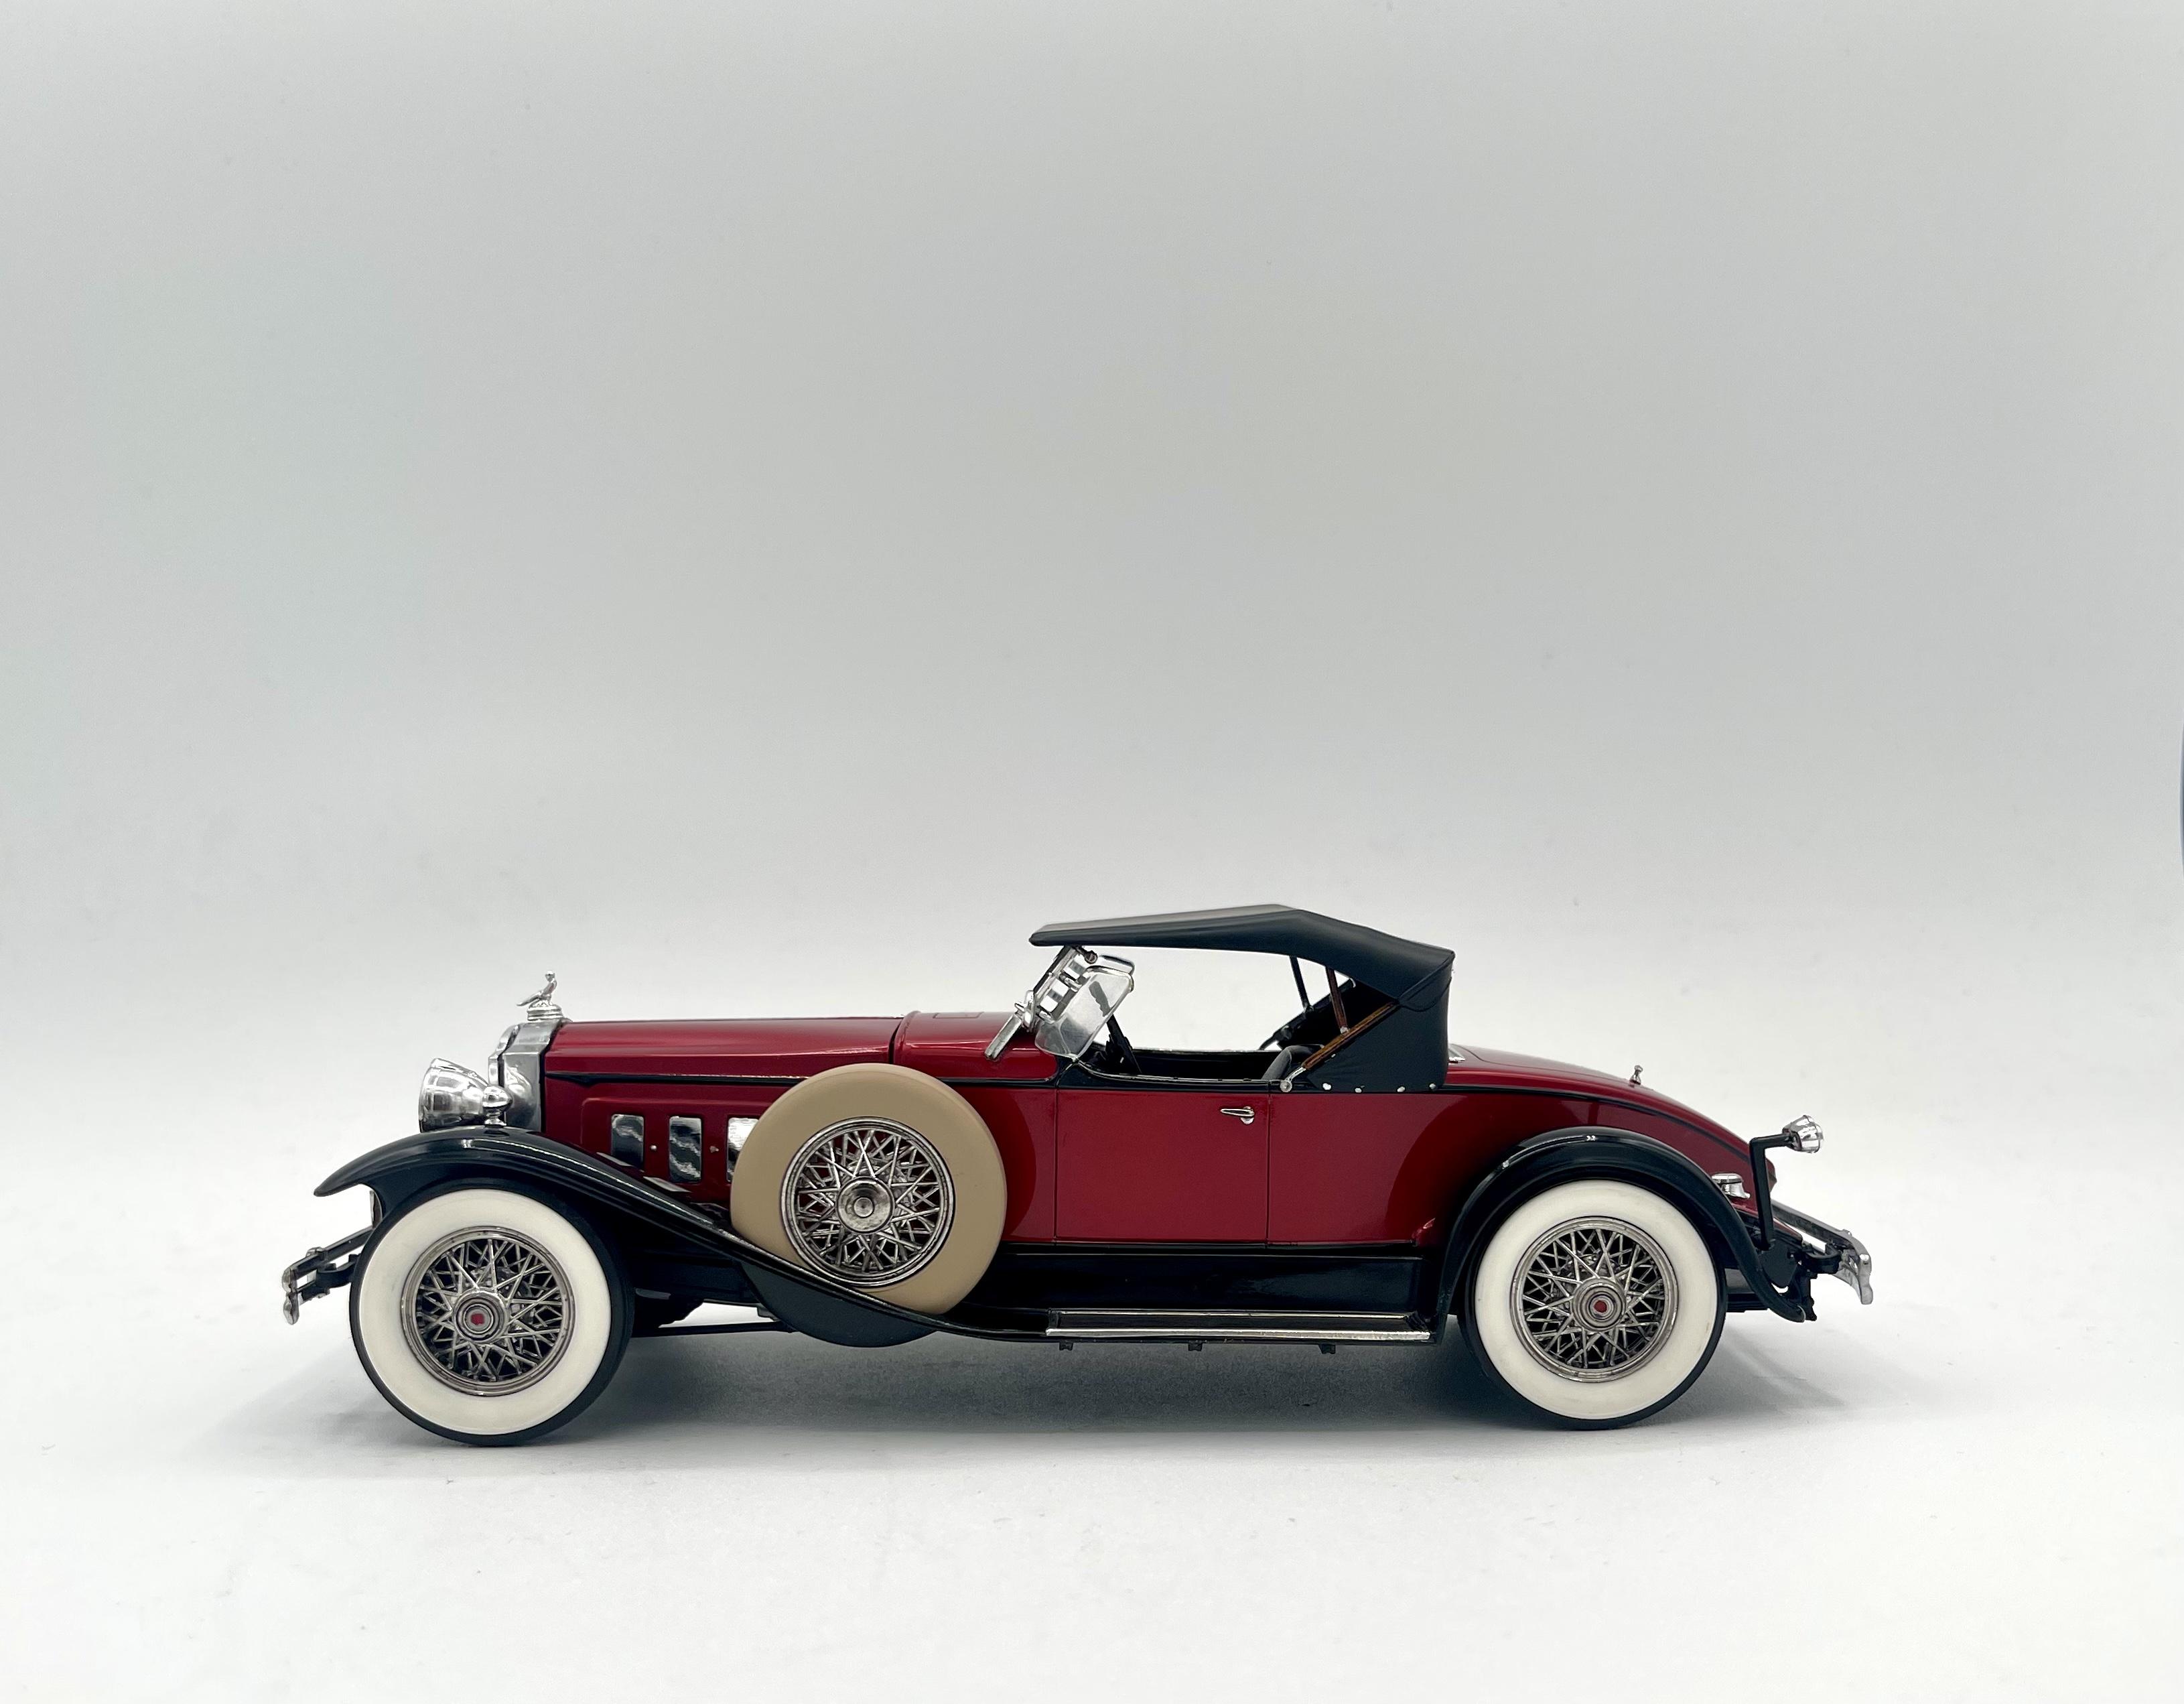
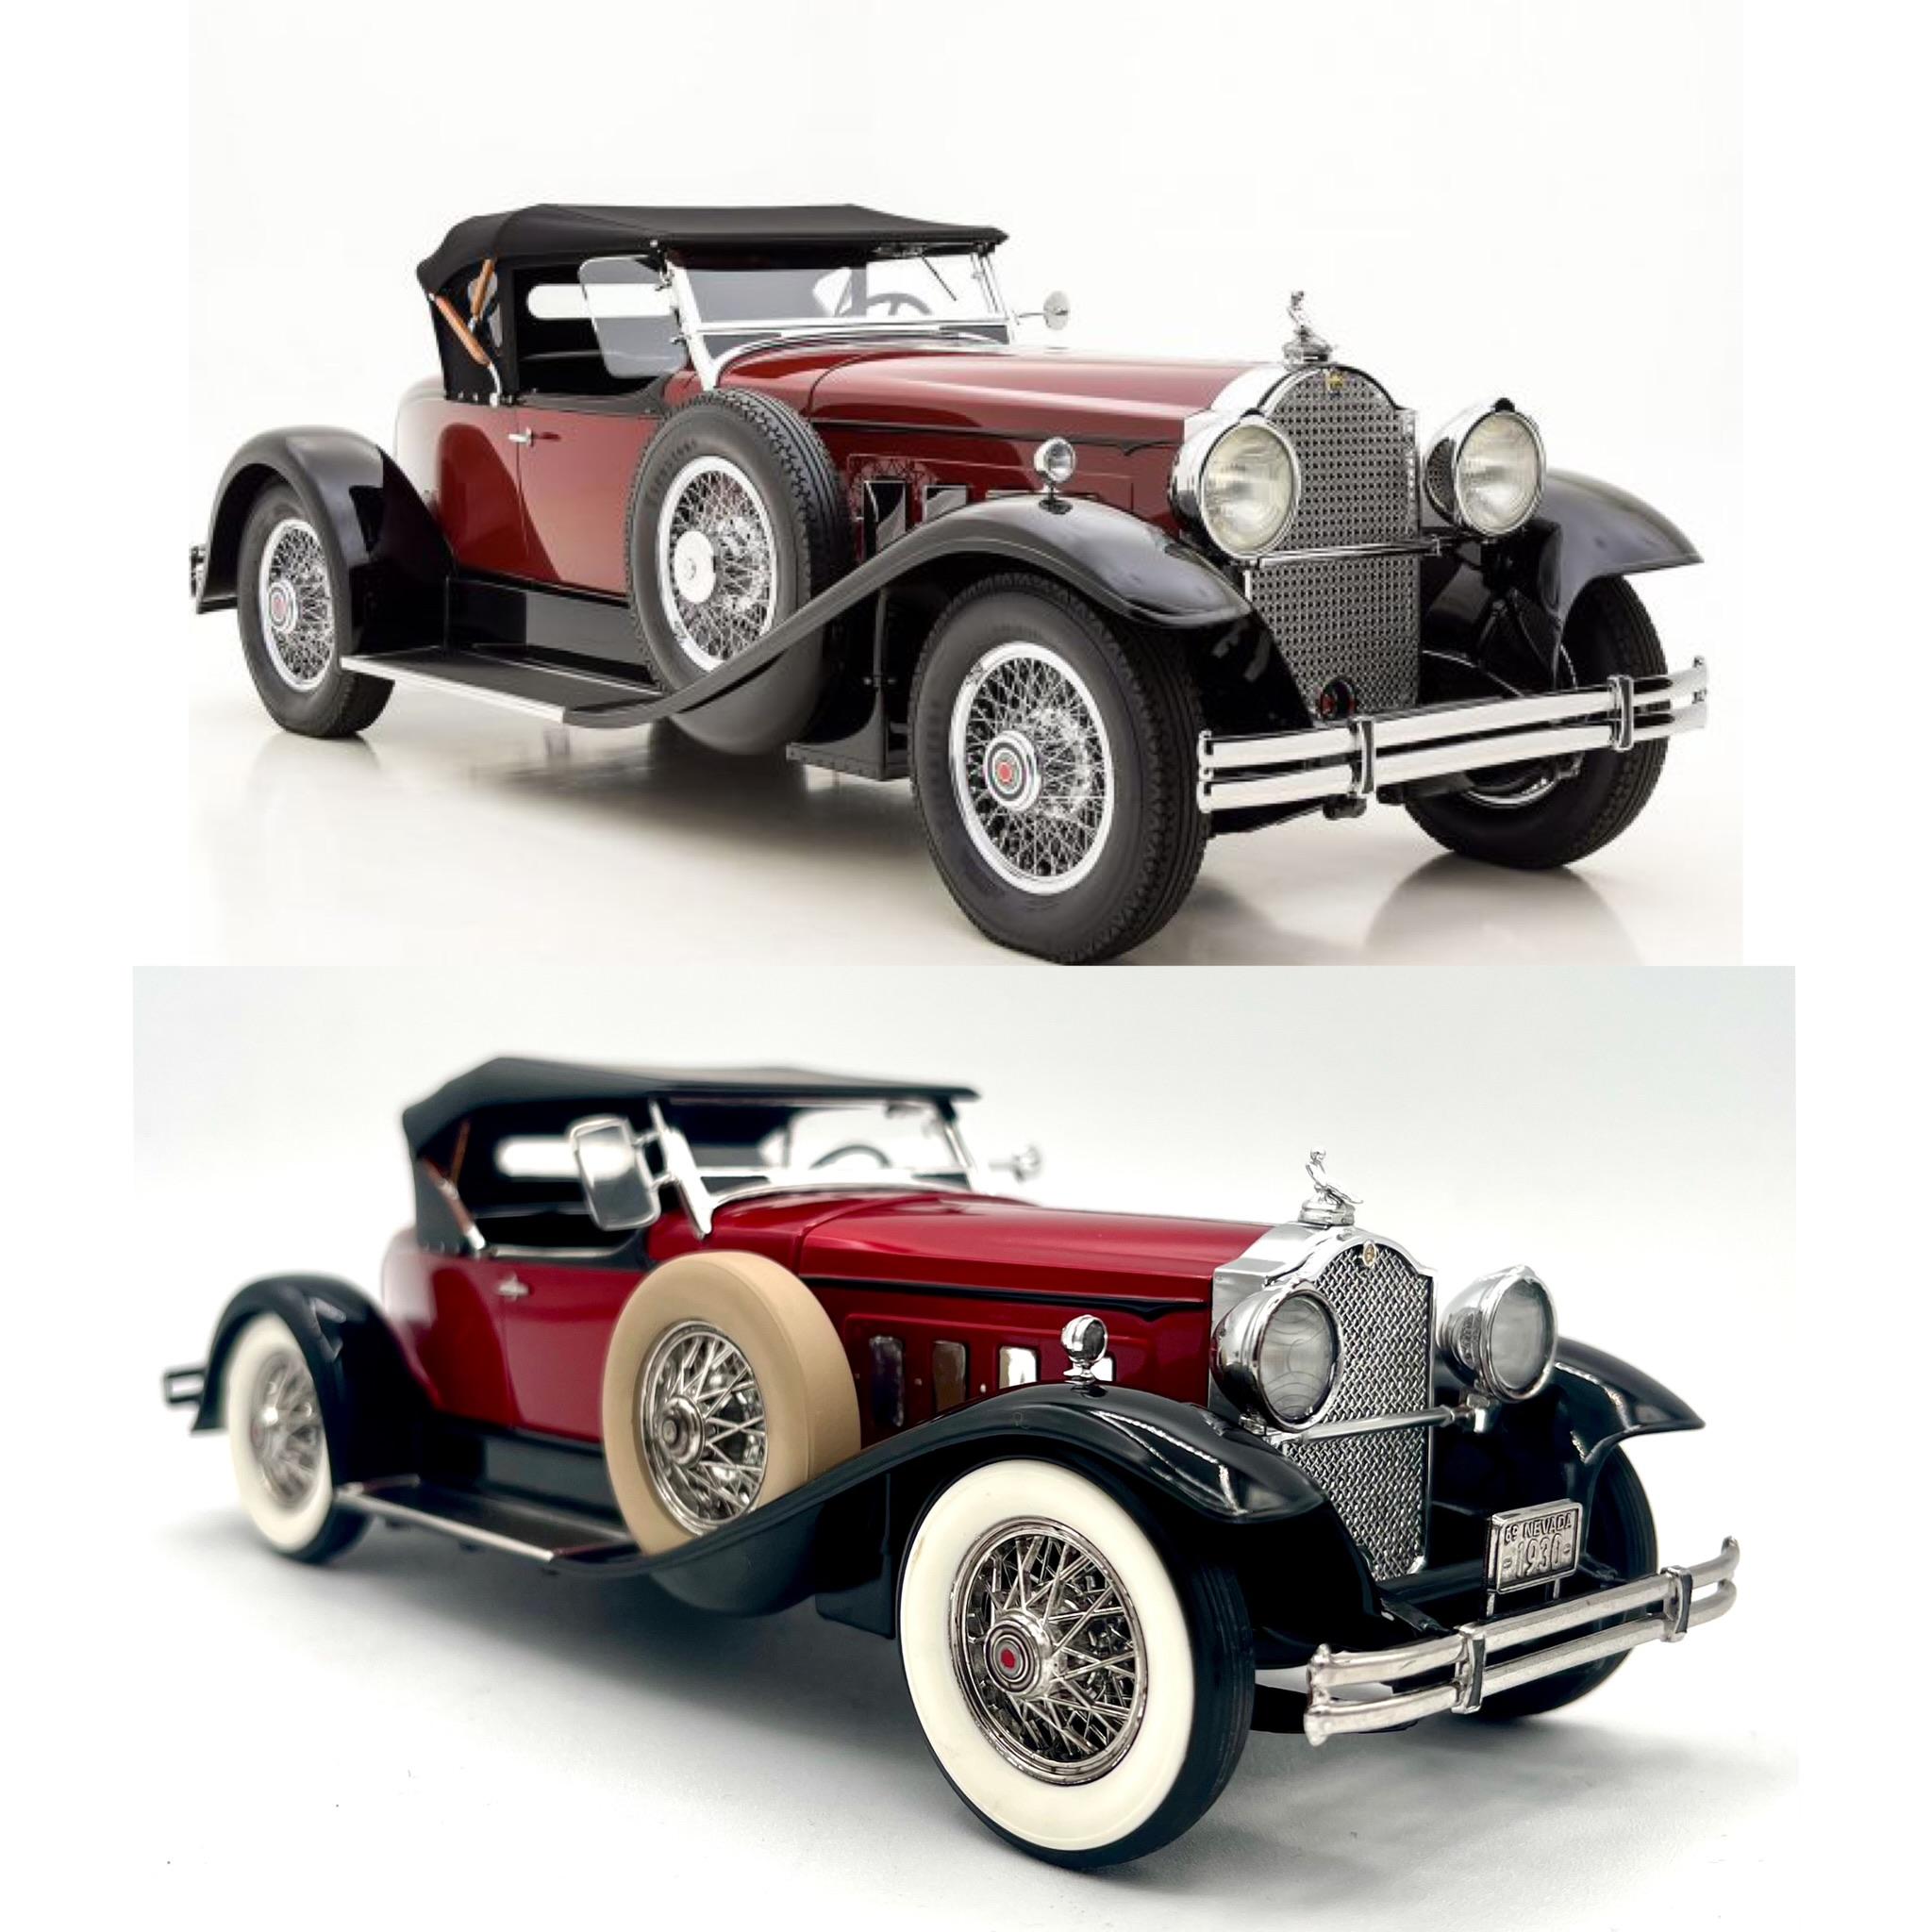
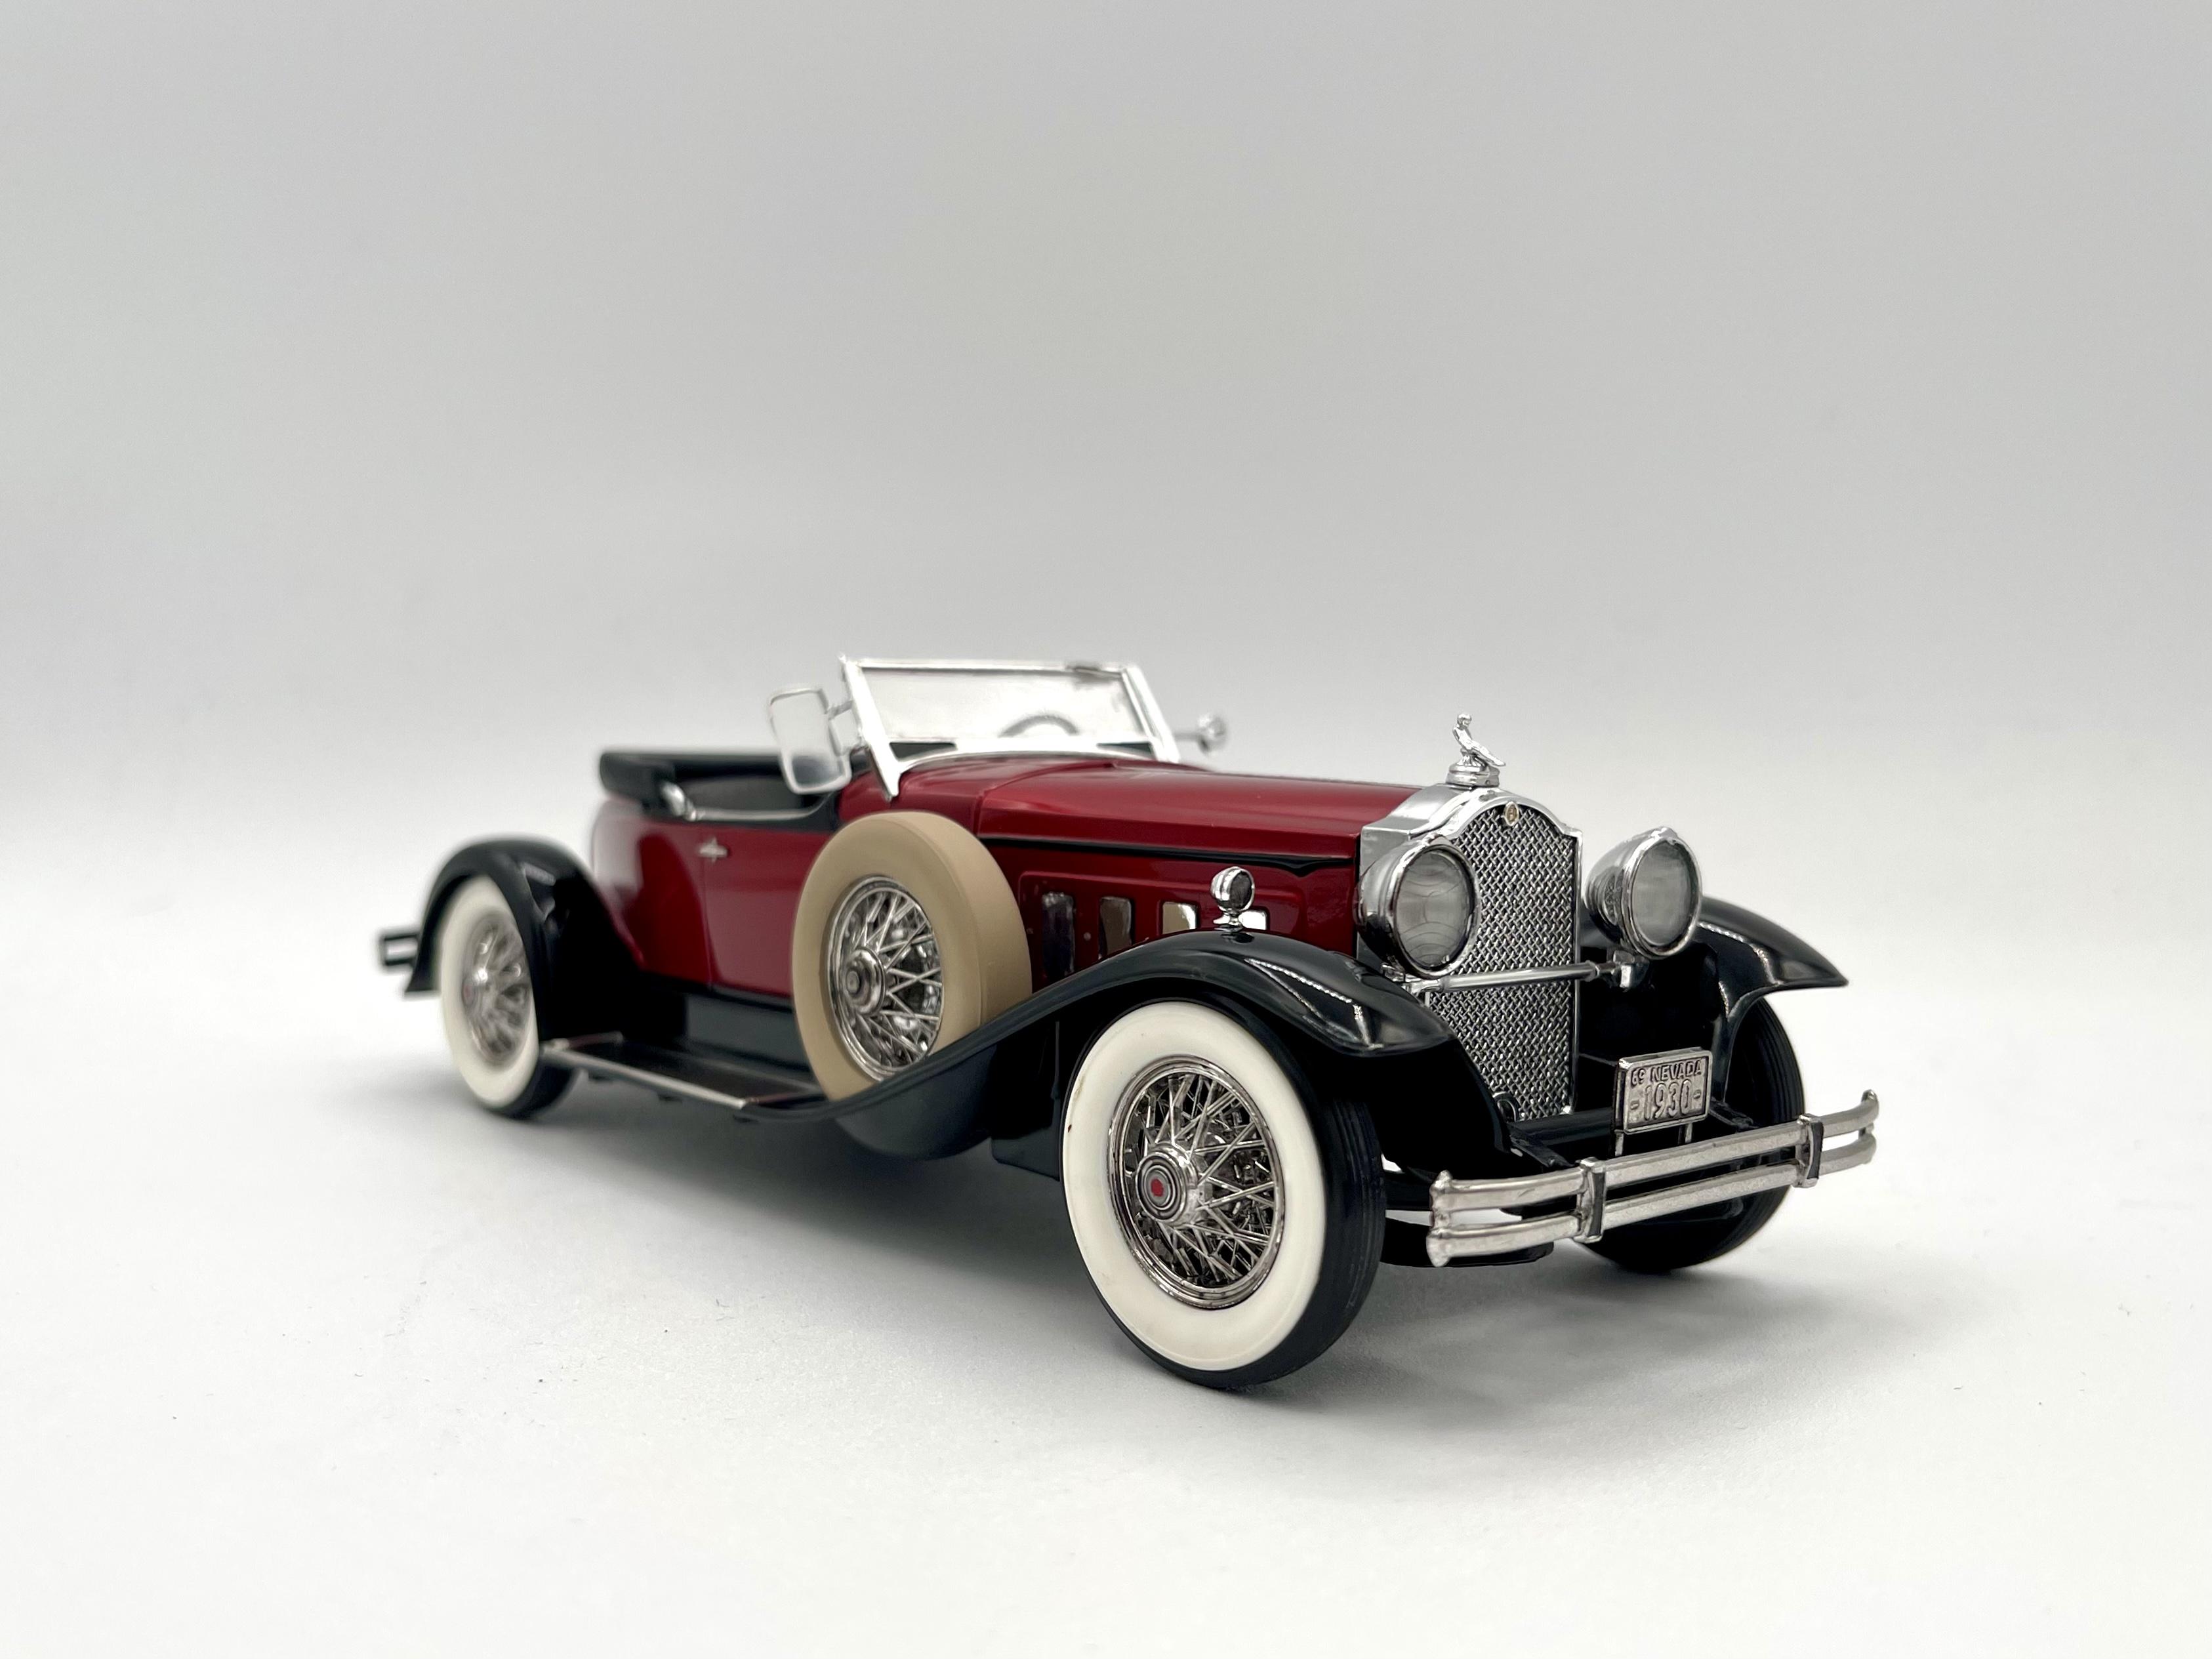
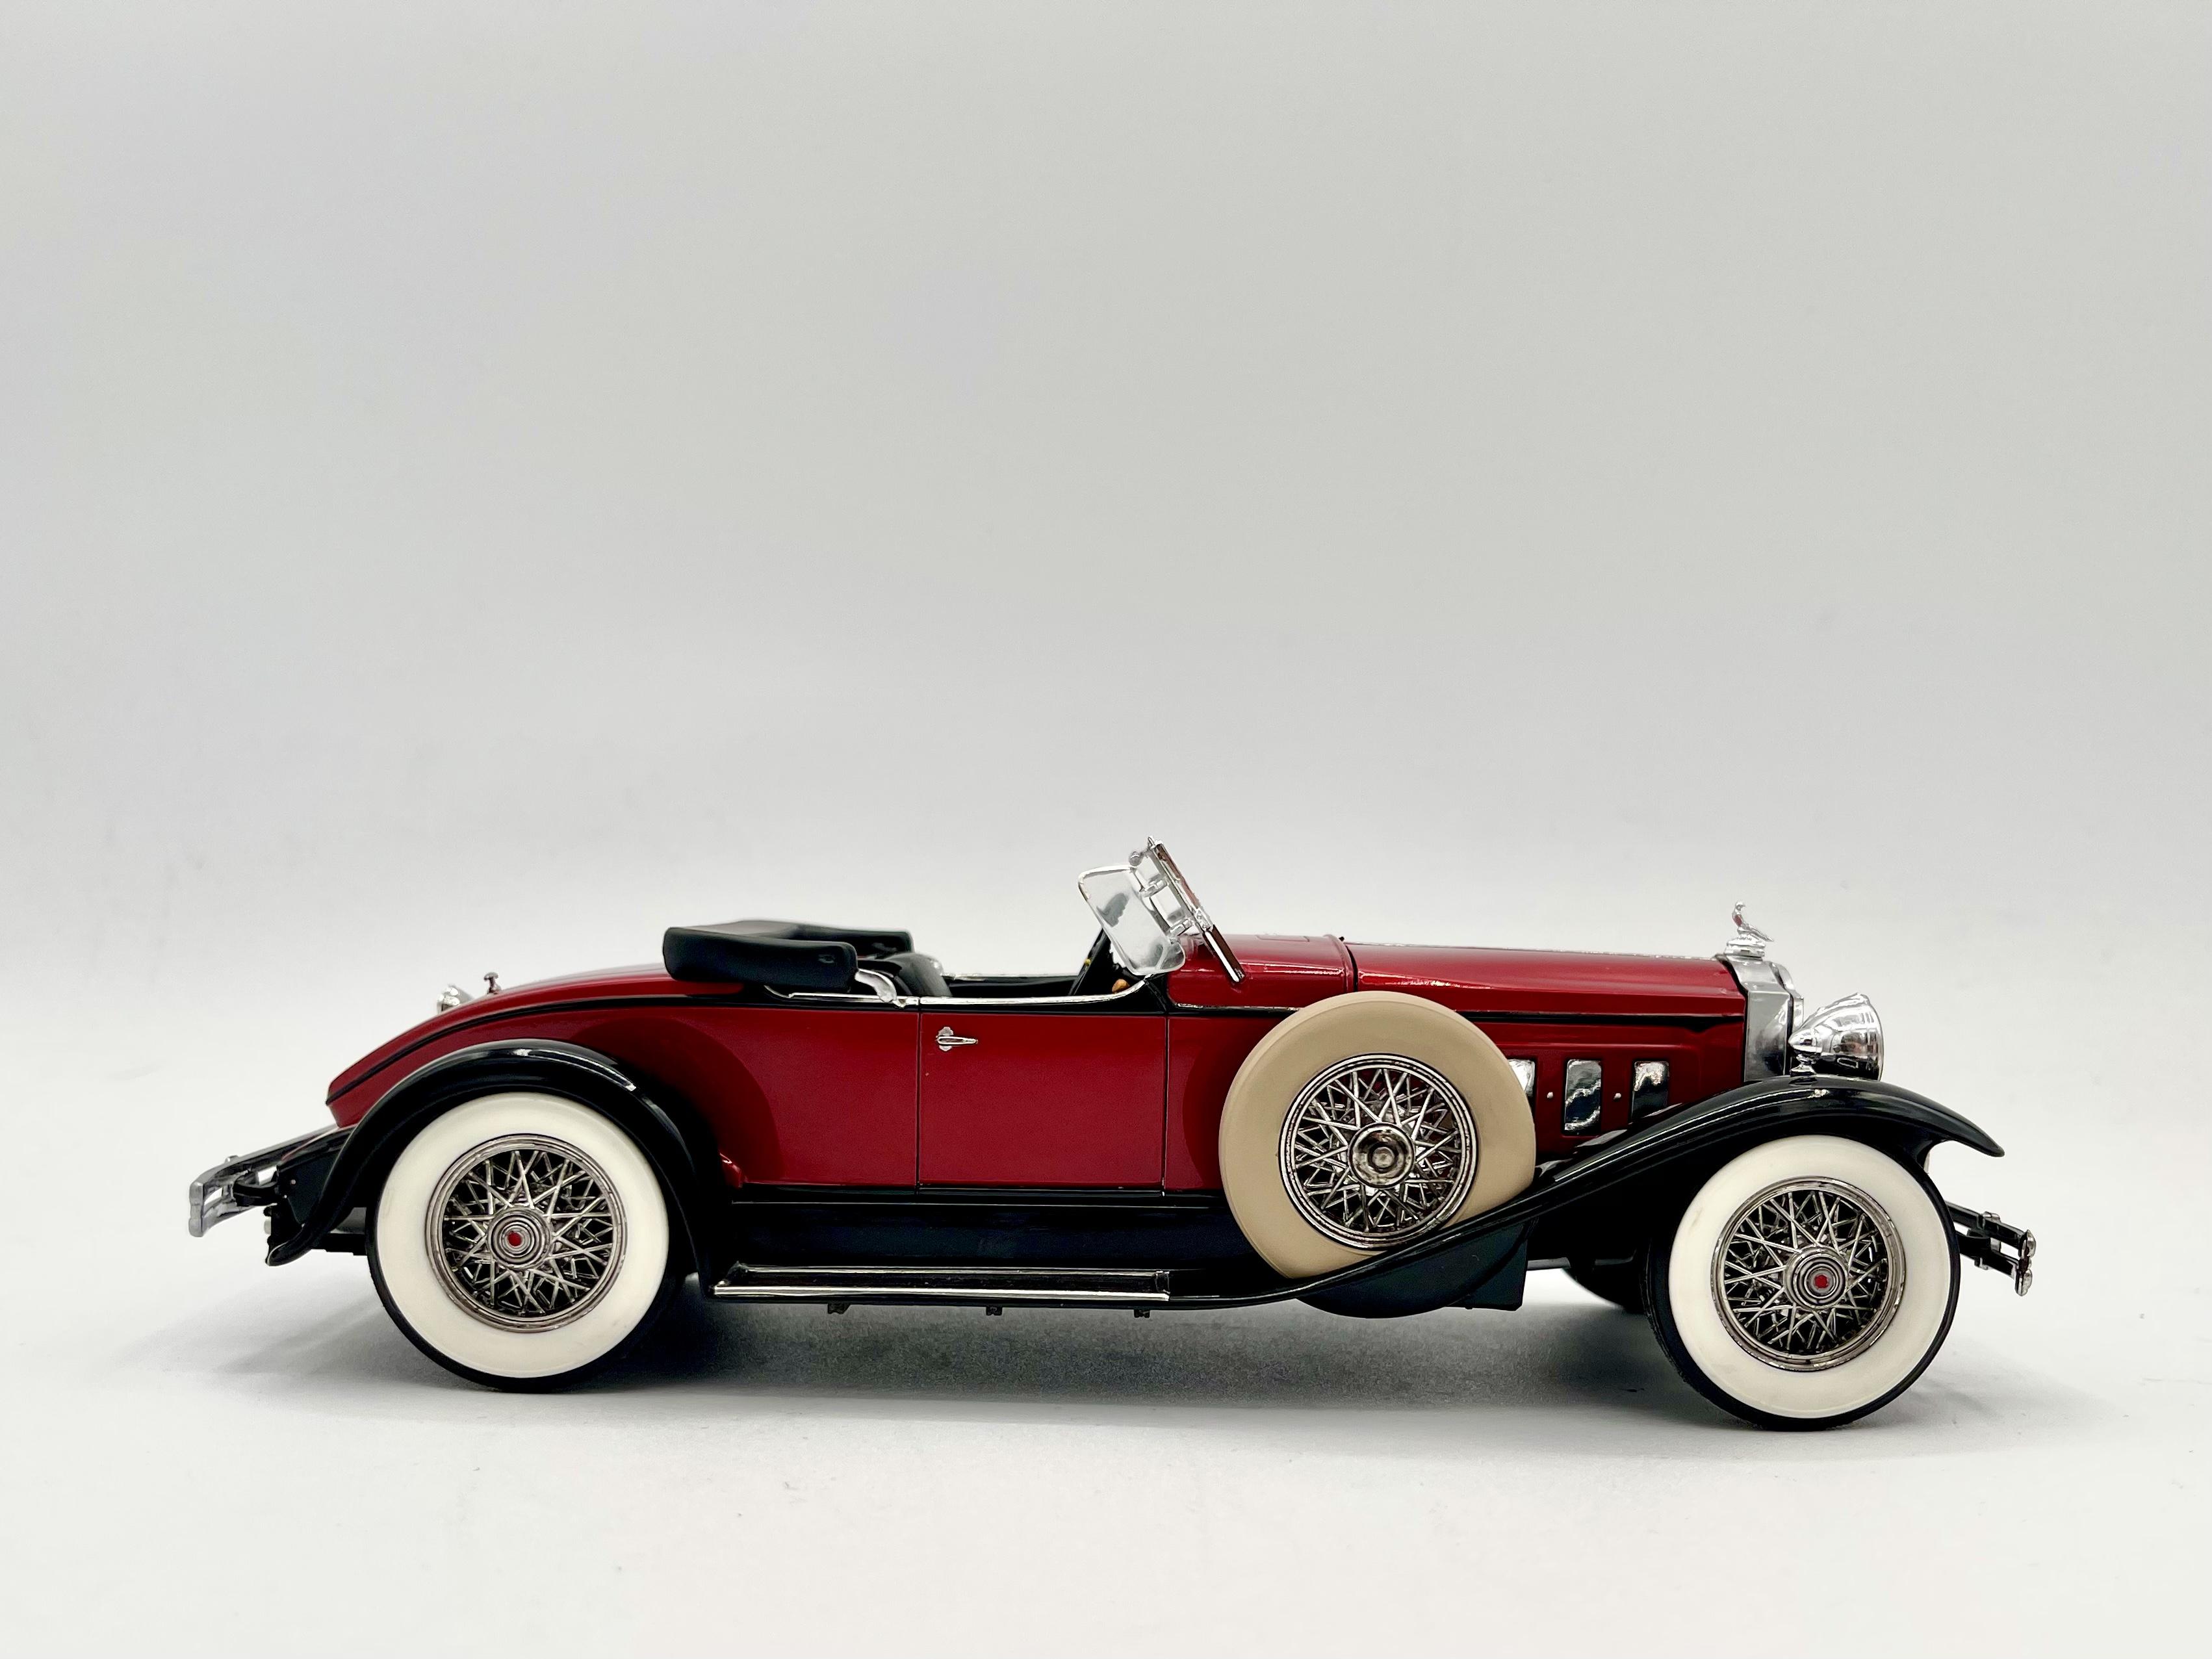
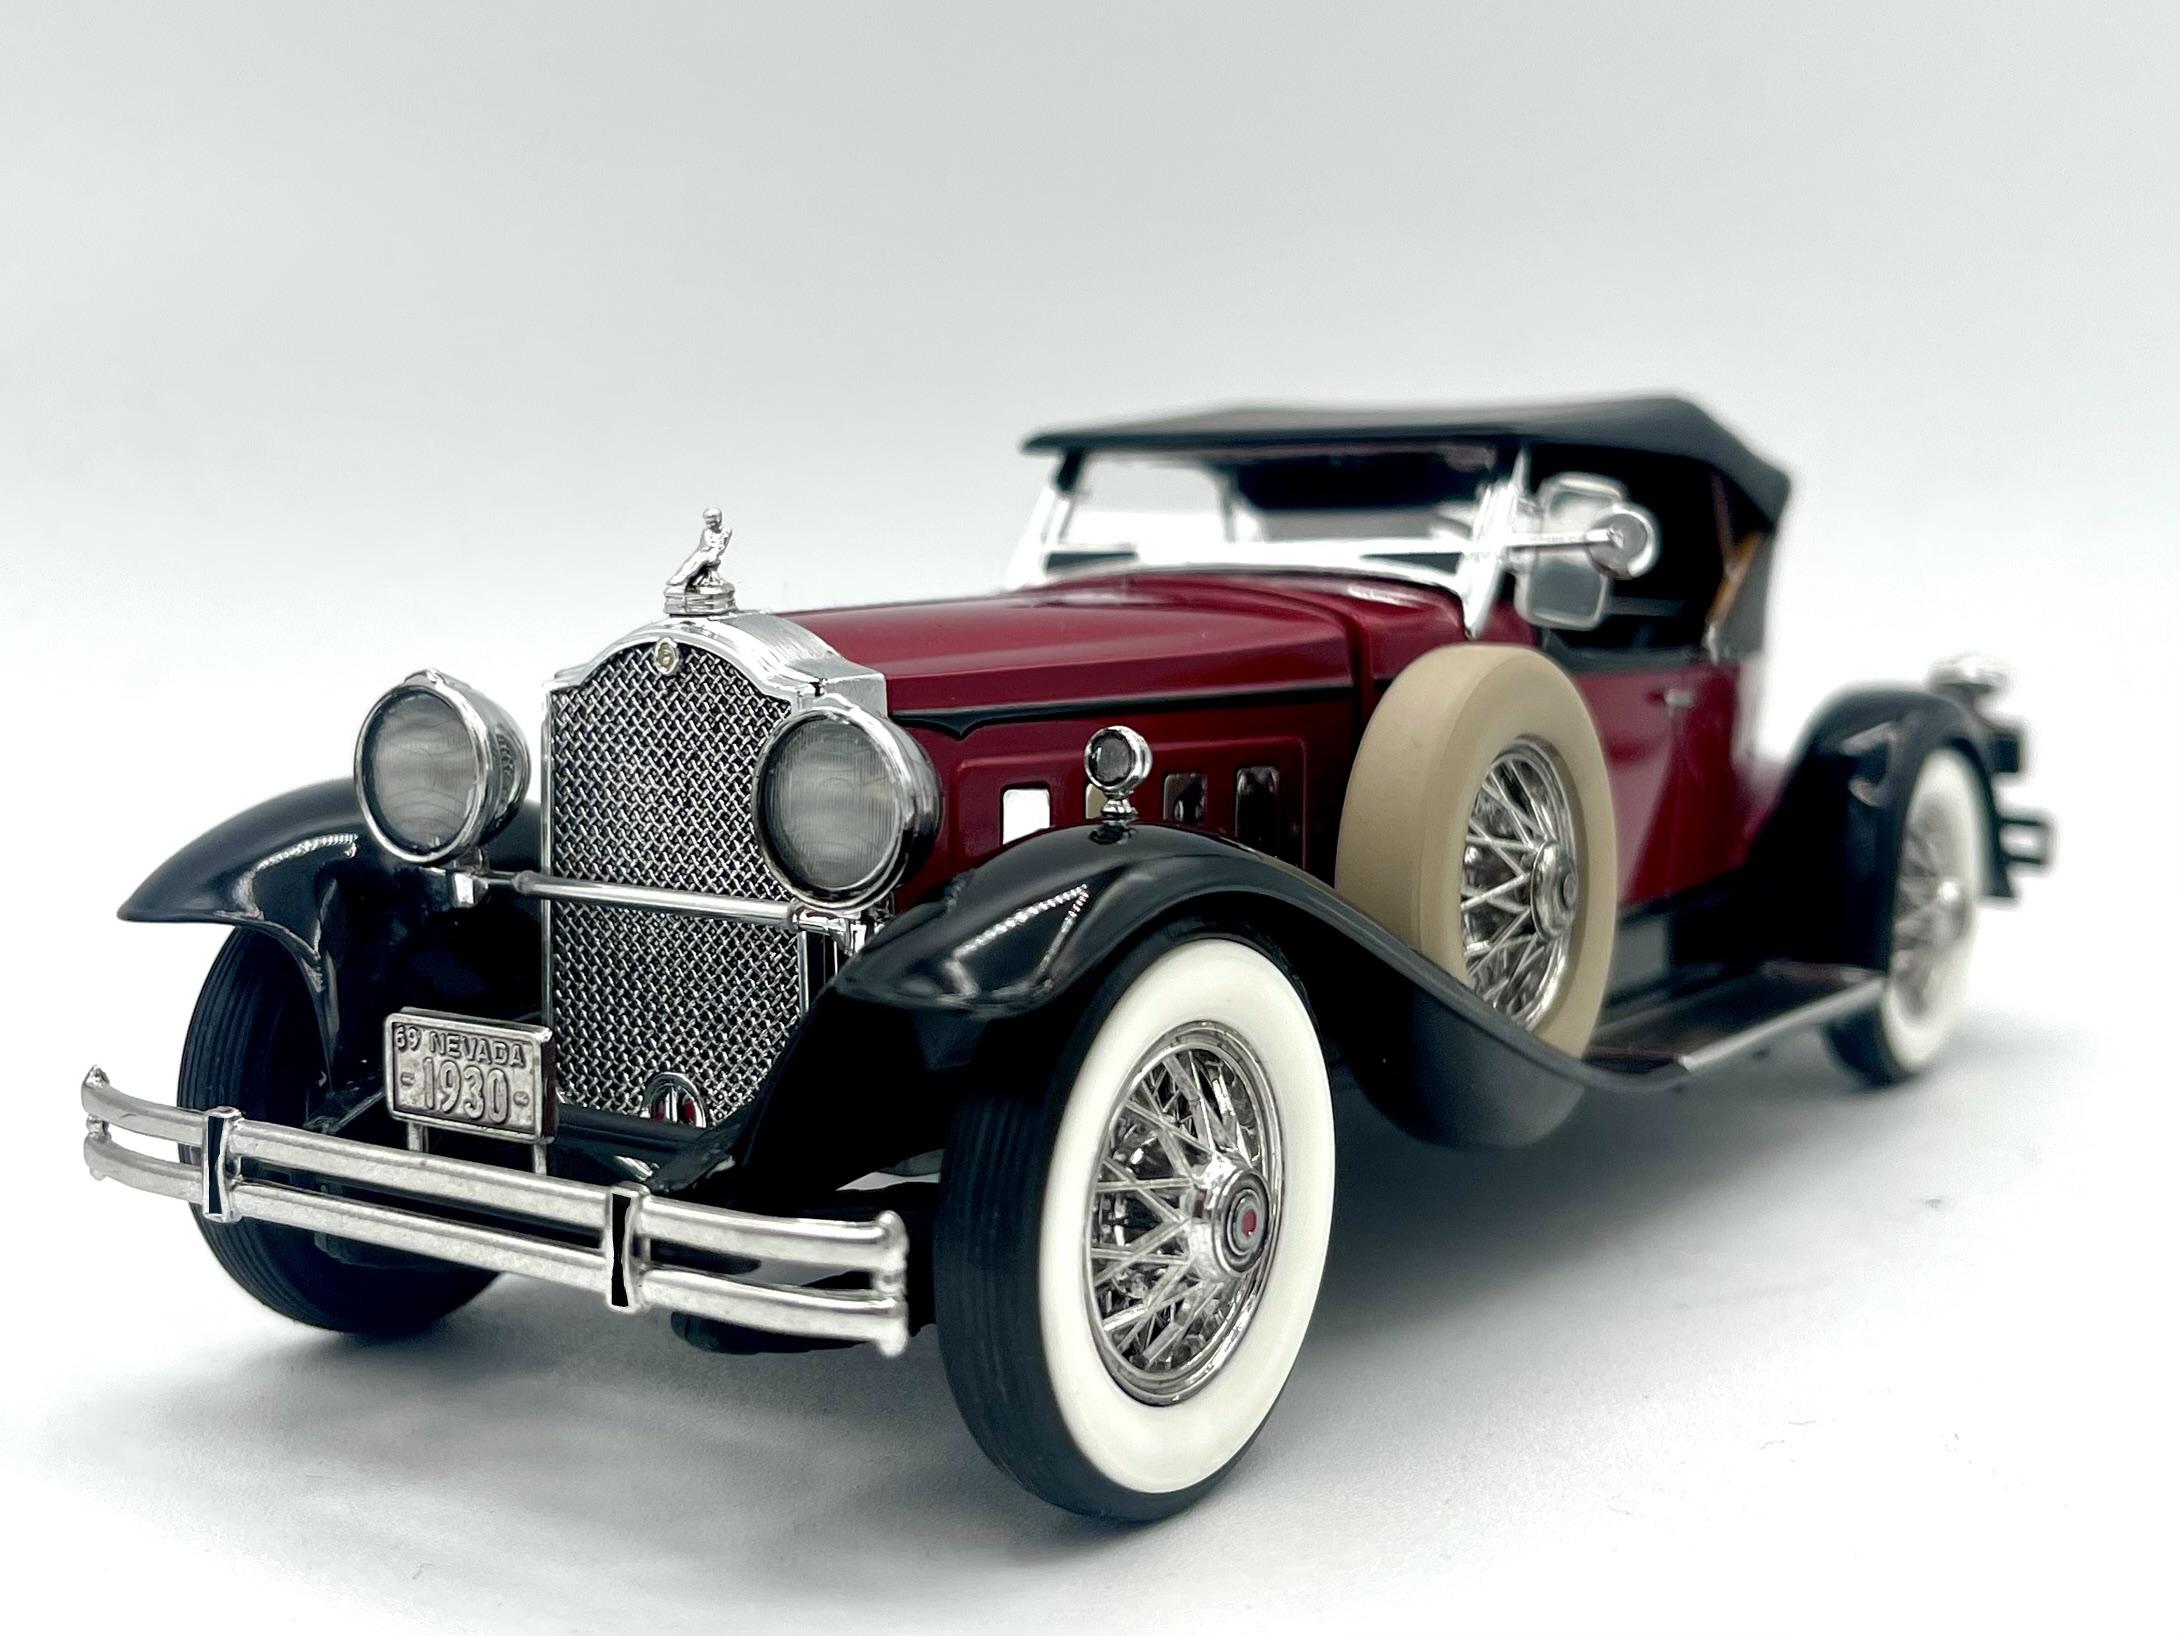
Just finished this 1930 Packard Boattail Speedster by Monogram. It’s an old 1/24 Museum Pieces kit I found on eBay which unfortunately came to me missing quite a few parts. I can’t really complain though since it was only $15. I actually thought it was missing the interior door panels too, until I realized they were molded veeeery faintly into the interior tub. In addition to cutting the door panels out and building some new ones with styrene sheets and metal wire, the fabricated mods include most of the other interior bits, rear bumper, engine bay detail (distributor, wire router, firewall, etc), exhaust and front headlight bracket. Currently on the lookout for better wire wheels, as the kit provided set is probably its biggest weakness. Too cold/rainy in nyc for the usual outdoor pics, so the photo booth will have to do. It’s also probably going to be my last build using spray cans, as I finally made the leap and bought an airbrush setup. Time to hit the boards and learn how to do everything all over again ? Last pic is with the 1:1 I used for inspiration ??
- 42 replies
-
- 12
-
-
Monogram Boattail speedster - took some pics last night and gonna post later today ??
-
that's one beautiful model! very impressed with all of your work - your mercedes actually inspired me to step away from the muscle cars for a minute and try out an old 30's classic...i couldn't find the mercedes for a reasonable price, but i did have an ancient packard kit in the stash which i just finished up last night. awesome job!