radiohd10
-
Posts
286 -
Joined
-
Last visited
Content Type
Profiles
Forums
Events
Gallery
Everything posted by radiohd10
-
thanks fellas! Thanks! The pegasus rims came chromed - i just hit them with some tamiya smoke and panel washed them.
-
haha - thanks. i’ve had those big old pegasus wheels for awhile now and this was the first car i’ve done where they didn’t look totally ridiculous so I figured why not ??♂️
-
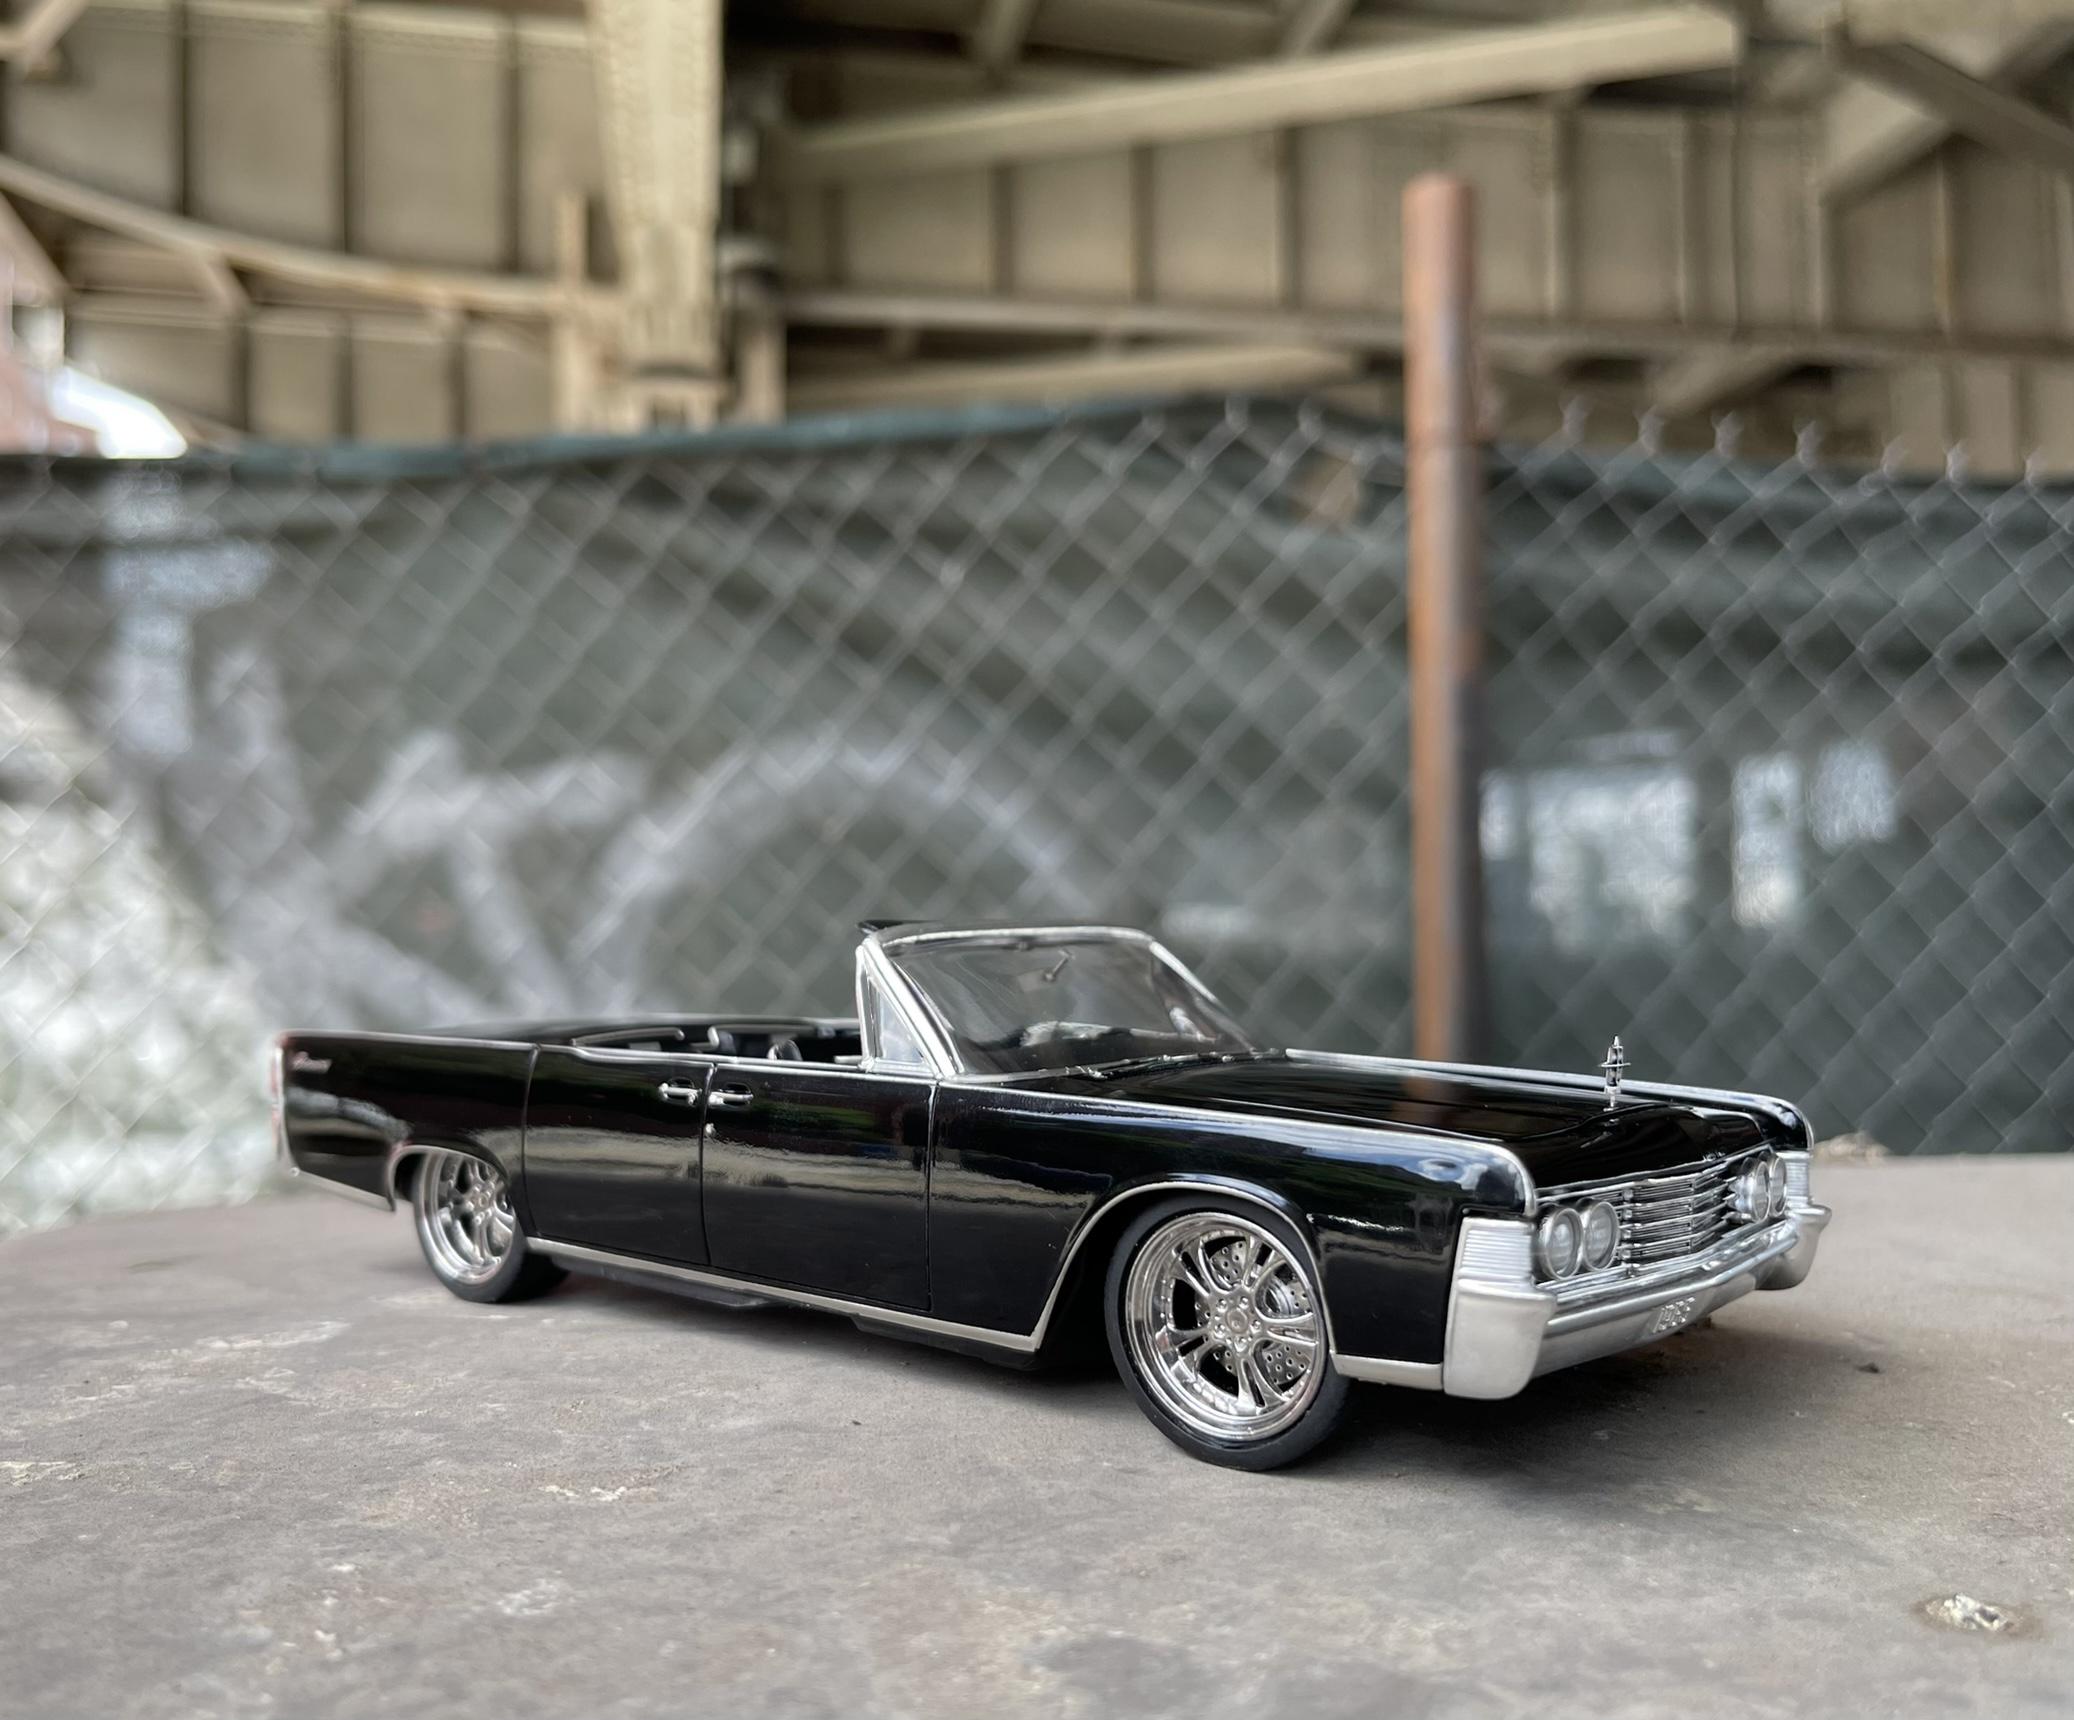
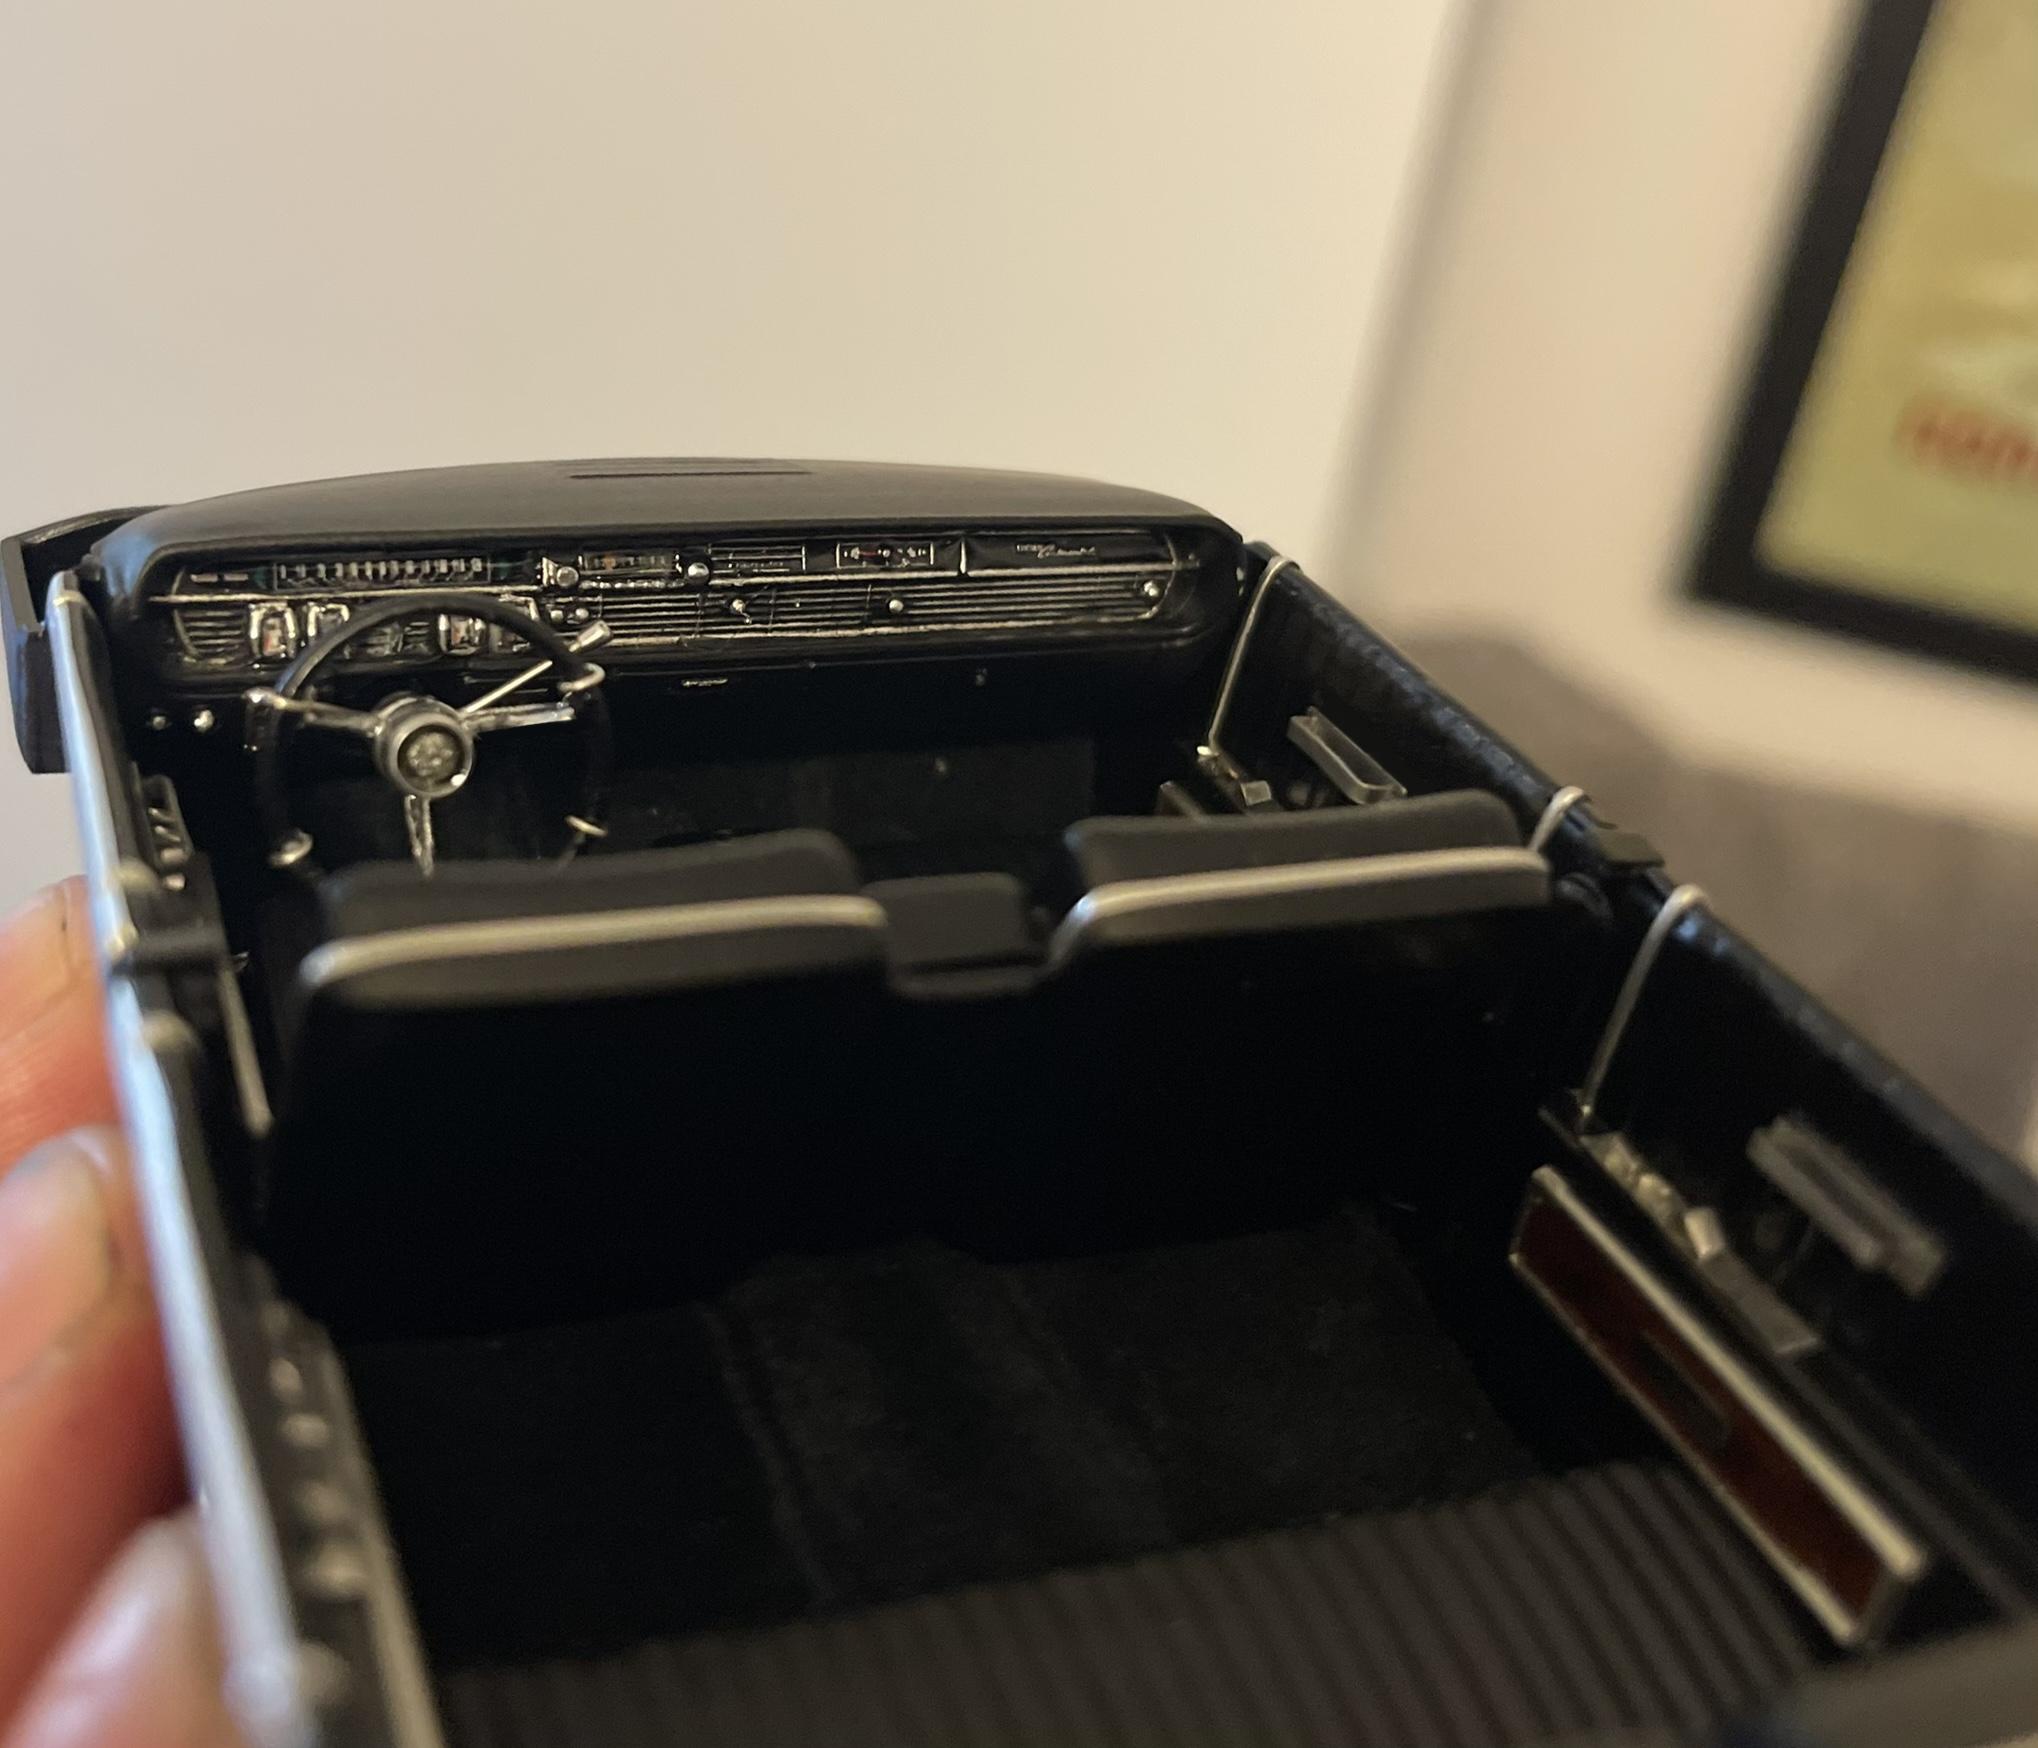
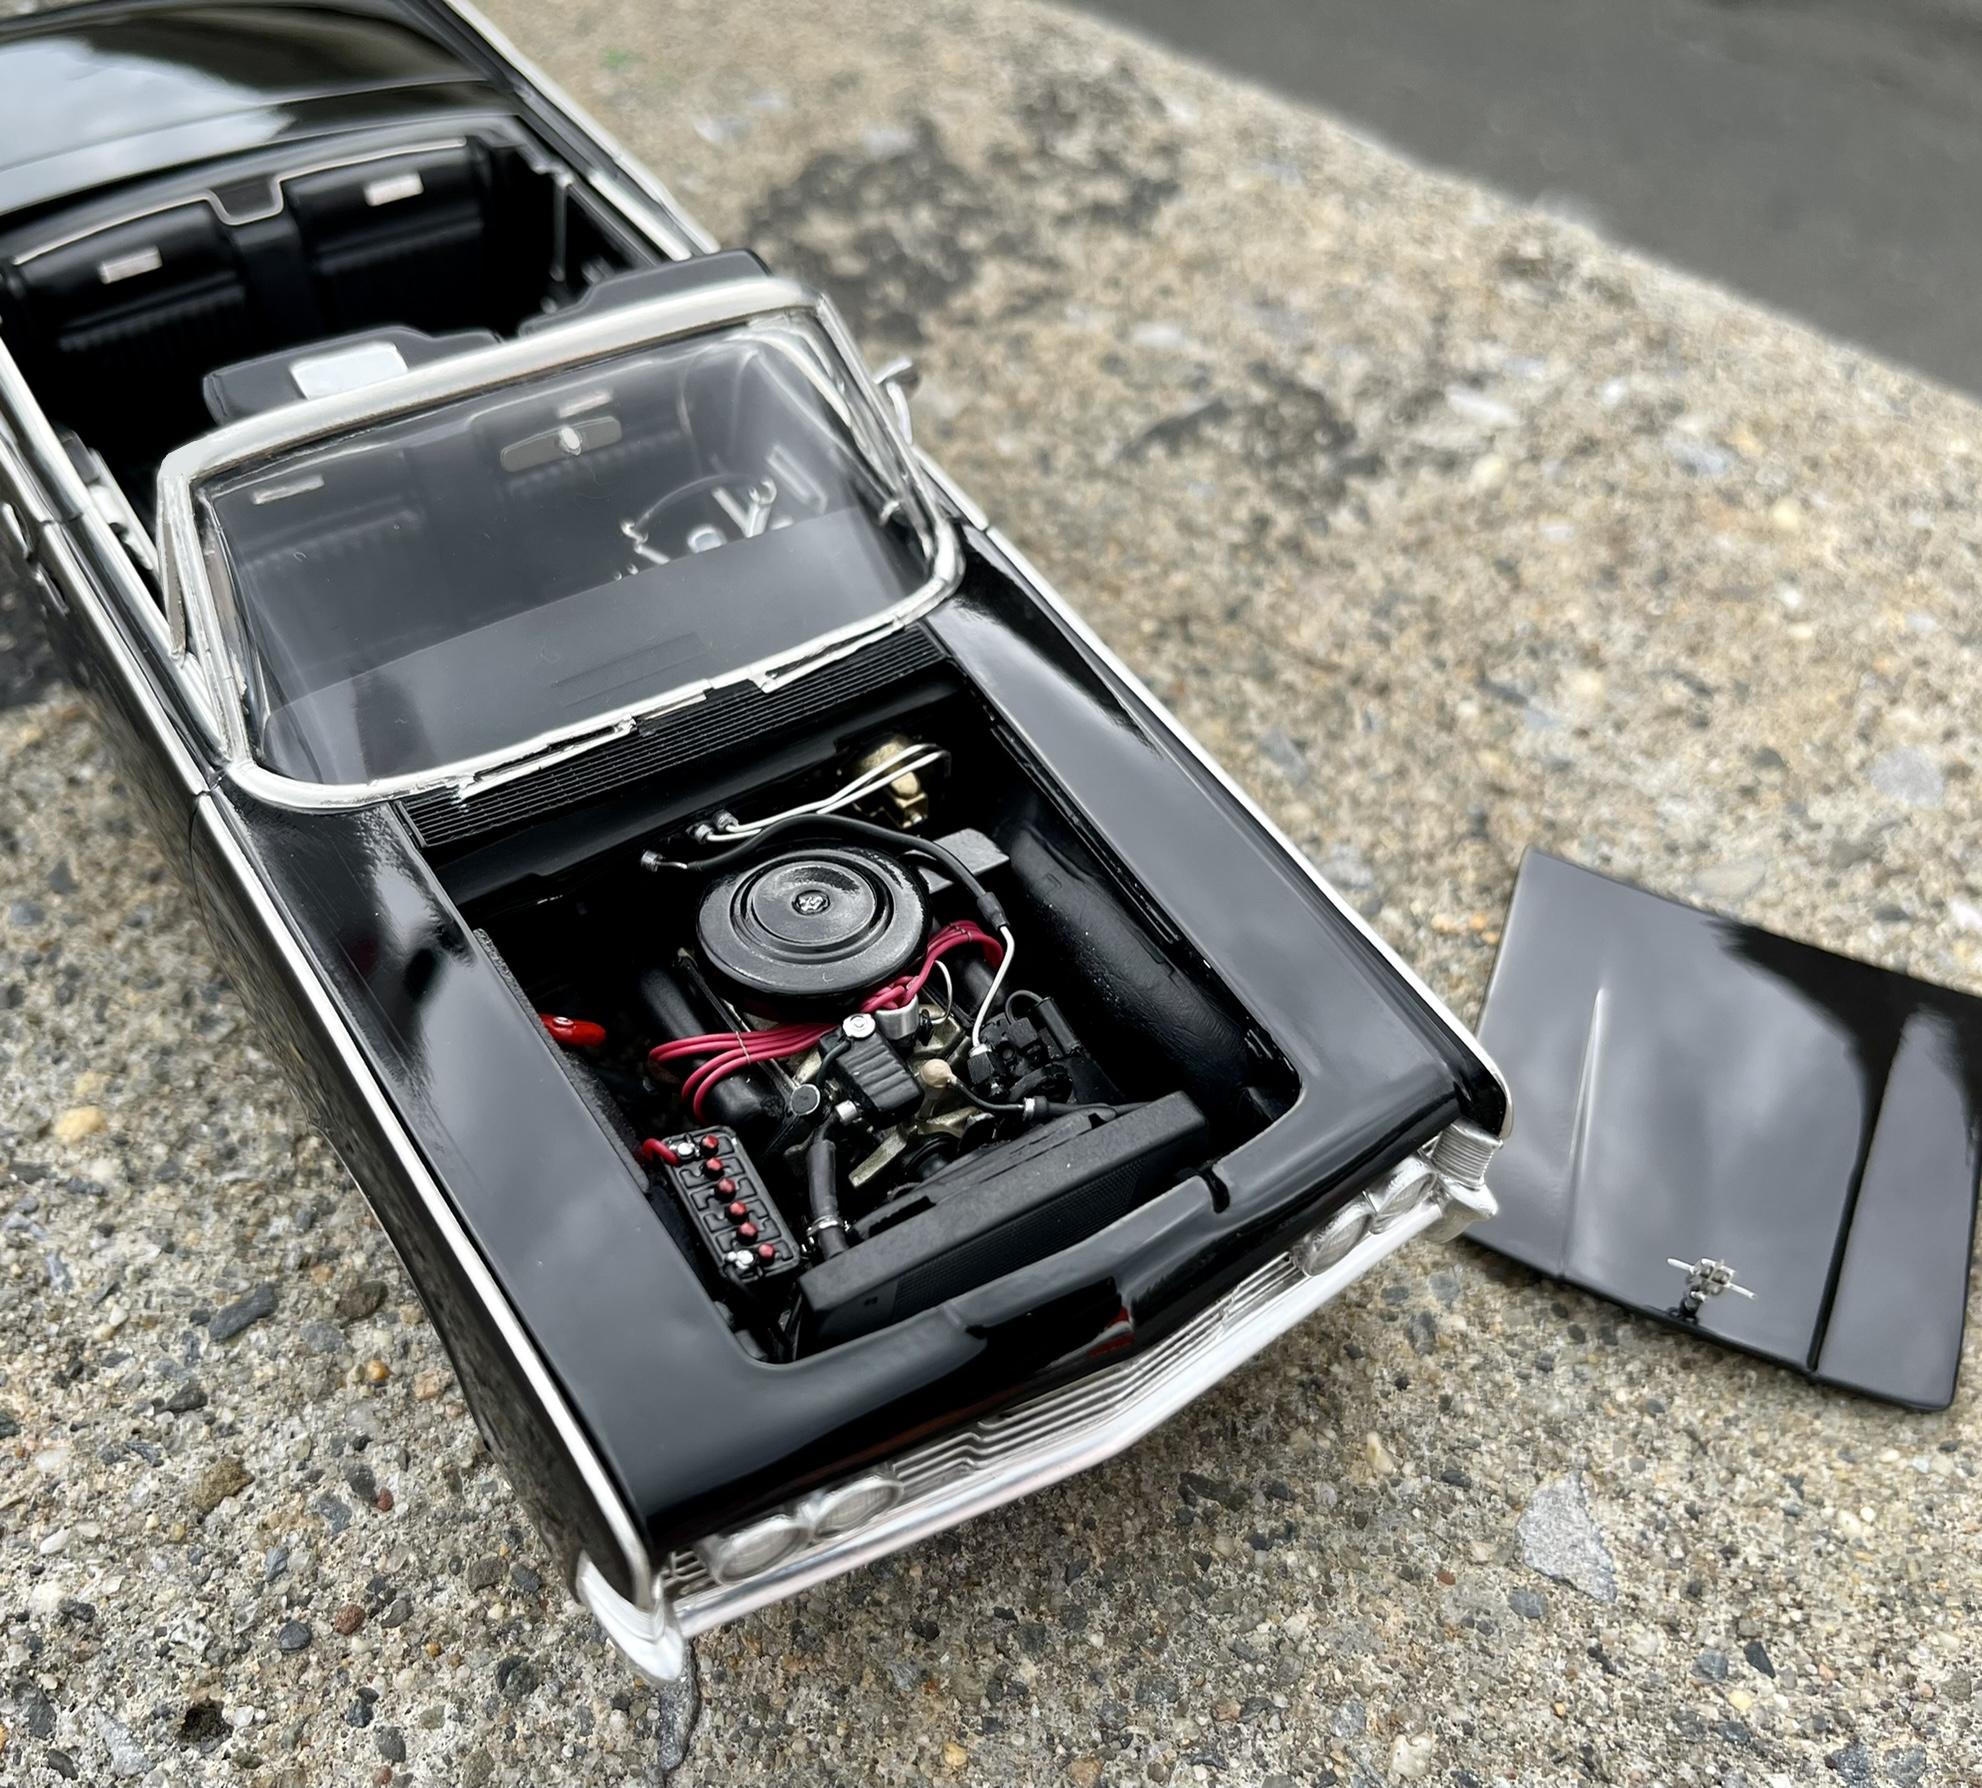
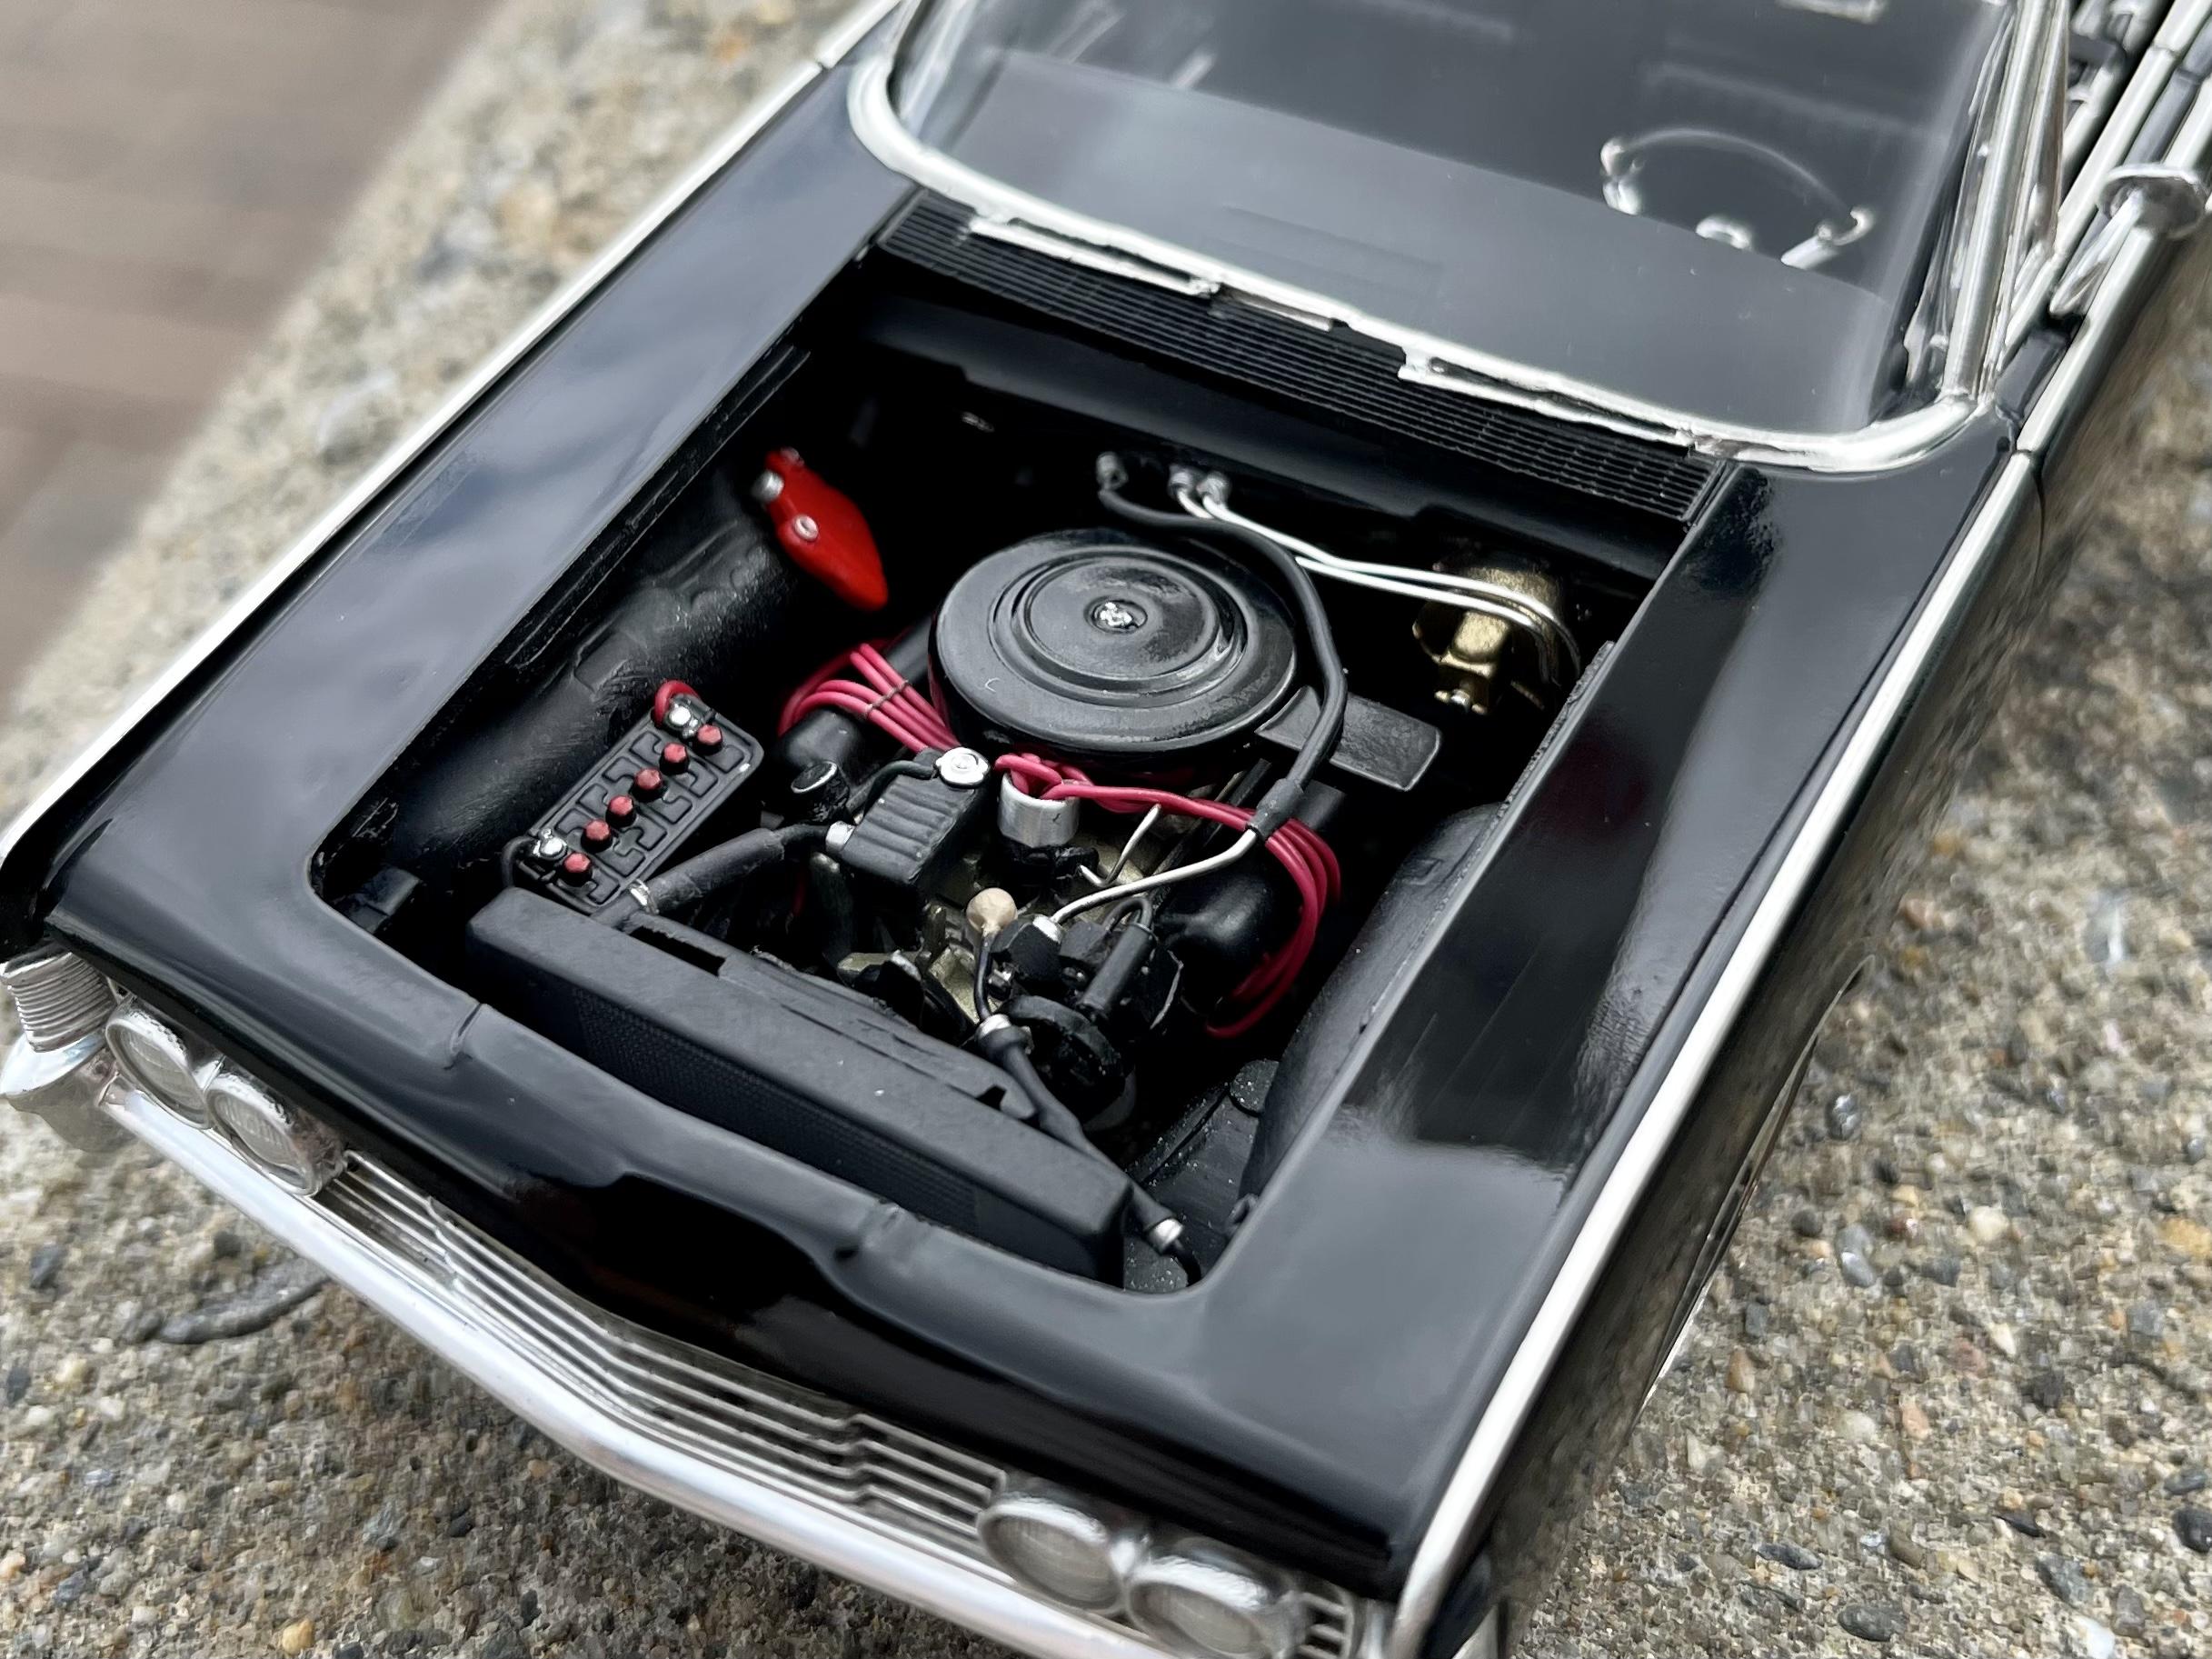
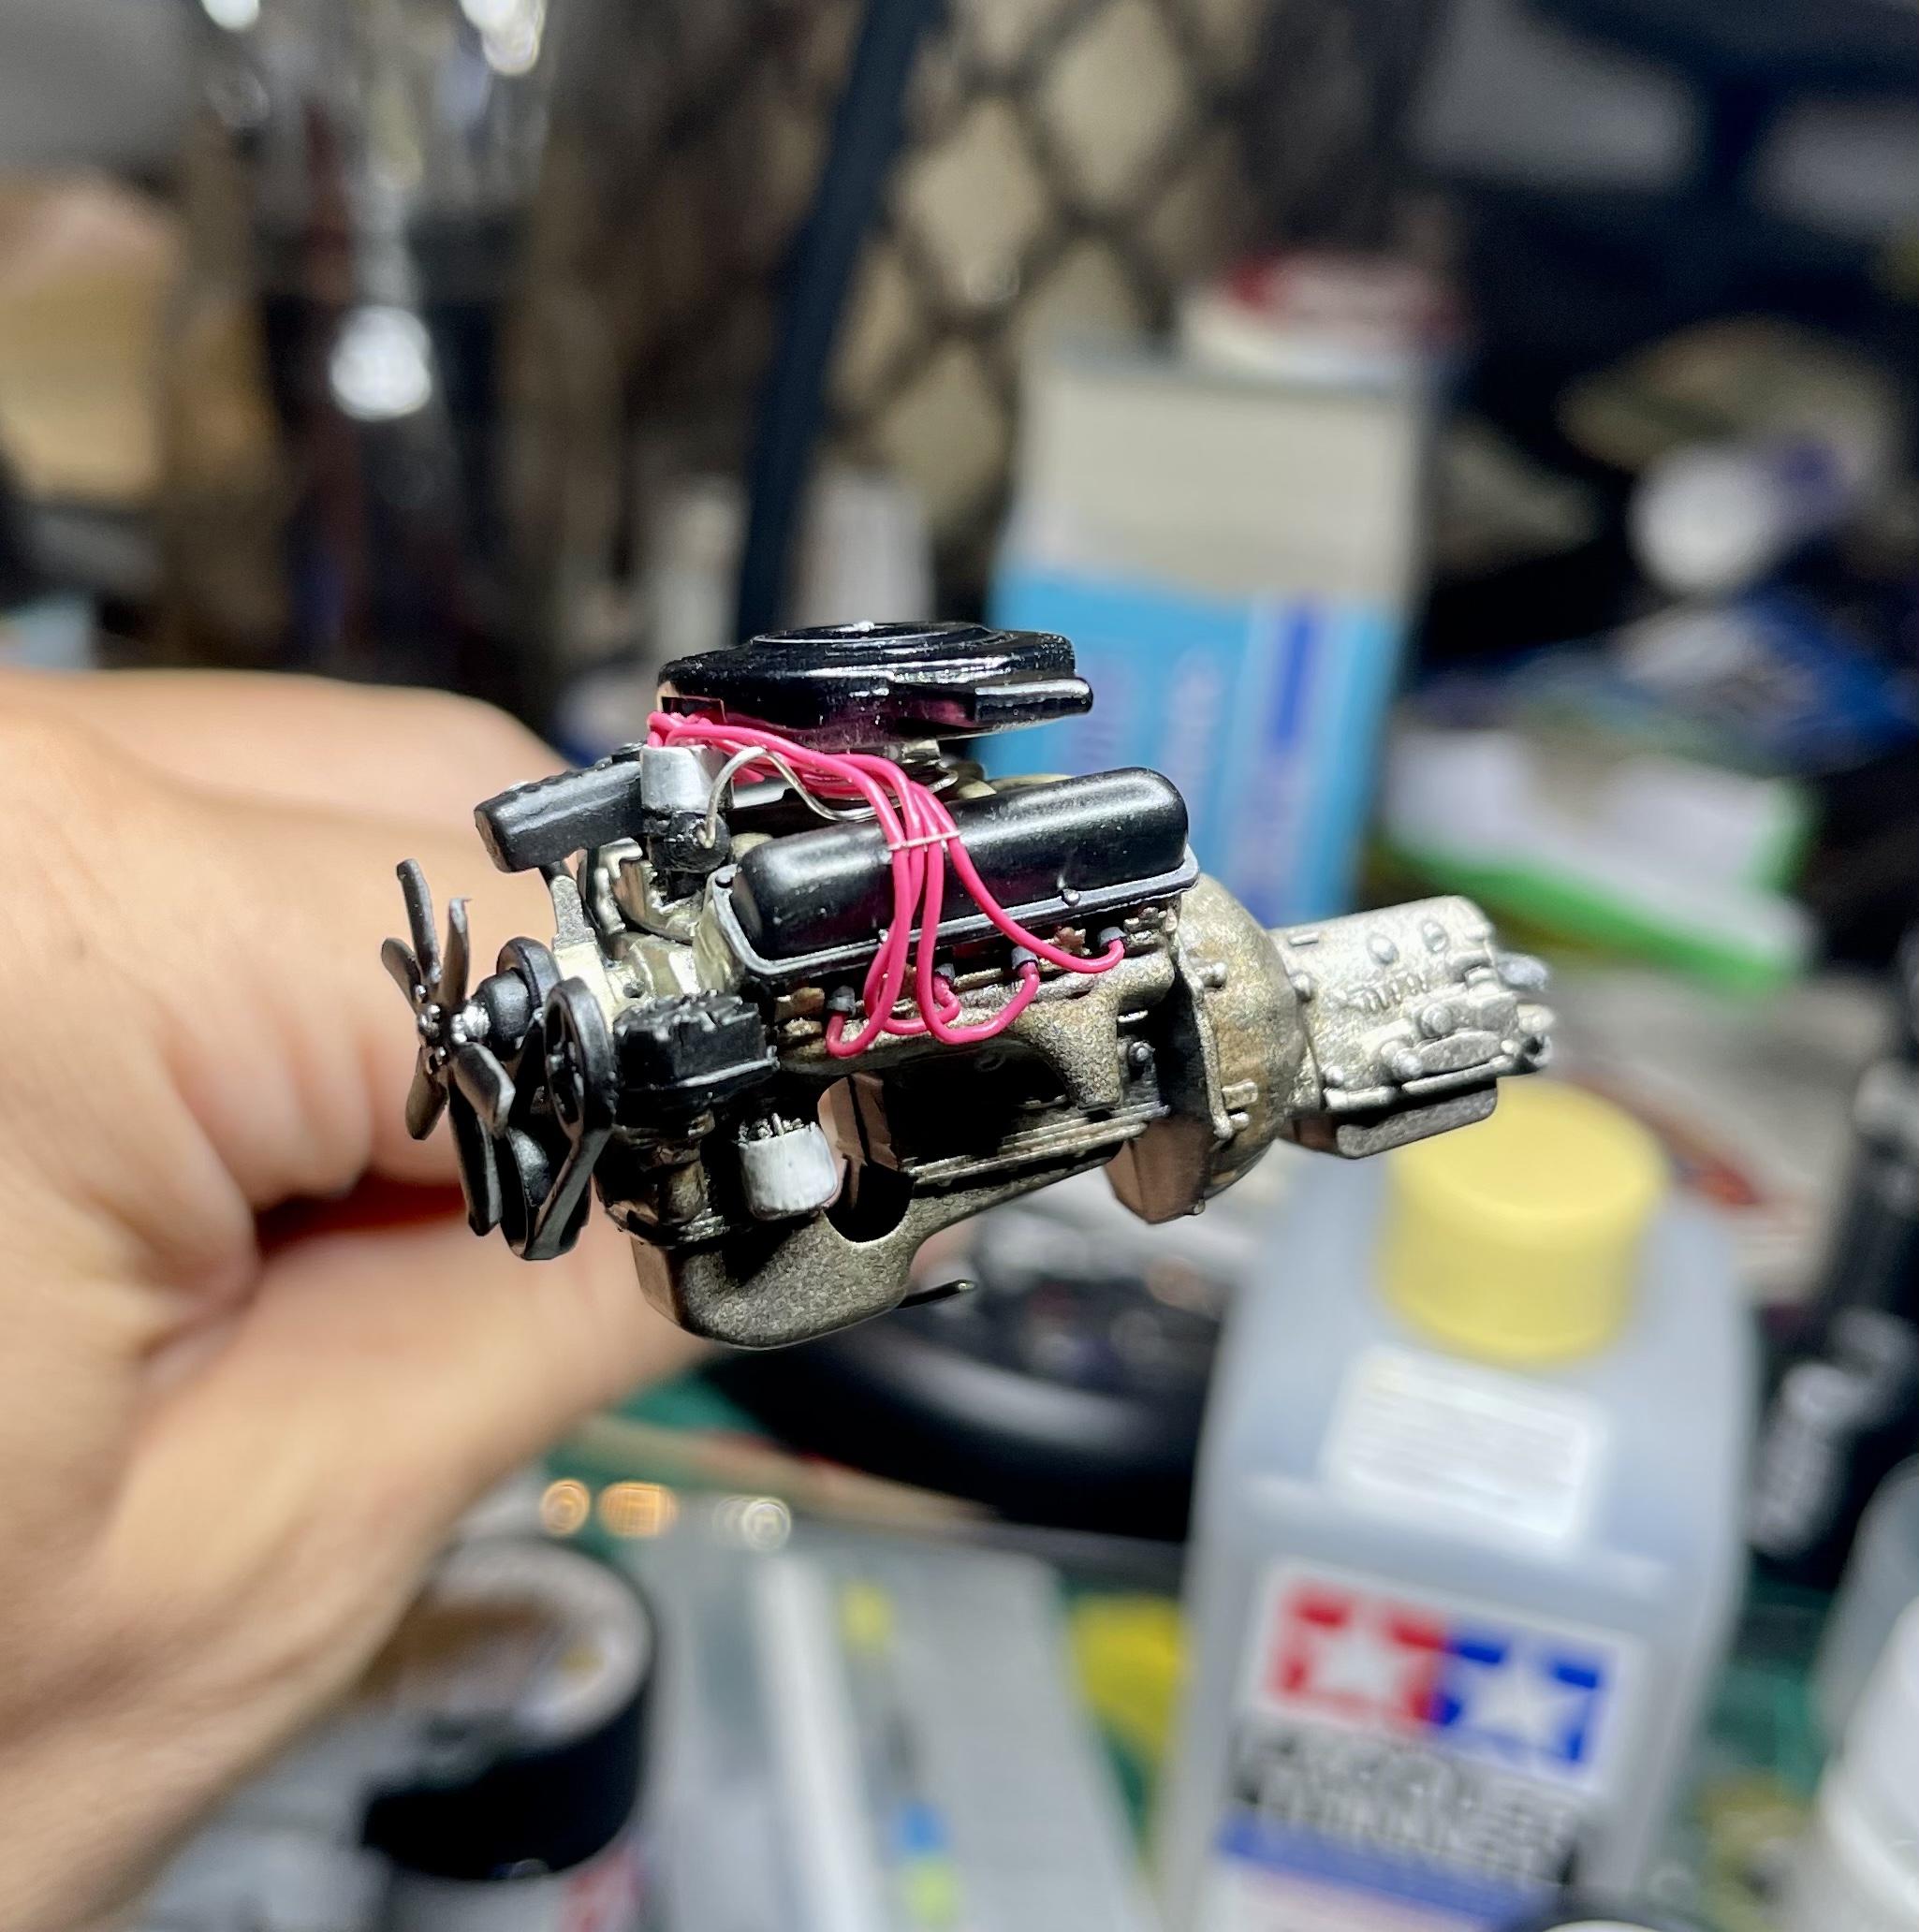
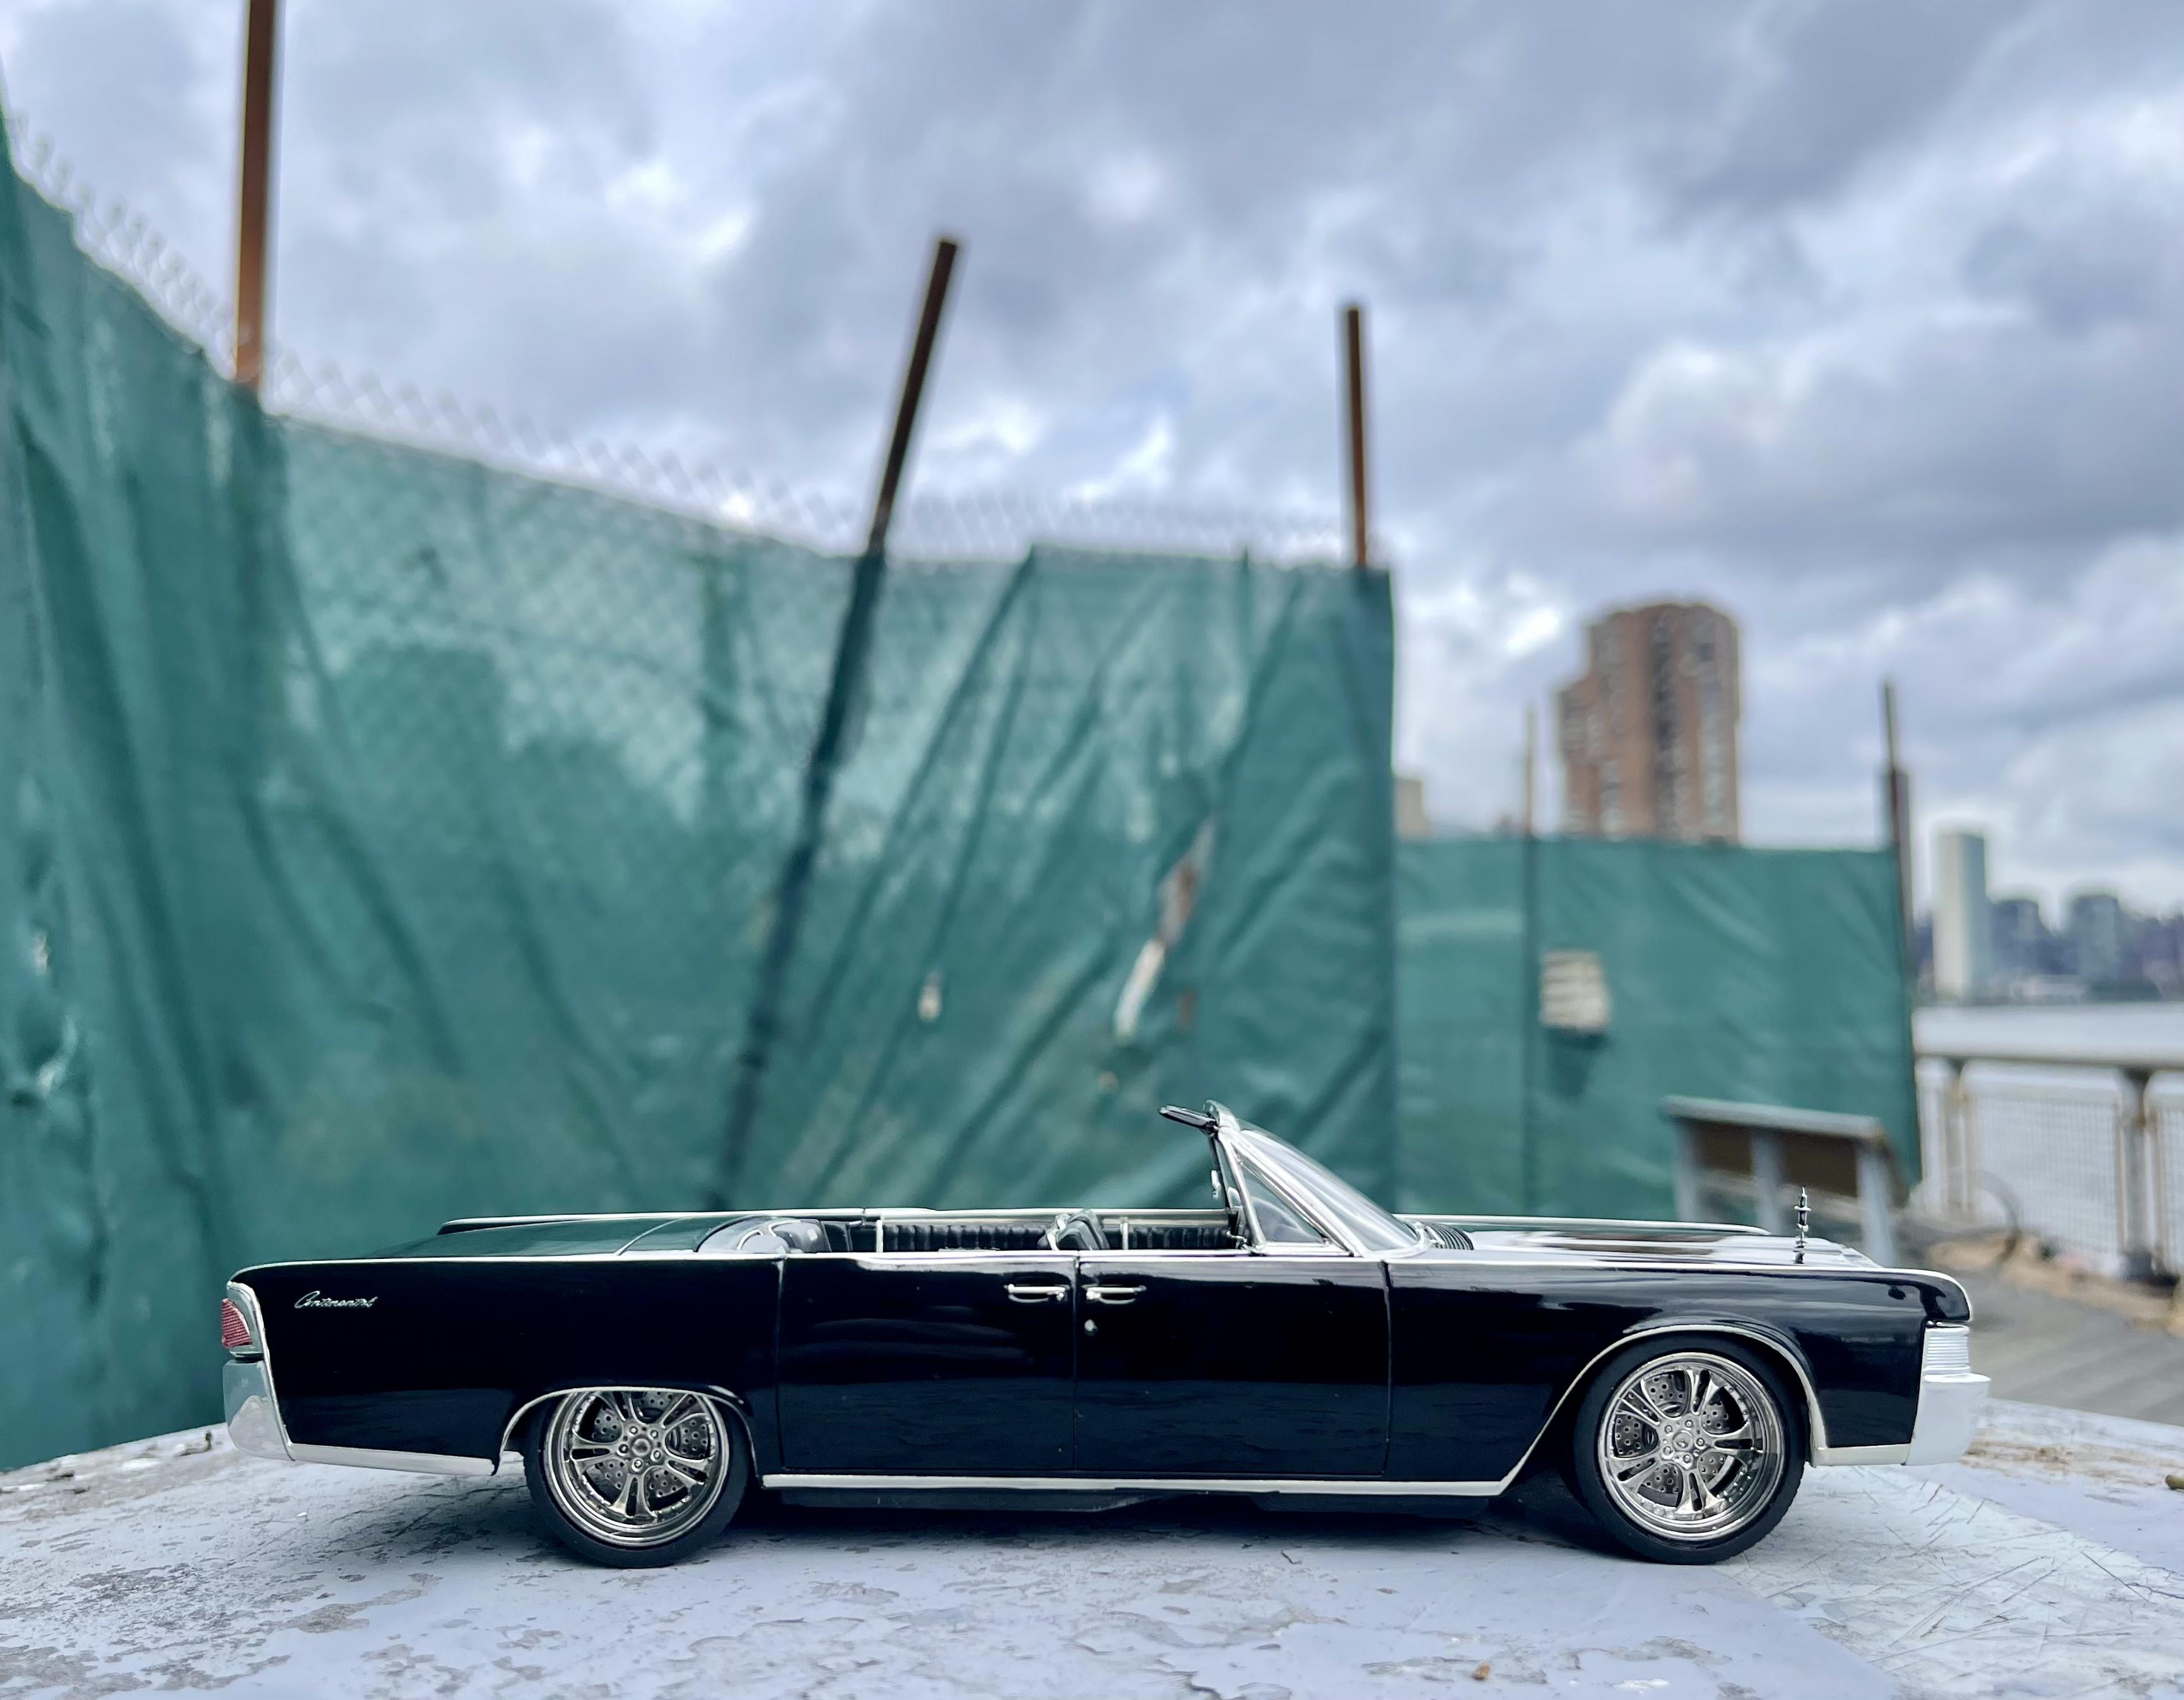
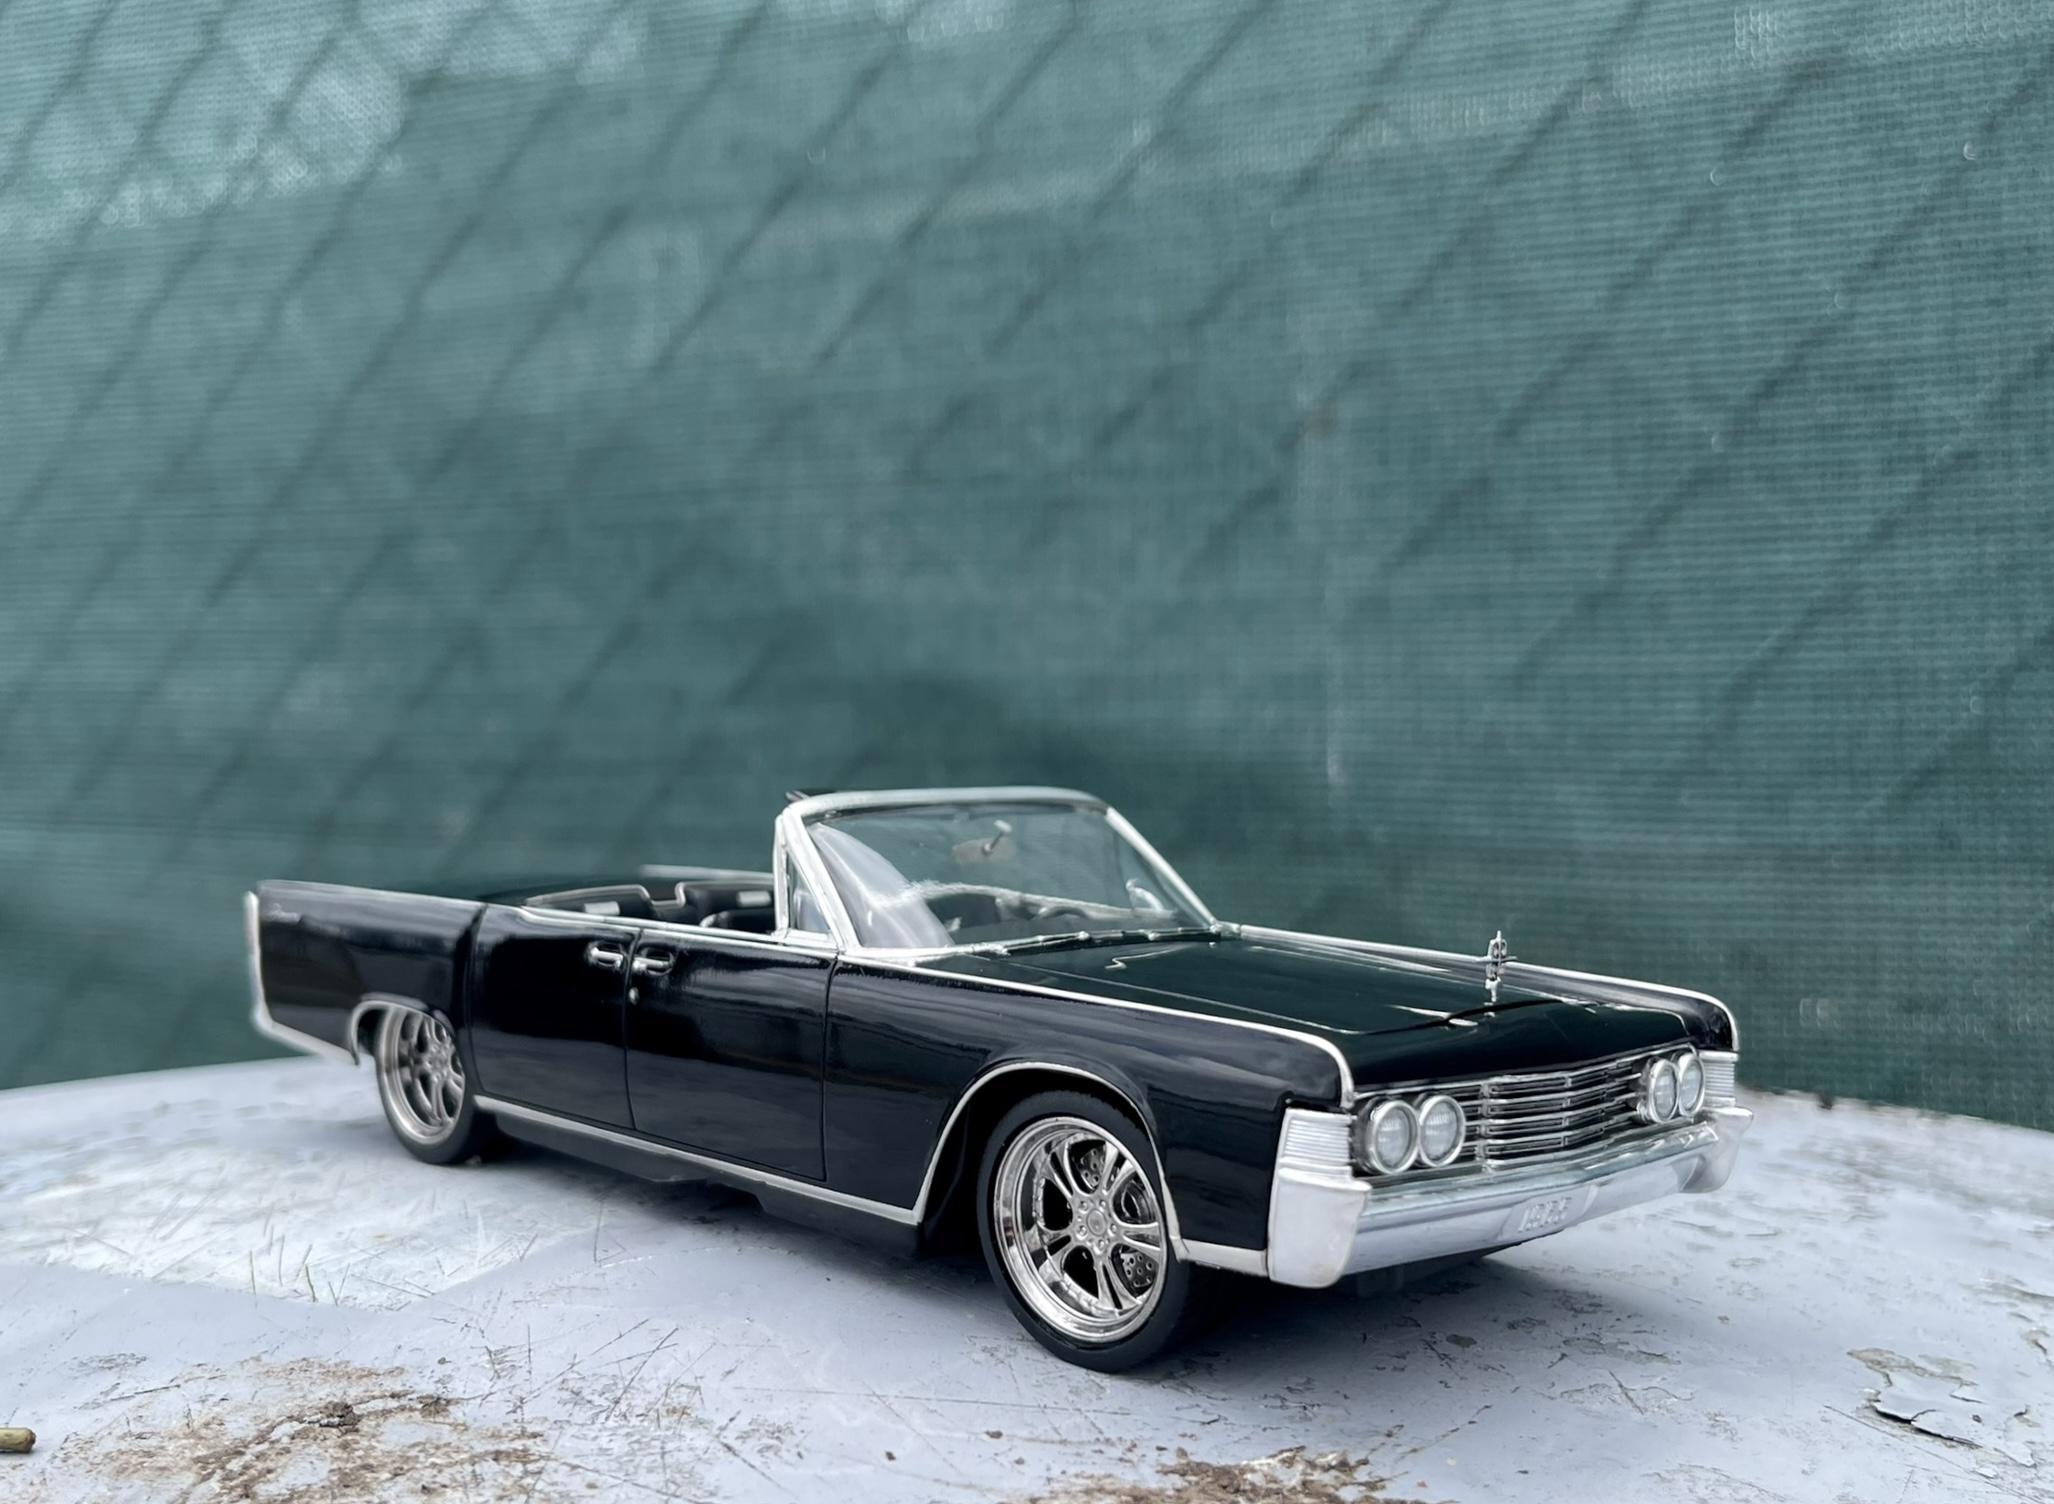
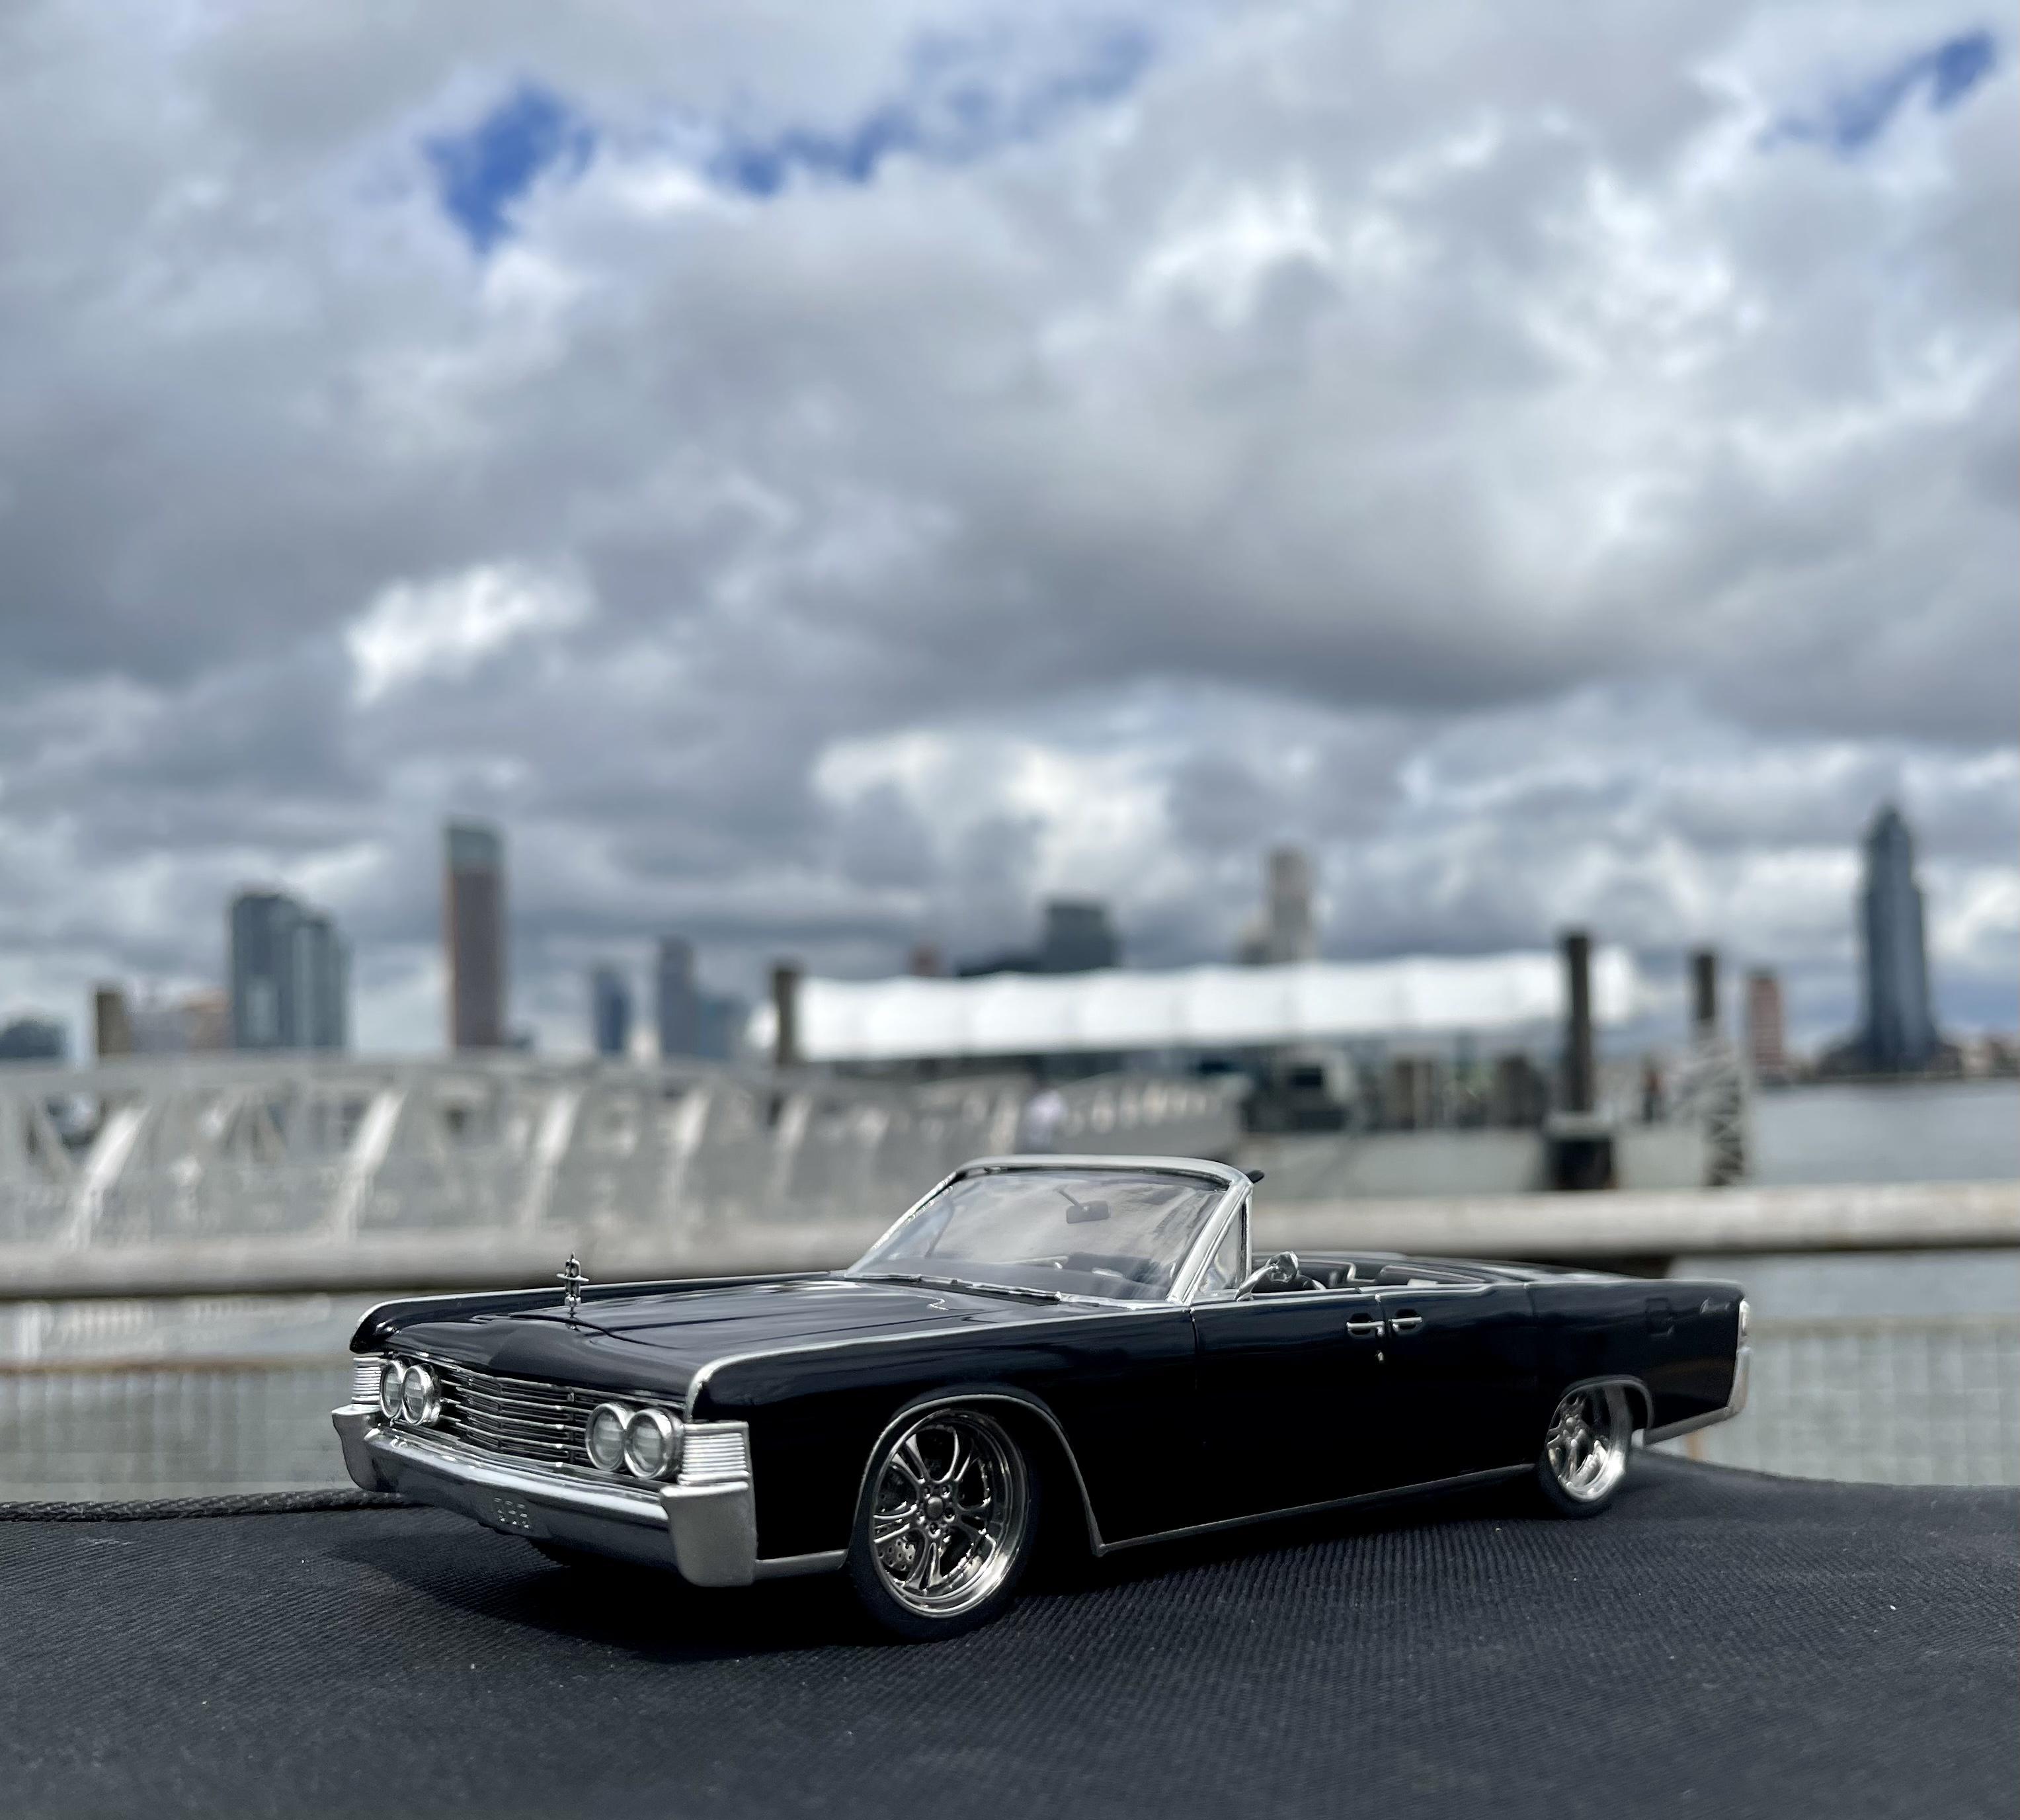
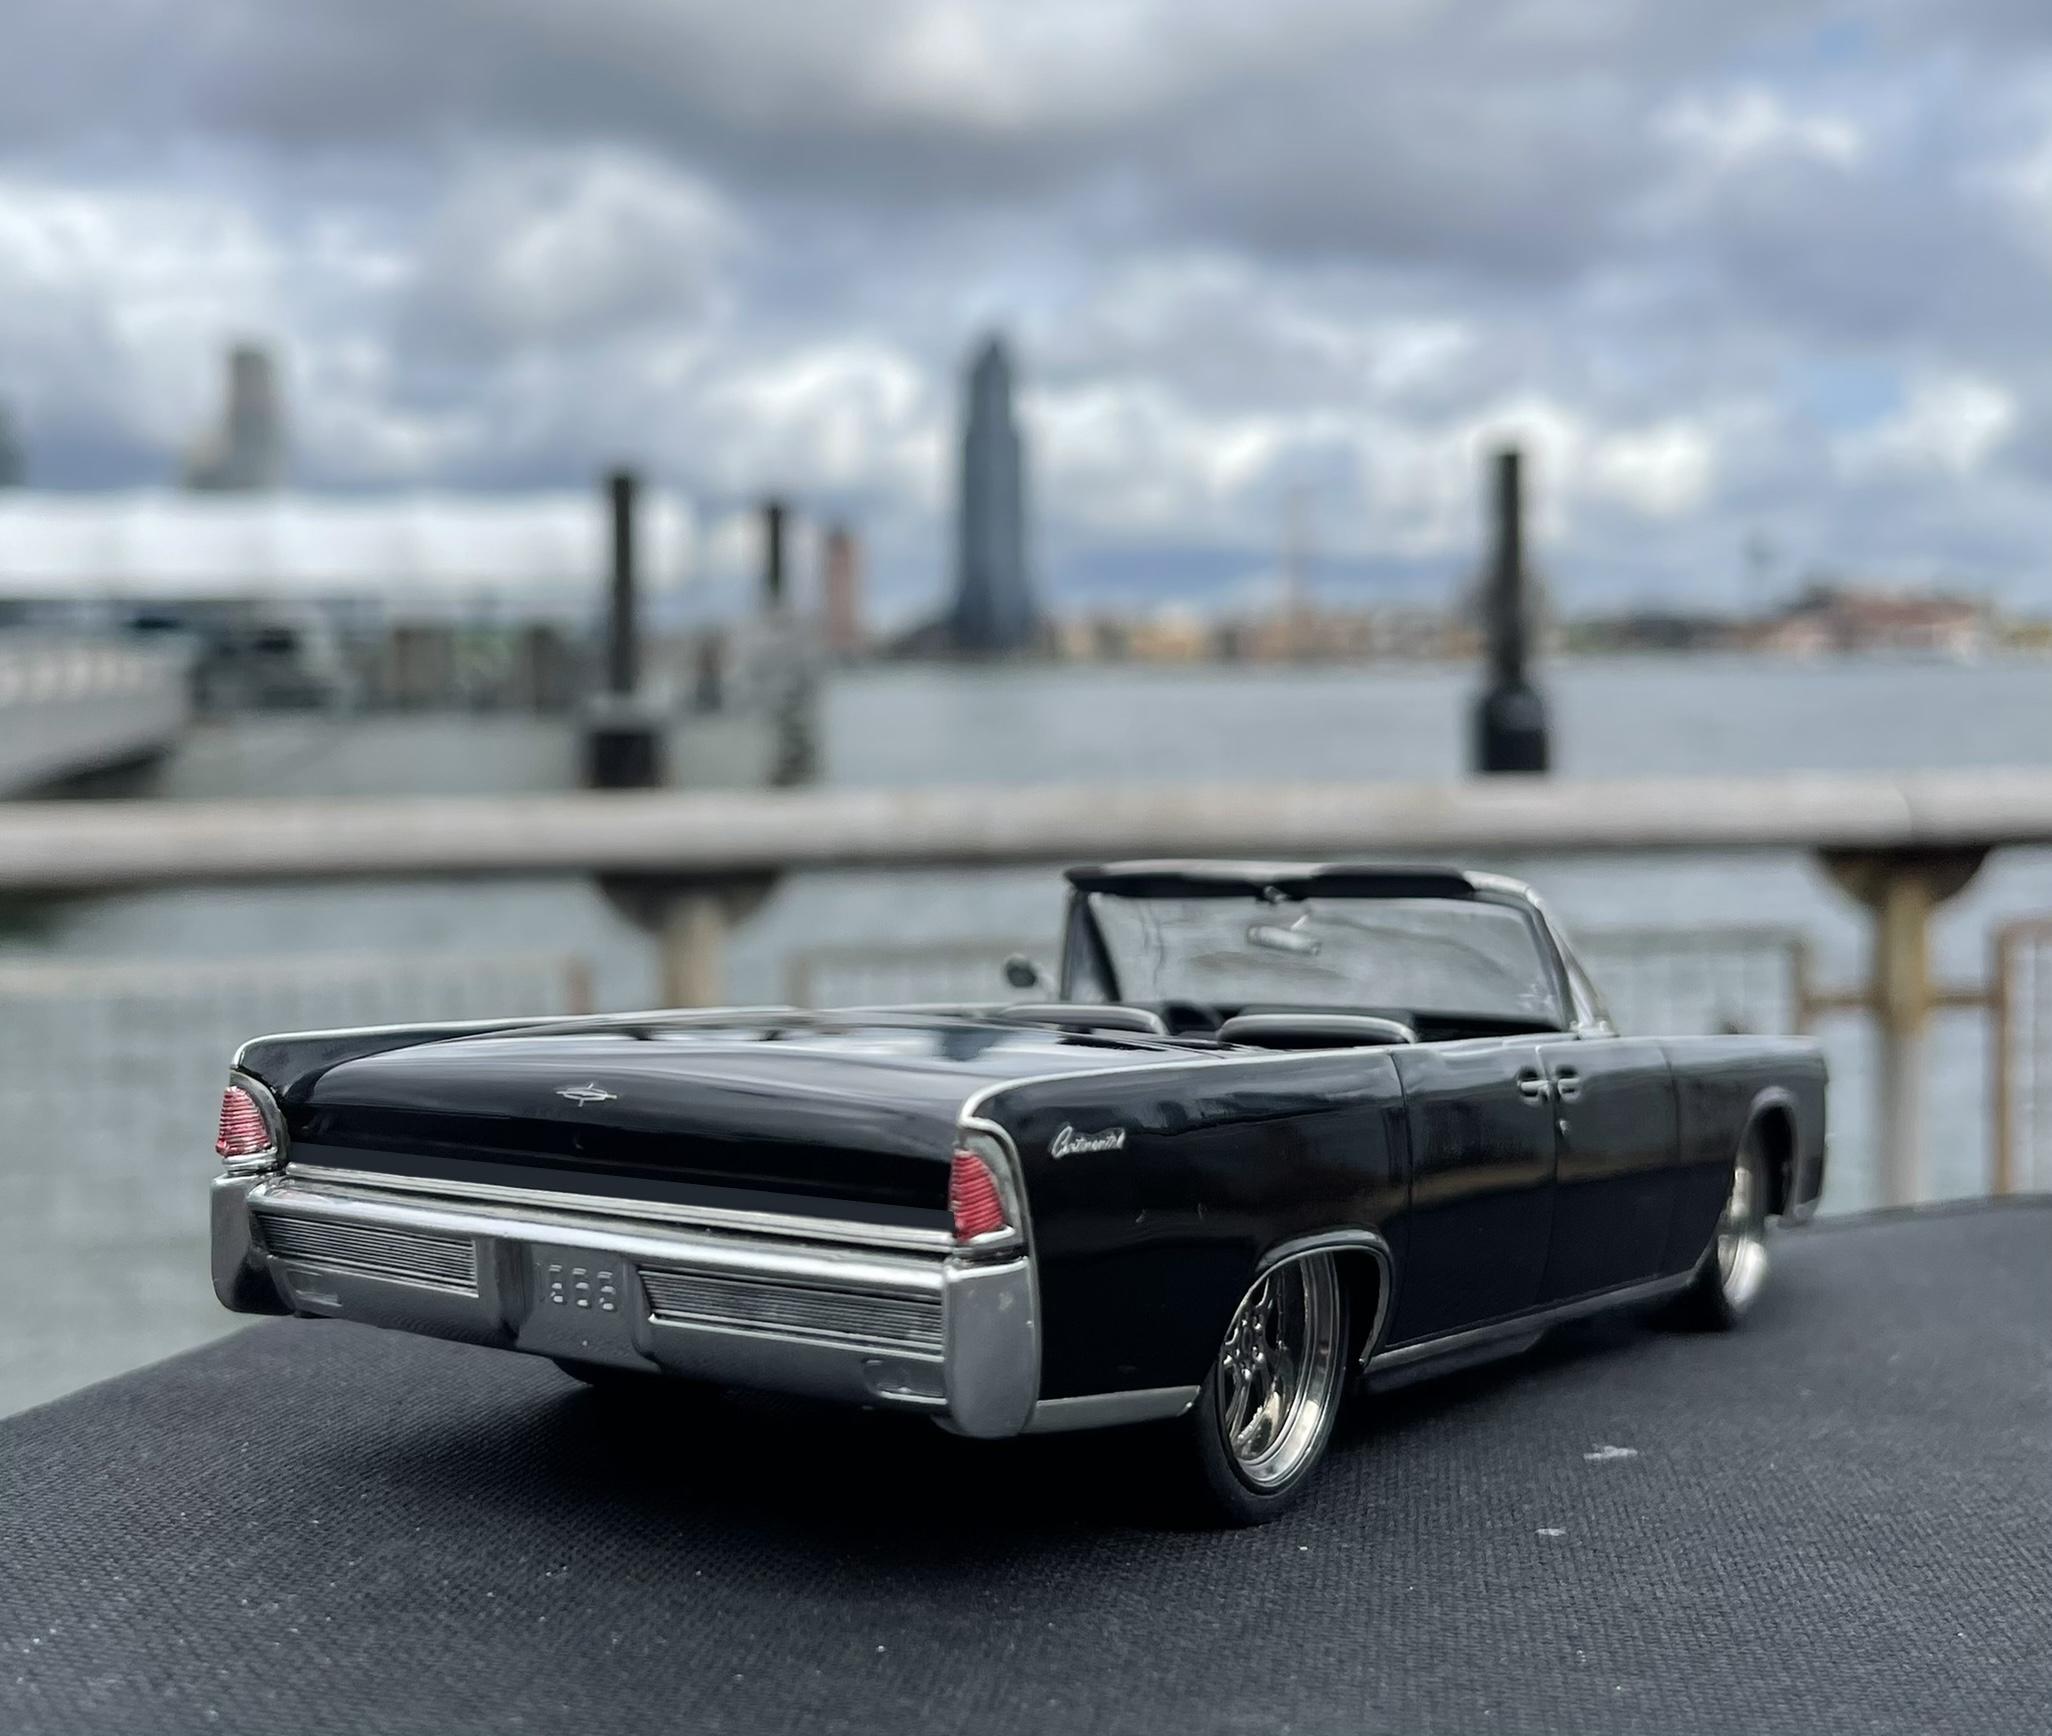
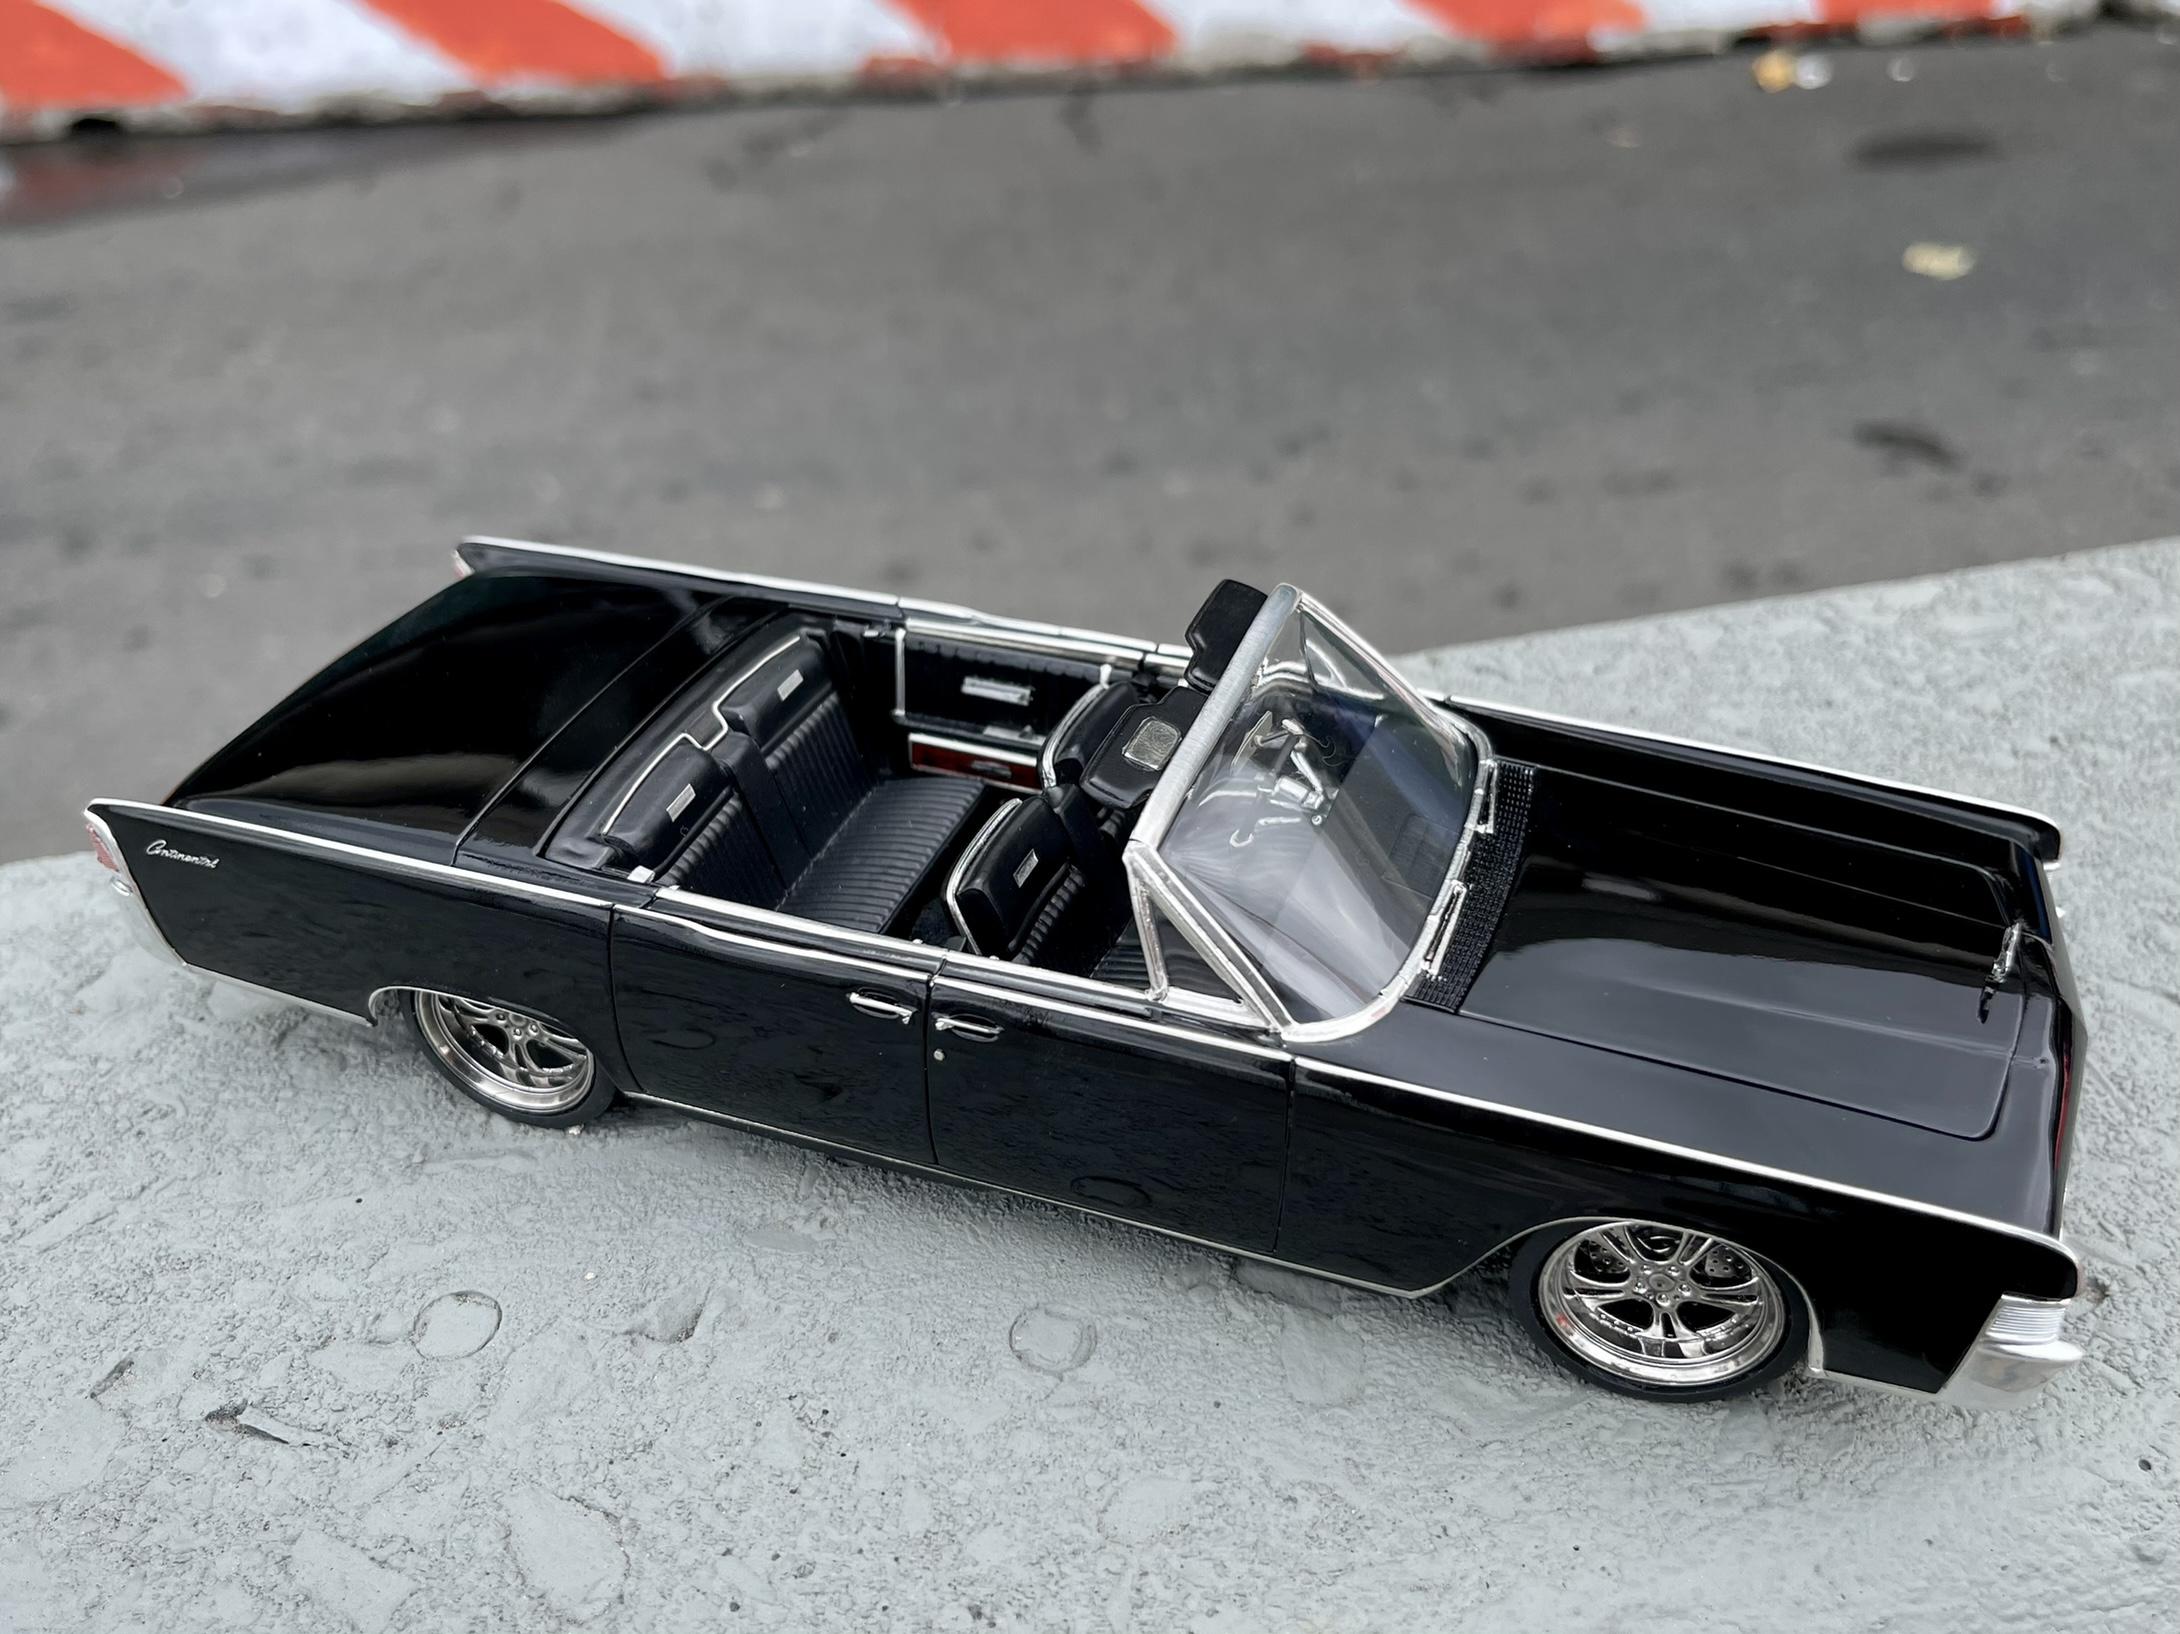
Just finished the AMT ‘65 Lincoln Continental. I hesitate to call this kit a dog because I got it looking decent in the end, but in terms of quality, it was probably the worst I’ve seen to date. With the exception of the dash, the detail was non-existent, and every surface of the body was totally uneven. If you want to build this one, make sure you have tons of sandpaper and plenty of styrene and aluminum for scratch building. Unless they issue a newly-tooled version, I won’t be building one of these again. Some tweaks - interior: wood grain, door panel, and armrest detail added. Scratched some door posts to give the flat door panels some texture. Sanded the back of the seats down by almost 75% to get them looking normal and added trim. The dash was foiled and painted then finished with aftermarket instrument panels covered in UV resin. Scratched a rear view mirror and borrowed a side mirror from the parts box because the kit didn’t come with either ??♂️ Used a photo etch brake pedal for the speaker between the back seats and added some 26 gauge wire for trim. Also built some new sun visors. The carpet is adhesive suede which I ran a lighter across to flatten. I’ll be using this technique in the future as well because it looks really clean and in scale. engine: this engine was a joke. The few parts it did come with were often incorrect. Basically everything you see in the engine bay with the exception of the engine block, air filter, and battery had to be scratch built or altered. I made some frame bars and will probably add them at some point (they’re drying on the bench) but the kit leaves very little room under the hood, so we’ll see. body: all the chrome is BMF with the exception of the front and rear bumpers. The body scripts are foil under paint, and were honestly the one detail the kit did well. All paint was tamiya rattle cans - gloss black and clear for the body, semigloss and matte blacks for the interior. The plan was to use the classic Lincoln hubcaps, but apparently the guy who sold it to me as a “complete kit” on eBay wanted to keep them for himself (thus the obnoxious rims you see here - I lowered the ride height to accommodate). He also removed (and kept) the sun visors from the windshield frame, breaking the frame off of the body in the process. He left that little tidbit out of the item description as well ??♂️ Anyway - here’s what 5 weeks of sanding flash and sinkholes looks like ??

-
1969 RANCHERO GT "ONE OF A KIND"
radiohd10 replied to TooOld's topic in Model Trucks: Pickups, Vans, SUVs, Light Commercial
that is one good looking ride. great job. -
very very nice
-
very nice build!
-
working through a dog of a kit is good every once in a while - keeps your game sharp! i'm dealing with a similar situation on my '65 lincoln continental at the moment (easily the most poorly engineered kit i've encountered) and i cant wait to be done with it. you did a great job on this little porsche, all things considered!
-
Black Cherry paint
radiohd10 replied to Andrew D the Jolly Roger's topic in Model Building Questions and Answers
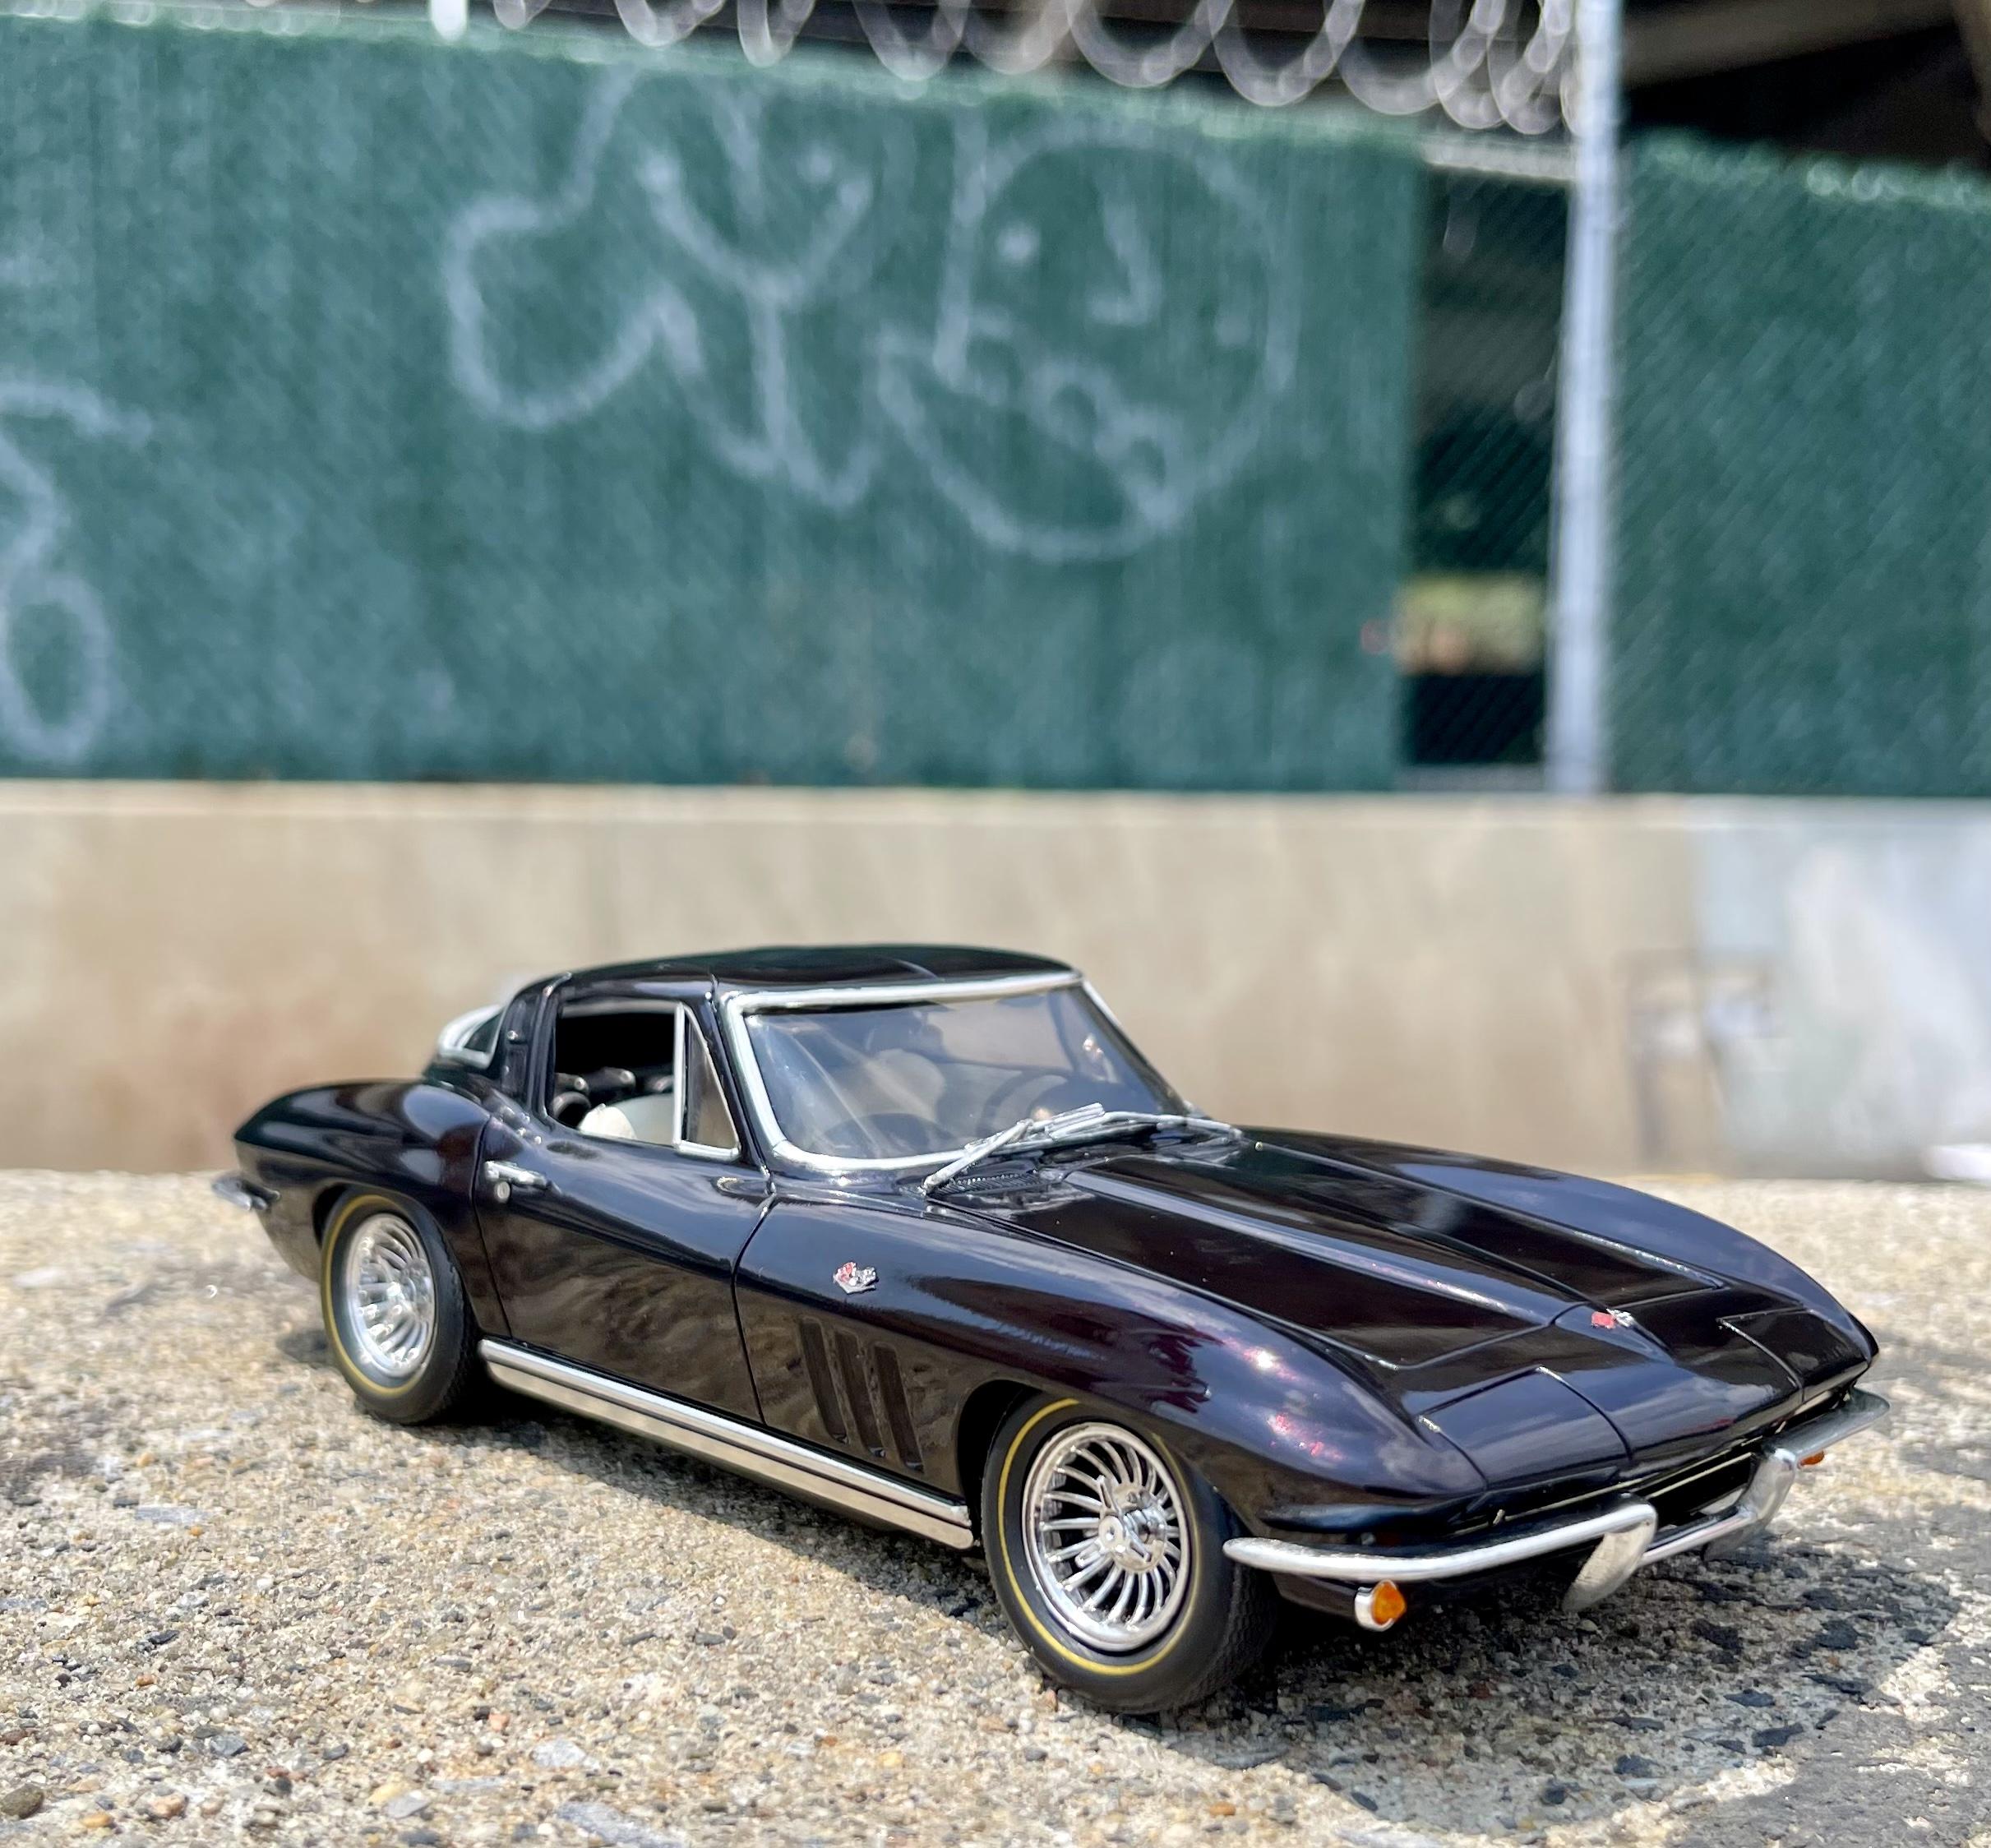
I recently tried doing the exact same thing on a corvette after seeing an Eagle e-type speedster on Top Gear. I used tamiya rattle cans in steps…grey primer, gloss black base, pearl clear, clear red, tamiya smoke, ts-13. It’s basically black until the sun hits it.
-
Monogram Shelby Cobra 427 S/C "Copperhead".
radiohd10 replied to Dragonhawk1066's topic in Model Cars
wow - awesome job on both. love that orange color. -
3-Window Coupe... Not The One You're Expecting!
radiohd10 replied to jaymcminn's topic in Model Cars
dang dude, you crushed that thing. amazing work. -
Haha thanks - I had a few ideas for additions under the hood and in the engine bay but was worried about final fitment so I wimped out. Next time!!
-
Just saw your roadster on another post…what a beaut. When I do another one, I’ll probably use the same color combo. Love it.
-
beautiful job. love the color.
-
I want one so badly. This is the closest I’ll ever come lol
-
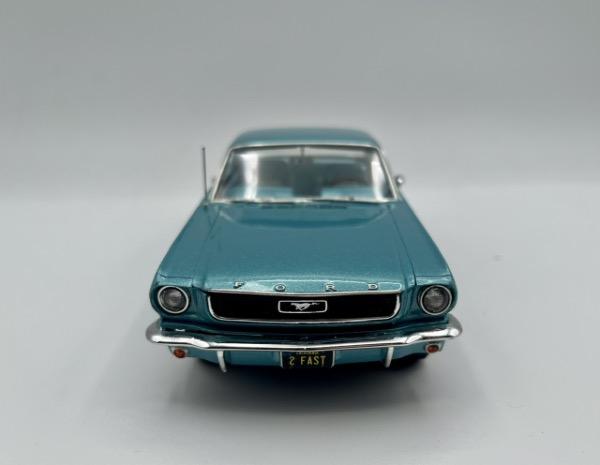
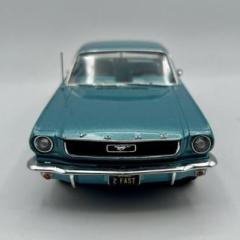
Thanks man. Yep I had one wheel floating when I test fit the thing so I had to sand down the attachment points to get it settled down. Wasn’t too bad though, and I was planning on lowering it anyway. For the dash, I drilled out the 5 gauges, stuck the decals between two trimmed pieces of clear plastic and attached them from behind. Then I used some wire, shaped around the appropriately sized aluminum rods, to make the bezels. The radio and temp controls were foiled before I painted it and then I removed the paint with some lacquer thinner. Figured it would be cleaner to do it that way - I only use the molotow for touch ups and tiny details if I have to DEFINITELY getting a roadster next
-
Thanks - I spent a lot of time on the chrome bits but the trim was so well defined that it was pretty painless. Drilling out the instrument panel and adding the wire for the chrome bezels was the toughest part. I hear you…don’t let the size of the project deter you. The toughest thing about the kit is getting all the parts cleaned up…the body especially…but I find that process fairly meditative, so once I got things going I just zoned out and it was pretty smooth sailing. Definitely worth the time and effort.
-
I believe so. I found this on eBay and it was a little pricey. Got a good deal though based on the prices I saw most of them listed for. This is what the box looks like (ignore the jag photo bomb - it arrived the same day lol)
-
The kit lets you choose from a few different options, and the bodies are basically the same from year to year, so I think they let you determine the year by customizing it. Just a guess though
-
Thanks guys! Mine too - The pearl light blue is also great. I have a can of it in red but haven’t tried it out yet. The guys up top basically said it. I used a 63 as reference and the kit matches up pretty darn closely, so that’s what I’m calling it. Could easily be a 64 though too
-
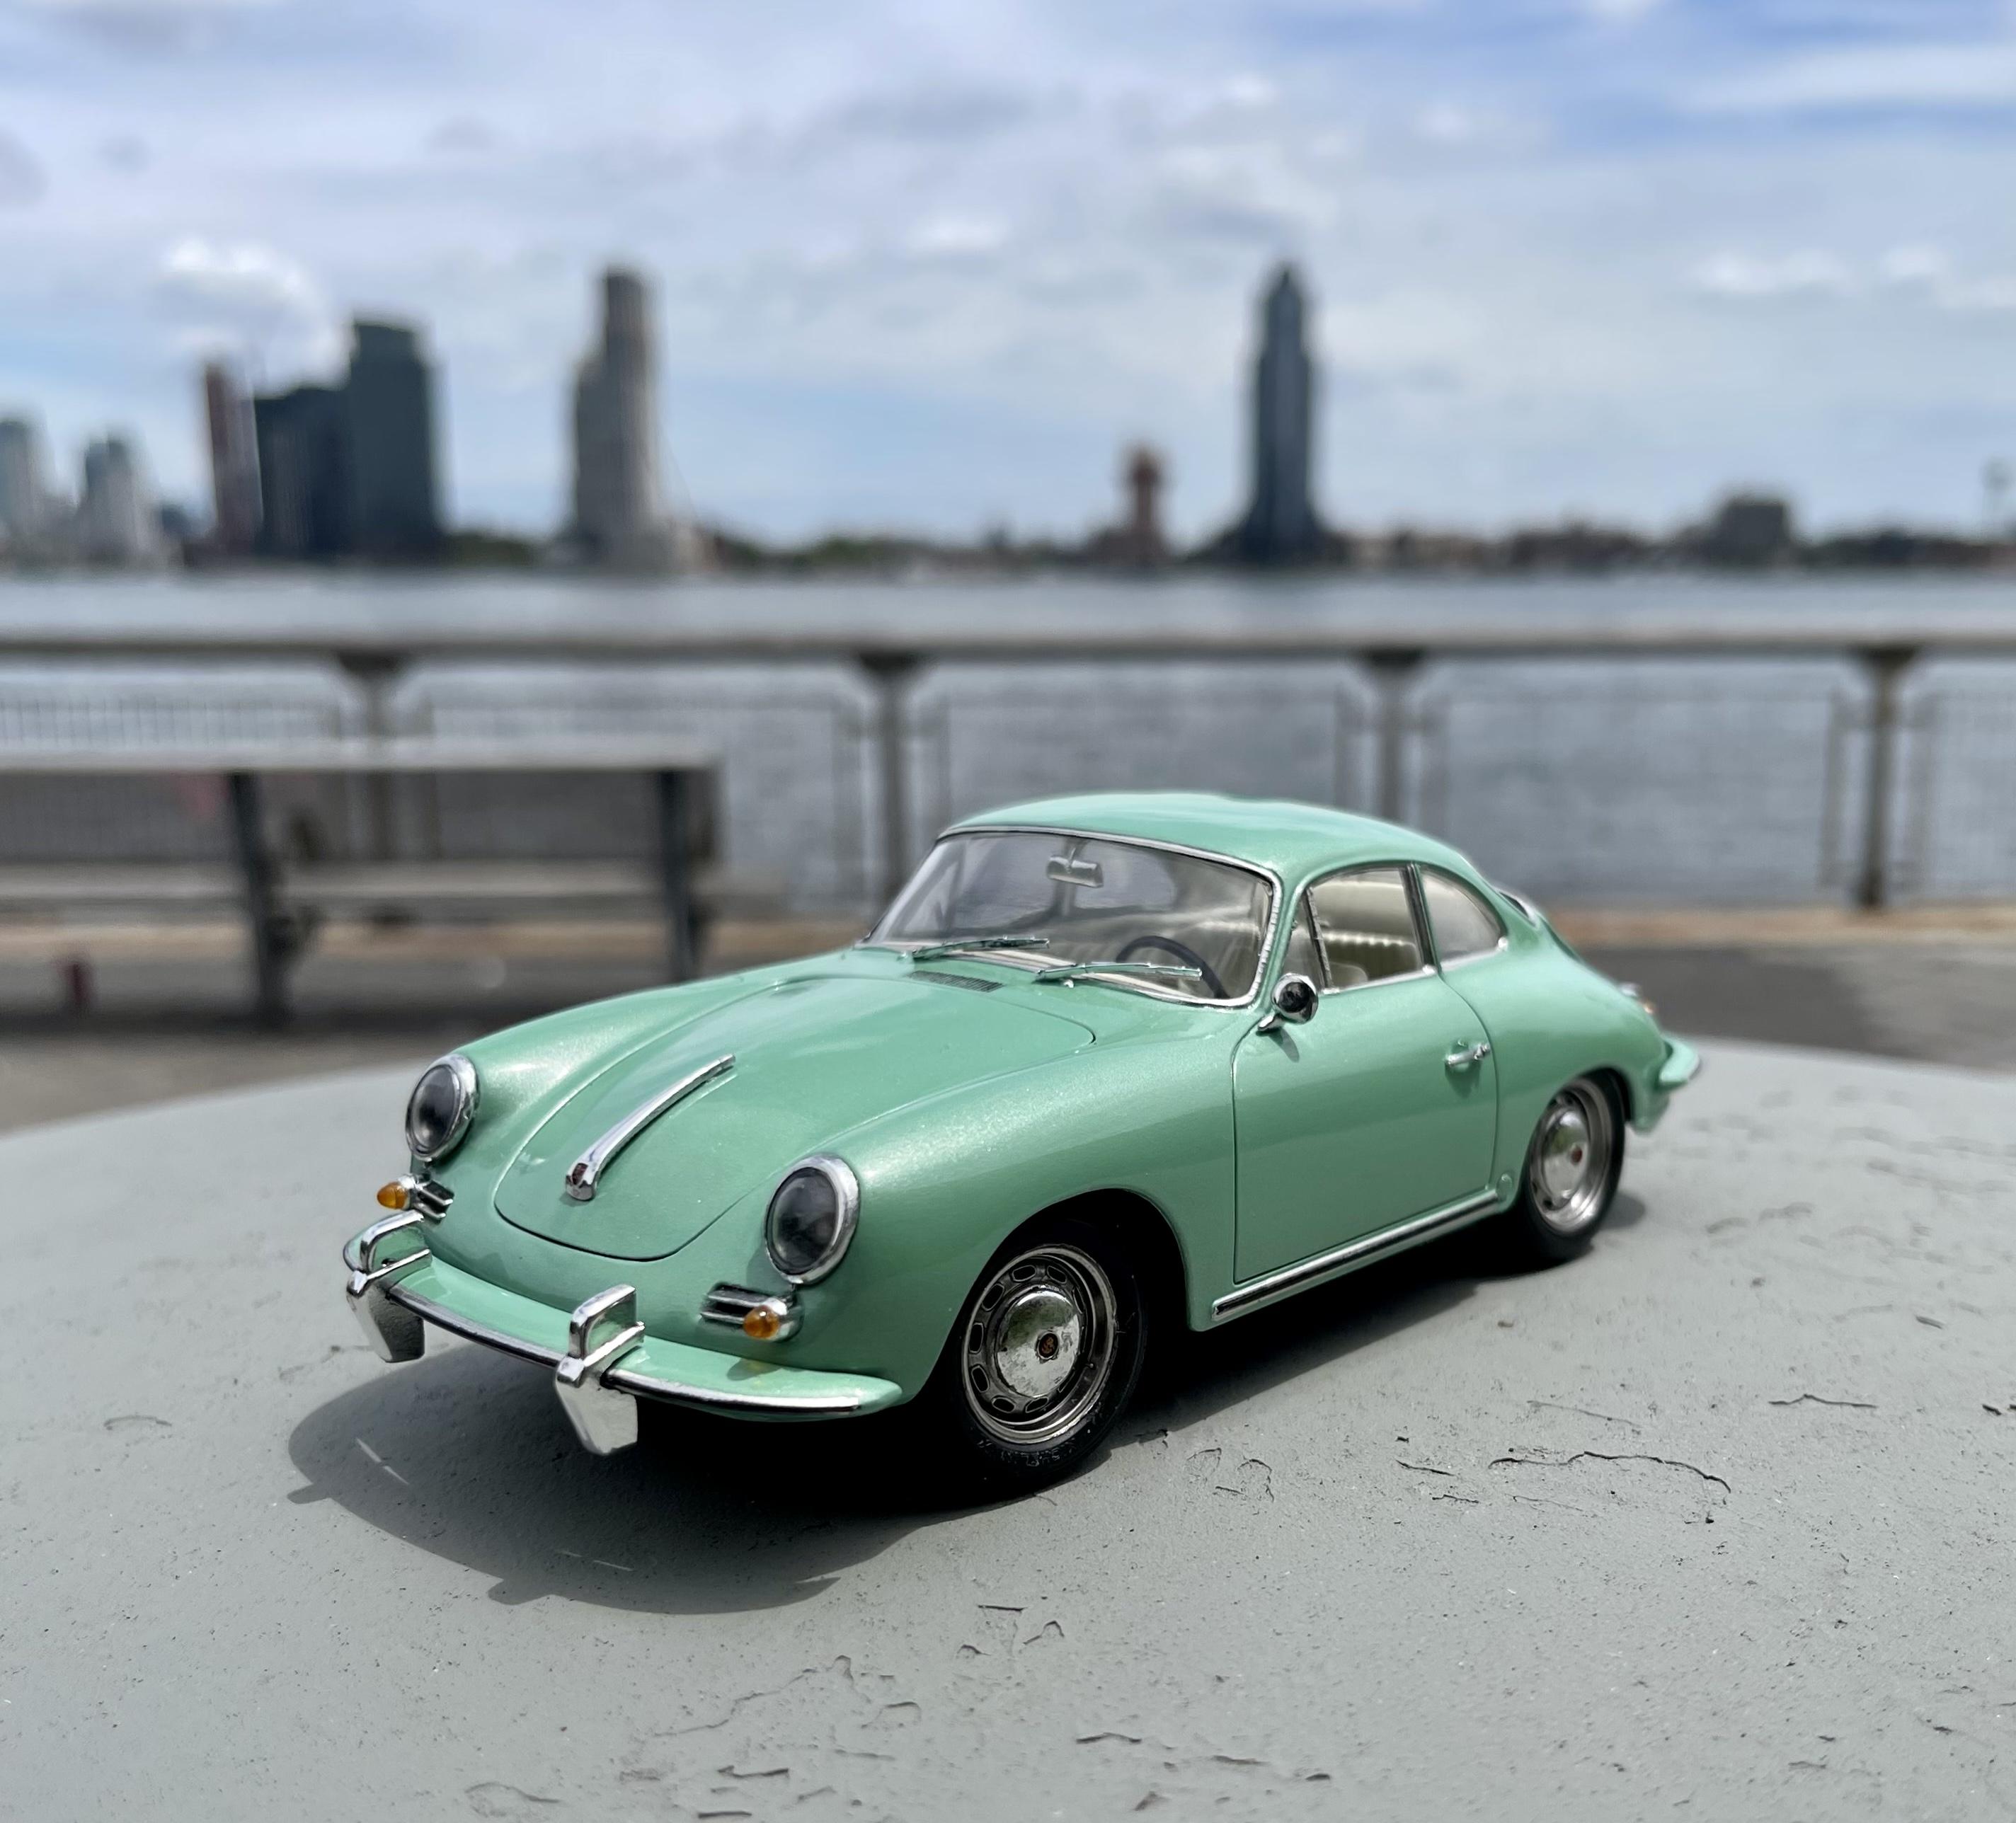
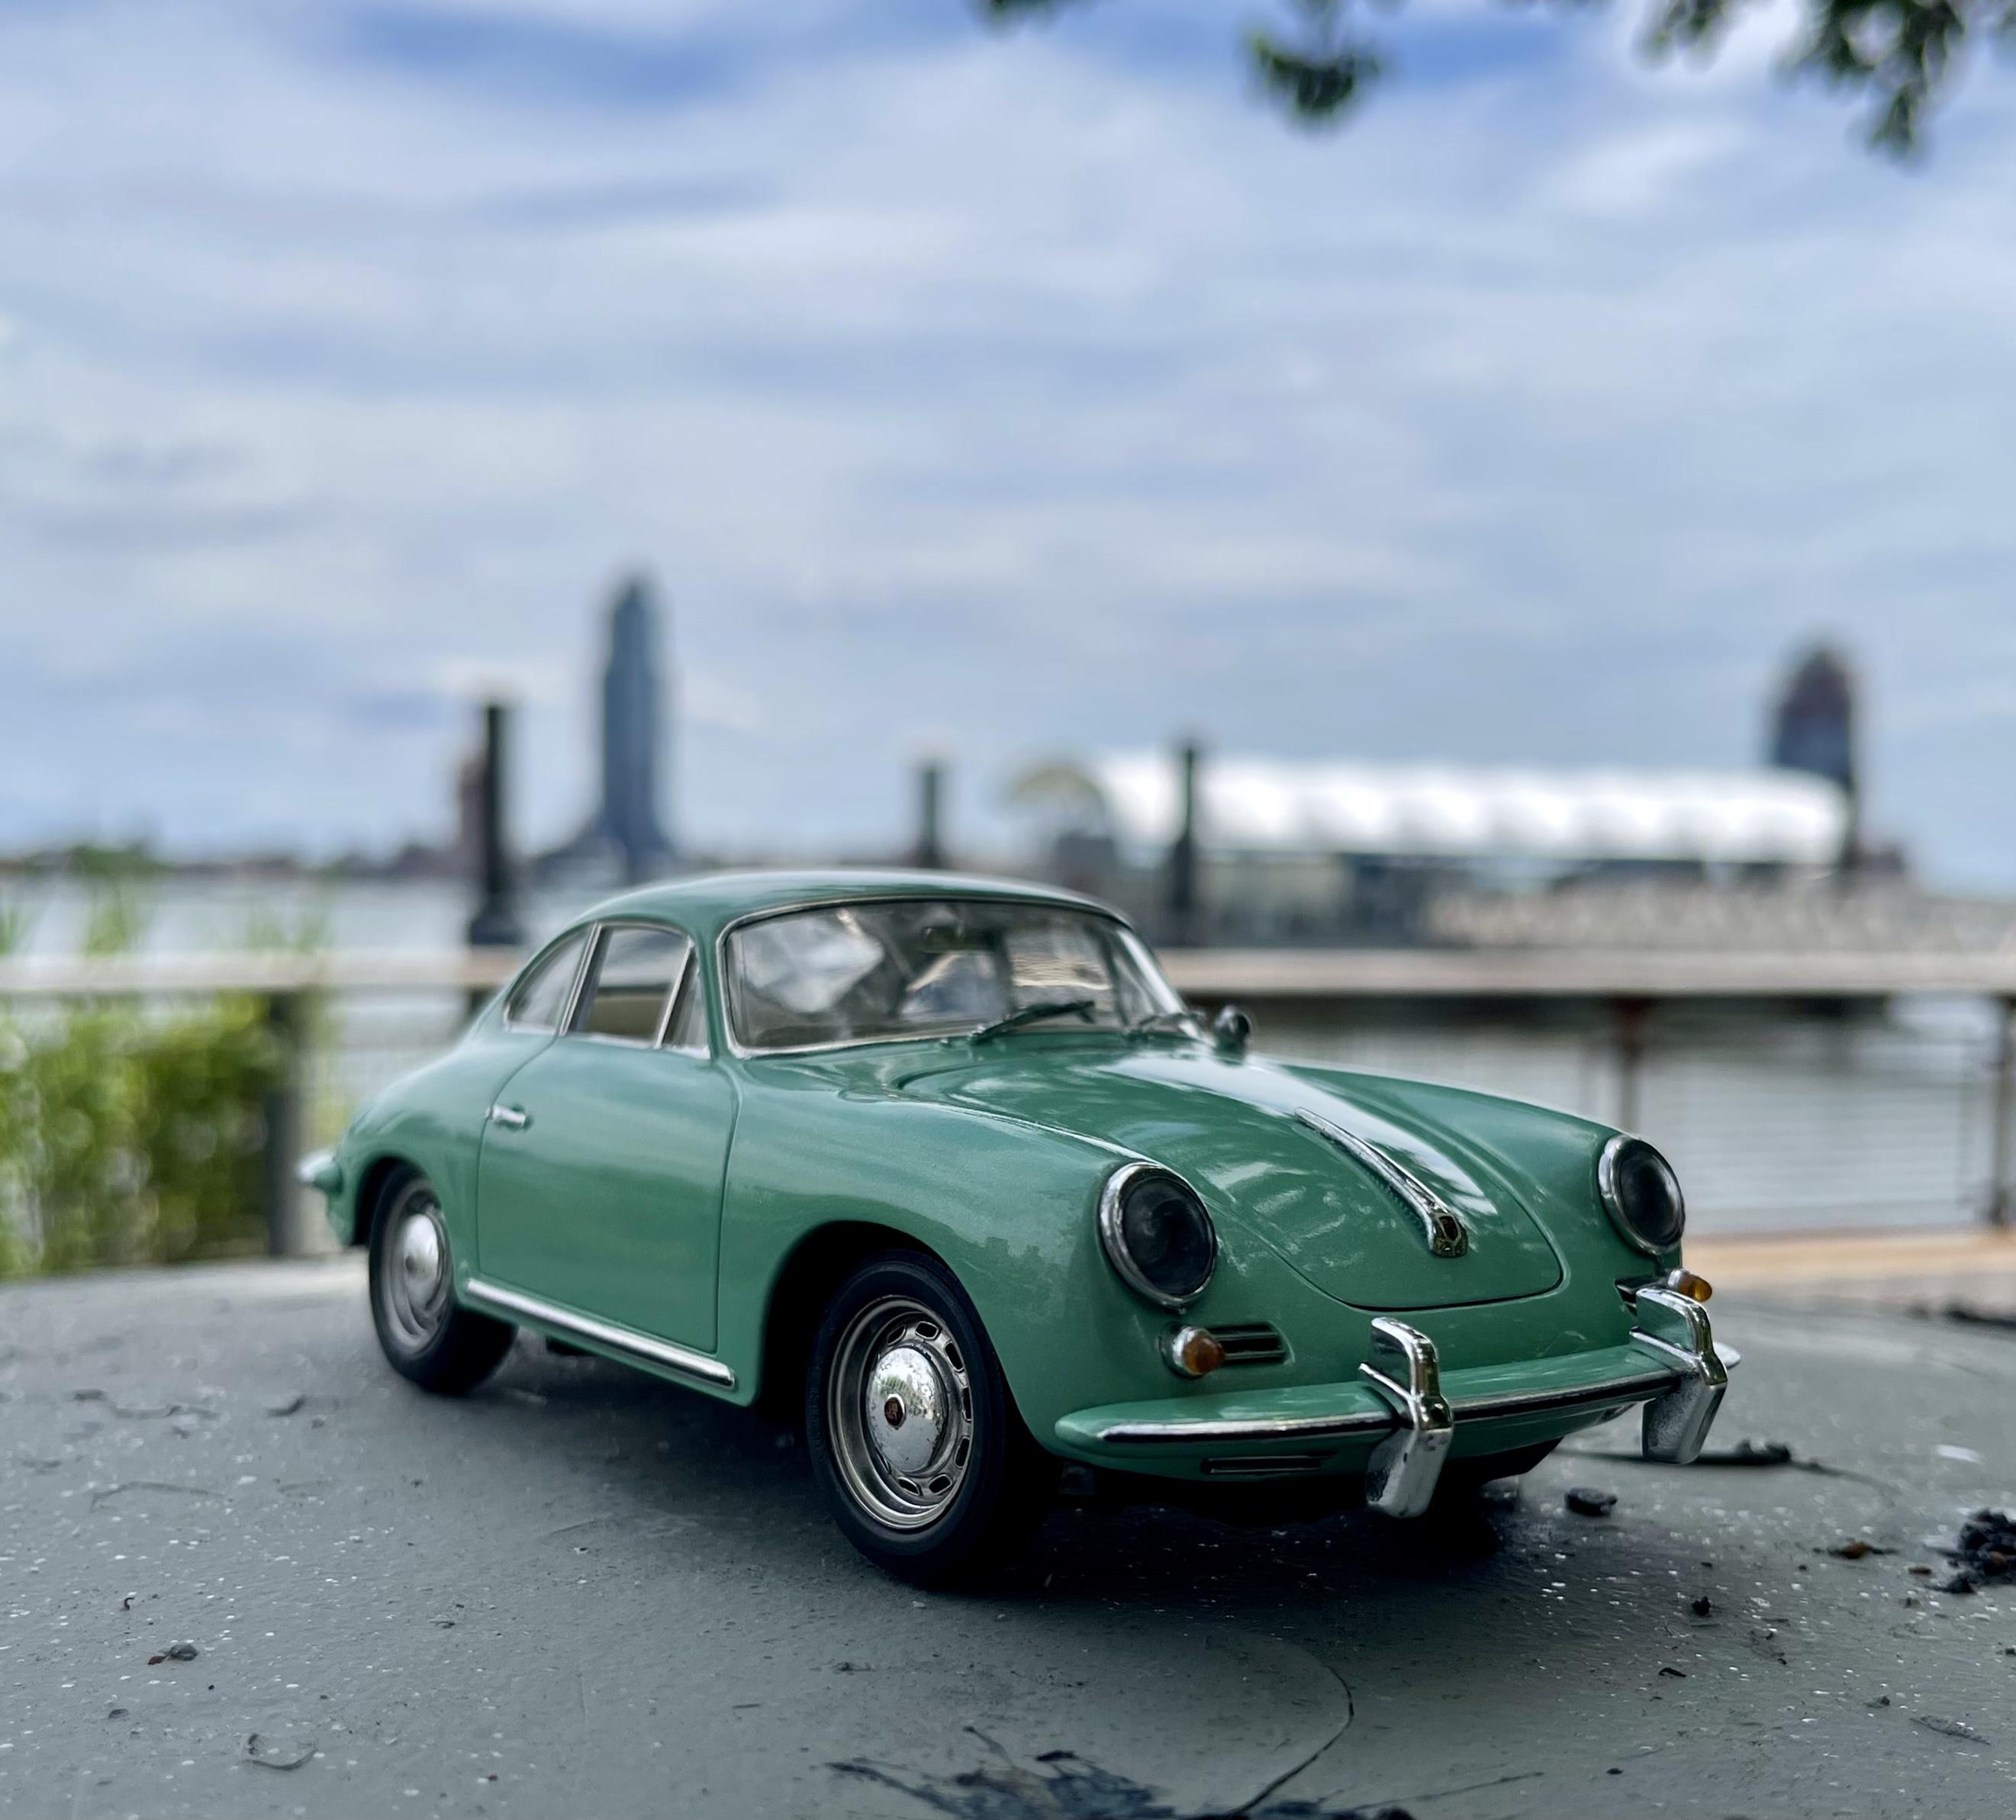
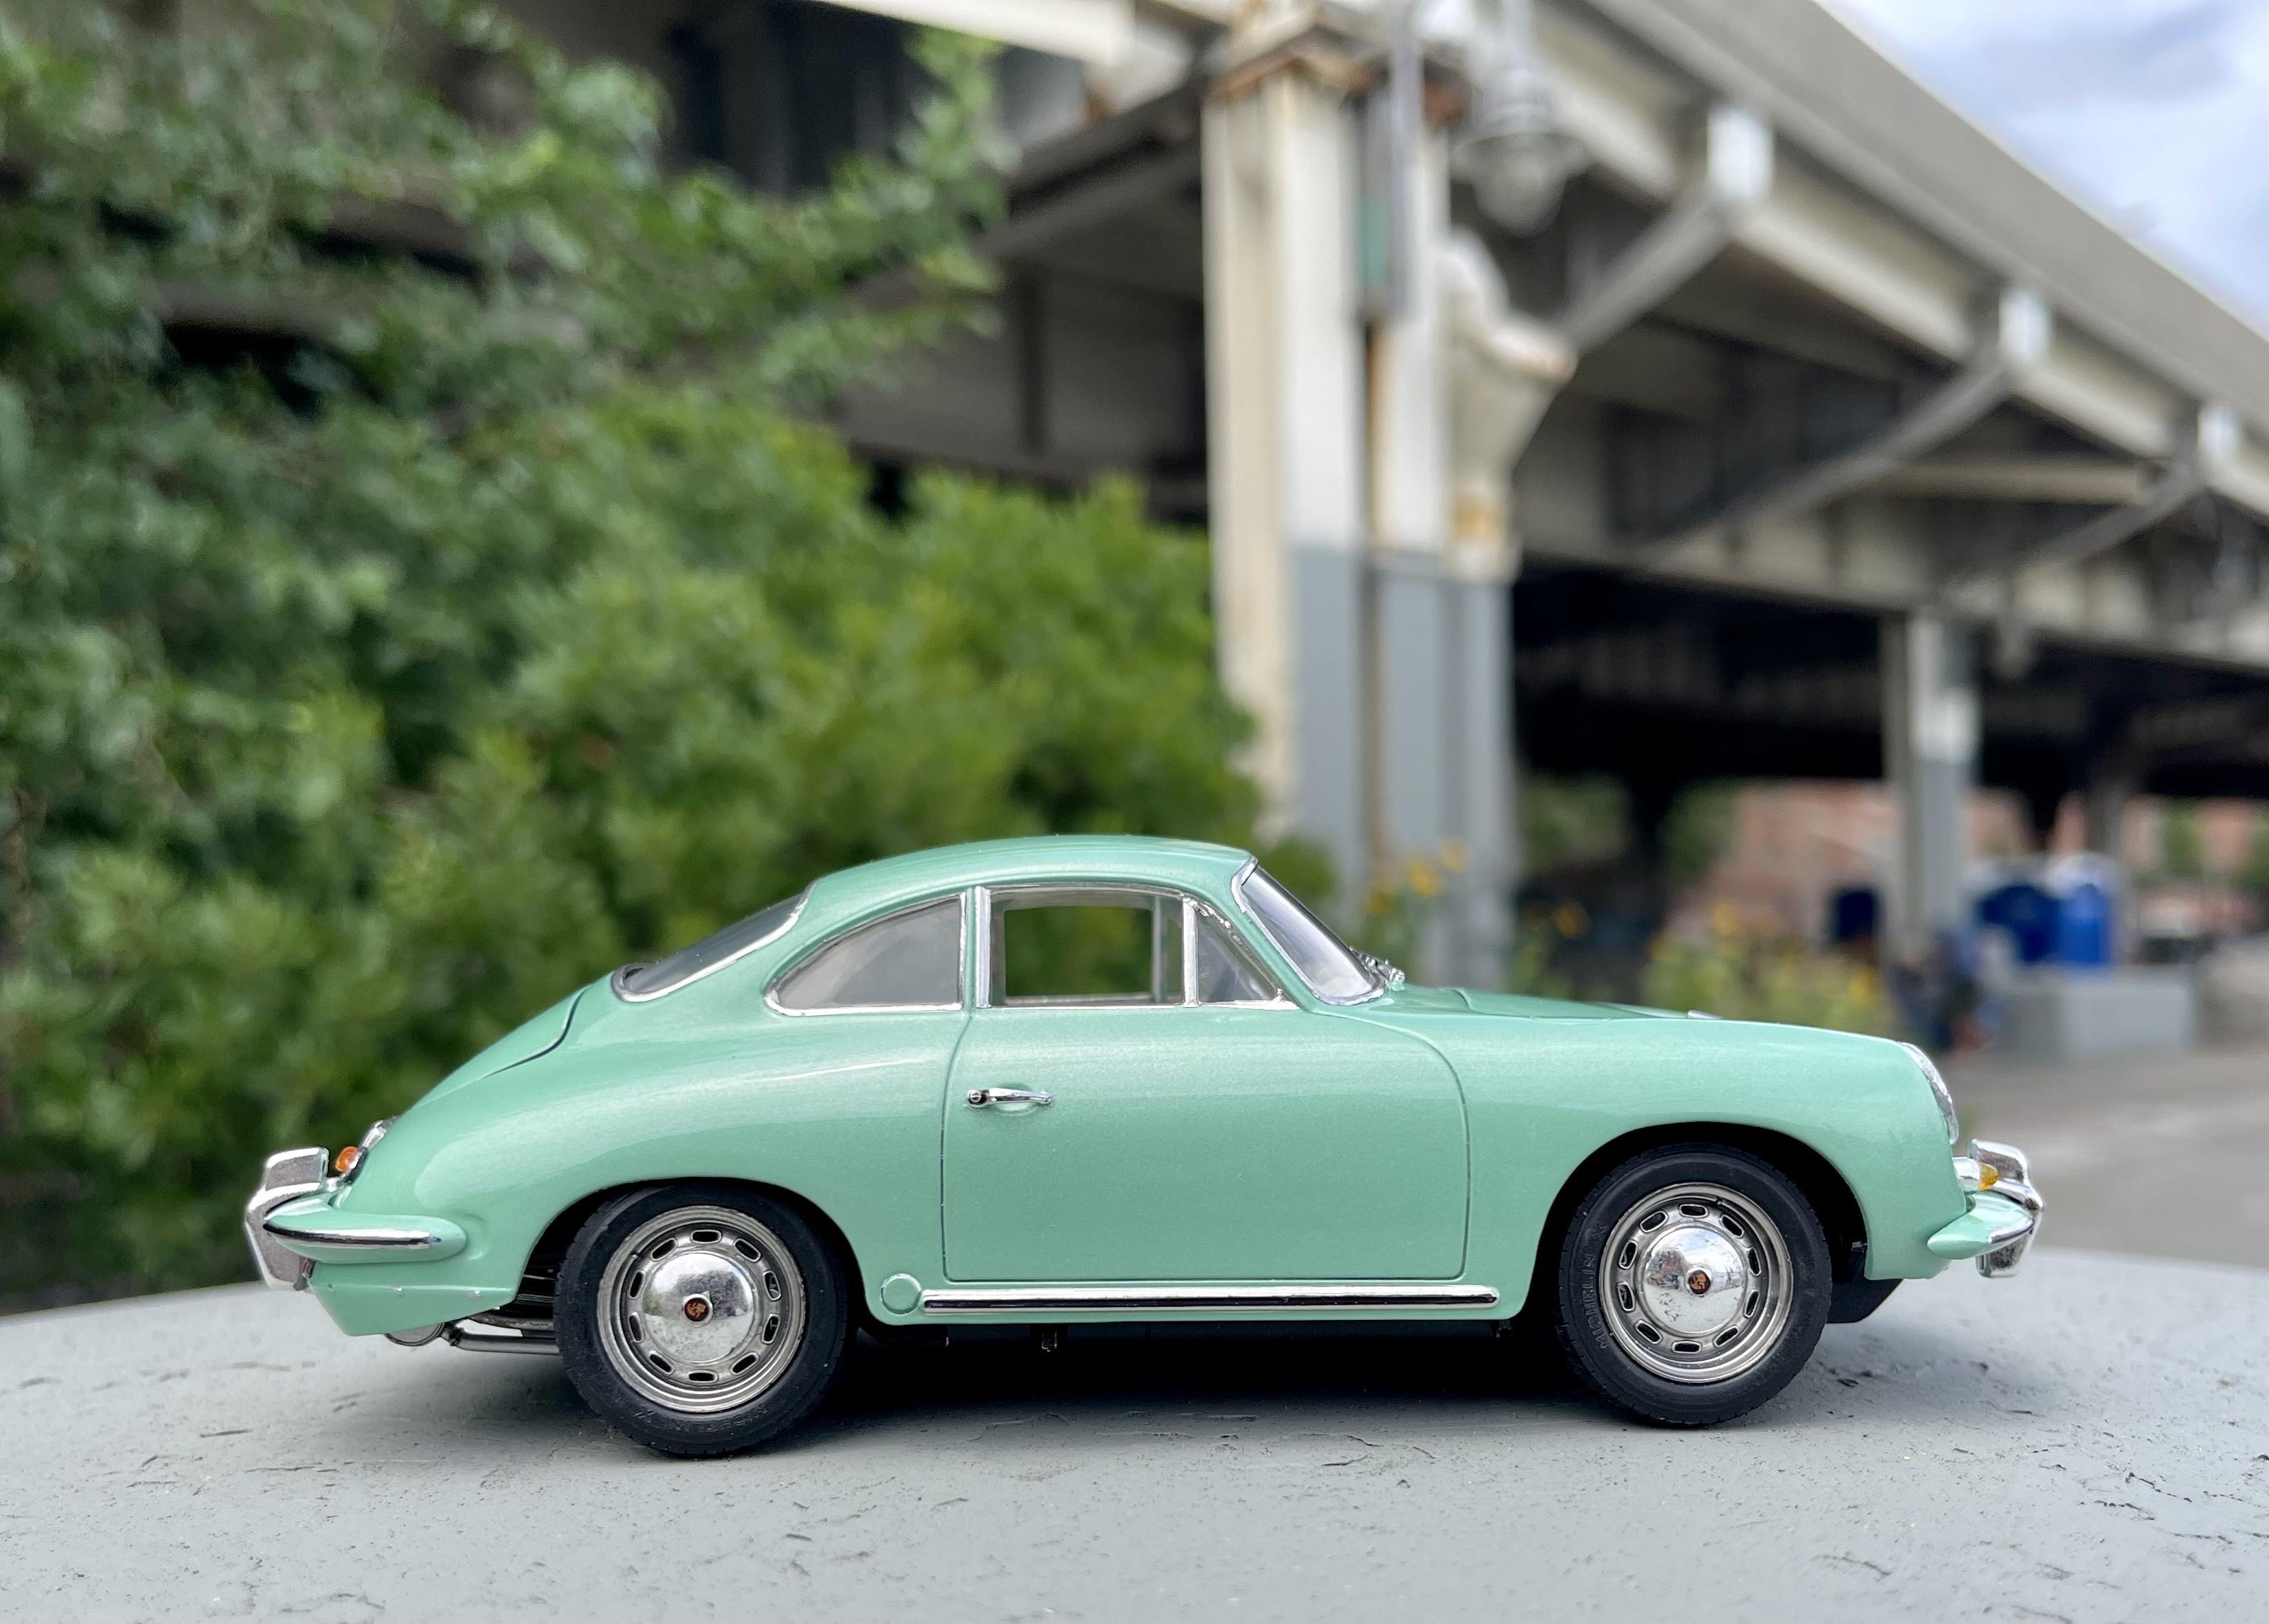
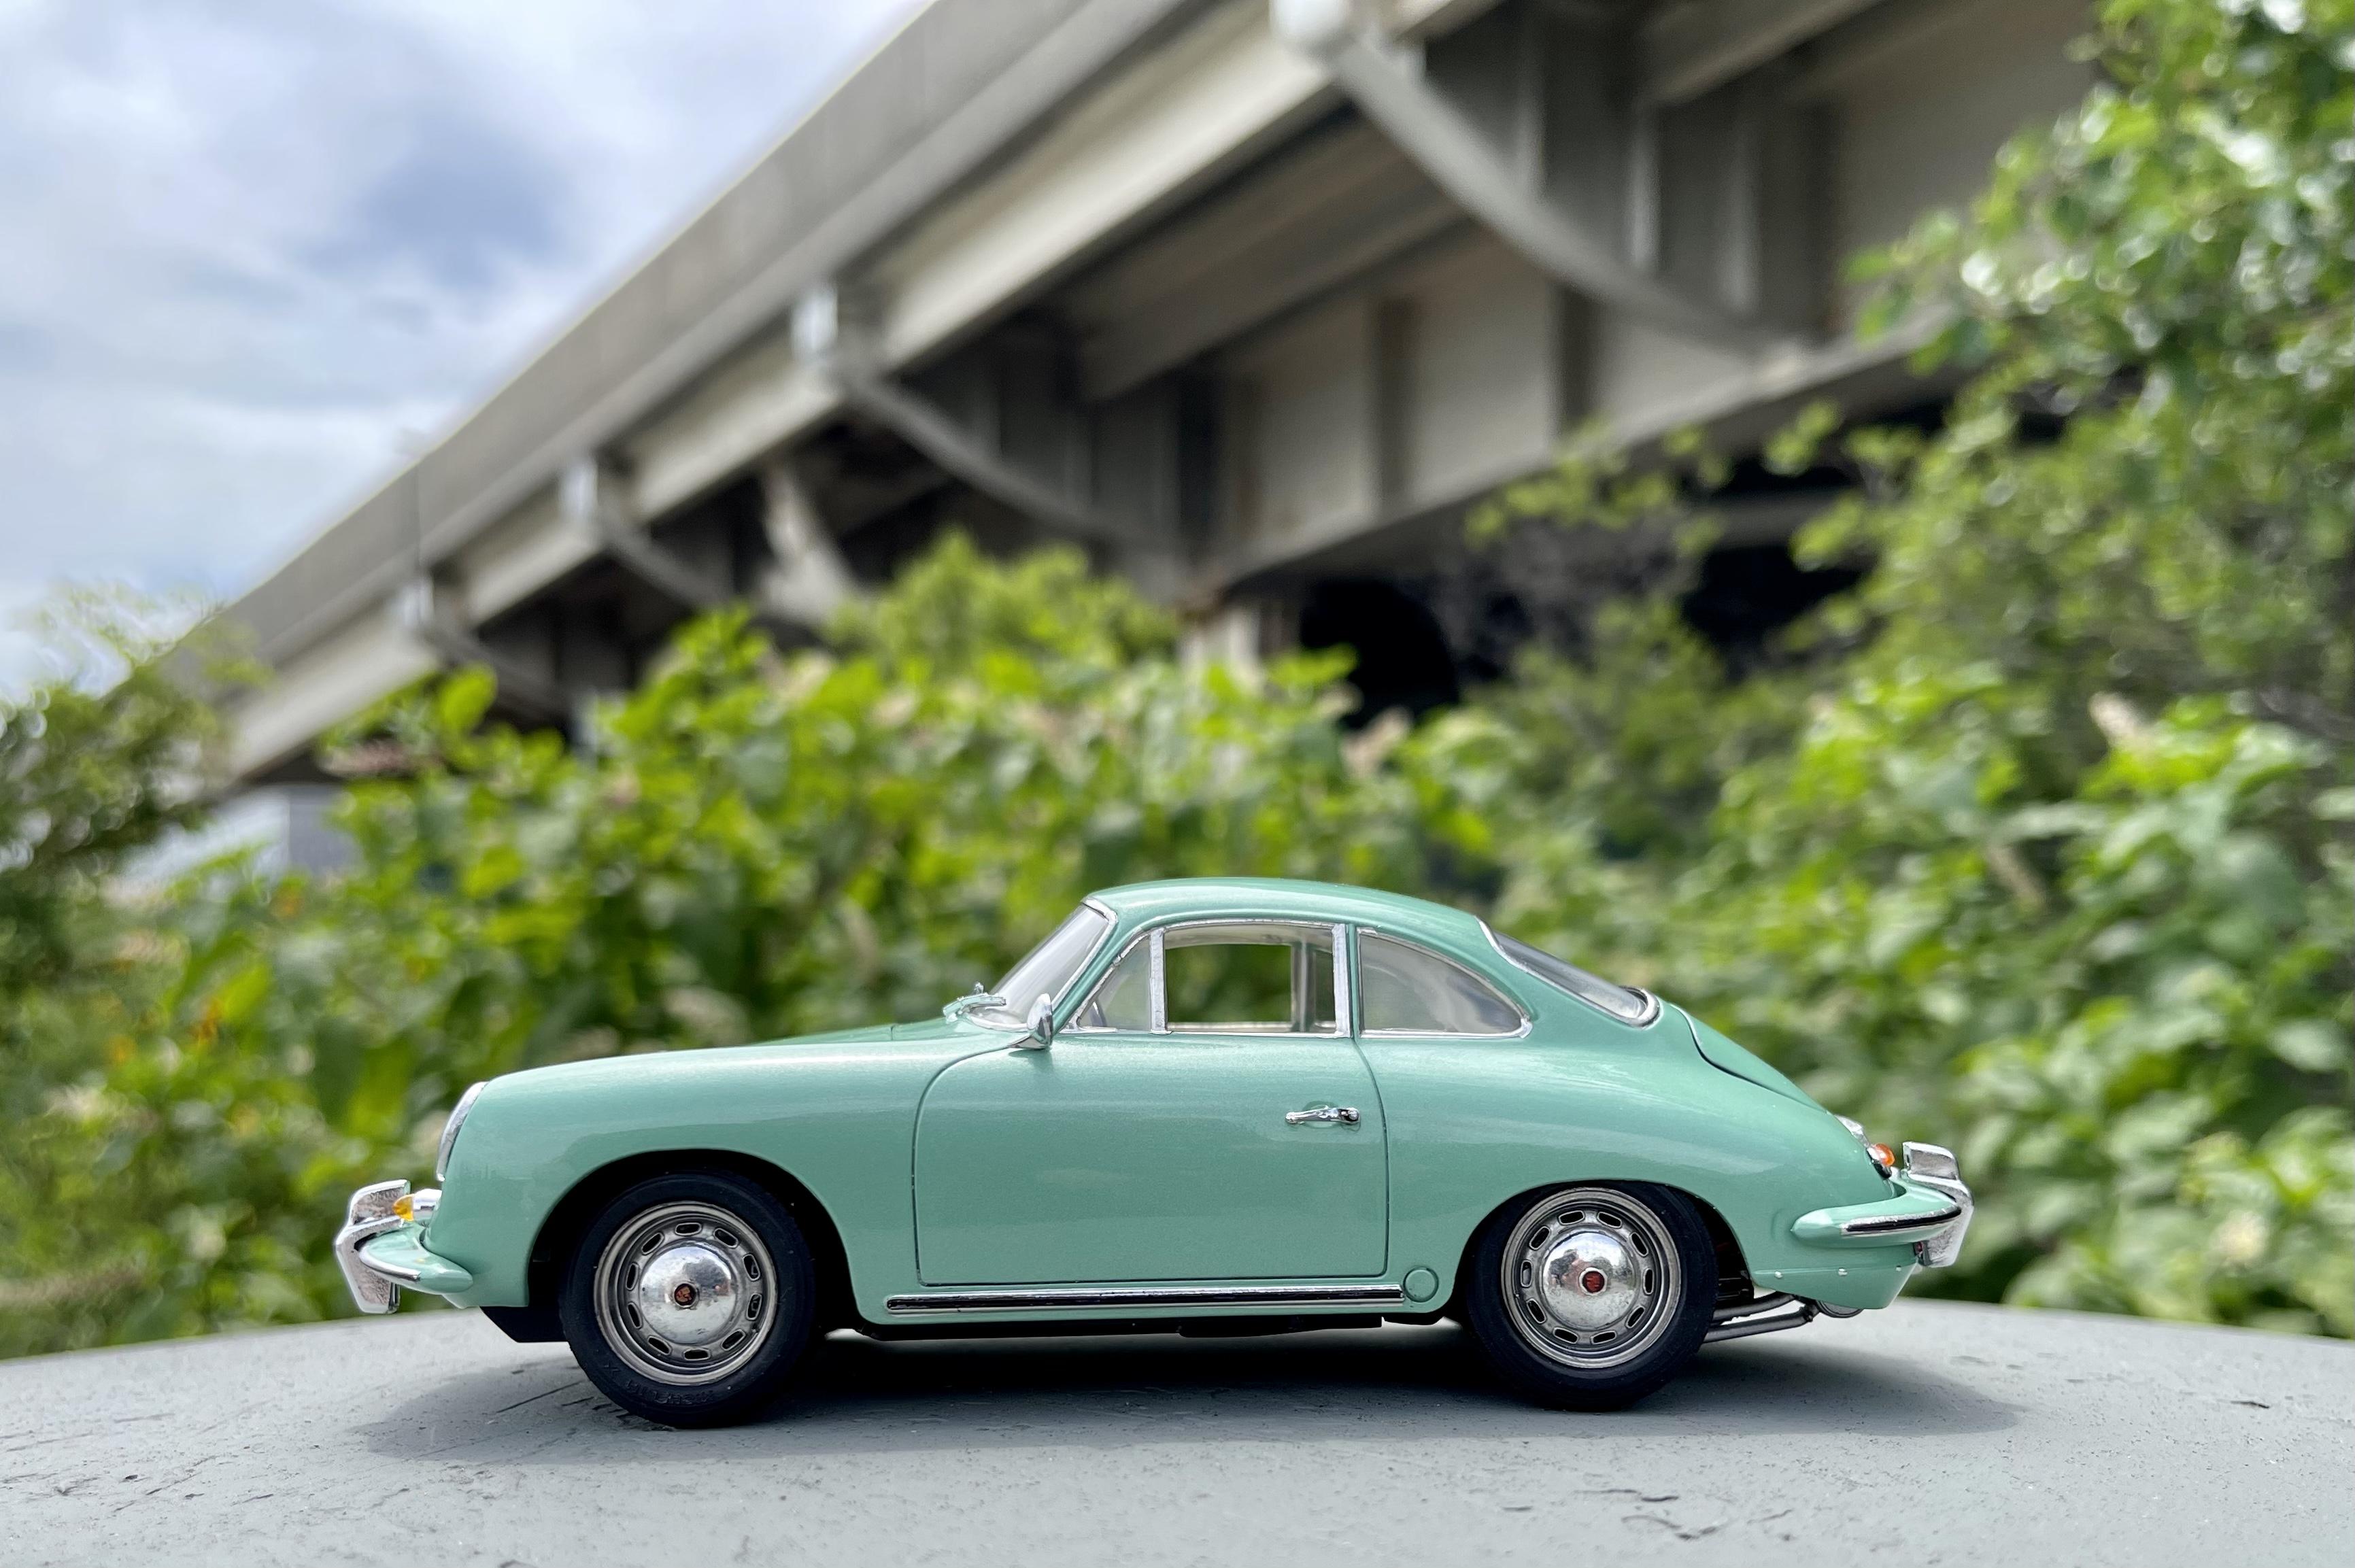
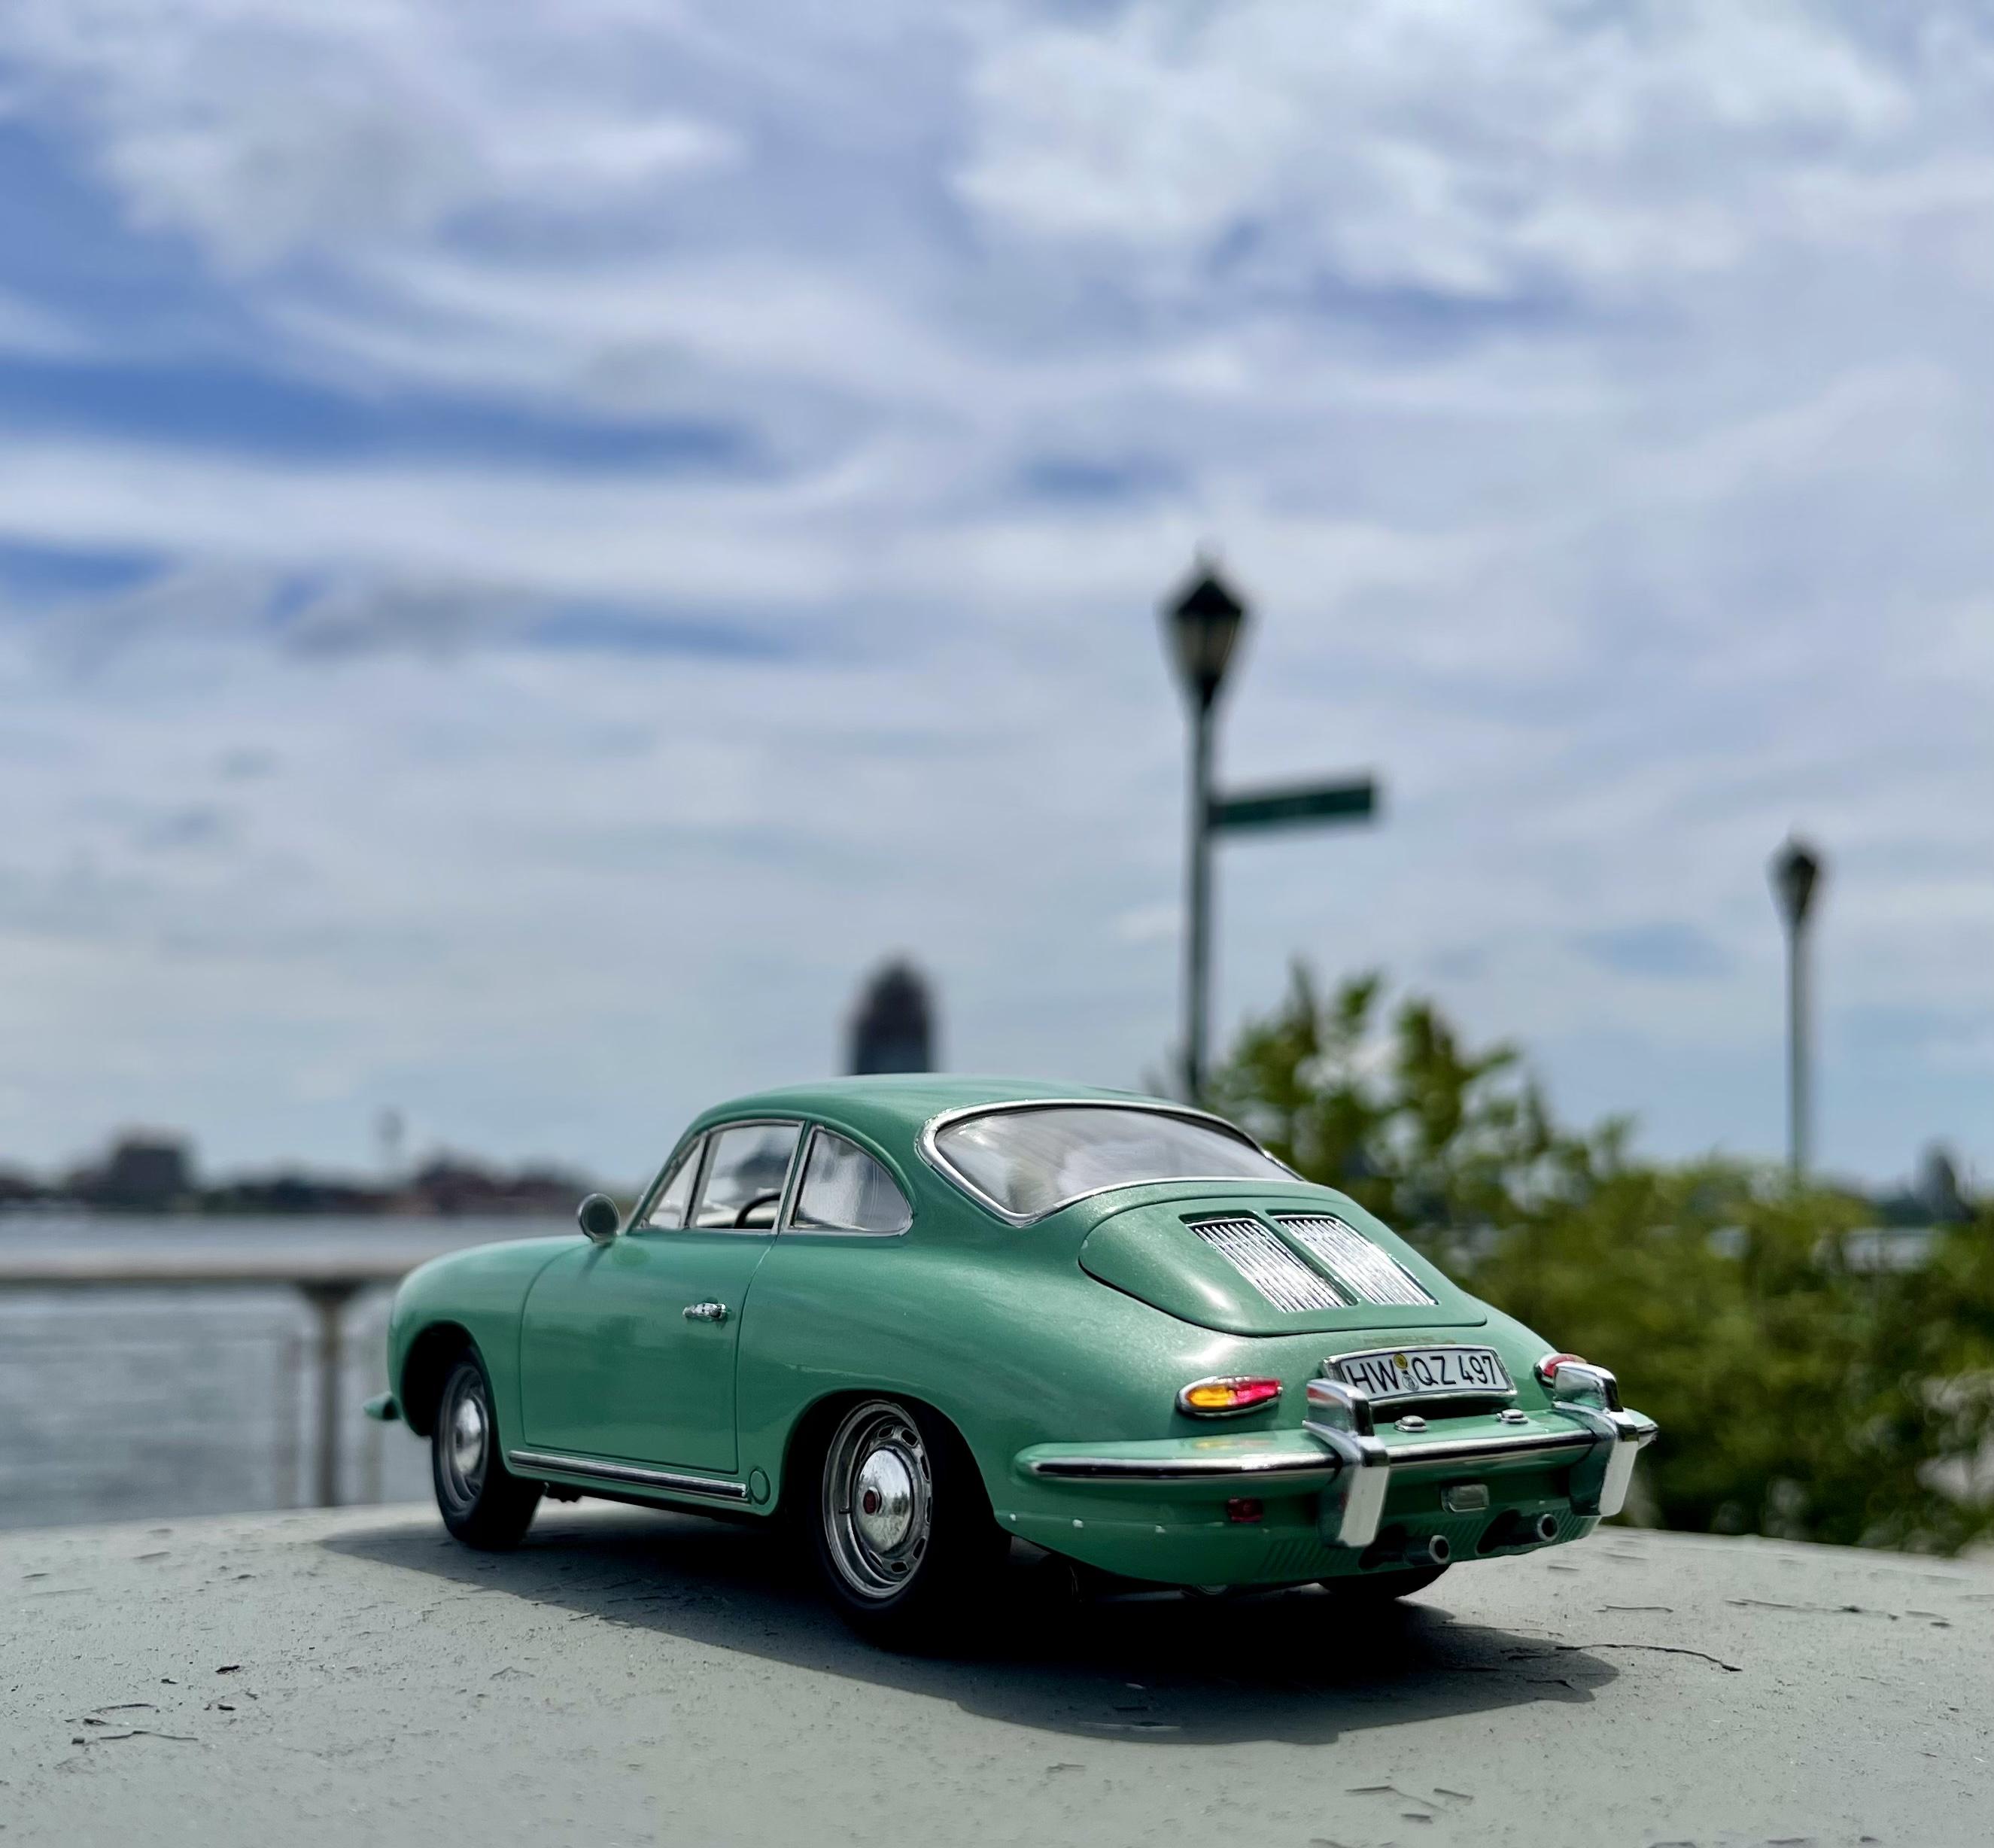
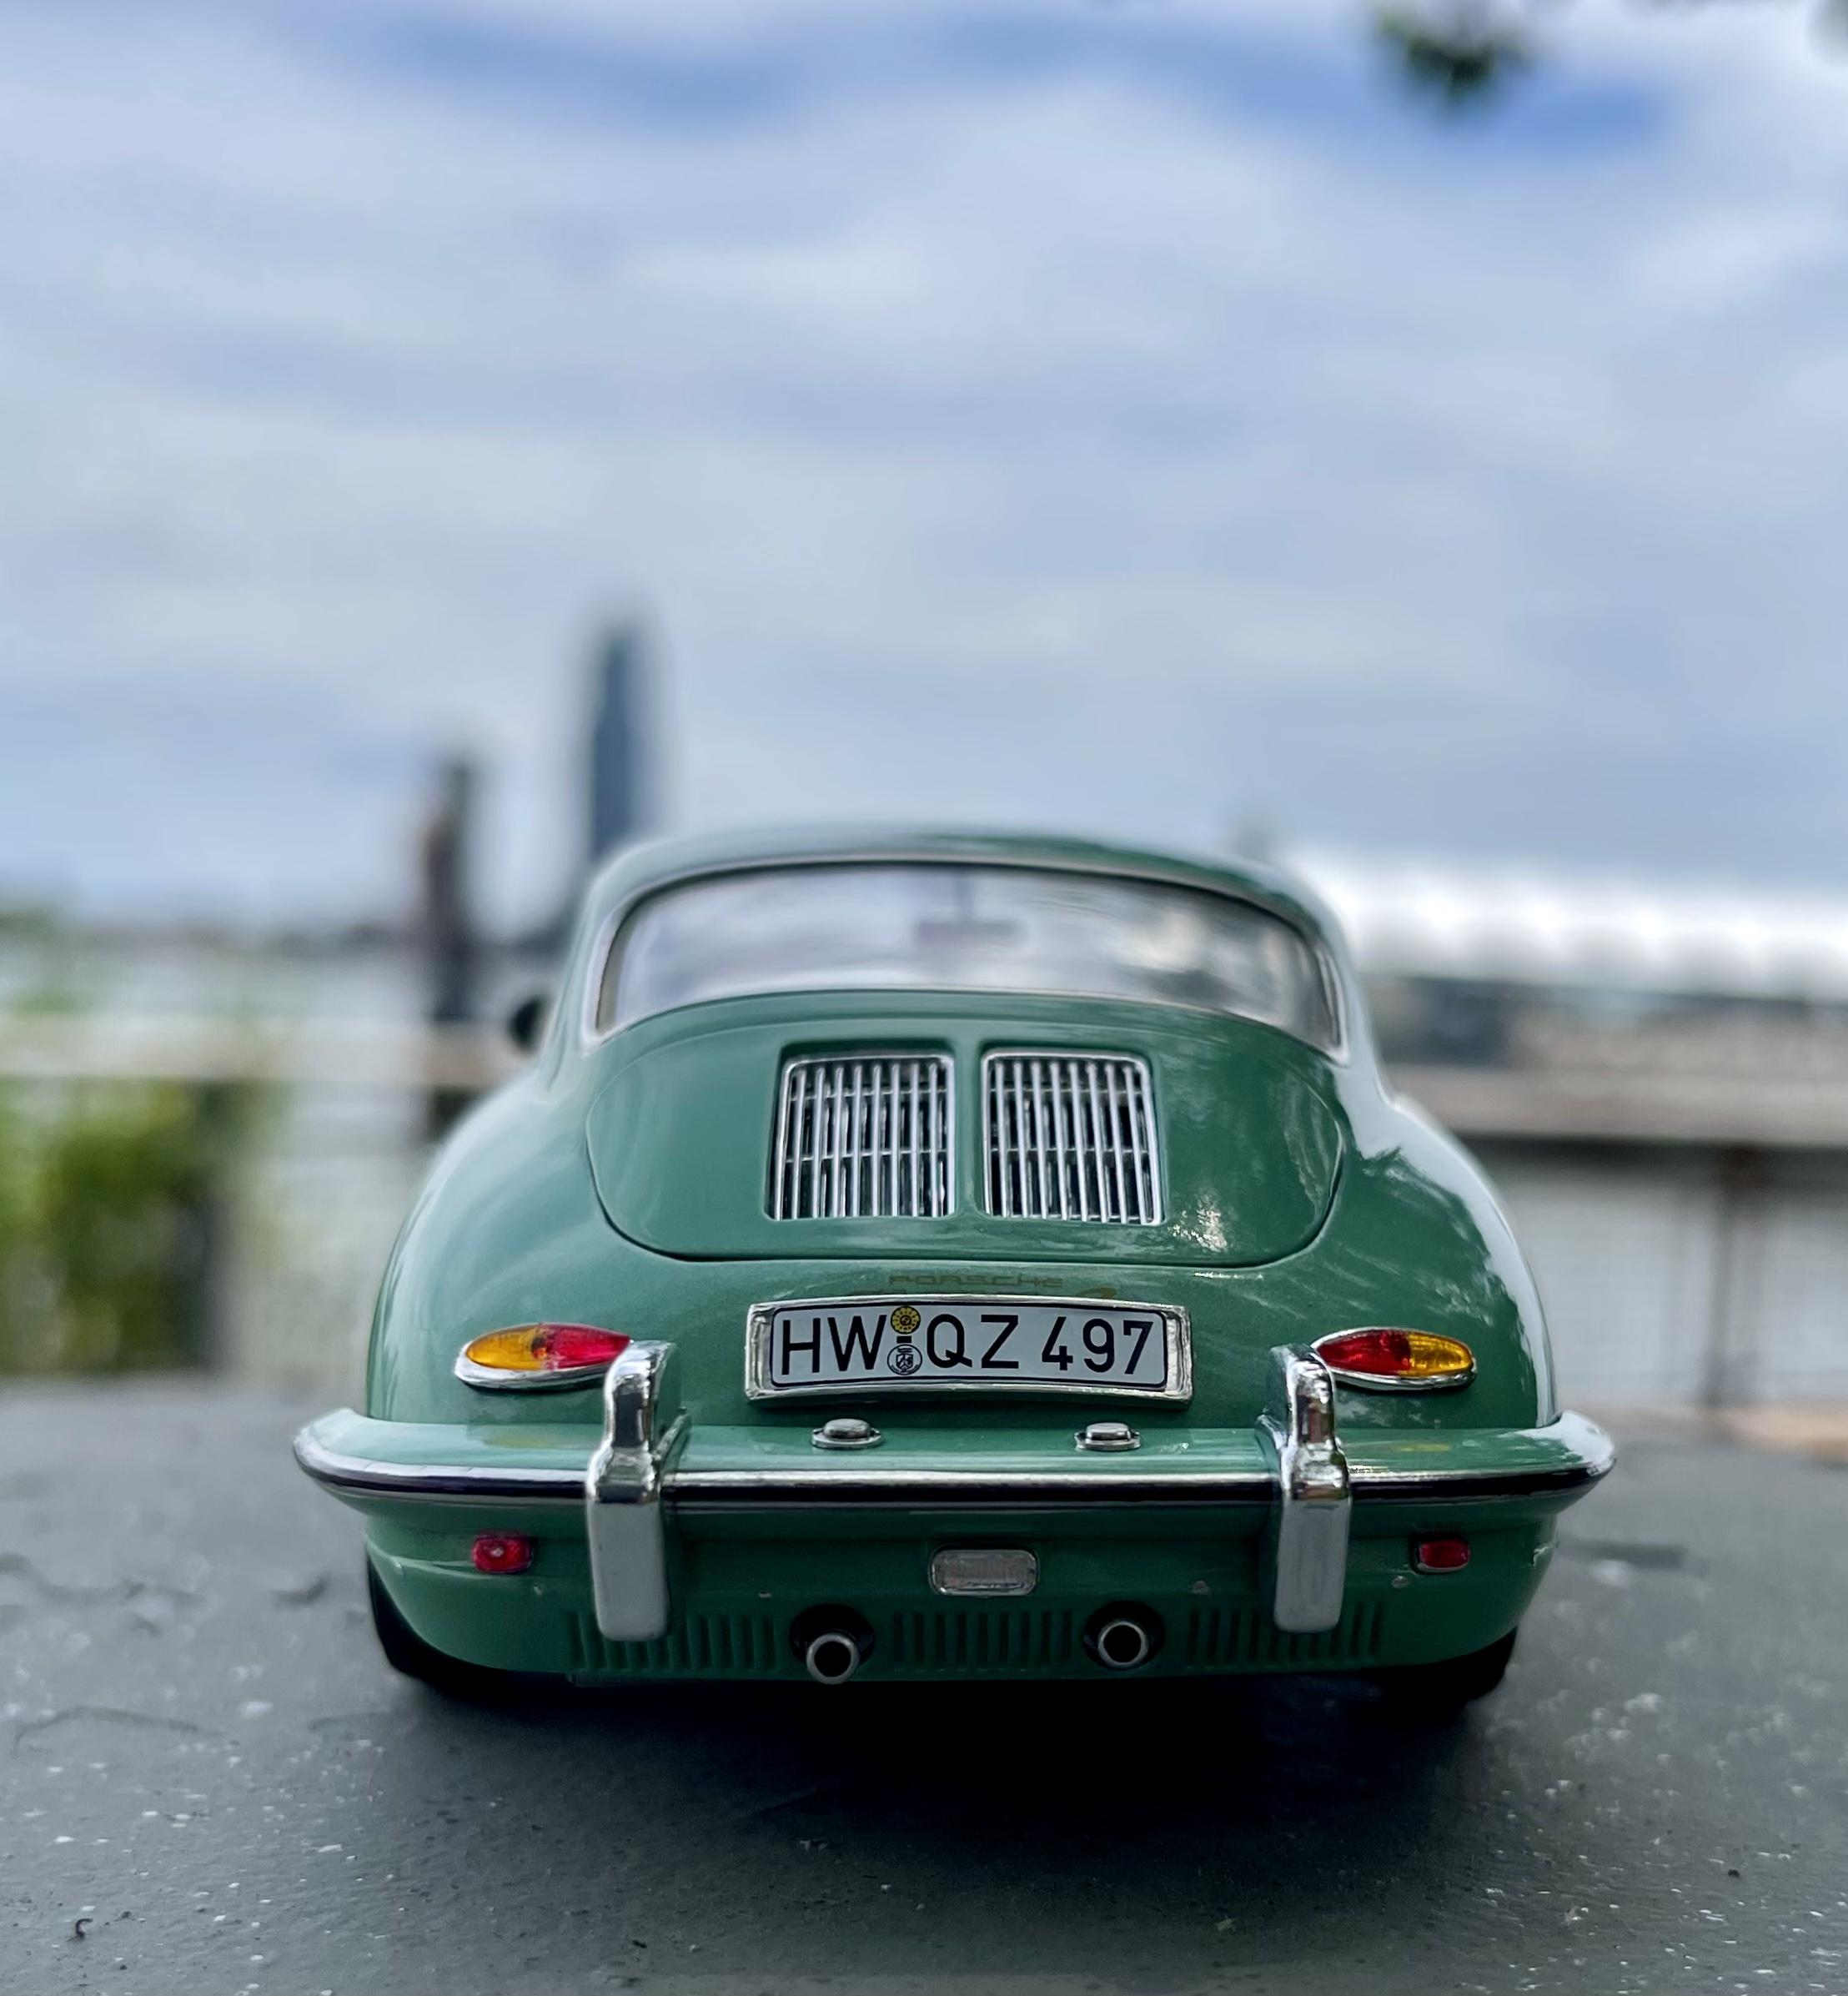
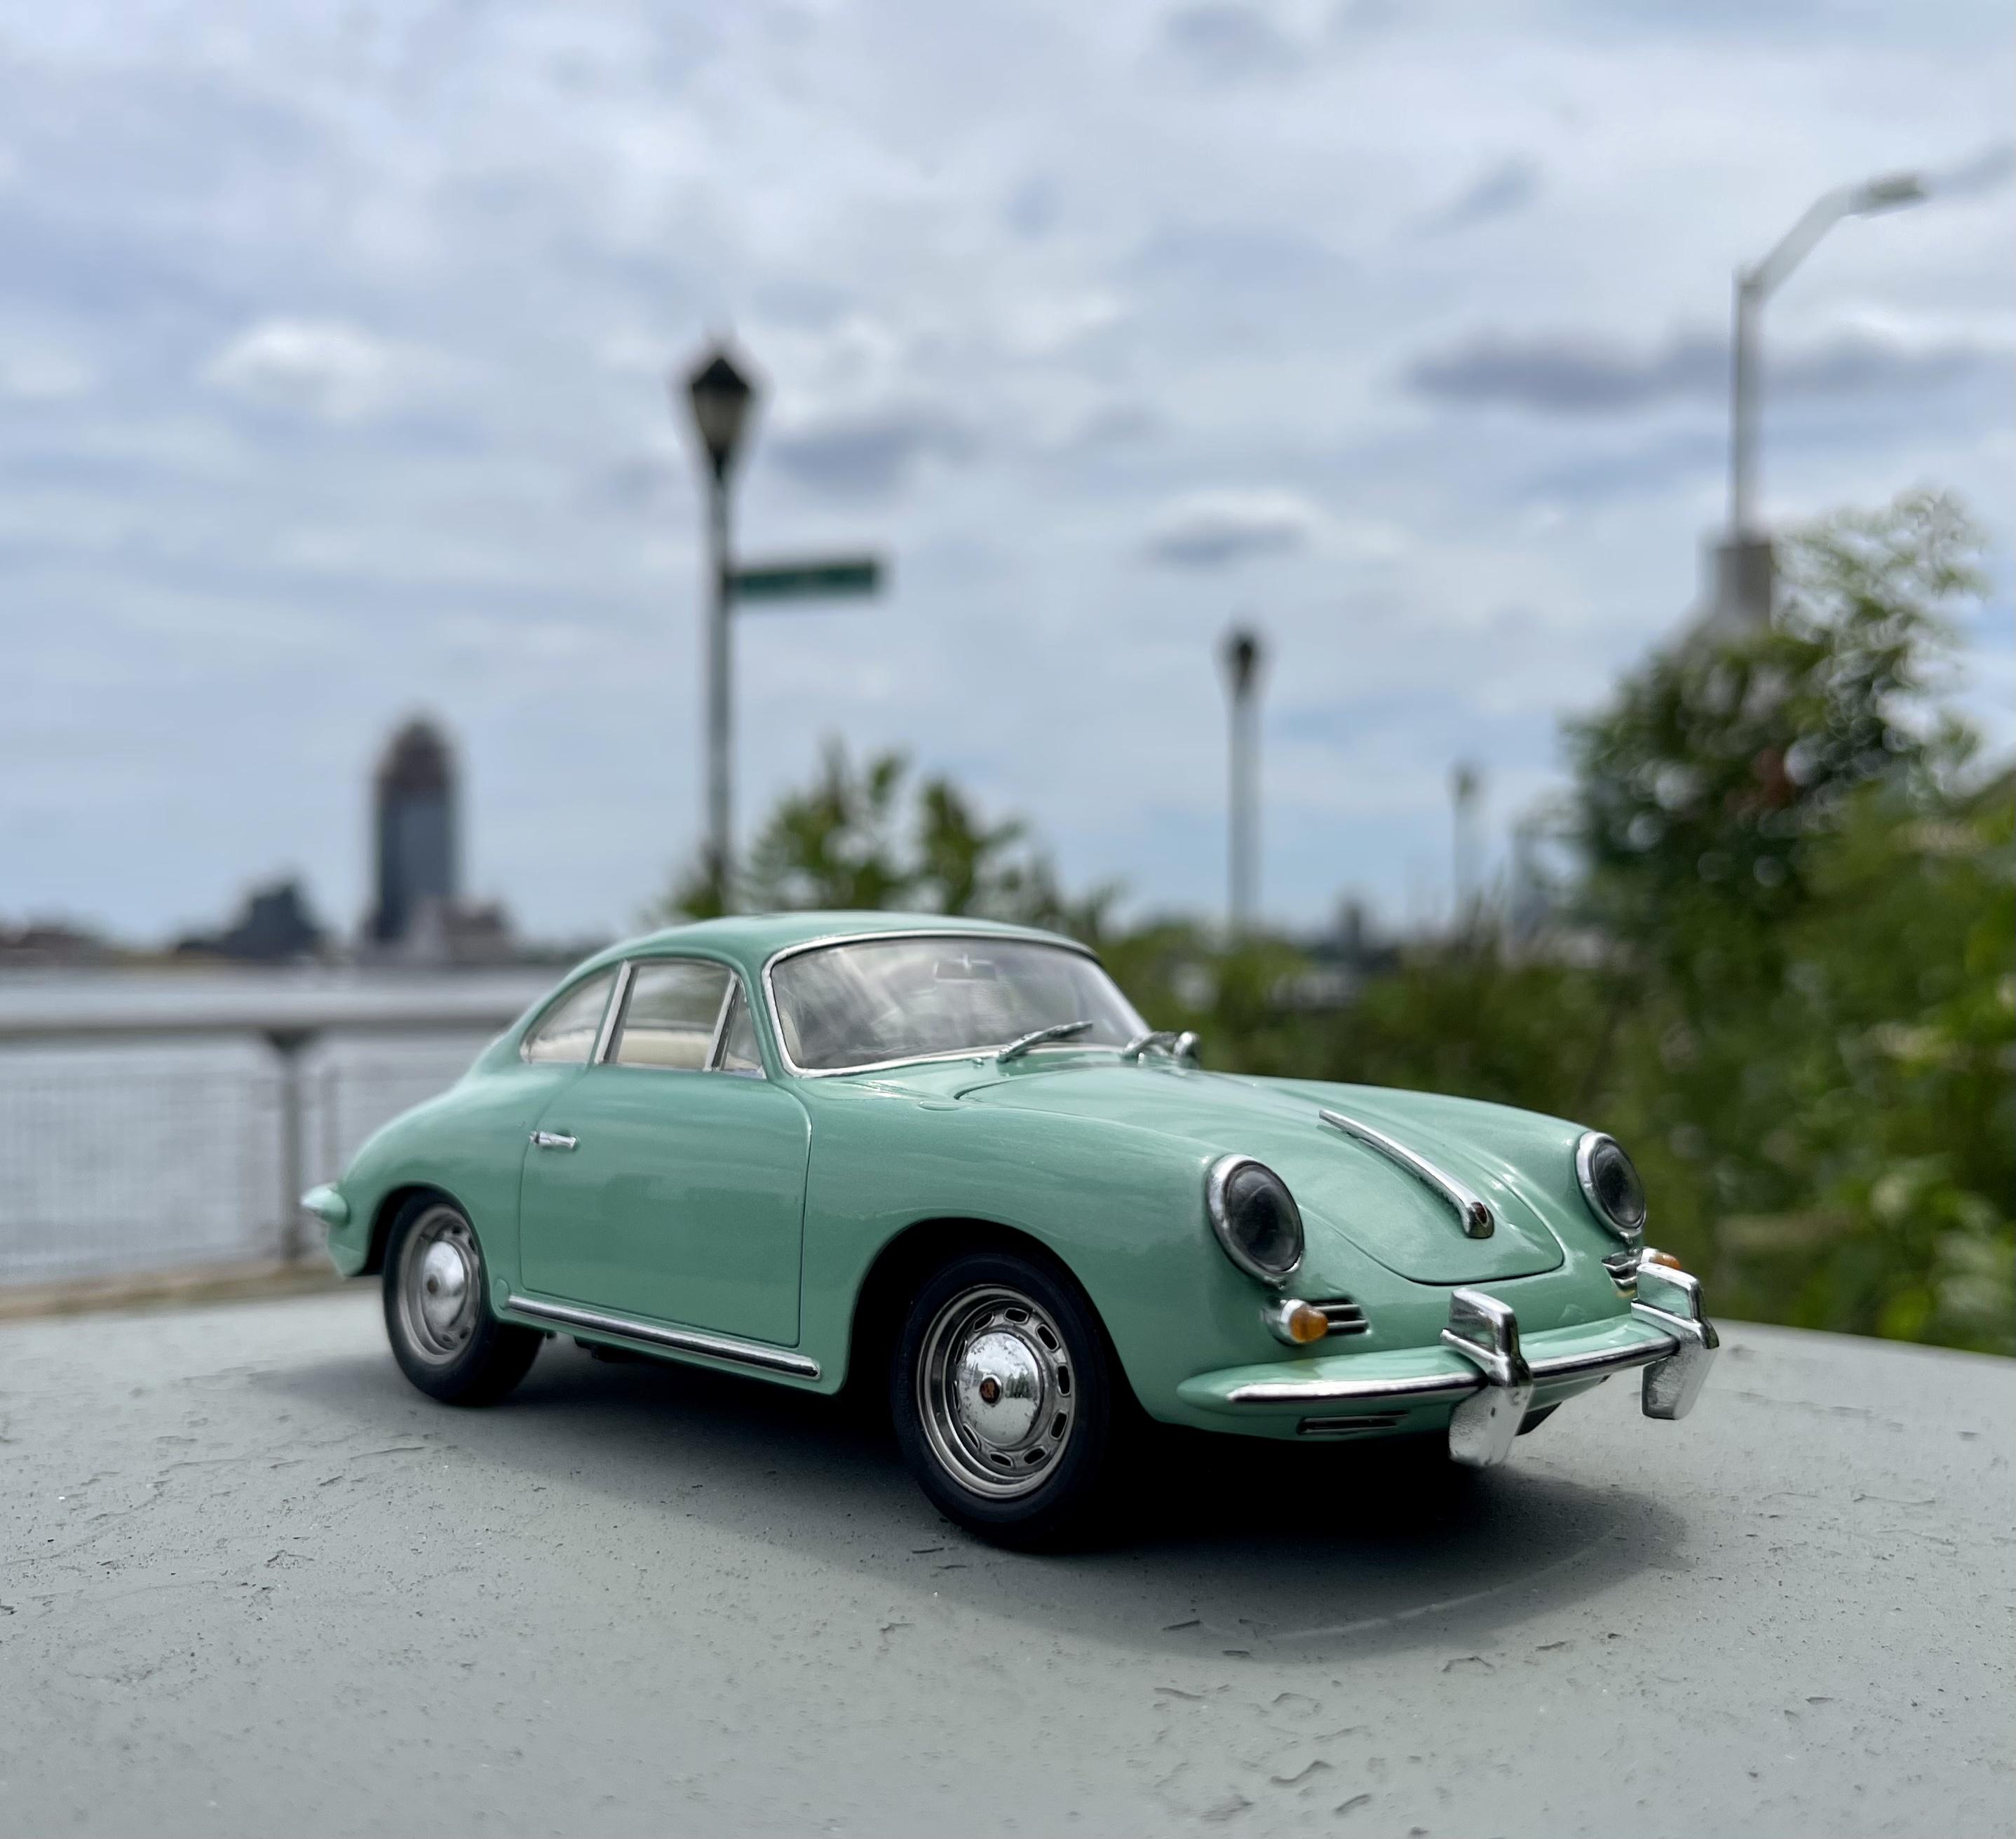
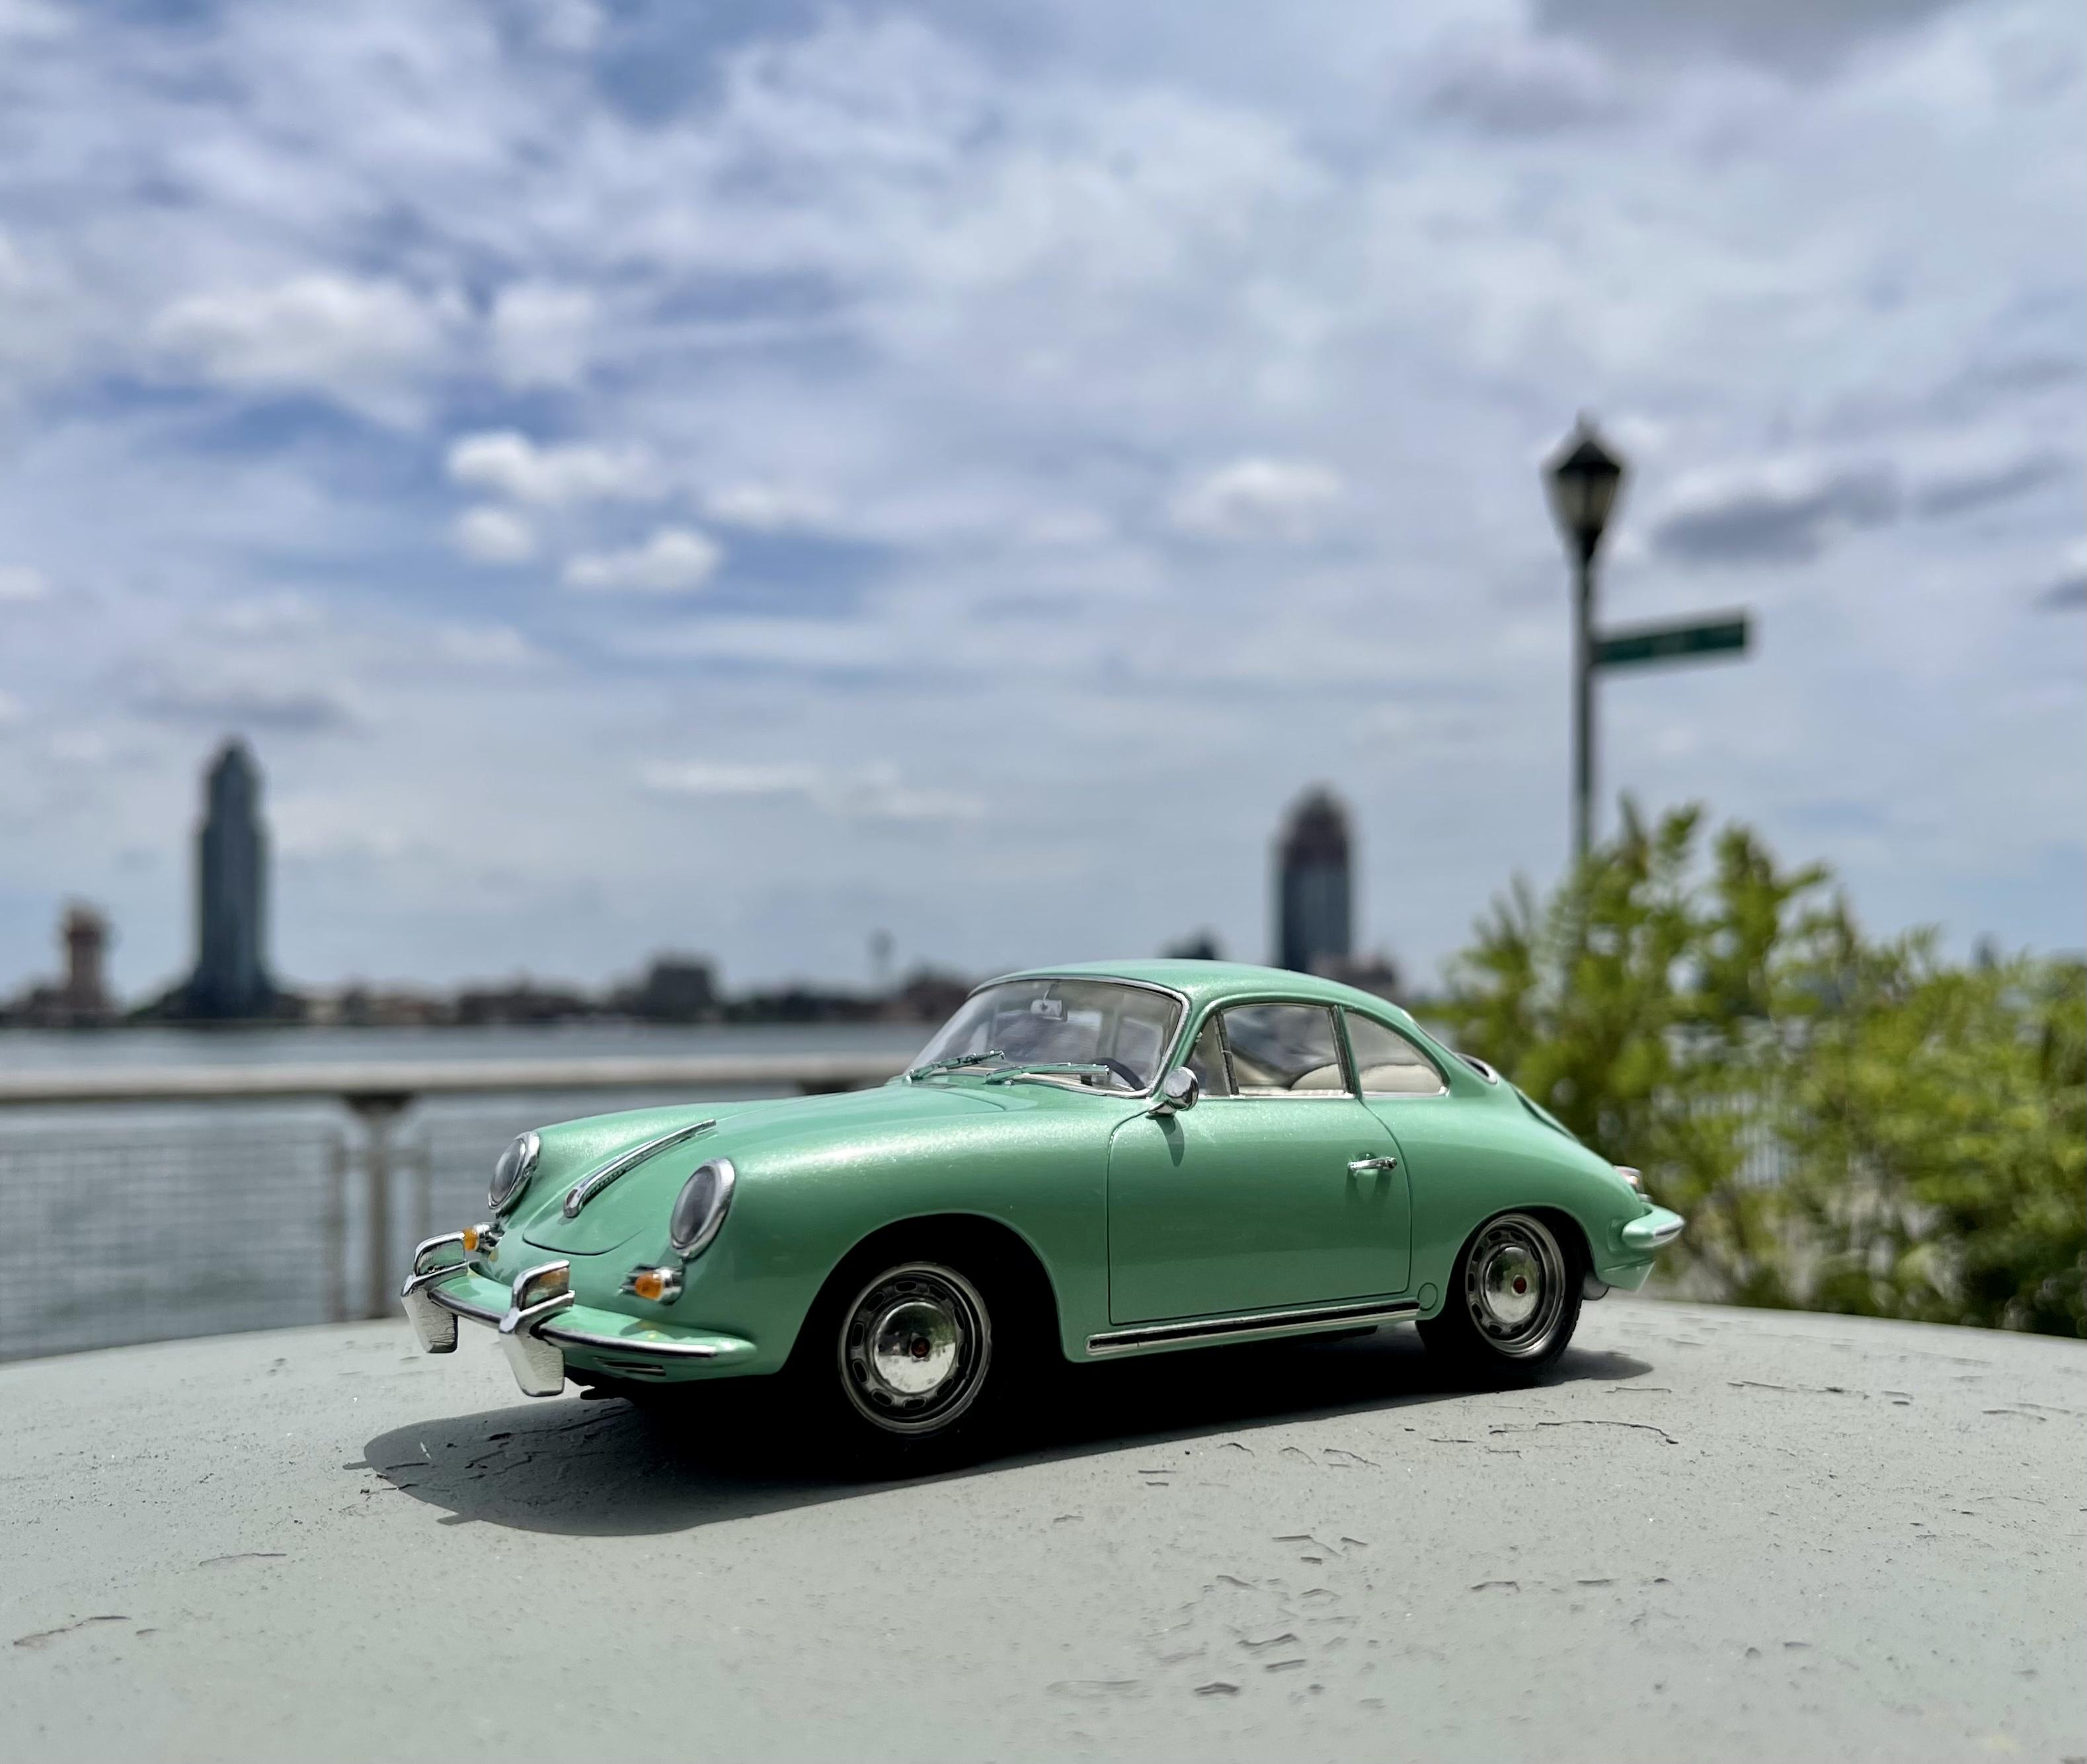
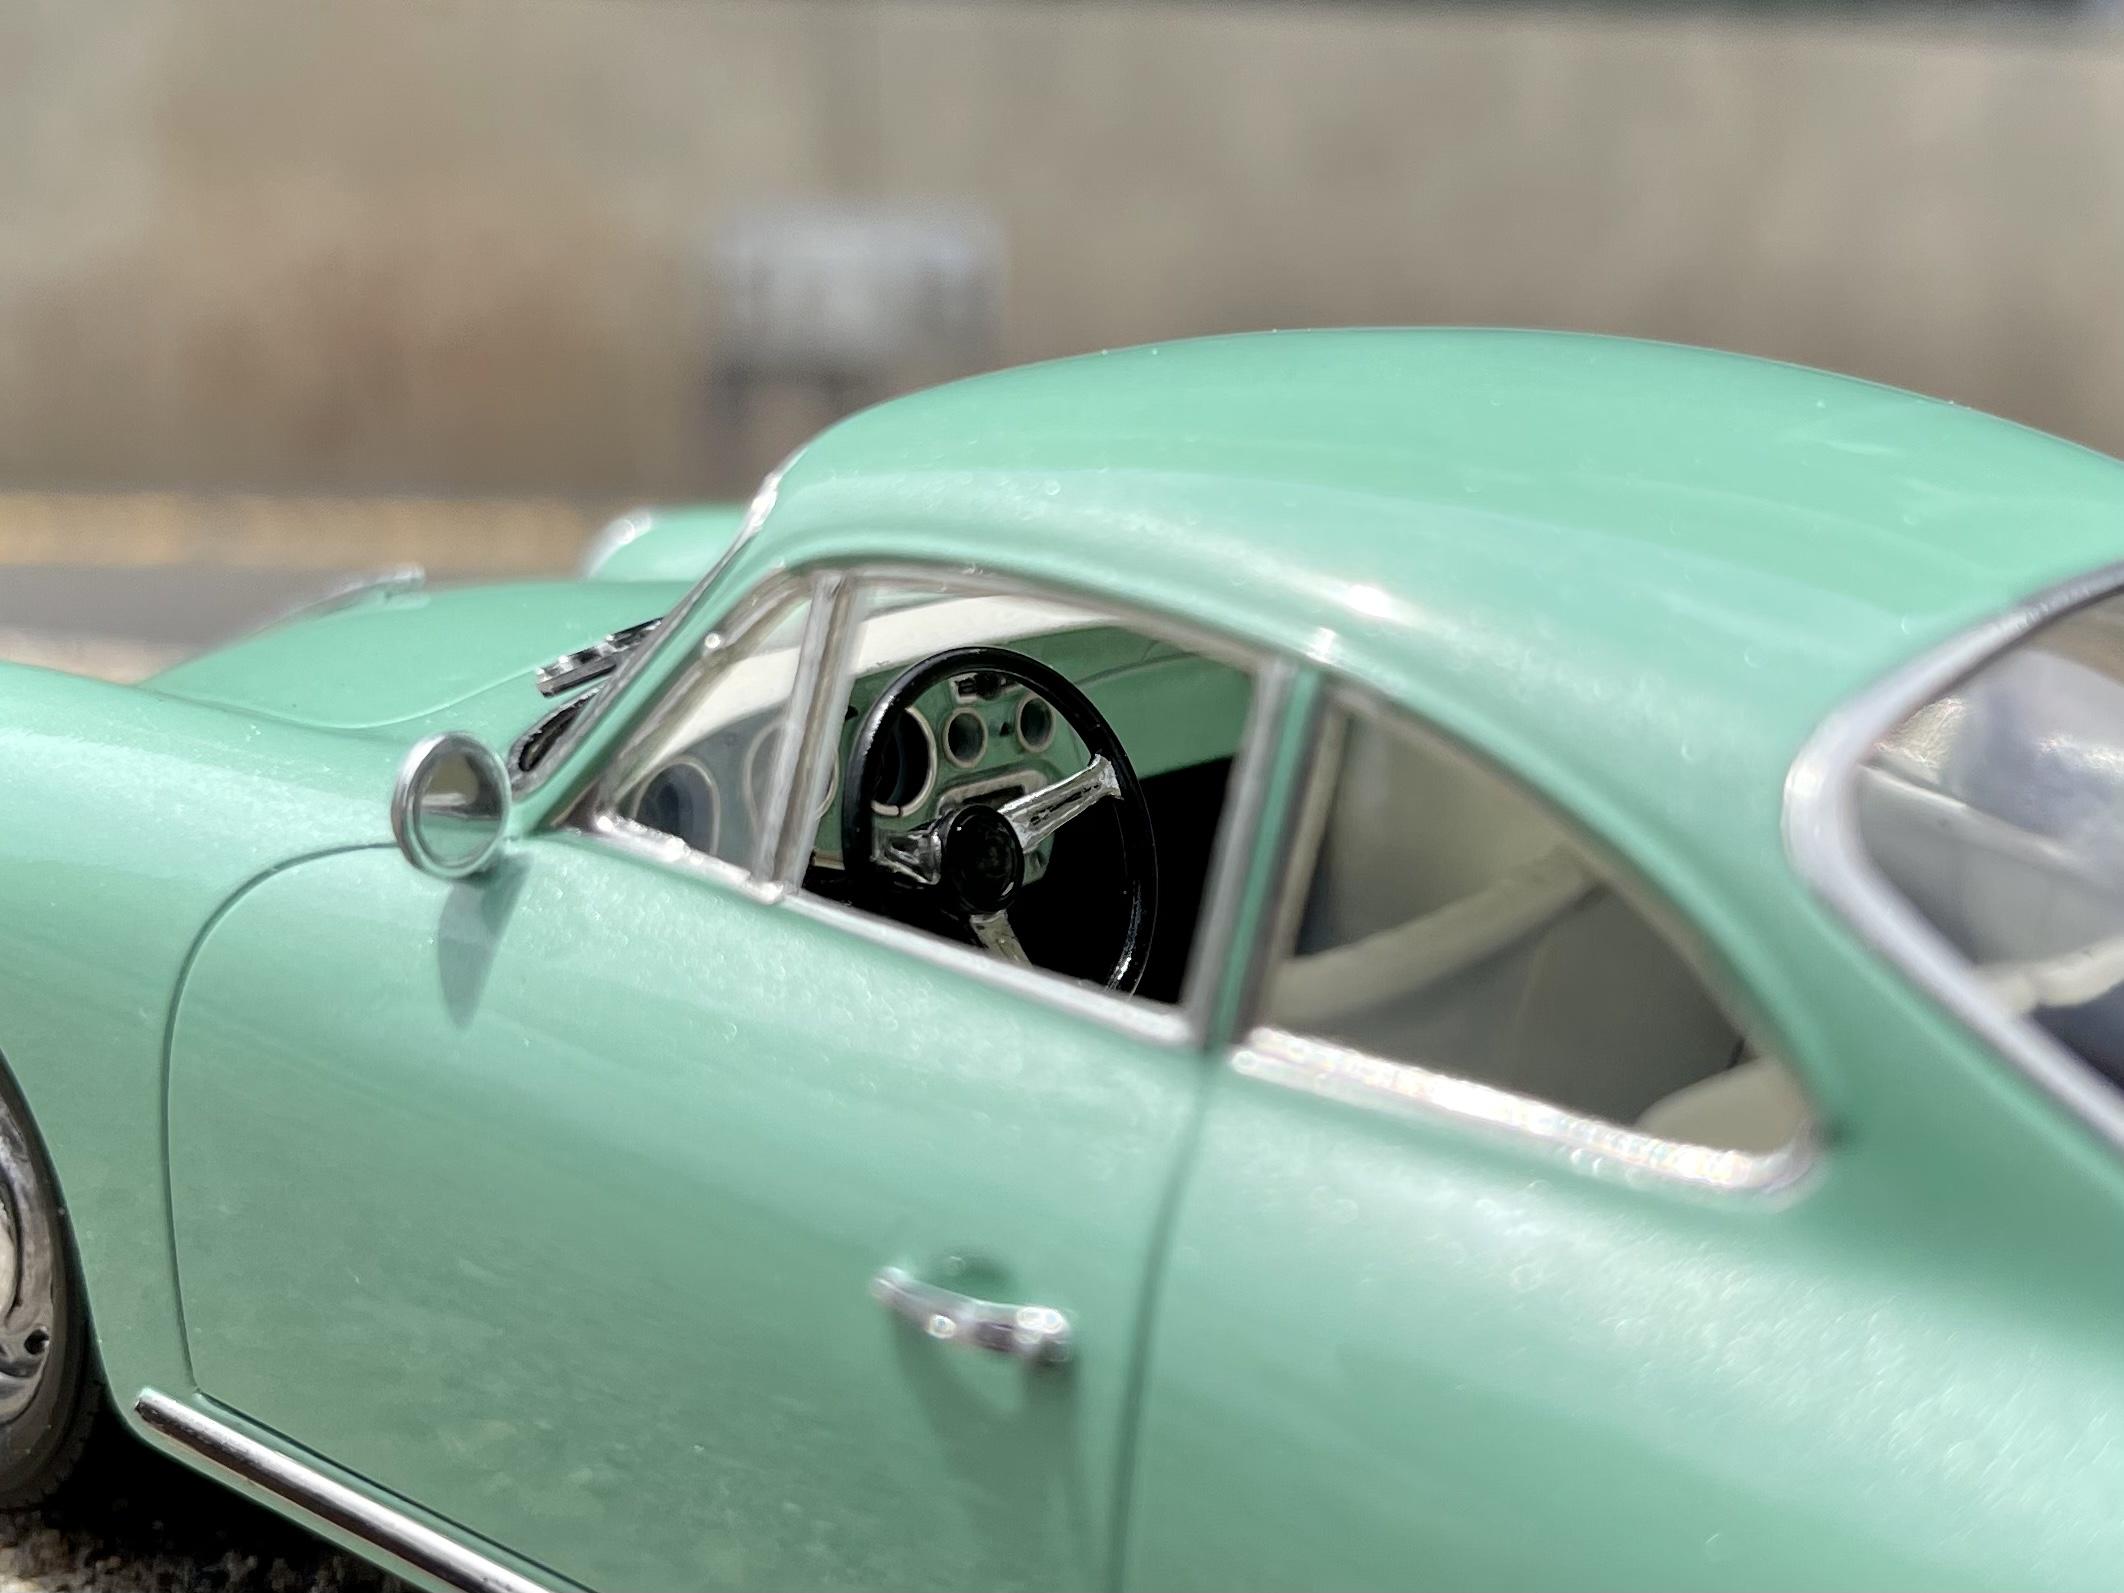
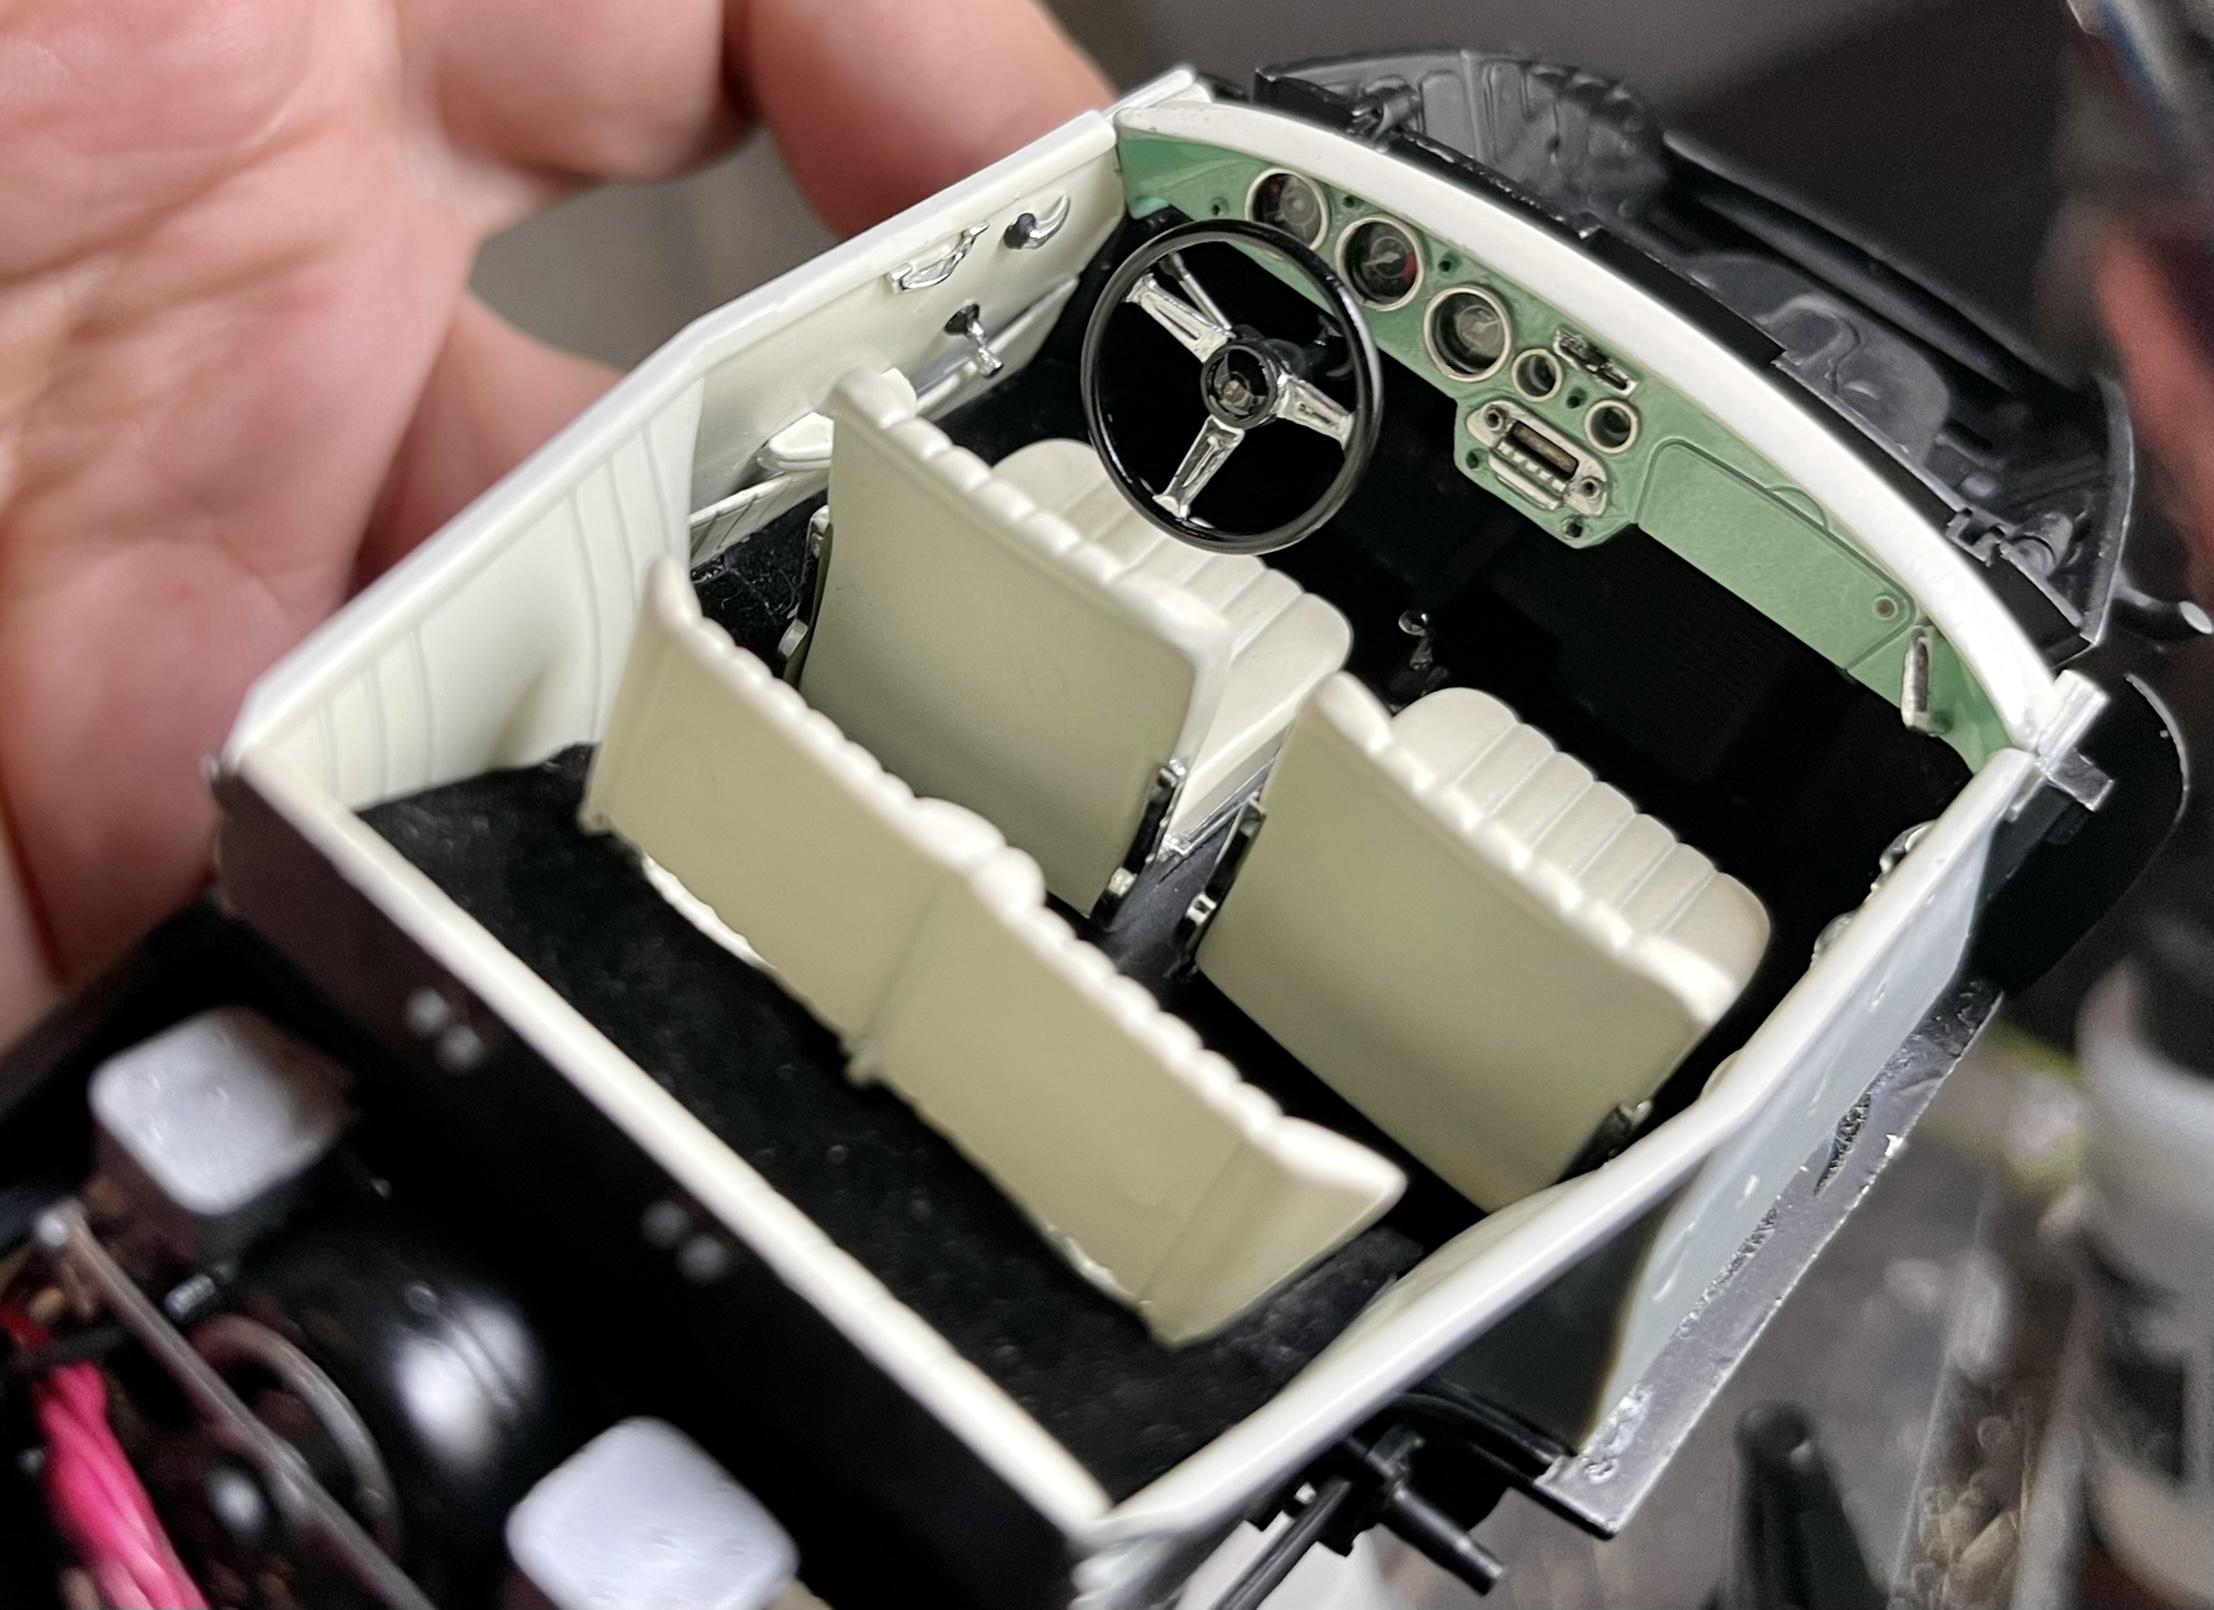
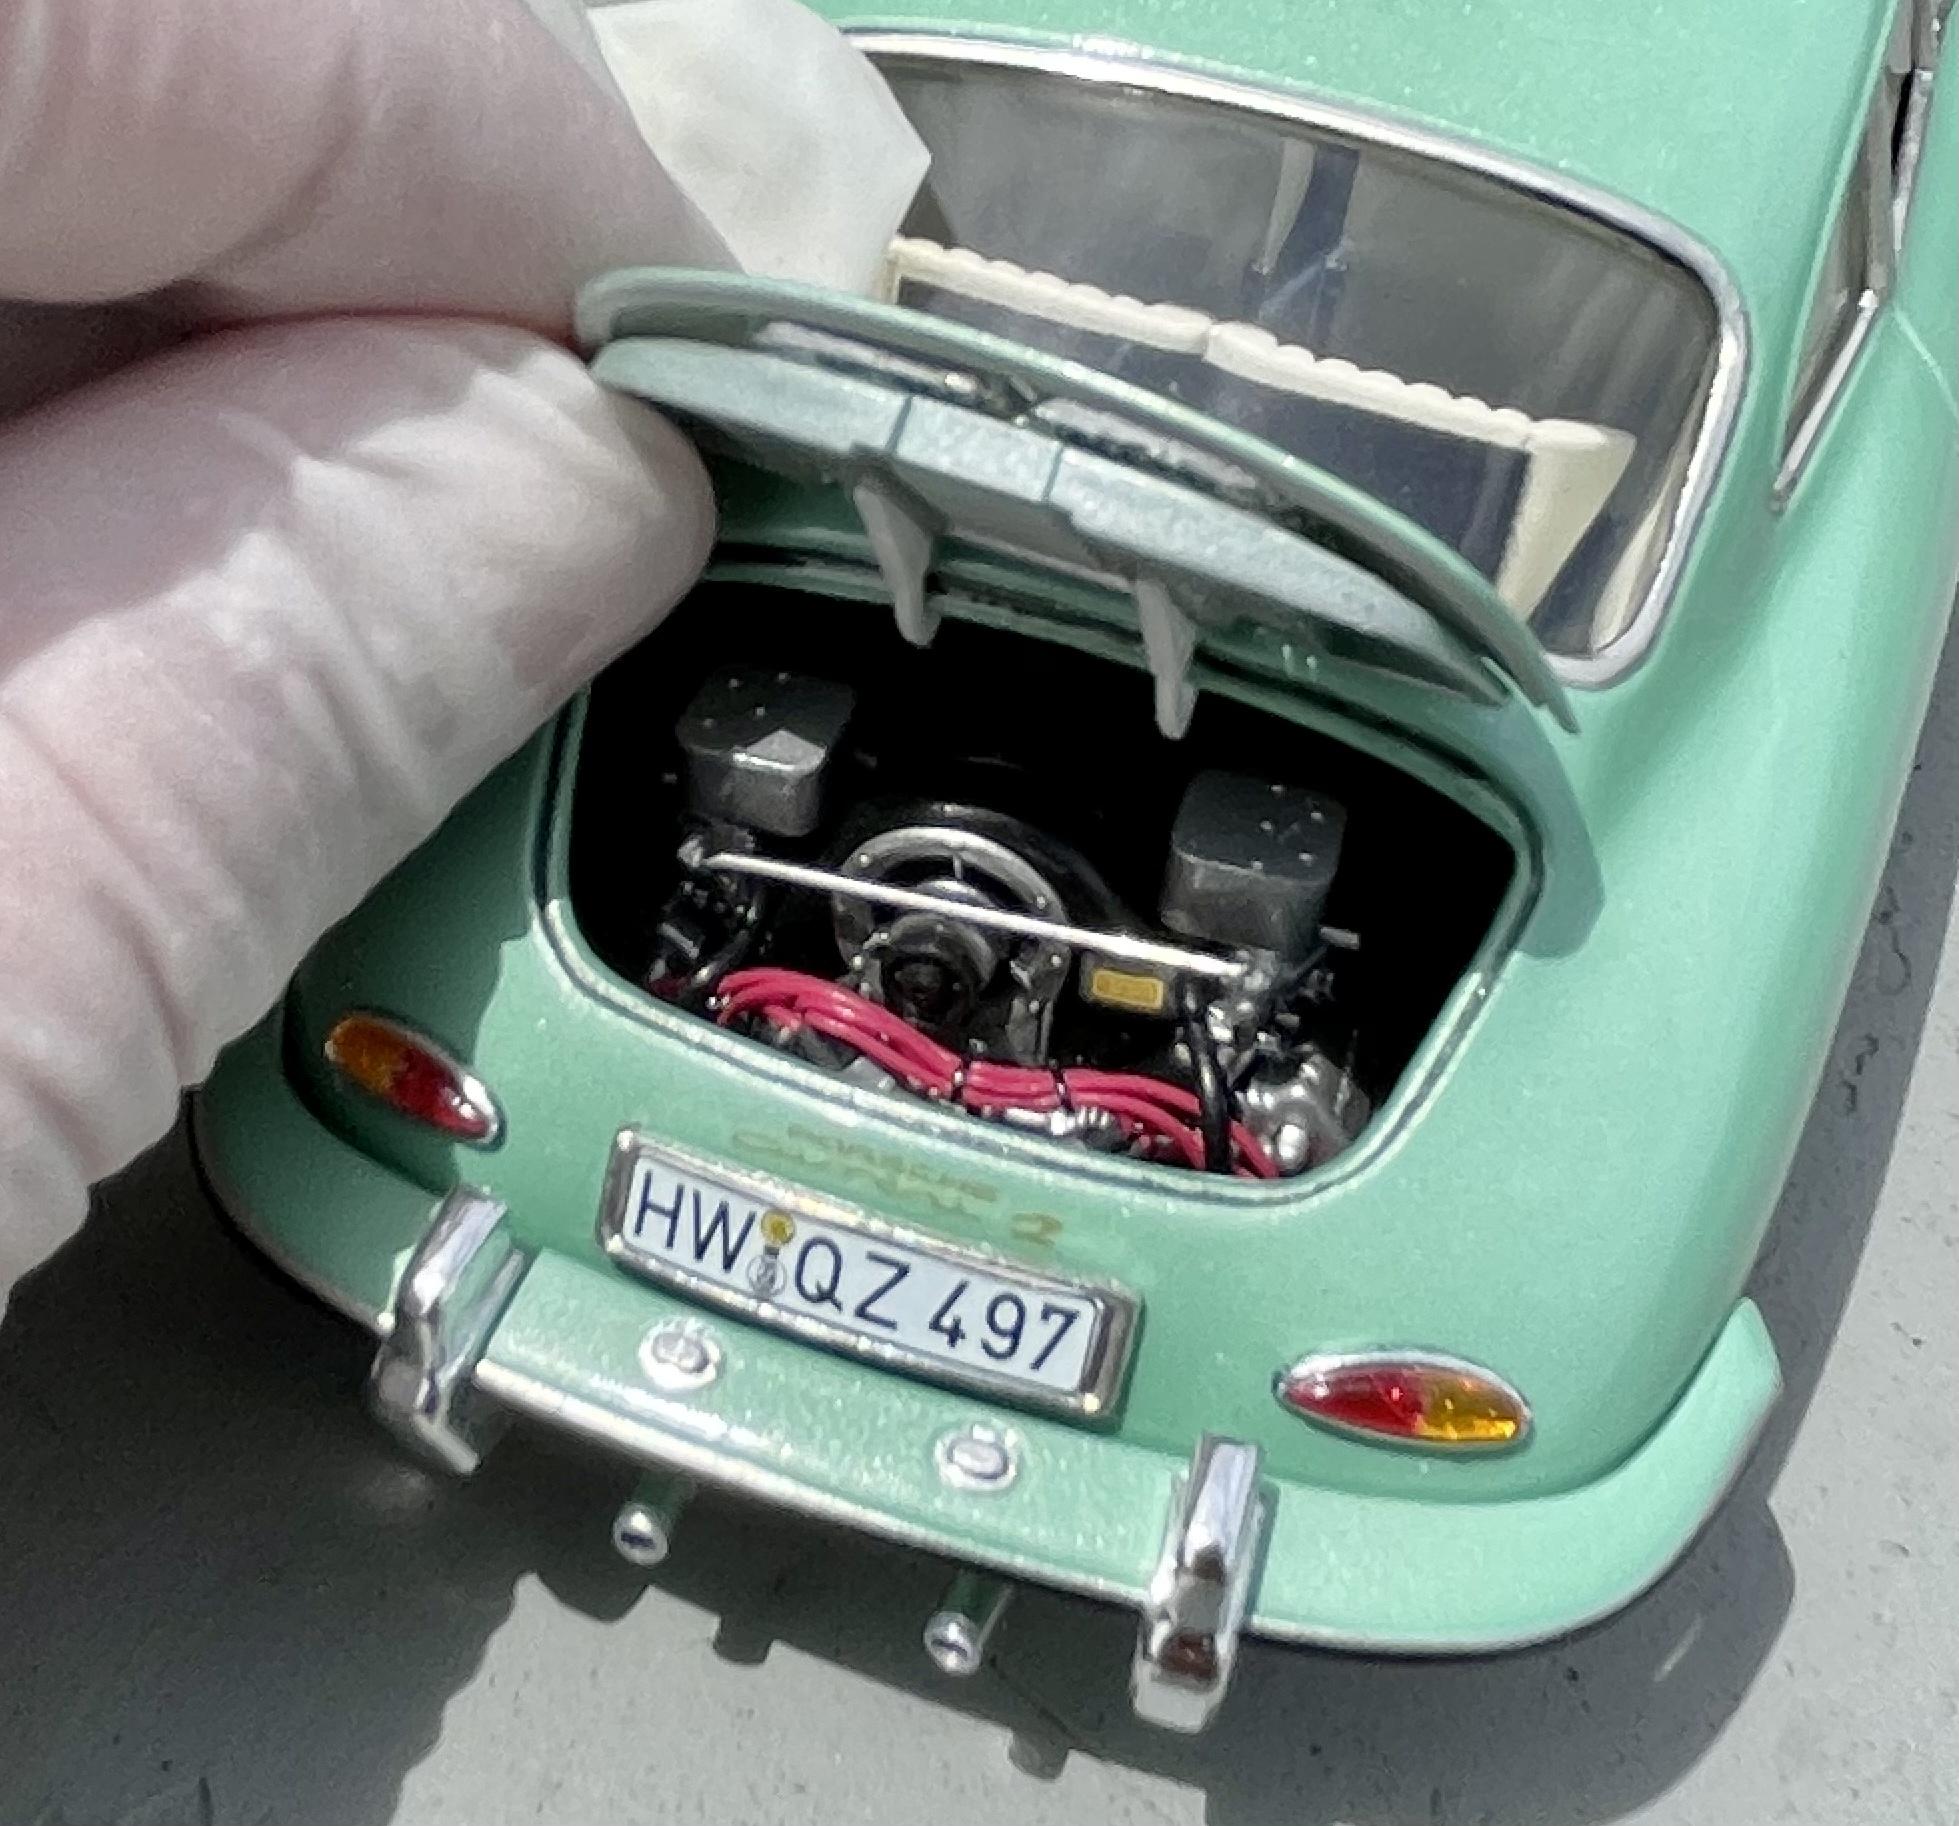
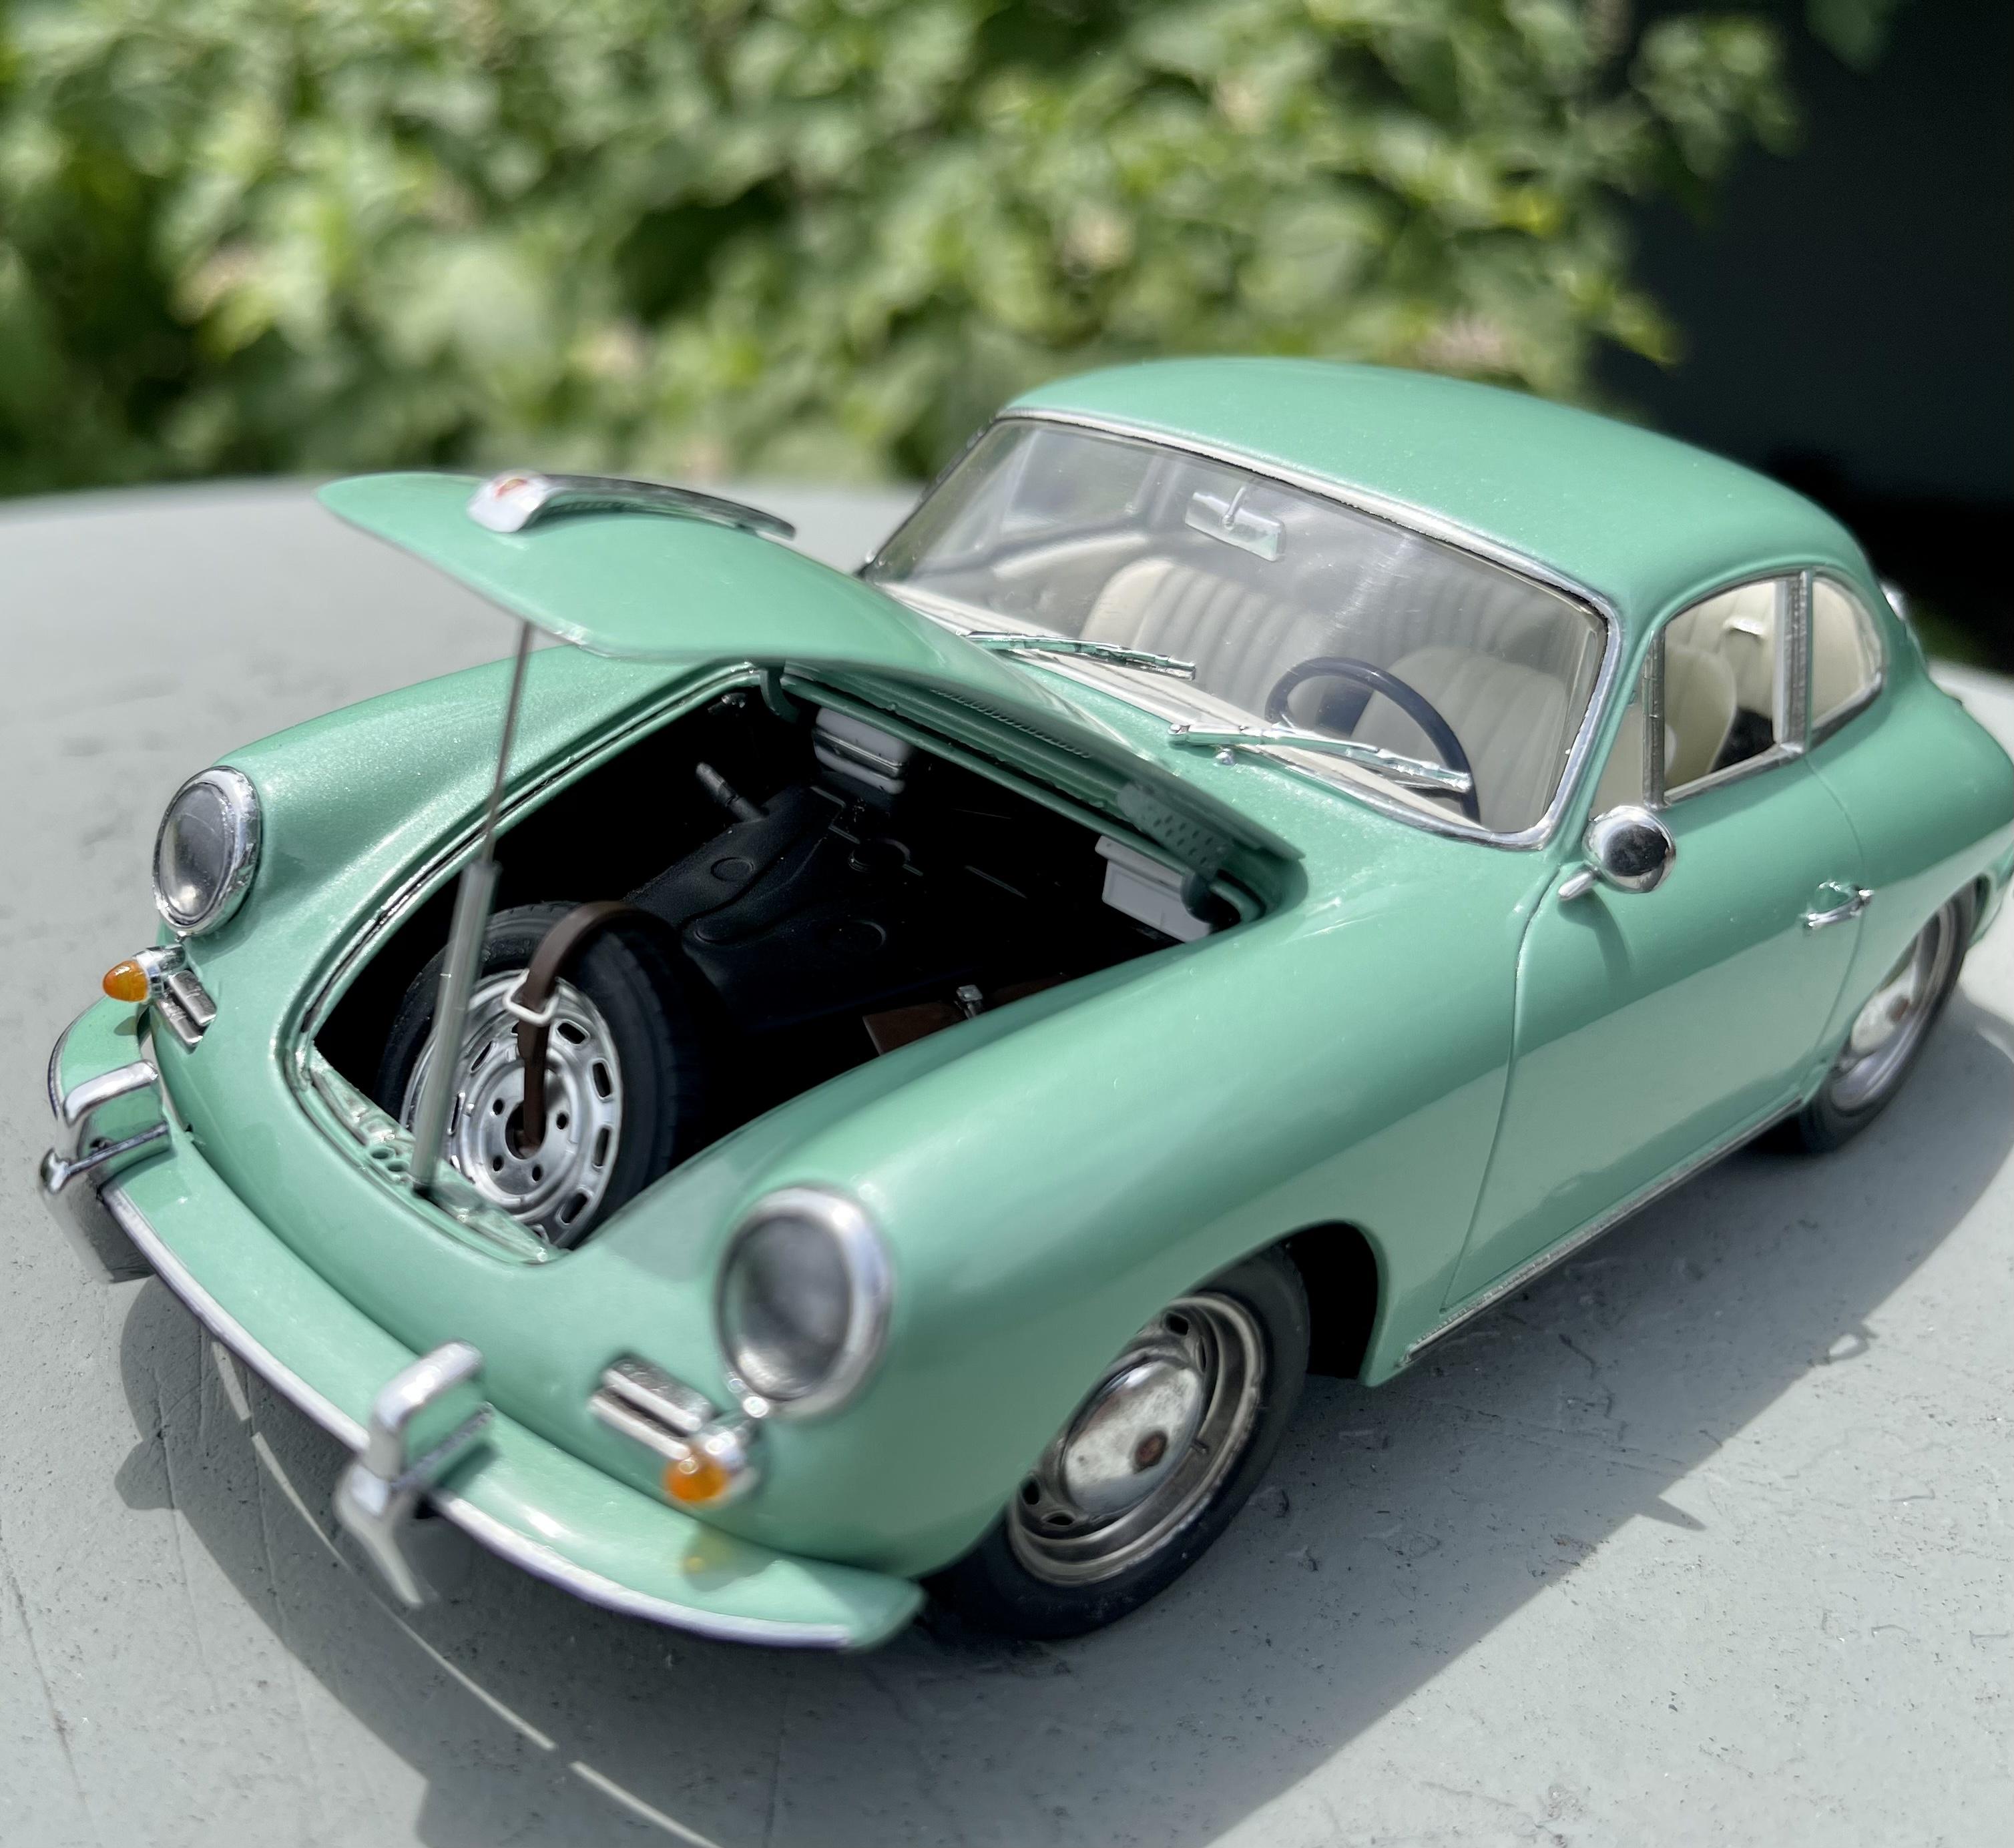
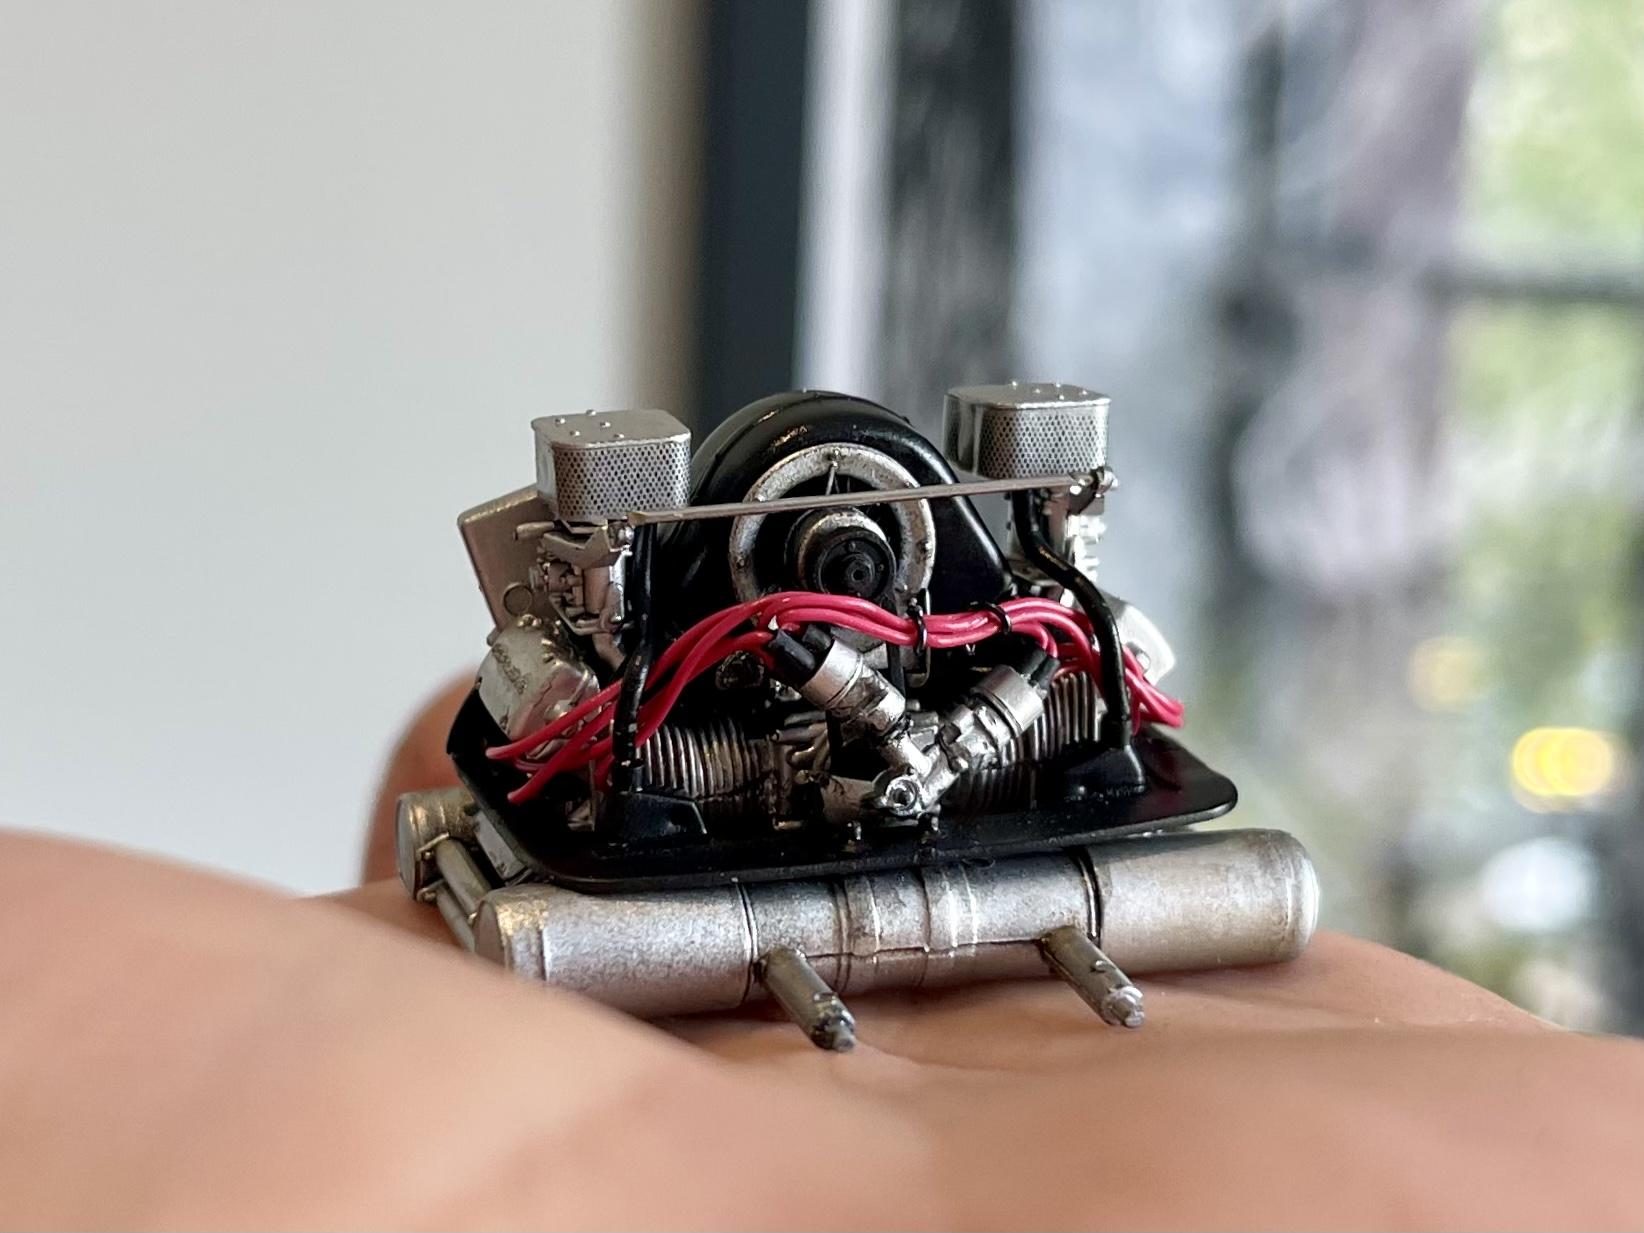
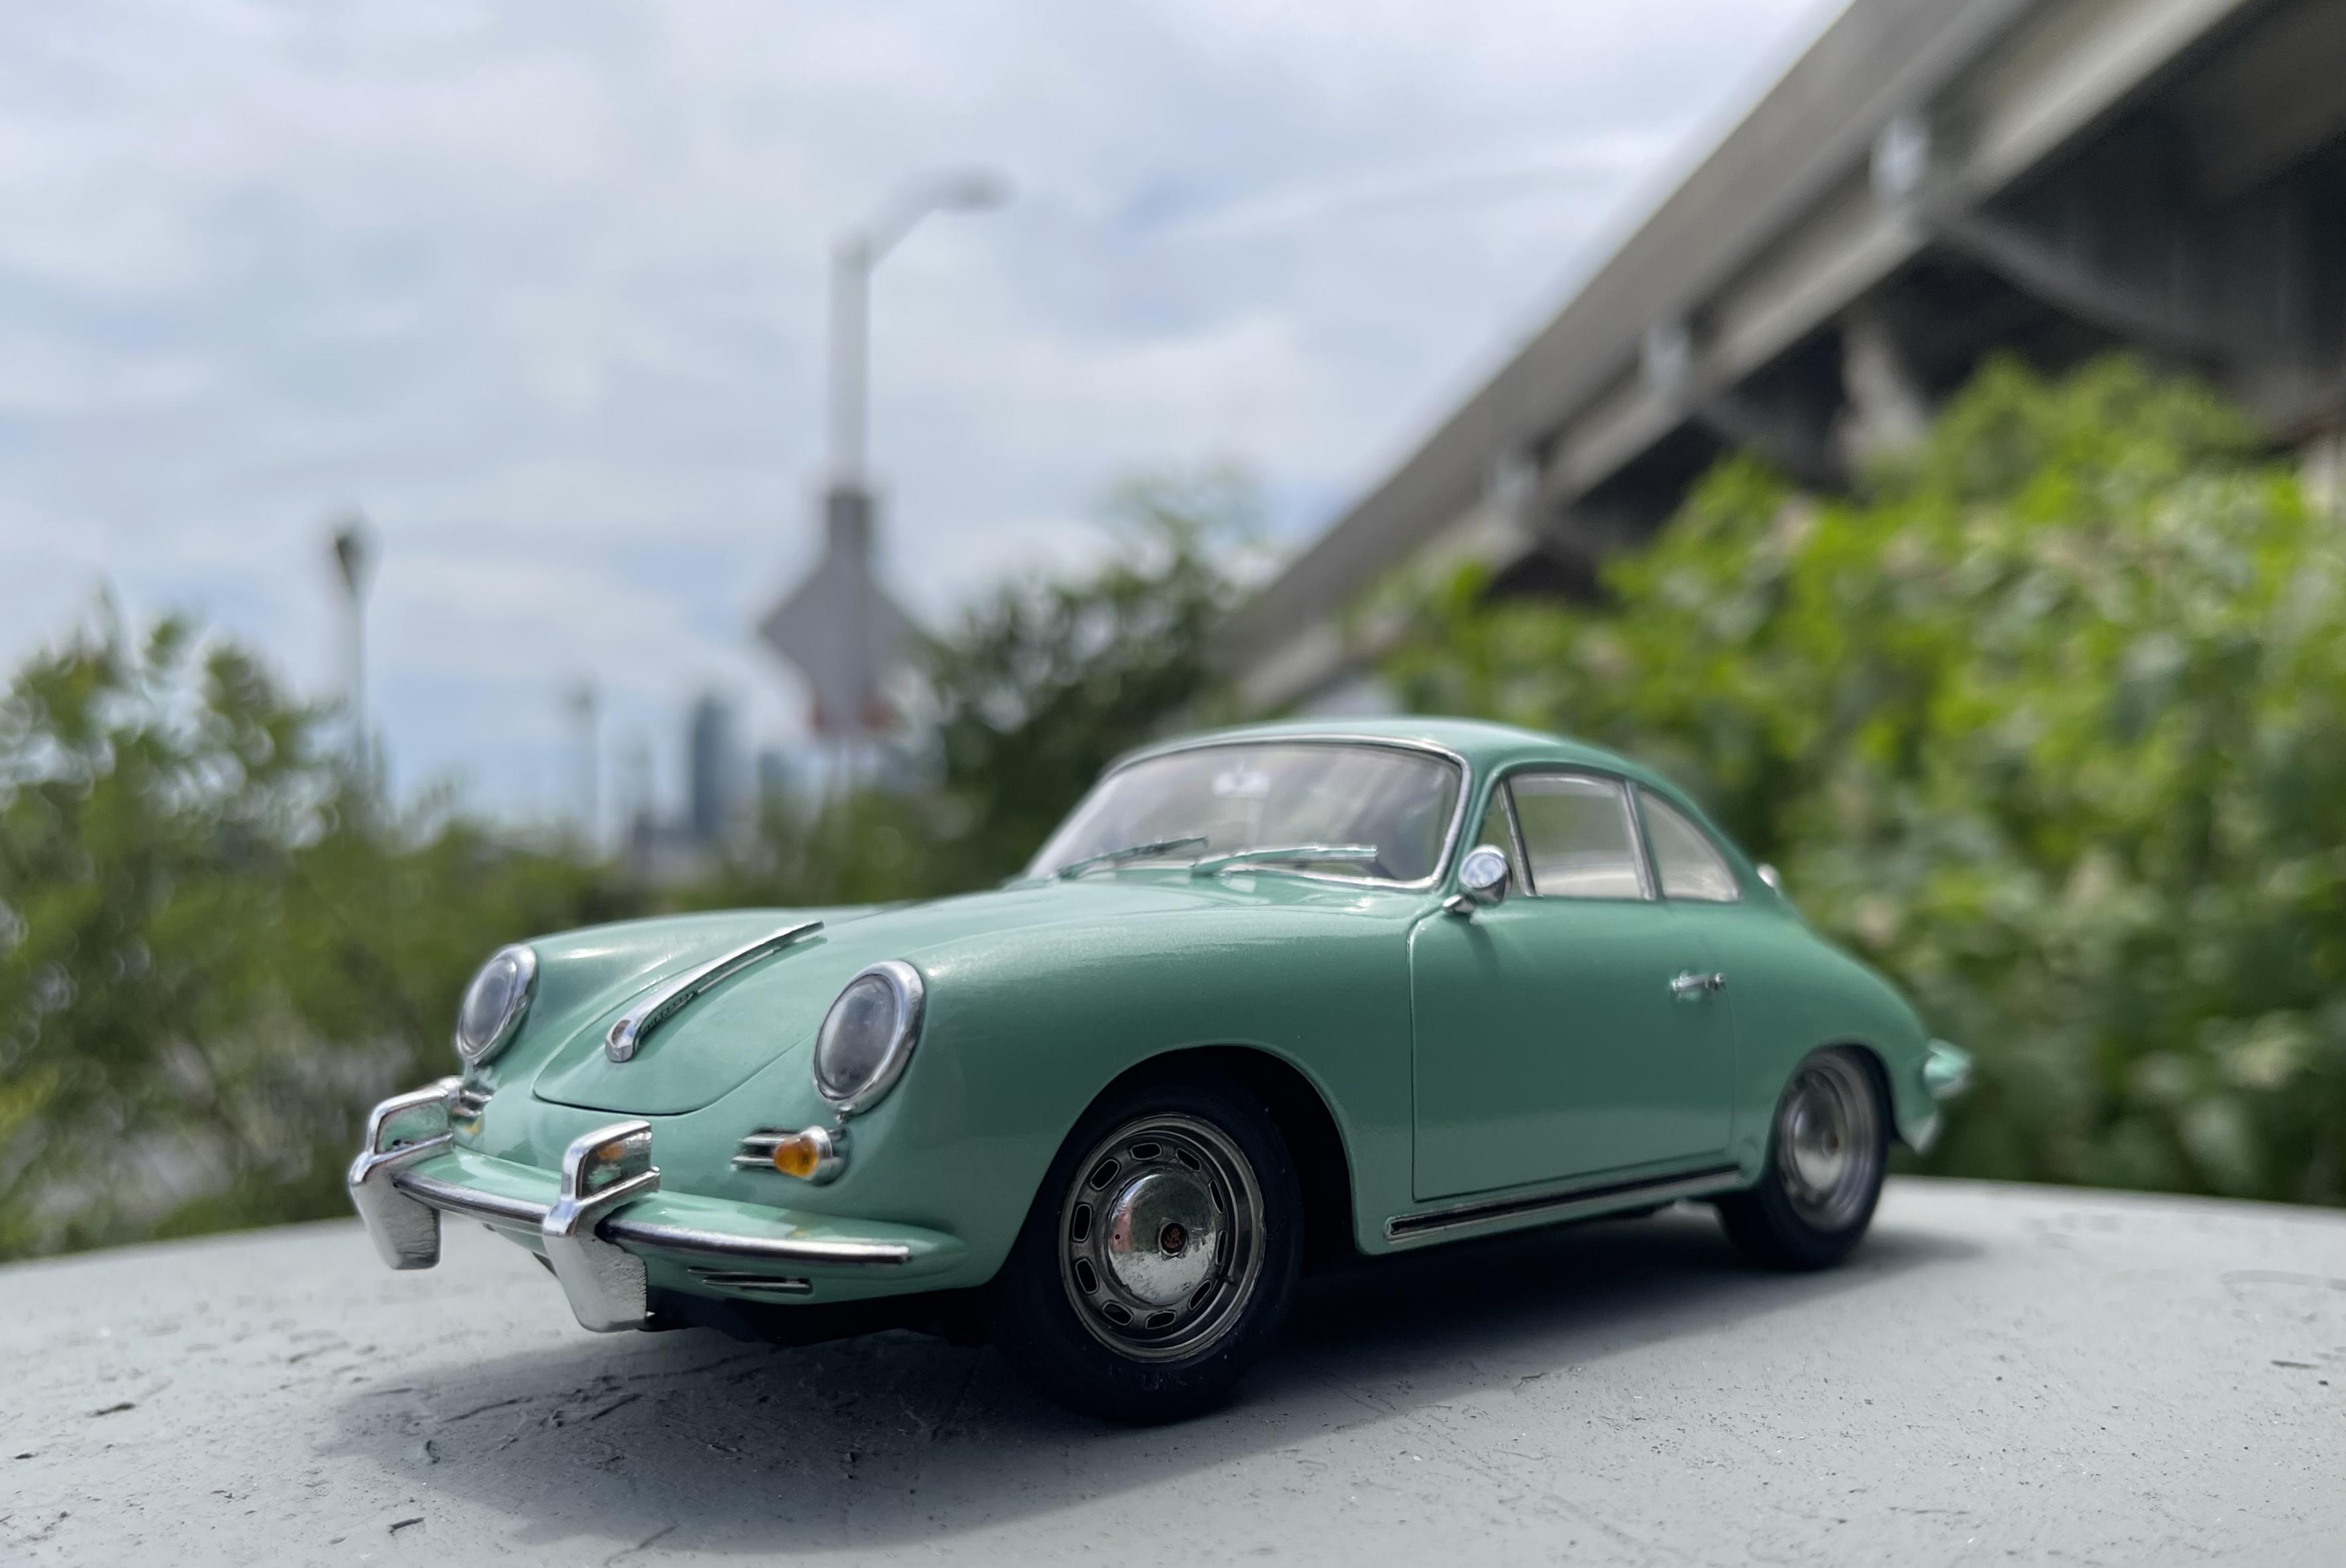
Spent the last couple of weeks in Covid quarantine which gave me plenty of time to get through this beast. It’s my first Porsche and my first fujimi kit and I was always too scared to start it because of all the parts it comes with. Glad I did though - it wasn’t an easy build but it was definitely my favorite to date. I hope to buy a few more very soon. I did a bit of engine/interior detailing and adjusted the ride height but I wanted to build this one mostly out of the box so I could get a feel for it - I’ll get more detailed on the next one. Paint is tamiya spray cans - body is pearl light green over silver leaf and cleared with ts-13, interior is racing white and matte clear. Hope you all had a great 4th ??
-
speechless. that thing is absolutely unreal. great job dude.
-
Thanks dude - it’s tough to tell in the pics (and I should have mentioned it up top) but this was actually a black cherry red color and it was even more brutal than a usual black paint job. It shows eeeeeeeverything. It picks up fingerprints just by someone looking at it lol
-
Looks great. I have one of these in the stash but I’ve been too scared to start it. You did an excellent job done ? ?
-
Great job. Love the white w the red. I need to do another cobra - may borrow this color scheme ????
-
Thanks fellas - super happy with the paint. I was experimenting with tamiya cans and it worked out well. Gonna try it again on a future build with clear blue instead of clear red ??