radiohd10
-
Posts
286 -
Joined
-
Last visited
Content Type
Profiles
Forums
Events
Gallery
Everything posted by radiohd10
-
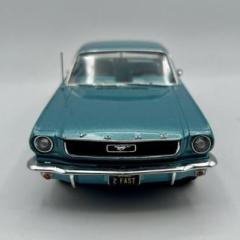
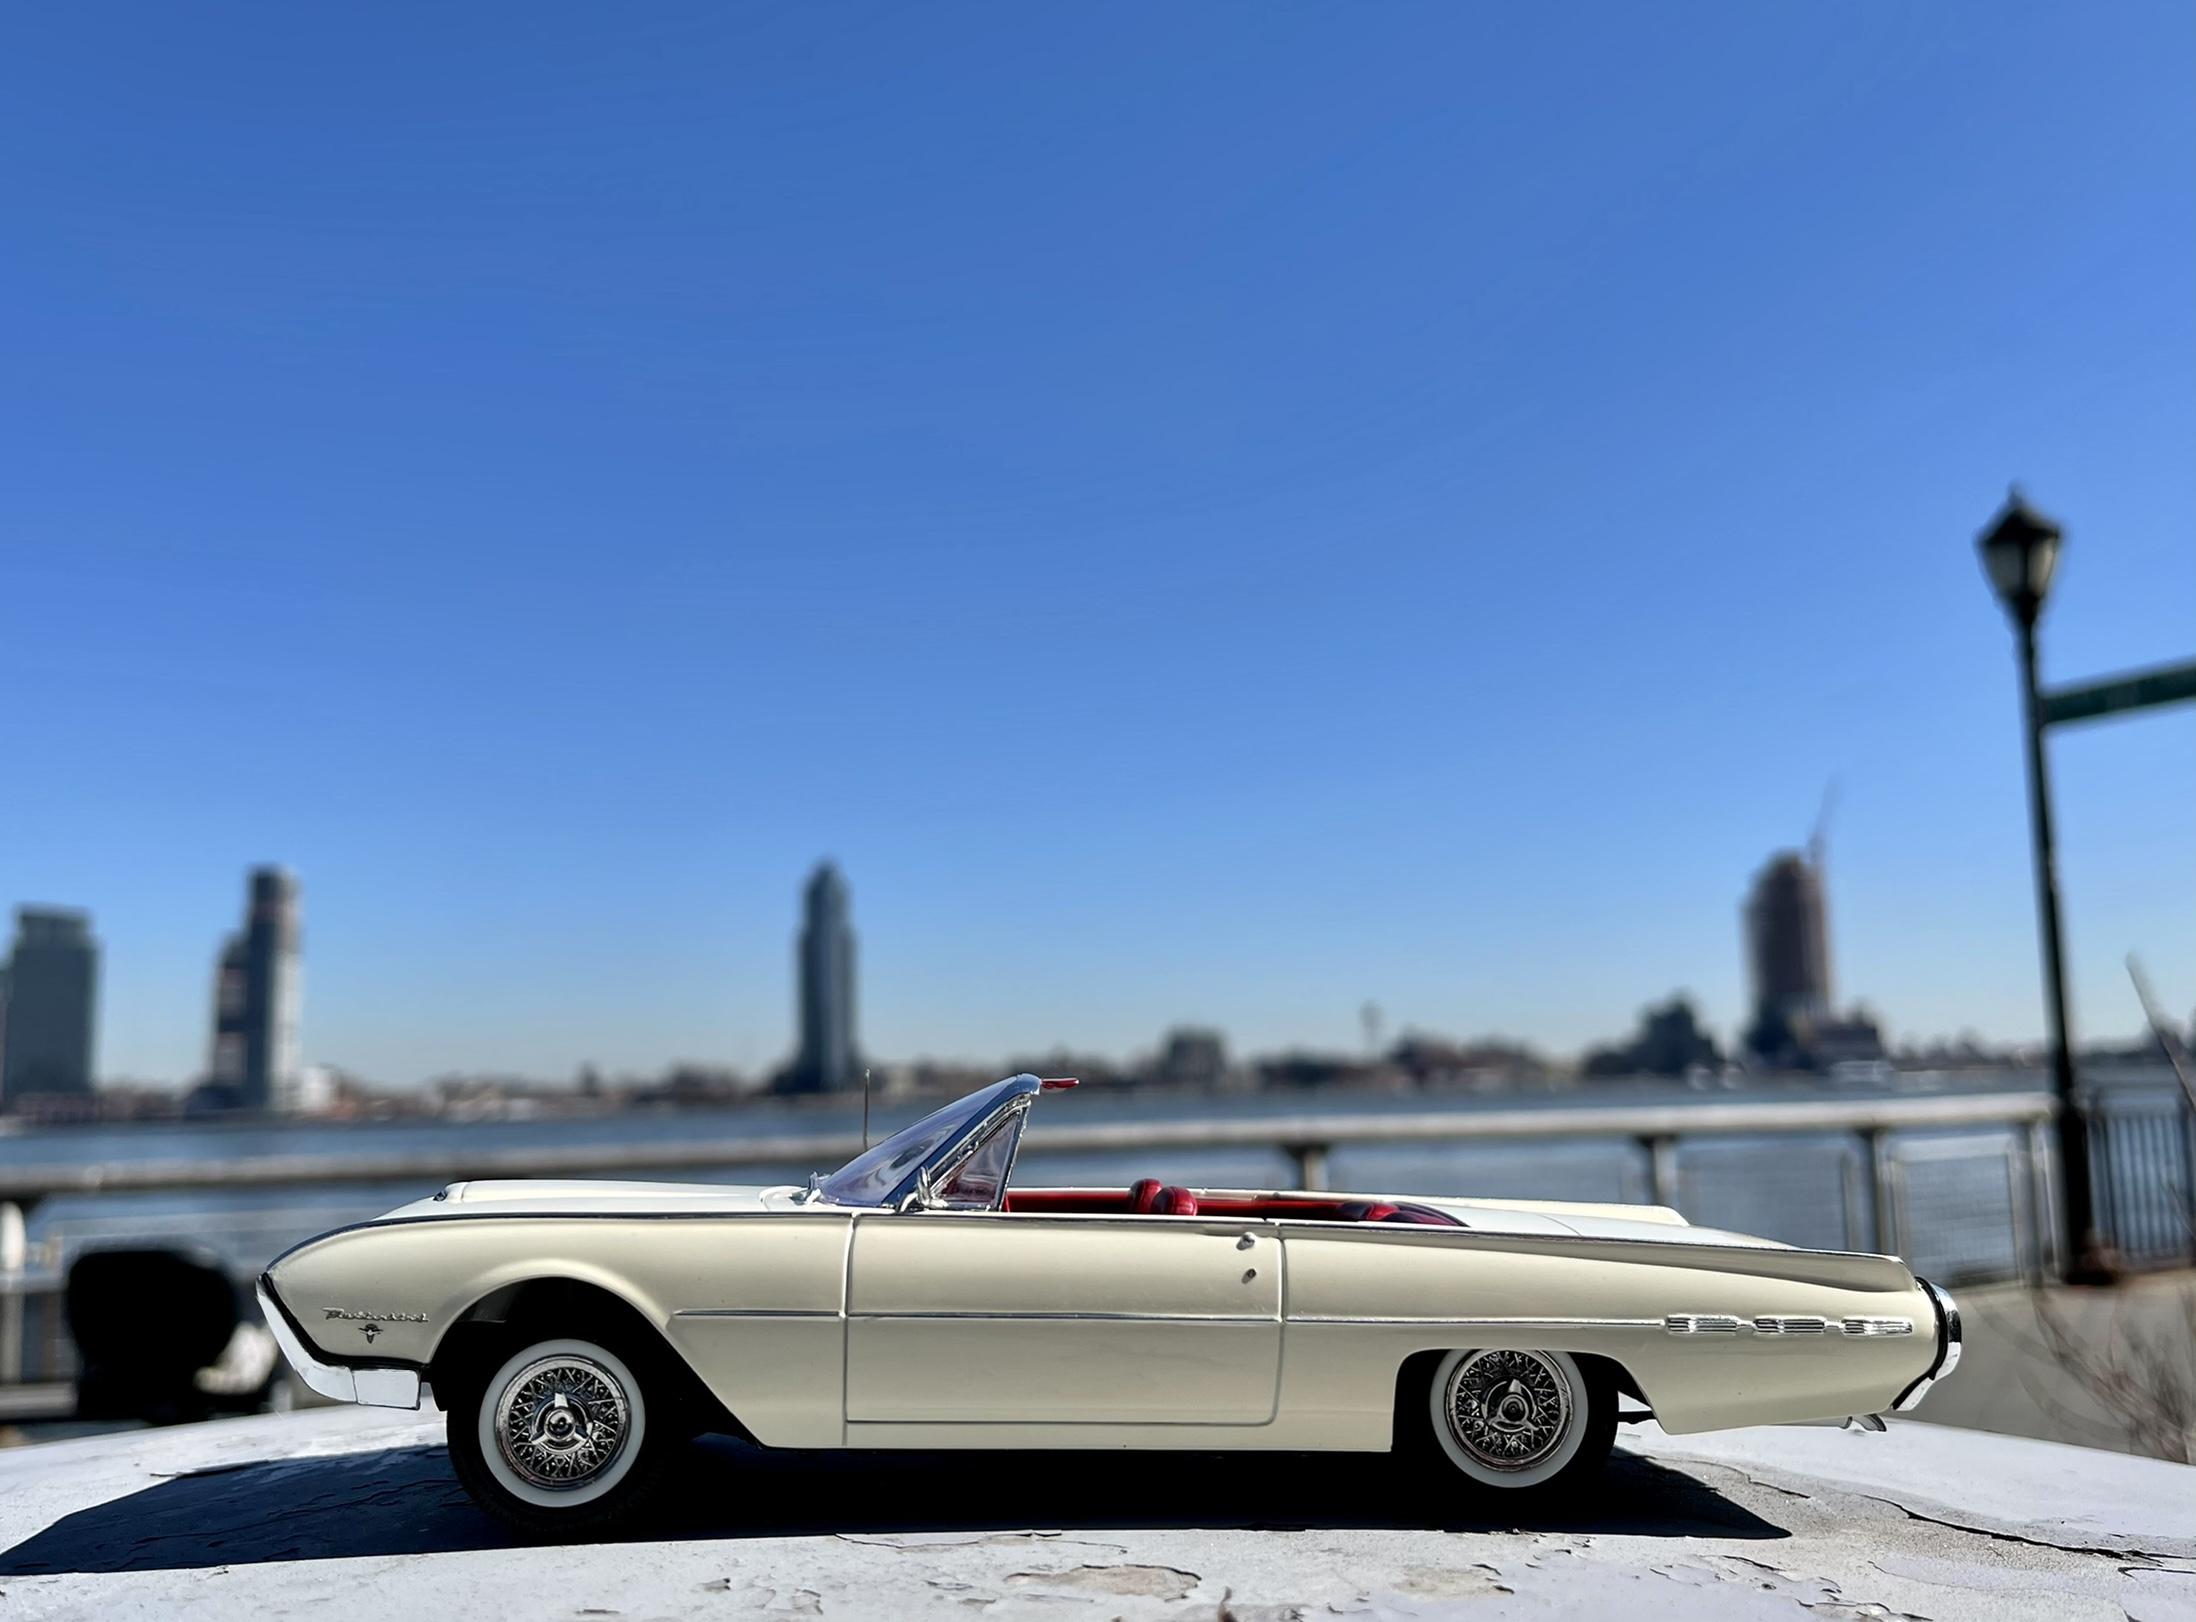
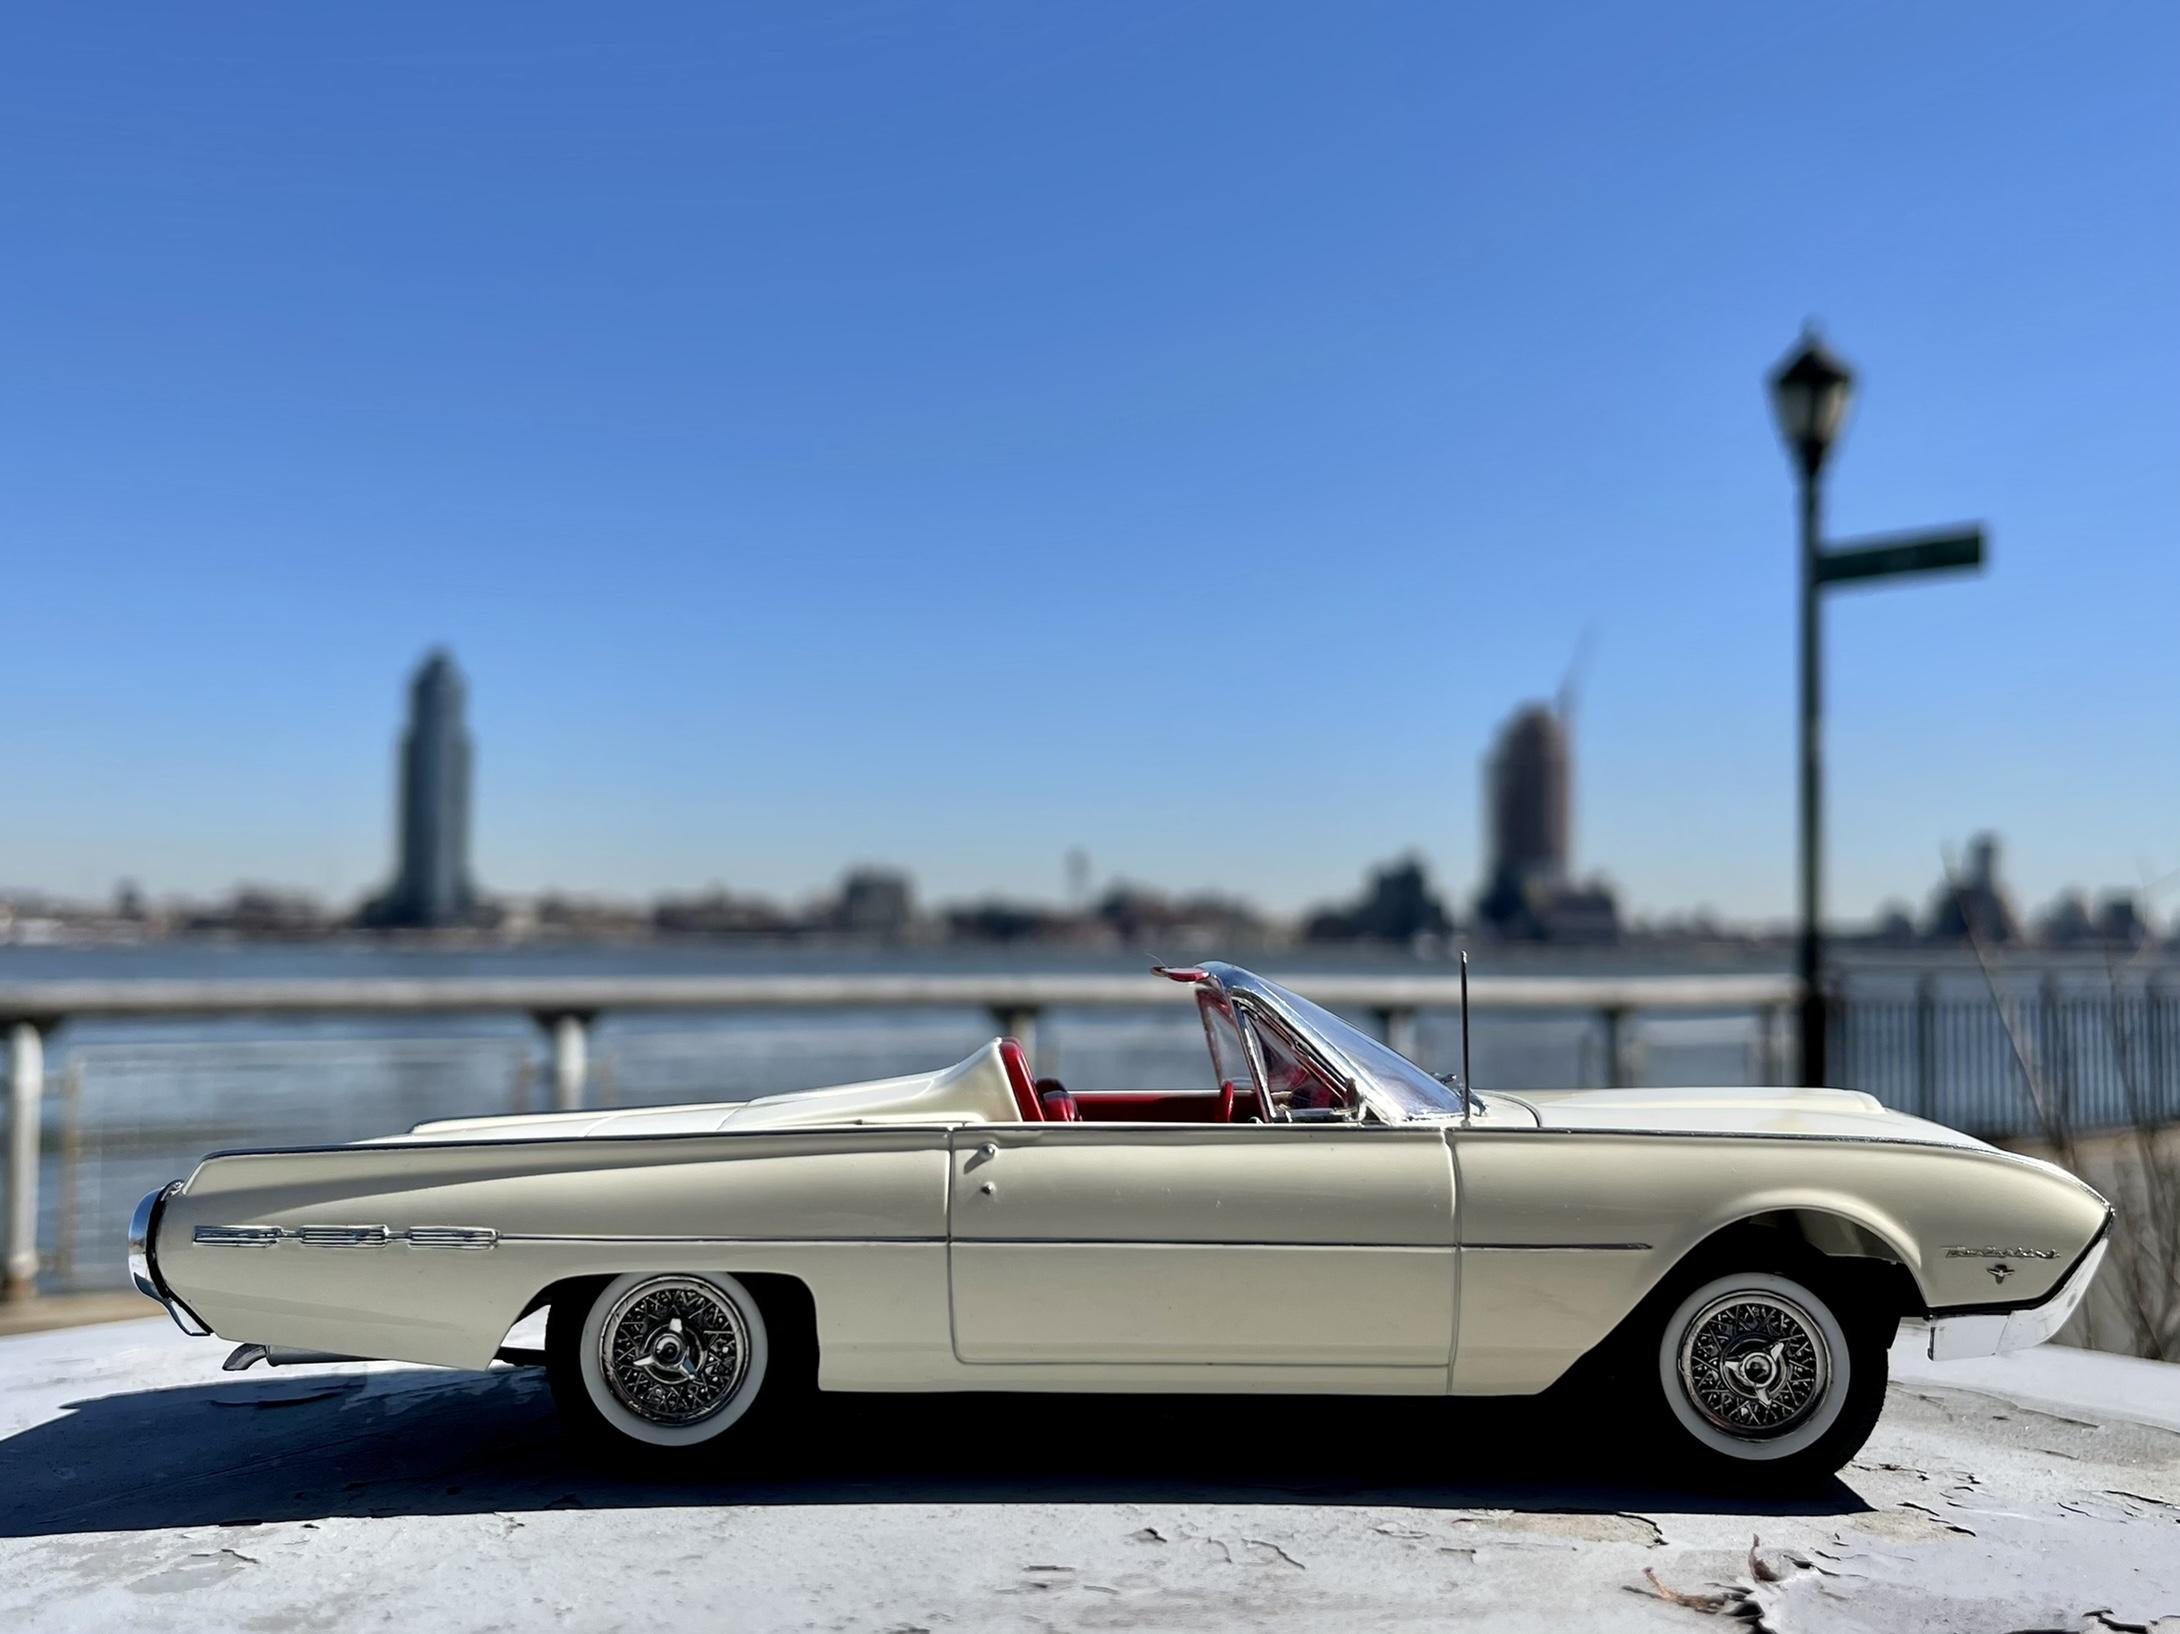
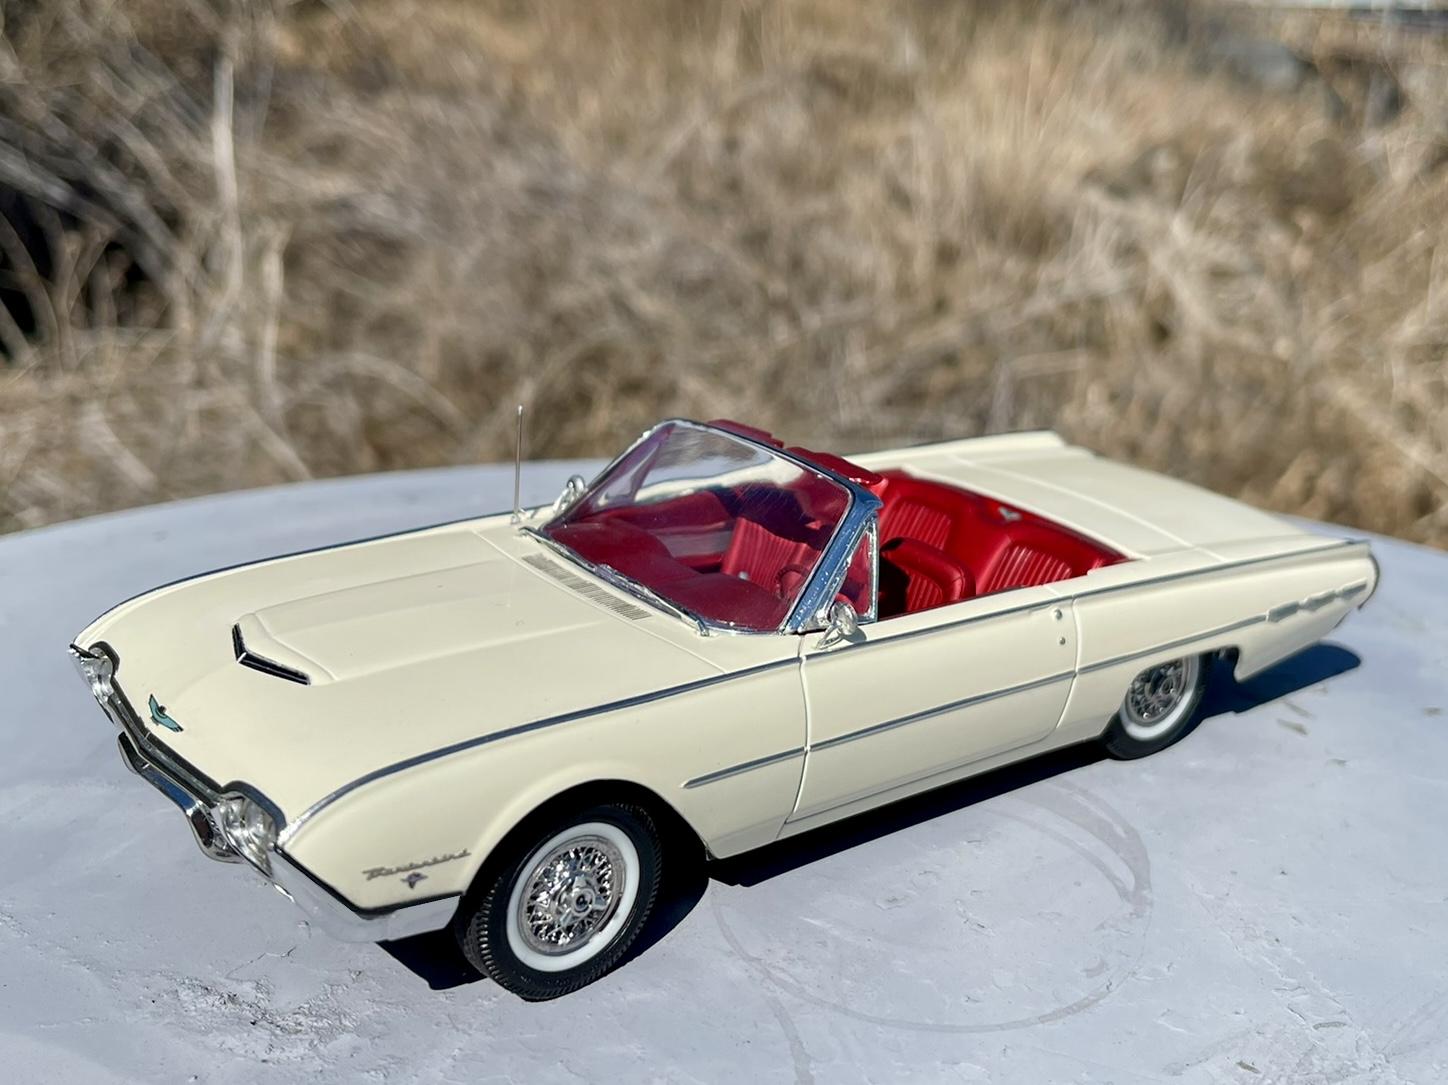
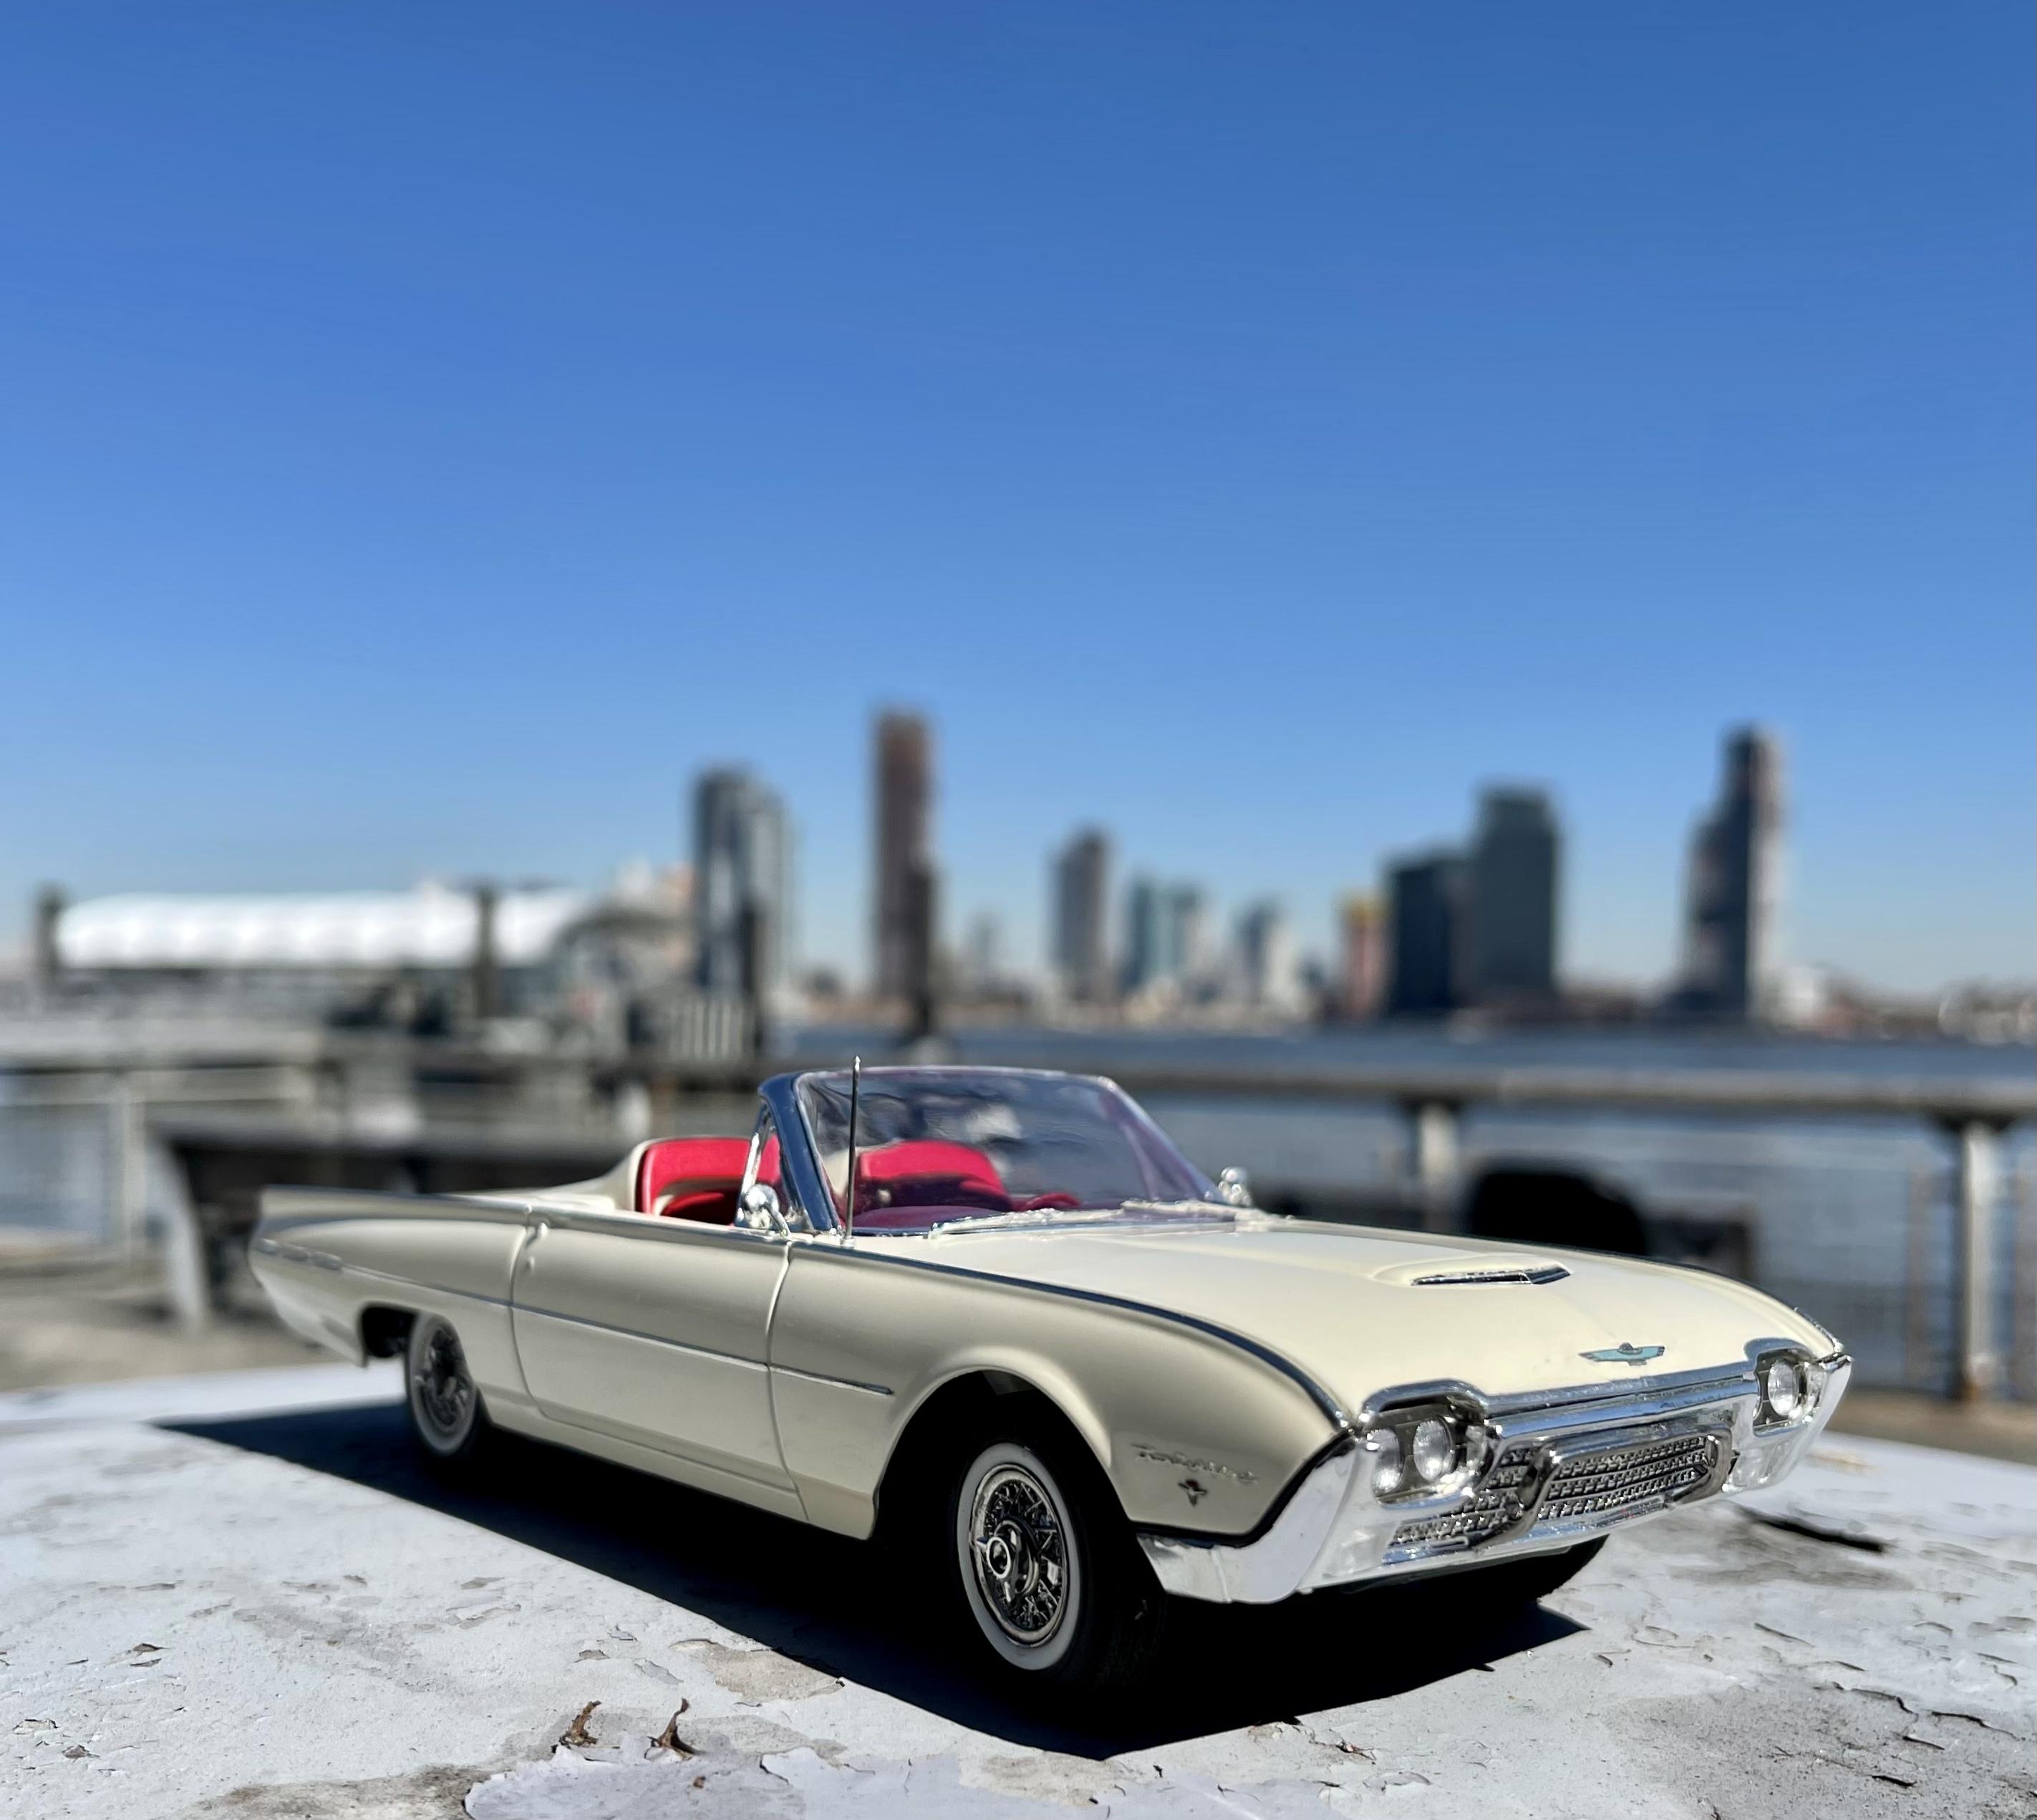
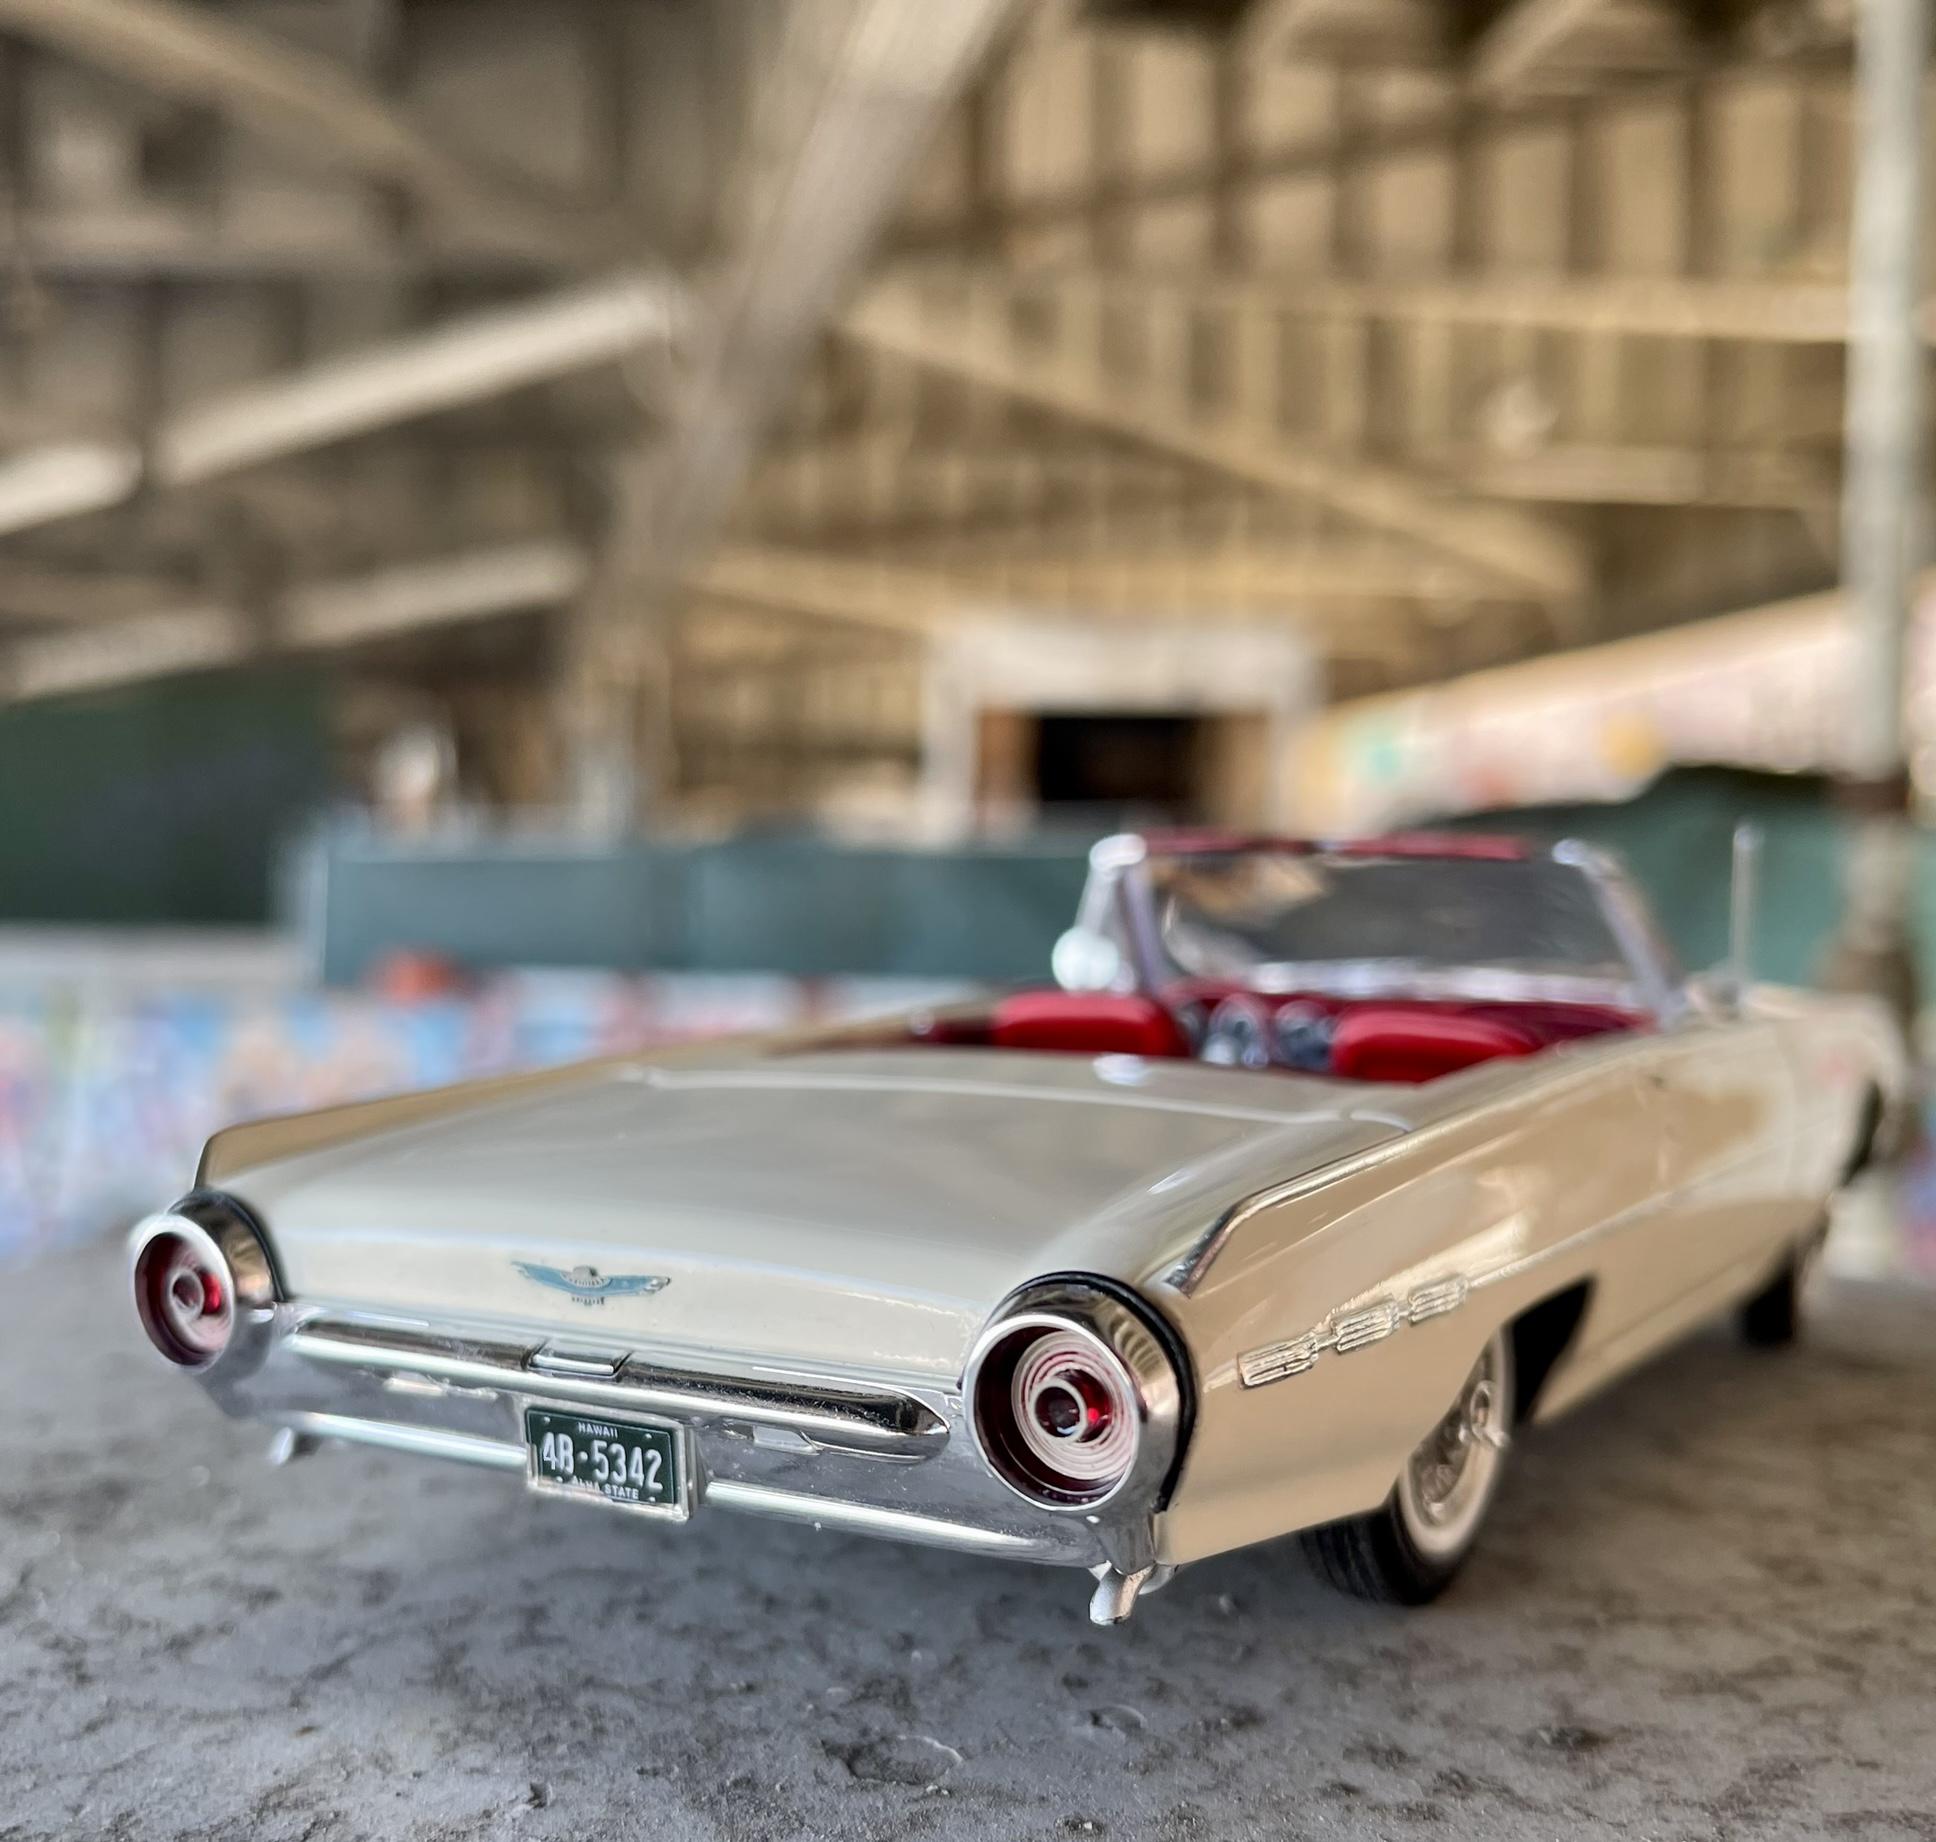
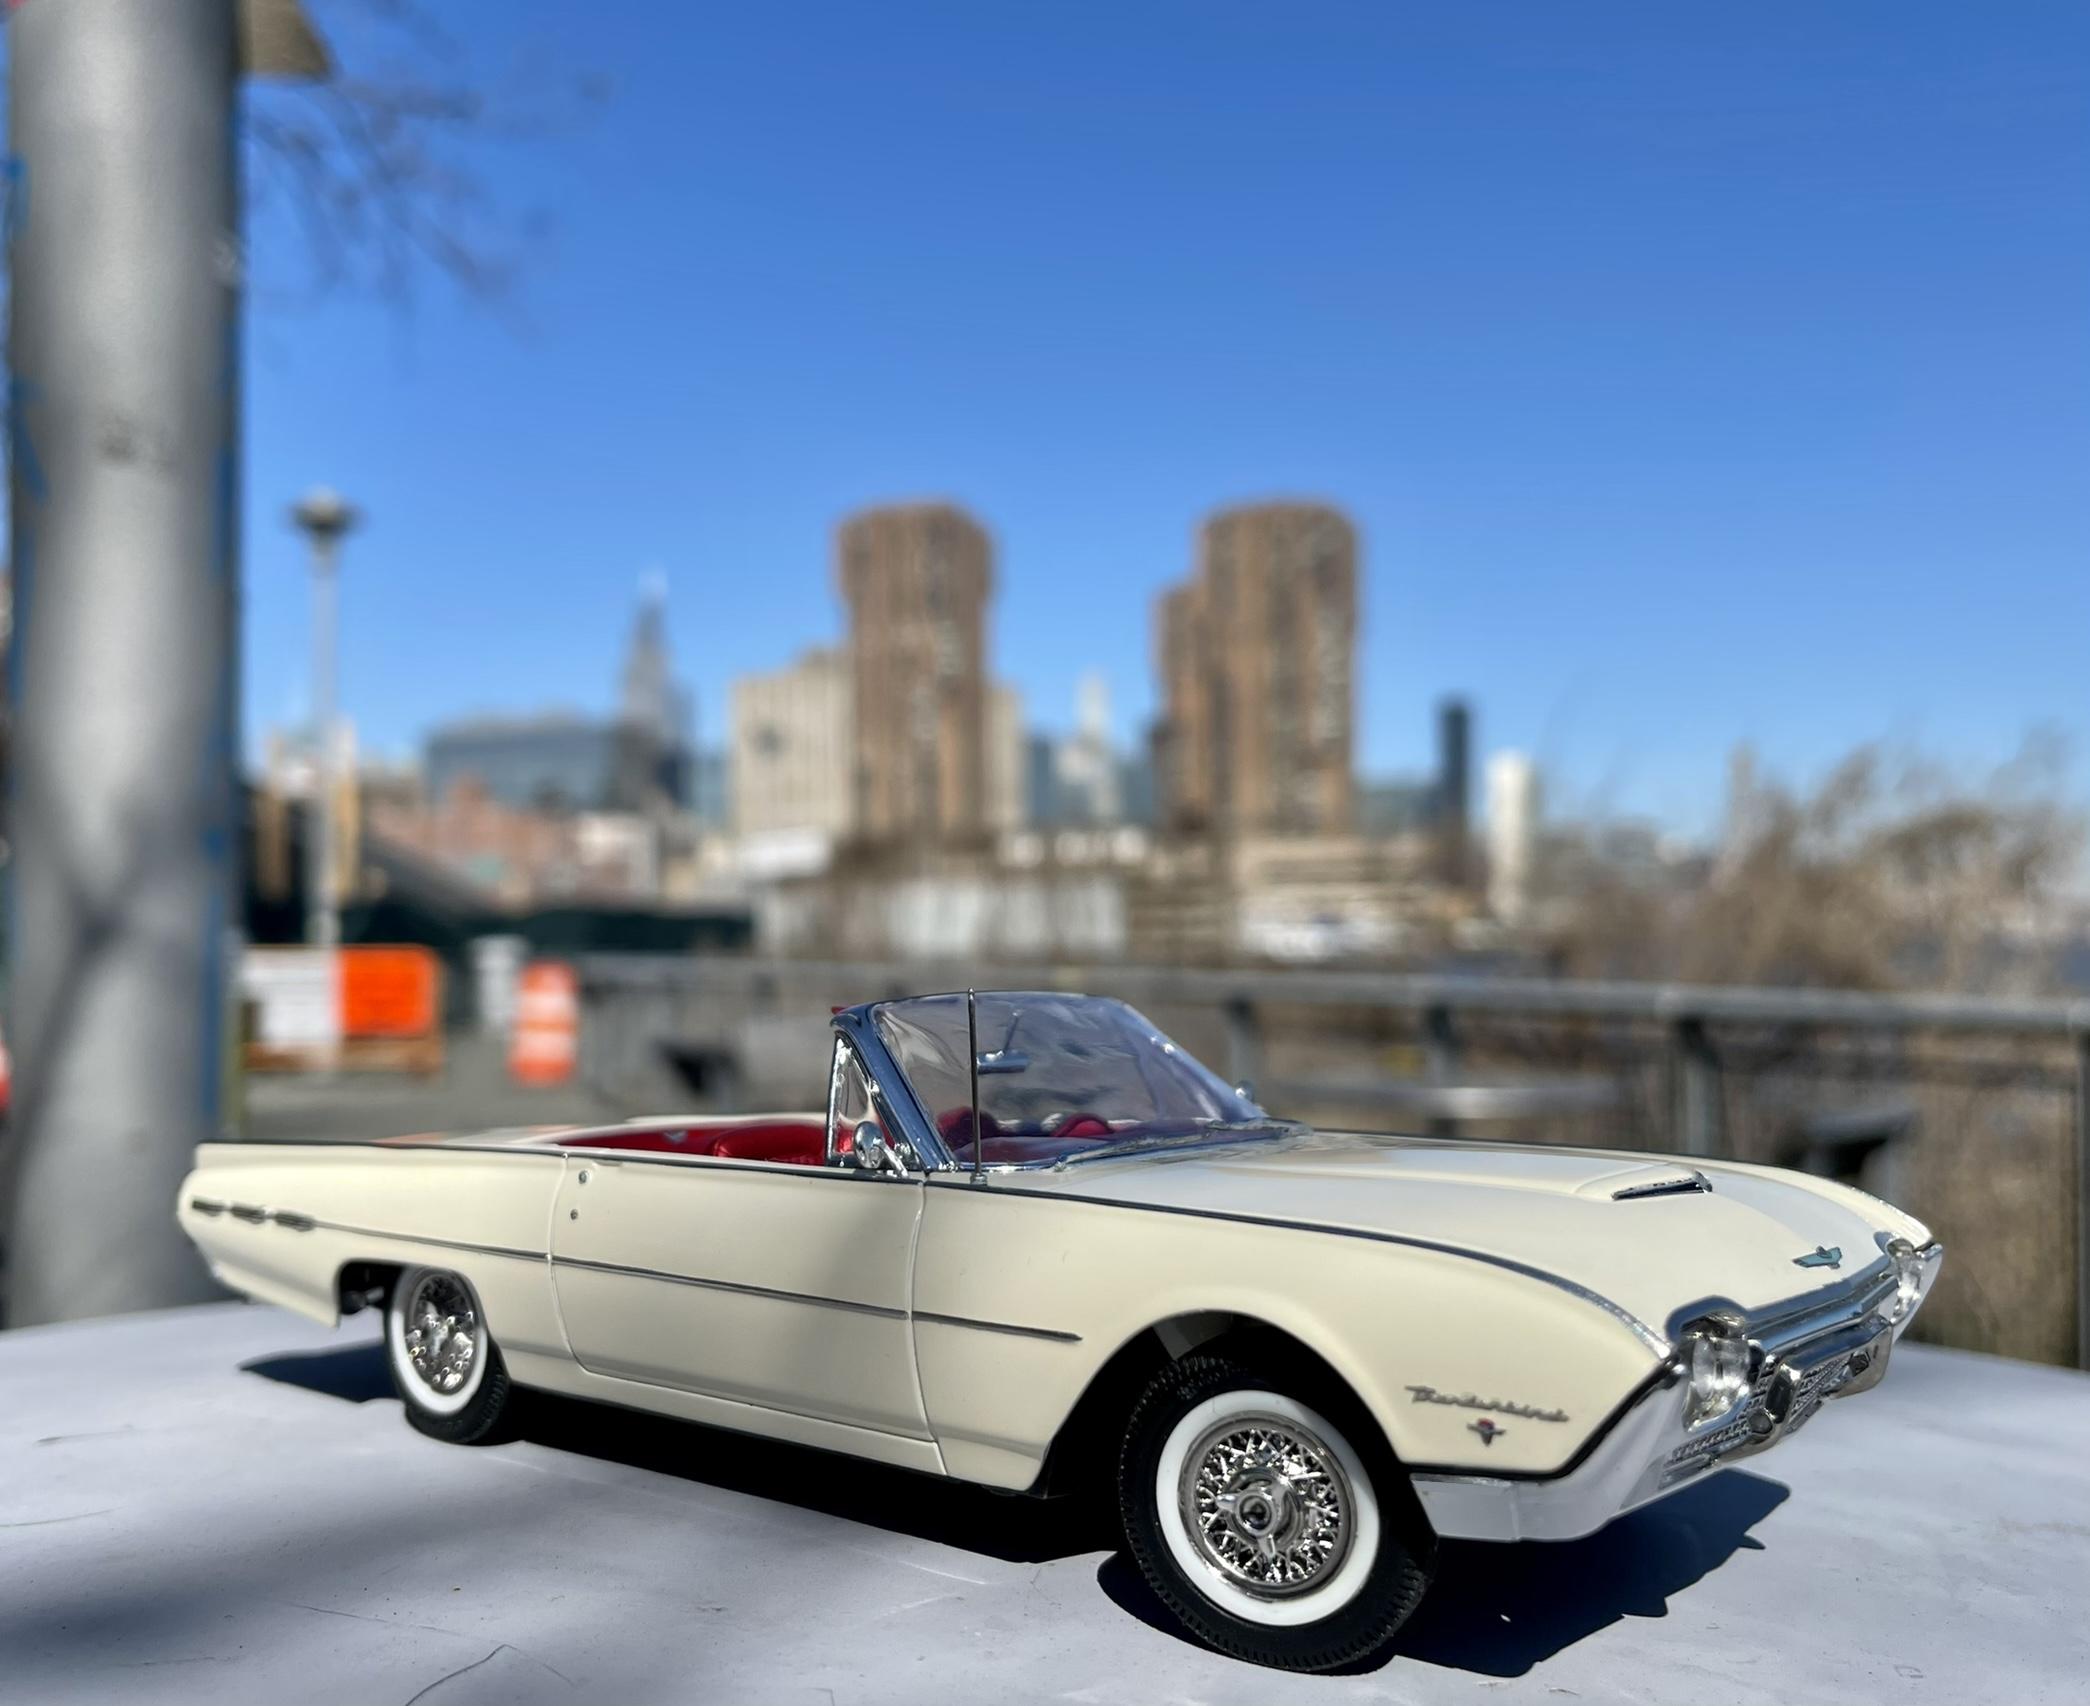
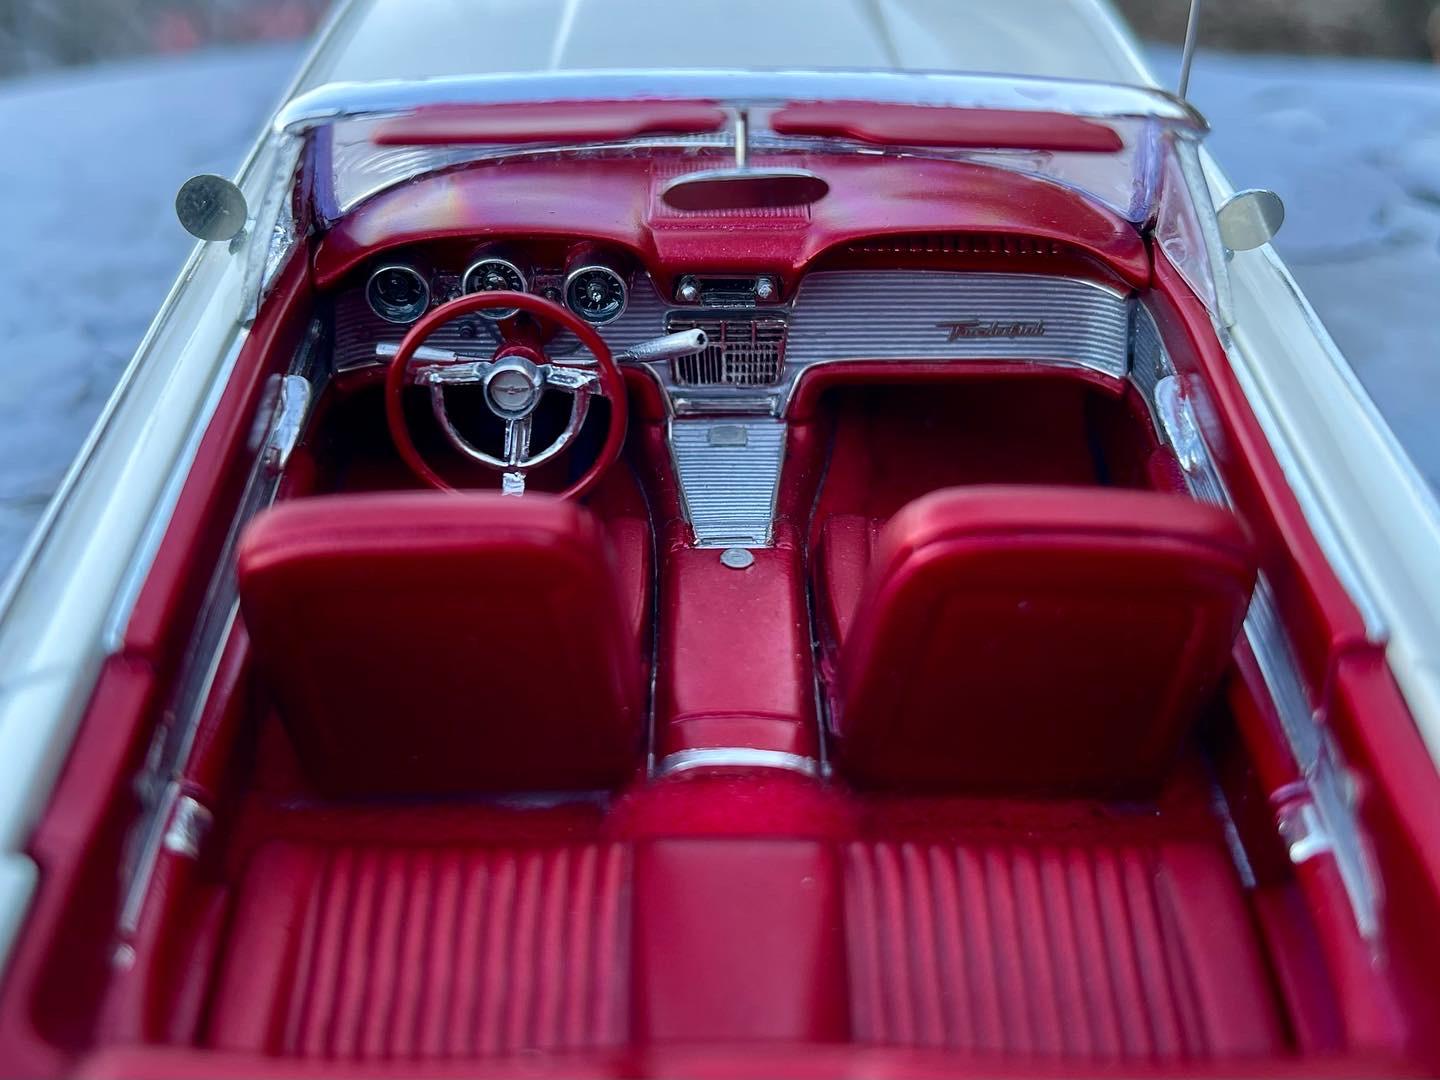
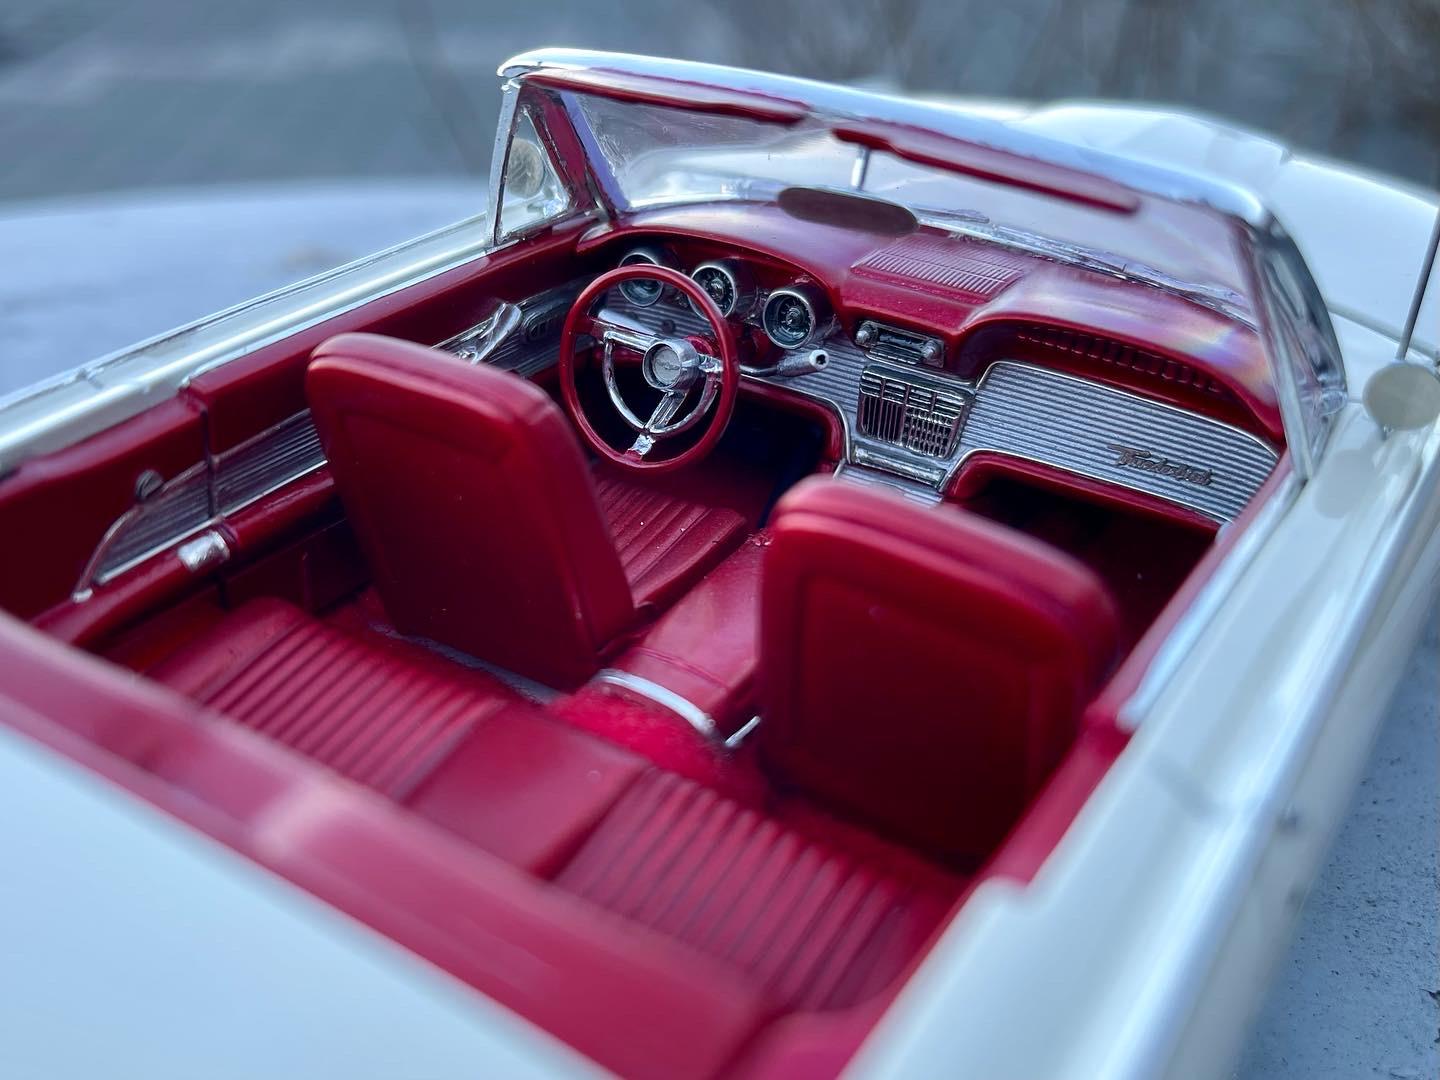
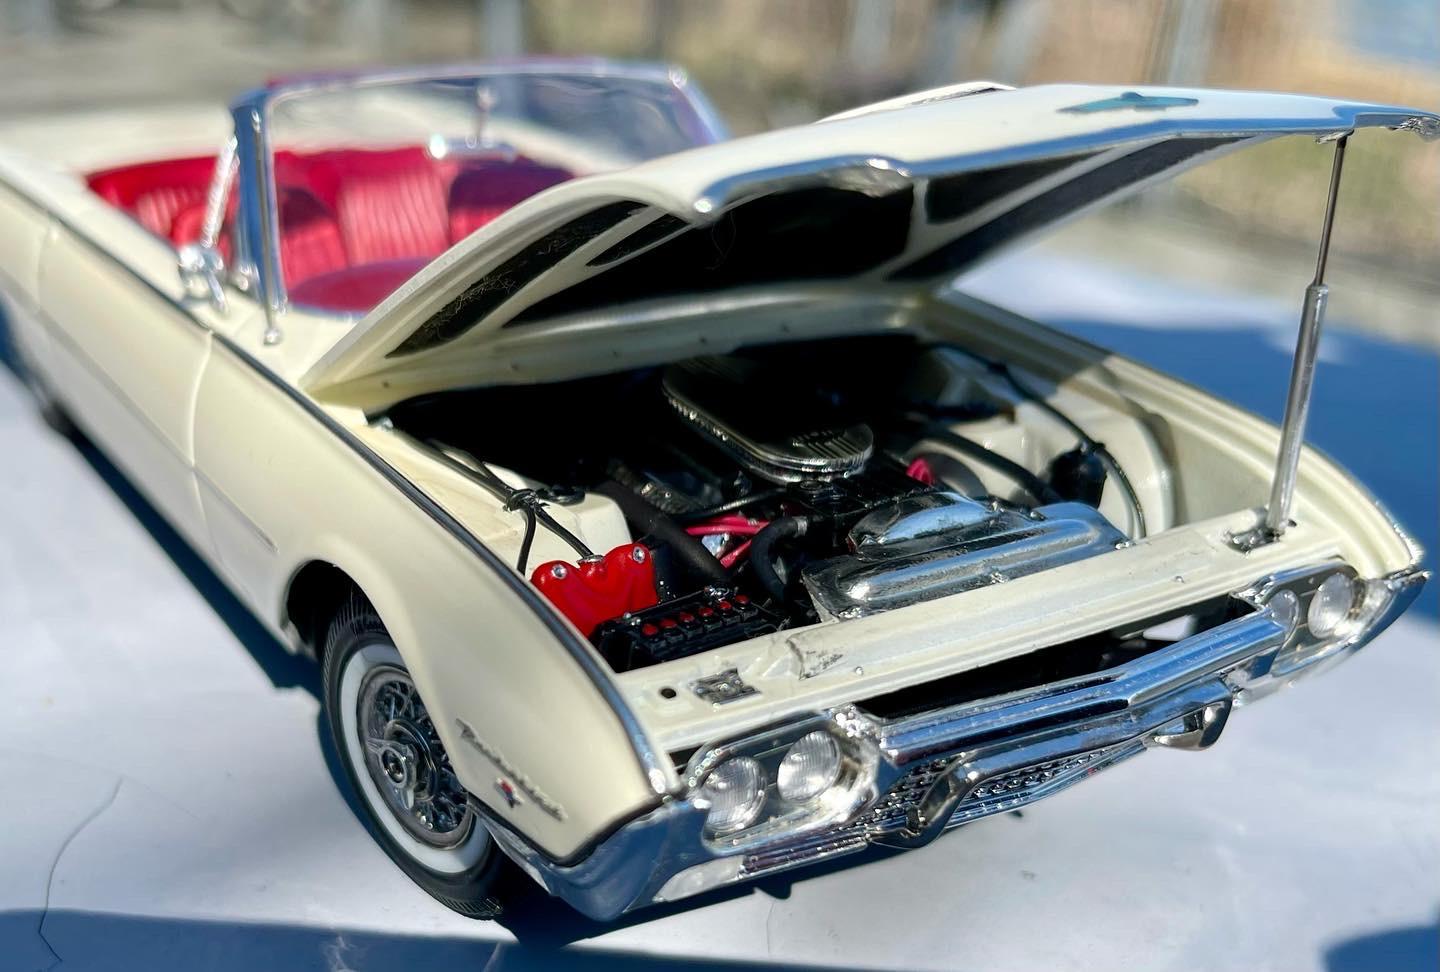
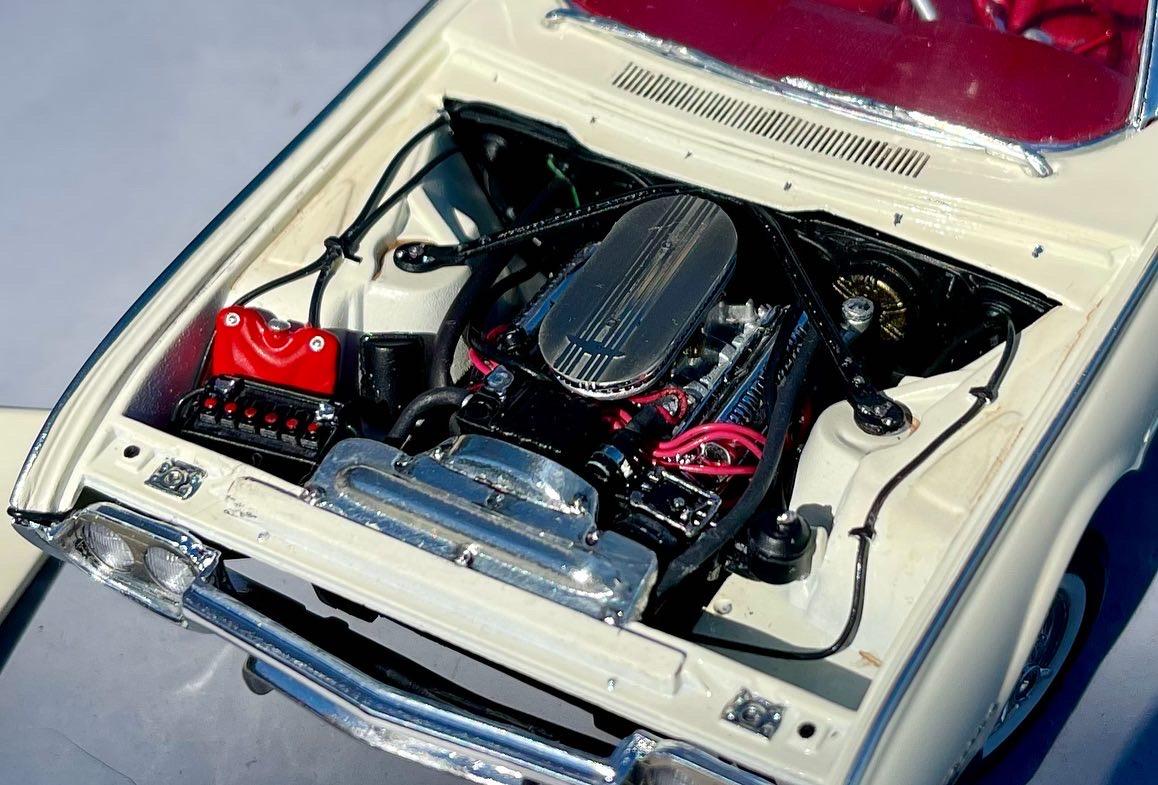
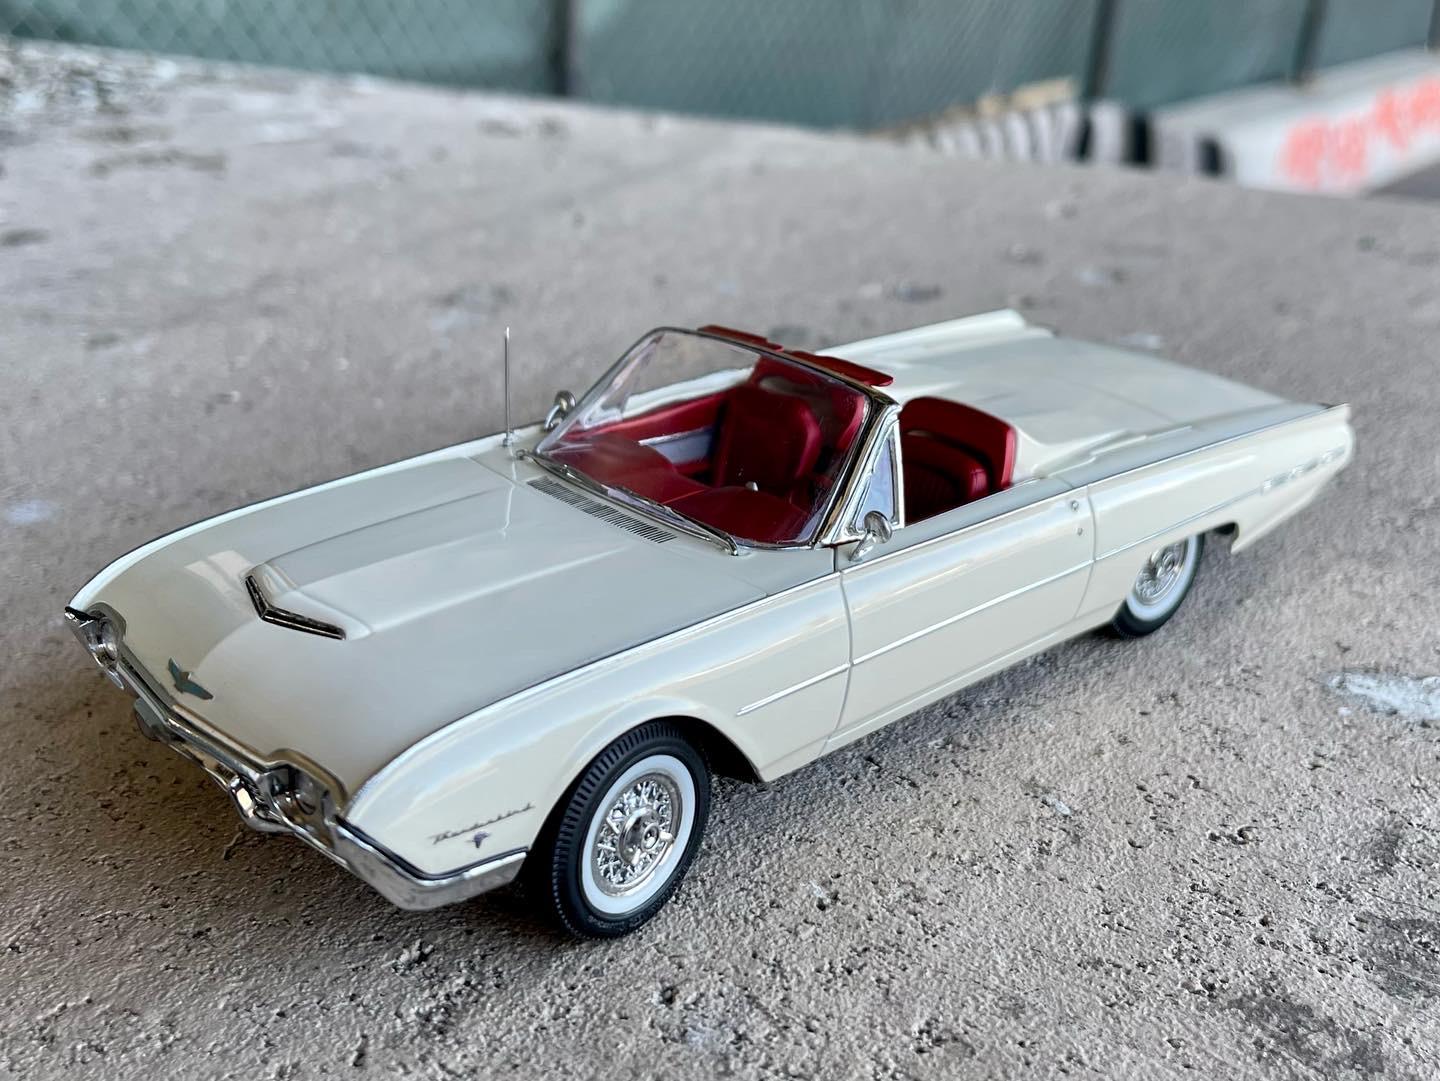
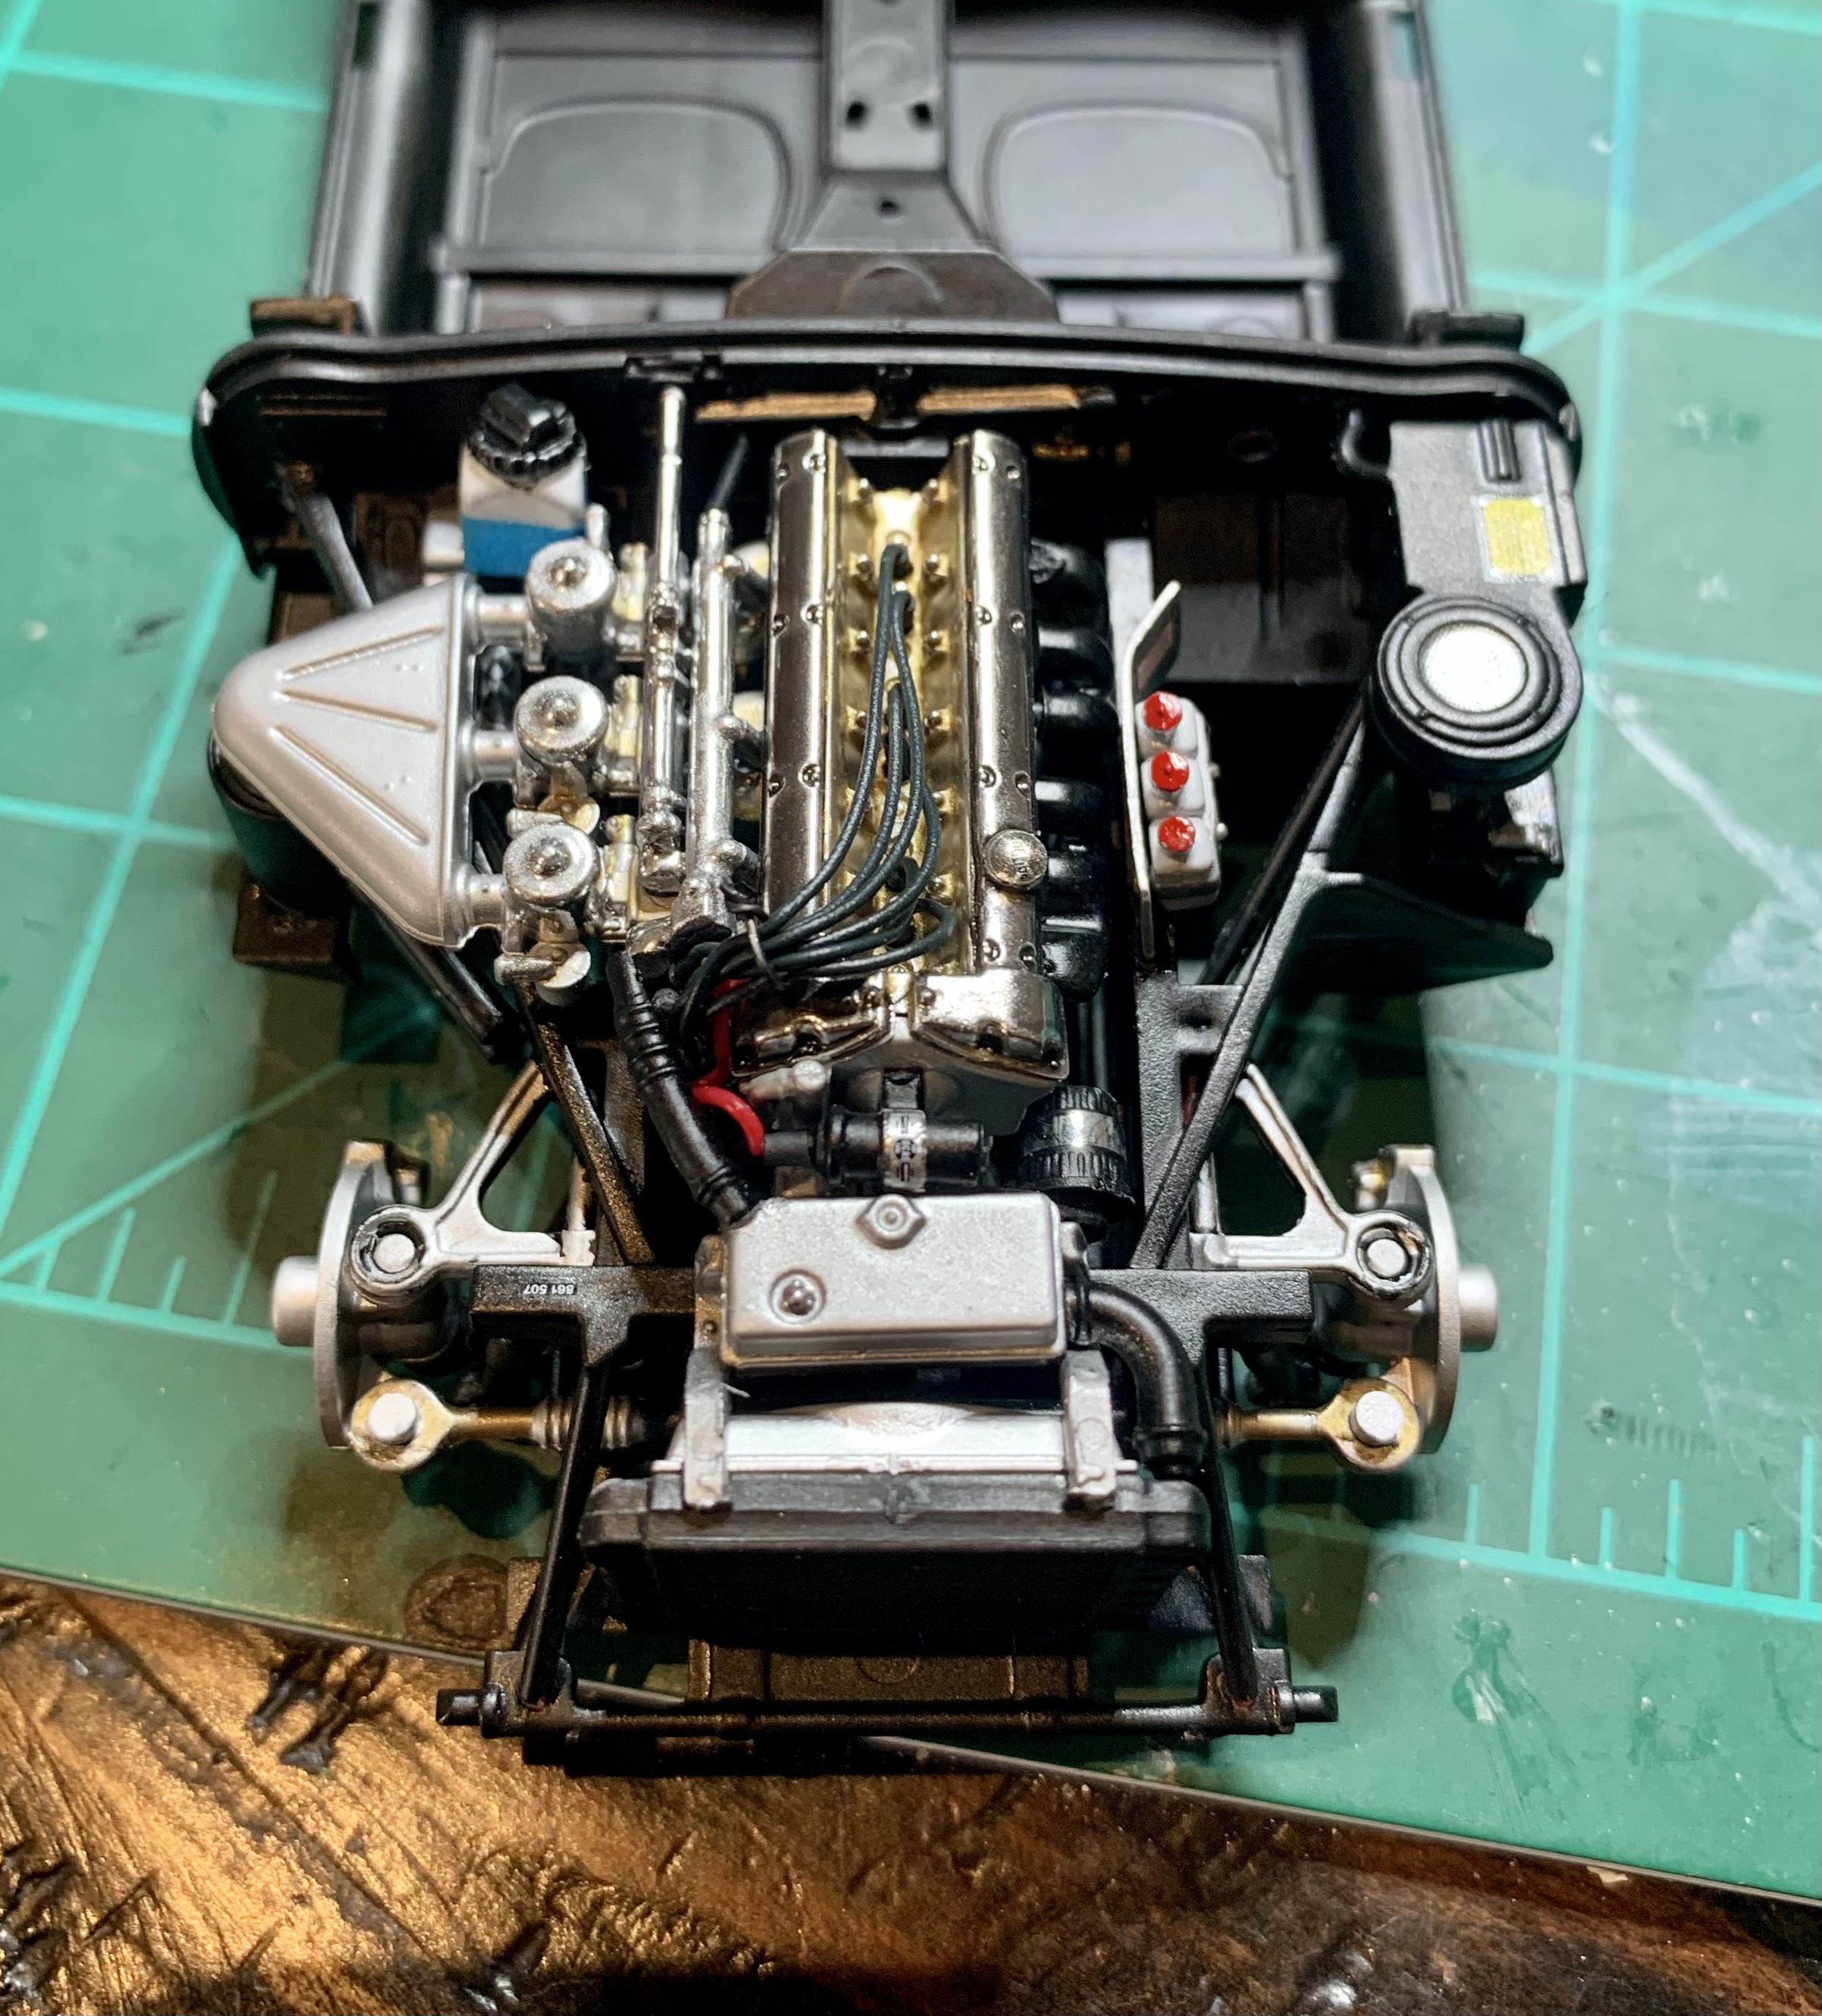
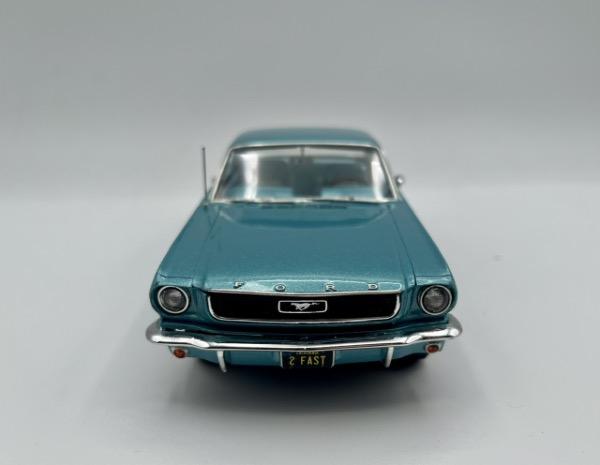
Finally got the AMT ‘62 Thunderbird wrapped up. It’s a very detailed kit but had tons of fitment issues which needed to be addressed - probably not a build I would have been able to handle a year ago. Thankfully, those issues were well documented in this forum so I was ready for it ?? The paint is all tamiya lacquer cans - racing white under gloss clear for the exterior and clear red over gloss aluminum for the interior (the seats were then cleared with matte and the rest with semigloss). The body trim is BMF, which worked shockingly well (finally!). Scratched a bunch of interior detail like the steering wheel cap/levers, dash/door/console trim, and gauge bezels and used the model car garage photo etch set for the scripts. Also gave the engine bay a slight overhaul. The gauge bezels really make the dash pop and it was super easy to do with some aluminum tubing and styrene sheets…I’ll add some pics down down below. Fun kit all around, but requires patience and caaaalm nerves!

-
awesome - thanks!
-
really nice job! great color too. i'm building this one now as well. so far it's going really well, but you're the third person i've seen mention fitment issues. anything specific i should prepare myself for before putting her together?
-
Hahah thanks - I had one of those tamiya antistatic brushes and had to keep using it the whole time. Lots of dust in the city. I’m also using a new ceramic spray polish which is a pretty solid repellent.
-
Thanks! They were so easy to do and make such a big difference!
-
Thanks! I bought a few packs on Amazon a while back - I can never find it at any hobby shops near me. You should be able to find it on there - it’s like 15 bucks and seems like a small sheet but you don’t end up using nearly as much as bare metal foil. It’s kind of like a Mylar sticker that stretches and conforms to shape. Two tricks with it, as it can be a bit finicky: 1. Make sure the surface you’re putting it on is super smooth. It shows even more surface texture than bmf because it’s so thin and shiny 2. Cut the strips out to size and shape before putting it on the model. Cutting the edges once it’s laid down can be very tough. It’s not a perfect product but it’s a suitable replacement for bmf and in some cases it looks even better. Once they sort their product line out though I’ll be back on the bare metal.
-
Thanks! Good old styrene and foil under paint. Here are some pics…
-
Thanks guys - super happy with how it came out. Will definitely be building more of these in the future...also on the hunt for more quality AMT kits!
-
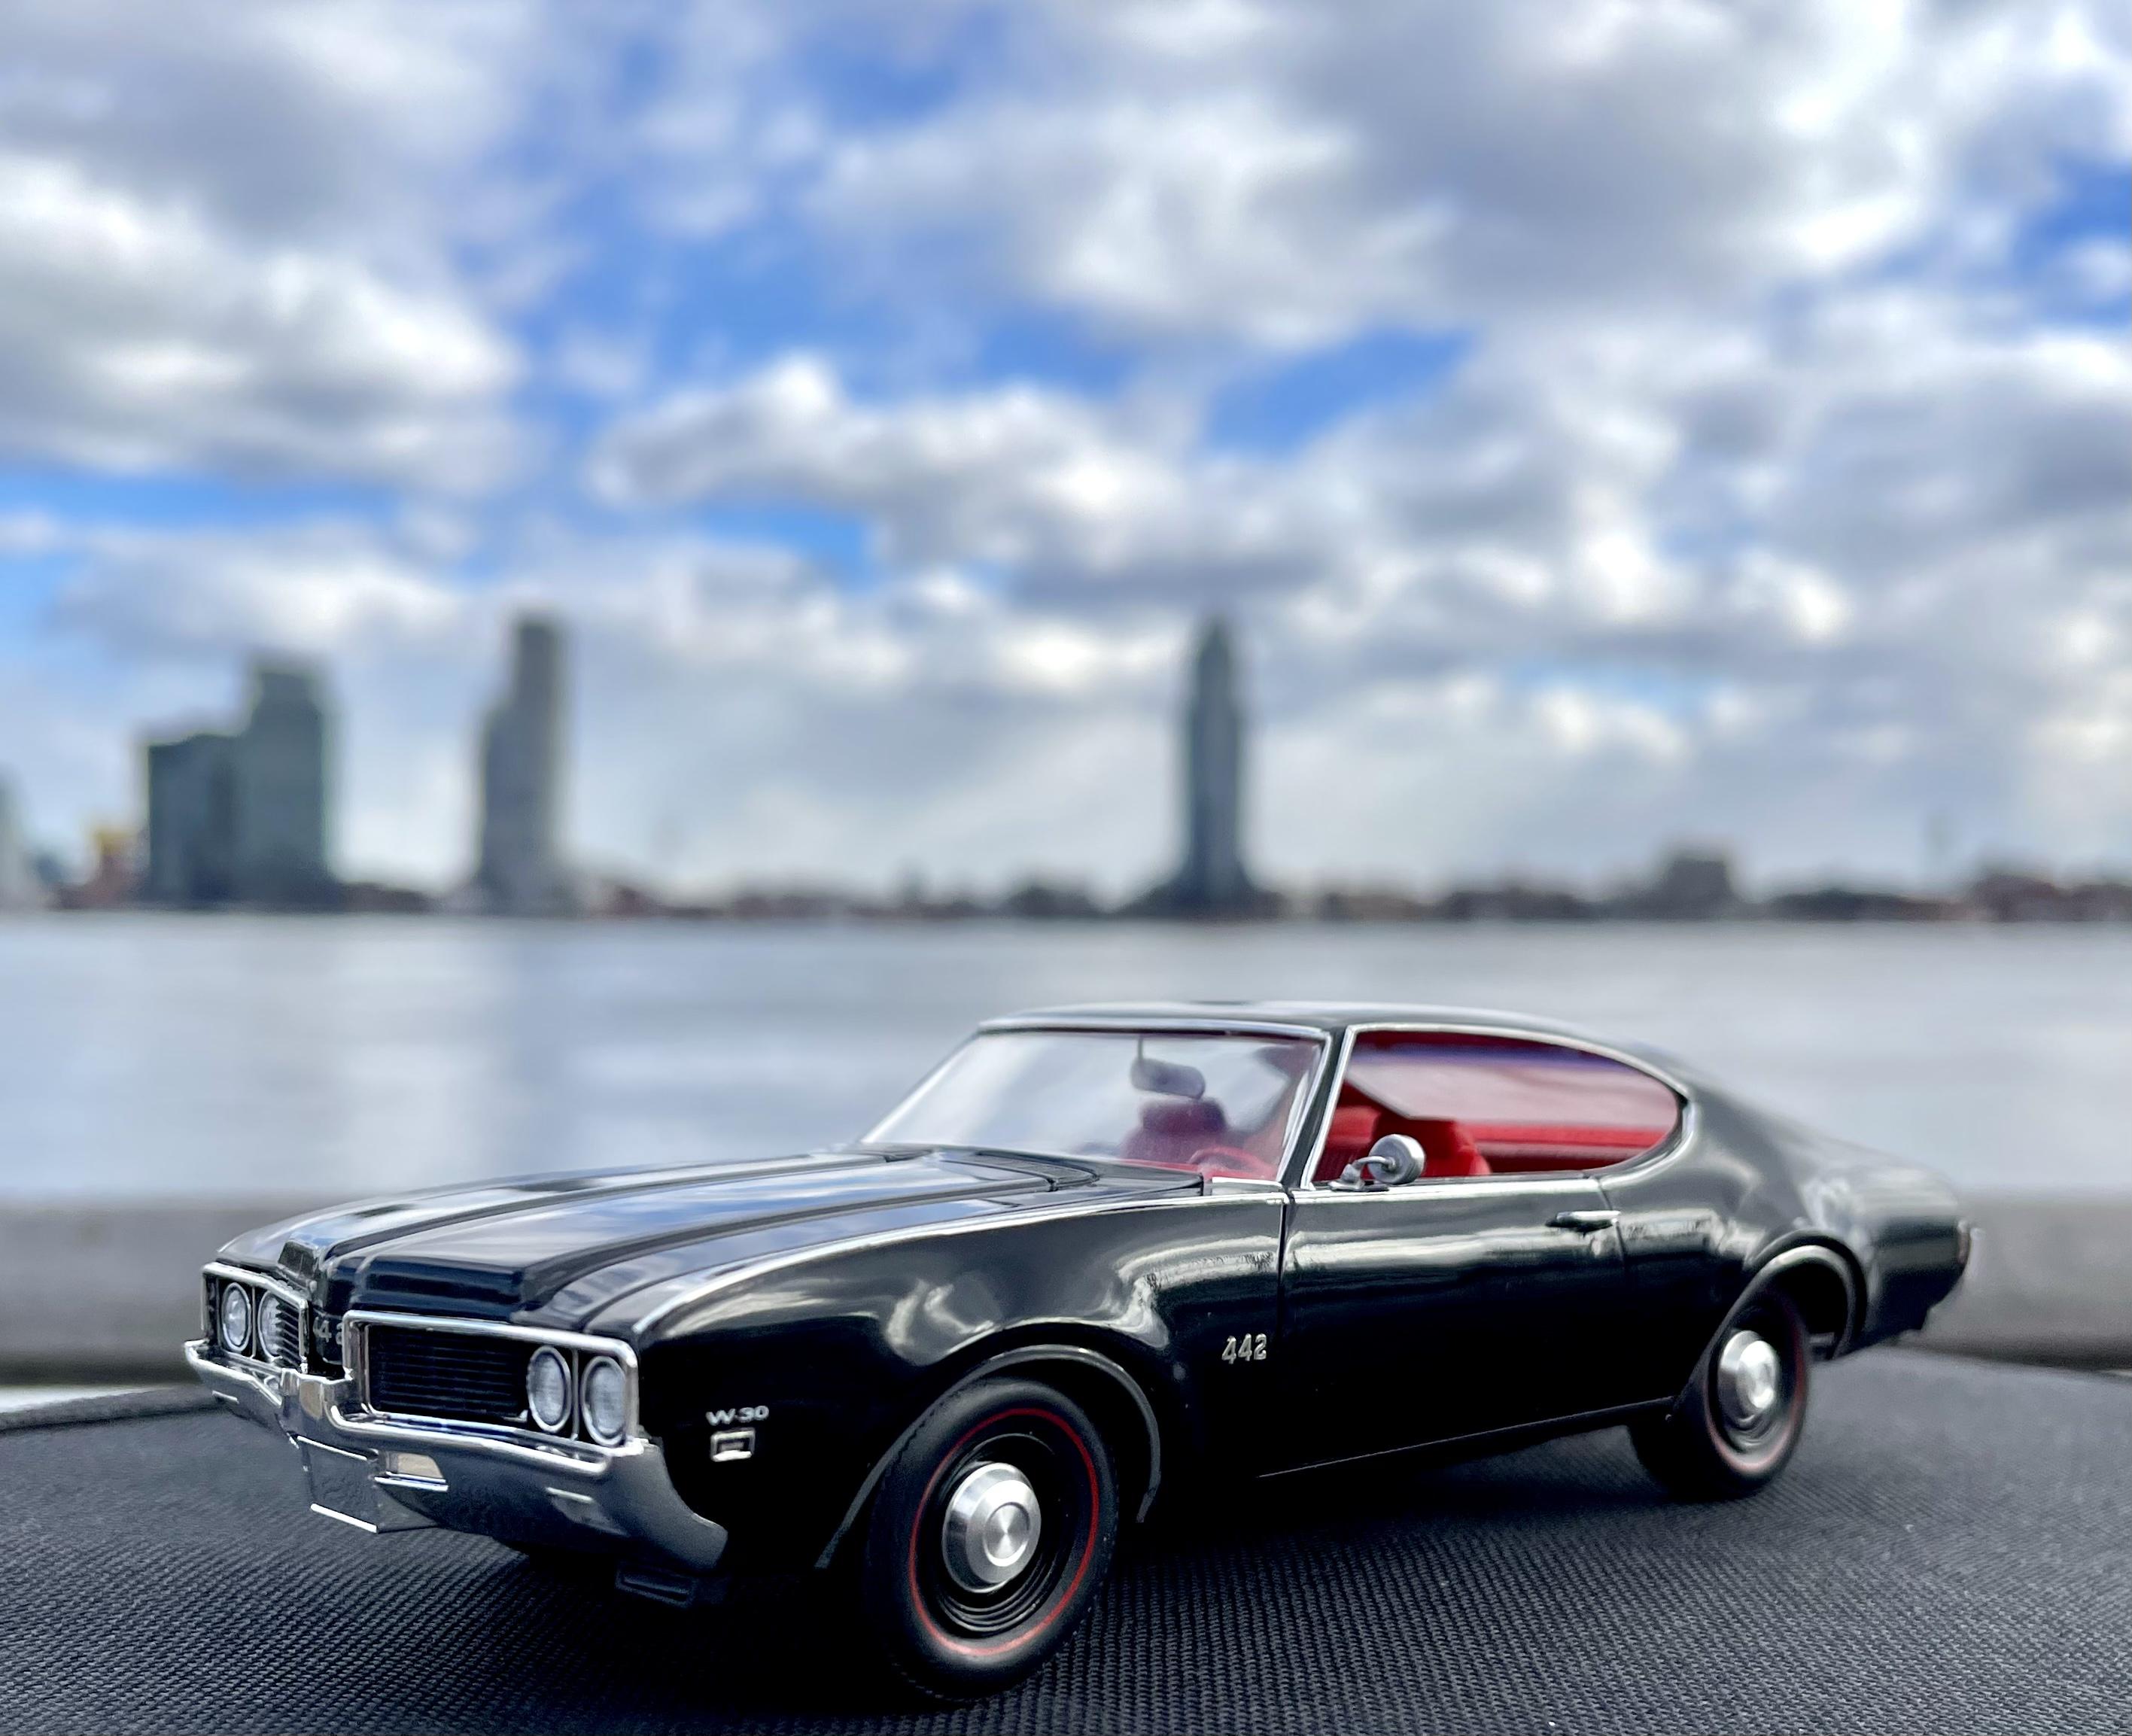
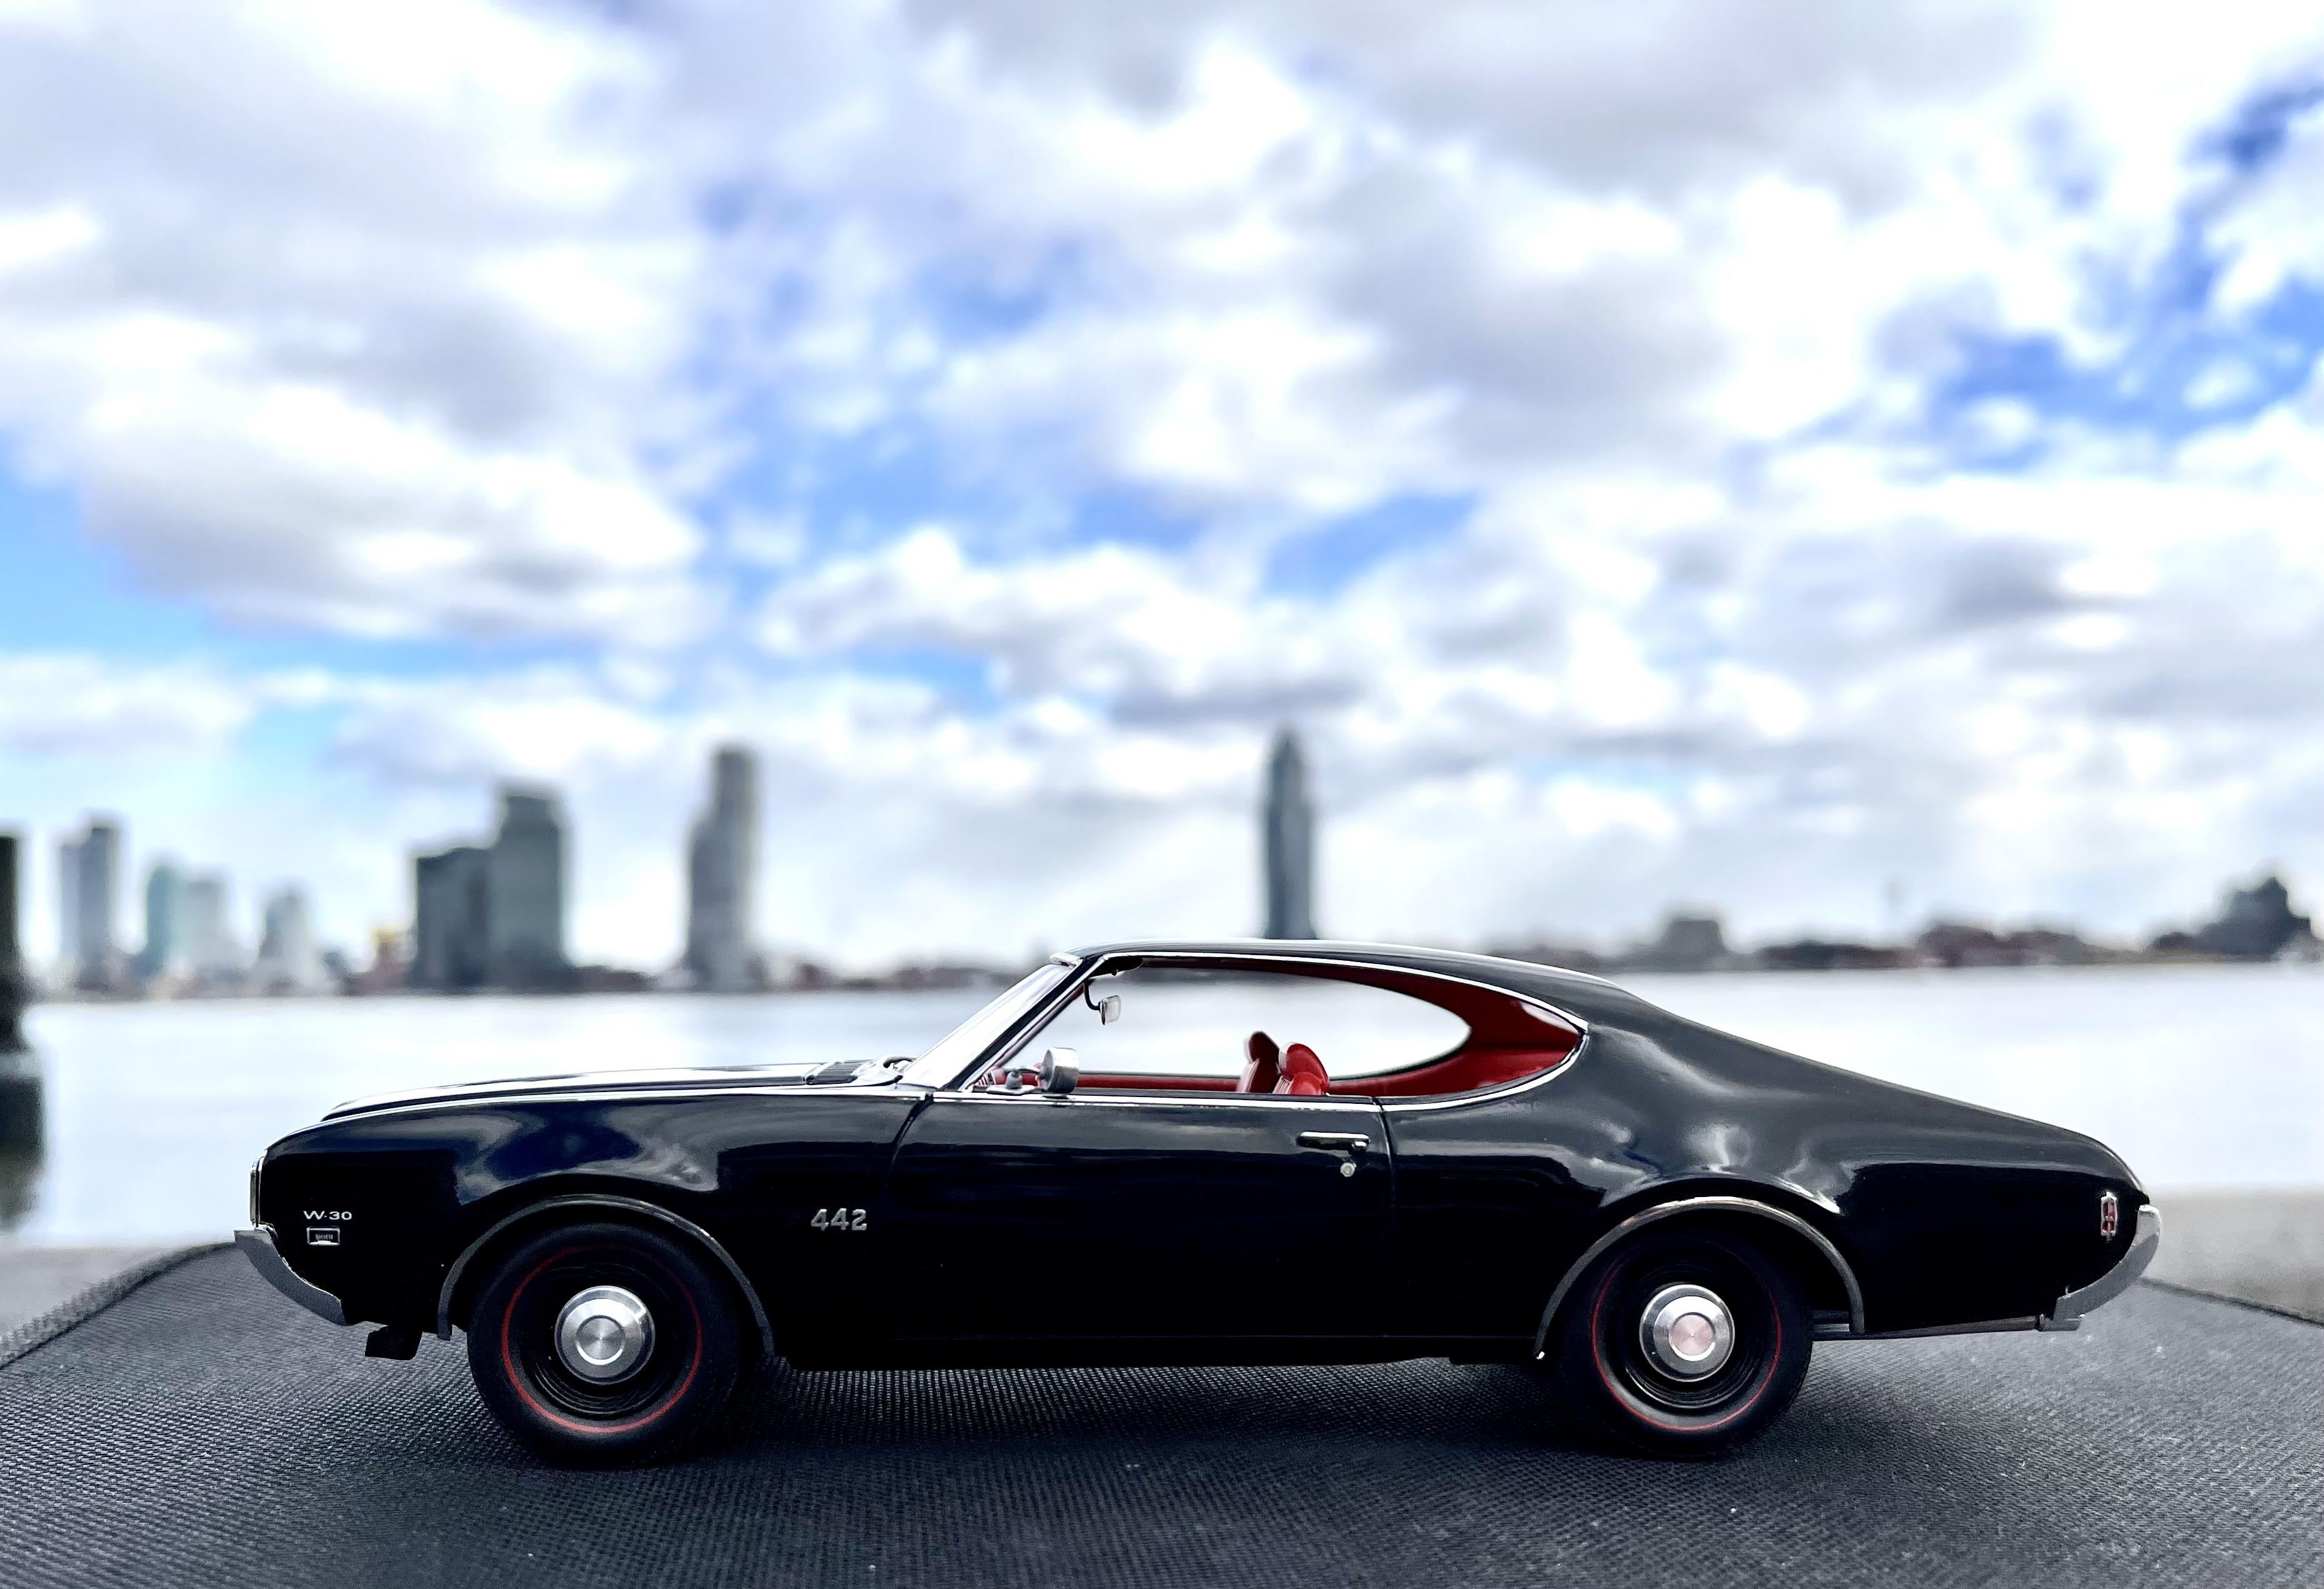
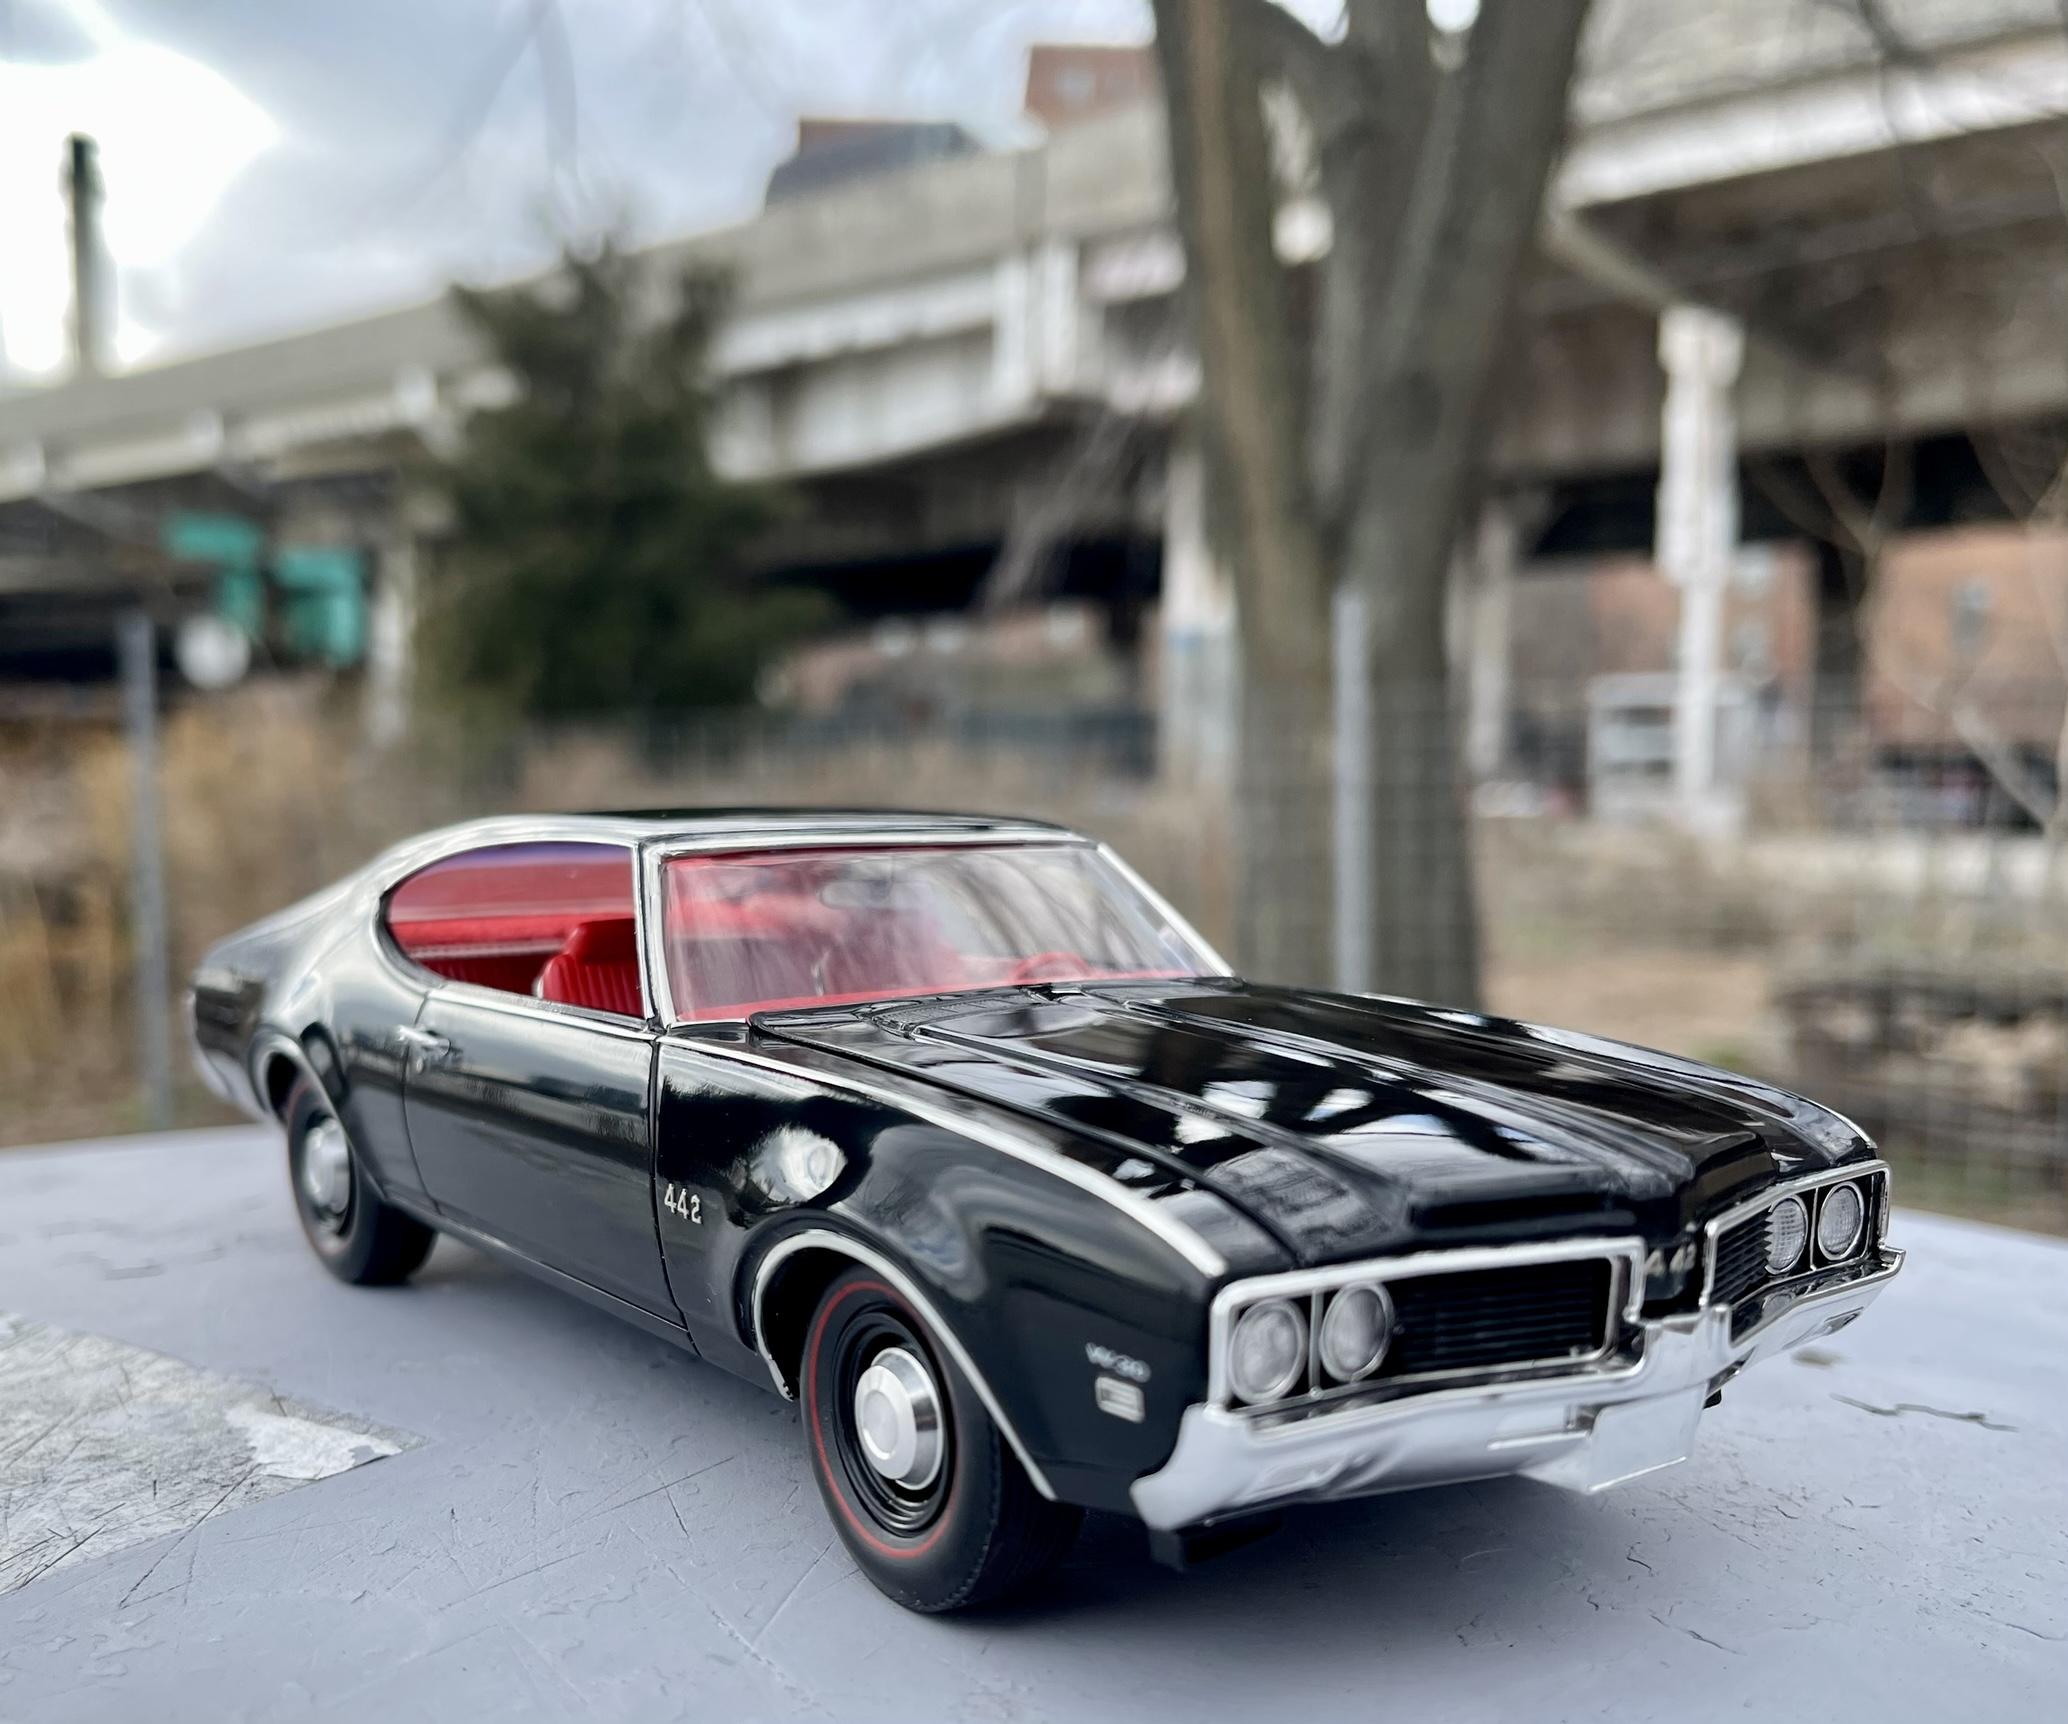
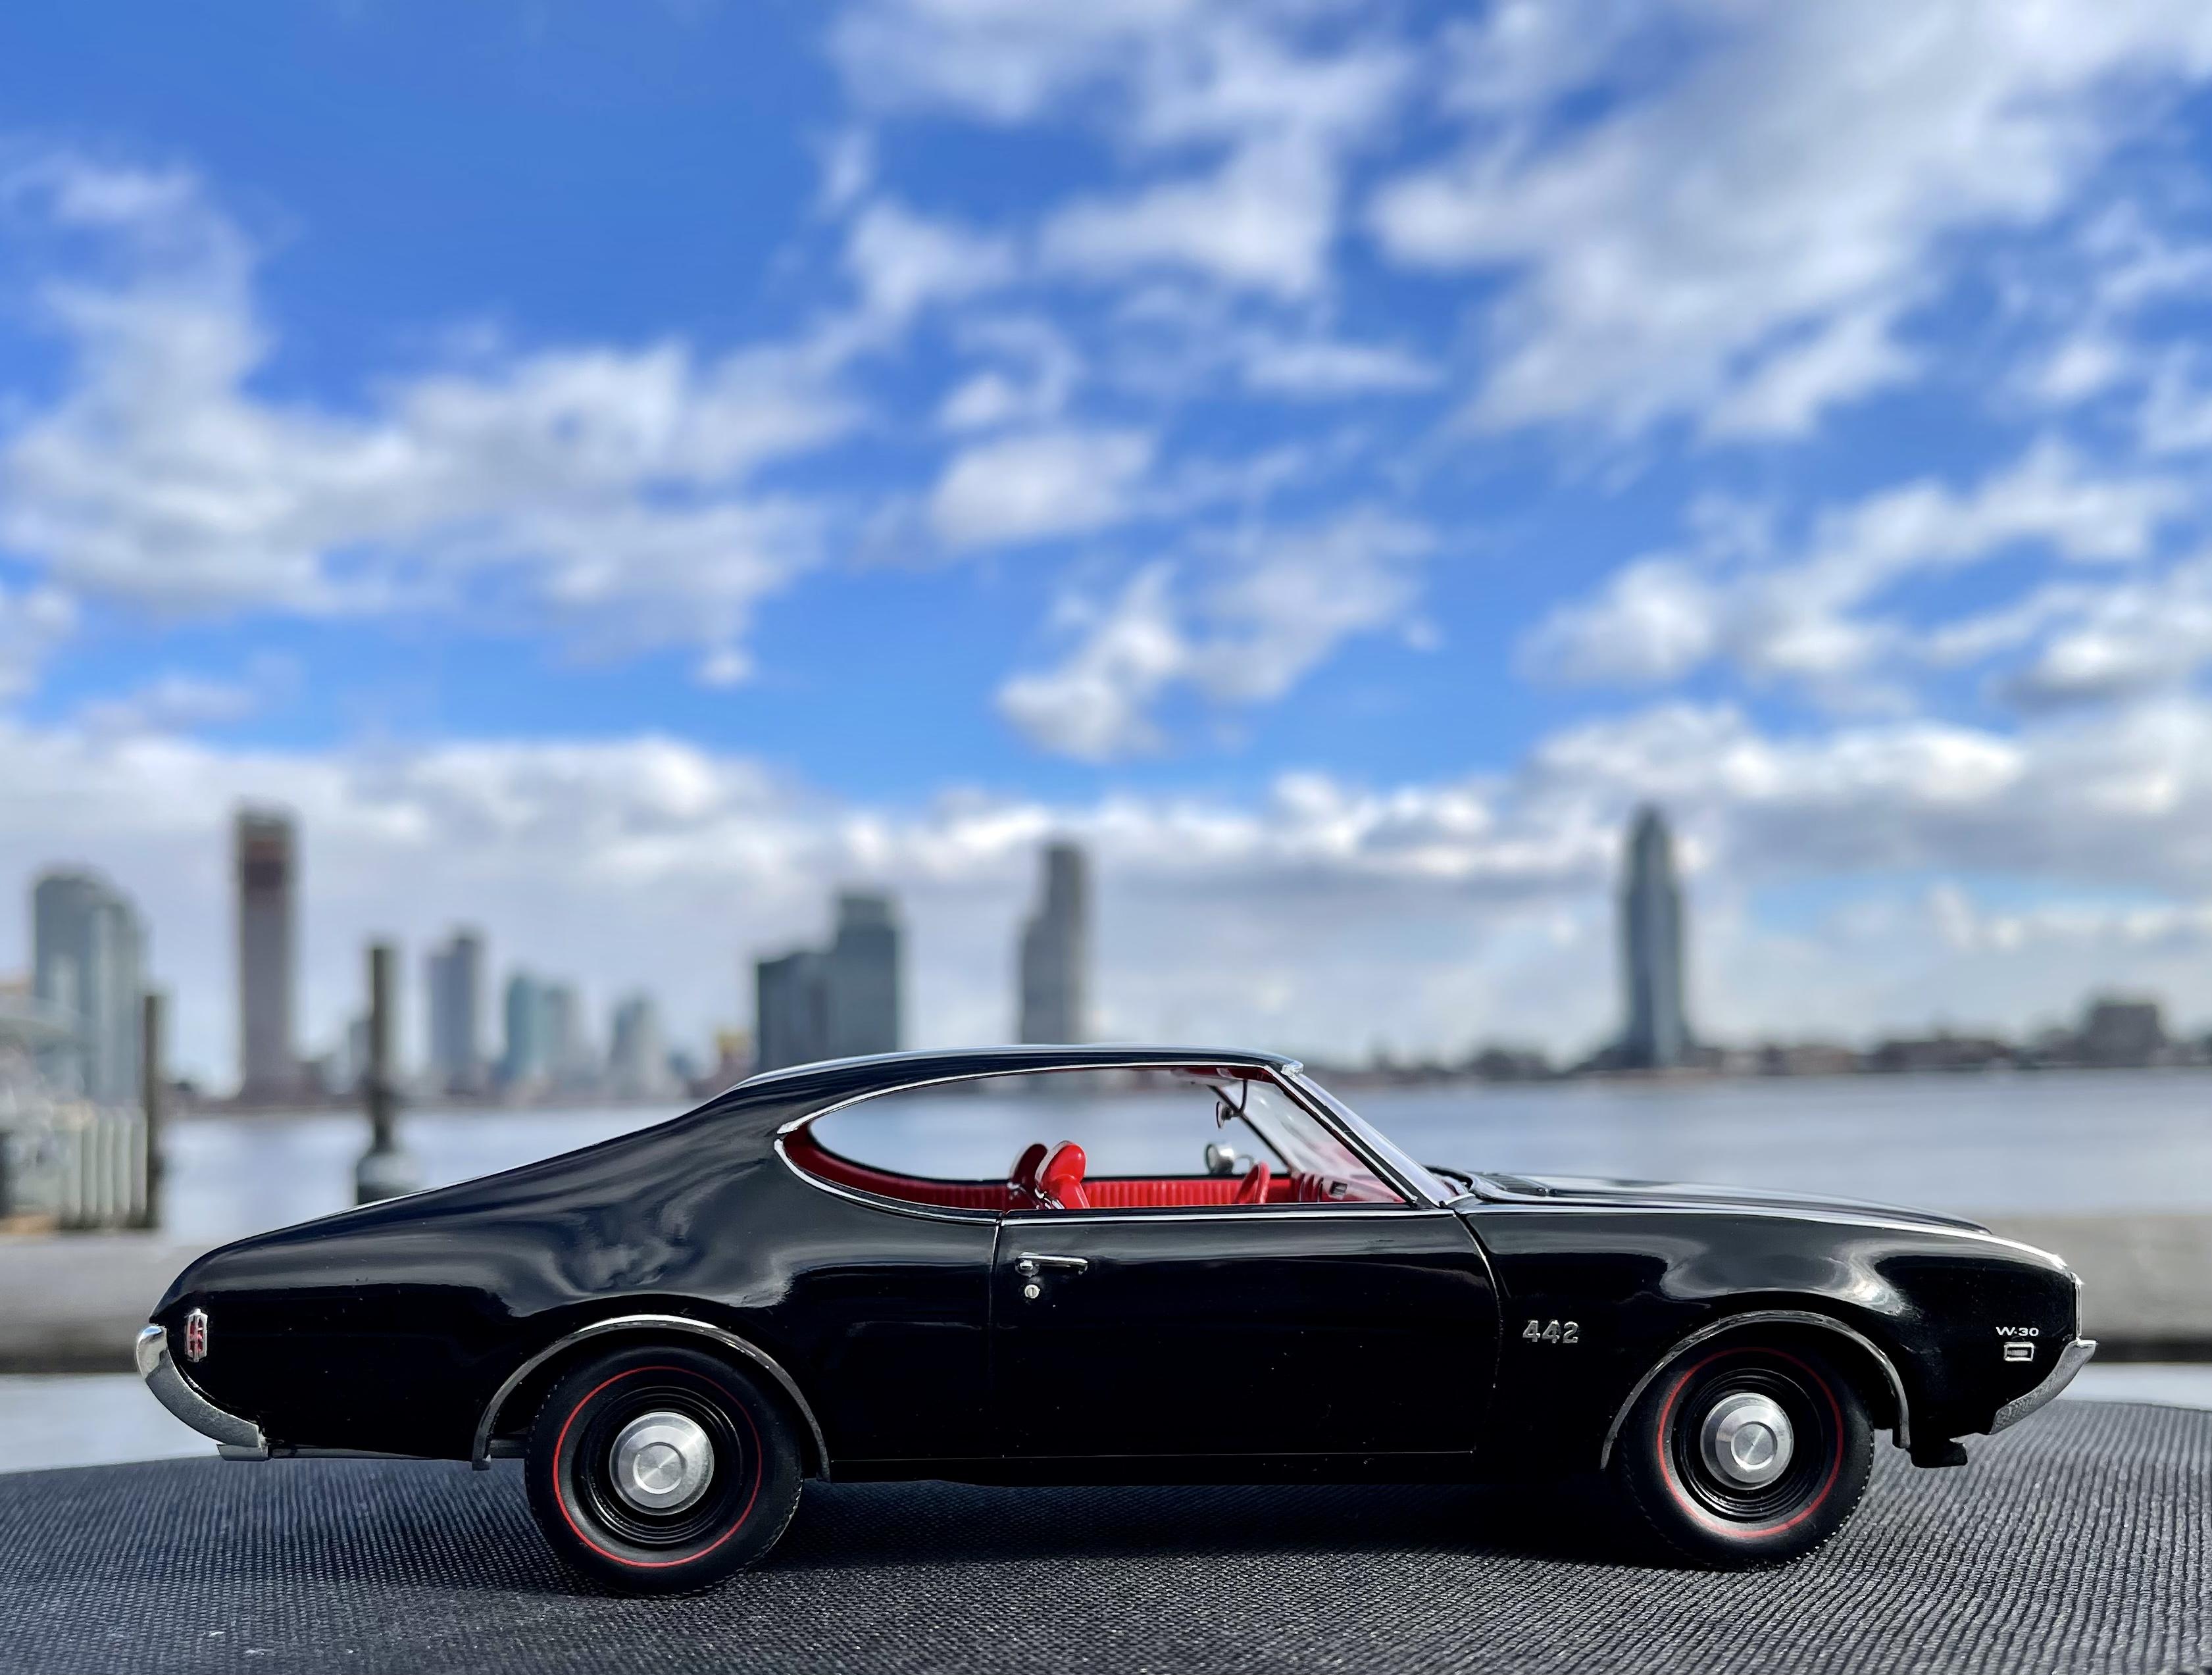
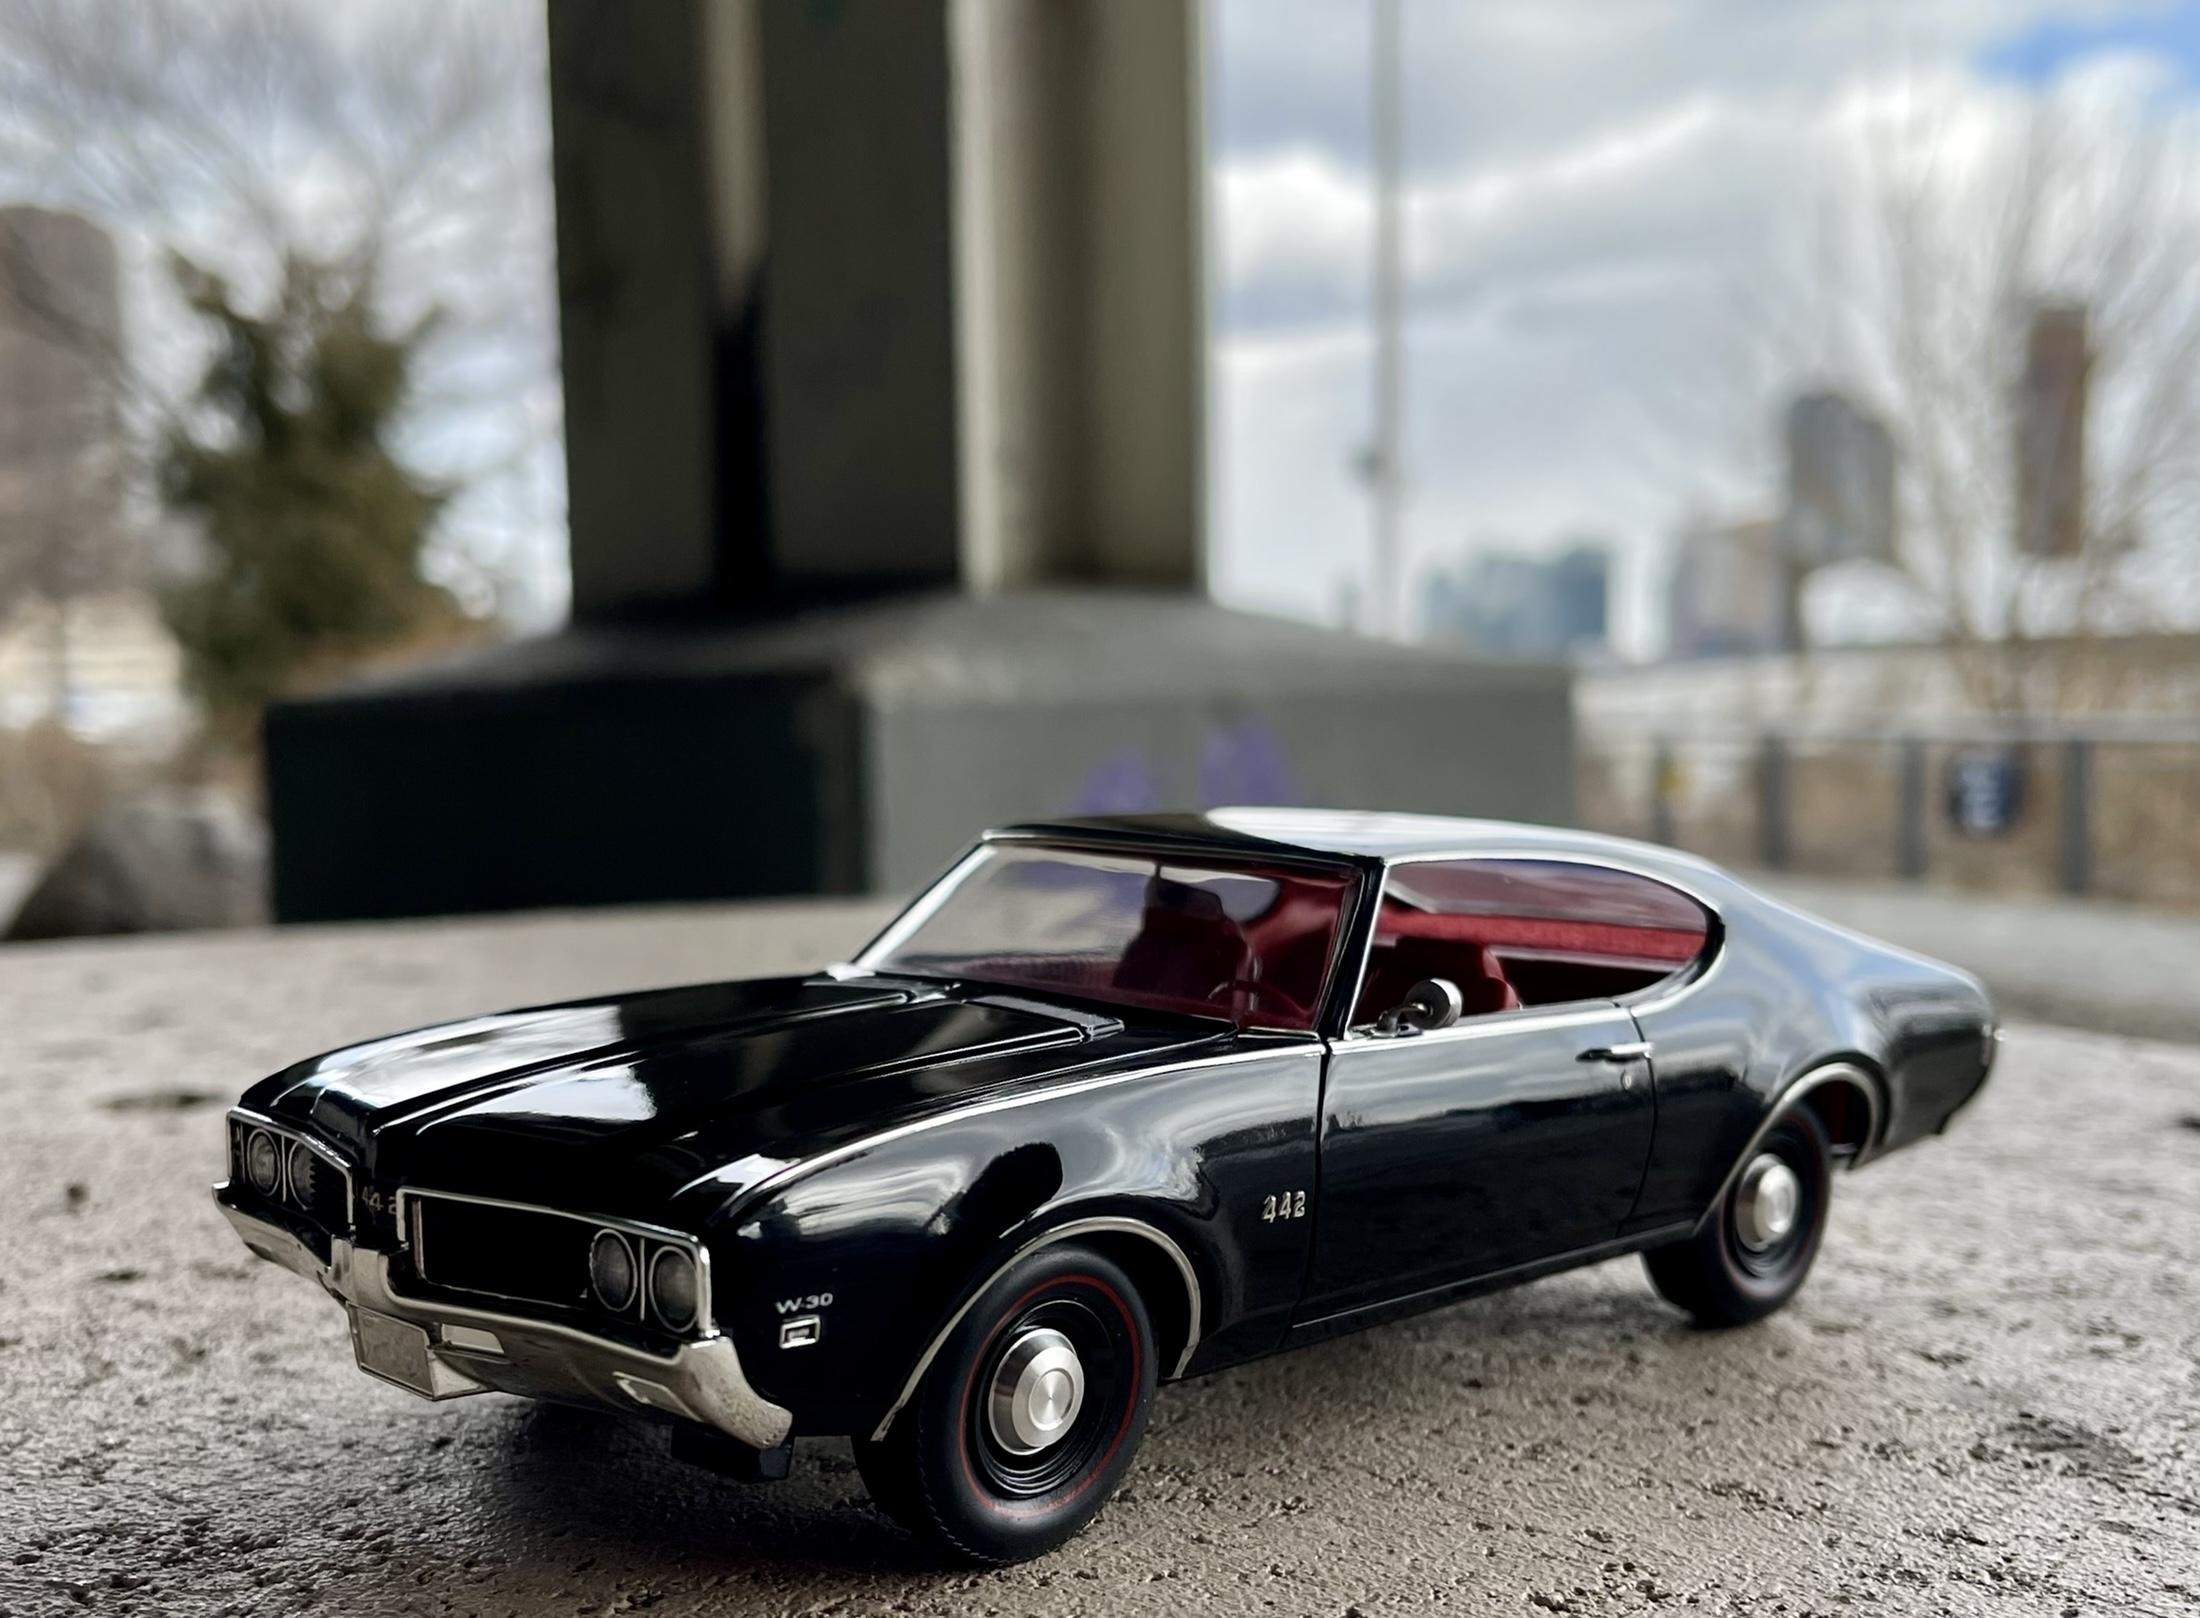
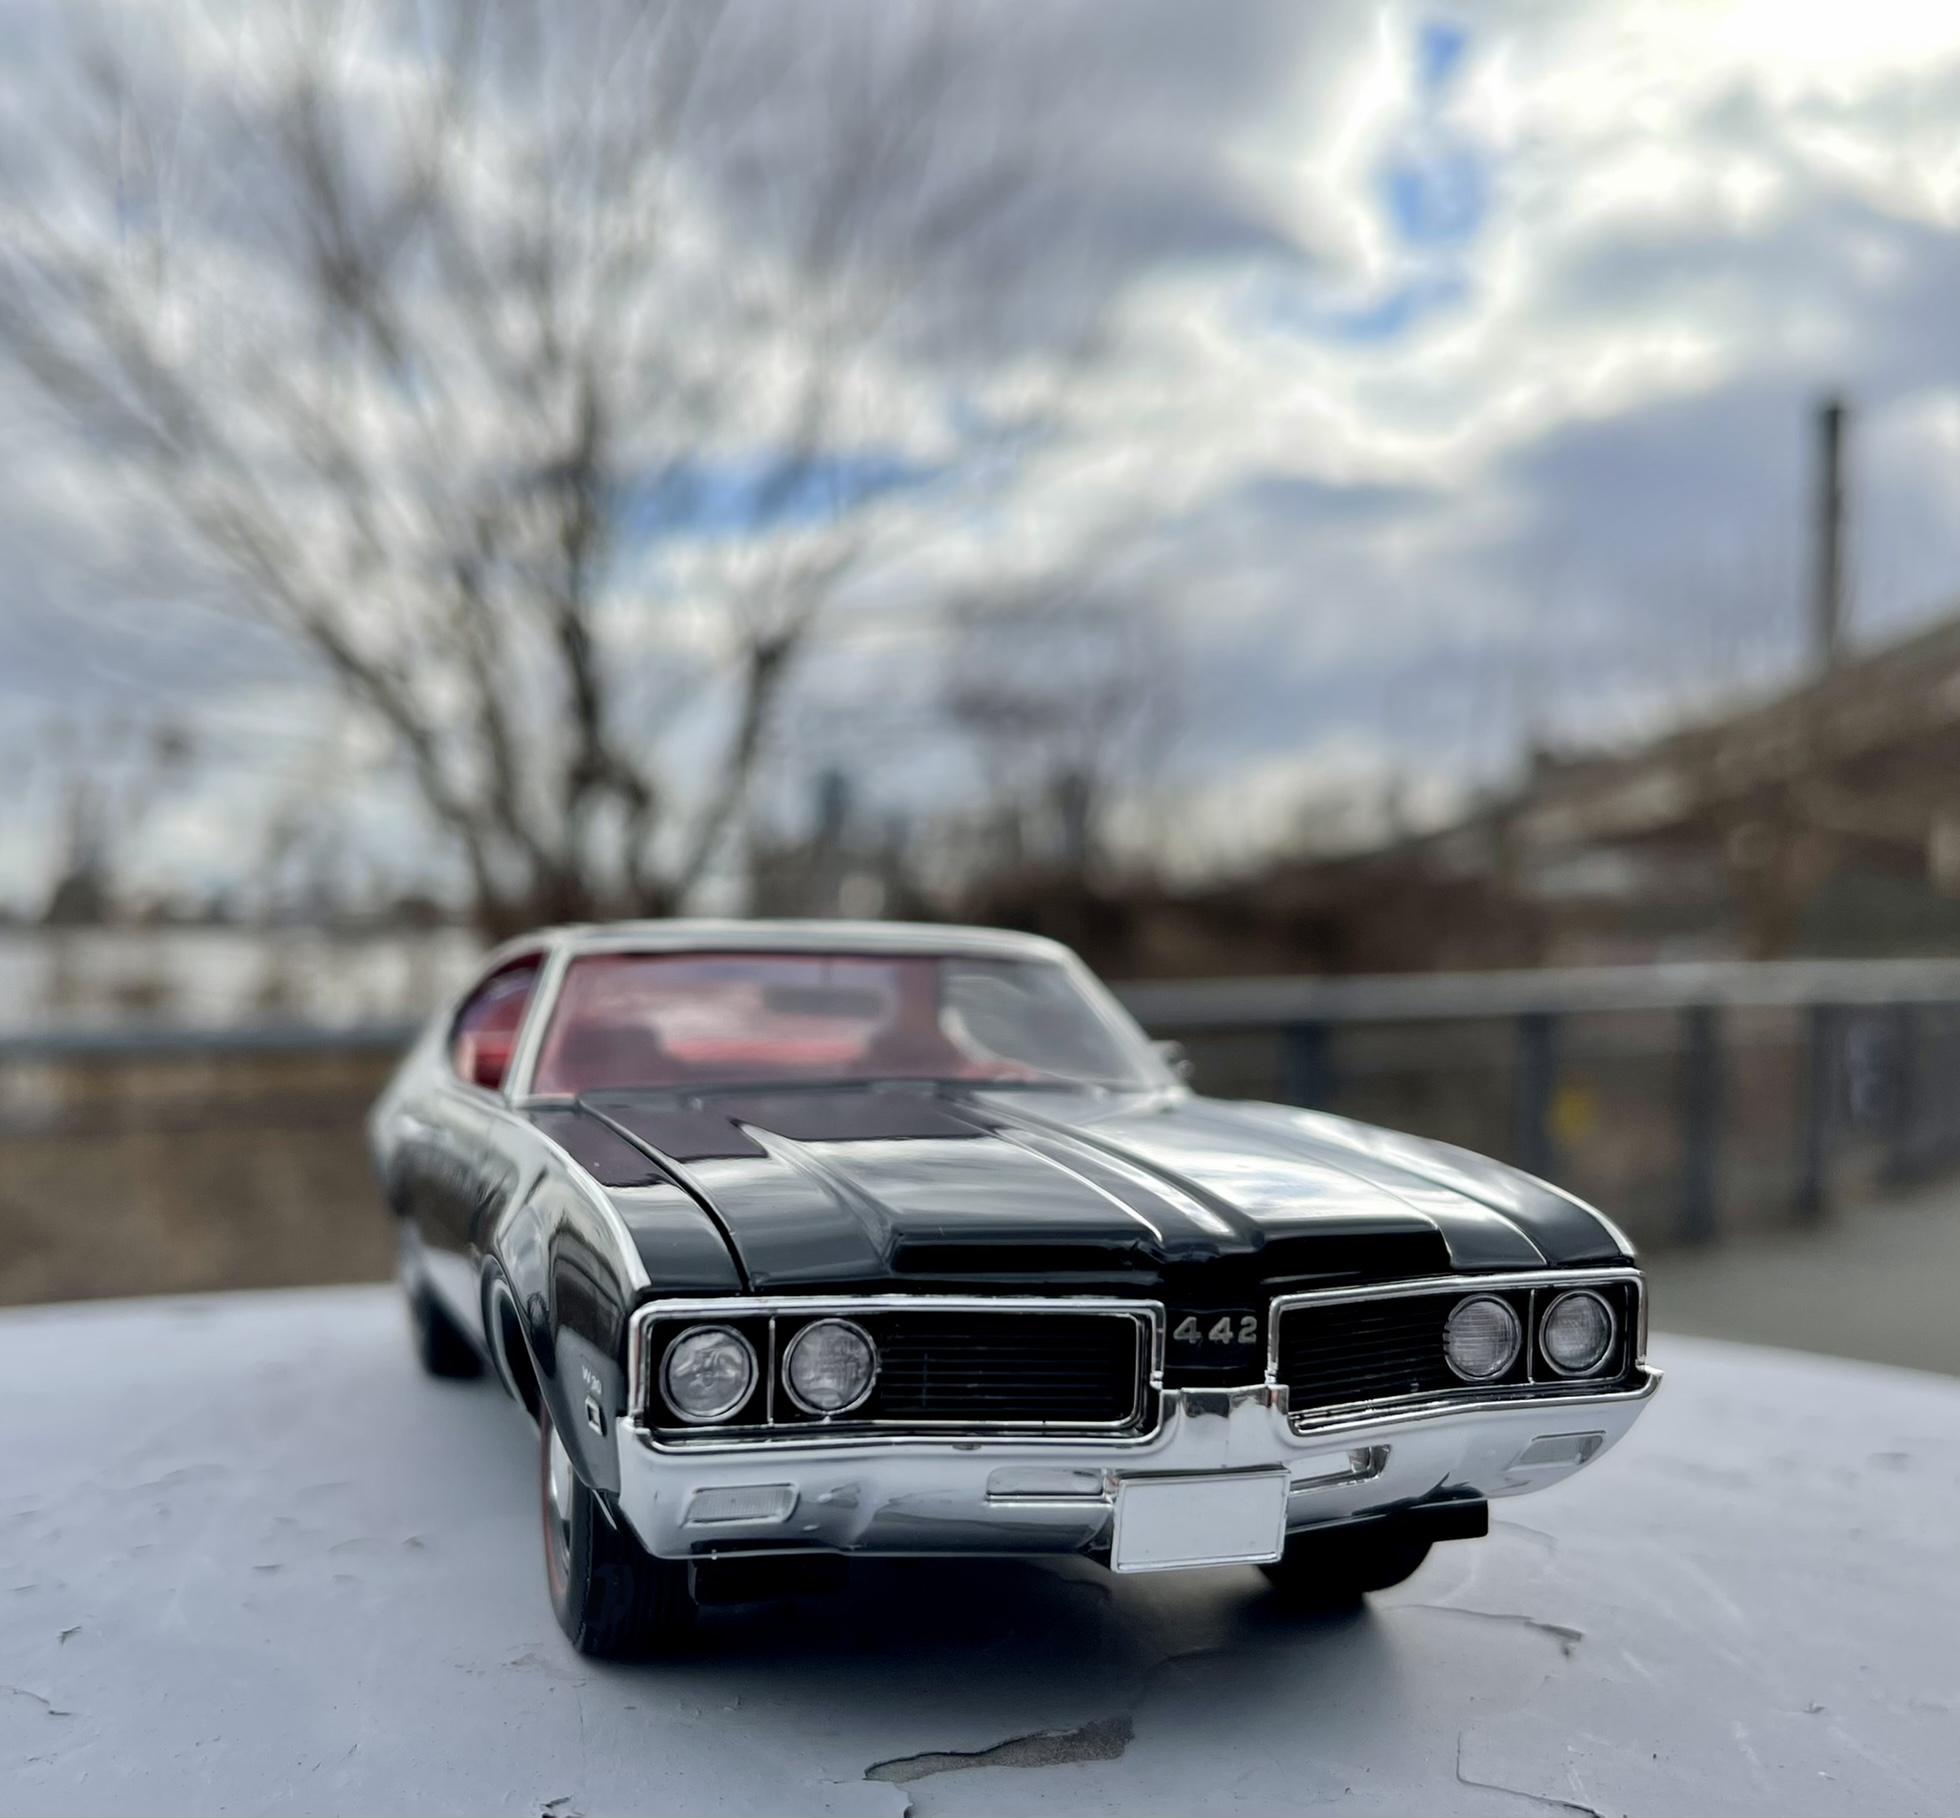
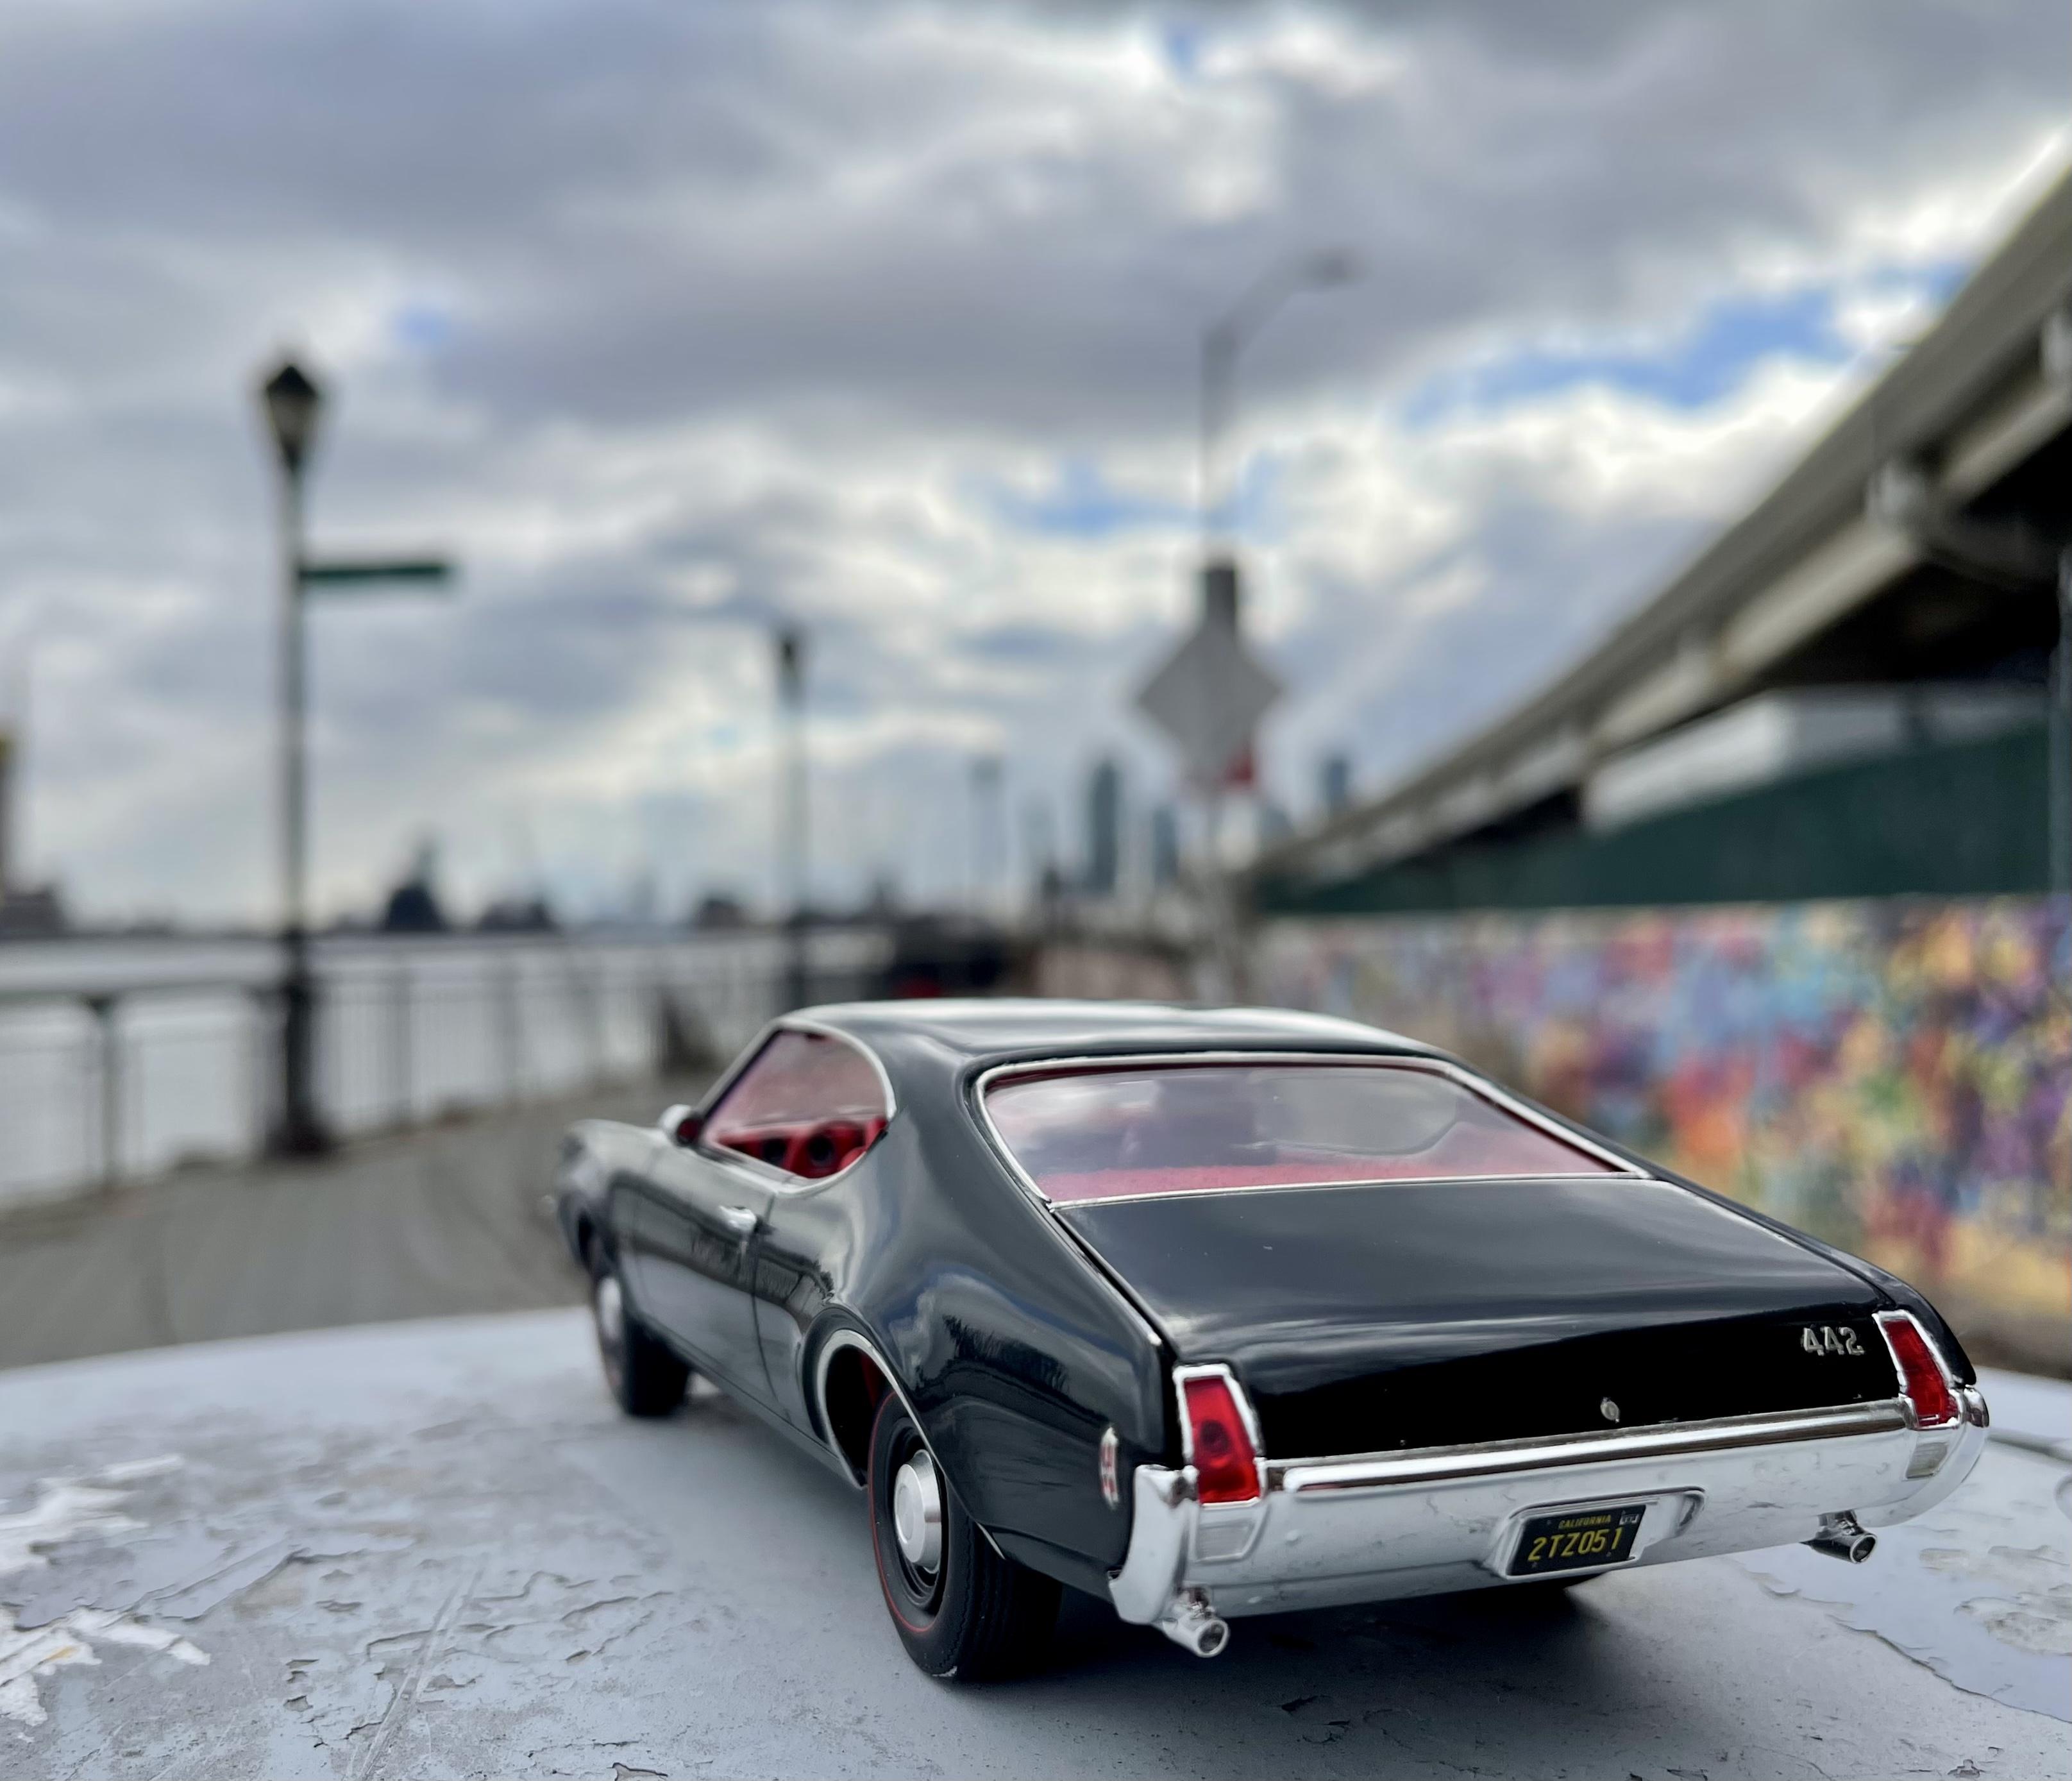
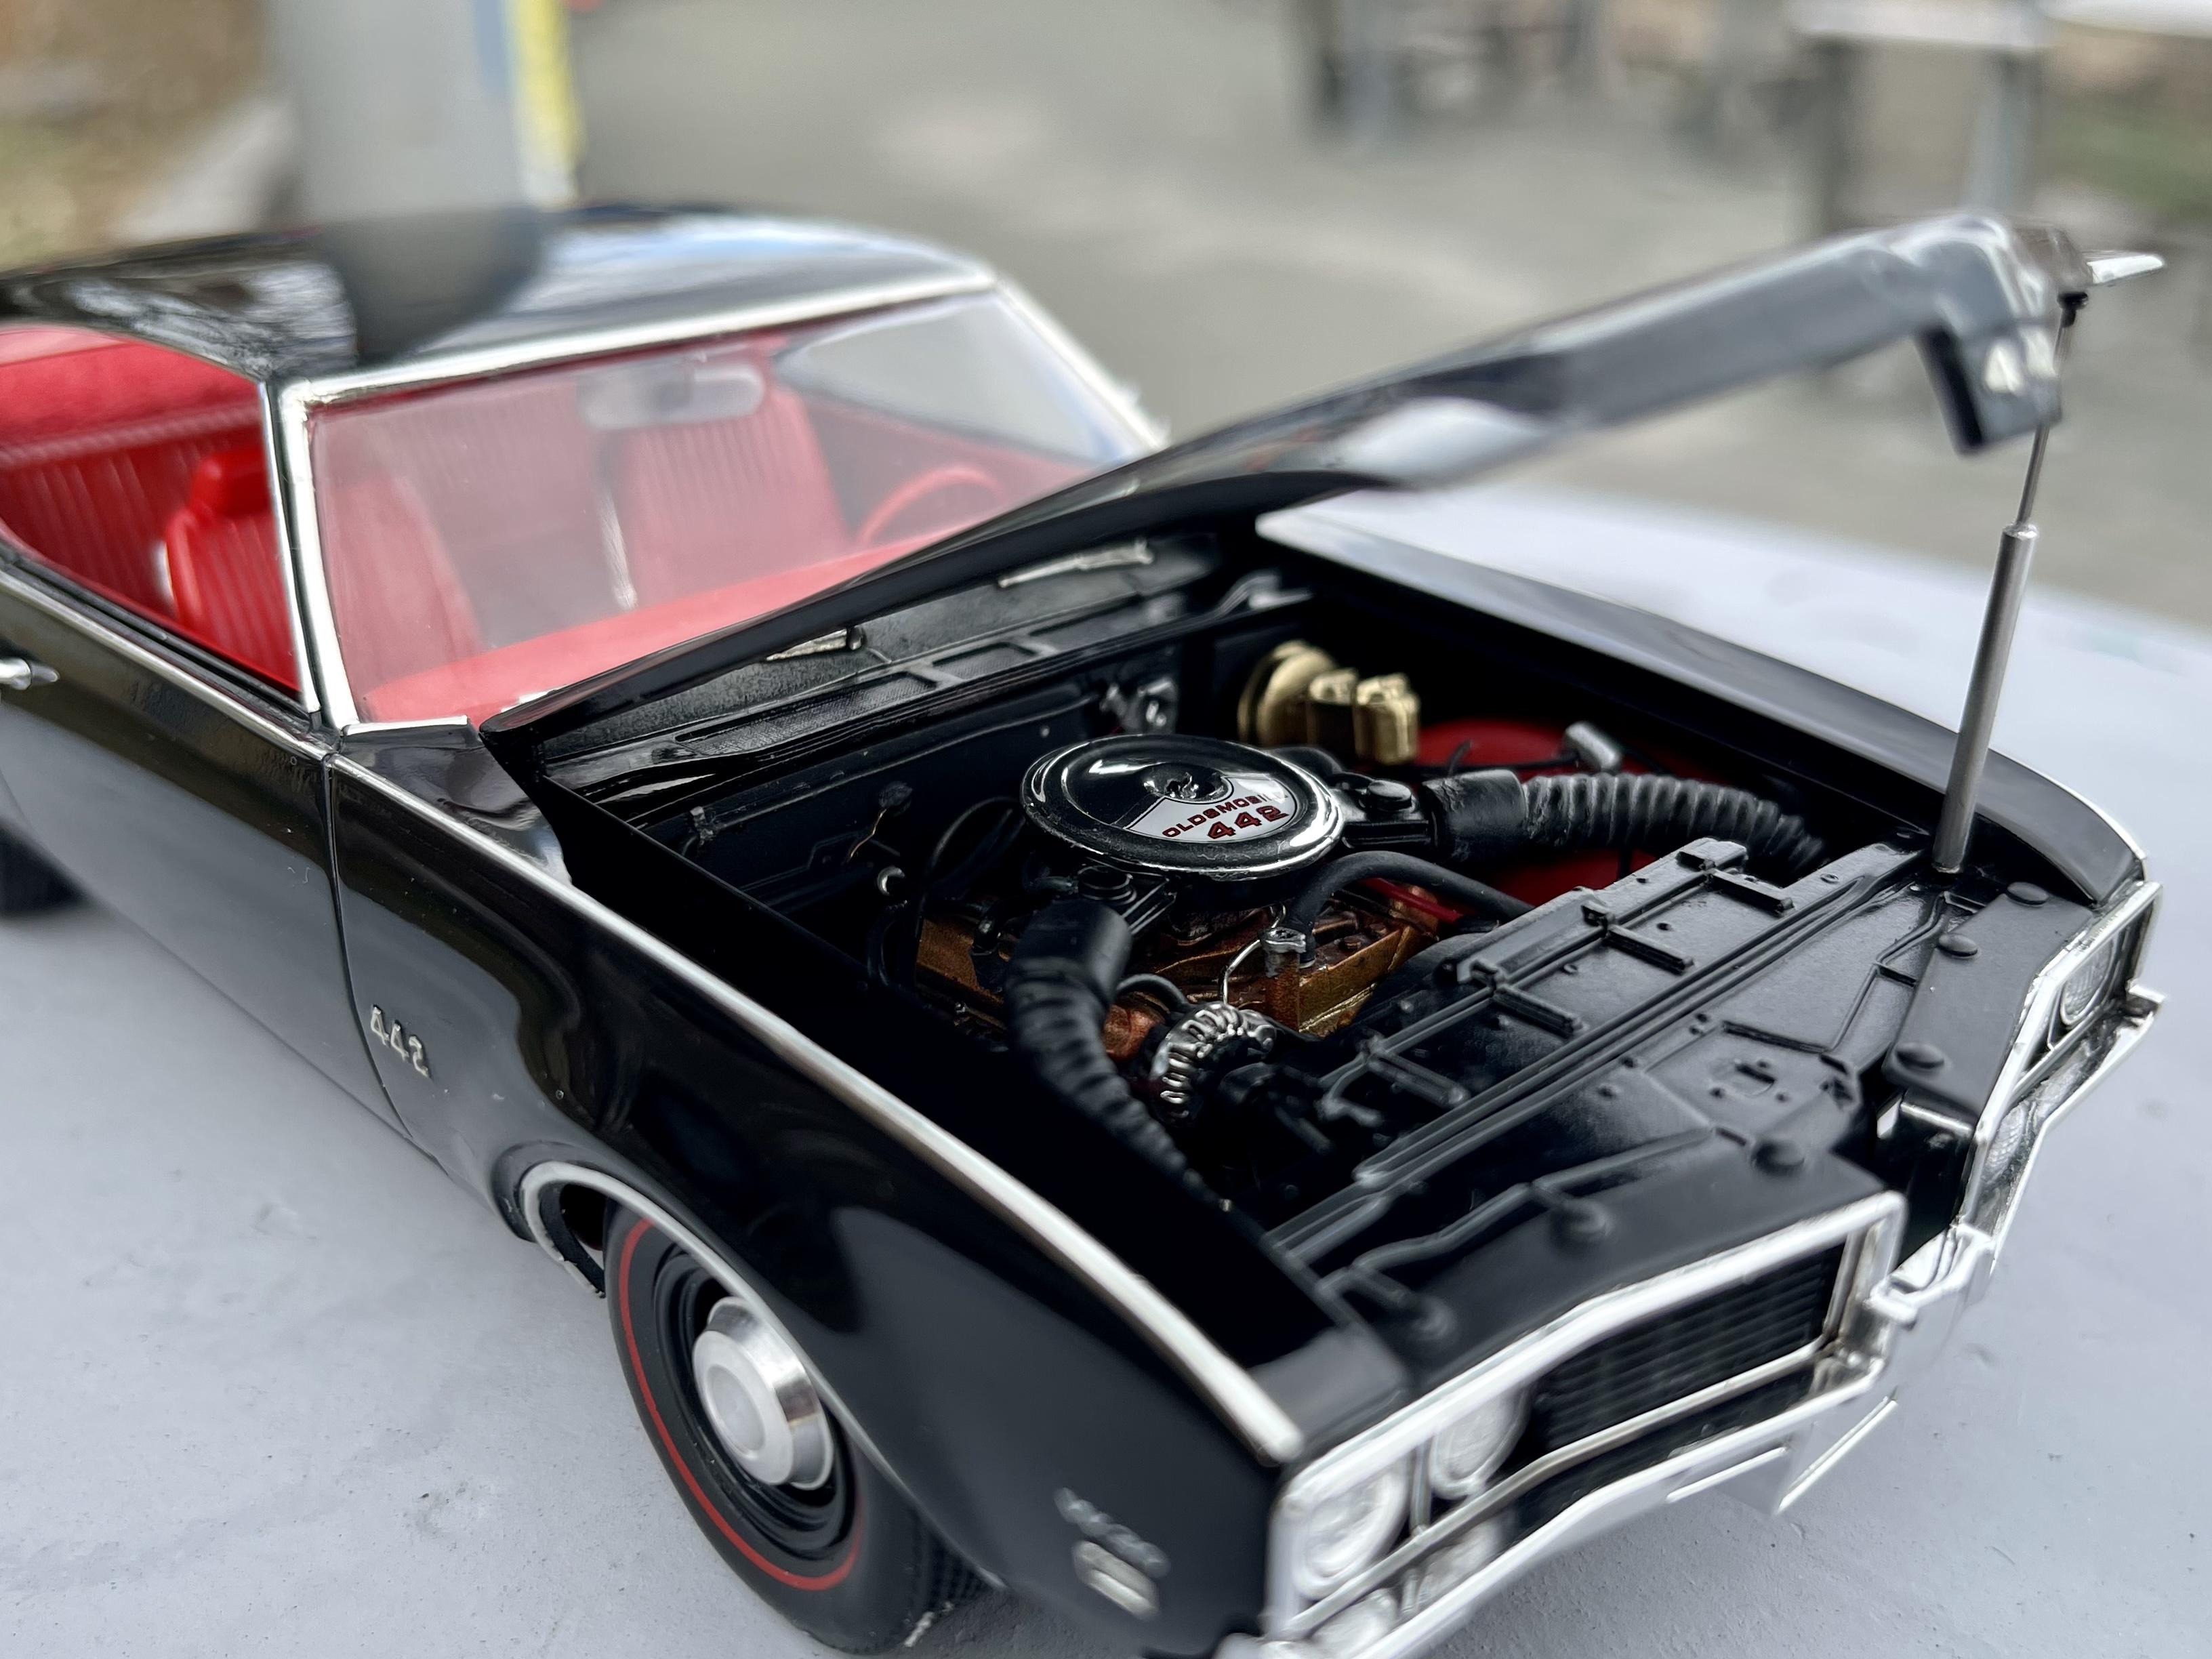
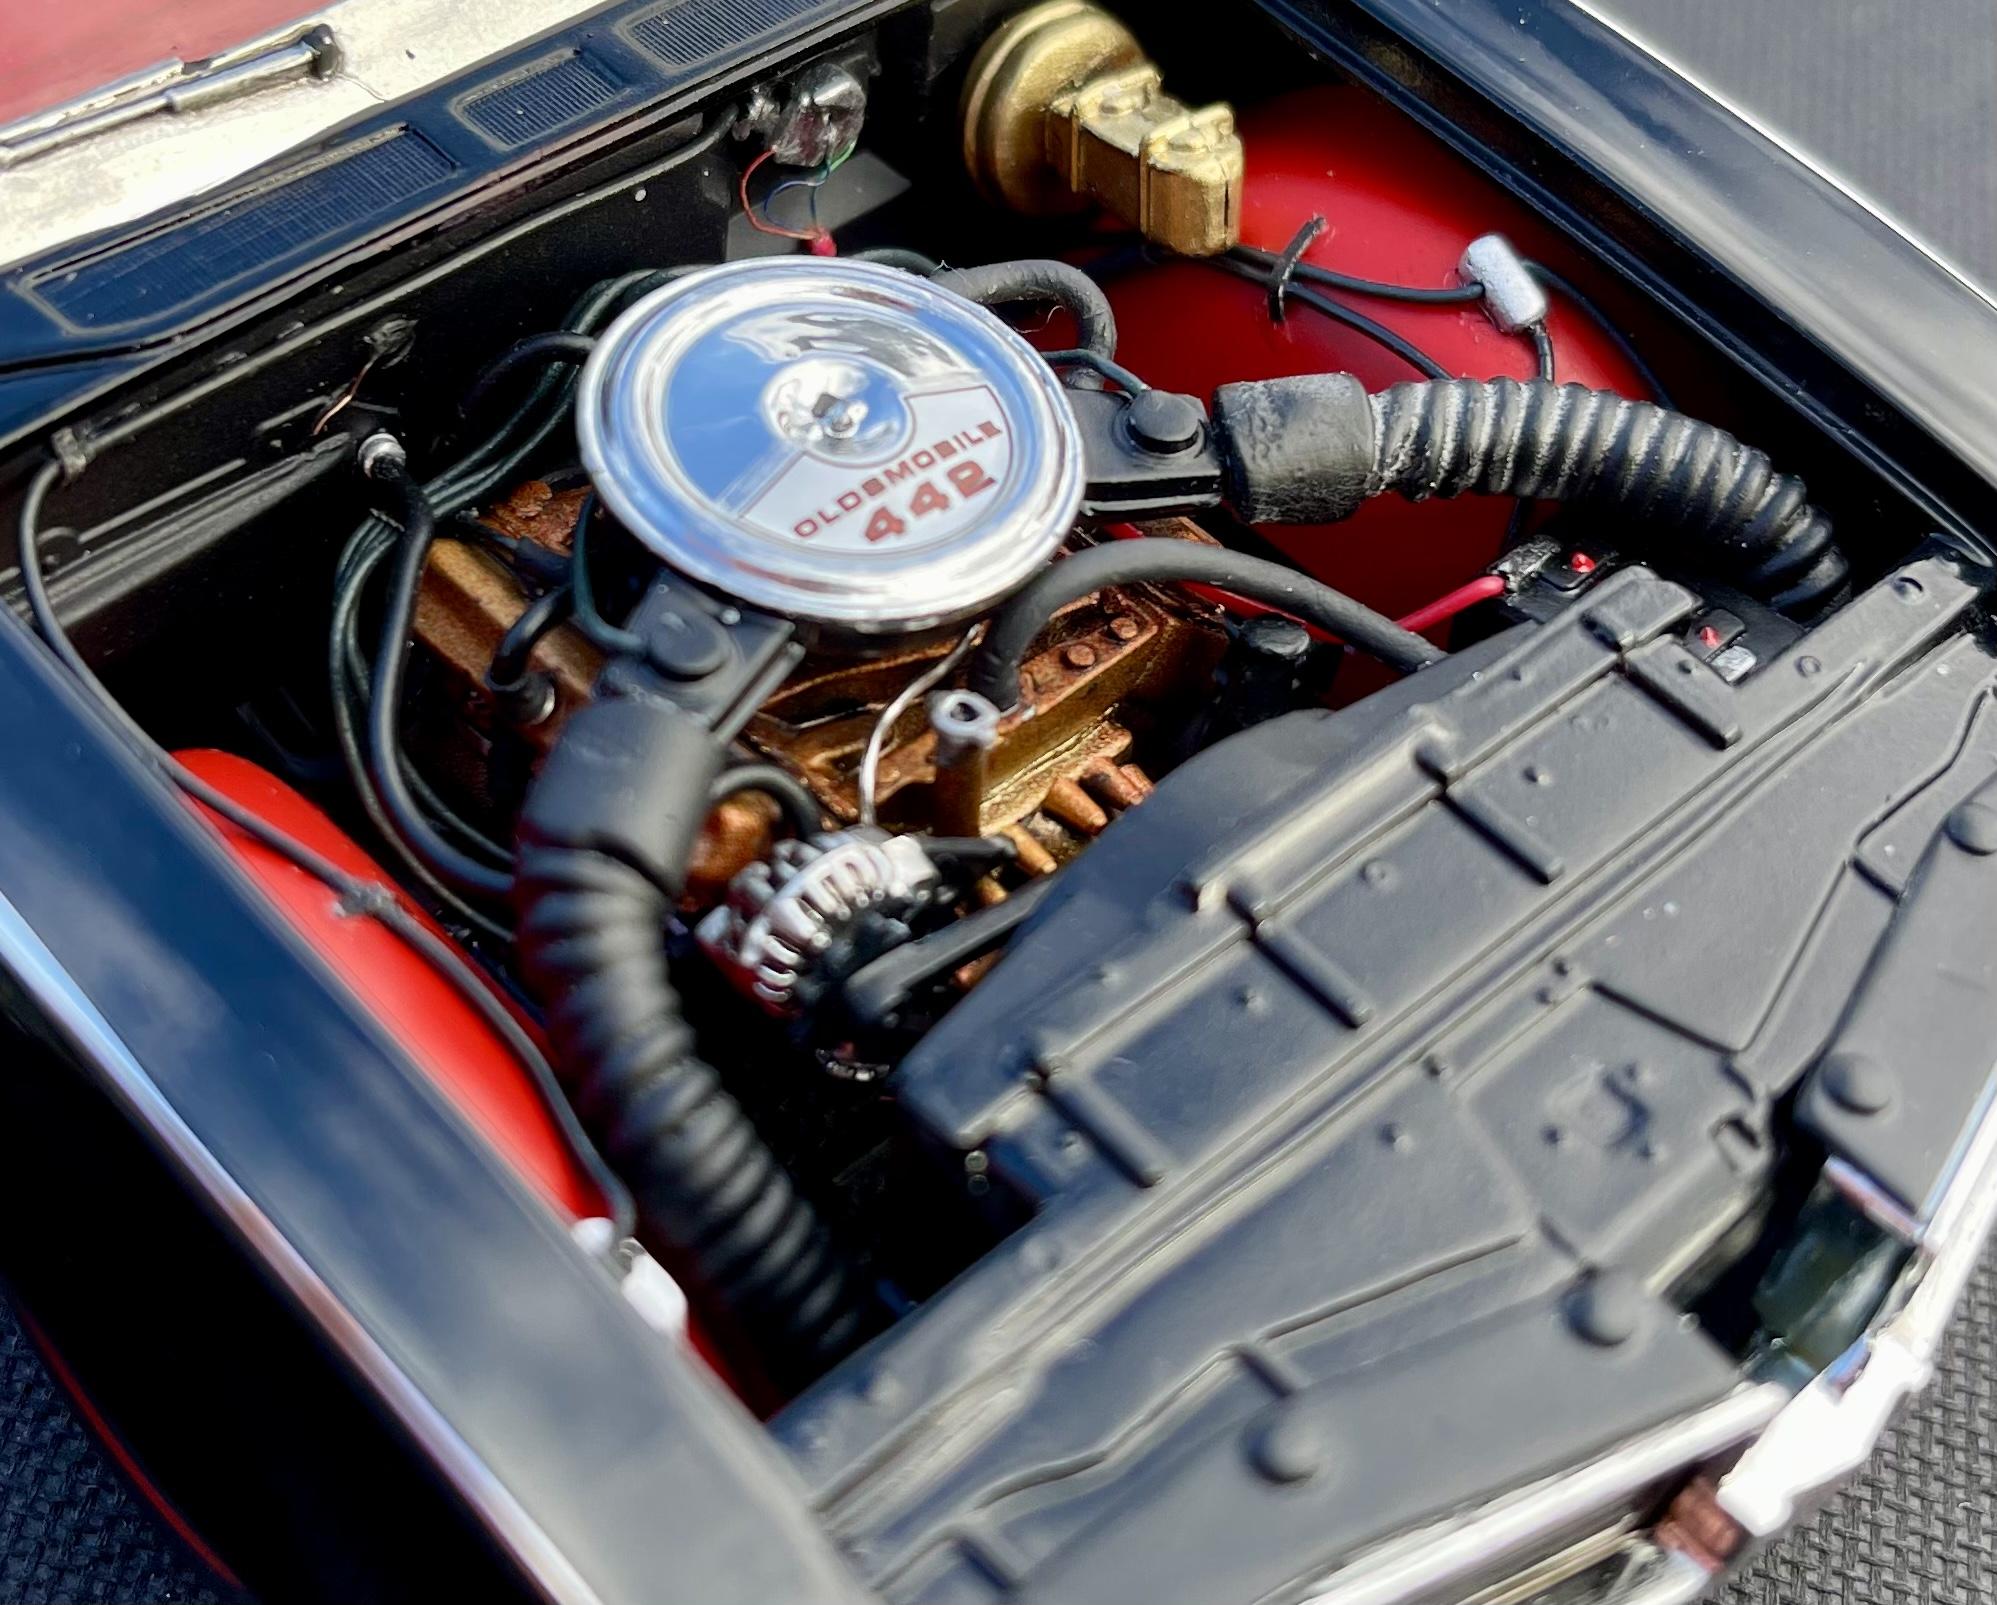
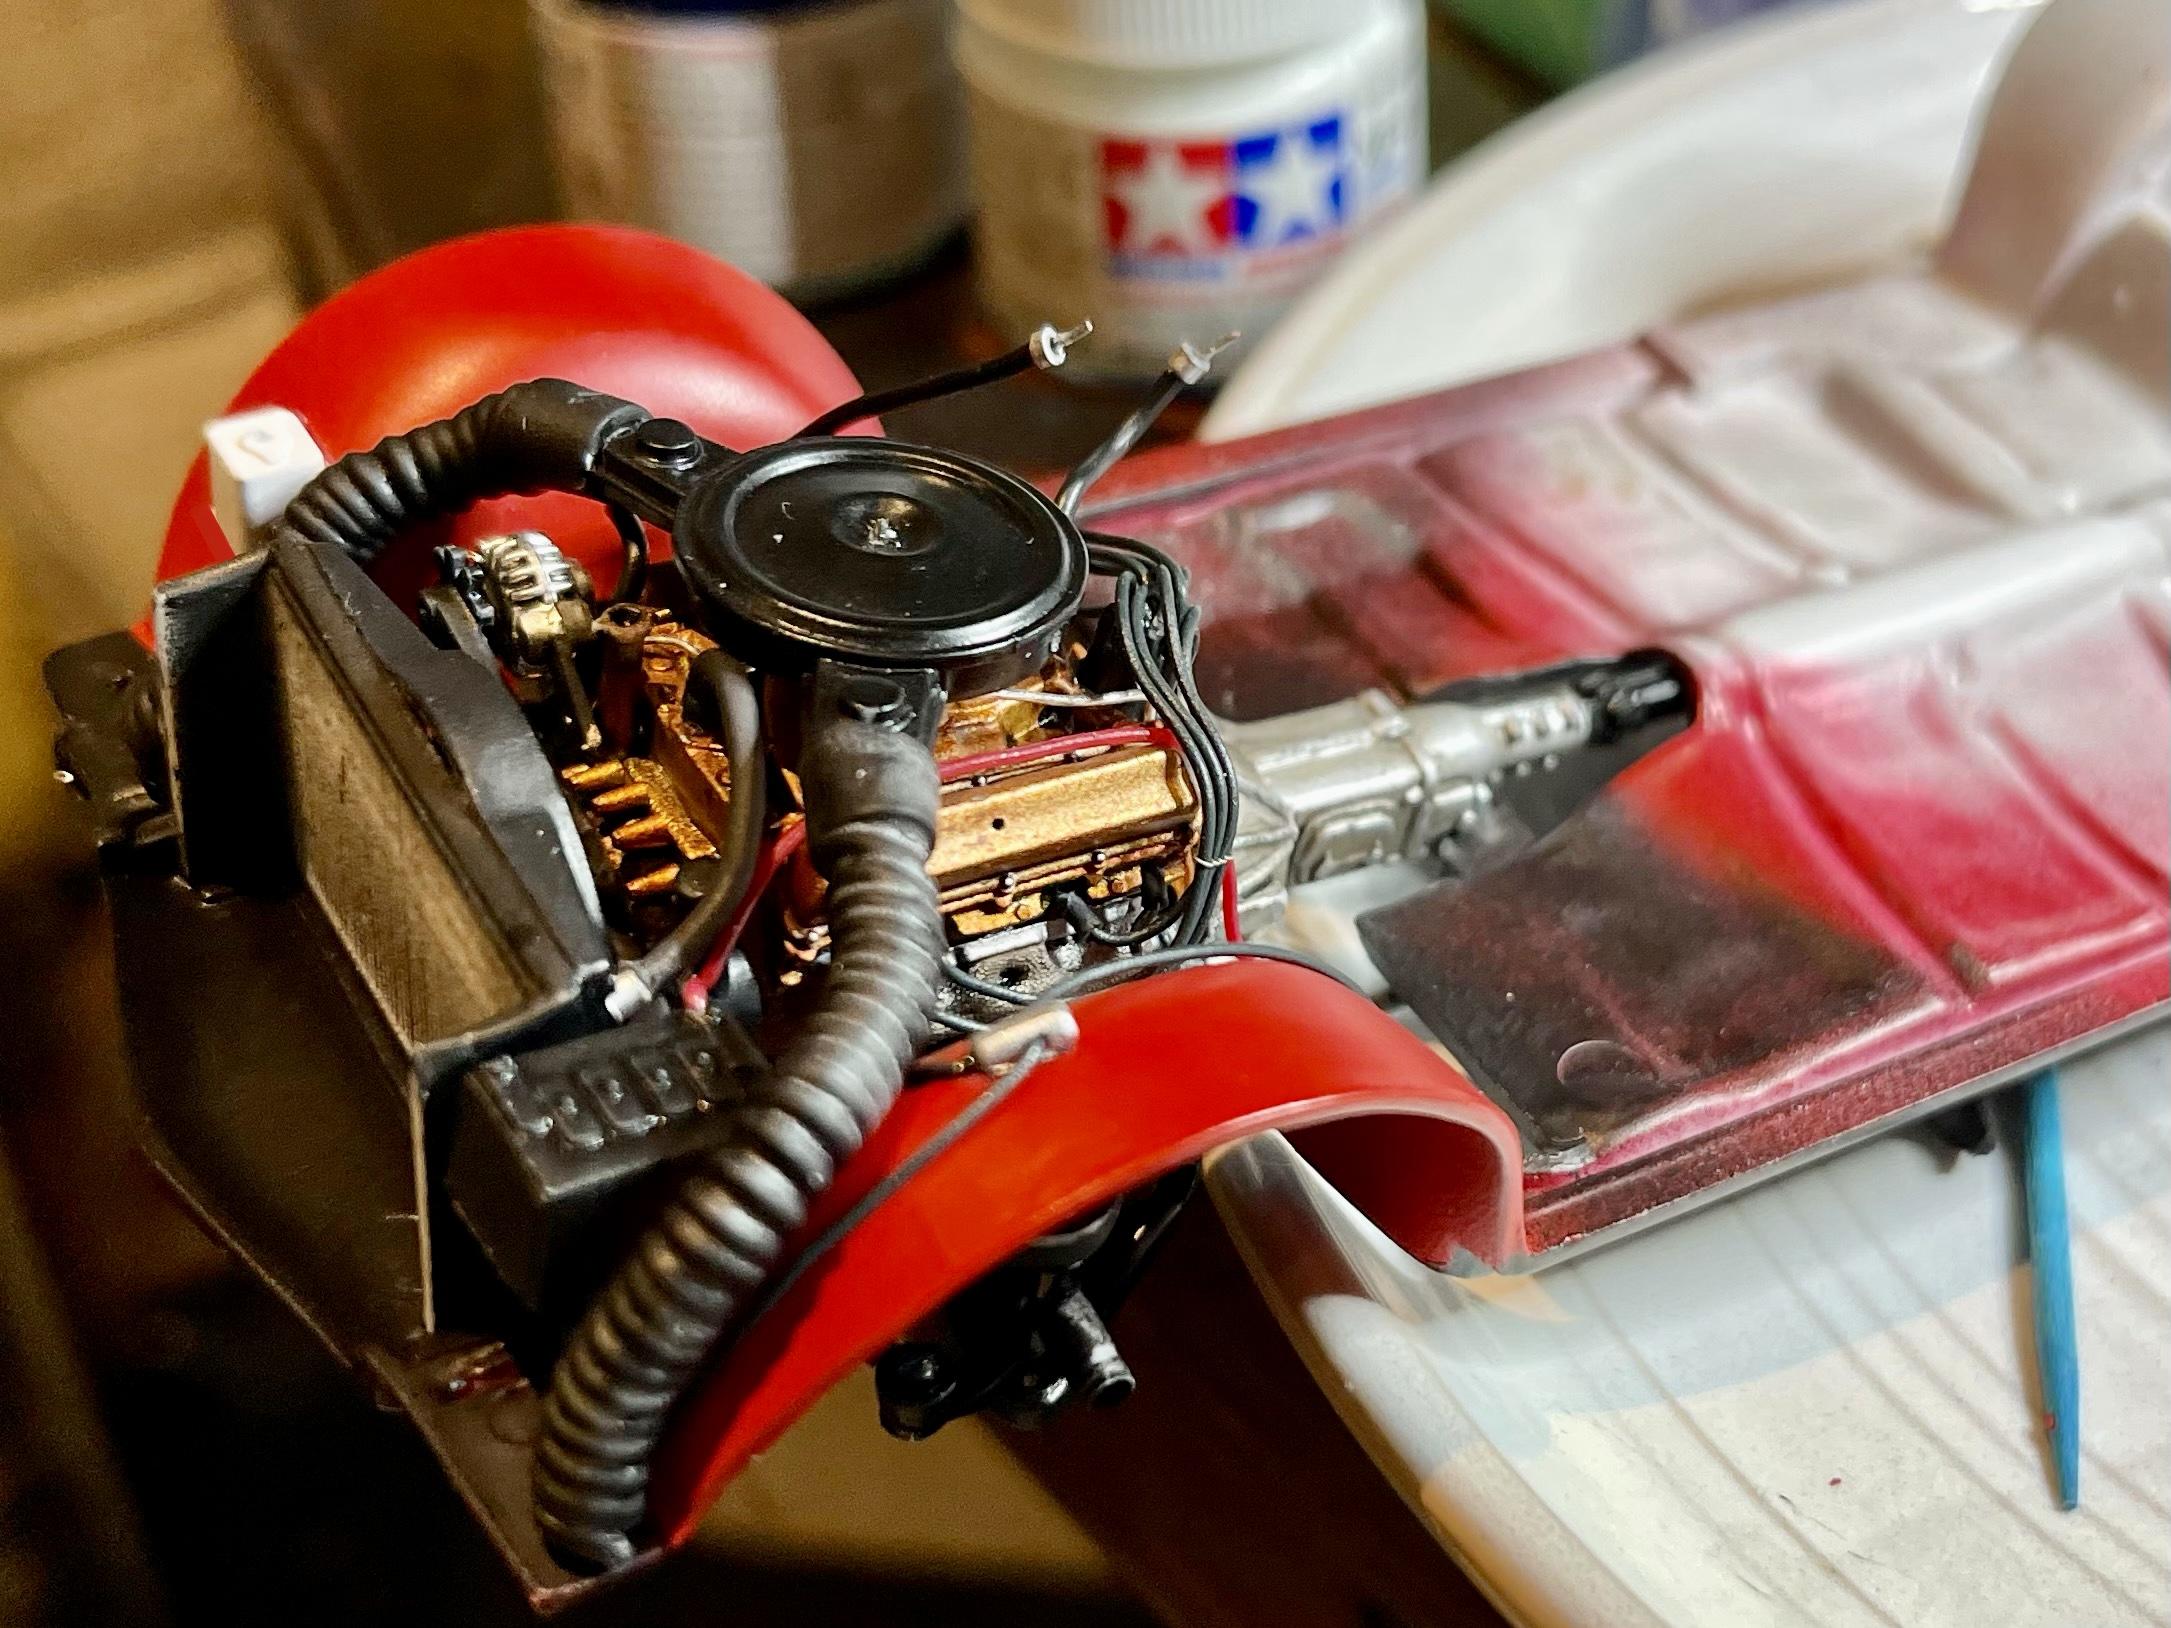
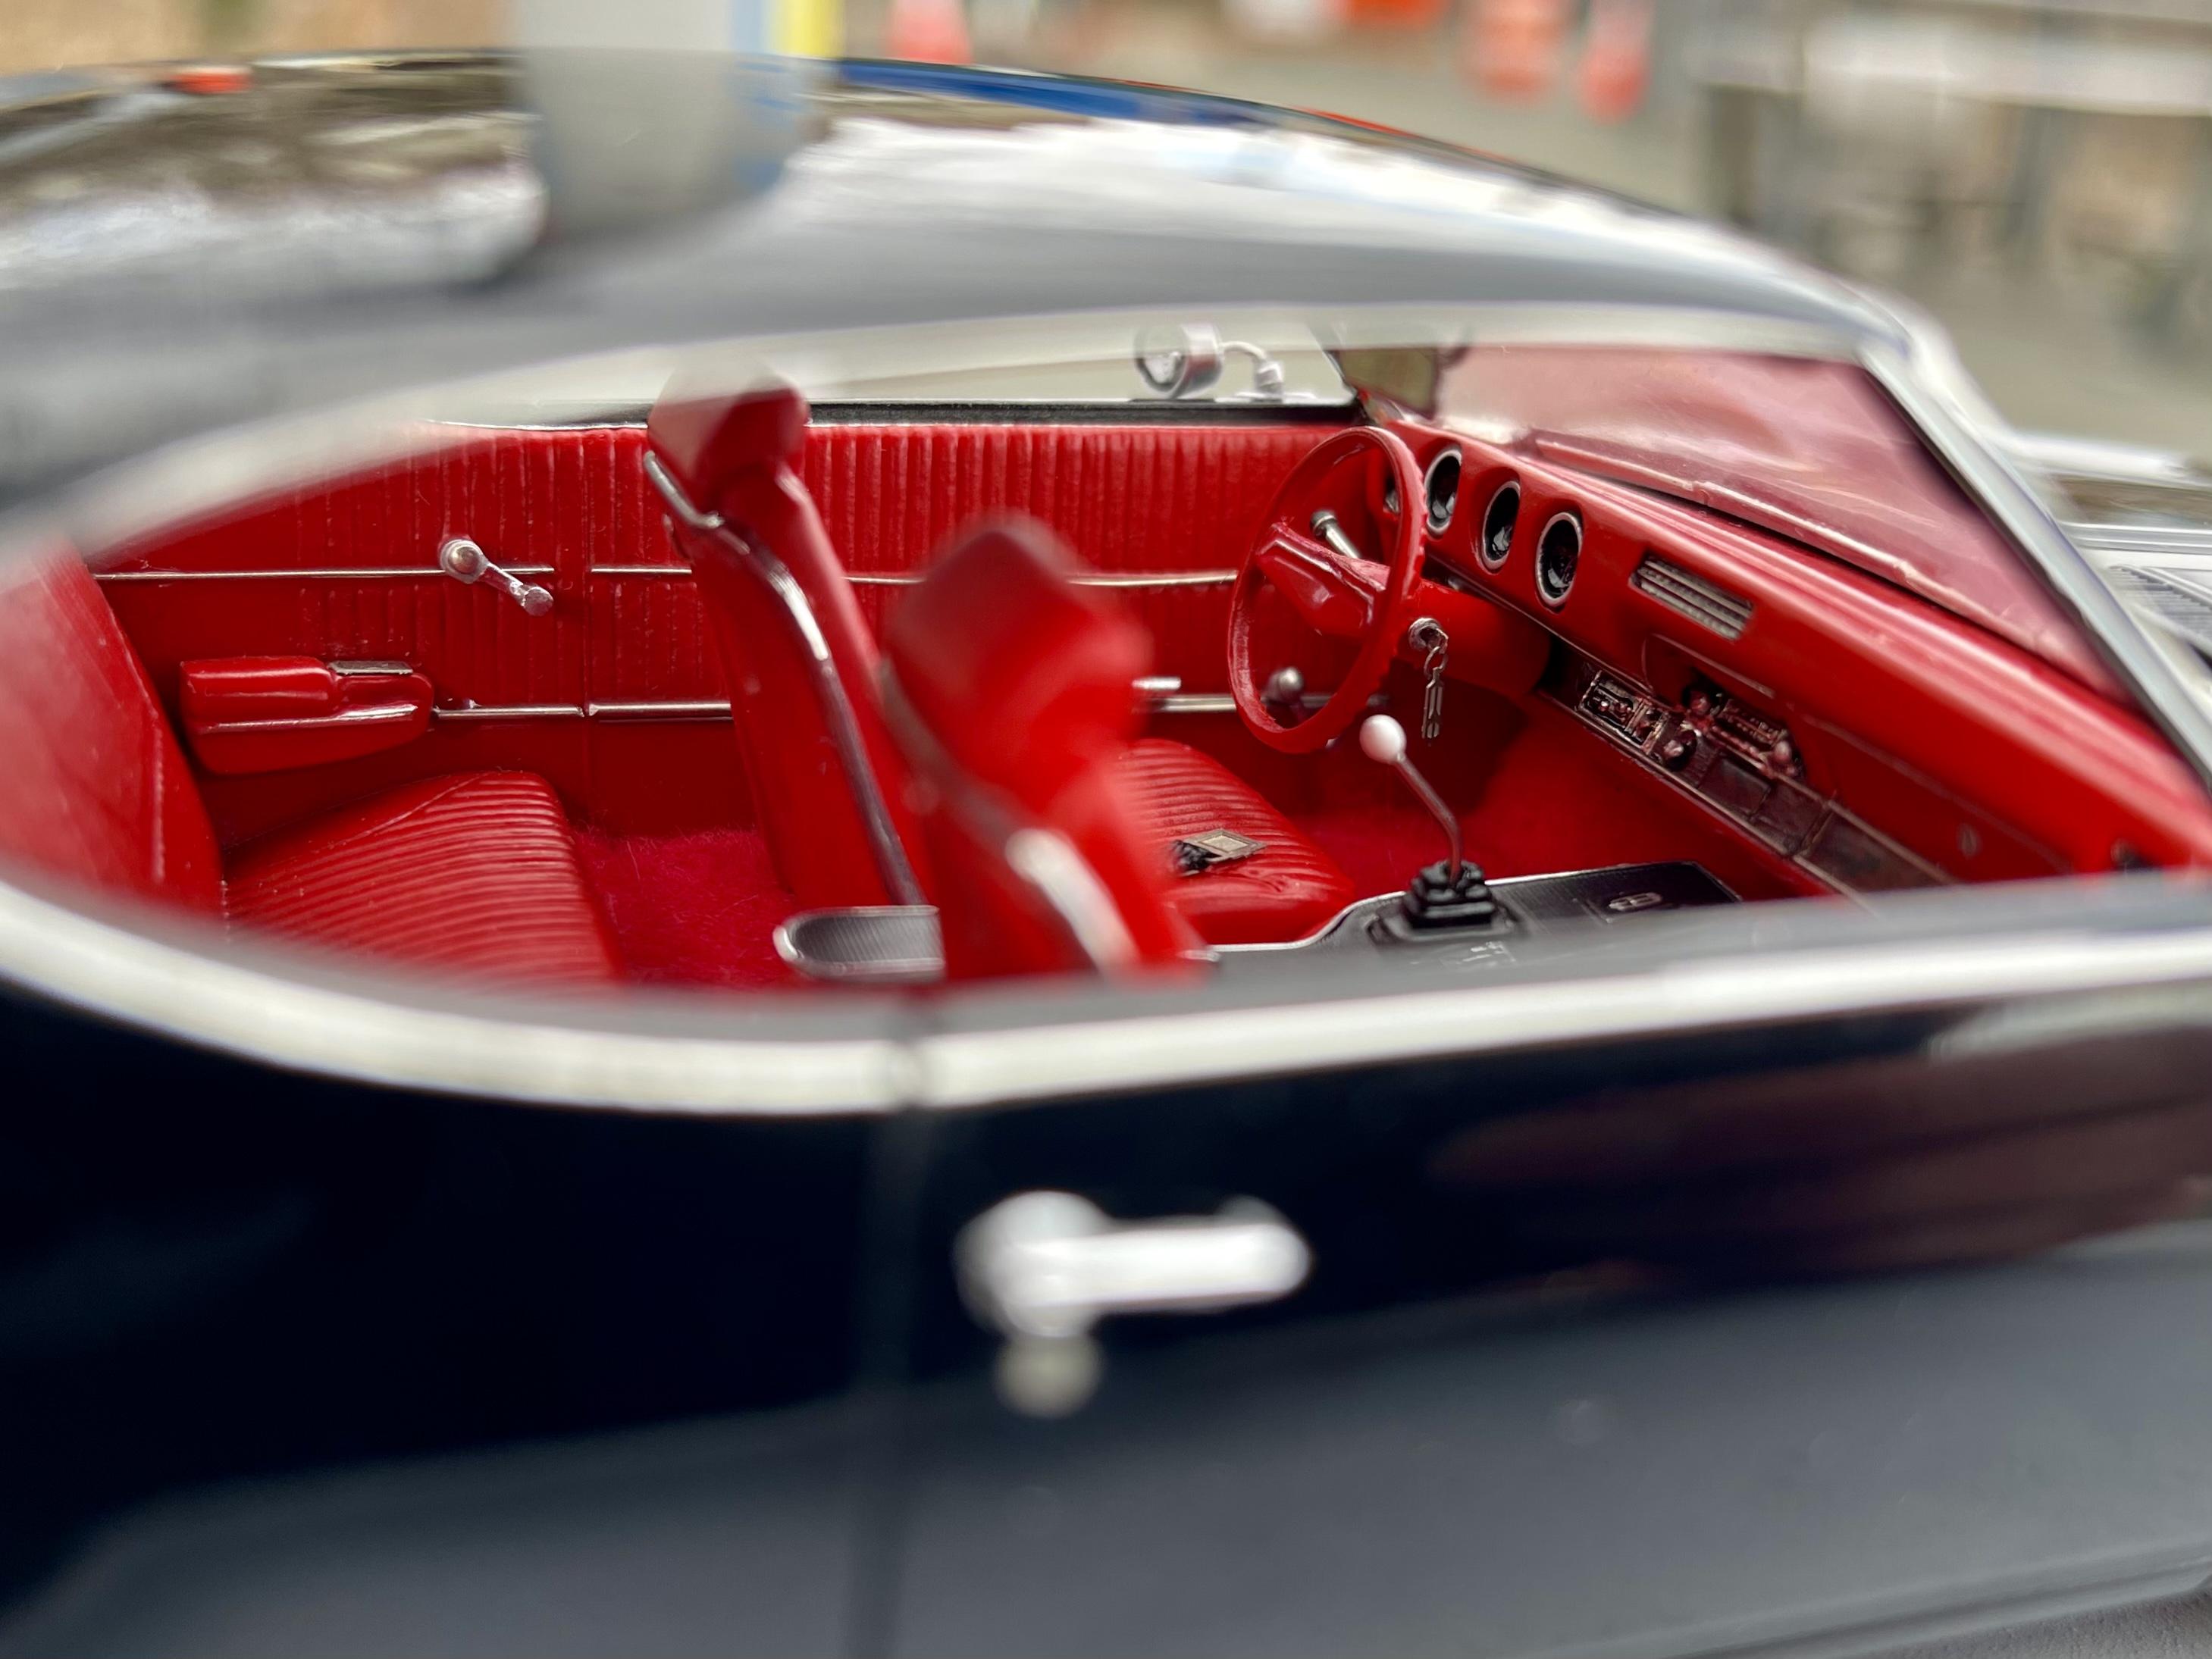
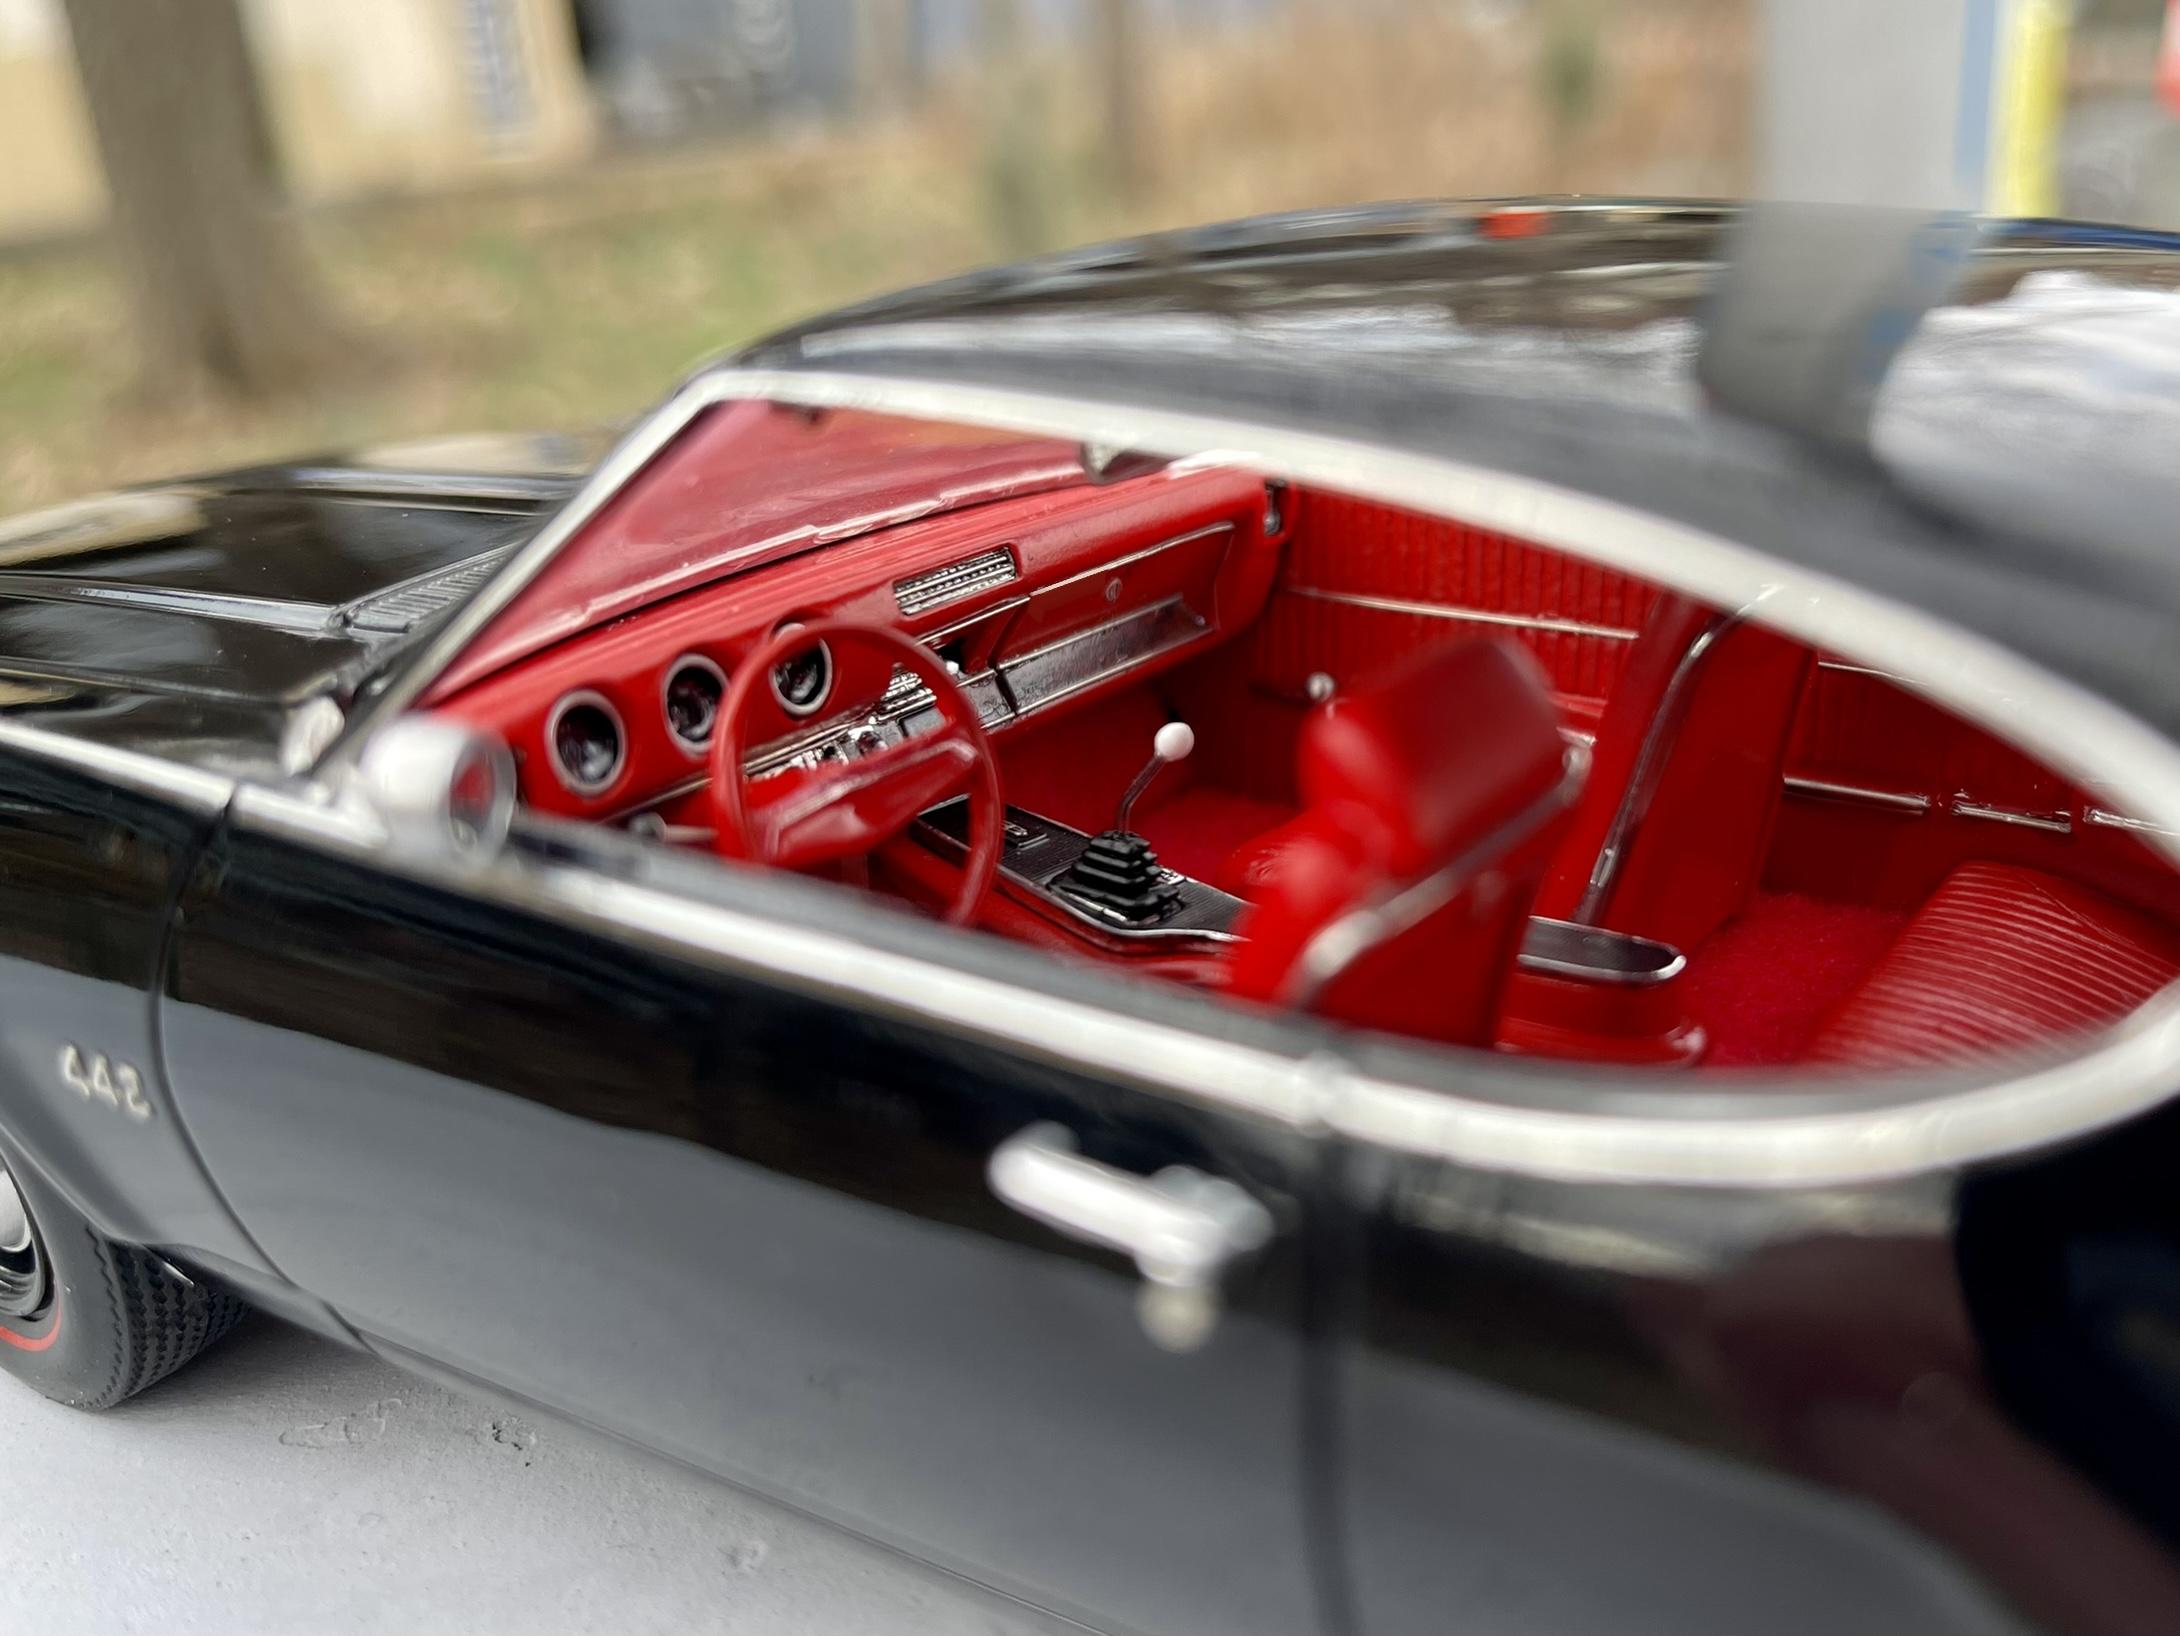
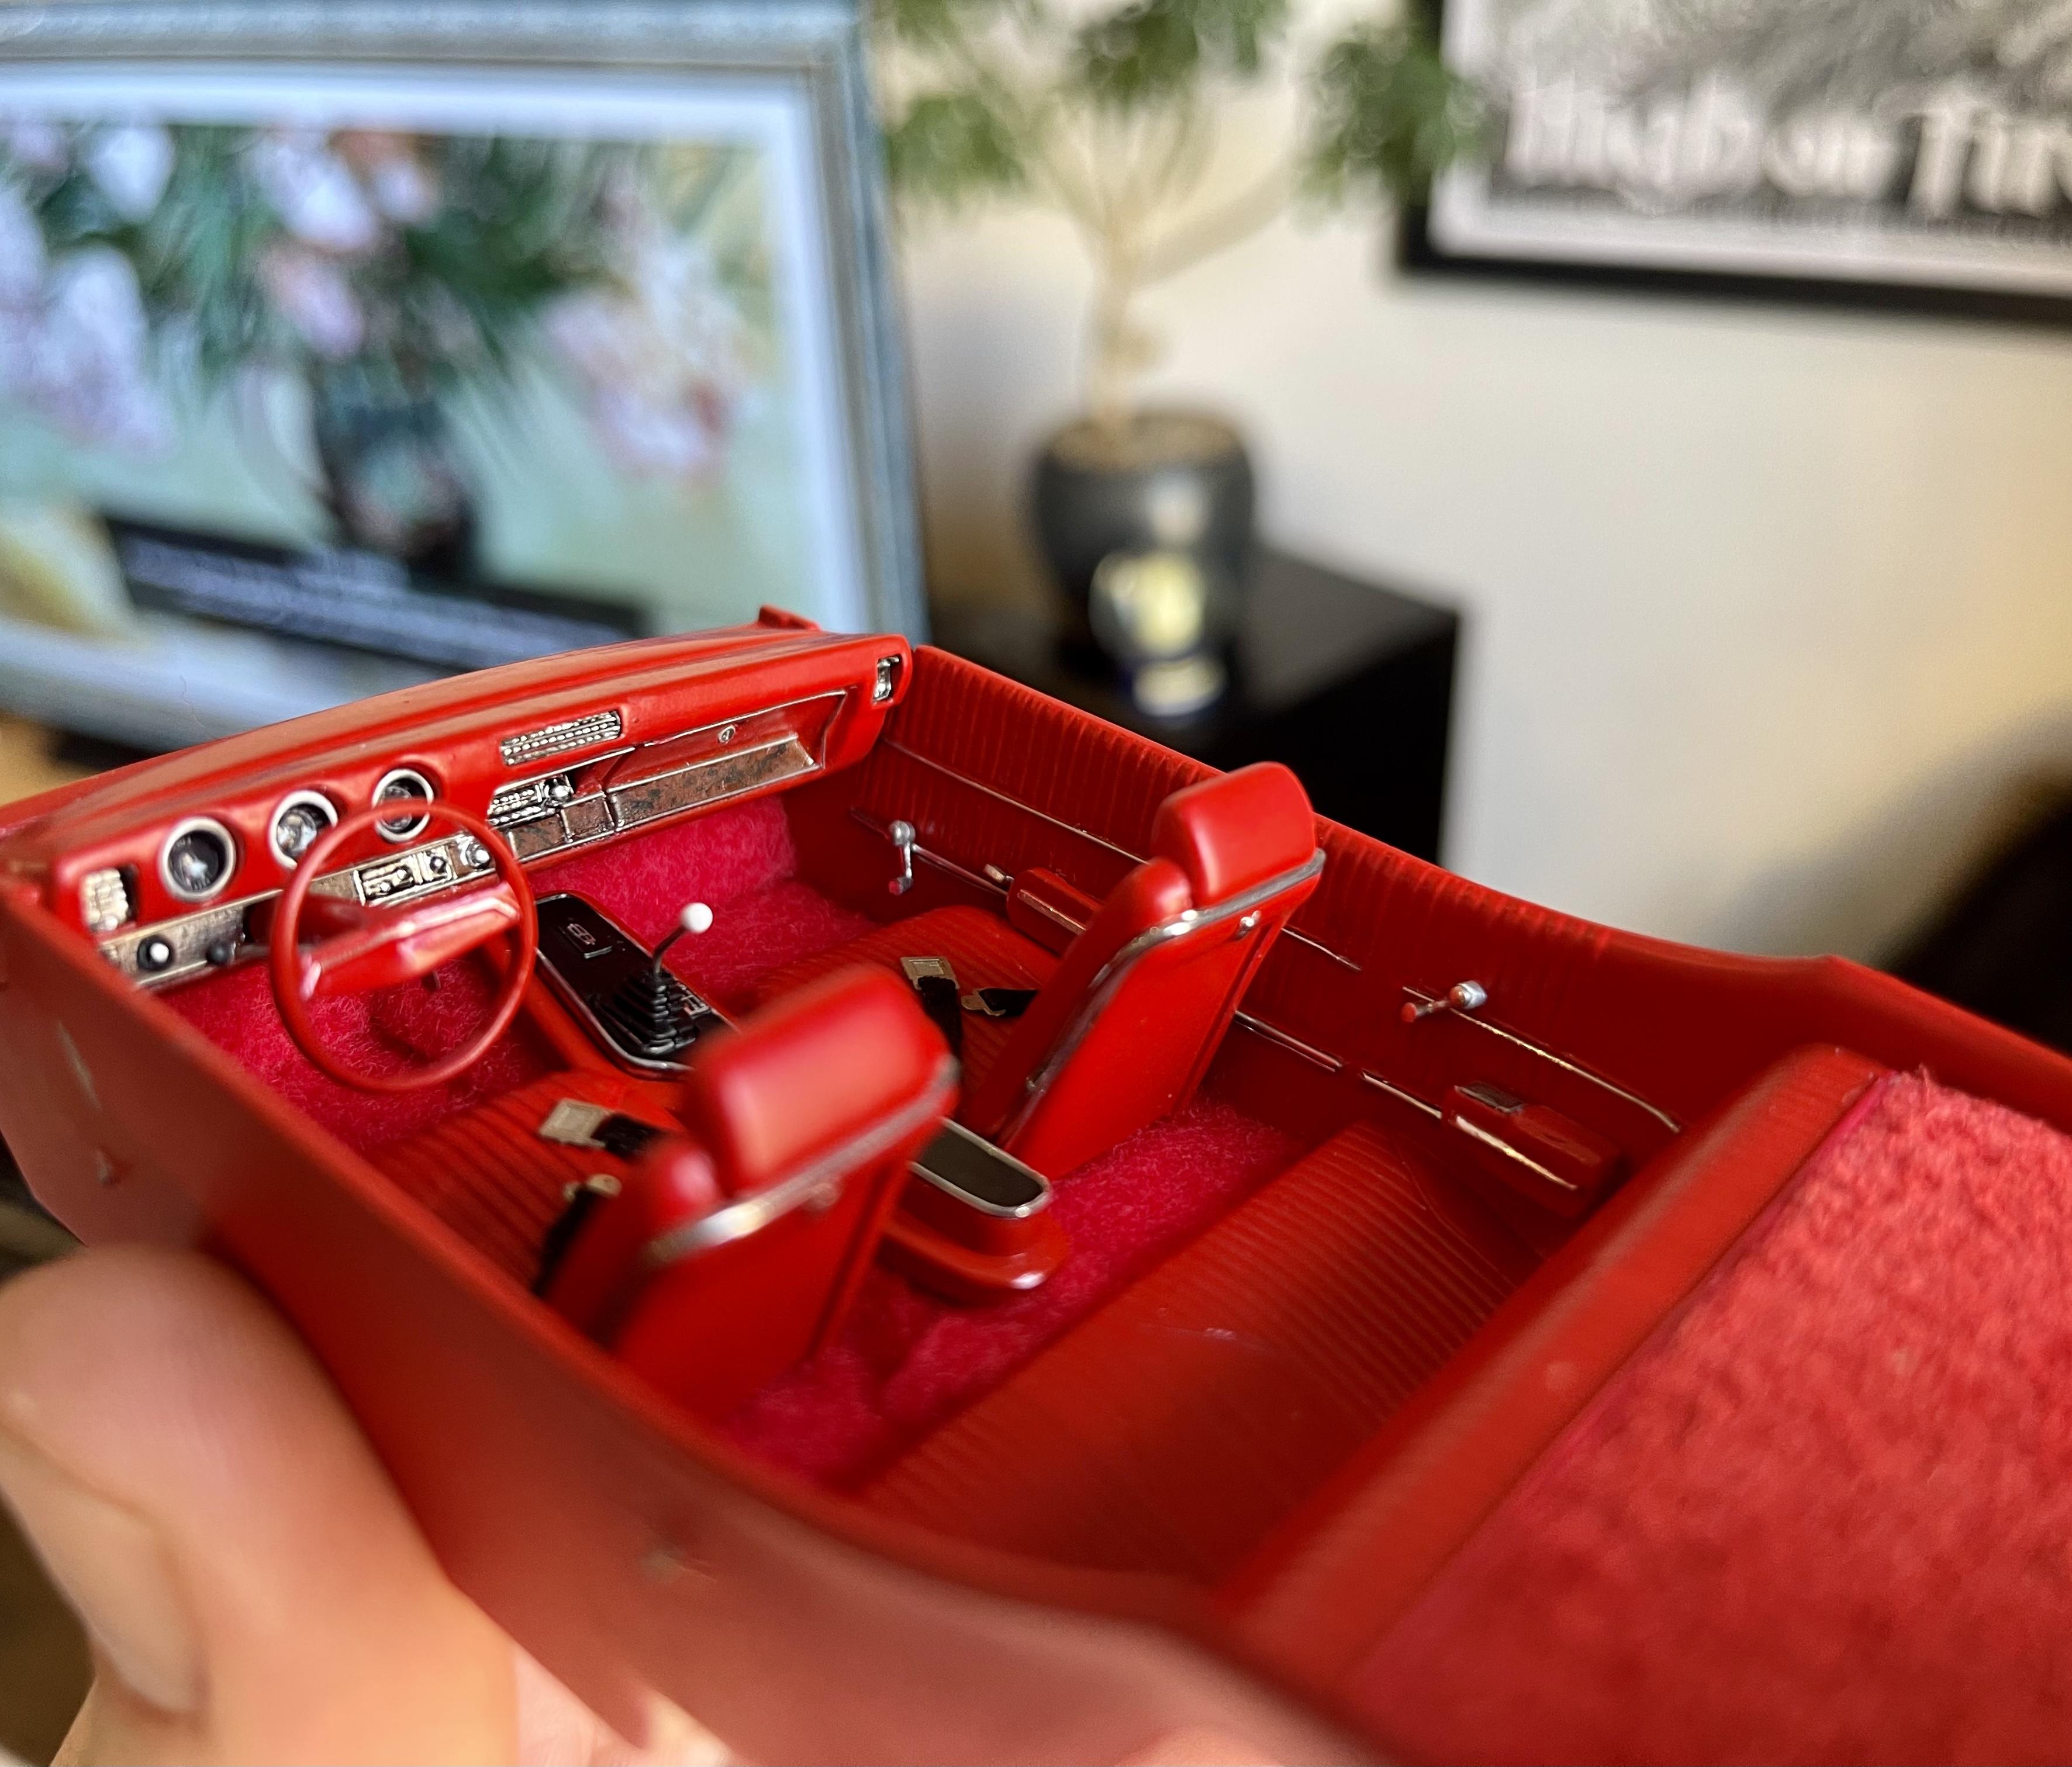
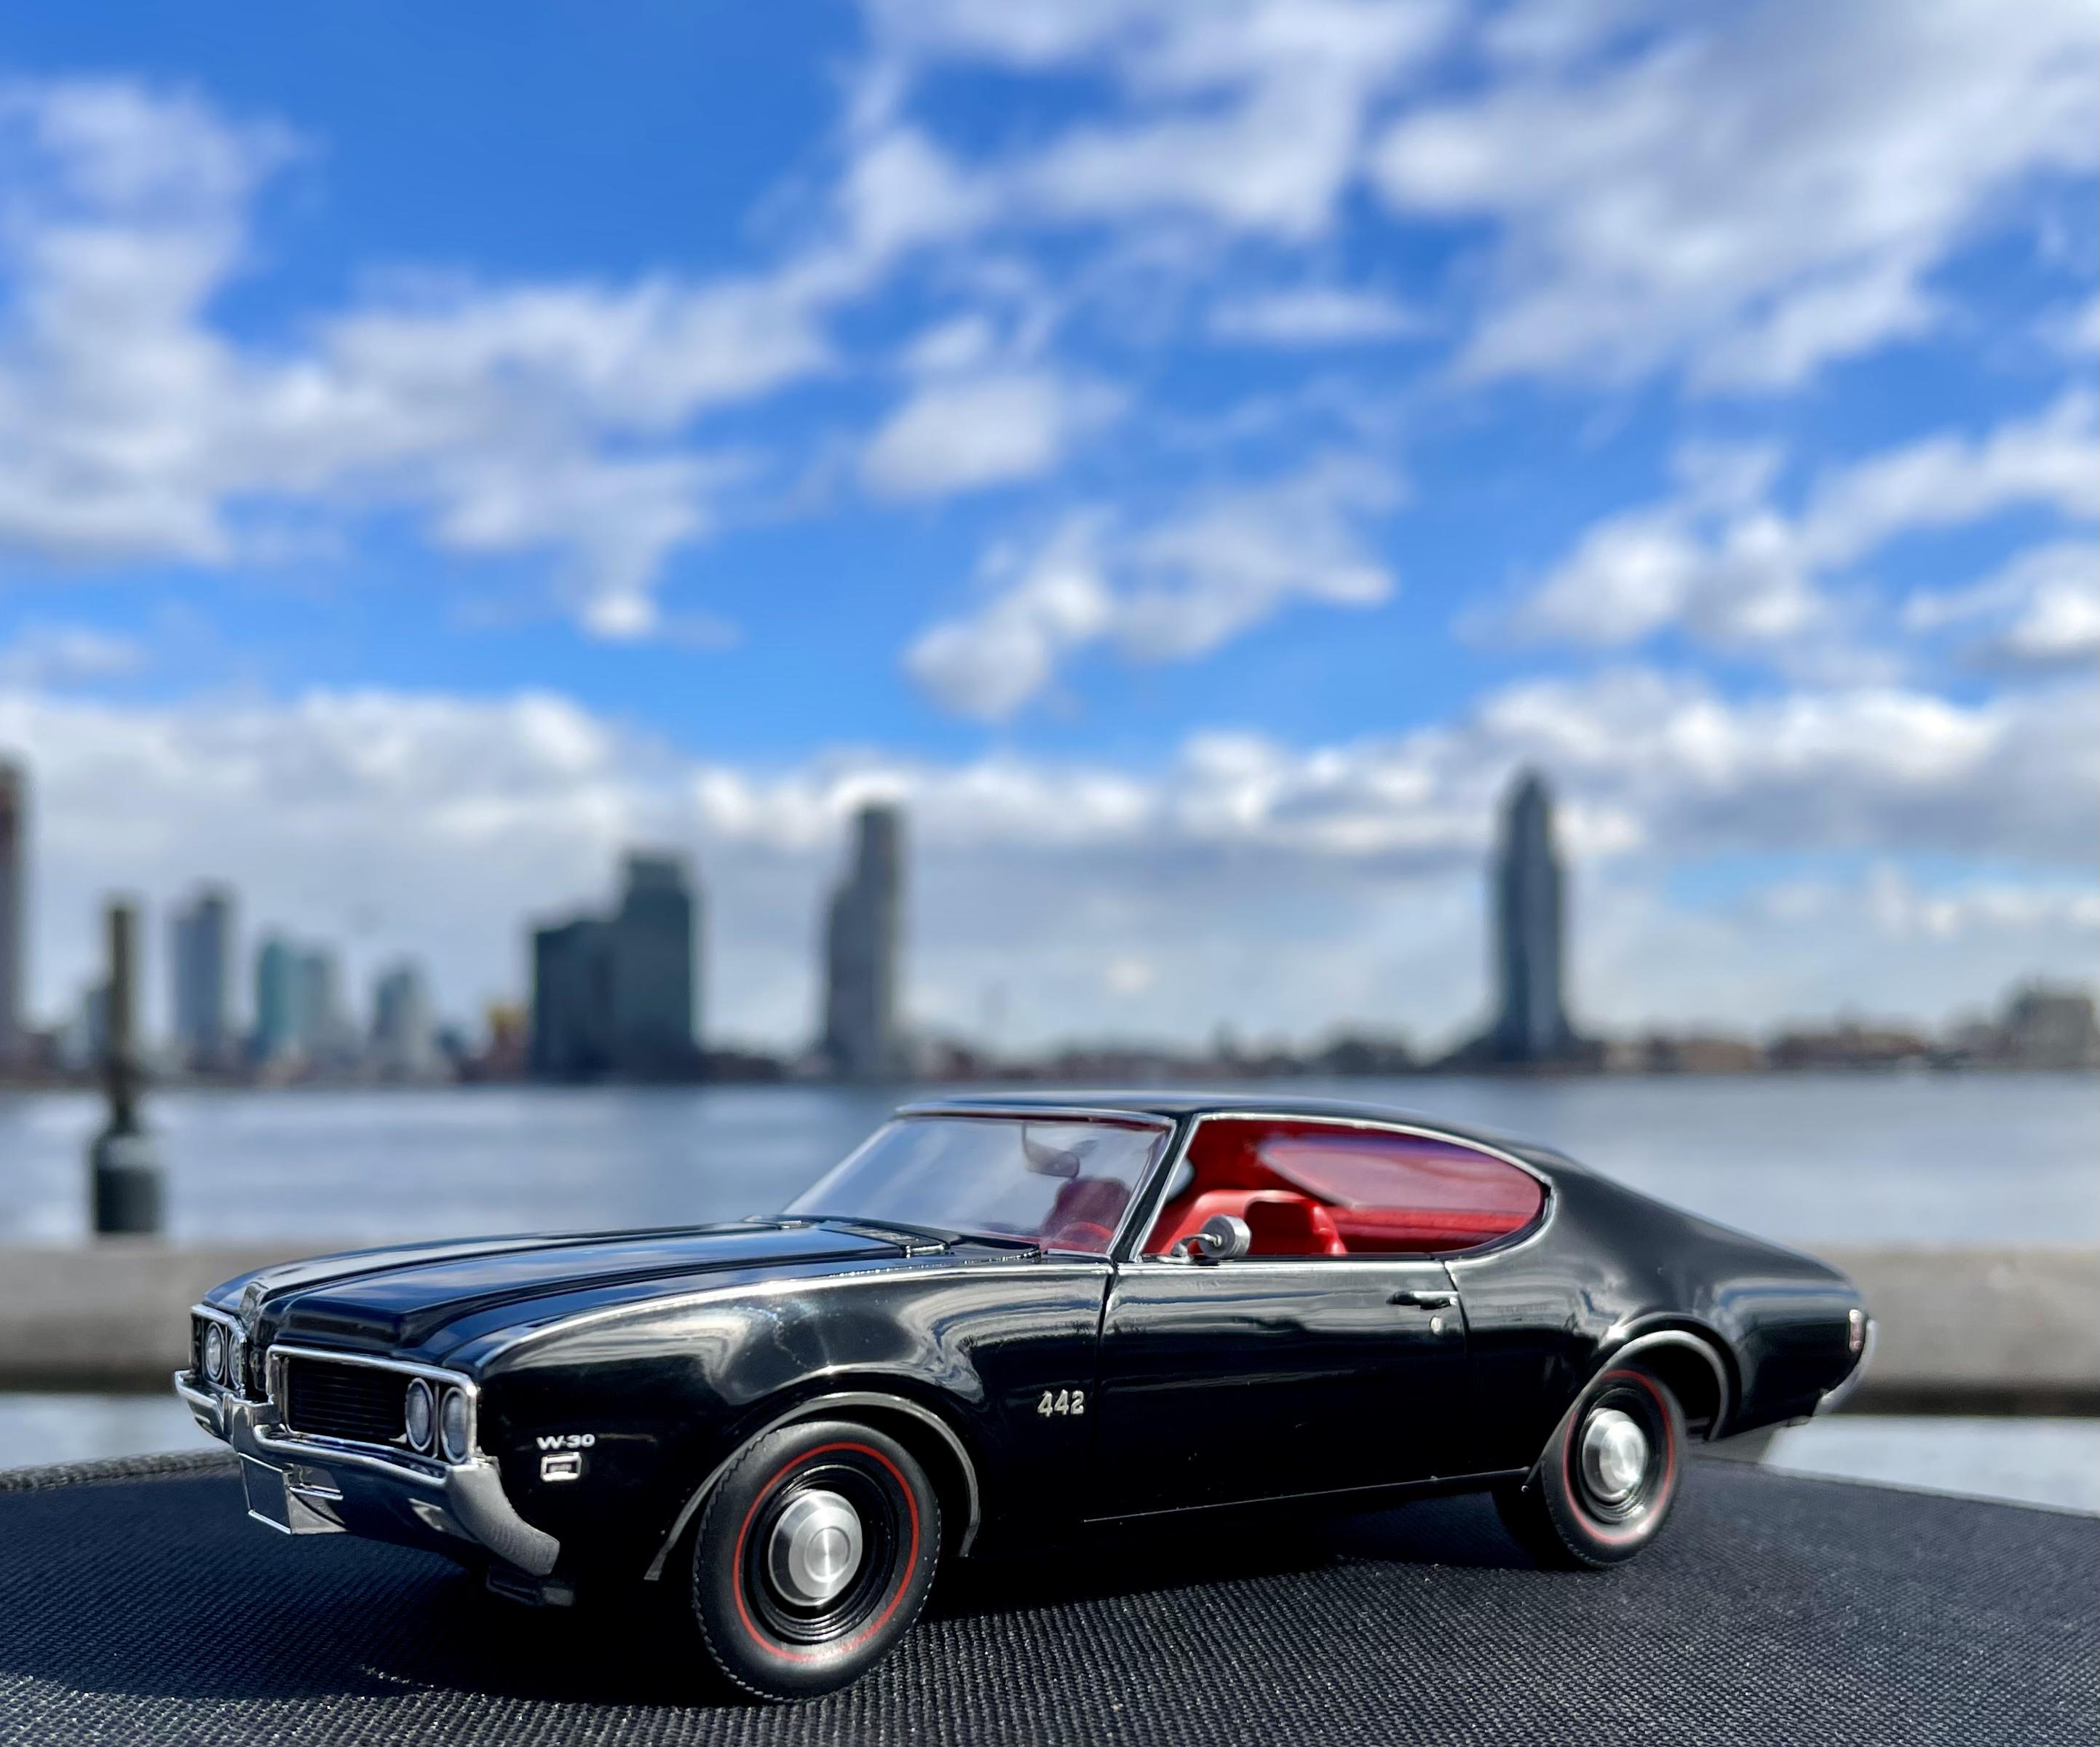
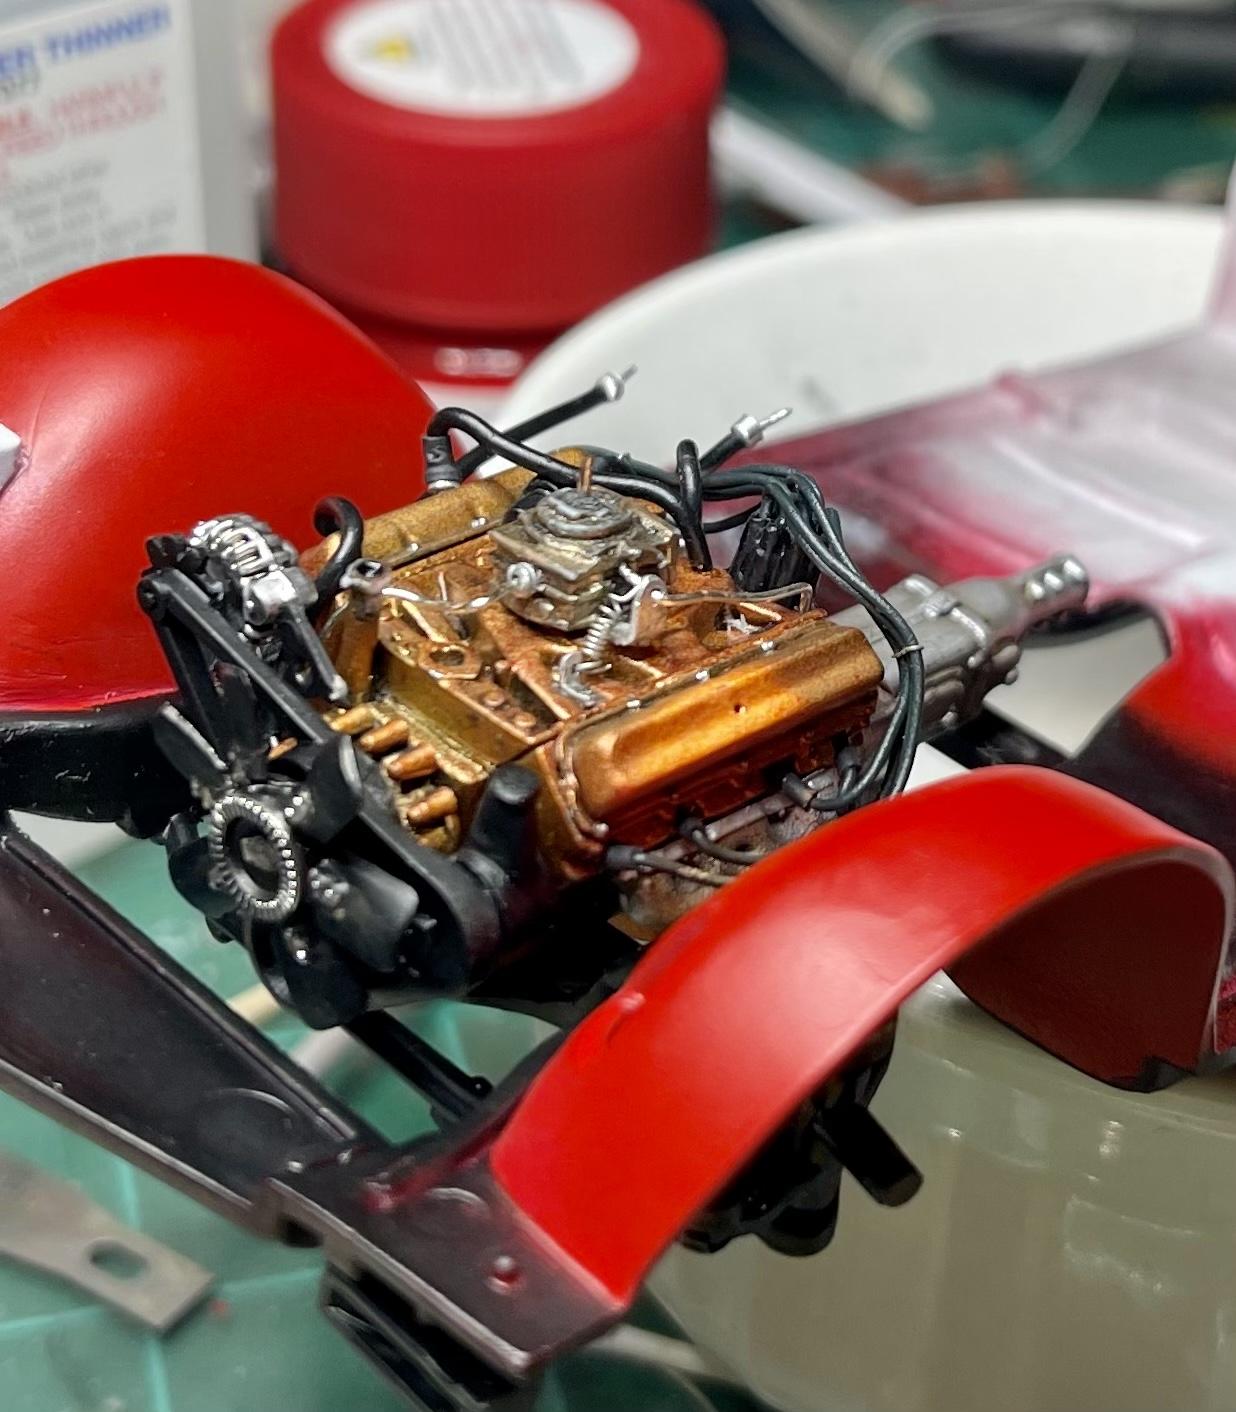
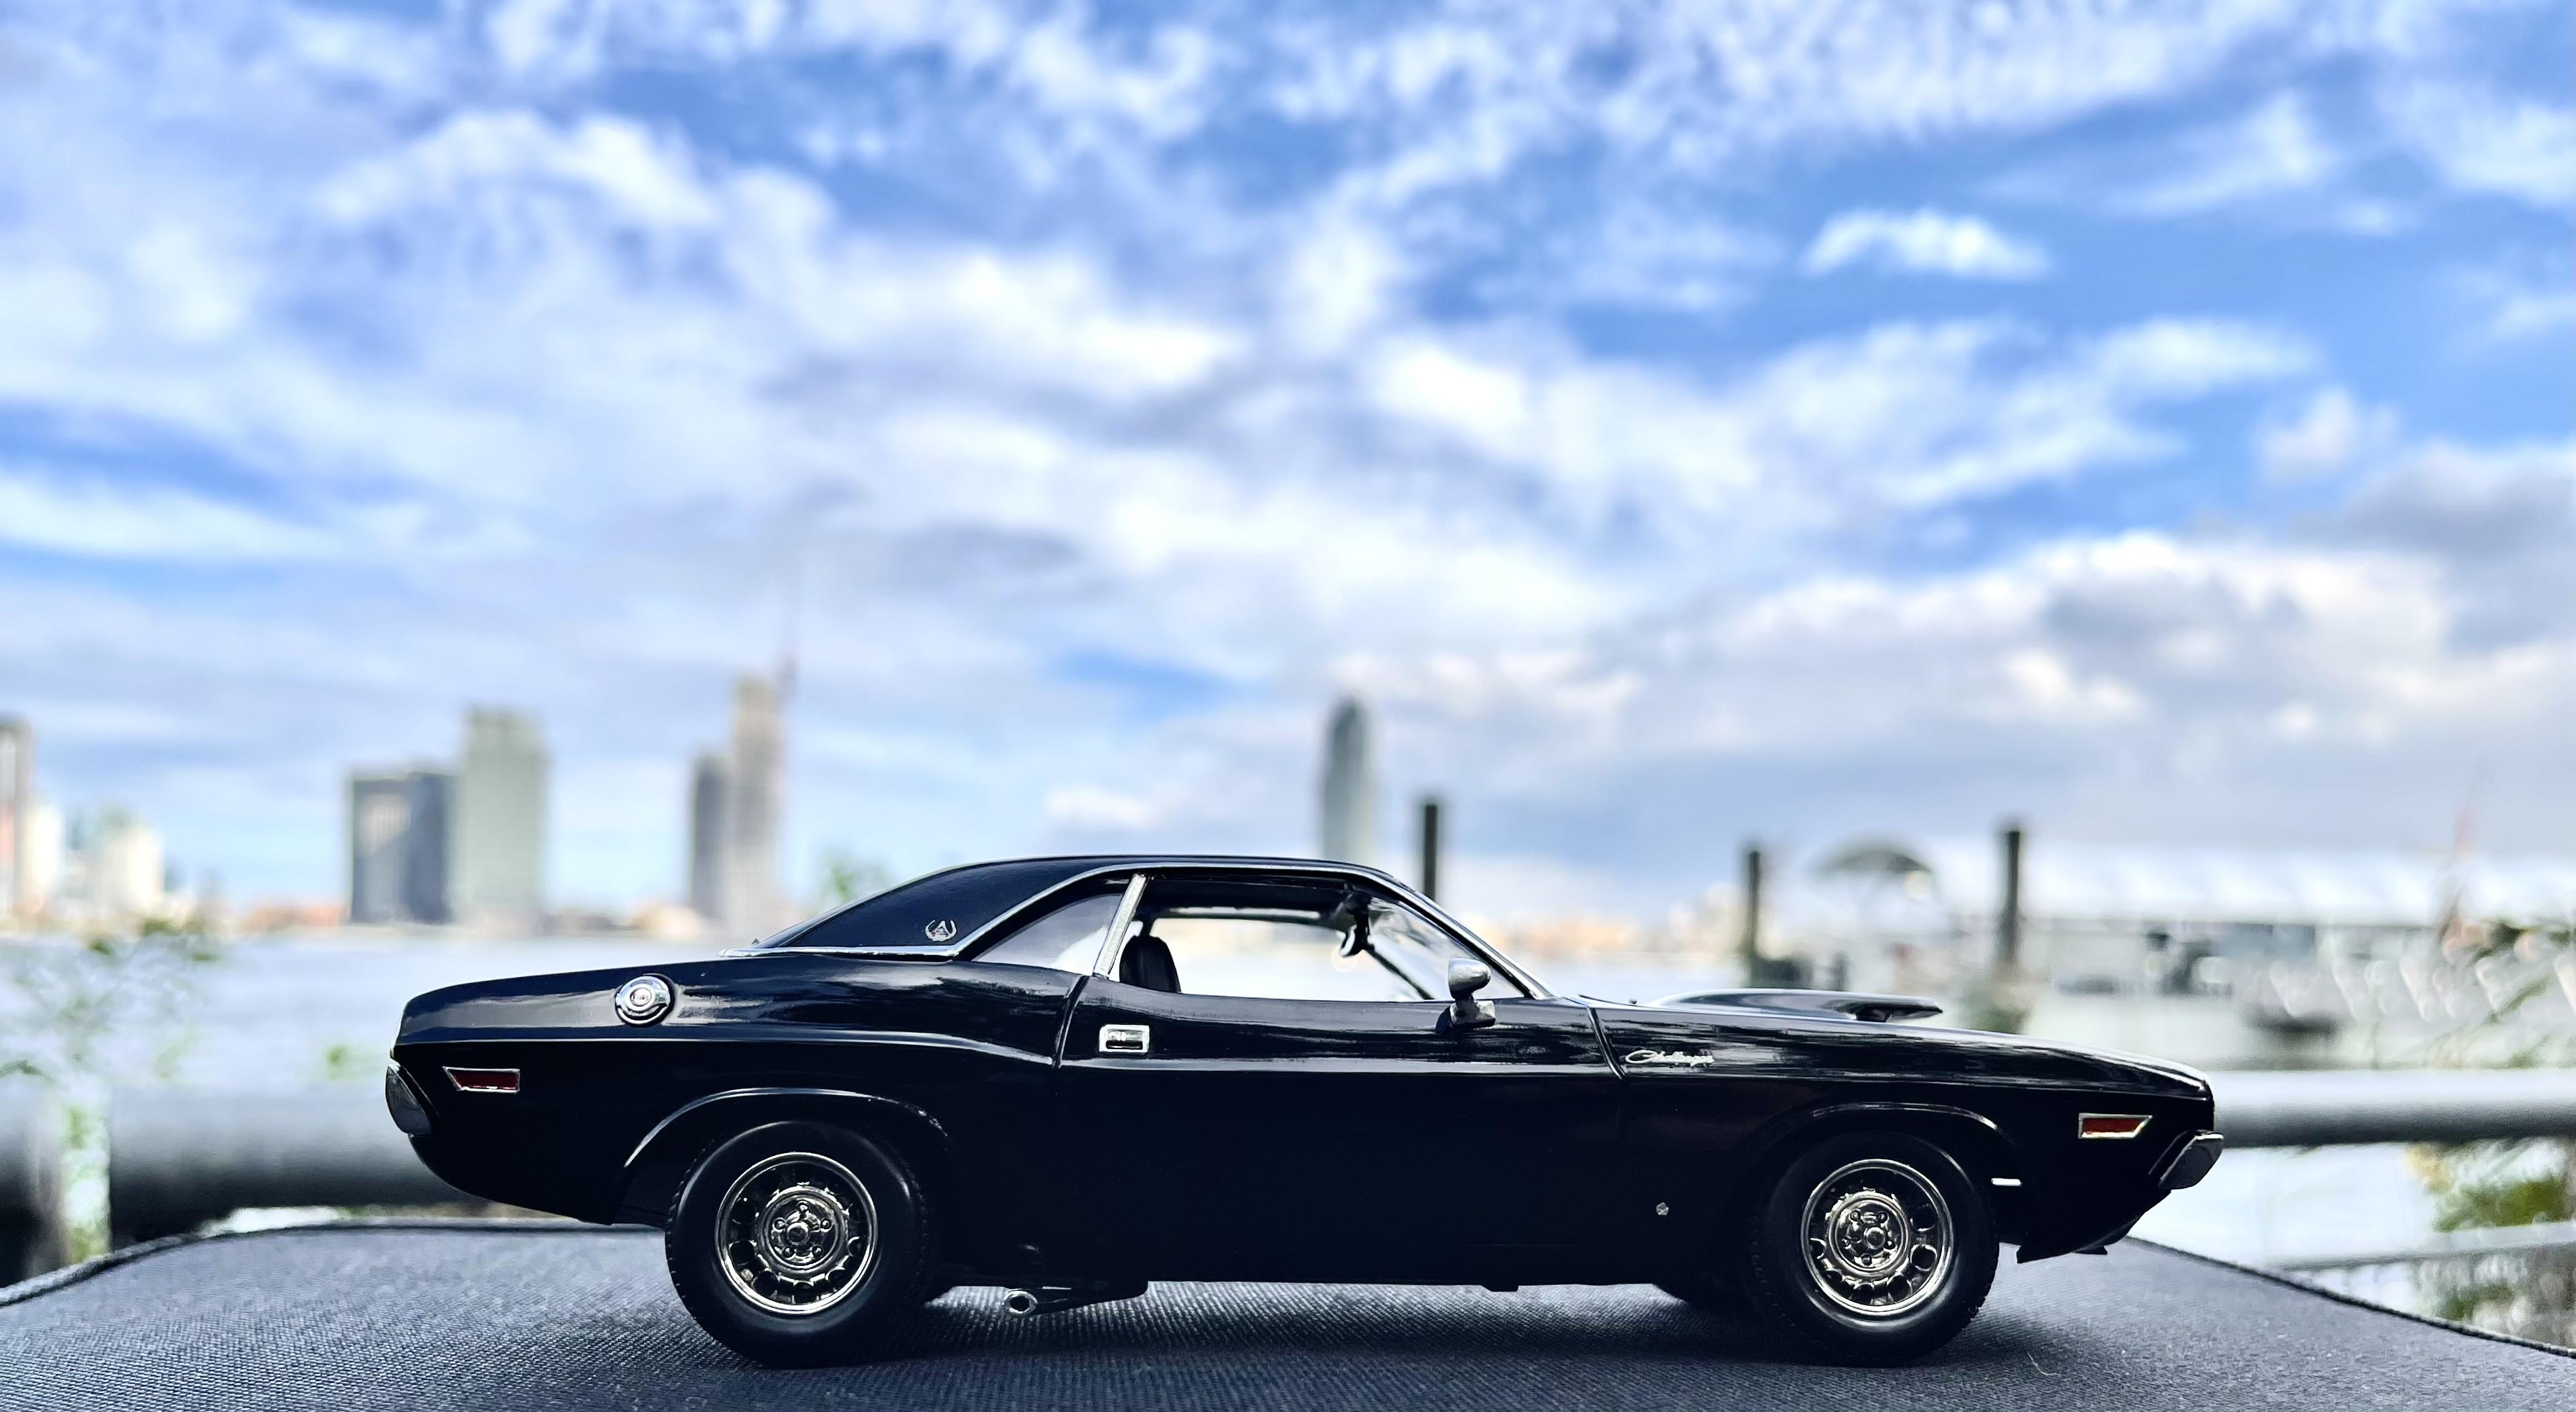
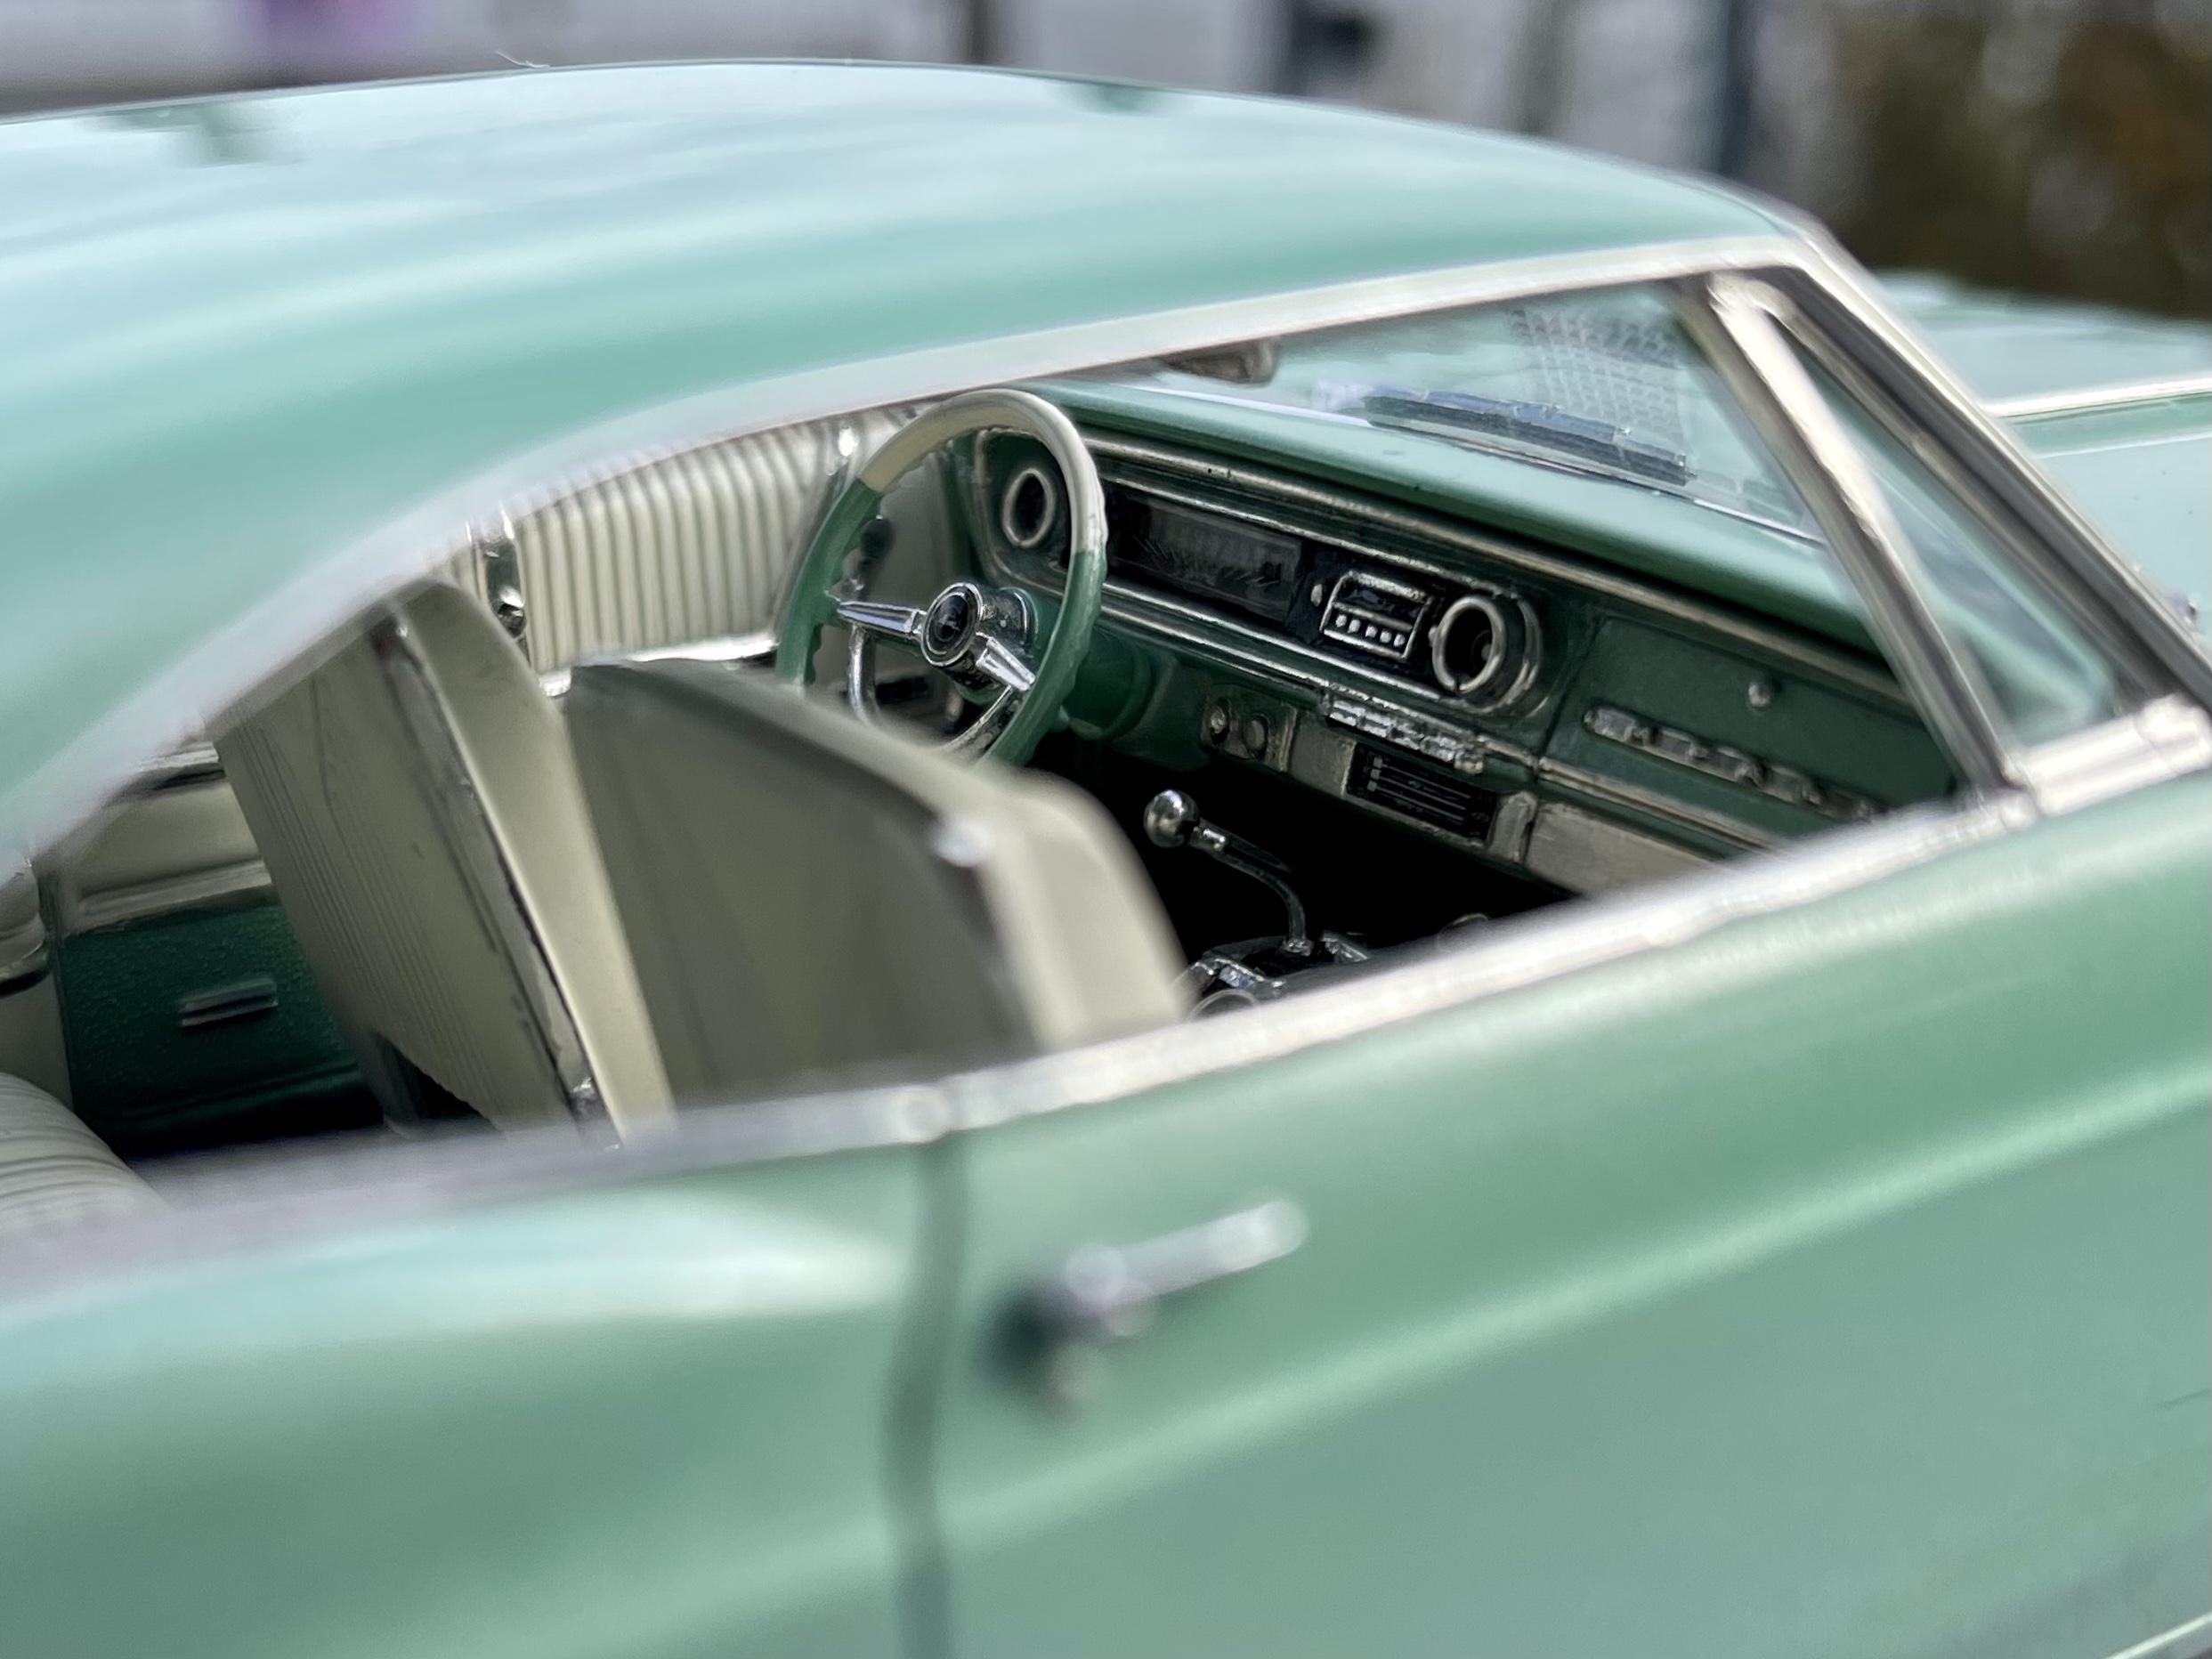
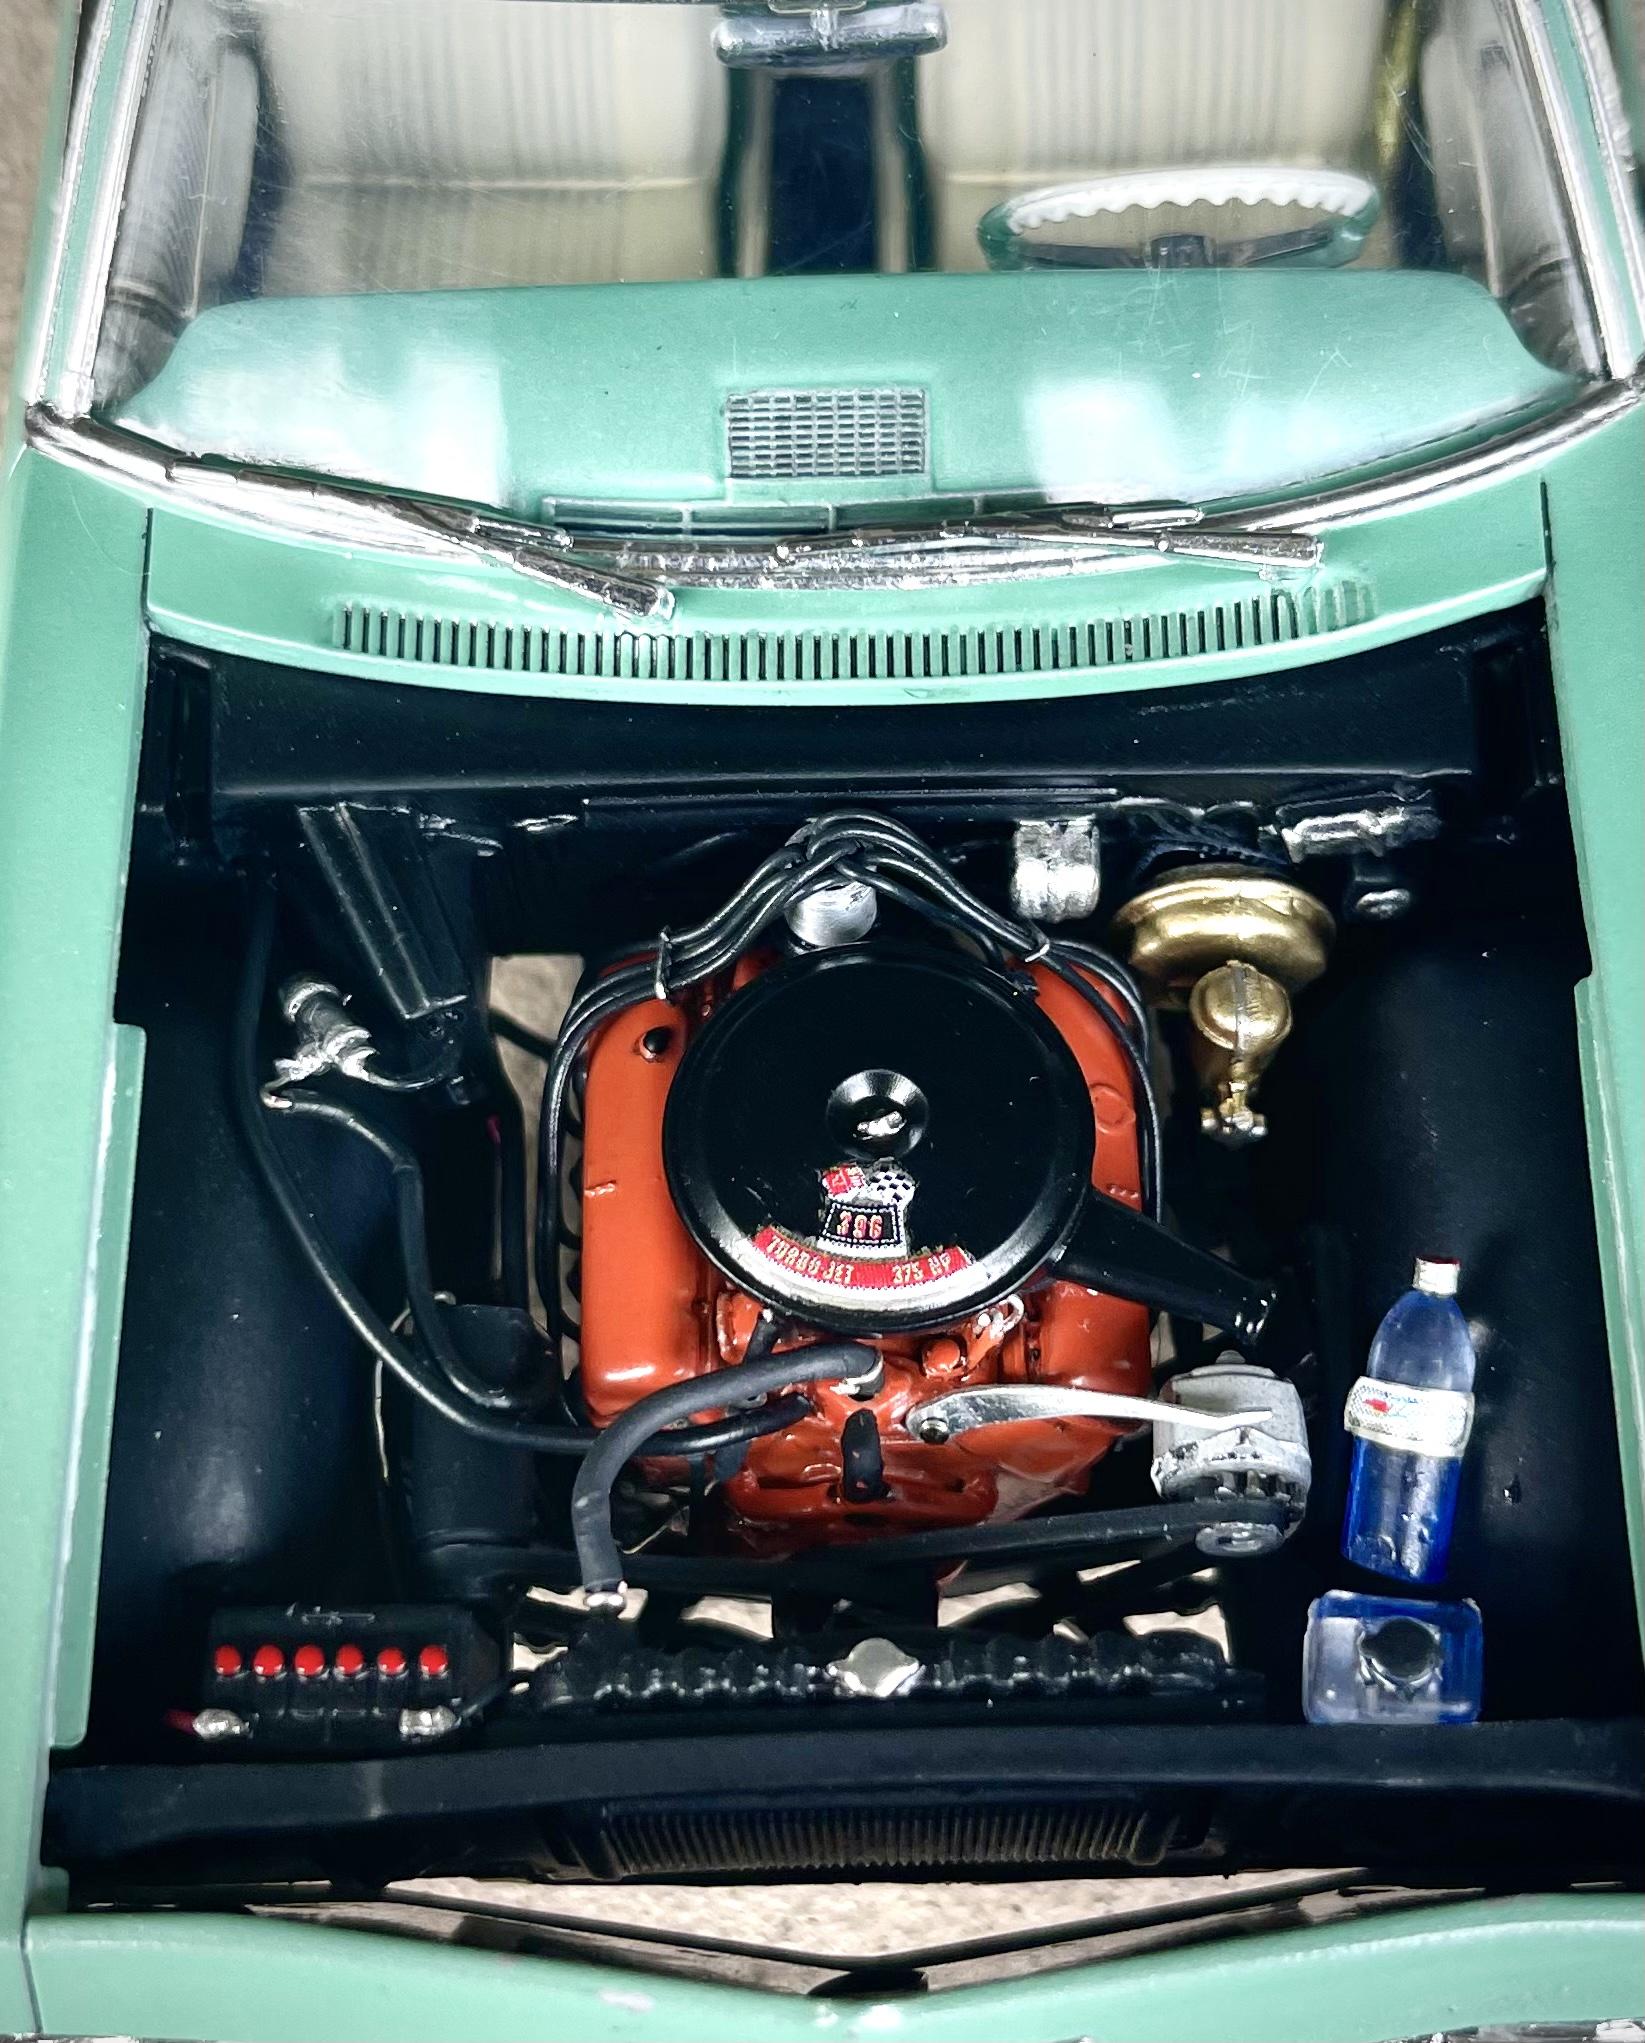
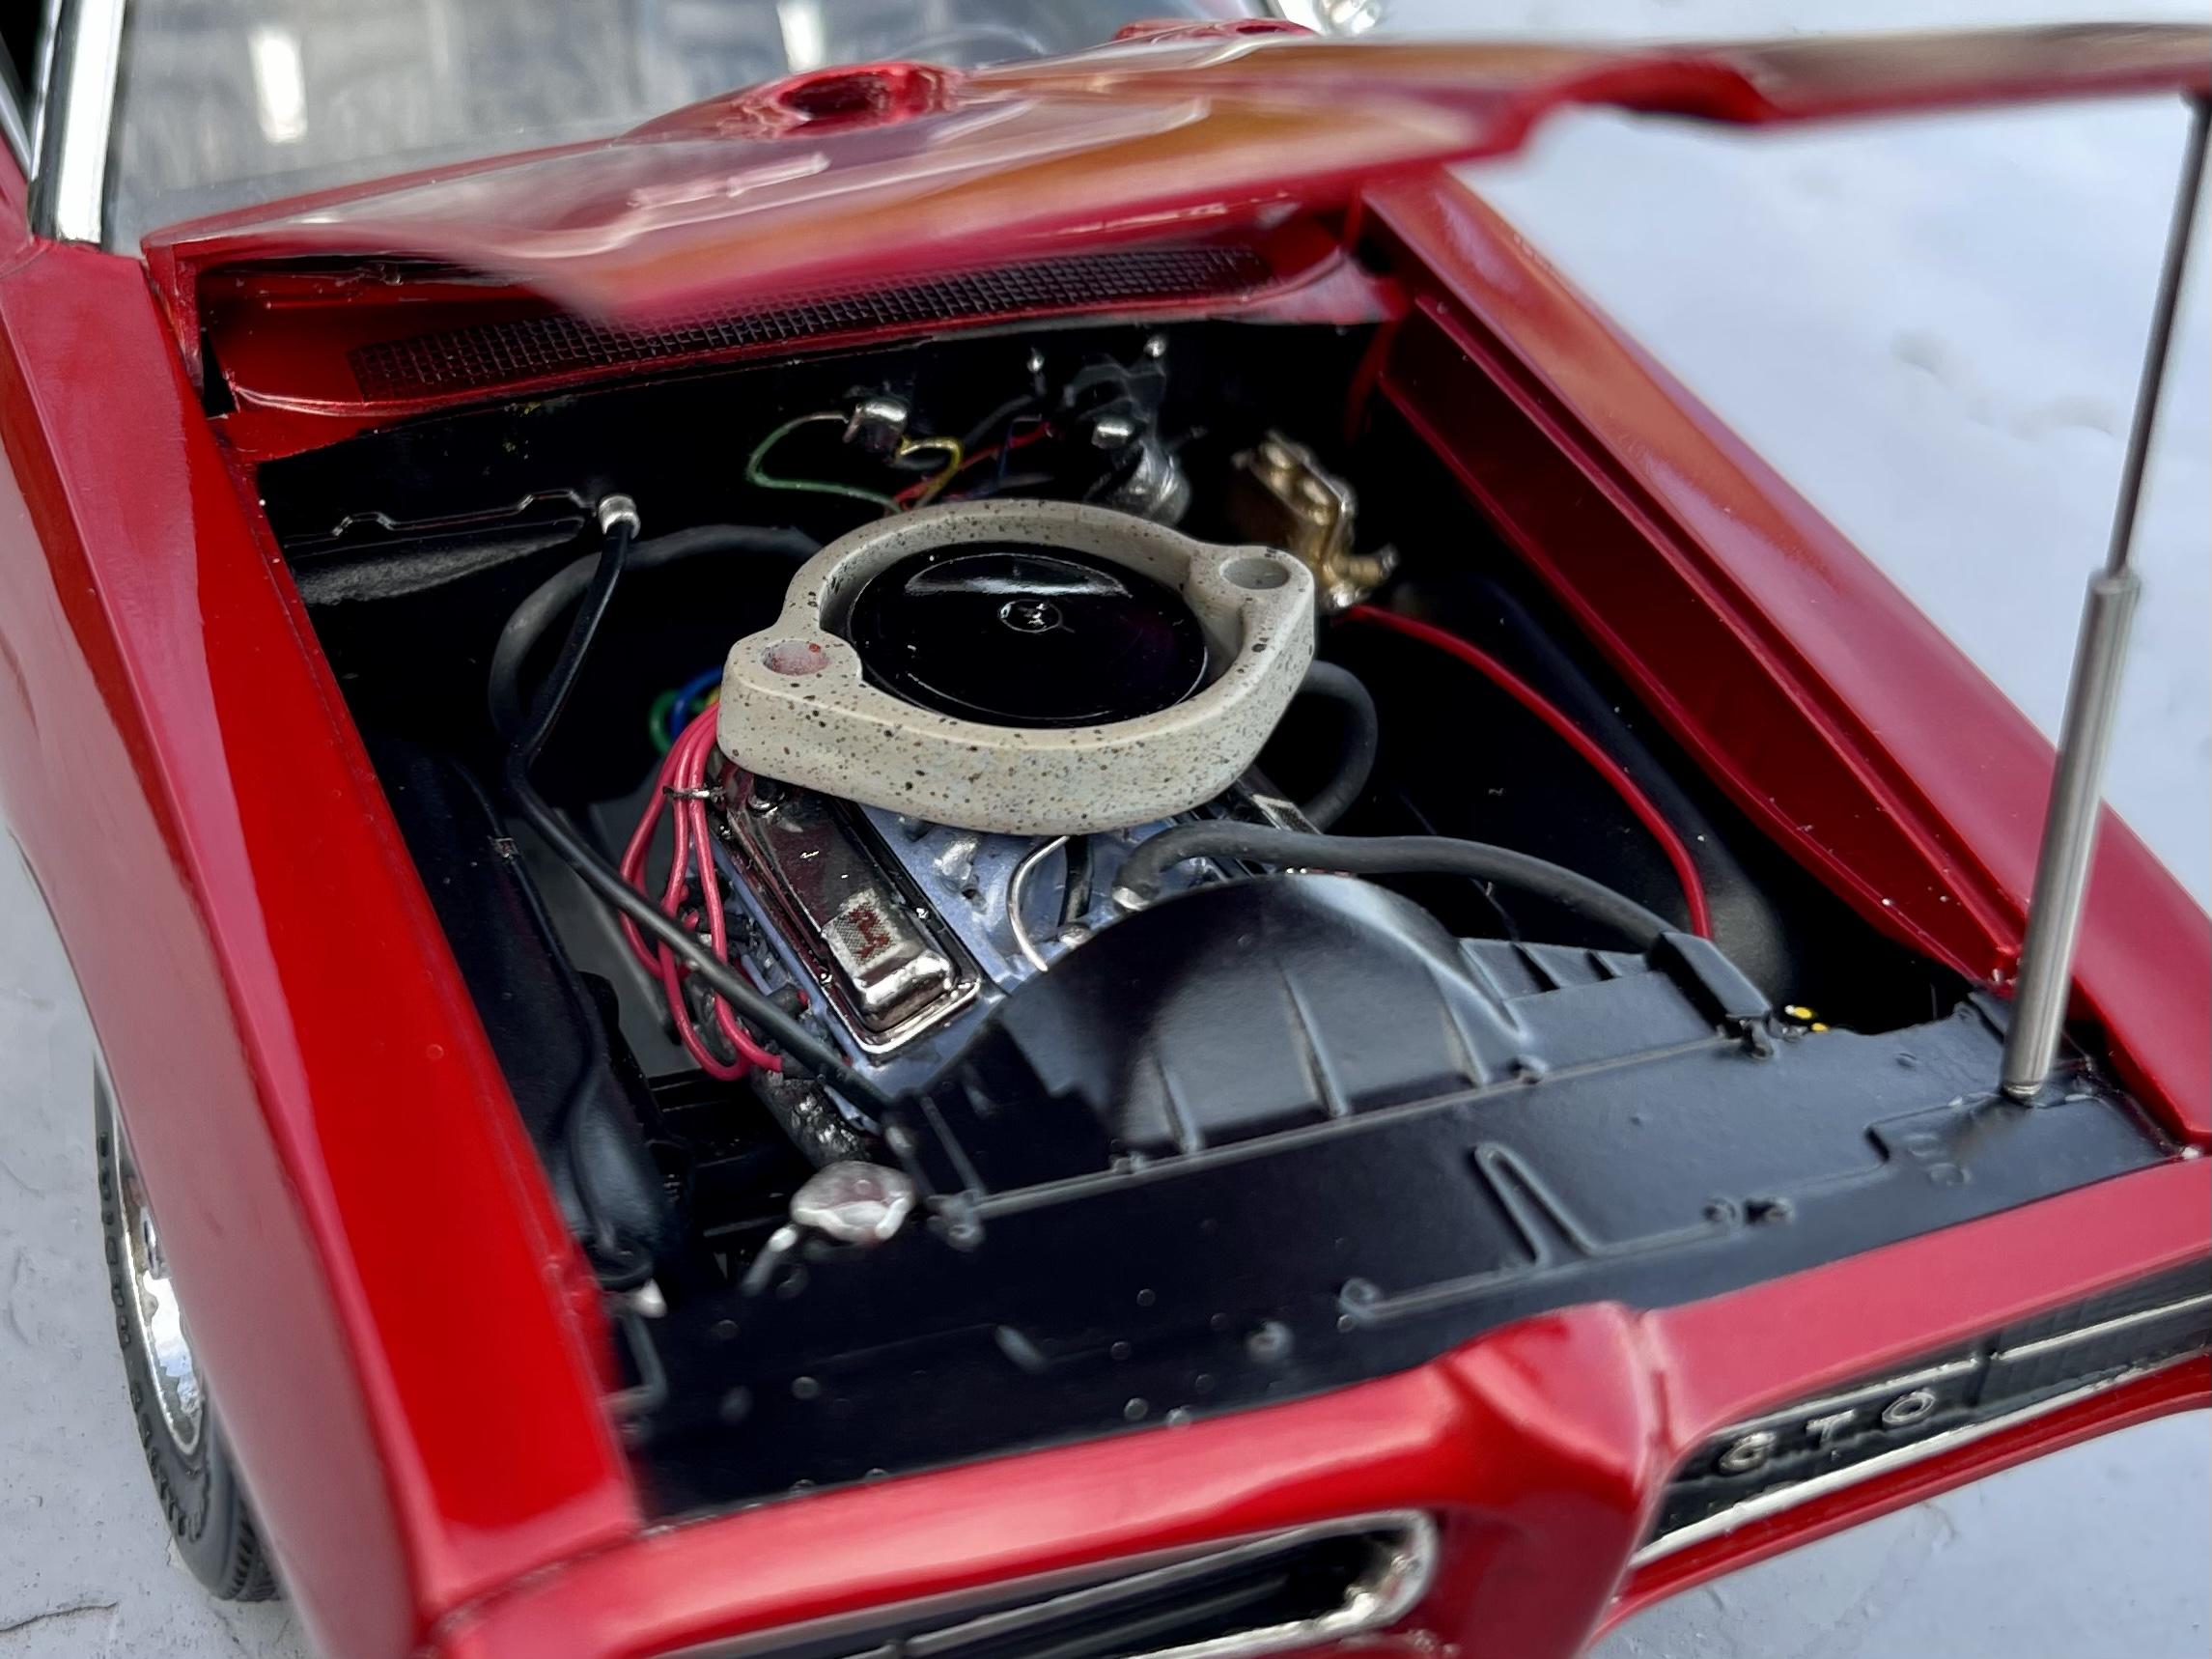
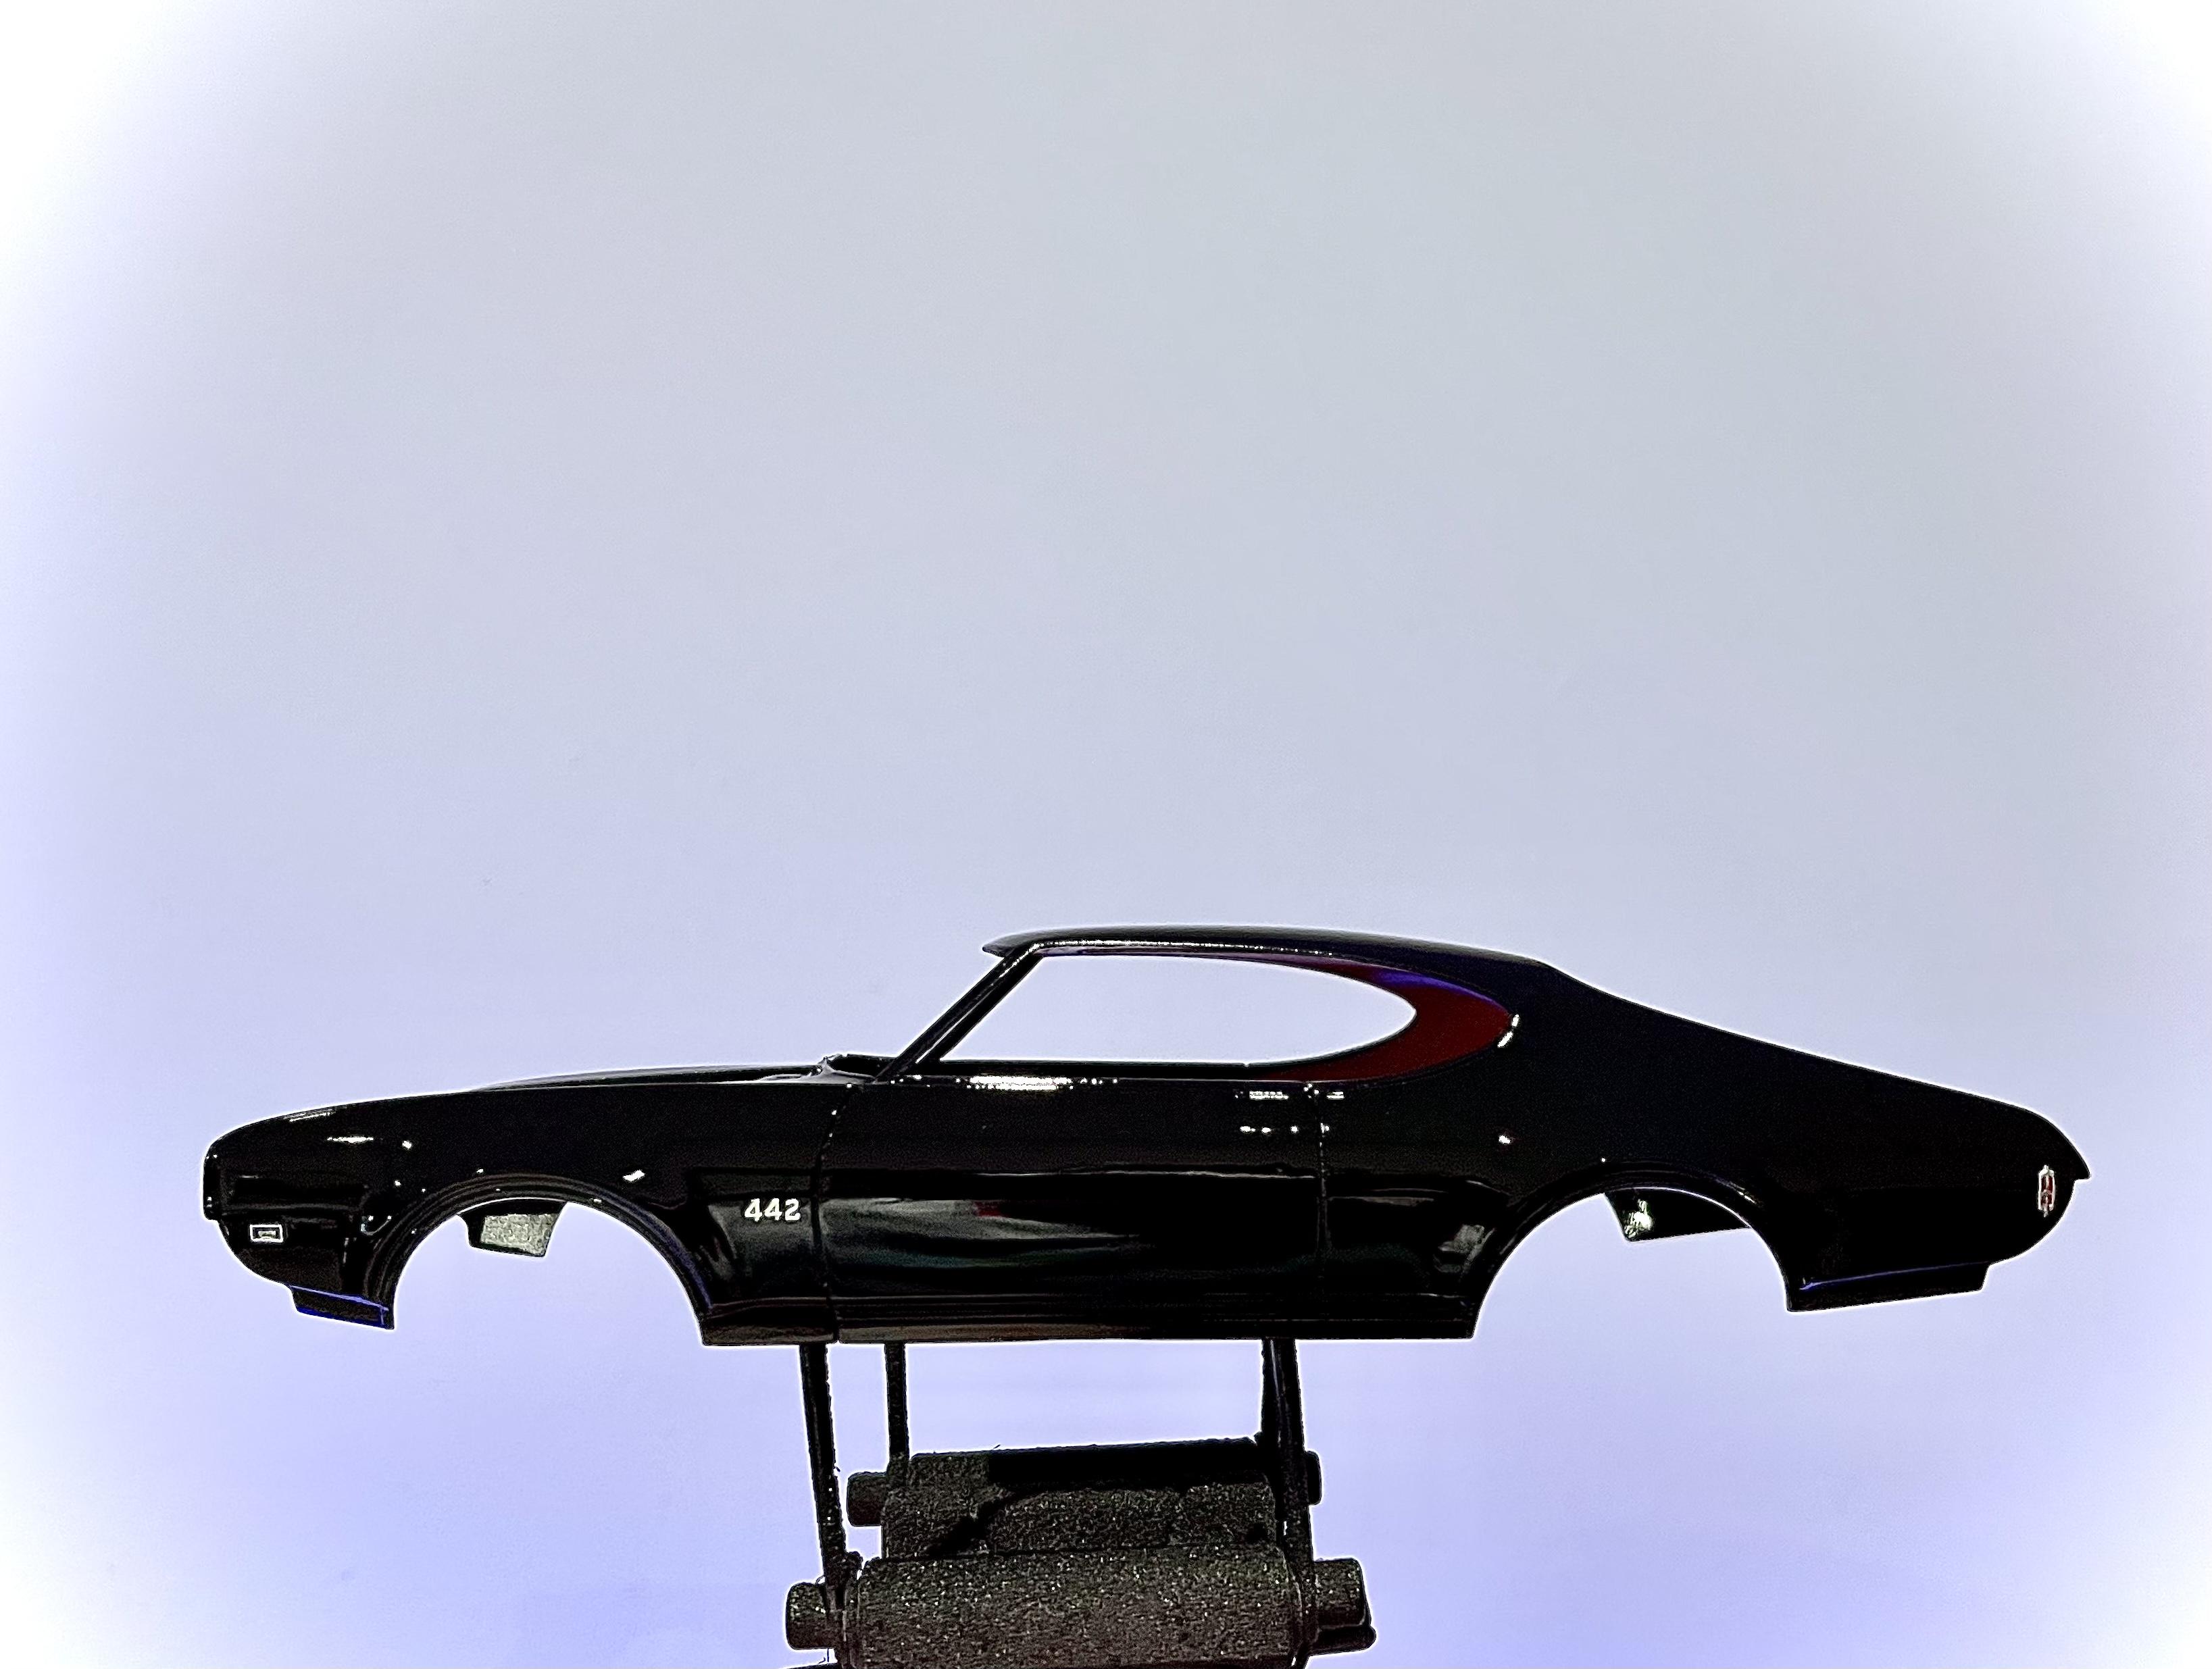
In my limited experience, I’ve had nothing but trouble with AMT/MPC kits. While I liked blaming the kits for the poor final product, the truth was I just wasn’t good enough to handle the challenges they posed. This one was a different animal though. It lacked a bit of detail, but overall the kit was exceptional. The interior needed some attention but it gave me a chance to try some new tricks…I scratch built the armrests, door handles, gauge bezels, indicator lever, stick shift, rear view and side mirrors, sun visors, dome light and window cranks, etc. I also scratched some new air filter hoses because the ones in the kit were a bit skimpy compared to all the reference photos I saw. I added trim and foil to the seats, doors, and dash, and wired/detailed the engine and engine bay. I also used some photo etch badges from MCG, rims and engine bits from a 68 charger kit, gauge decals from an old mustang, and dog dish hubcaps from Parts by Parks. The chrome trim is hasegawa mirror finish, because my BMF is completely useless at this point. The paint is all tamiya cans - black, pure red, gloss clear. And that’s all she wrote! This was probably my favorite build to date ??
- 36 replies
-
- 6
-

-

-
- oldsmobile
- 442
- (and 1 more)
-
Thanks man. Yeah I loved those jag kits so much I bought 6 more. Gonna start a fleet haha
-
Thanks! Mine too
-
thanks guys! get one of those jag kits if you can find them. best quality revell kit i've come across so far!
-
for sure - i actually just emailed fireball a few weeks ago for pricing on some carbs and wheels. gonna make a massive difference on a few of my upcoming builds. I paid $18 for the 442 kit and bought a $20 photoetch set for it, just for the front and side badges haha. It'll be worth it though. very excited for this one to be completed.
-
haha - thanks! thanks man - music has always been my creative outlet so i never really did anything "crafty" before - never even touched a can of spray paint until i stumbled across the model section at hobby lobby. i was looking for a covid project and the cars kinda just happened. that said, my mother is an artist and my father is an engineer so the combo of their genes probably helps lol
-
thanks john - there's def been a bit a bit of a learning curve (my first dozen or so builds will probably be donating parts for future builds!) but i'm starting to get the hang of it. crazy how i used to HATE doing the engines, and now its my favorite part. this 442 i'm doing now has a real shot at being my best build to date, and i'm praying i don't screw it up in the home stretch...it's the first amt kit i've actually been impressed by so far, but we'll see how final assembly goes...
-
thanks dude. it's just the plastic part that came with the kit - painted it to make it look textured.
-
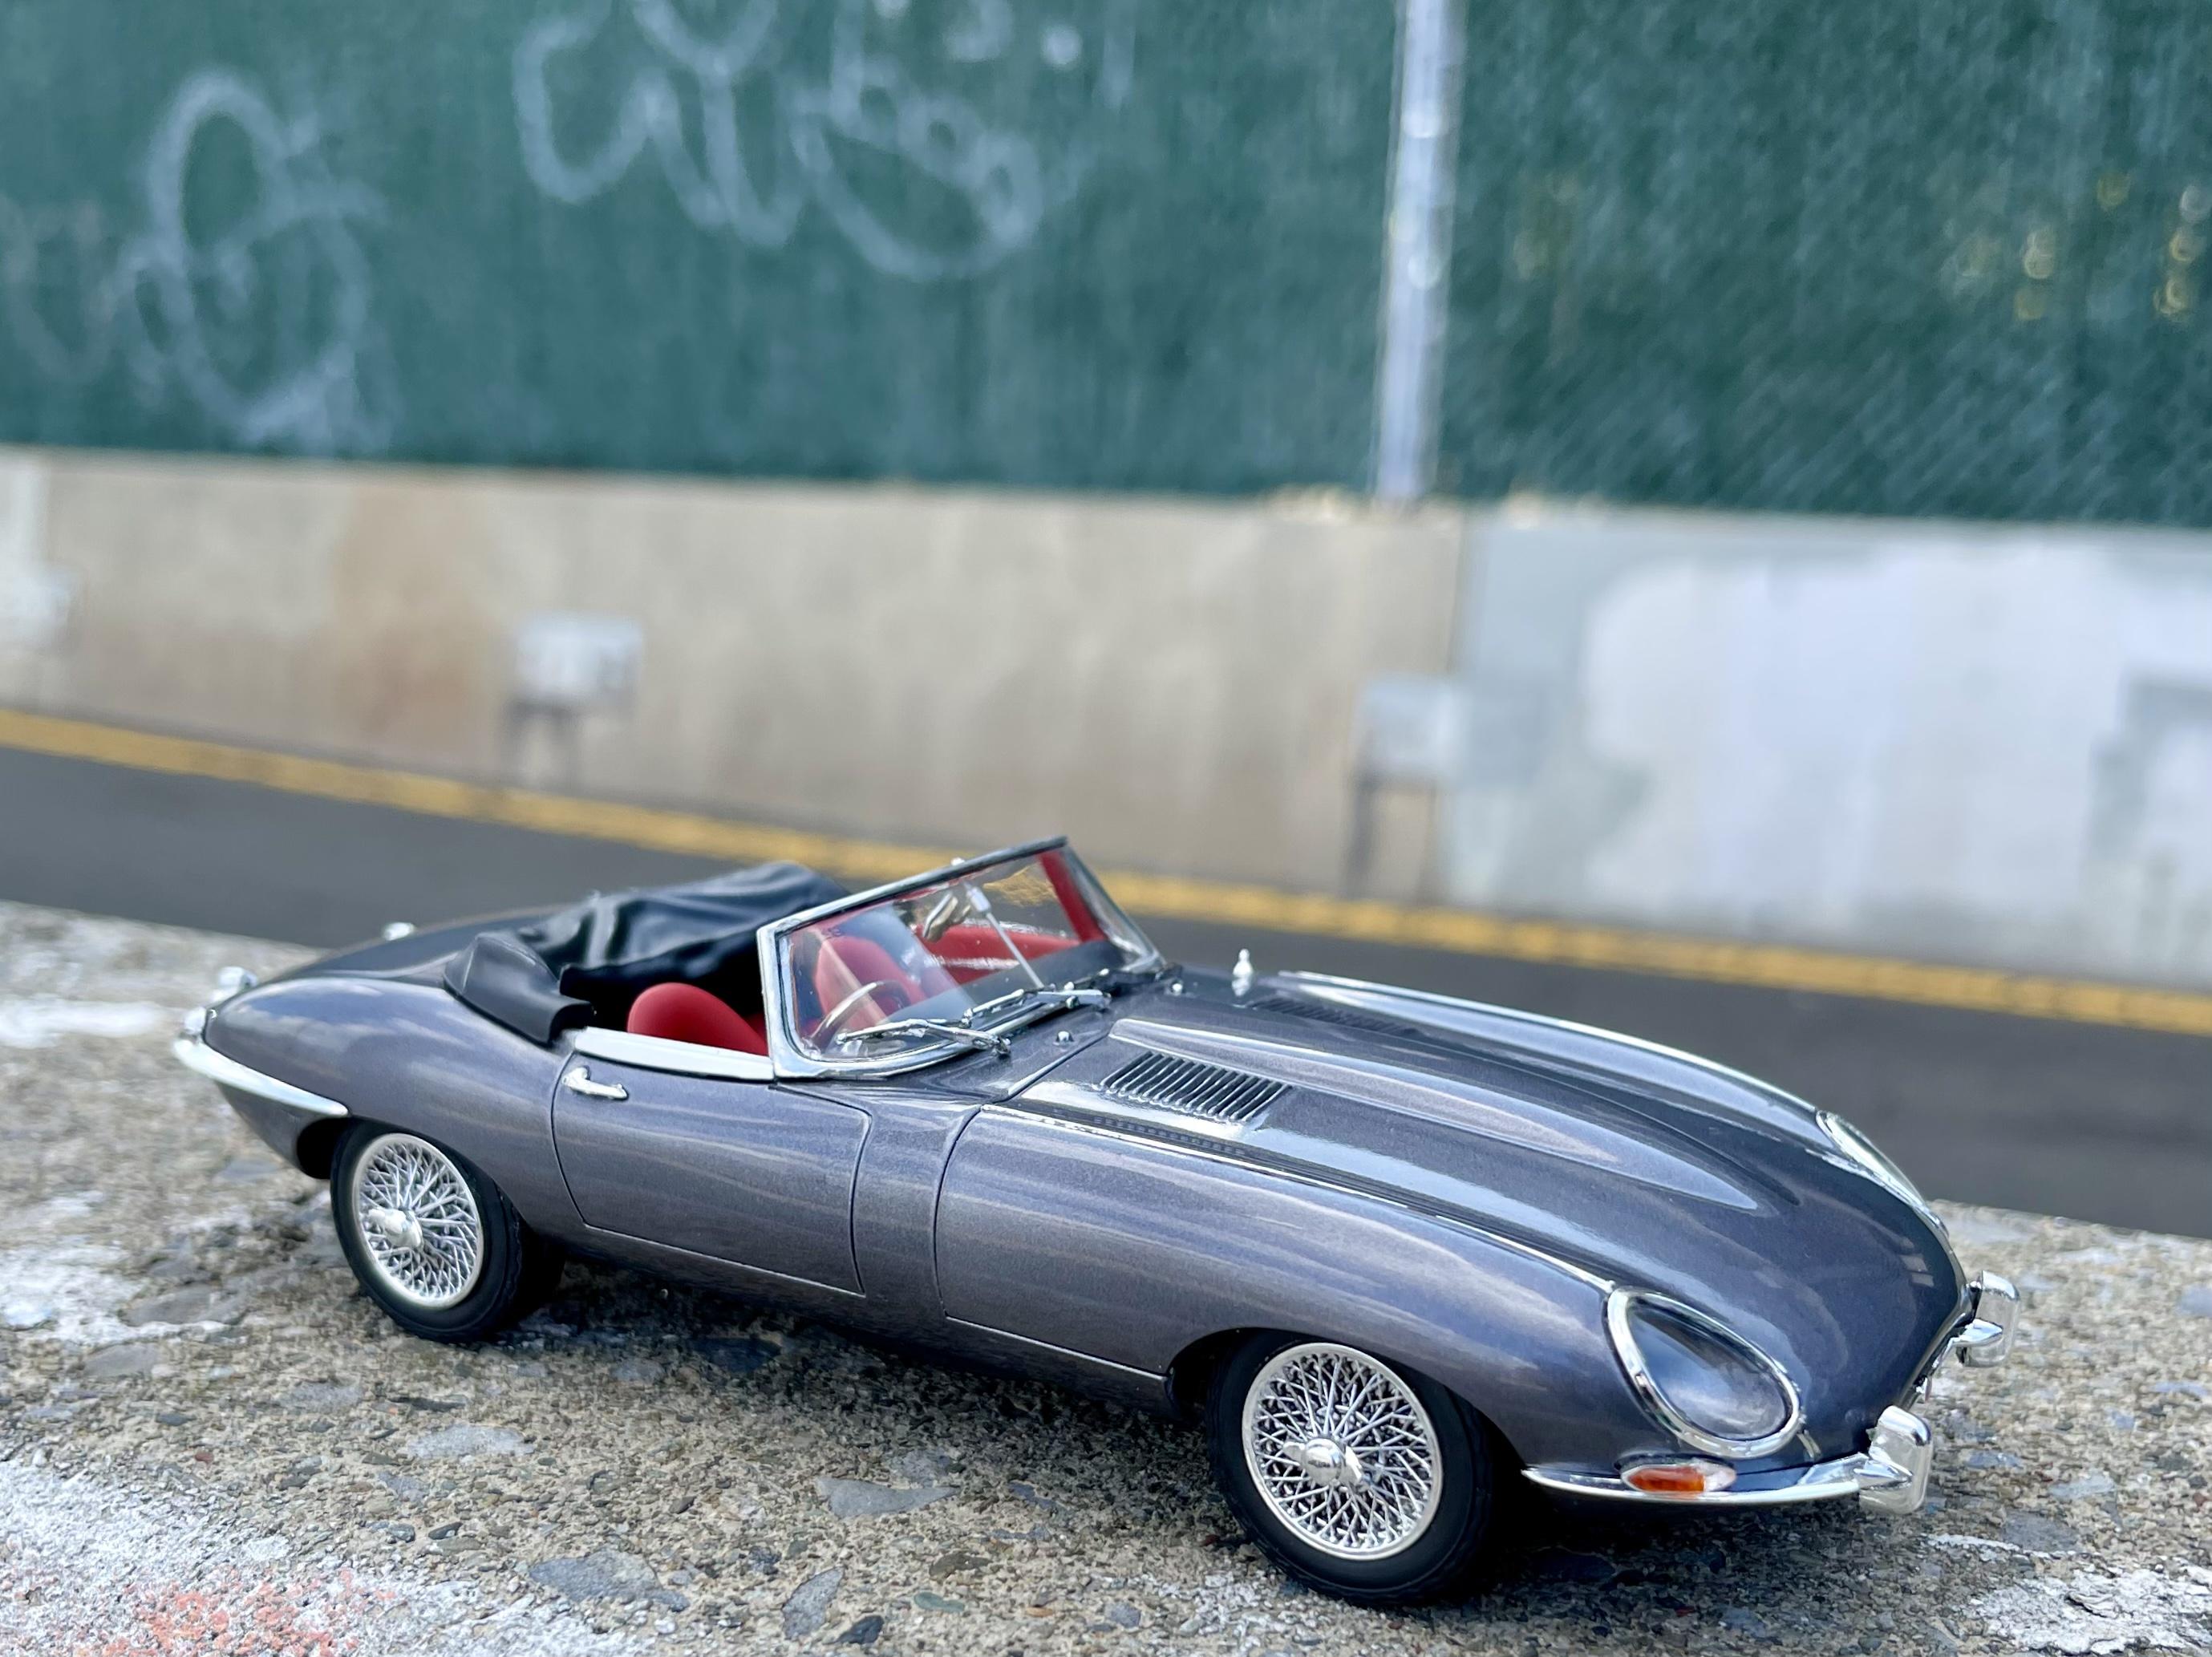
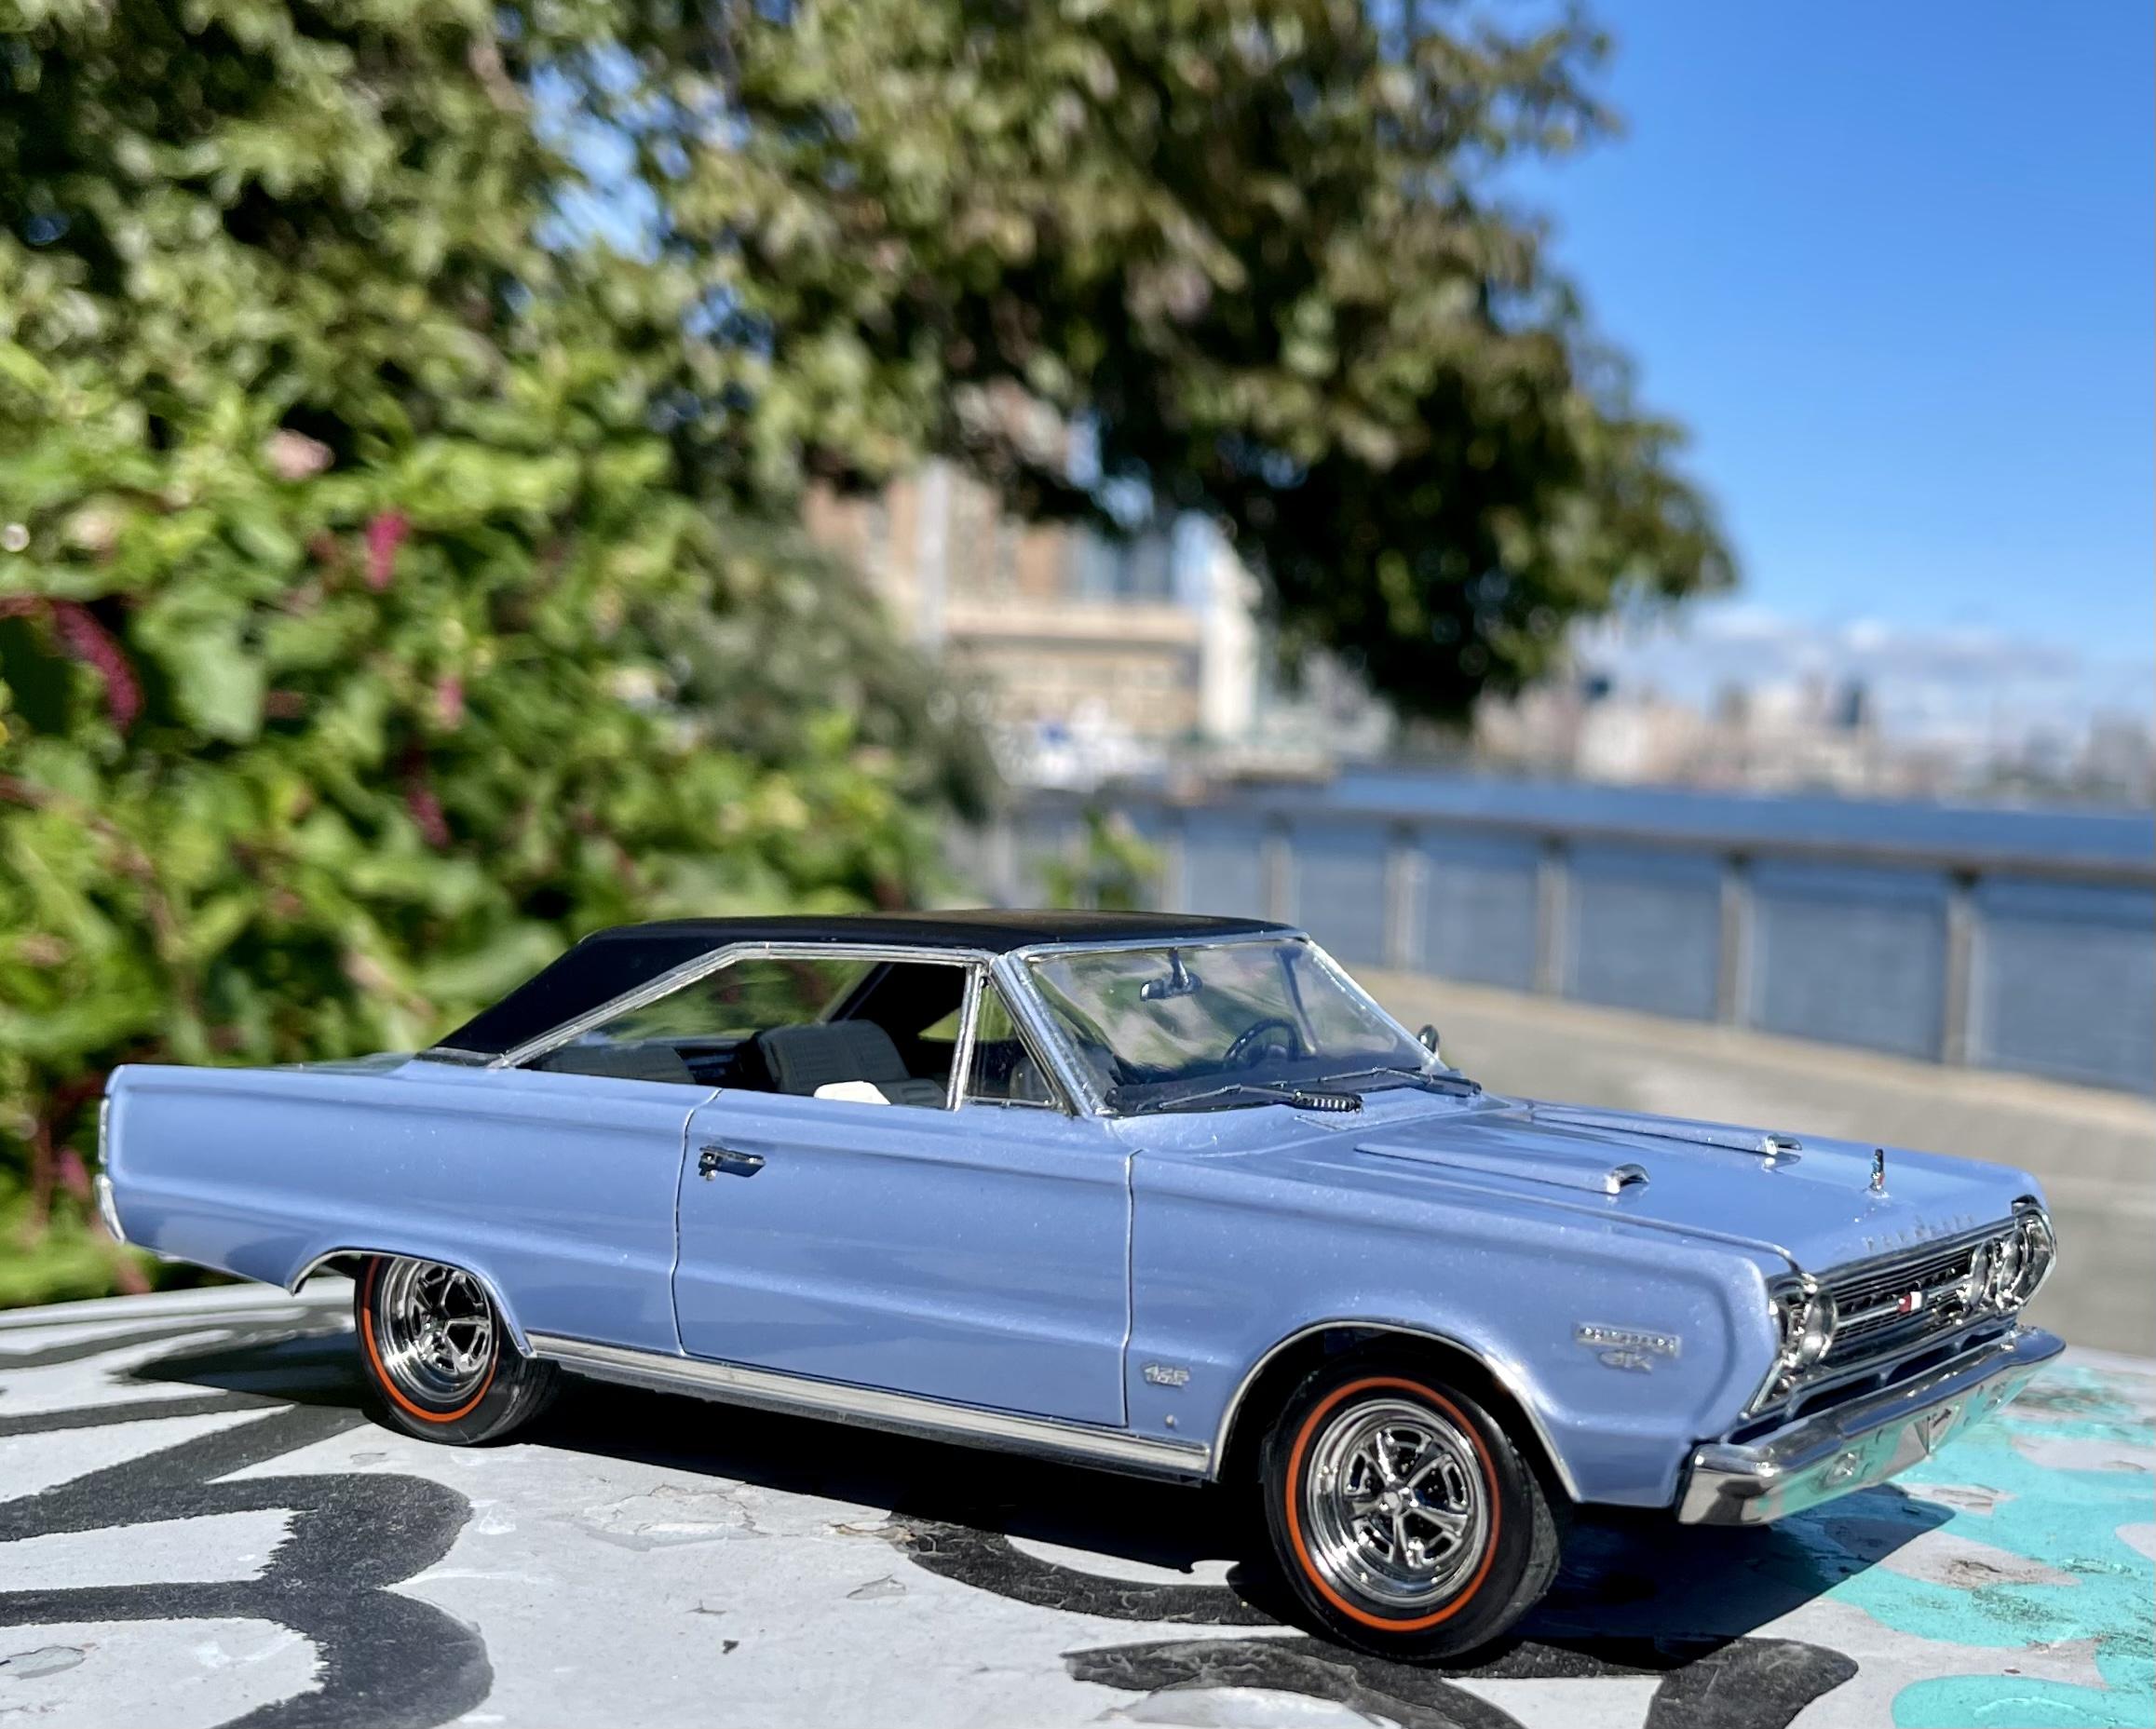
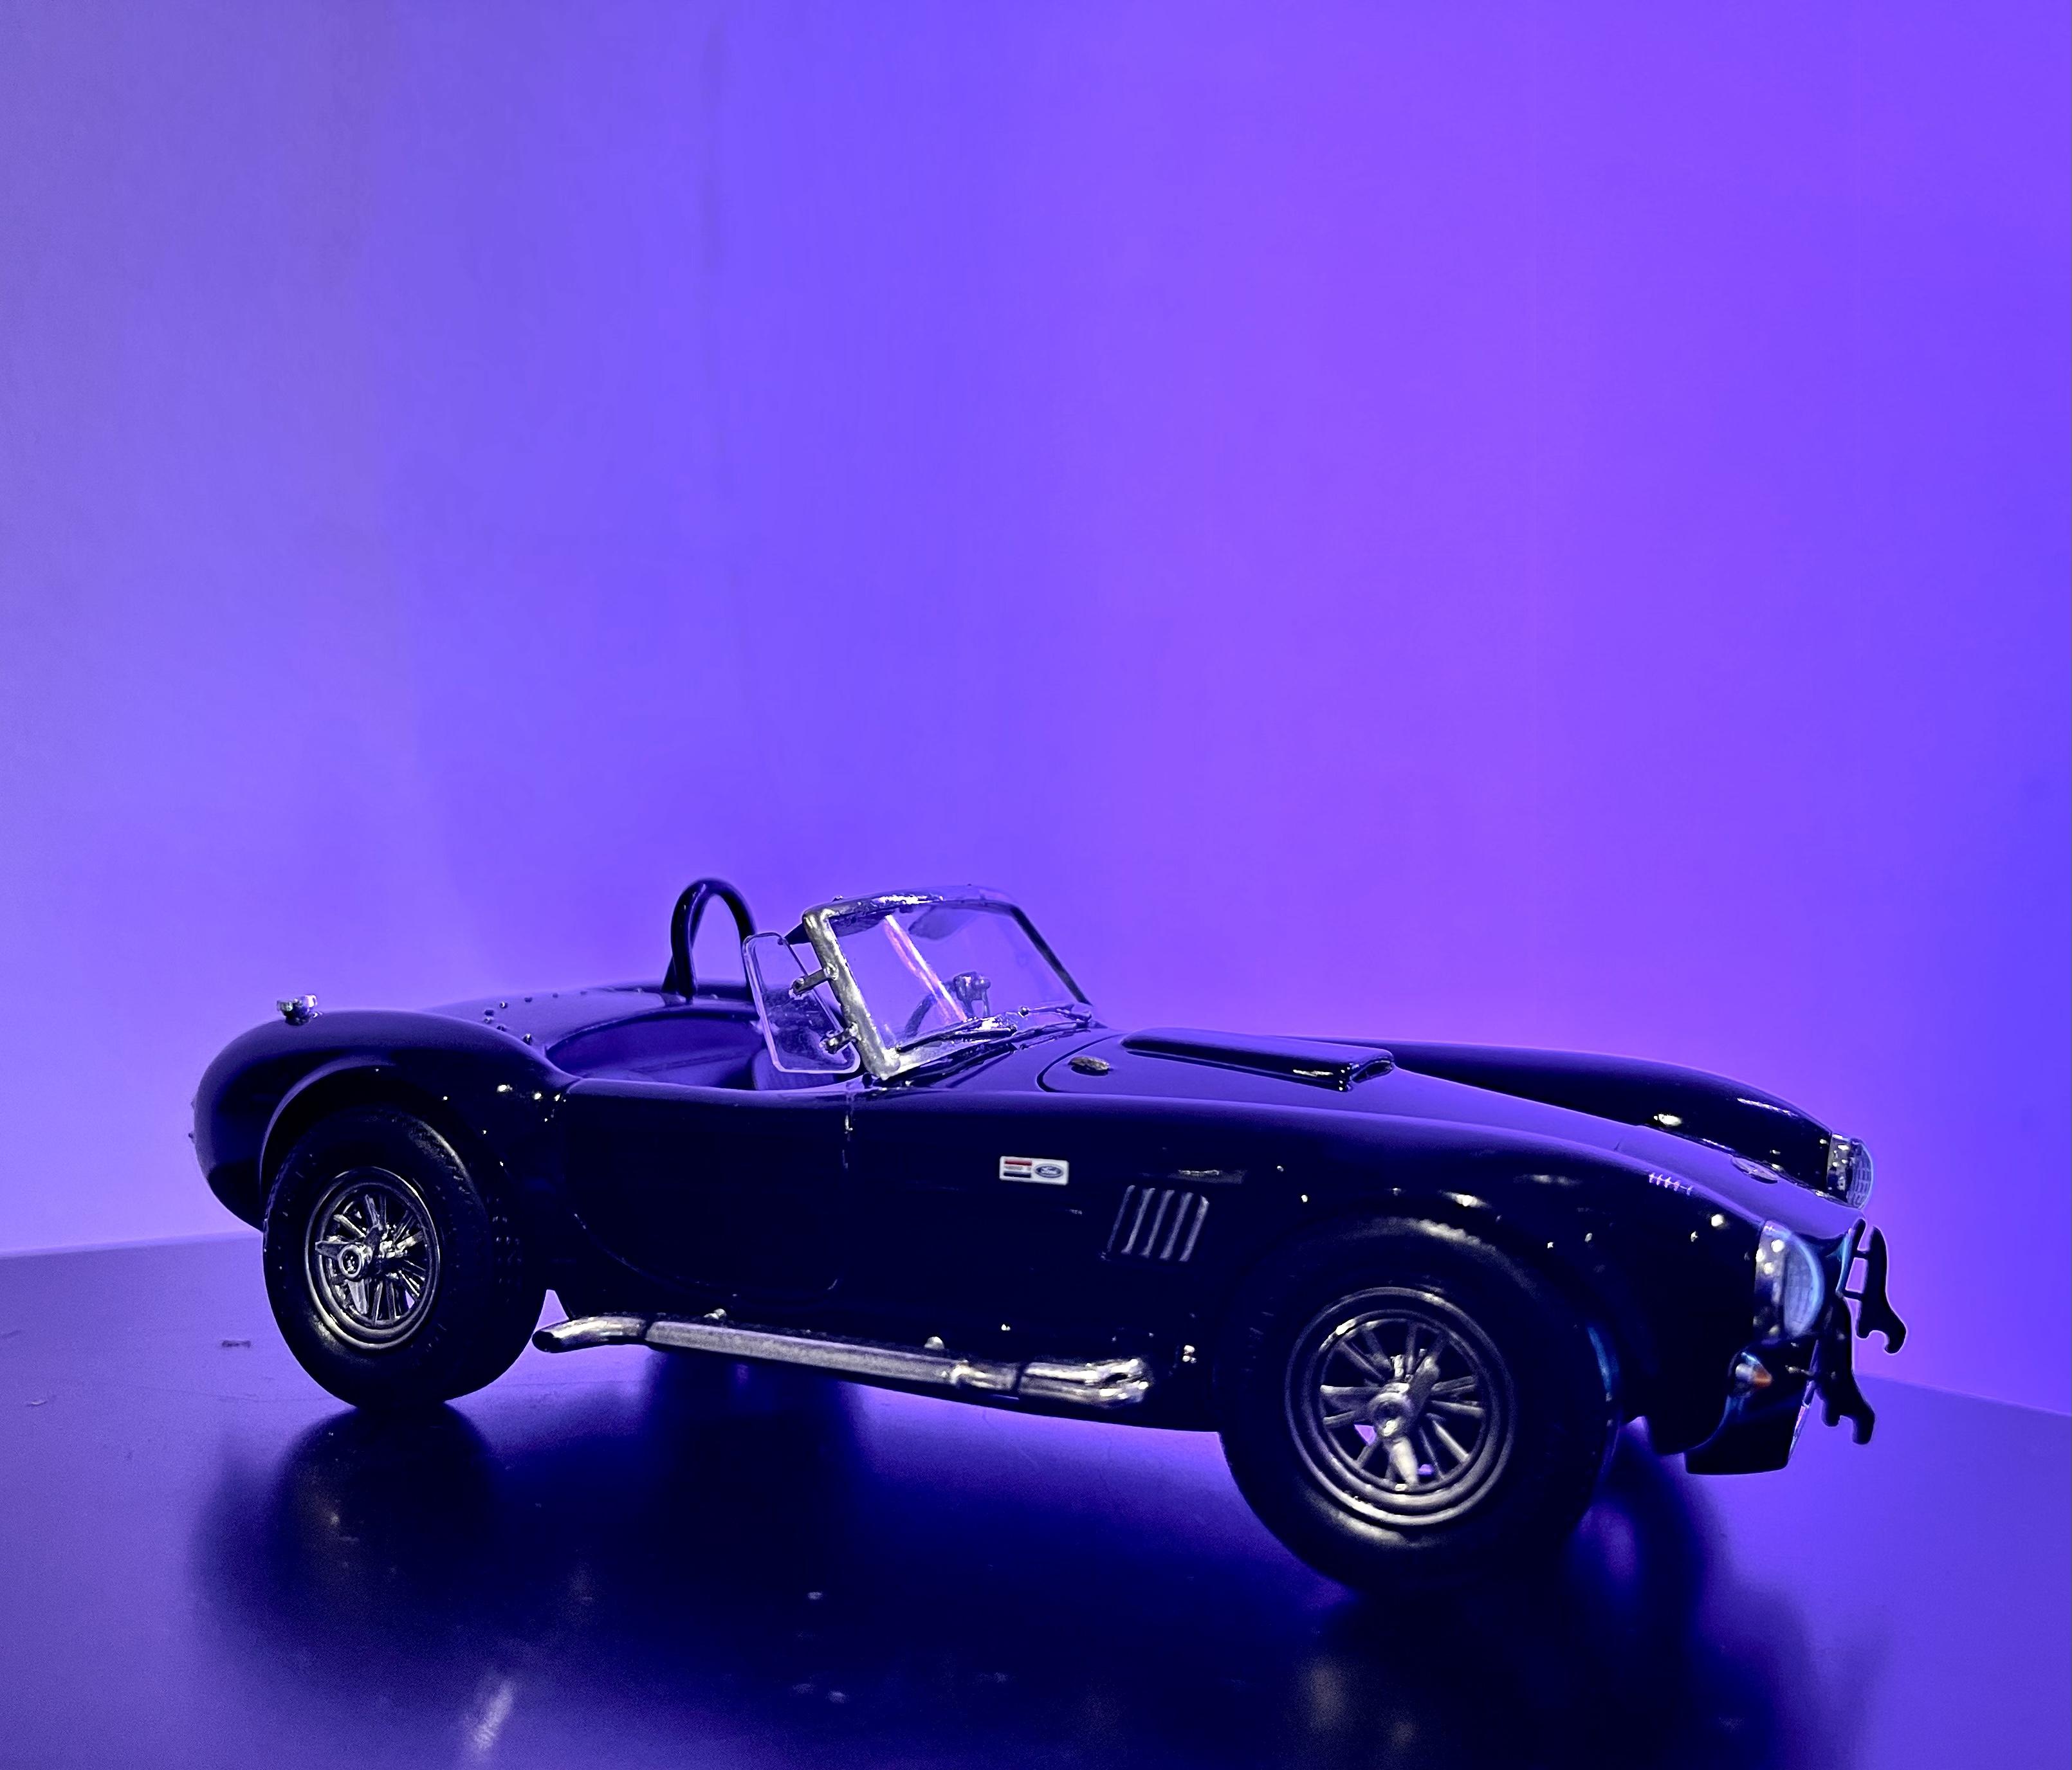
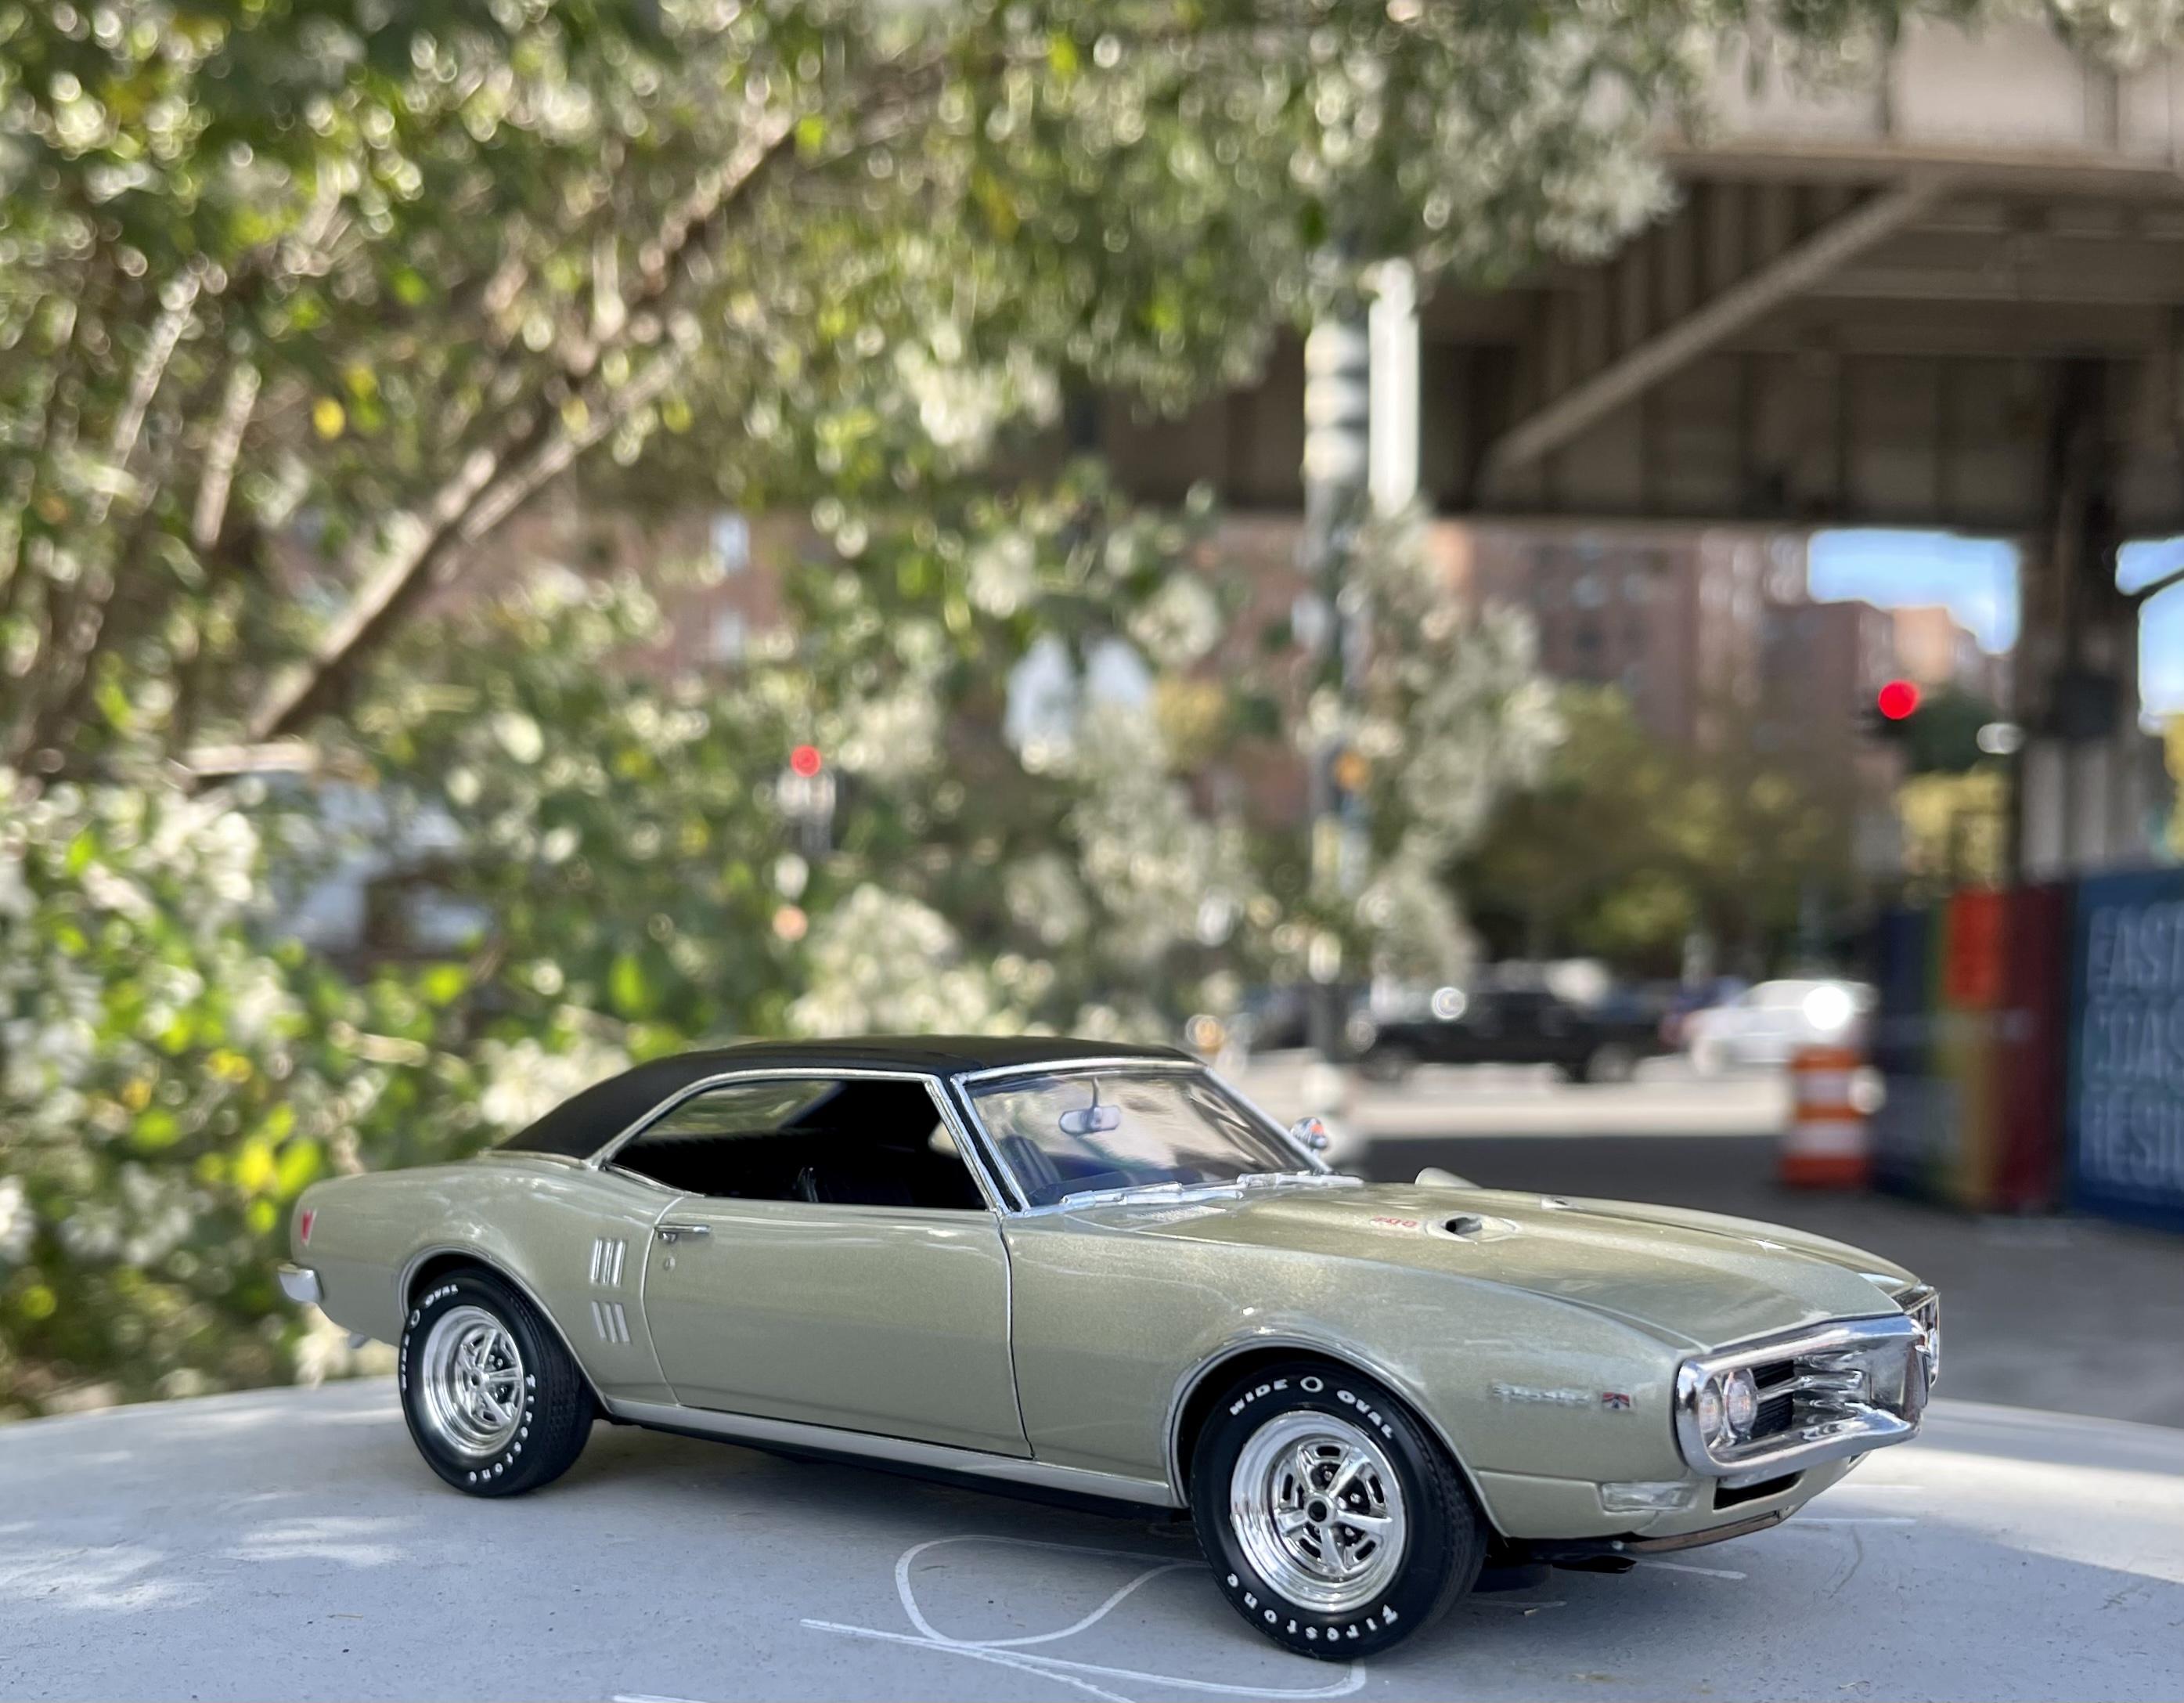
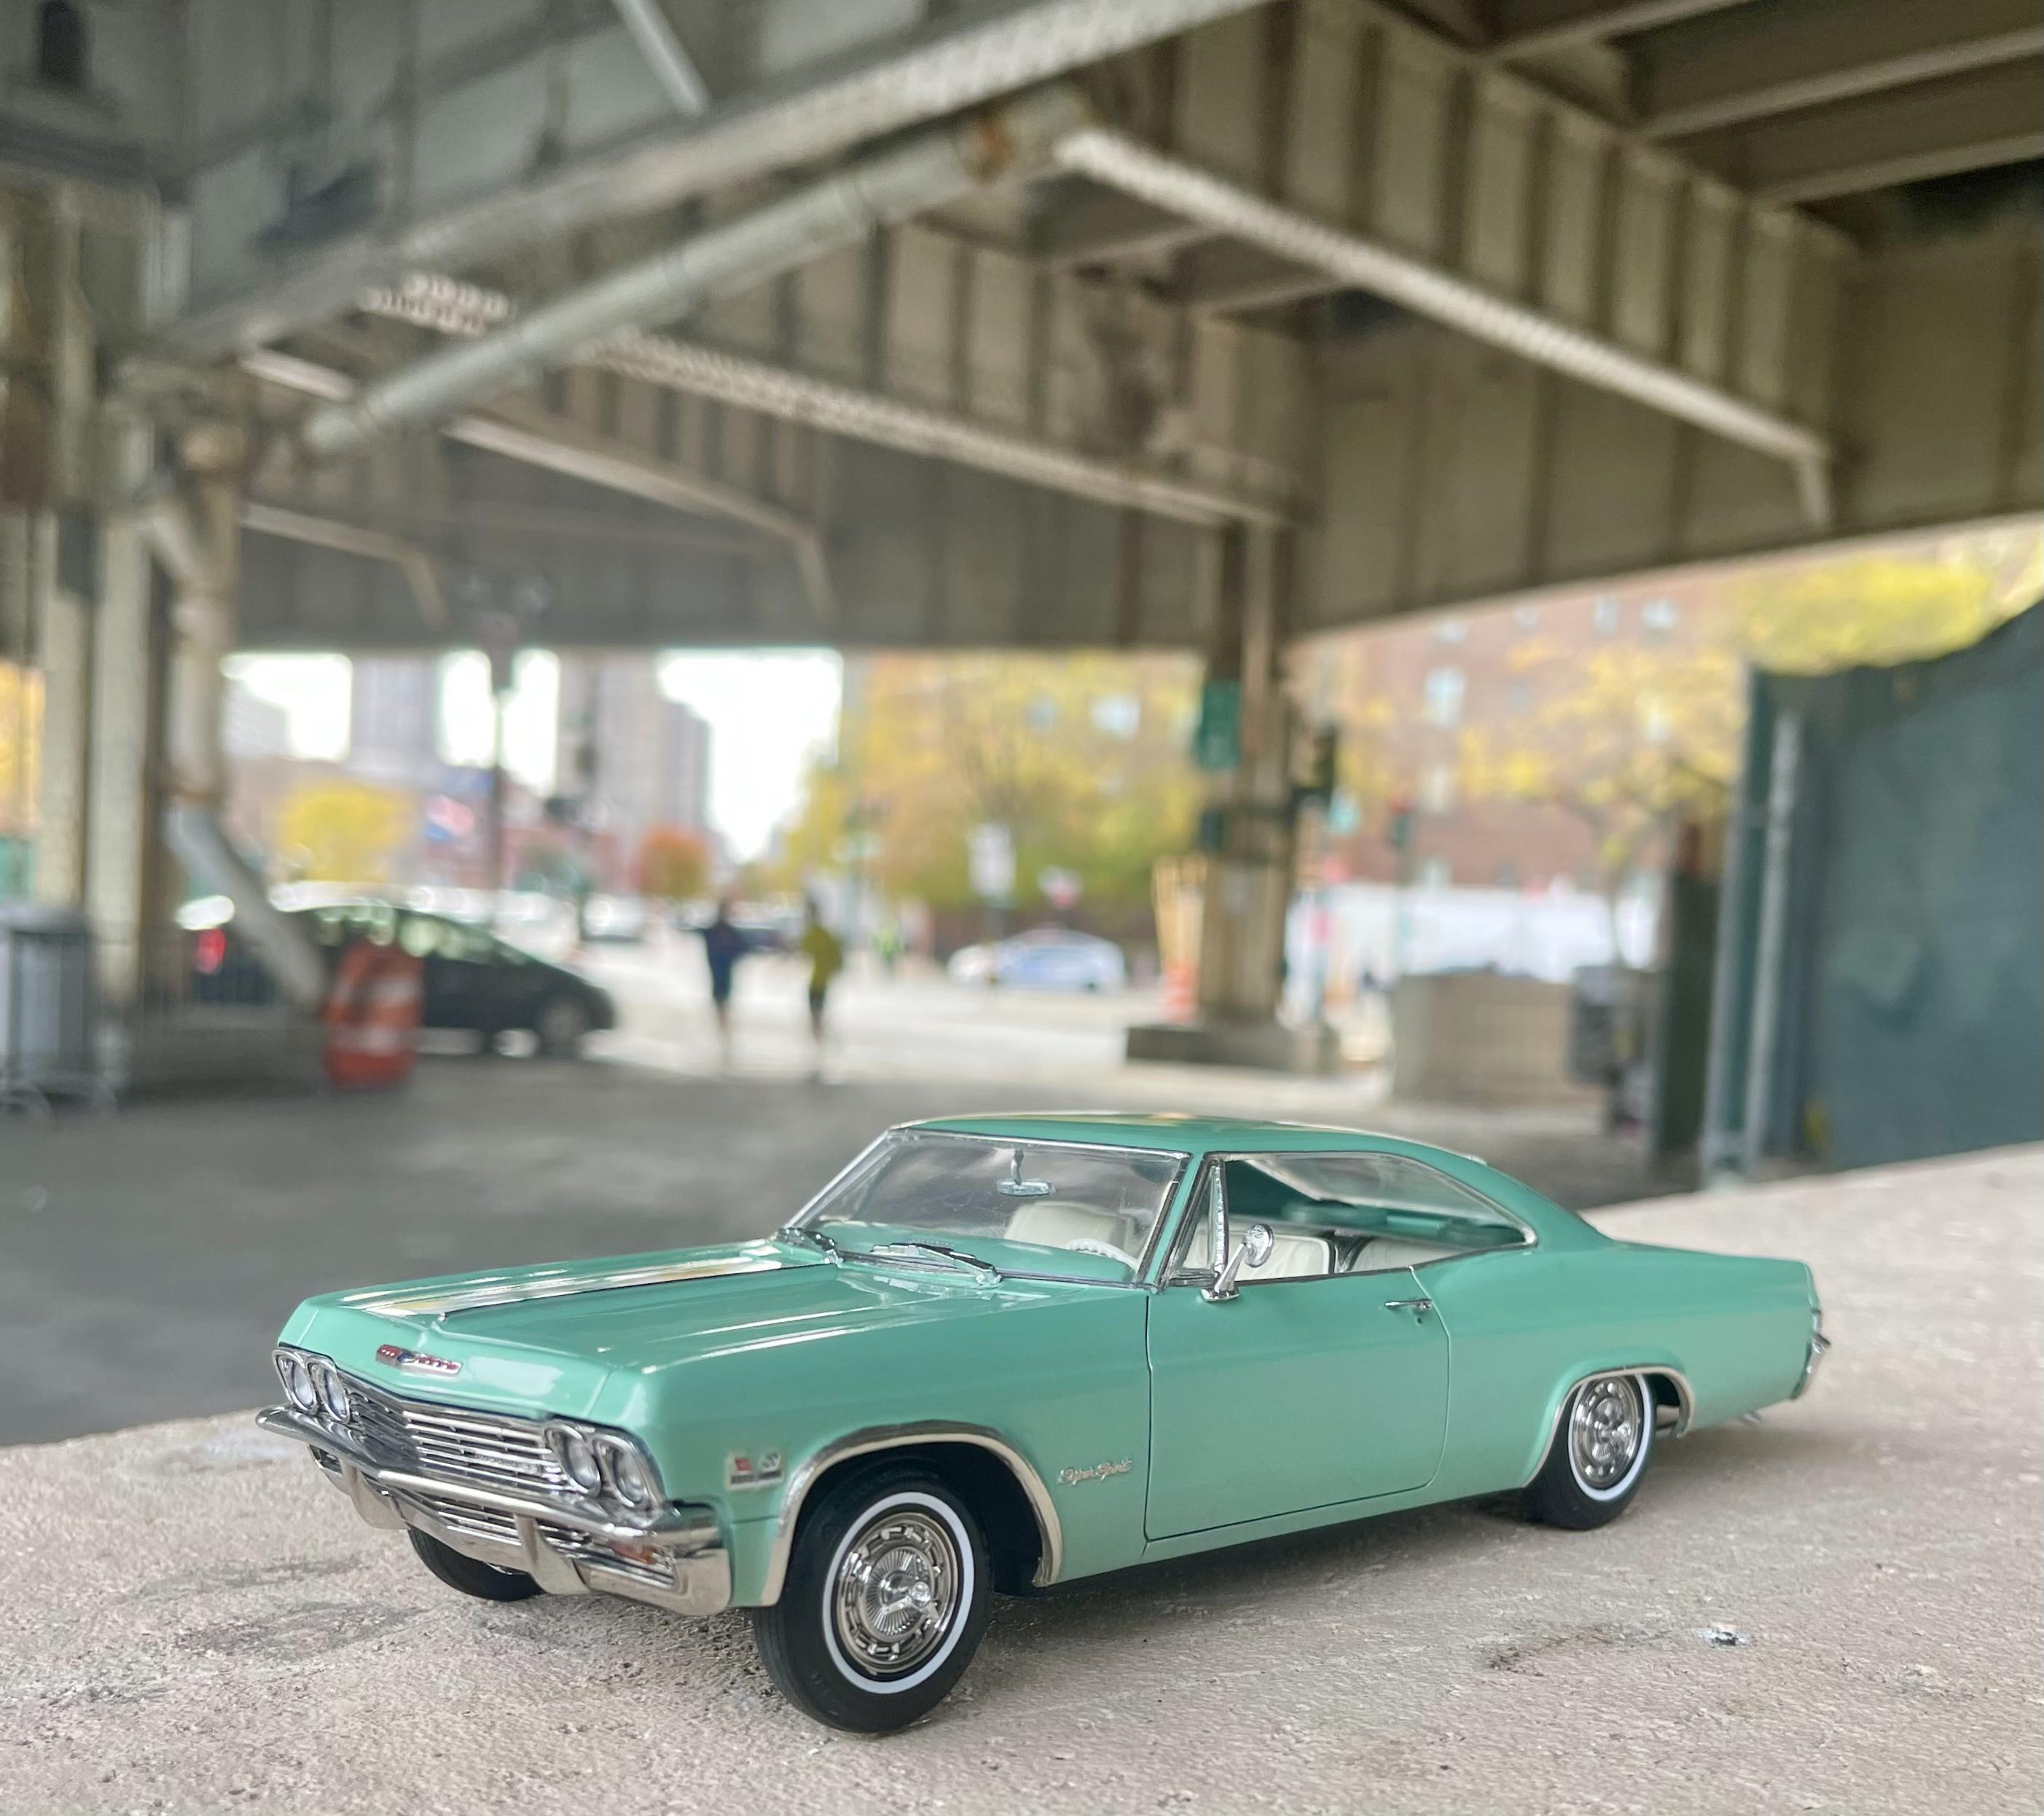
Built my first kit back in February and have been in full “obsession” mode ever since. This will definitely be a life long hobby and I’m so thrilled I found it. Anyway, here are a few of my faves from the year. Happy new year everybody! Revell Jaguar E-type coupe Revell Jaguar E-type Roadster Revell ‘67 GTX Revell Cobra 289 Revell ‘70 Challenger Revell ‘68 Firebird Monogram ‘65 Impala Monogram ‘69 GTO Up Next - AMT ‘69 Olds 442
-
that trim work is incredible. beautiful model.
-
all great, but that eldorado is so pretty it hurts my eyes awesome job
-
all very nice indeed. makes we want to start building race cars! great job!
-
very nice. was that windshield part of the kit or did you scratch it?
-
Thanks dudes…happy hols to you all! Hopefully Santa brings you all some sweet vintage kits ????
-
Thanks fellas!
-
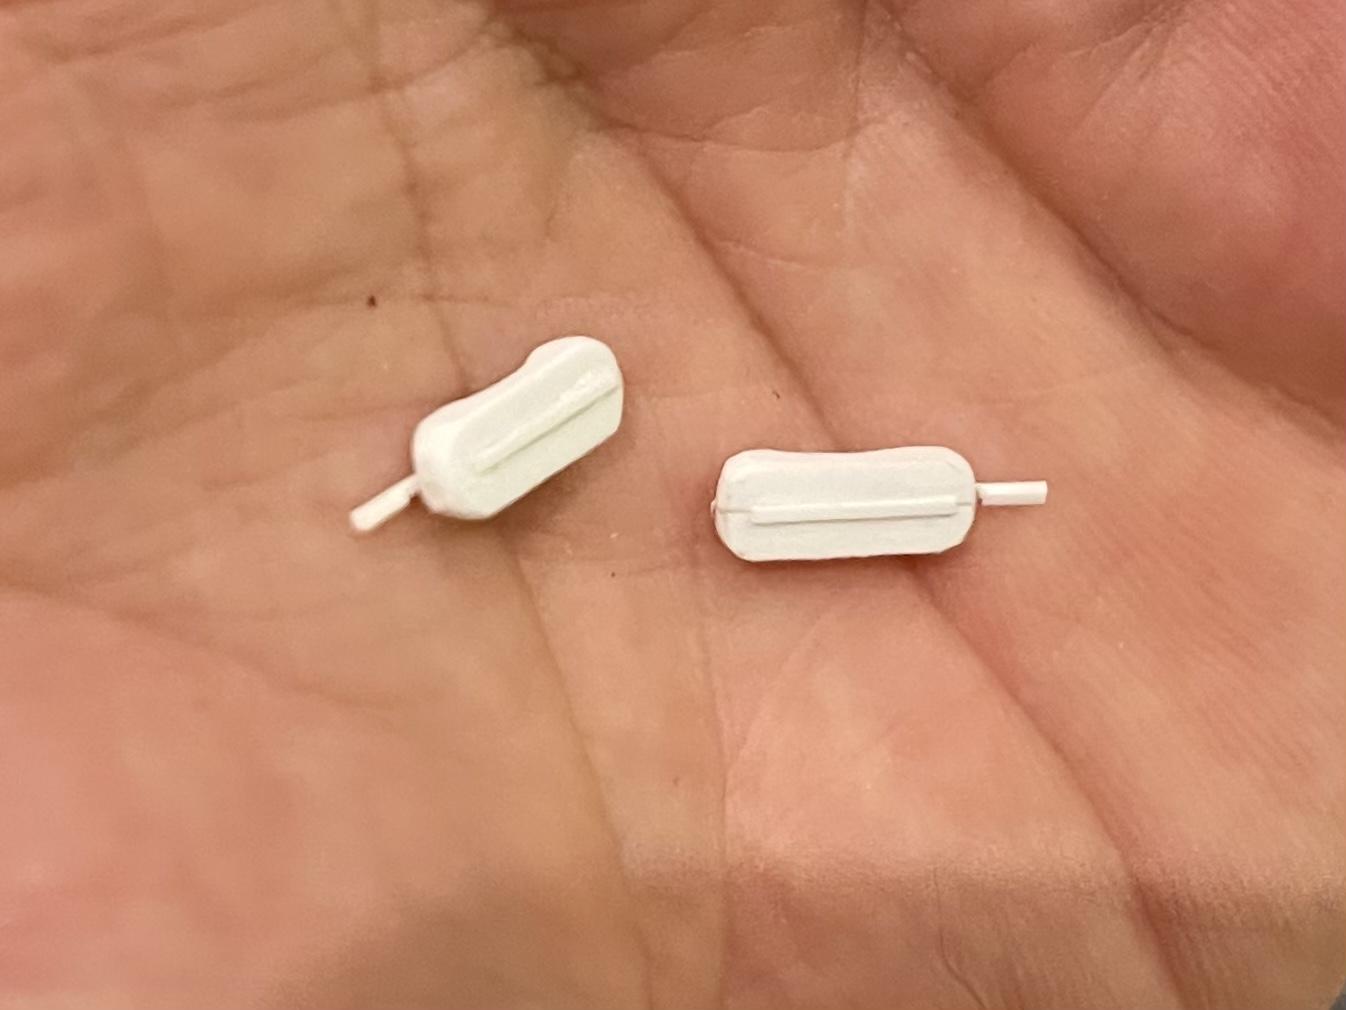
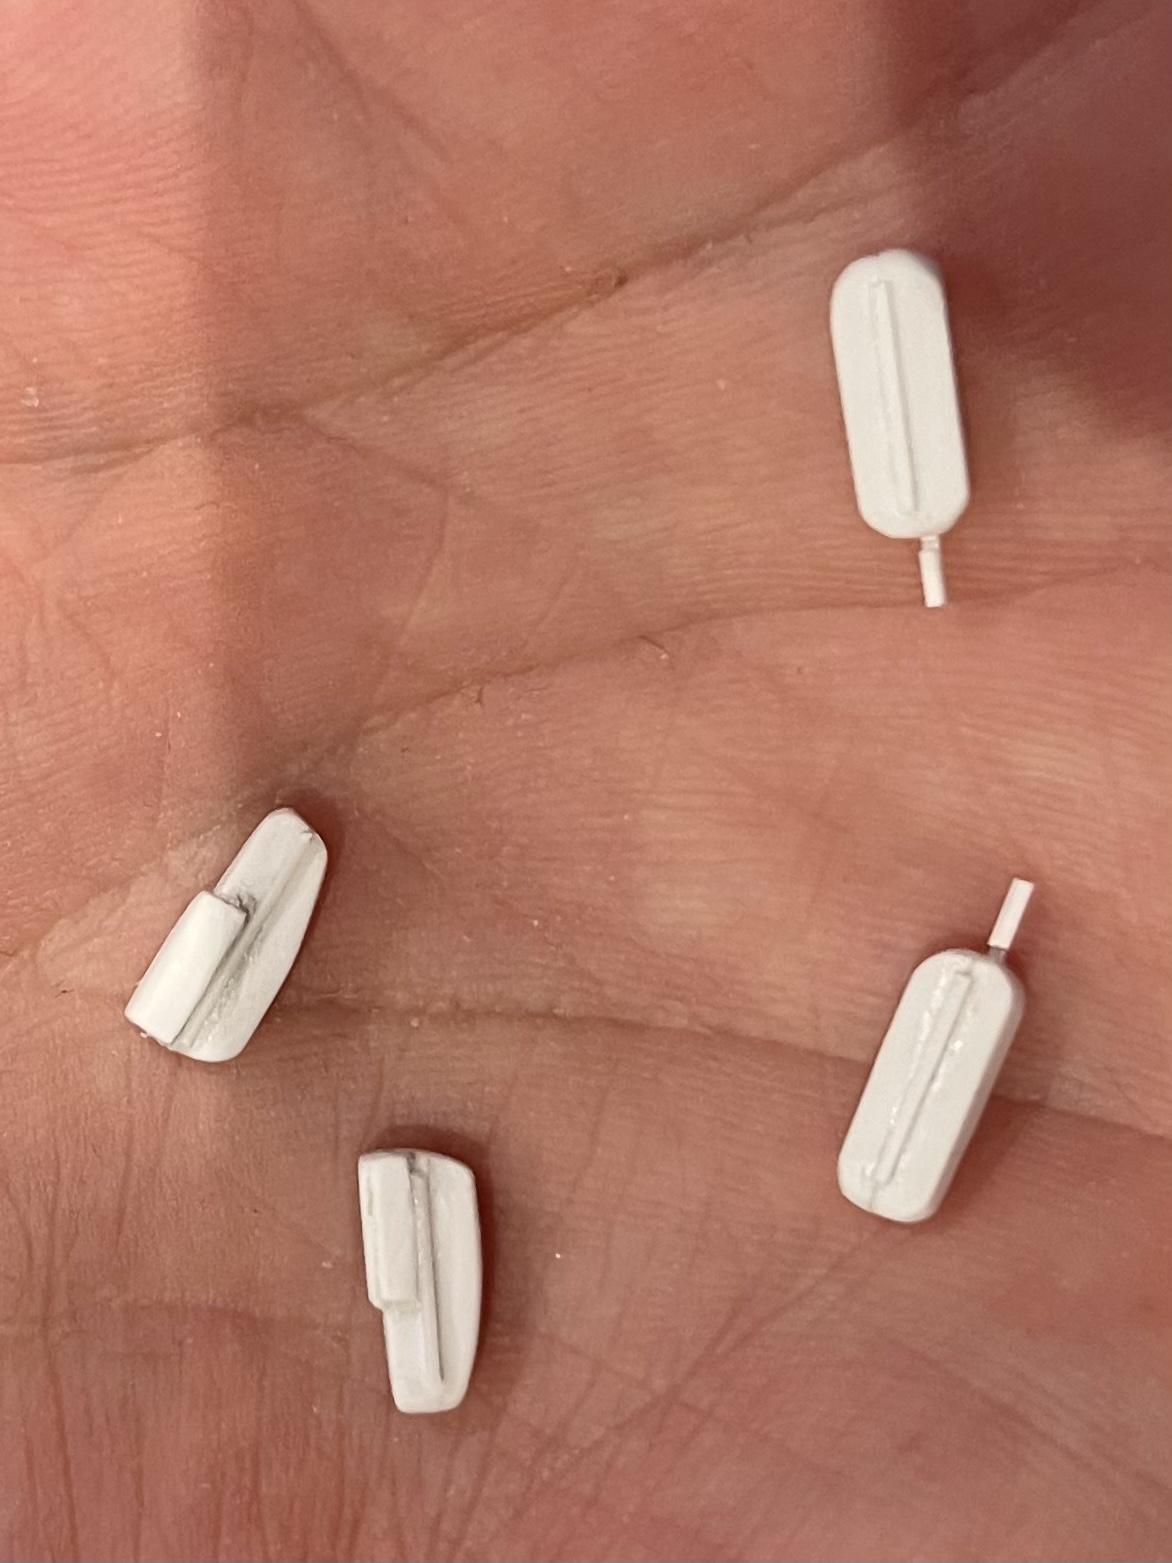
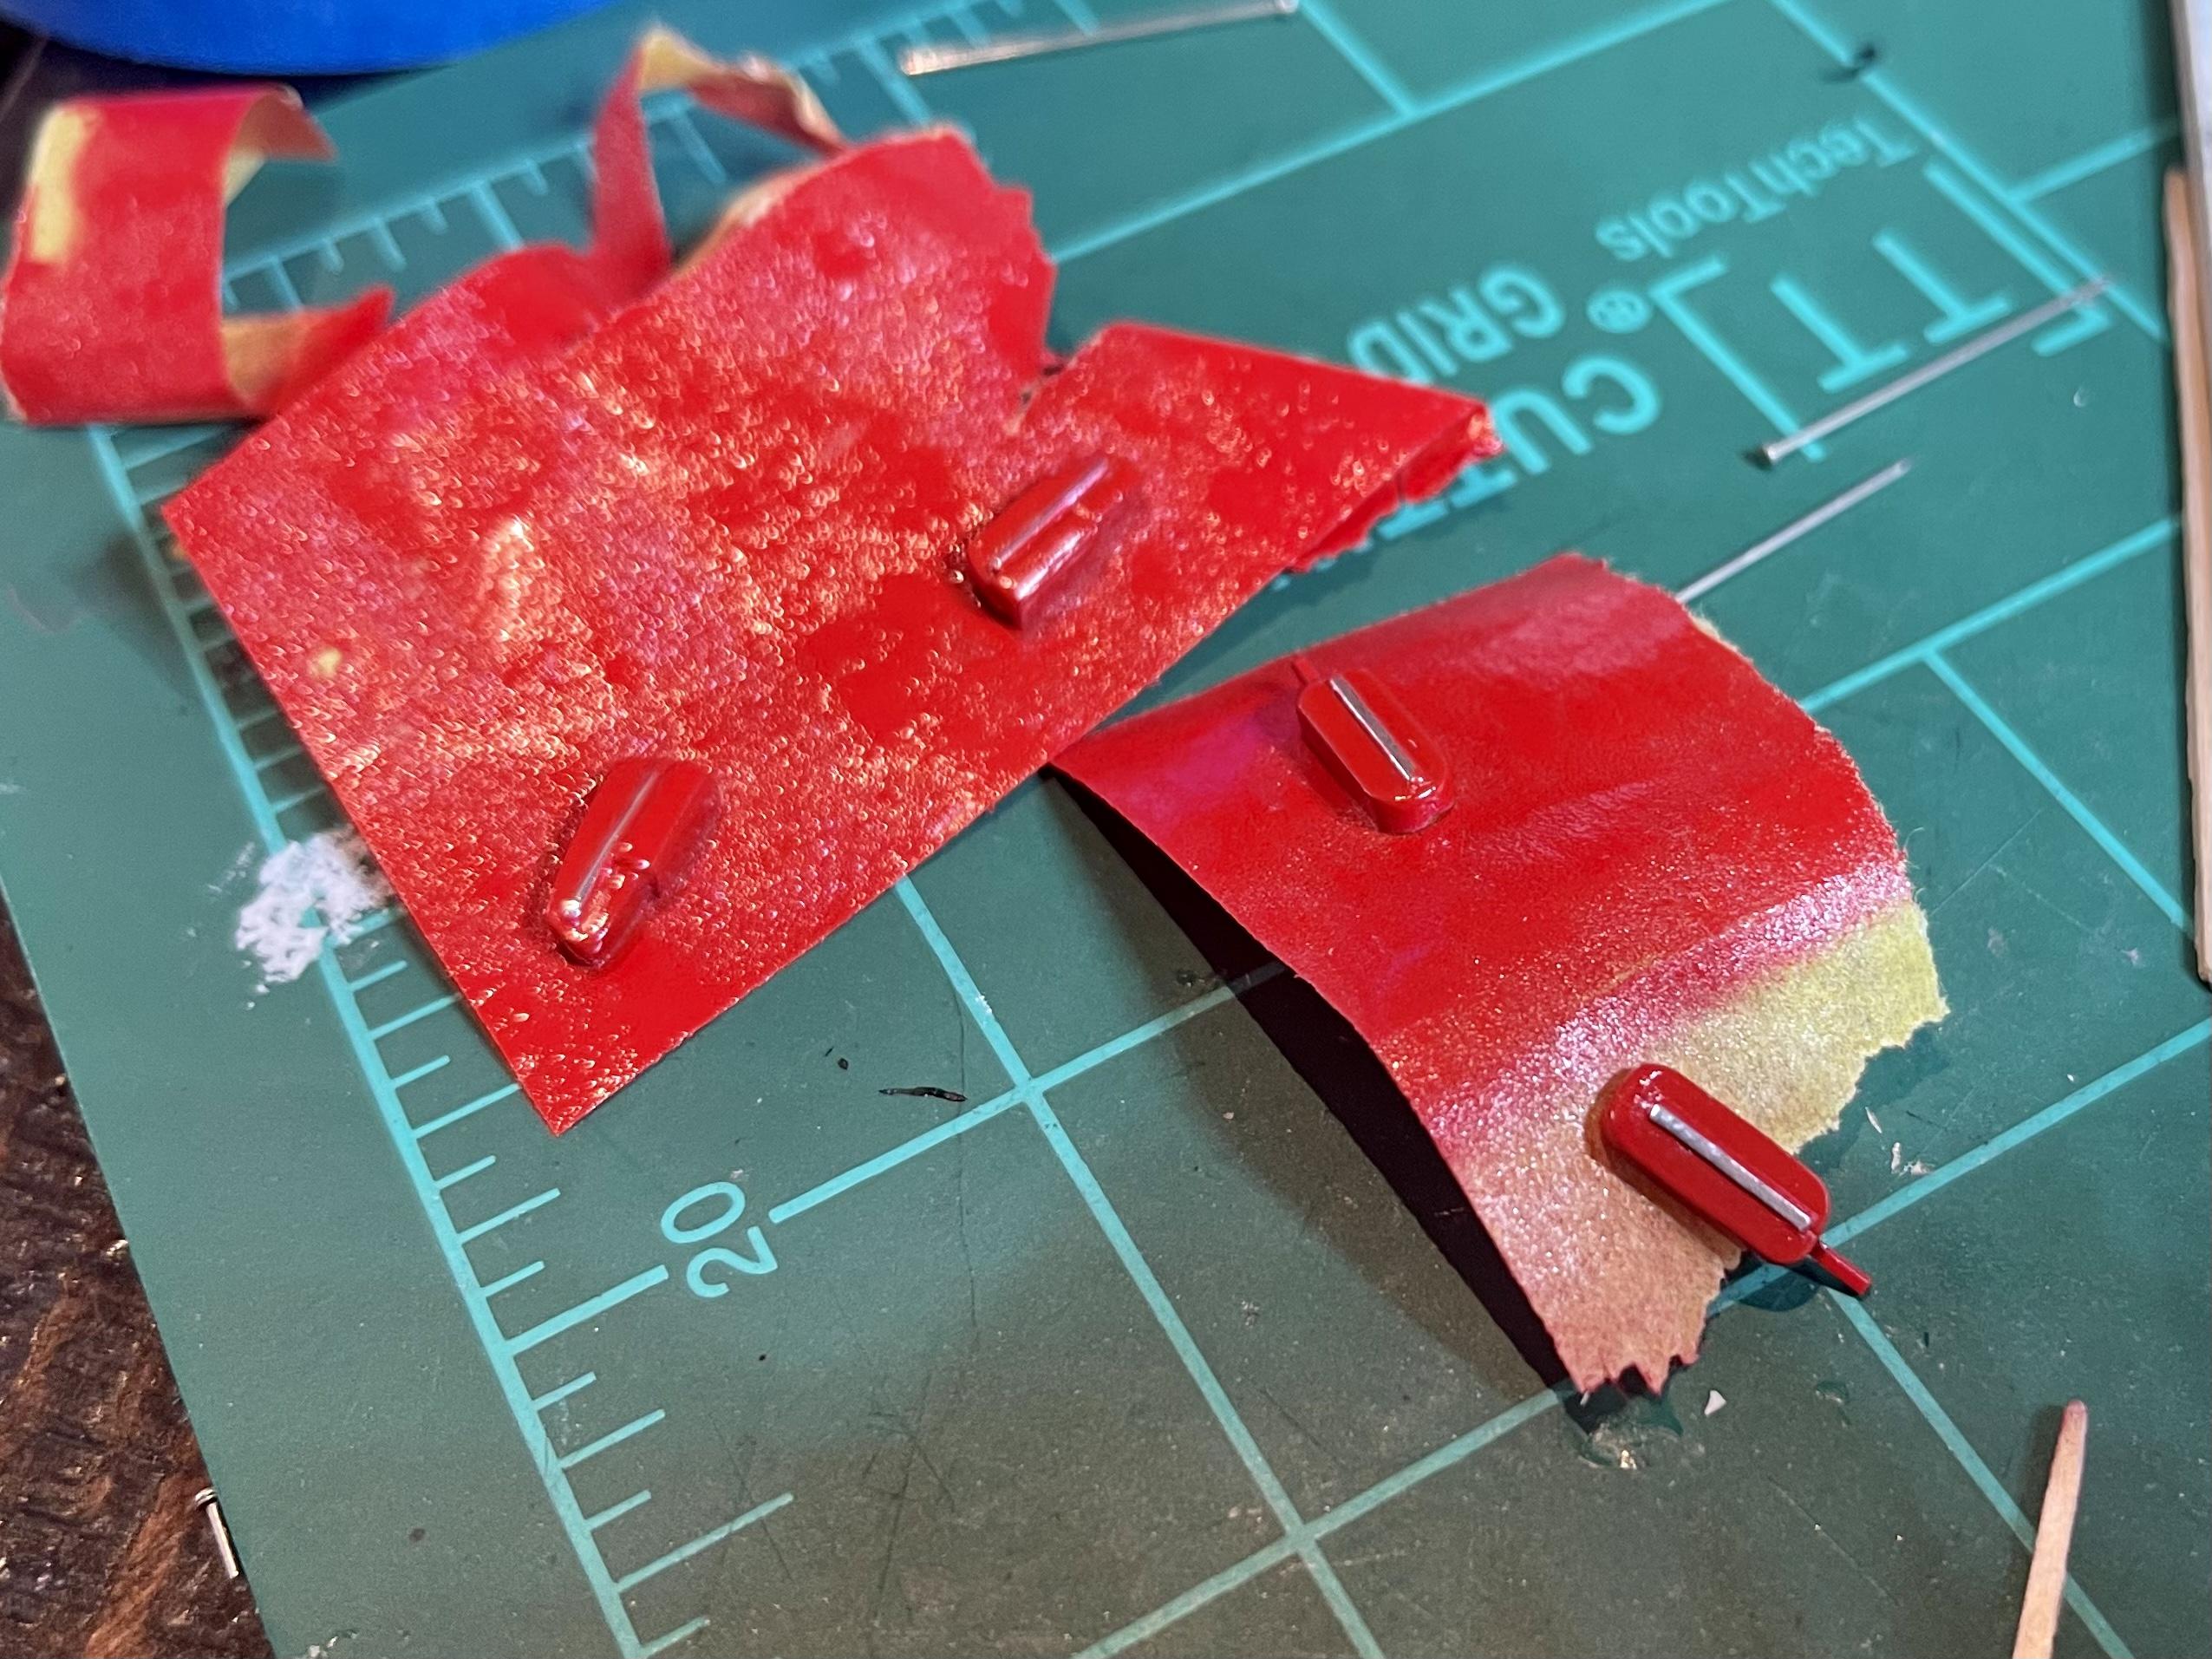
Thanks! So I’ve been doing a ton of experimenting with rattle cans and think I finally got a technique down - it may be overkill but any time I deviate from this plan things seem to go wrong ??♂️ My biggest issue with the cans was having the paint pull away from the panel lines, exposing the primer. This happened mostly when I’d put down too heavy a color coat or gone too heavy on the clear coat too quickly - I used to clear within an hour too, but this problem kept arising. To remedy it, I increased dry times and started going lighter on my coats. I also found that letting the primer dry for at least a day before sanding made the paint lay more smoothly. For this one I did the following: 1. Light coat gray primer followed by a medium coat for full coverage. Let it dry for 24 hrs. Very light sand with 3000 grit sponge to smooth out the bod. Sometimes I do another coat or two but since this build had multiple color/clear coats planned, I didn’t want to go too heavy 2. Sprayed one light coat and then one medium/light coat of the gloss aluminum 5 minutes apart. My plan was for 3 coats, but the two went down really nicely so I stopped there. I let it dry for 48 hrs. If I did a third coat I probably would have given it another day to dry 3. I didn’t want to risk sanding the shine out of the aluminum (and it was acceptably smooth) so I decided to just foil the scripts and reflectors and go straight to color. I did 2 very light mist coats of the clear red 5 minutes apart and a 3rd slightly heavier coat after 10 minutes. It was tempting to go even heavier to avoid texture, but I knew the next steps would take care of any peel that the light coats would have caused 4. I let the red dry for 3 days and then removed the paint from the foiled scripts and badges and wet sanded with 4000-8000 micro mesh. At this point it should have been ready for clear, but I went a bit too far with the sanding so I had to hit the whole thing with another 2 very light coats of the red - waited 3 more days then rubbed out the scripts and wet sanded again - this time with a lighter hand 4000-10000 grit 5. Clear - Three light mist coats of ts-13 5 minutes apart. Then a medium coat. Waited 15 minutes. Then a medium/heavy coat. Waited 30 minutes. Then one last heavy coat until nice and glossy 6. Waited three more days then masked and sprayed the vinyl top. Waited two more days then polished out the body with 4000-12000 grit and foiled it. Done! The single biggest thing I’ve learned is to be patient with my paint. When I look at my older builds the difference is night and day. Now the body is the first thing I do, so I can ignore it while I do the rest of the car. My engines have gotten more detailed simply to give the body more time to dry ? I should note I’m in nyc so the climate here probably plays a part in the process Hope that helps!
-
Thanks man - half the fun is taking it around the city looking for good spots to shoot it. Starting to get a little cold now though lol