radiohd10
-
Posts
286 -
Joined
-
Last visited
Content Type
Profiles
Forums
Events
Gallery
Everything posted by radiohd10
-
nice looking lambo! those wheels do look great - i finally bought an airbrush and can't wait to try that paint out. looks awesome.
-
very nice! love that interior!
-
awesome! i'll be sure to include the hashtag on my posts too
-
wow - awesome job! i always get scared off by the lambo kits because they just look so finicky, but seeing them turn out this good is making me reconsider...
-
nice job! i'm working on this same kit right now. quick question - did you glue the firewall to the body before painting or after? I'm tempted to do it before but don't want to screw up the final fit - the thing is already a little fidgety.
-
thx guys!
-
i've been following your work on instagram for awhile now, and have to say you do some of (if not THE) best work i've ever seen. i have the mercedes 500 sec on my bench now too - amazing timing, as now i'lI get to pull some inspiration/ideas from what will surely be a first class build! can't wait to see what you come up with!
-
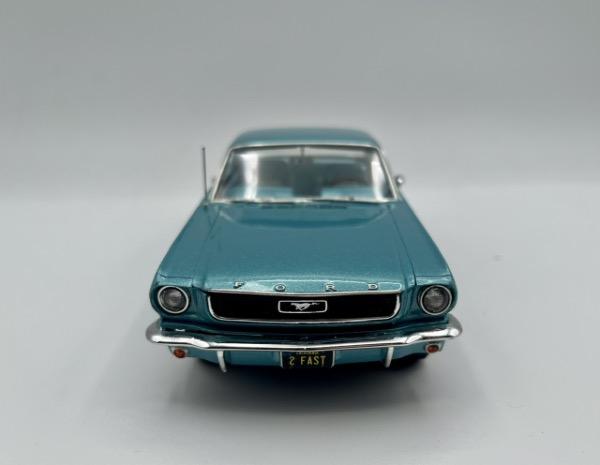
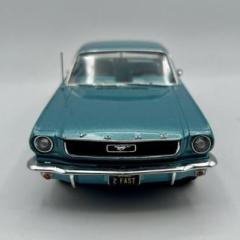
all great but its the 'stang for me. what a beaut!
-
Thanks fellas! I used to hate doing the interiors but now I think it might be my favorite part haha
-
That Mercedes hurts my eyes it’s so pretty. I’m heading to eBay to buy one right now. Absolutely beautiful - both of them
-
man, every time i see this car on one of the platforms i have to stop and look at the pictures again. it's such a gem. your WIPs have been such a massive help for me as i learn the hobby - thanks a bunch for your willingness to explain your process! can't wait to see the finished bonneville!
-
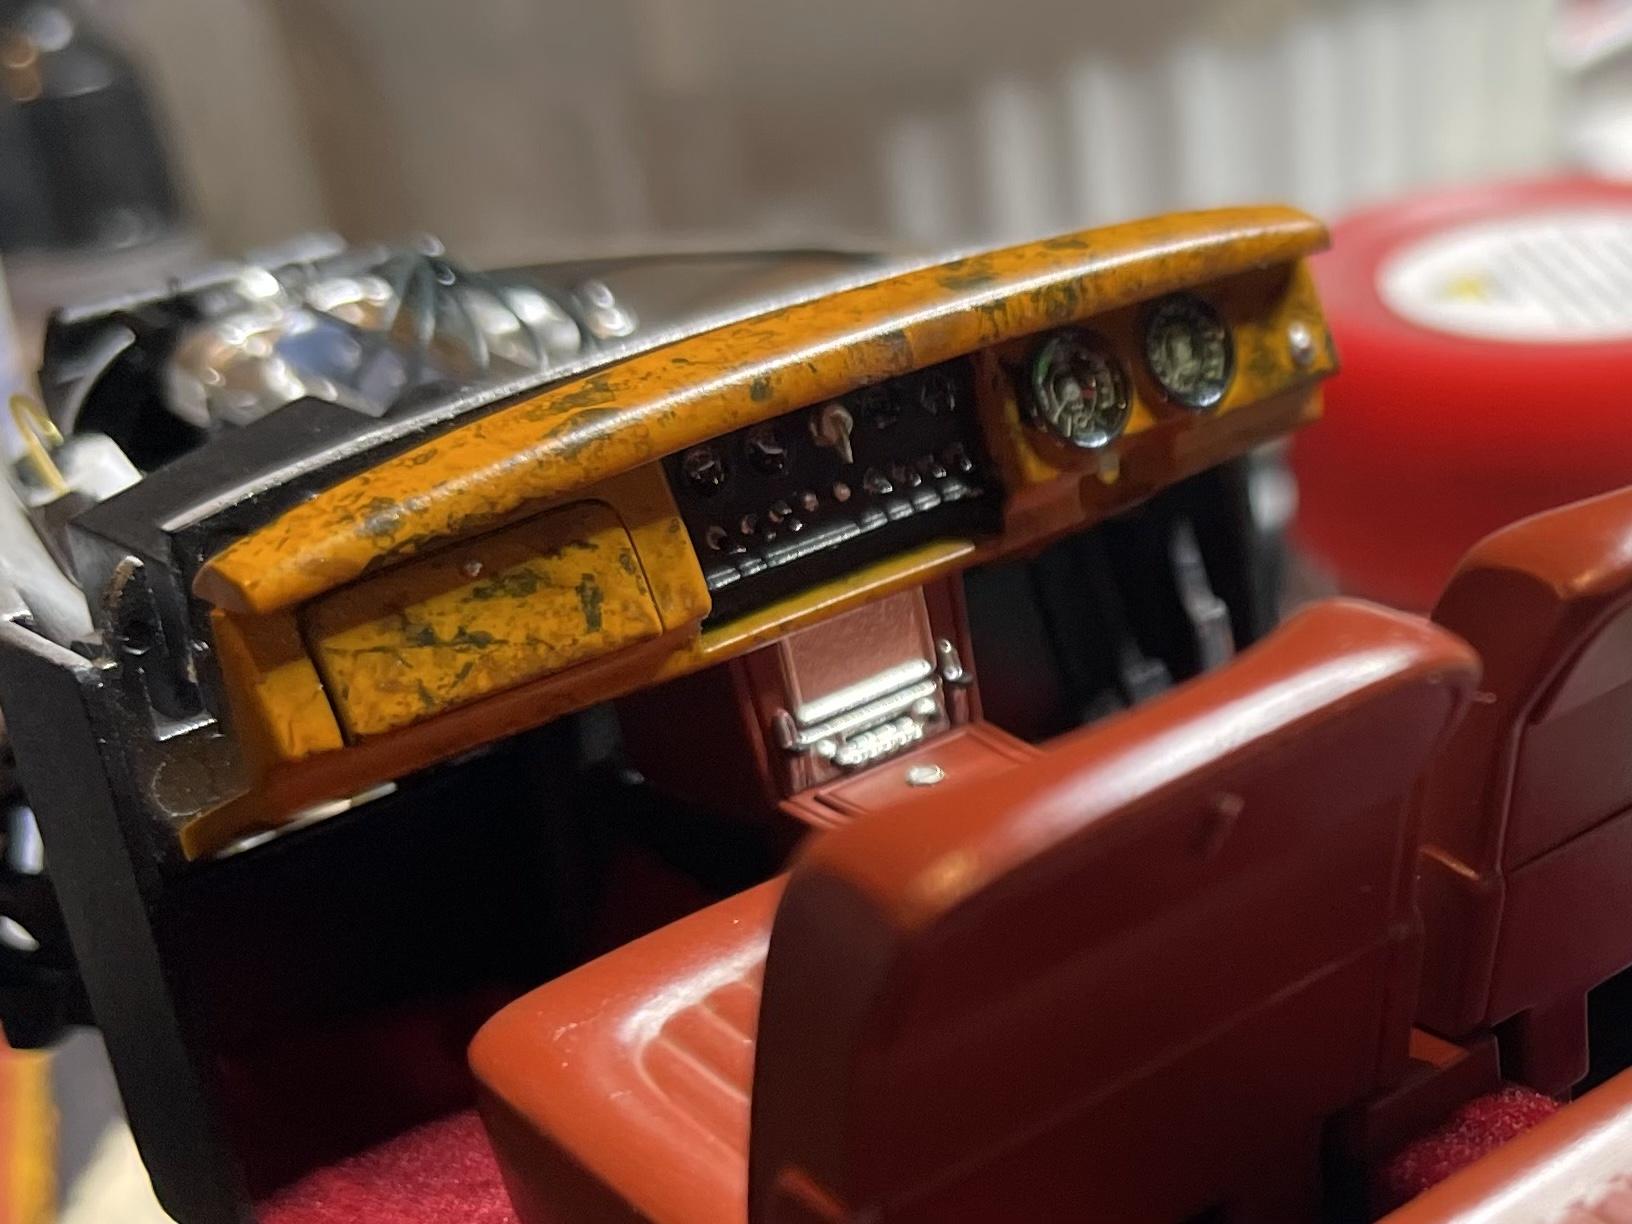
Thx - it’s actually pretty easy. Just make sure you don’t use too much paint. I usually dab a paper towel with the plastic before applying it to the model. If I do apply too much, I take a pointed q-tip and rub it out in light swirls. And if you want a darker finish, you can start with a darker brown base (I like linoleum deck brown) and then dab w different shades of tan, gray and brown. Then hit it with mist coats of clear orange and then clear red before the semigloss clear.

-
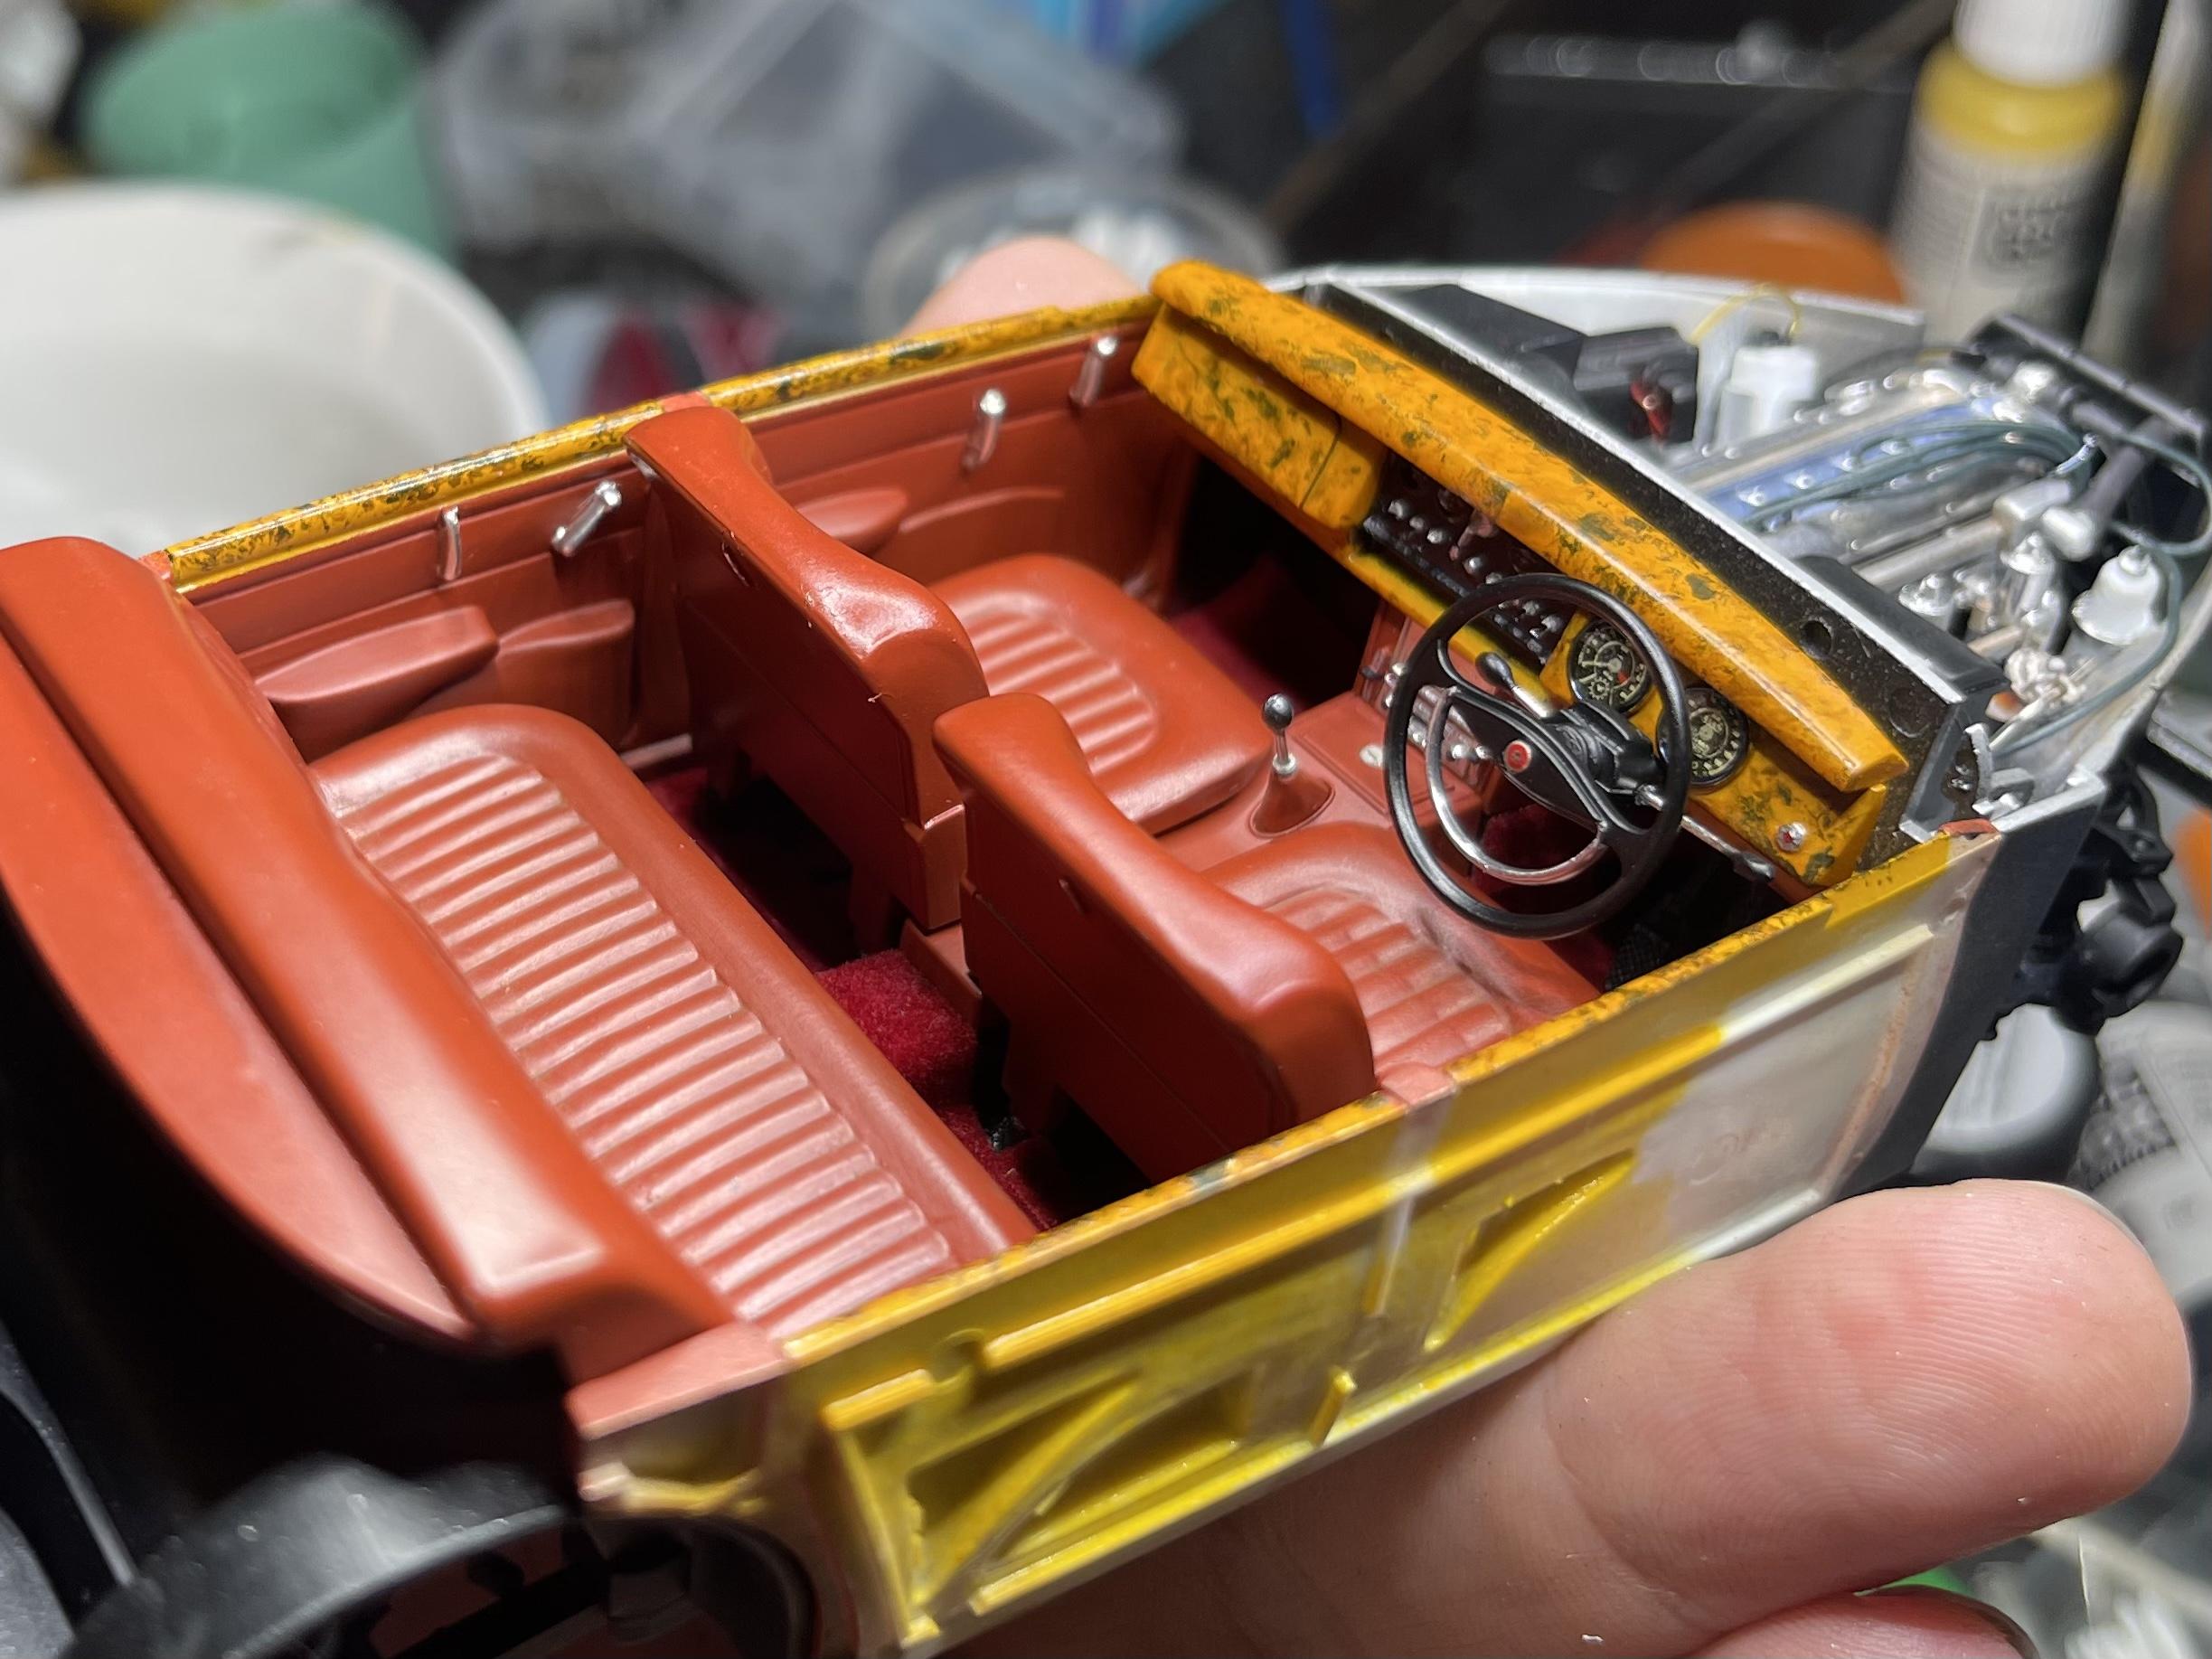
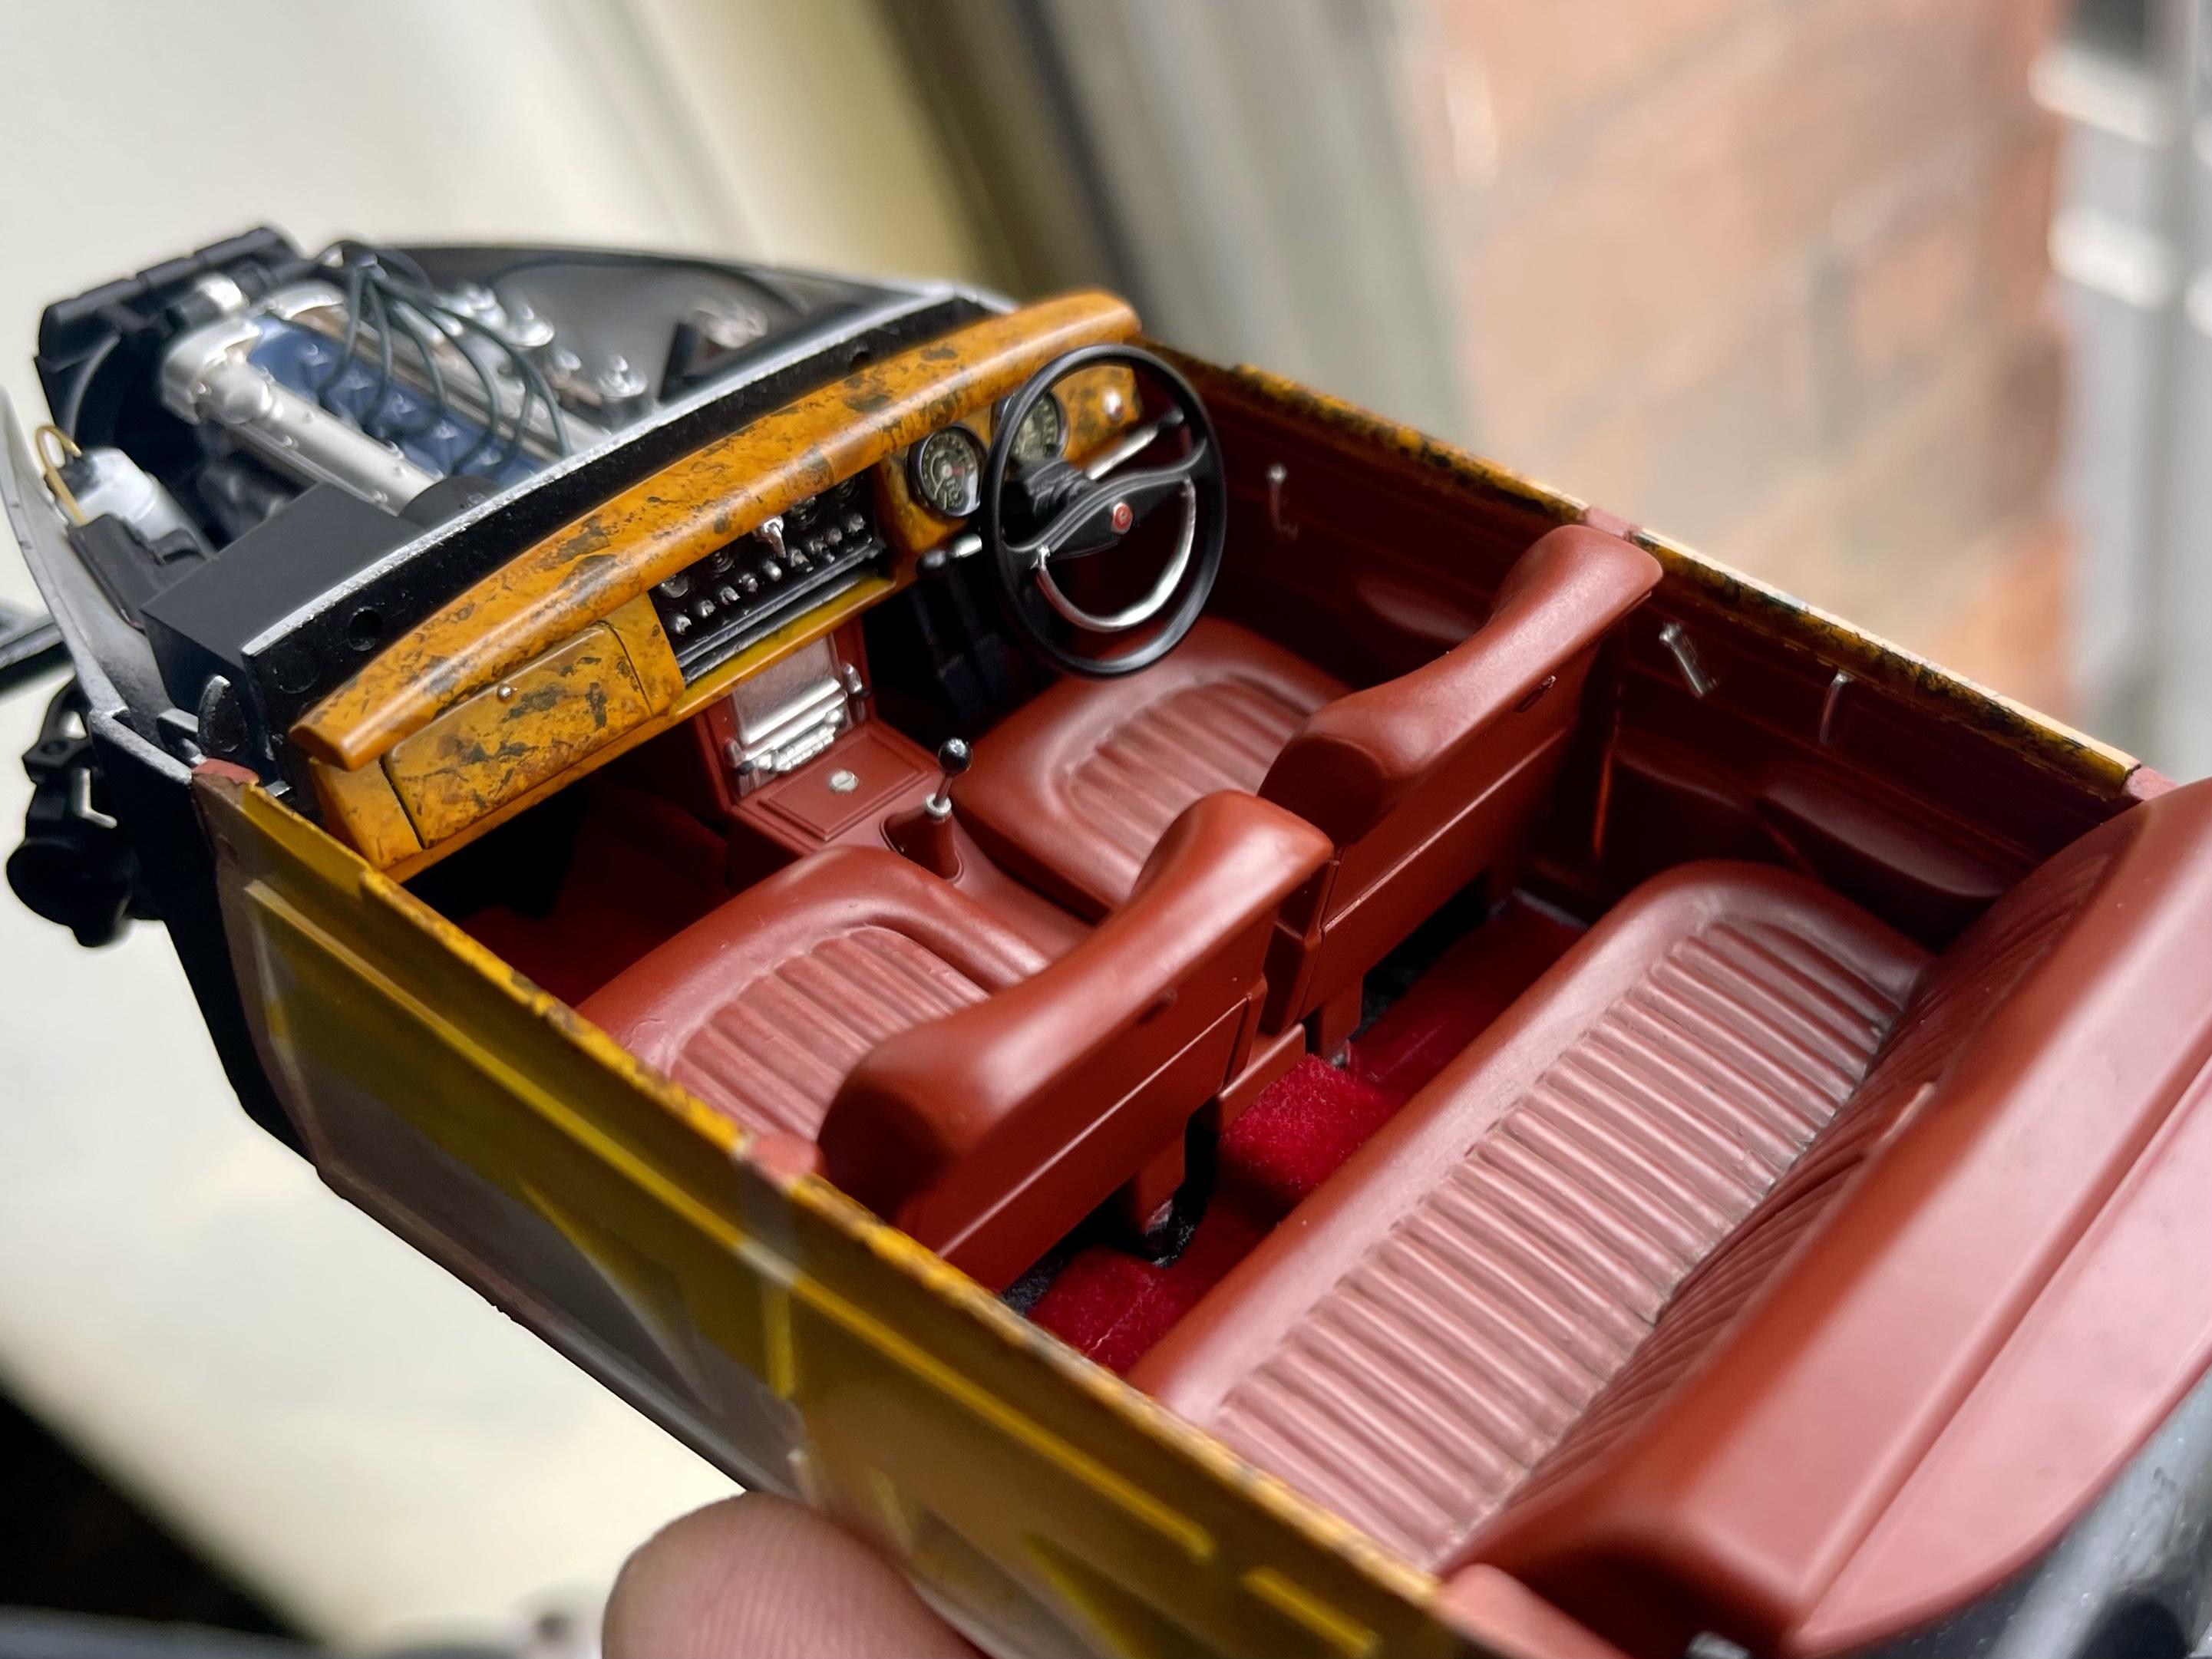
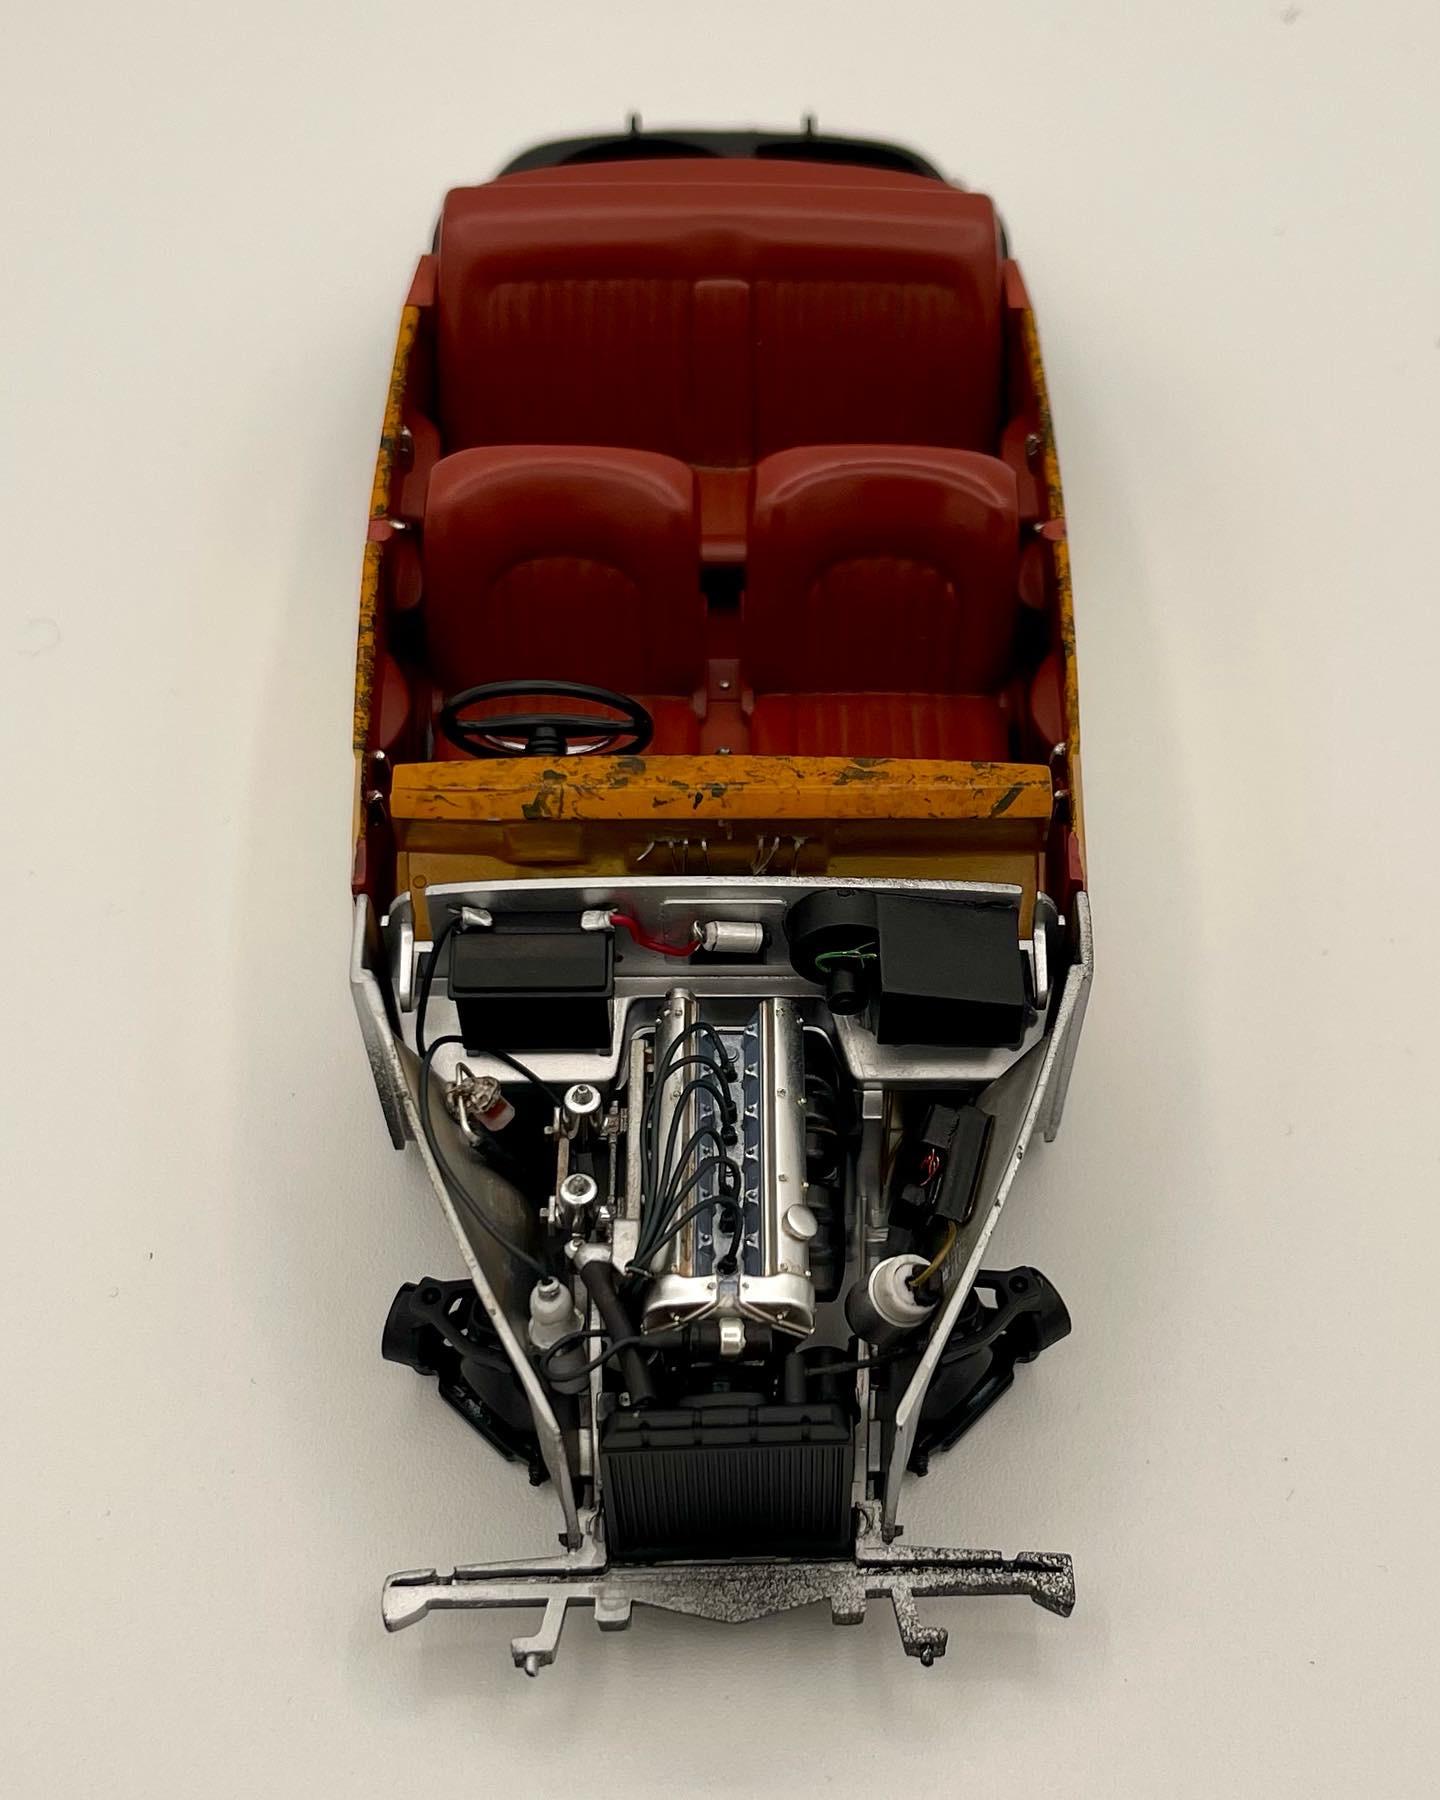
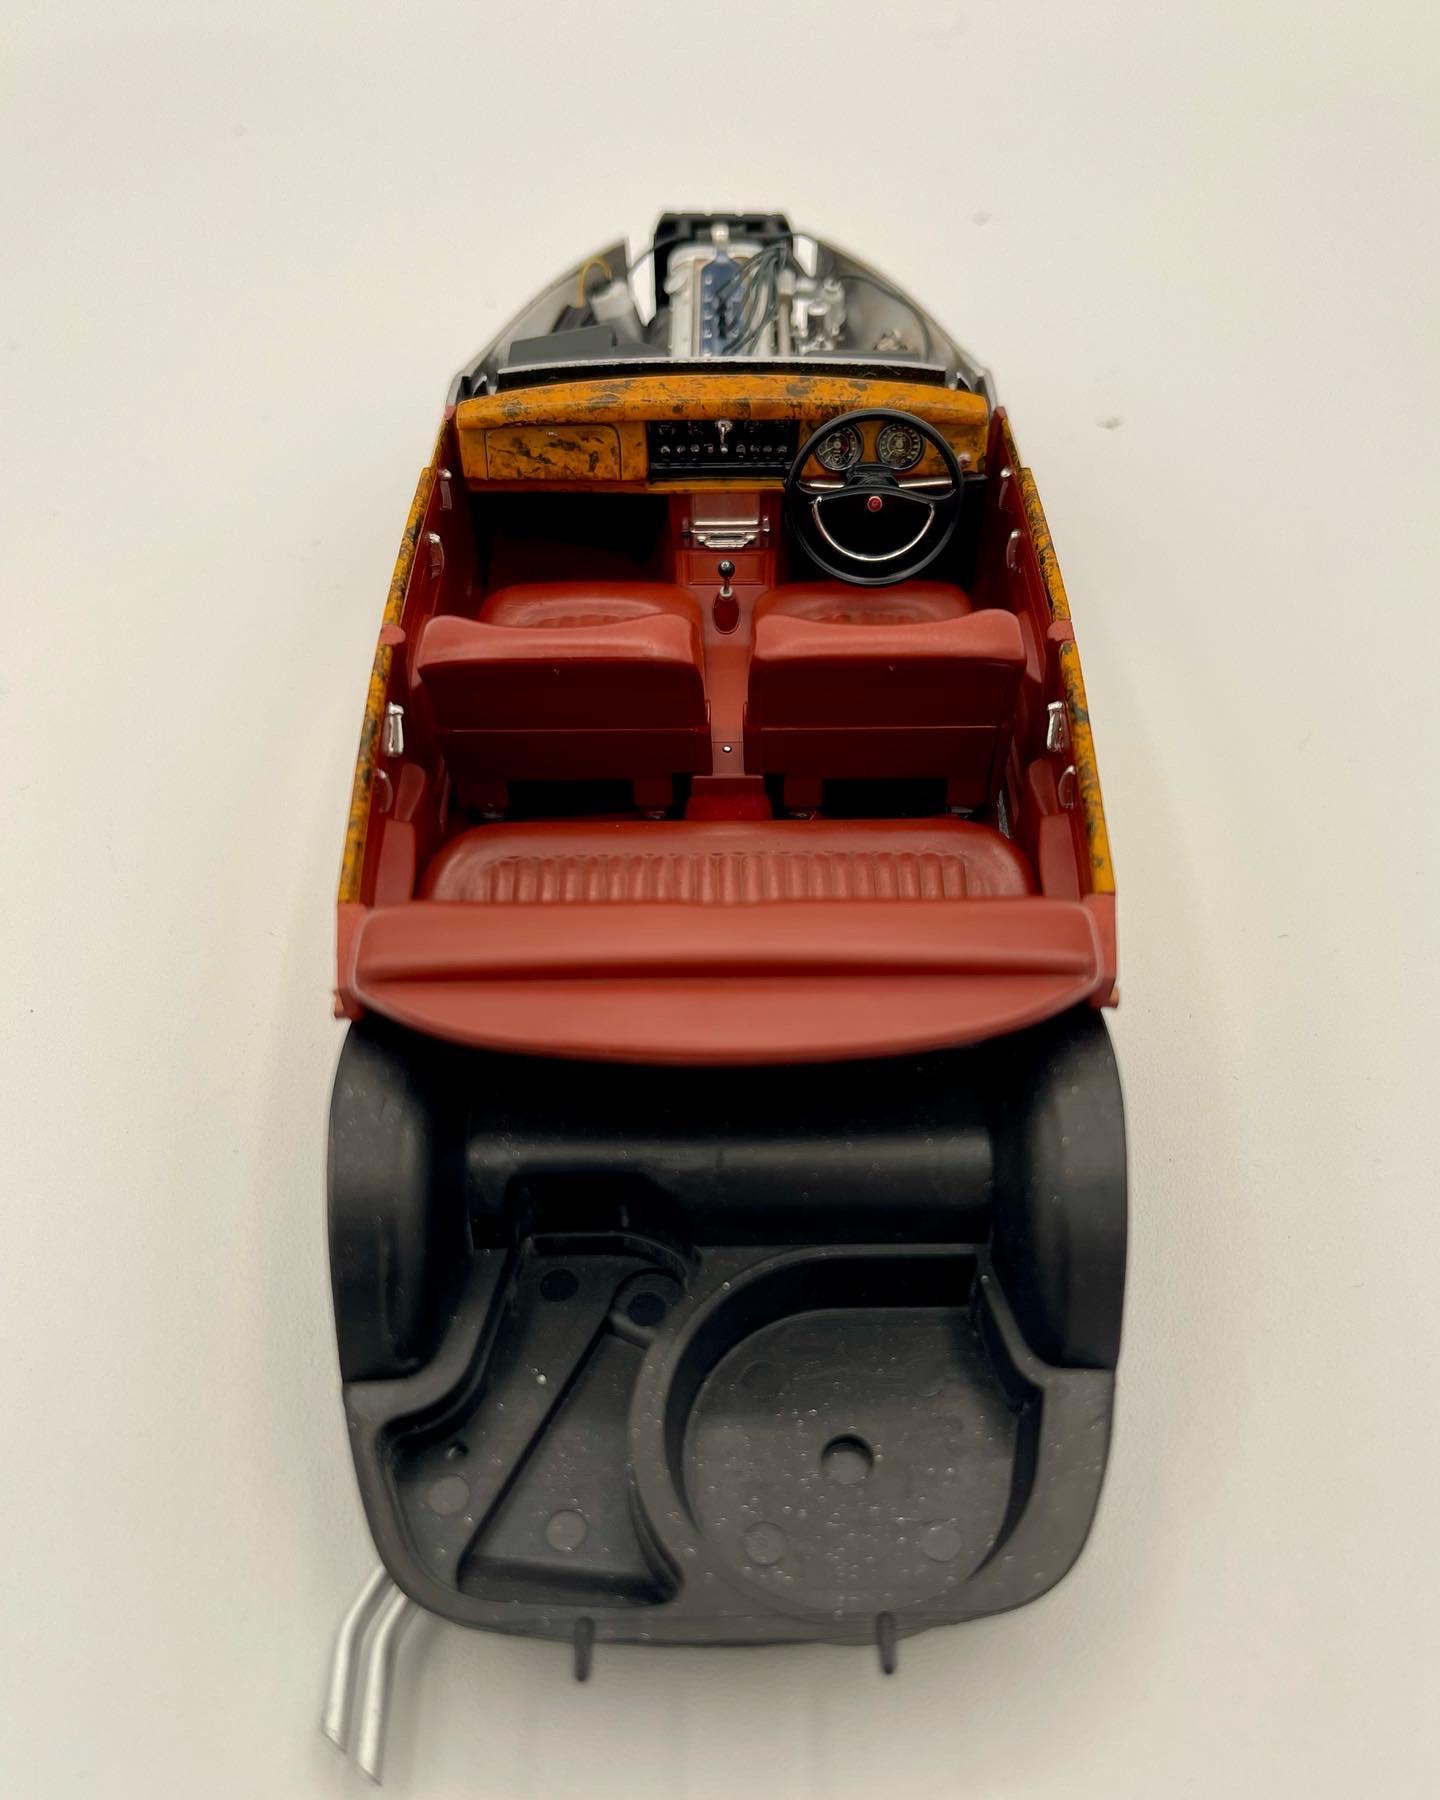
Thanks guys! Thanks! I didn’t do a WIP but I did take some pics of the process - I’ll post below. I painted the dash and the tops of the door panels with tamiya lacquers. First I primed them in grey and then sprayed them with wooden deck tan. I let them dry and then dipped a crumpled piece of plastic wrap in different shades of brown, black, and yellow and very lightly dabbed the surfaces (one color at a time) until they formed the wood grain swirls etc. After they dried I sprayed them with light mist coats of clear orange until I got the shade I wanted. After that I put a couple of generous coats of semi gloss clear over them. Polished everything out a bit at the end to get it as smooth as possible without burning through the clear. Then I just masked the wood bits off when I did the rest of the interior. Hope that helps!
-
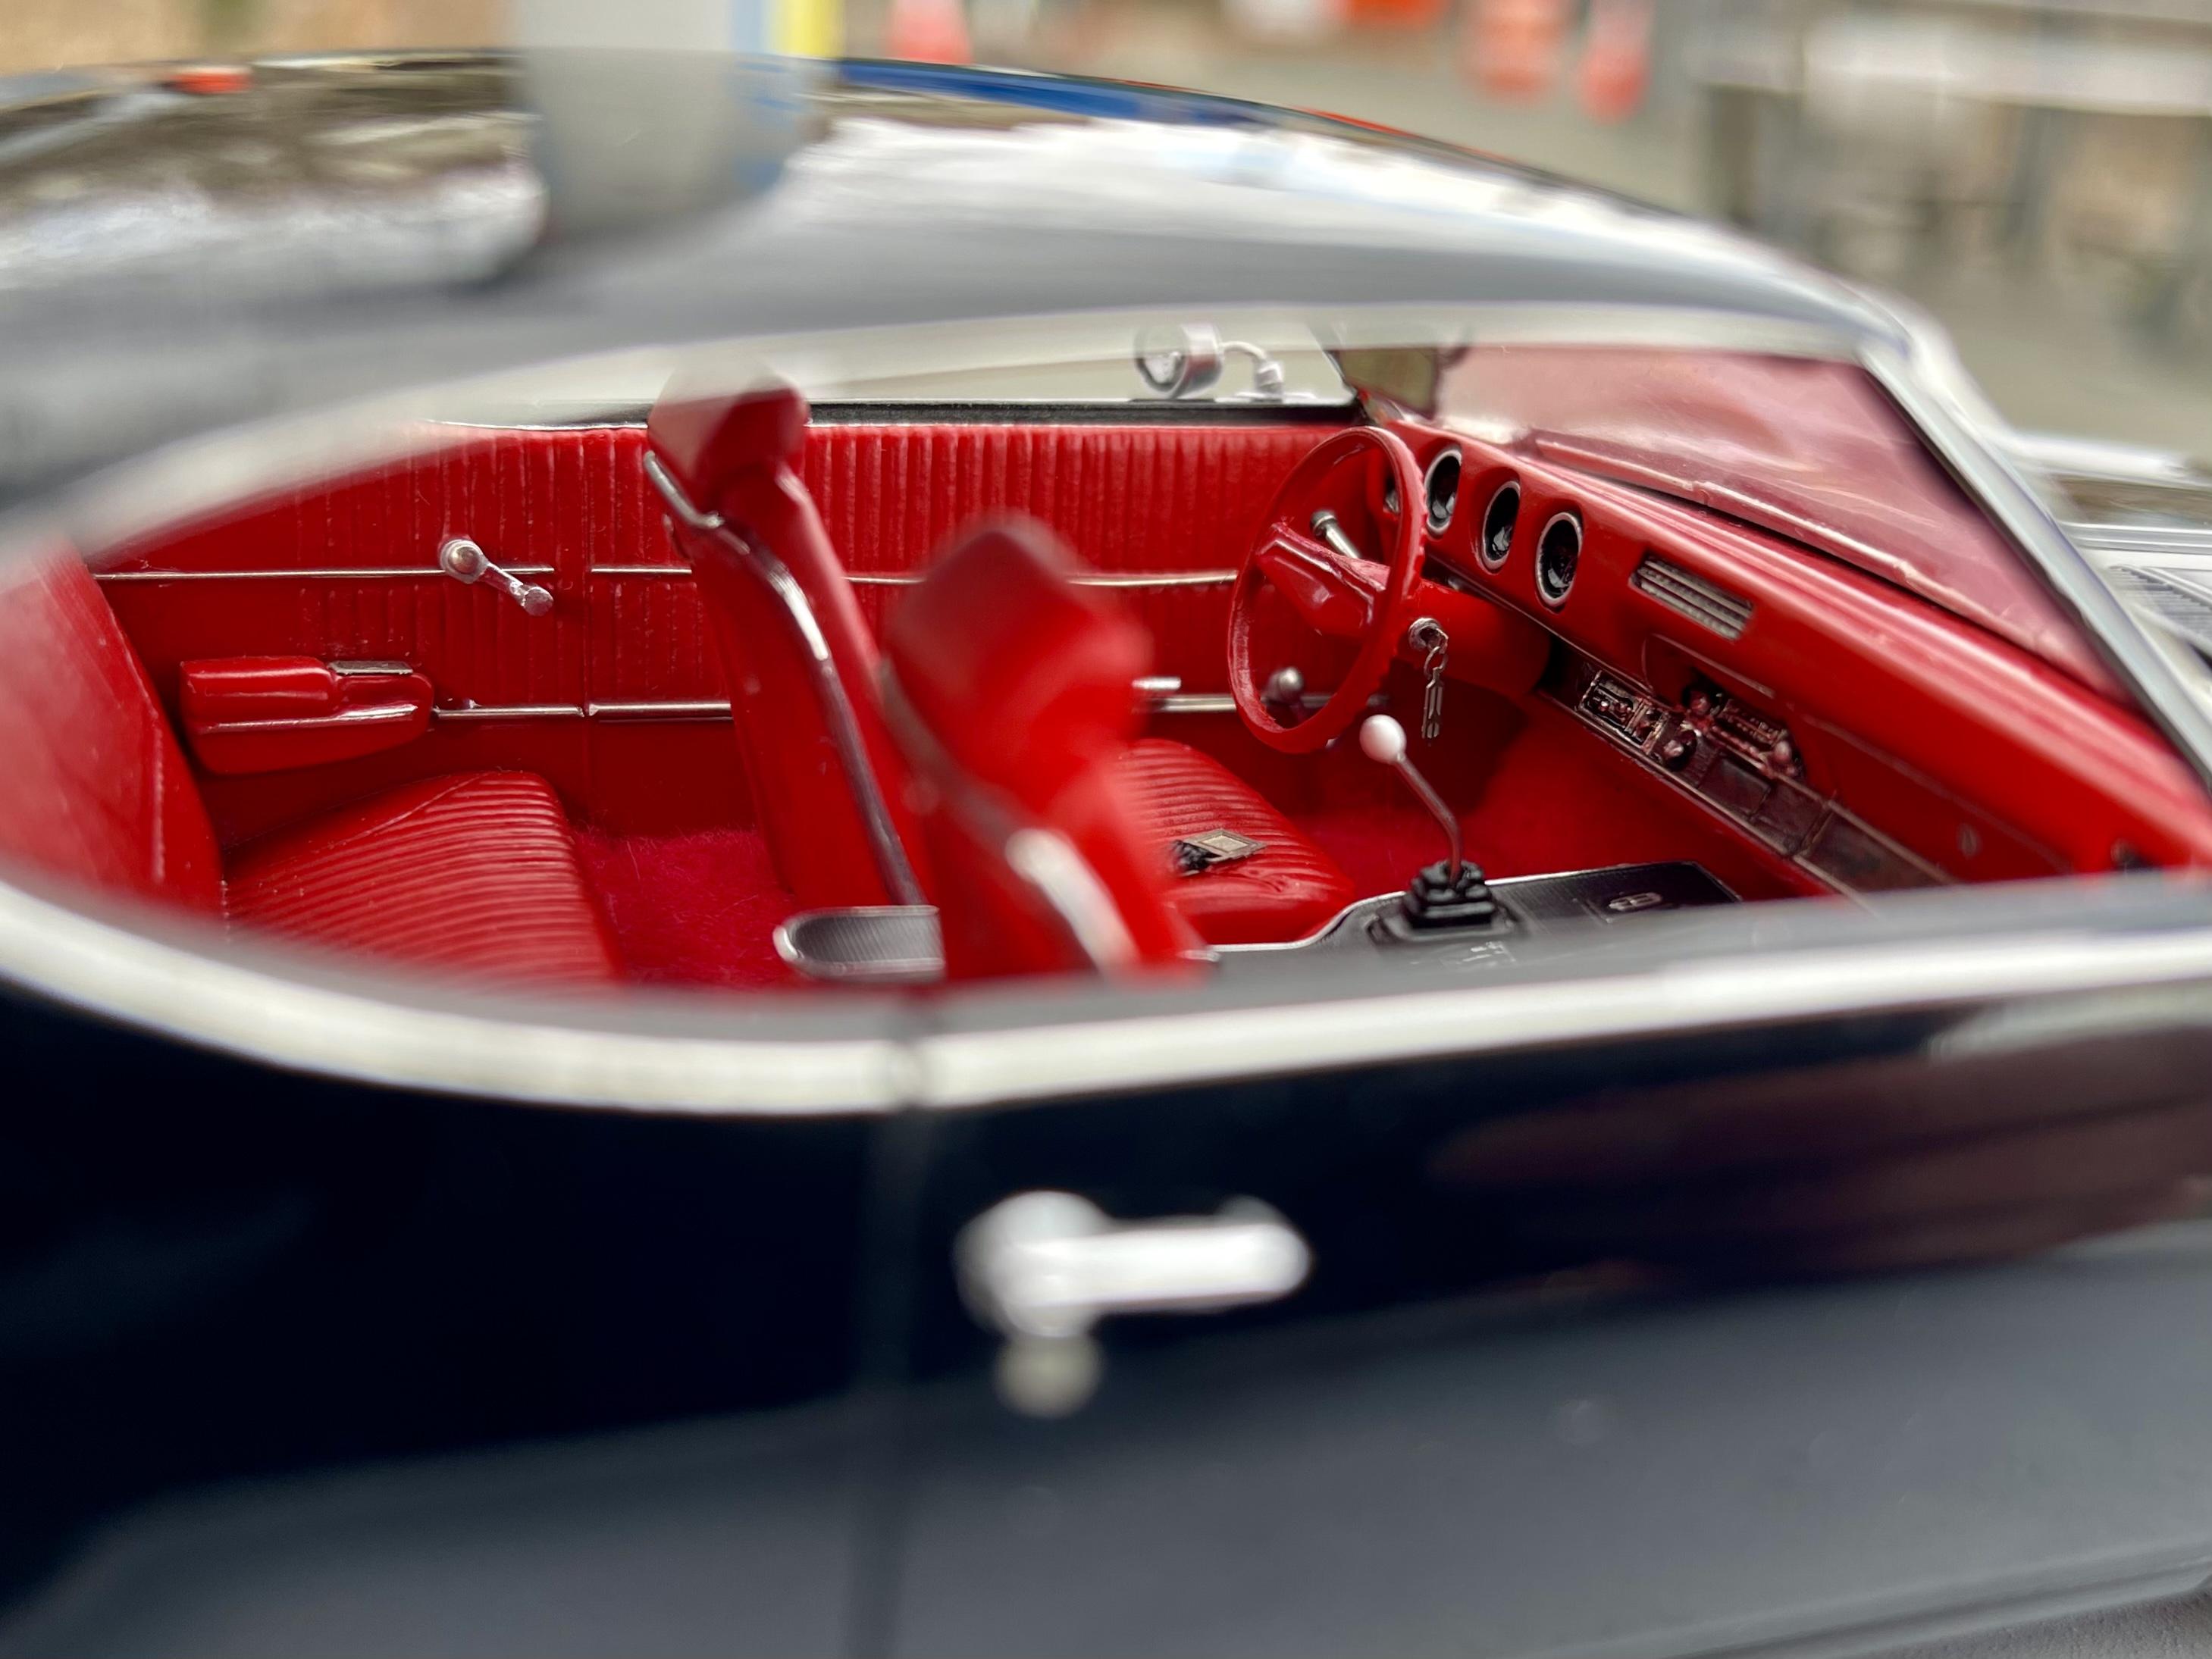
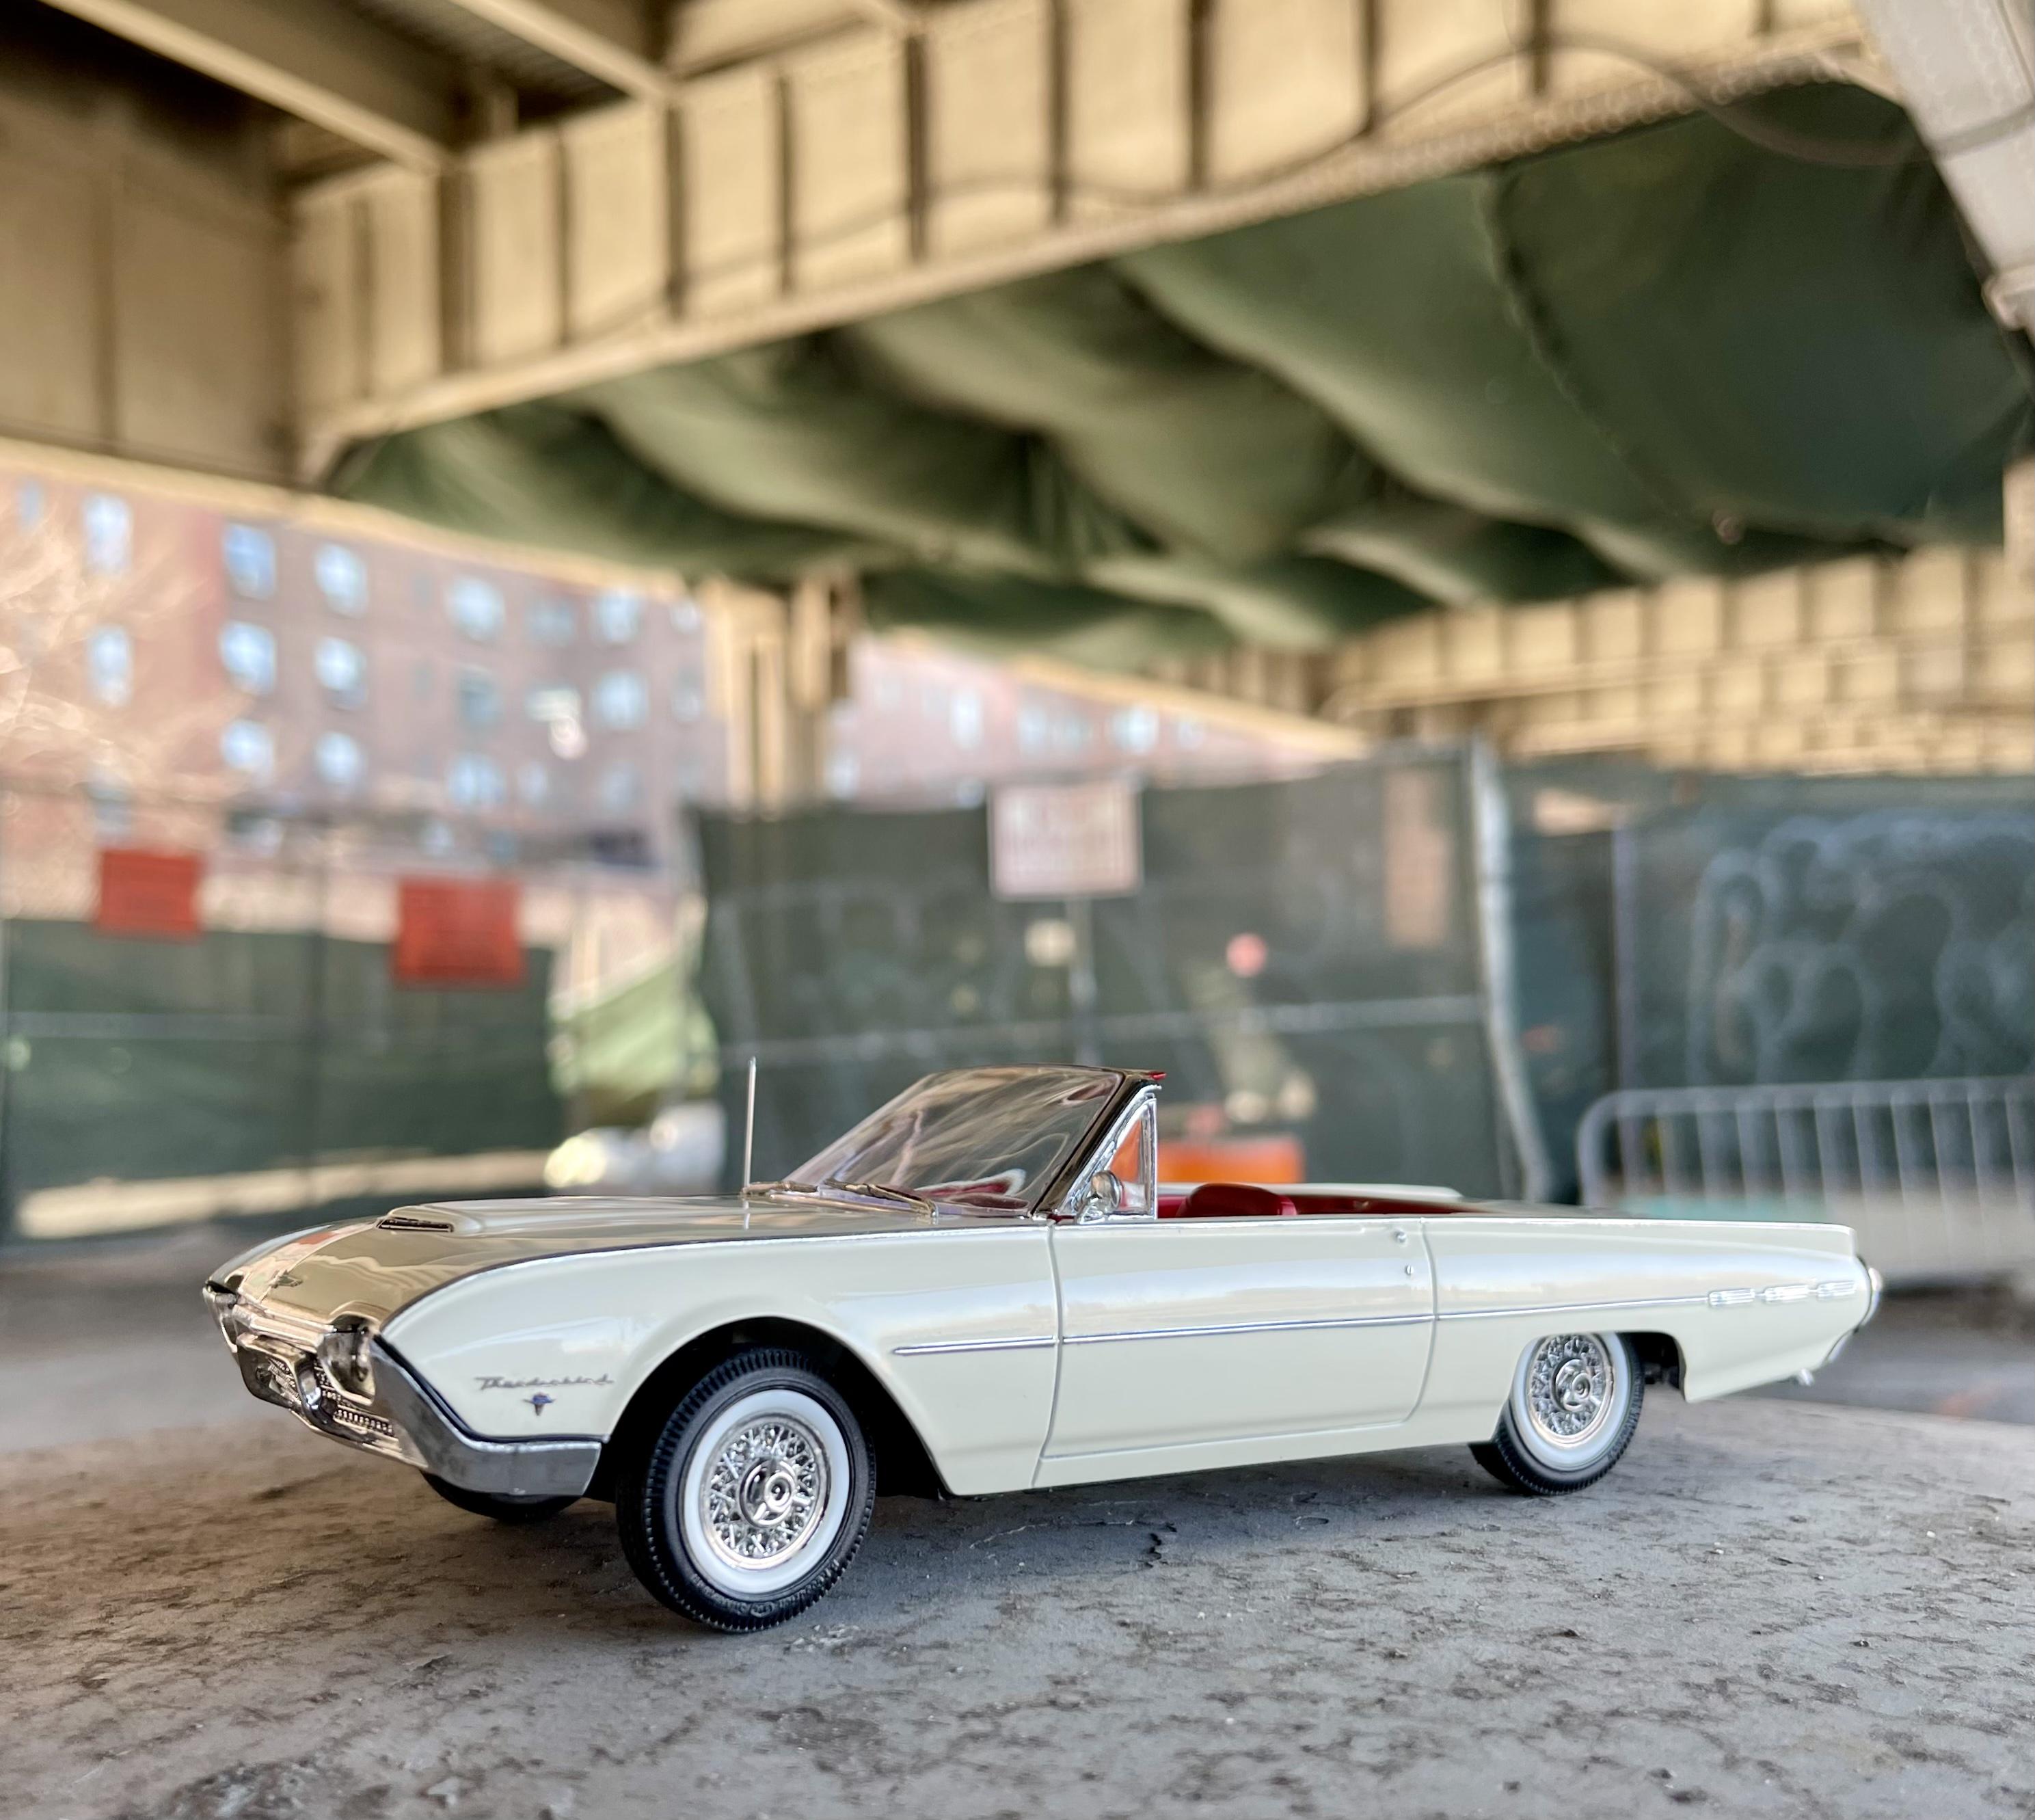
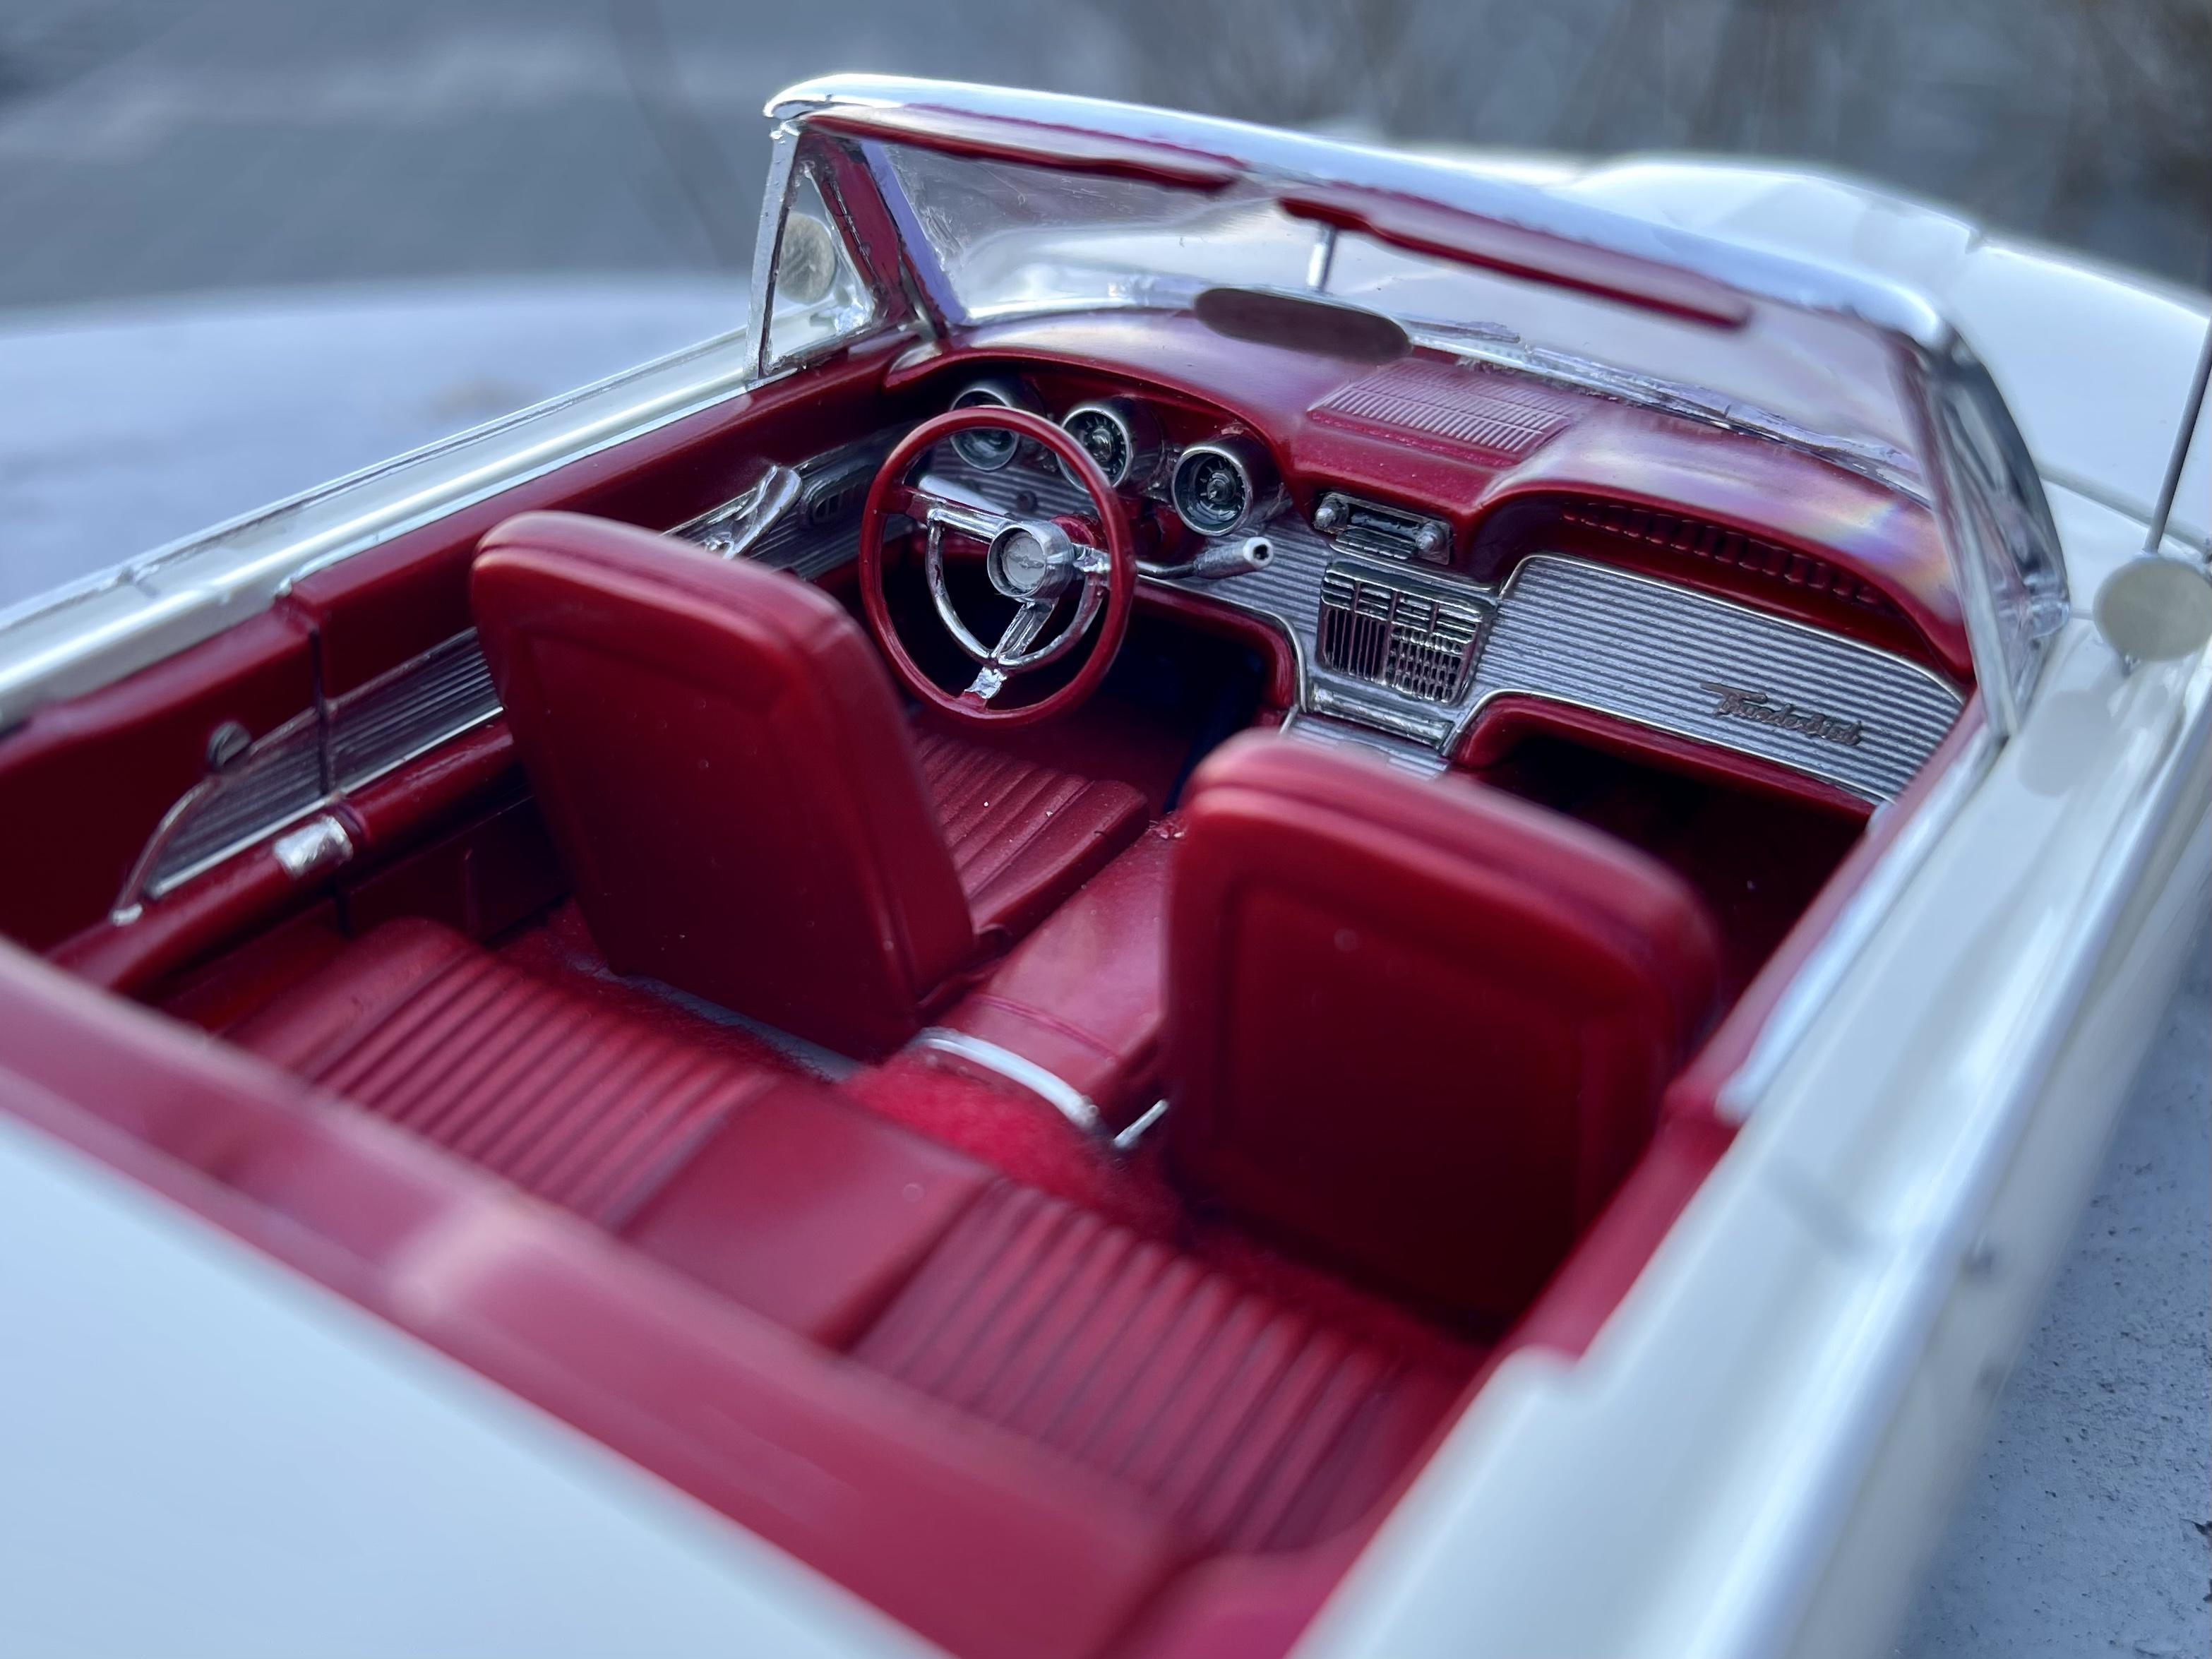
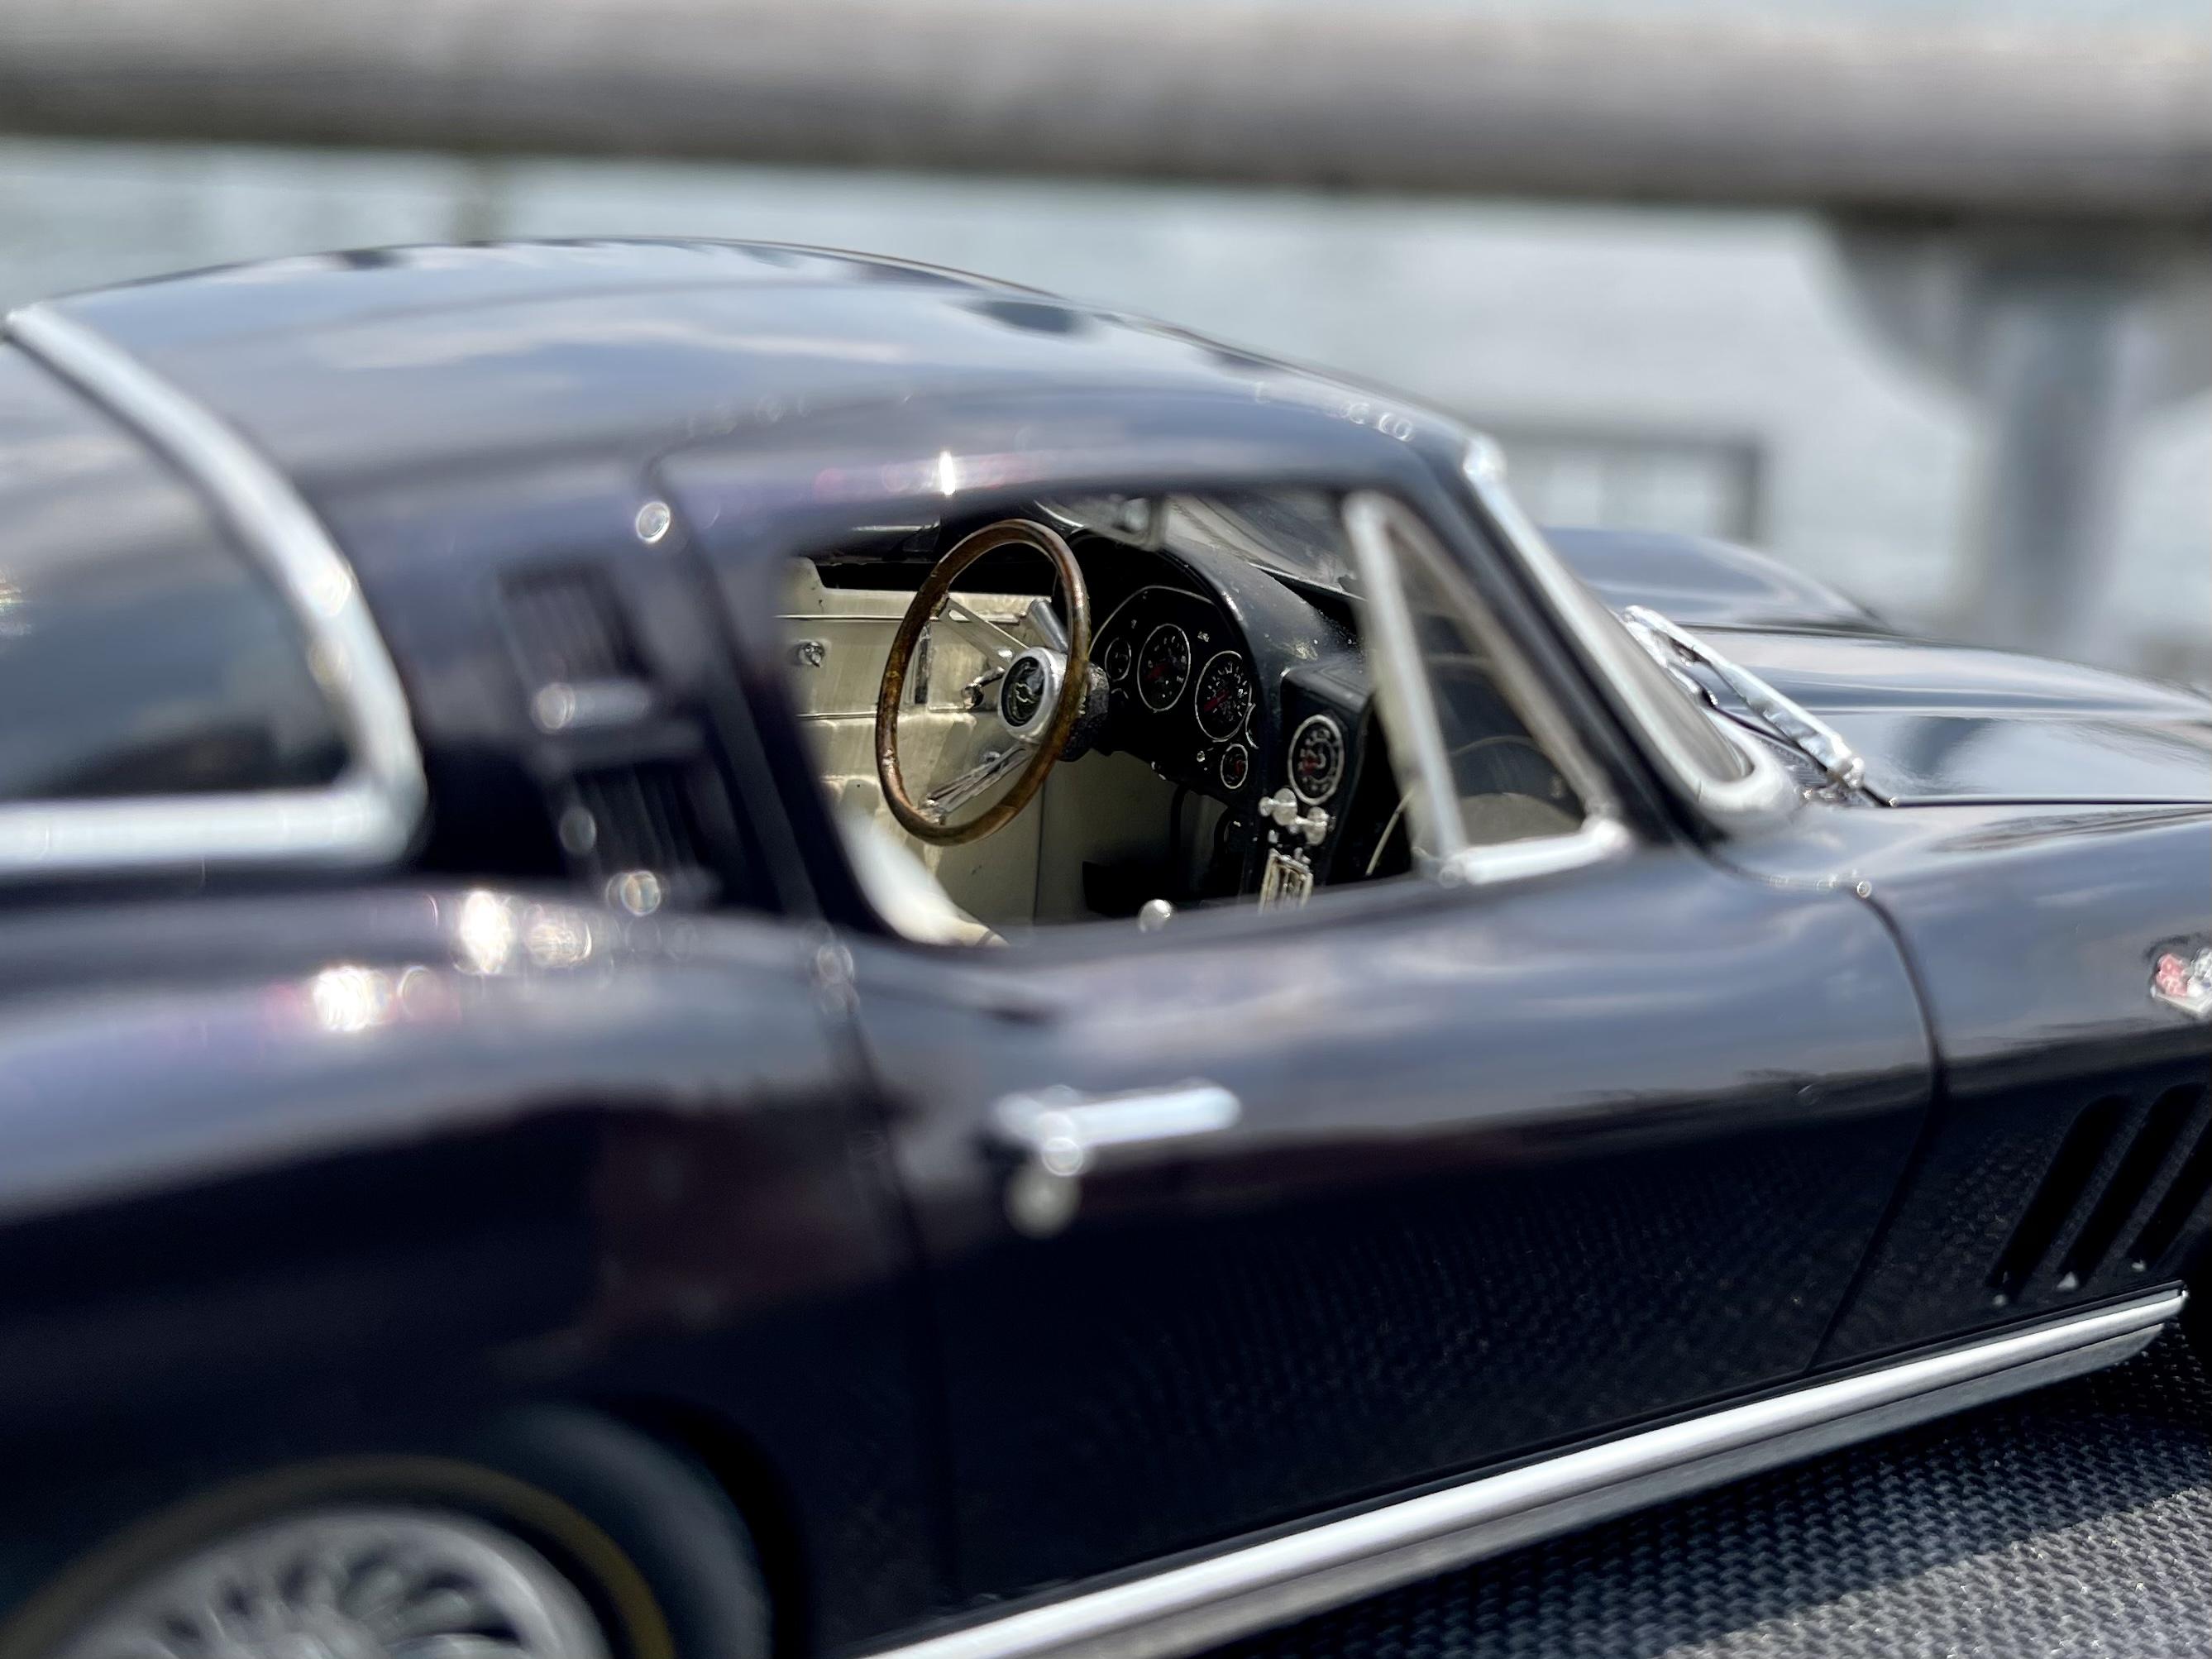
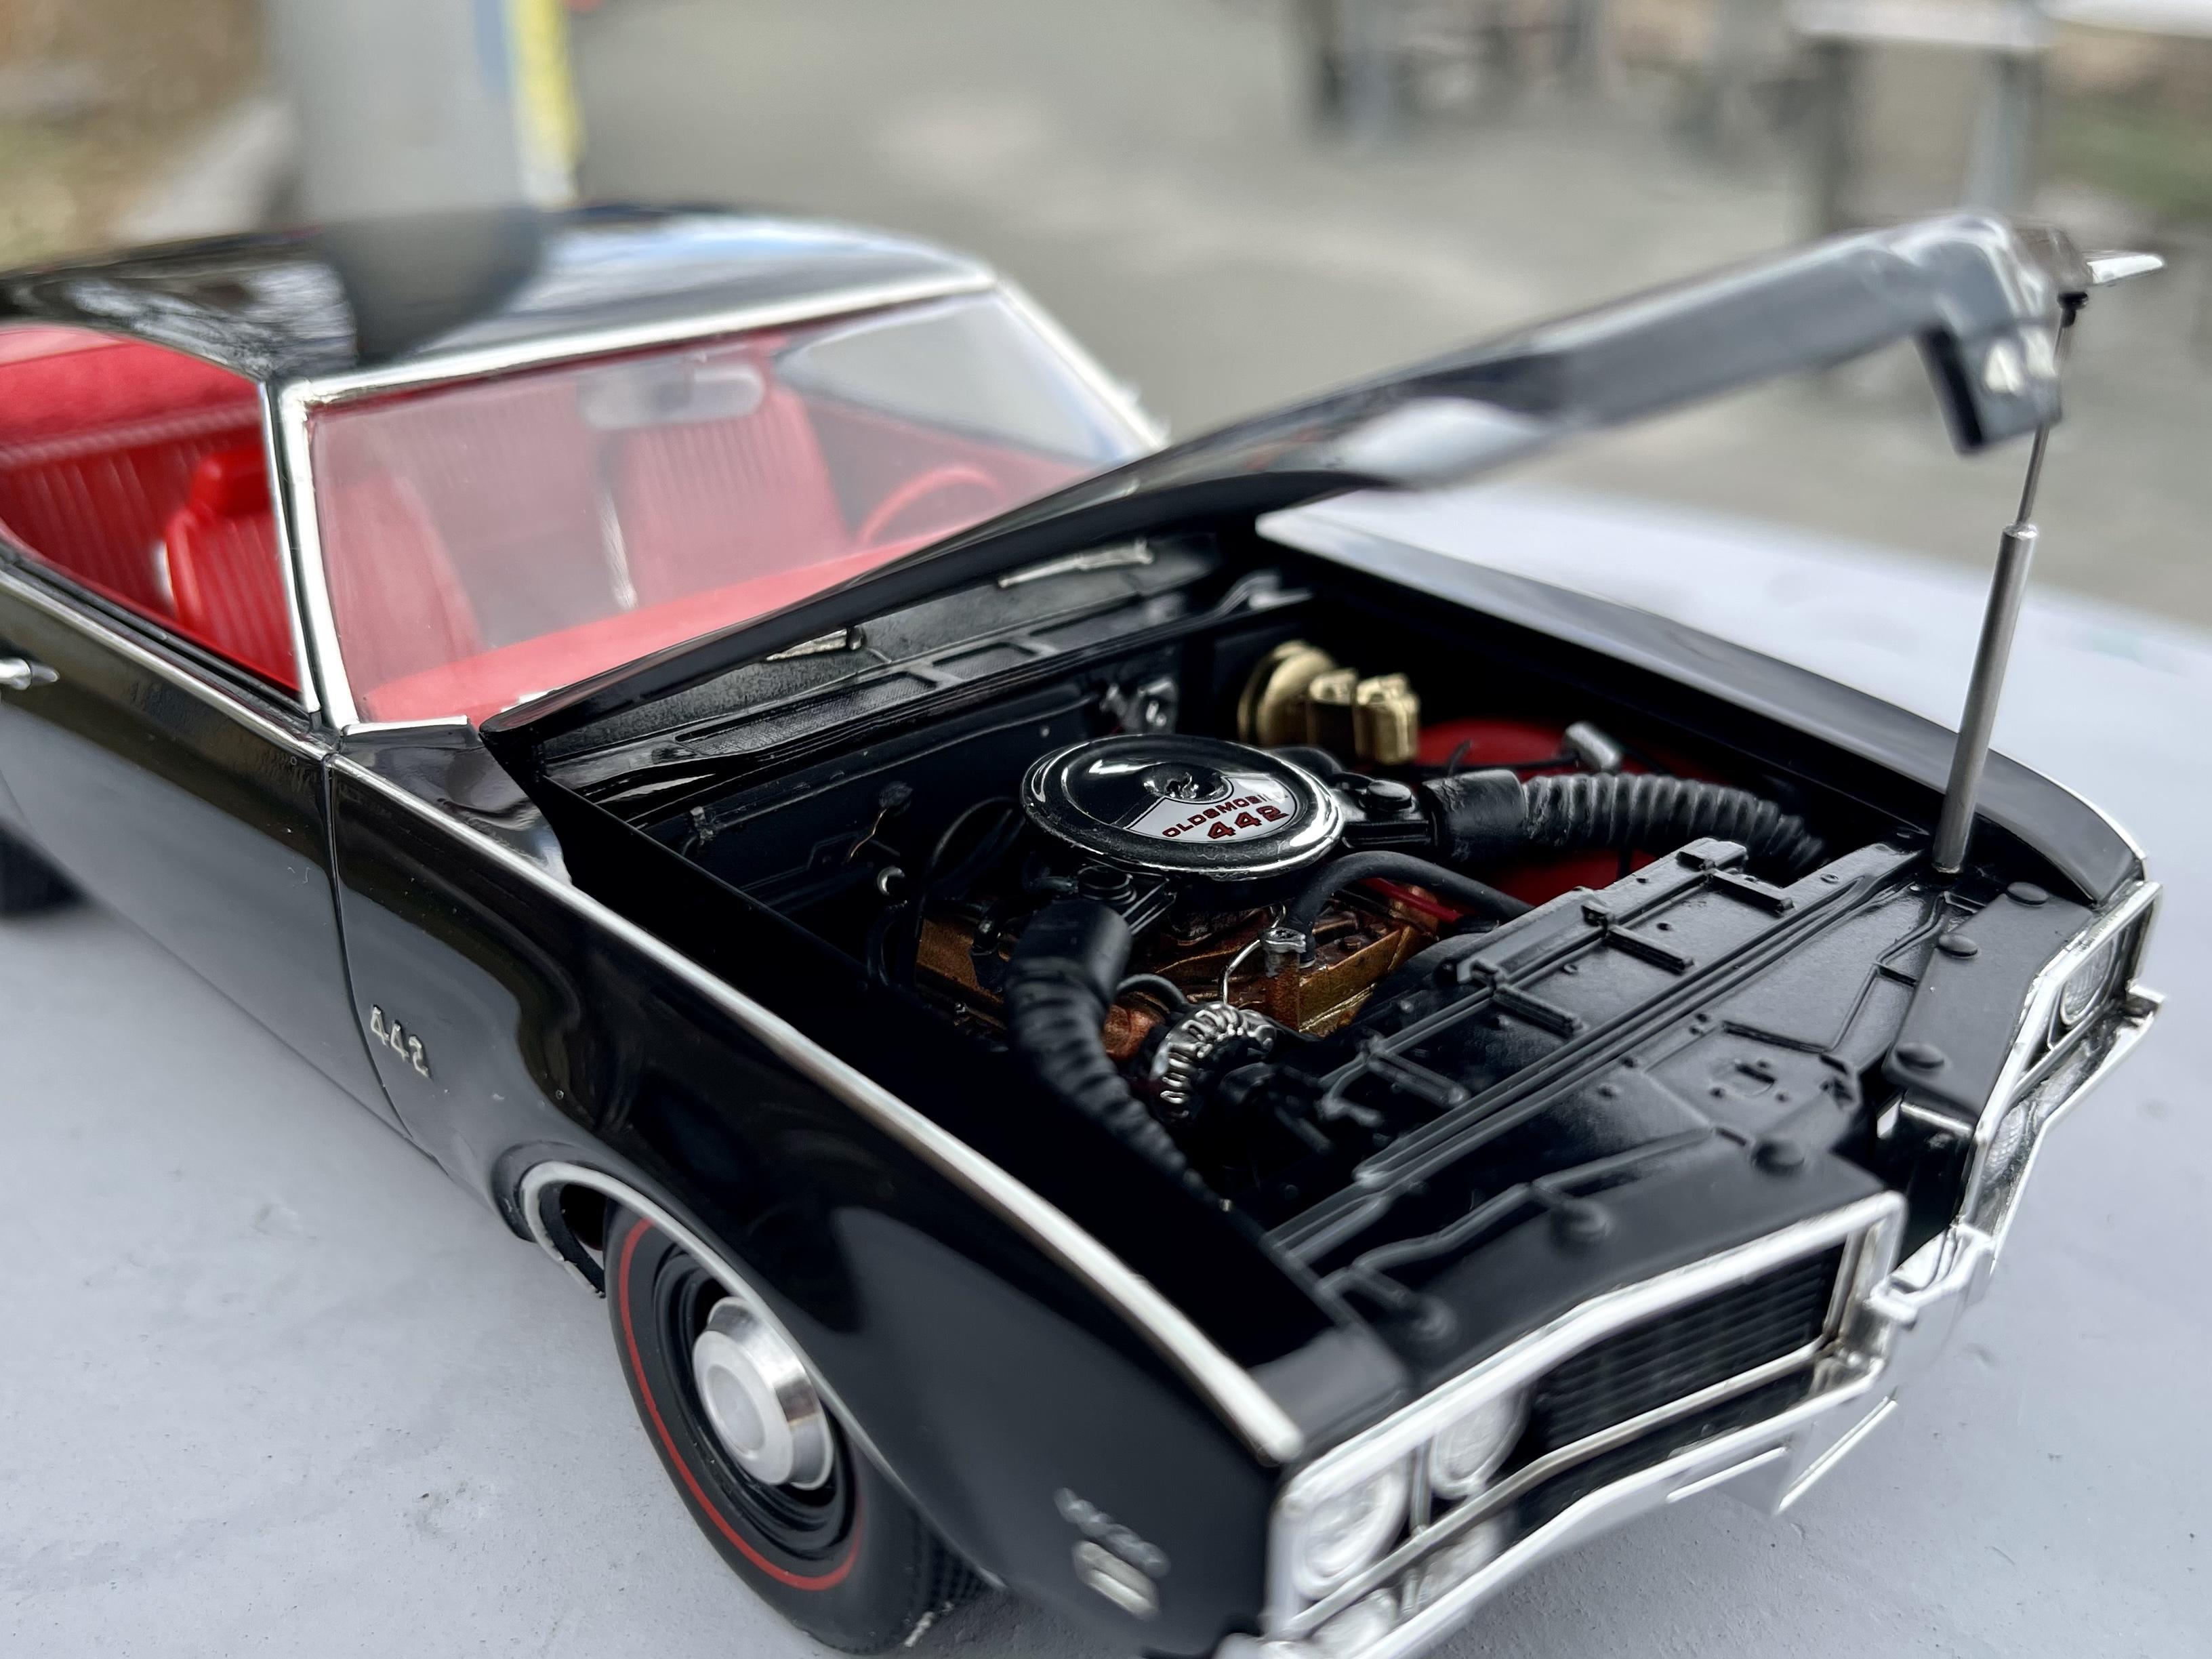
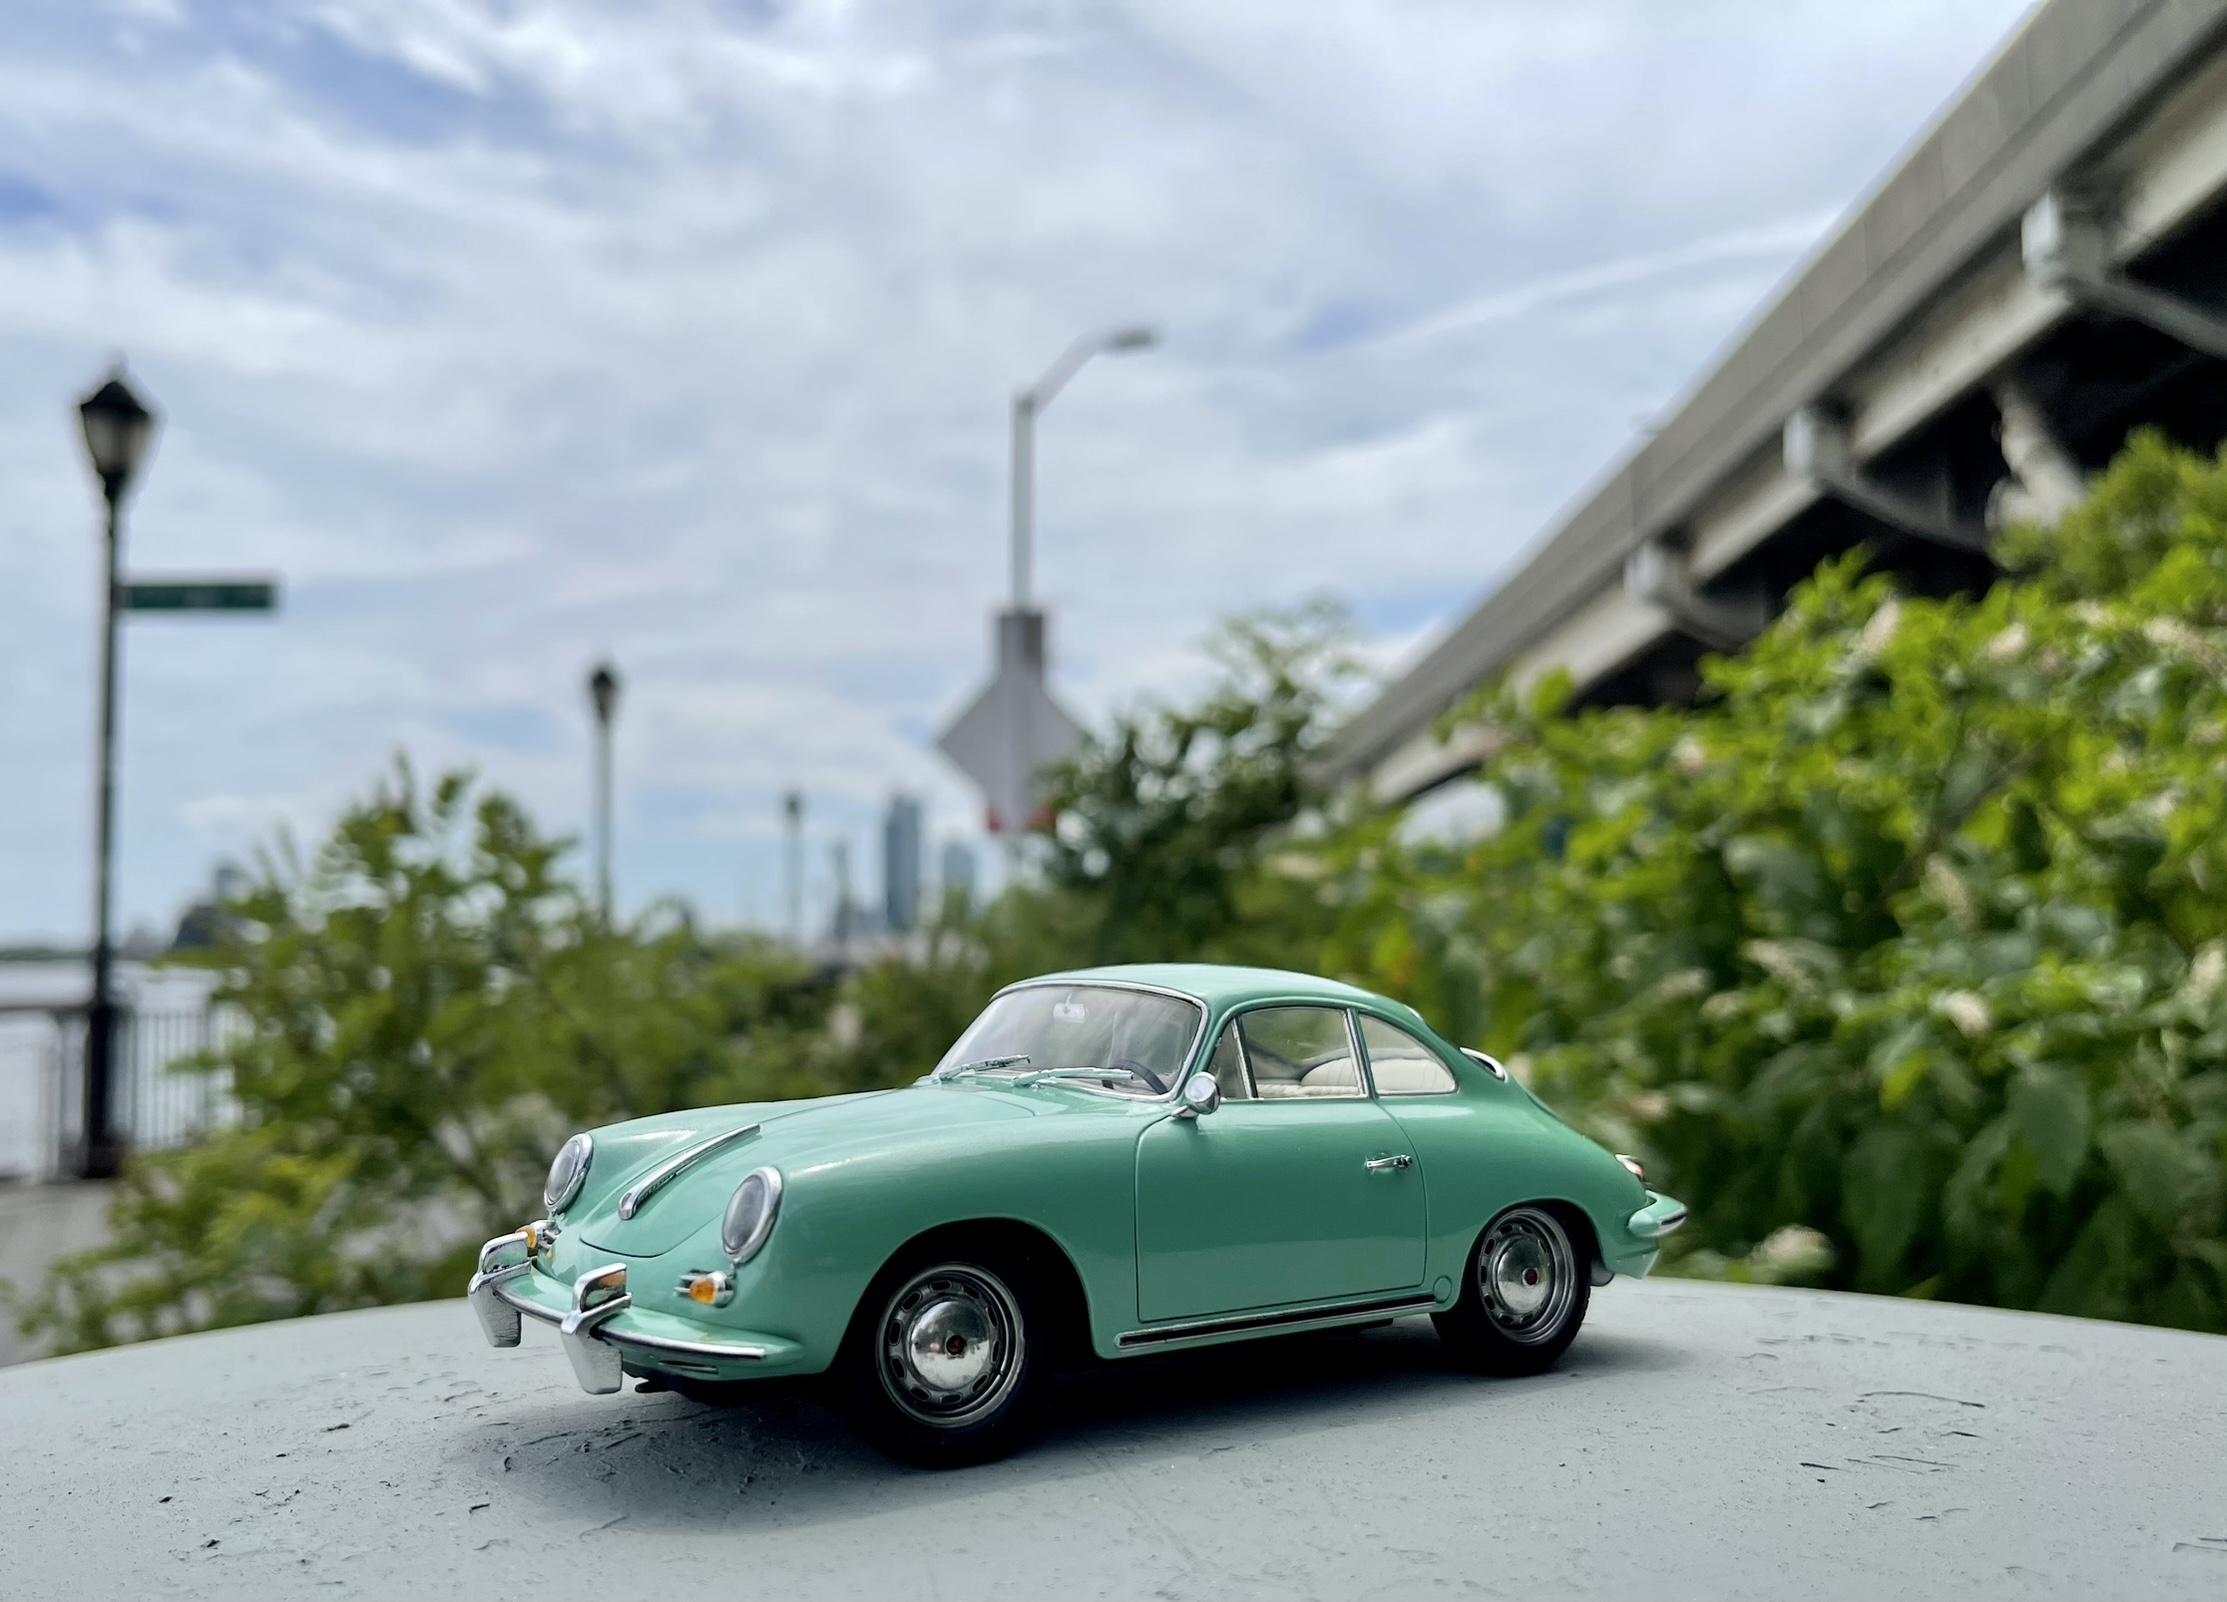
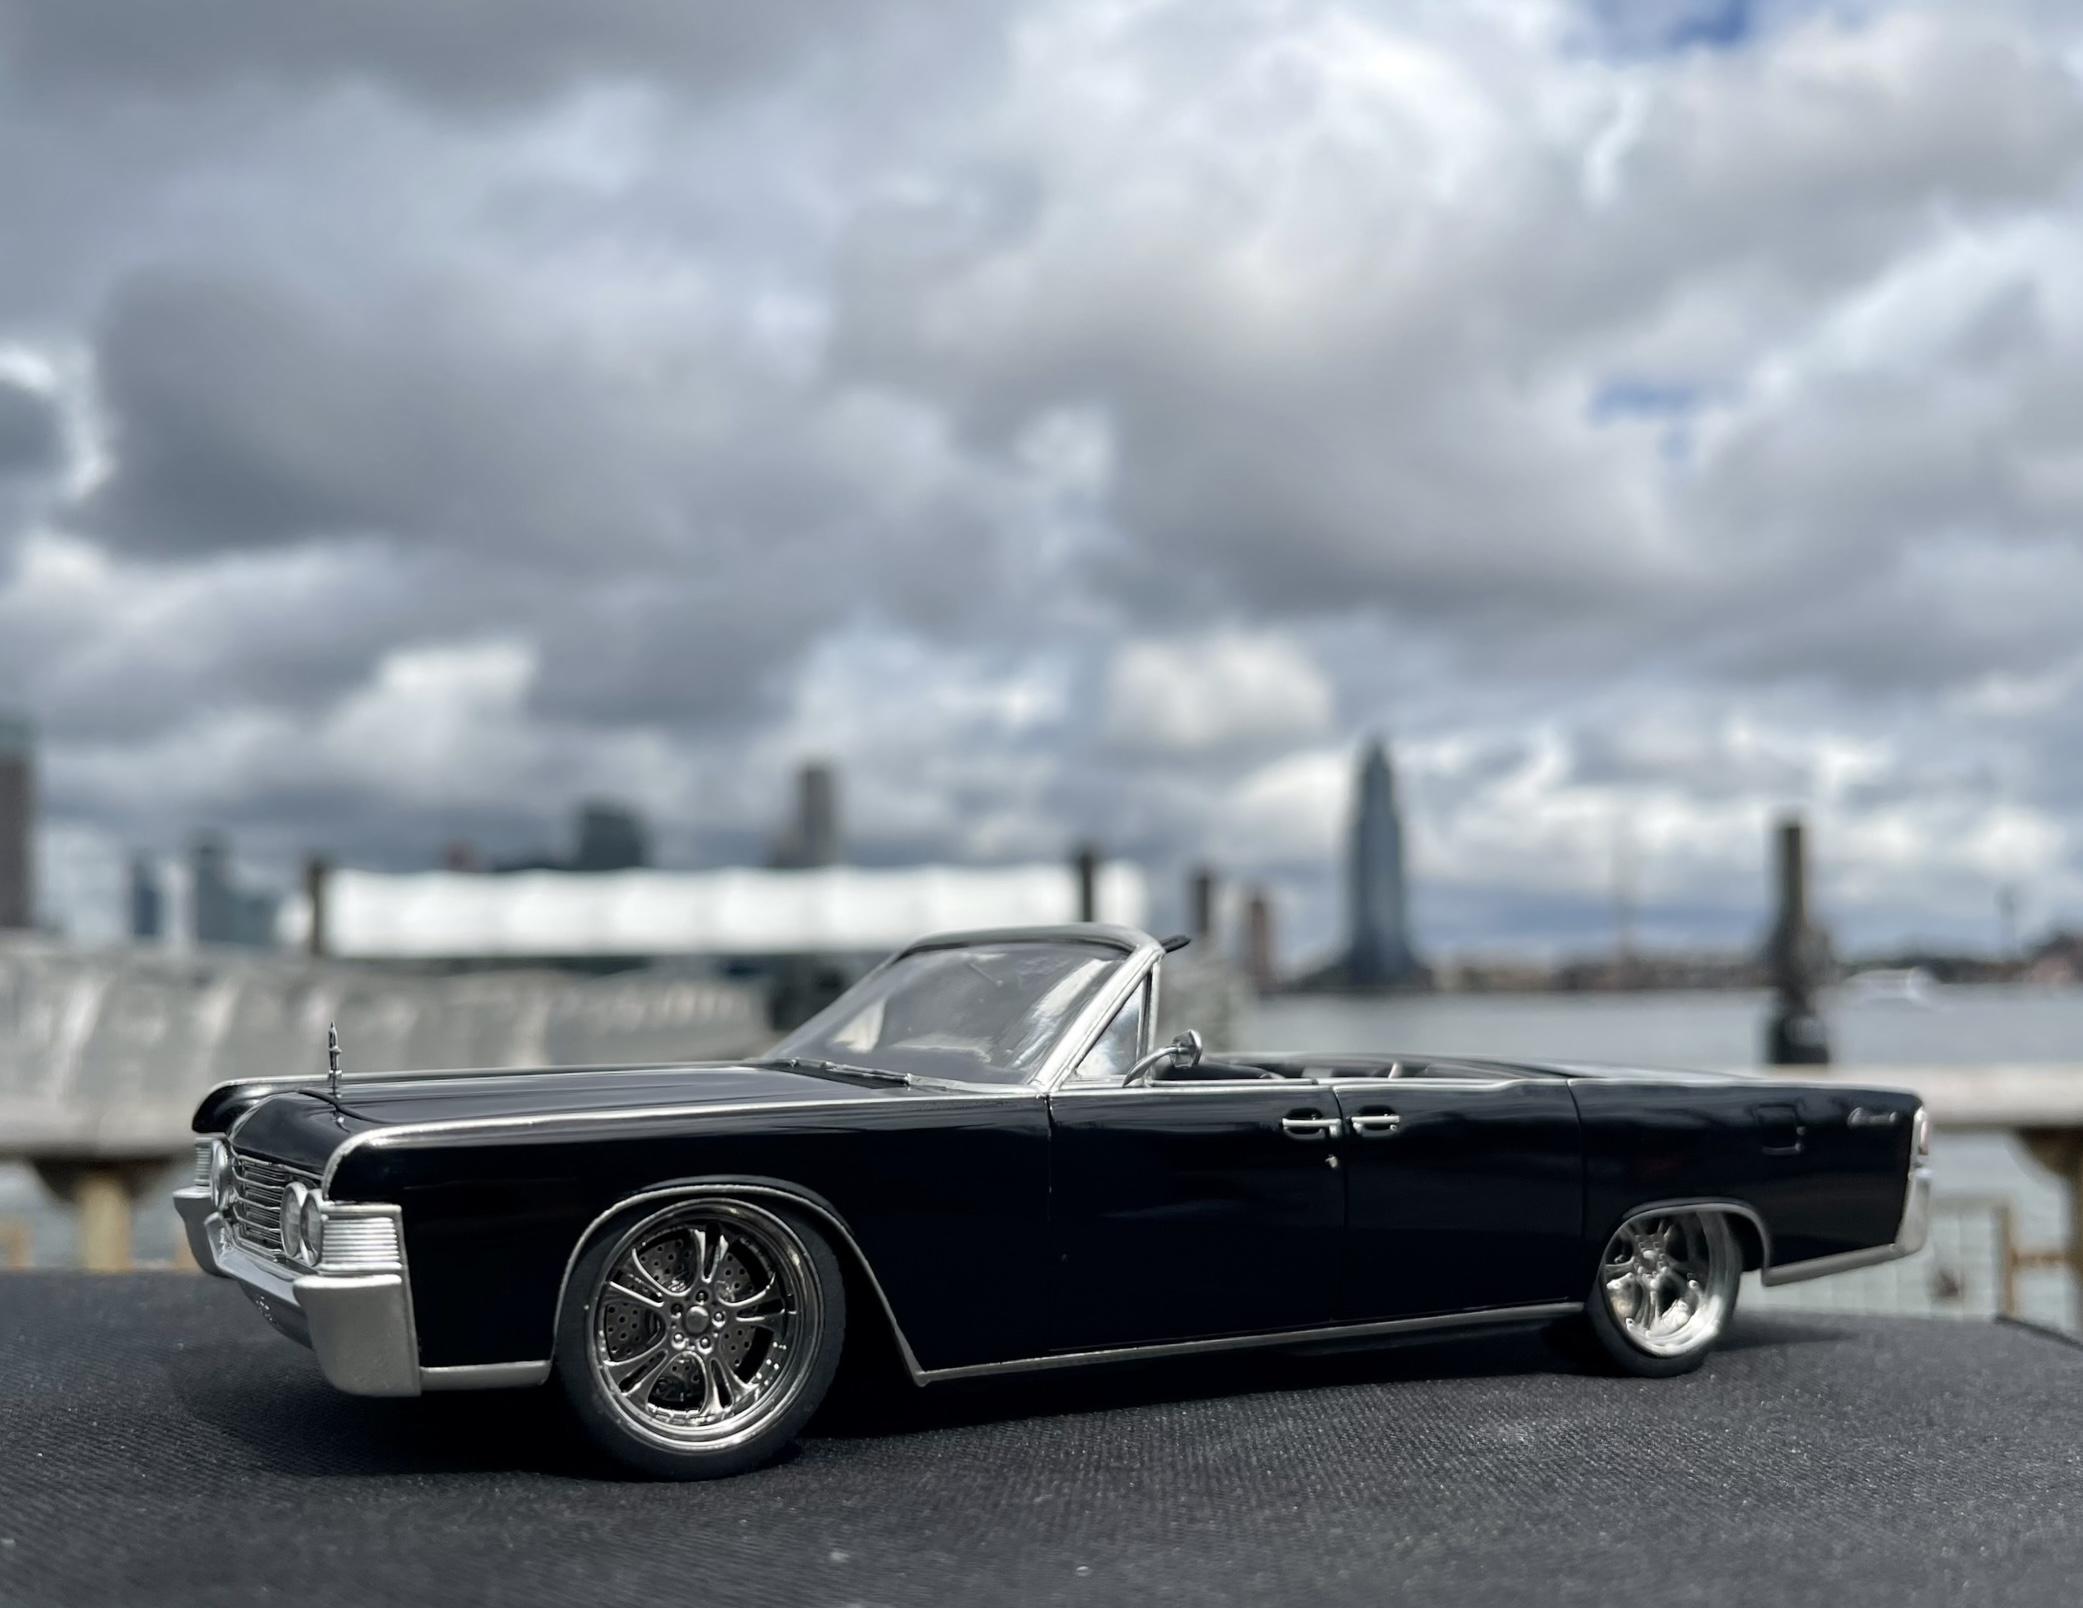
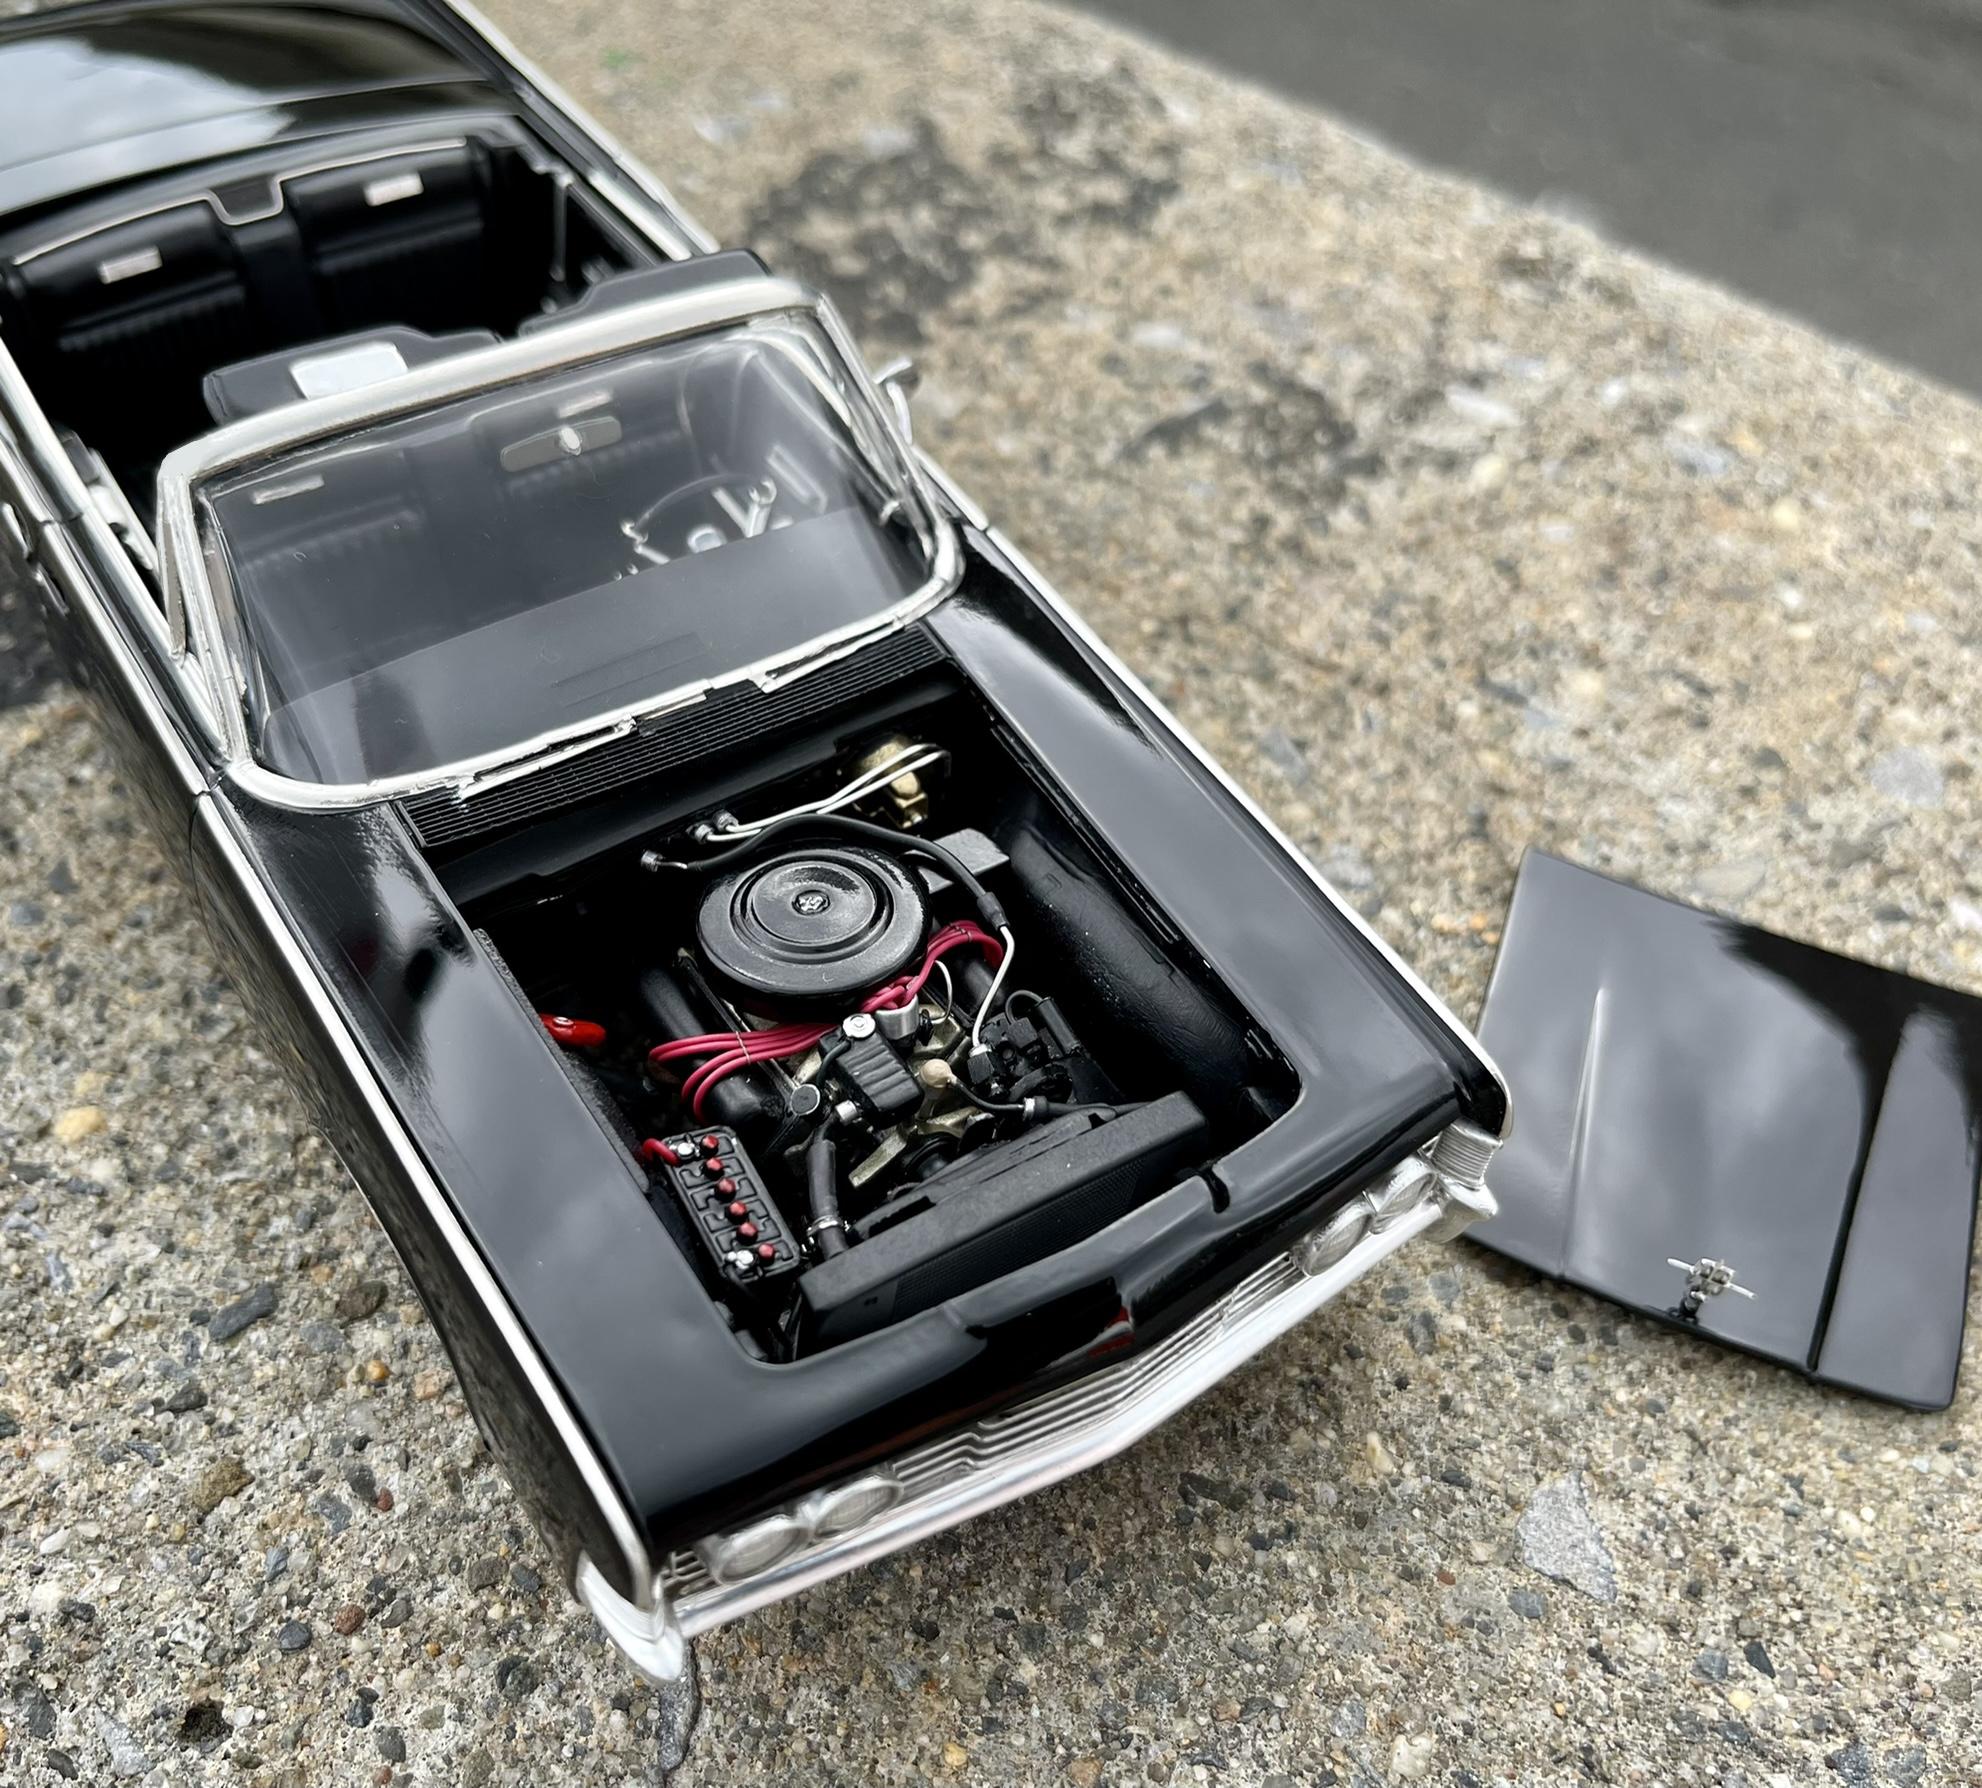
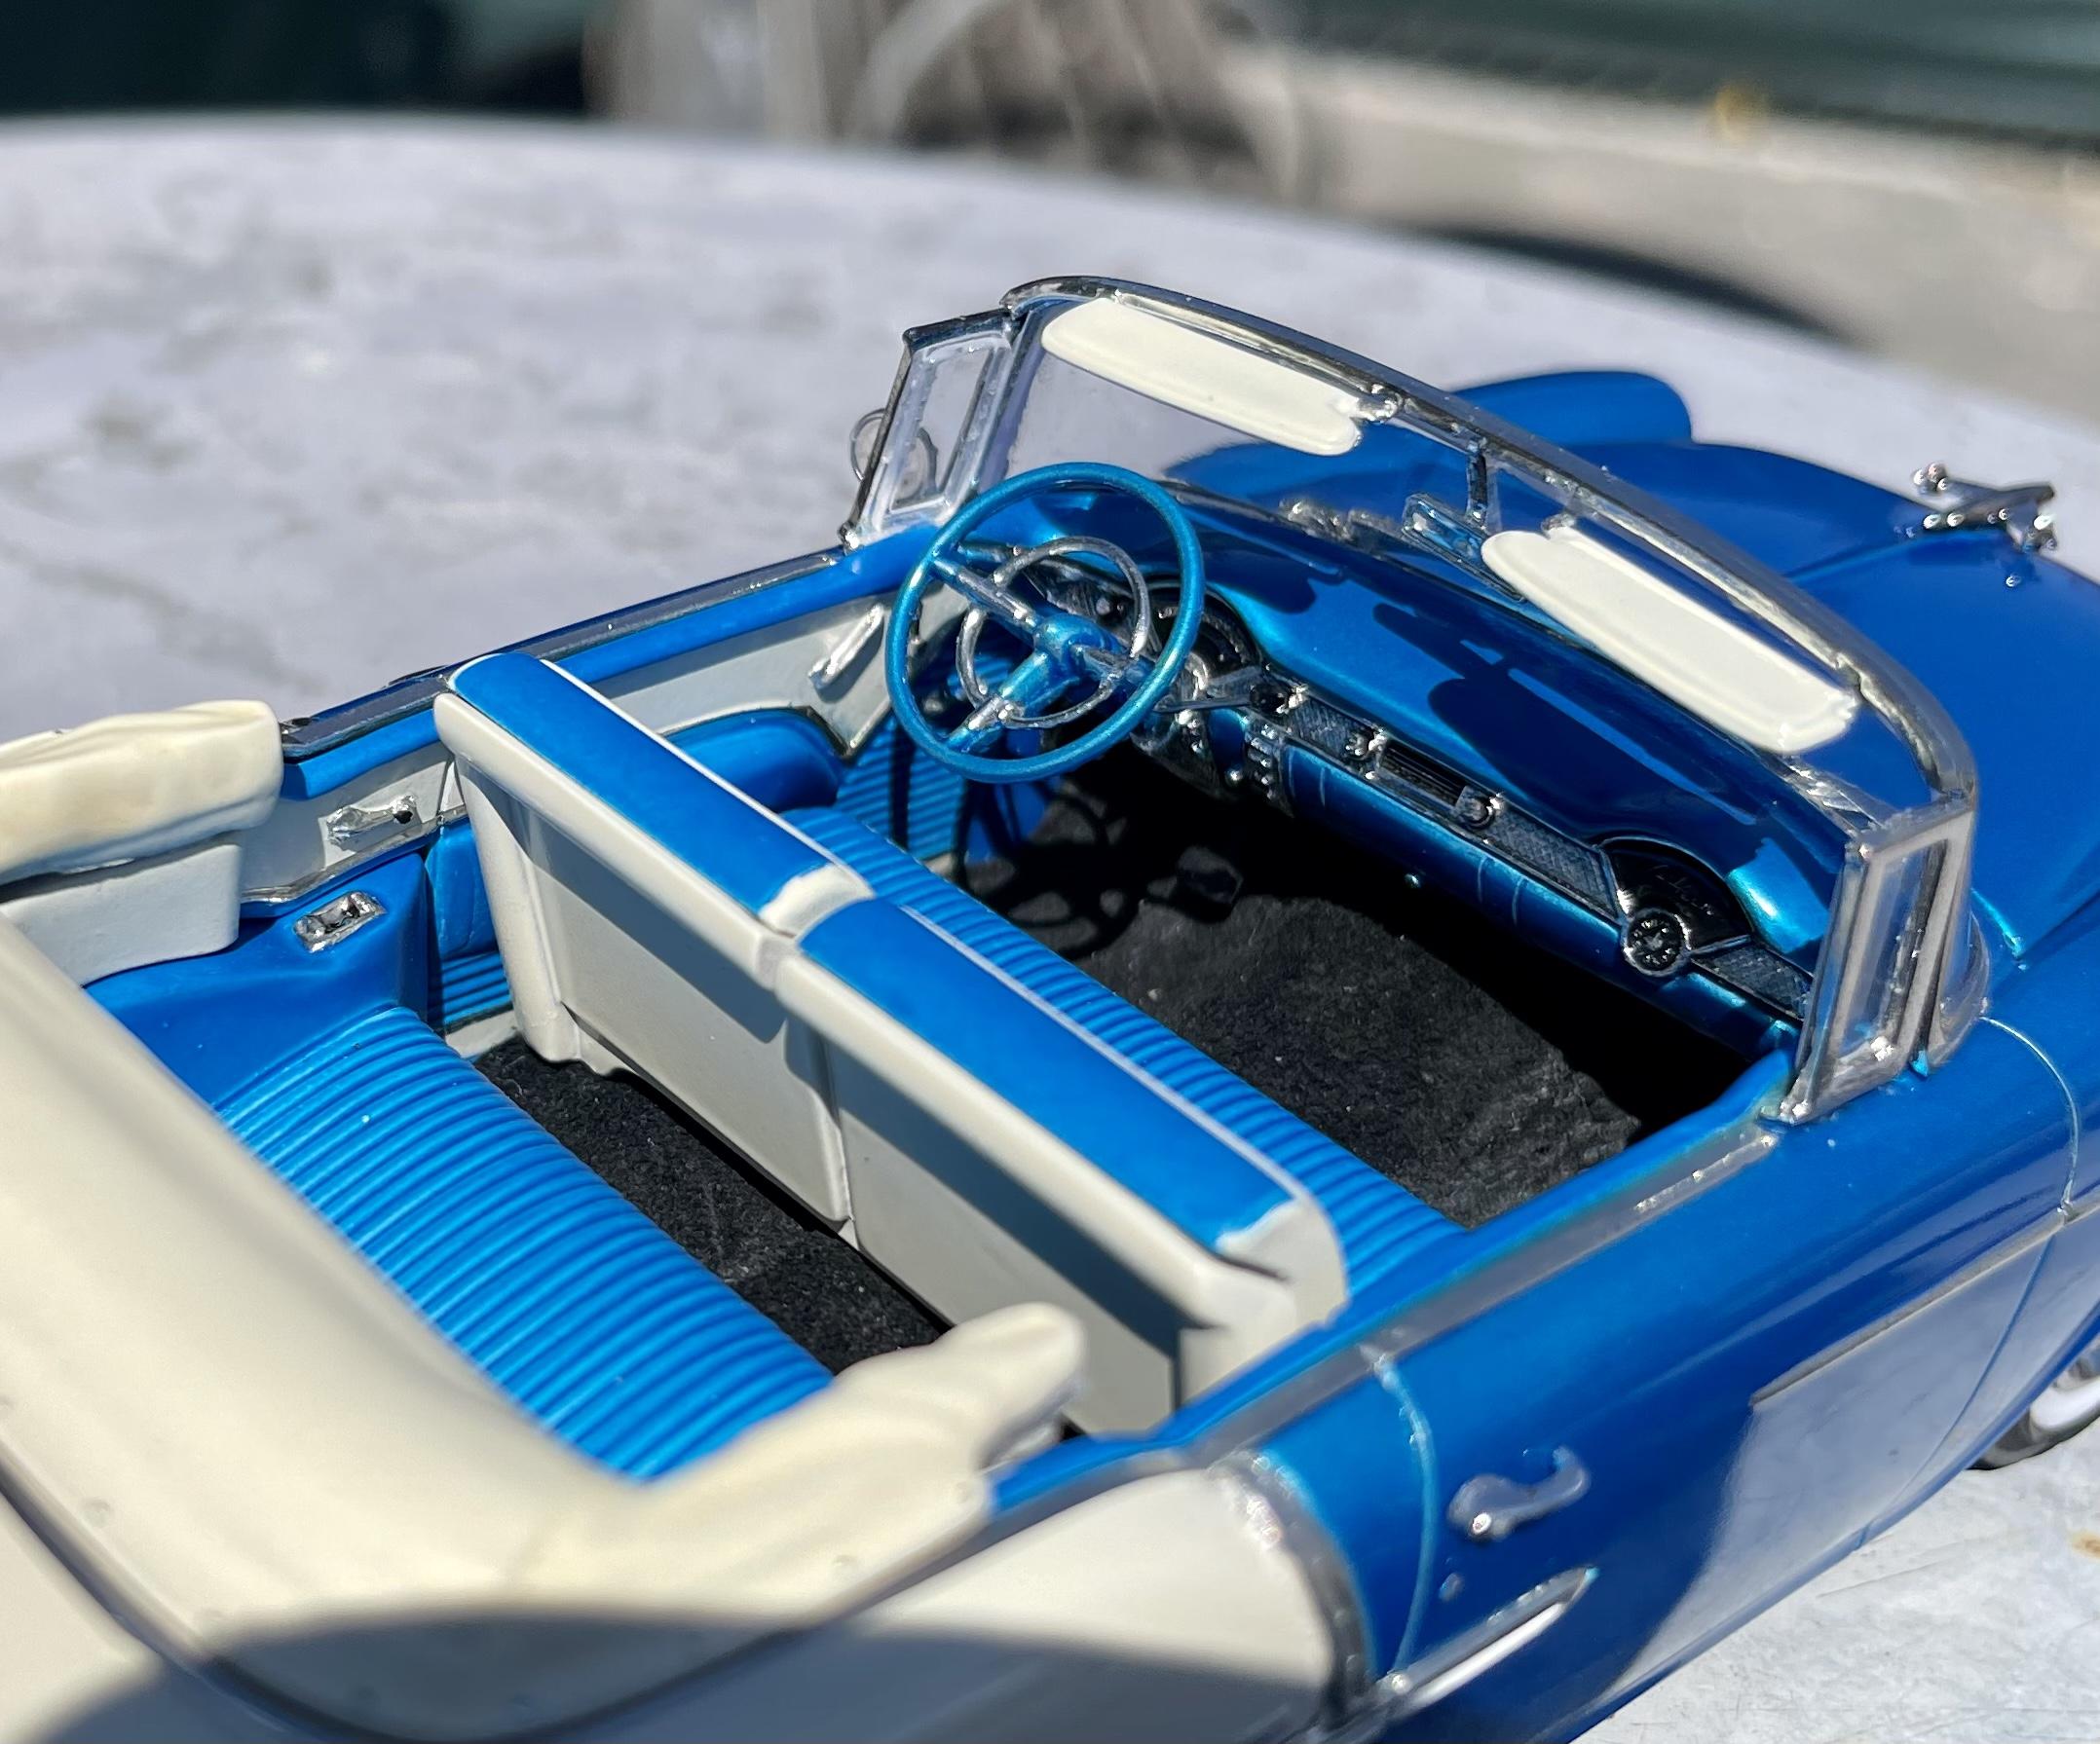
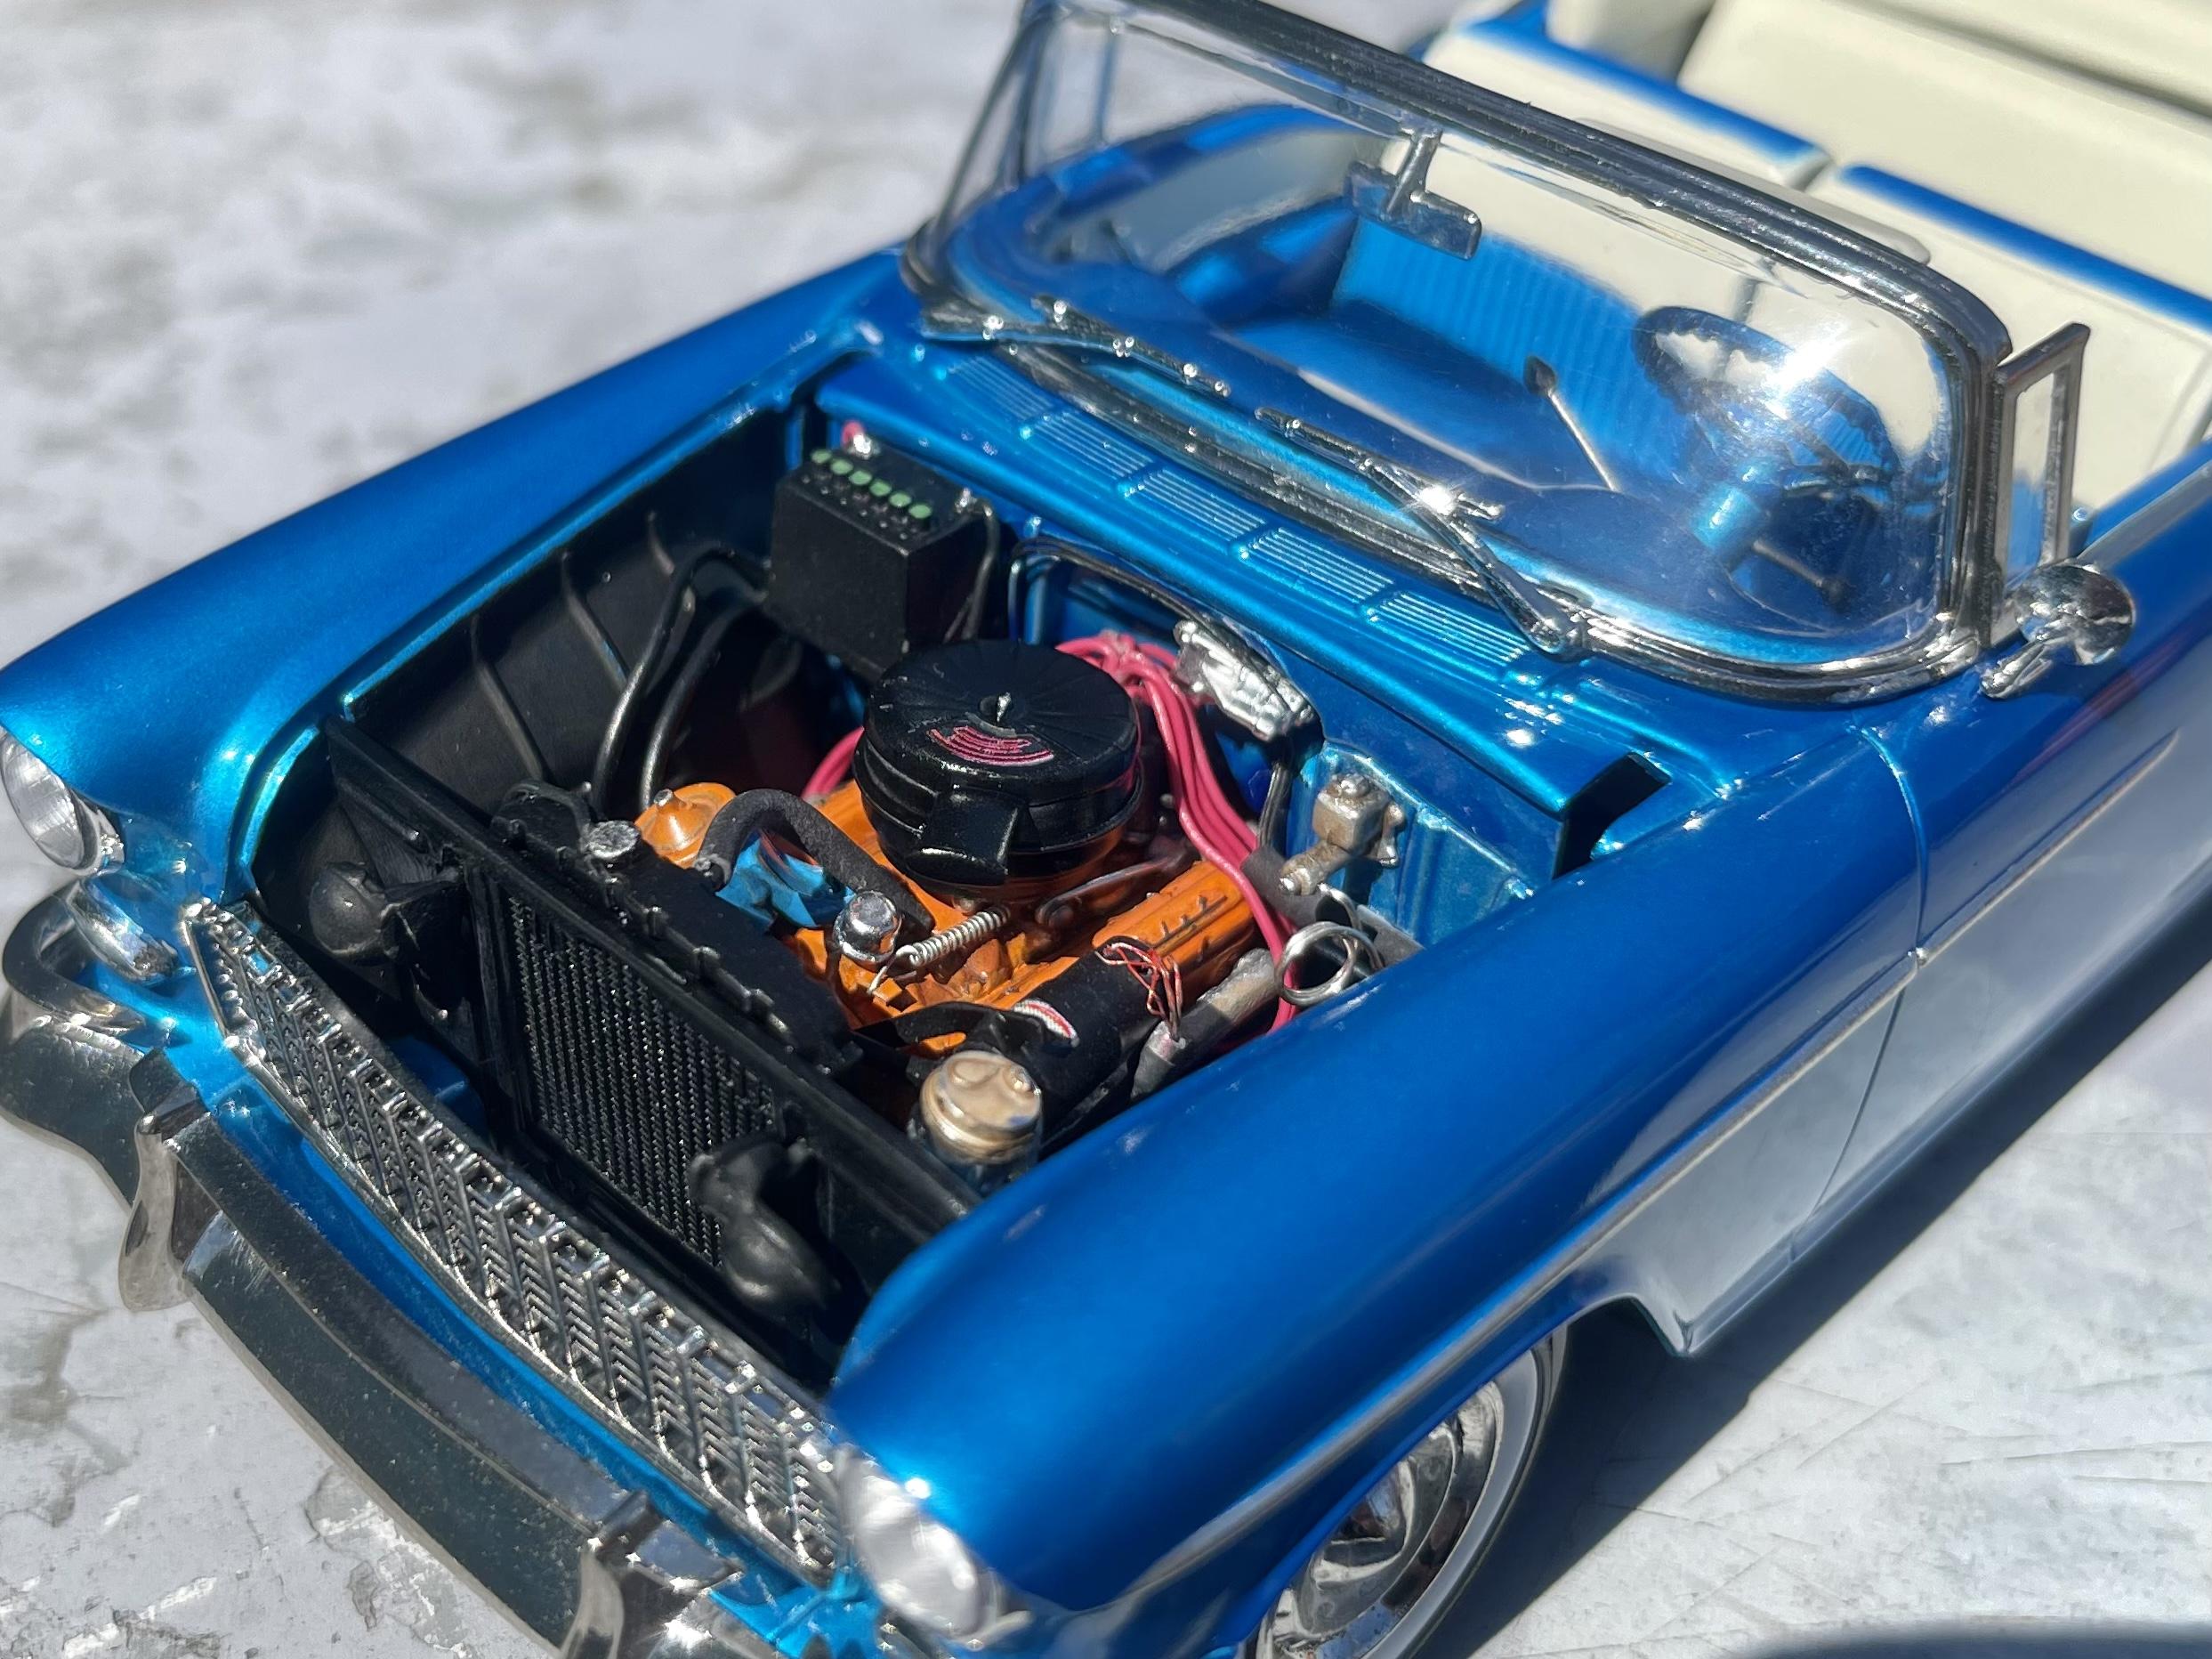
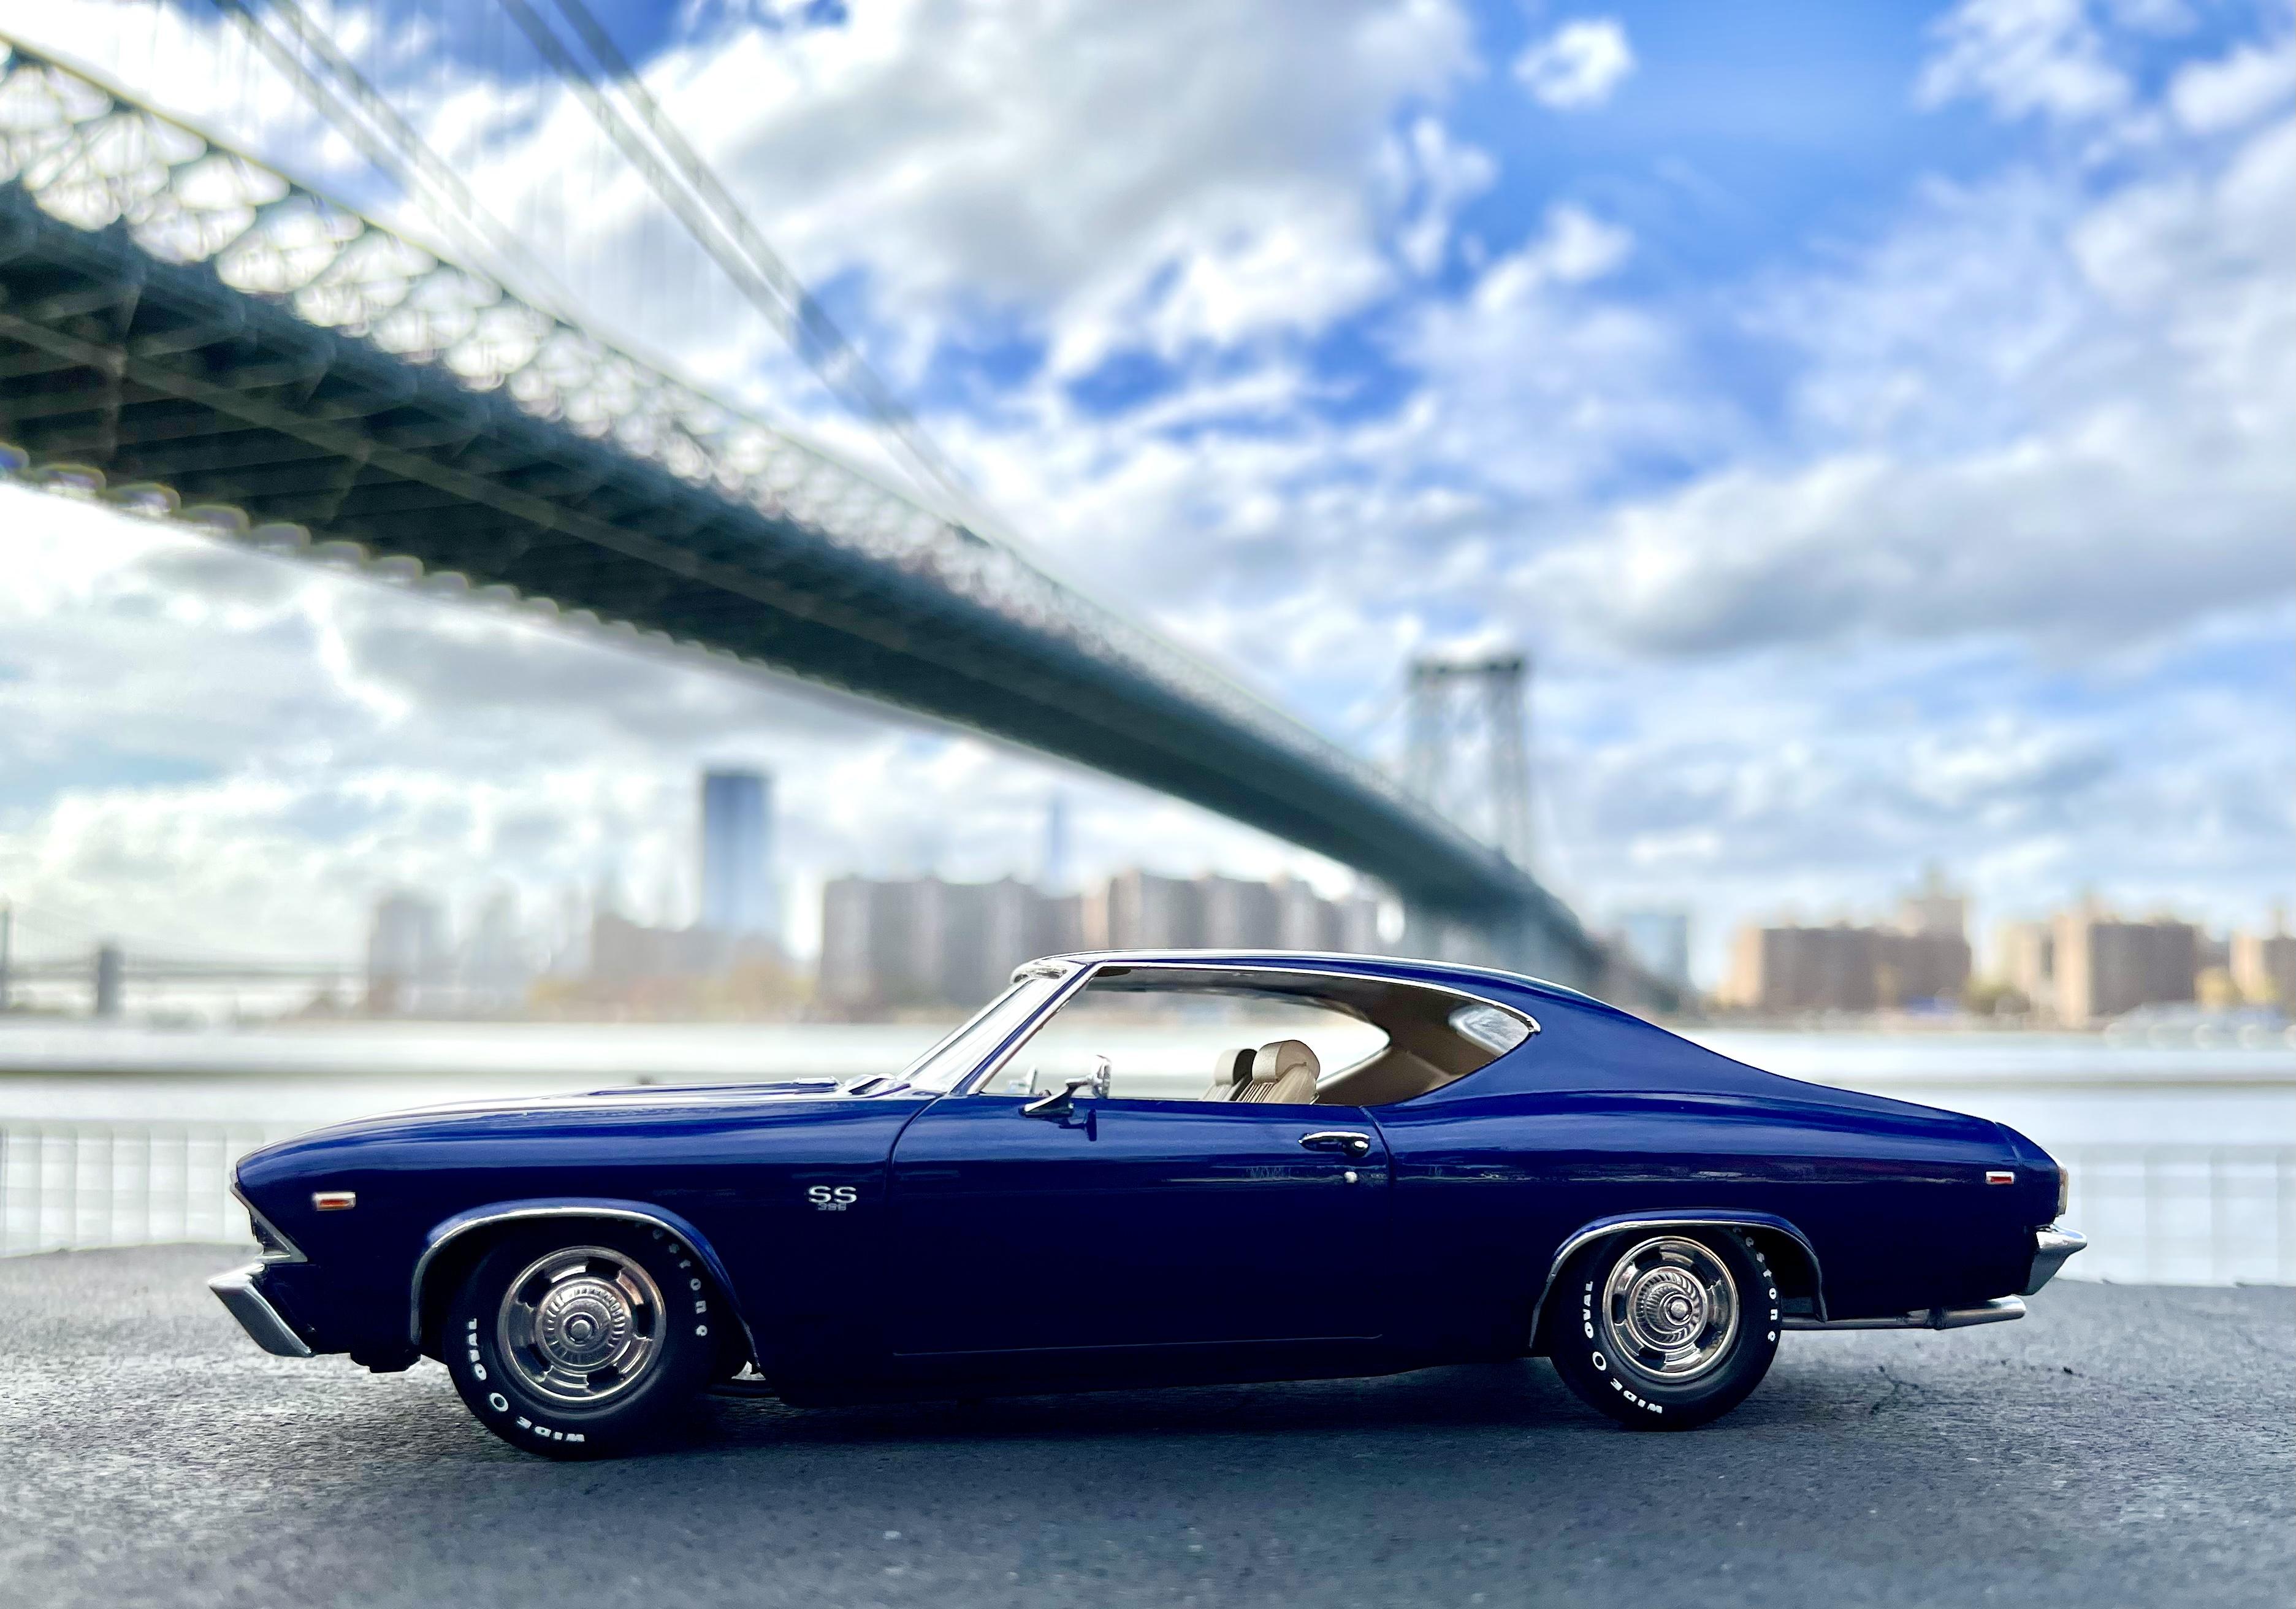
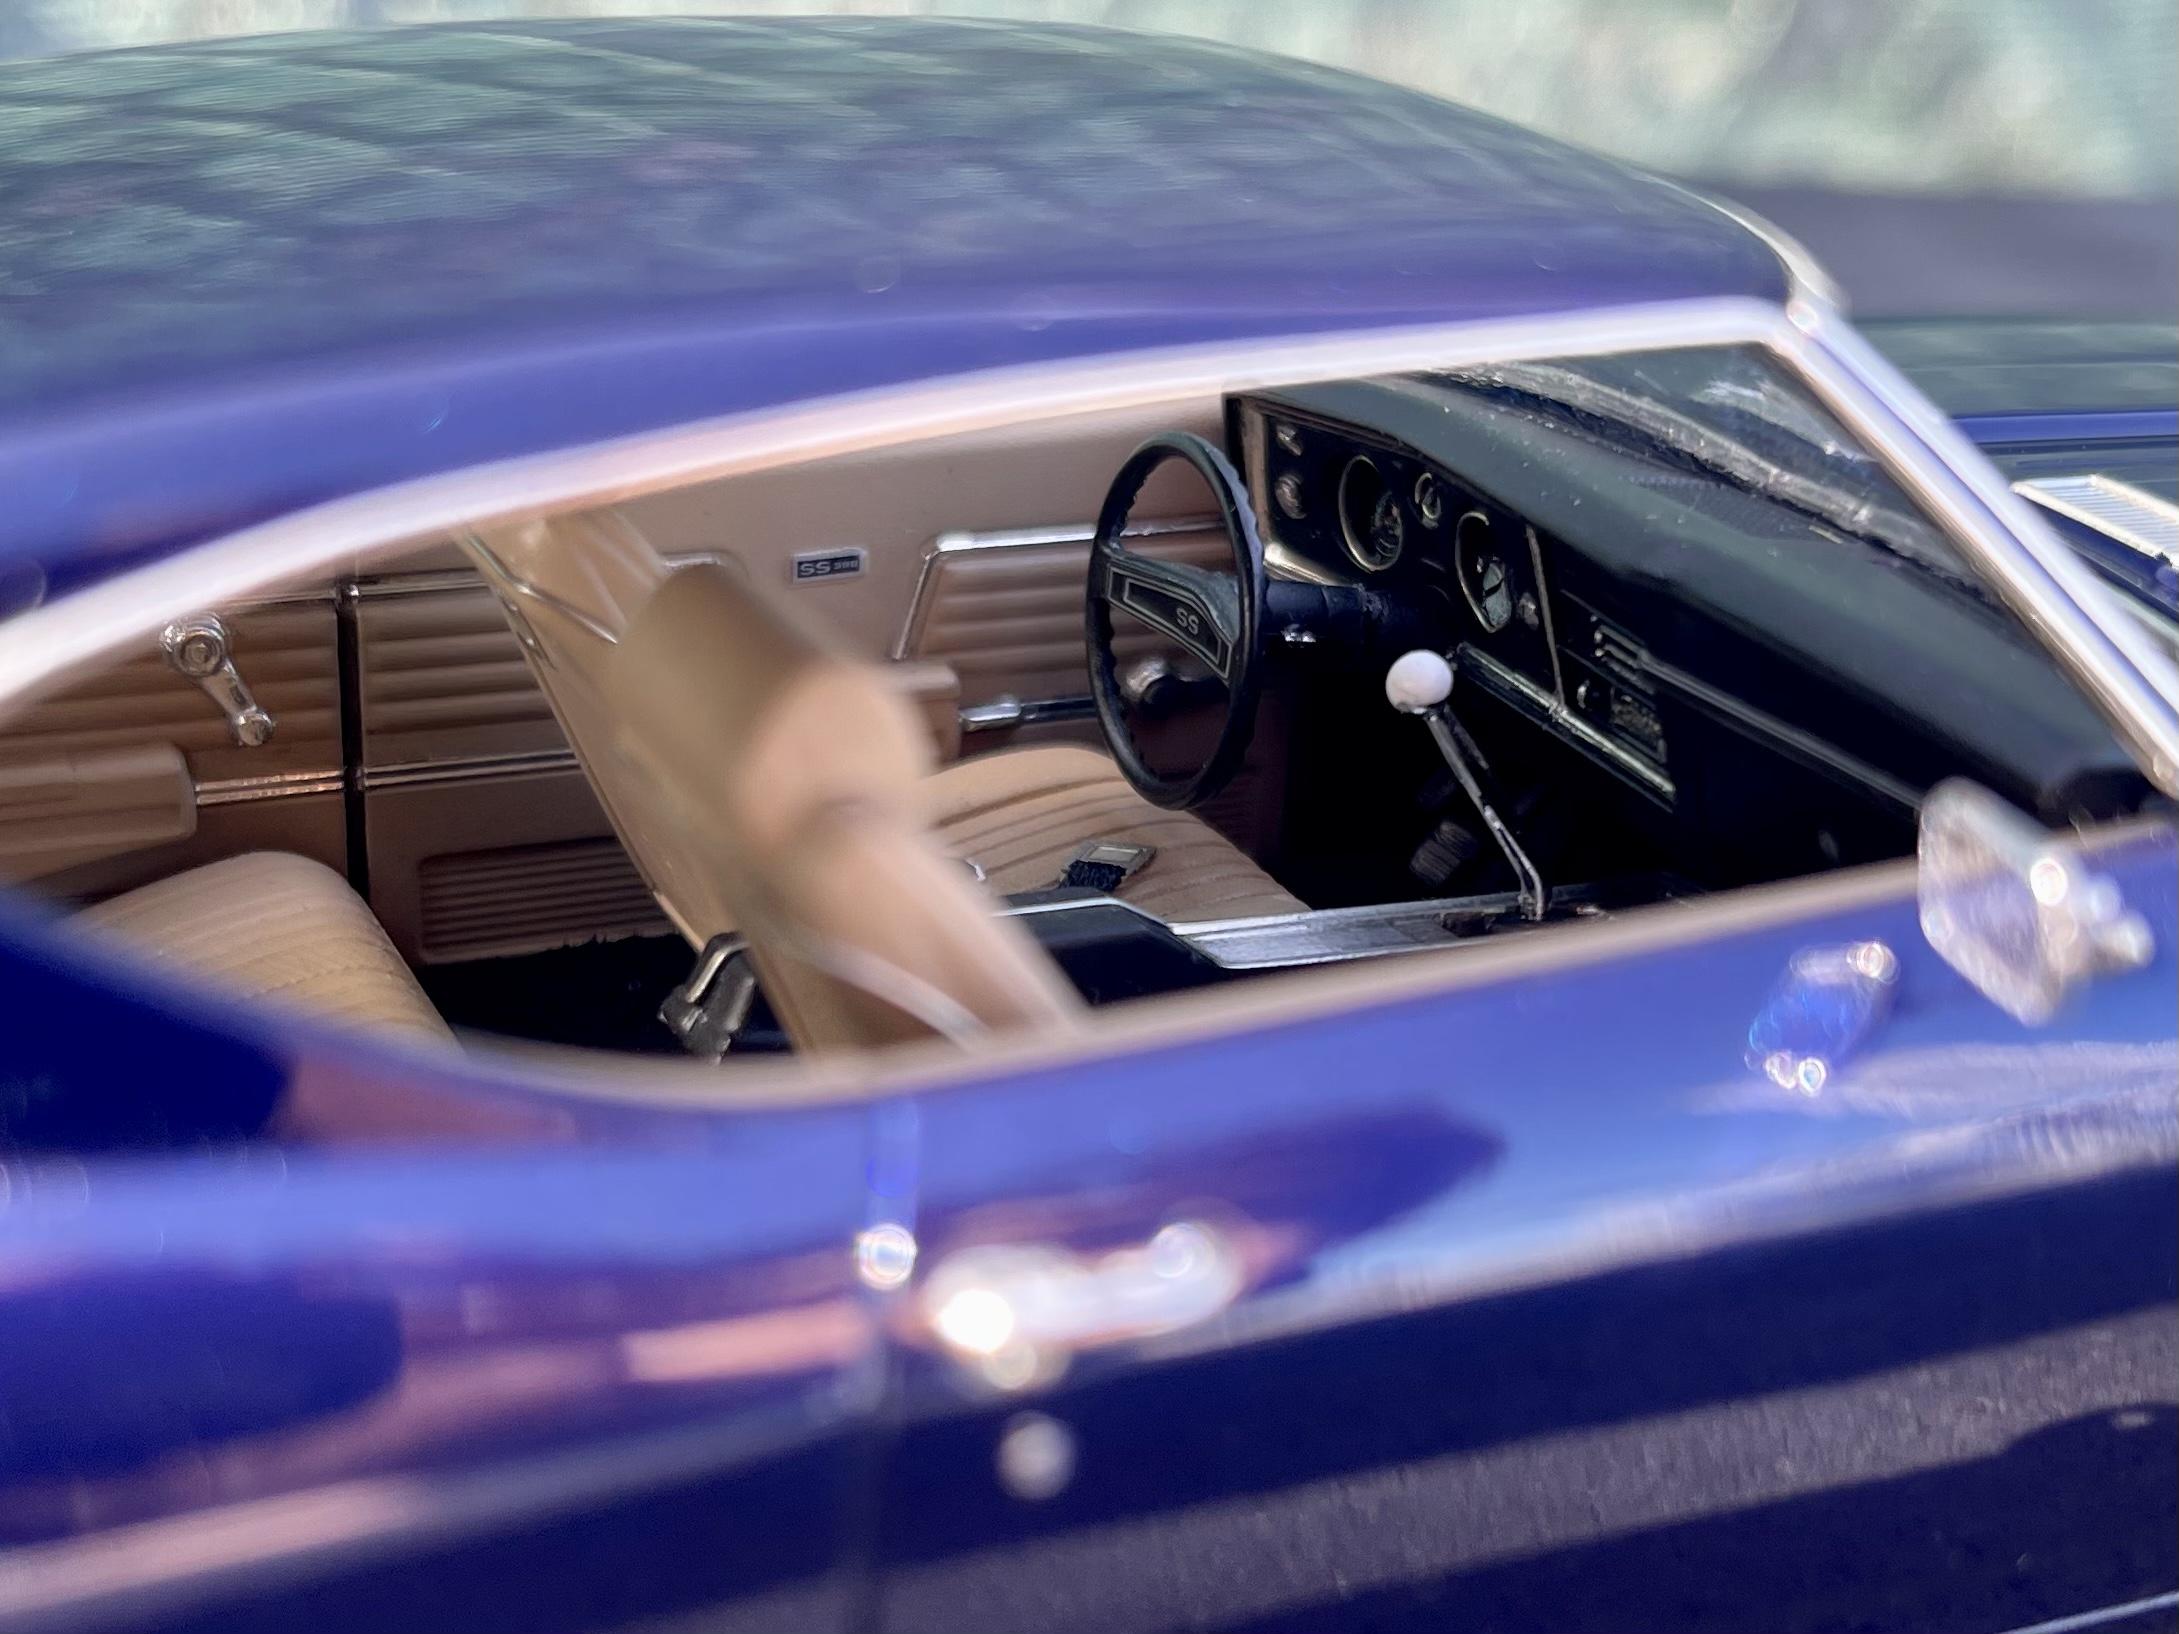
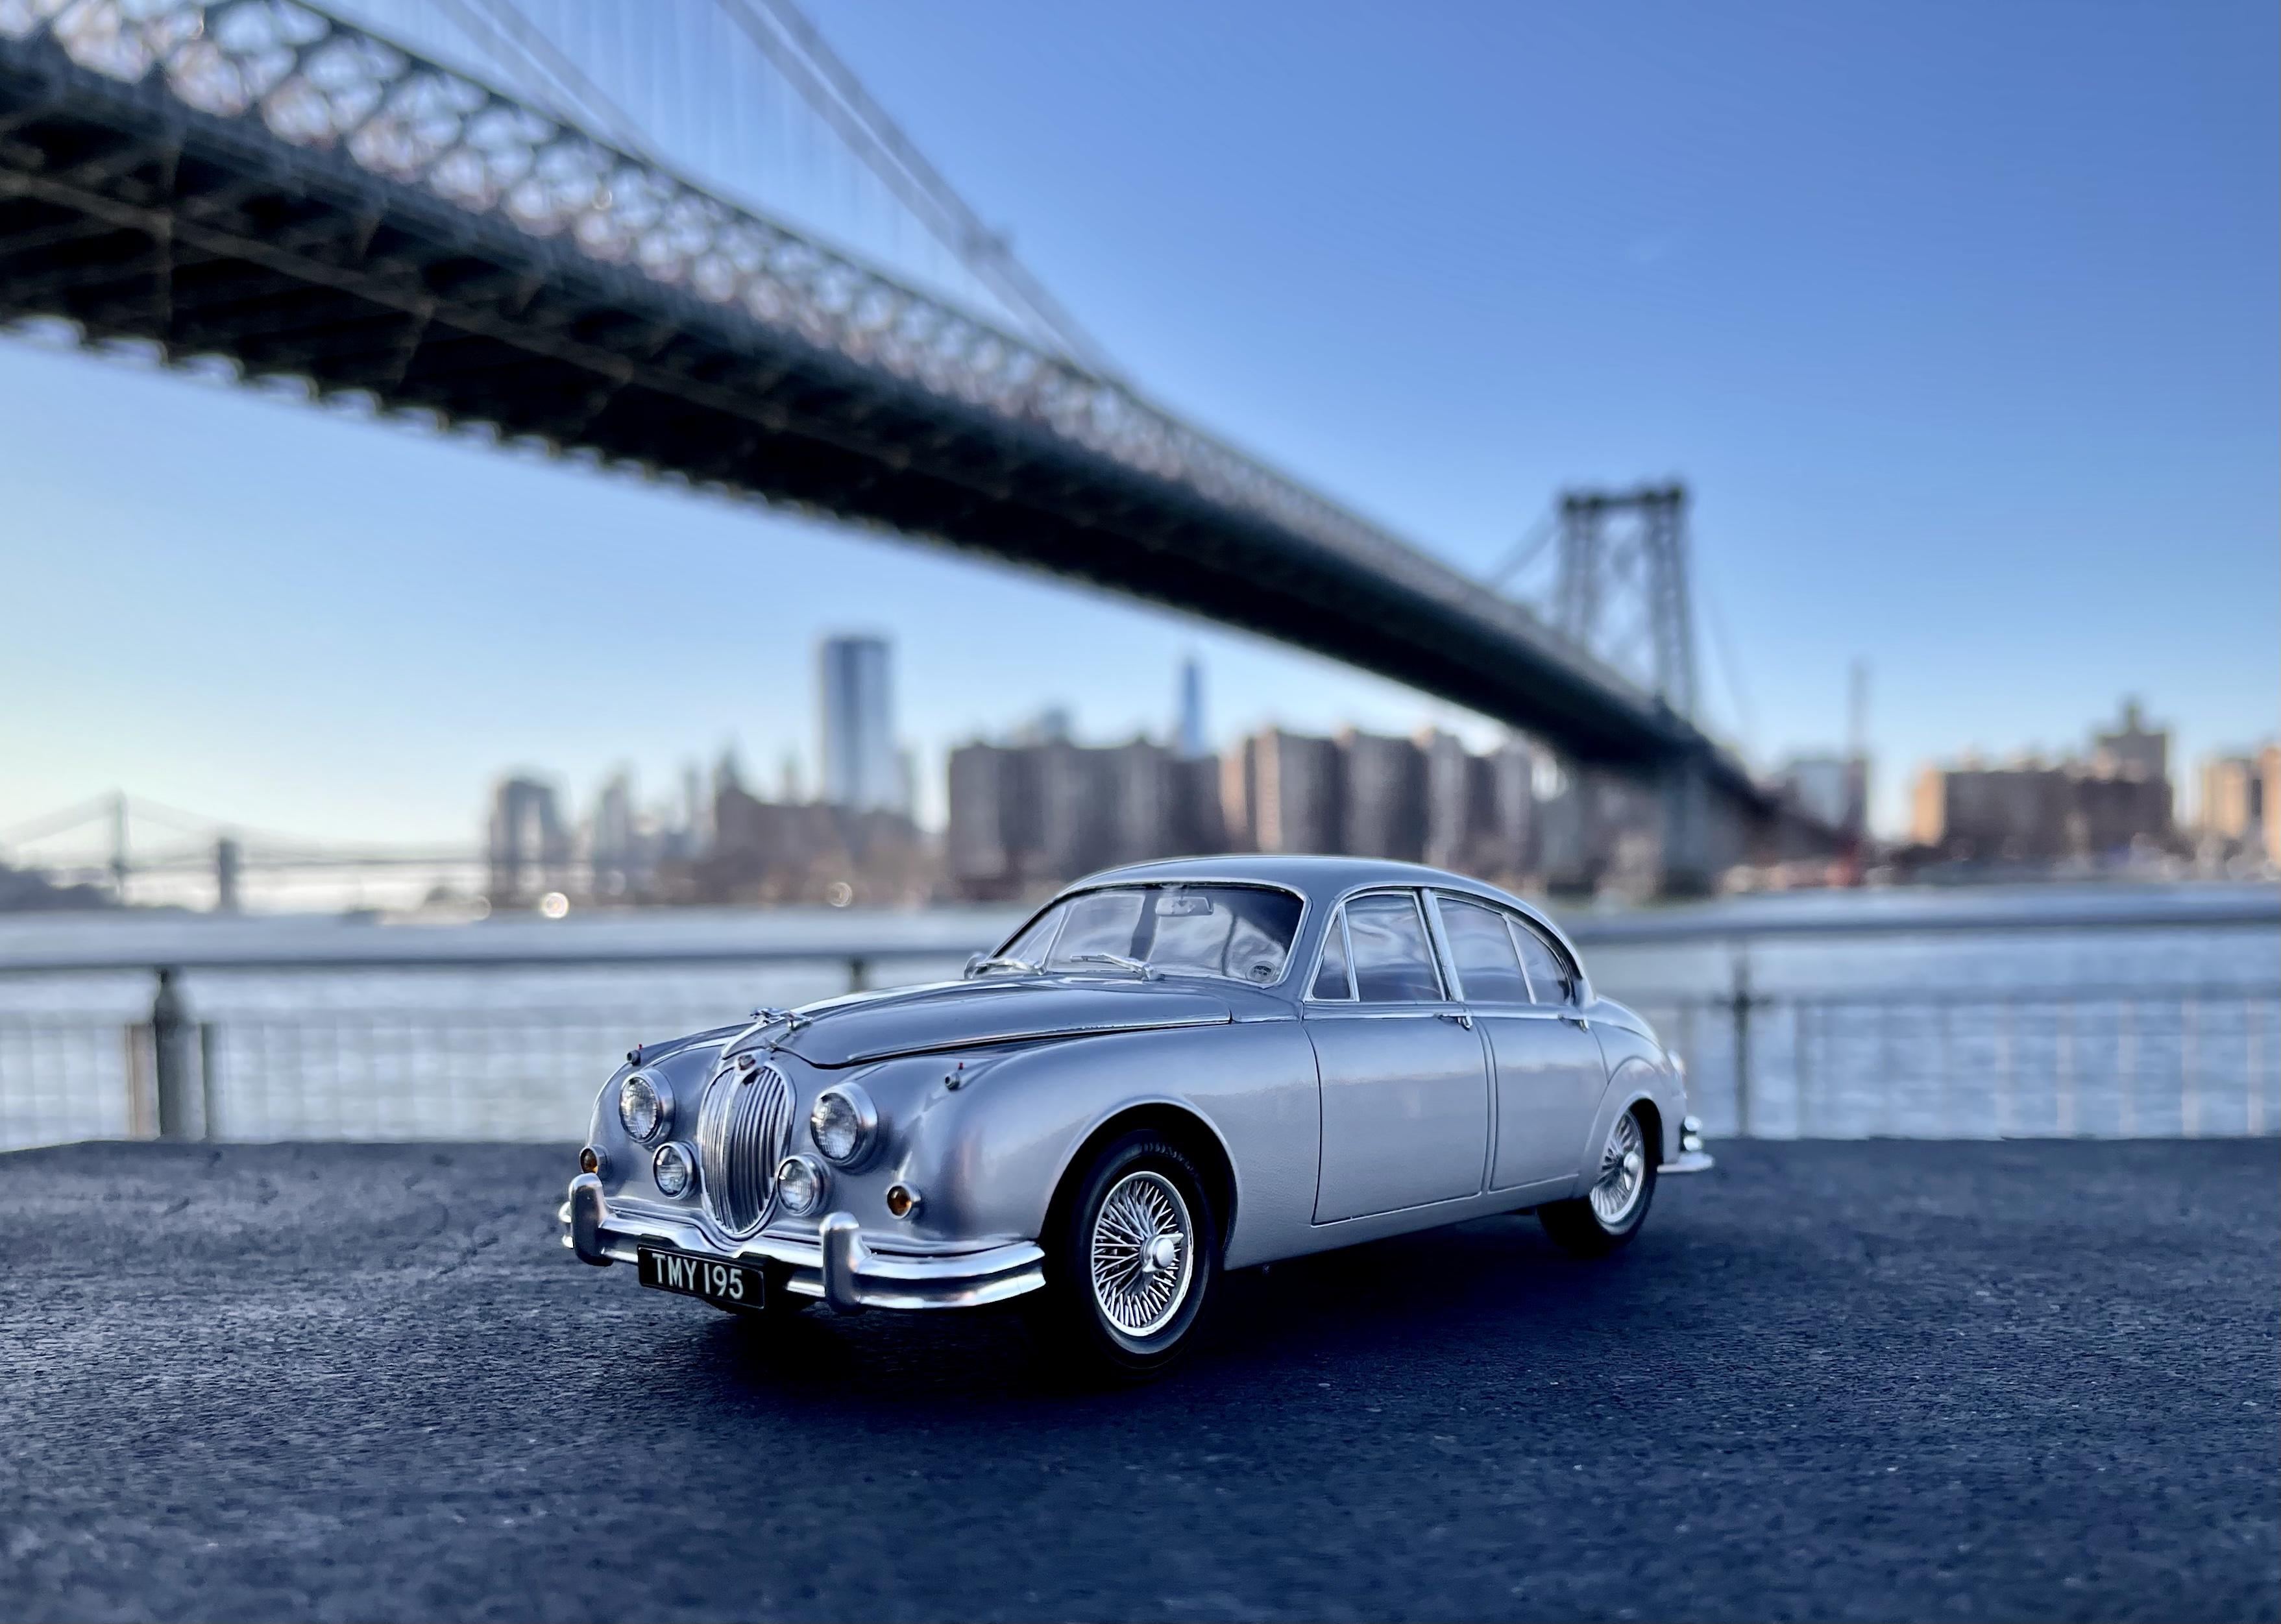
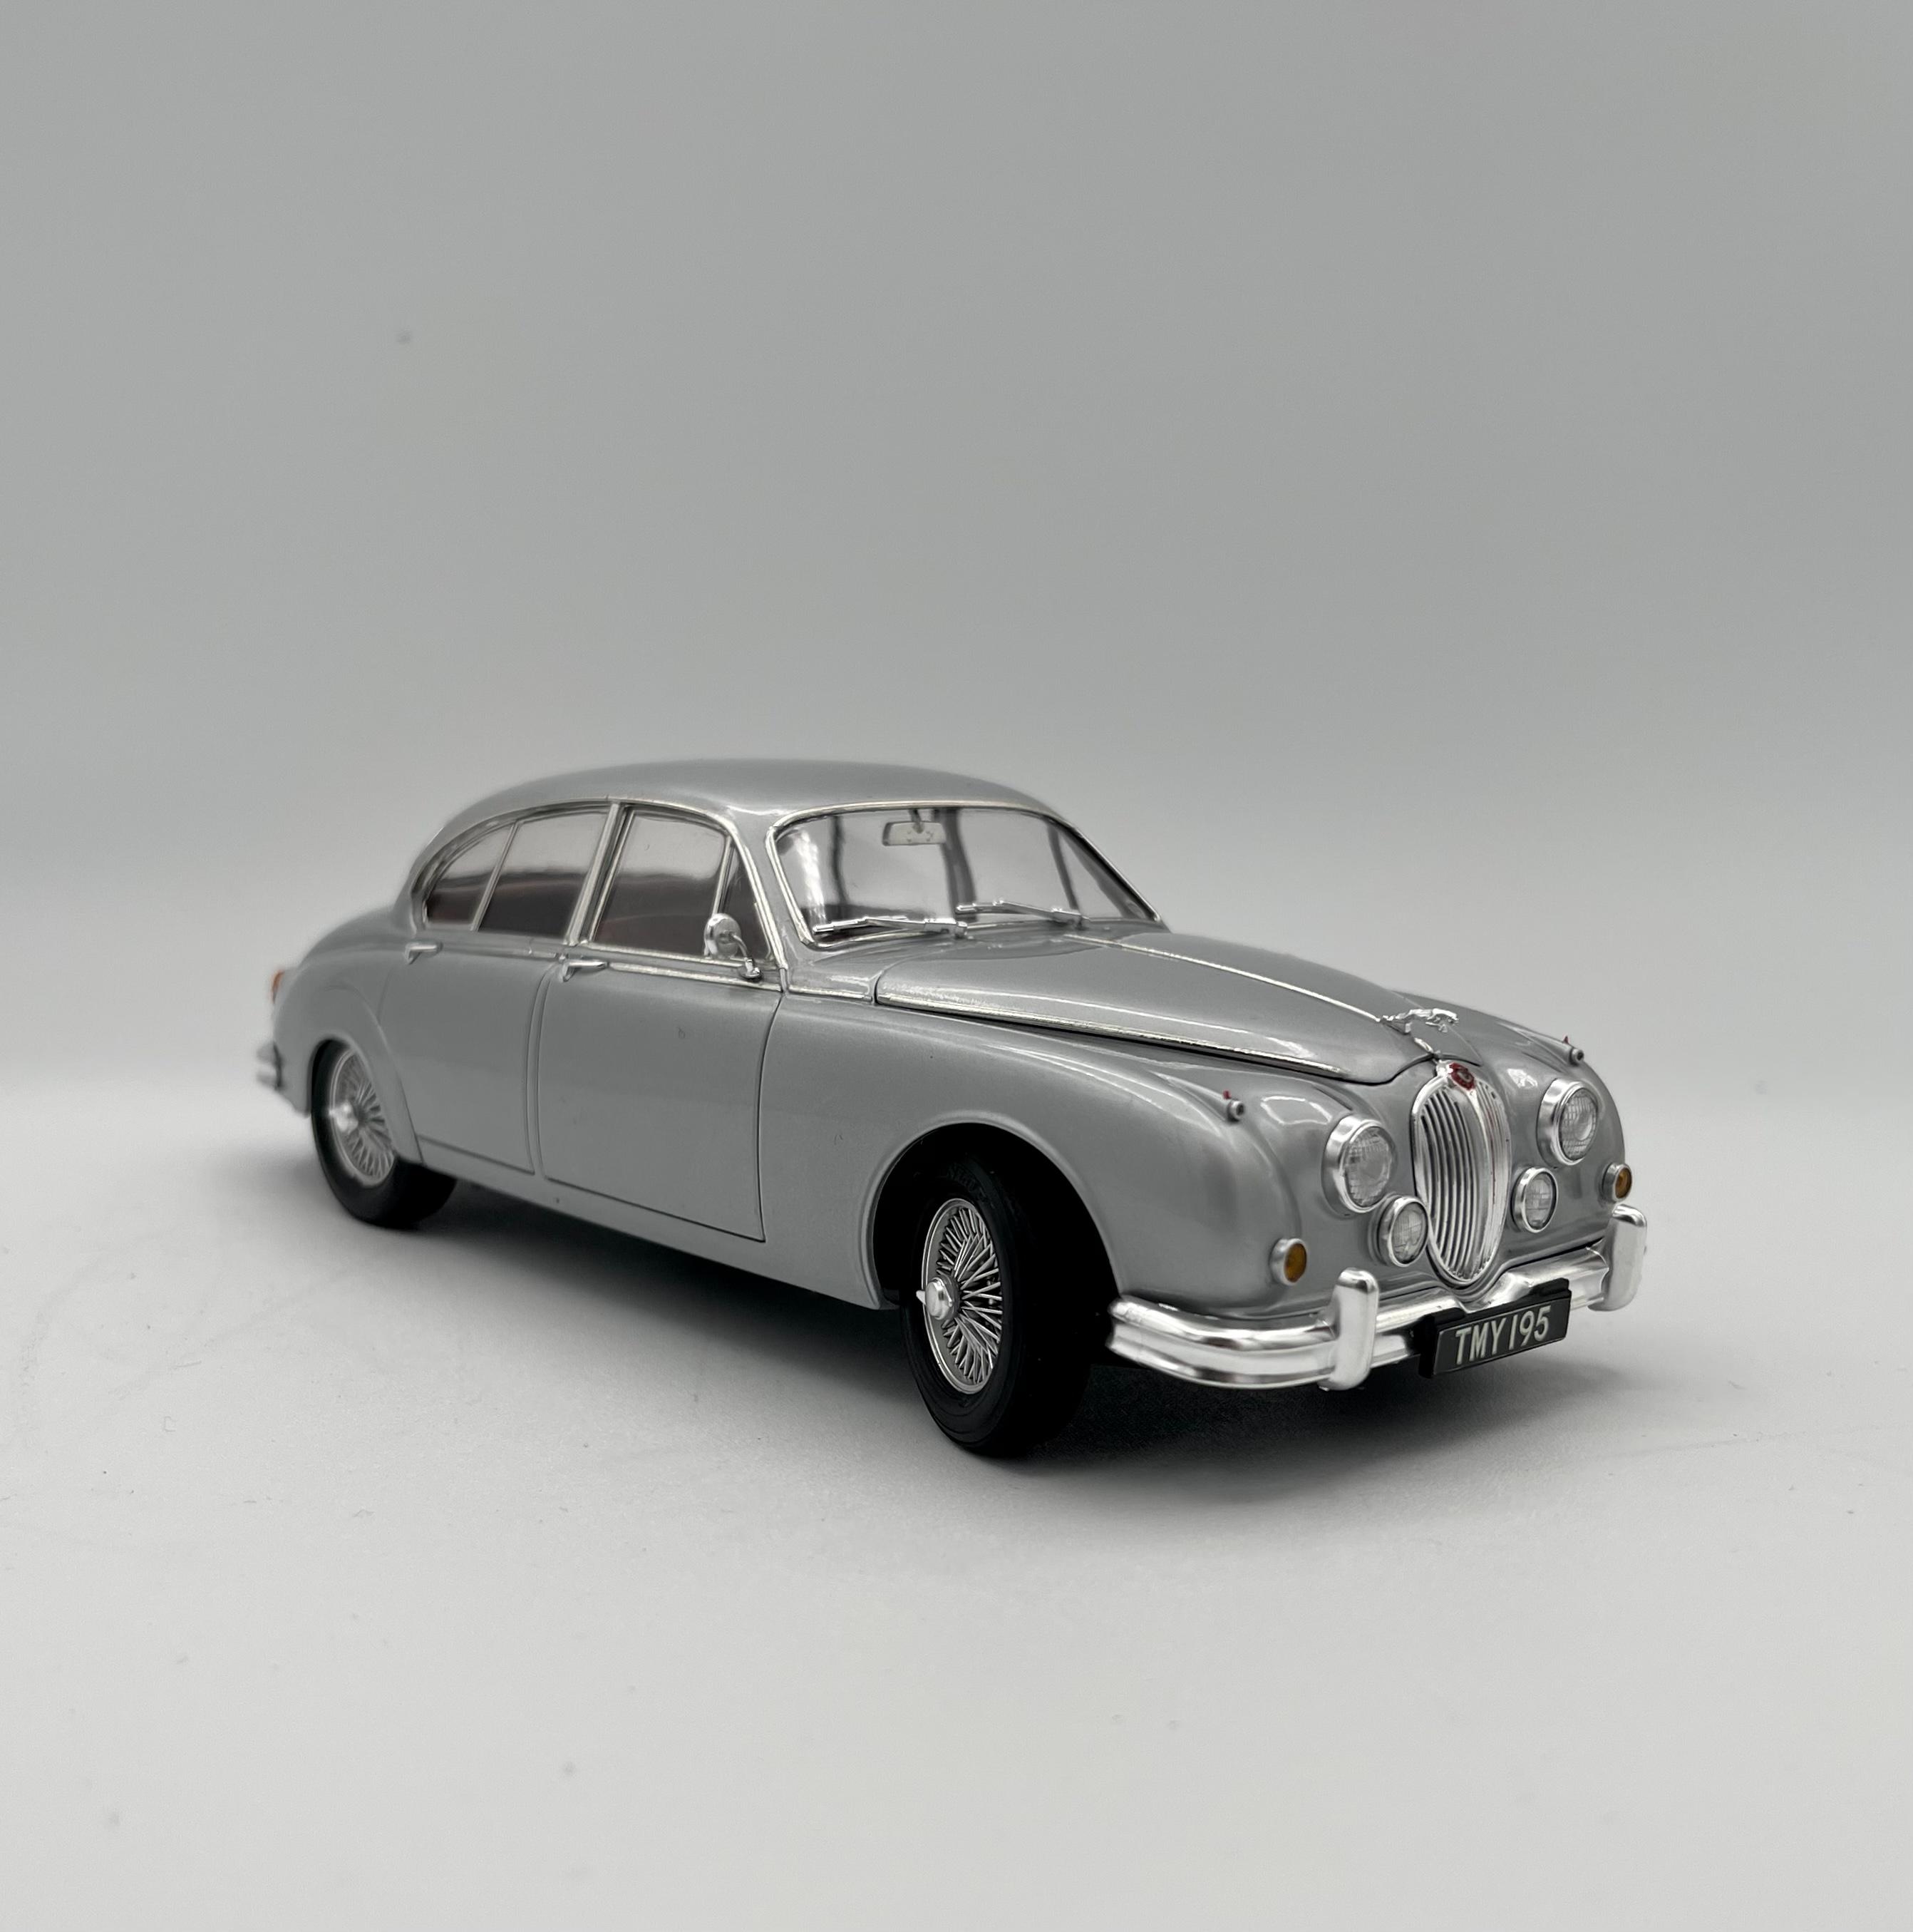
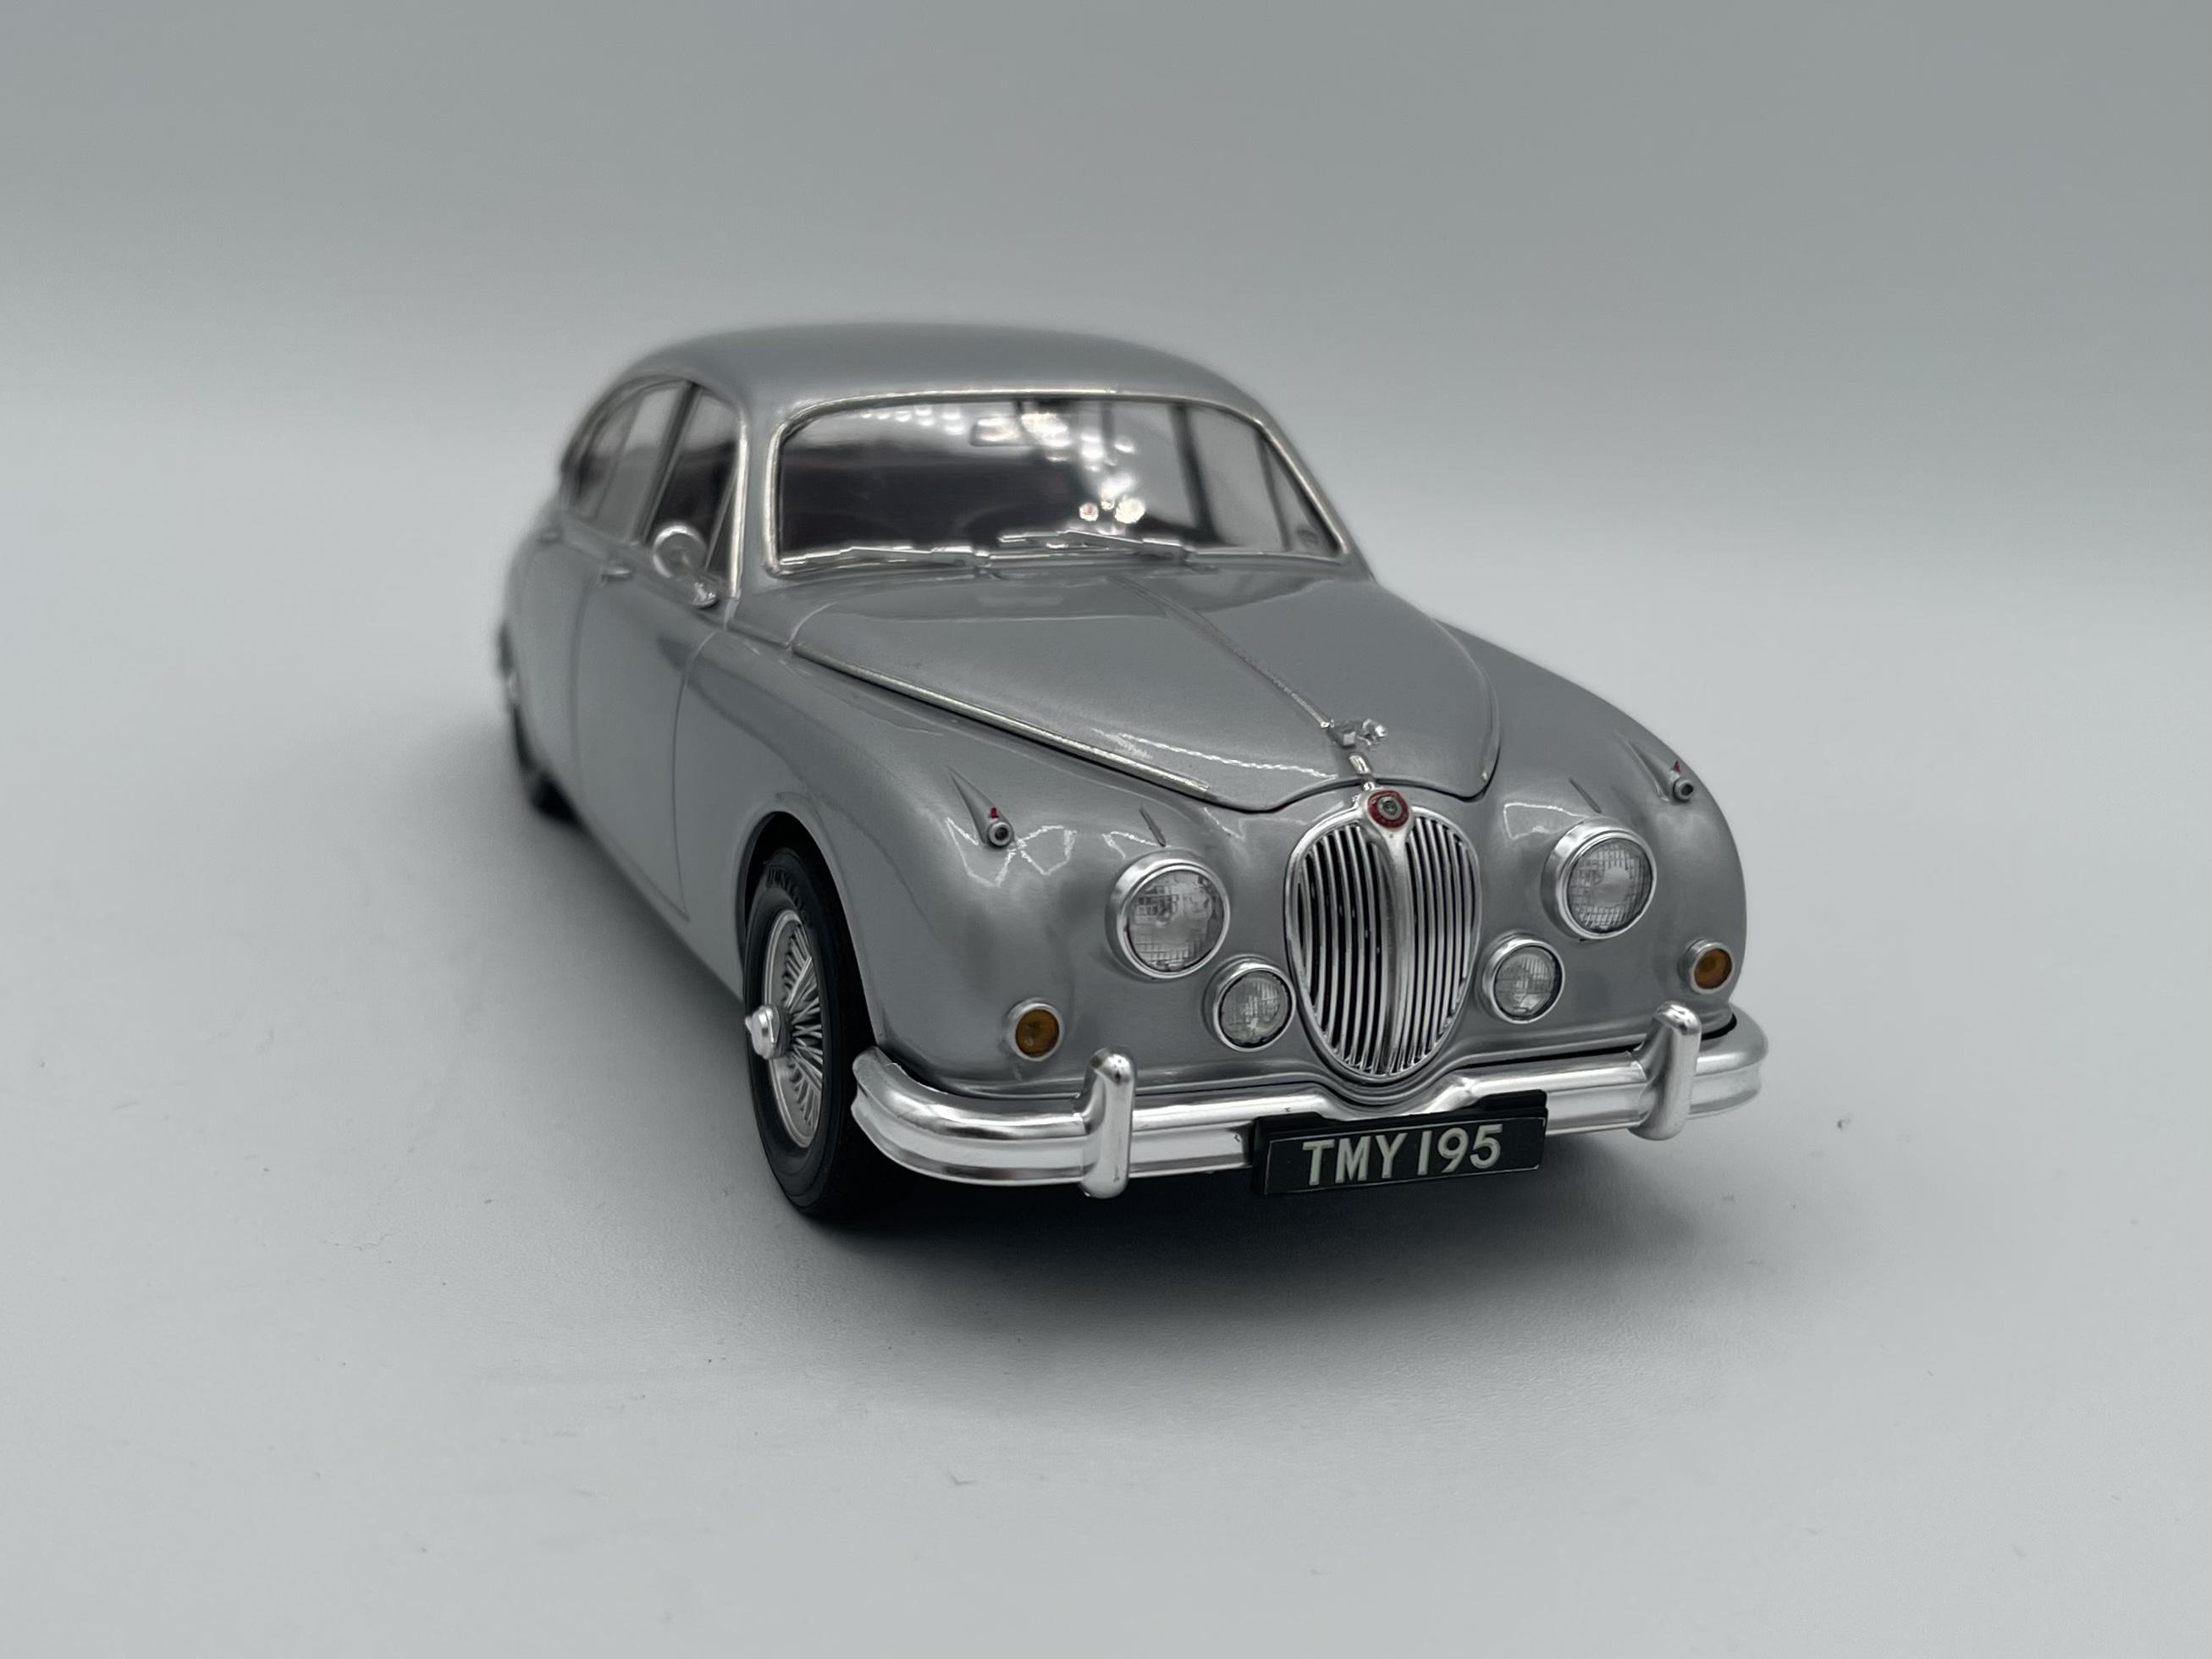
I love these year in review posts so I figured I’d throw mine in the mix too. I only built 8 kits this year, but it’s a pace I’m much more comfortable with. Researching the cars and figuring out what I can do to show the model a little extra love, is such a fun/meditative process for me and the extra time has been super beneficial (especially on the more “stressful” builds). The goals for next year are to buy (and learn how to use) an airbrush, and to finally attend my first show! I look forward to seeing everyone’s amazing work in the year to come. Happy new year, and thank you to everyone who posts their inspiring builds here ?? AMT ‘69 Olds 442 AMT ‘62 Thunderbird Revell ‘65 Corvette Fujimi Porsche 356 AMT ‘65 Lincoln Continental Revell/Monogram ‘55 Bel Air Revell ‘69 Chevelle Tamiya Jaguar MK2 Saloon
- 39 replies
-
- 11
-

-
awesome job on all of them!
-
Thanks dude! Thanks!
-
Thanks fellas!
-
Thanks! I think painting wood grain is my new favorite thing to do. Got an MGB up next and may try it again.
-
Thanks brudda ?? Yeah - not a fun part at all. I actually found breaking the window panel between the two windows made them much easier to foil and install. The only metal transfers I could use were the jag badges on the rear, and even those needed to be secured down with a few drops of clear acrylic. That’s awesome. I almost did this one in red…maybe next time Thanks - yeah the wheels are amazing. I’m tempted to buy another one of these kits just to use the wheels on one of my Revell e-types. This was my first tamiya kit, and you’re right - it was pretty great. I have a tamiya testarossa and a fairlady in the stash and I’m pretty pumped to try them out after the great experience with this one.
-
Thanks! thanks - the kit comes with decals but I didn’t use them. I painted it with a few shades of brown and black and some clear orange yup. here’s the look i was going for…
-
? yeah I’m saying this driver was there for a clandestine meeting and decided to snap some shots of his ride before the other baddies showed up lol. There were a few details tamiya could have improved on but overall you’re right, they nailed the design.
-
2022: My year in styrene: 10 creations...
radiohd10 replied to Claude Thibodeau's topic in Model Cars
Wow - every one of those cars is a gem. Amazing work ?? -
Wow that’s a beaut. Awesome job ??
- 15 replies
-
- 1
-
-
- ford
- polar lights
- (and 1 more)
-
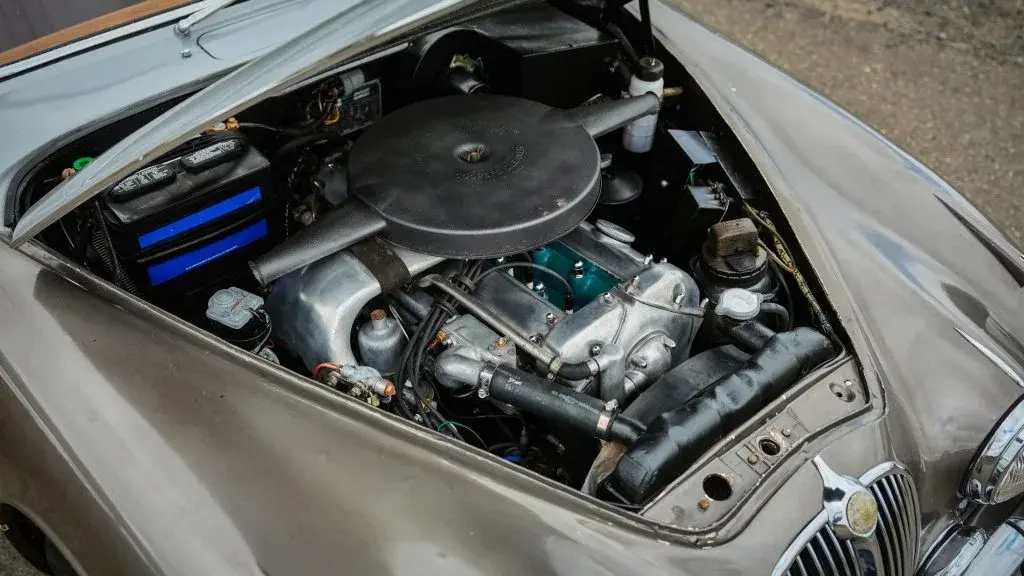
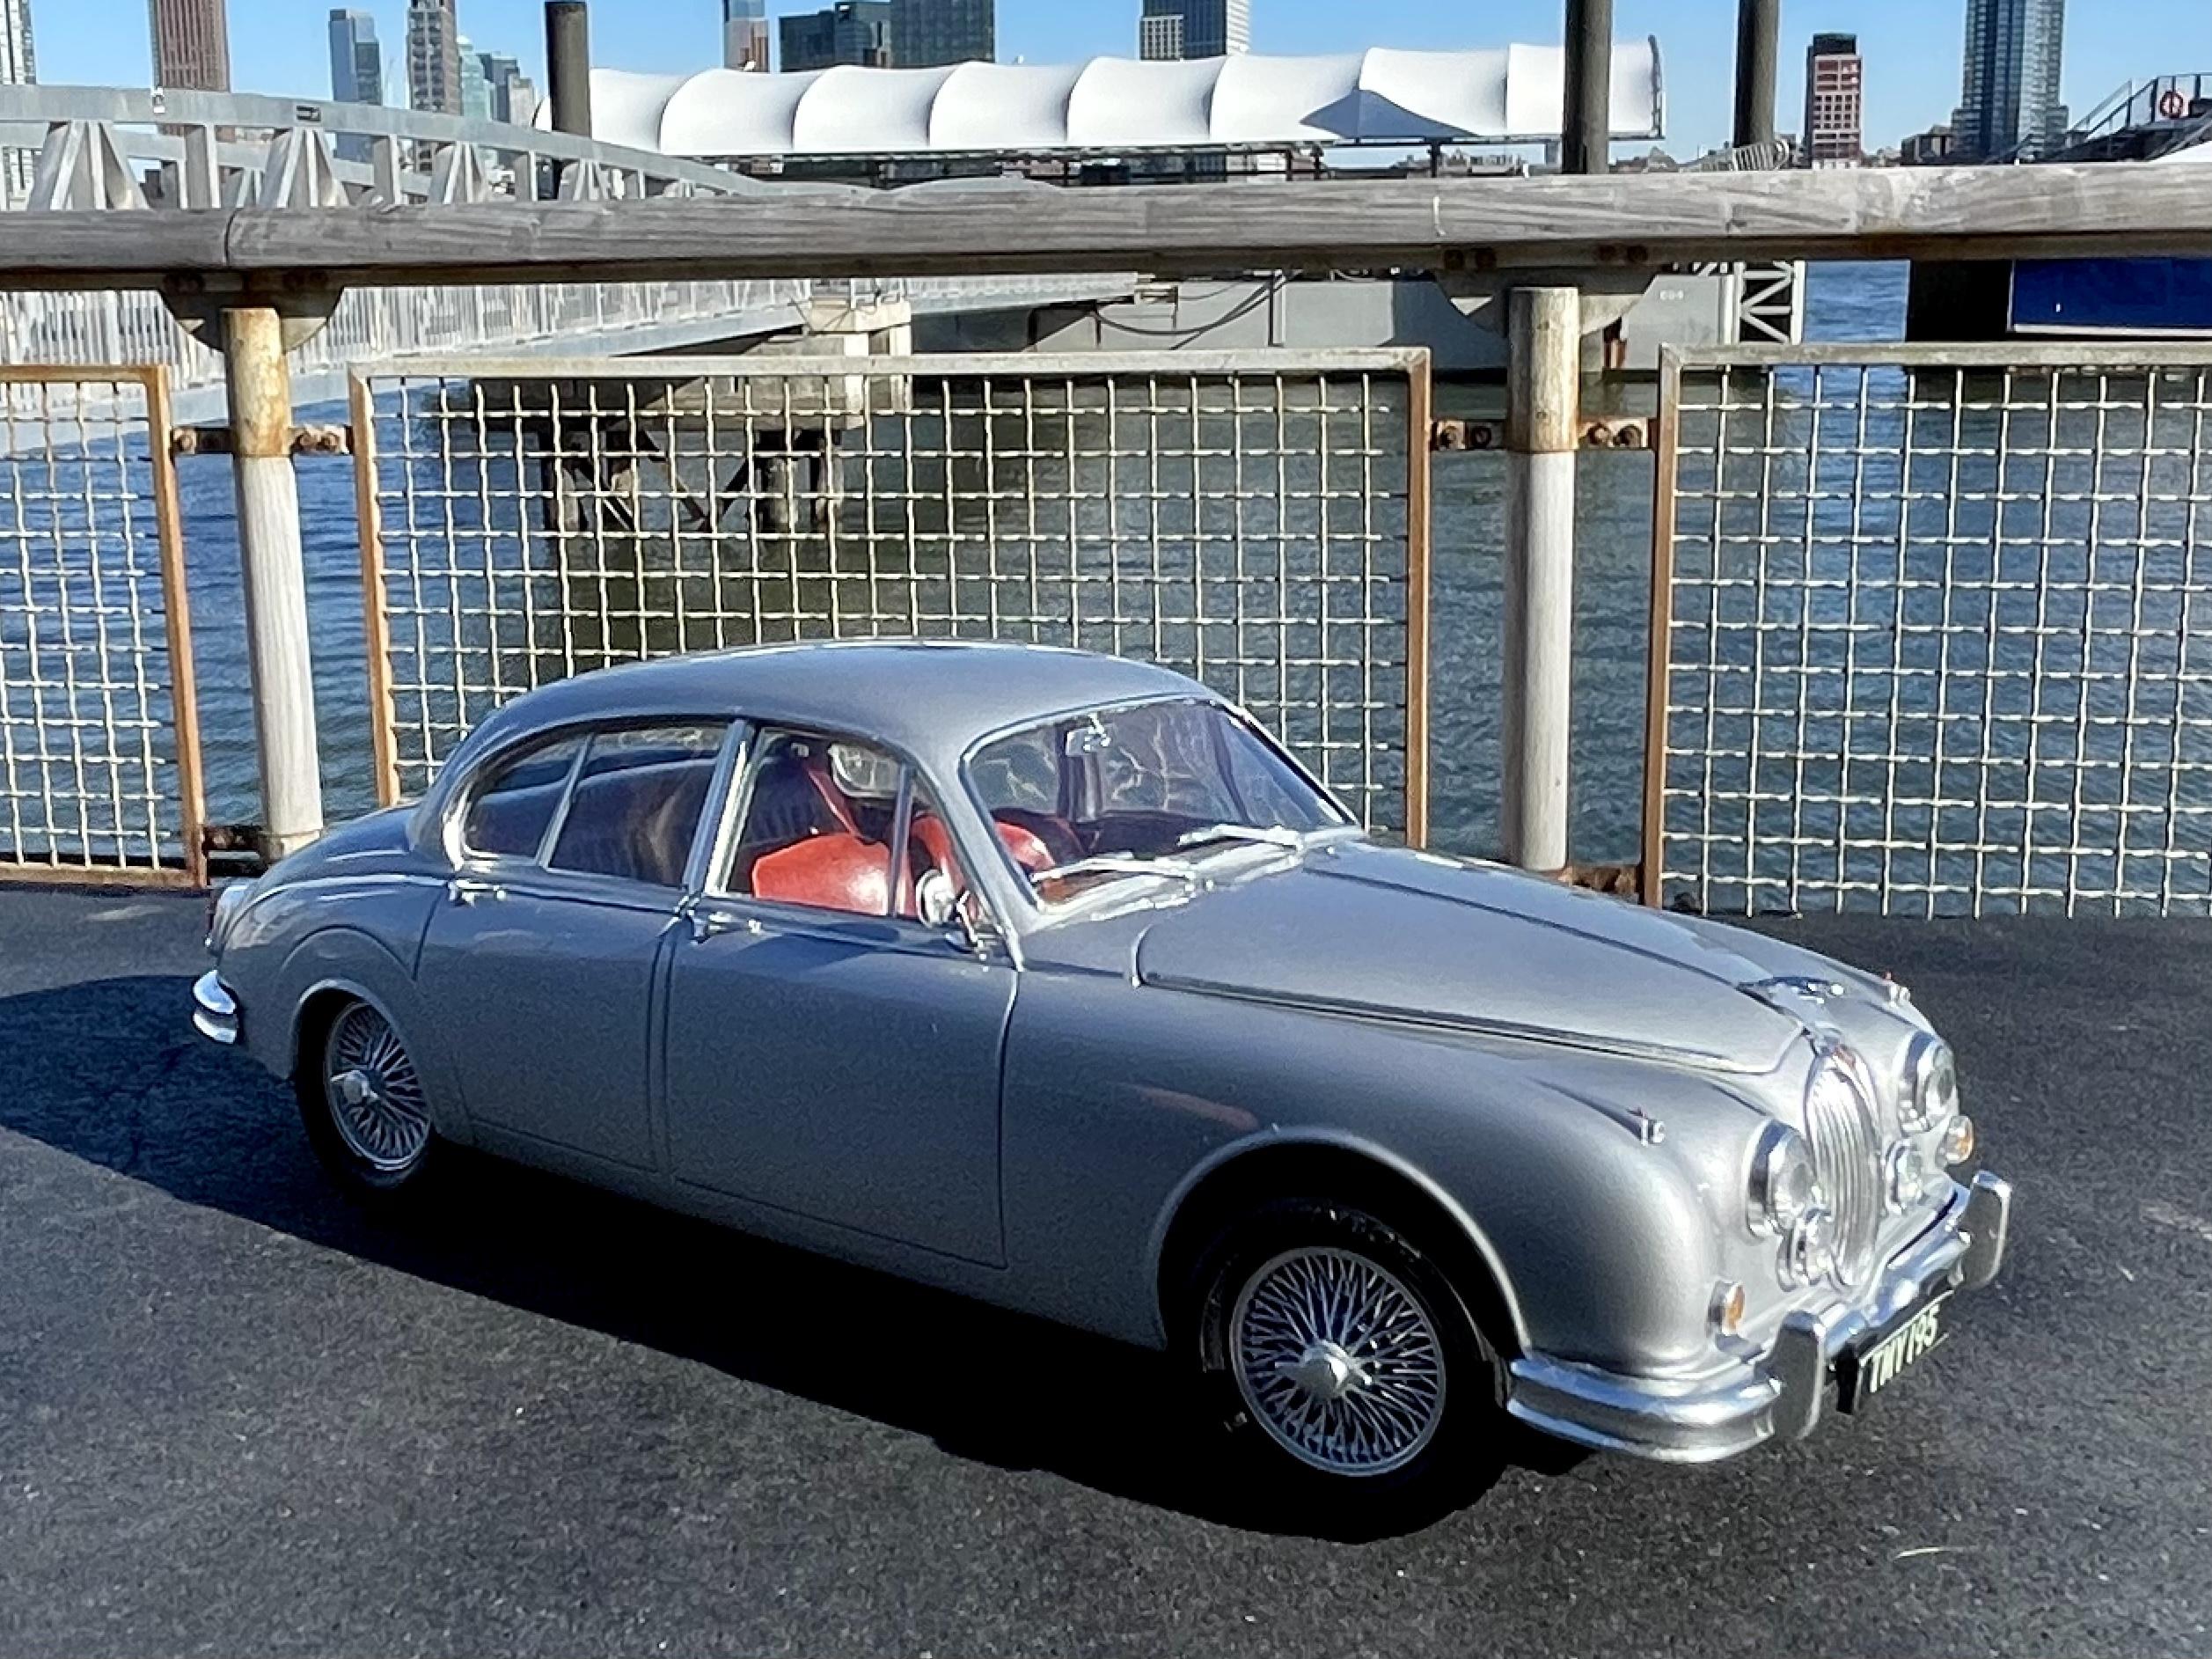
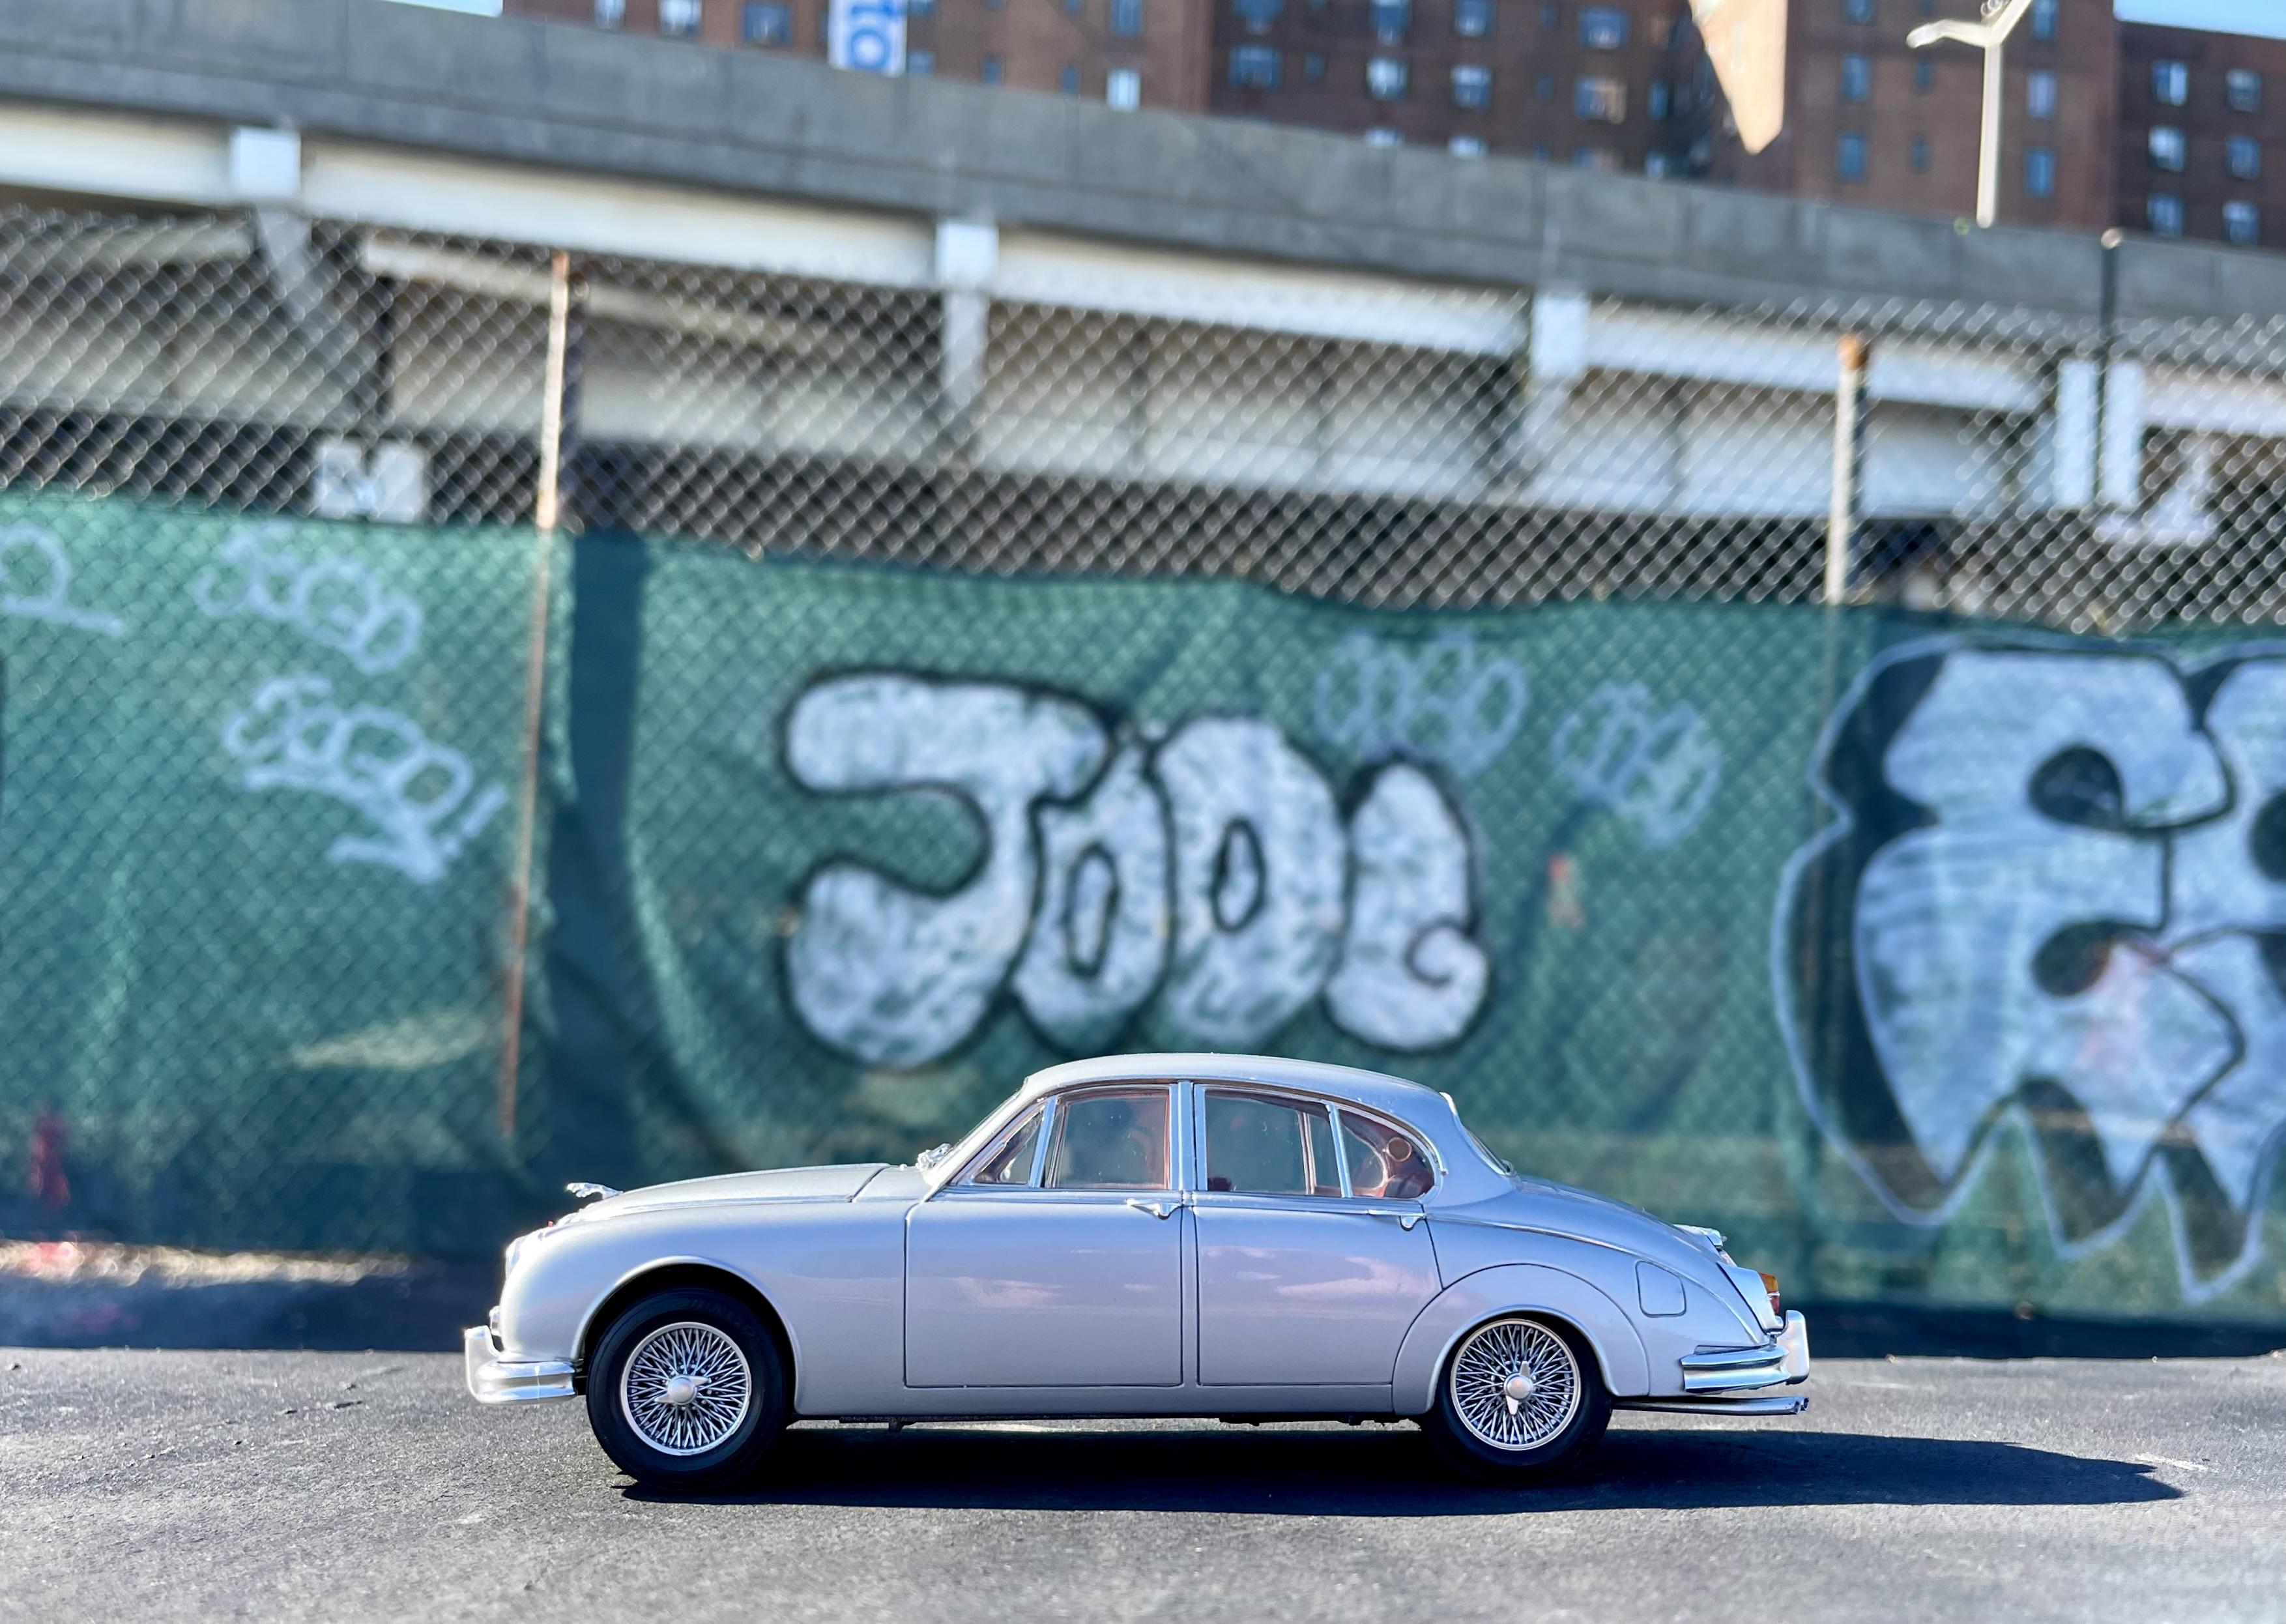
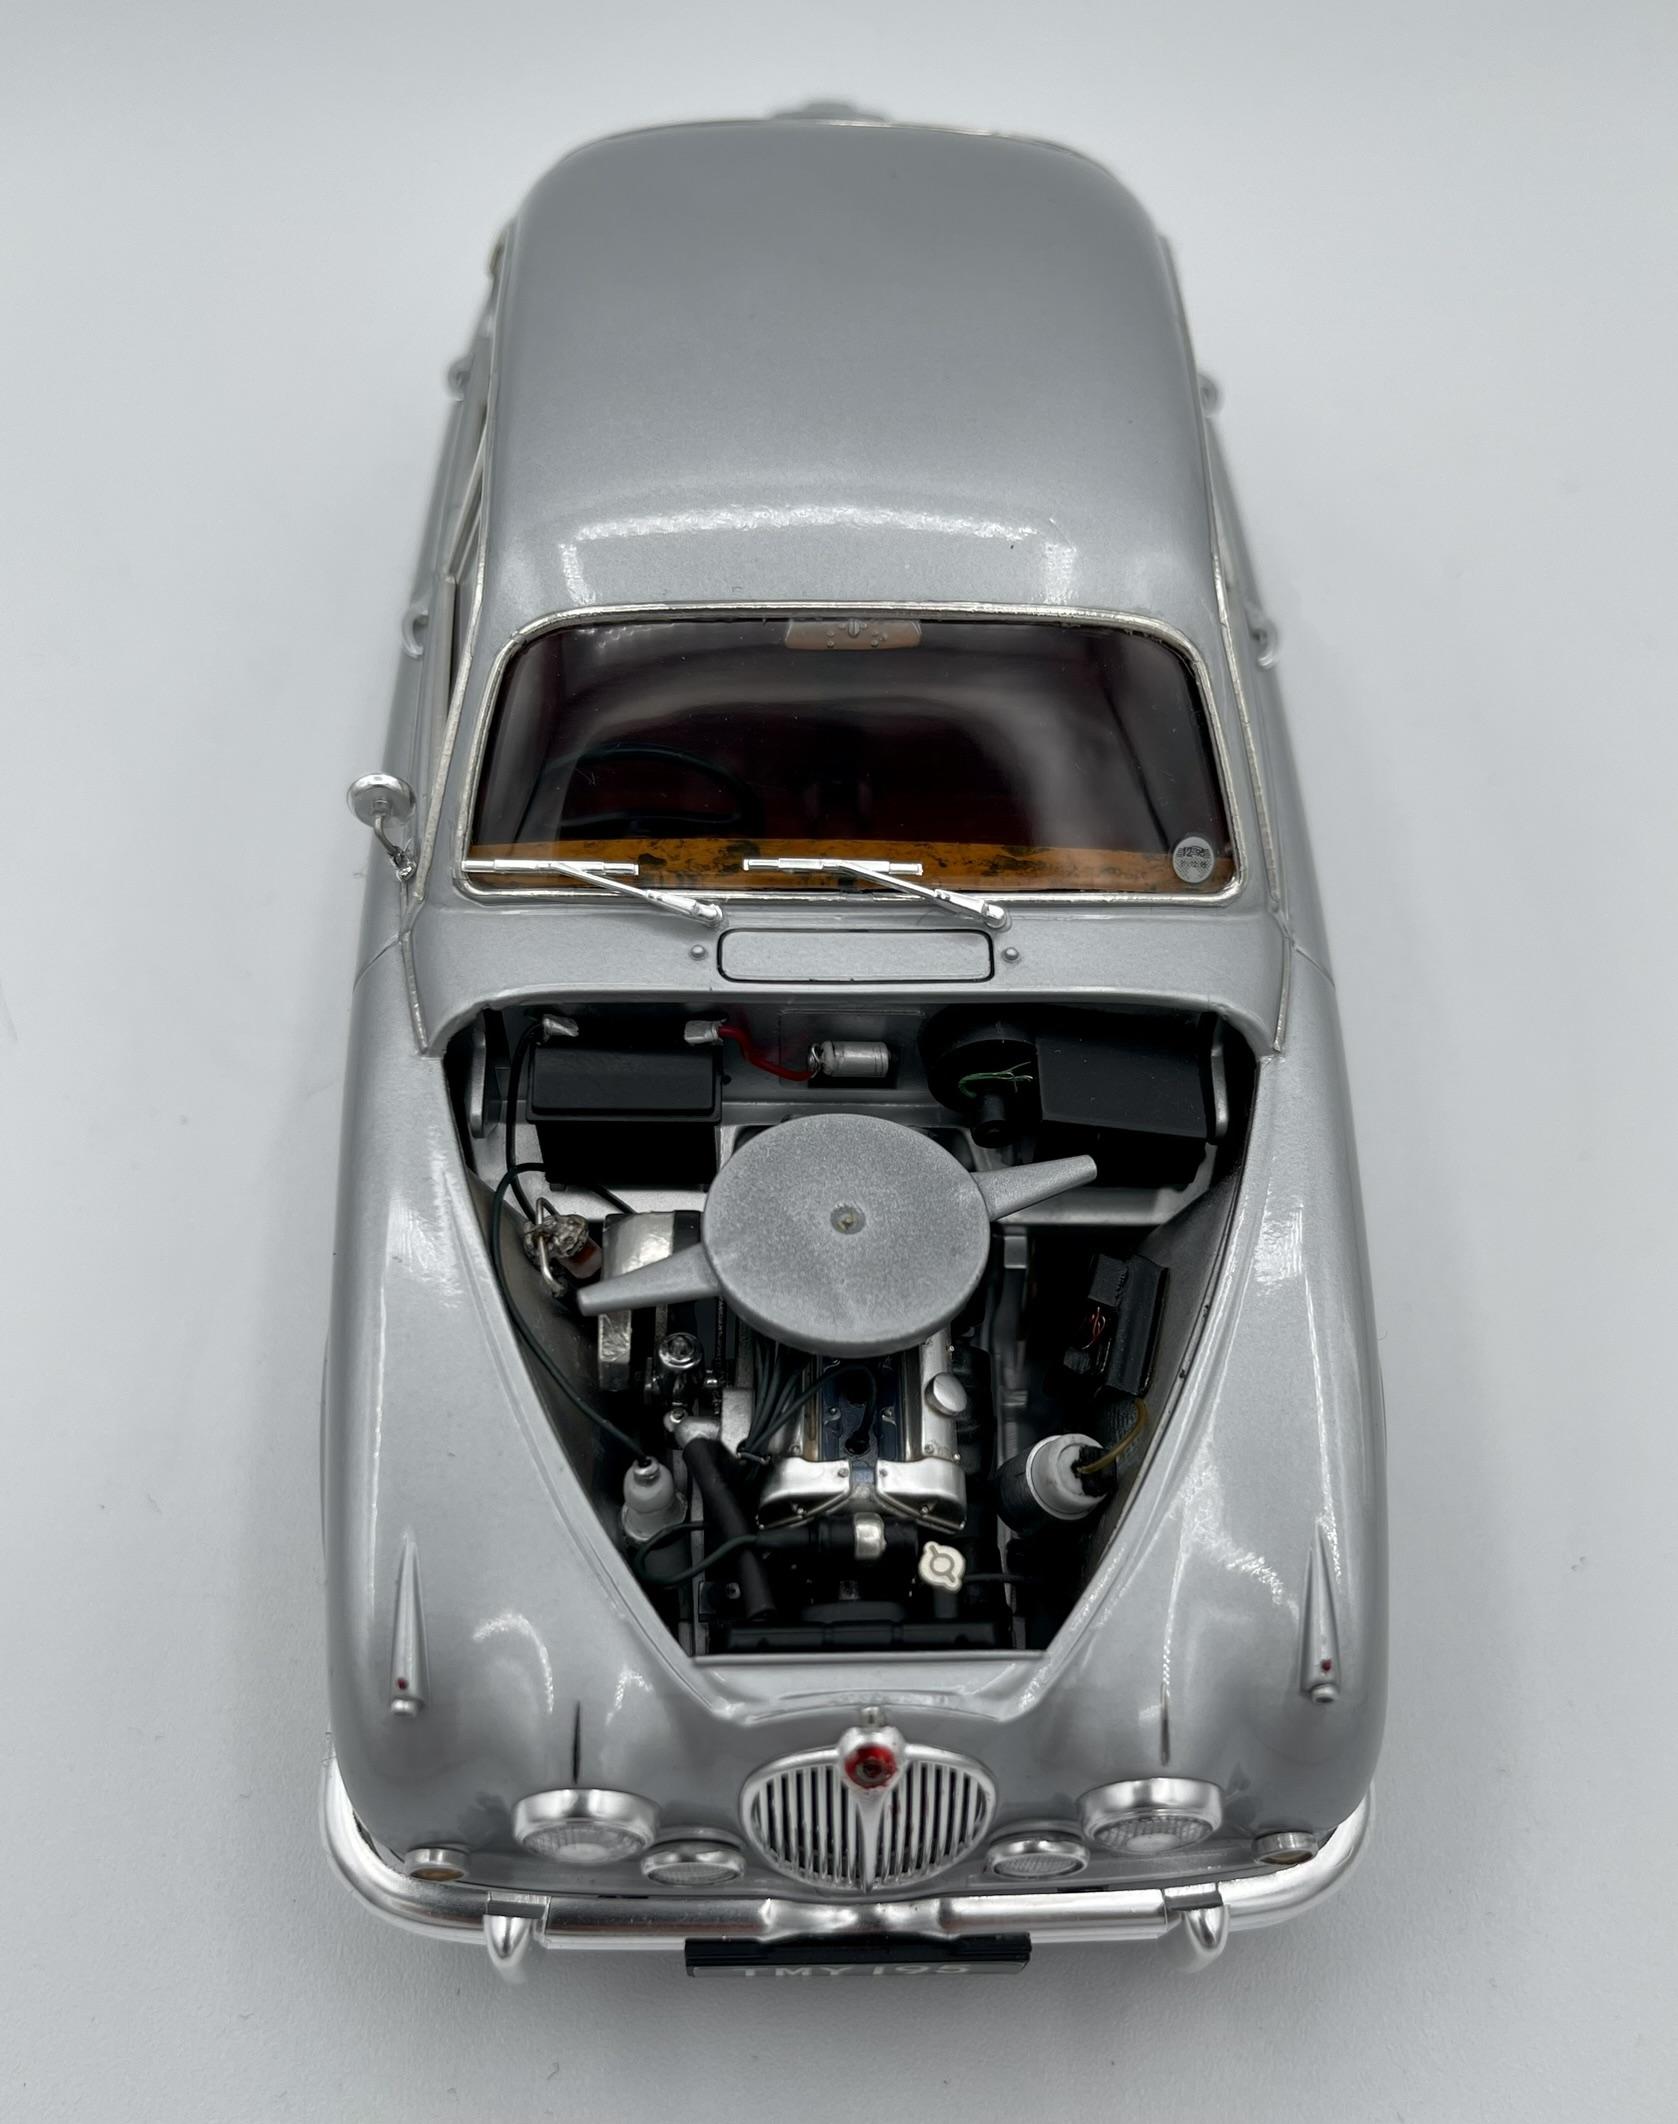
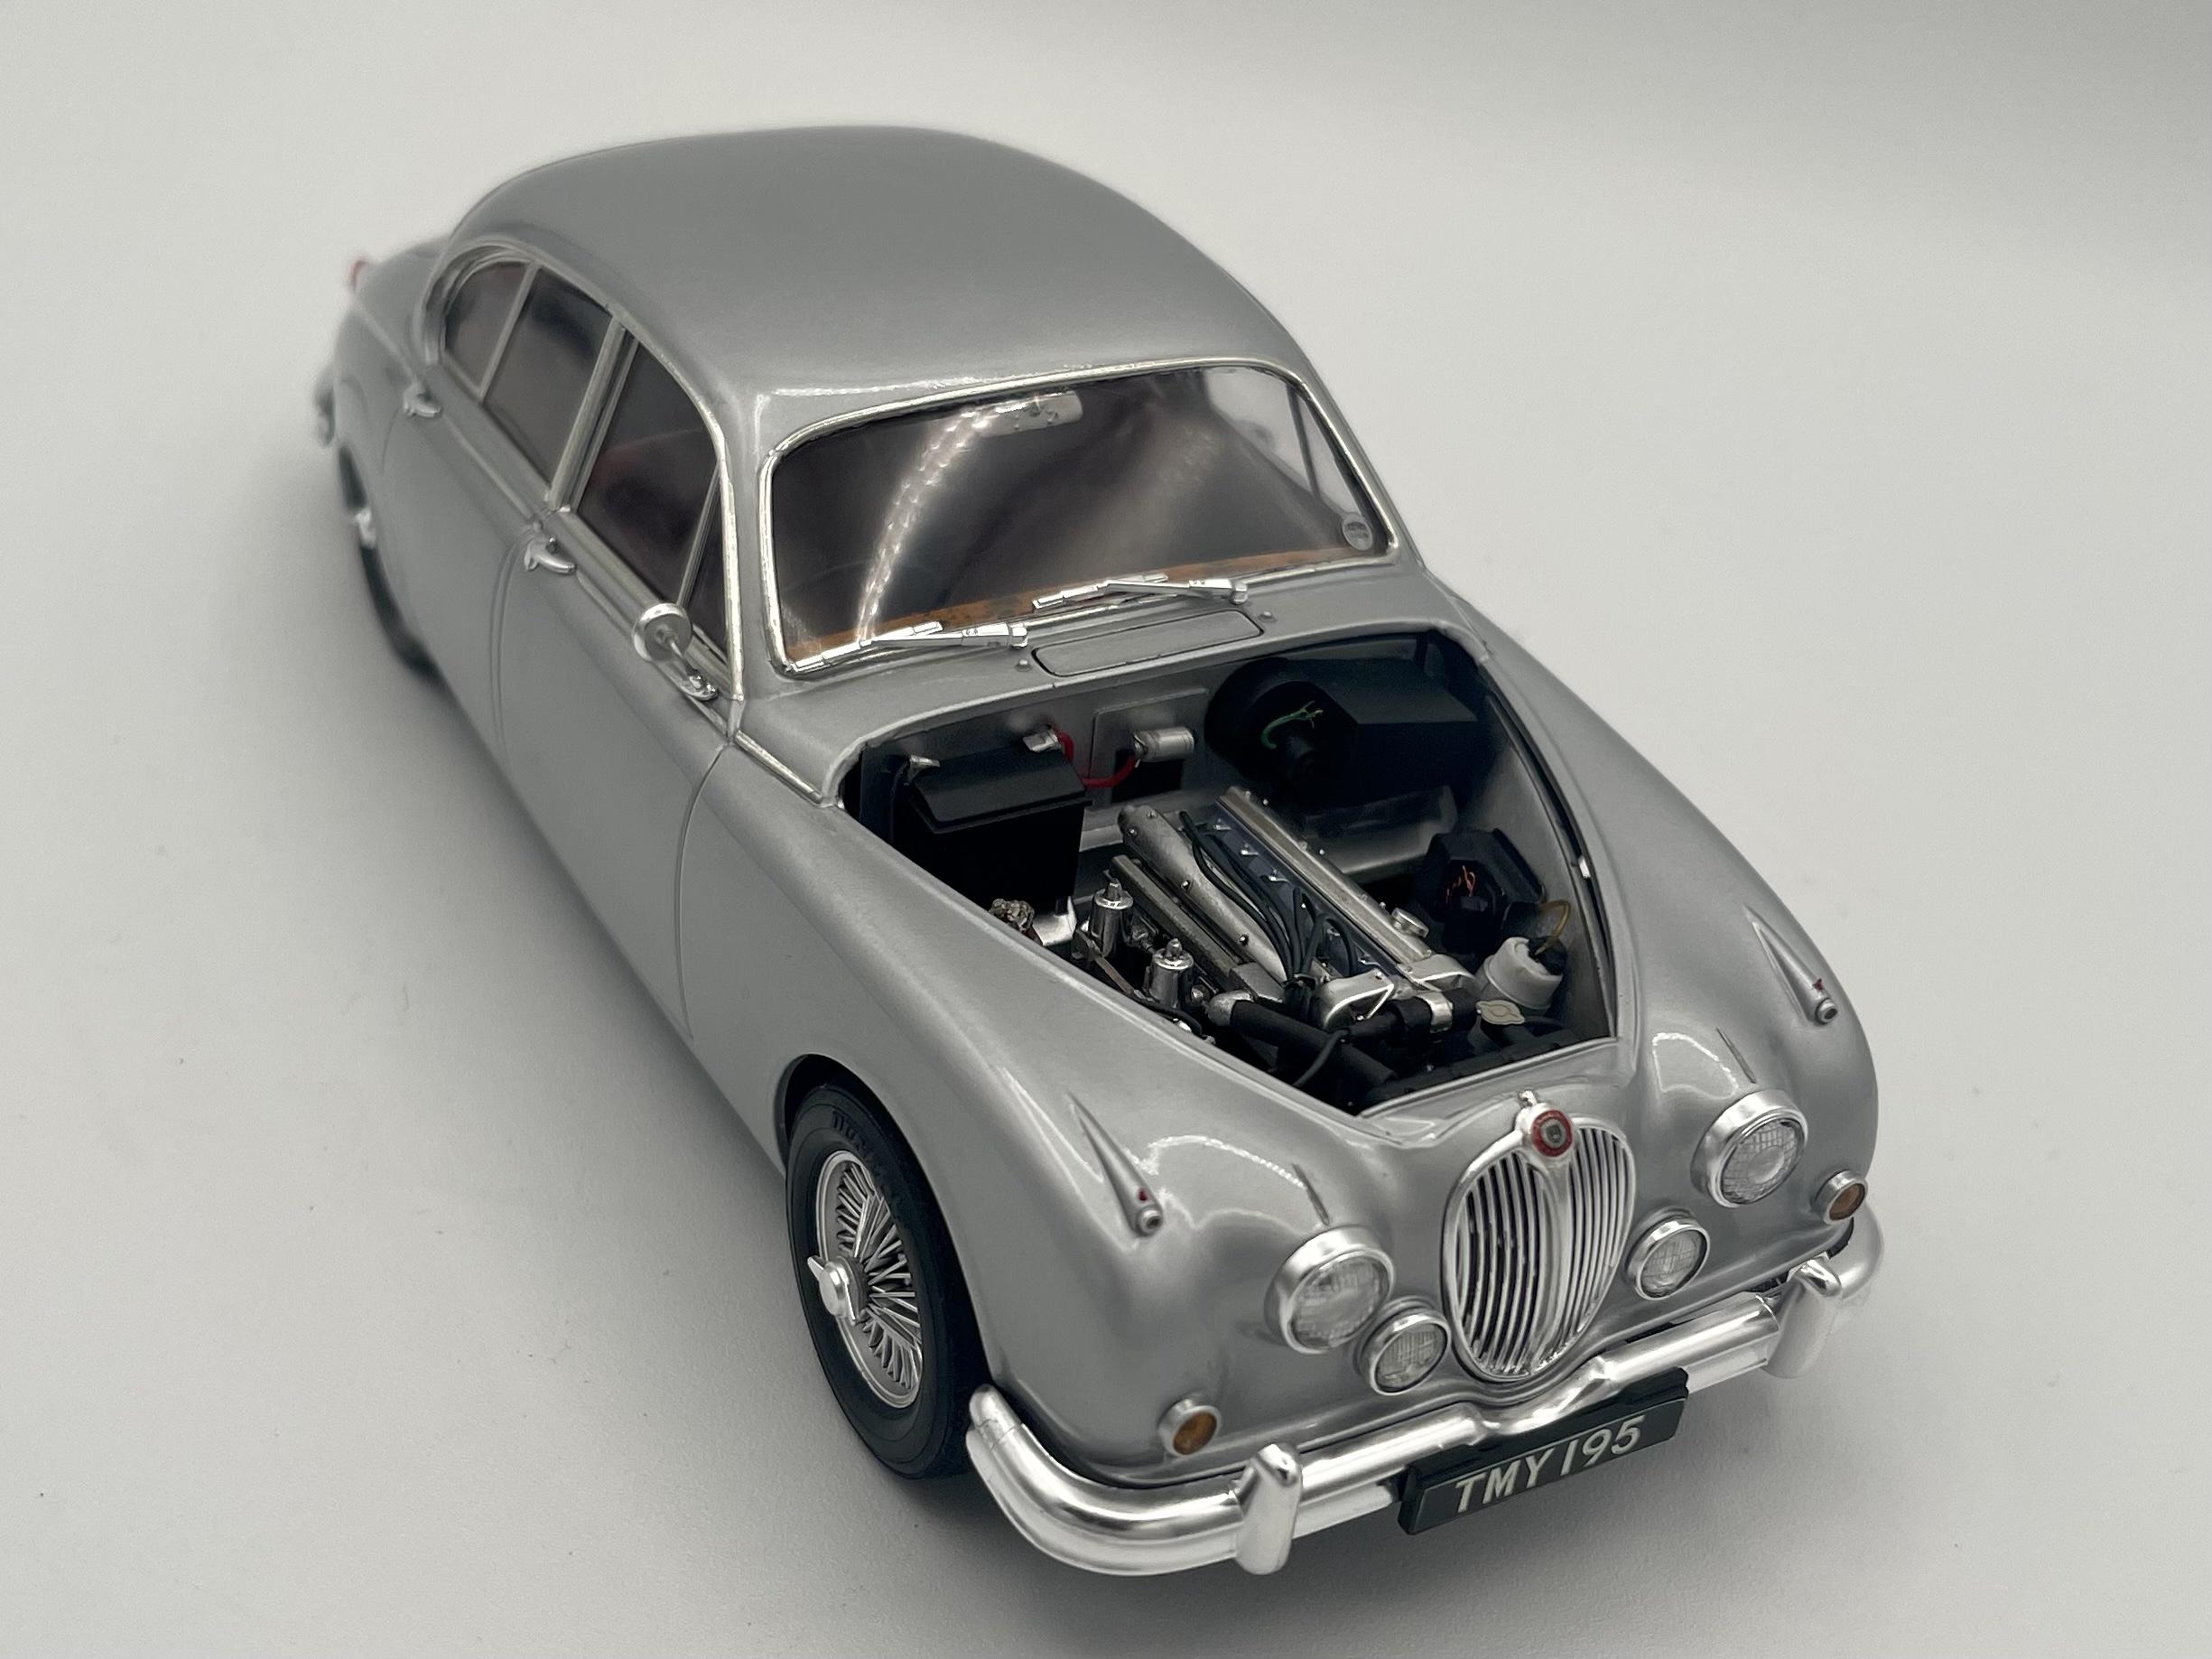
Just wrapped this 1:24 Jag MK2 by Tamiya. It’s not a perfect kit, but with a little love it can really pop on the shelf. If you’re planning to build one of these, here are a few things to note: 1. The trim around the front and rear windshields is so poorly molded that you can’t even scribe them out. The solution is adding some plastruct half round strips around both and sanding it down. 2. It’s an old kit and the metal transfer decals for the side trim were basically useless. I added some styrene strips to the body before paint and foiled it after. Not ideal, but definitely better than the kit trim. 3. The wood grain decals that come with the kit were ok, but I decided to paint the wood detail instead. Highly recommend doing this, as the decals overall were very old and pixelated. 4. I scratch built most of the engine bay, the mirrors, some interior parts, and a few bits on the front fender (reflector lights and lamps) because the kit doesn’t include them, which is very weird. 5. The side windows are a pain to foil and install. Also, if I could do it over, I’d cut out the windows so you can see into the car a bit better. Other than the above, the kit was a breeze with no fitment issues at all. Paint is tamiya rattle cans: body - silver leaf under ts-13 clear; interior - dull red under semigloss clear; wood grain - wooden deck tan, linoleum deck brown, yellow, black, clear orange, semigloss clear. Overall, an enjoyable final build of the year. My biggest takeaway from this one is that silver is a reeeeeal pain in the butt to get right. It shows every flaw, so body prep is super important. Anyway- Happy hols everybody! ??
-
beautiful work as always. your videos helped me out quite a bit when i was learning how to get a decent paint job - thank you for posting!
- 45 replies
-
- 1
-

-
- shelby gt 350
- amt
- (and 1 more)