radiohd10
-
Posts
286 -
Joined
-
Last visited
Content Type
Profiles
Forums
Events
Gallery
Everything posted by radiohd10
-
very nice
-
Revell 1968 Dodge Charger R/T in 1/25 Scale. Red w/ Black Stripe.
radiohd10 replied to Dragonhawk1066's topic in Model Cars
beautiful job! -
beautiful!! looks like a tough build but you nailed it.
-
such a beaut! that color is amazing.
-
beautiful as always!
-
Thanks fellas!
-
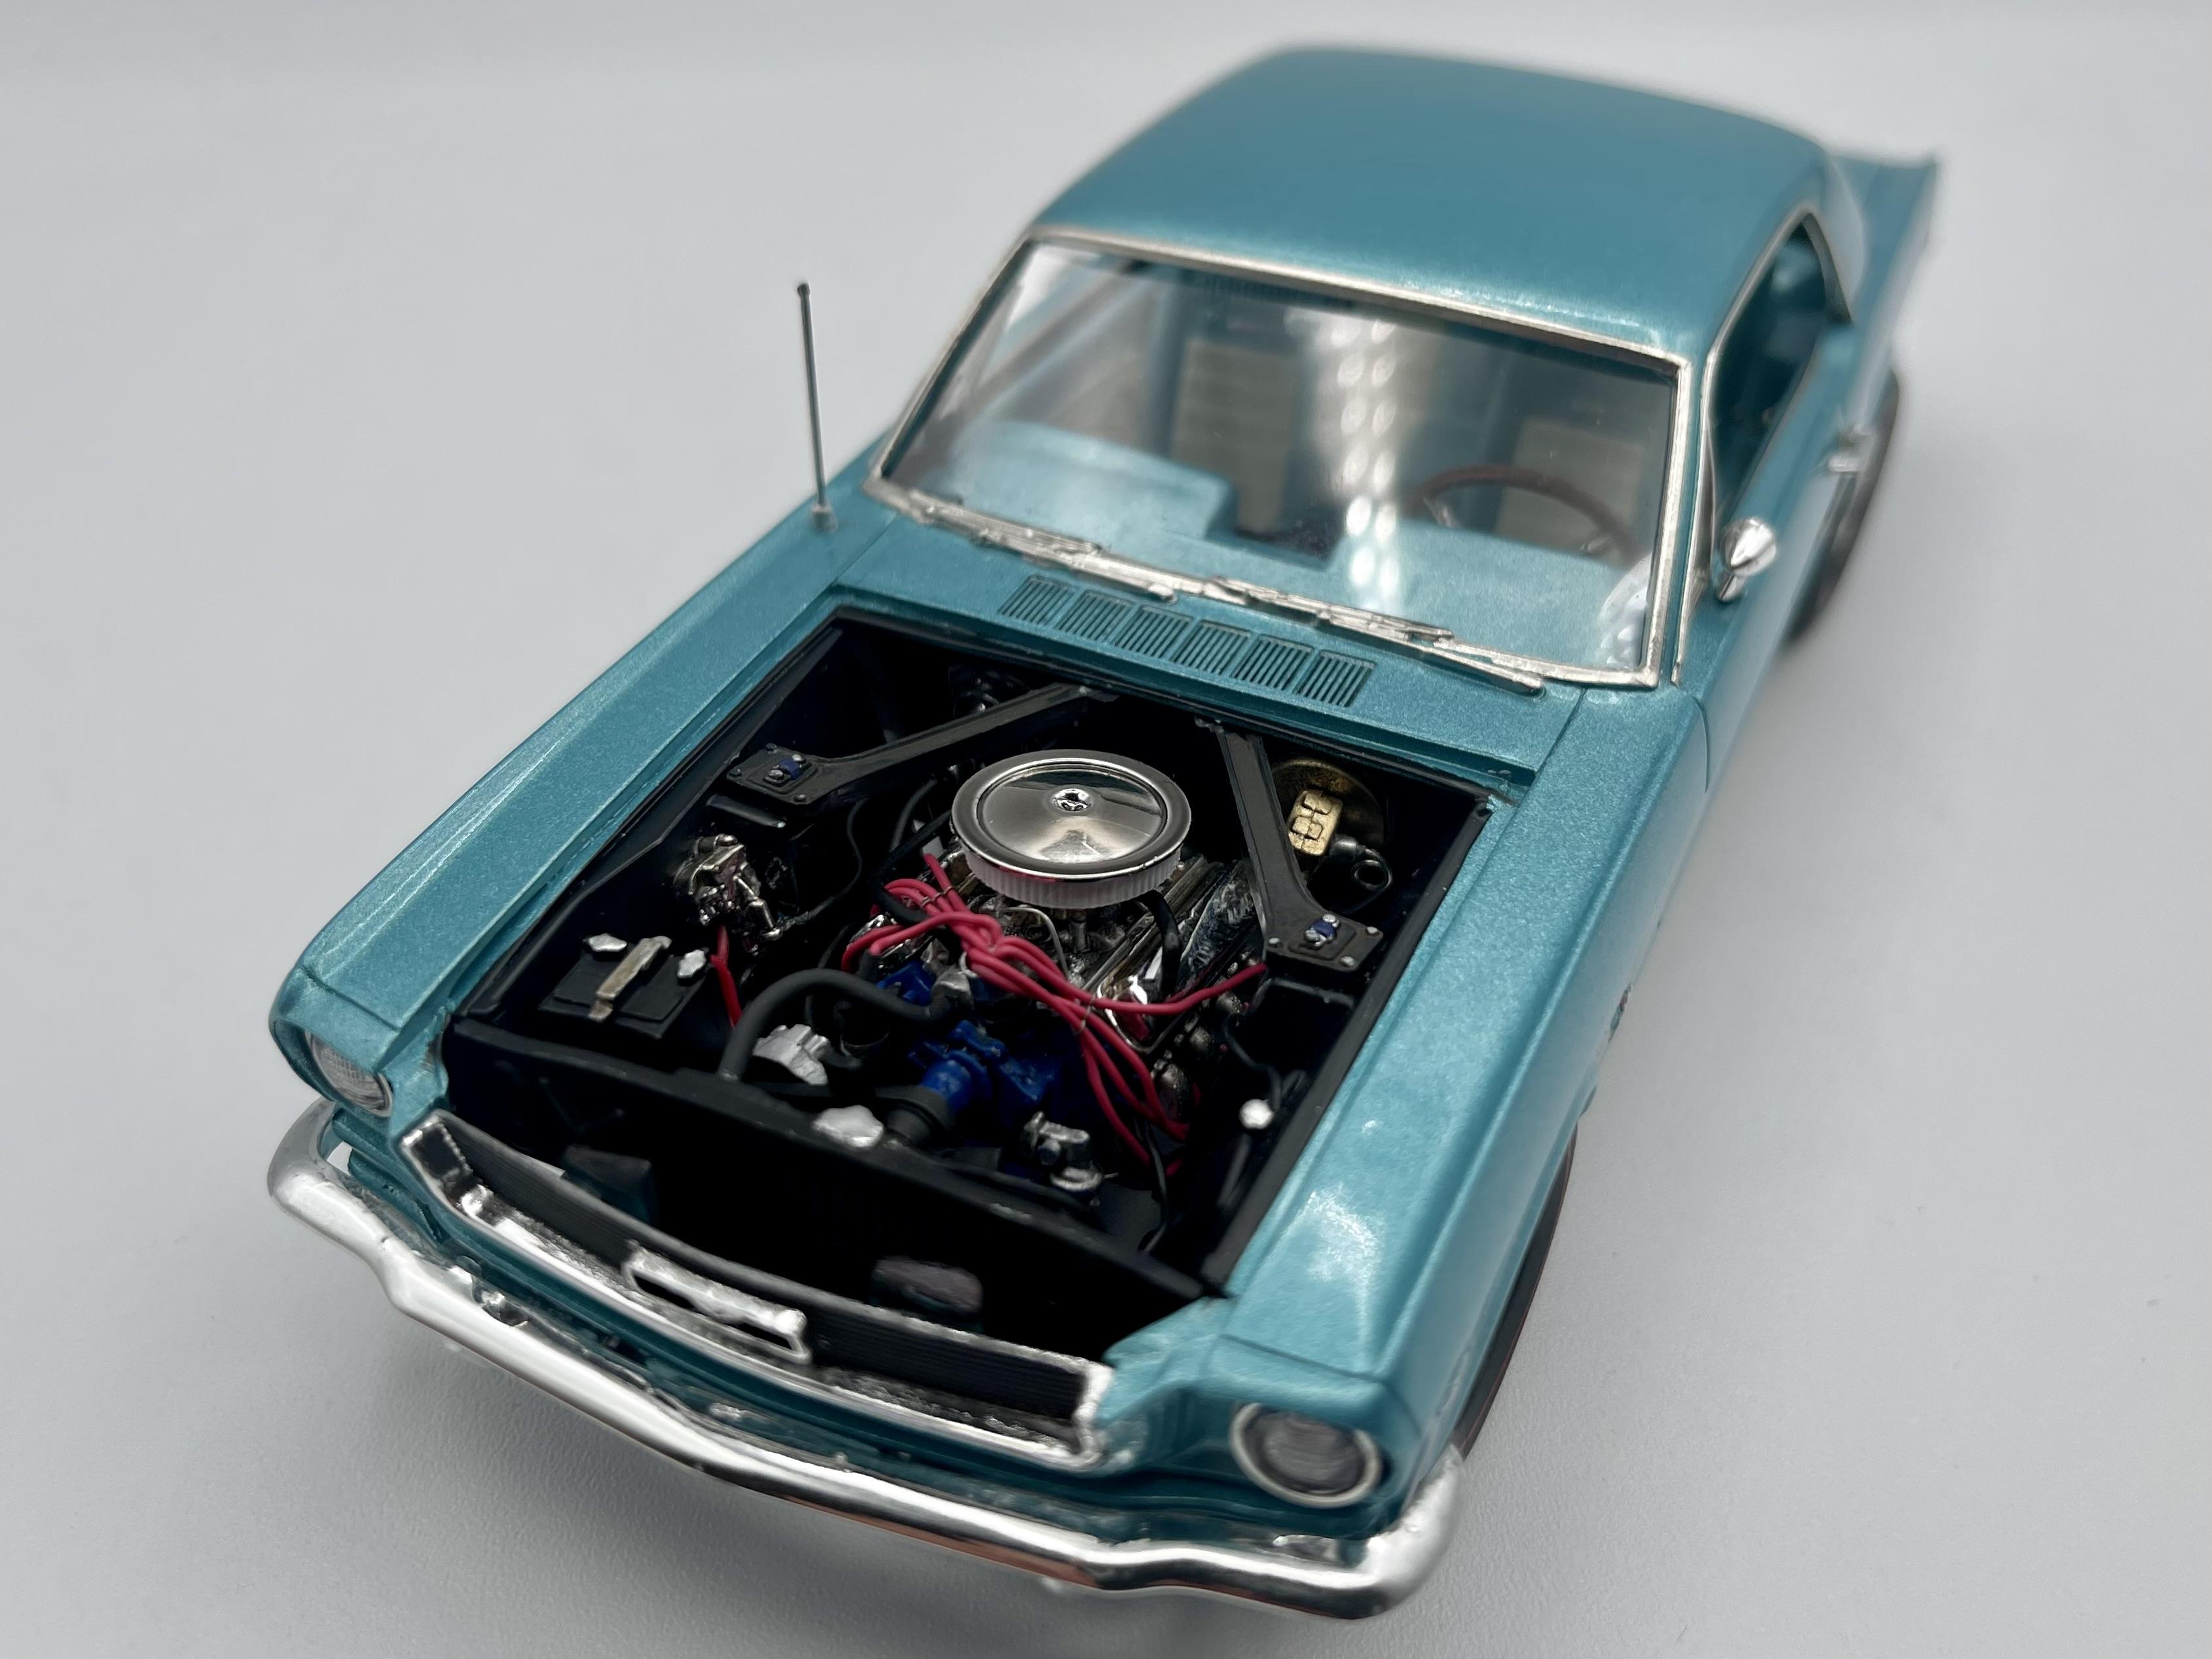
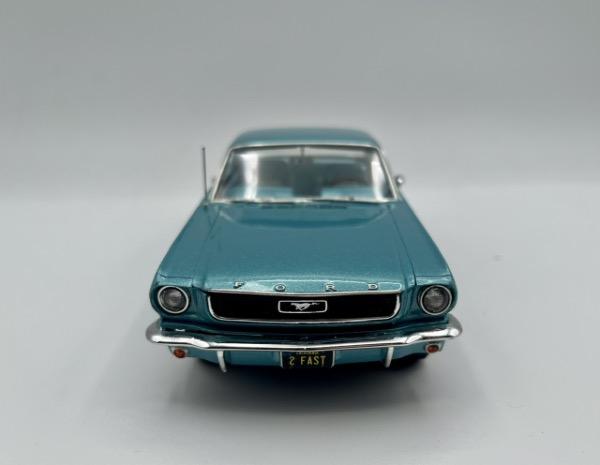
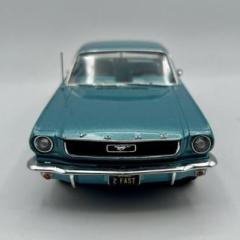
Thanks! thanks! yep - the mustang is the AMT 66 bashed with the AMT 67. i cut the inner fenders off the 67 and grafted it to the 66. I also used the 67 engine. It's still not totally accurate but its way closer than it would have been out of the box Thanks! thanks! its a shame the kit is so basic on its own, but it was a good opportunity to try out some new things. i'll be way more prepared for the next one.
-
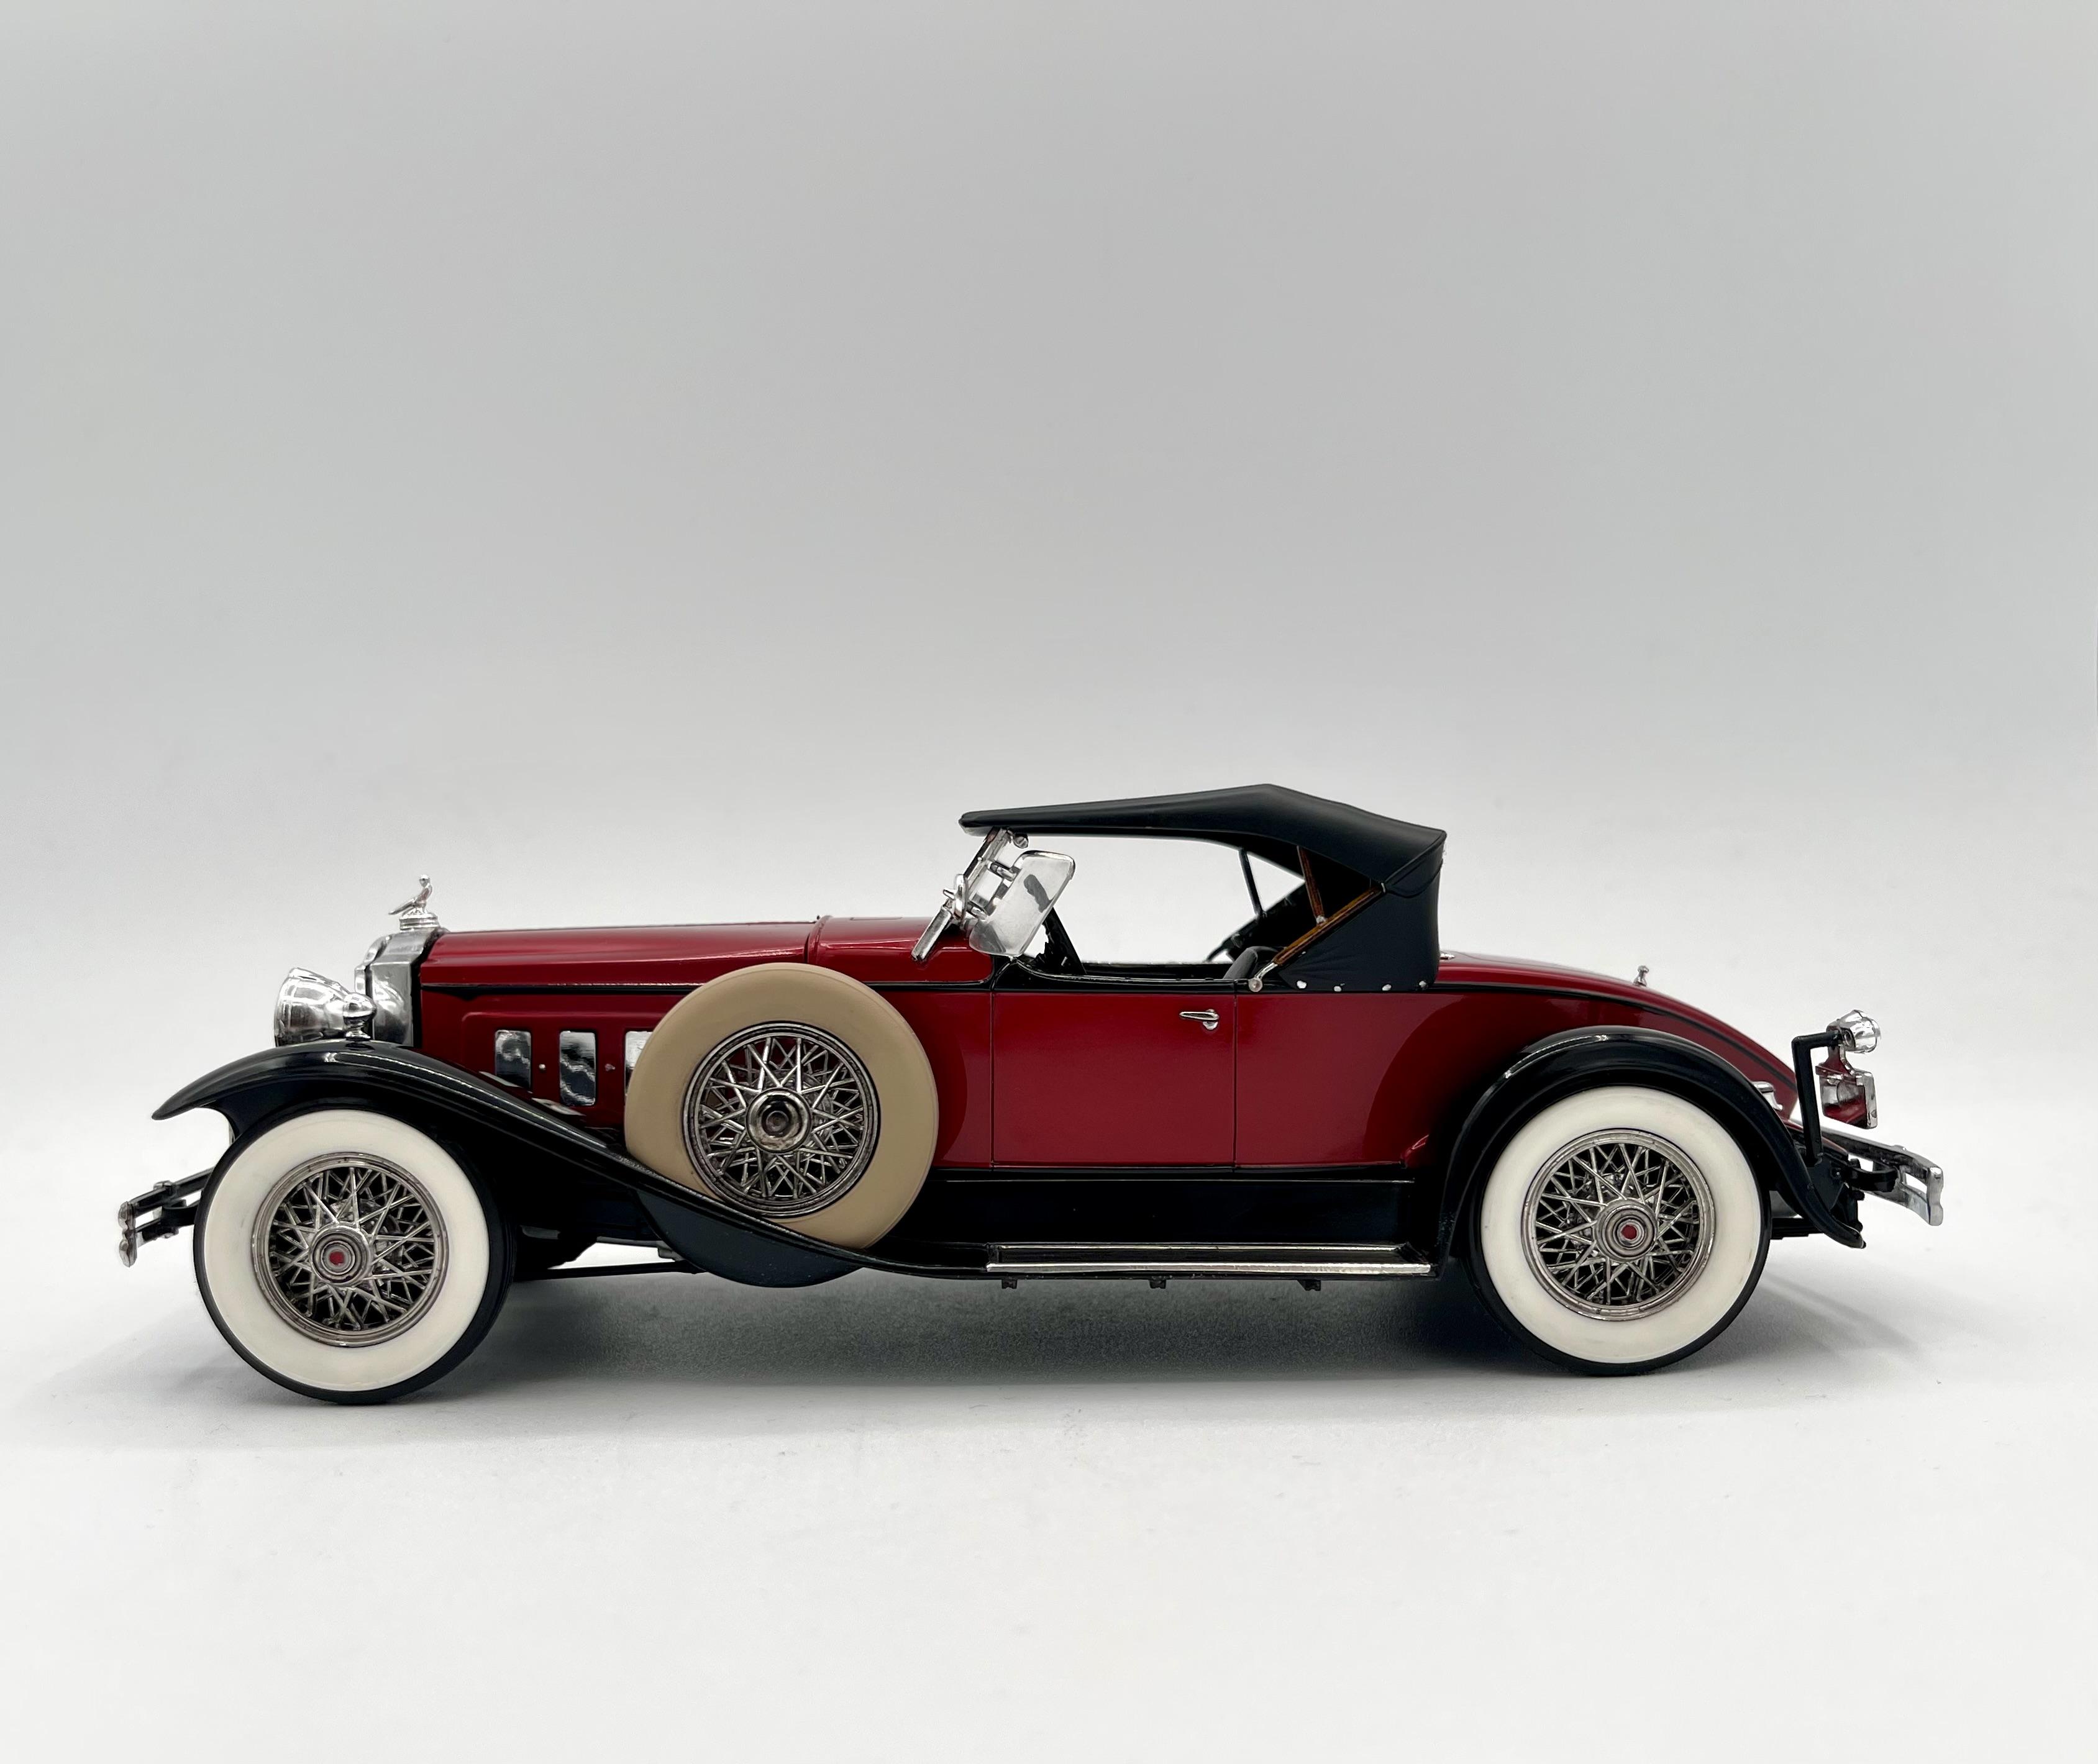
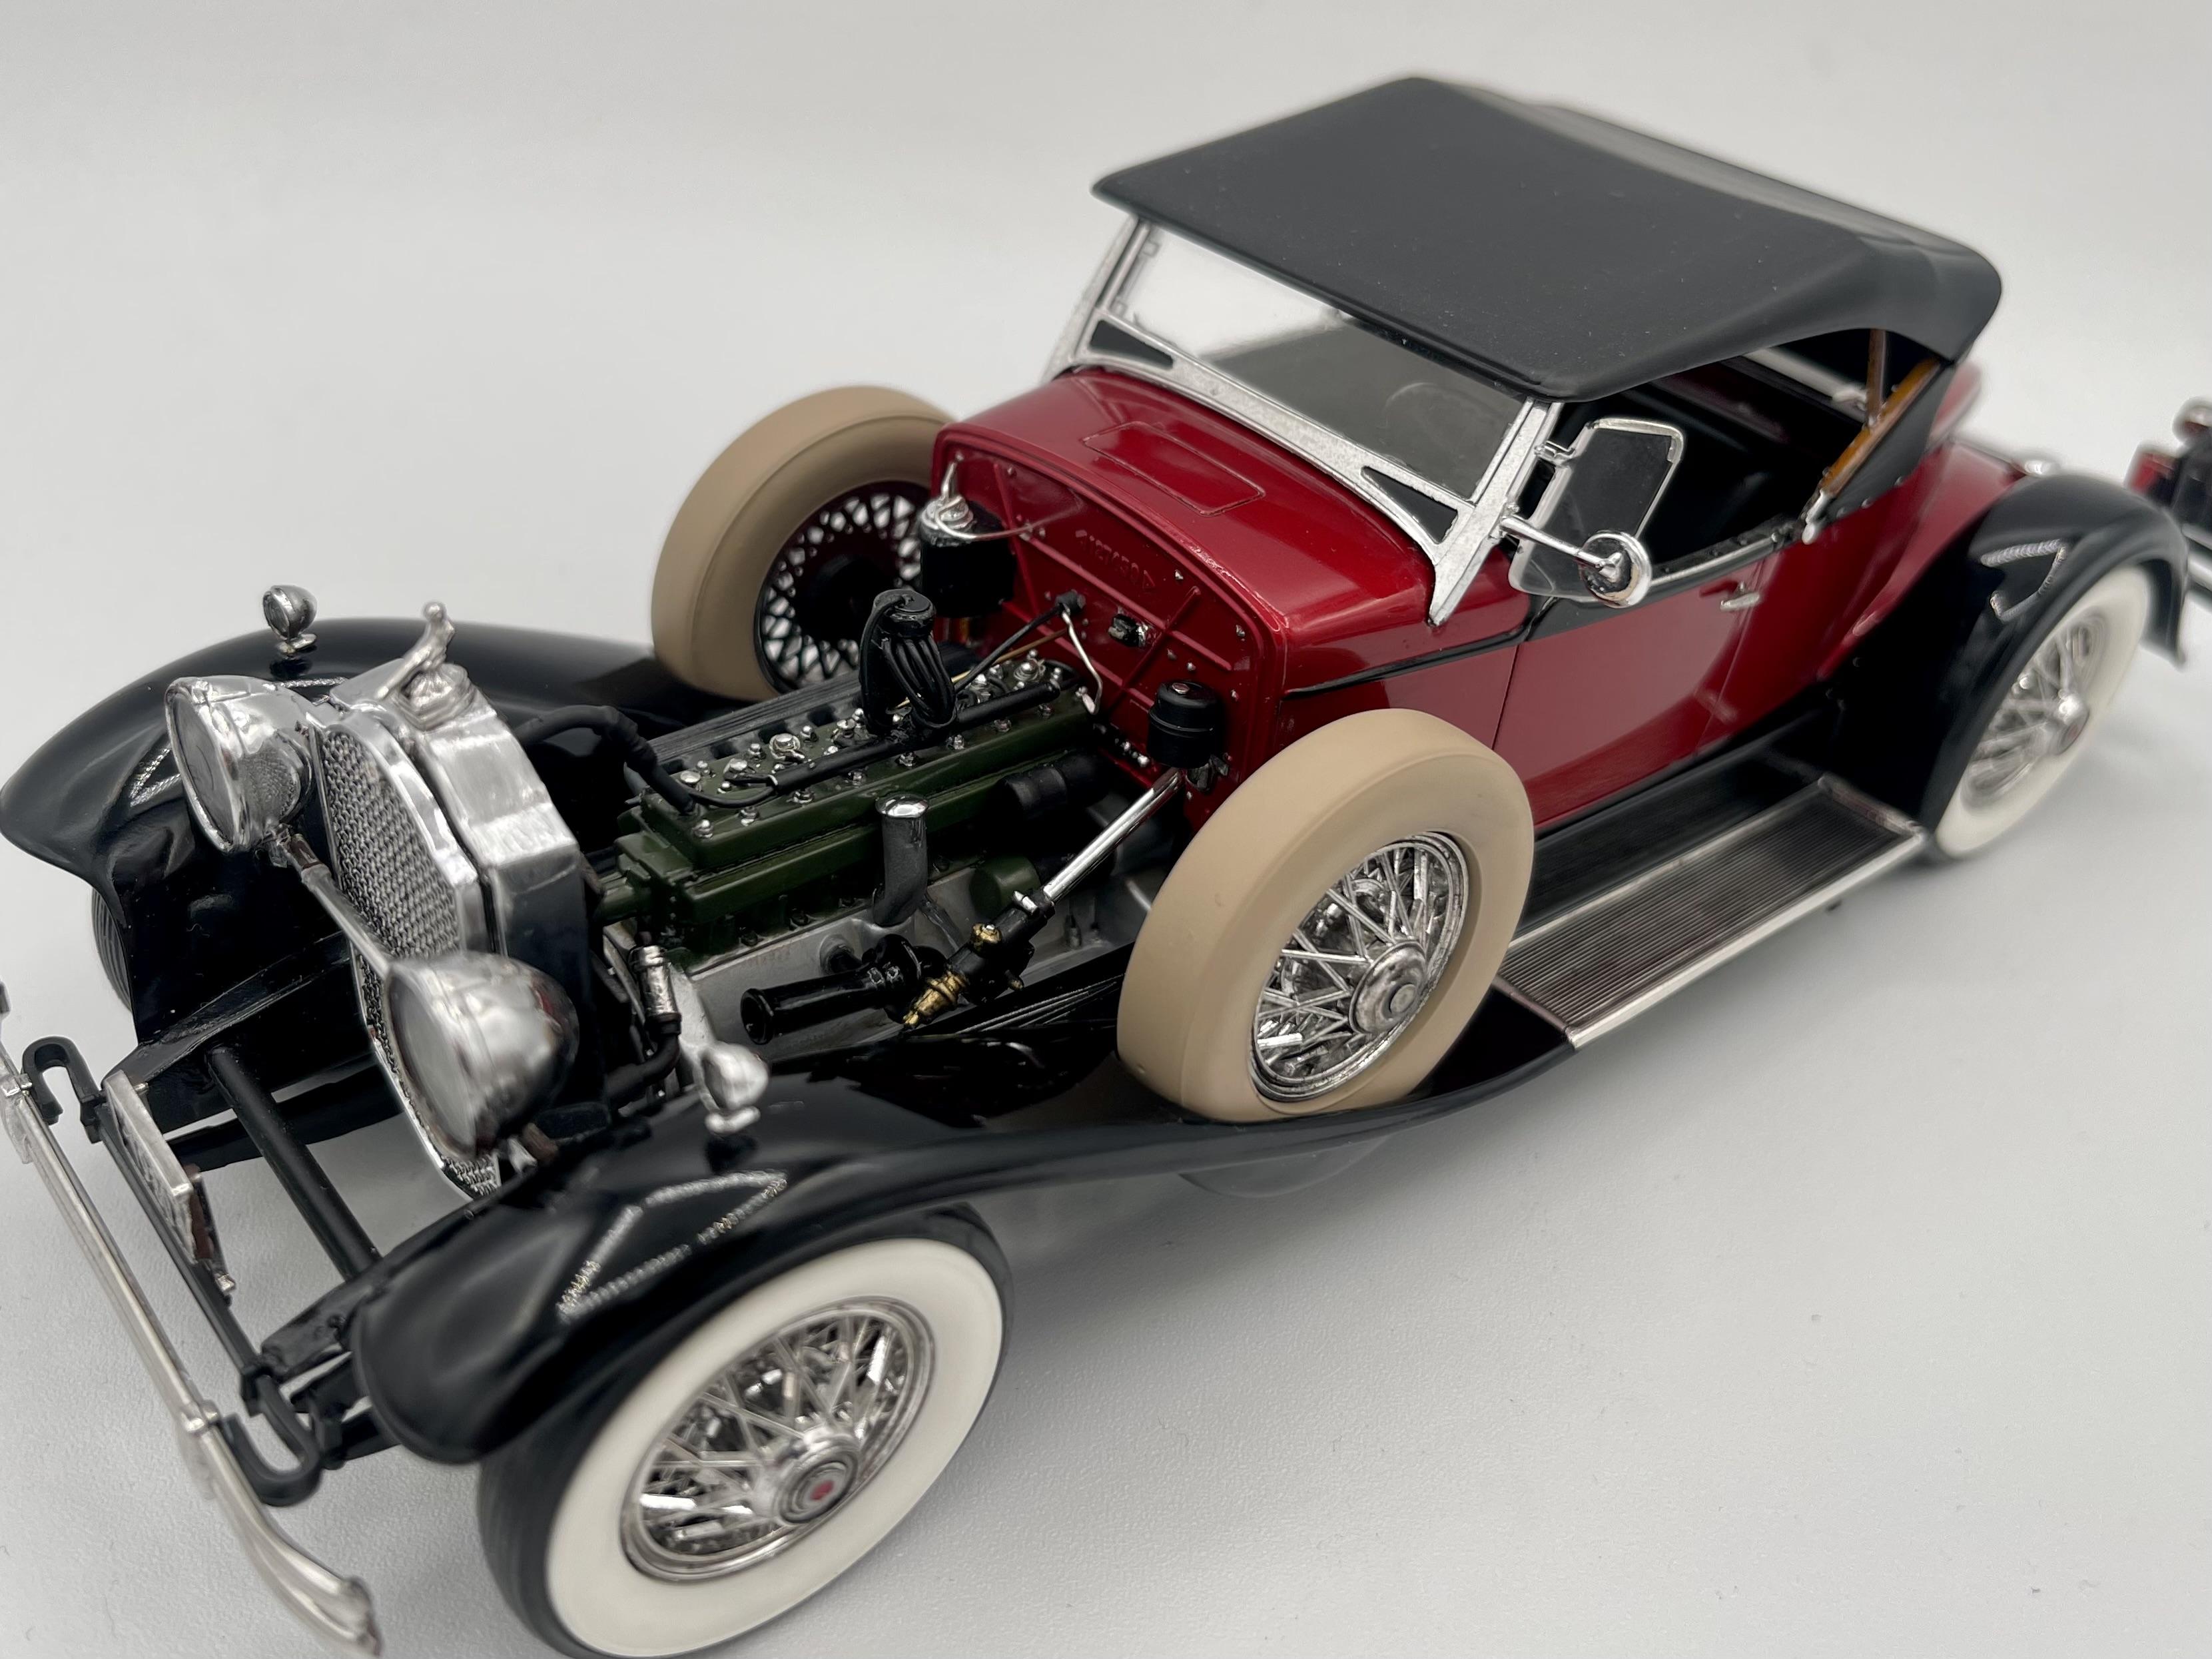
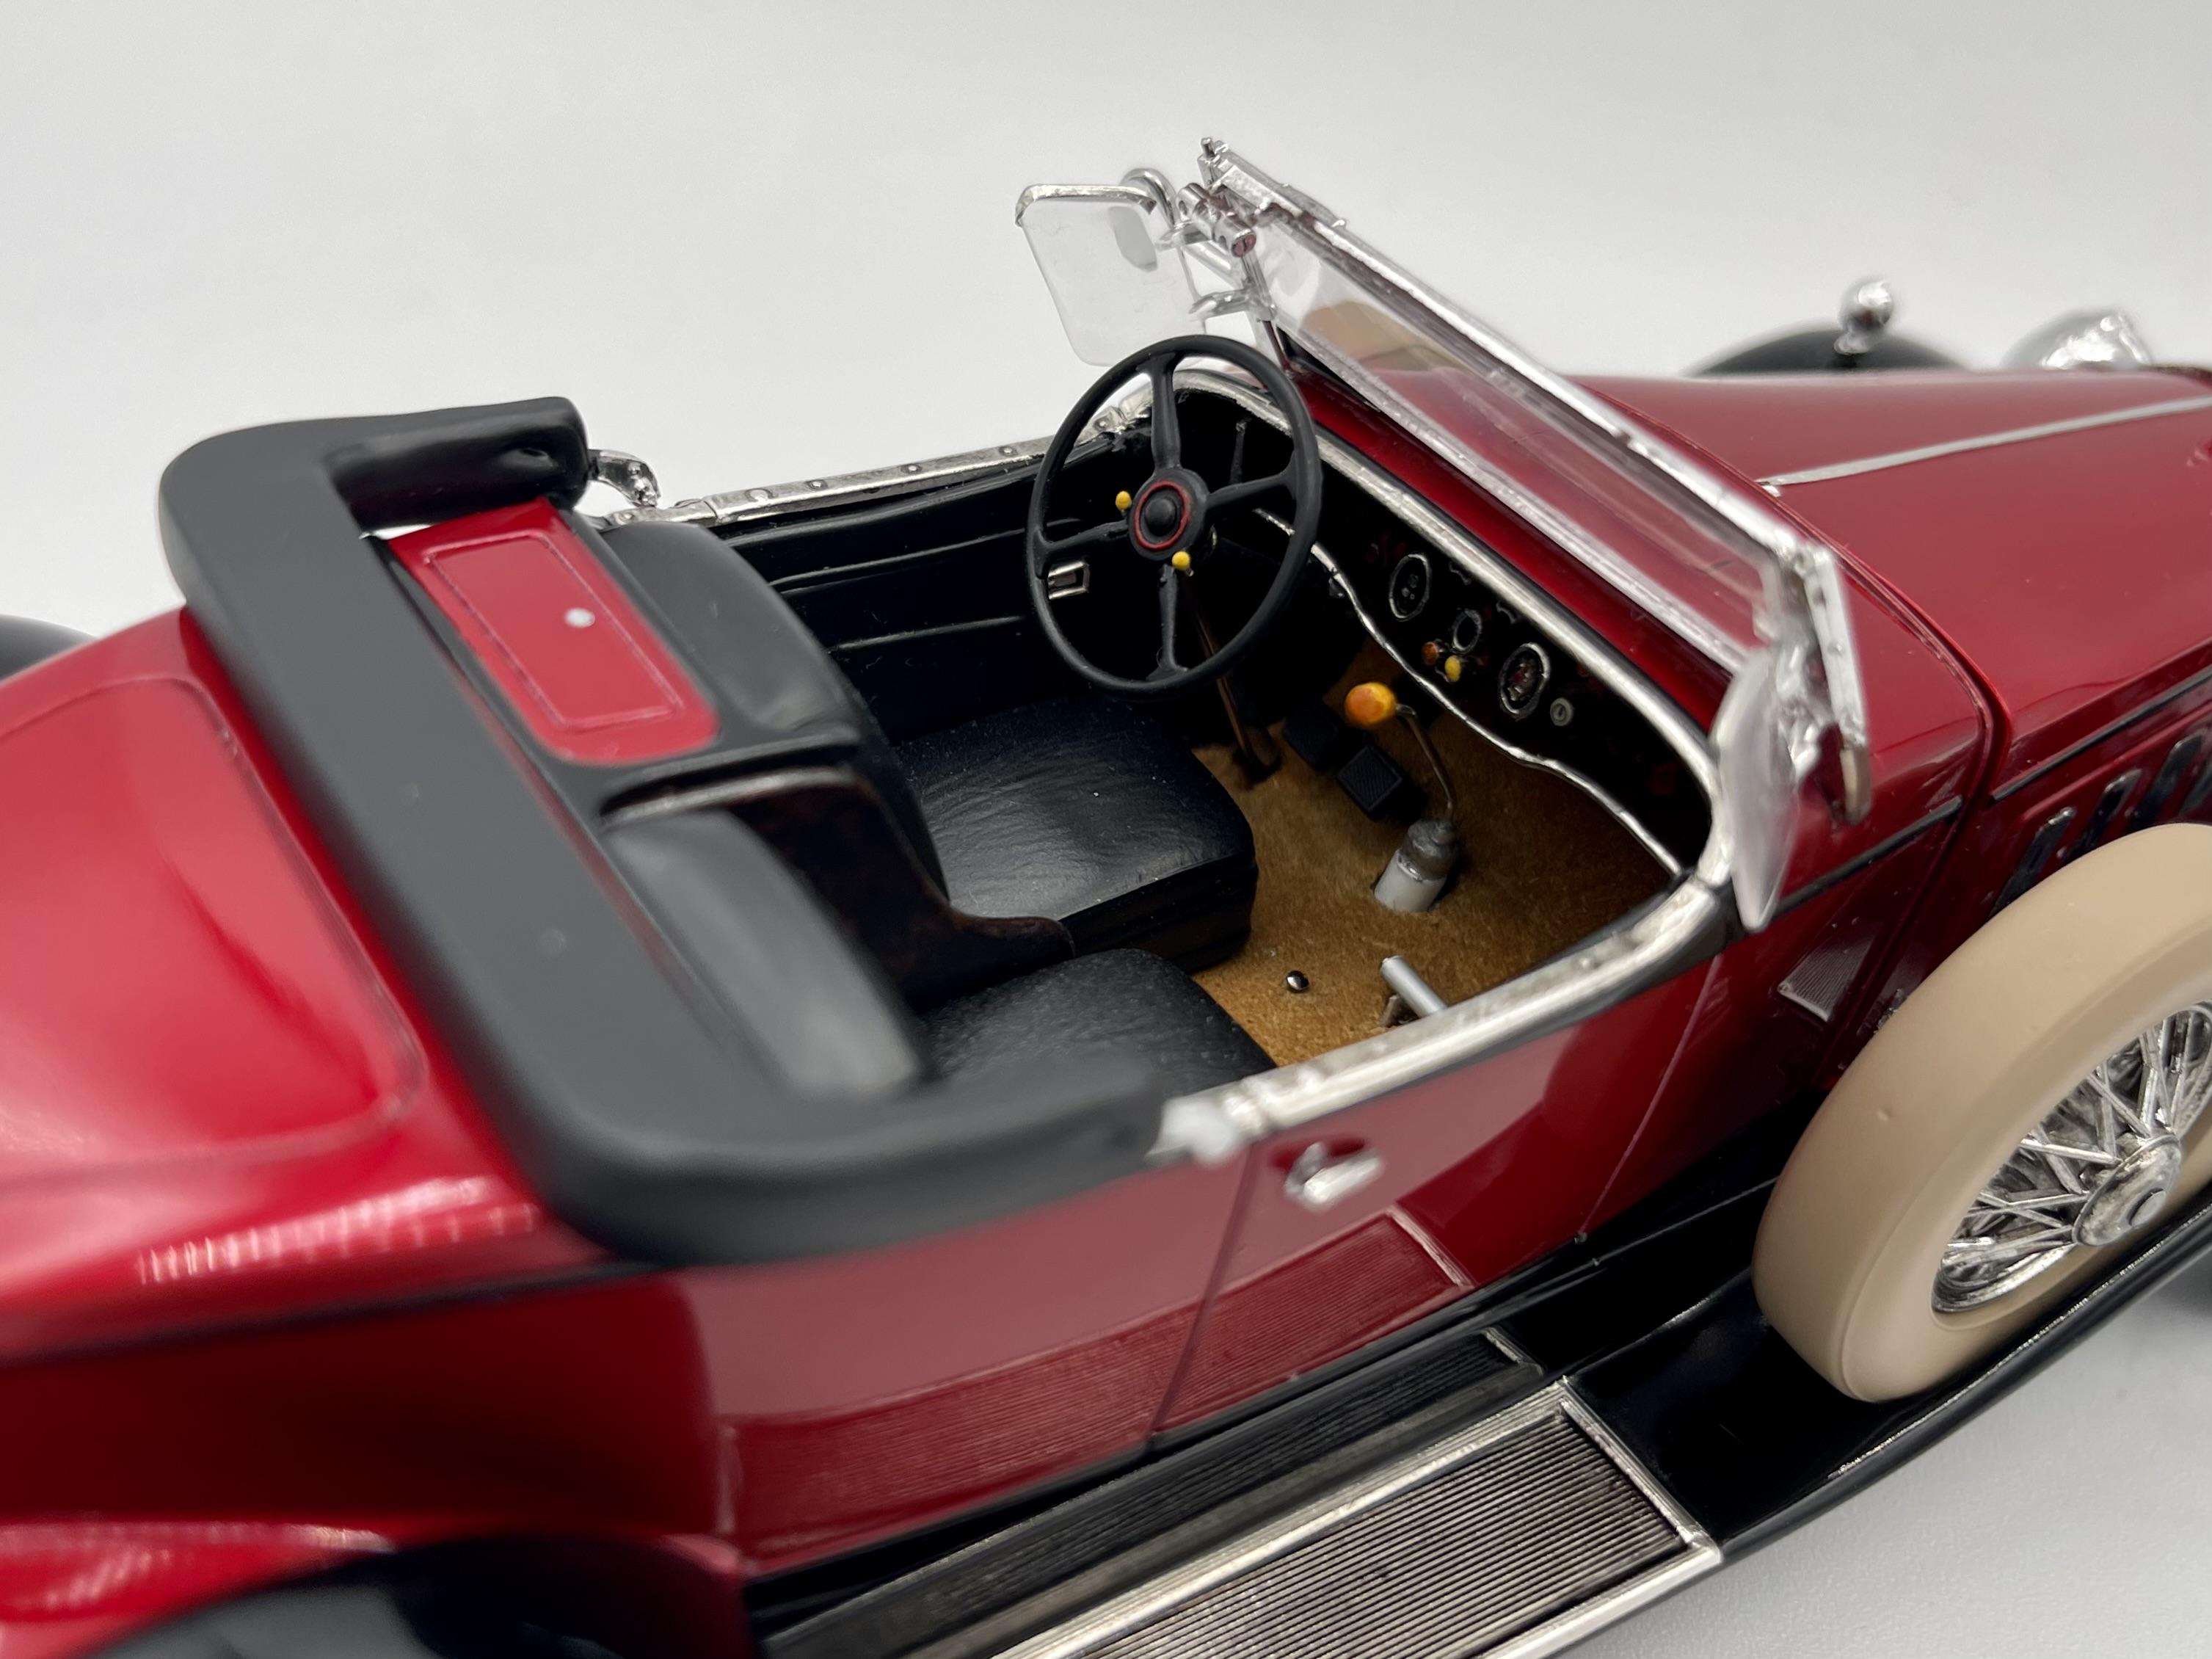
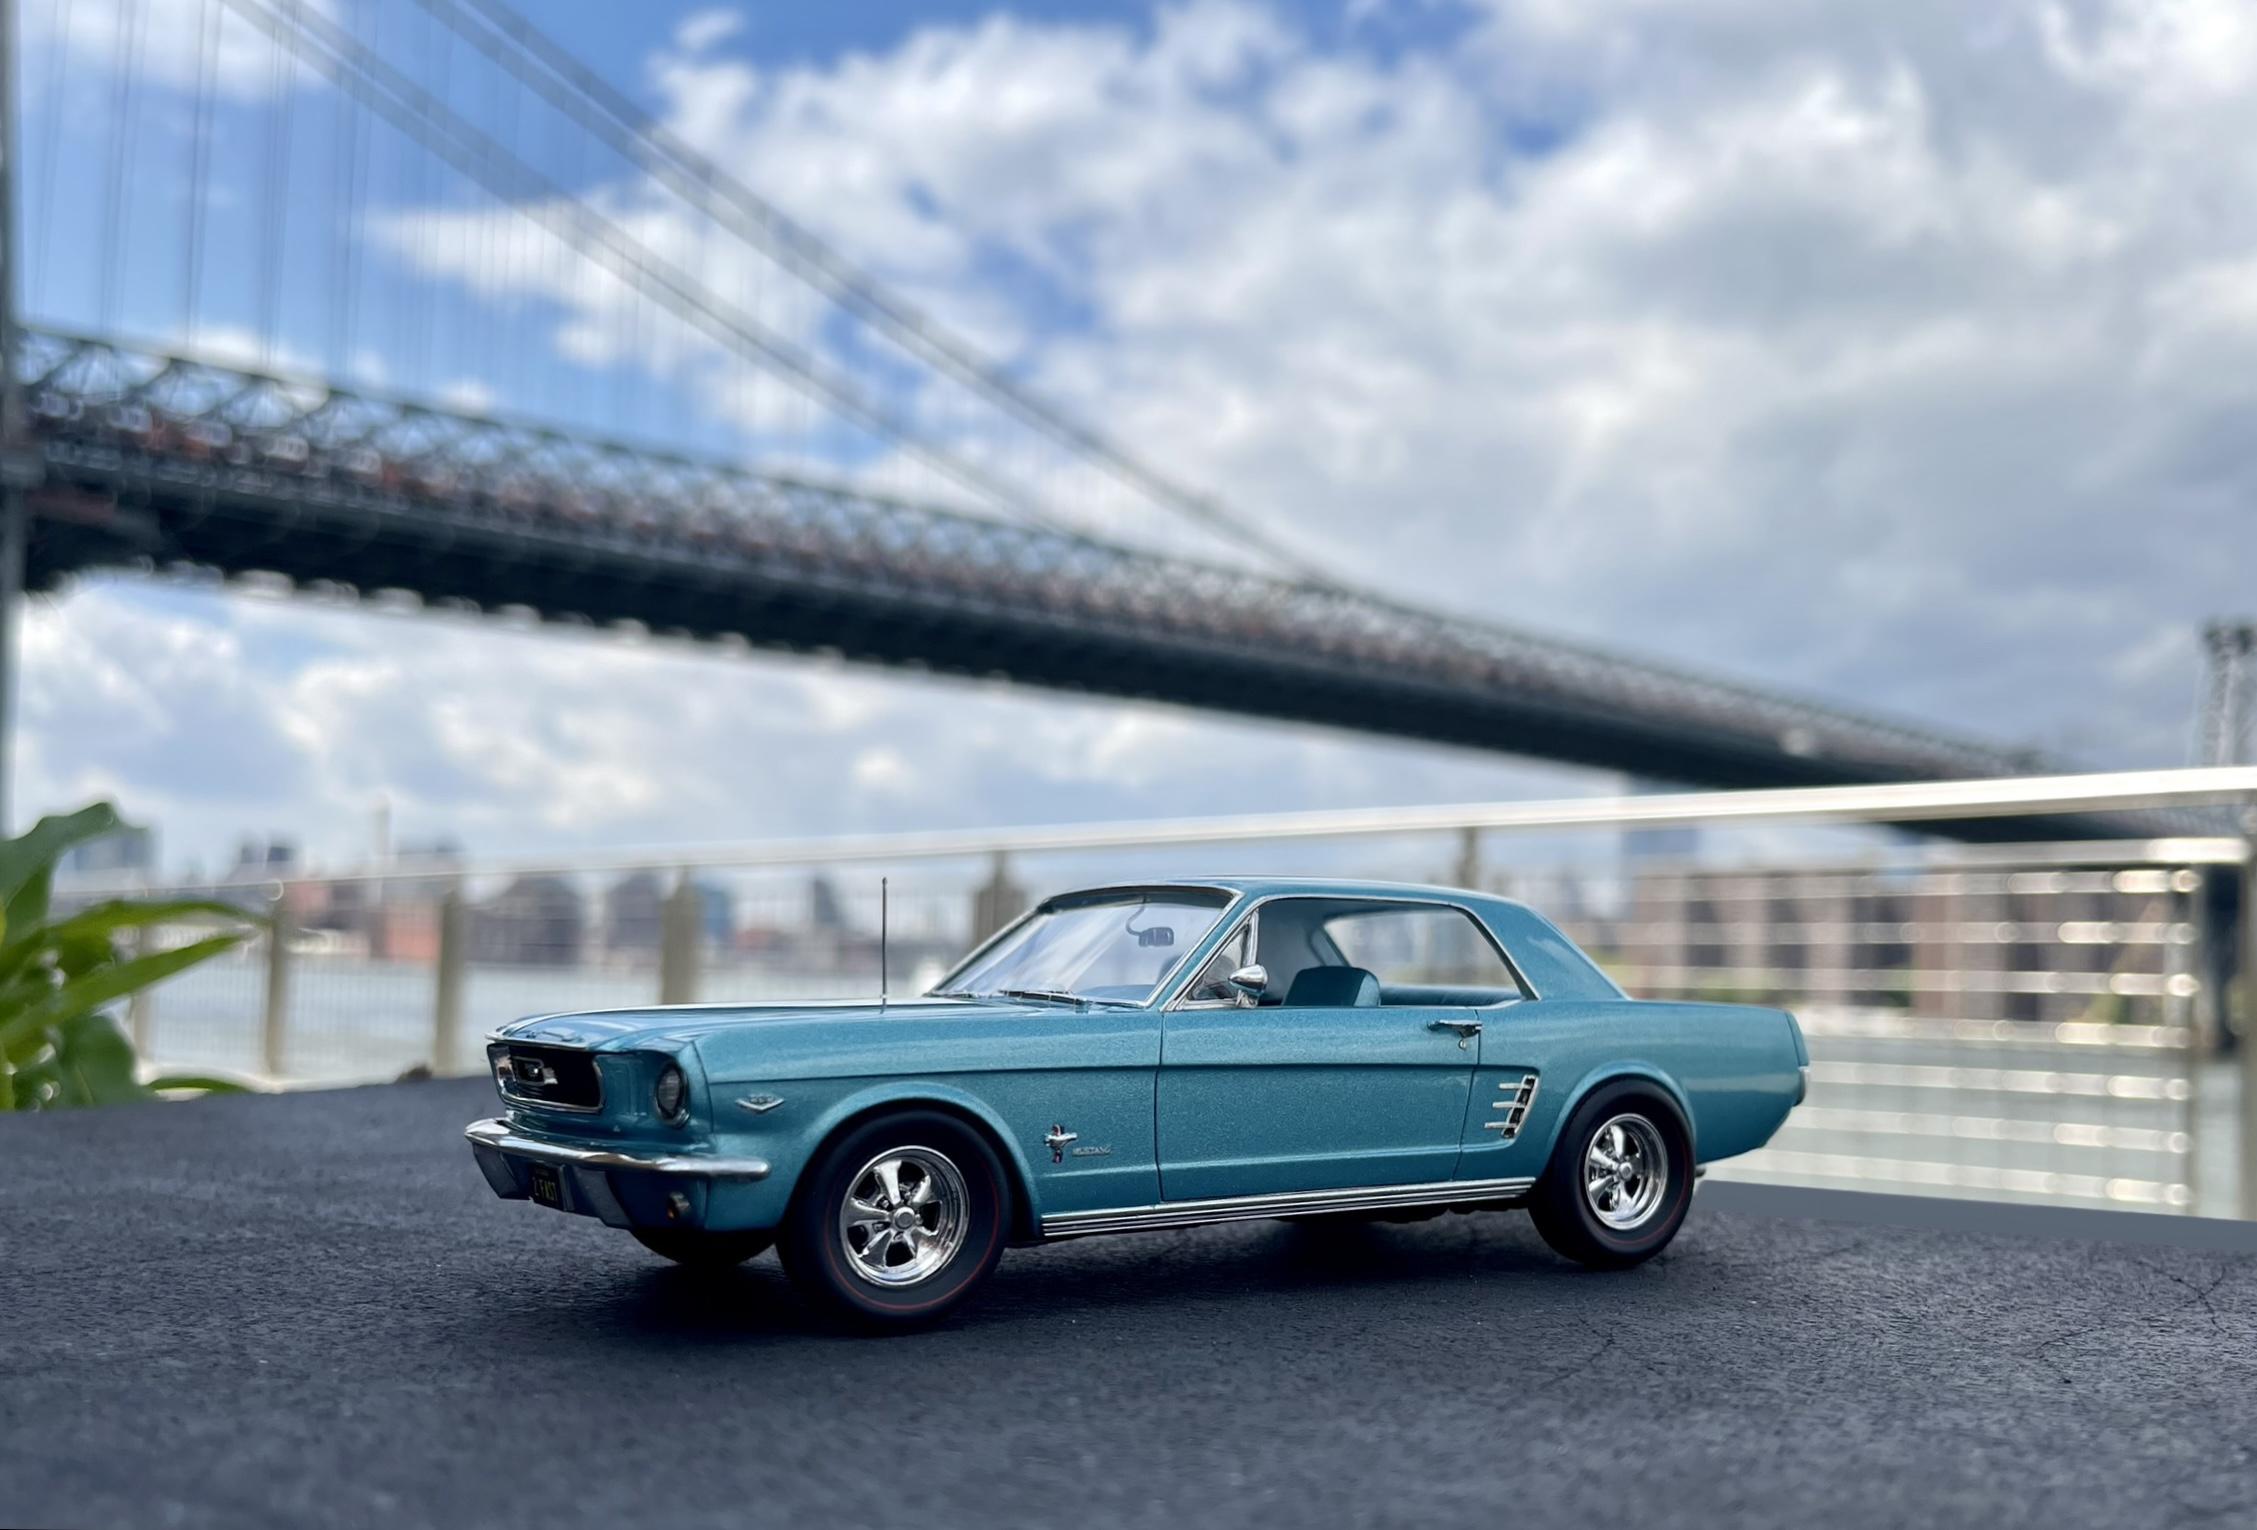
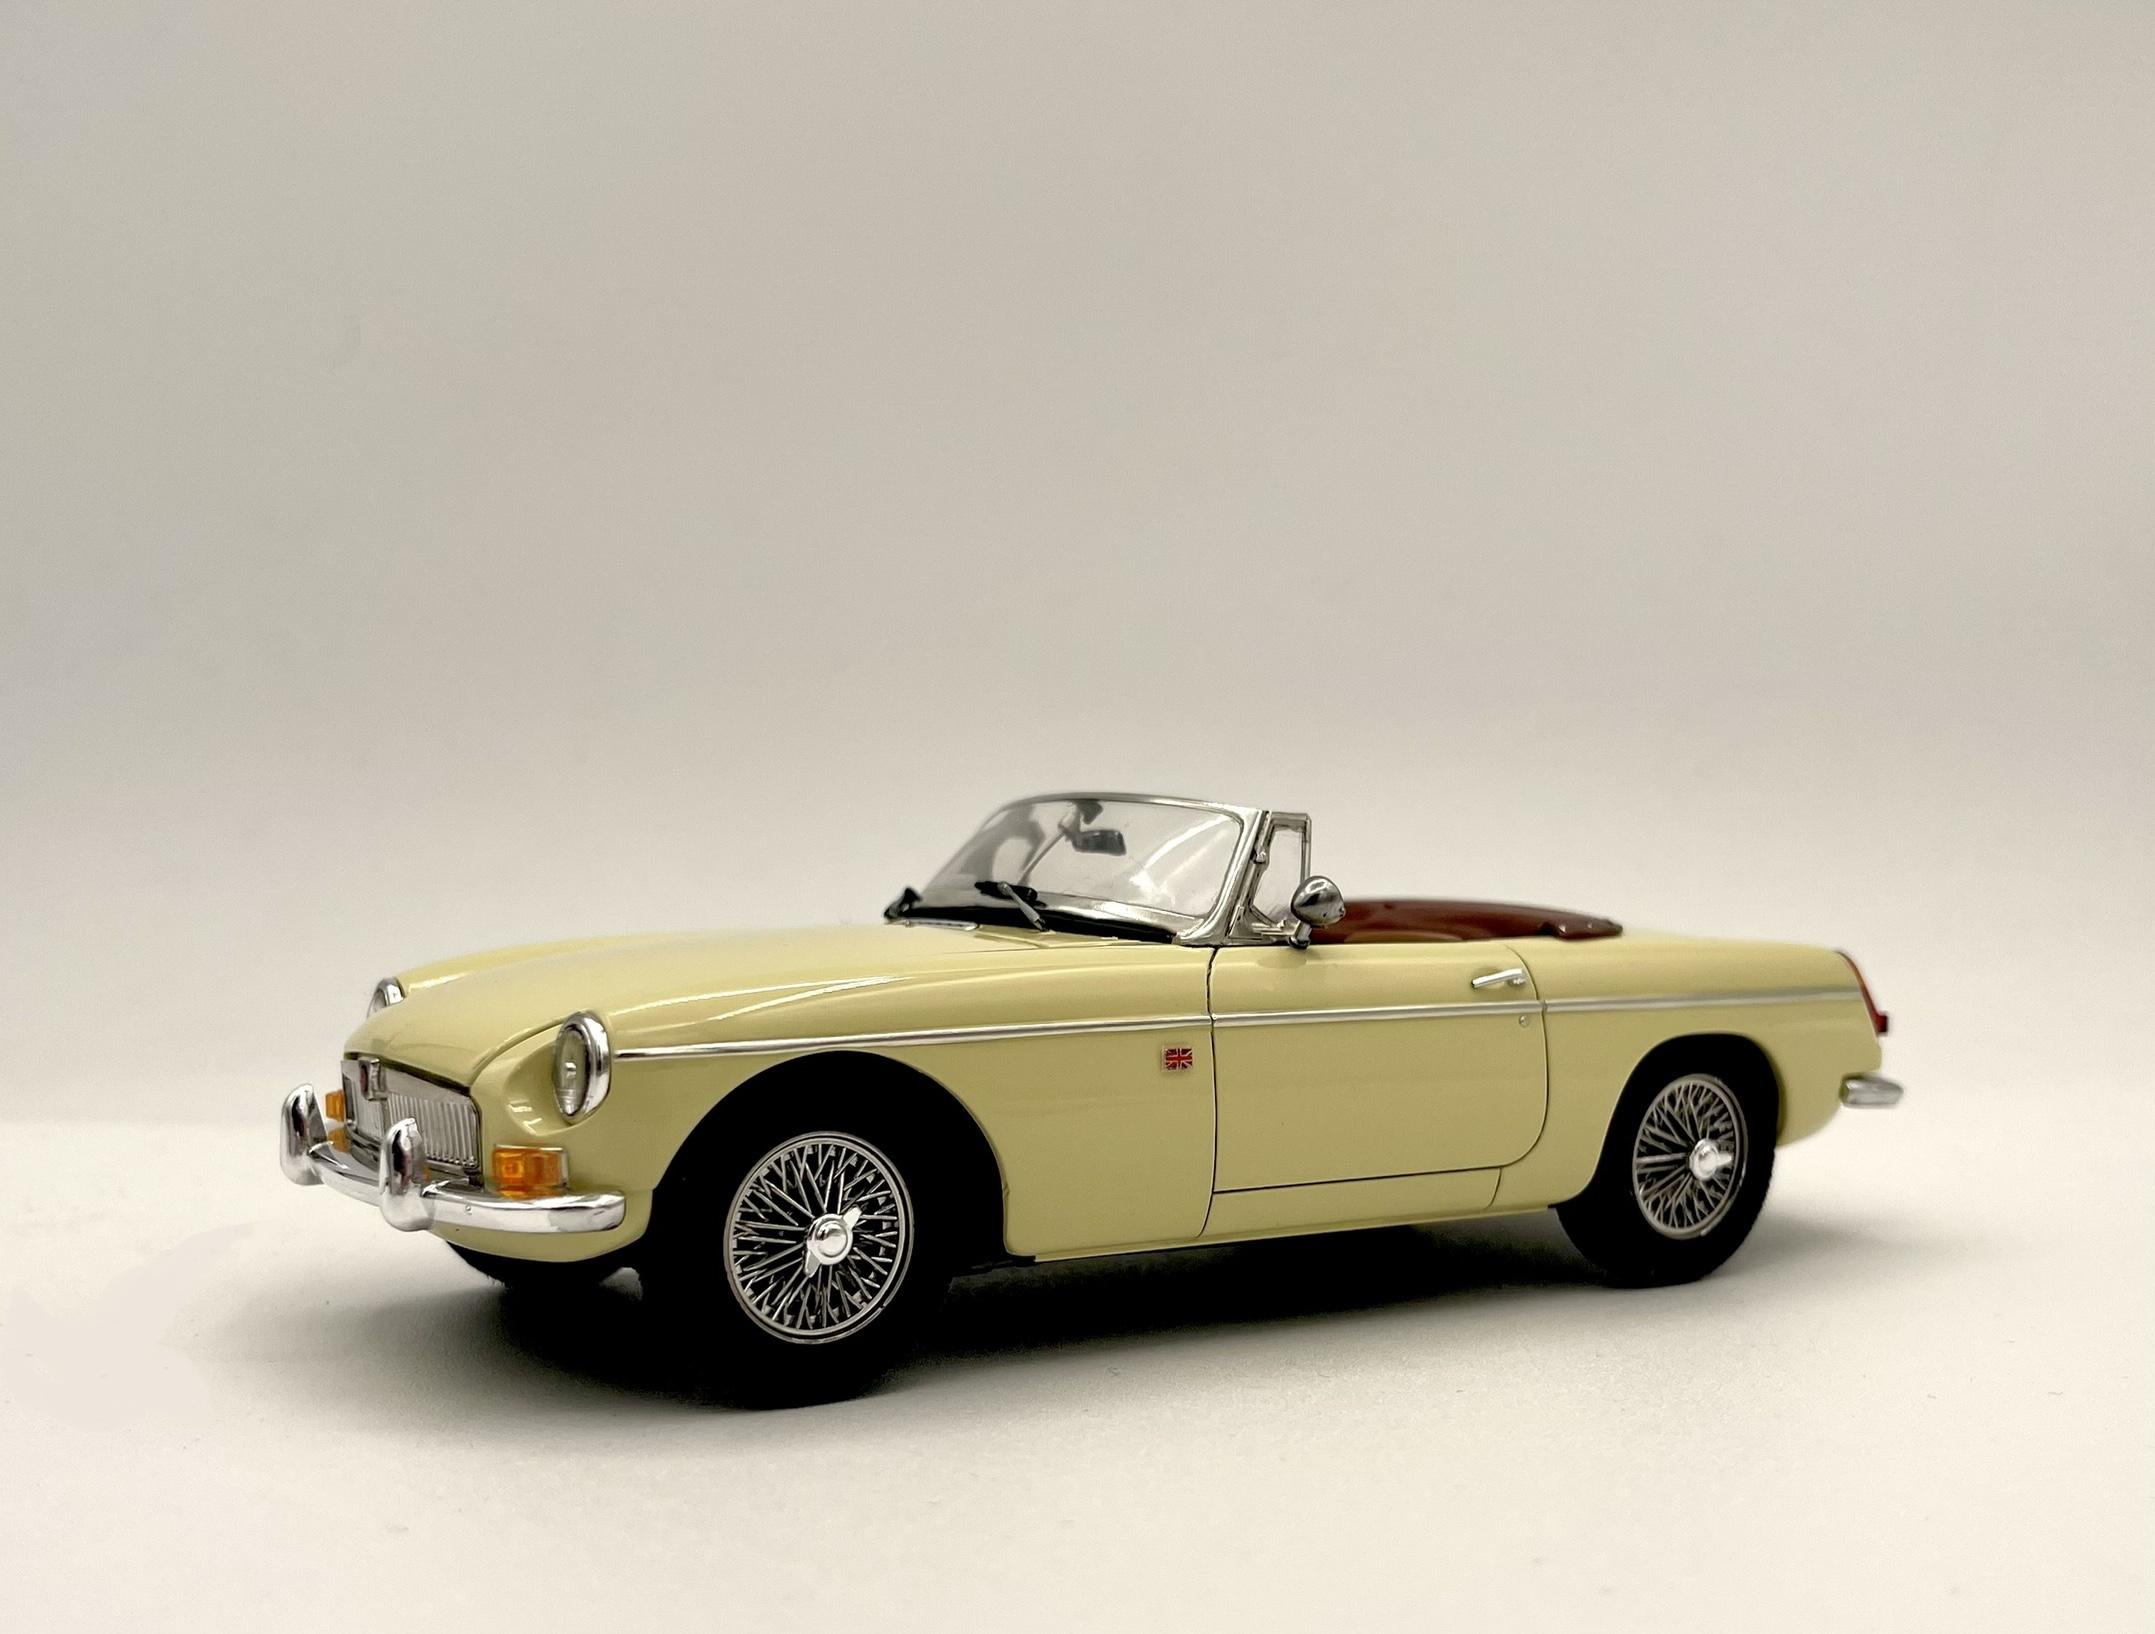
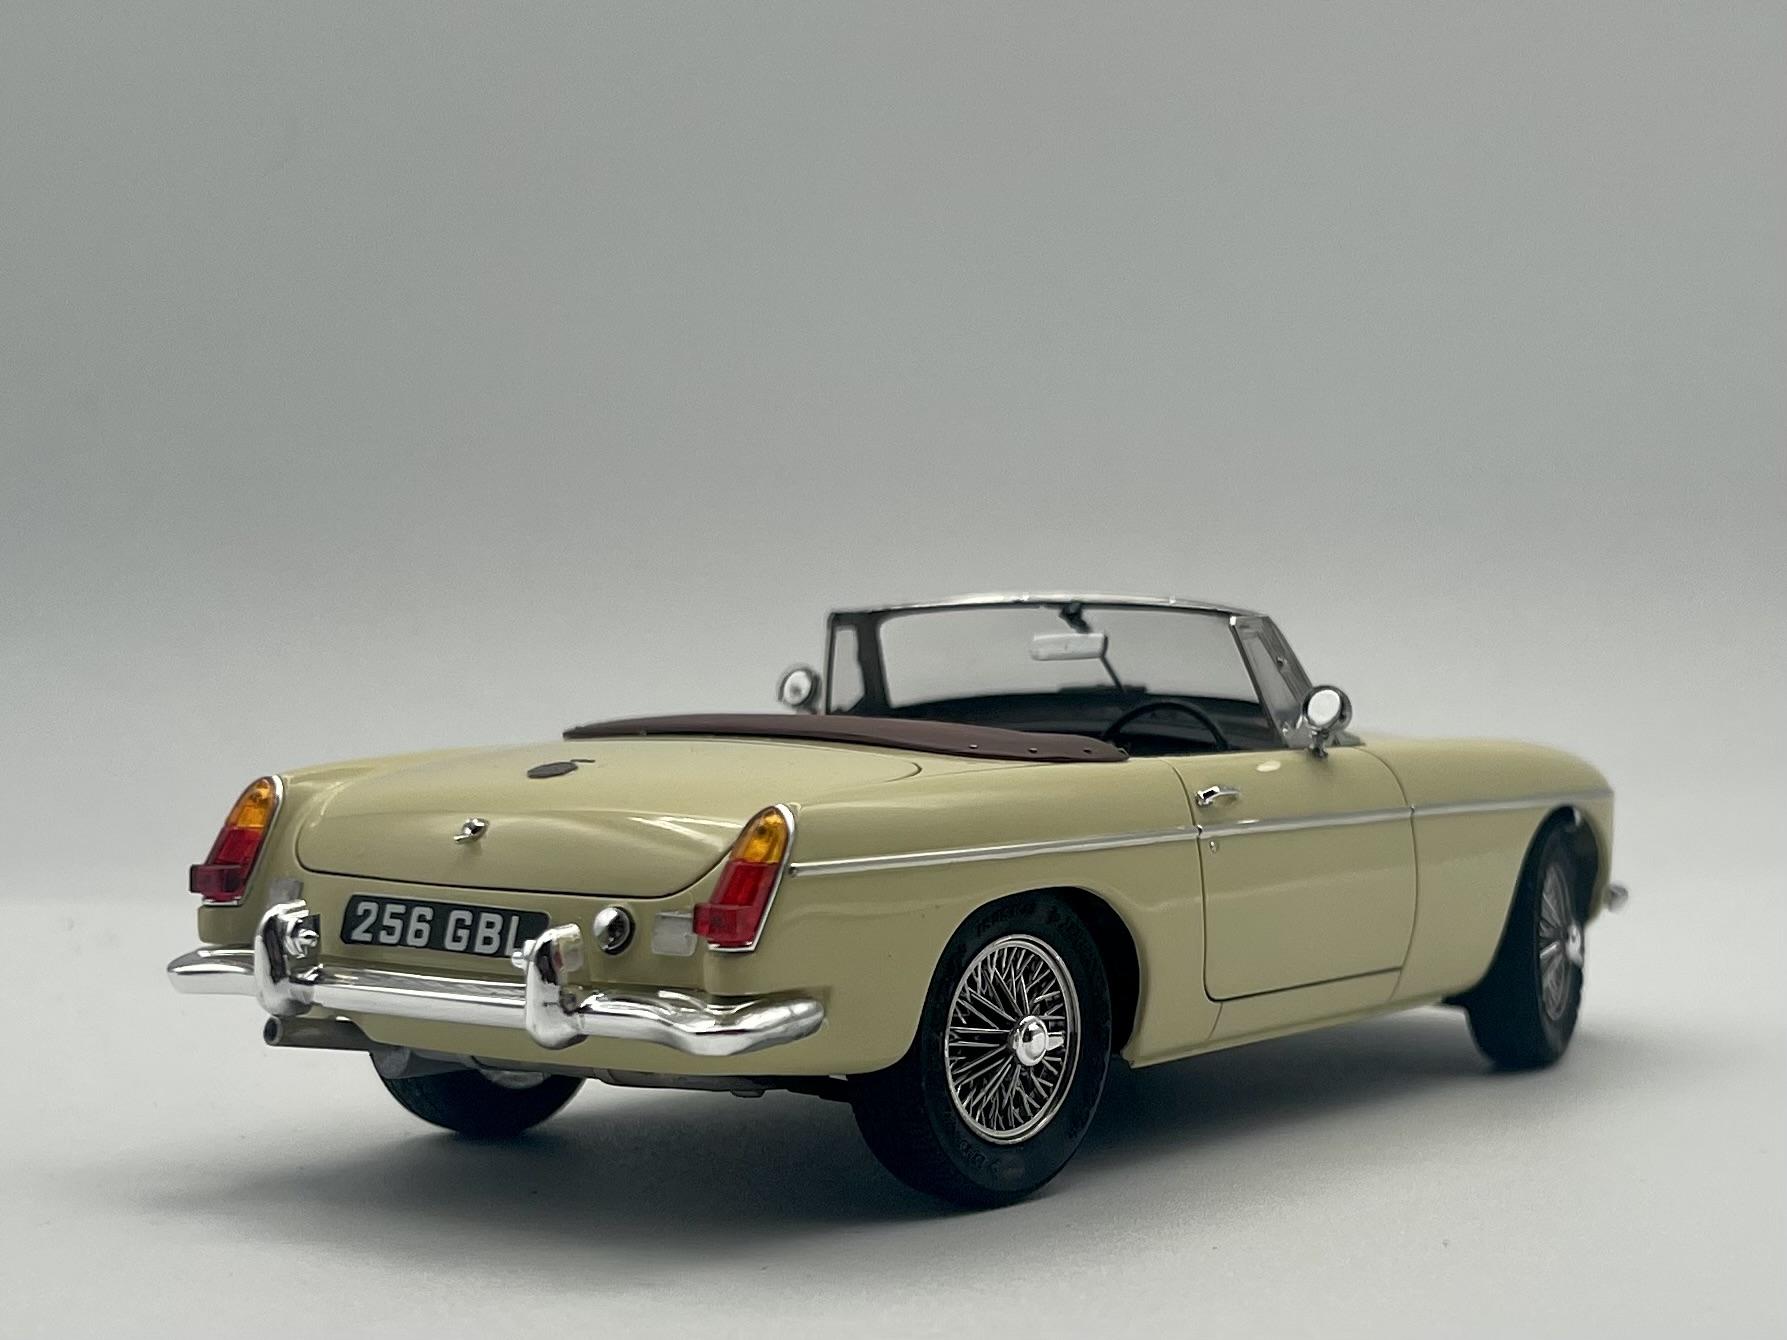
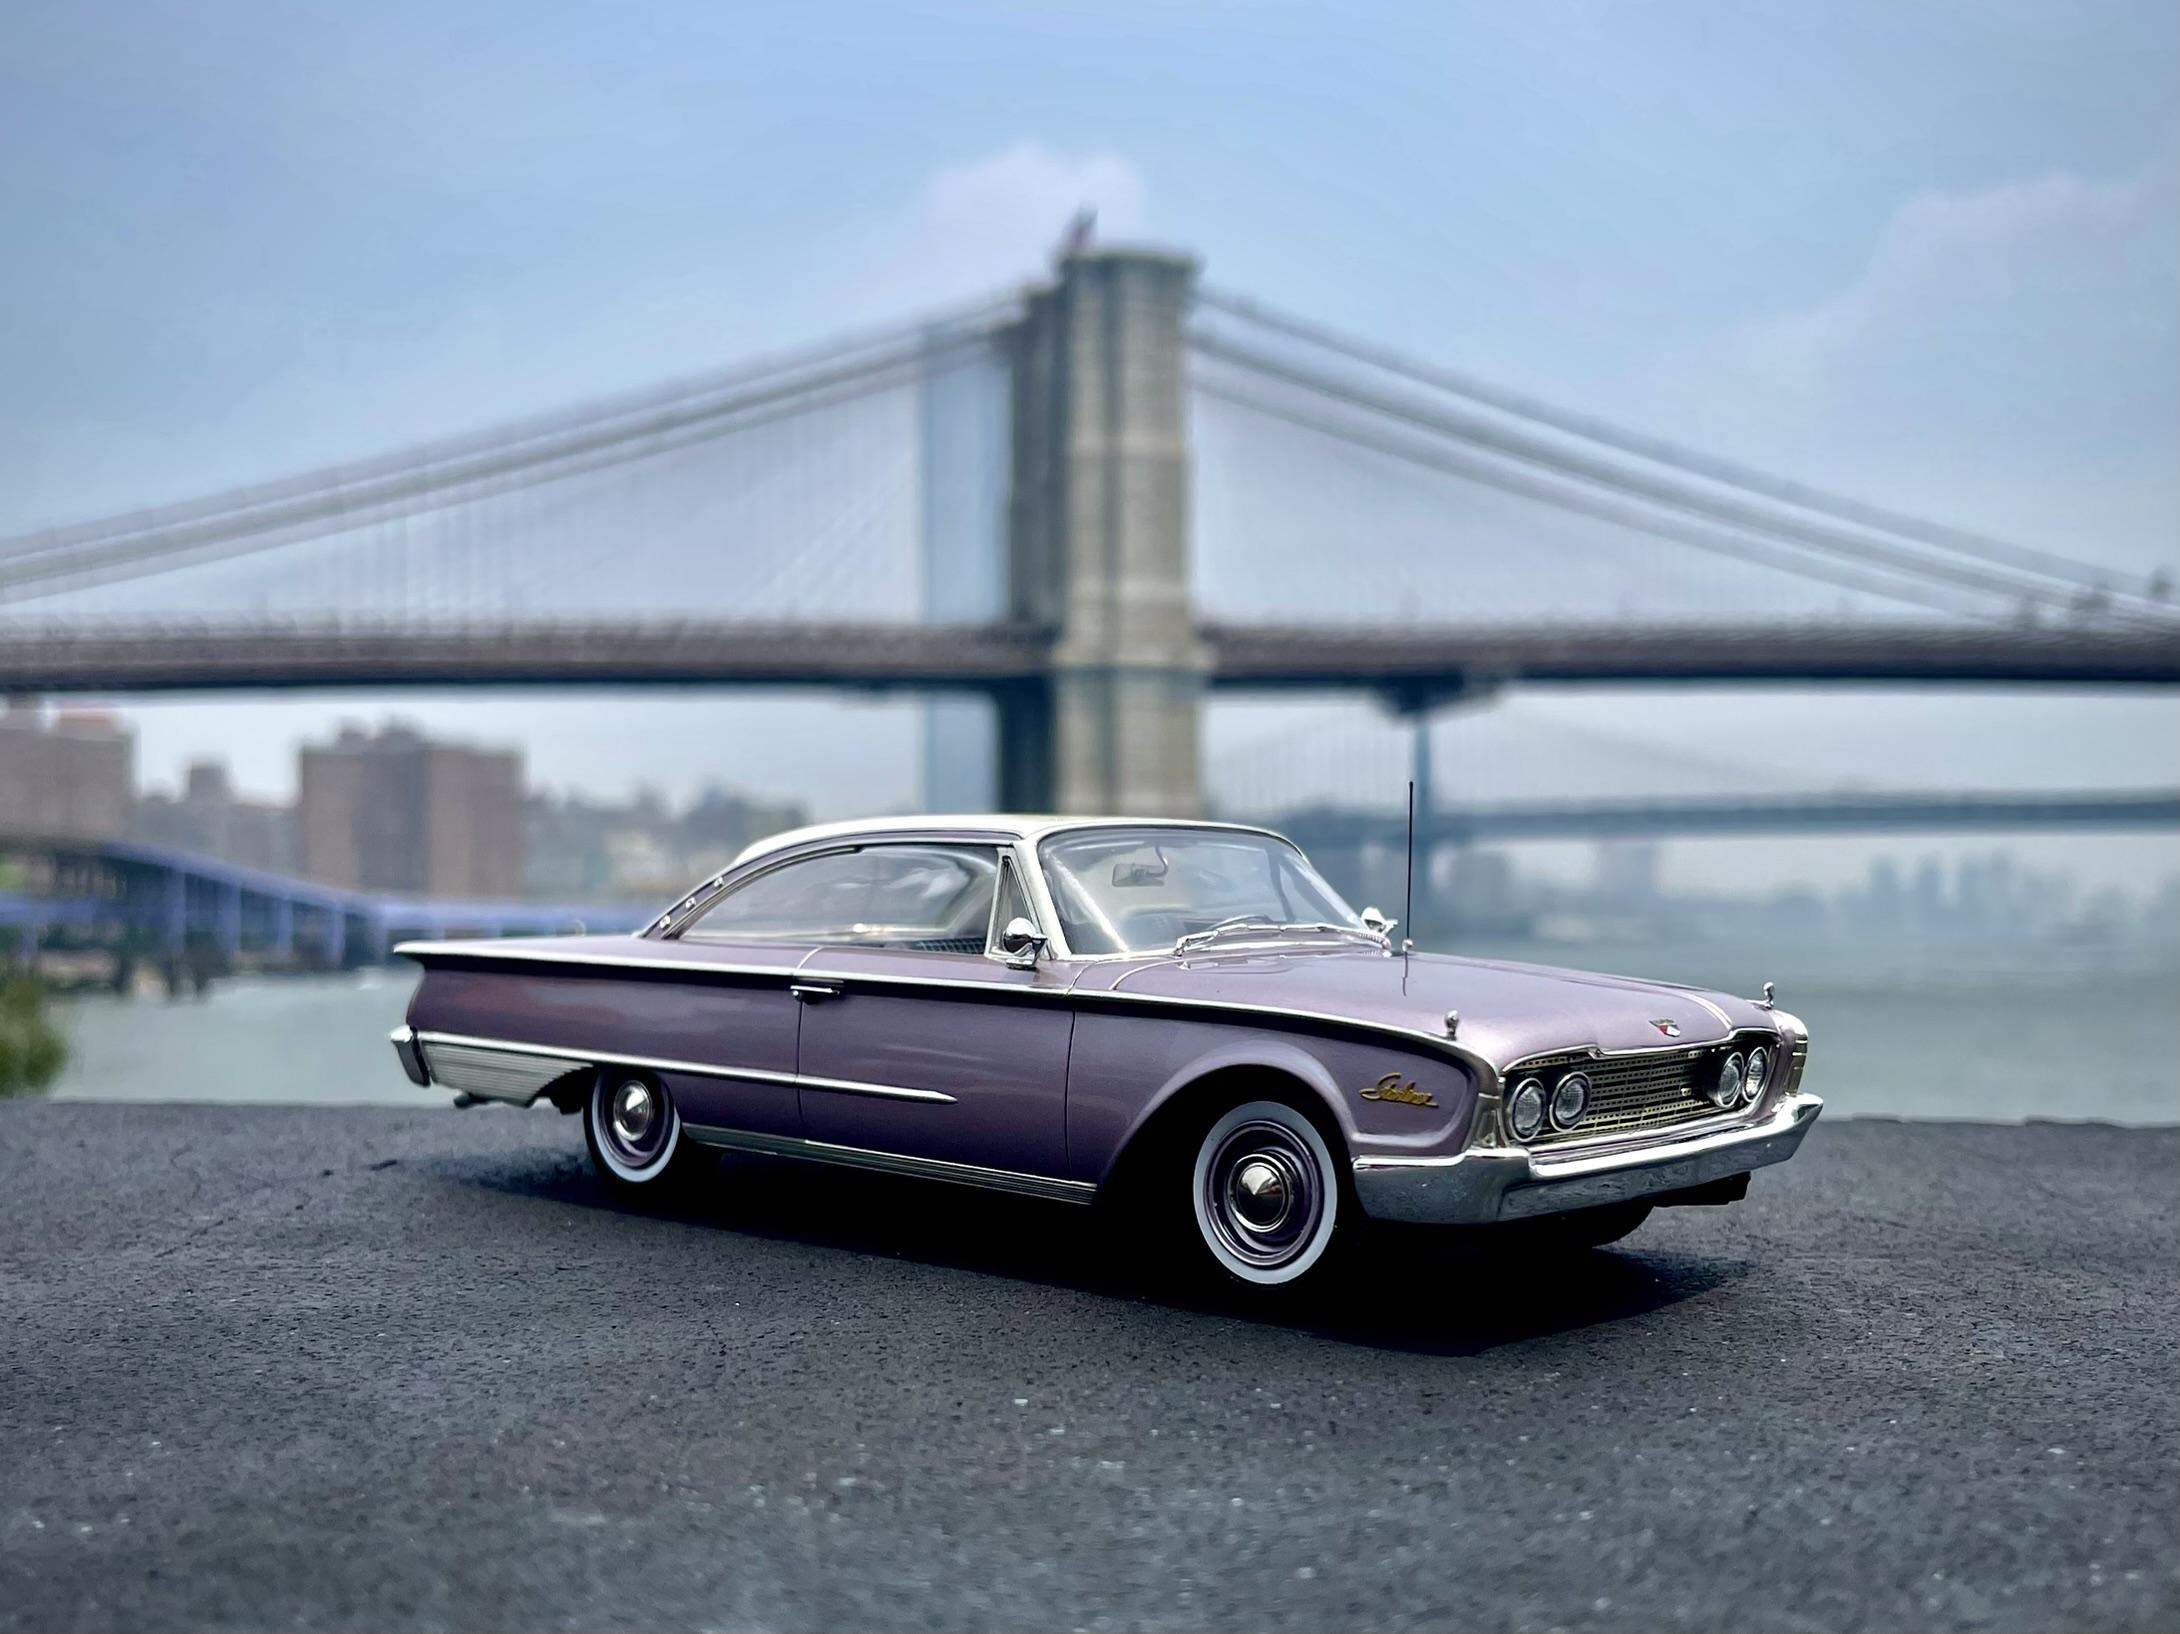
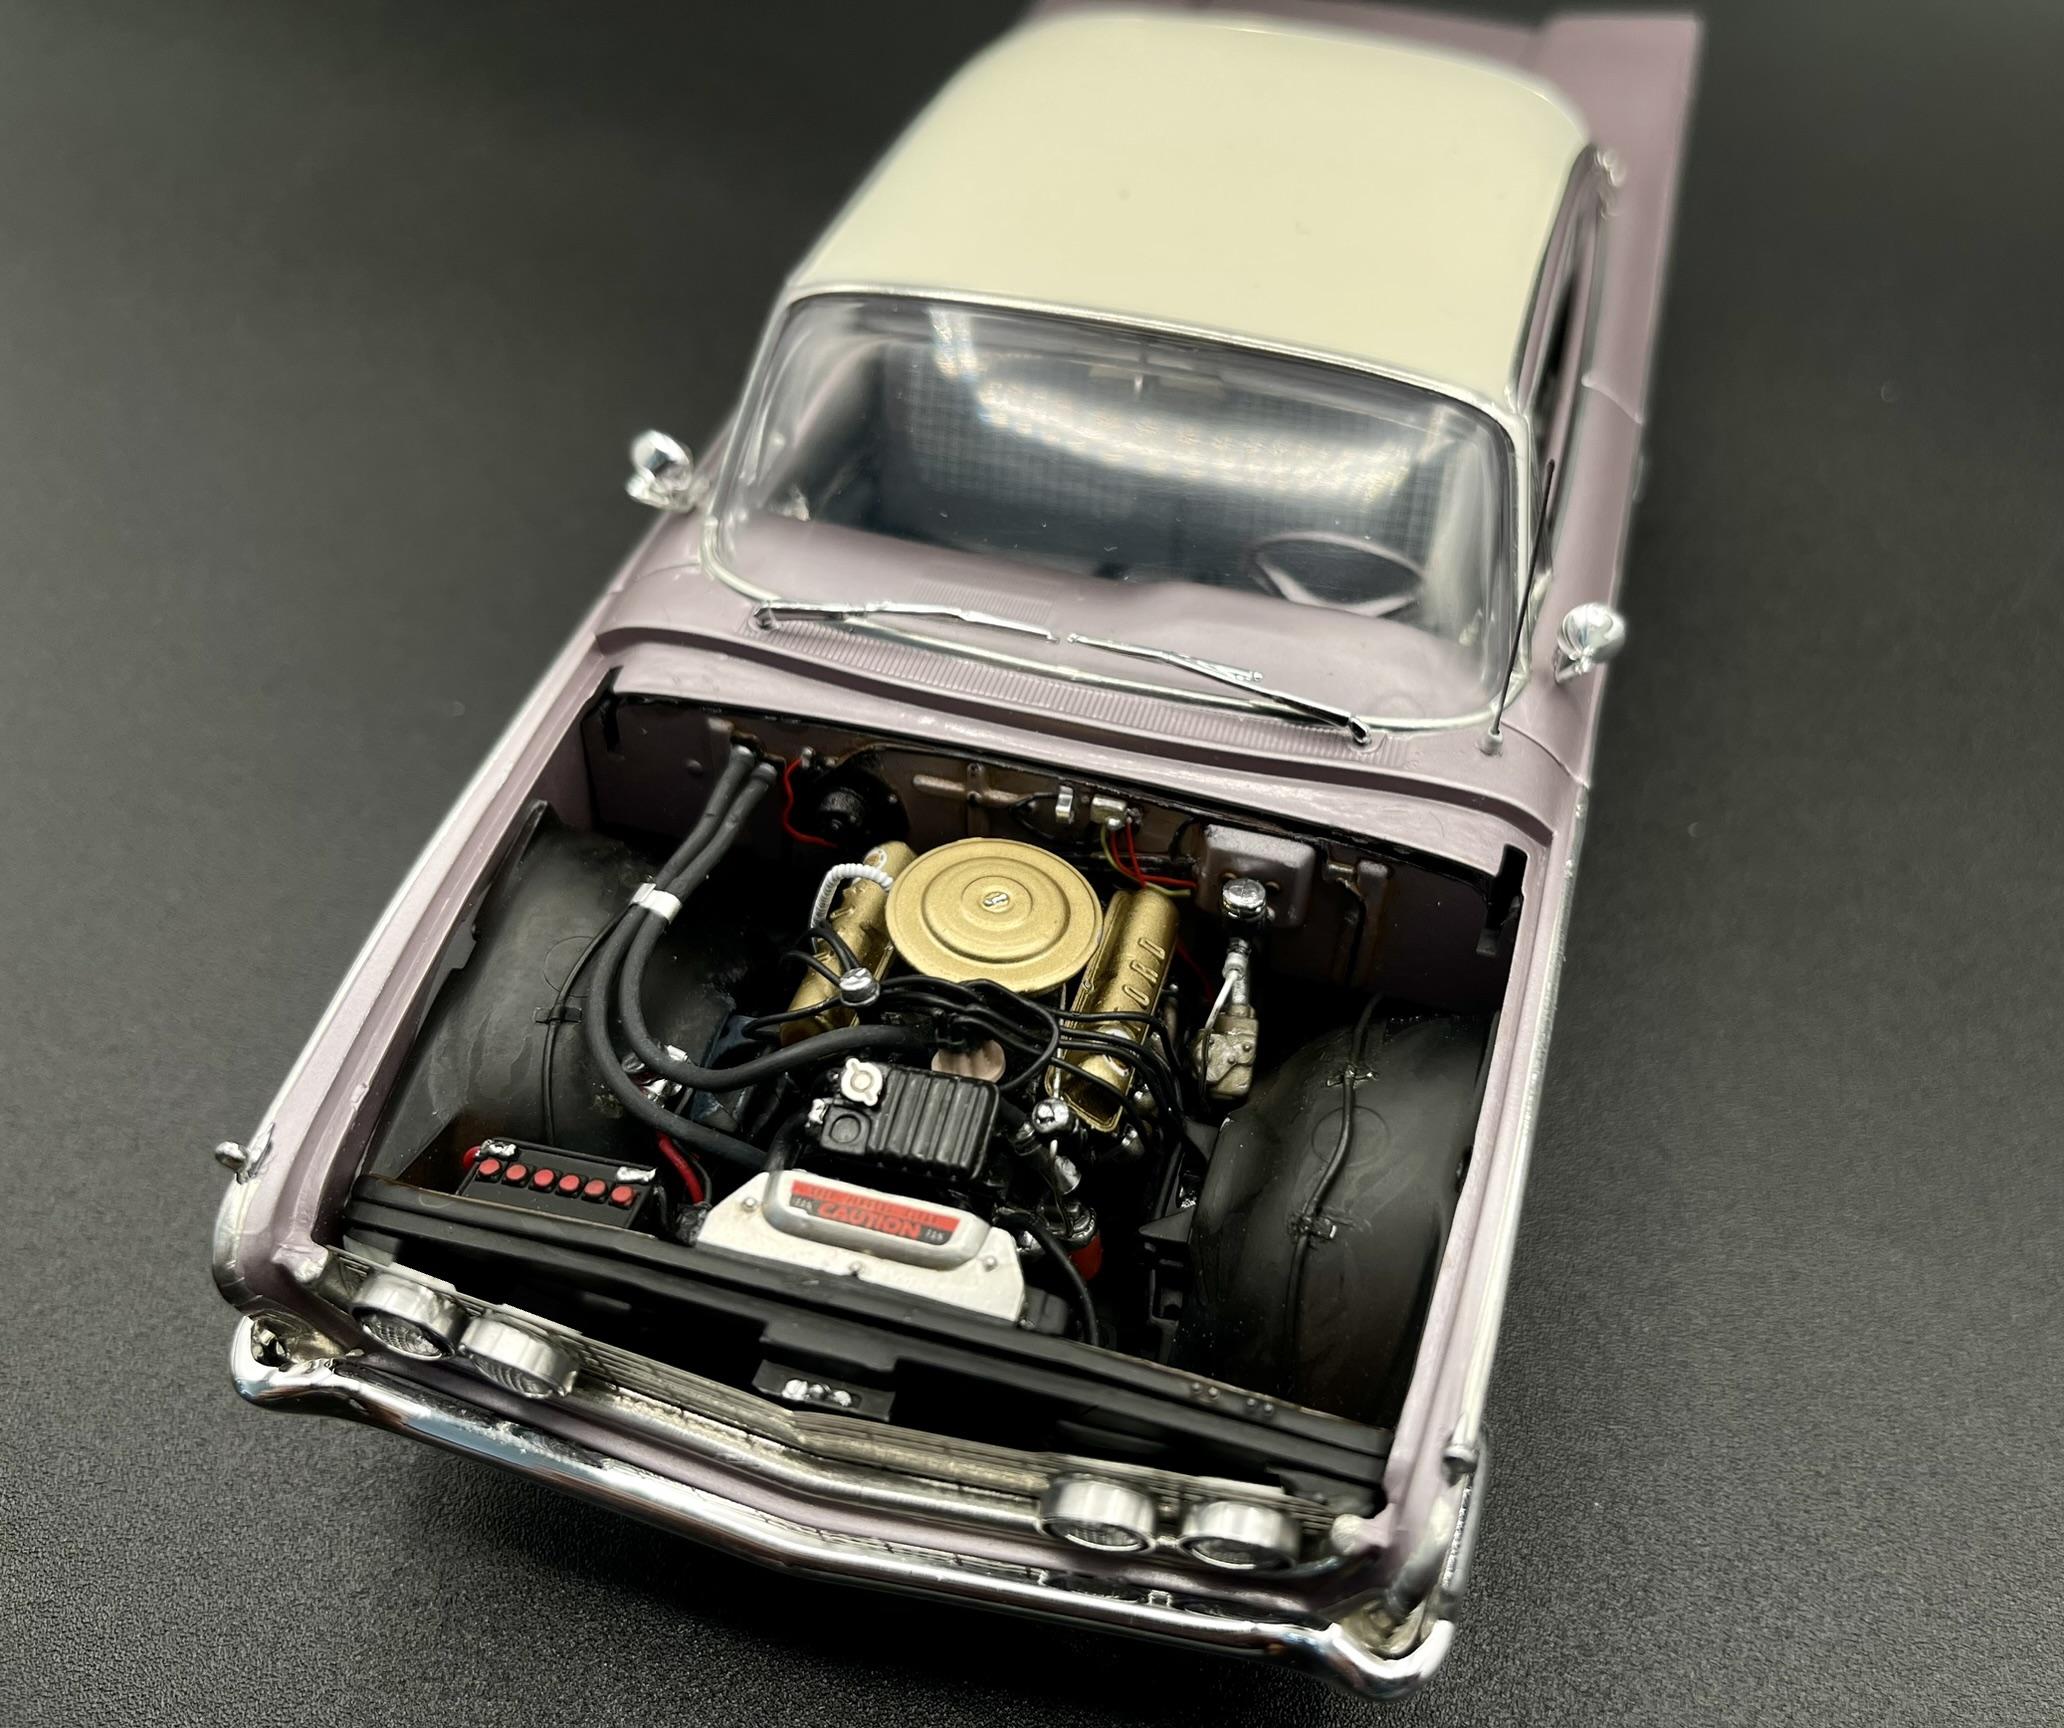
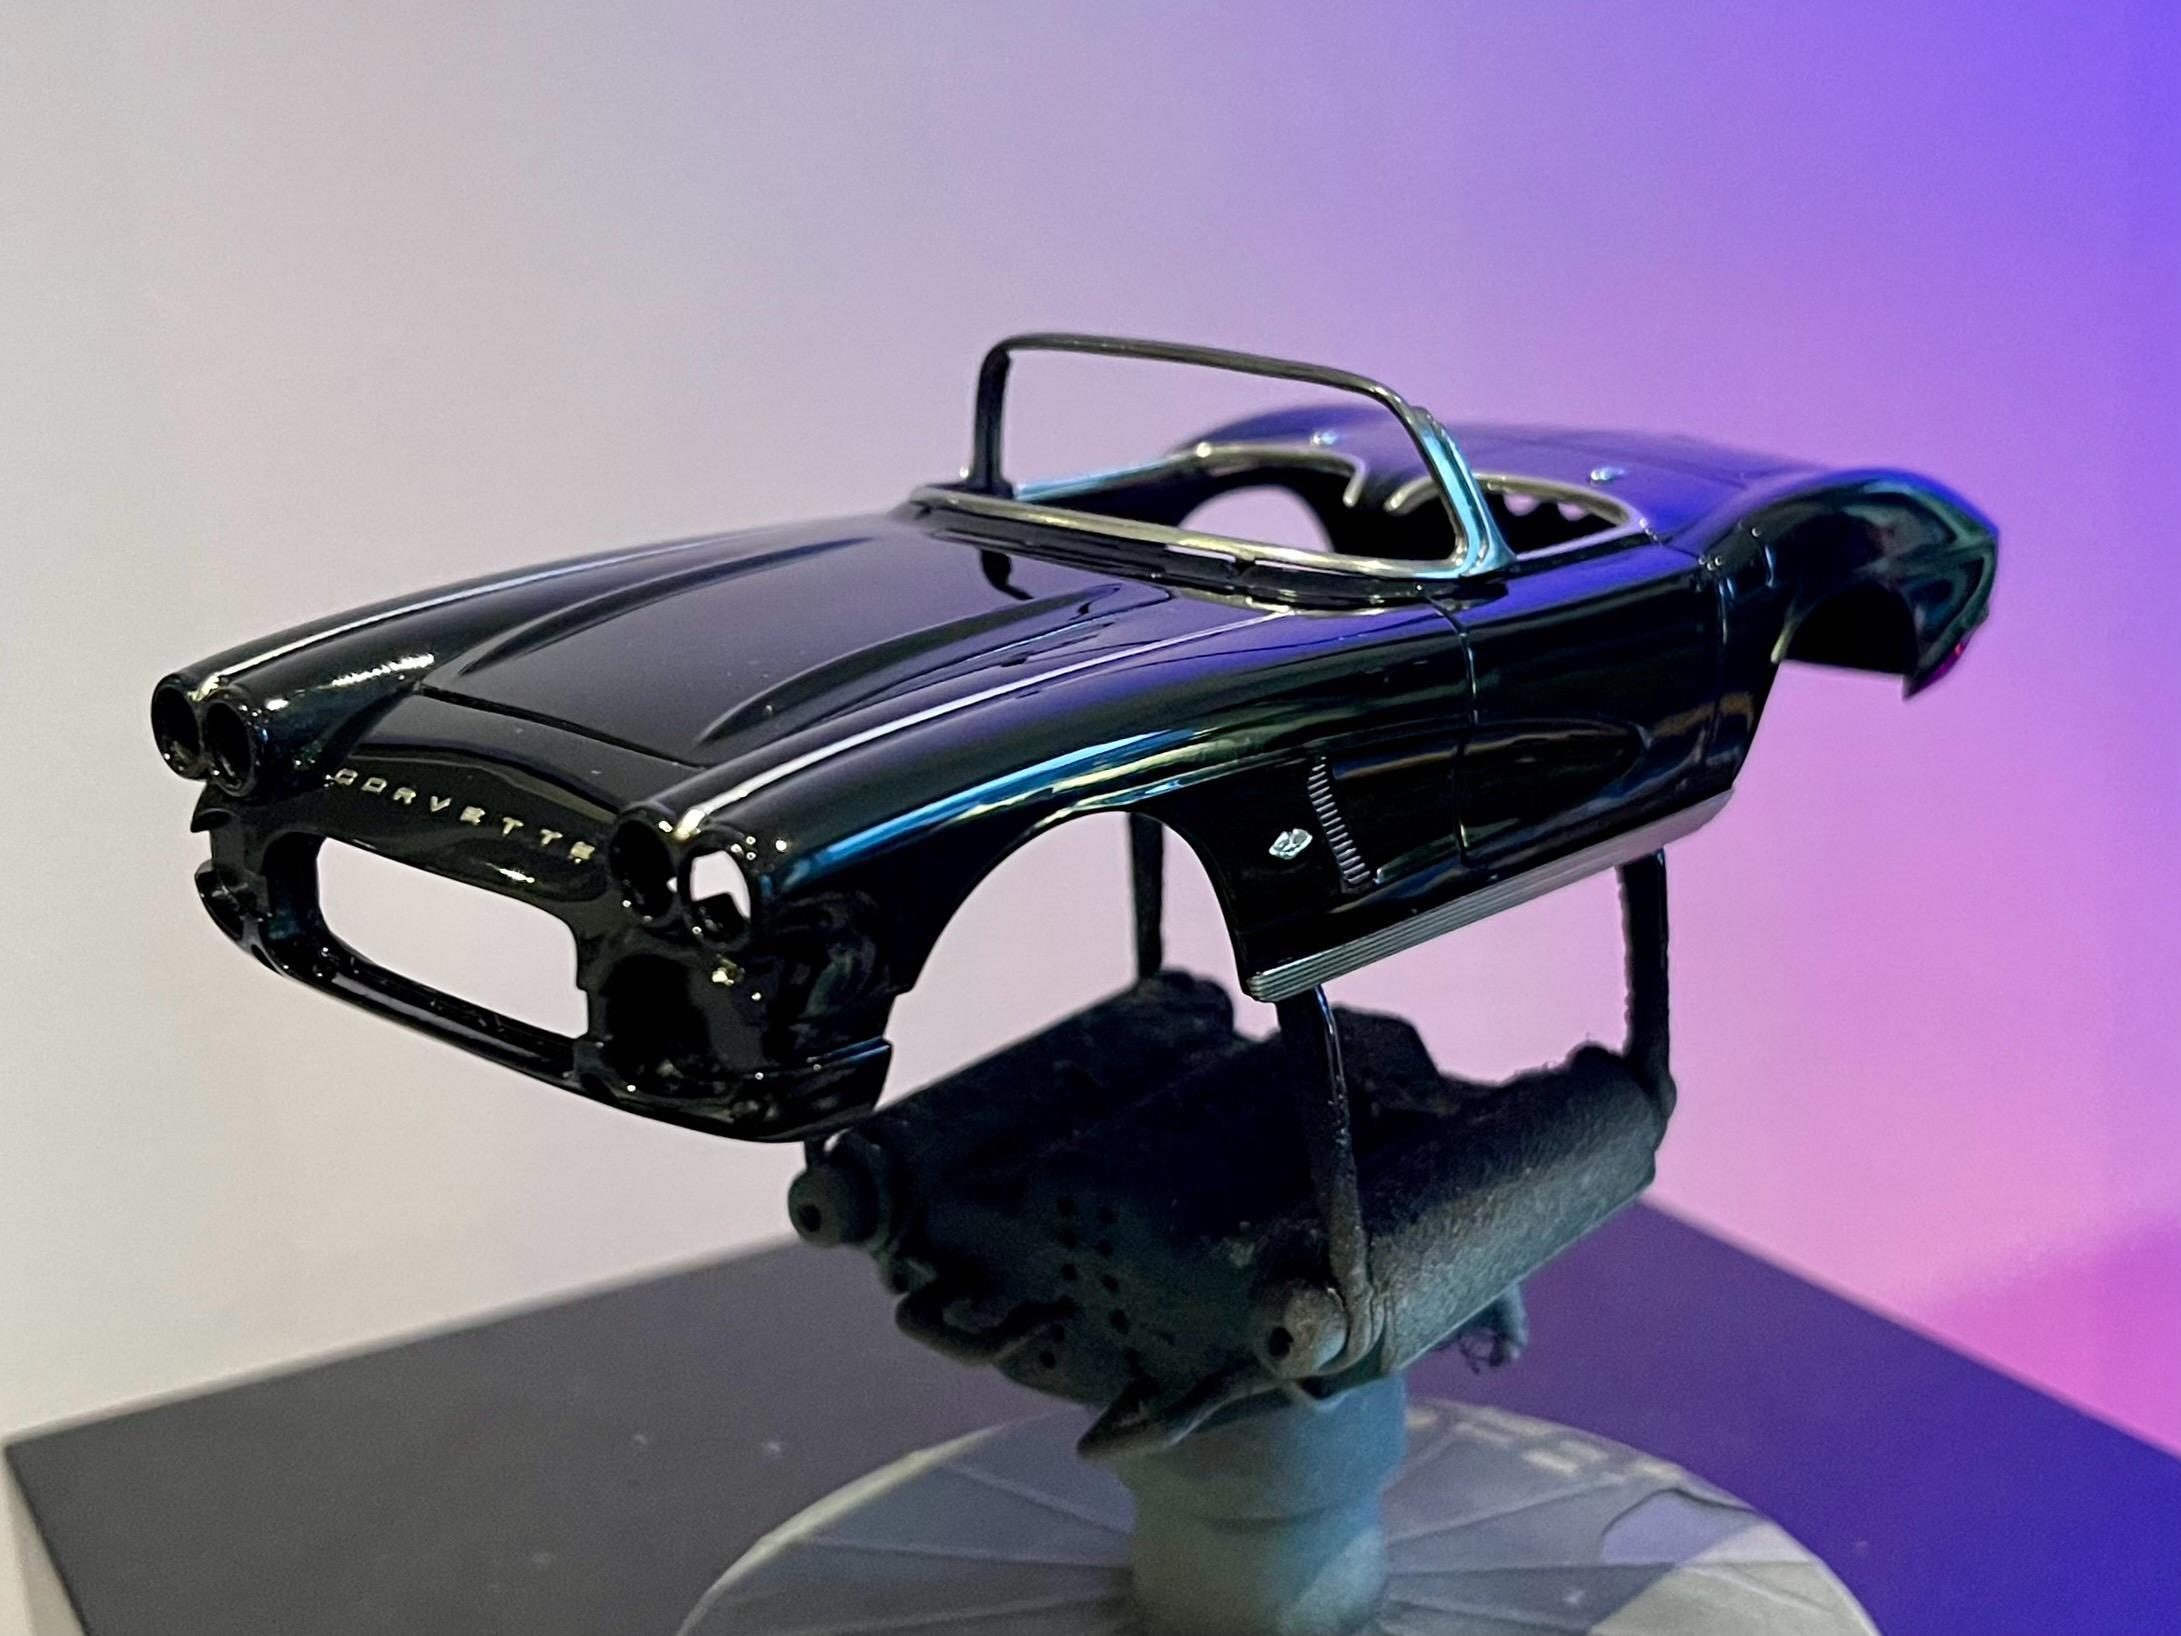
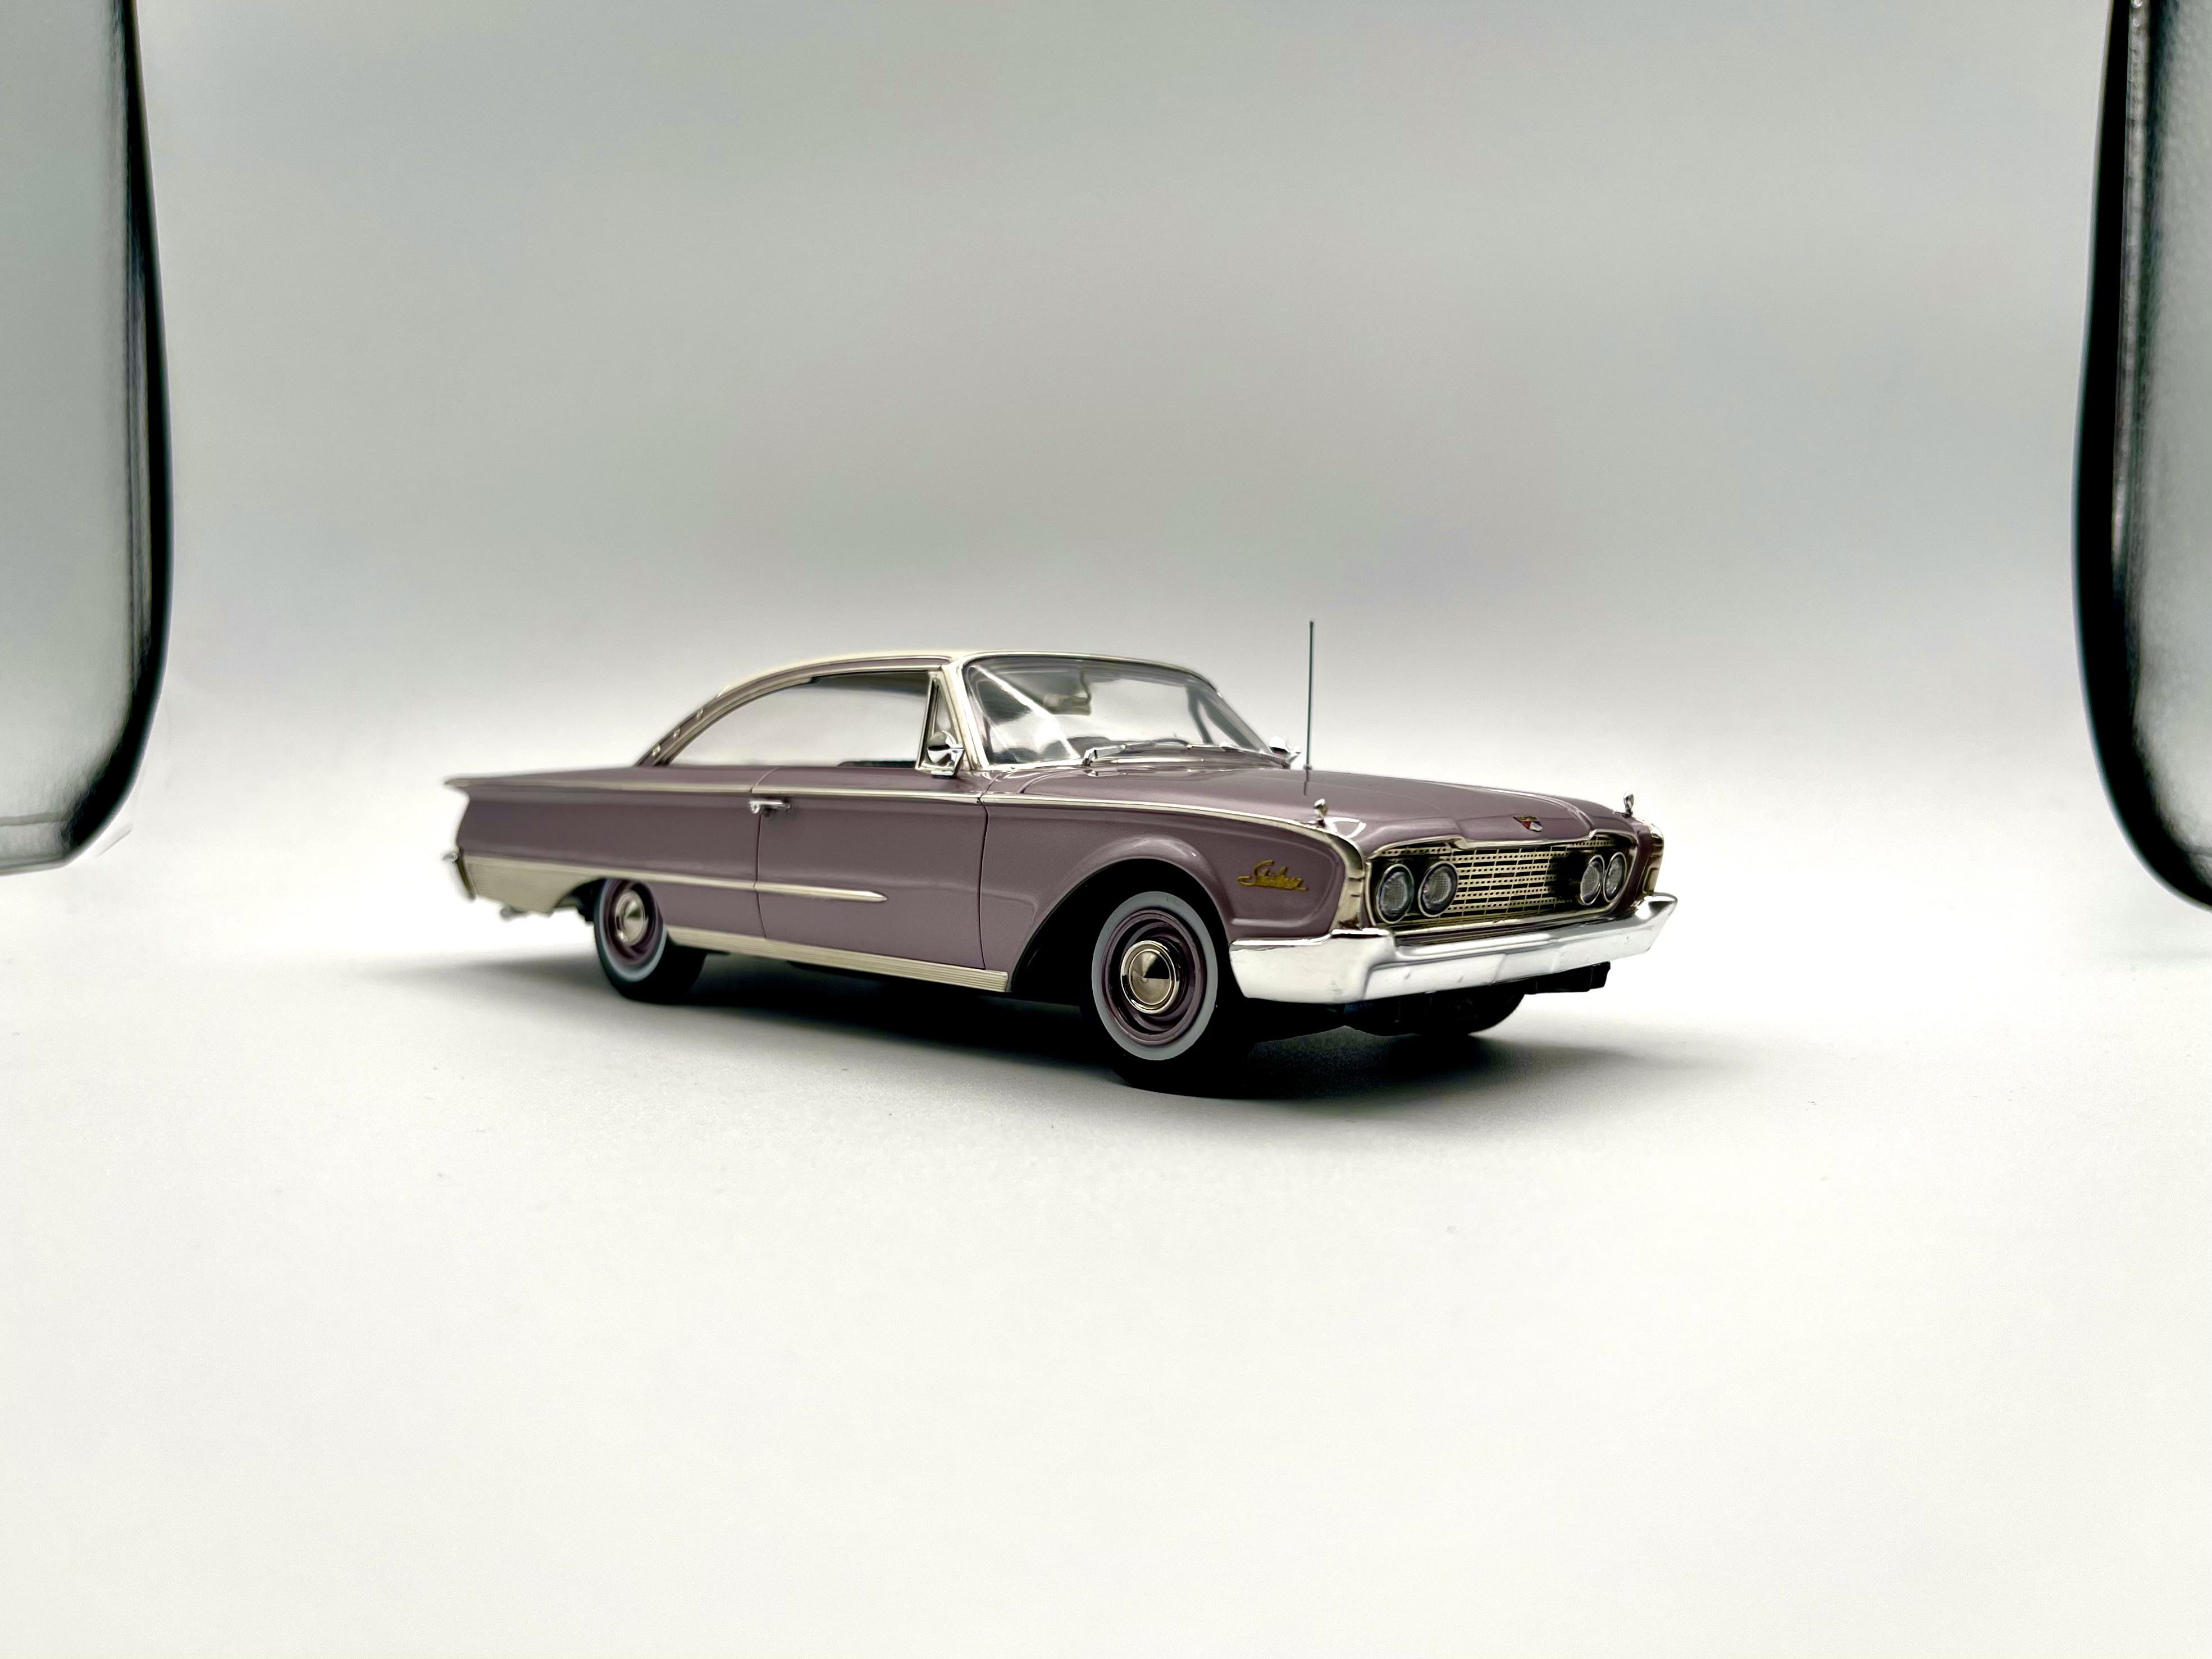
I took an extended break this summer, so it wasn’t the most prolific year, but I am enjoying the slower build pace quite a bit - 4 to 6 cars per year definitely scratches my model itch, while also allowing me to see some sunlight ? I nearly snuck in a fifth build, but still have a bit of work to do. Hope to have it done and photographed in the next couple of weeks. Happy 2024 everybody! On to the cars… Monogram Packard Boattail Speedster AMT ‘66 mustang Aoshima ‘68 MGB AMT ‘60 Starliner In the shop…Revell ‘62 Corvette

-
nice job! i need to find one of these kits asap
-
amazing as always. beautiful build!
-
amazing as always. beautiful build!
-
looking good! i'm building one of these now too. nice little kit! any issues dropping the ride height? that's up next on my to do list....
-
Beautiful job
-
yep - very similar. I bought it mainly for the curves and it works like a dream. give it a whirl!
-
beautiful job! not sure what you use for scribing panels, but i just got a great little tool from hasegawa that makes super shallow lines much easier to deepen. here's the link https://a.co/d/09yI7JG i do a few light passes with the hasegawa prior to breaking out the bigger tamiya panel scriber, and now i rarely slip out and scratch up the body. it also helps keep the lines nice and straight and bump free. probably the most useful tool i bought this year.
-
very very nice. great work
-
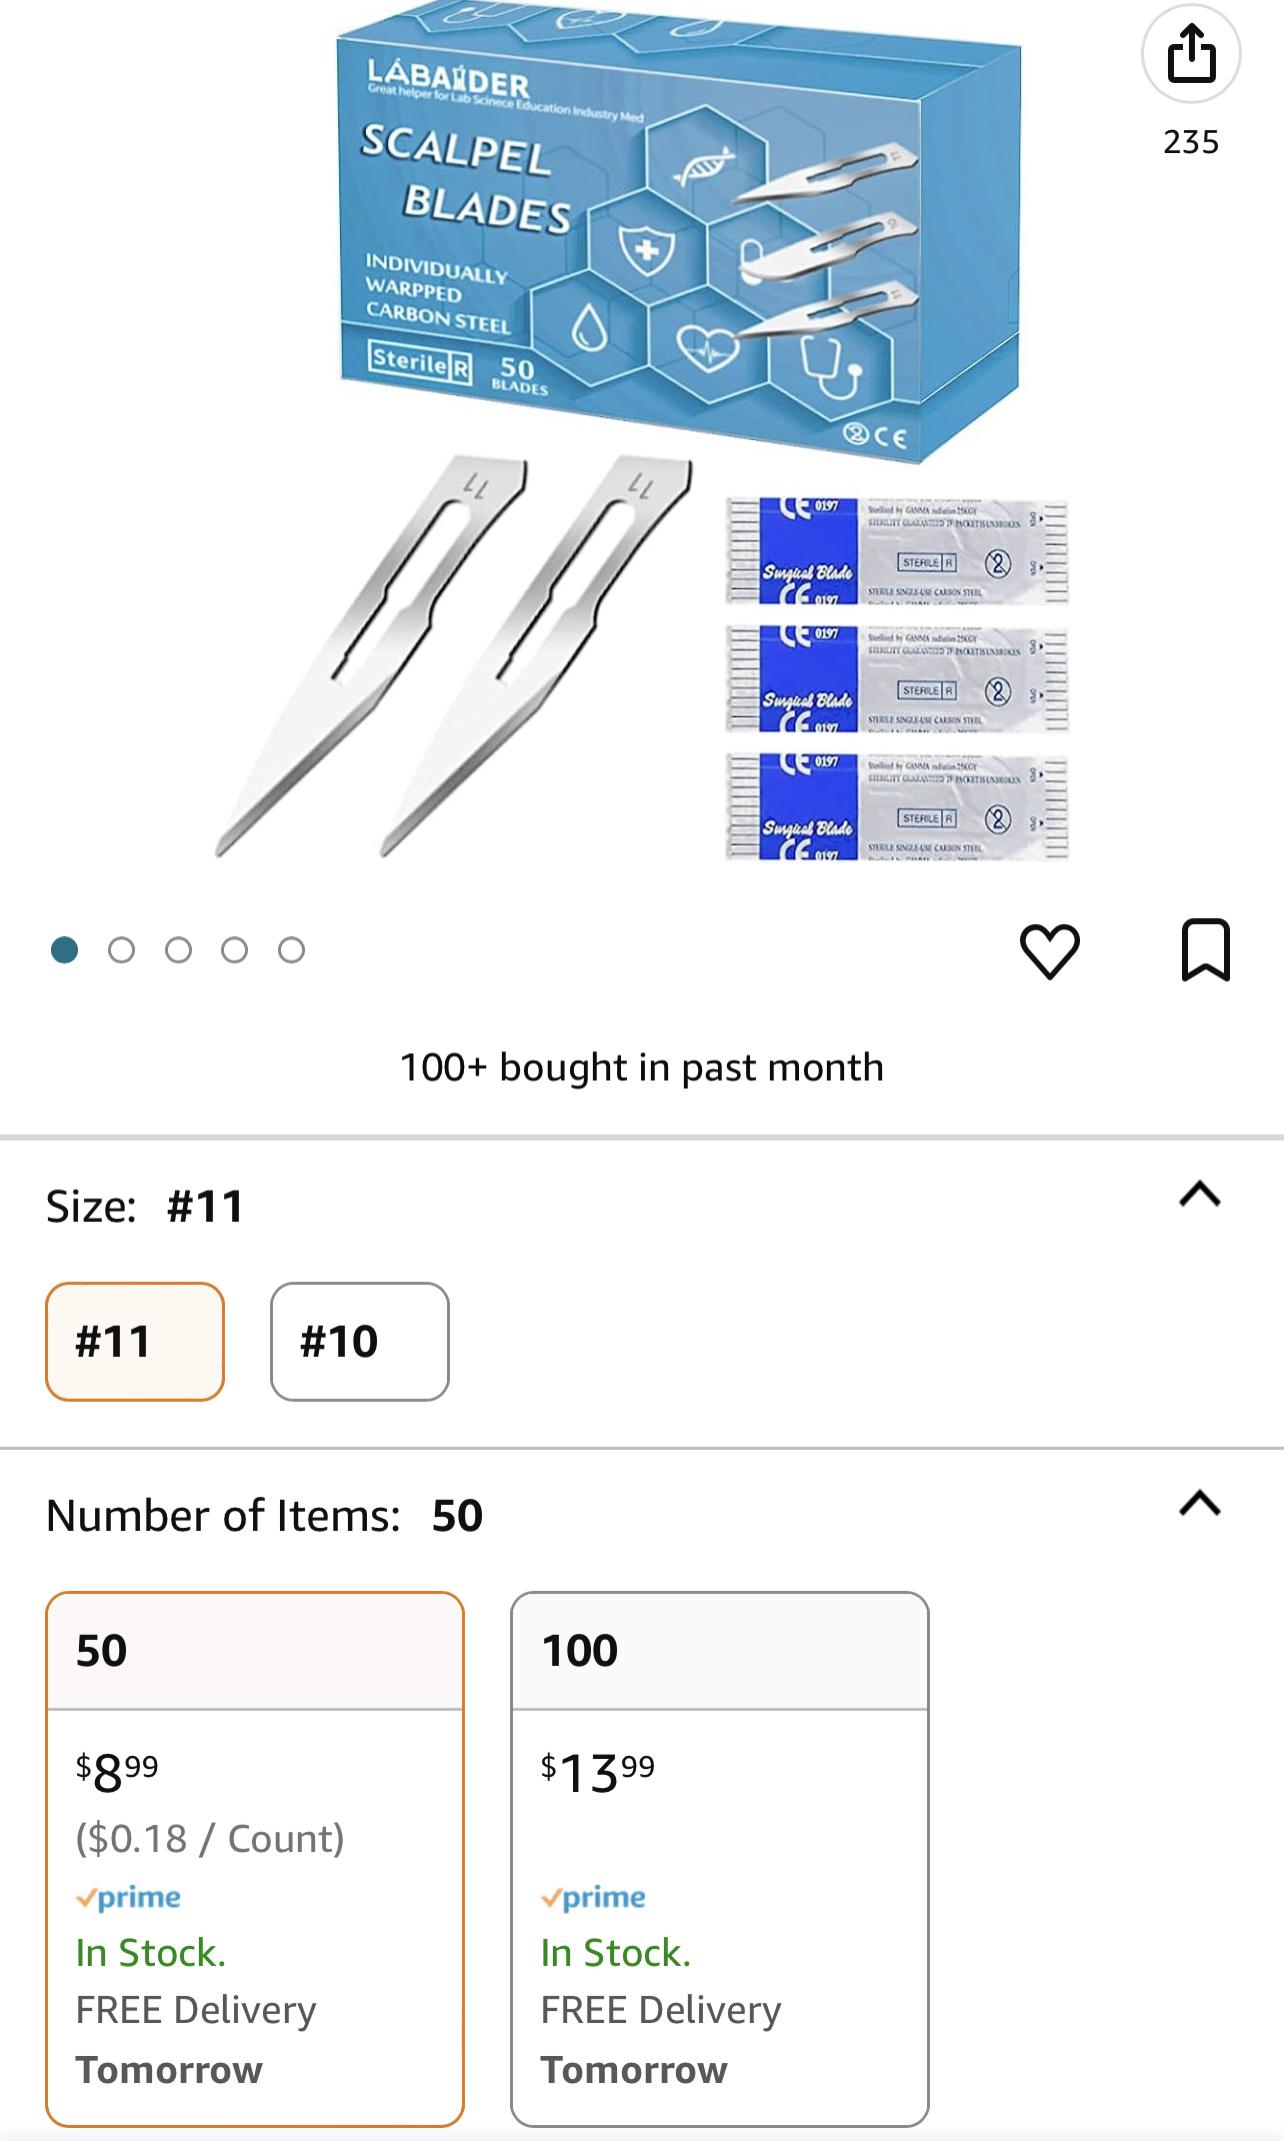
I just bought the blades and use the regular exacto holder. Didn’t even need to cut the ends off. Super cheap too. I got these… just be careful - I’ve definitely learned how sharp they are the hard way ??♂️
-
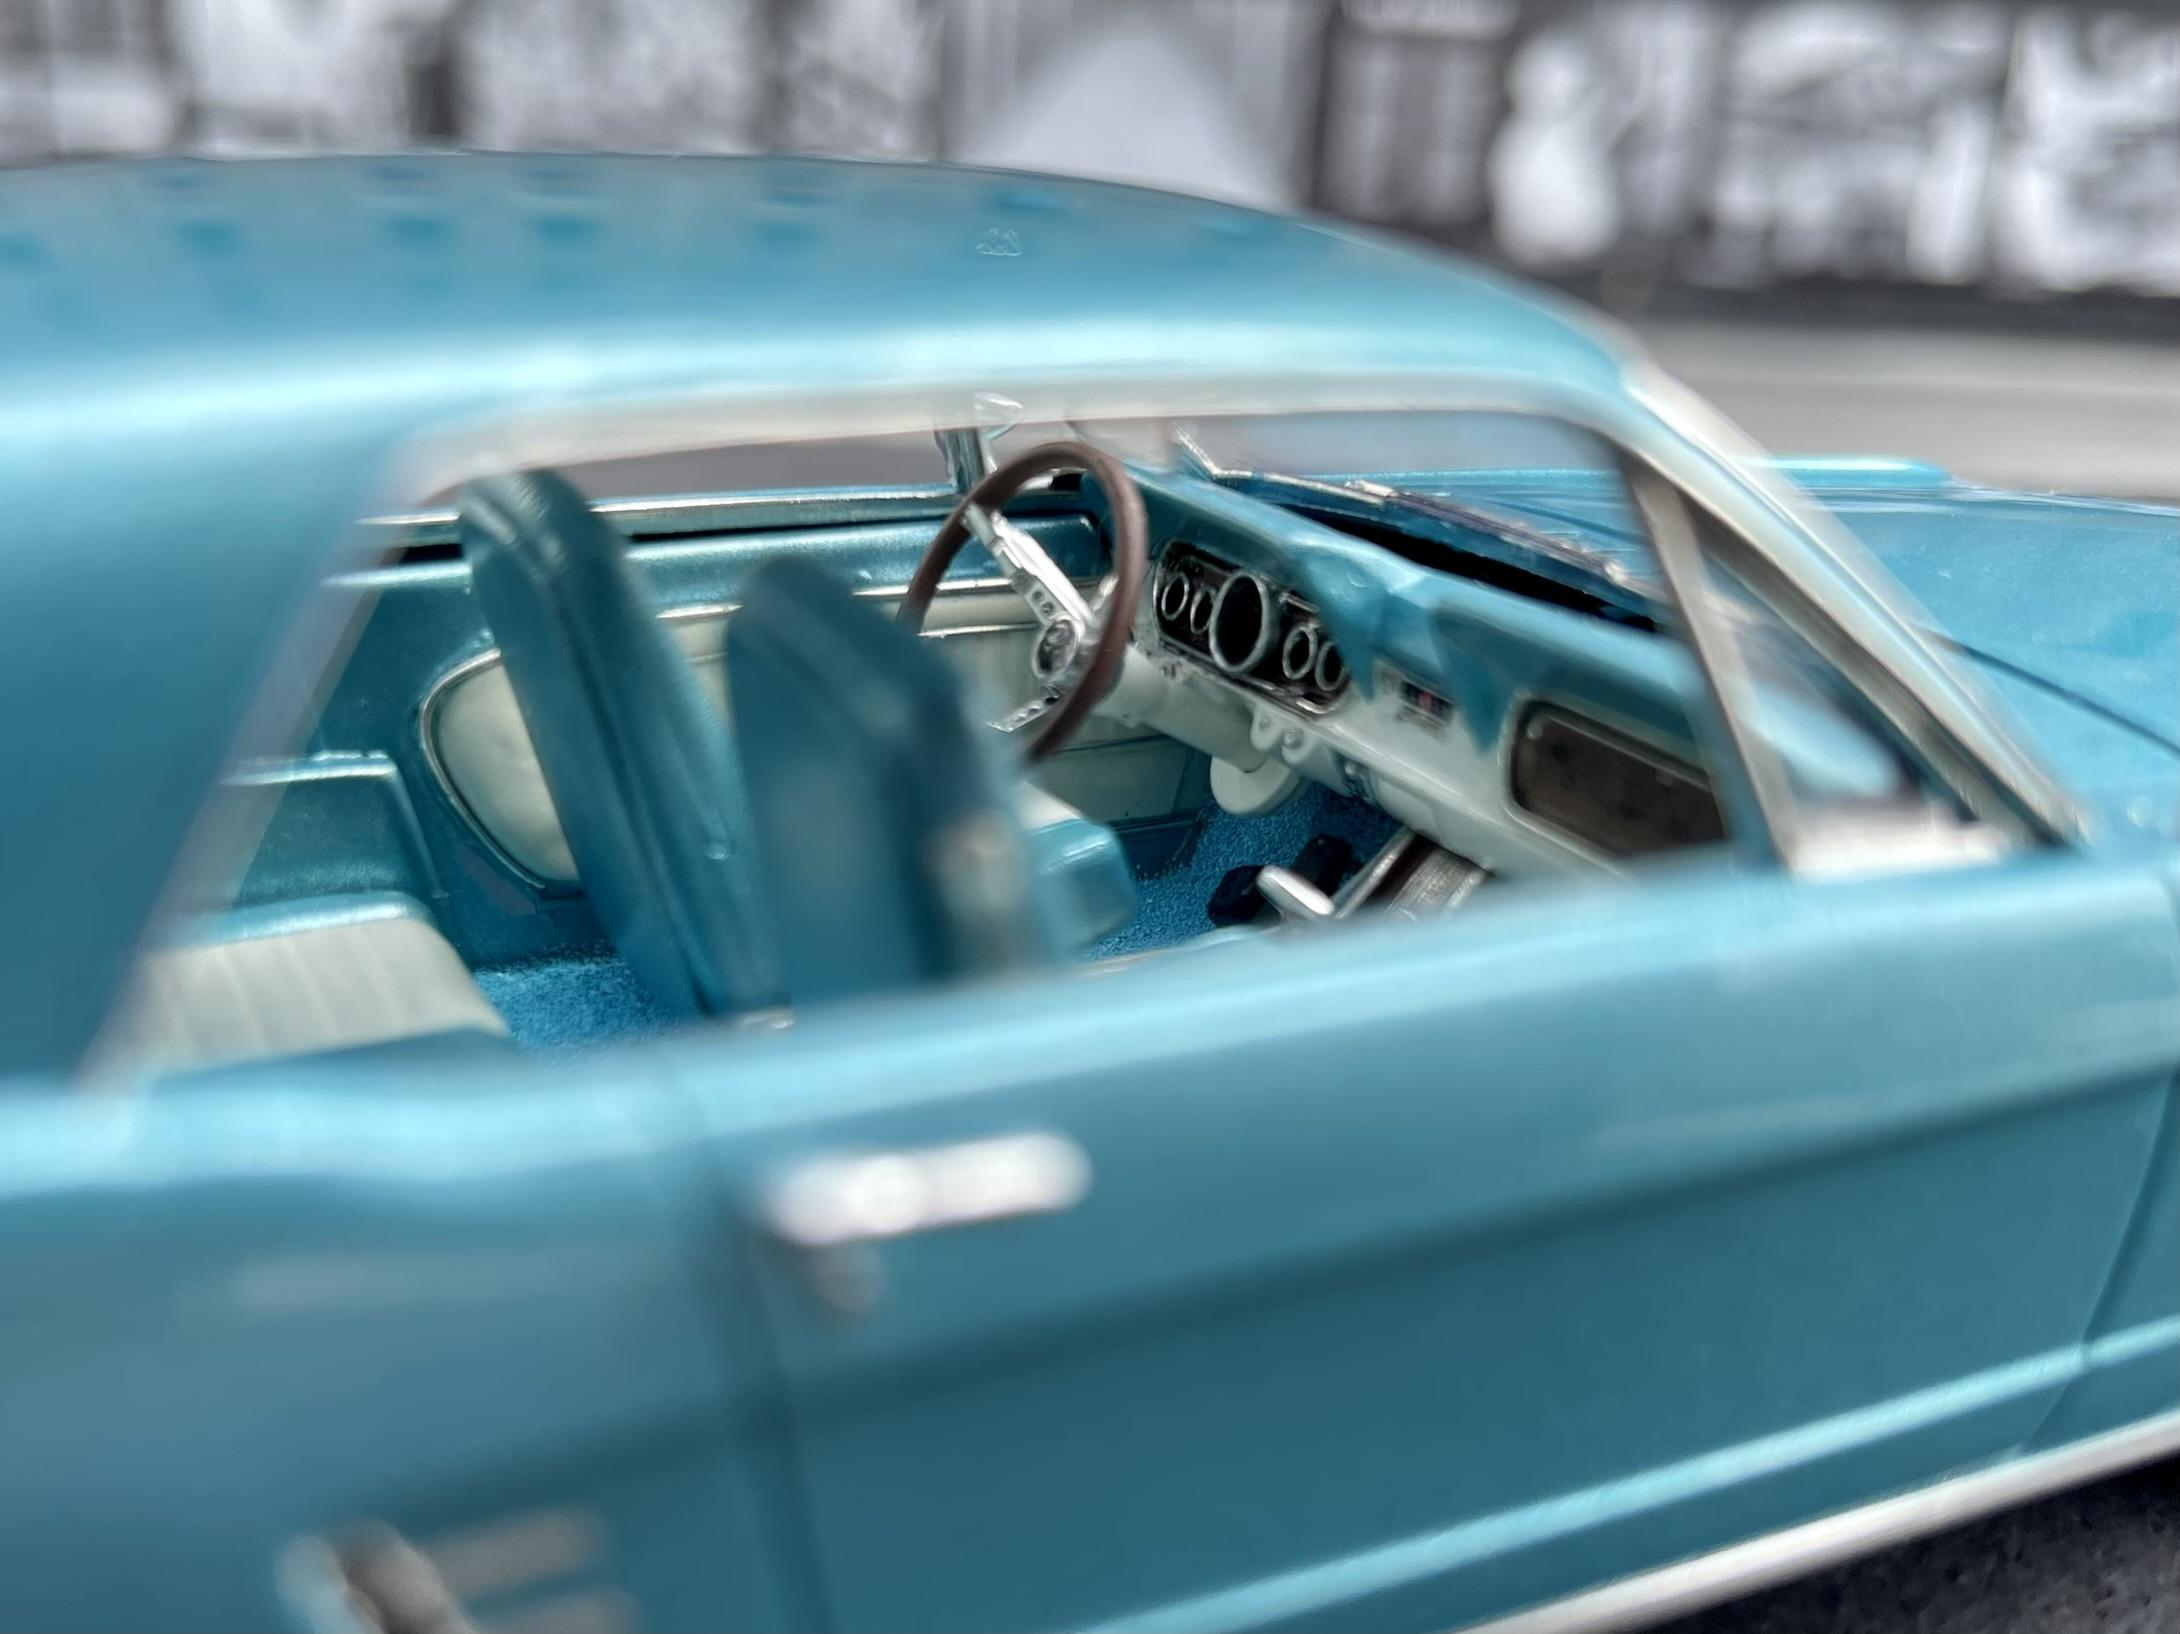
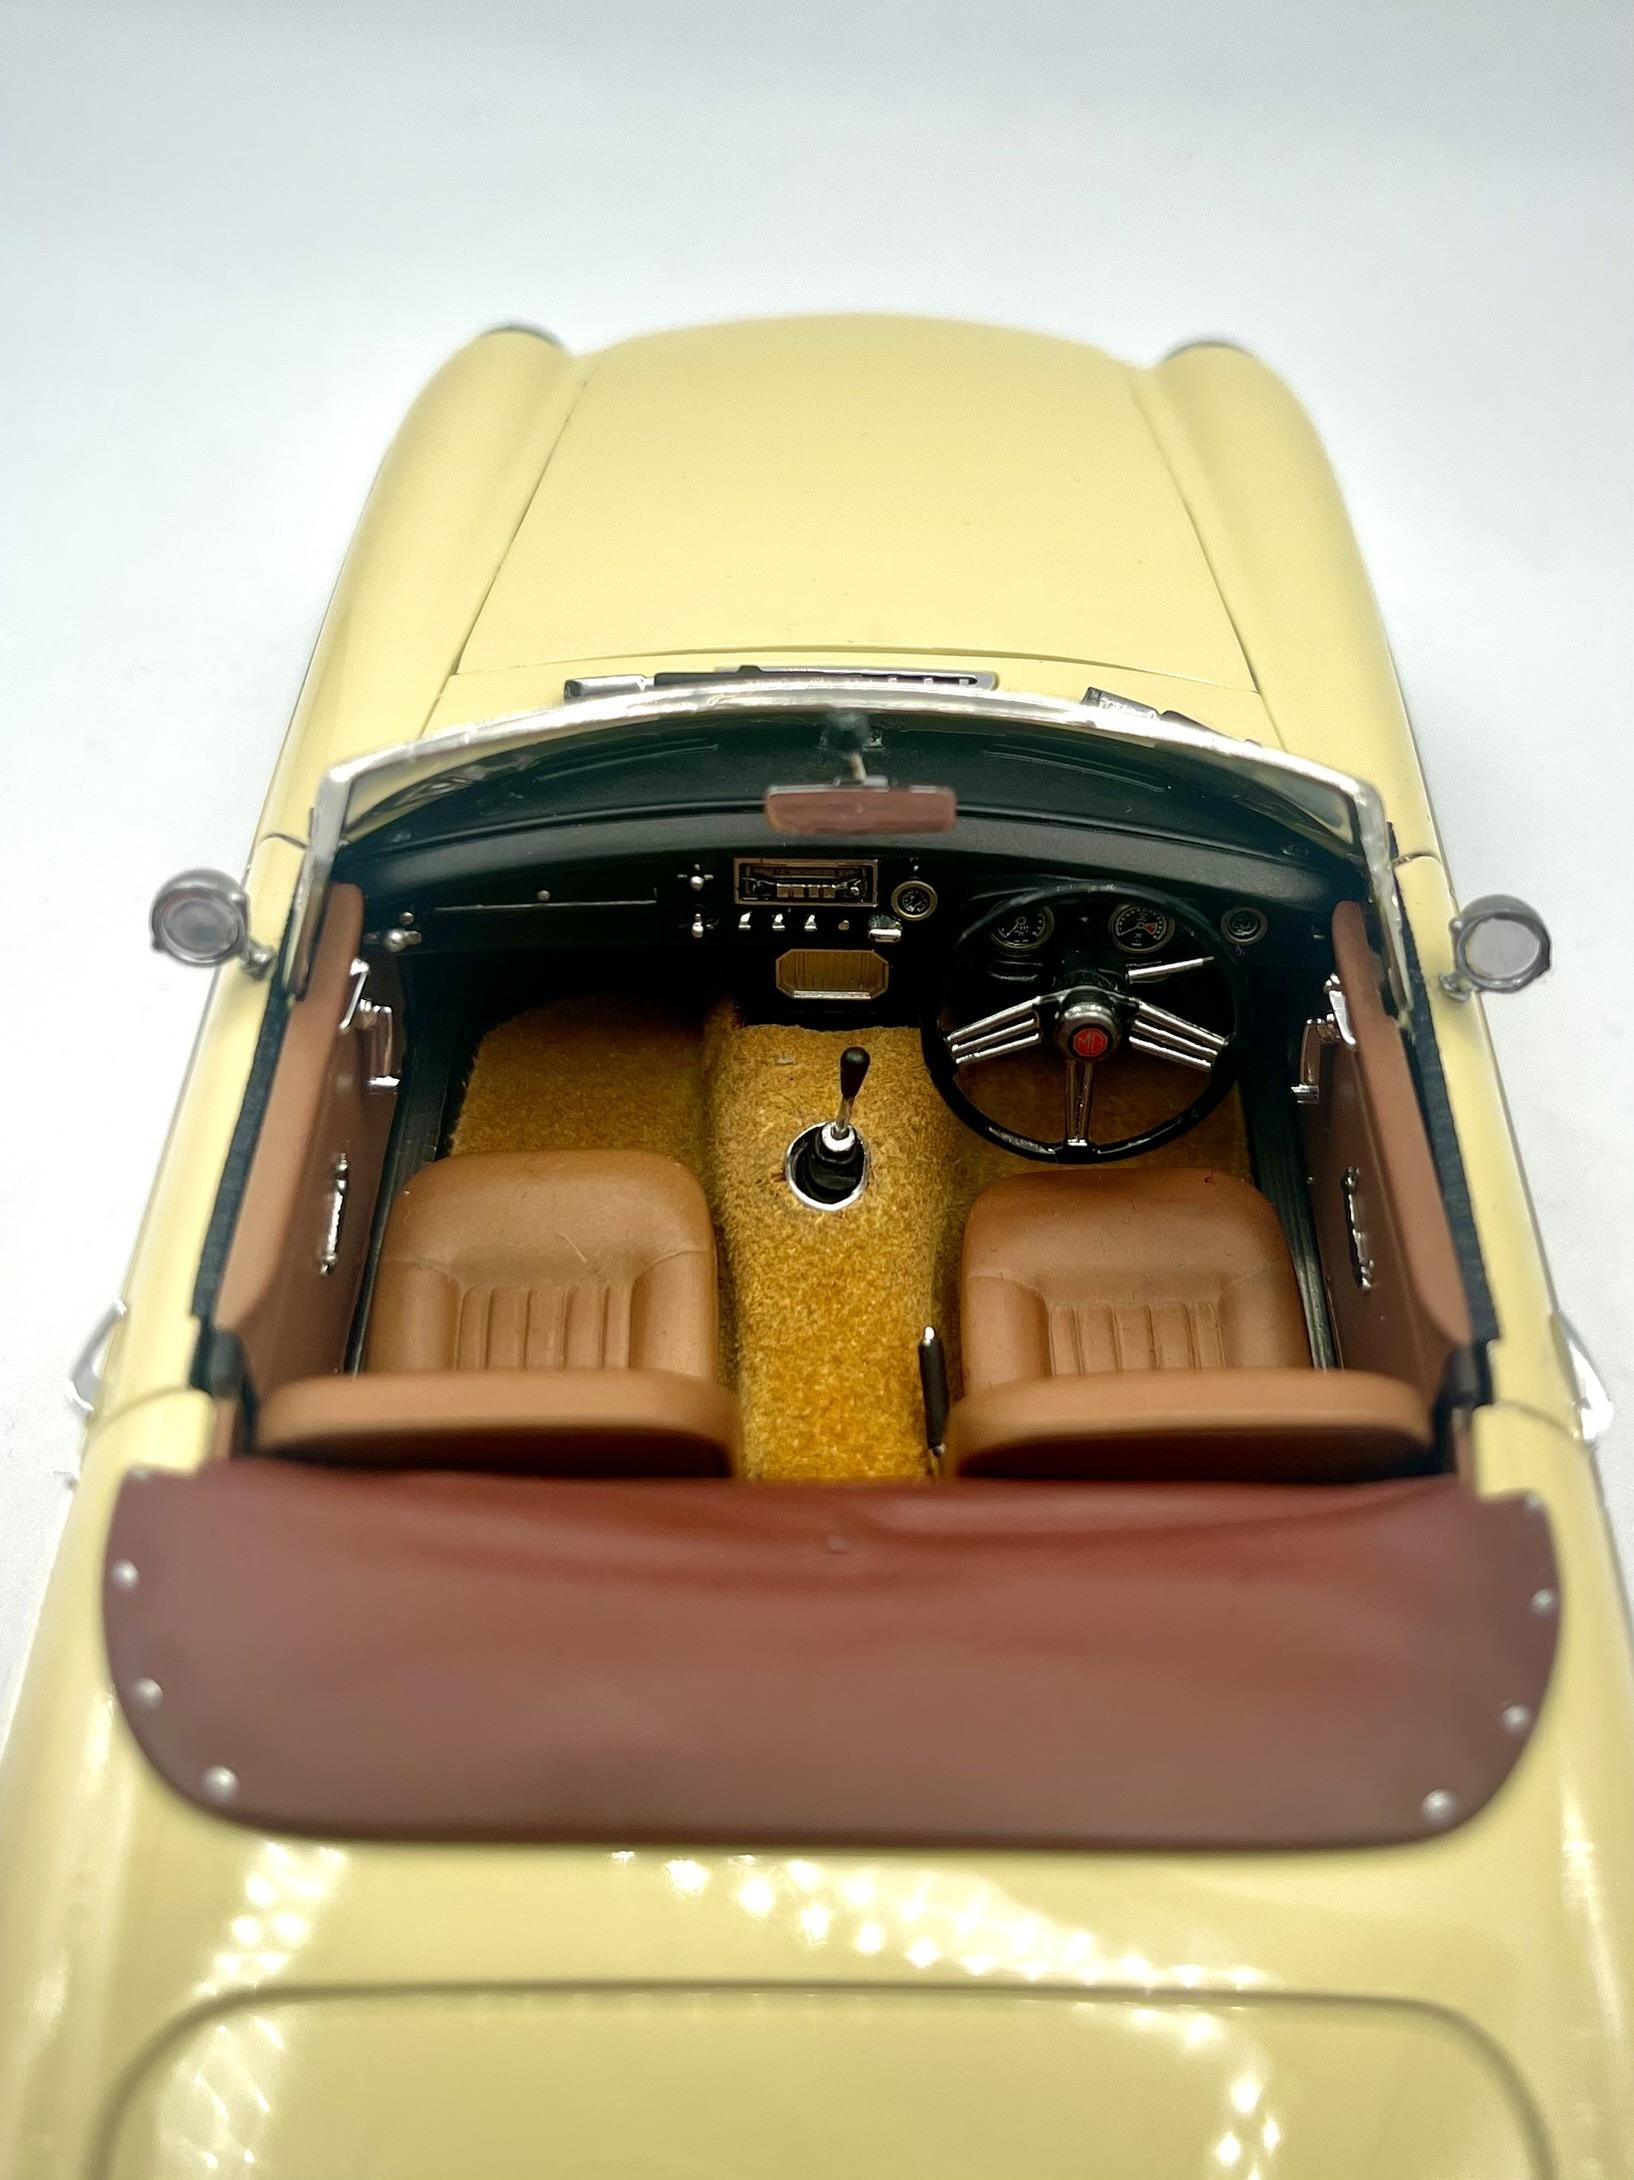
Thanks! thanks - they were painted then finished with the scale motorsport interior pattern decals set. they needed tons of microsol and had to be finished with matte clear coat, but i really like how they came out.
-
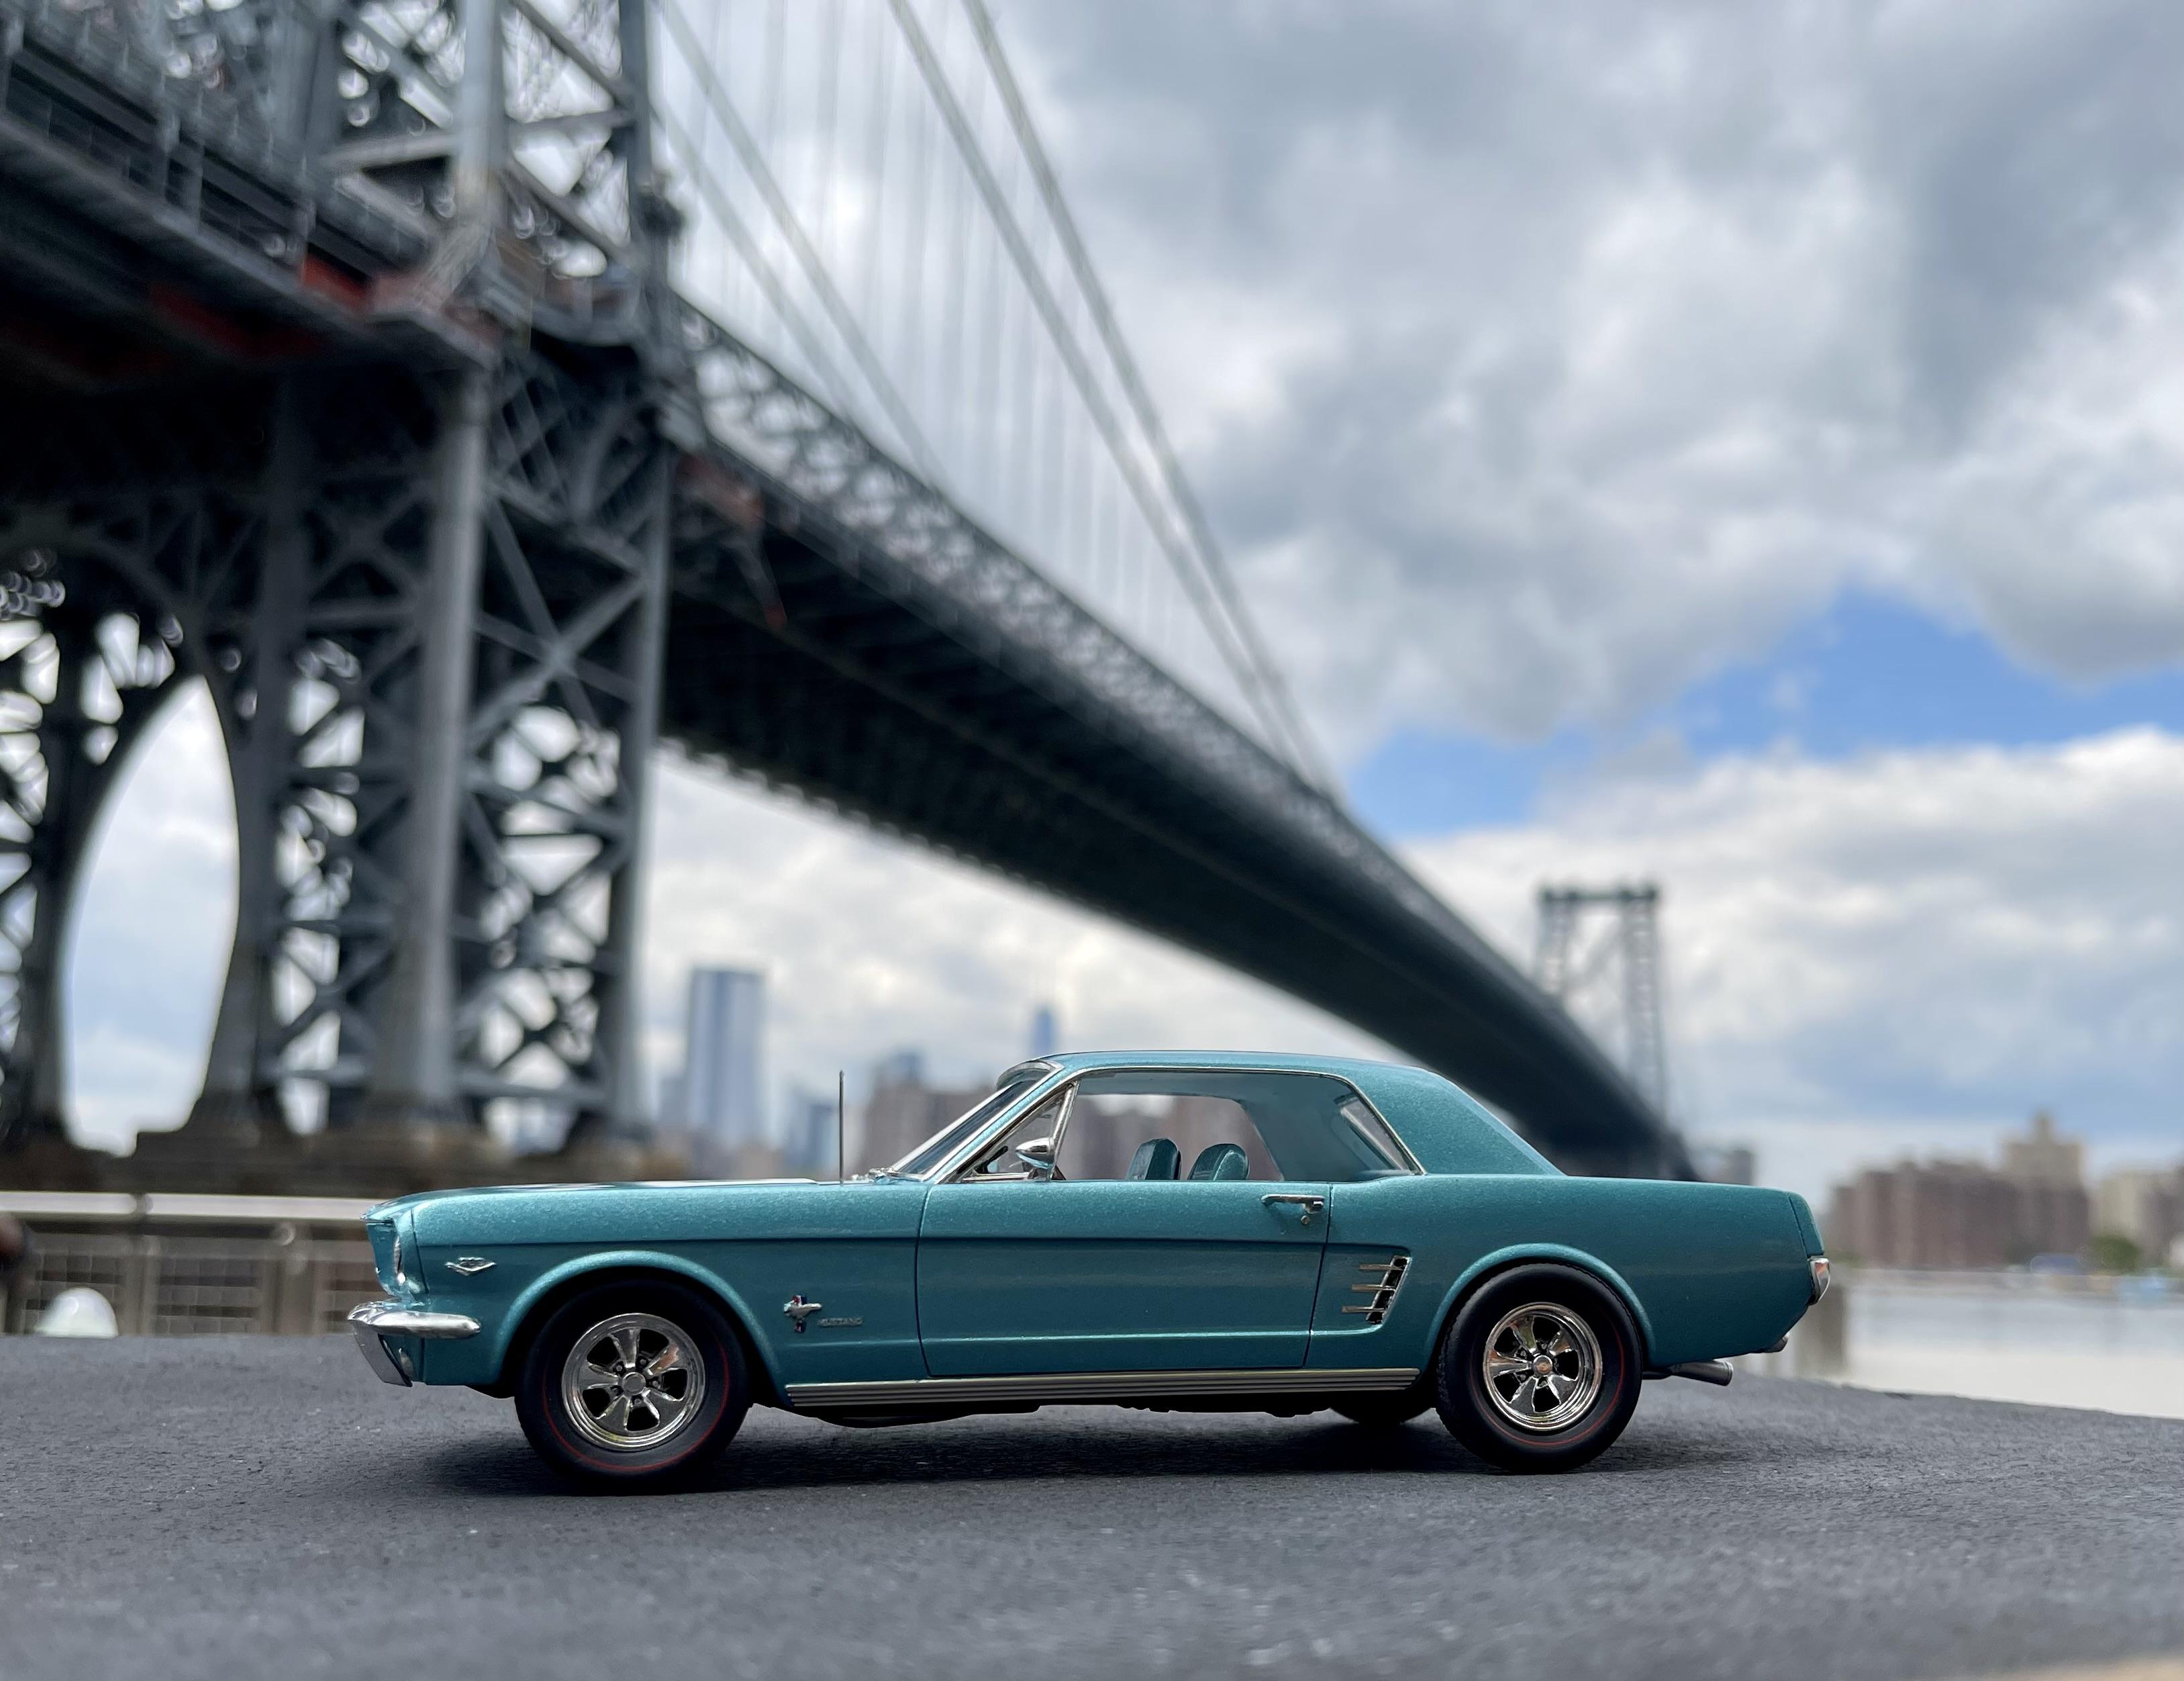
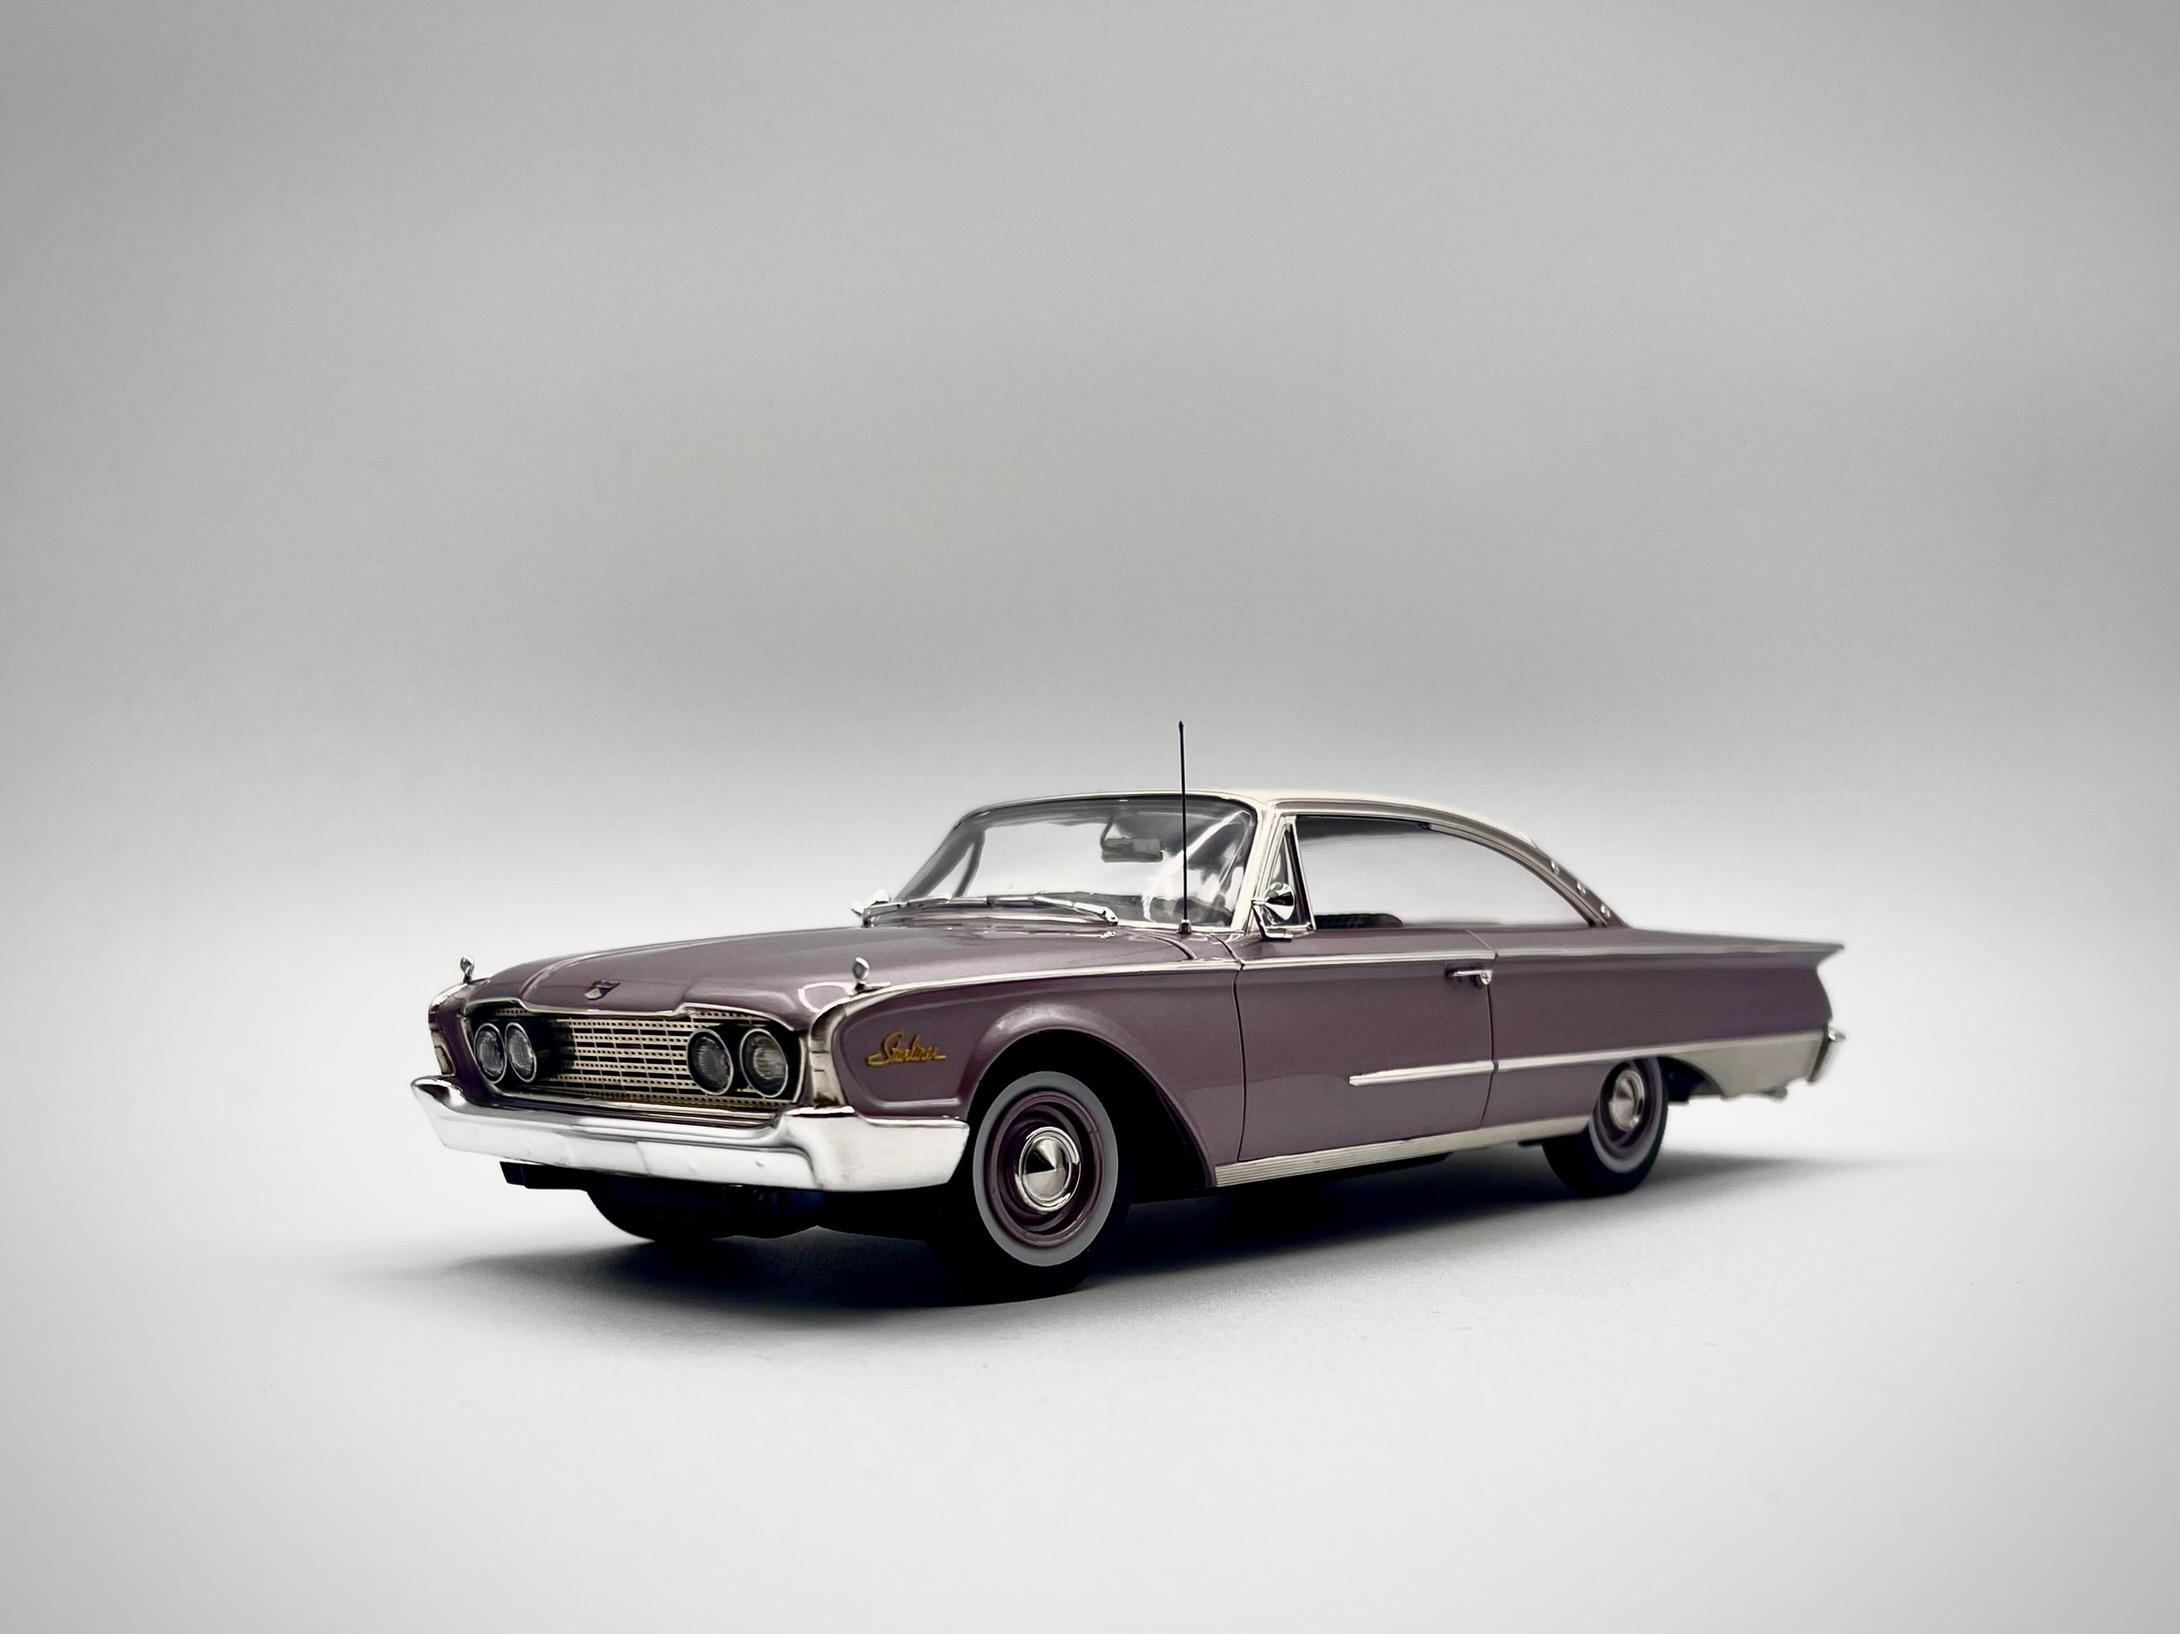
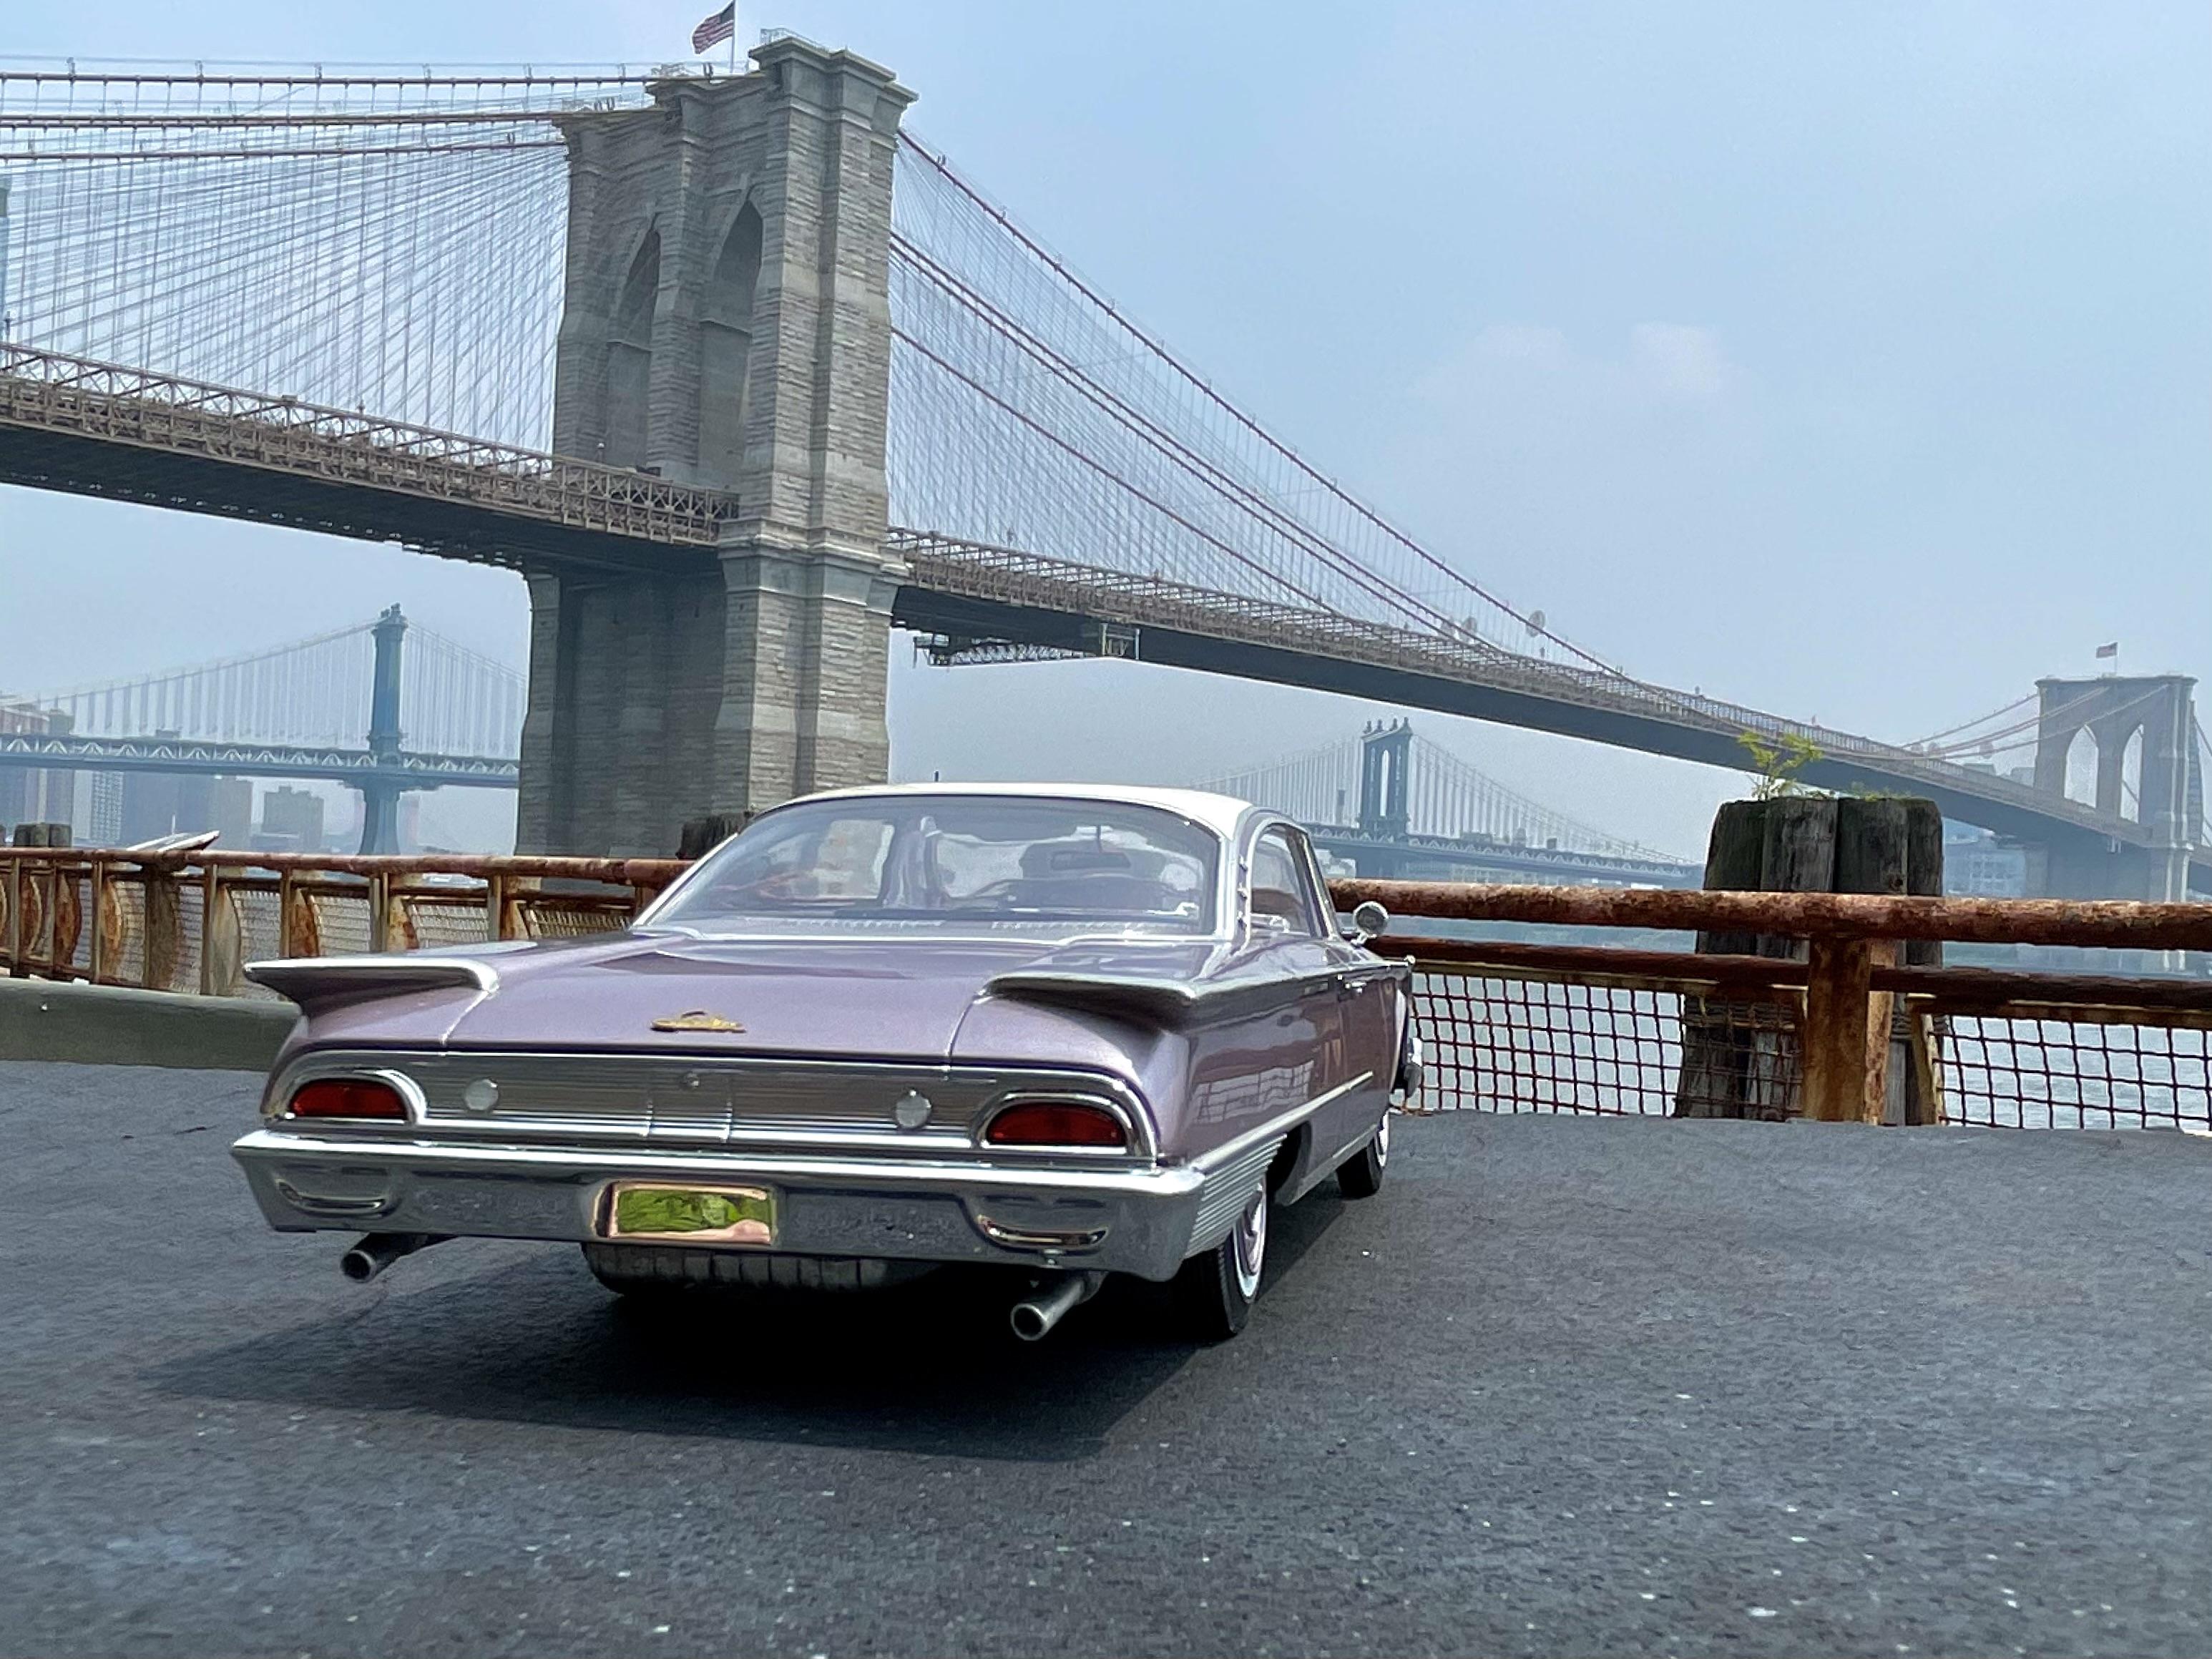
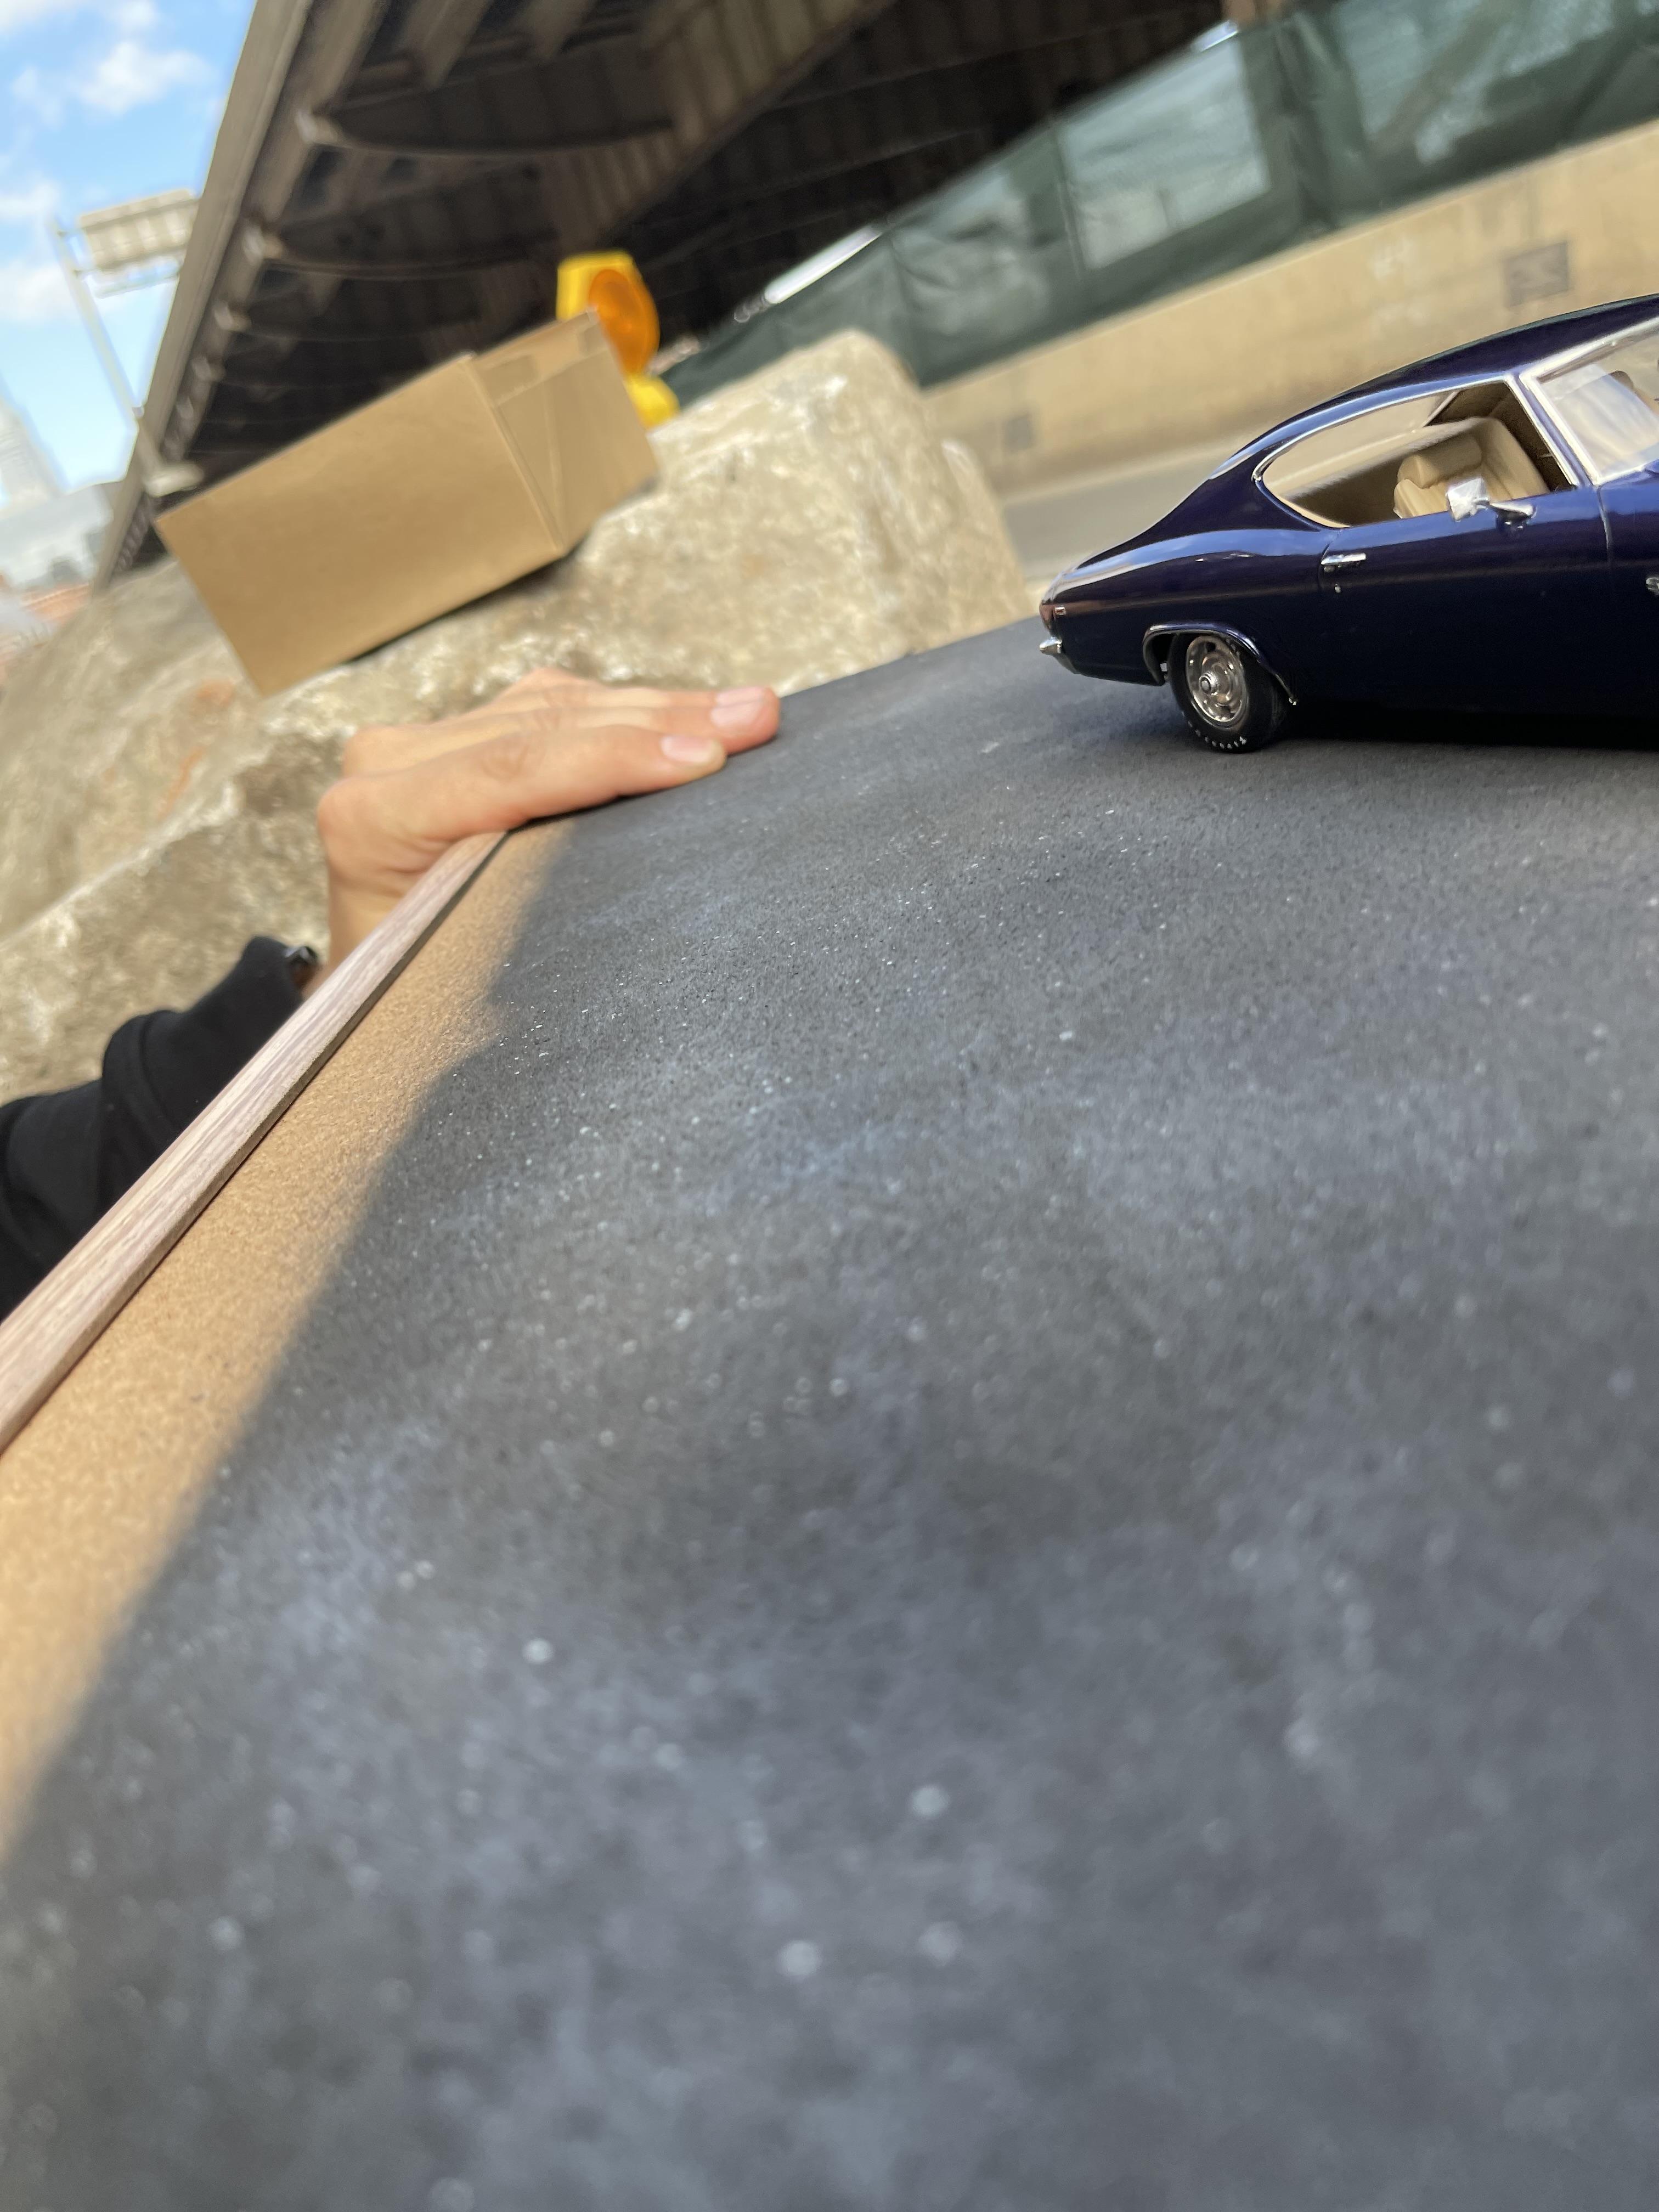
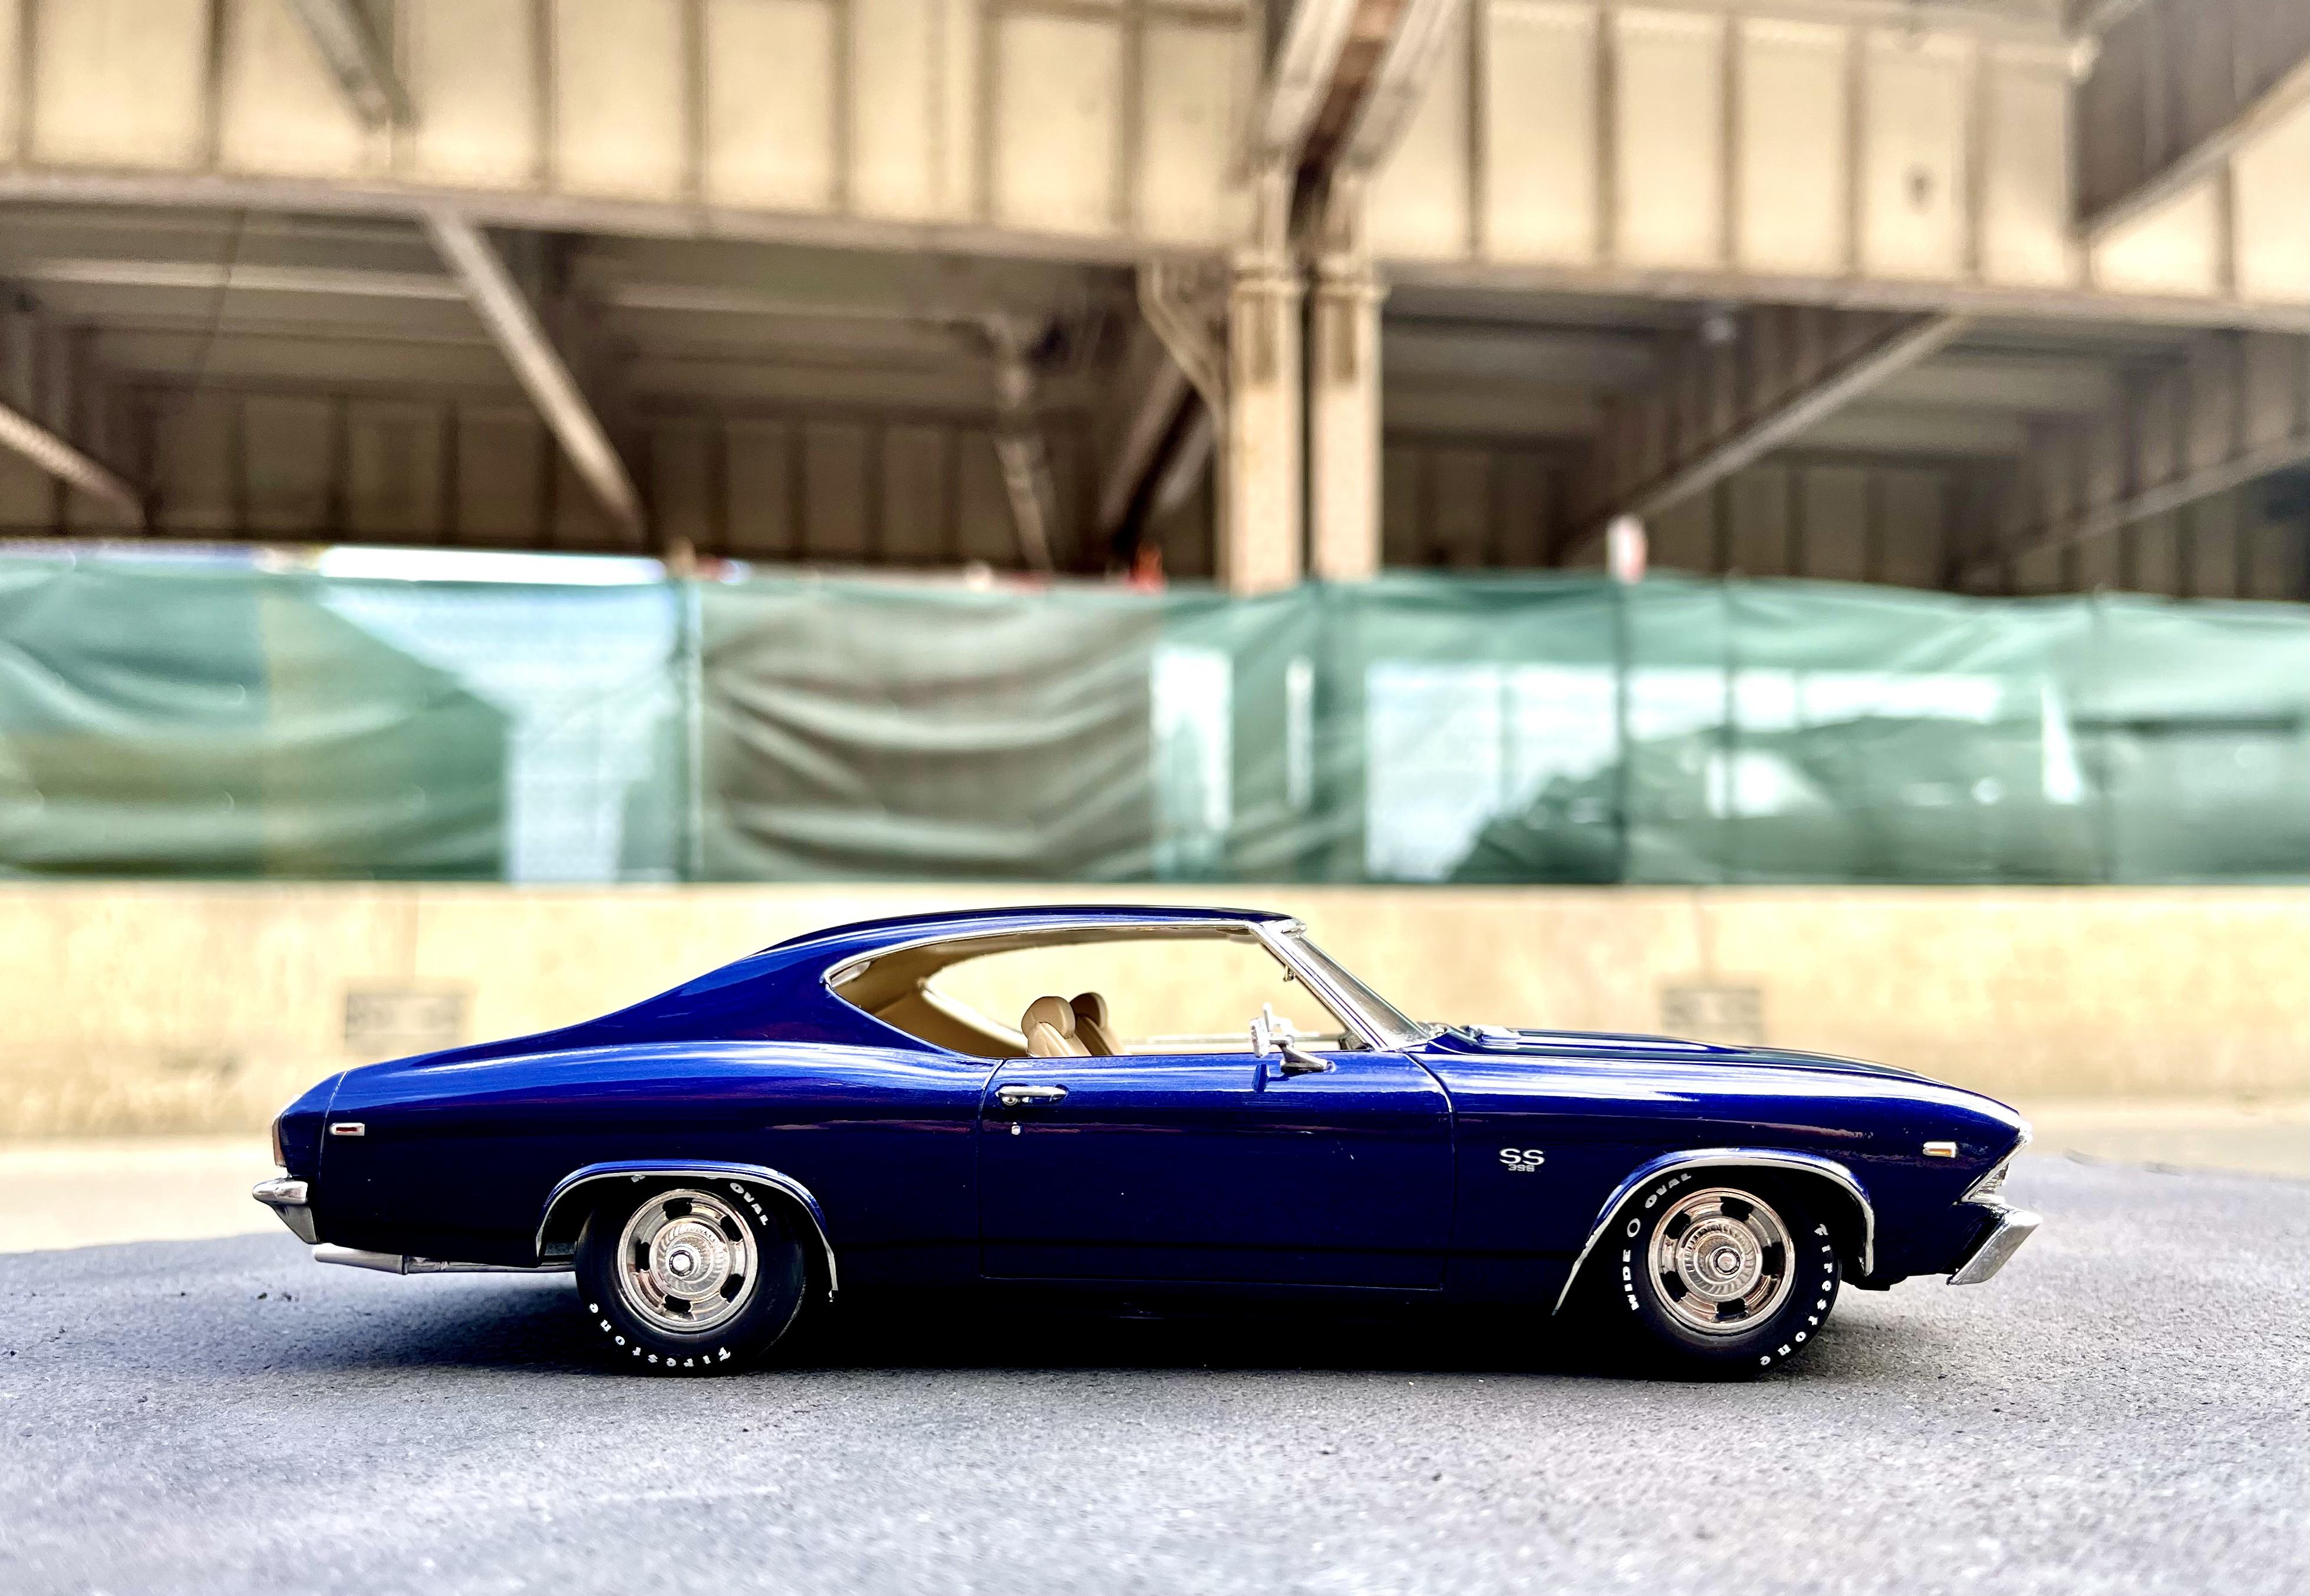
Thanks! The outdoor pics are all taken with my iPhone. I bought a large cork bulletin board and painted it with matte black primer then weathered it up a bit to make it look like asphalt. For the photos, I just walk around nyc until I find a spot with a good back drop. Then I put the cork board on something high enough (It’s usually a garbage pail haha) that the items in the background start looking in scale . Other times I just hold it up in my free hand and take the photo with the other one. It’s so much fun to play around with perspective like that. Here’s a look… the white background shots were done with the same camera but I used a cheap light booth I bought on Amazon. It’s a collapsible 24”x24” box that comes with different background colors and led lights. So far I really like it. Here’s the starliner zoomed out
-
thanks duders!
-
thanks! Thanks! I just took a look at yours too! Great minds...! I think your emblems look just as good... And I actually prefer the way you did the seats - i painted mine similarly, and bought the seat decals thinking they were patterned over a clear backing so the color on the seats would come through. I didn't realize until i started applying them that they had a white background. then i had to pivot a bit. they looked pretty blah until i hit them with some matte clear, and now I'm pretty happy with them. as far as the wheels go, the ones that came in my kit were in rough shape (it was "used") and i didn't want to paint the white walls. Thieving from a kit I probably won't be building any time soon seemed like a much easier option haha. thanks! taking the cars down to the river for a photo shoot is literally my favorite part of the build, so i'm glad you like them!
-
beautiful build and i love that color! where did you get the carrera emblem from?
-
thanks! the gauge cover and glove box emblem are model car garage photo etch pieces. the rest is just bare metal foil and paint. thanks guys! appreciate it.
-
dang, dude - that is a thing of beauty. amazing work.
-
hahah thanks! thanks alot guys!!