conchan
-
Posts
209 -
Joined
-
Last visited
Content Type
Profiles
Forums
Events
Gallery
Everything posted by conchan
-
Thanks for the information. I’ll try and find it here and give it a try.
-
To Peteski, Steven Gunthmiller, and Ace- garageguy, I apologize for the misleading title. I am trying to find out what I was doing wrong and how I can make a very glossy, paint job. The “smothered in honey” reference was to the shine/gloss of the paint rather than the thickness of the paint. Again sorry for the misunderstanding. Thank you for taking the time to answer. Stay safe and enjoy!
-
I would really like to be able to paint a kit that has a deep, deep gloss to it. But can’t seem to get it to work. 1. After taking care of the mold lines, etc., I sand the body lightly with 400-2000 Tamiya paper. 2. Spray one light coat of primer (either Tamiya or Mr. Hobby) remove imperfections, grit, etc. to the best of my ability. 3. Respray lightly to cover sand marks. 4. Spray a base coat of the final colour and let dry. 5. Spray a secondary coat of final colour that looks “wet”. (maybe it isn’t “wet” enough?) and let dry for a day or two (Tamiya Spary TS-???) 6. Spray two or three coats of clear with a 15-20 minute wait between coats. (Either Tamiya or Mr. Colour) 7. Polish with Tamiya polishing compound (Coarse, Fine and Finish) Is there something I am missing or doing out of order or just plain wrong? Thanks for reading. Stay safe and enjoy!
-
Thanks. They lack a lot of details that the larger 1/24-1/25 kits have, but I find they are just fun to build. Hard on the eyes though when trying to paint the dash, emblems and such.
-
Thanks! sorry for the multiple duplicate photos. I tried editing them out, but no luck.
-
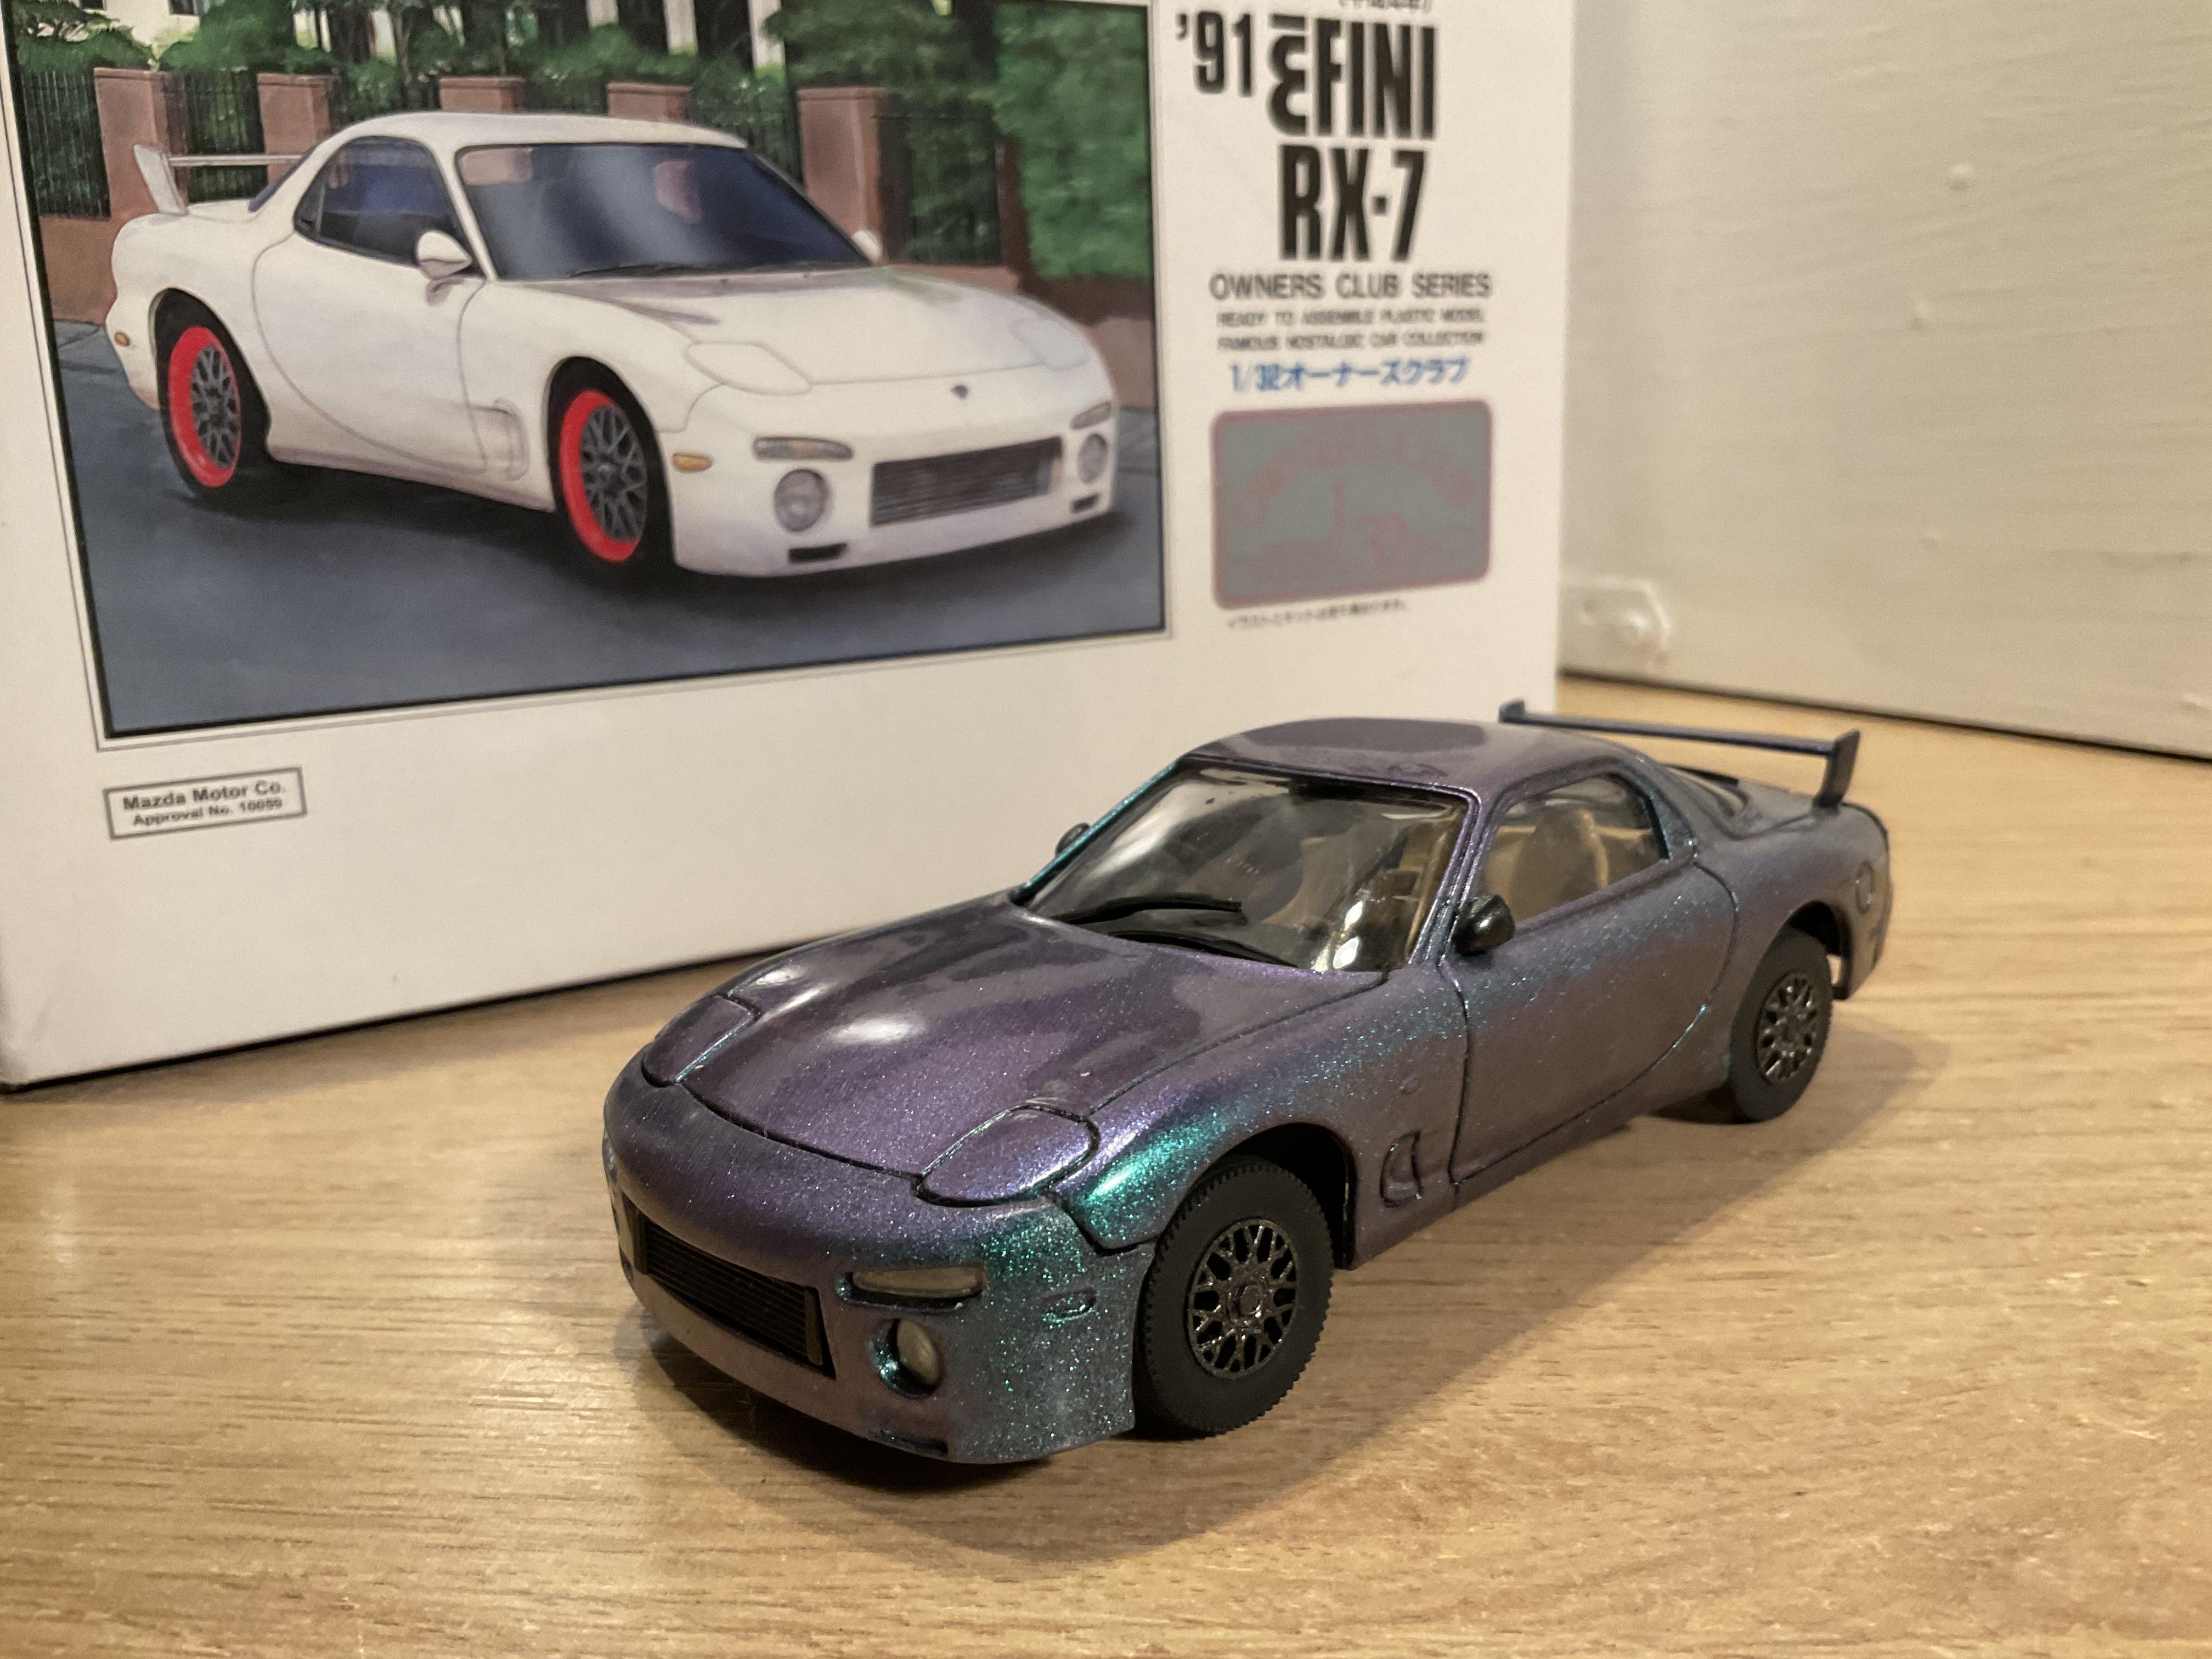
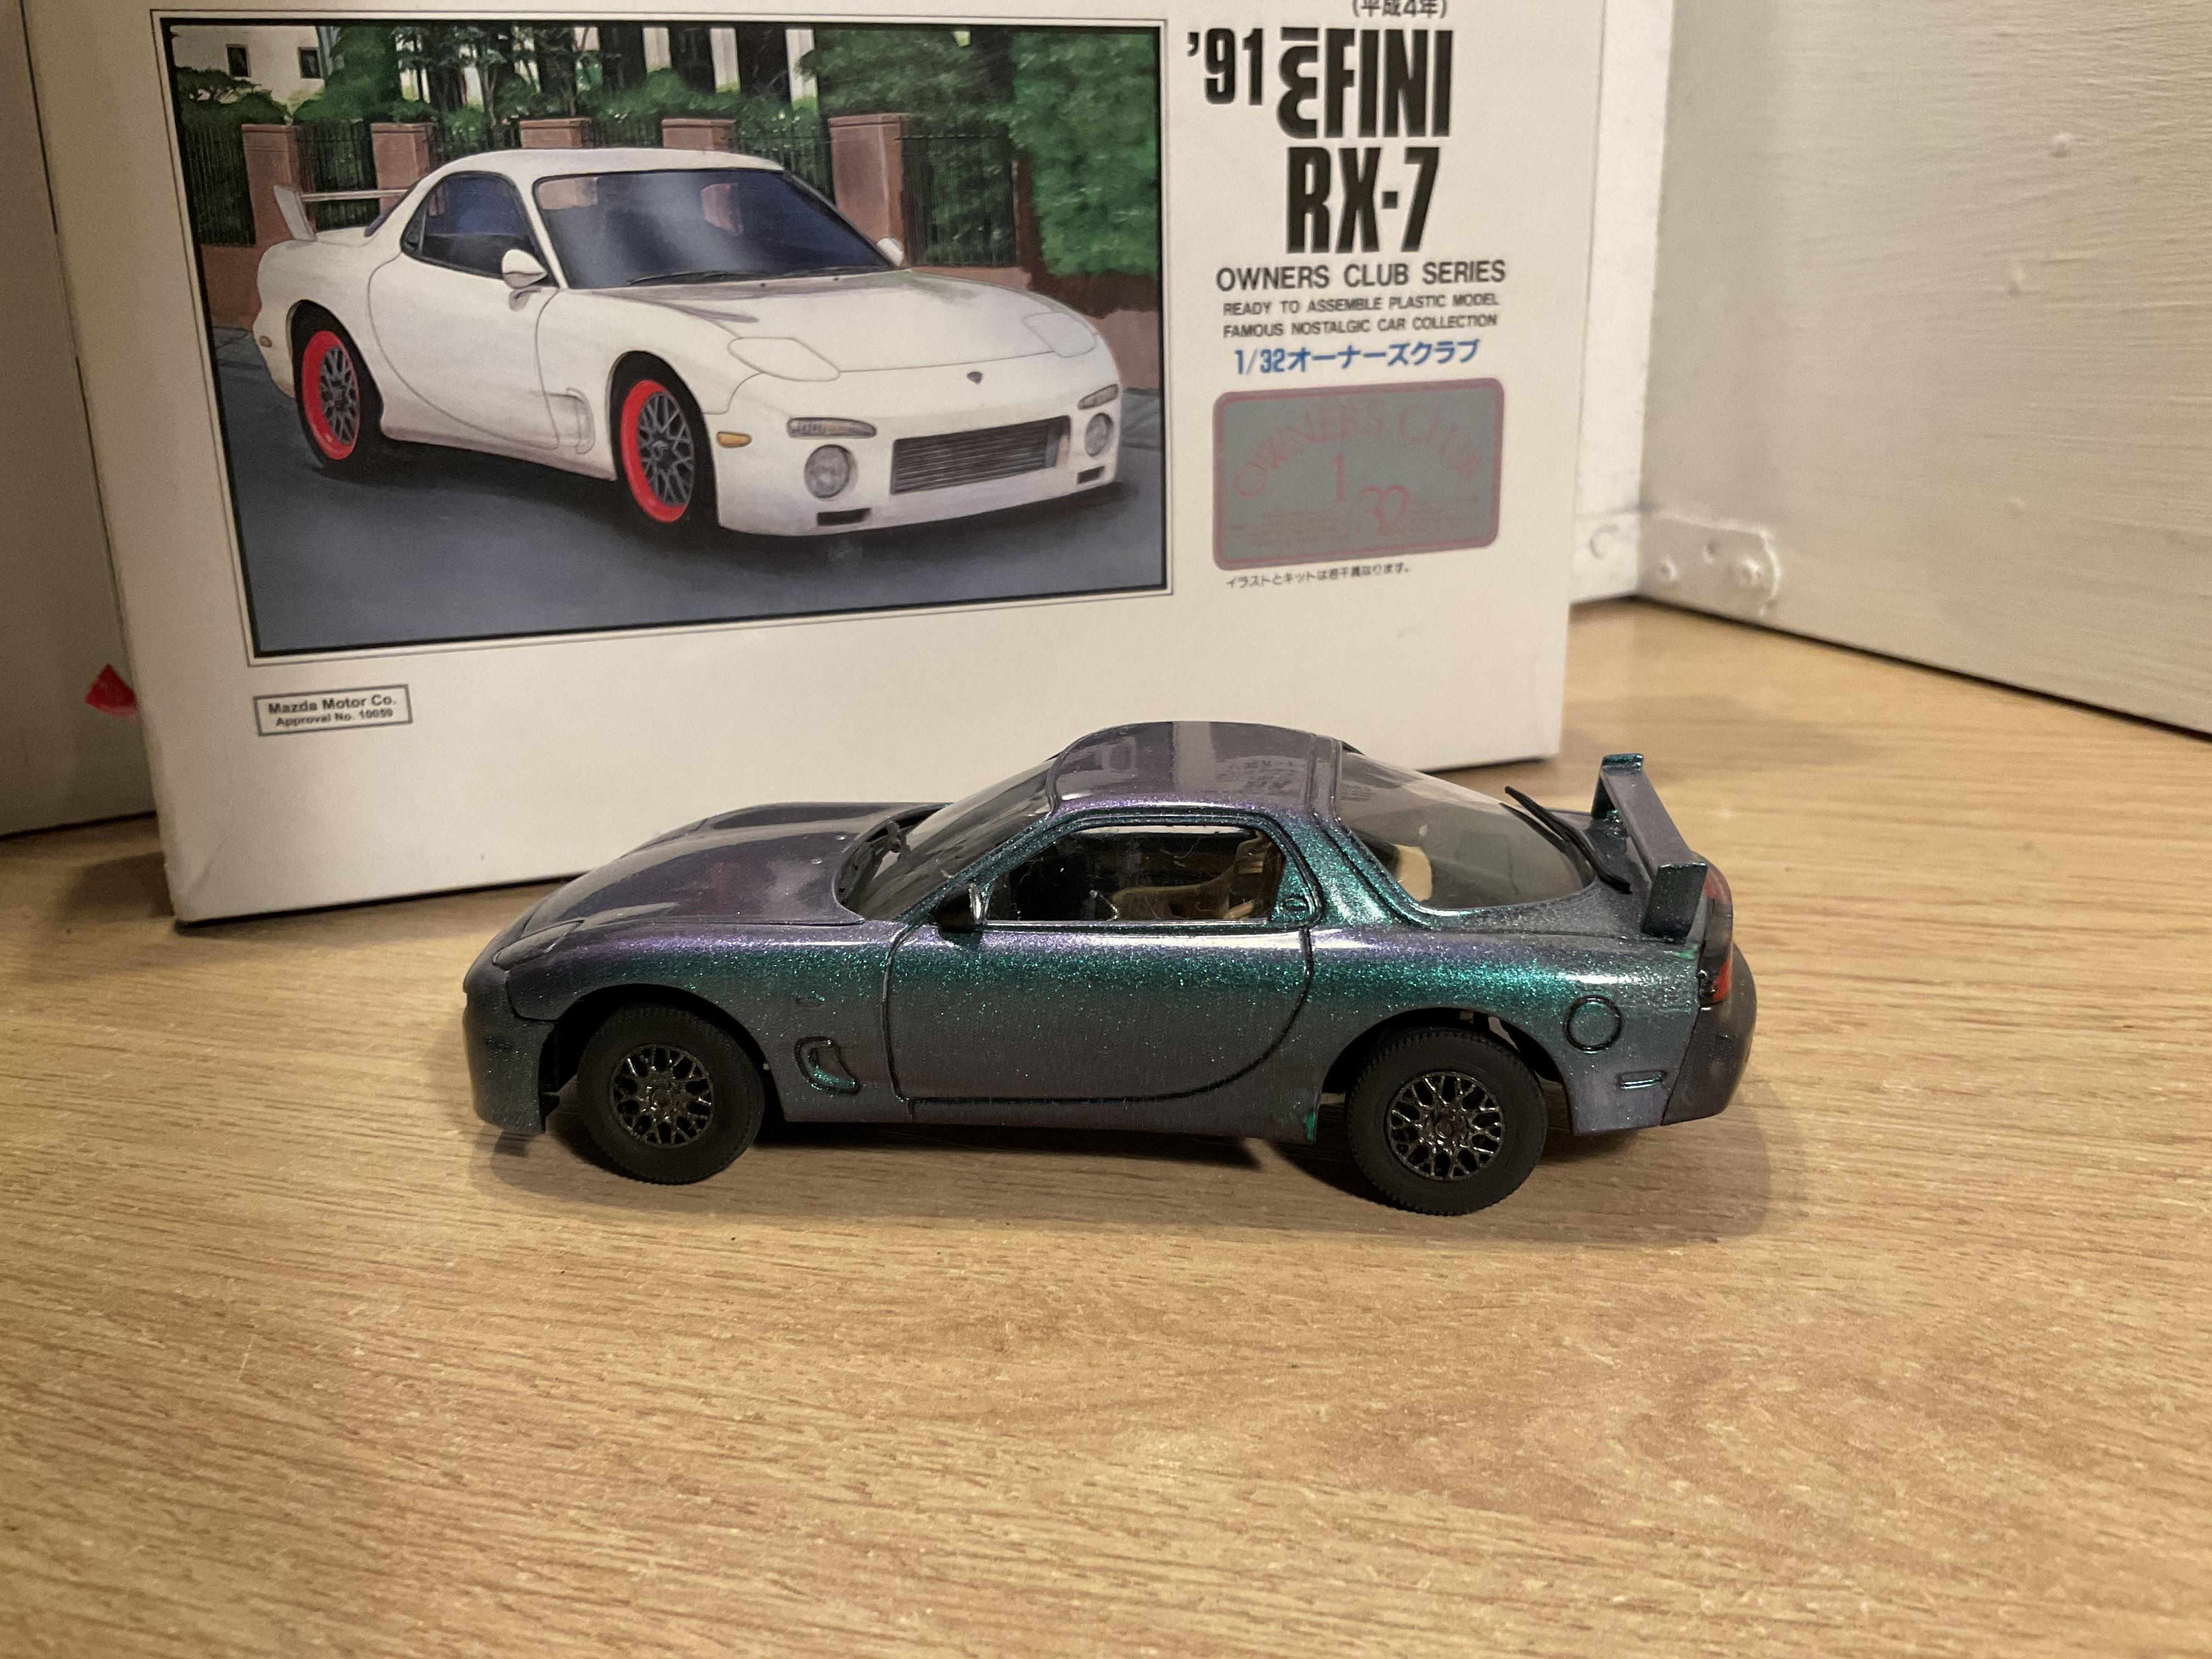
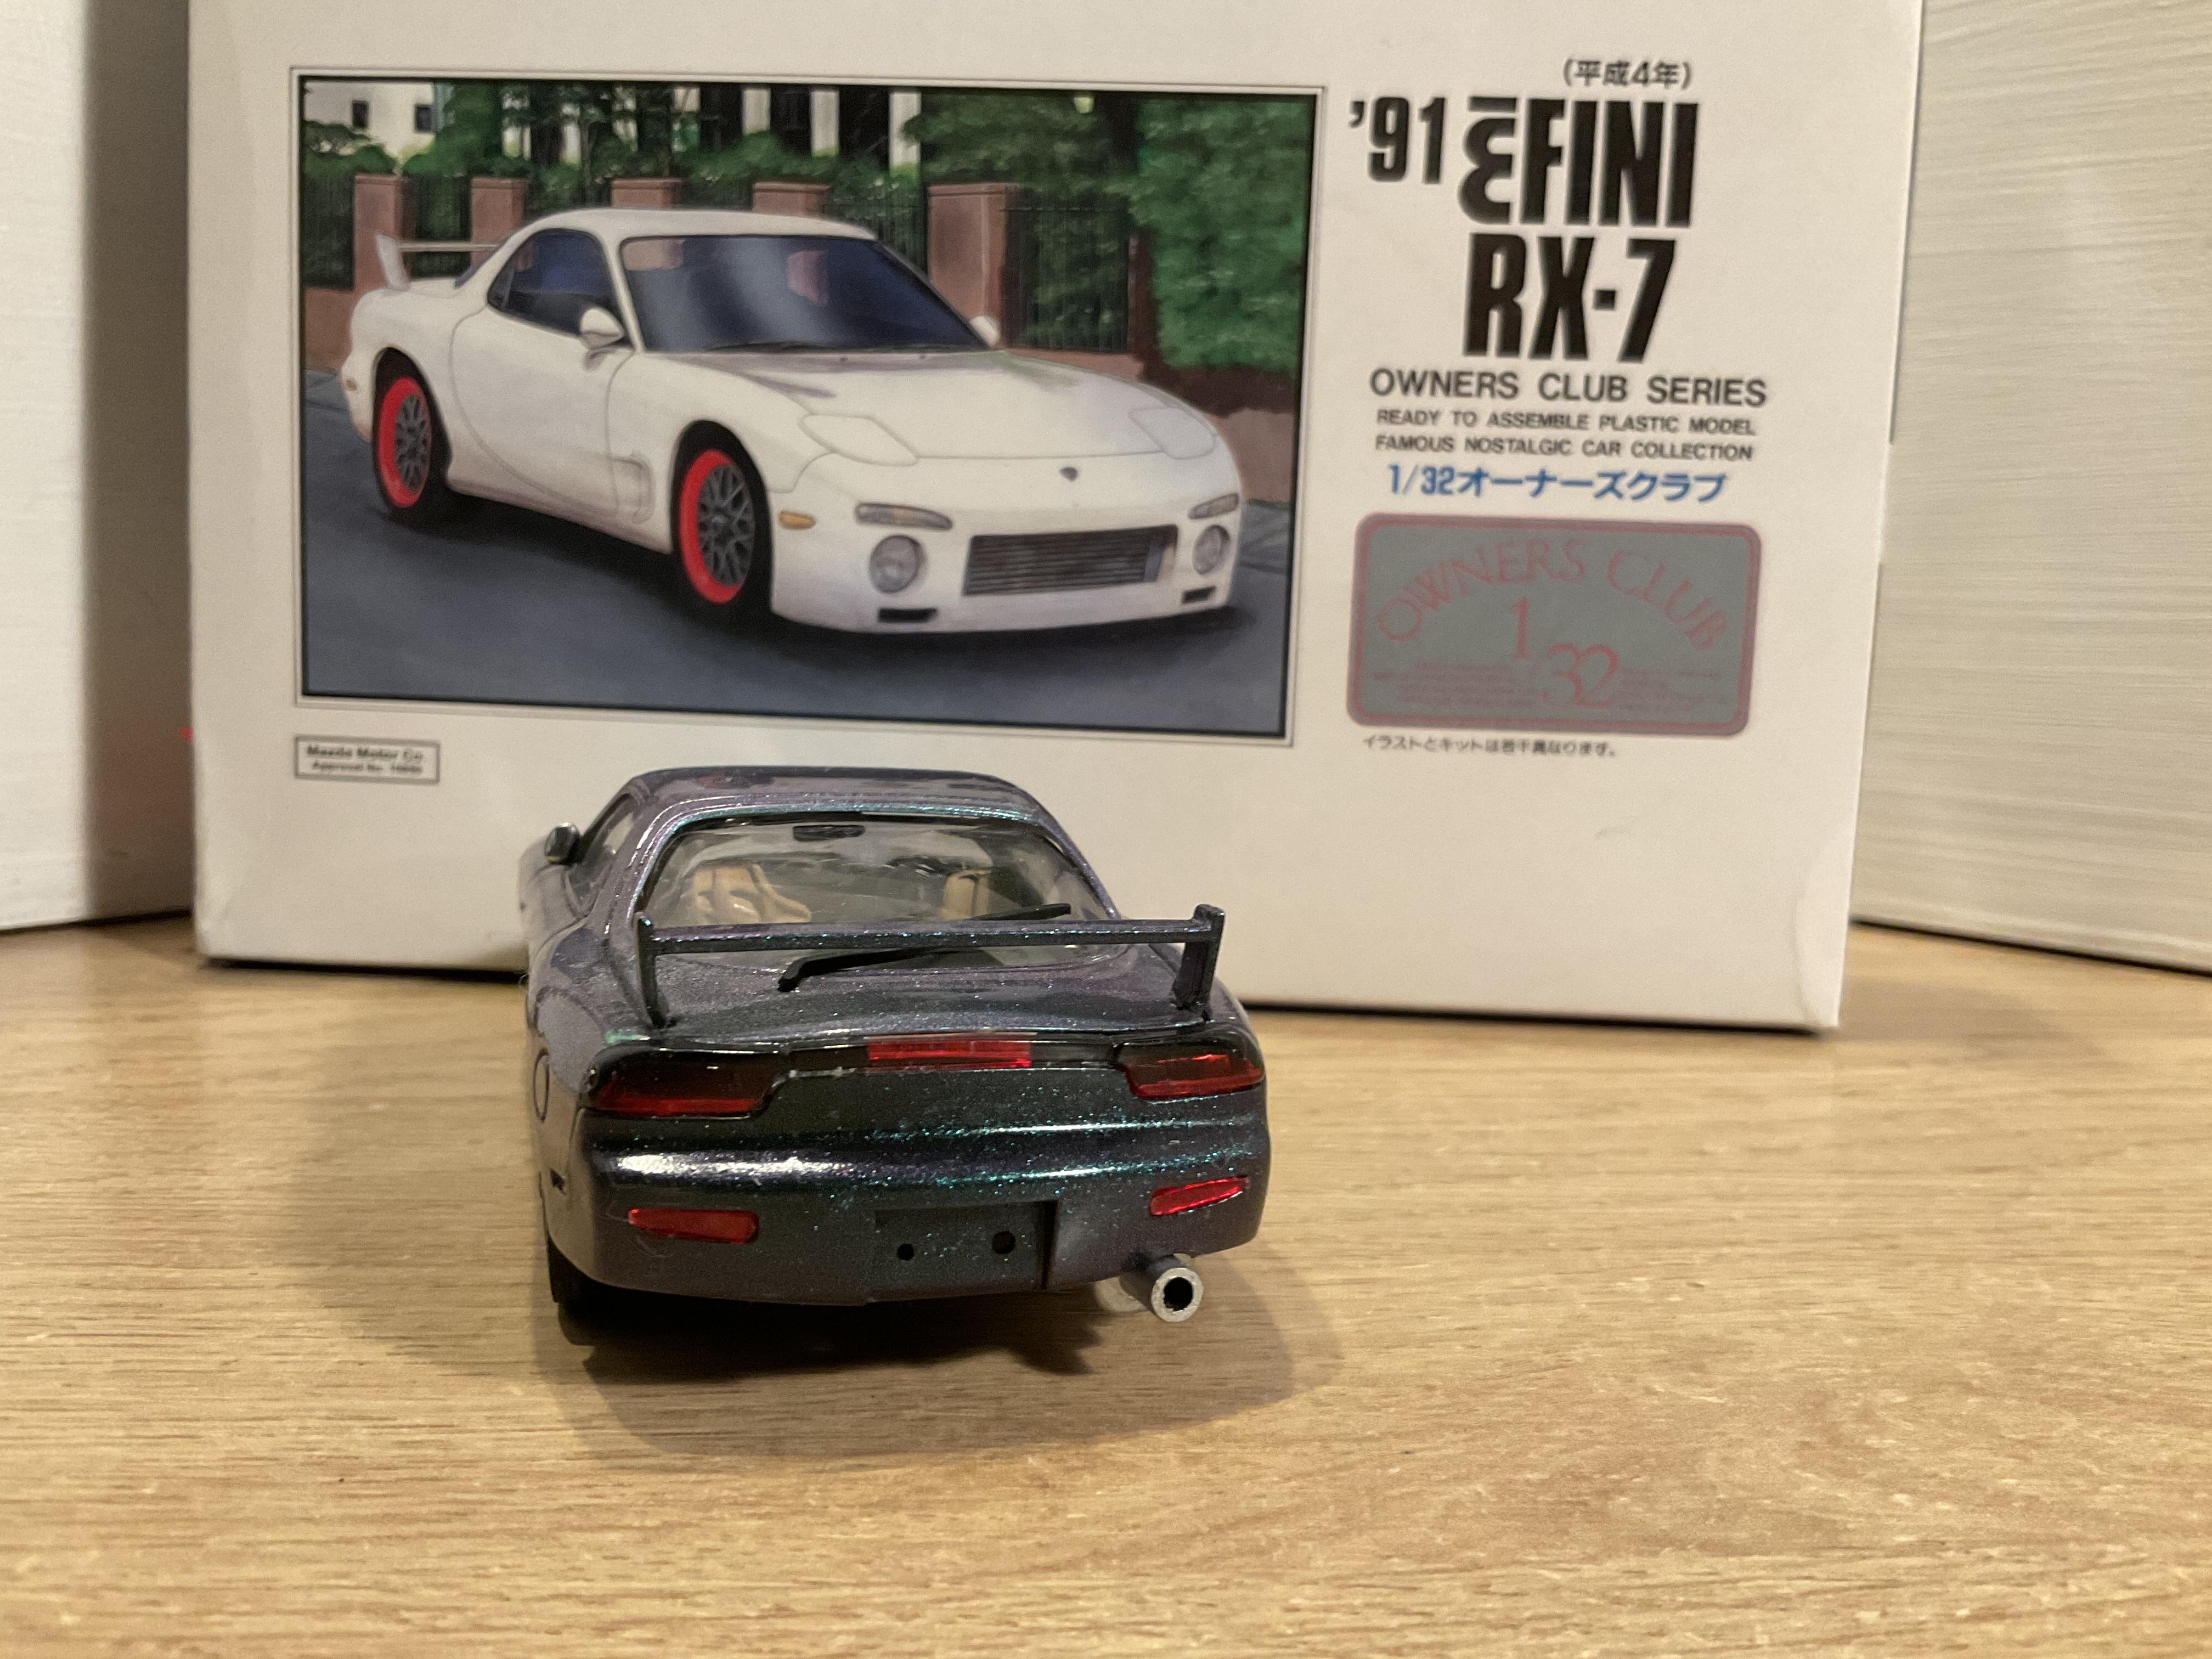
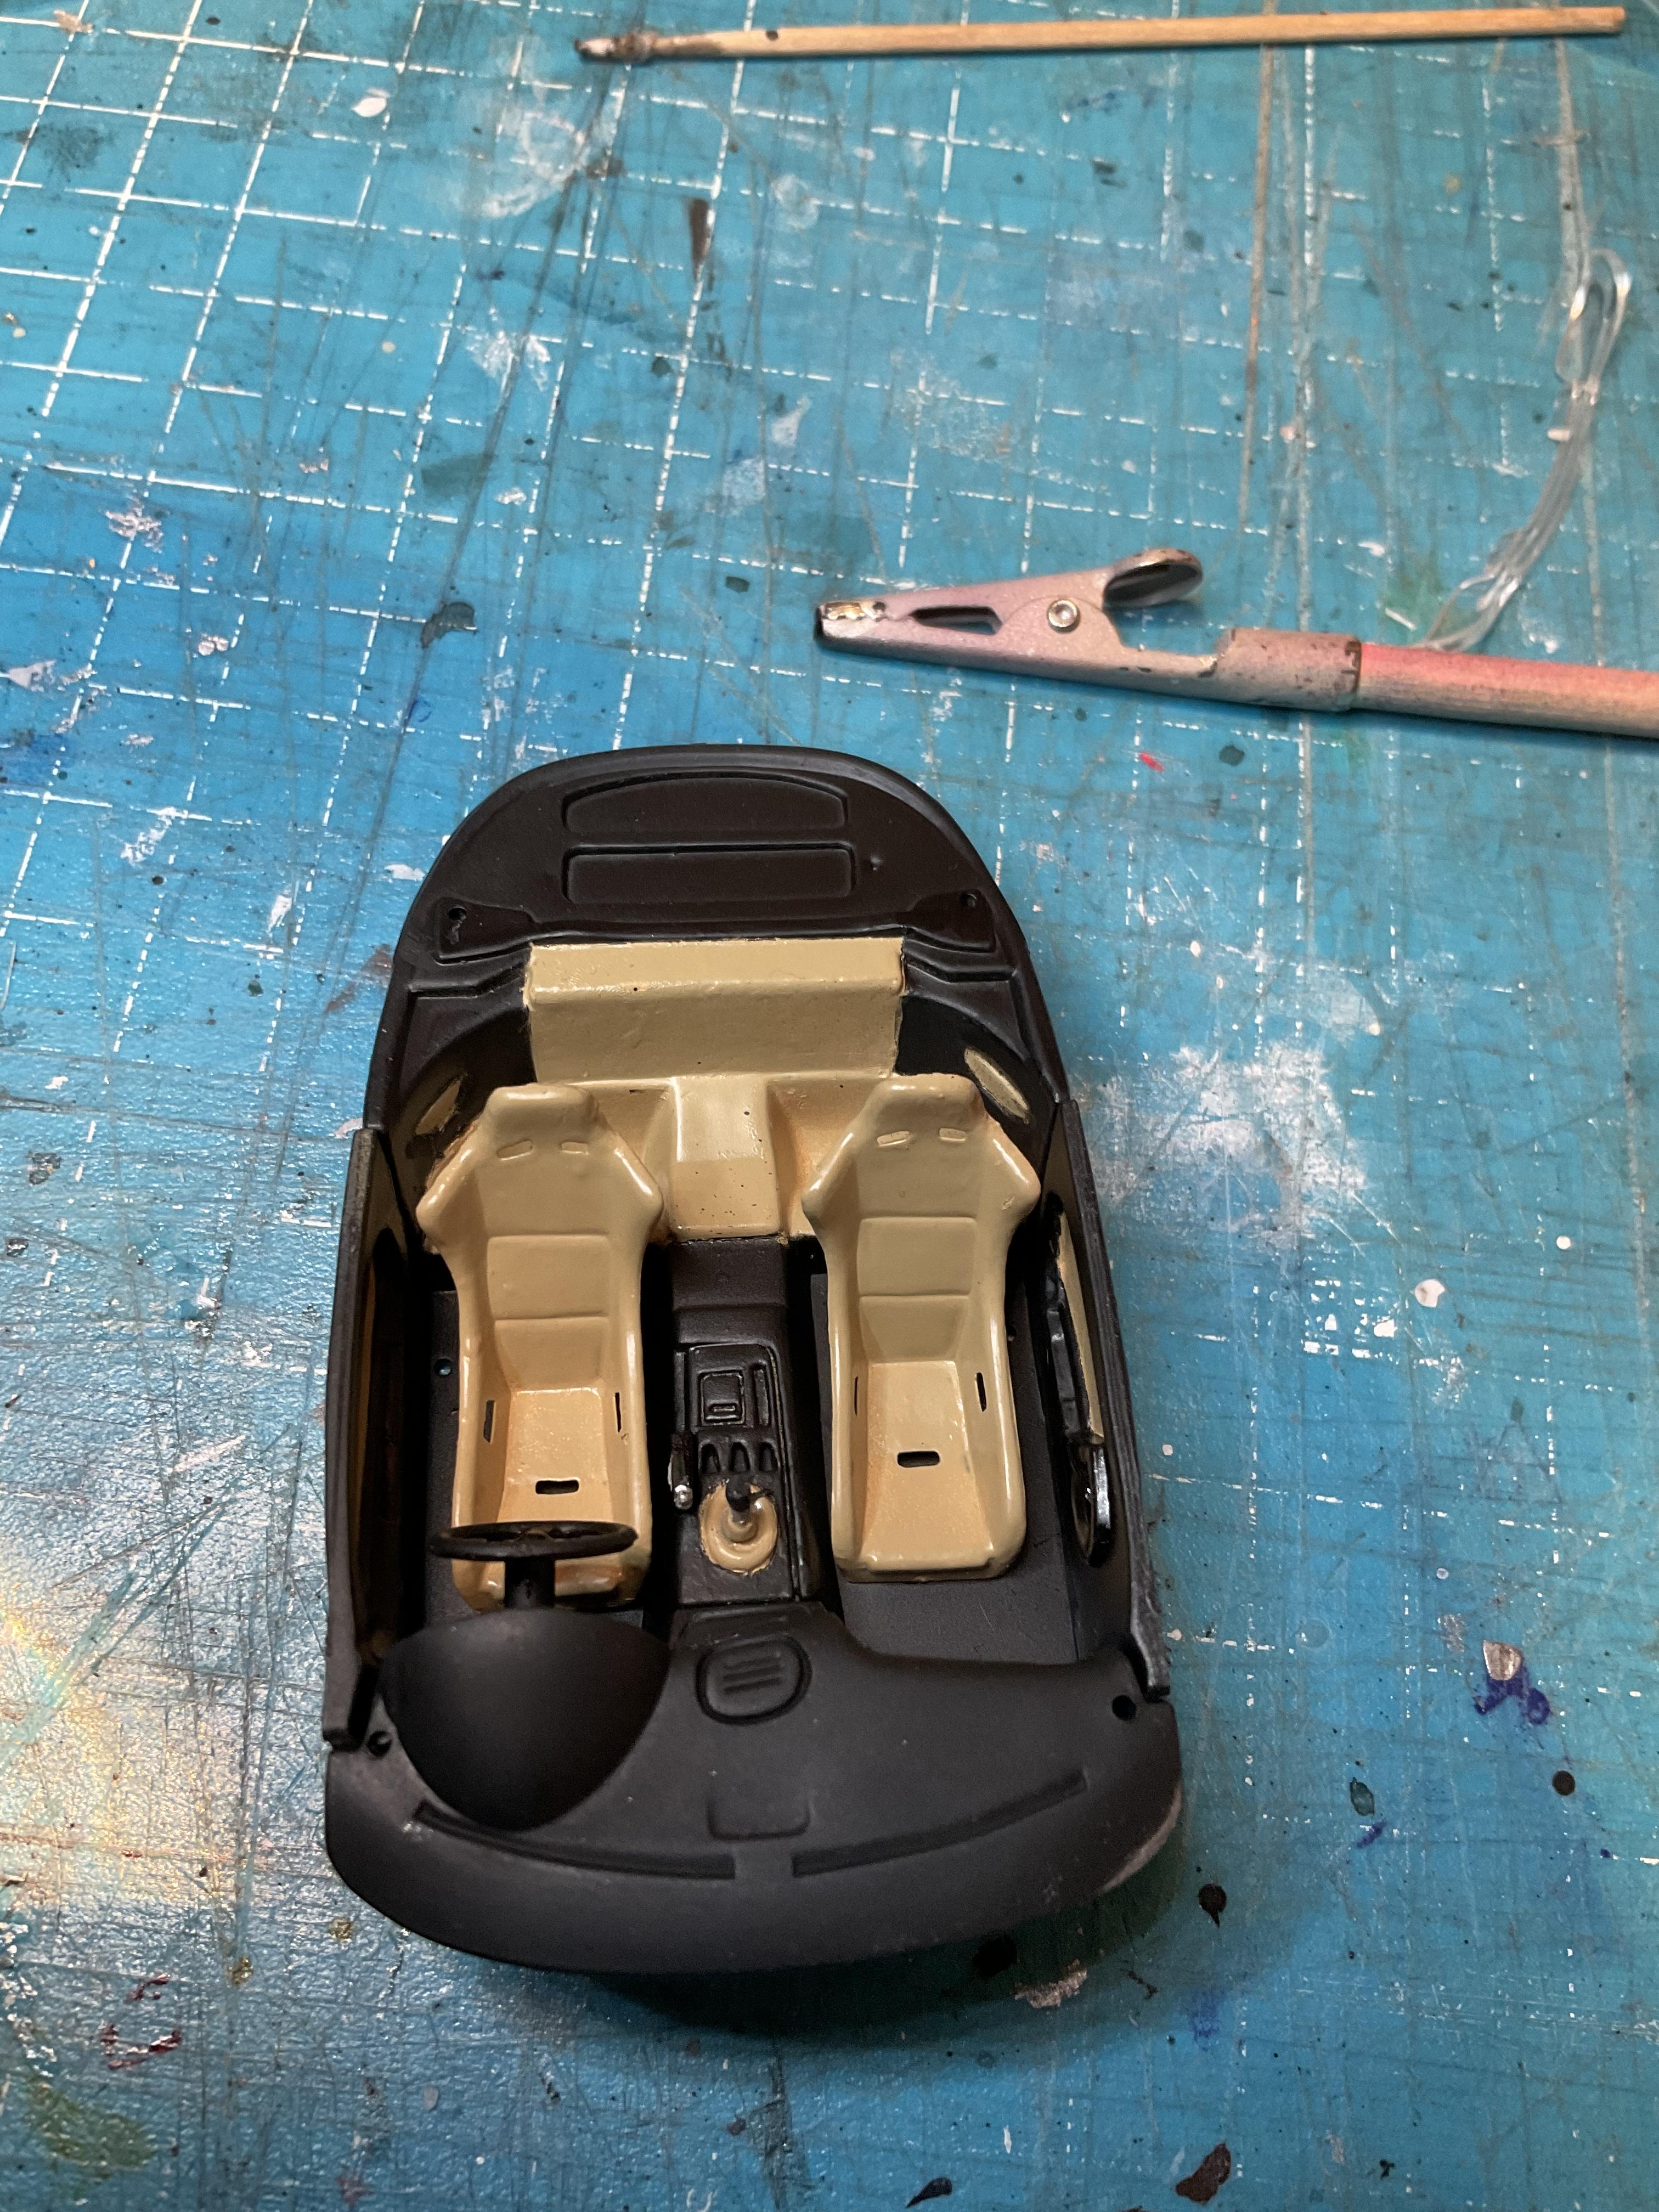
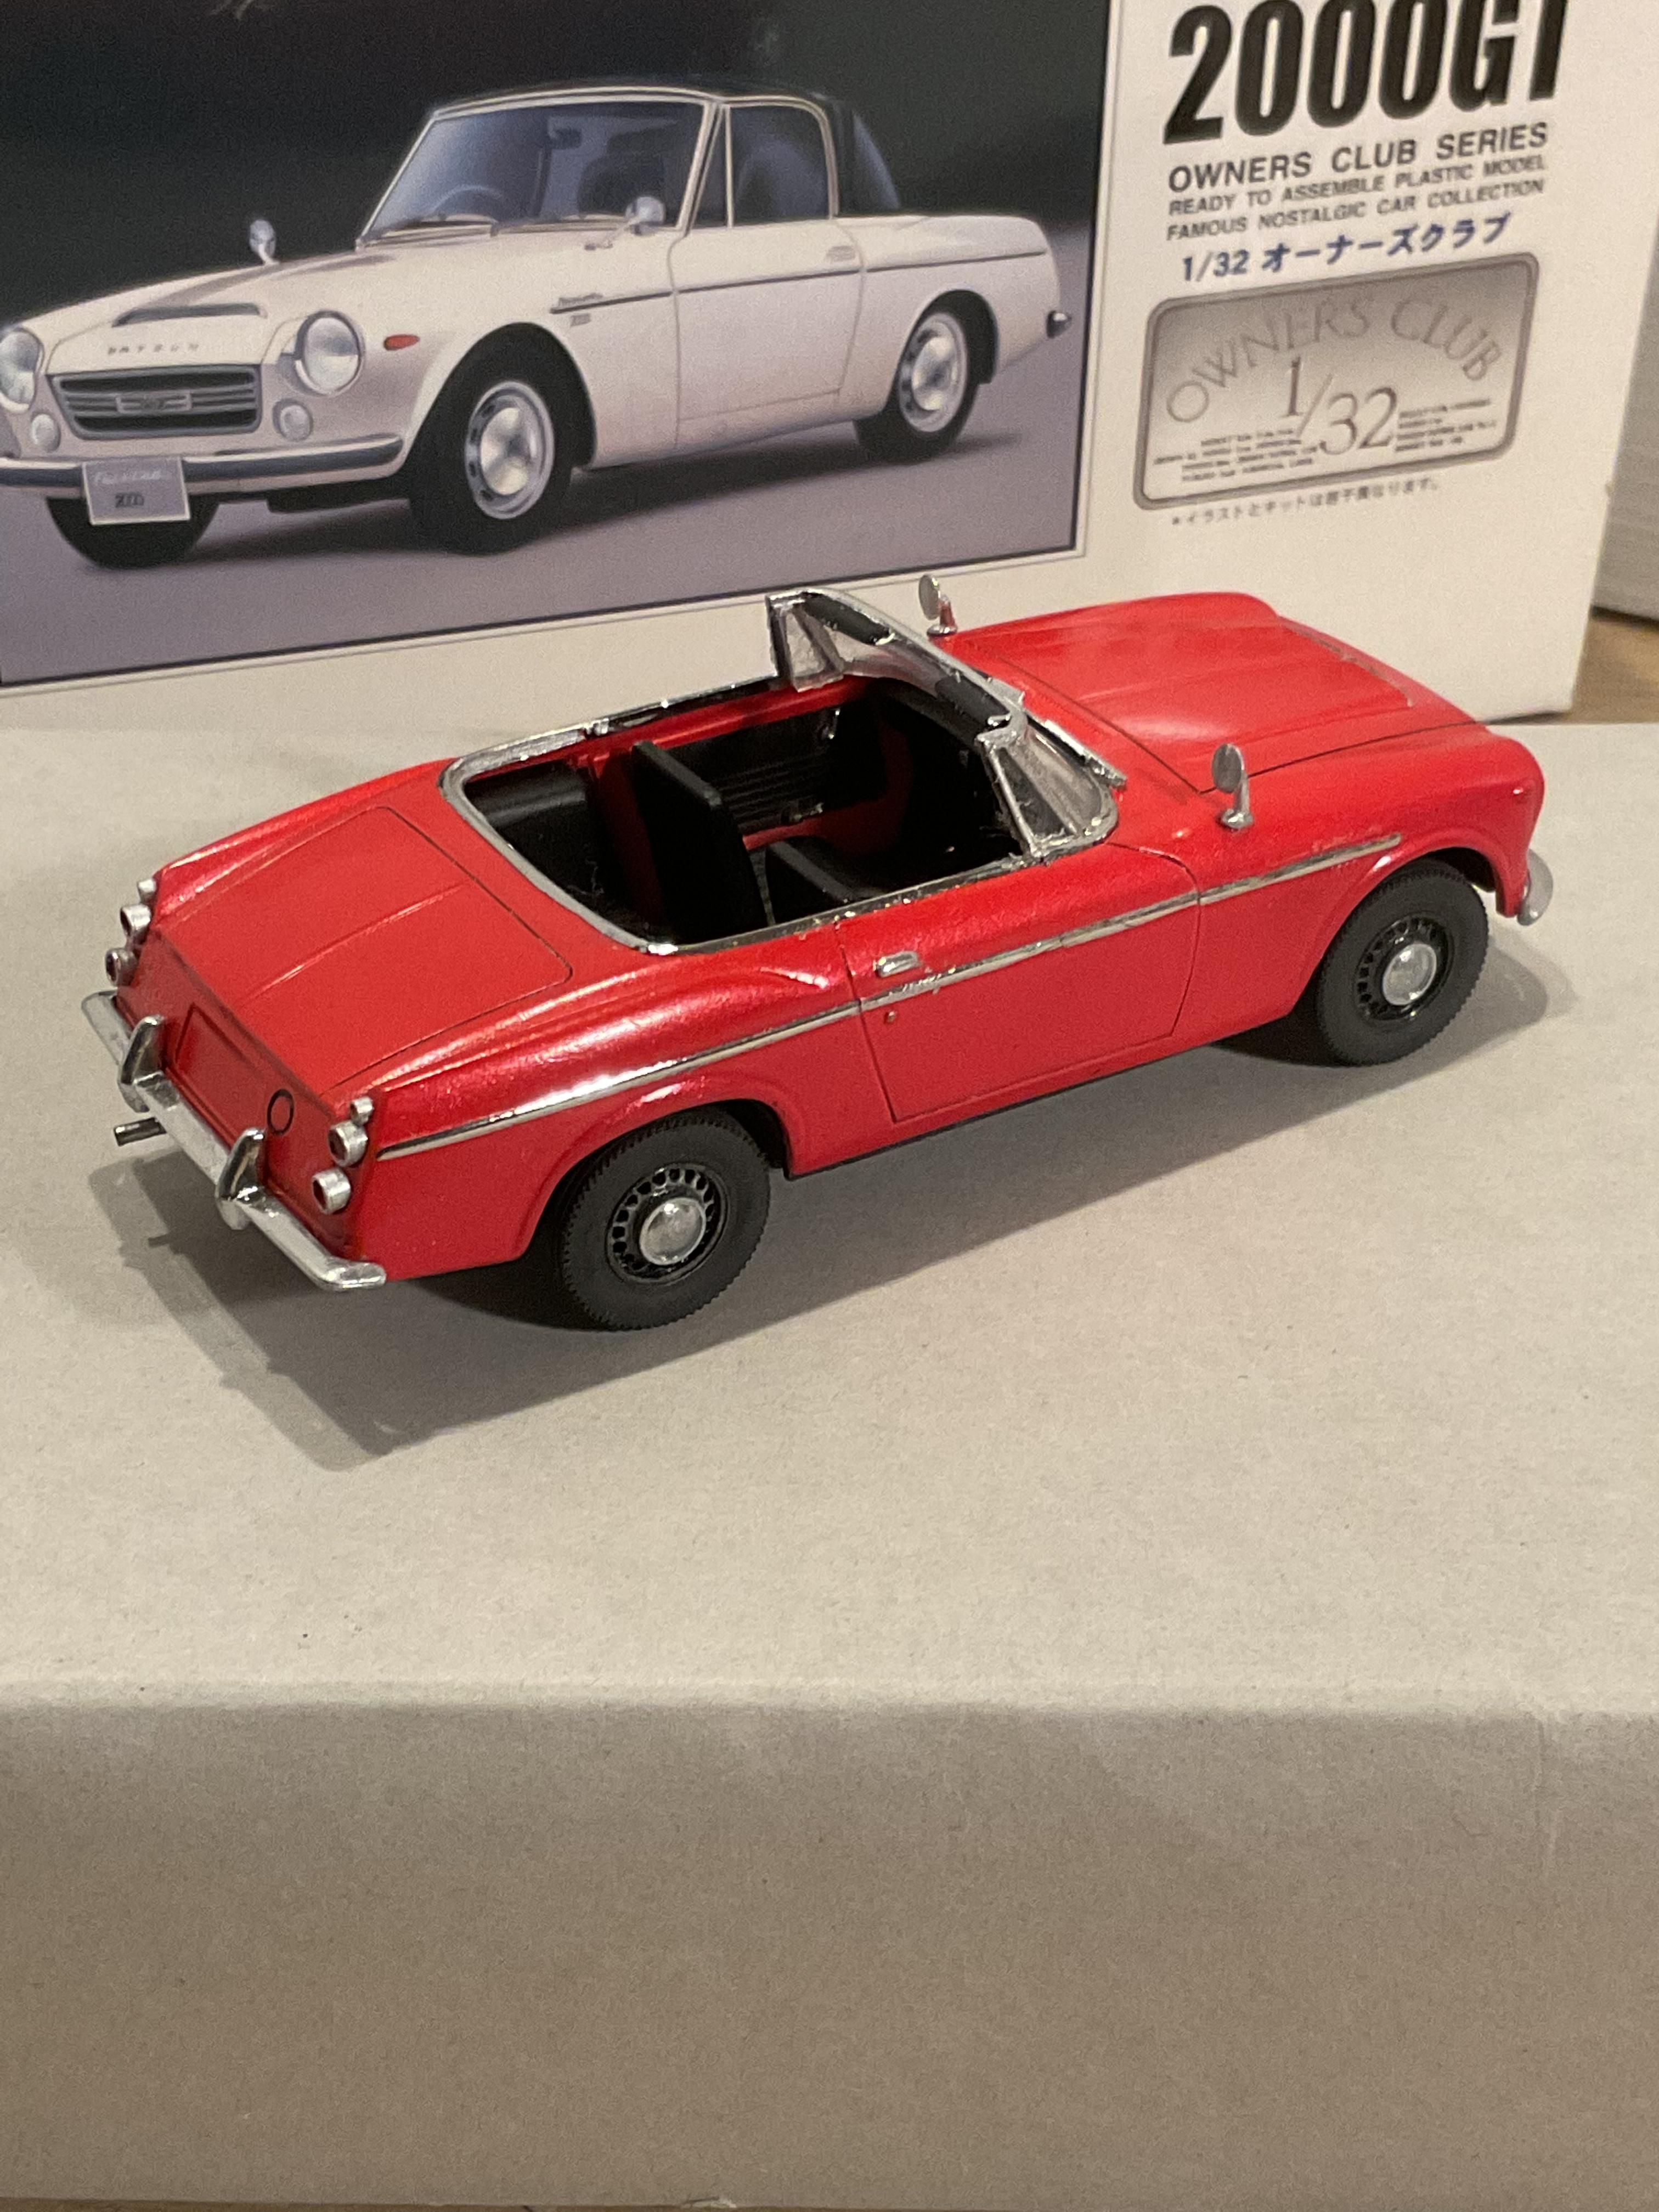
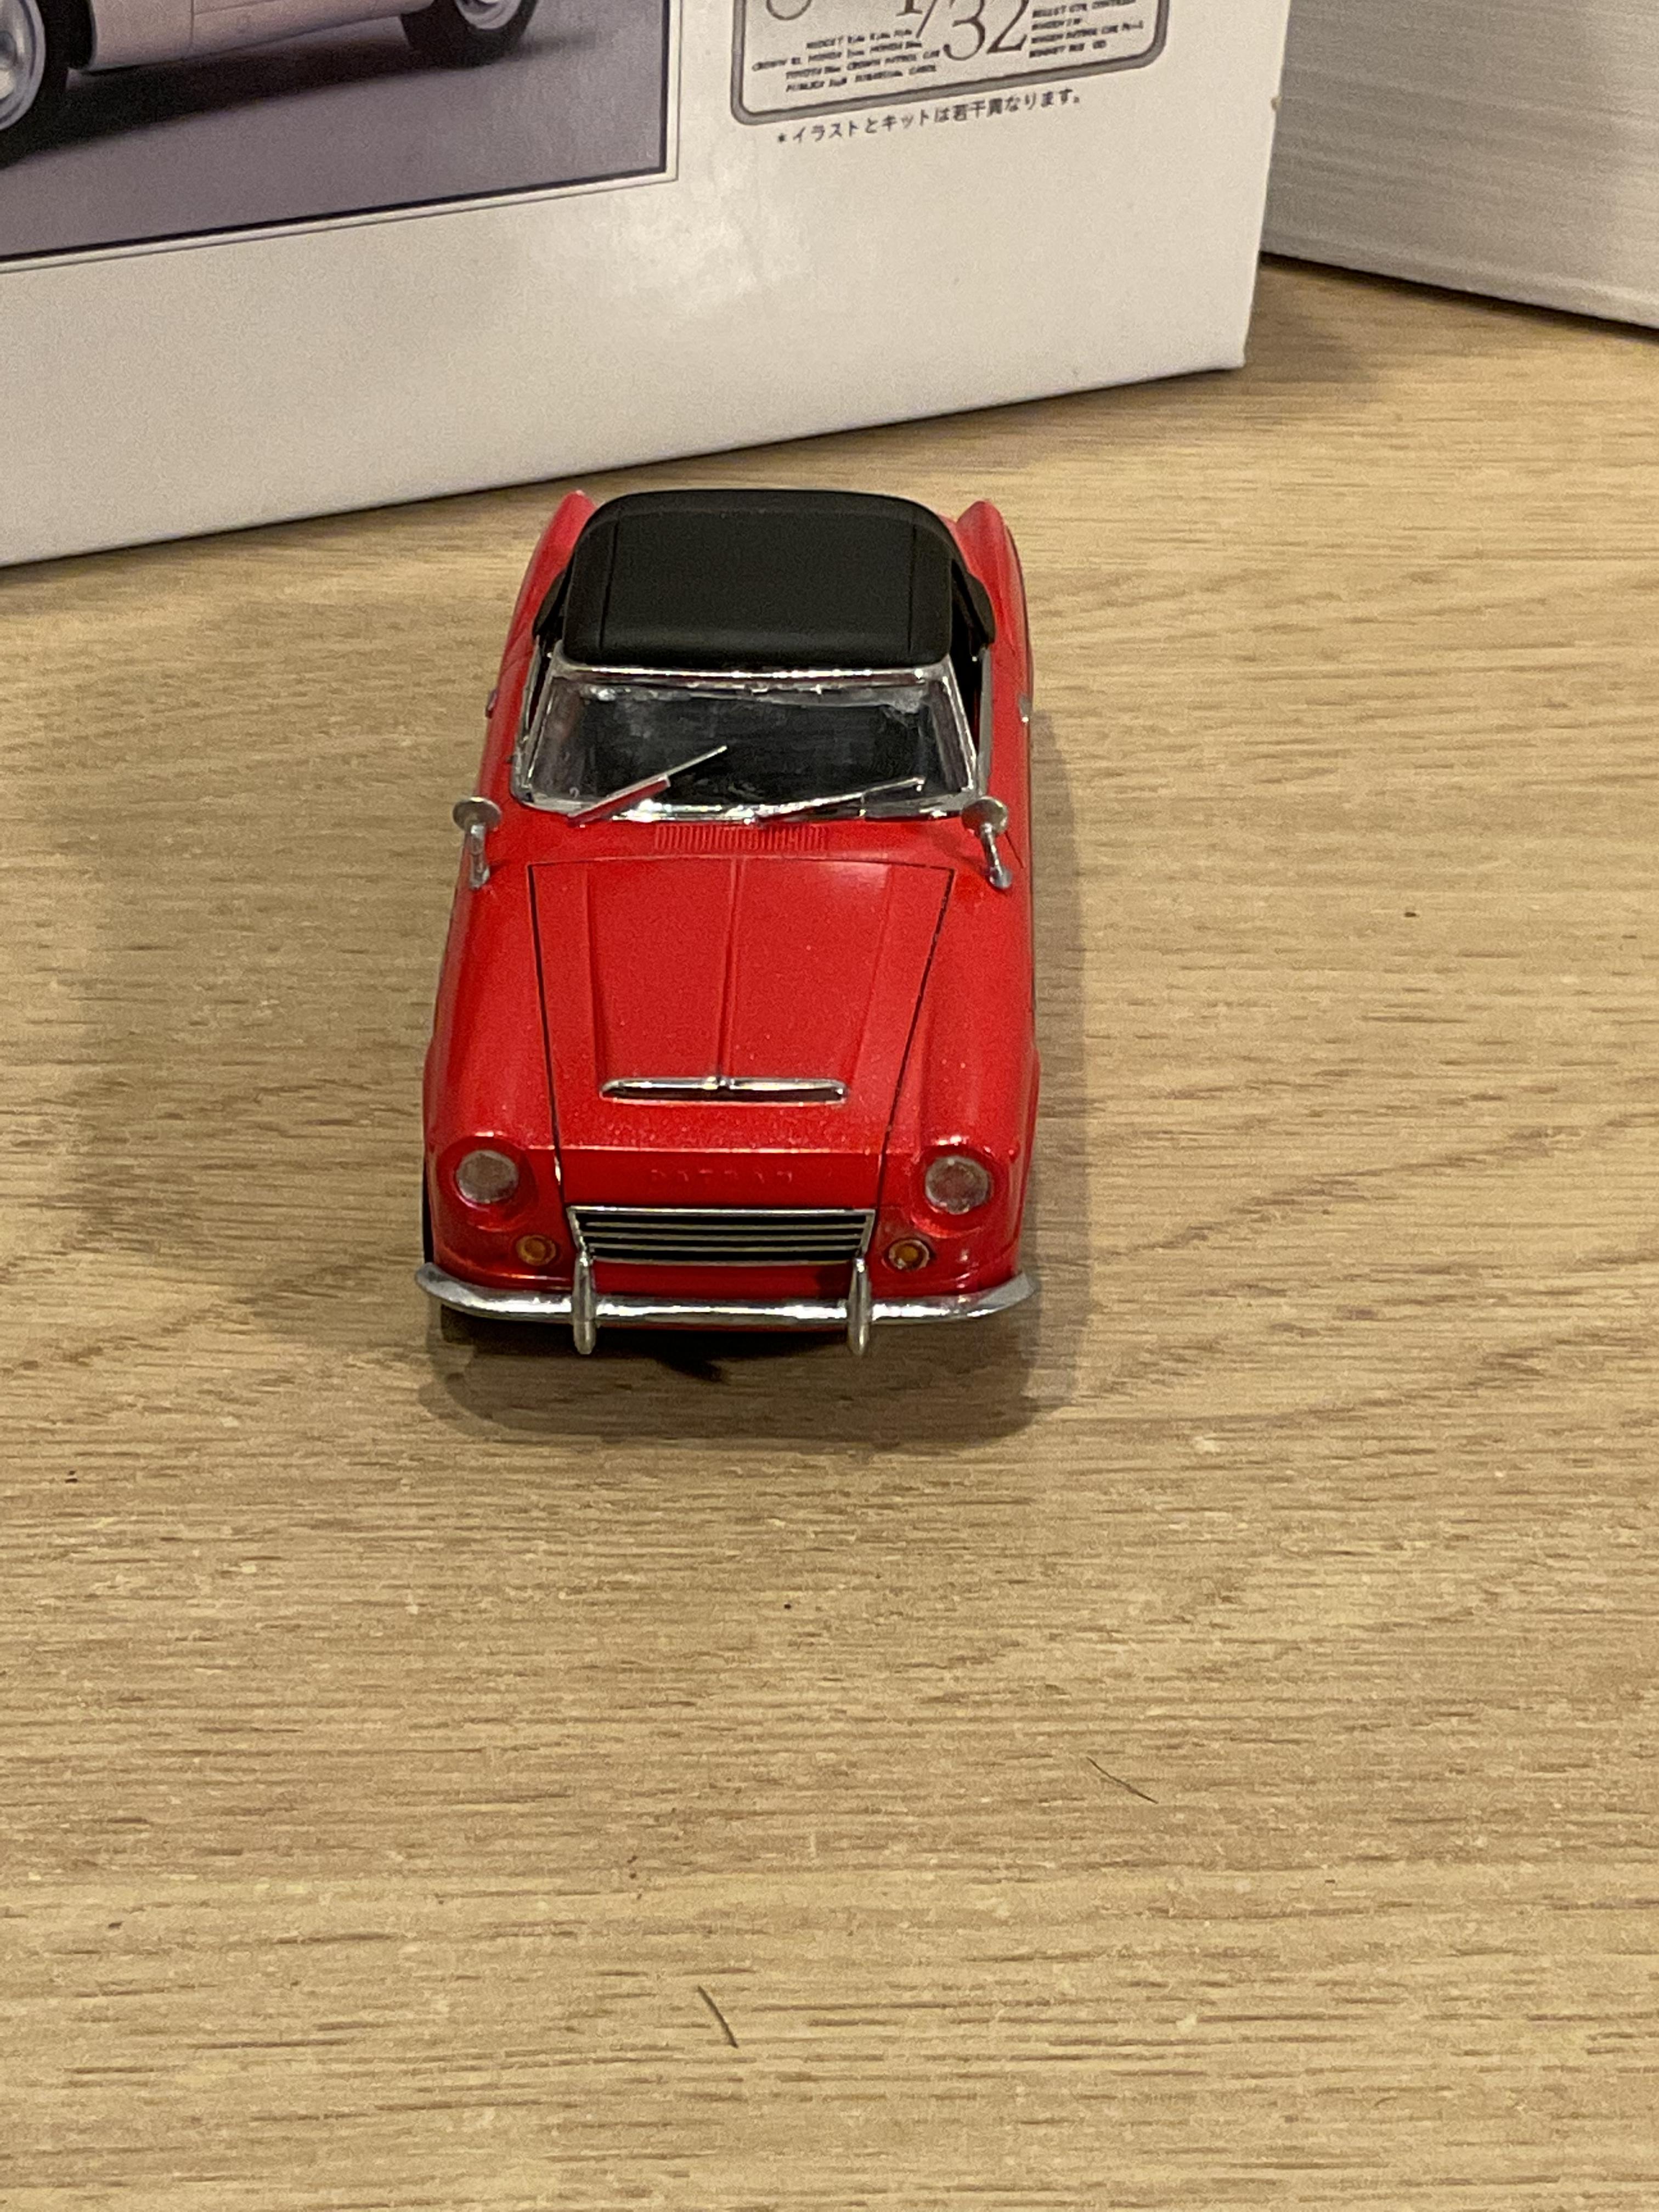
A very fun build that I enjoyed putting together. No major mistakes. I am happy with the undercarriage and am slowly building confidence in that one are. Still a long way to go but getting there, however slowly. Interior is sub par in my opinion: Too much painting outside the lines caused by unsteady hands and poor eyesight. Body color is a chromatic (?) craft color (オーロラグリーン Northern Lights Green) that Yuko had some extra of. I like the looks but need to improve my skill in applying it. Thanks for looking! Stay safe and enjoy!!

-
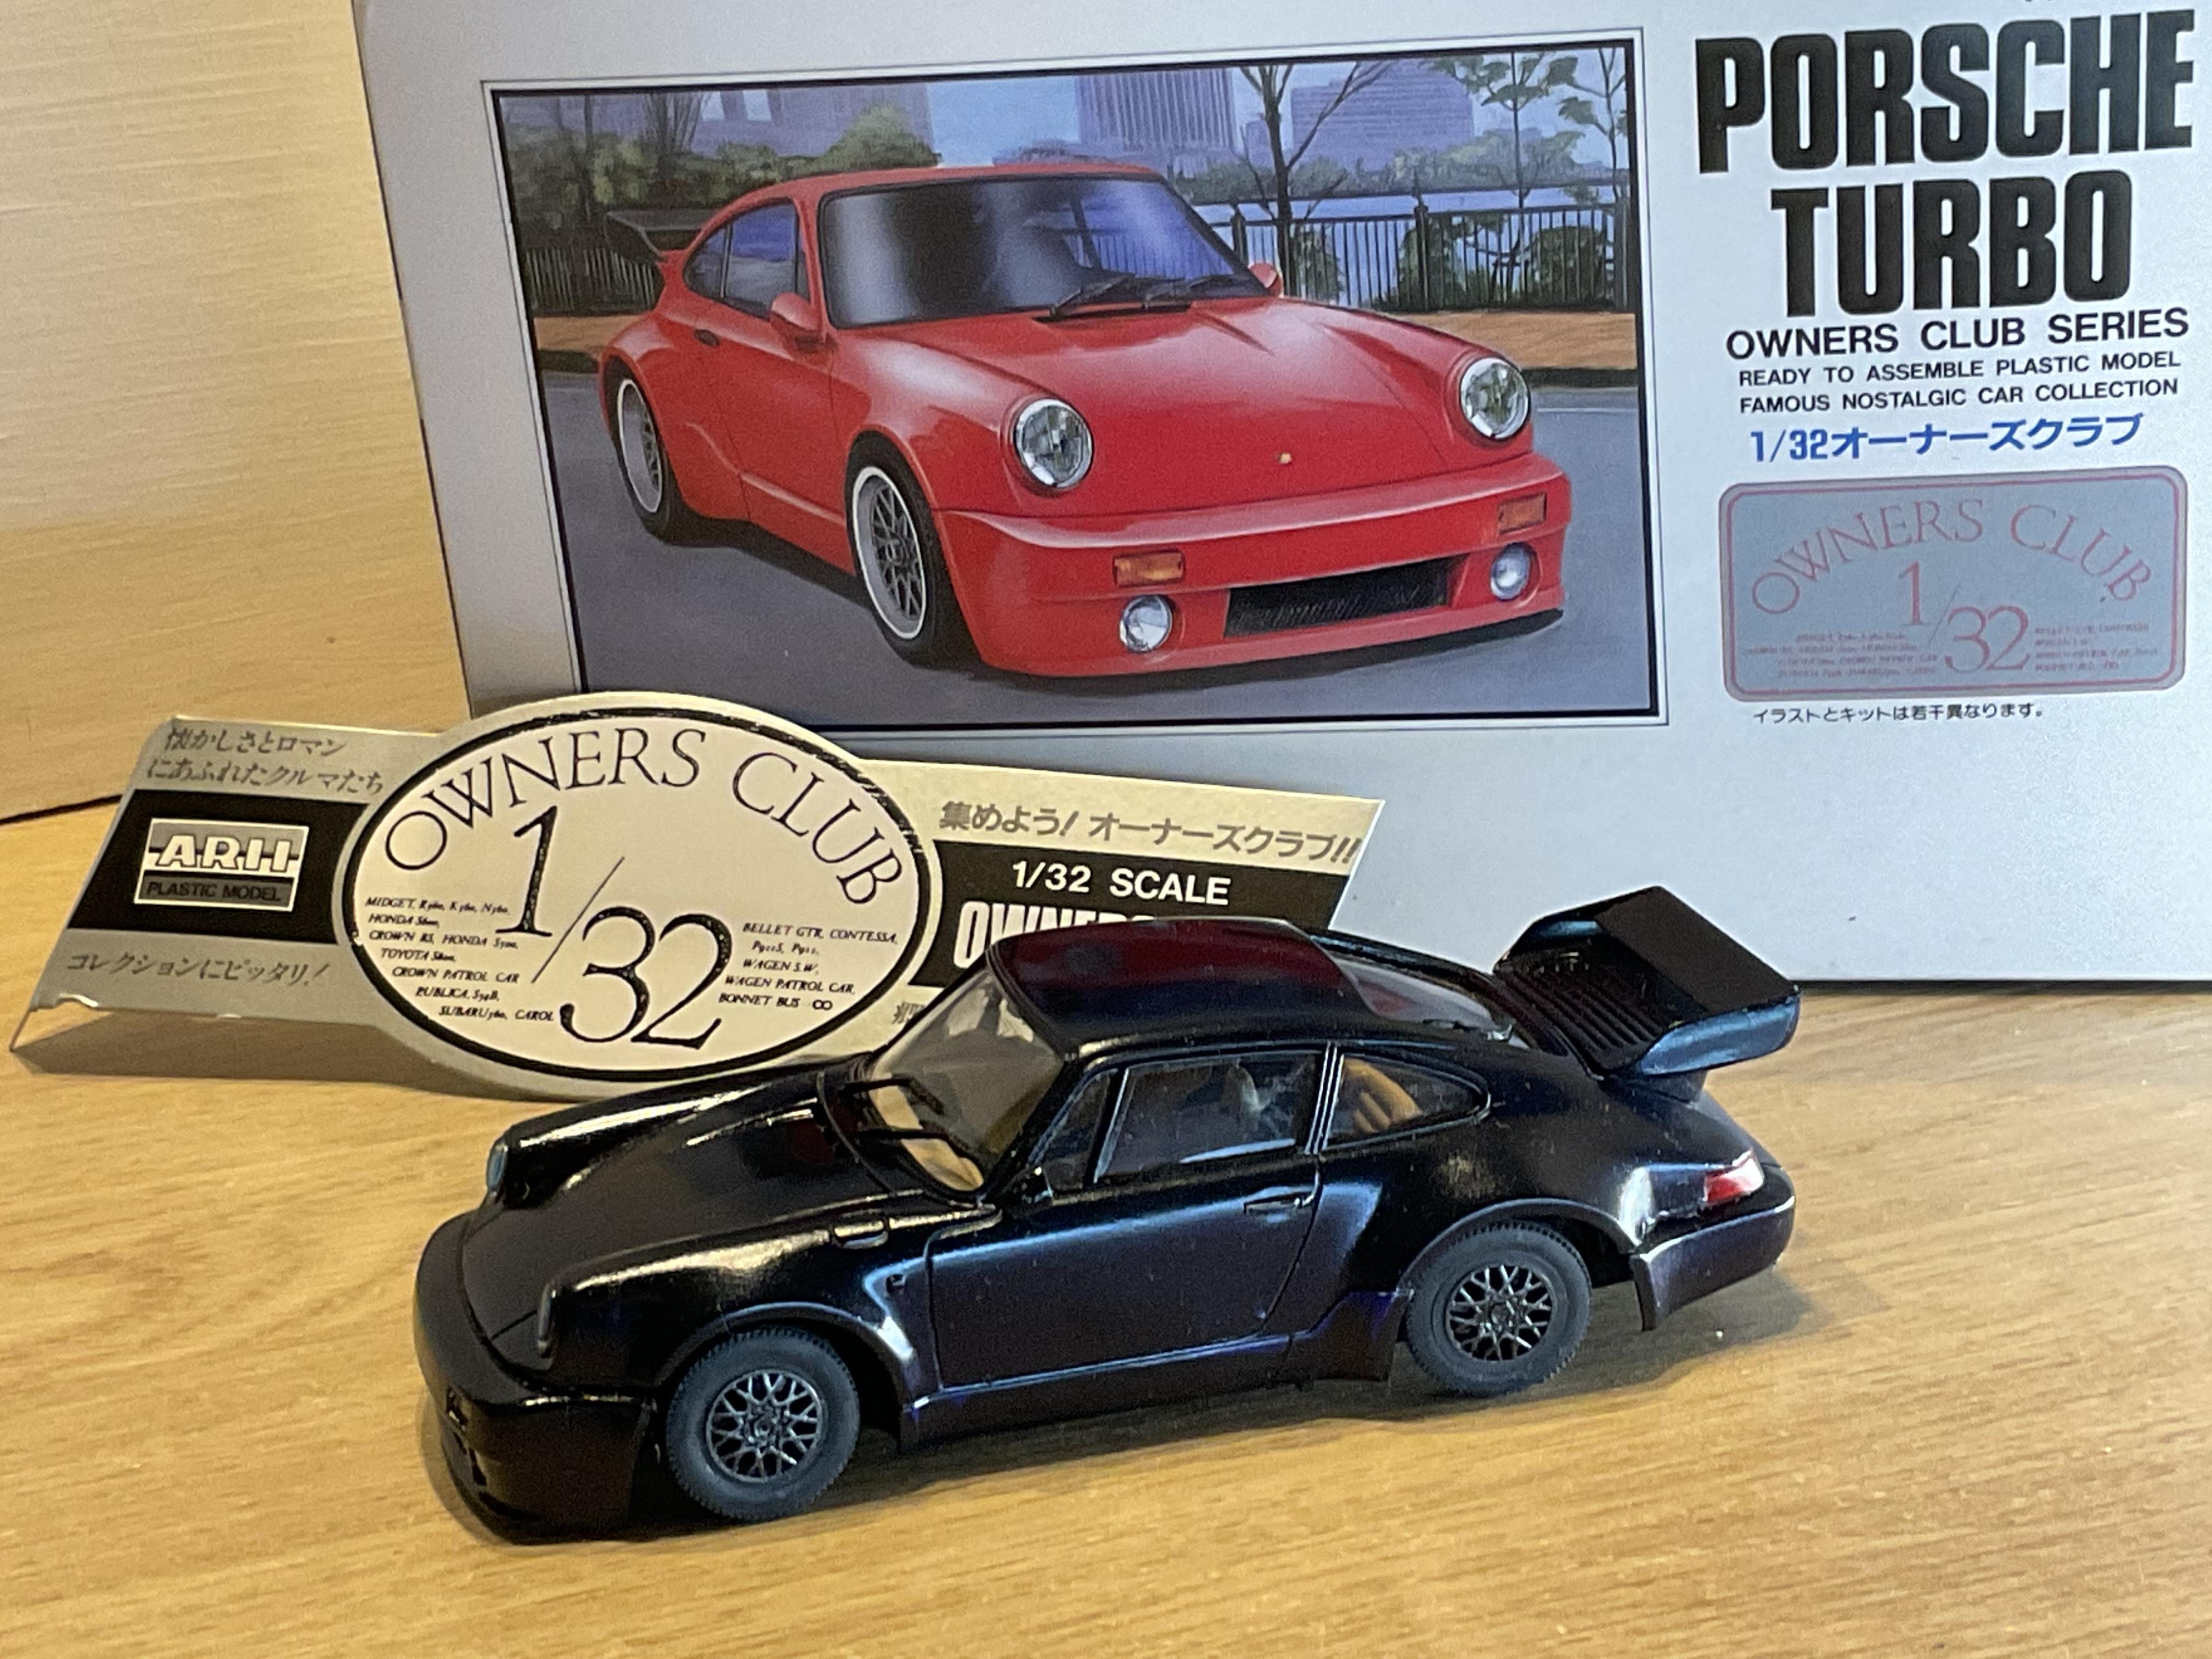
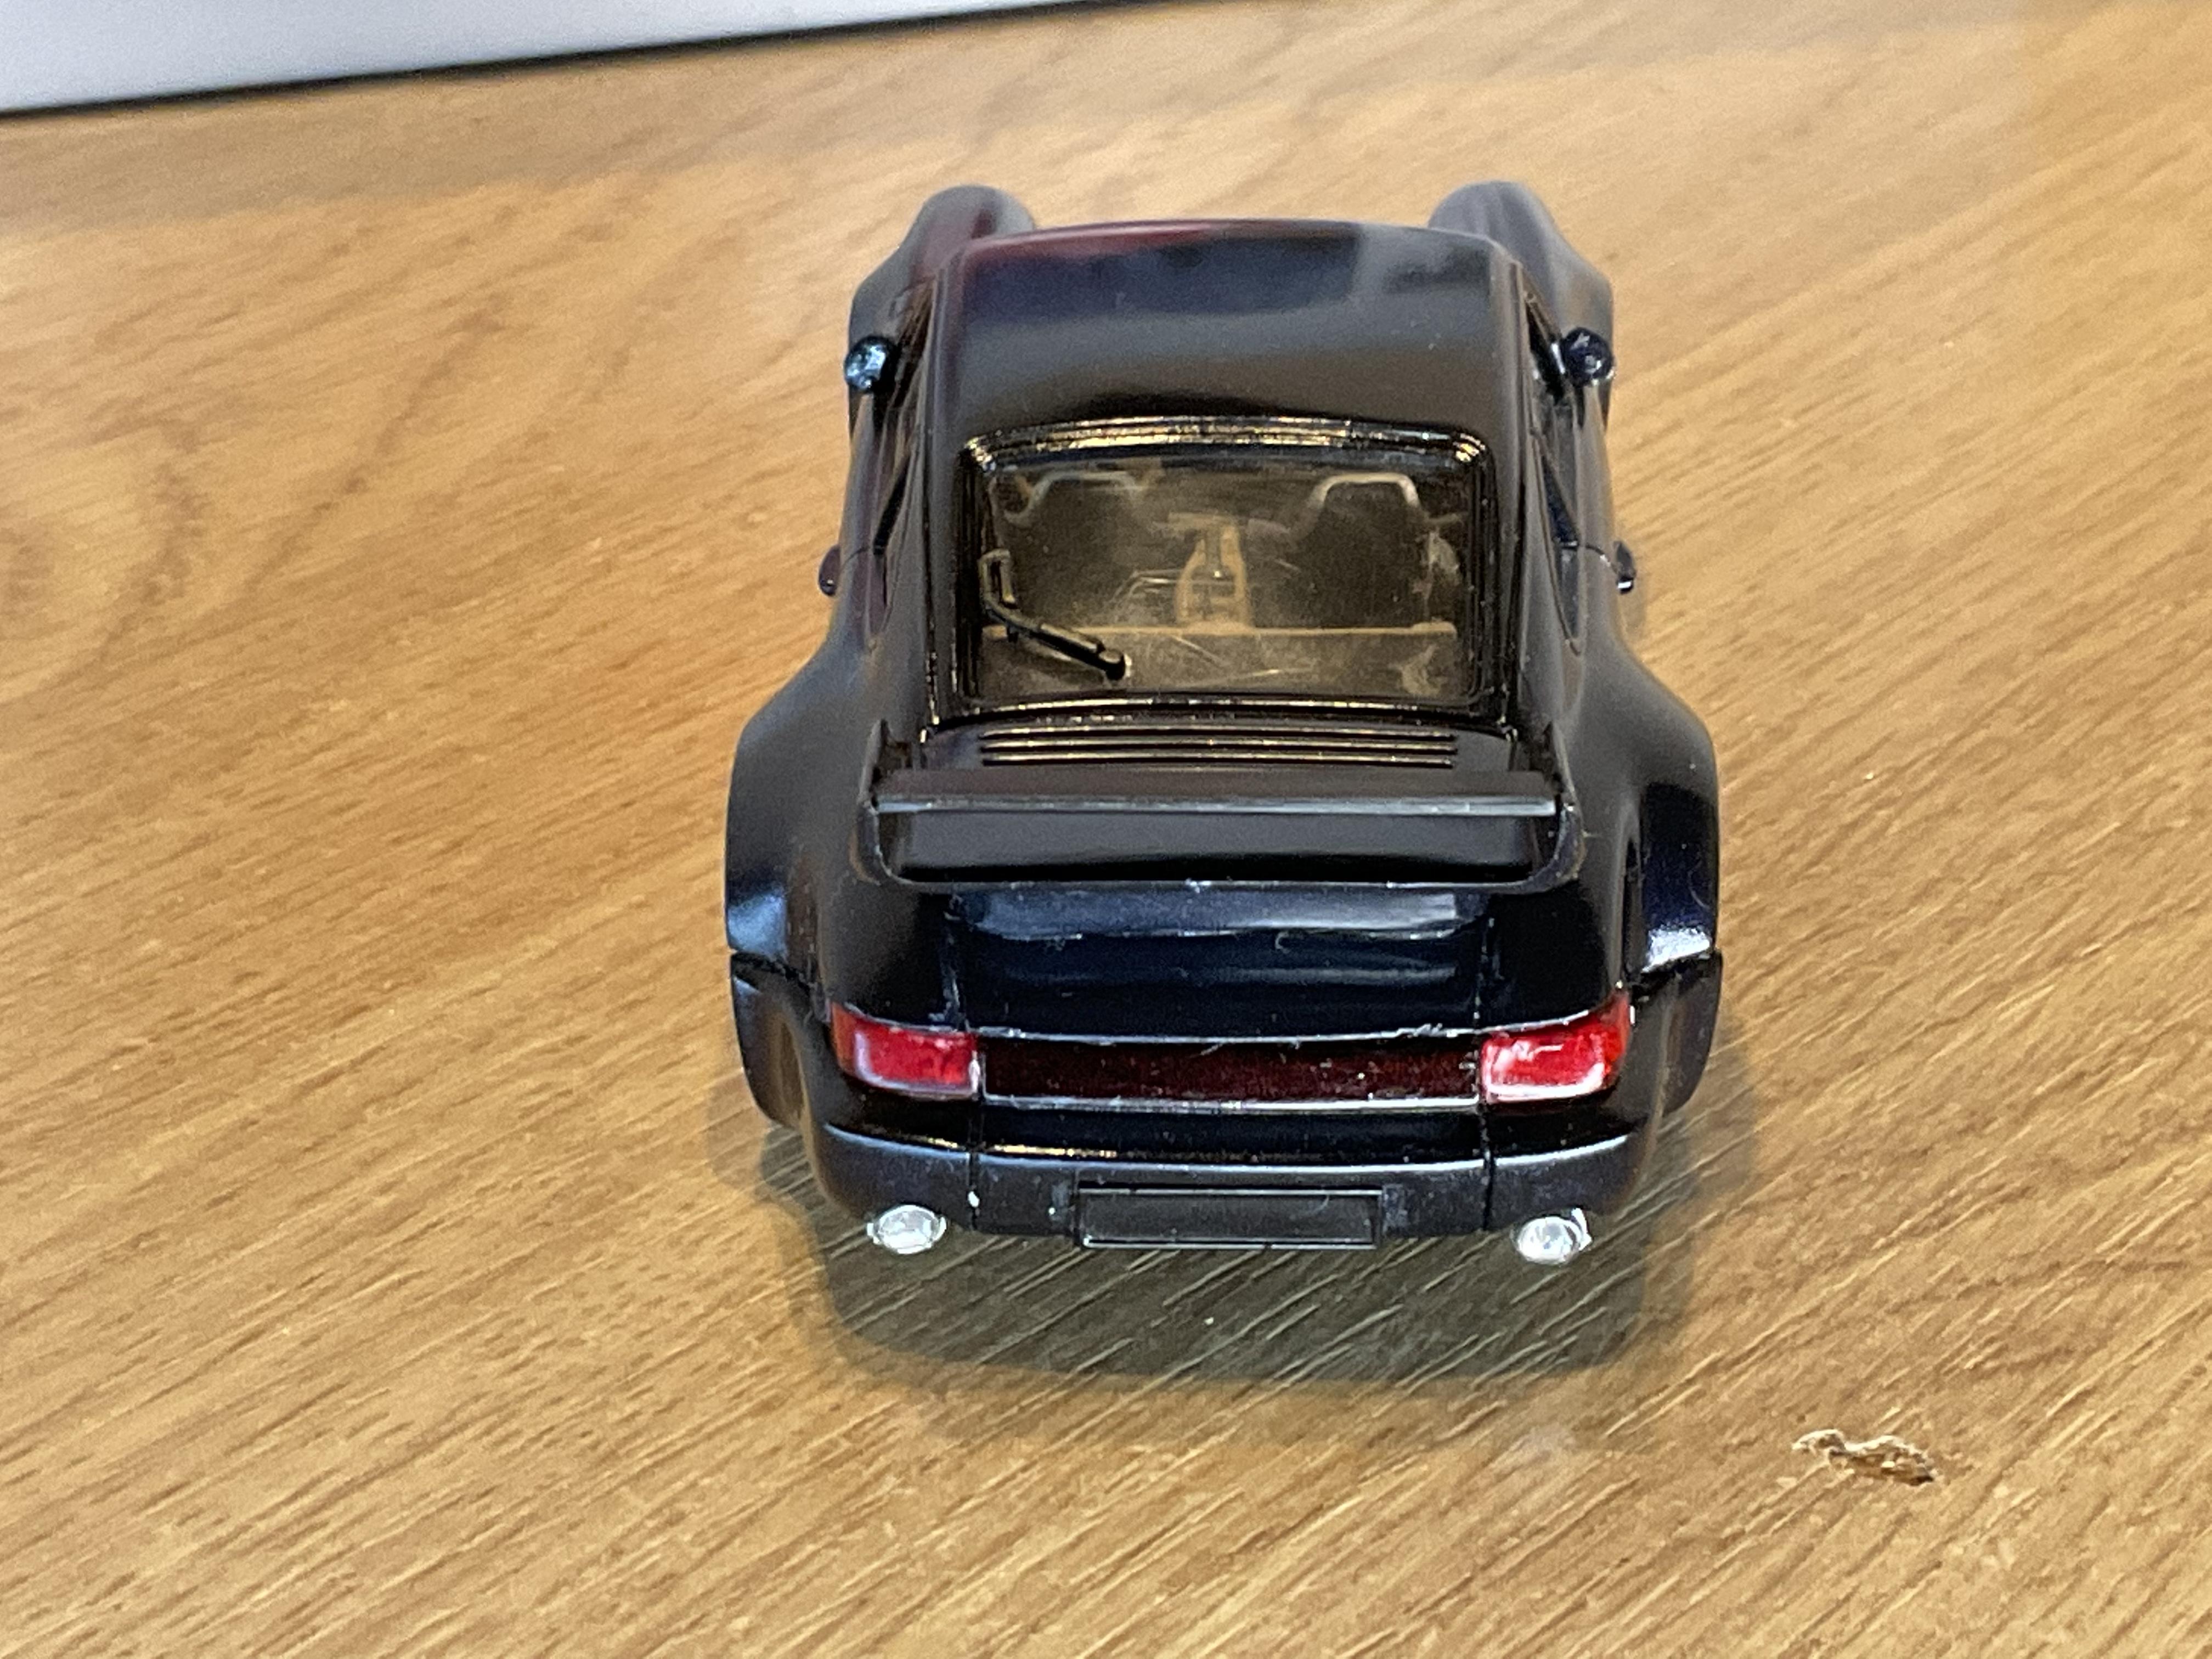
Overall not a bad build, but not a good one either. Tried a two tone black interior, which doesn’t show up in the photos and drilled out the rims. Might be getting better at the foiling, but still can’t figure out how to do the small letters/emblems. The windscreen was a major clusterf**k which prompted me to ask how to instal clear parts in the FORUM. I will be trying many of methods suggested on future builds. Am most pleased with the undercarriage. It is simply done but I am happy with the results. Thanks for looking. Stay safe and enjoy! P.S. Wife doesn’t have any dioramas this scale. Sorry.
-
Installing clear parts without fogging: How!
conchan replied to conchan's topic in Model Building Questions and Answers
Wow! Thanks to everyone who took the time to reply to my query. It is greatly appreciated. I never knew there were so many alternatives. I’ try and find the products recommended here and give them a try. Again thanks for all the help. stay safe and enjoy! -
What’s the best way to install clear parts, windscreens, headlights, etc., without causing fogging or leaving unsightly glue residue behind? I’ve been using regular Tamiya Cement. Thanks for the help. Stay safe and enjoy!
-
FINISHED!!! My Sons Xmas Challenge-Woodys, Vetteboat & Mustang Trailer
conchan replied to Nosferatu's topic in Model Cars
Cool! Great job. -
Thanks to all who took the time to reply to my question. It is appreciated. Again I’ve learned a lot from them them all. Stay safe and enjoy!
-
Thanks! I’ll pass on the compliment. Stay safe and enjoy!
-
Hello all, I'd like to know how you paint your builds? As in what order do you paint the parts? Do you paint them on the tree then remove them or vice versa? Are the larger parts assembled first, then painted or do you paint the large parts separately then assemble? How about the smaller more detailed parts? Do you paint everything first? Or do it in the order the manual says? I follow the manual, which may not be the most efficient way to do things, but it saves me from losing parts. Thanks for reading. Stay safe and enjoy!
-
Thank you. It was my first 1/32 kit. Was a fun build.
-
Your Chevelle building skills are awesome! The work on the cars is amazing. I am partial to the blue as it is close to the colour of my ‘69. Thanks for sharing. Stay safe and enjoy!
-
A very nice build. As others have said the colour looks good on the Nova. I like the engine detailing as well. Thanks for sharing. Stay safe and enjoy!
-
A simple model that I enjoyed building. While the bark blue color is fairly metallic outside under the lights it seems almost black. I would like to be able to paint a car that has the dipped in honey look eventually. The interior details were hard to paint with shaky hands and poor eyesight, but they turned out ok. Not great but ok. And how do you guys get such awesome looking undercarriages? I am struggling to even see the bar you guys set never mind reach it. Overall I am happy with the finished product. Thanks for looking! Stay safe and enjoy!
-
Thanks very much! I’ll pass on the compliment! Stay safe and enjoy!
-
Molotow Chrome Marker breakdown
conchan replied to conchan's topic in Model Building Questions and Answers
I’ve tried using a brush and that works but was hoping to avoid the masking. Thanks for replying. Let me know how the airbrushing works. -
Thanks for the image. Makes it a lot easier to find in the hobby store.
-
Thank you so very much for taking the time to write up the detailed explanation. It really does help me understand things better and is greatly appreciated. Stay safe and enjoy!
-
Paint thinner, paint leveler, paint reducer, etc: what is the difference in terms of painting with acrylic paint. (Ie Tamiya and Mr. Color paints. Stay safe and enjoy!
-
Thanks!
-
Thanks for the kind words. Glad you like the post. I’ve never thought about adding figures. I’ll suggest it to Yuko and see what she says as the dioramas are here territory. stay safe and enjoy!