BK9300
-
Posts
1,986 -
Joined
-
Last visited
Content Type
Profiles
Forums
Events
Gallery
Everything posted by BK9300
-

Western Star 4900 FA plow truck
BK9300 replied to BK9300's topic in WIP: Model Trucks: Big Rigs and Heavy Equipment
See - you shouldn't be away soon long - apologies, I seem to do that too often! -
Western Star 4900 FA plow truck
BK9300 replied to BK9300's topic in WIP: Model Trucks: Big Rigs and Heavy Equipment
Good that you're back, Pete, and thanks for having a look in! -
59 Chevy Task Force
BK9300 replied to Jürgen M.'s topic in WIP: Model Trucks: Pickups, Vans, SUVs, Light Commercial
I need to get around more than I do - here you are over in an different section! That's a pretty faithful reproduction you've produced, Jurgen - well done. Now, if you get the bus built, what do you think your next, self-made collection will be based on? -
Western Star 4900 FA plow truck
BK9300 replied to BK9300's topic in WIP: Model Trucks: Big Rigs and Heavy Equipment
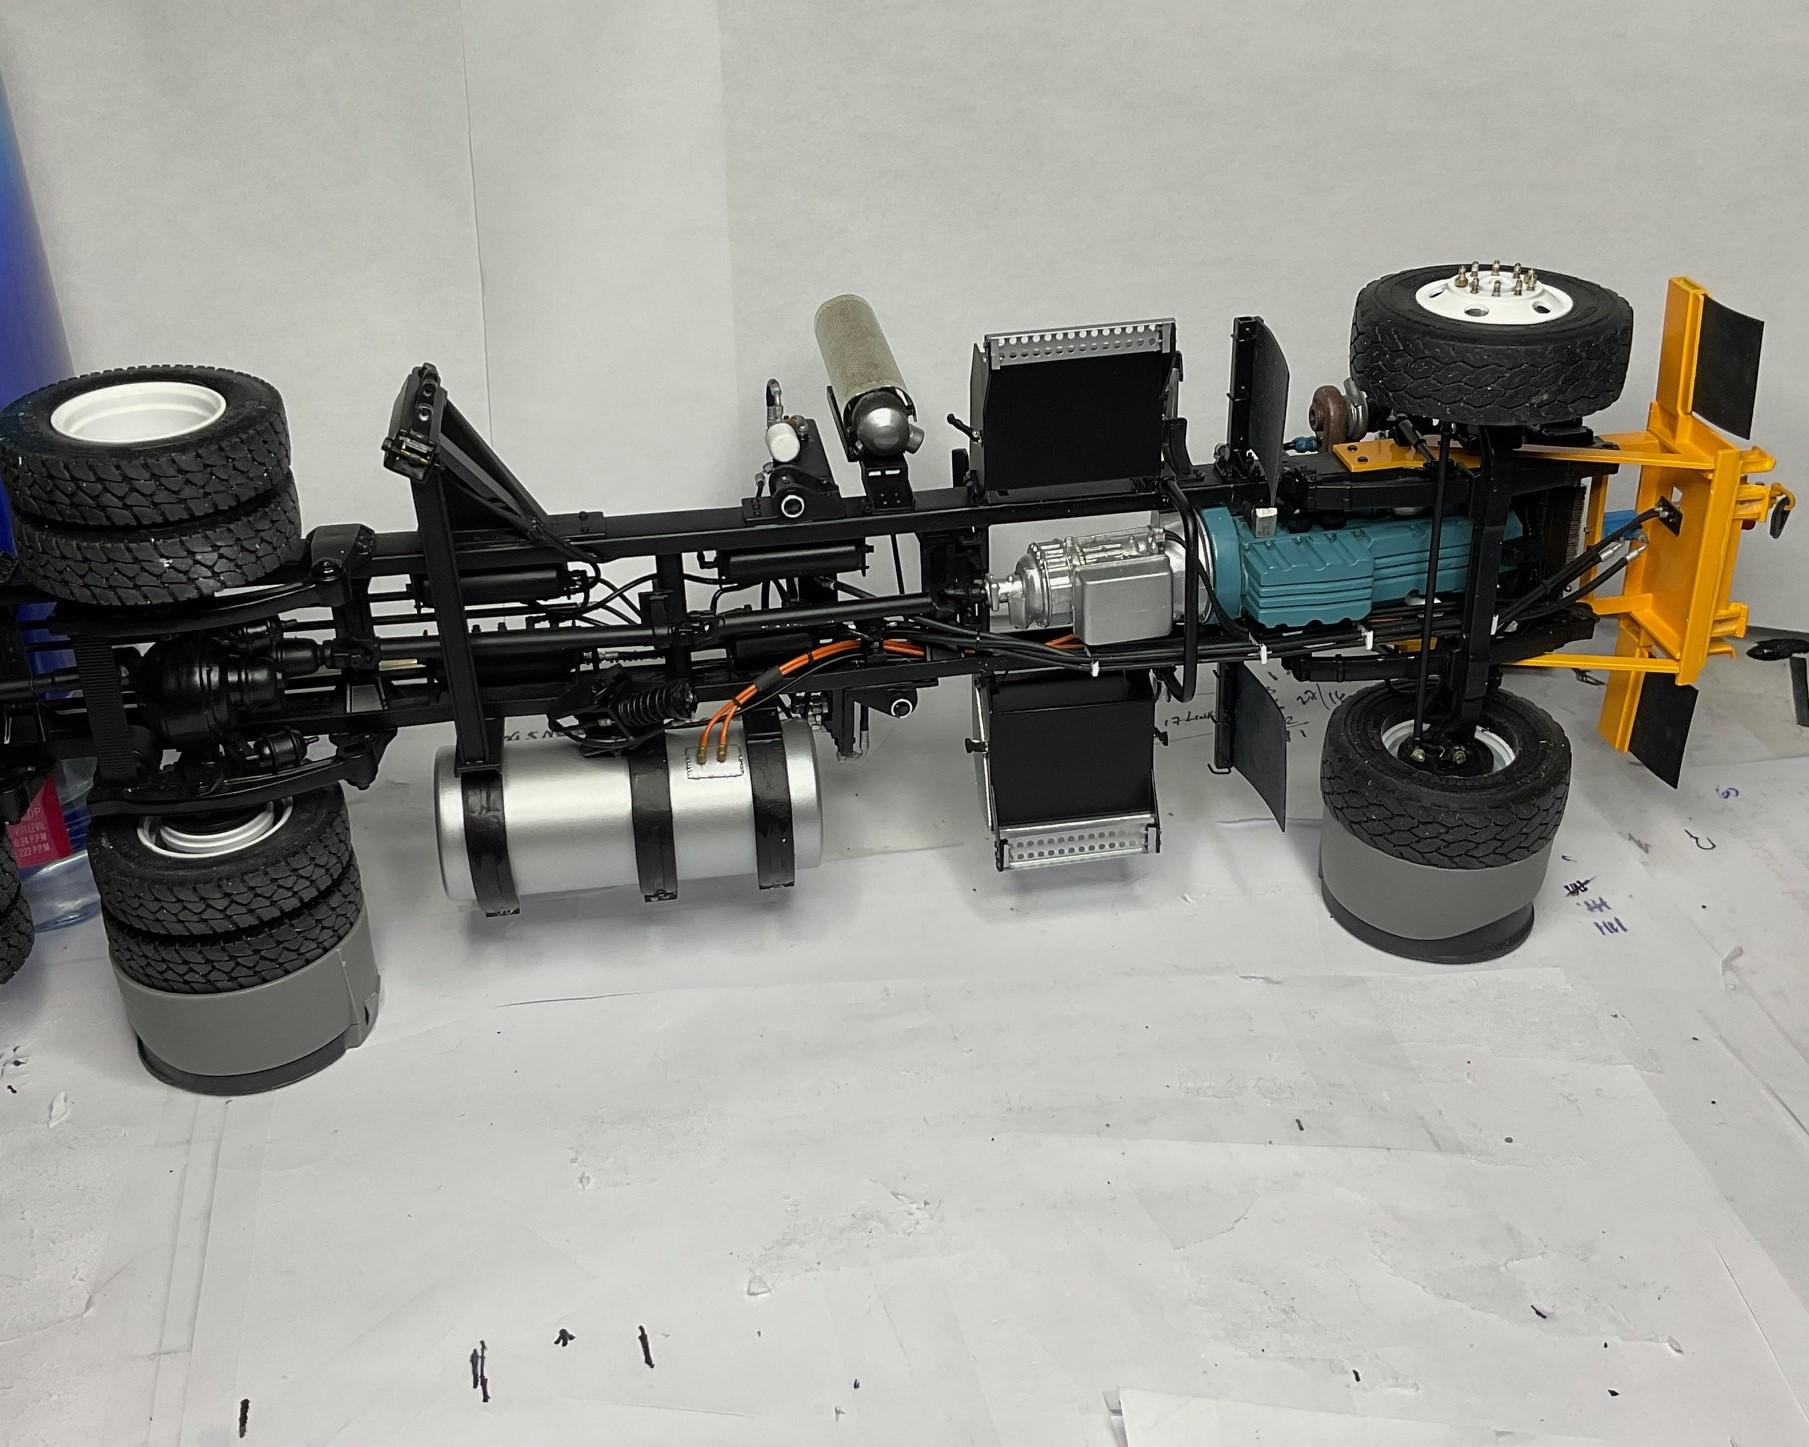
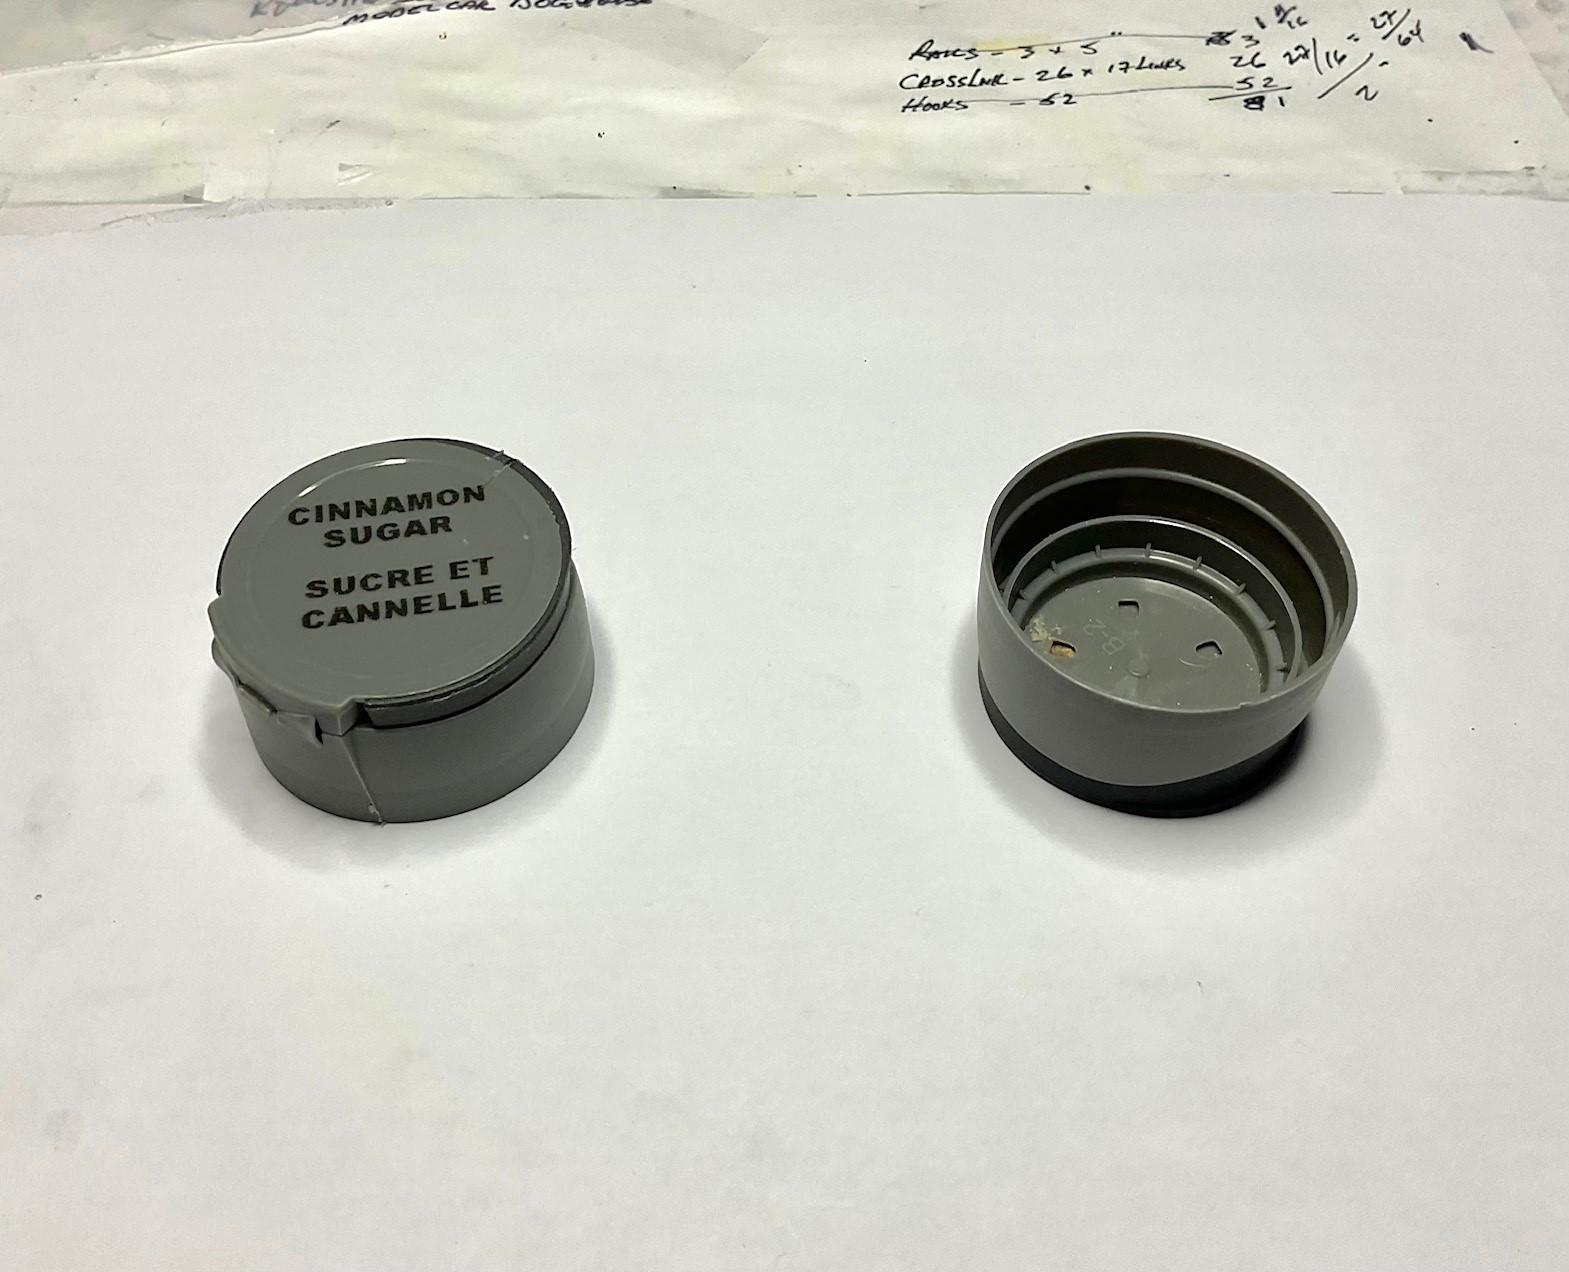
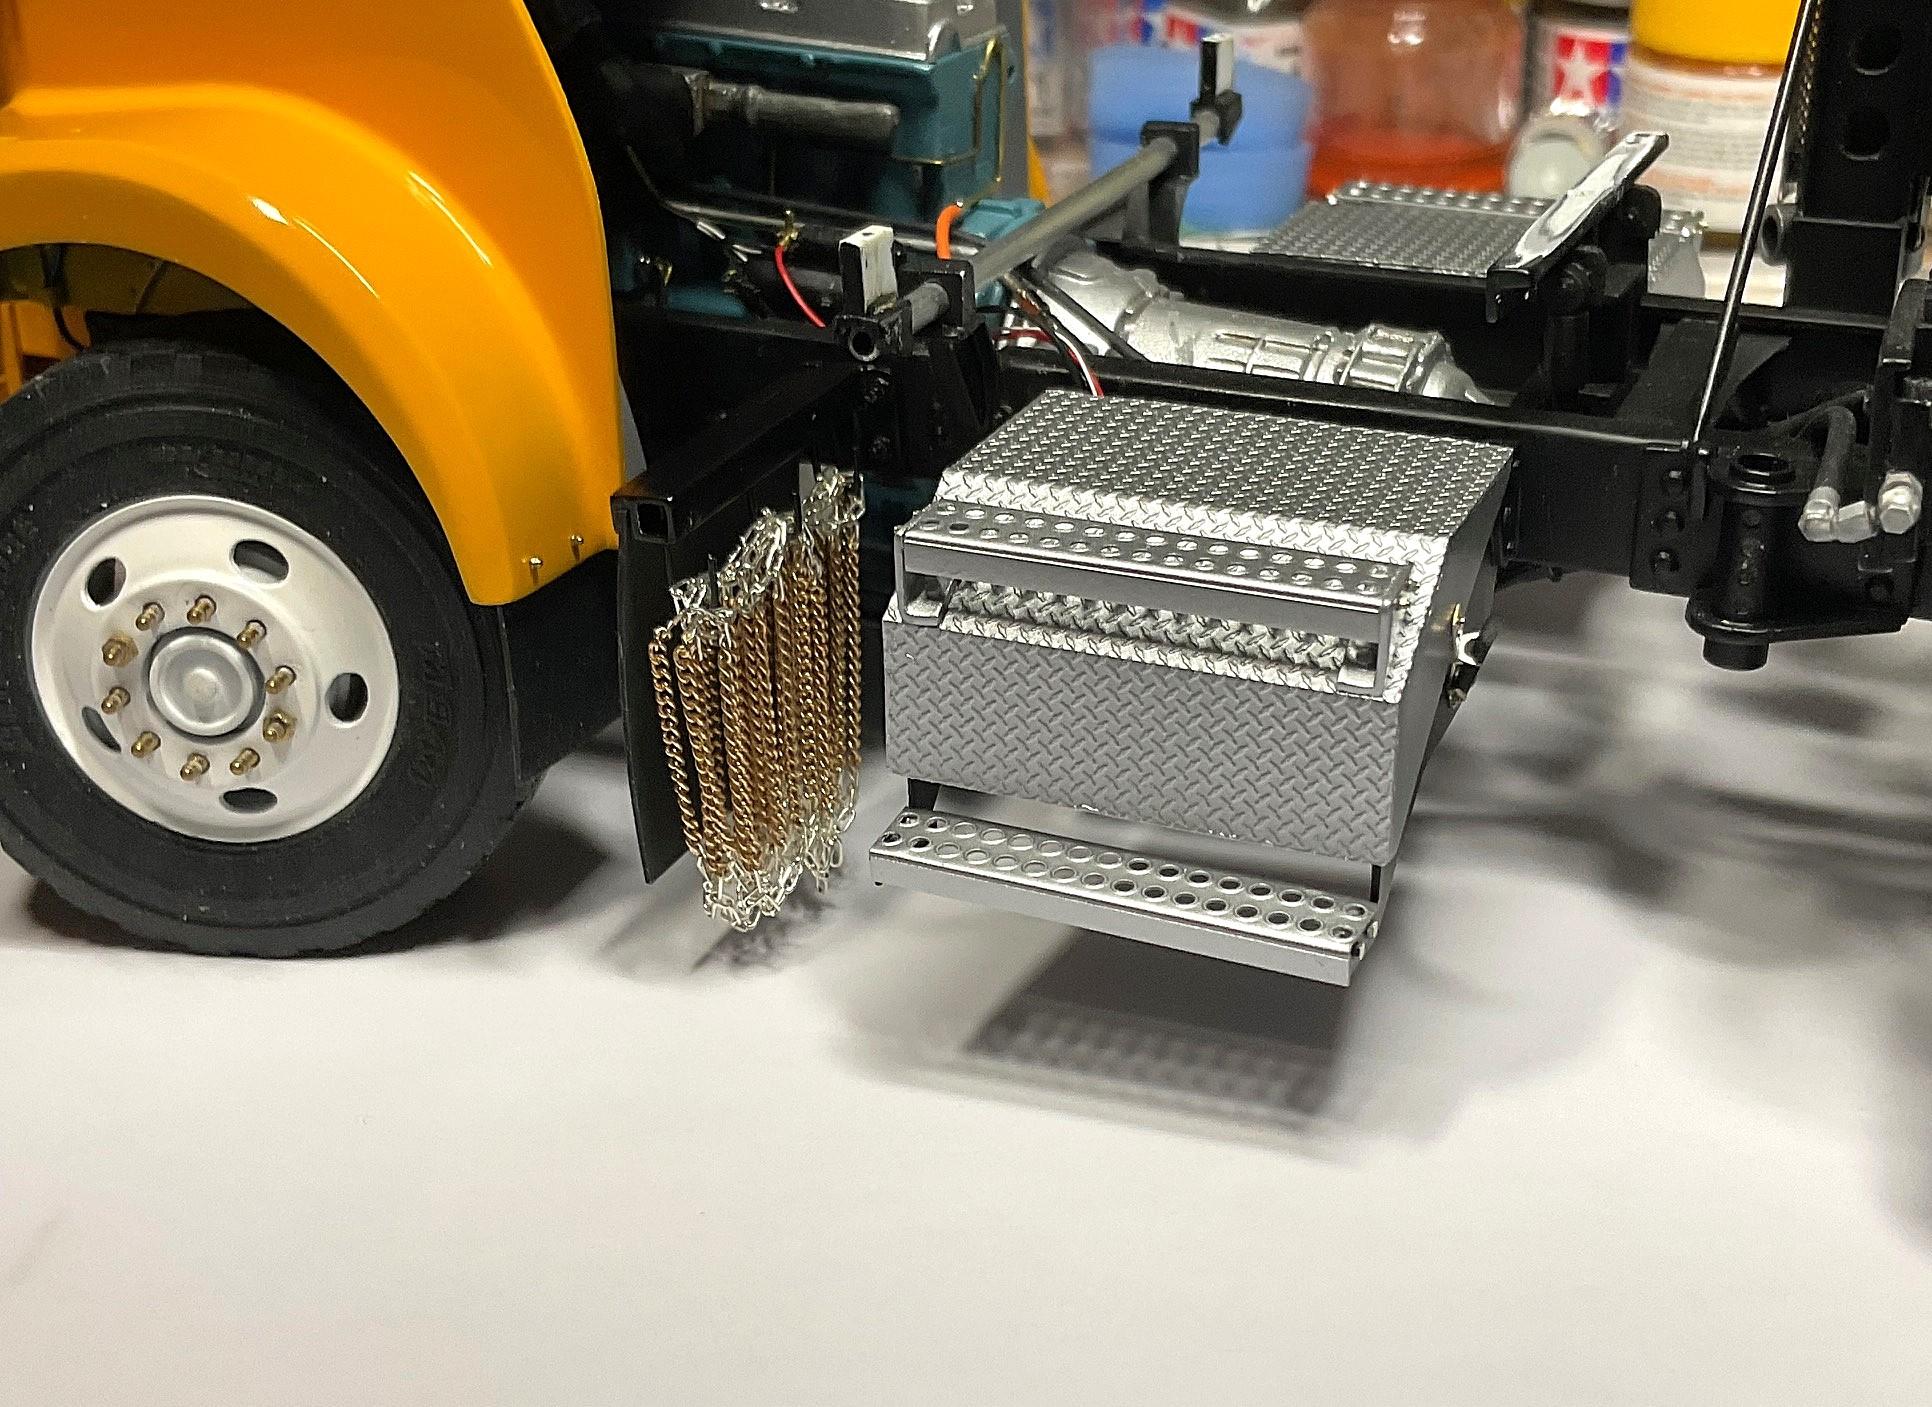
Just been 'mentally' working on the finishing steps. No actual work done, but down to three pages on the punch list and all of that is to do with the cab/hood/engine! As an aside, when installing the chain hangers, I was scraping some paint off the frame to glue the hanger on the passenger side, and while applying some resistance on the underside of the frame, I managed to pop off the step box - think I had a heart murmur because I thought I had broken the box! Turns out the glue just gave way, so was able to glue it back on ok. I took a pic of the frame while glue was setting up. Point of all this is that Jeff found my method for supporting the truck on its side interesting and thought others might be interested, too. I've been using a couple of cinnamon, spice bottle lids to set the tires on their sidewalls, with a bottle of water in behind for support to keep the frame from tipping backwards - work well for me!
-
Western Star 4900 FA plow truck
BK9300 replied to BK9300's topic in WIP: Model Trucks: Big Rigs and Heavy Equipment
Thanks a lot, Guys - this is ponderously slow from the outside, I'm sure, but getting so much closer to finishing! -
Kenworth C500
BK9300 replied to Gary Chastain's topic in WIP: Model Trucks: Big Rigs and Heavy Equipment
I'm sure you've found stuff like this online, but this is a site I save lots of pics from. In keeping with your inspiration truck, the one in the link below gives lots of detail pics (81) - might be of some help with ideas. https://www.rbauction.com/pdp/2009-kenworth-c500-8x6-sleeper-winch-truck/14176120?utm_source=www.ironplanet.com&utm_medium=referral&utm_campaign=syndication -
Kenworth C500
BK9300 replied to Gary Chastain's topic in WIP: Model Trucks: Big Rigs and Heavy Equipment
Are those Meritor (Cummins) axles? If so, been eyeing those for quite awhile! -
Kenworth C500
BK9300 replied to Gary Chastain's topic in WIP: Model Trucks: Big Rigs and Heavy Equipment
That's a tough looking truck, Gary - going to be a great one to follow! (a twin steer, C500 is definitely on my list!) -
Nice progress with the paint refreshing, Pete. Can’t tell if it’s the lighting, but did you highlight all the rivets on your hood skirts? Now that’s a steady hand, for sure!
-
Western Star 4900 FA plow truck
BK9300 replied to BK9300's topic in WIP: Model Trucks: Big Rigs and Heavy Equipment
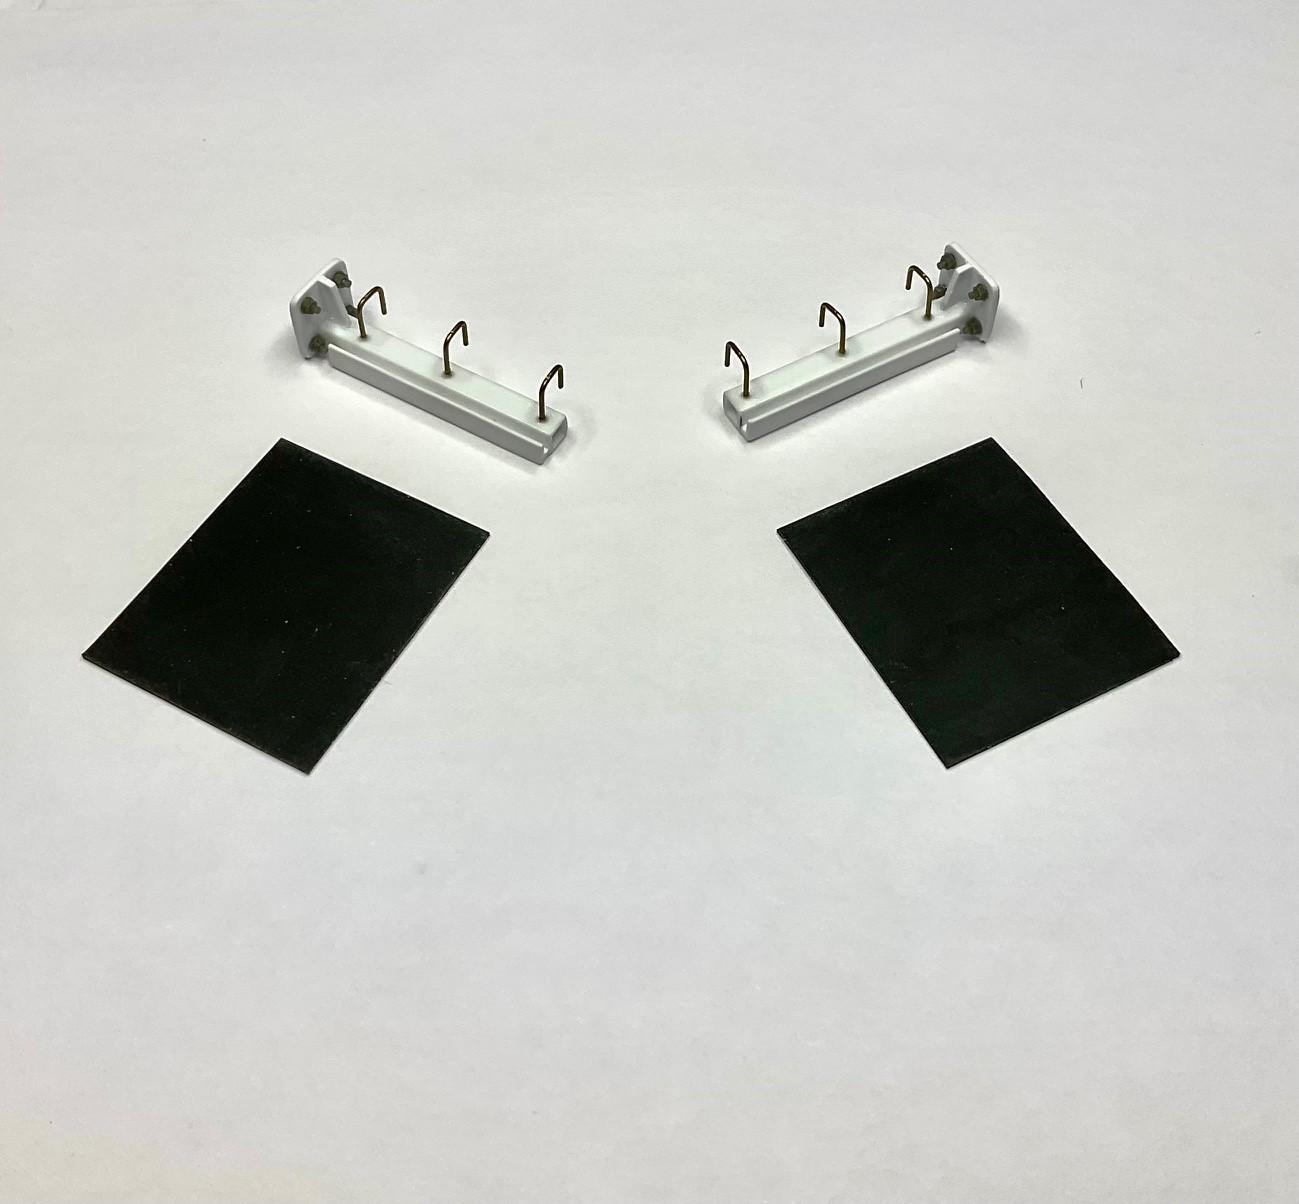
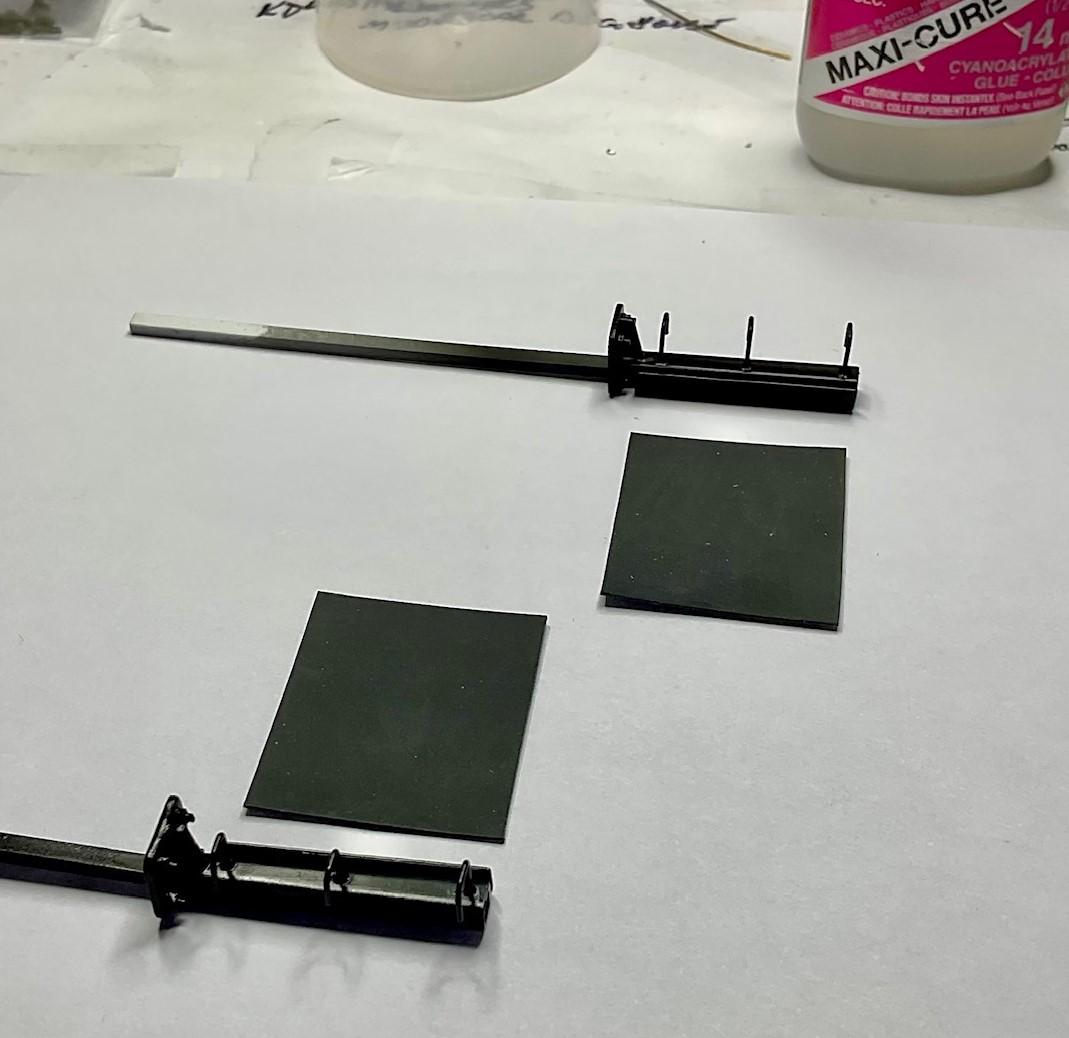
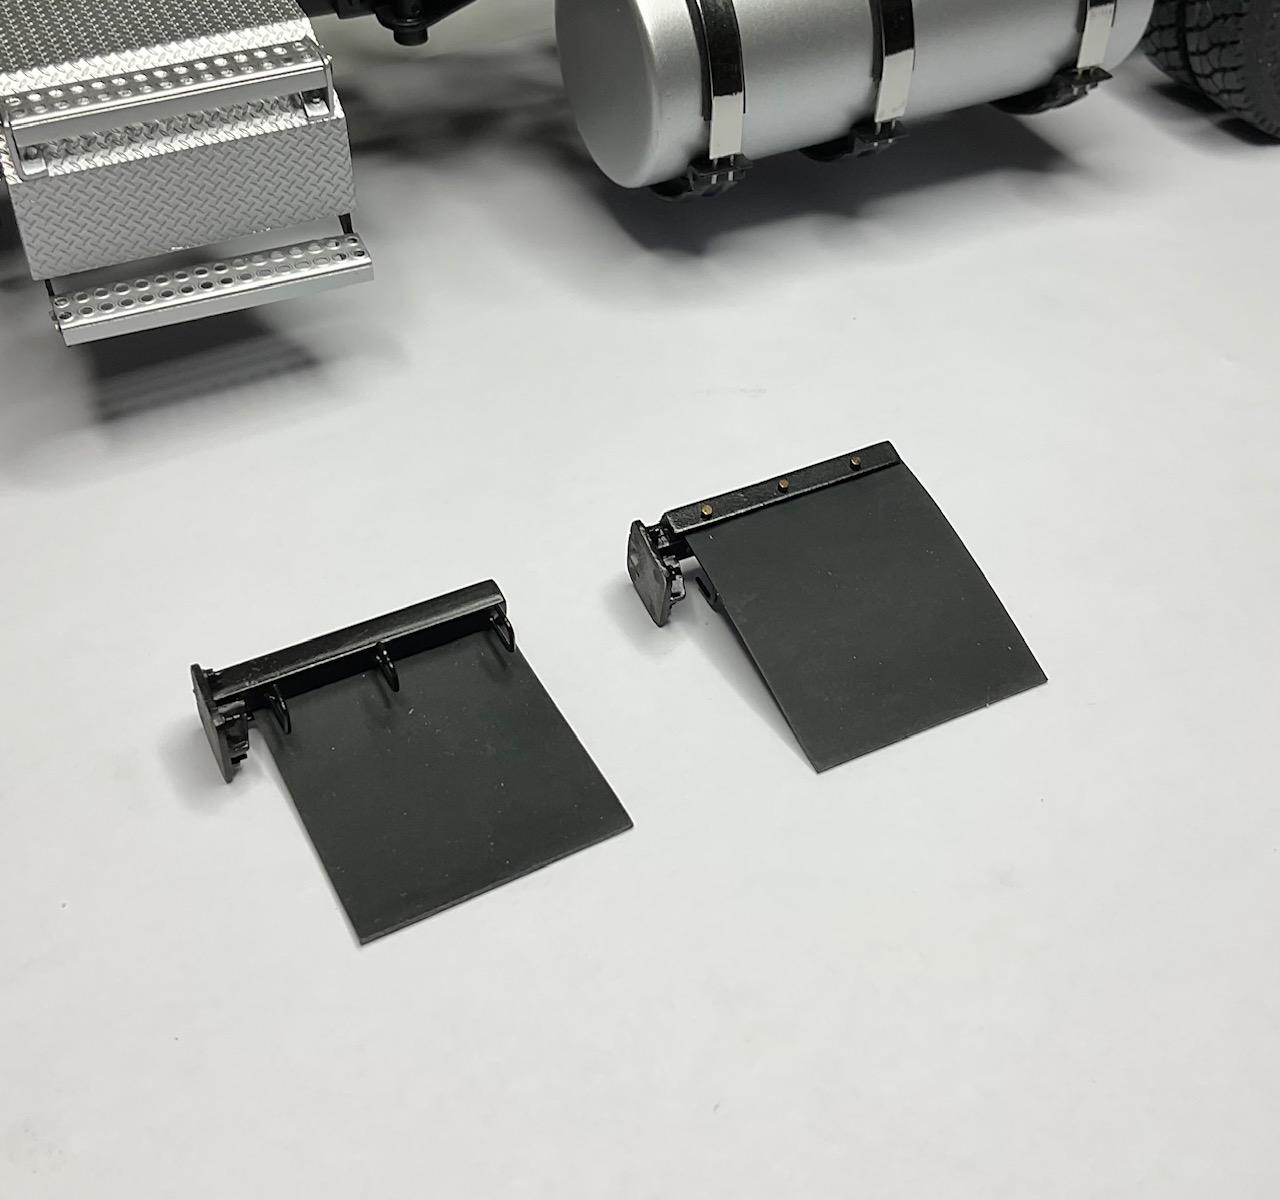
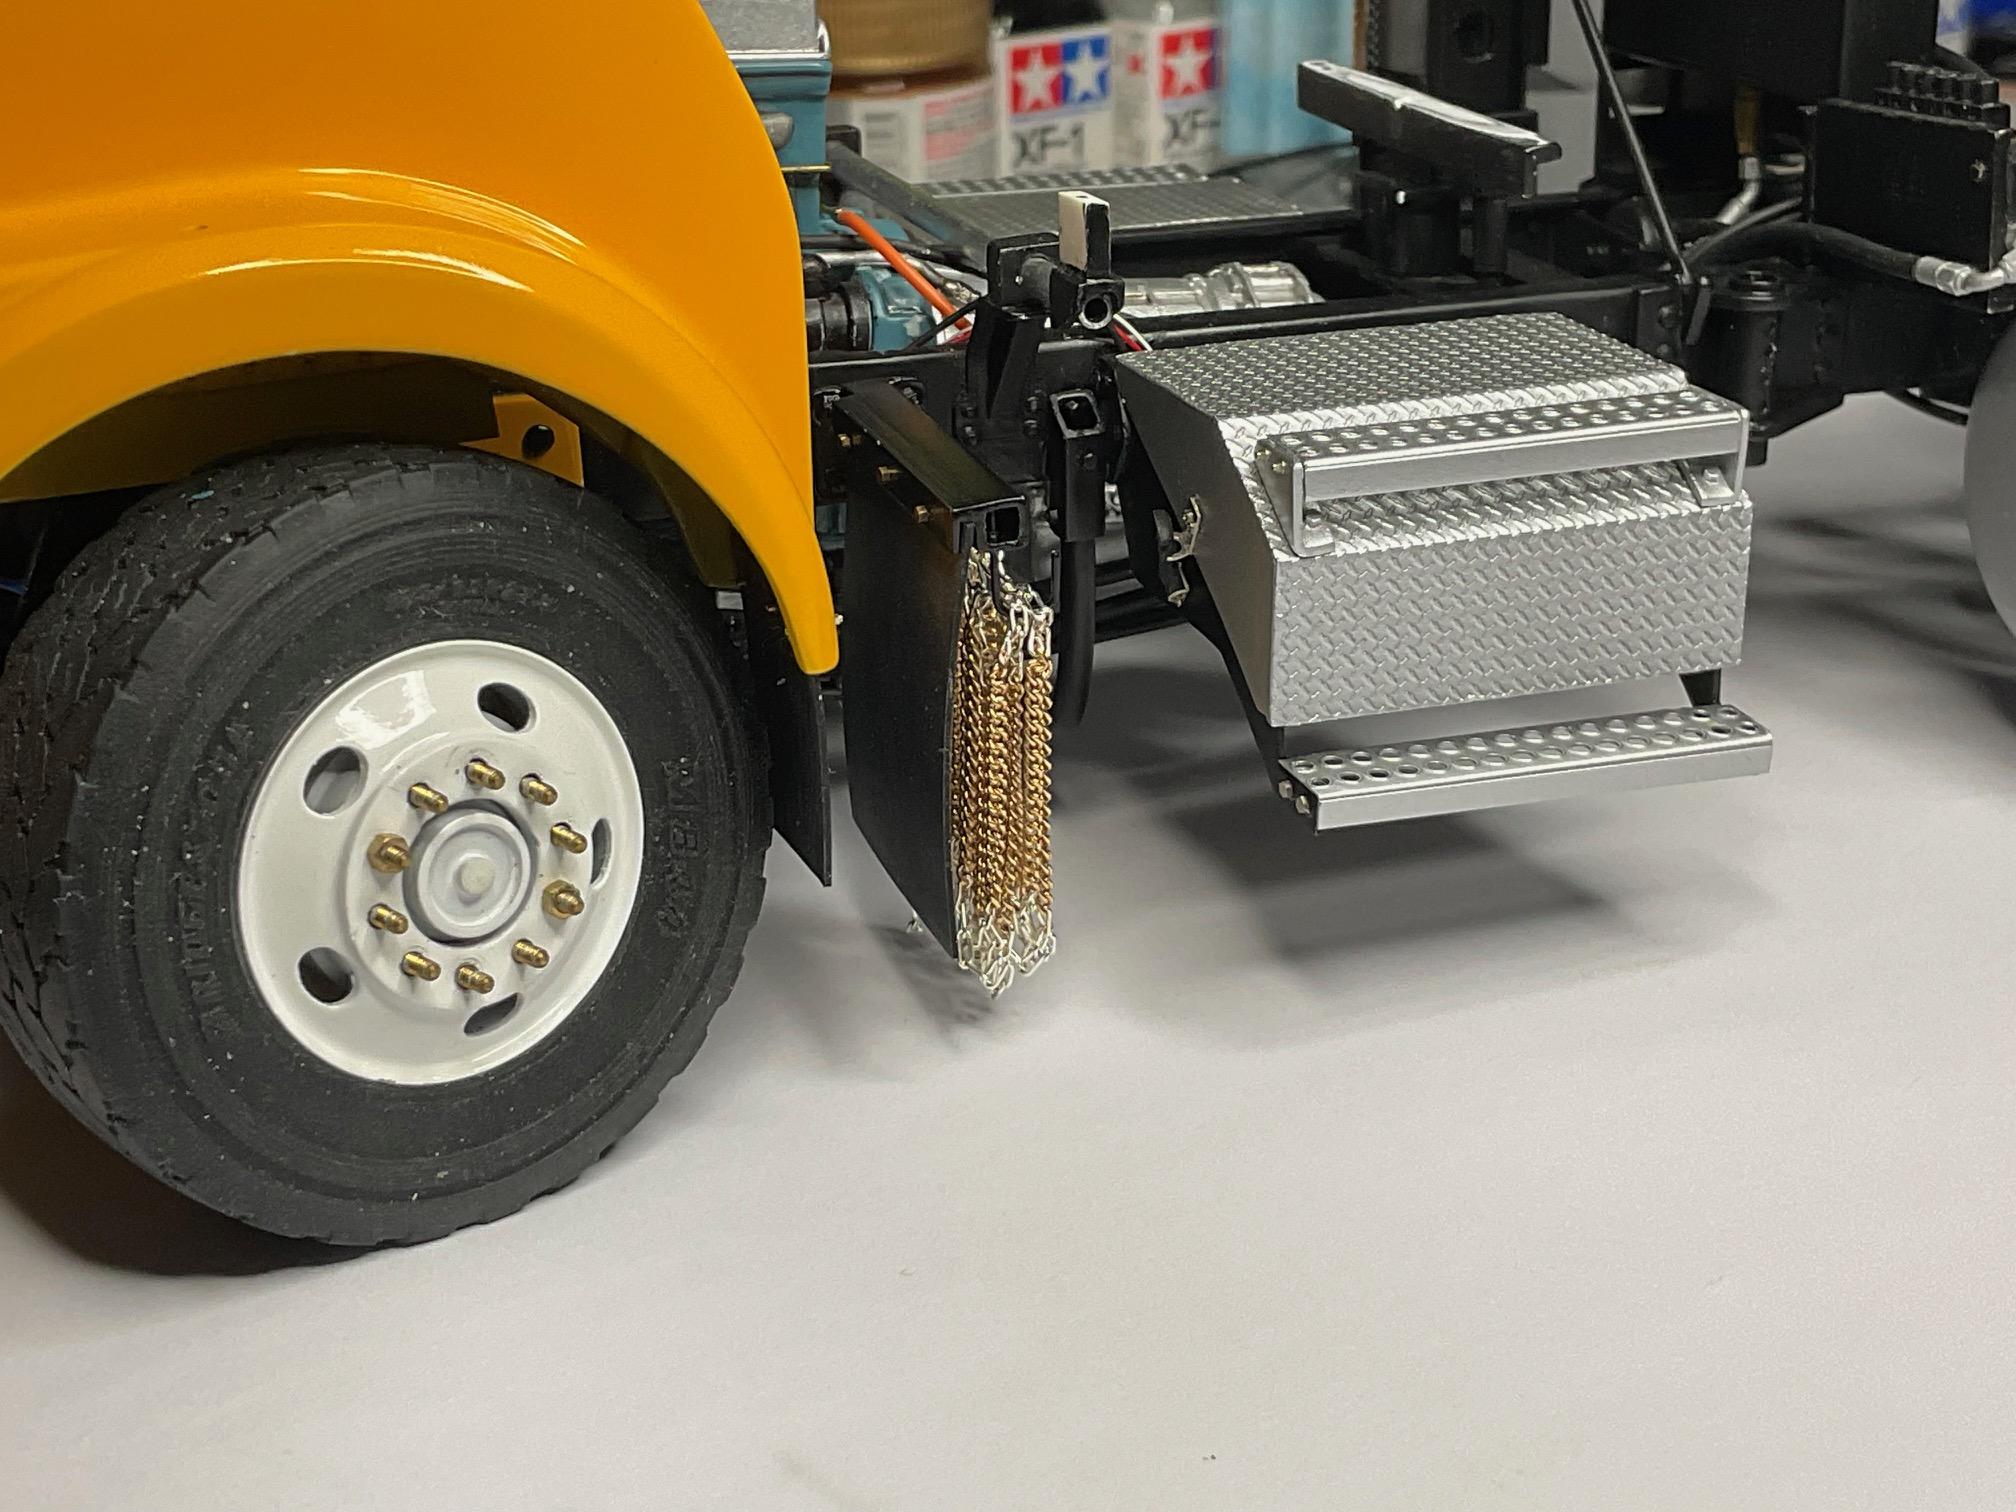
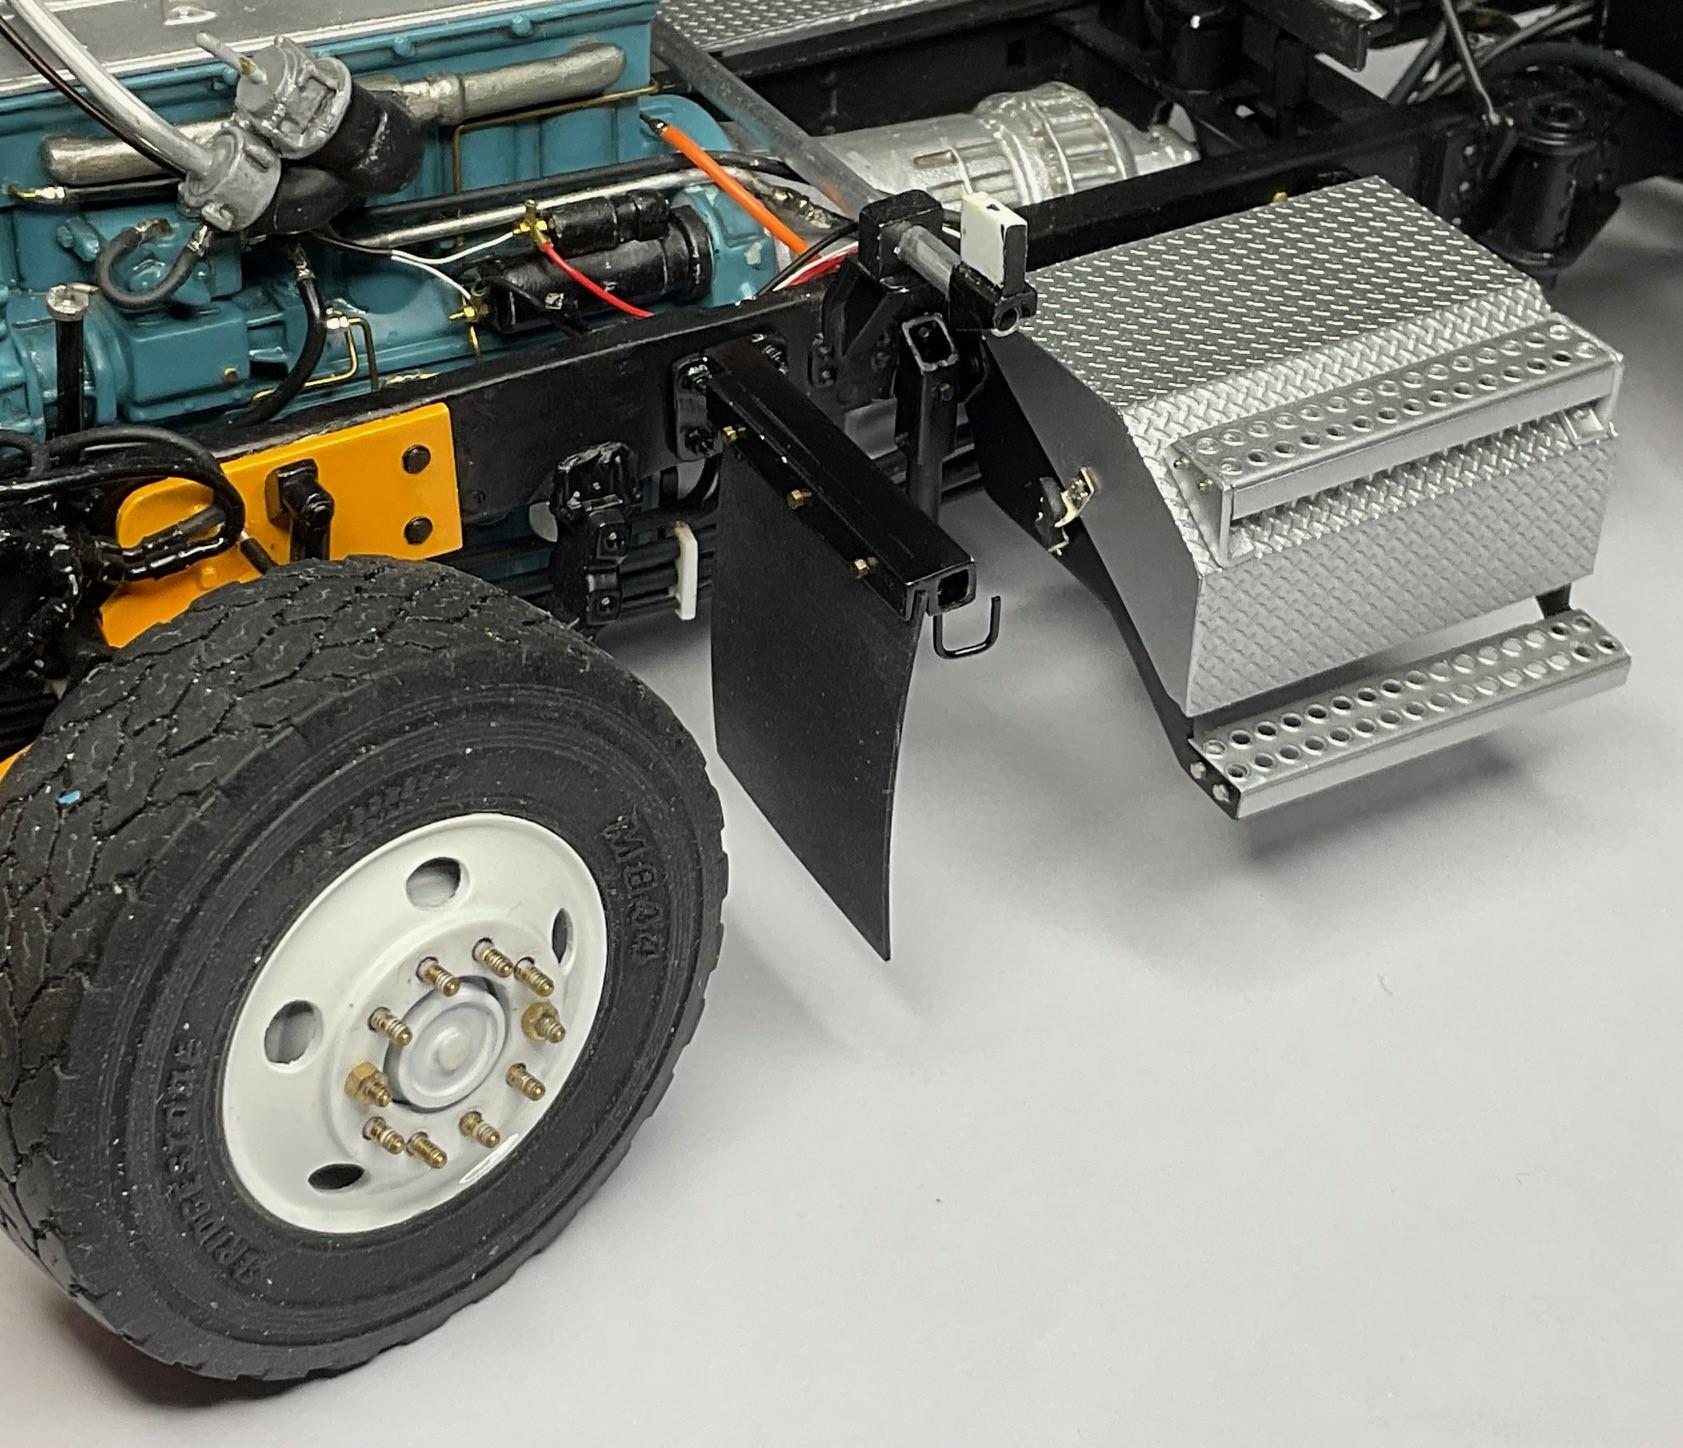
Finished fabricating the chain hangers this morning, and got them primed, painted and installed this afternoon. These are not typical hangers for our plow trucks, but the 1:1 truck didn't have hangers on it when I took pics. So, either hangers were installed later, or given the layout of attachments on the frame of that truck, hangers didn't fit in easily, and the chains just ended up in the step box on the passenger's side! I guess I'm taking some artistic license using this kind of hanger. Hangers made up and mud flaps ready to go on after painting - I put a small amount of CA glue on the edge of the mud flaps and set them in their brackets. The CA glue doesn't hold the rubber that securely, but well enough until I could get some Scale Hardware bolts drilled through the brackets - Bolts in place - Both hangers CA glued to the frame - Another test fit - chains set in place for the pics, but will need to be taken off, because I need to be setting the truck on it's side a few times, for some of the remaining assembly - Again, not a typical chain hanger set up for these plow trucks, but I'm pretty satisfied with them! - I've got to finalize my order of assembly for the remaining major items - cab, hood, sander (and maybe not in that order?!). I have one more little detail item to build, for some electrical/air connectors that sit behind the cab - these fittings are mostly for summer use - trailer air and electrical outlets. I've been waffling about doing this little extra bit, but I think I going to go ahead with it. Very close now!
-
Western Star 4900 FA plow truck
BK9300 replied to BK9300's topic in WIP: Model Trucks: Big Rigs and Heavy Equipment
I appreciate the comments, Steve - it is always good to hear from you! -
Kenworth W-925 (mild custom)
BK9300 replied to Gary Chastain's topic in WIP: Model Trucks: Big Rigs and Heavy Equipment
This all looks awesome, Gary - pleasure to watch it all come together! -
Very nice work going on here, Anthony! Don't know when the accident happened, but sorry for your loss - not an easy experience to get through.
-
Your detail painting of the roll and roof rack is very realistic - excellent work! Really like all the wear and tear you're adding to the body as well.
-
What a great idea for making your grill - looks terrific!
-
2011 International Prostar
BK9300 replied to MIkeOB's topic in WIP: Model Trucks: Big Rigs and Heavy Equipment
Very clean build - your detail painting really shows well! -
Peterbilt 379 RV
BK9300 replied to vincen47's topic in WIP: Model Trucks: Big Rigs and Heavy Equipment
I agree about the camera angle - also, when taking pics with my iPad, some angle shots have that 'fish-eye' lens effect, making the image slightly rounded. It's annoying! -
Just in awe of your body working skills at this scale! So methodical - truly inspires me to attempt more work like this.
-
Welcome, from a fellow BC’er! Look forward to seeing your work.
-
Bedford OLBD dropside
BK9300 replied to stitchdup's topic in WIP: Model Trucks: Big Rigs and Heavy Equipment
Should be a great looking combination! -
Peterbilt 379 RV
BK9300 replied to vincen47's topic in WIP: Model Trucks: Big Rigs and Heavy Equipment
Some fairly clear milestones in every project and being in primer is definitely one of them. Looks awesome as is, but really looking forward to the first mock up you do of the trailer behind the RV! -
Kenworth W-925 (mild custom)
BK9300 replied to Gary Chastain's topic in WIP: Model Trucks: Big Rigs and Heavy Equipment
Man, that looks good, Gary! (I think you've inspired me to include a trailer in a future build) -
California Special
BK9300 replied to Rockford's topic in WIP: Model Trucks: Big Rigs and Heavy Equipment
I think the tank straps look great, and the overall truck looks for all the world to be a bigger scale than 1/32, for all the detail we can see! -
Western Star 4900 FA plow truck
BK9300 replied to BK9300's topic in WIP: Model Trucks: Big Rigs and Heavy Equipment
Thanks, Ron - I lucked out in finding the right size chain, so bought extra! -
These resin kits look more than a few modifications are needed to make them work. Interesting to follow along as I have wanted to get a Kenworth 880 from Global at some point. Nice work going on, Scott!