Jürgen M.
-
Posts
1,675 -
Joined
-
Last visited
Content Type
Profiles
Forums
Events
Gallery
Everything posted by Jürgen M.
-
? you put that very nicely! Still thinking about what I'm going to make of it. Tendency is going to a tri-axle. I'll decided along the way!
-
I just got a message that my power unit should be arriving tomorrow! Means there will finally be progress again! Can't wait to proceed! ?
-
Thanks for your efforts guys! Didn't expect so much support in this! Great! ? Whatever it actually stands for its a very exotic truck seen from today's point of view! The screen is really gone! It can't be turned on anymore! Mid of next week I expect a new power unit which I believe is the reason for the defect! Hope I'm right!
-

Another "Convoy" Truck!
Jürgen M. replied to Jürgen M.'s topic in WIP: Model Trucks: Big Rigs and Heavy Equipment
? Wow! Thanks very much! I'm really flattered! There will be more! But not from the Convoy movie though! I just began to design the parts of an IH Conco 4100. After that I 've got a few other ideas. When those are through I'll think about another Convoy vehicle. Maybe the suggested micro Bus? -
Thanks for that information! Sounds logical! Hope to see yours soon too! Fortunately there is quite a picture stock in the internet which makes an authentic build possible! Still I might use a modified version of the chassis I had designed for the K123 I just finished! What makes an International chassis unique? Did they have any special features not seen anywhere else? I saw that the rear has a higher frame leading to the fifth wheel. Is that typical for IH? I'm still not sure yet if I will build a tri-axle 10-wheeler with a long chassis that leaves space for a special build or at least a headache rack or something or if I'll make it a 6-wheeler!
-
I did some research ob the word Conco, don't know If I hit the right one though: It is quite a punch If you look at the design and concept. Maybe I'll ask IH directly! ?

-
? I have no Idea what Conco stands for but your definition sounds interesting! ? I had never seen one these before either! It does look quite odd but that's what I like about it! It's not an everyday truck like a K100 or a 359. It'll take a while though because my monitor said good bye yesterday. My computer doesn't have its own screen! No hurry though. Maybe there will be another Christmas in October or so! ?
-
Thanks! I'd love to give you some hints. Tell me what you'd like to know! I'll do my best to help! ?
-
You said it! ? I'll still have to make some changes but I'm sure it'll come out OK!
-
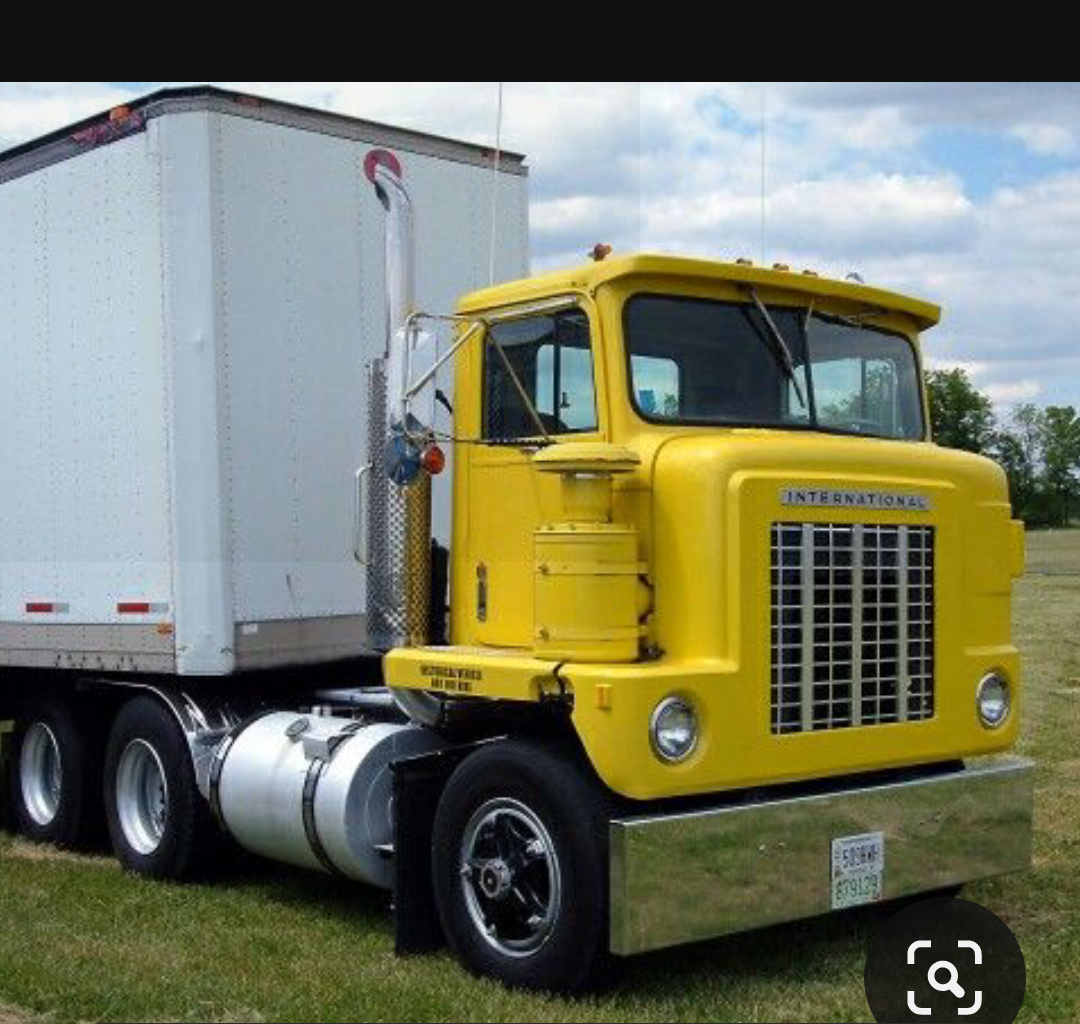
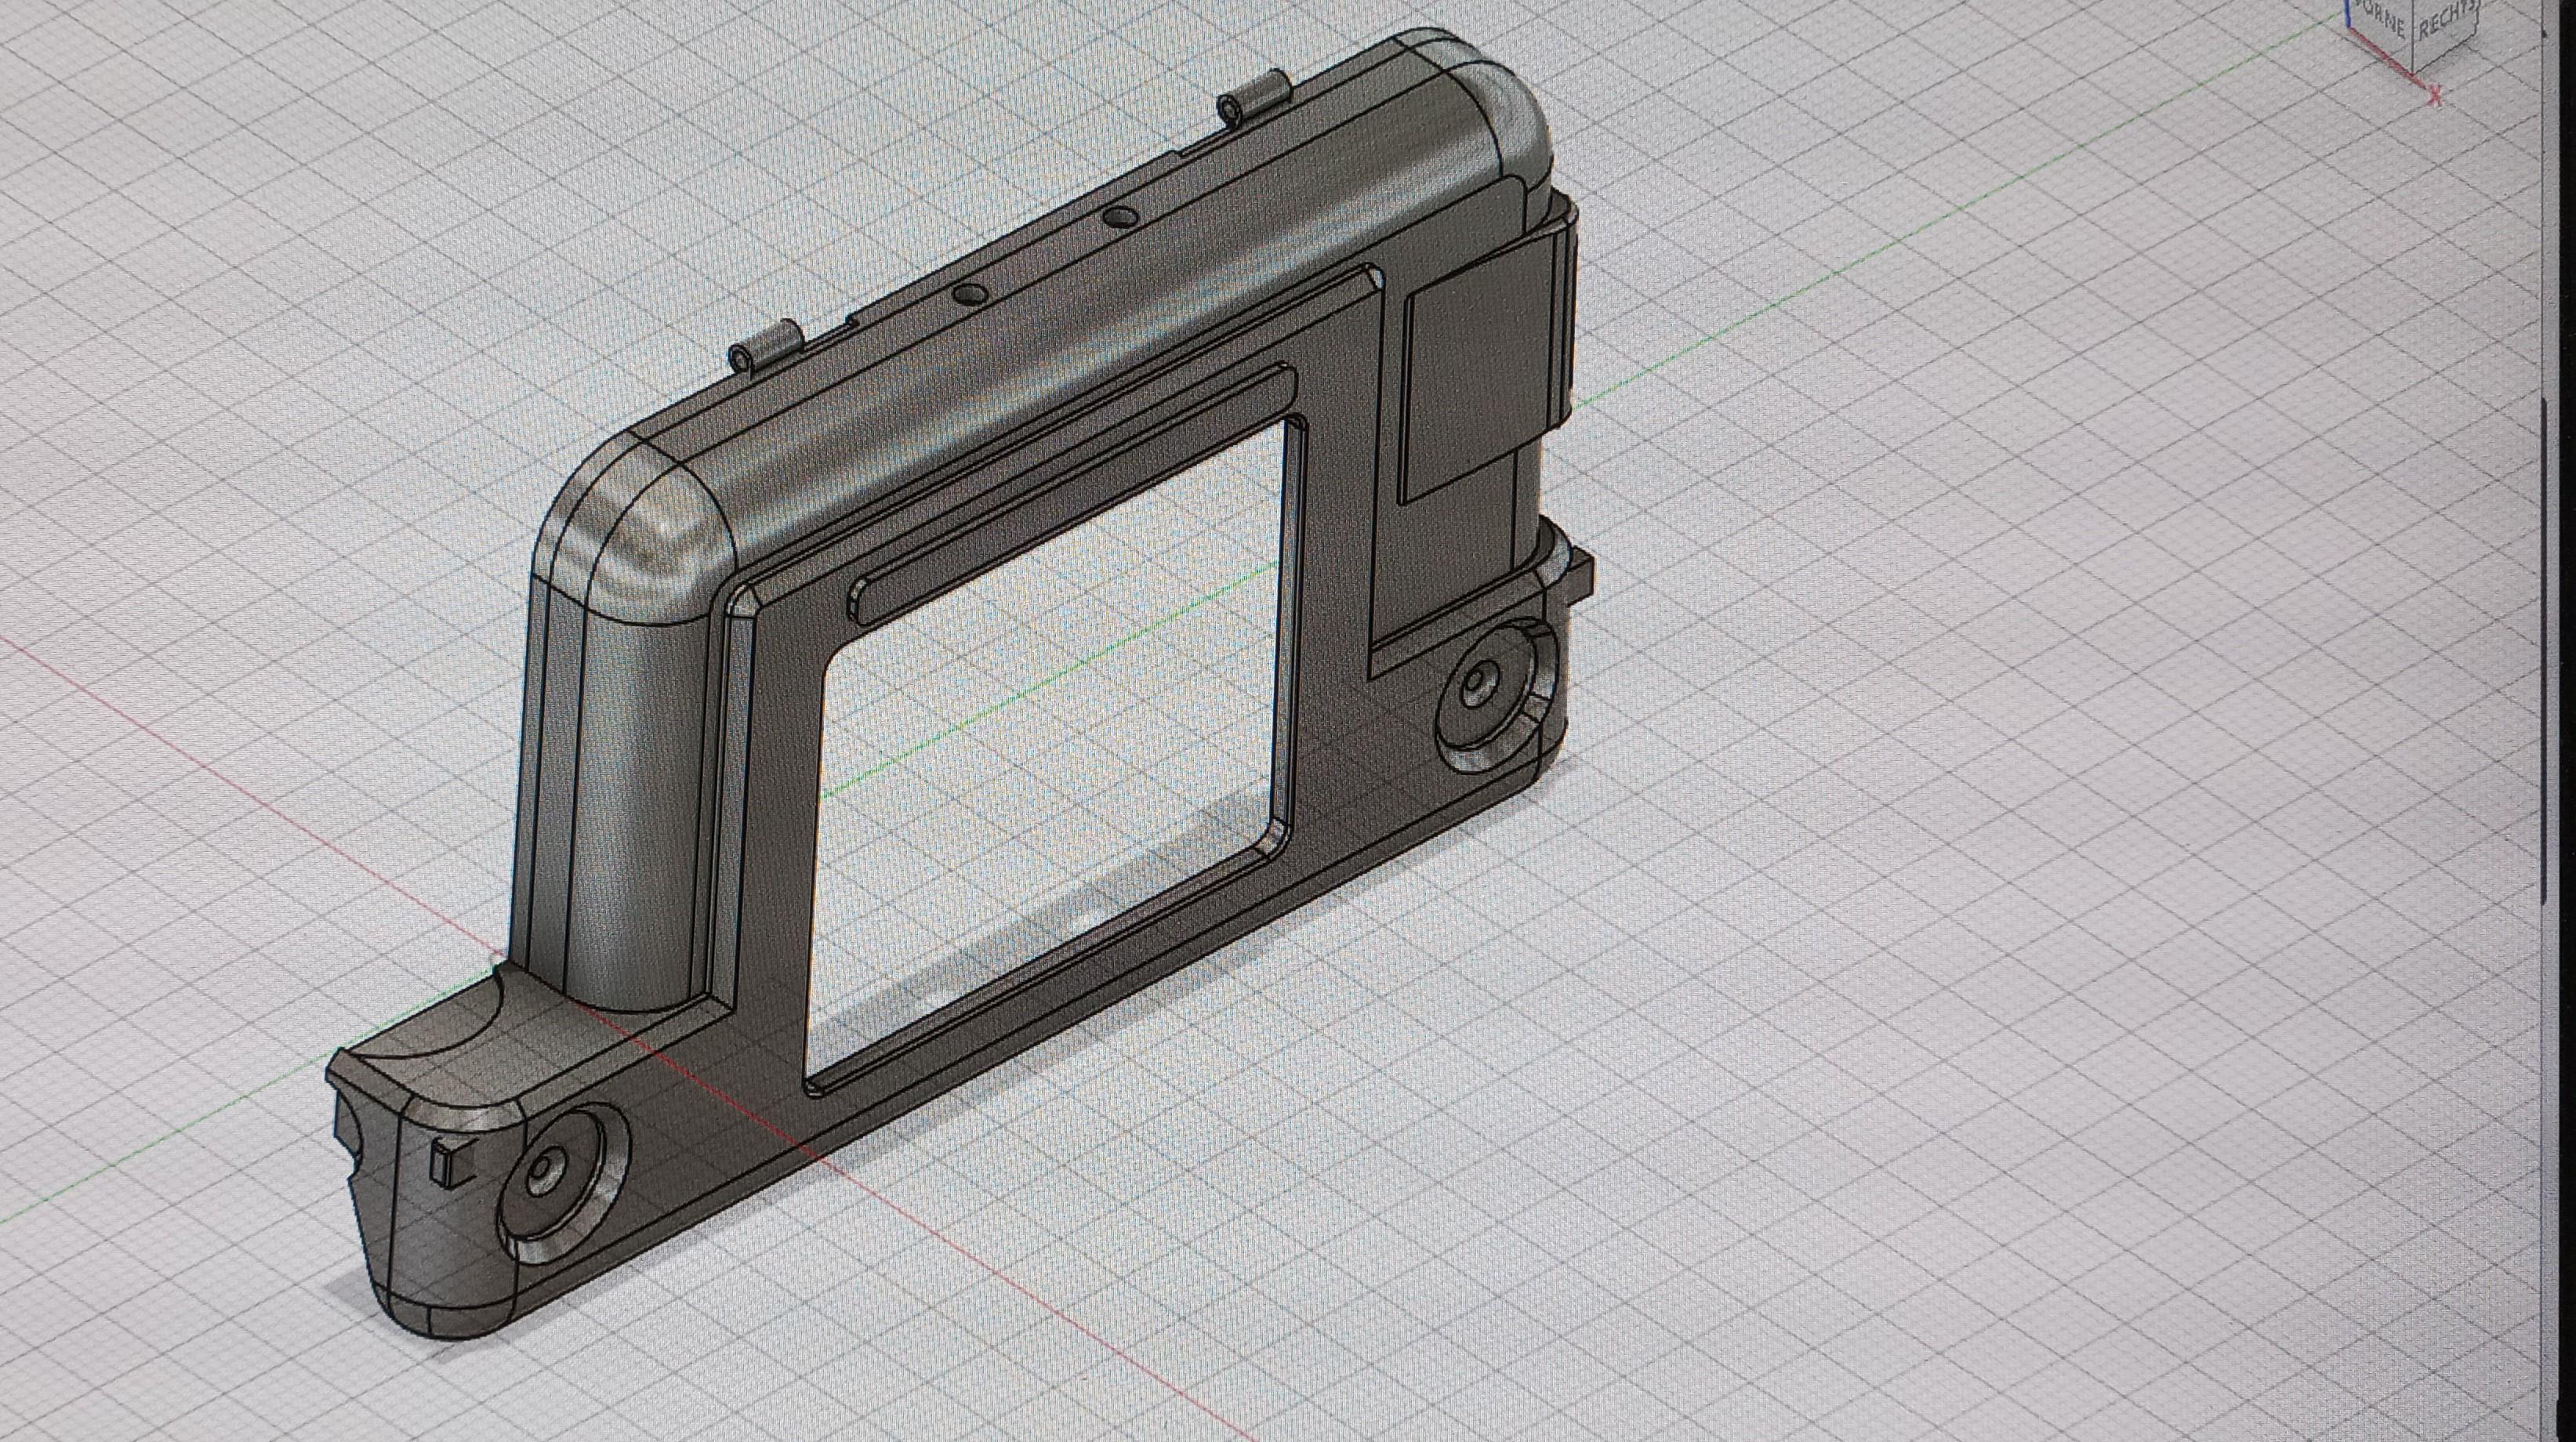
Hi everyone, I know, I said I'll be back in October or so with my next project but I was browsing through the net the other day, not expecting to find anything really interesting, when I found a picture of a 1975 IH Conco 4100. I knew immediately that it wouldn't let me go so I began to try designing it. Not es easy as a K100 but it somehow worked out quite well! This is the first shot at the cab. I included the cab supports and the firewall to be sure they fit later! The hood was quite a challenge but I think it looks pretty good! The hinges fit into the ones on the cab. I'll put pieces of 1mm brass rod through to make them work.
-
Thanks very much everyone! It really makes me happy to see that my builds get that much recognition!
-
My own Sundance
Jürgen M. replied to Rockford's topic in WIP: Model Trucks: Big Rigs and Heavy Equipment
Looks really perfect! Very neat job! I like the colored hubs and wheel bolts! A work of dedication! -
My own Sundance
Jürgen M. replied to Rockford's topic in WIP: Model Trucks: Big Rigs and Heavy Equipment
Looks really nice! Have you tried to cut it out of a wide tape or sticking foil? I know it's not exactly easier than how you did it (and that was great) but it might work too! Use the prepared bottle as a template, draw the circle on the foil and lengthen it according to the shape of the fender before you cut it out of the foil! Then you can use a brush and paint the white stripes! Just an idea! But yours worked Out pretty well! ? -
Another "Convoy" Truck!
Jürgen M. replied to Jürgen M.'s topic in WIP: Model Trucks: Big Rigs and Heavy Equipment
I wanted to share the statistics of the trailer too and of course of the whole rig: Design time trailer: 82 days (~ 3.5h p.d.) a bit overlapping with design time of tractor Print time trailer: 23 days (also started printing first parts before I was finished designing) Build time trailer (incl. painting): 14 days Total days of build incl. design: 89 (overlapping processes) Total hours of project (~ 3h p.d.): 267h Total no. of parts: 145 (incl. tires and other parts from parts-box) No. of parts printed (trailer): 126 of 145 in total (~ 87%) Total no. of printed parts: 324 of 380 (85.3%) Weight of tractor: ~ 570g Weight of trailer: ~ 876g Total: ~ 1.446g Over all length of rig: 60 cms Thanks again for following! I´ll be back! ? -
Thanks! ? That just might be an idea! I´d been thinking about Melissa´s Jag, but the micro bus could be a challenge!
-
Another "Convoy" Truck!
Jürgen M. replied to Jürgen M.'s topic in WIP: Model Trucks: Big Rigs and Heavy Equipment
Thanks Rockford, hope you'll like my next ideas! I've already figured out some tricks to improve the surface and of course I will choose uncommon projects! ? -
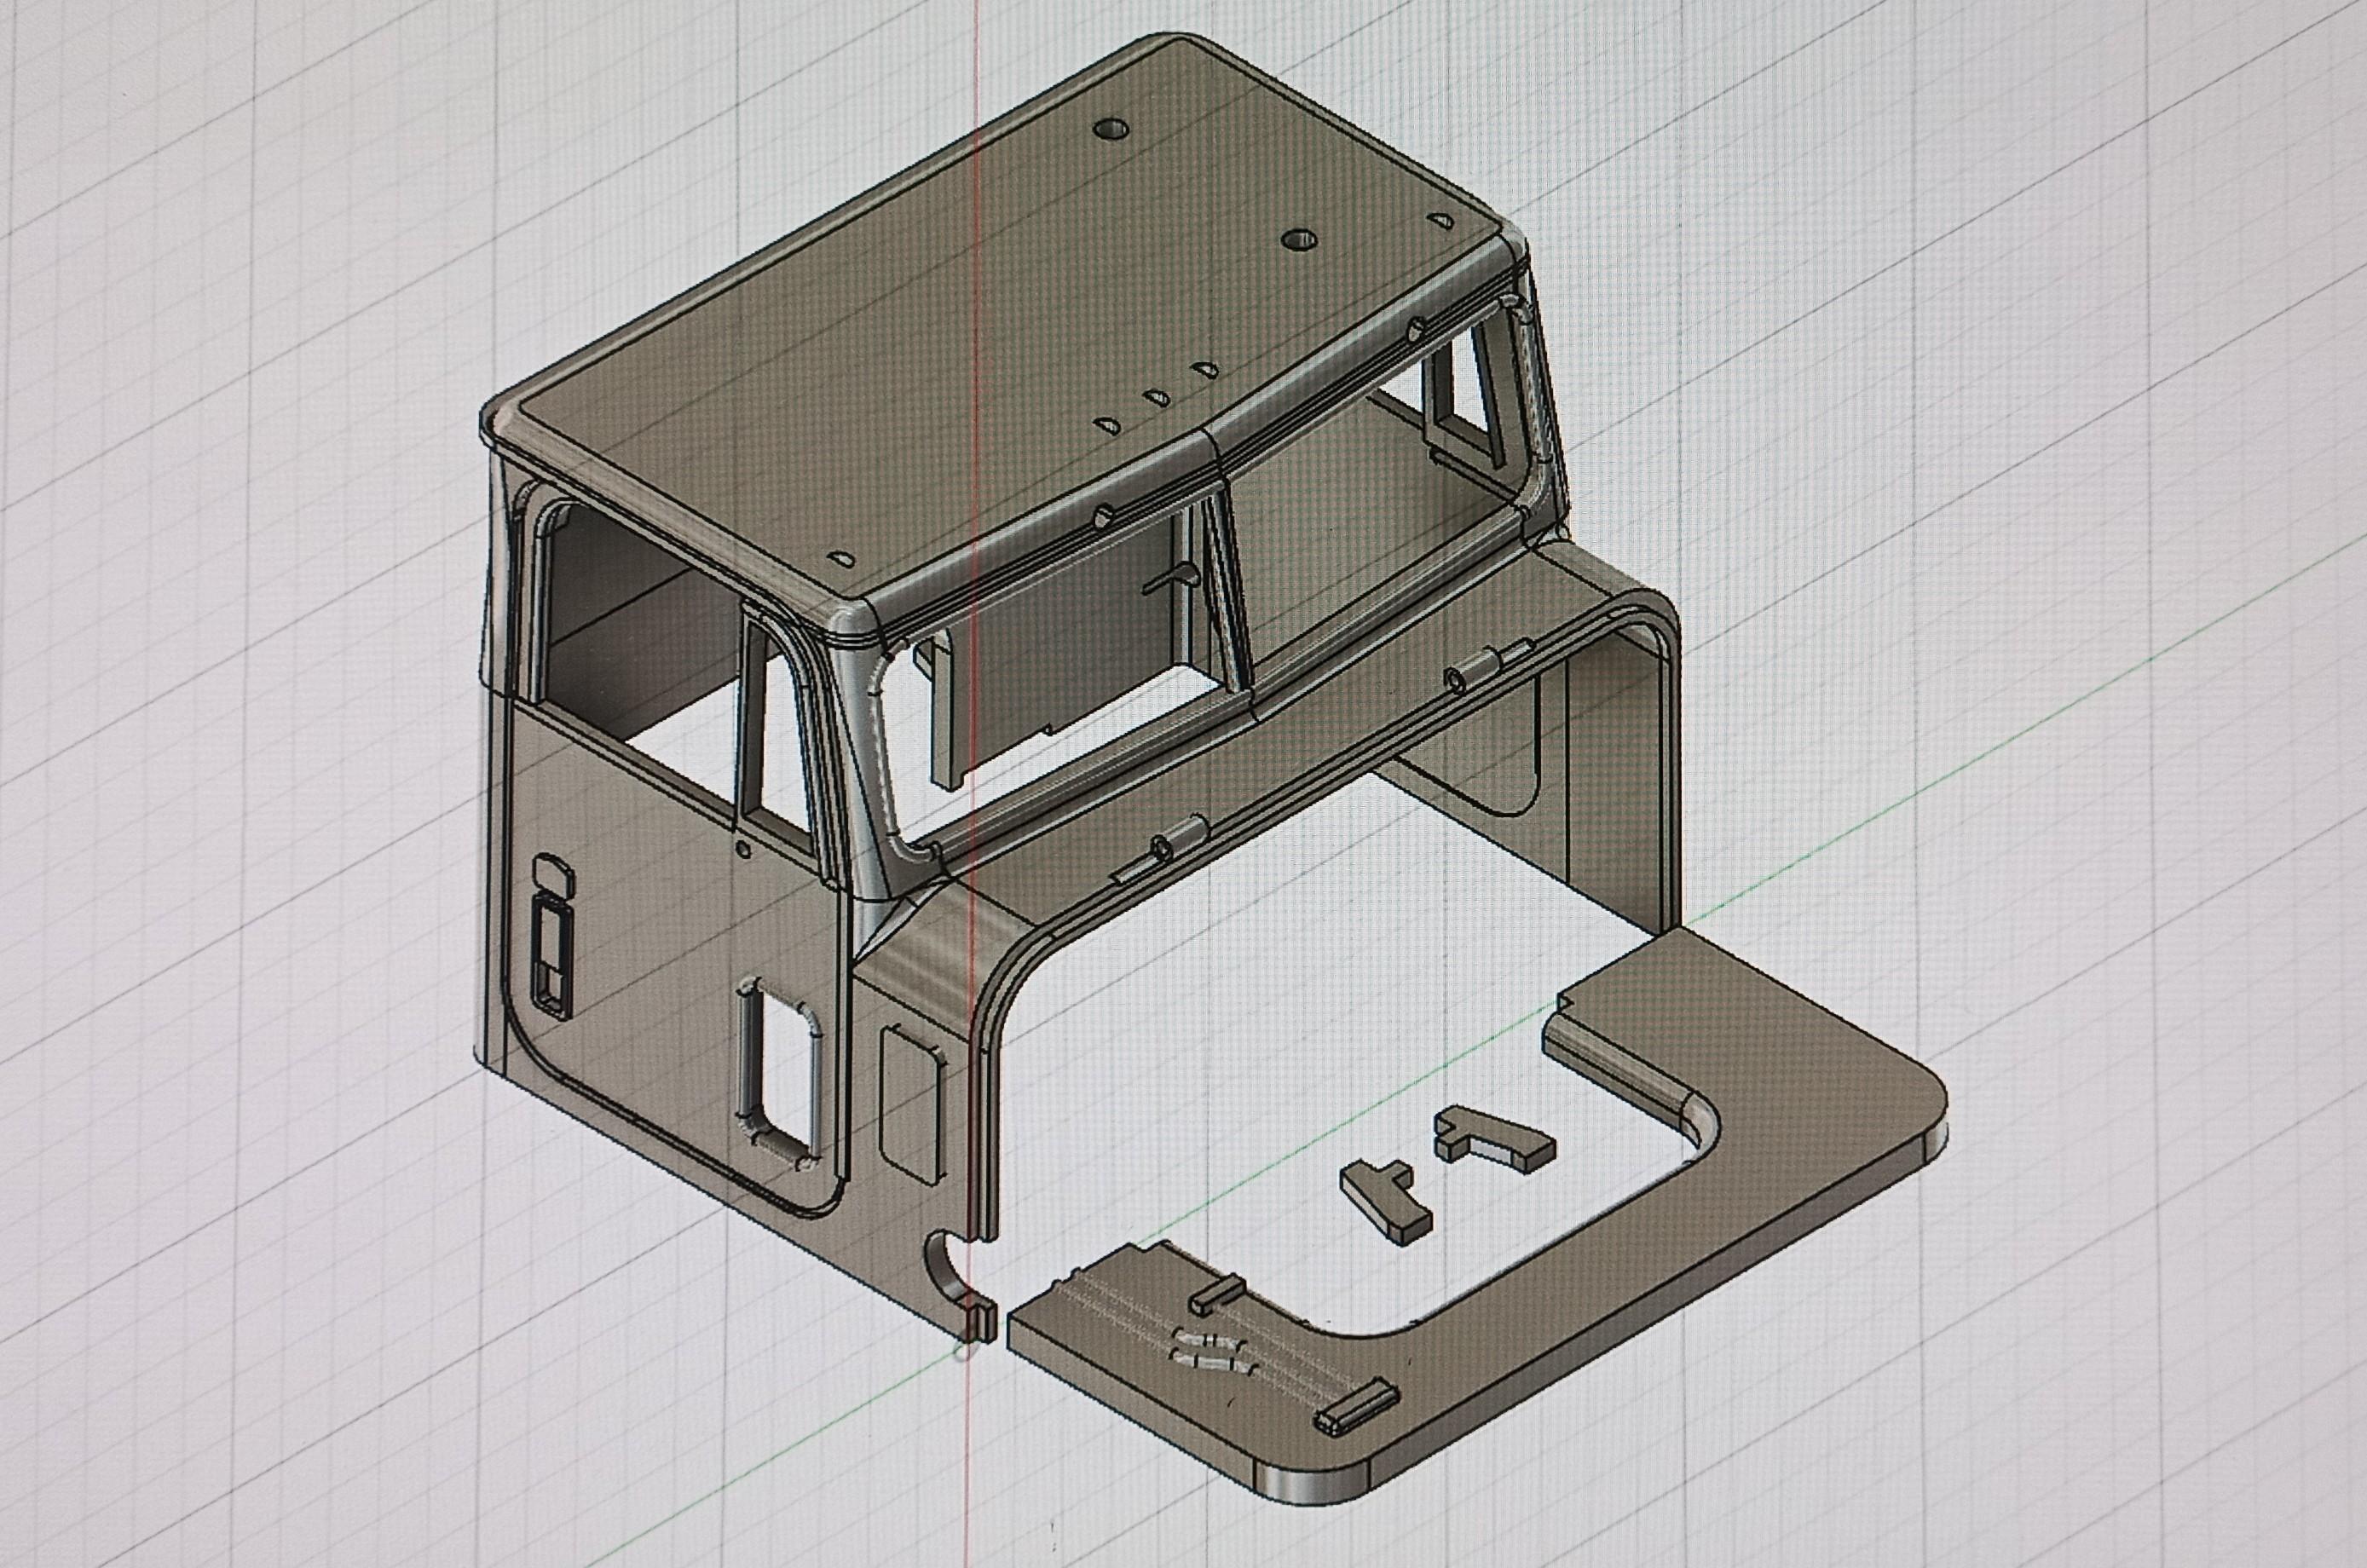
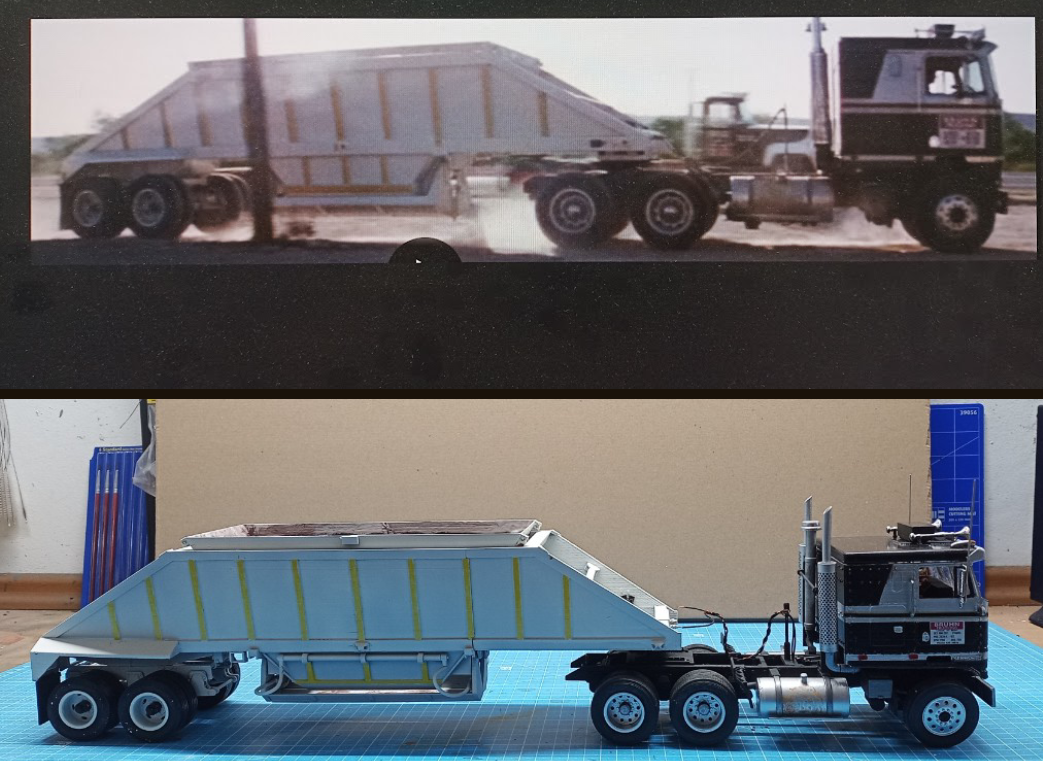
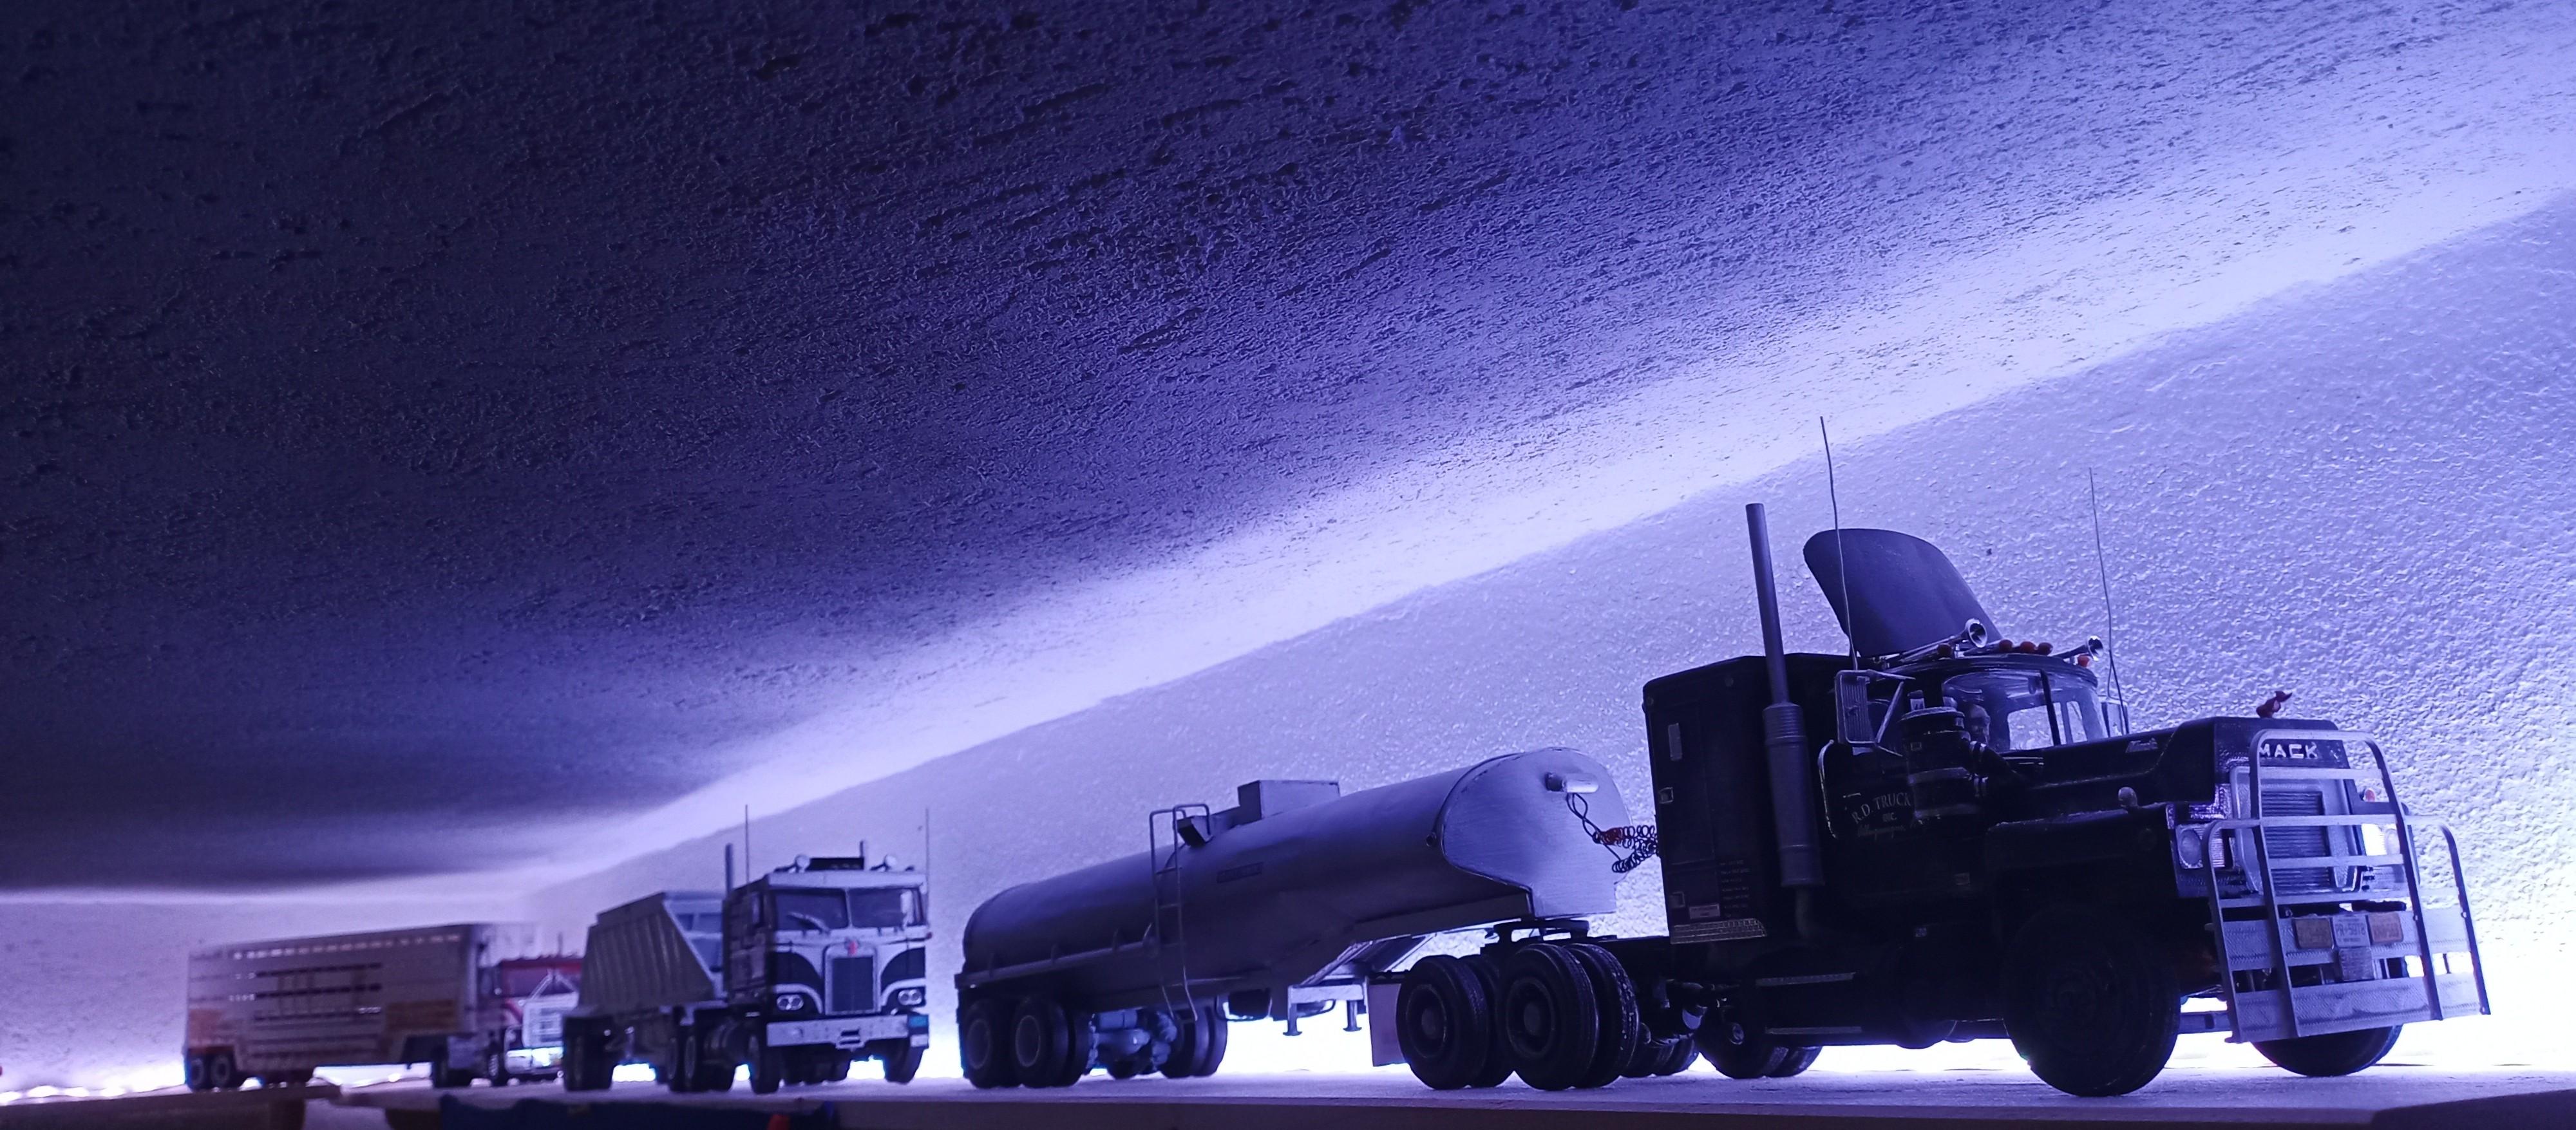
Hi everyone, I just finished my last Convoy truck and after having shown it in the WIP section I thought it would be a nice ending if I posted it here together with the others! Hope you enjoy it! I aged and rusted the inside of the trailer... Compared to movie screeshots: And joined up to his Convoy pals! VID_20240617_111036.mp4
-
Another "Convoy" Truck!
Jürgen M. replied to Jürgen M.'s topic in WIP: Model Trucks: Big Rigs and Heavy Equipment
OK, that's all Folks! My last Convoy truck has hit the shelf! No doubt it's far from perfect but it looks cool between the Duck and Pig Pen! Thanks to all of you for following, your great feedback and ideas! I'll keep following your builds and of course, probably after summer (If we get one) I'll be back with a new project! Oh yes, before I forget: I had given myself time till Christmas for this one and since it's finished now, Merry Christmas! ?❄️☃️
-
My own Sundance
Jürgen M. replied to Rockford's topic in WIP: Model Trucks: Big Rigs and Heavy Equipment
I'm sorry to hear that you had so much trouble with the decals! I don't understand why they were so jelly like! Anyway you did a great job with them. Looks perfect! -
Another "Convoy" Truck!
Jürgen M. replied to Jürgen M.'s topic in WIP: Model Trucks: Big Rigs and Heavy Equipment
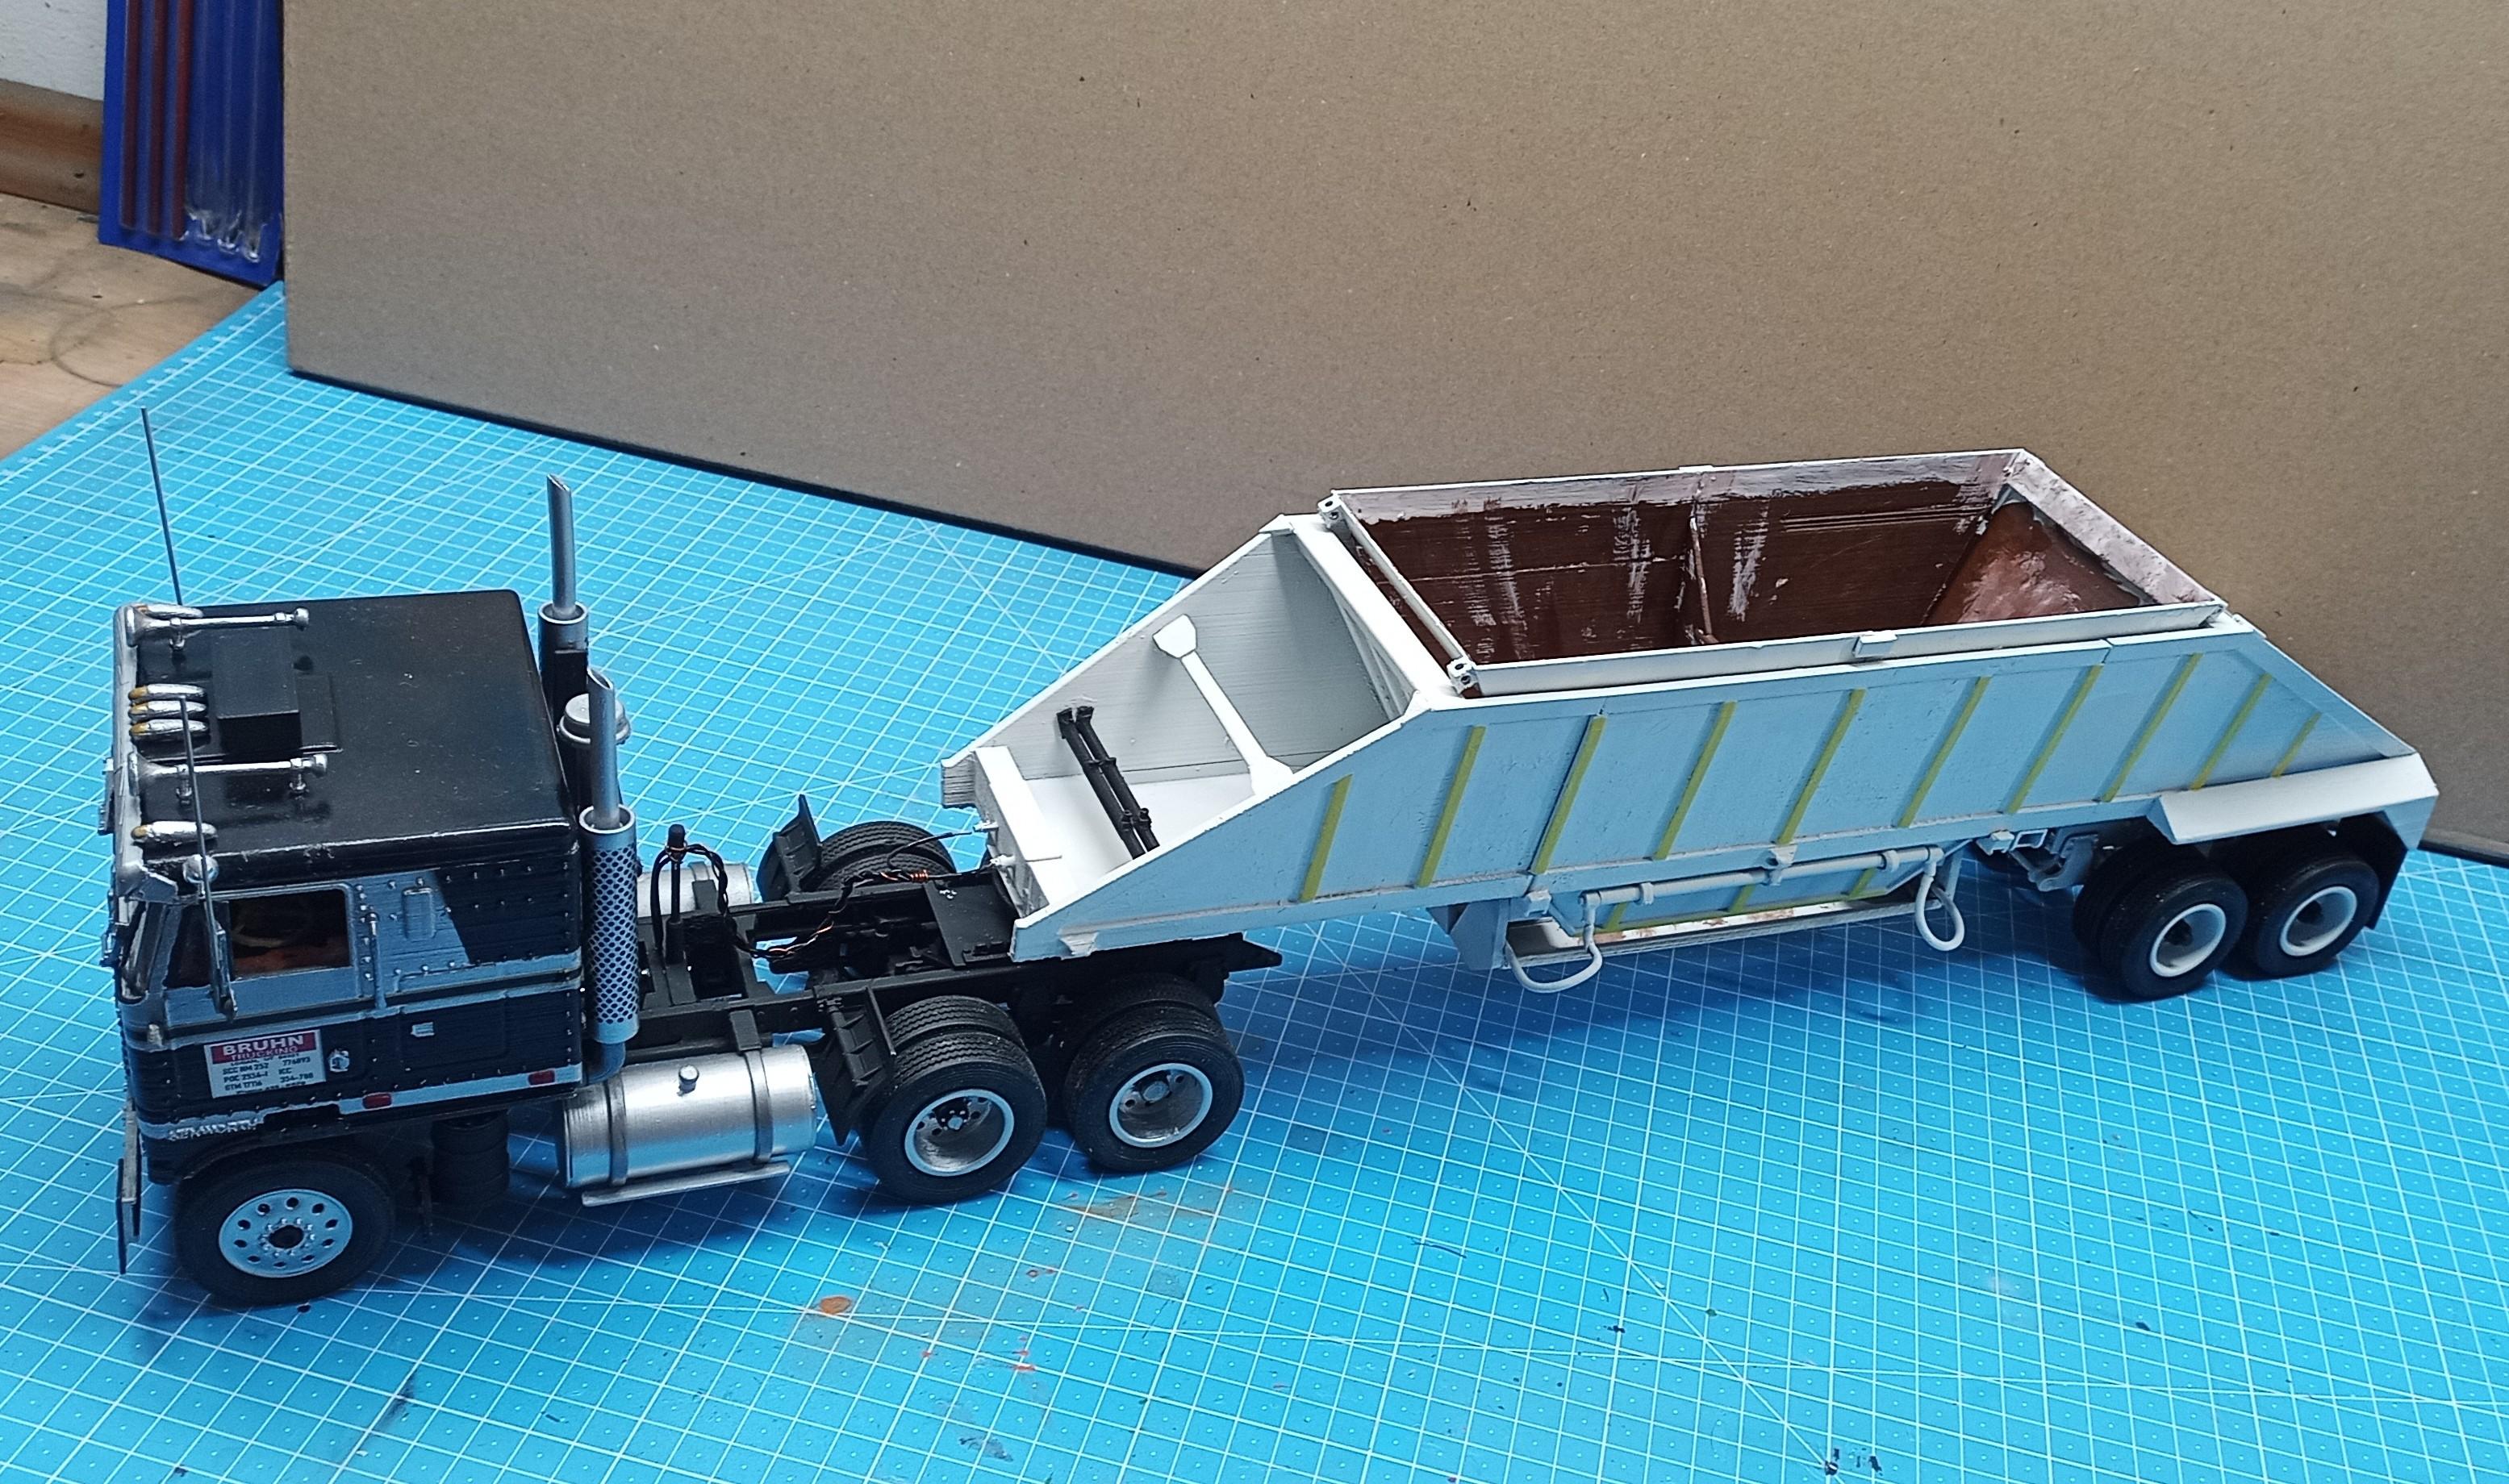
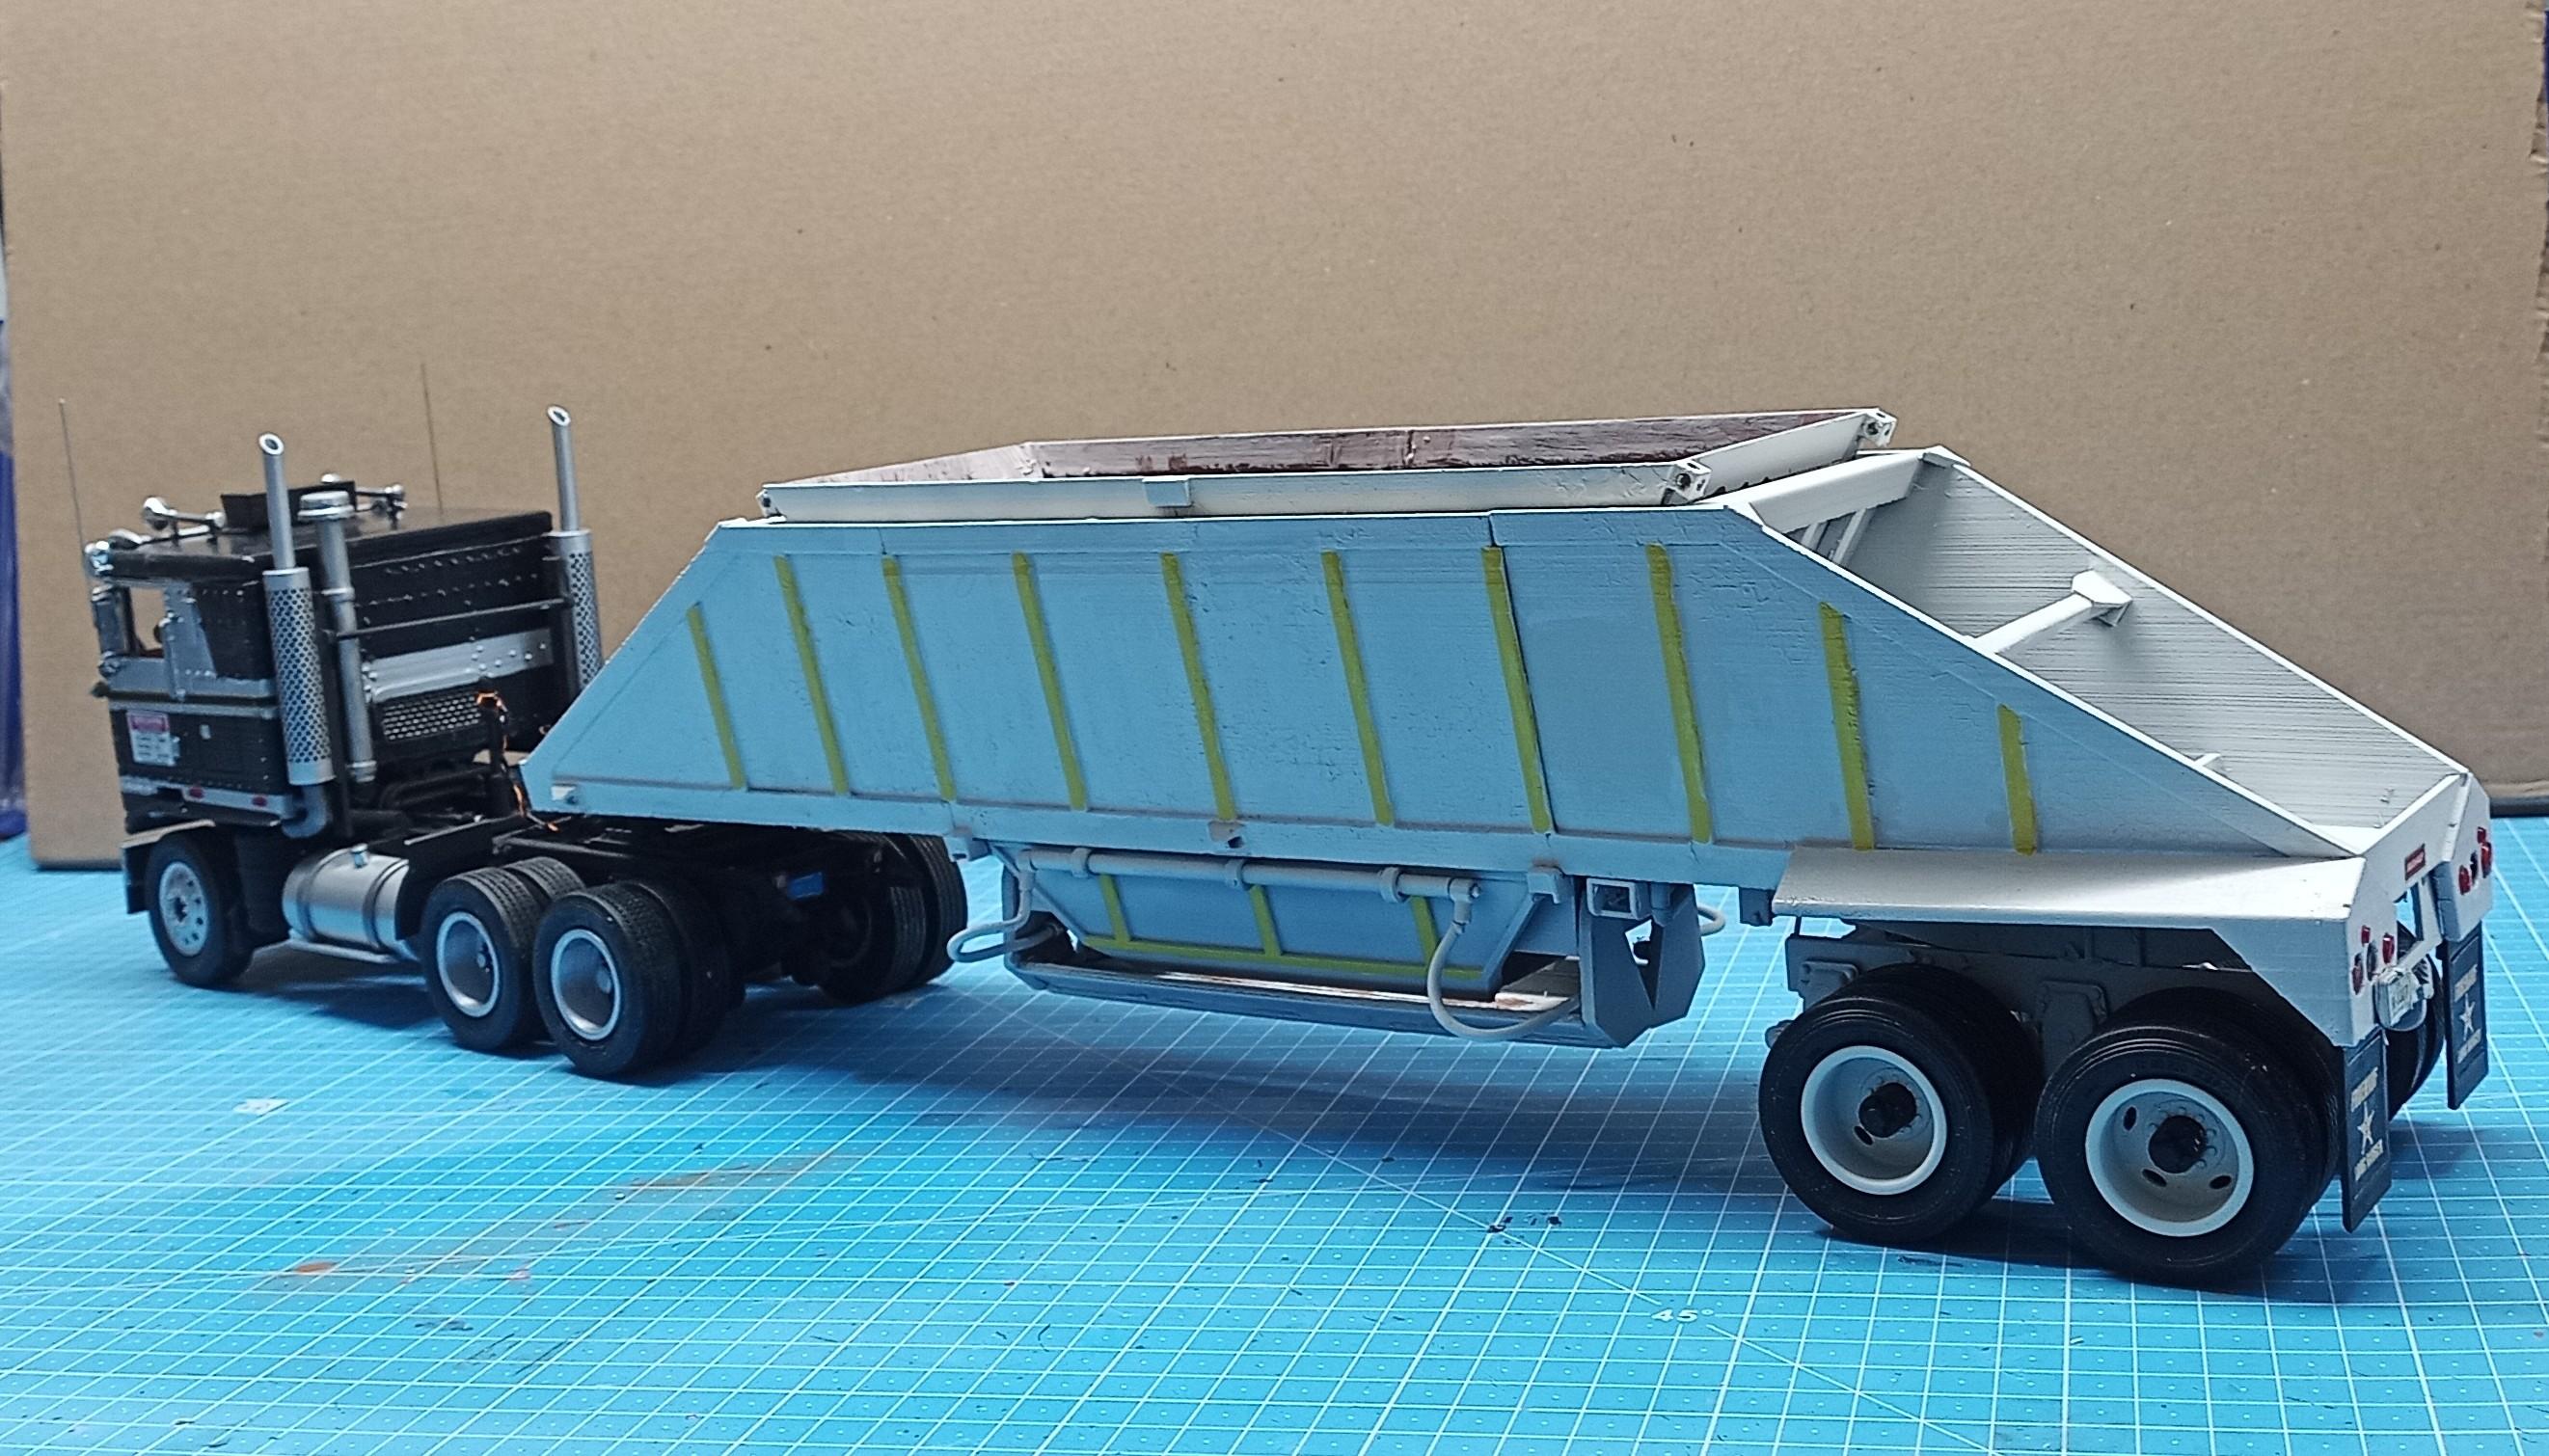
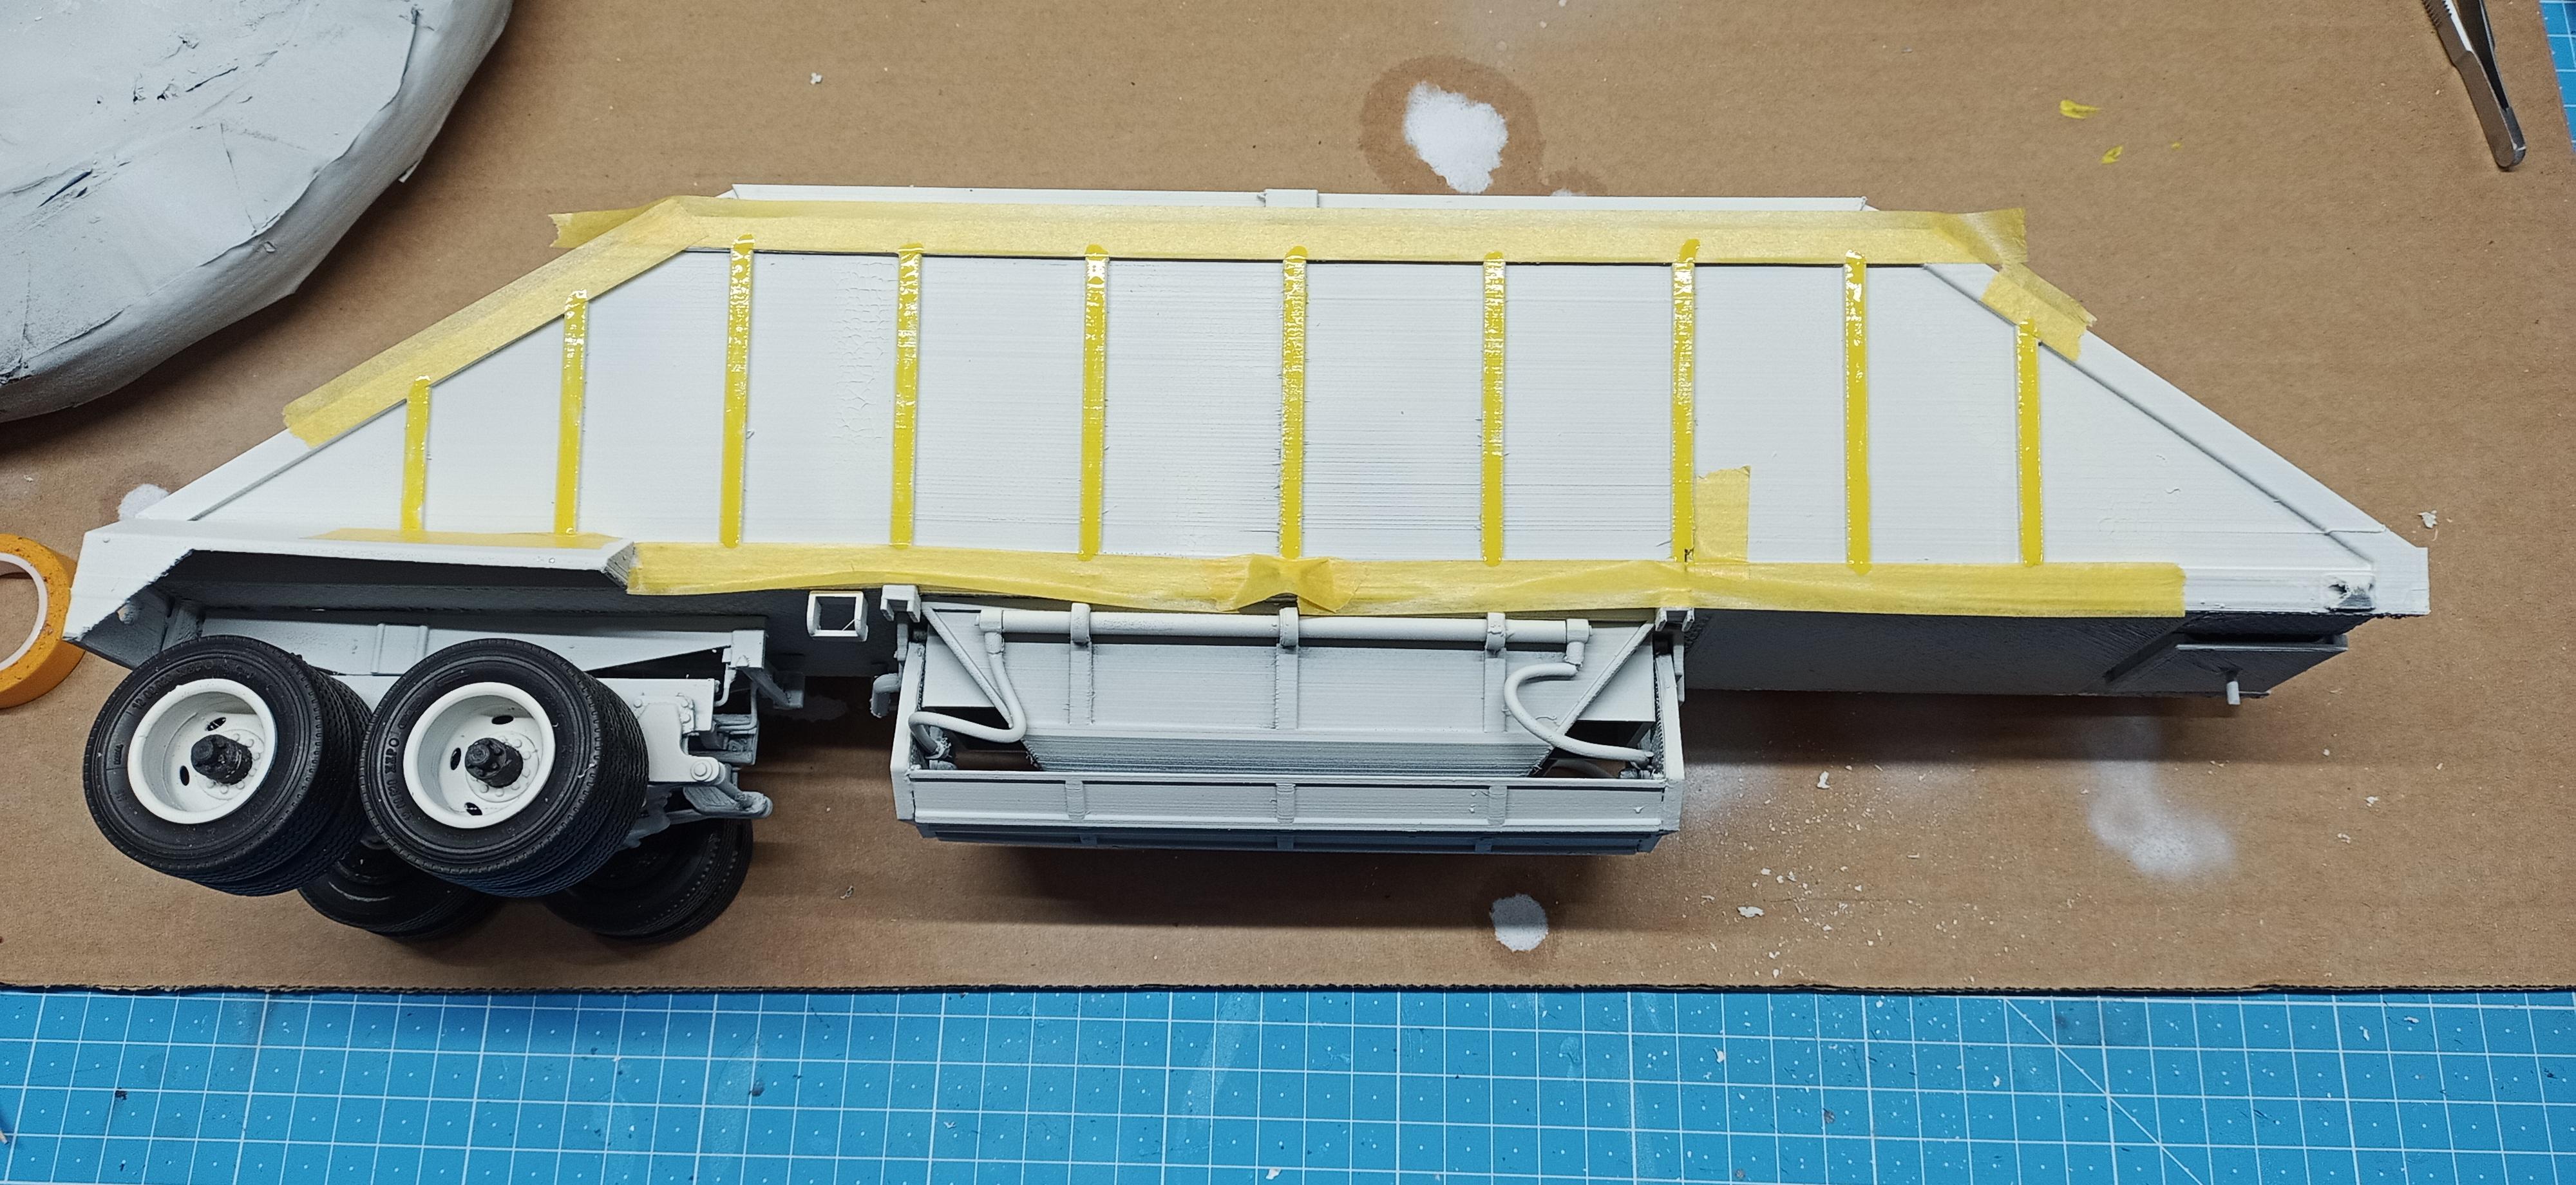
The top coat is on but unfortunately it began to wrinkle. Strange was the fact that it was almost dry as it began to show! I sanded and repainted but it showed again. Mainly on the left side. That's the side that will be showing to the wall! ? The wheels are also mounted. Now the fine tuning starts. The yellow struts and then the tail lights and license plate! Since you can't really see the trailer license, it's just visible as white with black Letters/numbers, I chose a Texas plate! (Not yet attached)!
-
My own Sundance
Jürgen M. replied to Rockford's topic in WIP: Model Trucks: Big Rigs and Heavy Equipment
You'd need white decal sheets for the writing but you'd have to cut them out by the letter! A tricky thing! If you use transparent sheets you can't print white! If I'd have to make them myself I'd try to put the writing in a matching green background, which would be very hard to hit! Or you'd have to print the letters in a different color first and print white on top. Still not easy! I think you've done the right thing ordering at Modeltruckin! The results will show you! -
My own Sundance
Jürgen M. replied to Rockford's topic in WIP: Model Trucks: Big Rigs and Heavy Equipment
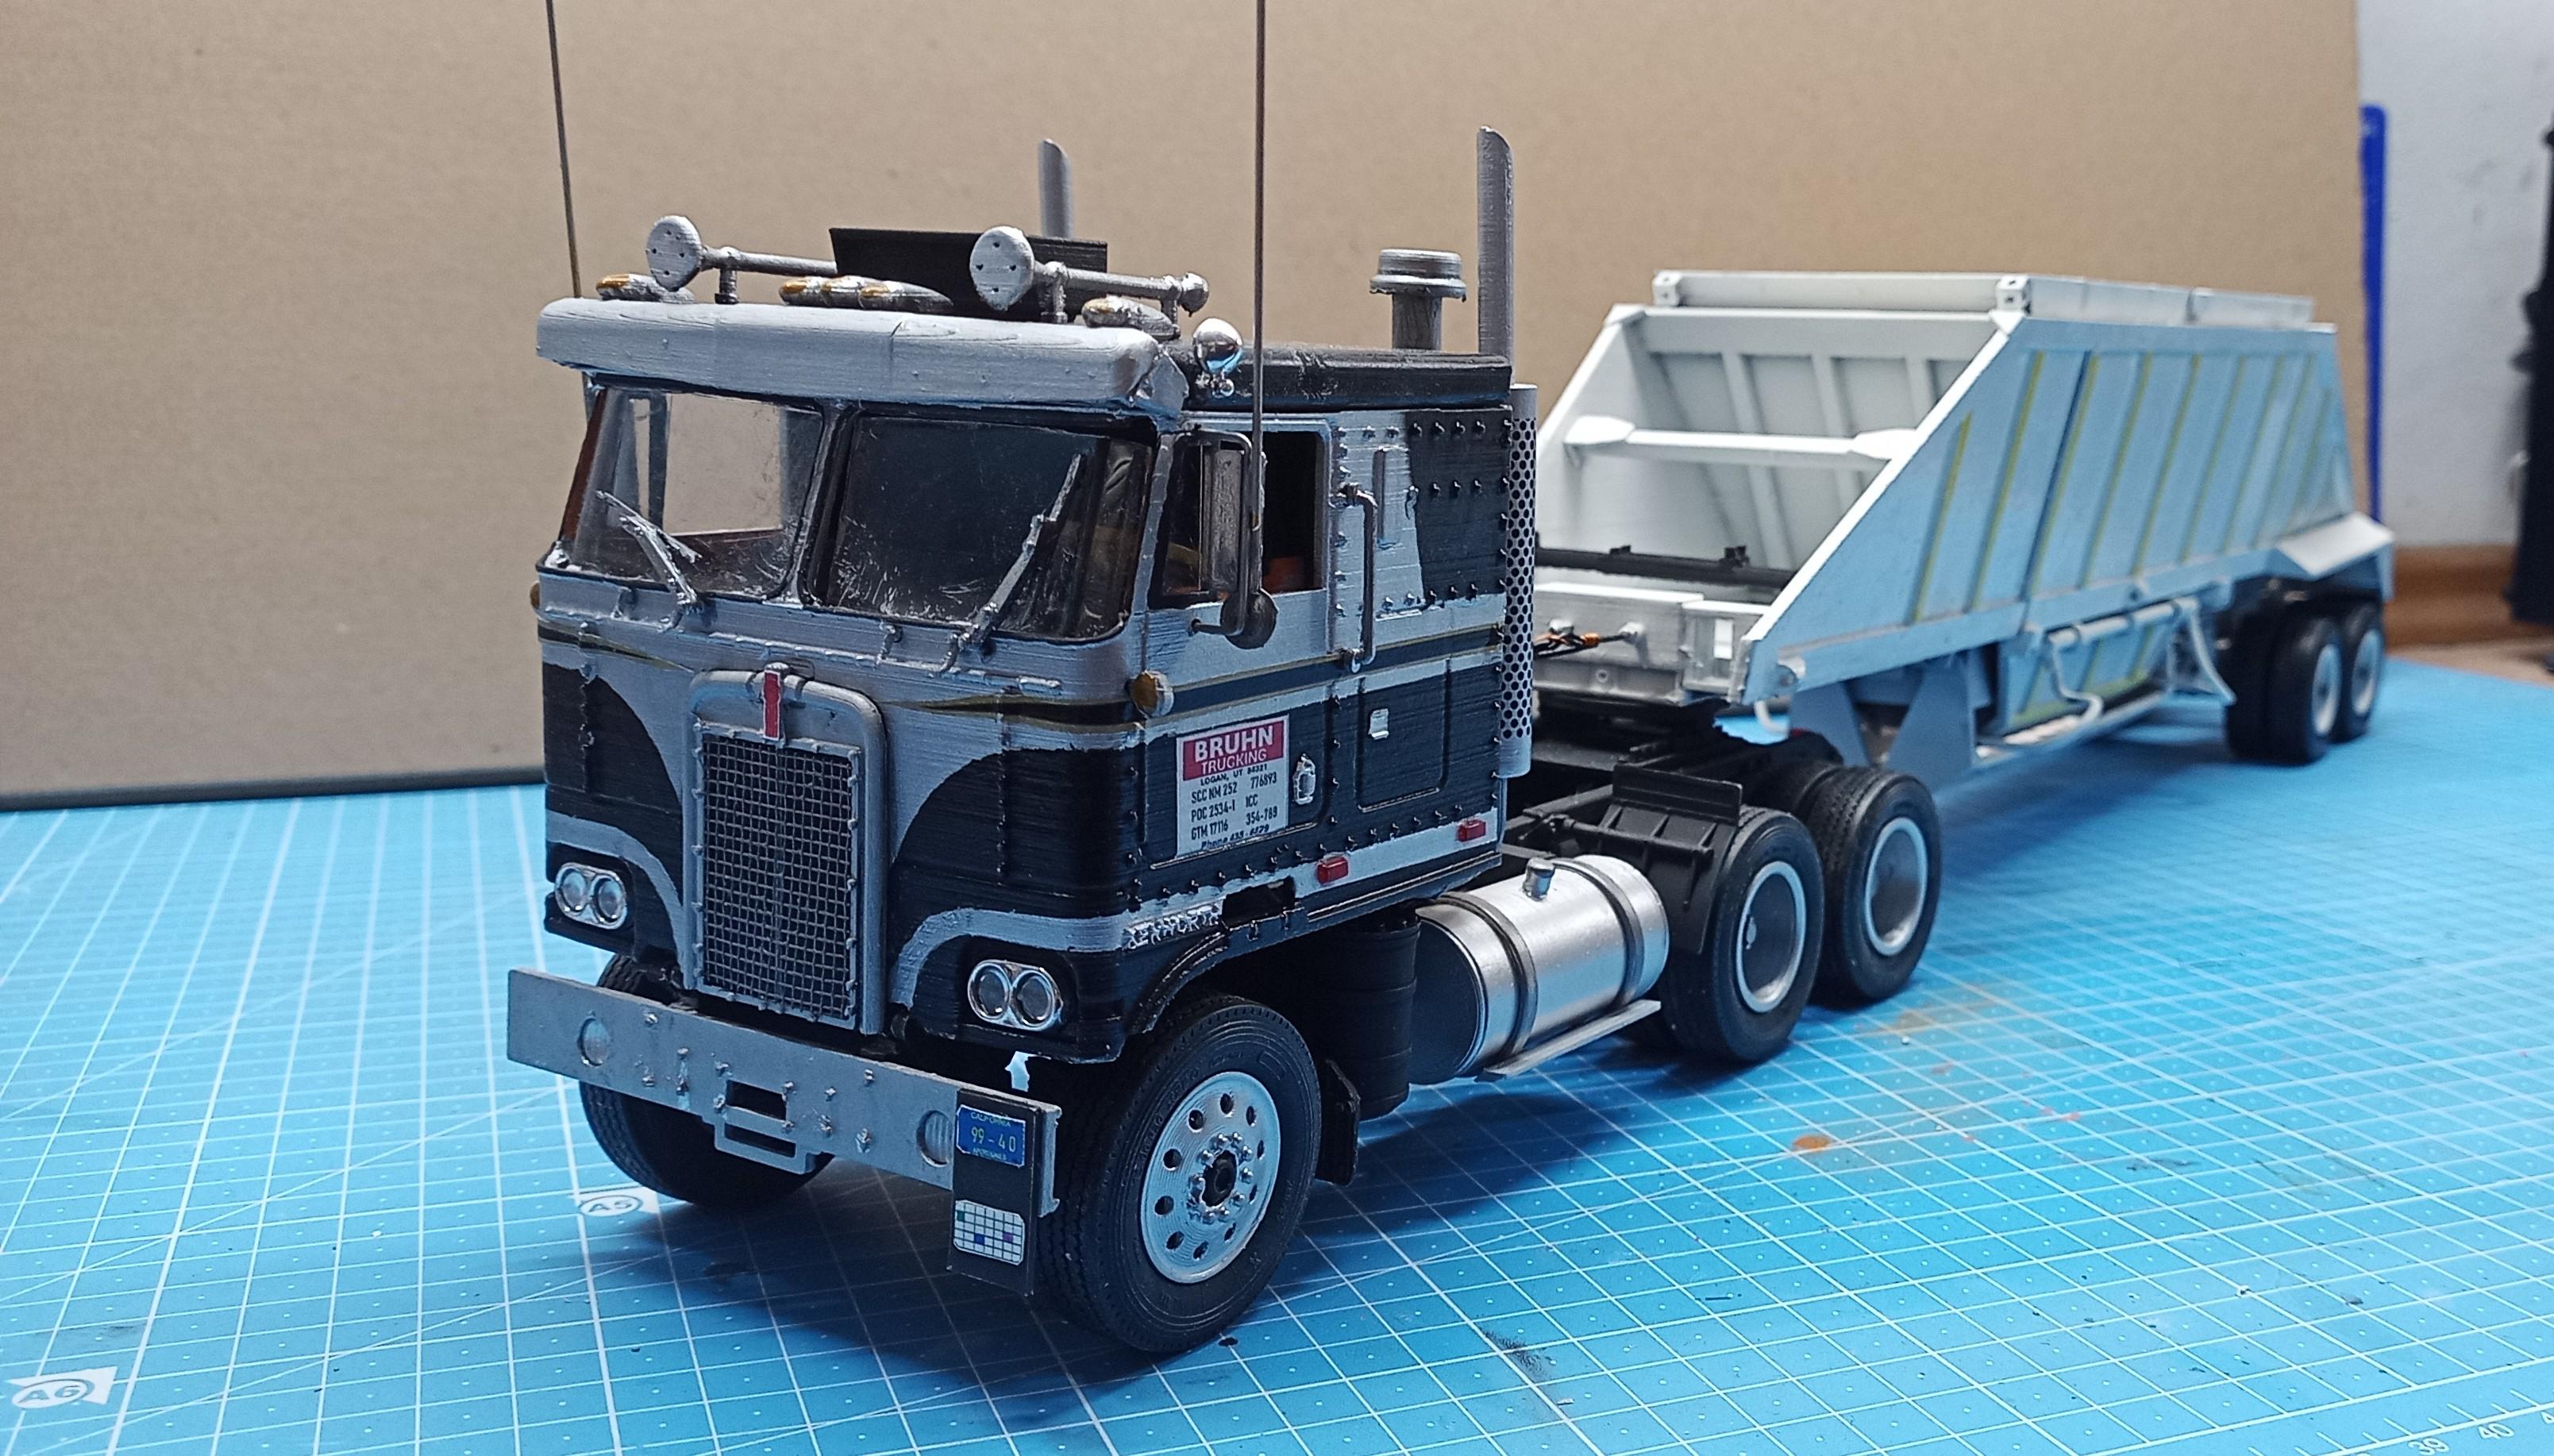
No problem! You're such a good modeller, I doubt you'll have any problems! I had the Modeltruckin decals for Rubber Duck and Pig Pen! They were very good quality, better than Amt as a fact. I'd put them in the Italeri fraction. I was about to order the "Bruhn Trucking" decals there too but since they're not too complex I decided to save the money and made them myself! -
Farm Floater Truck 1/24th scale
Jürgen M. replied to Randy D's topic in WIP: Model Trucks: Big Rigs and Heavy Equipment
Omg! That engine looks great! Amazing details on an engine that size! -
My own Sundance
Jürgen M. replied to Rockford's topic in WIP: Model Trucks: Big Rigs and Heavy Equipment
Keep going! Looks great! I know the decal stage always makes one a bit nervous but actually there's no reason. You've done such a wonderful job on this! I'm sure you'll do the same with the decals! I've made the experience that Modeltruckin decals are of good quality and allow enough sliding around to put them into place before they stick so no worries! ? -
Another "Convoy" Truck!
Jürgen M. replied to Jürgen M.'s topic in WIP: Model Trucks: Big Rigs and Heavy Equipment
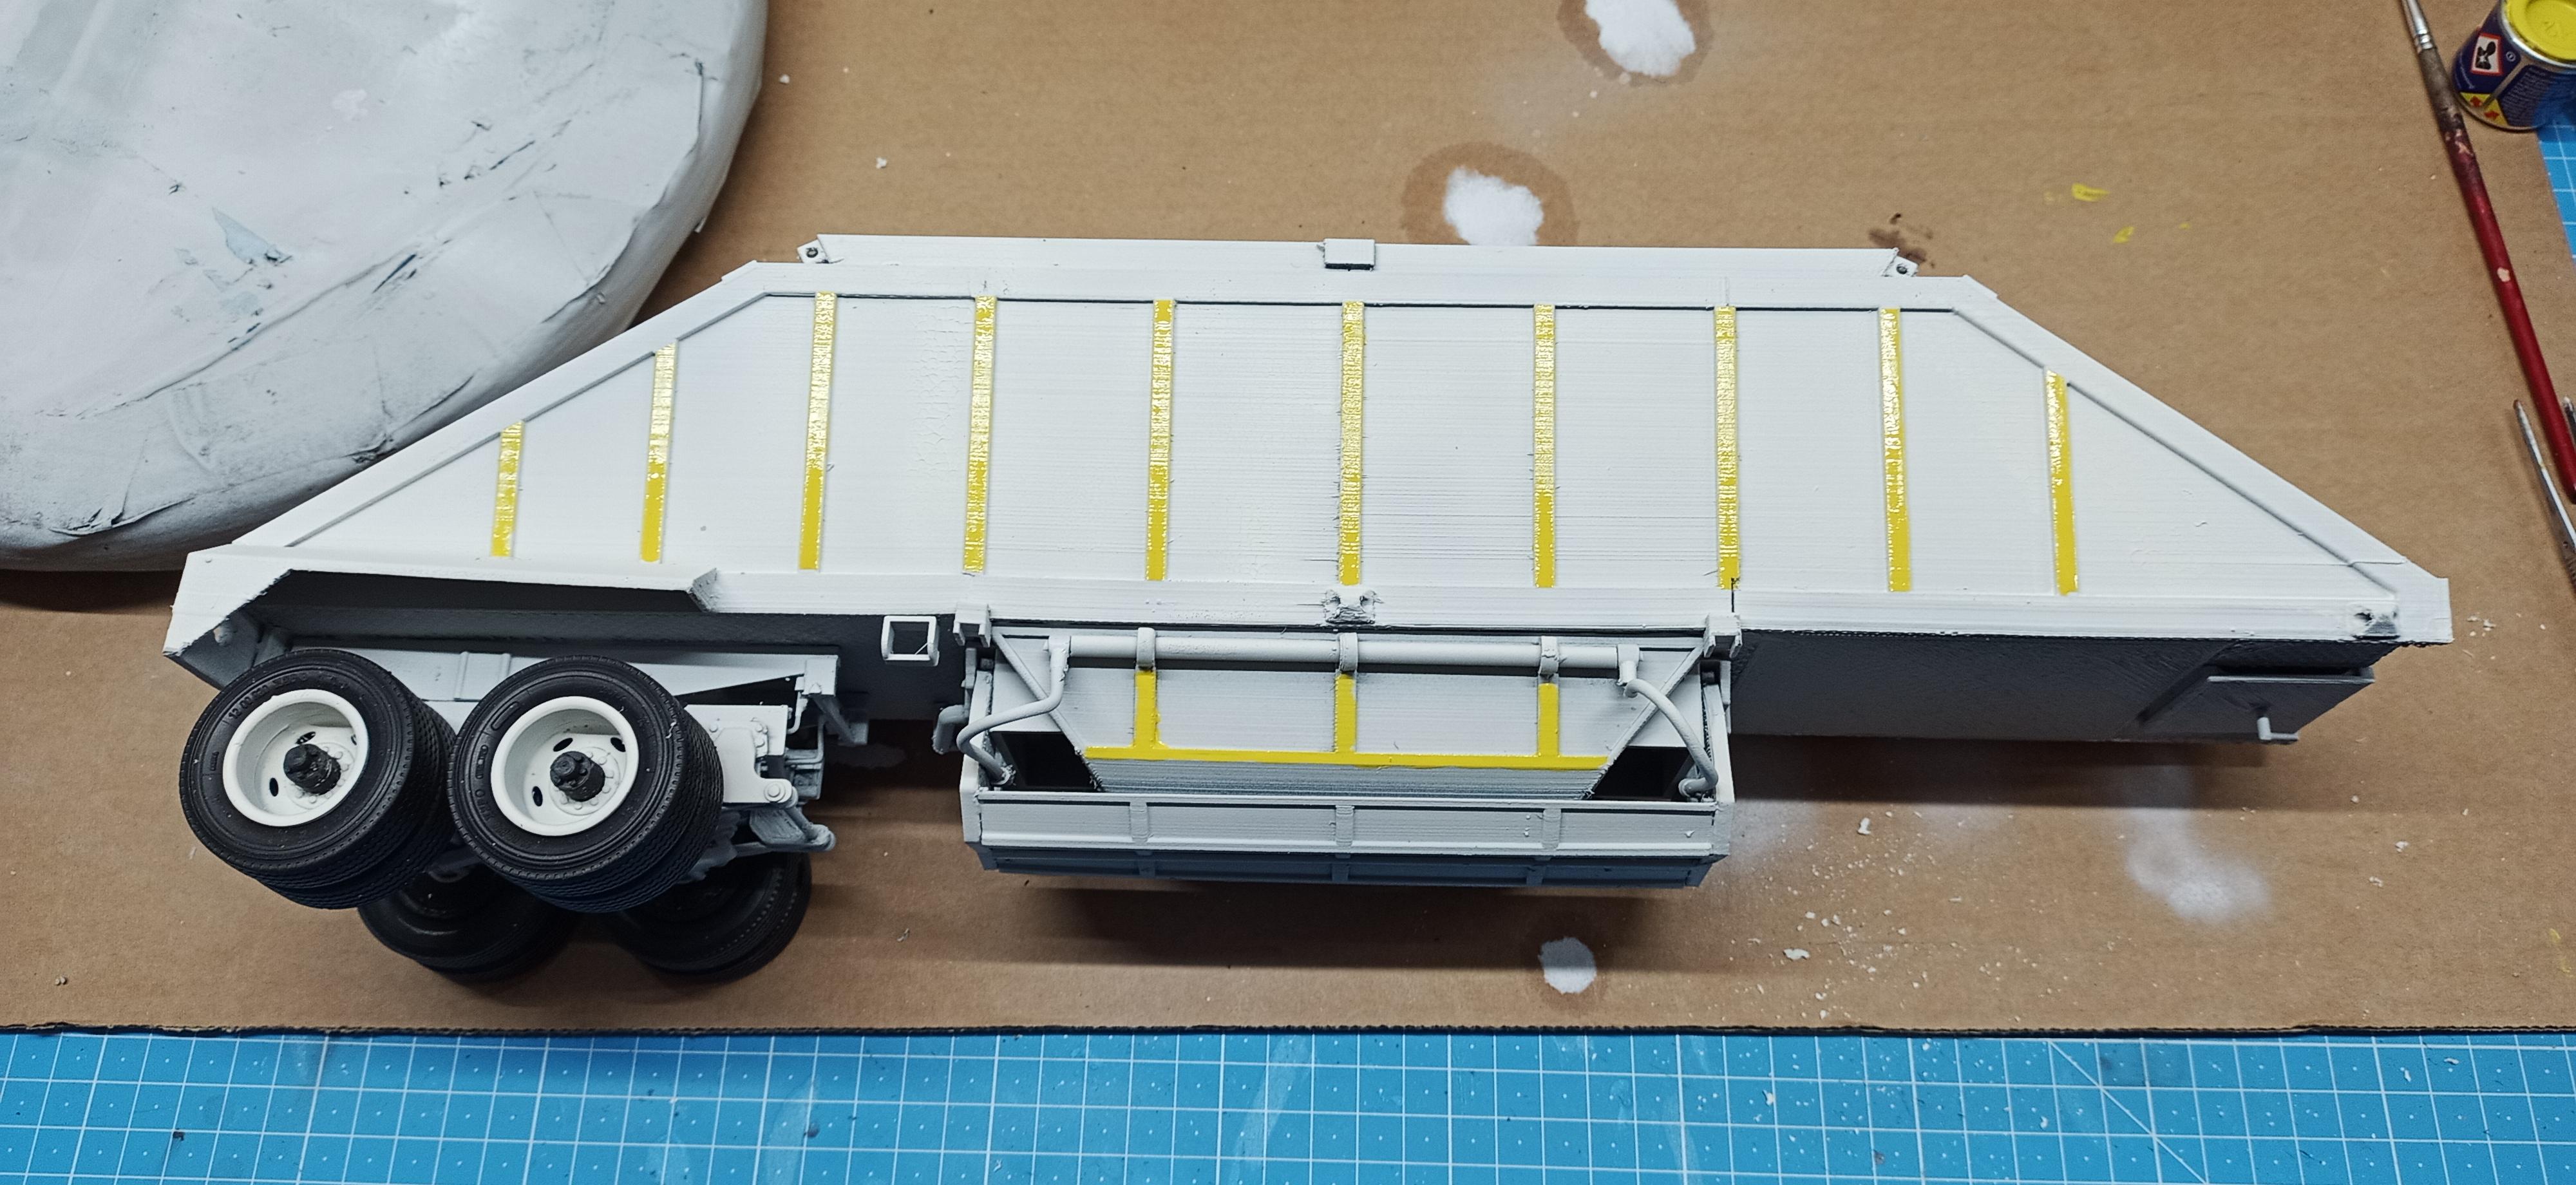
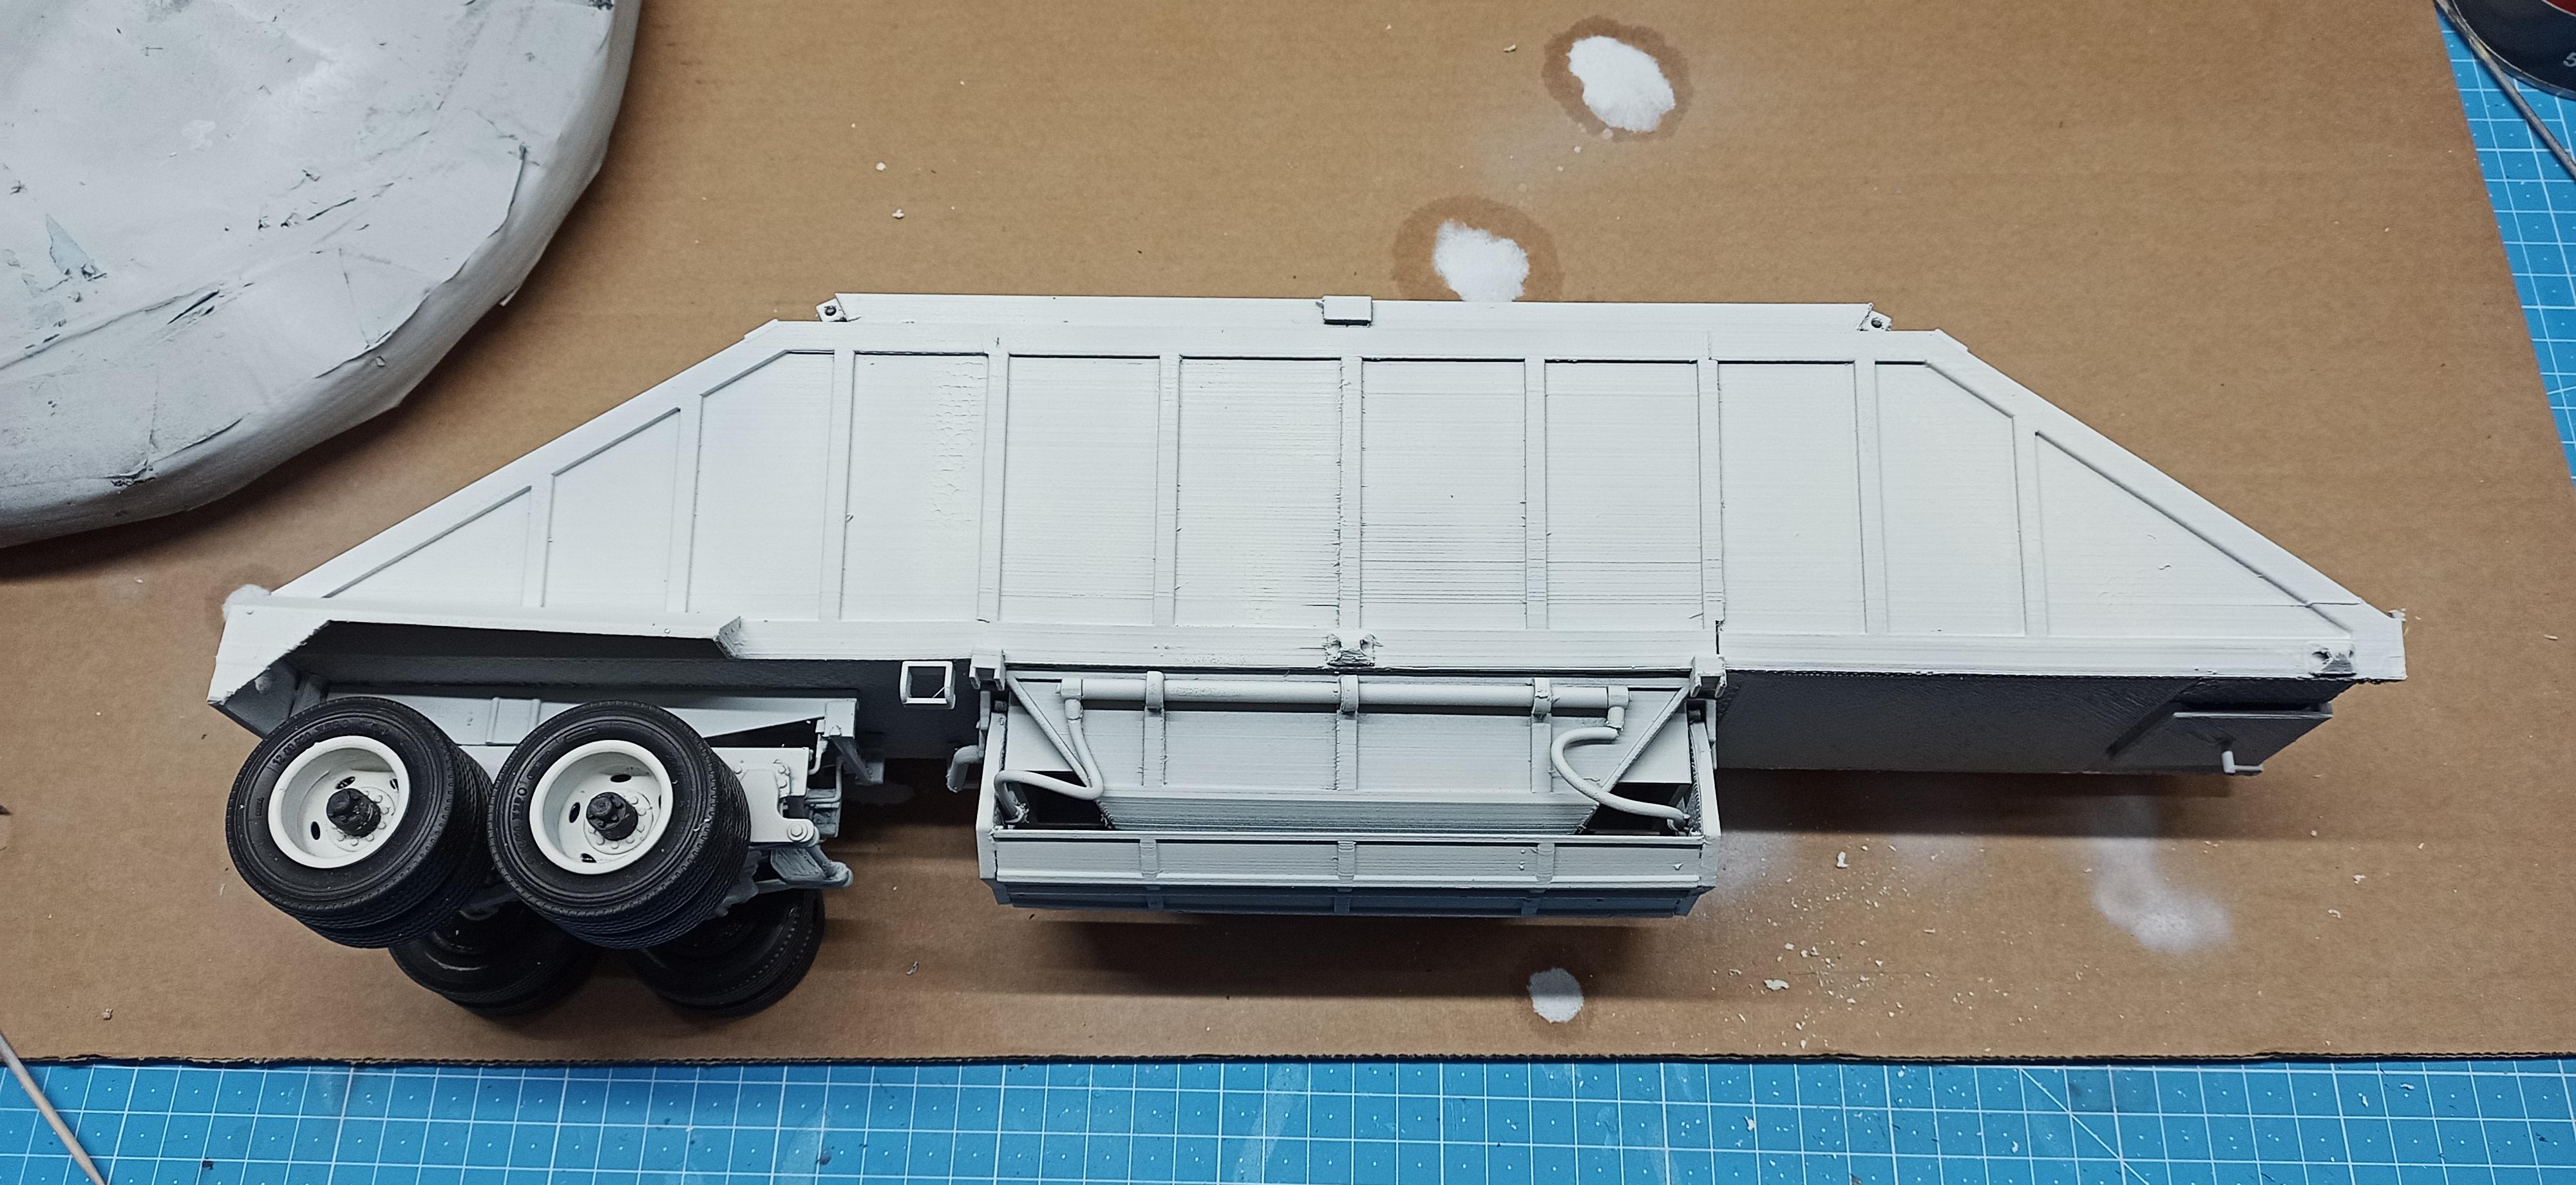
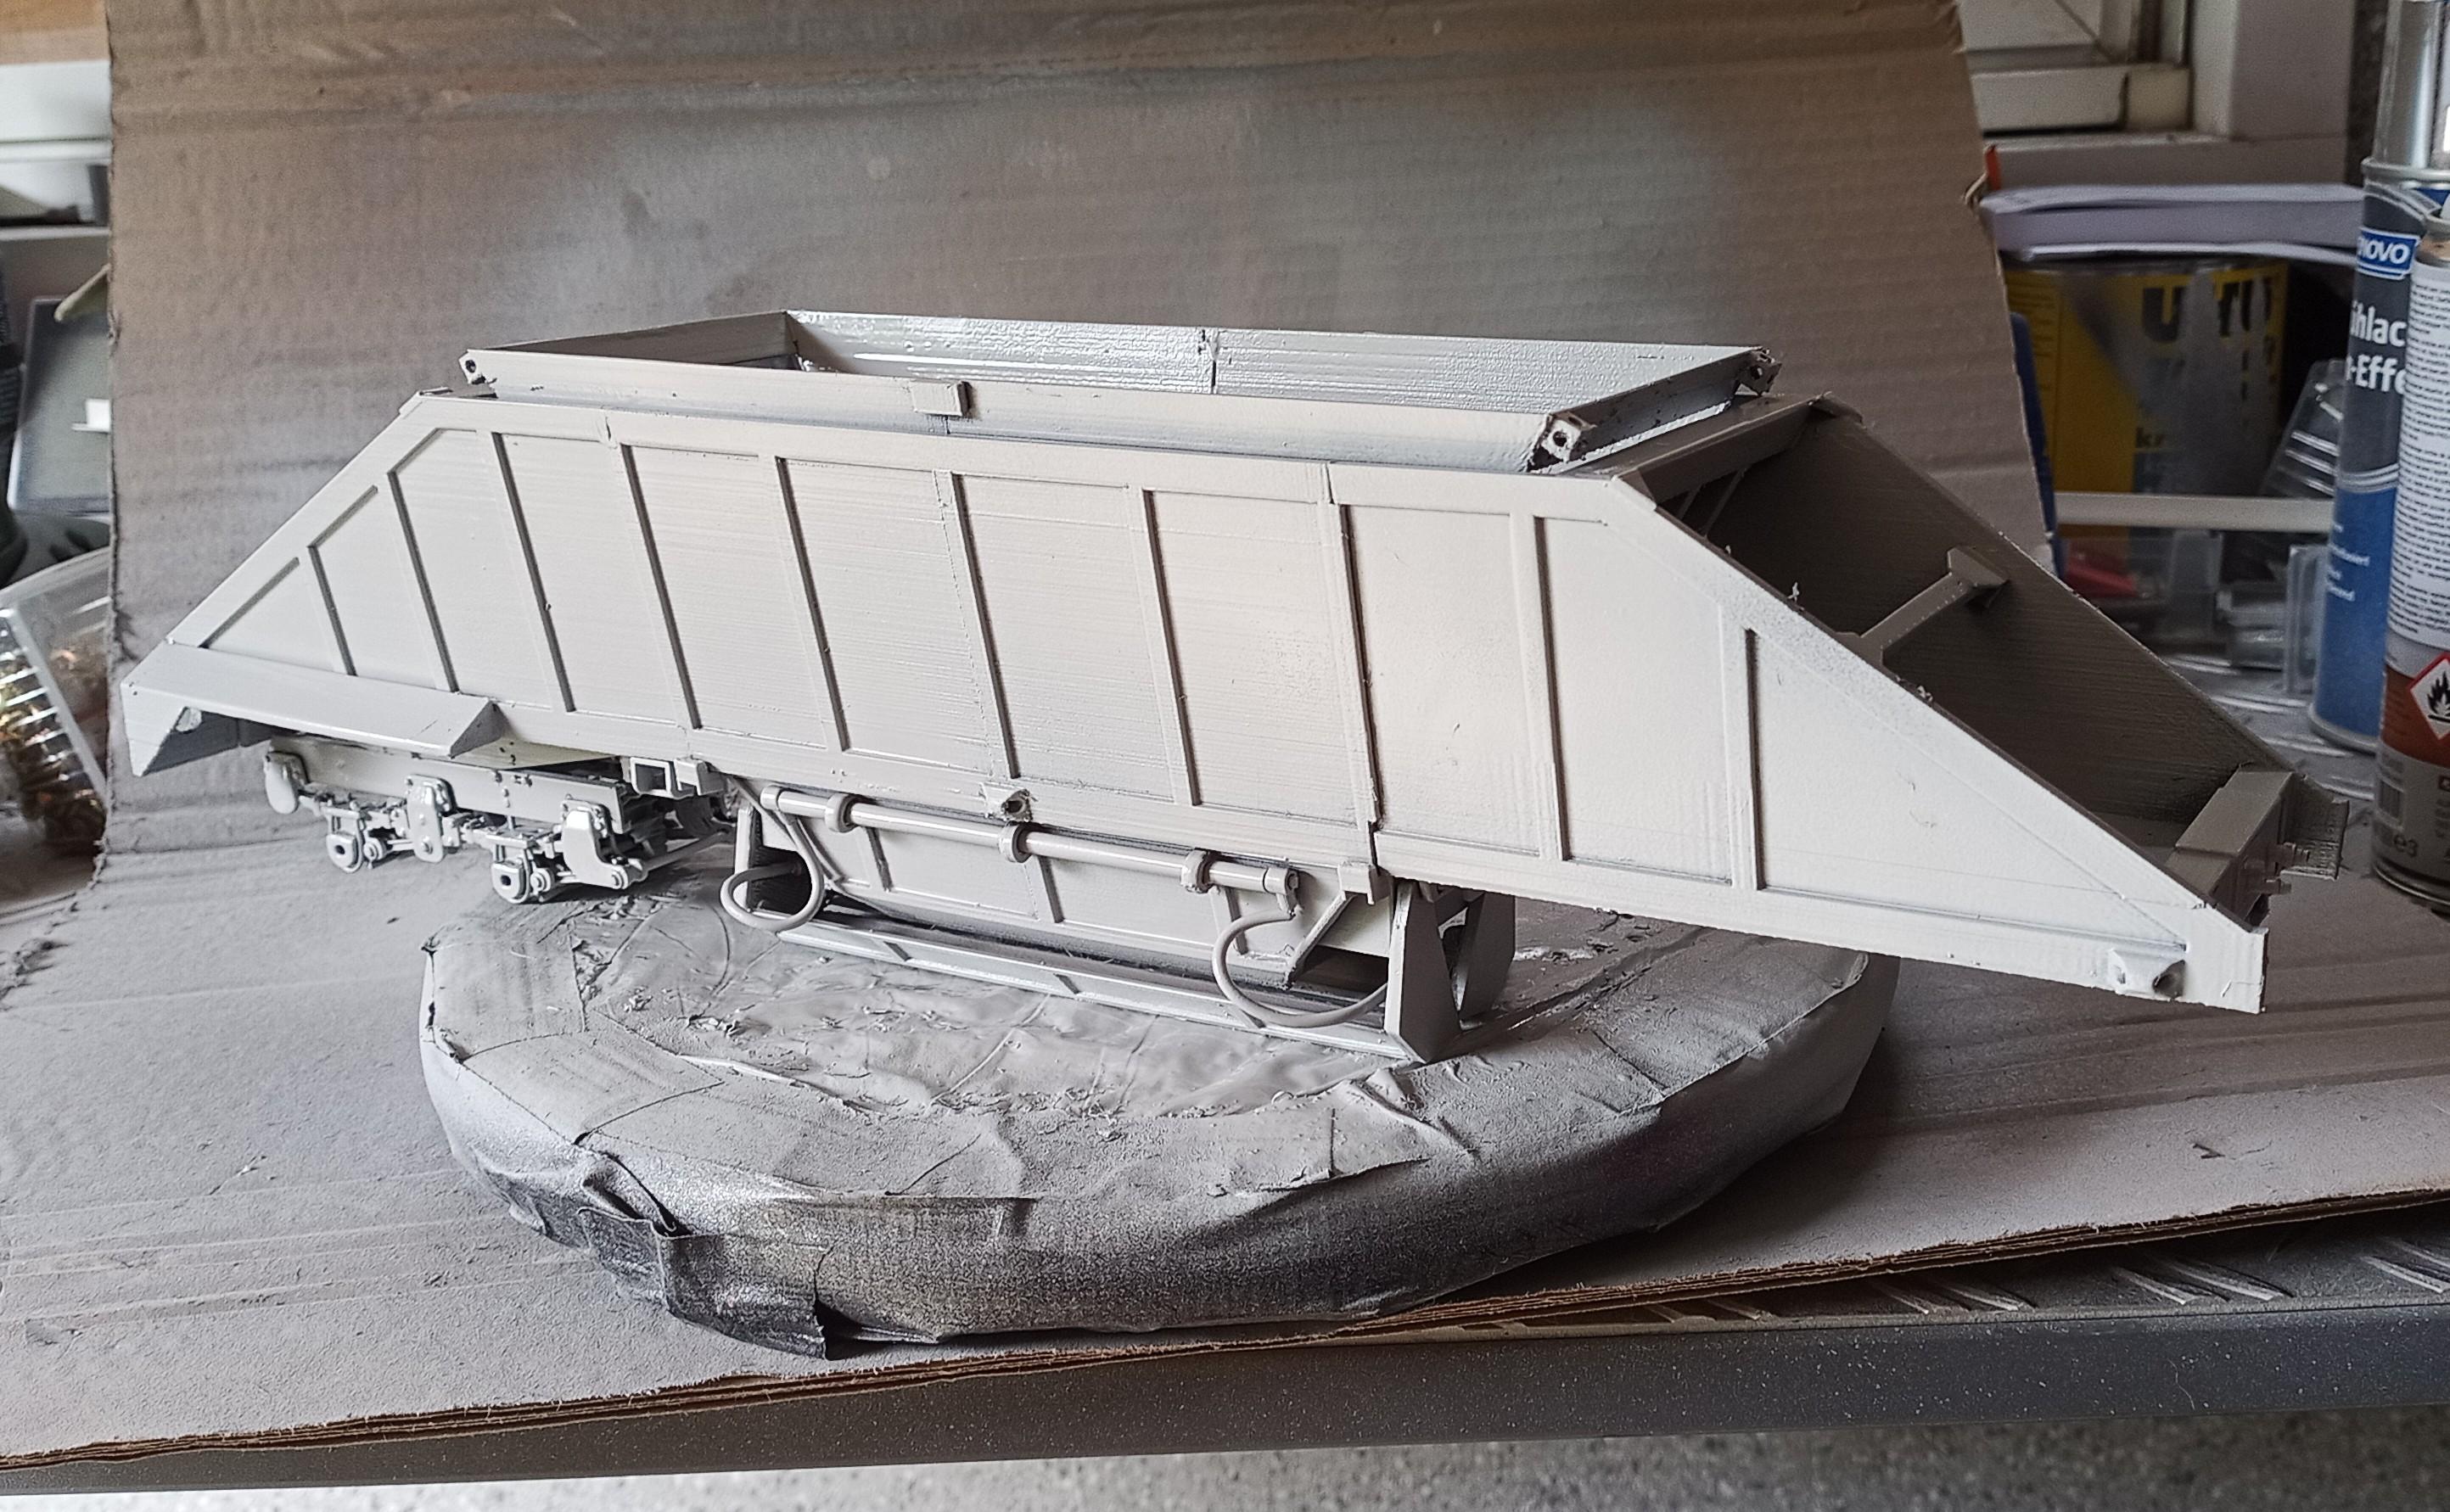
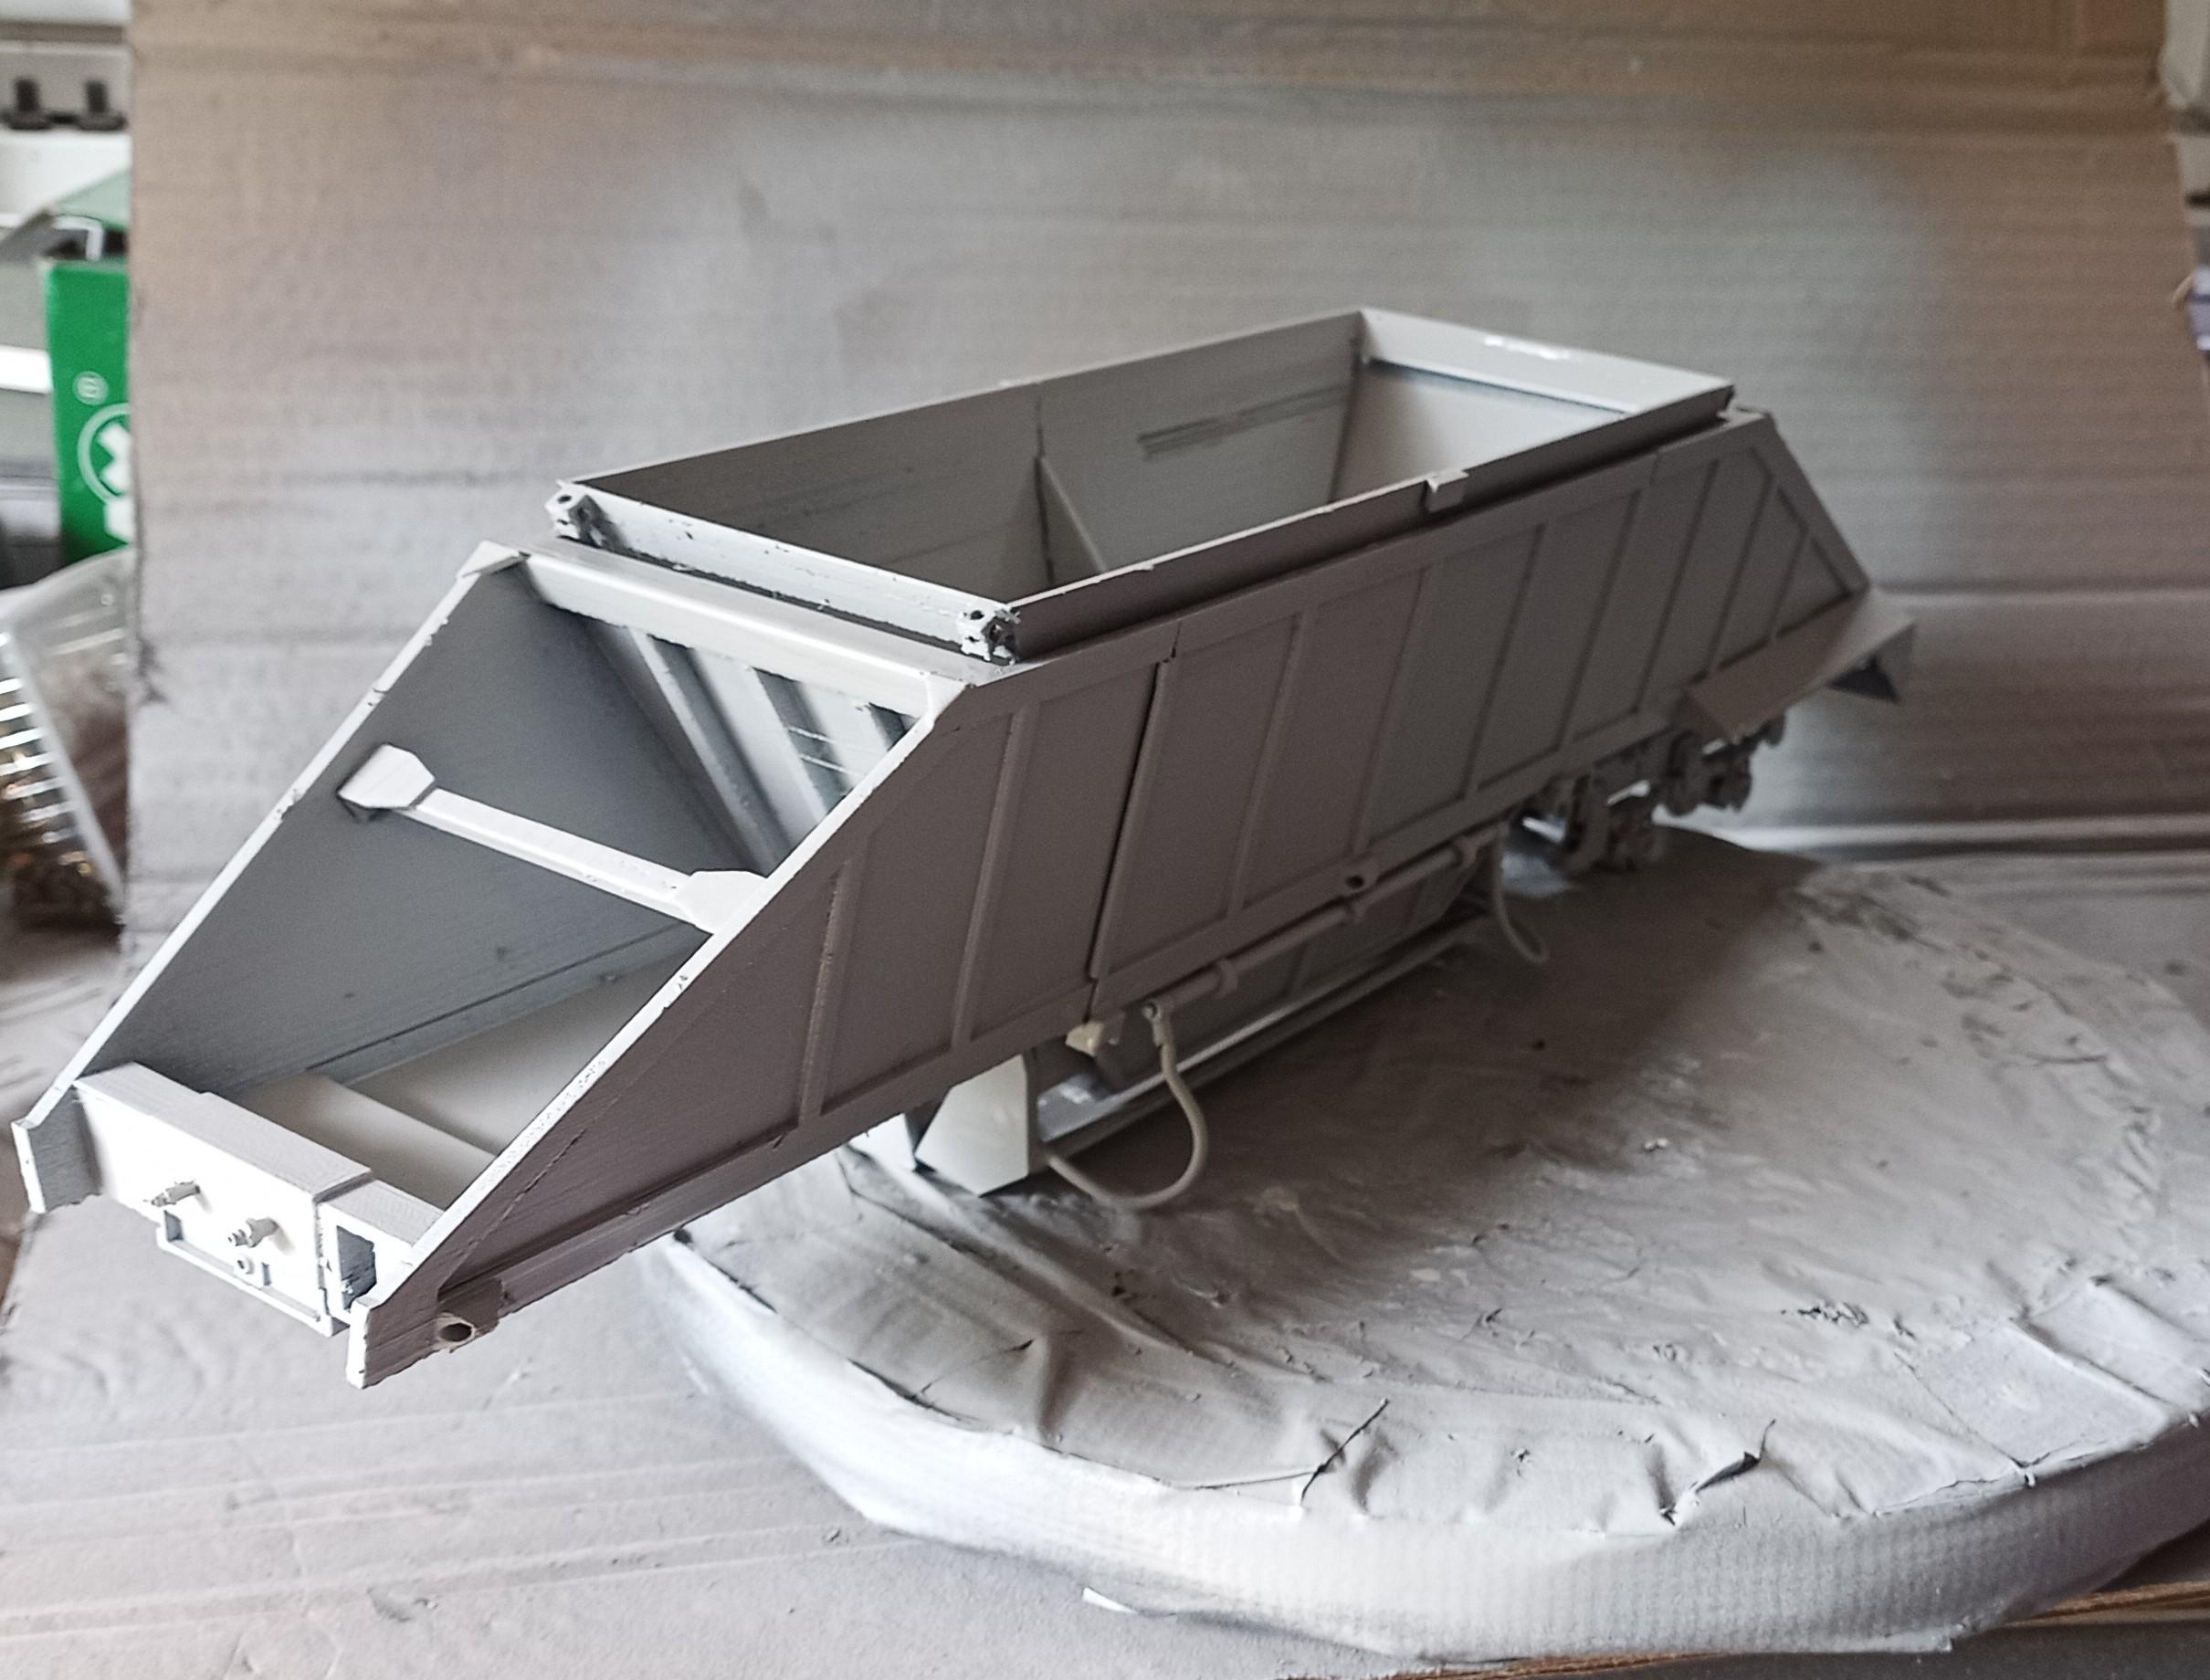
The first primer coat is on! One more layer will be necessary I guess and the air humidity will keep it from drying quickly! It'll take a while till it's over sprayable!