Jürgen M.
-
Posts
1,673 -
Joined
-
Last visited
Content Type
Profiles
Forums
Events
Gallery
Everything posted by Jürgen M.
-

I'm a trailerholic
Jürgen M. replied to Rockford's topic in WIP: Model Trucks: Big Rigs and Heavy Equipment
Keep going! I'm sure it's worth it! ?? -
I'm a trailerholic
Jürgen M. replied to Rockford's topic in WIP: Model Trucks: Big Rigs and Heavy Equipment
Wow, Rockford, that's a beauty! Nice work! Looks absolutely real! ? -
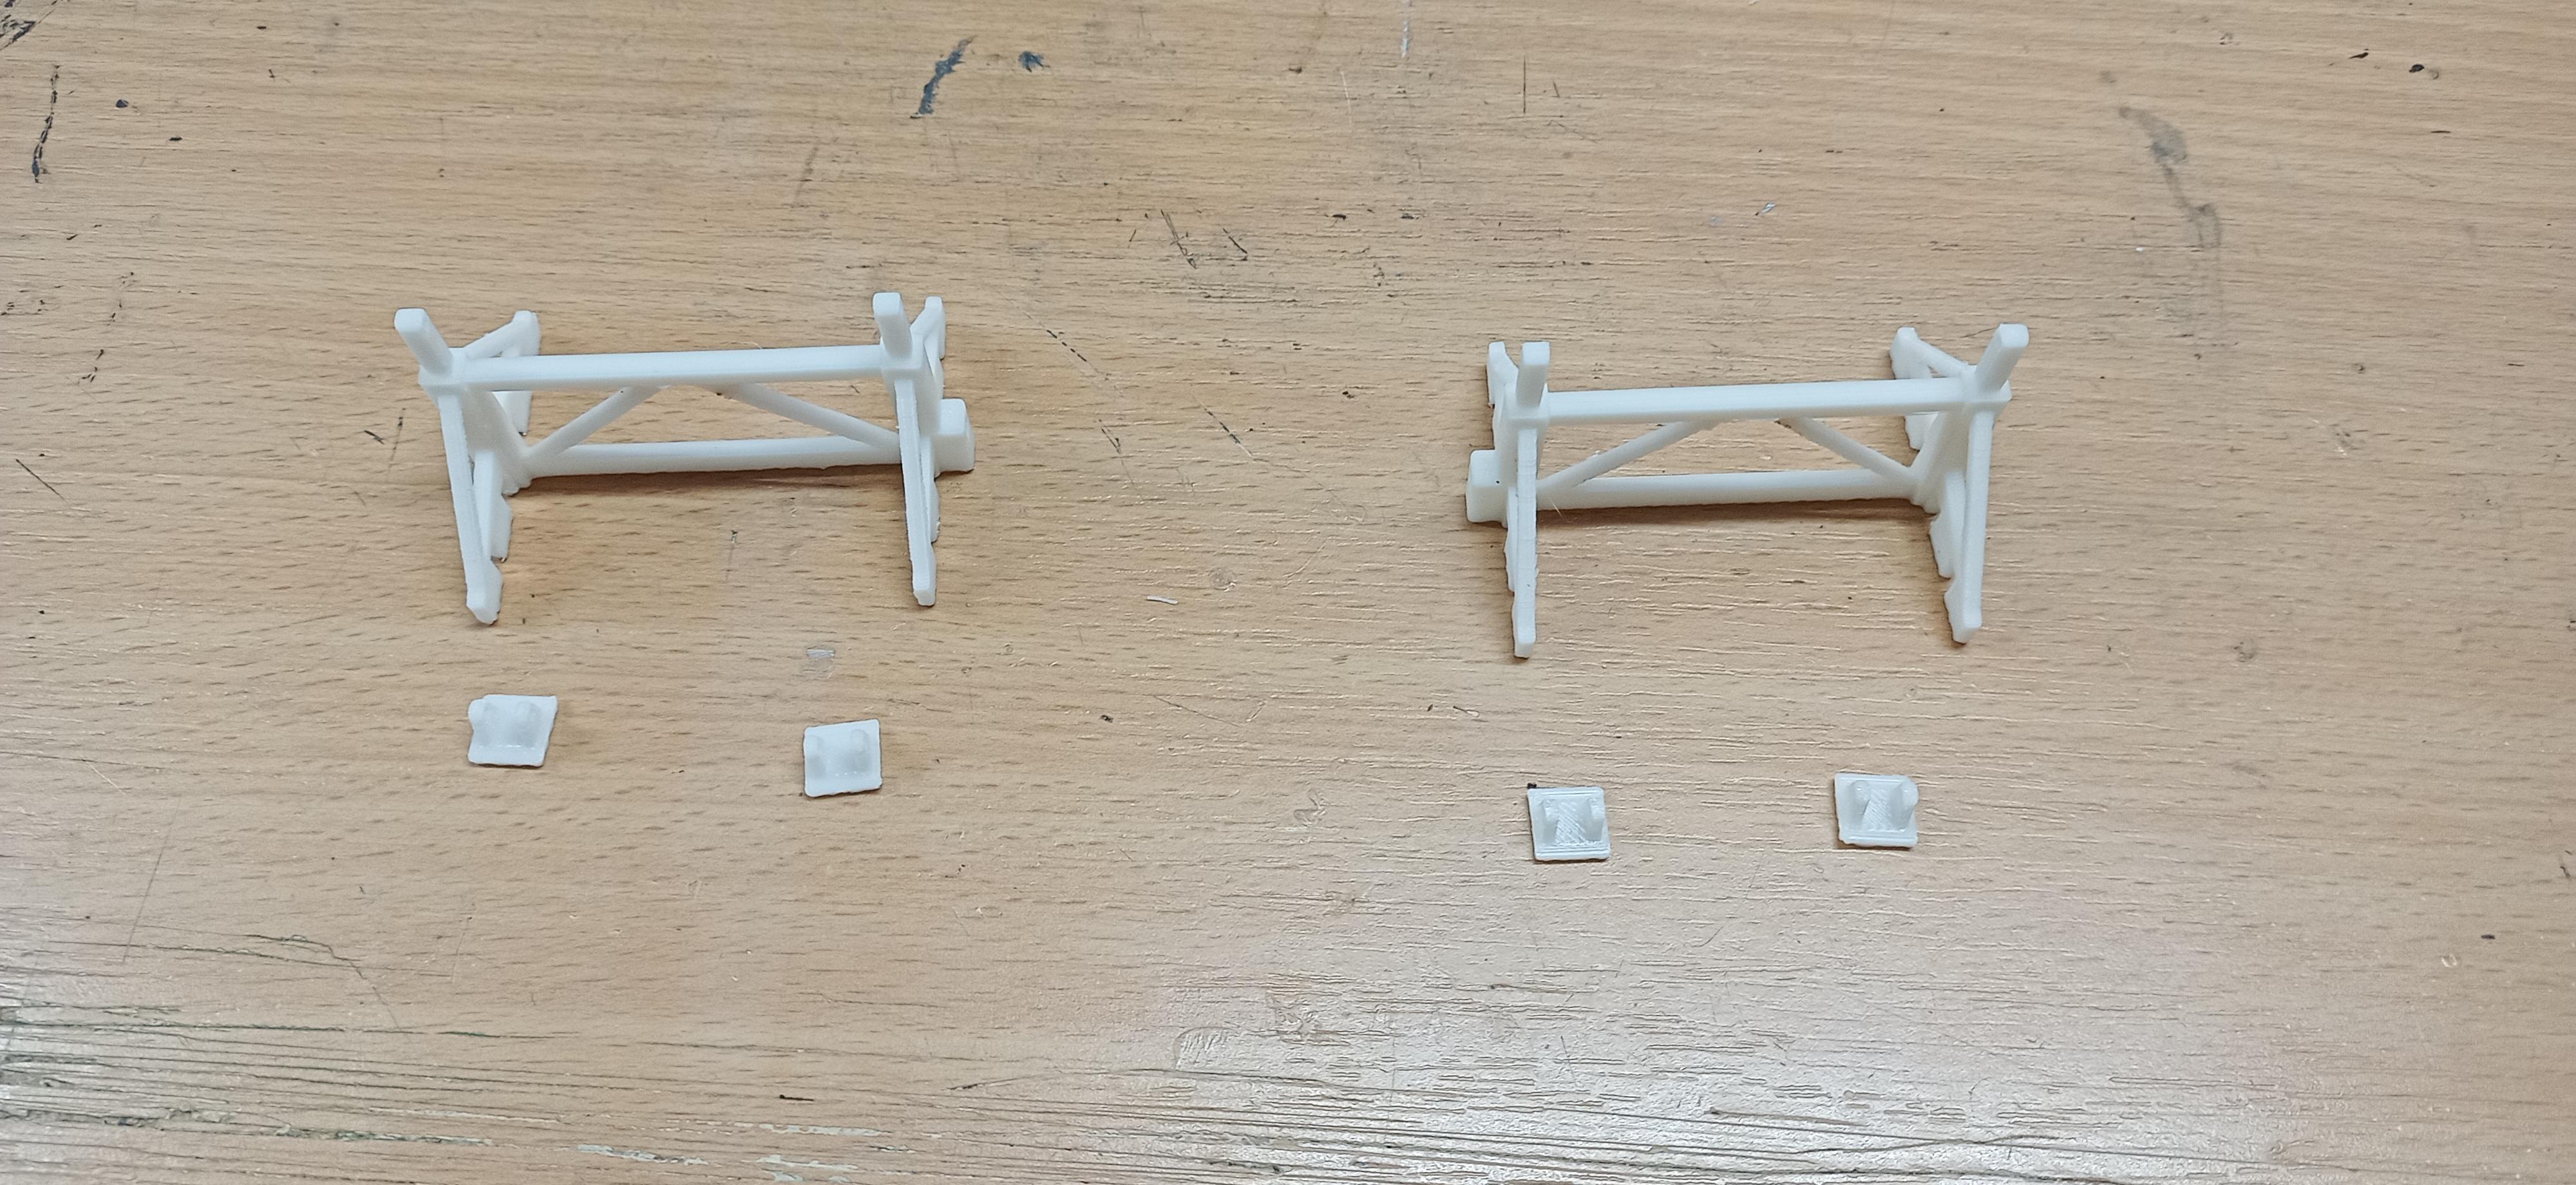
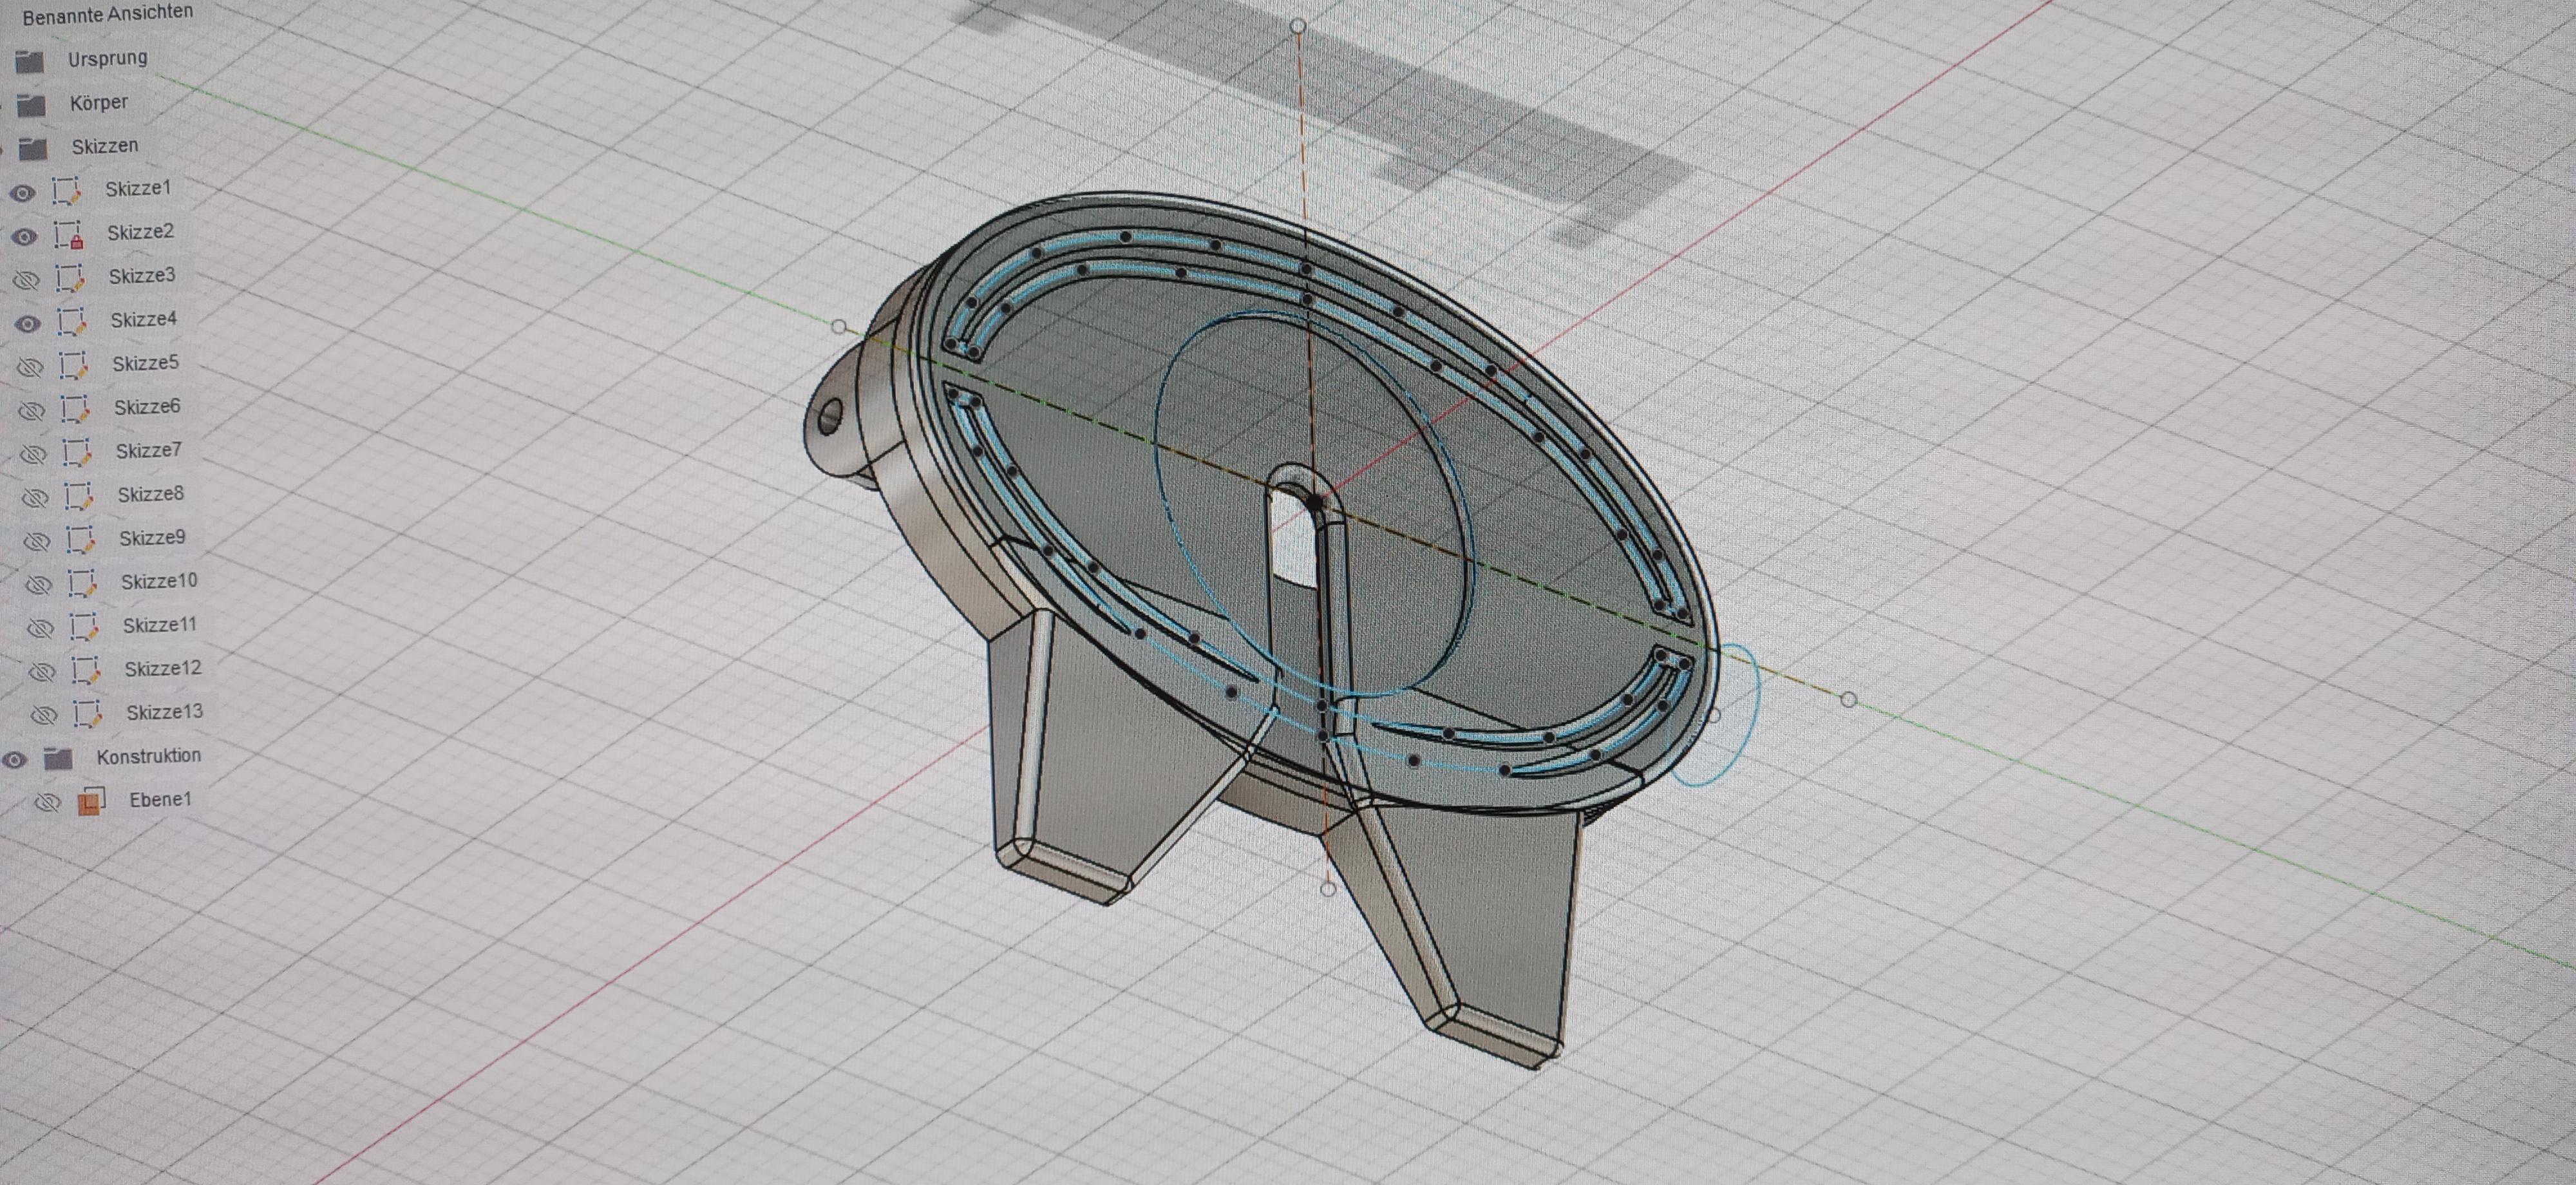
The fifth wheel of the second trailer ist printed ... ... so are the landing gears: I used the pins to keep the "feet" movable. Not that it's necessary but it looks nice! ? The landing gears are printed in one piece! Saves glue! ?

-
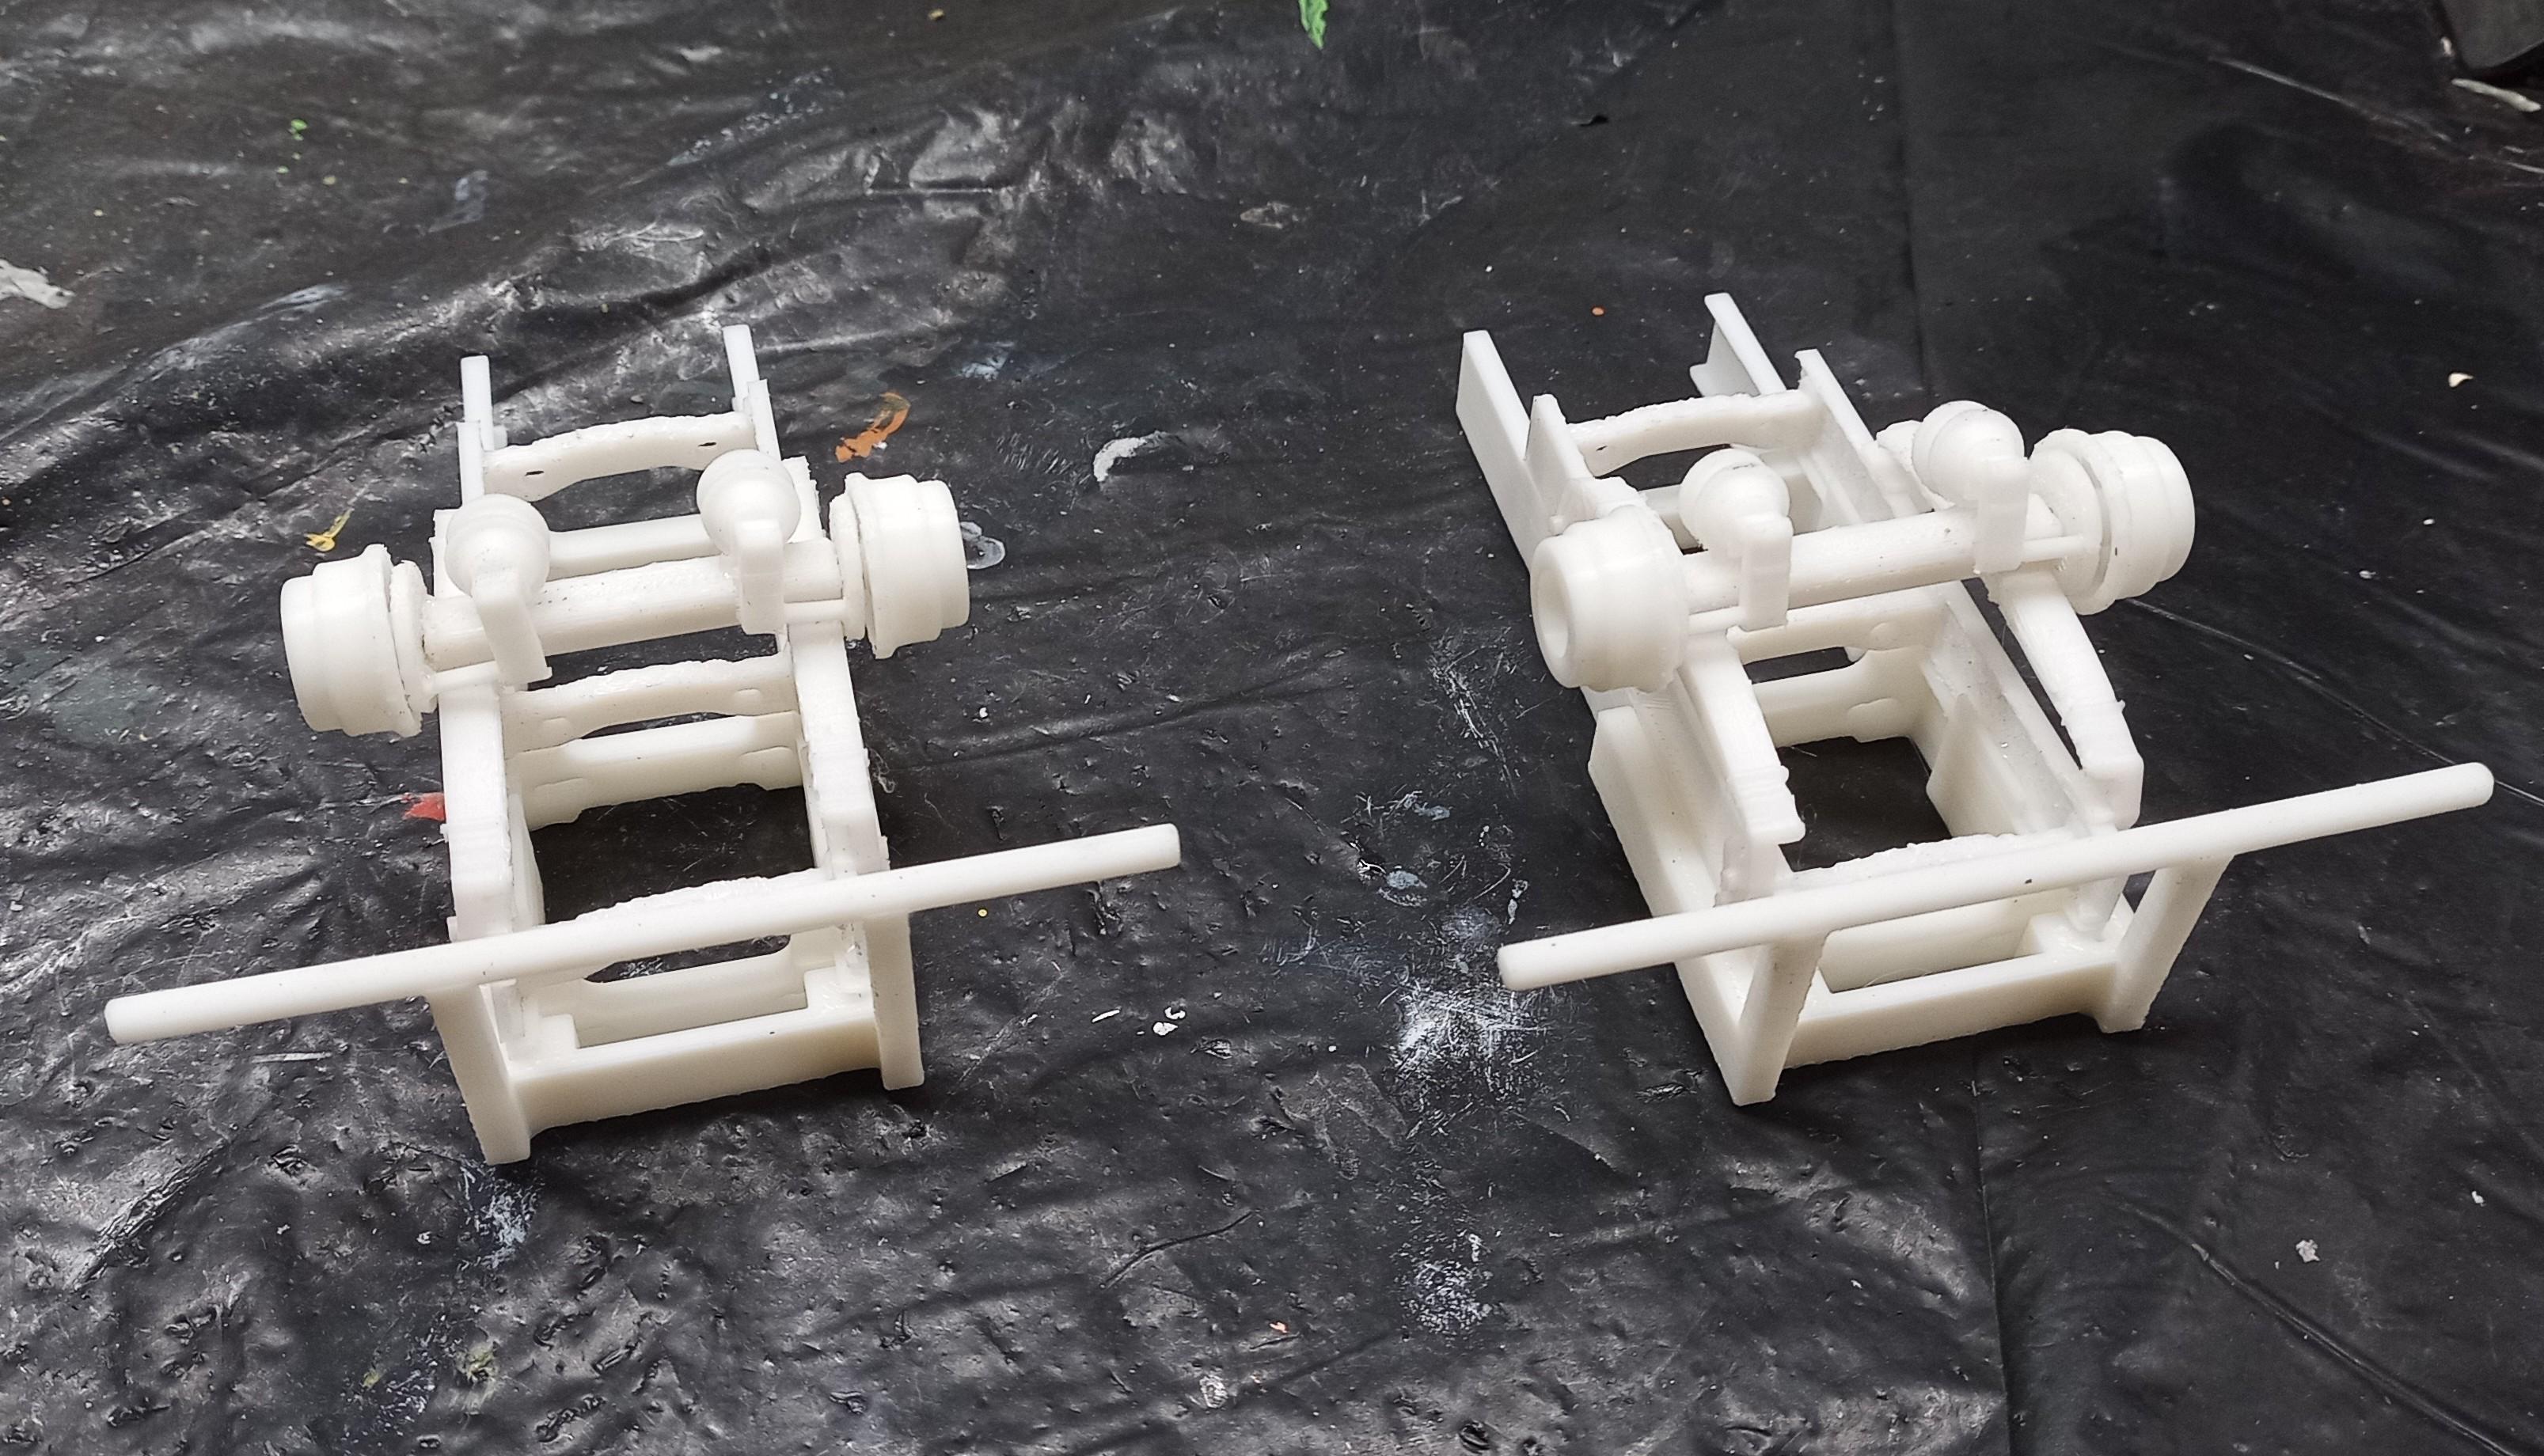
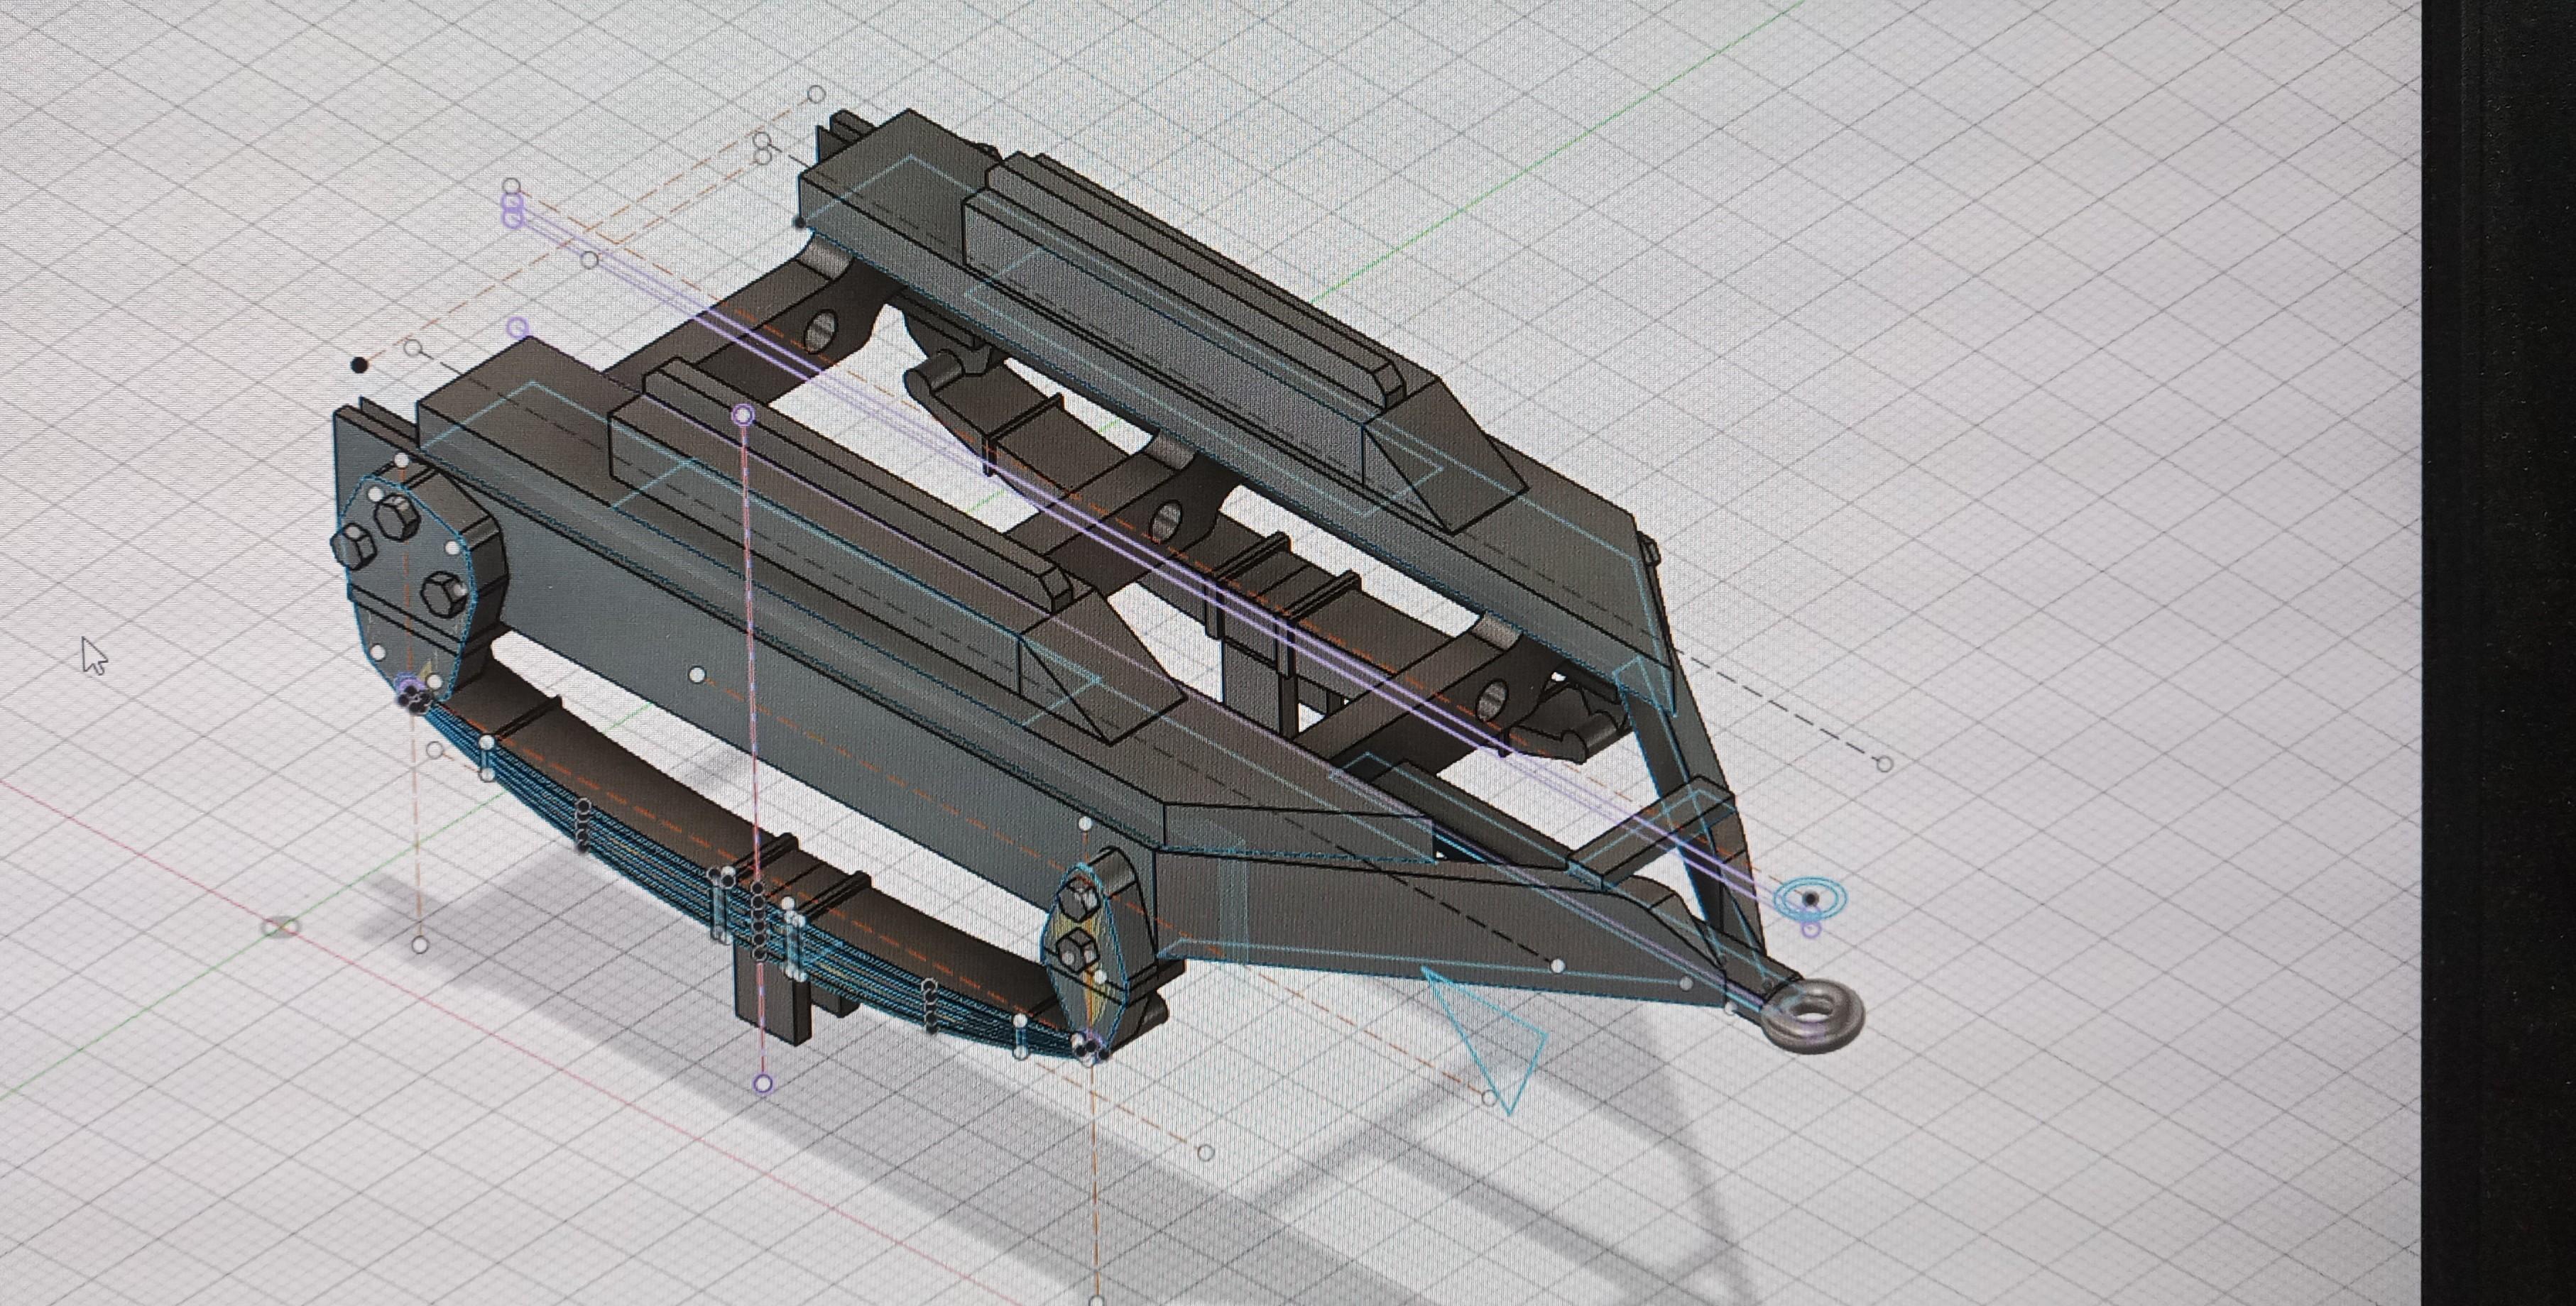
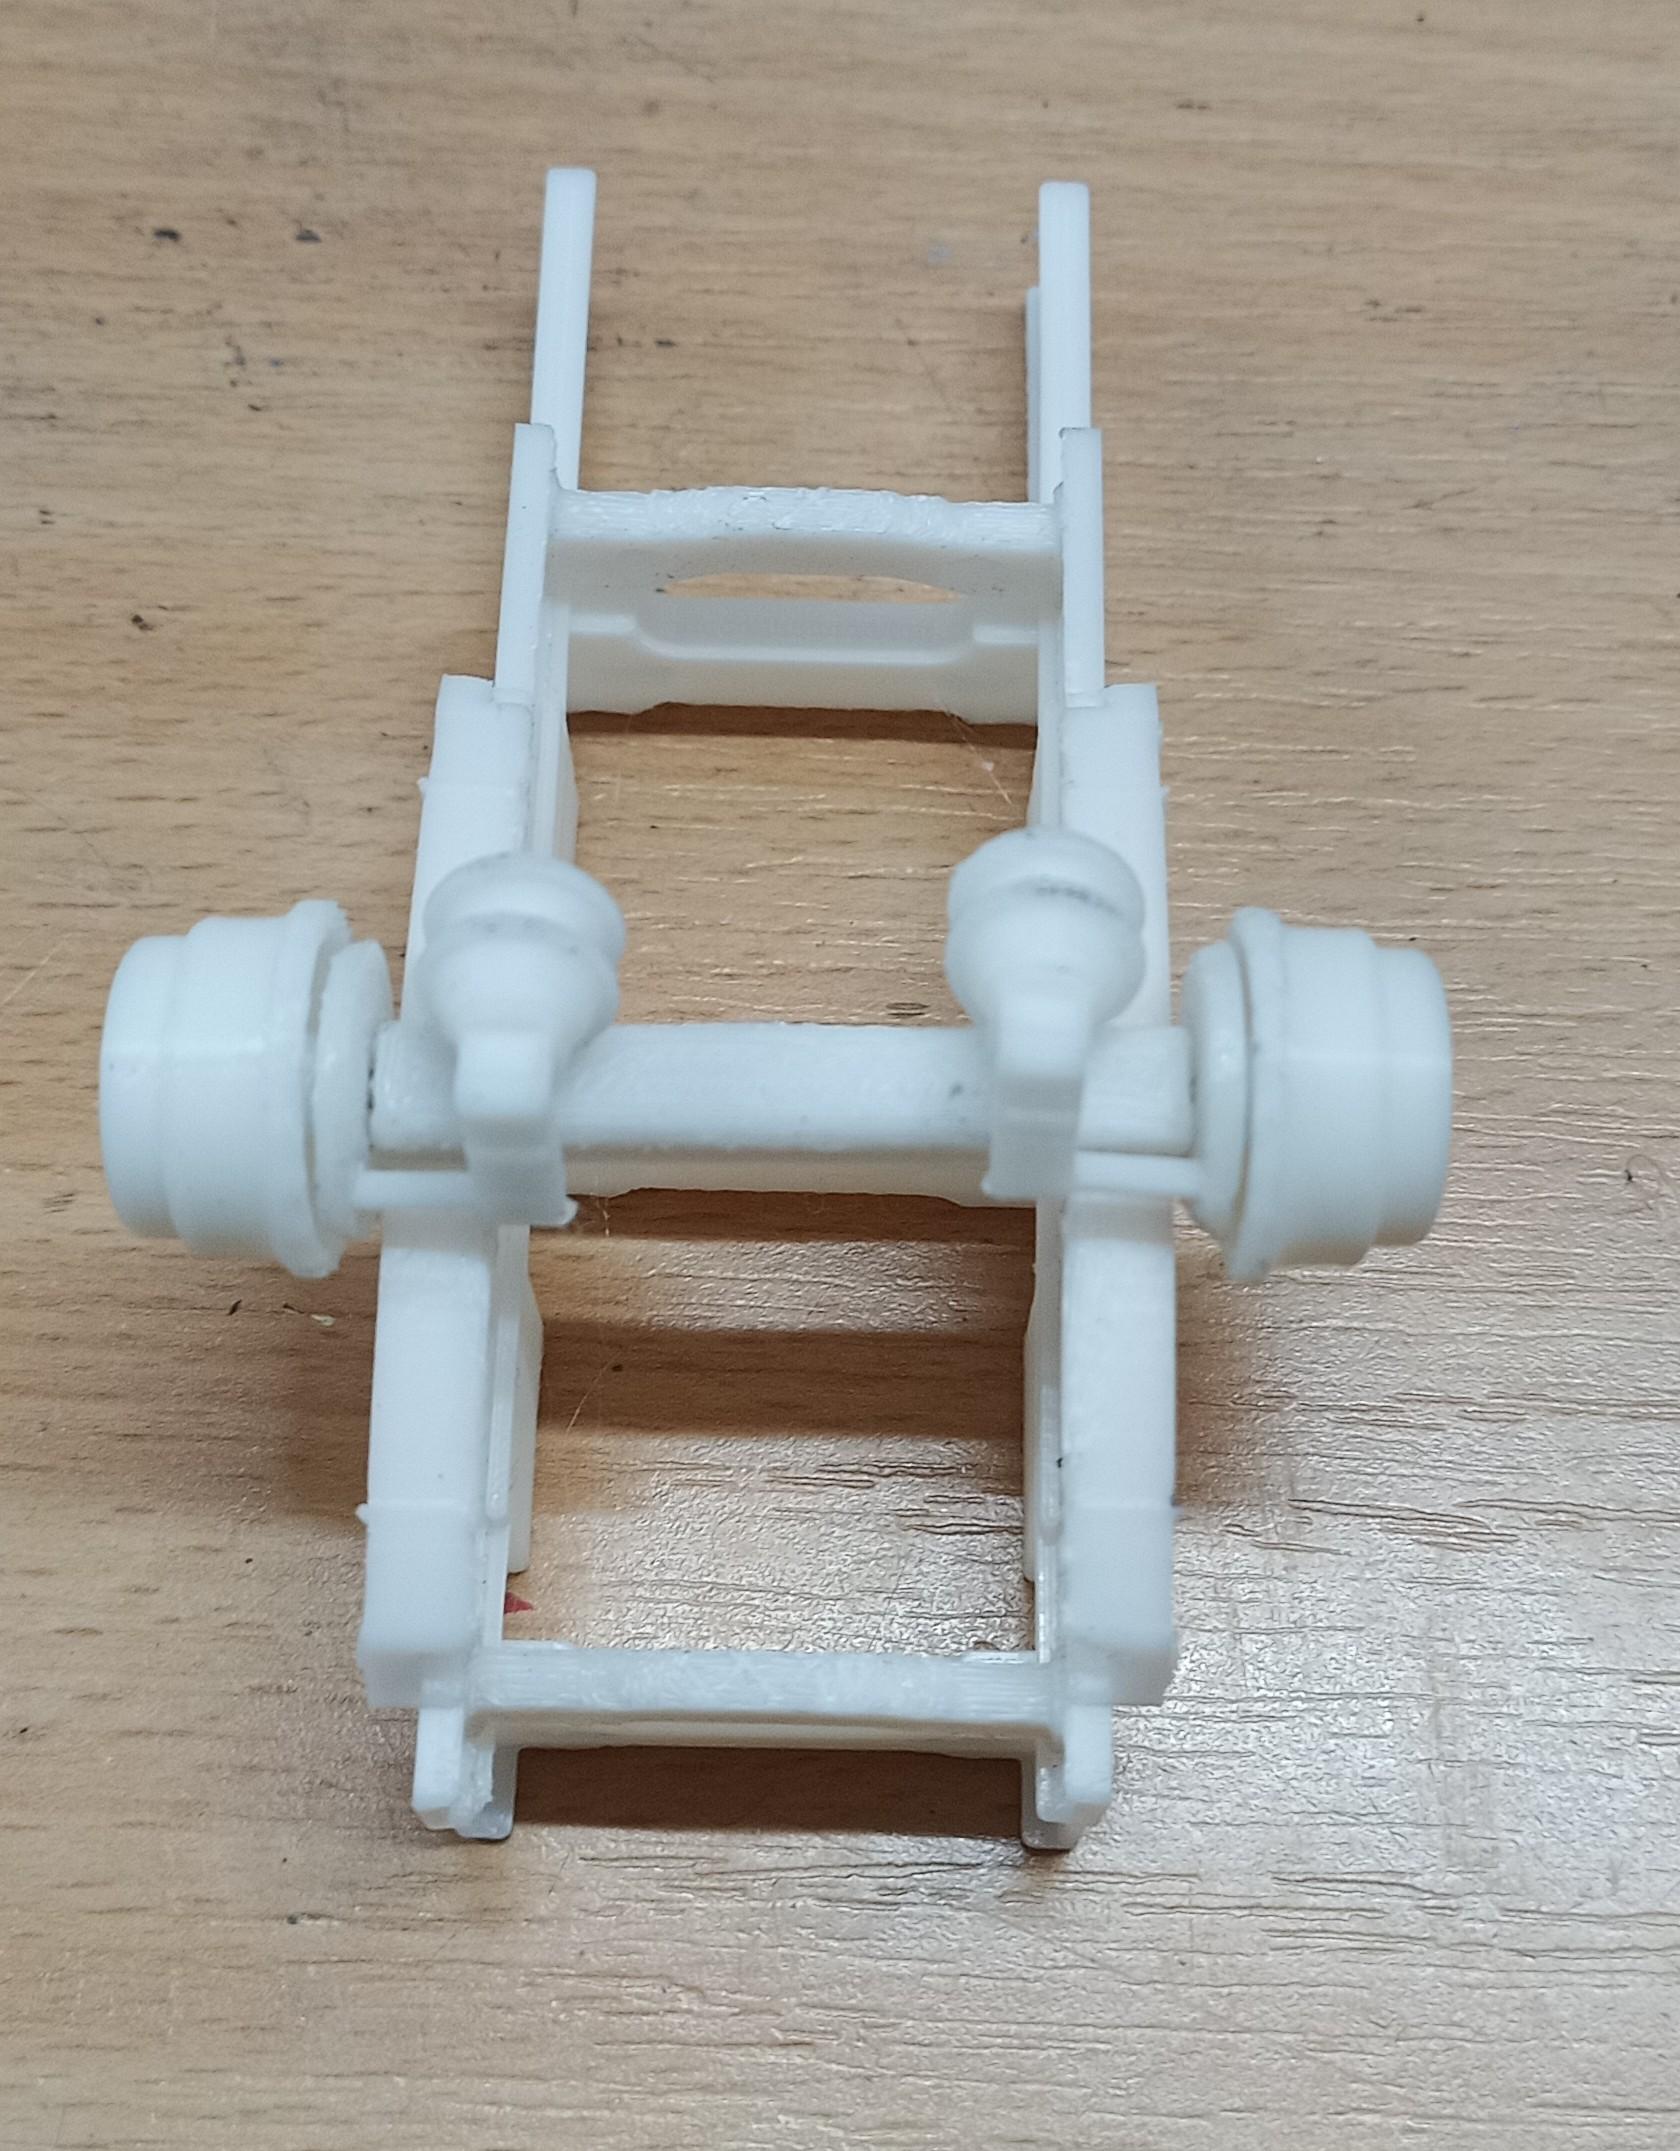
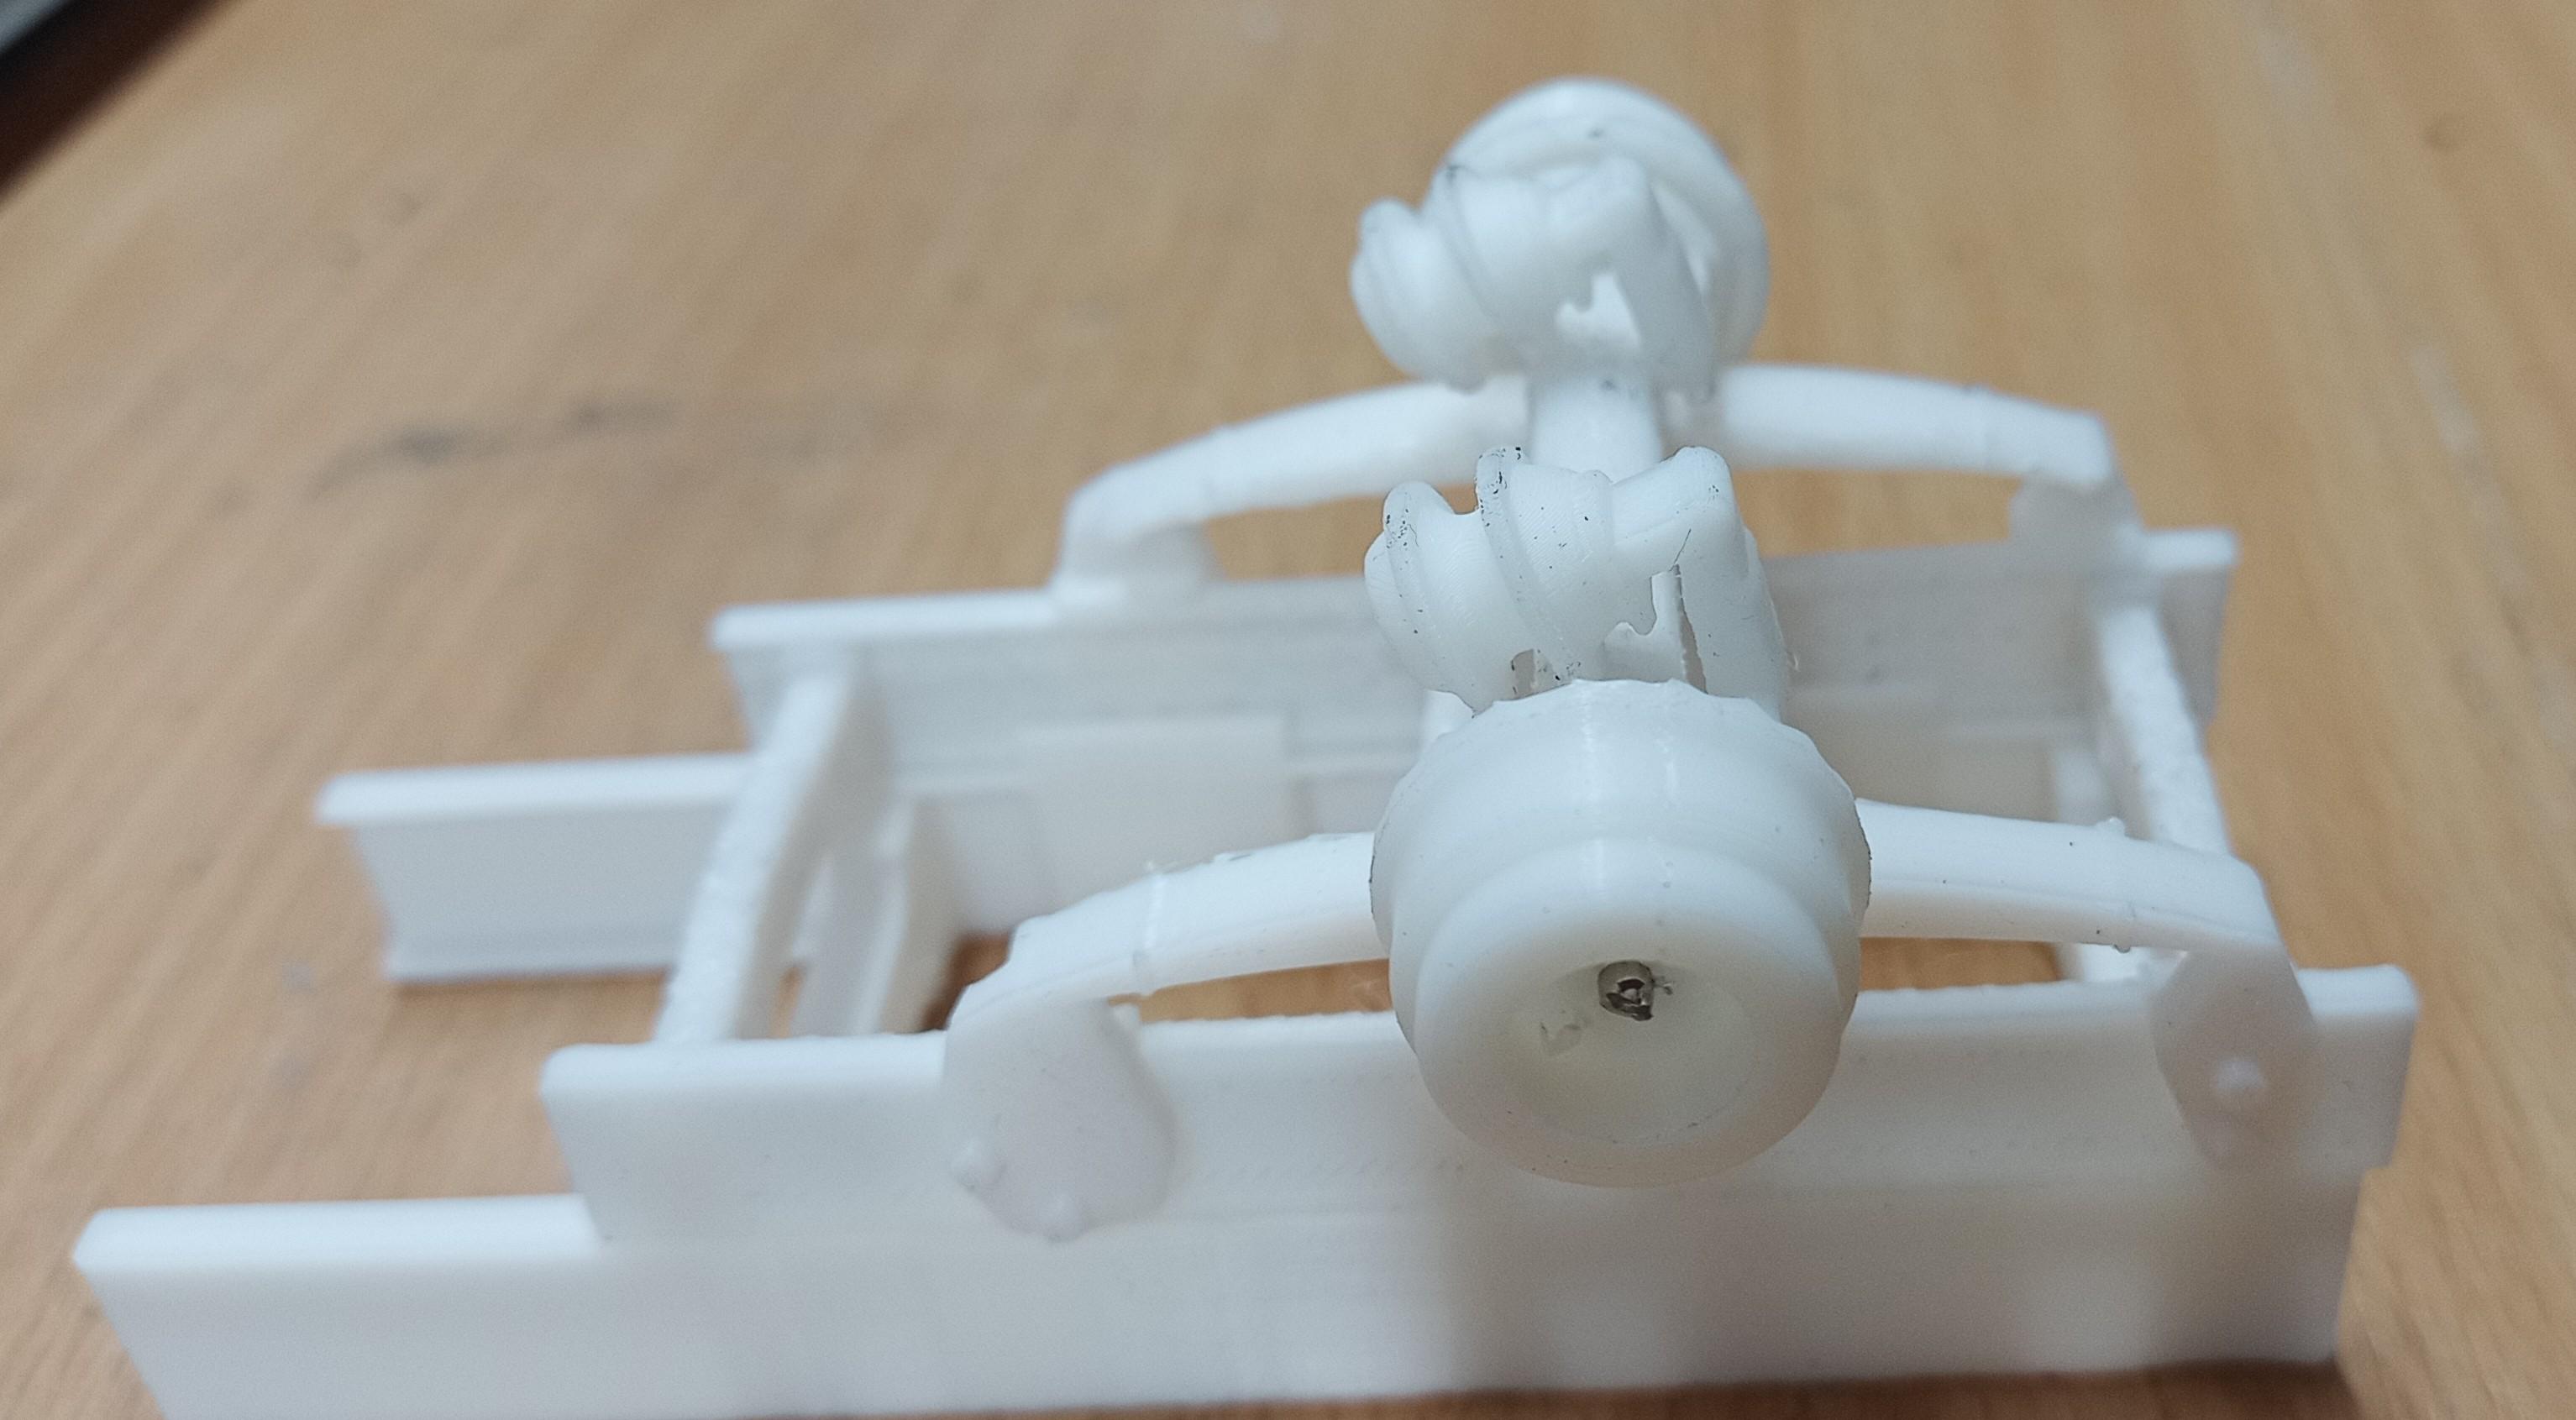
The rear chassis of both trailers are printed and assembled. The drawbar is designed. I experimented in making it of one piece. Just the brake cylinders and the brake drum covers need to be attached. Hope the print works out well.
-
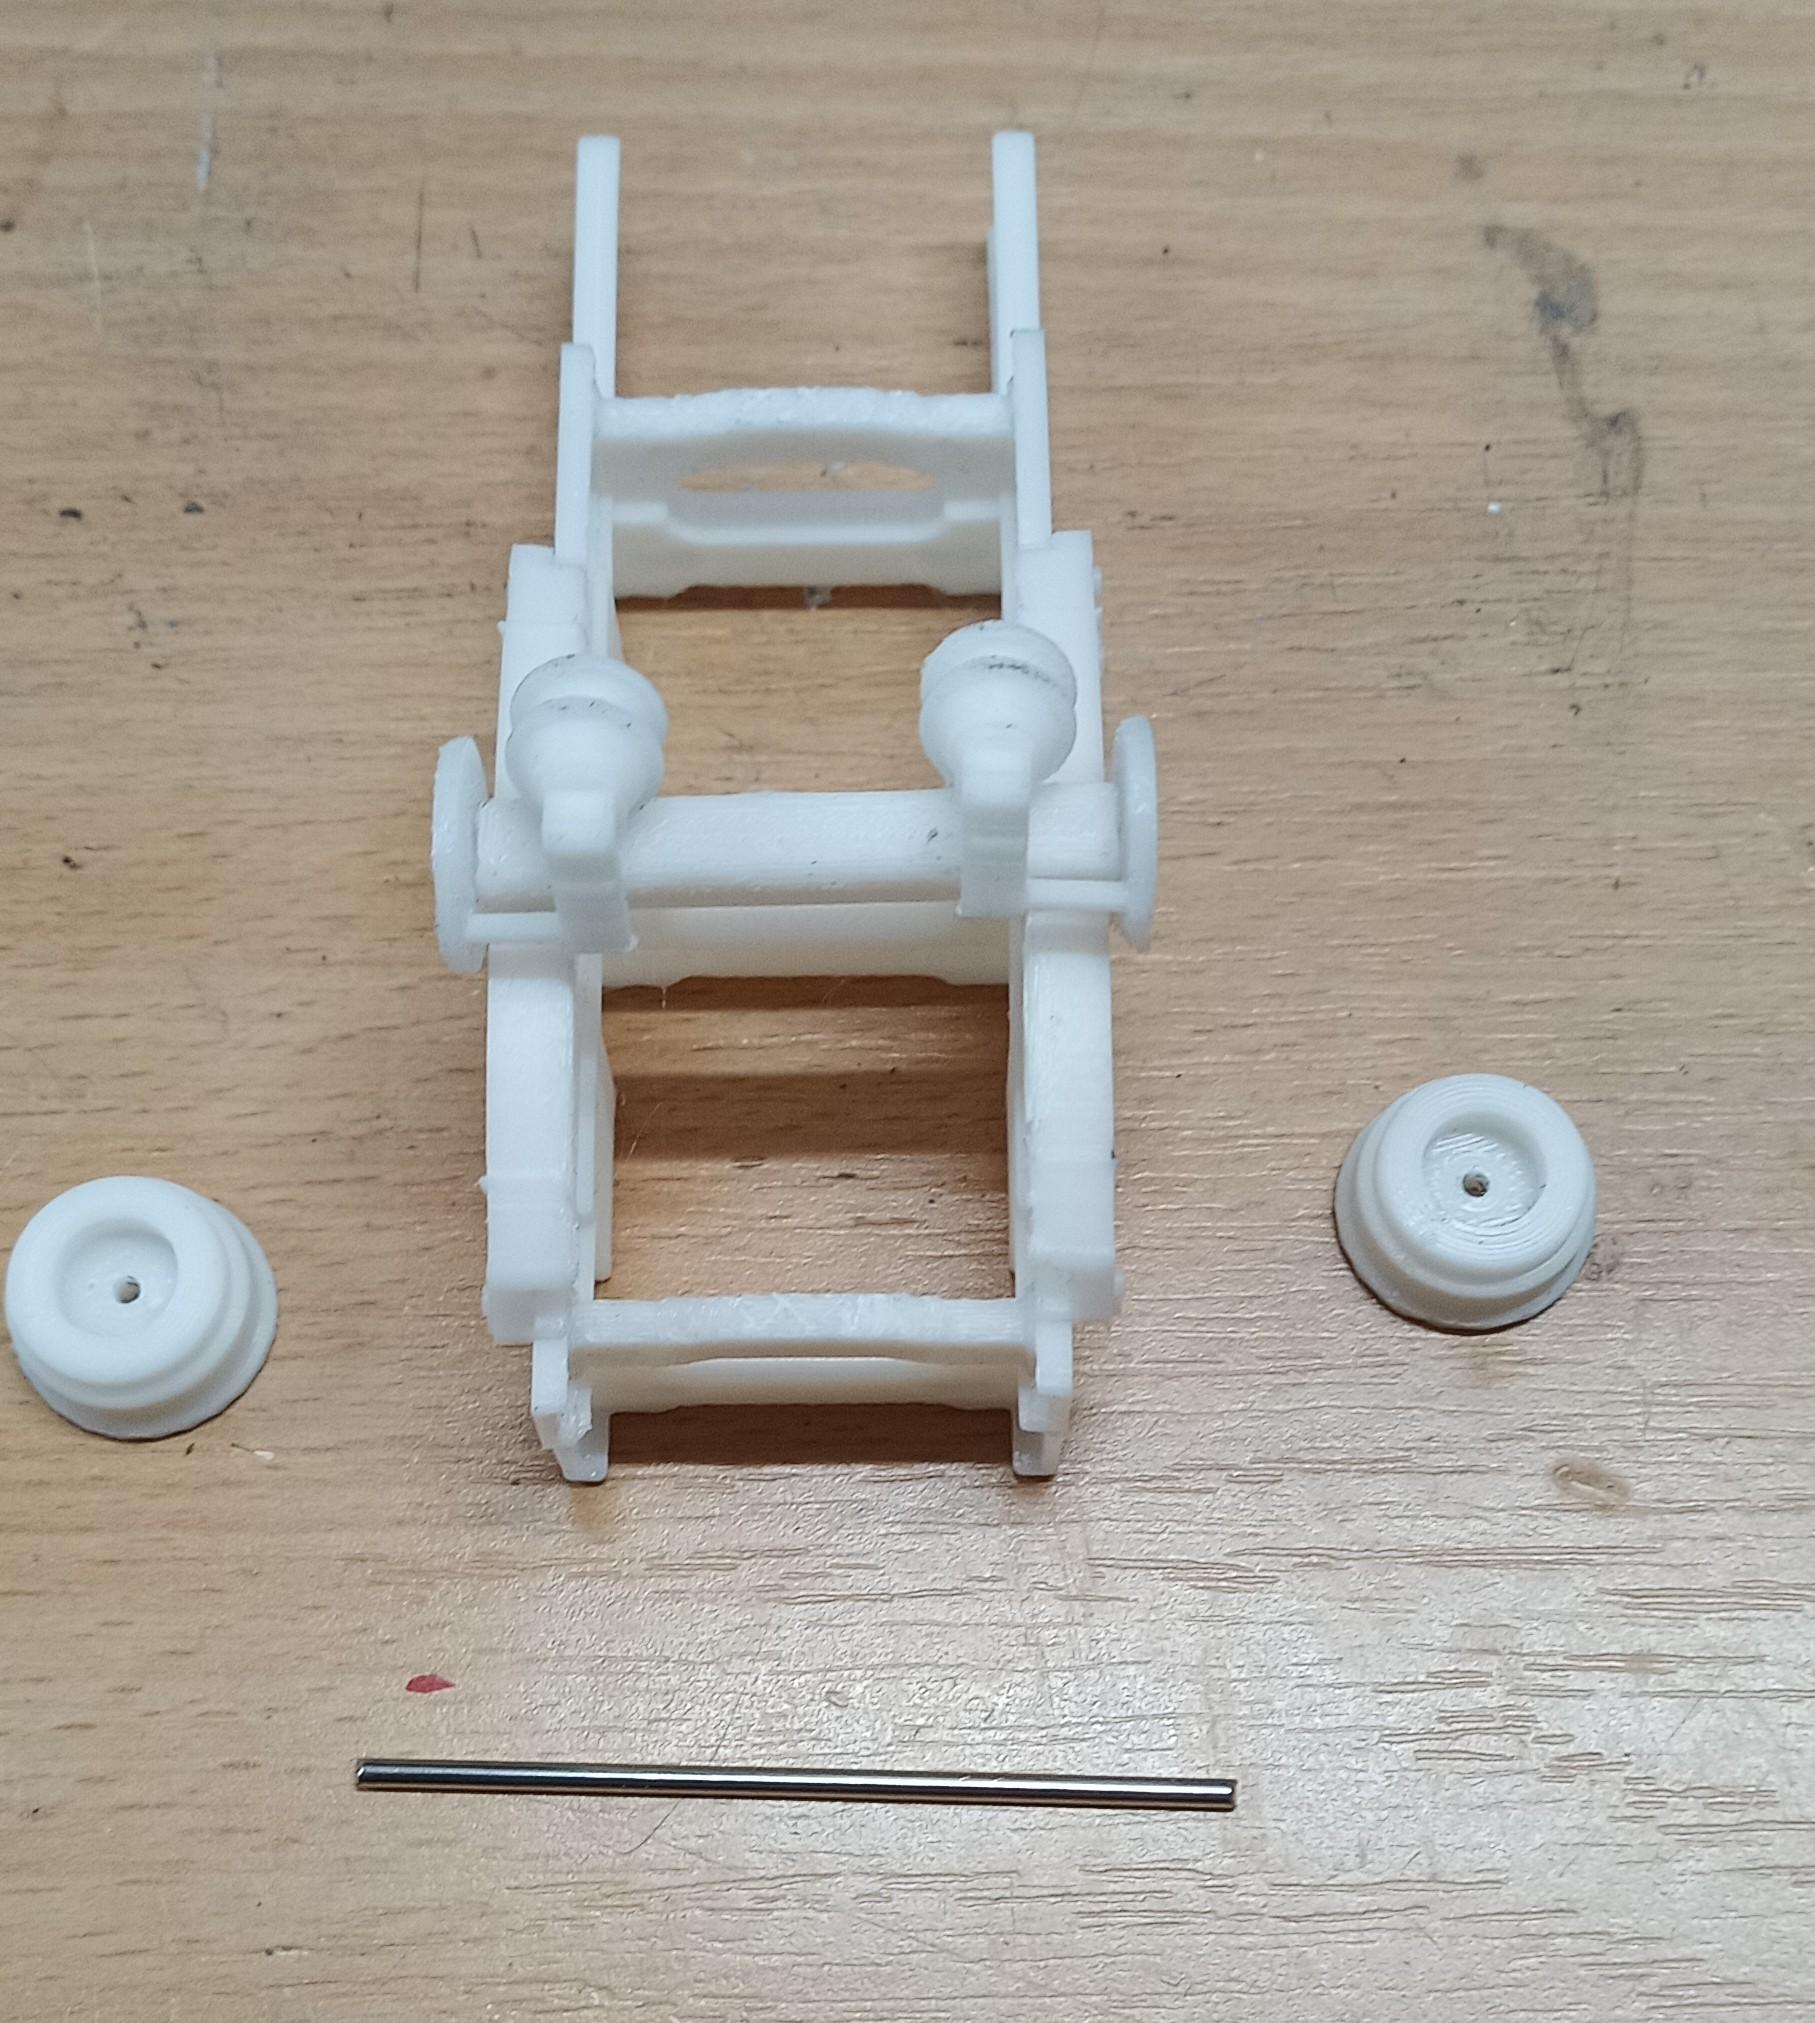
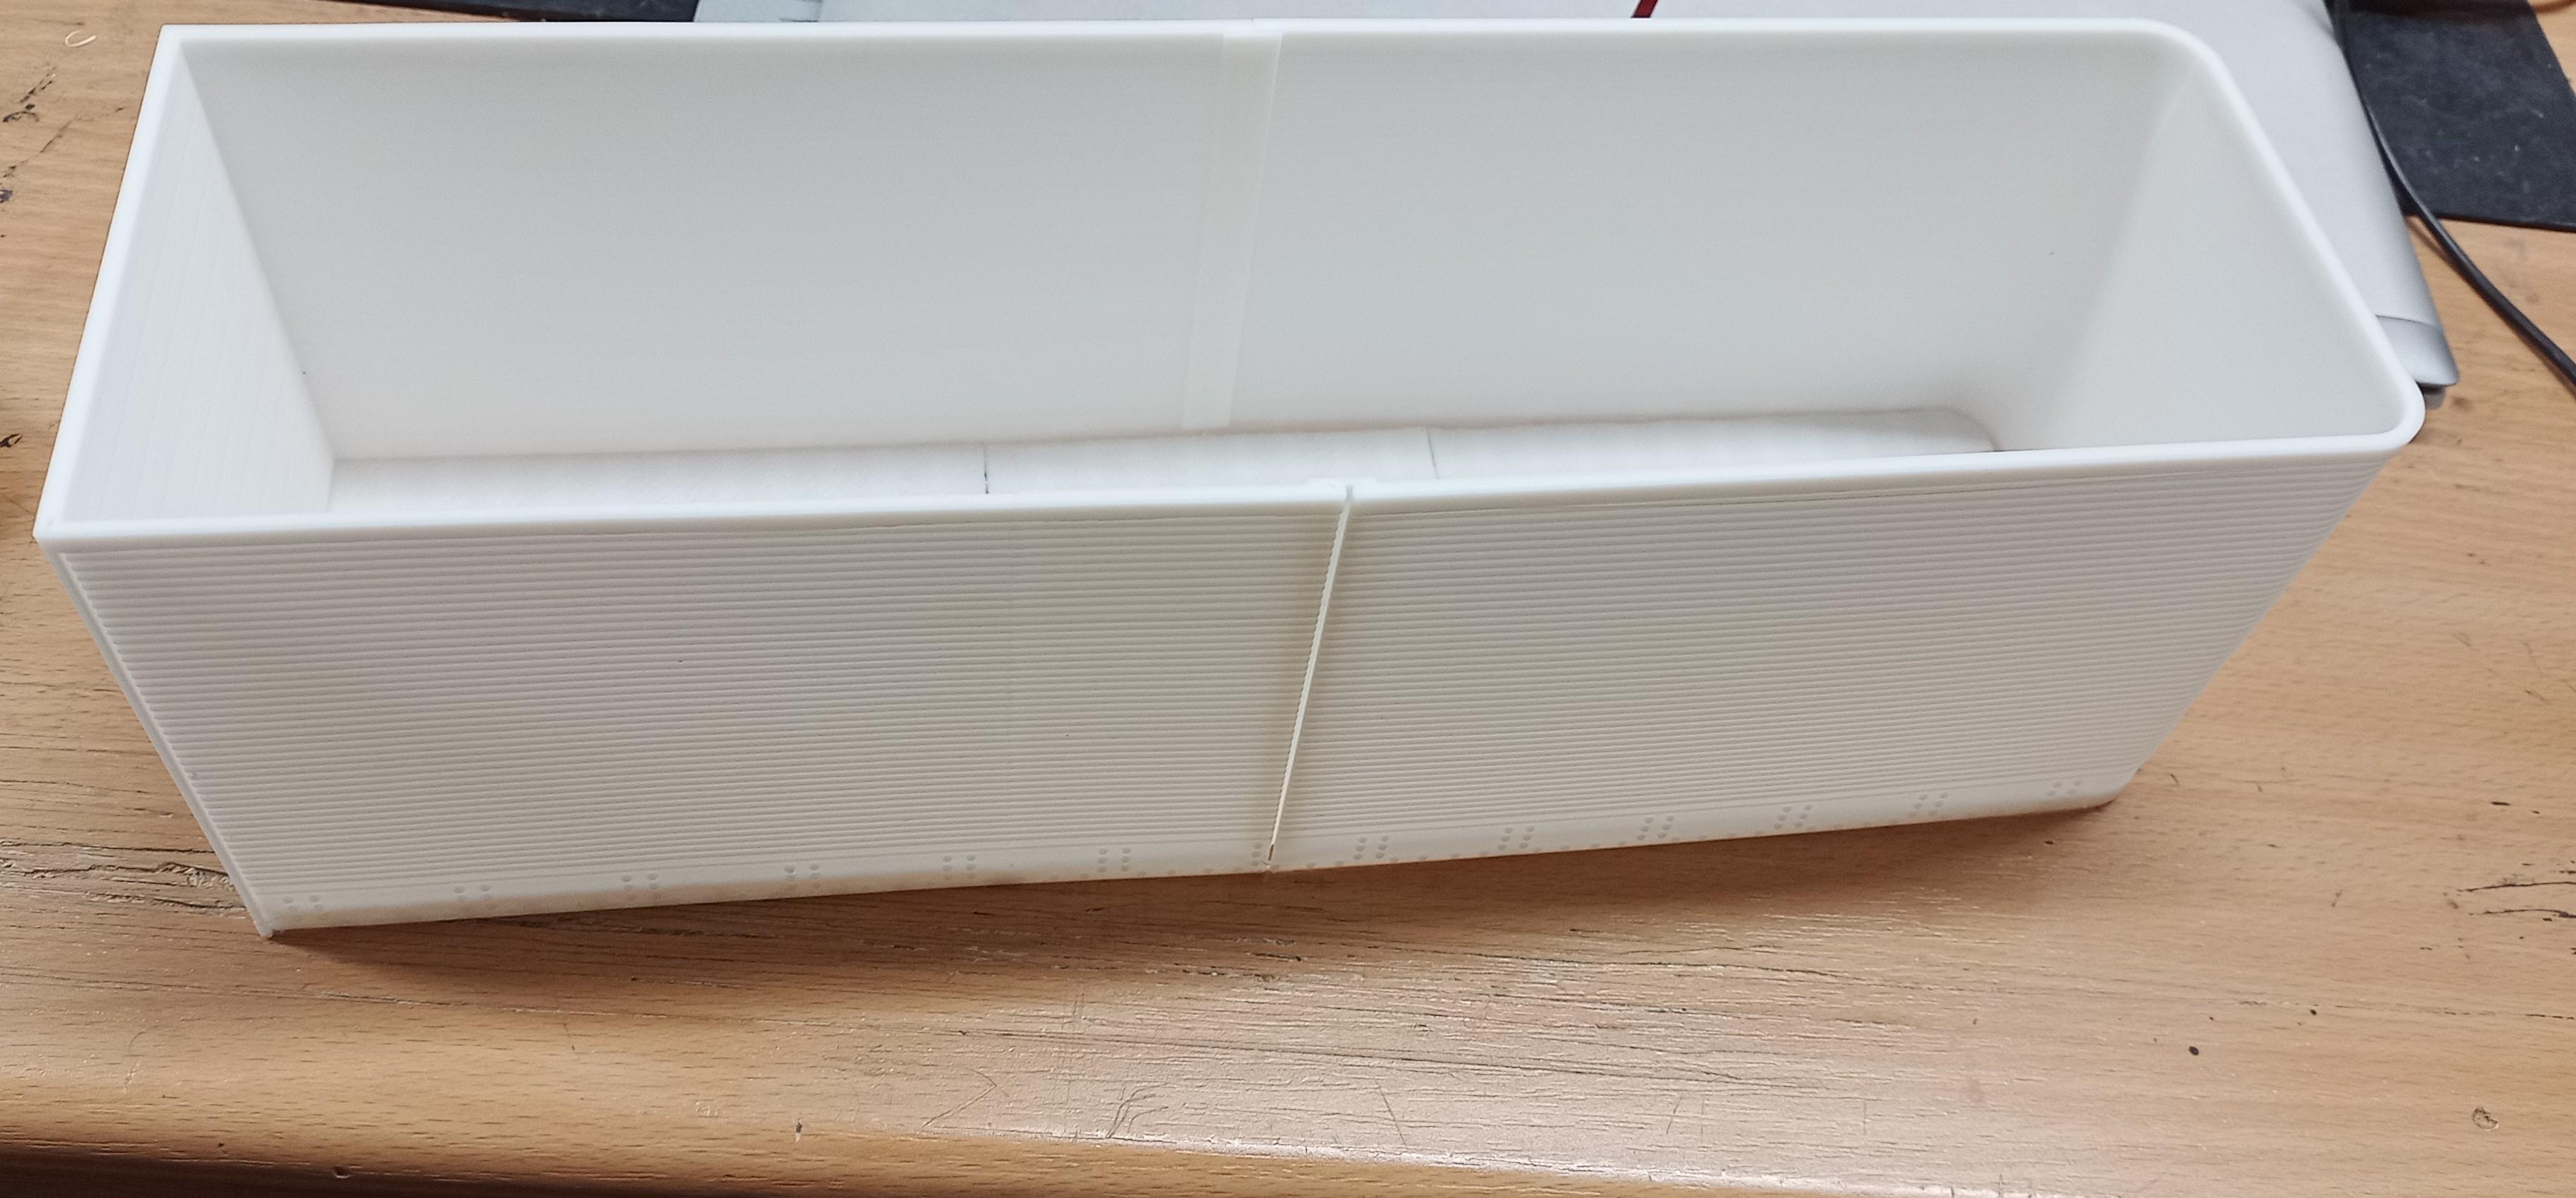
Here's the chassis of the first trailer. I used metal rods as axles since printed ones don't always have enough stability unless you make them thicker. They too have advantages though. You can keep the wheels from sliding off by using a hot knife or something to melt the ends and press them flat just like it's done in some model kits. In this case I chose metal rods though. Here I made the brake drums fit the rods tightly so there's no need for "stoppers" at the ends! Fits perfectly! Also the walls of the first trailer are now glued to the floor: And I designed a new fifth wheel for the drawbar of the second trailer:
-
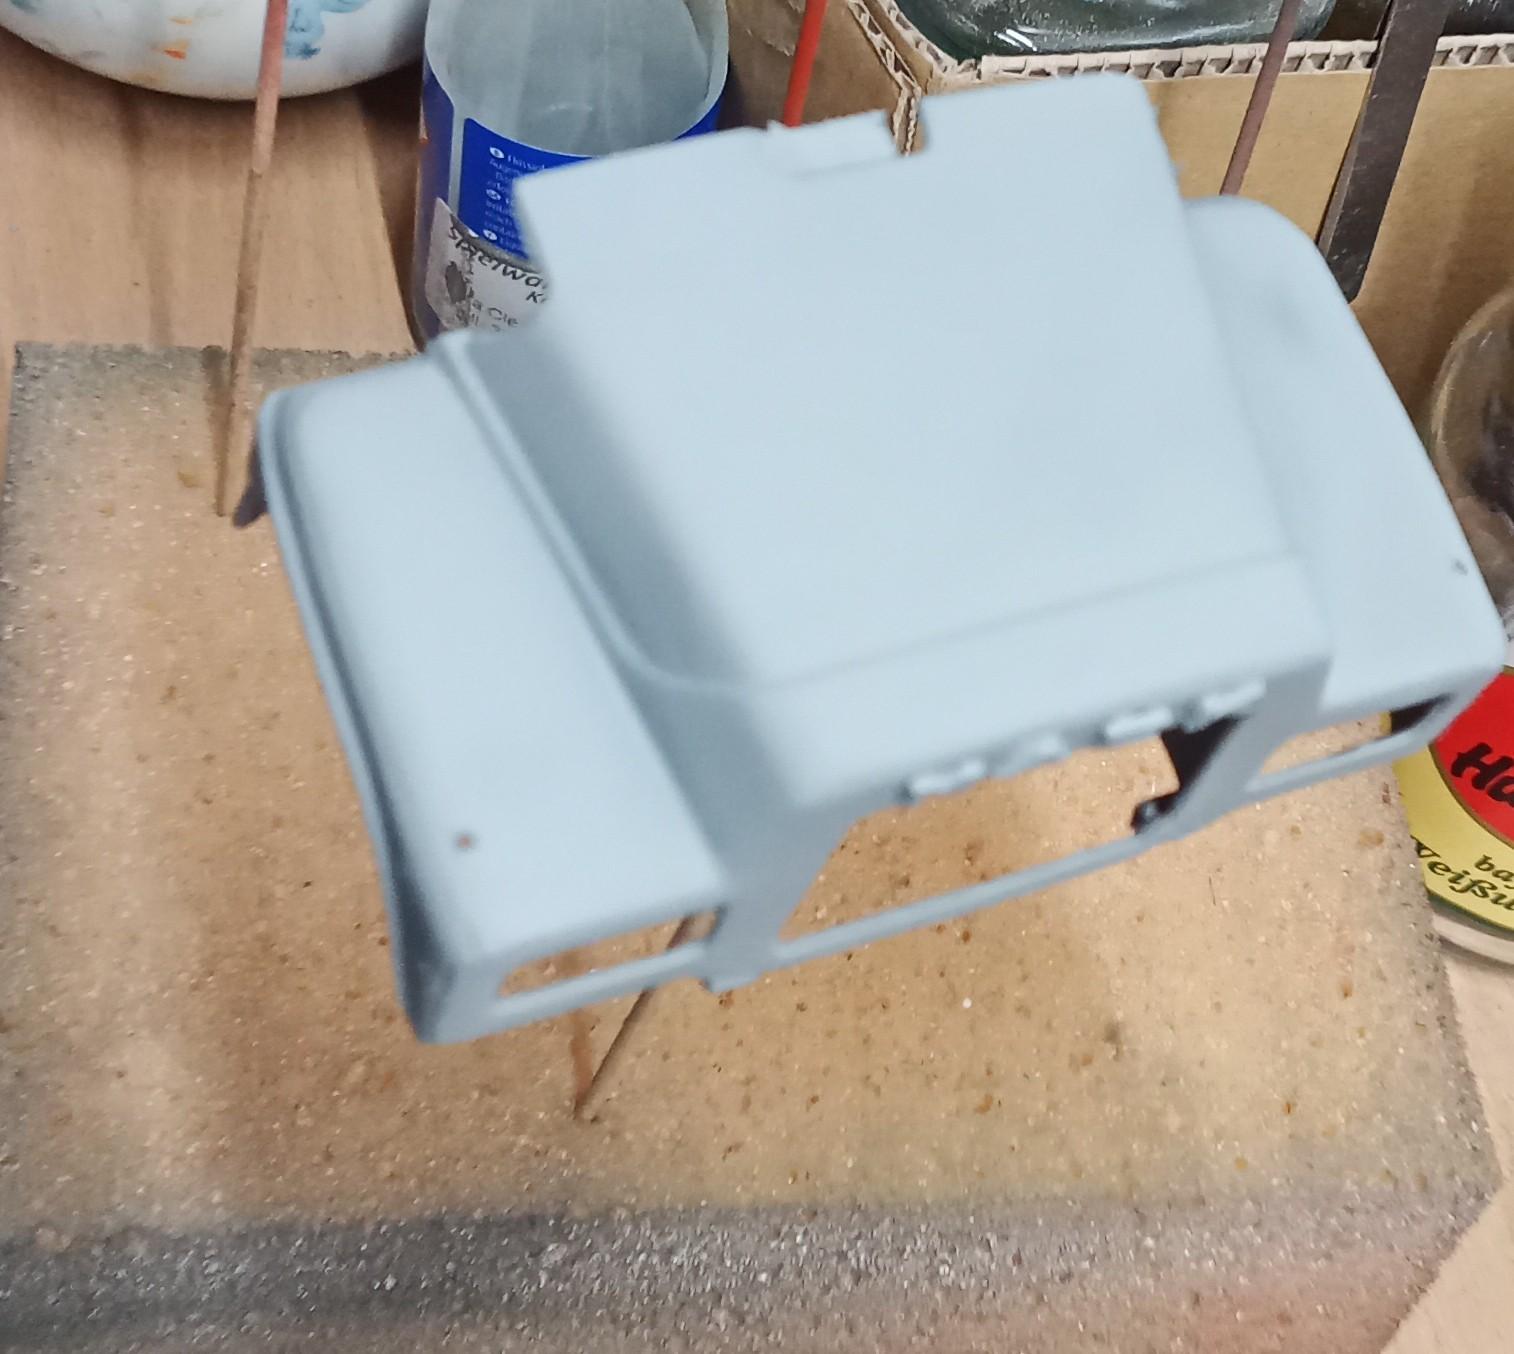
The rear part ist also printed. I put them together to see If they fit. Seems to work out pretty well. When they're glued together and painted I'm sure it will look even better! The roof will be printed soon. I decided to print the chassis and wheels first.
-
Looks good! ?
-
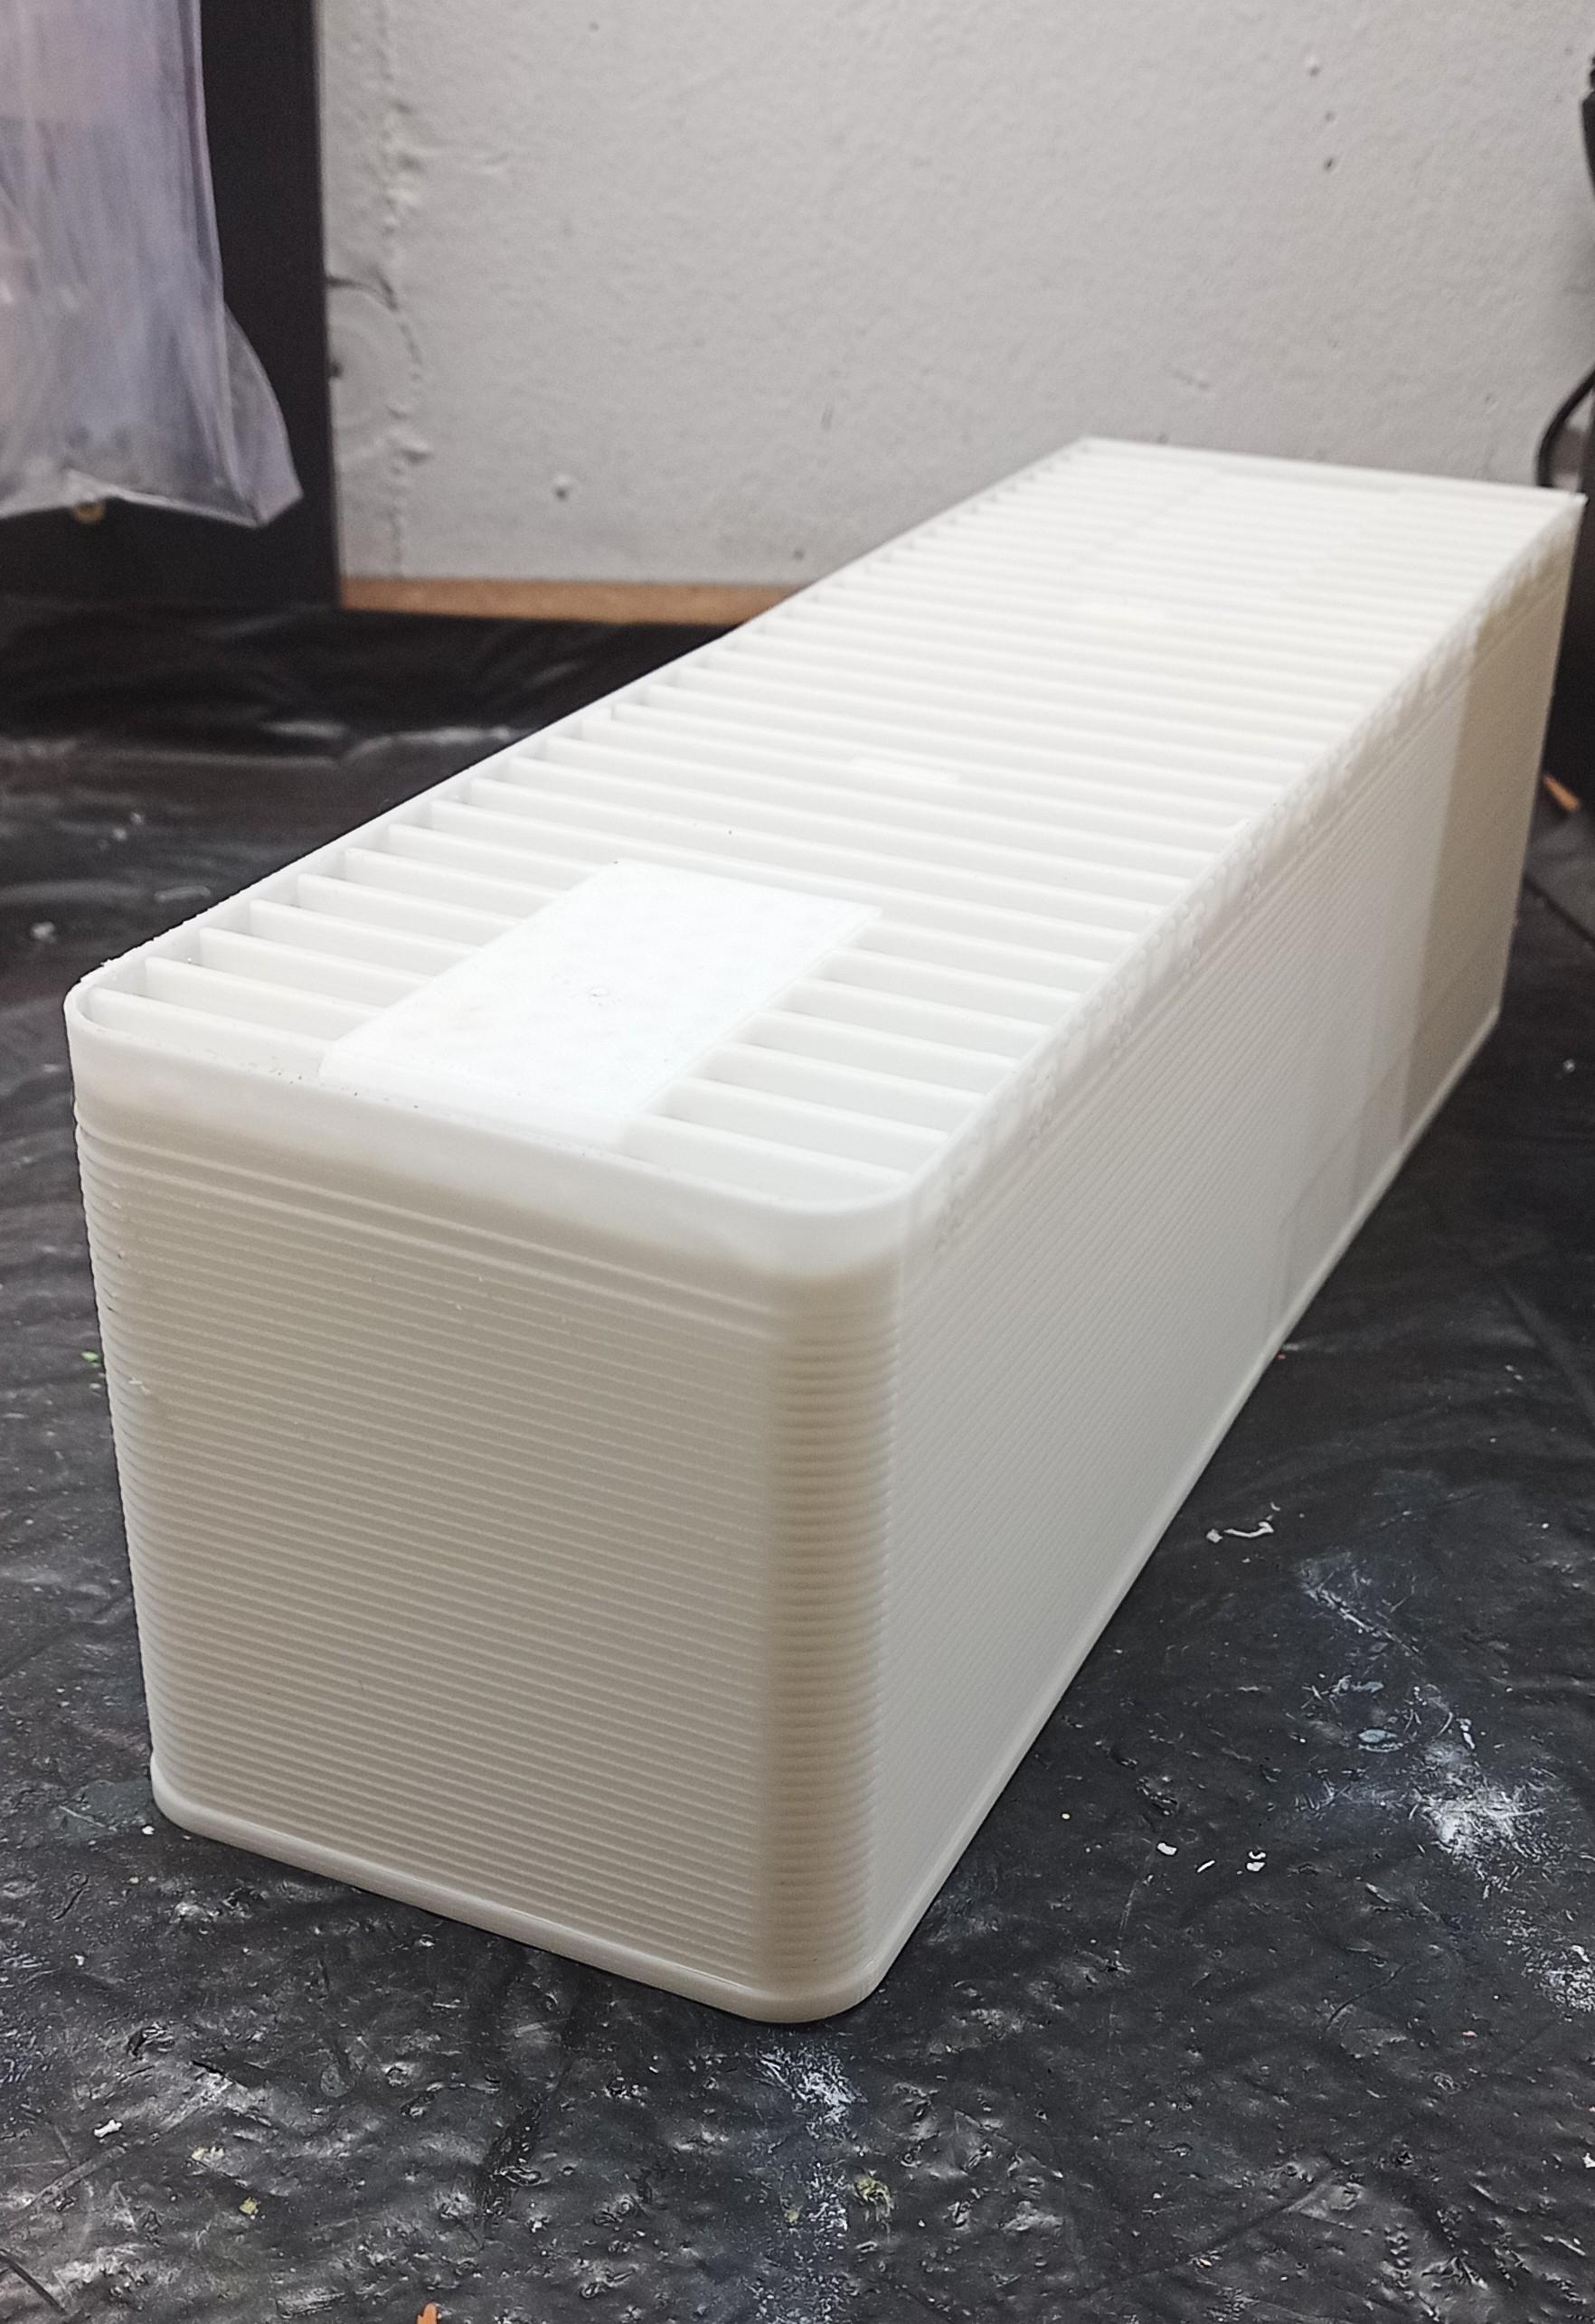
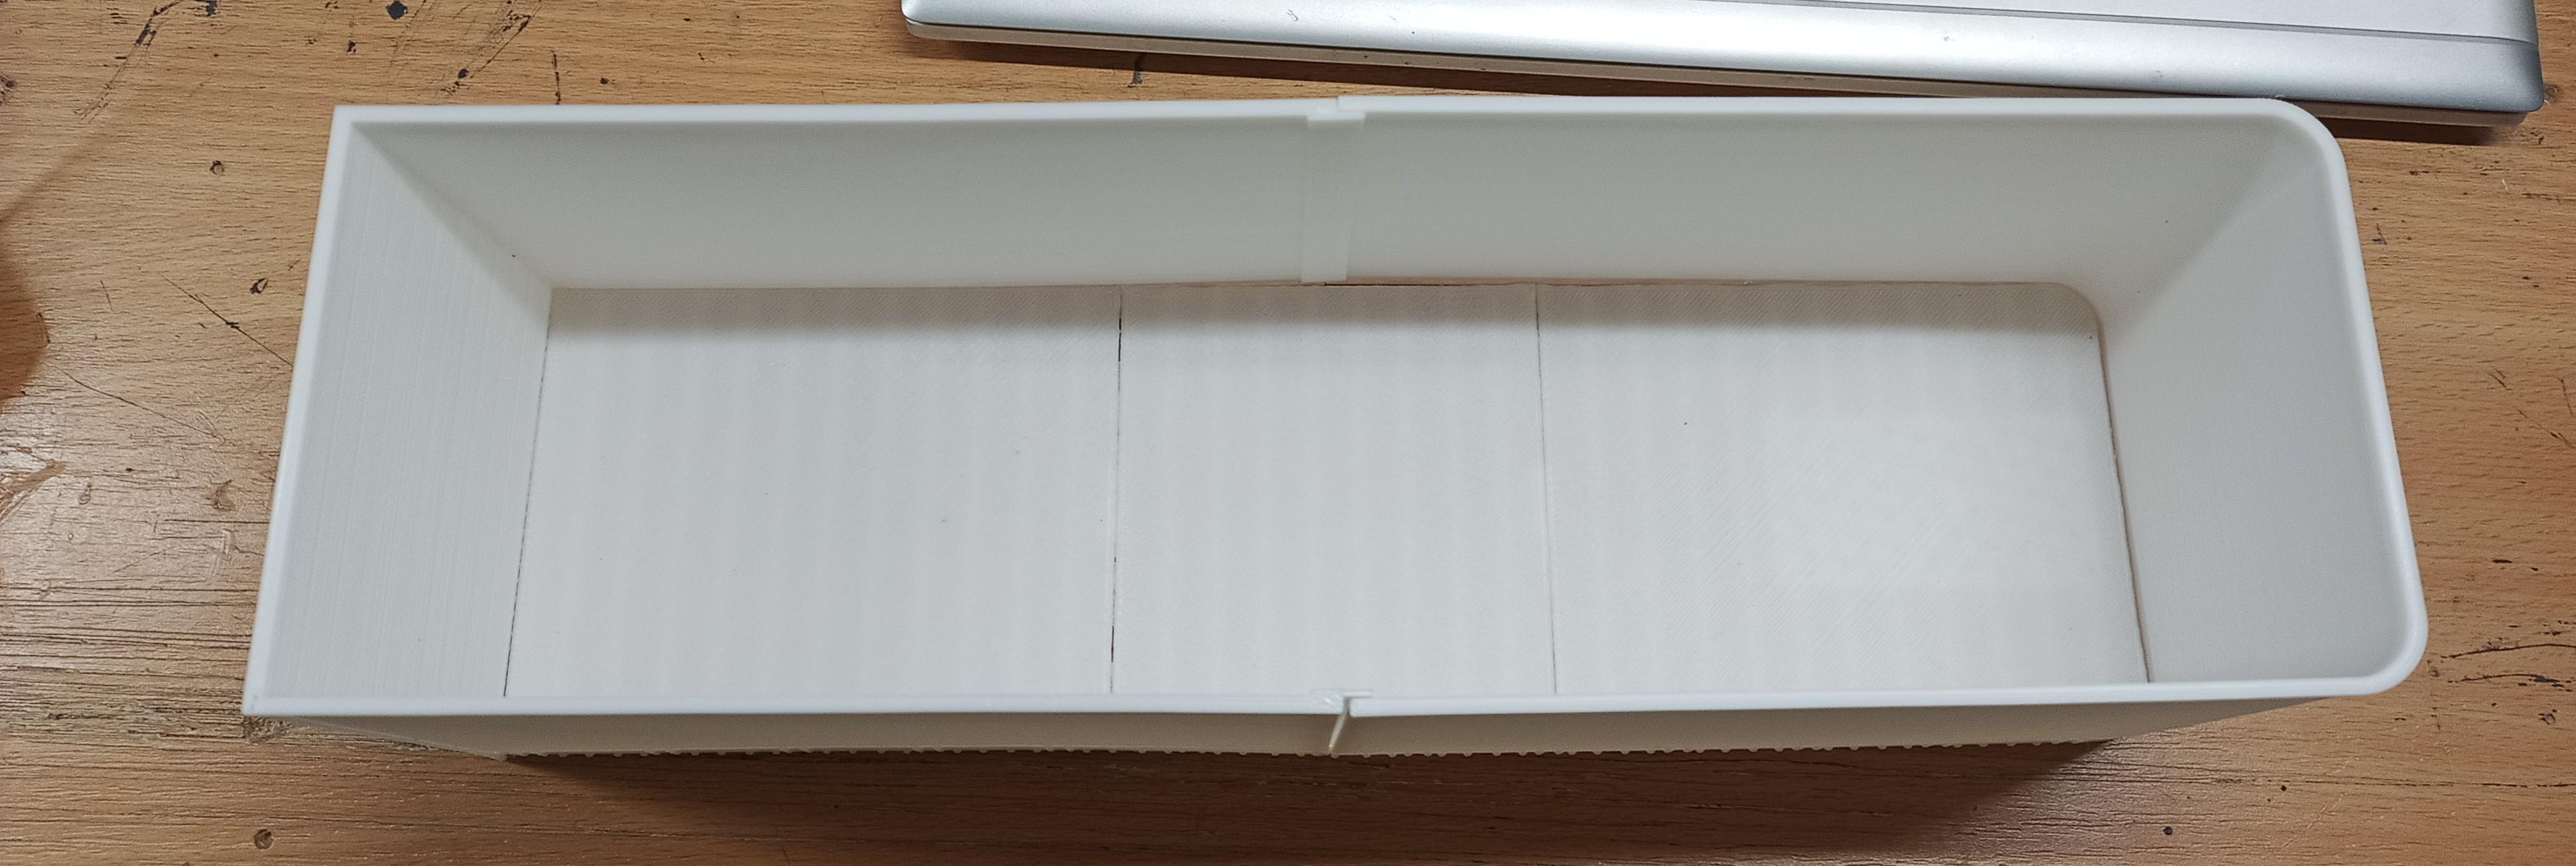
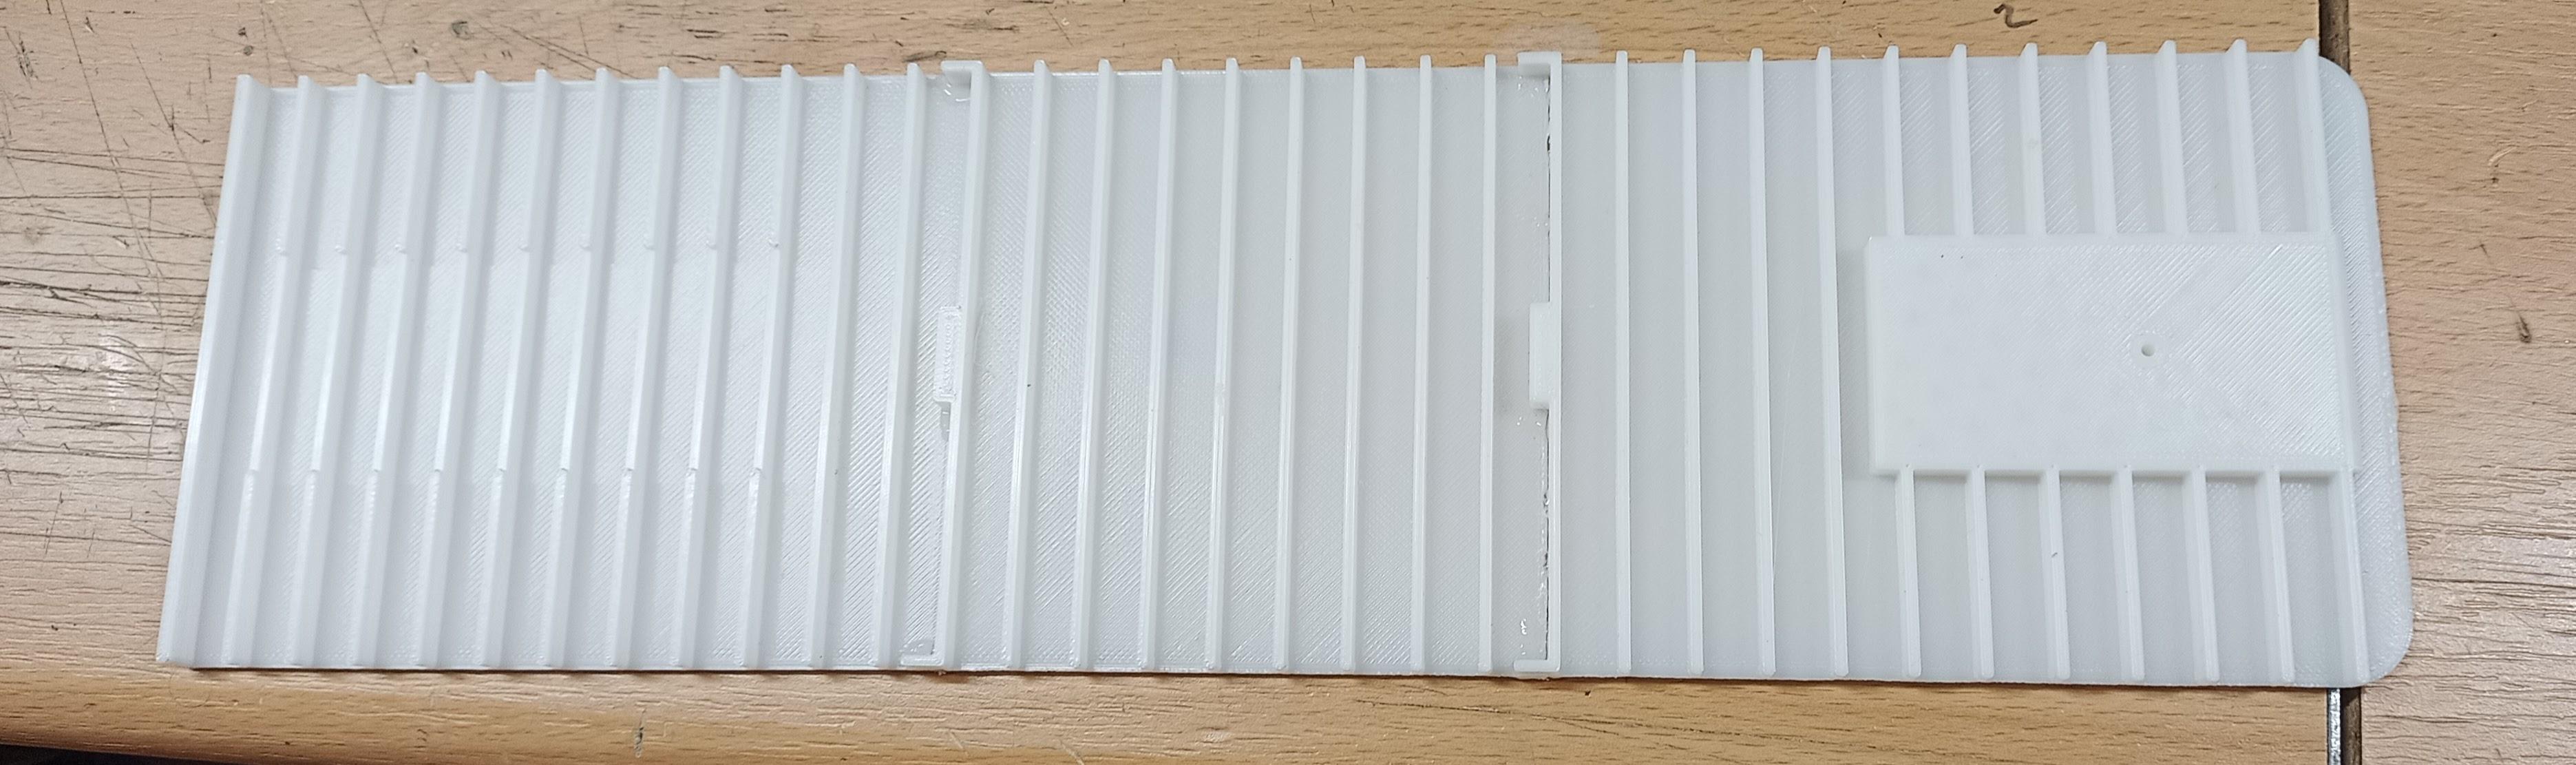
OK, I took your advice and changed the stripes from green to tan. Looks better! Thanks again! And I´ve started printing the first trailer parts: Here´s the floor made of three parts. (Only because I had designed them to 20ft and not 27! So I made another part to increase the lenght from 24 to 33cms. And here´s the front and side walls (only front half) being printed: VID_20240304_102412.mp4
-
1/32 Mack F700
Jürgen M. replied to The Brush's topic in WIP: Model Trucks: Big Rigs and Heavy Equipment
Nice! Thanks for sharing! ? -
Thanks for your input Rockford! I've got a tan color but it's gonna be Tricky to repaint now that the Truck is fully assembled! I'm trying to put the color in the decals. If that doesn't work I can still hope for a calm hand! ? Concerning the trailers I already corrected the size of my drawings!
-
Thanks! I almost thought so! I'll see If I can print one of those!
-
2023 BRGB 70's Kenworth W 900
Jürgen M. replied to lwwoodss's topic in WIP: Model Trucks: Big Rigs and Heavy Equipment
Very neat work there! Can't wait to see it finished! ? -
1/32 Mack F700
Jürgen M. replied to The Brush's topic in WIP: Model Trucks: Big Rigs and Heavy Equipment
Hi! Nice work there! How do make the moulds? Looks really nice! -
Till I've got the decals finished I'm going to begin the first Trailer. I have a question about the two trailers. Does anyone have a picture of the rear of the first trailer where you can see the hitch? I'm not sure if the american ones look like the European ones. I've got pictures of the draw bar as it's shown on the box of the amt double header that I found in the internet so I'll make it like that but I'm not sure about the hitch itself. I know I could make it easier by buying the kit but they don't look like the ones in the movie! I'd be greatful for some hints in this one! ? Oh, one more thing: are they generally 27ft. long or are there ones that are only 20ft. long like the short overseas containers?
-
I'll design the decals more gold colored which will cover the green. But the green does come out very bright on the pictures. In real it's not quite so. I do understand your point of view though. It still looks too green. I'm always thankful for input like that. Helps me think over one thing or another!
-
Sorry, but I've got a red-green problem. A friend of mine said it's green with a touch of gold in it. But thanks for the input.
-
The tire is straight again! ? Now I'll look for a design software to create the decals!
-
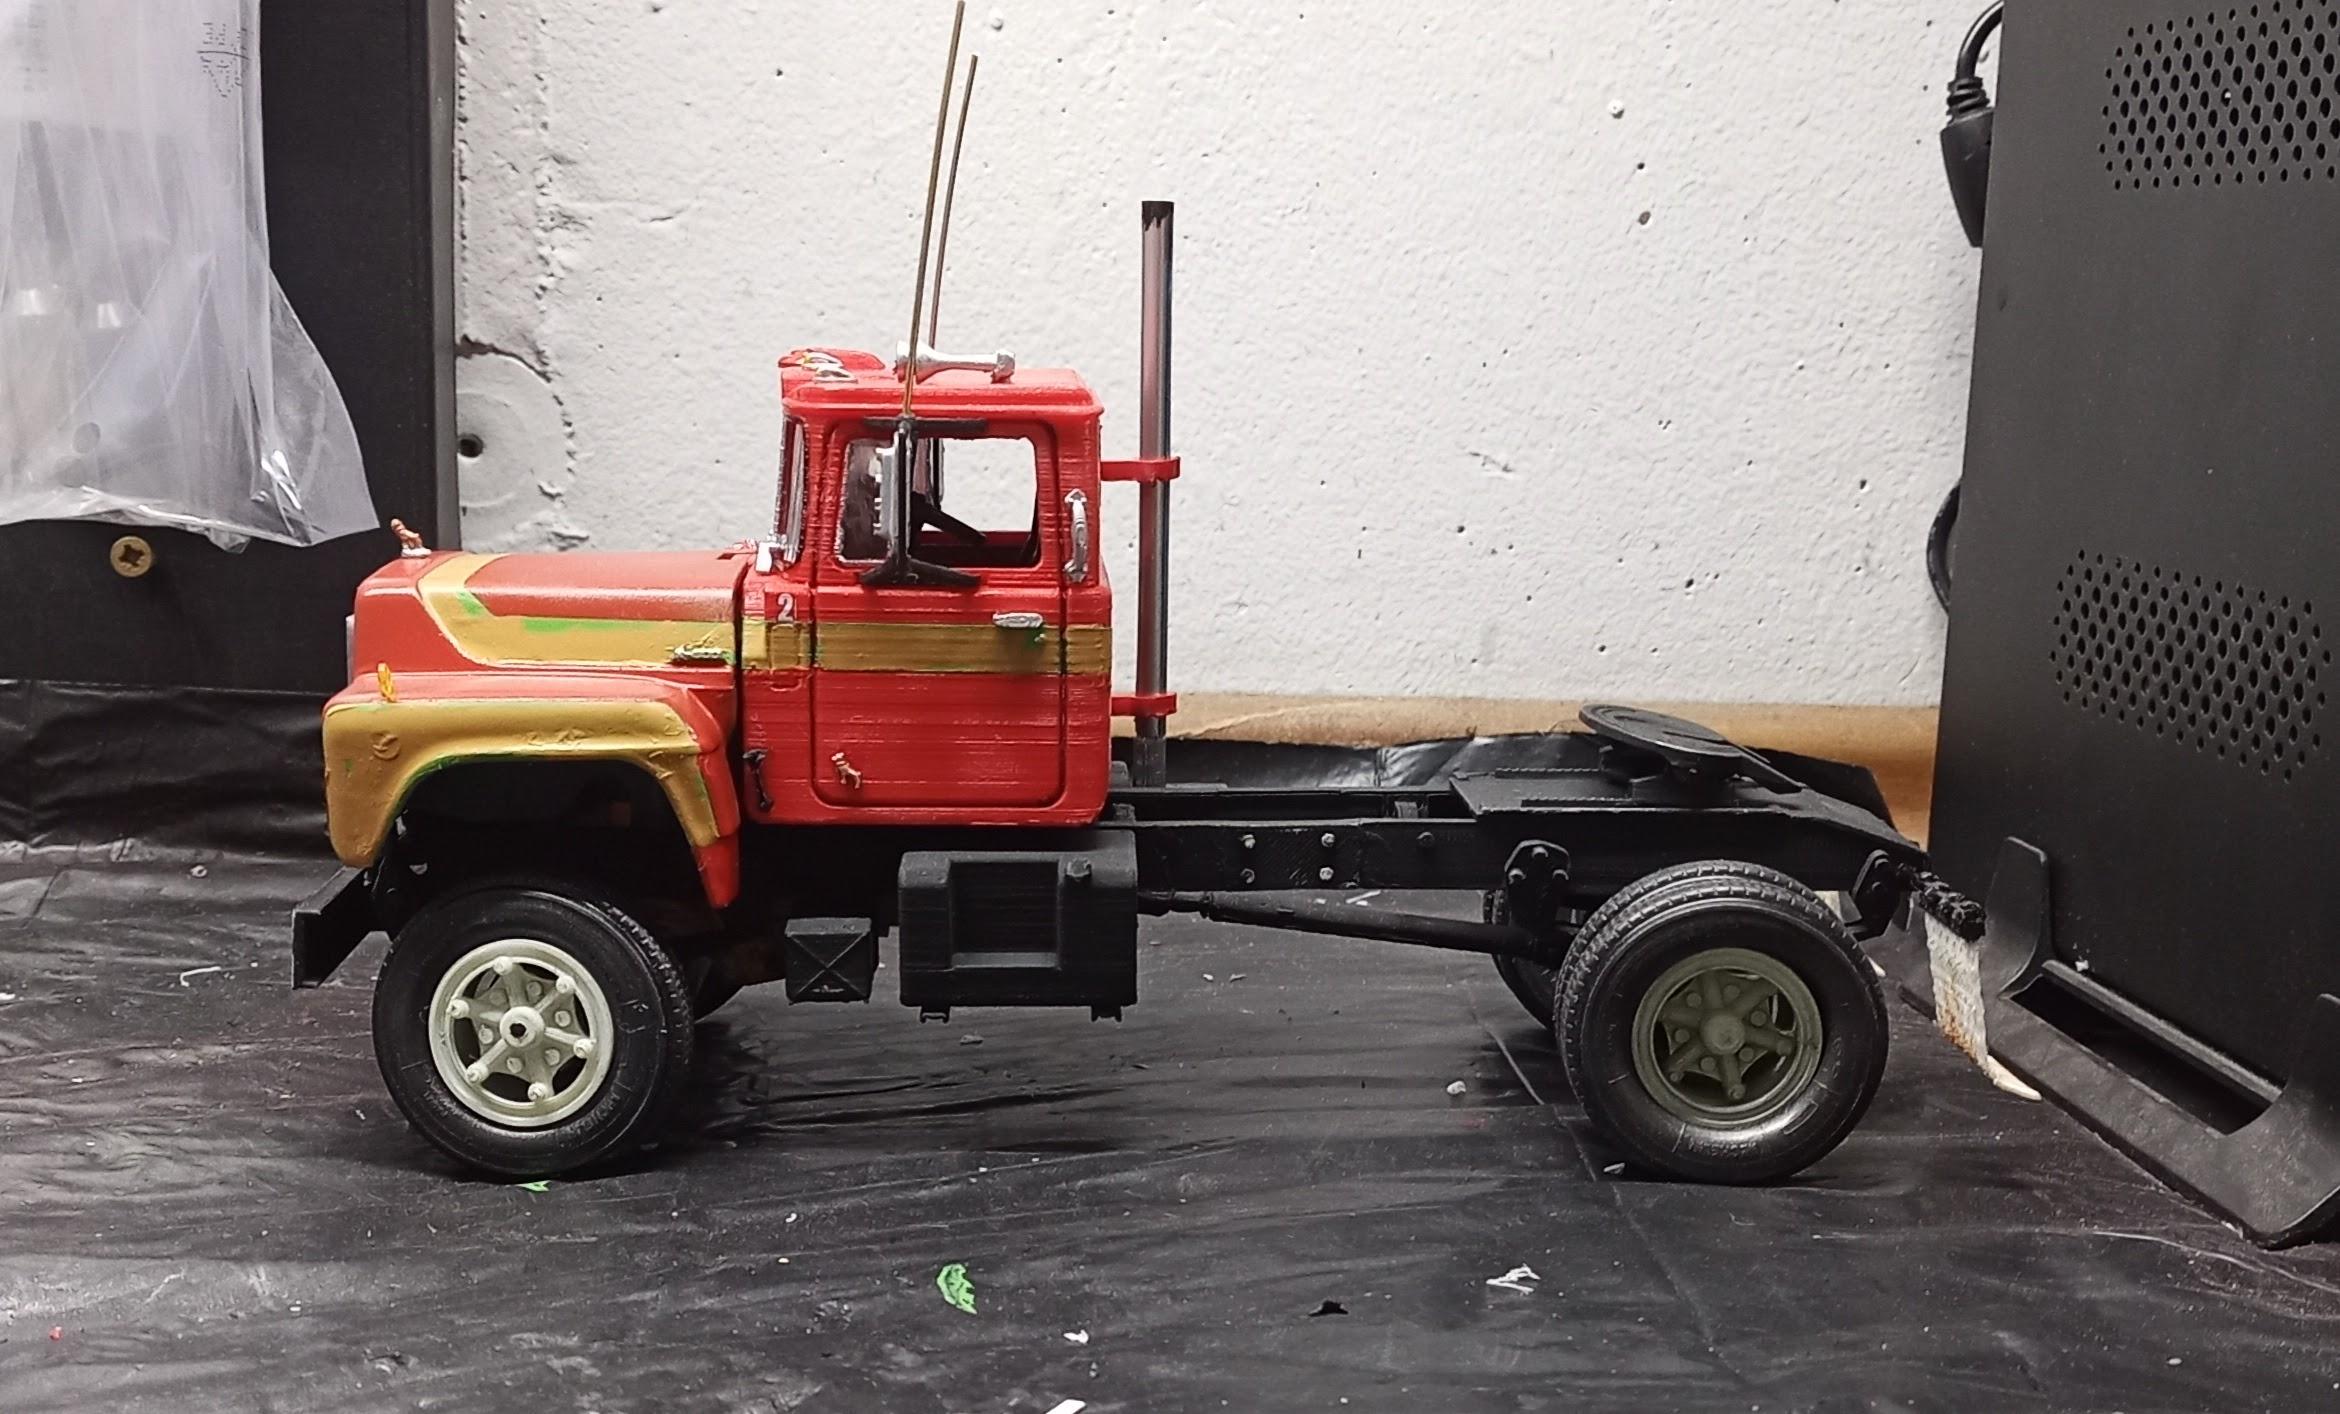
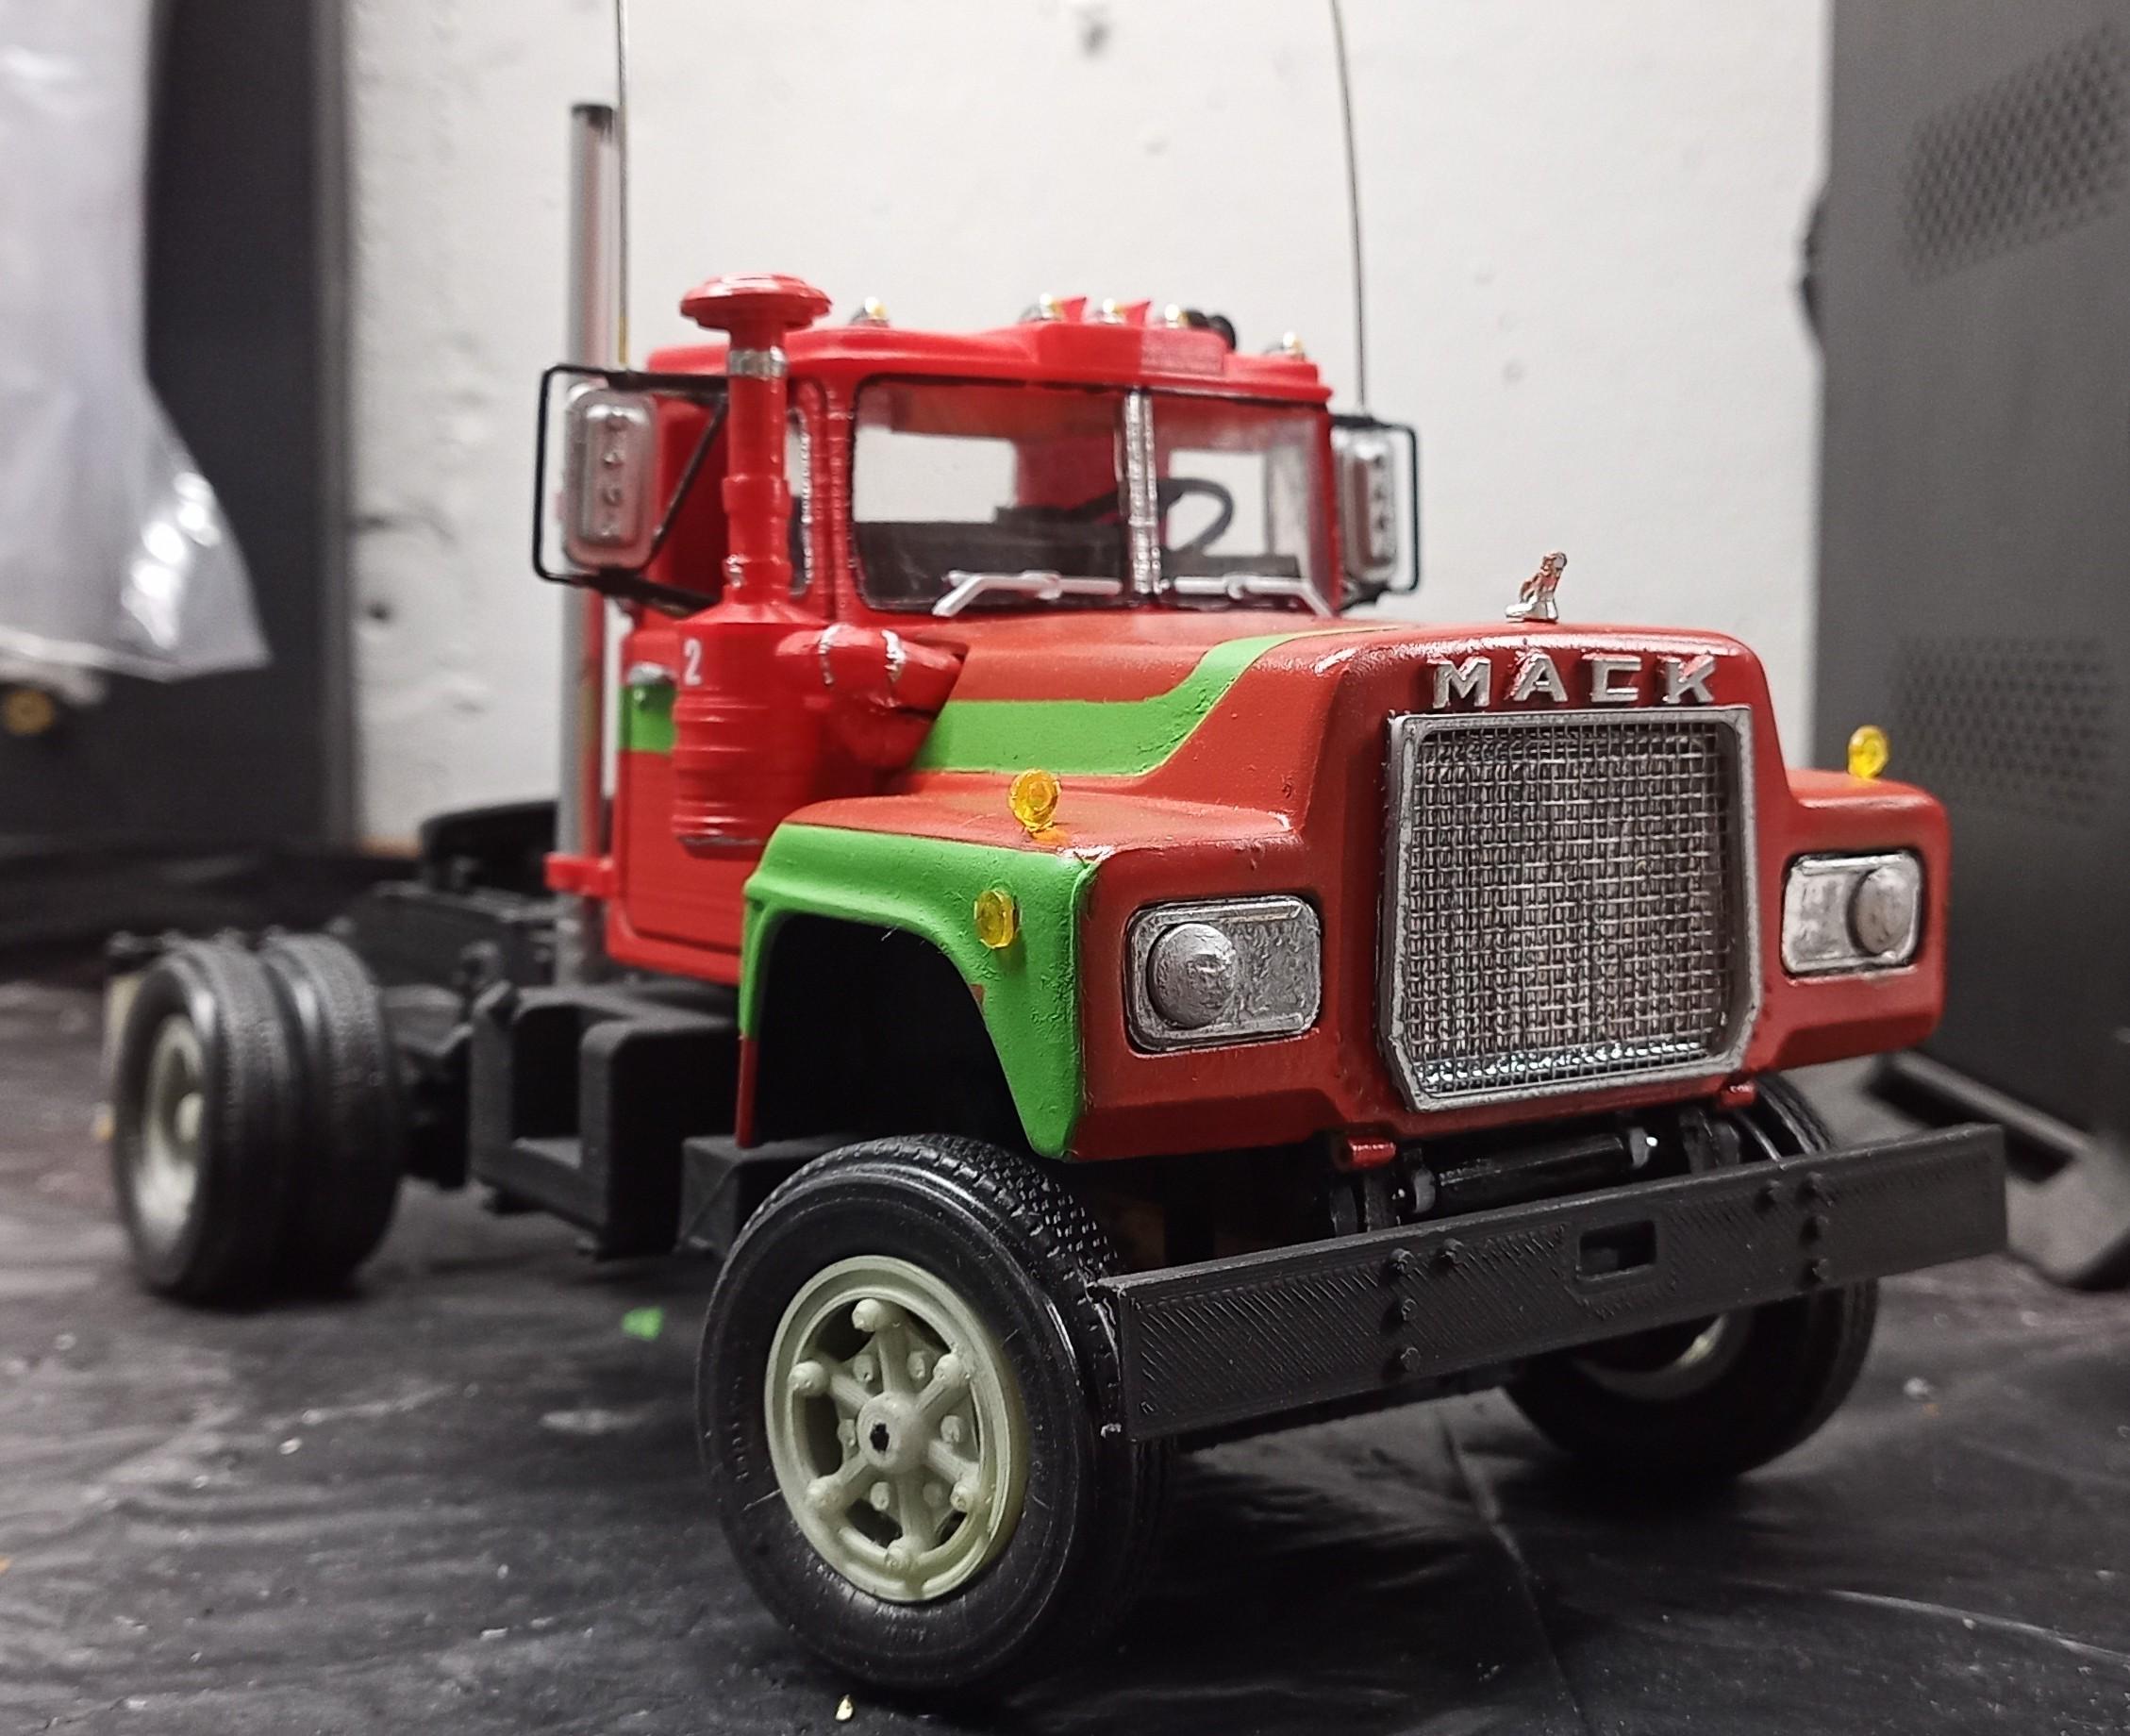
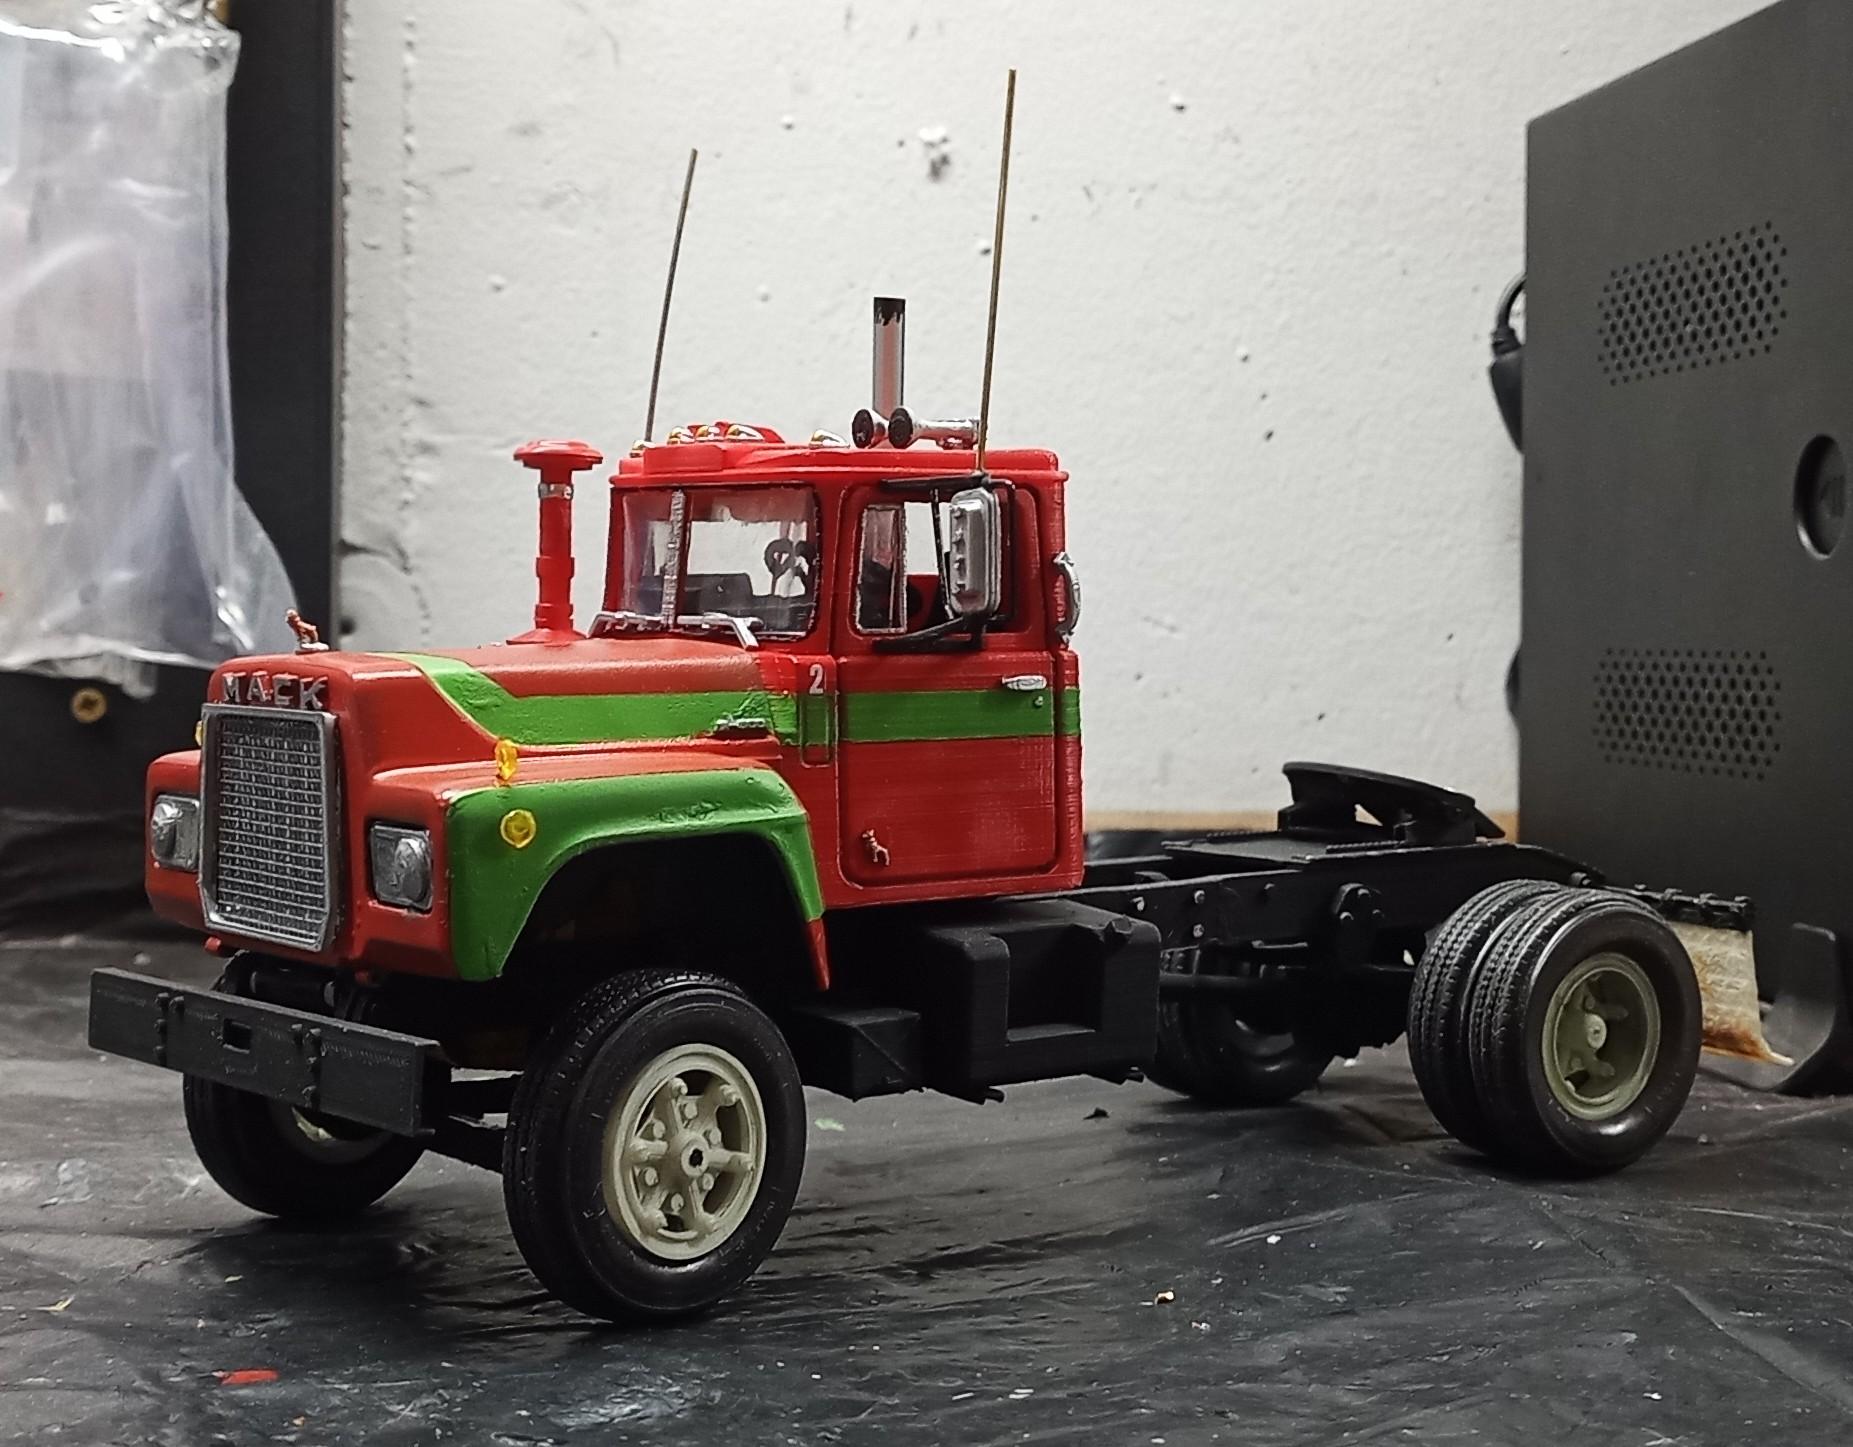
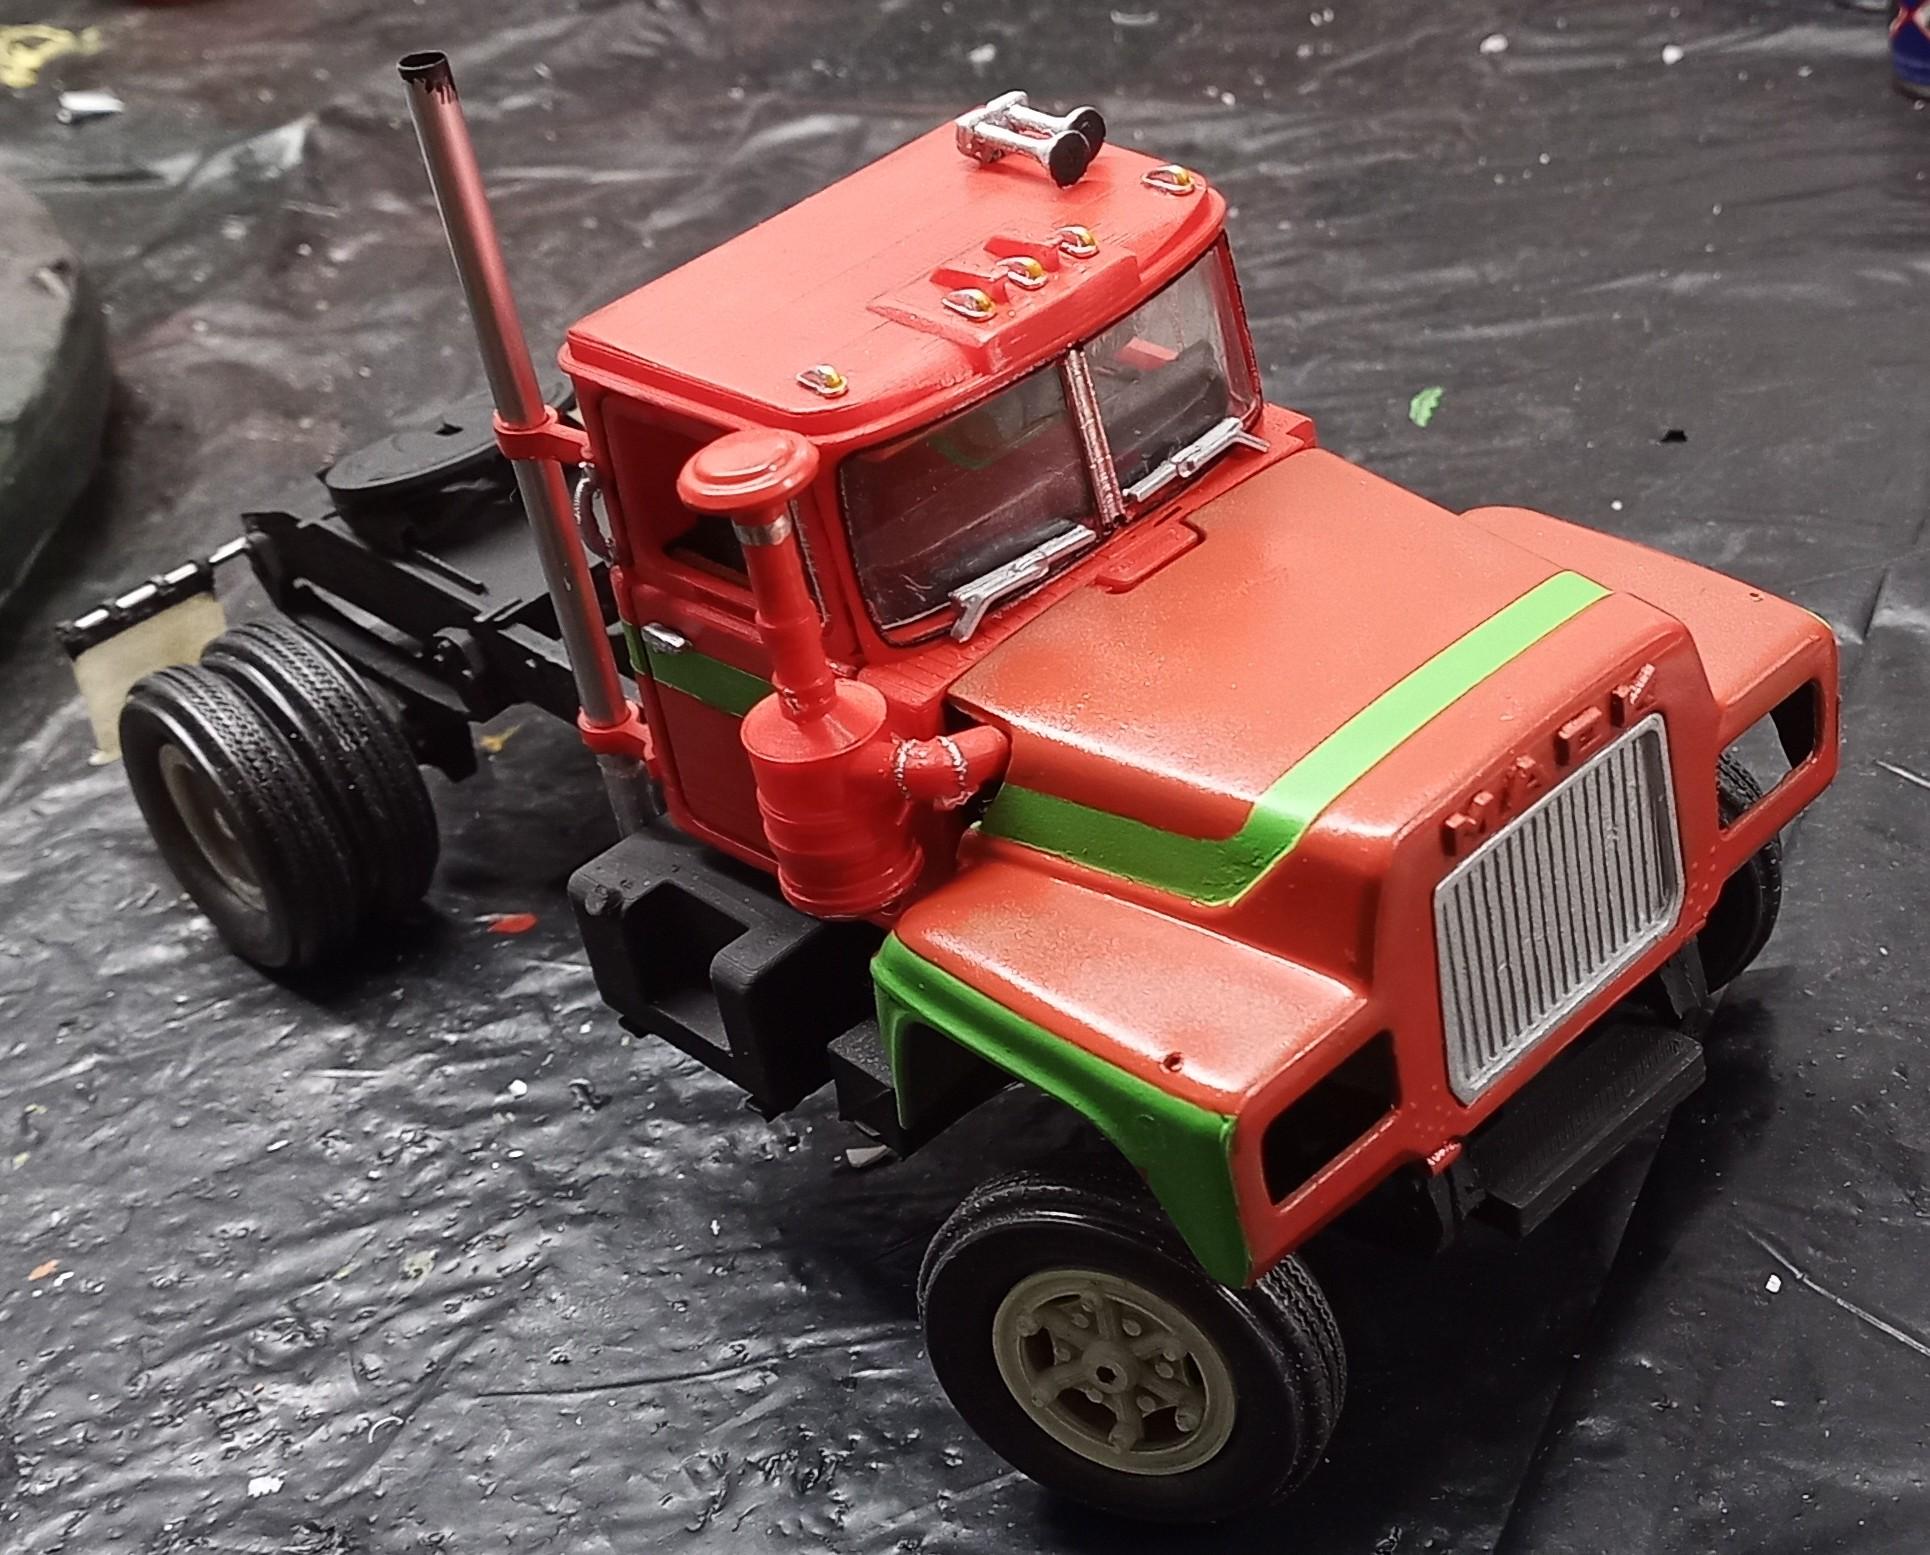
OK, guess I thought of everything. Turning signals, antennas, the number 2 in the sides, the screen on the grille, ....! Oops. Just saw that the right rear outside tire isn't sitting strait. Be fixed in a sec. Gonna Put some dust on it too. But I have to wait till the decals are on. Otherwise they won't stick! Now the decals have to be designed. Gonna be a toughy! I'm not sure how I'll design them, I mean with which design software. The standard stuff won't do the job I guess. I'm not talking about the writing on the doors, I mean the red pinstripes on the green. My hands aren't calm enough to do it with paint. Maybe If I practice a bit on some others parts. I'll think of something! By the way, this is the only shot I've got showing the doors. Anyone know exactly what it says? The white letters and numbers are very blurry!
-
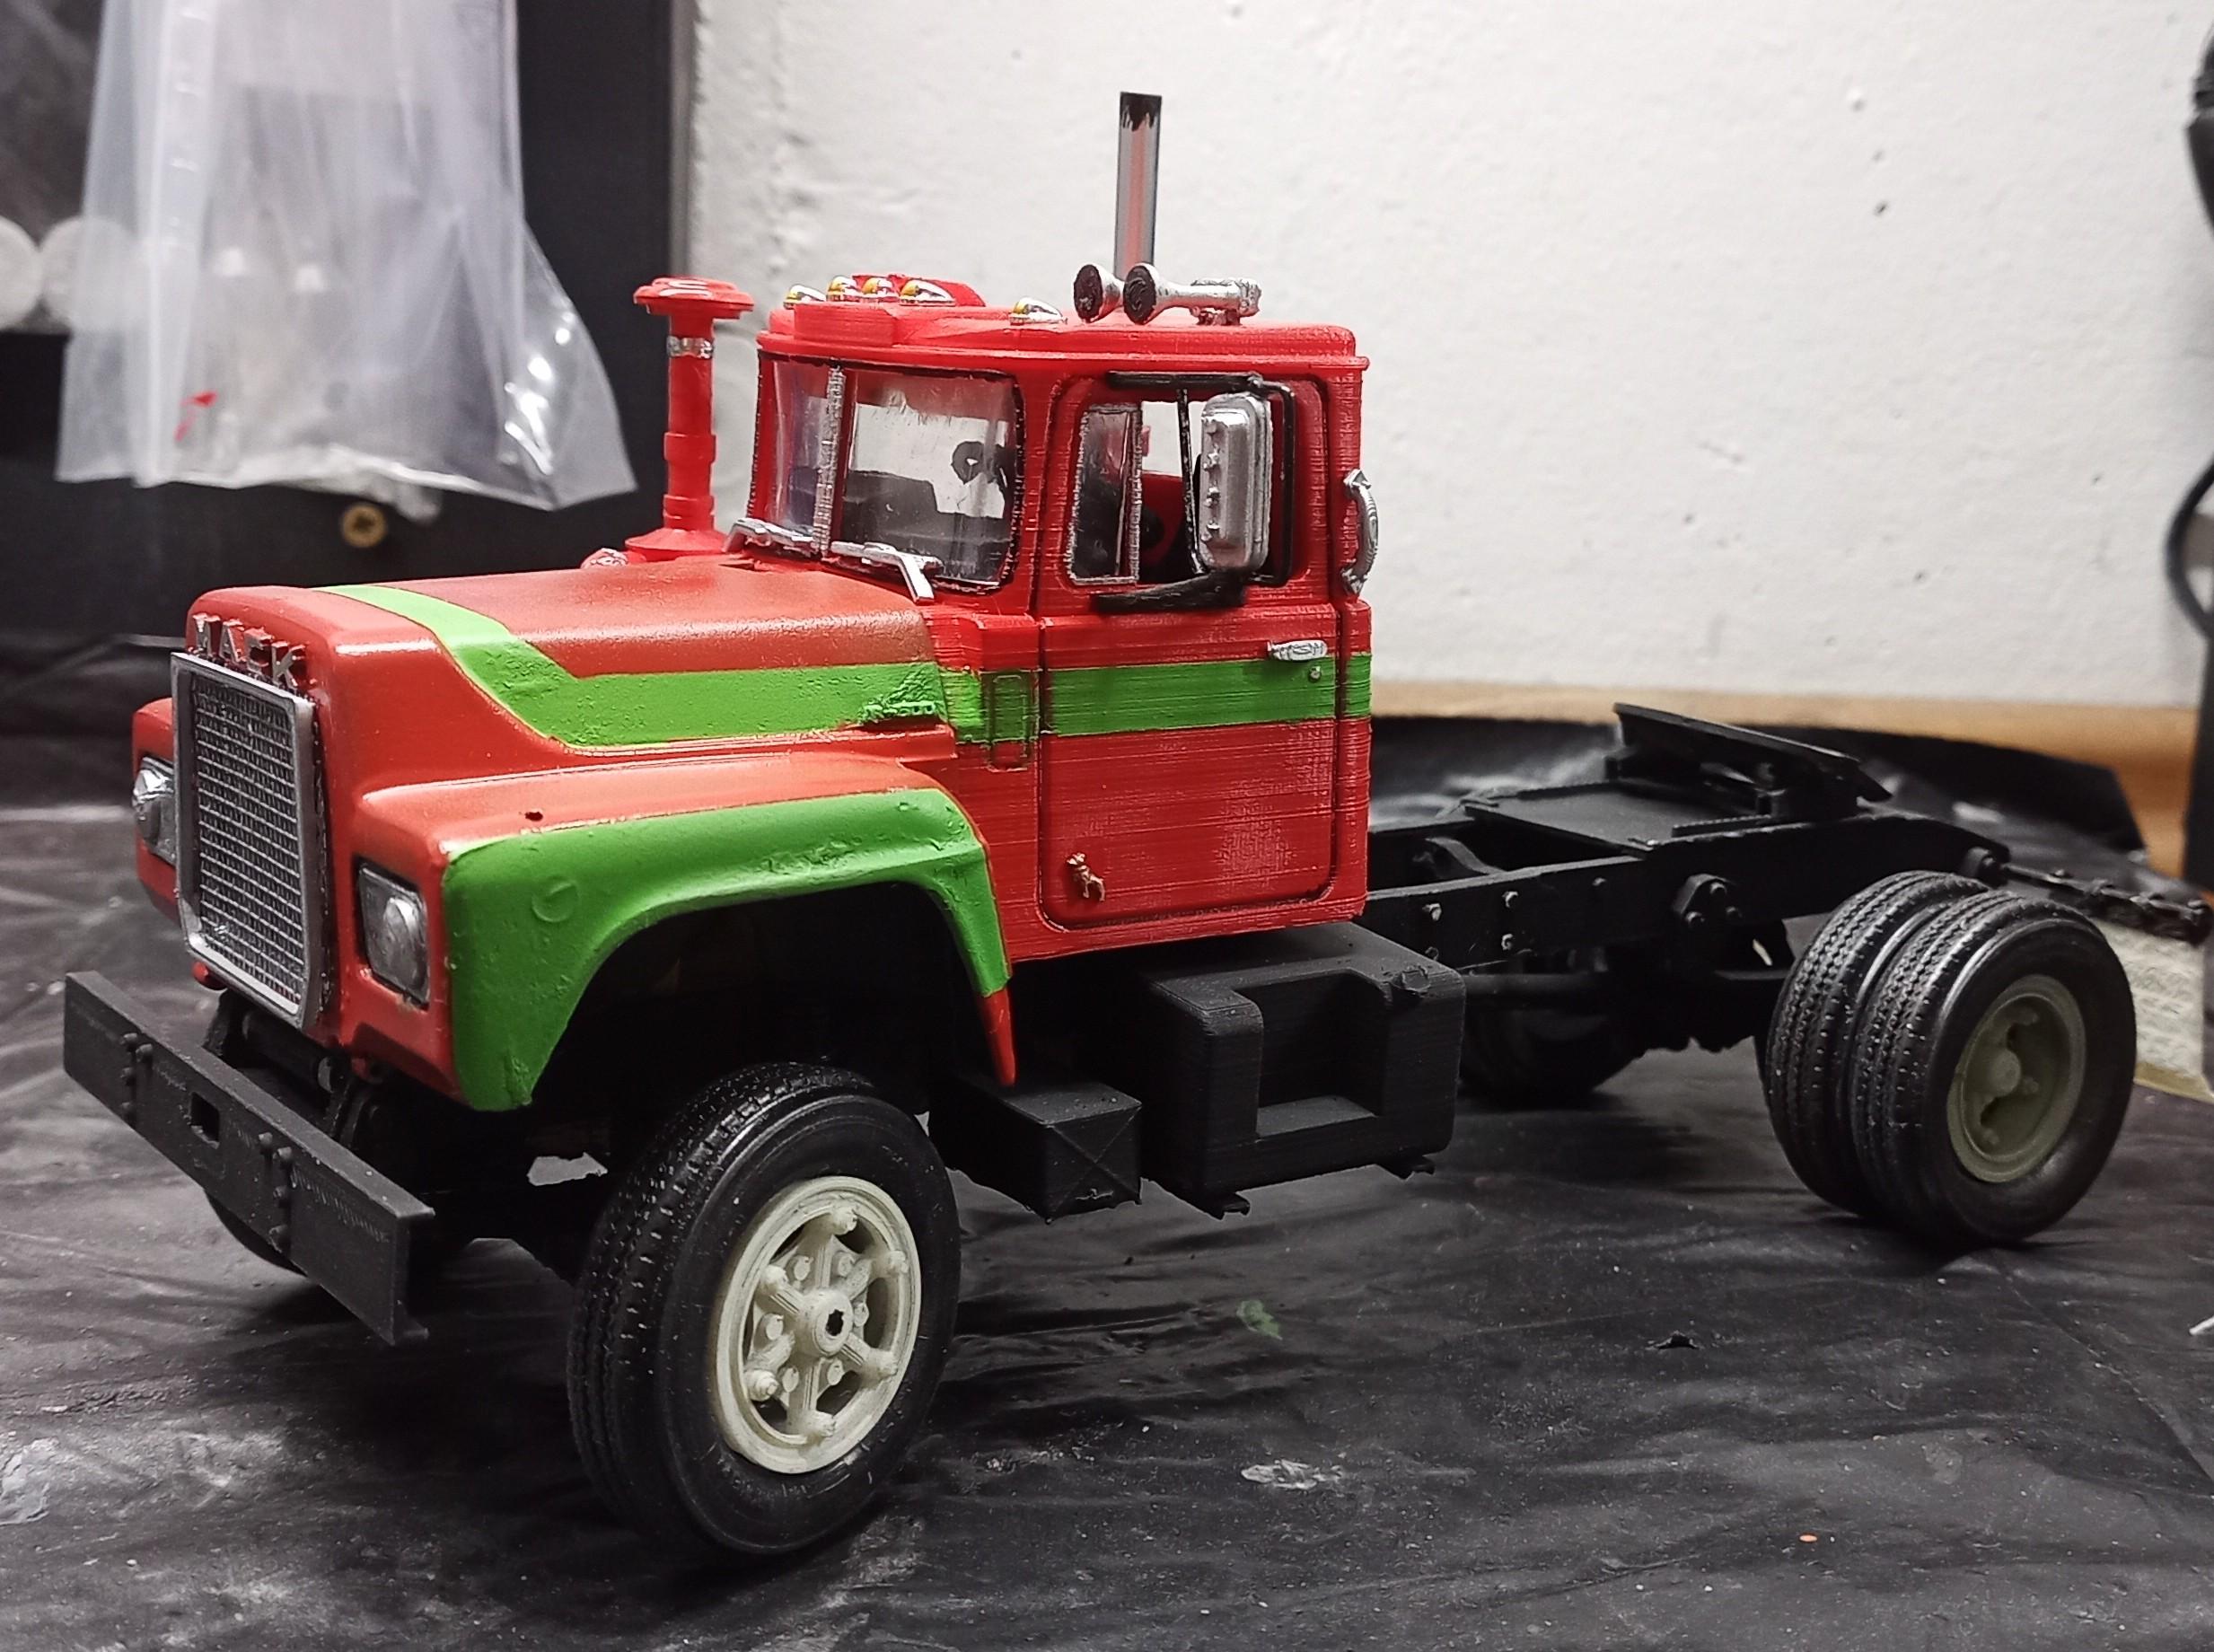
Good morning, I got a little more done: Got the too wide axle off without breaking anything. Also the breakdrums were detachable without damage. Got the mirrors in and the hood hinged. Now the fine tuning begins! Rear turning signals, tail lights, Bulldog on the hood, aging, more dust in the mud flaps, ... Then the tricky part begins: Designing and applying the decals!
-
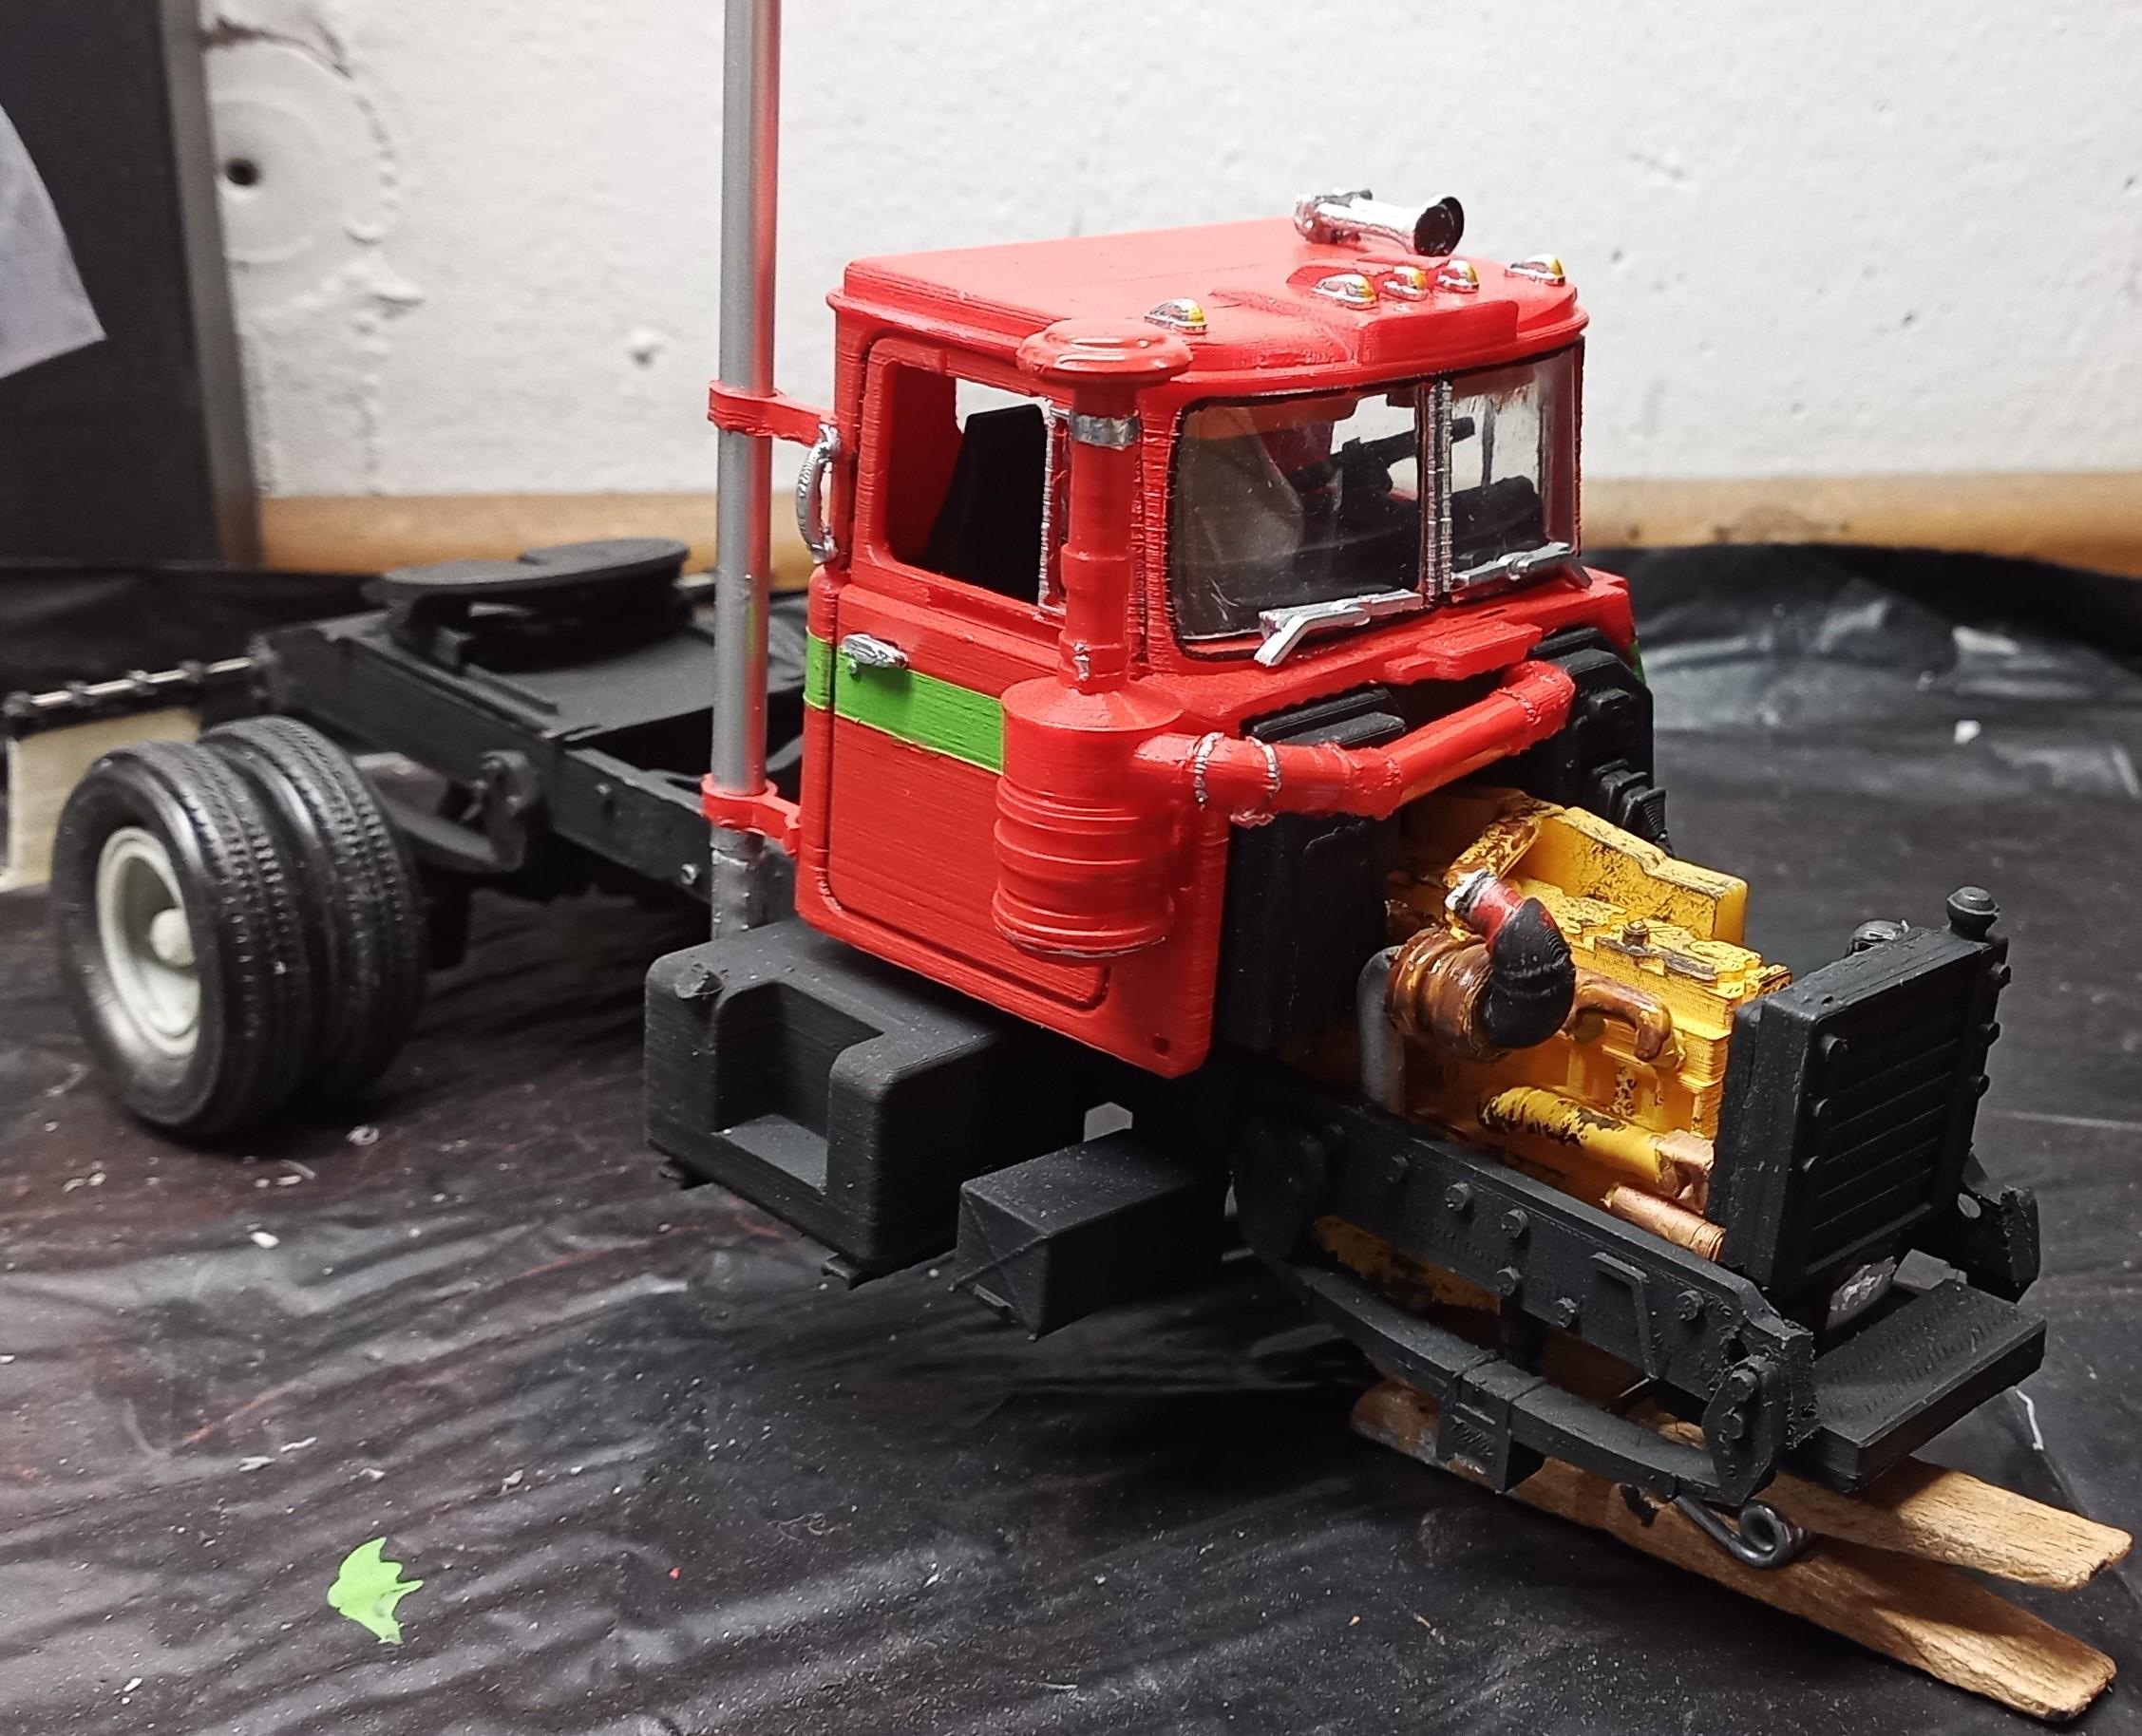
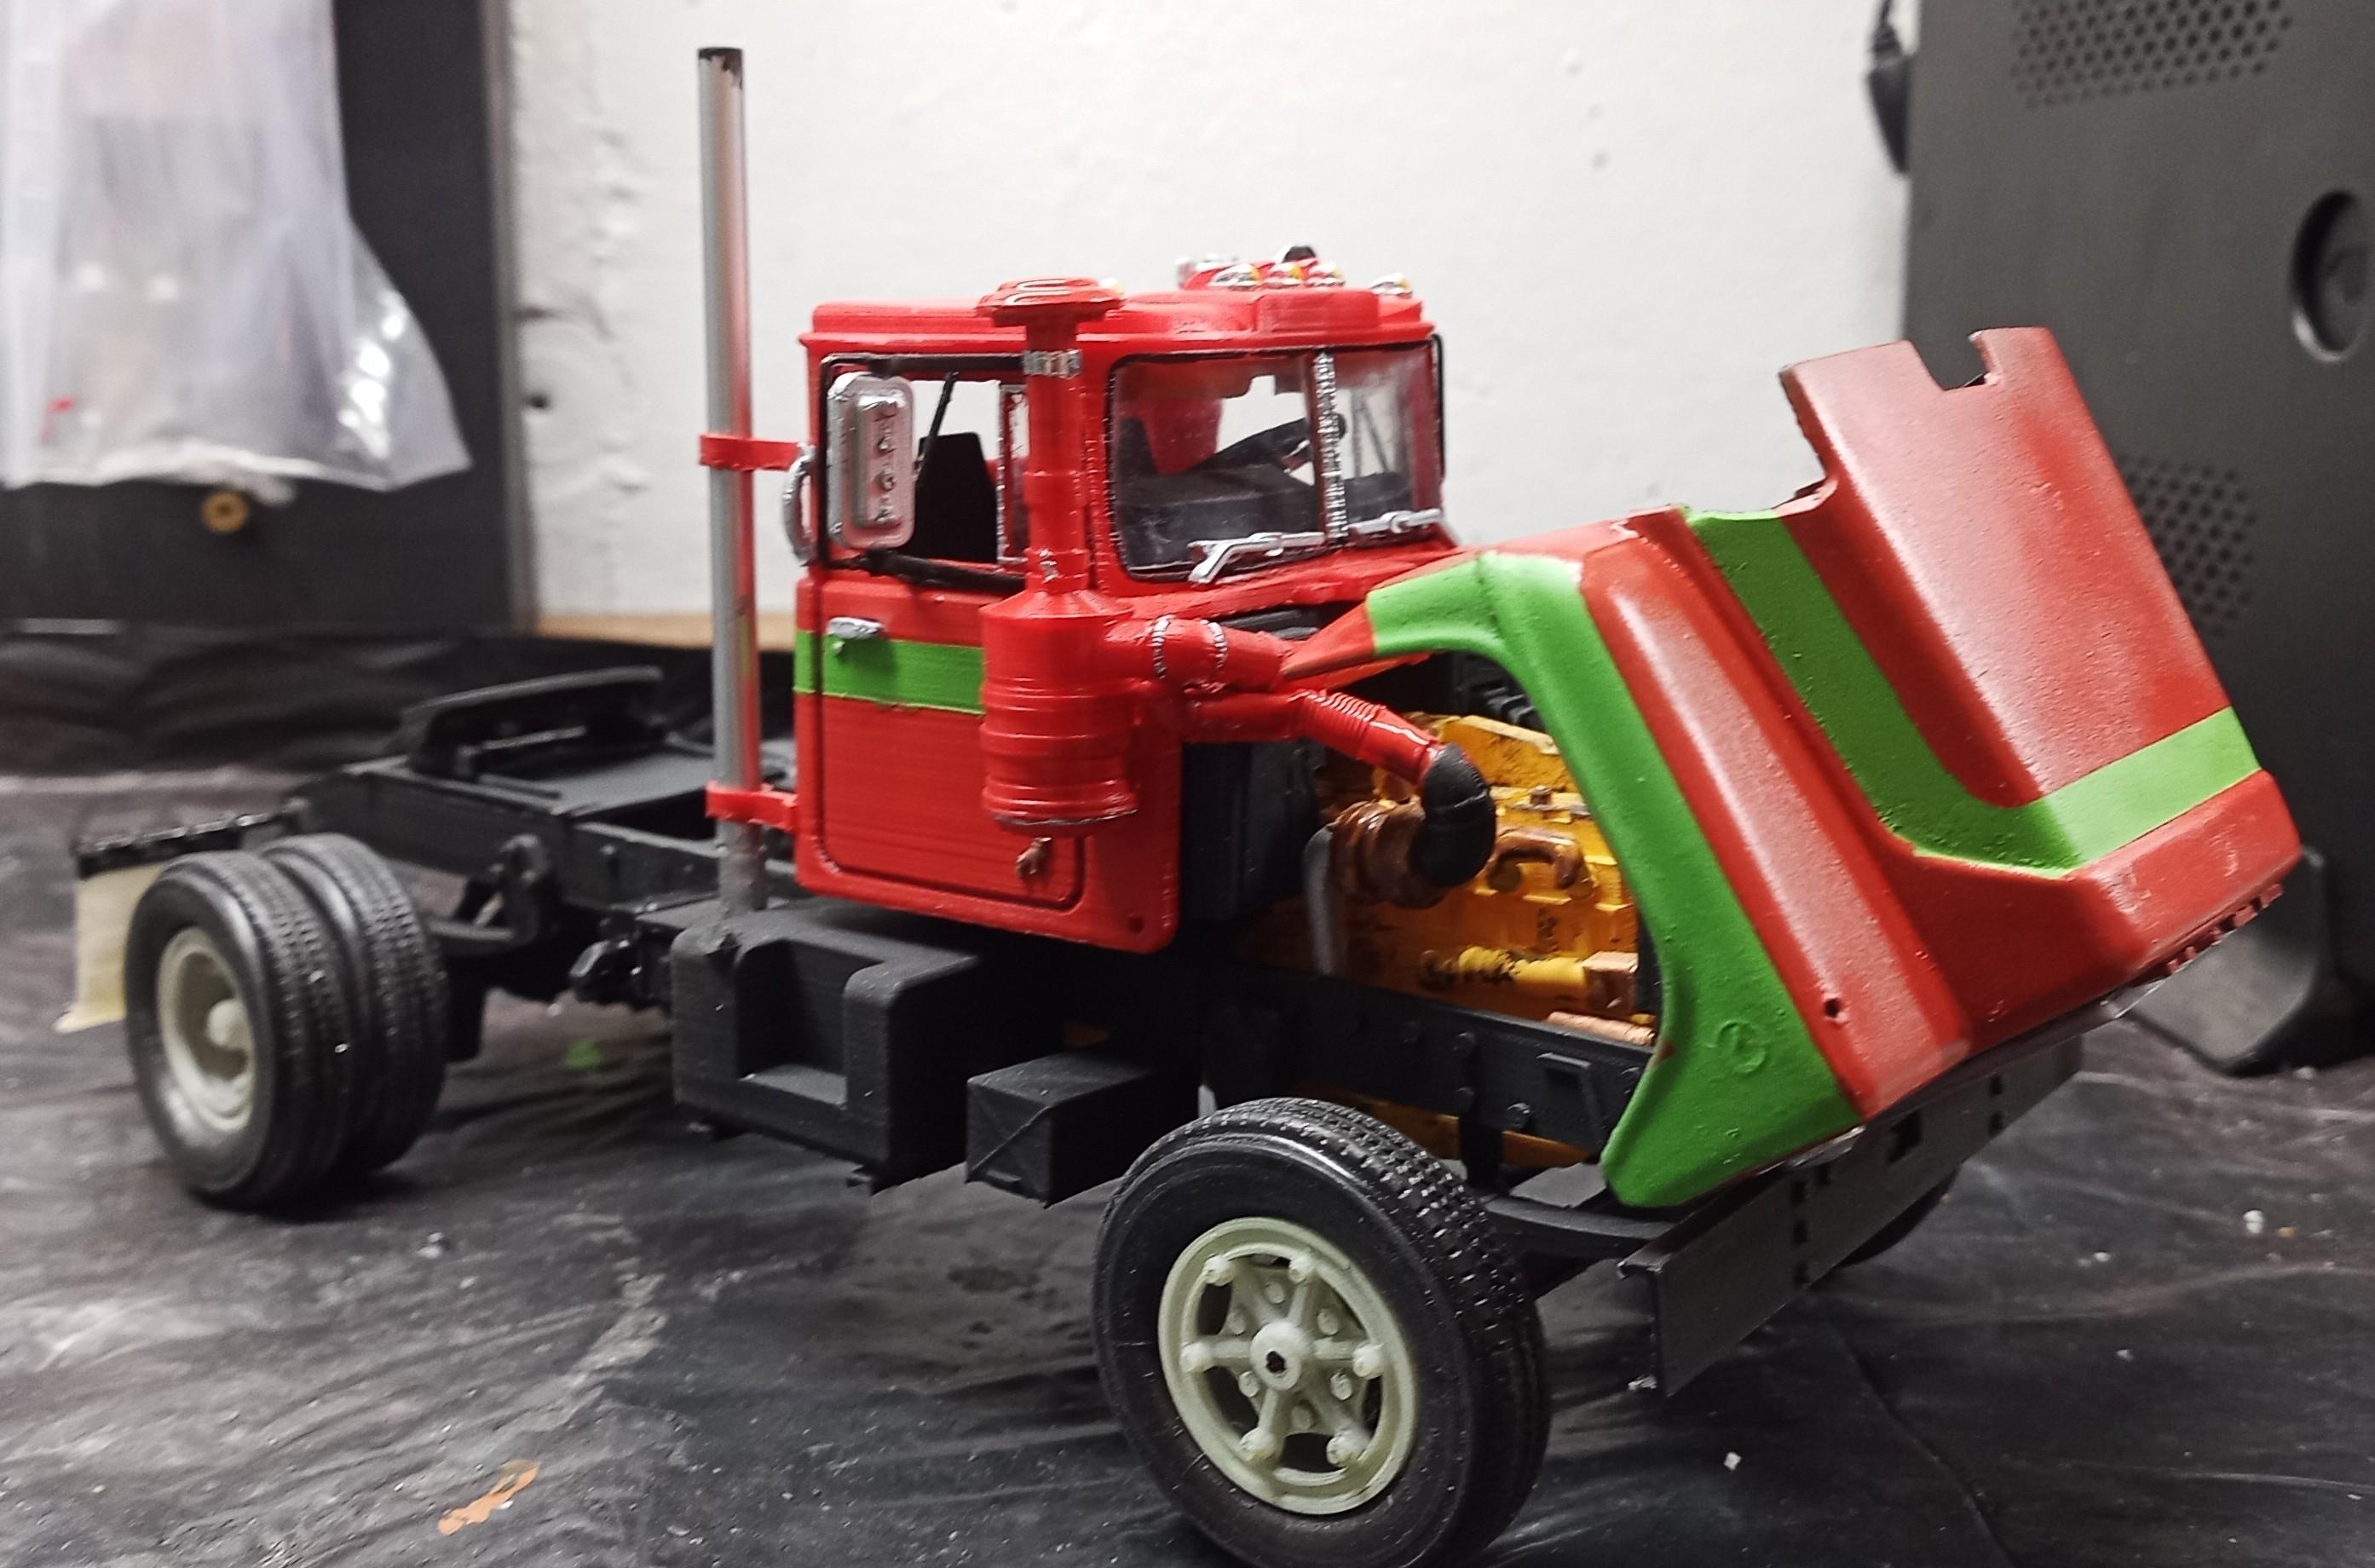
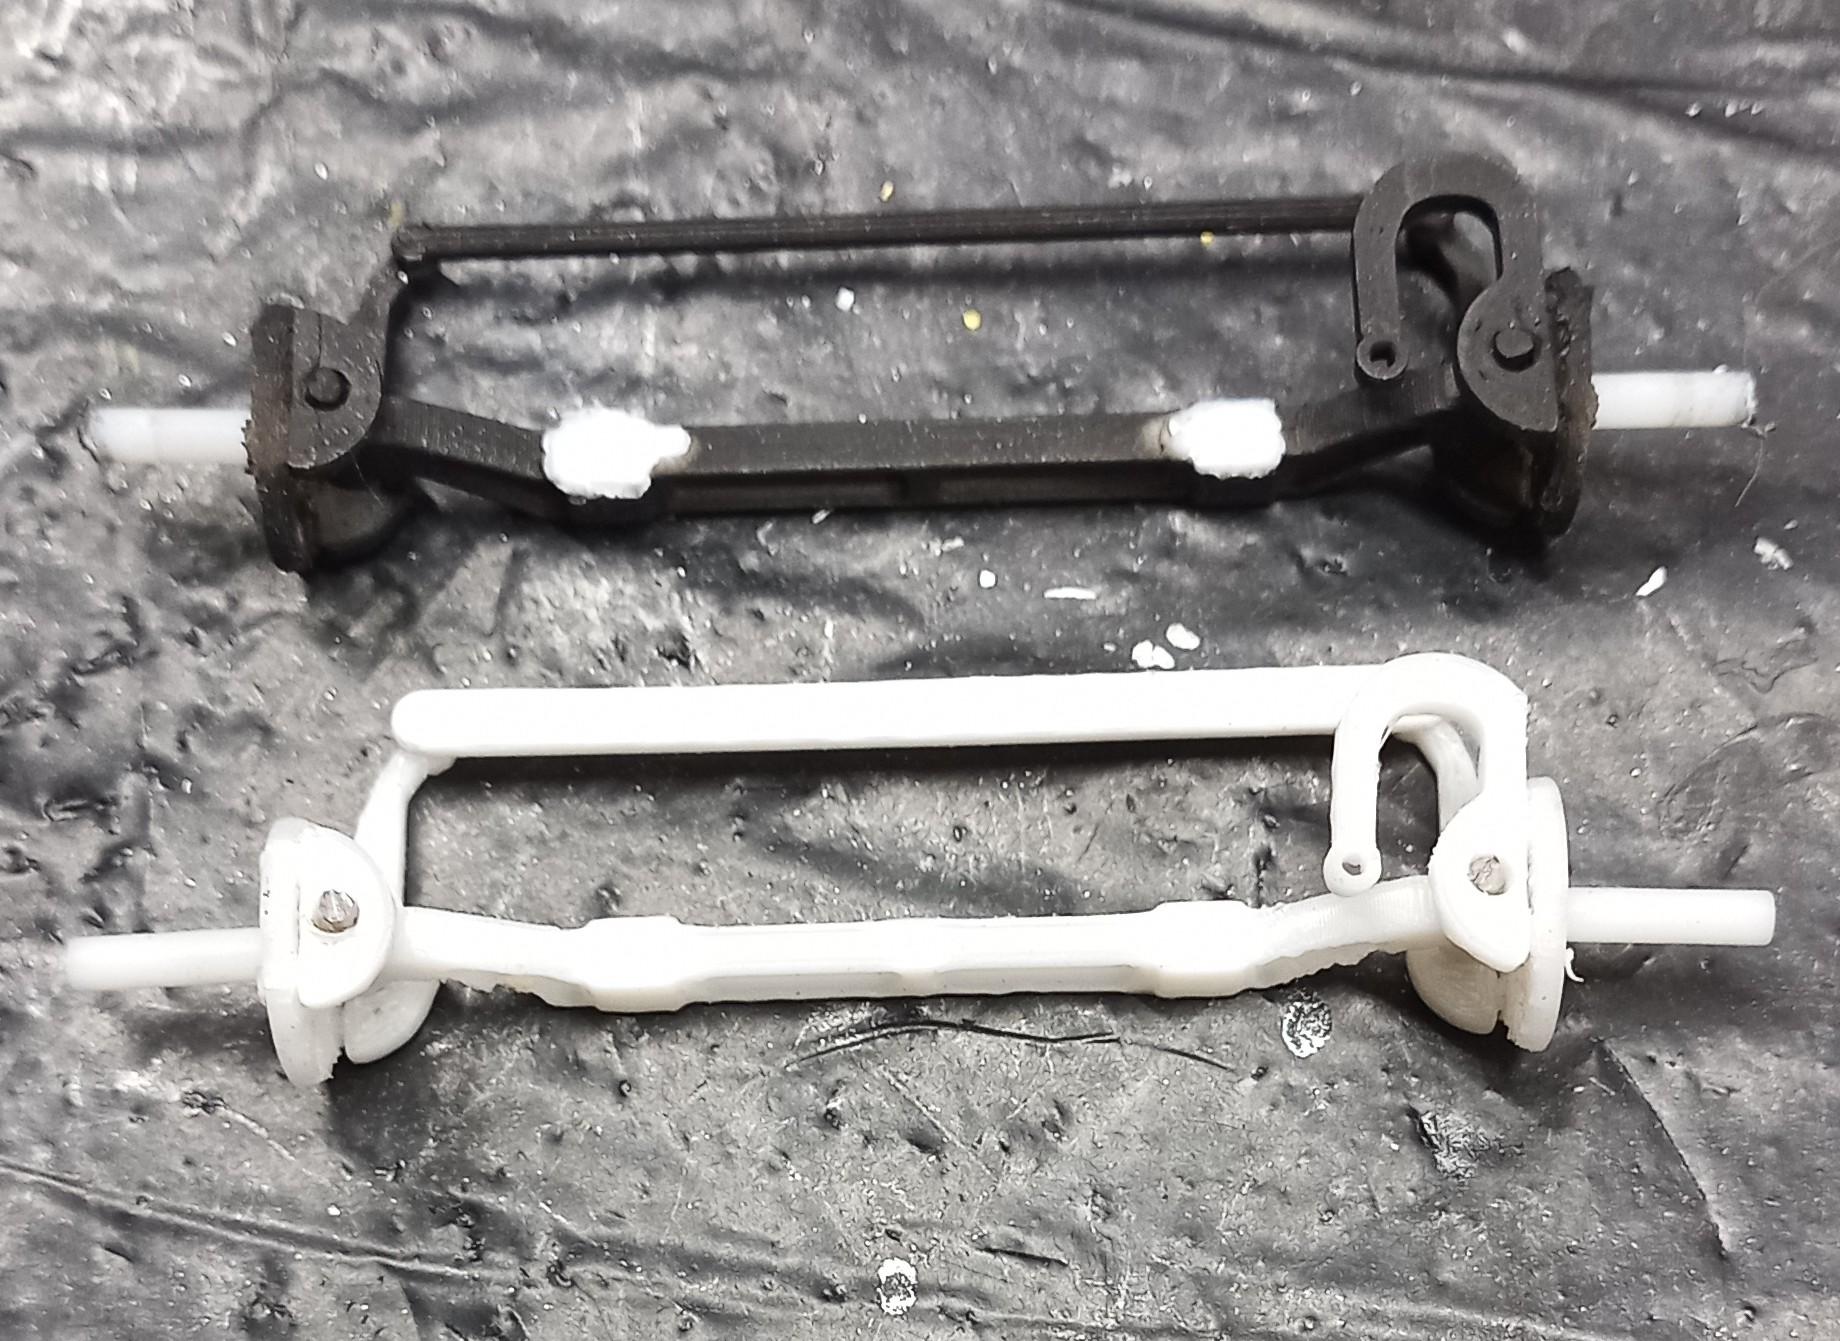
Thanks! ? Glad you like it! I must admit I am quite proud of it myself too. But there's still a lot to do. The shortened front axle is finished and hast to be painted and mounted (The white one is the new one, obviously) , the air hose from the filter to the turbo charger still has to be designed and the mirrors are still missing. But I'm not in a hurry.
-
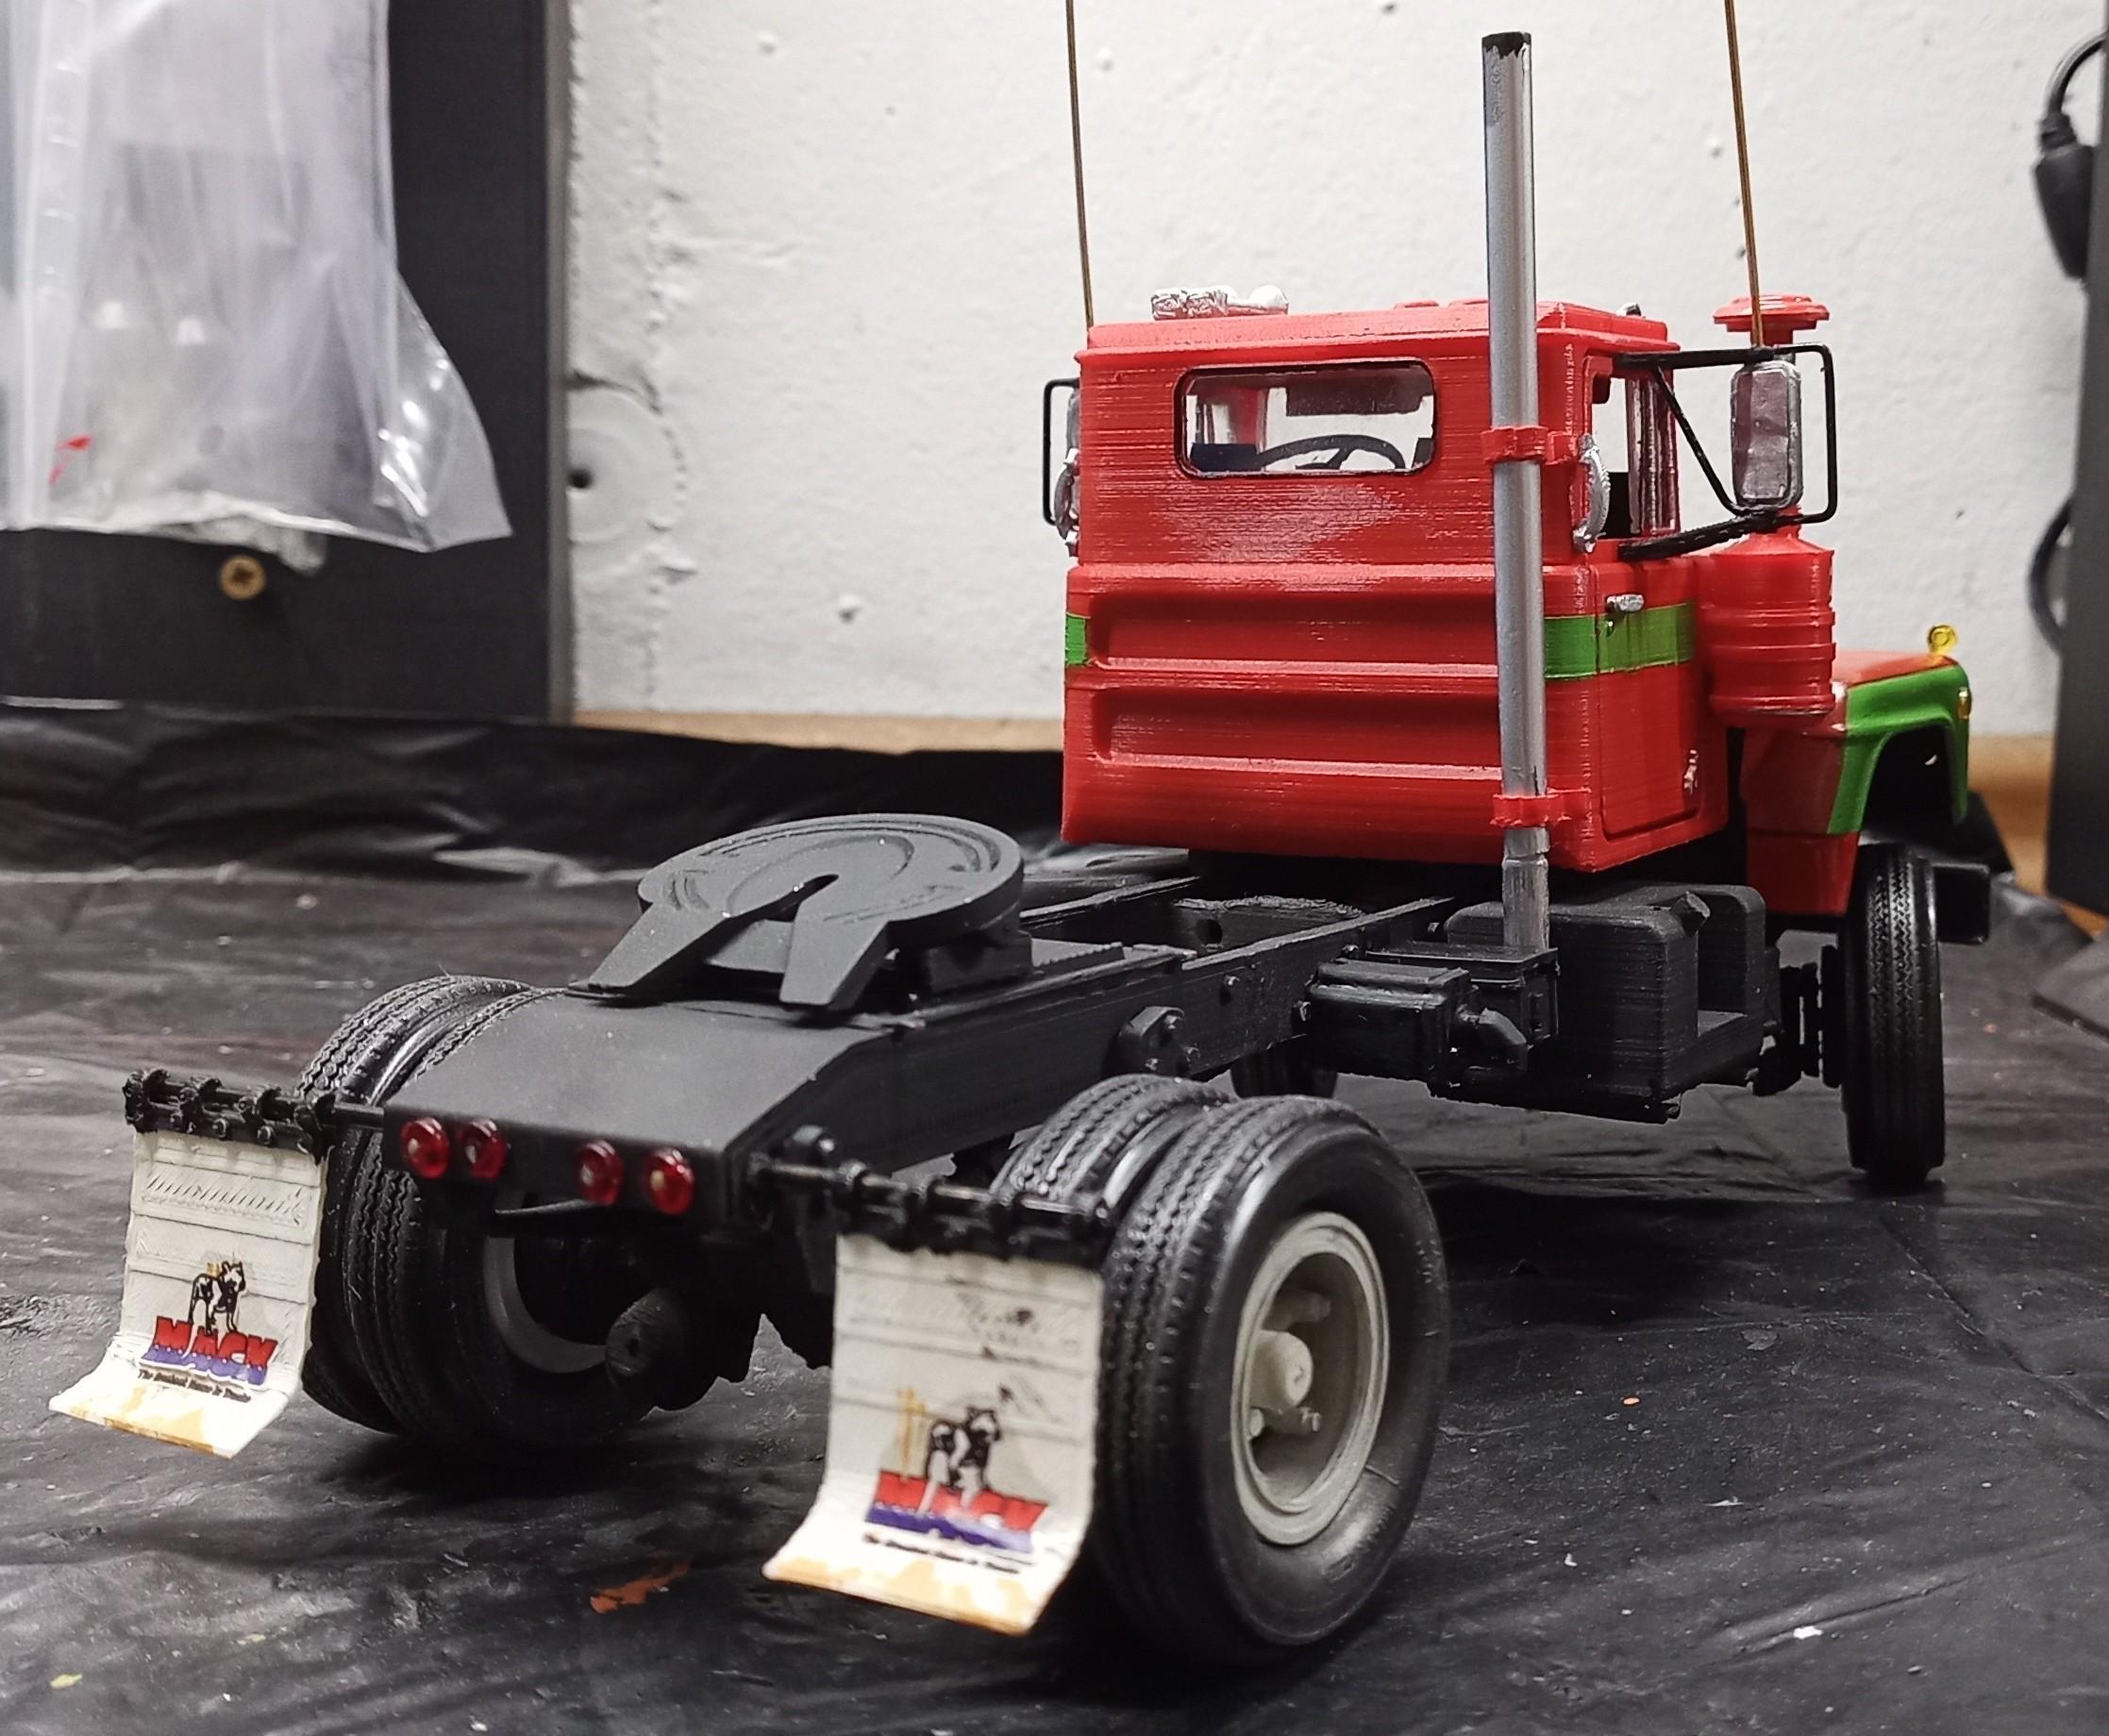
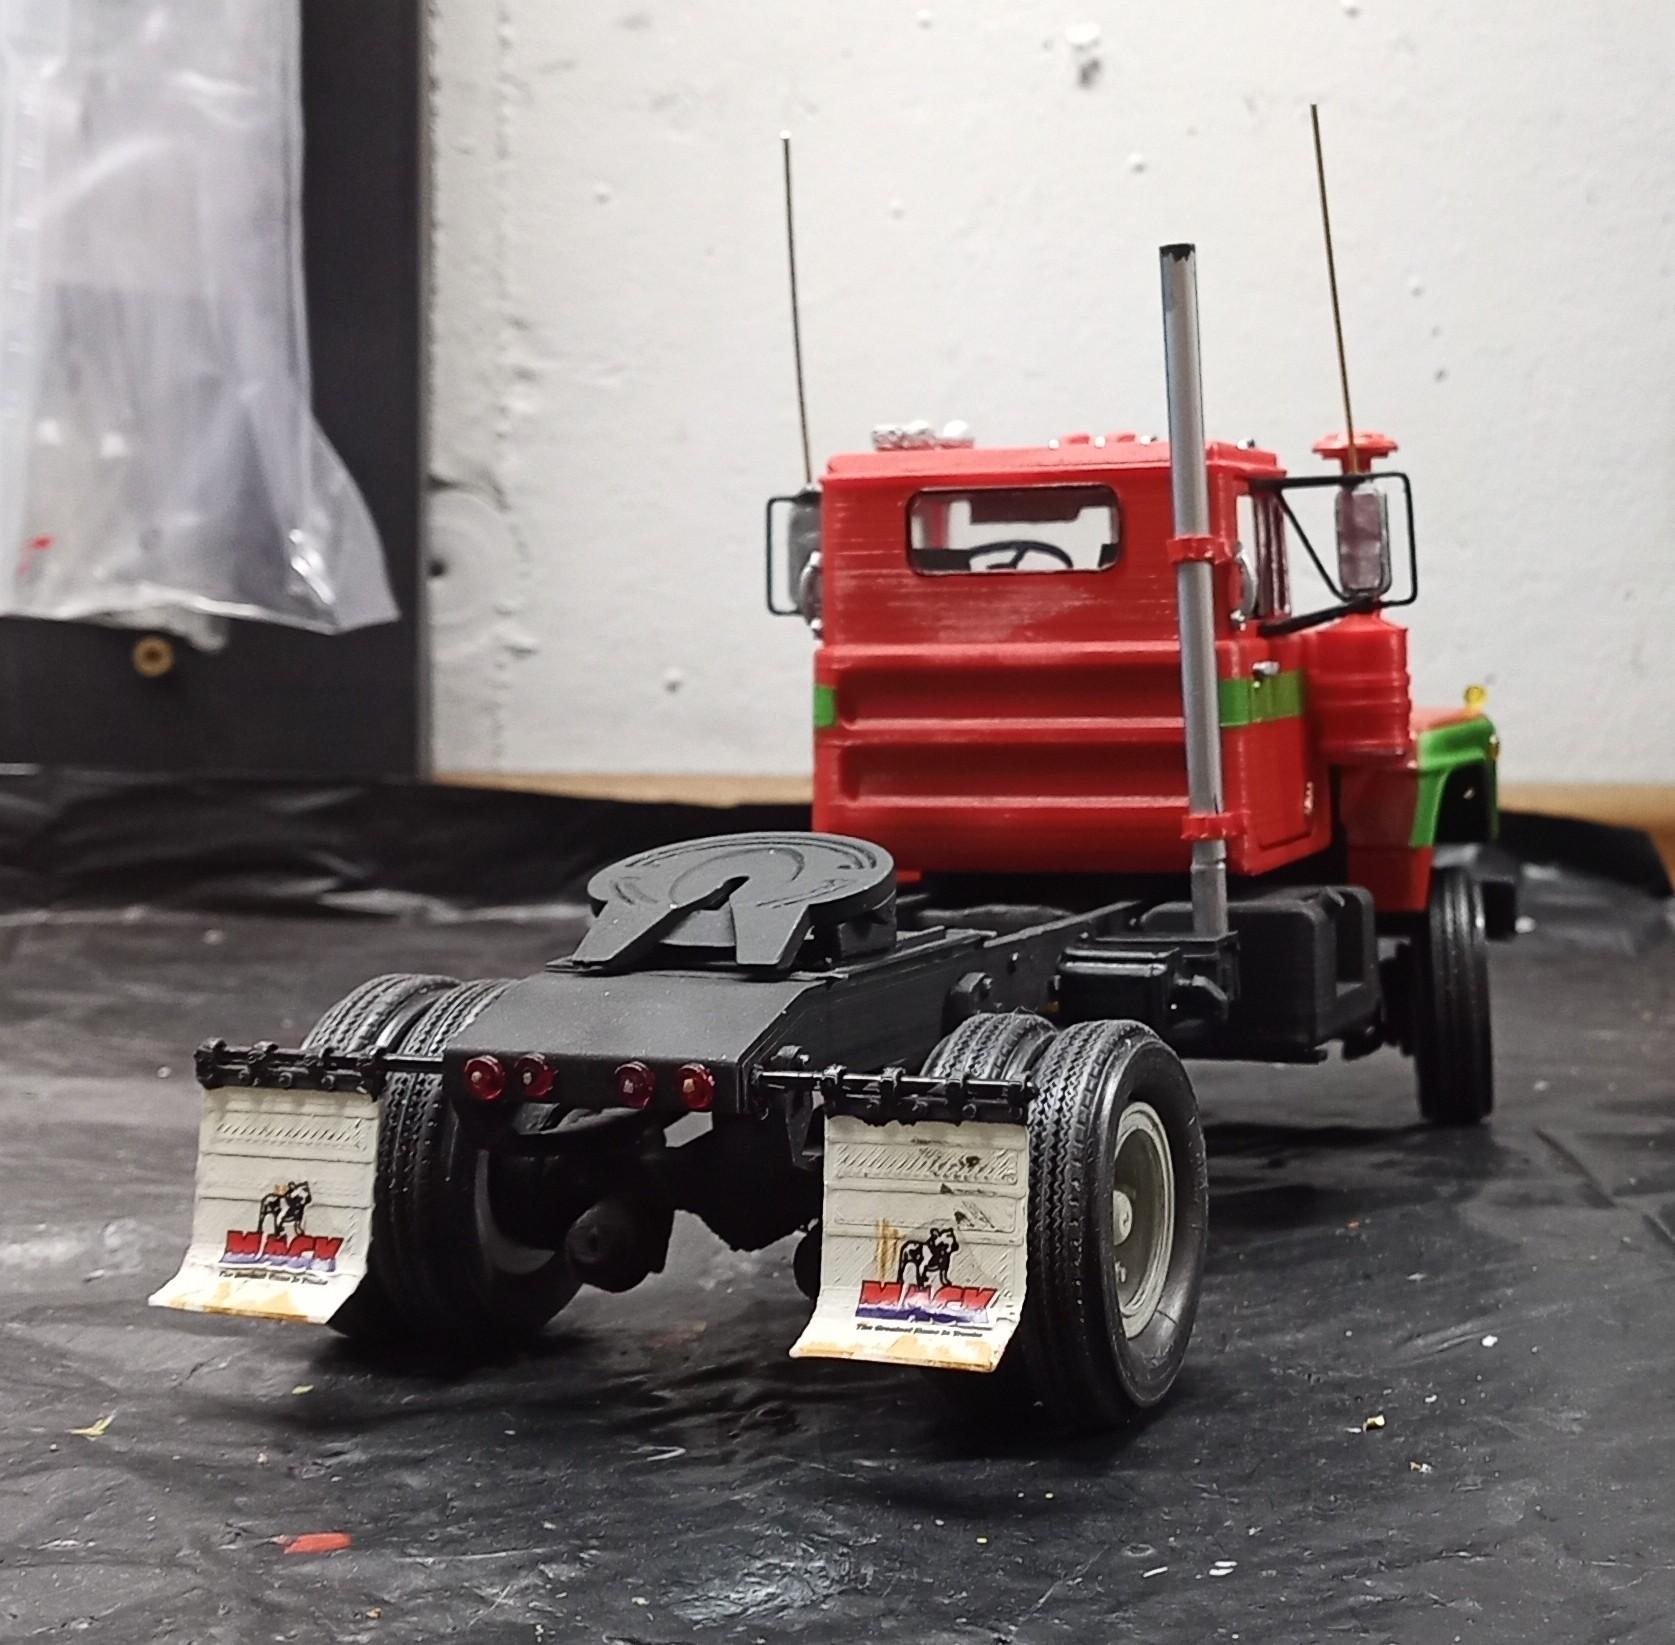
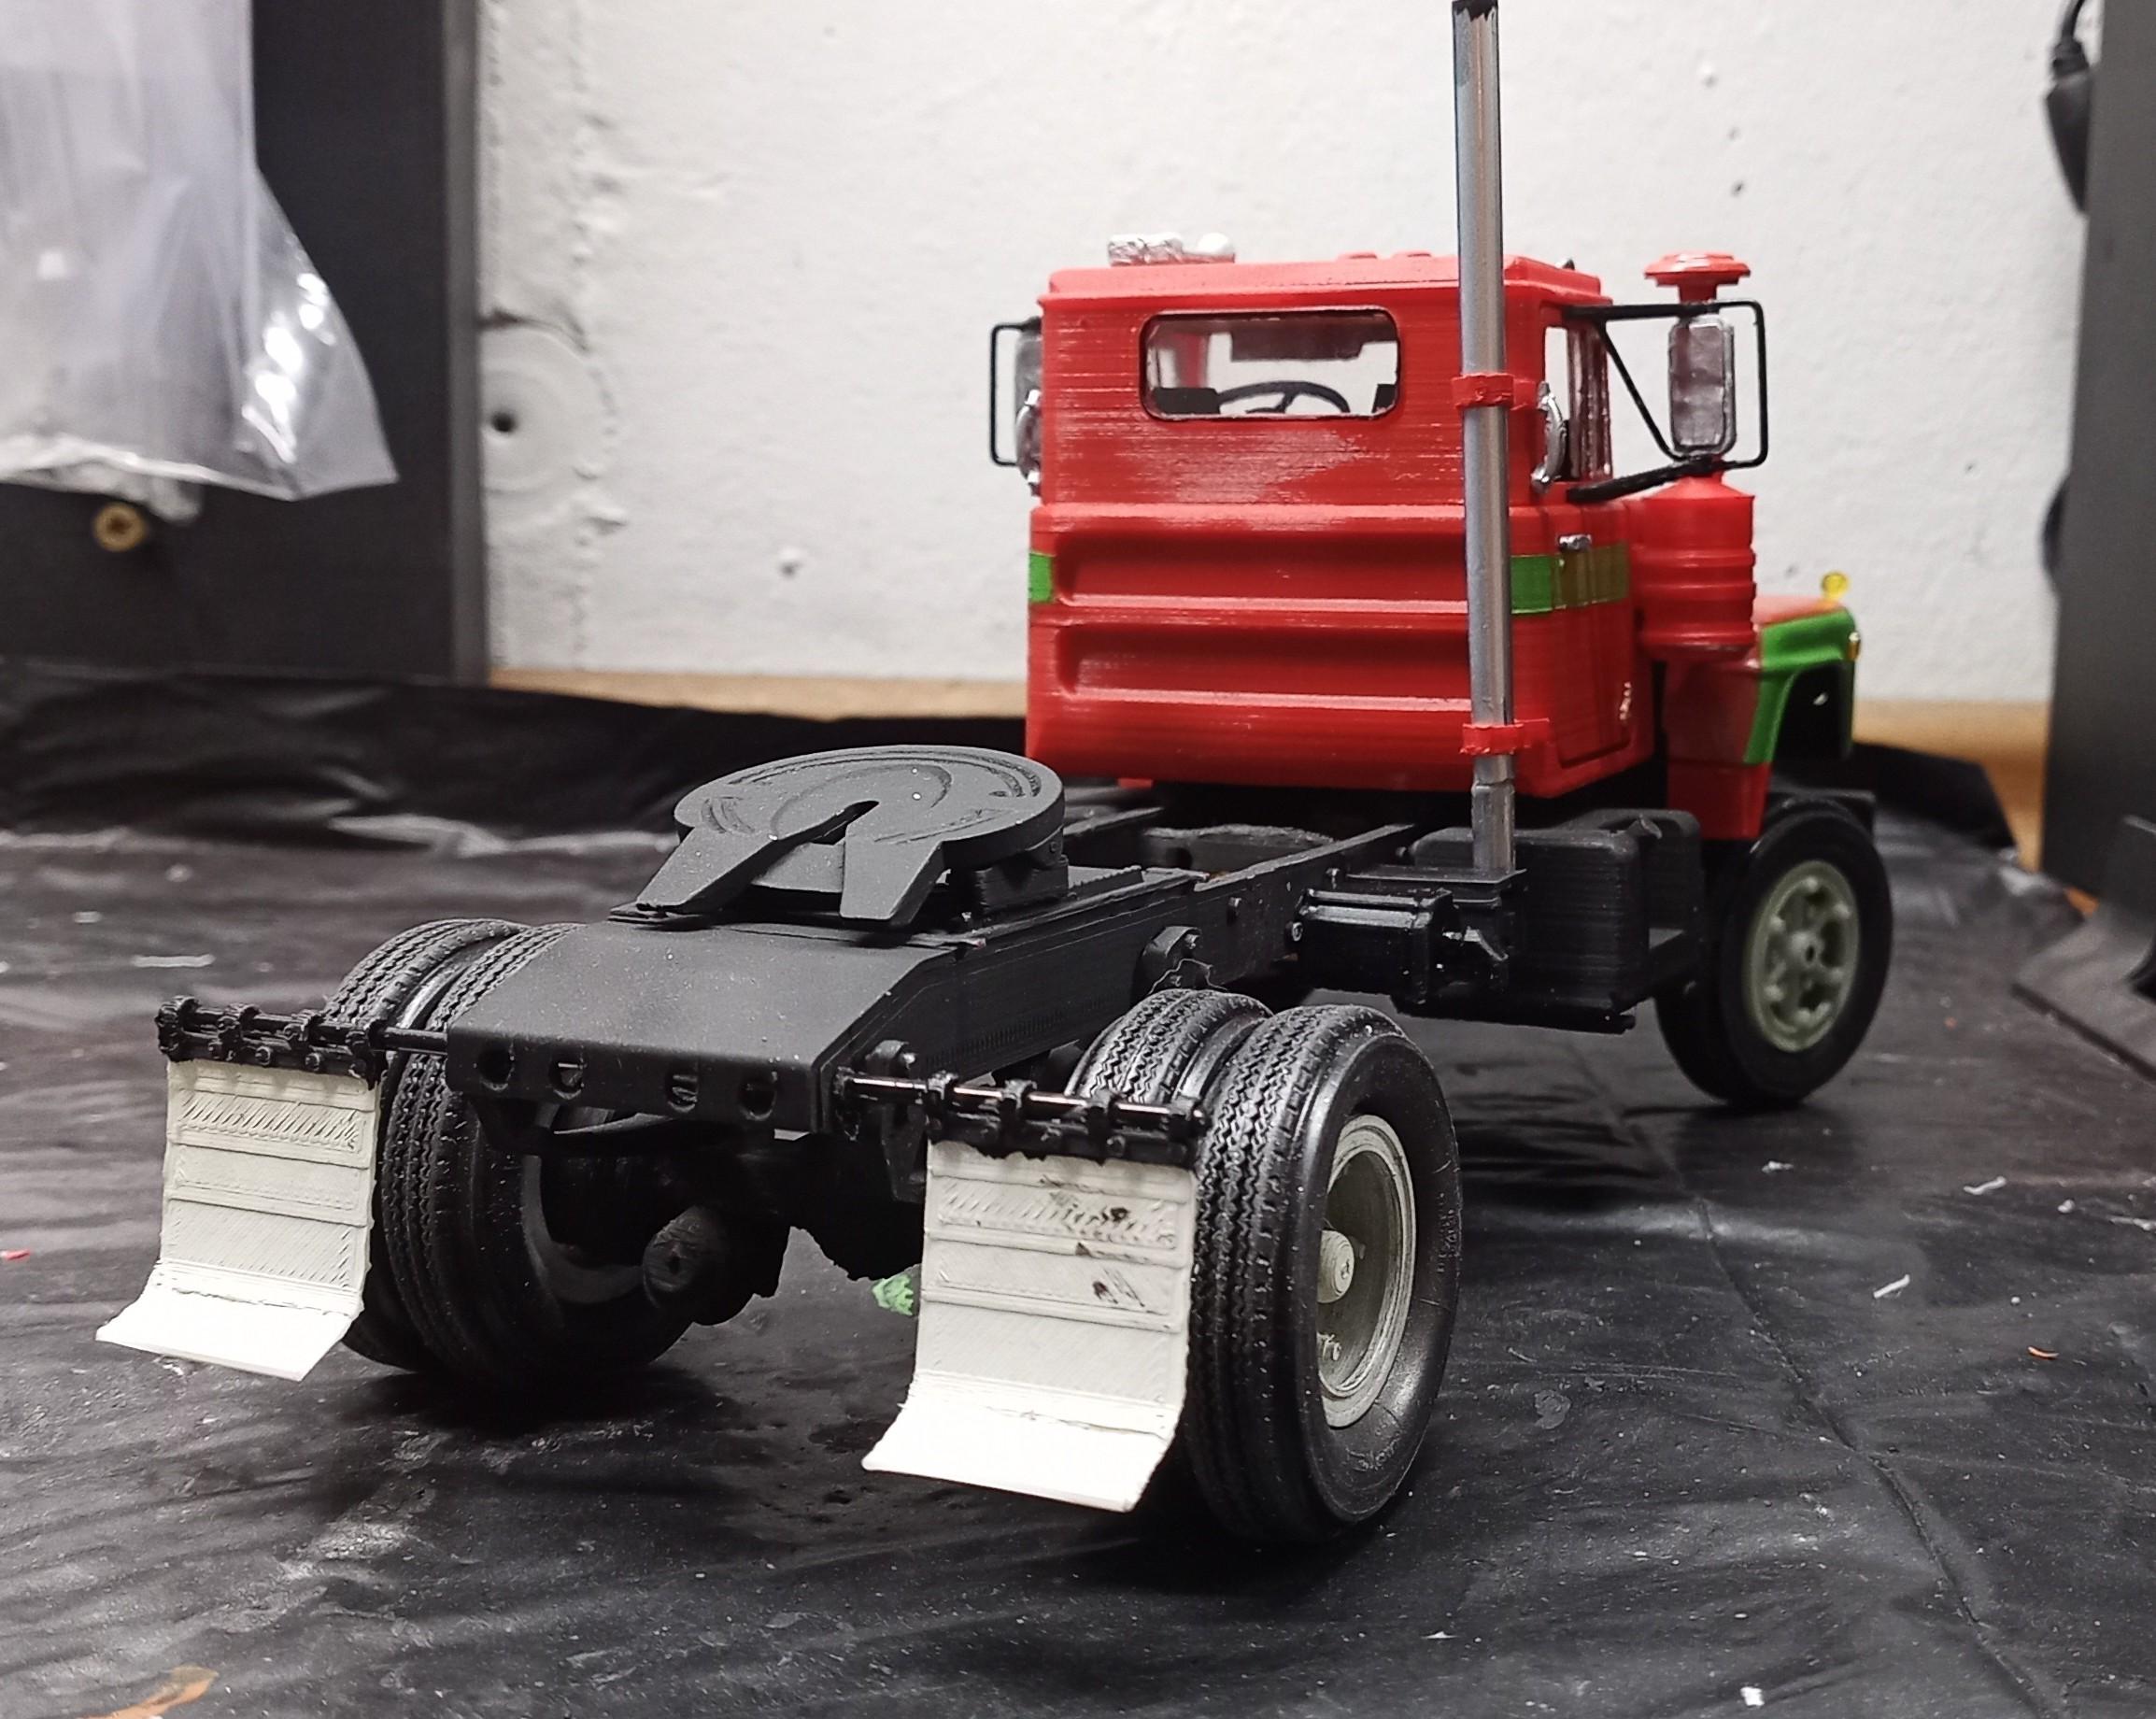
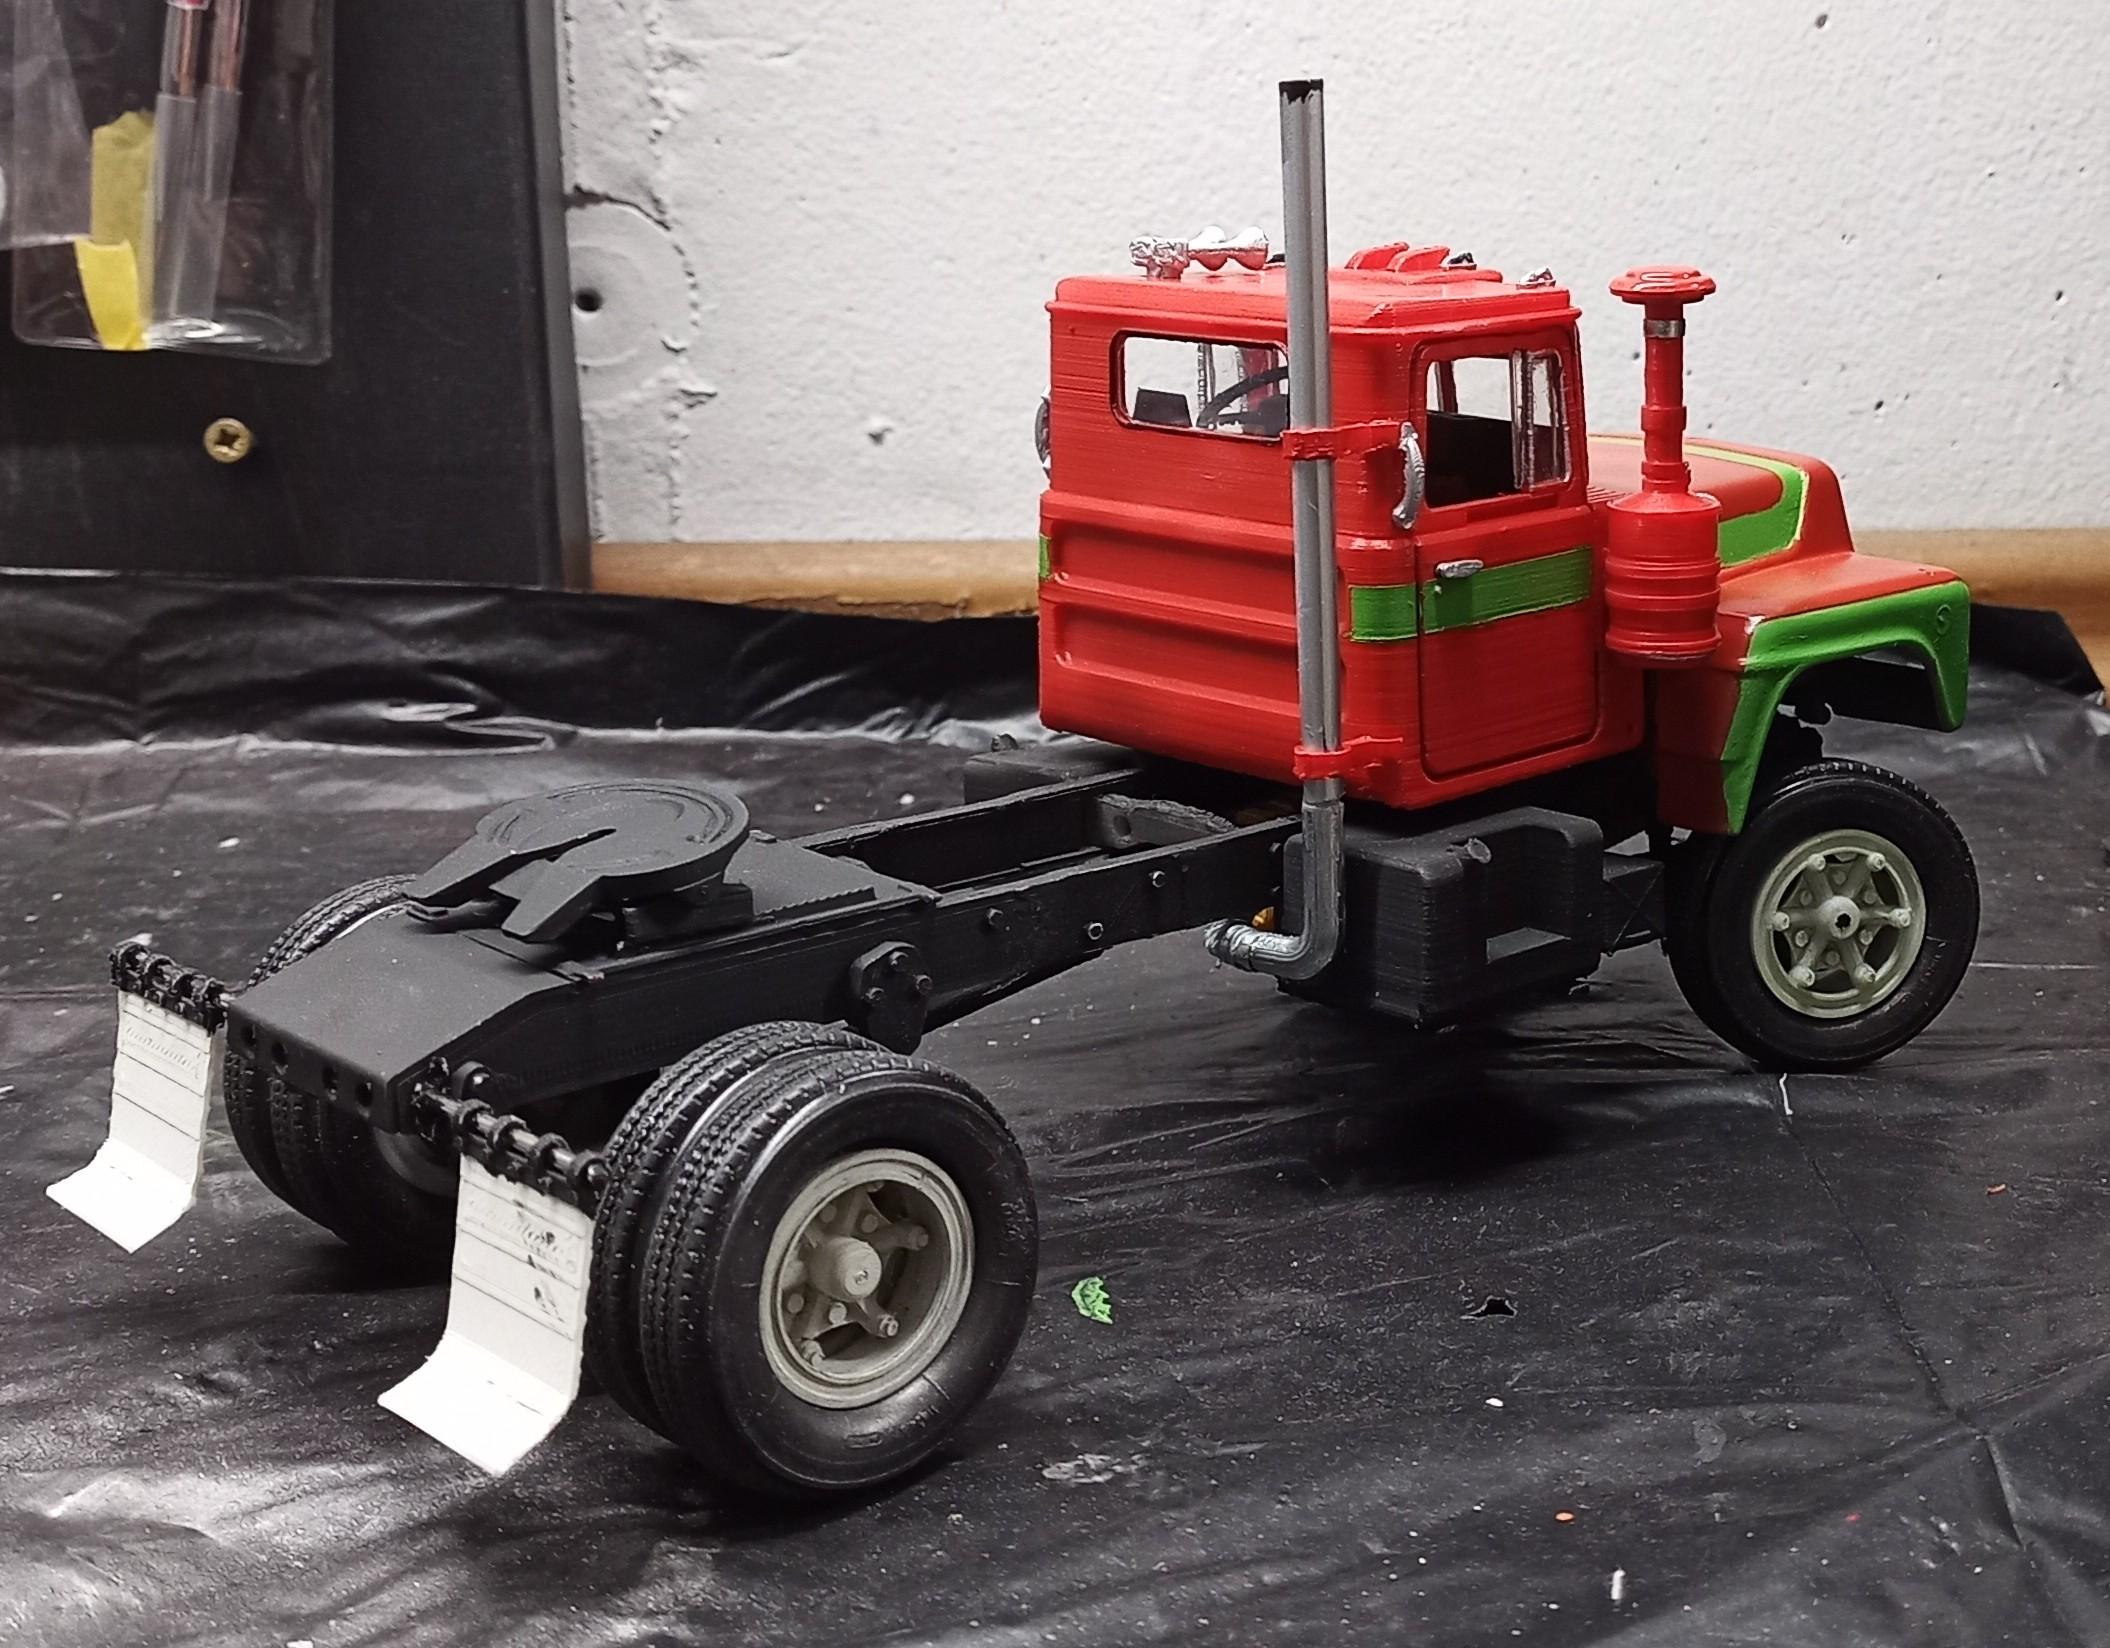
Here's a view from the other end: The mud flaps are printed also with loops to put through the metal rod. Still have to be aged more! The movie truck hast a long spring on the back side of the cab to hold the air lines. I'll do that when the first trailer ist done. Also there are brackets one the side of the frame, I believe they're the holders for quarter fenders. I'll have to see If I can get a good view of them in a movie scene.
-
I discovered that the front axle is a bit too wide. The R685st is about 5mm smaller in width than other 1/25 kits which means the front wheels would be too far outside of the fenders. I actually decided to redo the complete front axle incl. steering. The 3D drawing of the axles is already shortened by 5mm and printed. Now I have to reprint the other parts but first I have to reduce the holes a bit to create a better fit. The wheels tend to tip a little to the inside which makes the whole thing look like a VW Beetle of the 70s.
-
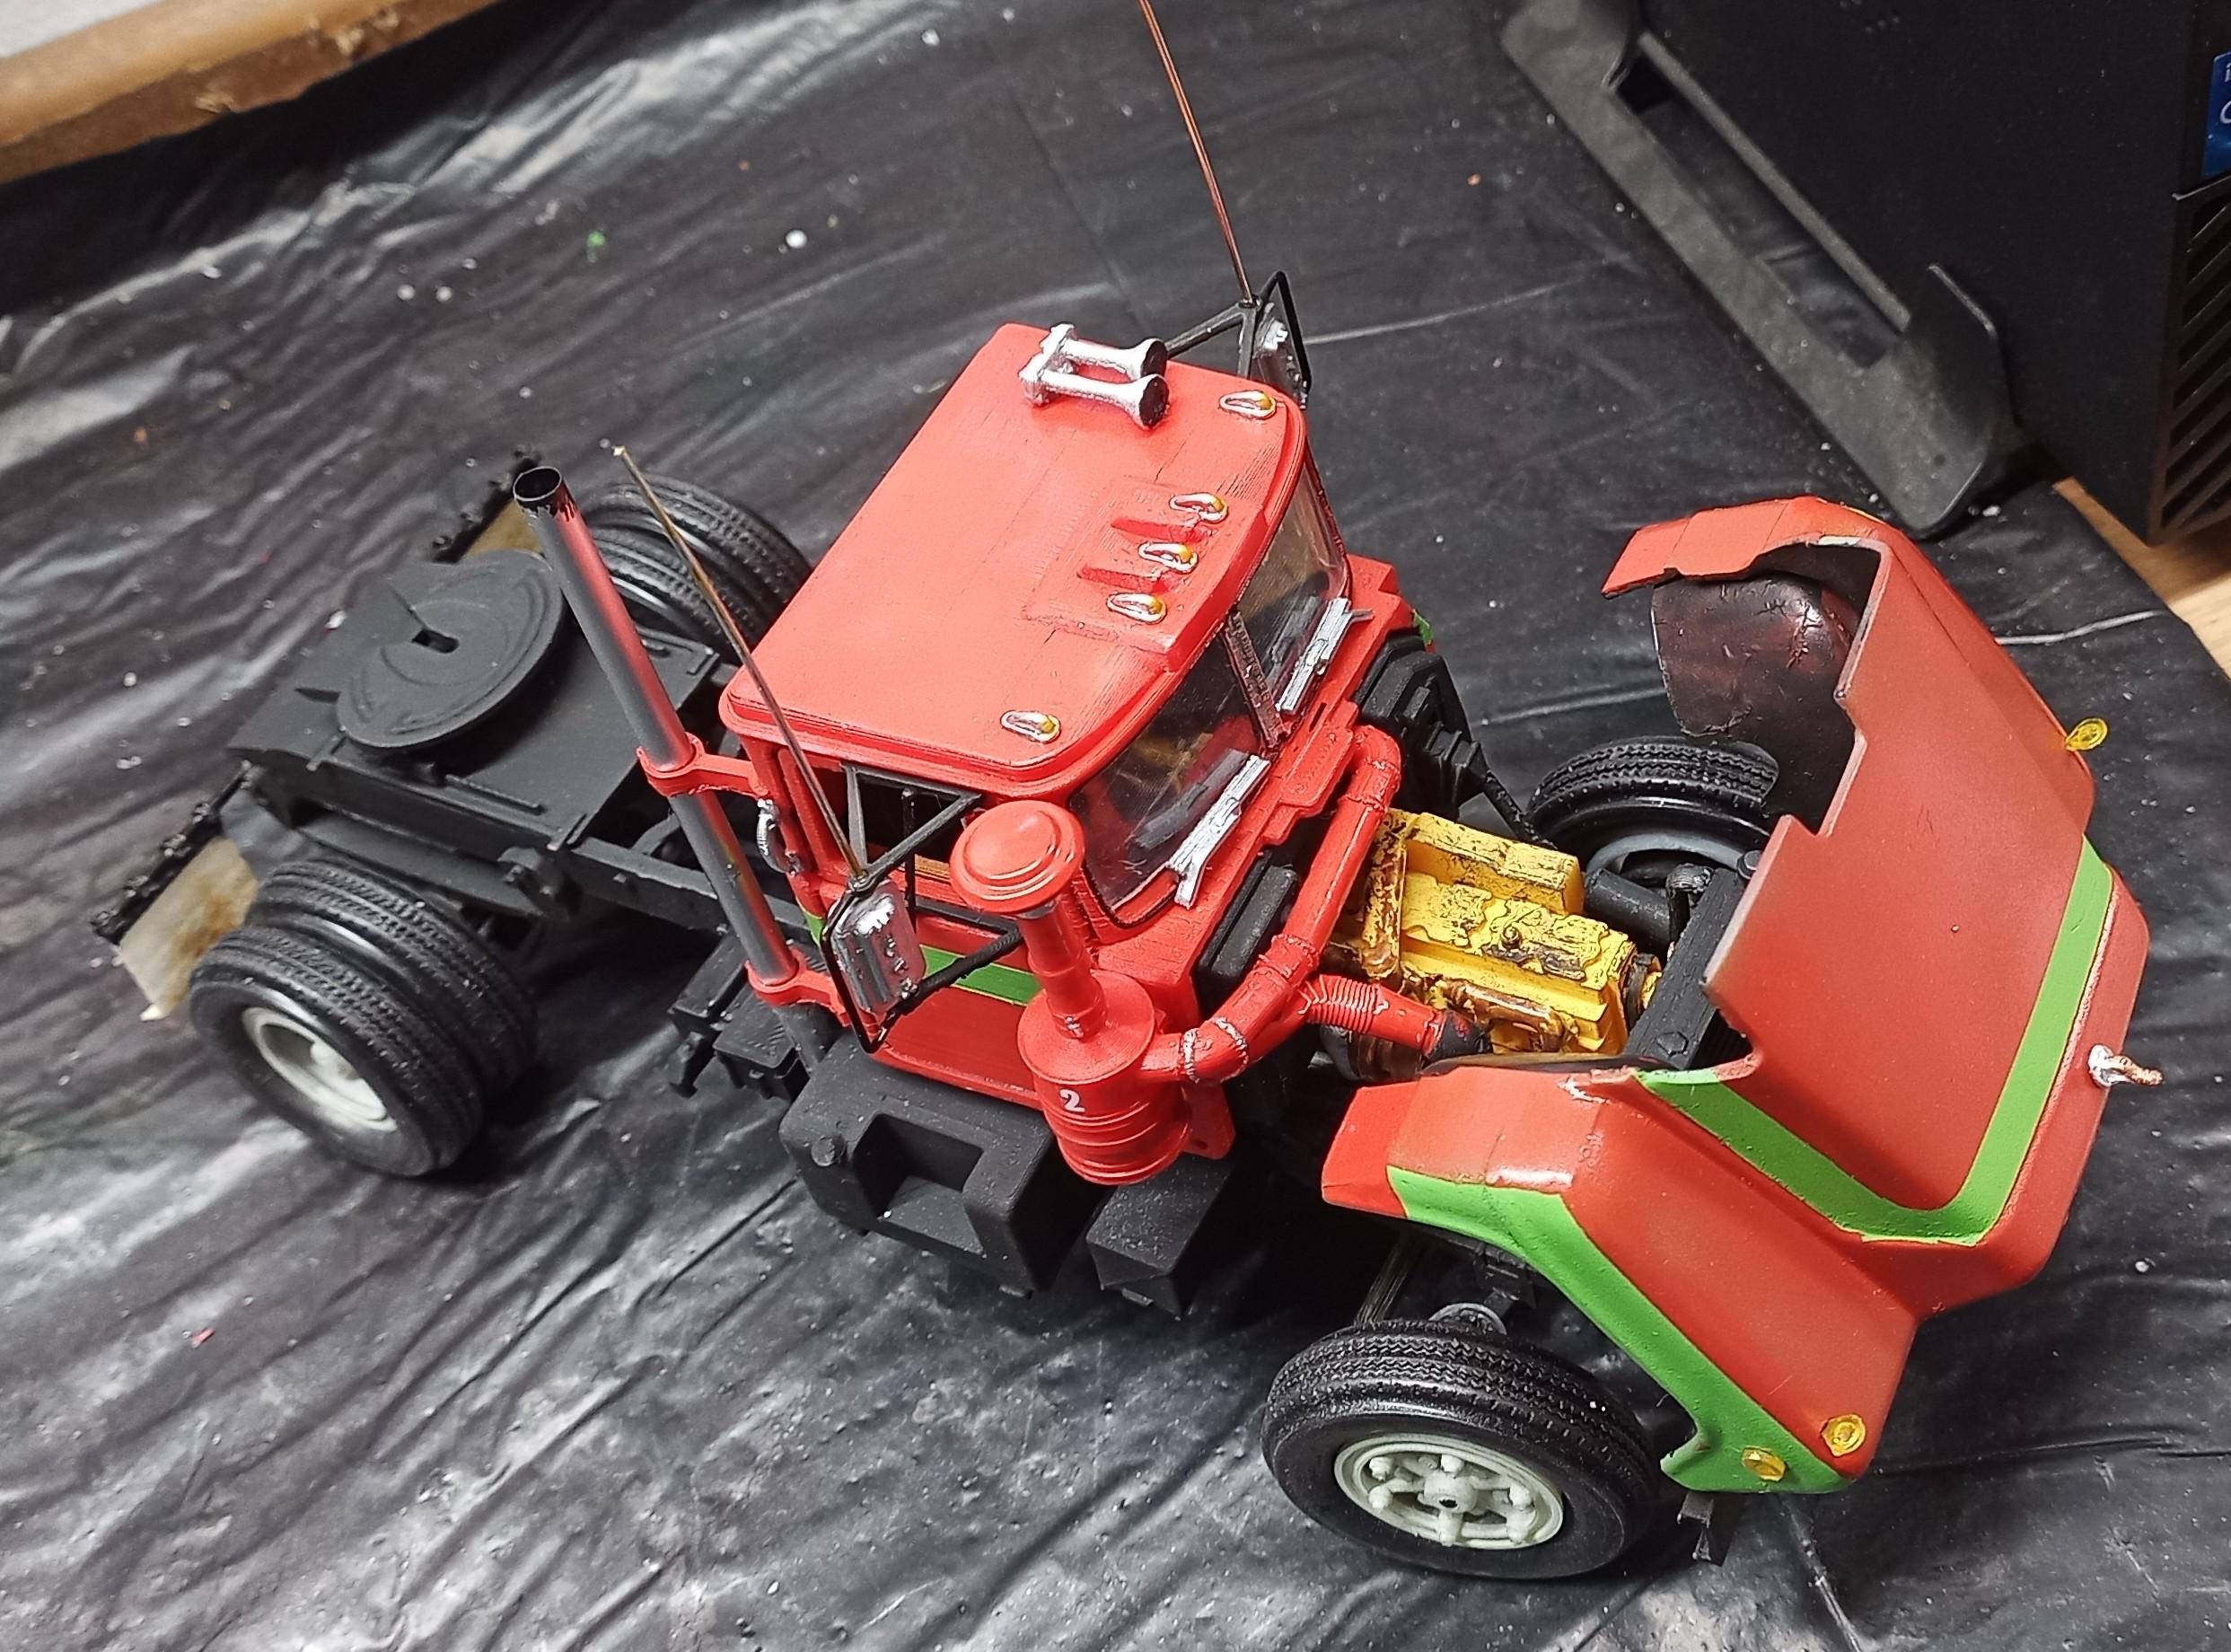
OK, I actually missed taking more pictures of the build progress. Here's what I've got to show: I'd say not so bad! Wheels are "aged" with graphite Powder, normally used for lubricating locks and hinges. Still a lot to do but I'm satisfied up to now!
-
Had some trouble with the painting of the hood. It sort of peeled off. Don't know why but I suspect it's the mix of colors. I had the same problem when I built "Pig Pen" (Convoy). The aubergine tone was mixed out of 5 different colors and after having applied it, the paint began to wrinkle. Had to sand it off and repaint. What helped was putting a different primer underneath. I had used flat black. Just like this time! Using flat grey seems to work better. Hope it does this time too. Unfortunate that I didn't remember before painting! Looks good now. Primer didn't wrinkle! Hope the rest works as well!
-
Oh yes, by the way, the hood of the Big Nasty truck is from the Mack R685ST kit (old R.D. hood), only the cabin is printed. But I did print a new hood for the RS700L (Rubber Duck).