Jürgen M.
-
Posts
1,783 -
Joined
-
Last visited
Content Type
Profiles
Forums
Events
Gallery
Everything posted by Jürgen M.
-

1970 Ford C 600
Jürgen M. replied to Biggu's topic in WIP: Model Trucks: Big Rigs and Heavy Equipment
That's the experience of an old modeller! 👍 Not only can old dogs learn new tricks, you can learn a lot from an old dog too! Thanks for sharing that idea Pal! 🙃 -
1970 Ford C 600
Jürgen M. replied to Biggu's topic in WIP: Model Trucks: Big Rigs and Heavy Equipment
I'm sure you are! Keep going! 😉 -
Brockway 459
Jürgen M. replied to Jürgen M.'s topic in WIP: Model Trucks: Big Rigs and Heavy Equipment
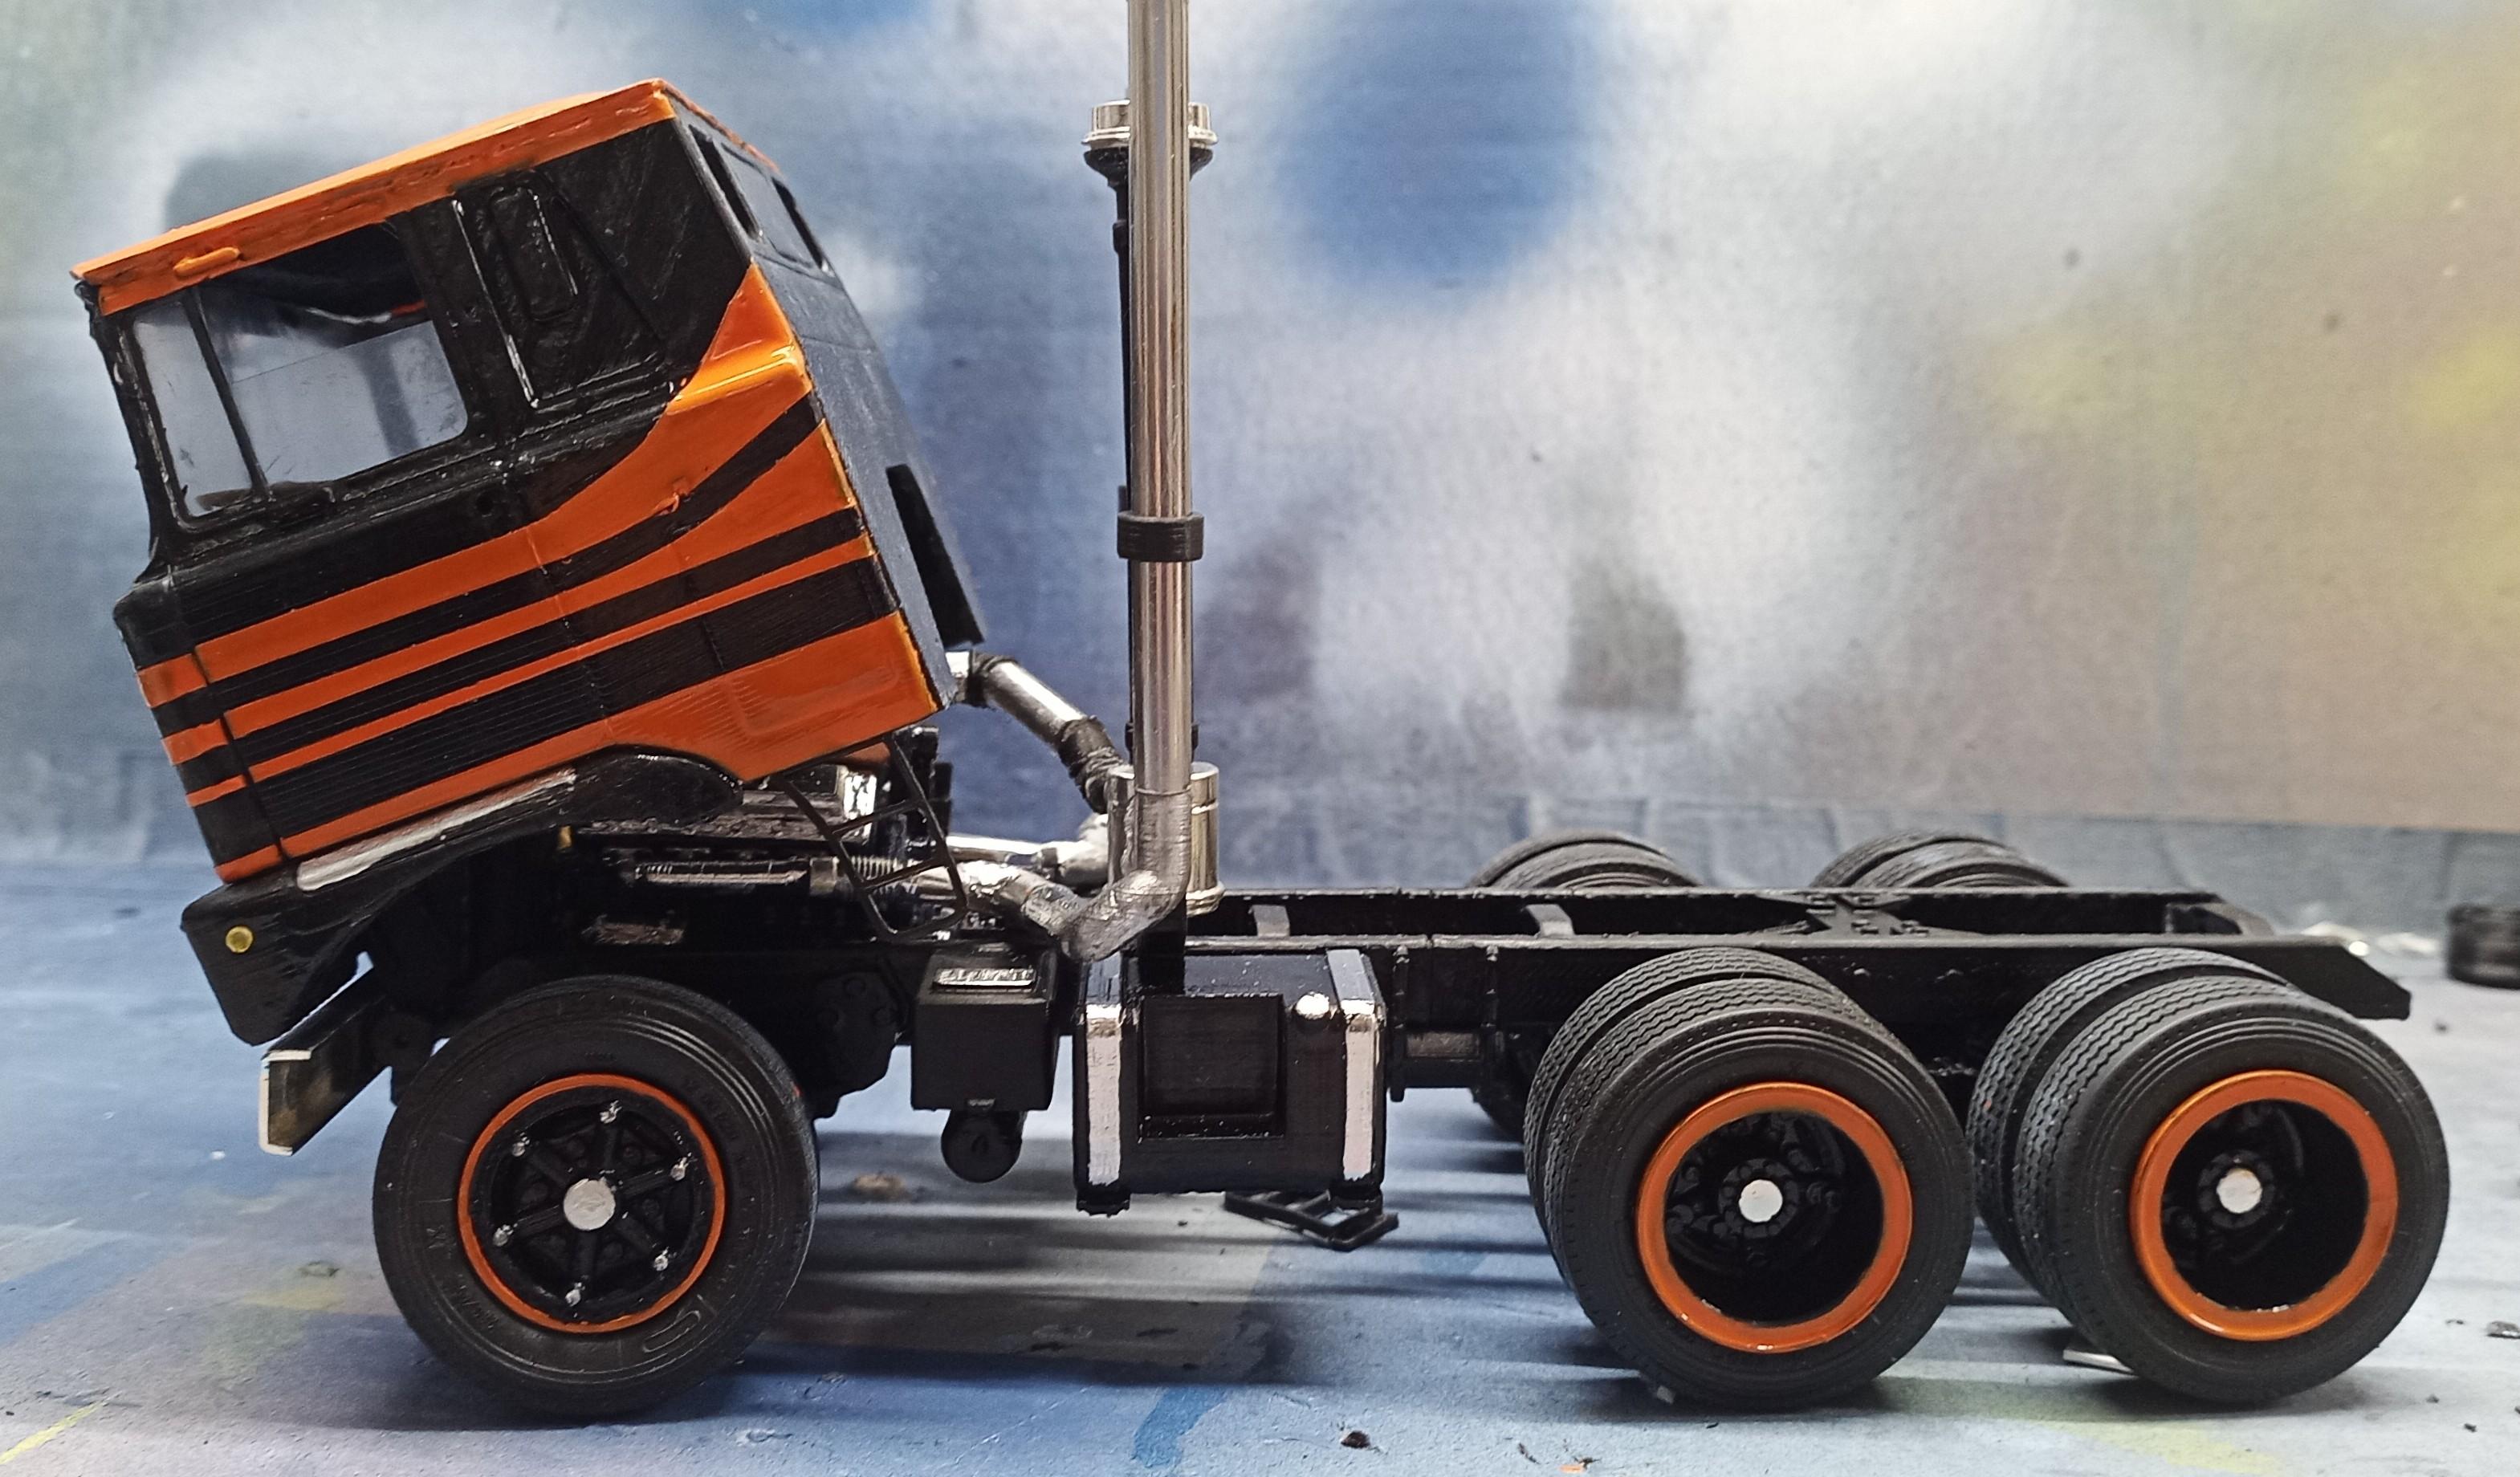
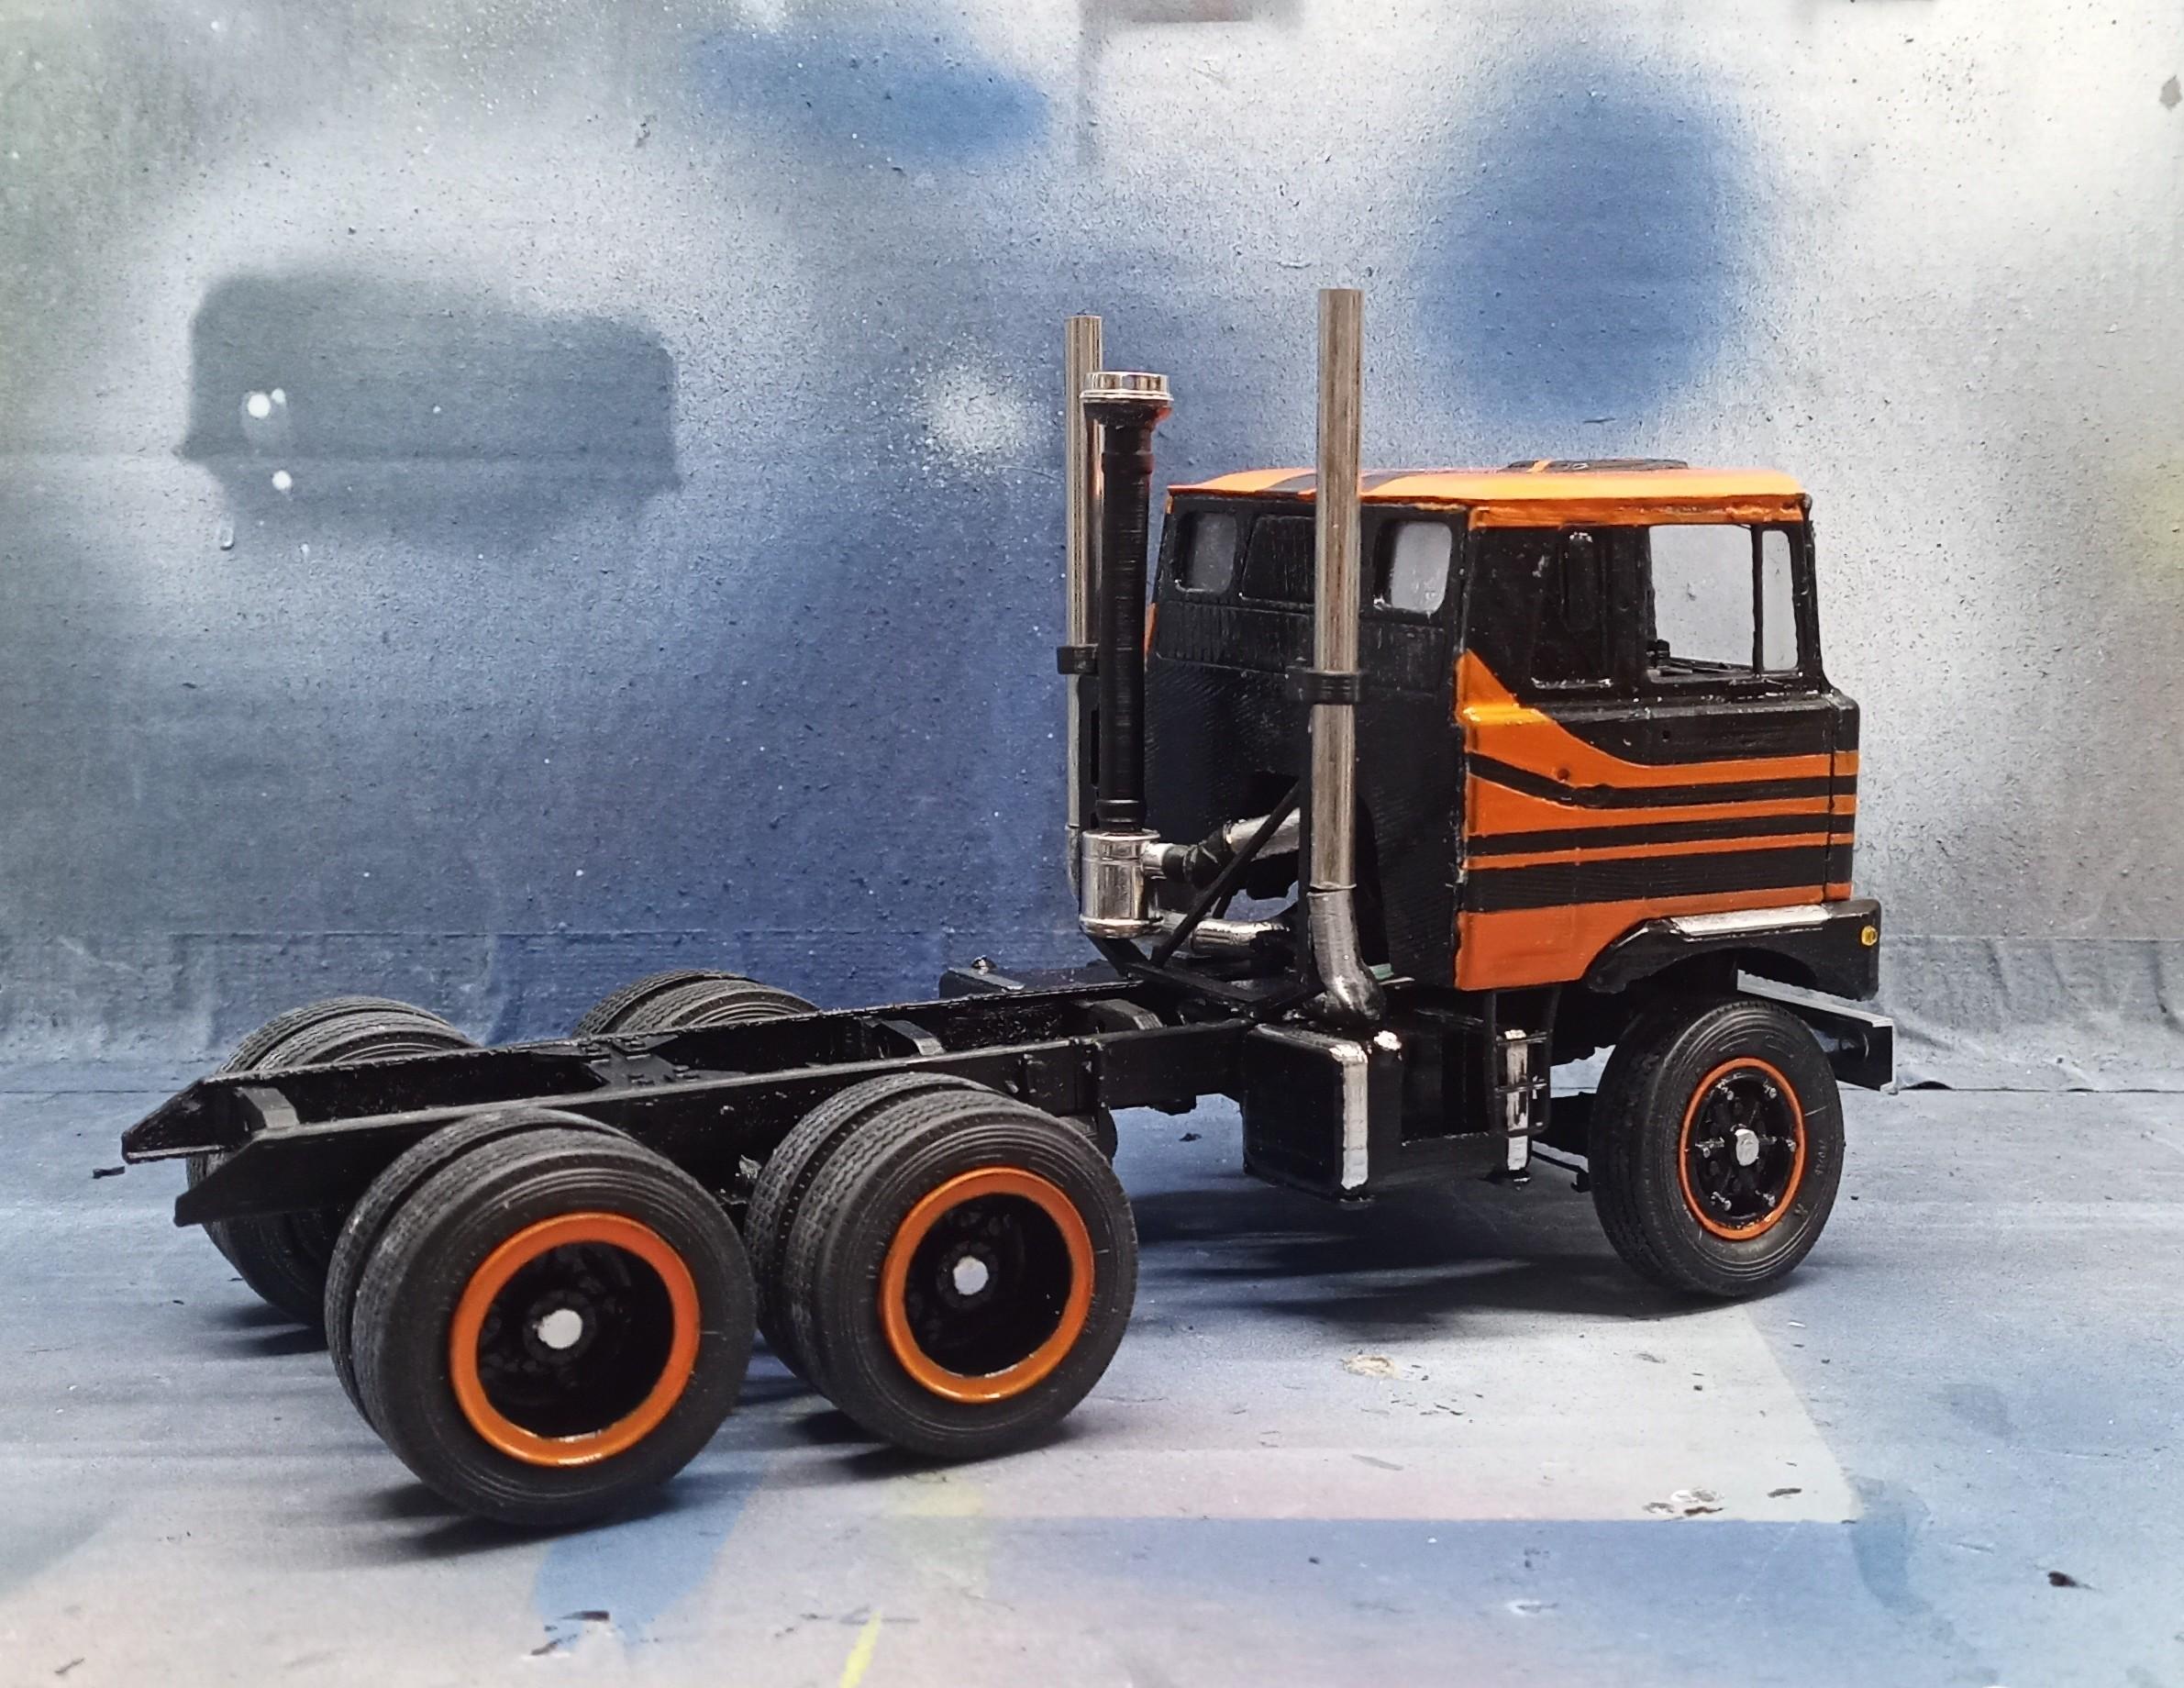
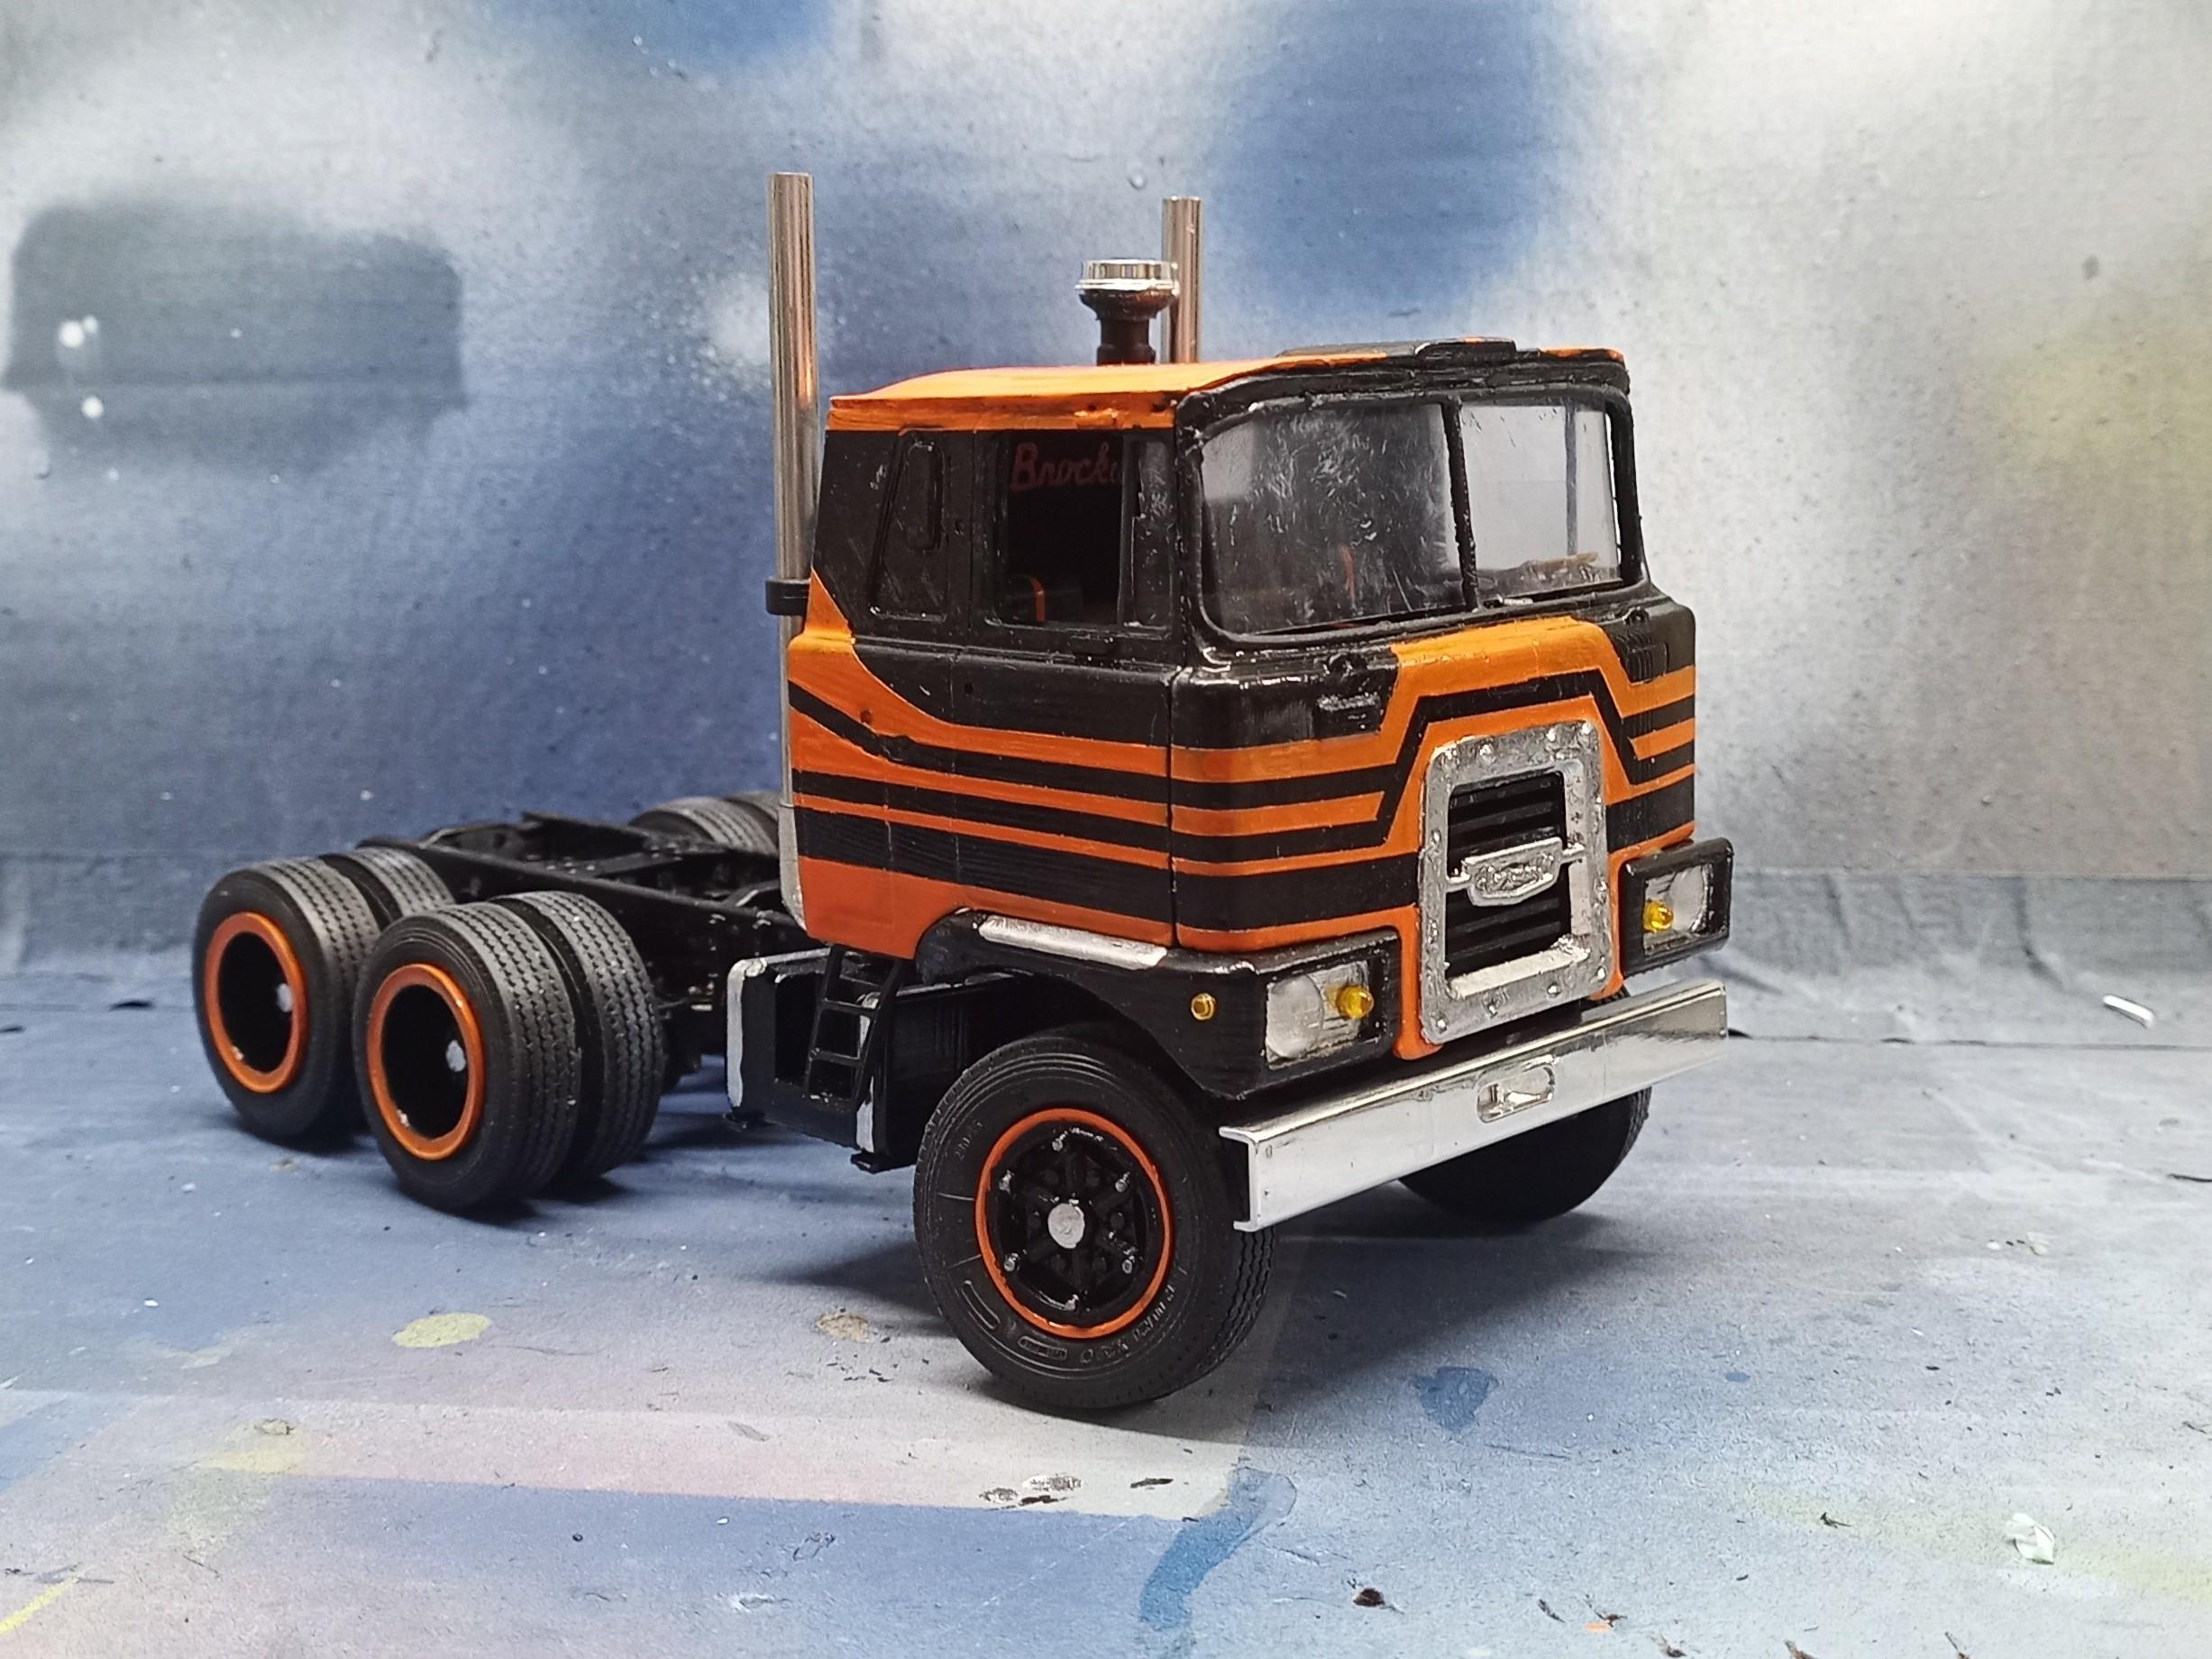
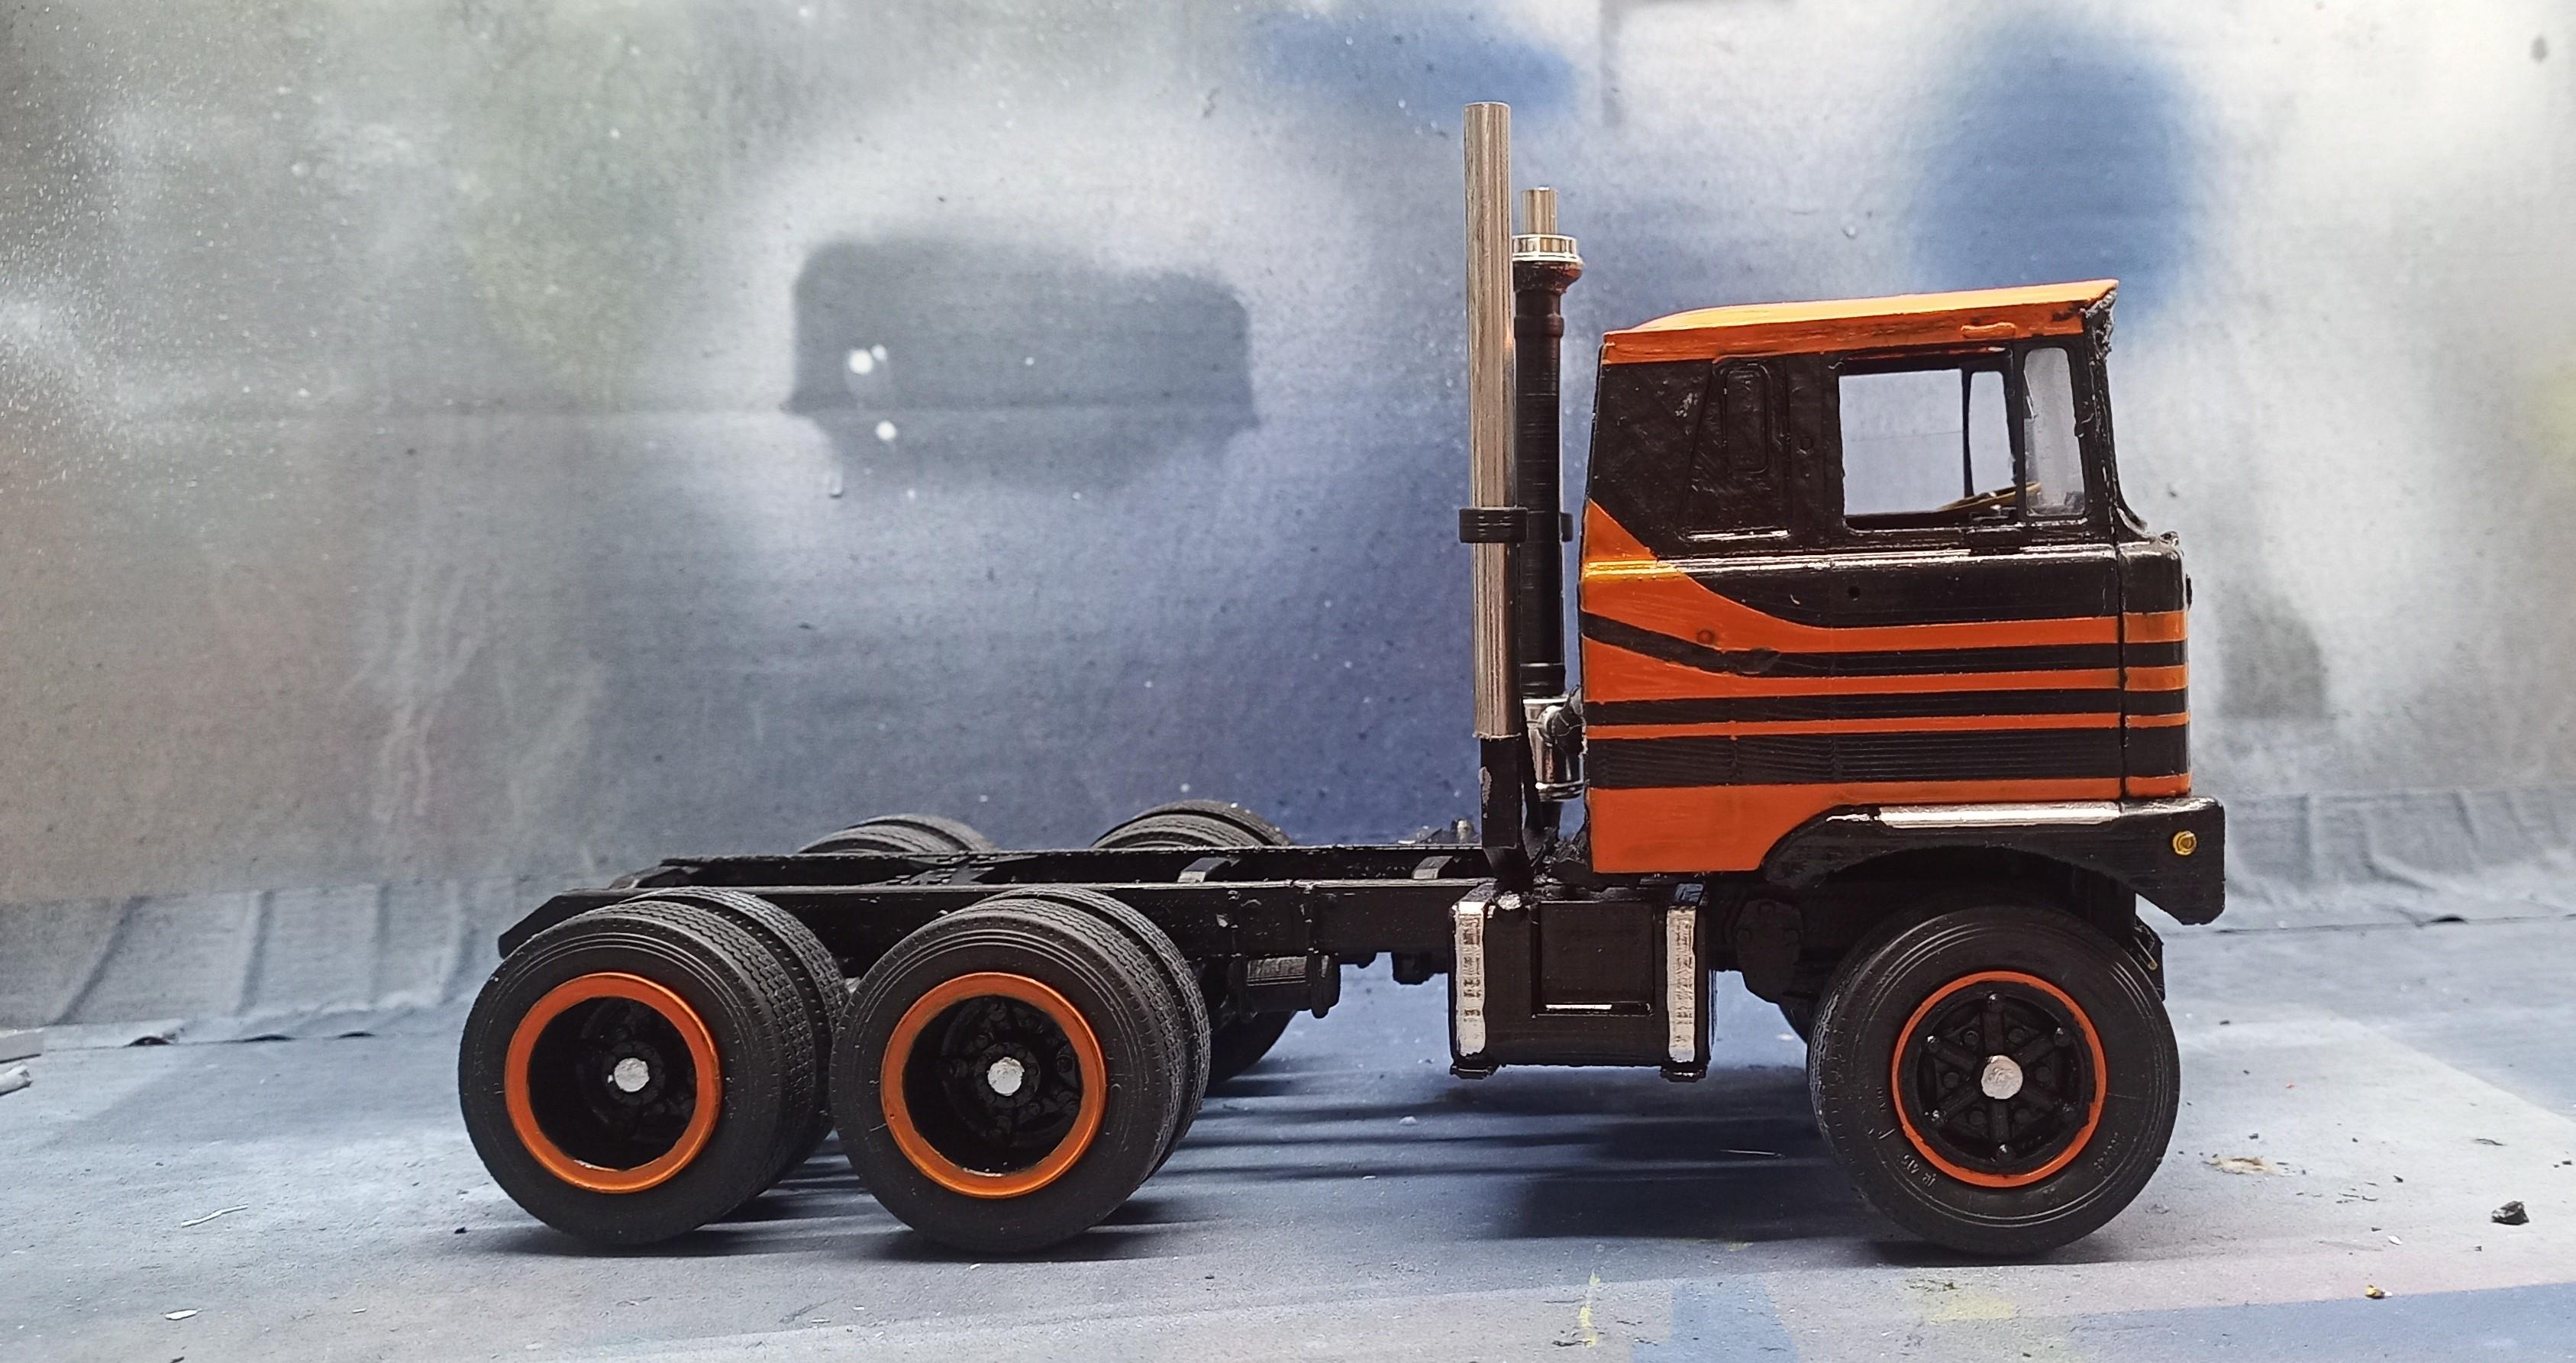
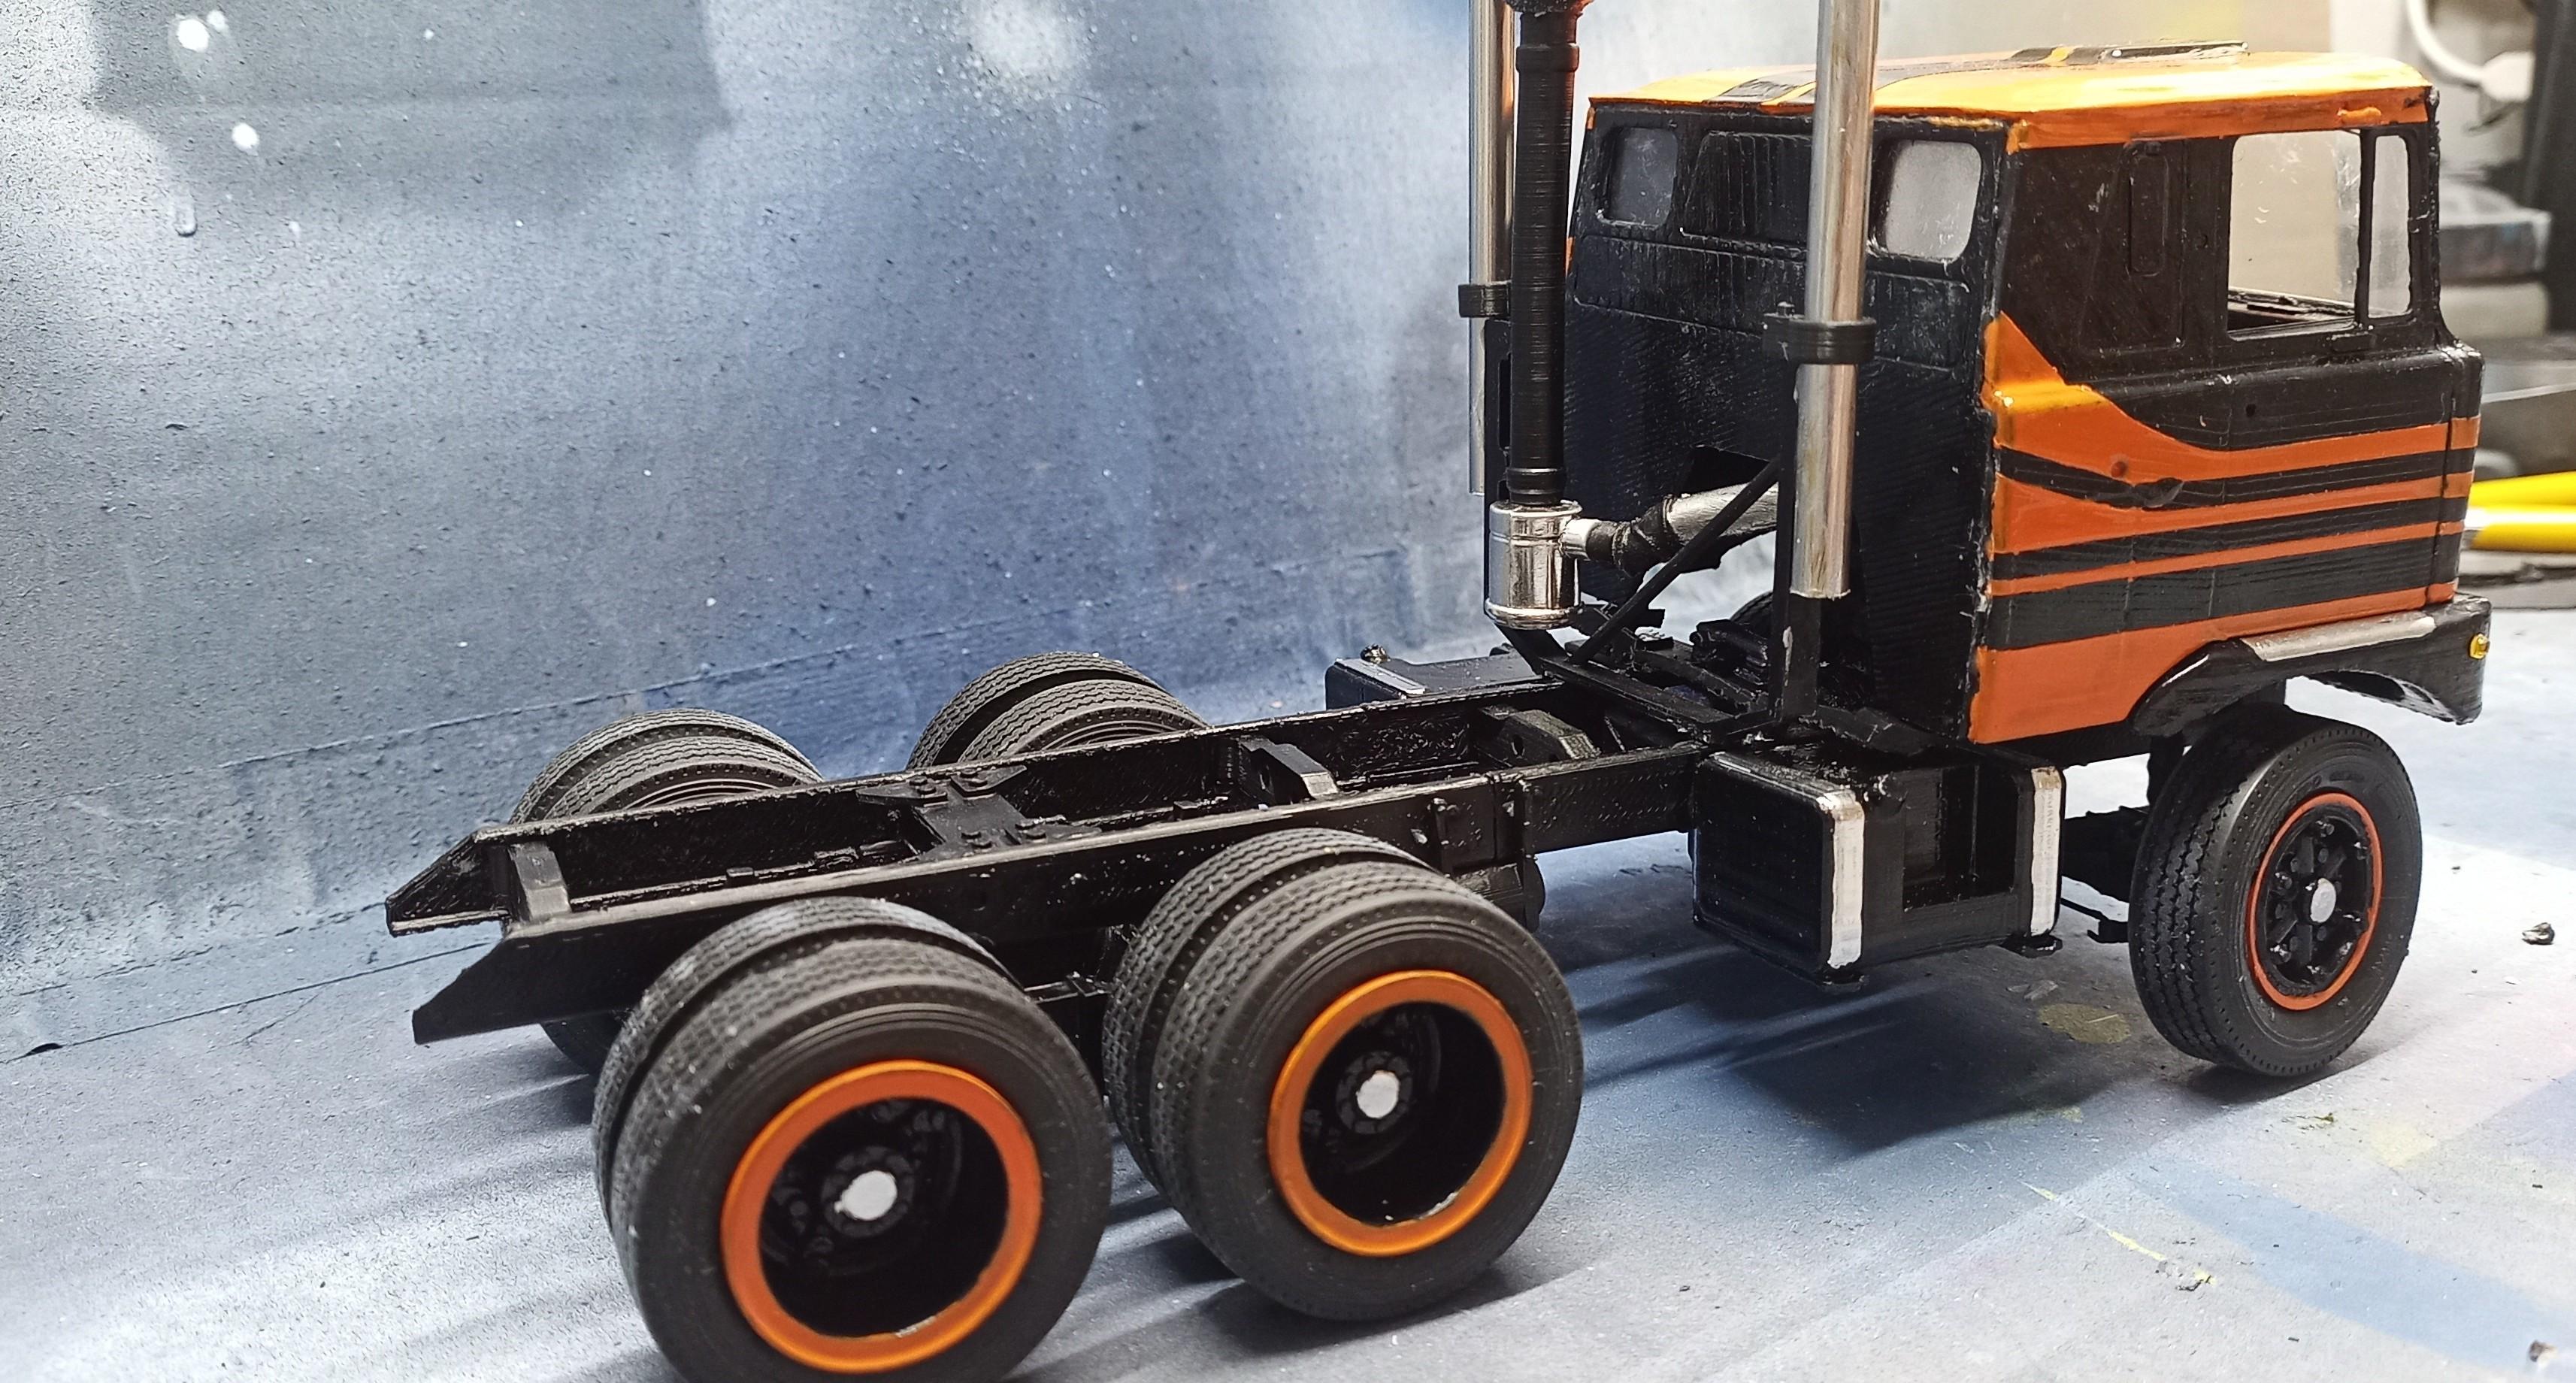
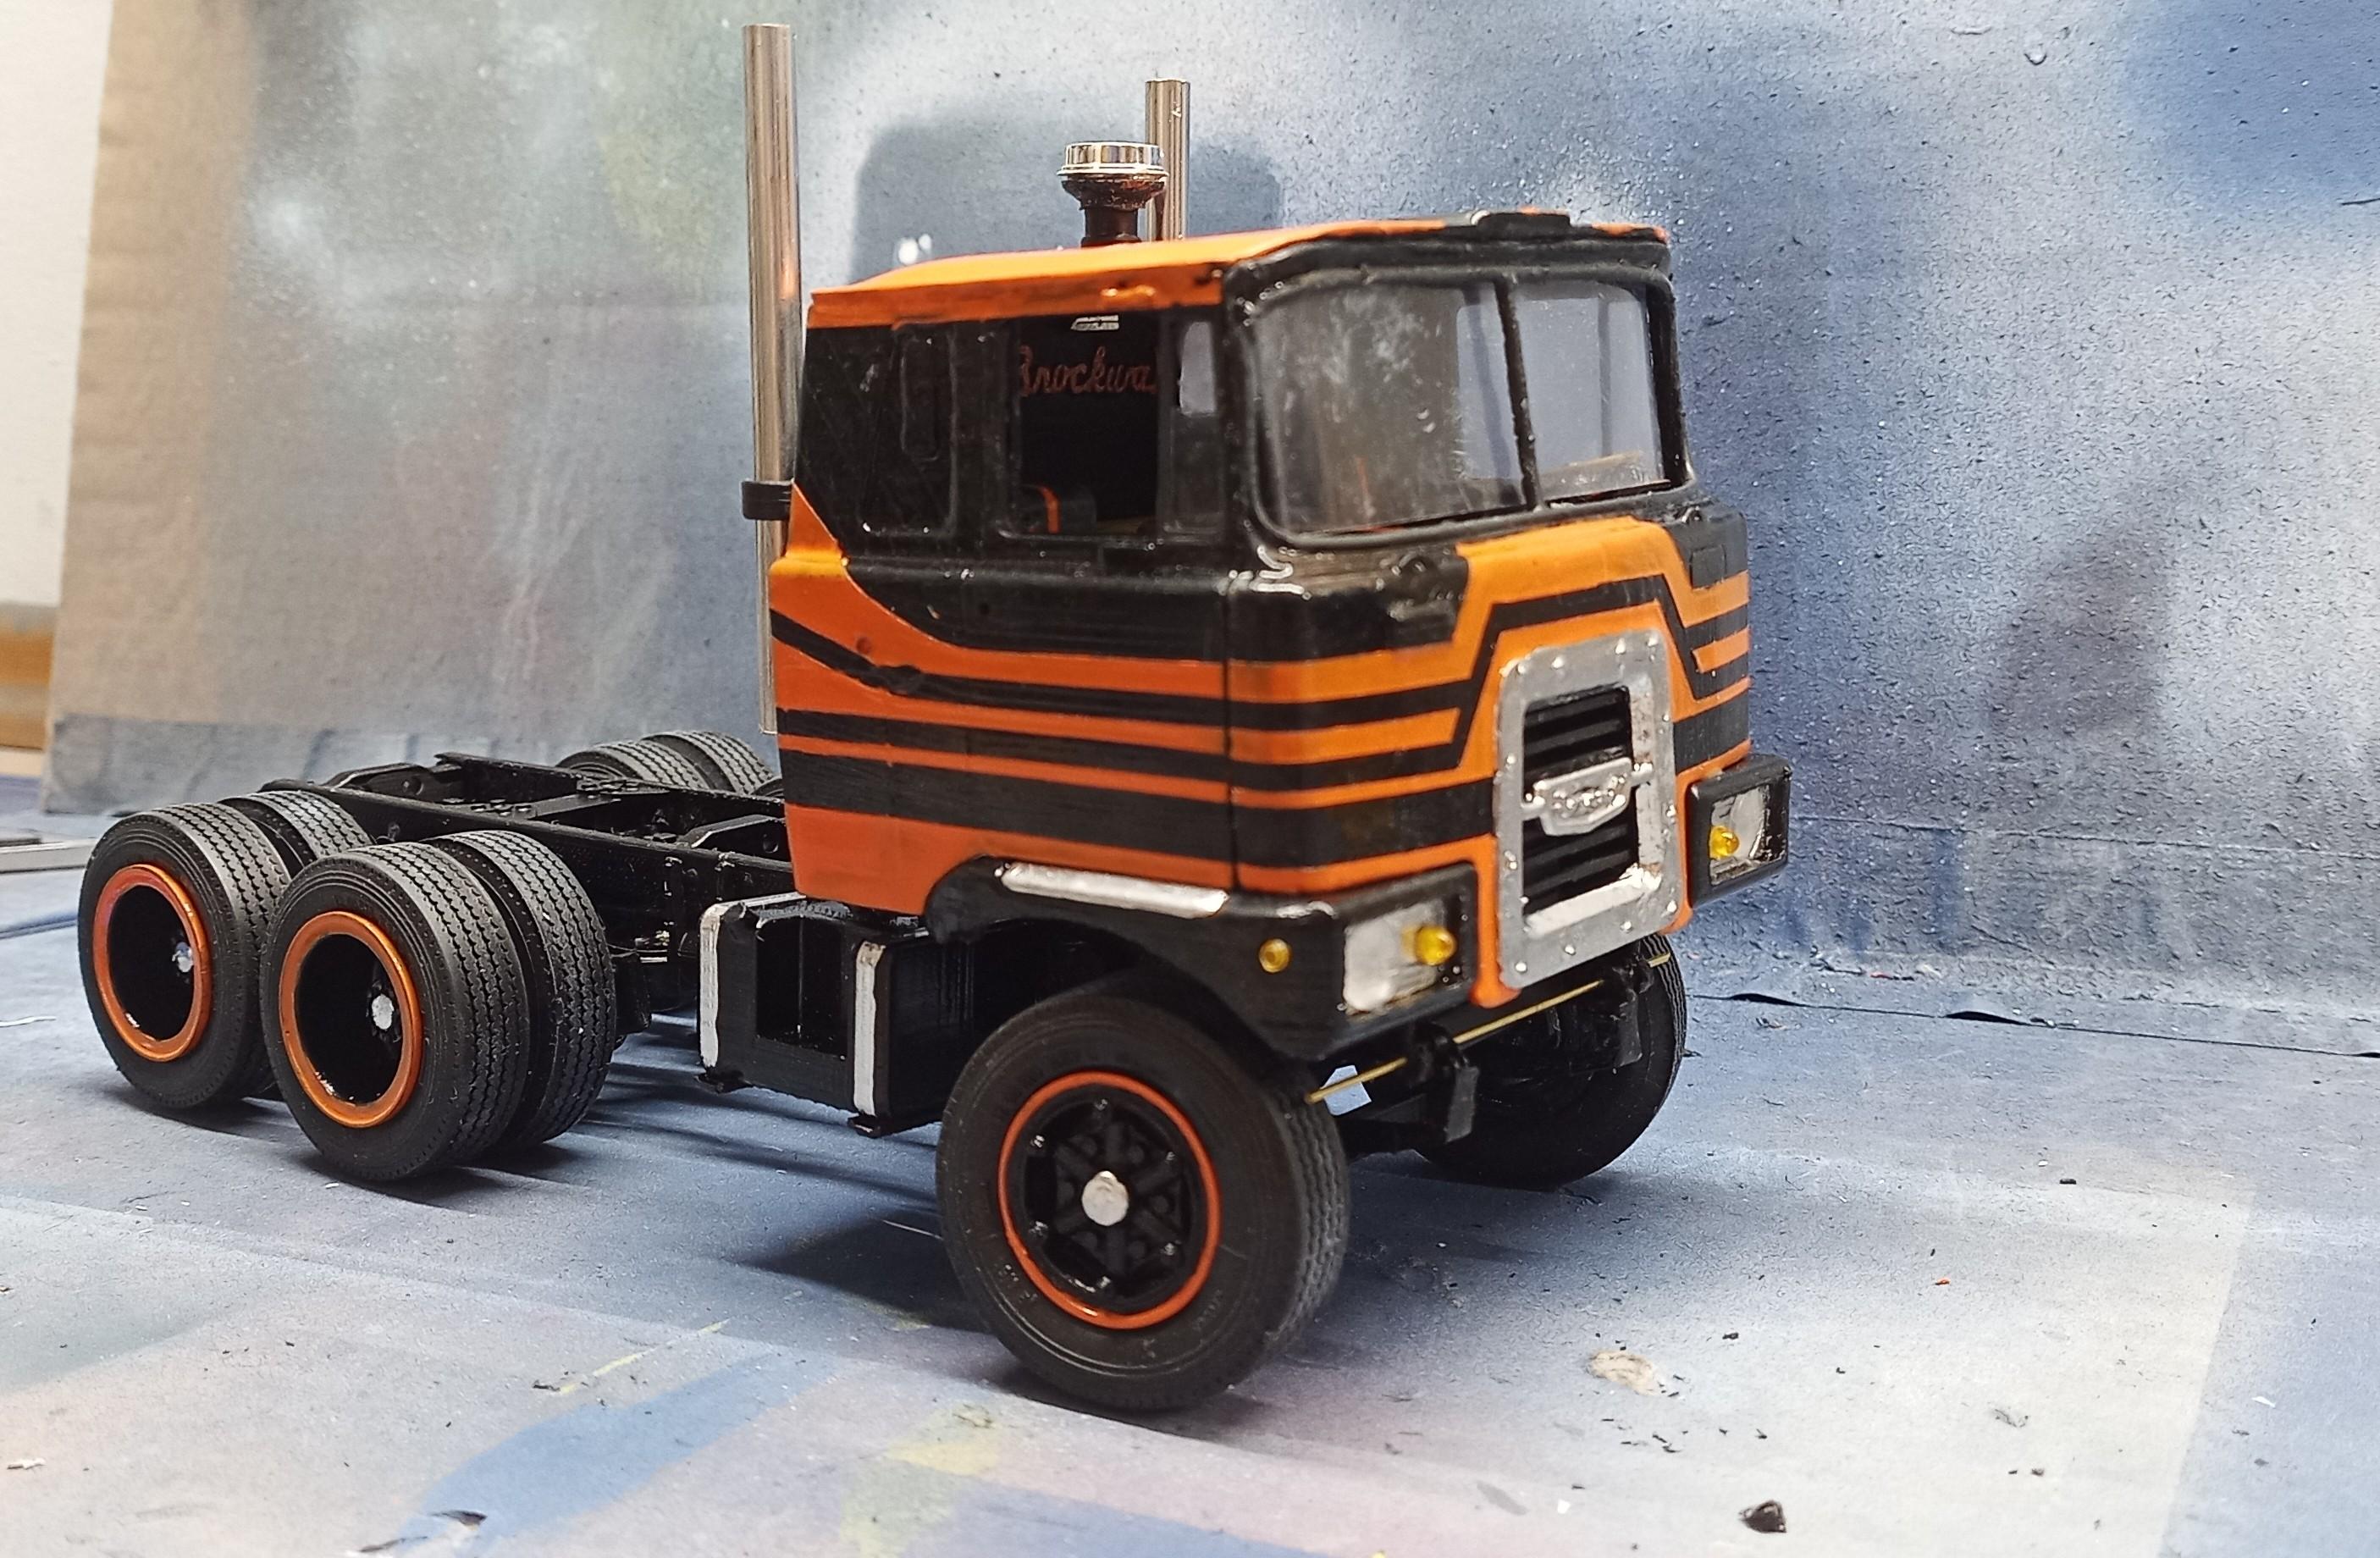
Finally got the exhaust system finished and the cab and bumper lined up. Now the small issues begin. Horns, marker lights, mirrors, wipers, ...
-
1970 Ford C 600
Jürgen M. replied to Biggu's topic in WIP: Model Trucks: Big Rigs and Heavy Equipment
I'm sure this will work out great Jeff! The fender style fits the truck perfectly! -
Brockway 459
Jürgen M. replied to Jürgen M.'s topic in WIP: Model Trucks: Big Rigs and Heavy Equipment
Thanks Pal! Didn't expect to get so many compliments on this one! Thanks to all of you who commented so positively. Hope to get this done by the weekend! -
Brockway 459
Jürgen M. replied to Jürgen M.'s topic in WIP: Model Trucks: Big Rigs and Heavy Equipment
First cab mock-up: Cab rest is still to be adjusted a bit but it's not far away!
-
Brockway 459
Jürgen M. replied to Jürgen M.'s topic in WIP: Model Trucks: Big Rigs and Heavy Equipment
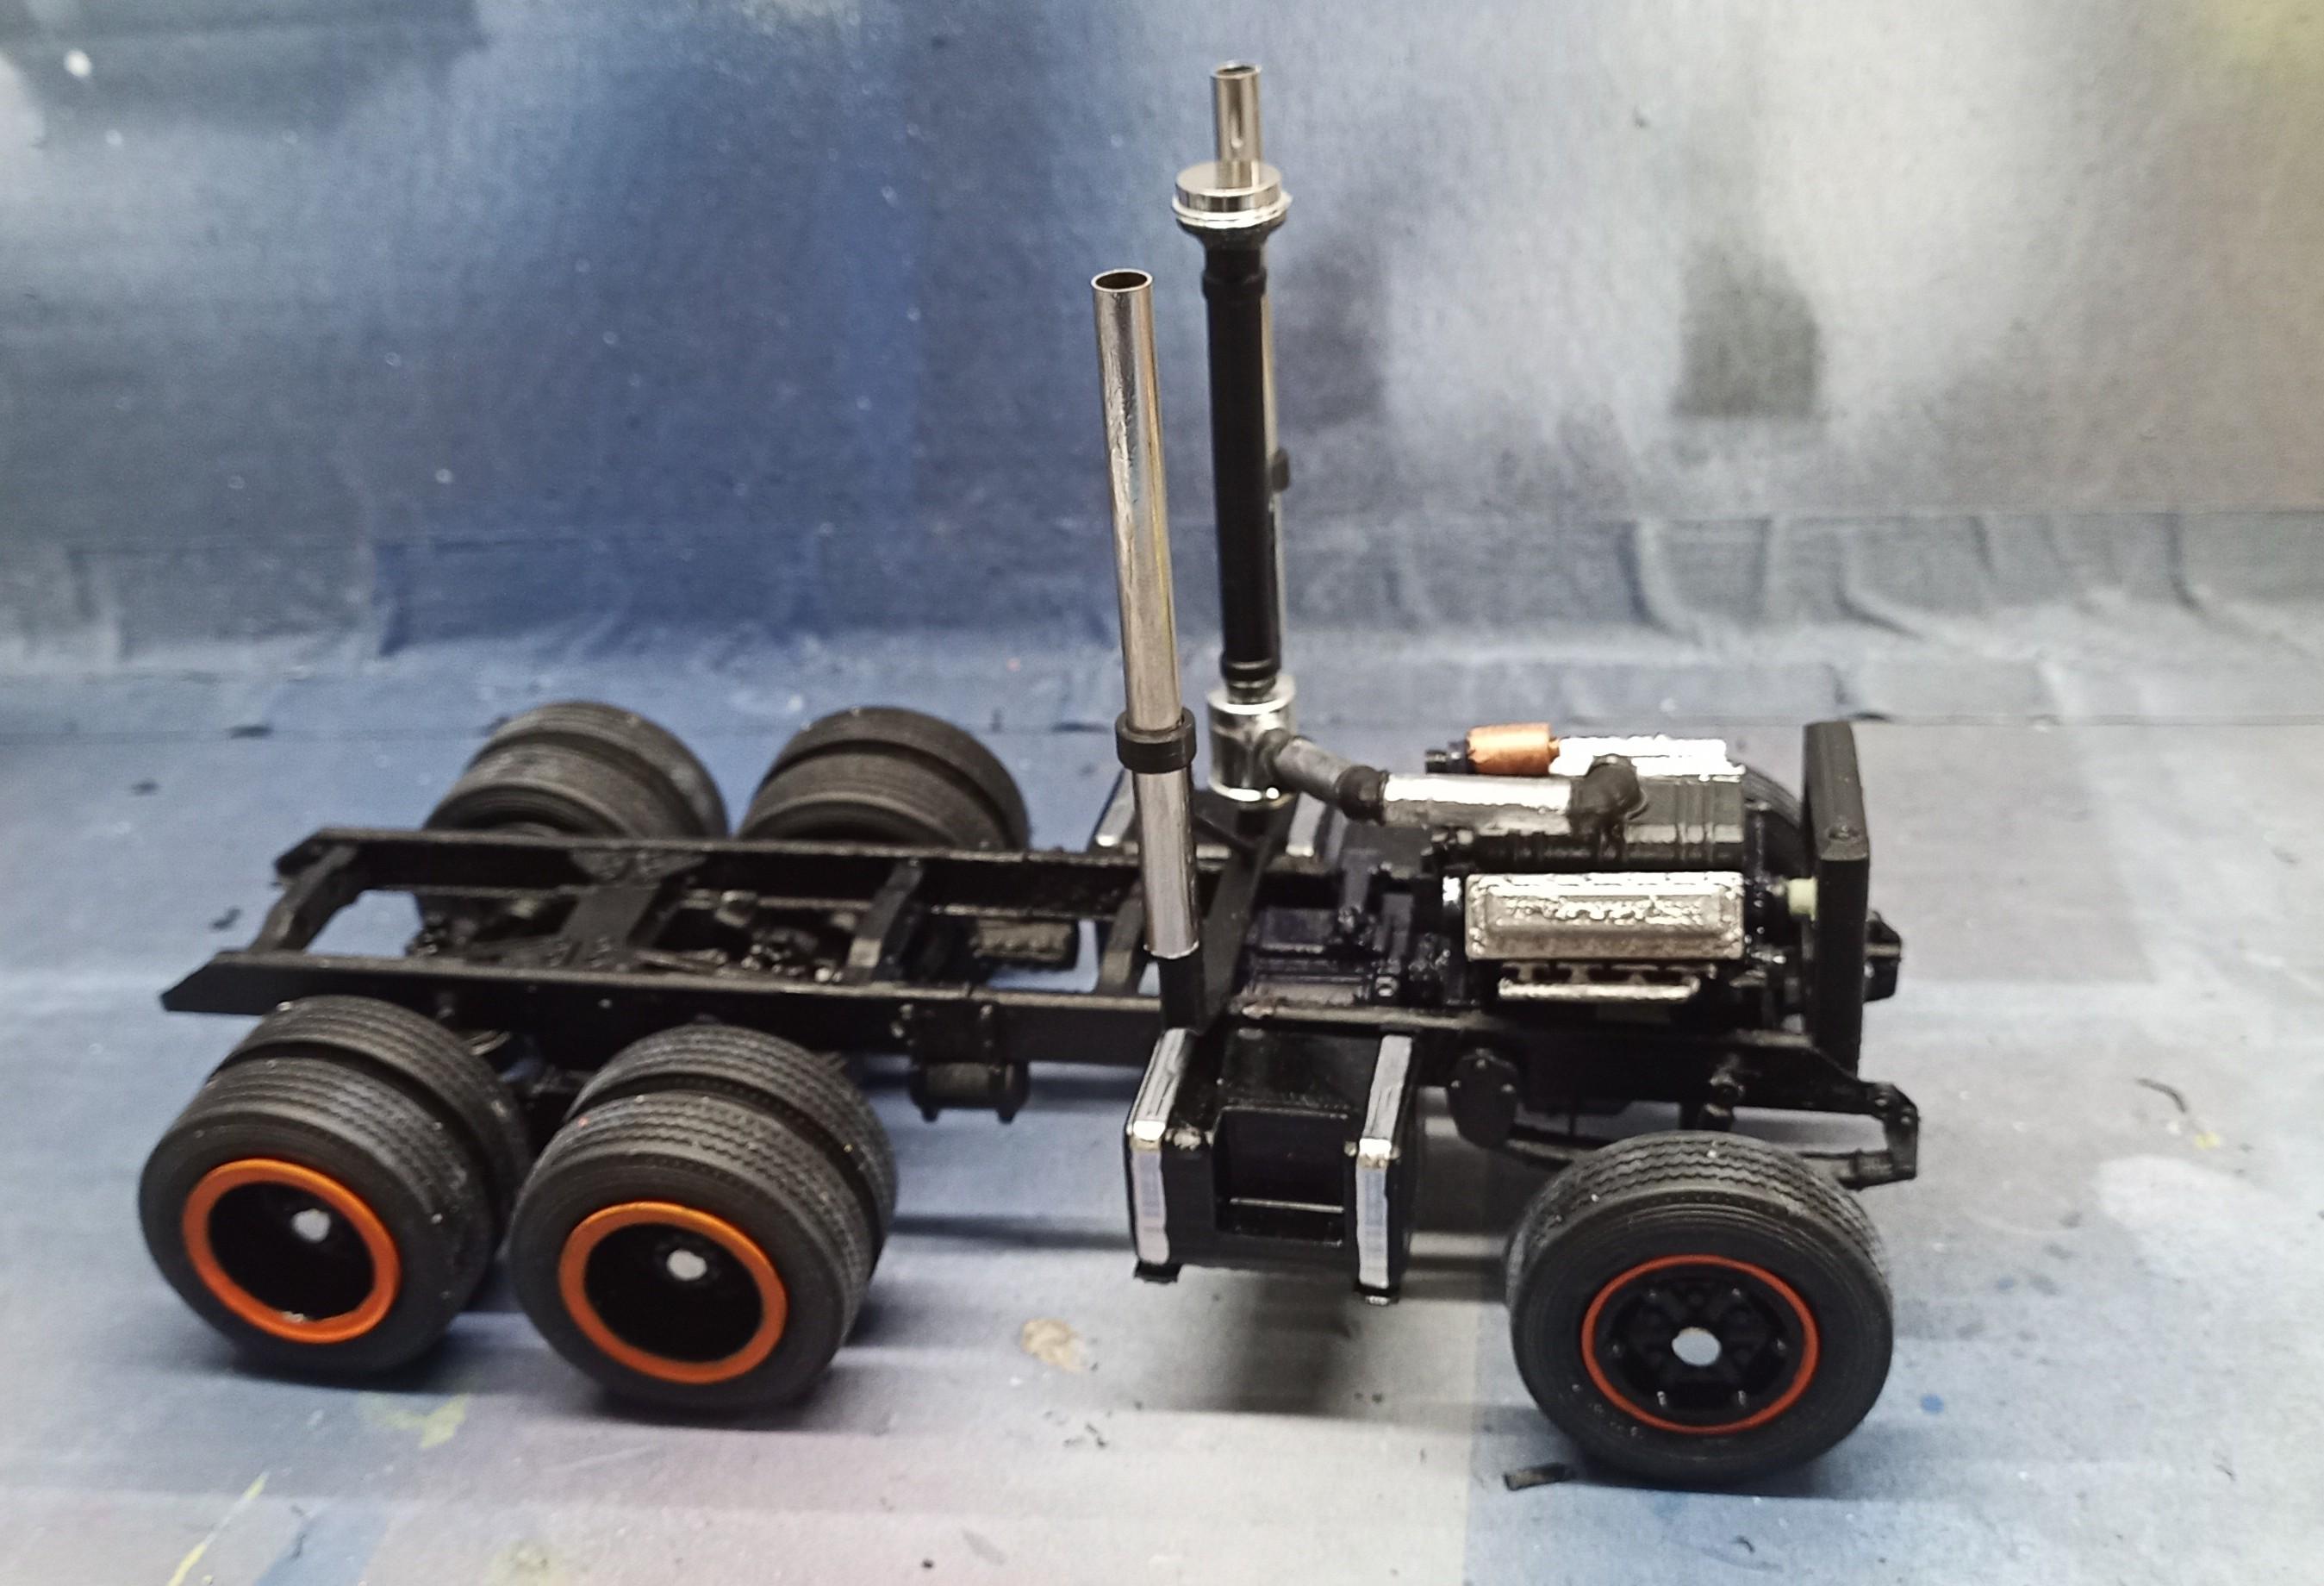
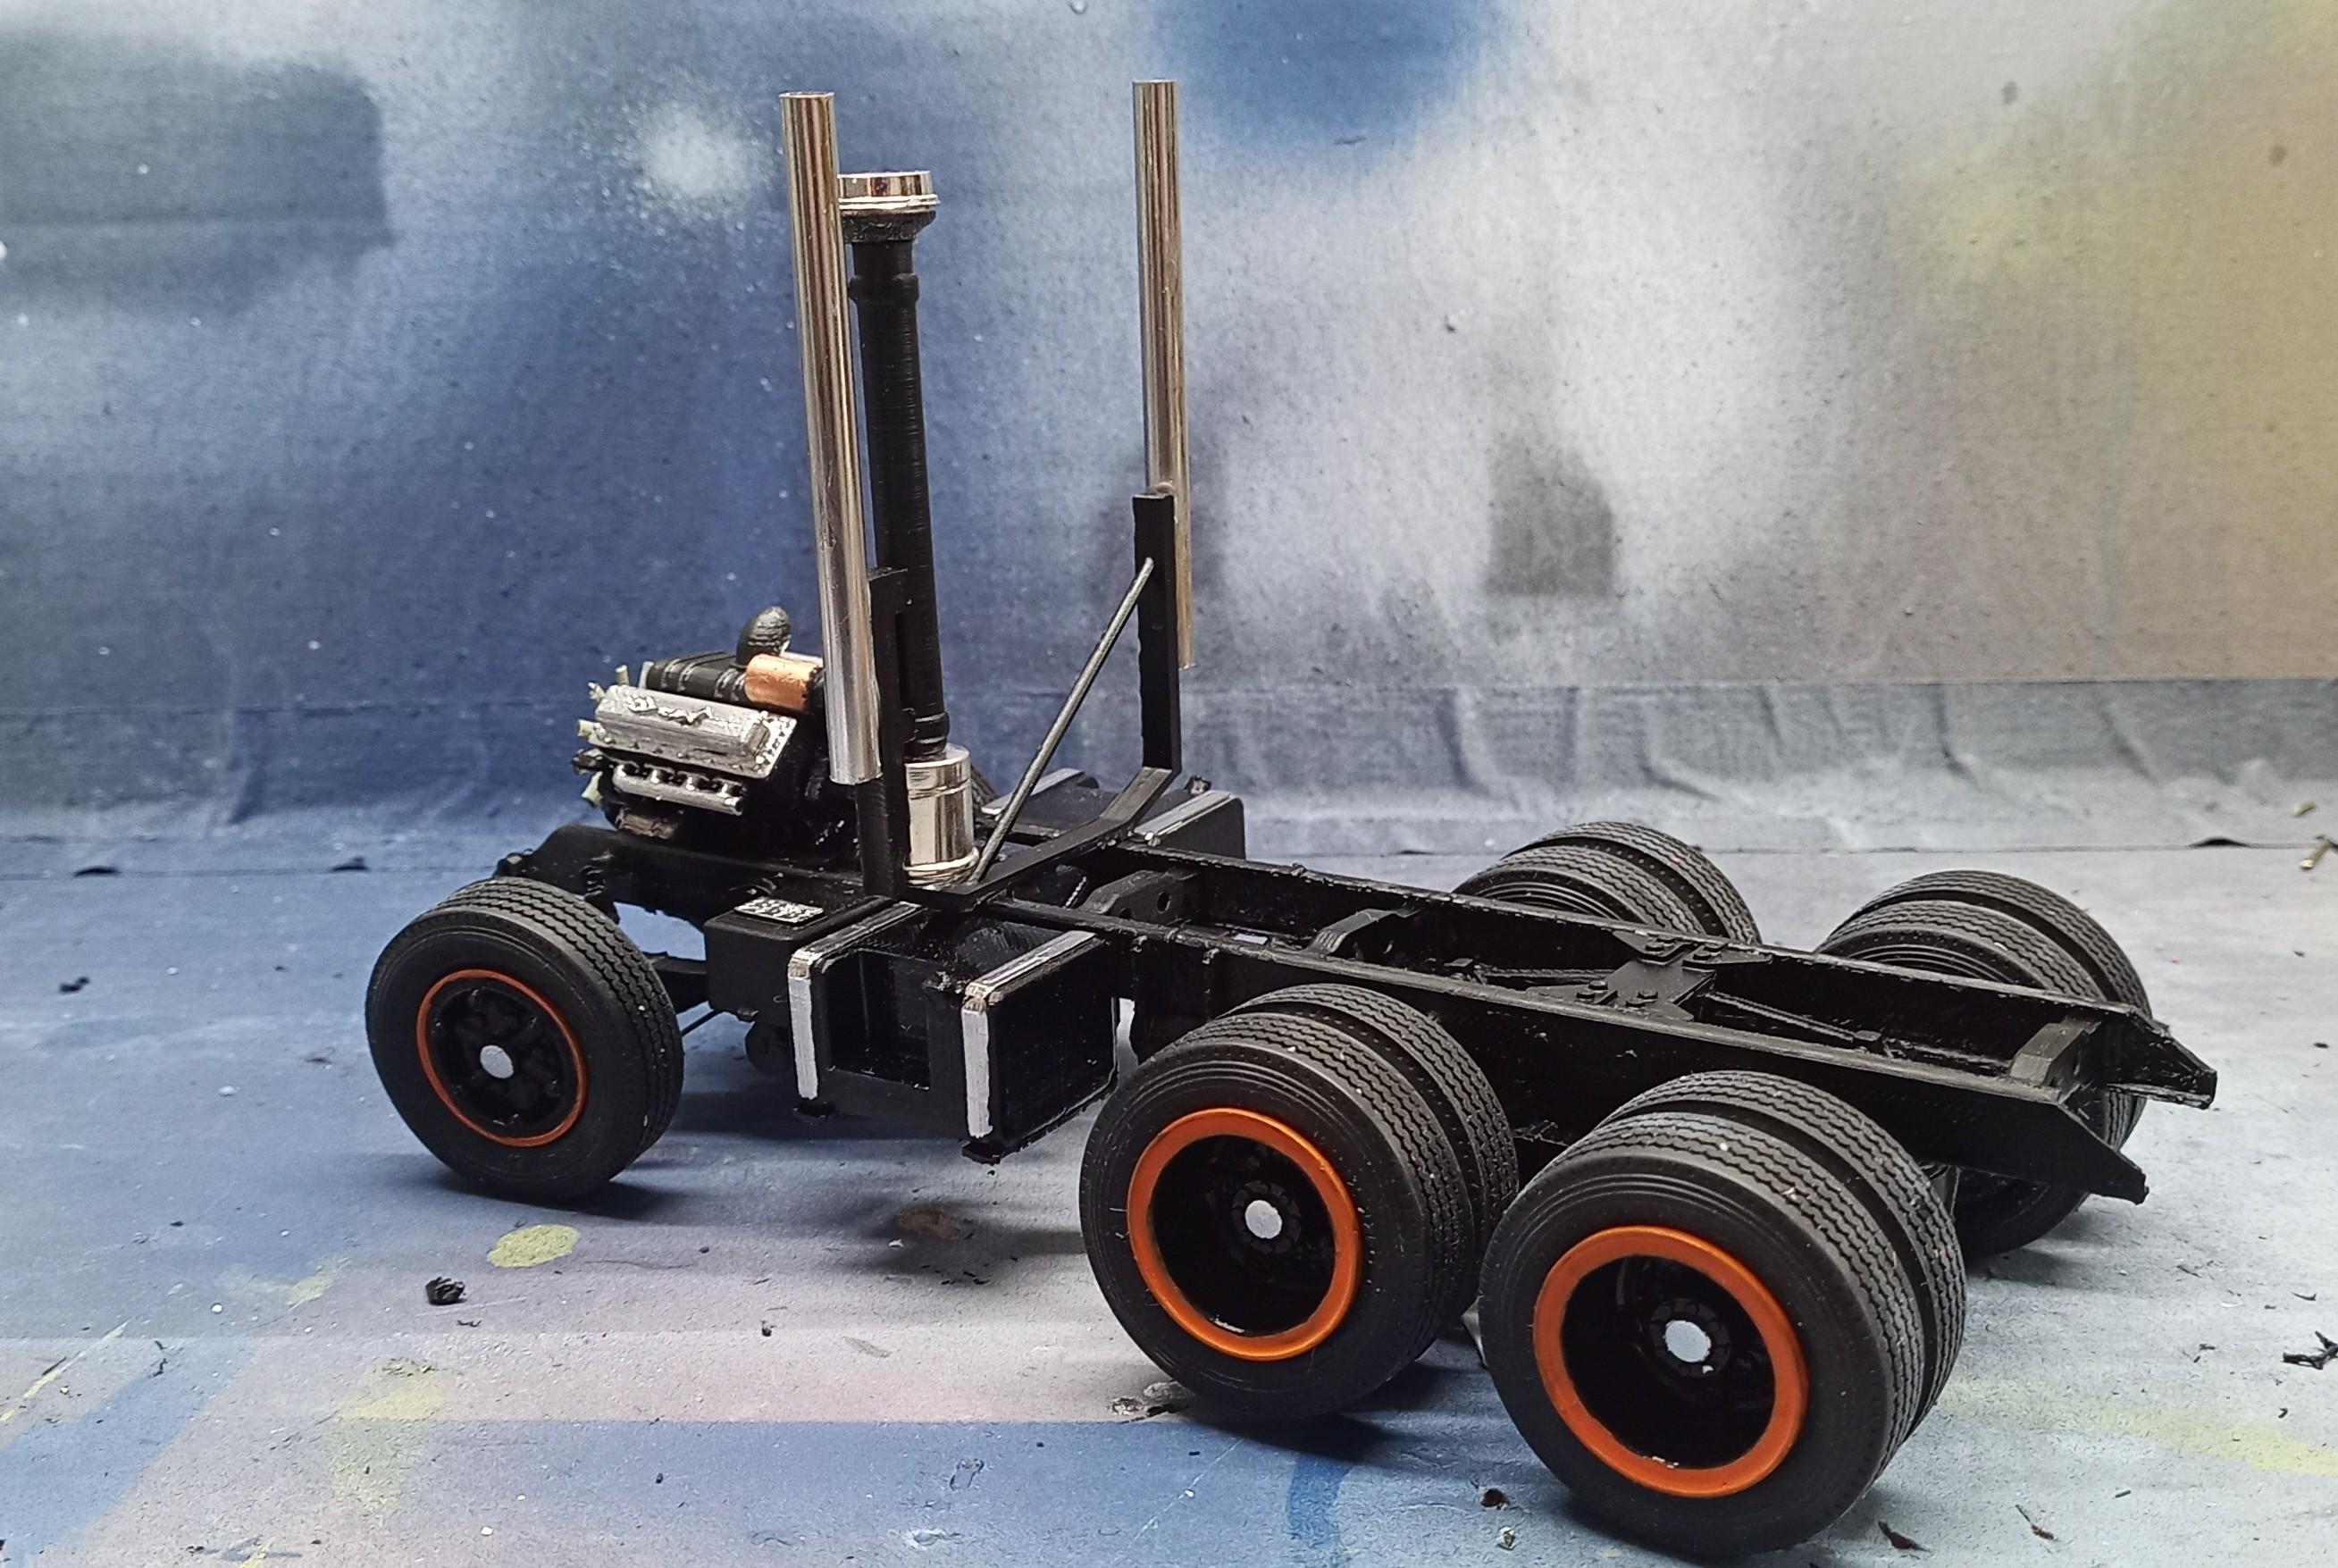
Added the air intake hose and the radiator: Exhaust pipes to stacks didn't come out as I expected so I changed a few things and now they're in print again. Then cab gets hooked to chassis!
-
Brockway 459
Jürgen M. replied to Jürgen M.'s topic in WIP: Model Trucks: Big Rigs and Heavy Equipment
Thanks Brian, nice of you to have such confidence in me! 🙃 It normally does fit, yes, but I do tend to over see one or the other thing which may .... me when building! -
Brockway 459
Jürgen M. replied to Jürgen M.'s topic in WIP: Model Trucks: Big Rigs and Heavy Equipment
Now the engine is installed. Air intake hose and exhaust connectors in print. Radiator is painted and drying. Next challenge will be the cab hinges and cab rests. Hope everything fits under the cab! 😬
-
Brockway 459
Jürgen M. replied to Jürgen M.'s topic in WIP: Model Trucks: Big Rigs and Heavy Equipment
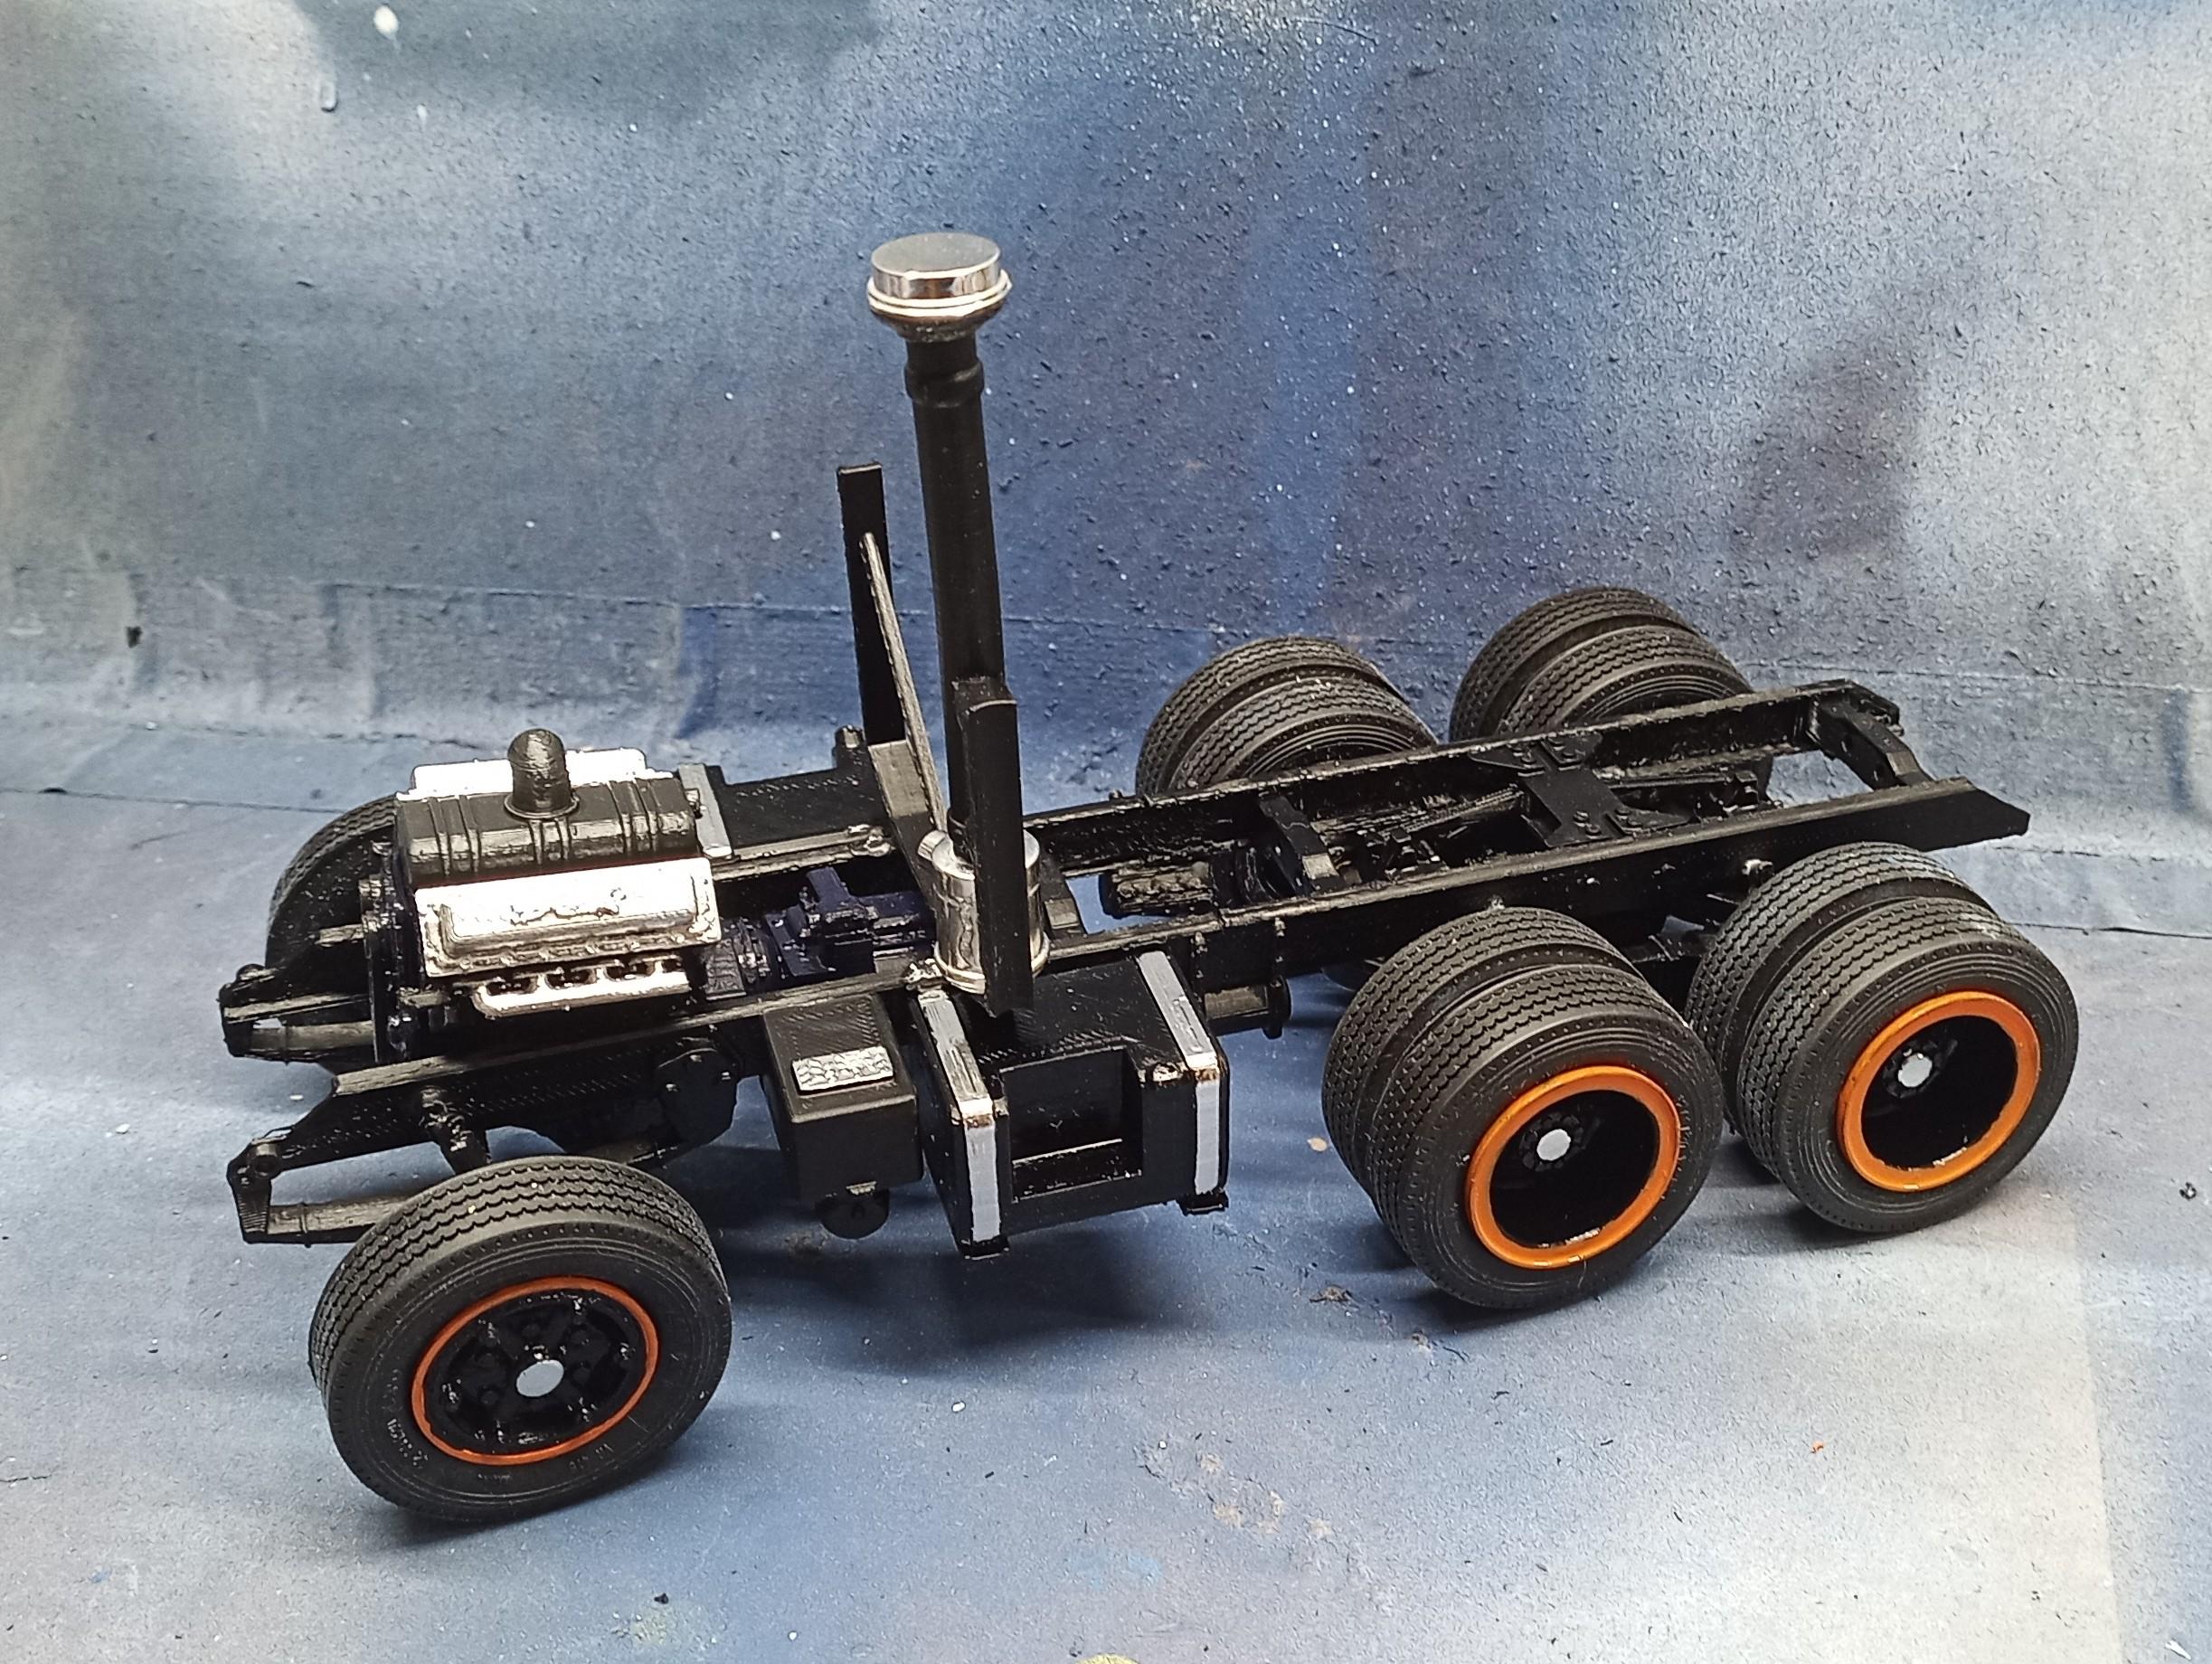
Engine fits in. Still not completed yet though. A few more engine parts to print before final installation.
-
Brockway 459
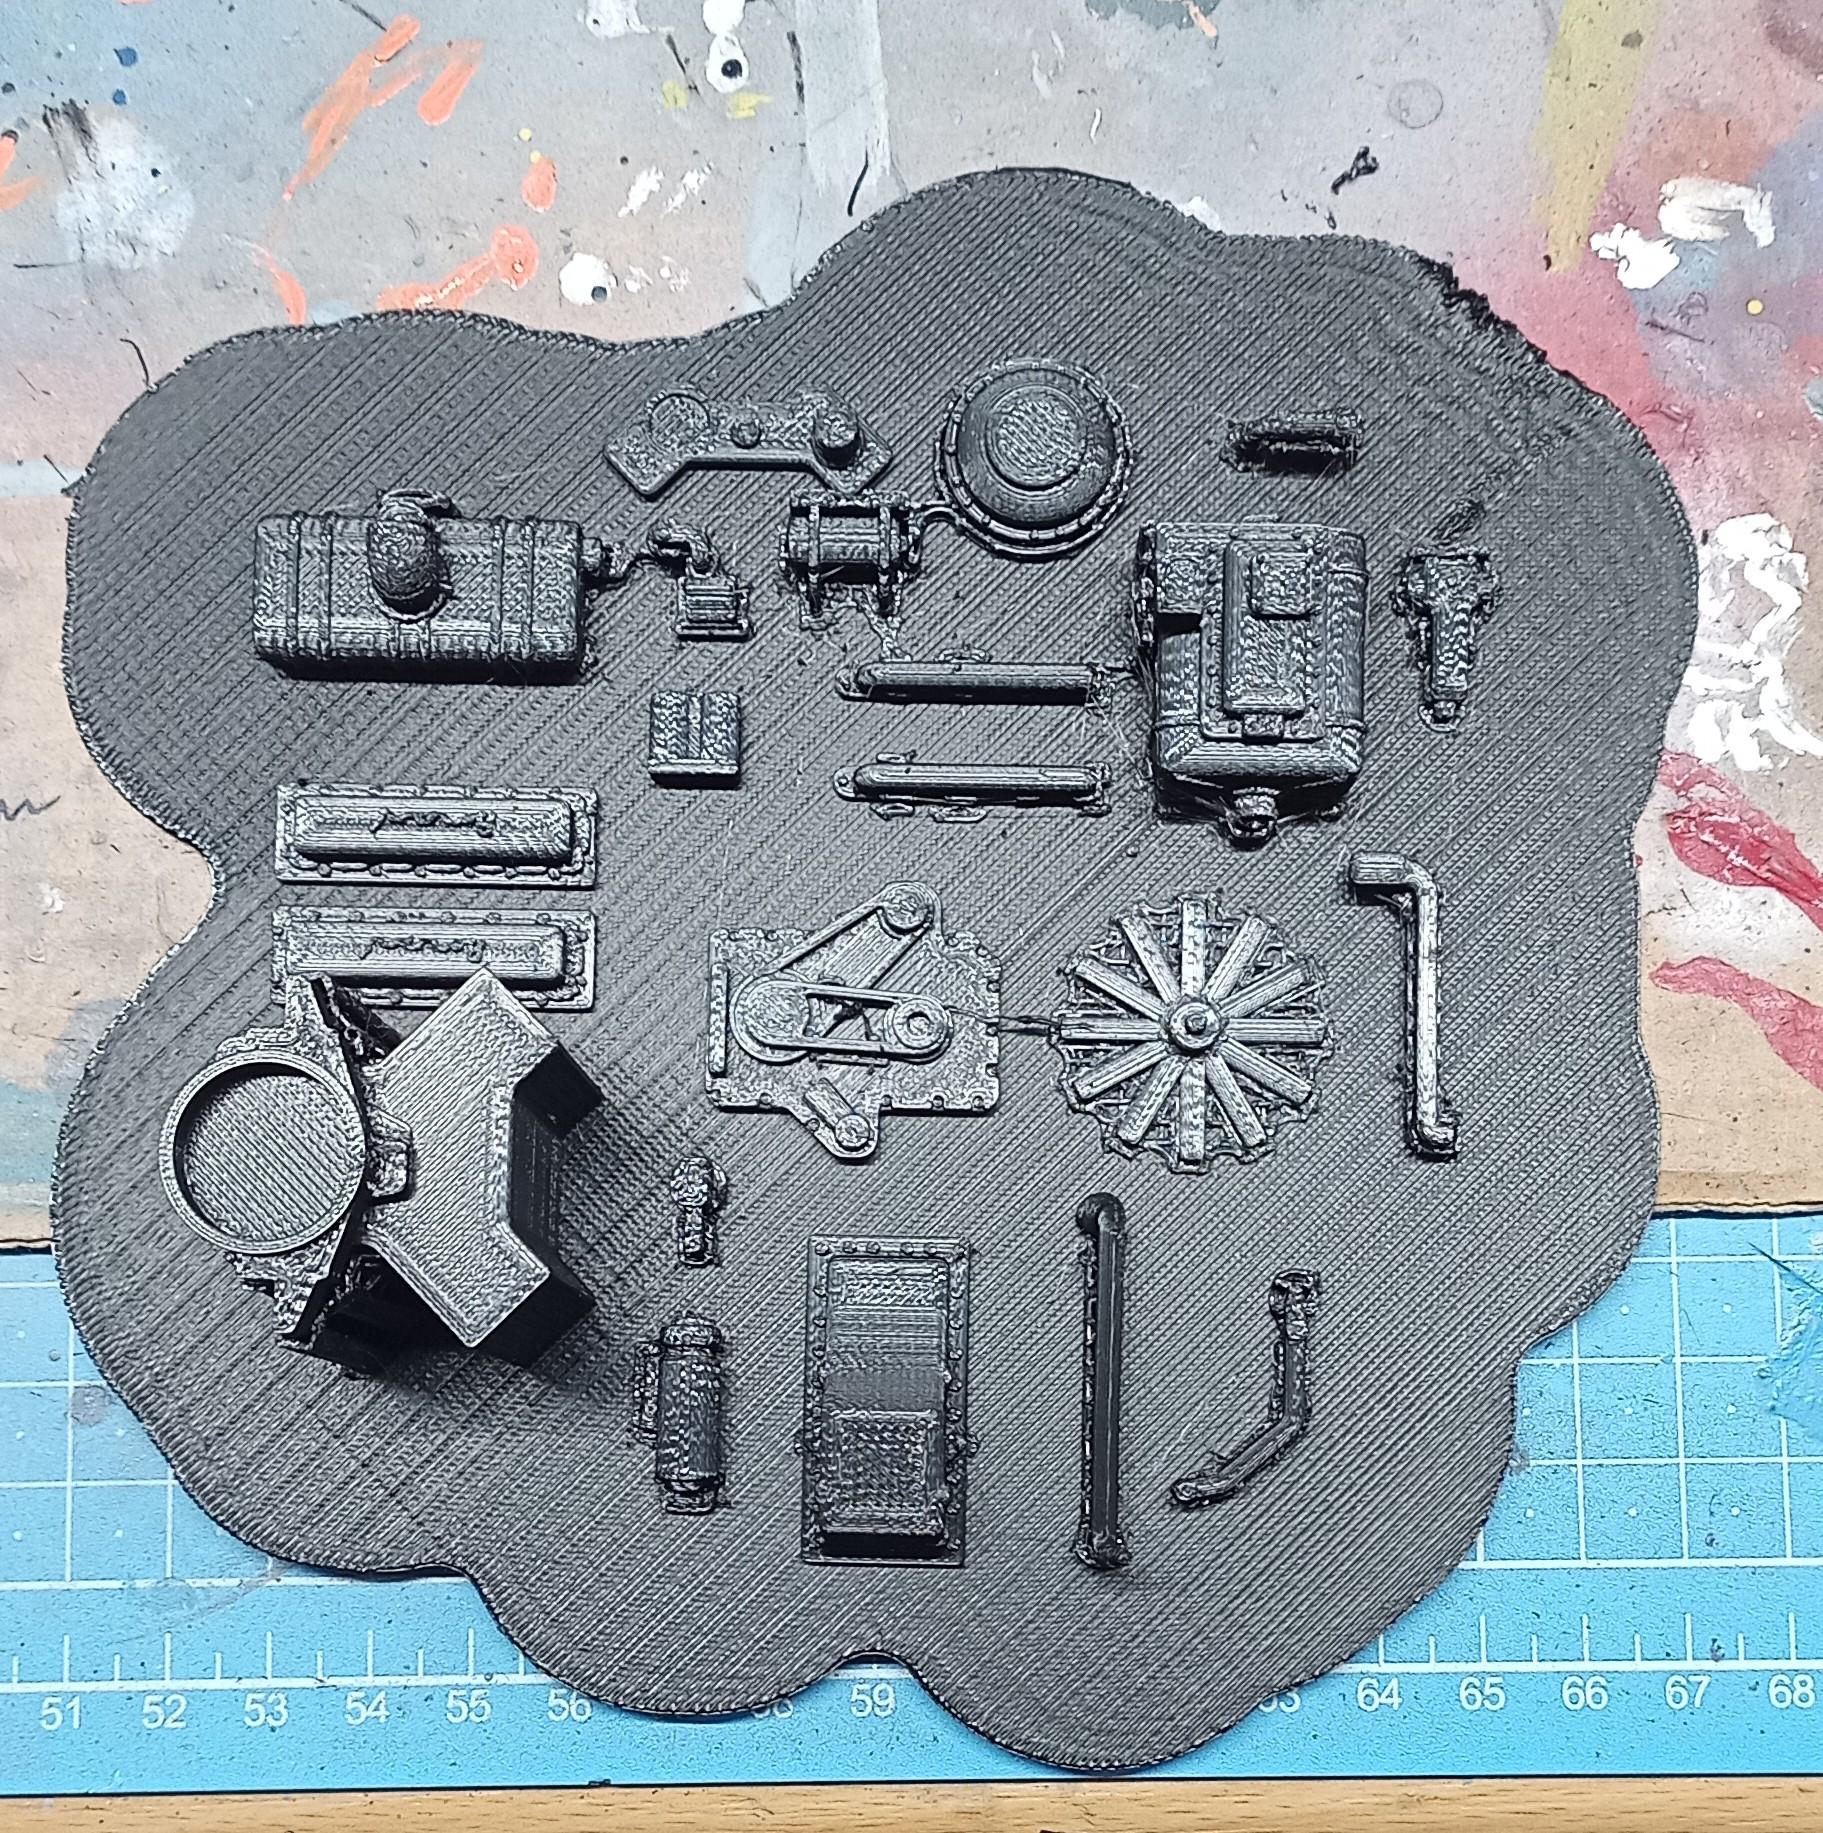
Jürgen M. replied to Jürgen M.'s topic in WIP: Model Trucks: Big Rigs and Heavy Equipment
Got most of the engine parts printed in one swap: Still a few to print though.
-
Saturday morning hijinks
Jürgen M. replied to Bren's topic in WIP: Model Trucks: Big Rigs and Heavy Equipment
That is such a cool idea, Bren! Thanks very much for giving me my own thermos and mug! I really appreciate it! Coffee's just run through so it's off to the bench! 😉 -
Brockway 459
Jürgen M. replied to Jürgen M.'s topic in WIP: Model Trucks: Big Rigs and Heavy Equipment
Thanks Gary! When this is done I'll do some experimenting. Maybe I'll get the surface better! 😊 -
Brockway 459
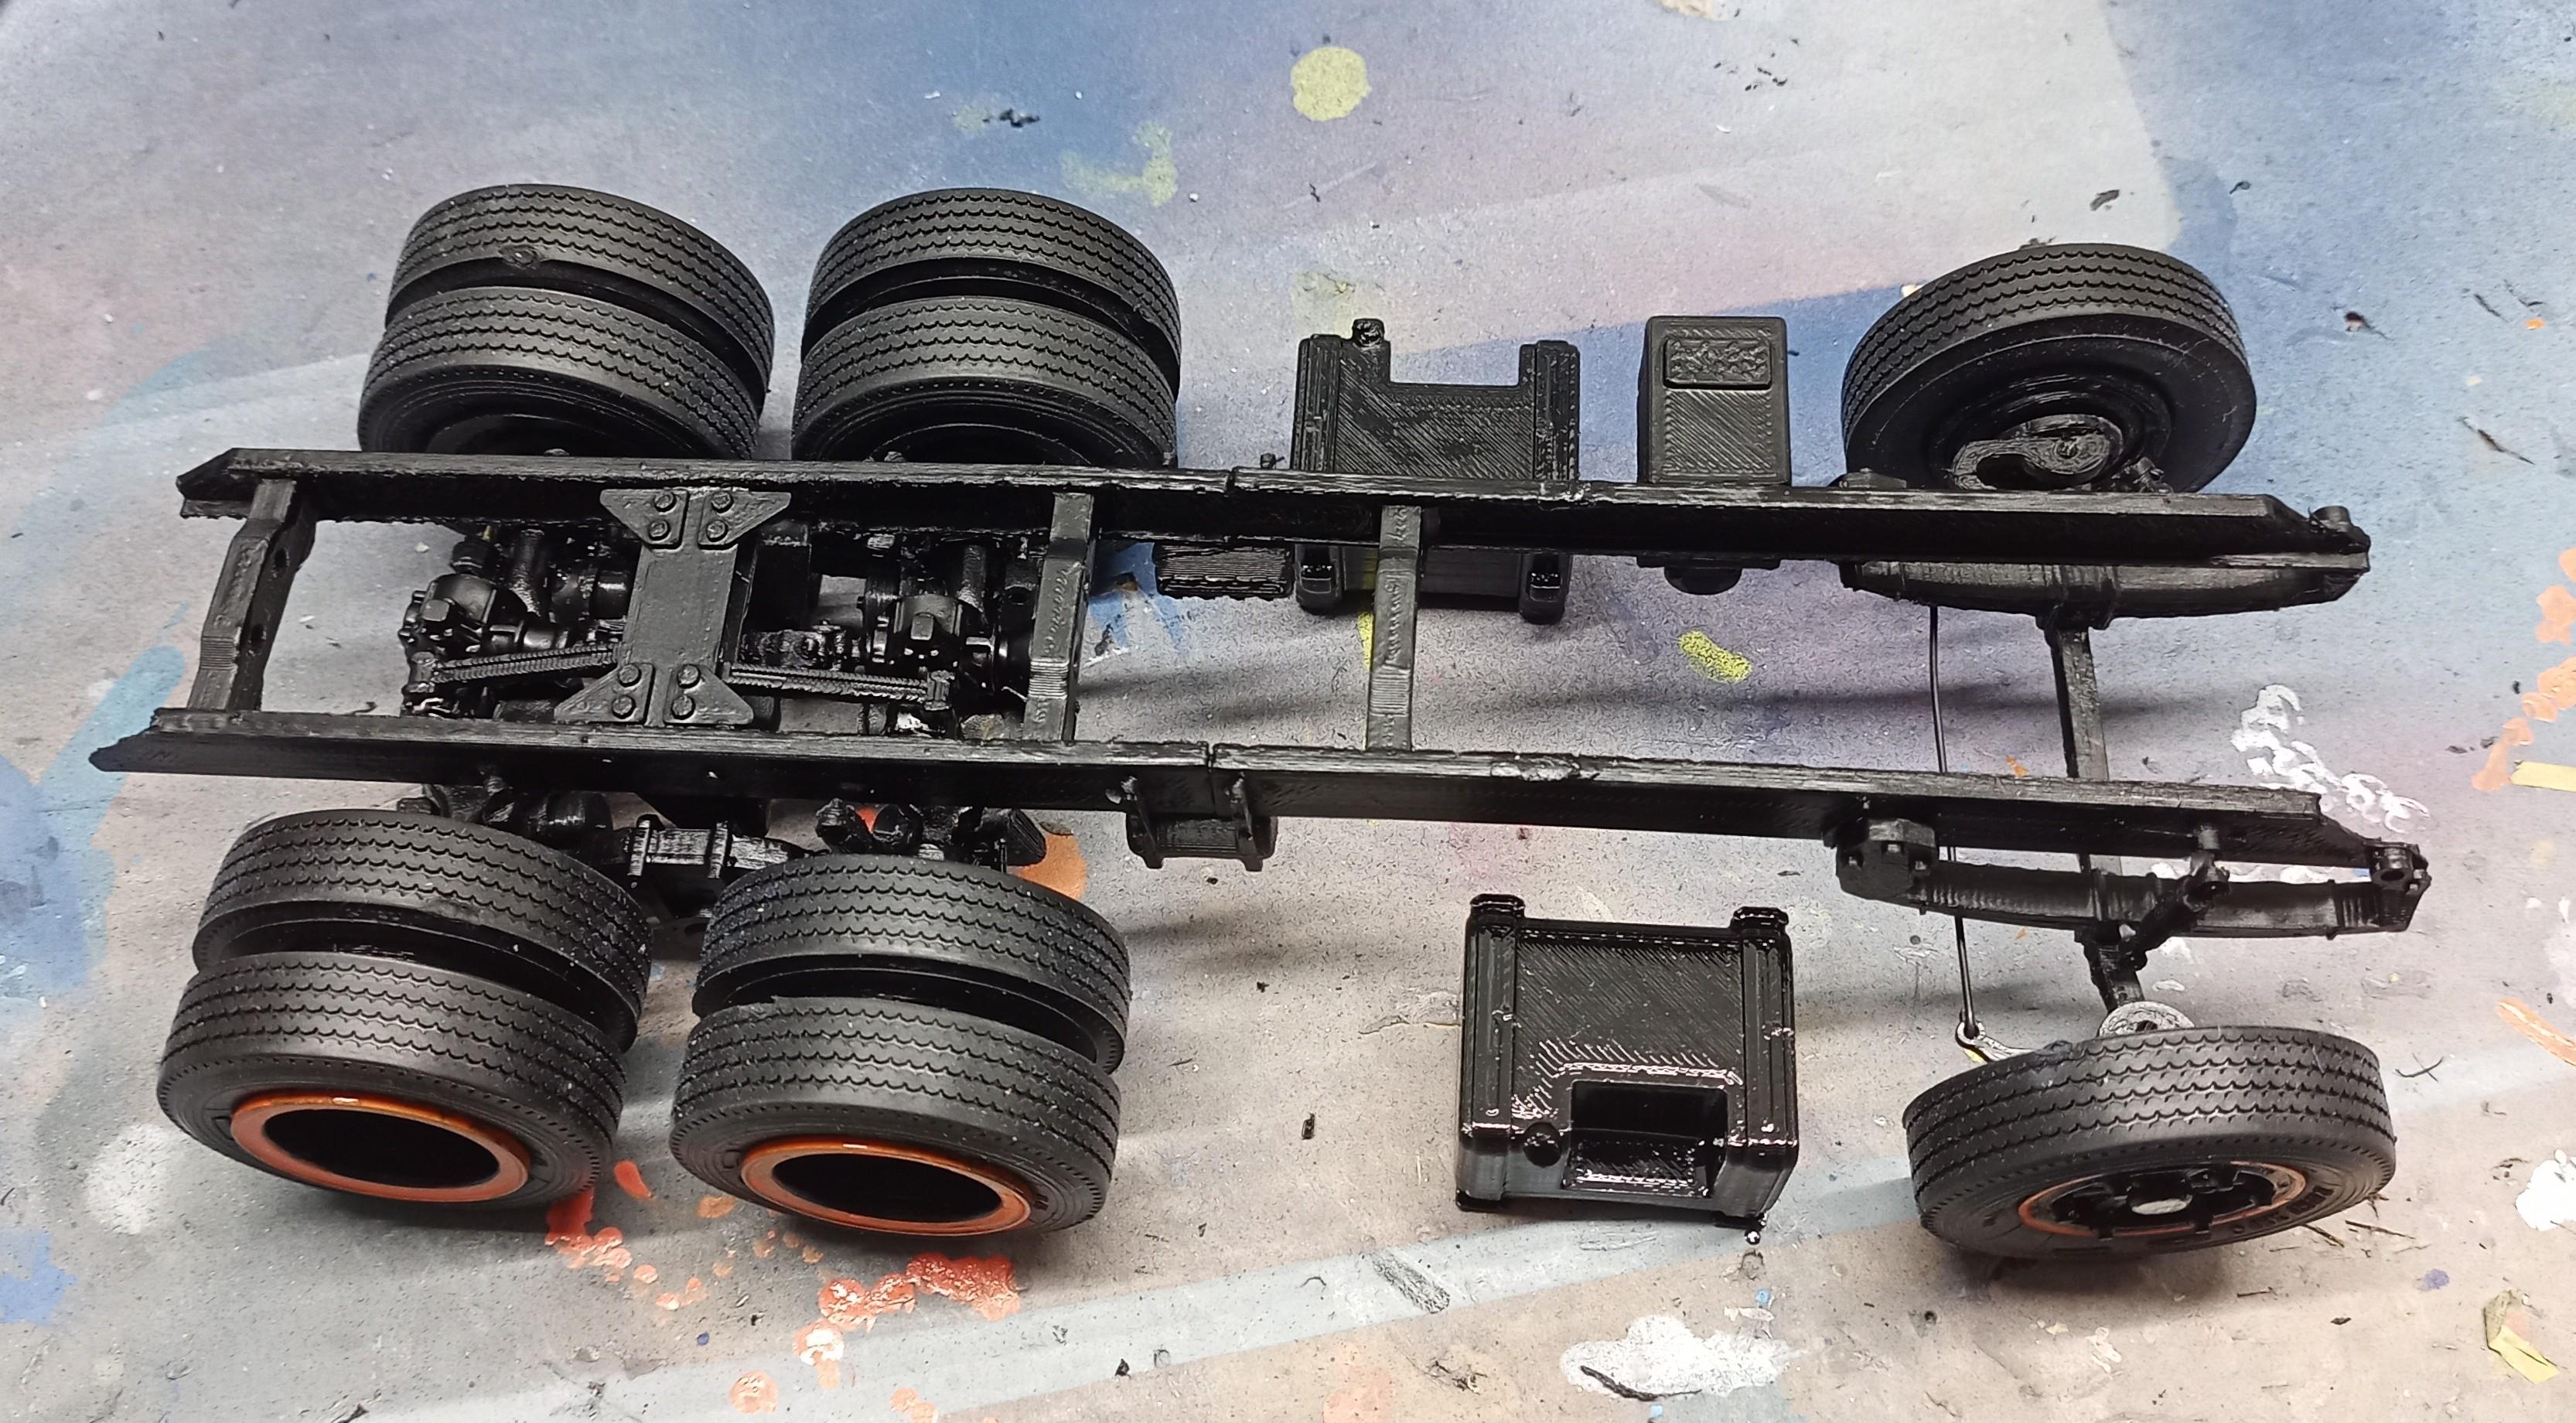
Jürgen M. replied to Jürgen M.'s topic in WIP: Model Trucks: Big Rigs and Heavy Equipment
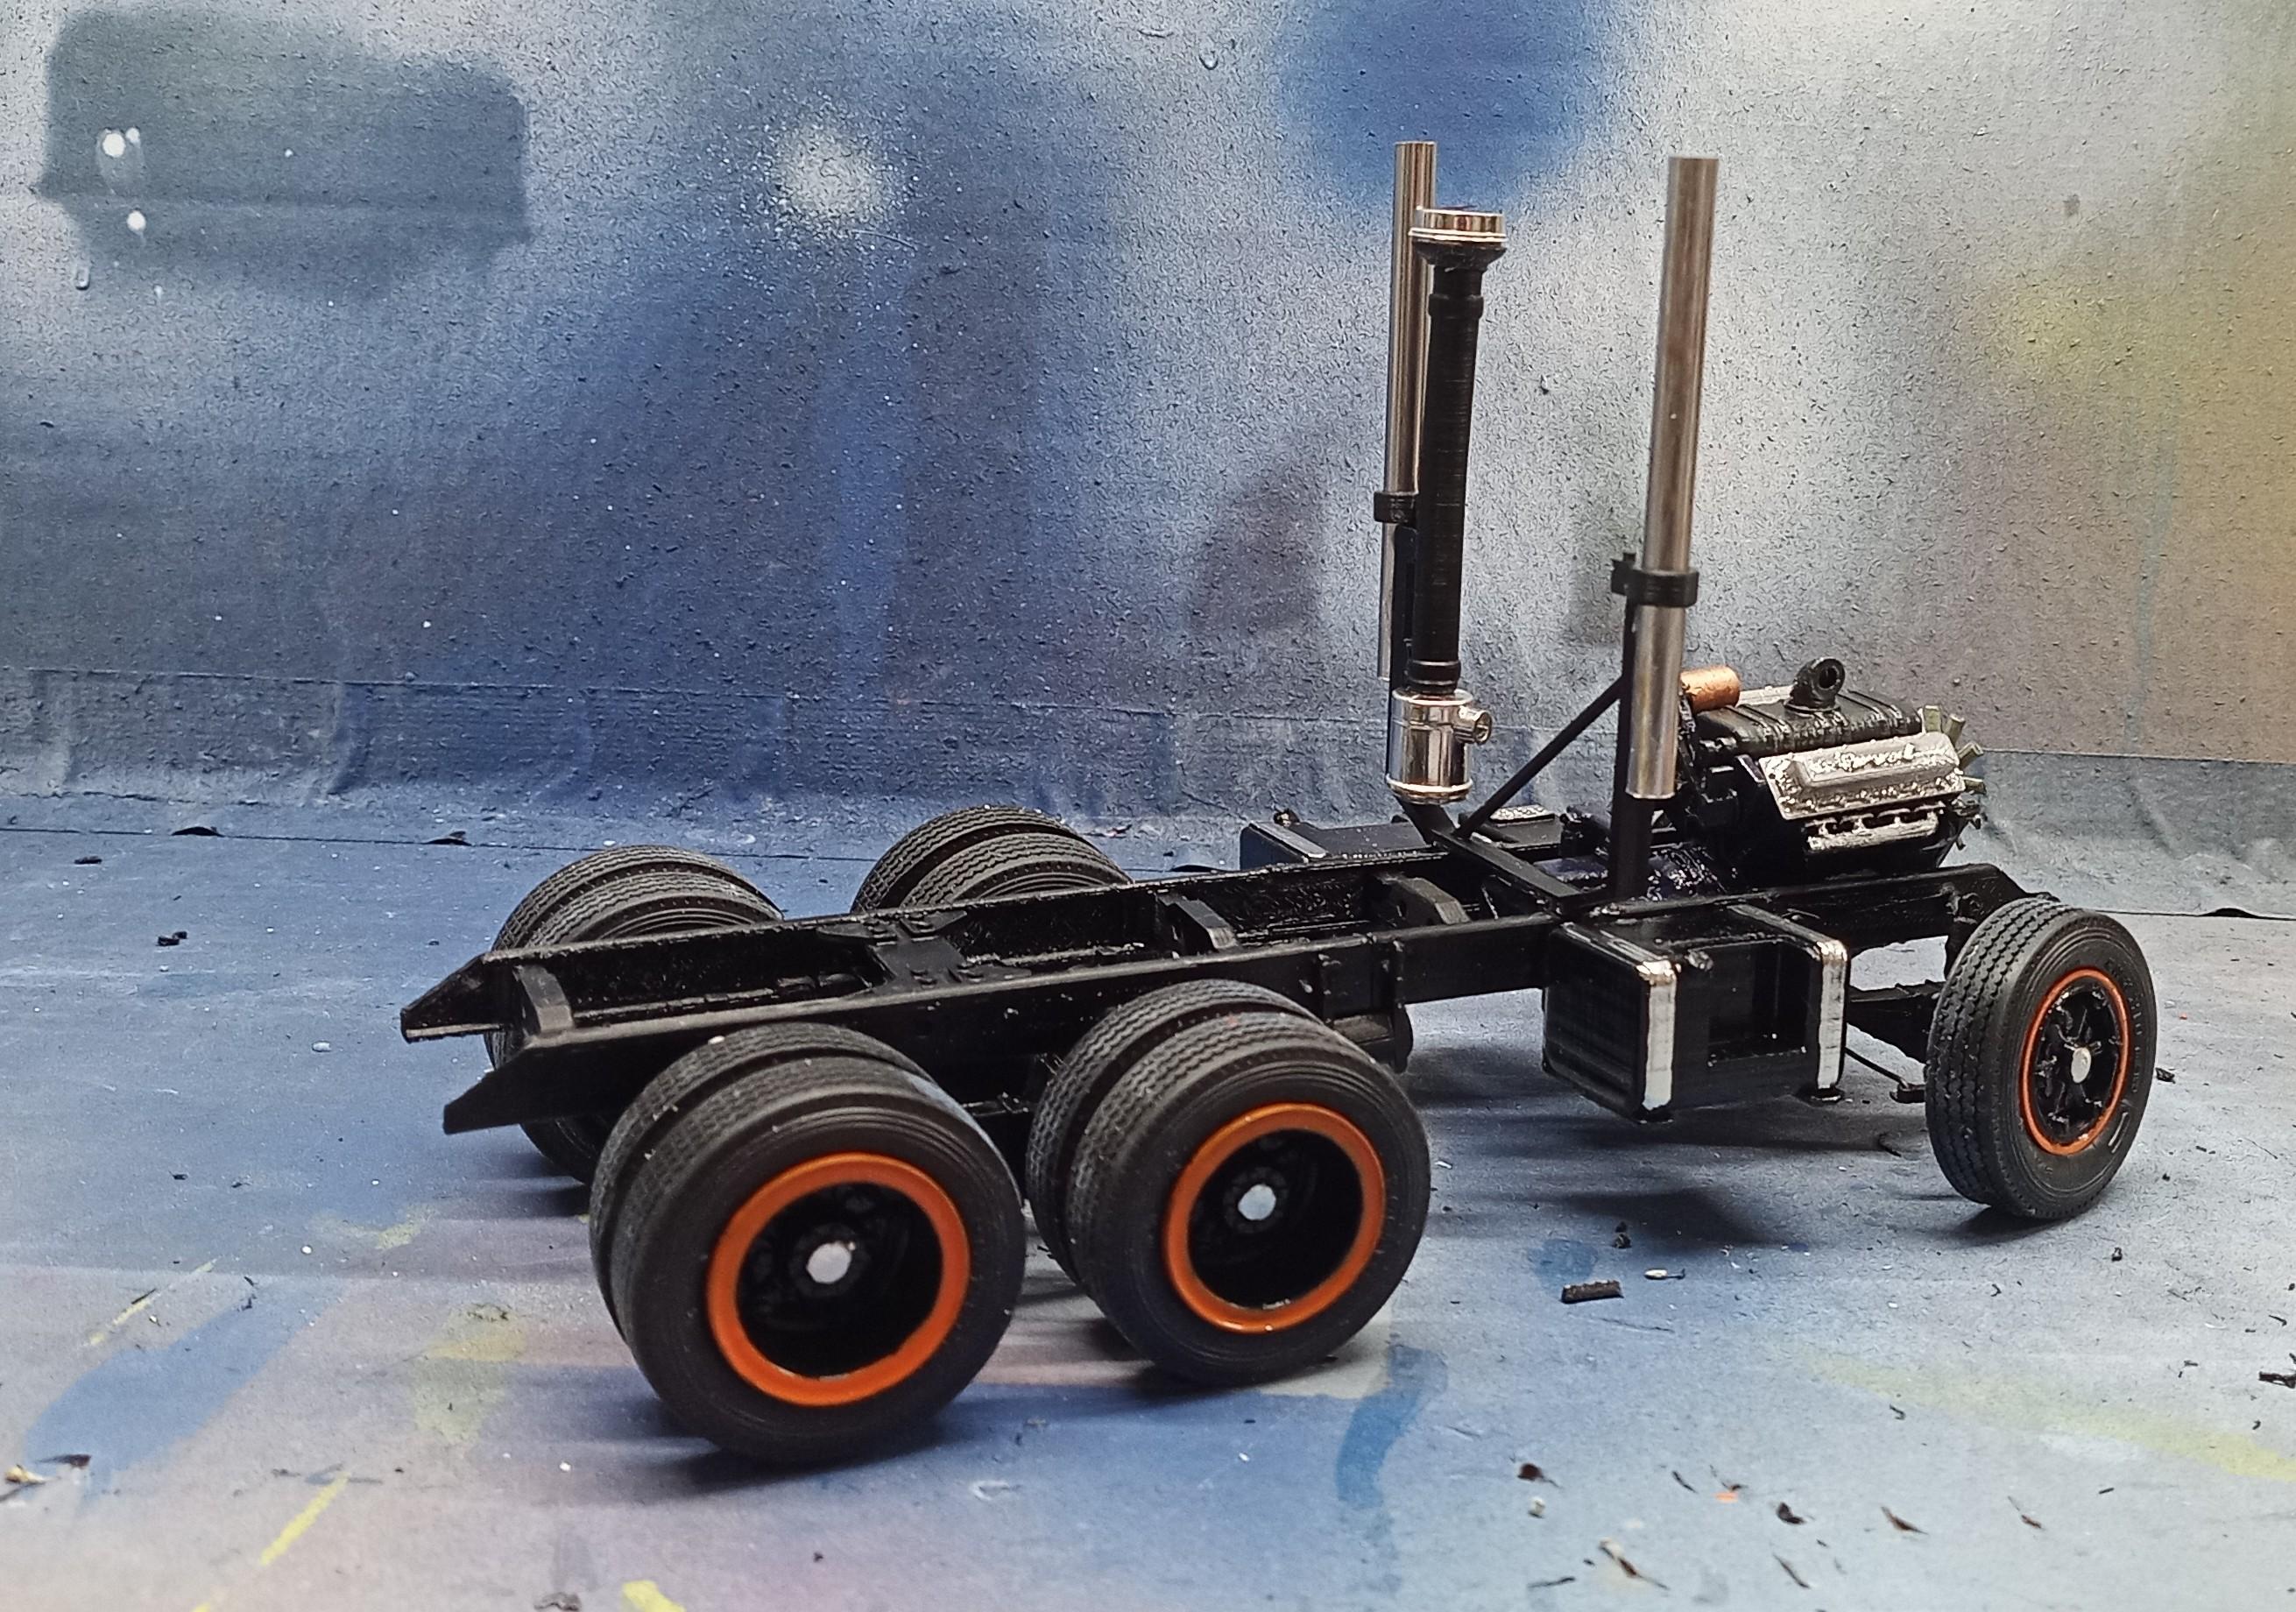
Tanks and stack bracket are mounted: The air cleaner also found its place: Next I'll begin to print the engine!
-
Brockway 459
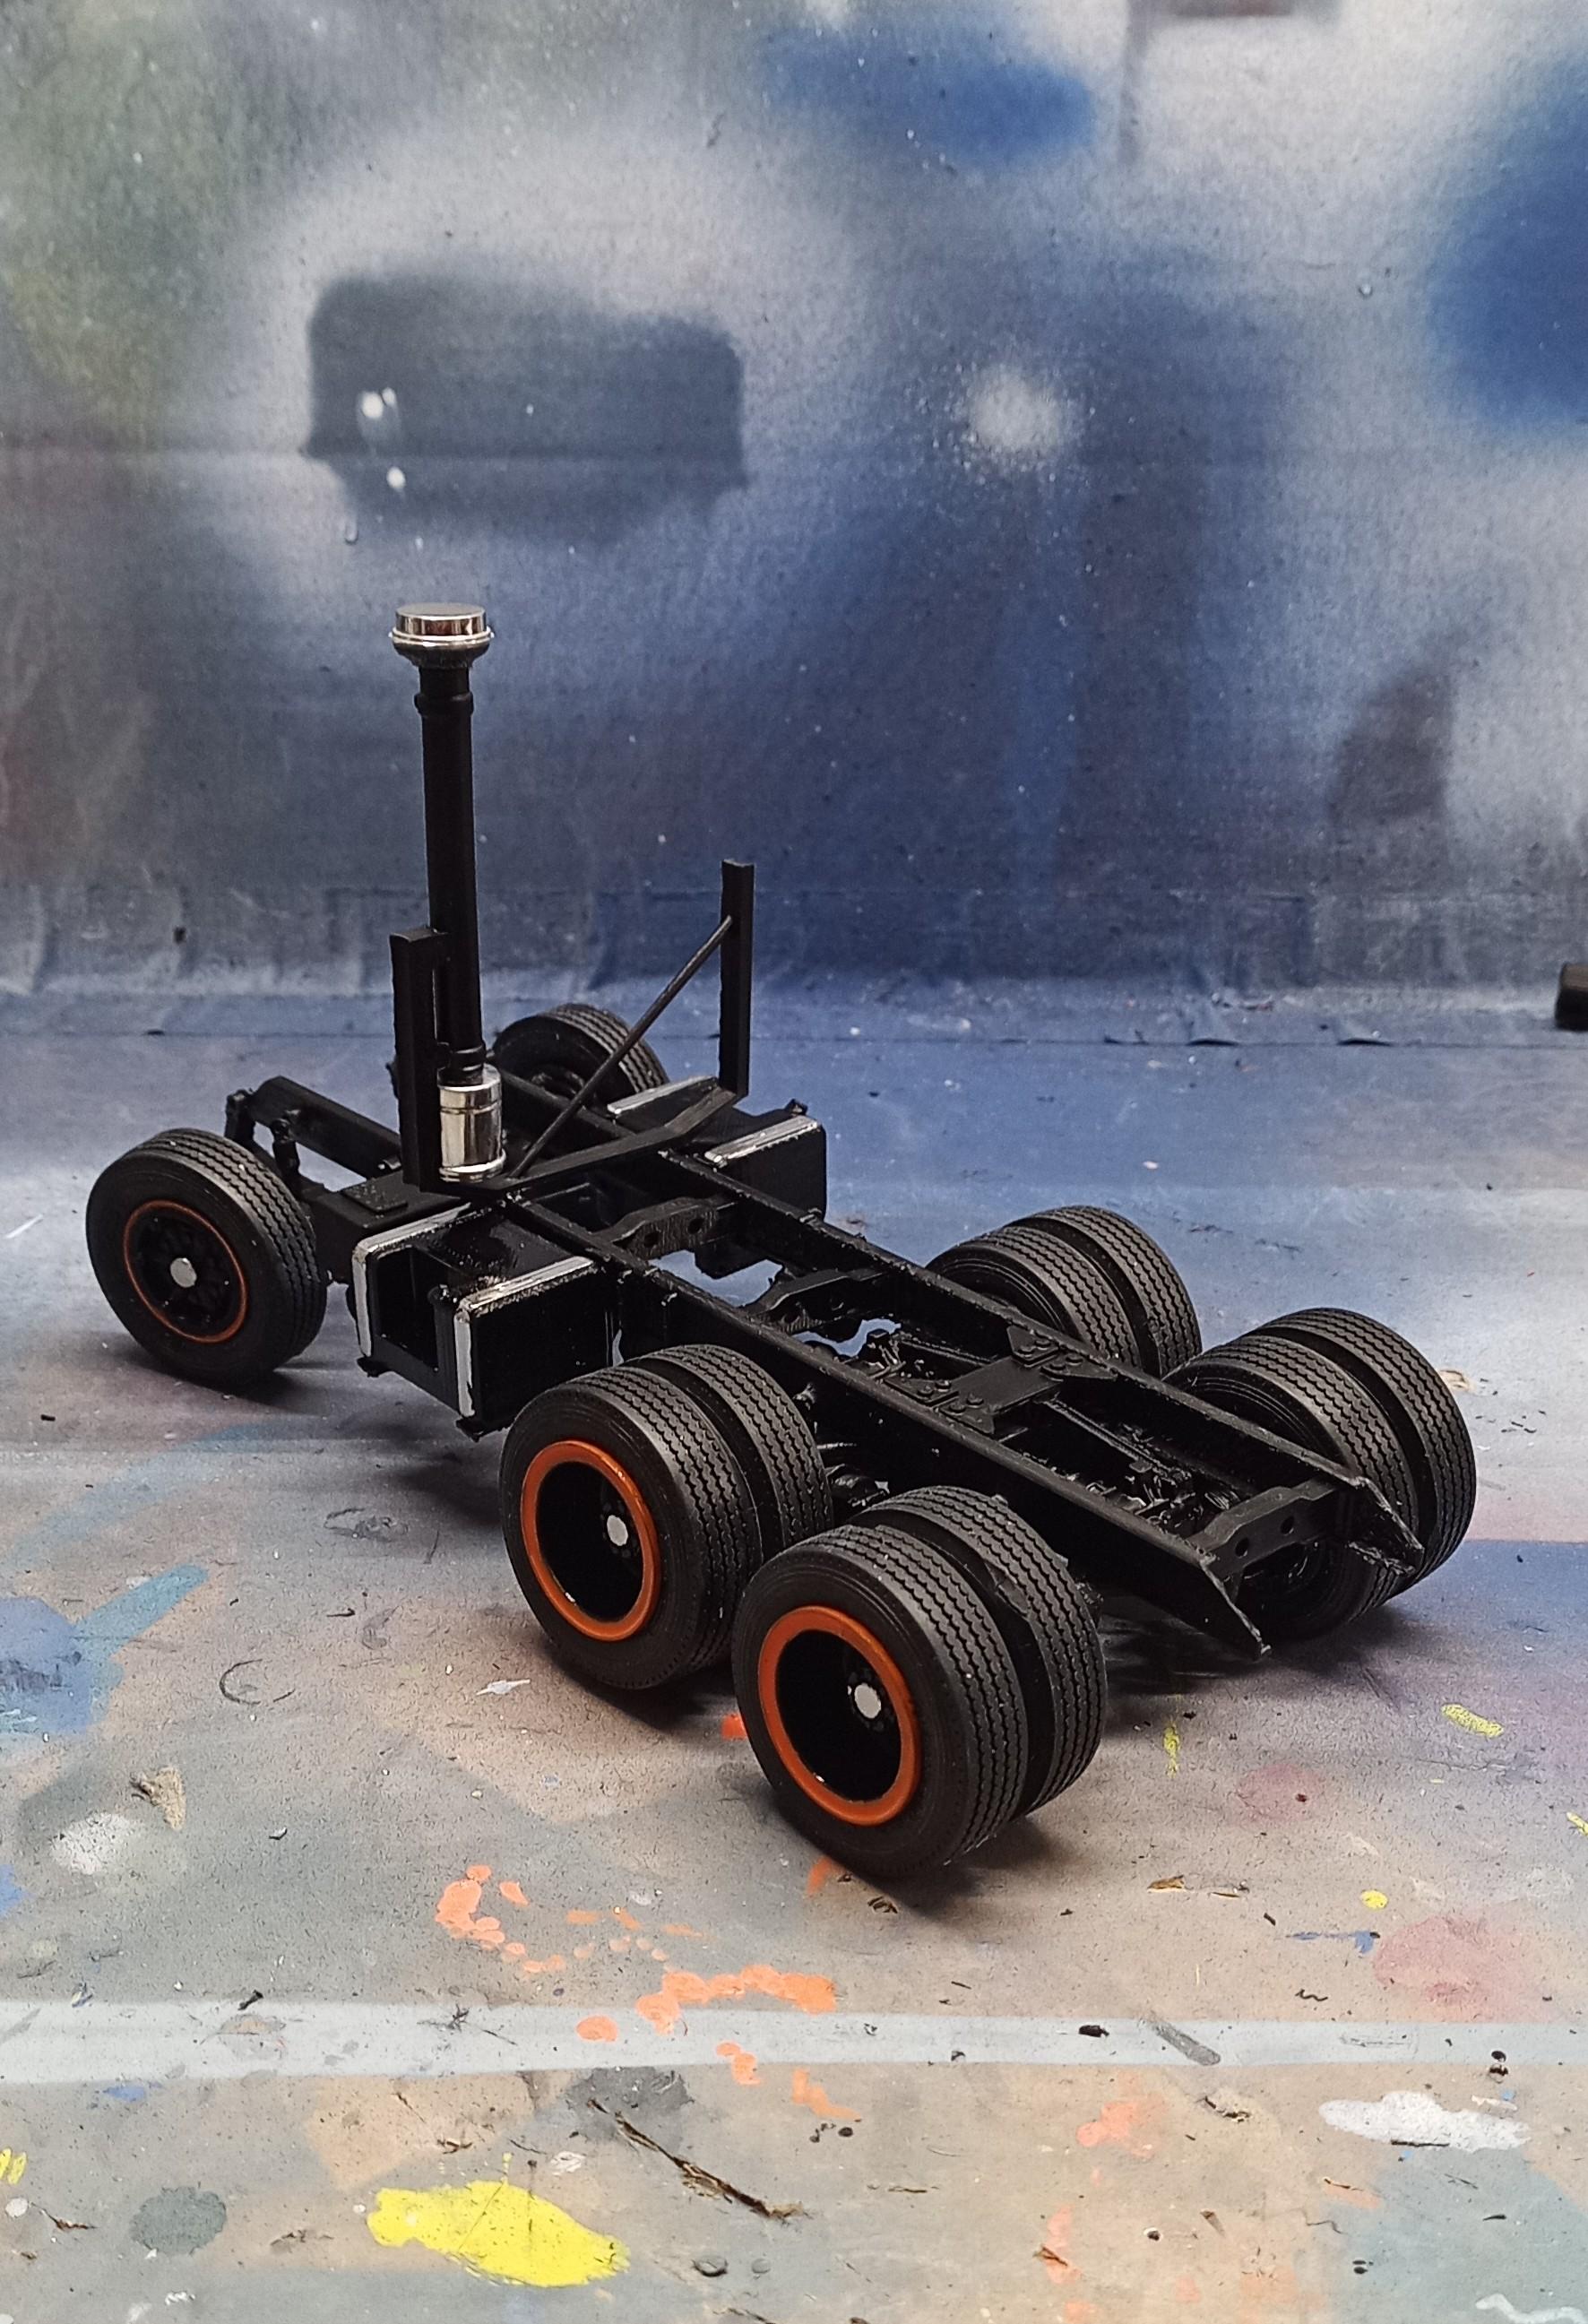
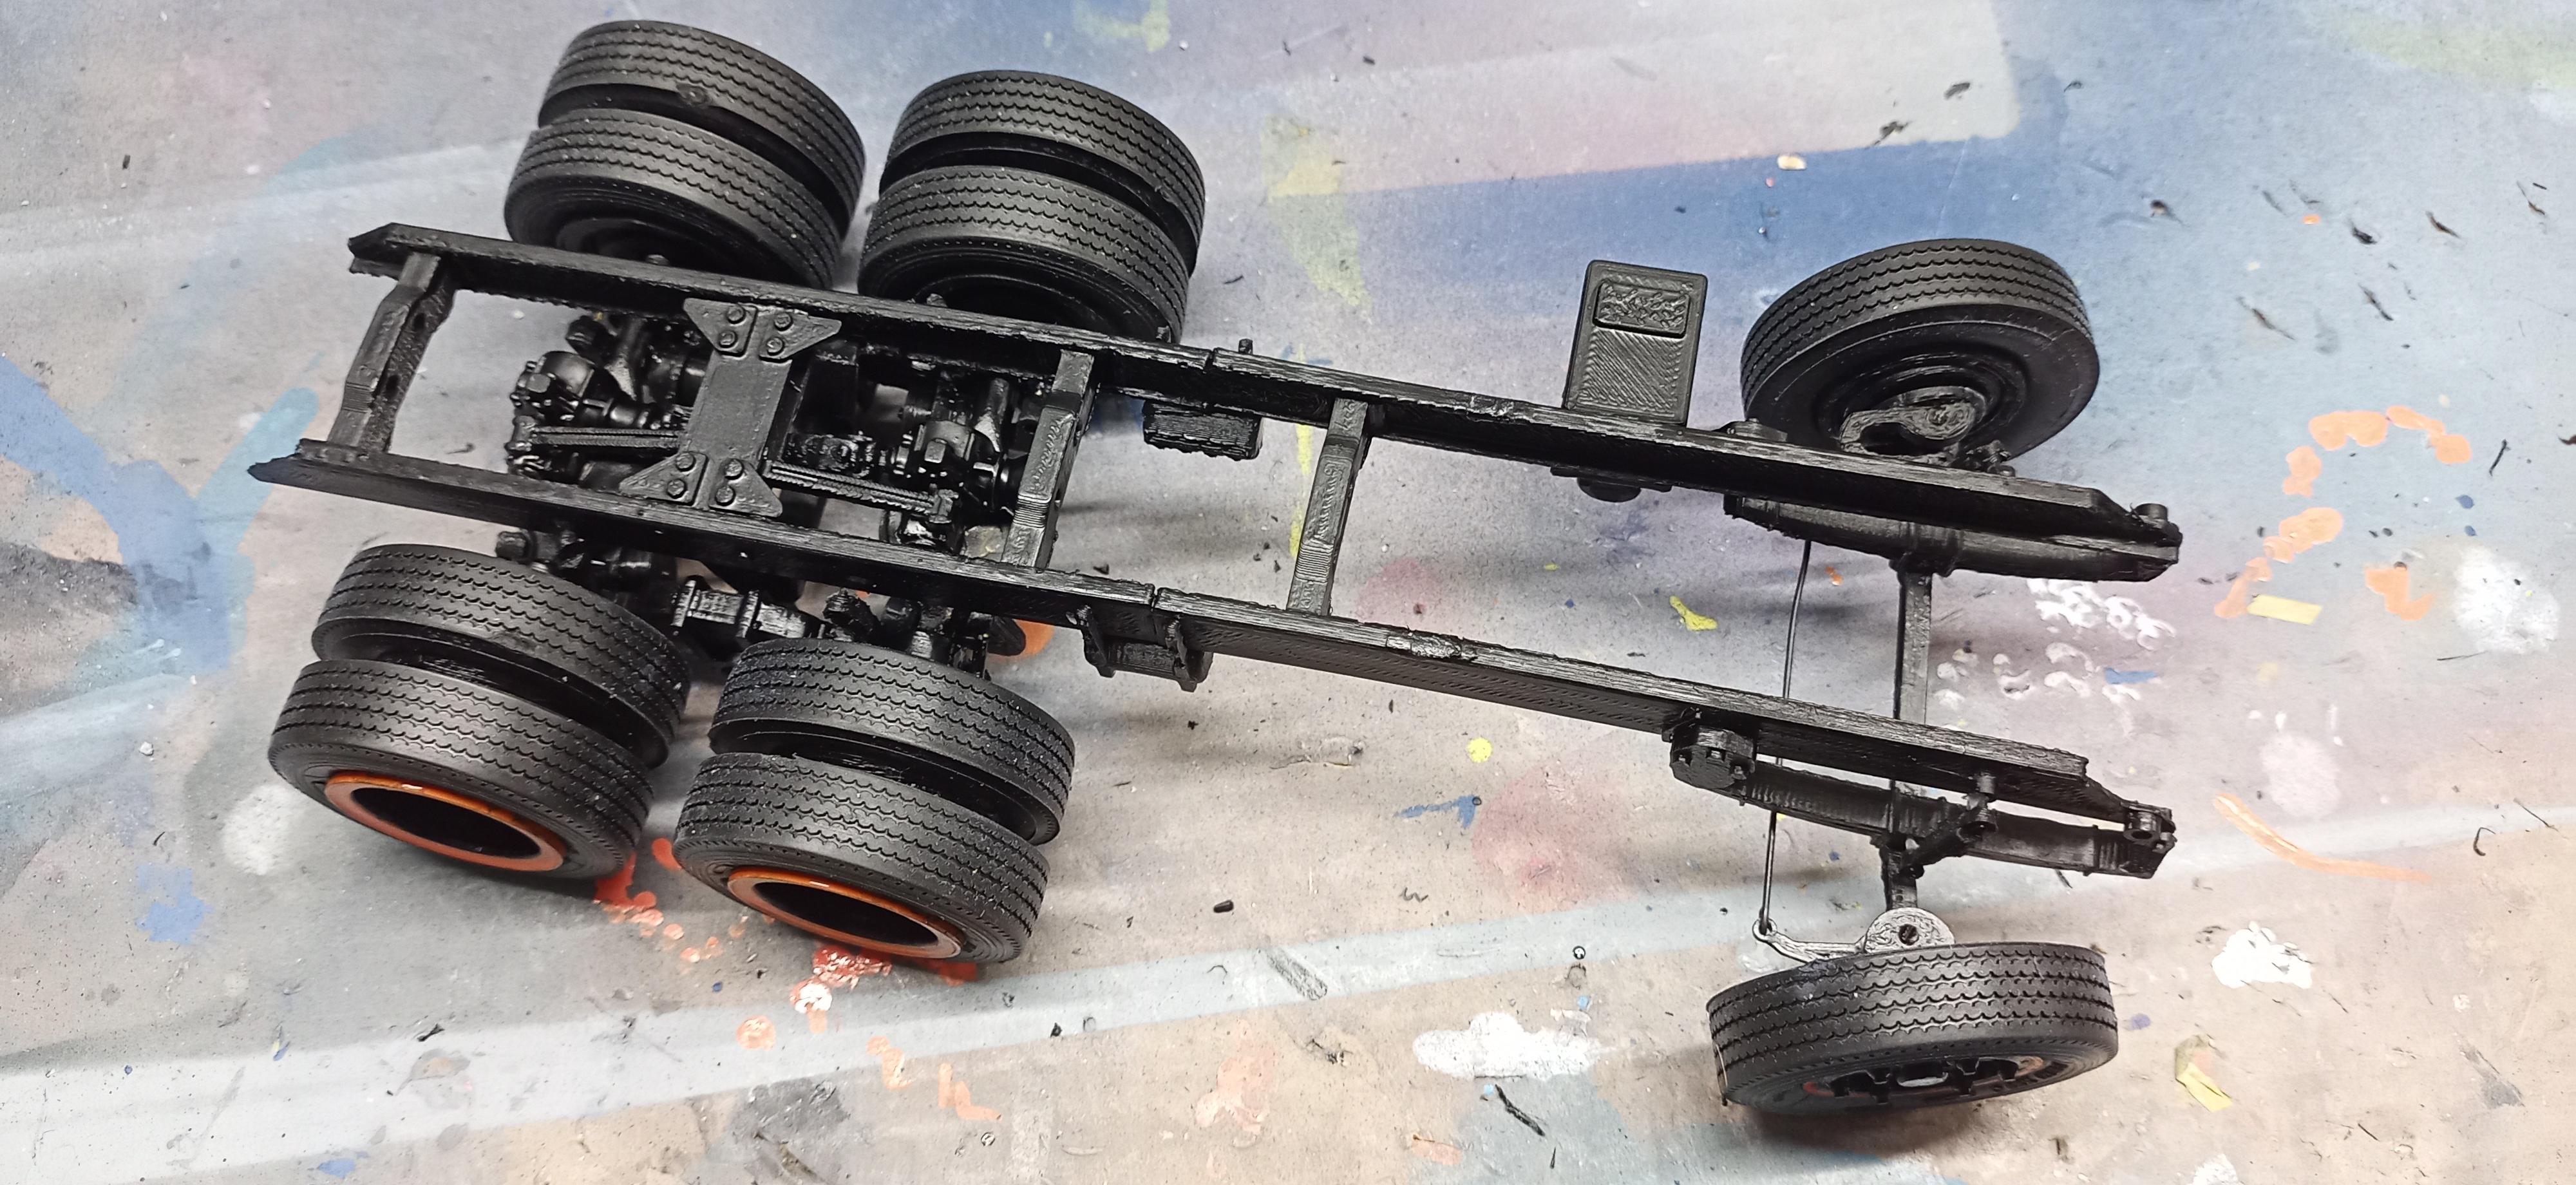
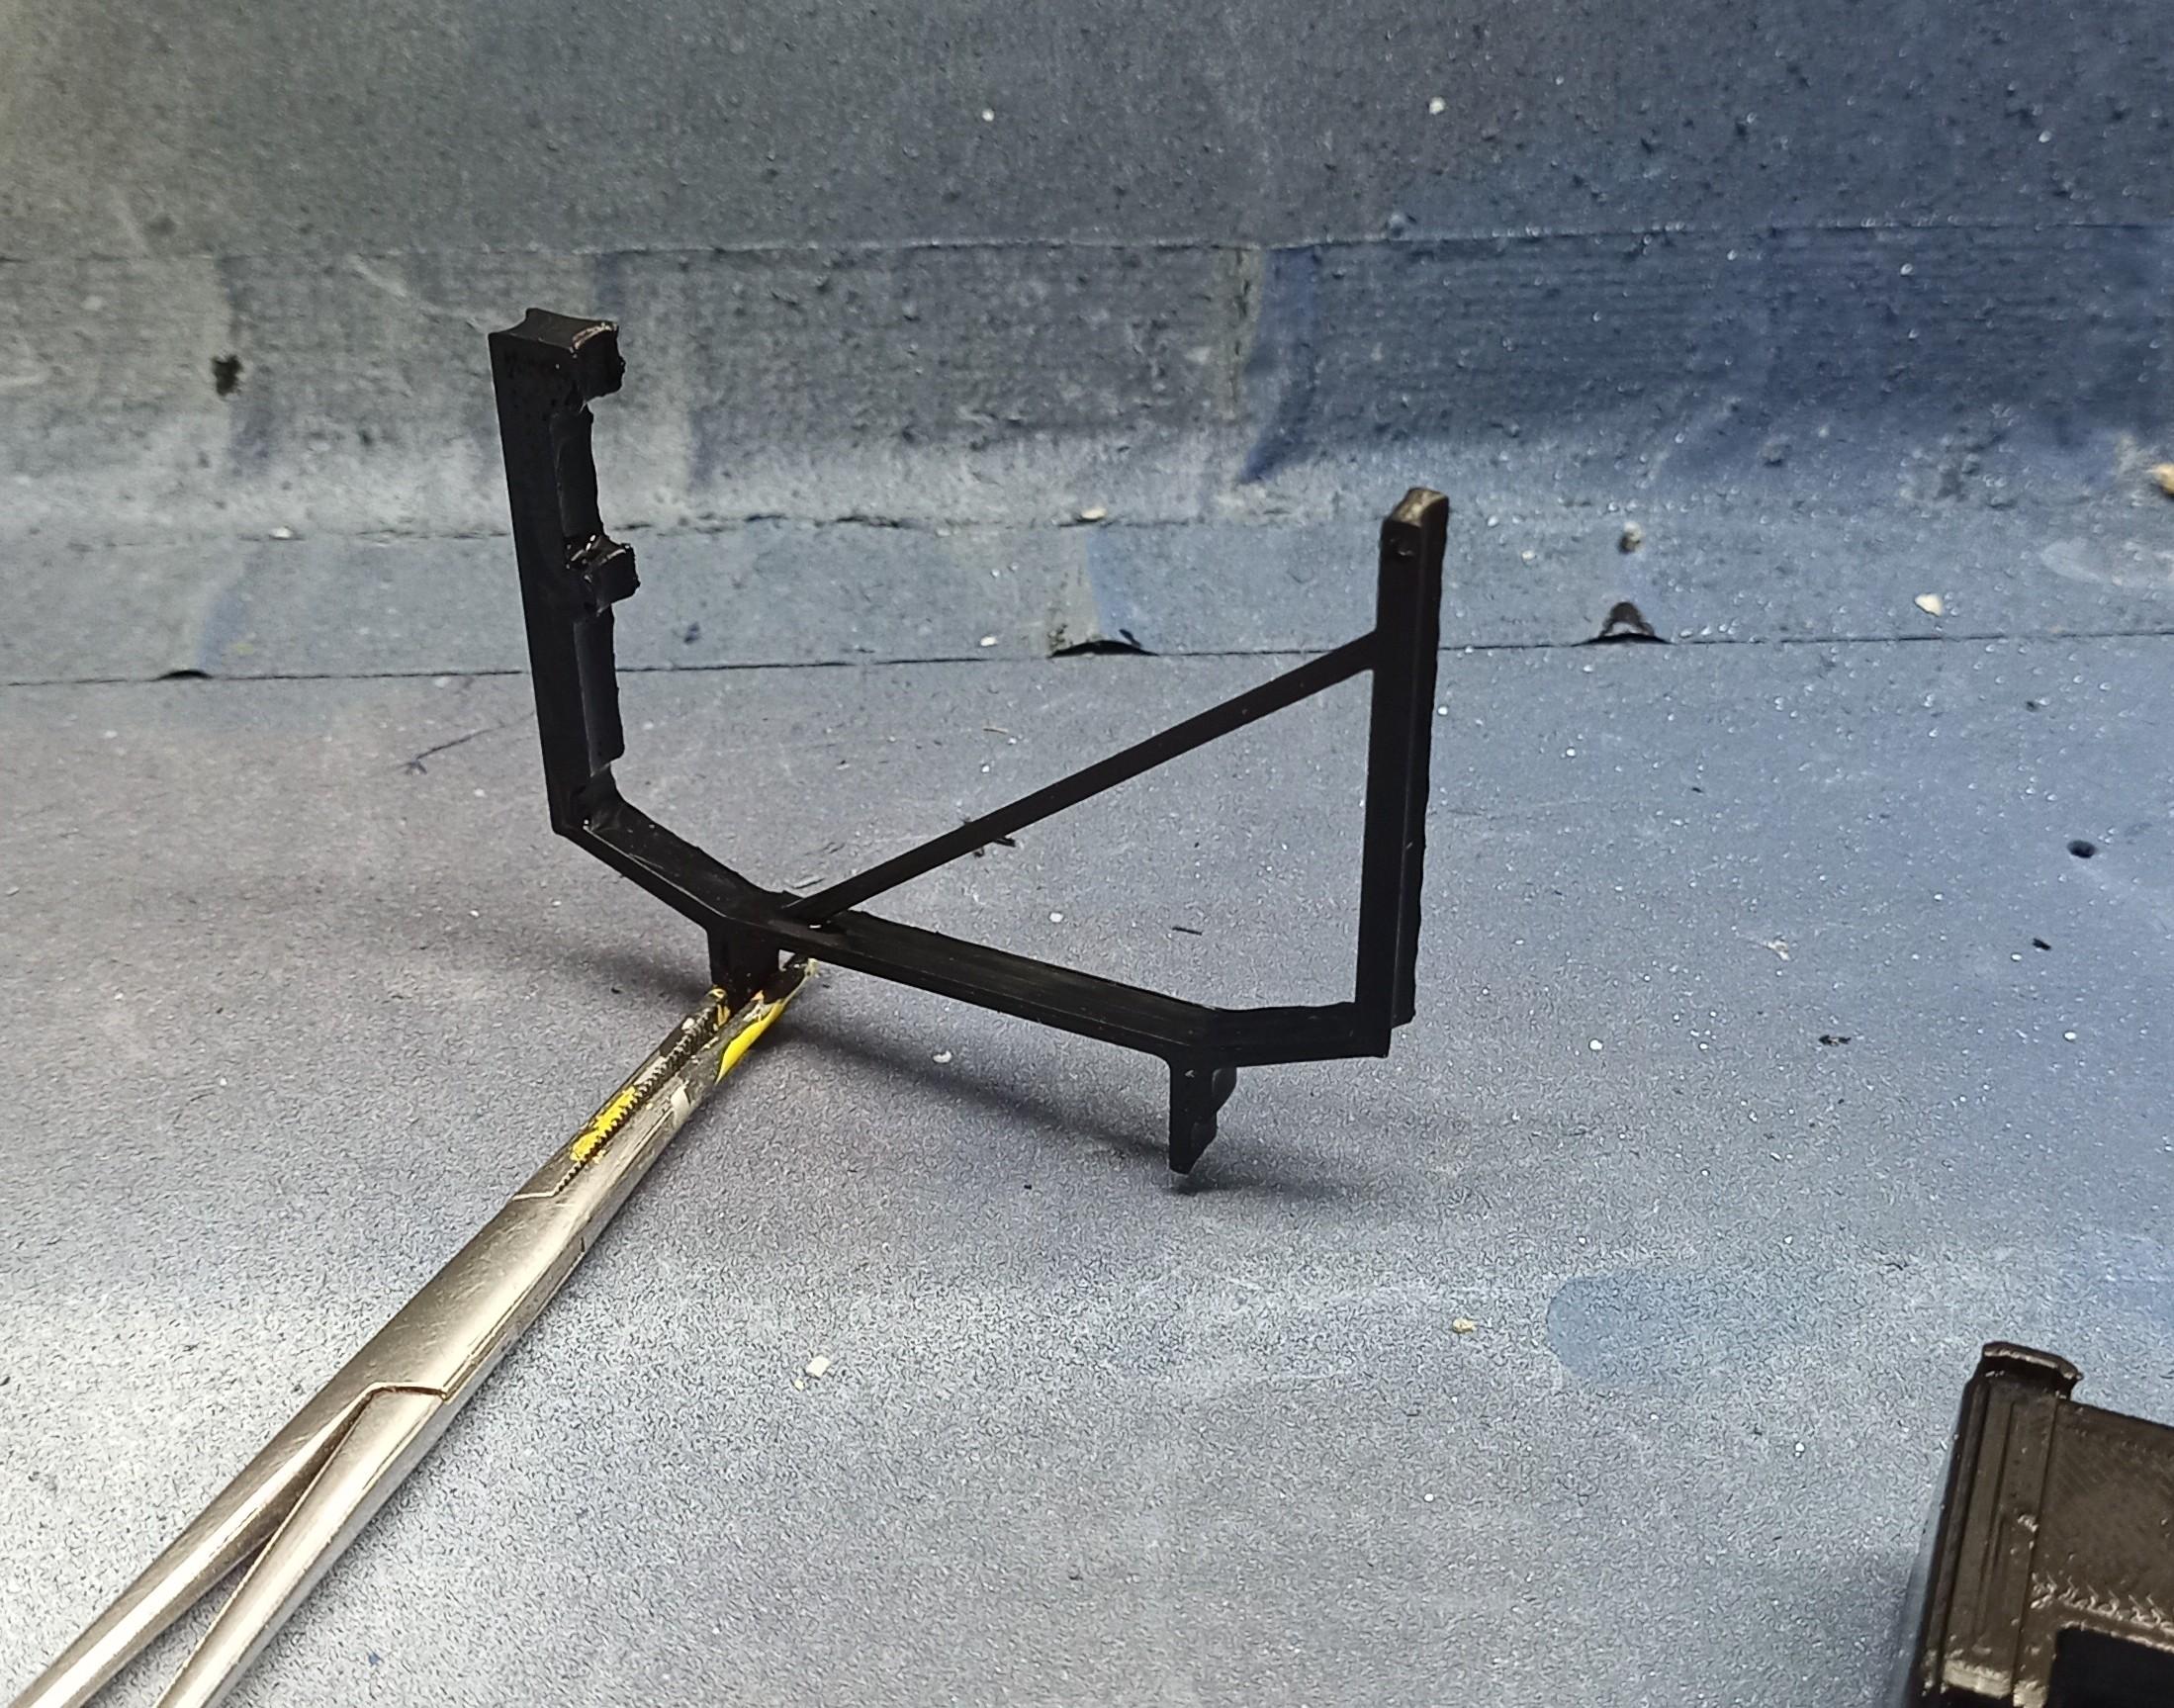
Jürgen M. replied to Jürgen M.'s topic in WIP: Model Trucks: Big Rigs and Heavy Equipment
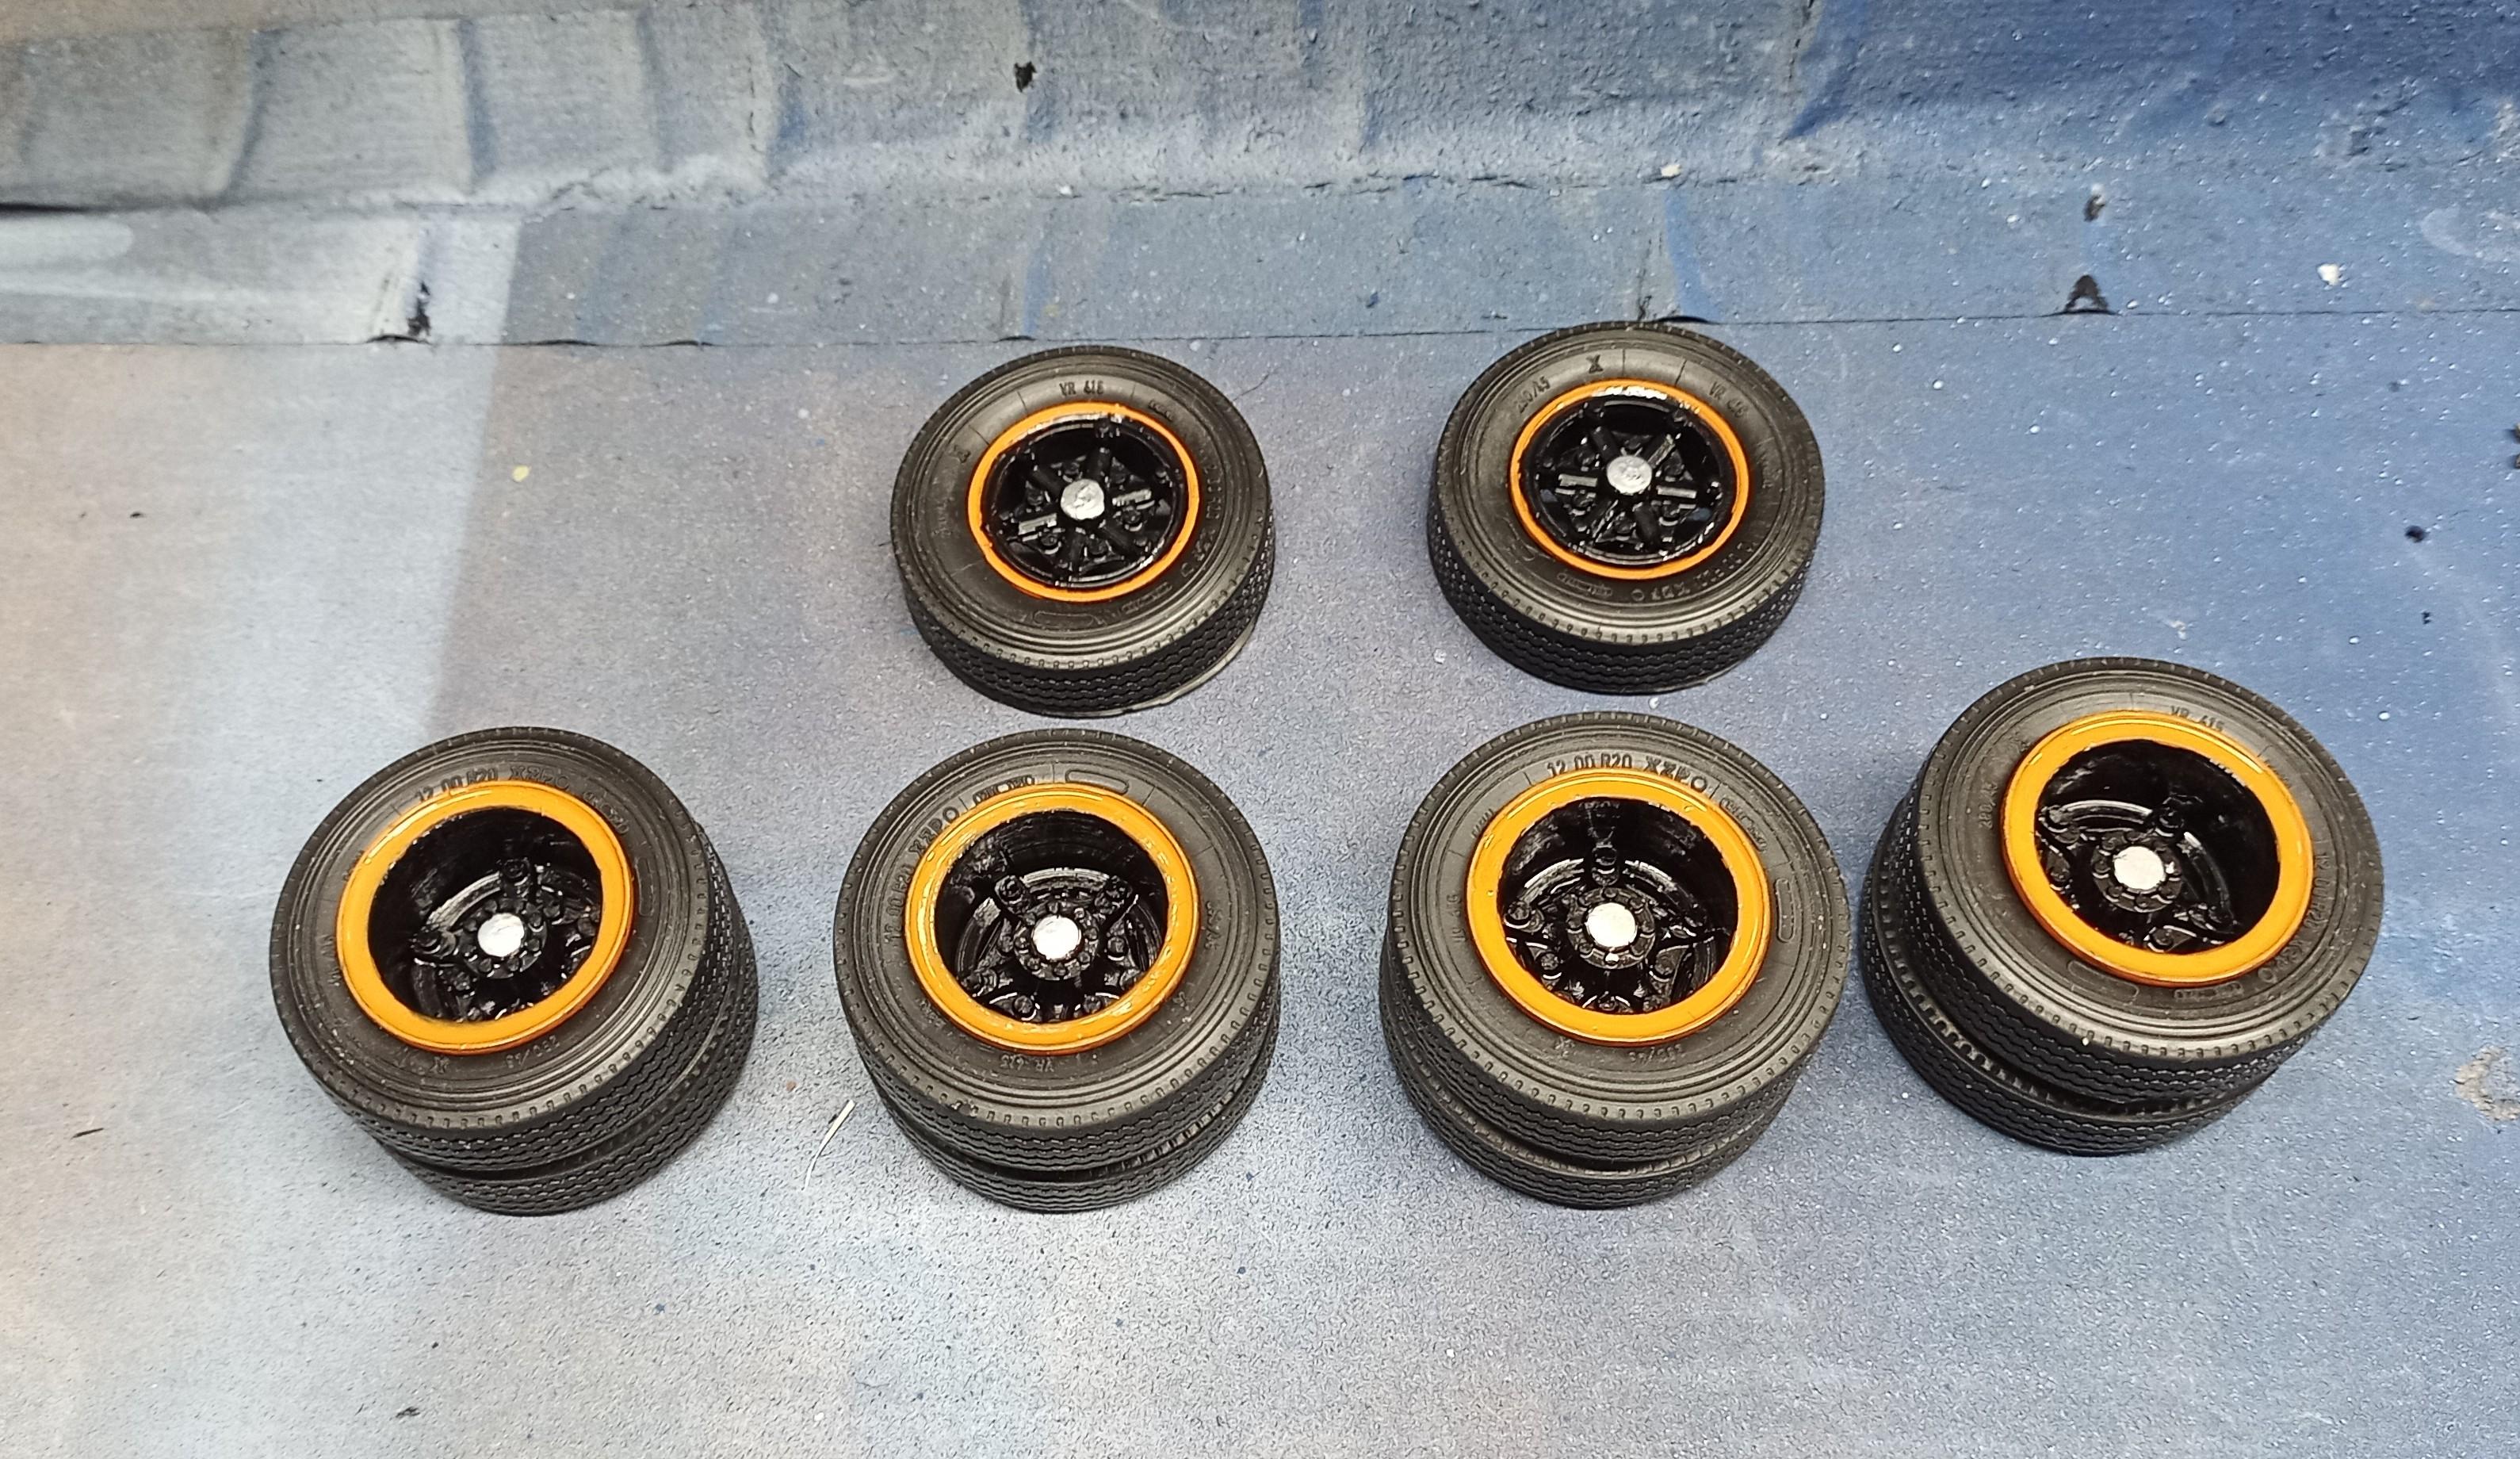
Wheels are successfully mounted: So are rear brake chambers and shocks. I designed and printed a bracket for the exhaust and air cleaner (The air cleaner will be made of box parts, stacks of 6mm brass tube). ...and tanks are designed too including brackets: Here's the planned positioning of the tanks. First I have to paint the straps though.
-
Brockway 459
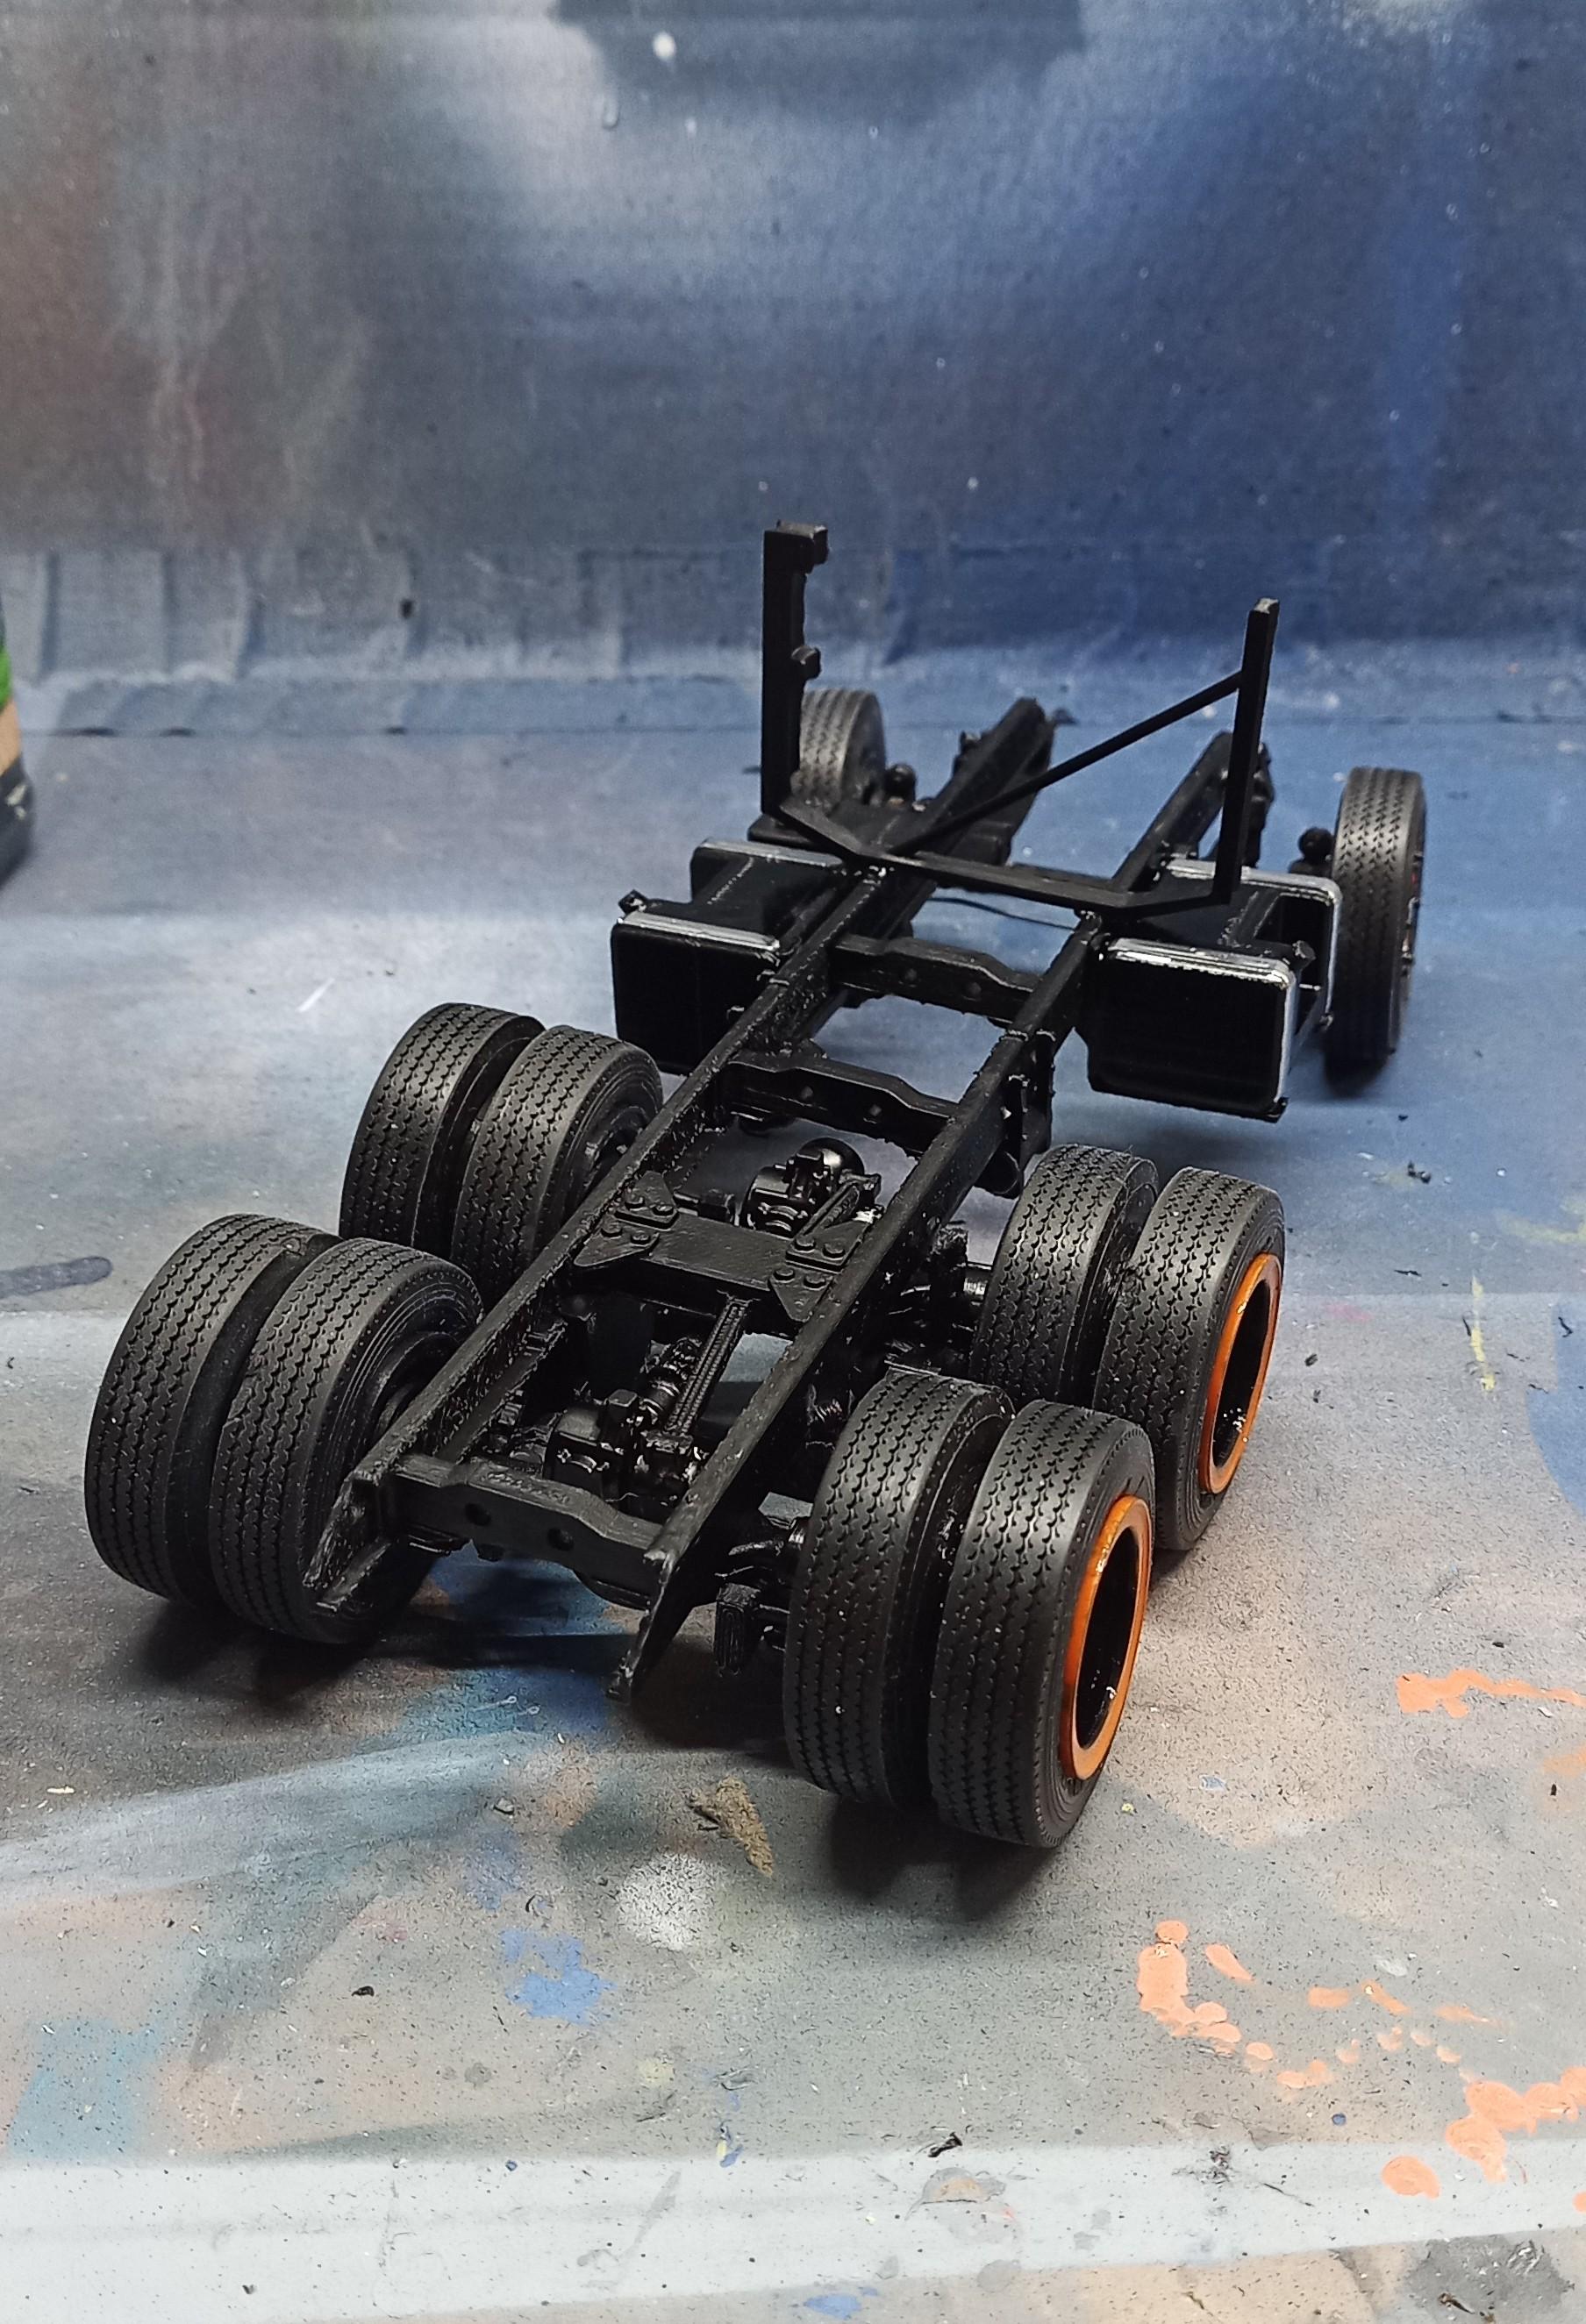
Jürgen M. replied to Jürgen M.'s topic in WIP: Model Trucks: Big Rigs and Heavy Equipment
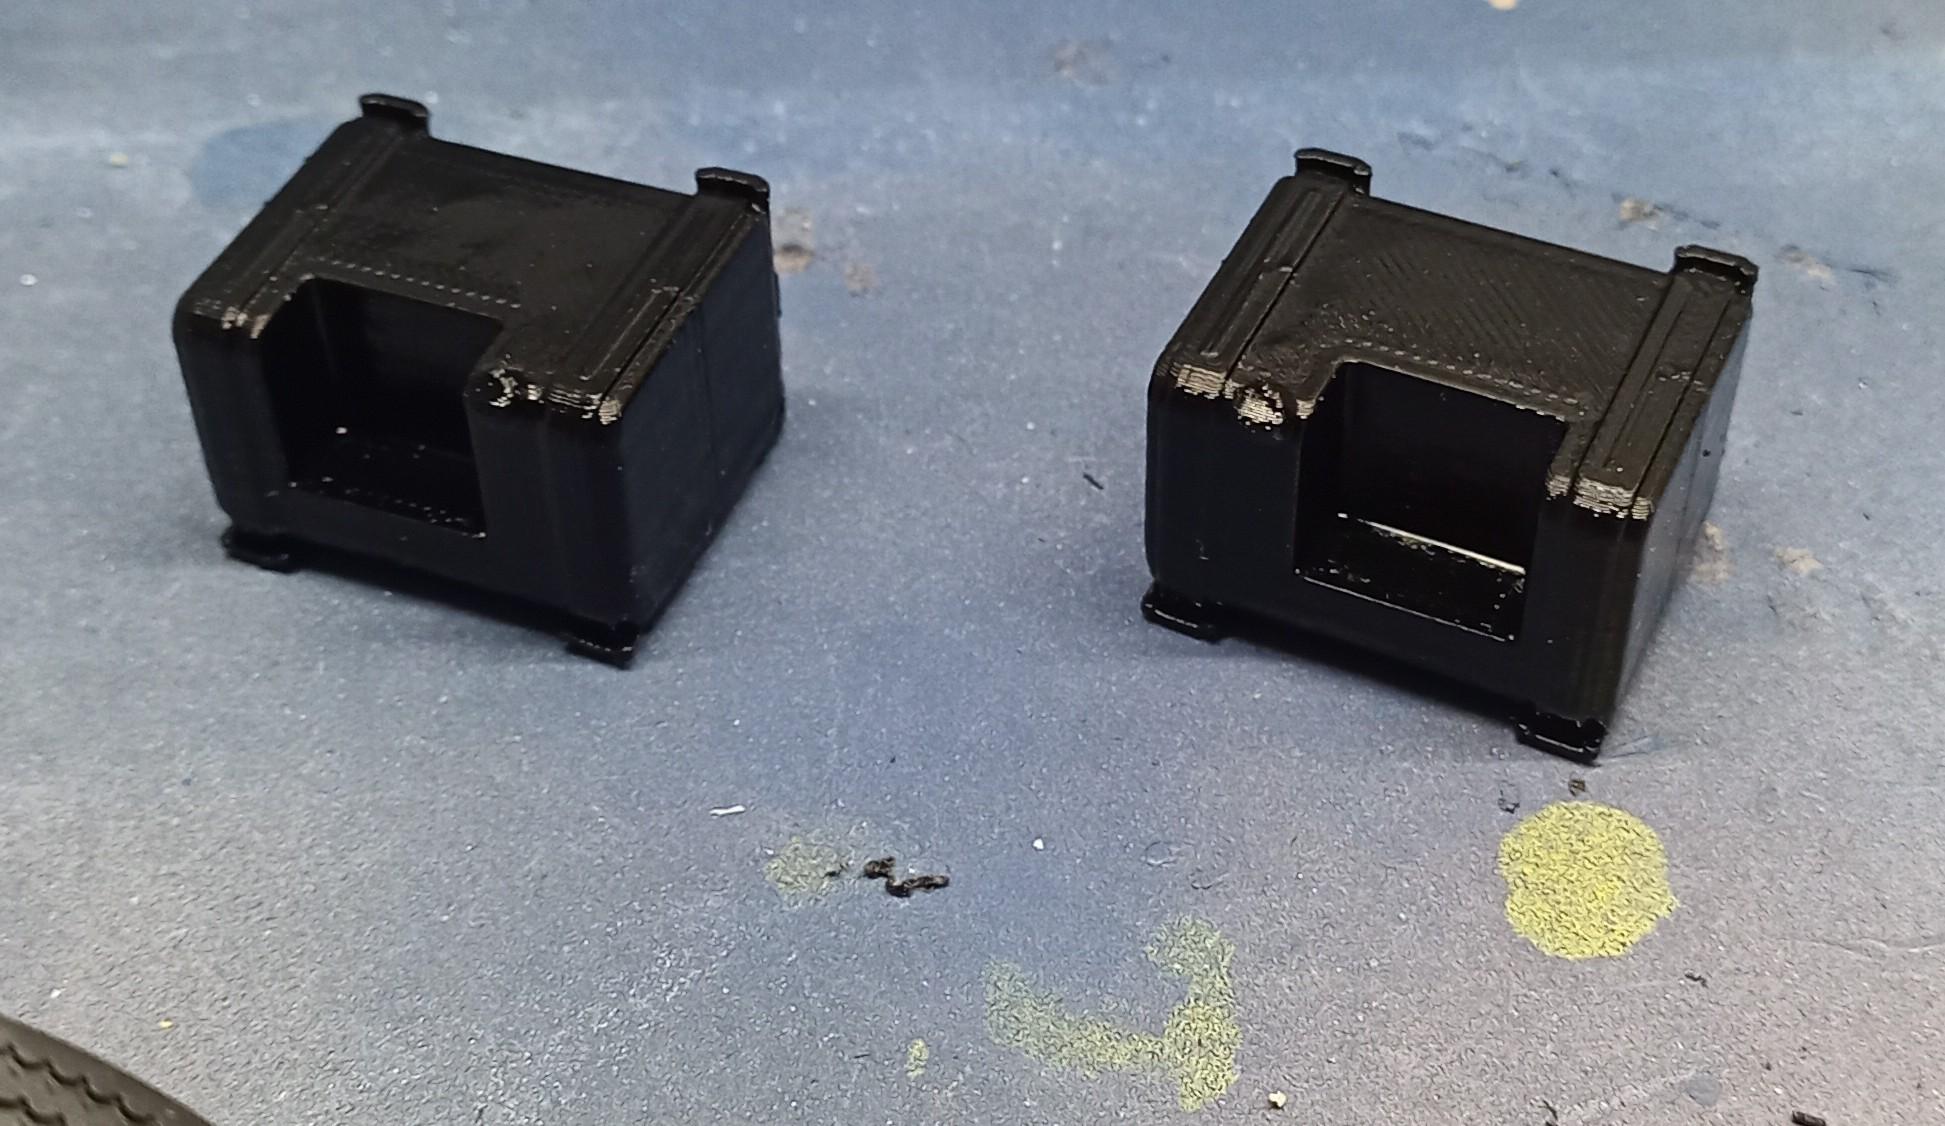
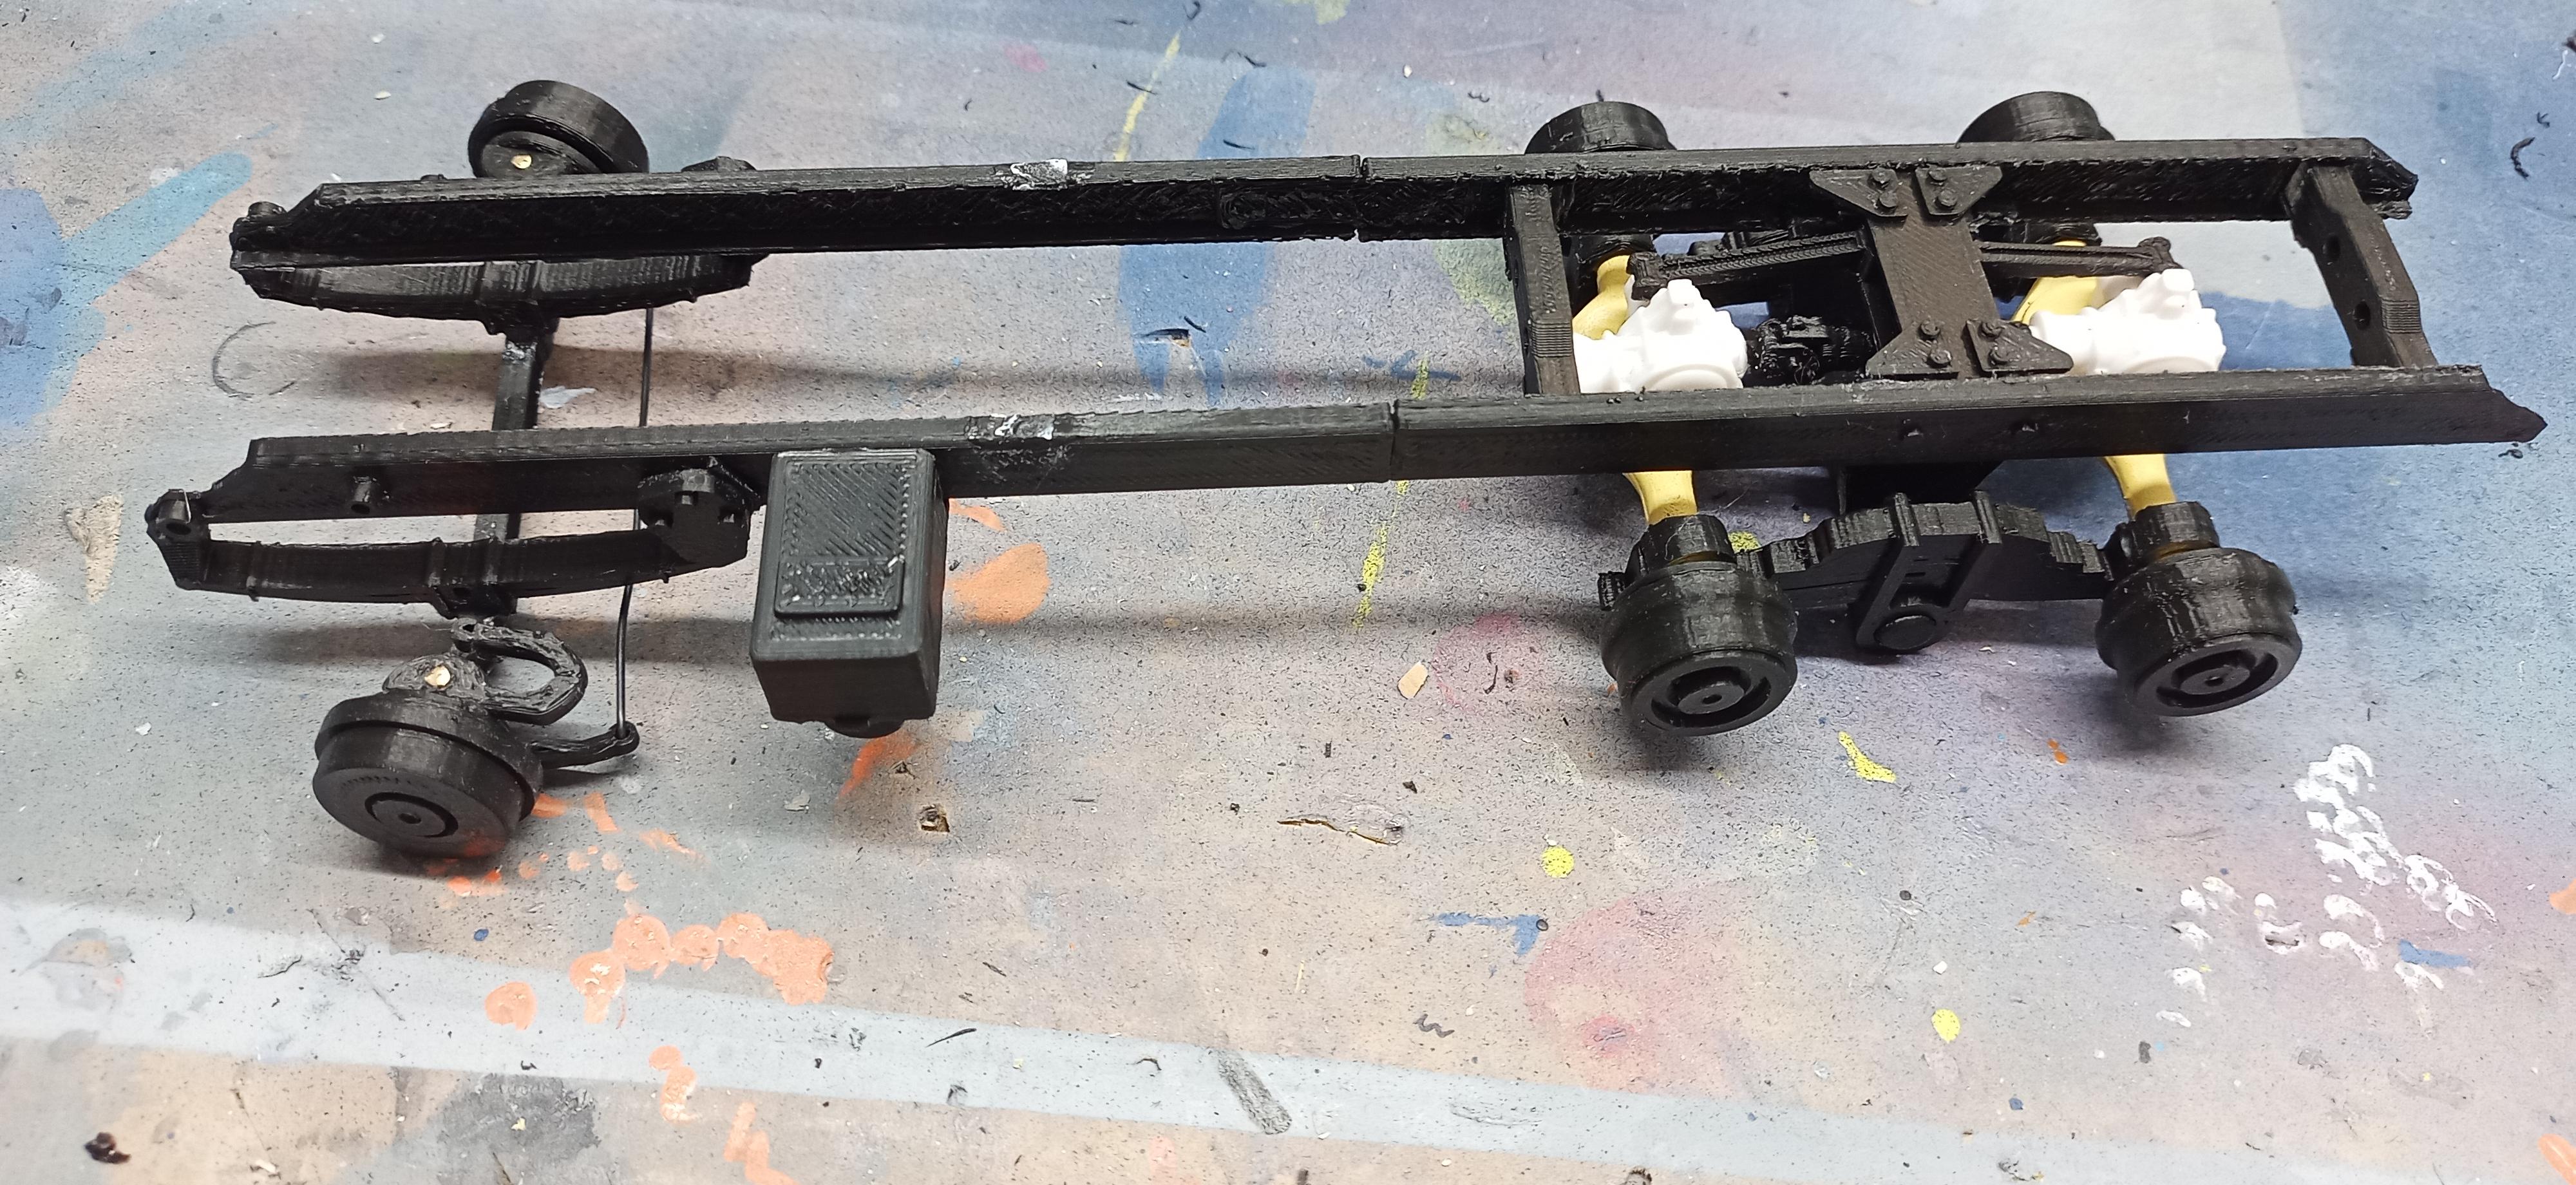
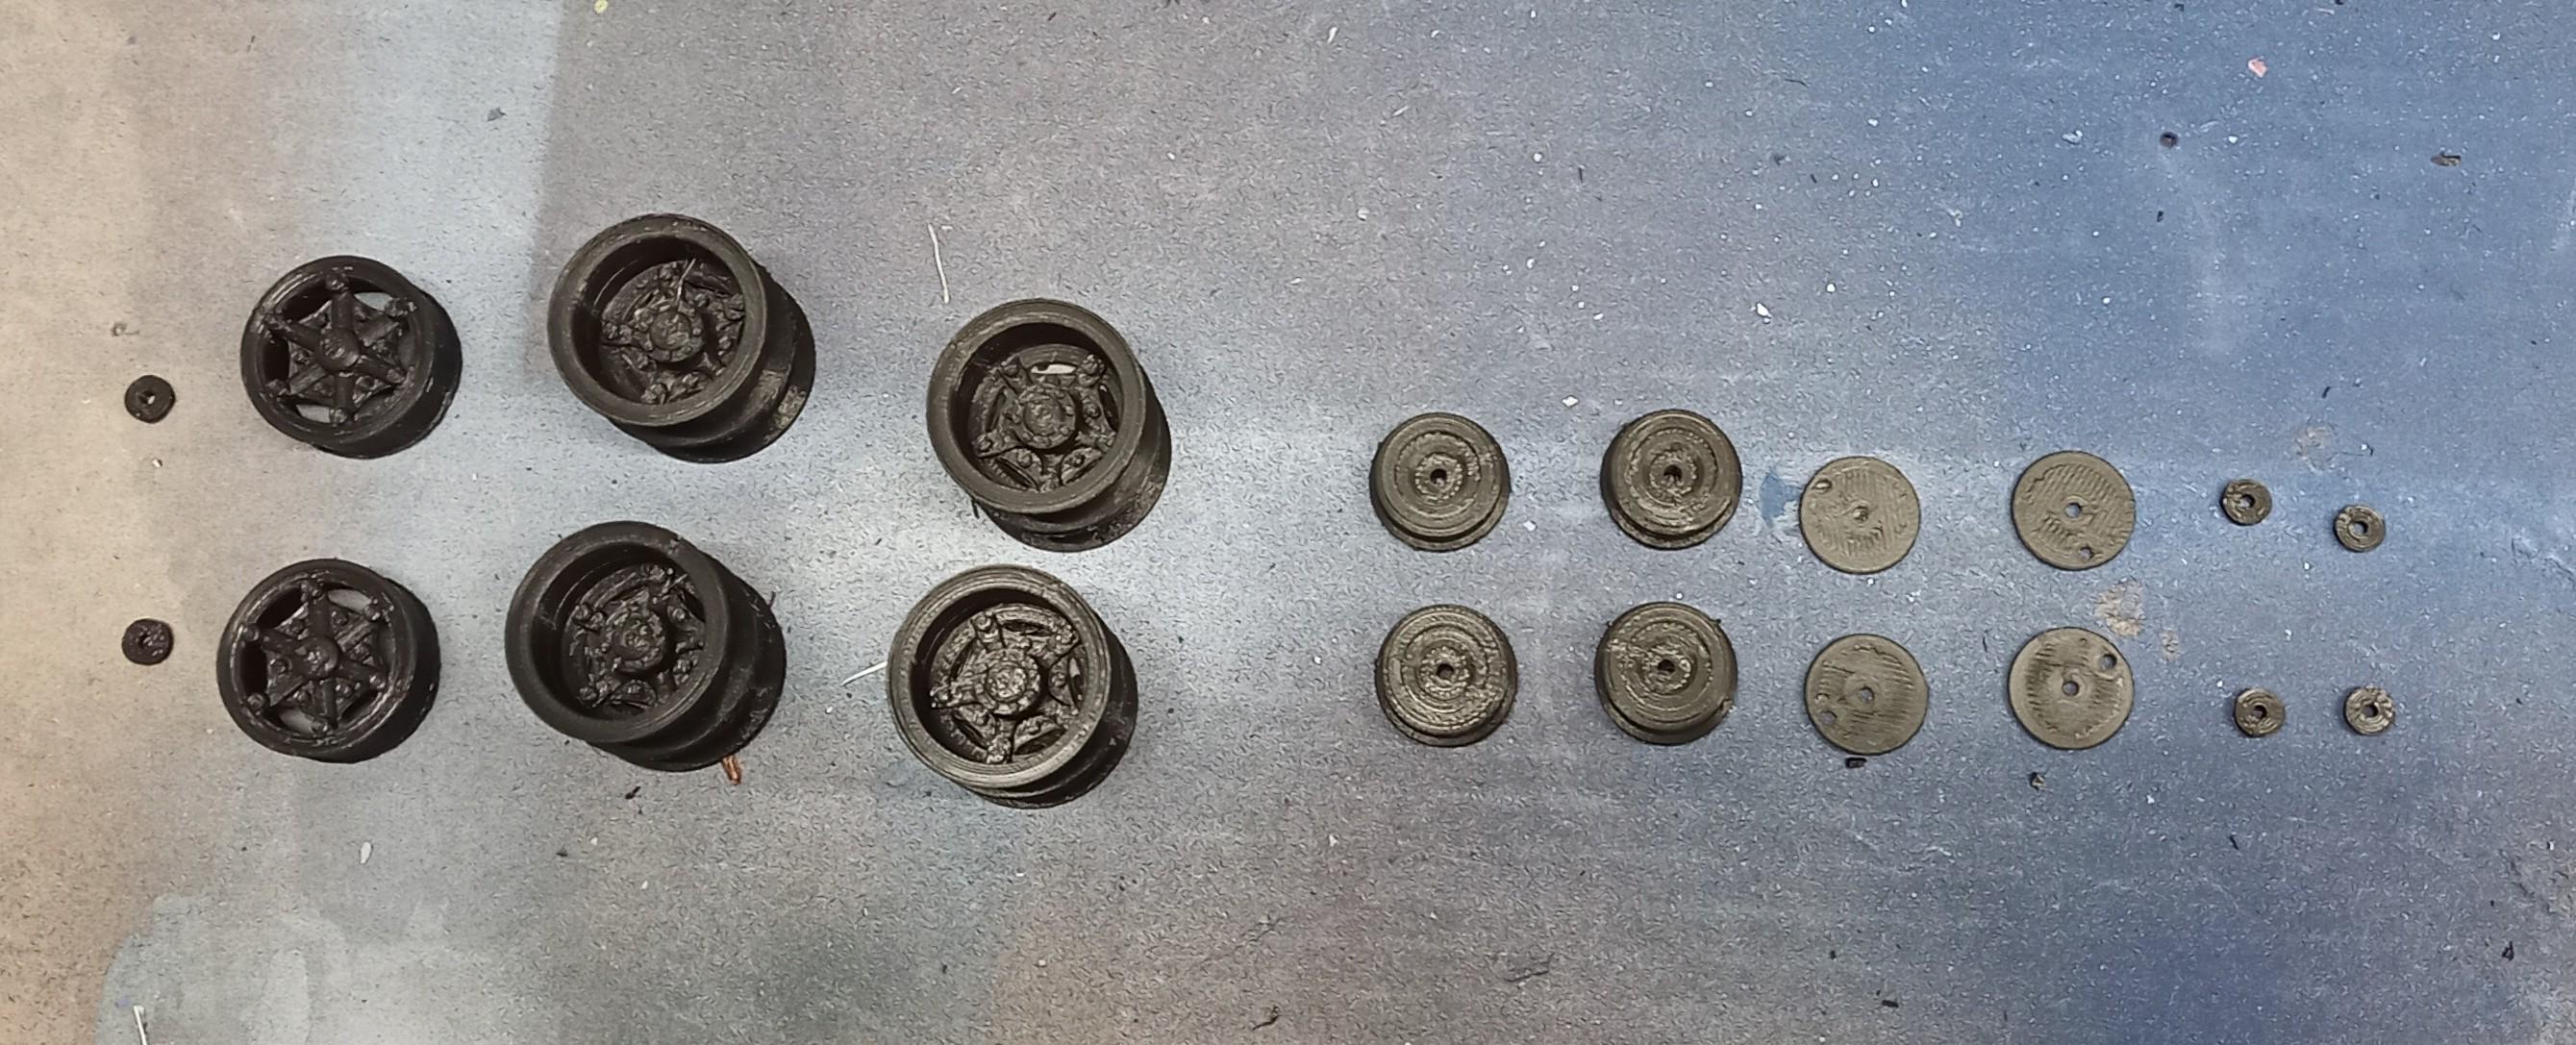
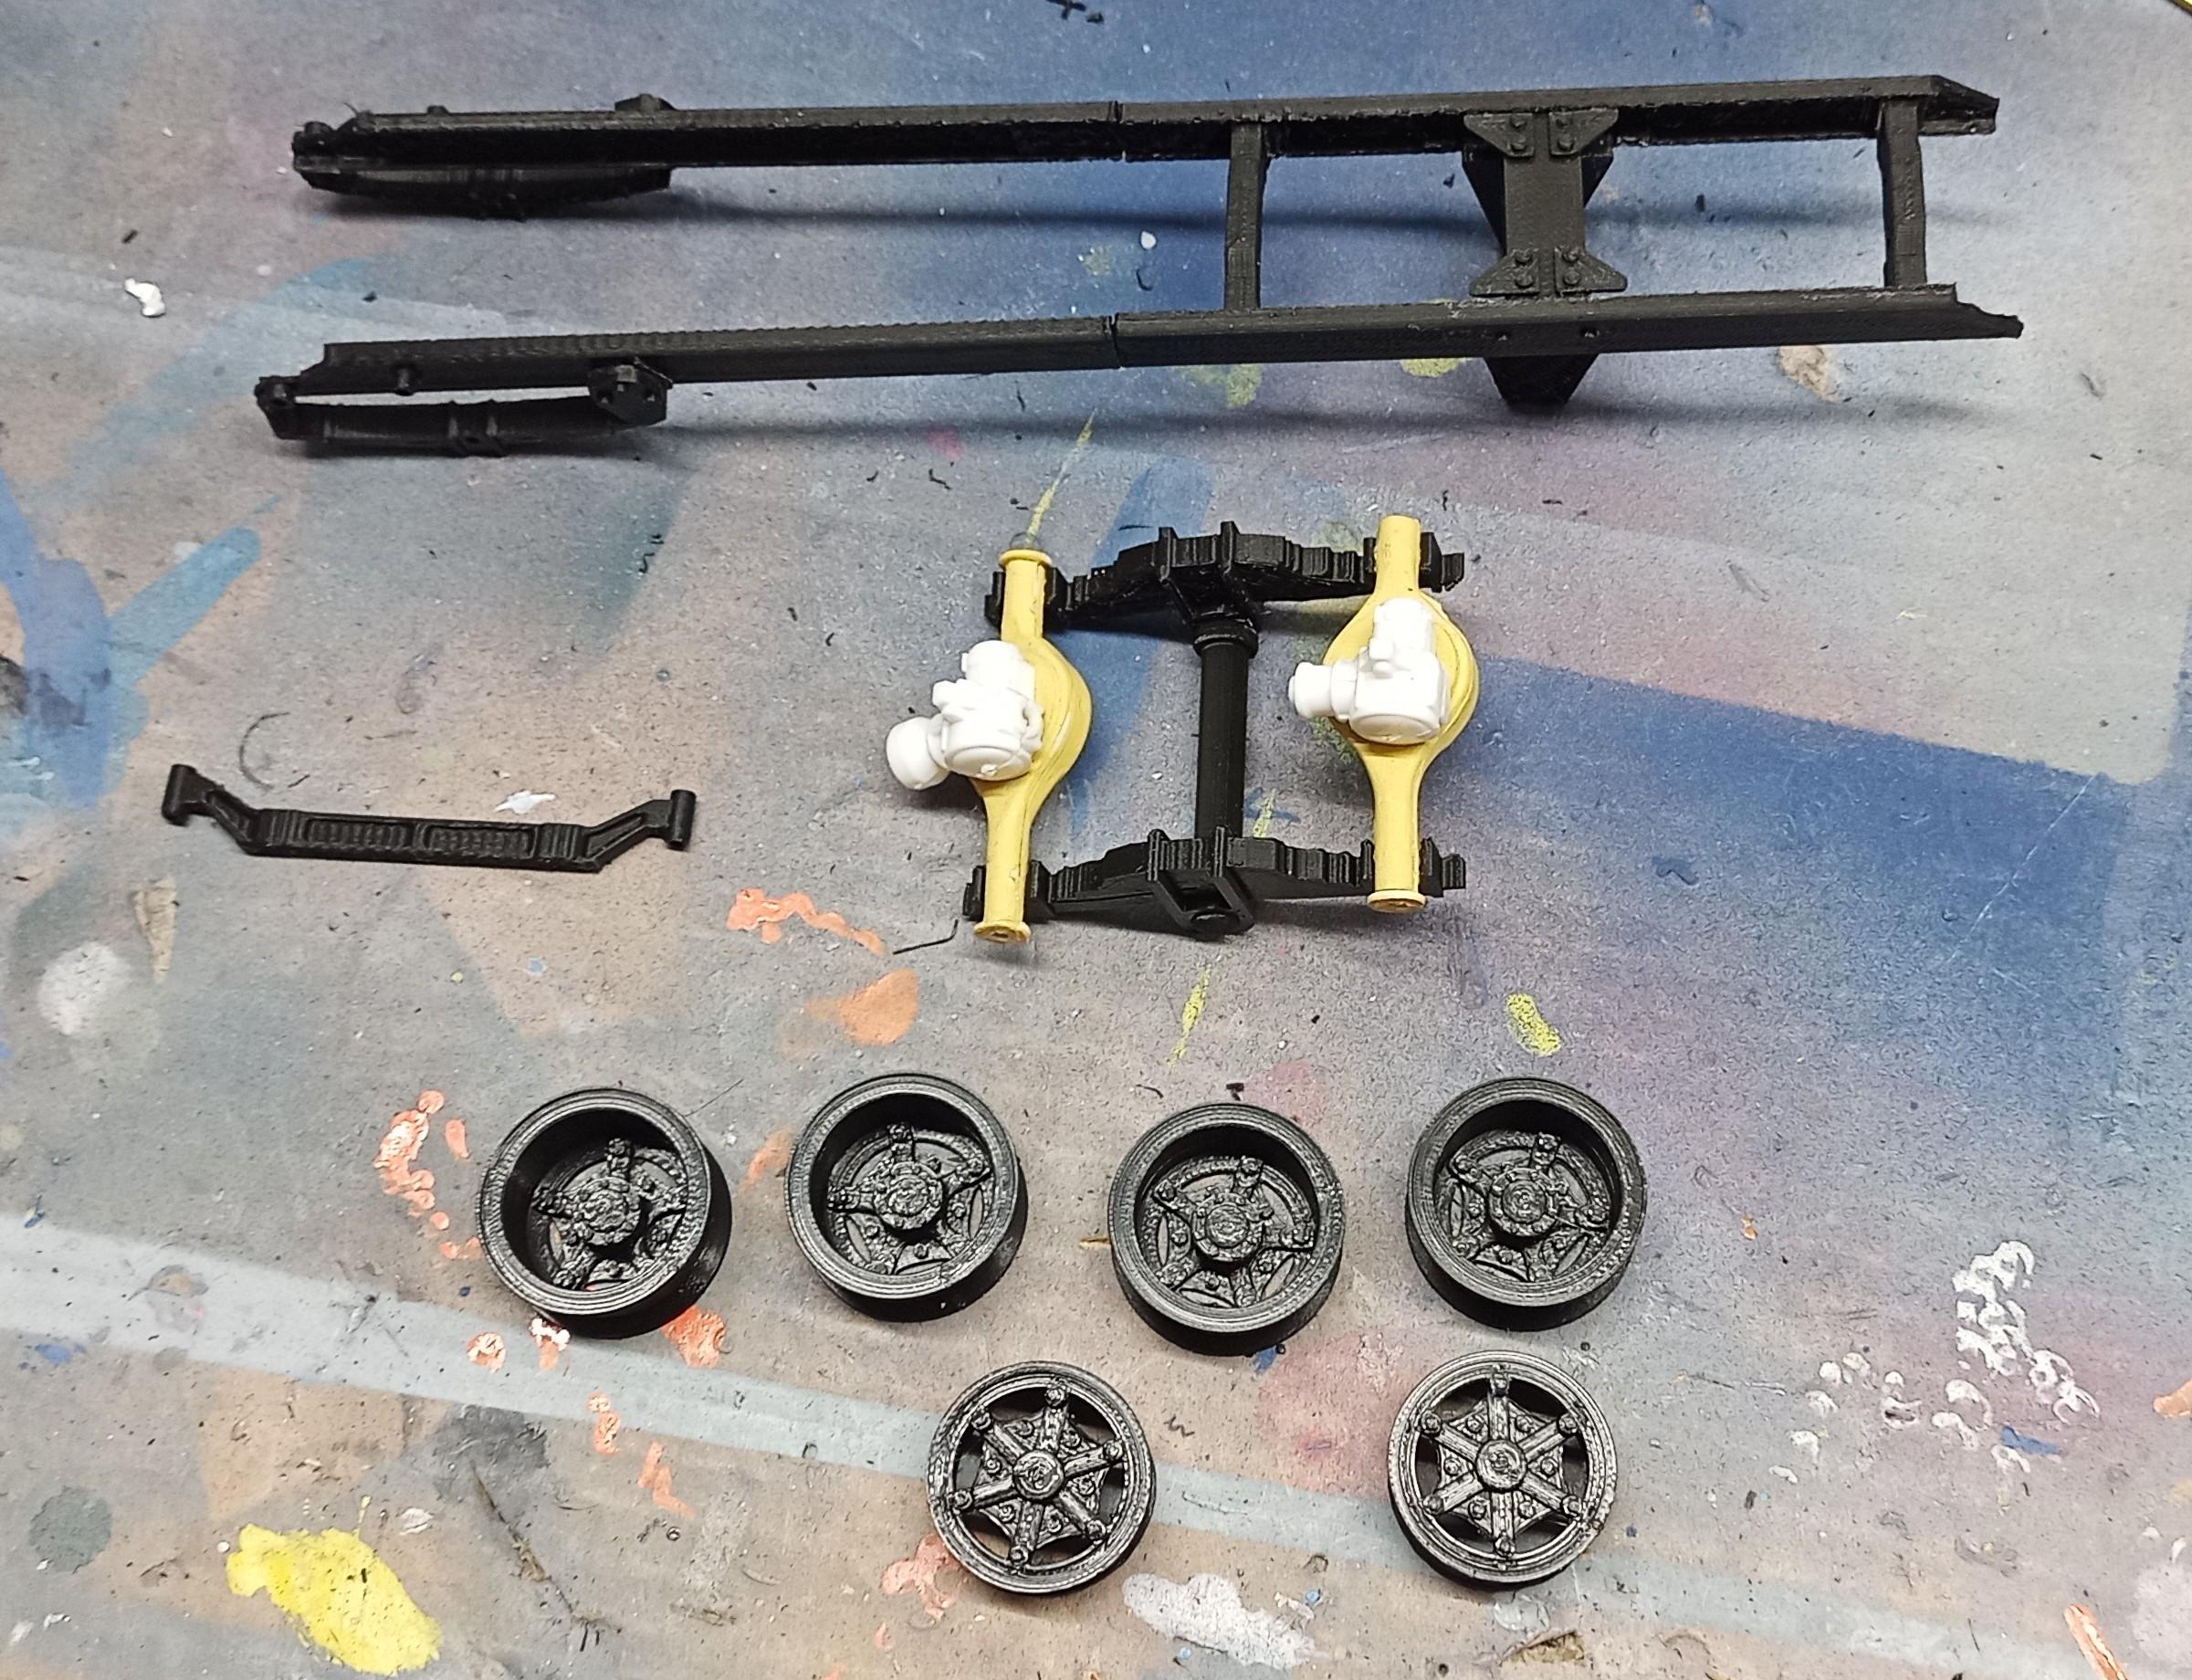
More progress on the chassis: Rear axles and battery box installed ... rear brake drums added: Wheels ready for mounting: It's the same orange as on the cab but it looks more yellowish here. Have to add a few things before painting the chassis though like brake chambers, shocks, brackets for exhaust and air cleaner, ...
-
Brockway 459
Jürgen M. replied to Jürgen M.'s topic in WIP: Model Trucks: Big Rigs and Heavy Equipment
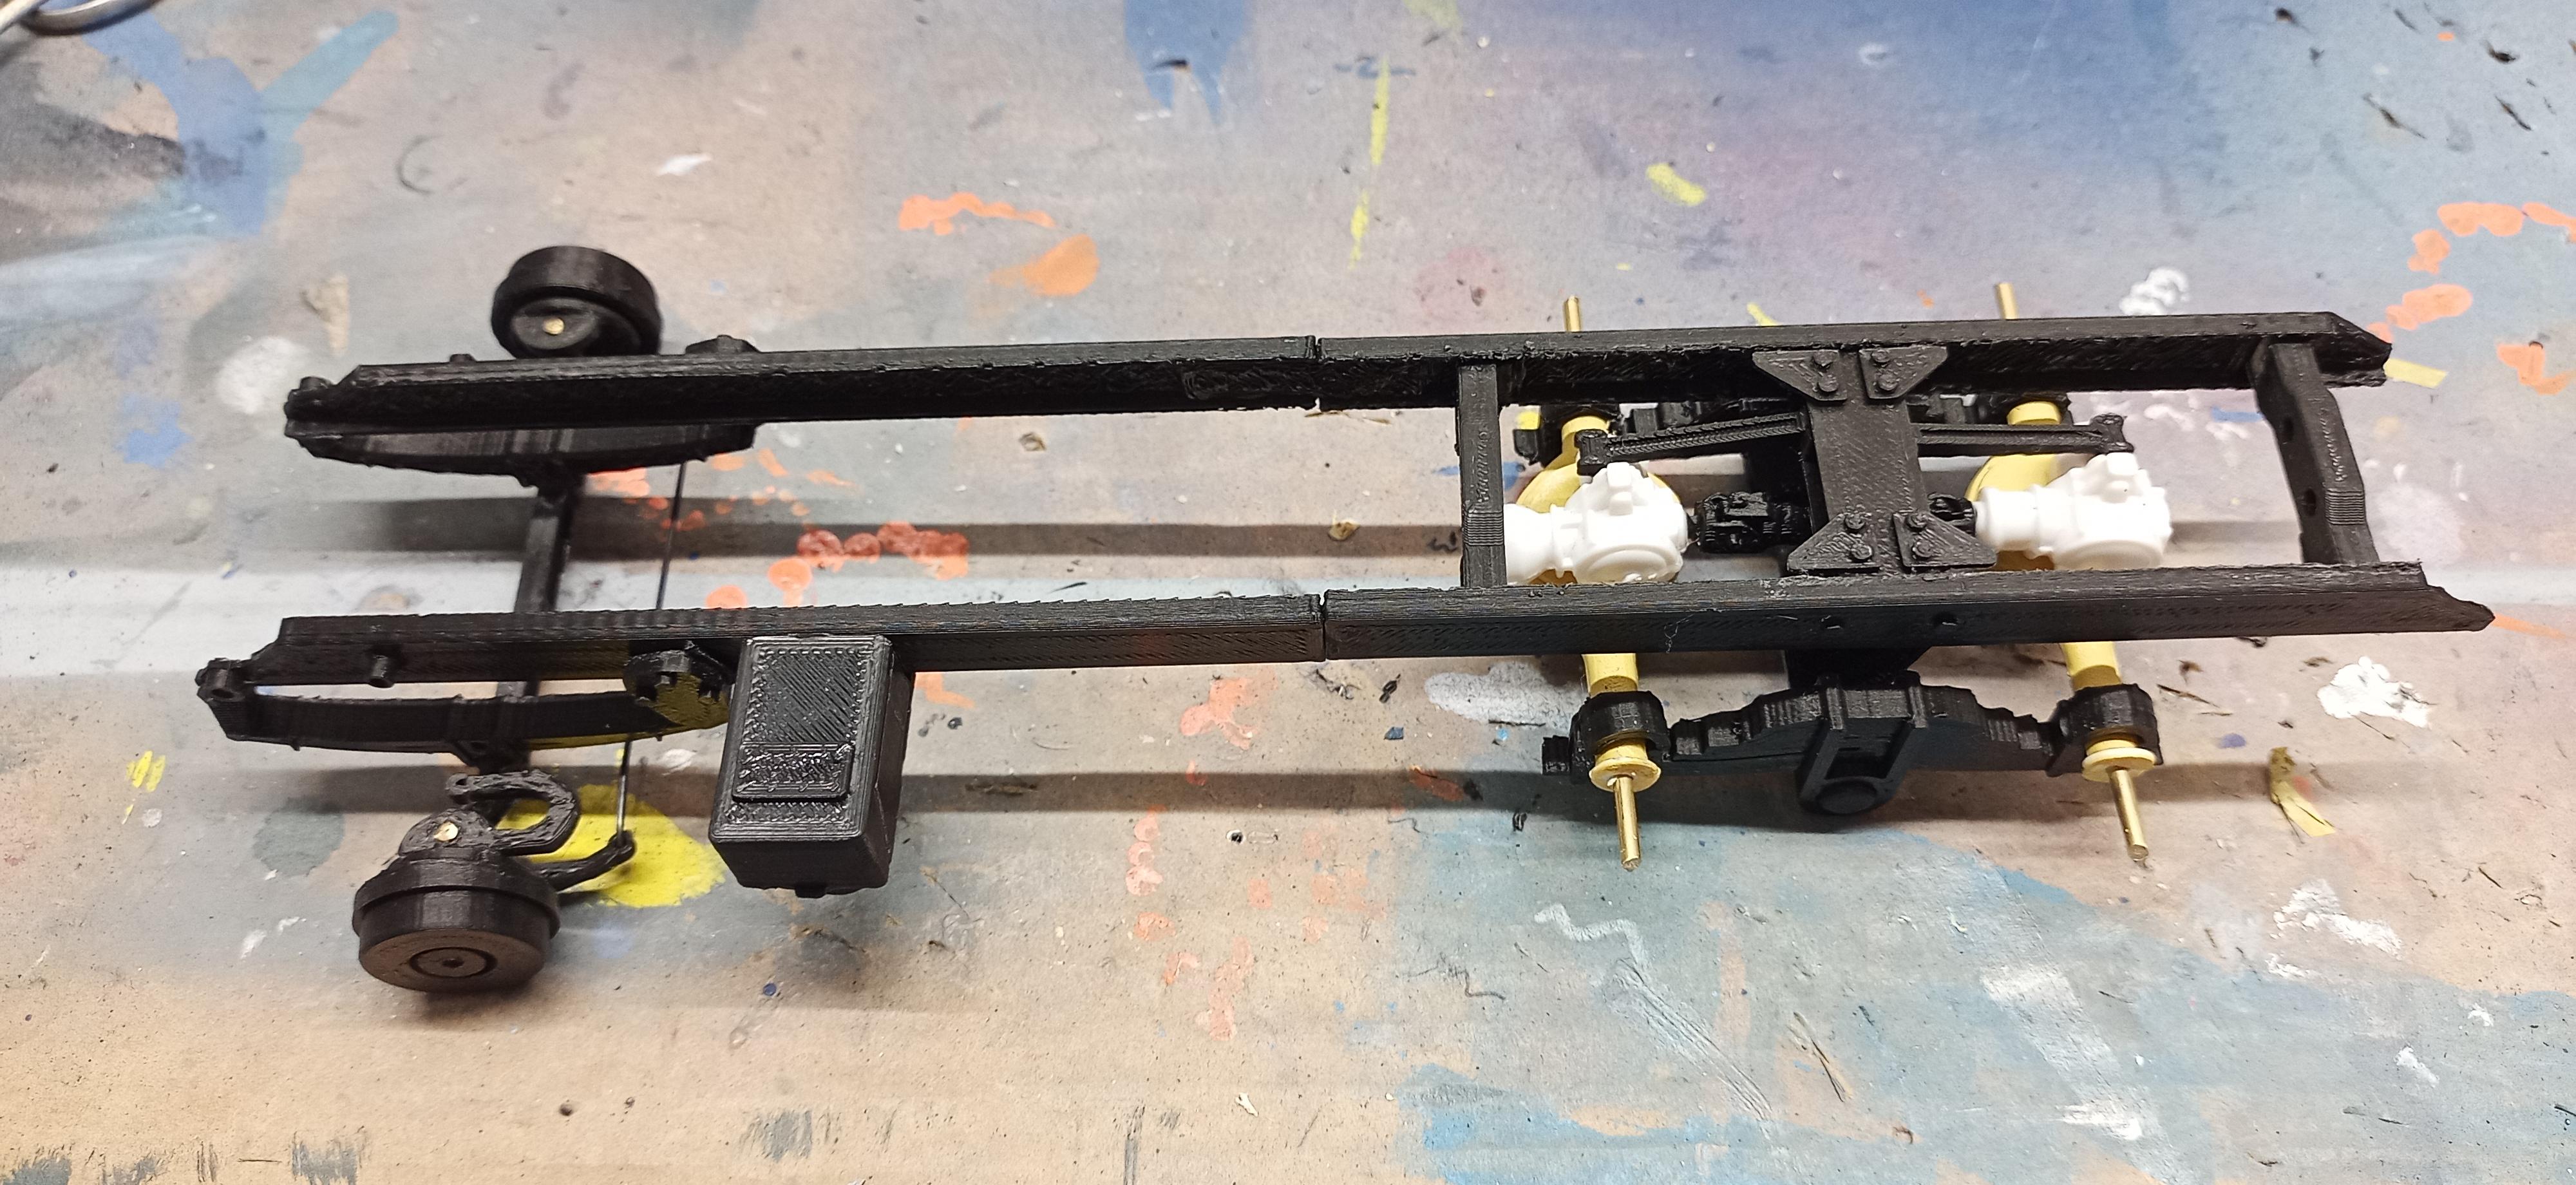
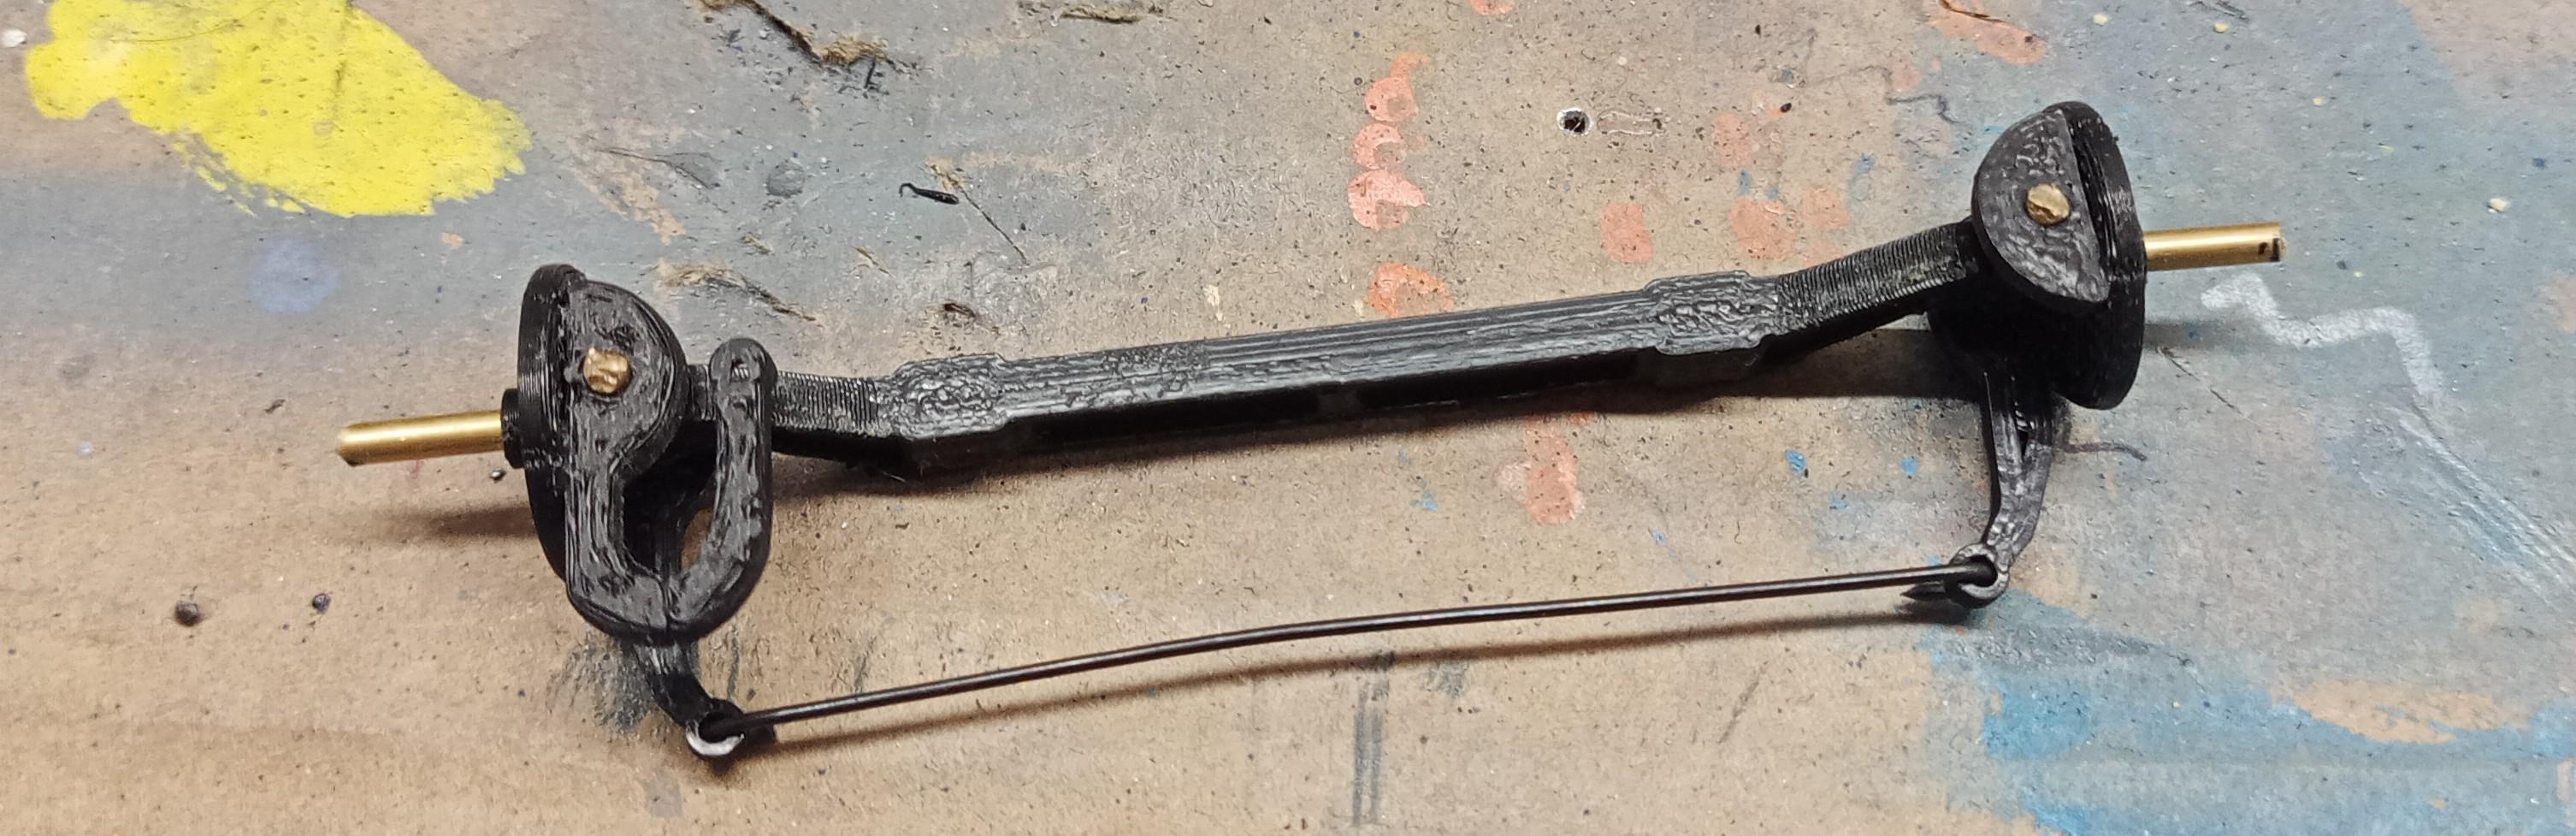
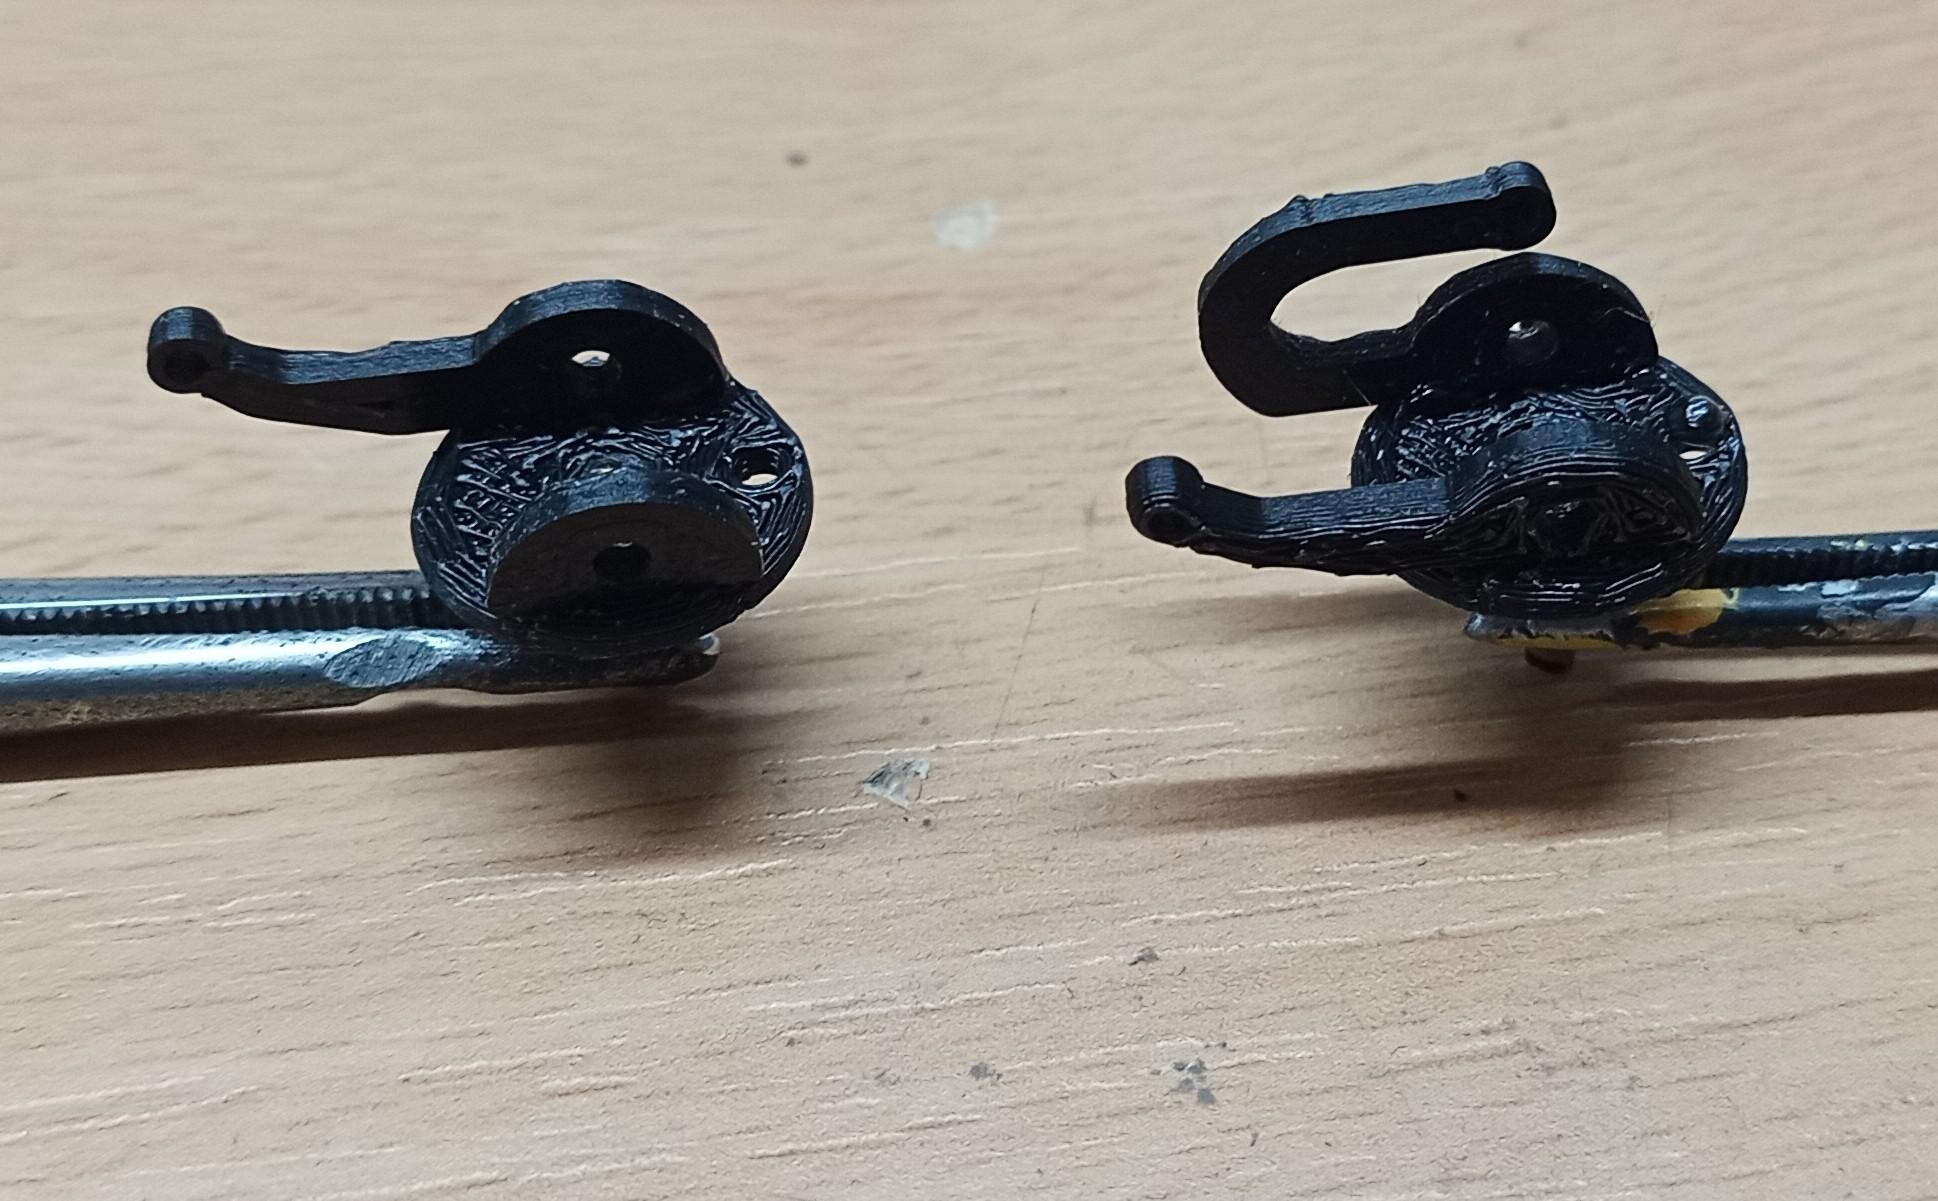
Rear suspension partially assembled: Have to print the drive shaft between the axles before I install the second axle. Front axle and steering pre-assembly: Wheels and rear brake drums: Front brake drums are in print!
-
Brockway 459
Jürgen M. replied to Jürgen M.'s topic in WIP: Model Trucks: Big Rigs and Heavy Equipment
I made a bit of progress on the chassis. The rear axles are box parts left over from the refurbished Cruiseliner! I managed to repair them good enough so I could use them here. Rims and front axle are also printed. Now the steering will follow. Then shocks, stabilizers, panhards, brake chambers, ...
-
Brockway 459
Jürgen M. replied to Jürgen M.'s topic in WIP: Model Trucks: Big Rigs and Heavy Equipment
Cool! Thanks! 👍 -
Brockway 459
Jürgen M. replied to Jürgen M.'s topic in WIP: Model Trucks: Big Rigs and Heavy Equipment
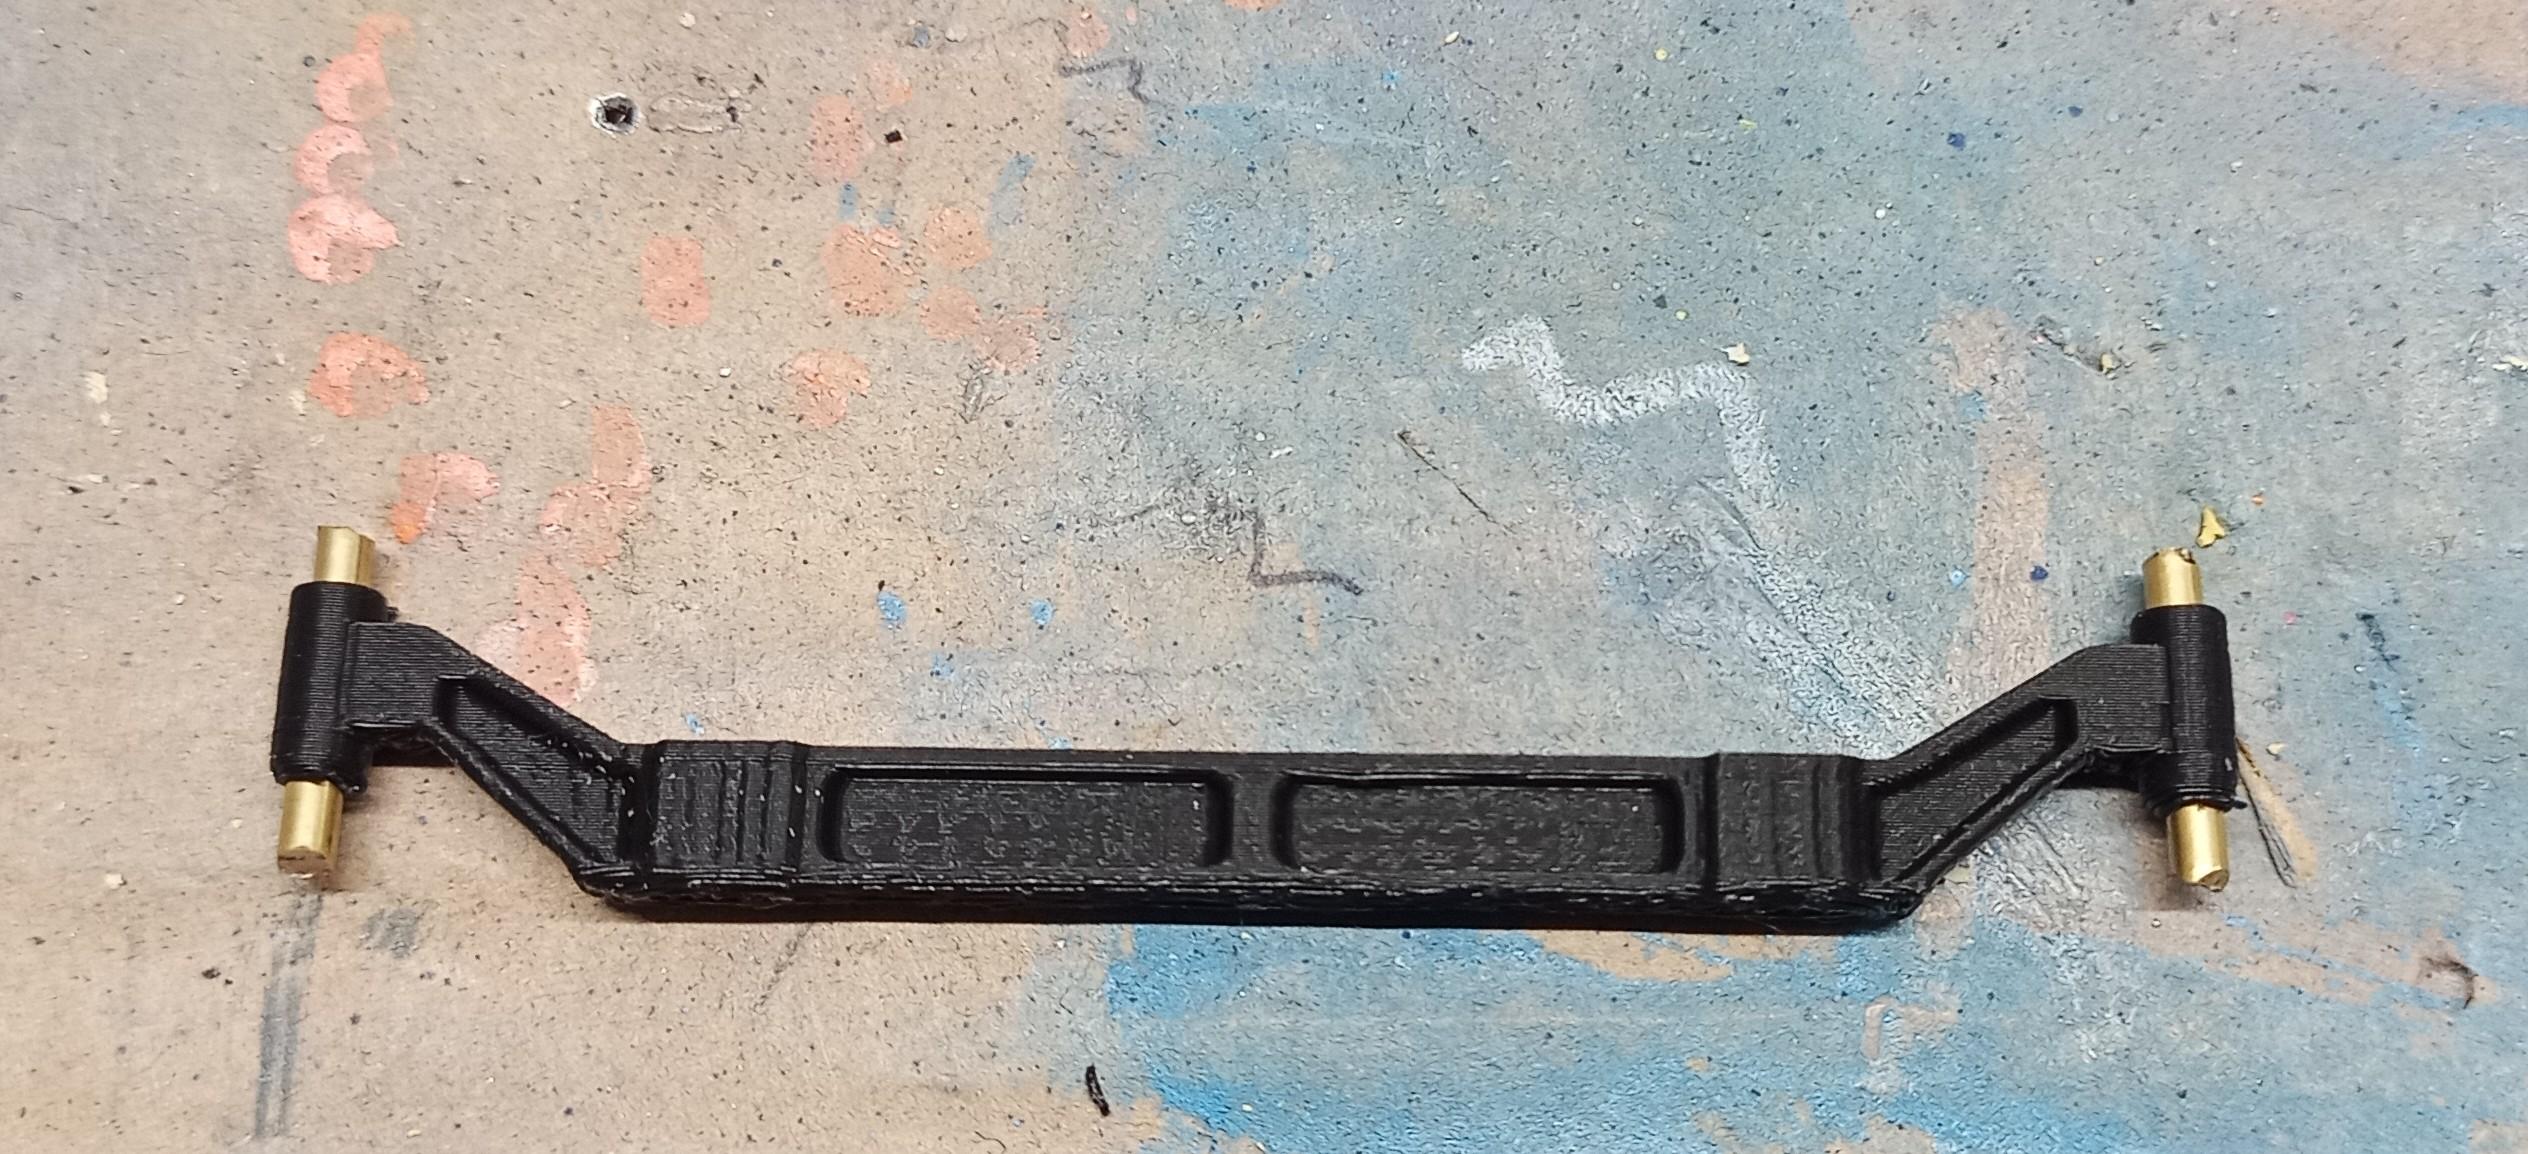
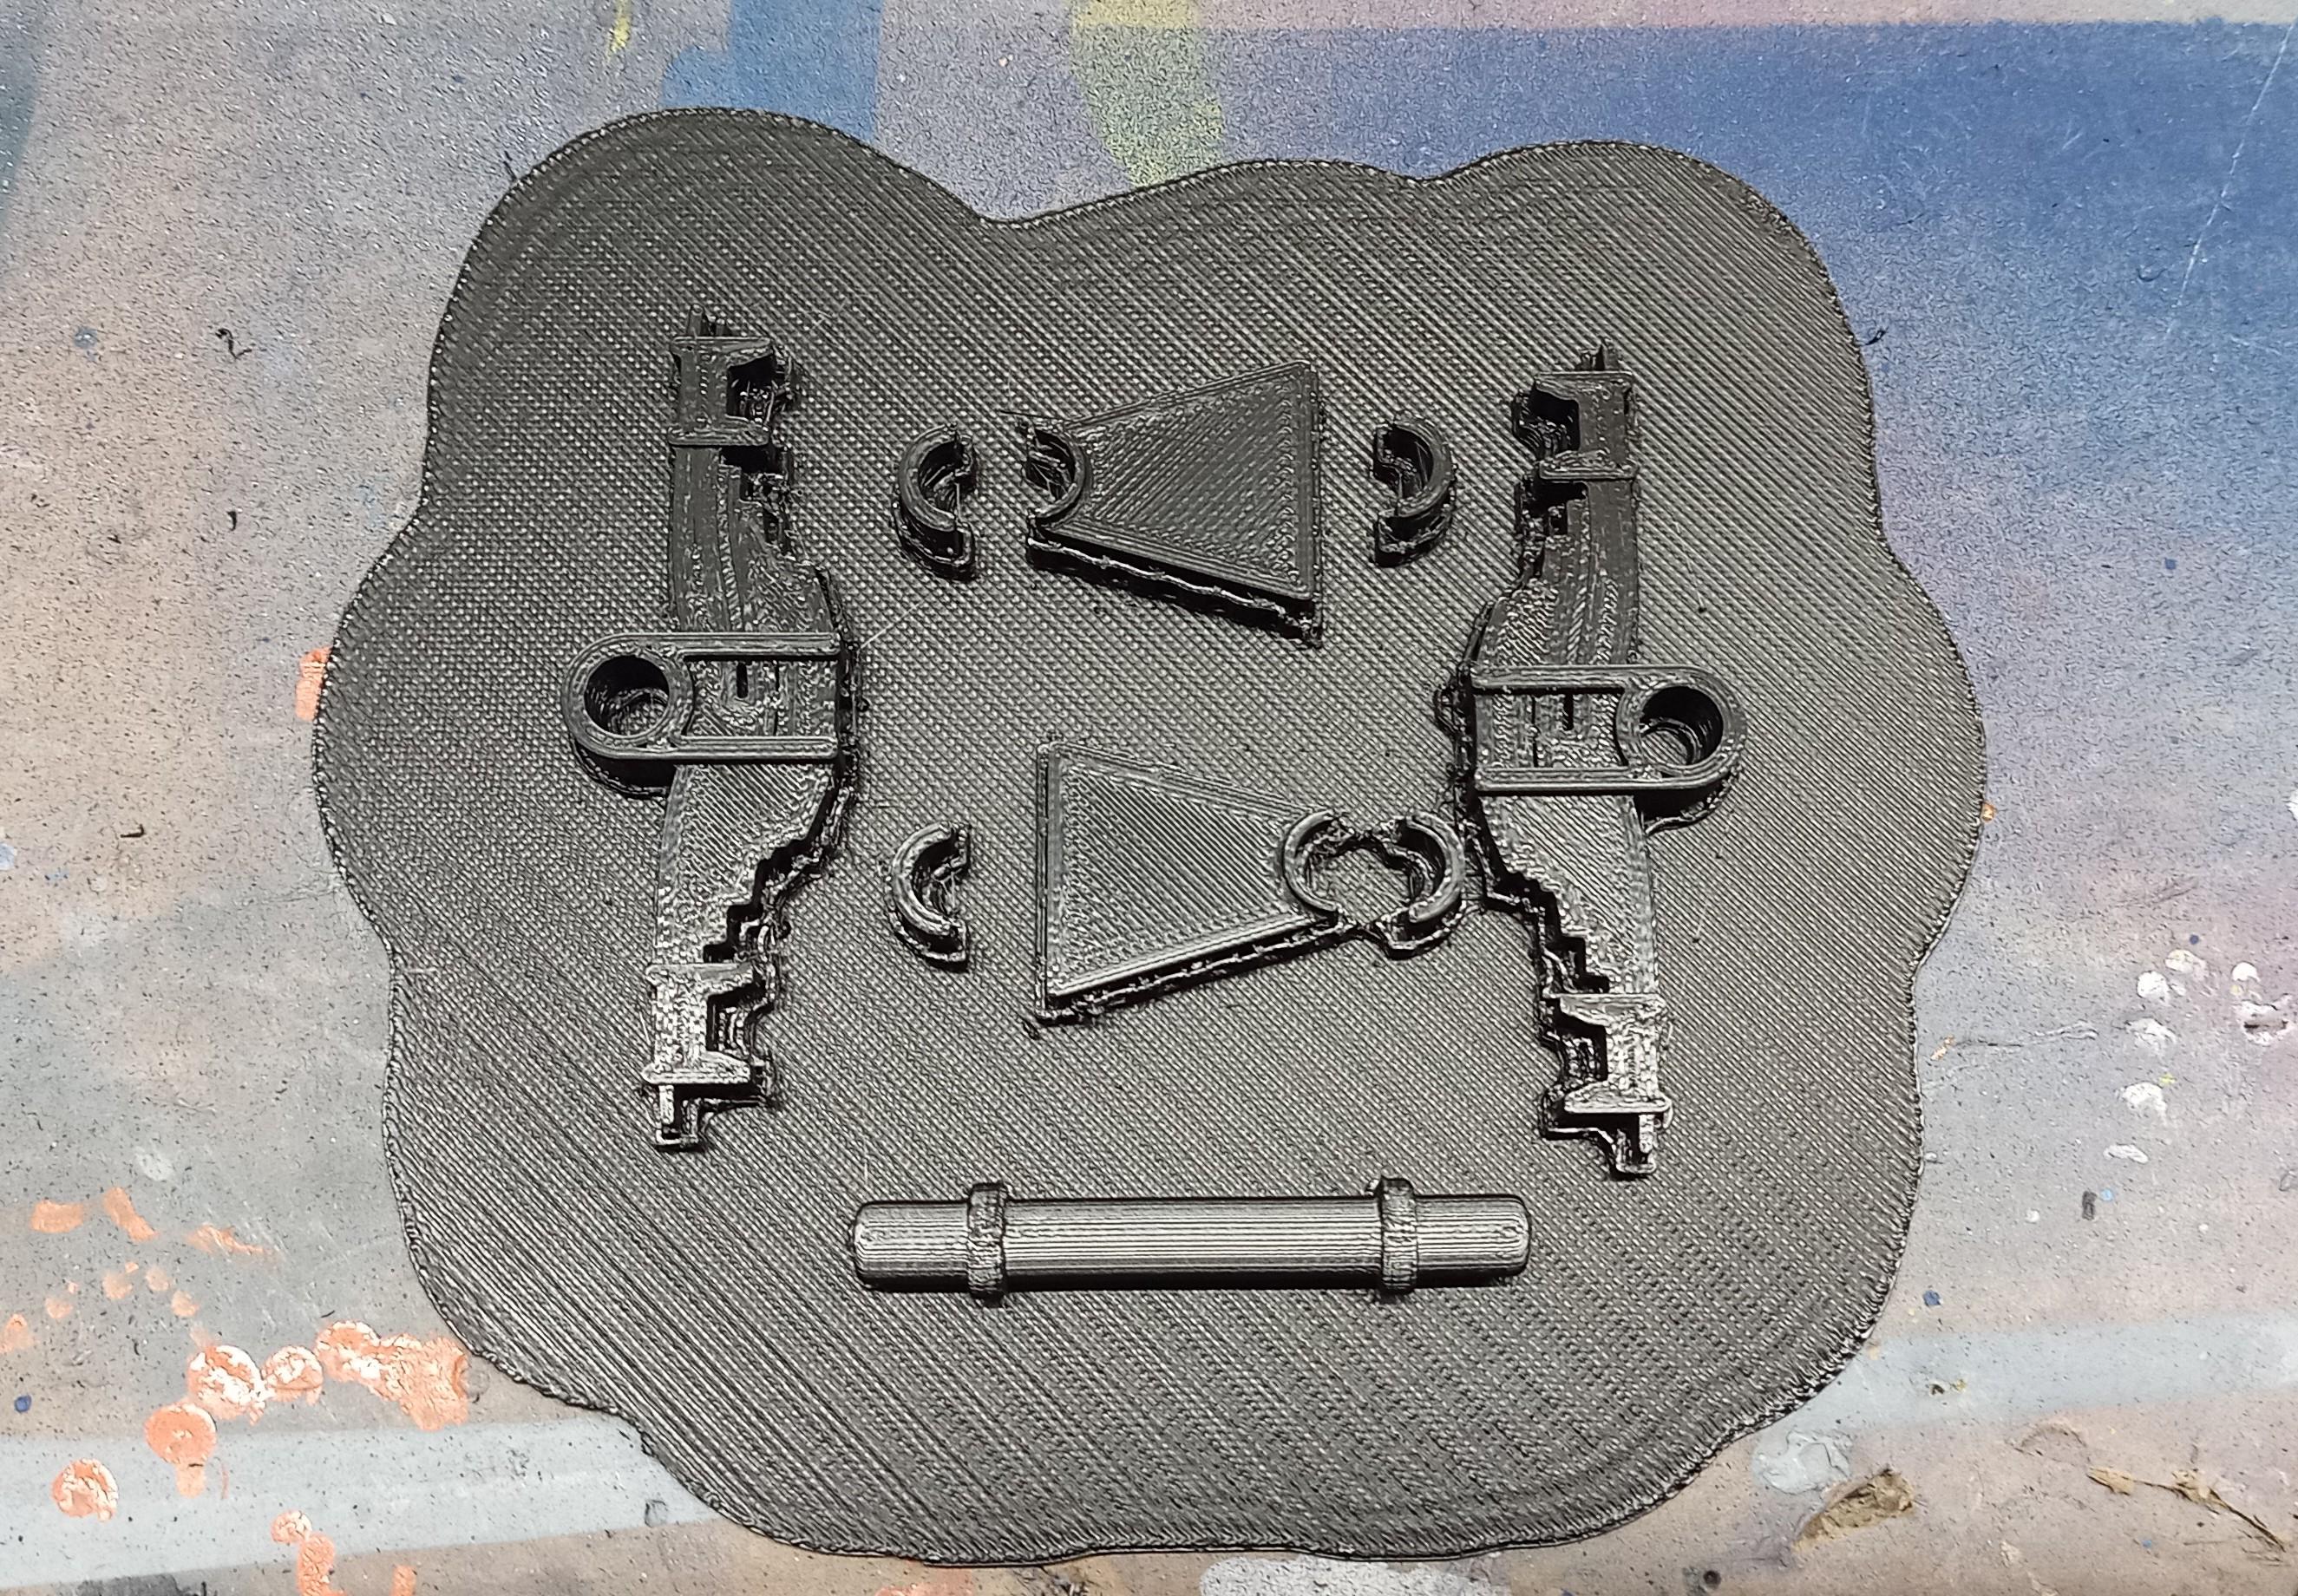
Rear suspension is printed. Next will be front and rear axles!
-
Brockway 459
Jürgen M. replied to Jürgen M.'s topic in WIP: Model Trucks: Big Rigs and Heavy Equipment
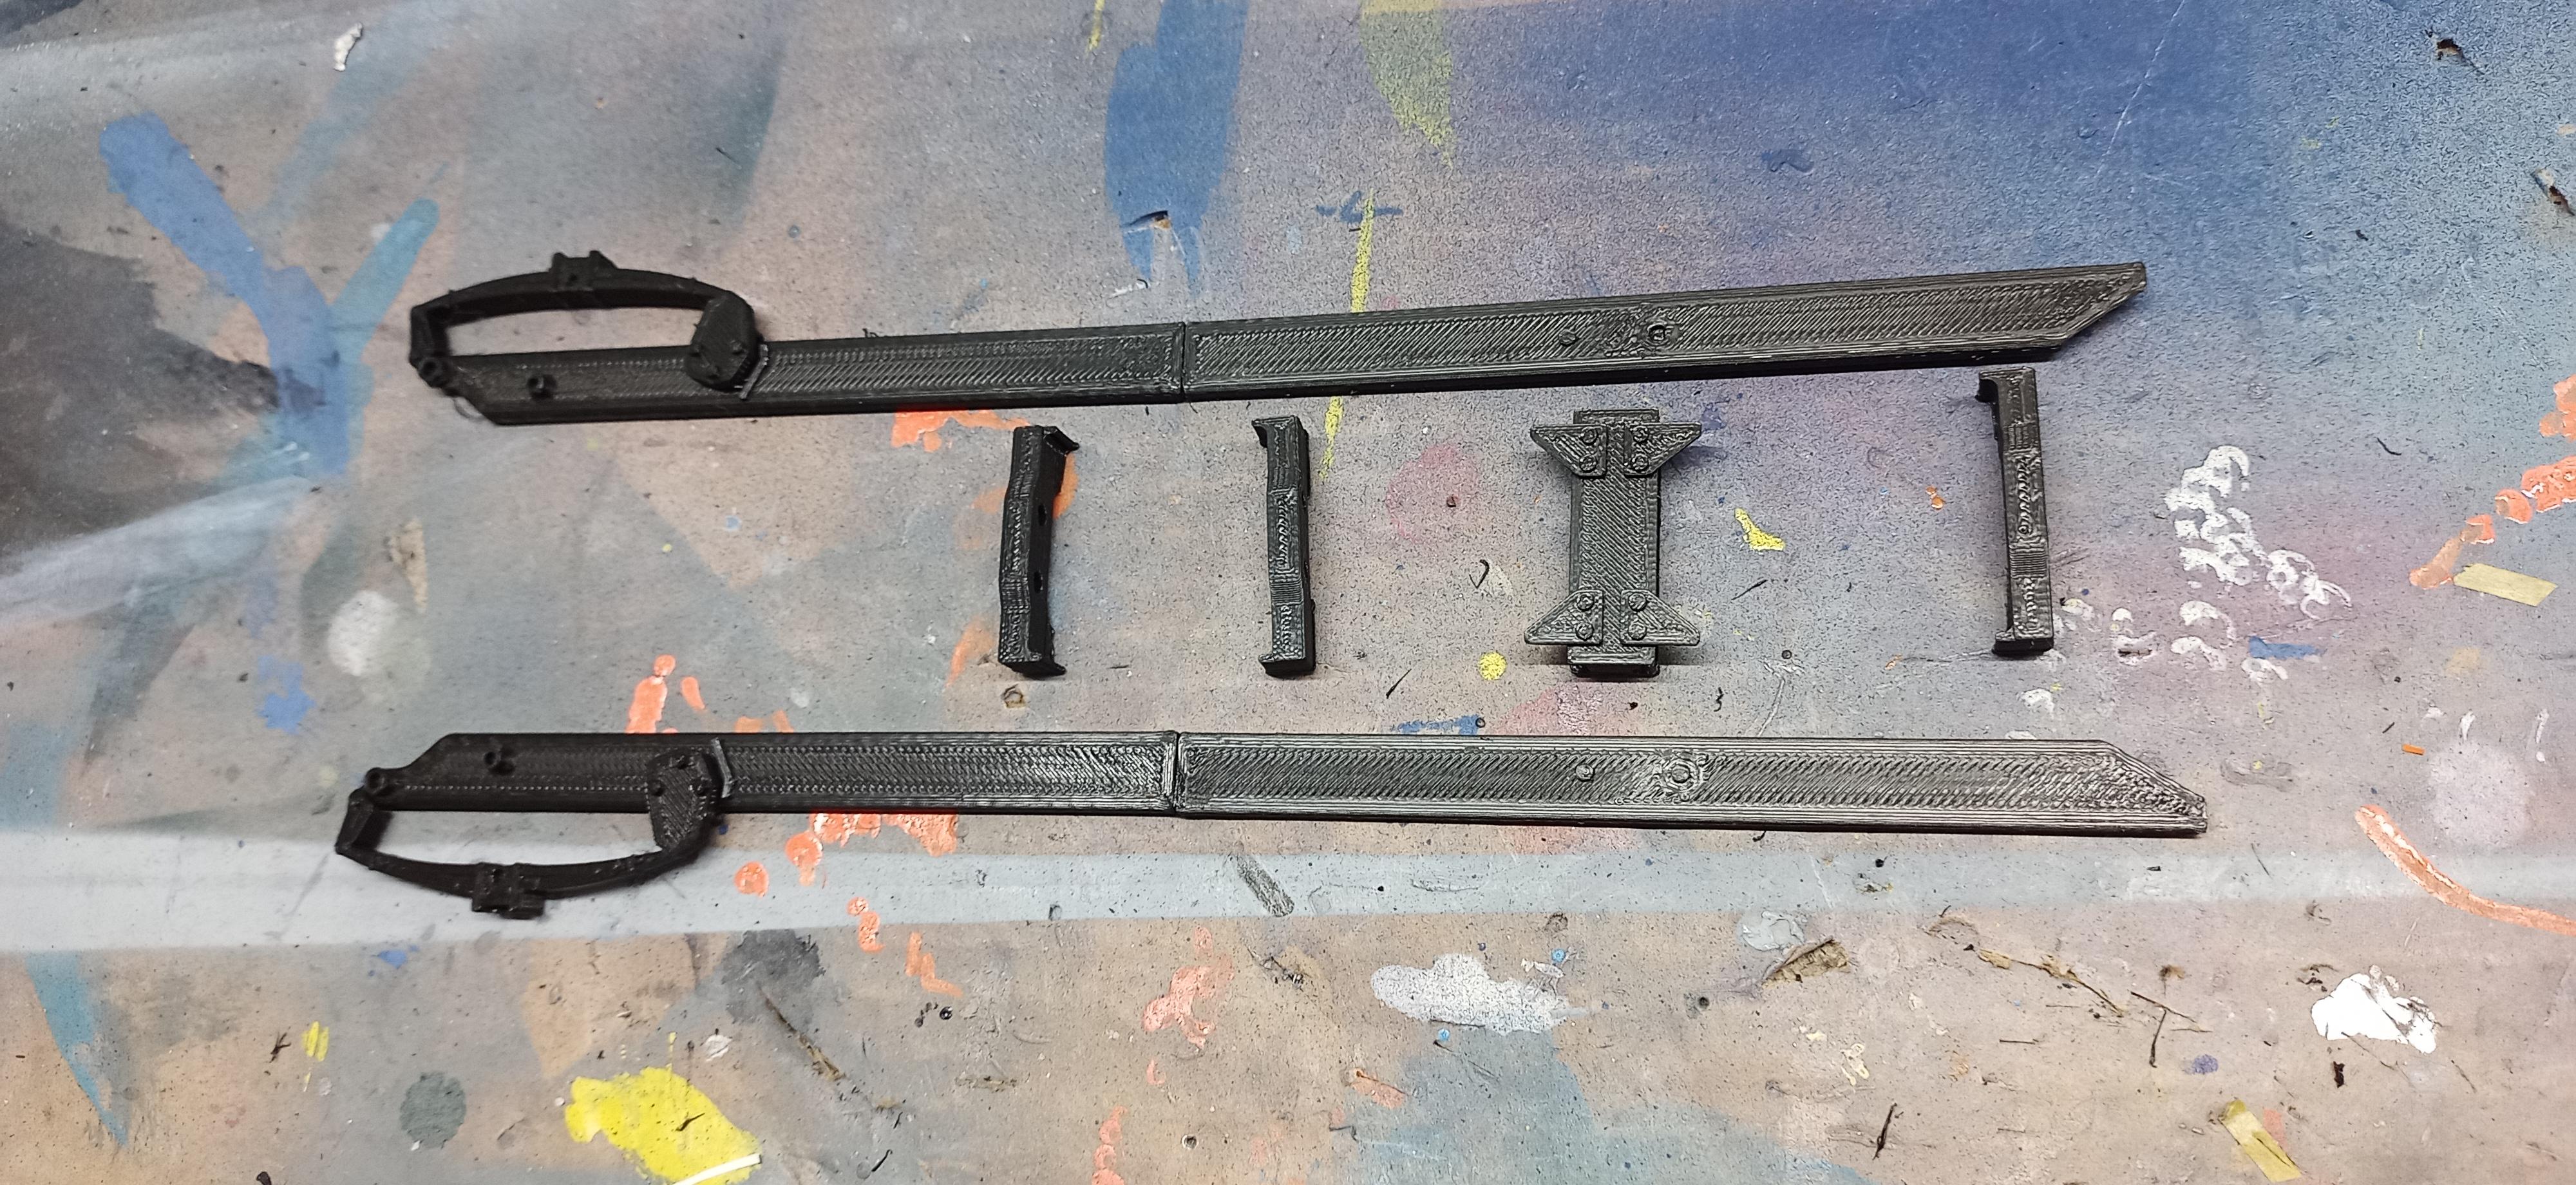
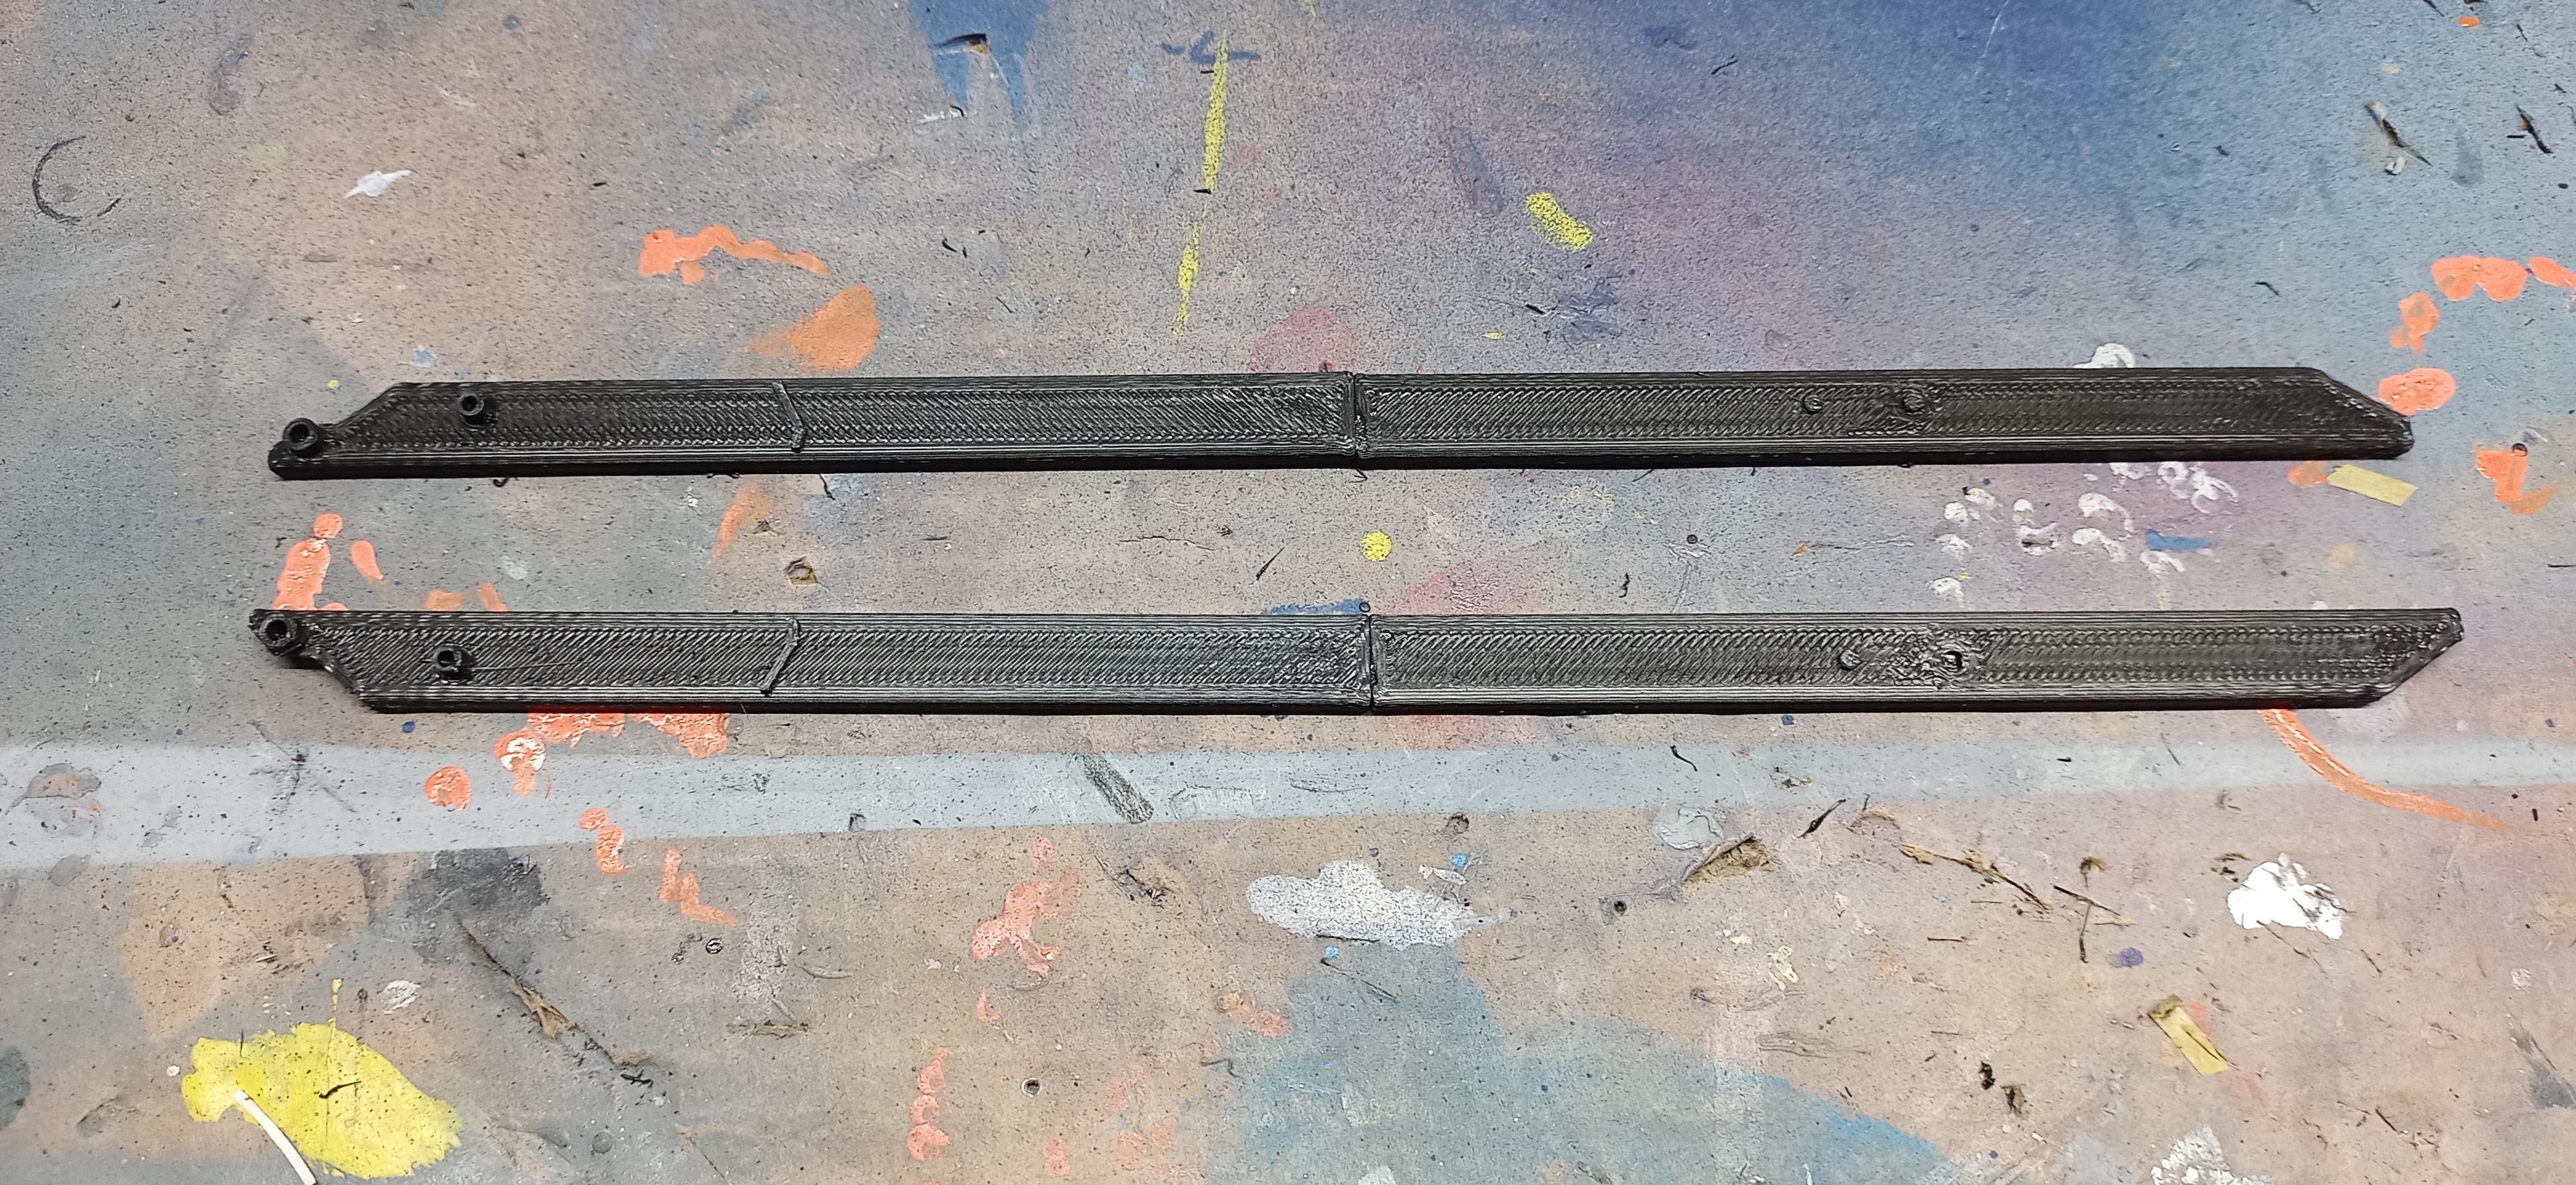
First chassis parts are printed and rails connected: Had to split up the rails cause they wouldn't have fit on the printer bed in full length!
-
KW C500 OIL FIELD
Jürgen M. replied to Swamp Dog's topic in WIP: Model Trucks: Big Rigs and Heavy Equipment
Hope you Had a good and complete recovery? No foolin around with that! The KW looks awesome! Since I'm no specialist I can't tell if anything is too big or too small! To me it looks perfect! Just WOW! -
Western Star 4900 FA plow truck
Jürgen M. replied to BK9300's topic in WIP: Model Trucks: Big Rigs and Heavy Equipment
Great pics of an even greater build Brian! I can only repeat myself: looks so darned real! -
Mack DM600/Leach Garbage Truck
Jürgen M. replied to Scott Eriksen's topic in WIP: Model Trucks: Big Rigs and Heavy Equipment
Looking good Scott! Nice details and a really clean job! -
Wow, you did a master job there restoring that trio. Amazing how nice you rebuilt the cabs, especially the KW! Chapeau my friend! 👍