Jürgen M.
-
Posts
1,783 -
Joined
-
Last visited
Content Type
Profiles
Forums
Events
Gallery
Everything posted by Jürgen M.
-

Brockway 459
Jürgen M. replied to Jürgen M.'s topic in WIP: Model Trucks: Big Rigs and Heavy Equipment
Thanks Ron. I'm still not convinced of purchasing a resin printer. Of course they create better surfaces but I will try to further improve my prints before I decide. -
Brockway 459
Jürgen M. replied to Jürgen M.'s topic in WIP: Model Trucks: Big Rigs and Heavy Equipment
Thanks. I use the same. Nice of you to help! 😊 -
Brockway 459
Jürgen M. replied to Jürgen M.'s topic in WIP: Model Trucks: Big Rigs and Heavy Equipment
Would you mind telling me which print parameters you chose for that print? Looks really nice! -
Brockway 459
Jürgen M. replied to Jürgen M.'s topic in WIP: Model Trucks: Big Rigs and Heavy Equipment
Got the windows fit in and the roof on. Now I'll begin printing the chassis!
-
Brockway 459
Jürgen M. replied to Jürgen M.'s topic in WIP: Model Trucks: Big Rigs and Heavy Equipment
The cab is almost completed. Tomorrow I'll fit in the windows and then close the roof. When that's done I'll begin printing the chassis and engine!
-
Brockway 459
Jürgen M. replied to Jürgen M.'s topic in WIP: Model Trucks: Big Rigs and Heavy Equipment
Yes Scott, it is an issue of positioning. That's why I split up the cab this time to lay down the pieces flat. Since the cab is not as flat as a Pete or a KW cab it's not the perfect strategy but printing it in one piece is even worse. I'll keep experimenting to improve the quality. I might try that surfacer but that only works If you don't have any fine details that will be covered or sanded away. But thanks for the idea. I'll see if I can get that stuff and try it out. I'm always open for new ideas! -
Brockway 459
Jürgen M. replied to Jürgen M.'s topic in WIP: Model Trucks: Big Rigs and Heavy Equipment
I have a Creality Ender 3 V3. I've tried using a 0.2 nozzle but the results weren't better. Thanks though for the tip! When I'm finished with this build I might do some more experimenting! -
Brockway 459
Jürgen M. replied to Jürgen M.'s topic in WIP: Model Trucks: Big Rigs and Heavy Equipment
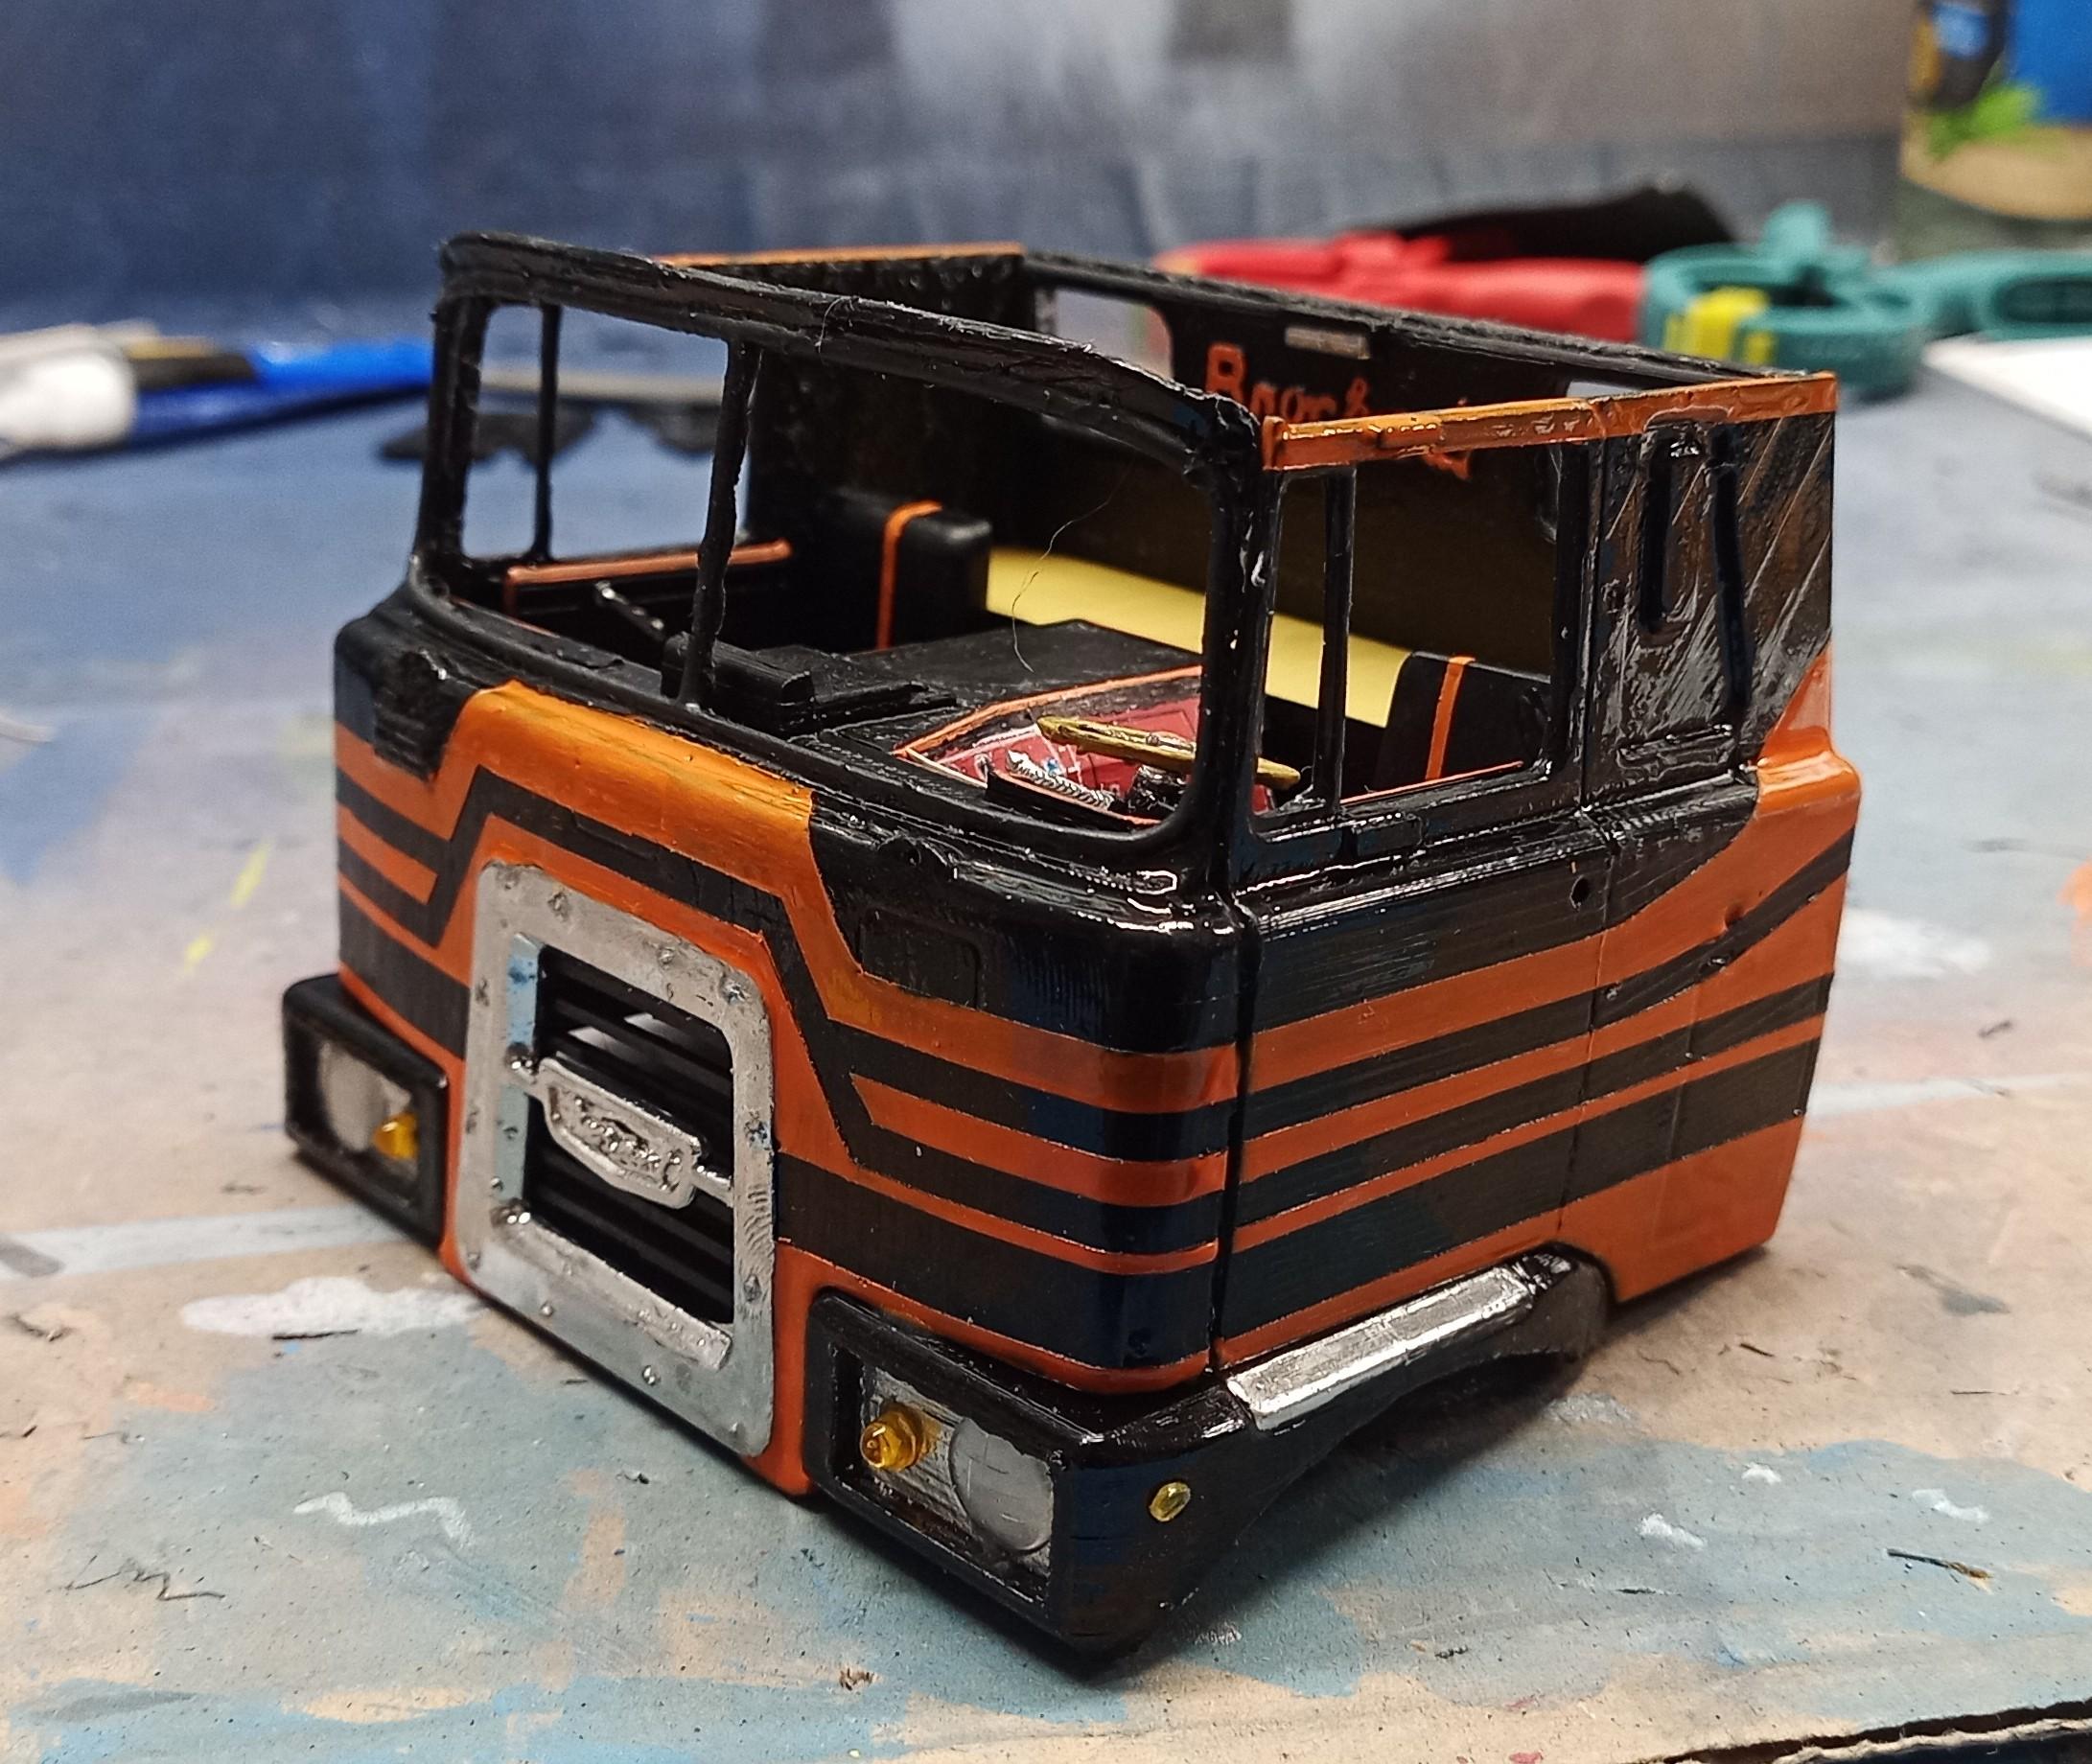
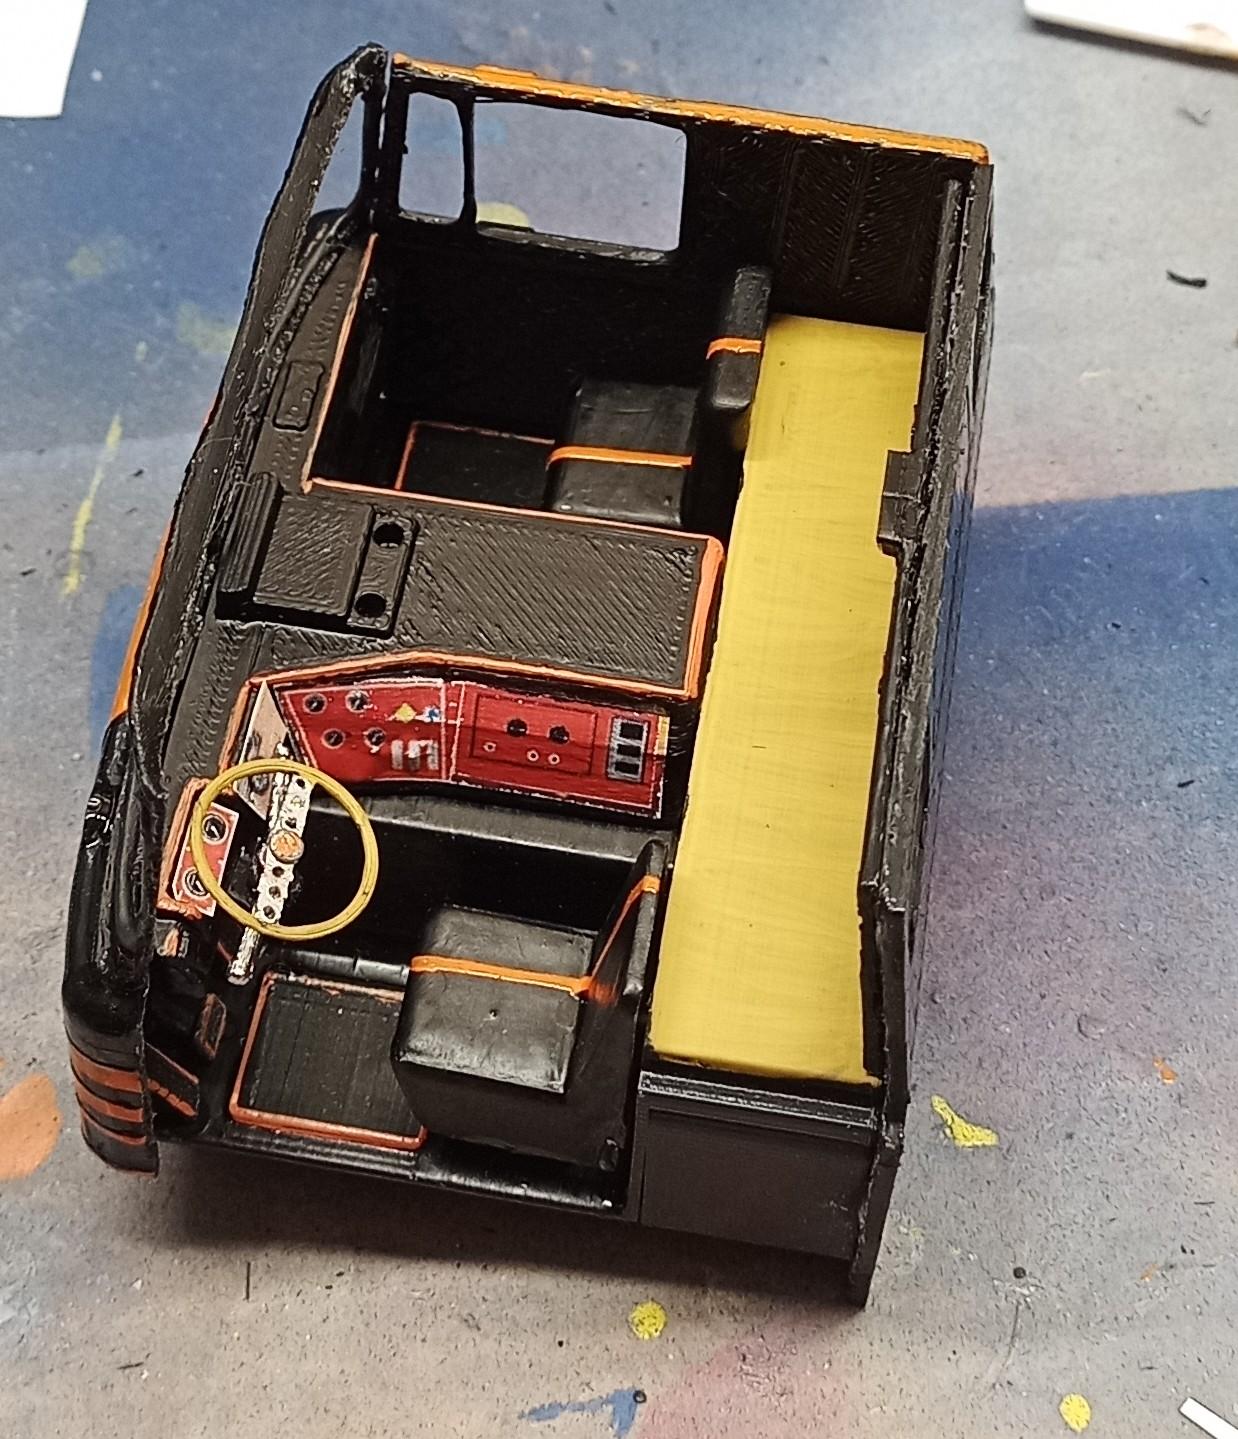
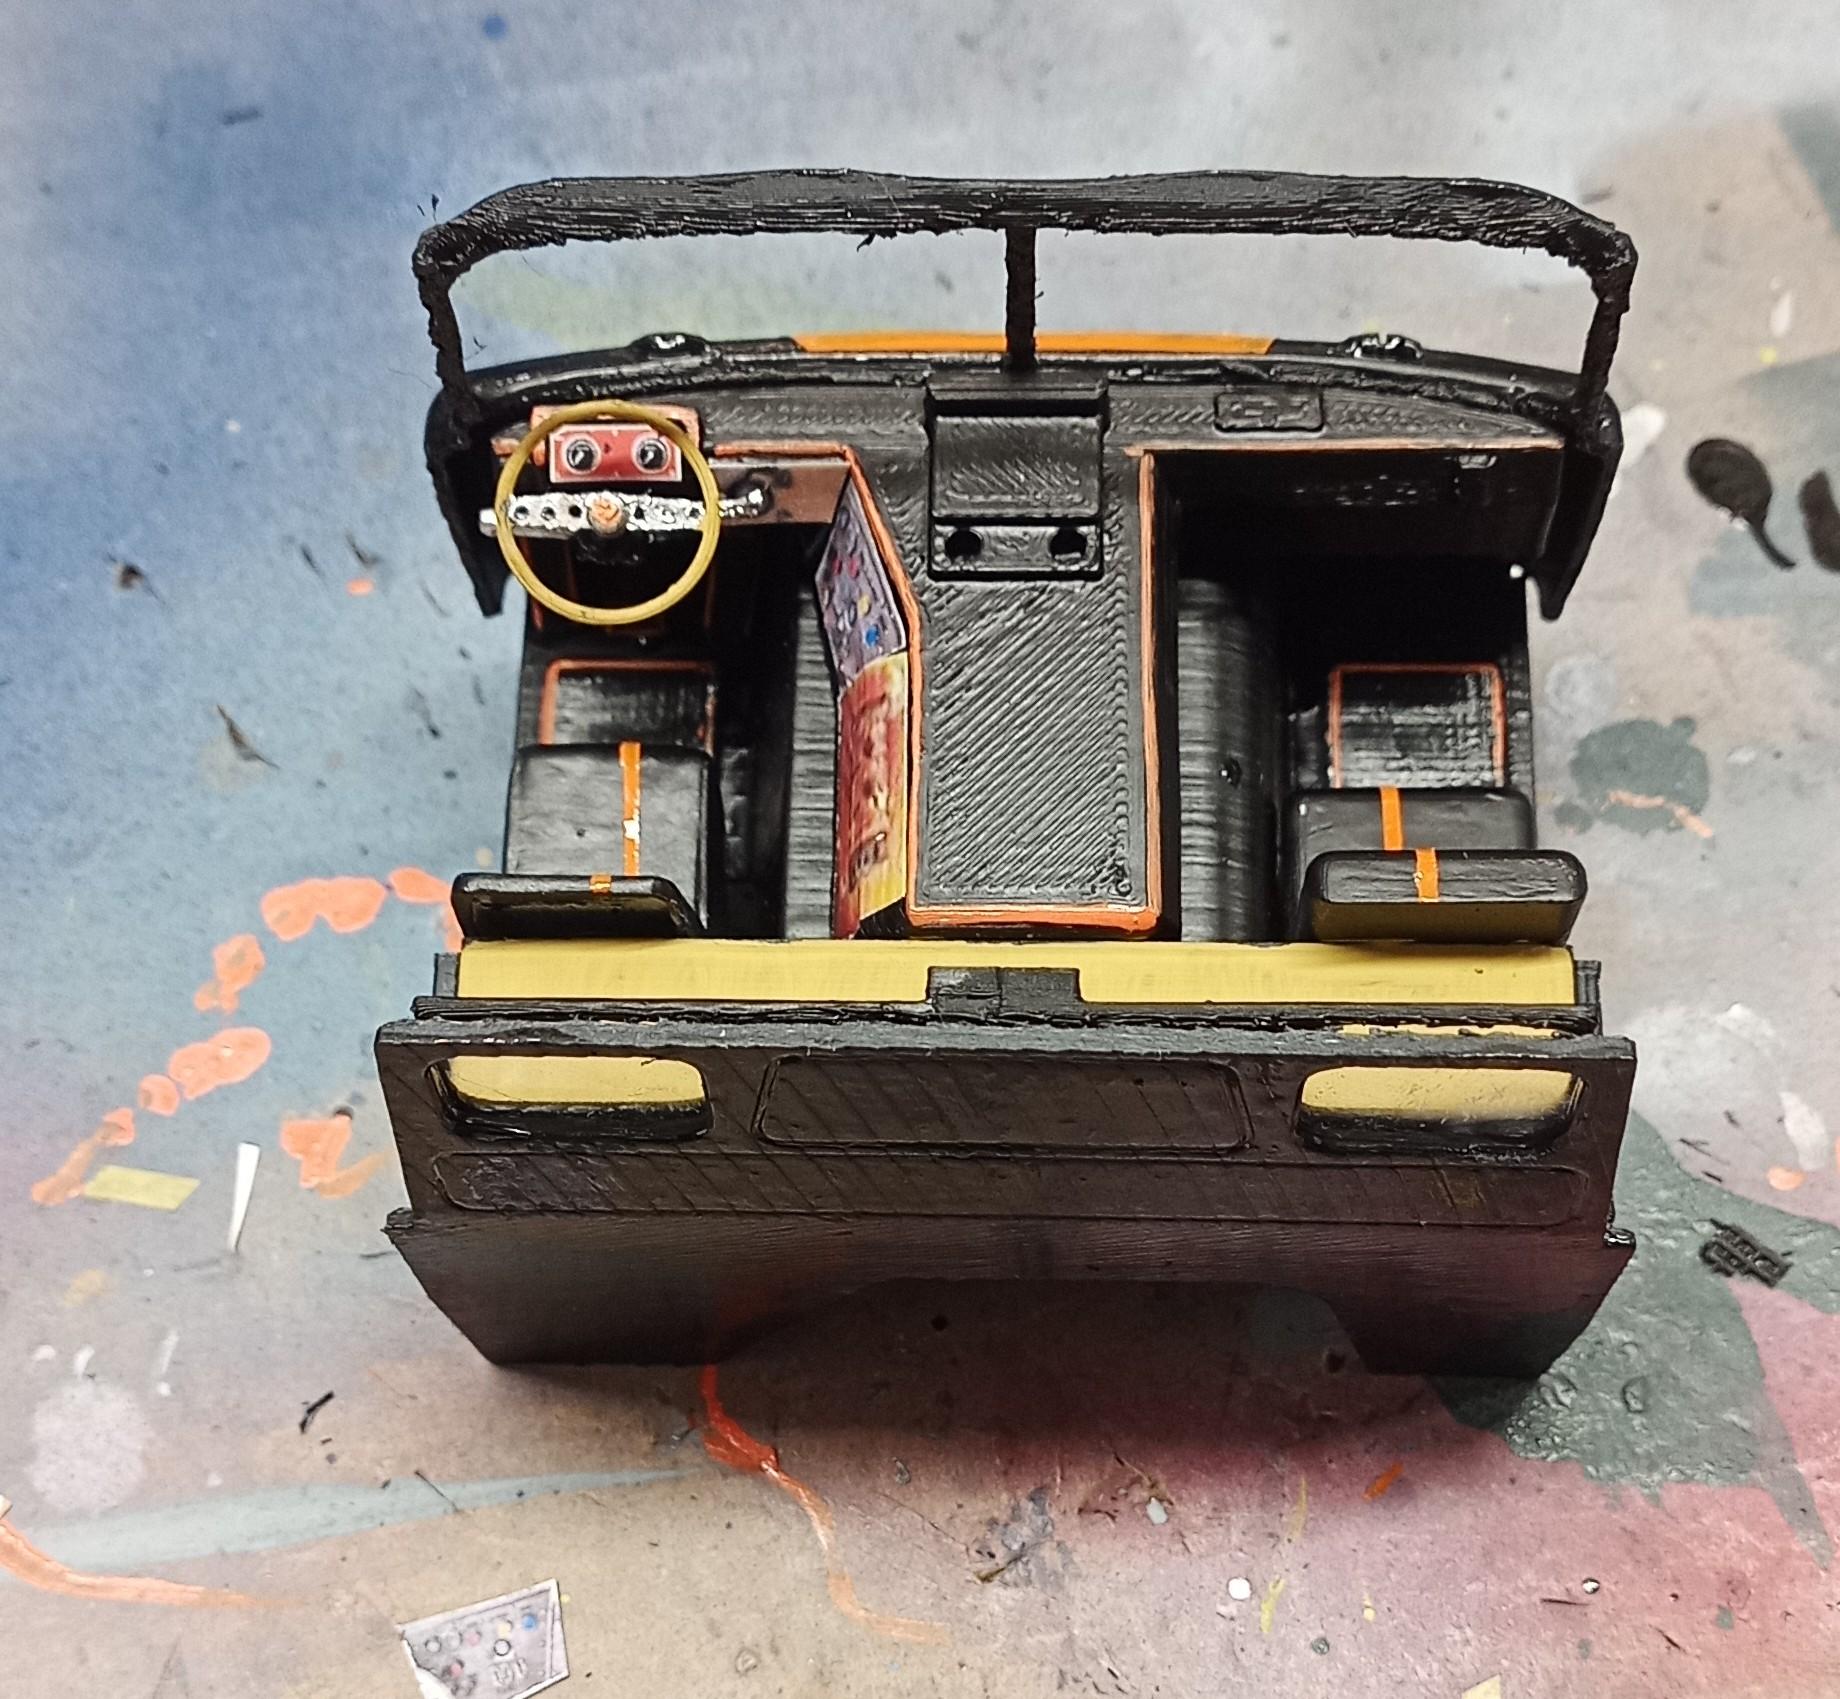
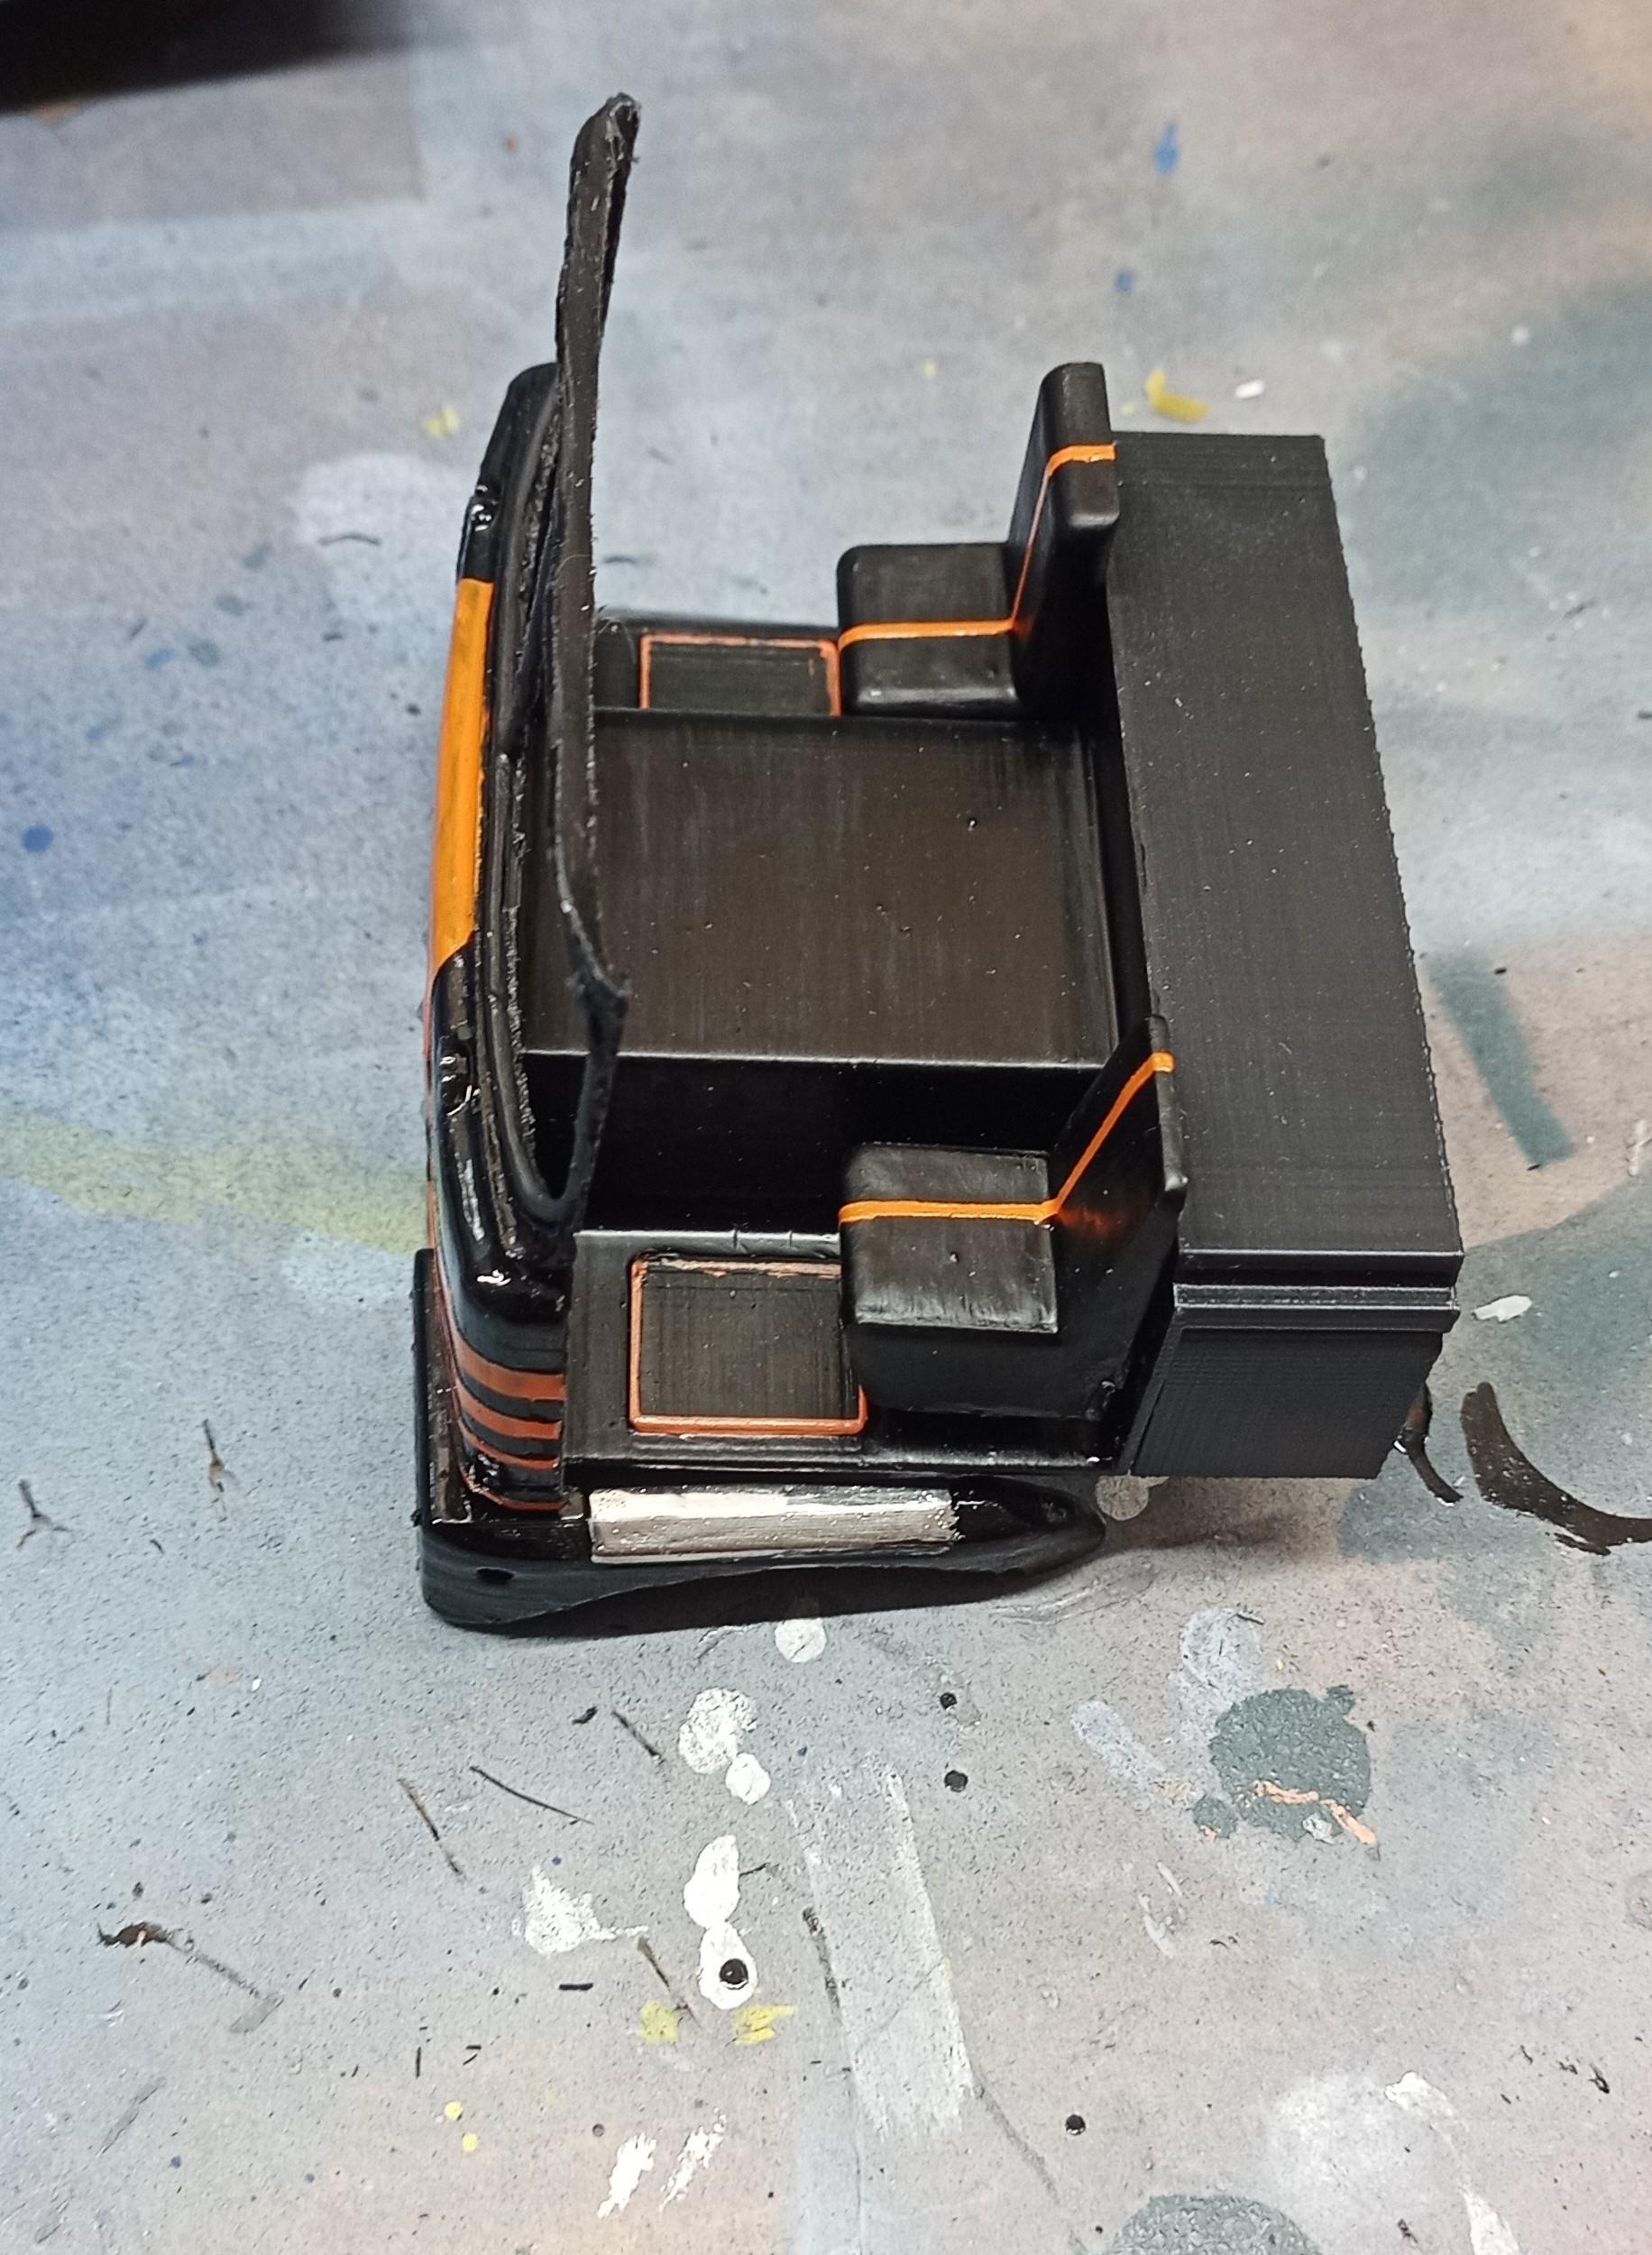
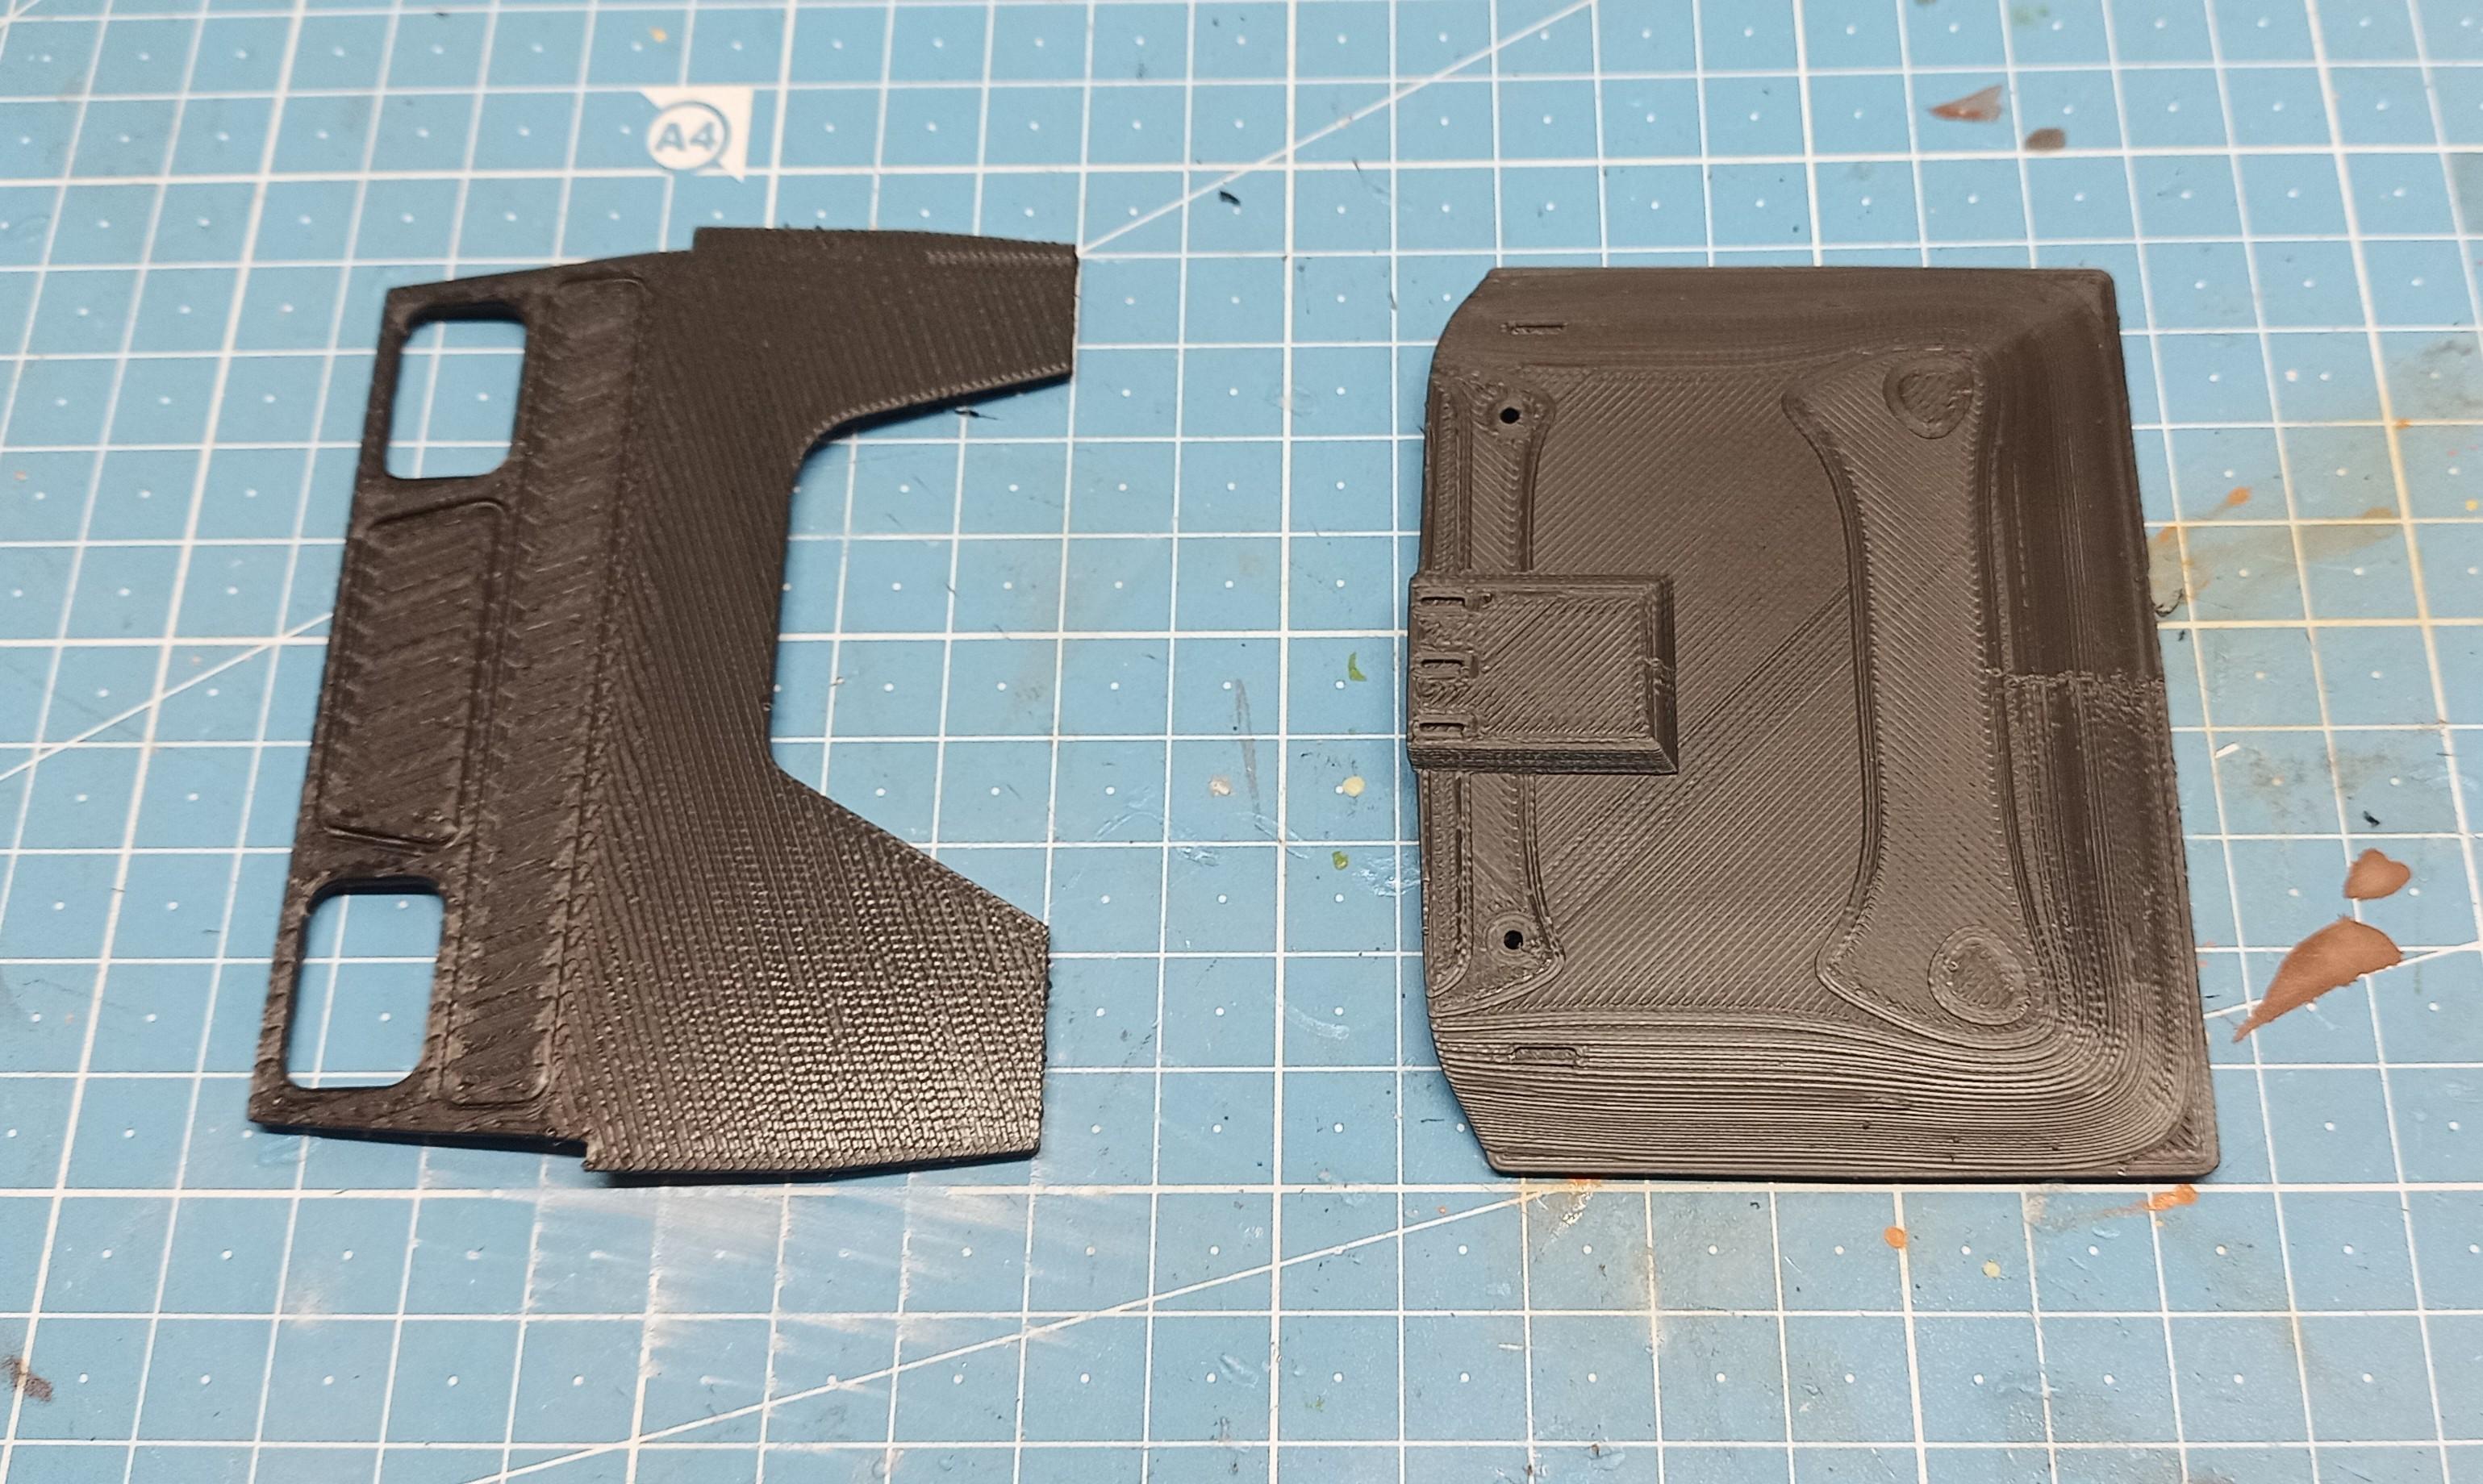
I over worked the instrument panels on the dog house. They're actually dark brown but they look red in the pic! The right side cab wall fits! Roof mock-up shows that it also fits!
-
1970 Ford C 600
Jürgen M. replied to Biggu's topic in WIP: Model Trucks: Big Rigs and Heavy Equipment
Take your time Pal! One step at a time at your own pace! It looks just great! -
Brockway 459
Jürgen M. replied to Jürgen M.'s topic in WIP: Model Trucks: Big Rigs and Heavy Equipment
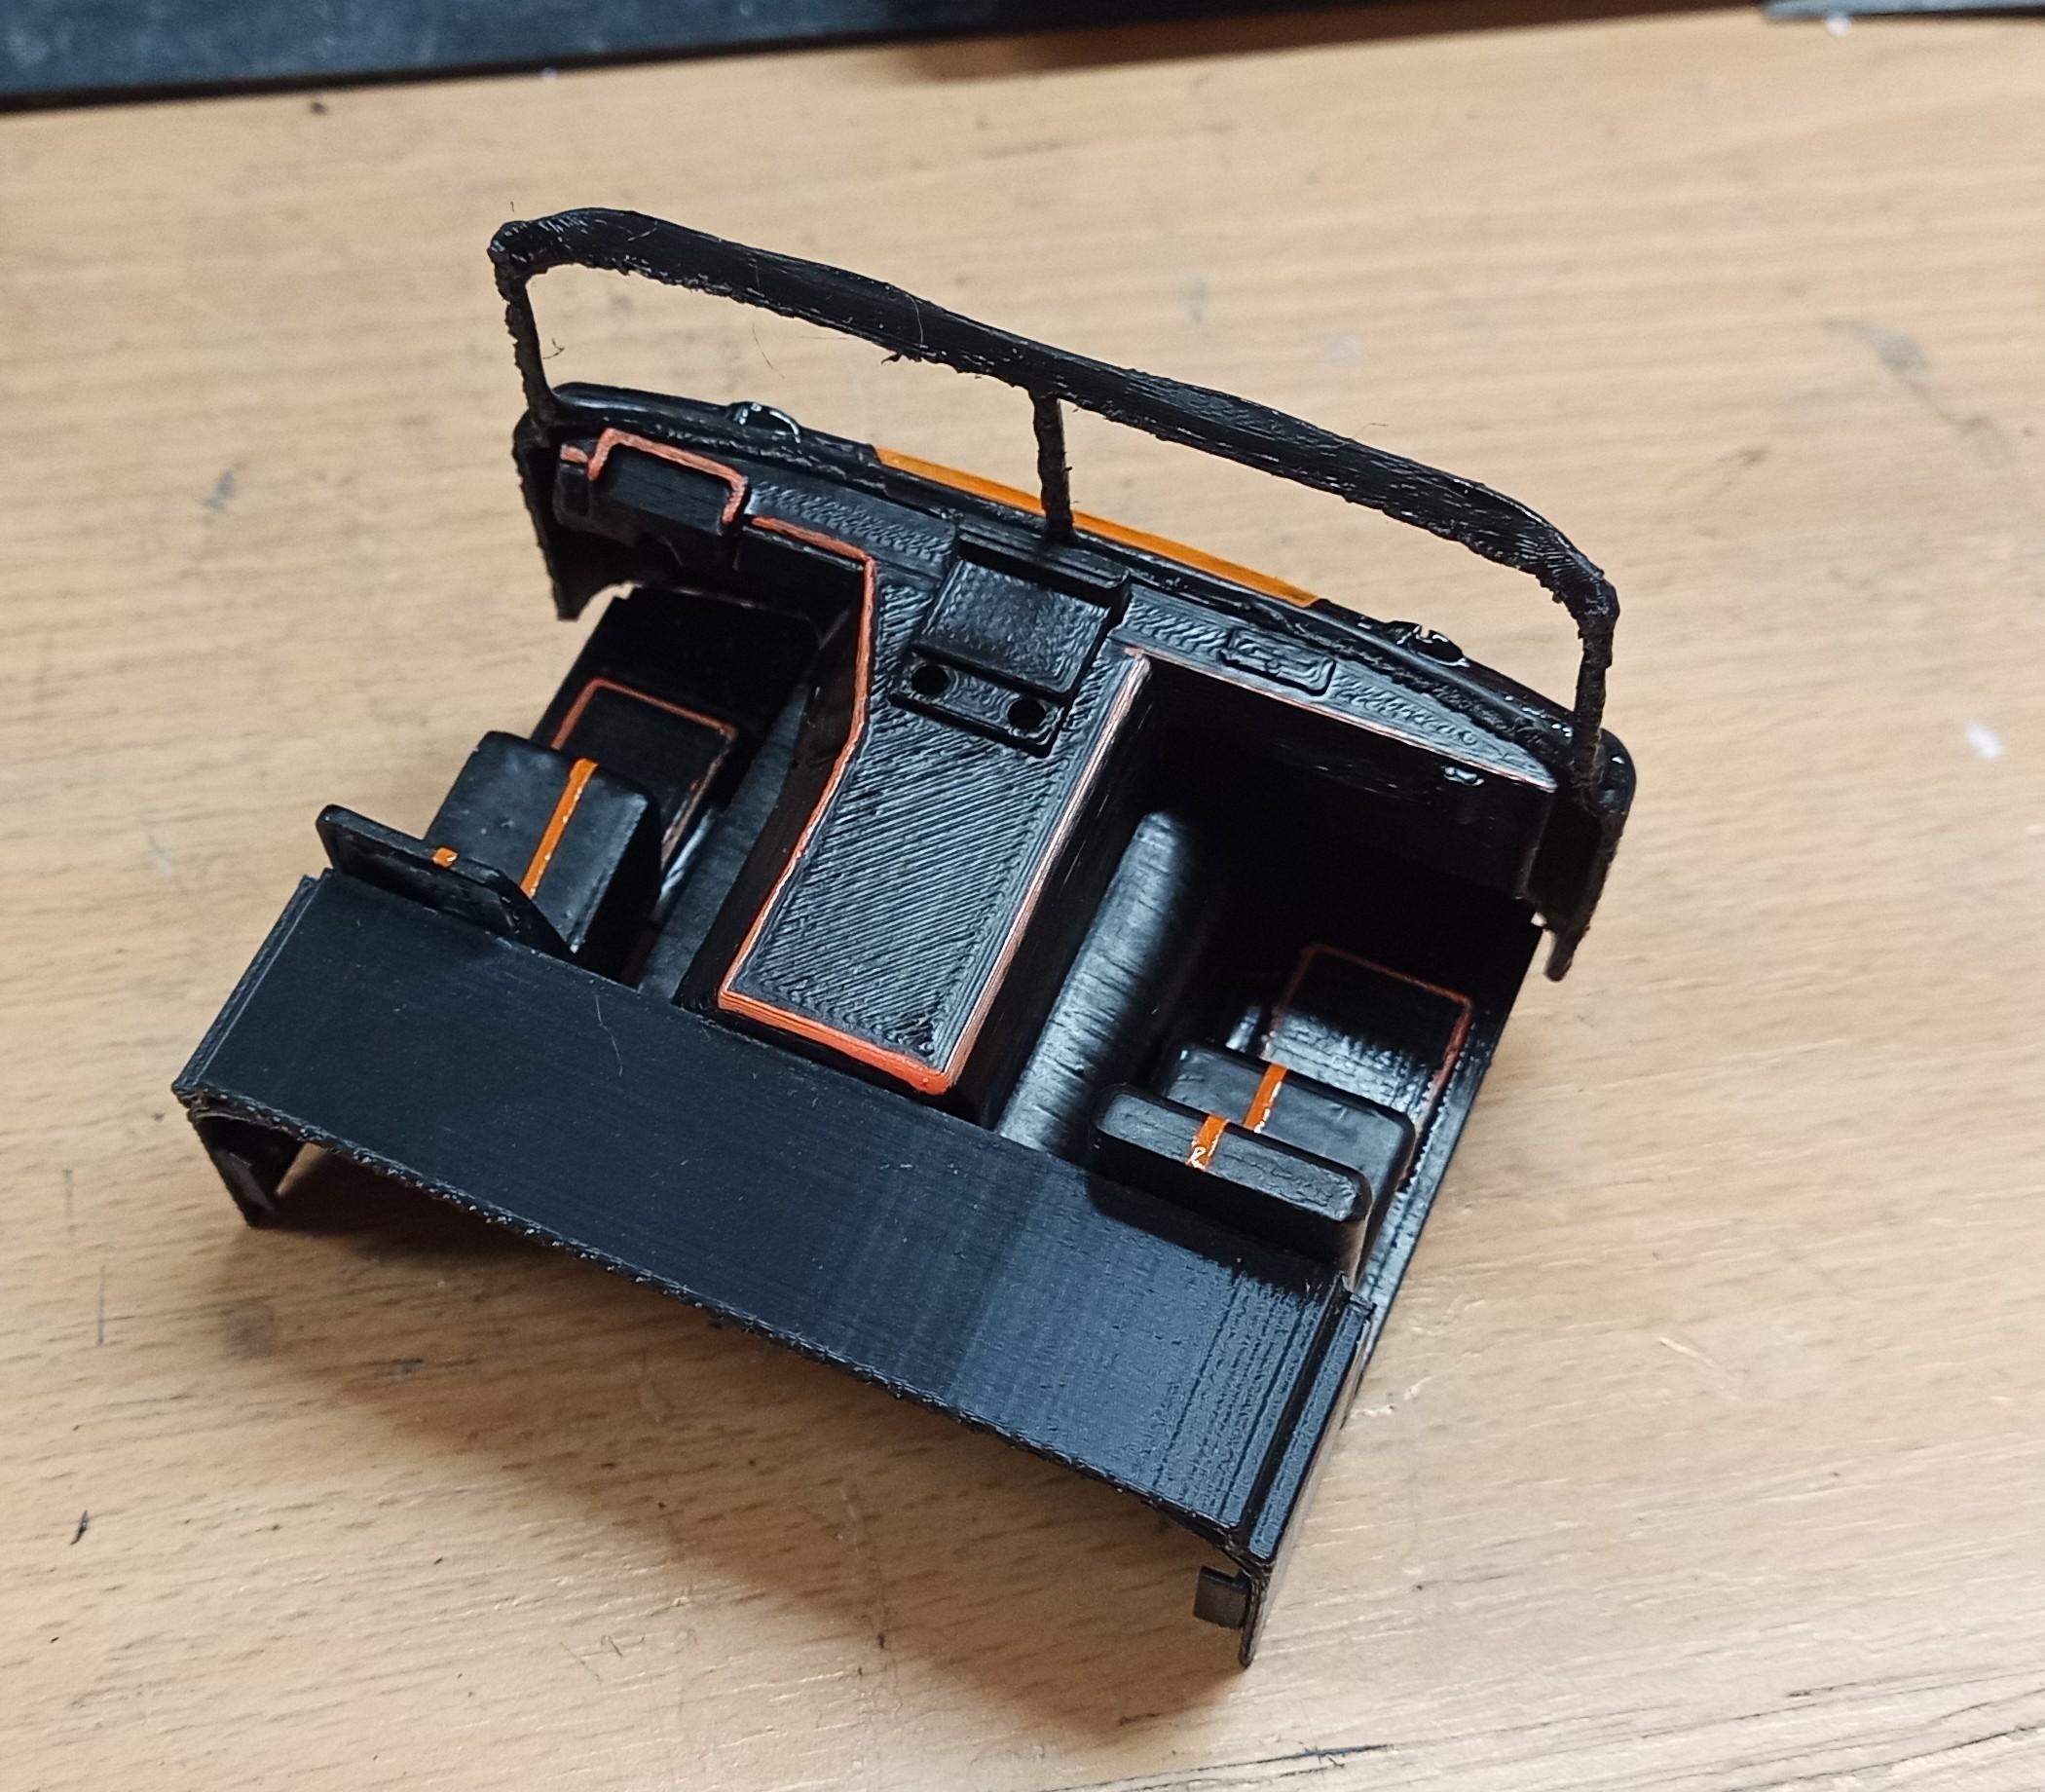
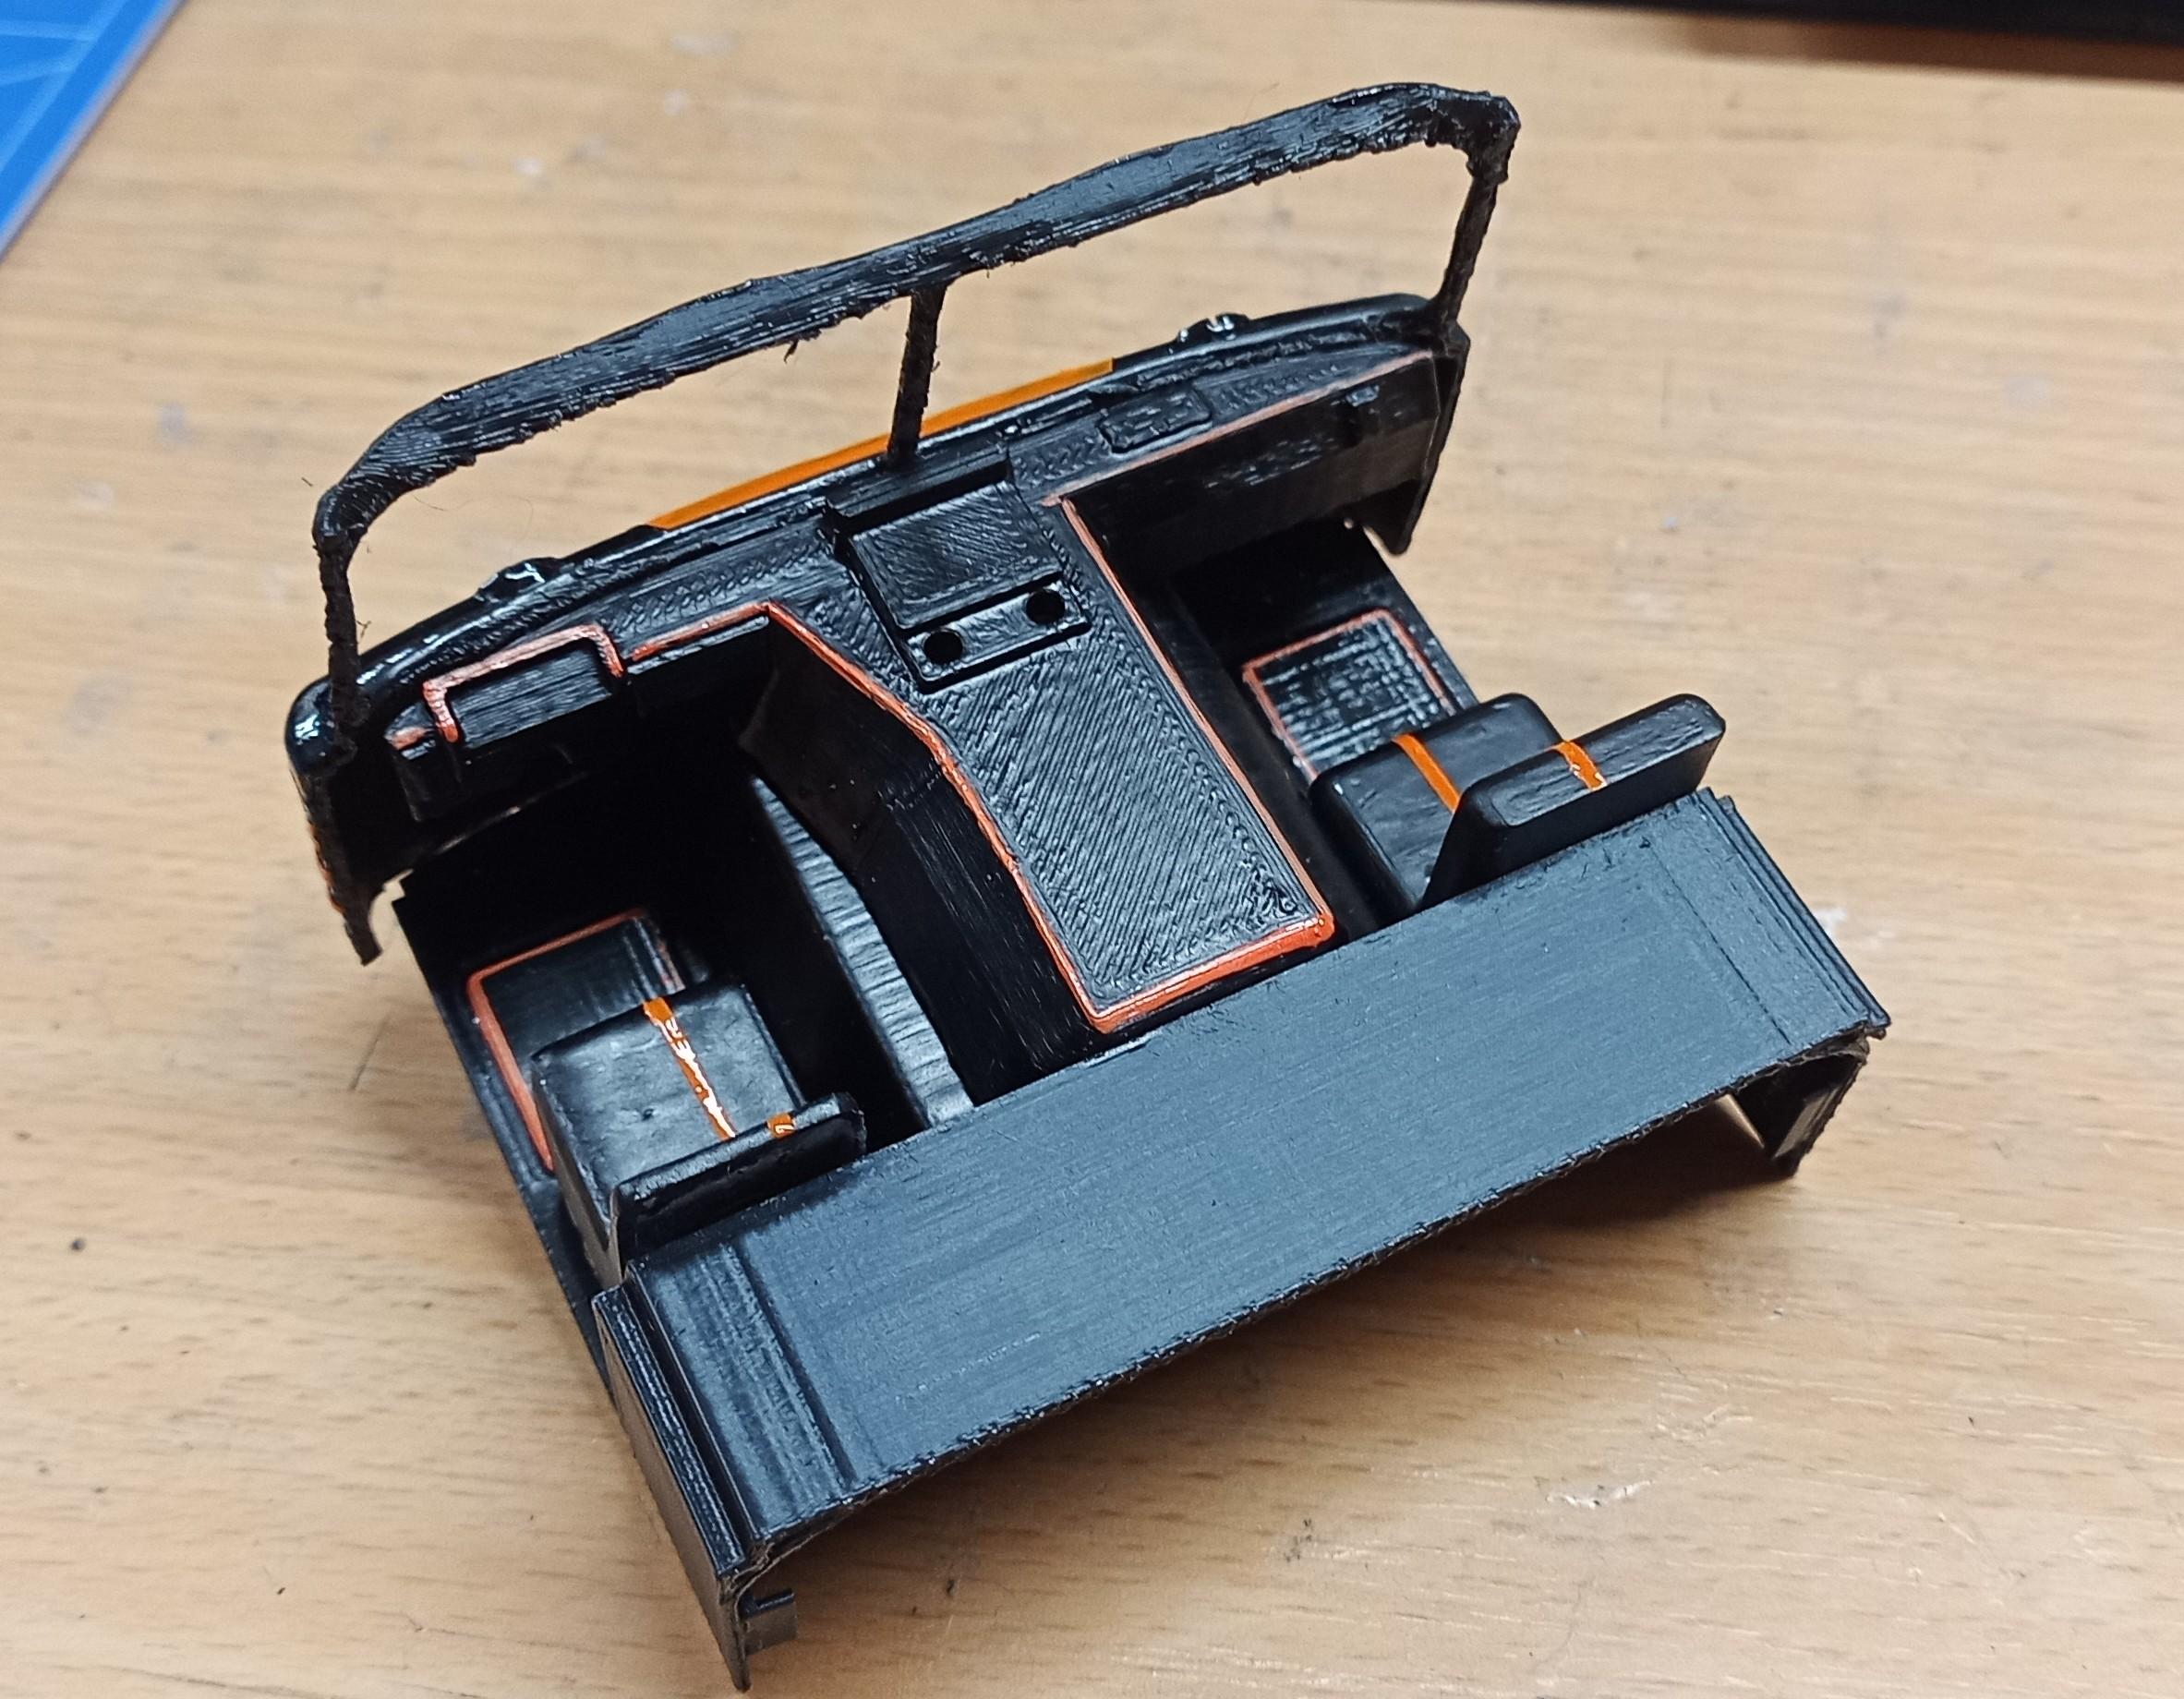
Some more progress in the interior: The instruments on the Dog House are screenshots of original pics but from different trucks so they don't look as good as I hoped. Maybe I'll have to work on that! The central instrument panel is self designed. Next will be the cab sides with the inside door panels. Then the windows (if the foil arrives today as announced).
-
Brockway 459
Jürgen M. replied to Jürgen M.'s topic in WIP: Model Trucks: Big Rigs and Heavy Equipment
Thanks Randy! Never thought I'd get this much attention for this build! It's not my cleanest build at that but I thought I'd build it anyway. It's also the first time that I build the cab first before even starting the chassis and drive train but I think I might keep doing that in future. I believe it's of advantage concerning the precise connection of cab and chassis. -
Brockway 459
Jürgen M. replied to Jürgen M.'s topic in WIP: Model Trucks: Big Rigs and Heavy Equipment
Got a bit of the interior done. Steering wheel, steering column and pedals are in print. Tomorrow I'll get my window foil. I couldn't find the link where I used to order it so I risked Amazon. Found a 0.2mm foil. Hope it works!
-
Brockway 459
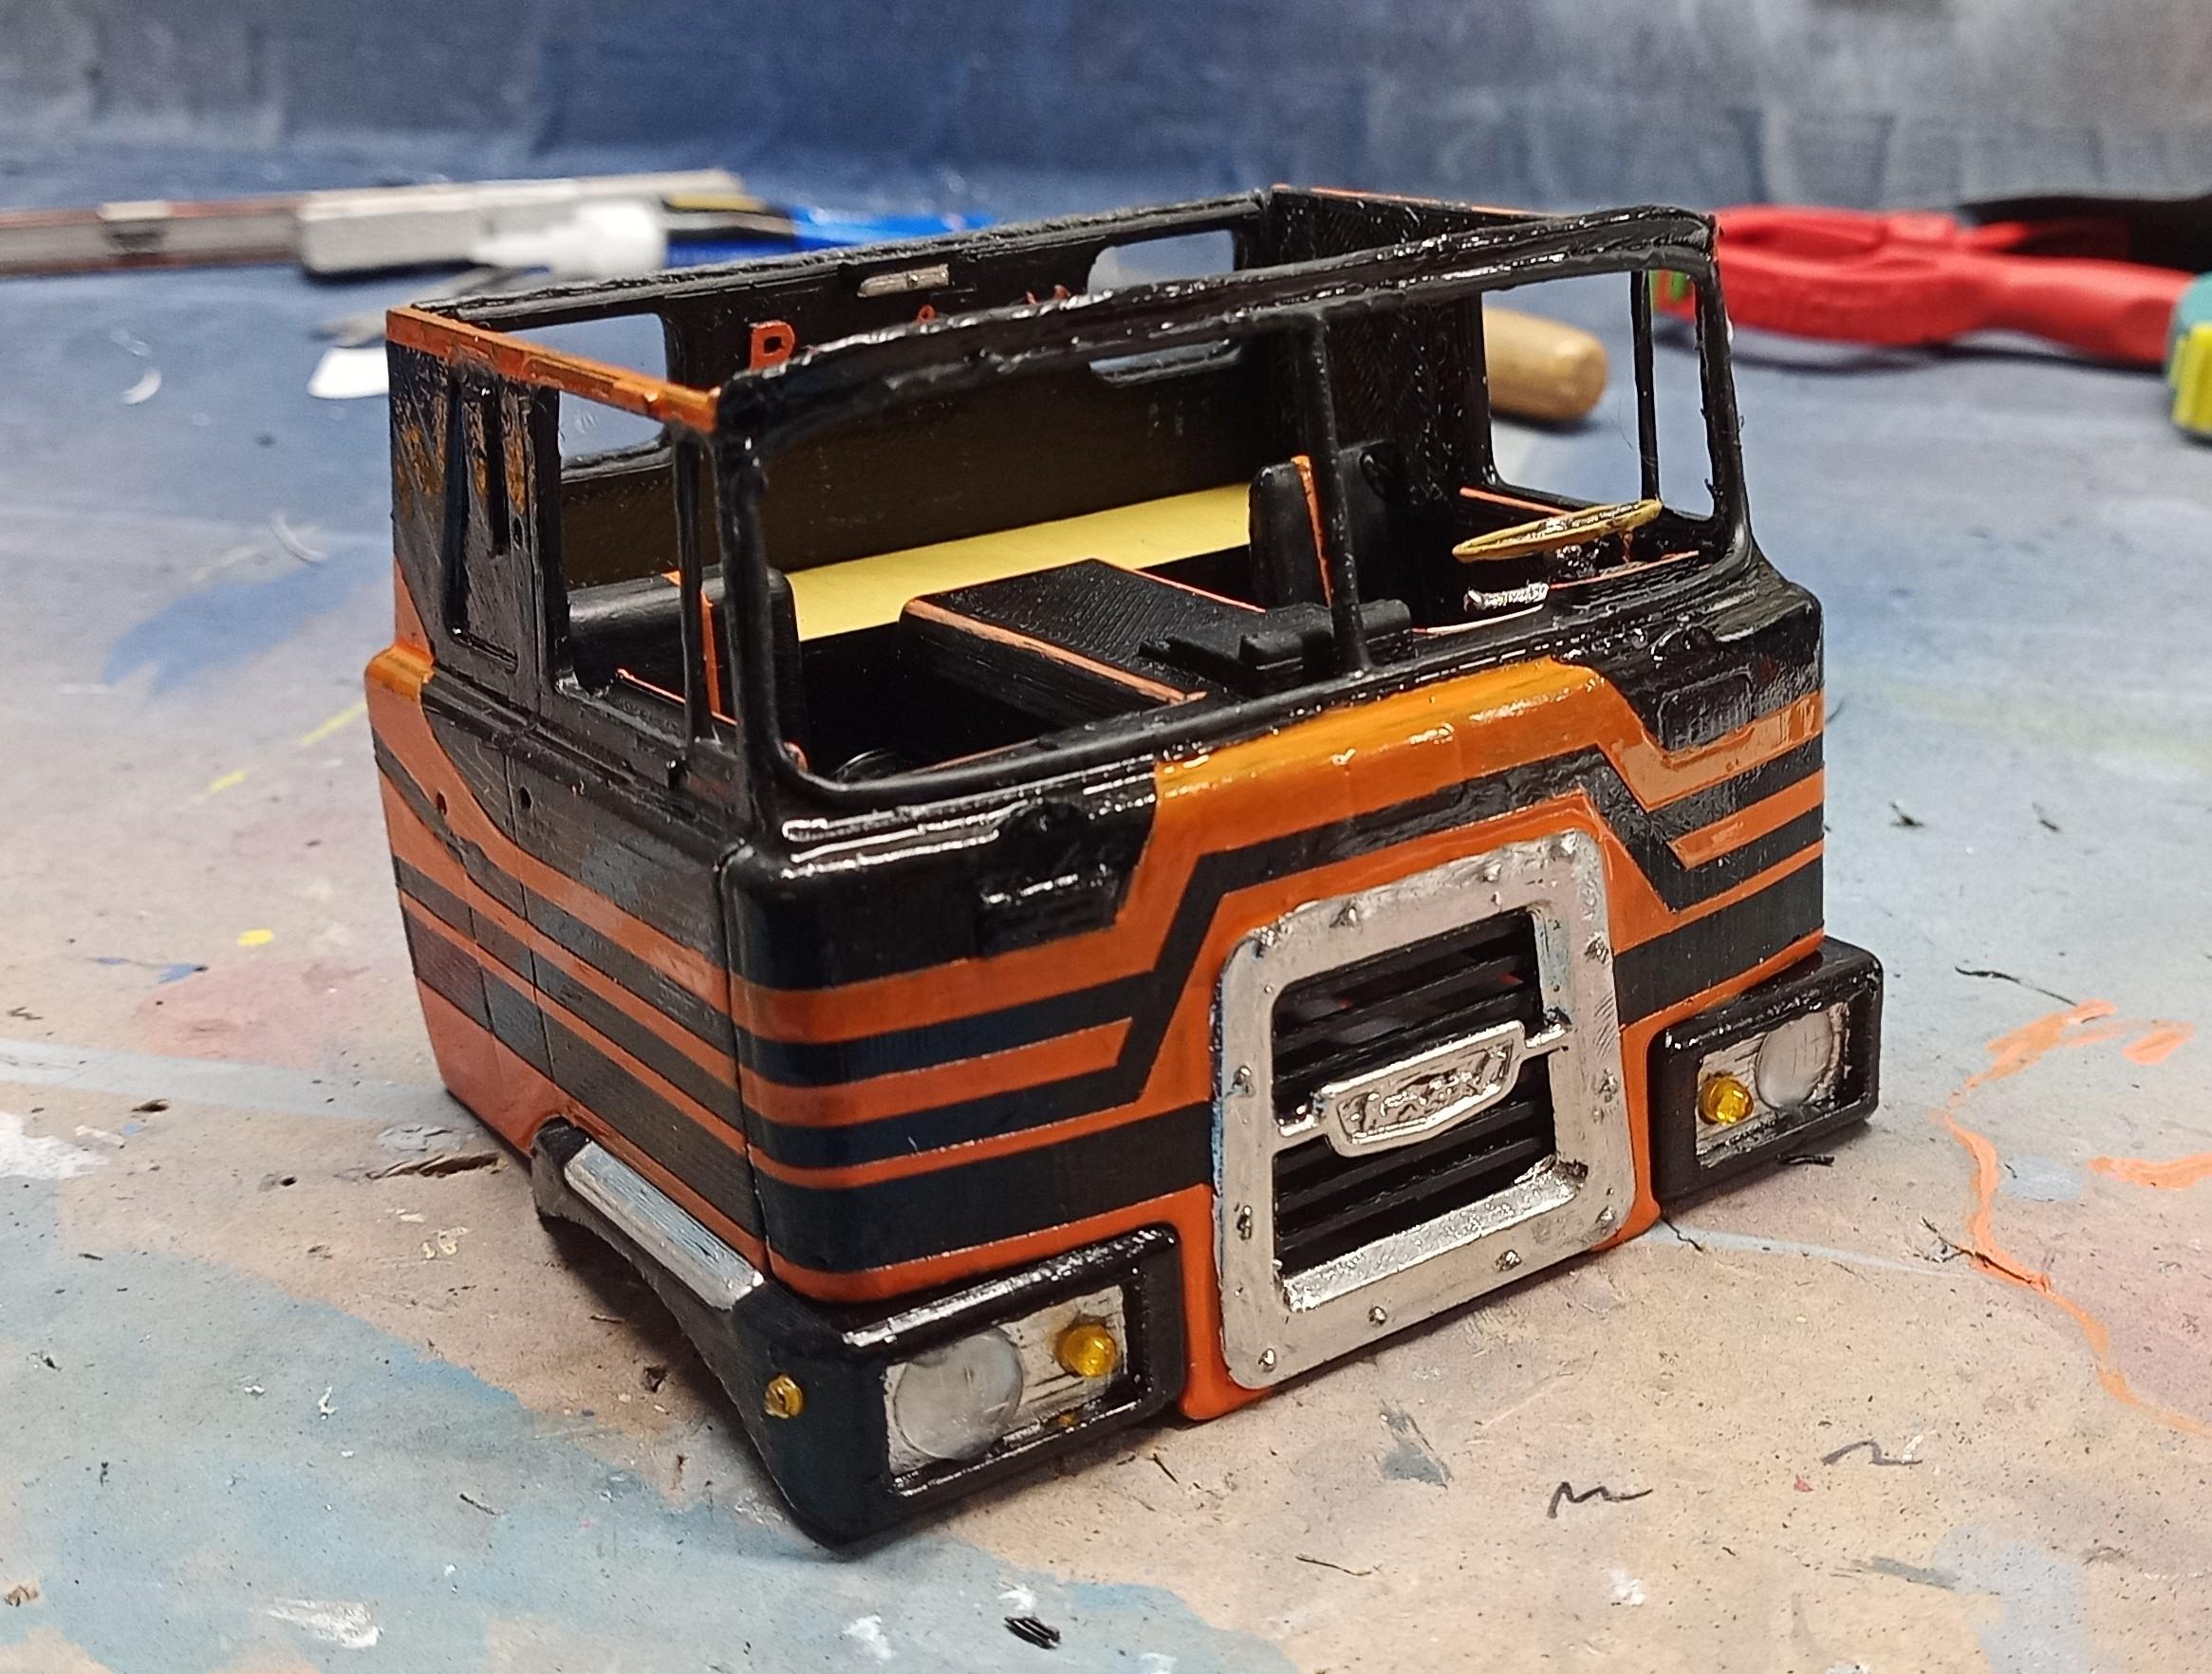
Jürgen M. replied to Jürgen M.'s topic in WIP: Model Trucks: Big Rigs and Heavy Equipment
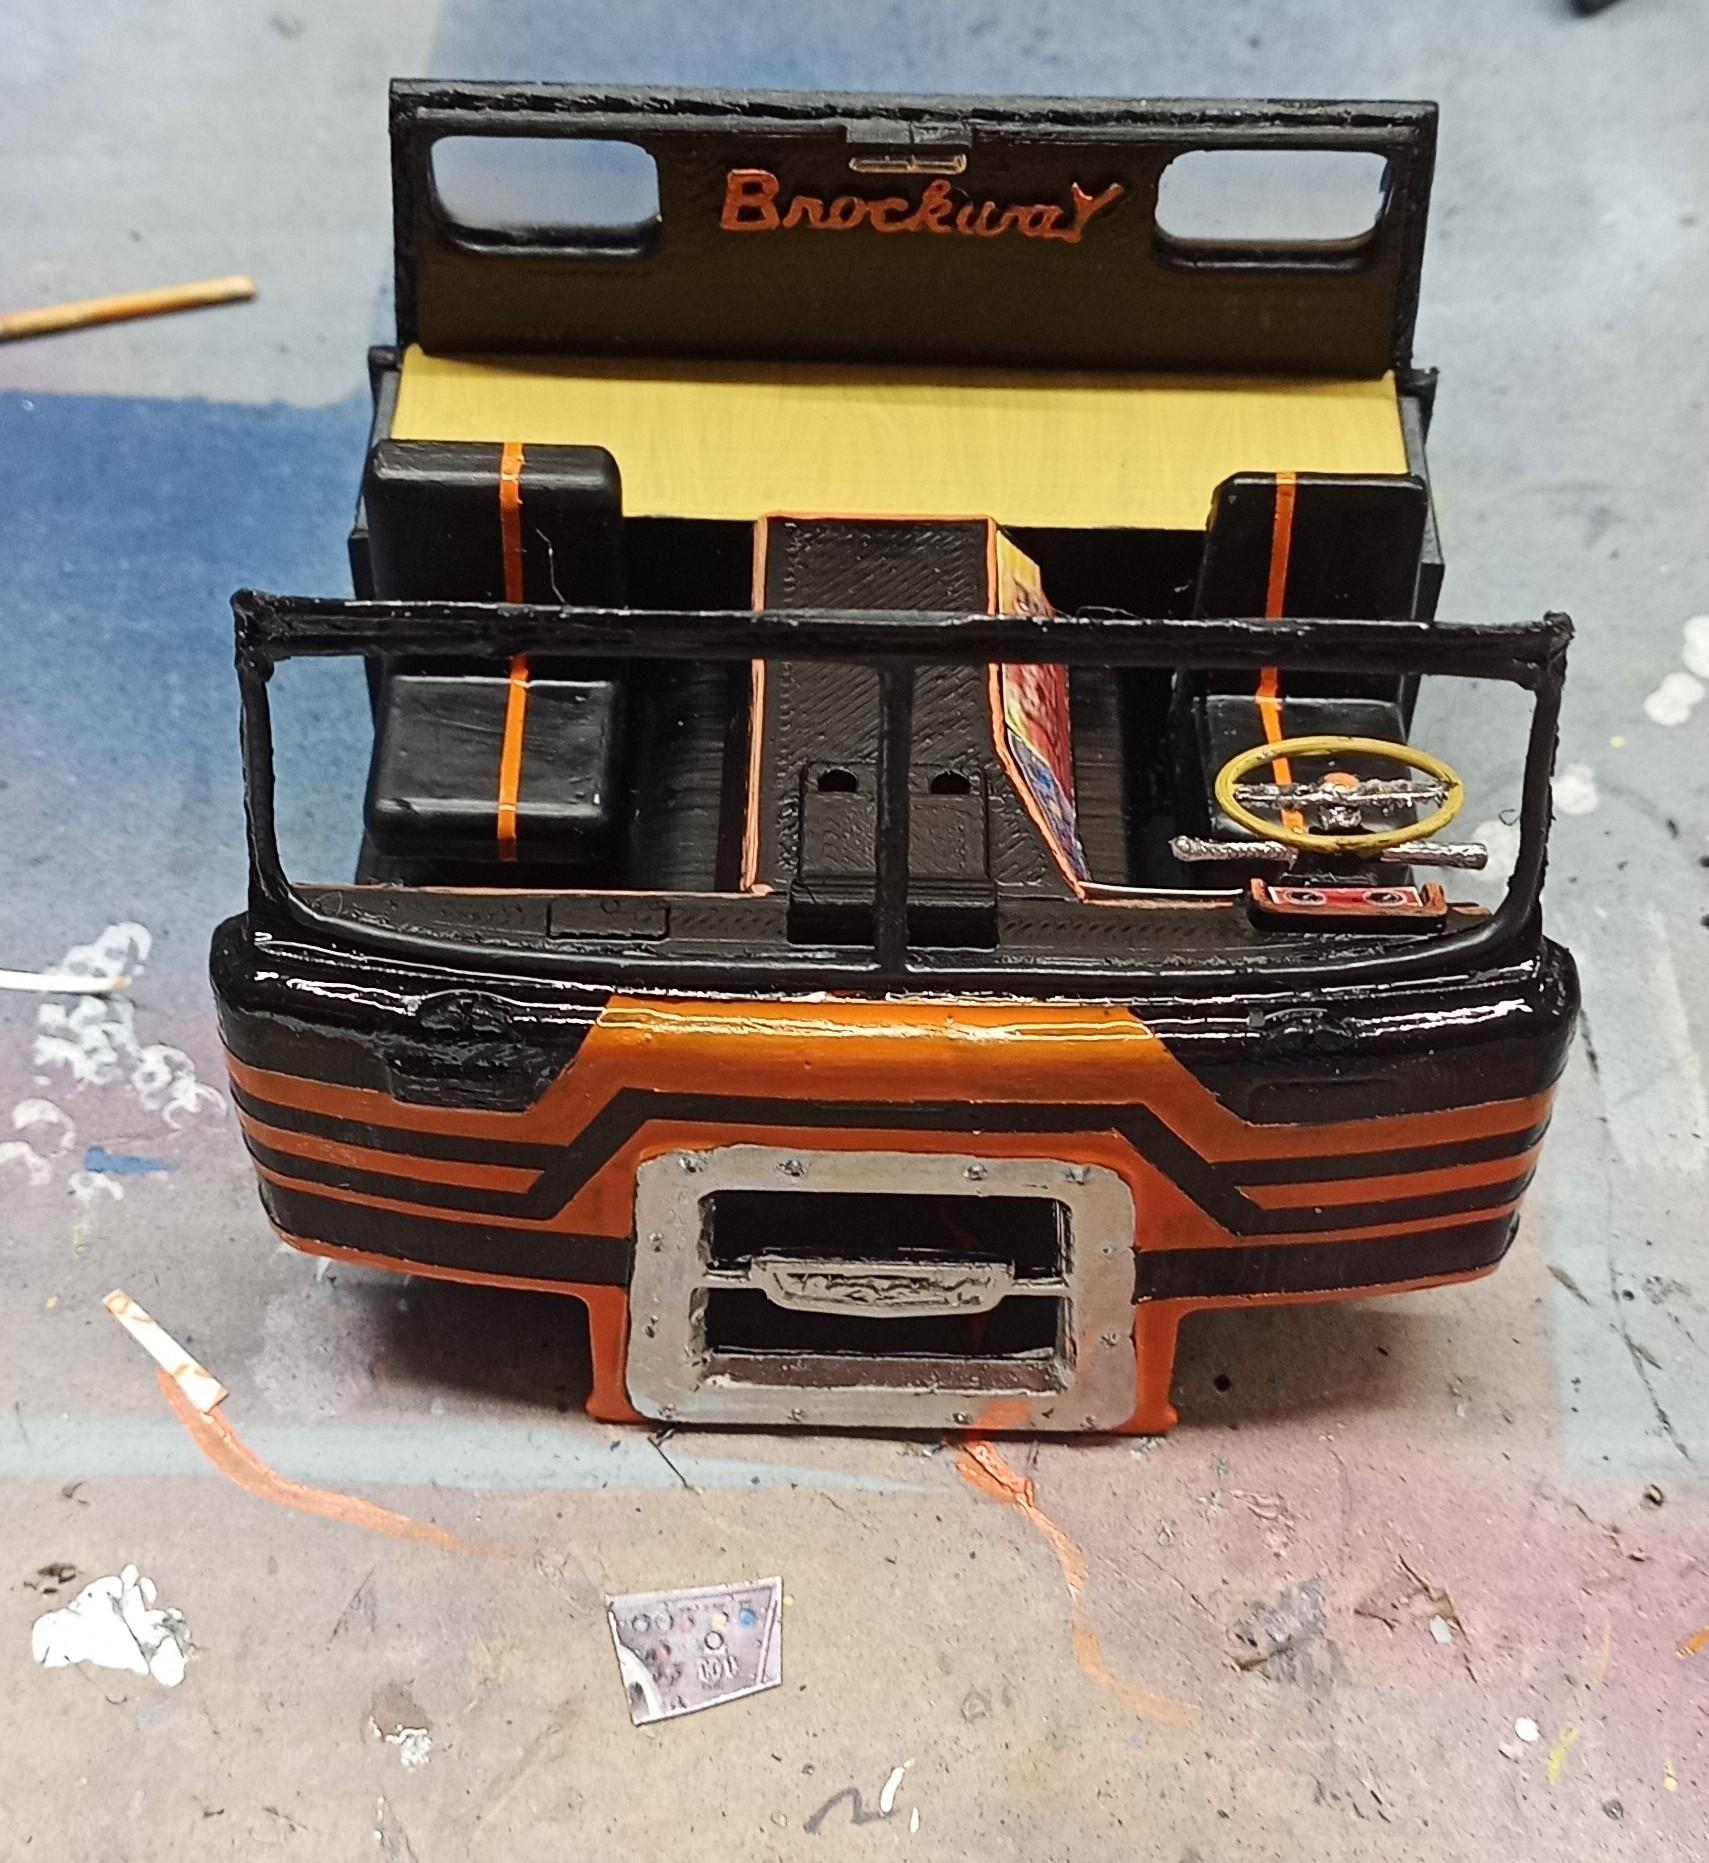
A mock-up of the cab front, fenders and interior. Still a lot of fine tuning to do. Straighten out paint lines, touch ups, sand edges, .... The dash is in print. Hope it fits as well as the virtual one!
-
Very tidy job and a beautiful truck! Nice details! 👍
-
1970 Ford C 600
Jürgen M. replied to Biggu's topic in WIP: Model Trucks: Big Rigs and Heavy Equipment
That looks awesome Pal! 👍 Amazing details you've created. What an eyecatcher! -
Brockway 459
Jürgen M. replied to Jürgen M.'s topic in WIP: Model Trucks: Big Rigs and Heavy Equipment
Thanks Jeff! Glad you like it. Hope it still looks good when it's assembled! -
Brockway 459
Jürgen M. replied to Jürgen M.'s topic in WIP: Model Trucks: Big Rigs and Heavy Equipment
Thanks guys! I'm not sure if I really want a resin printer. I know of course how much better the print results are but I don't want all the mess and stuff. I'm not 100% off the idea yet but still sceptical. Did I get that right? Is that homecoming parade a truck parade with Brockways? I'd be happy about some pics. Maybe you could share some? I'd really appreciate it! Glad you like the paint scheme. I wanted something that distracts from the print lines! -
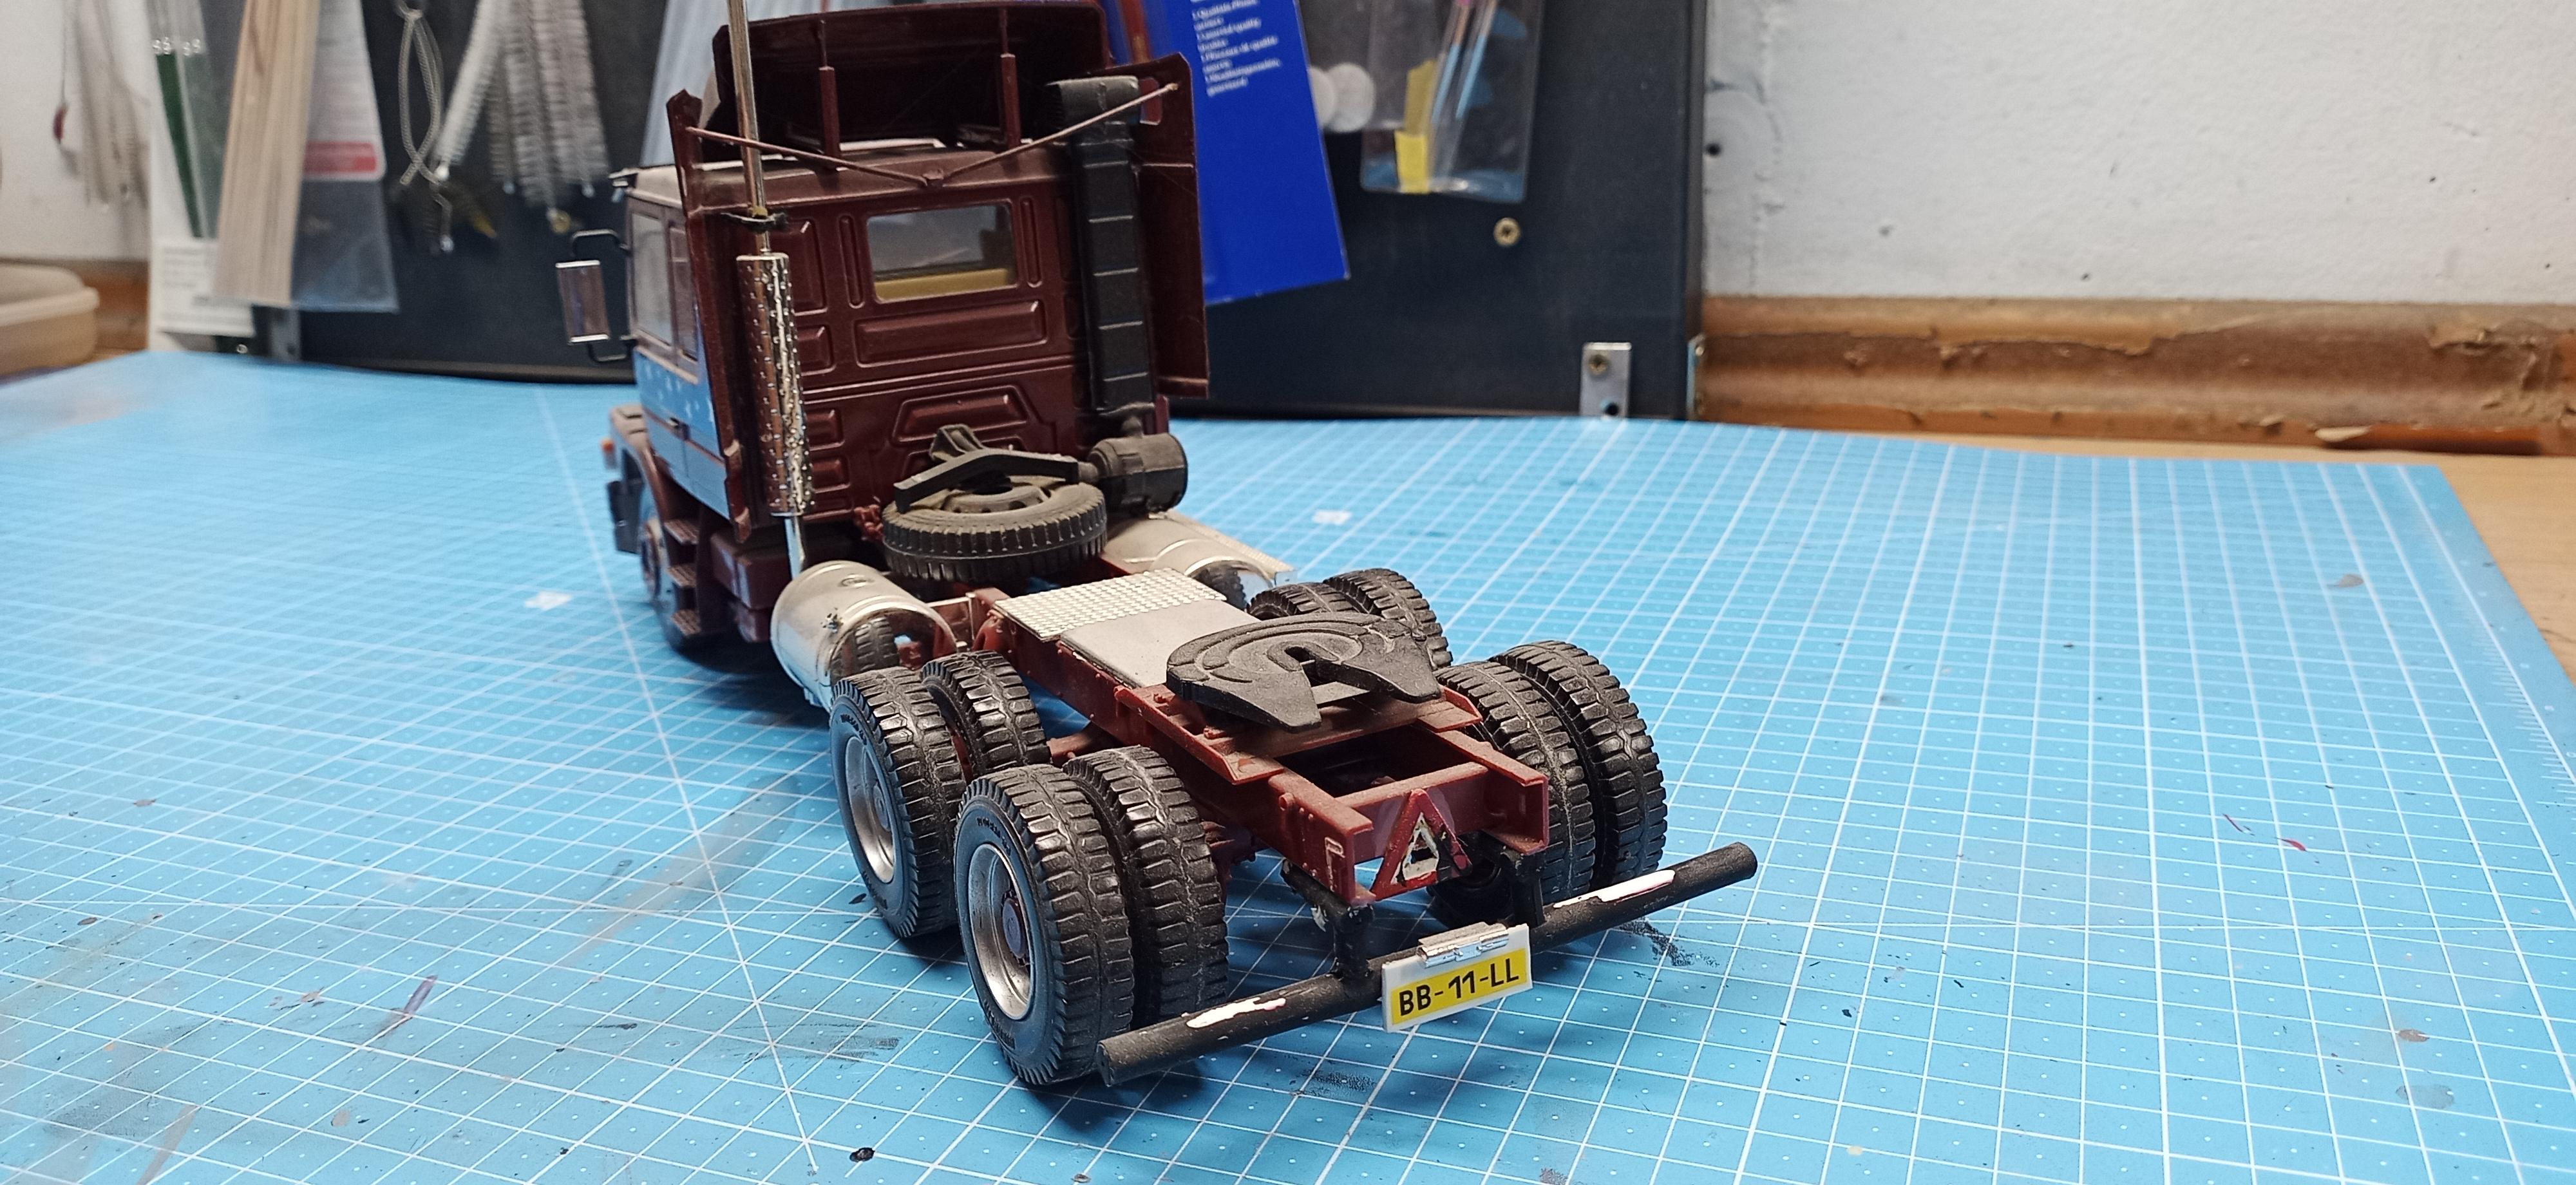
Brockway 459
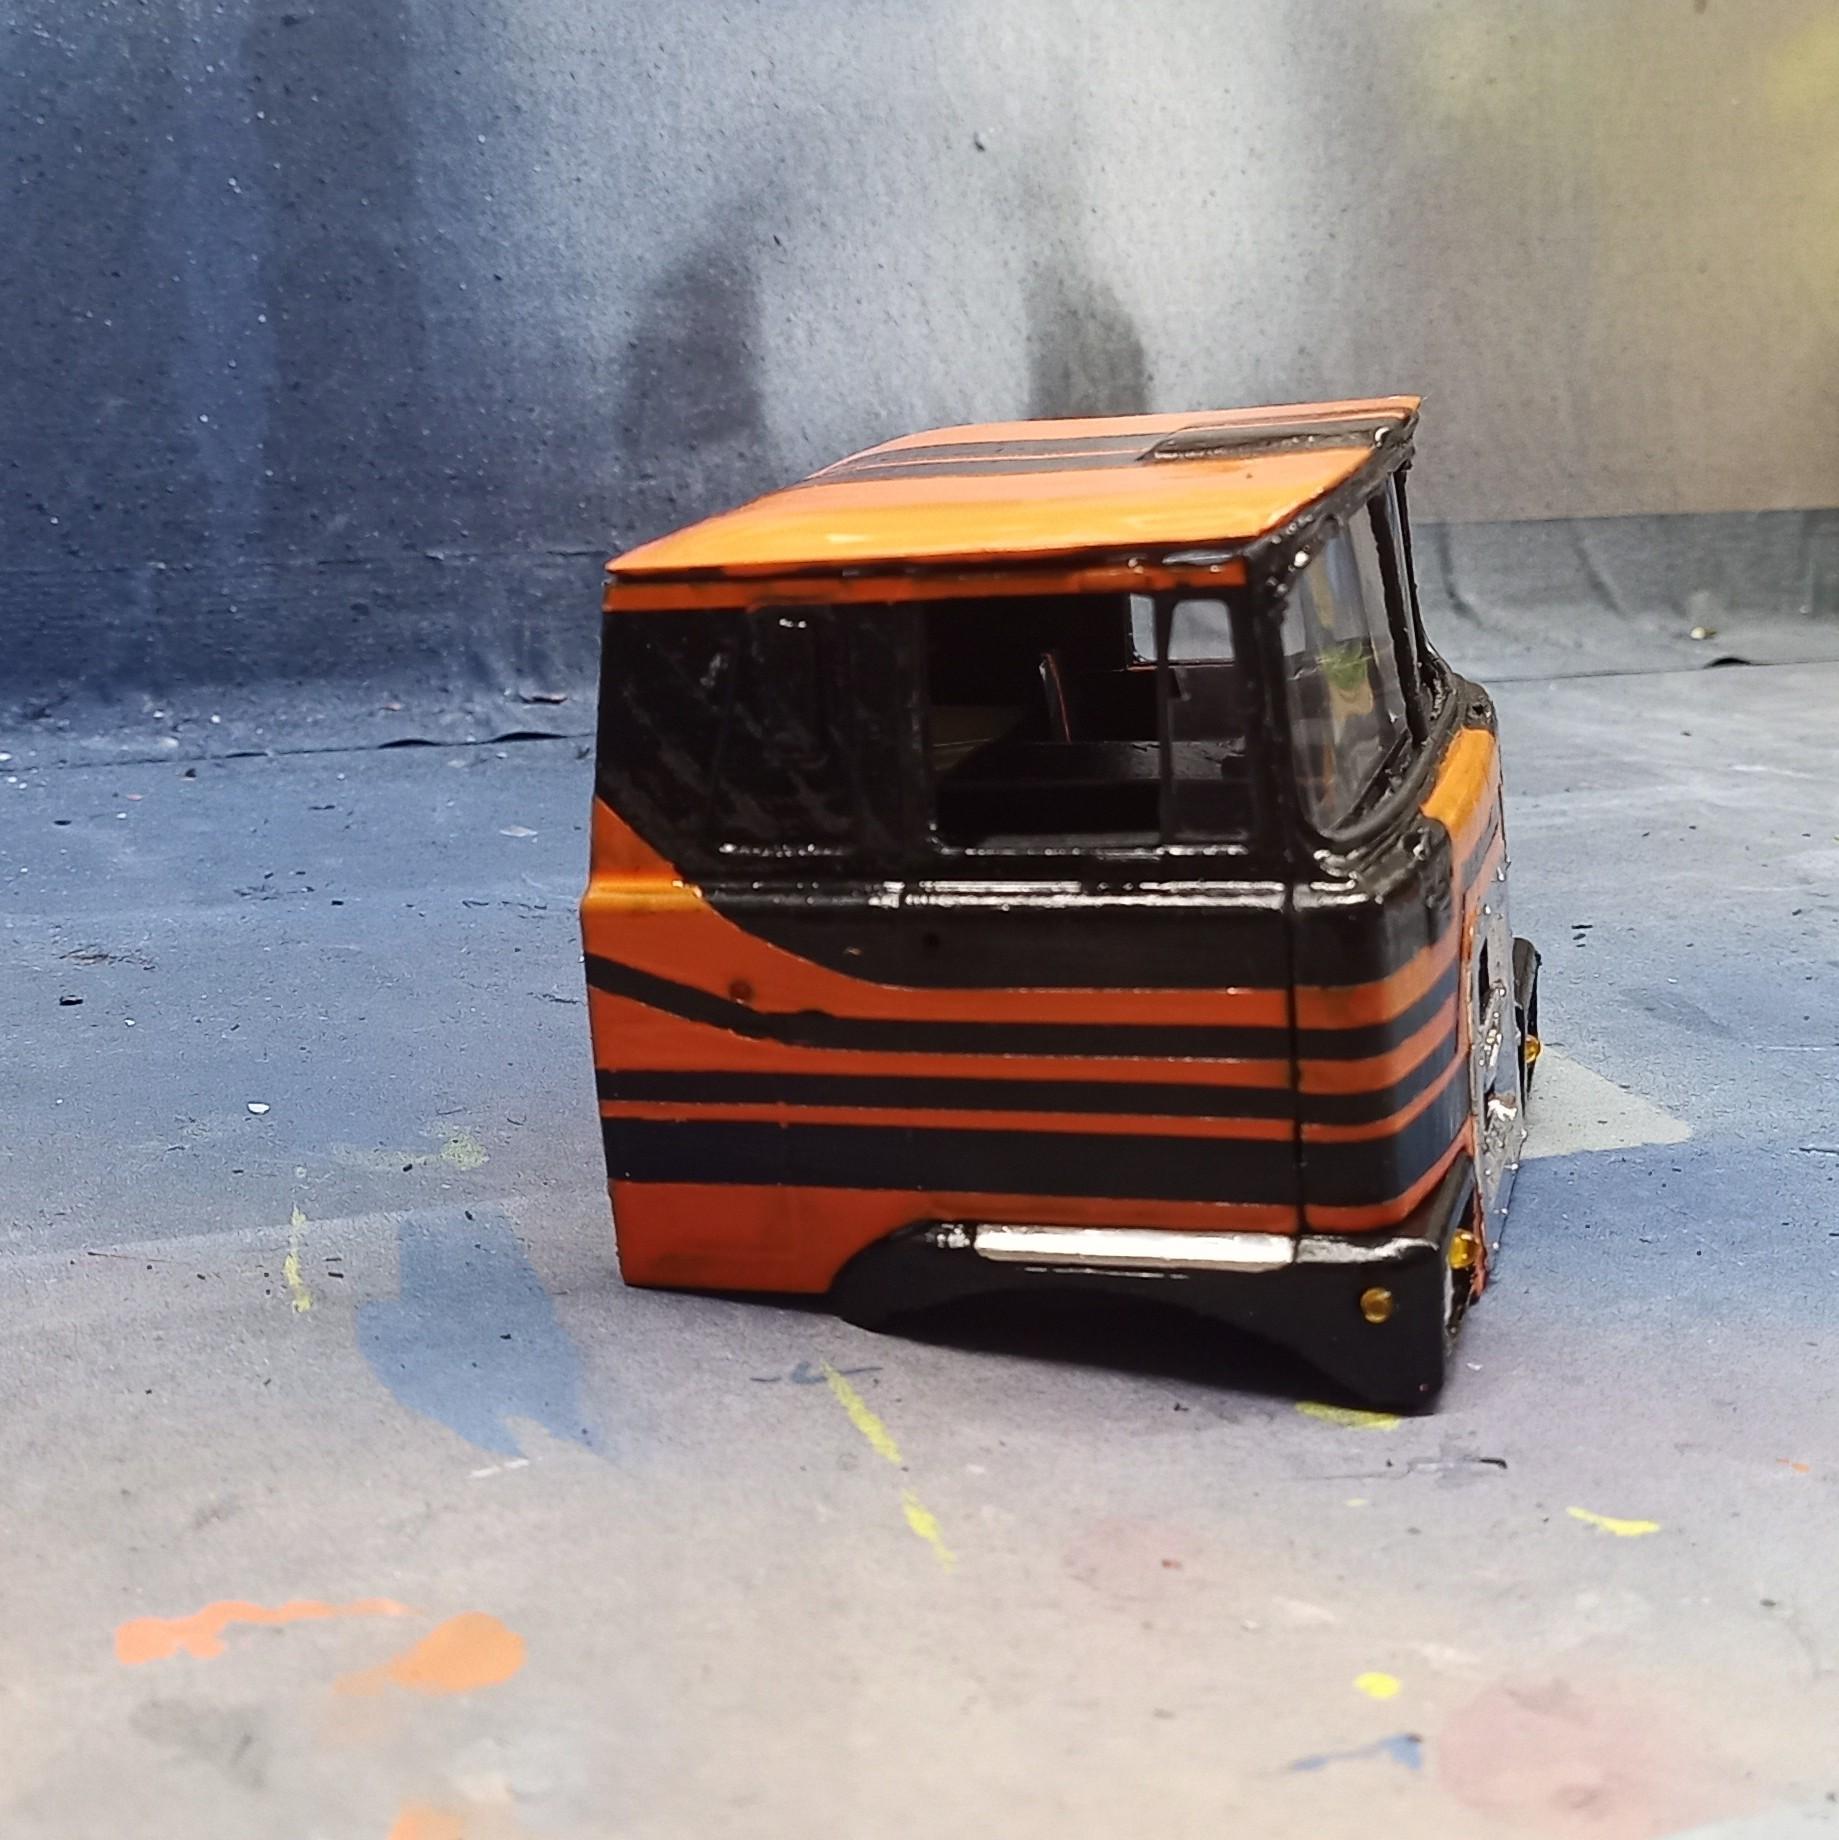
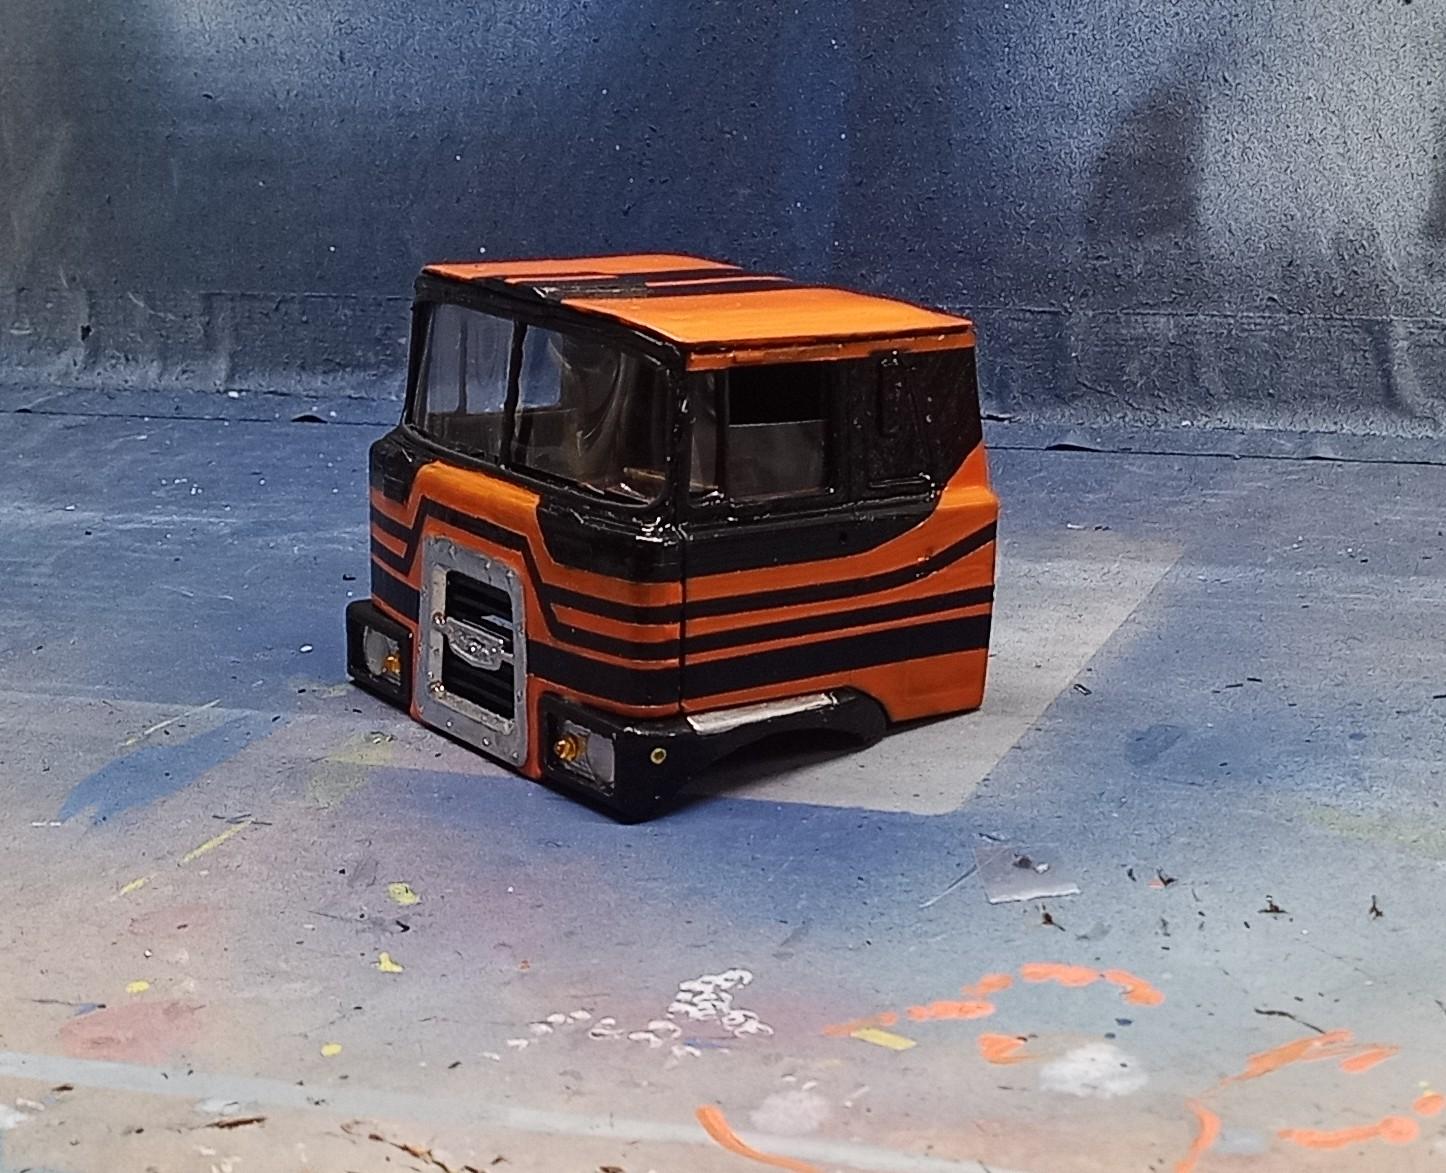
Jürgen M. replied to Jürgen M.'s topic in WIP: Model Trucks: Big Rigs and Heavy Equipment
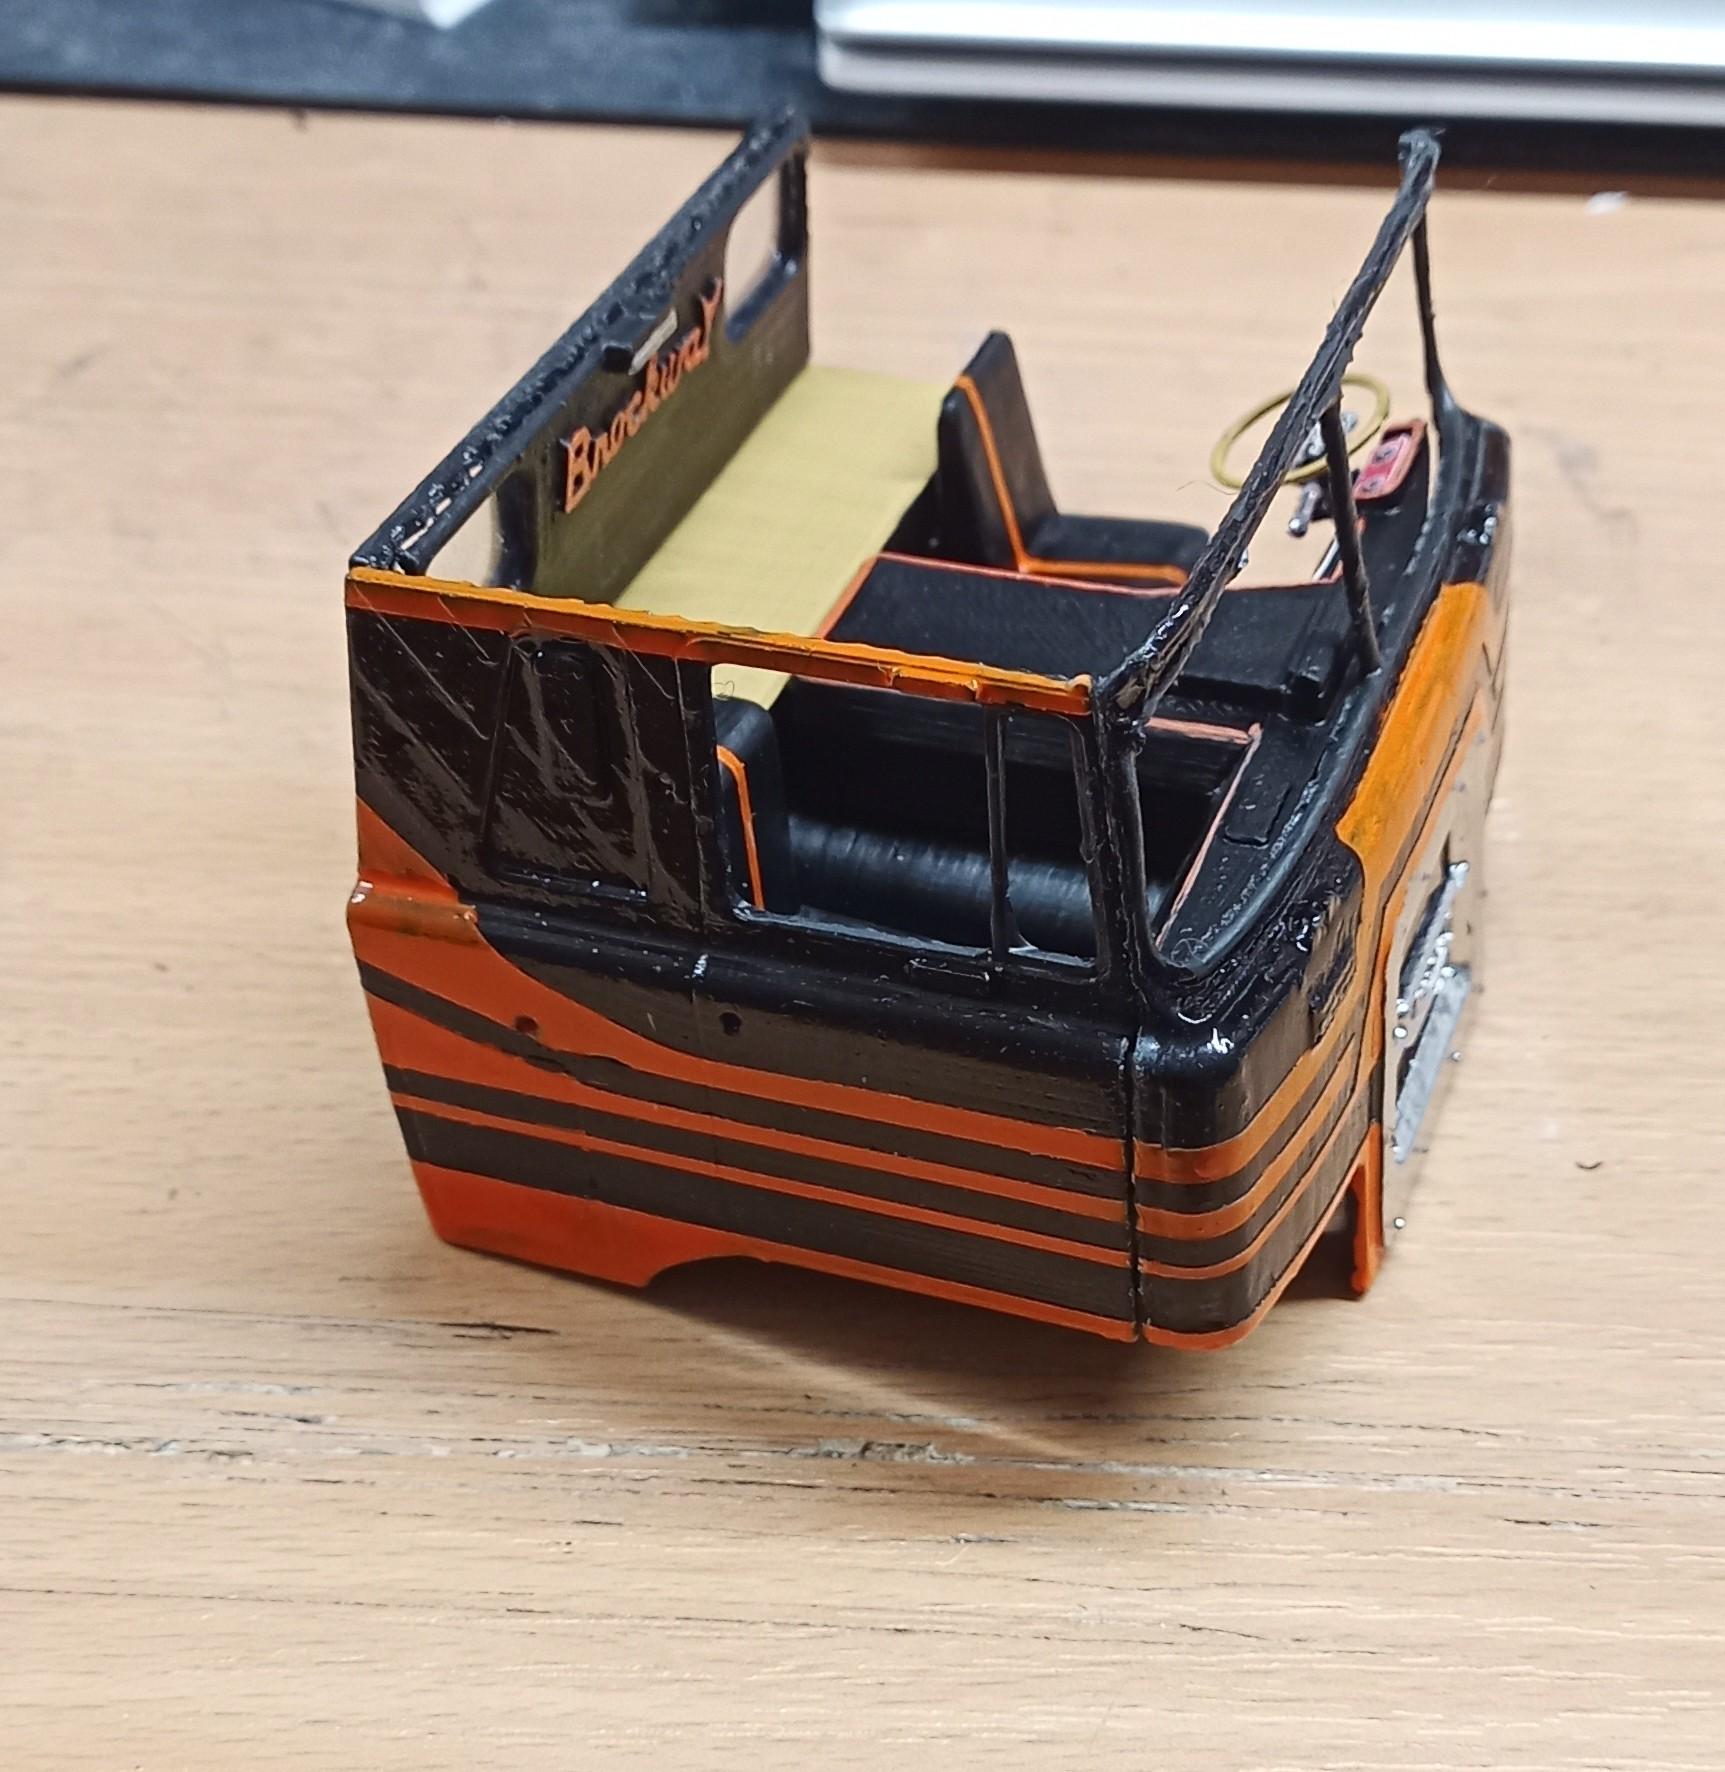
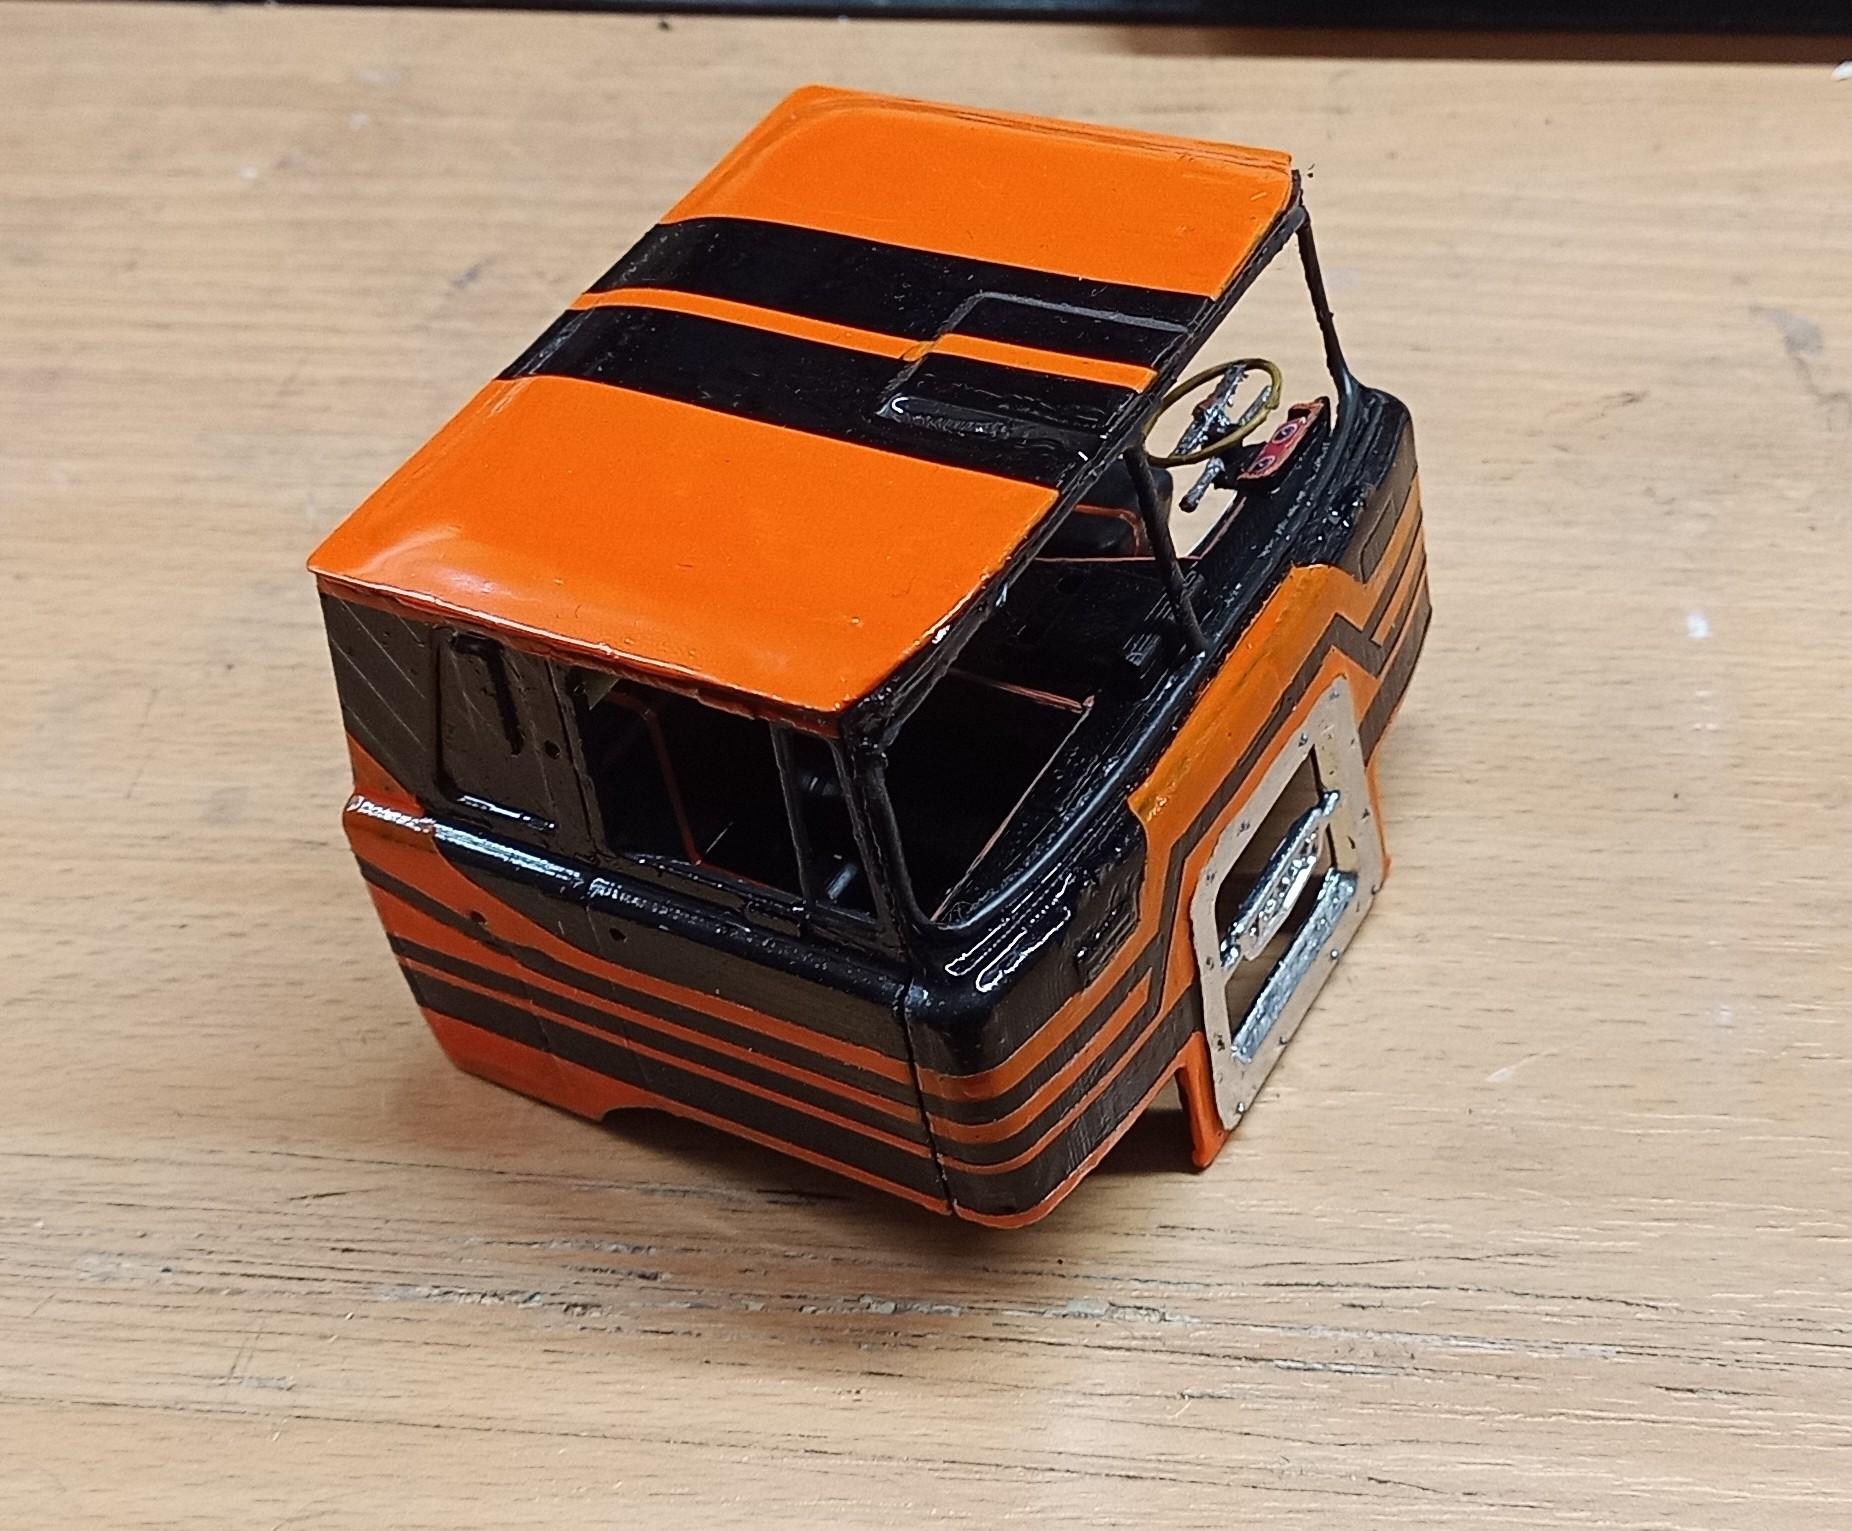
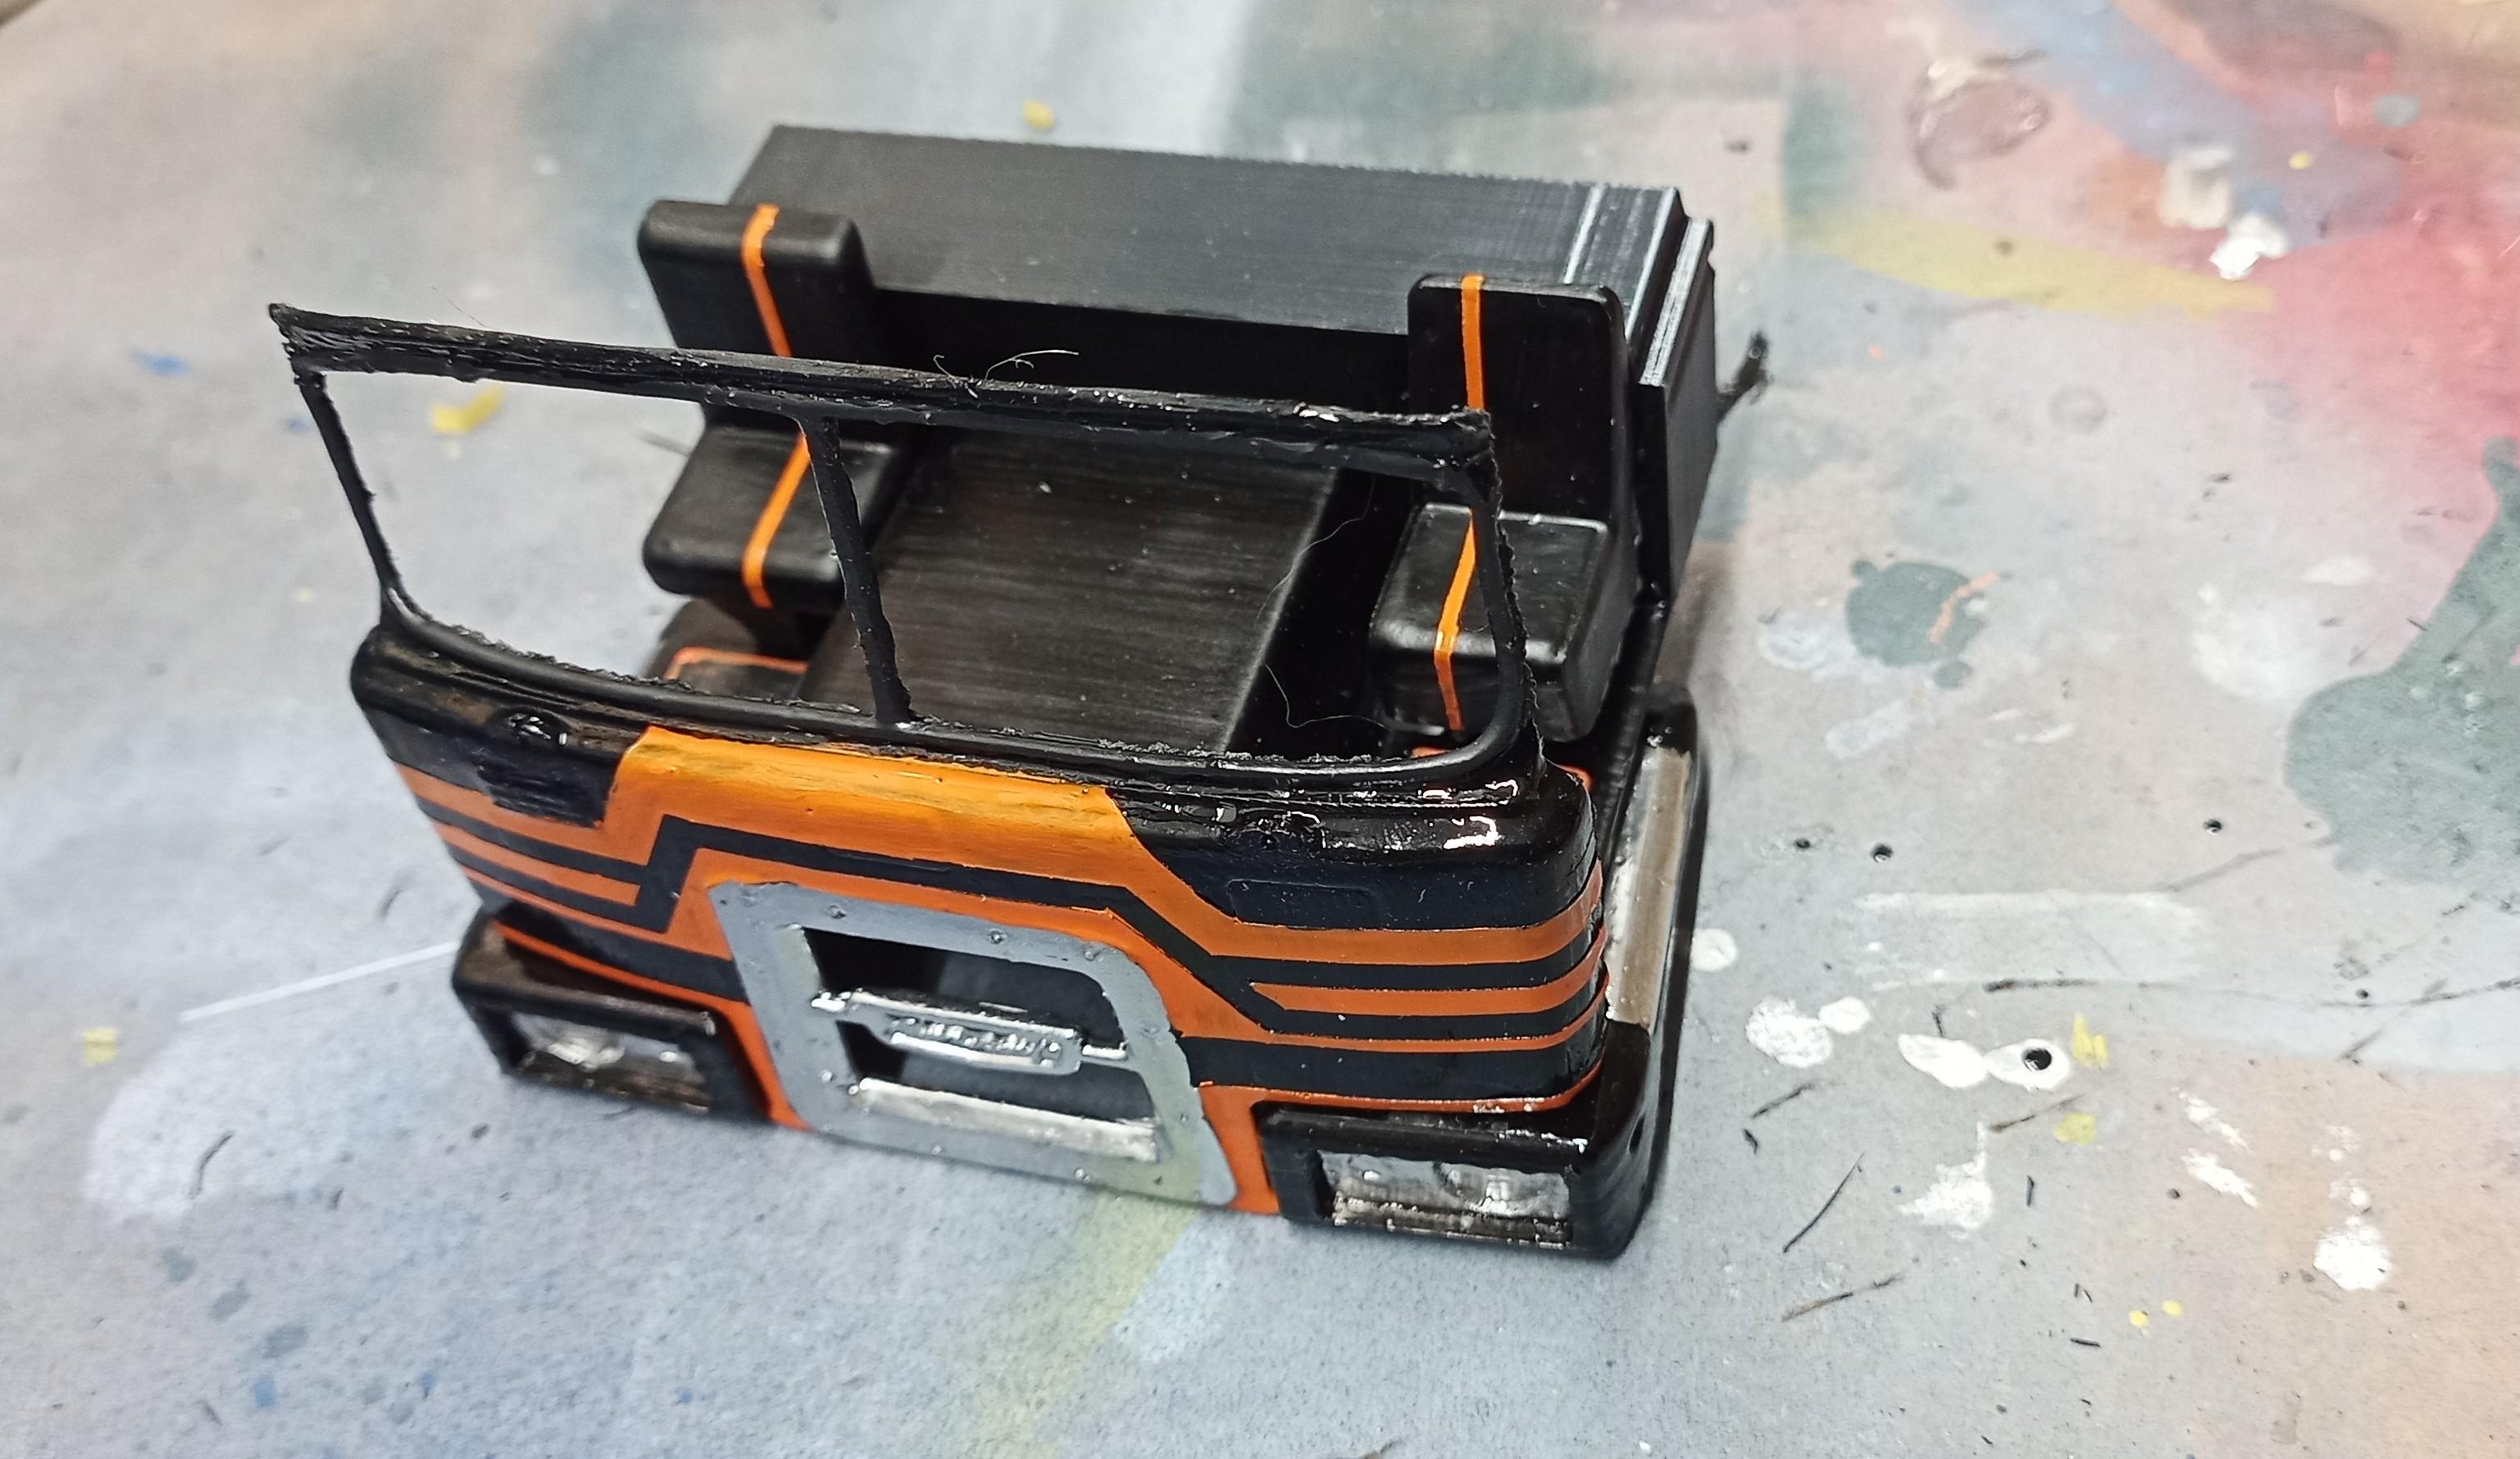
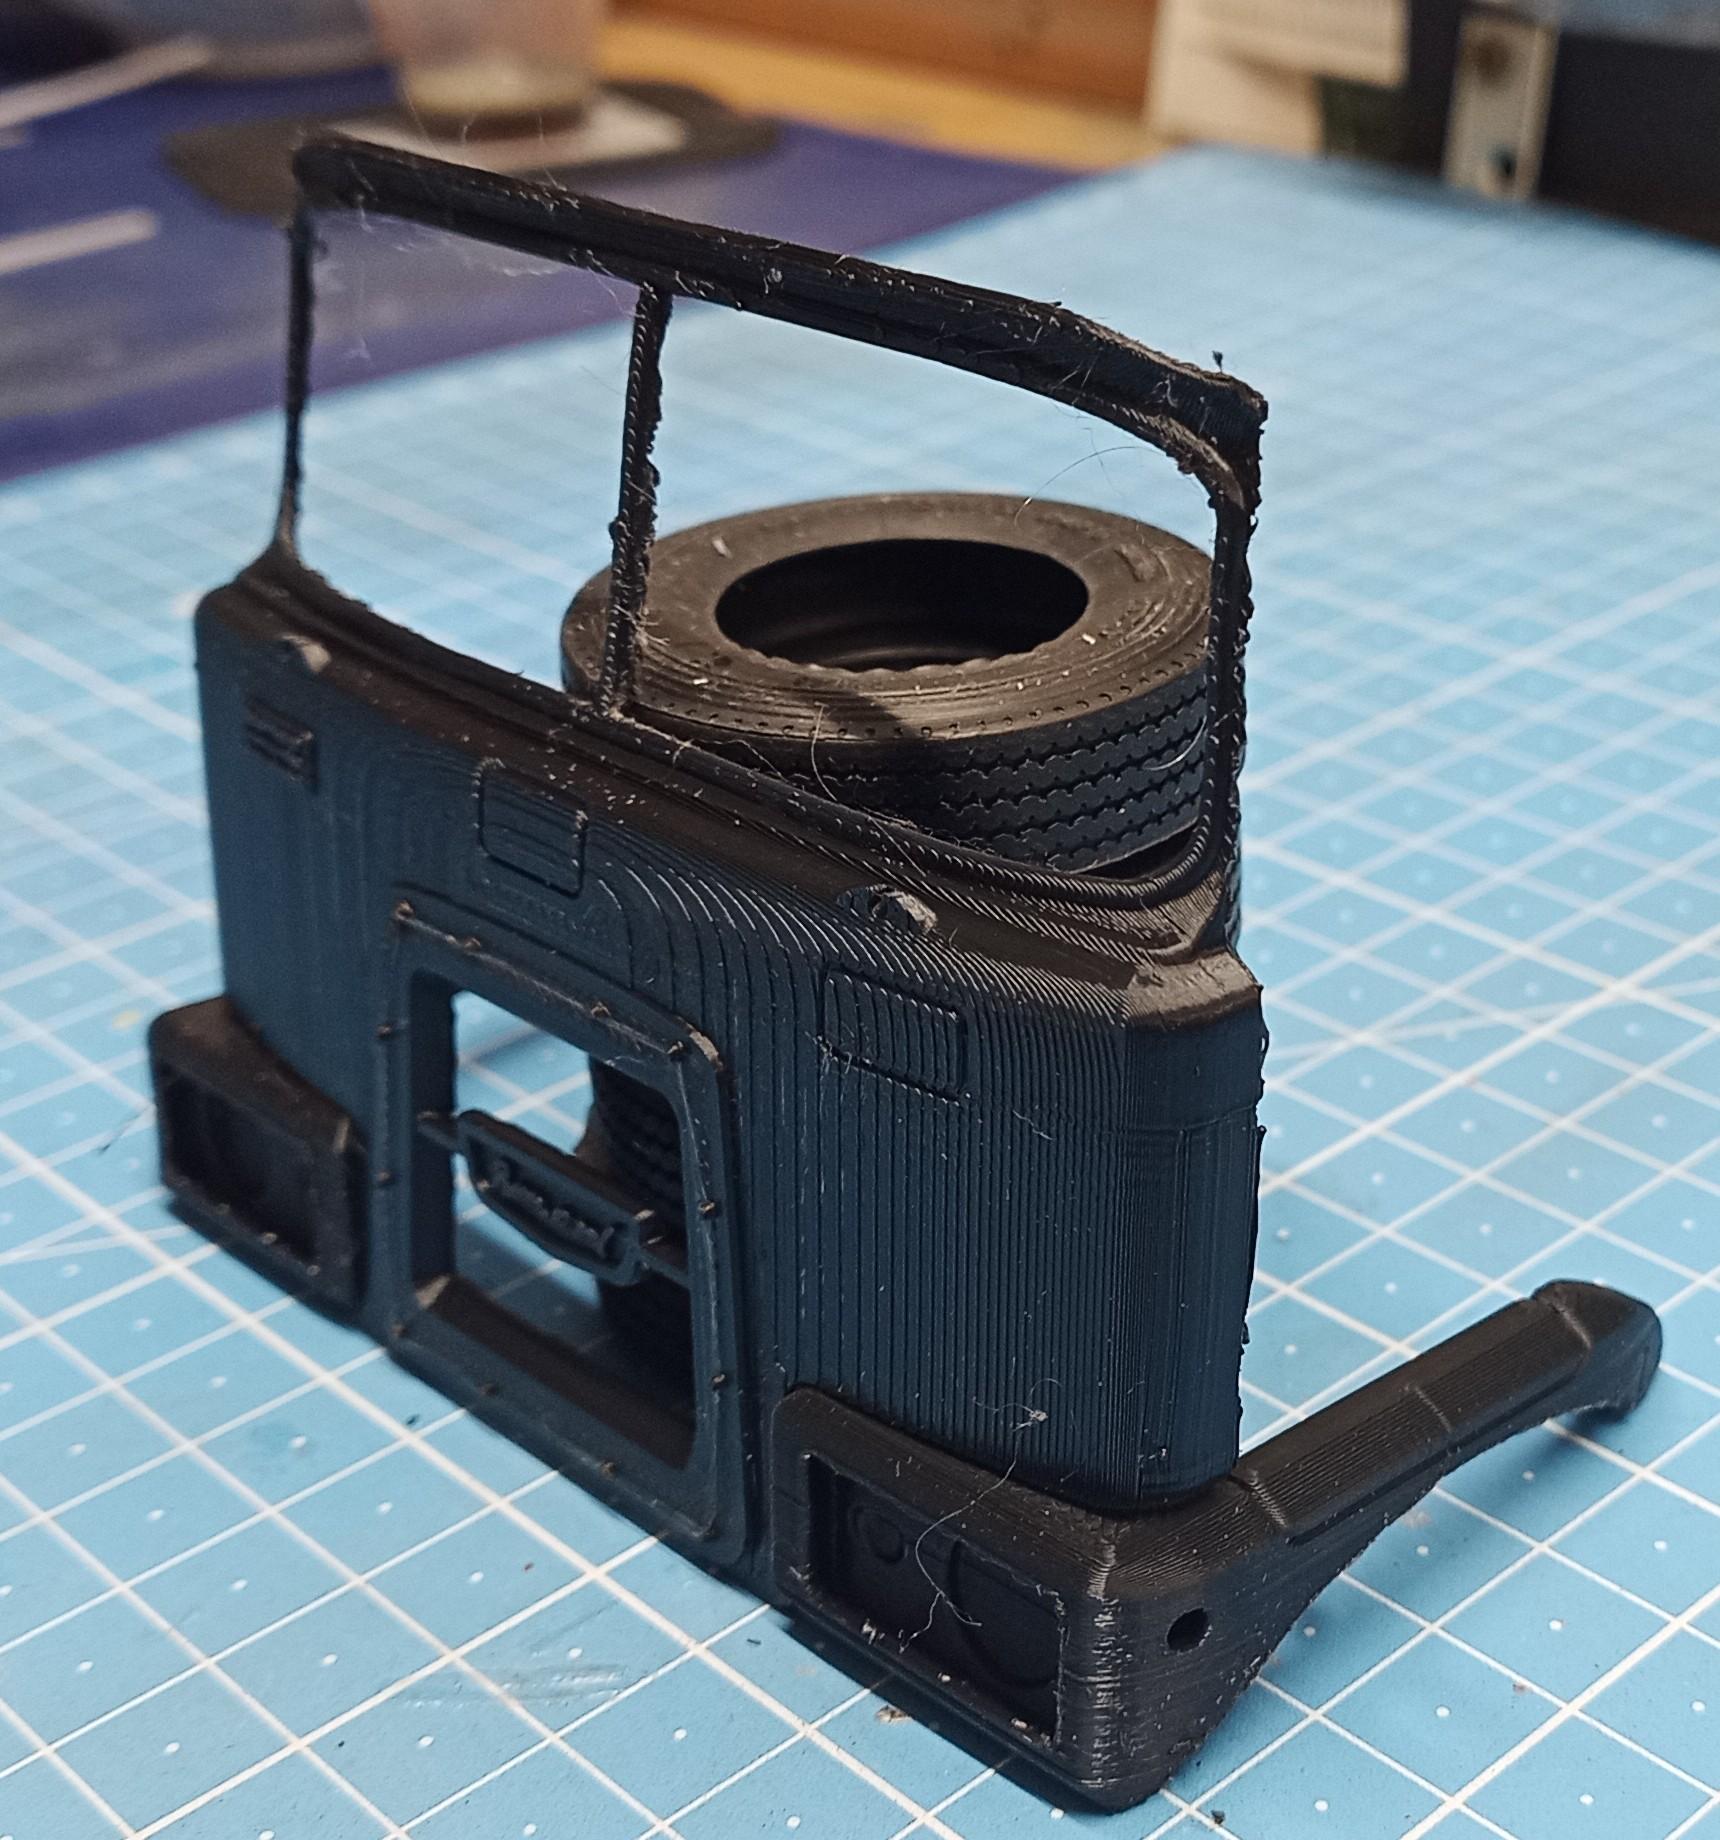
The cab parts are painted. The stripes do actually distract a bit from the print lines. I also put a few coats of primer on and sanded in between. The surface could be better but due to the not really flat parts with a lot of radiuses it wasn't possible to make it smoother. You can see the print lines in the pics above. Especially on the front part of the cab the lines are very dominant but if I had printed the cab in one piece or the parts standing up the window struts and seems would have looked terrible and would also have broken off while removing the support structures! Hope it looks OK when it's assembled. First I still have to design the dash. Parts of the interior are in print.
-
Brockway 459
Jürgen M. replied to Jürgen M.'s topic in WIP: Model Trucks: Big Rigs and Heavy Equipment
Thanks Jeff! The problem with putty is that it also covers details. I've tried it before and even a thin layer fills up door seems and other fine details and you hardly see rivets and prepared holes for mirror brackets and stuff. For printed parts I generally use super glue. I've tried modelling glue but it only works on really smooth surfaces like sanded edges or to glue windows in place. I hope this turns out nice. I painted the cab parts in the mean time. When they've cured I'll post some pics. -
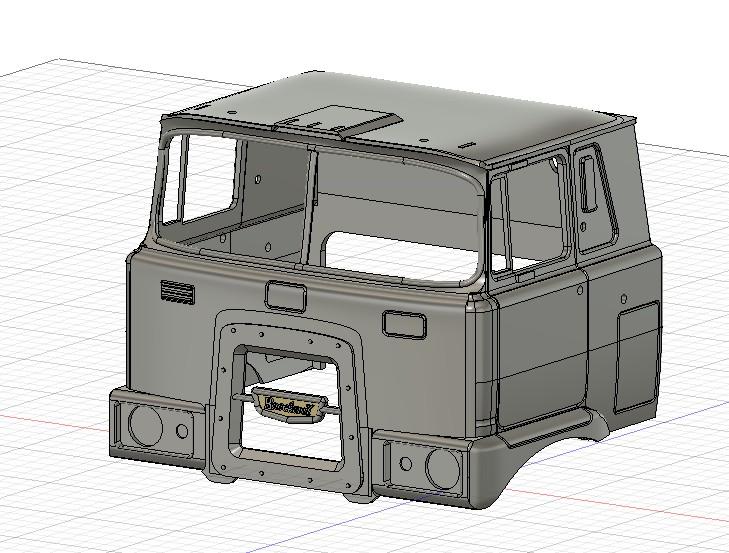
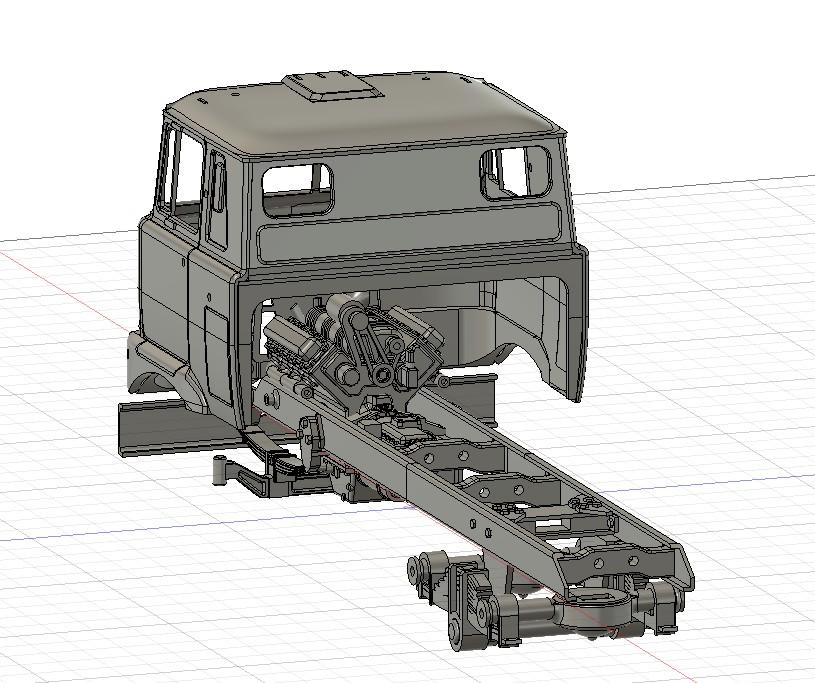
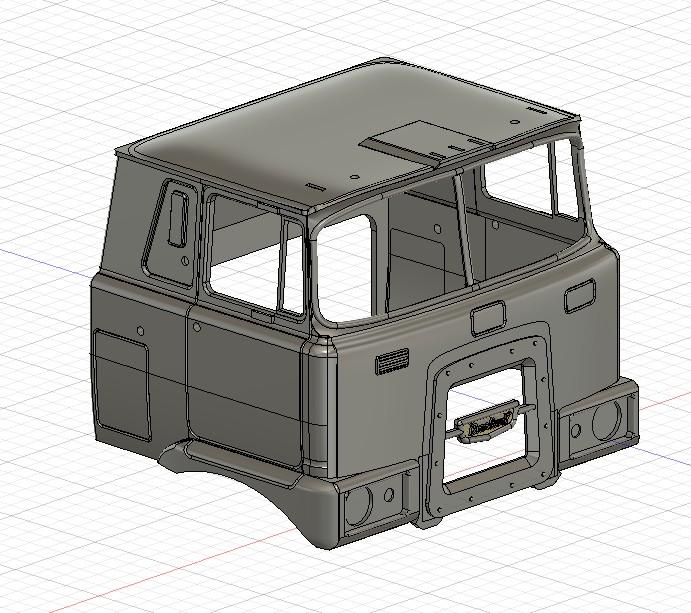
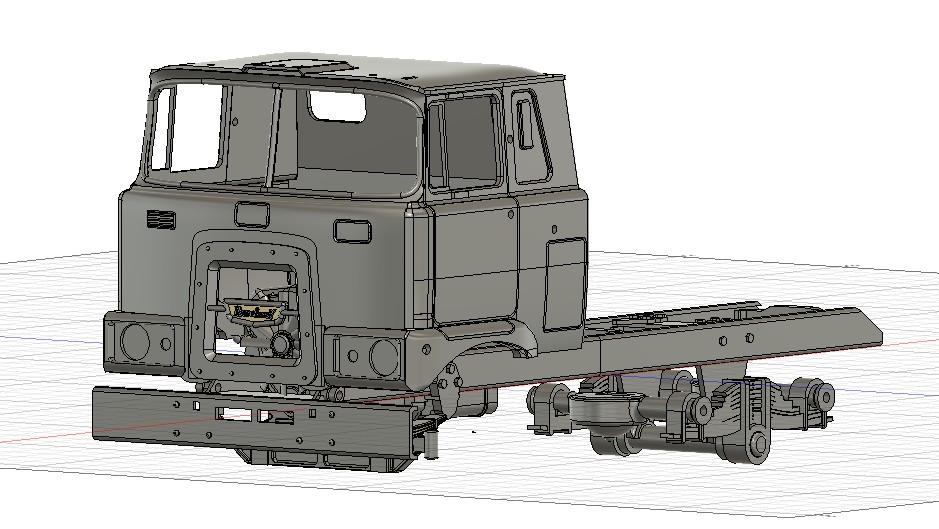
Hi everyone, long before I had begun the IH Transtar II which I finished a while ago I had started to design a Brockway cabover. Since I try to have at least one conventional and a cabover of one brand I thought it might look nice. These are the 3D drawings I made: Just the cab and a virtual mock-up of the chassis with drive train and engine. I put in a V8 since the 459 was the high powered V8 version. Now I have to design the interior, the tanks with mounts, rims, exhaust, air cleaner, ... I already printed some cab parts and the fenders. I decided to split it up, sort of Italeri style, to get better print results. They're not as good as I hoped but OK. I might try to hide the print lines a bit by painting multiple pin stripes or something! Sanding is merely impossible cause that stuff is much too hard. The parts would break rather than becoming smooth. Primer only works a bit and putting on too many coats I would cover up details. We'll see how it comes out! Have fun watching!
-
1970 Ford C 600
Jürgen M. replied to Biggu's topic in WIP: Model Trucks: Big Rigs and Heavy Equipment
Looking great Jeff! When this is put together it'll be another jewel in your shelf and a very rare, no, unique build. Can't wait to see it finished! -
This is gonna be a very interesting build Brian! First row once more! 👍
-
Scania 142M refurbished
Jürgen M. replied to Jürgen M.'s topic in Model Trucks: Big Rigs and Heavy Equipment
Thanks Jeff! It's not a beauty but I think it looks more authentic now! -
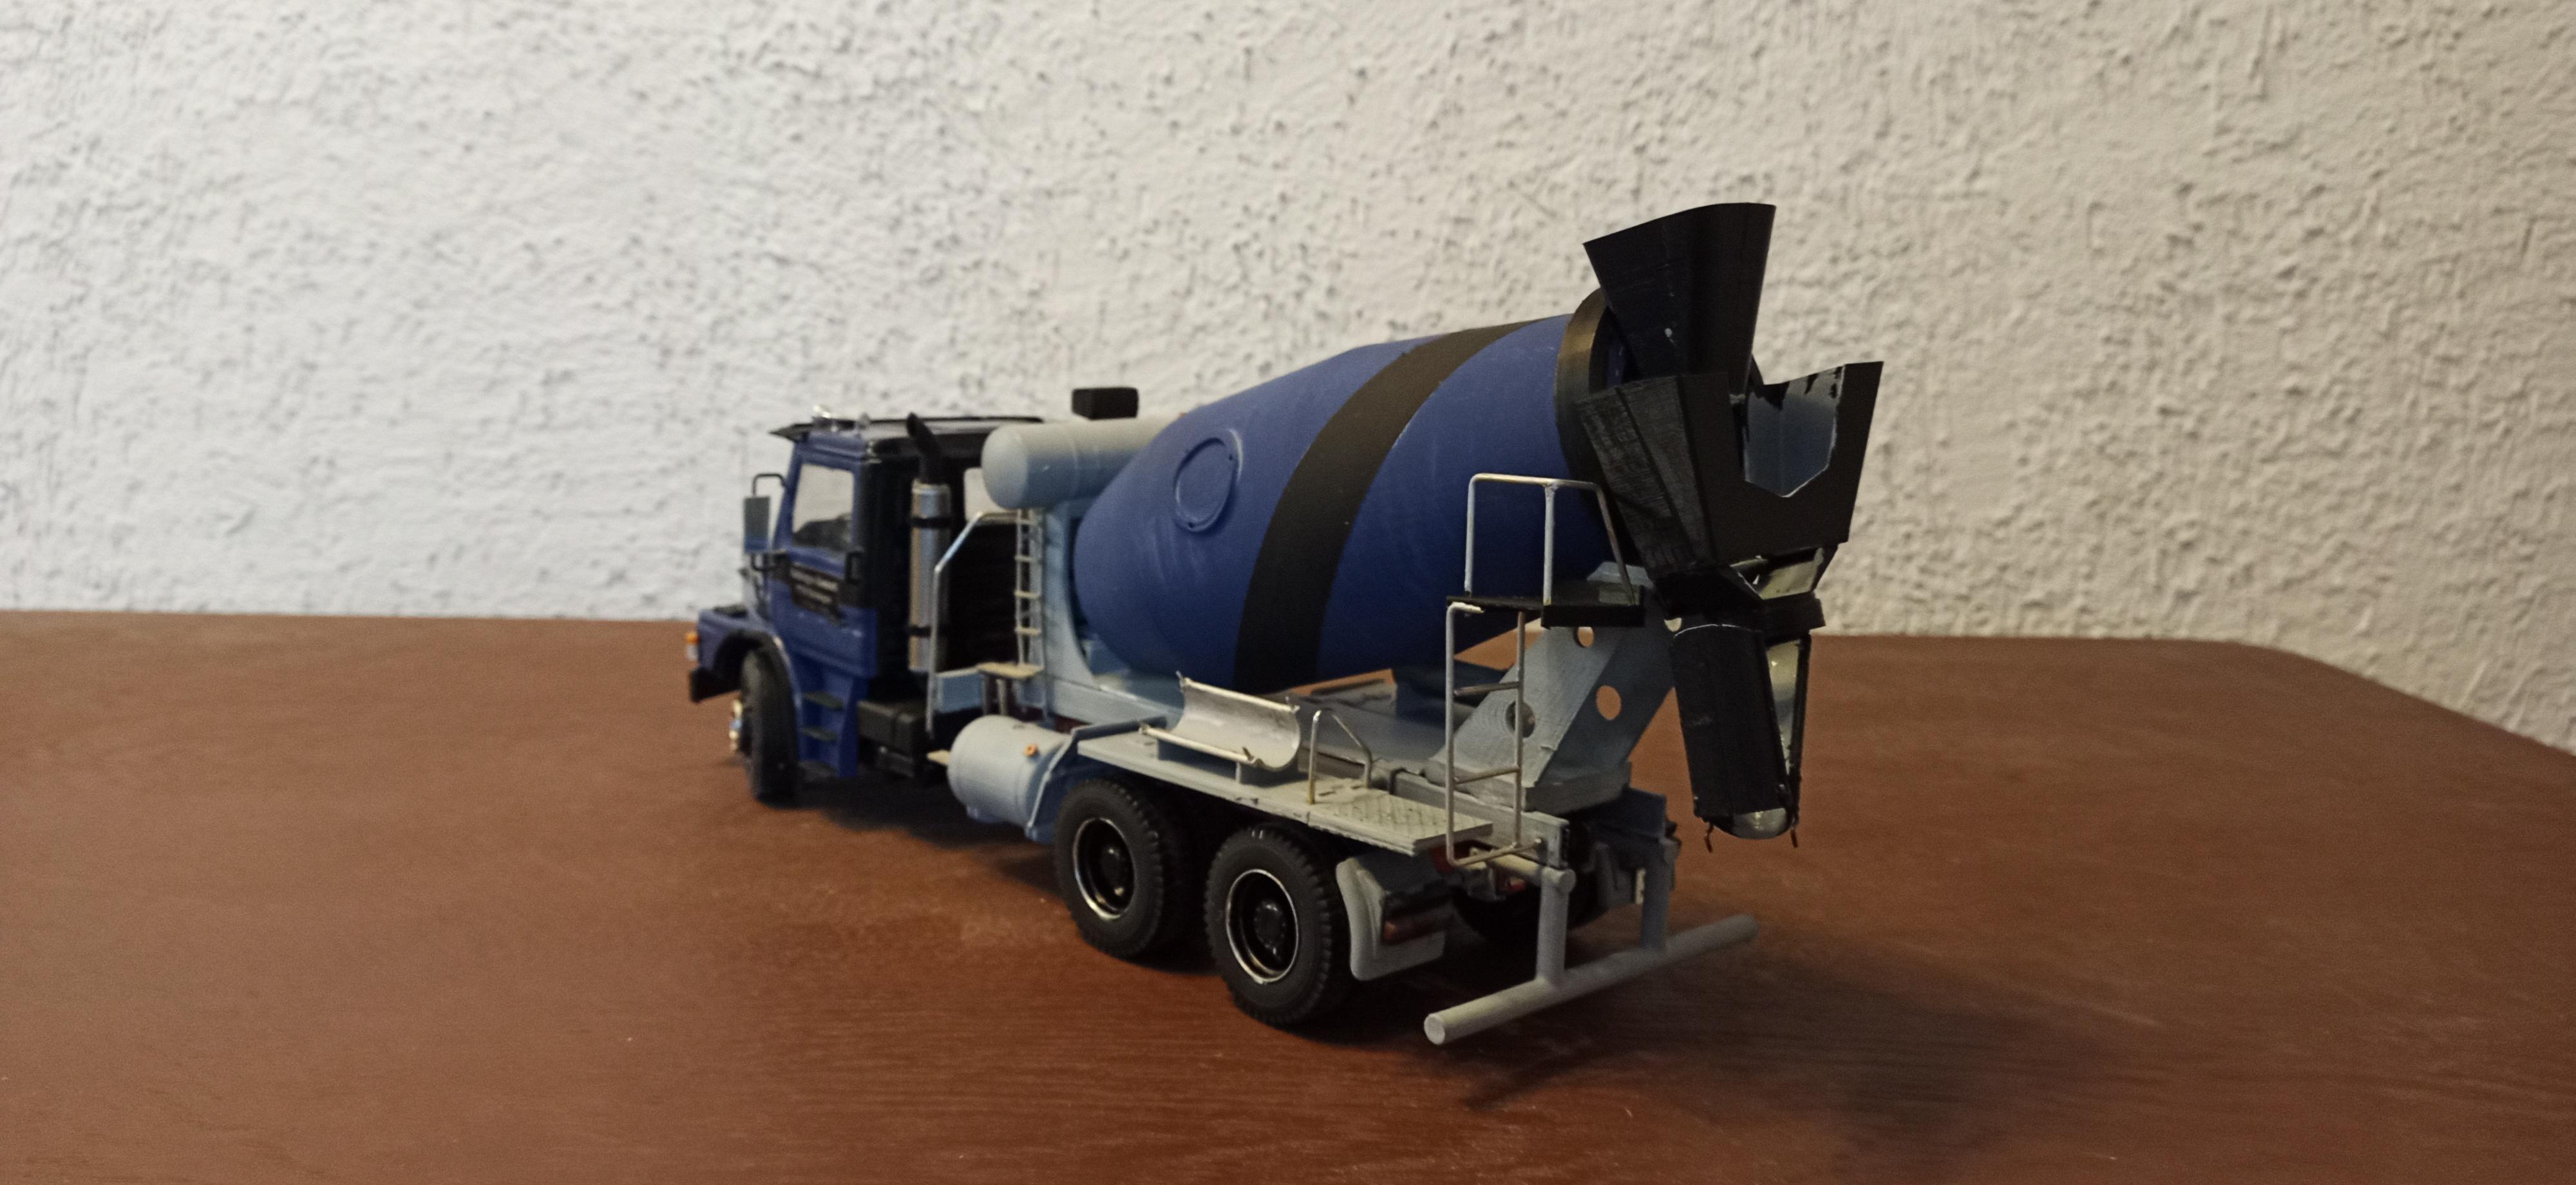
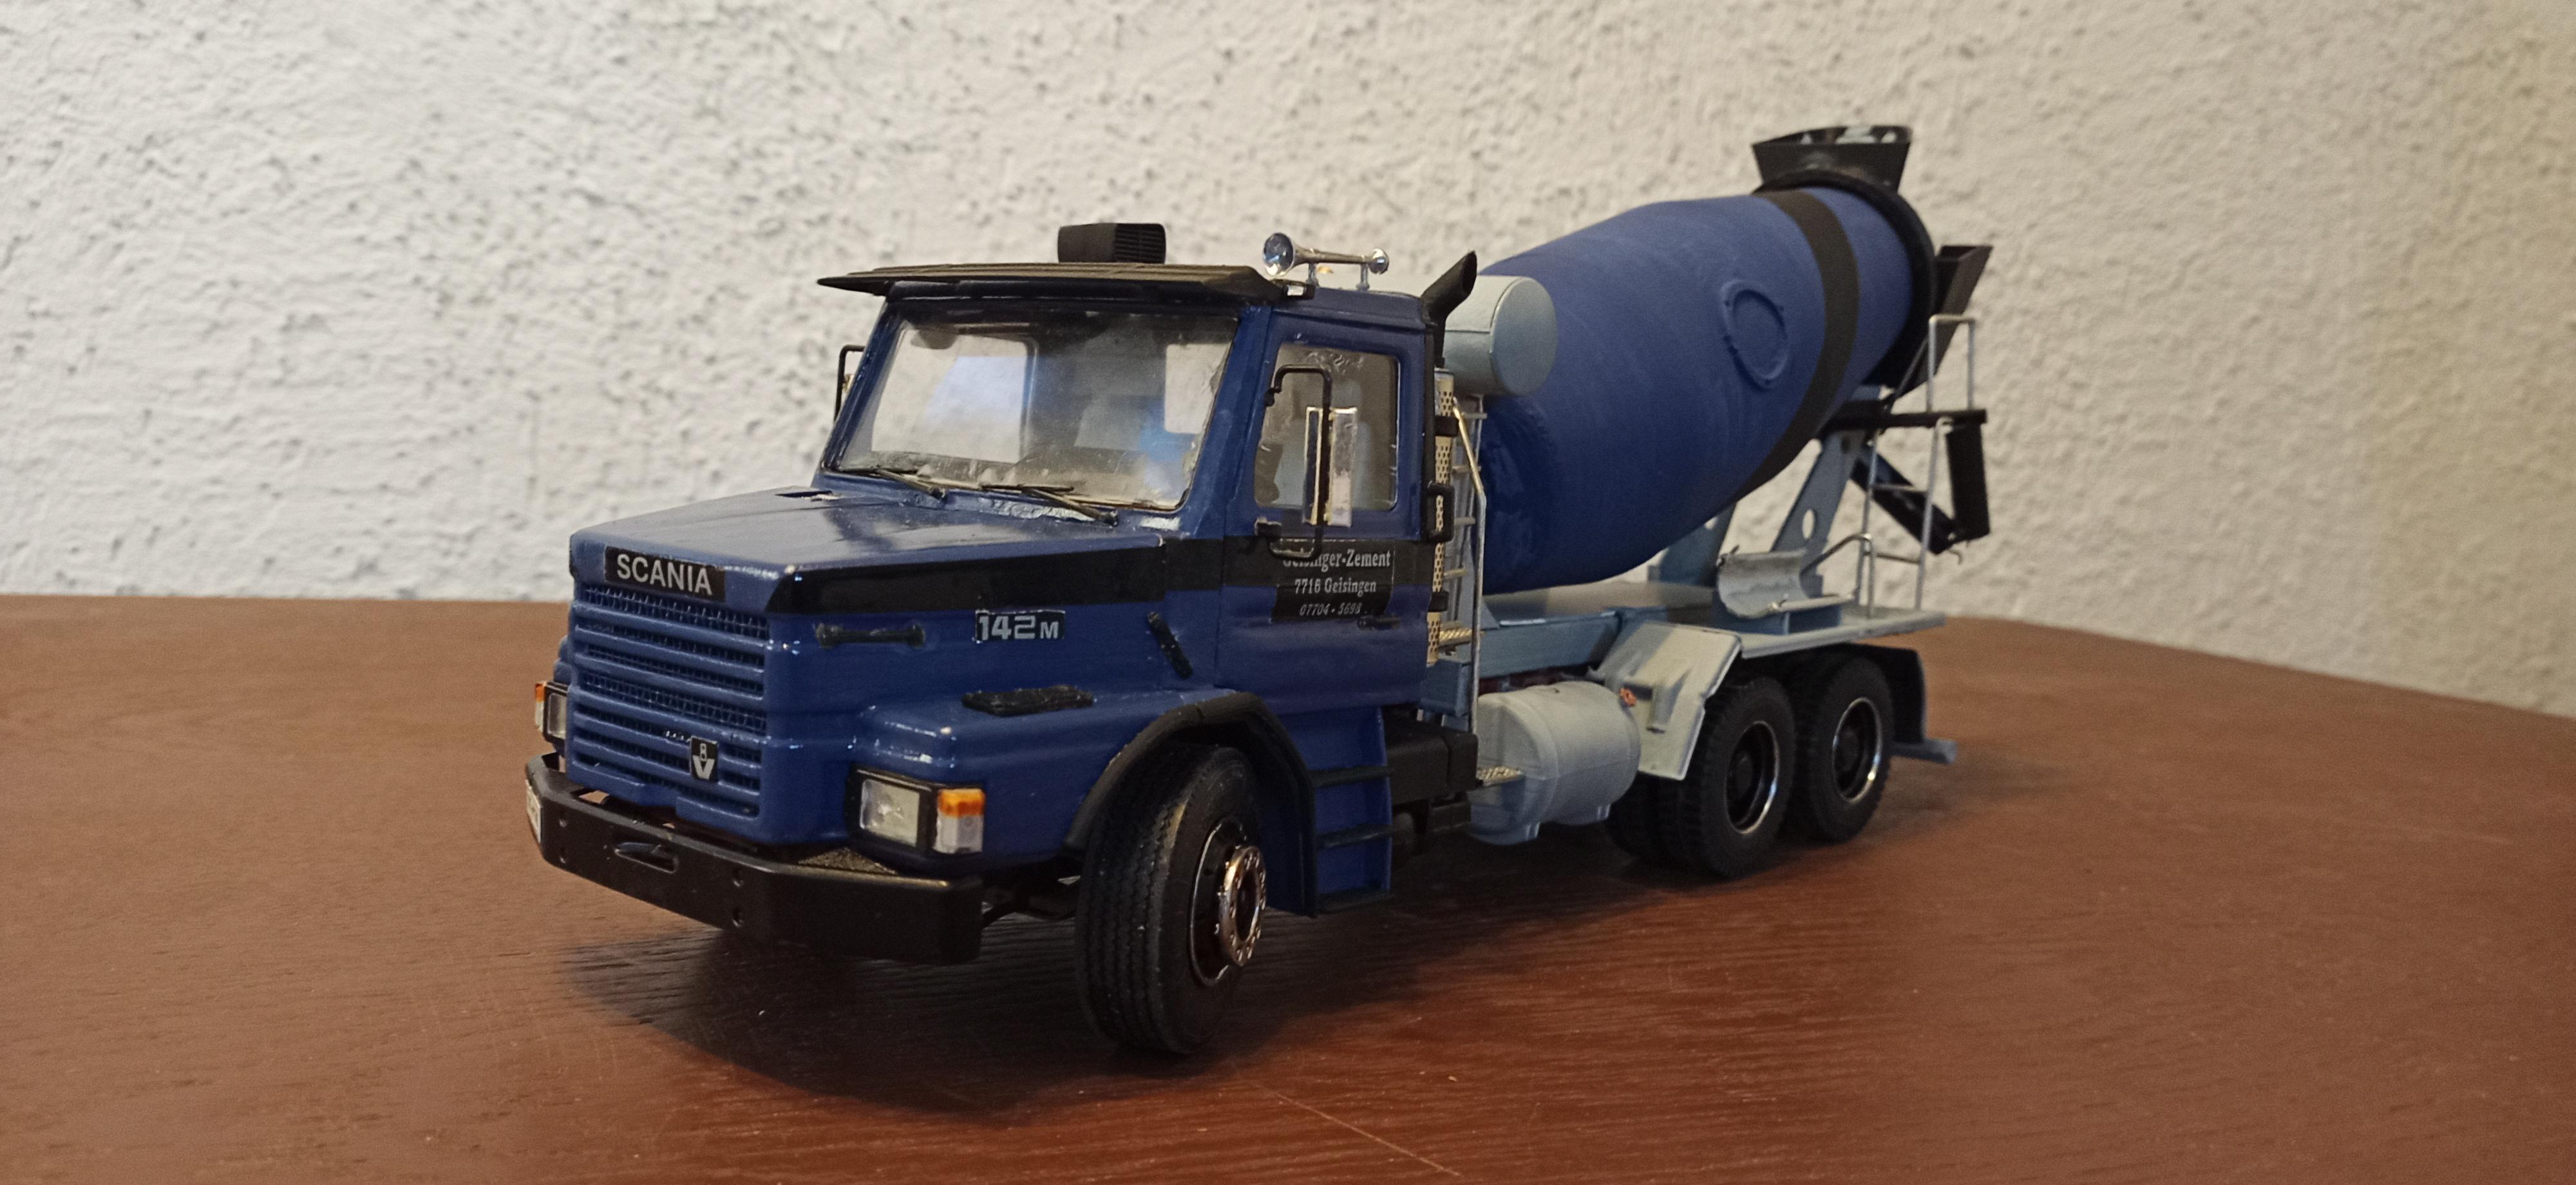
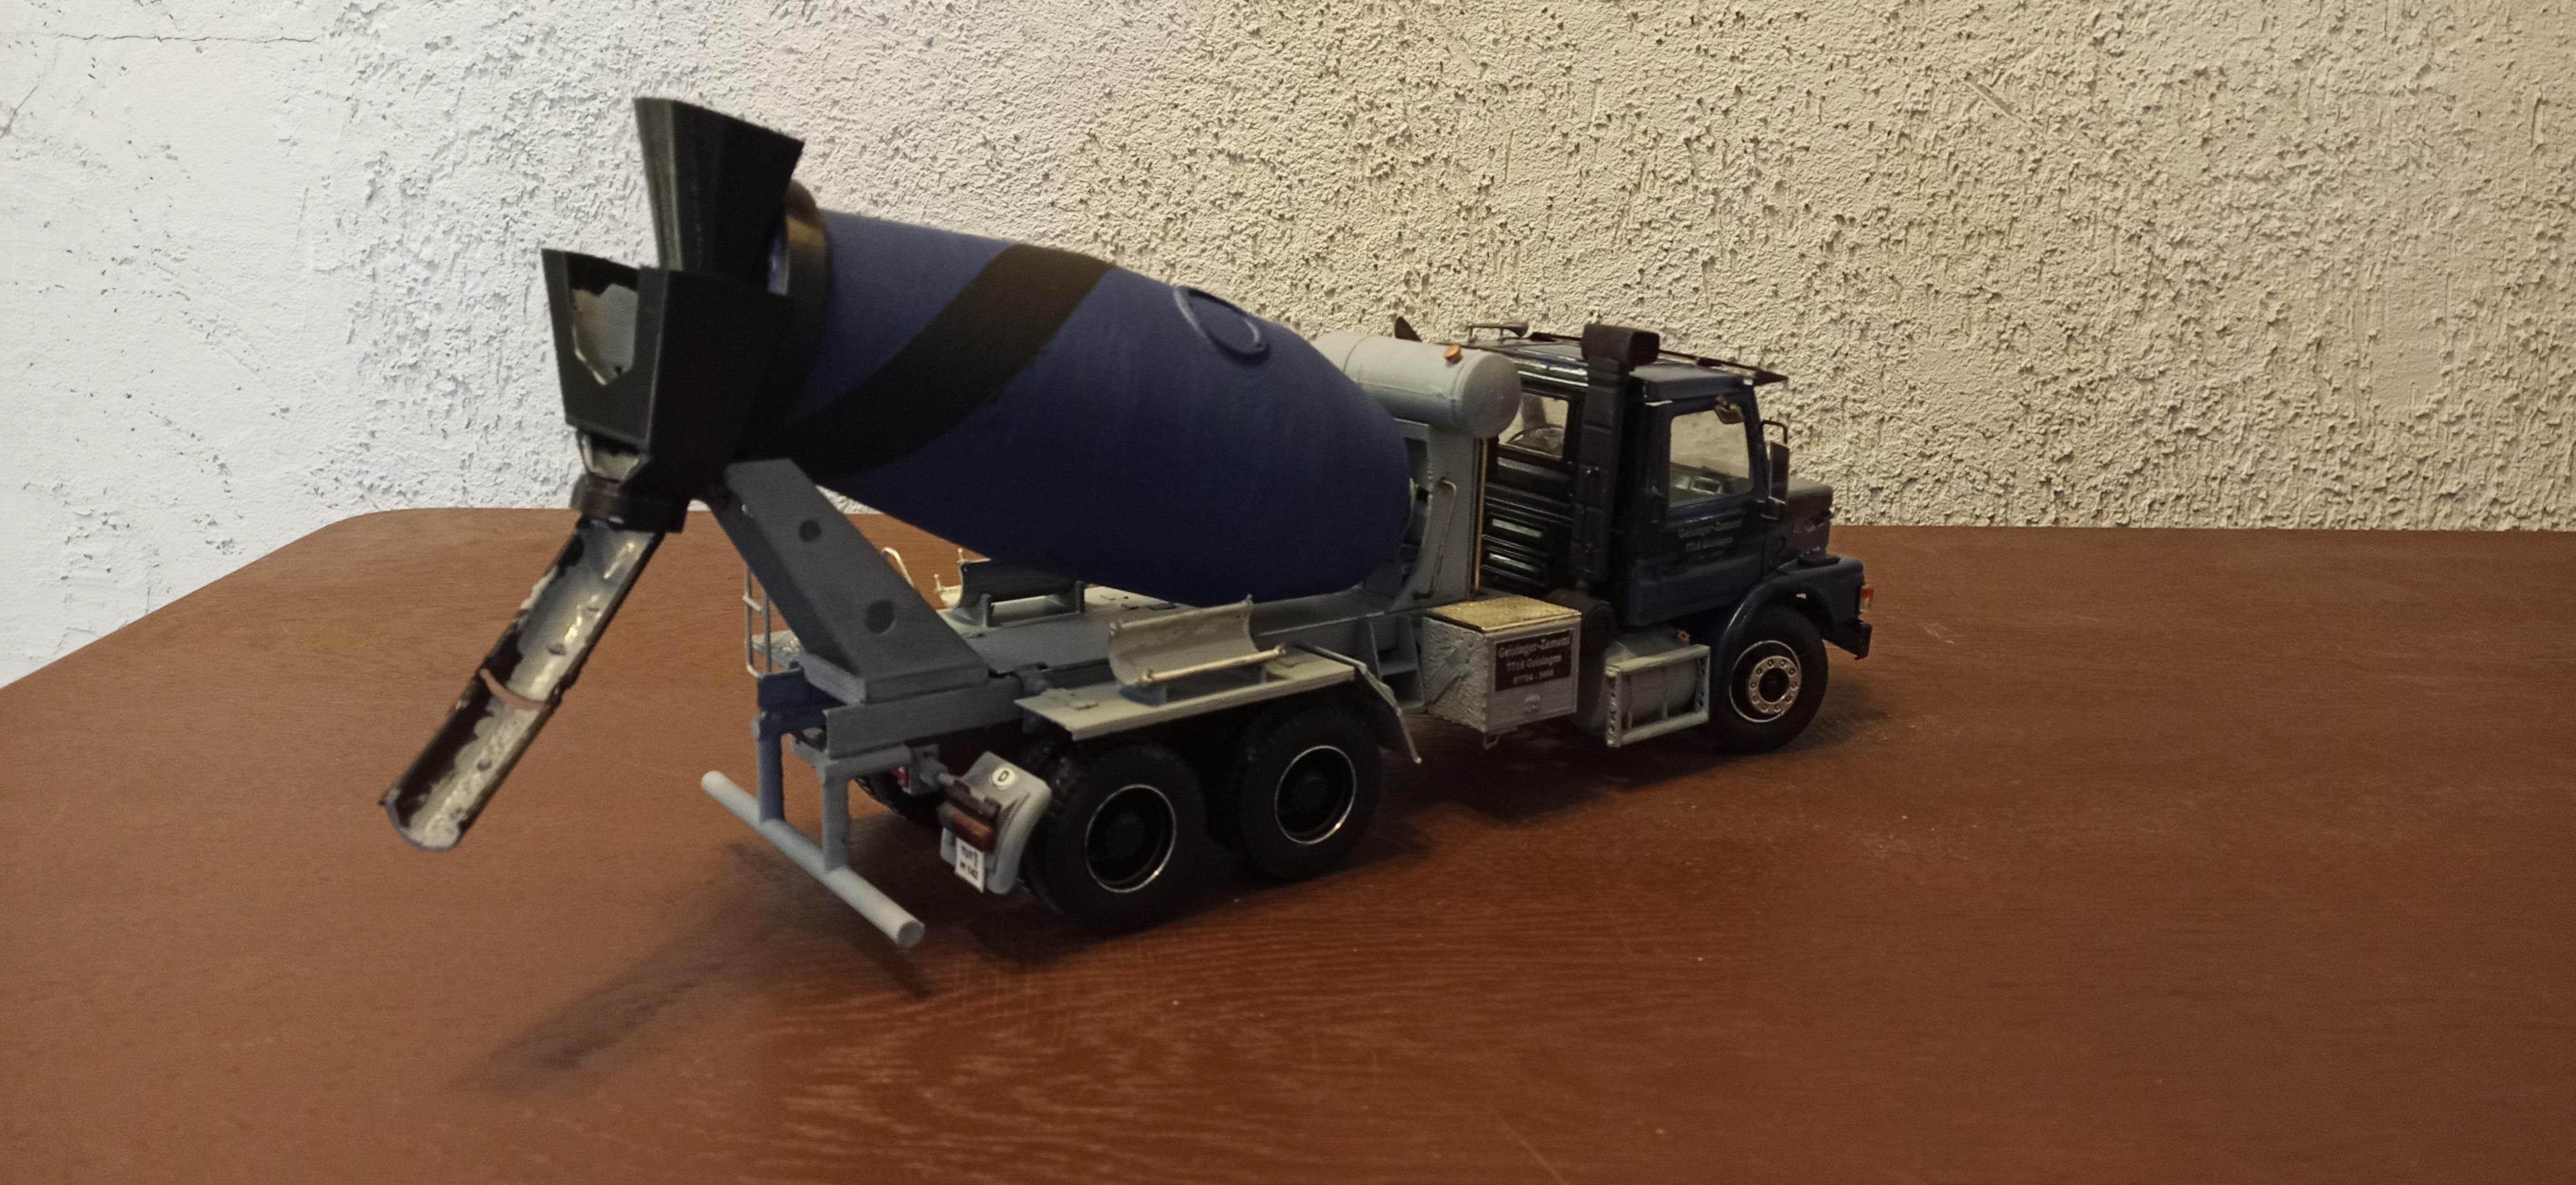
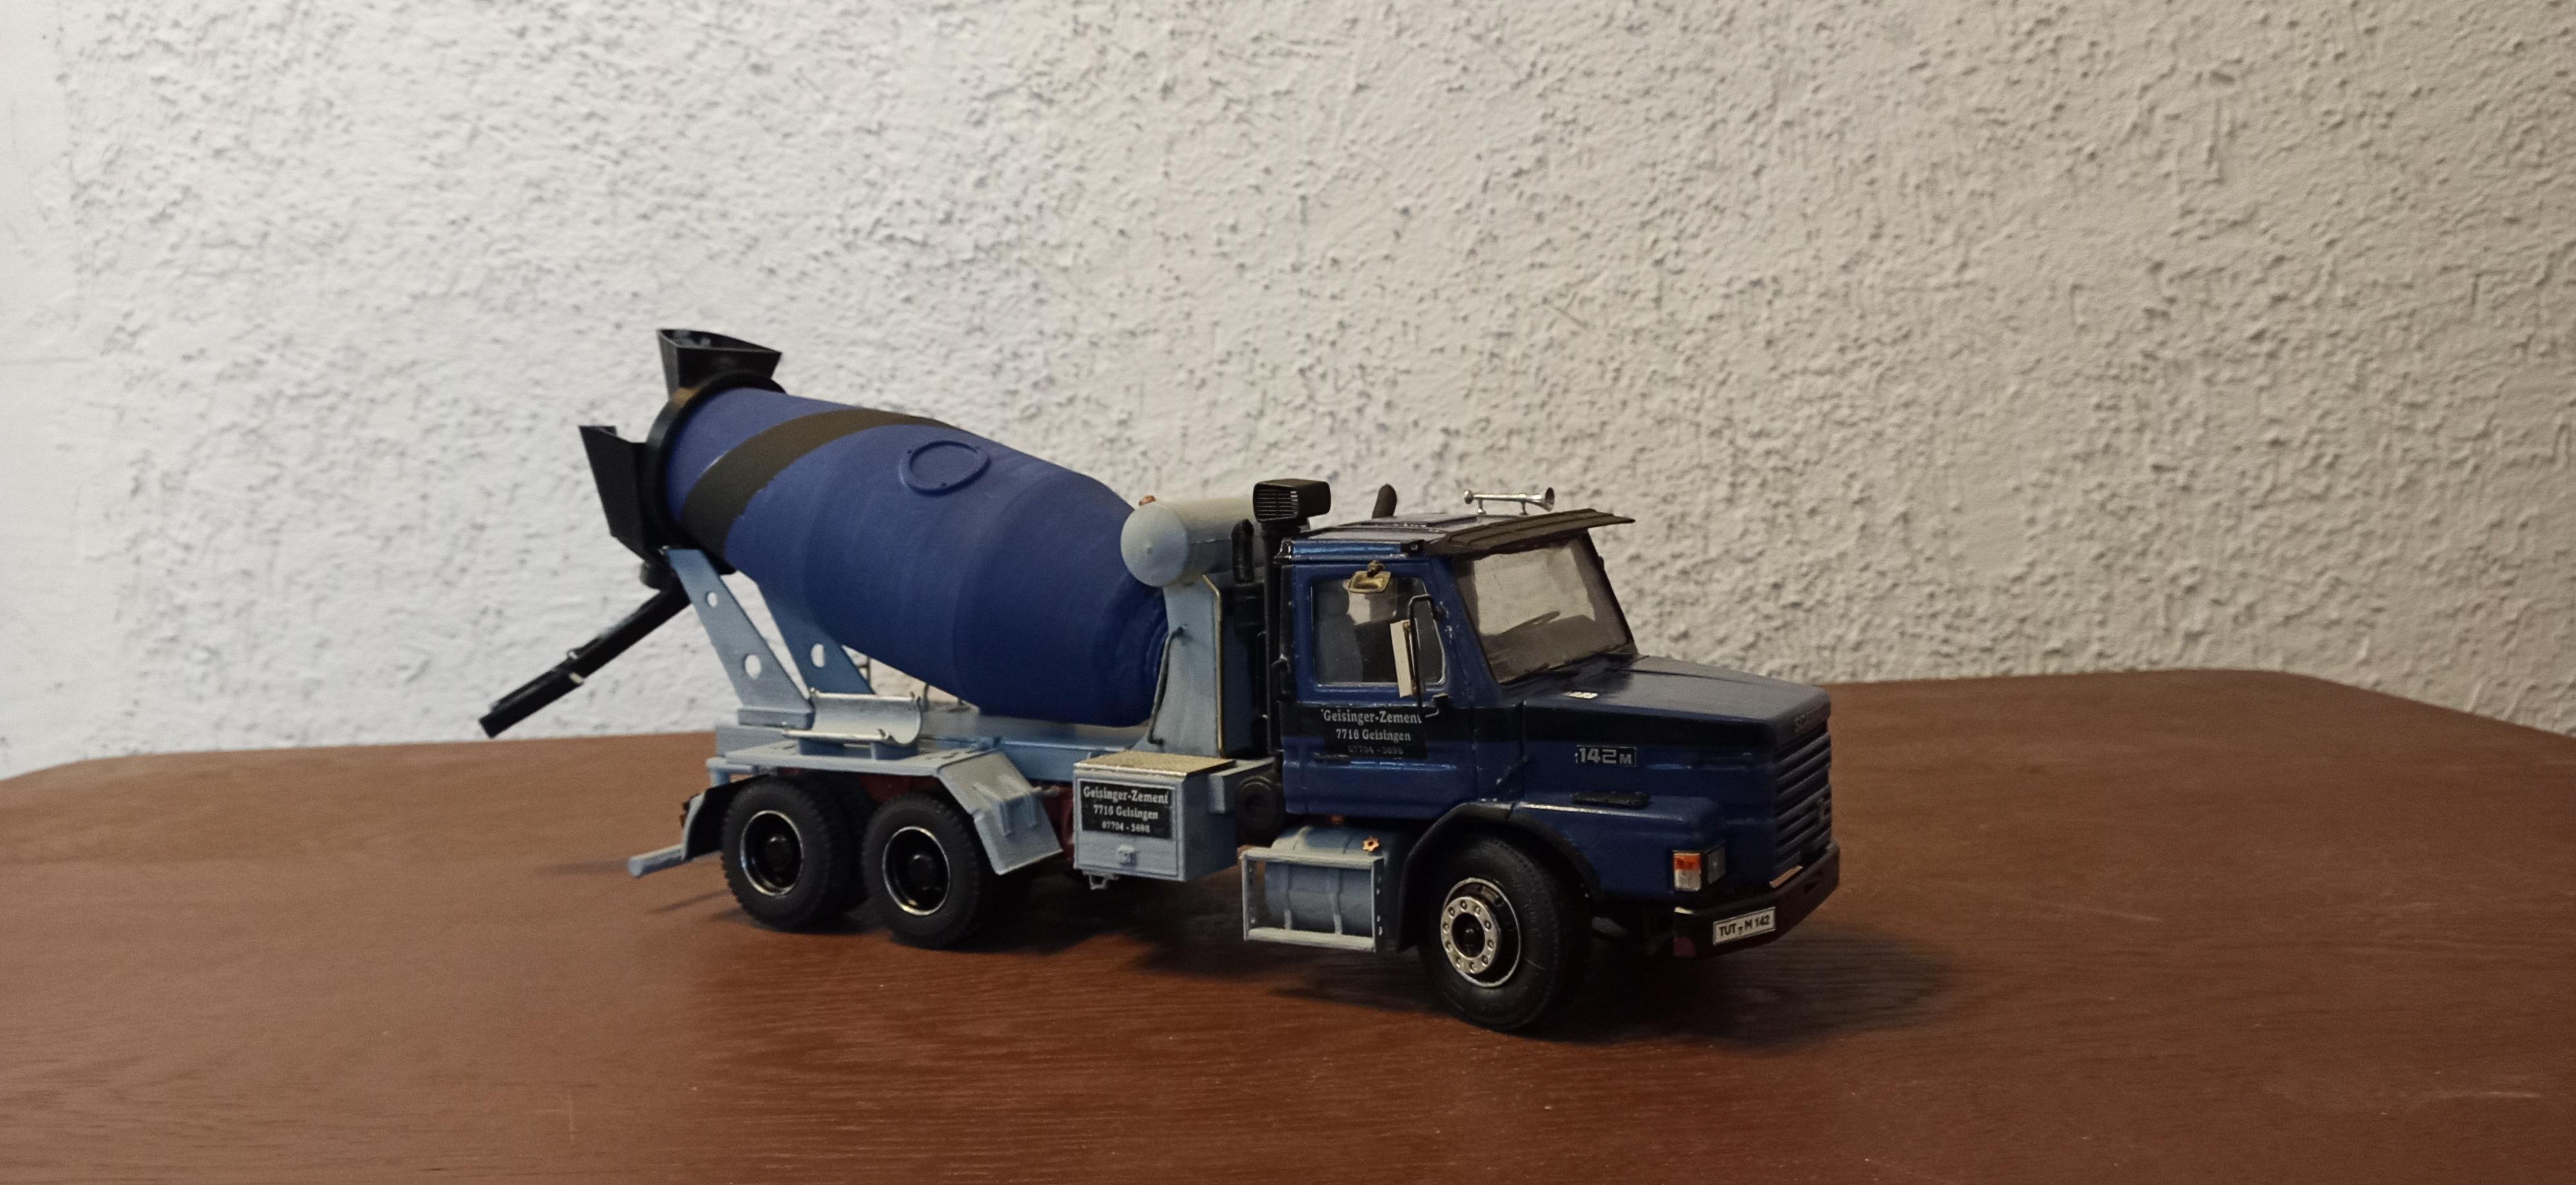
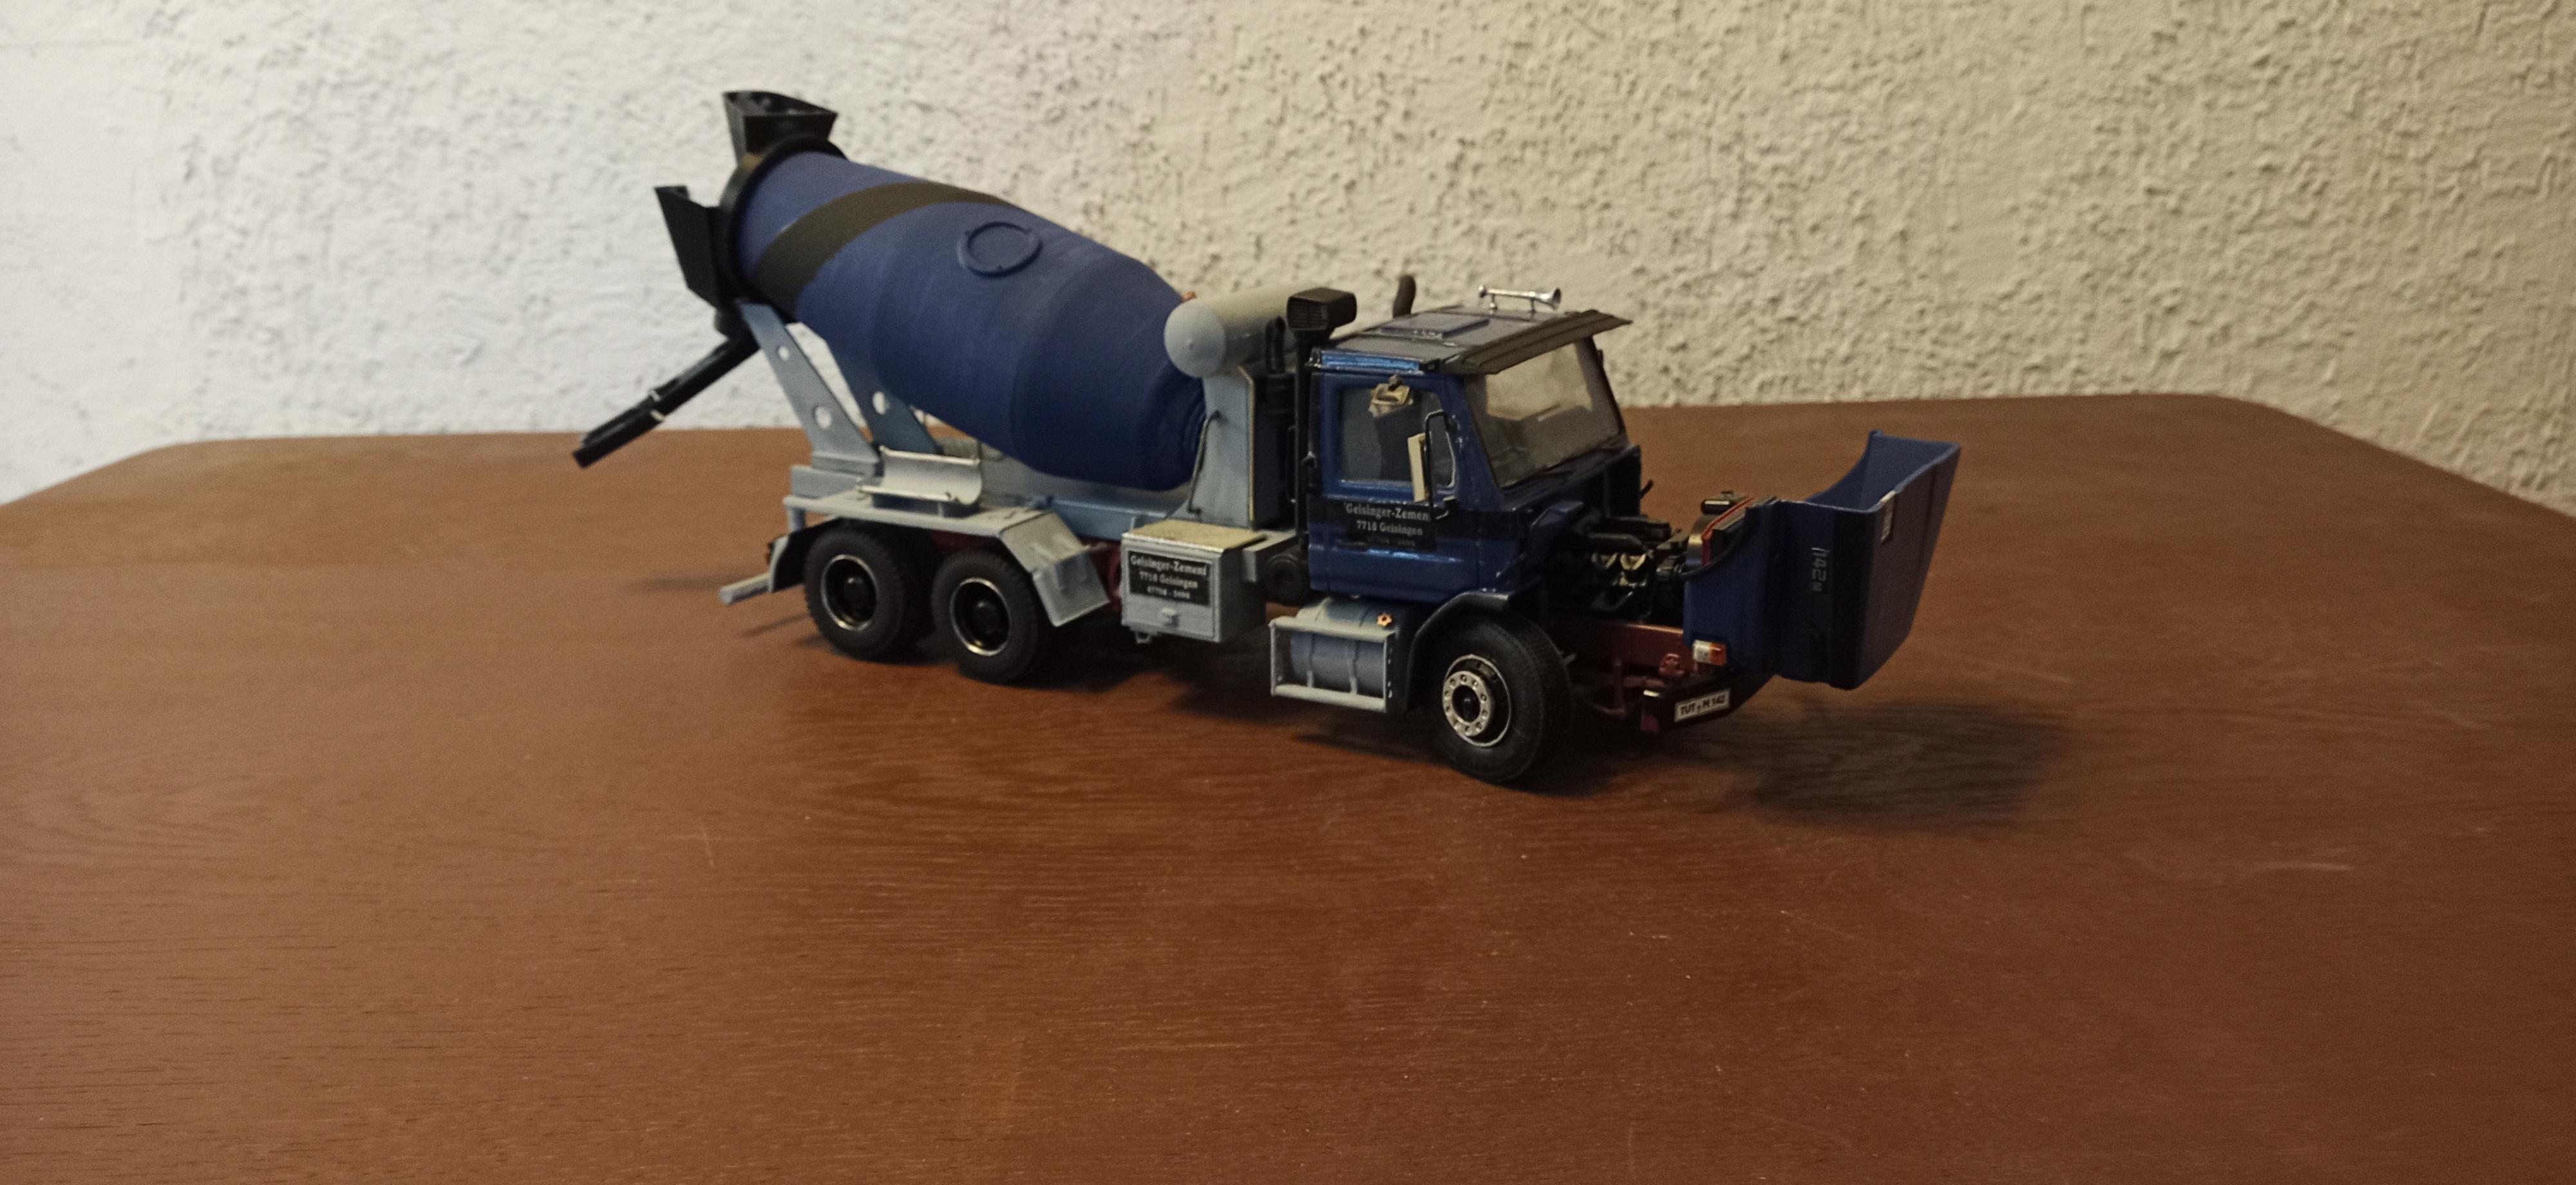
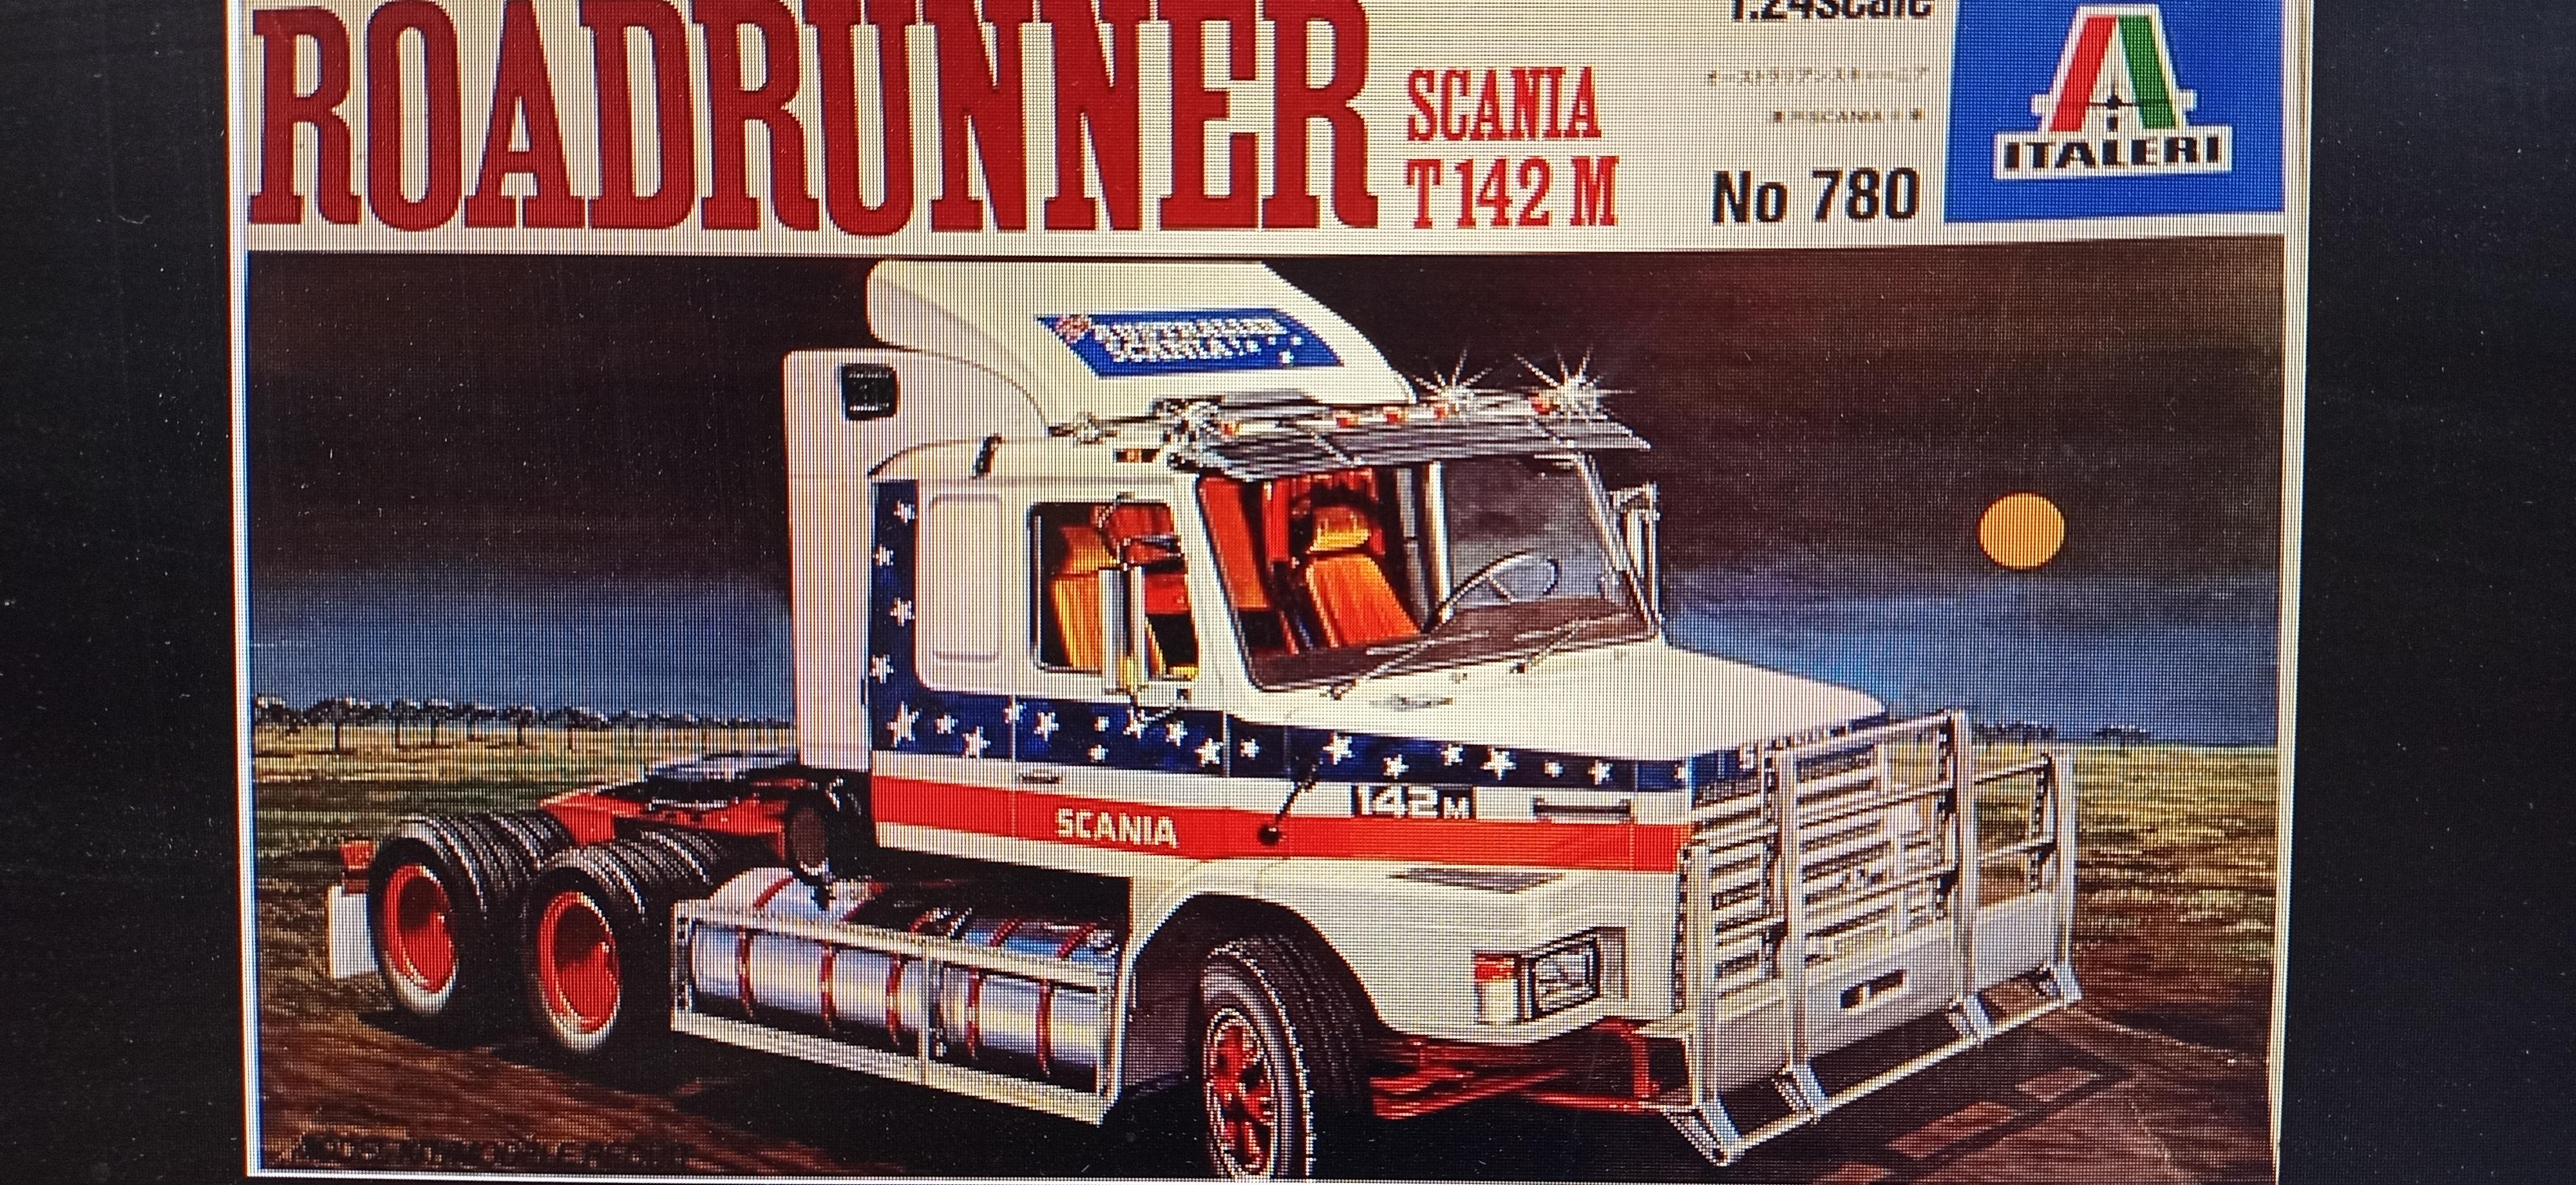
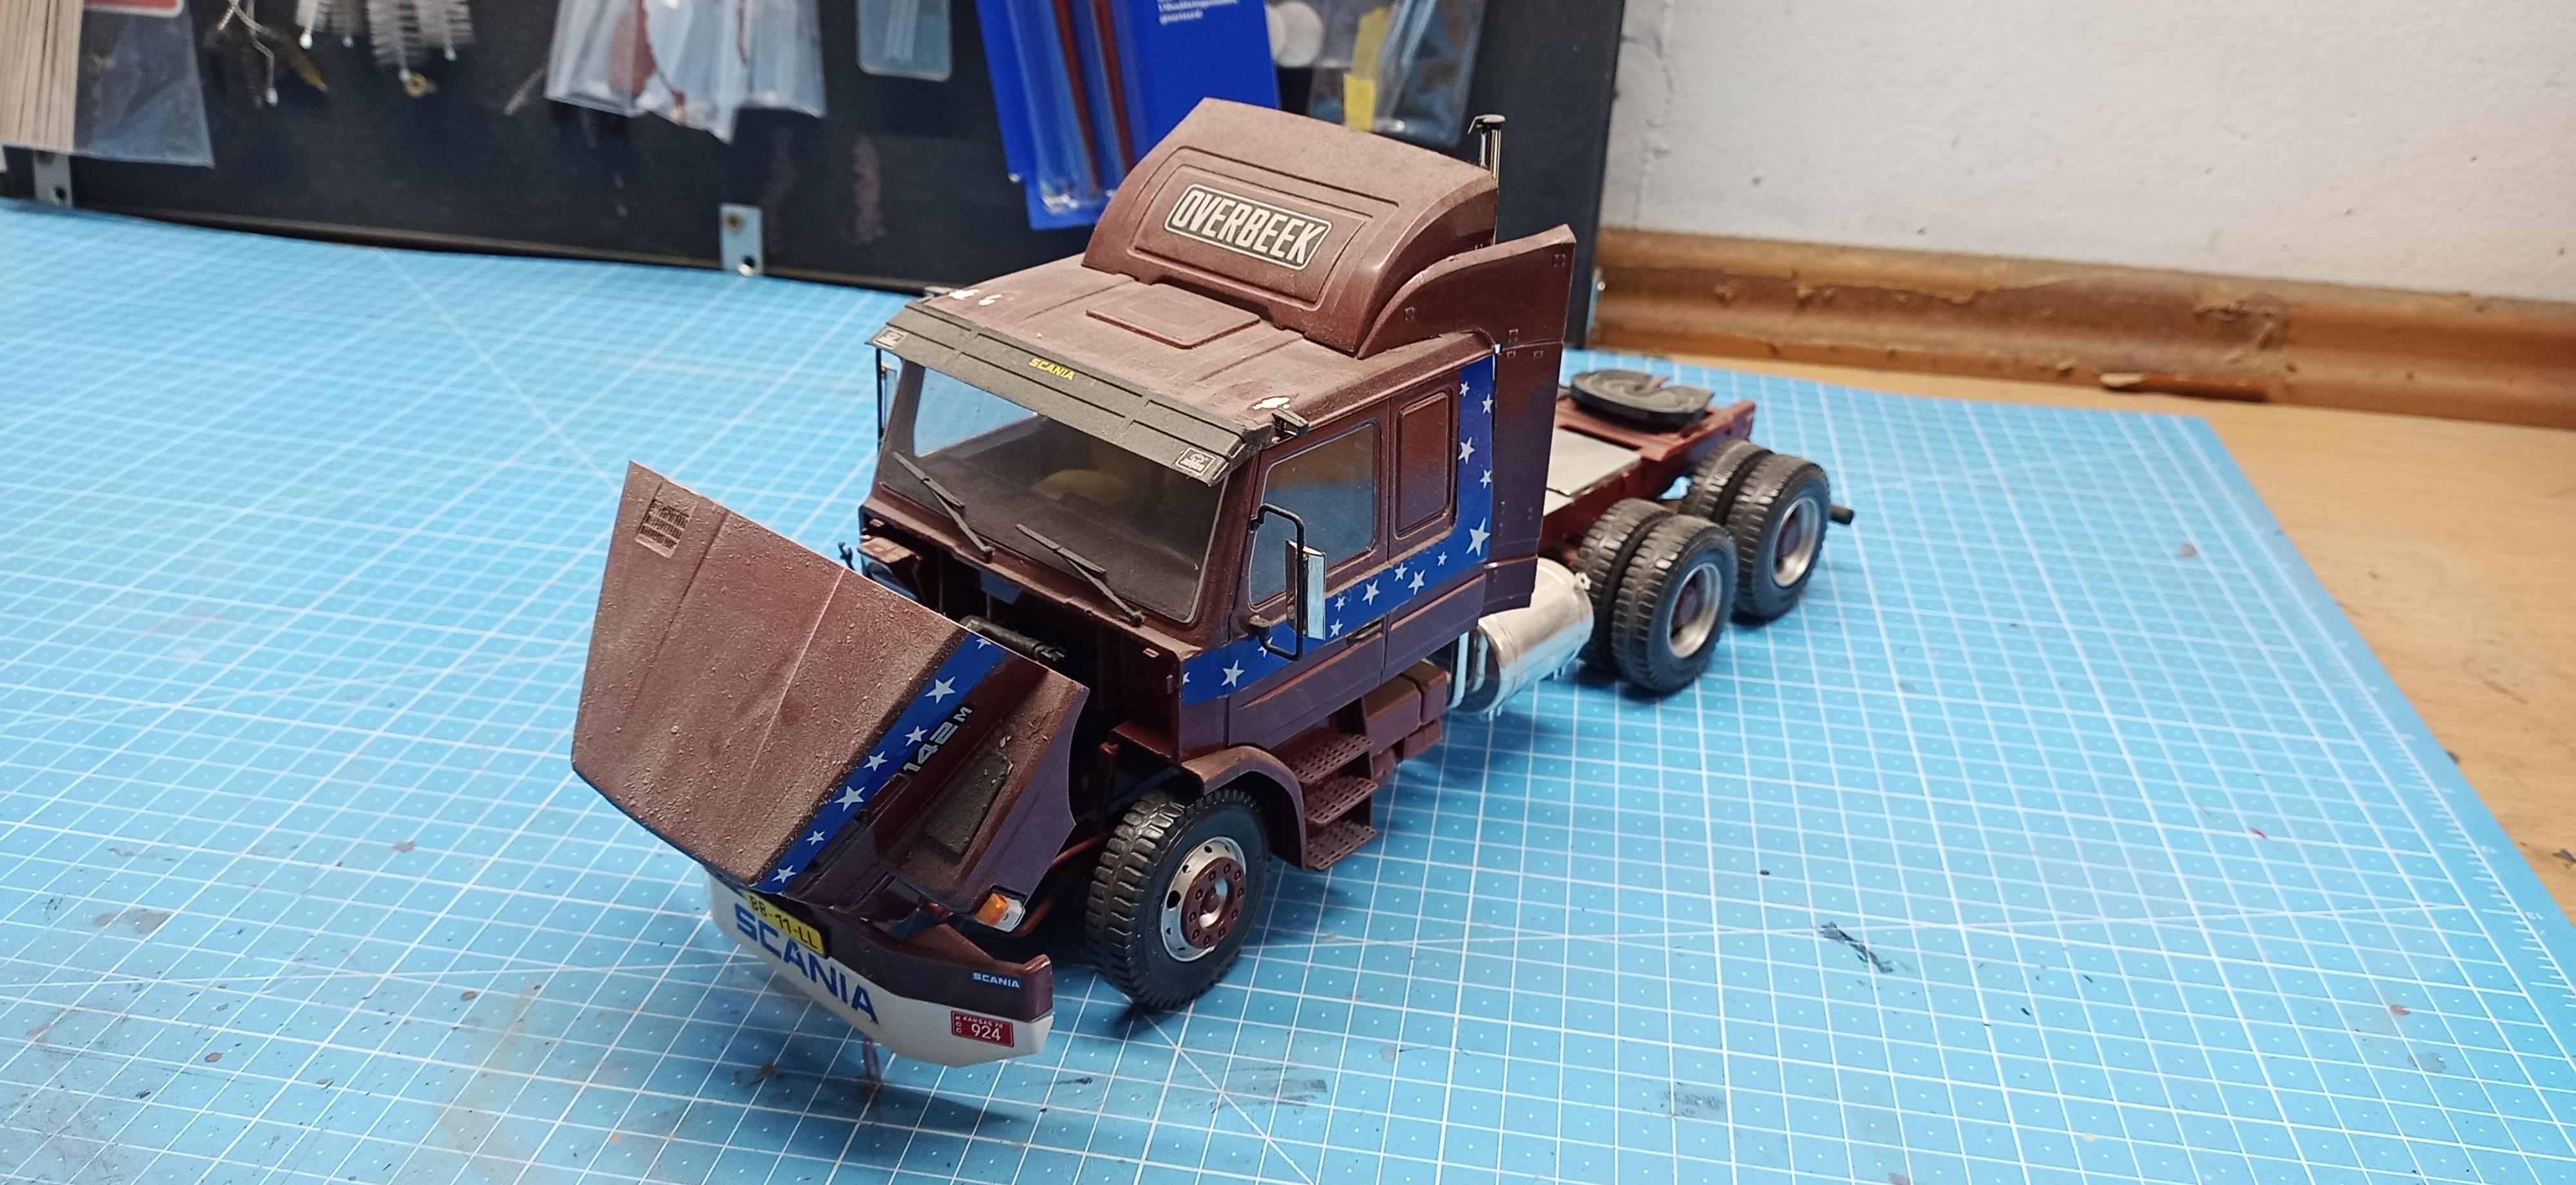
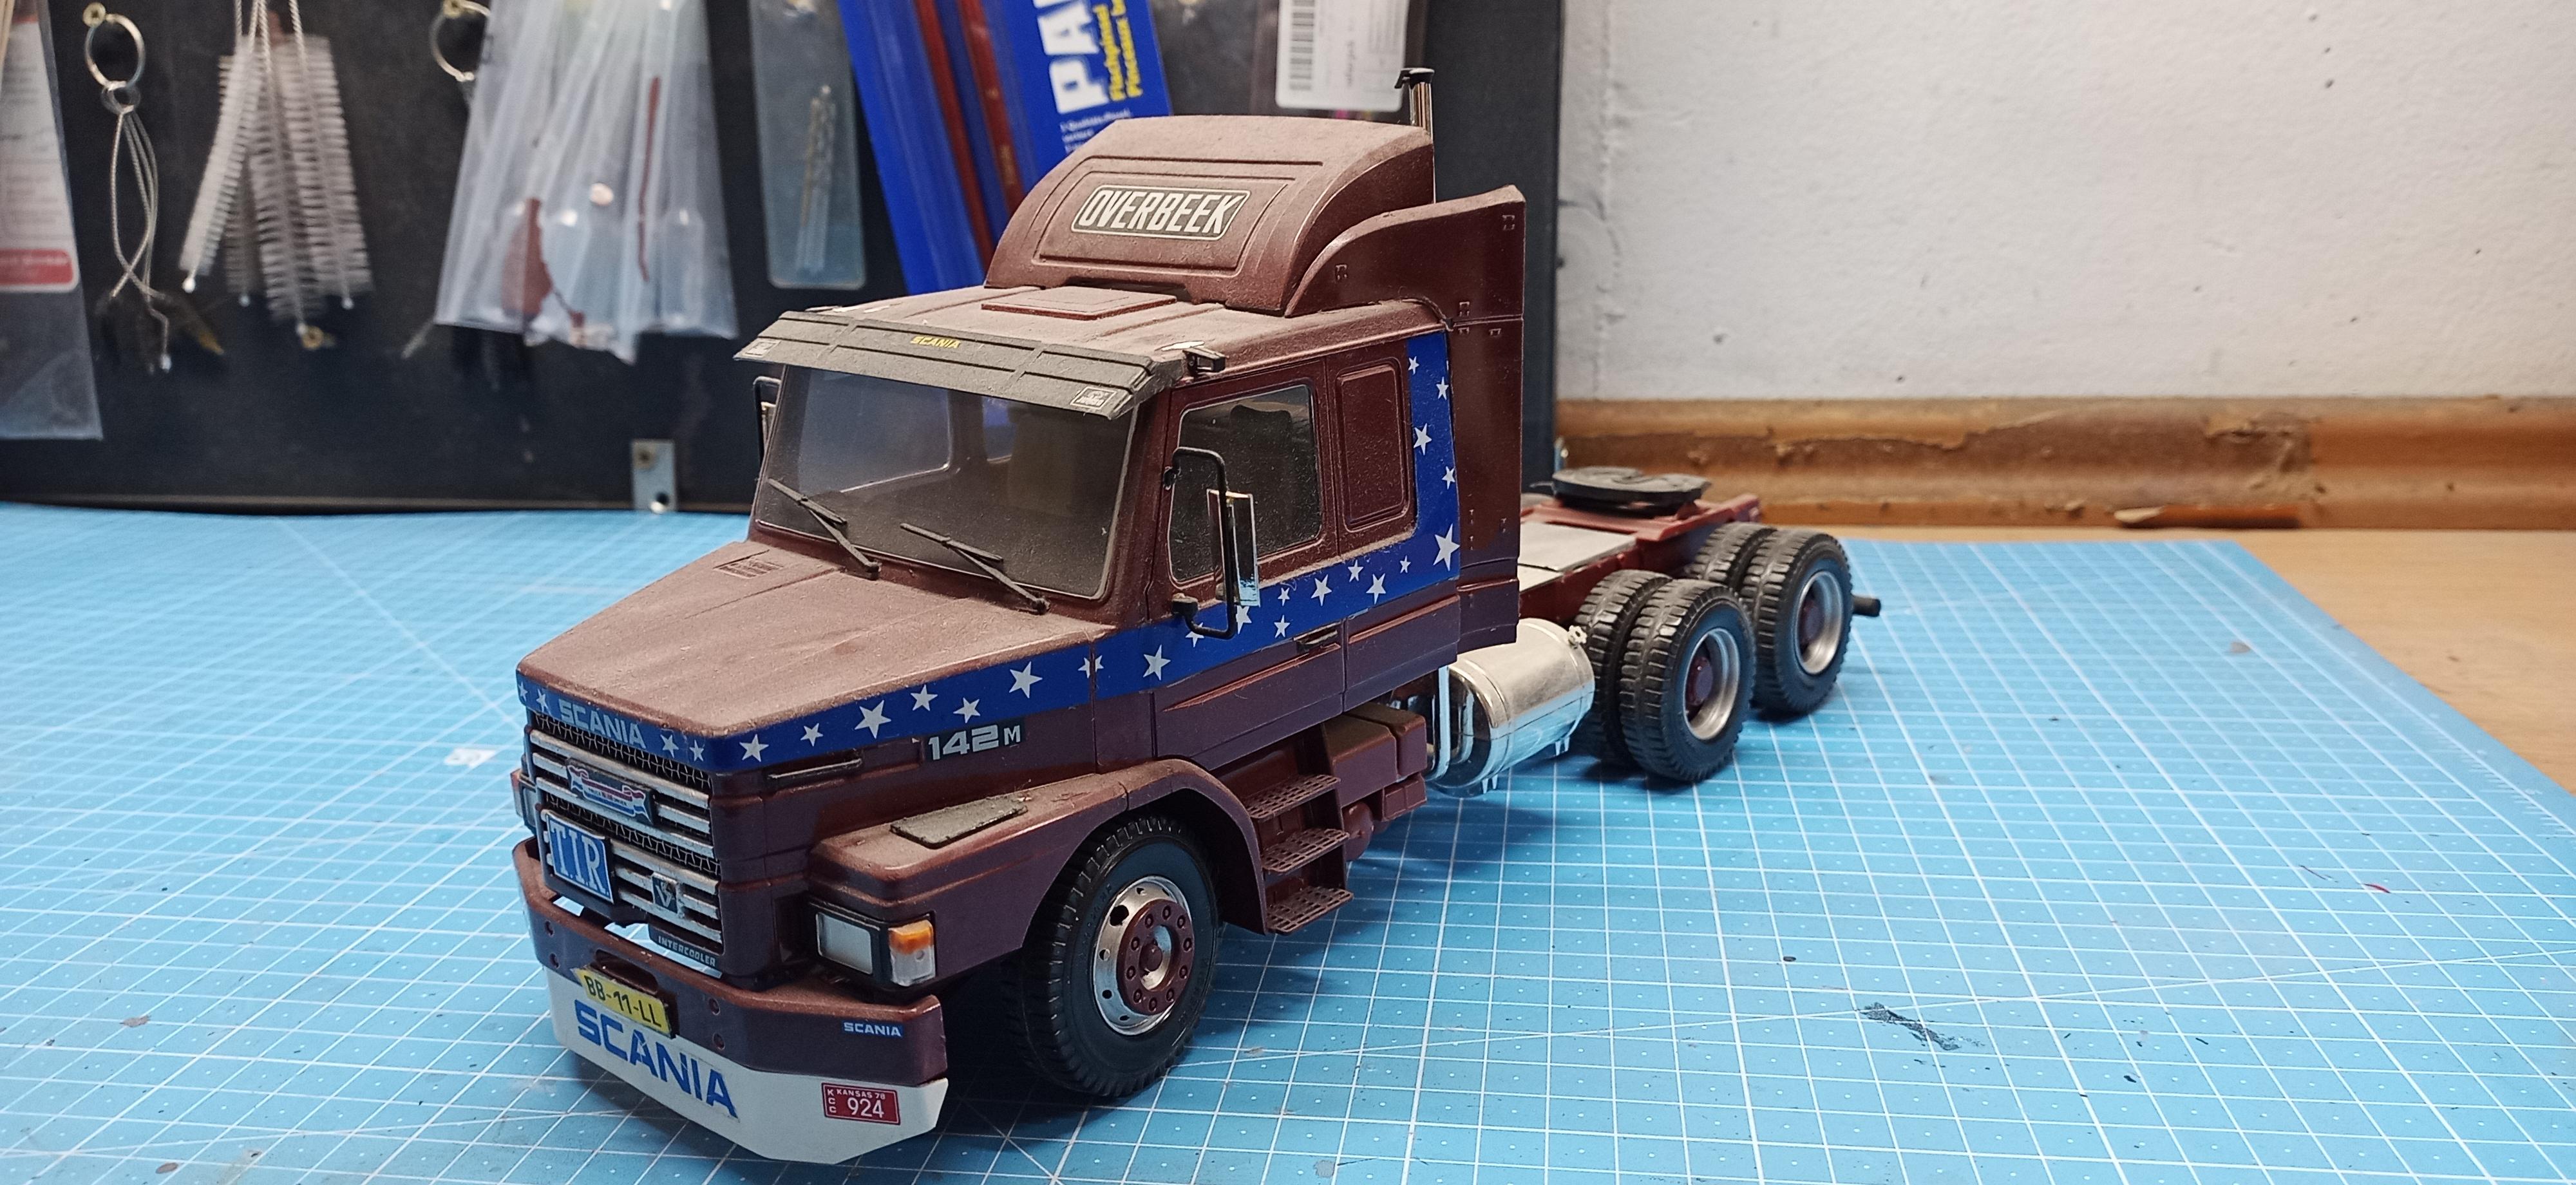
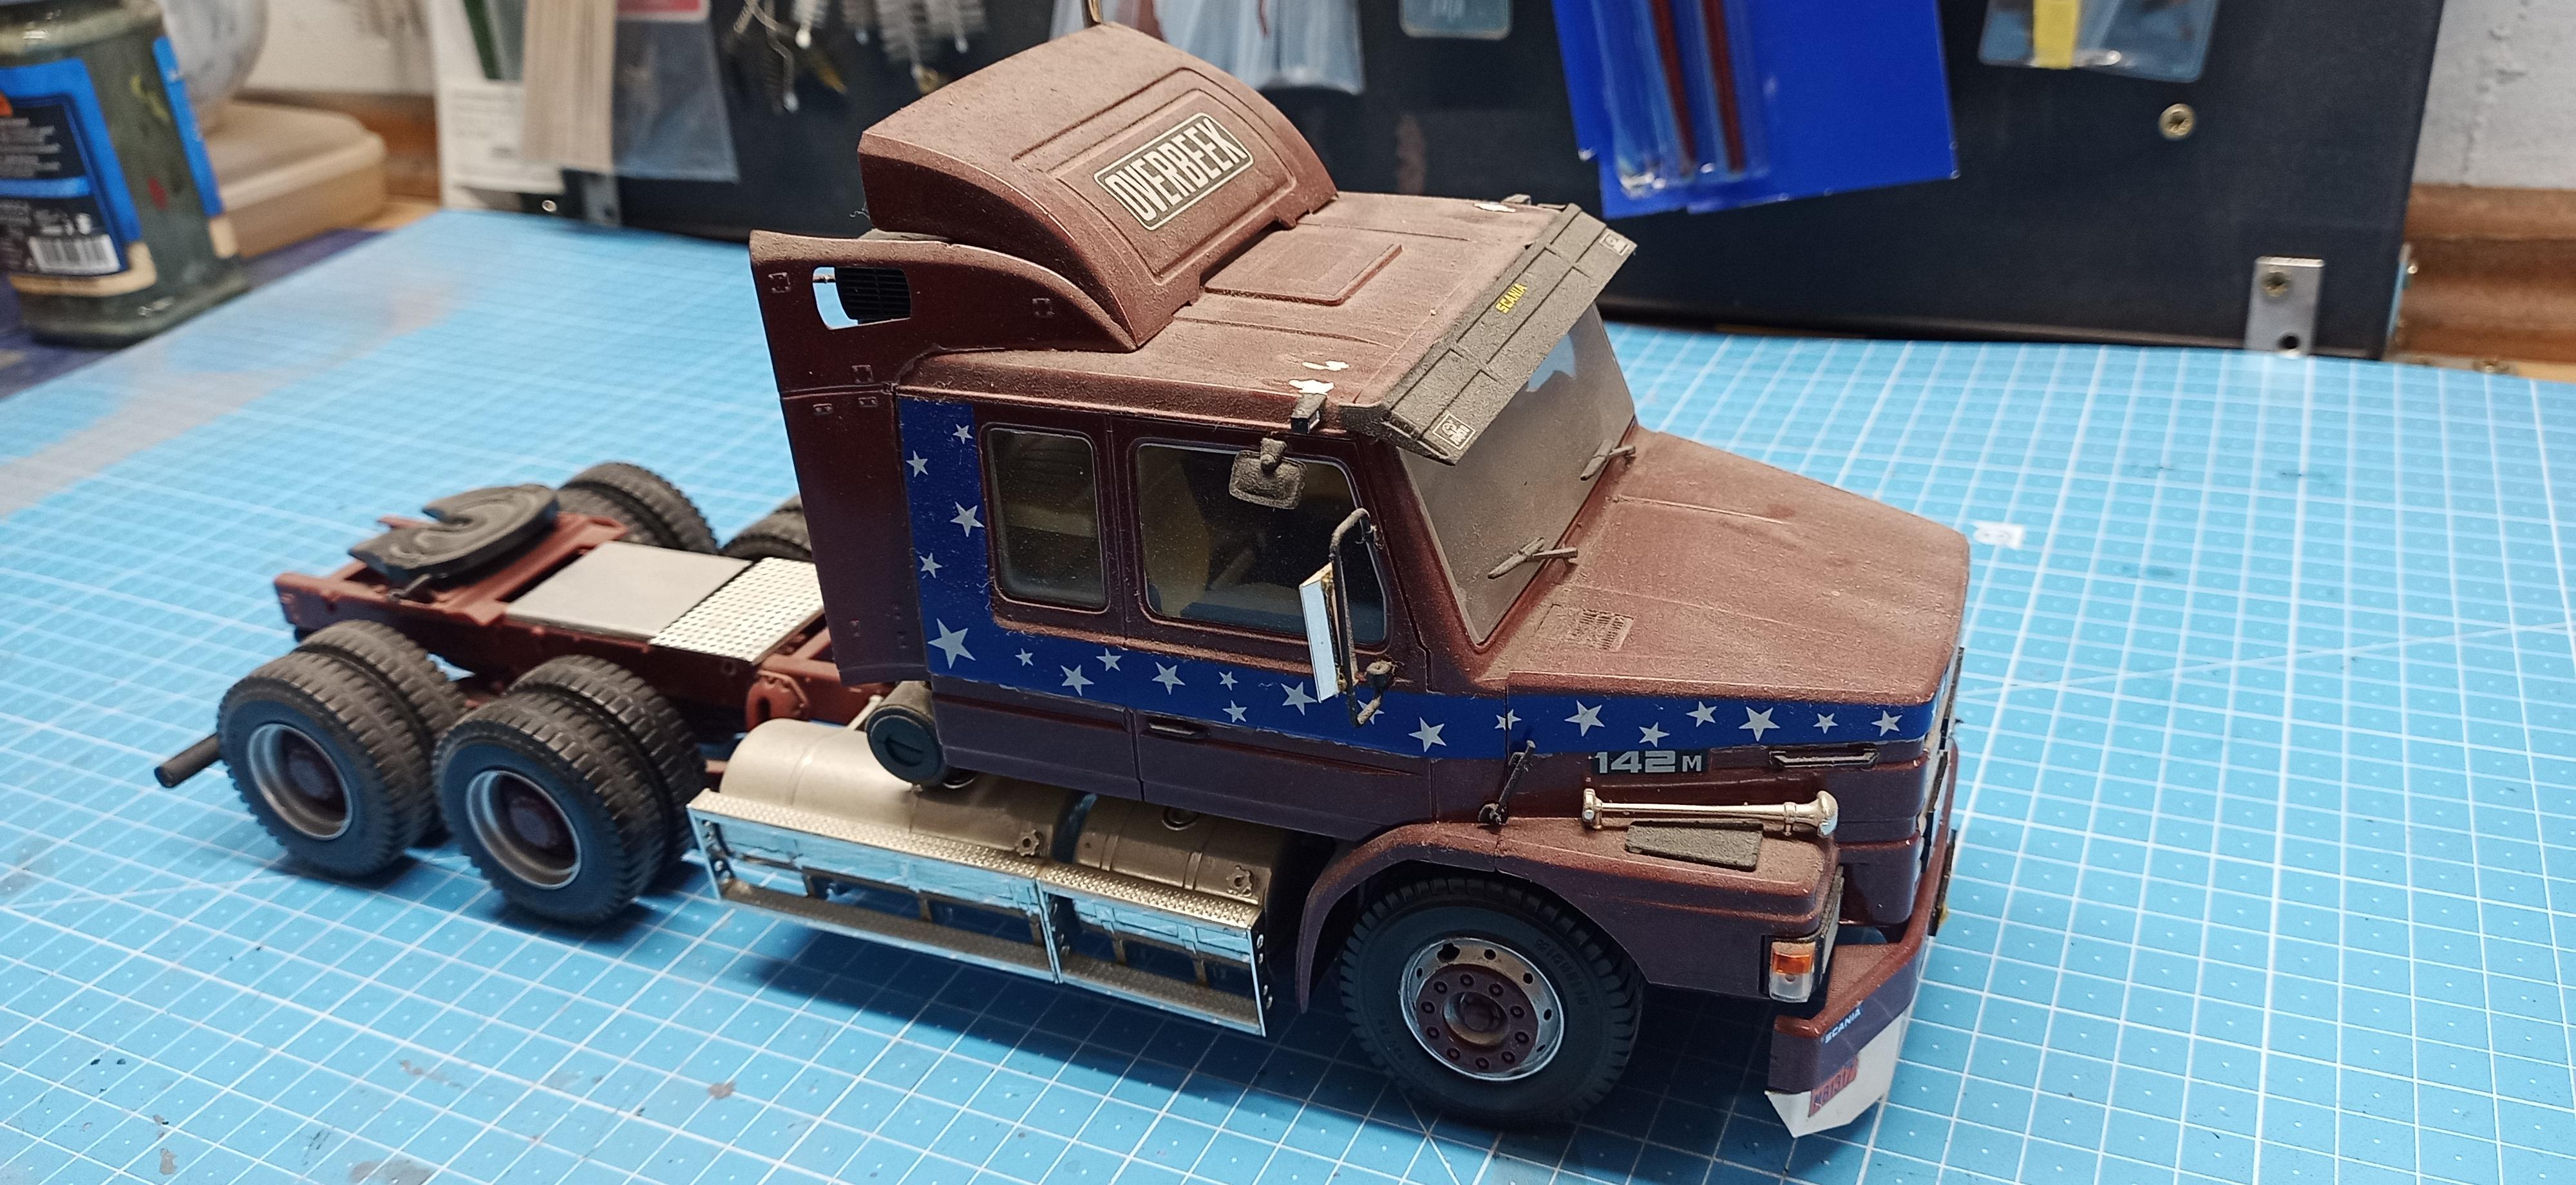
Hi Folks, during the really tough time waiting for the IH cab I needed distraction. I posted the refurbished DAF N2800 but when that was finished I was still waiting. So I did the same with my Scania 142M. Just like the DAF I never really liked the Scania. What I had made of it, not the truck as such. Anyway, I wanted it to be an everyday working horse like the DAF but not the same so I decided to turn it into a cement mixer! Here's what I did: The kit was the Scania T142M 'Roadrunner' by Italeri. (The pic is from the internet, I don't have the box anymore). This is how I had built it back in about 1990. I think that was the year of the first issue. There was a re-isssue in 2008. It looked OK but I just didn't like it anymore! So this is what it looks like now: It's sort of a tribute to the first truck I ever rode in at a cement company not far from my home back then in the early 80s. It was actually a 1969 Scania Vabis back then, a much older model than this one but I used the company name and the corporate design from back then on this more modern type. Refurbishing steps made: The cab was shortened, painted and put back together. I put floaters on the front axle (I think you call them super singles - they're European trailer tires using self designed and printed rims), the chassis and drive train as well the engine and transmission I left as they were. The cement drum including the complete support structure is self designed and printed. Far from perfect but I think it'll do! The drum turns (by hand) and the cement slide can be moved from side to side and the lower part can be folded up and down! Hope you like it! Now I have time to think about my next project!
-
Western Star 4900 FA plow truck
Jürgen M. replied to BK9300's topic in WIP: Model Trucks: Big Rigs and Heavy Equipment
Looks awesome! Great job!