(1).jpg.d544cce52e8529e021875933f487b4e8.jpg)
FoMoCo66
-
Posts
1,161 -
Joined
-
Last visited
Content Type
Profiles
Forums
Events
Gallery
Everything posted by FoMoCo66
-
He did finish it and posted it in under glass. Here is the link if you would like to ooo and ah over it like the rest of us . https://www.modelcarsmag.com/forums/topic/203412-60-63-corvair-match-racer/
-
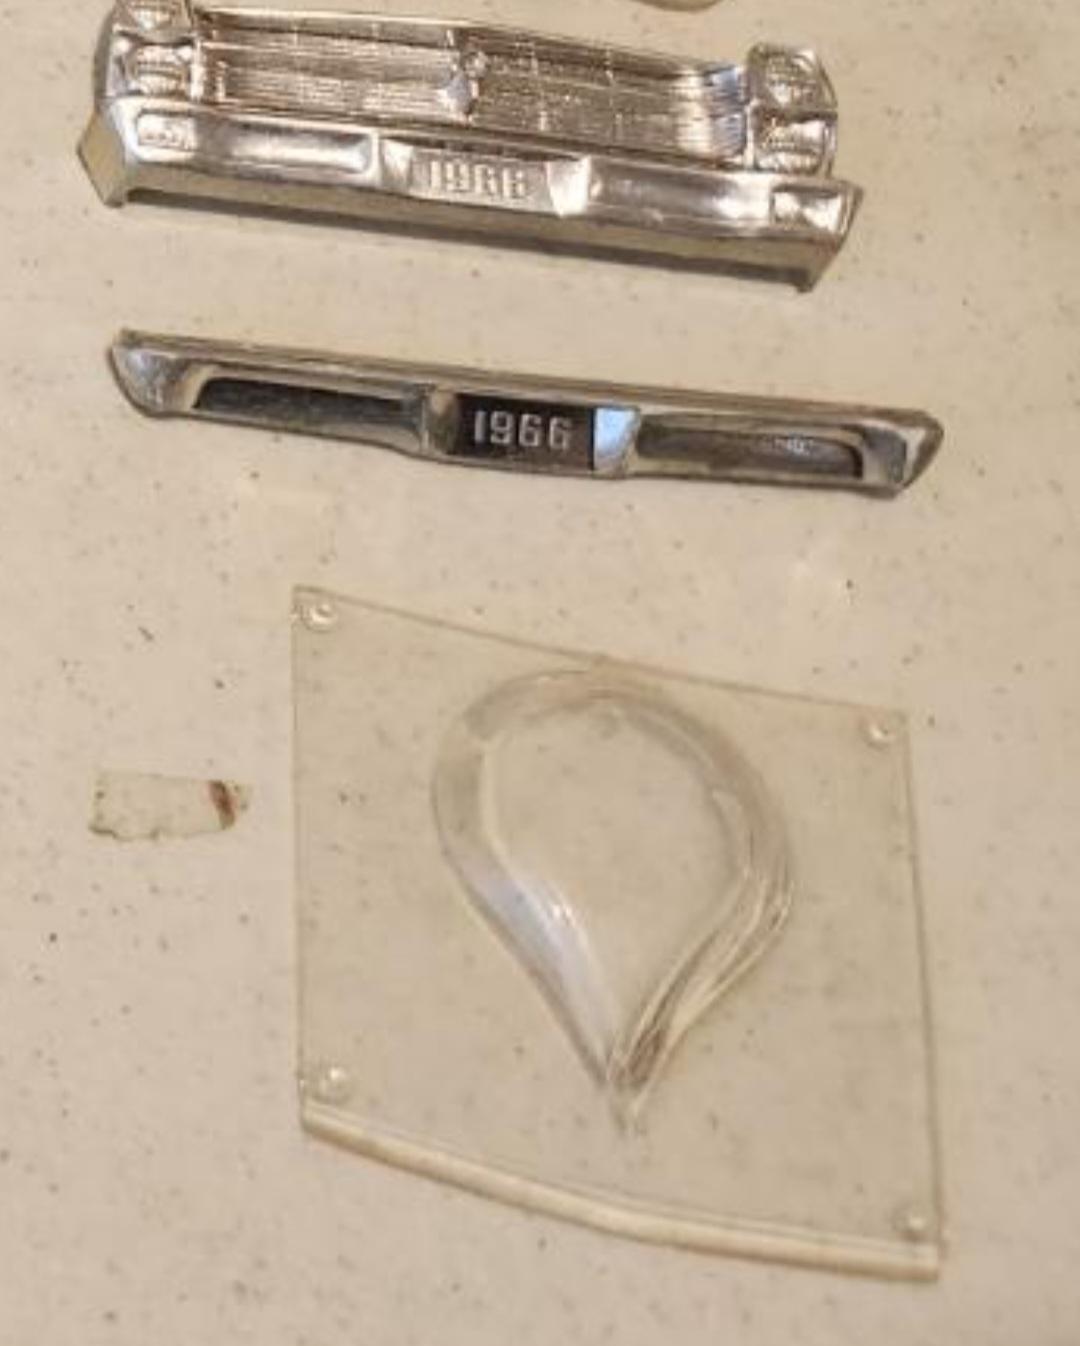
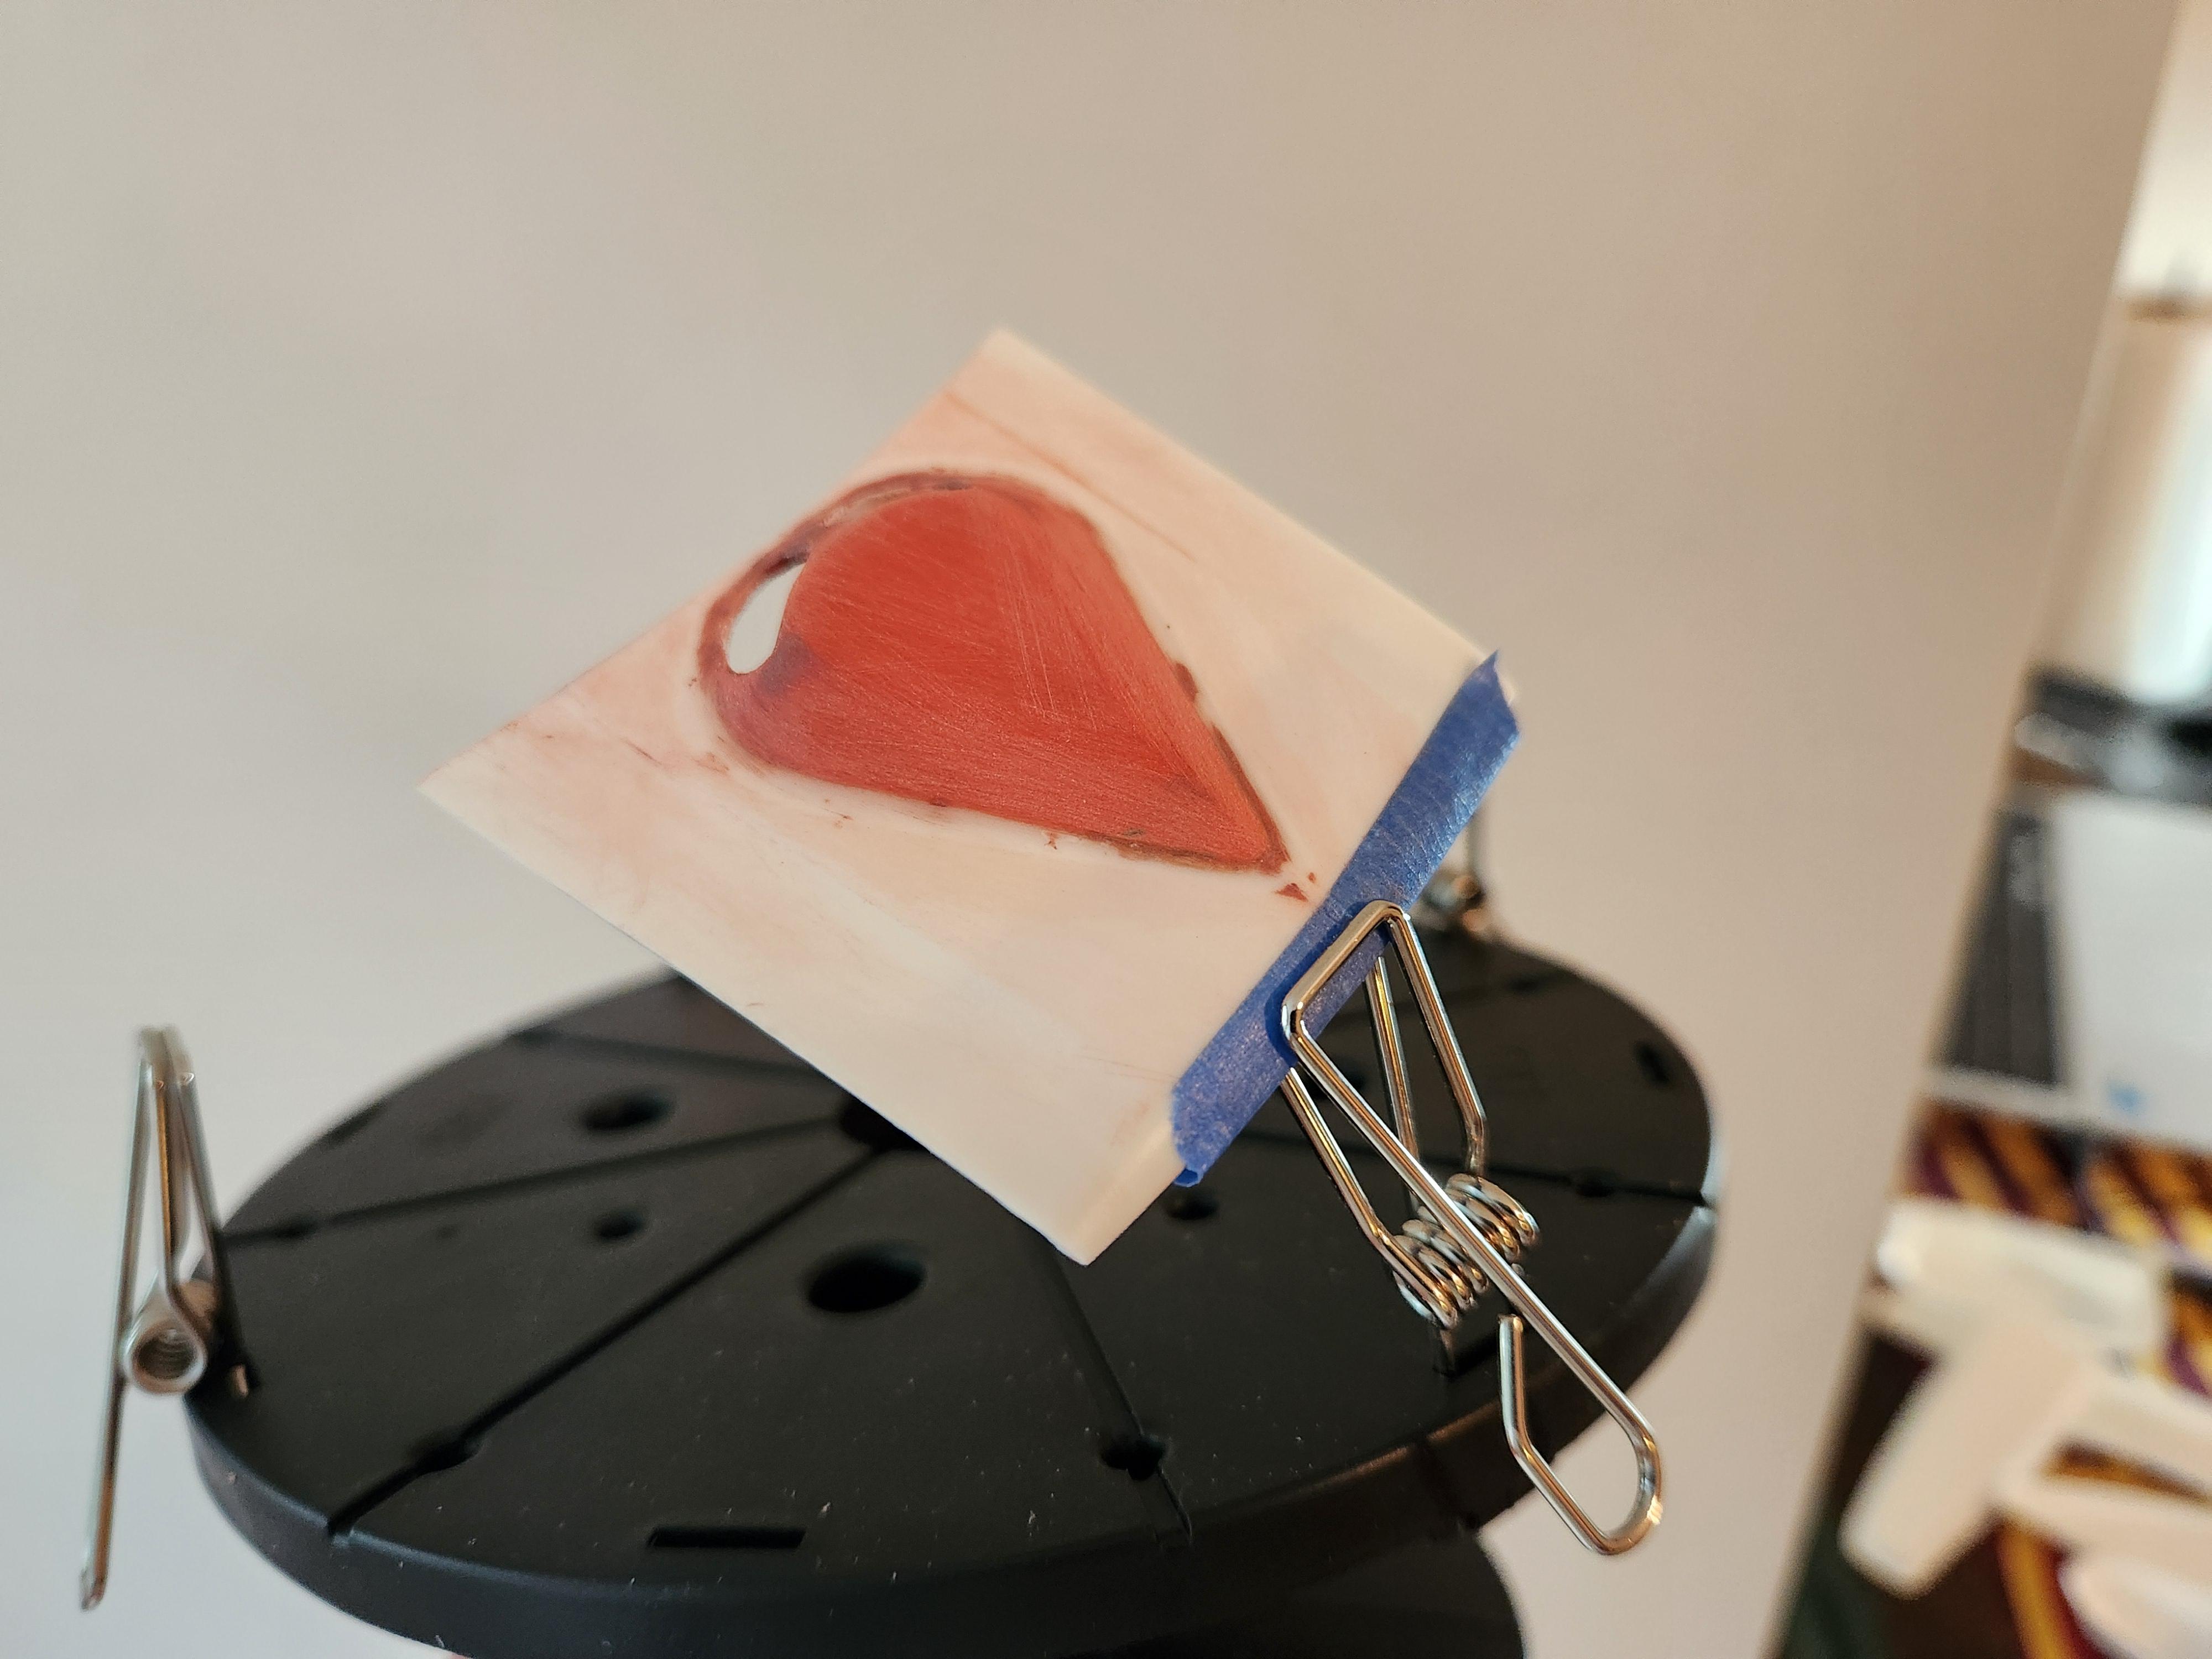
(1).thumb.jpg.e371d4579f83ee021ff22f9ad4b79bbc.jpg) Well, I did some looking, its definitely just a coppy of the annual 66 fairlane clear hood. The annual hoods were a tad wider than the retooled version so thats were your fitment issue comes from. Heres a photo of an annual clear hood, even has the hood pins.
Well, I did some looking, its definitely just a coppy of the annual 66 fairlane clear hood. The annual hoods were a tad wider than the retooled version so thats were your fitment issue comes from. Heres a photo of an annual clear hood, even has the hood pins.
- 39,116 replies
-
- 4
-

-
- johan
- glue bombs
- (and 1 more)
-
That teardrop could be for an annual kit, the hoods were a tad bigger on them. They also came with clear teardrop hoods so thats most likely what its molded off of.
-
Well, what can I say, may or may not have "stolen" those techniques from others on this forum. So maybe your not really "stealing", just Robin Hooding it. And also, thanks very much for your kind words!
-
Nope, ive just been told that moebius used a lot of amt stuff for basic measurements (like the chassis on the Comet is baced off of the amt 66 fairlane). Yeah, probably.
-
Probably because moebius essentially copied the dimensions from the amt.
-
Show us your Engines - Post Dedicated to the Engine
FoMoCo66 replied to TheCat's topic in Model Cars
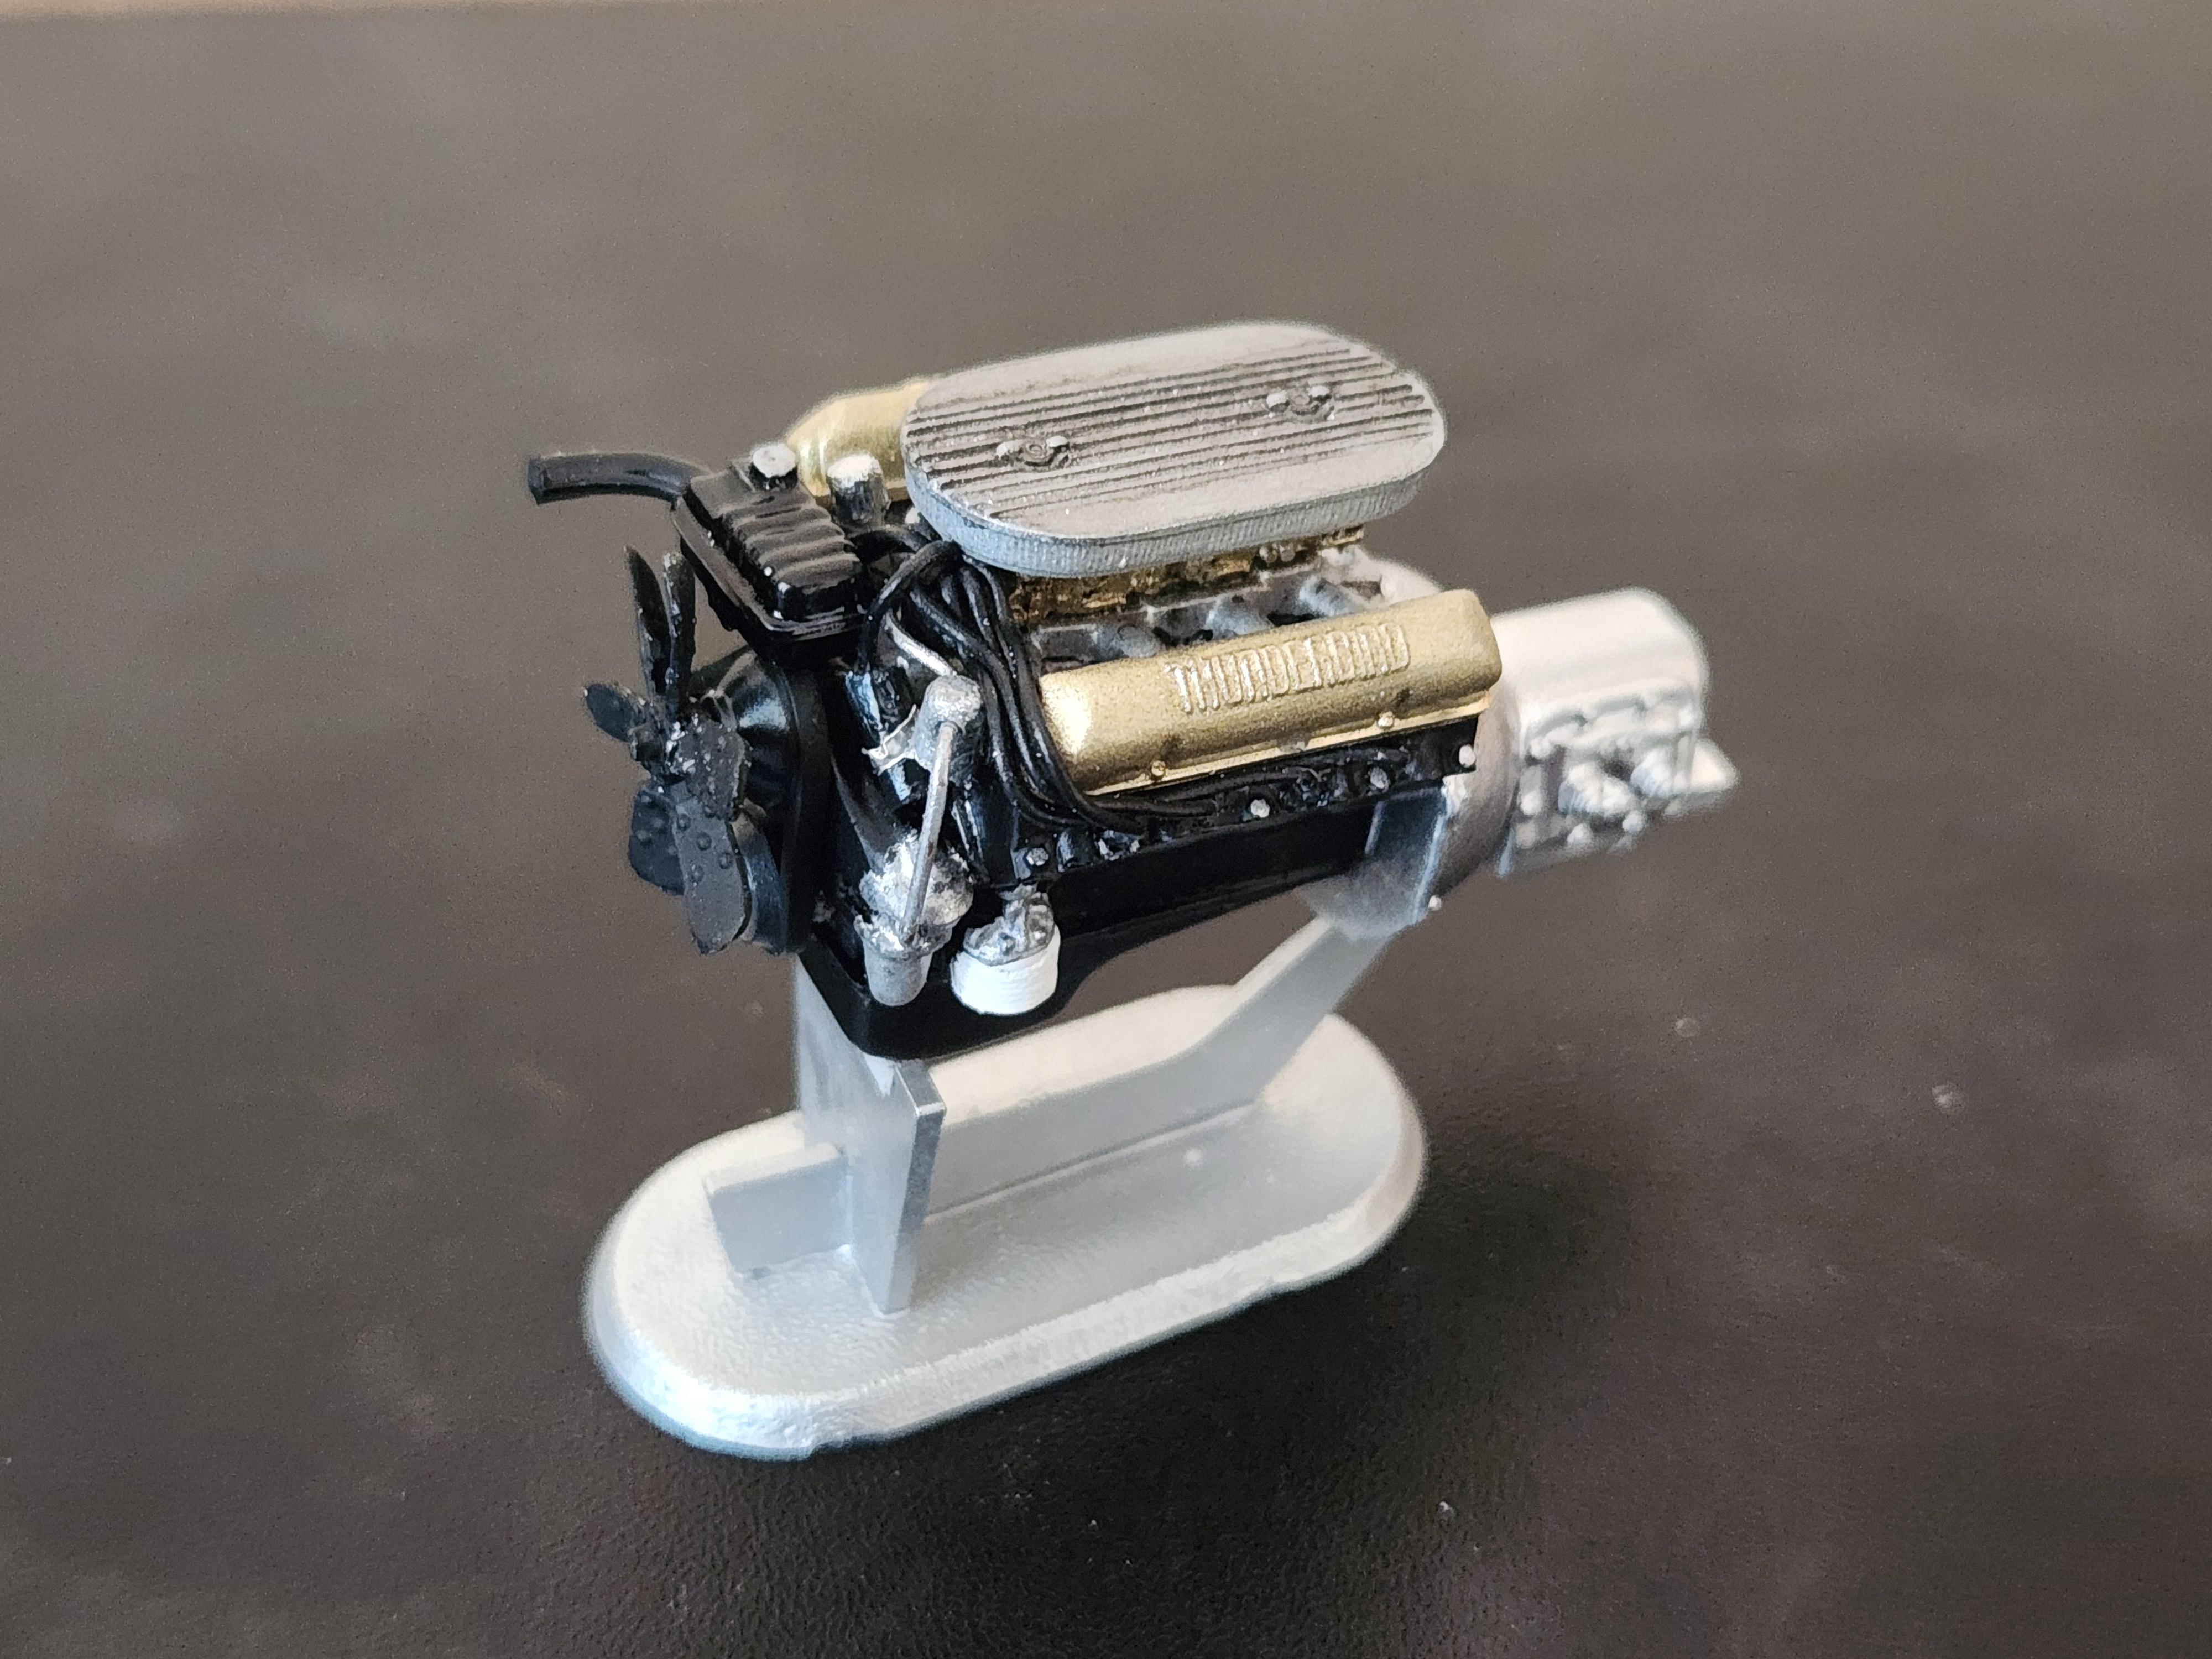
Olds Mill out of my 40 willys puckup. 406 tri power F.E. Ford out of my 63 1/2 galaxie. 427 early experimental SOHC out of my 65 falcon AWB.
-
Santa Claus Rommel Rod Kringle Cruiser!
FoMoCo66 replied to Silvercreeker's topic in WIP: Model Cars
Looks super cool man! I think it would be cool if you put some crager gt 301's on there. They look look like the original wheel just with 5 wholes so more hot roddy.
-
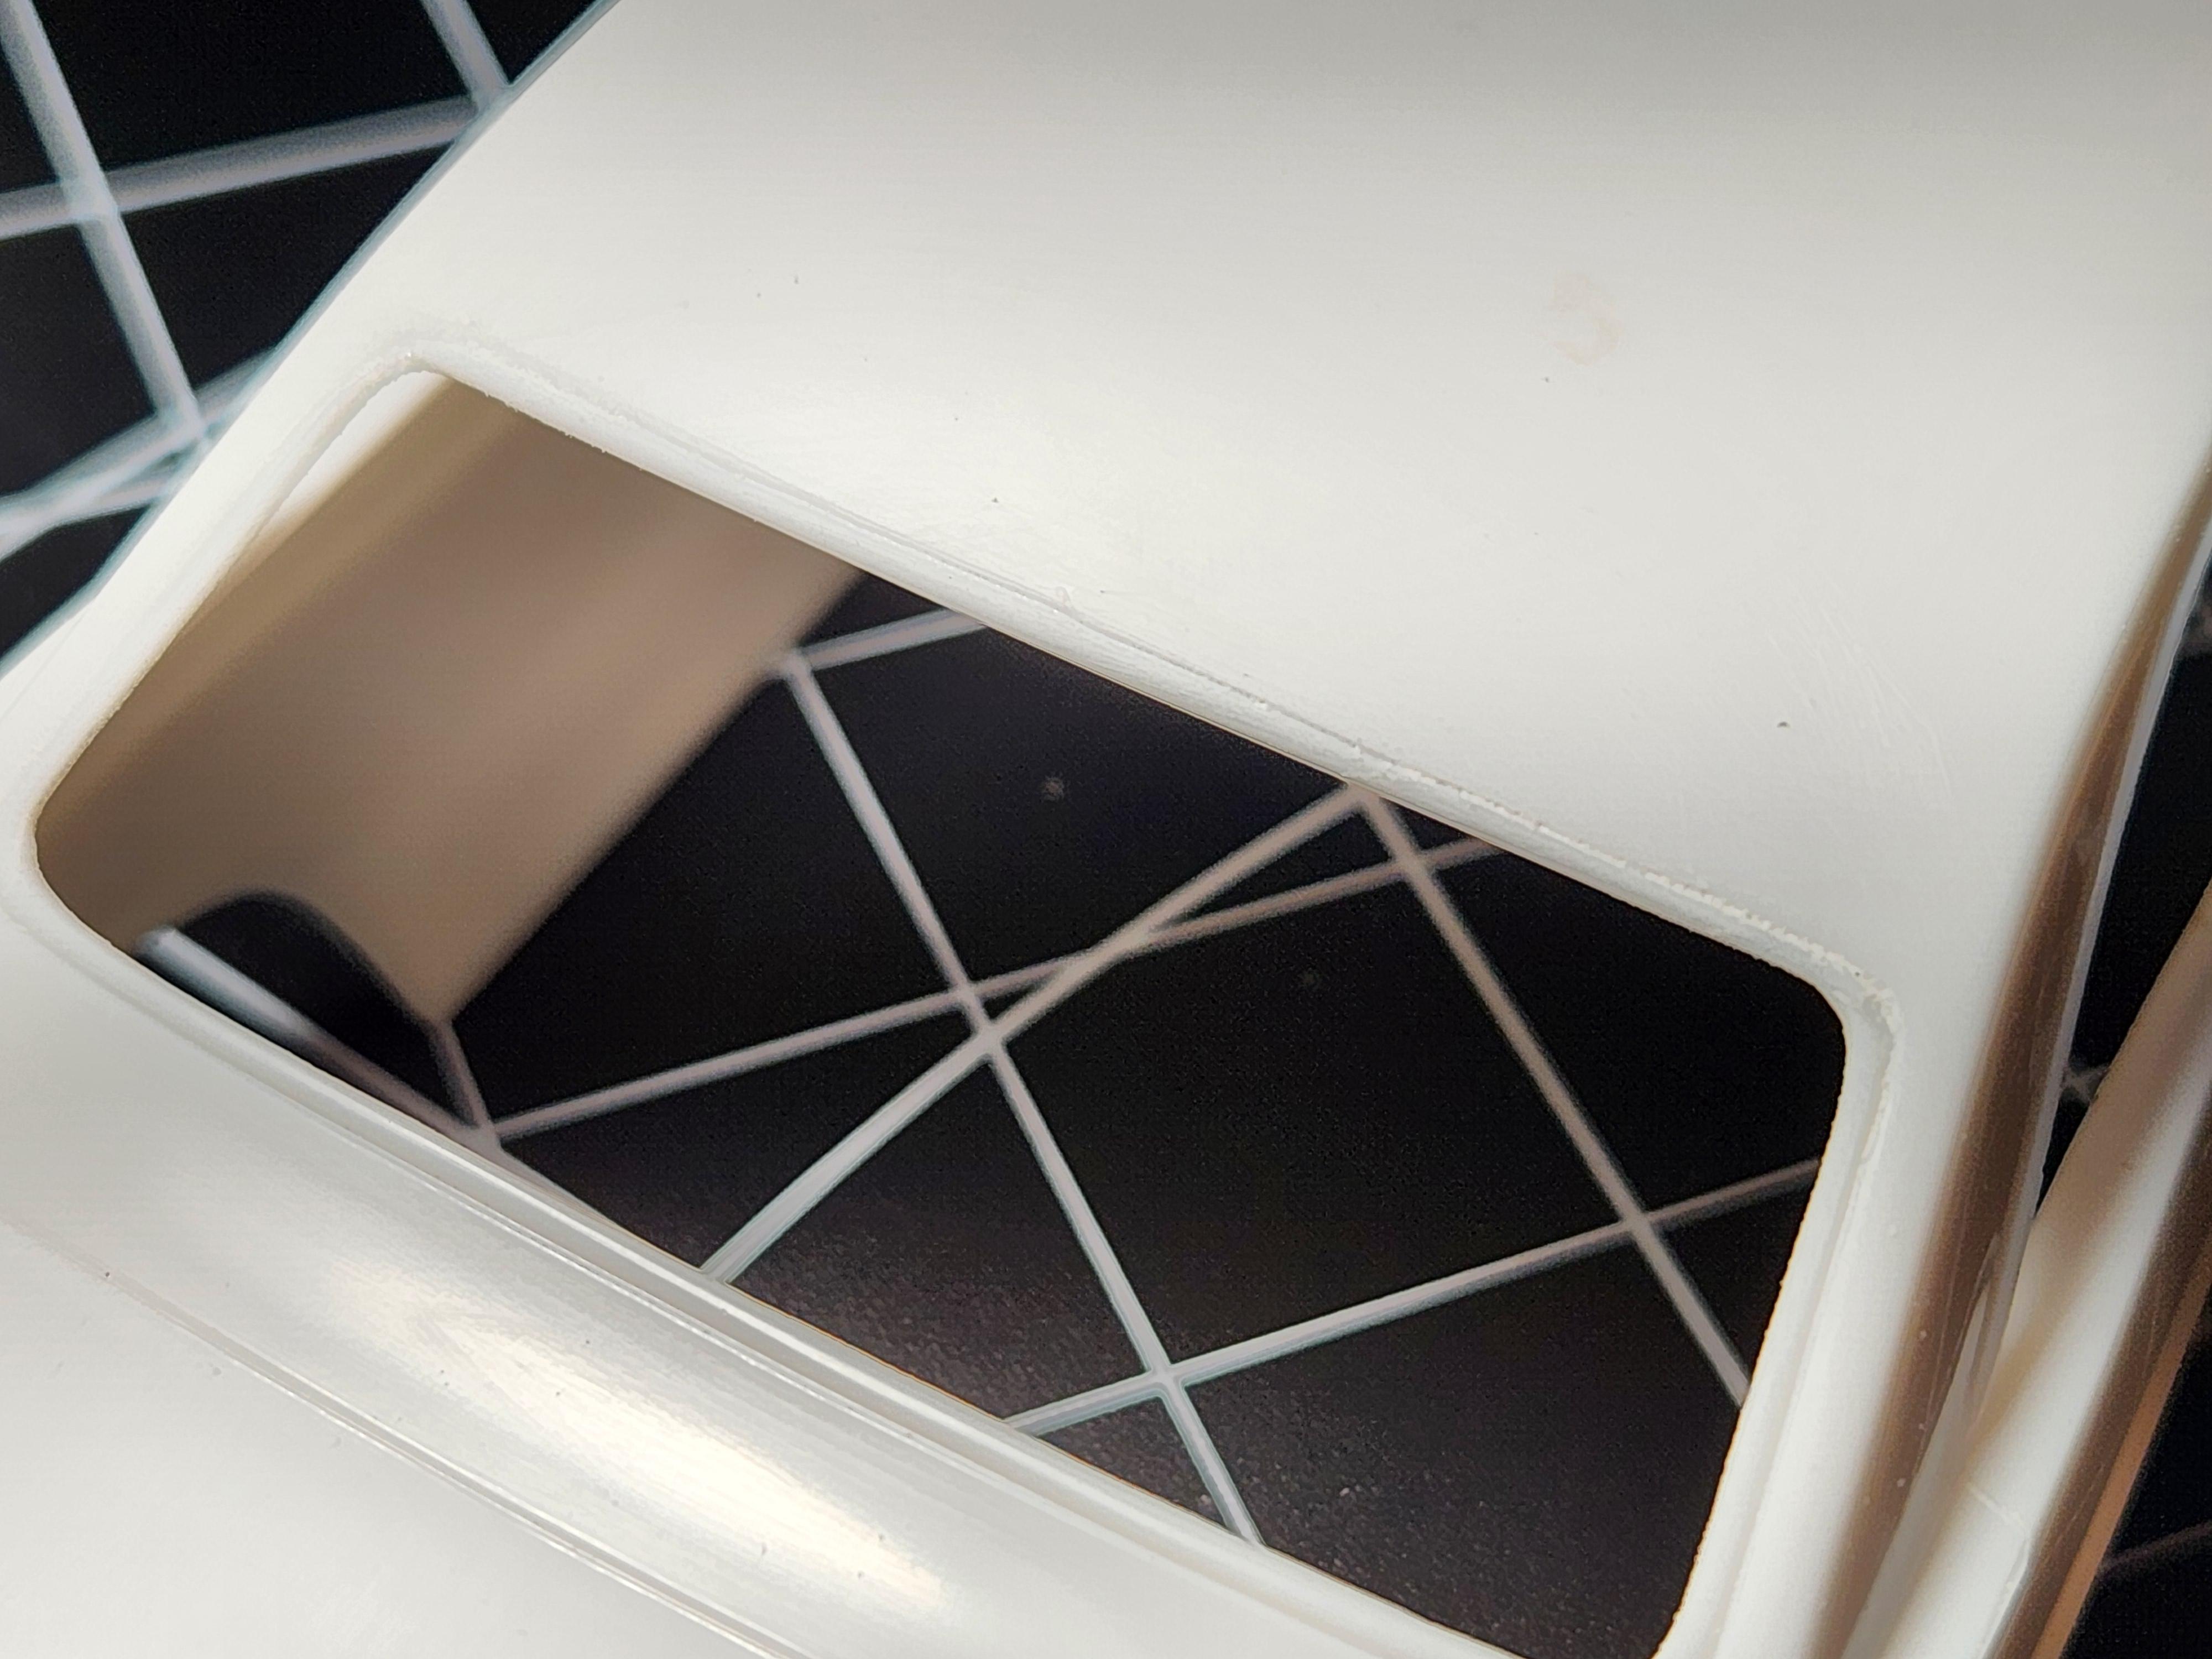
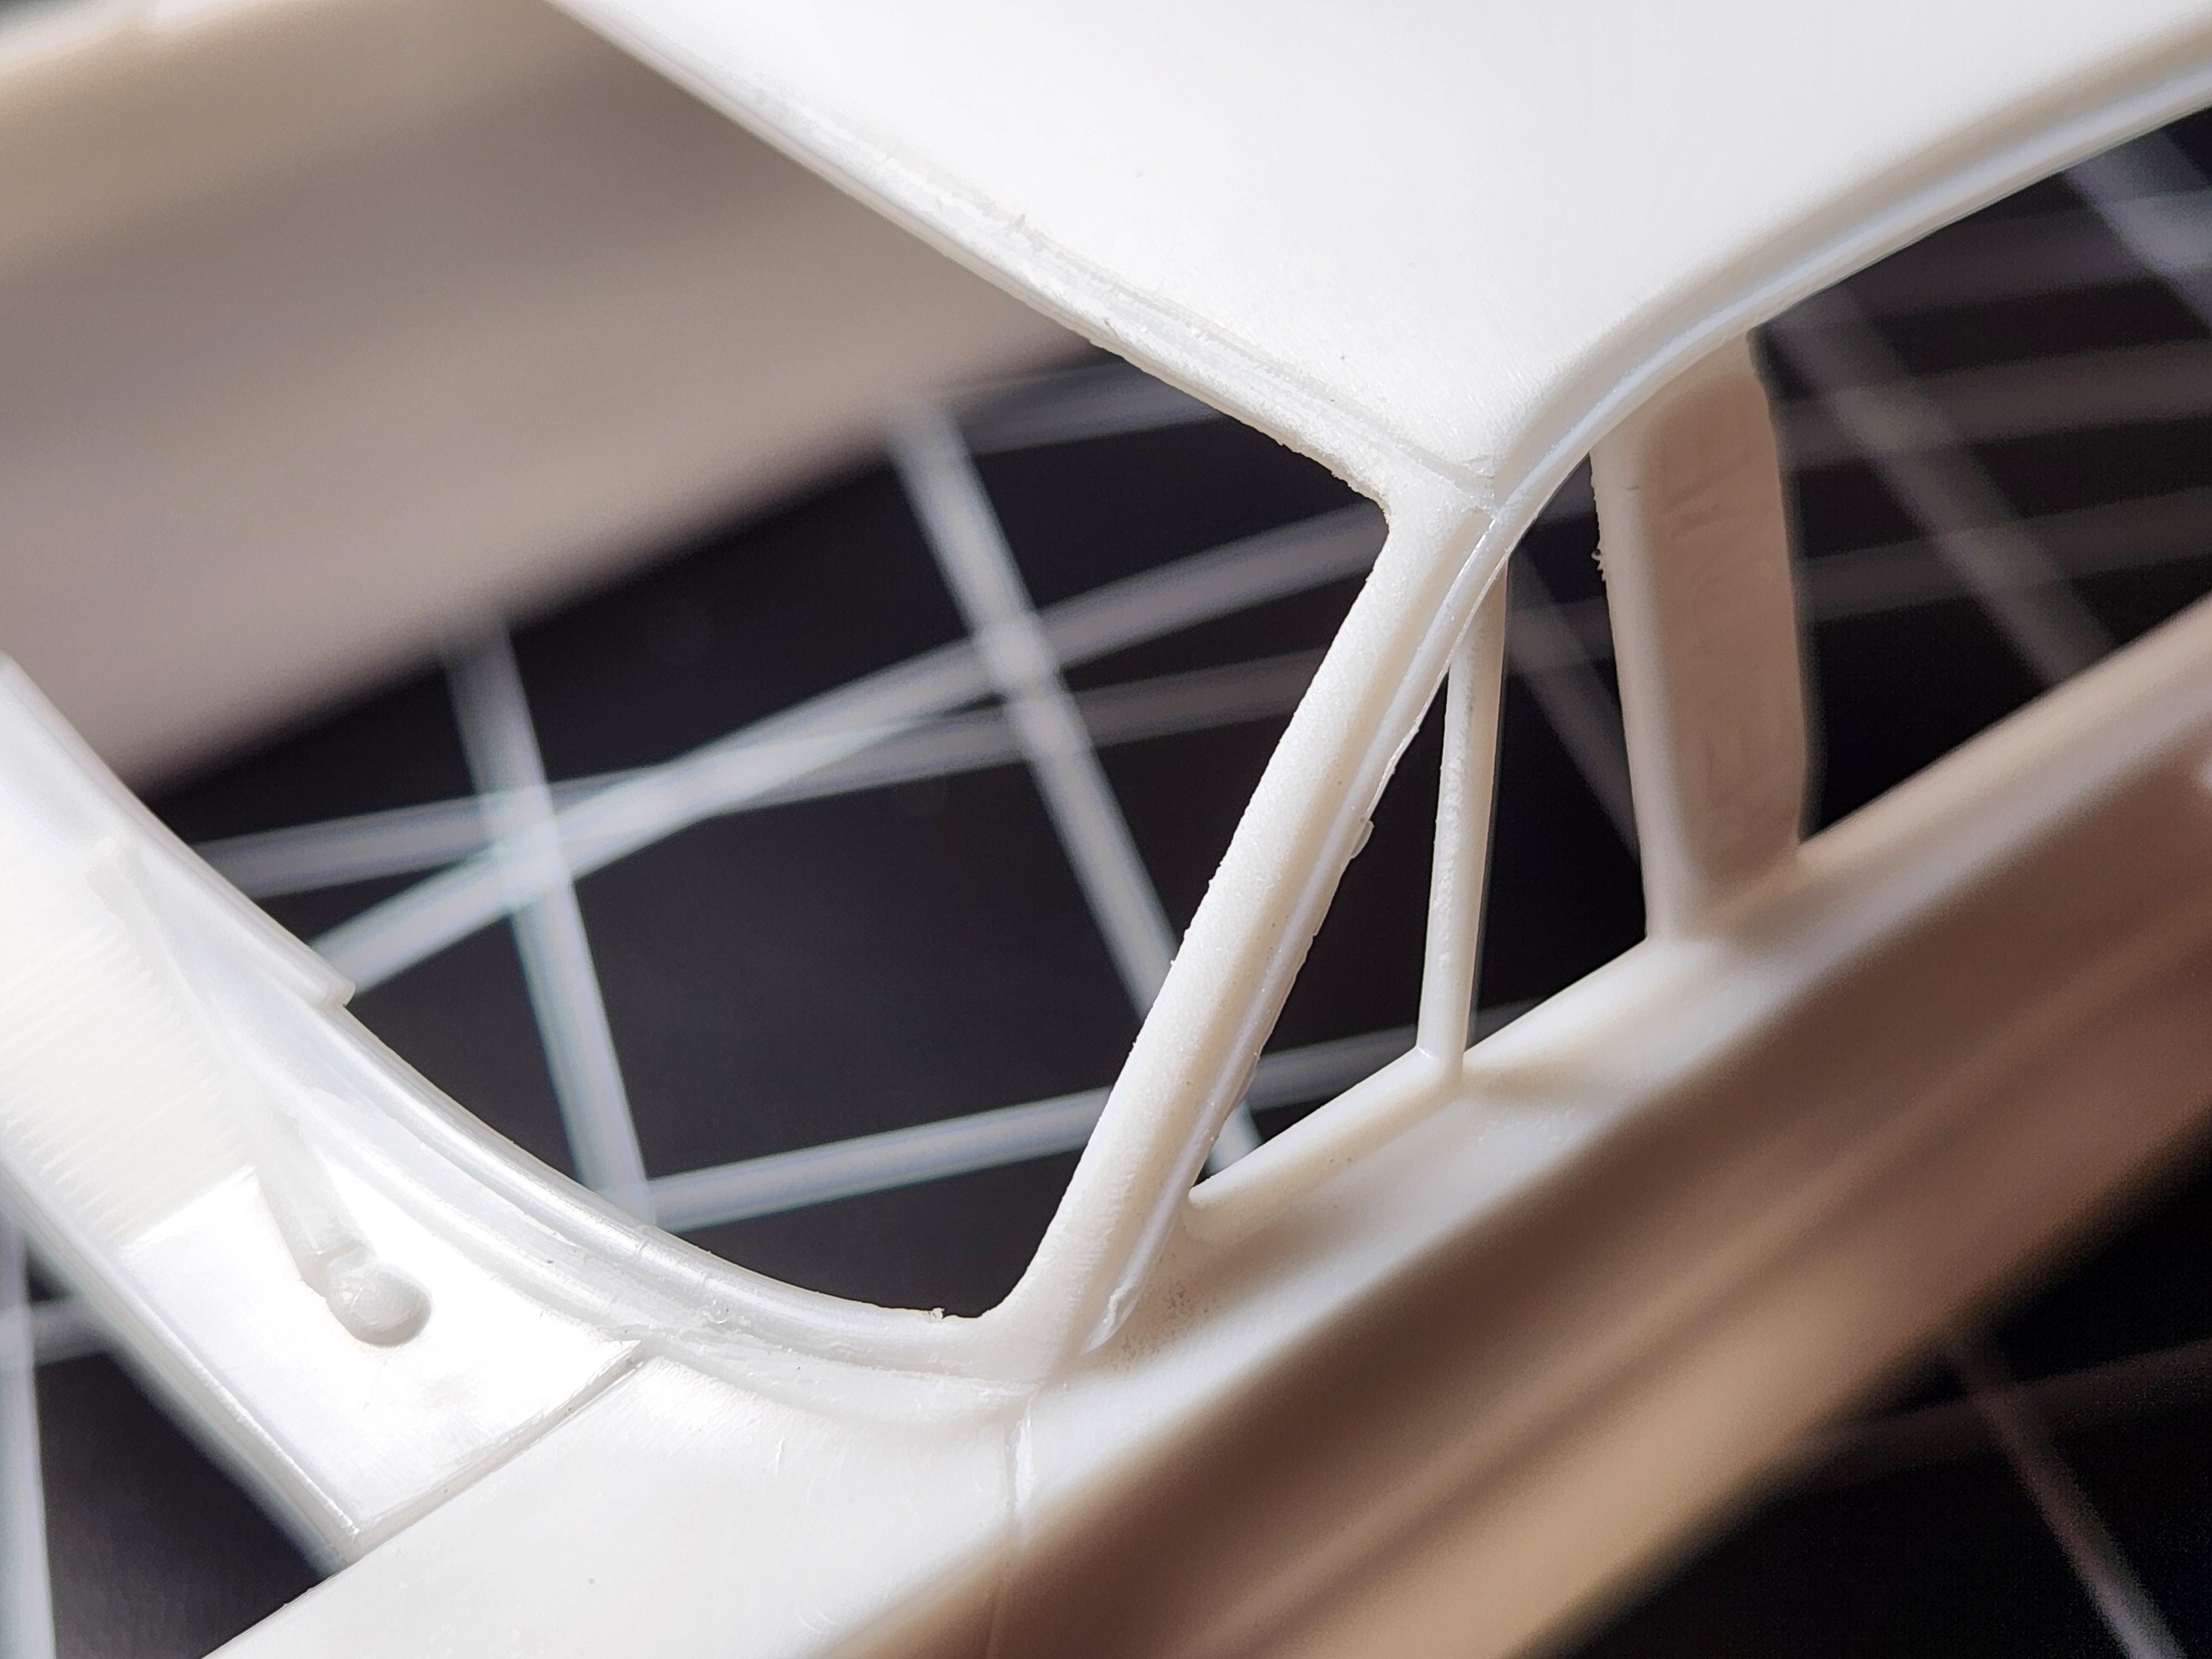
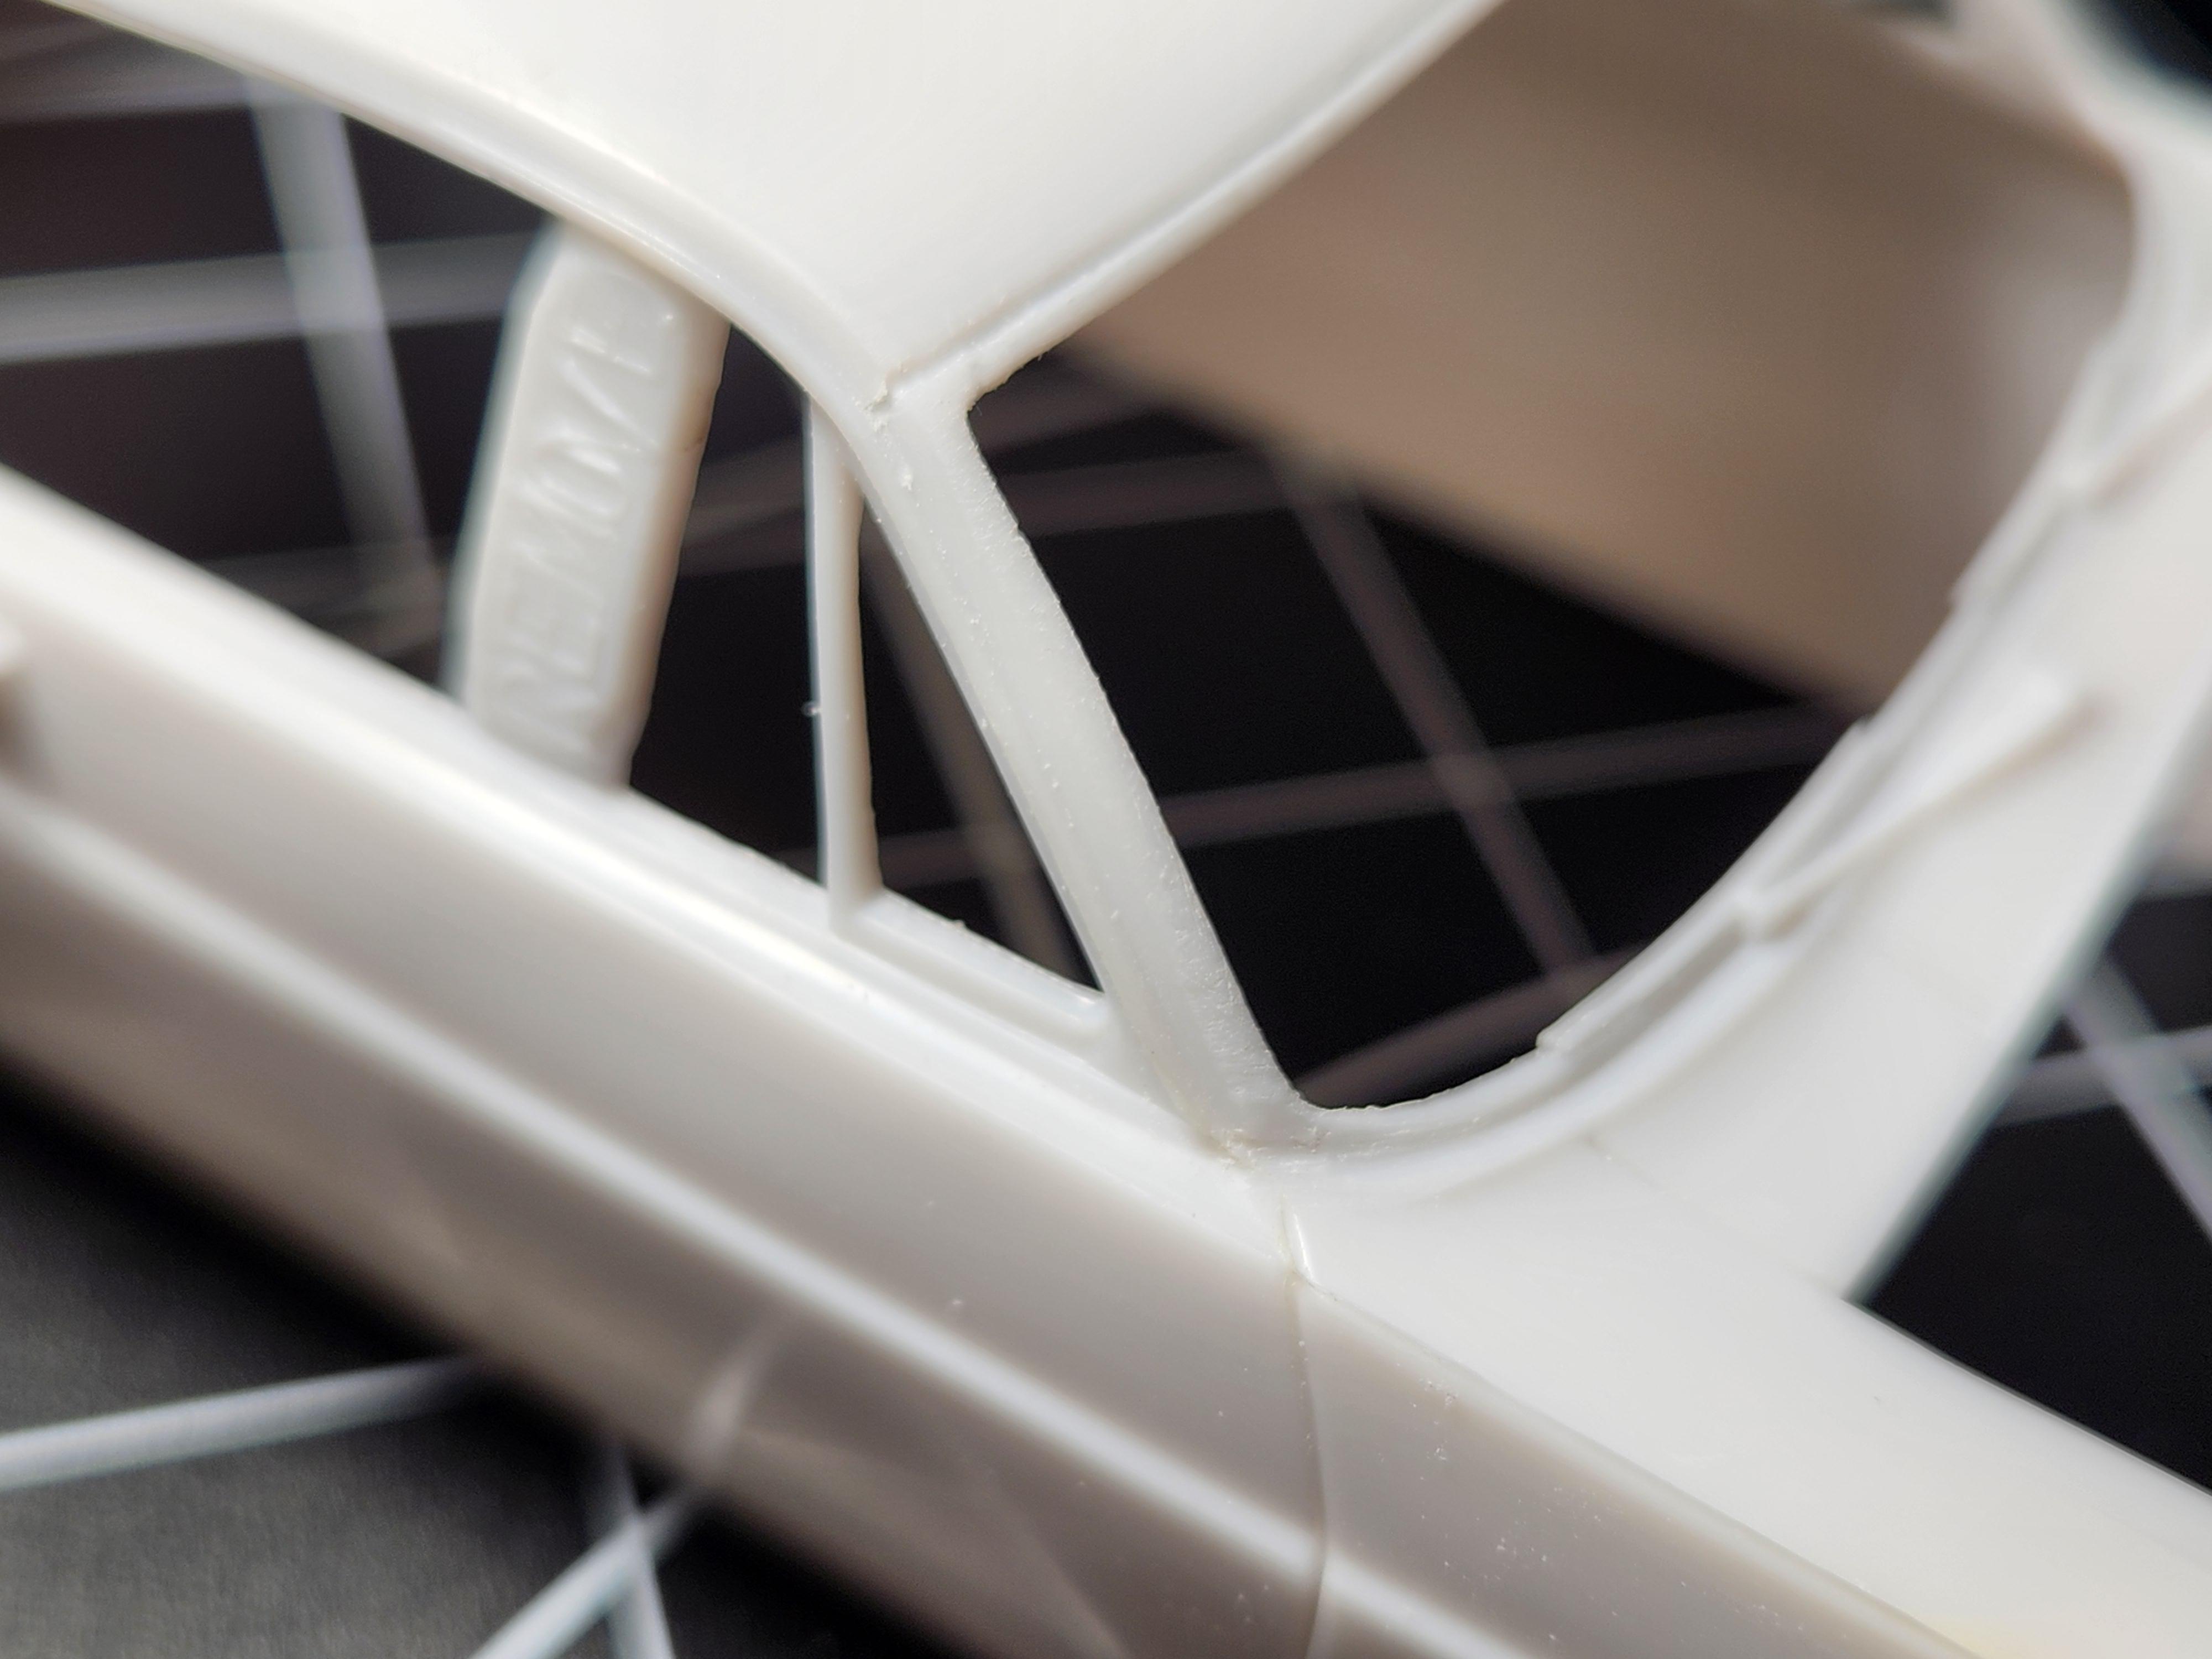
After finishing up 3 cars I was tapping my fingers on what to do. So I decided to correct the window openings on the amt 66 fairlane. Moved the rear and front window openings upward. The trim on the windshield is also not represented correctly, it is one solid piece of trim from the window to the door. This means the curved part had to go as well as meaning I could thin the a pillar. I actually used a 66 falcon annual as a guide because on the 1:1 they are the same in this area.
-
Those are awesome! Thanks for including the files, they will probably come in handy.
-
Thanks everyone for the reply and compliments! I ended up liking one of the photos I took to of this car I changed my profile pick to it 🤣.
-
Kinda you got all the way to the bolded part right right after color when its still a little tacky come in with a q tip (tightly packed one like what tamiya sells) soaked in laquer thinner and rub it away. Then do your clear. This way it is easier to reveal it, if you do it with color and clear its going to take a lot of rubbing to get it to show.
-
Nope, put it on right before color and trim it as close as you can to the emblem. This way you dont see the the primer as a small ring around the emblem.
-
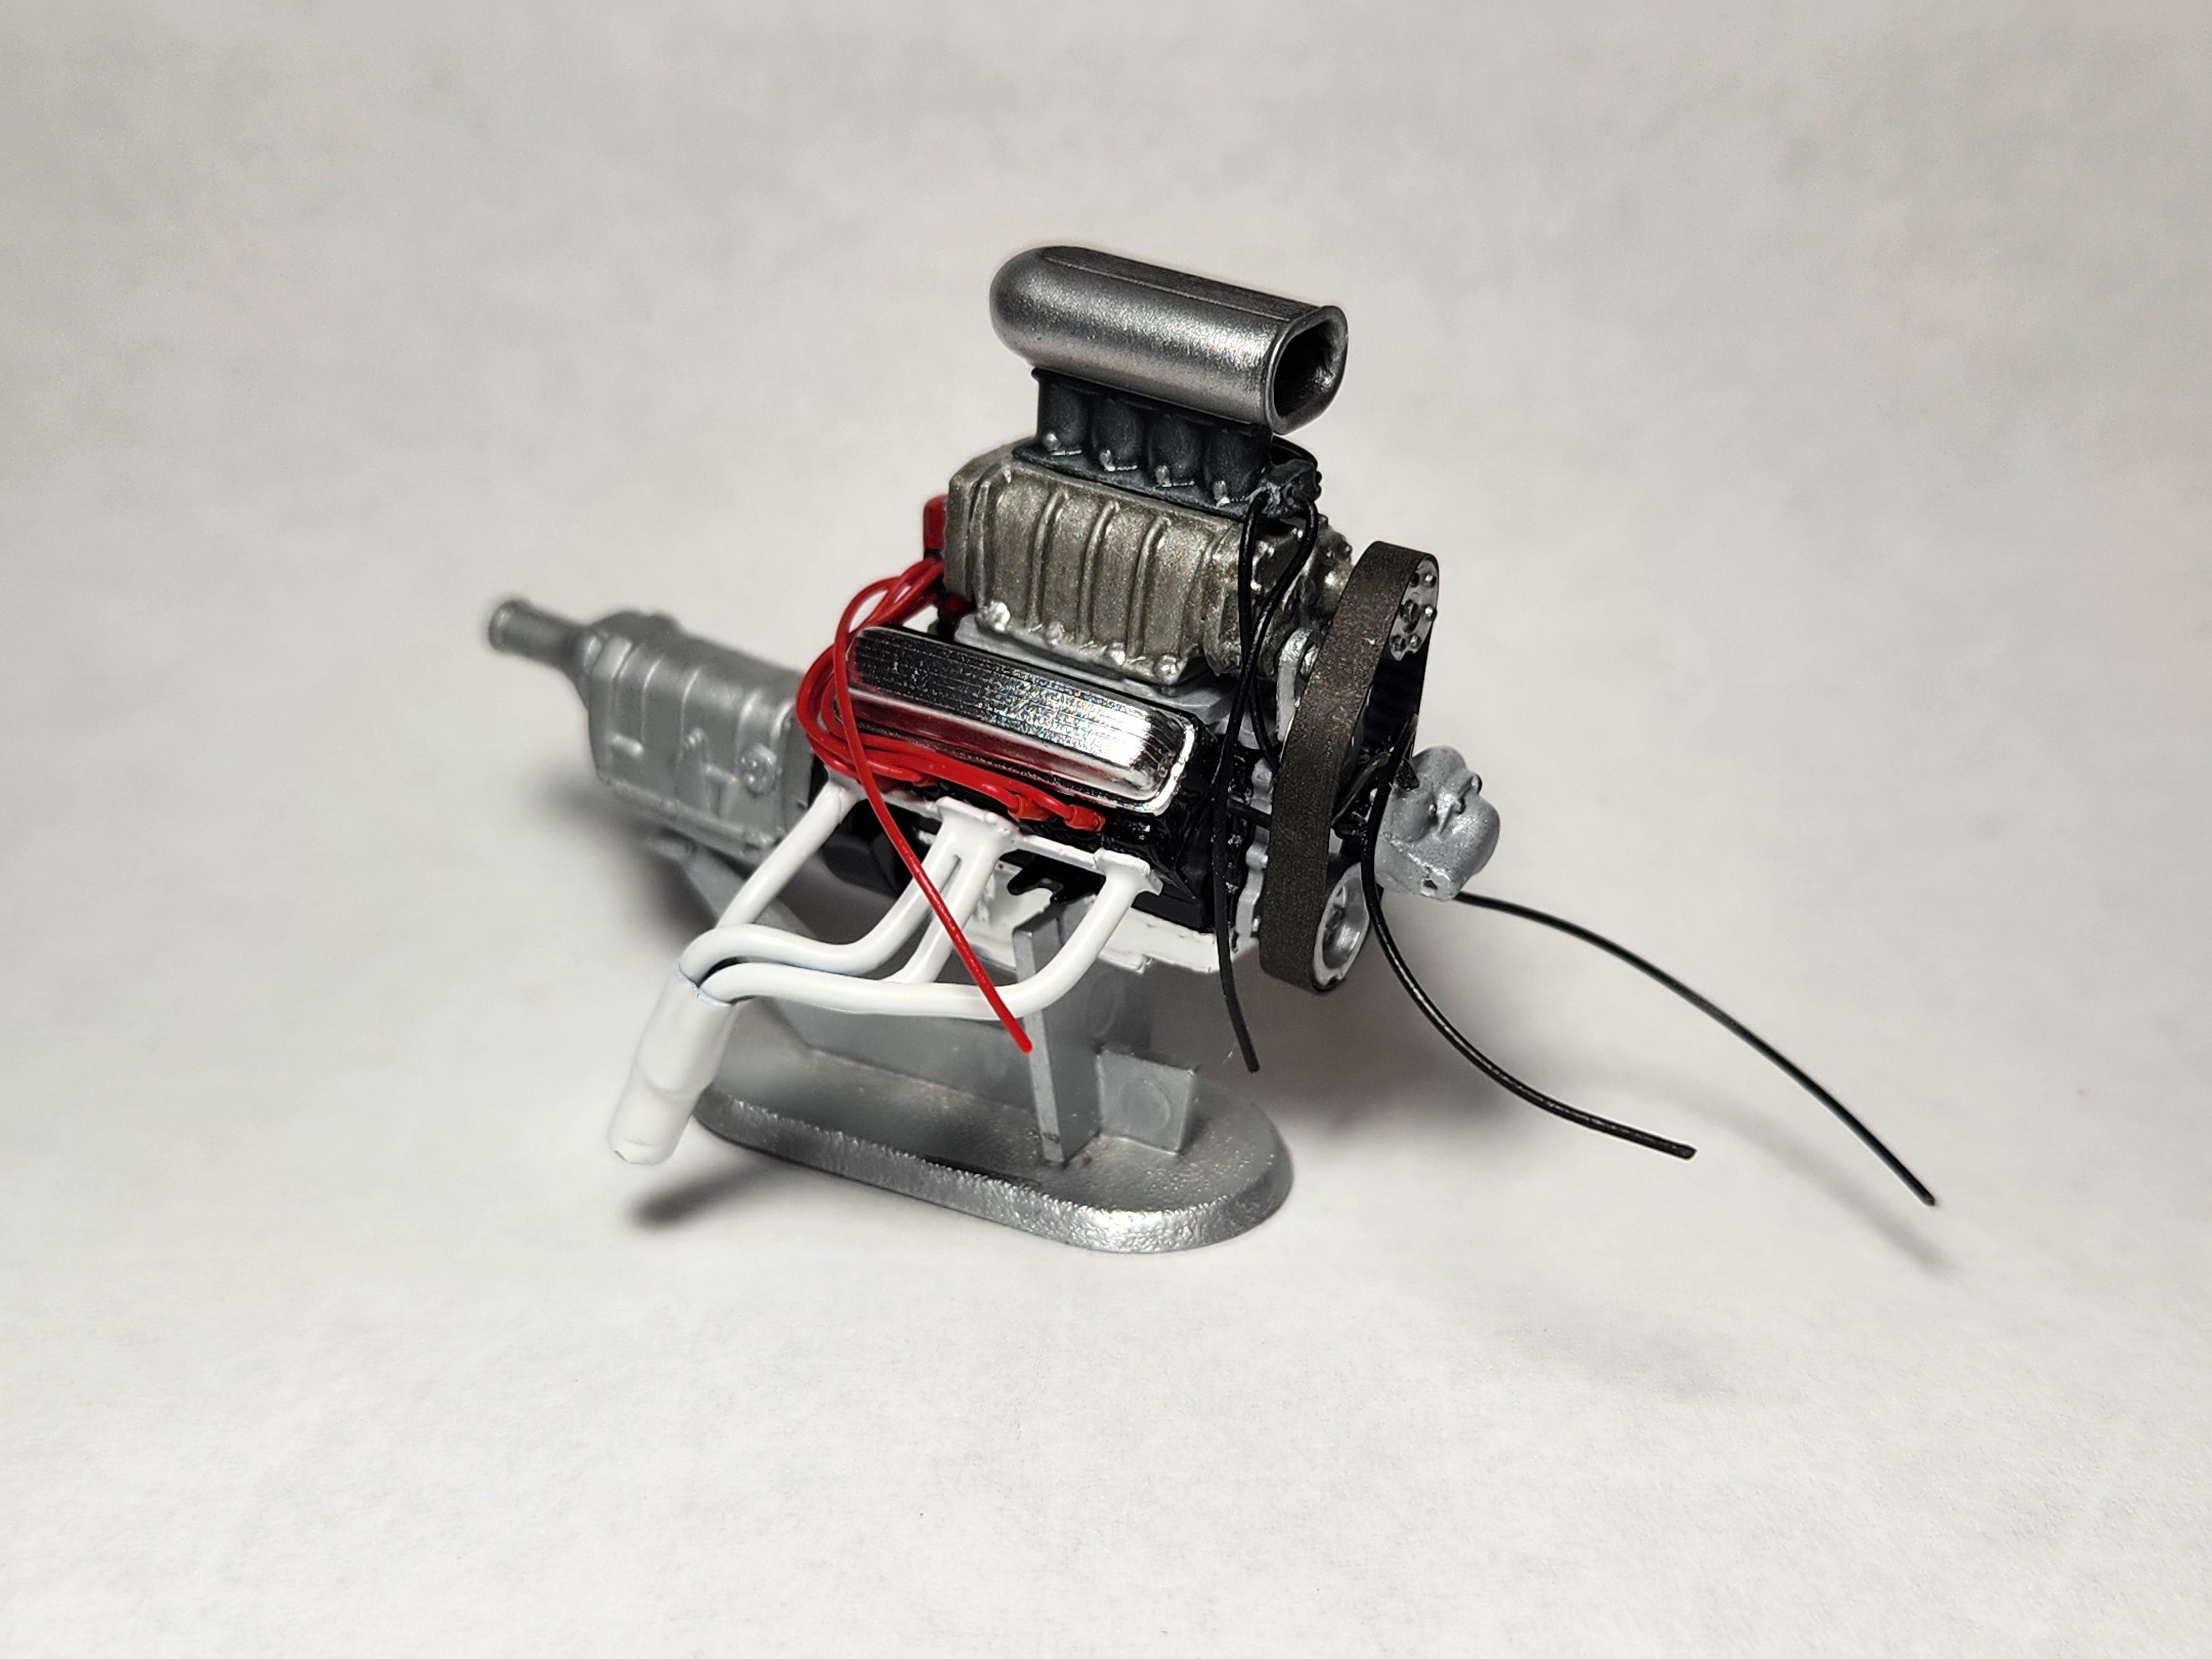
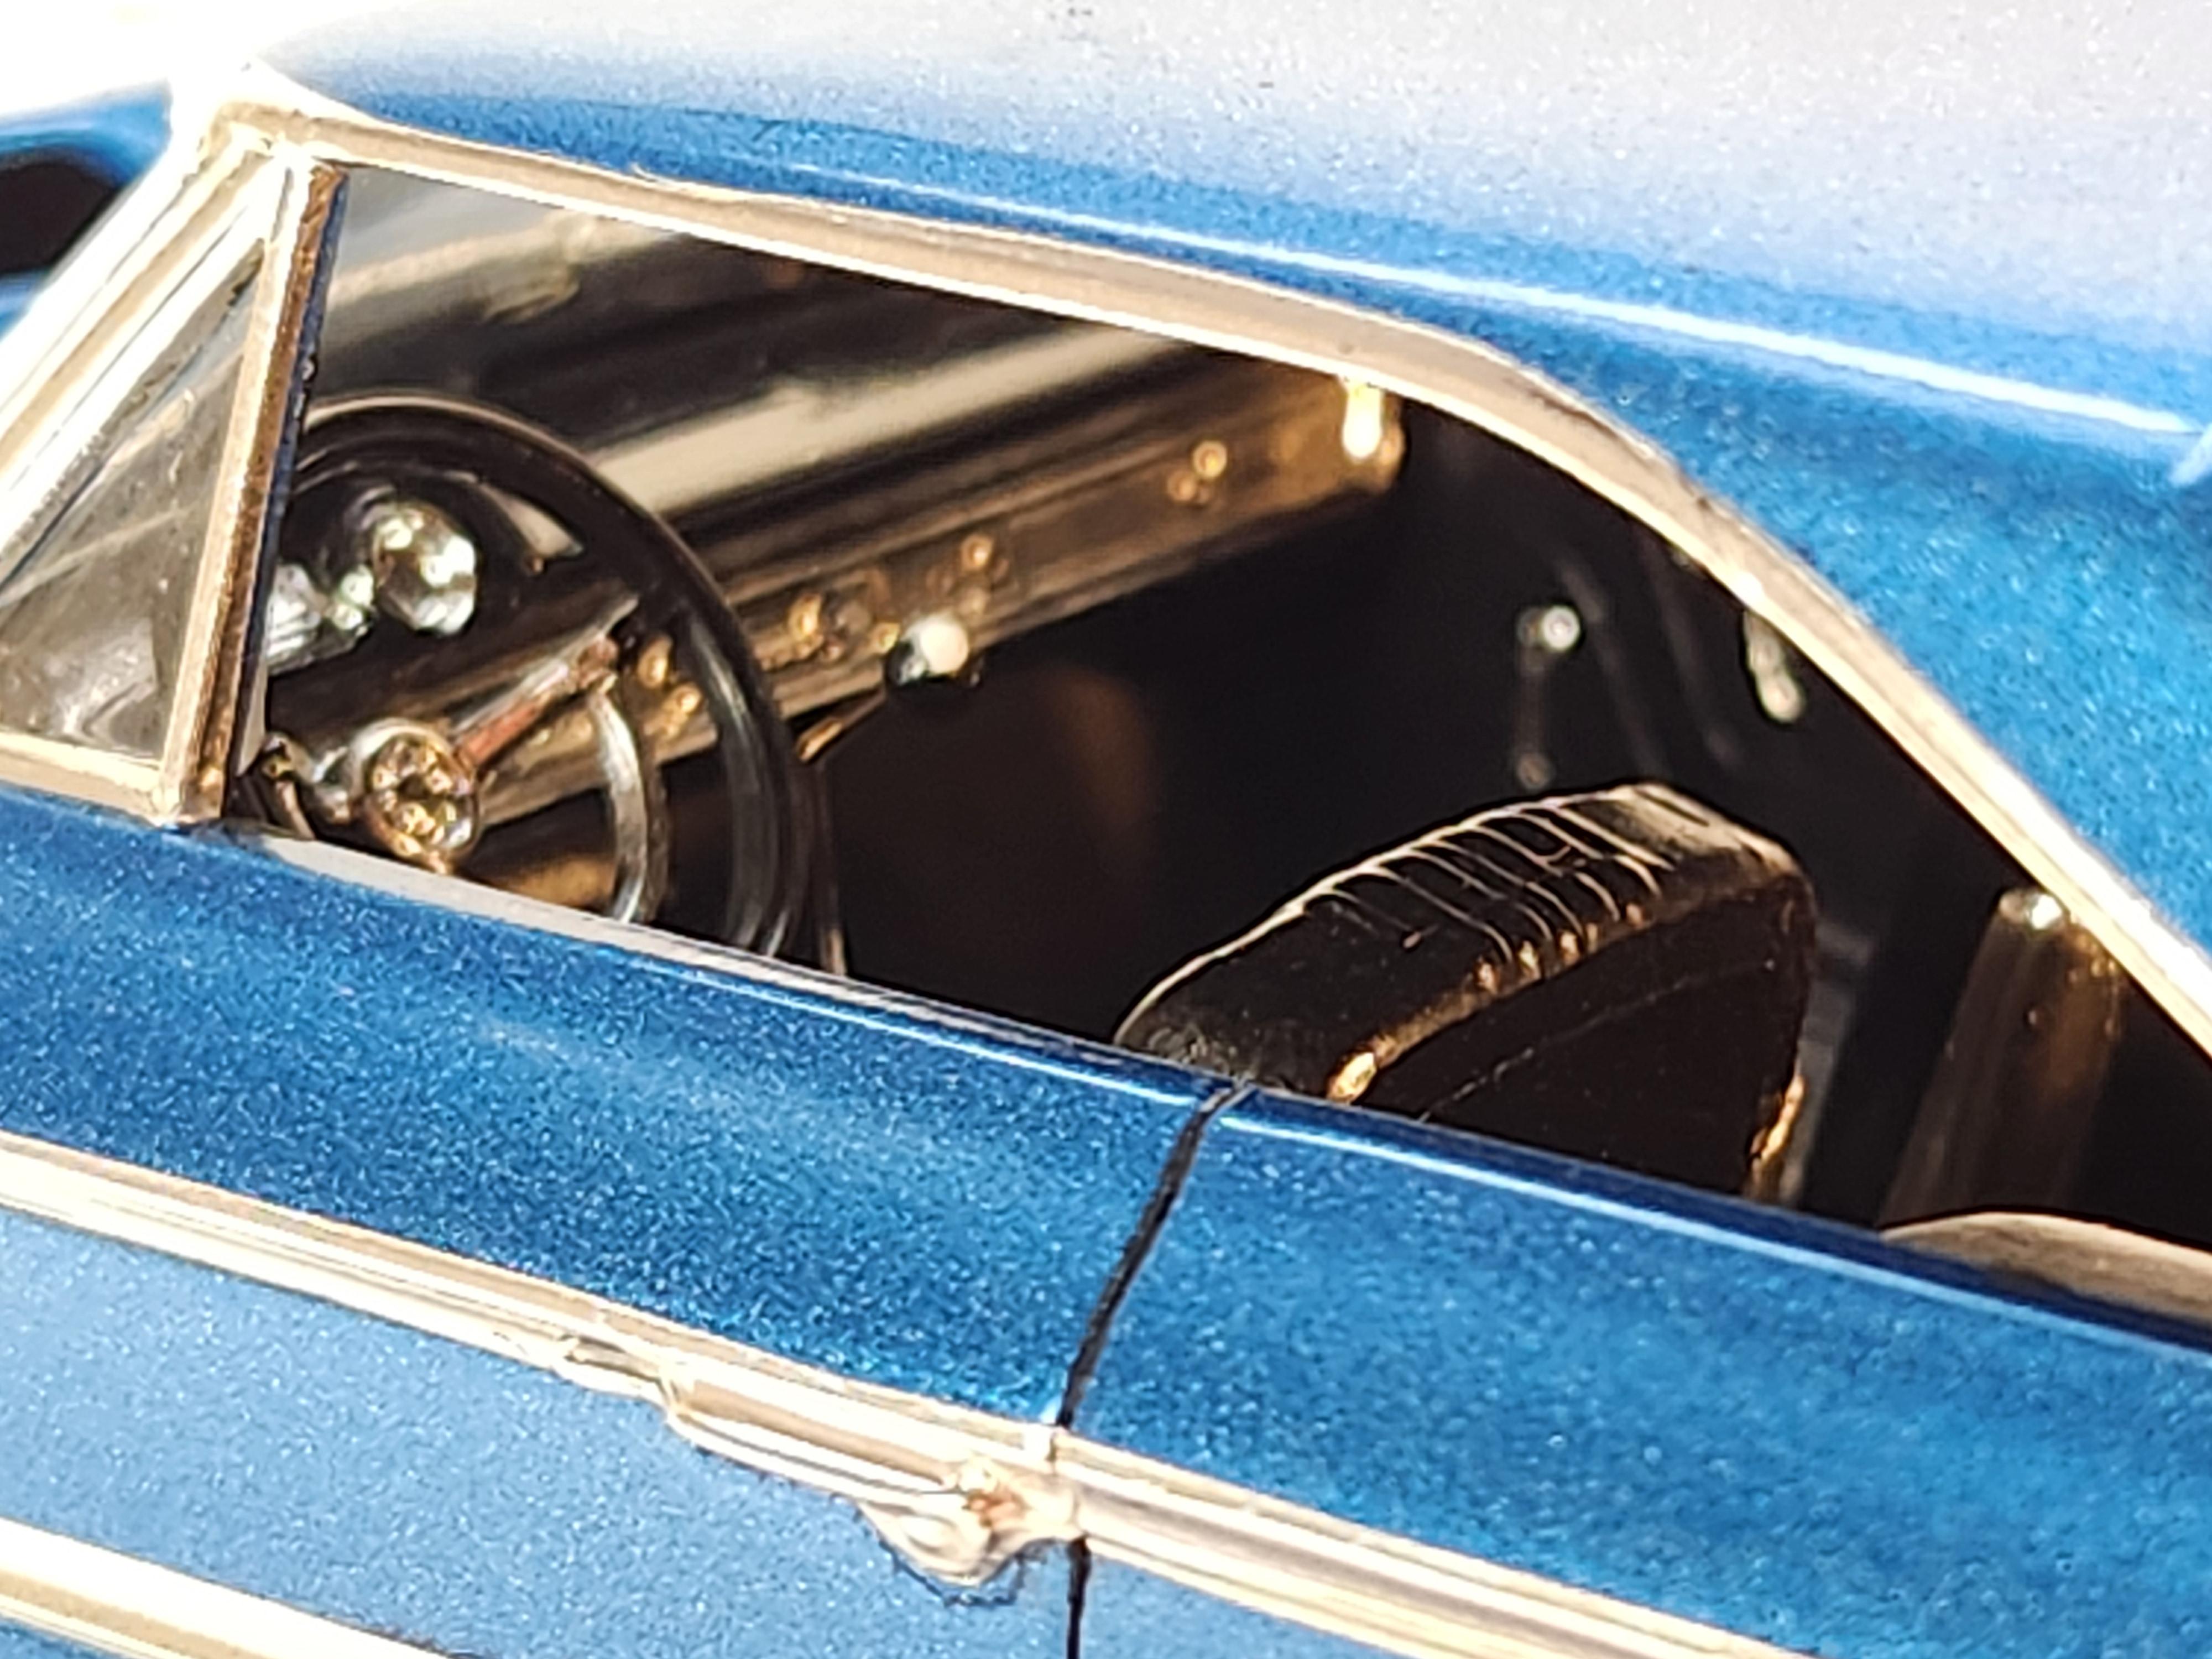
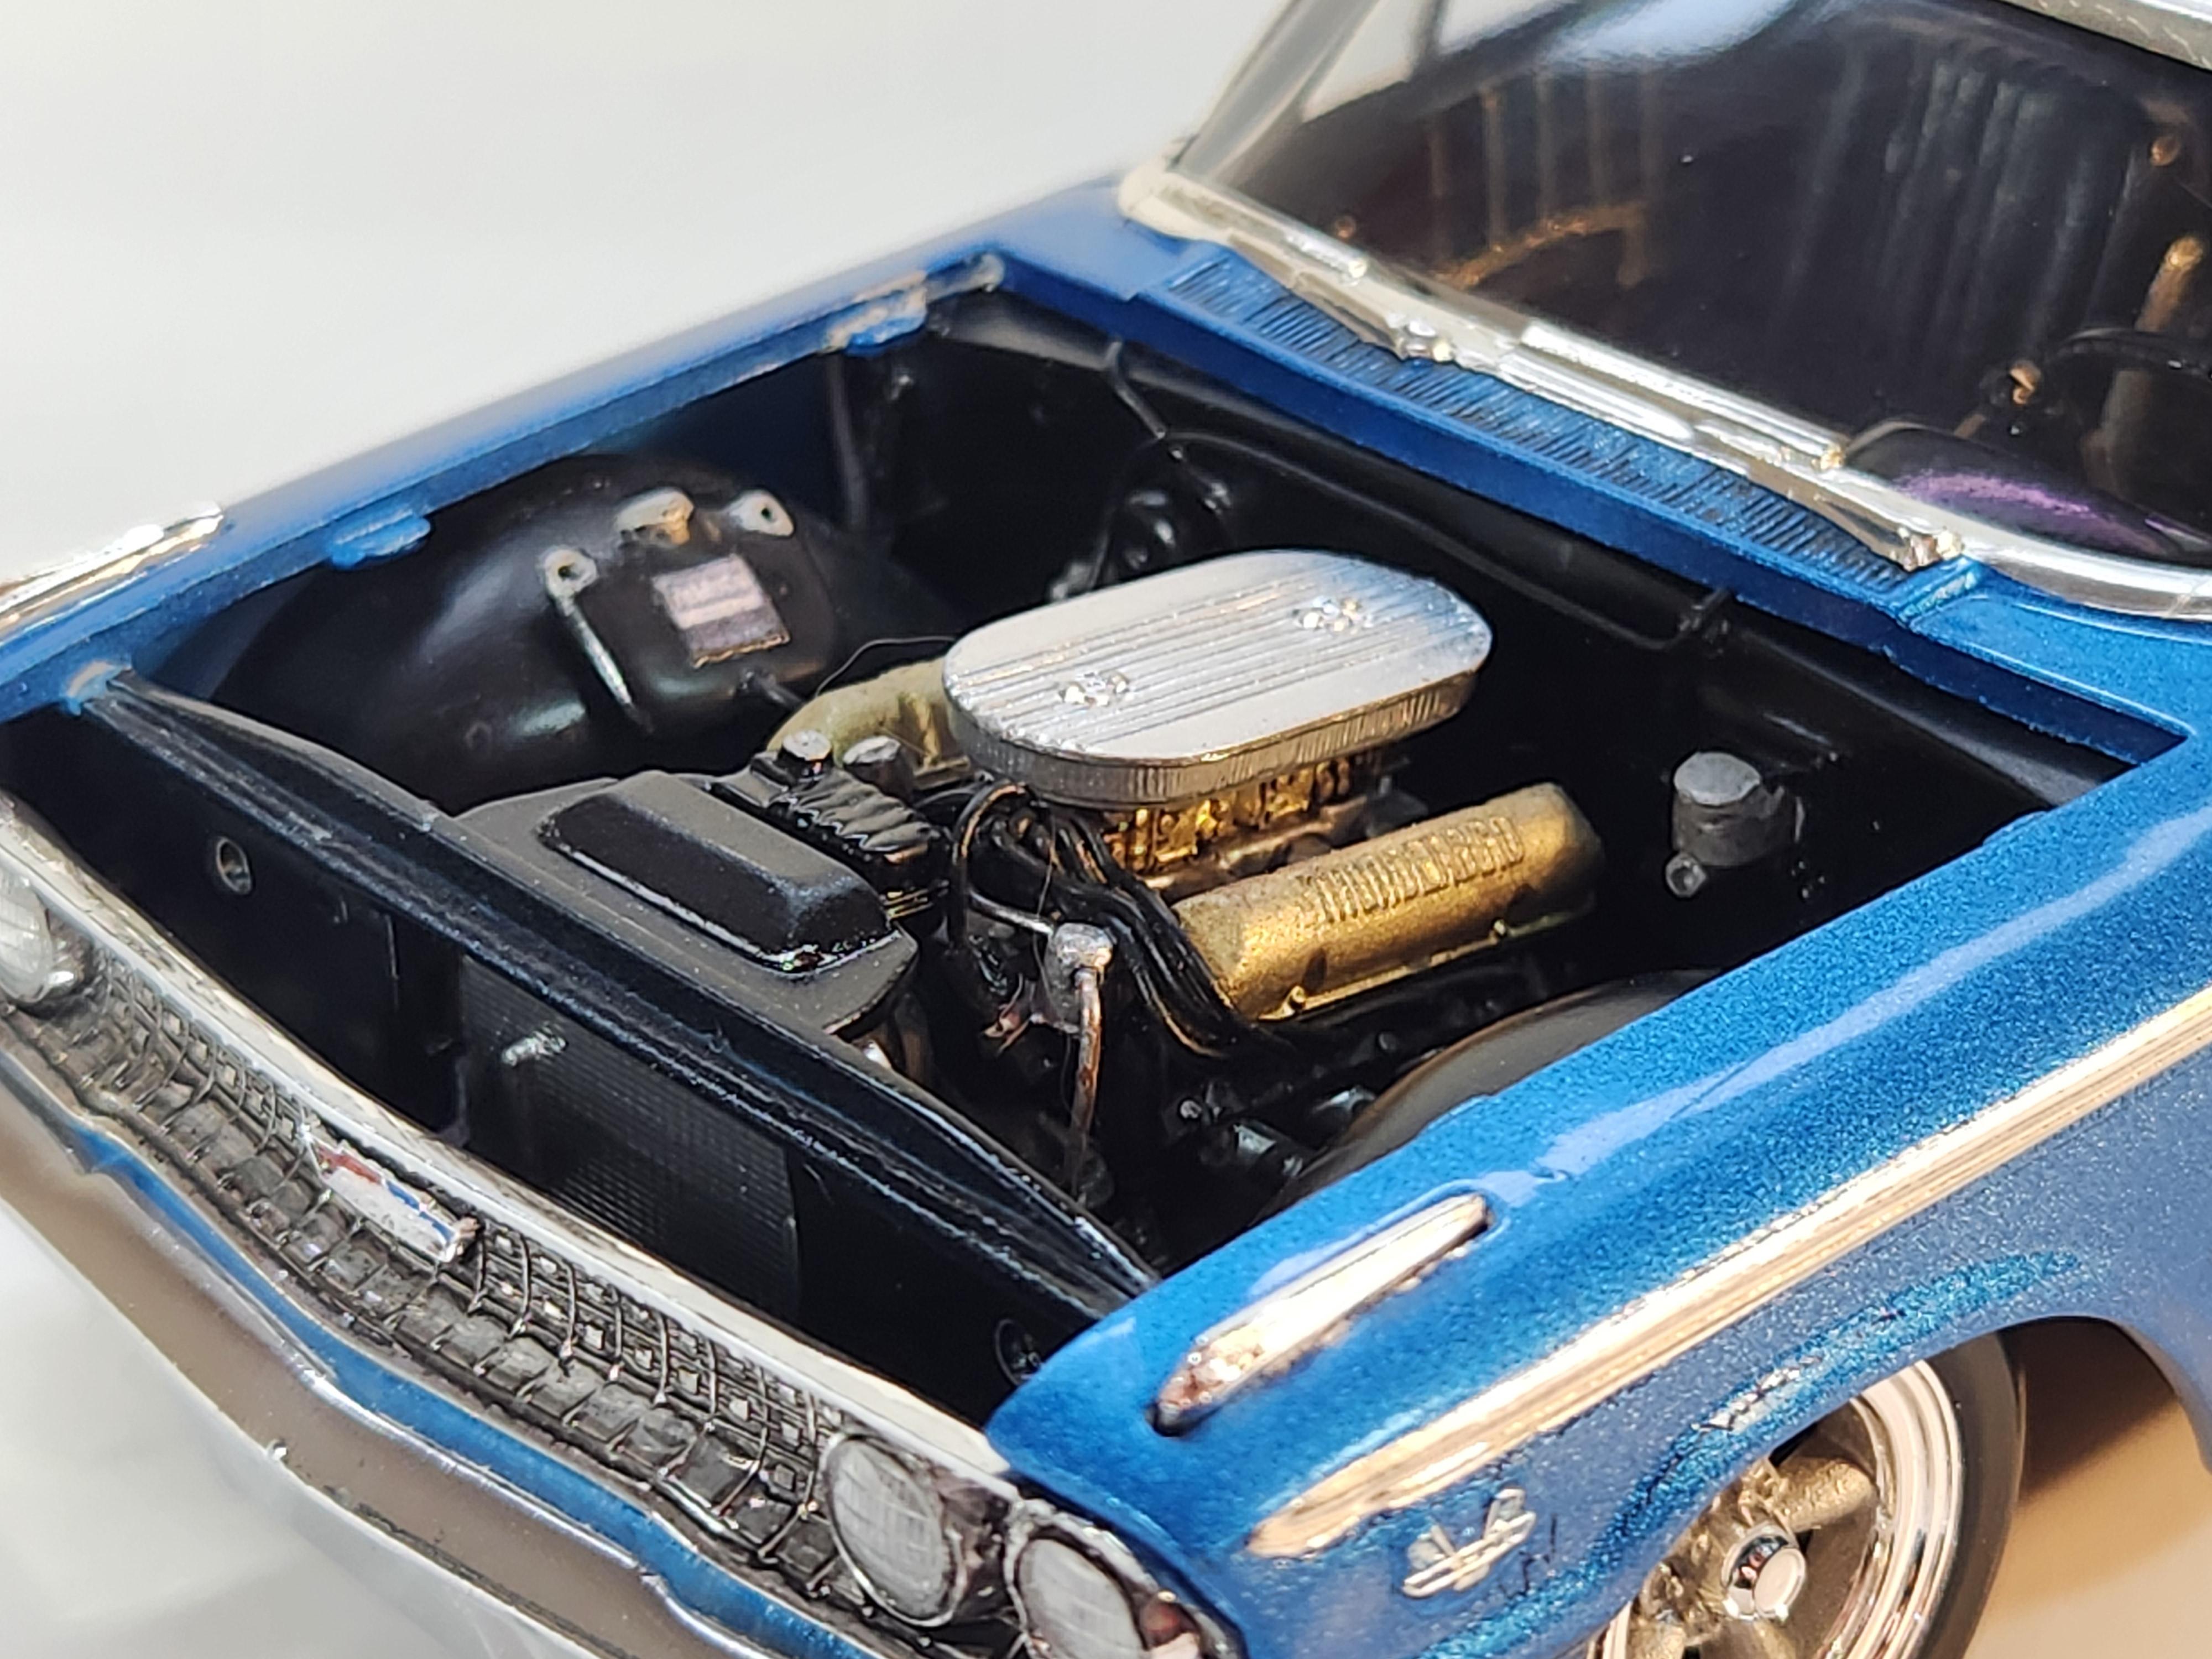
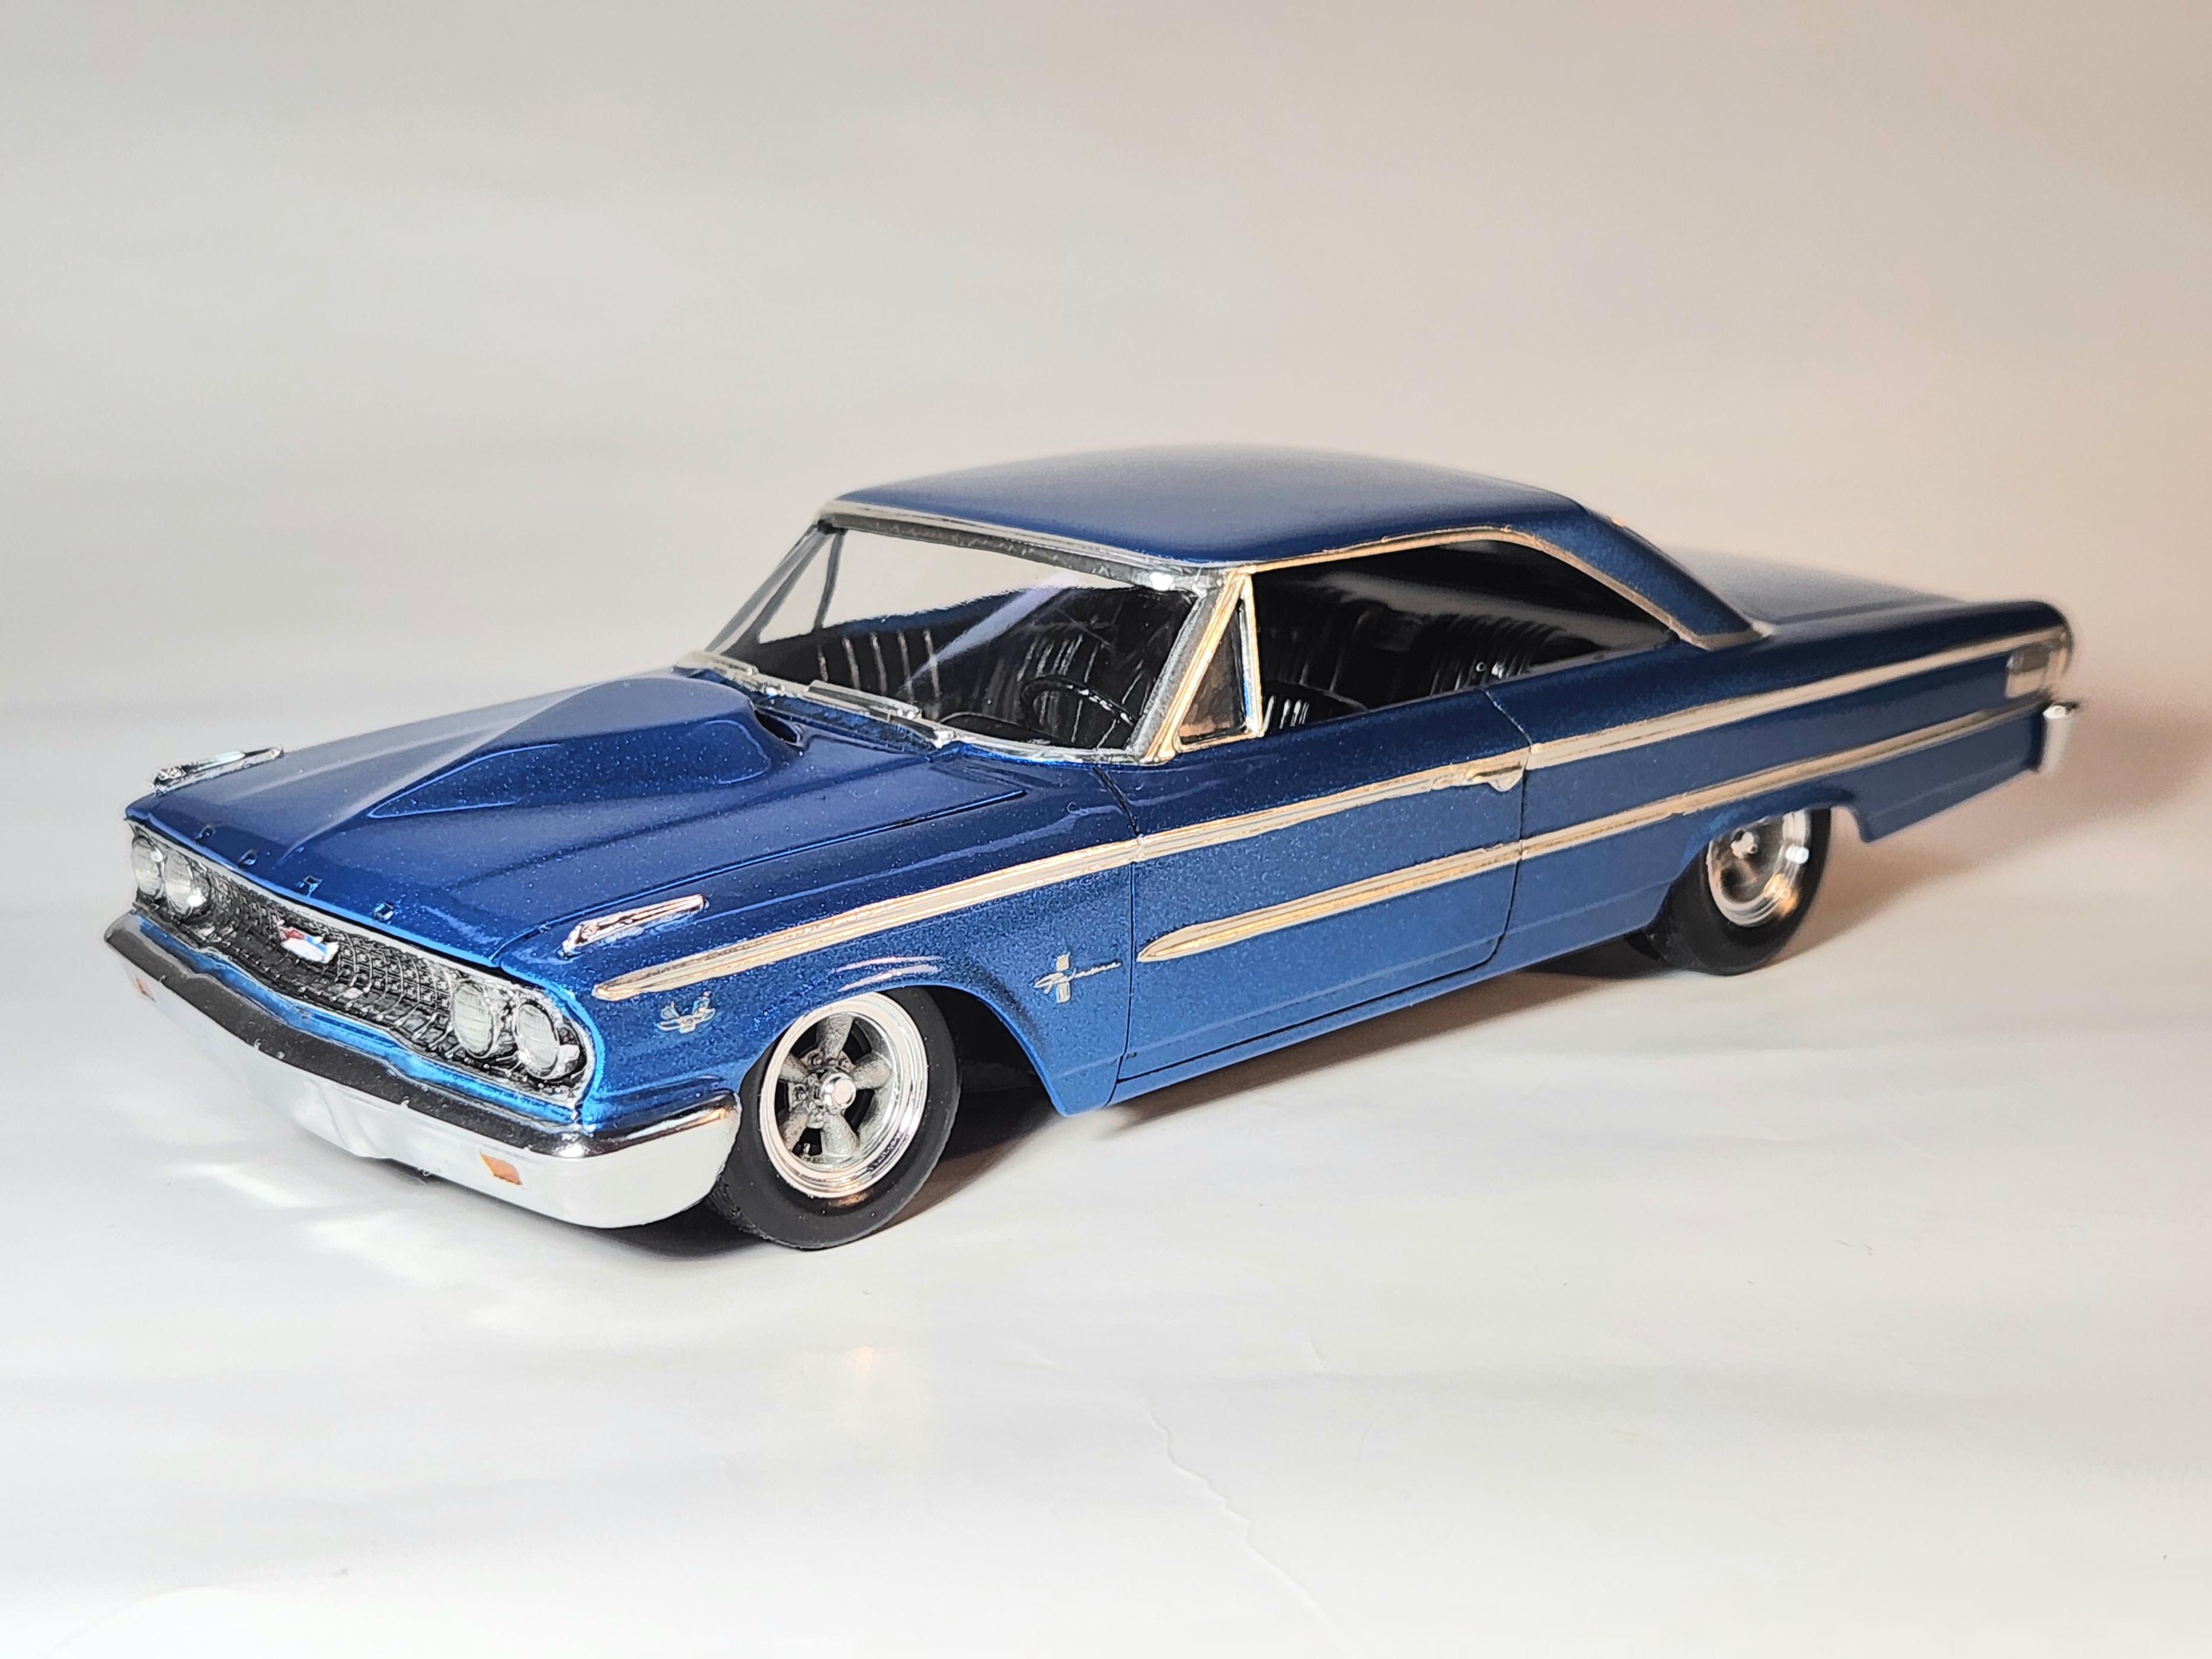
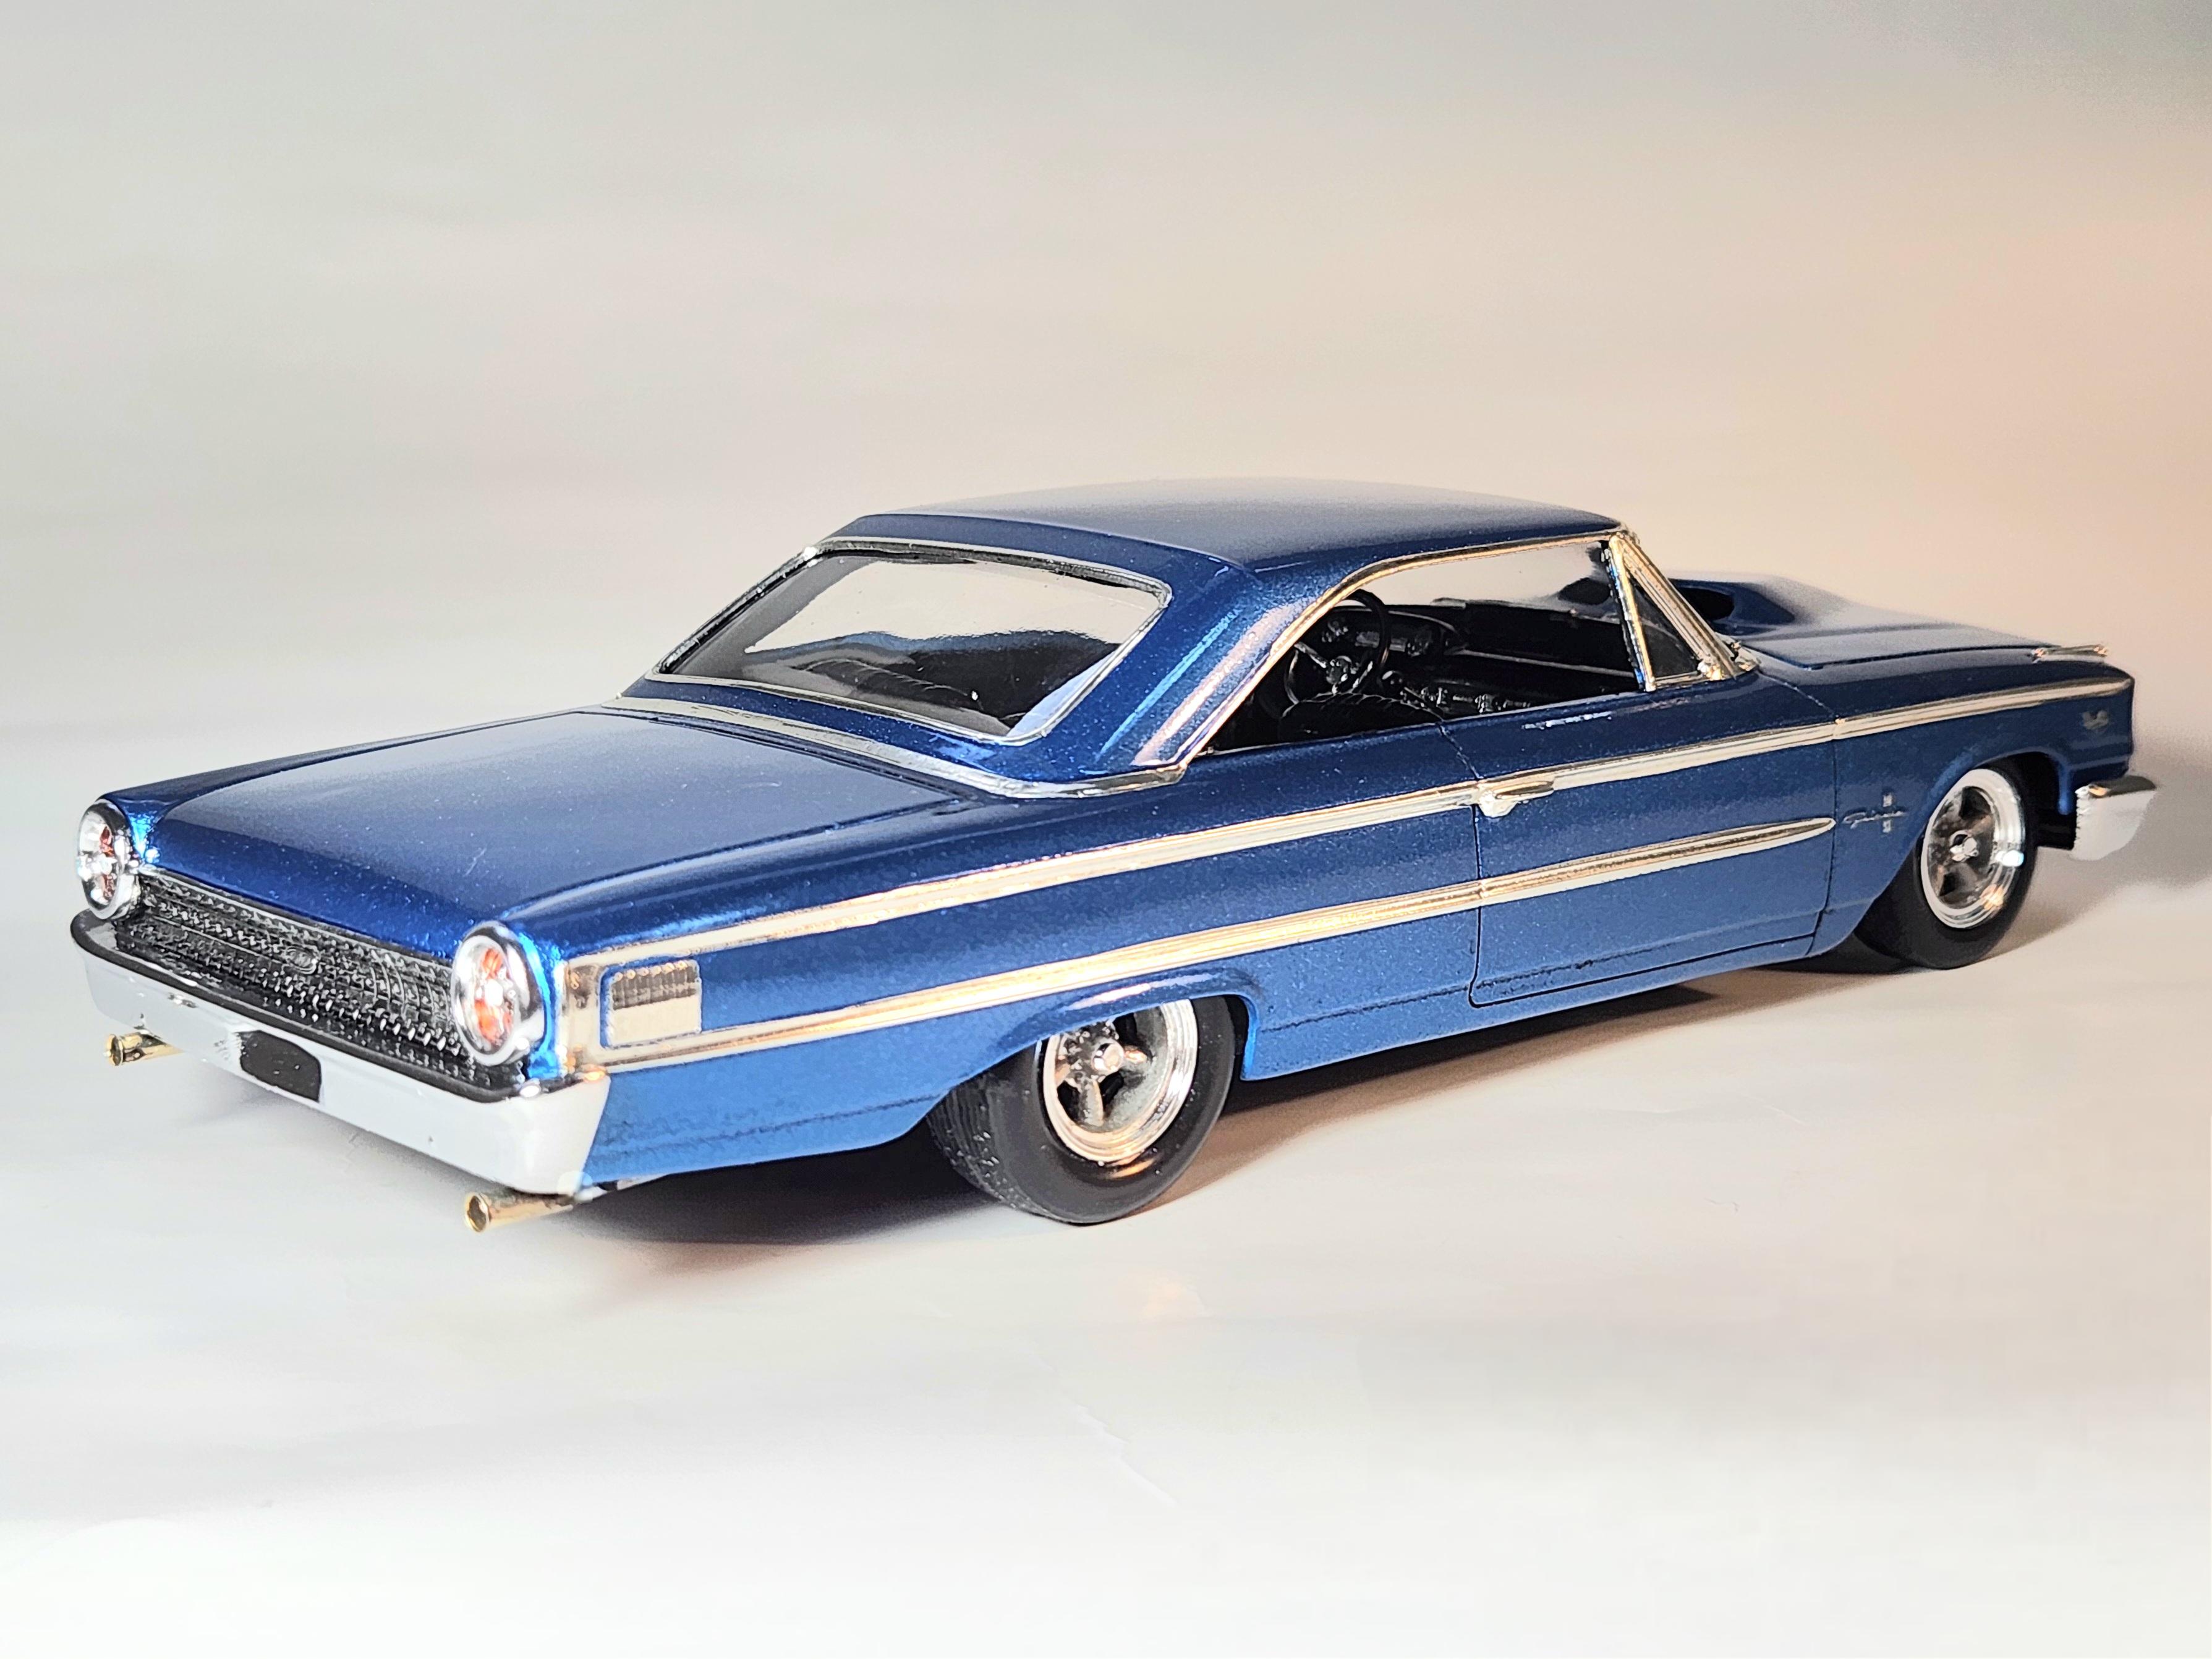
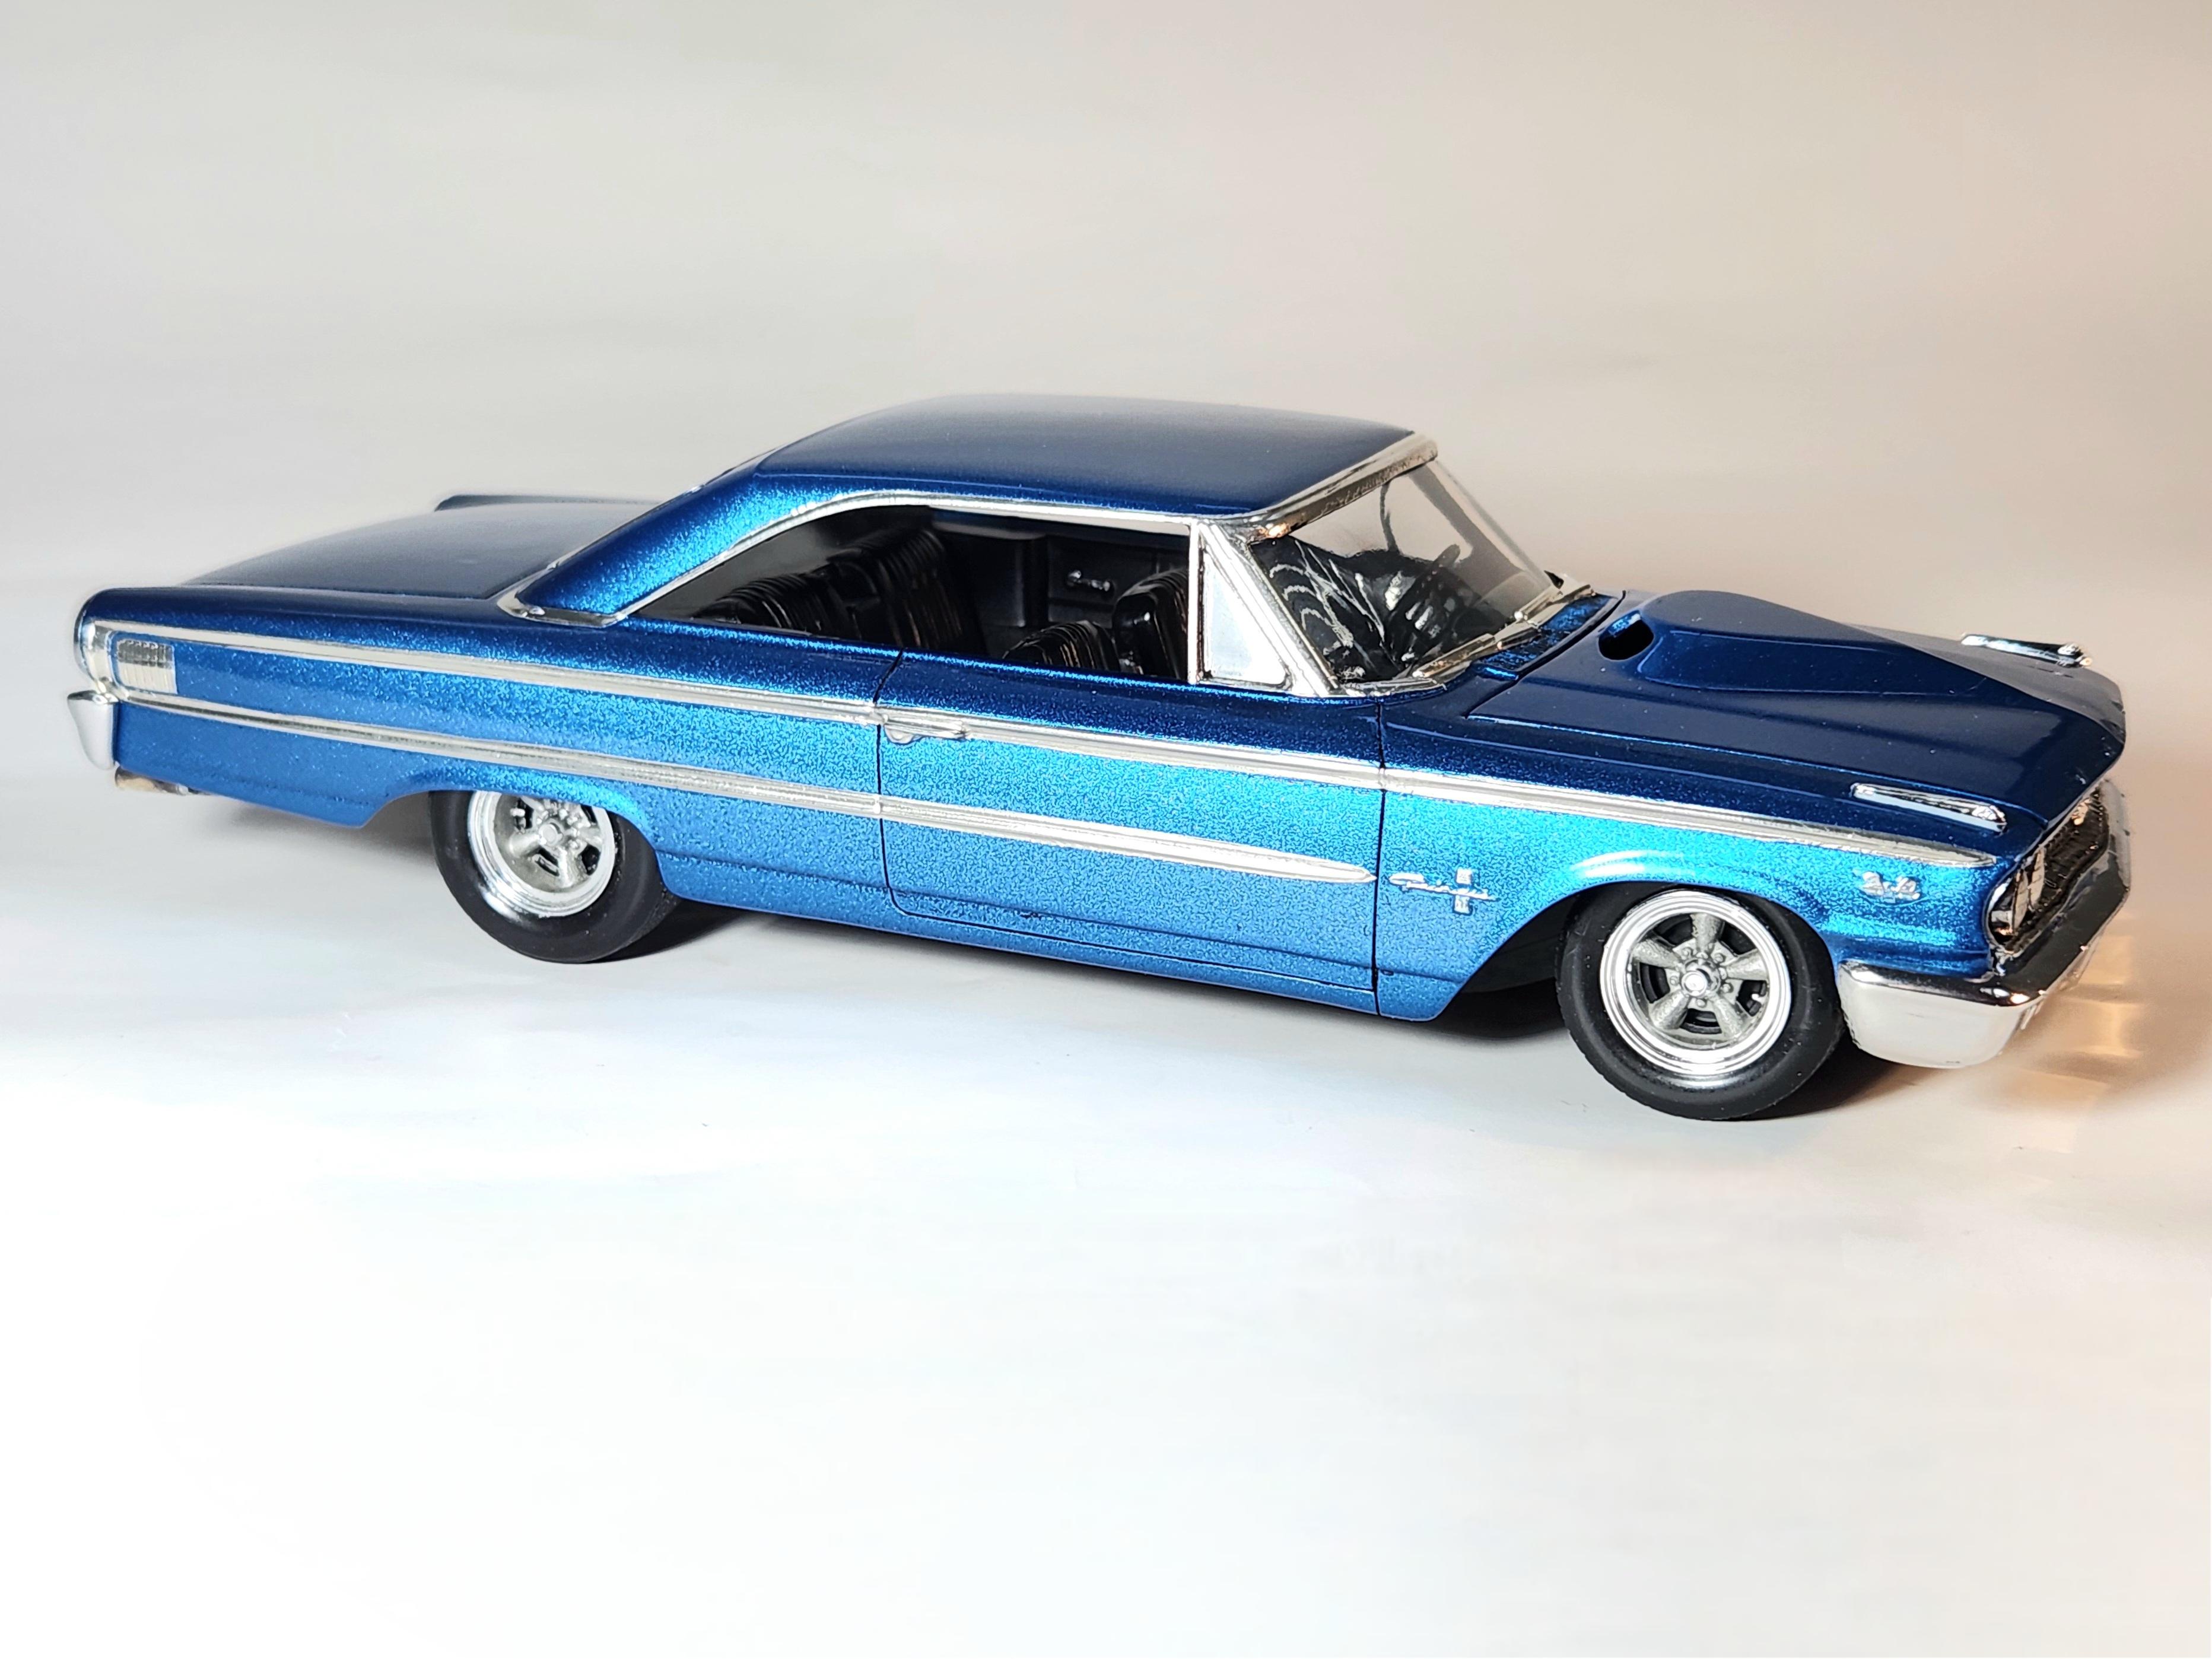
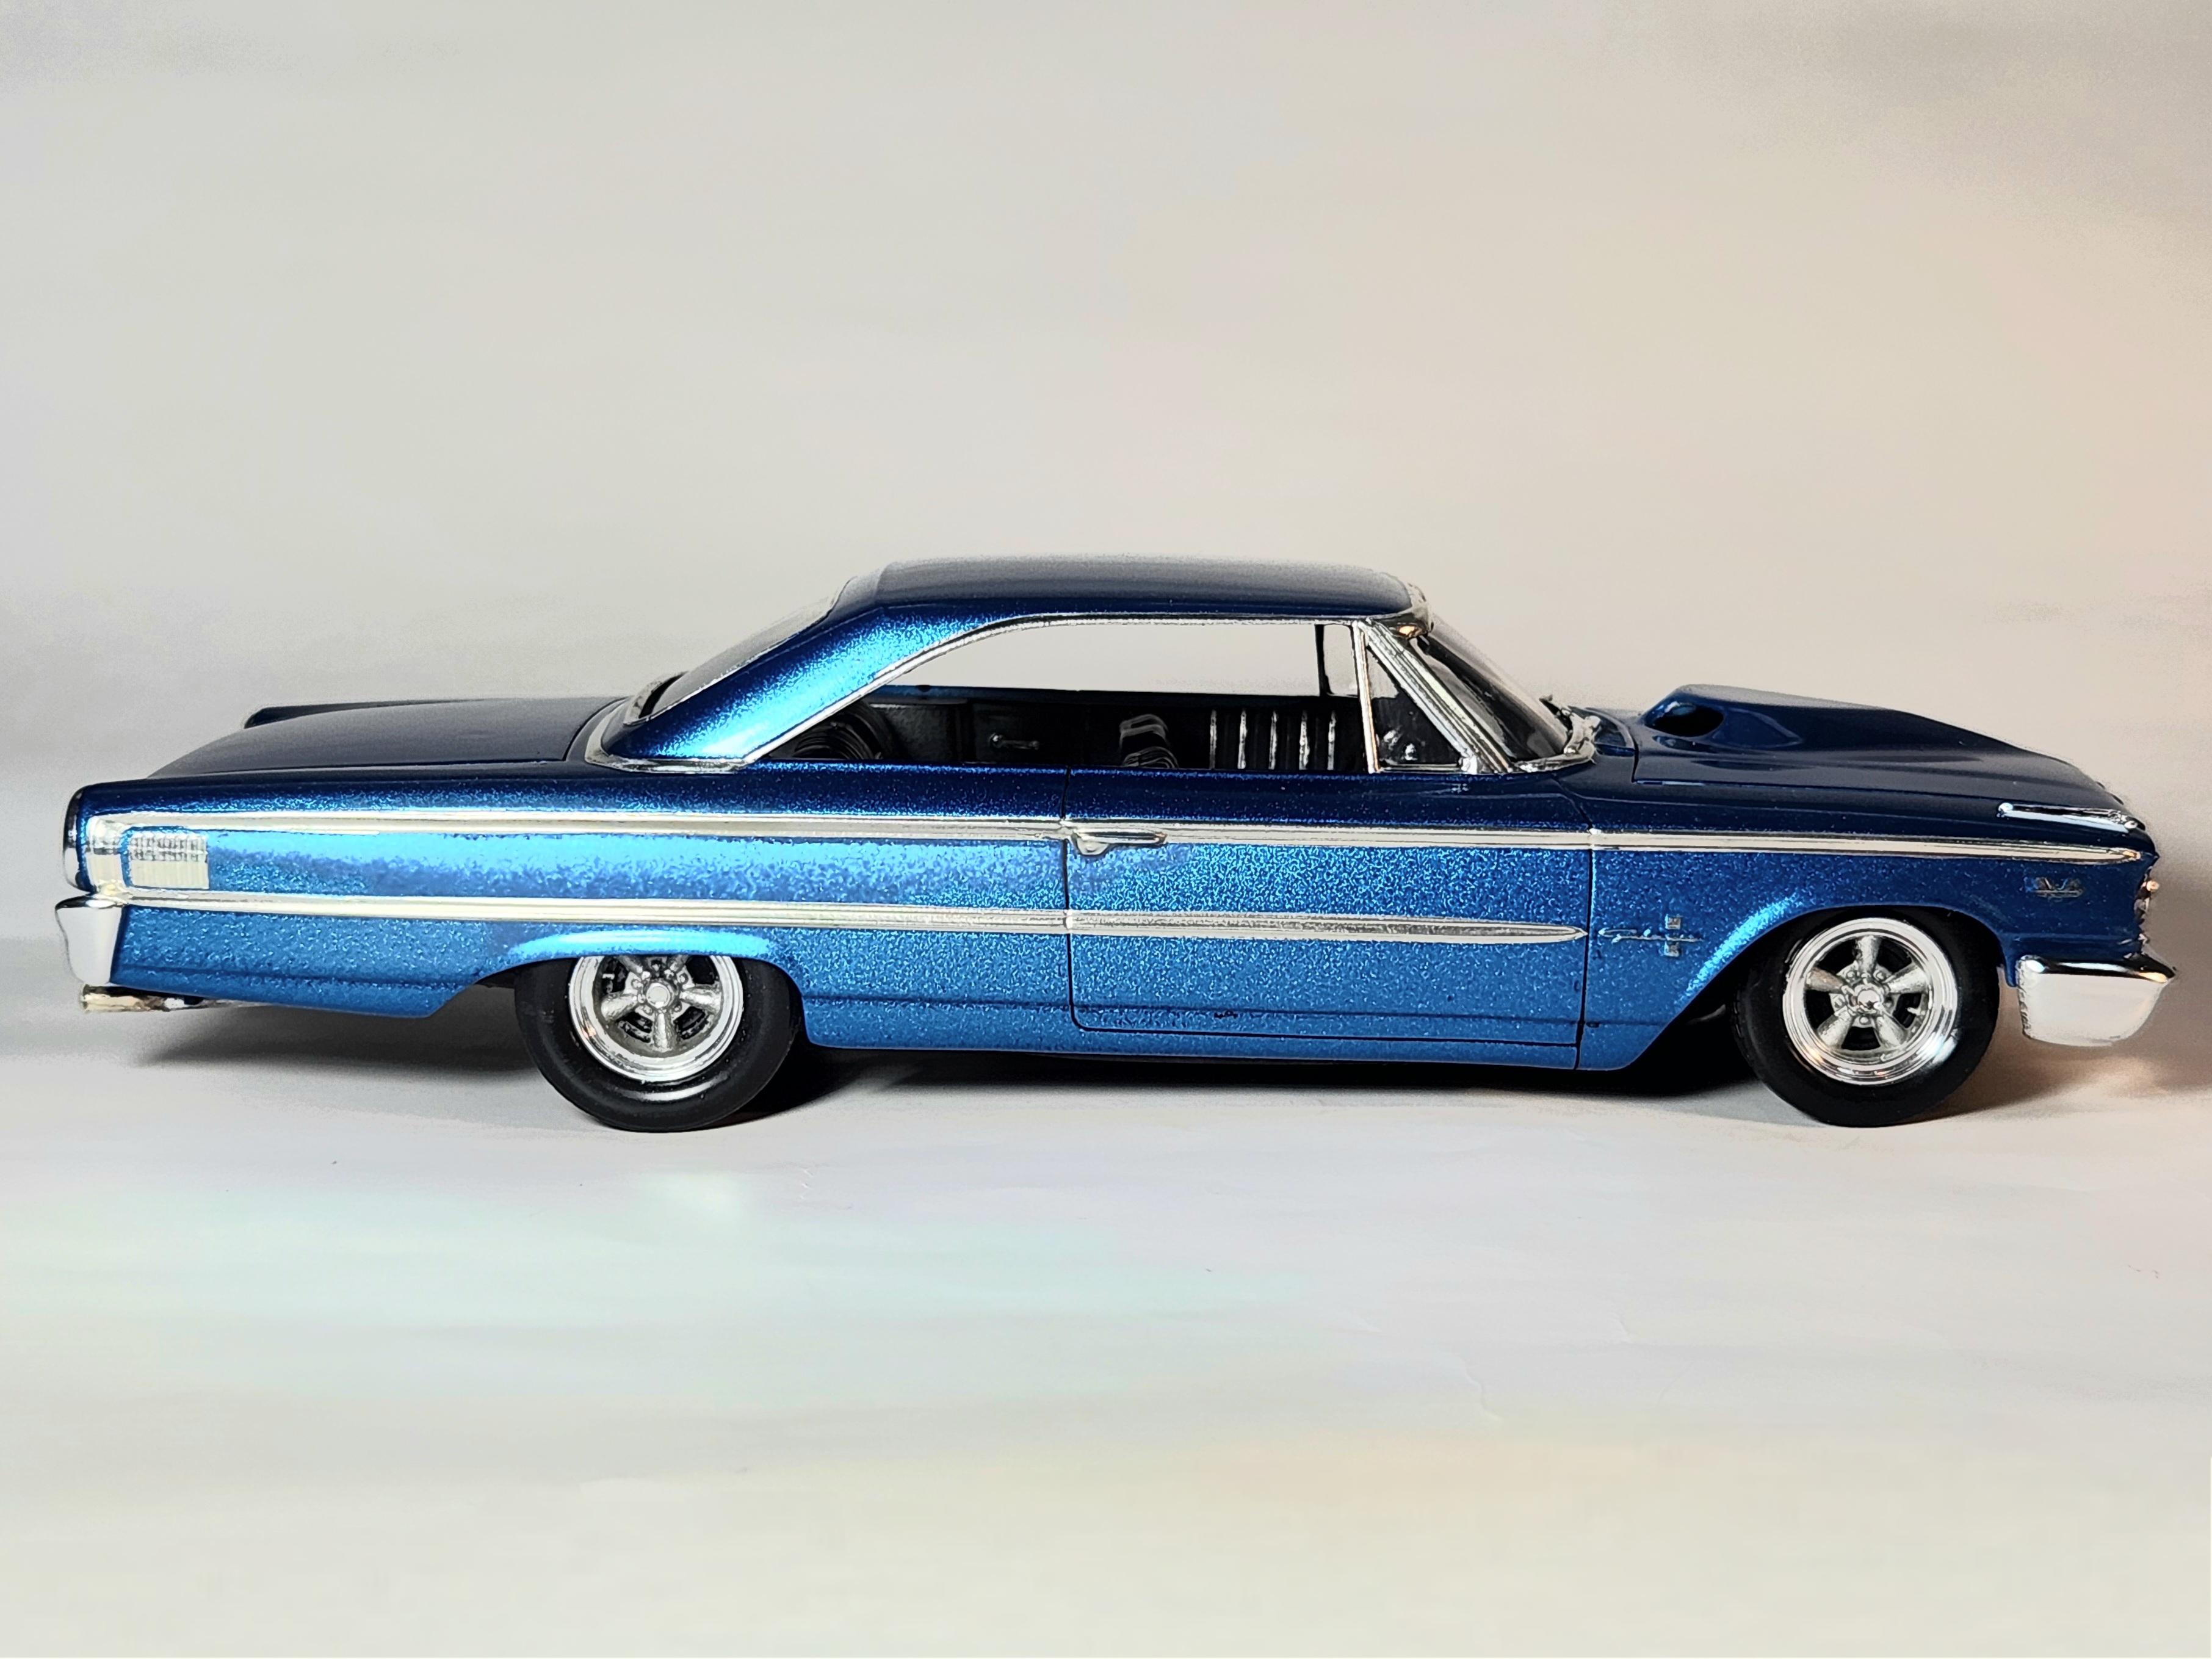
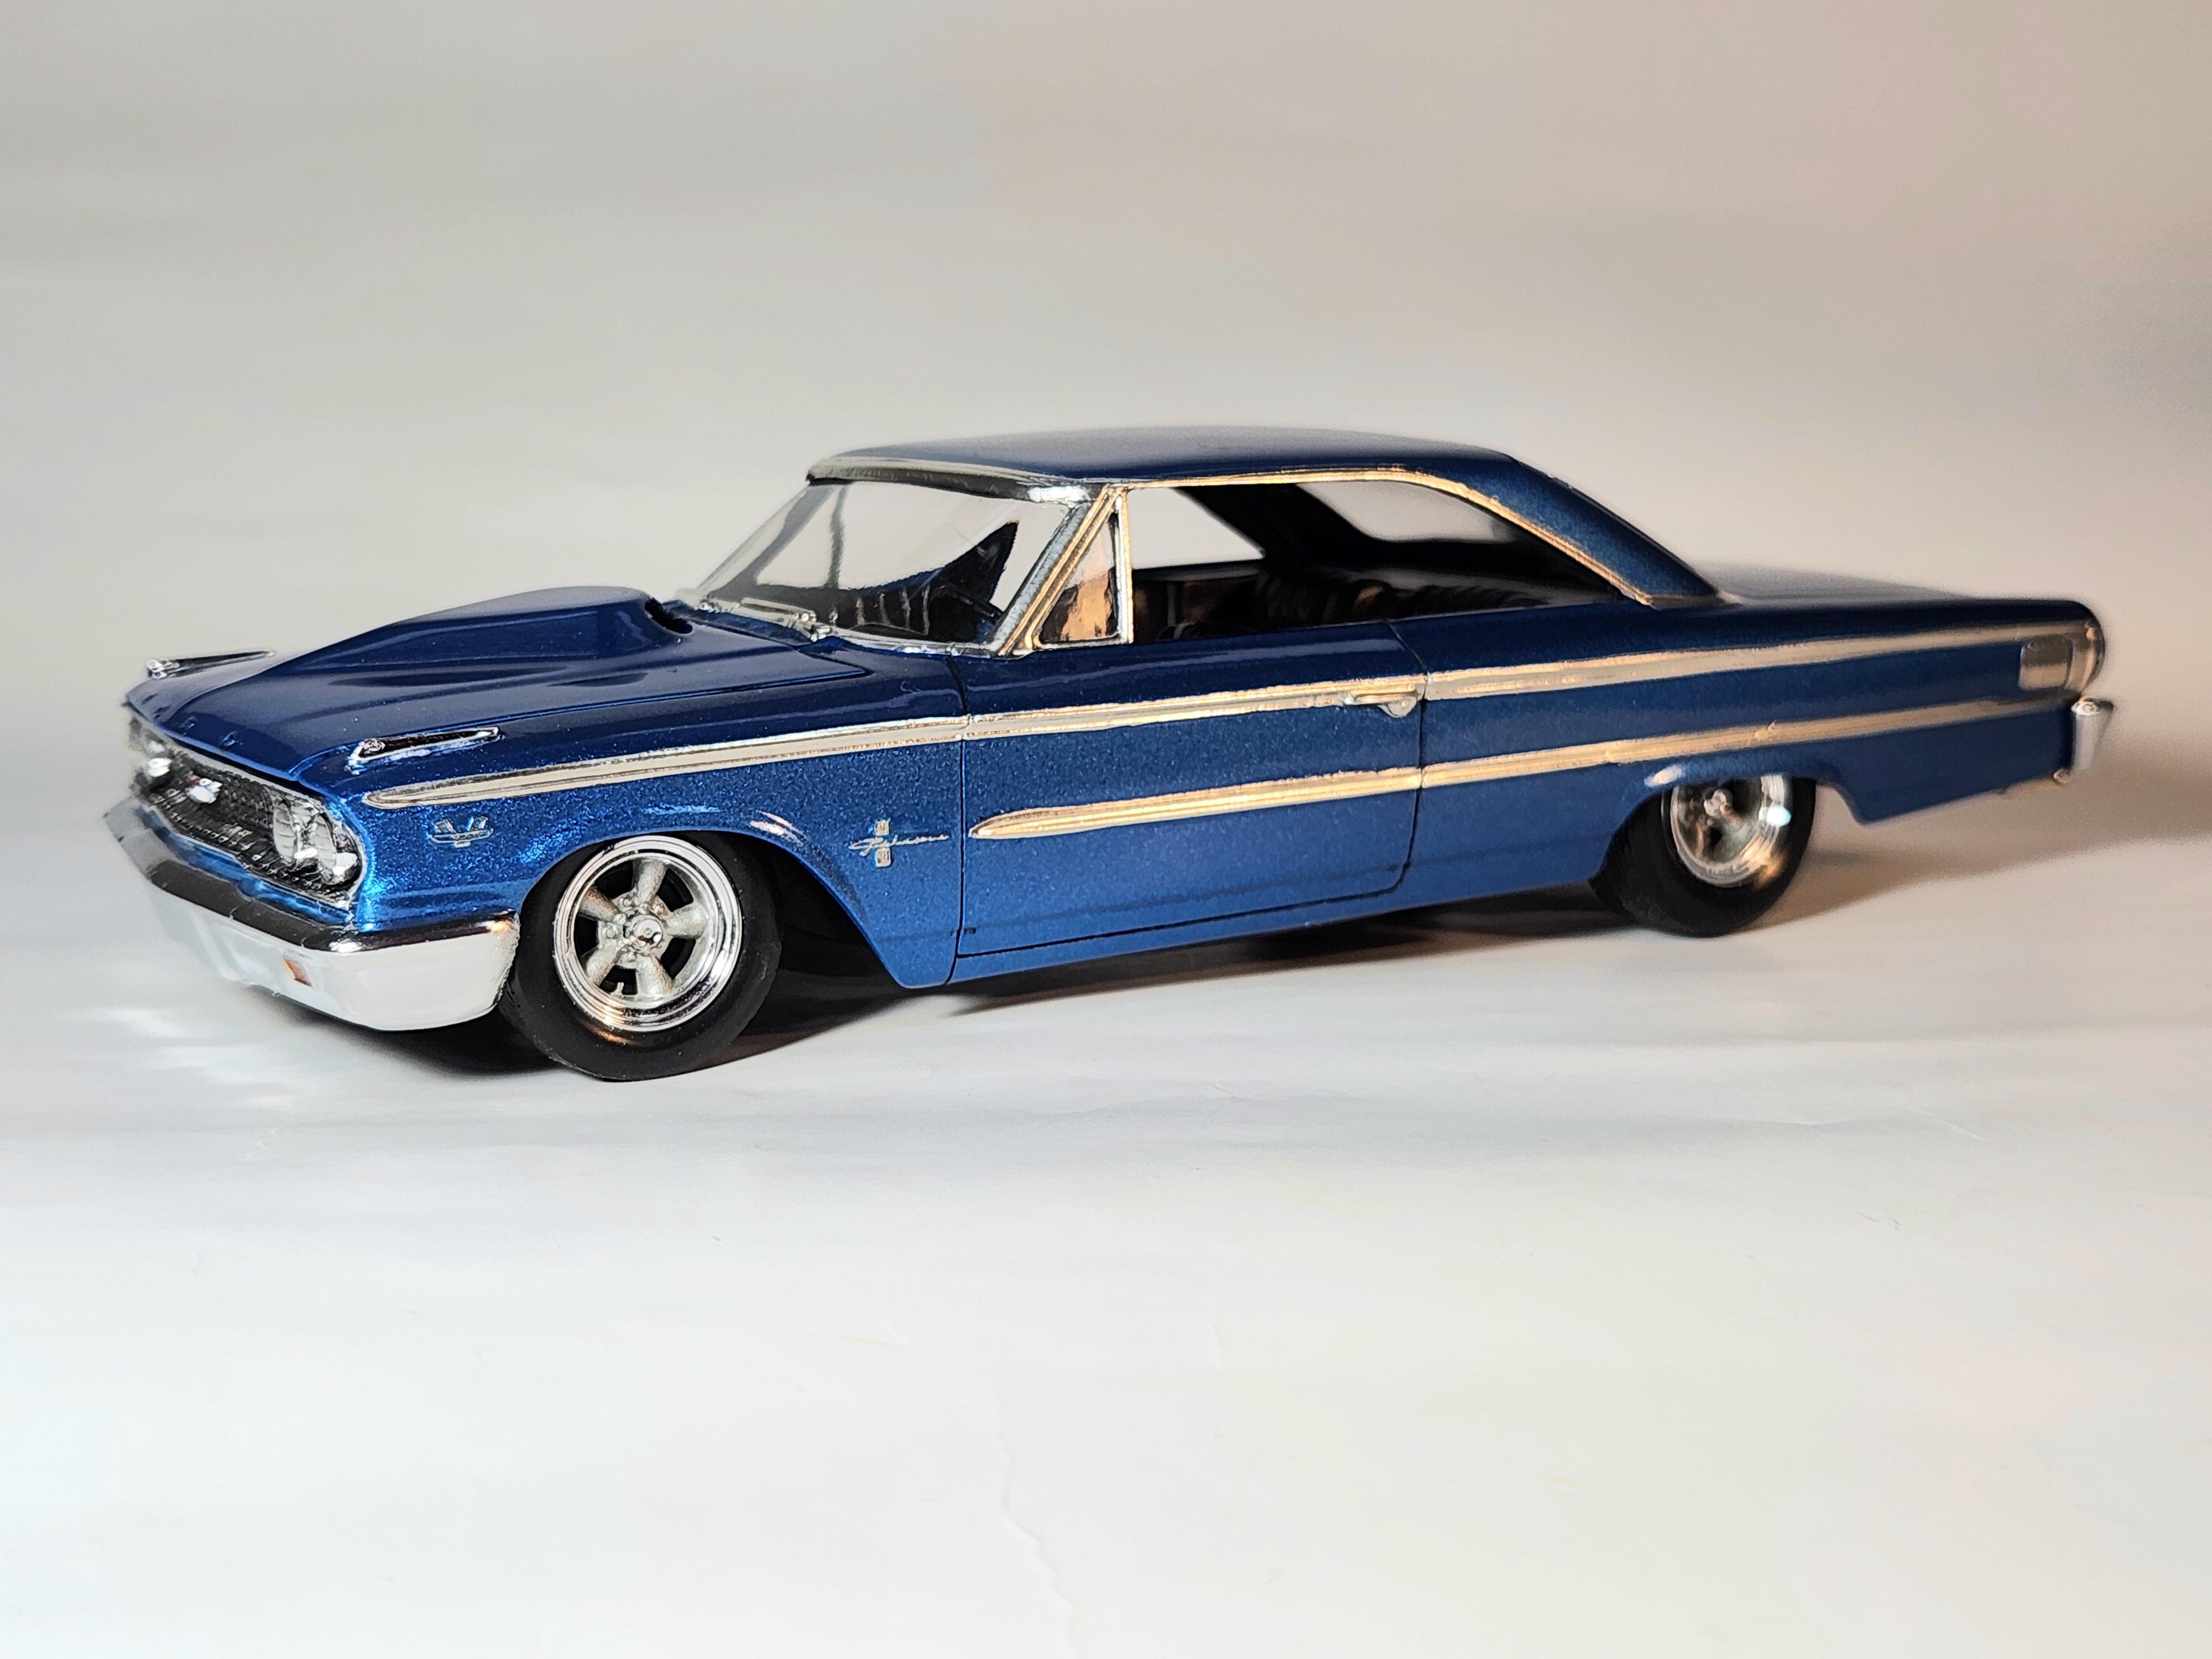
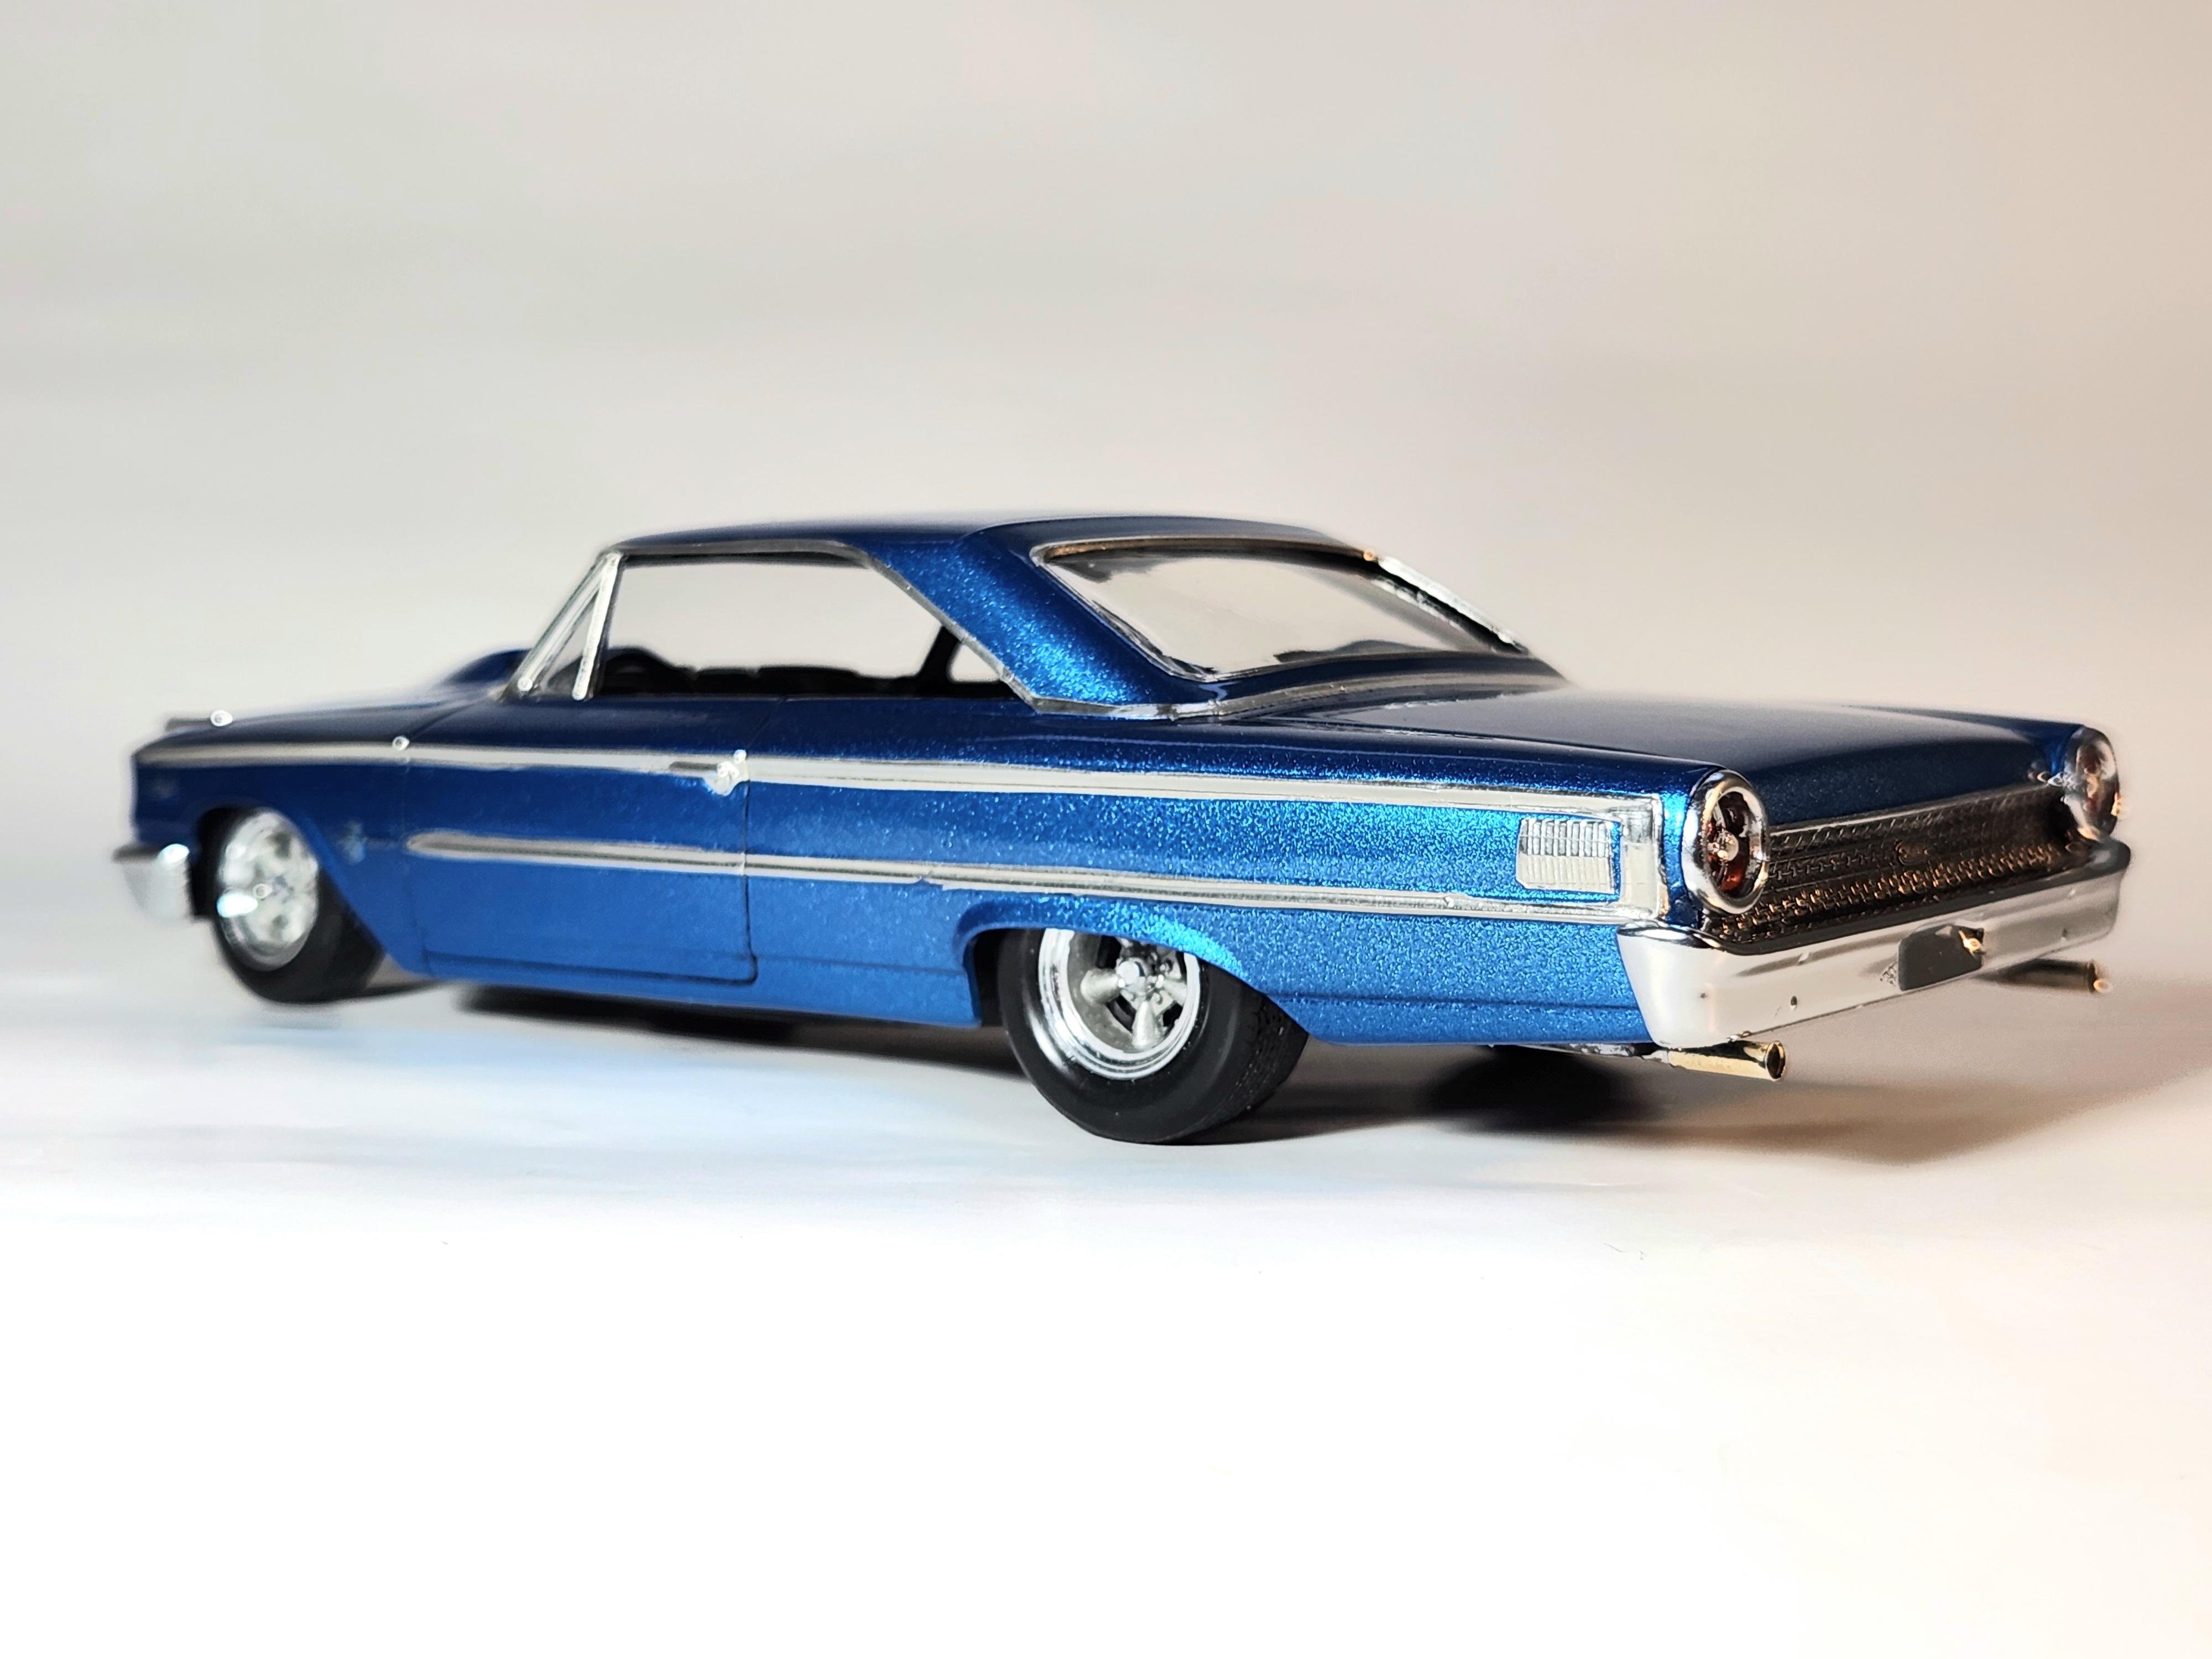
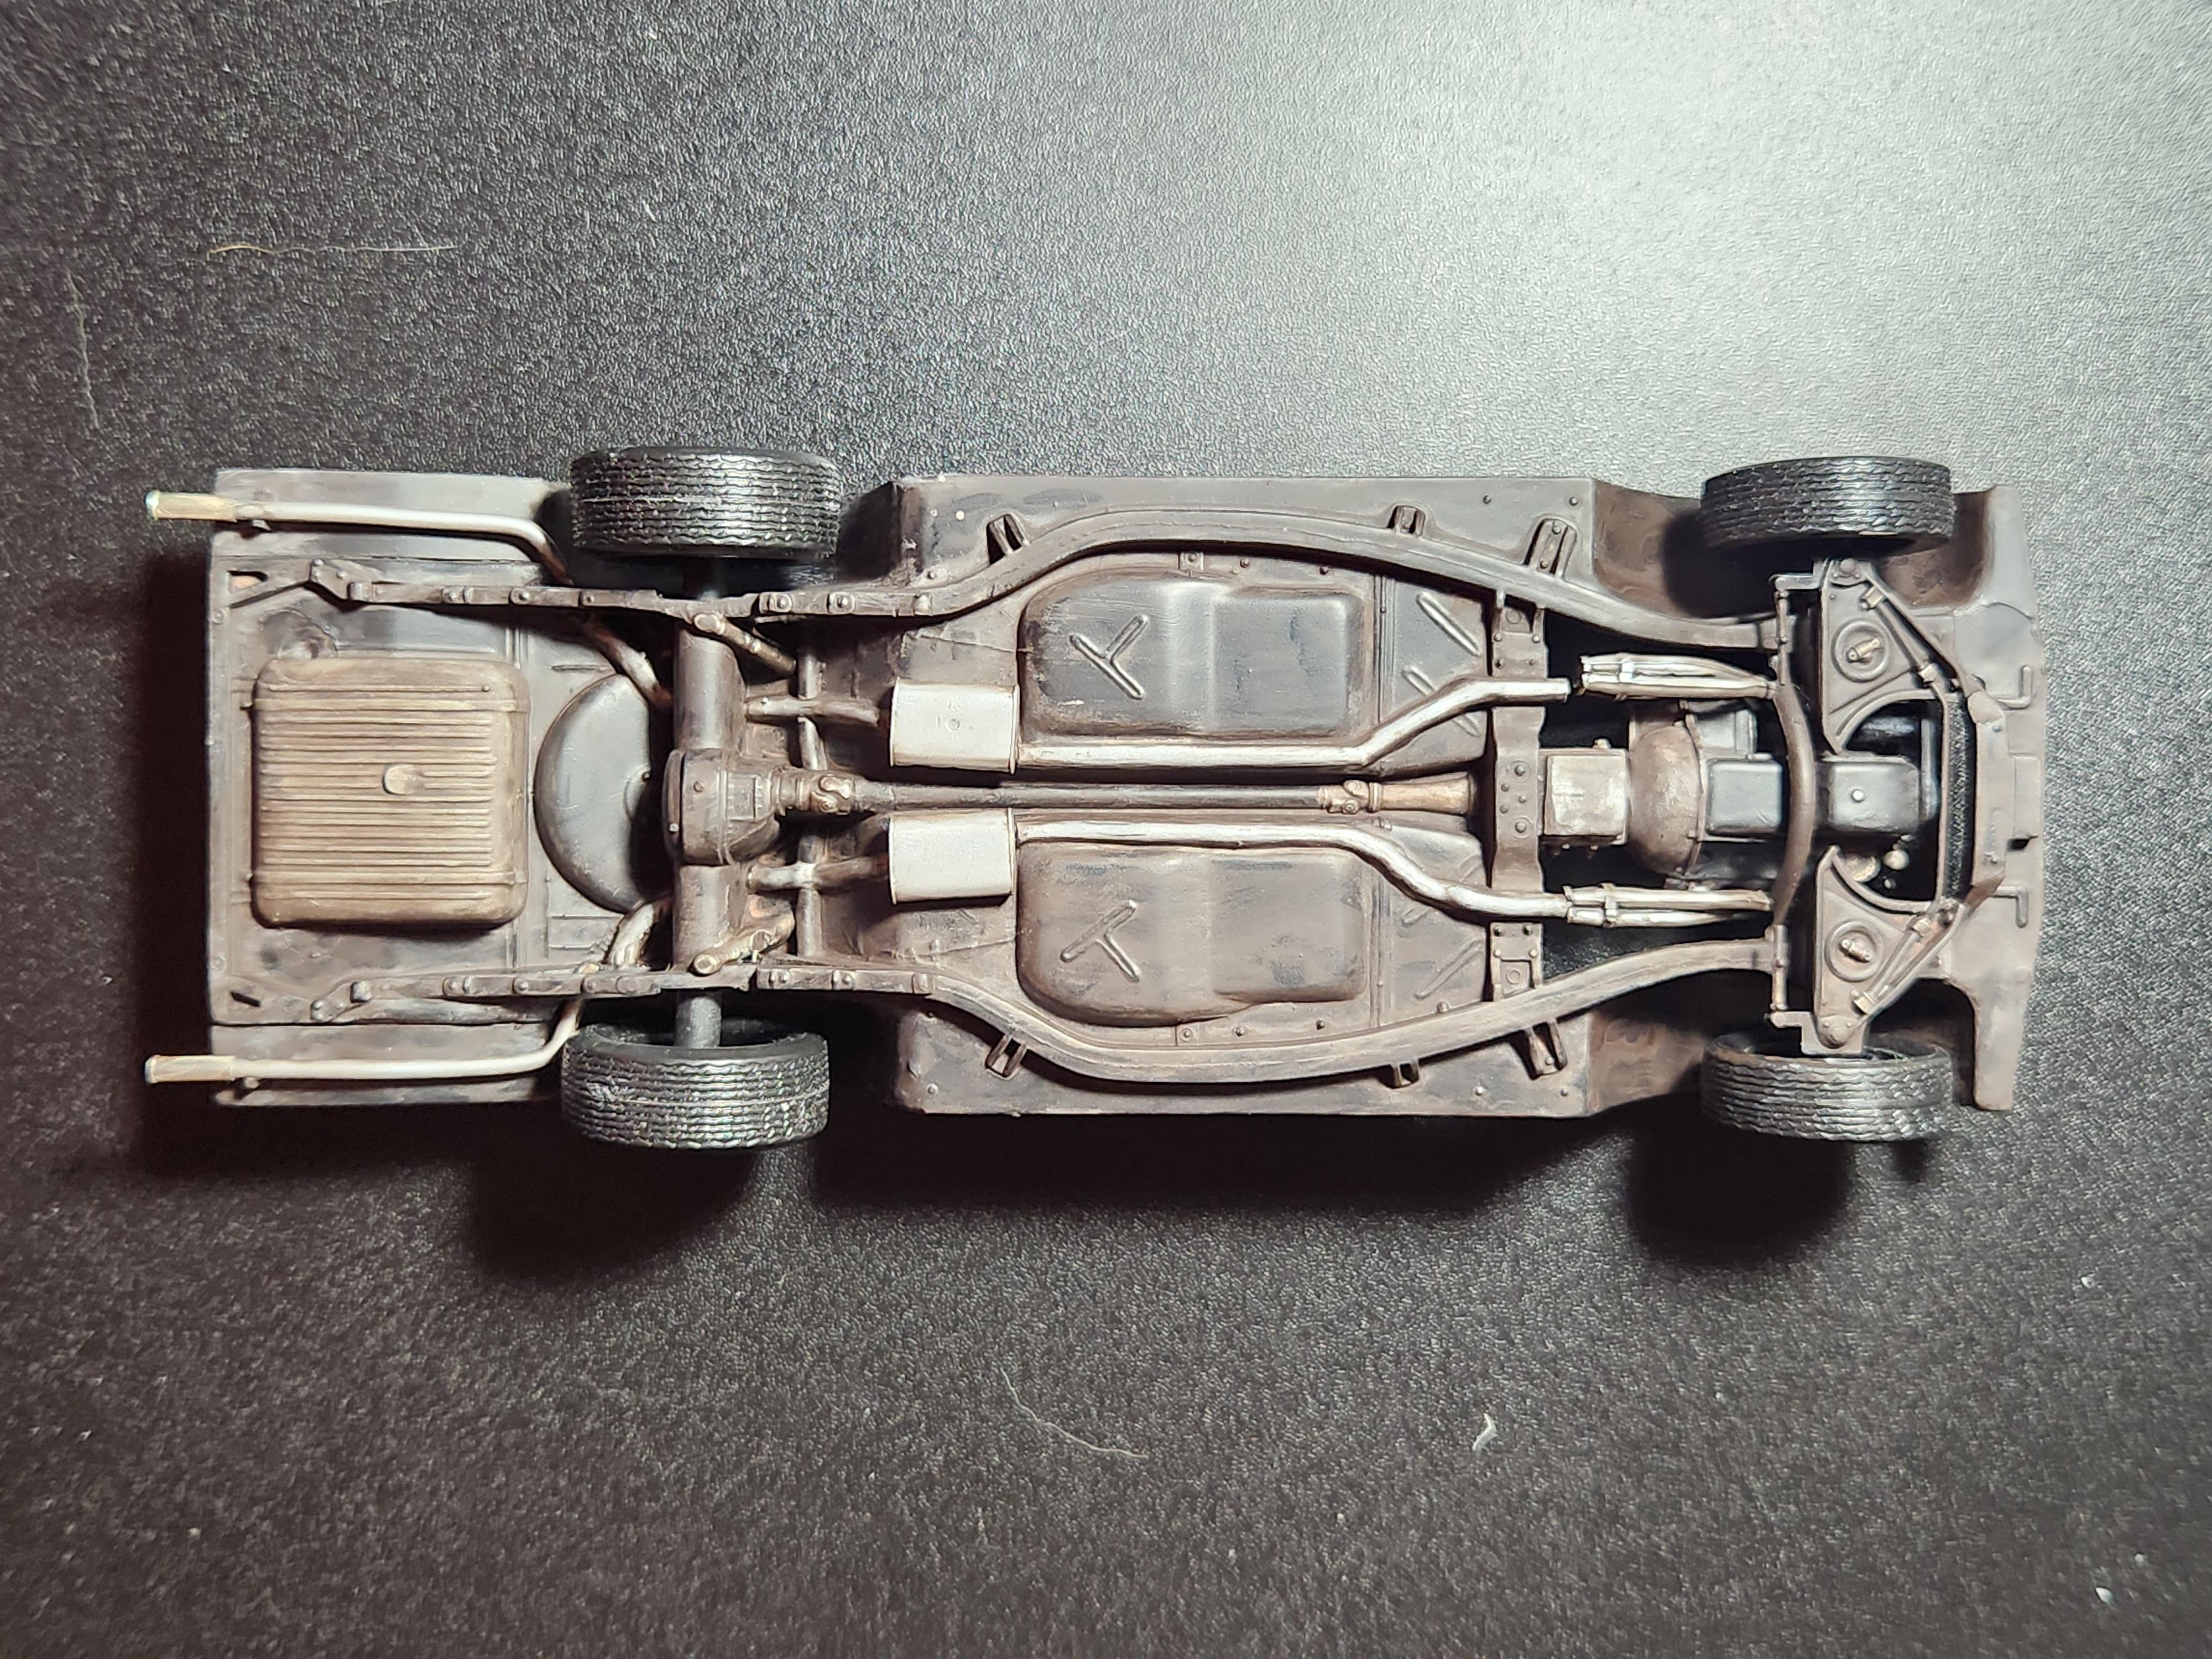
This is my take on a 63 ½ galaxie, lowered in the front on american racing 5 spokes. If I were to have a real one this is how I would build it. This is the Prestige edition, I got it from my aunt when she was cleaning out her father in-laws house after he passed. The Prestige kit is very interesting, it comes with everything in the regular 63 galaxie kit along with a display stand and even a little sheet of BMF (definitely not enough to cover the miles of chrome on this car, and the quality was iffy). This kit came from the ’63 annual, so it was originally based on a screw-bottom design. That meant the screw posts on the radiator support had to go. I shaved and filled those, then added top bracing along with a fan shroud. The engine had a large hole from the metal axle, so I filled that as well. While I was at it, I added plug wires and fuel lines. I also stripped the molded wiring from the engine bay since it never looks right to me. On the chassis, I replaced the original A-arms with full-length ones from the Revell ’57 Ford. The exhaust was modified for a custom setup with chrome tips. The body was finished in MCW metallic blue, but before painting I applied BMF under the emblems and brought them out with lacquer thinner. The hood features a grafted teardrop scoop from the ’64 Thunderbolt kit, with the intakes opened up. Both bumpers and the grille assemblies received heavy modification—headlights were drilled out for clear lenses, taillights reshaped with fins, and all mold lines removed before rechroming in FusionFirm chrome. Inside, I reworked the seats to sit more upright and reshaped the fronts for a smoother look. Overall, these changes really elevate the model from its original form, something I really enjoy doing. Heres the WIP: https://www.modelcarsmag.com/forums/topic/202540-63-galaxie-bye-bye-screw-posts/ Thanks for looking everyone, I really enjoy your comments and questions! Elliot Hamm
- 20 replies
-
- 24
-
-
This is exactly my style, looking forward to it!
-
WOW! Any of those 66 or 67 falcon for sale! 😄
-
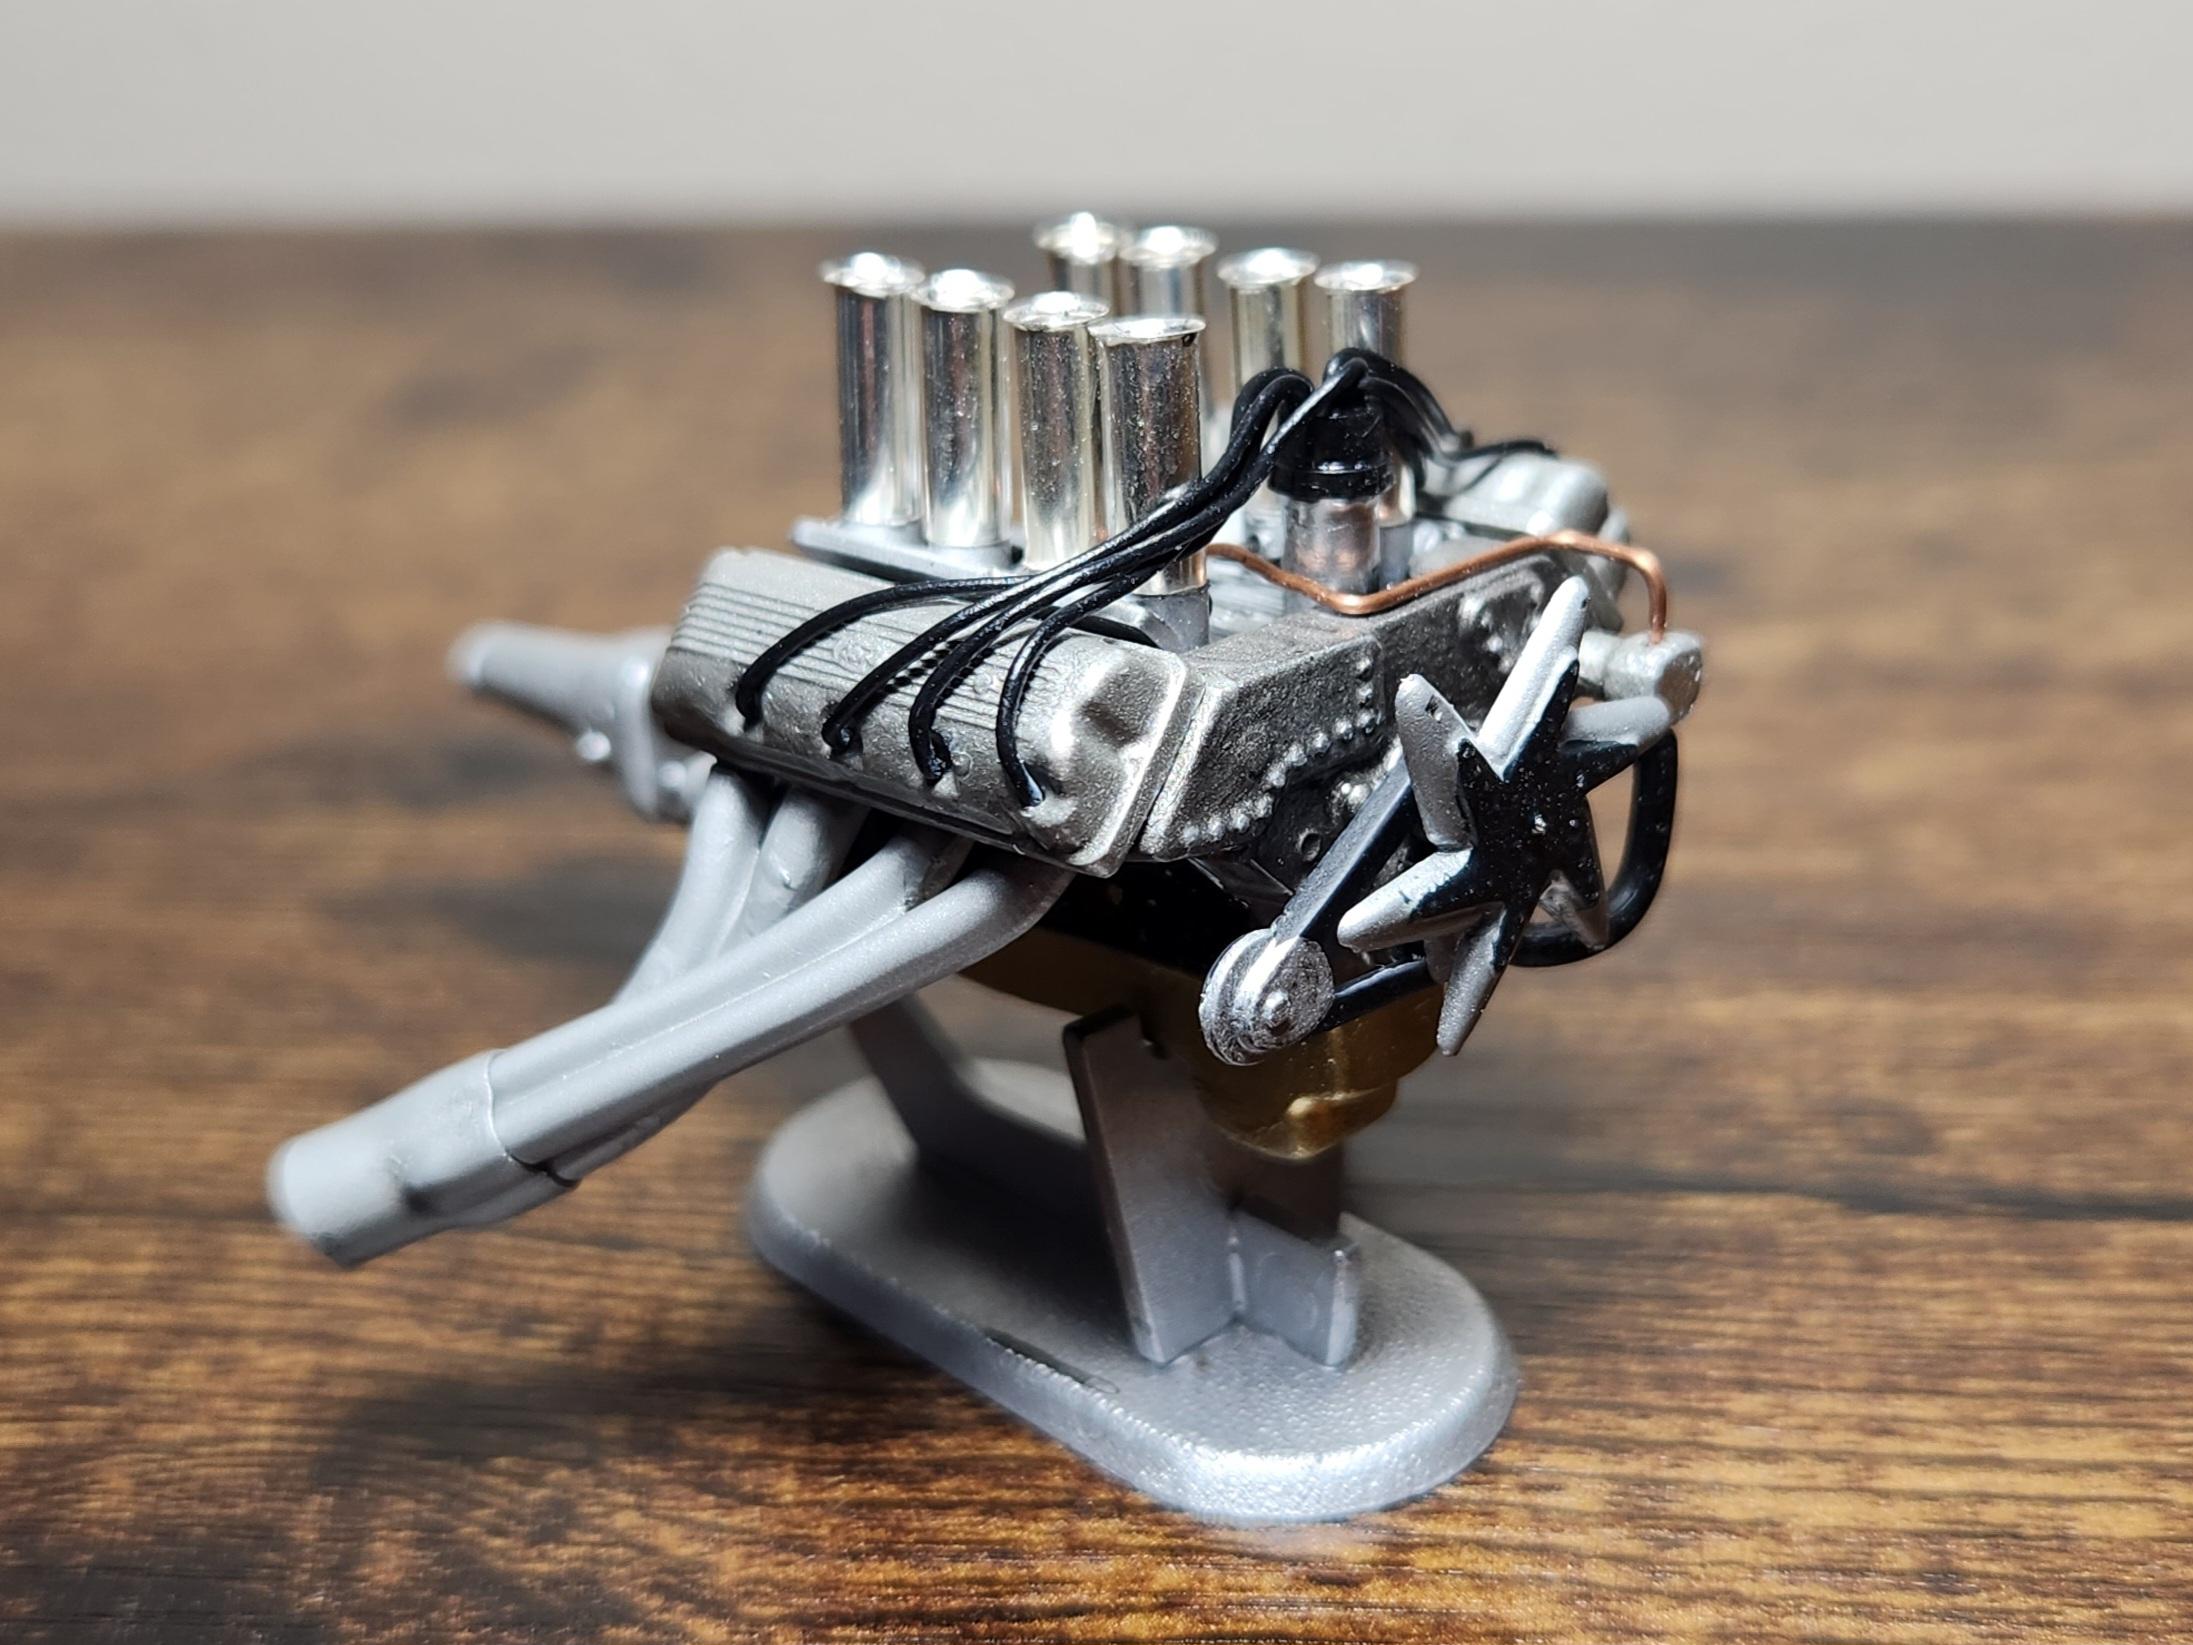
The pipes are solder, collectors are heat shrink and evergreen, and the flange is evergreen. I find it easy to drill holes in the block the size of the solder so it fits snug, then bend them into shape. To hold it together I just glue them to the header flange I made and also glue them to the evergreen part of the collector.
-
Ollie's strike again
FoMoCo66 replied to GLMFAA1's topic in General Automotive Talk (Trucks and Cars)
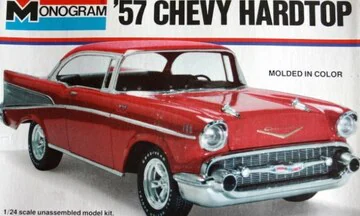
Not great. Its very square looking on the dimensions. Haven't actually built the kit so I can't comment on that. Here is the original box art.
-
I played that game yesterday while serching for decals on my 40 willys, luckily I found them. Best of luck to you!
-
Thanks man, I can think of many cars this color would look good on. Thank you Bill! Means a lot Chris. Thank you very much Bob, the fender modification was actually inspiration taken from your build.
-
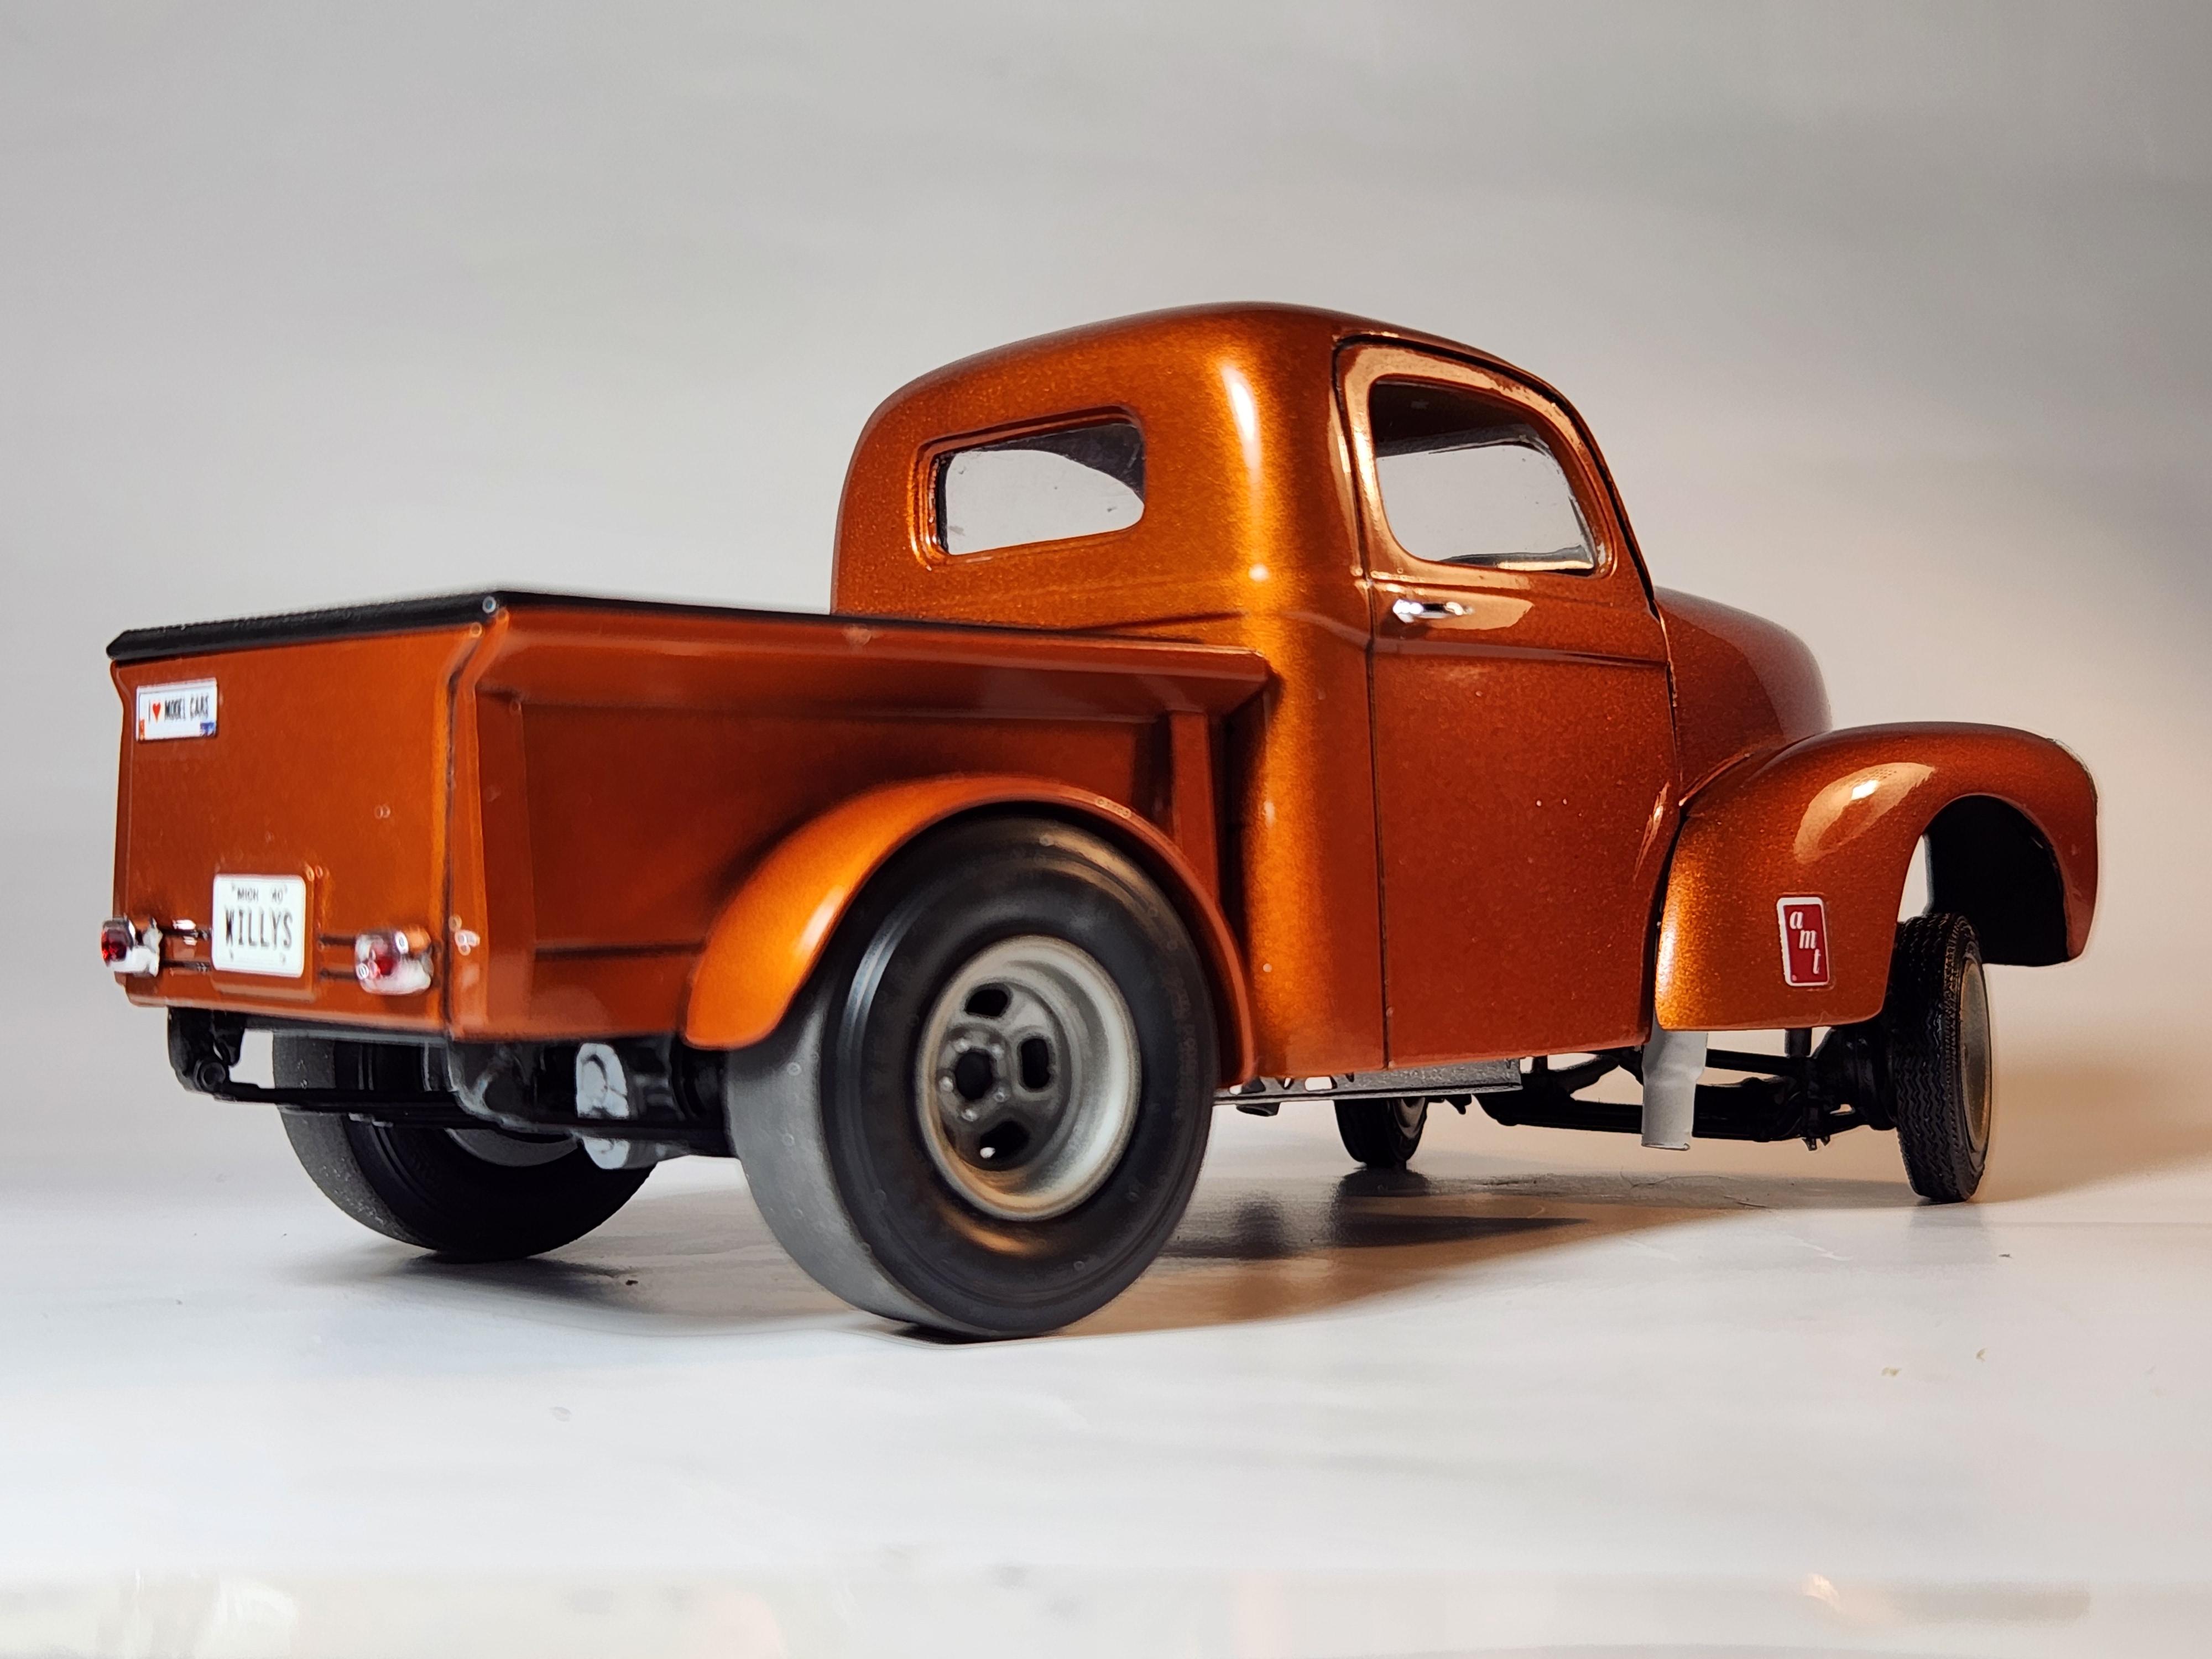
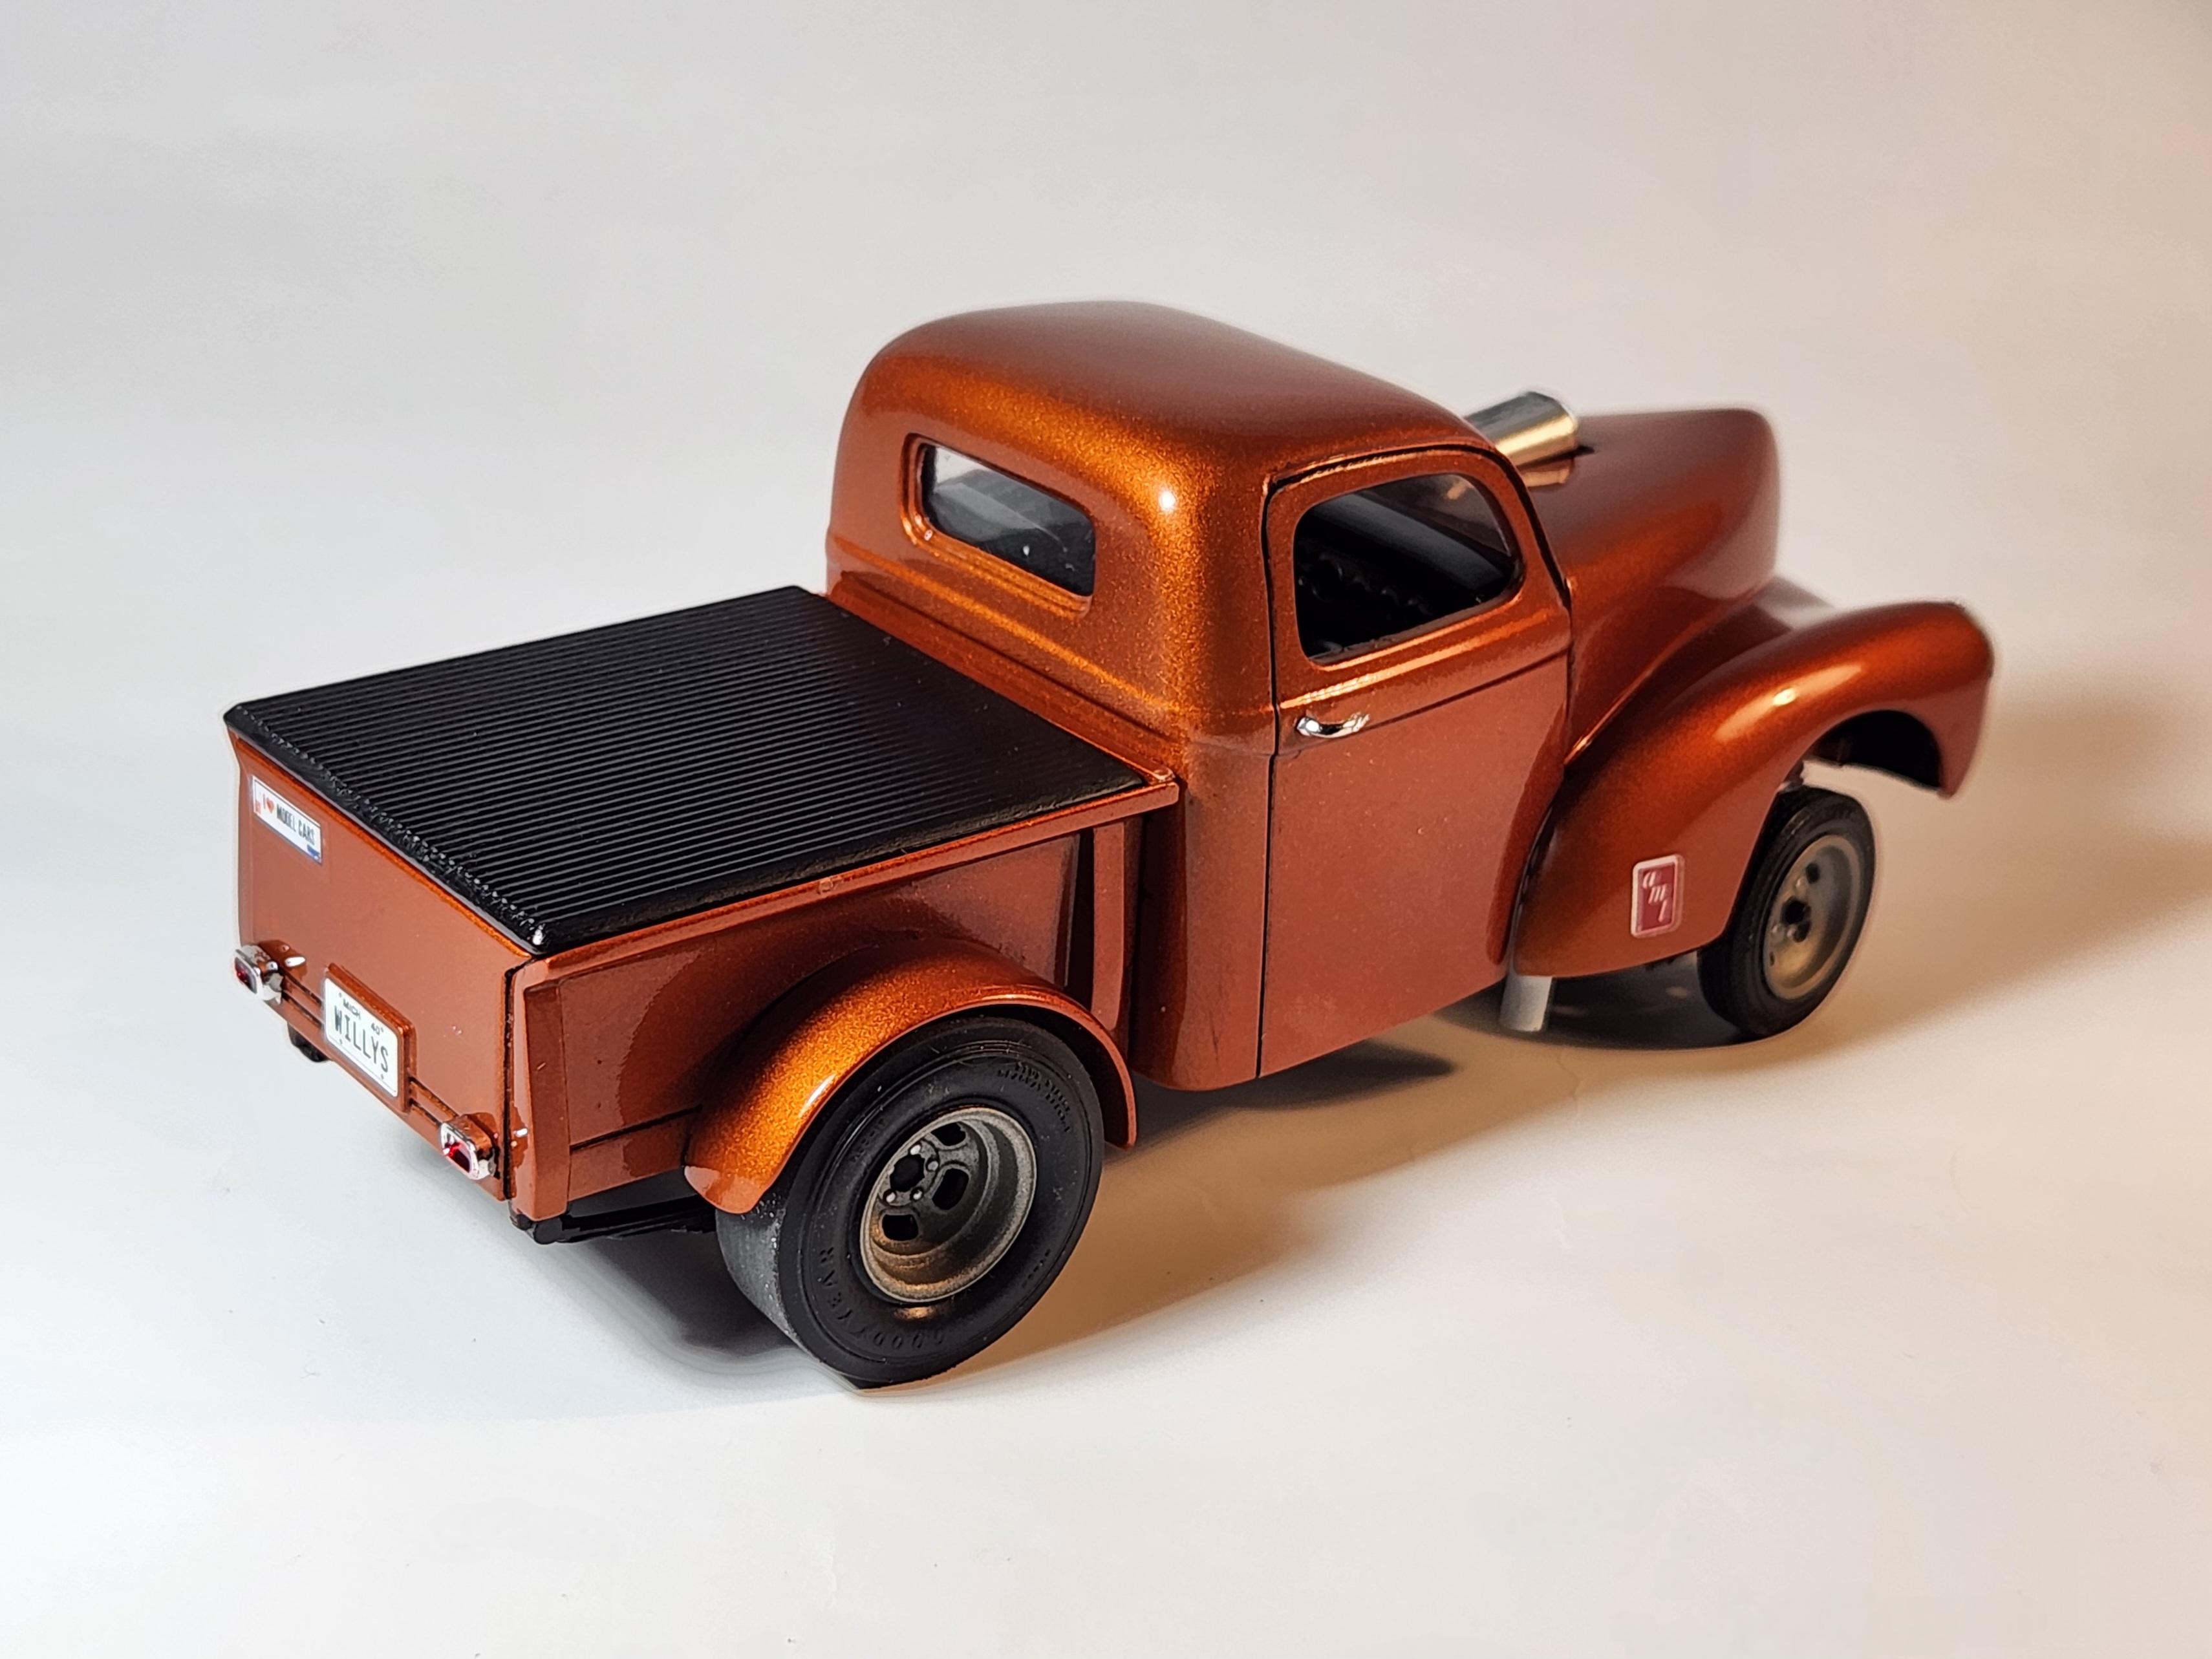
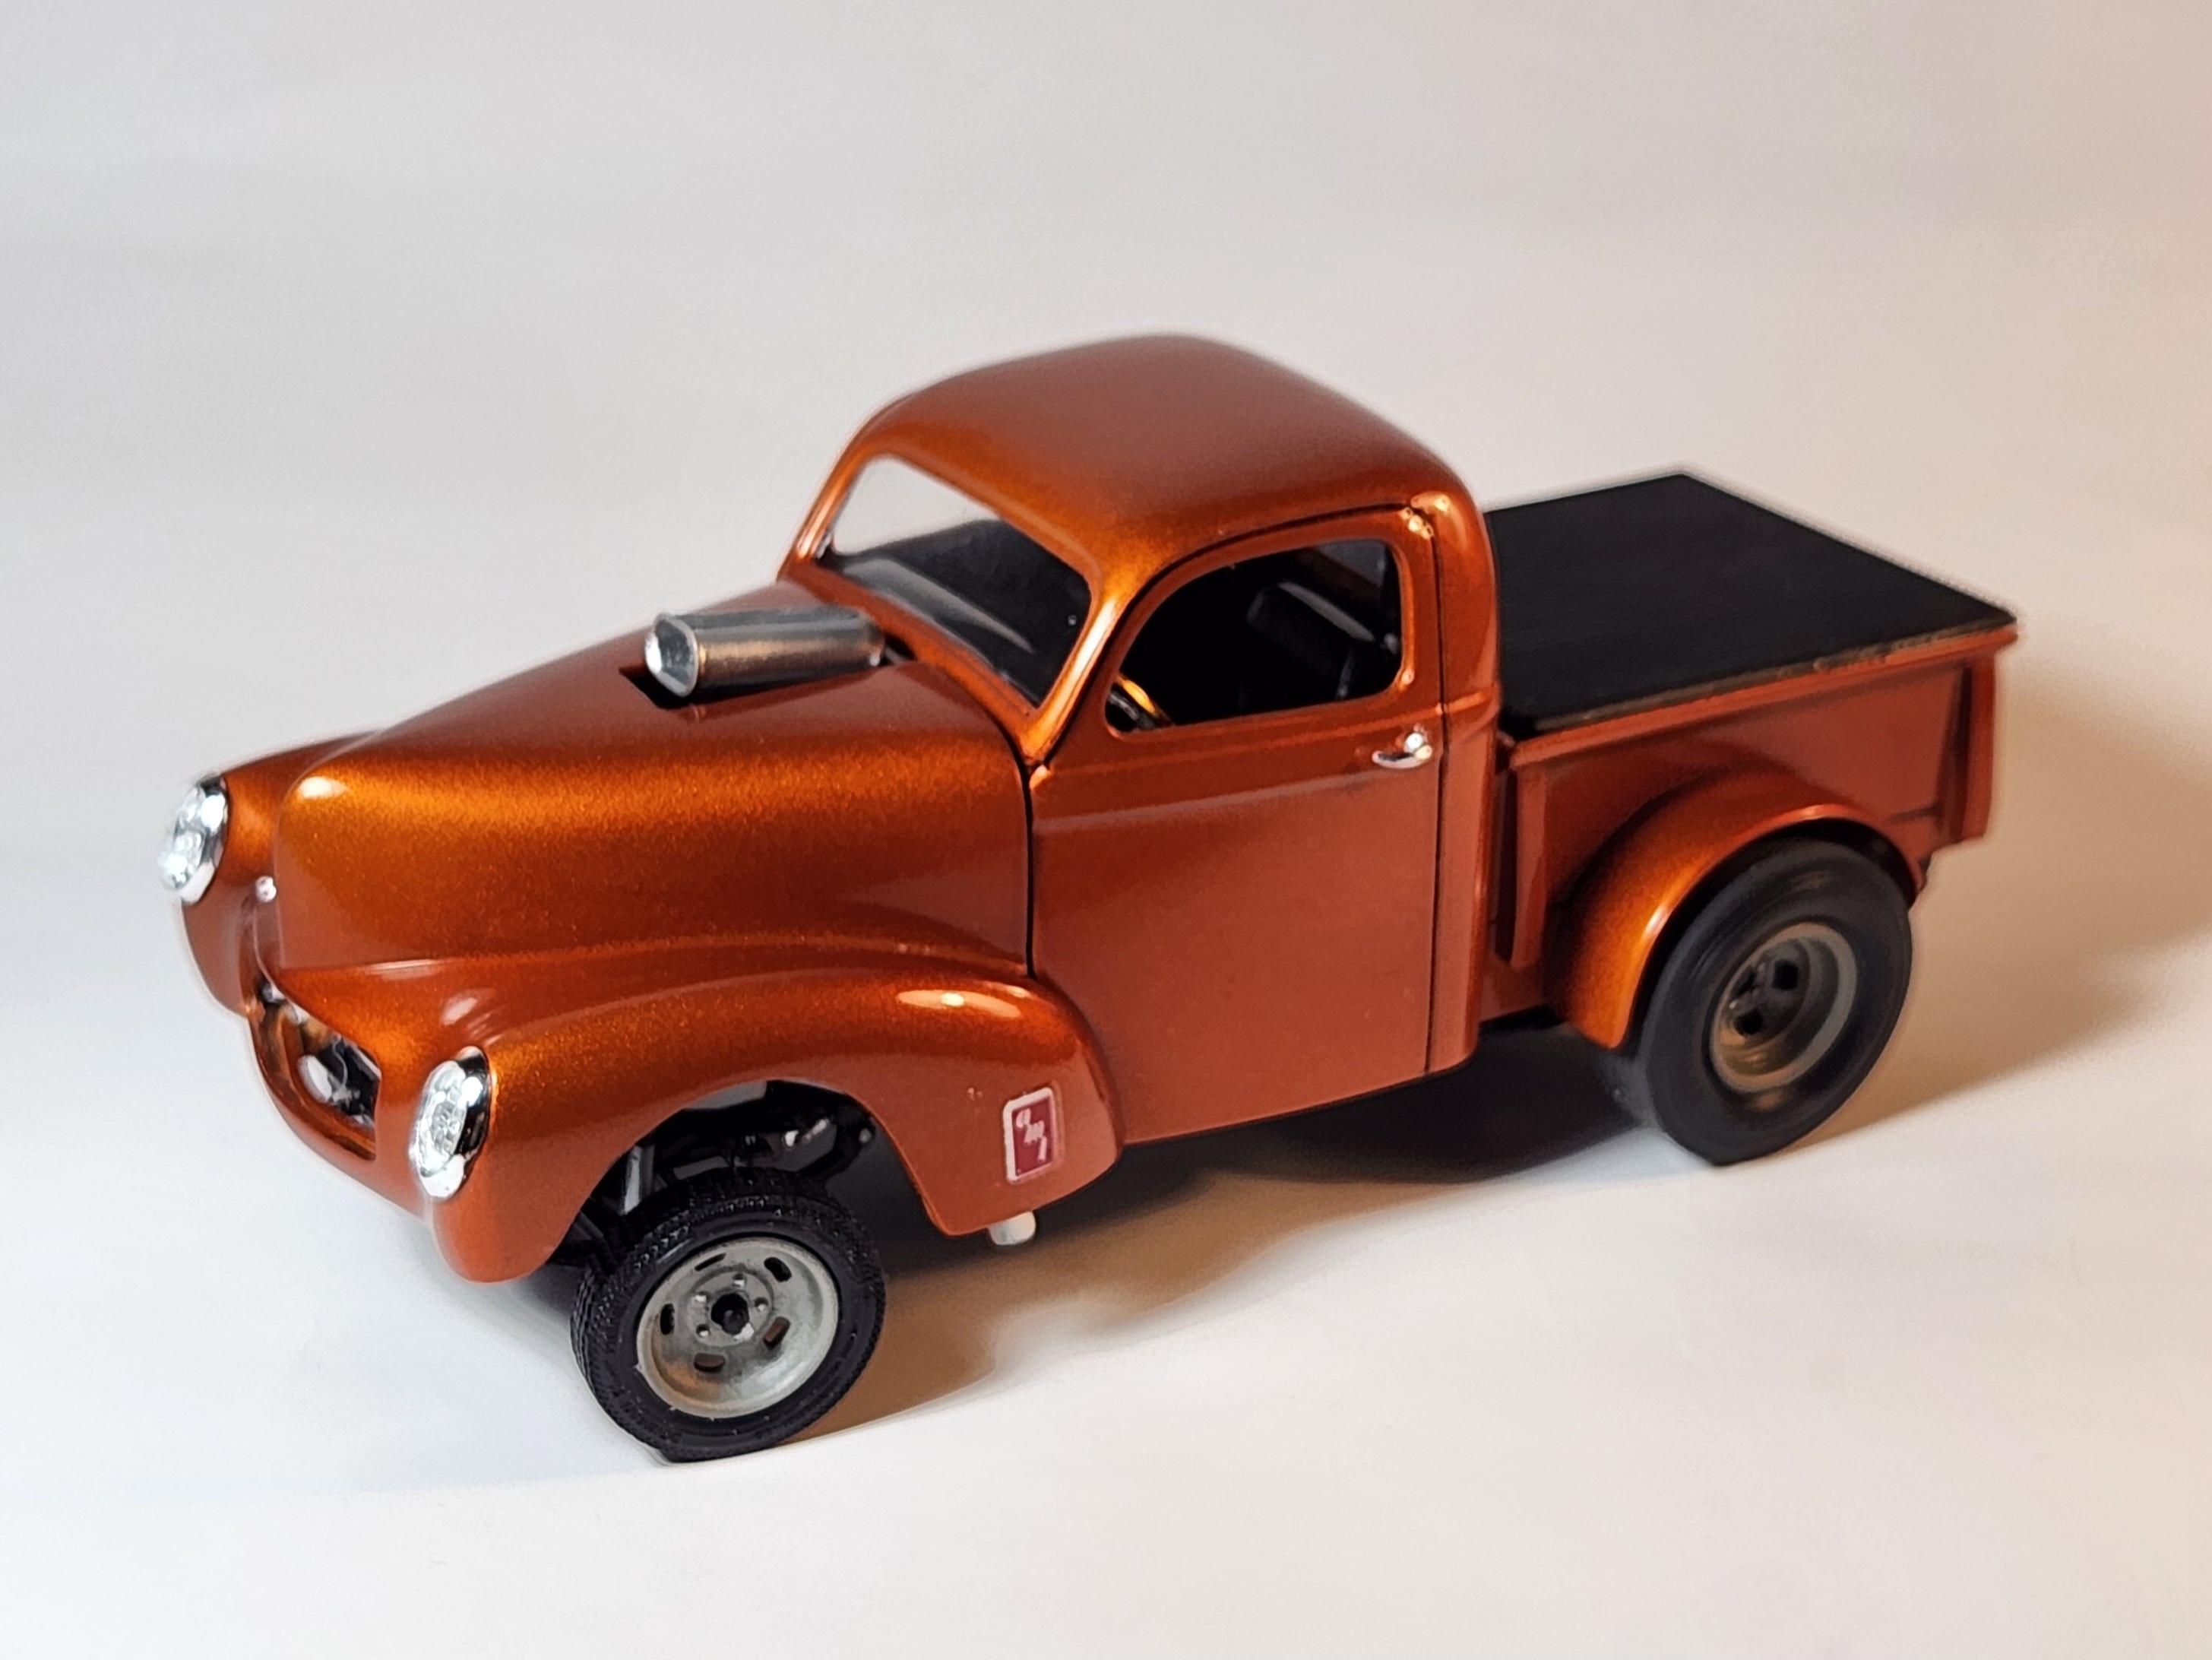
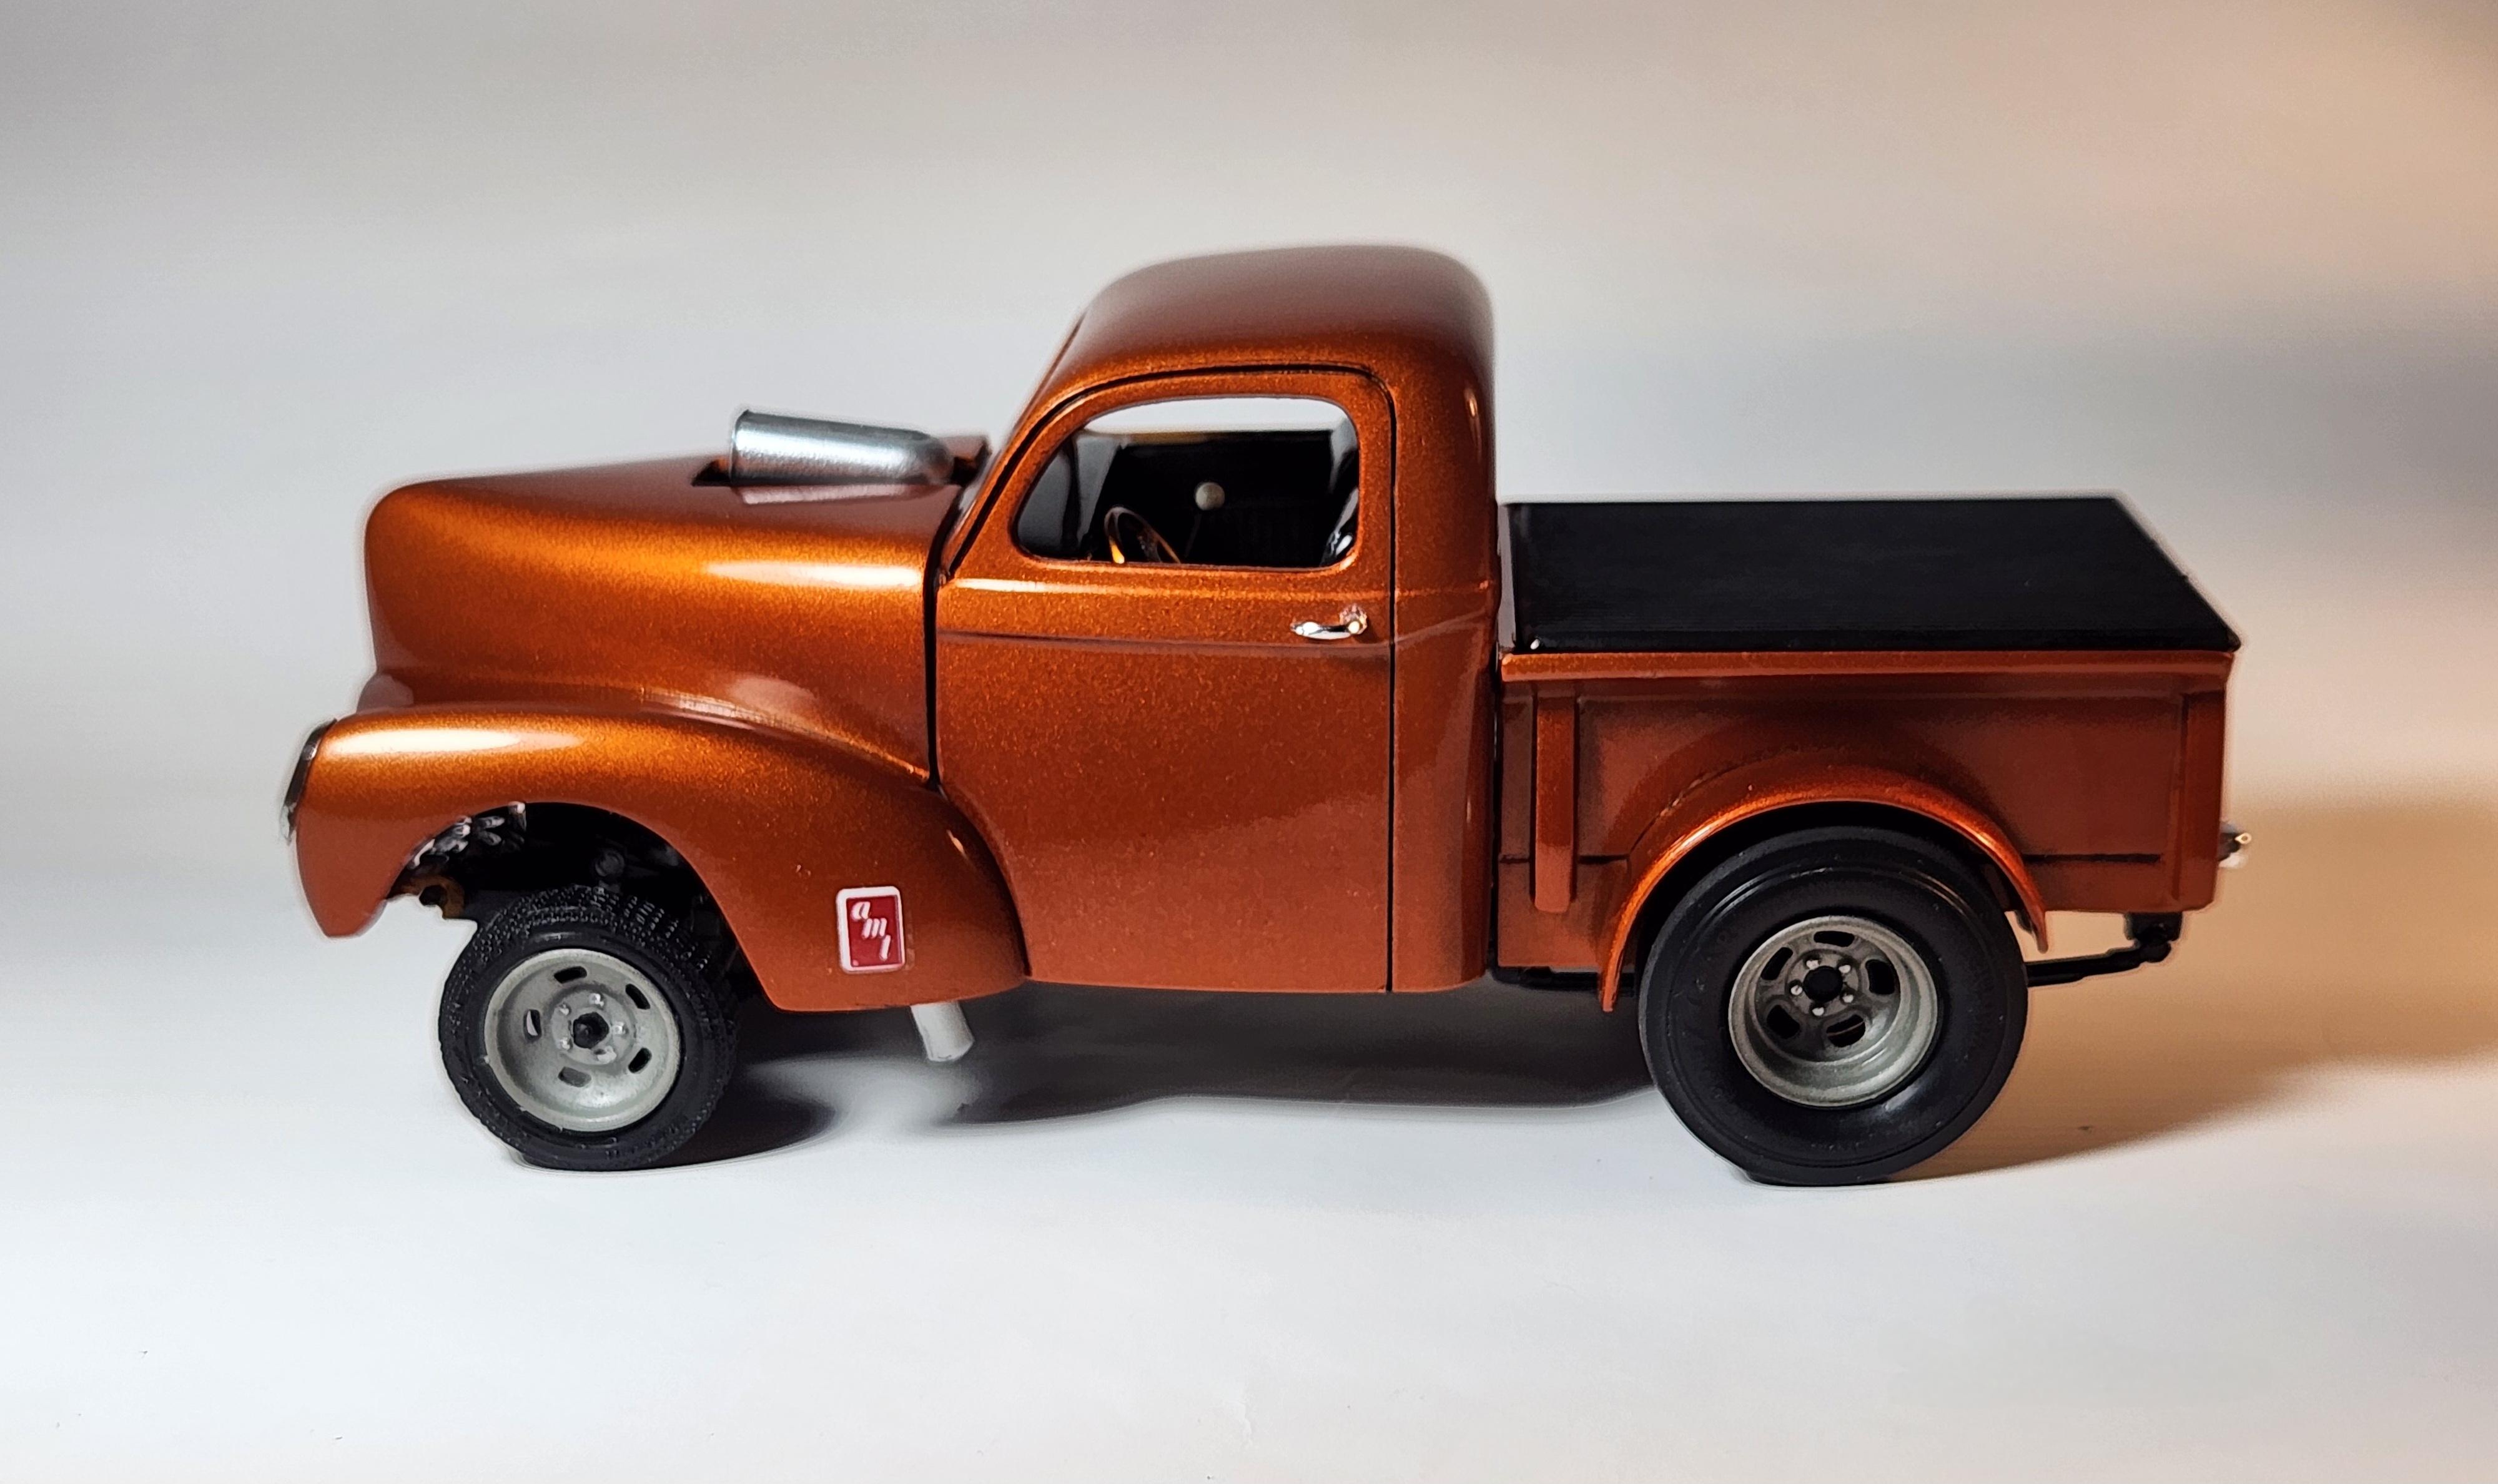
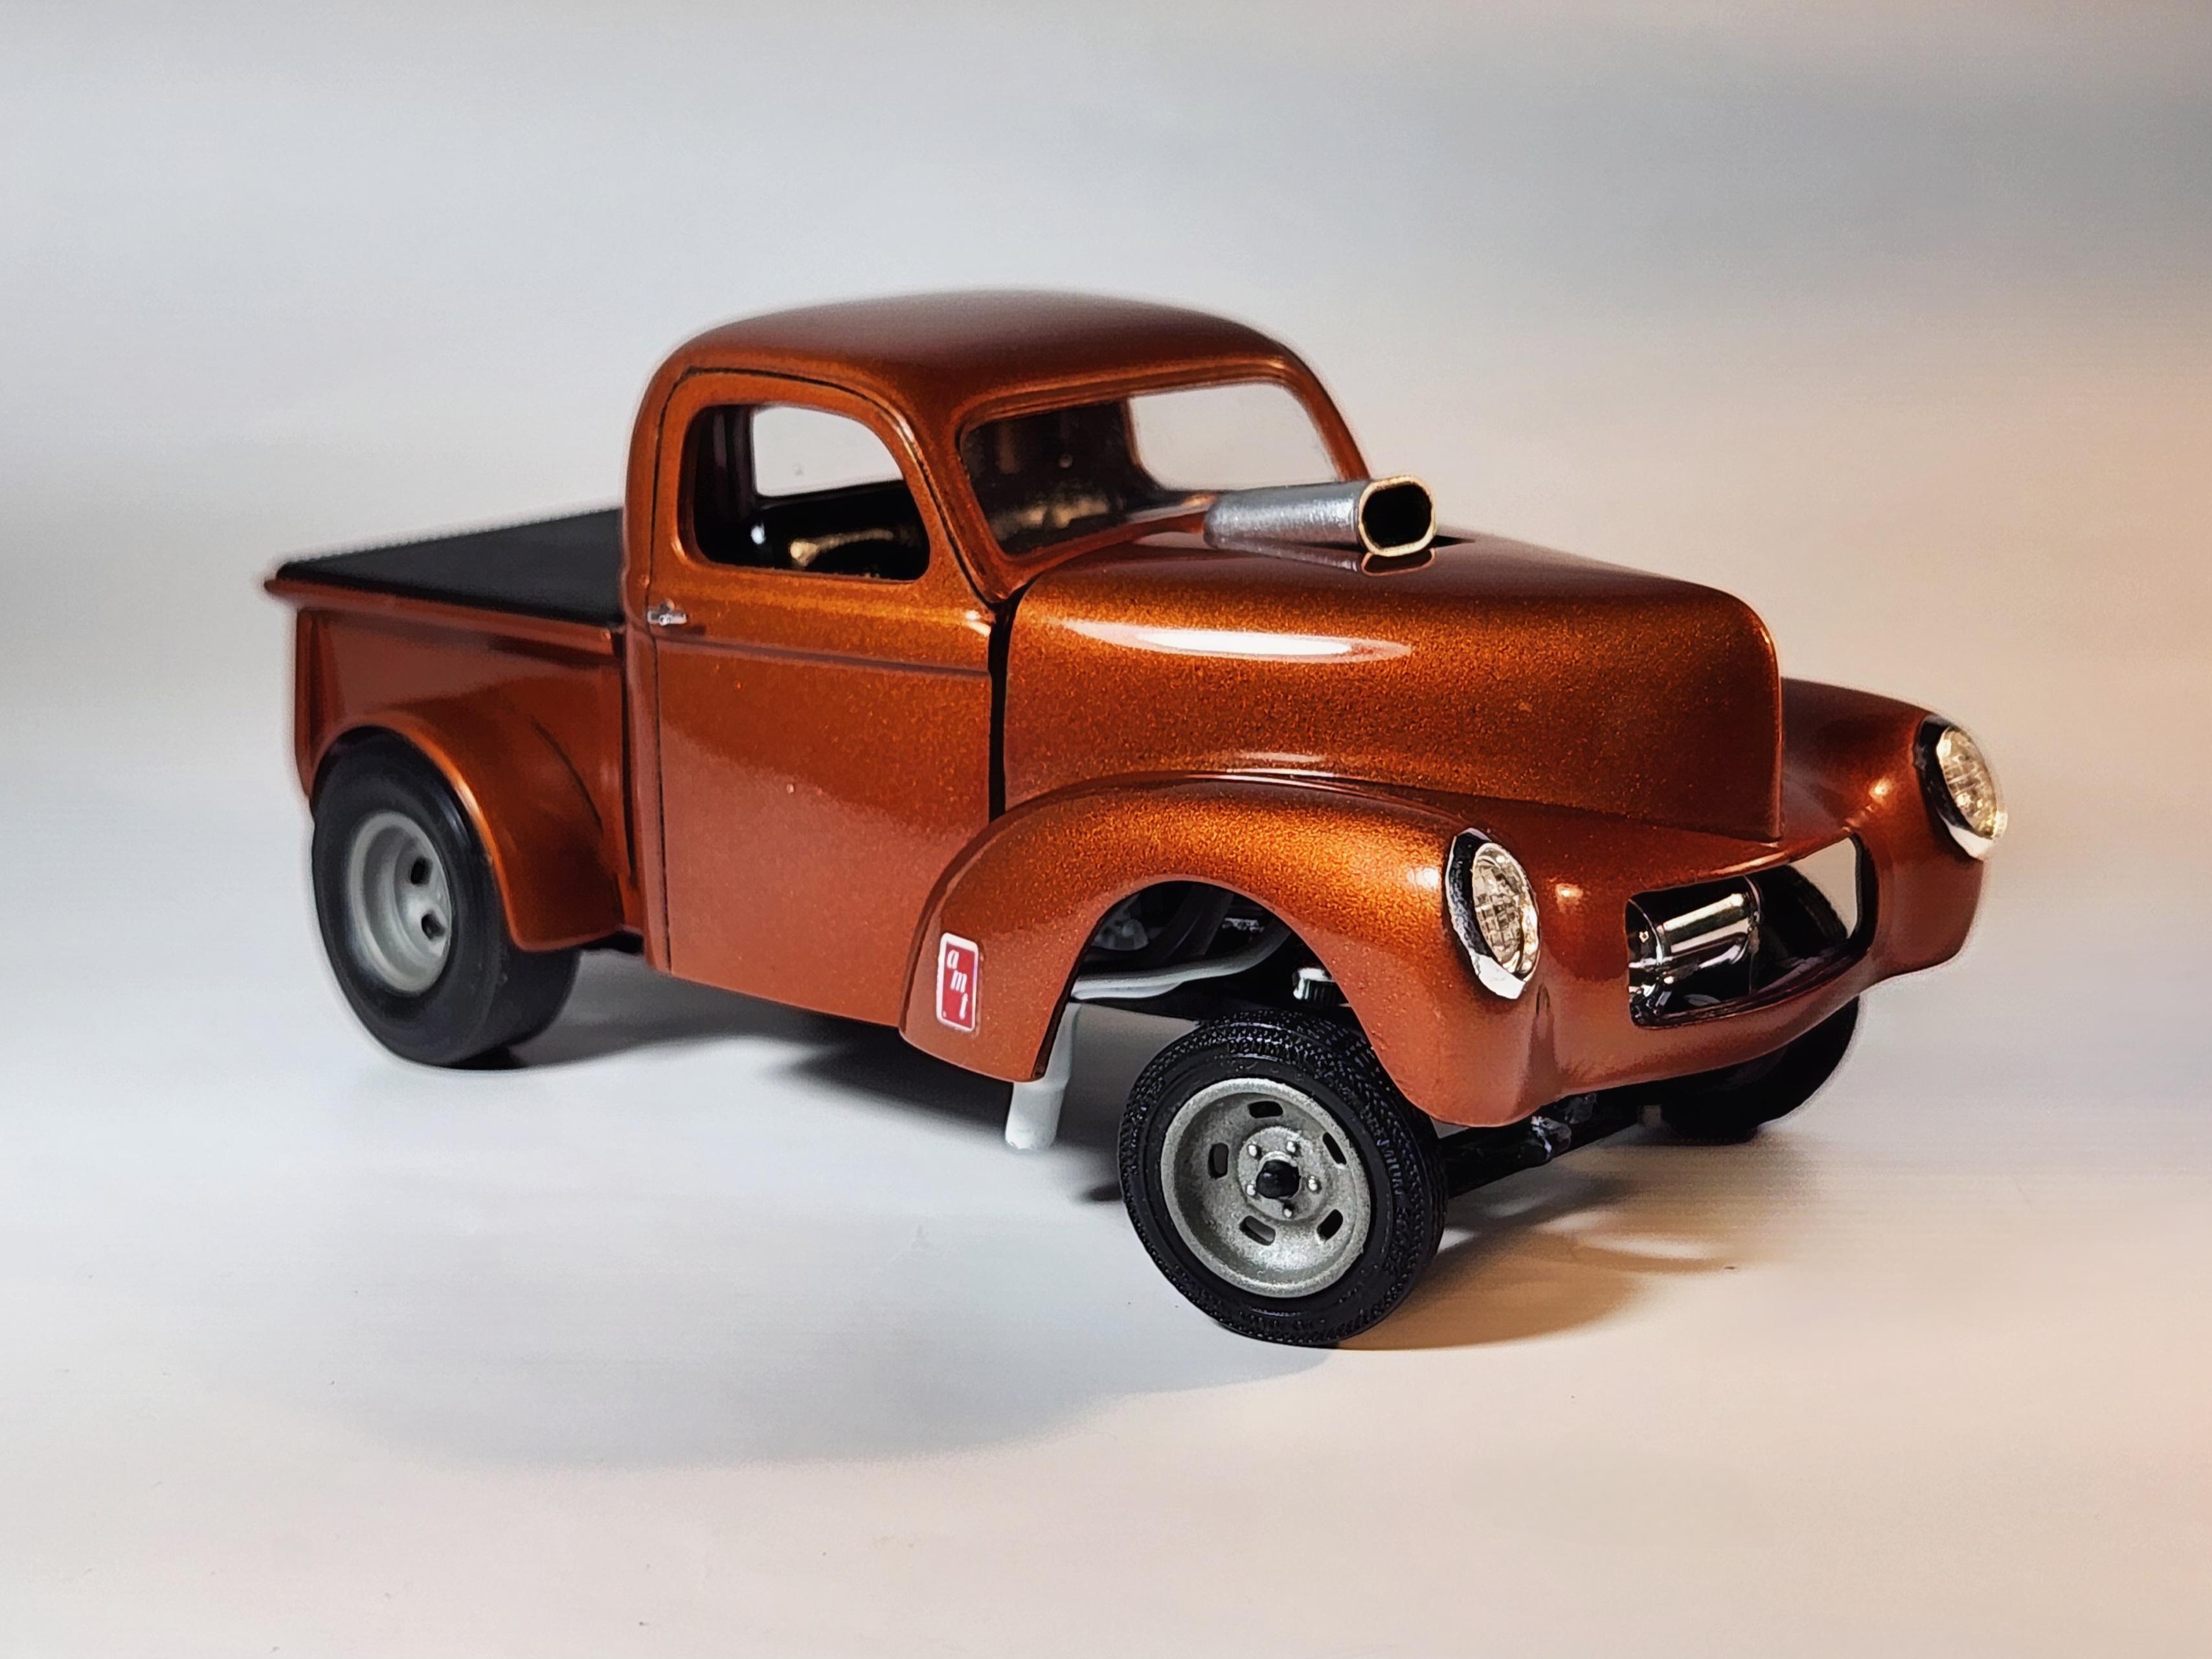
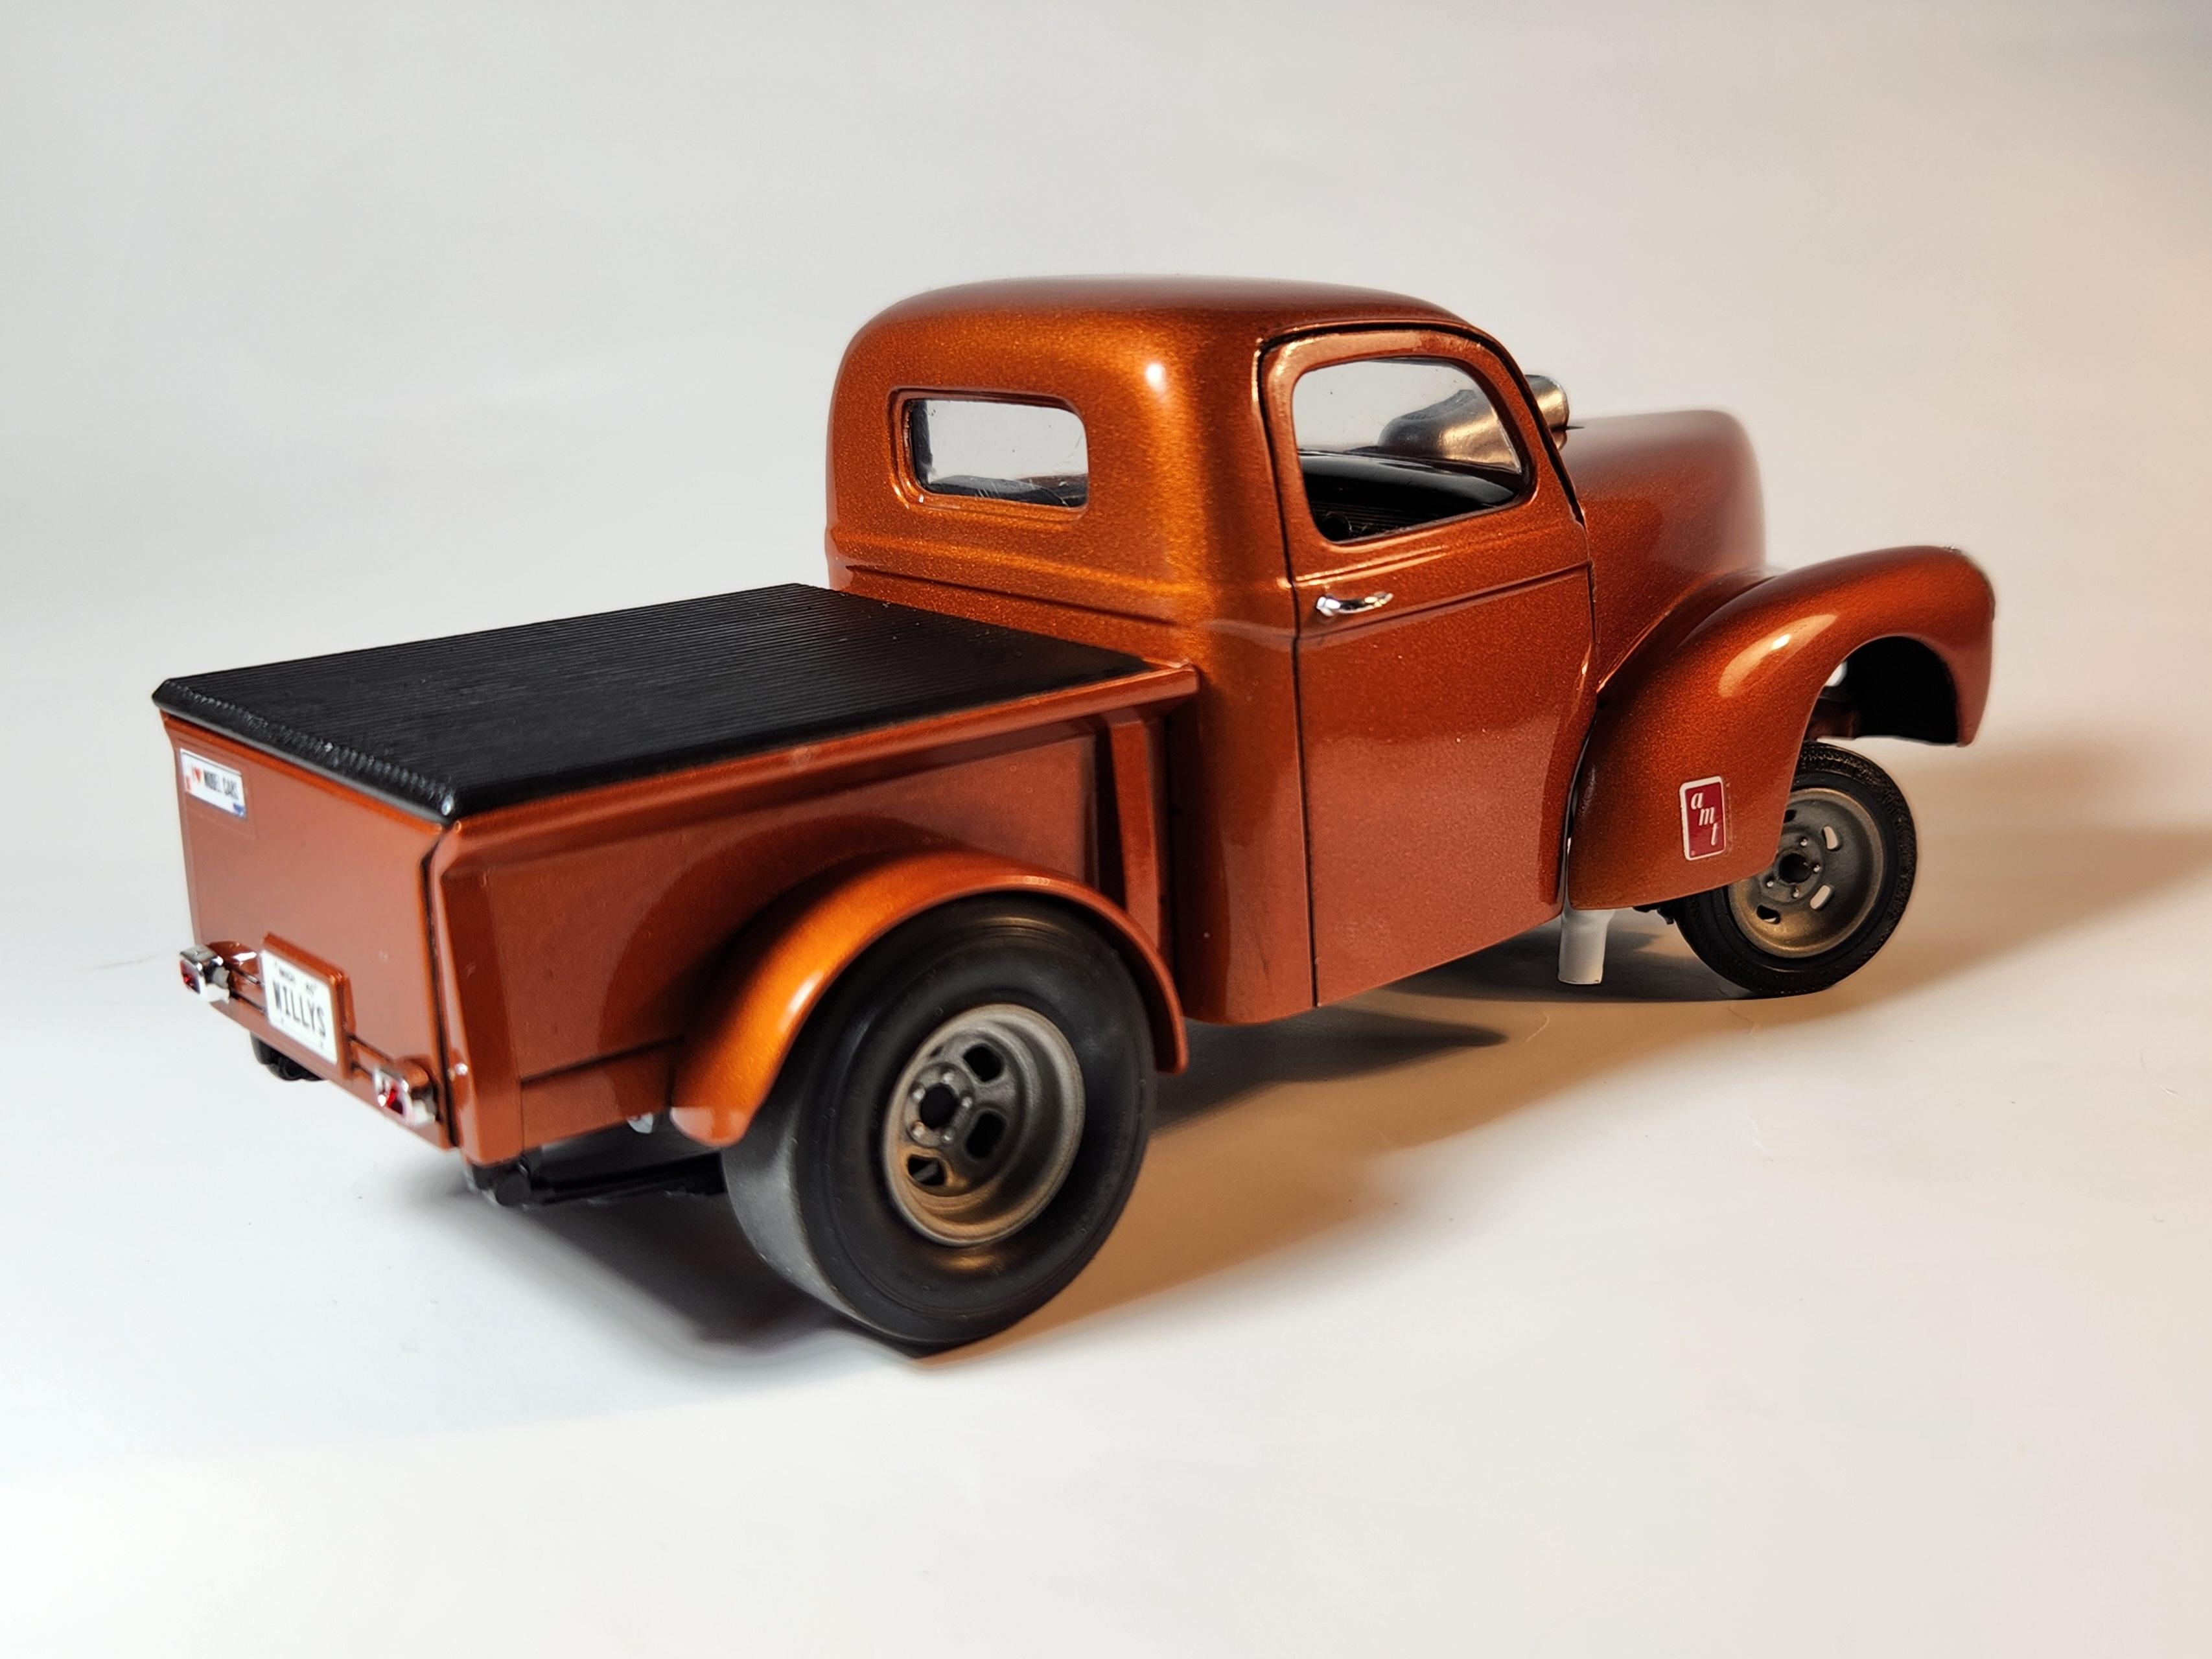
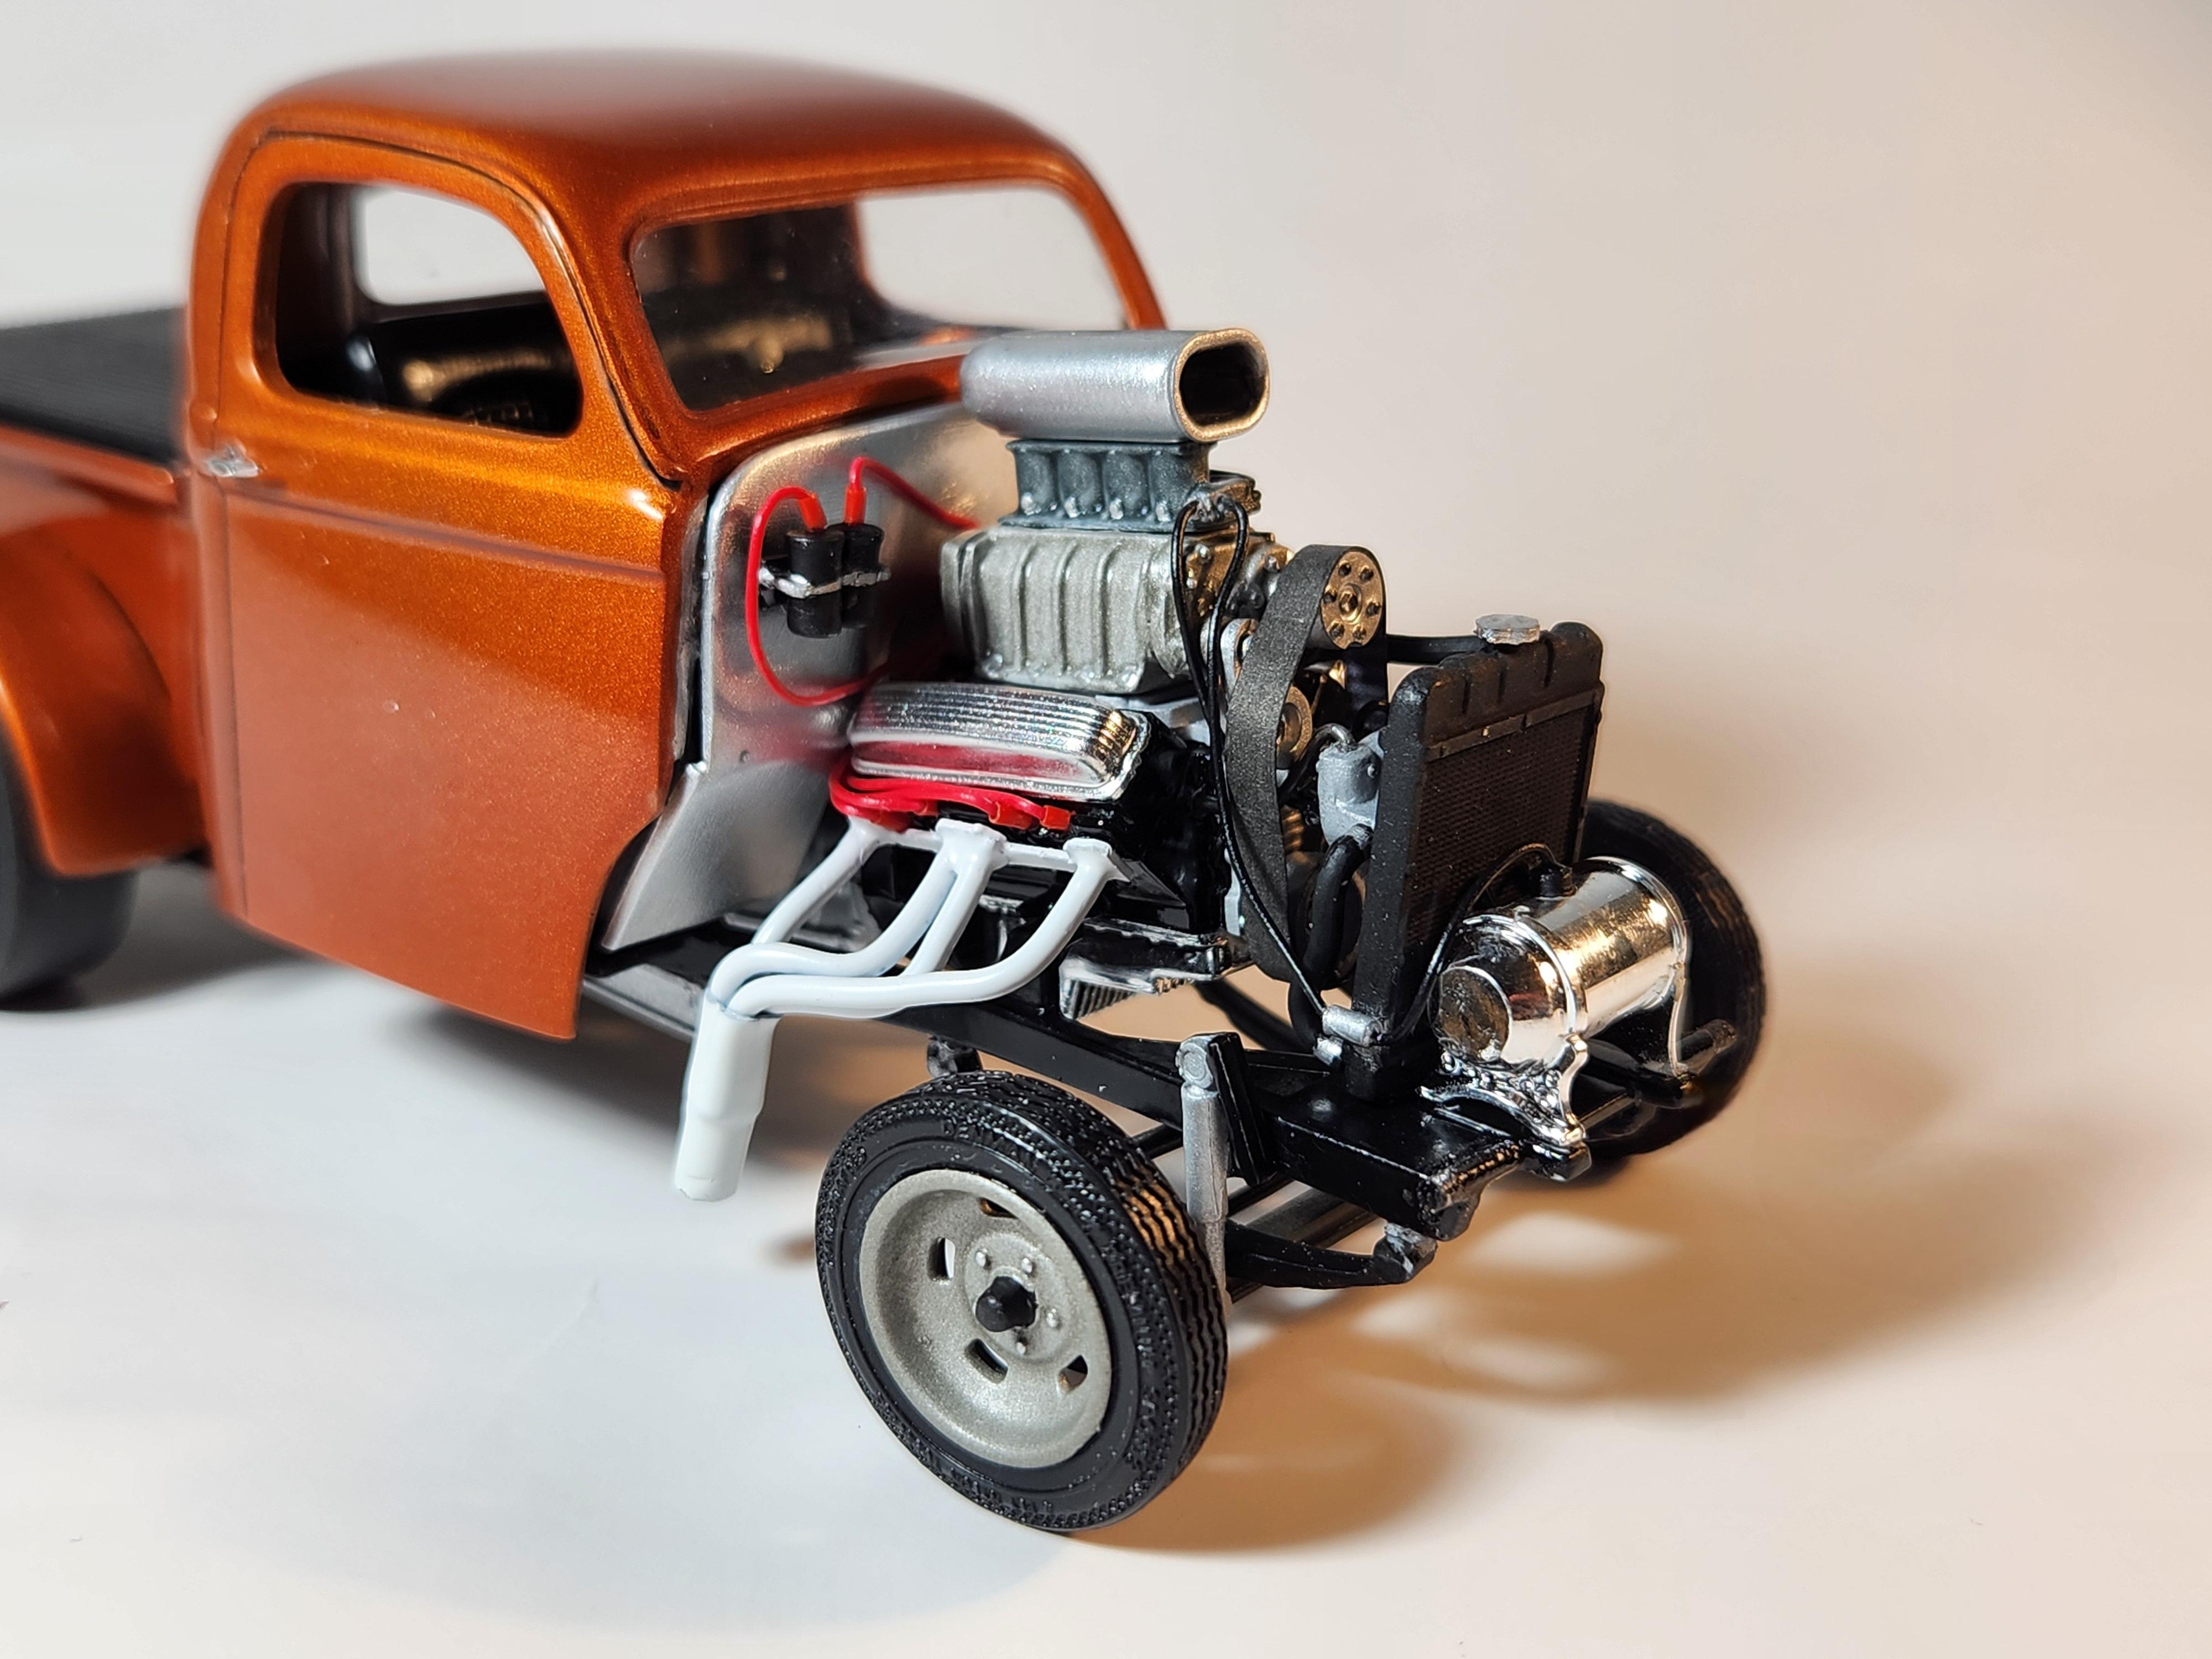
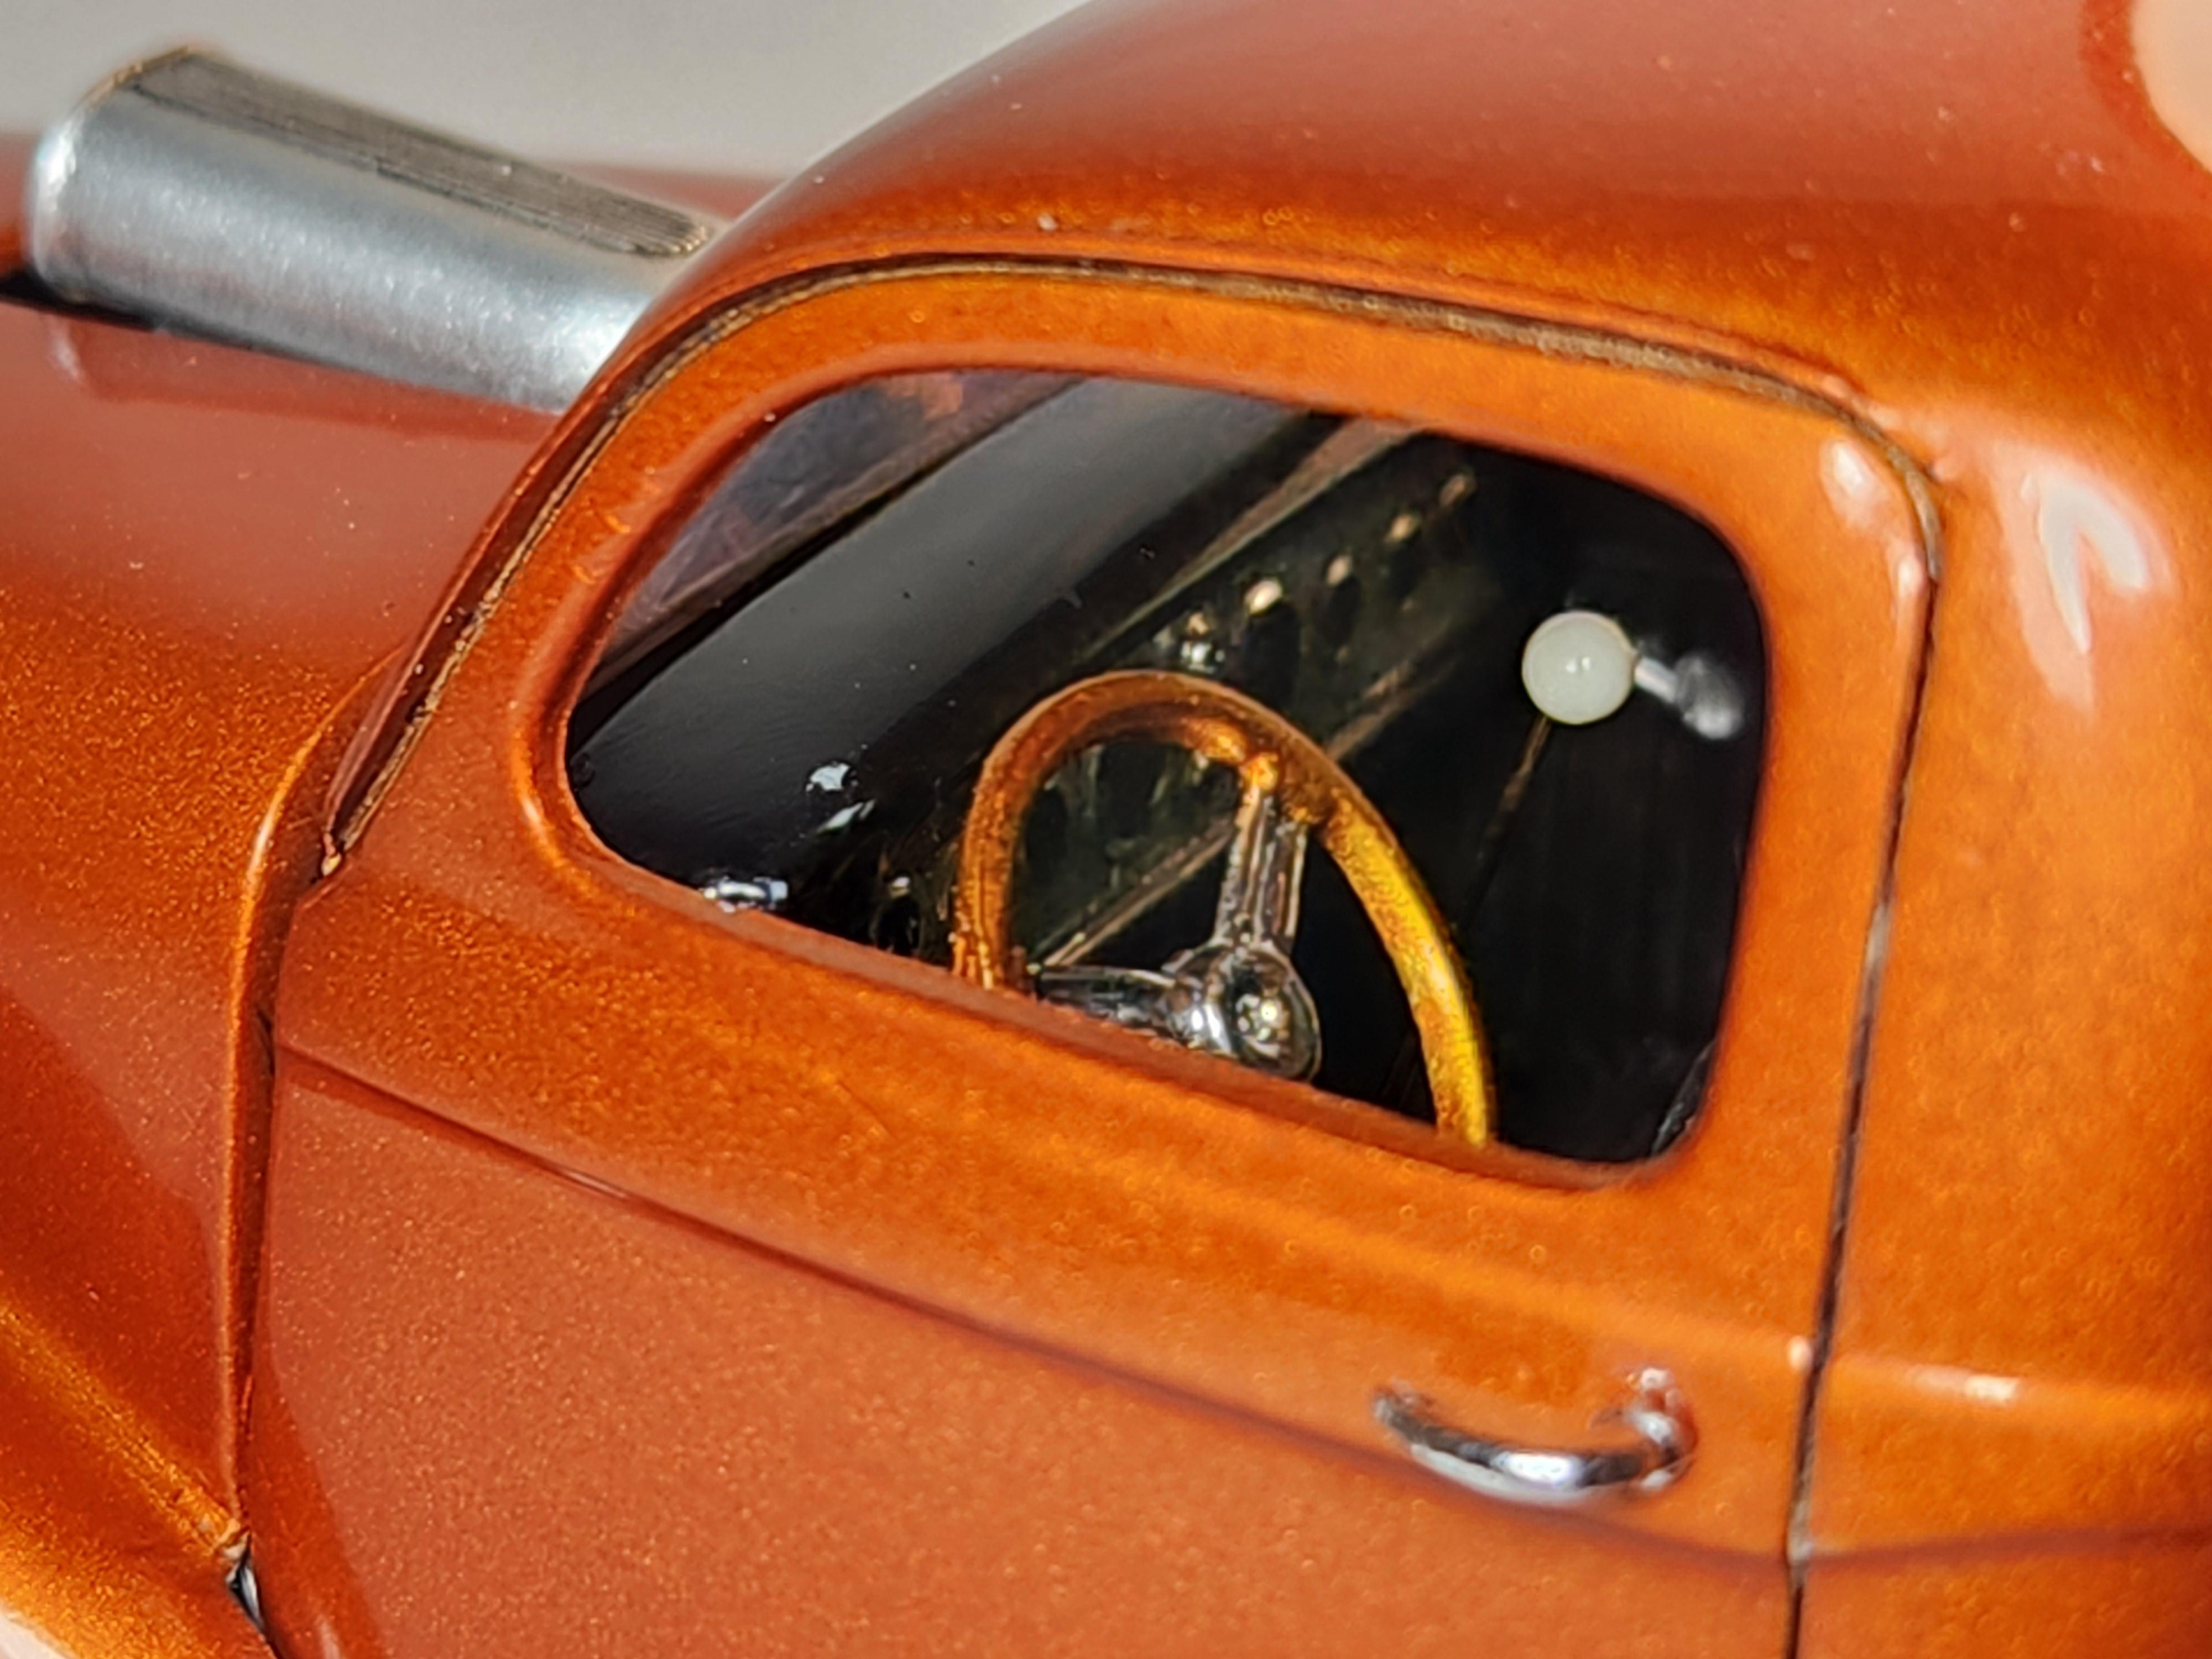
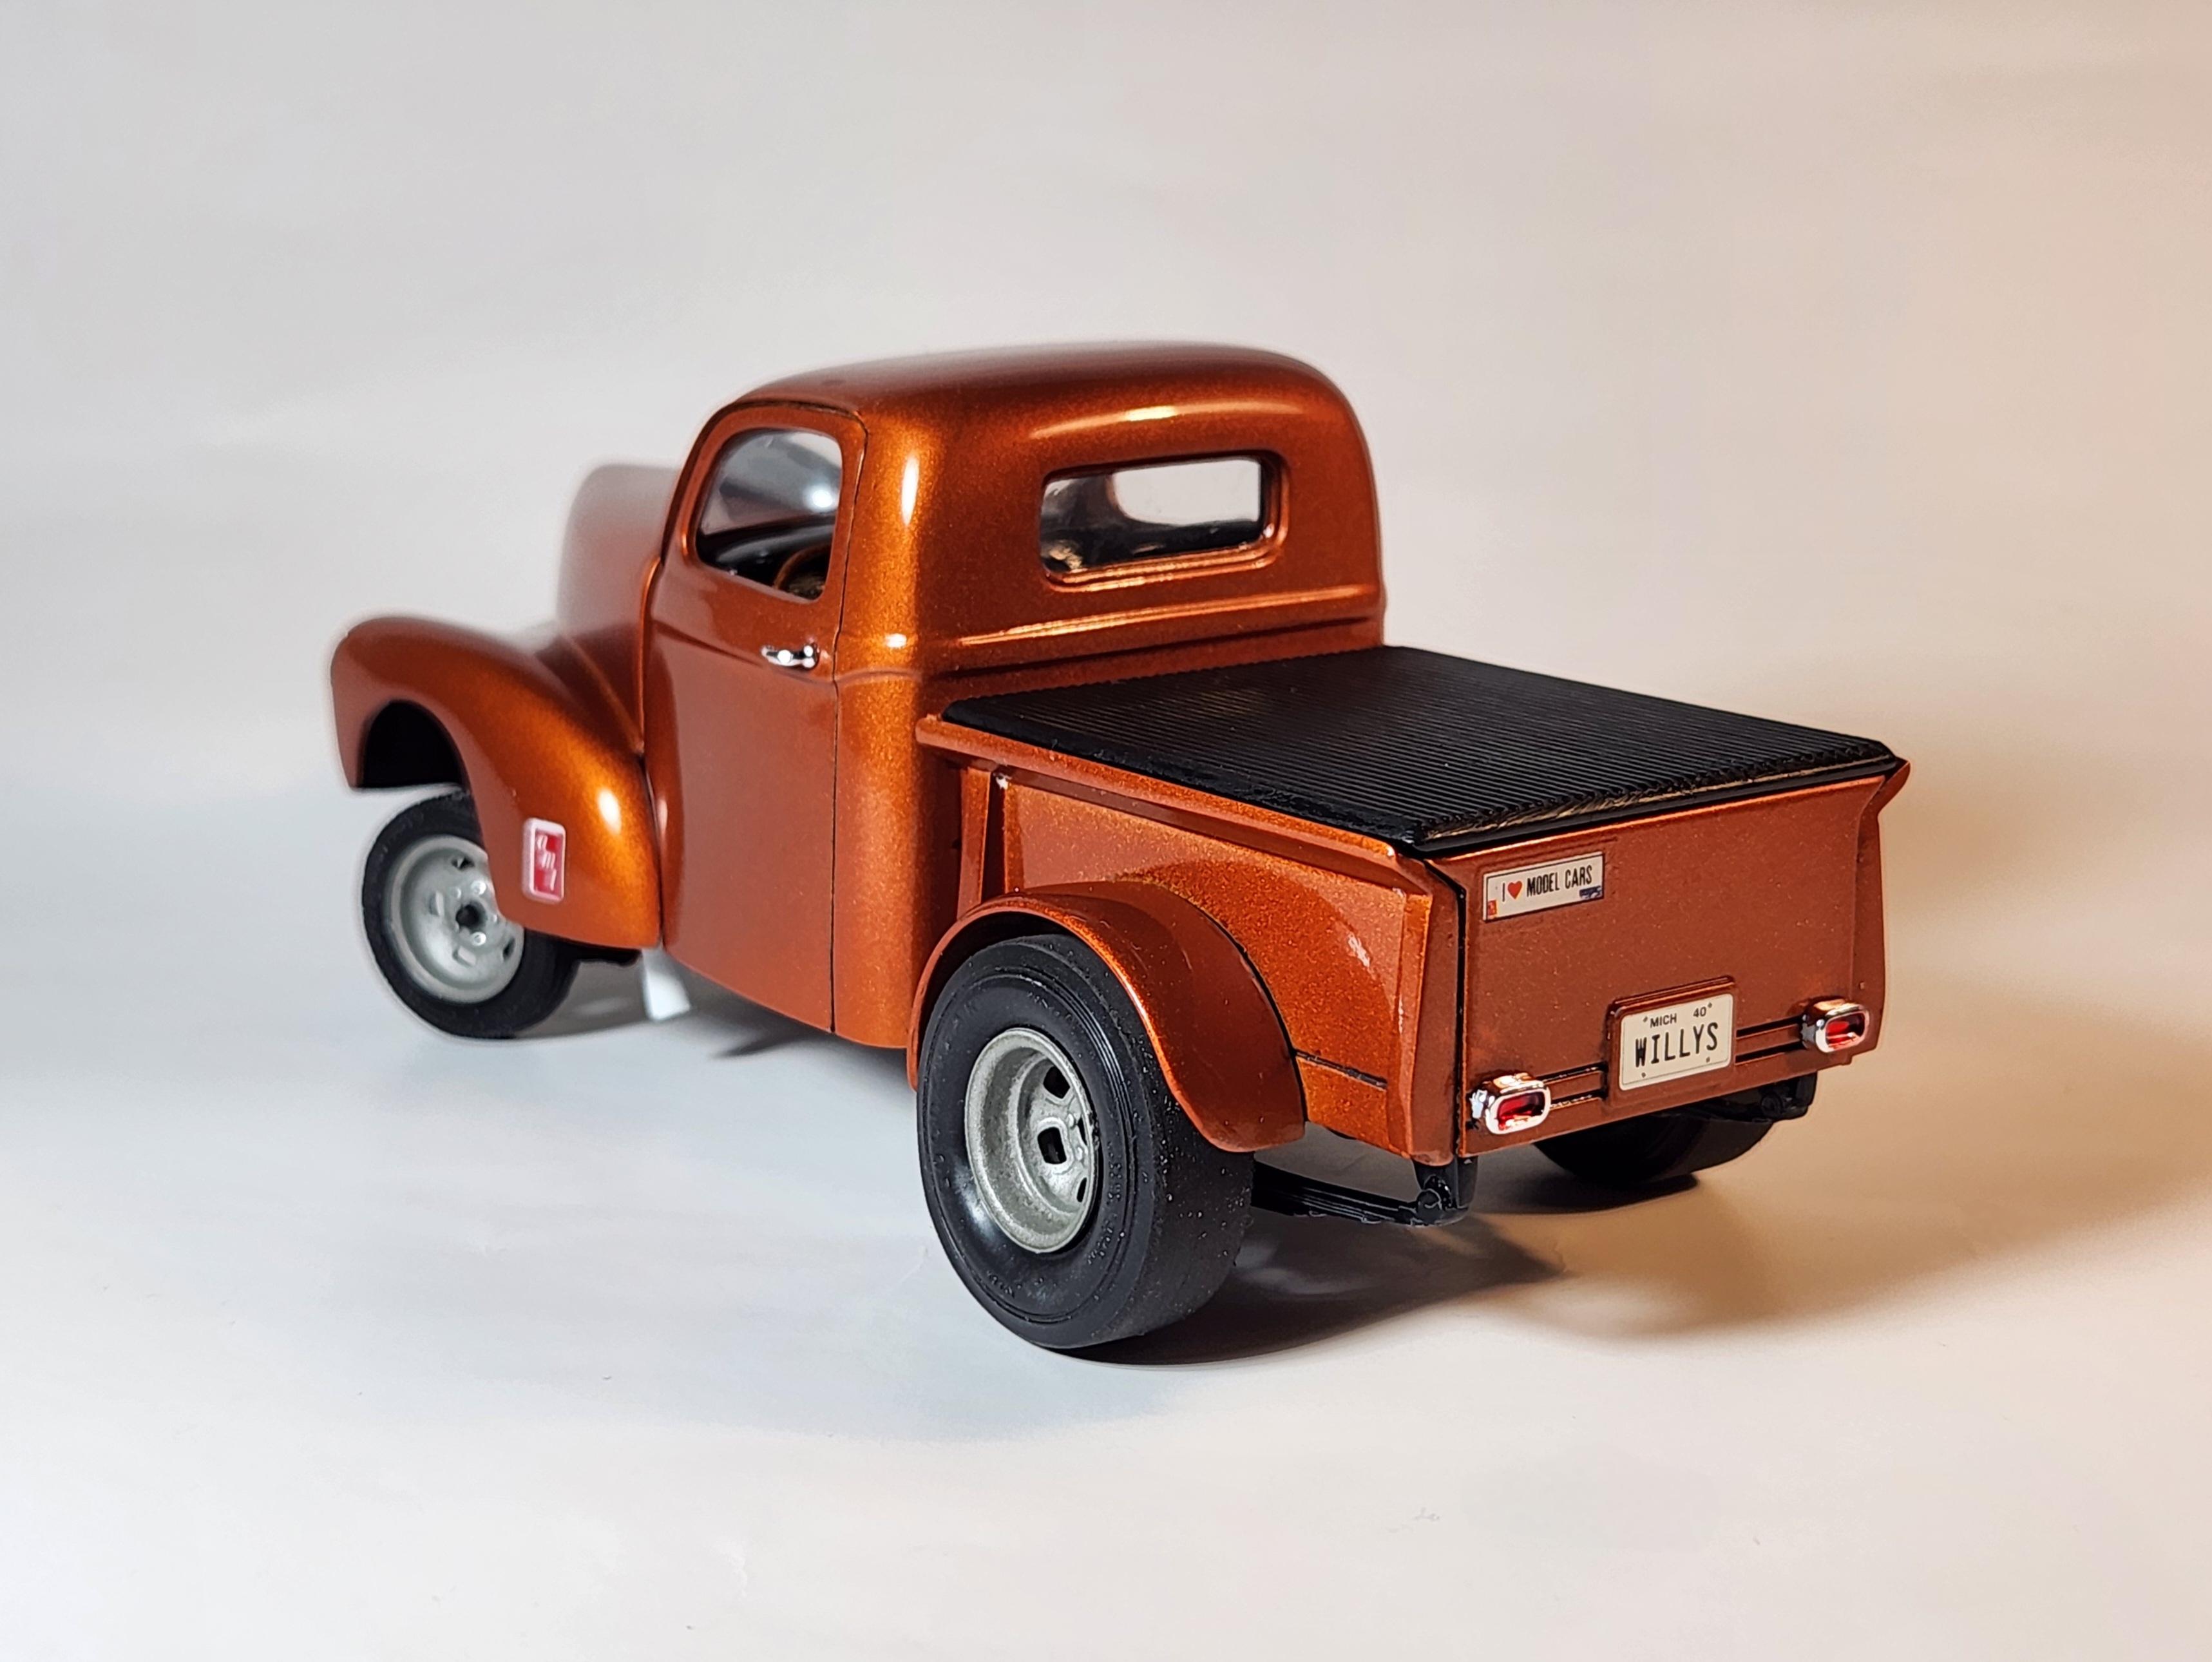
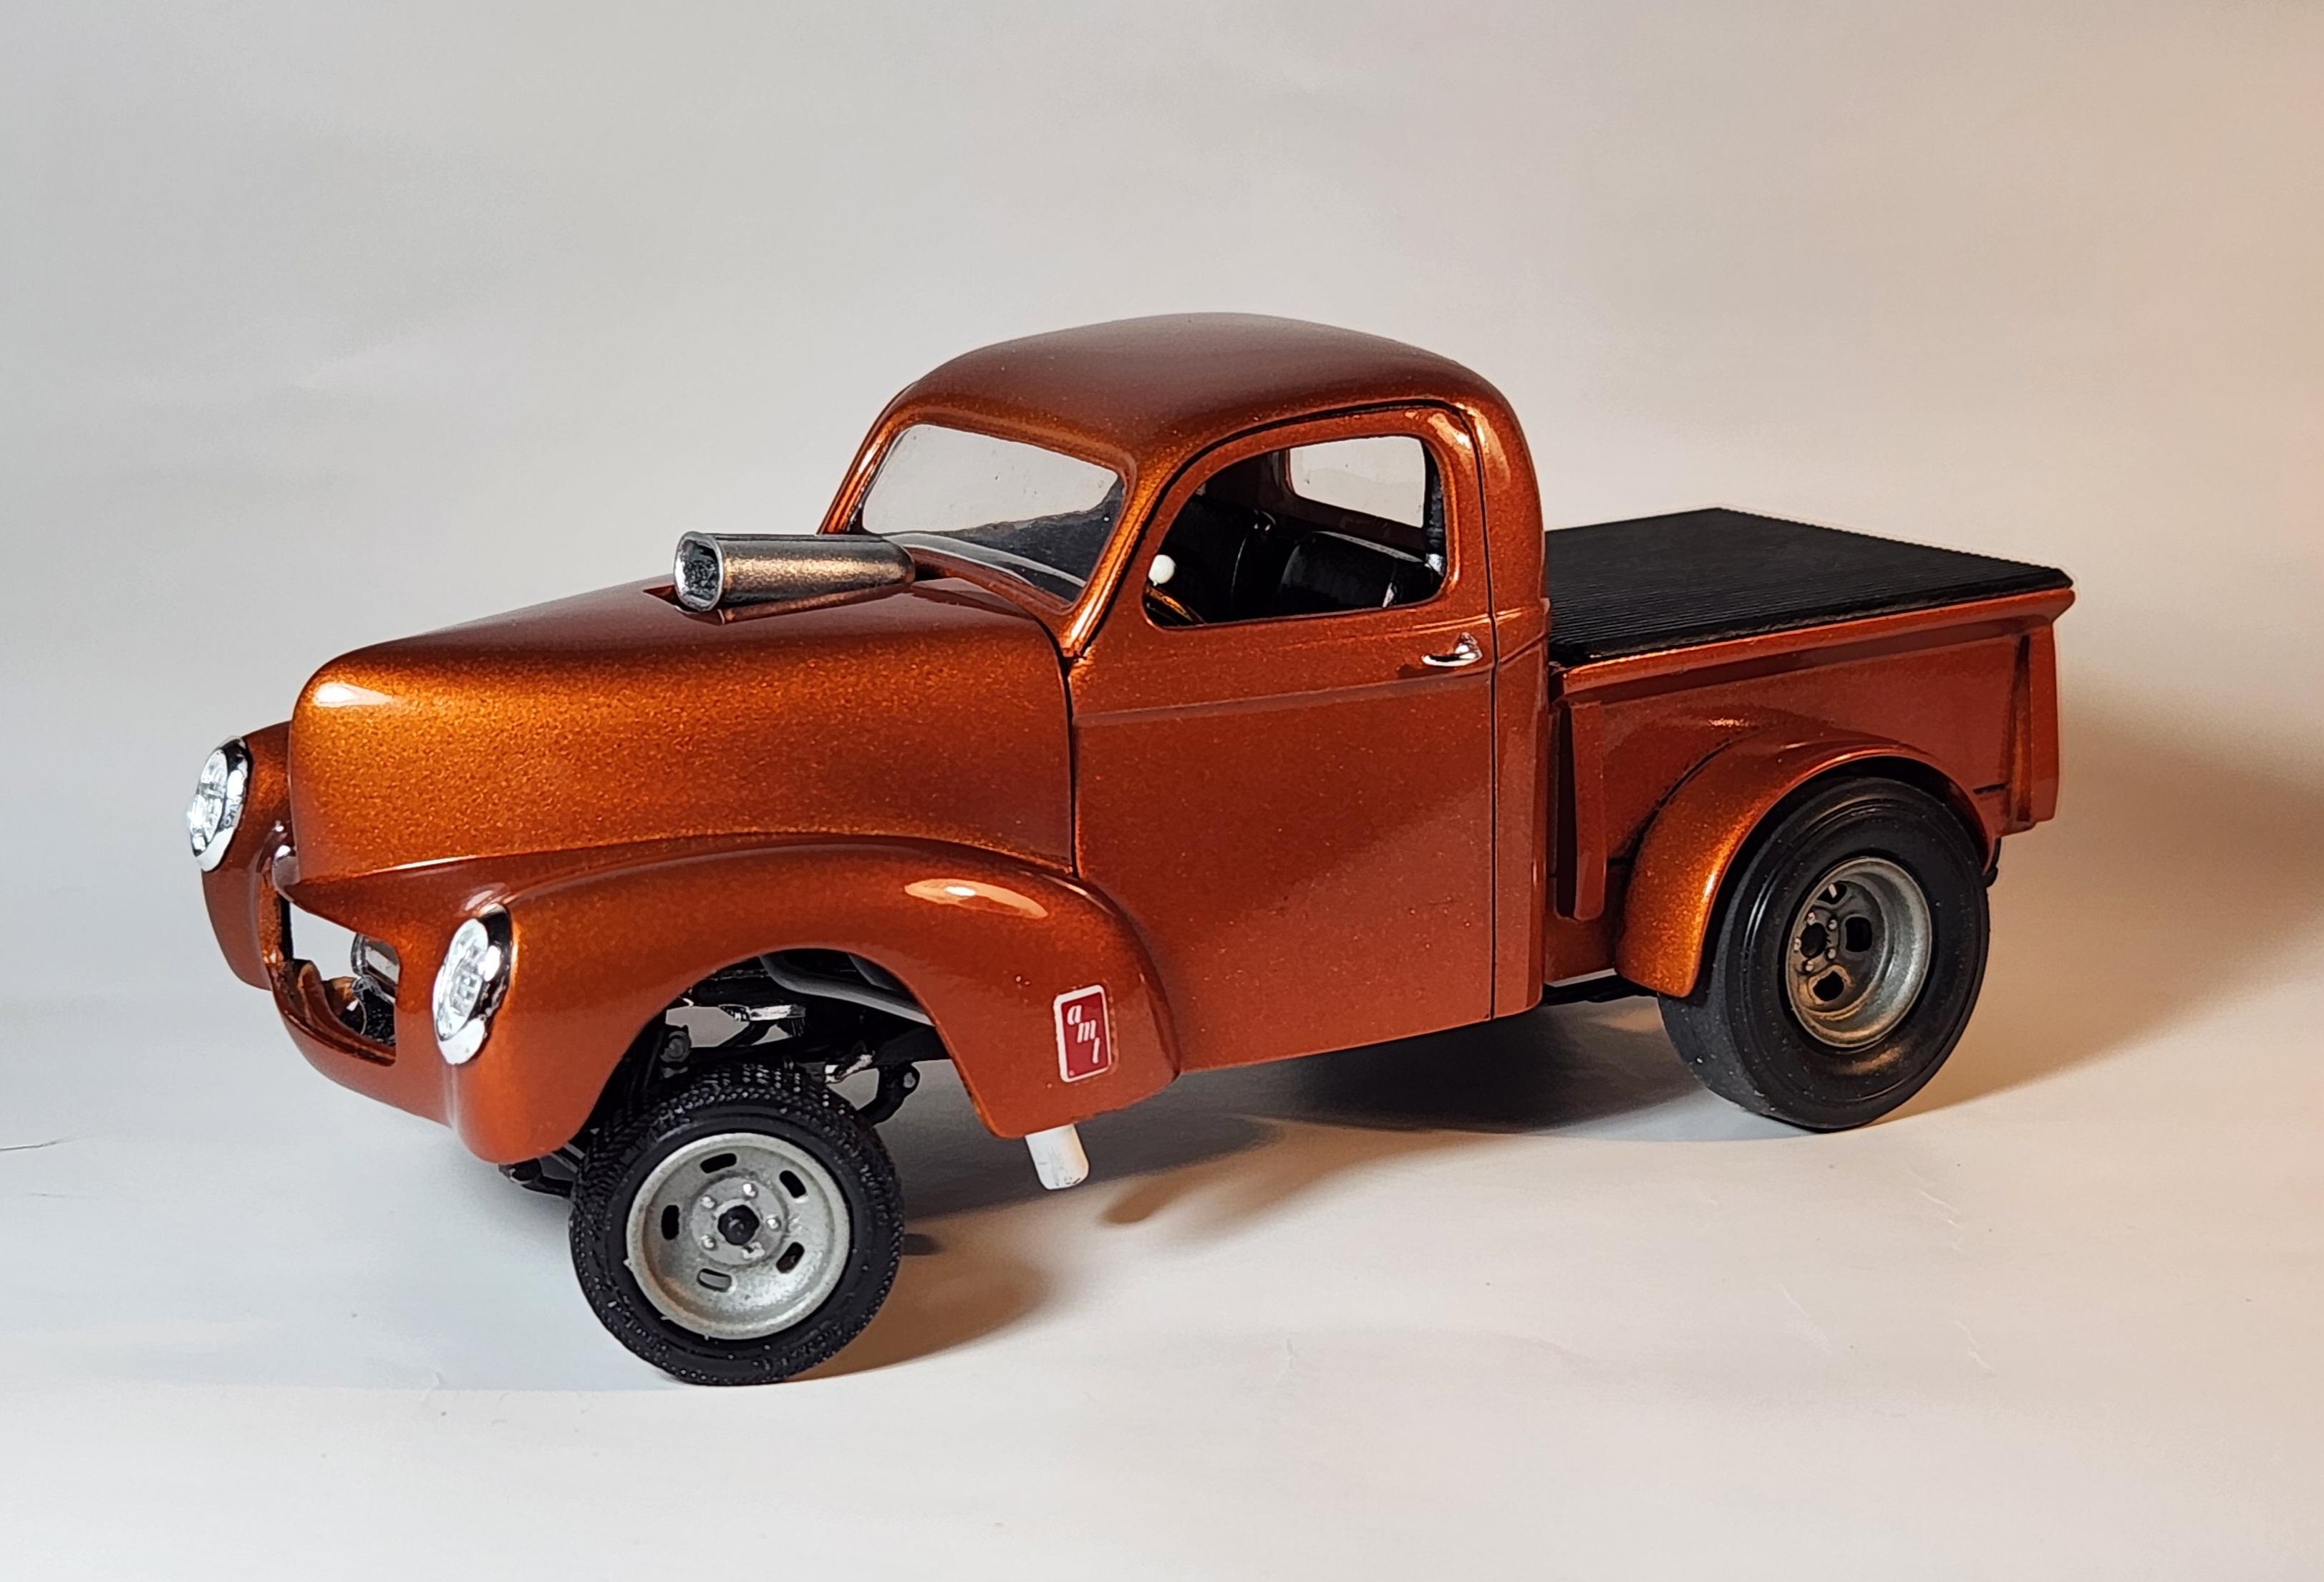
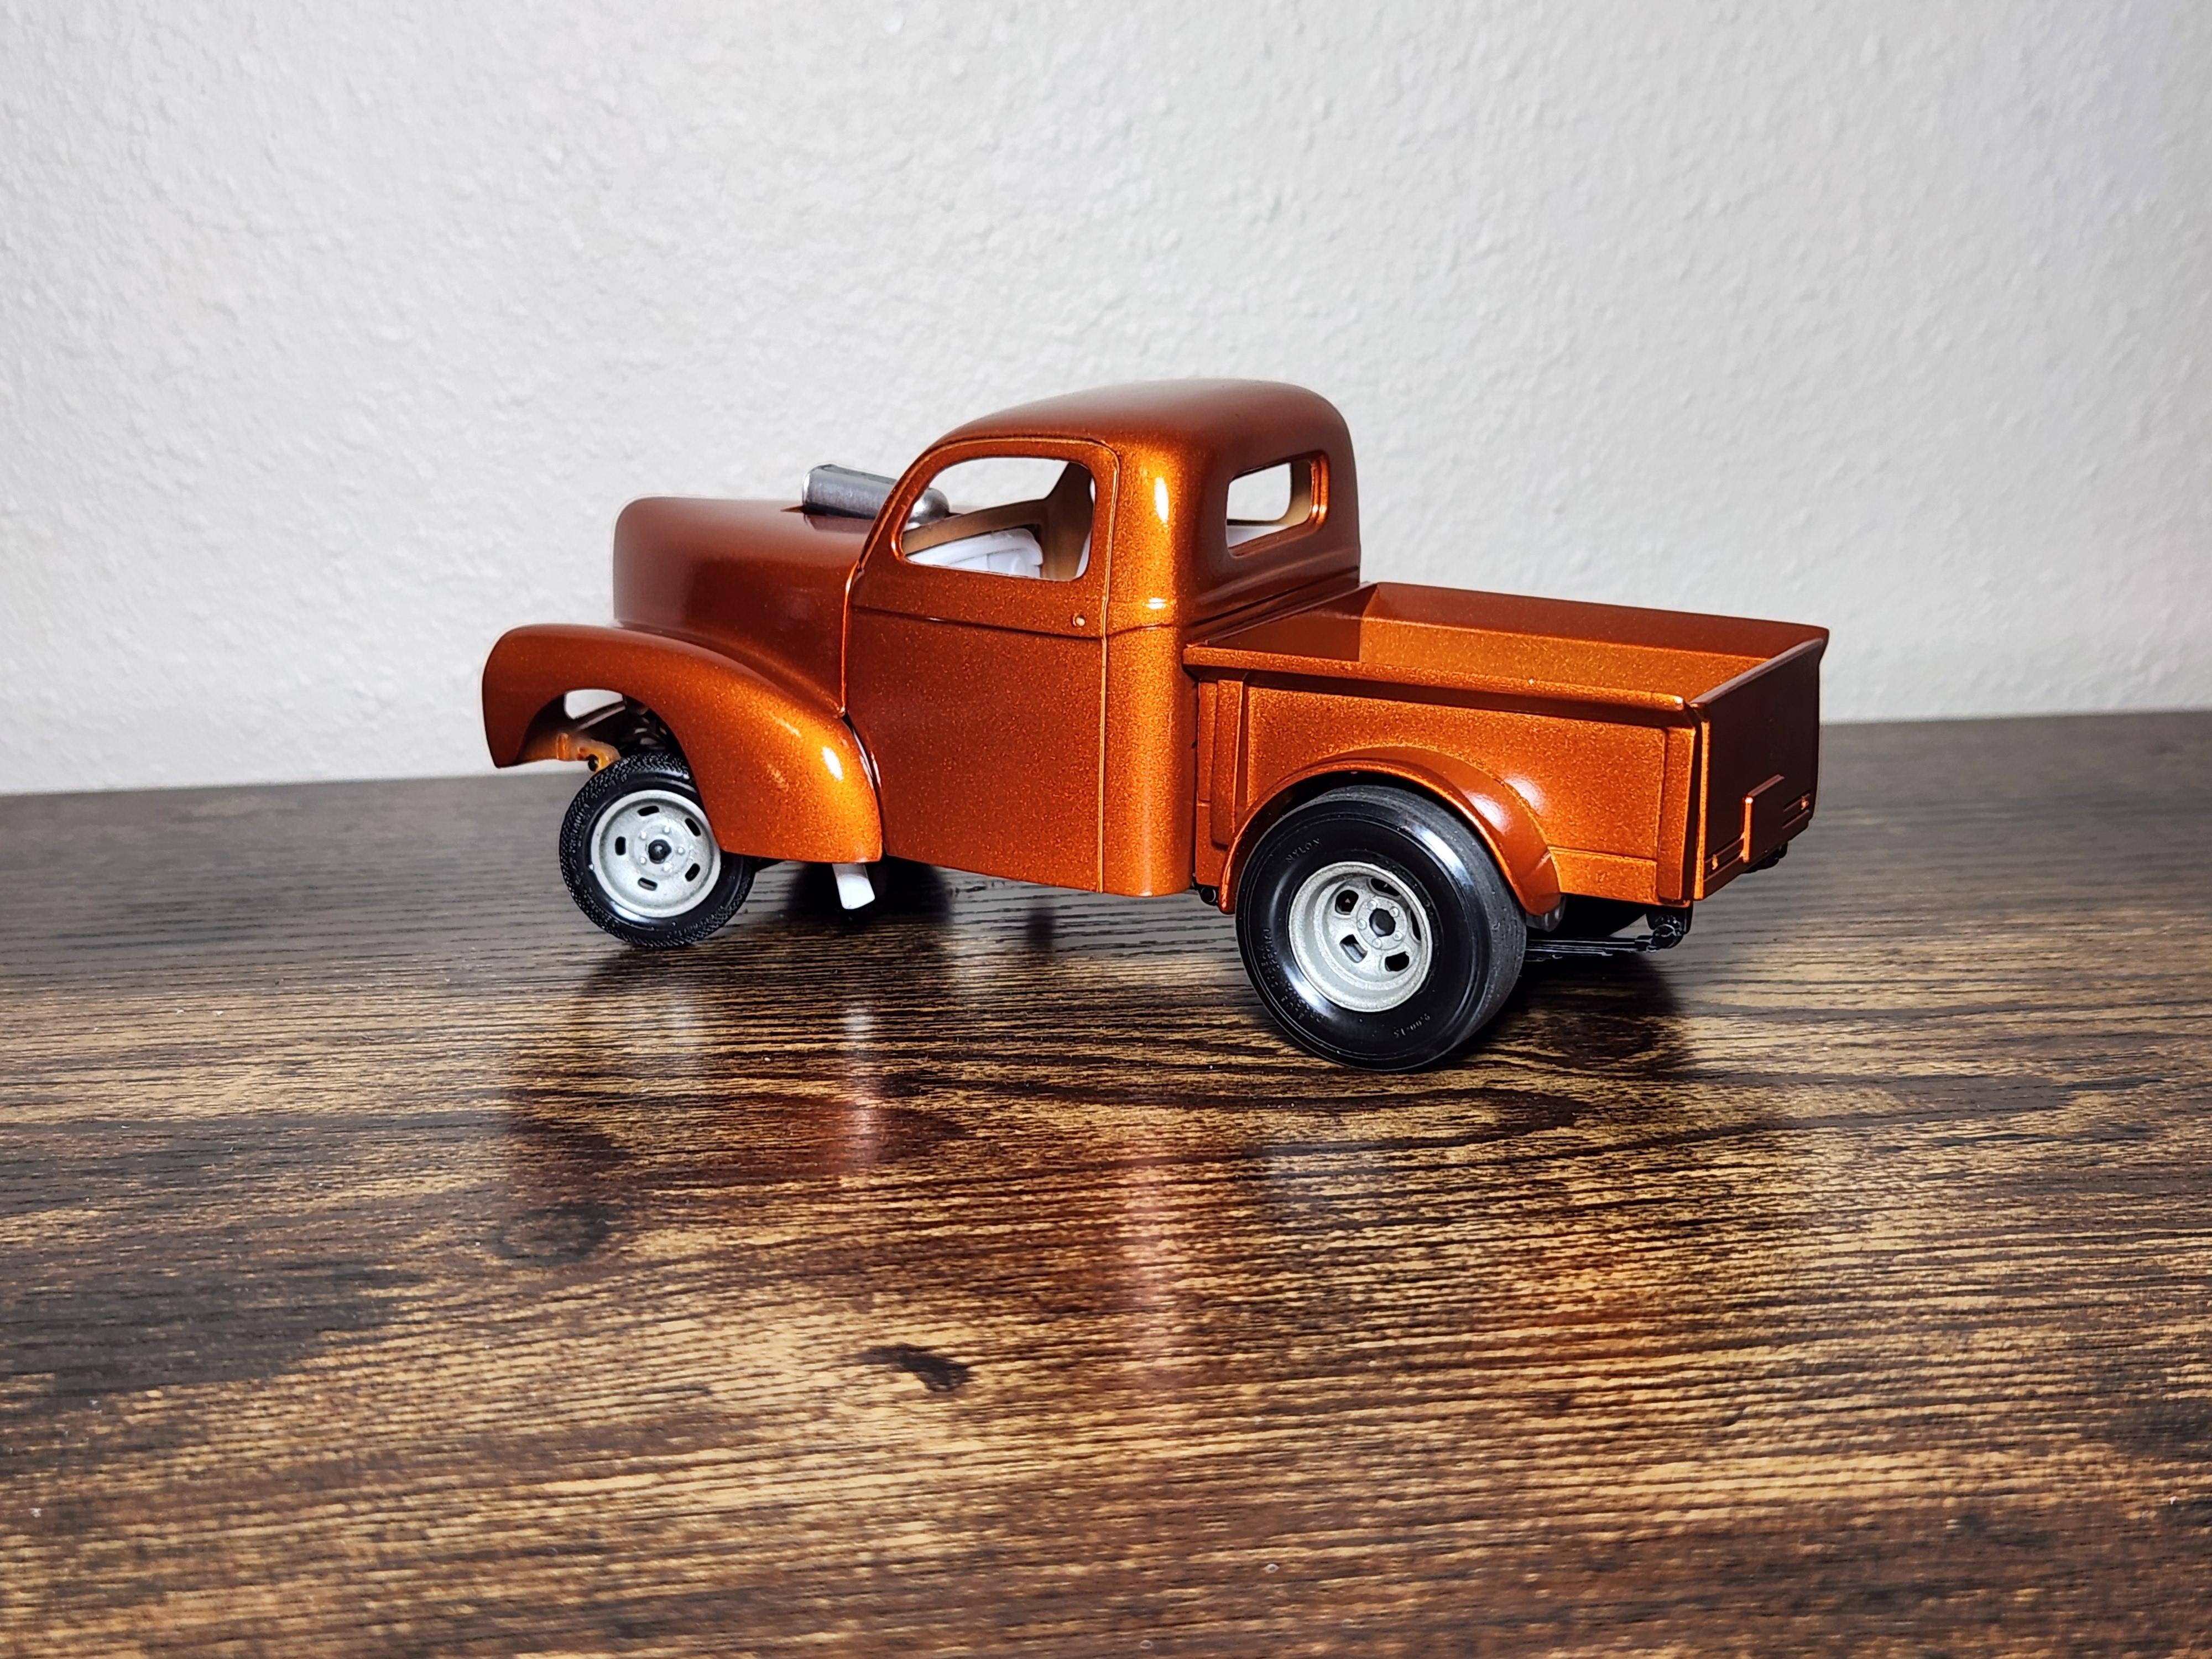
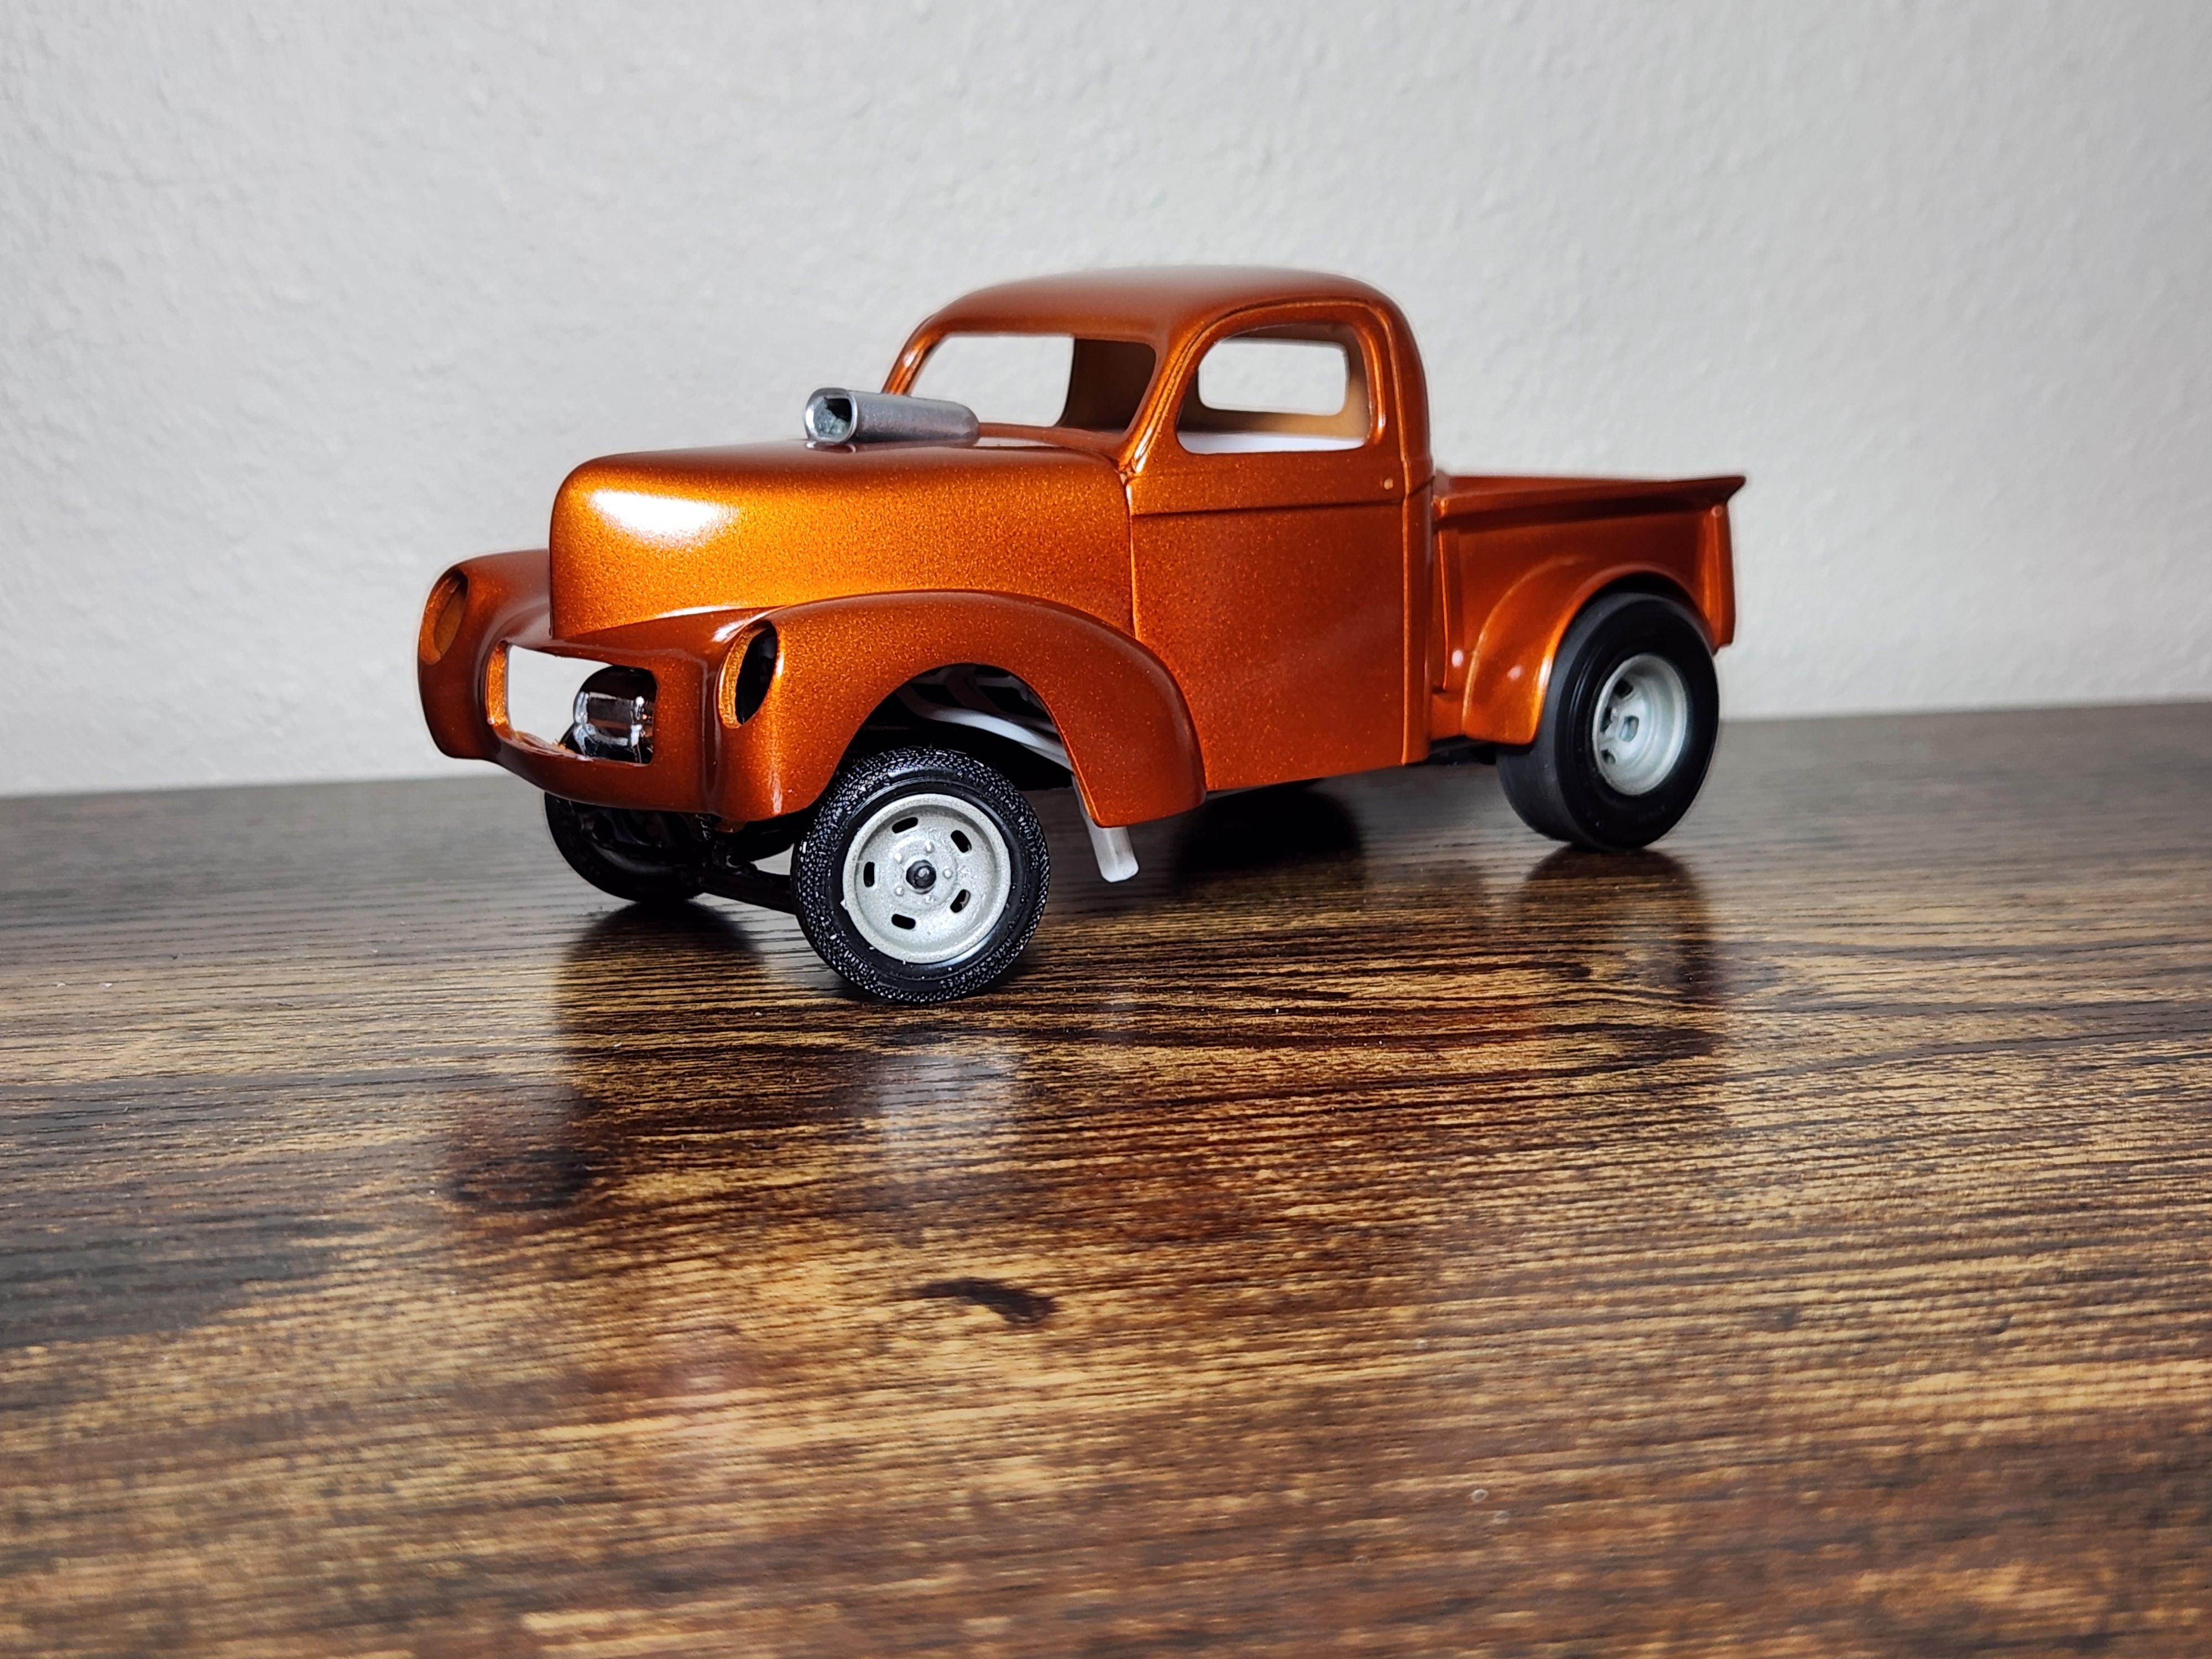
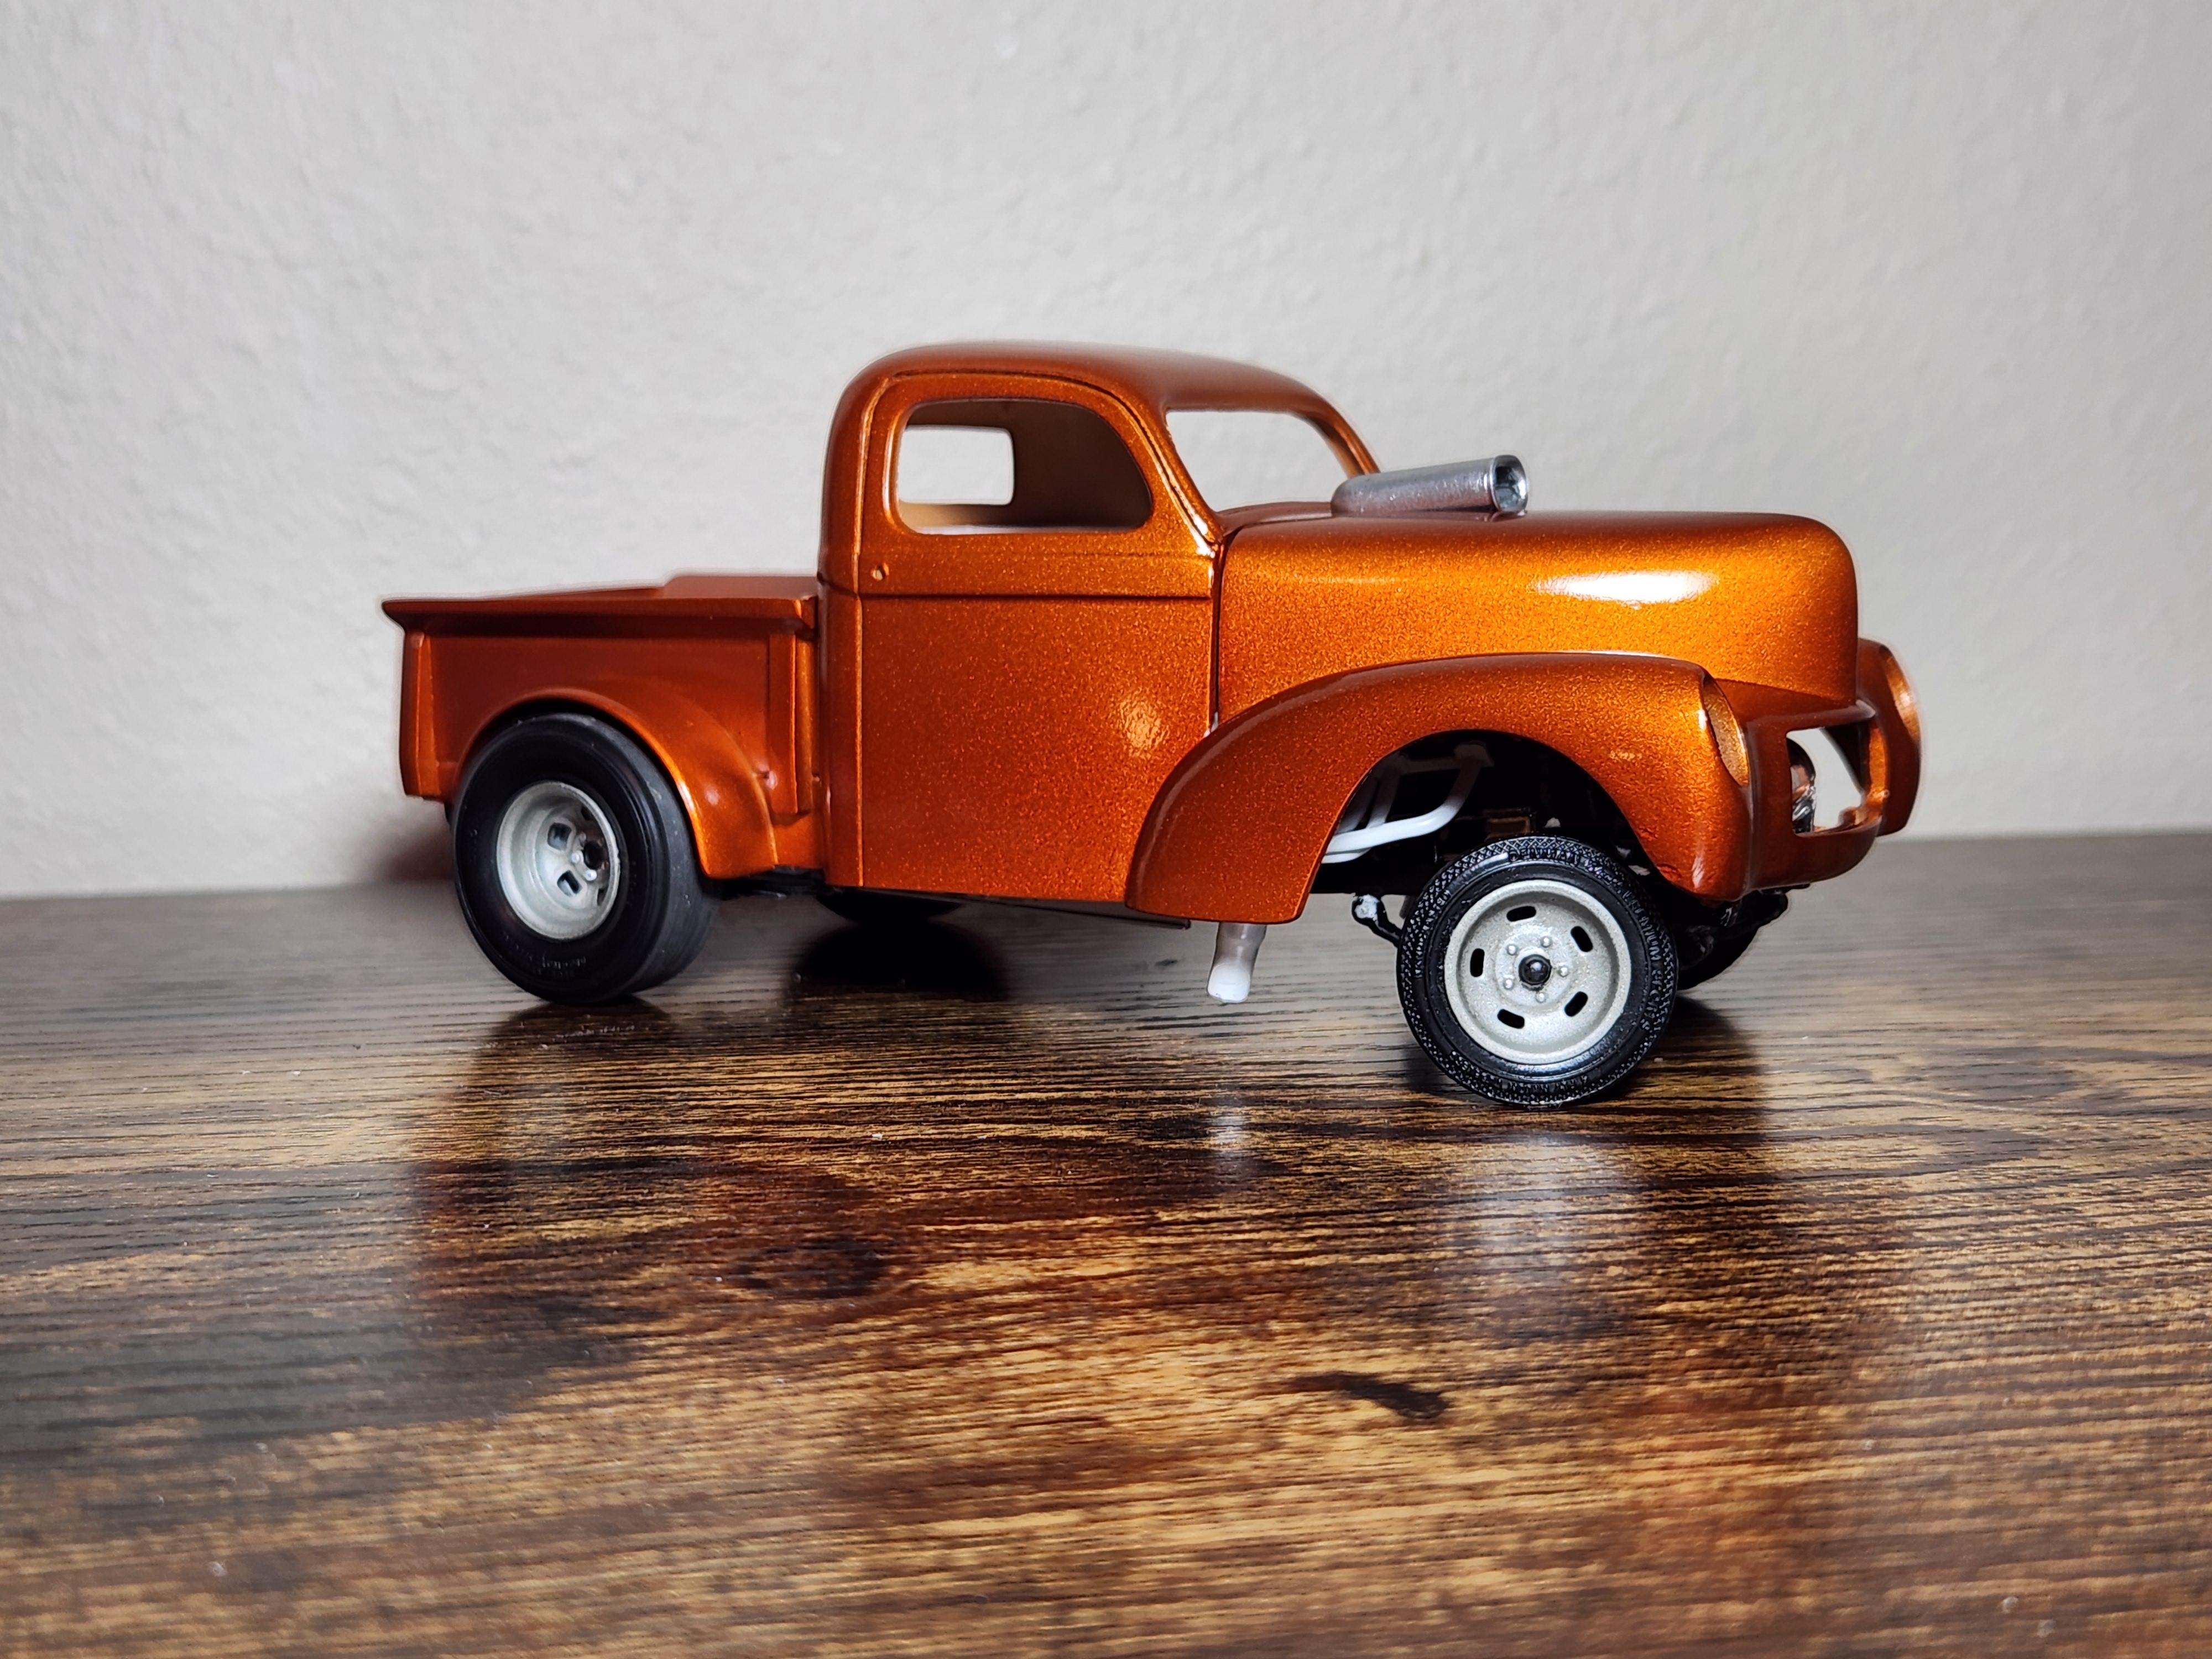
Finished this guy up tonight. Really happy with it and how it sits! Starting with the motor, it's the kit Old’s mill with a couple of changes. First off, I needed to change the blower and intake setup. I went with a bigger 6-71 blower housing and the 4 port Hilborn injection from the Moebius 65 Chevy II. The headers from the kit point outwards but I wanted something that pointed down onto the track, so I made my own out of solder, heatshink, and evergreen. I also had to do a bunch of scouring of the internet to find photos, found some pretty good ones and I managed to get all the fuel lines pretty close to accurate. This kit kinda stumped me on the cooling, it has a boat style water pump that I could not find any photos on so I winged it. The fuel pump had to be shoved on the back of the water pump as well. In the end I think it is pretty darn accurate for what I could get my hands on. Onto the chassis, If you notice in the photos those wheels are turned. I fabricated and modified the front suspension to make it steer. The kingpins were drilled, steering link modified, drag link fabricated, and starring box added and modified from the revell 32 ford kit. The rear end is the kit quick change, naturally. On the wheels and tires, the wheels are kit wheels from the newer releases, stripped and painted 50/50 Testors graphite and flat steel which gives a pretty good cast magnesium color. On the tires, the fronts are the kit front runners and the rears are the old goodyear blue streak slicks, different from what's in the kit a little because they have the “Goodyear” text on the sidewall. On the body I did a little experiment with Tamiya's clear colors. The base is Tamiya x-34 metallic brown with Tamiya x-26 clear orange. On the clear coat I used some Rustoleum crystal clear enamel paint, decanted and sprayed through my airbrush. The interior was painted black, perfect for this mid 60’s gasser. The kit rollbar had to be raised a little so it was just on the roof. I also attached a fire extinguisher with some very thin striped wire. The steering wheel was painted gold with the clear orange on top to replicate a moon steering wheel vibe, and you can't forget the sewing pin shifter, one of my favorite things to do. Here are the things I know you were waiting for after all that rambling. Heres the WIP: Thanks everyone for looking, as always, I love to hear your thoughts and questions. Elliot.
- 18 replies
-
- 11
-
-

-
Monogram '32 roadster: a red-headed step-child.
FoMoCo66 replied to customline's topic in WIP: Model Cars
I agree with everyone, that headlight bar looks way cleaner. This may sound funny but sence the headlights are lower it makes the whole car seam lower. -
Thanks everyone! I got the body in its candy coat and clear this weekend, here's a quick moch up. I also decided to ditch the pie crust because this is turning out to be more of a mid 60s build so I went with some goodyear blue streaks. Thanks for looking. Elliot Hamm
-
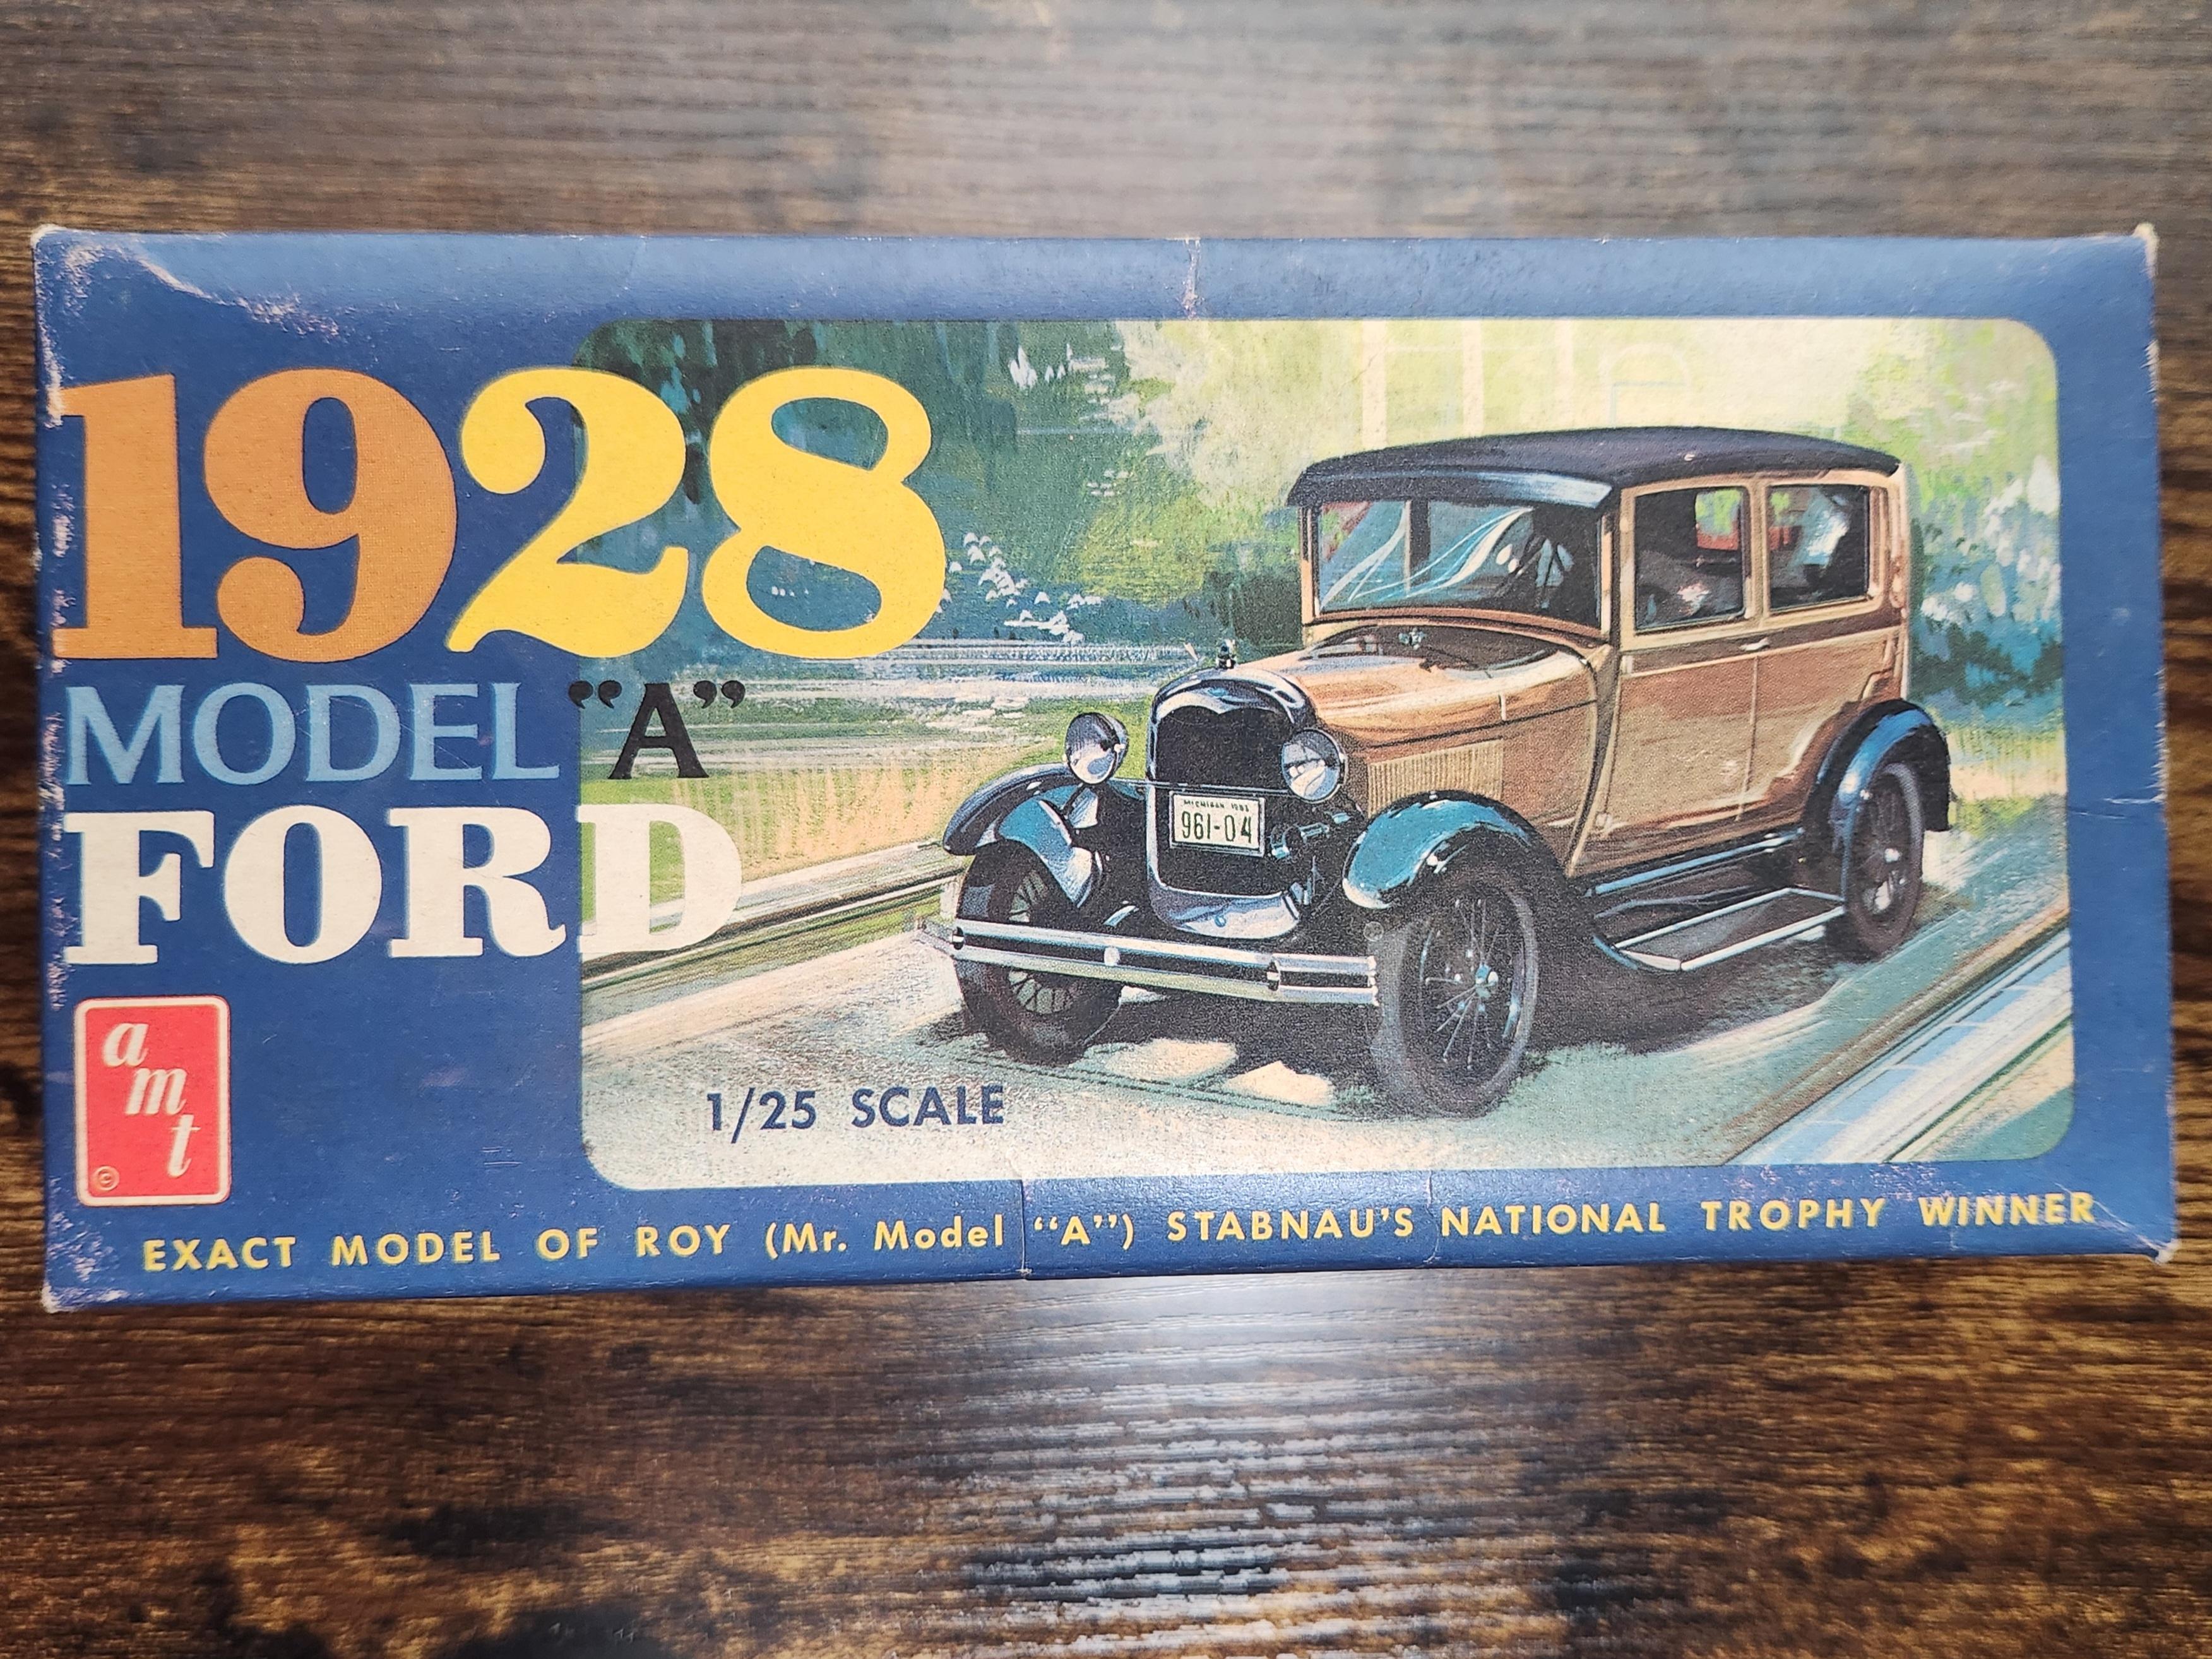
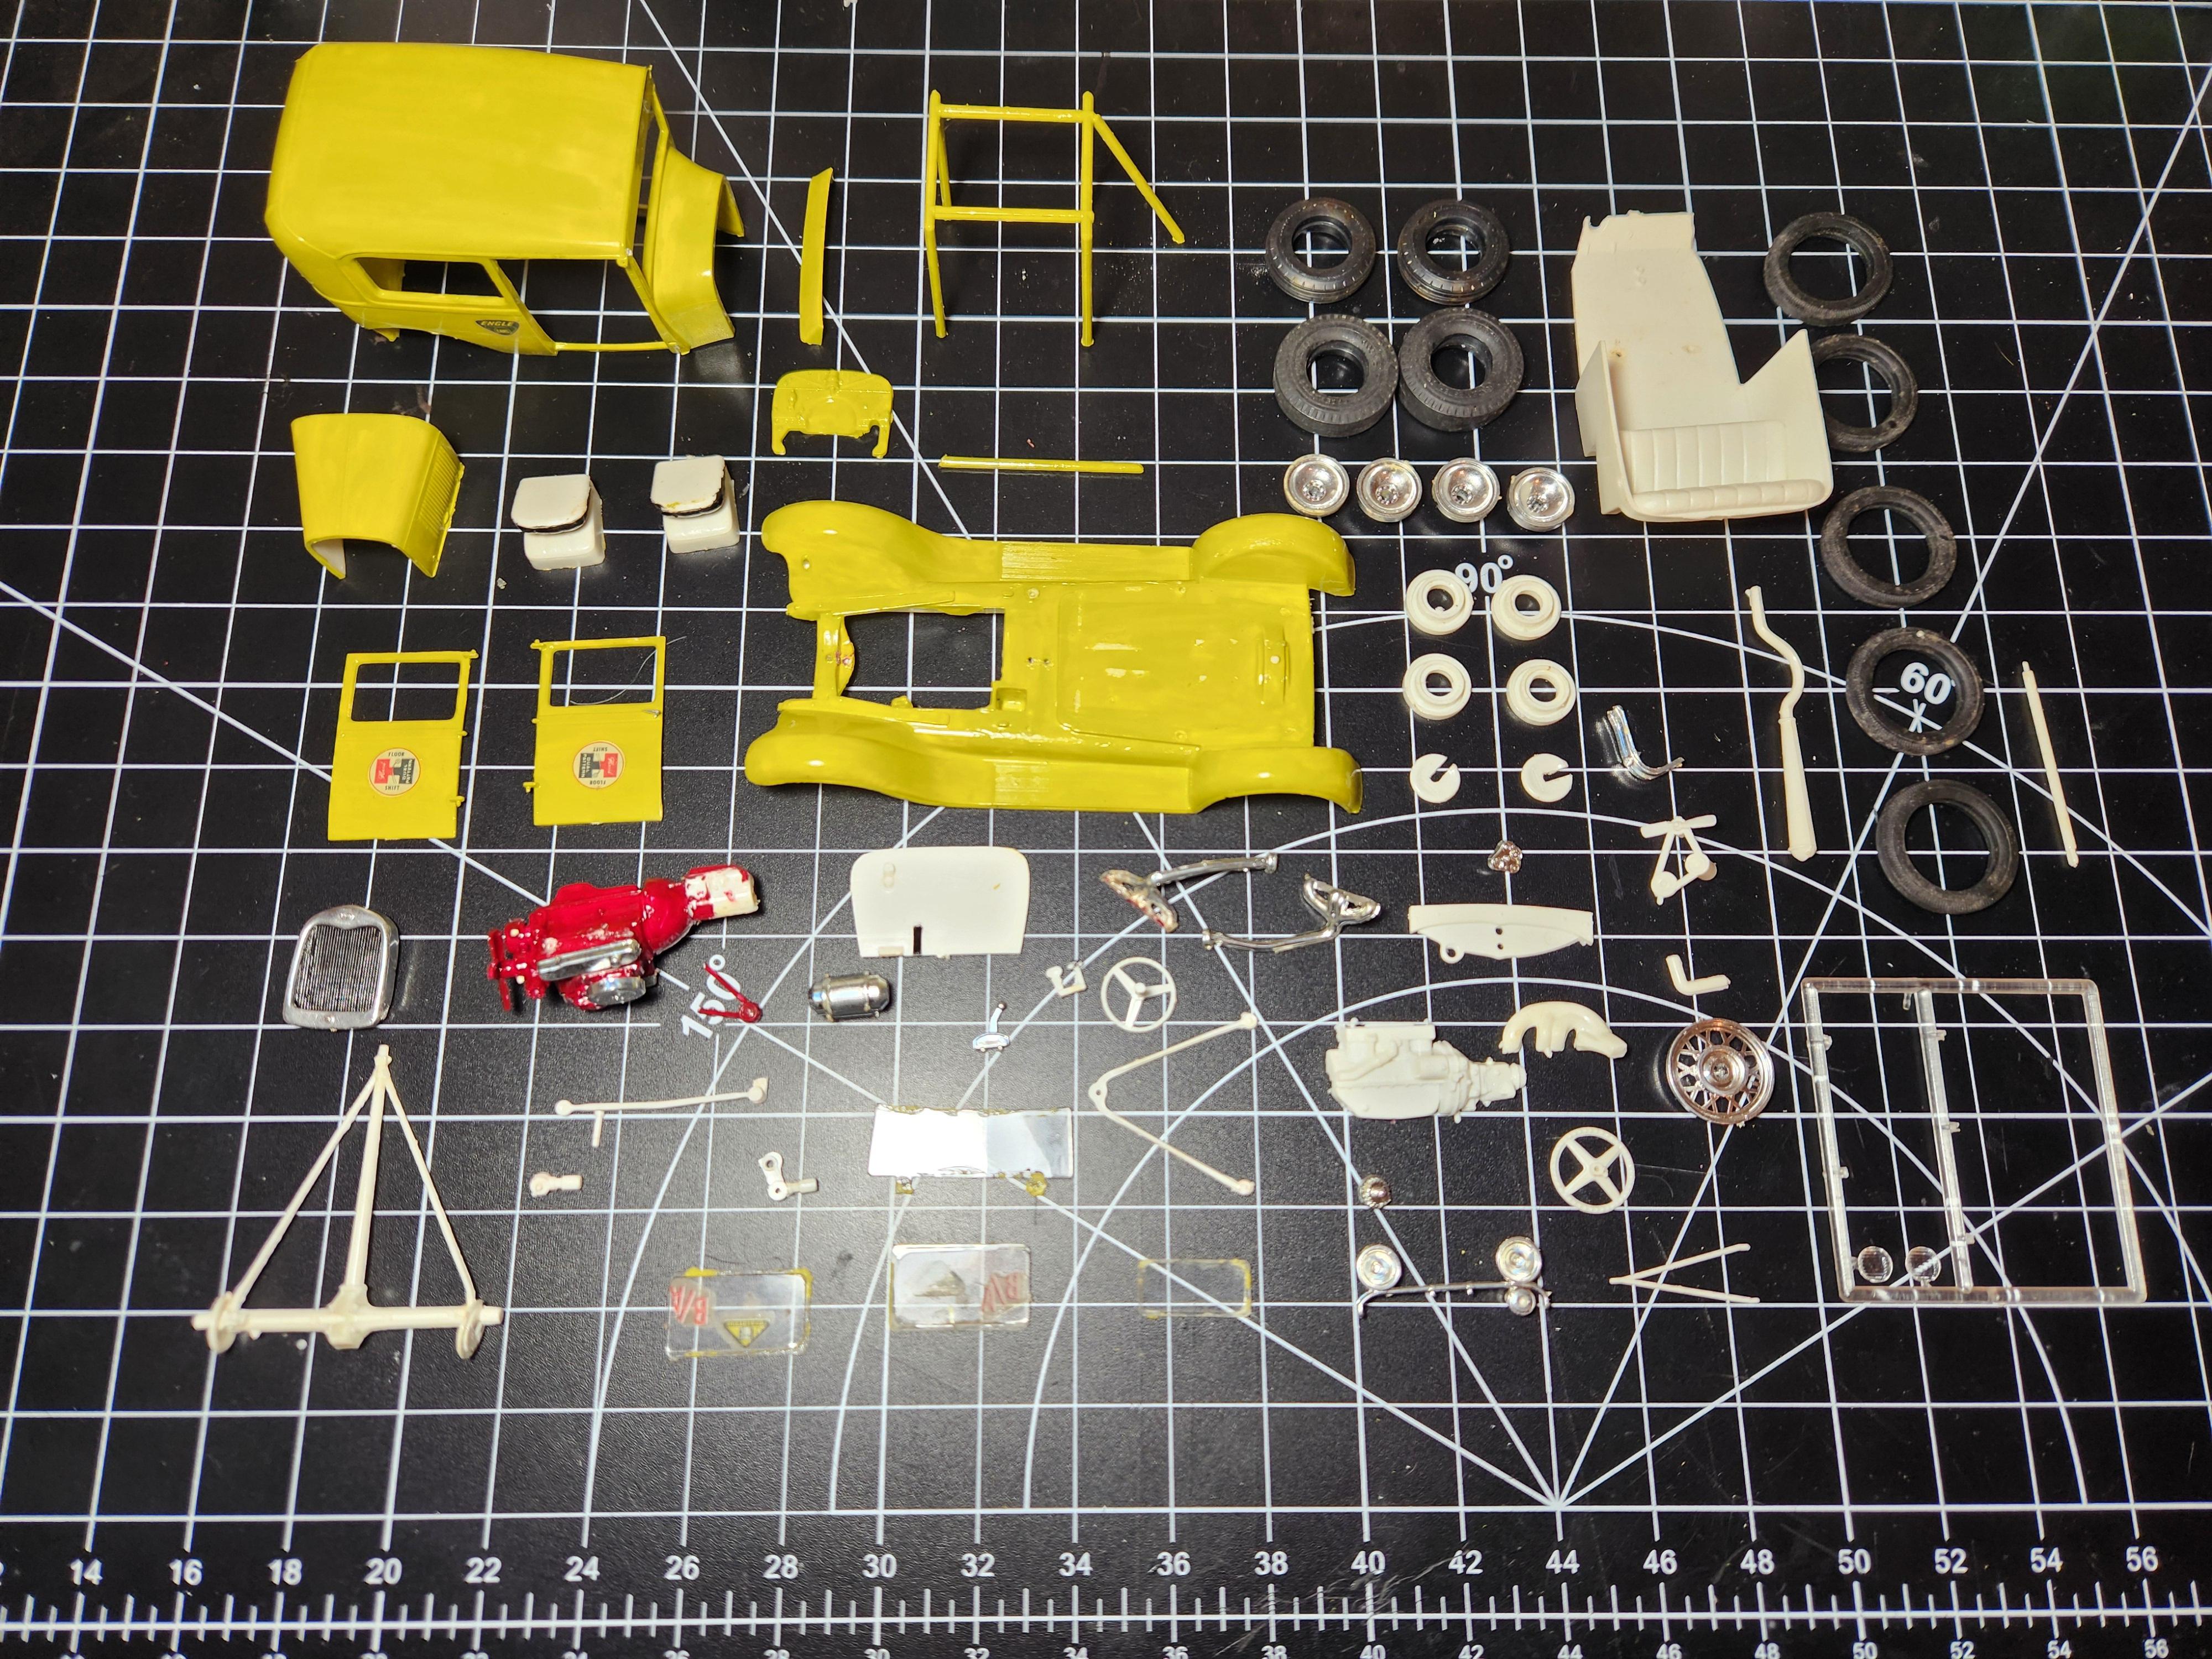
Amt 28 ford sedan, got this at a local model swap meet. One of my grails, so glad I got it for such a good price.
-
Monogram '32 roadster: a red-headed step-child.
FoMoCo66 replied to customline's topic in WIP: Model Cars
Now that would be fun, backdating one to the little deuce.