Radretireddad
Members-
Posts
531 -
Joined
-
Last visited
Content Type
Profiles
Forums
Events
Gallery
Everything posted by Radretireddad
-
No worries Kelly. Traveling along the learning curve is an important part of the experience and we’re all very happy to help and to welcome you here. Don’t get discouraged and don’t hesitate to ask for help whenever necessary.
-
Stay away from black chrome BMF. It’s too glossy for most trim, the adhesive on the back is almost non existent, and the black rubs through if you try to burnish it. For brush painting I shake my bottle of Tamiya semi gloss black acrylic, remove the cap and put one drop of thinner in the residual paint still in the cap. This makes the paint the perfect consistency for flowing on flat surfaces with a good brush. The alternative is airbrushing a small piece of chrome BMF with the same acrylic semi gloss black and applying it as usual after the paint dries. Be sure to burnish with something soft like a cotton swab.
-
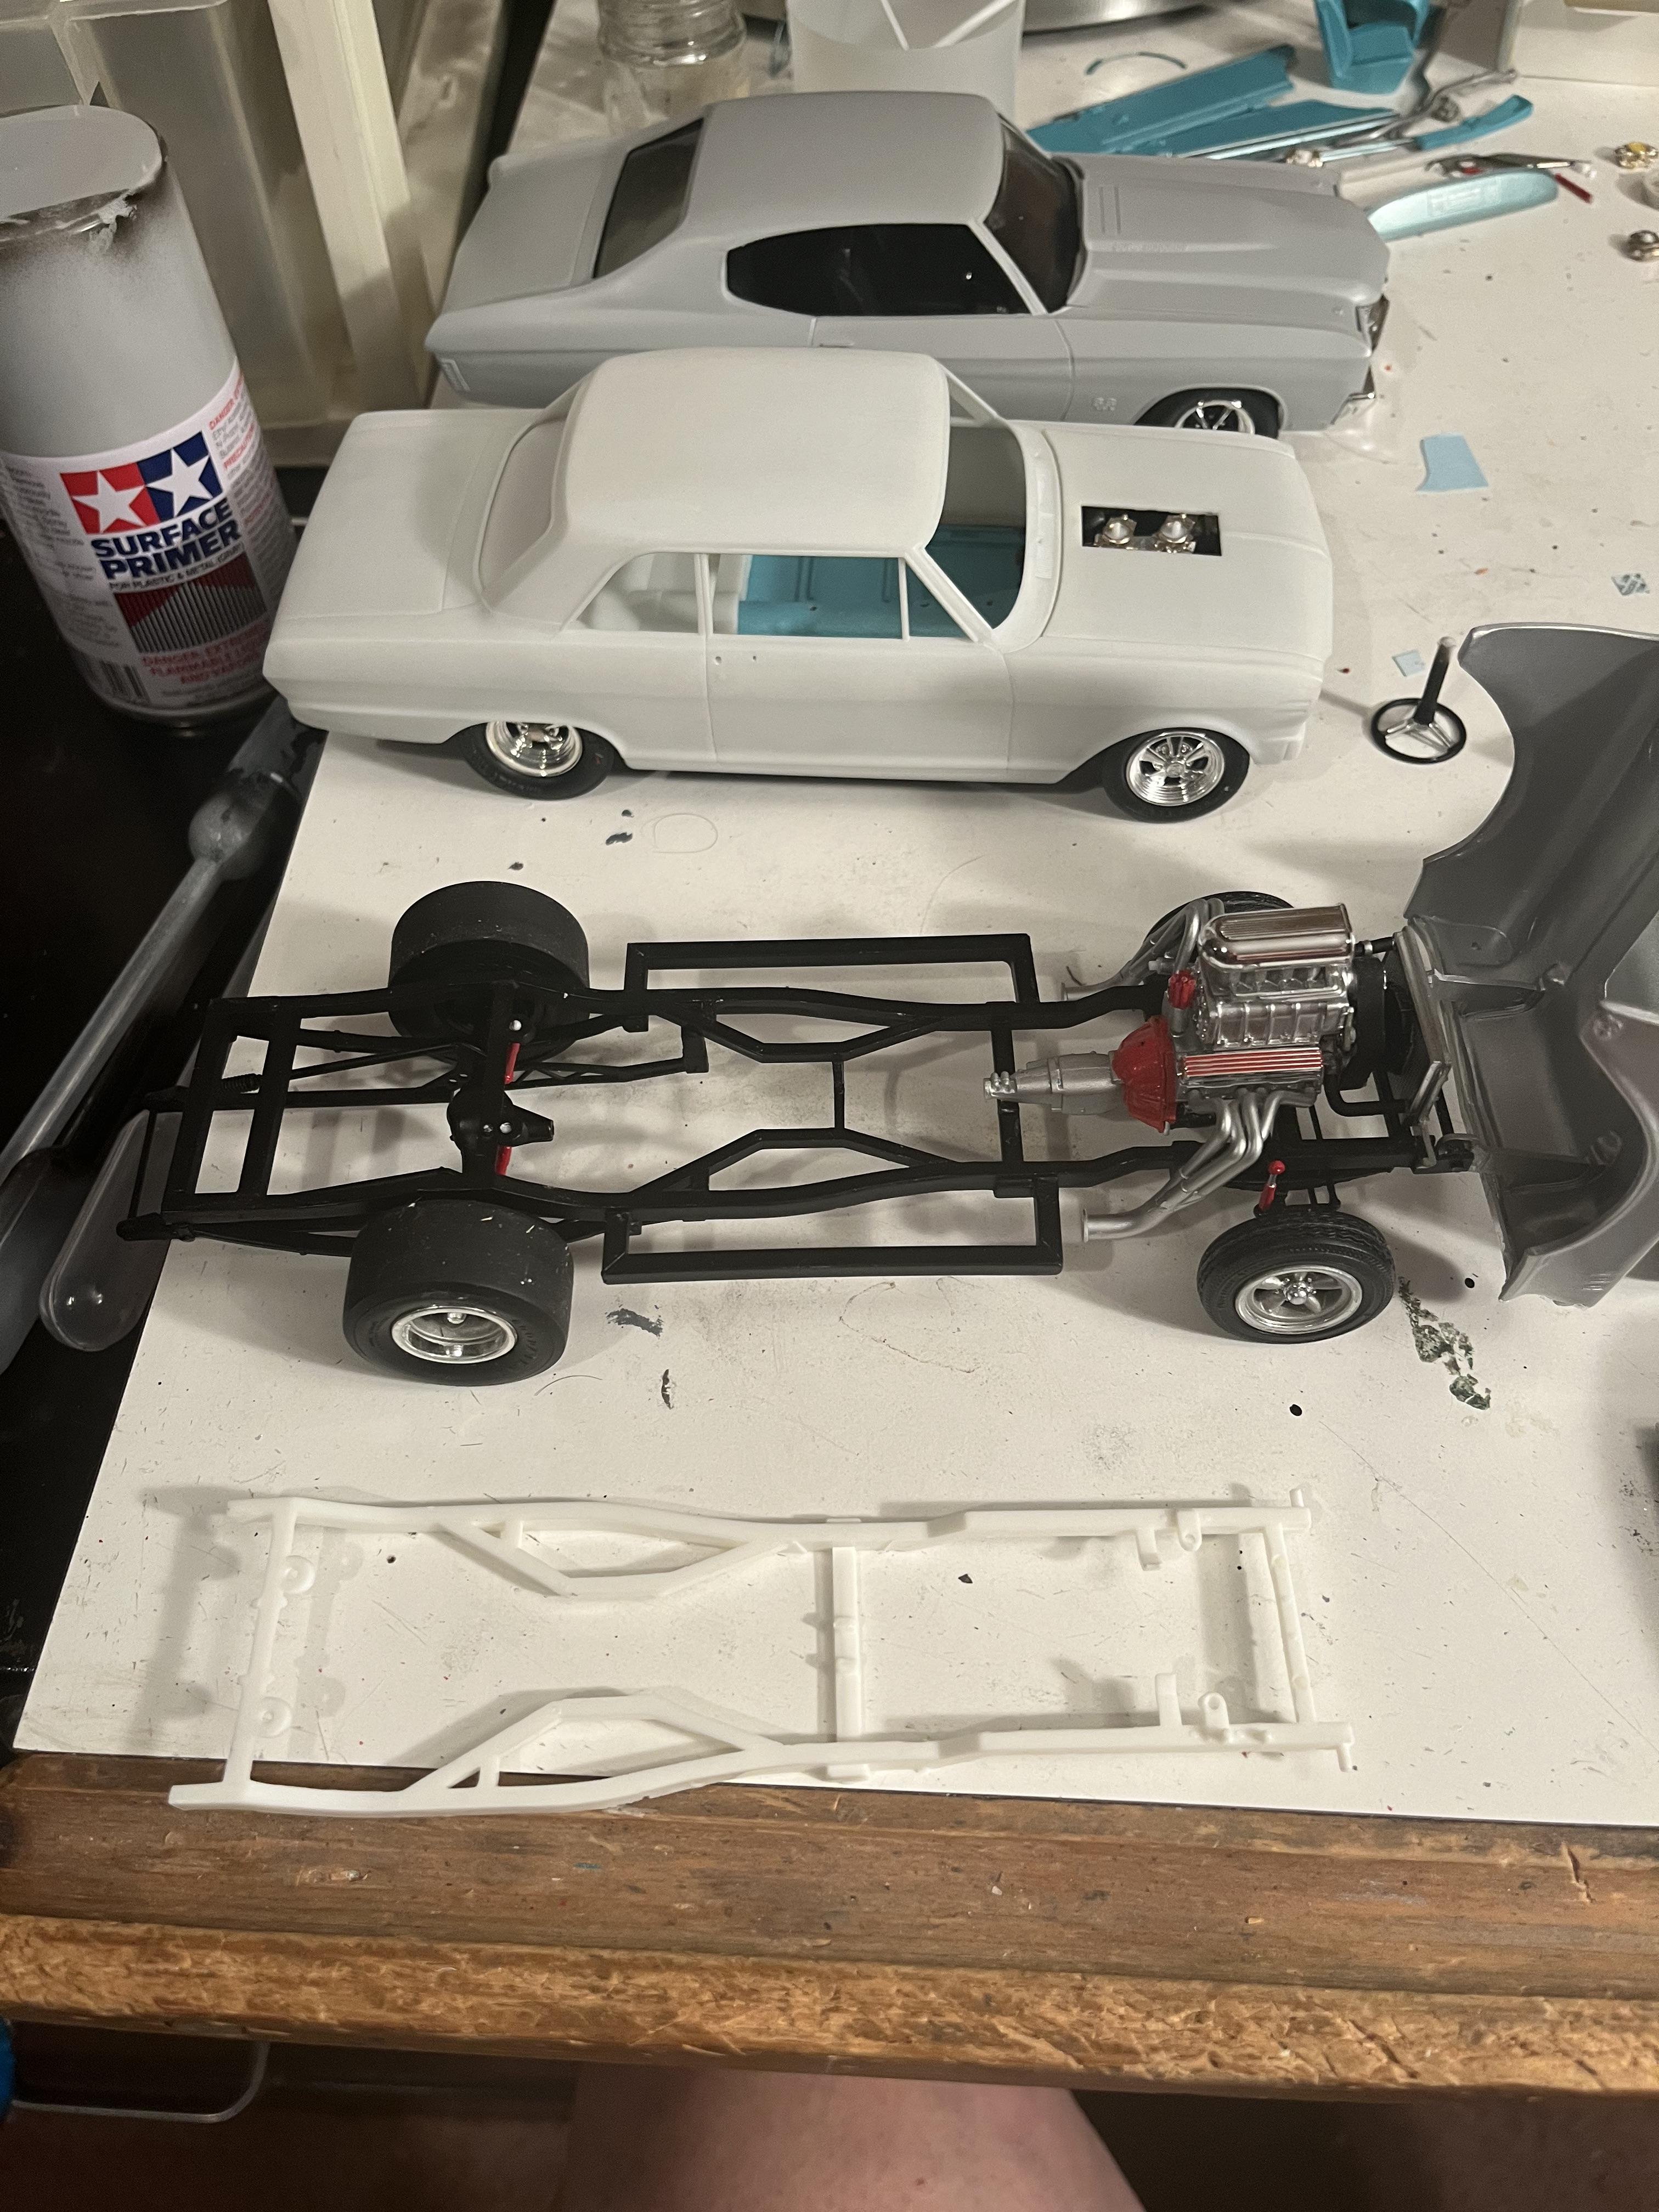
Can we see some scratchbuilt frames?
Radretireddad replied to OldNYJim's topic in General Automotive Talk (Trucks and Cars)
While it’s not a completely scratch built frame it’s a significantly modified and adapted Spirit of ‘57 and Moebius ‘65 Nova gasser hybrid. -
Painting bodies was also my biggest issue when I returned to modeling a few years ago. It was plain old experience gained from experimenting that finally got the results I liked. I found airbrushing mainly 50/50 thinned Tamiya and Createx acrylics over Tamiya spray primer to be very consistent once you have your air pressure and needle settings dialed in.
-
I’ve tried Vallejo acrylic primer and found it wouldn’t stick to bare plastic at all. You’ll need a primer that’s compatible with the paint you’ve chosen.
-
I gotta build me one of these along with a wagon. Round 2 guys, are you listening?
-
The new Charger
Radretireddad replied to Jon Haigwood's topic in General Automotive Talk (Trucks and Cars)
I can’t fully fault car manufacturers for their current offerings. Since they no doubt spend millions of dollars gathering focus group generated marketing research data before any new model or even feature debuts, the products they offer are intentionally engineered, styled, and packaged to have the broadest possible appeal which means sales success depends on pulling off pleasing everyone and offending no one. Their offerings are the results of what they’ve predetermined the majority of the car buying public is willing to shell out tens of thousands of dollars for rather than what a more purist minority like us thinks is more desirable. It’s the general public majority that have been dulled into viewing cars as just another expensive appliance and the manufacturers clearly understand they must accommodate them if they wish to remain in business. -
The new Charger
Radretireddad replied to Jon Haigwood's topic in General Automotive Talk (Trucks and Cars)
Yep! Unfortunately they’re needed to keep the lights on. I just wish they branded them differently. Yes, yes, yes!!! -
The new Charger
Radretireddad replied to Jon Haigwood's topic in General Automotive Talk (Trucks and Cars)
Because maybe Porsche’s leadership feels the need to atone for the sins of all the distinctly non Porsche sedans and SUV’s they’ve disgraced such a hallowed name with? To me the GT3RS is blessed assurance that the ones running the marque haven’t completely betrayed it. Yet. If I were well healed, I’d own one of each of what you mentioned simply because I’d want to gain the ability to fully experience driving them all at the limit. -
The new Charger
Radretireddad replied to Jon Haigwood's topic in General Automotive Talk (Trucks and Cars)
Whenever my sons and I saw this I explained it to them by stating his noise to forward motion ratio is unacceptably out of proportion. -
The new Charger
Radretireddad replied to Jon Haigwood's topic in General Automotive Talk (Trucks and Cars)
Good intentions, poor execution. -
The new Charger
Radretireddad replied to Jon Haigwood's topic in General Automotive Talk (Trucks and Cars)
I believe it can all be summed up in one word Bill. Ego. I always have a great time interacting with the many other more appreciative owners and admirers that gravitate towards the variety of other very cool cars that my Jag is a part of at our local shows but our collective reaction is almost universal when some twenty something rolls by in a late model whatever with the loudest exhaust he could afford to have someone bolt on it.🥱🙄😒 -
Last one the the LHS is a rotten egg!
-
That looks amazing! I’d love to see a tutorial on how you did that and how it could be done without an original annual. Getting a stock version of this kit (and all the other modified stockers) redone as a craftsman plus kit would be fantastic.
-
Separate f&r suspension and exhaust makes my face look happy. Let’s hope this trend continues into future releases. 😃
-
In 2014 my daughter was gifted (not be me or any member of my family) a used 2006 Pontiac G6 retractable hardtop right before I helped her relocate to Southern California. When the top was up it had a usable trunk, but some genius bean counter didn’t think the trunk lid needed an old fashioned manual keyed latch release. This caused a problem when the body control module that monitored whether or not the top was up and latched decided that it wasn’t even though it was and then disabled the power trunk release effectively holding everything we were carrying back there hostage. We discovered this when we reached the motel in Flagstaff AZ which required us to sleep in our clothes that night because we couldn’t get our suitcases out. The next morning I found instructions online on how to remove an access panel on the passenger side of the center console, unplug the main body wiring harness connector and jump the trunk release solenoid to ground with a paper clip. Before returning home I made sure she was well versed in doing that.
-
I could see this coming years ago when my sons and I were still attending the Chicago Auto show every year and not just with GM. When the only car Chevrolet sells today is the Corvette and when potential North American customers who are interested in an affordable compact or midsized sedan have exactly zero non Asian makes to choose from, something is seriously amiss and it’s most likely at the top of GM’s food chain. If I had to put my finger on exactly when it happened, I’d say it was probably the intentional outcome of the big shakeup about fifteen or so years ago that killed Pontiac, Saturn, and Hummer.
-
November 2025 Round 2 Product Spotlight
Radretireddad replied to Tim W. SoCal's topic in Car Kit News & Reviews
-
November 2025 Round 2 Product Spotlight
Radretireddad replied to Tim W. SoCal's topic in Car Kit News & Reviews
The ‘72 Duster is a must have for many of us including yours truly, but since it’s underpinned by the recent Demon kit, it’s going to require the same chassis corrections to look right.


