OldNYJim
-
Posts
249 -
Joined
-
Last visited
Content Type
Profiles
Forums
Events
Gallery
Everything posted by OldNYJim
-
 I was thinking today about how, in literature, they have the ‘canon’ - a list of books that are considered must-reads and important works that have stood the test of time. That got me to thinking…what are the must-build classic kits that a builder attempting to know kit history and consider themselves ‘well read’ should build in their lifetime? Not necessarily just easy to build kits that fall together, or kits that we personally could build often, but ones that are important somehow to the landscape of scale modeling? I’m thinking, say, the Red Baron (probably one of the best selling kits of all time), or maybe the Revell 32 Fords, or the AMT 40 Ford or the old Revell double kits or…. ?♂️ I’d be interested to know which kits people here consider to be not just GOOD kits, but CLASSICS?
 -
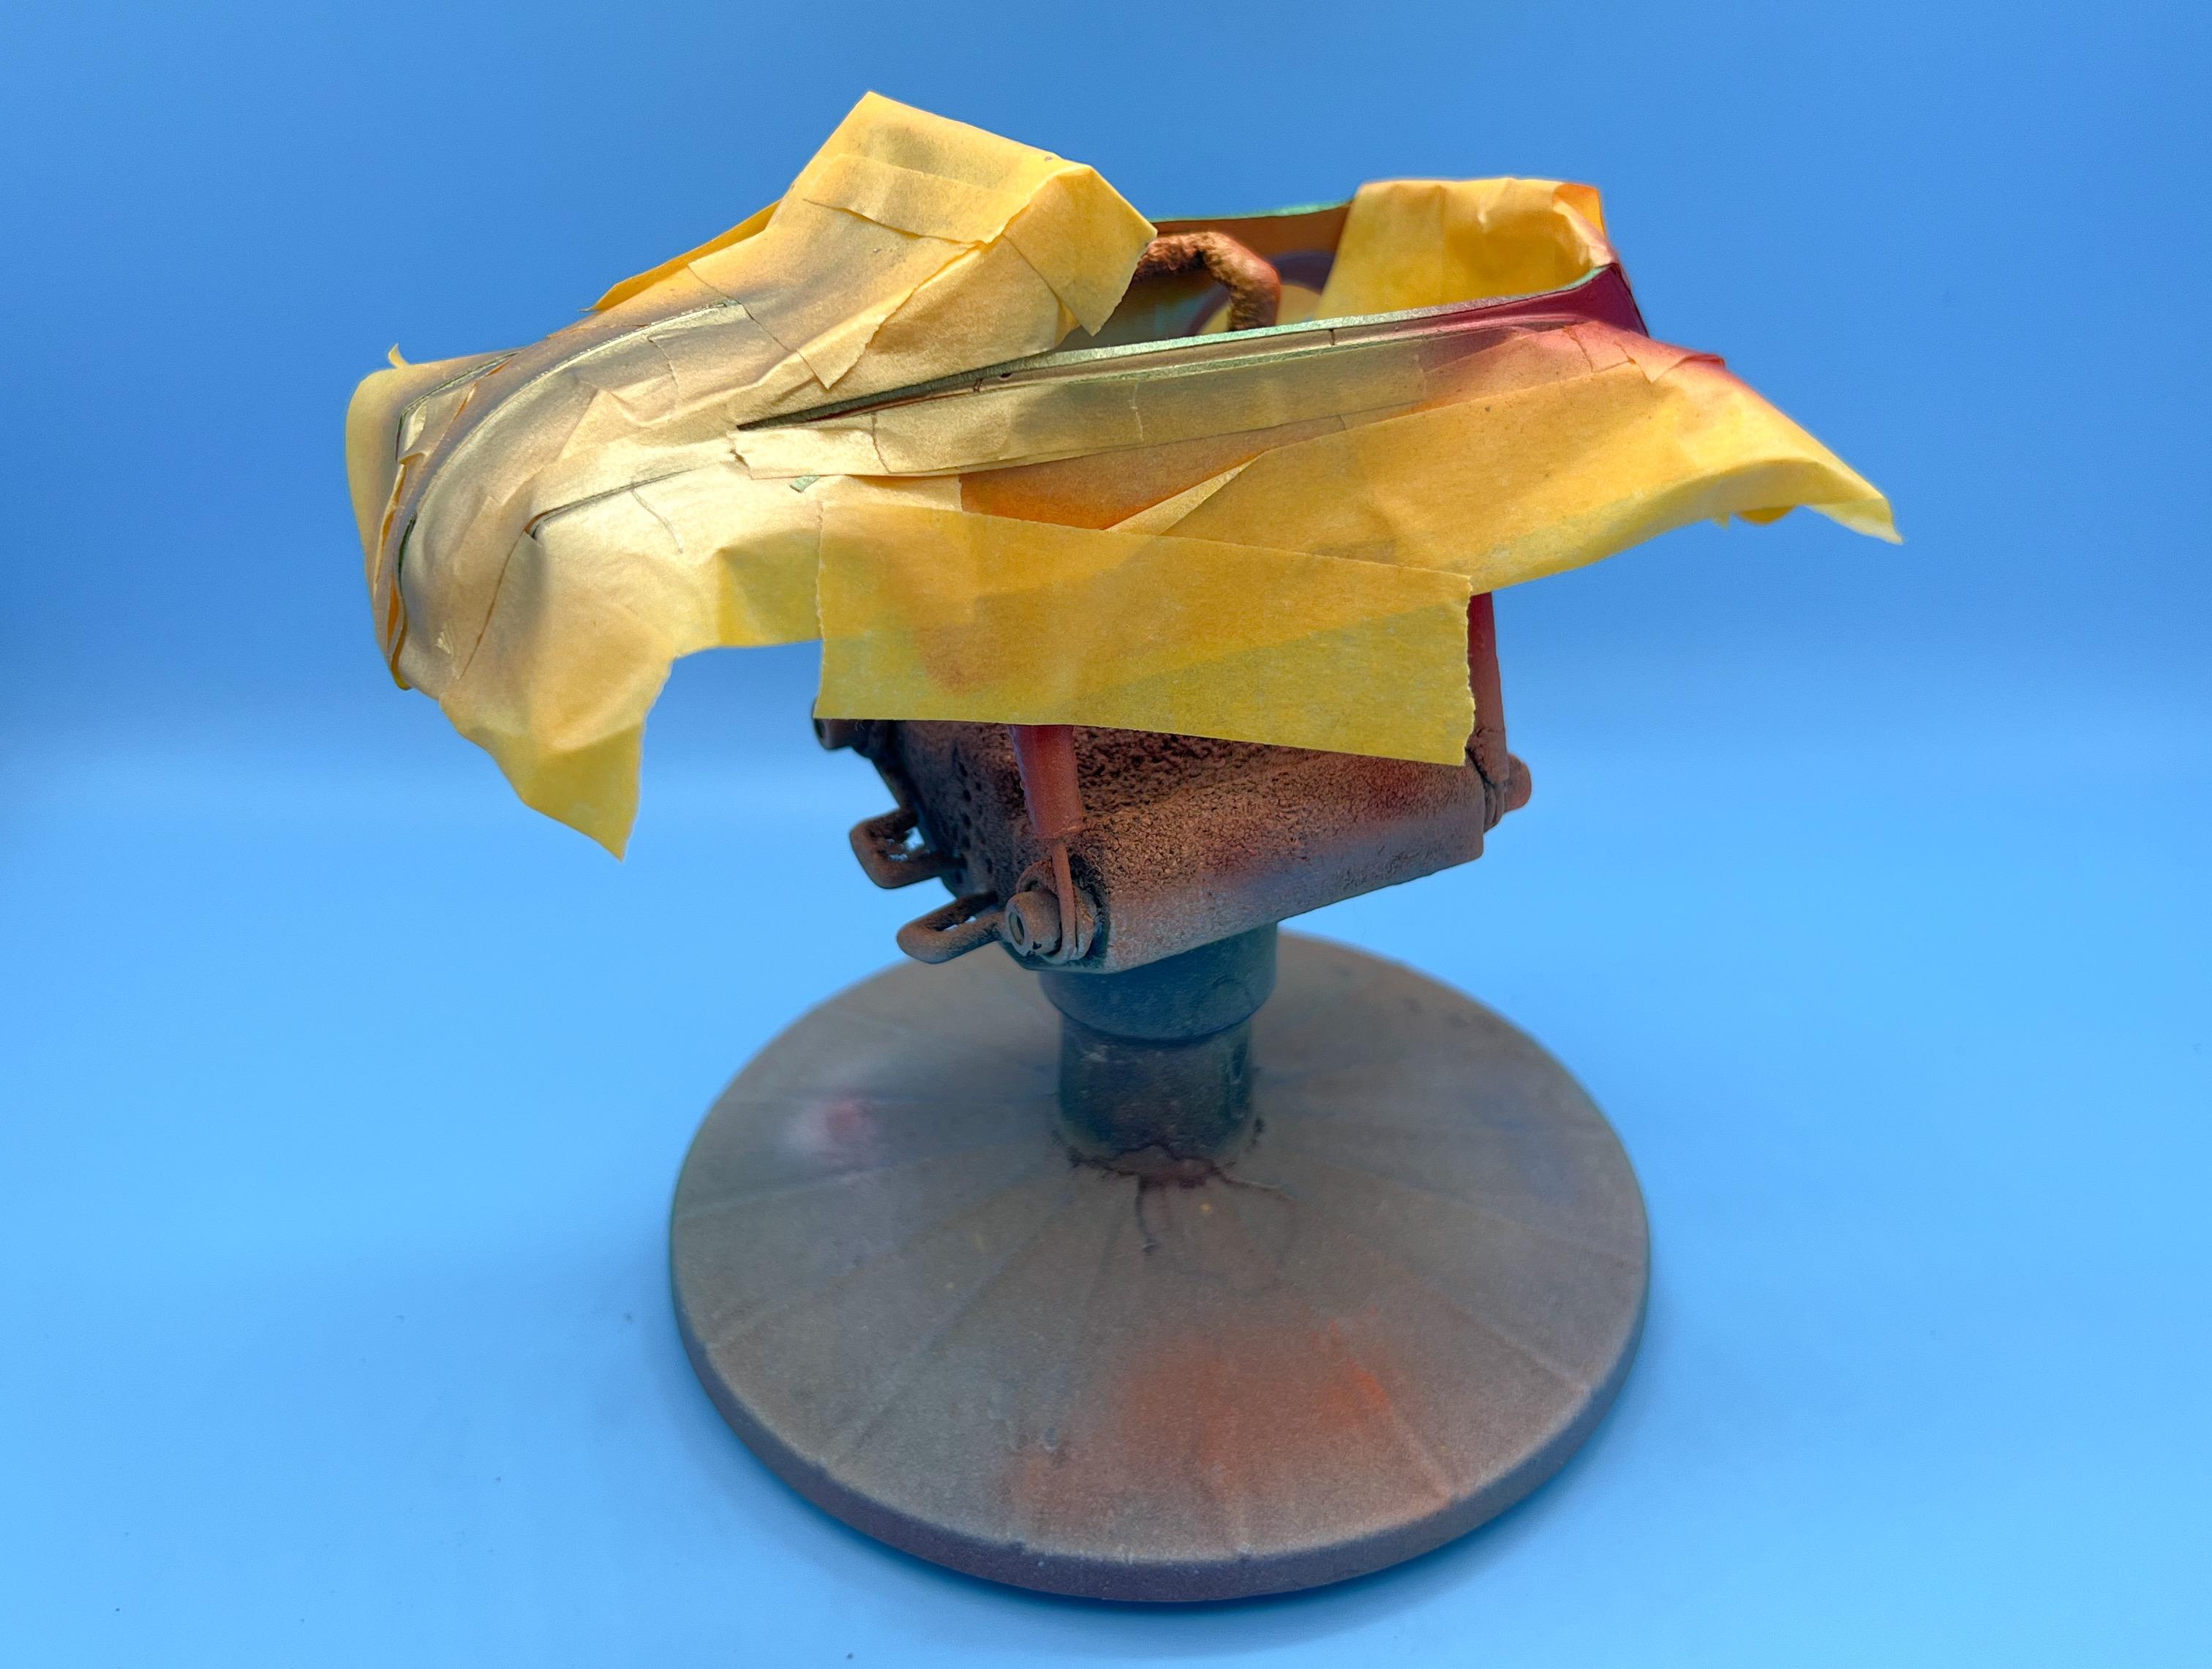
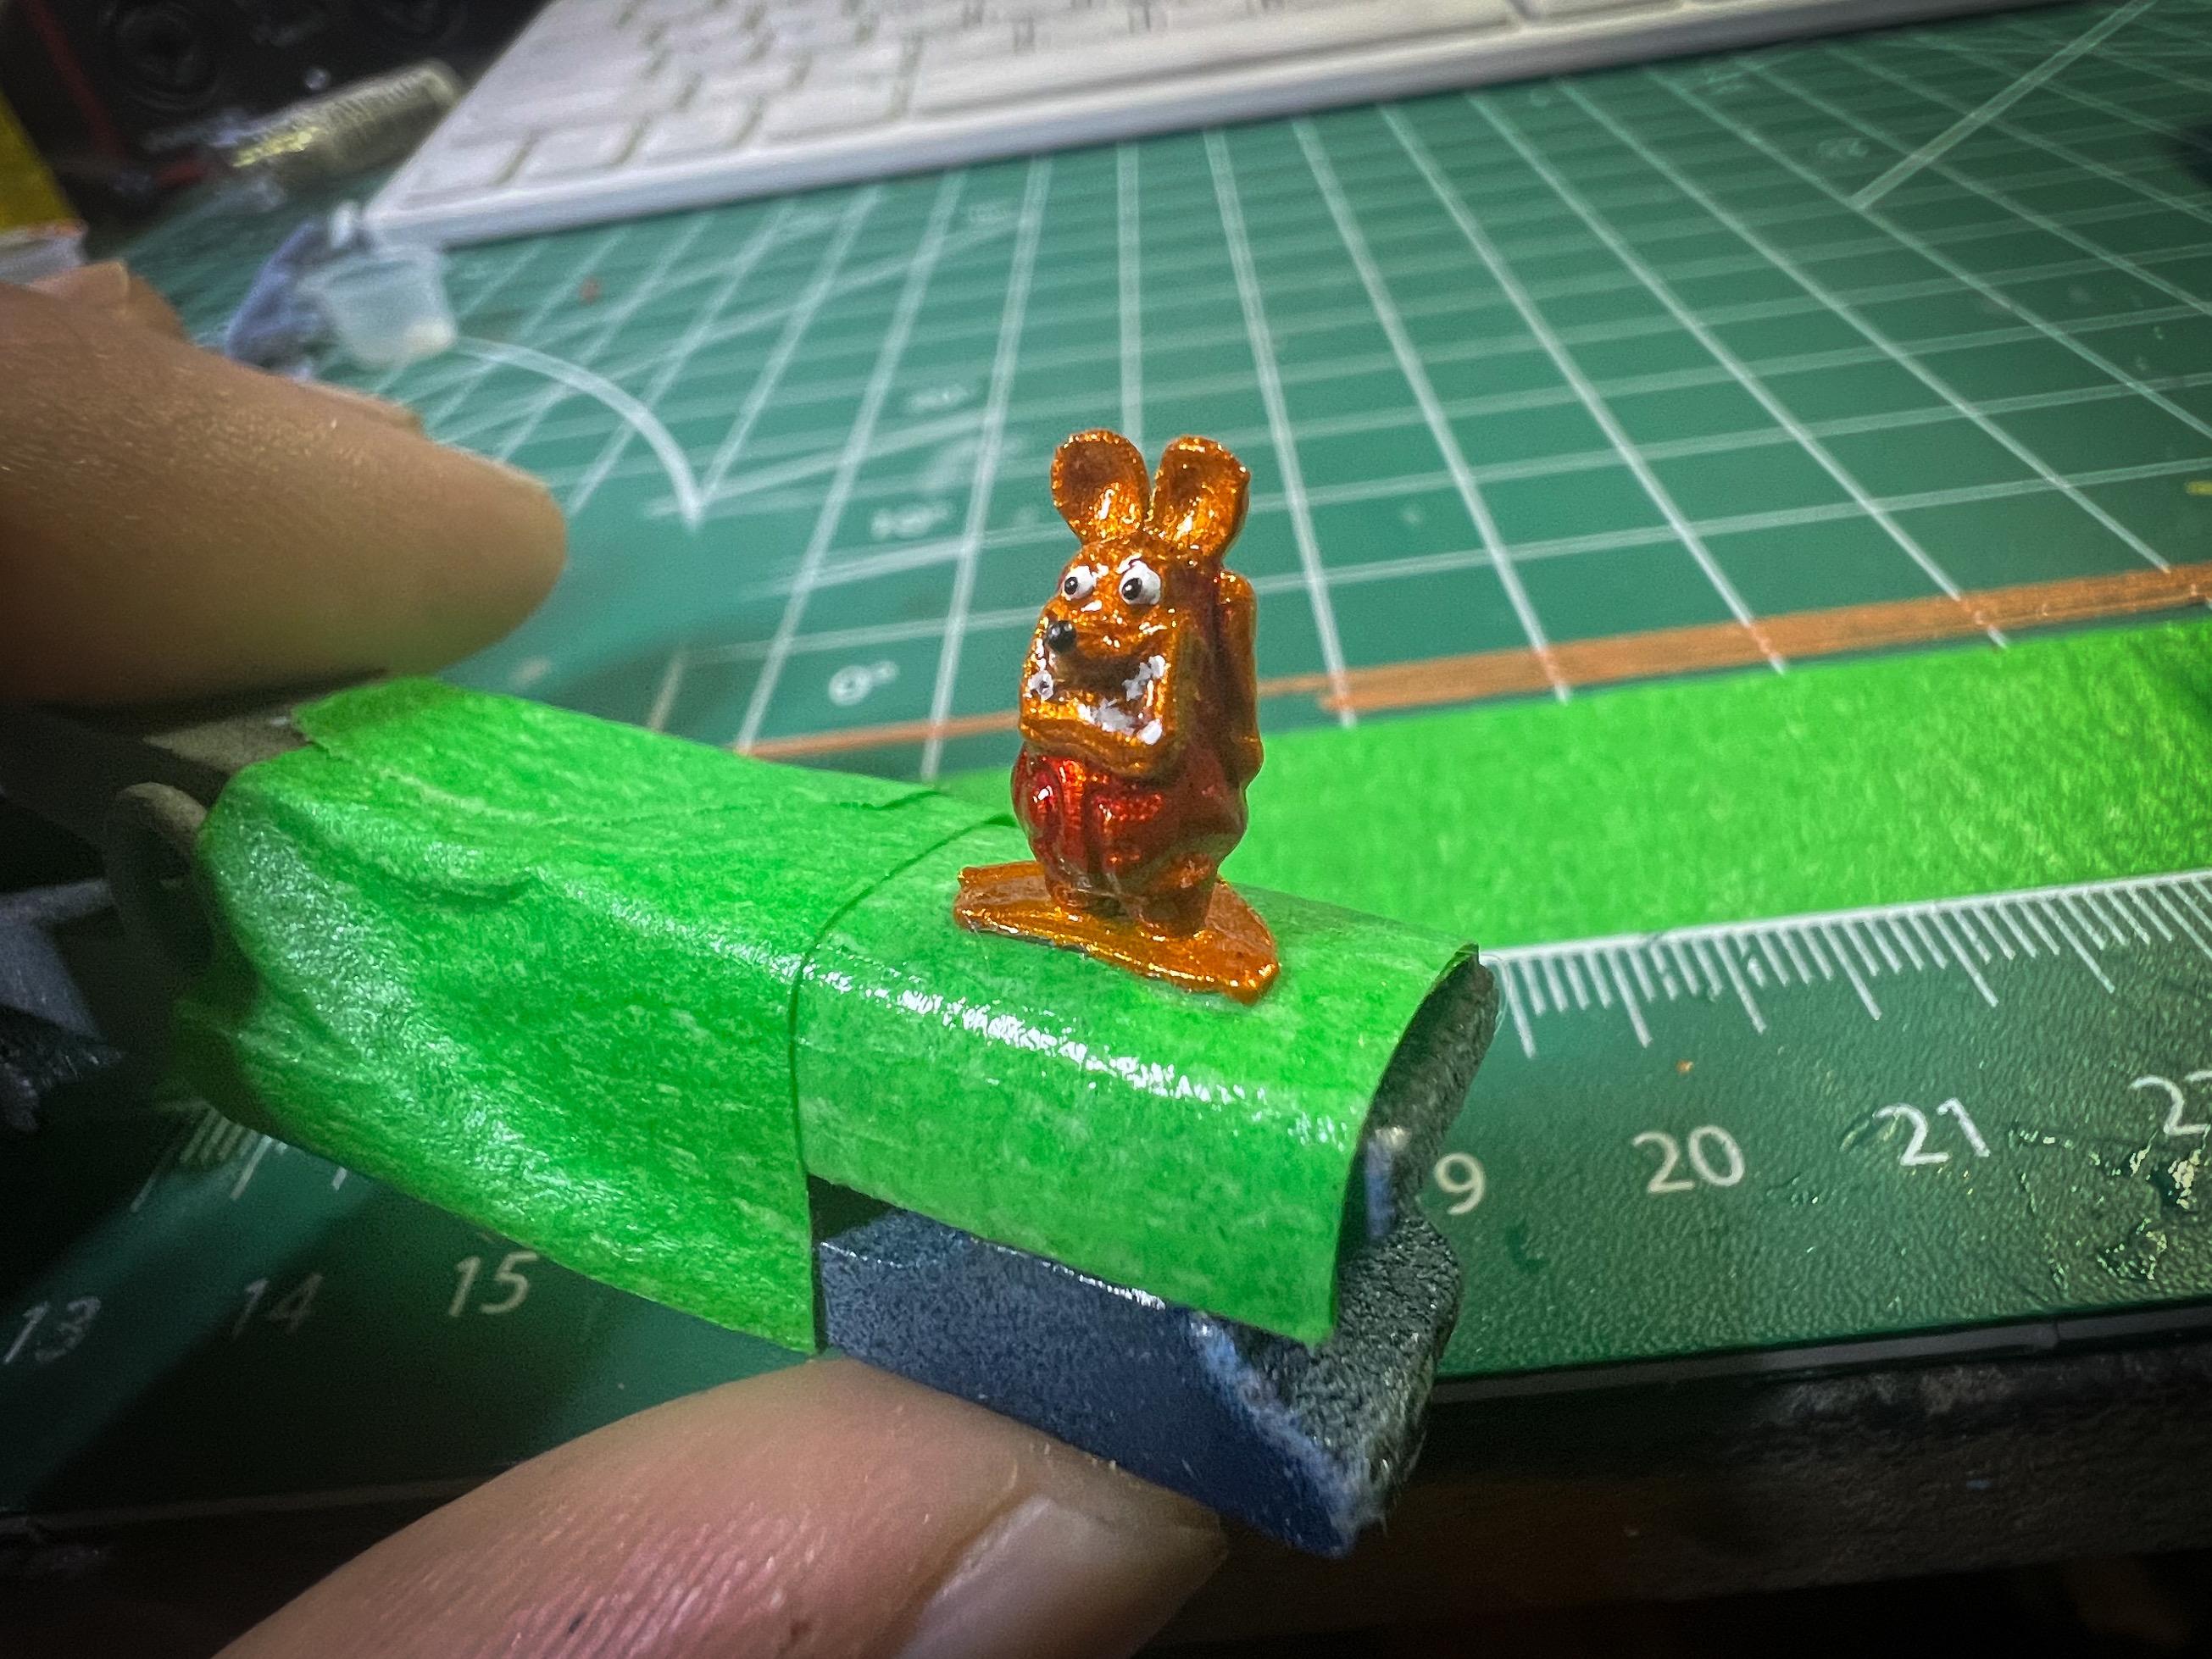
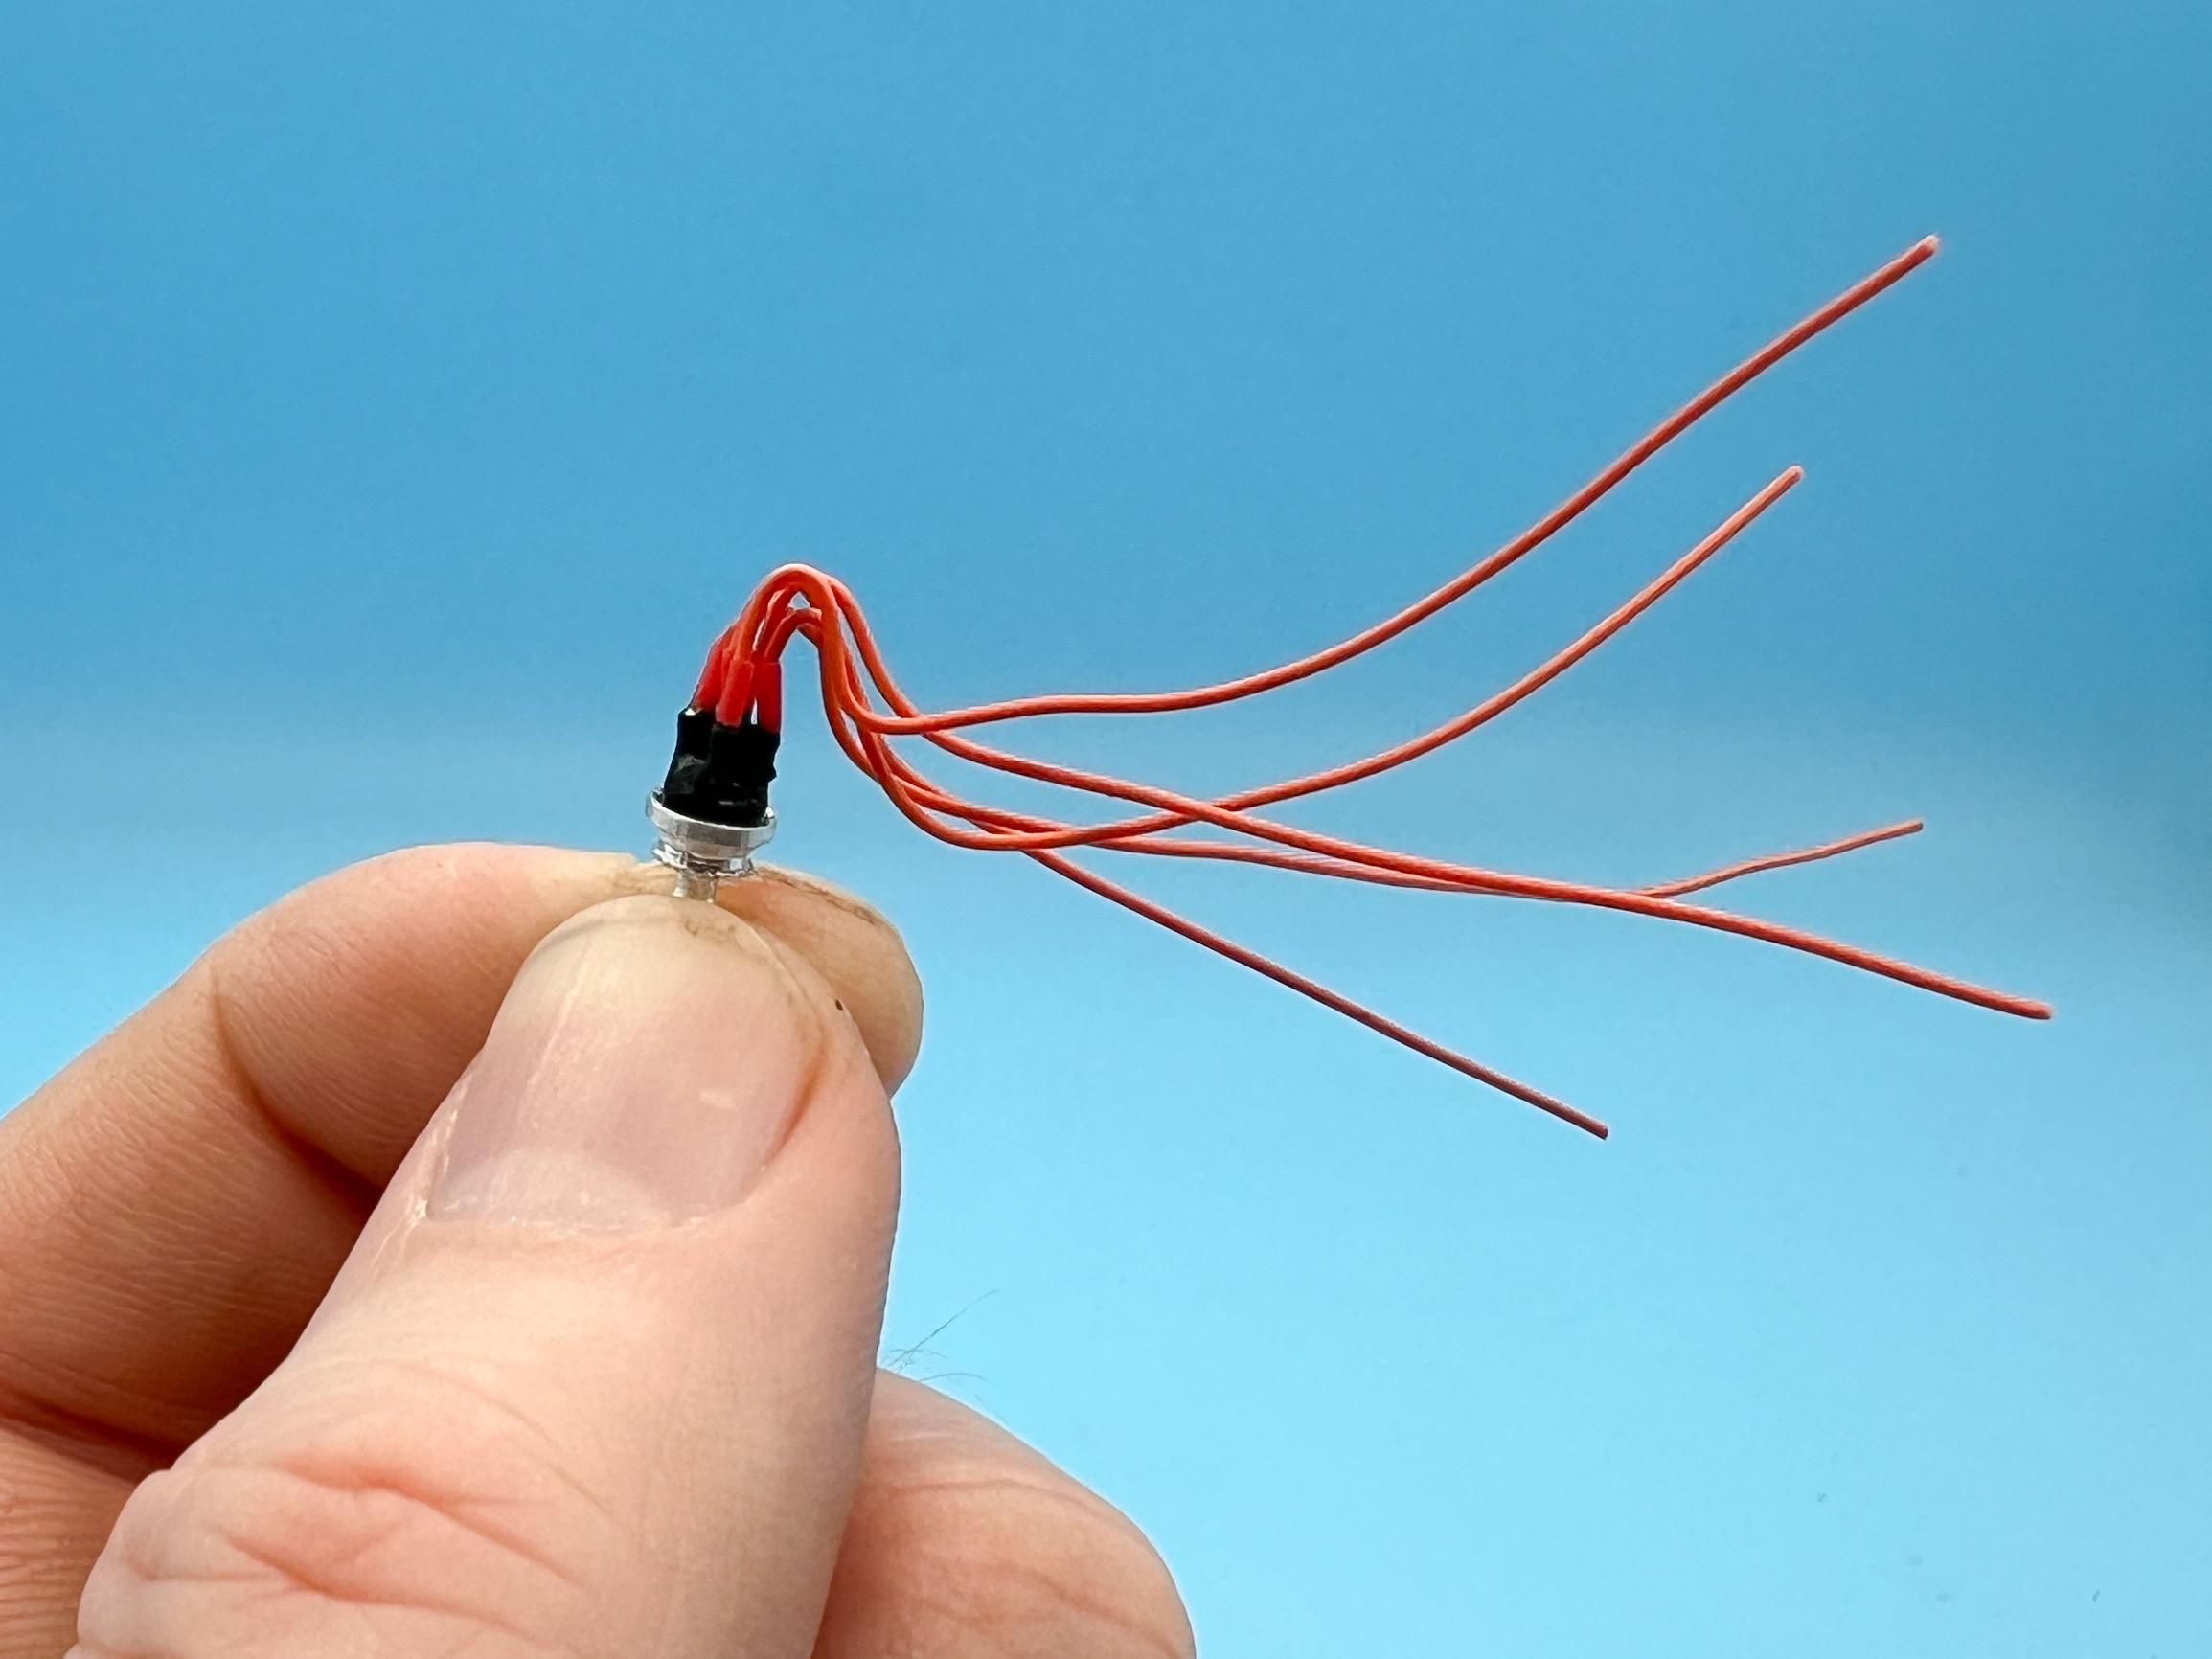
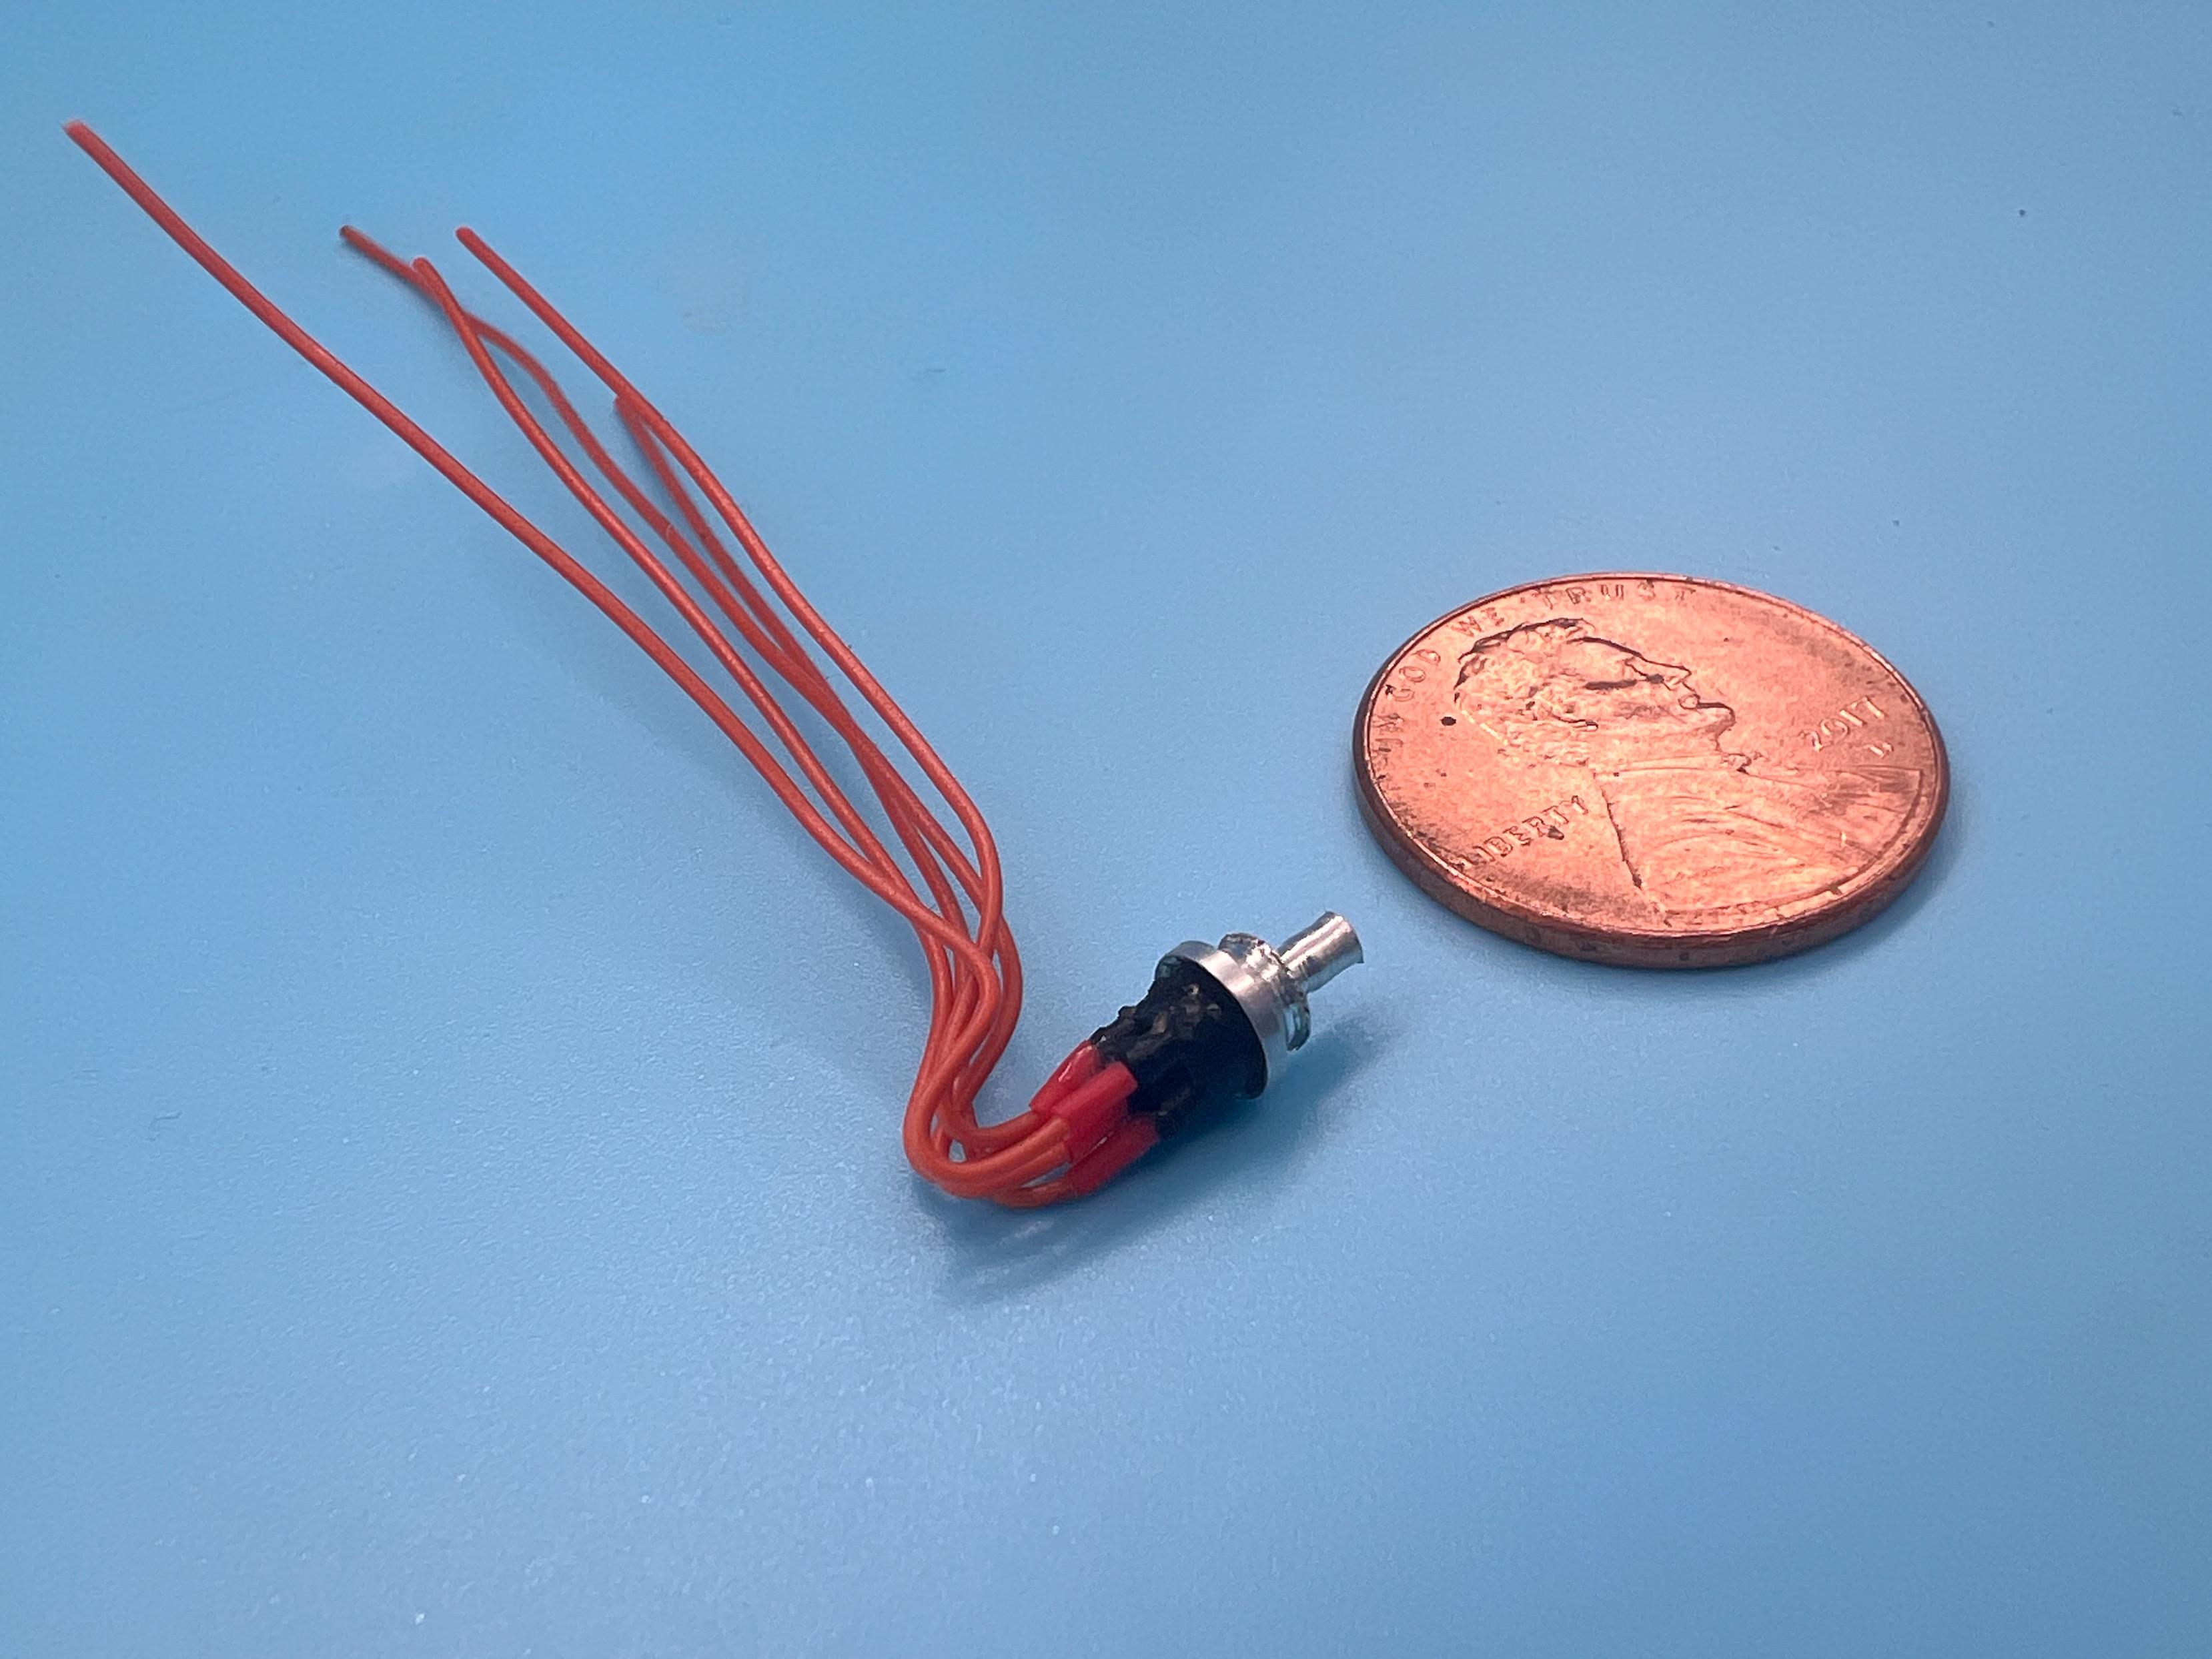
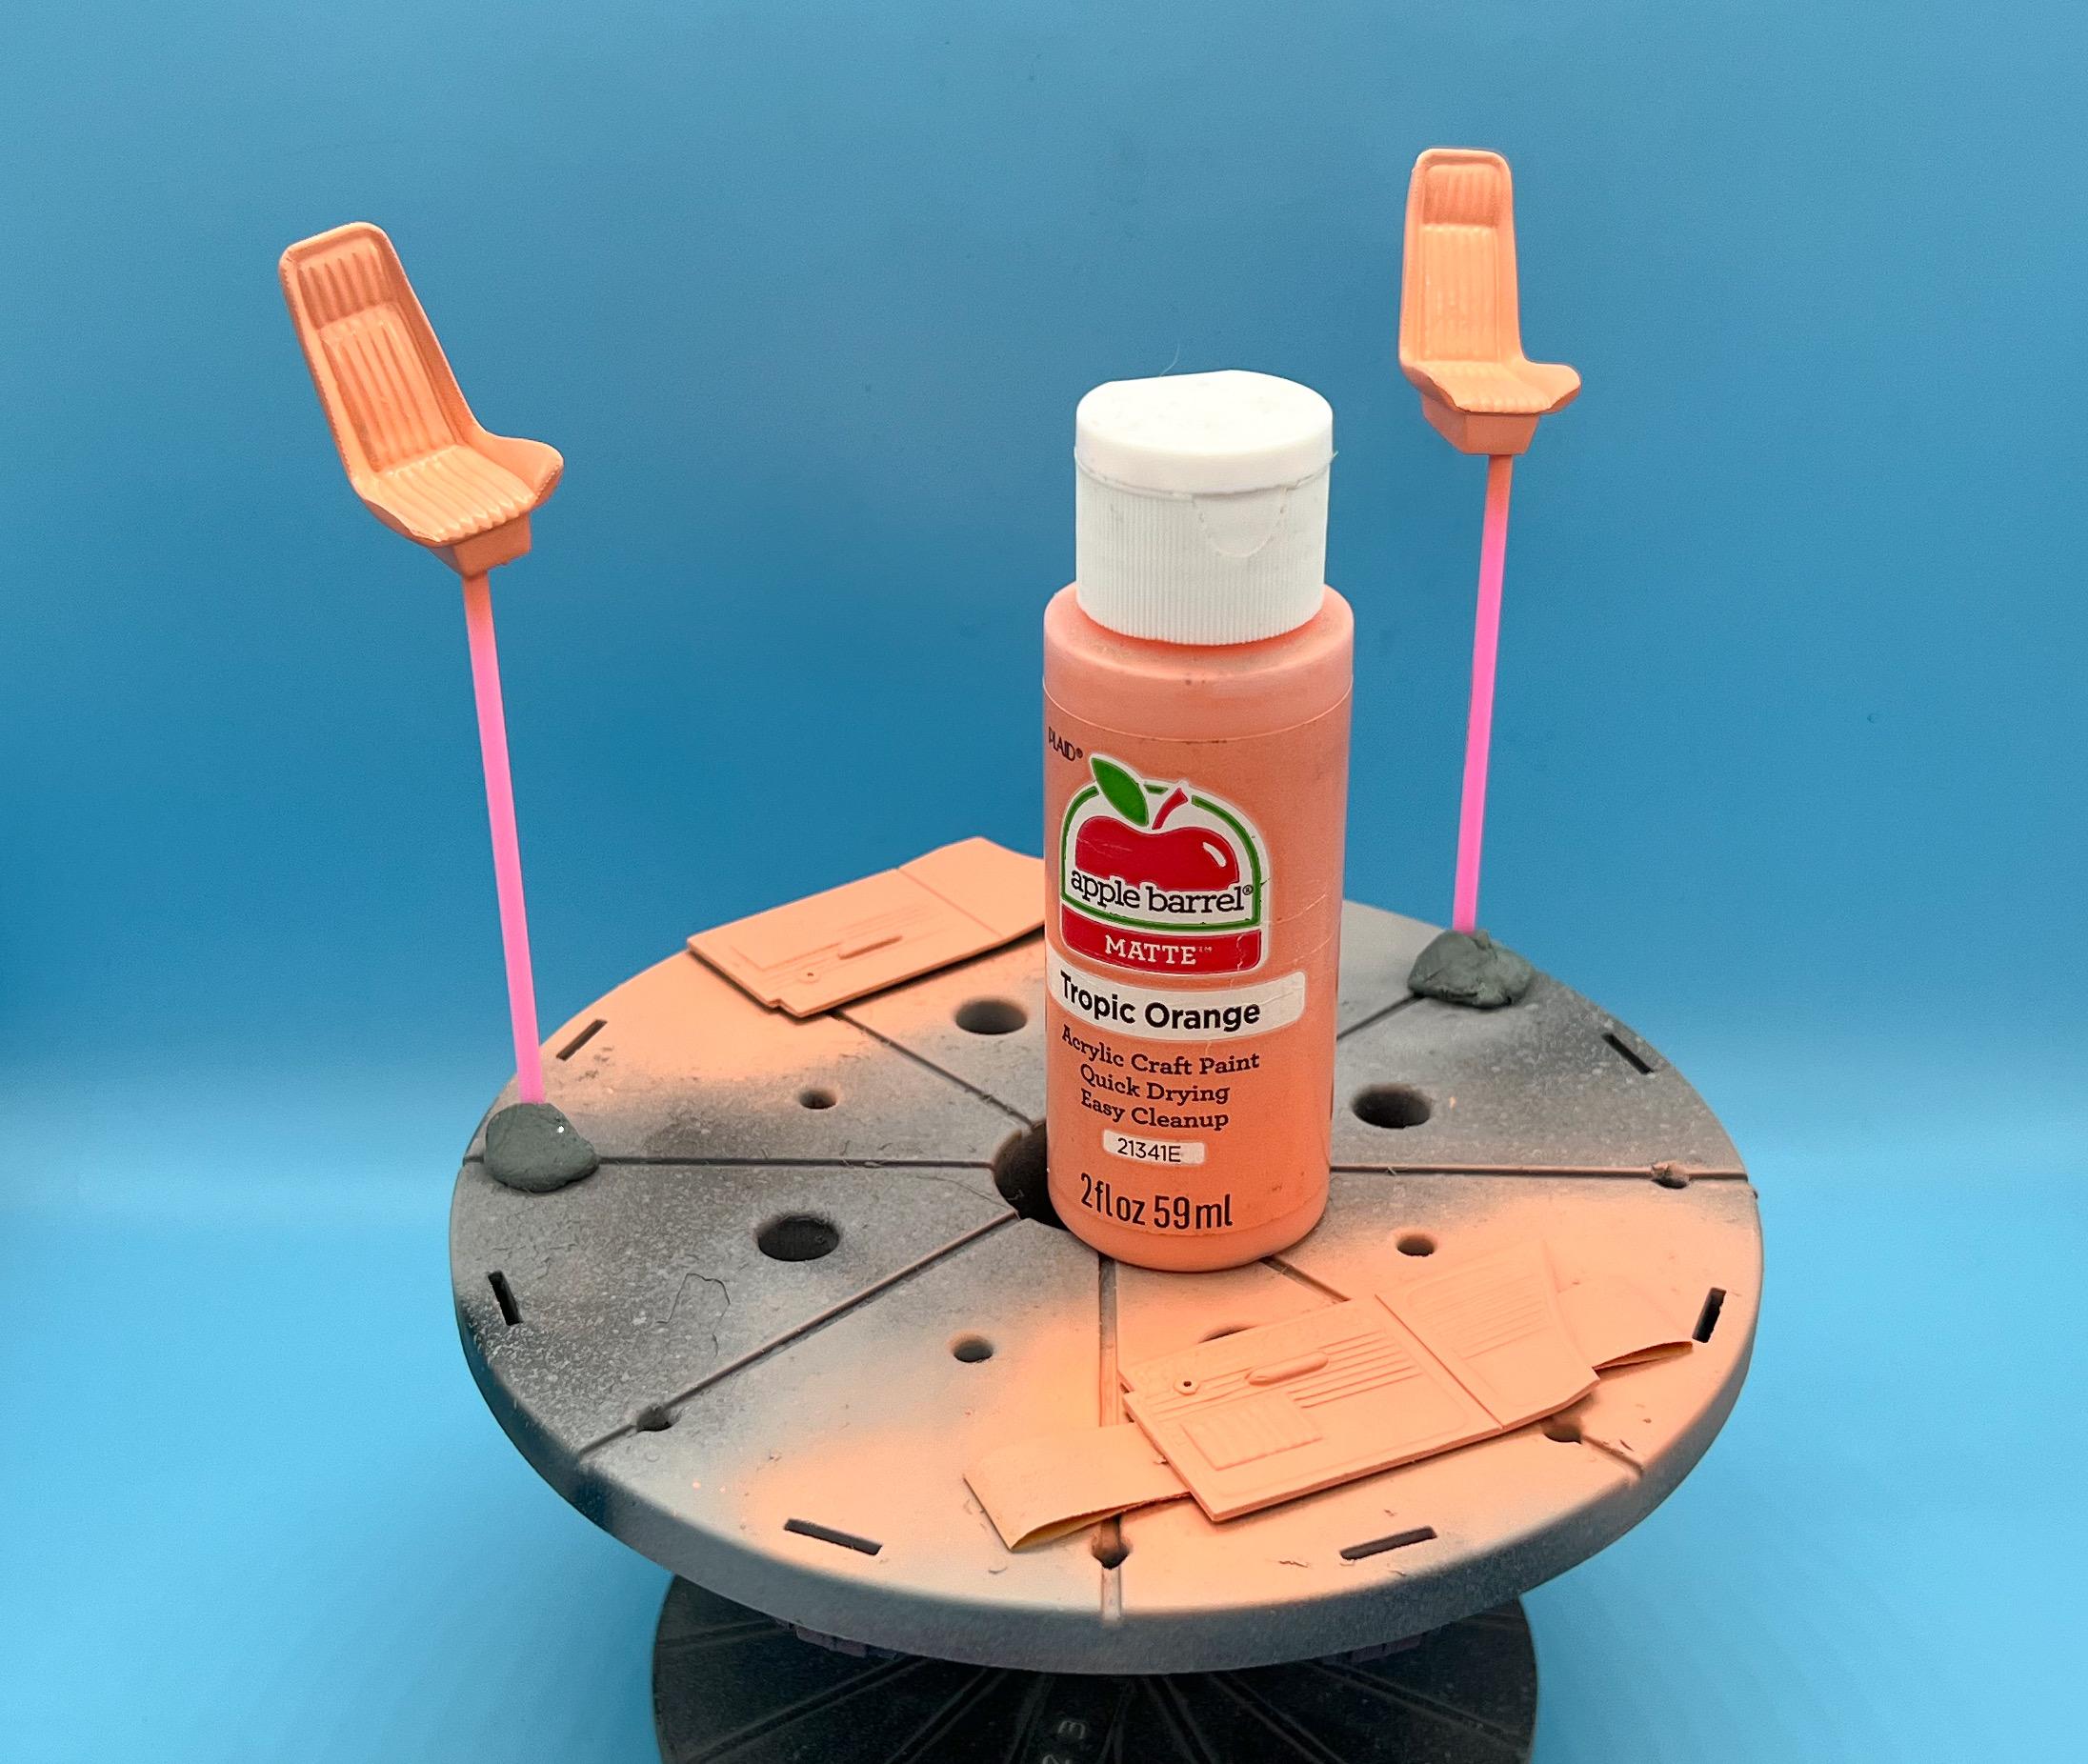
Thanks Bob! And thank you David! I’m only getting a lot done because it’s the weekend ? A little more today…felt brave enough to mask on the body so I laid down the next few little bits of detail painting…I’m not going WILD on this one, but had a couple of little touches I wanted to add… All masked and ready: All I’m doing here is adding a couple of little highlights…a couple of small scallops coming off the top of the headlamps, painting a stripe on the hood and adding a little strip of gradient along the sides… Paint shot! And some careful de-masking later… Nothing too crazy, just a couple of little touches… Whilst I was painting, I 3D printed a tiny Ratfink and shot him in Wicked Color silver then candy orange, and whilst that was drying shot the fabric roof cover with some craft acrylic that matched the color I wanted: That Rat Fink was tough to paint…still not quite done… And after I didn’t feel like painting any more today, I did some more work on engine parts…the kit distributor looks undersized to me (and was going to be about impossible to wire) so I printed one and spun up a mount for it: Even the larger one I printed is still TINY, so excuse the poor photo… Got it painted, made some plug boots and got it wired ready for installation: And that’s about it for this weekend…thanks for looking - more soon, soon as I’ve done more!

-
When you see the 1:1 bike in the truck, it’s not immediately obvious just how wild the bike is too! Nice work capturing that John!
-
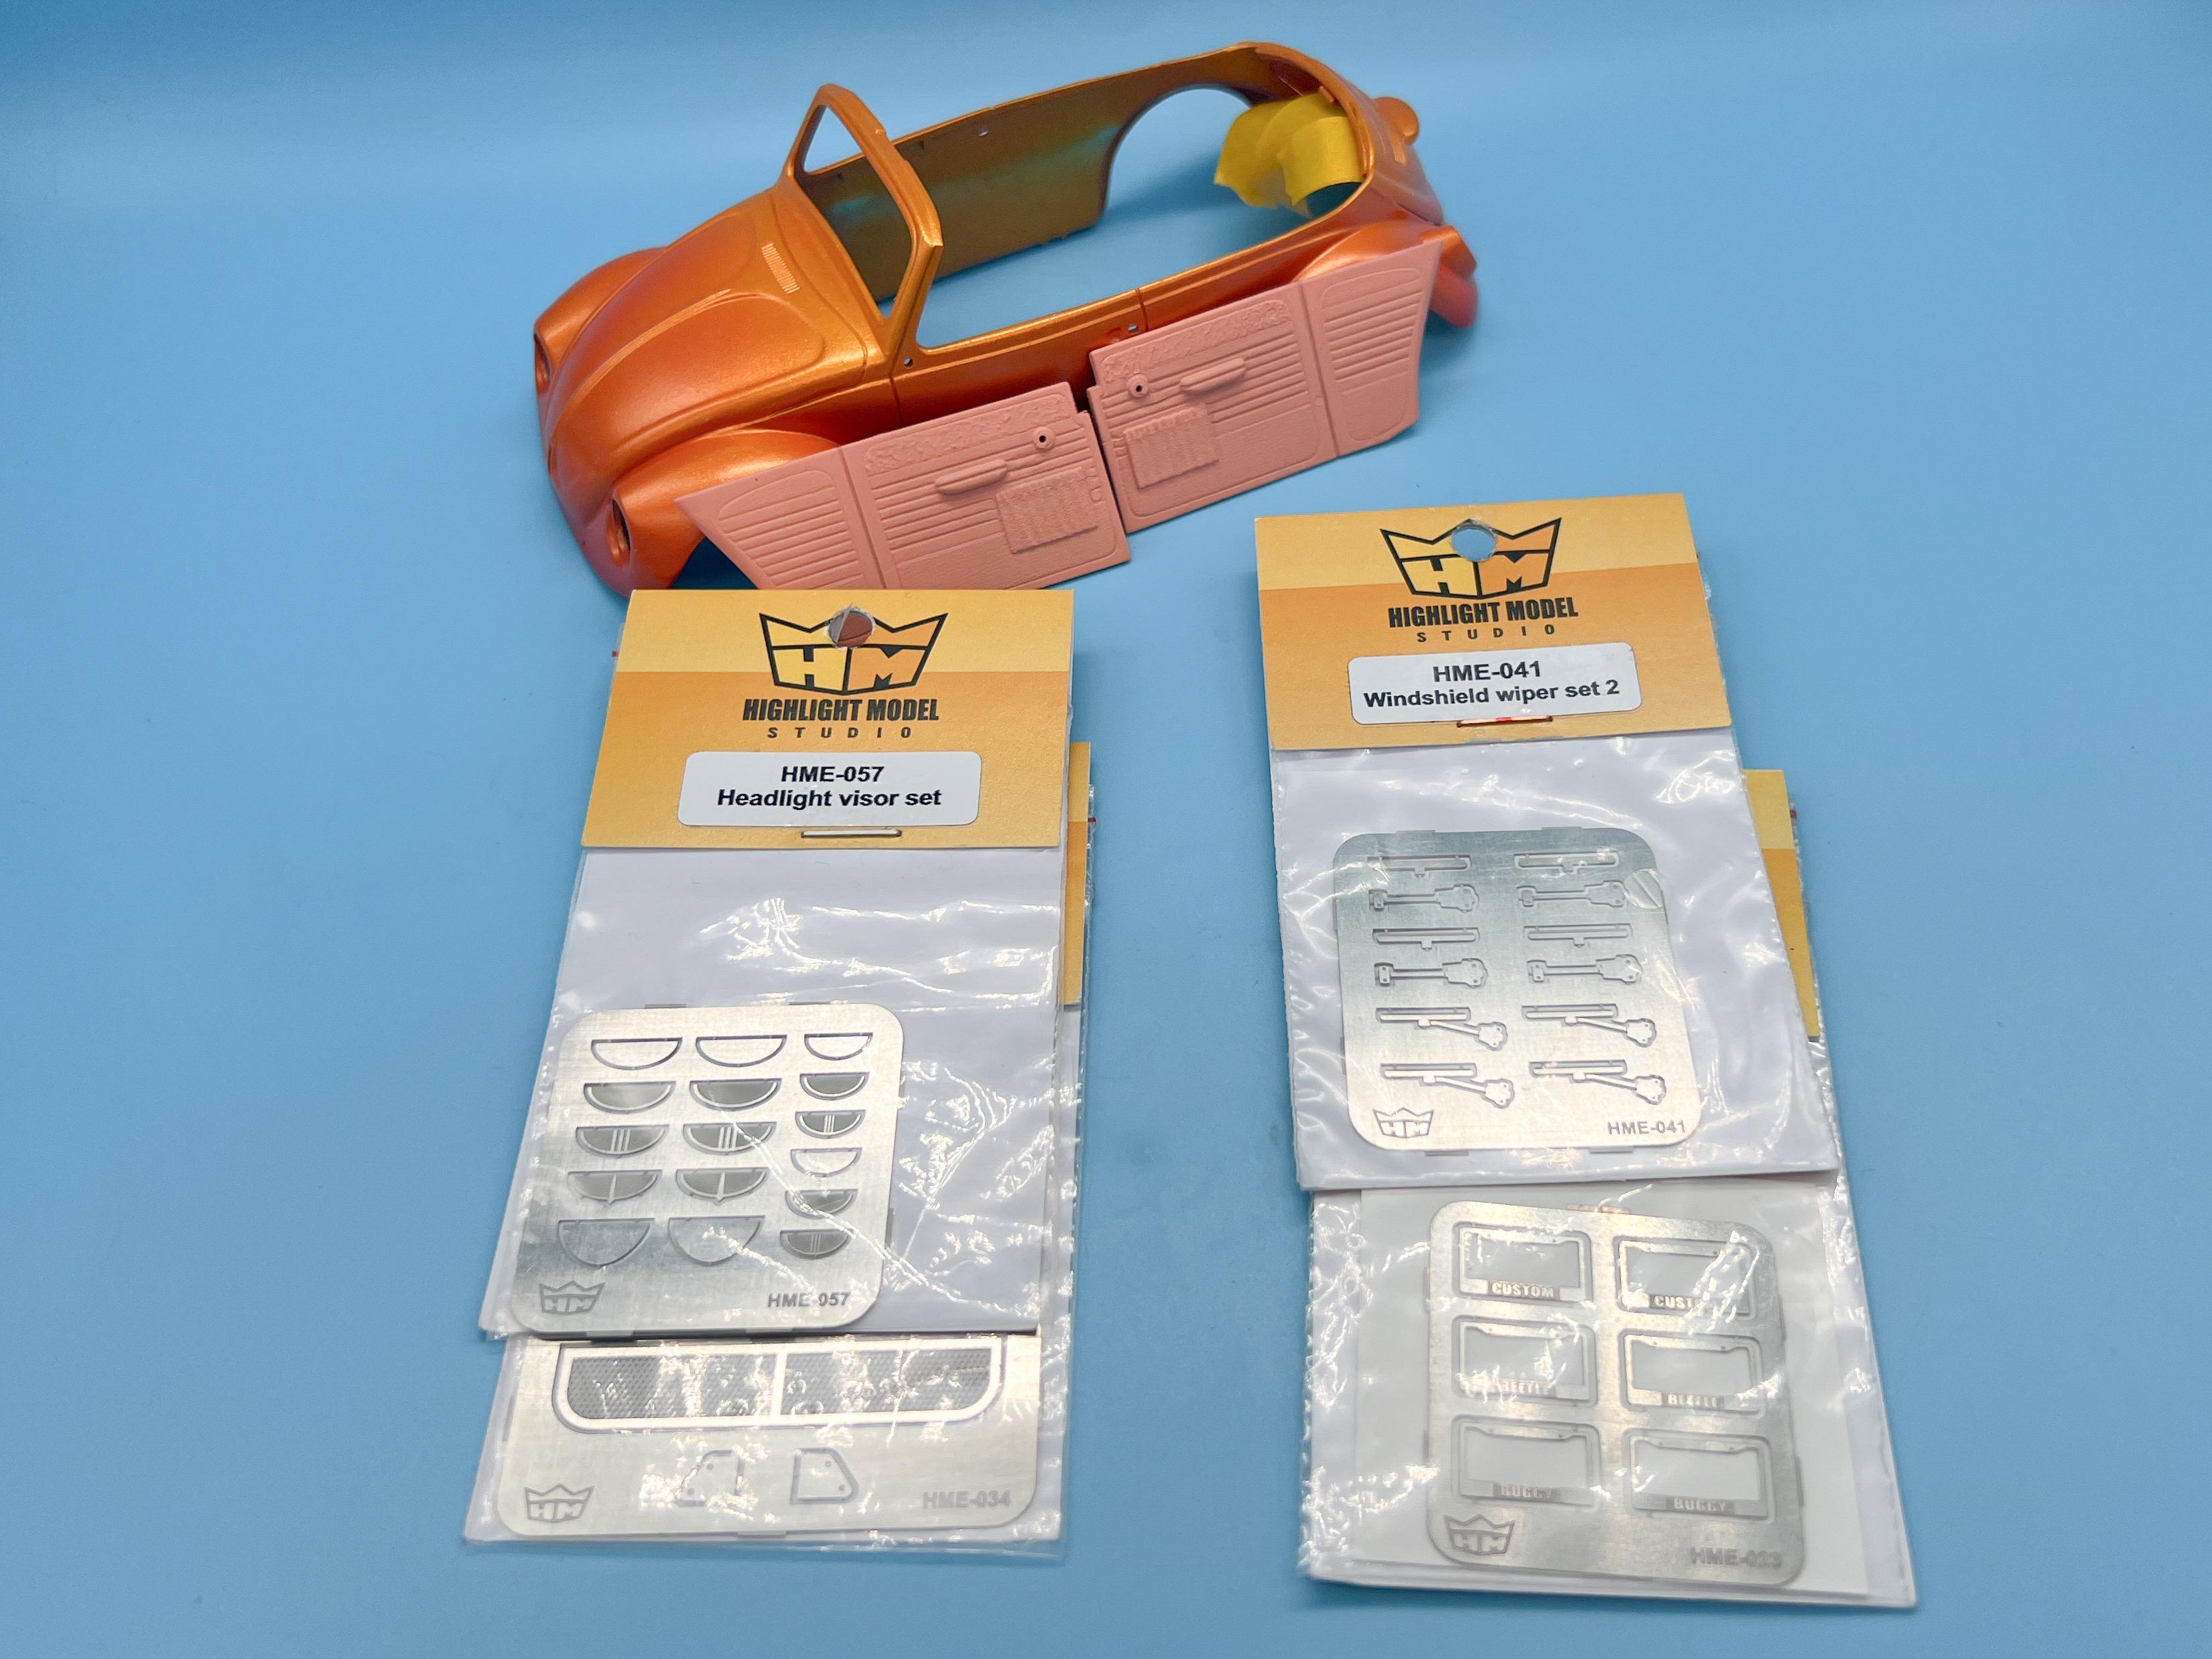
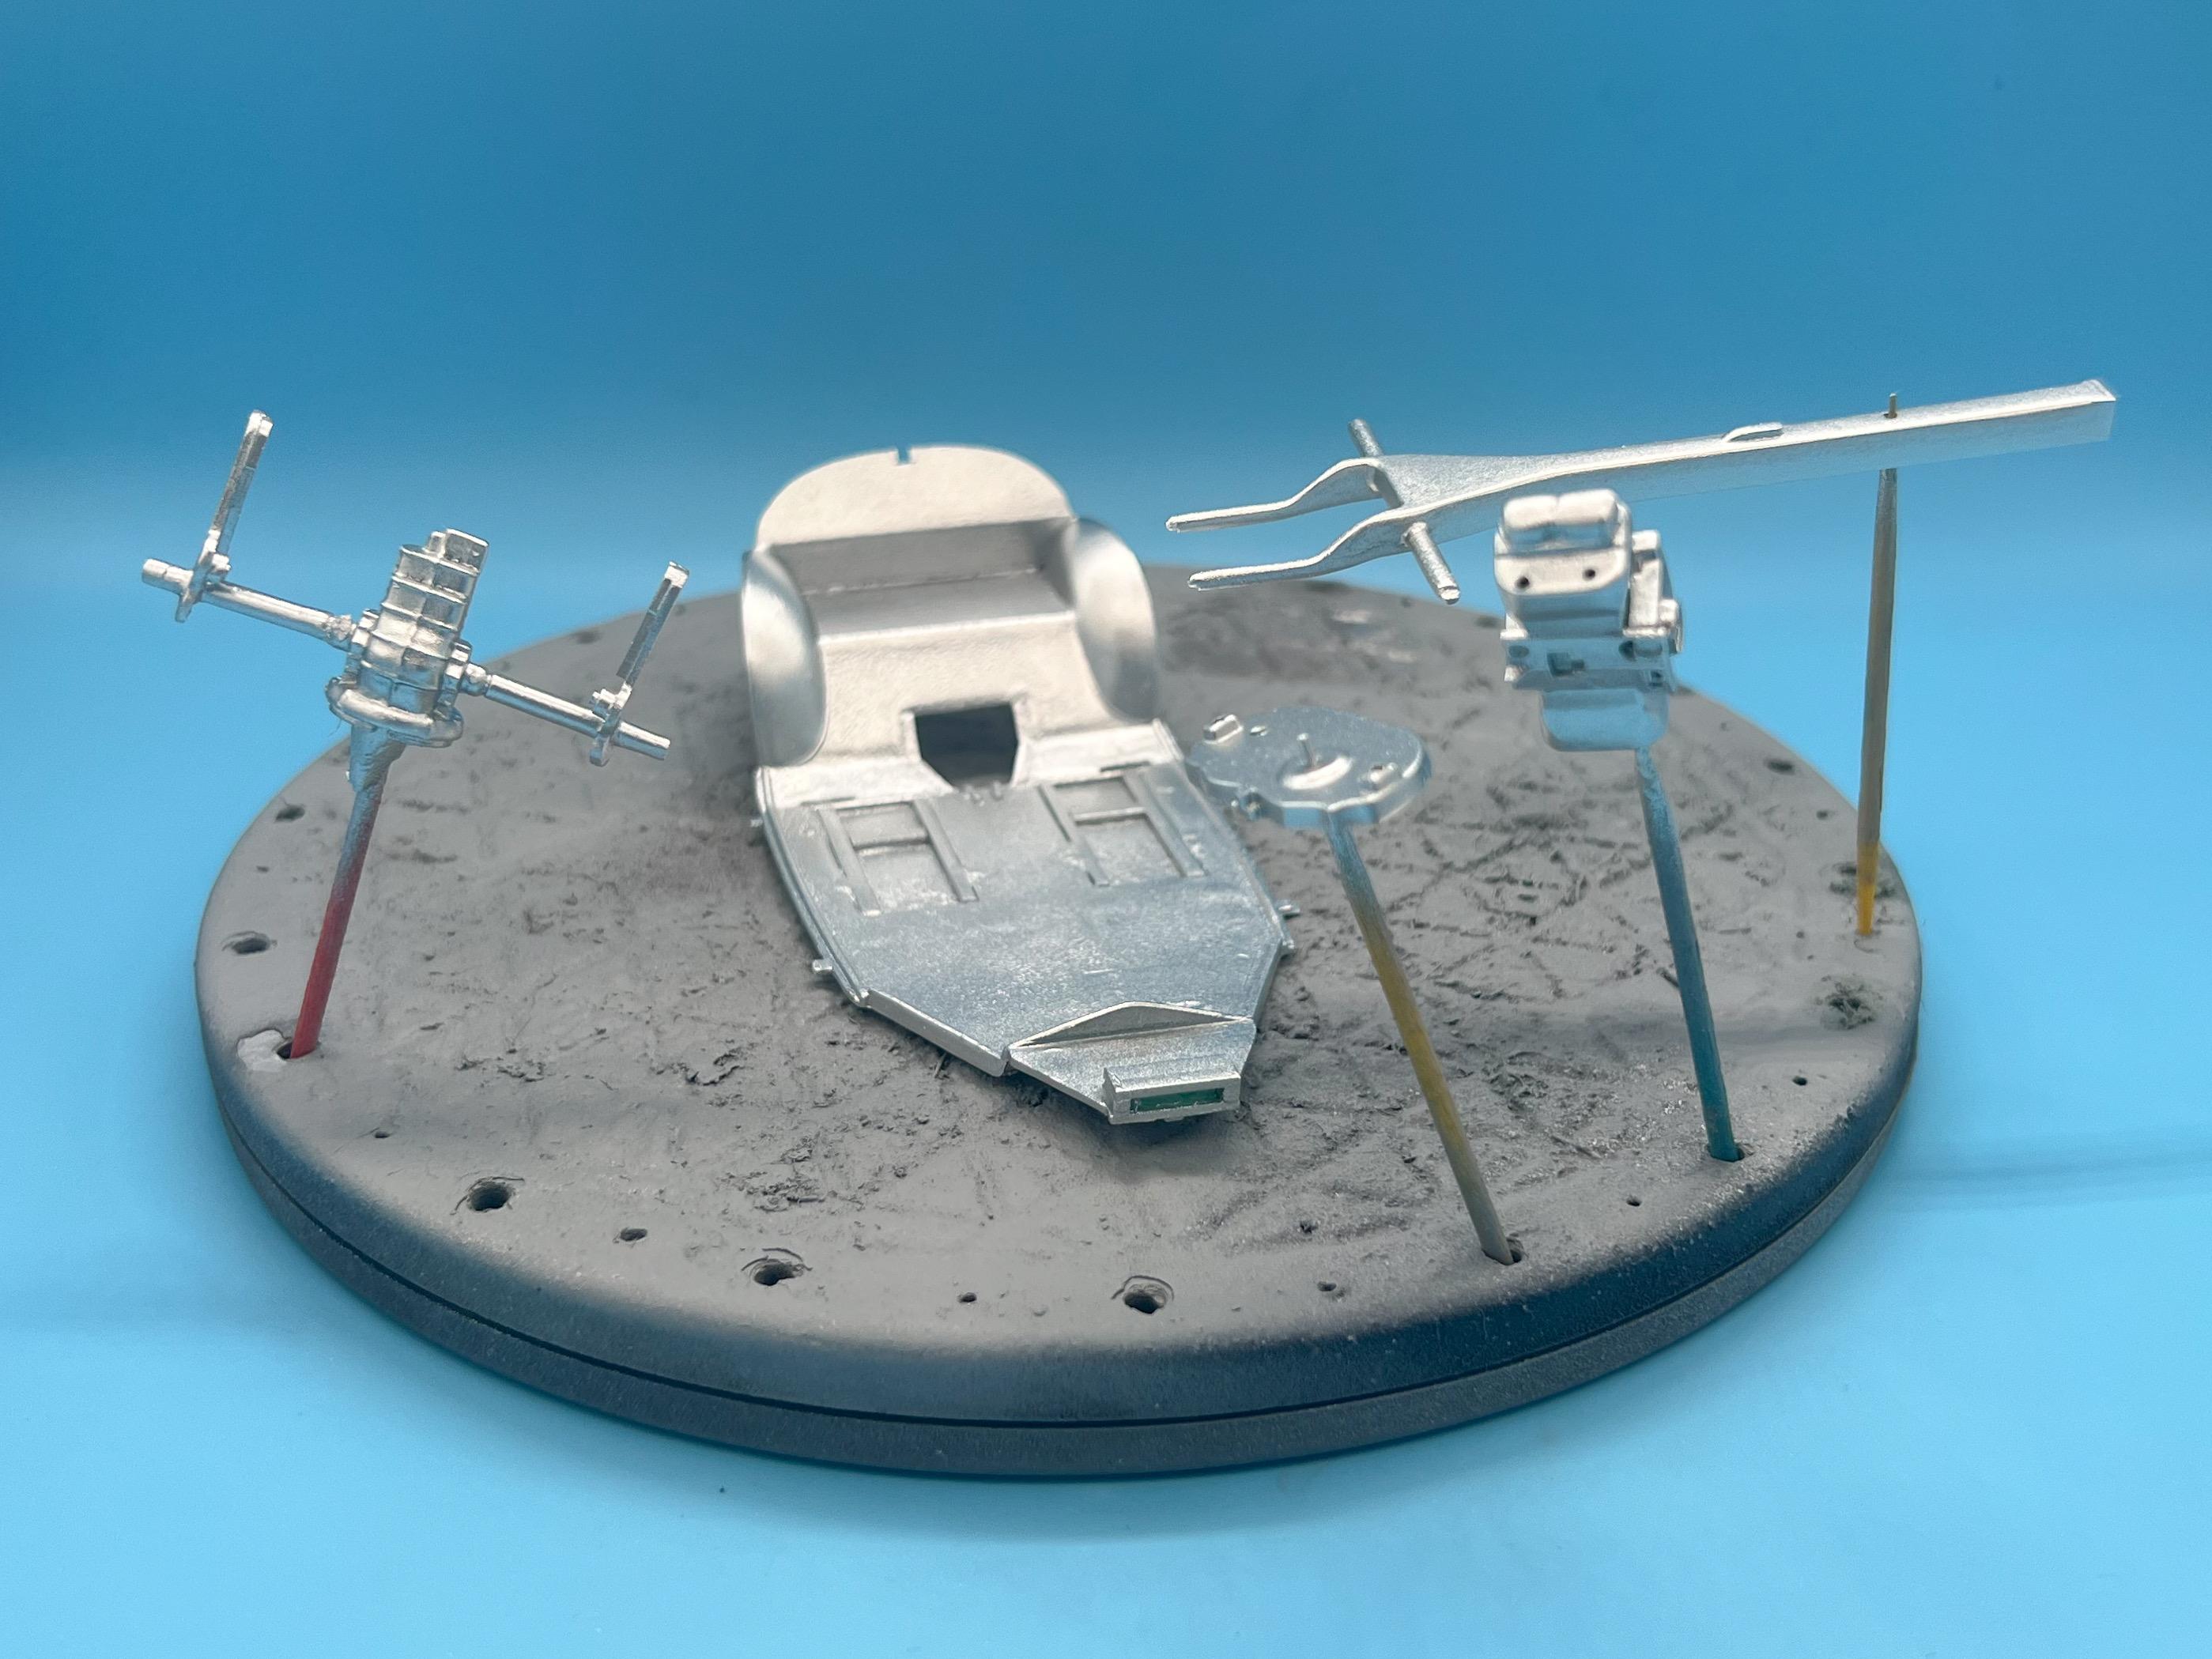
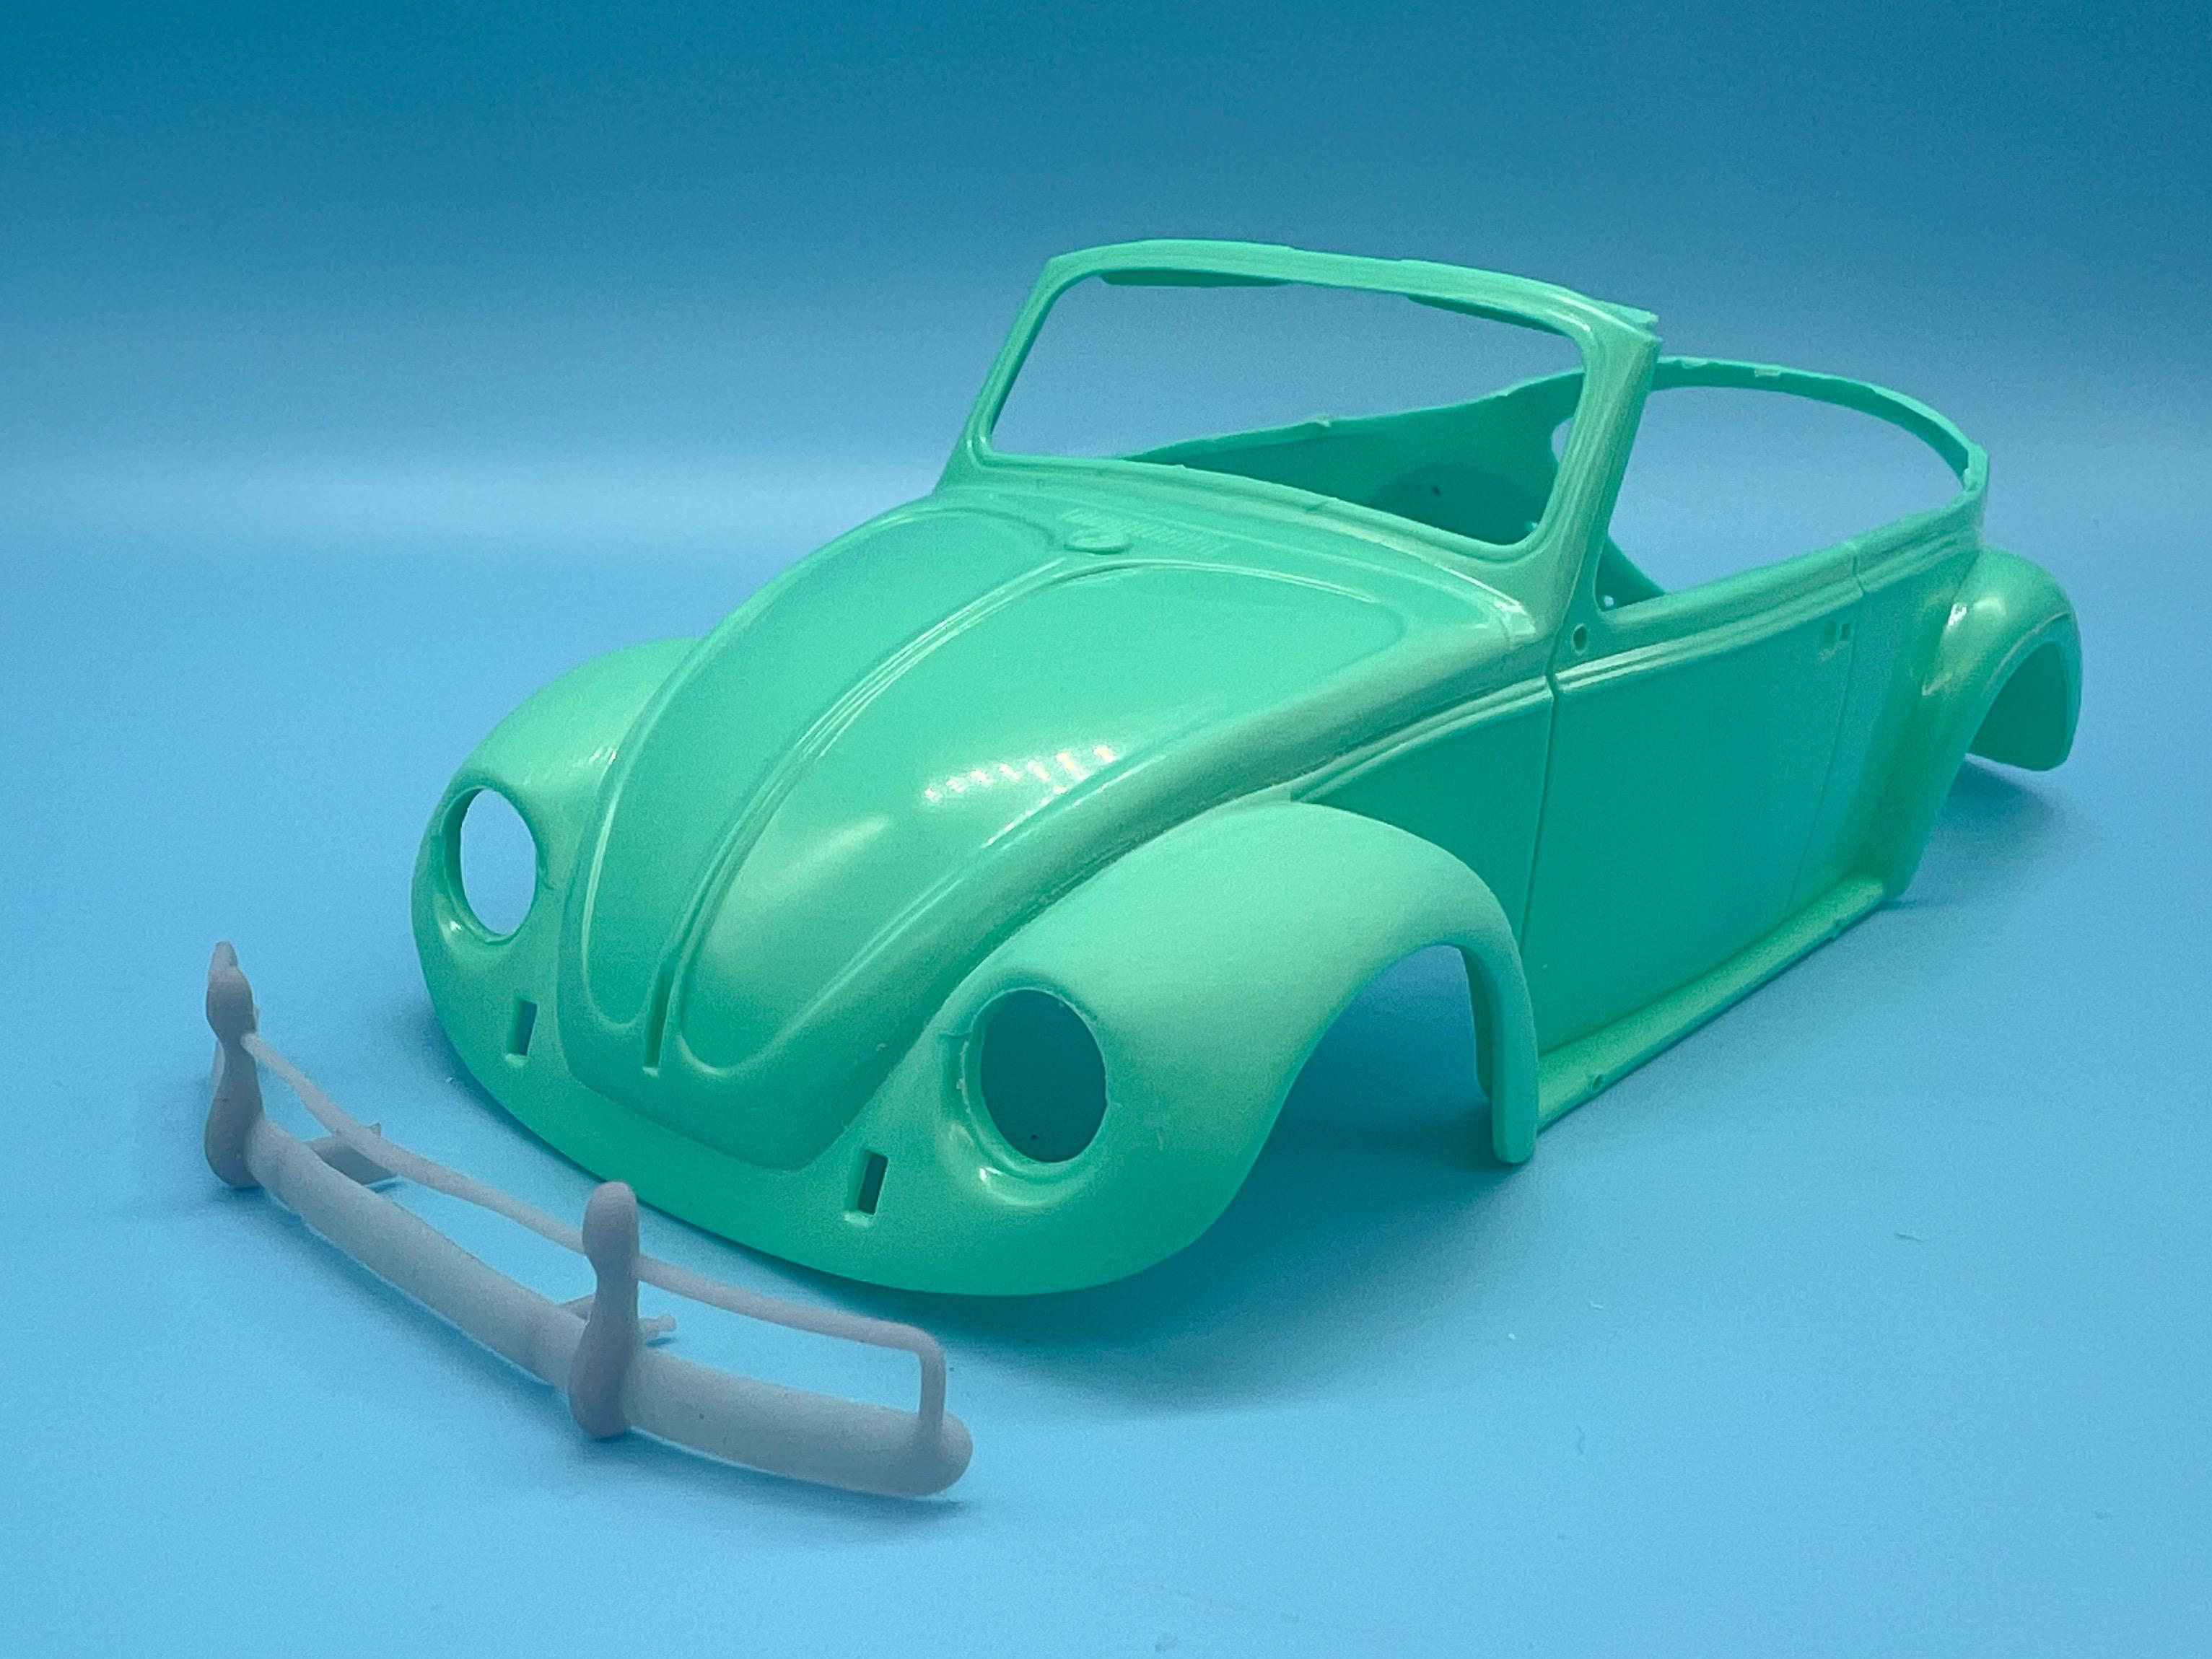
Thanks fellas! Appreciate the nice comments! So, the body is awaiting some more paint… I shot a couple of coats of intercoat just to make doubly sure I don’t end up hurting it with the next steps, but whilst that has been sitting and waiting I made some more progress… Picked out my base color for the interior and started laying it down…I originally thought tan, but decided on a nice peach to tie it to the body… These parts have a couple more colors, but they too are in intercoat purgatory… Ordered some photoetch - not all of this will end up on this build, but I’ve been slowly collecting Highlight Model Studio’s VW and Mooneyes collection… Shot a bunch of pieces in a flake silver… And then shot the same Tamiya clear orange over top: Reprinted one of the bumpers, because the first one I printed had a super-thin wall thickness and it got broken…thickened them up and made a new batch: And whilst the paint is drying on the engine block I started looking through the rest of the kit pieces and identified some areas for improvement…spun some pulleys on the lathe: Then those pulleys made the alternator (generator?) look bad, so I made one of those too: And then the air filter looked out of place so I made one of those: Not a tonne of progress since the last update, but I’ve got a bunch of stuff in primer and various parts waiting for clear so I’ll get to start making some sub-assemblies soon - exciting! Thanks for looking, more soon, soon as I’ve done more!
-
Got some nice photoetch by Highlight Model Studio in the mail - excited to get to use these! Some of them will probably end up on that Beetle they’re in front of…
- 38,867 replies
-
- 3
-

-
- johan
- glue bombs
- (and 1 more)
-
I had one of these when they were first issued (95, 96?) and completely ruined it. Glad to get a second chance at this one!
- 38,867 replies
-
- 2
-
-
- johan
- glue bombs
- (and 1 more)
-
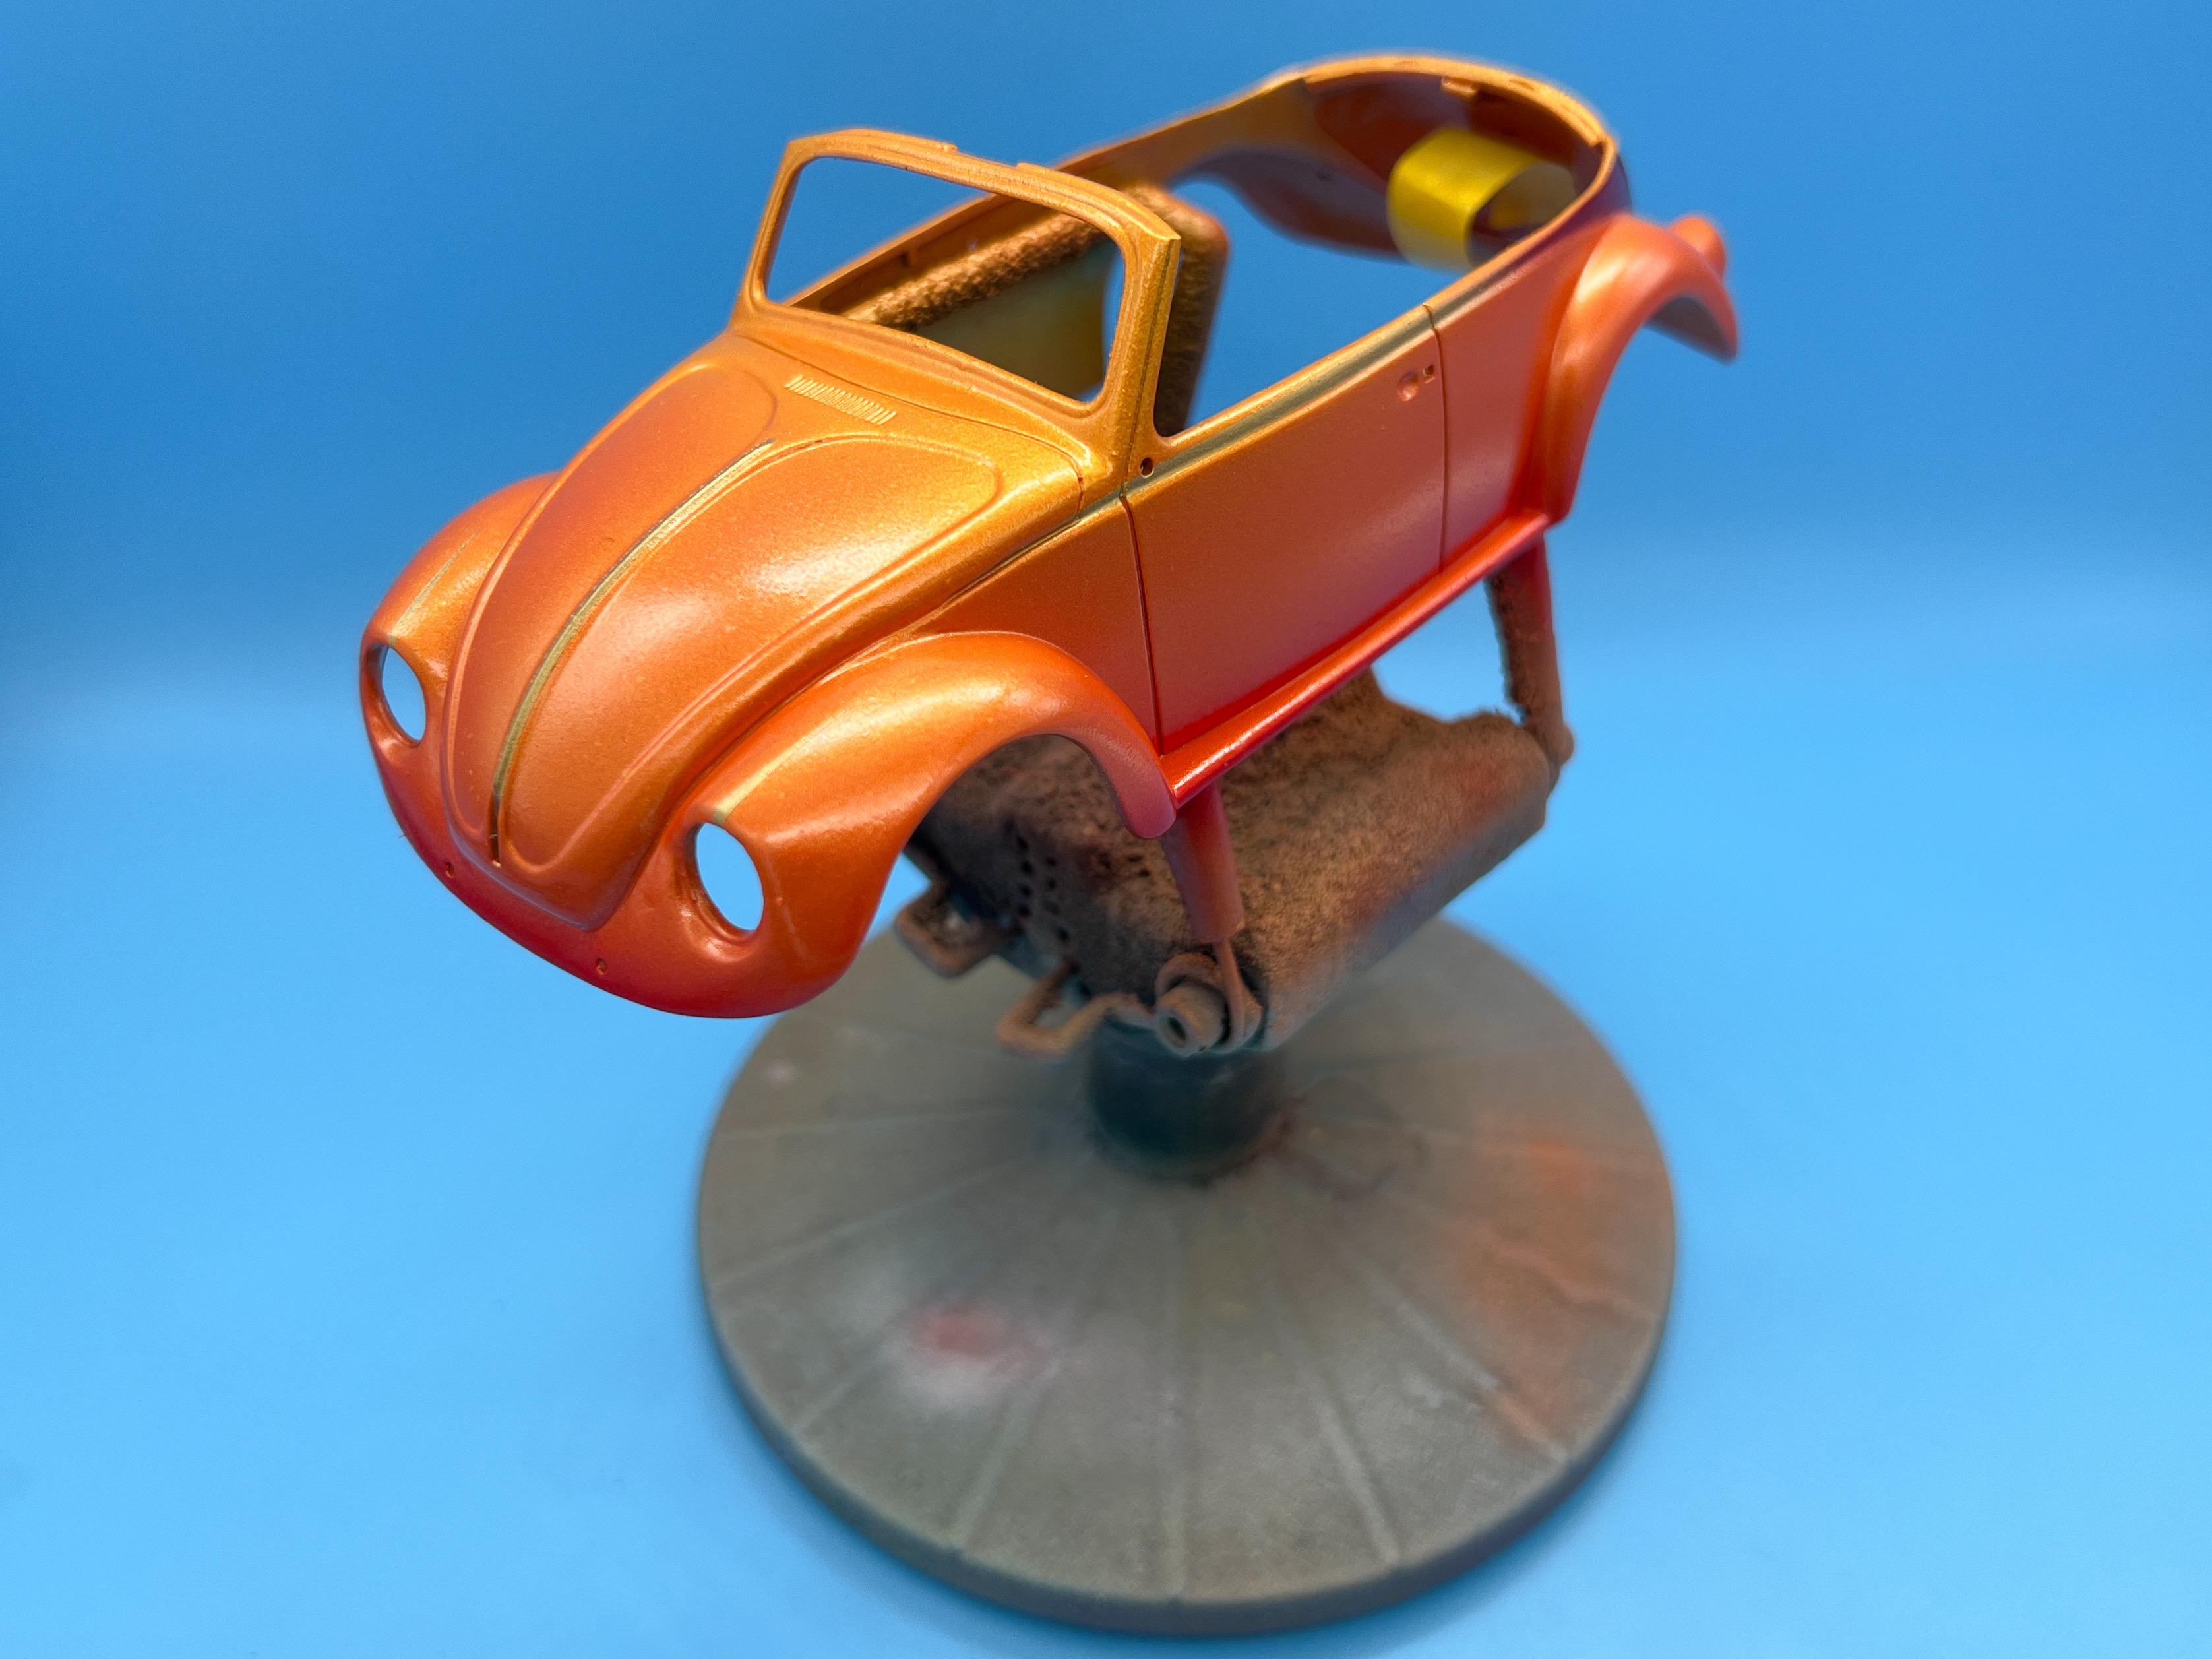
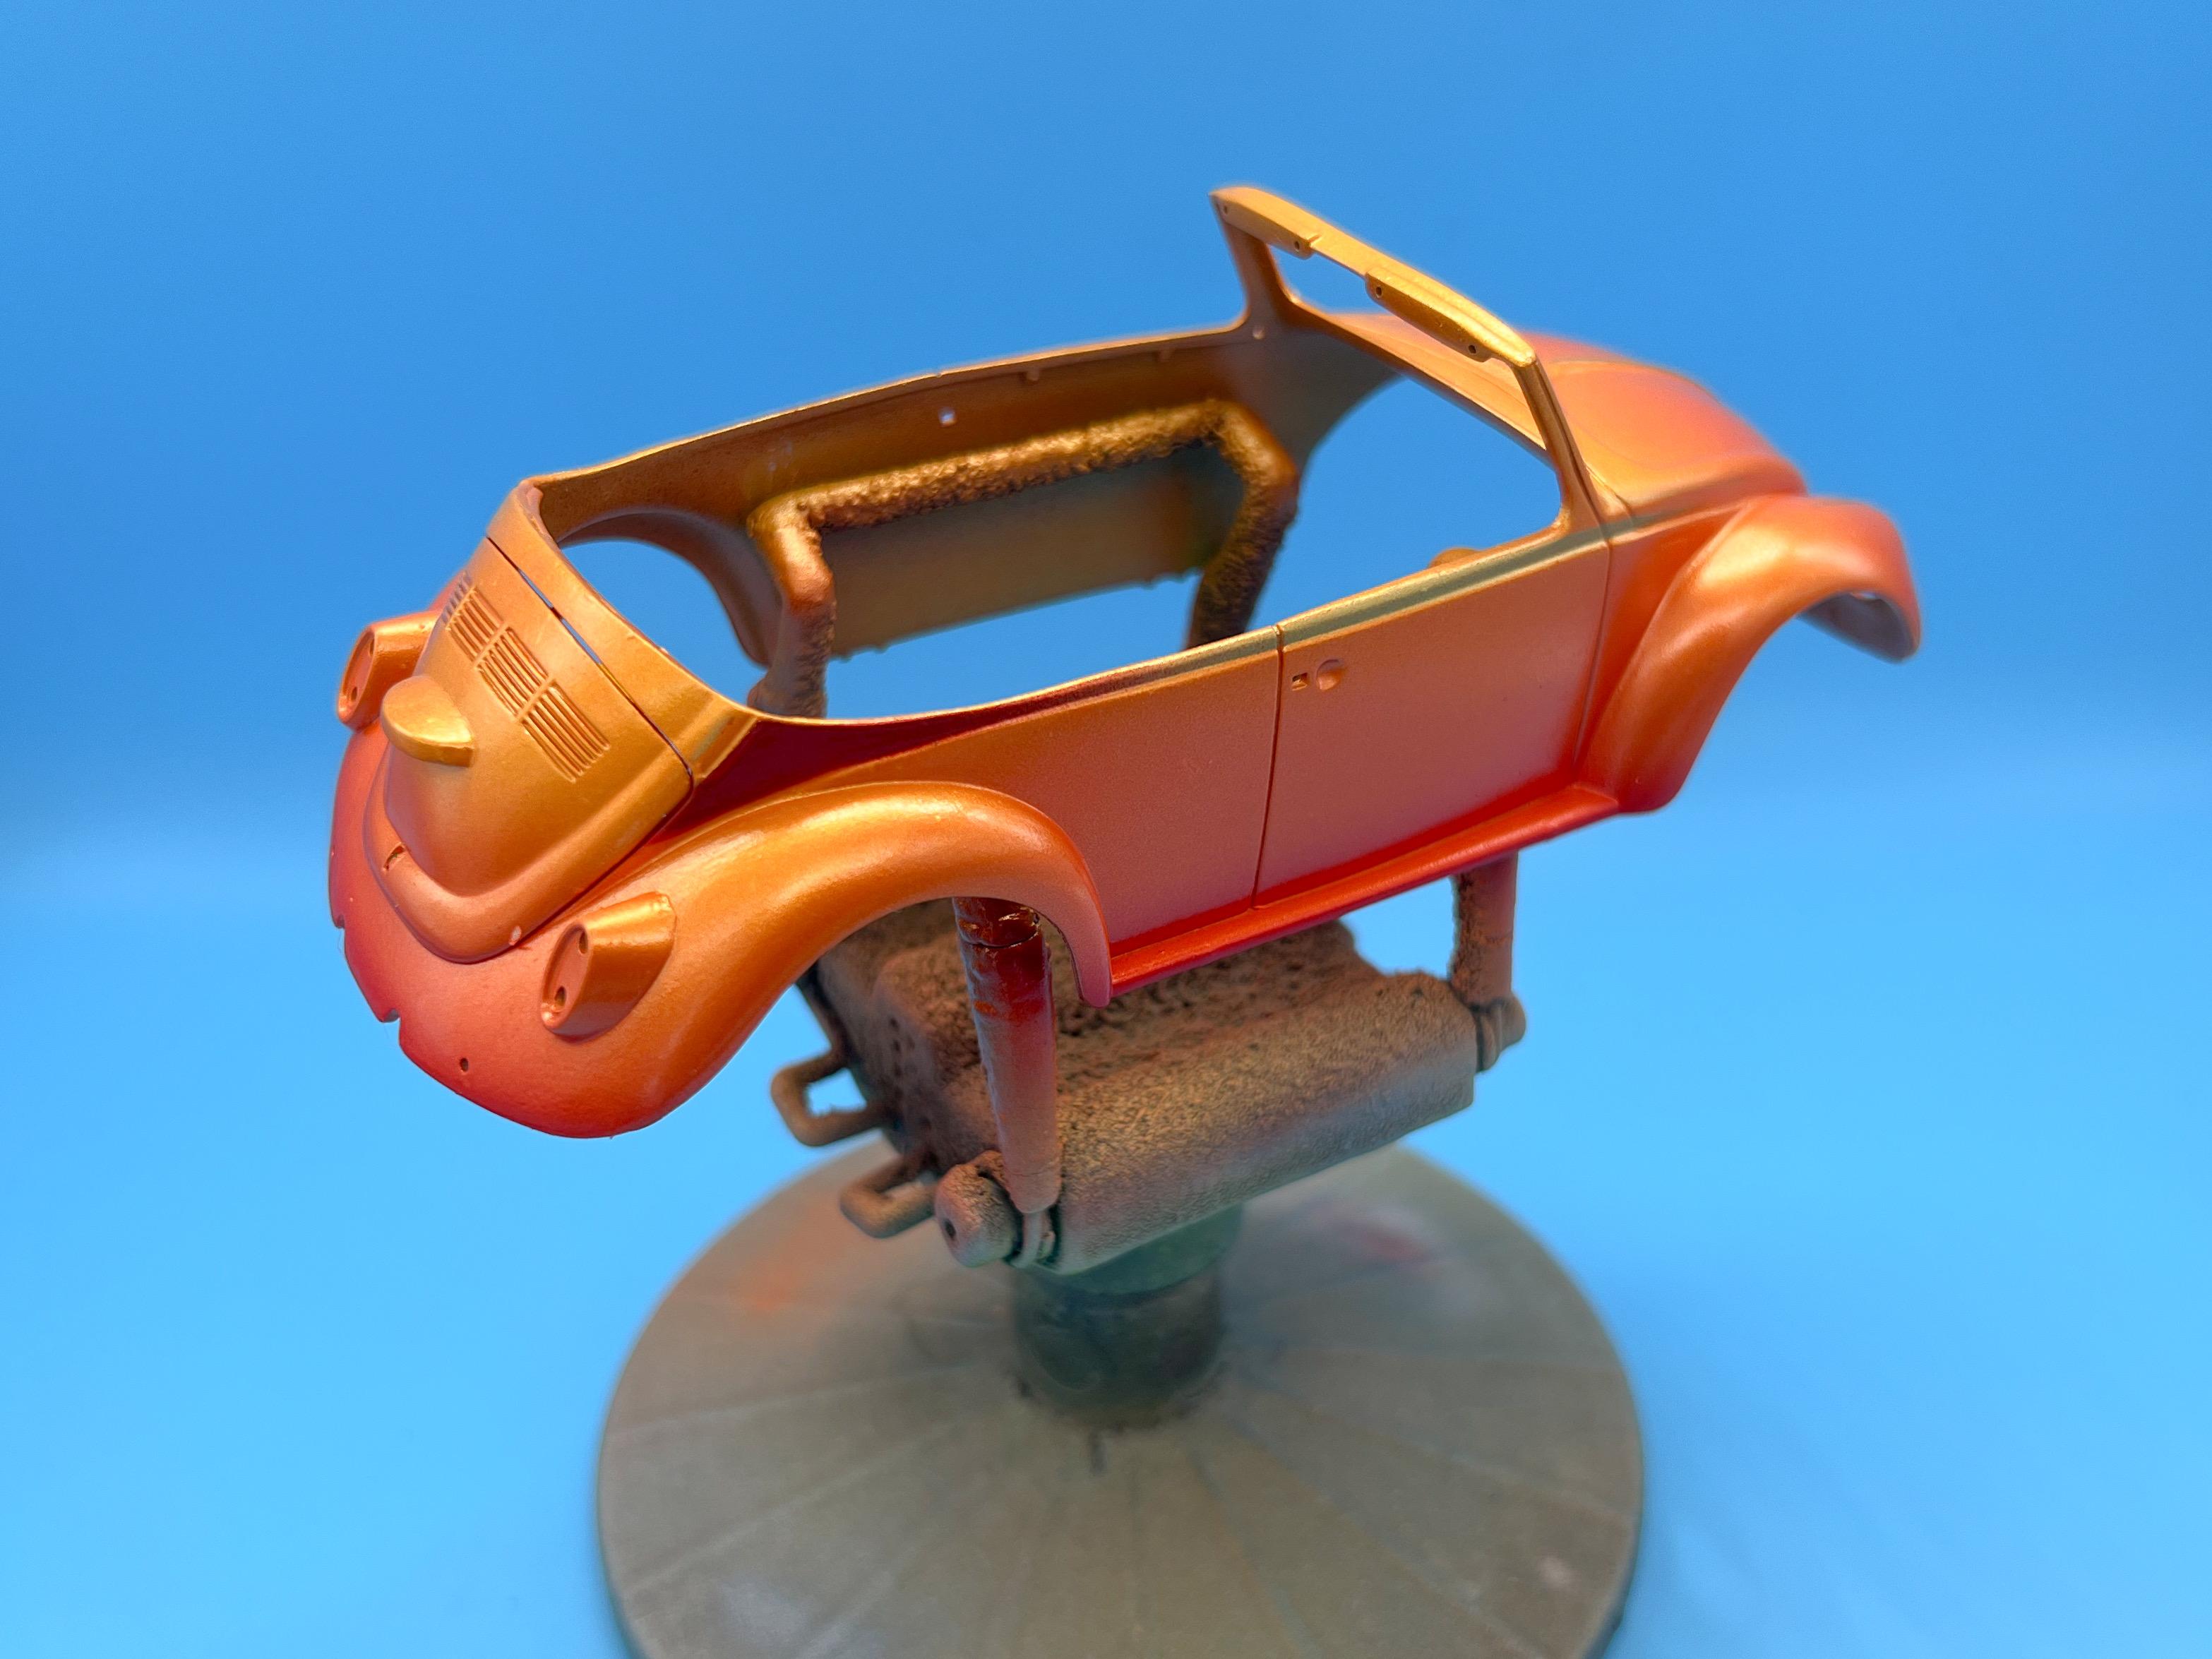
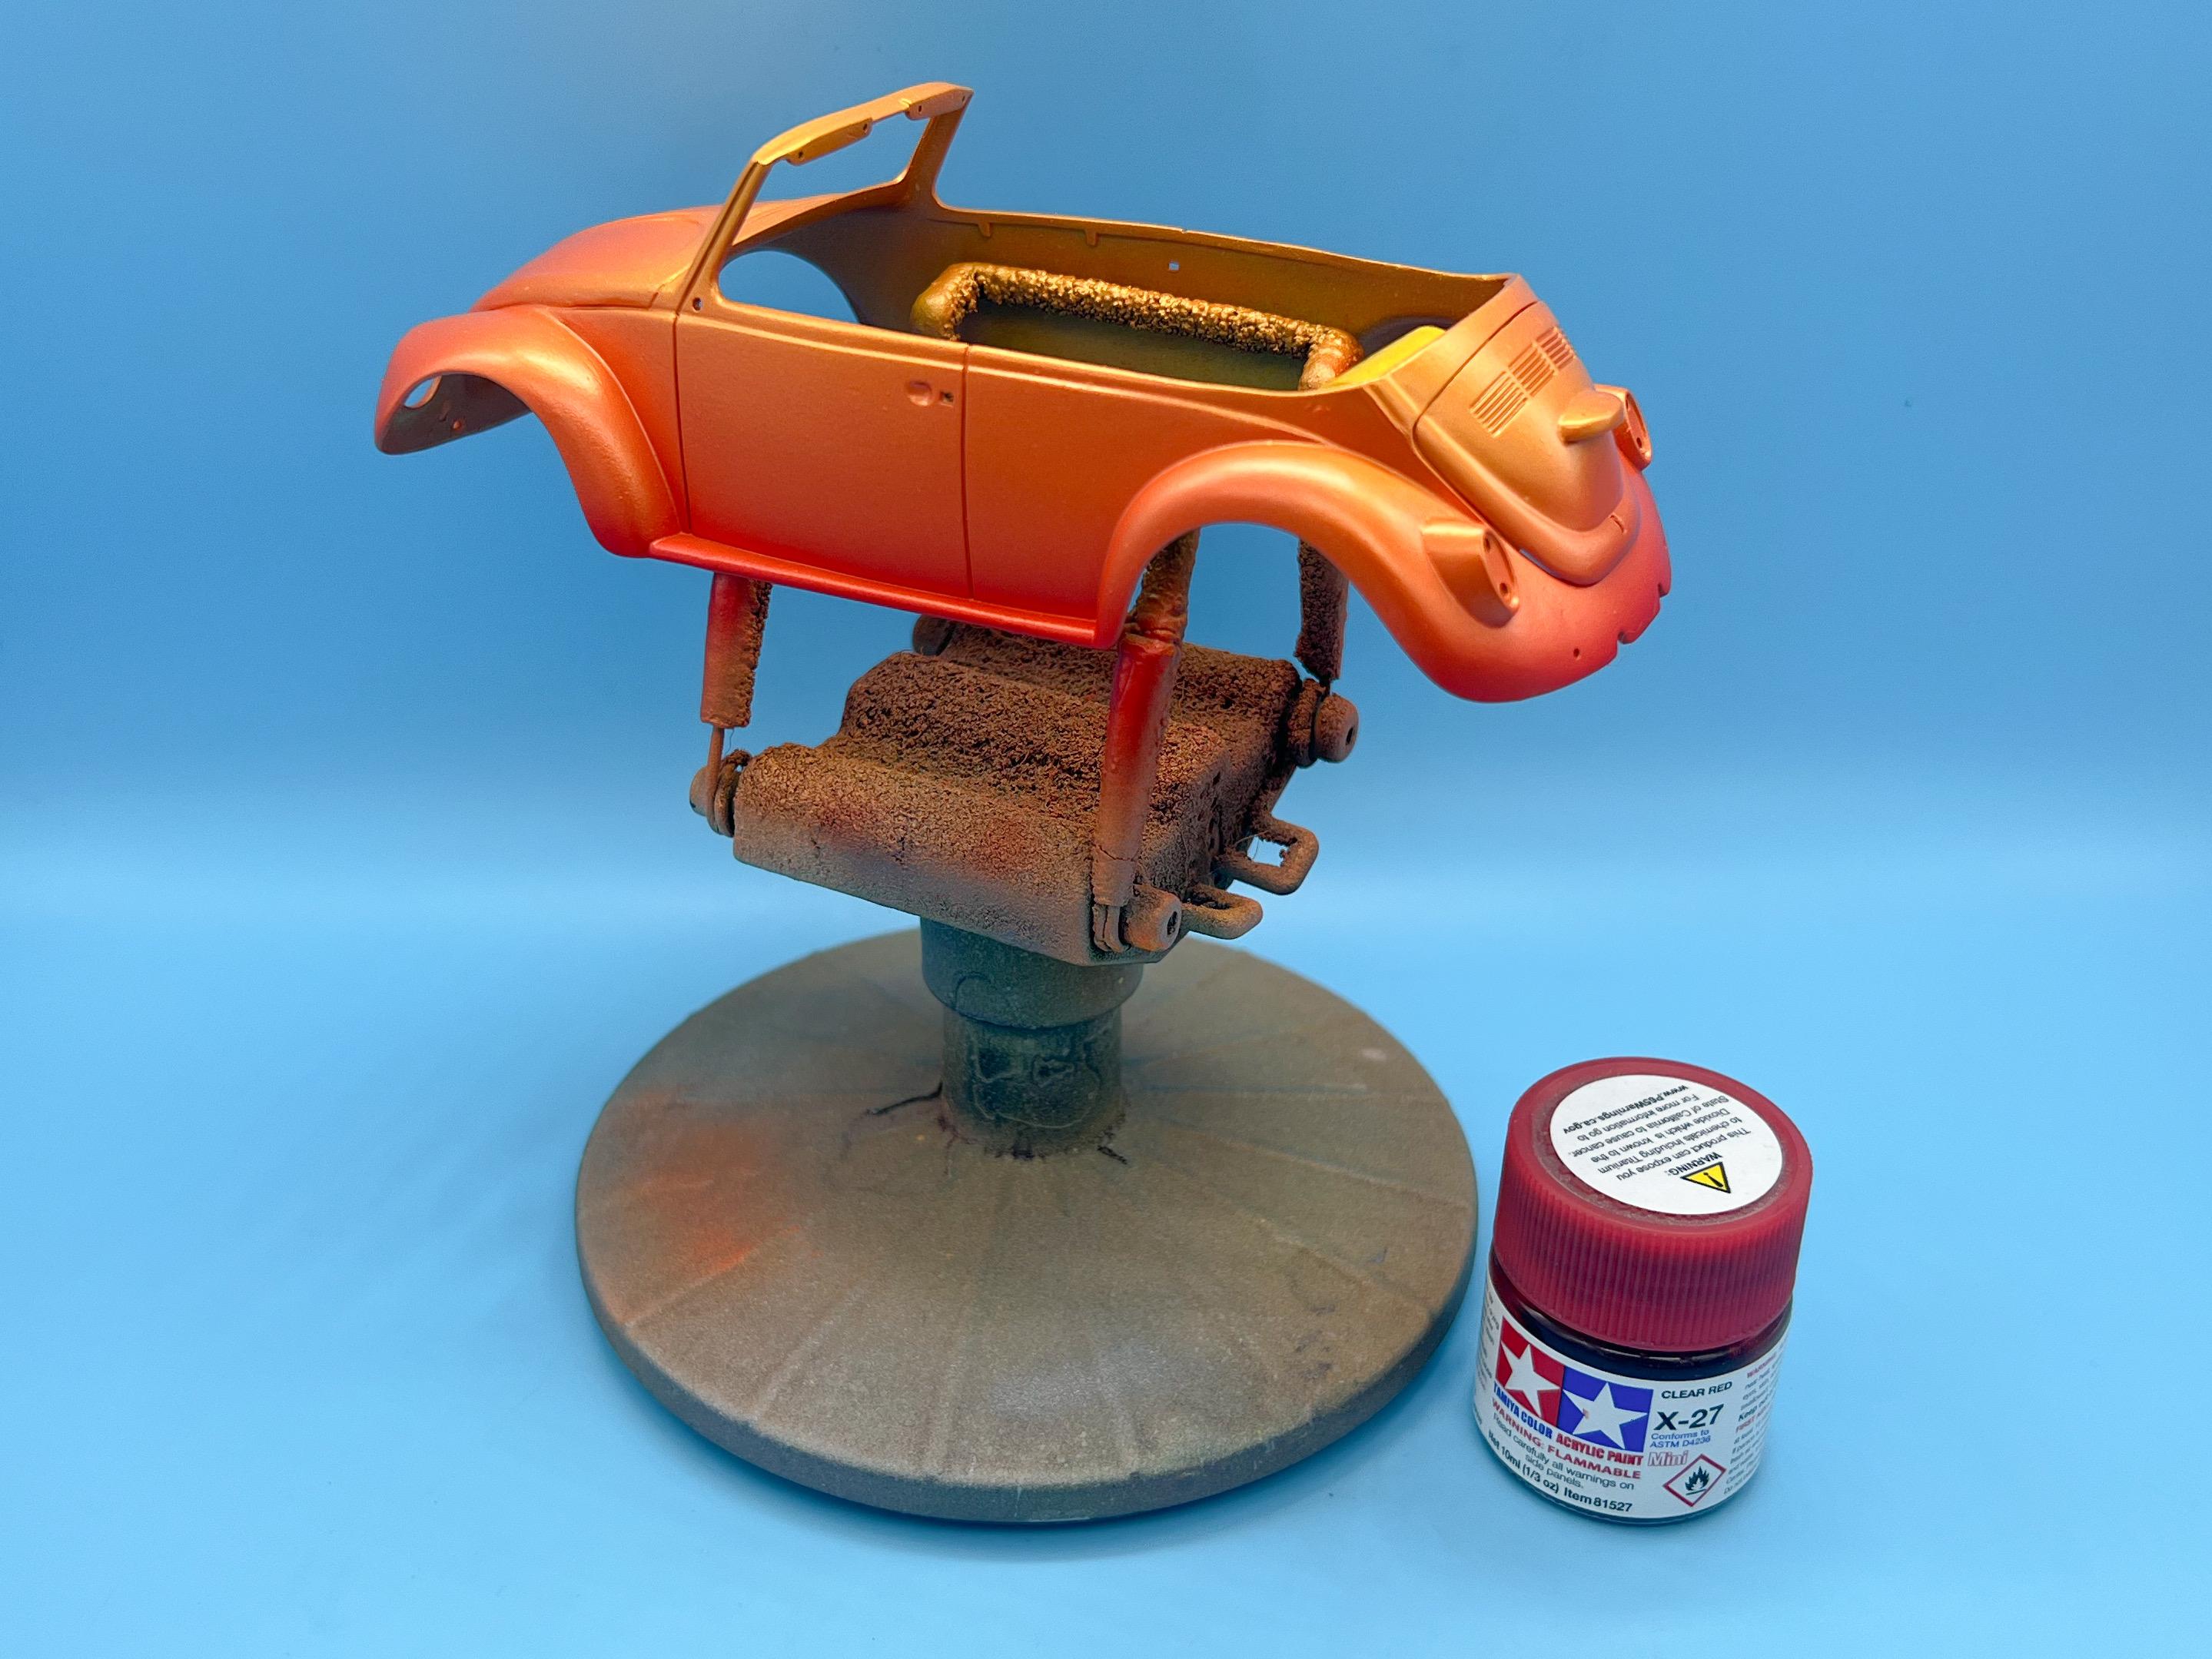
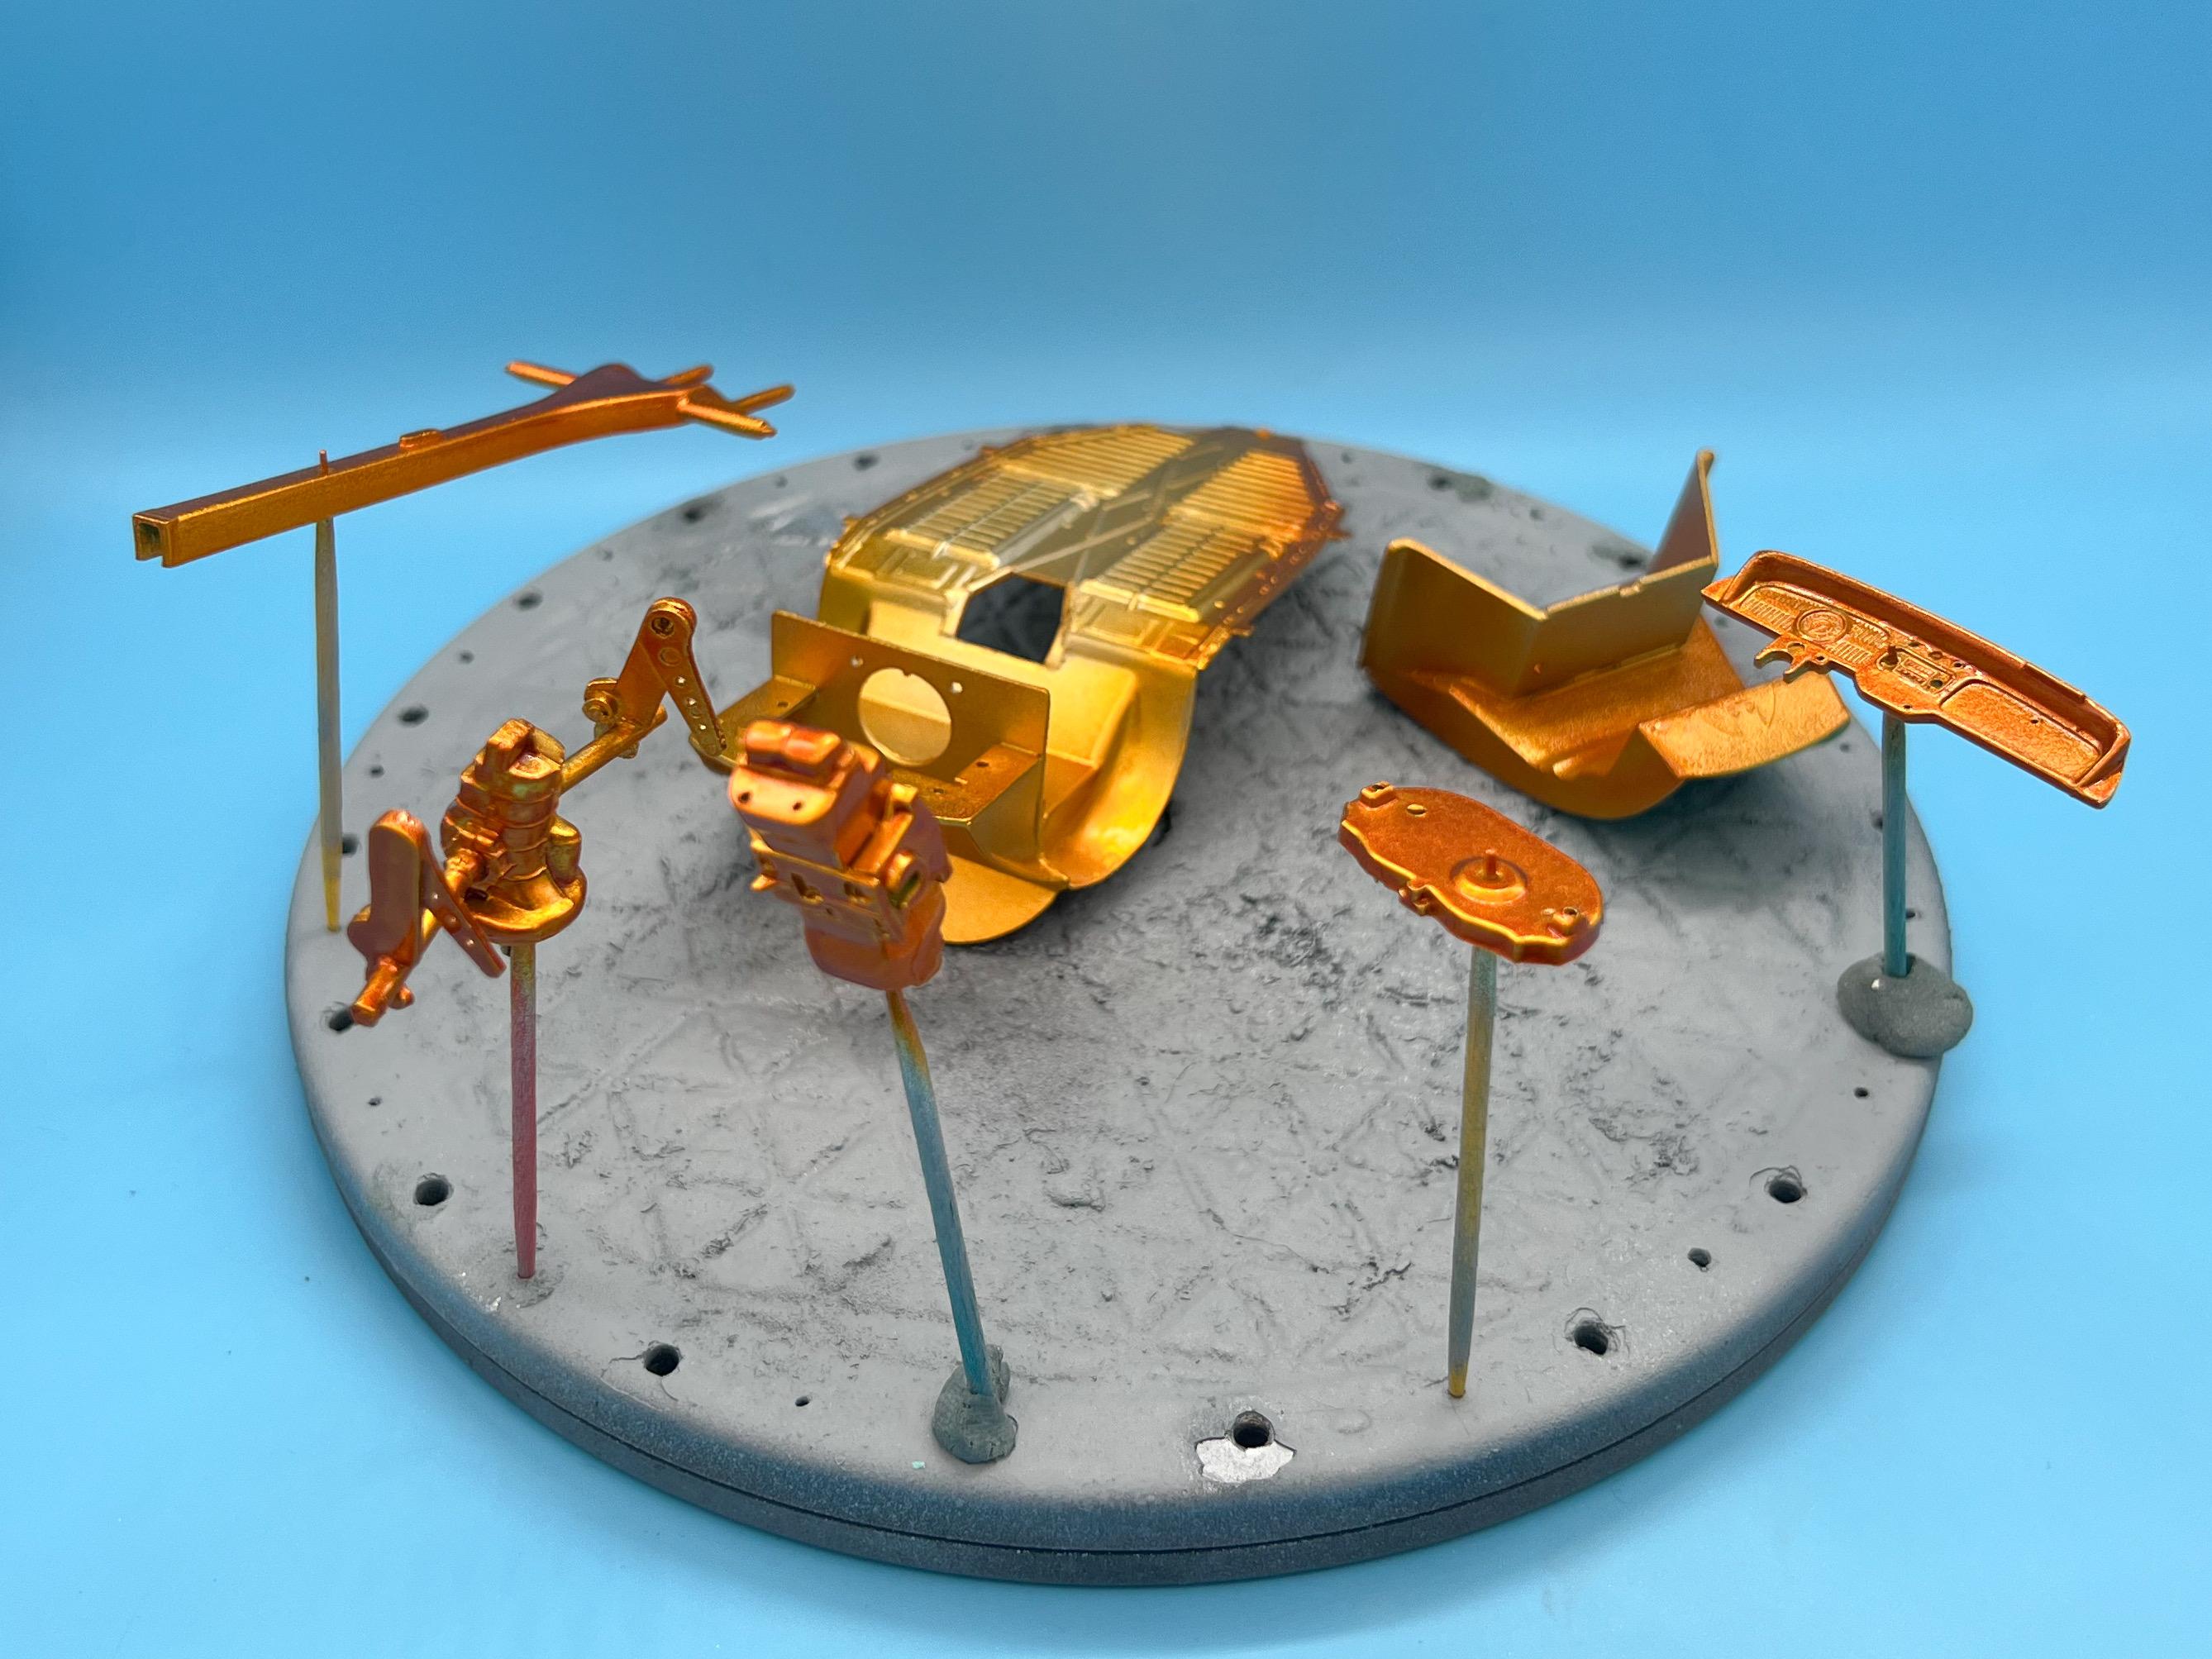
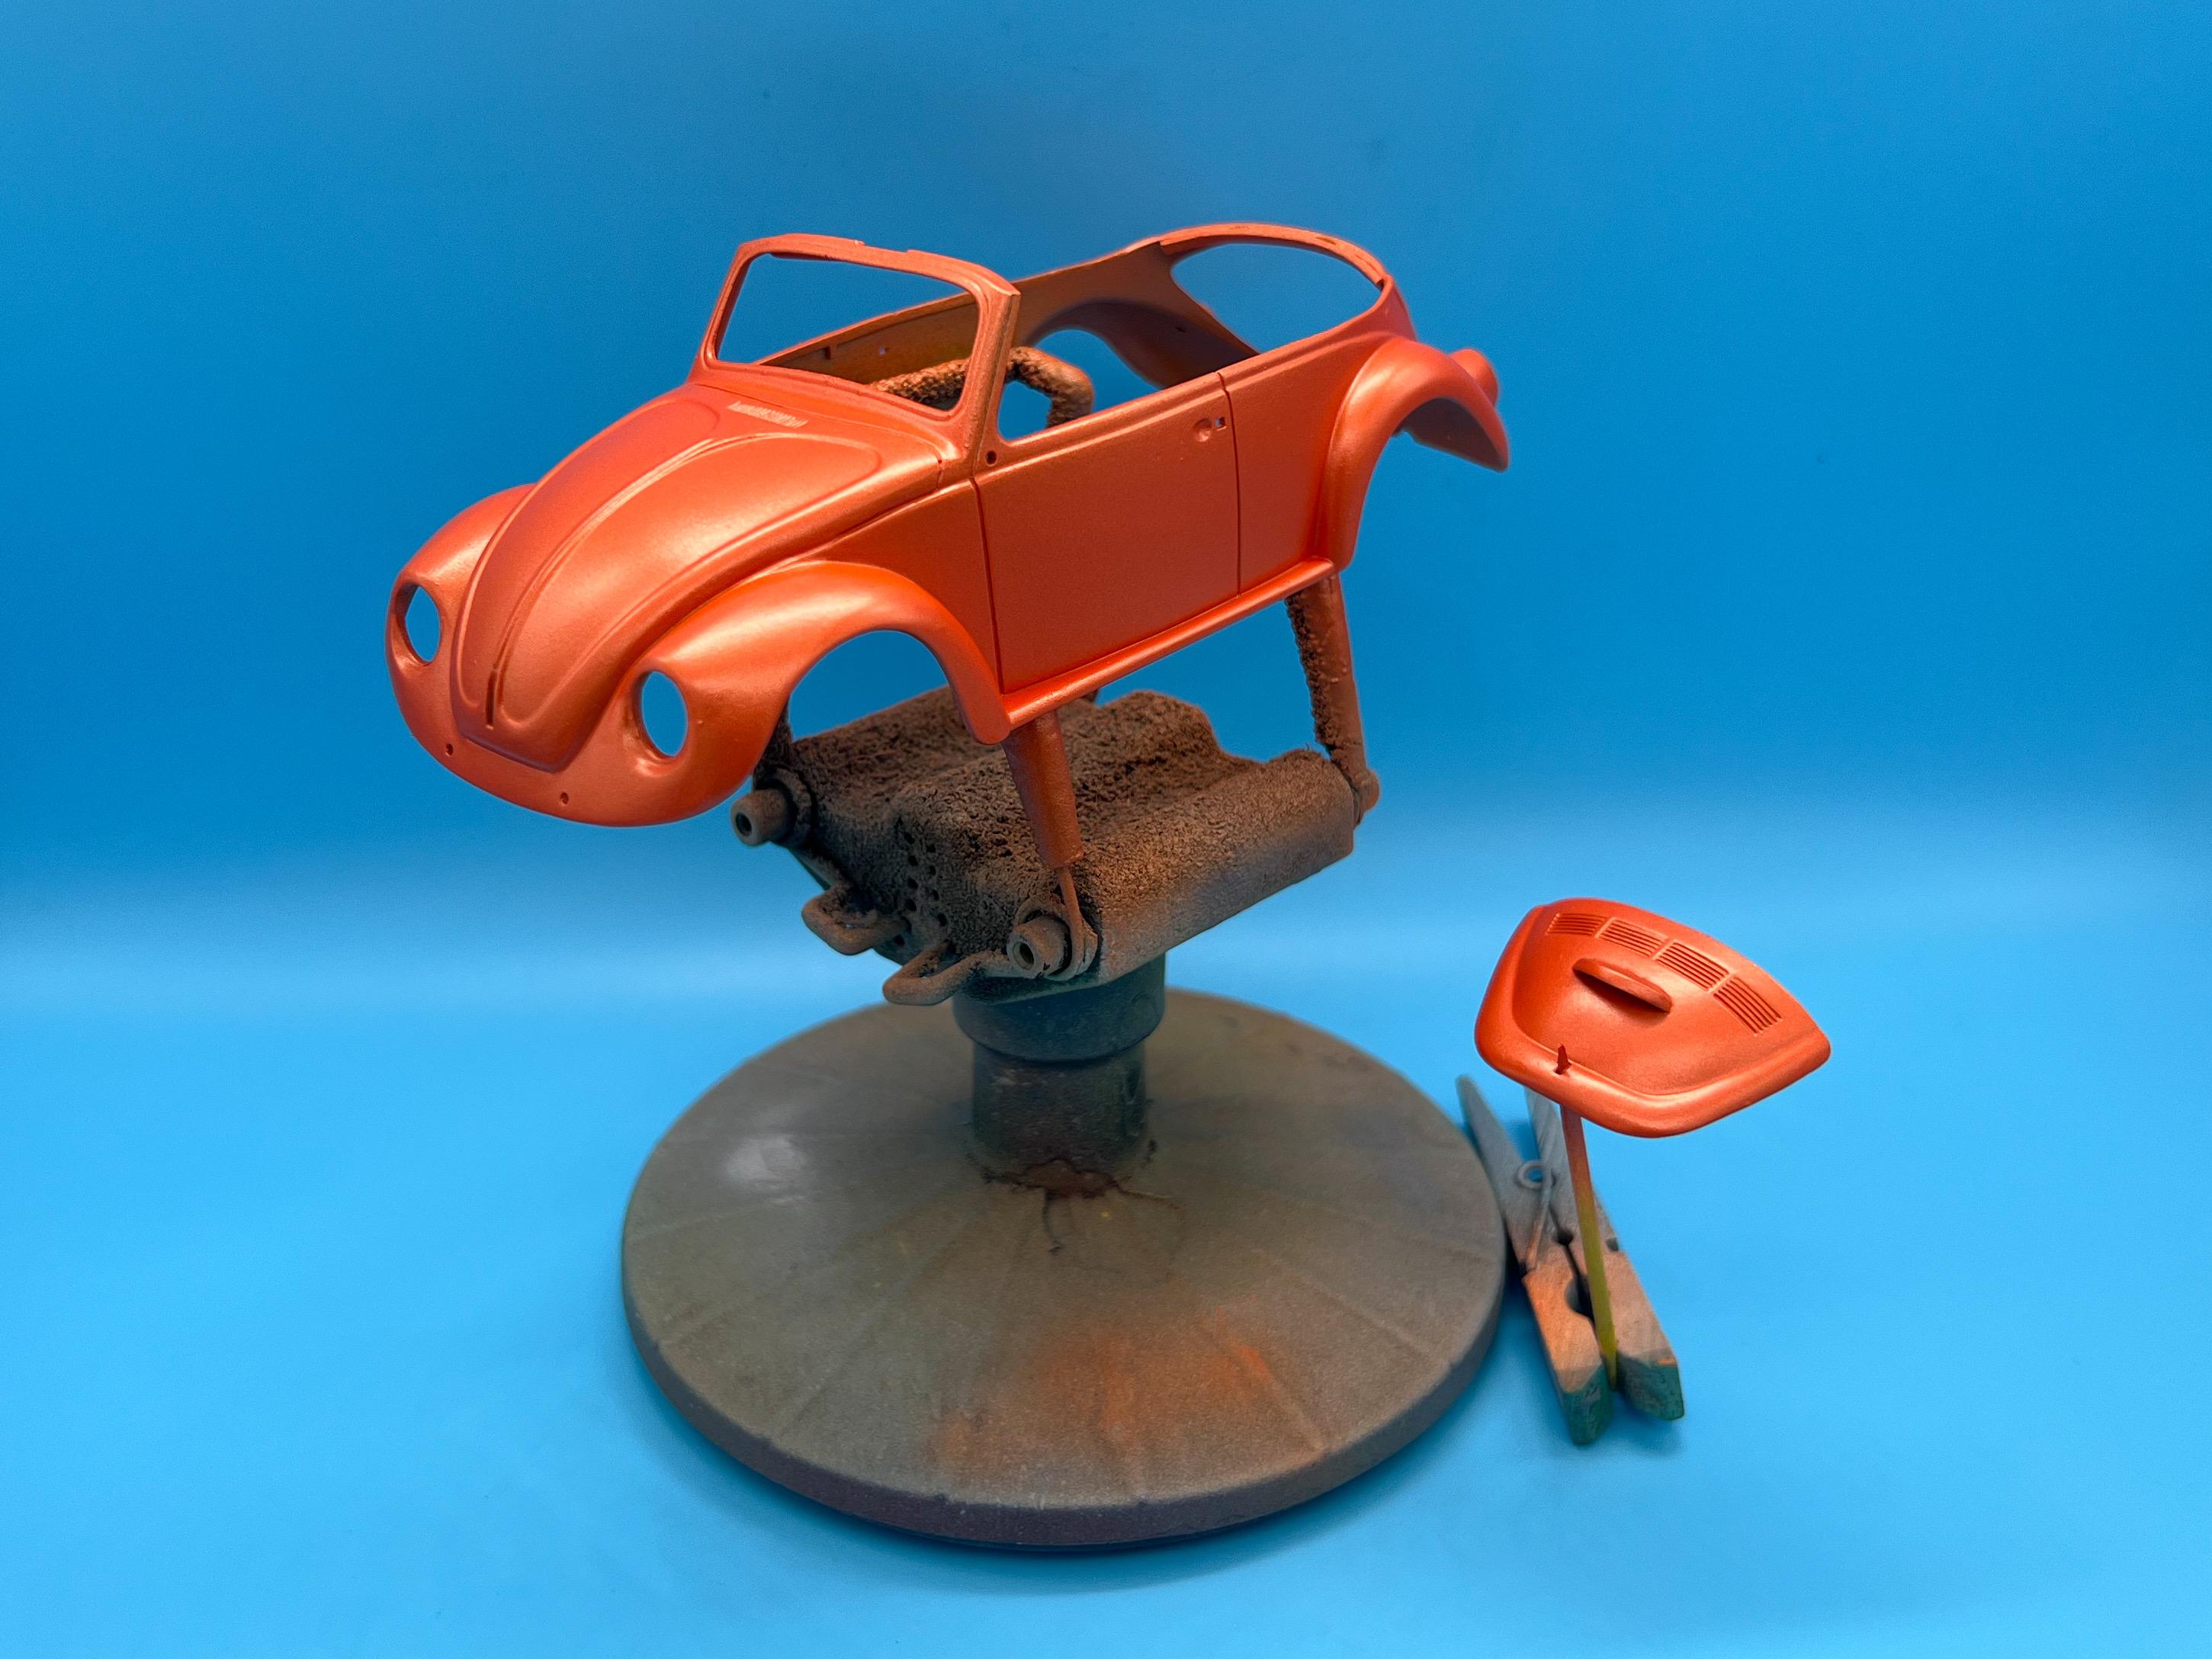
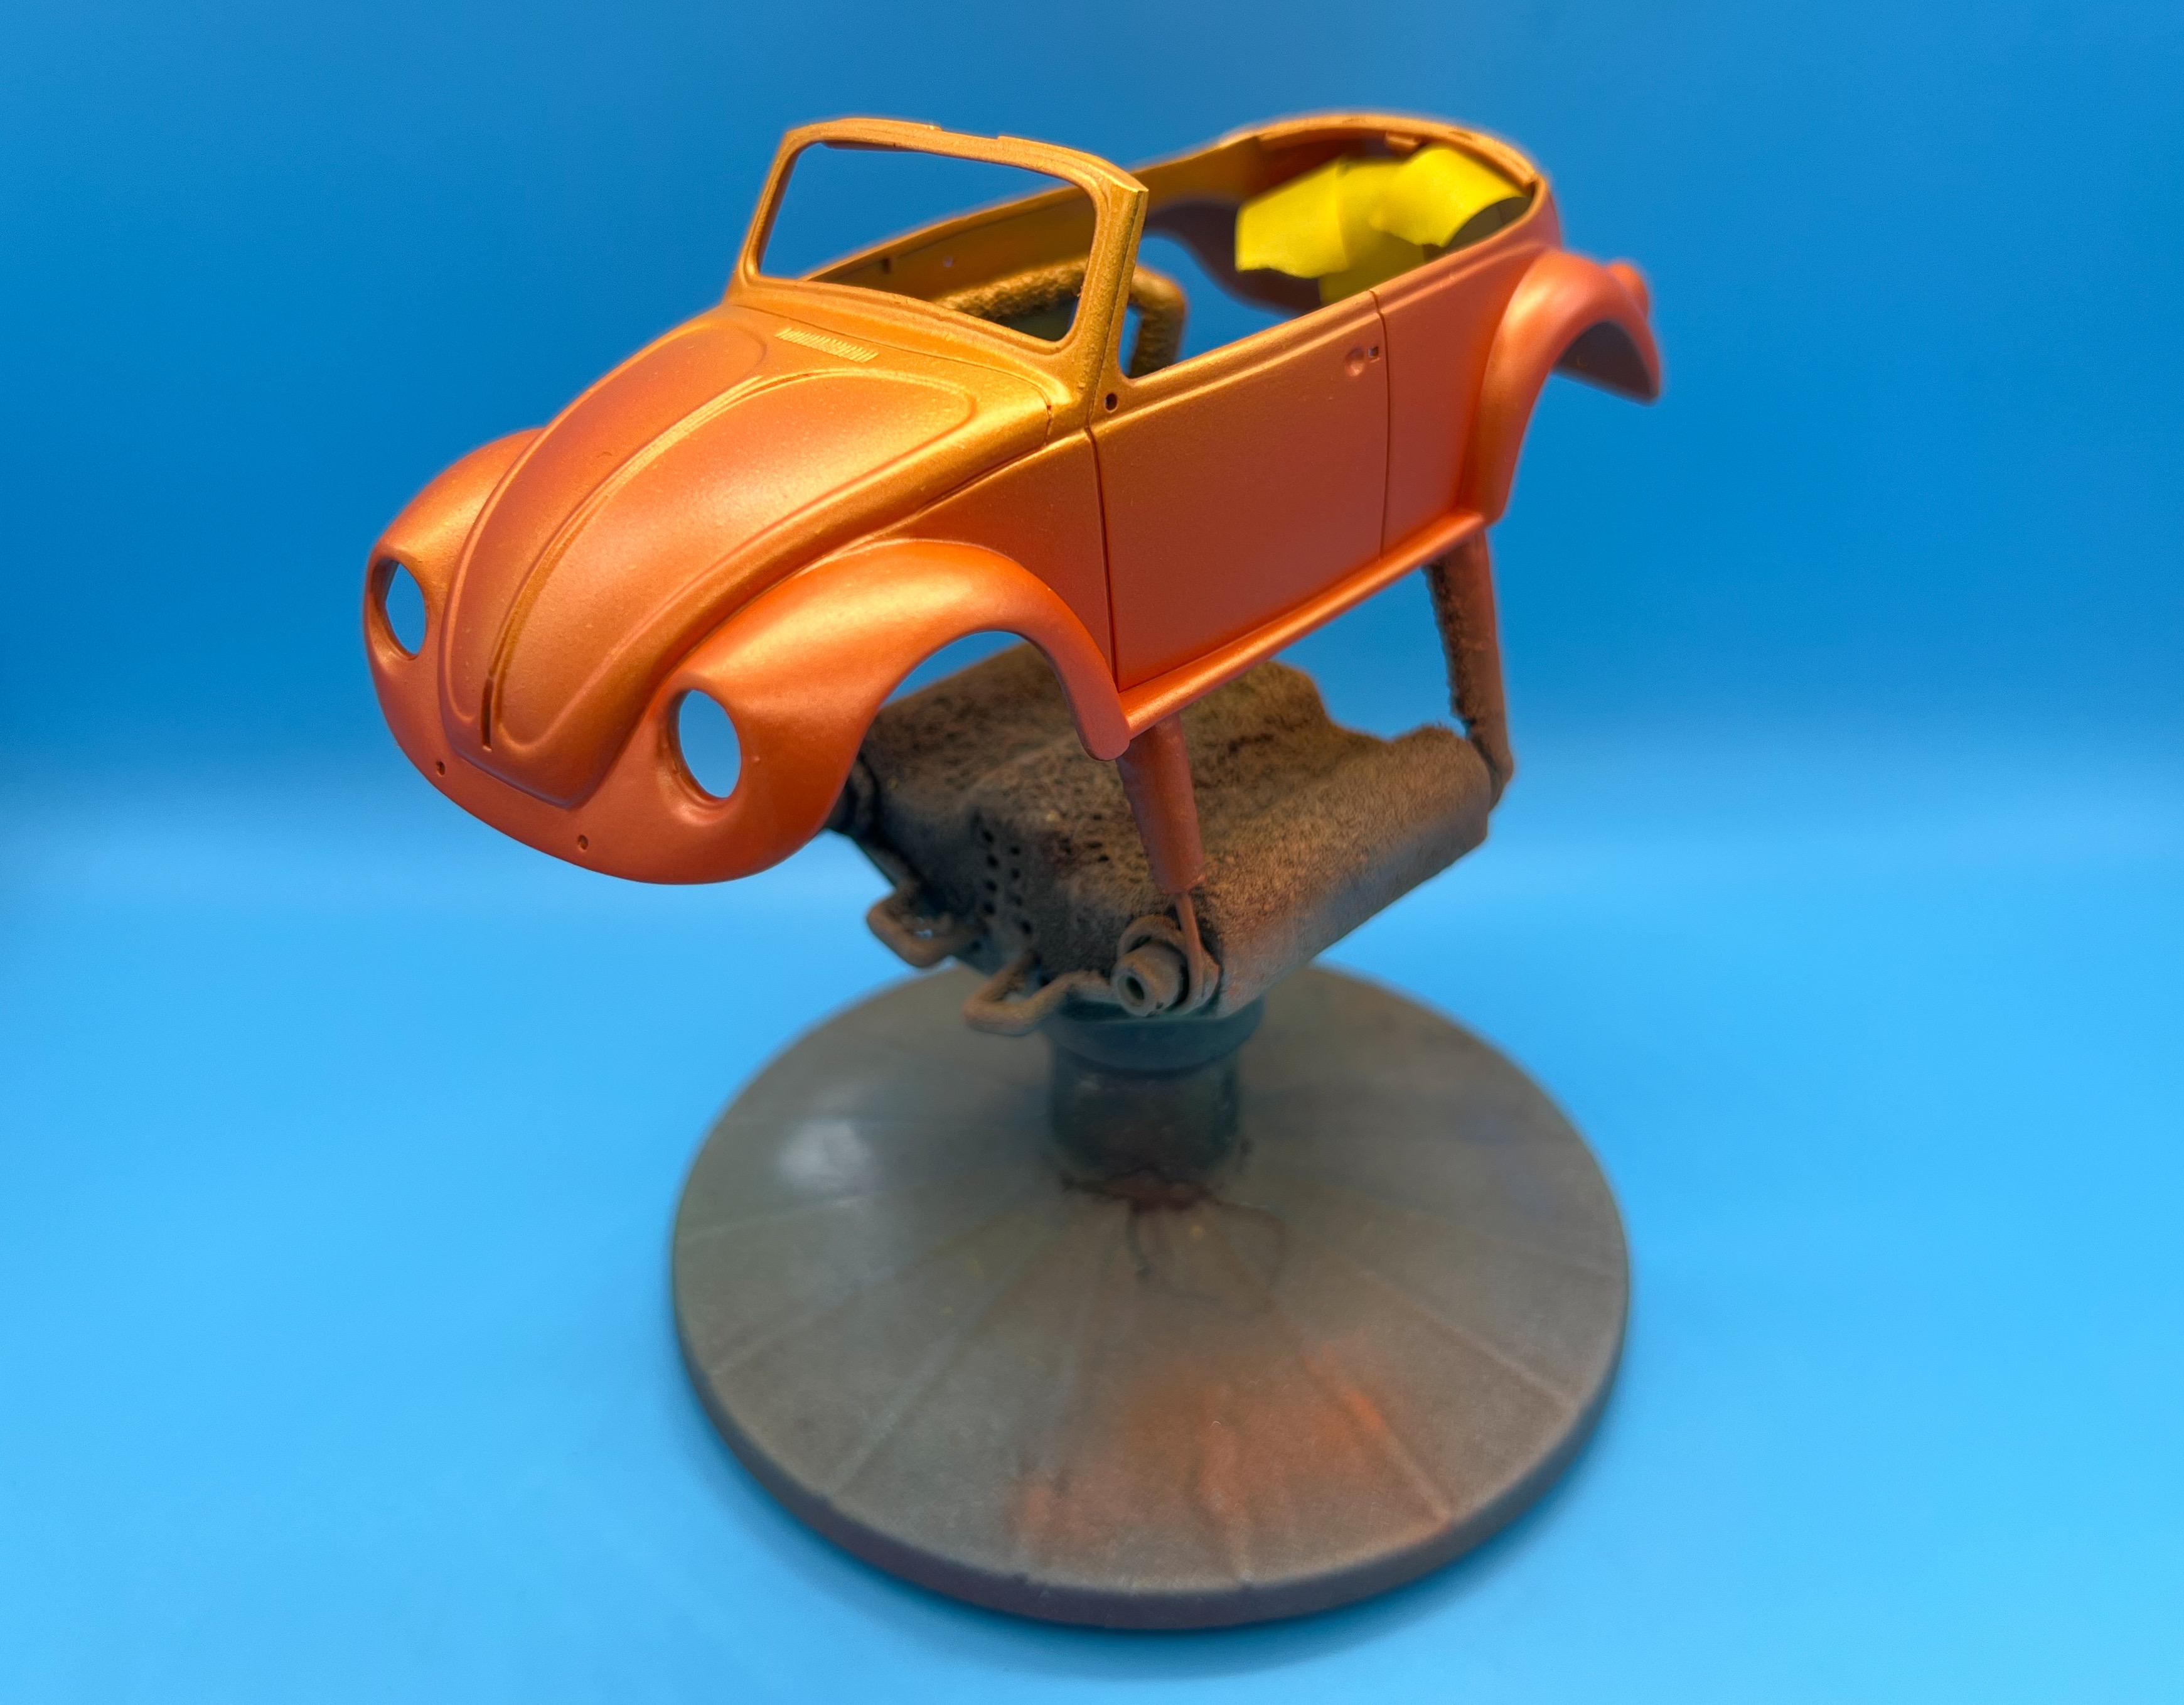
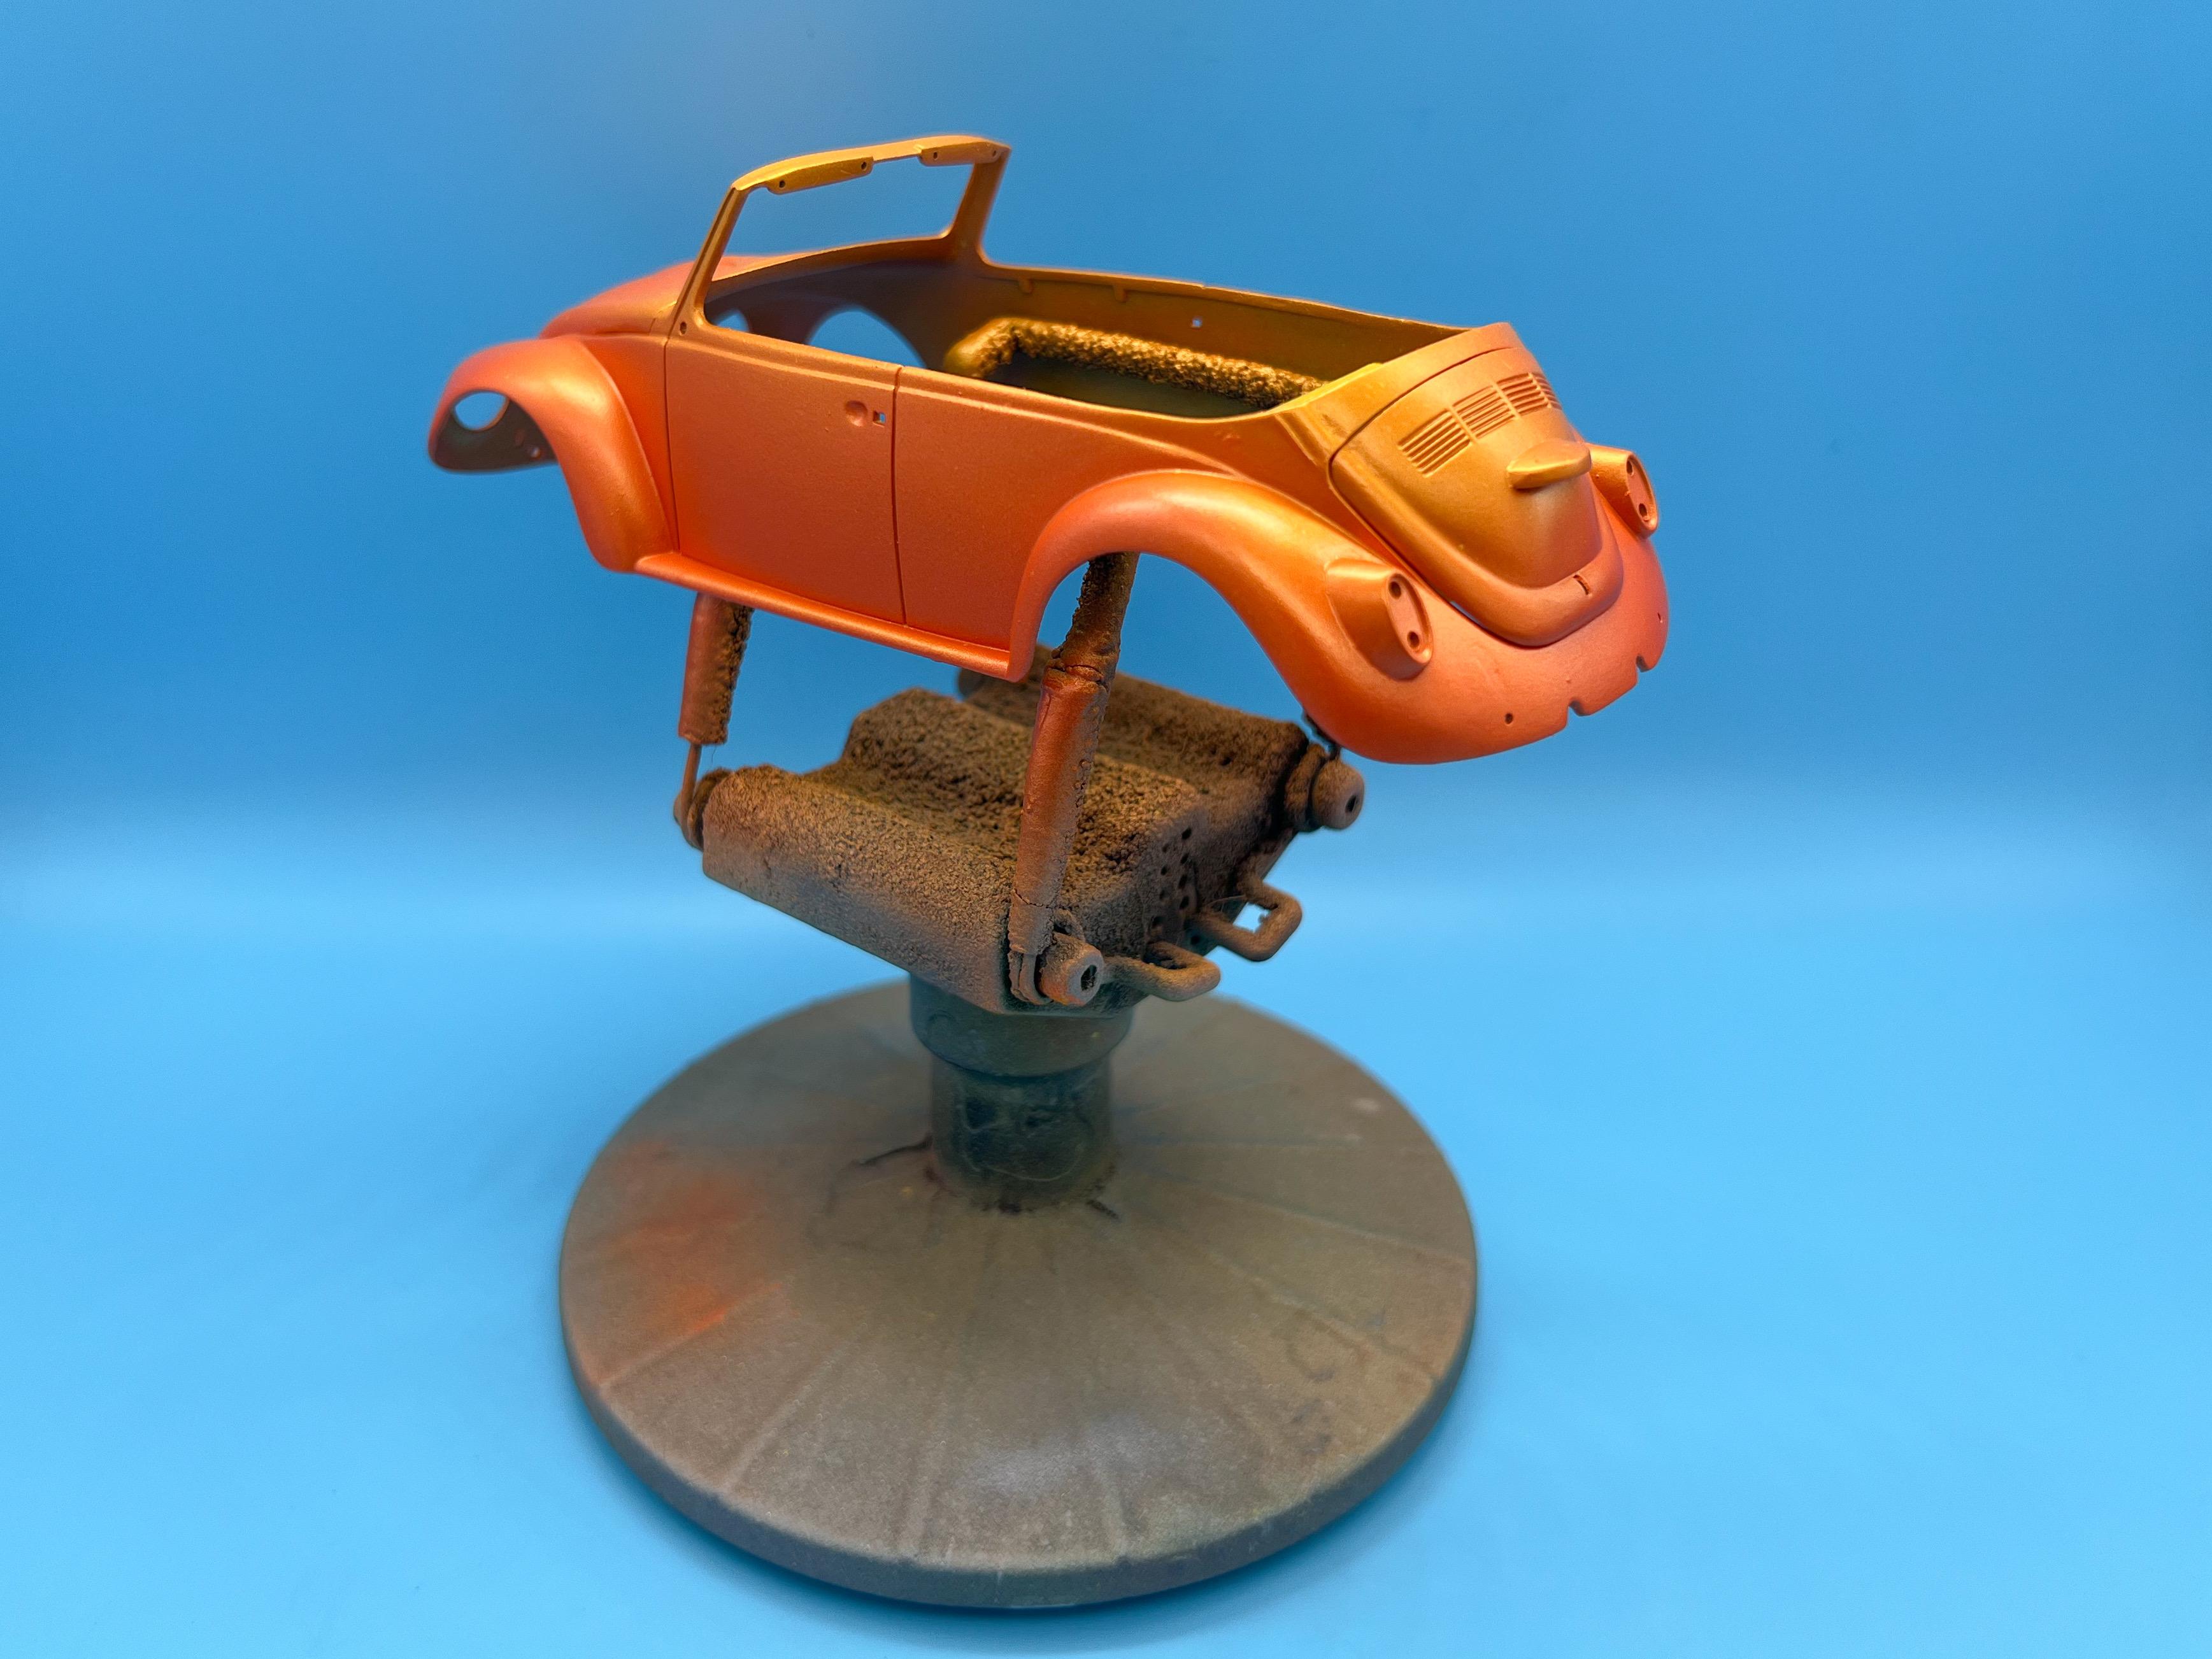
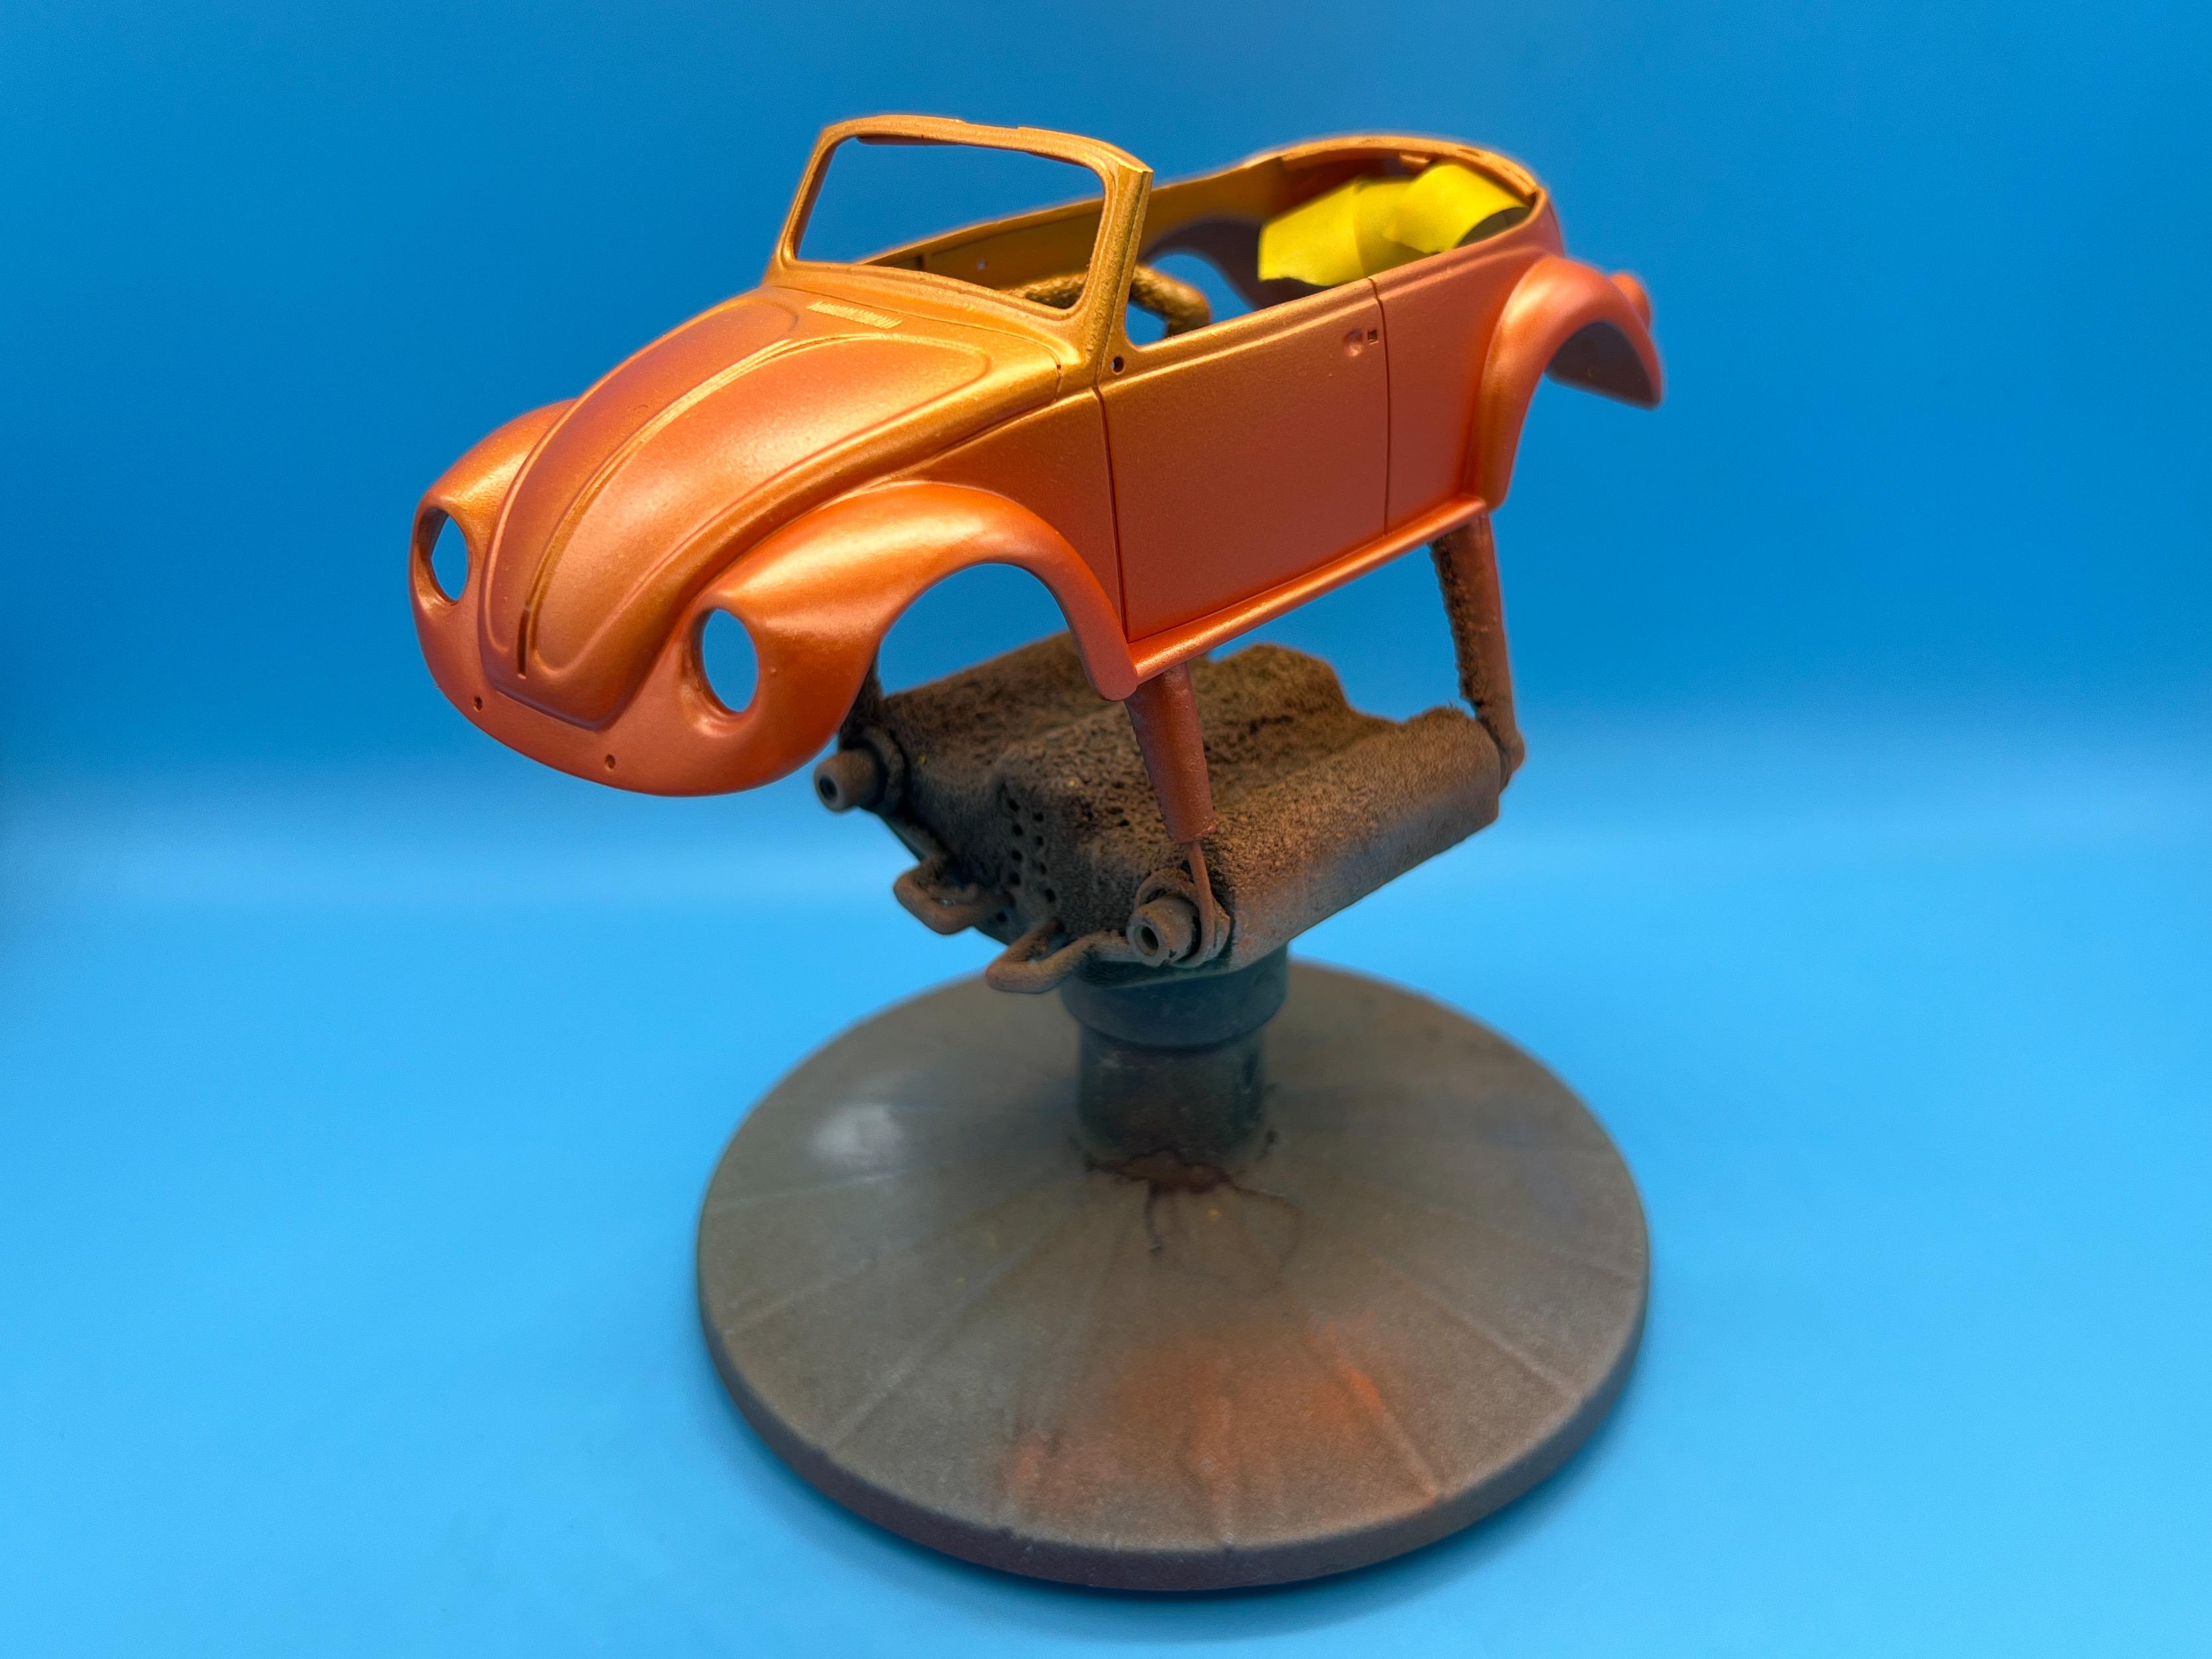
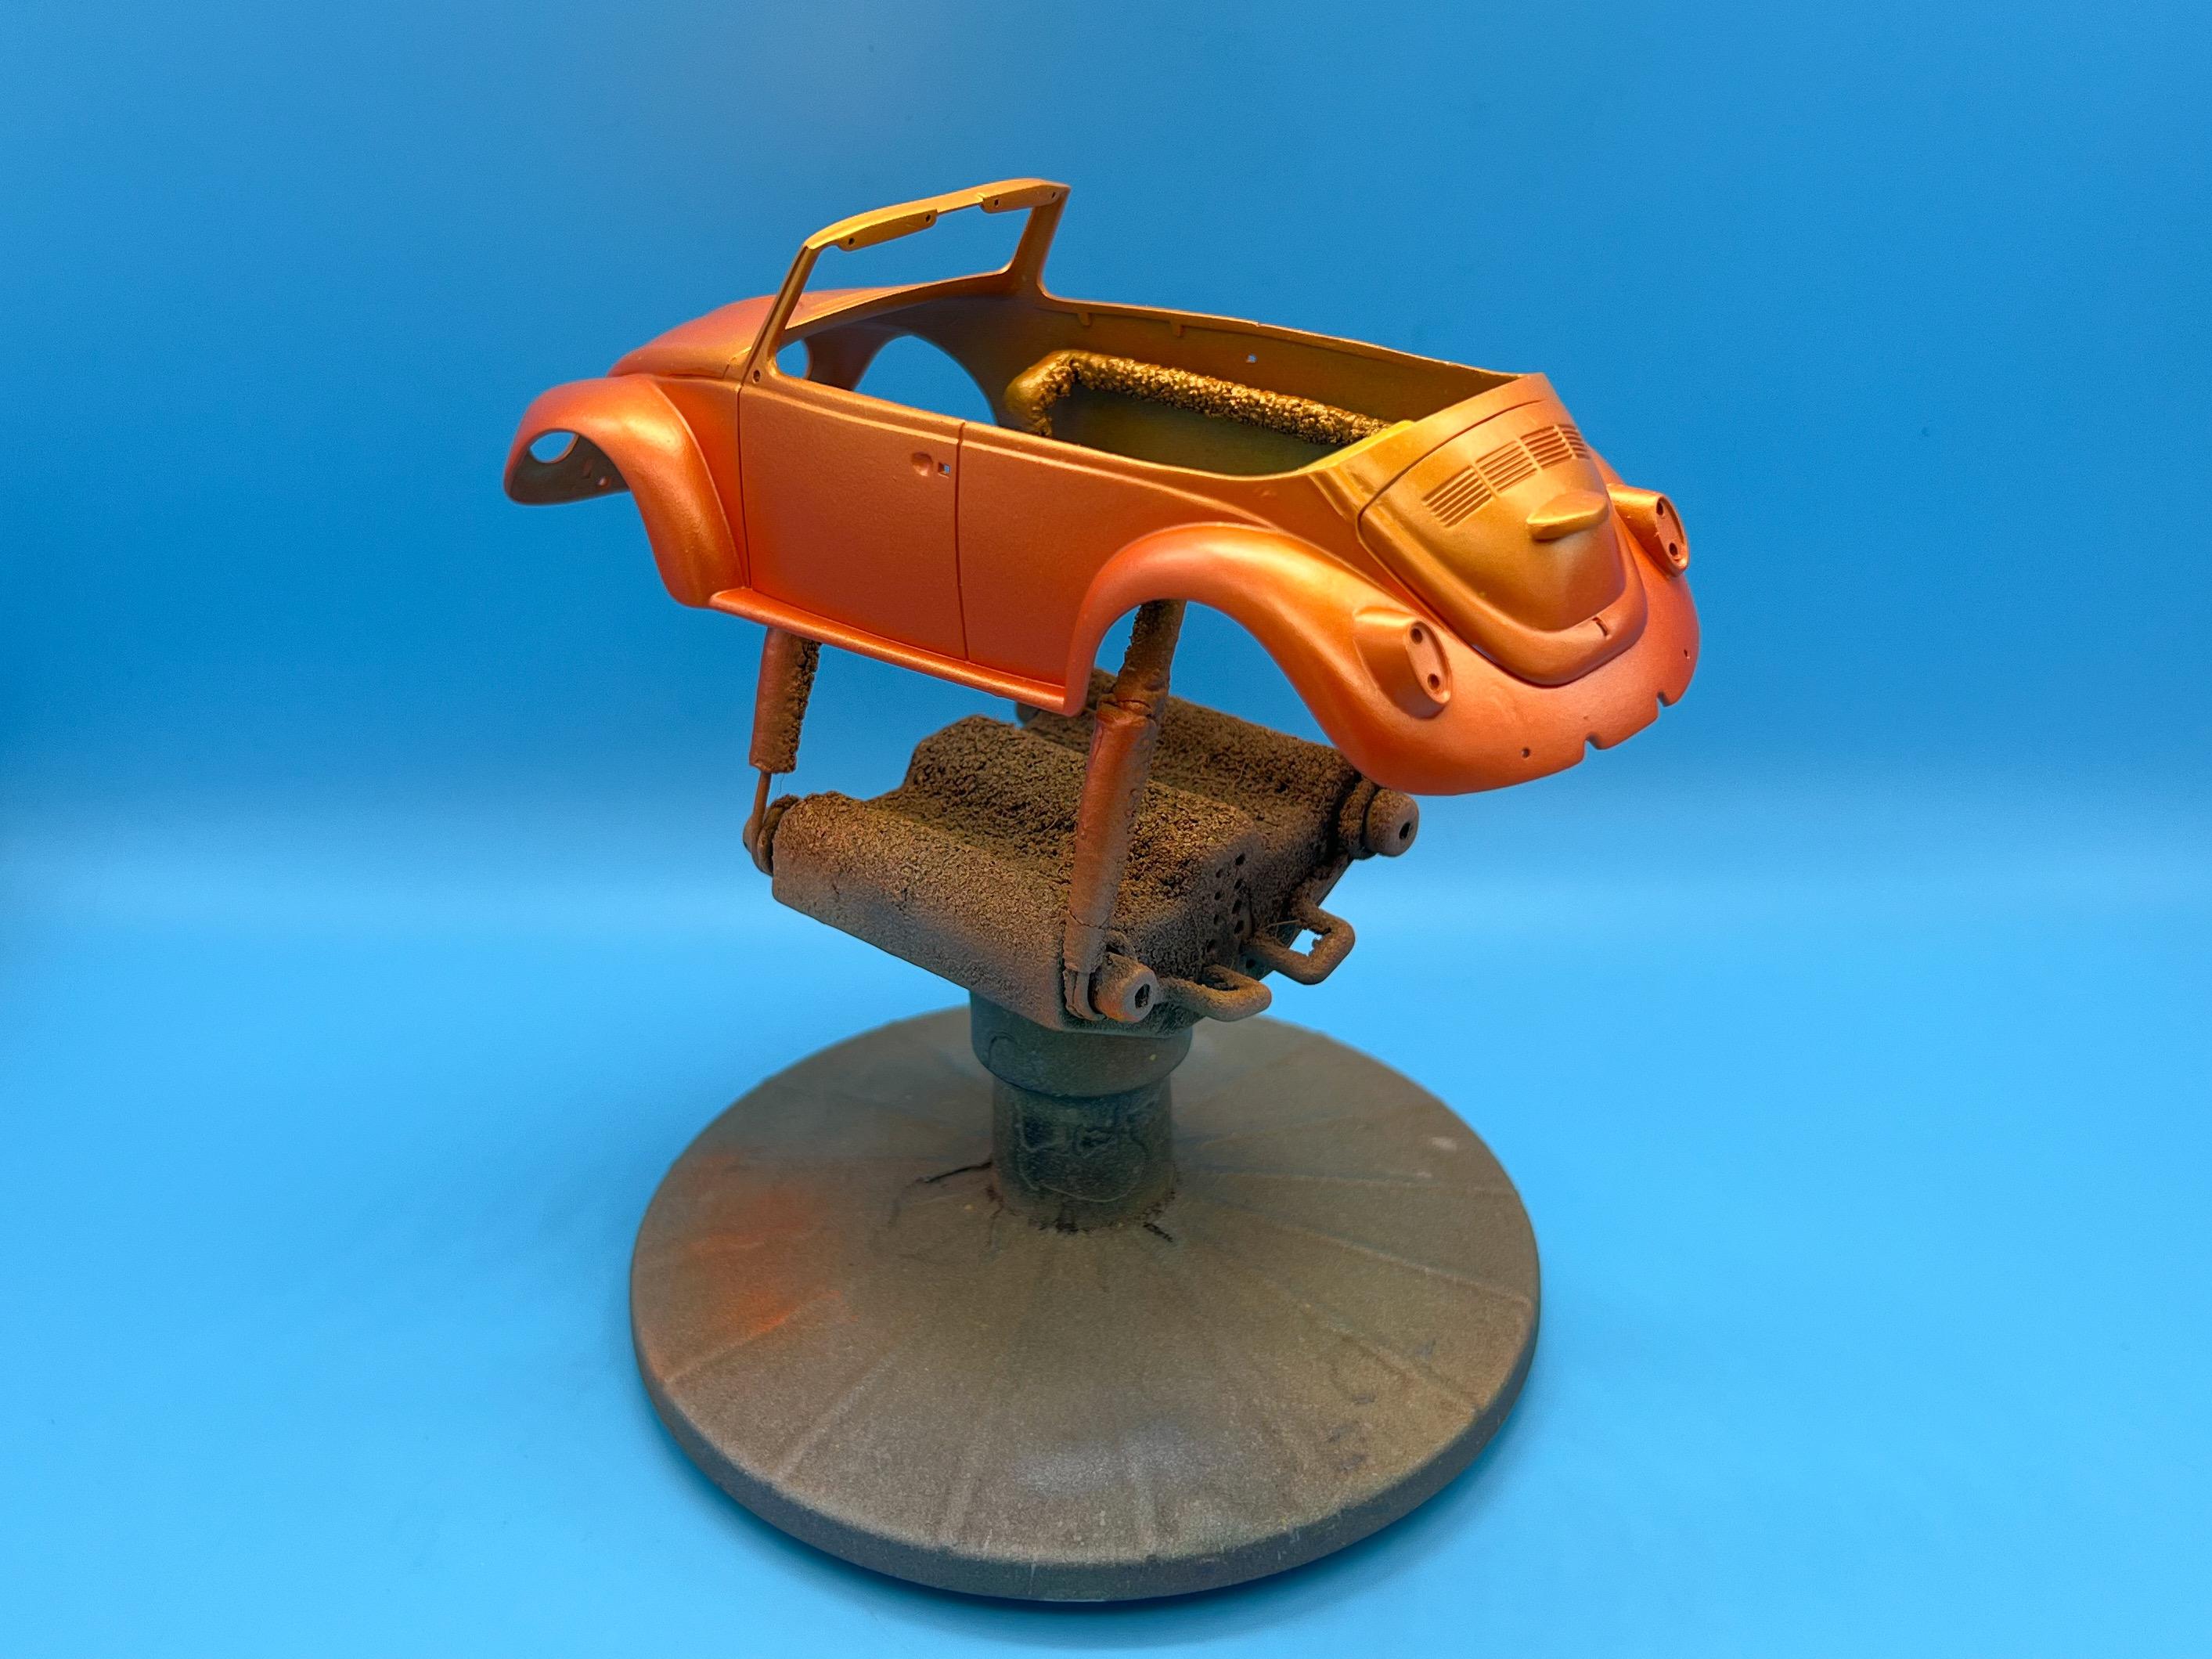
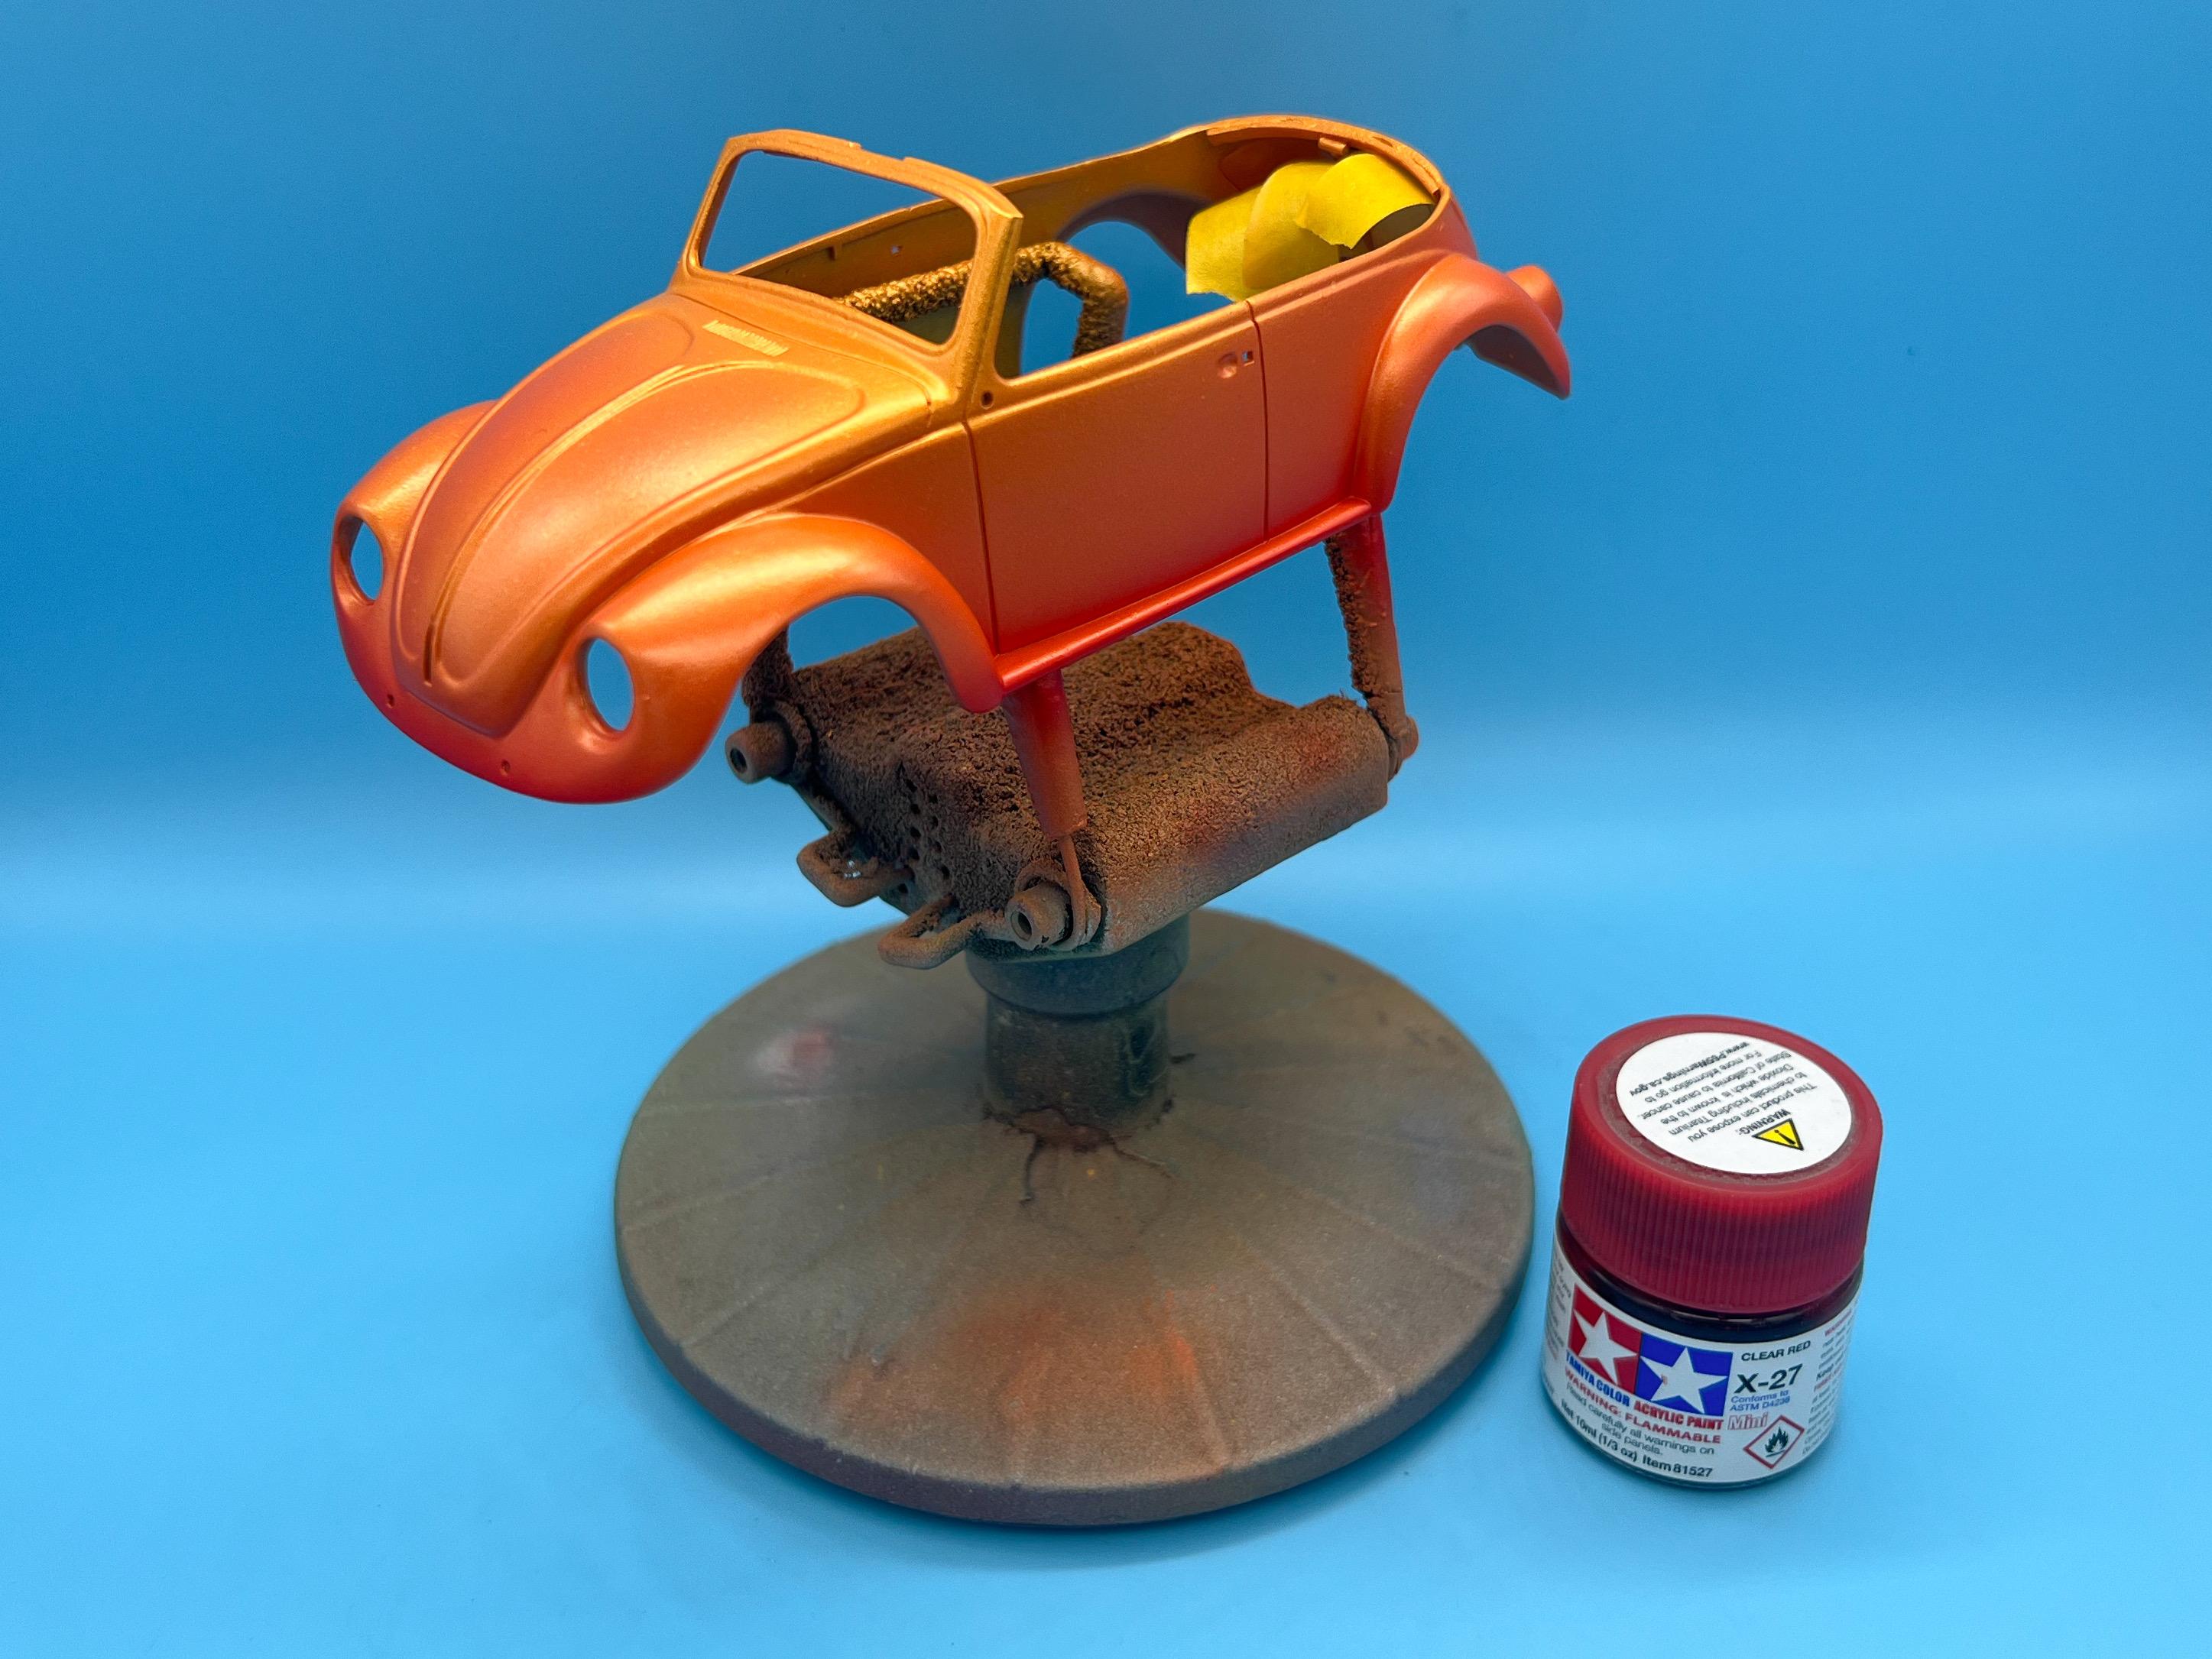
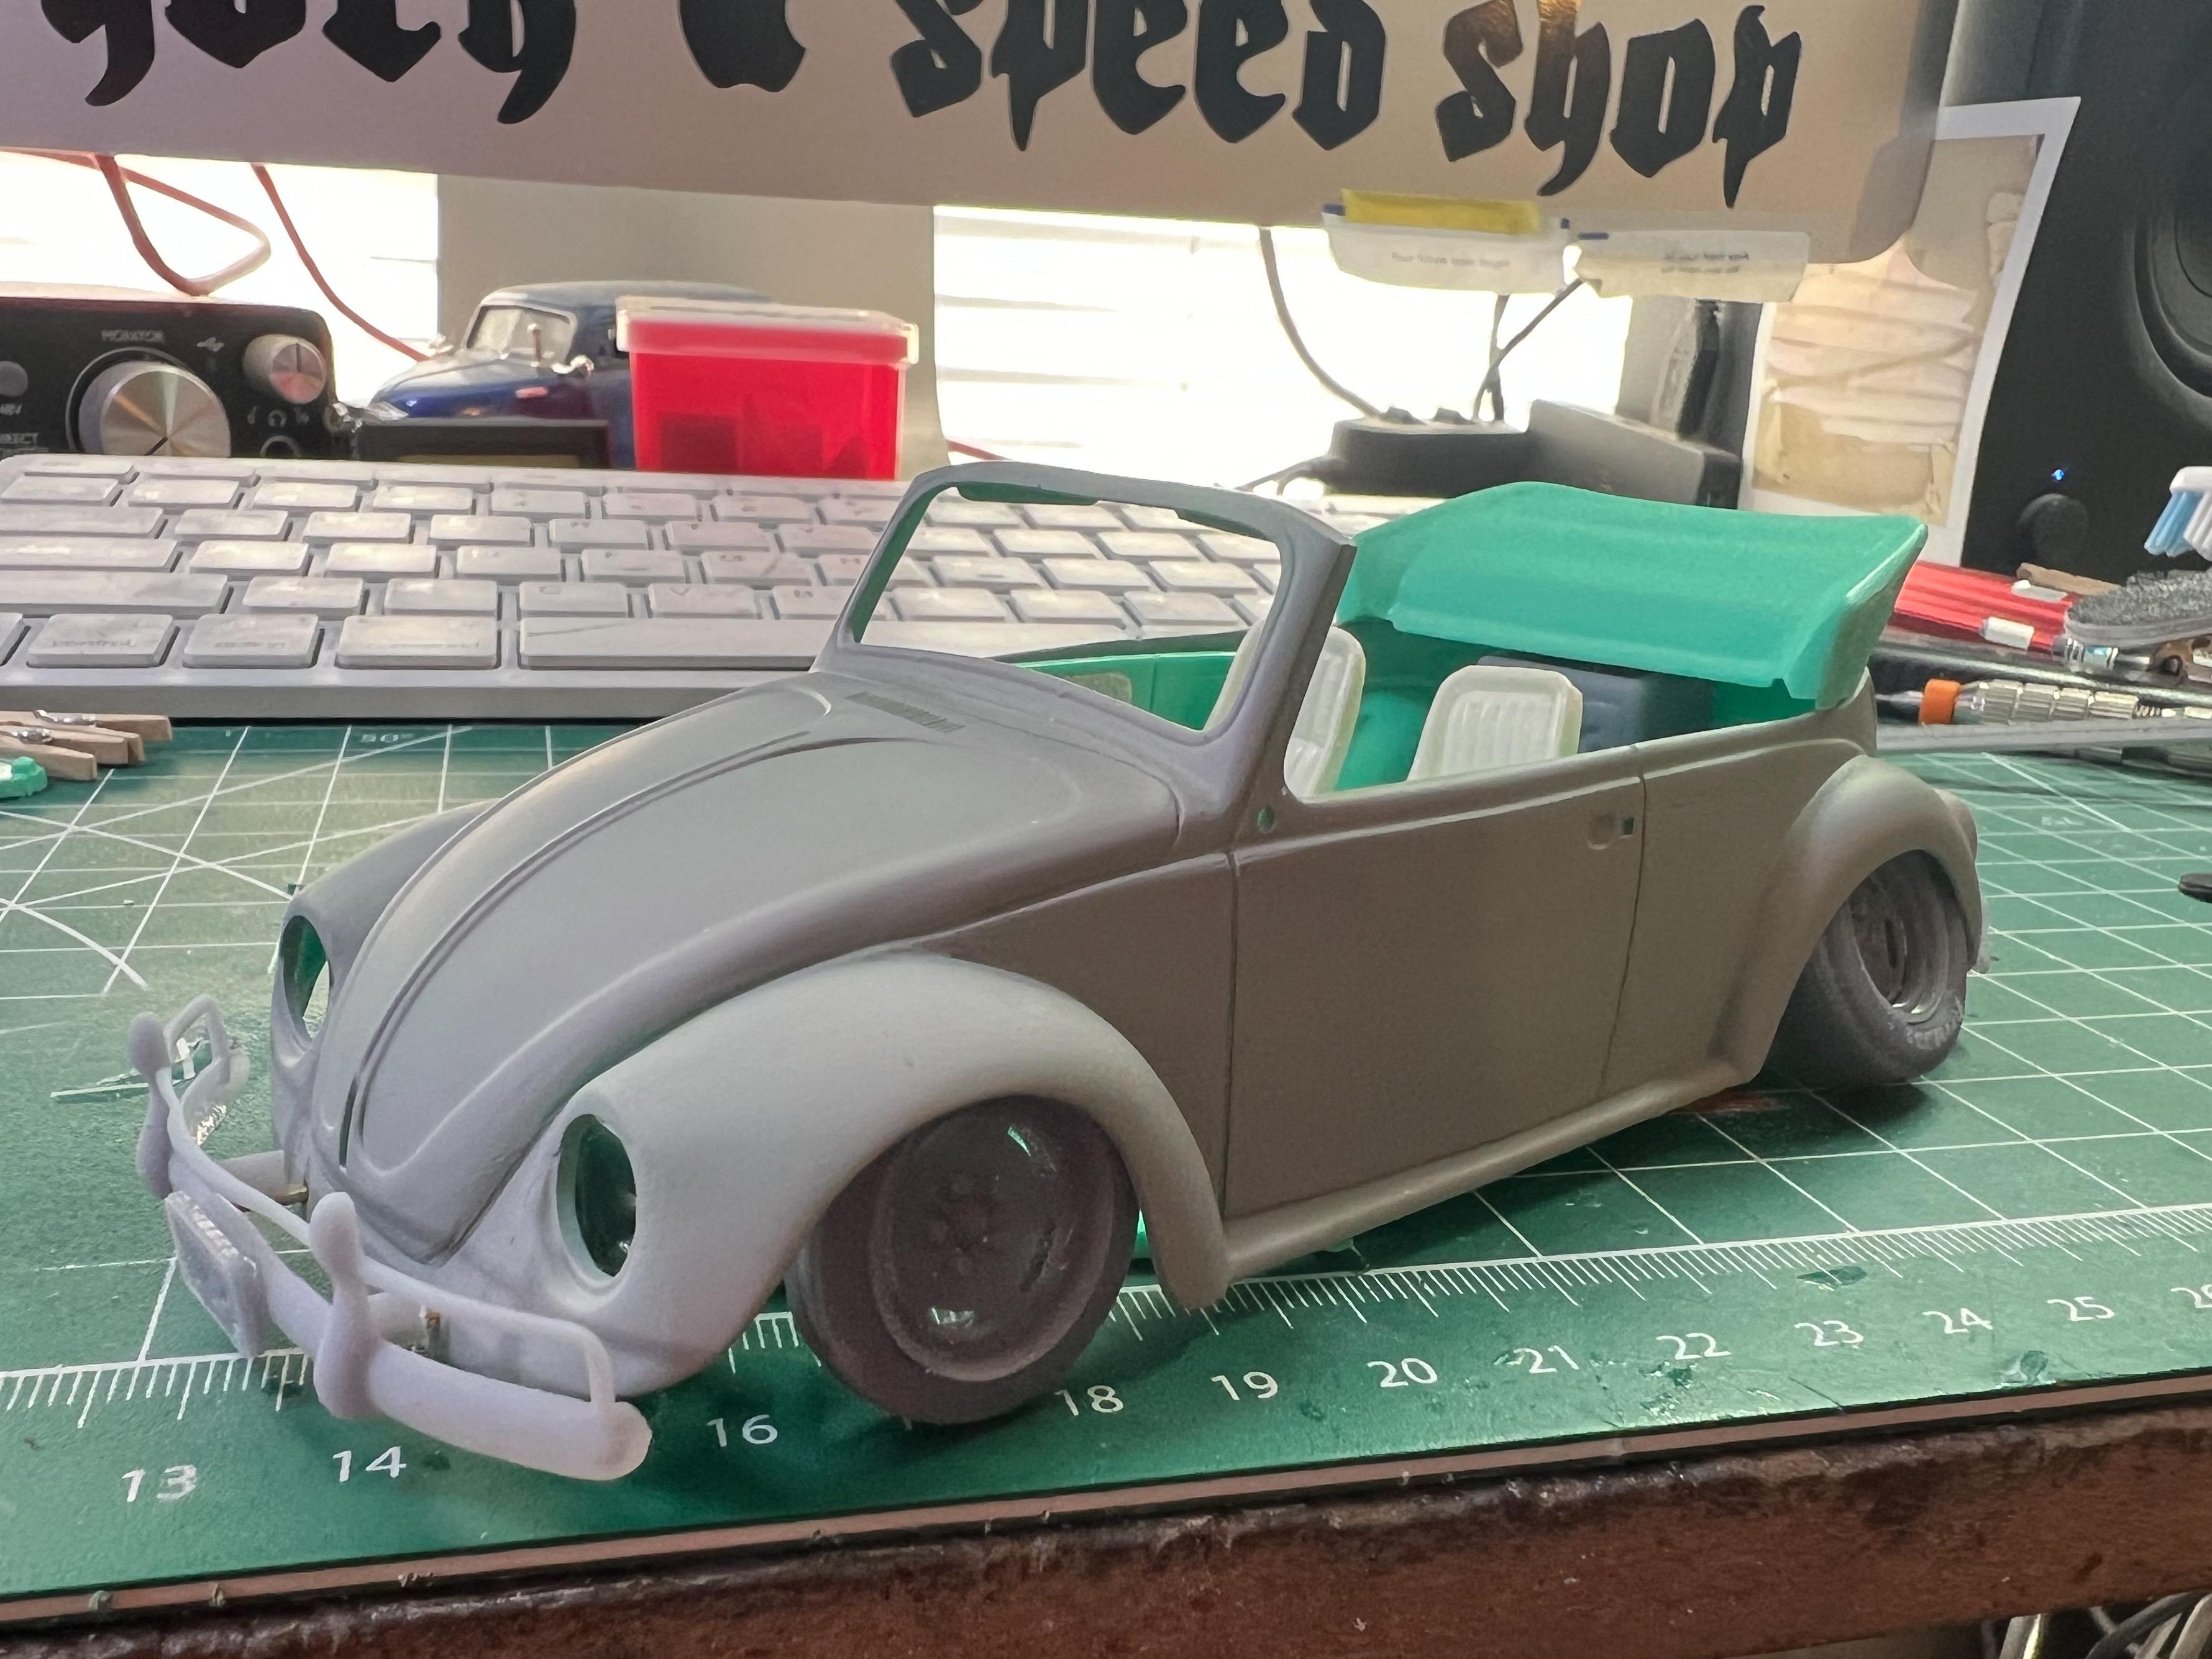
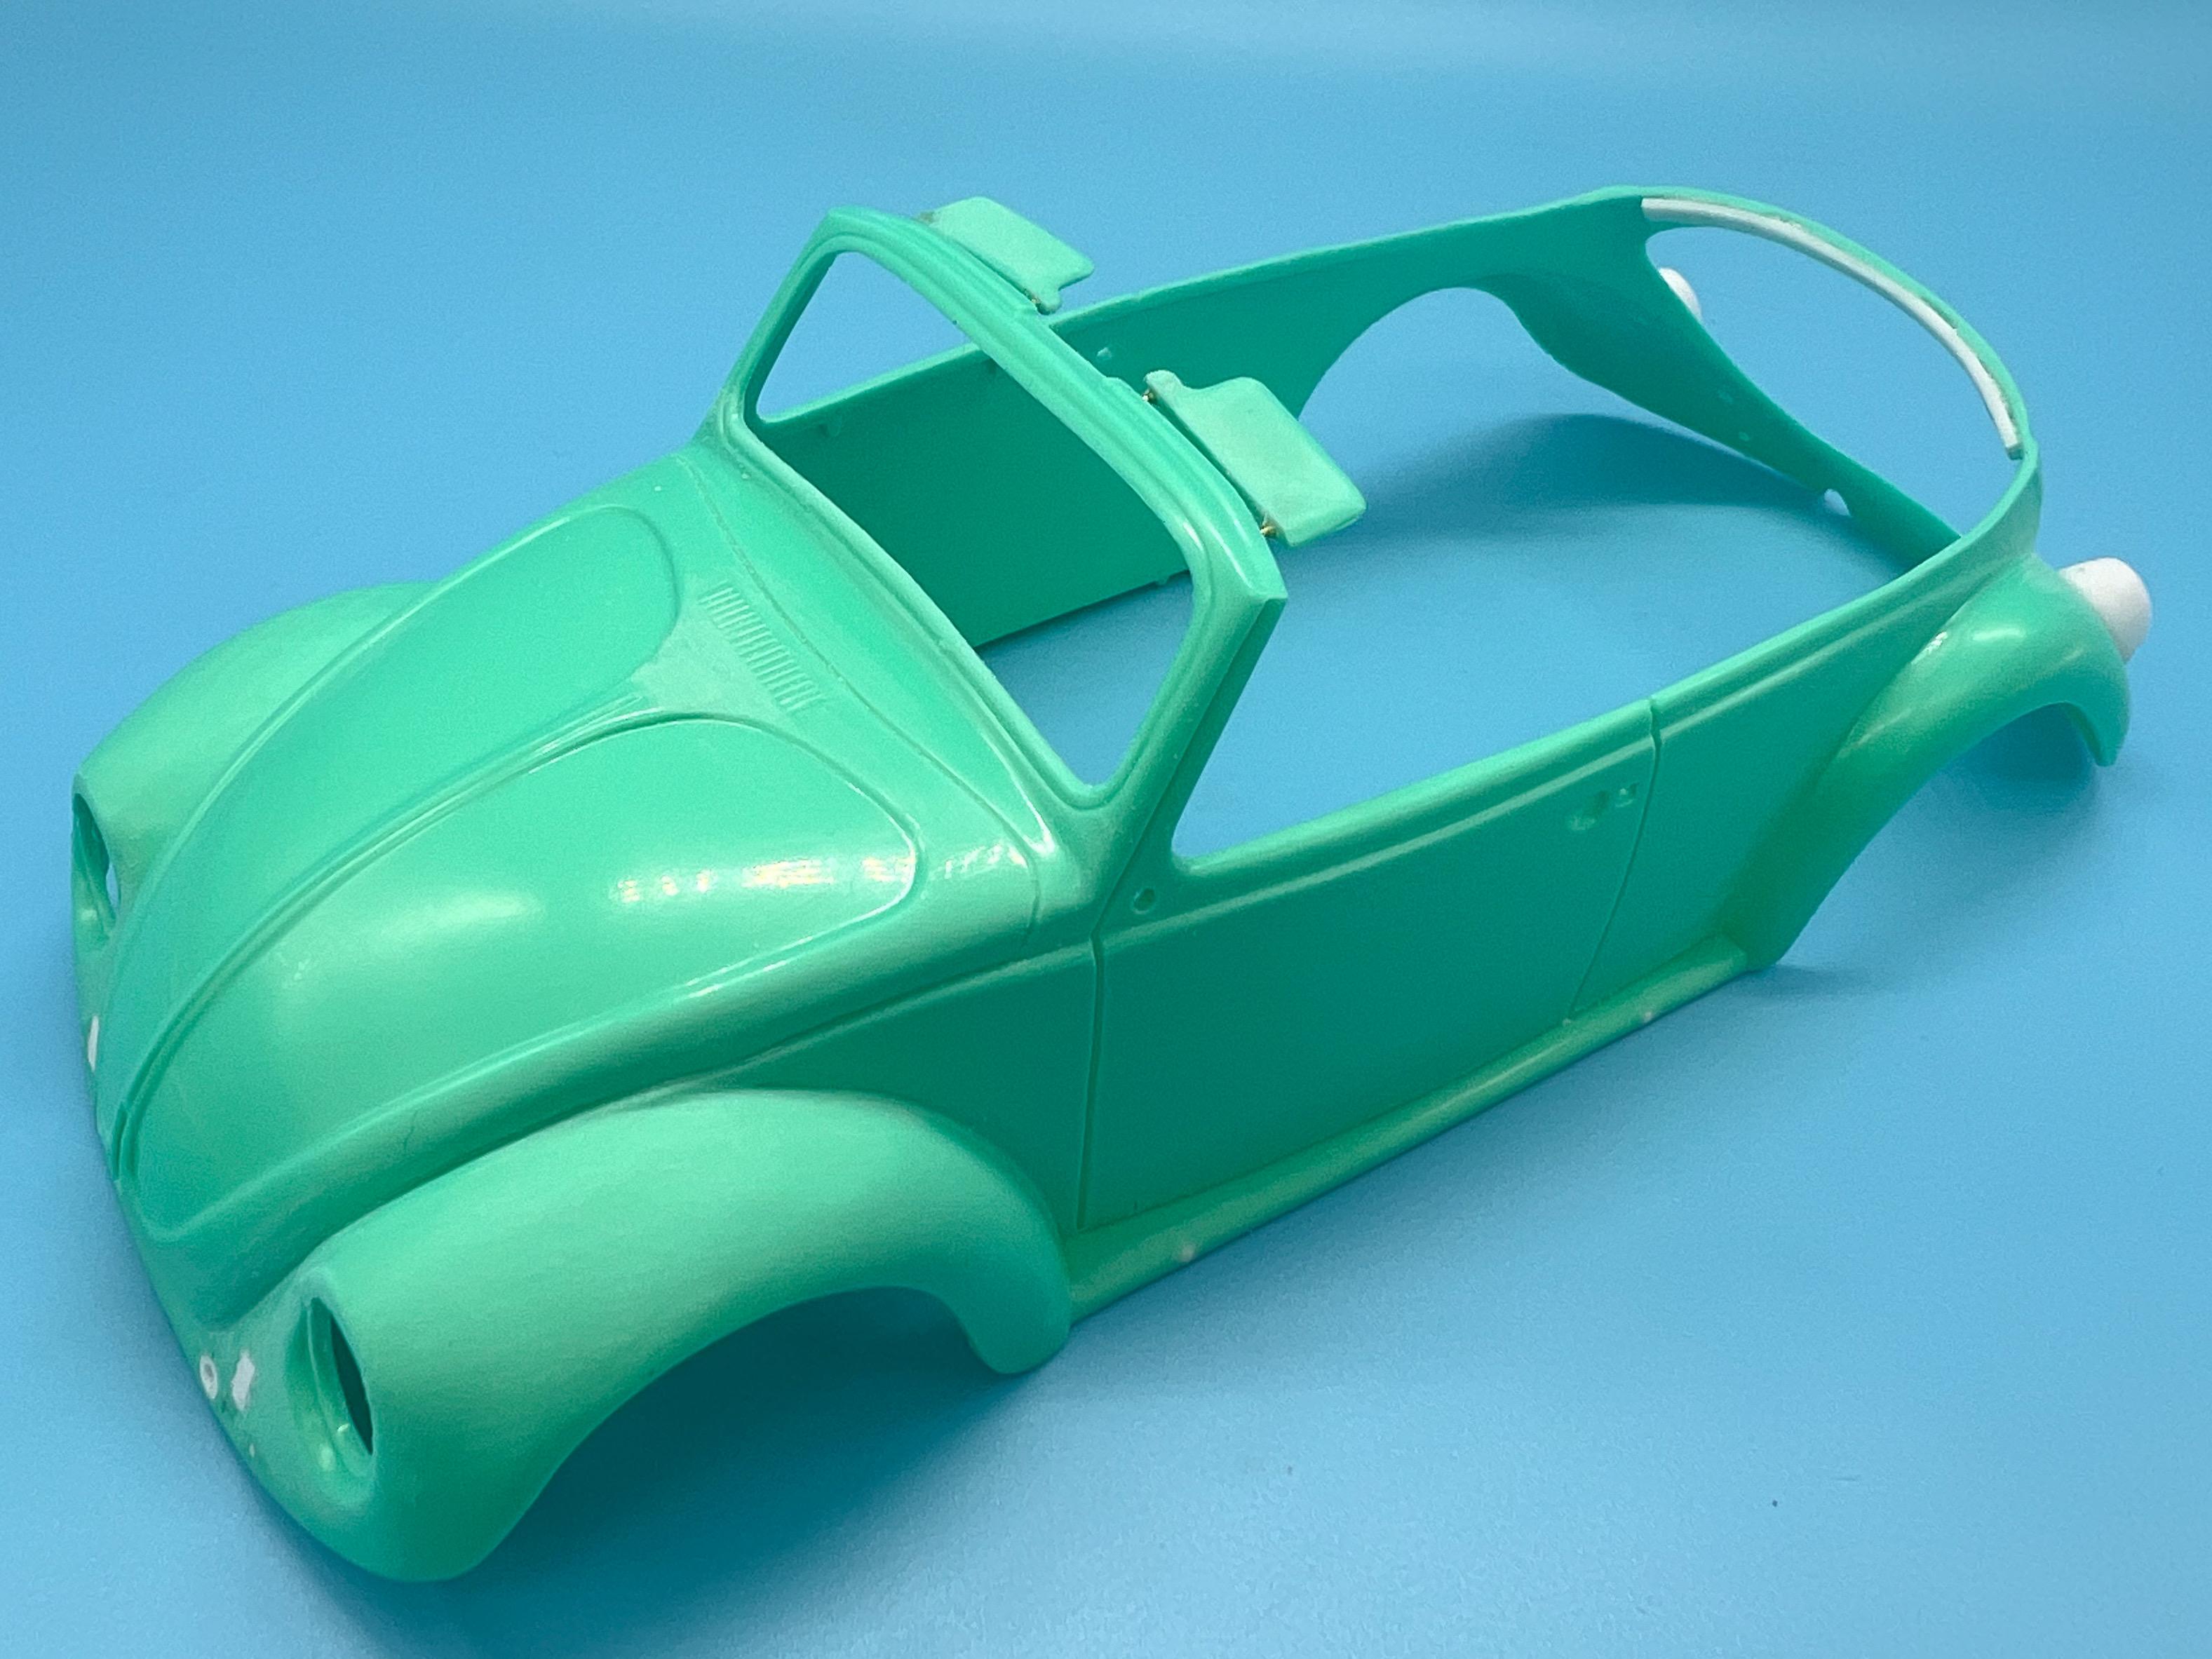
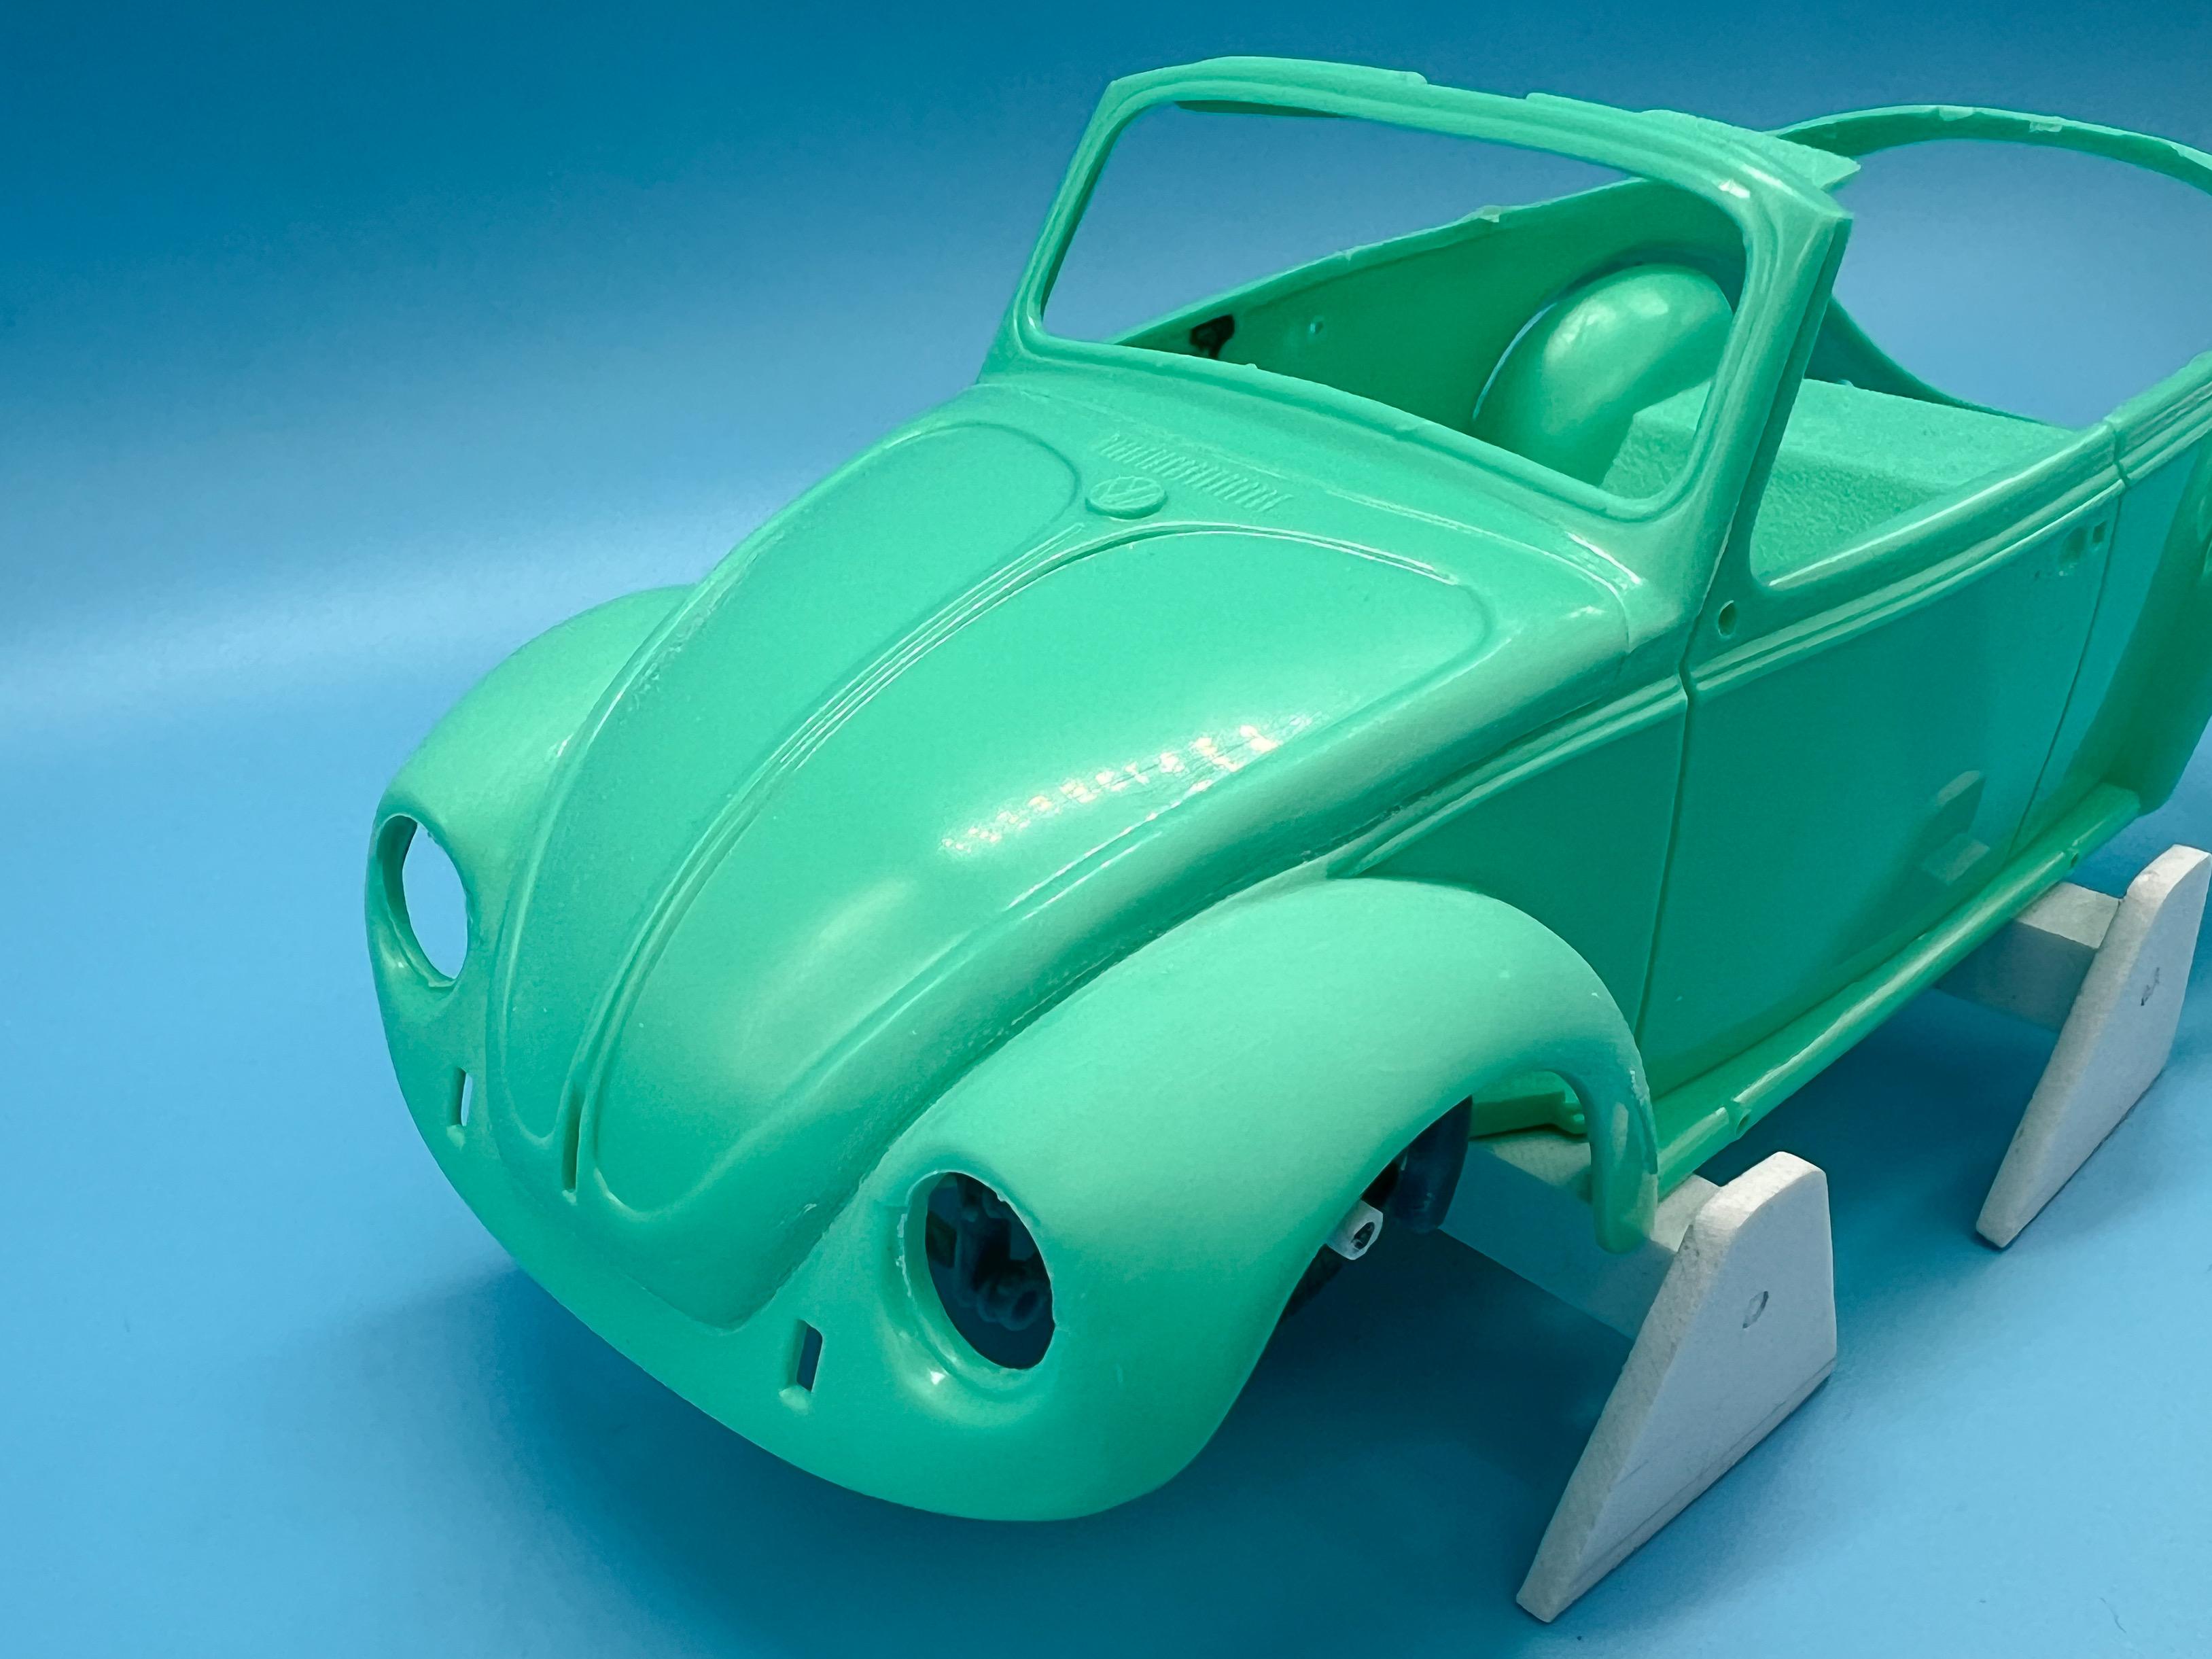
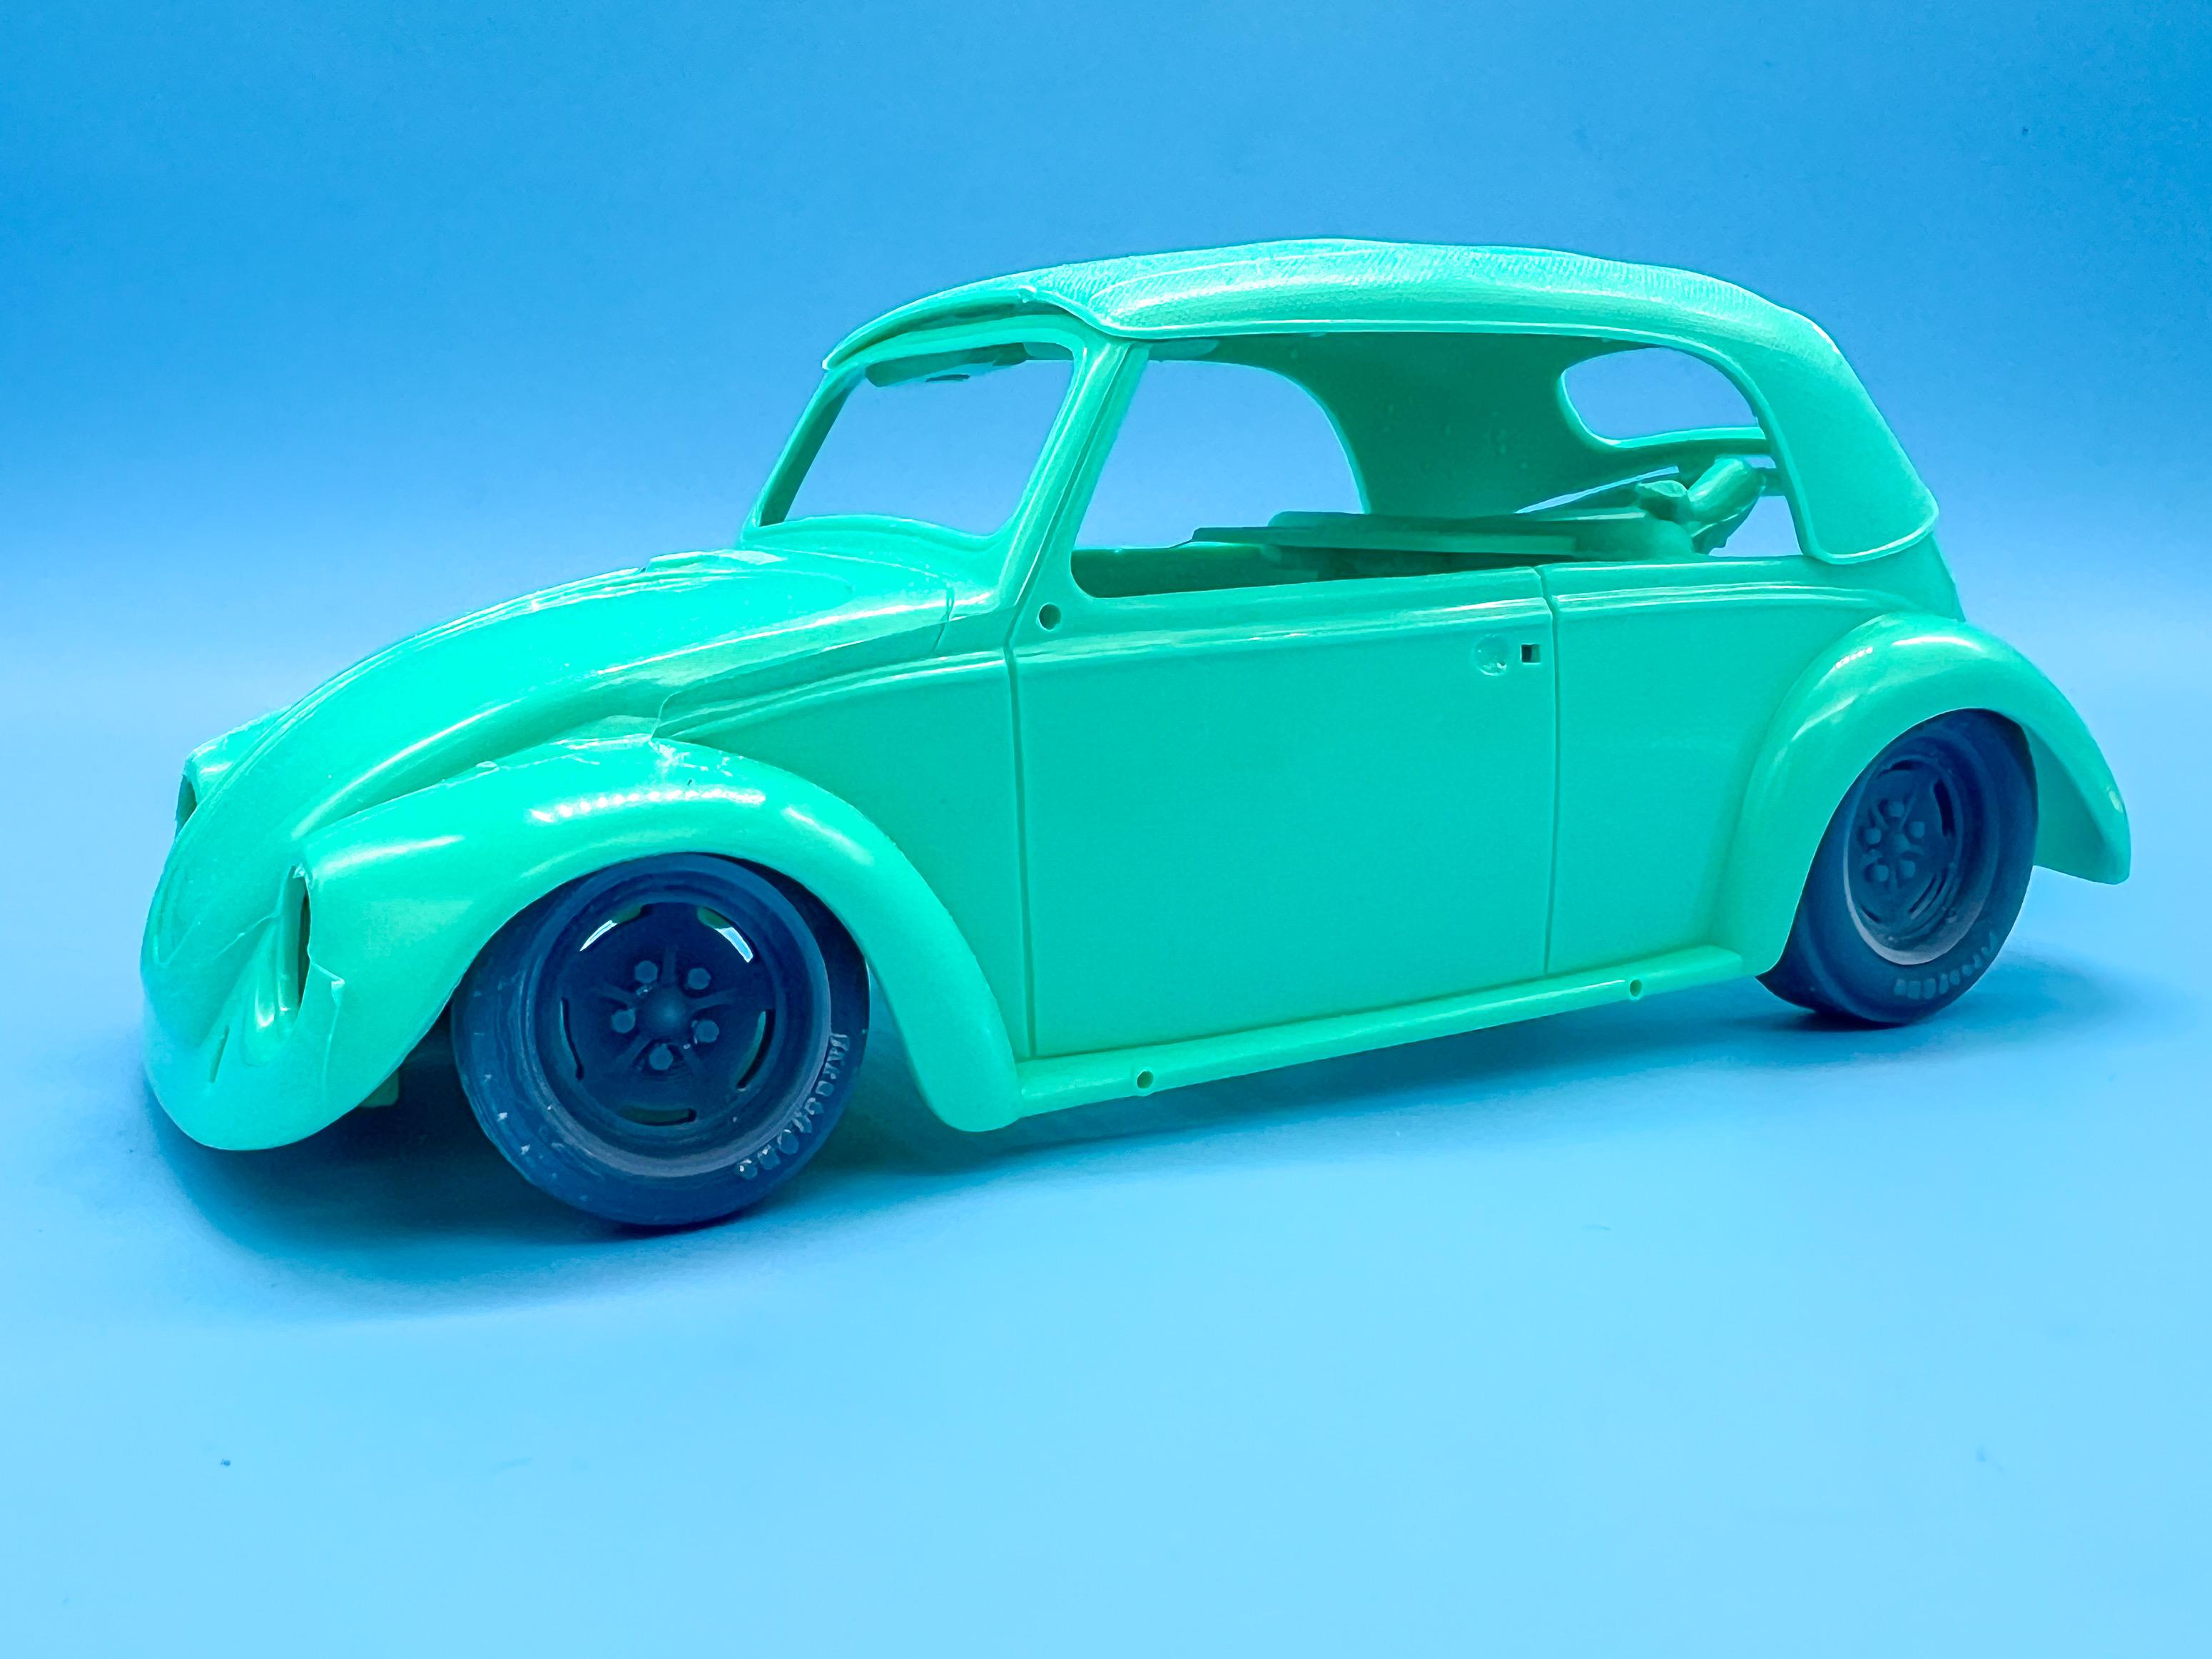
Mine too! ? Yessir! Haha - yeah, I’m not normally a fan of that squashed-out look, but that’s kinda how Beetles look when you REALLY lower them, I guess…but it still makes me feel a little weird ? So, small update…spent all evening playing with the airbrush, which is my favorite thing to do, pretty much…shot the first color, Createx Pearl Orange over top the fluorescent base color: Using the bright base really helped bring this color out - it can look a little too brown even over a while base but I’m pleased with this color. Not that I’m smart enough to leave a good thing well enough alone…next step is some Wicked Colors Pearl yellow to add some highlights… Really happy with how that looks - it practically GLOWS under the lights of the photobooth…not done yet though… I wanted to add some gold flip to the whole arrangement, so I mixed up some Pearl-Ex bright gold with some Future clear: I few mist coats of that over top my work so far - any of these mica powders seem to help blend together gradients when used over a similar color, and in the sunlight you get an extra layer of sparkle and color-flip on top of what we're already getting from the paint. A subtle change, but makes a big difference under natural light: And then, finally, one more layer for tonight…I didn’t want the gold flake interfering with this last color, hence shooting it before adding some ‘lowlights’ around the bottom edges: Plenty more to do on, well, everything - but I was excited with tonight’s progress! Thanks for looking, more soon, soon as I’ve done more!
-
71 Olds 442 W30 (replica of my brother in law’s car)
OldNYJim replied to Steve H's topic in WIP: Model Cars
This is coming together great Steve! Nice work on detailing that engine, and the brake master…nice touches! -
1960 Ford F-100
OldNYJim replied to Plowboy's topic in Model Trucks: Pickups, Vans, SUVs, Light Commercial
Especially criticizing a well-respected member who has since passed away… I still love this build, for what it’s worth - I wanna build one just like it! -
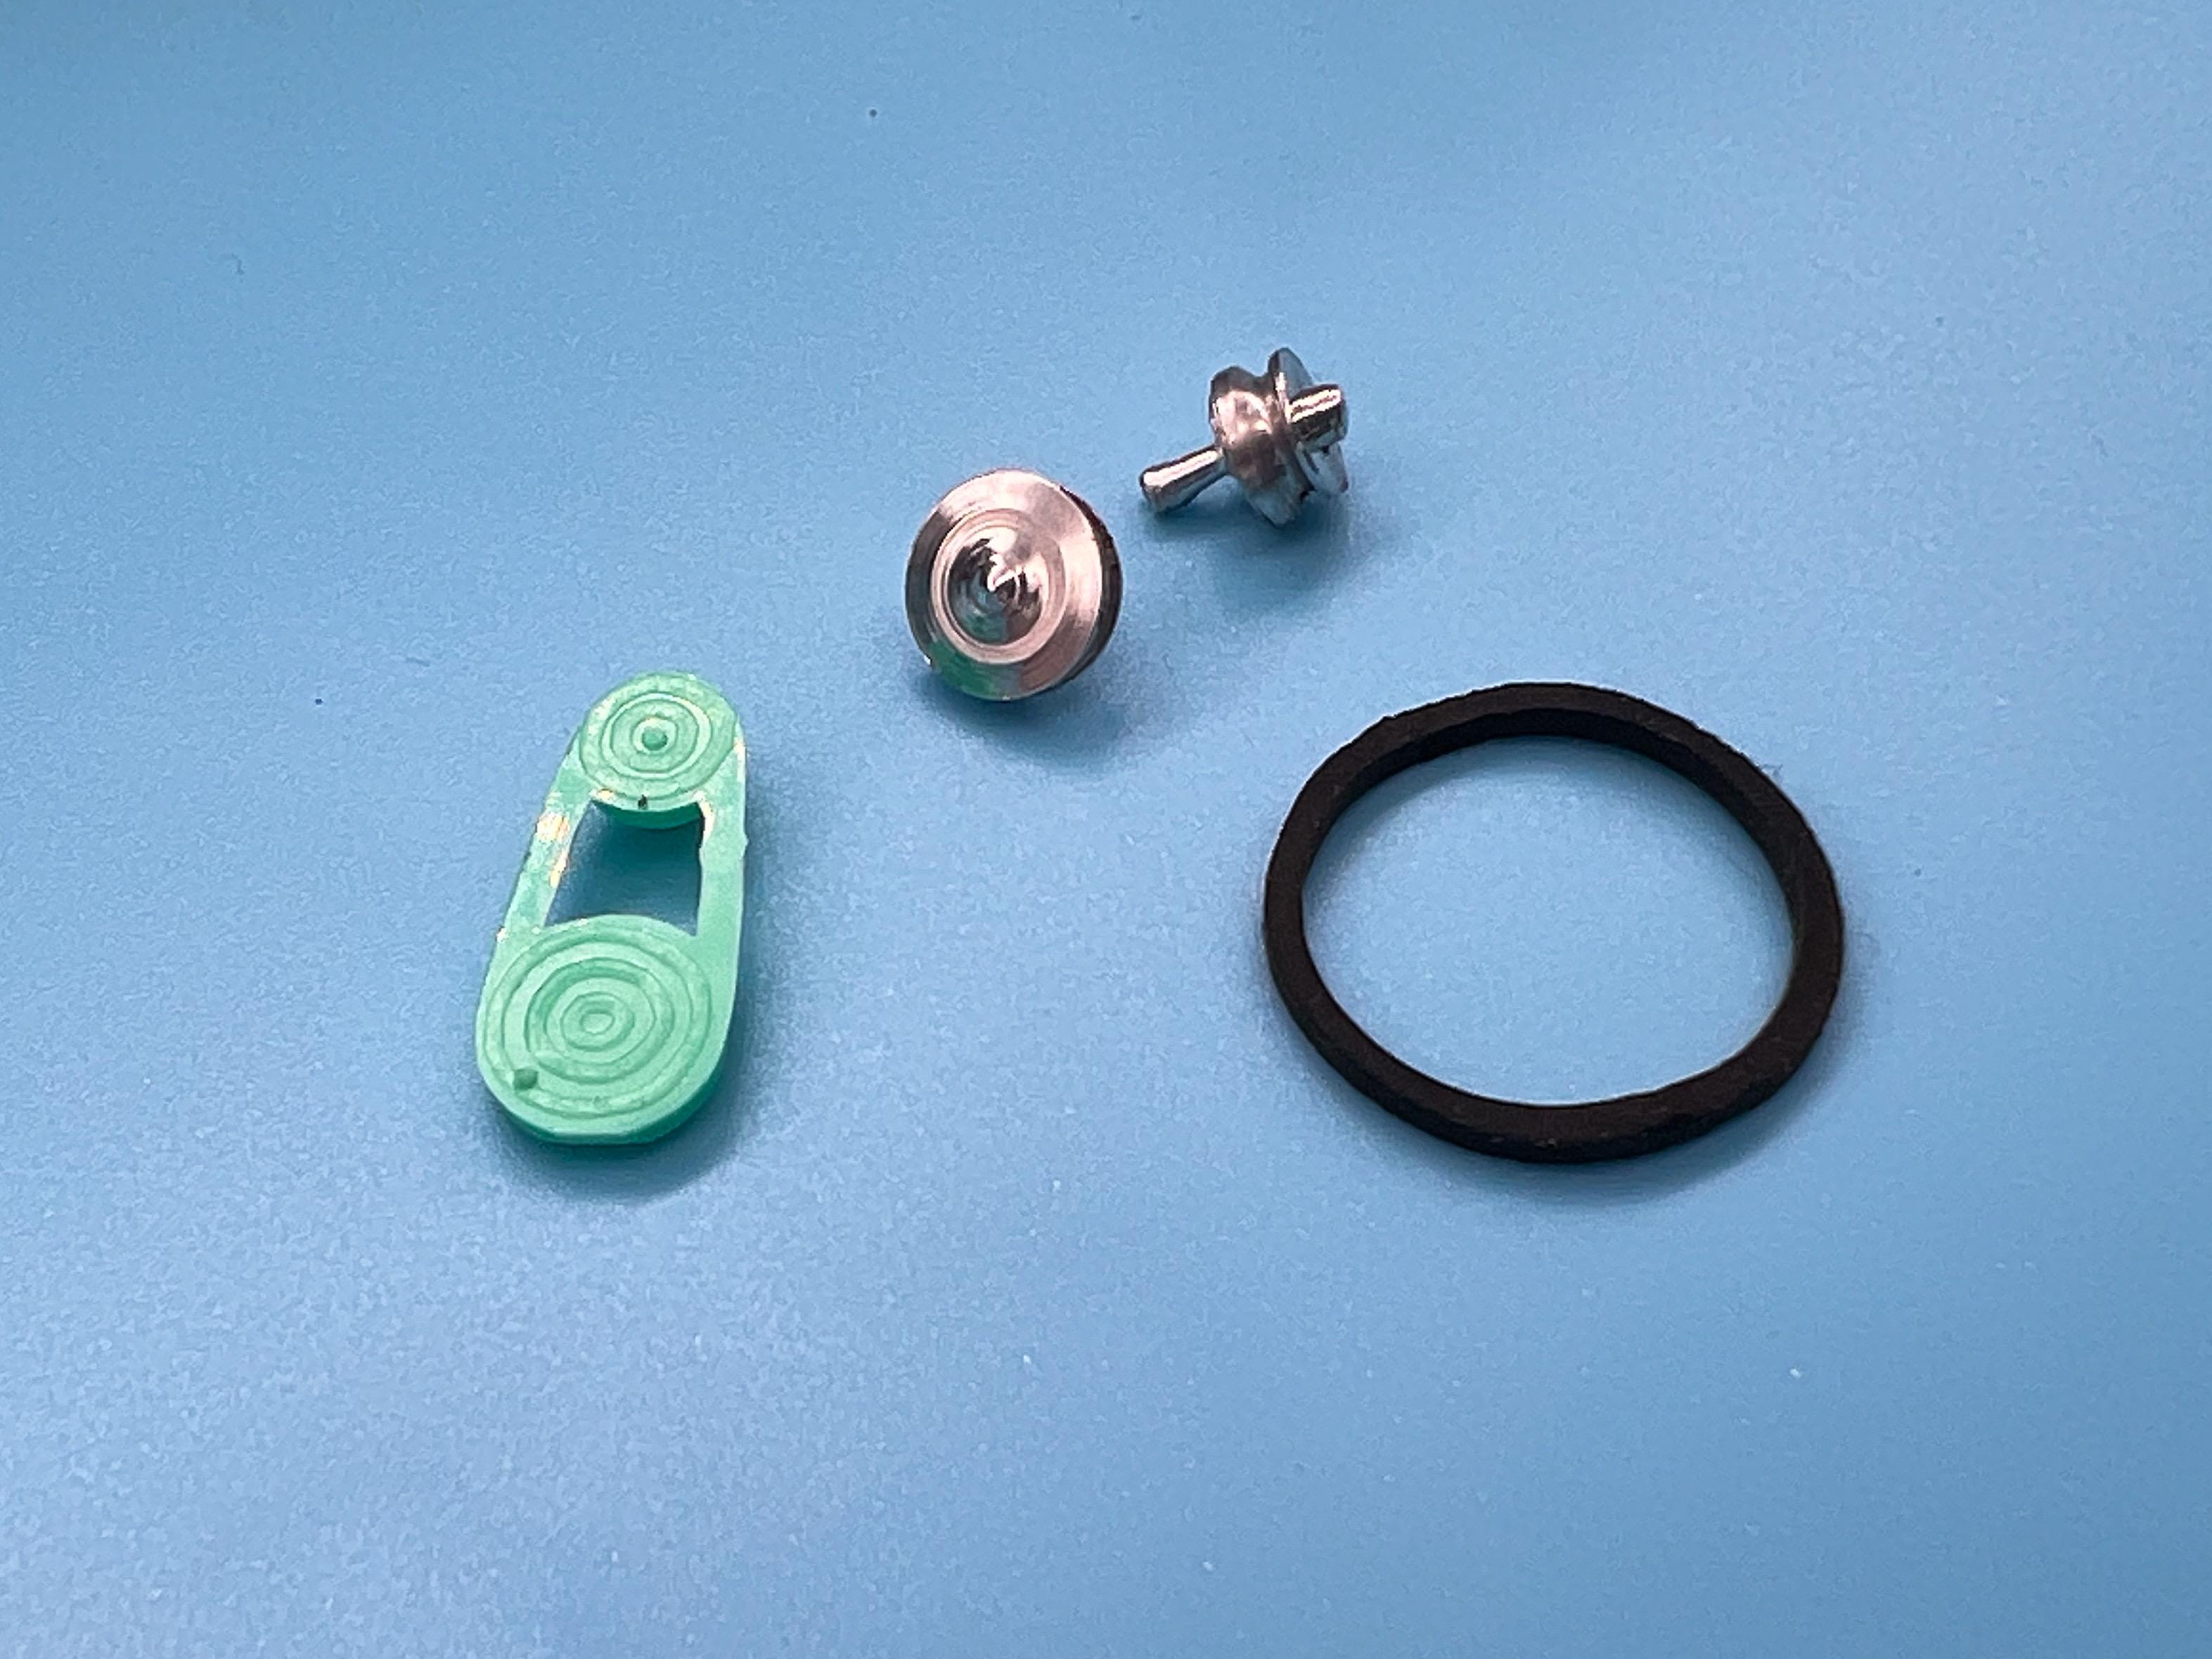
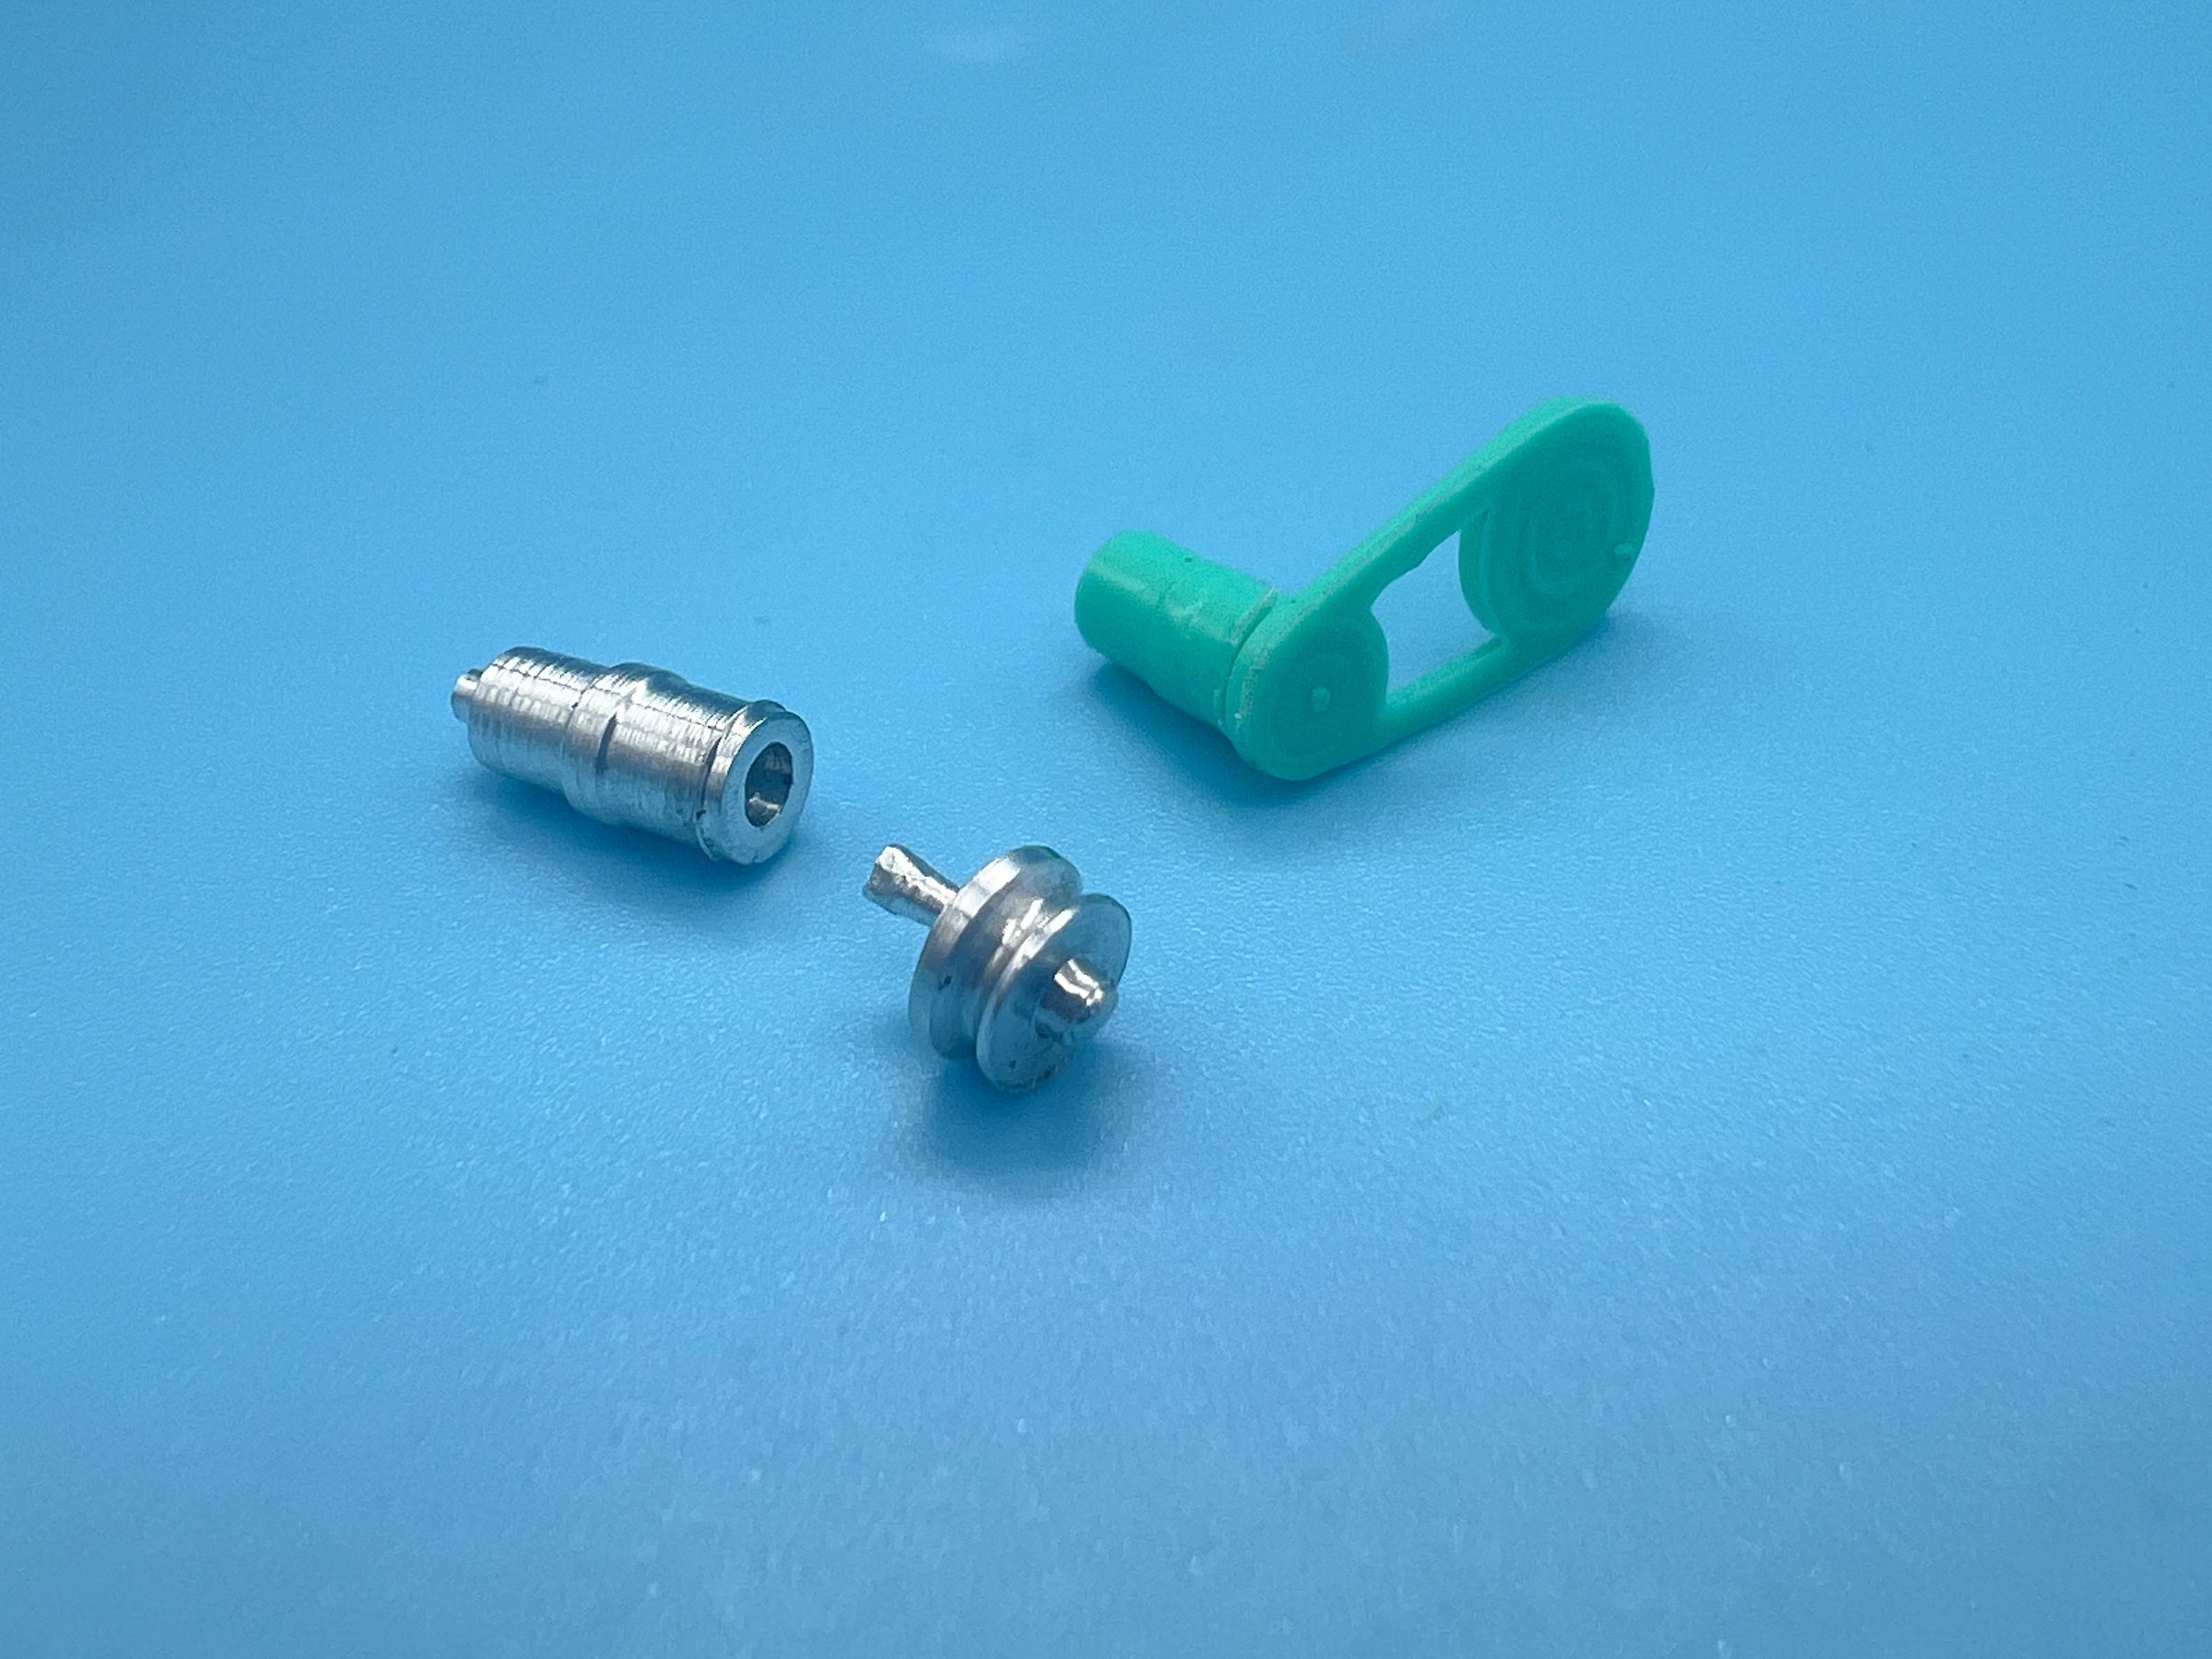
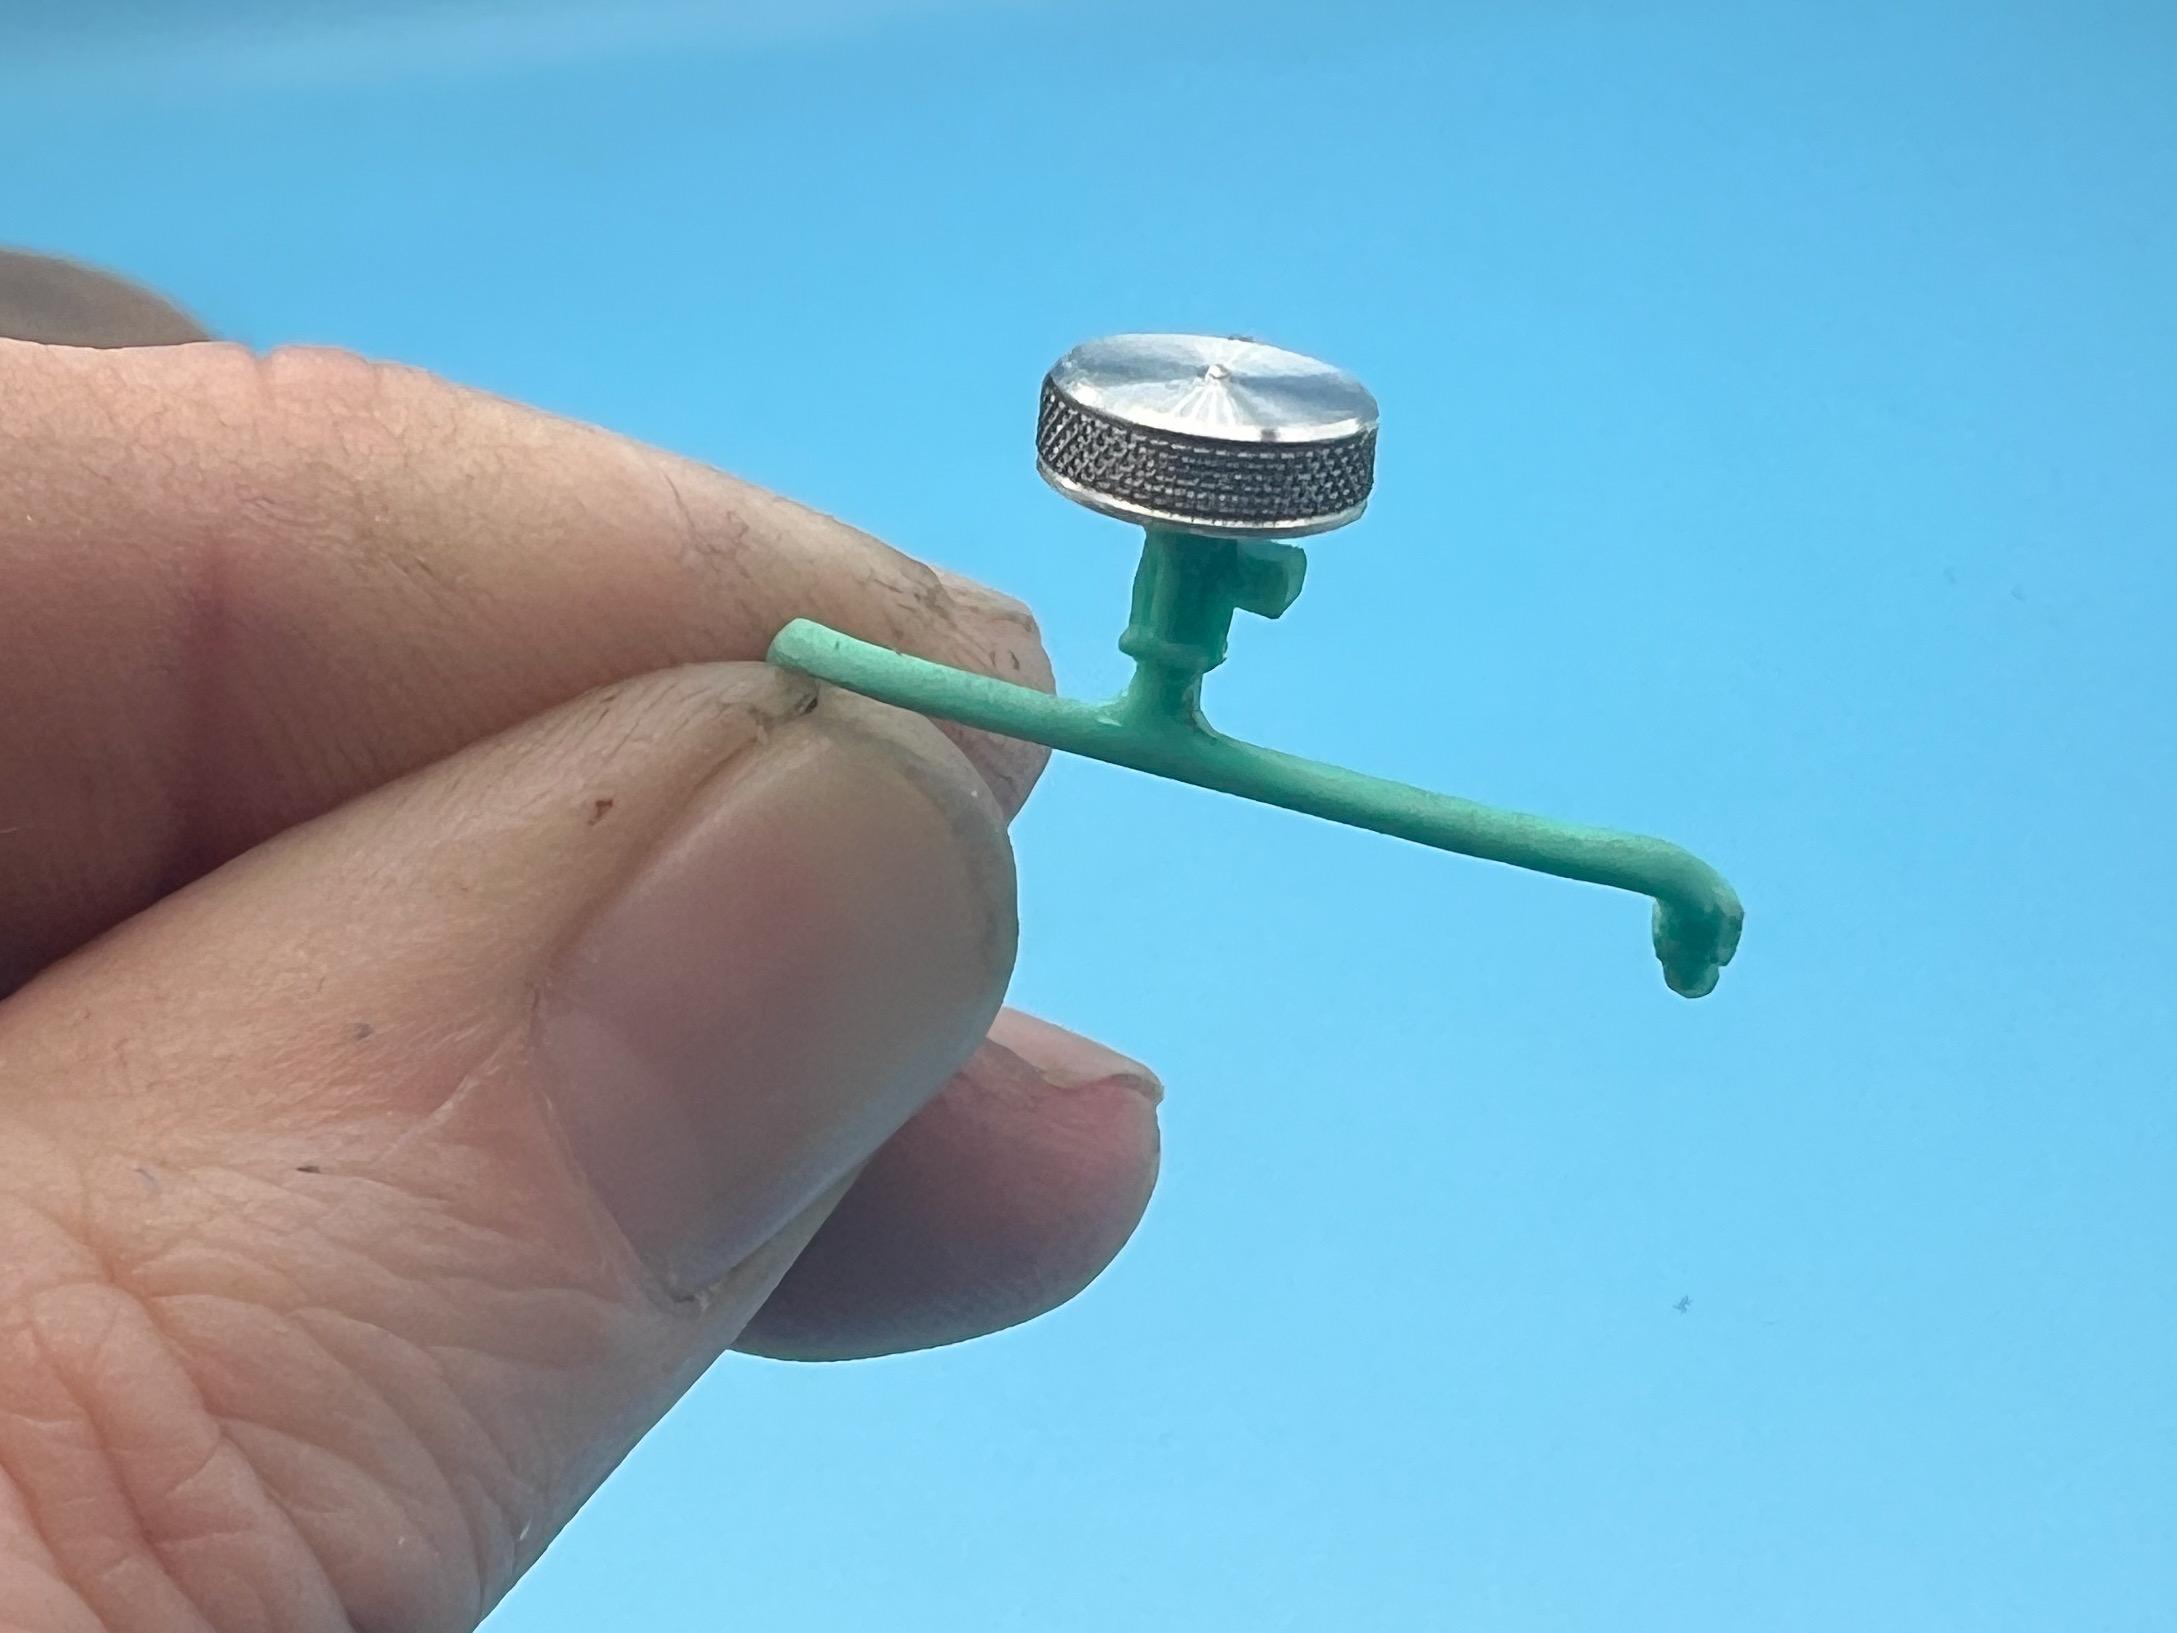
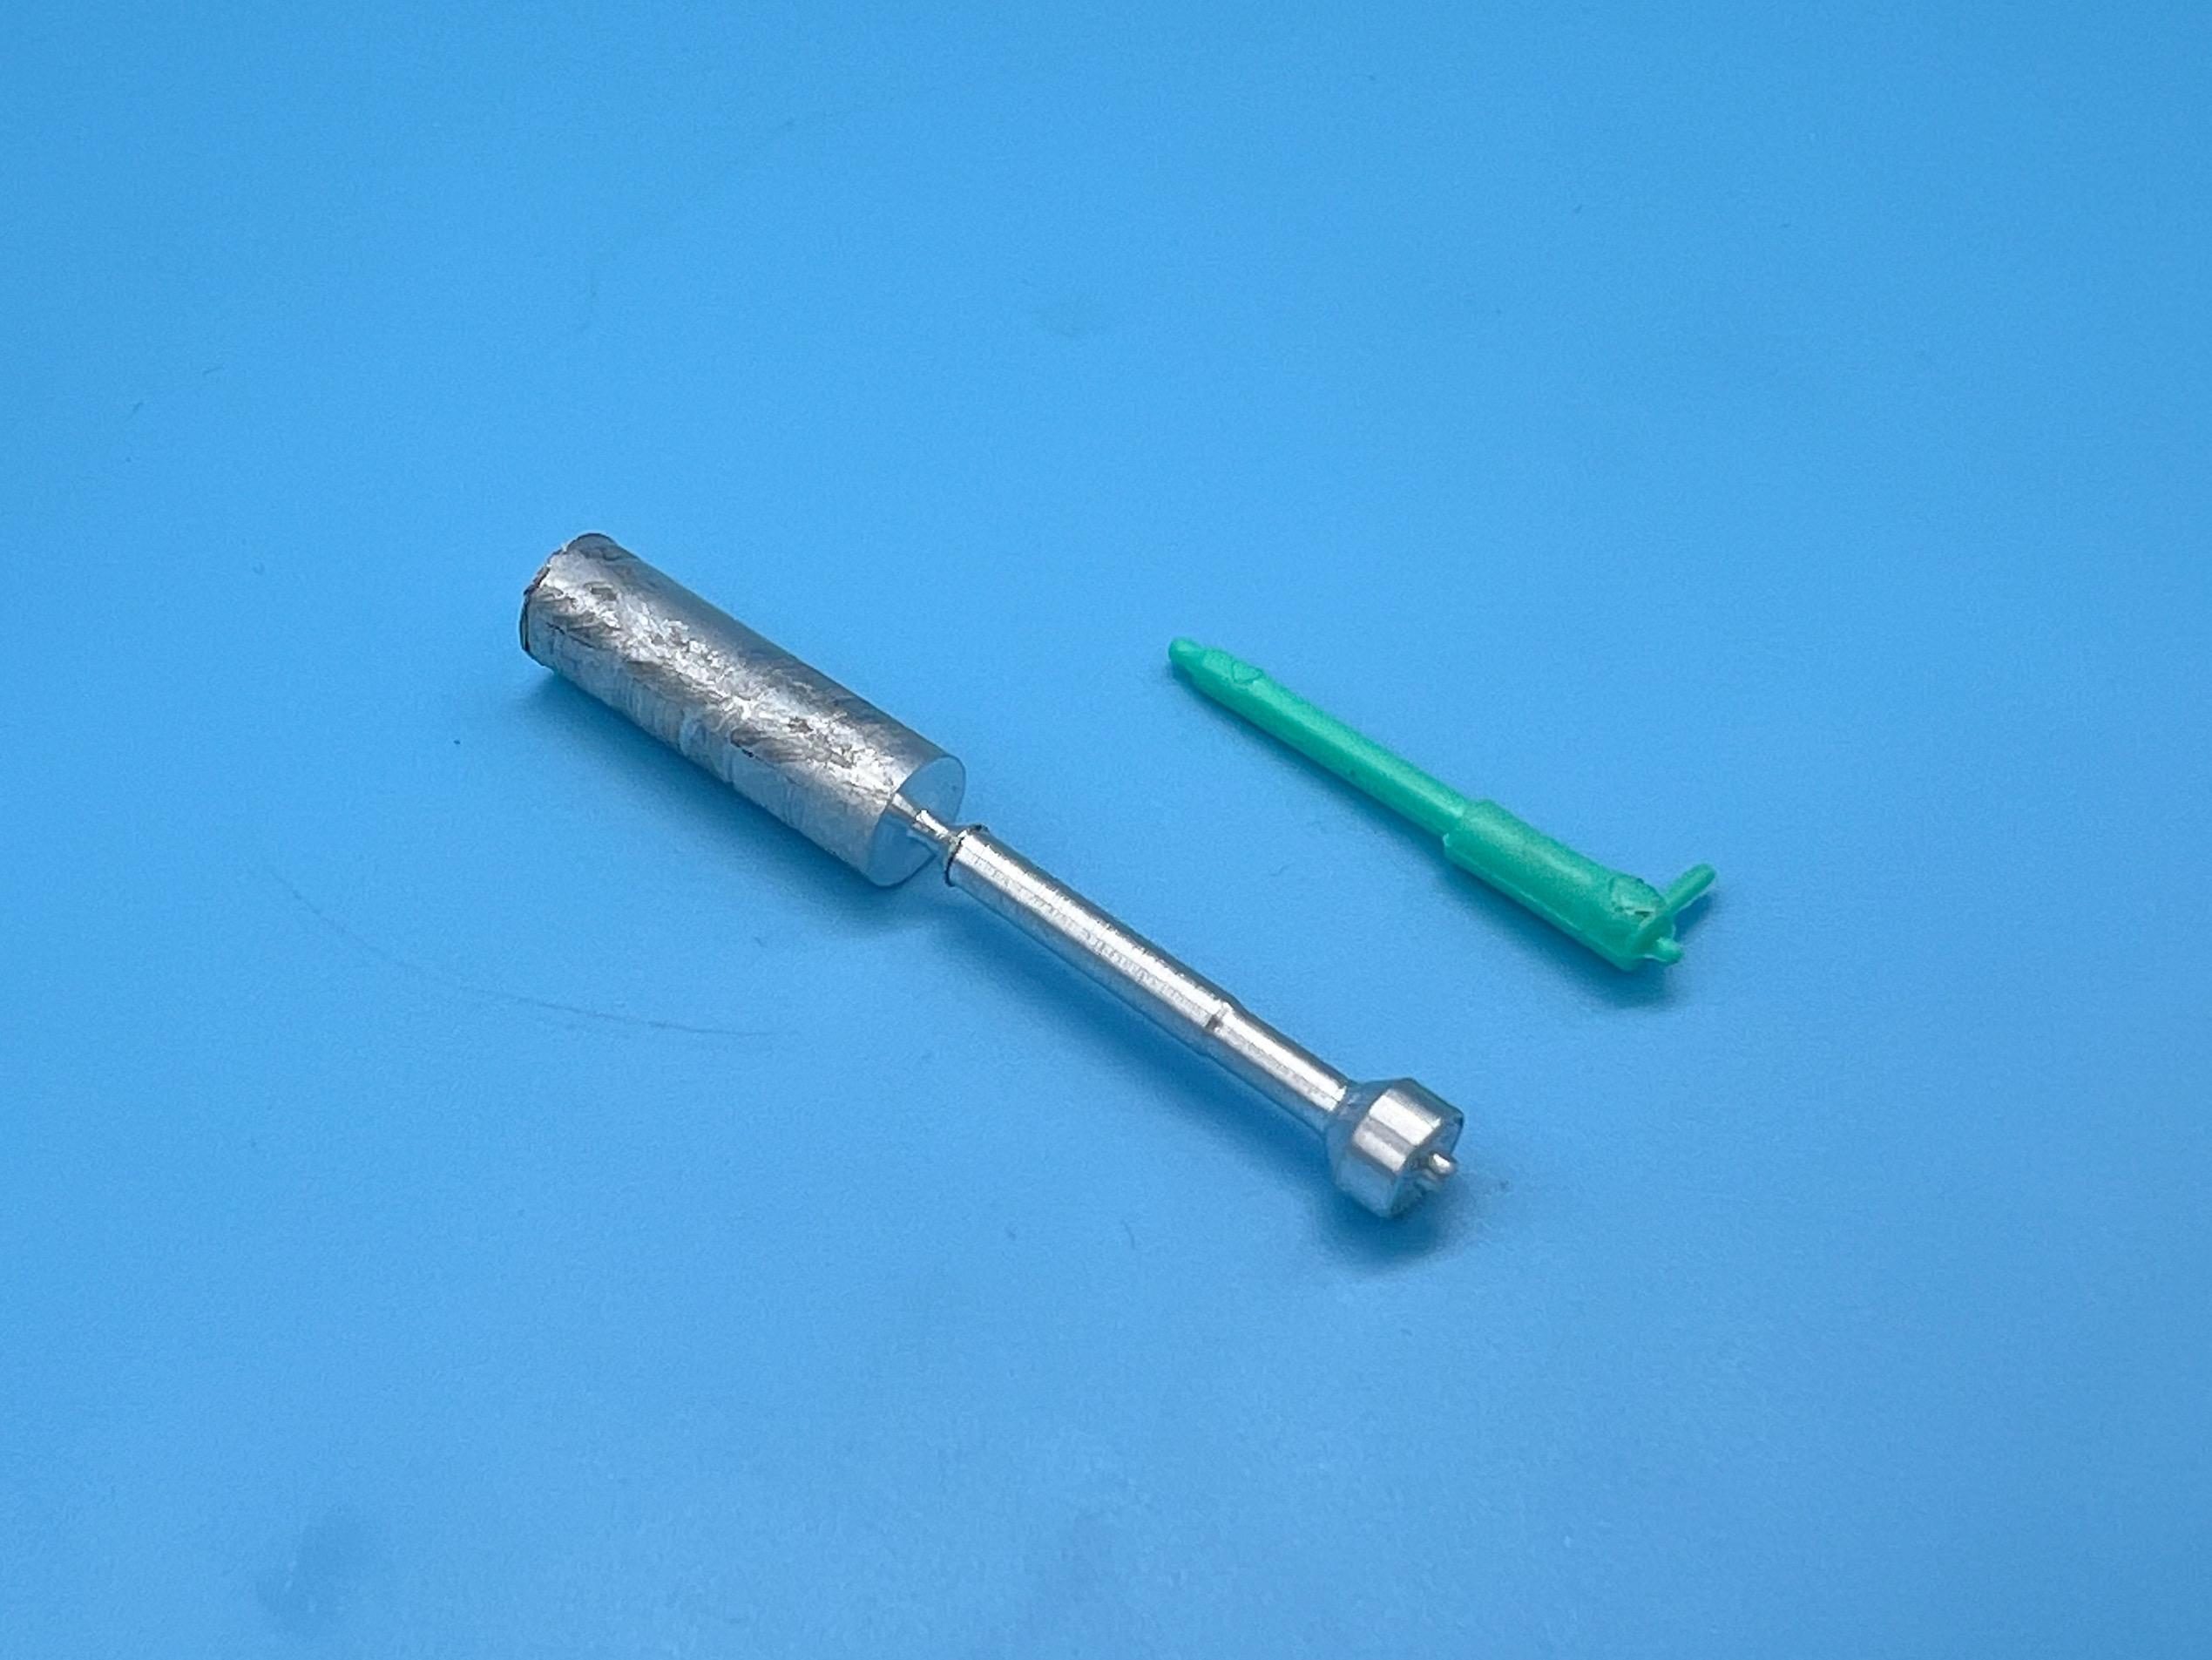
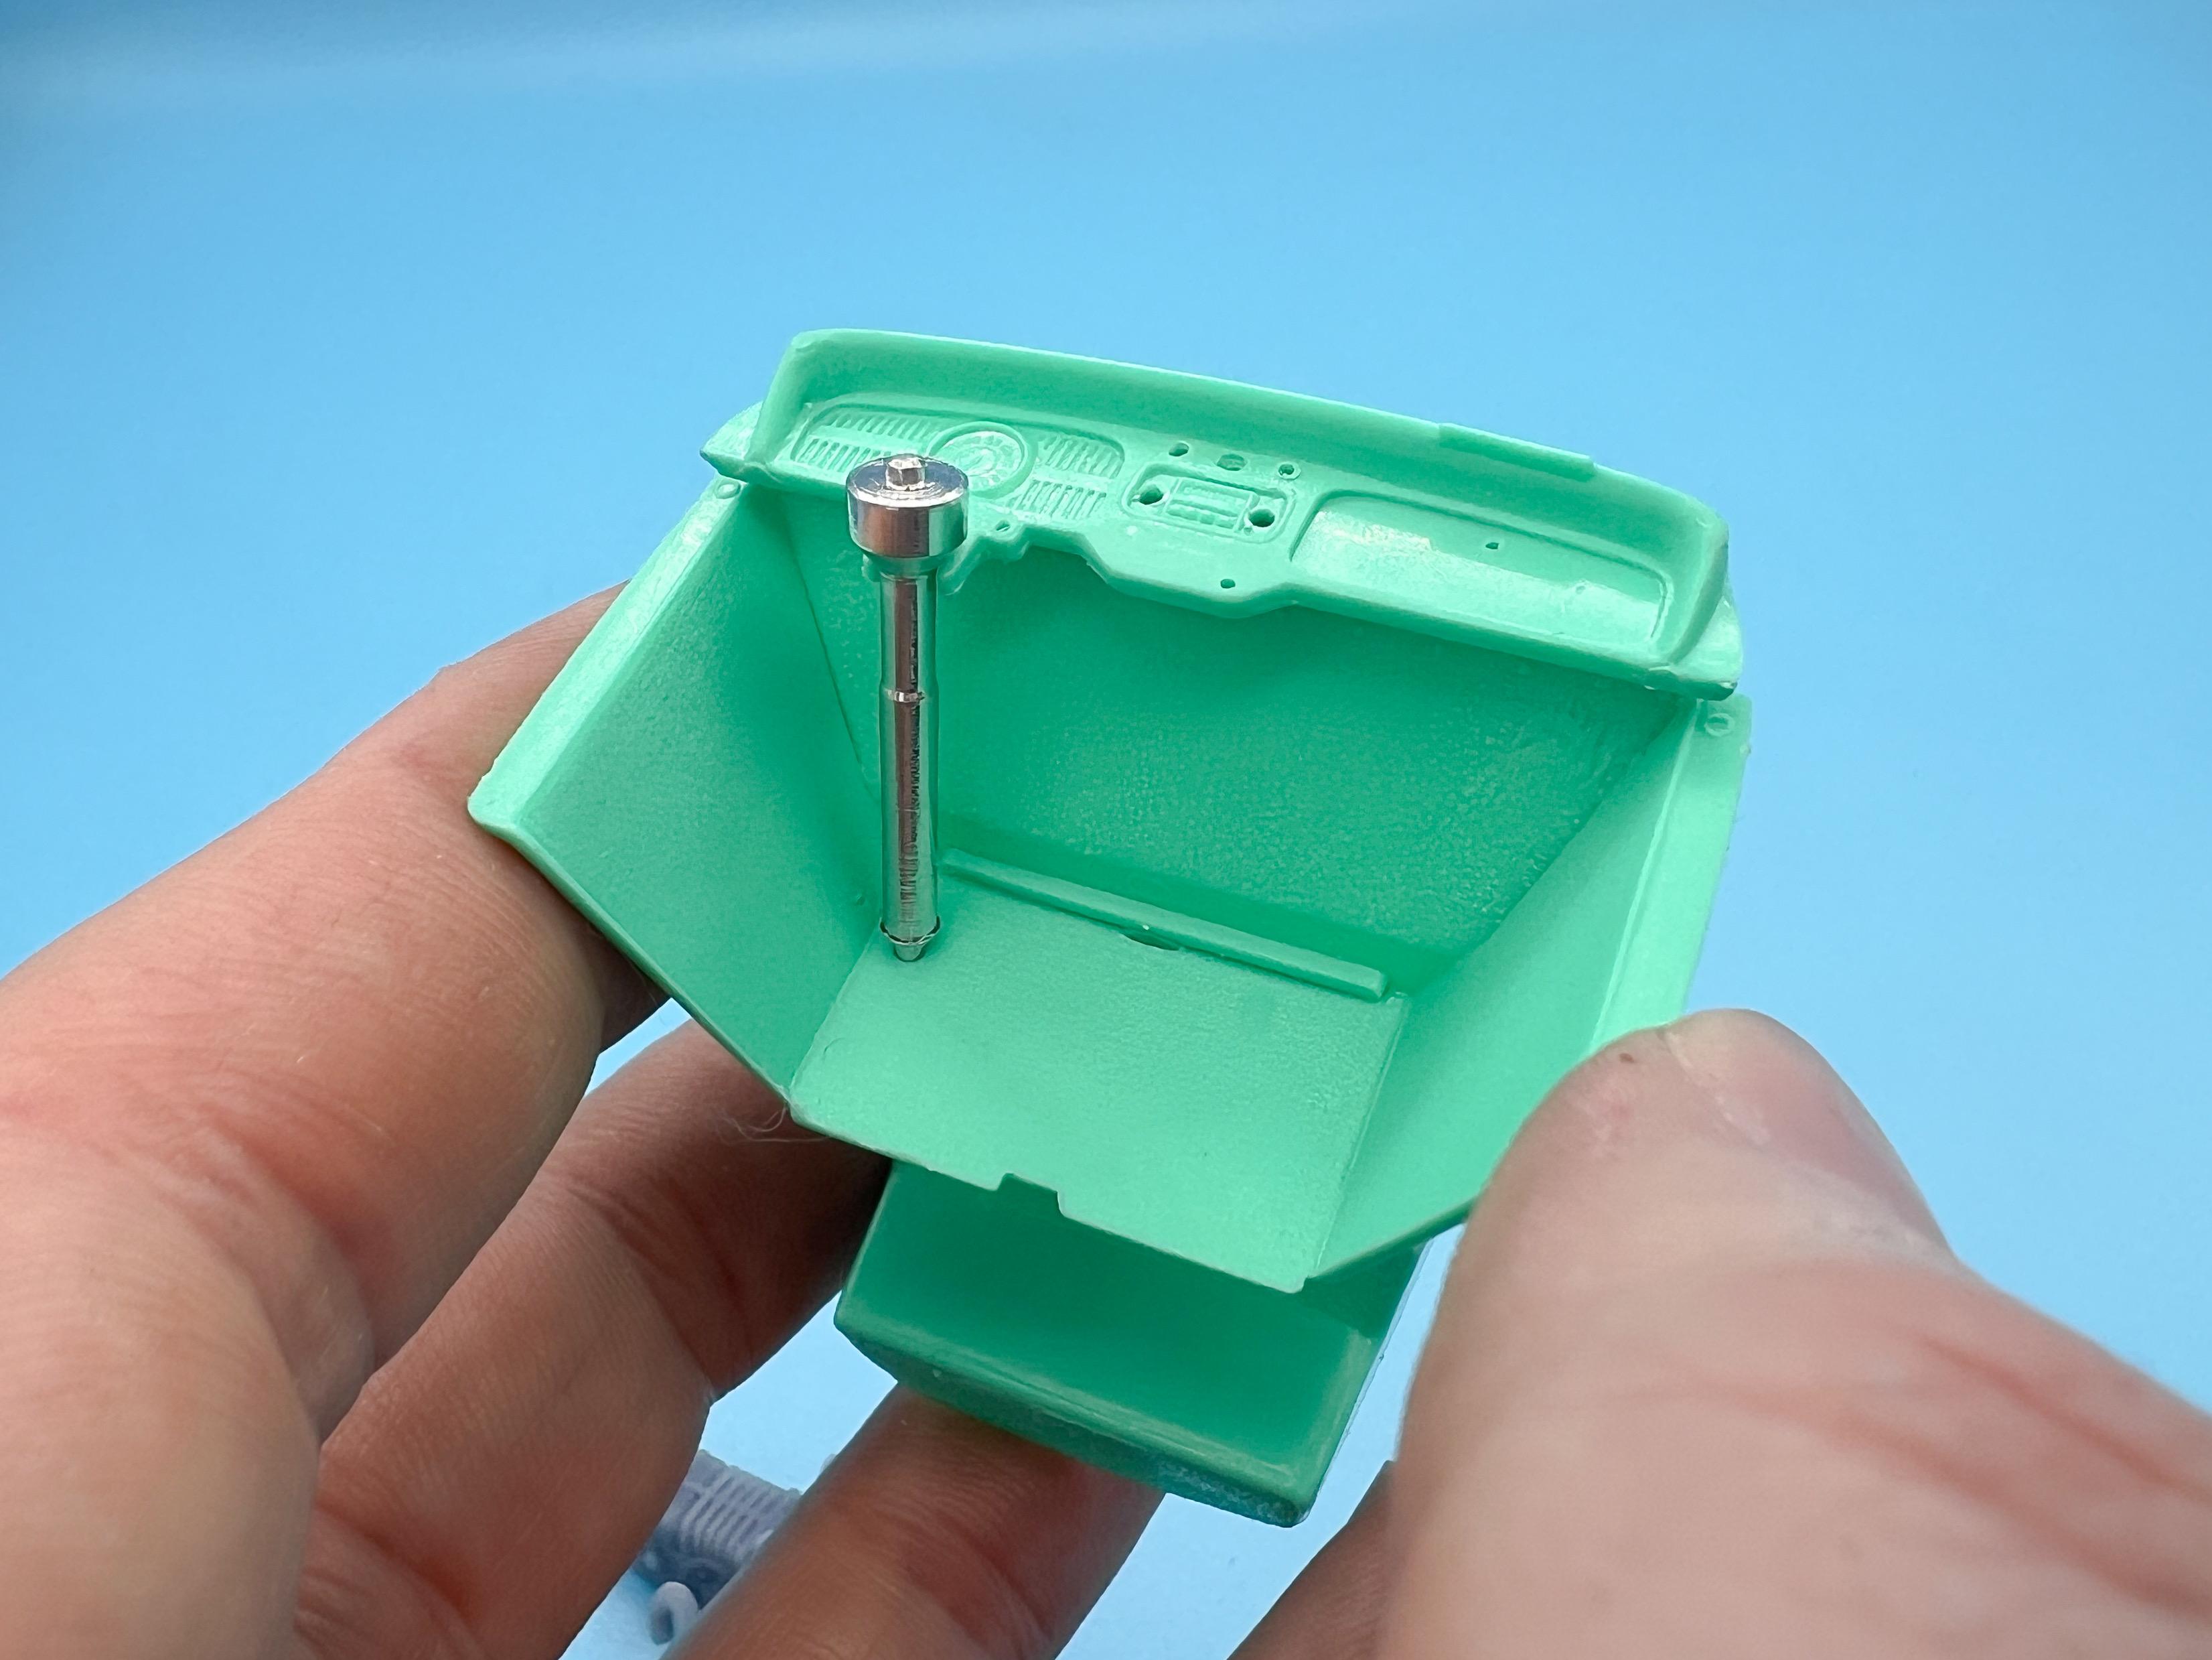
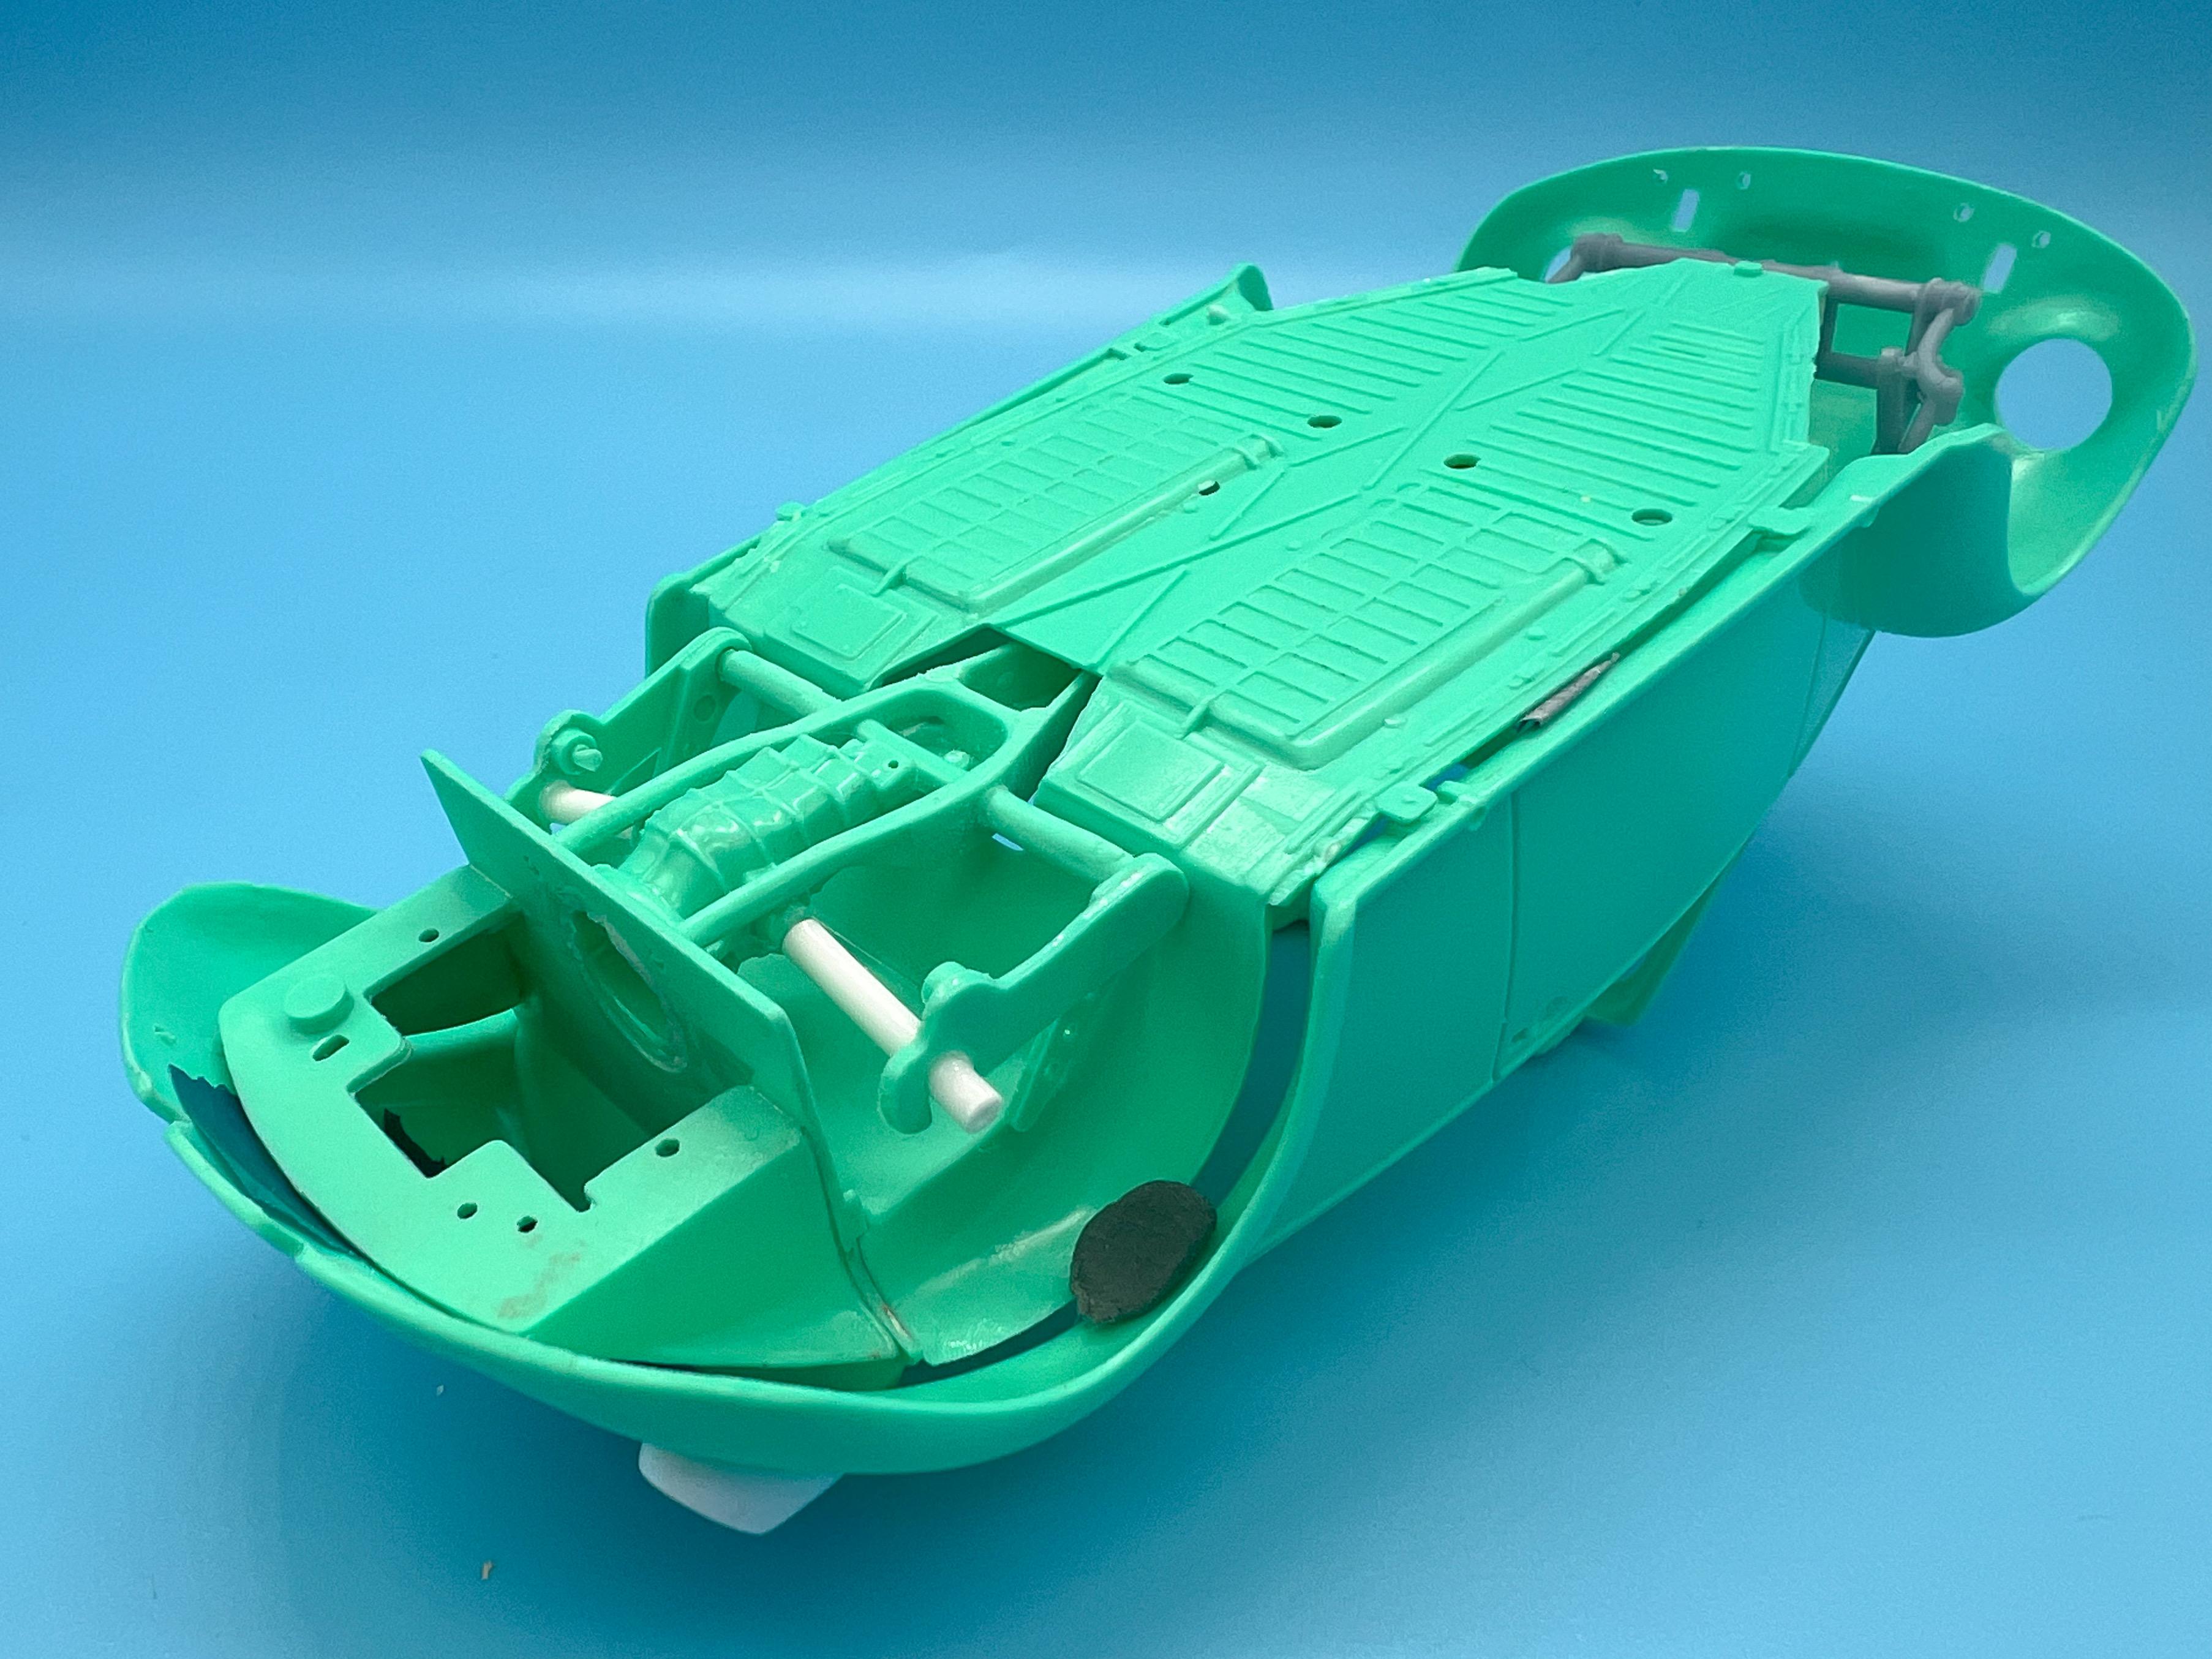
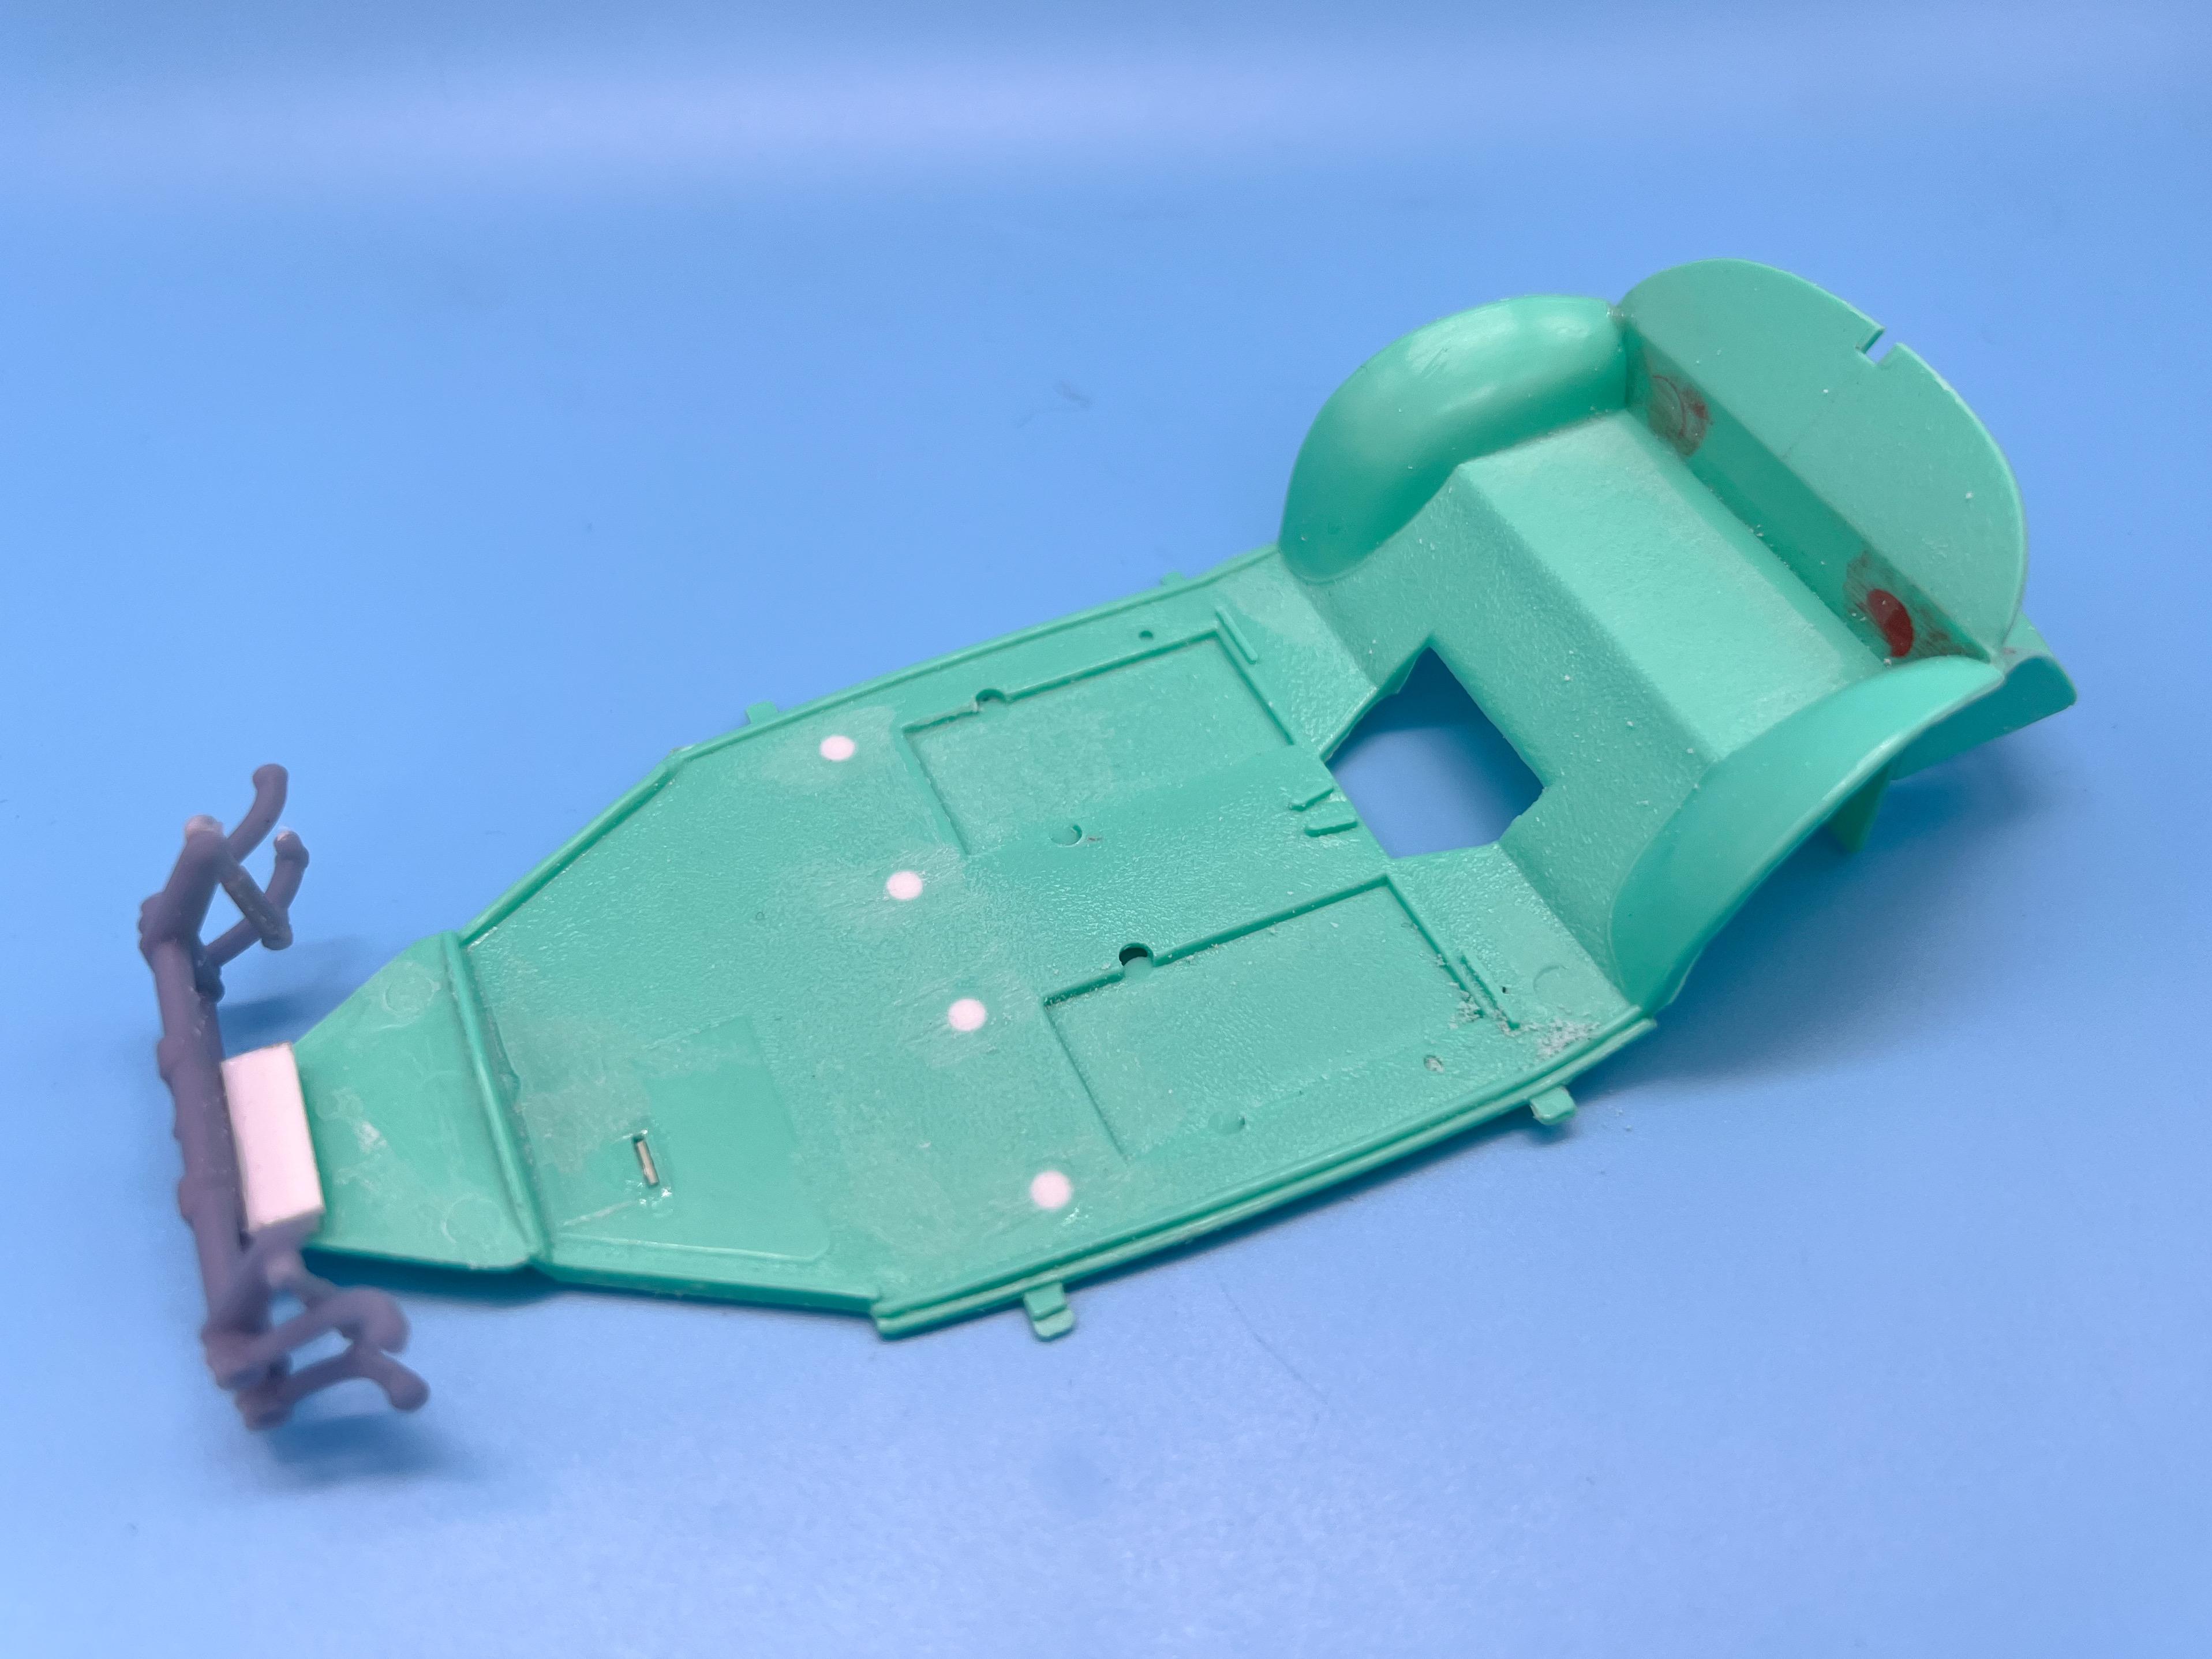
Thanks guys! @David G. - that plate looks good, I’ve been wondering if I could make a tool with the 3D printer with a female and male side so I could ‘stamp’ plates for real…haven’t played with that idea too much yet though… A little more progress today…first some tedious but necessary work - filled some holes in the floor, tweaked the recesses that the new seats will sit into and closed a gap or two that needed closing… Also, I’ve been preparing the interior parts for paint, and they’re mostly pretty good, but I didn’t like the steering column…turned a billet one on the lathe faster than I could’ve cleaned up the kit part… Won’t be SUPER visible on the finished build, but better than the blobular kit part at least… Then, onto some fun stuff! Well, actually, a bunch of tedious priming, filling, sanding and repriming… …but got it about there eventually… Last chance at a mockup before I get into paint… I’m going with a pearl orange paintjob on this one, nothing too crazy but with some little details at least…but to make the orange really pop I’m shooting it over a fluorescent base. I laid down some Createx white sealer first, as the fluorescents aren’t fluorescent if you don’t… Gave it a wetsand once it dried, got it level, and then….. Yep, that should be bright enough of a base ?. I’ll let it set up overnight, nib out any flaws and then it’s time for the ‘real’ color…exciting! More soon, soon as I’ve done more!
-
Molotow Liquid Chrome feed problem
OldNYJim replied to Oliver77's topic in Tips, Tricks, and Tutorials
Edit, found a couple of examples….all the chrome on this project is done with the Molotow: Plus some wheels I shot on the last project I built: I know everyone here has their preference, and I actually like using Alclad / Spazstix too, but just demonstrating that Molotow and its copycat variations have their uses too…
-
Molotow Liquid Chrome feed problem
OldNYJim replied to Oliver77's topic in Tips, Tricks, and Tutorials
I’ve actually had some pretty good luck with AIRBRUSHING this stuff…although the pens have a very short shelf life before they’re useless, as some have noted. I like that it doesn’t need a black enamel base like Alclad, it’s easier to apply, it self levels pretty well and is AS tough as Alclad (in my experience) if allowed to dry for a couple of days or more before being handled. I’ve never experienced the ‘stickiness’ people mention, personally, and I don’t do anything special with the stuff except letting it dry naturally I couldn’t immediately find any good pictures of projects I’ve used it on, on my phone, but like most materials and techniques you CAN get decent results with it with some experimentation and perseverance…but I’ll agree with others here that the pens aren’t the best and you do still need to handle it carefully…and the longevity of the stuff is still relatively unproven… -
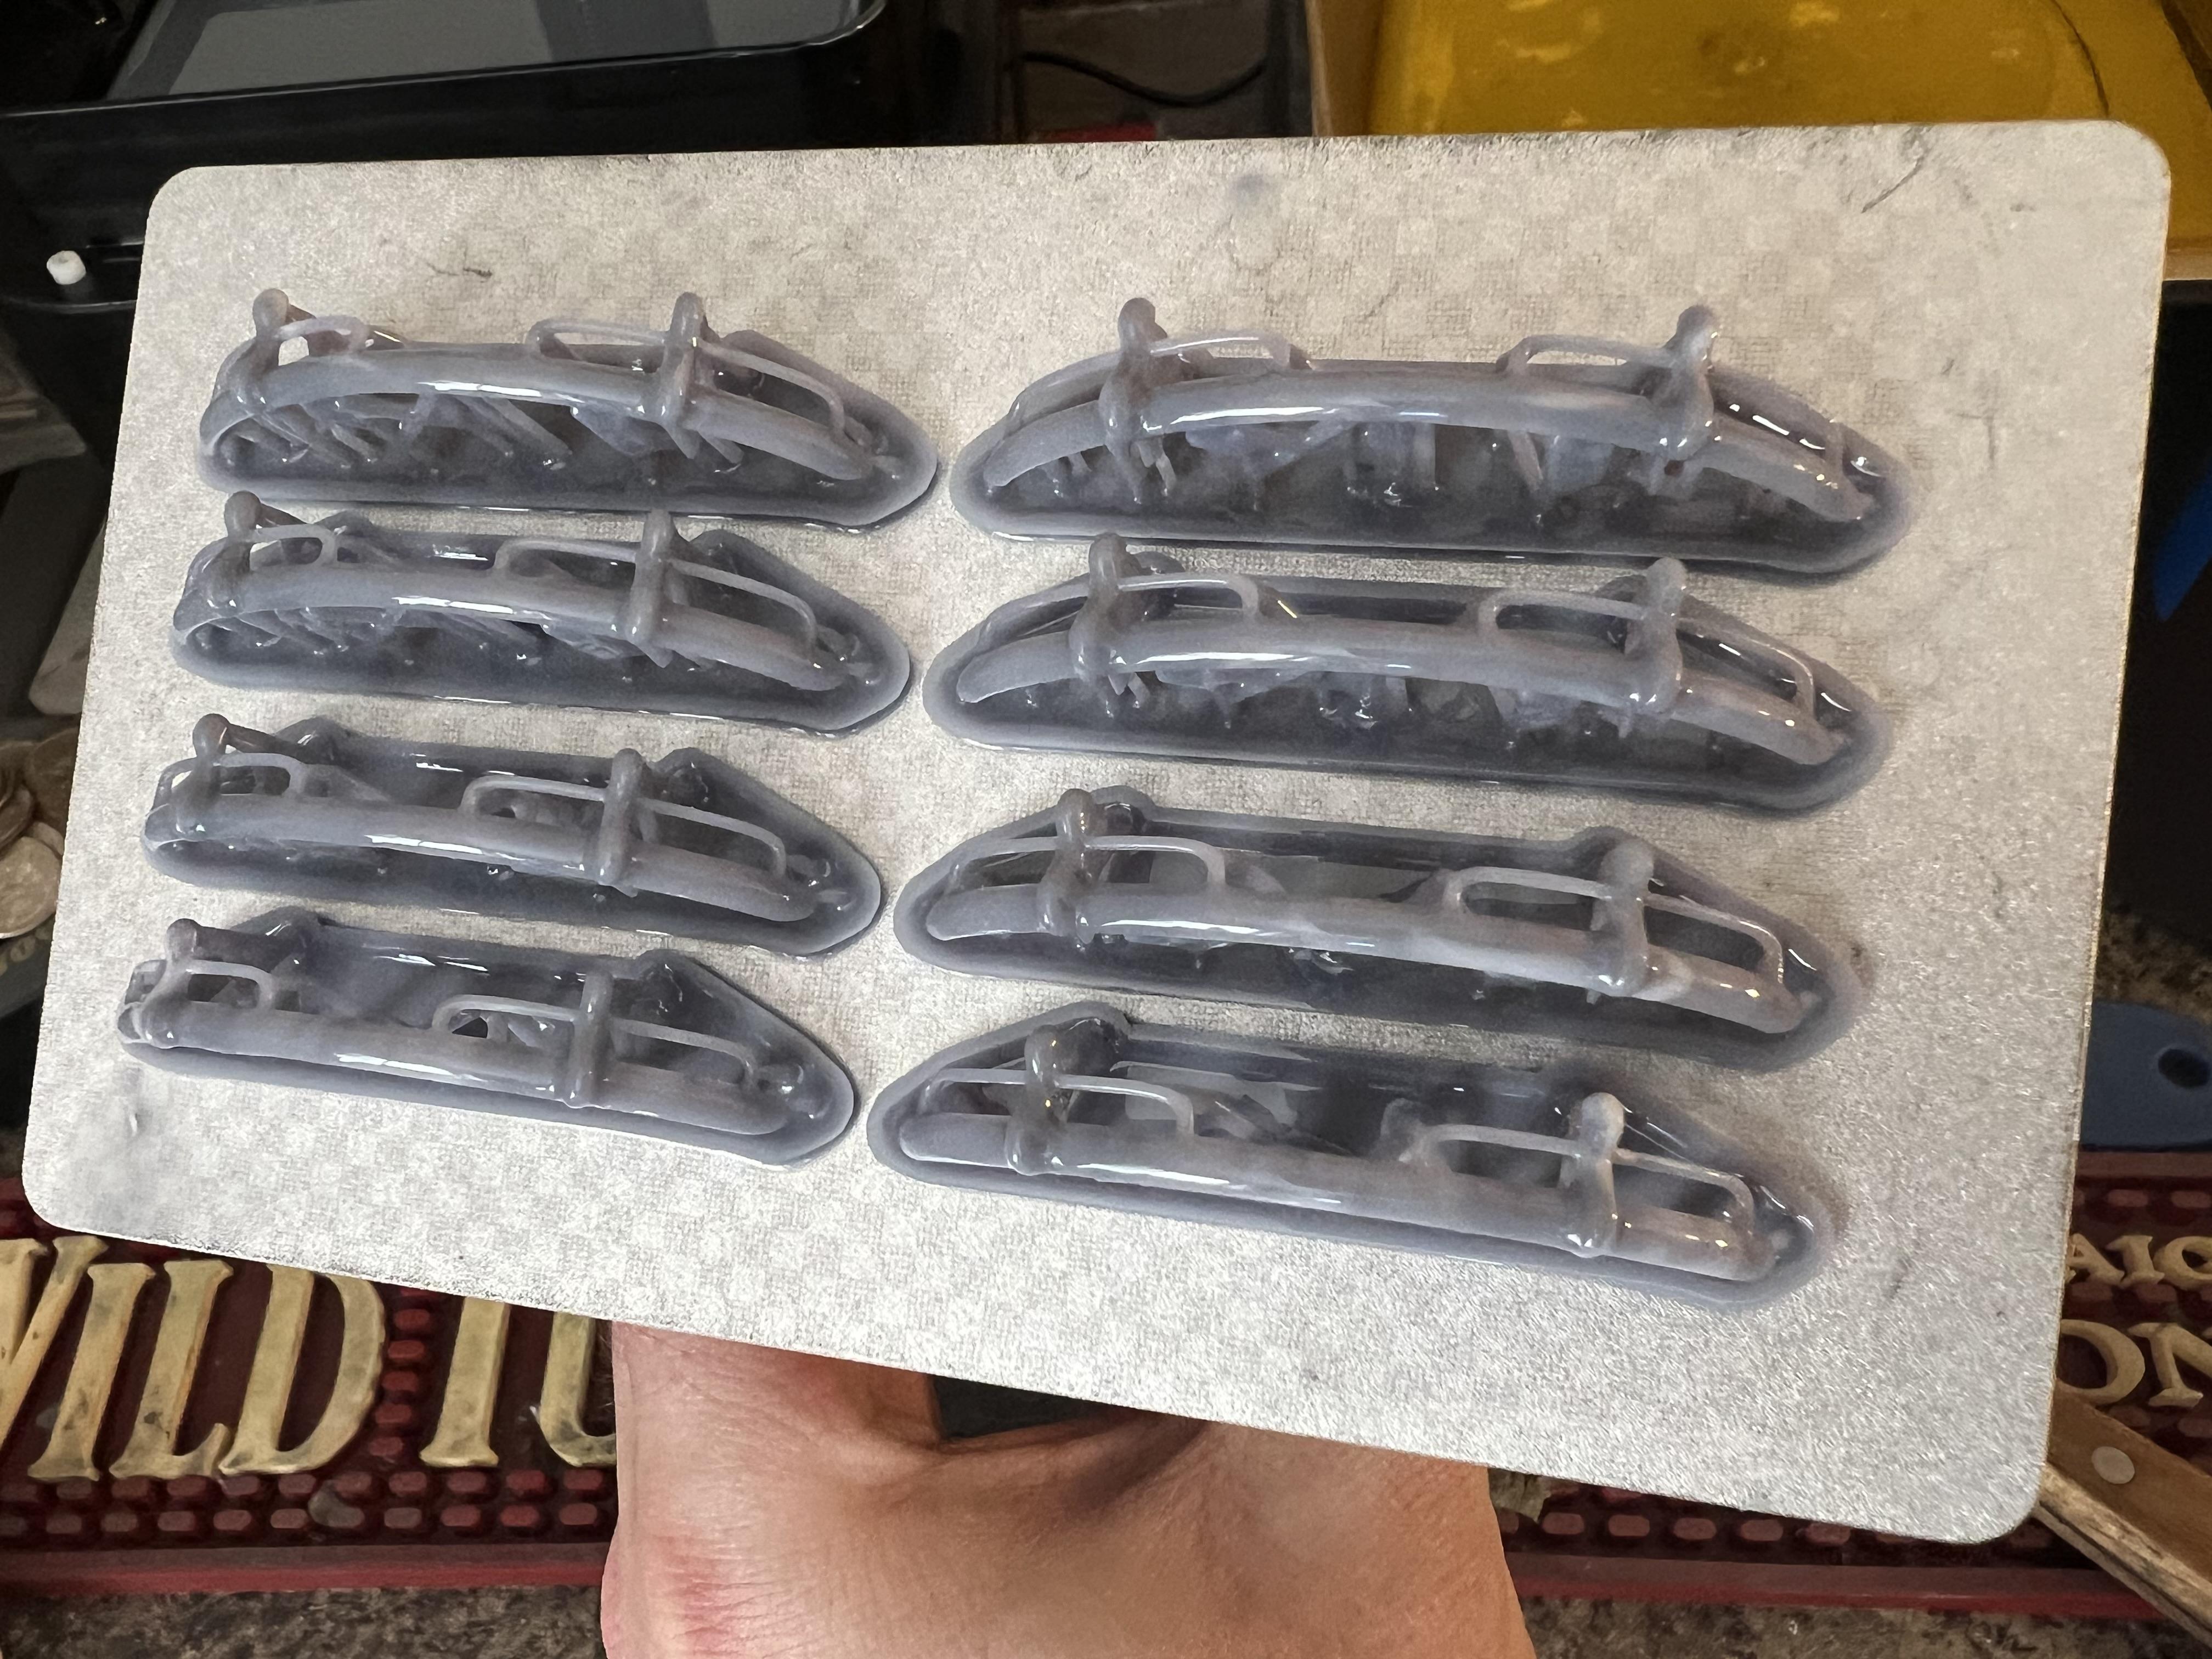
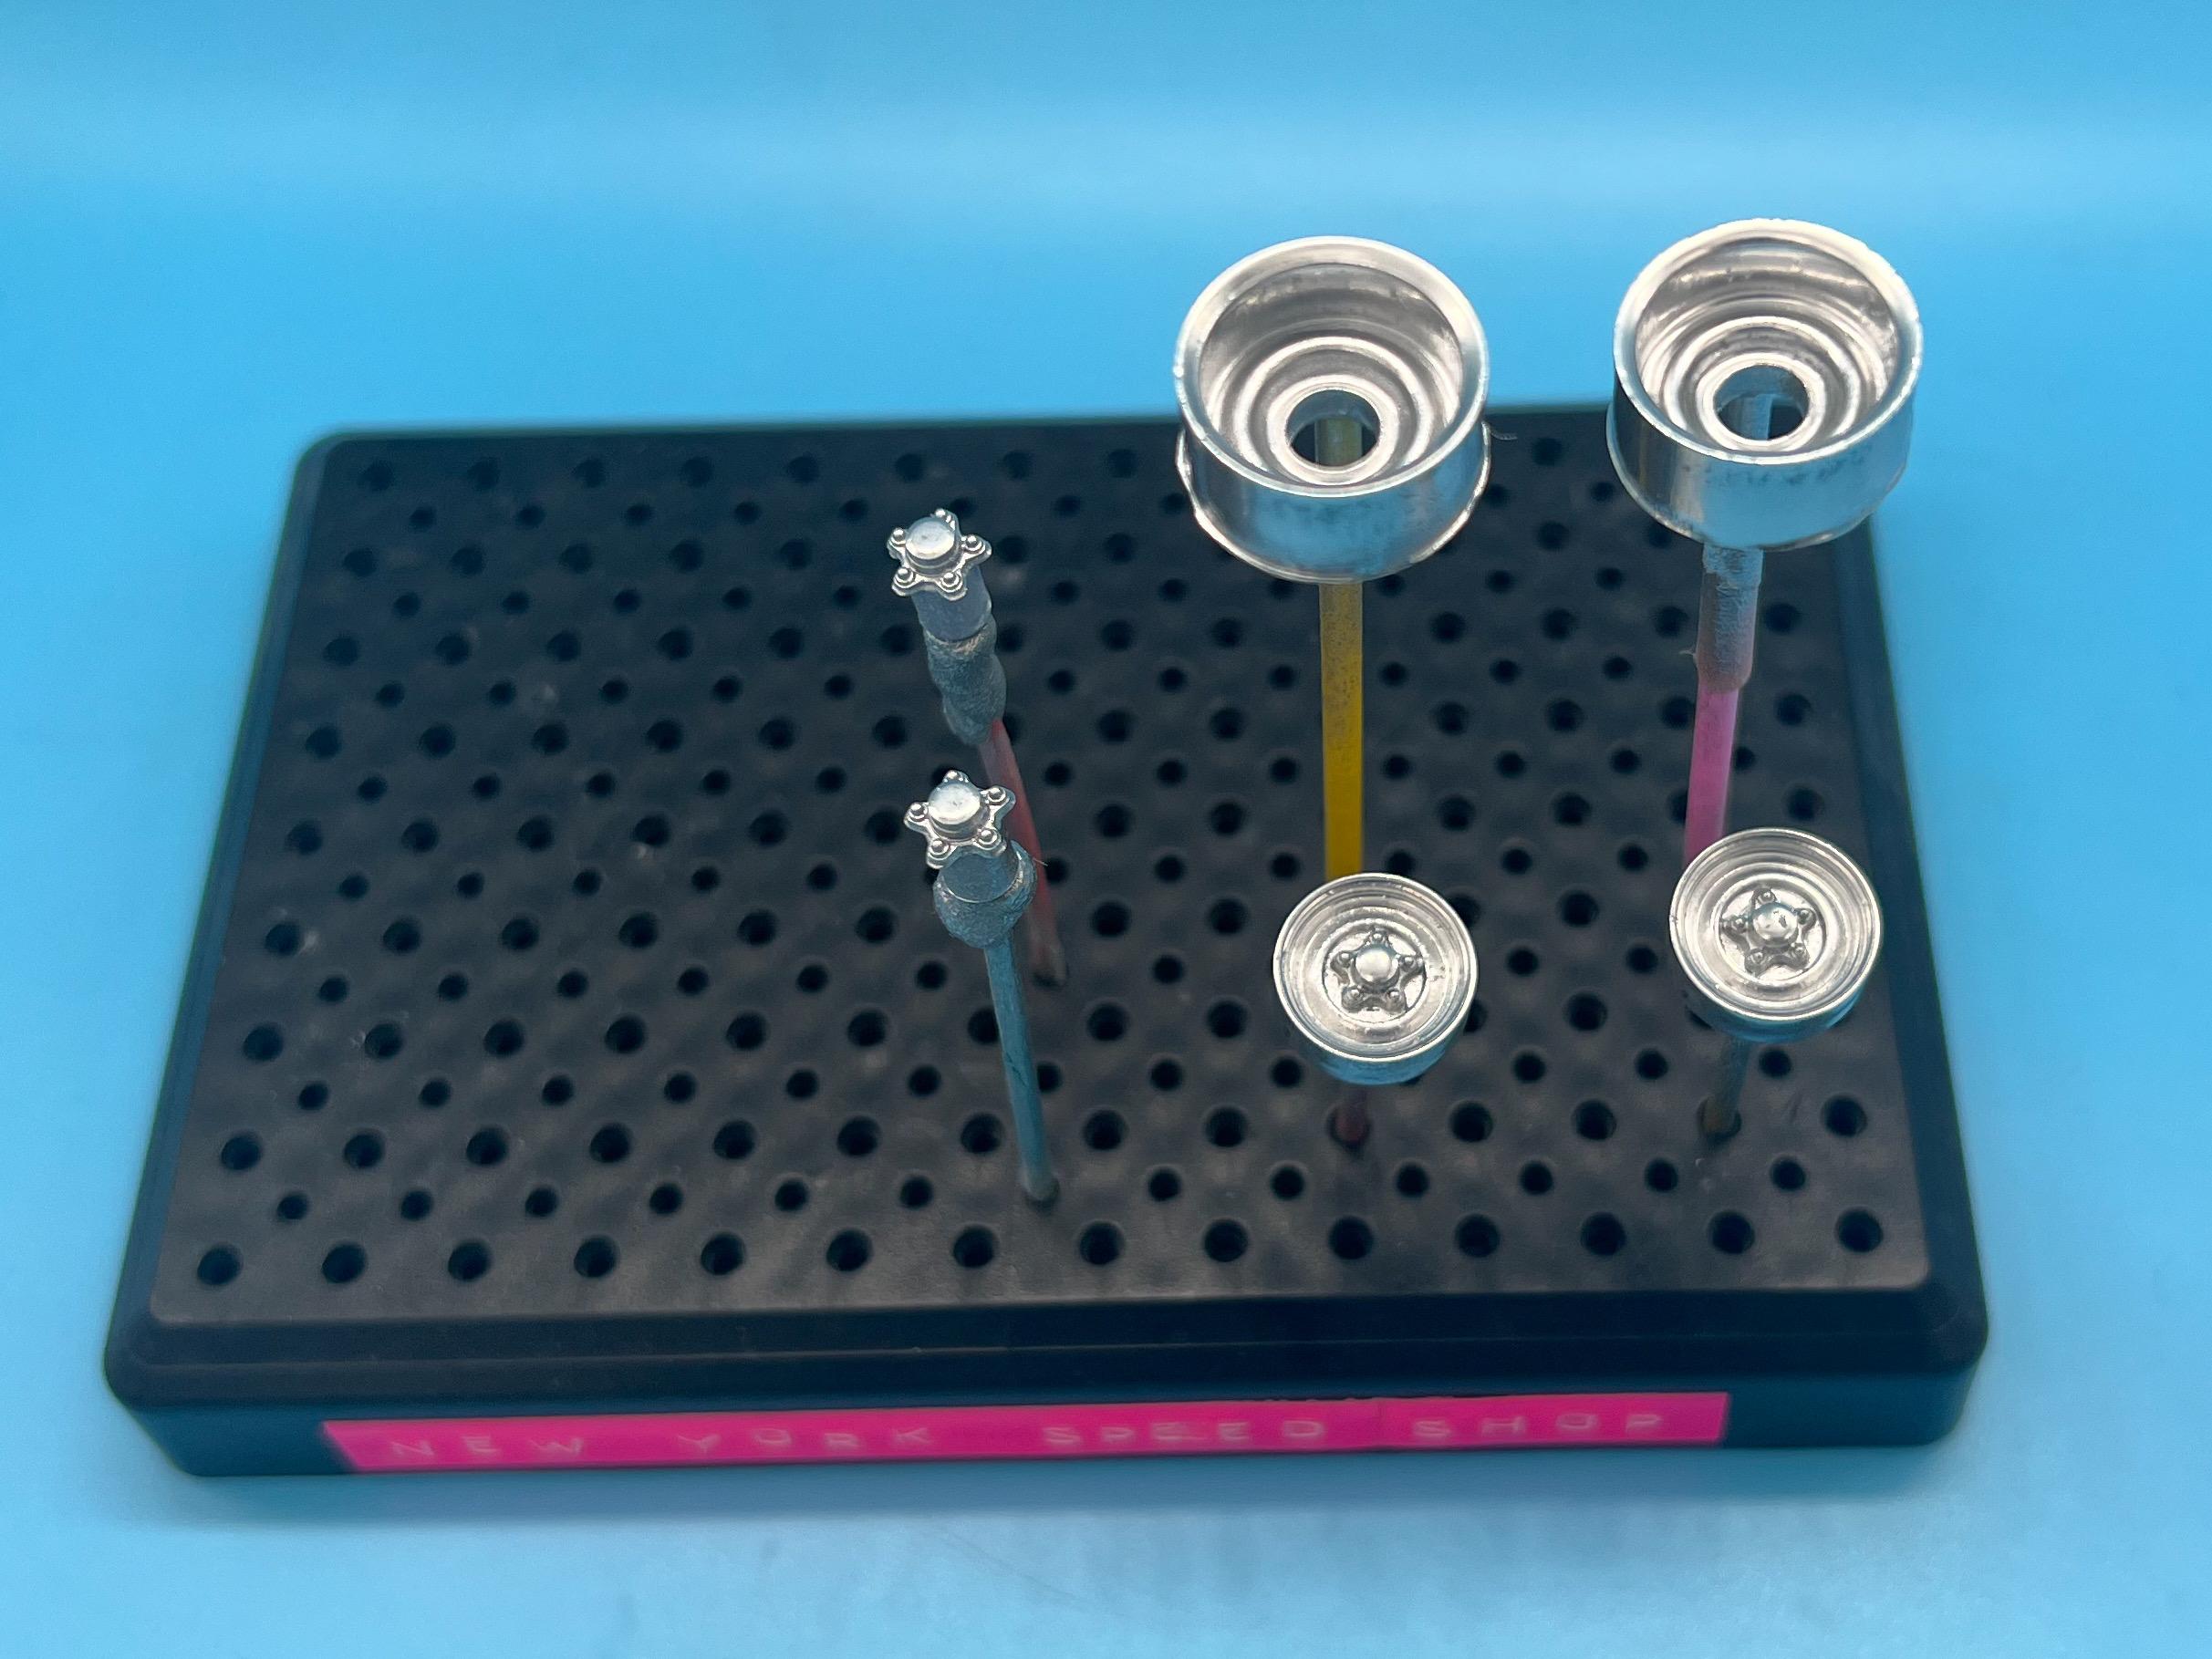
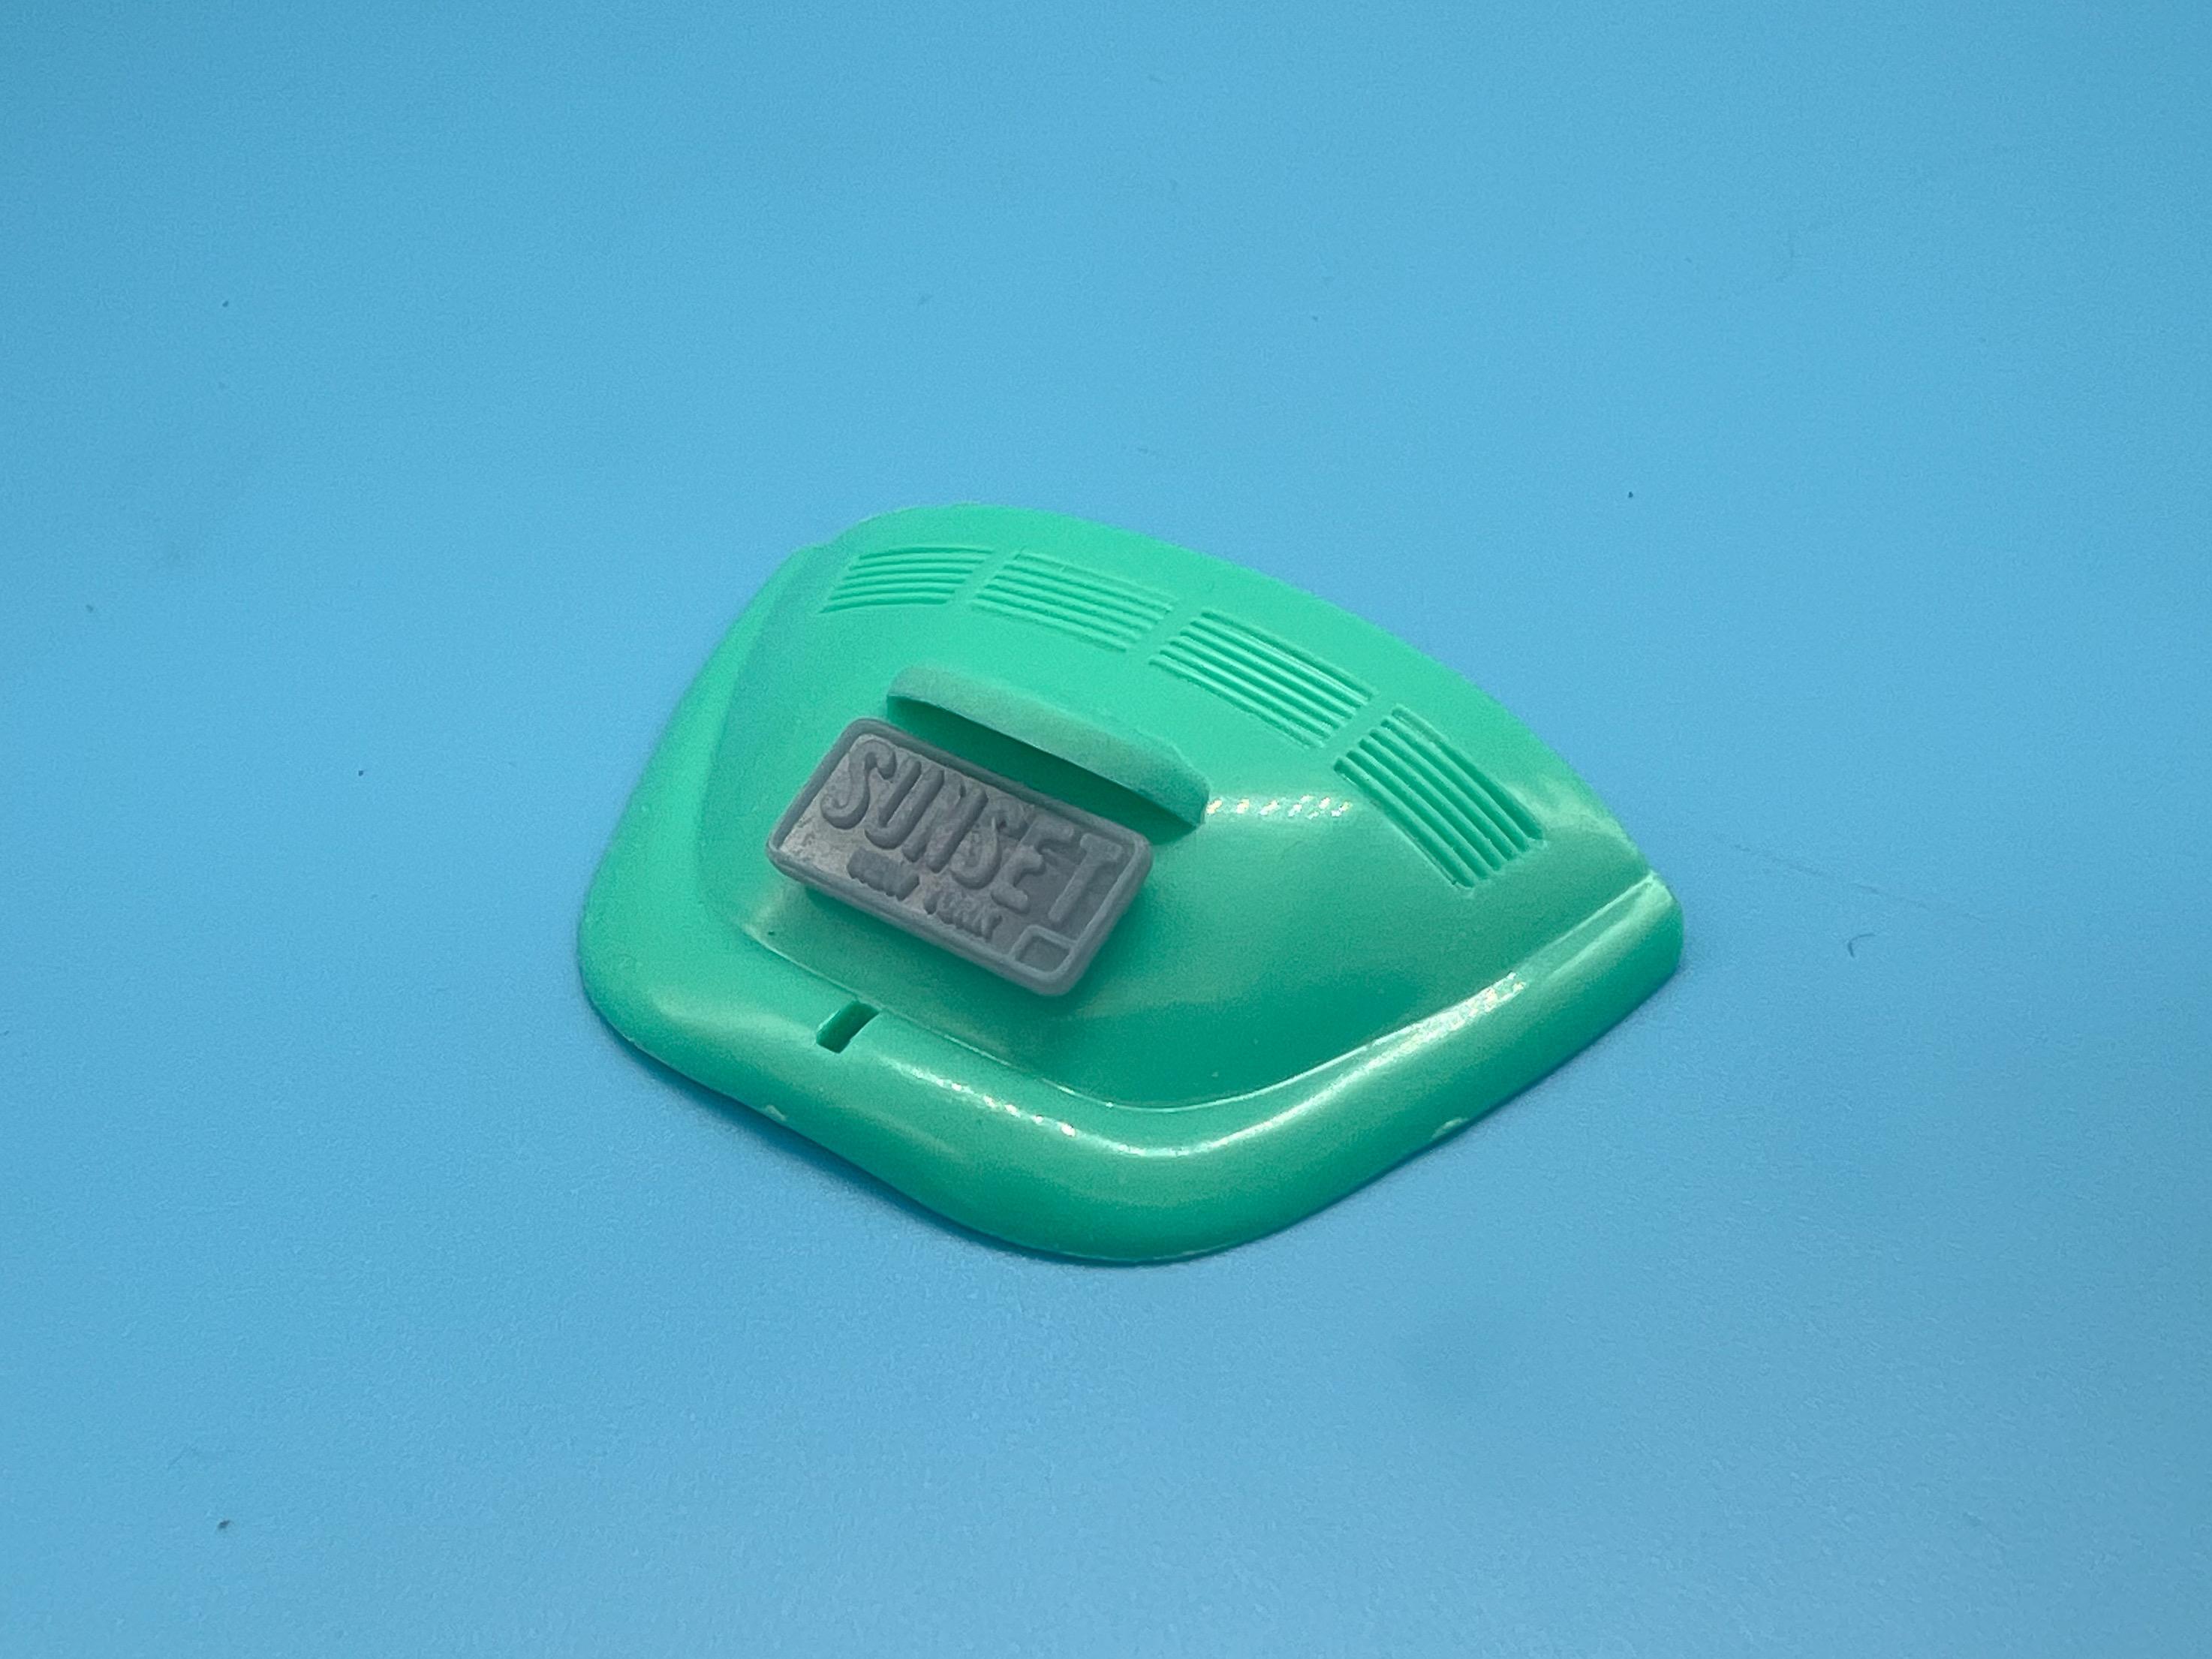
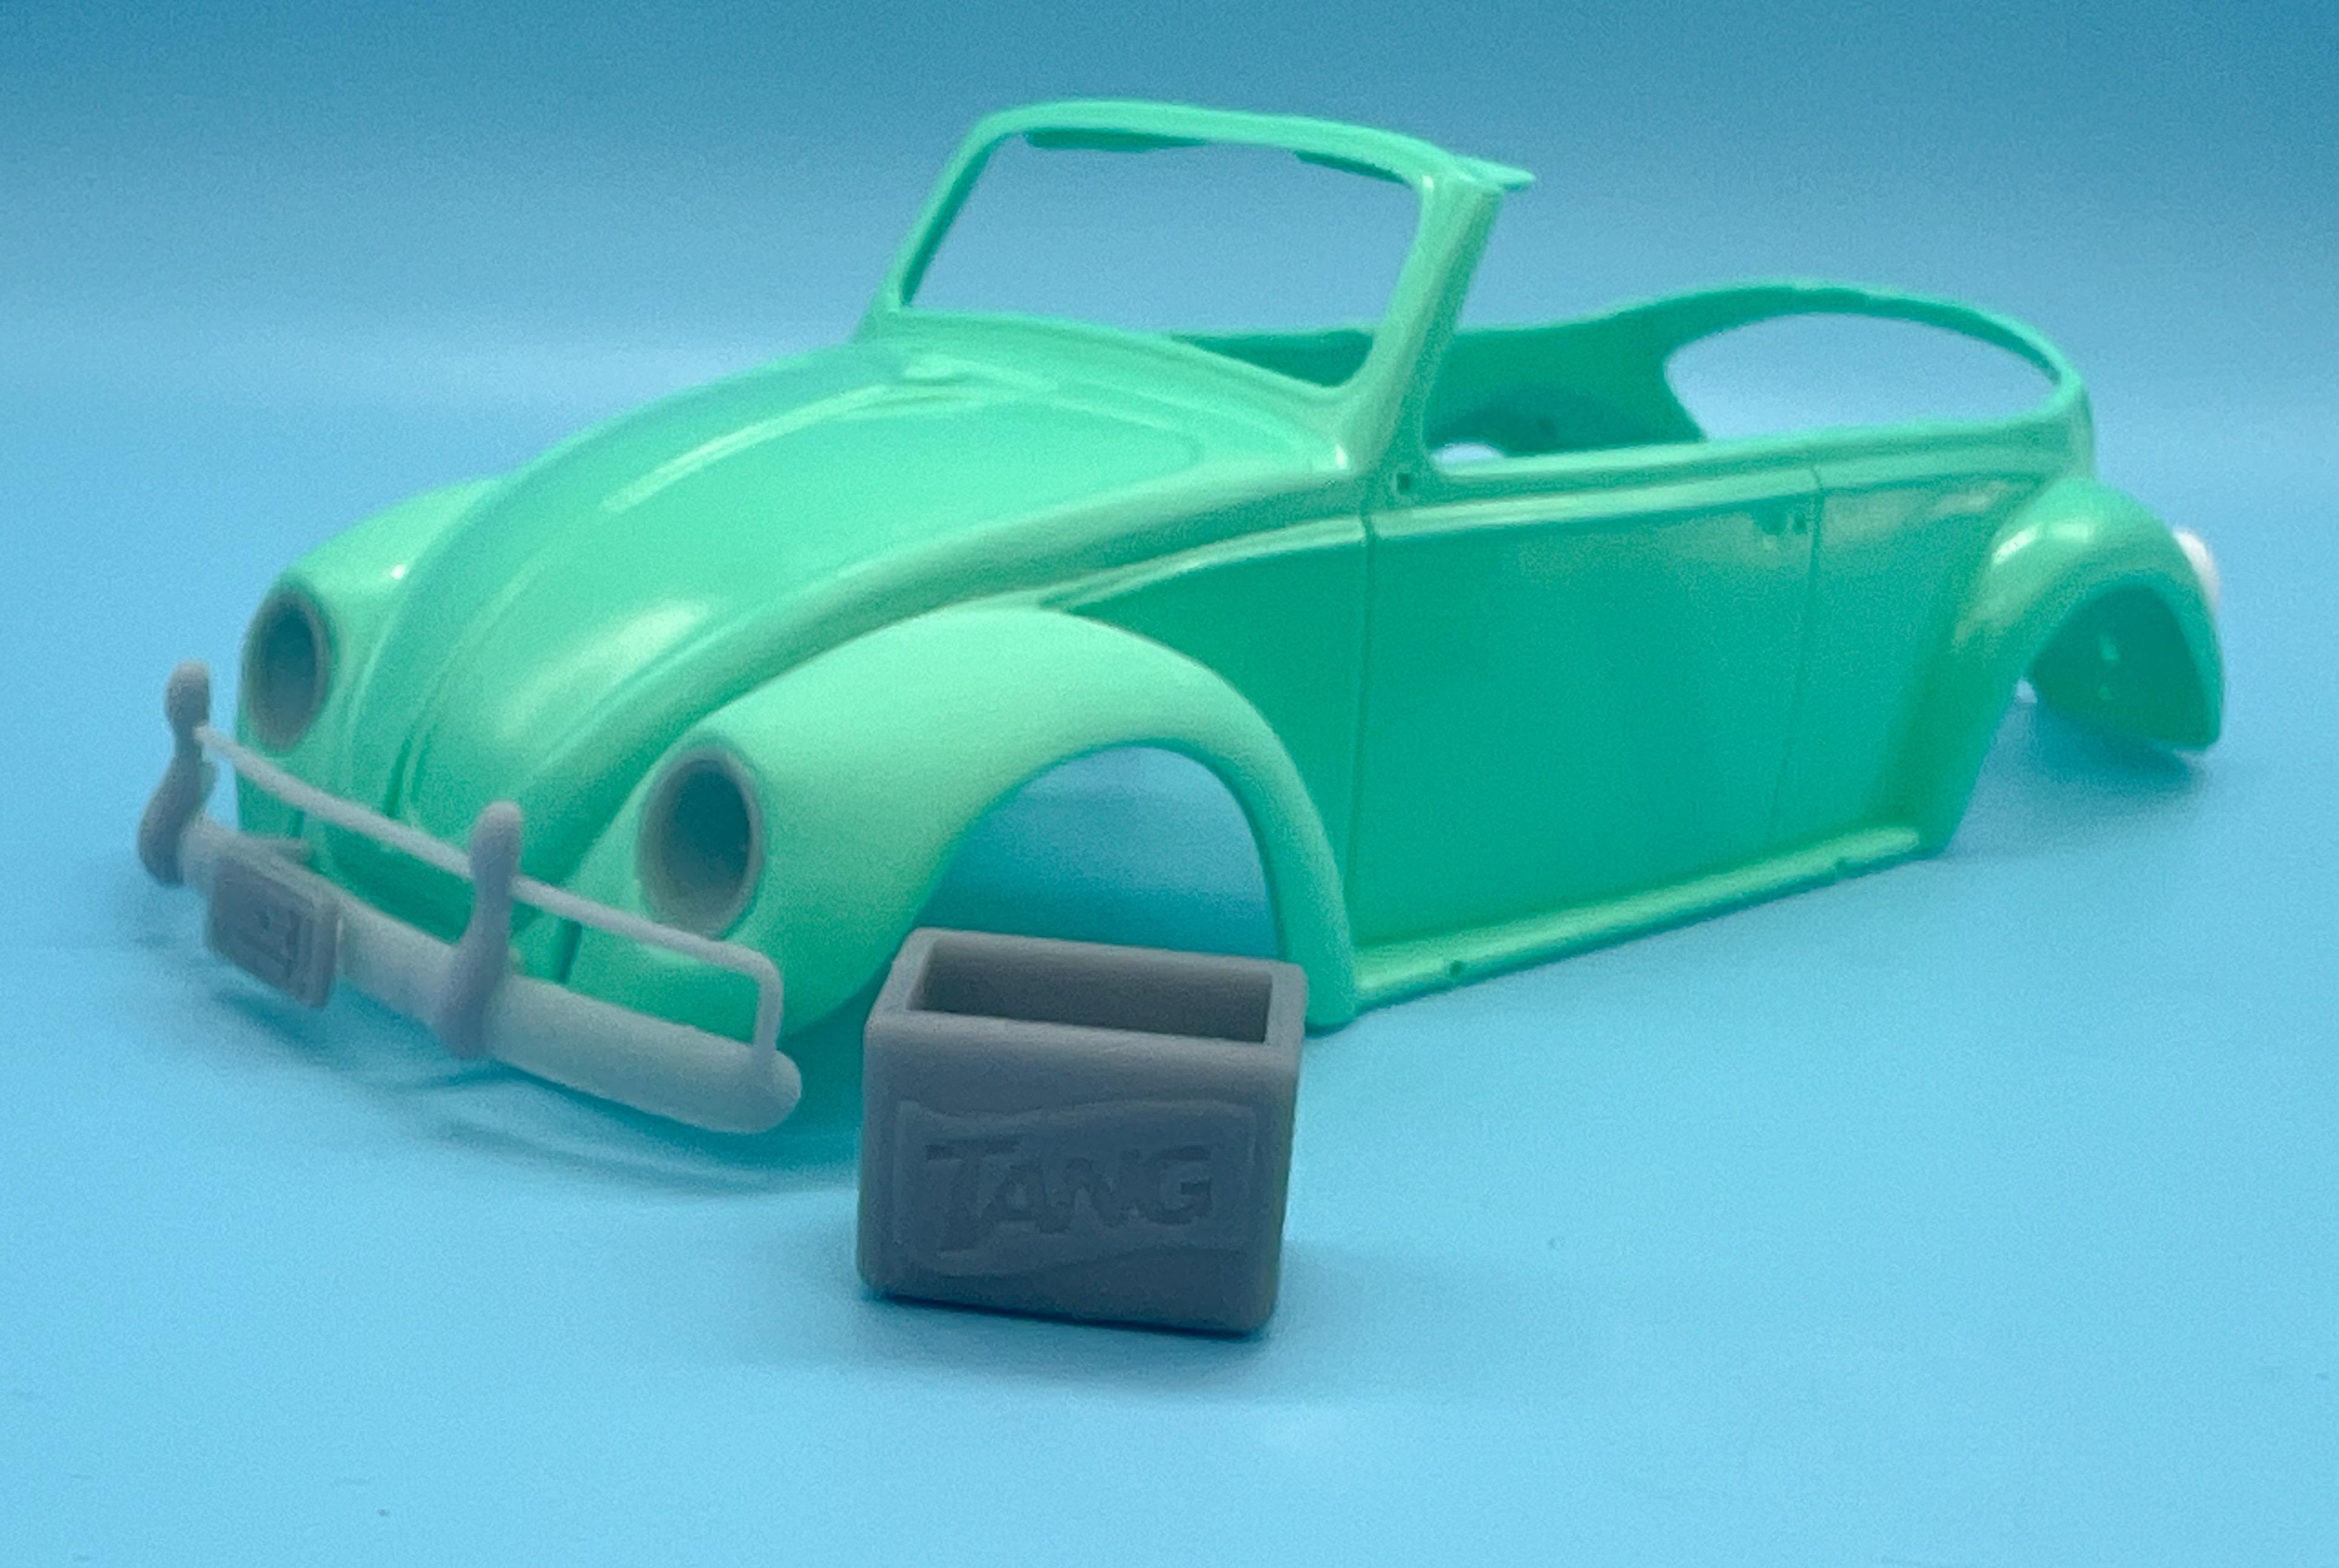
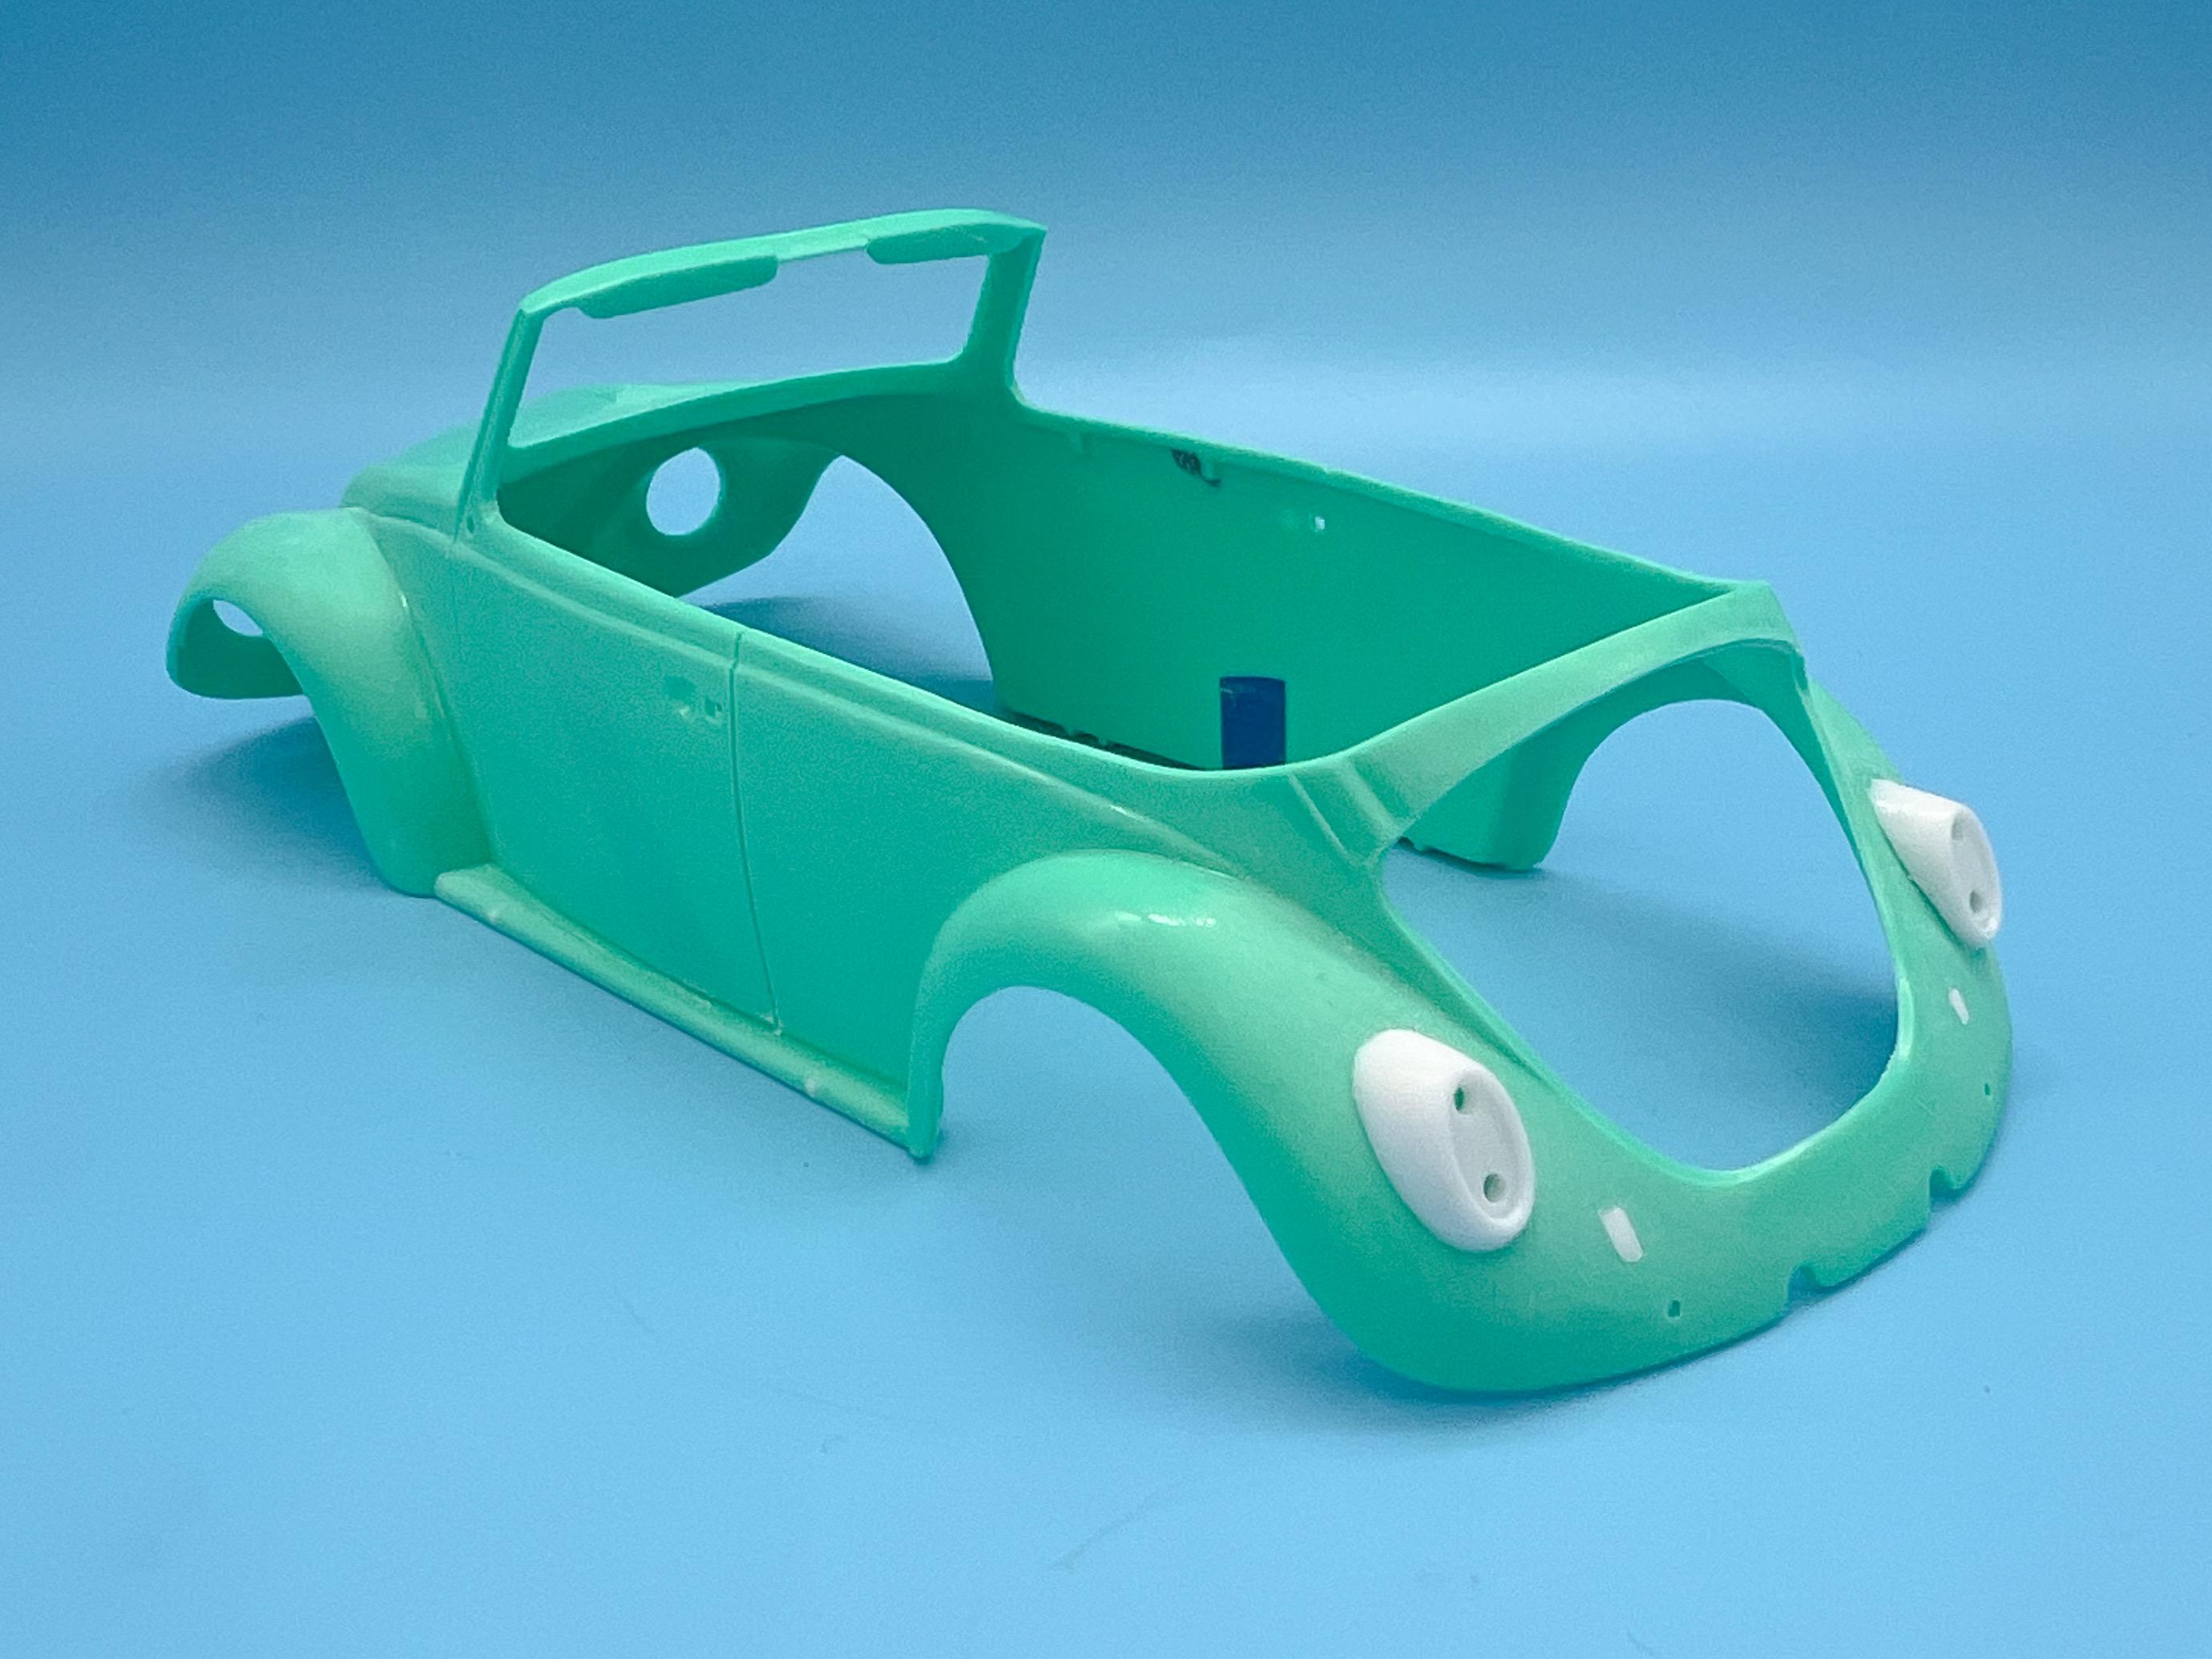
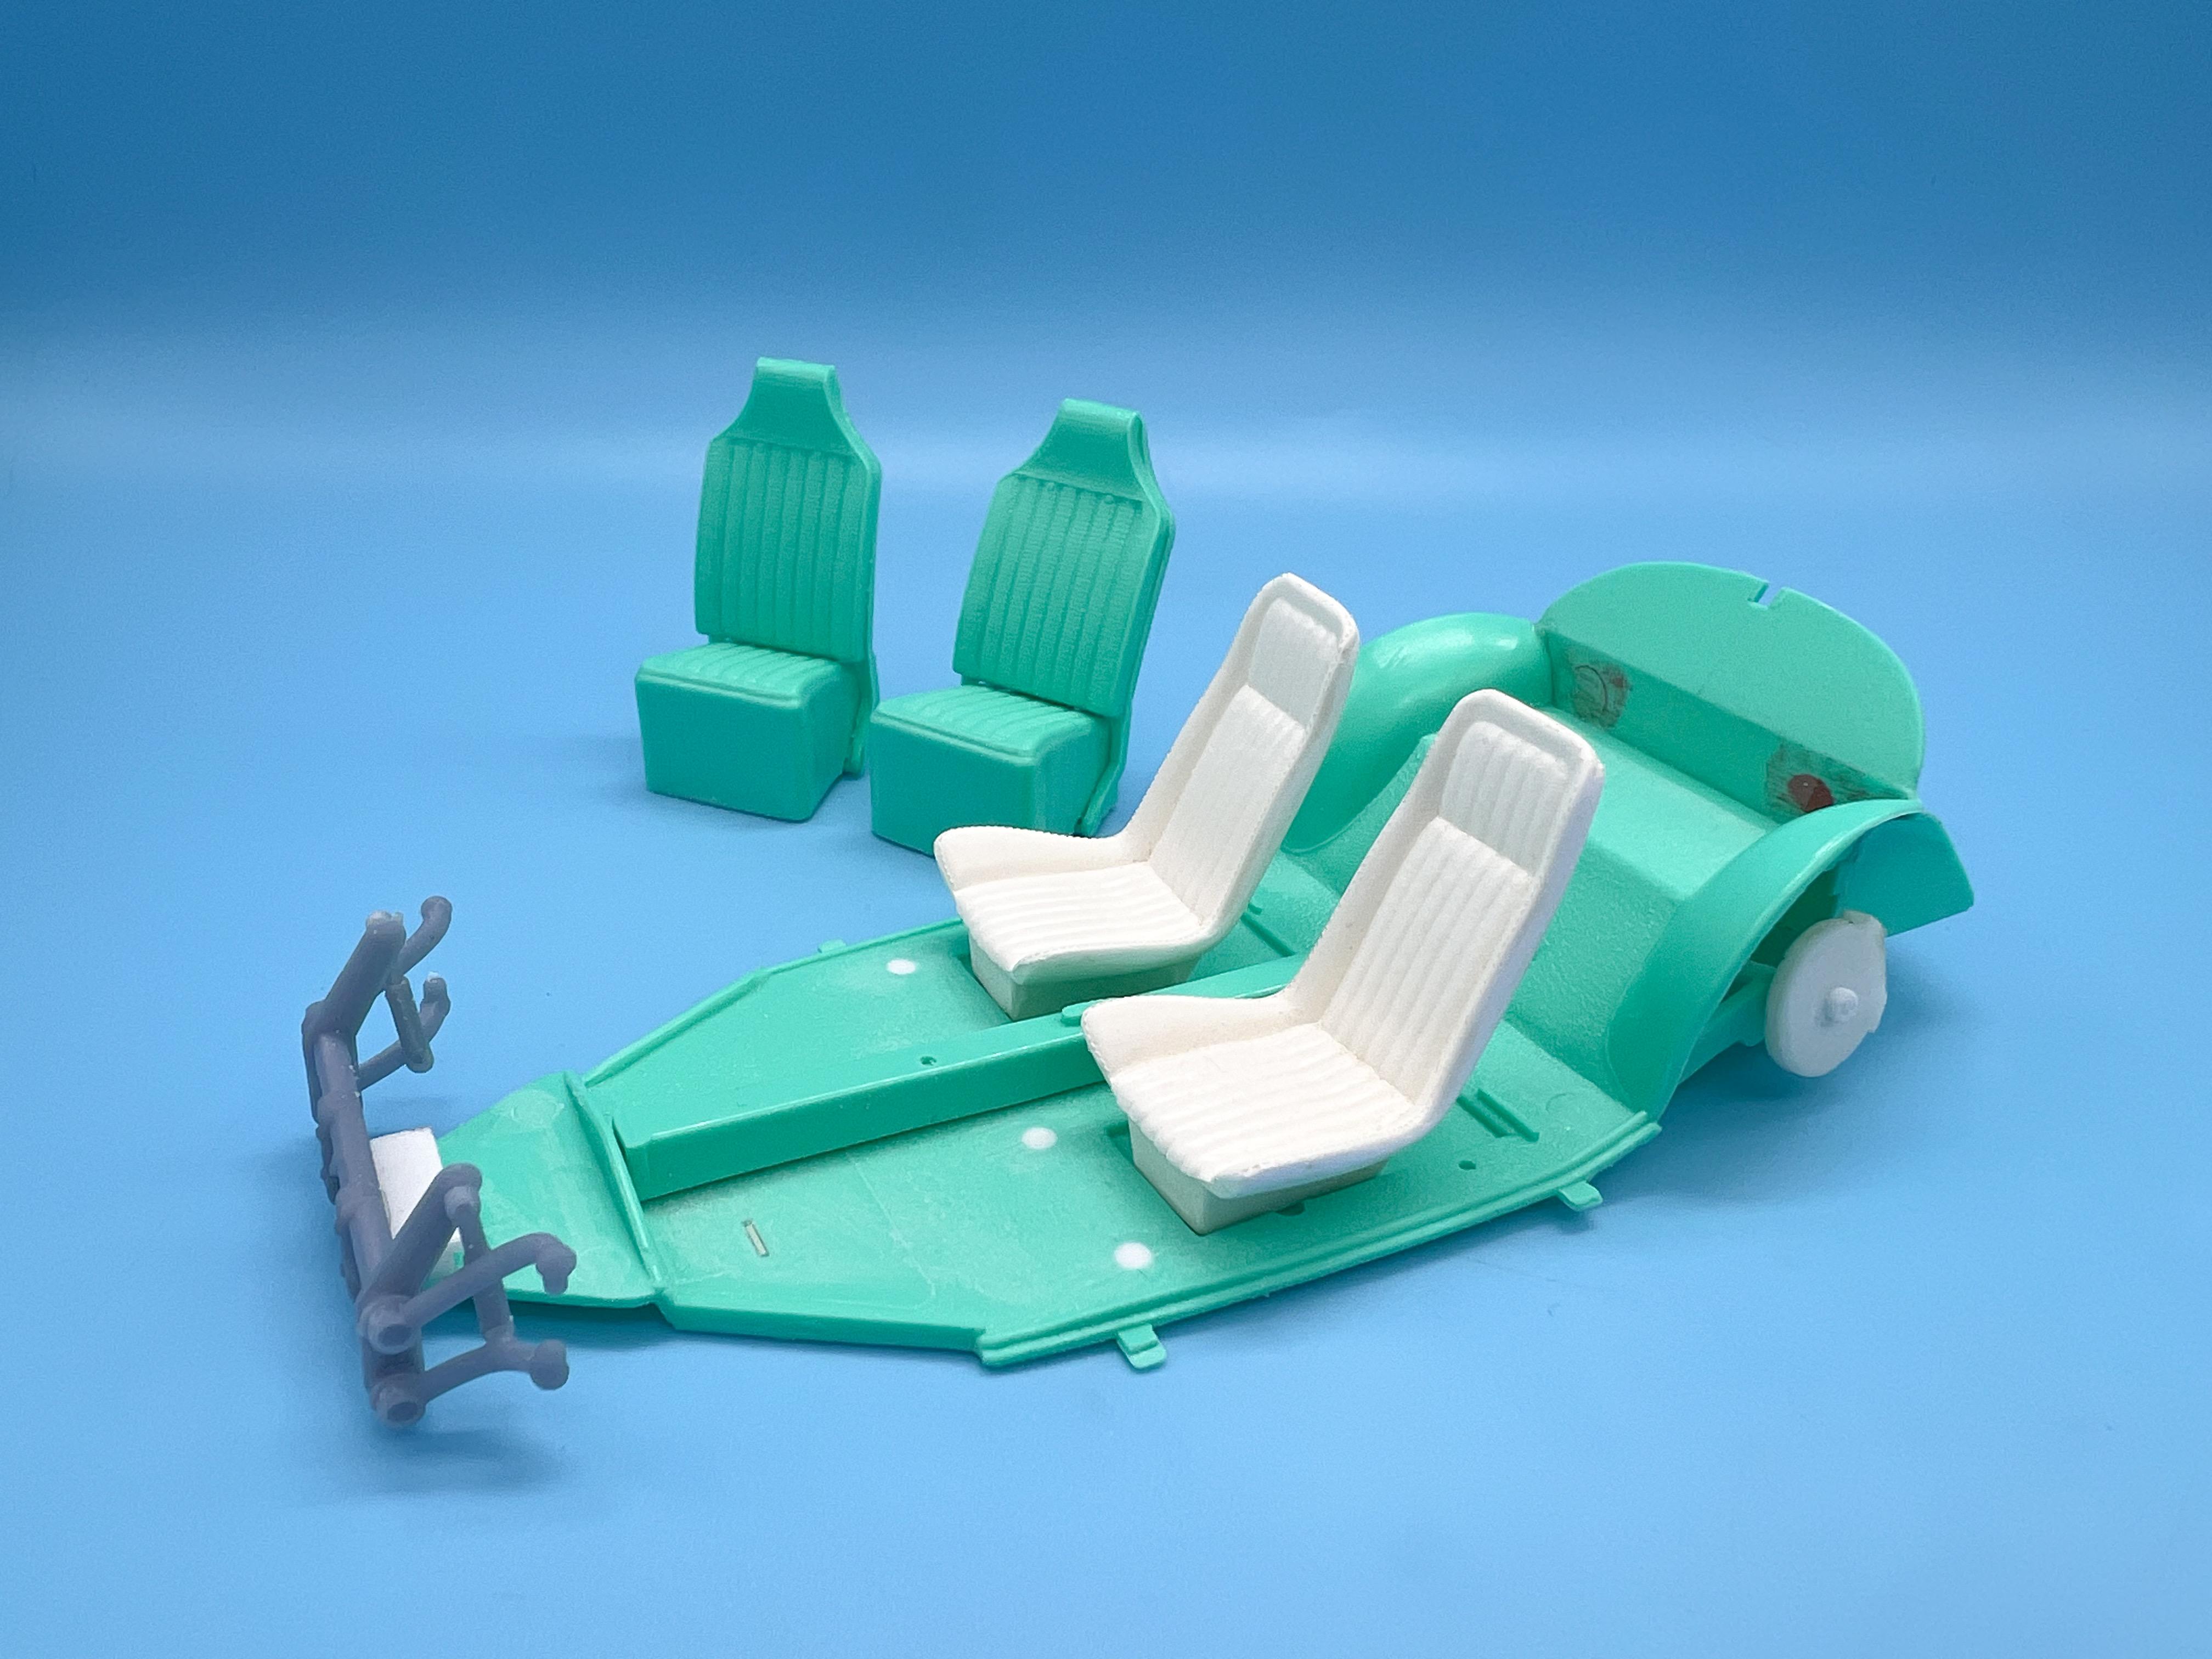
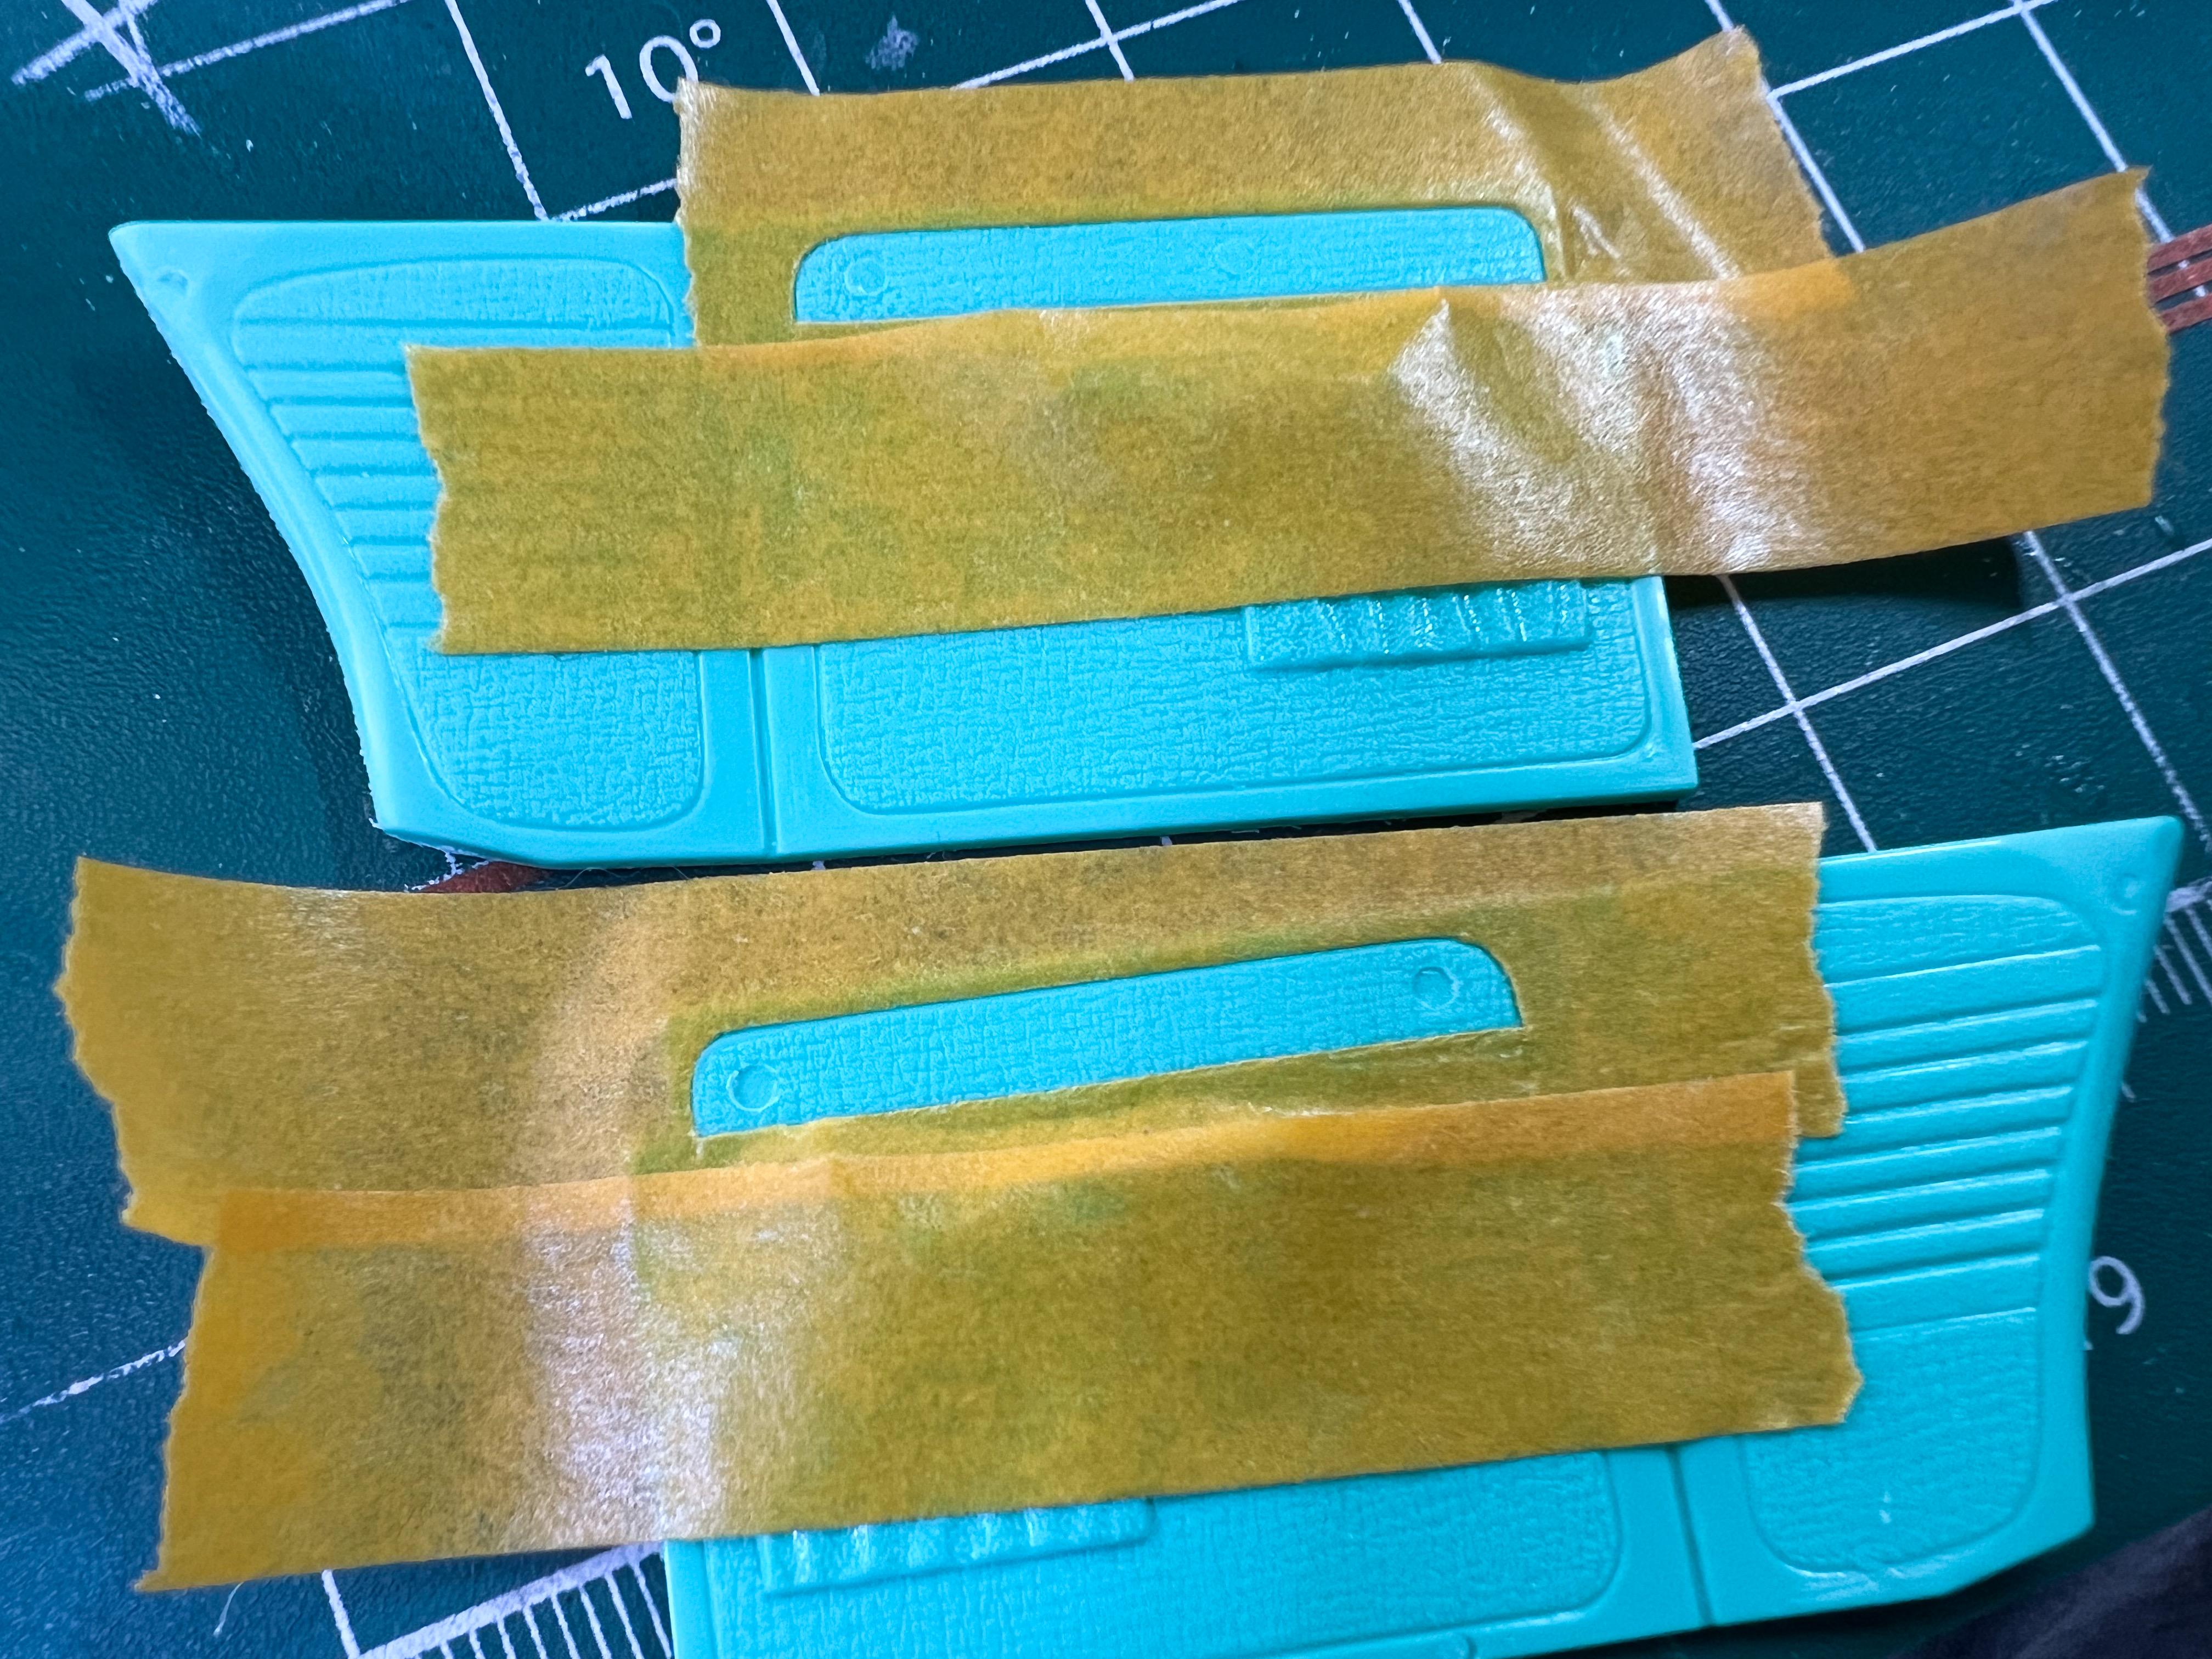
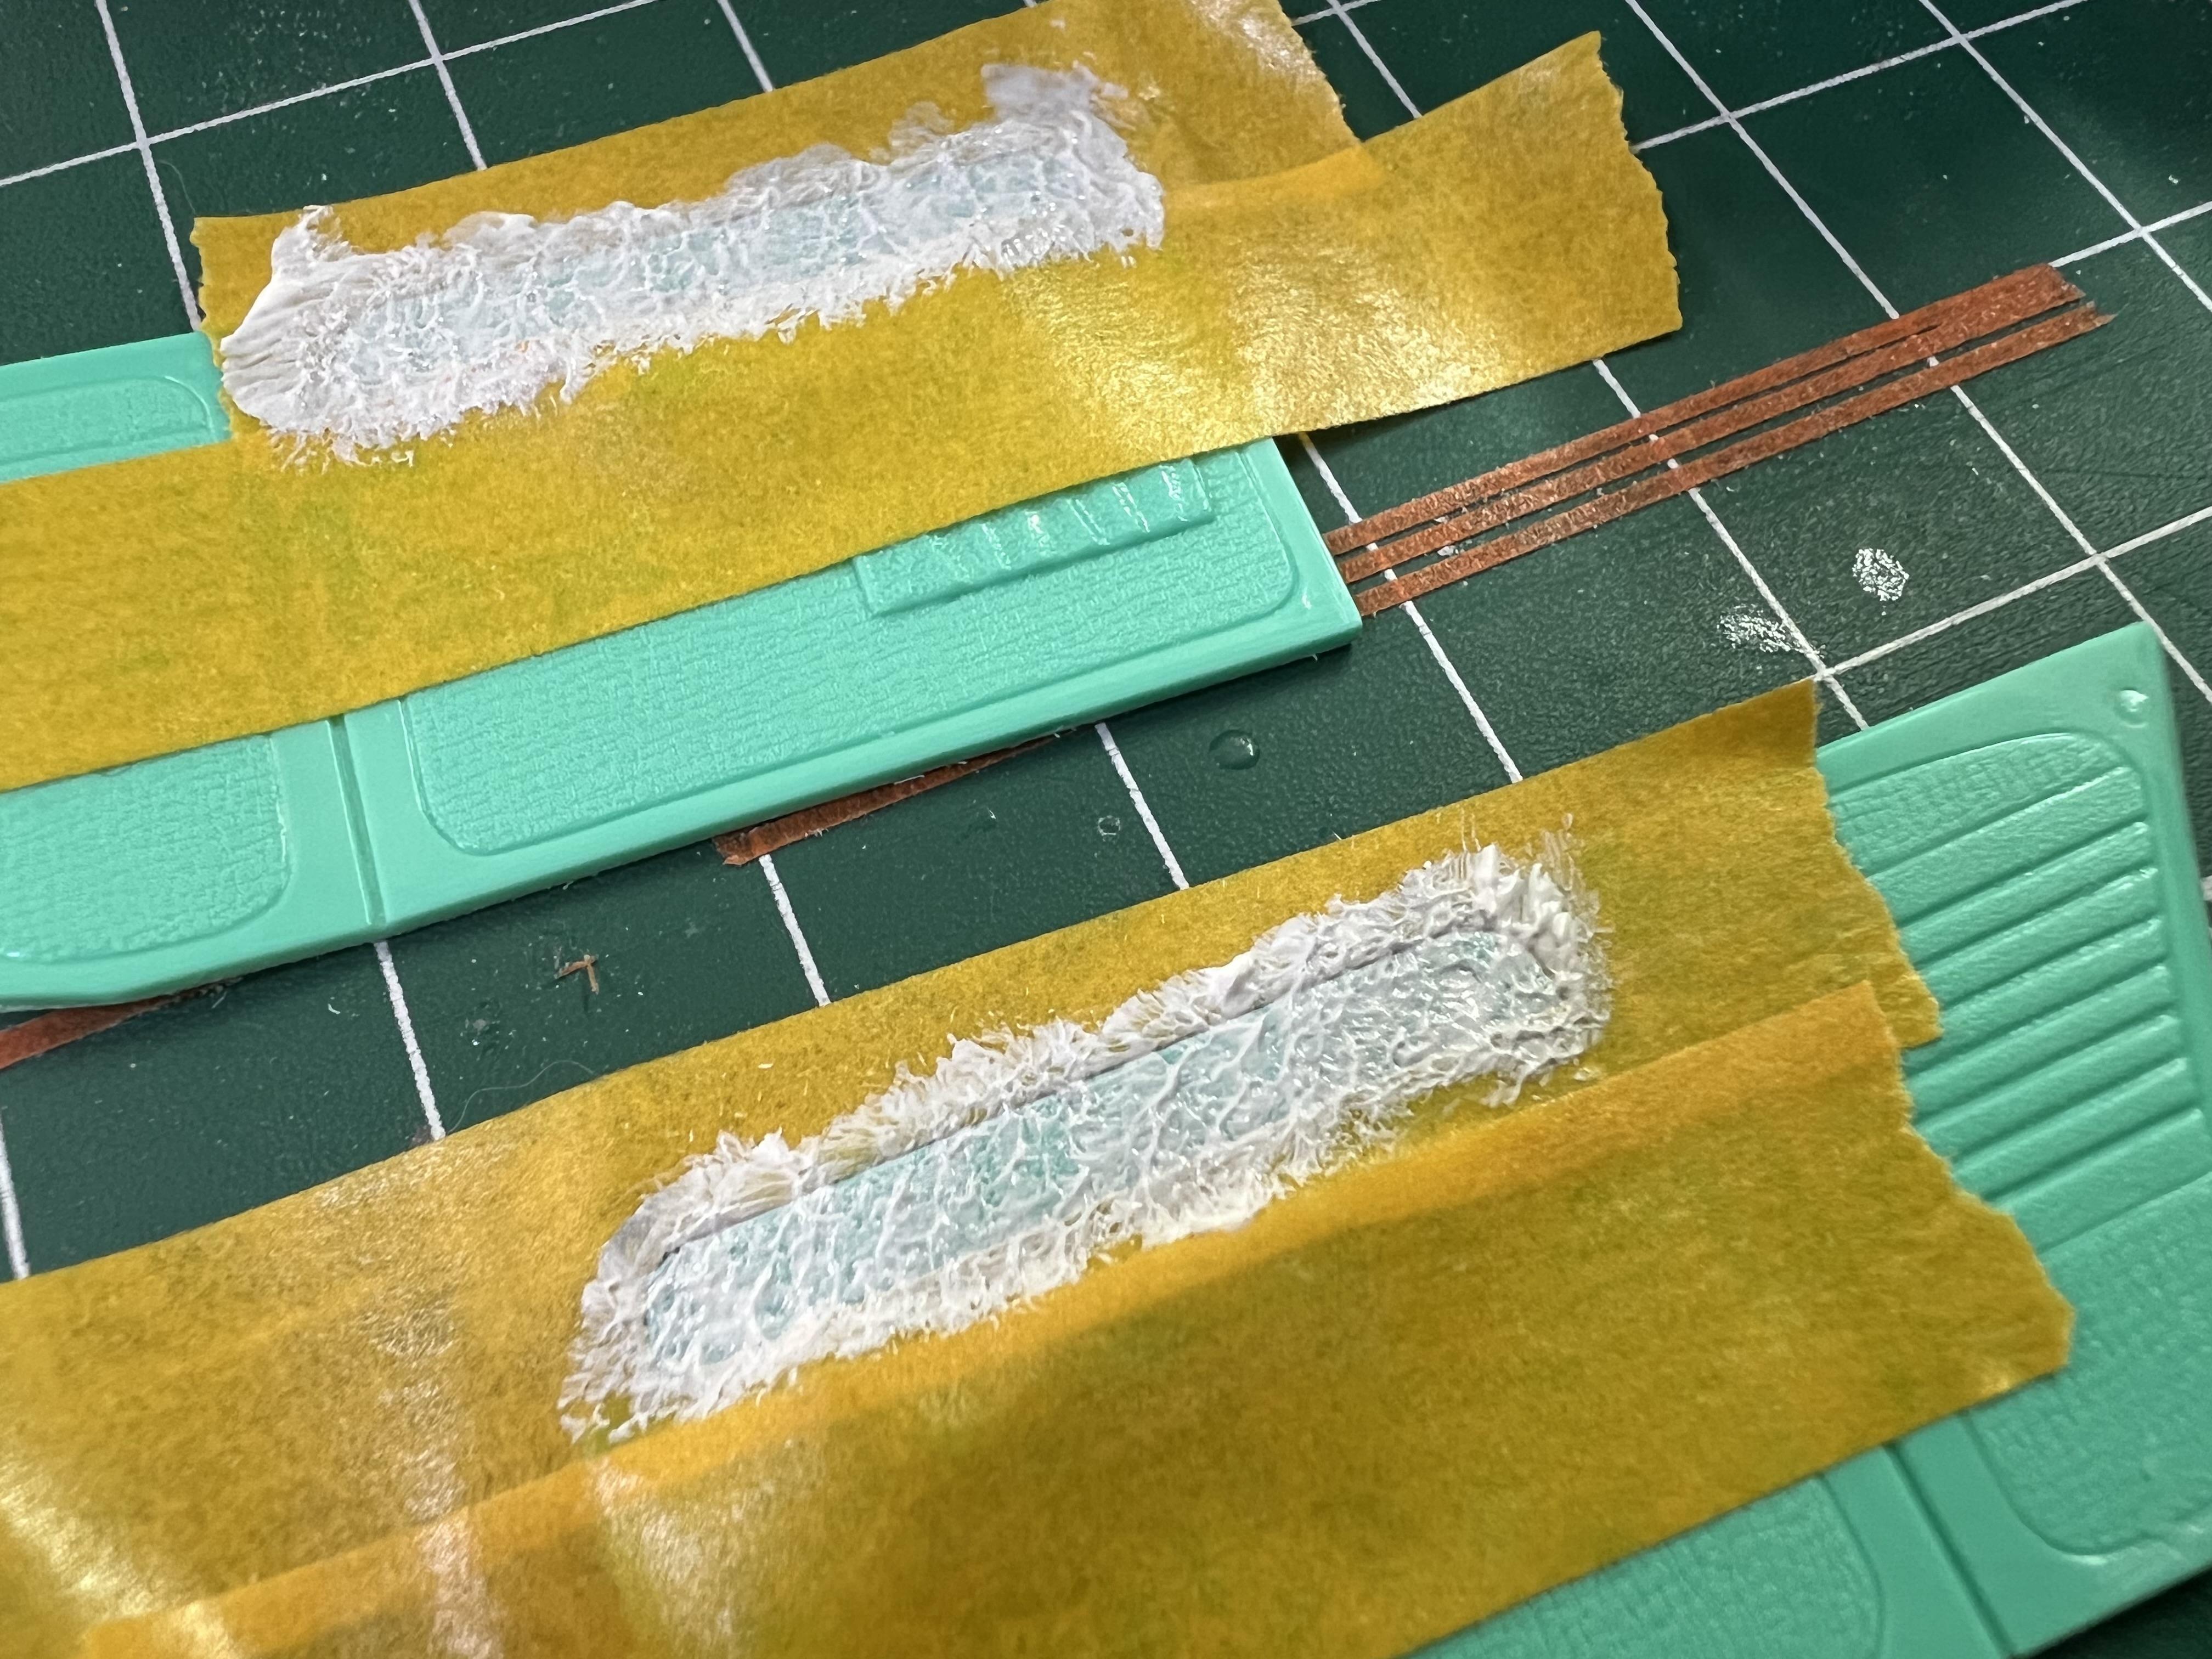
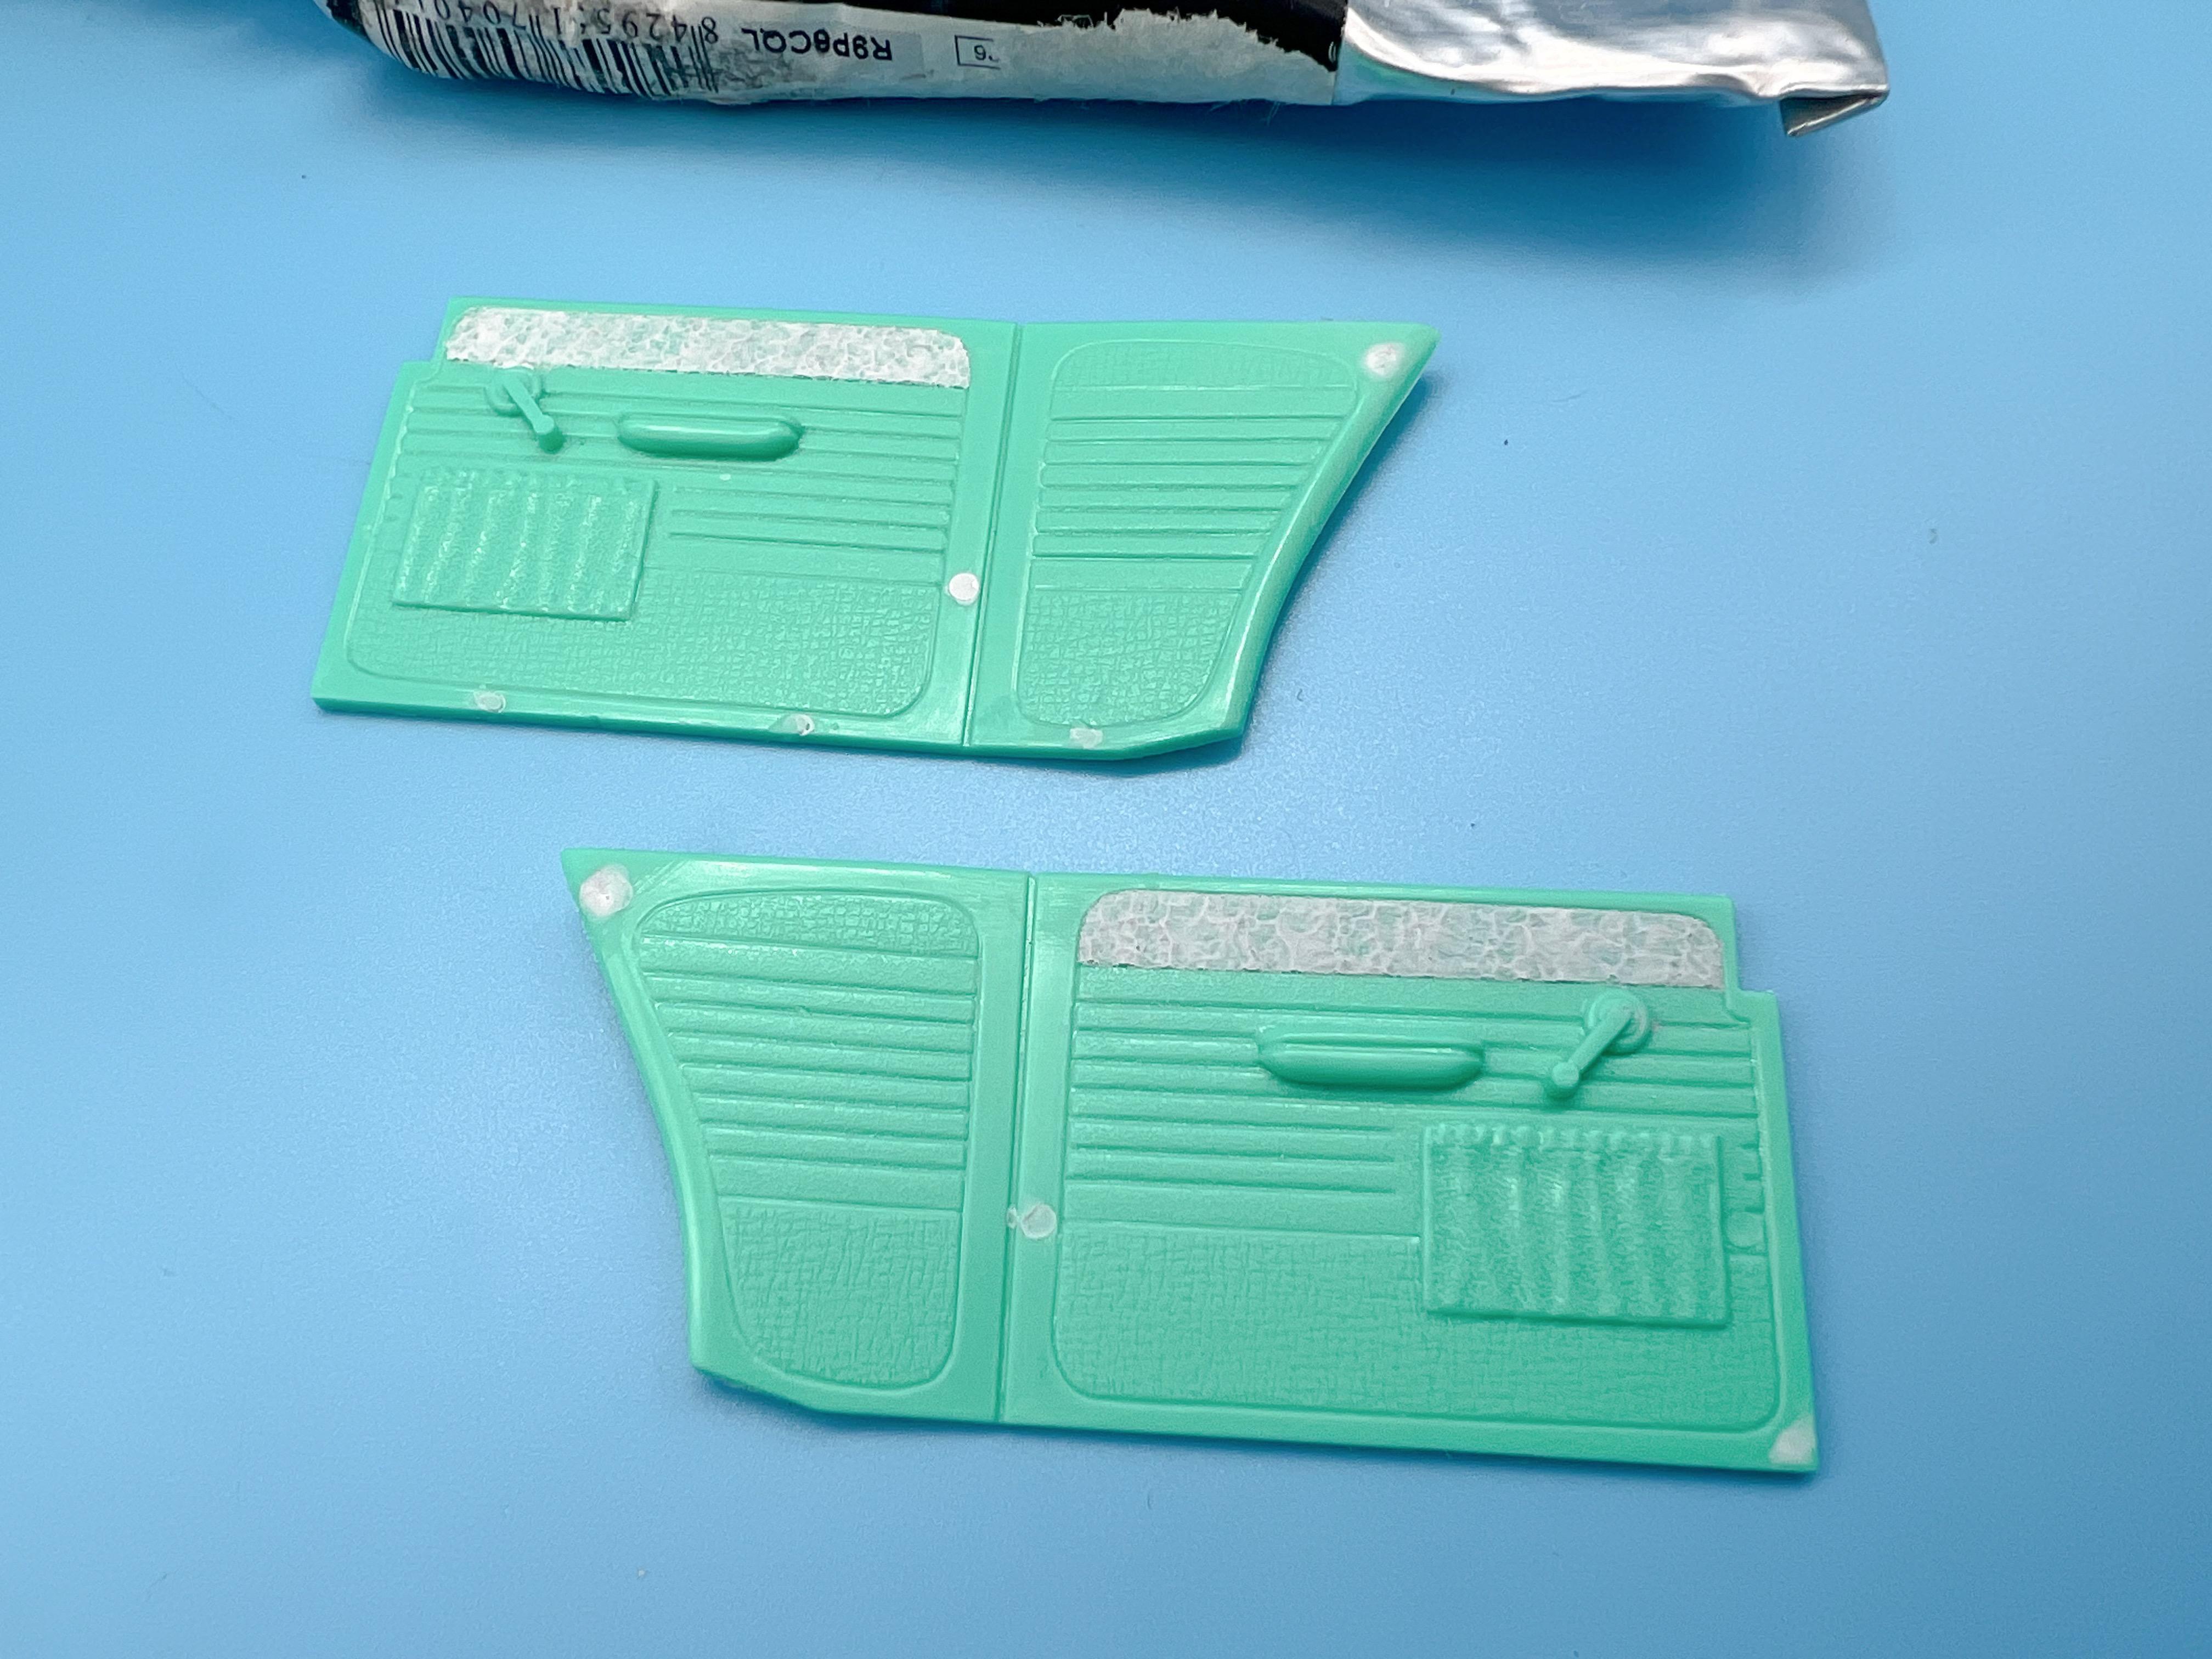
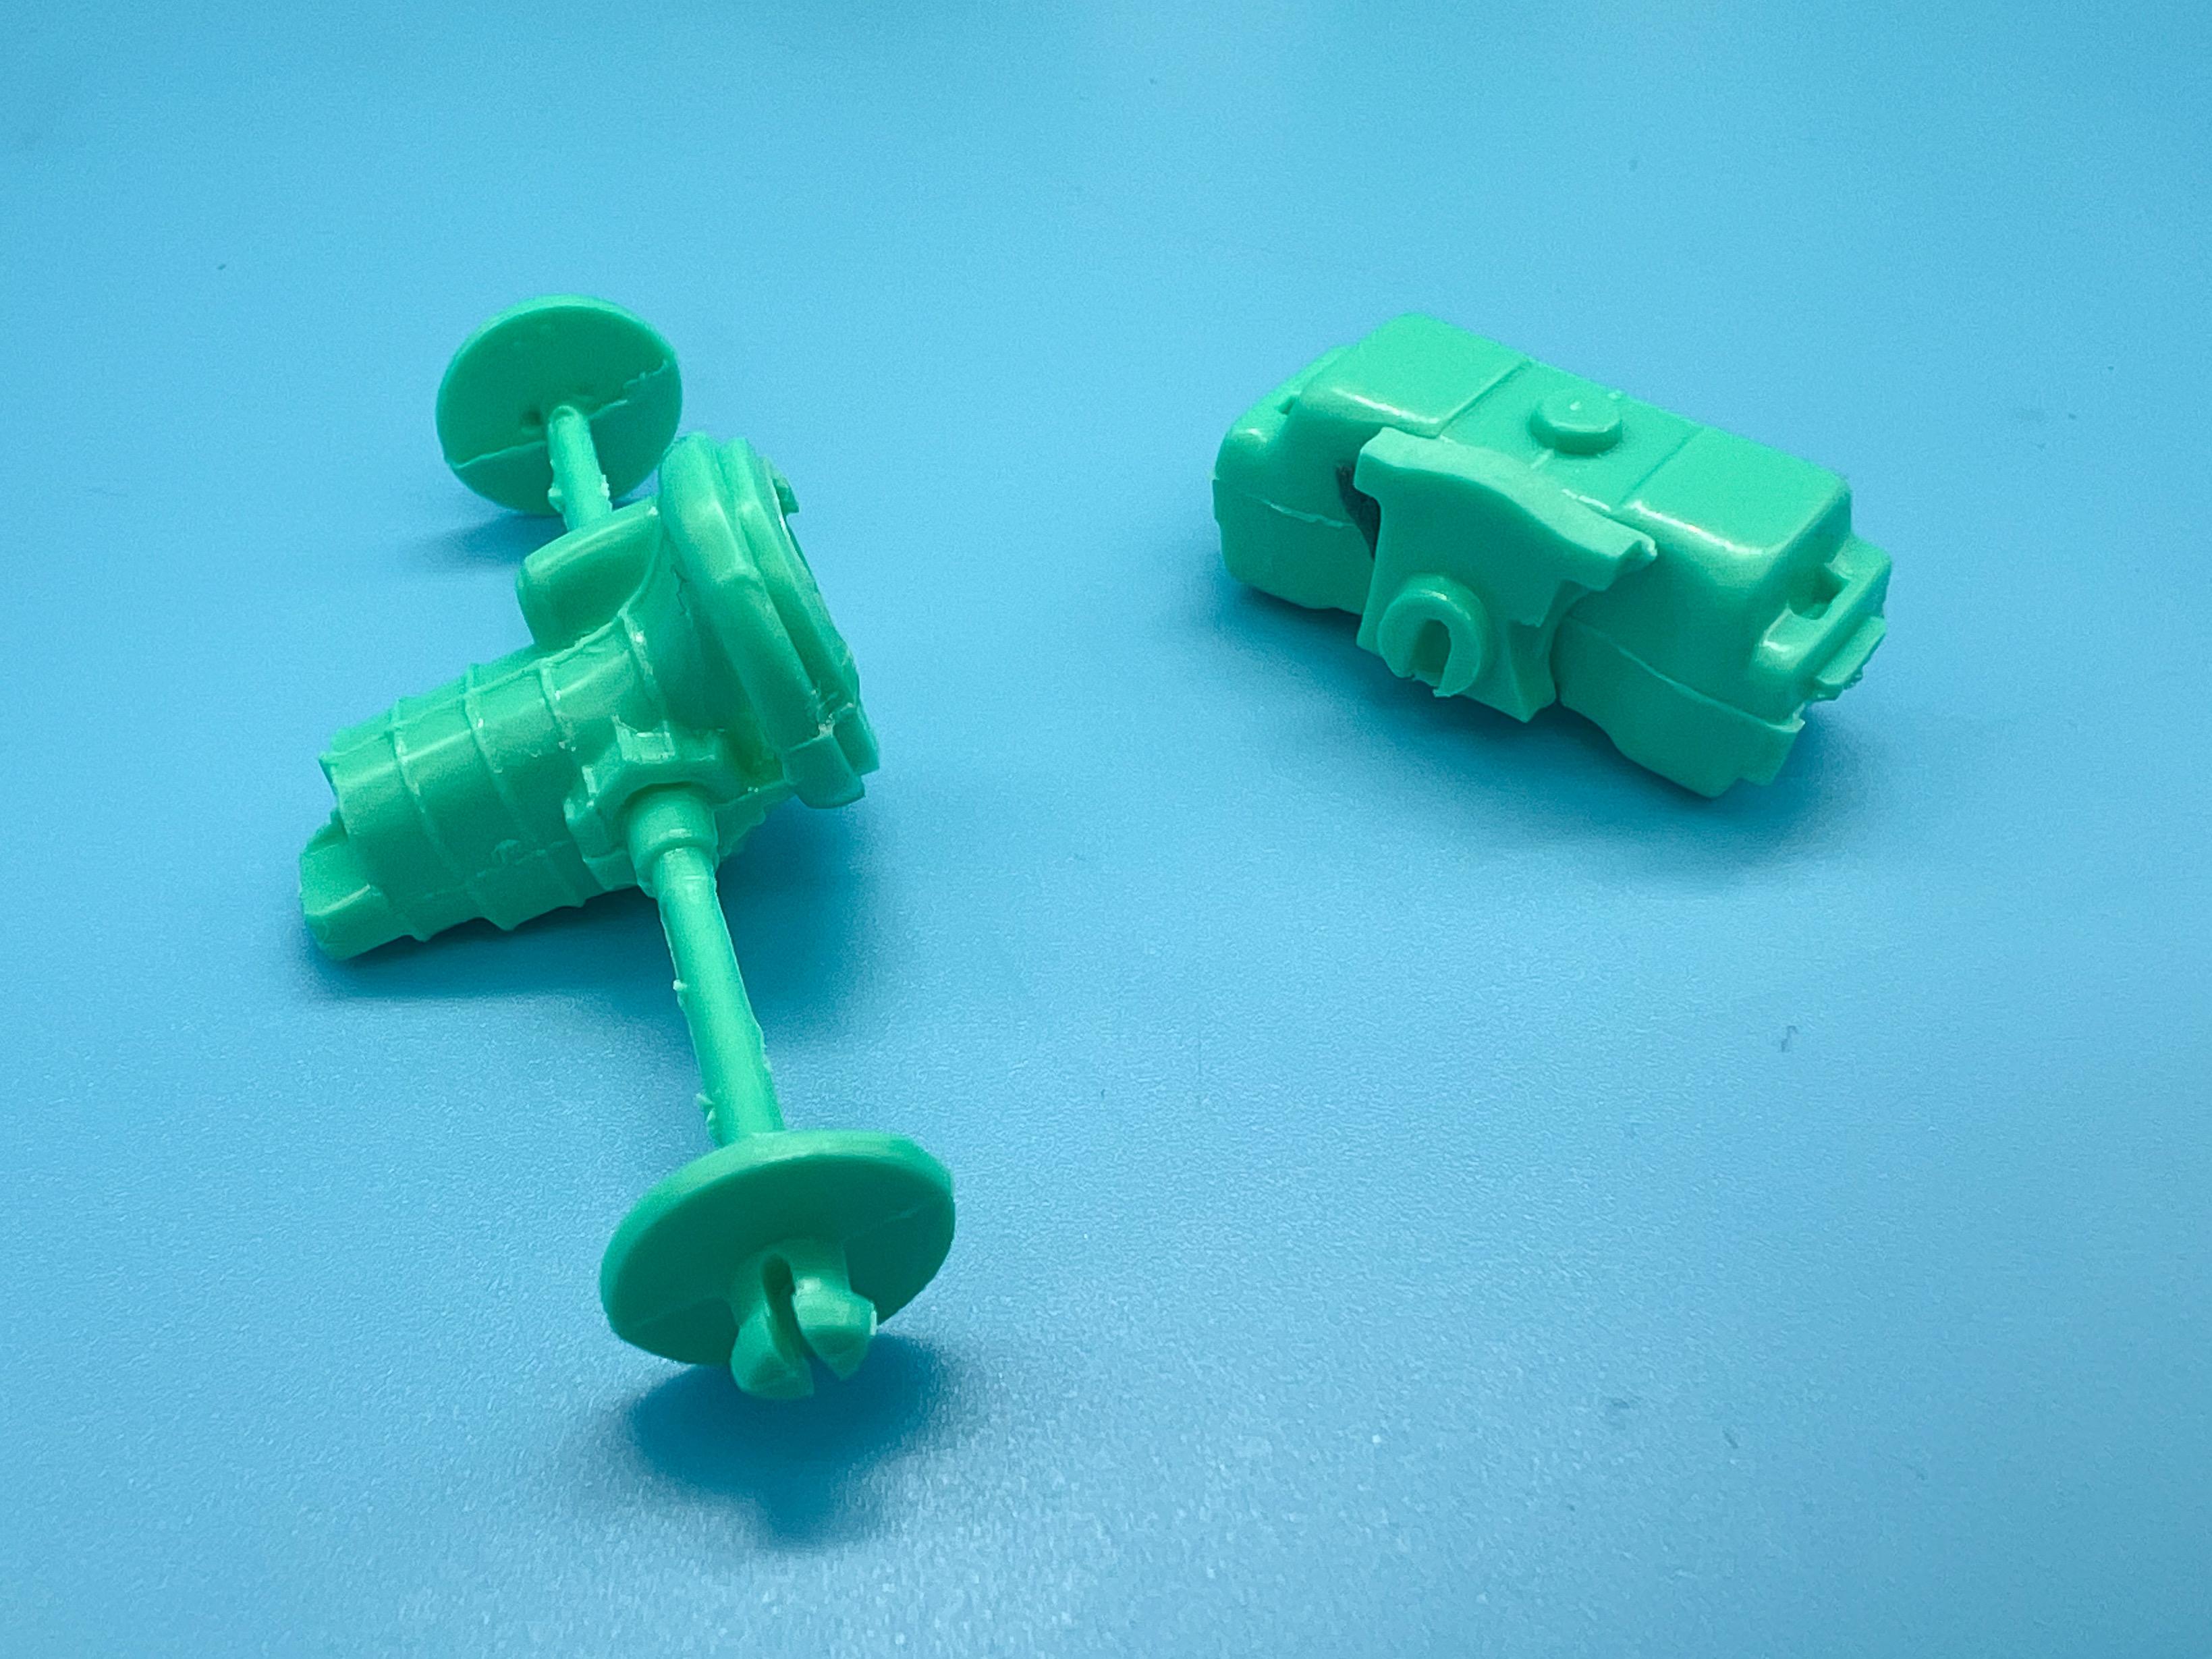
Thanks everyone! Good leads - thank you! I was familiar with 89 Design, but not King 3D…some cool stuff there! Actually, yeah, I picked up probably 10 of the Revell VW kit last year, plus this and the pink version, plus a couple of Hasegawa ones, plus a couple of Tamiya ones…think I’m set on Beetles for a while - all that’s left now is to build them all ? You’re absolutely right - yes! Lack of VW knowledge showing thru…. It’s workbench Saturday, so time for an update…got a bunch done… Designed and o rinted some headlight buckets - the kit ones are just little flat washers and I wanted some depth to them: Whilst I had the printer running, printed some embossed license plates… …and a cooler to maybe throw in the interior…couple of big hints on colorscheme there in case anyone is curious… Resin cast some disk brakes and started messing with the rear end…got it low as I can feasibly get it I think: Need to do a fresh mockup once the glue dries again, but I think I’m good… Did a little bodywork - deleted the (wonky) chrome trim and cleaned that area up, plus patched some holes: And removed the little sun visors and pinned them so I can paint those separately: I’m thinking of using this fabric roof cover, whatever those are called - it’s kinda lumpy and big and inelegant but I kinda like it…modified it a little so I can have it easily removable and or swappable with the ‘up top’: Patched some HUGE holes in the floor that are visible from the underside…they’re there for mounting the seats but they could’ve found a more elegant solution… Speaking of the seats, I assembled the kit (stock) seats and sat them in the tub and HATED them…found some more visually pleasing ones in the parts stash that match the doorcards ok: And, speaking of the door cards, they’re nicely rendered EXCEPT for two big ejector pin marks in the top that would be hard to make disappear whilst blending them in to the surrounding texture: A little Vallejo putty stippled on with a brush: Let it set up for a half hour and carefully remove the masking: Way better! Better than a couple of holes, anyway… Thanks for looking - more soon, soon as I’ve done more!!
-
Wow, that thing’s wild looking - love the exposed transmission and the steering wheel thru the seat! This’ll be a cool build!
-
The "Illusion" by Rick Dore.......on the Bench 12/9/23
OldNYJim replied to John Teresi's topic in WIP: Model Cars
Great looking build John - can’t wait to see some pics in ‘the park’ of this one! EDIT; nevermind, posted my reply and found a whole other page with finished pics ?. -
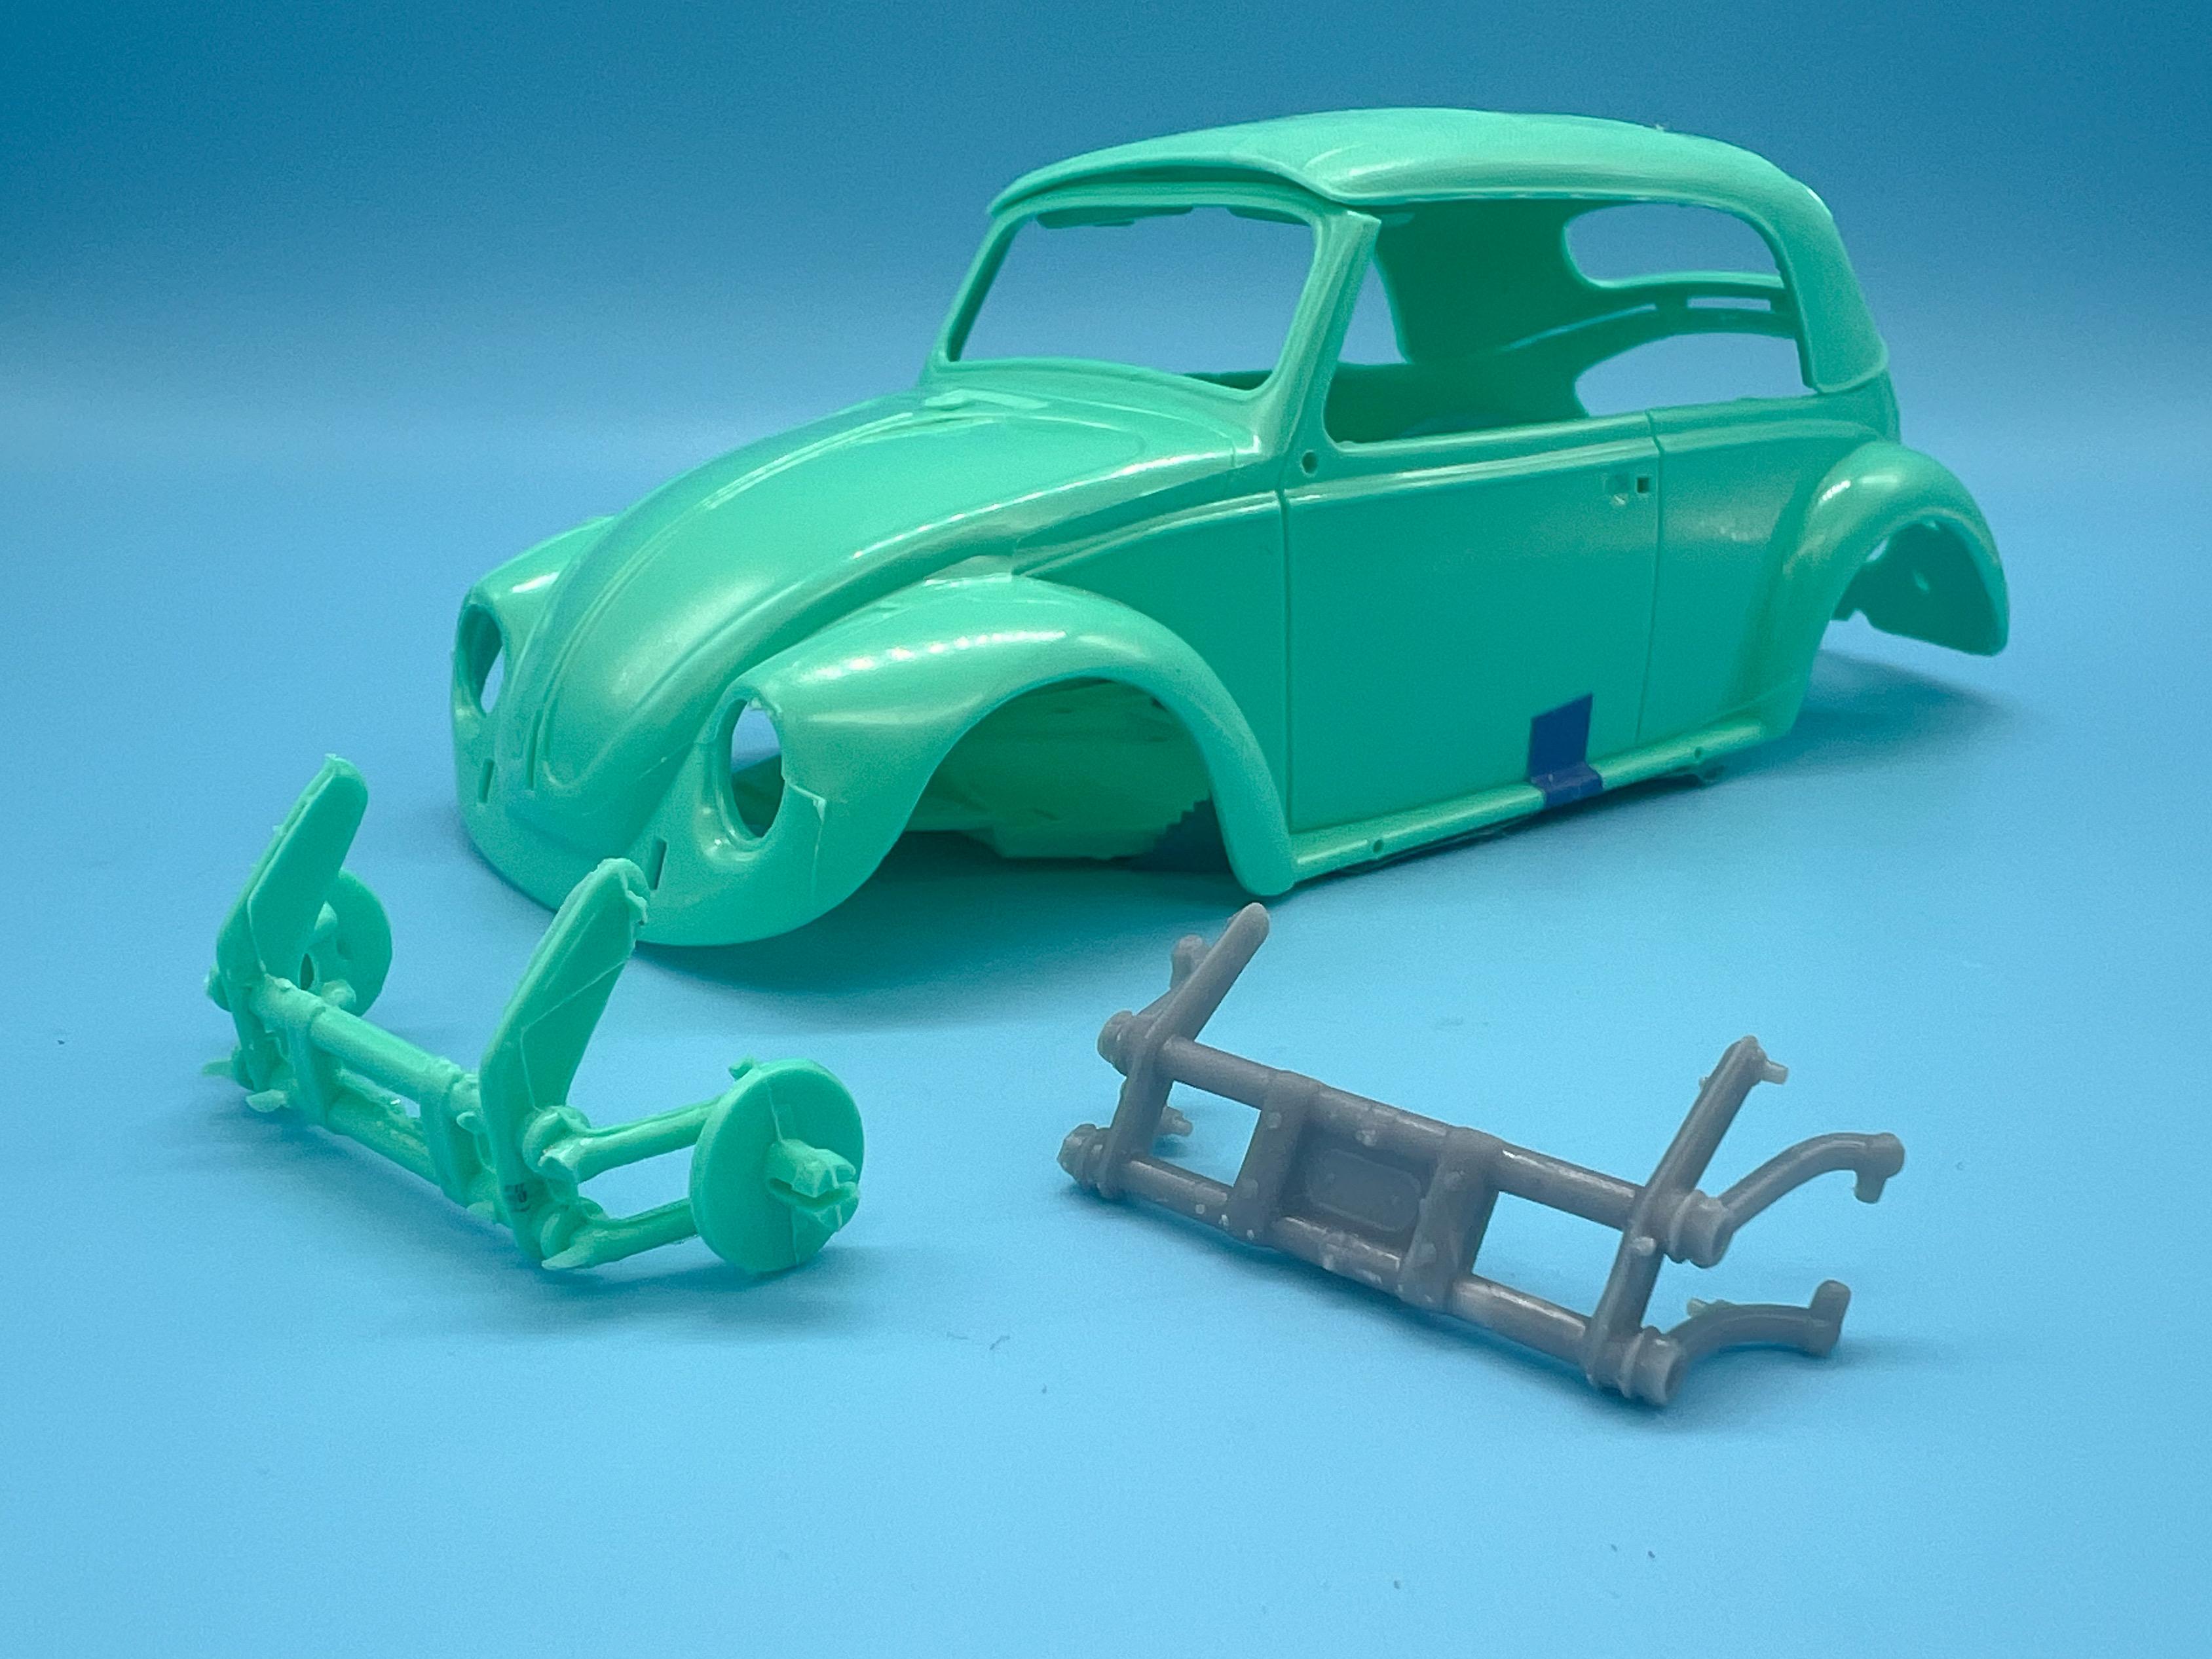
Figure I’ve only got about five more hours and it’ll be ready for primer ?? A little update - still not feeling great so benchtime has been limited, but got a little done… Mostly finished messing with my ‘air ride’ front end, until I get to adding details, that is. I think that’s what they call ‘in the dirt’… Everything still fits, and, actually, if this were 1:1 and you put enough air in the shocks to get it JUST off the ground the front wheels can turn in the arches. Not that it really matters, but I like at least trying to justify these dumb ideas I have with SOME basis in reality… Need to figure out a better attachment of the body to the chassis - there’s four tiny tabs for gluing but they’re not very substantial… Next up, figured out where I want the backdated bumpers I printed to mount: And this kit comes with what I think Beetle guys call ‘elephant foot’ lights - but they’re way too big for my taste. Found some that I liked more in my VW parts stash and started the backdating process… Next big hurdle to overcome is getting the suspension lowered on the rear end to achieve the same trick as I did on the front…despite it’s age everything on the rear end of this kit actually fits together really nicely…pity I’m not using it as Revell intended or it’d be a walk in the park: Just a small update, but more soon, soon as I’ve done more! Thanks for looking!
-
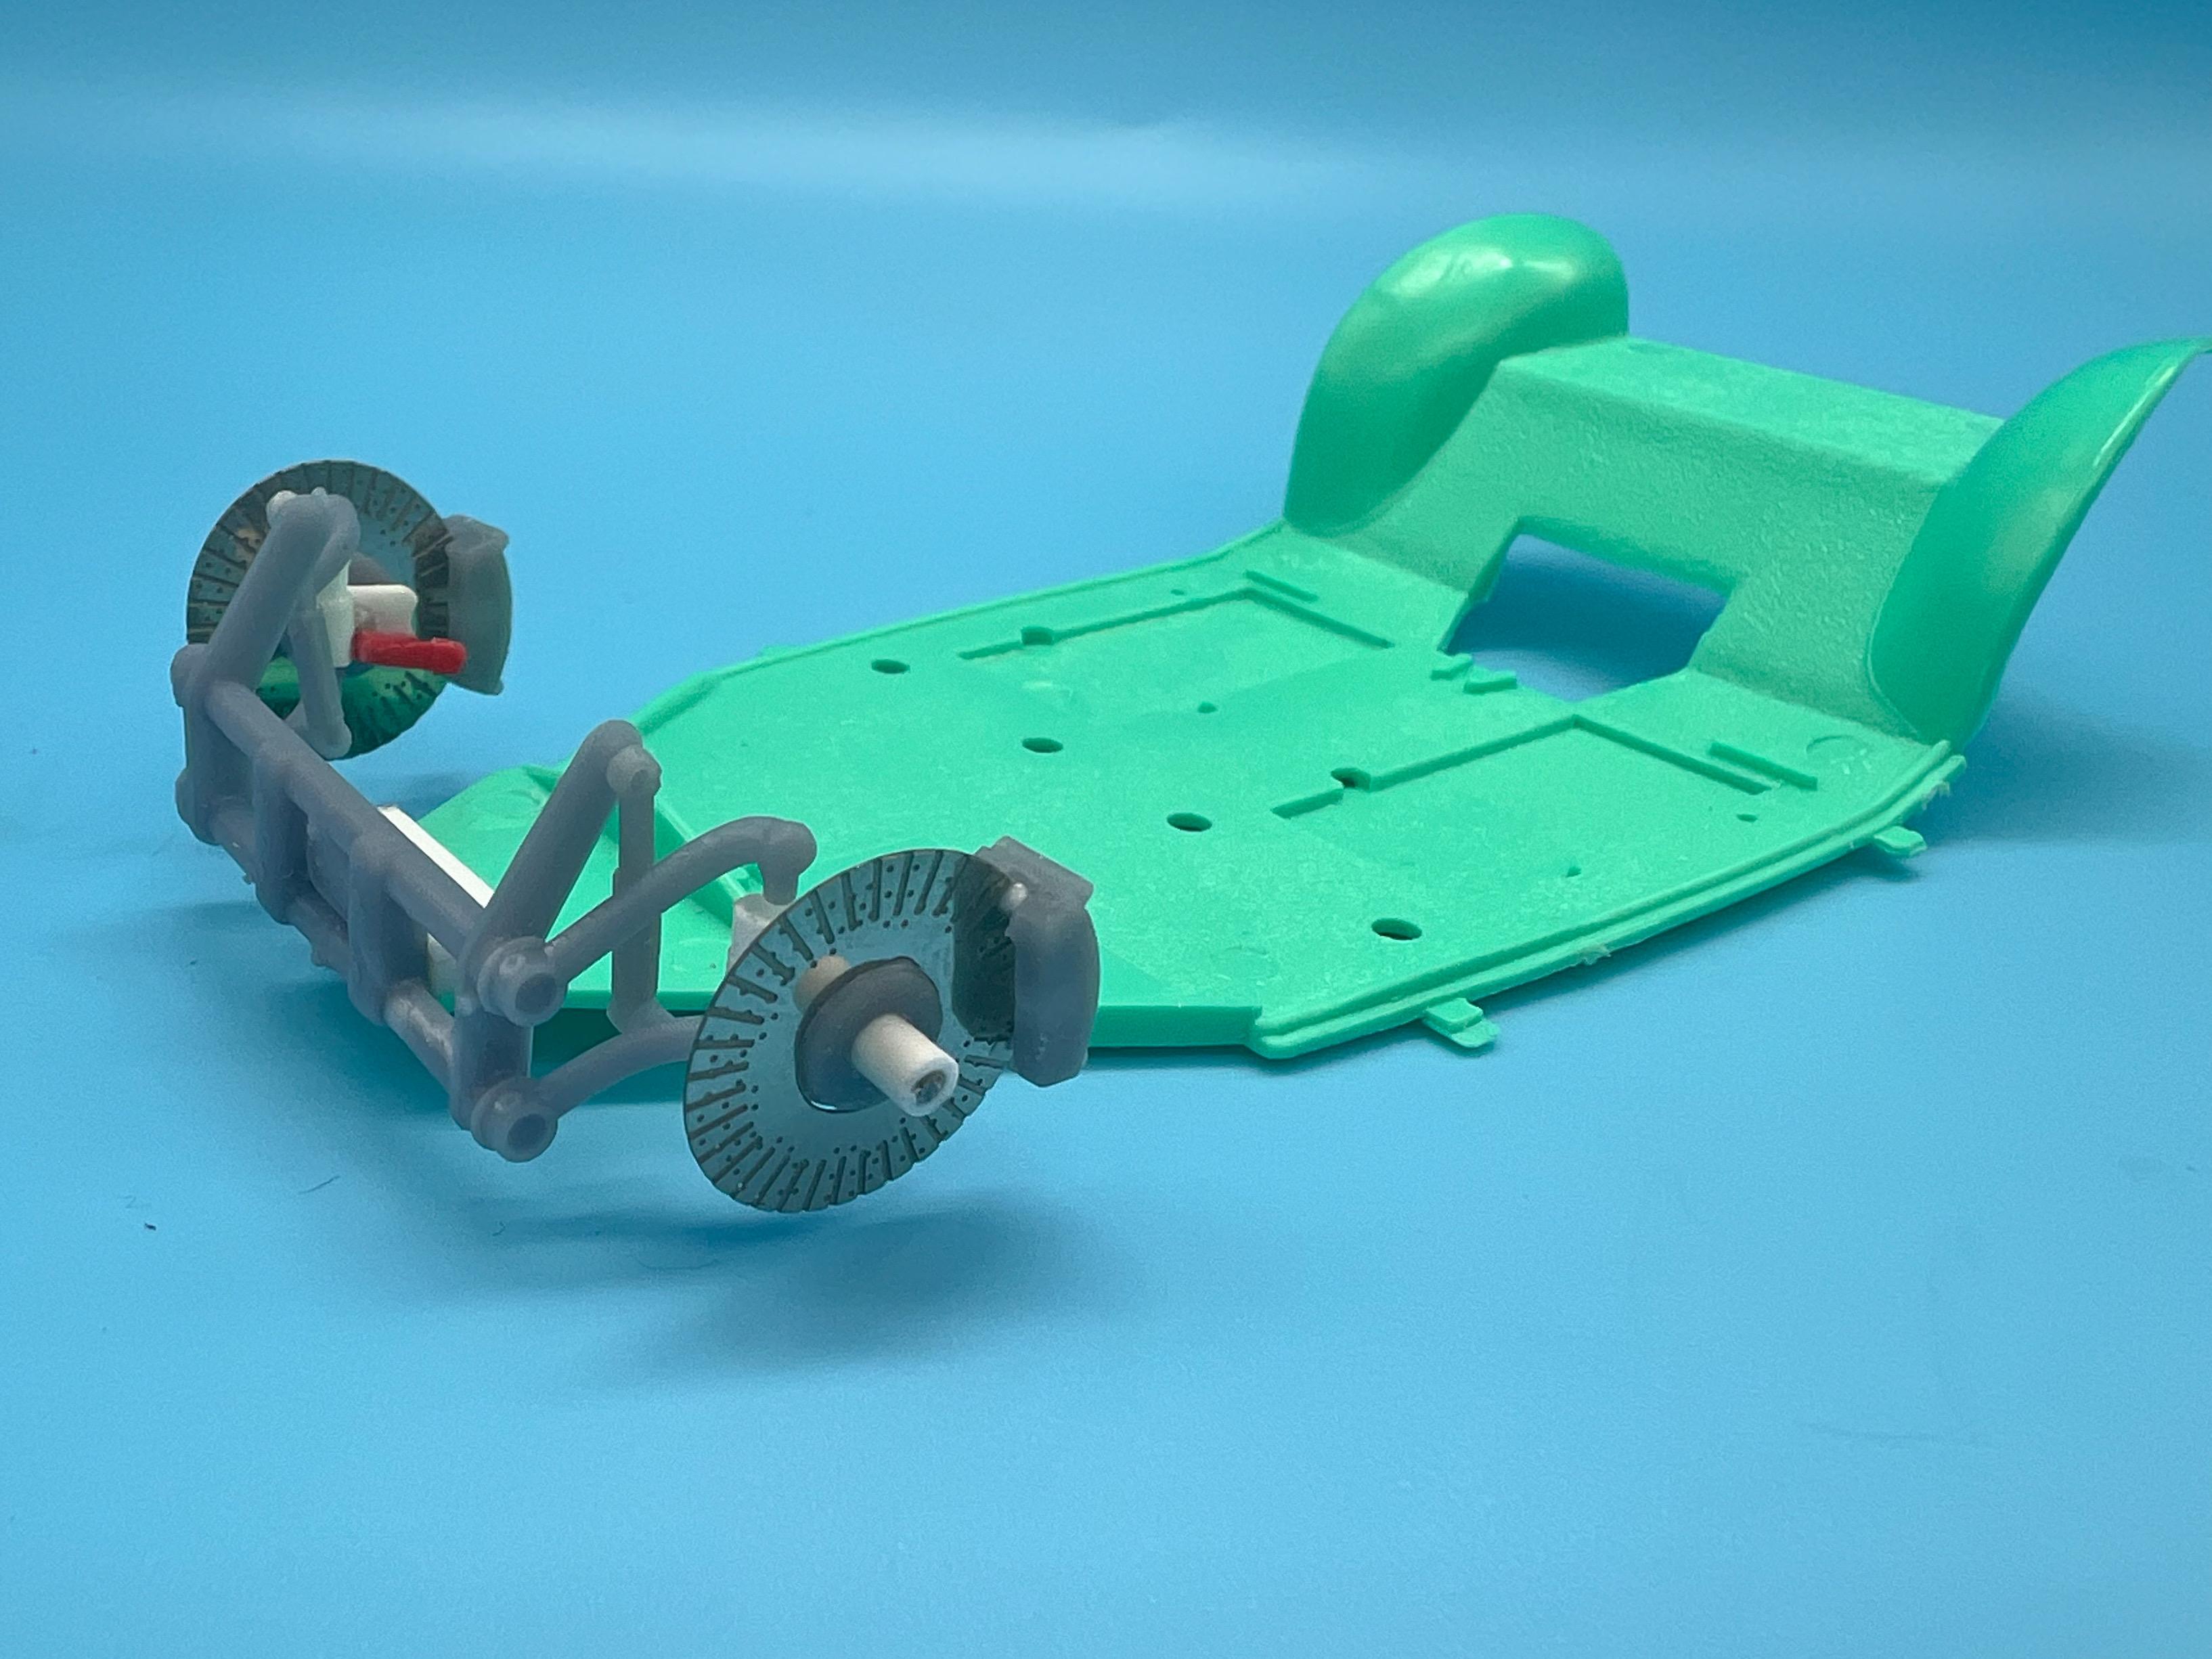
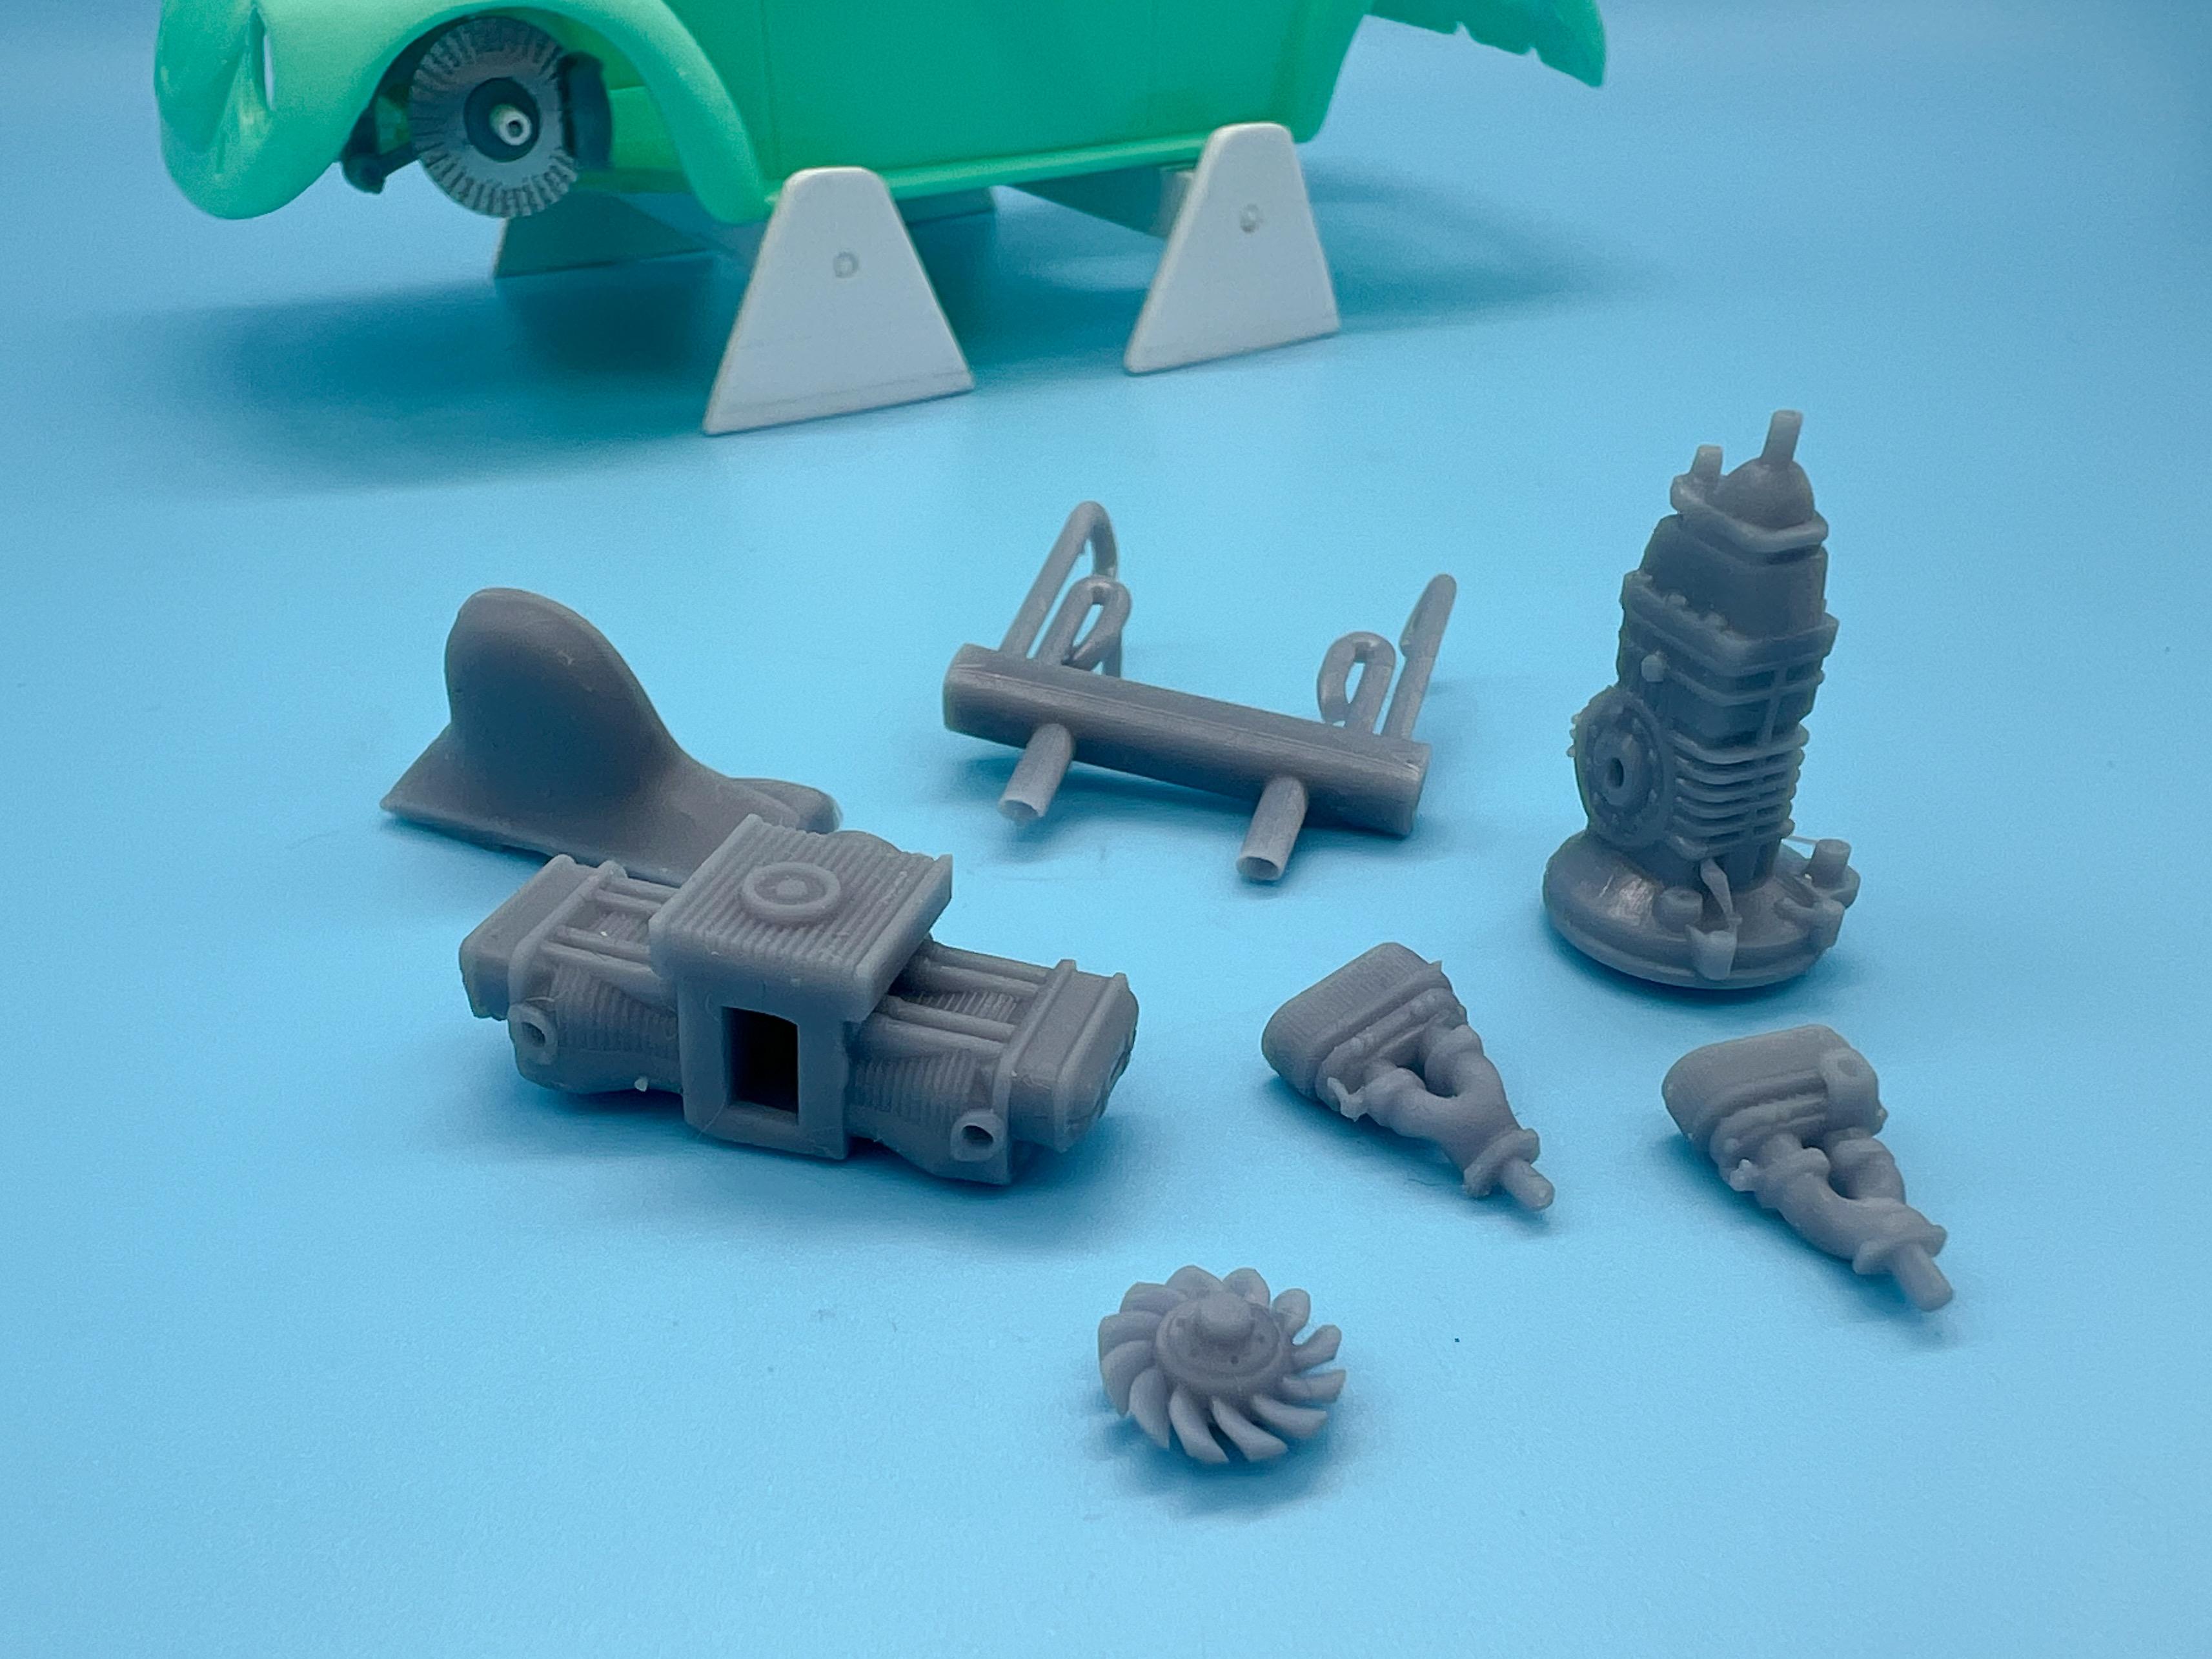
You’re not kidding… And that wobbly trim running down the side…urgh… Thank you sir! Yes, you’re 100% correct - the reference photo I was using showed the axle center sitting very slightly behind the center, so I made it that way to match…which of course meant spacing the whole assembly forward slightly: They’re slightly too far back on mine, but the arms on the 3D file I found are slightly short, it looked like…so I’m fudging three or four inaccuracies in different places to make it work right HOPEFULLY. I THINK my measurements are good, and my wheel centers are just where they were with the kit axle…lots of mocking up and tweaking to do to be certain though before I can glue anything for good. Thank you for pointing it out in case I was making an error - that’s appreciated! And thanks to the rest of you guys too! Today’s progress started with roughing in a steering rack…I’ll add detail to this later but wanted to make a start: Then next job was printing some spacers to allow me to mount the photo etch brake disks that I wanted to use: These actually stack together with three or four parts to make vented disks…but I would like to try lathe-turning some of my own too. These are my plan B, which may become my plan A…printed some calipers for them too (and some brake pads, but I neglected to photograph them…) While the printer was running I printed a couple of better detailed engines…I’d LIKE to use the kit parts ideally… …but it’s hard not to admit that there’s a decent different in detail level between what was in the box and what we can print at home now: I need to do some more research but I’m not 100% sure what year Beetle this is meant to represent? A 70-something? Anyone know? Whilst the printer was running, took a half hour to start cleanup on the front fenders - WAY better but I’m sure primer will reveal more sins: Amazing how nicely this older styrene sands compared to the softer stuff in use today… And last project for the weekend; I’m intending to run front and rear bumpers on this thing so I test kit the kit part: Blurgh. That’s, umm…not attractive. I printed an older style bumper which is MUCH more like what I imagined… I wonder if there’s some faux-pas in the VW scene about putting earlier parts on later cars? Like putting a Model T grille on a Deuce Coupe? I don’t wanna be THAT guy ?. And that’s about where it sits right now…lot of work at the bench today for not much progress, but it’s SOME! Thanks for looking - more soon!
-
The "Illusion" by Rick Dore.......on the Bench 12/9/23
OldNYJim replied to John Teresi's topic in WIP: Model Cars
Oh man, all those little details to check out ?. So nice to see another of your builds in progress John - thanks for sharing!! -
Beautiful paint! I assume that’s a 2K clear on there?
-
Beautiful work on the CAD for those tires - and the curing jig is a great idea!
-
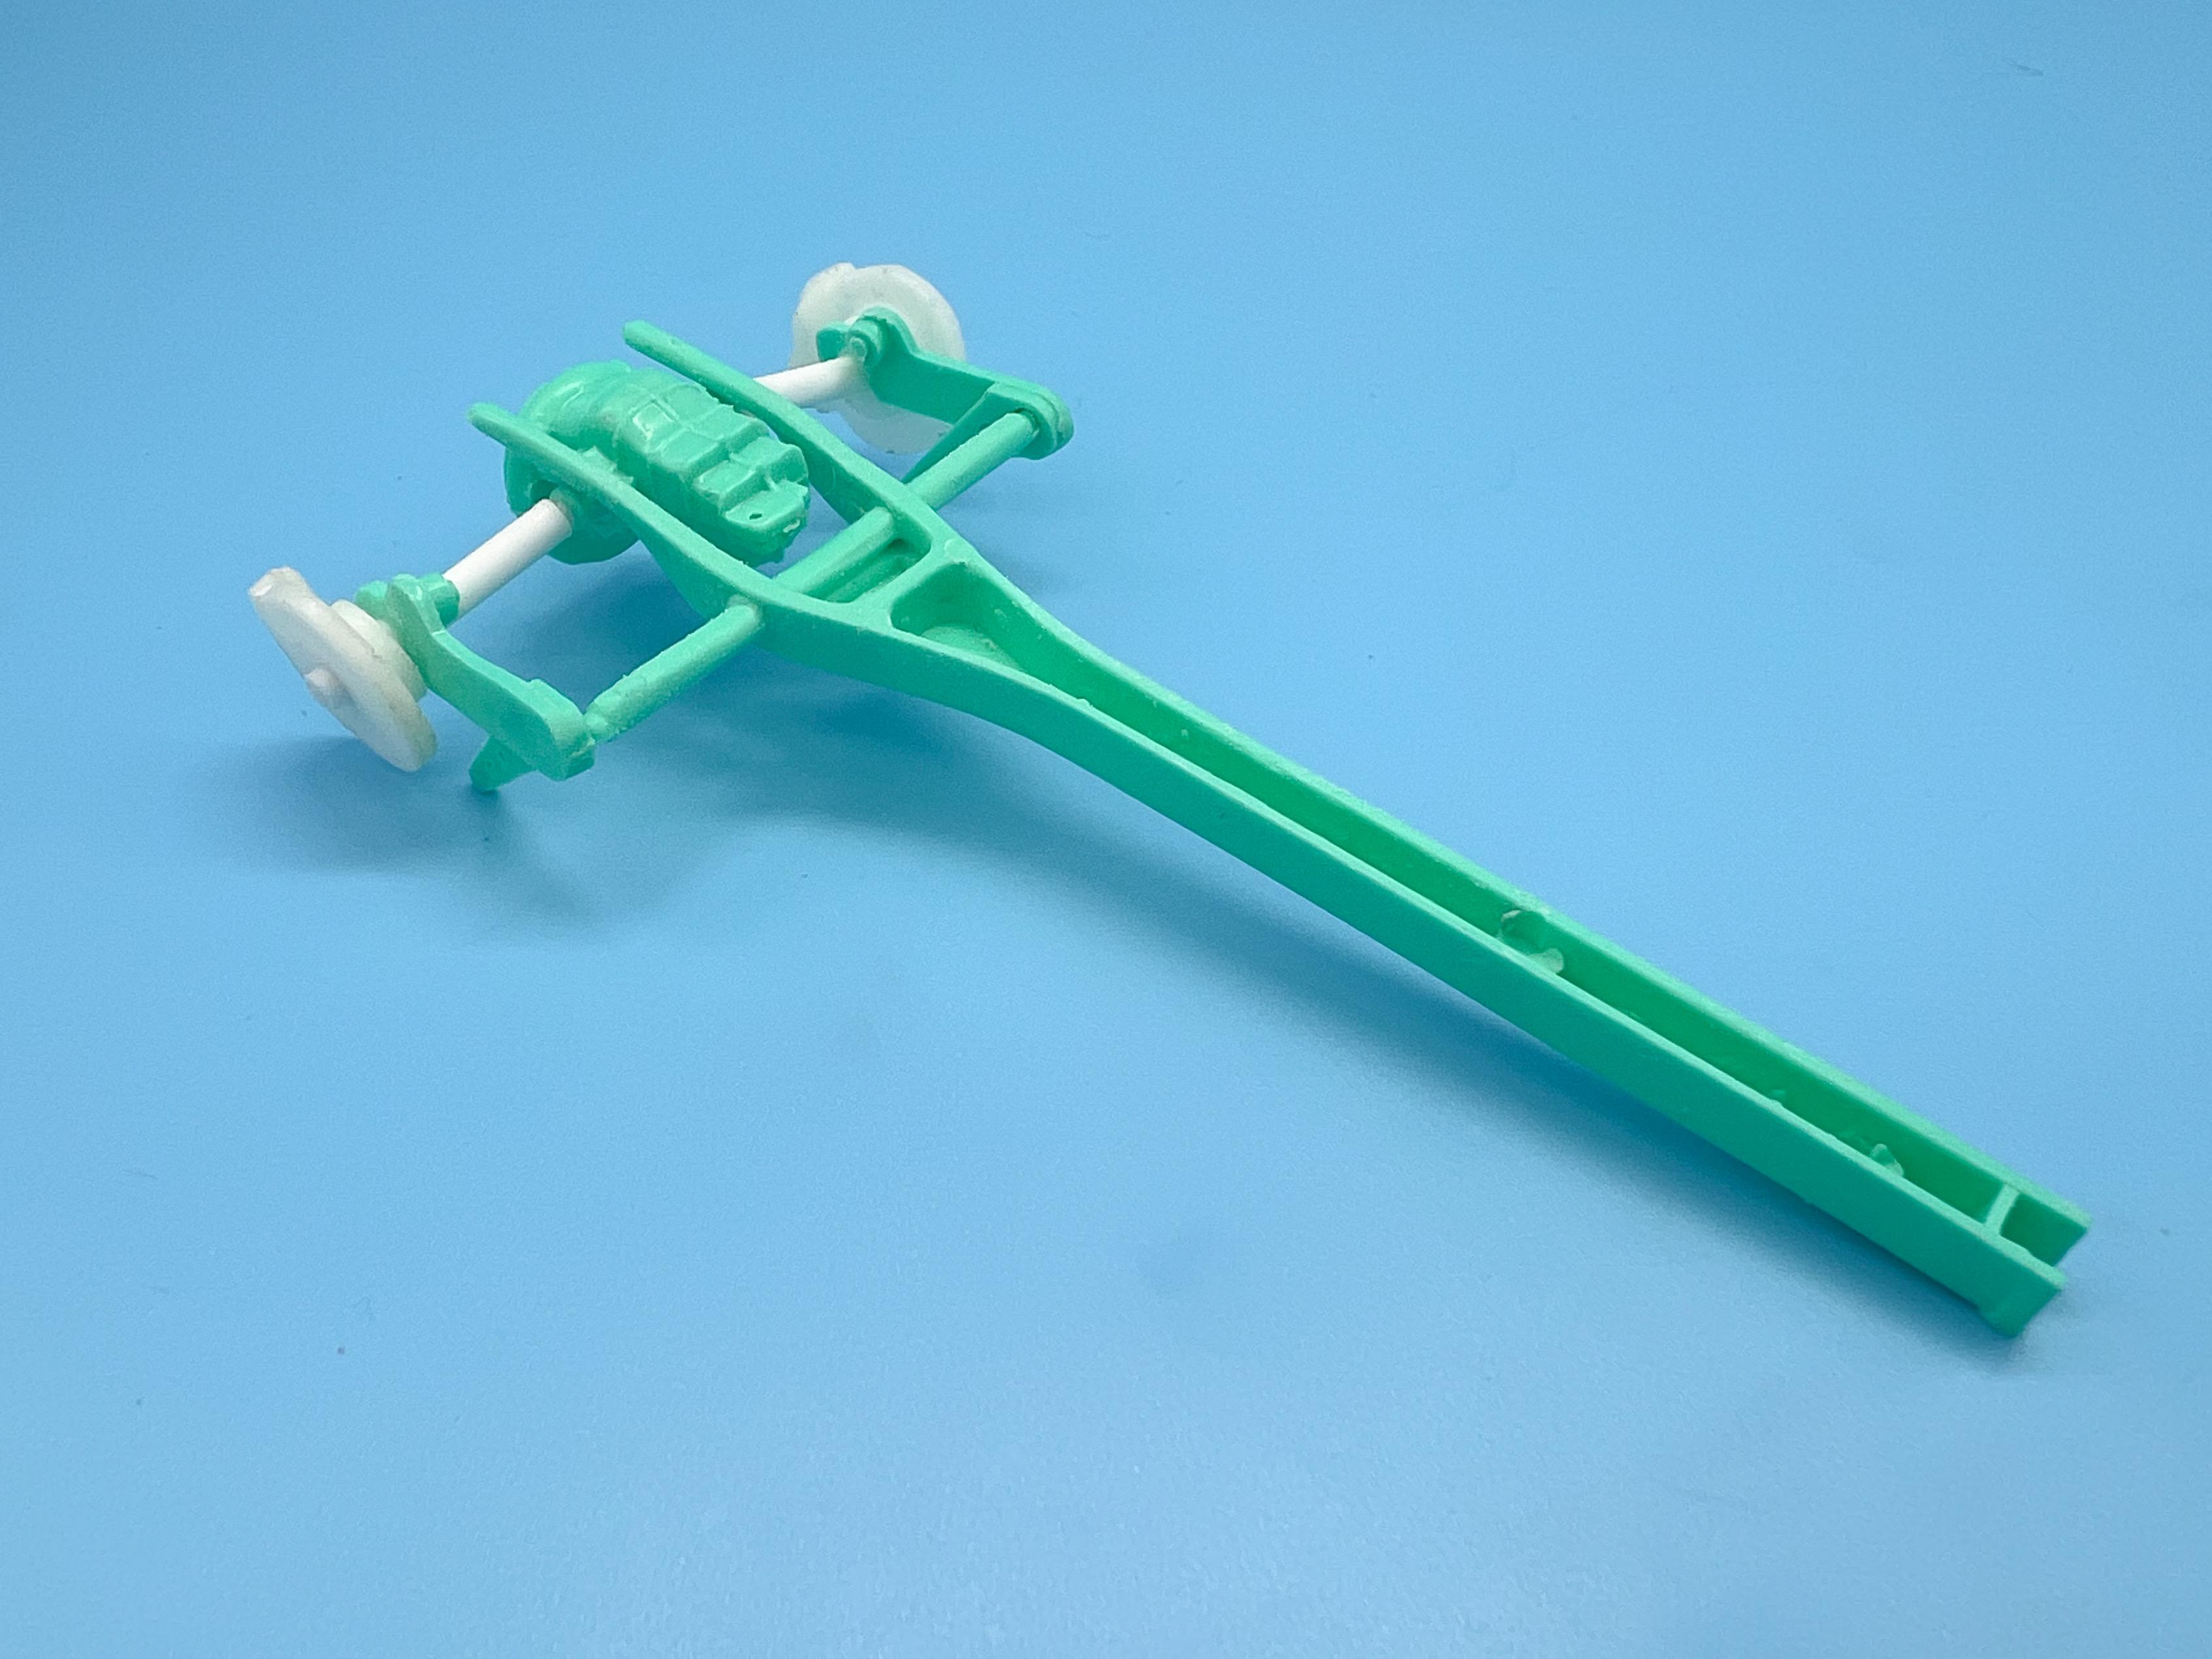
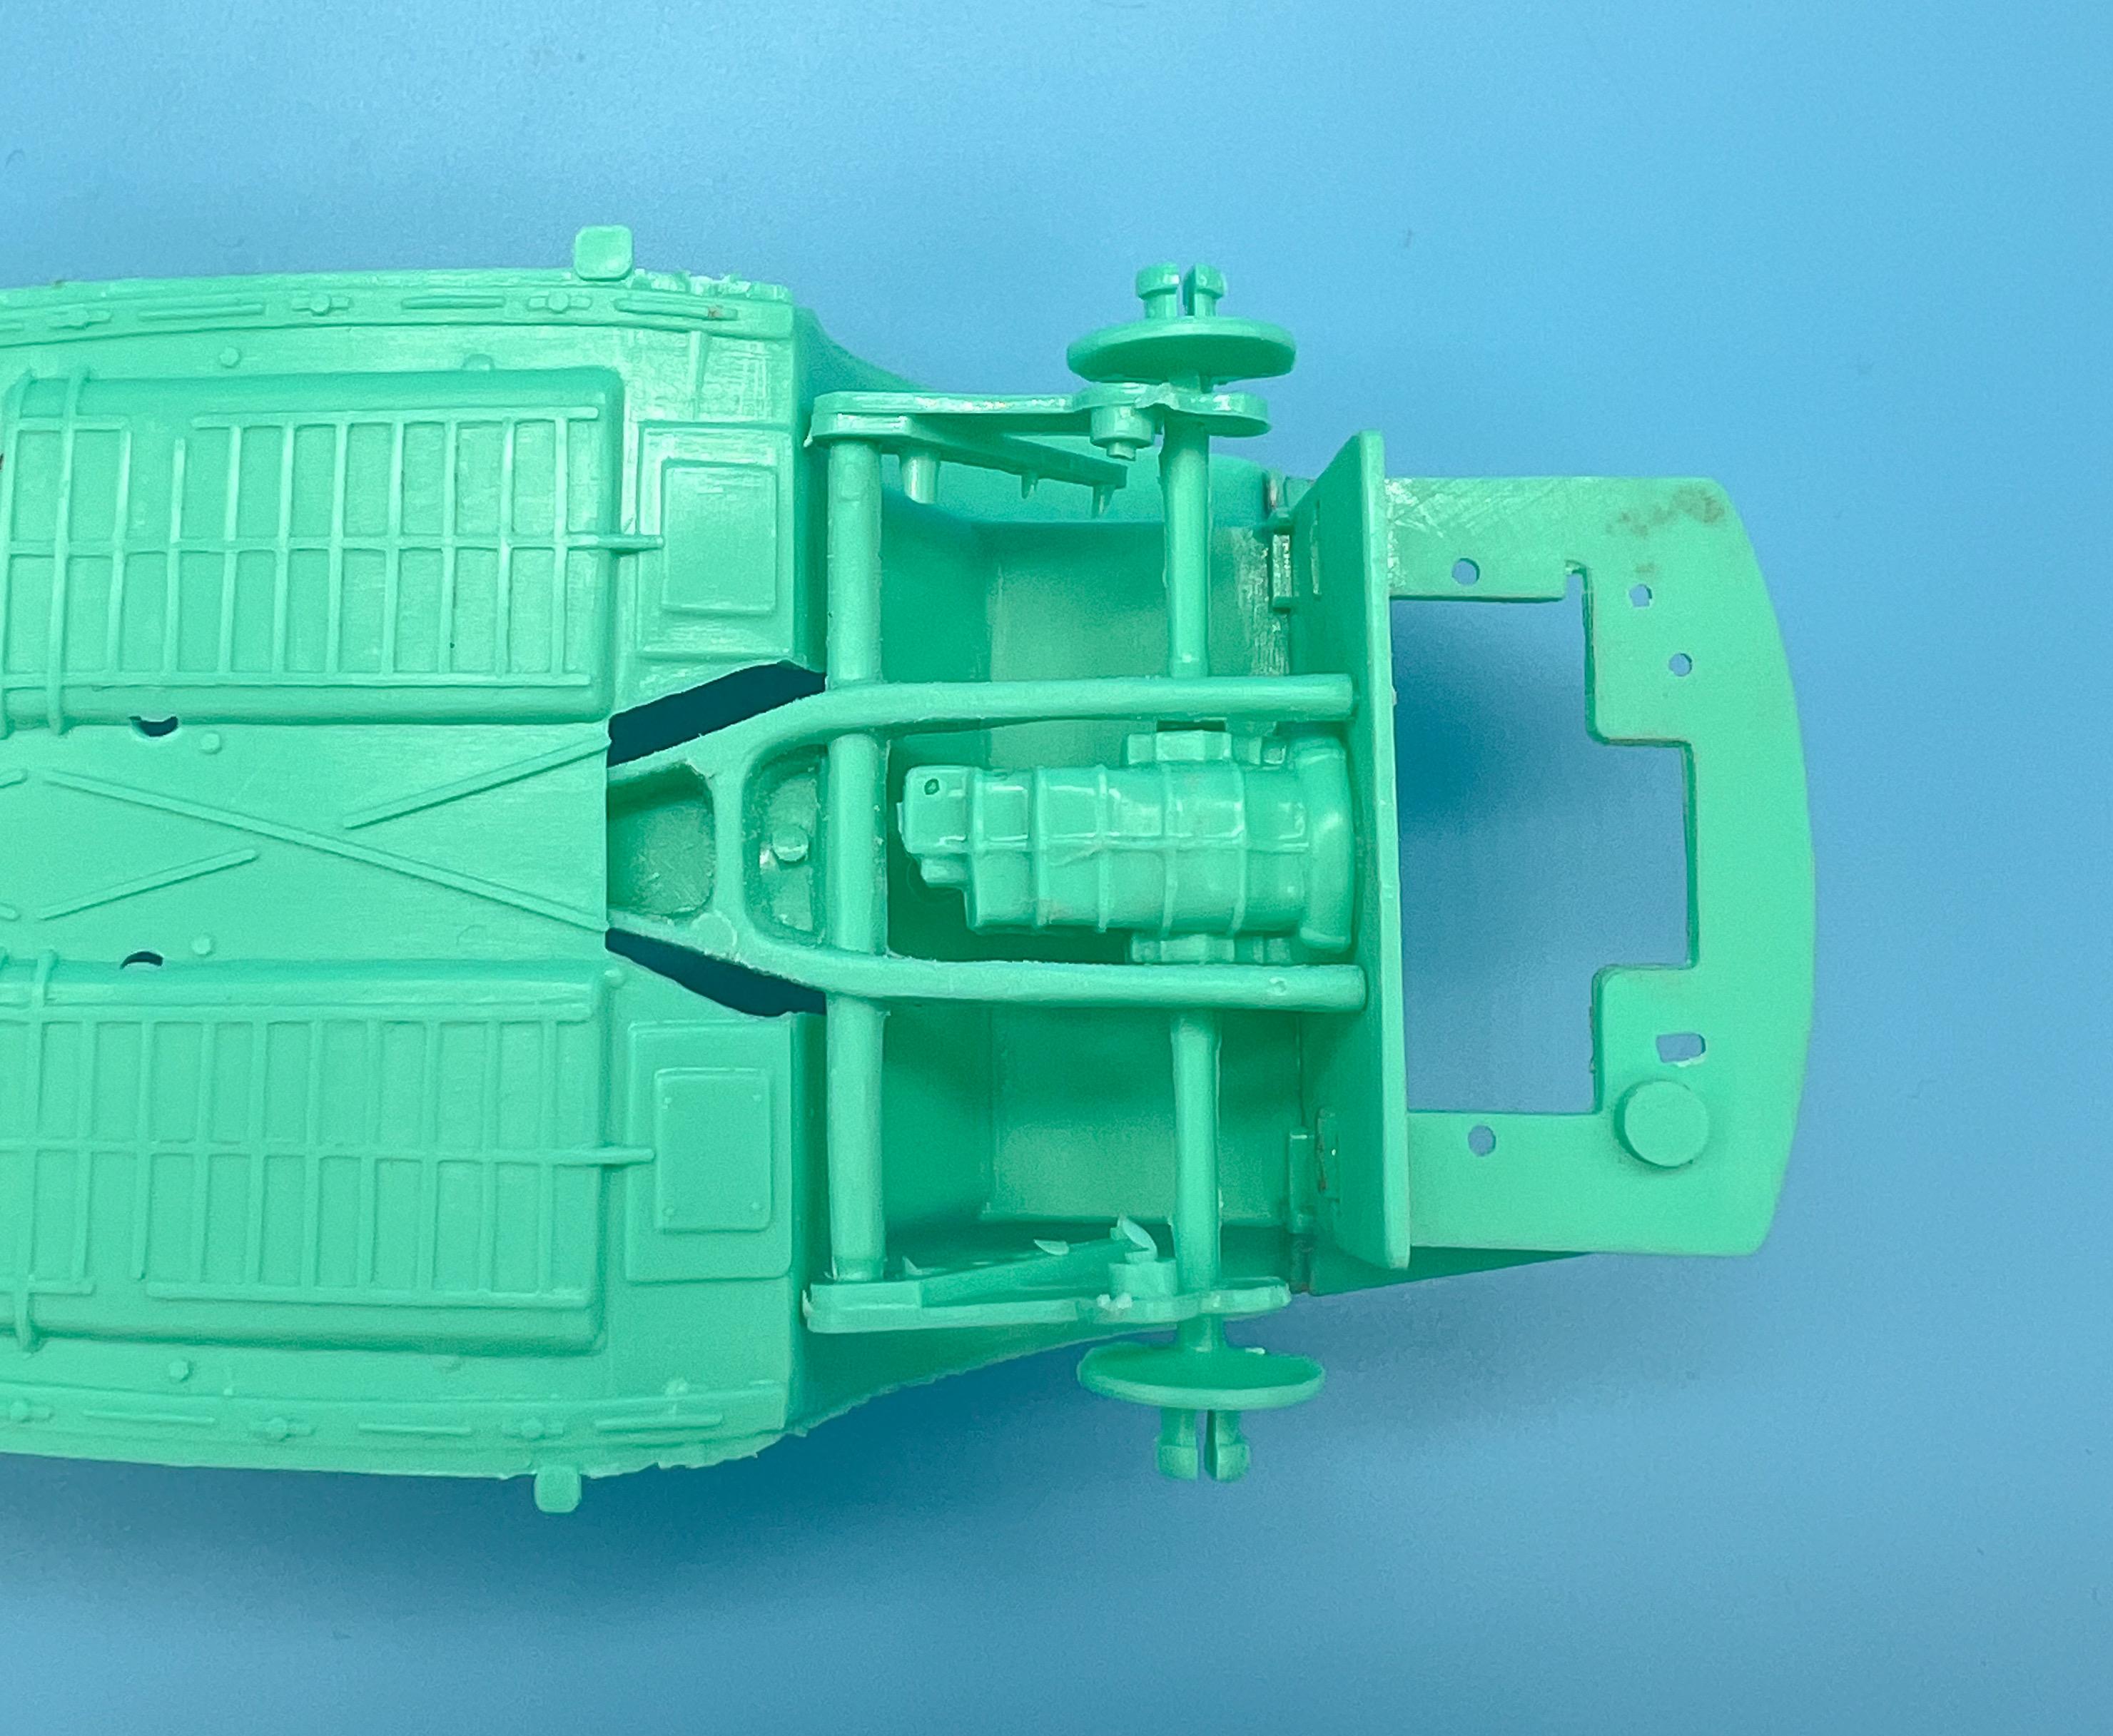
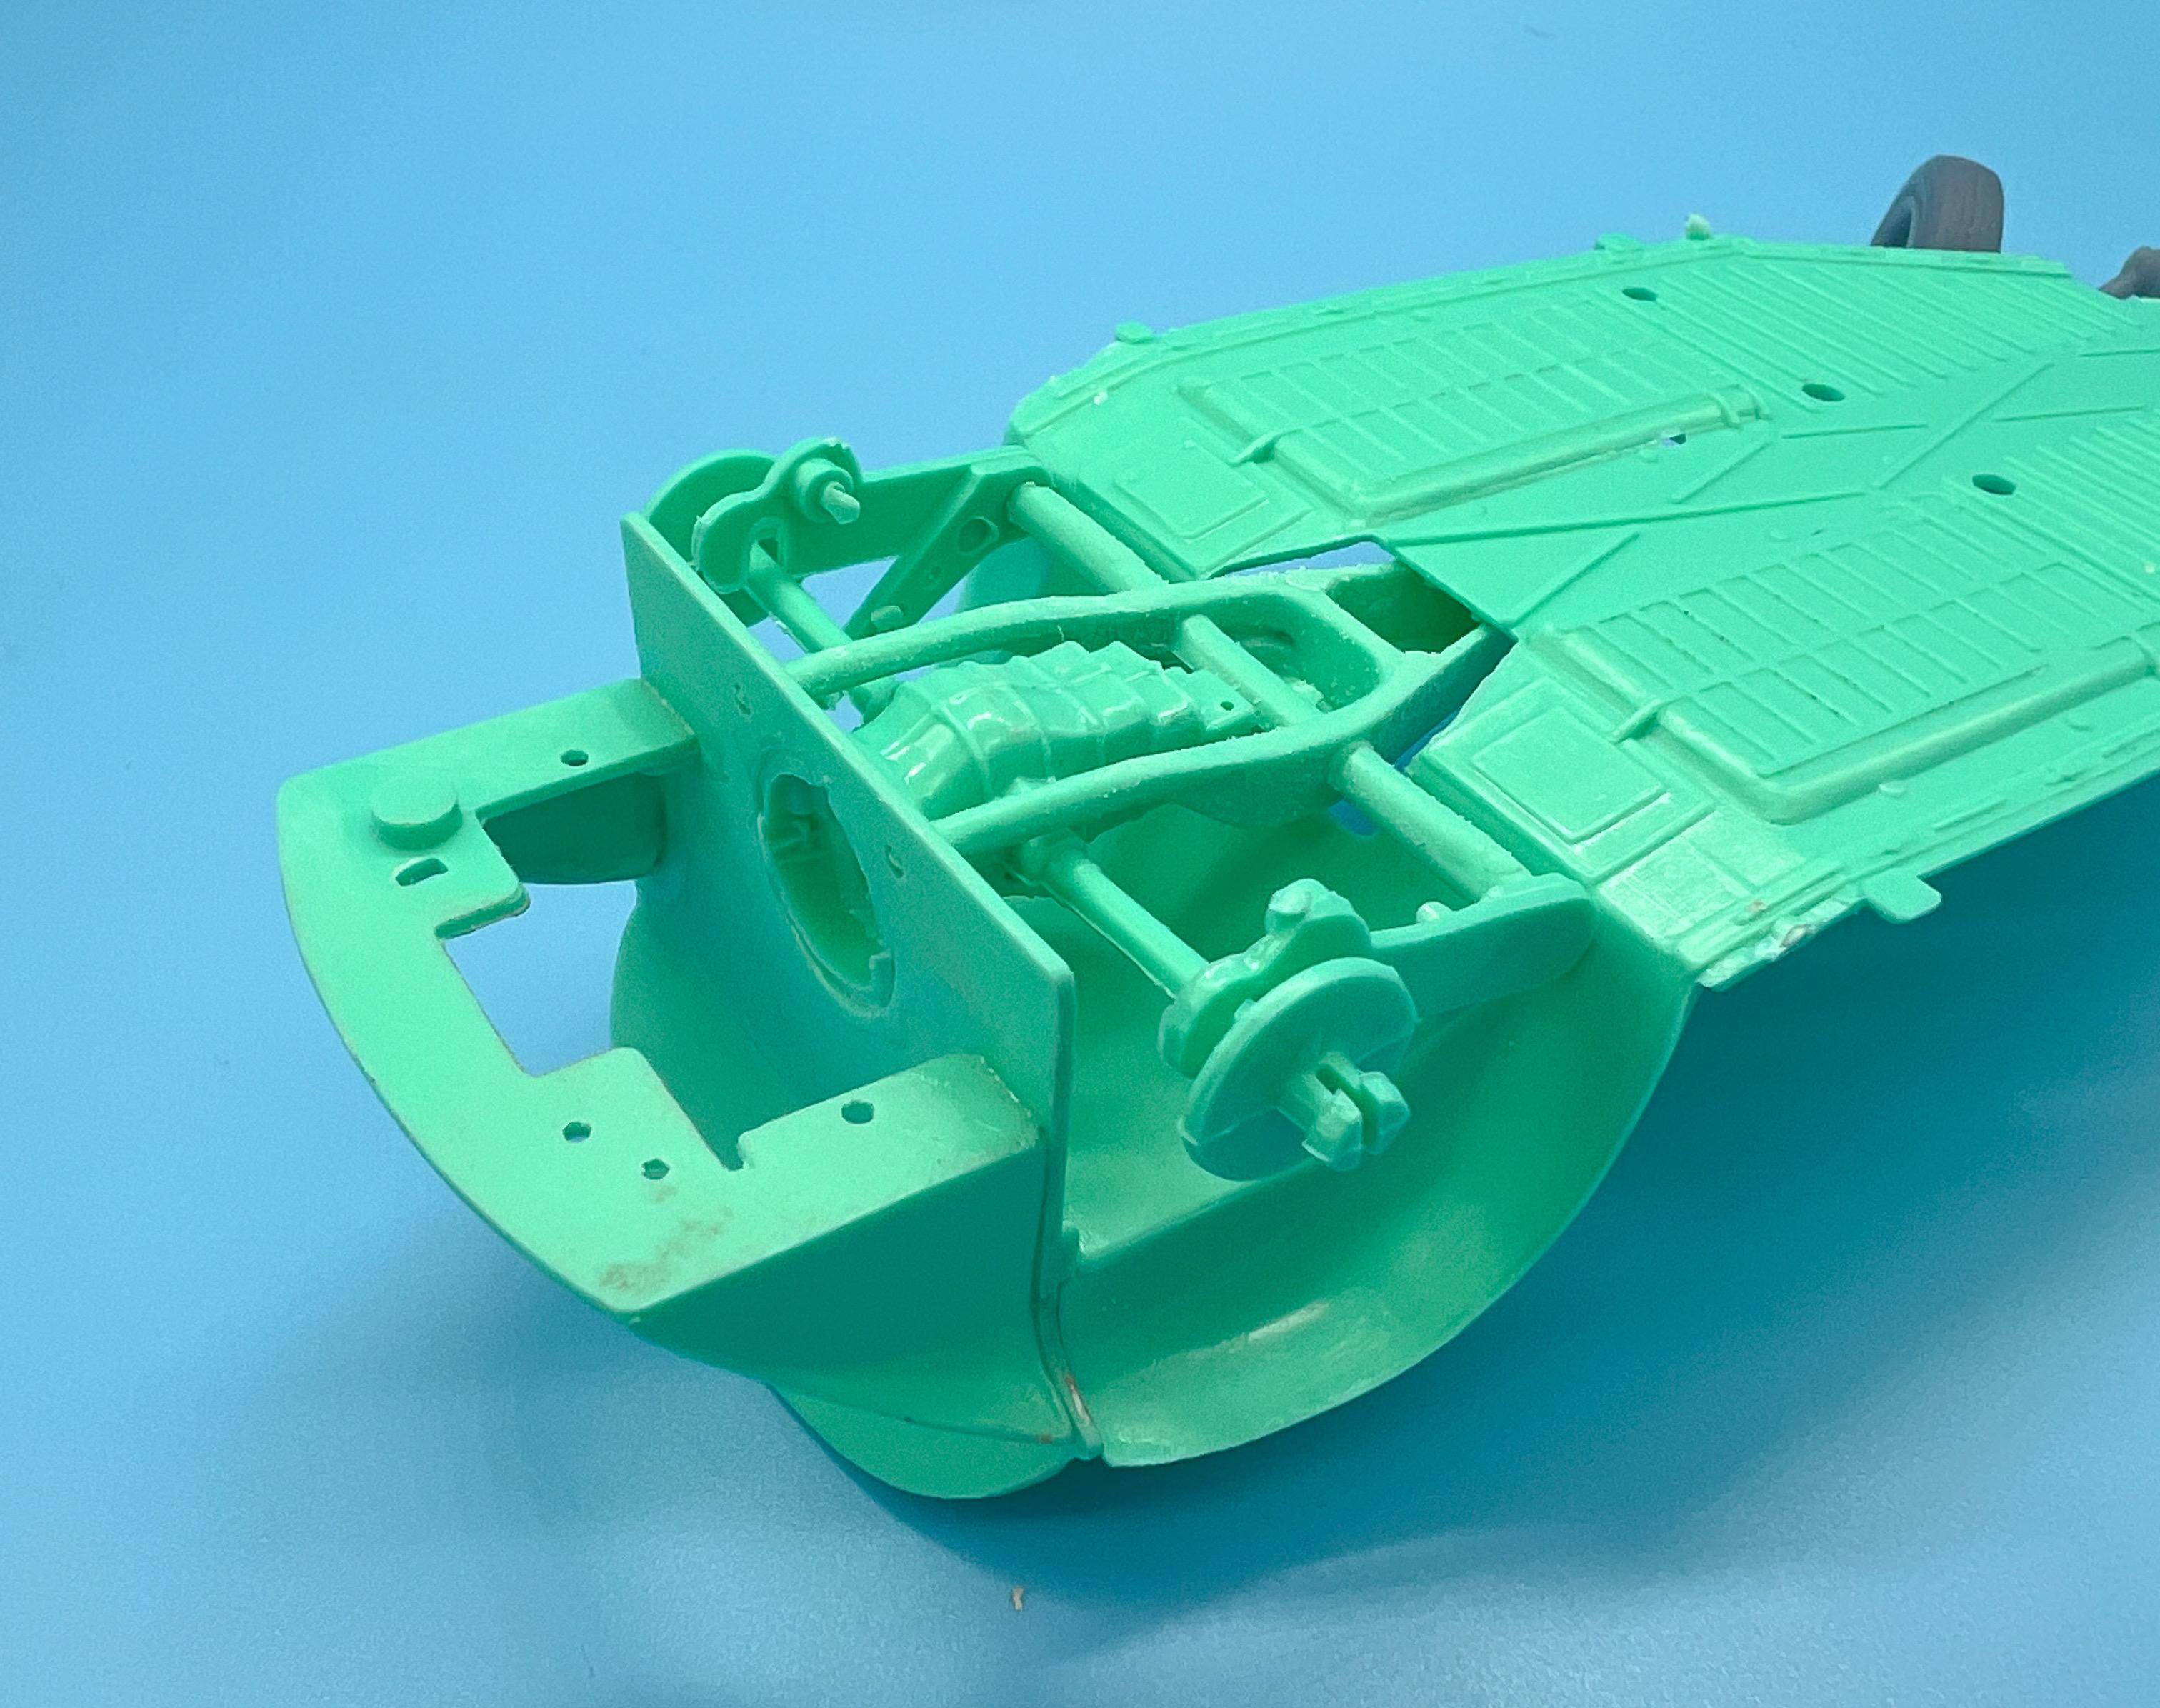
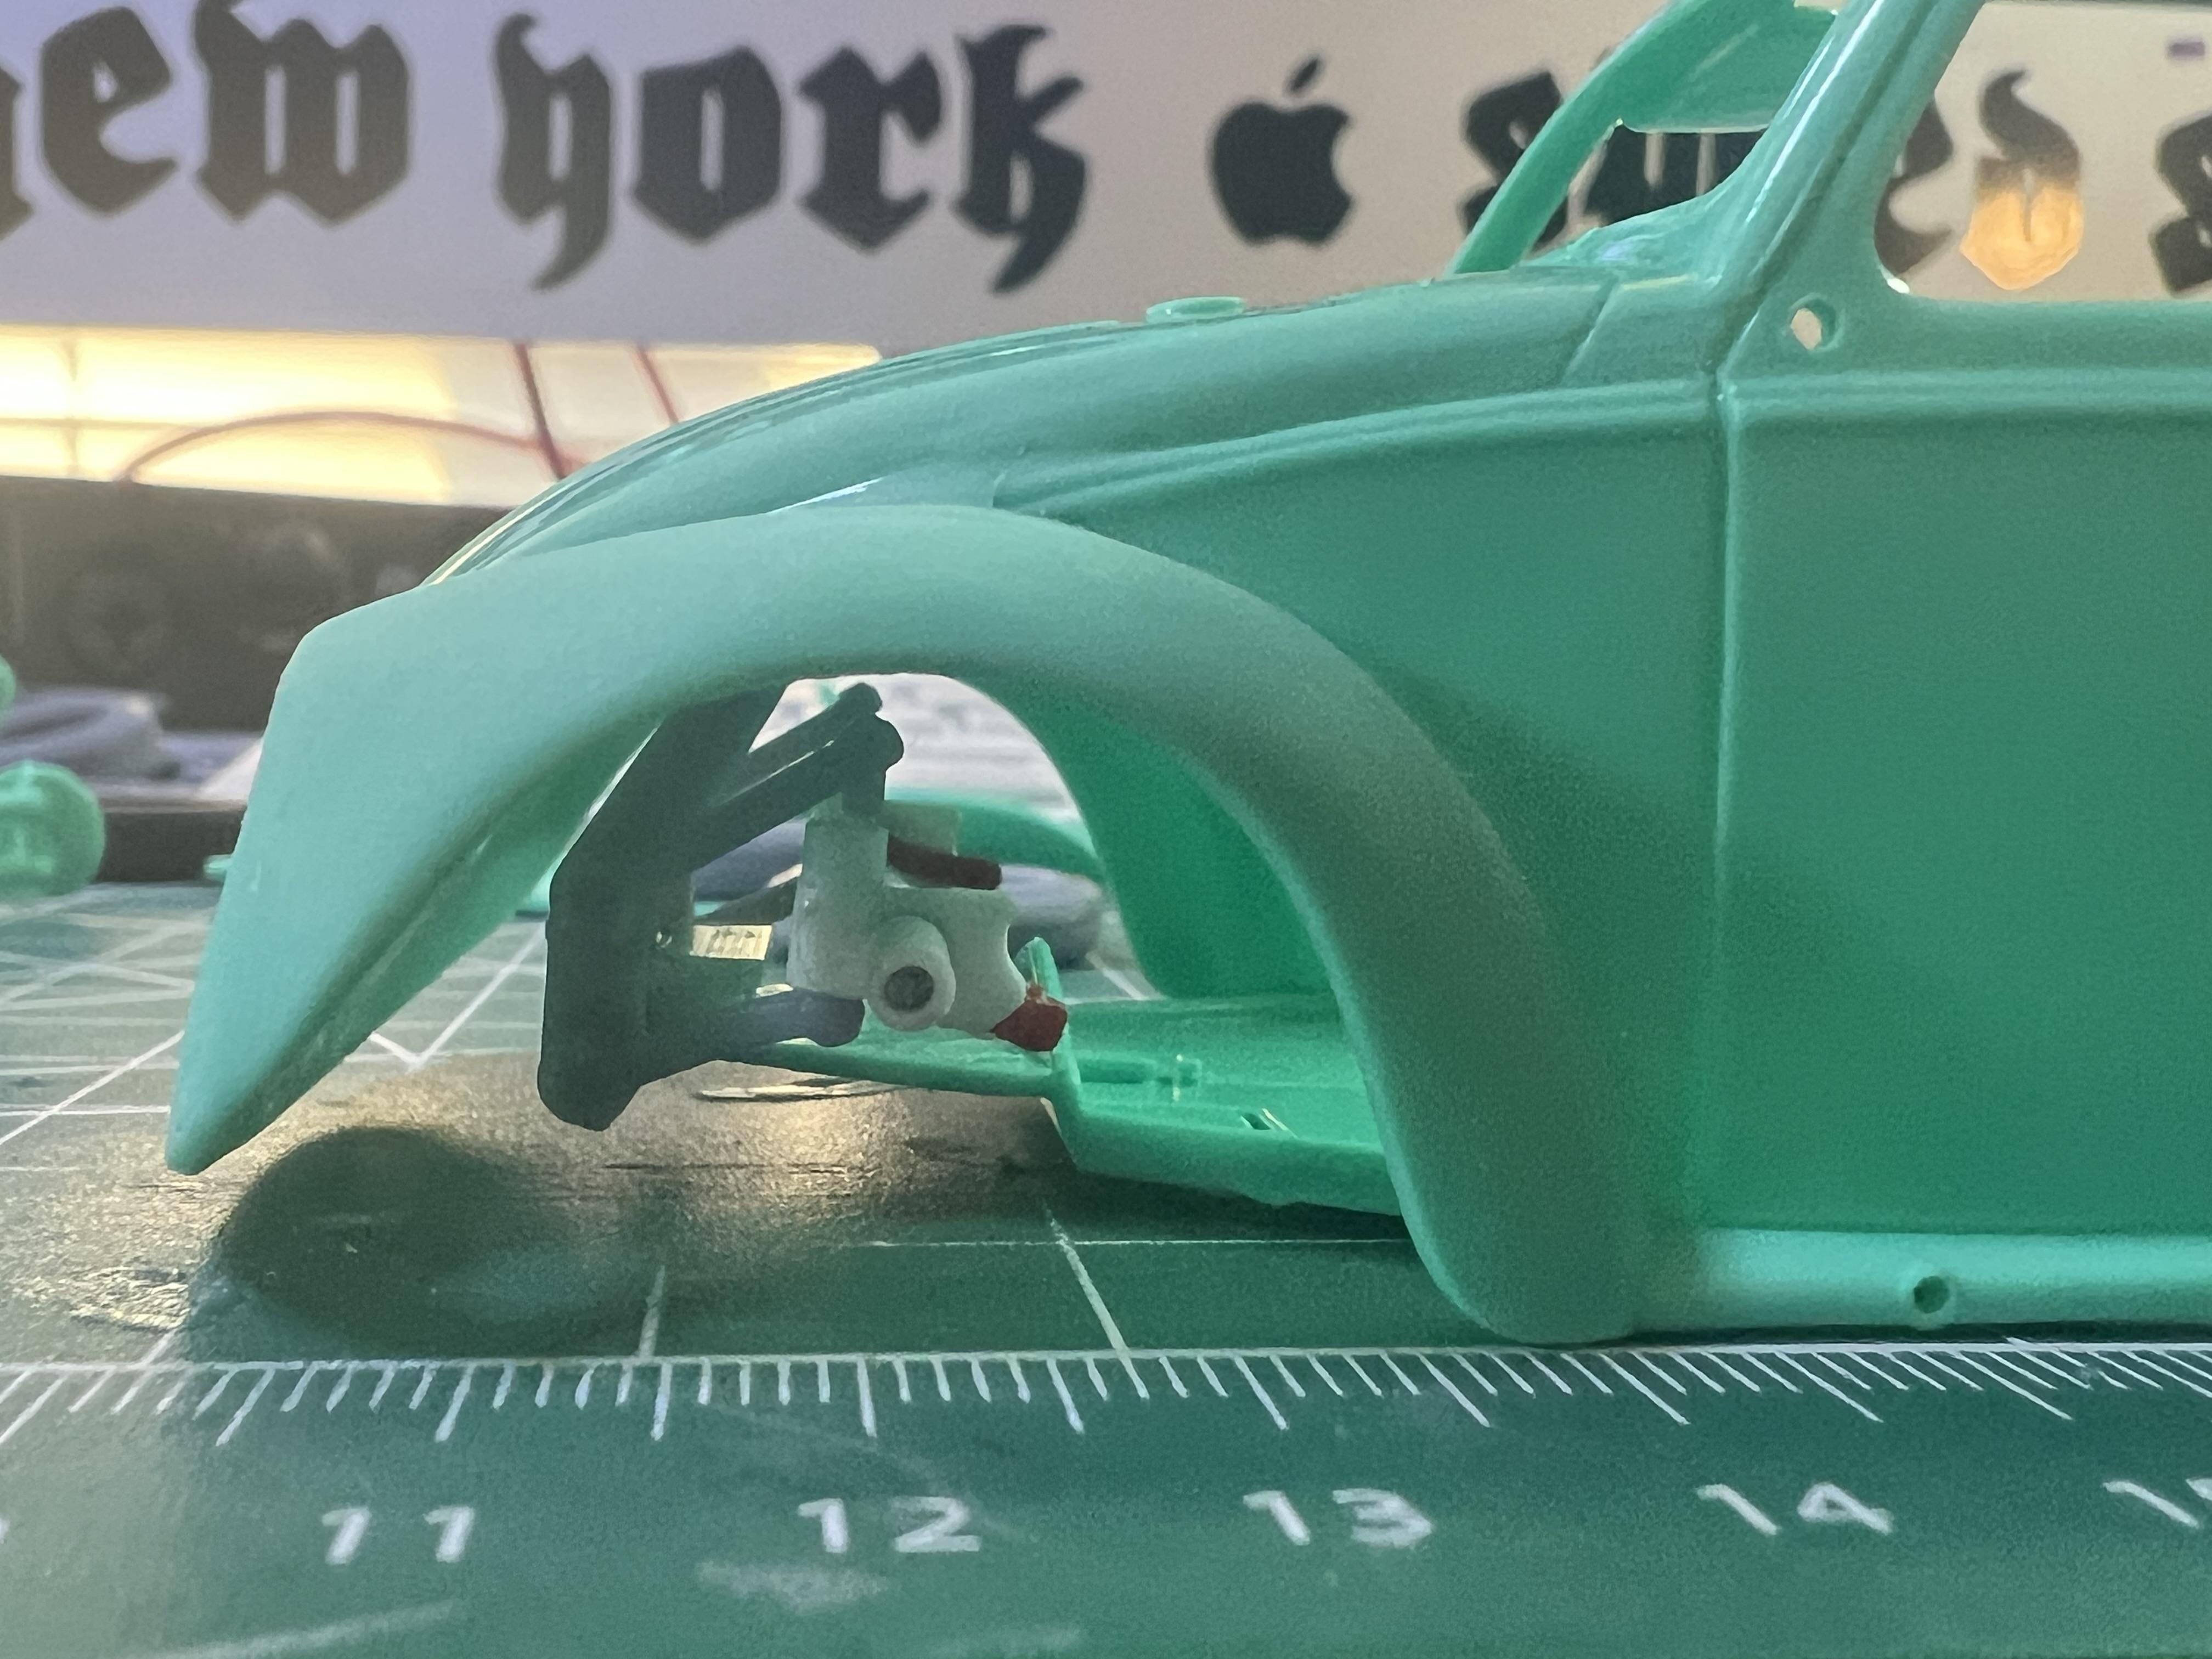
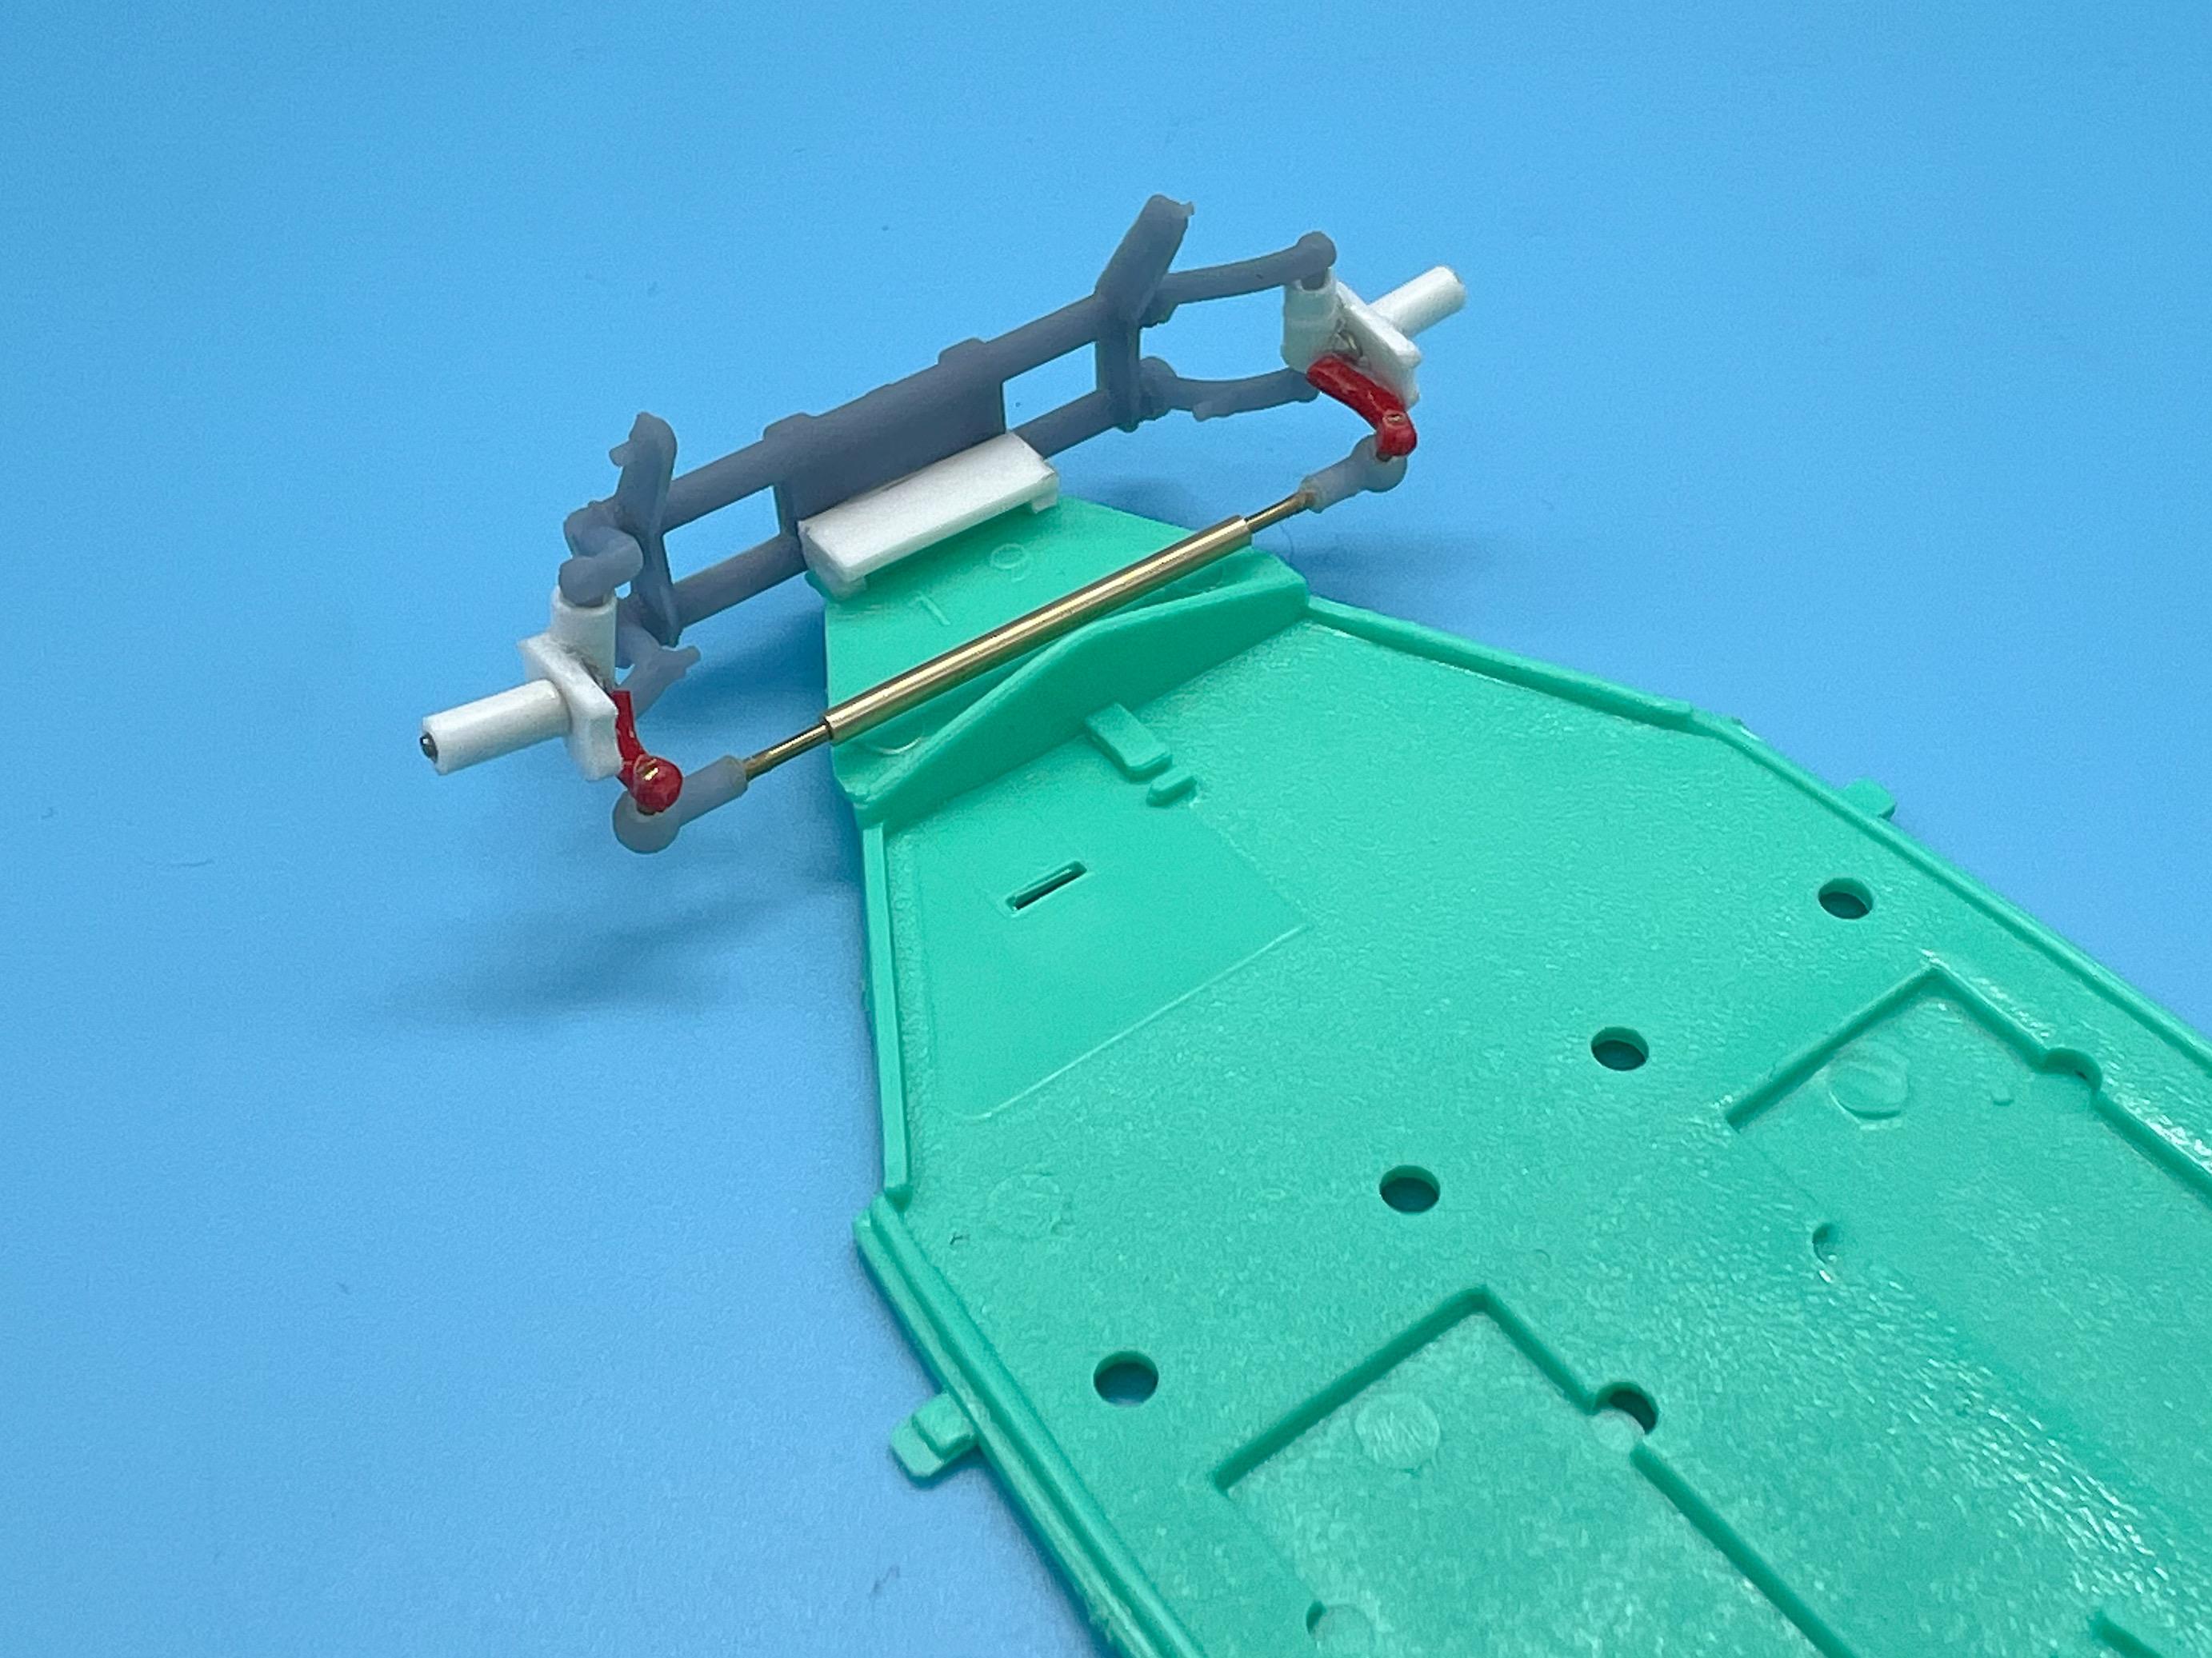
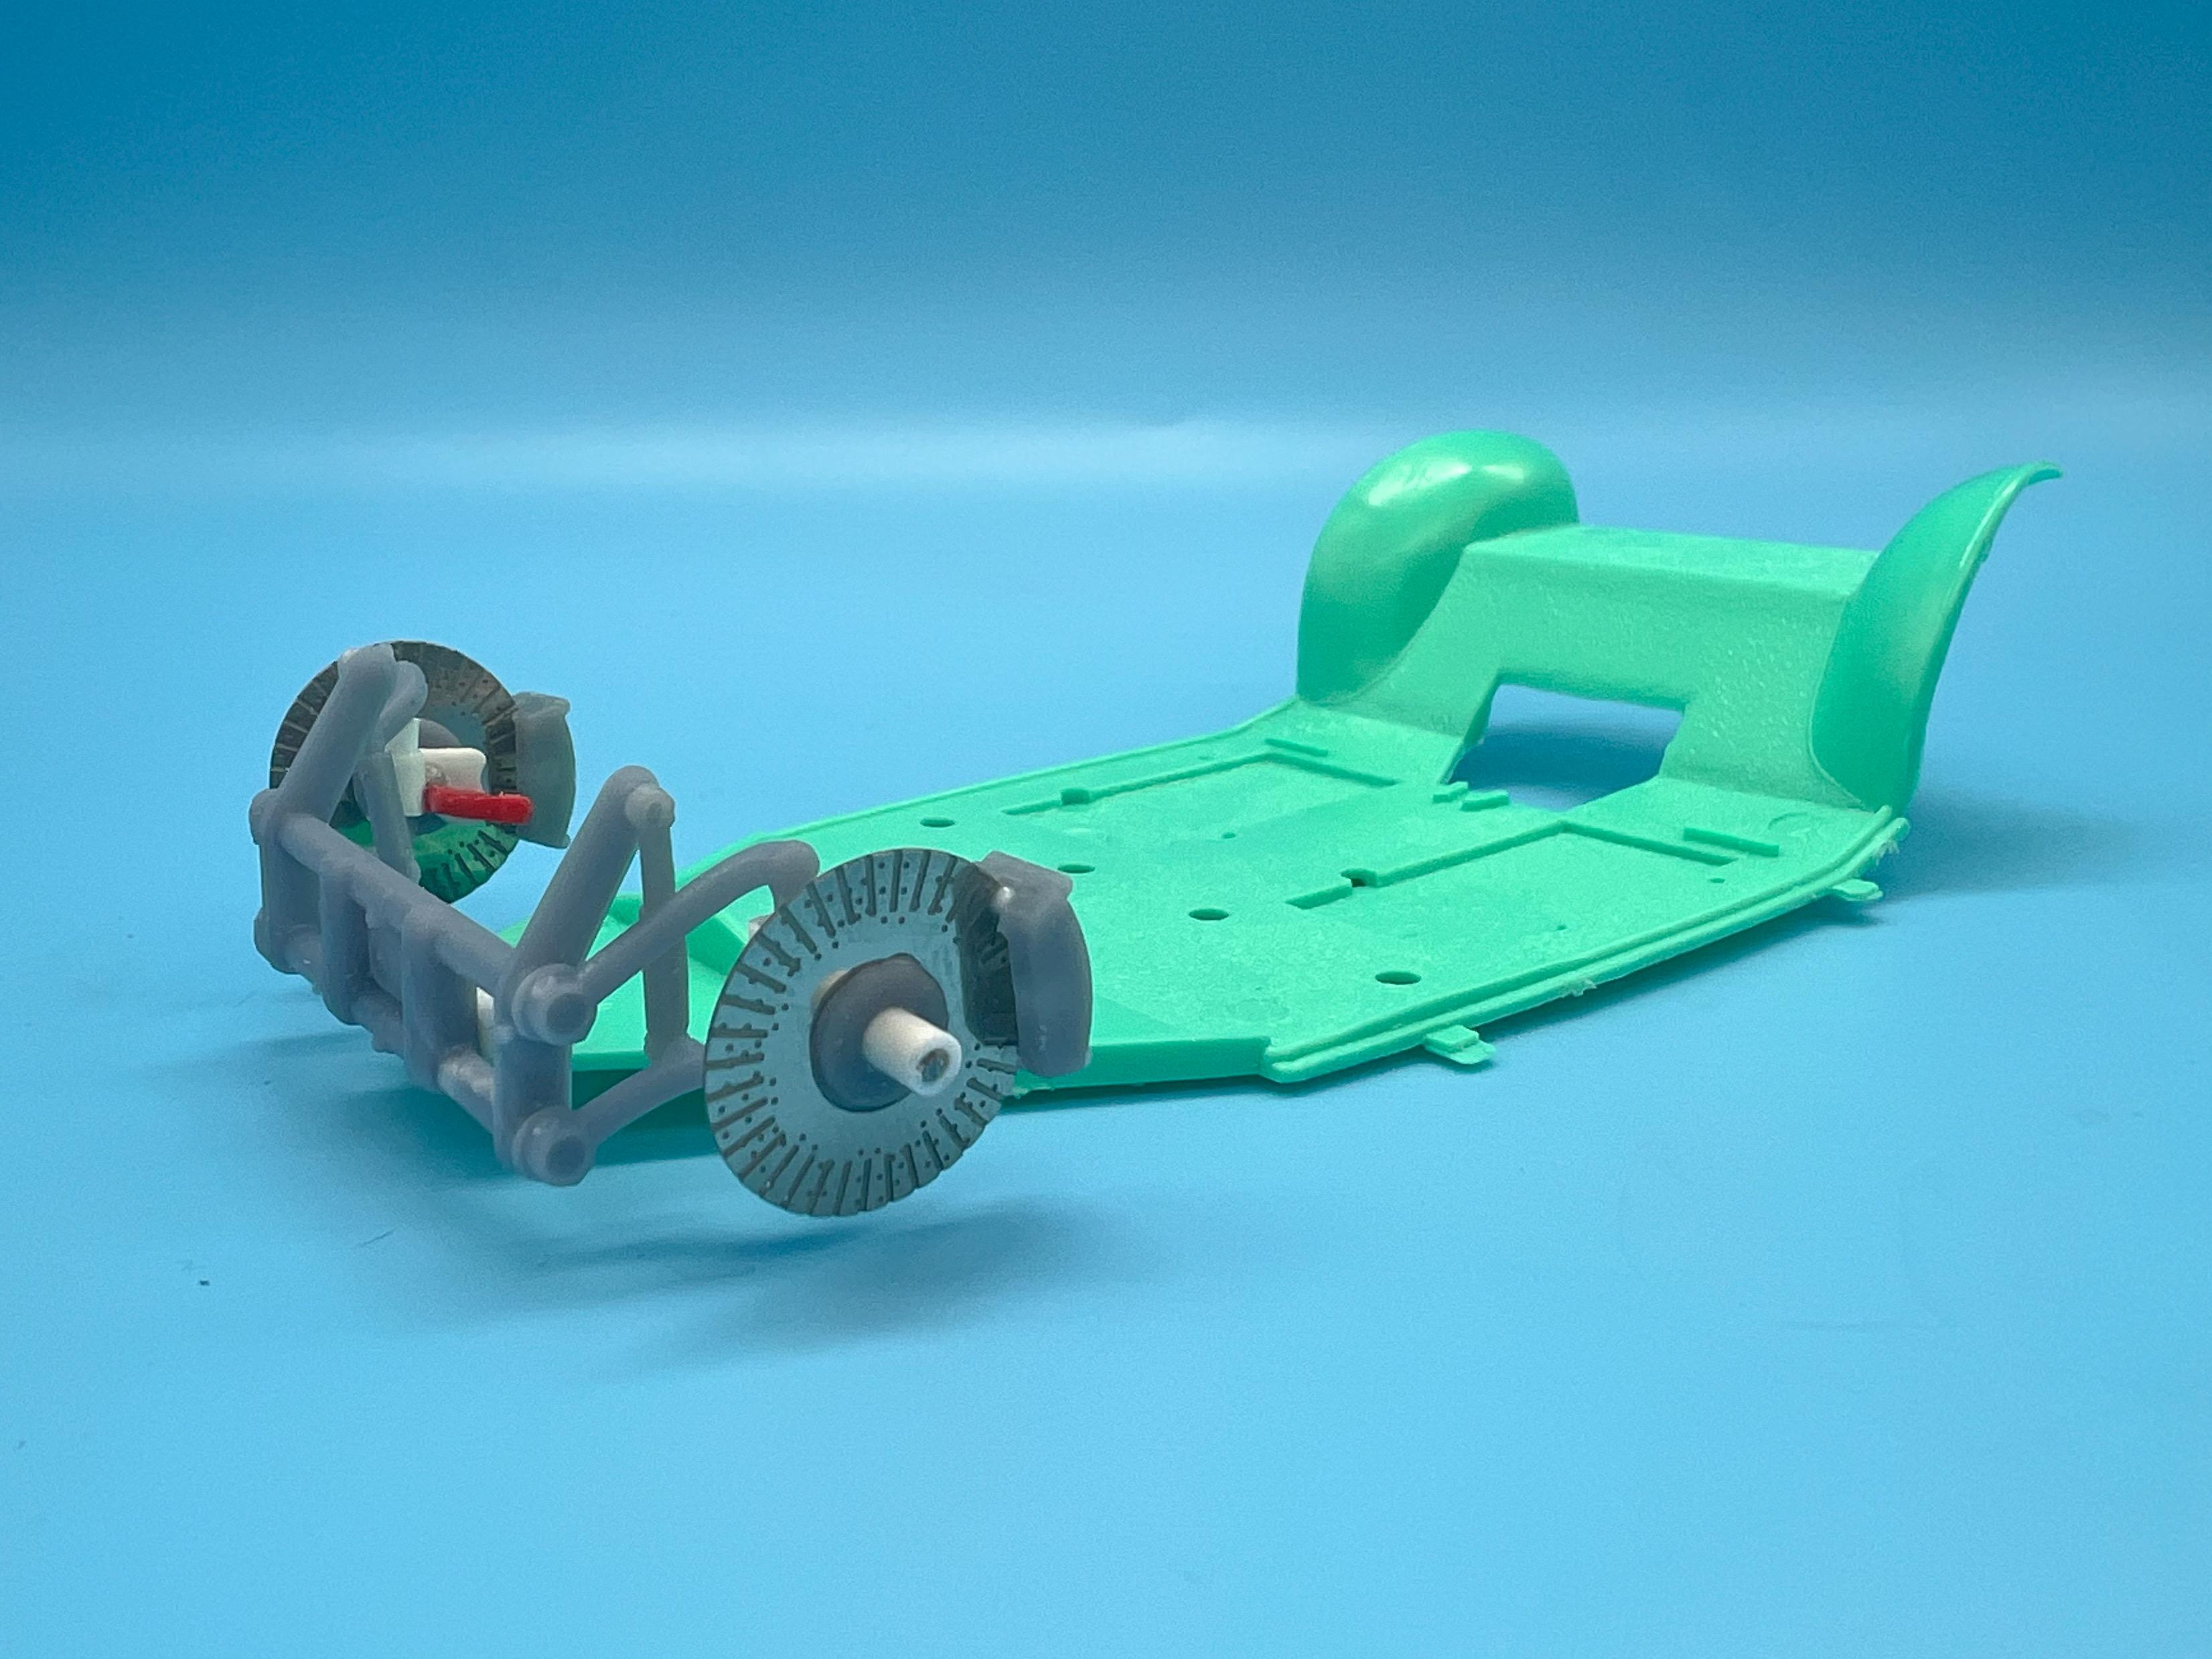
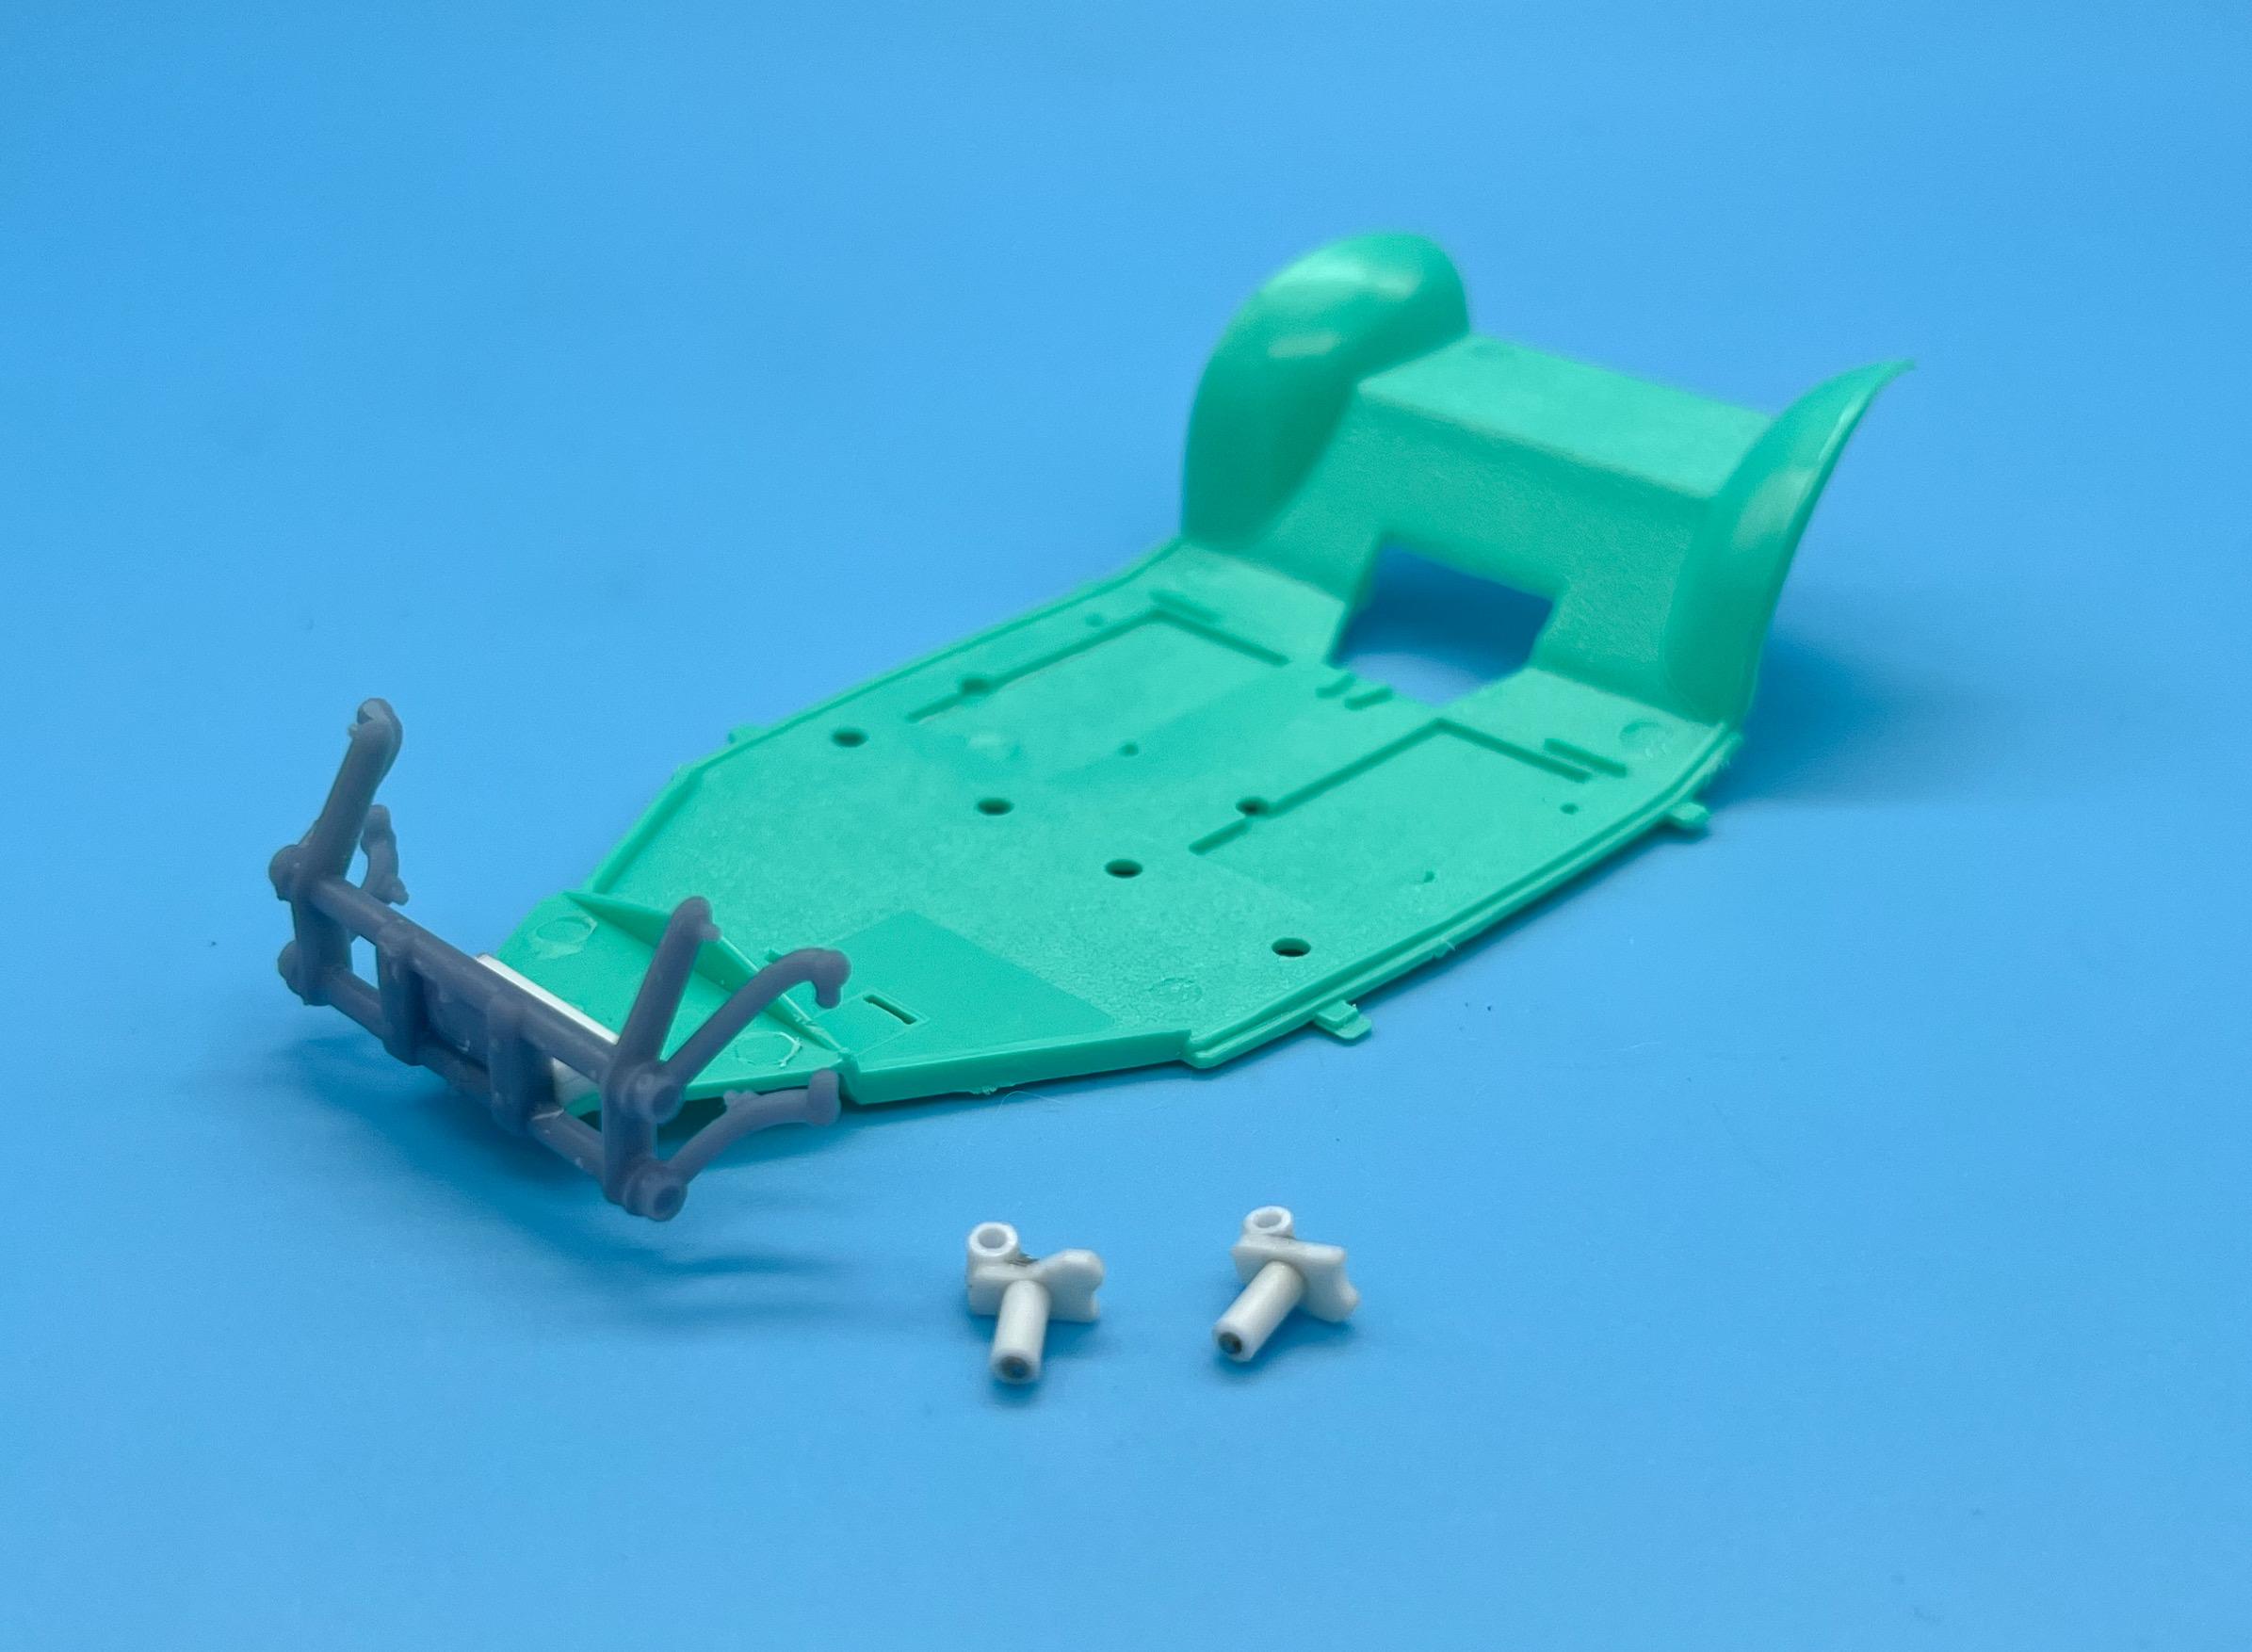
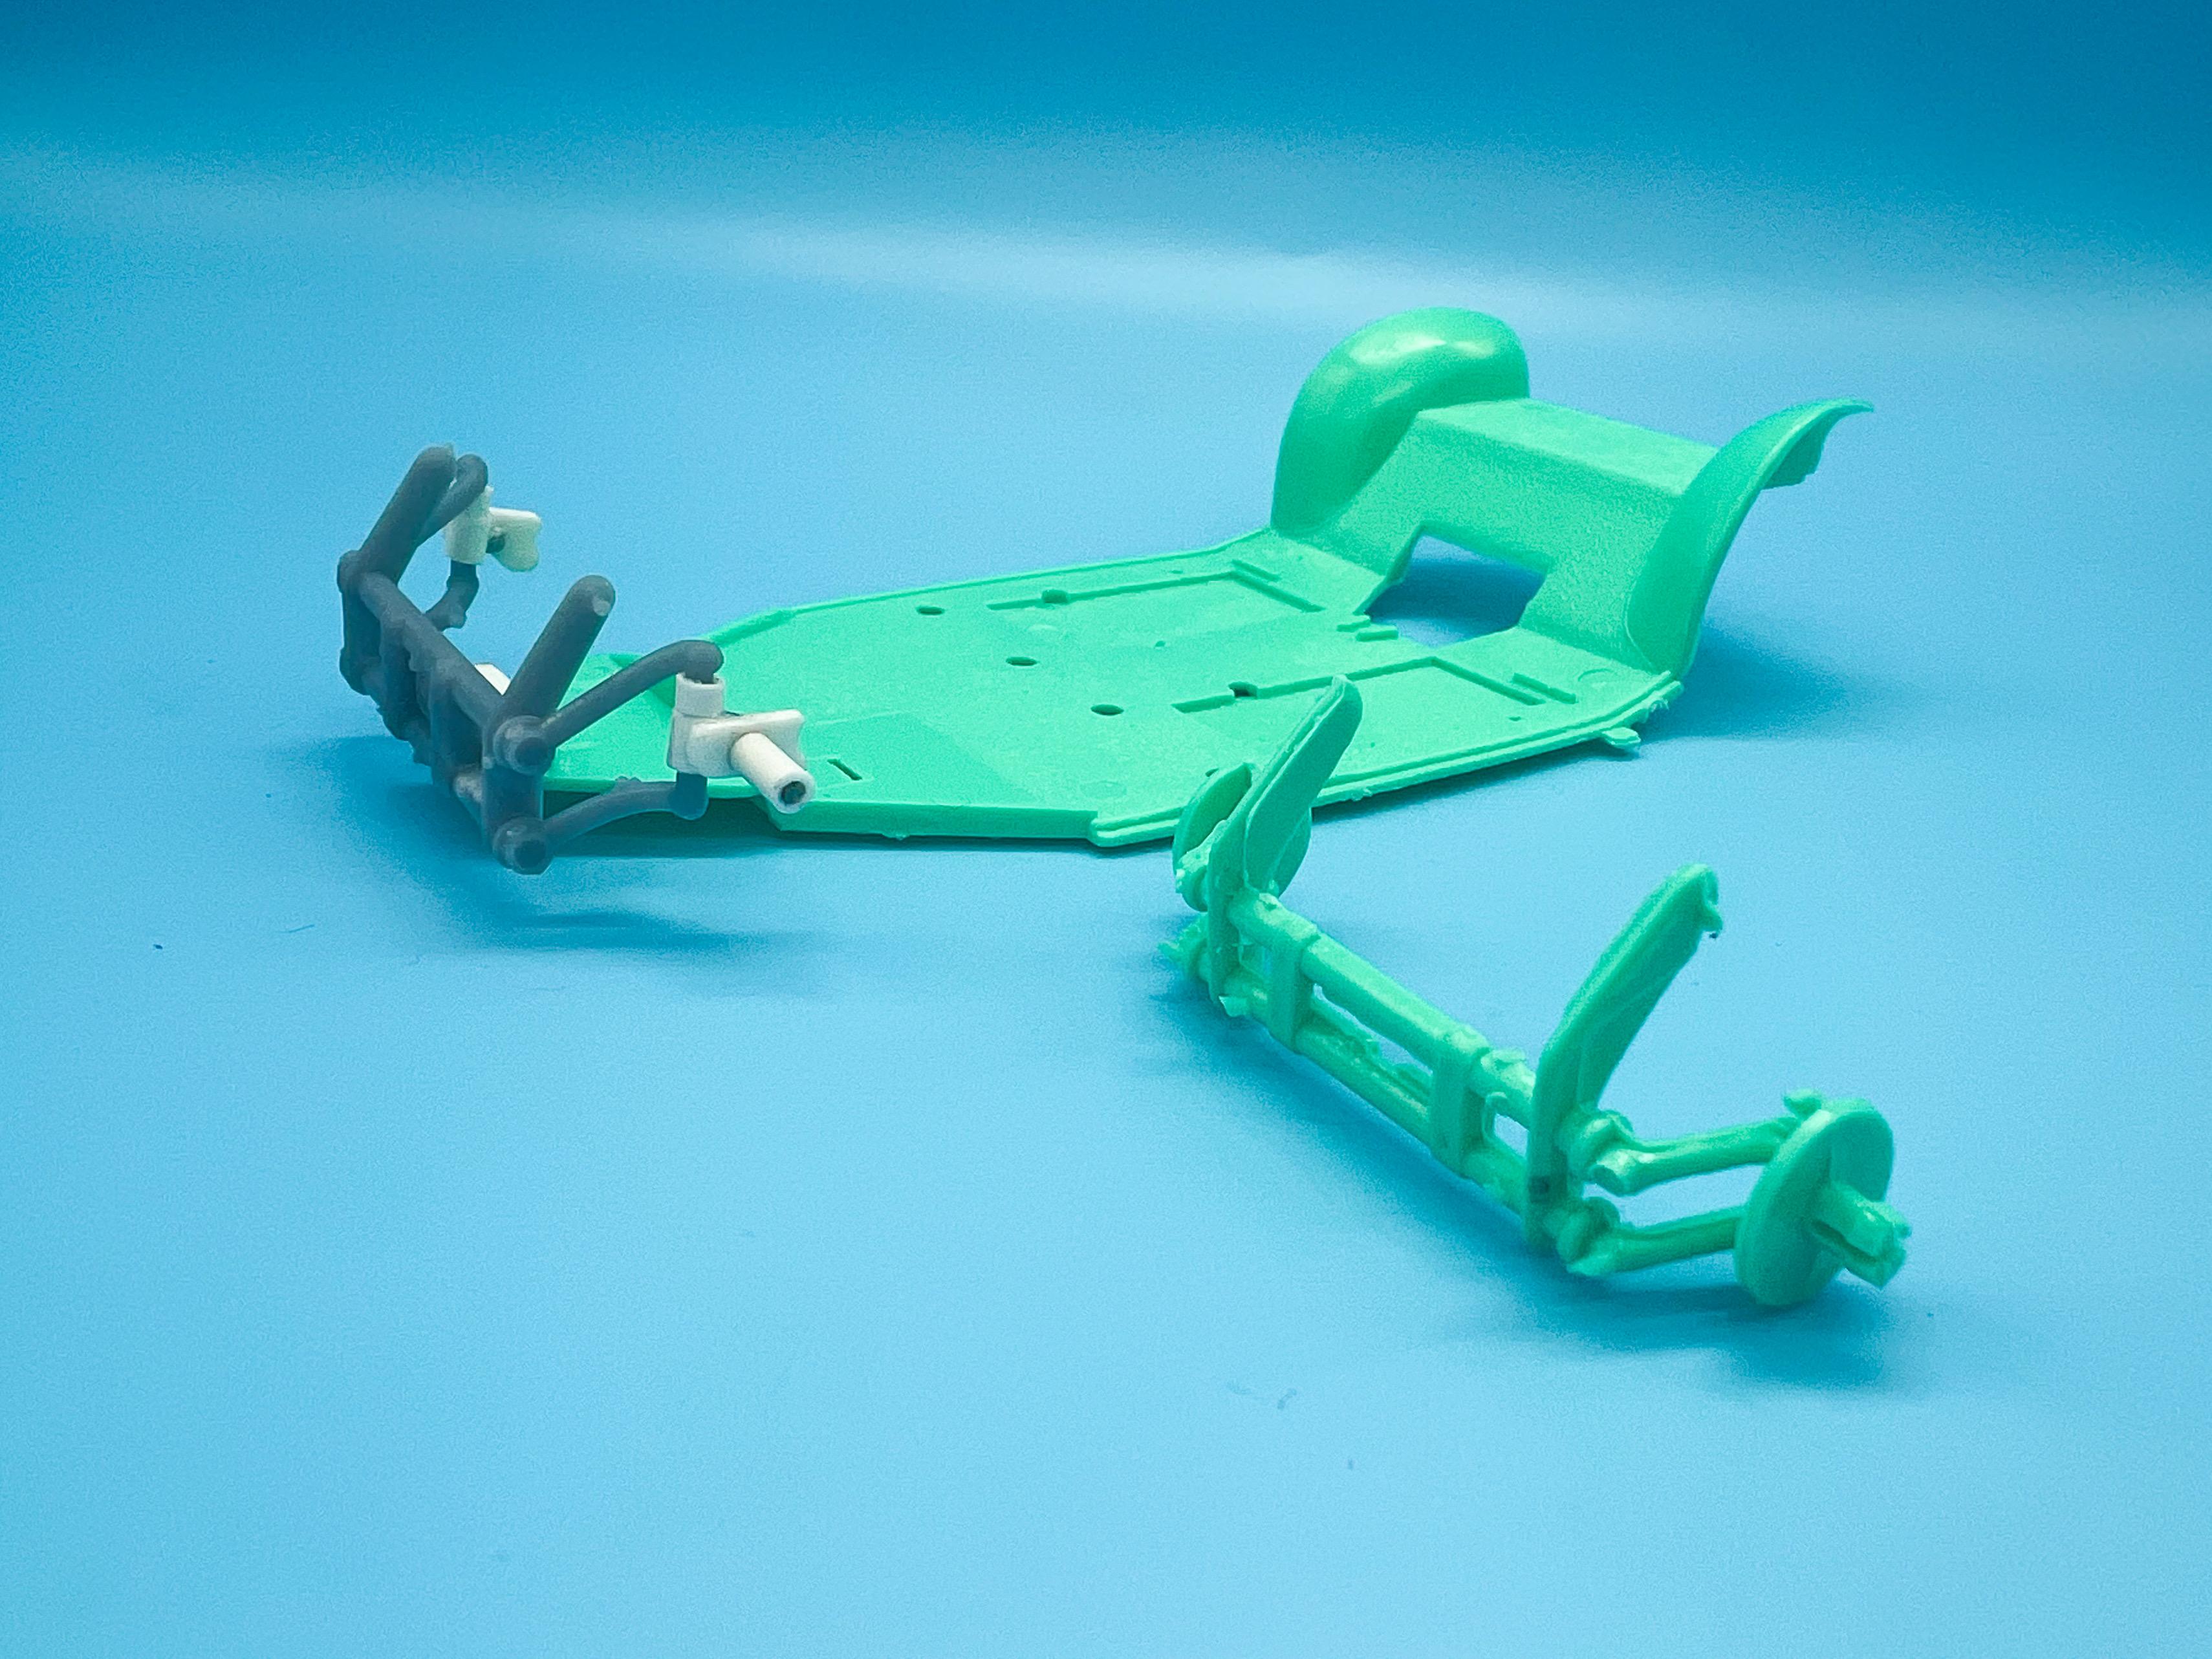
Thank you! And yep - agreed…I’ll have some healthy camber on the rear end…I just couldn’t make the wheels pose ‘cambered’ for the photo and got tired fighting it ? My idea for this one is to have this thing sitting in the dirt, but to build an air-ride system into it to demonstrate that it COULD be raised up and driven conventionally when not parked up in ‘show mode’. I did some decent research the last couple of days and learned some about how people achieve that goal in 1:1, and made a start on the front end. I WAS planning to modify the kit front axle and trailing arms, but they’re not the best starting point…decided on printing an already-lowered axle instead: The 3D printed part still needs to be cleaned-up and cured in this pic, but it’s clear how much this will help with getting the front end in the weeds… This part is designed to work with the Tamiya kit, which has separate steering spindles, so I had to make my own for this project…not a super exciting scratchbuilding project, but I made an approximation of the 1:1 parts based off some reference photos: I had to add a styrene ‘receiver’ to the frame (floor? Pan? Floorpan?) to take the new axle, but otherwise it looks like it’ll work perfect first try… A trick I saw mentioned on a VW site I was researching on mentioned a way of reengineering the spindles so you can flip them side to side and gain an extra little drop in ride height…so I did the same, but seeing as the parts I made are only a very loose approximation of the look of real ones it’s not really noticeable…I could’ve built them a little more to scale and accurate to the 1:1 but I don’t think they’ll be very visible when installed and I didn’t want them to be too fragile… Test fit: Just a little progress, but I’ll finish this front end up tomorrow and then figure out front brakes…more soon, soon as I’ve done more!
-
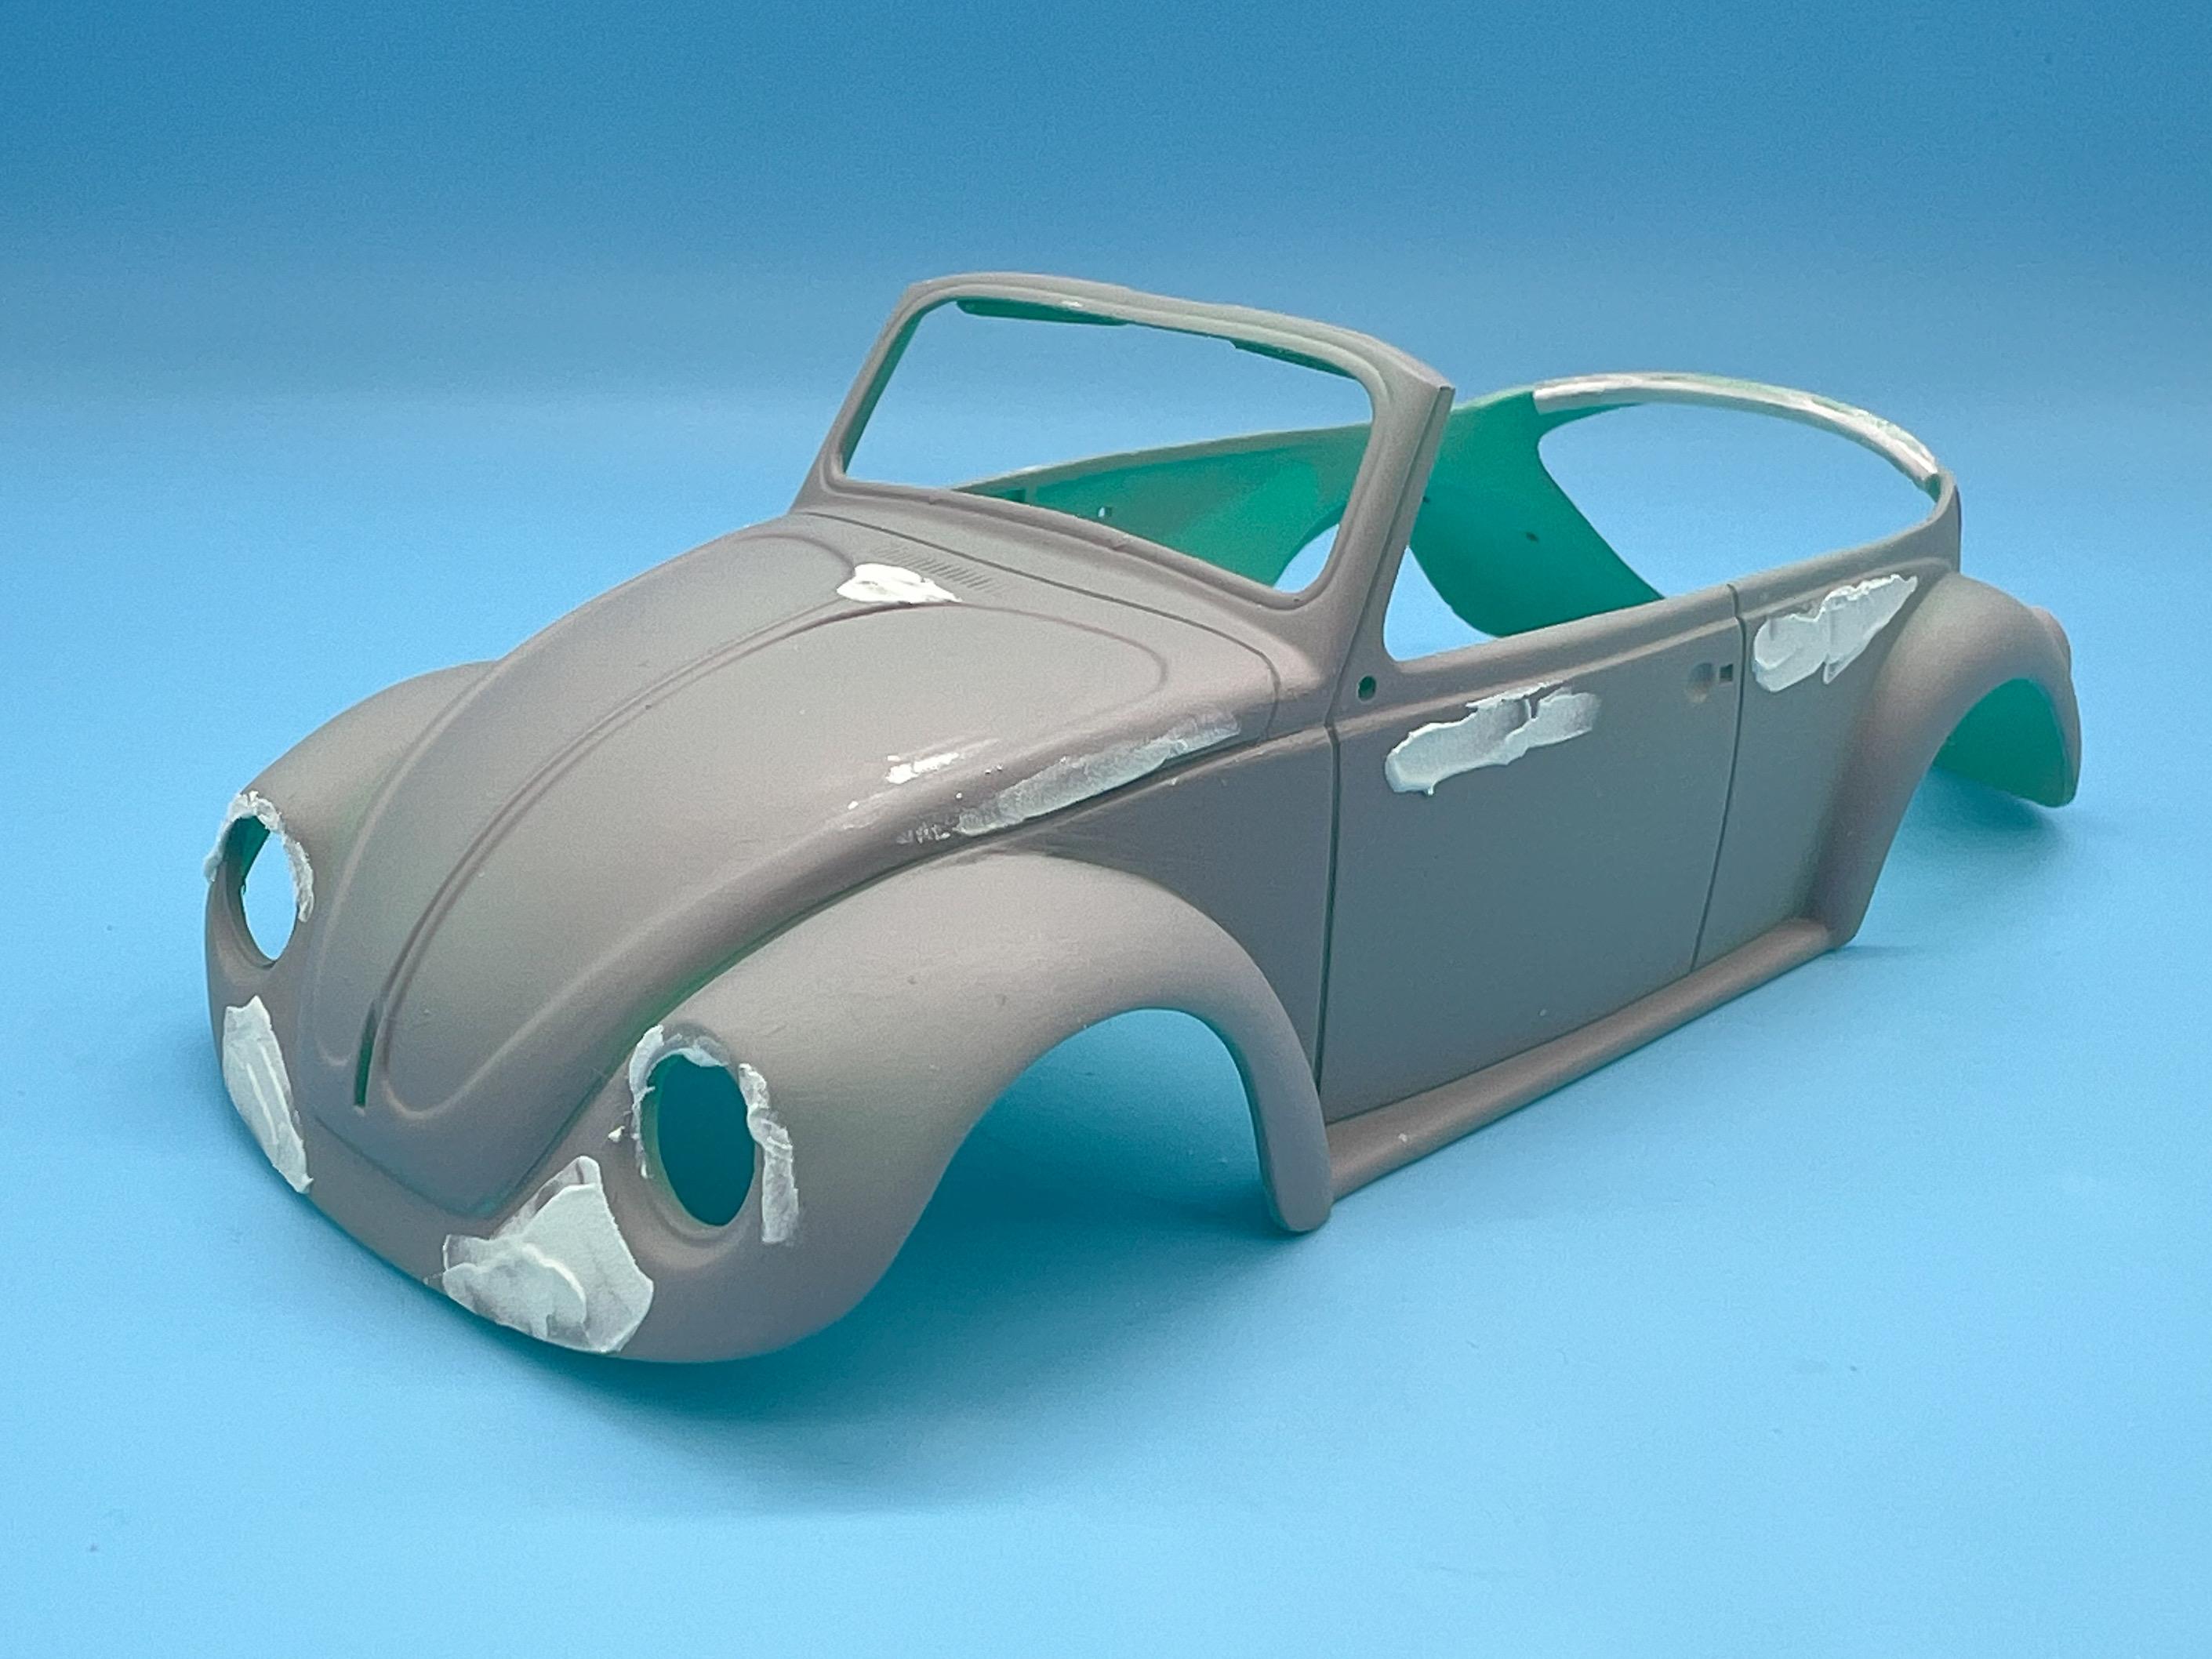
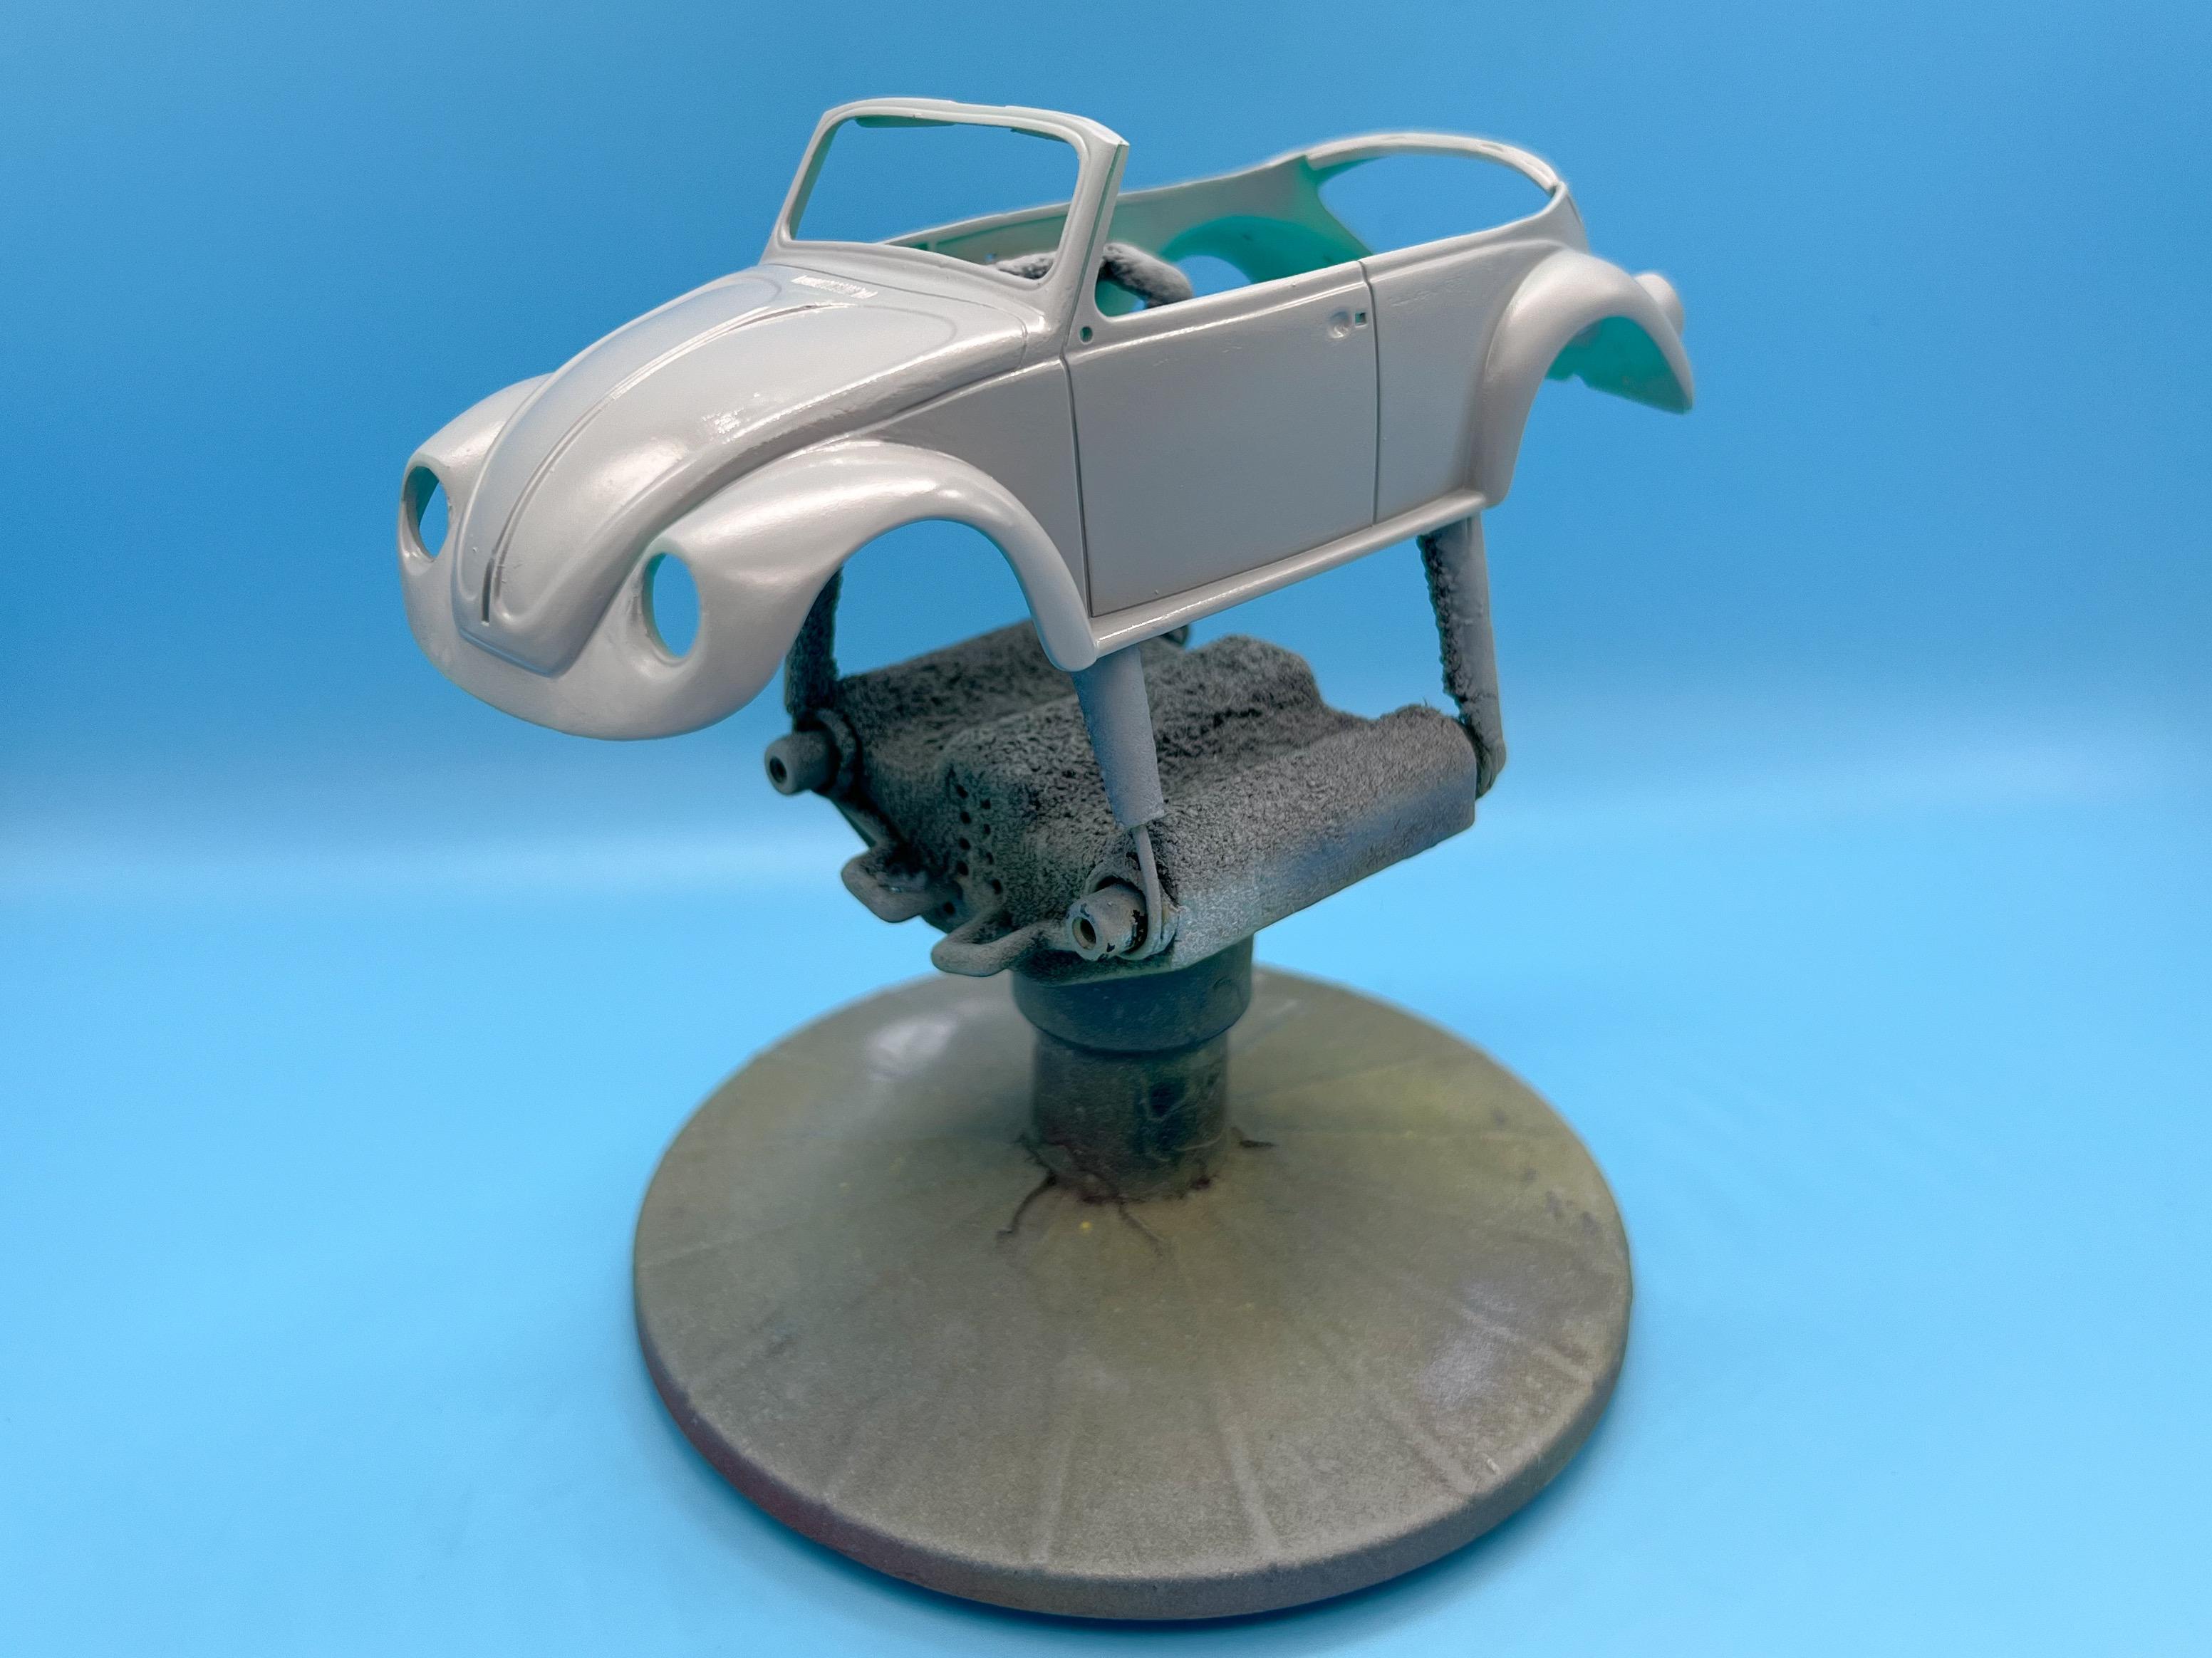
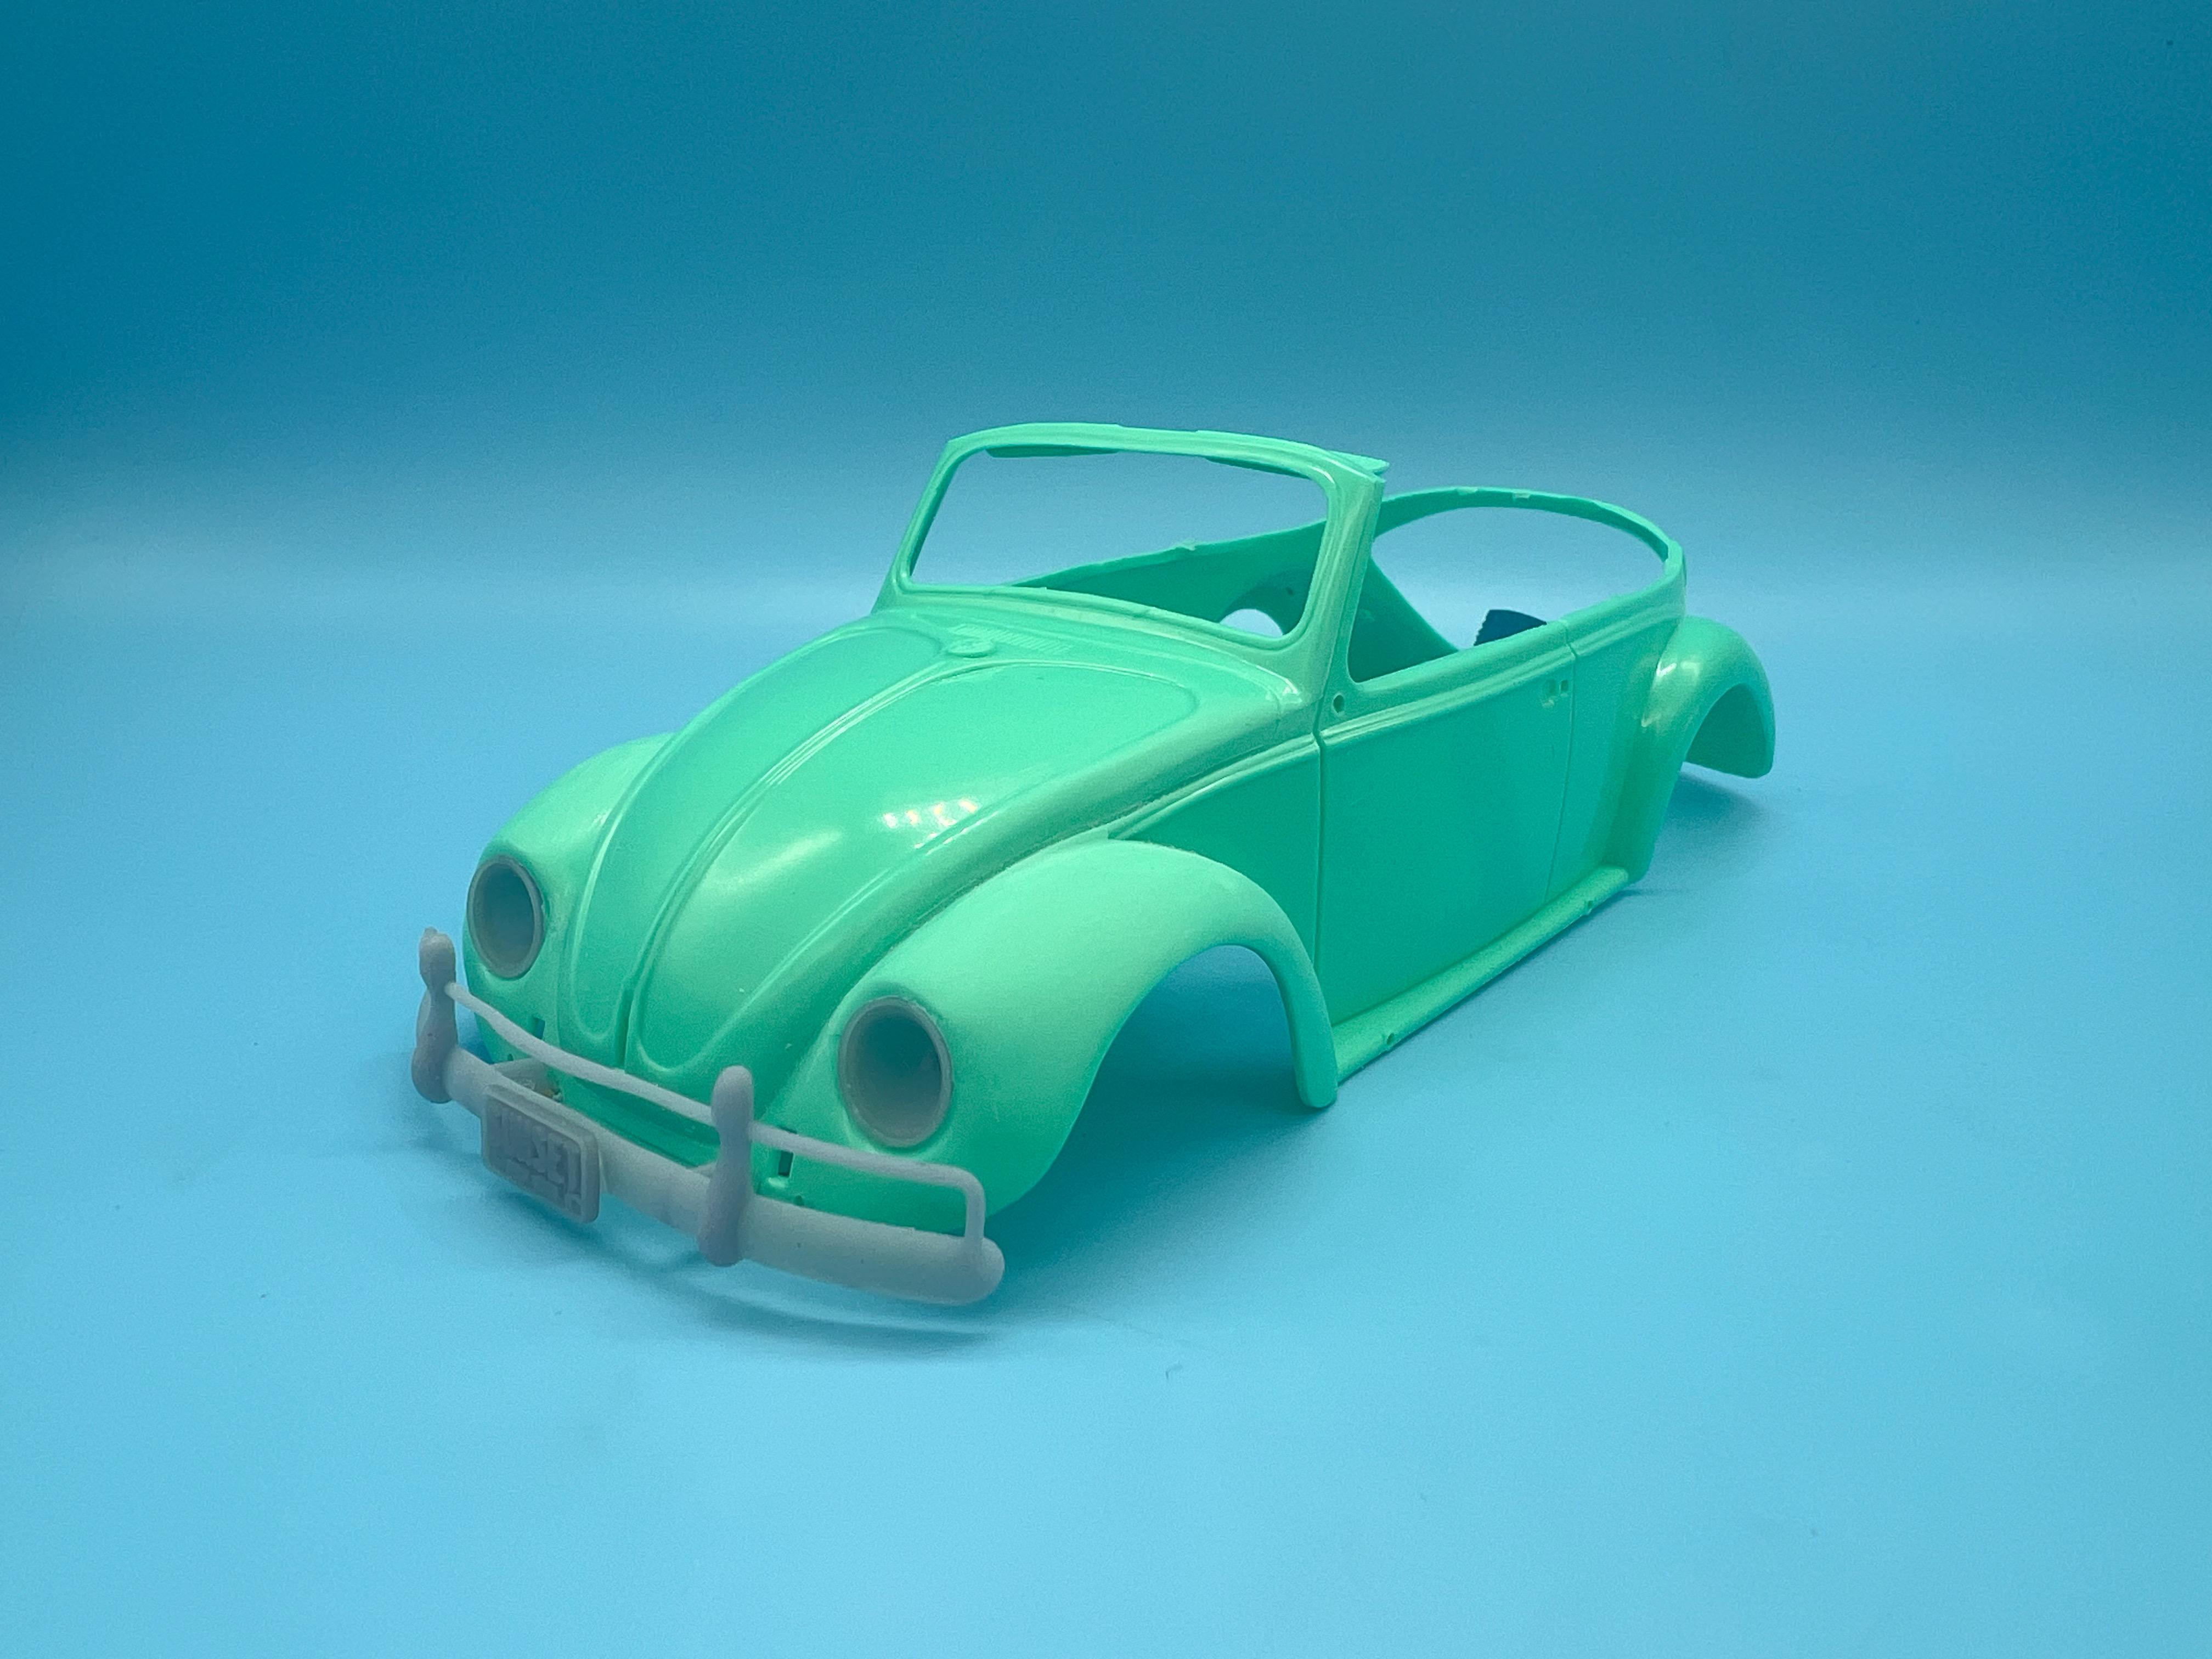
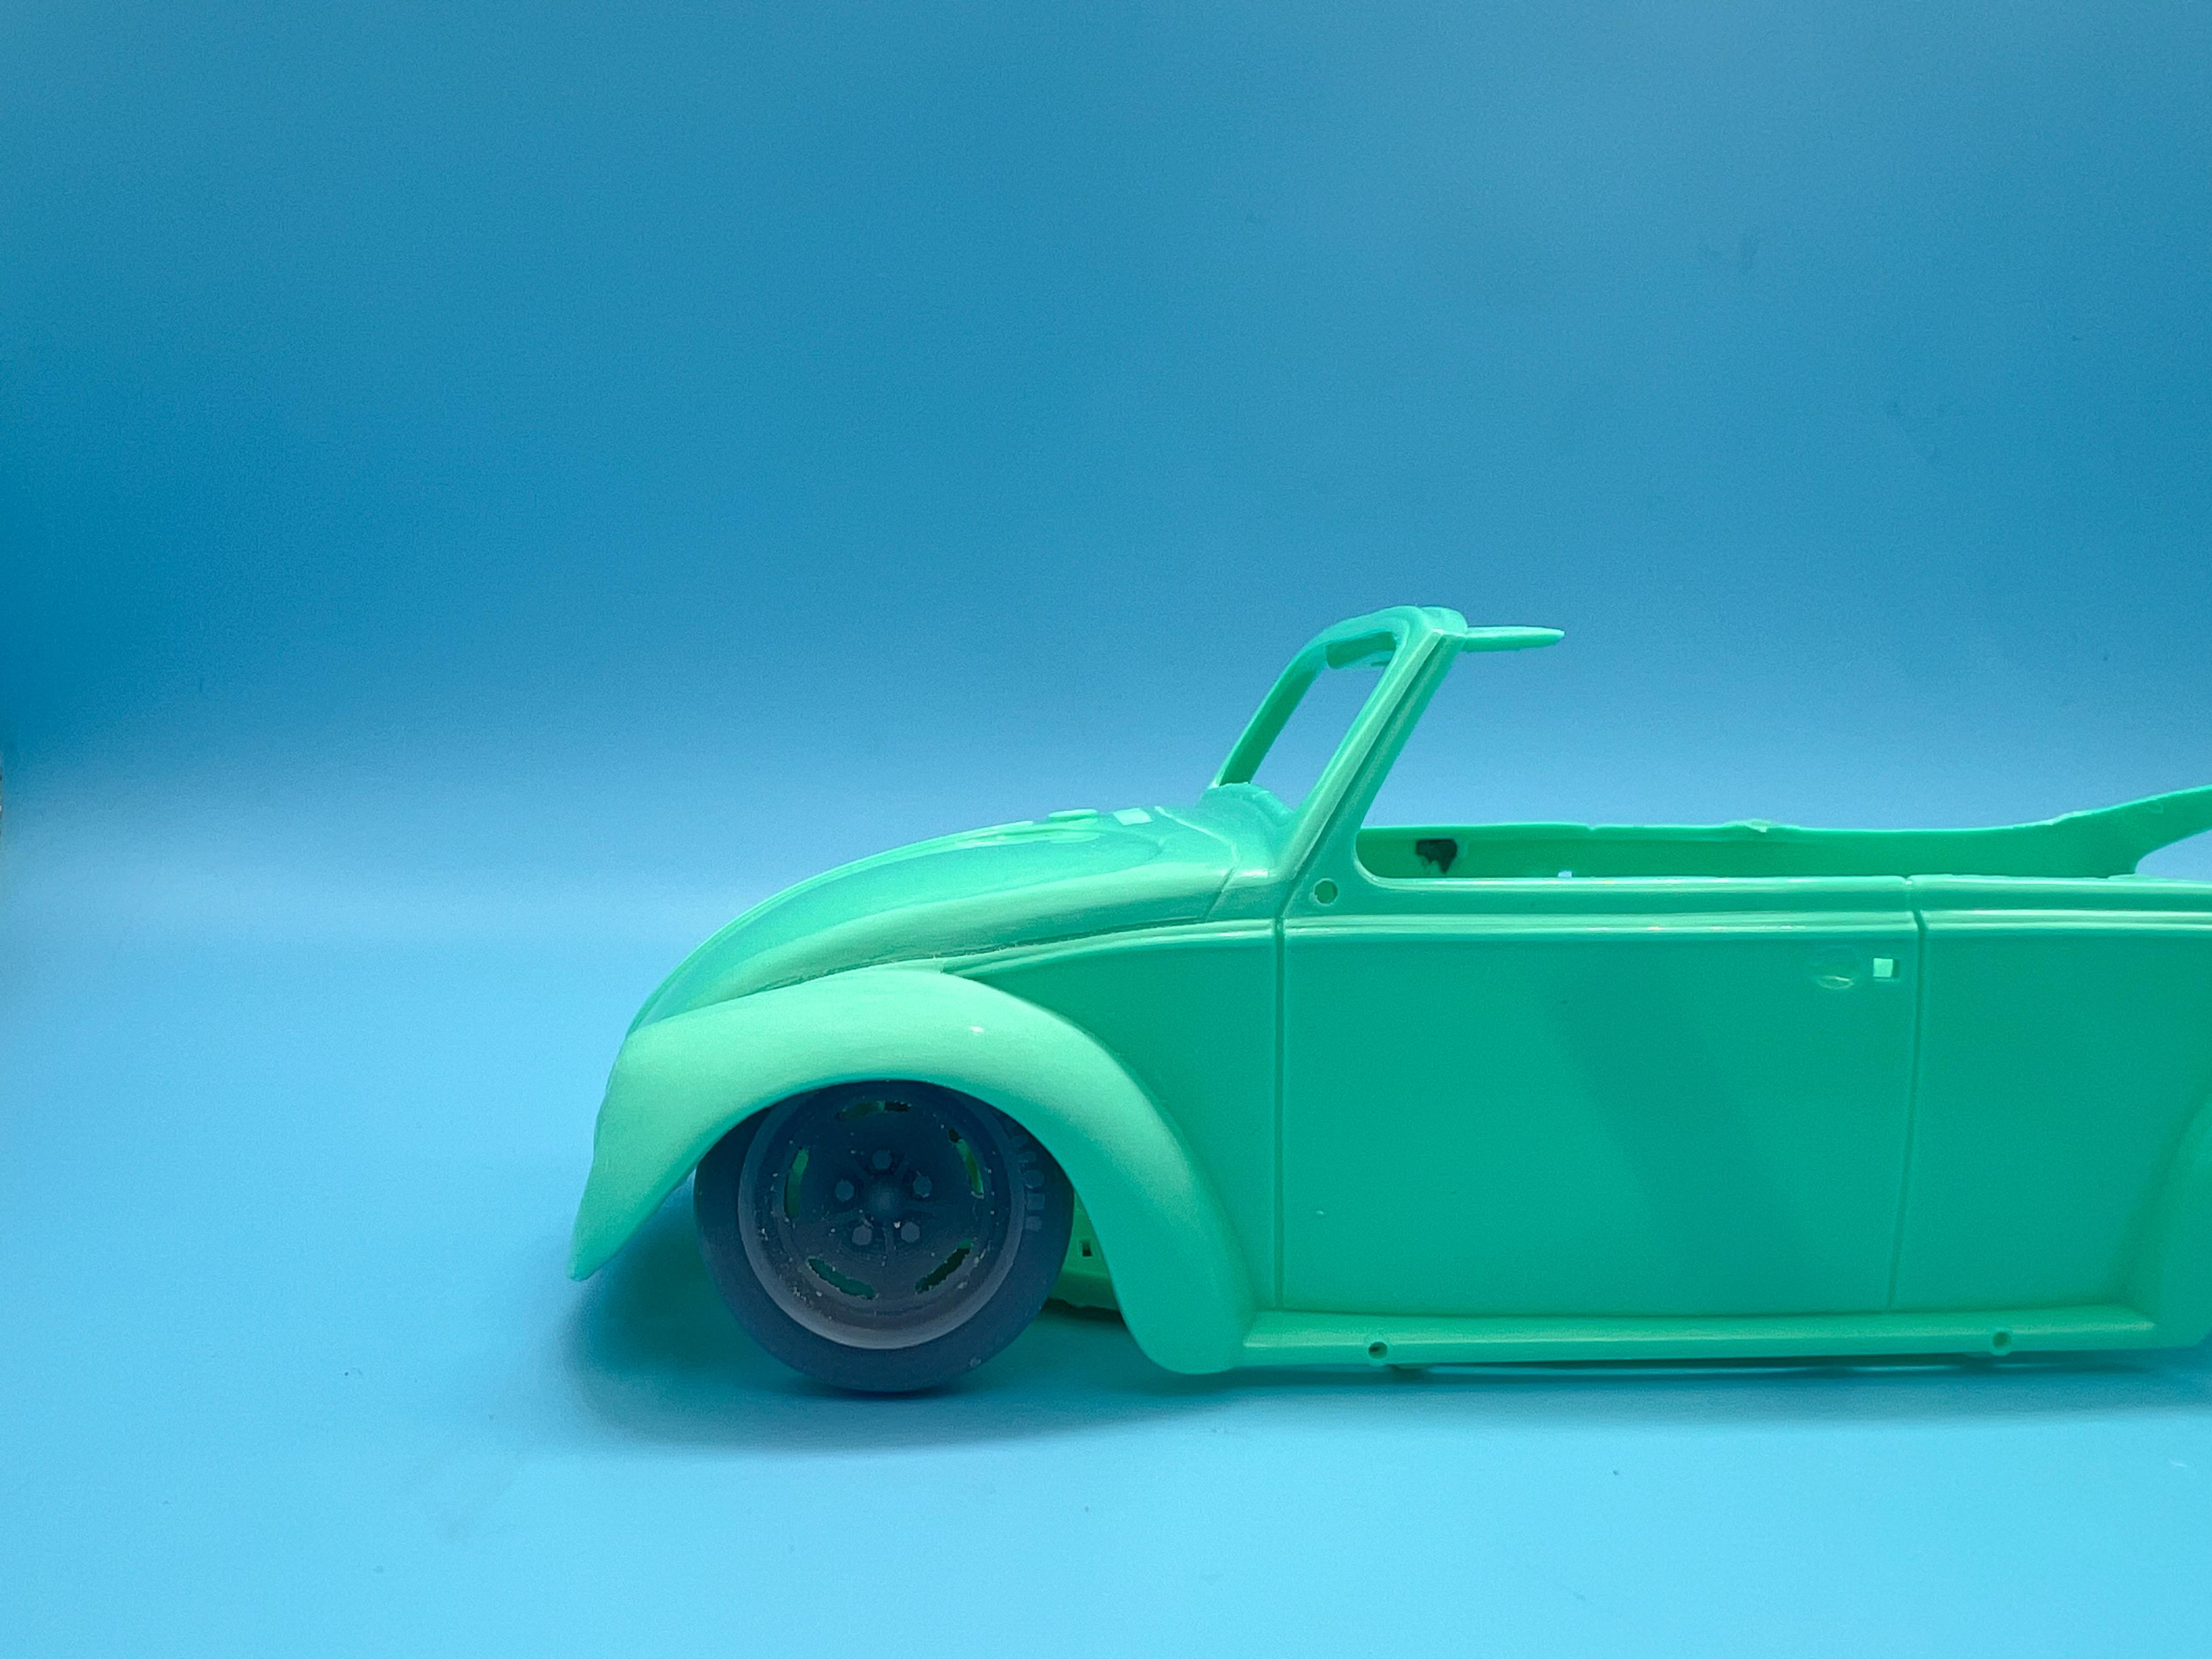
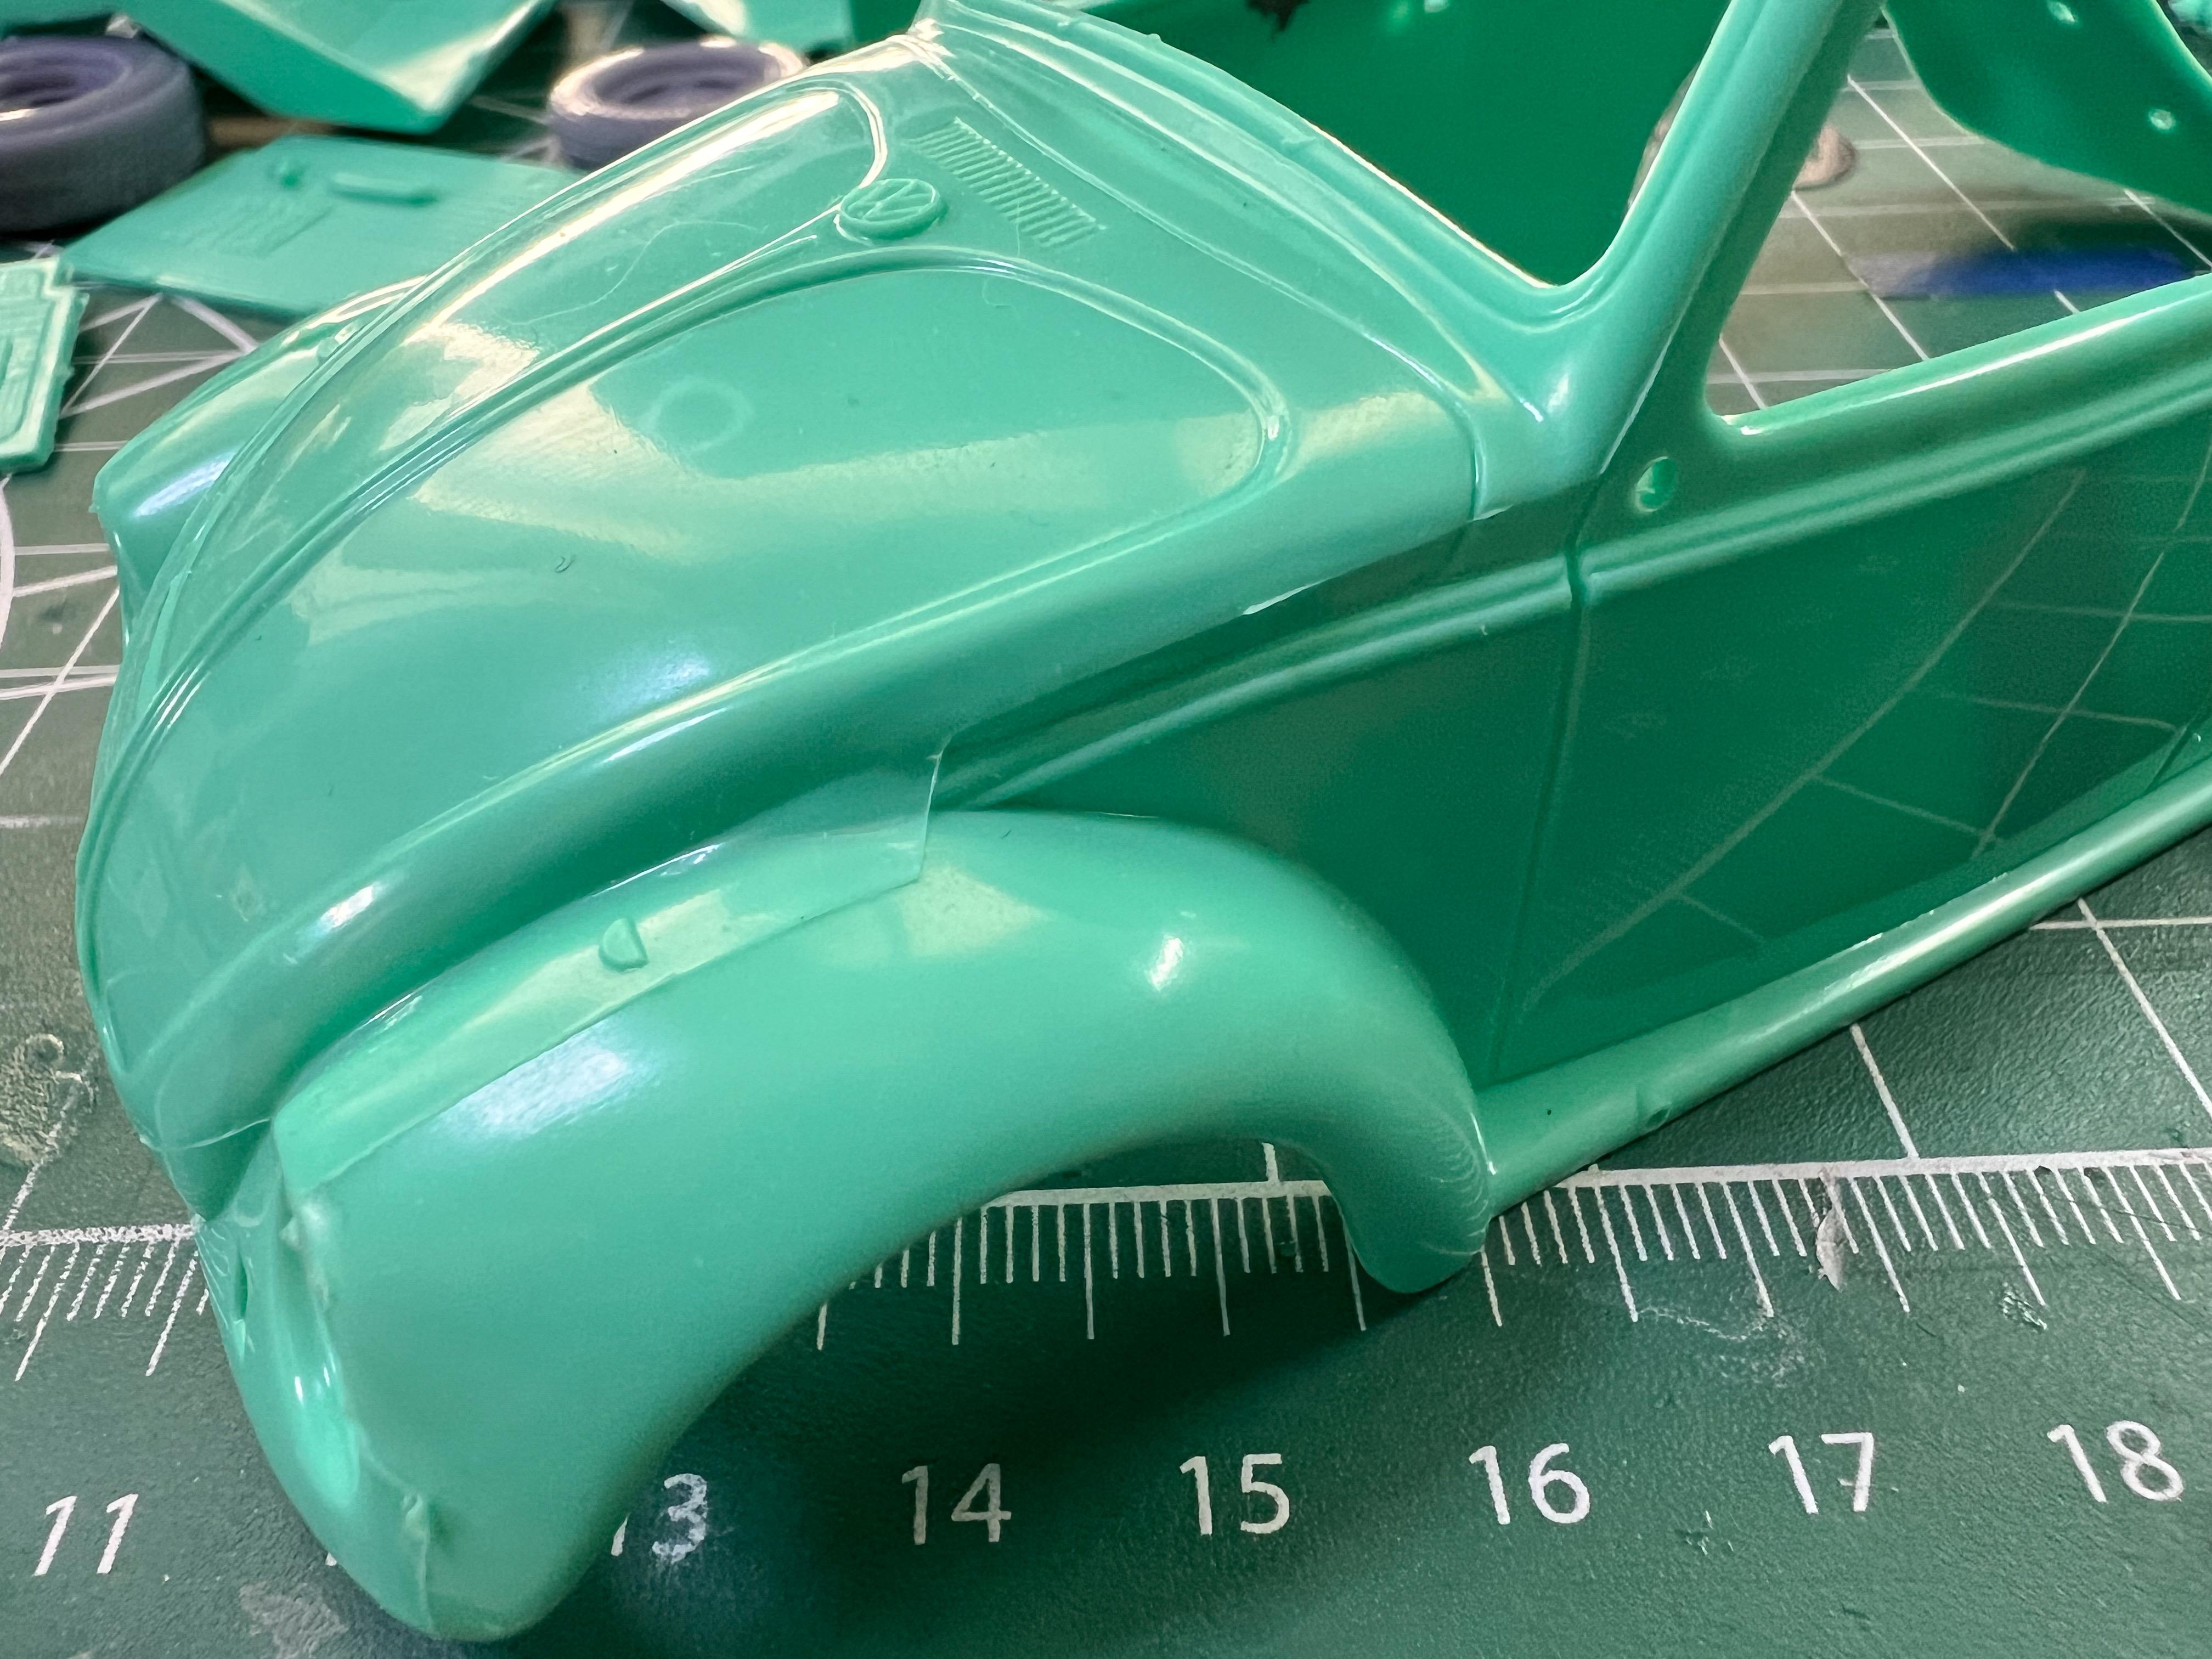
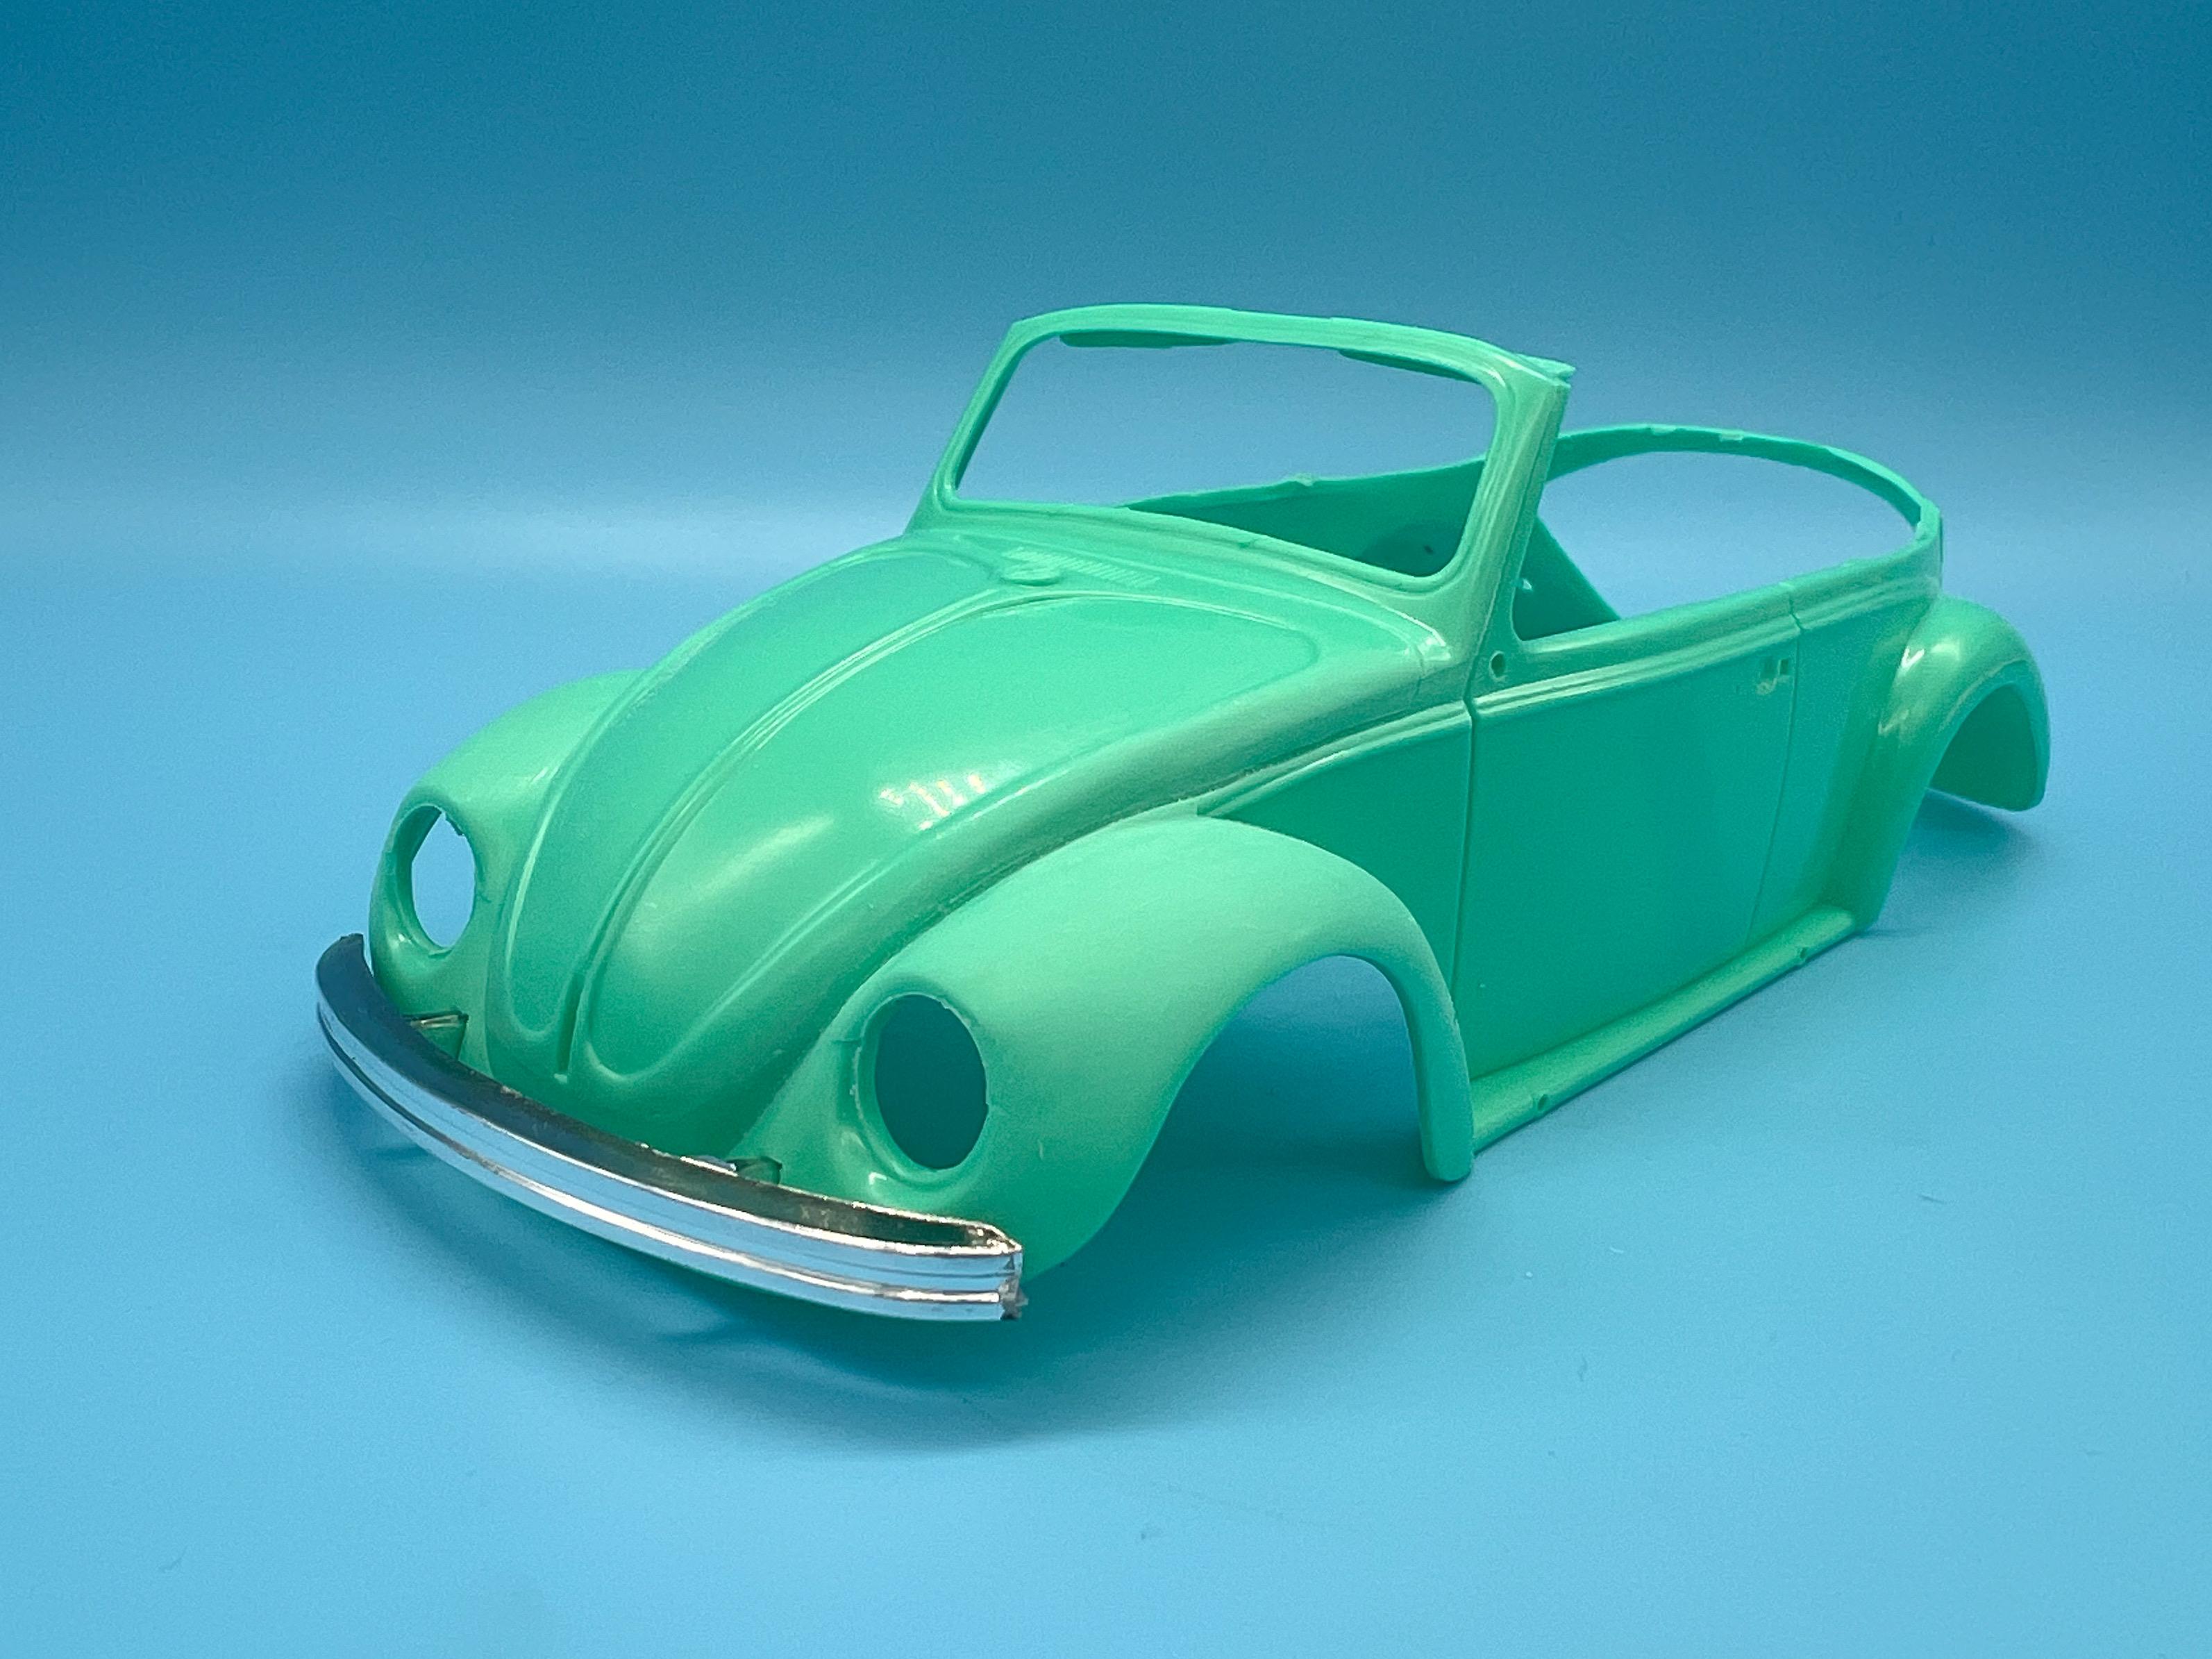
New month, new project! I actually very casually started this yesterday but I have Covid right now so I’m very slow and unproductive… Here’s what I’m starting out with: Not the best Beetle kit in my collection, not the worst - but the only convertible, and I wanted to build a drop-top…stance as I imagine it is about exactly like in that pic above. I really liked these wheels that this builder, Eero, used on his patina’d Beetle: I didn’t recognize what they were, so I reached out and Eero replied that they were kitbashed from a couple of different wheels. I decided to try drawing some ‘inspired by’ wheels of my own - I’ve printed other people’s wheels before but never designed any…ended up with this: These are just test prints, but I achieved the general look I wanted without totally copying Eero’s…getting that stance is going to be tough tho…I need to drop the spindles THIS much: Quick mockup with test print wheels… My camera was really struggling with that green and the blue AND the gray of the 3D printed resin…apologies for that washed-out nuclear look. Anyway…just a start on this thing….happy Friday everyone!
-
Thanks everyone…I forgot to post a link to the finished pics… Thanks for all the nice comments!
-
STEVE SCOTT ,A.KA . [ UNCERTAIN T ]
OldNYJim replied to bpletcher55's topic in General Automotive Talk (Trucks and Cars)
Thats a great find, Dan! The cowl looks a little rough, as do the seats, but probably nothing that can’t be fixed physically once the parts are printed…nice find - thanks for posting -
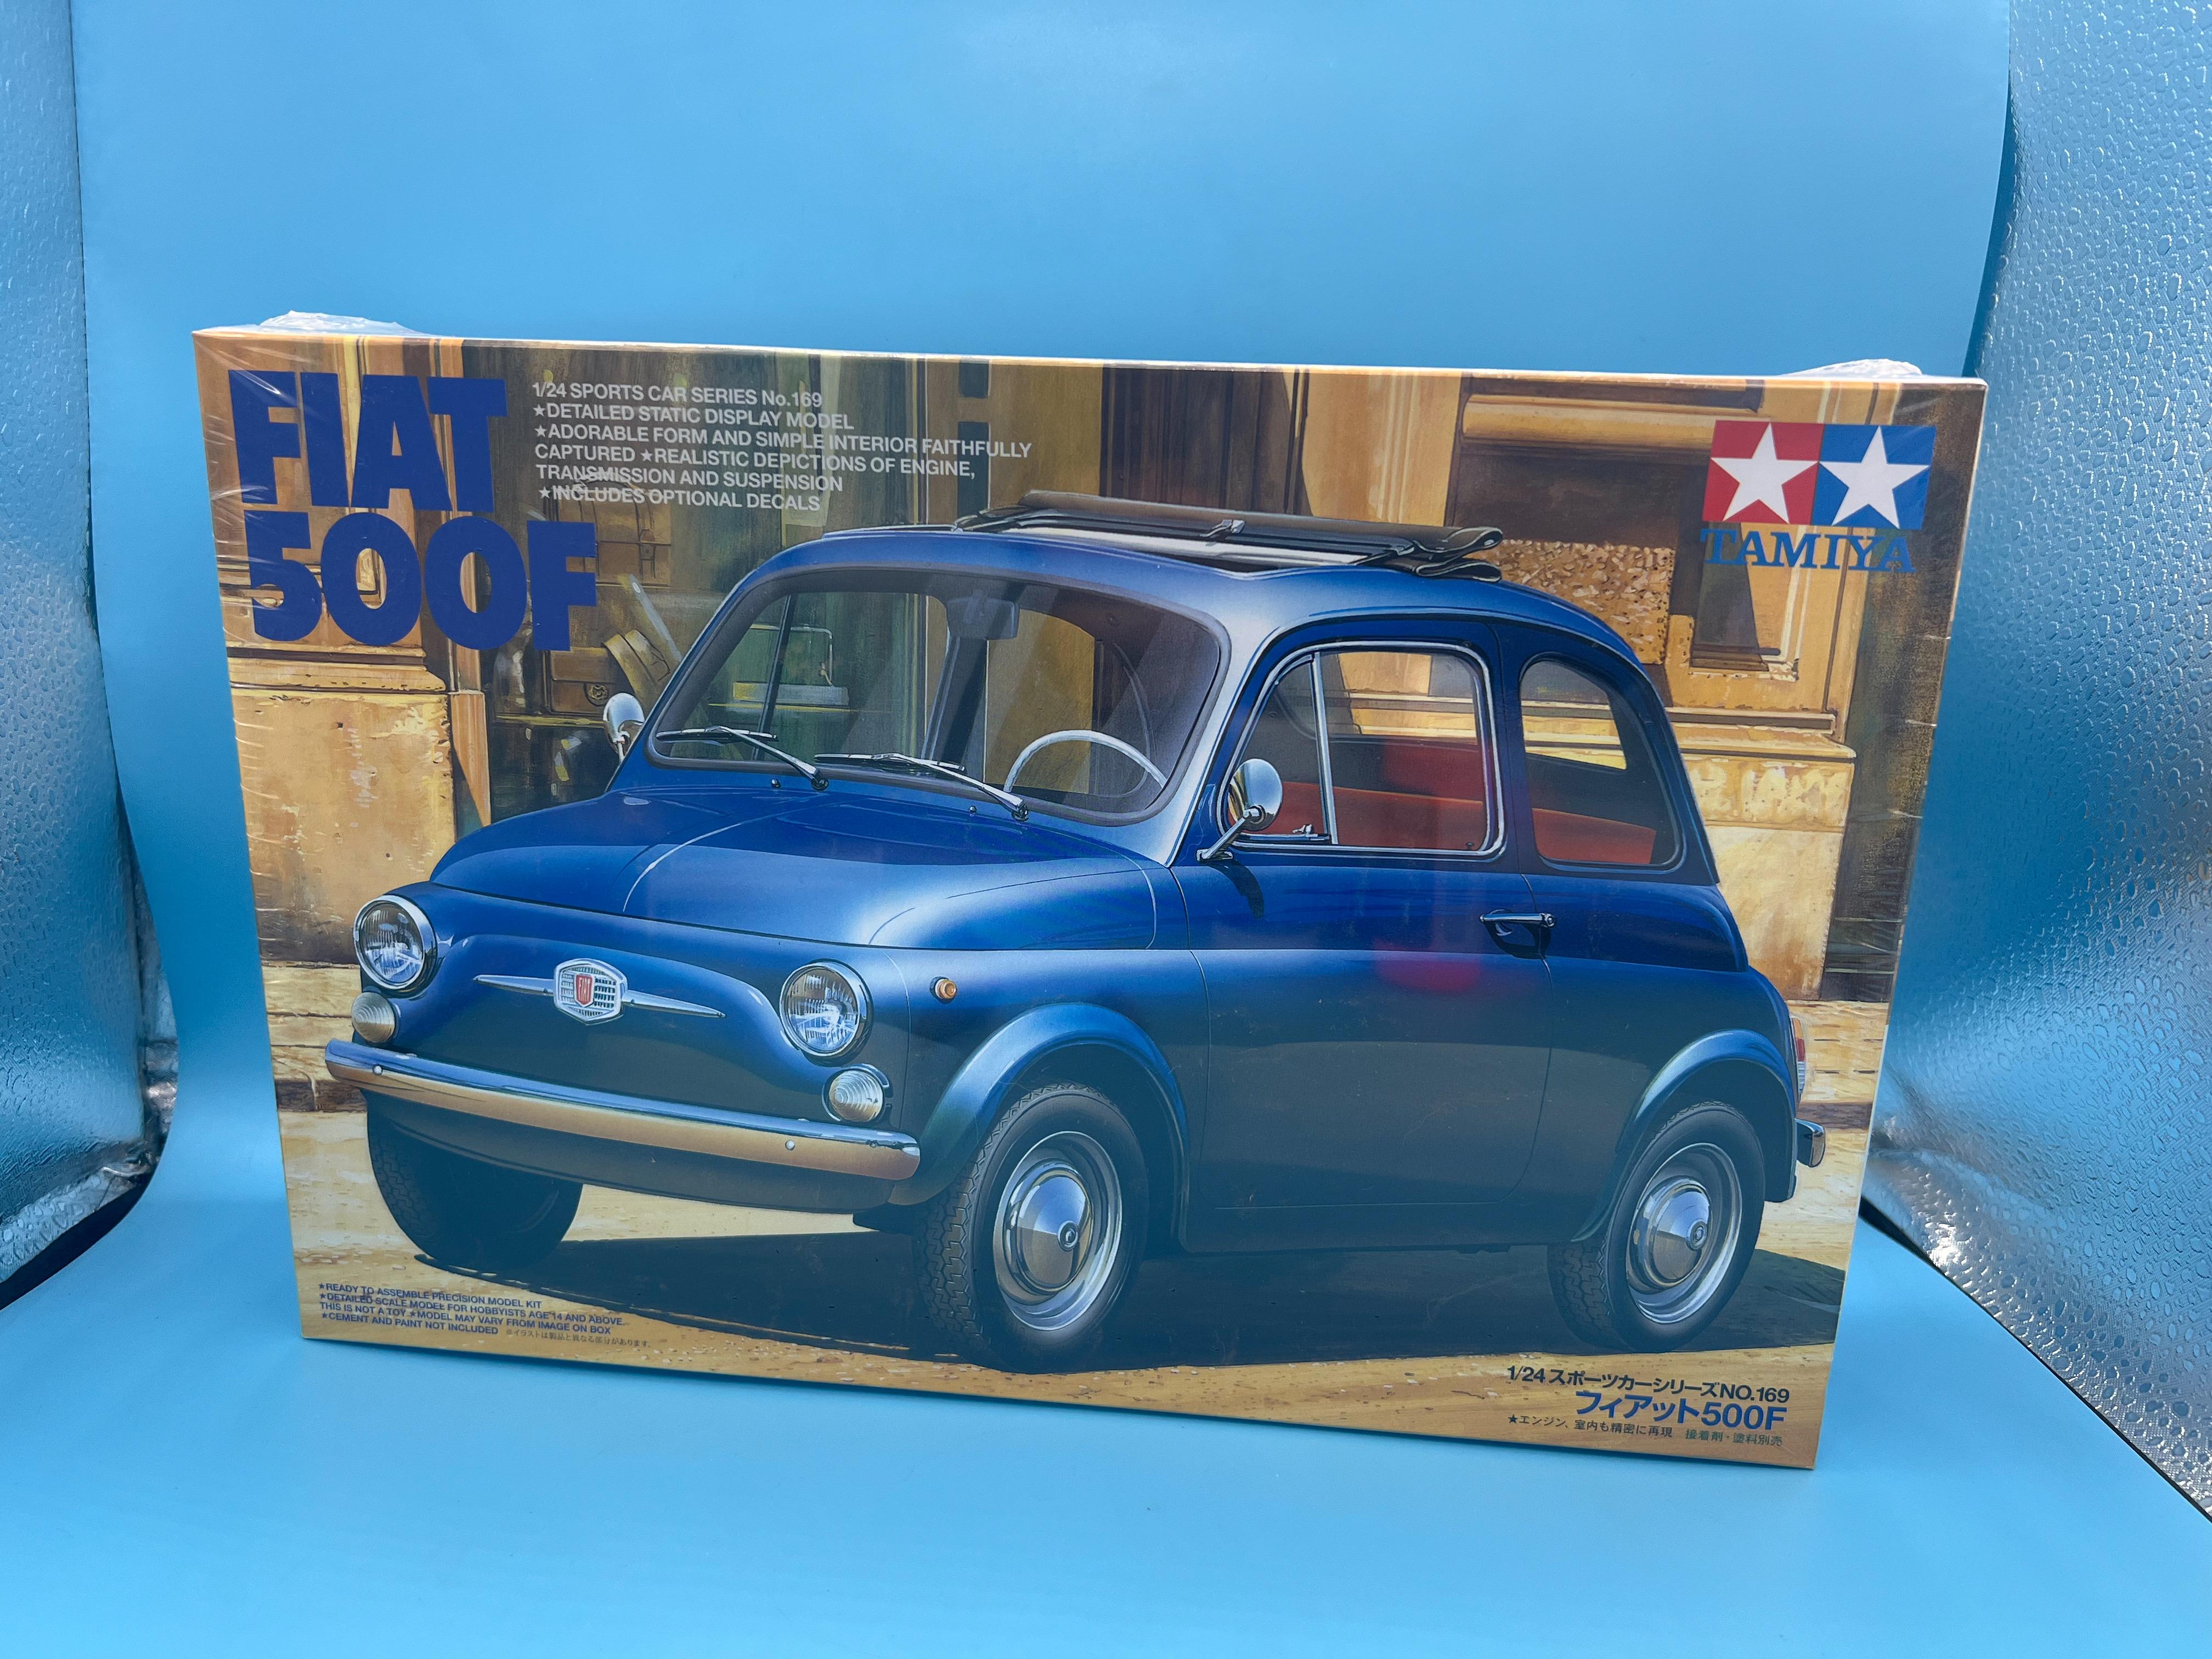
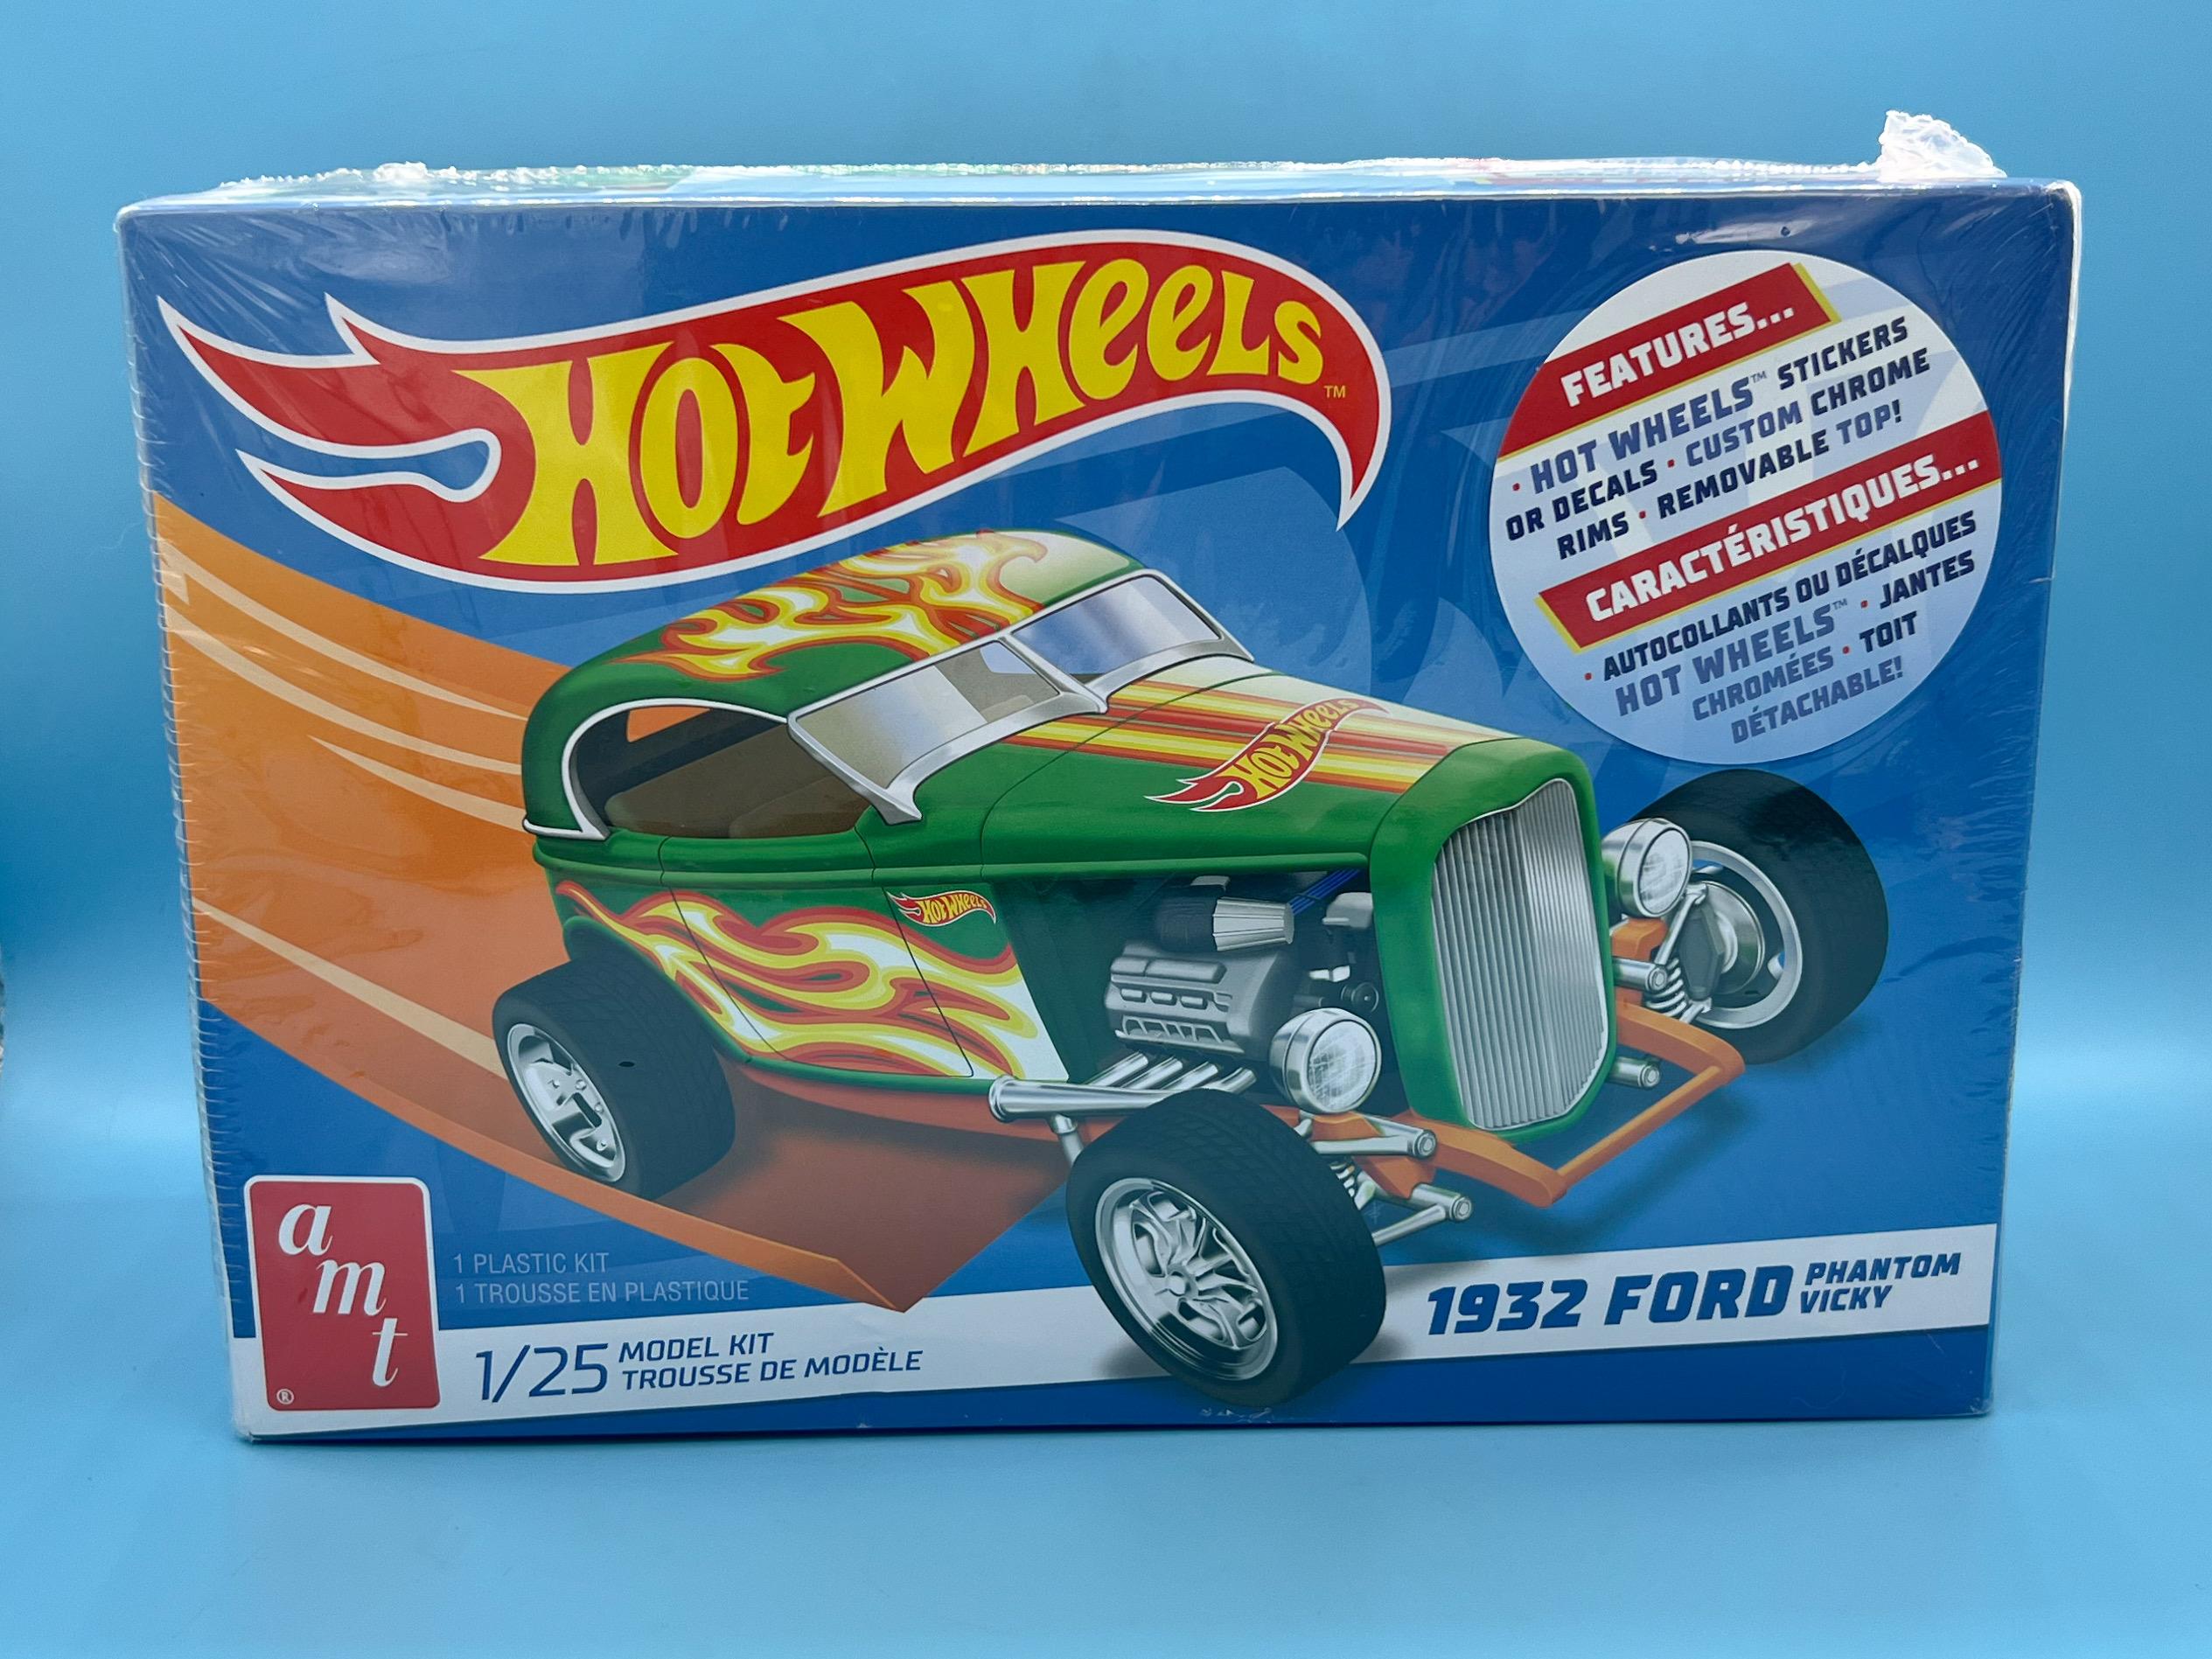
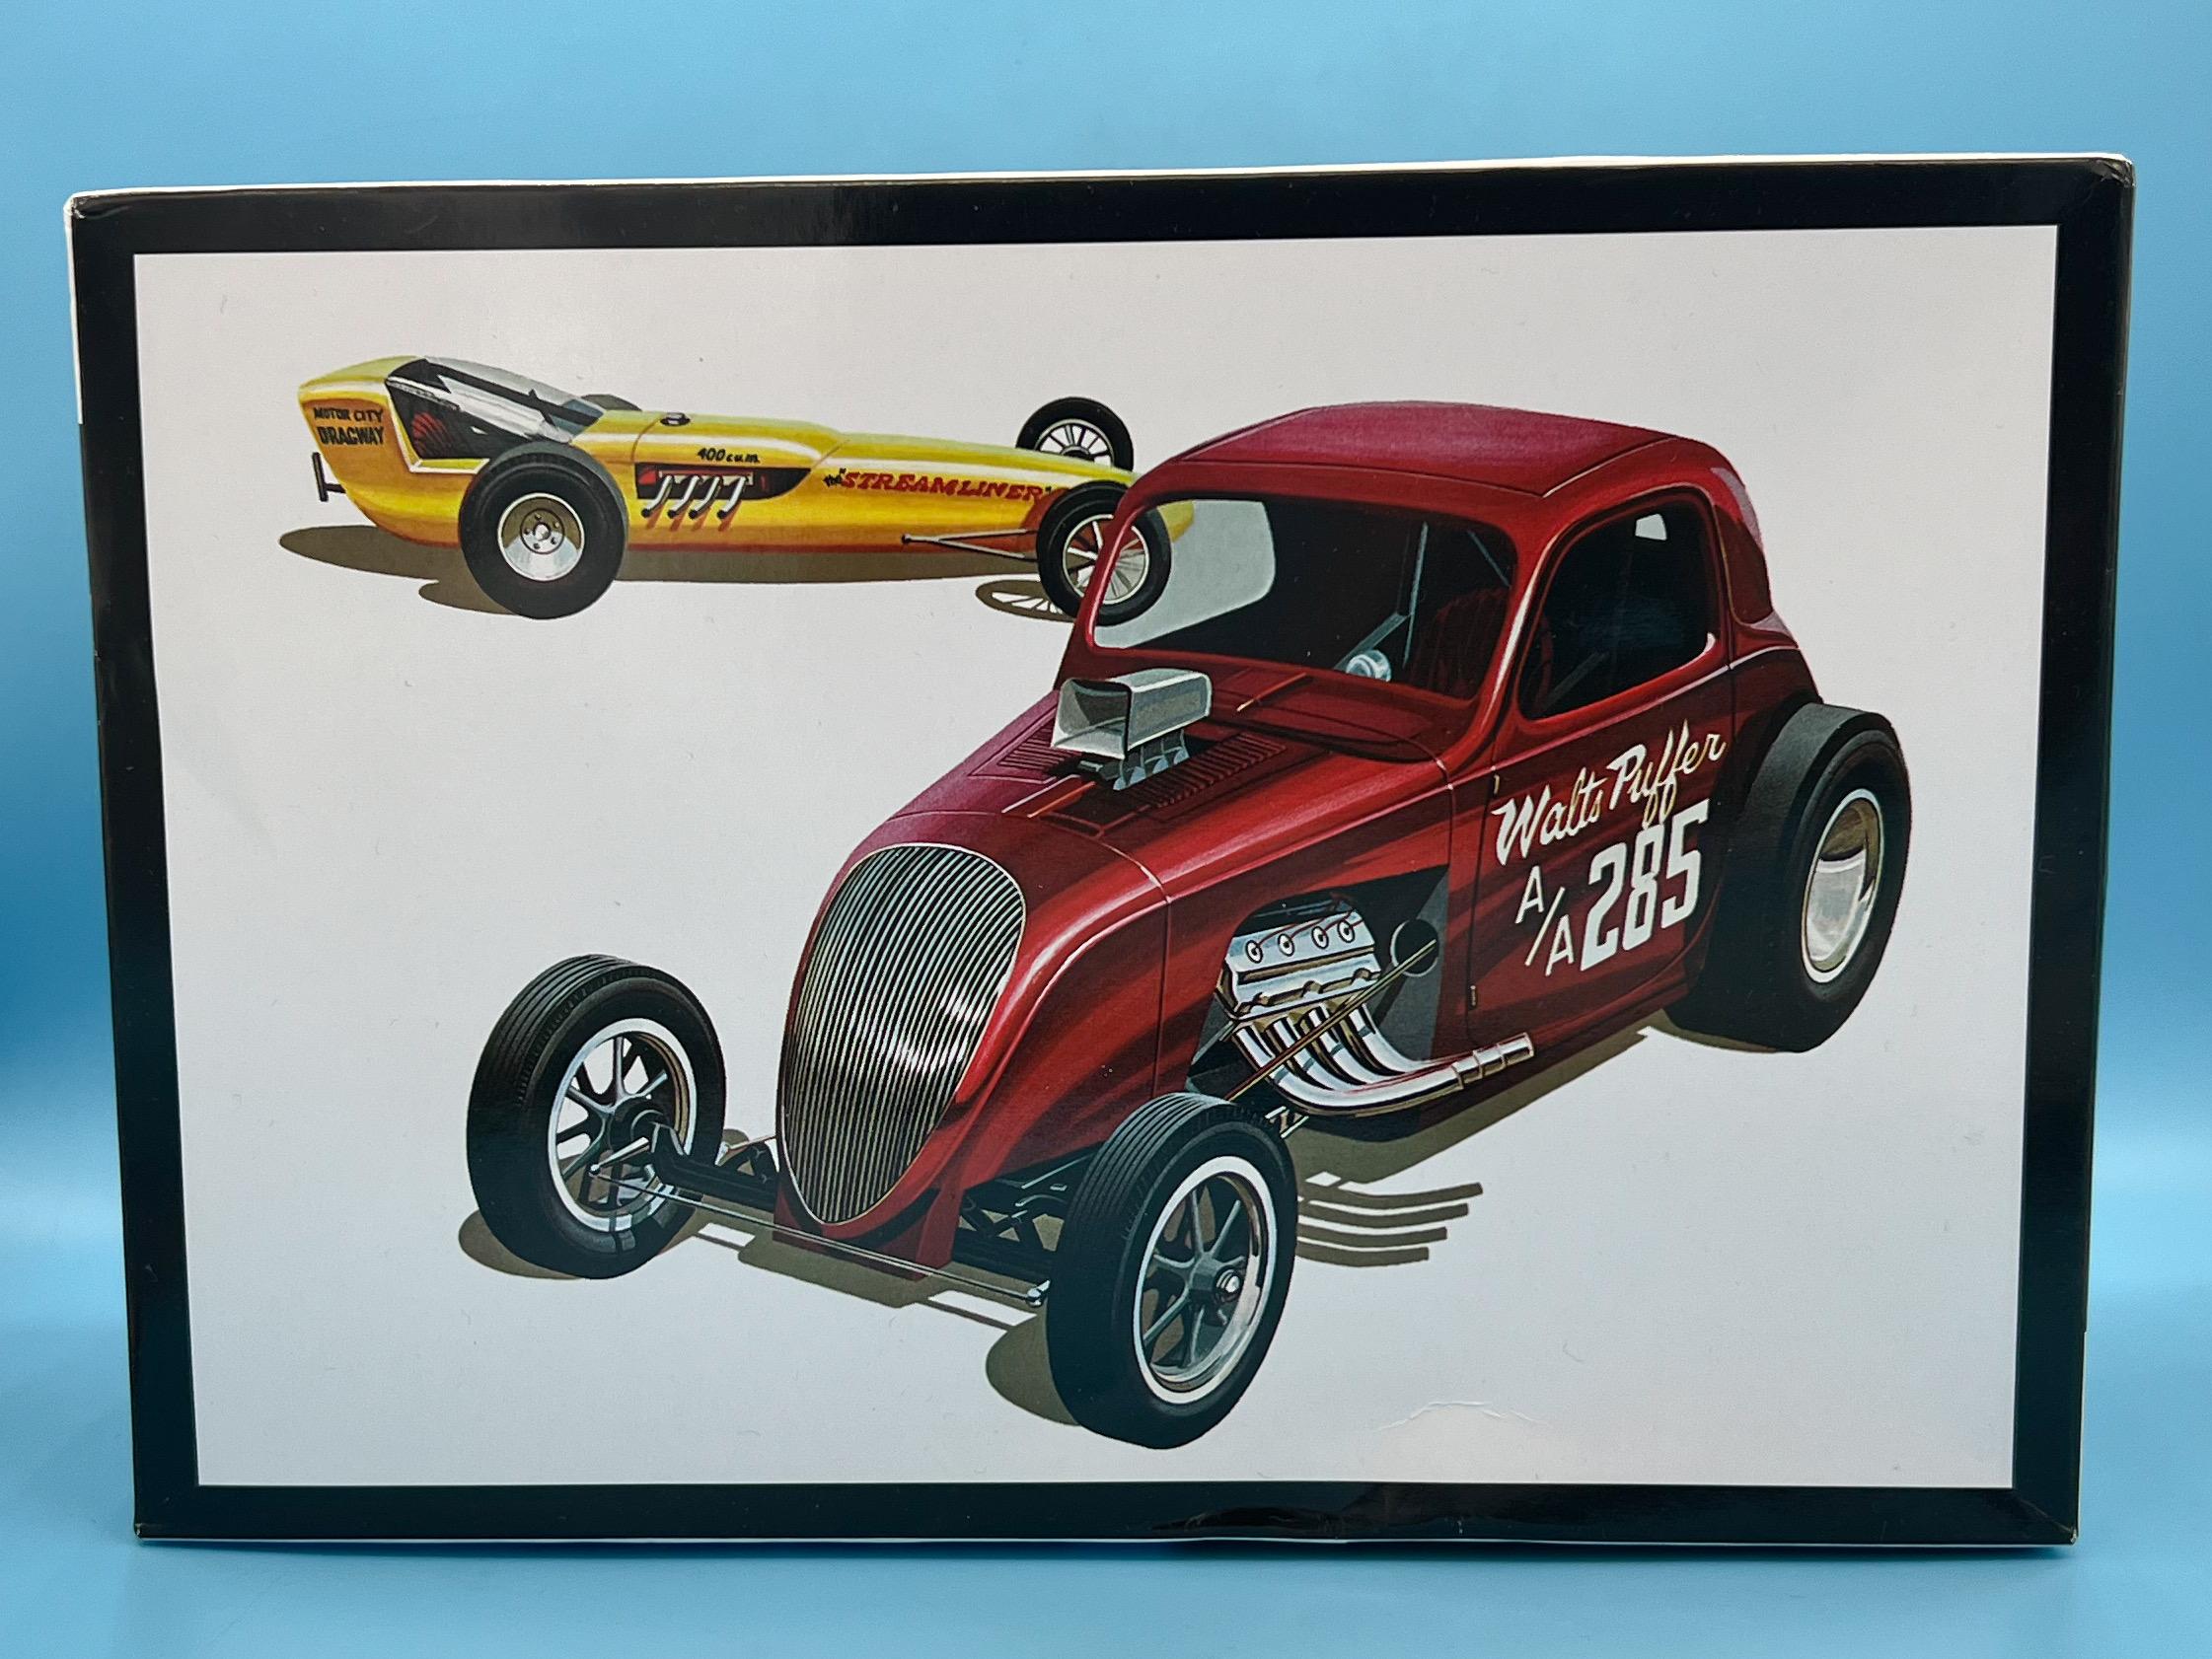
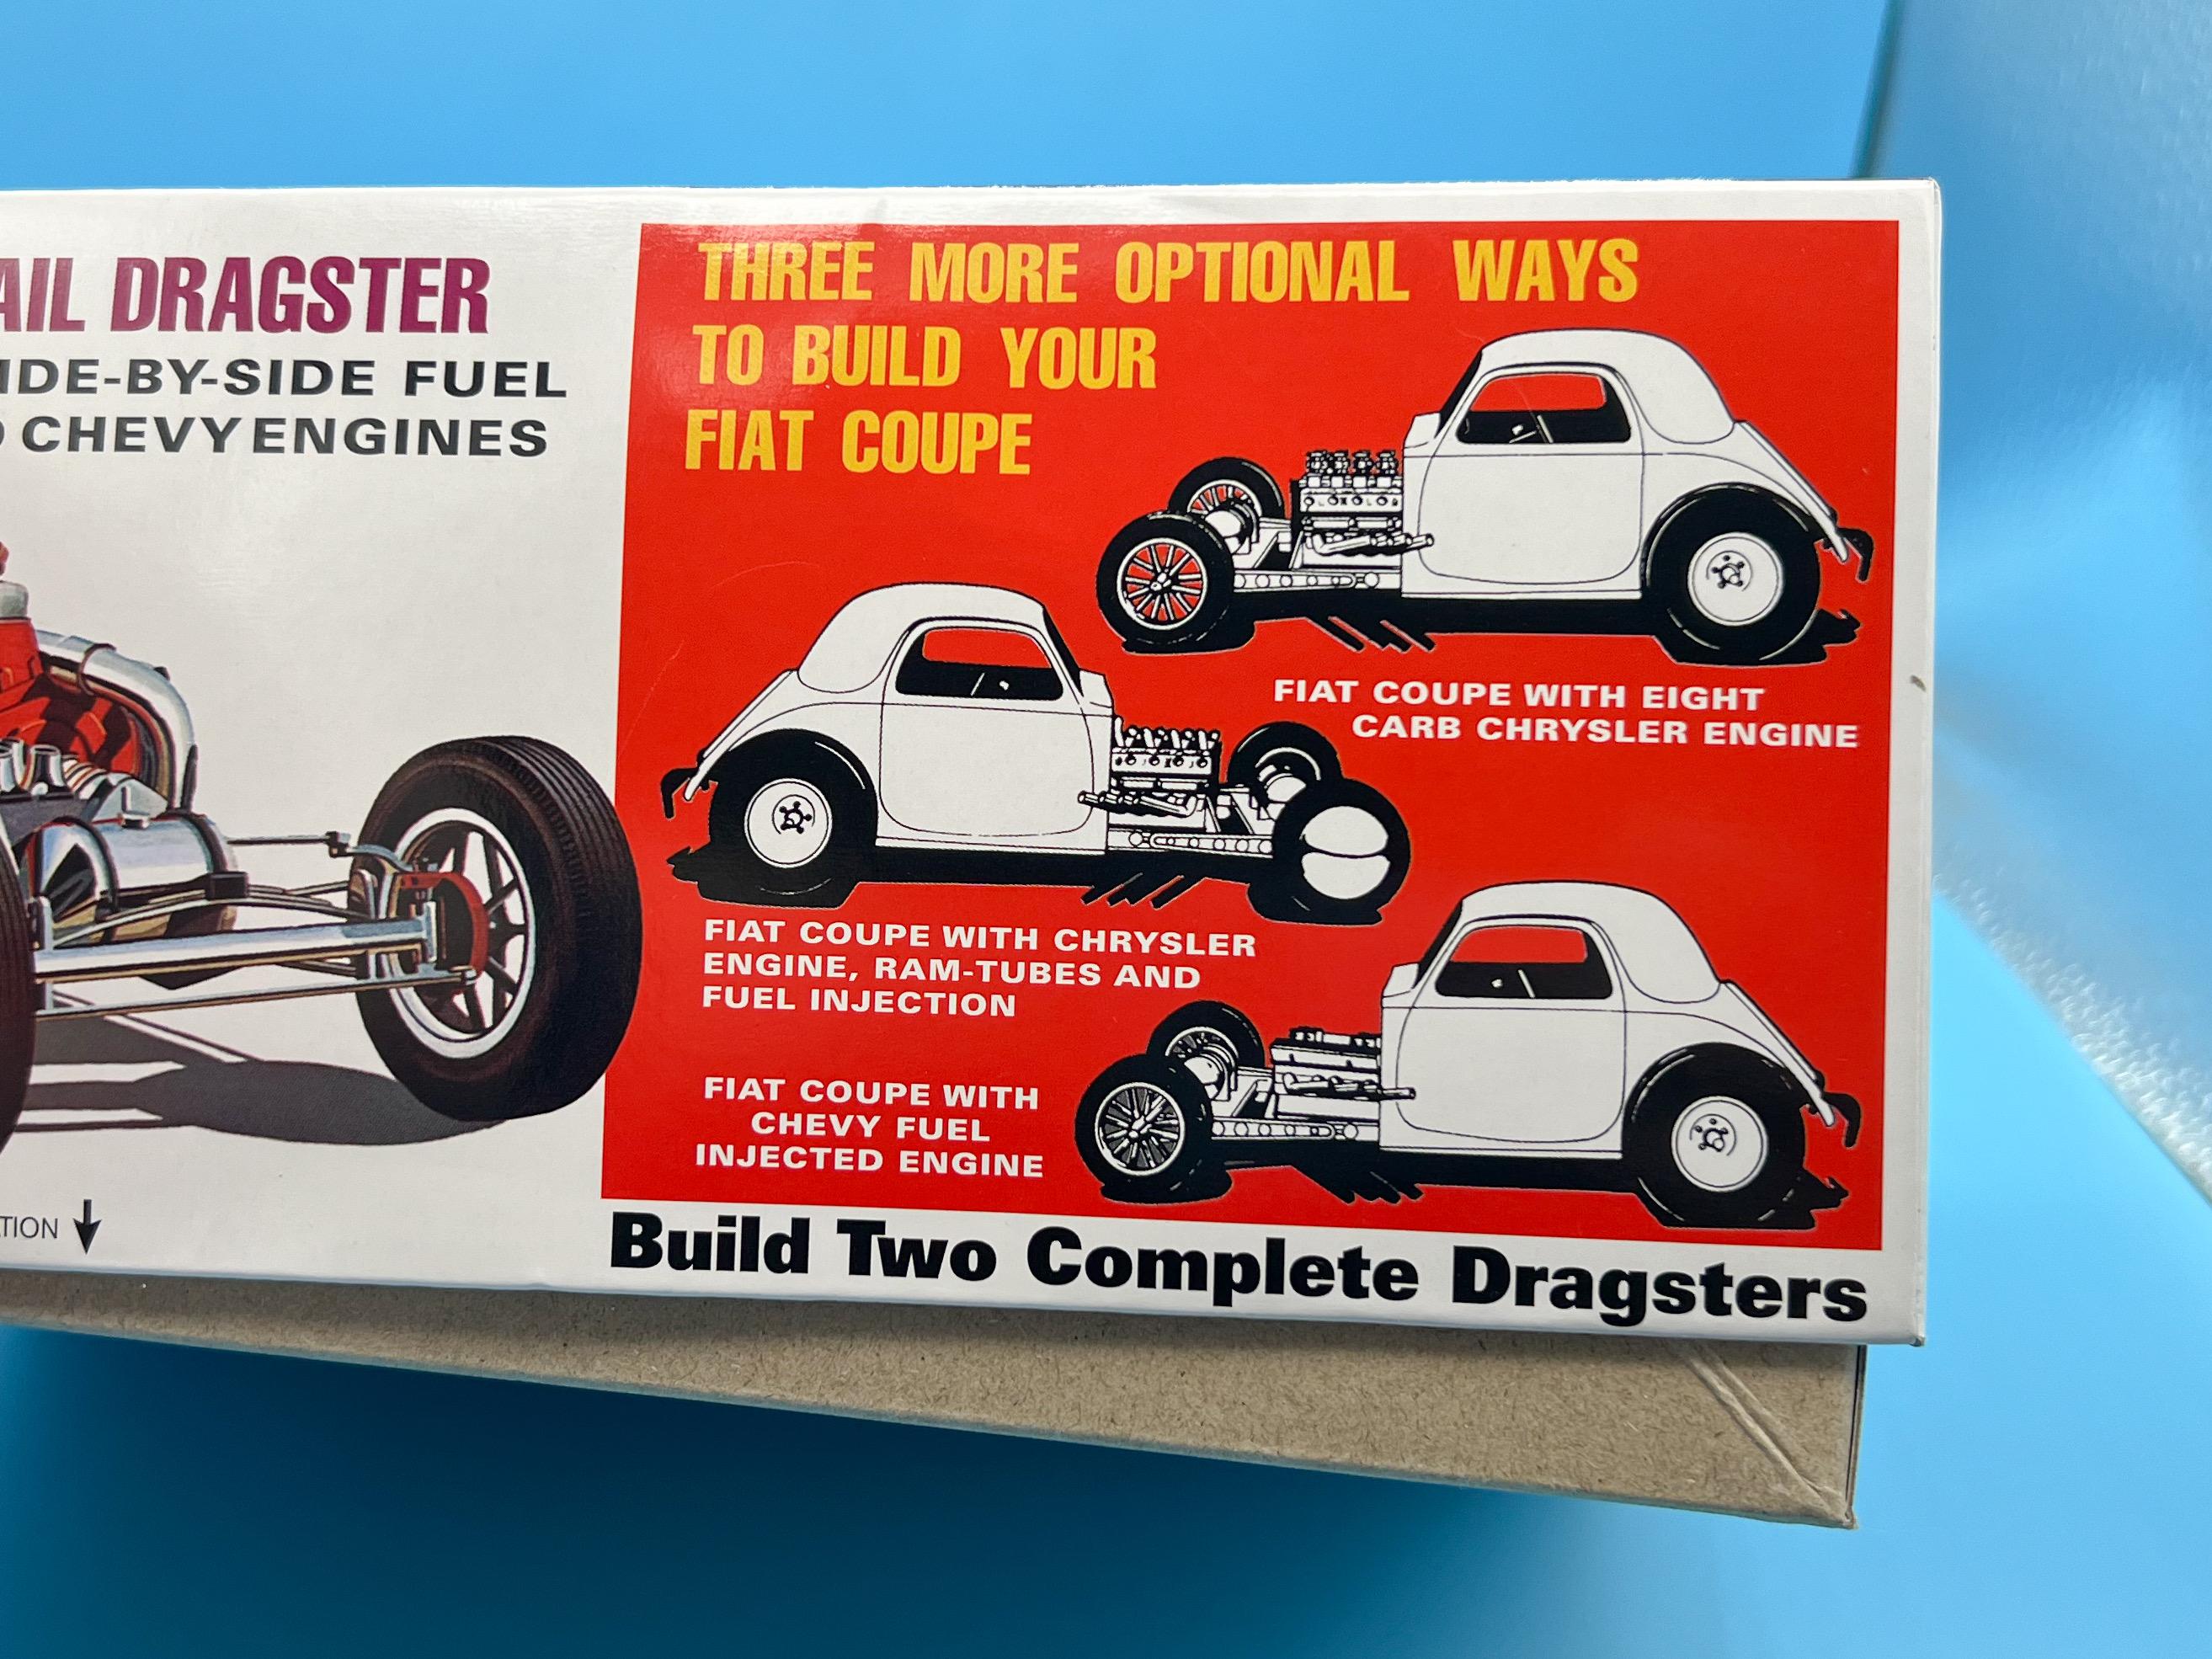
The Amazon fairy came today, couple of new additions to my to-do list… I never picked up one of these the first time(s) around: I’d be curious to know if that box art helps sales or hinders them, compared to the old version with the yellow car on the box… And this has been on my to-build list for a while too - AMT Double Dragster kit: I’m sure I read on here you can almost build three kits out of this one if you wanted, which seems feasible…there’s three frames and three bodies and three engines - a good deal for the $23 delivered I got this for…the Topolino will be a cool companion to the Atlantis/Revell Topolino kit if and when I get to them both… Plenty of build options too! Cool!
- 38,867 replies
-
- 2
-
-
- johan
- glue bombs
- (and 1 more)