OldNYJim
-
Posts
247 -
Joined
-
Last visited
Content Type
Profiles
Forums
Events
Gallery
Everything posted by OldNYJim
-
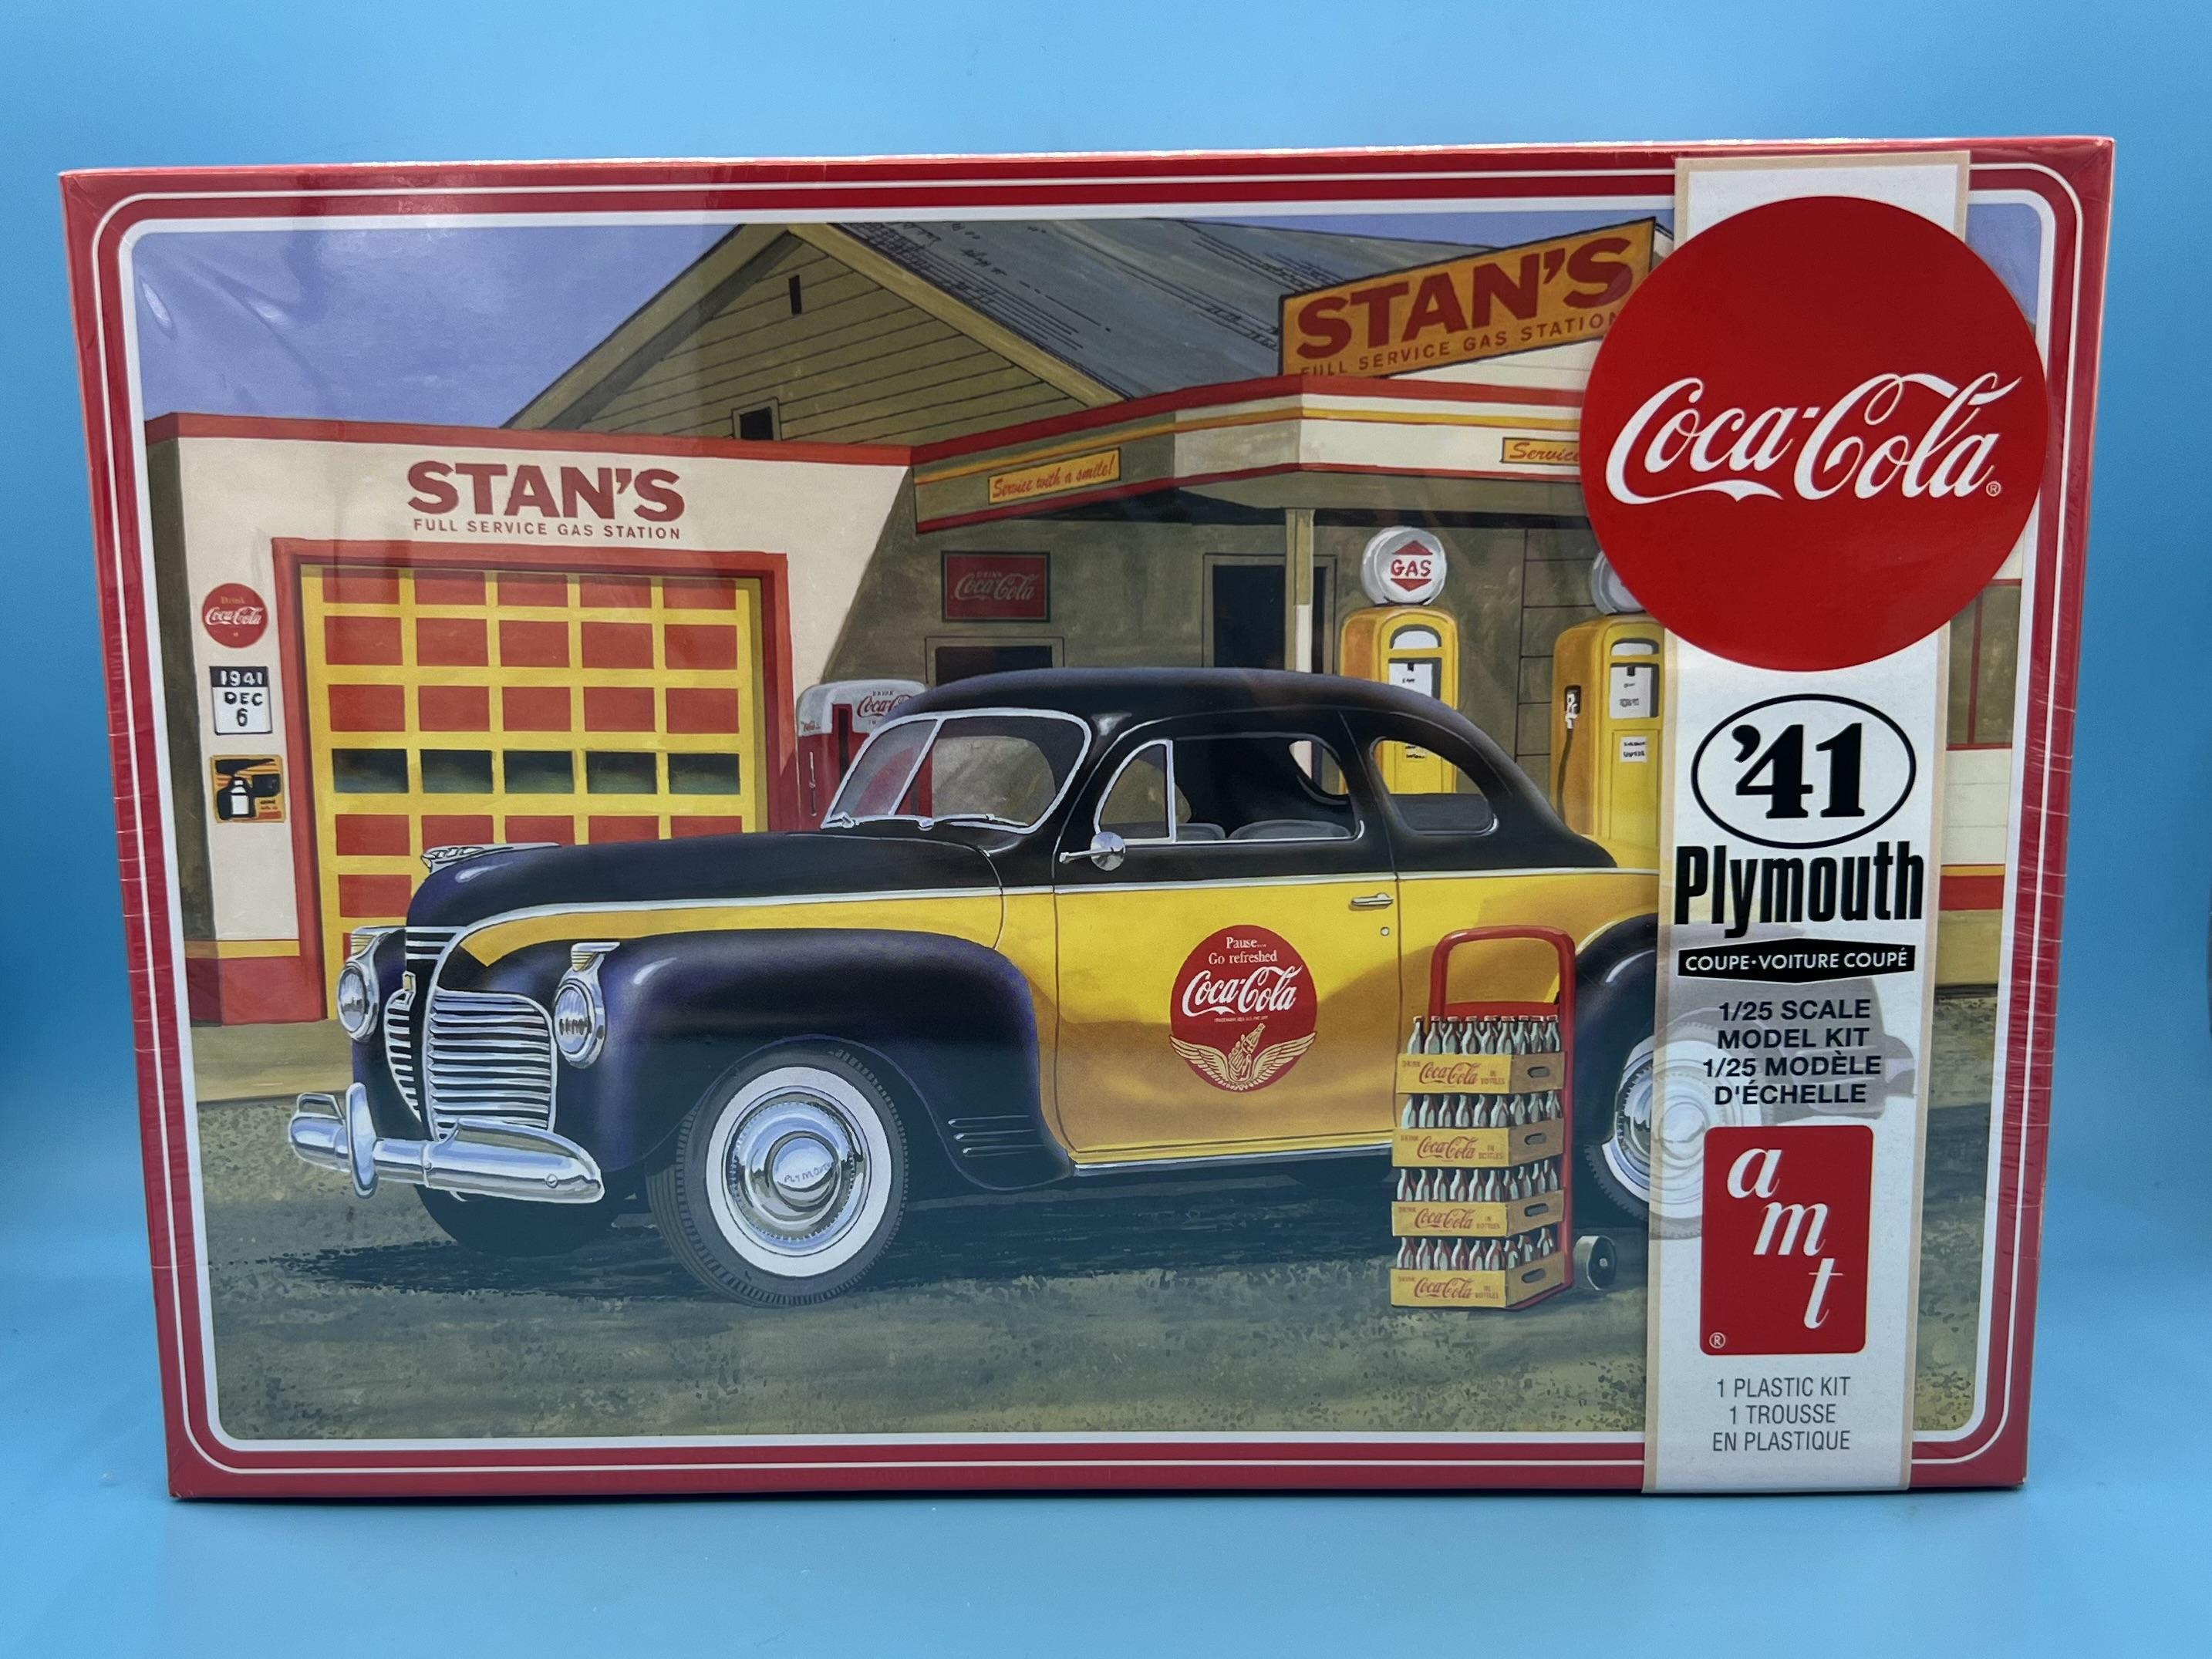
Spotted this online: I’ll be down for a case! This is the only one of the Deuce kits with the Flathead…I forget what else is unique about this one but I remember the Flattie being well done

- 113 replies
-
- 10
-

-

Fujimi 1981 Ayrton Senna Kart
OldNYJim replied to IanH's topic in WIP: Other Racing: Road Racing, Land Speed Racers
All those extra details are really paying off…nice work! -
I’m I’m on a real T-bucket kick lately but I don’t really want to keep buying kits to get the bodies when I’m scratchbuilding and kitbashing about everything BUT the body…so I just printed a batch… I know the door lines should go out, not in, but stock Ts don’t have V8s and crazy paintjobs either so I can live with it…
-
T-Bucket (the pickup kind)
OldNYJim replied to OldNYJim's topic in WIP: Model Trucks: Pickups, Vans, SUVs, Light Commercial
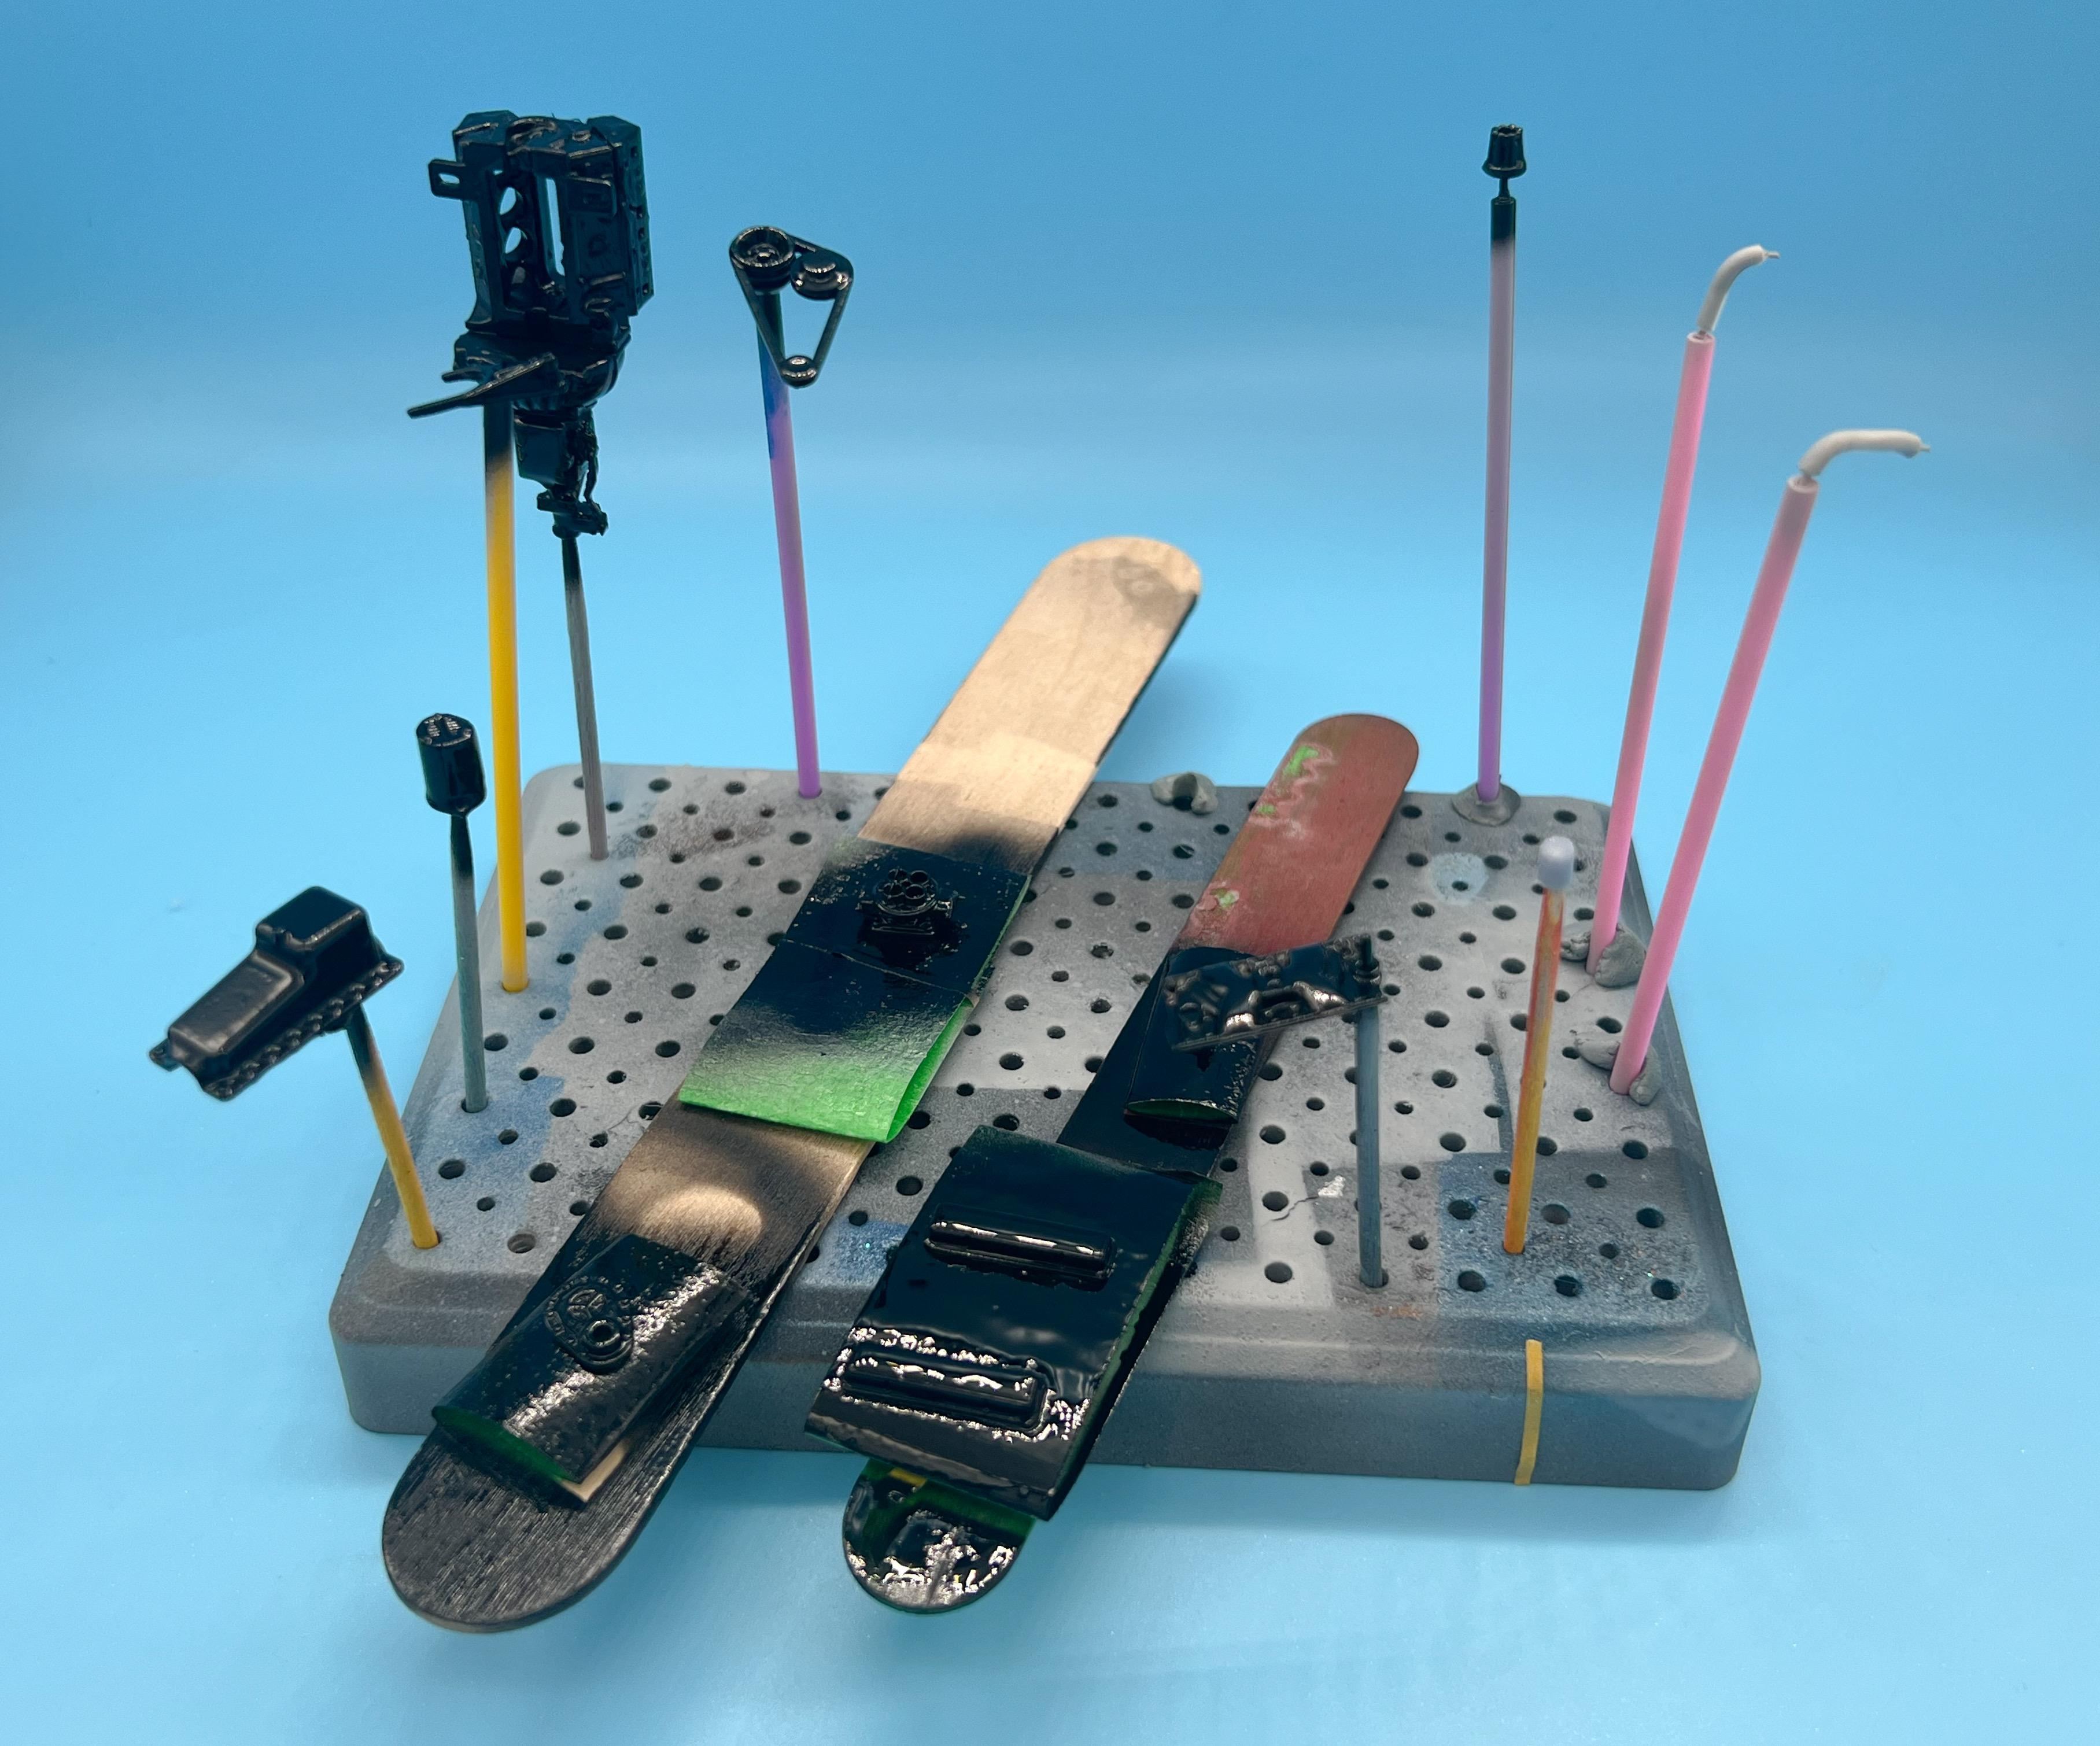
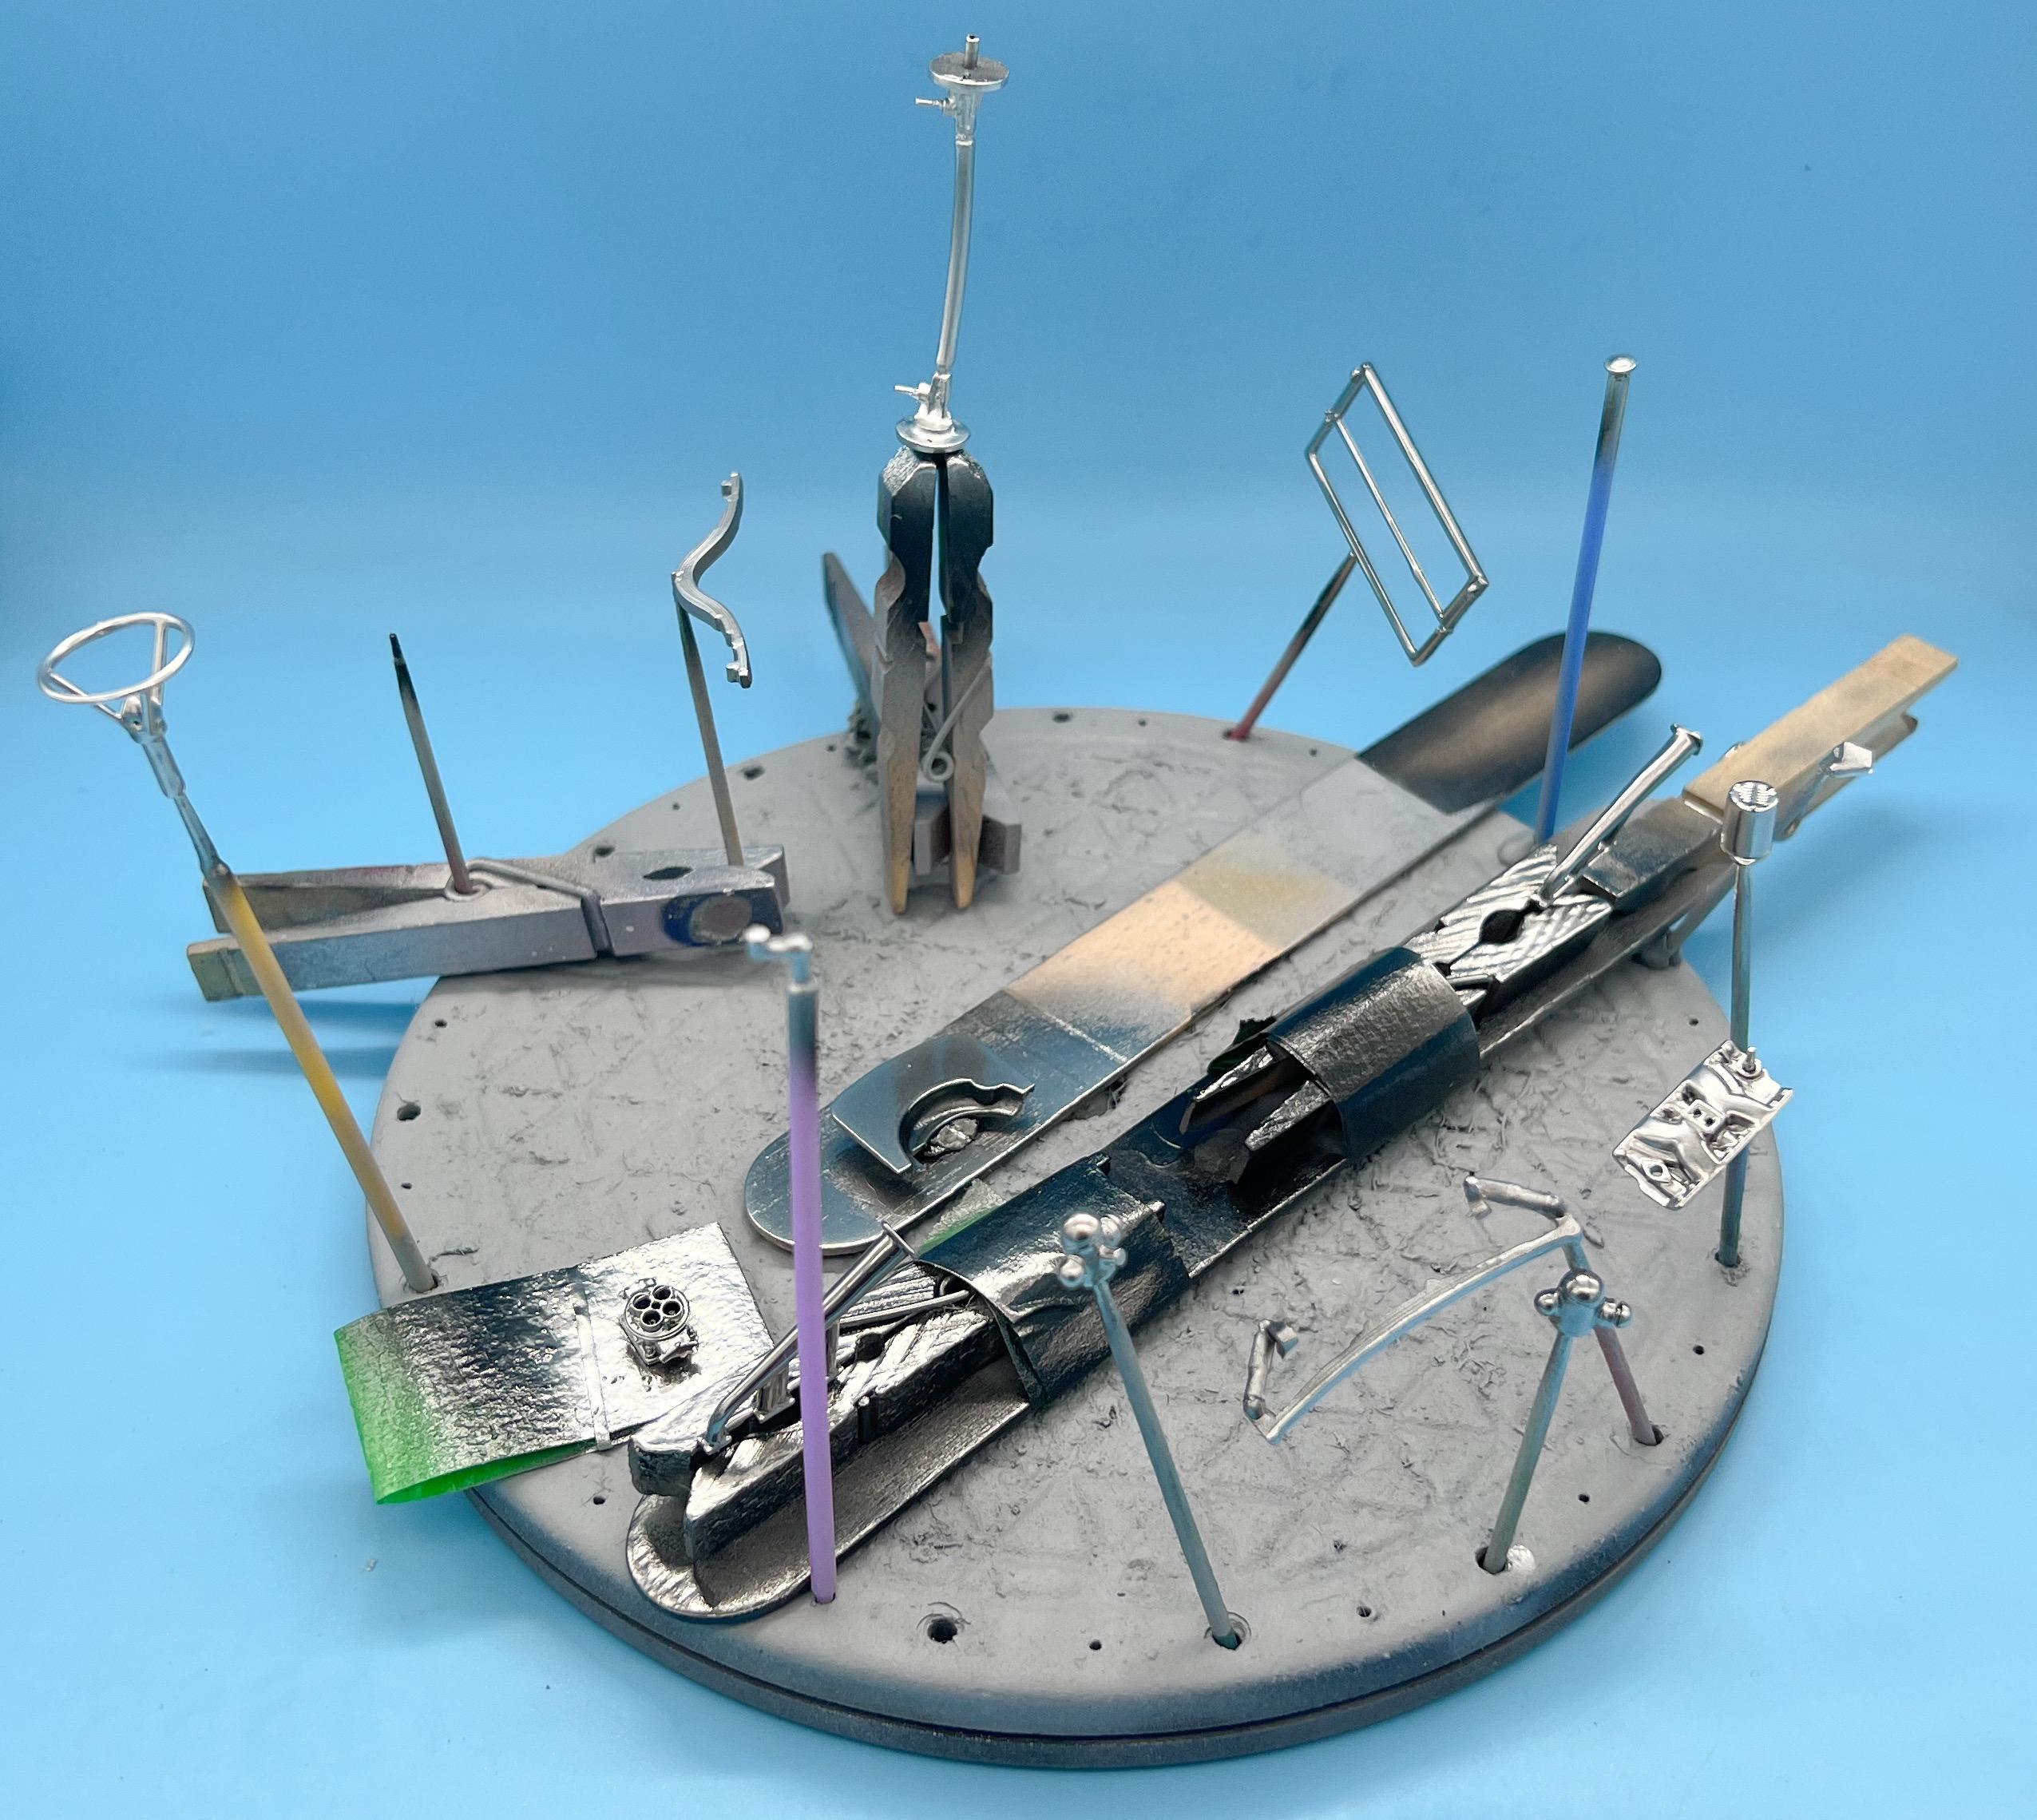
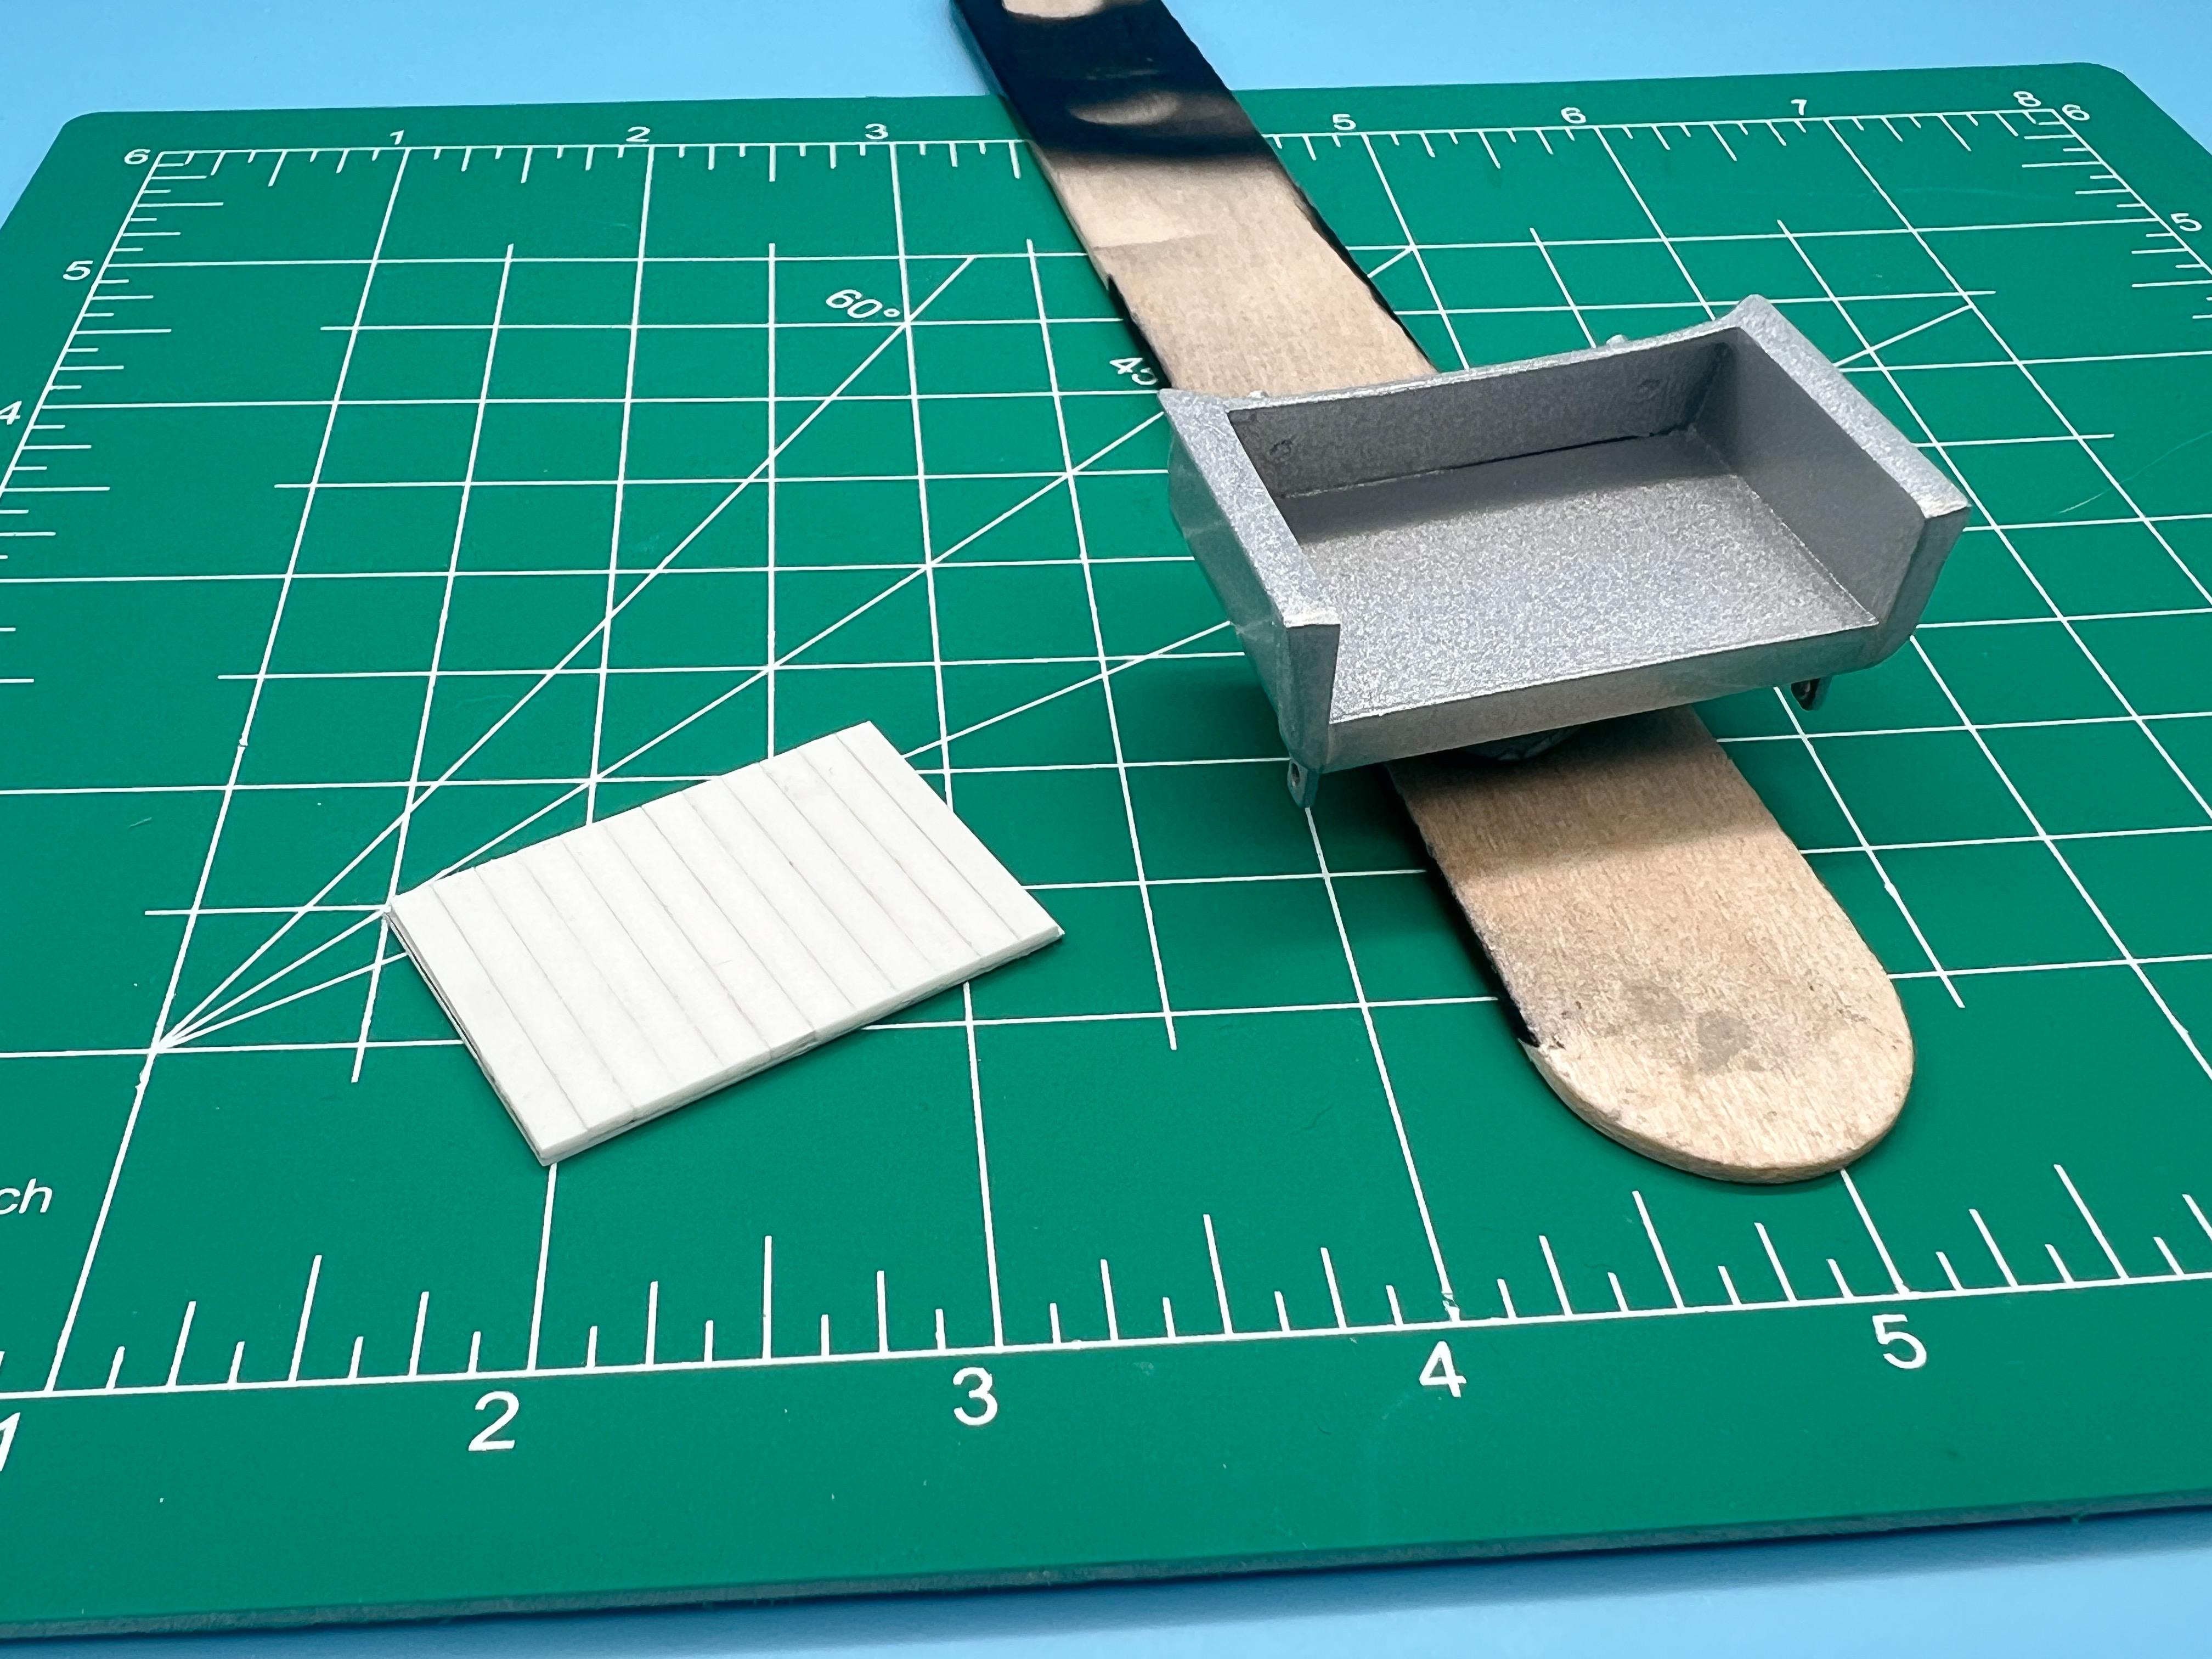
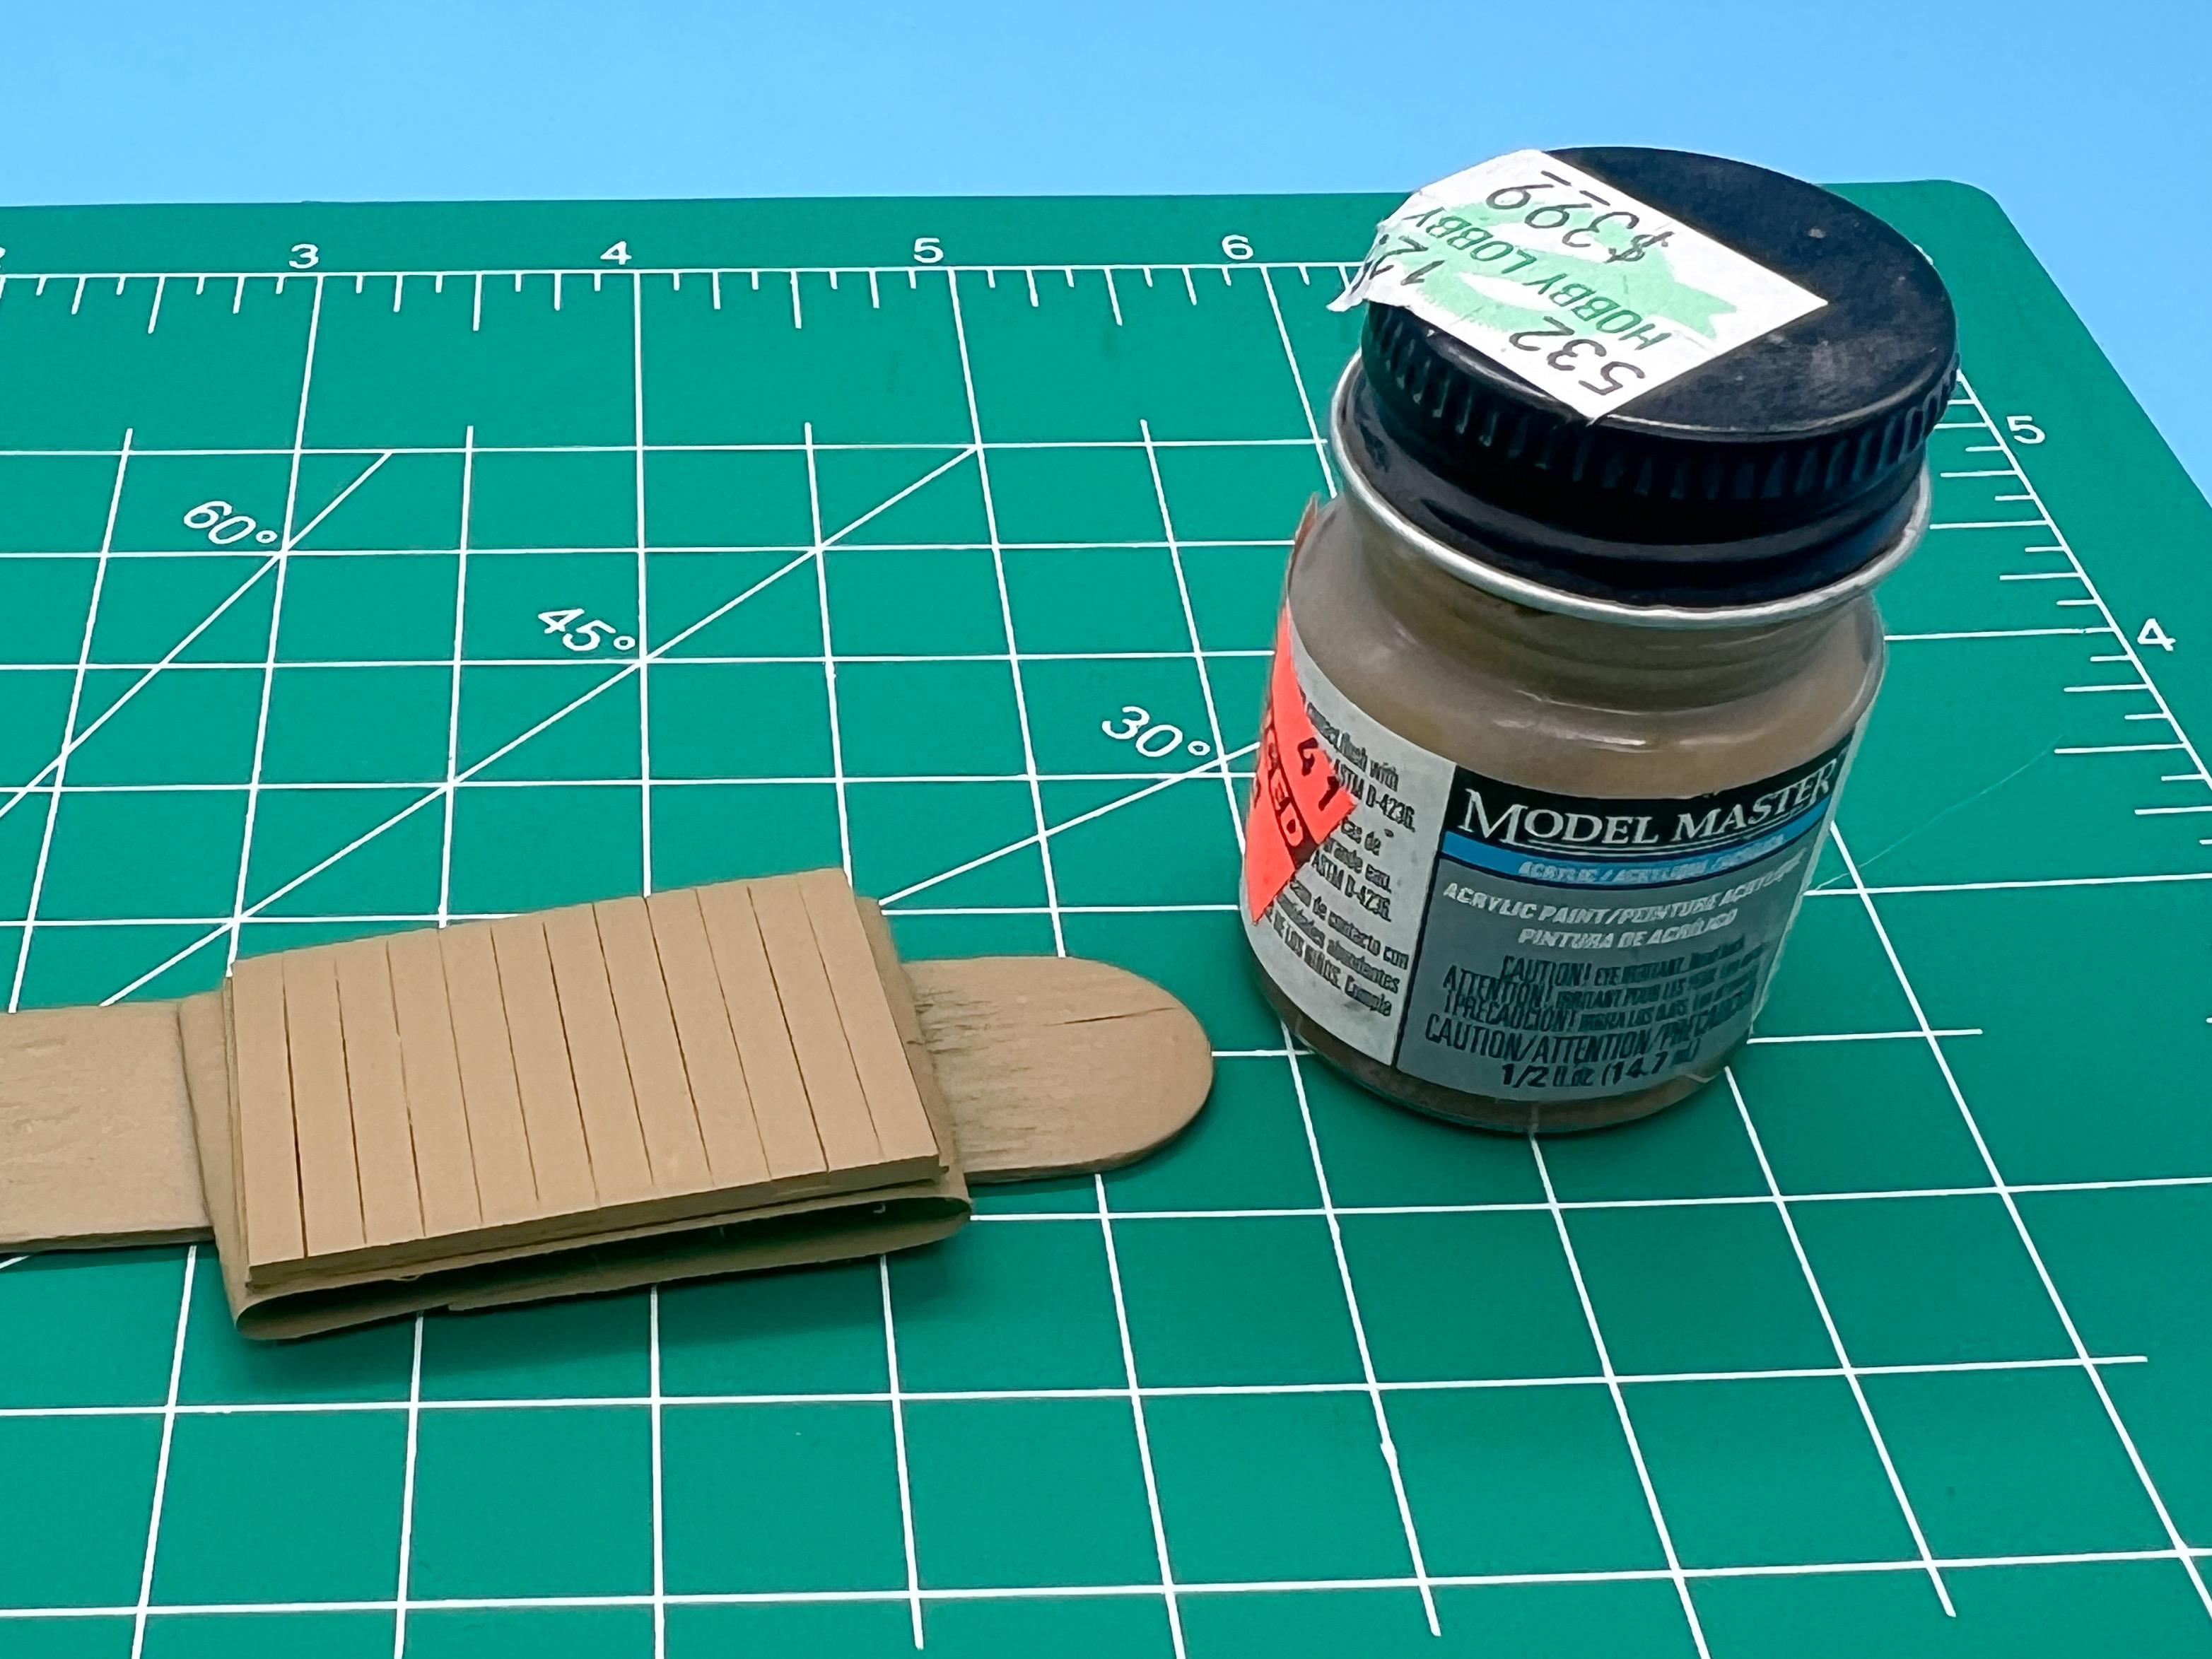
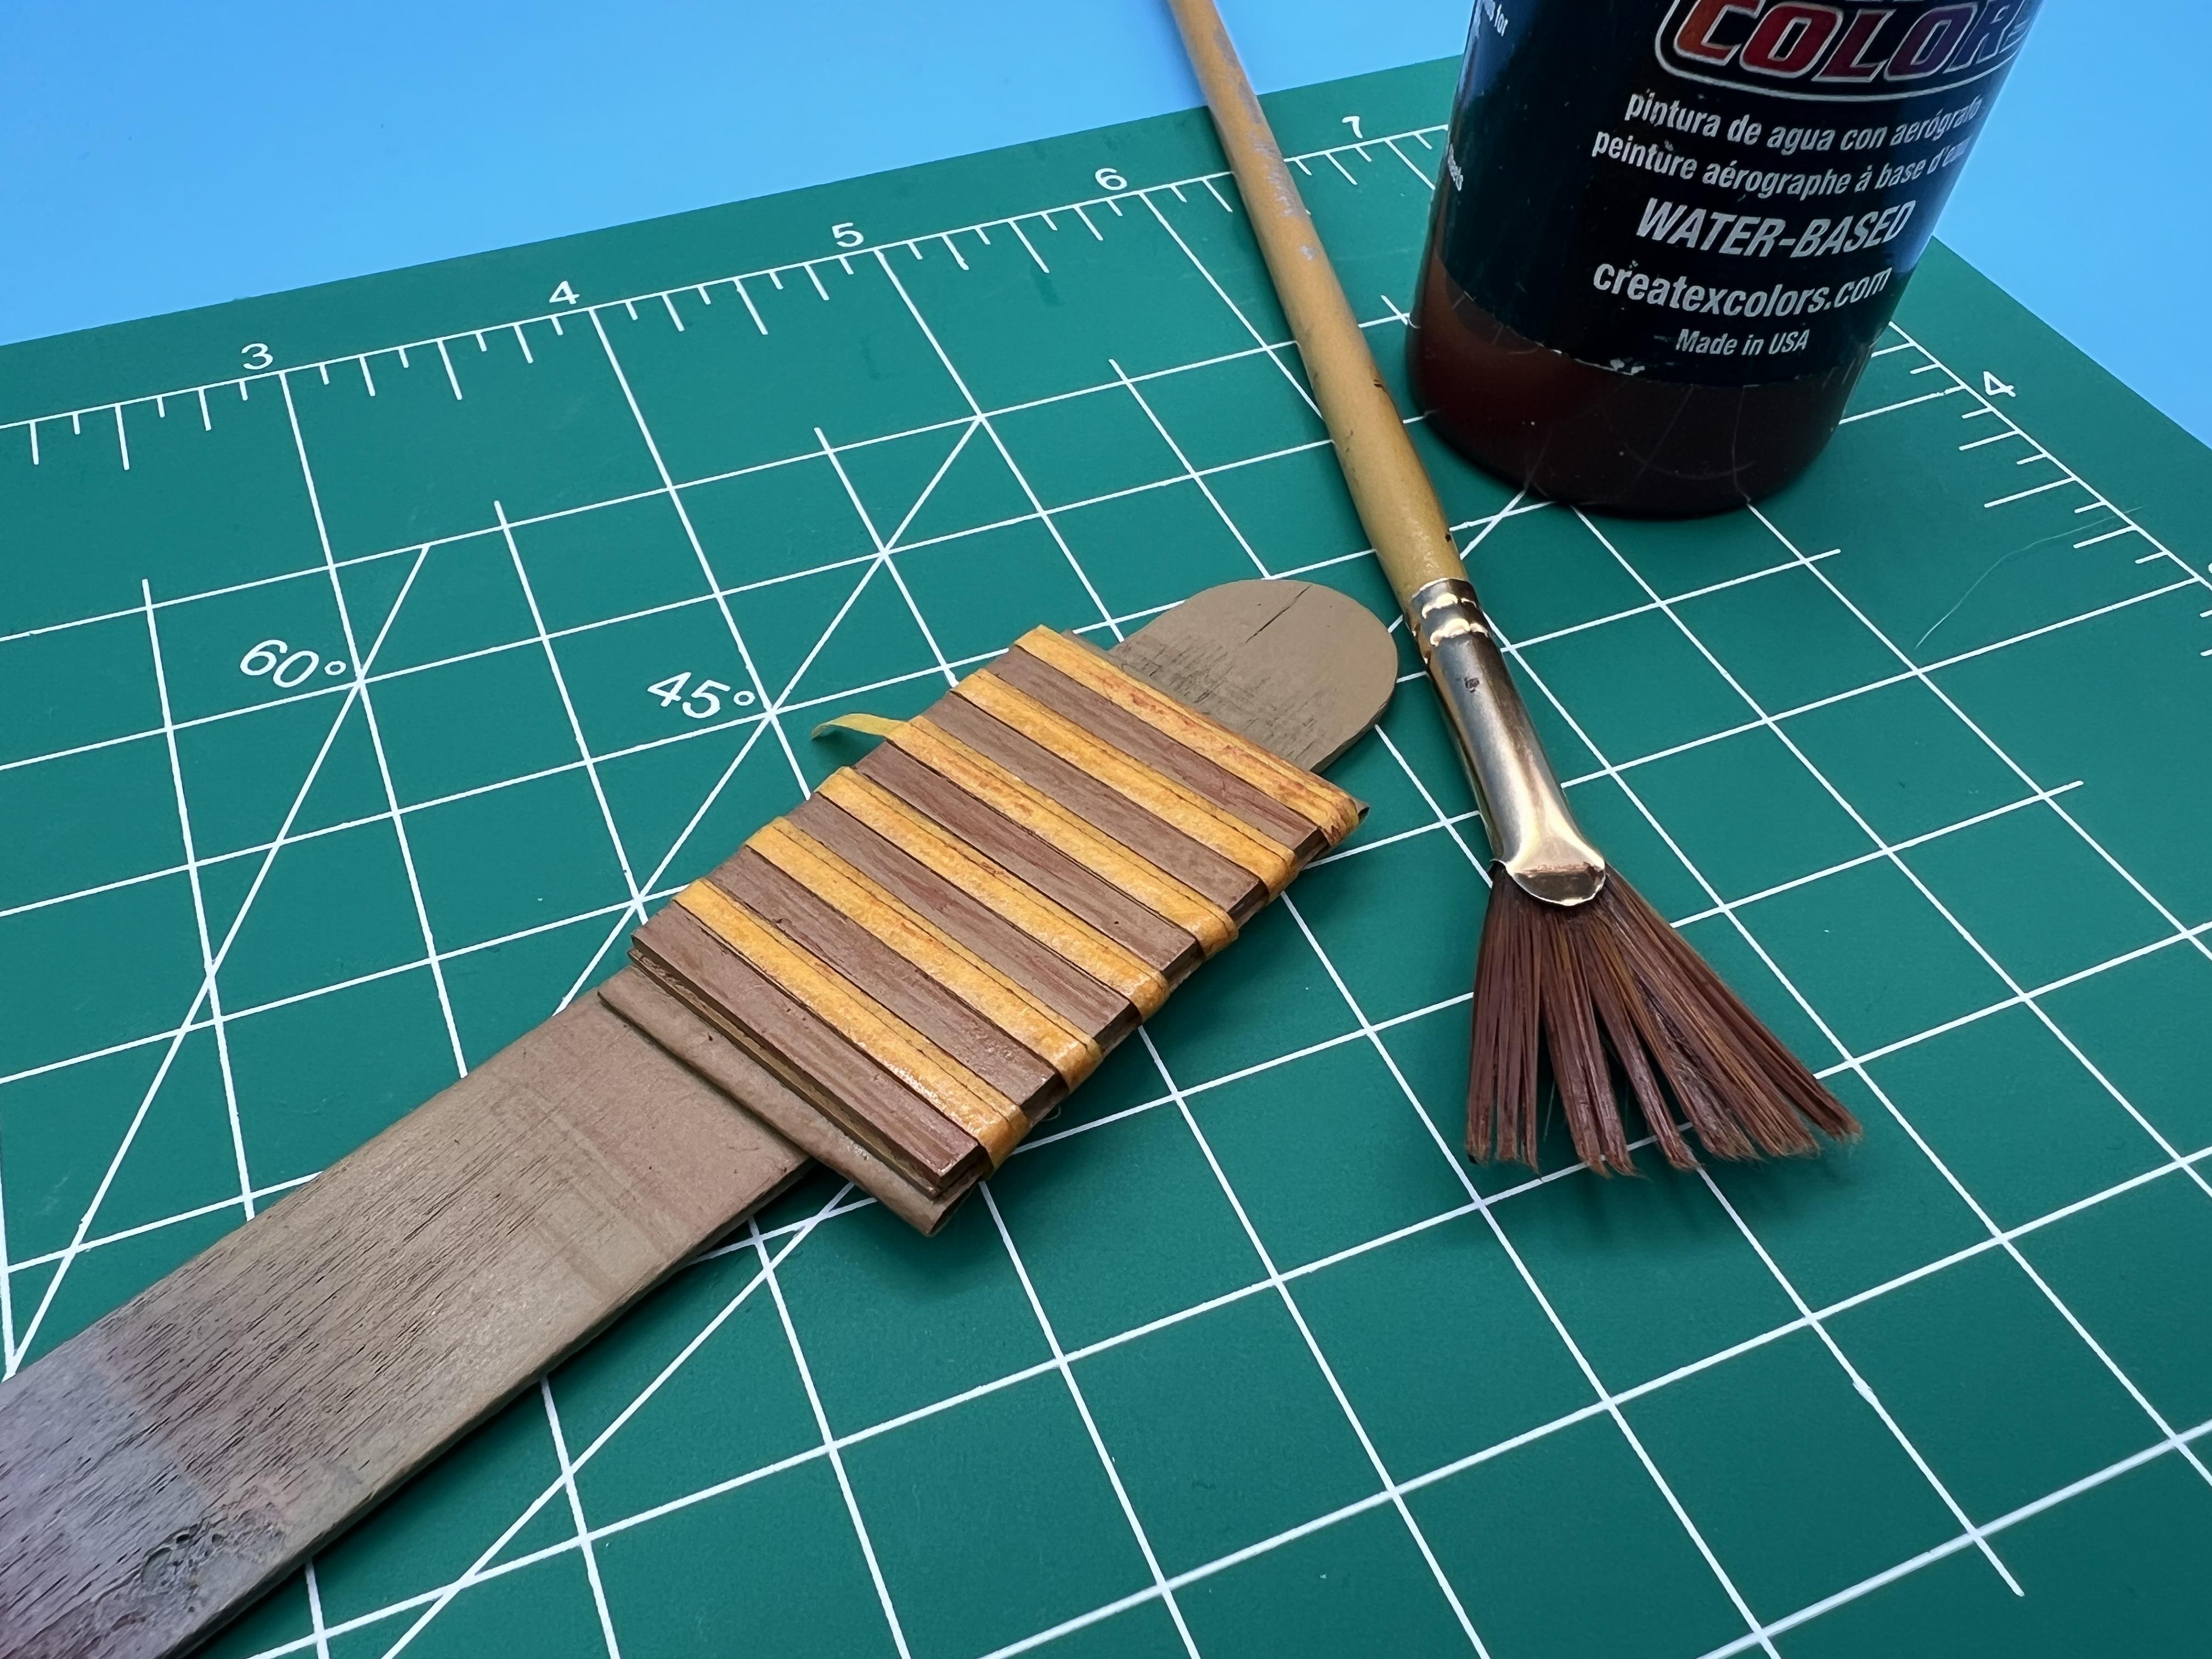
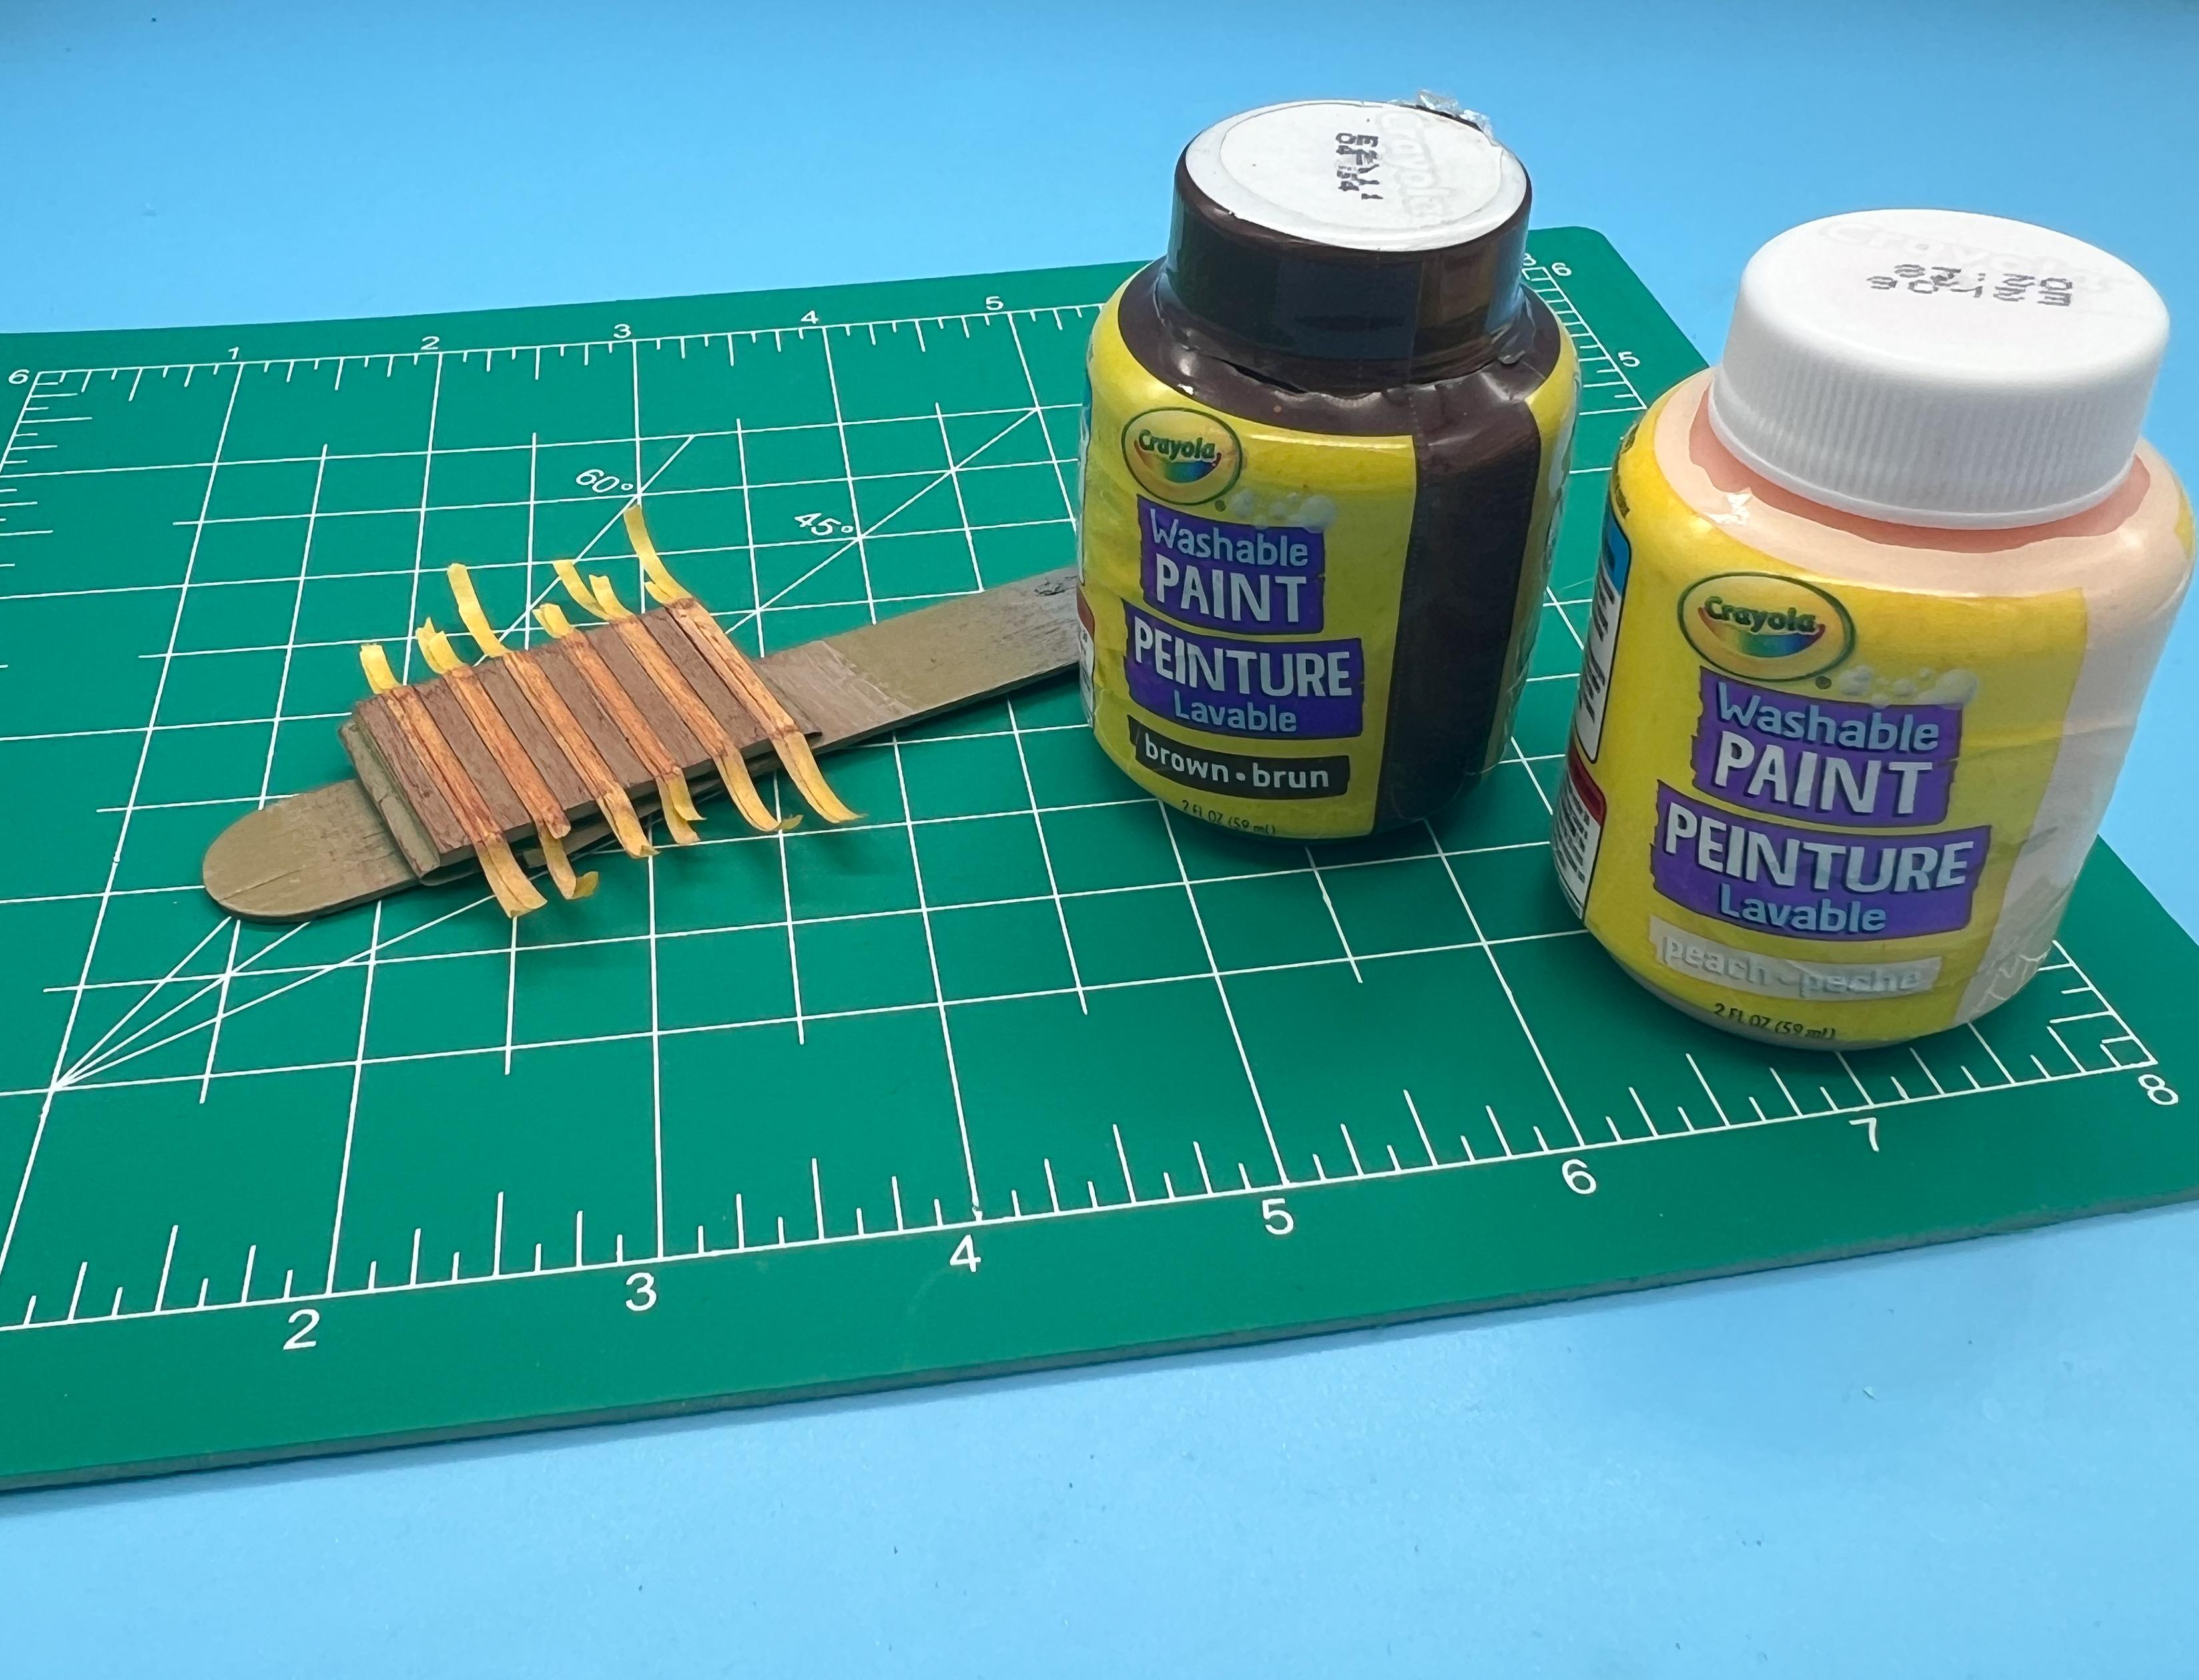
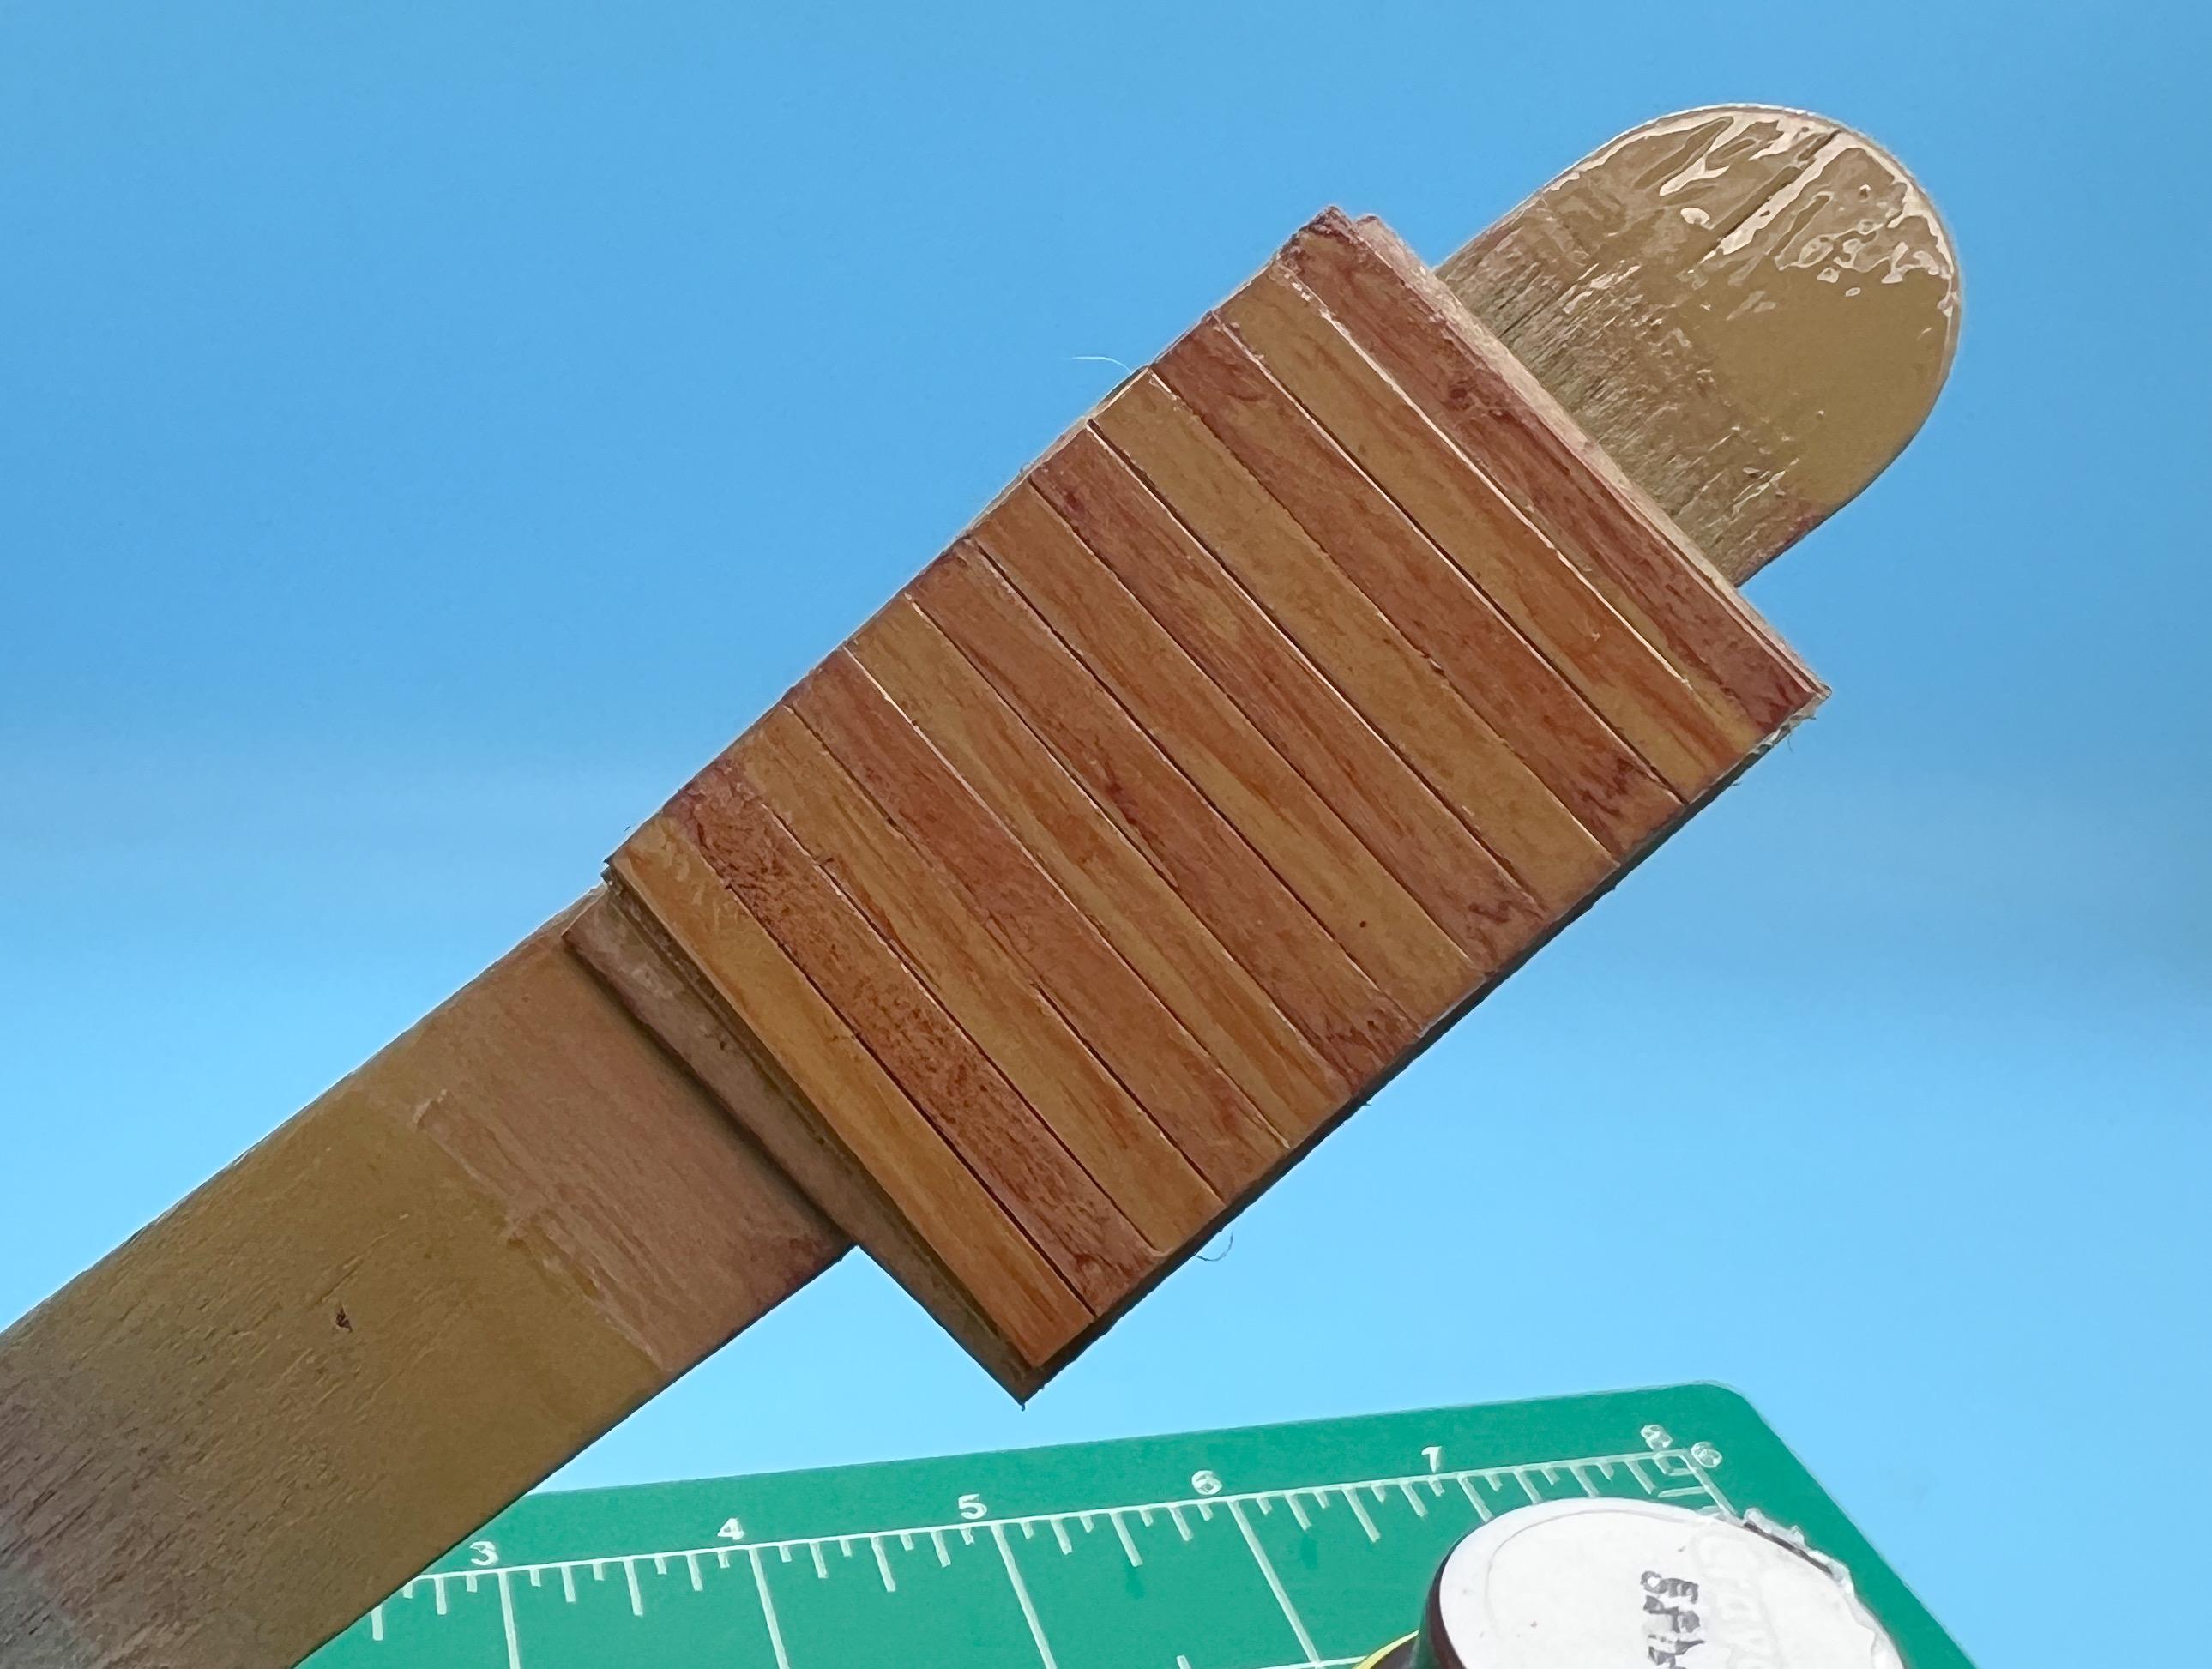
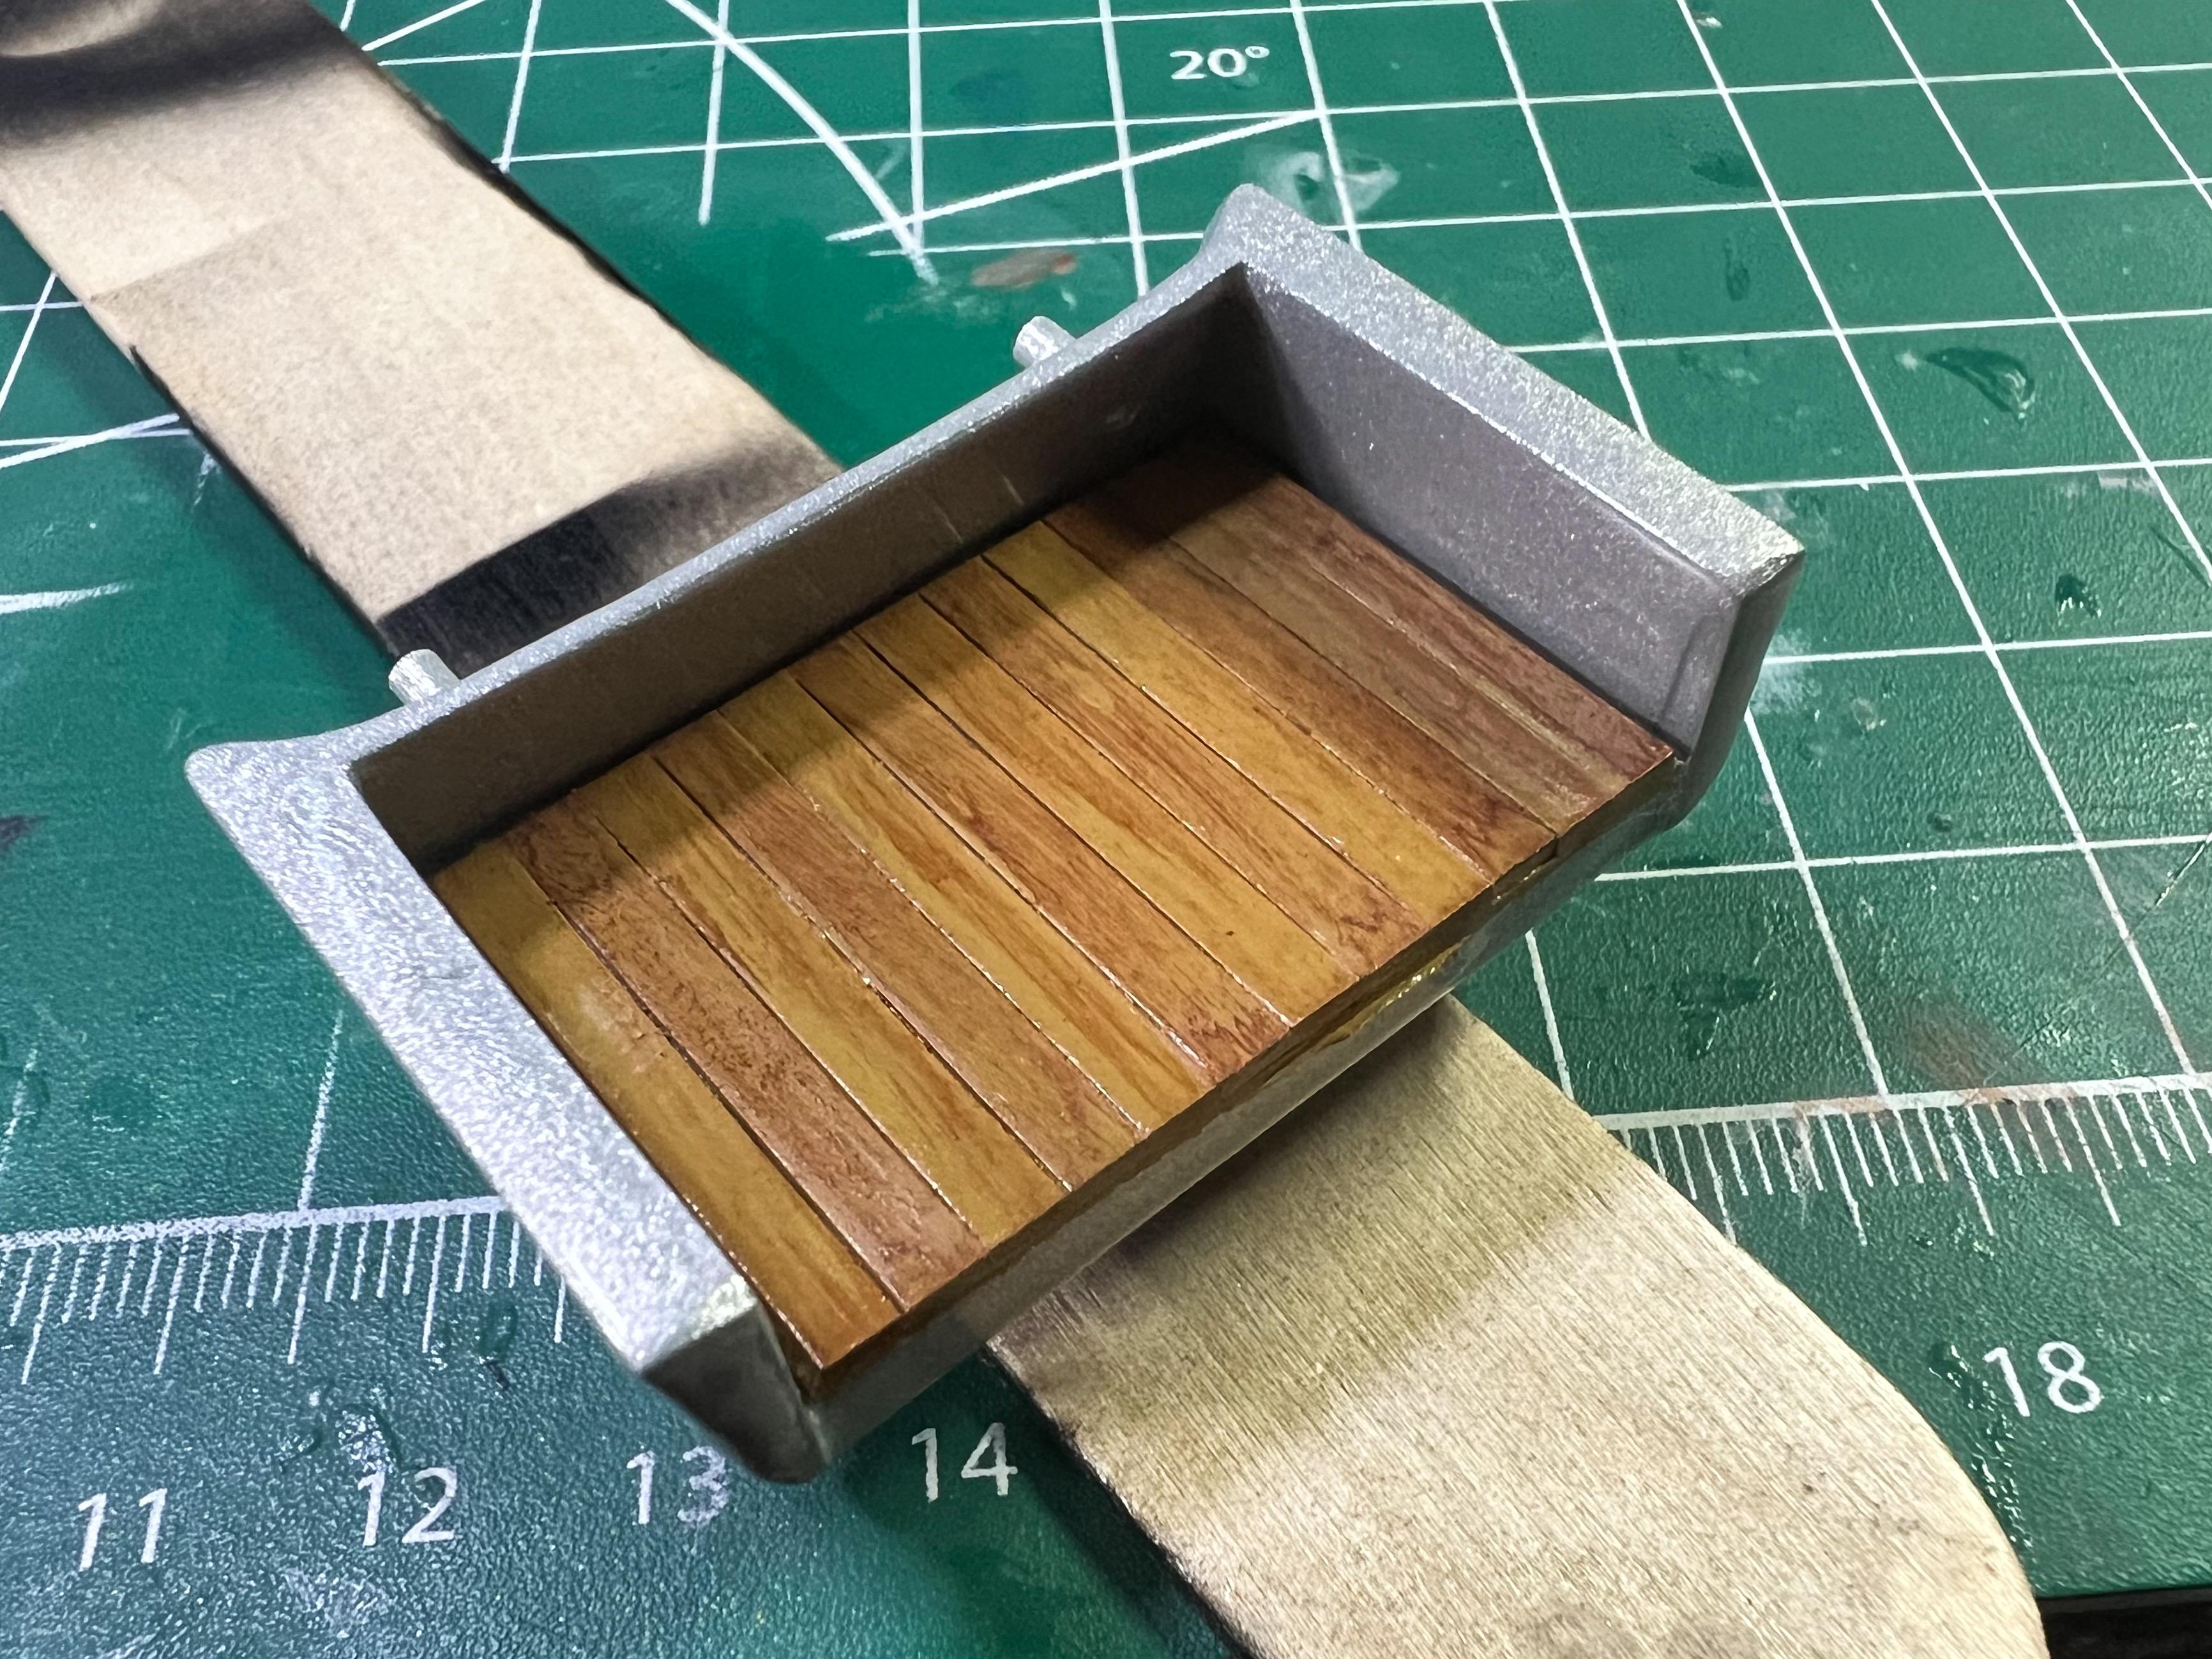
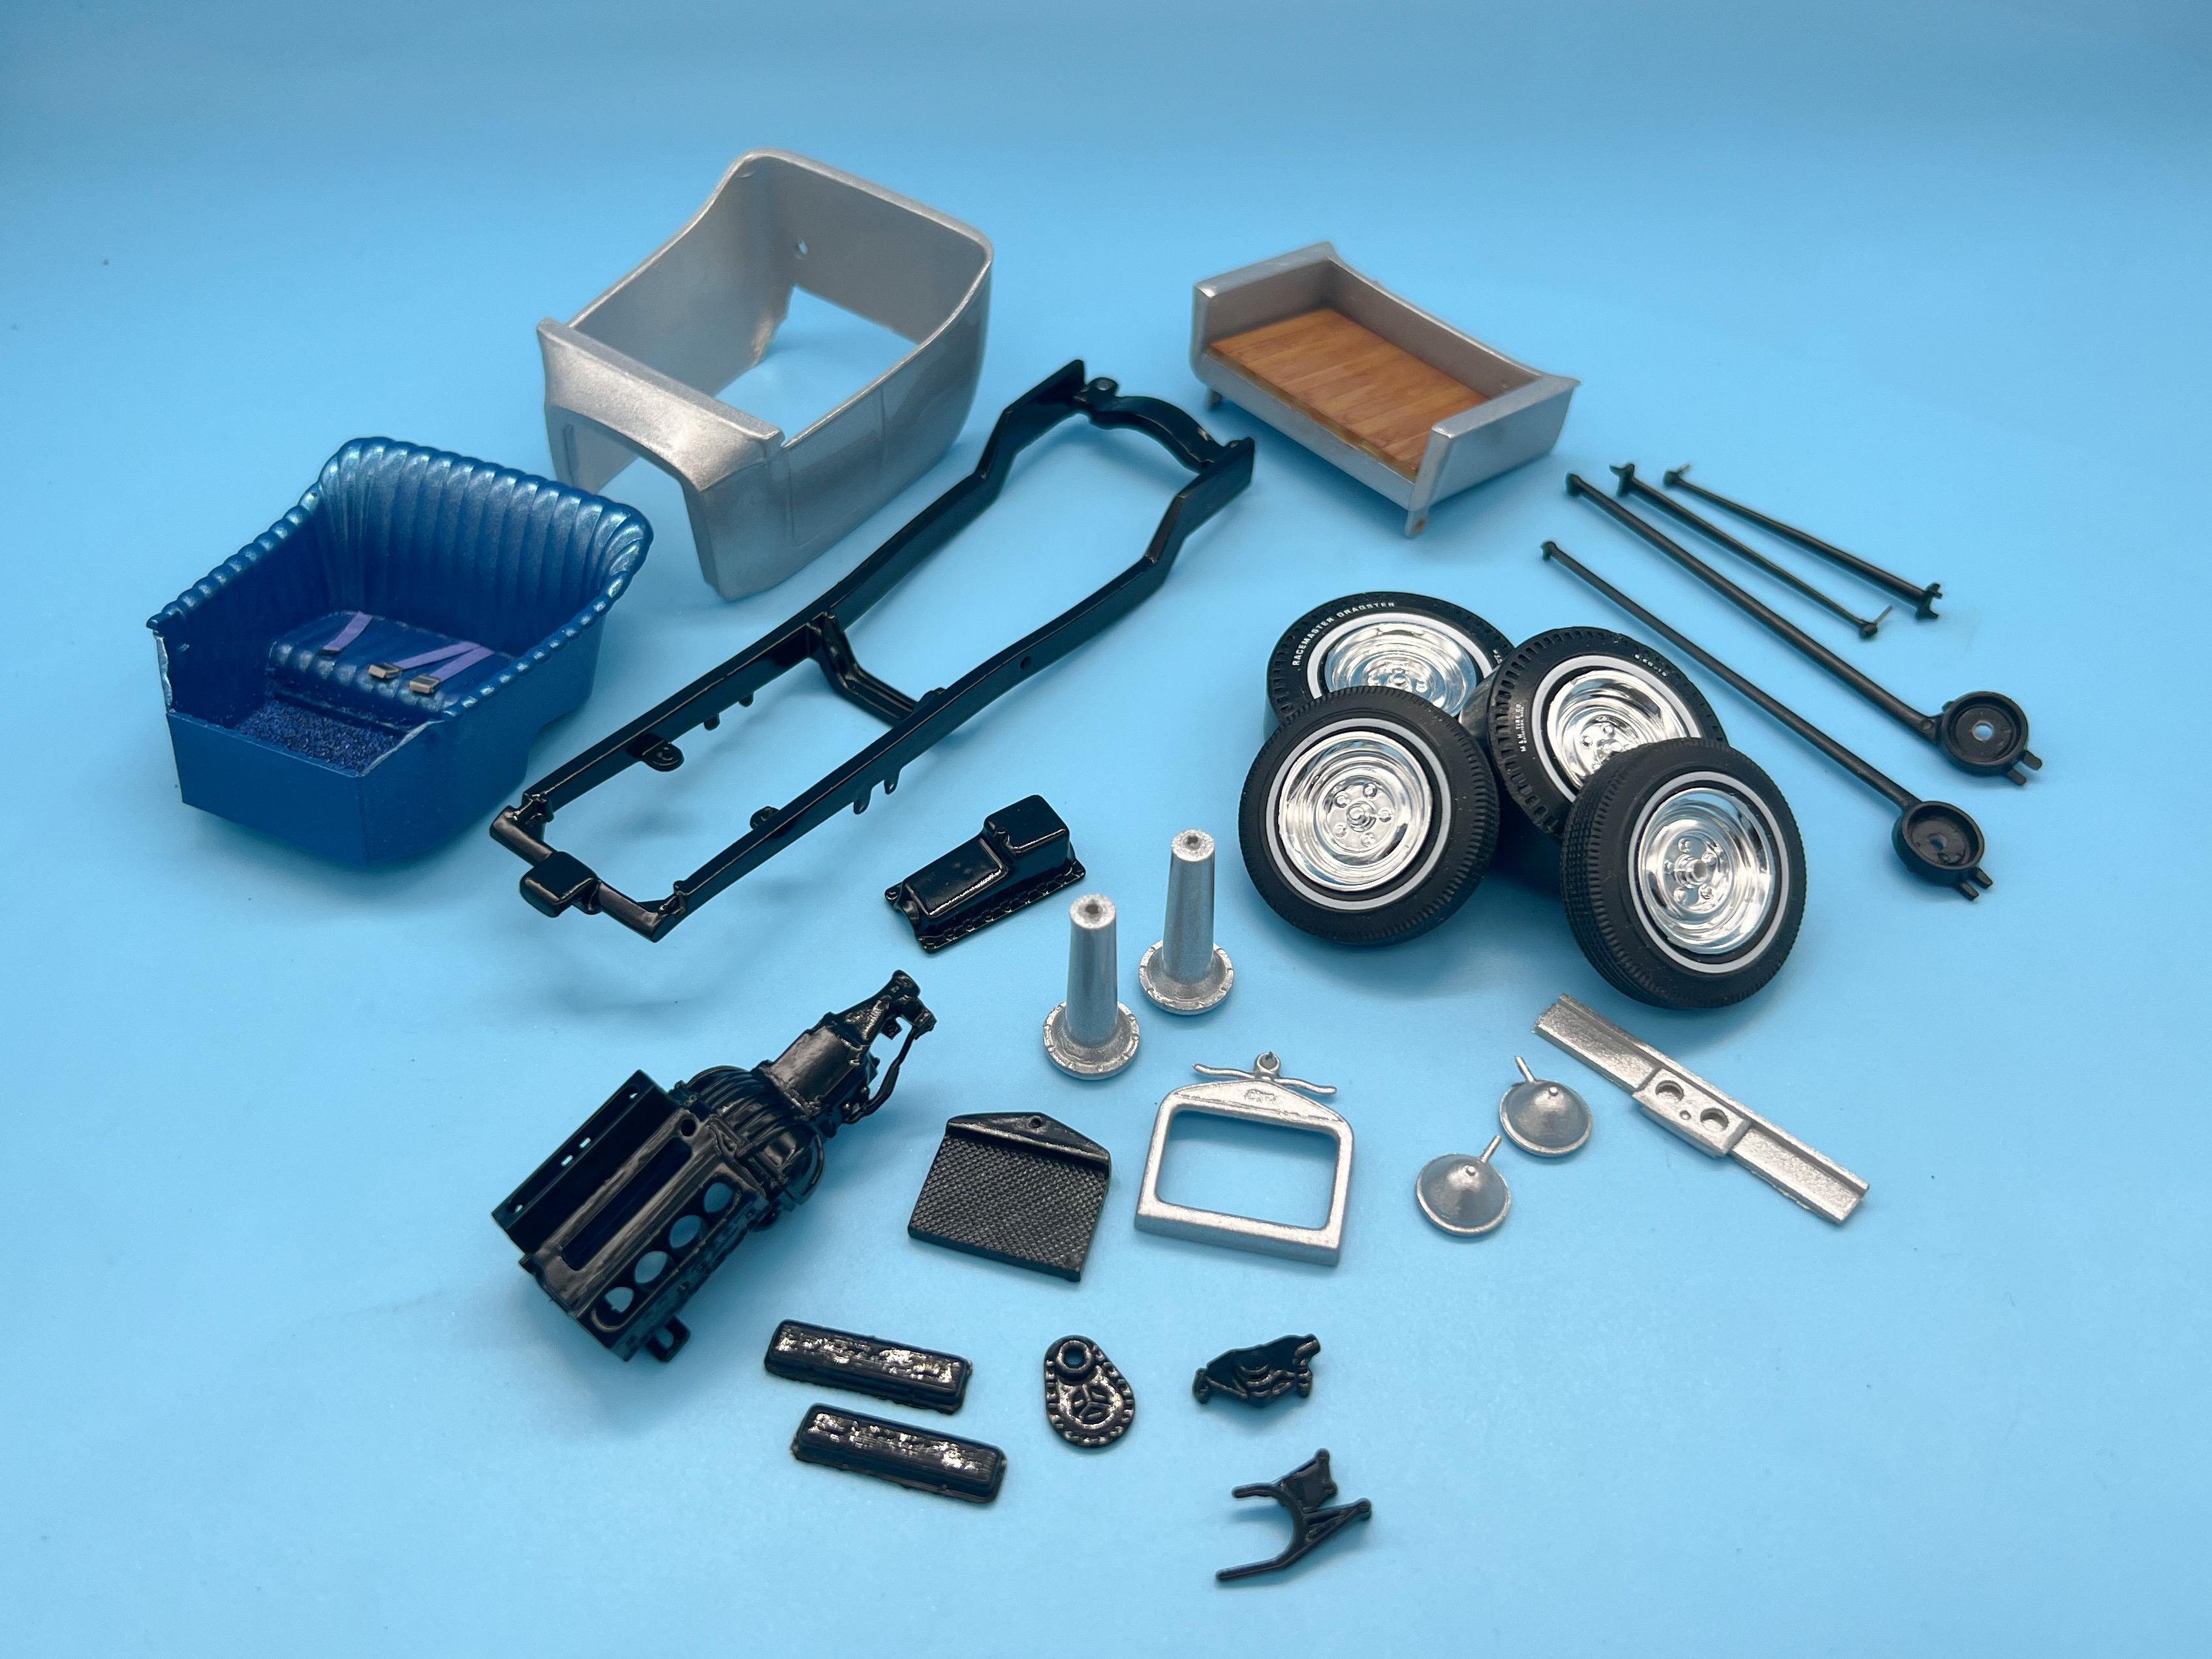
It’s Sunday night again folks, which means and weekend of progress(ish) in the bag…spent most of the past week in that endless cycle of sanding, priming, painting and clearcoating…but I got a nice stack of parts to show for it by week’s end… Engine is going mostly black, with some chrome…I debated silver but decided to keep most of the frame and suspension and running gear darker to help make that flaky body pop some more… Had a bunch of little chrome parts to spray, and I haven’t practiced my Alclad skills in a while so I shot them with enamel black, Testor’s enamel clear and then the chrome: Actually, a few of these parts got a satin enamel black base rather than gloss, to add a little variation in finish but without adding more colors into the mix…more on that when I get to assembly… Speaking of color mixing, I picked up some blue embossing powder for the interior carpet but it was too bright - added some black with a pinch of silver to get the tone close to what I had imagined: The steering column comes right up between the driver’s legs, and although lapbelts probably weren’t super common in 60s era T-buckets I still would rather not smash my groin into that column if I had to brake suddenly if this were real, so it got some simple lapbelts: Adds a little much-needed detail to the interior at least: Next project was making a wooden floor for the bed. Used some sheet styrene and styrene strip to make the floor: Shot the whole thing with Testor’s wood: Masked half, and added some woodgrain: Then removed the mask, sealed my work in with some lacquer clear, just a dusting, remasked the planks I hadn’t touched yet and gave them a coat of Crayola Peach to change the tone of the wood a little, then Crayola brown: Remove the masks, and voila! I’m still practicing woodgrain painting, but it looks ok I think: The pile of almost-ready-to-assemble parts is growing! Plenty more to do still, but it’s getting closer…thanks for looking - more soon!
-
AMT Hippie Hemi AMT 605 Mini Review
OldNYJim replied to regular guy's topic in Car Kit News & Reviews
Thanks fellas! I have the Digger Cuda here but not the Hippie Hemi, and was curious…appreciate the answer! -
It’s so awesome to see you posting WIPs again John - I enjoy your work so much! Beautiful clean work on this one, as always - inspirational!
-
Nice start! That front axle is cool - who makes that file?
-
AMT Hippie Hemi AMT 605 Mini Review
OldNYJim replied to regular guy's topic in Car Kit News & Reviews
So, do the Hippie Hemi and the Digger Cuda share the old Garlitts rail frame? Same kit, different bodies? -
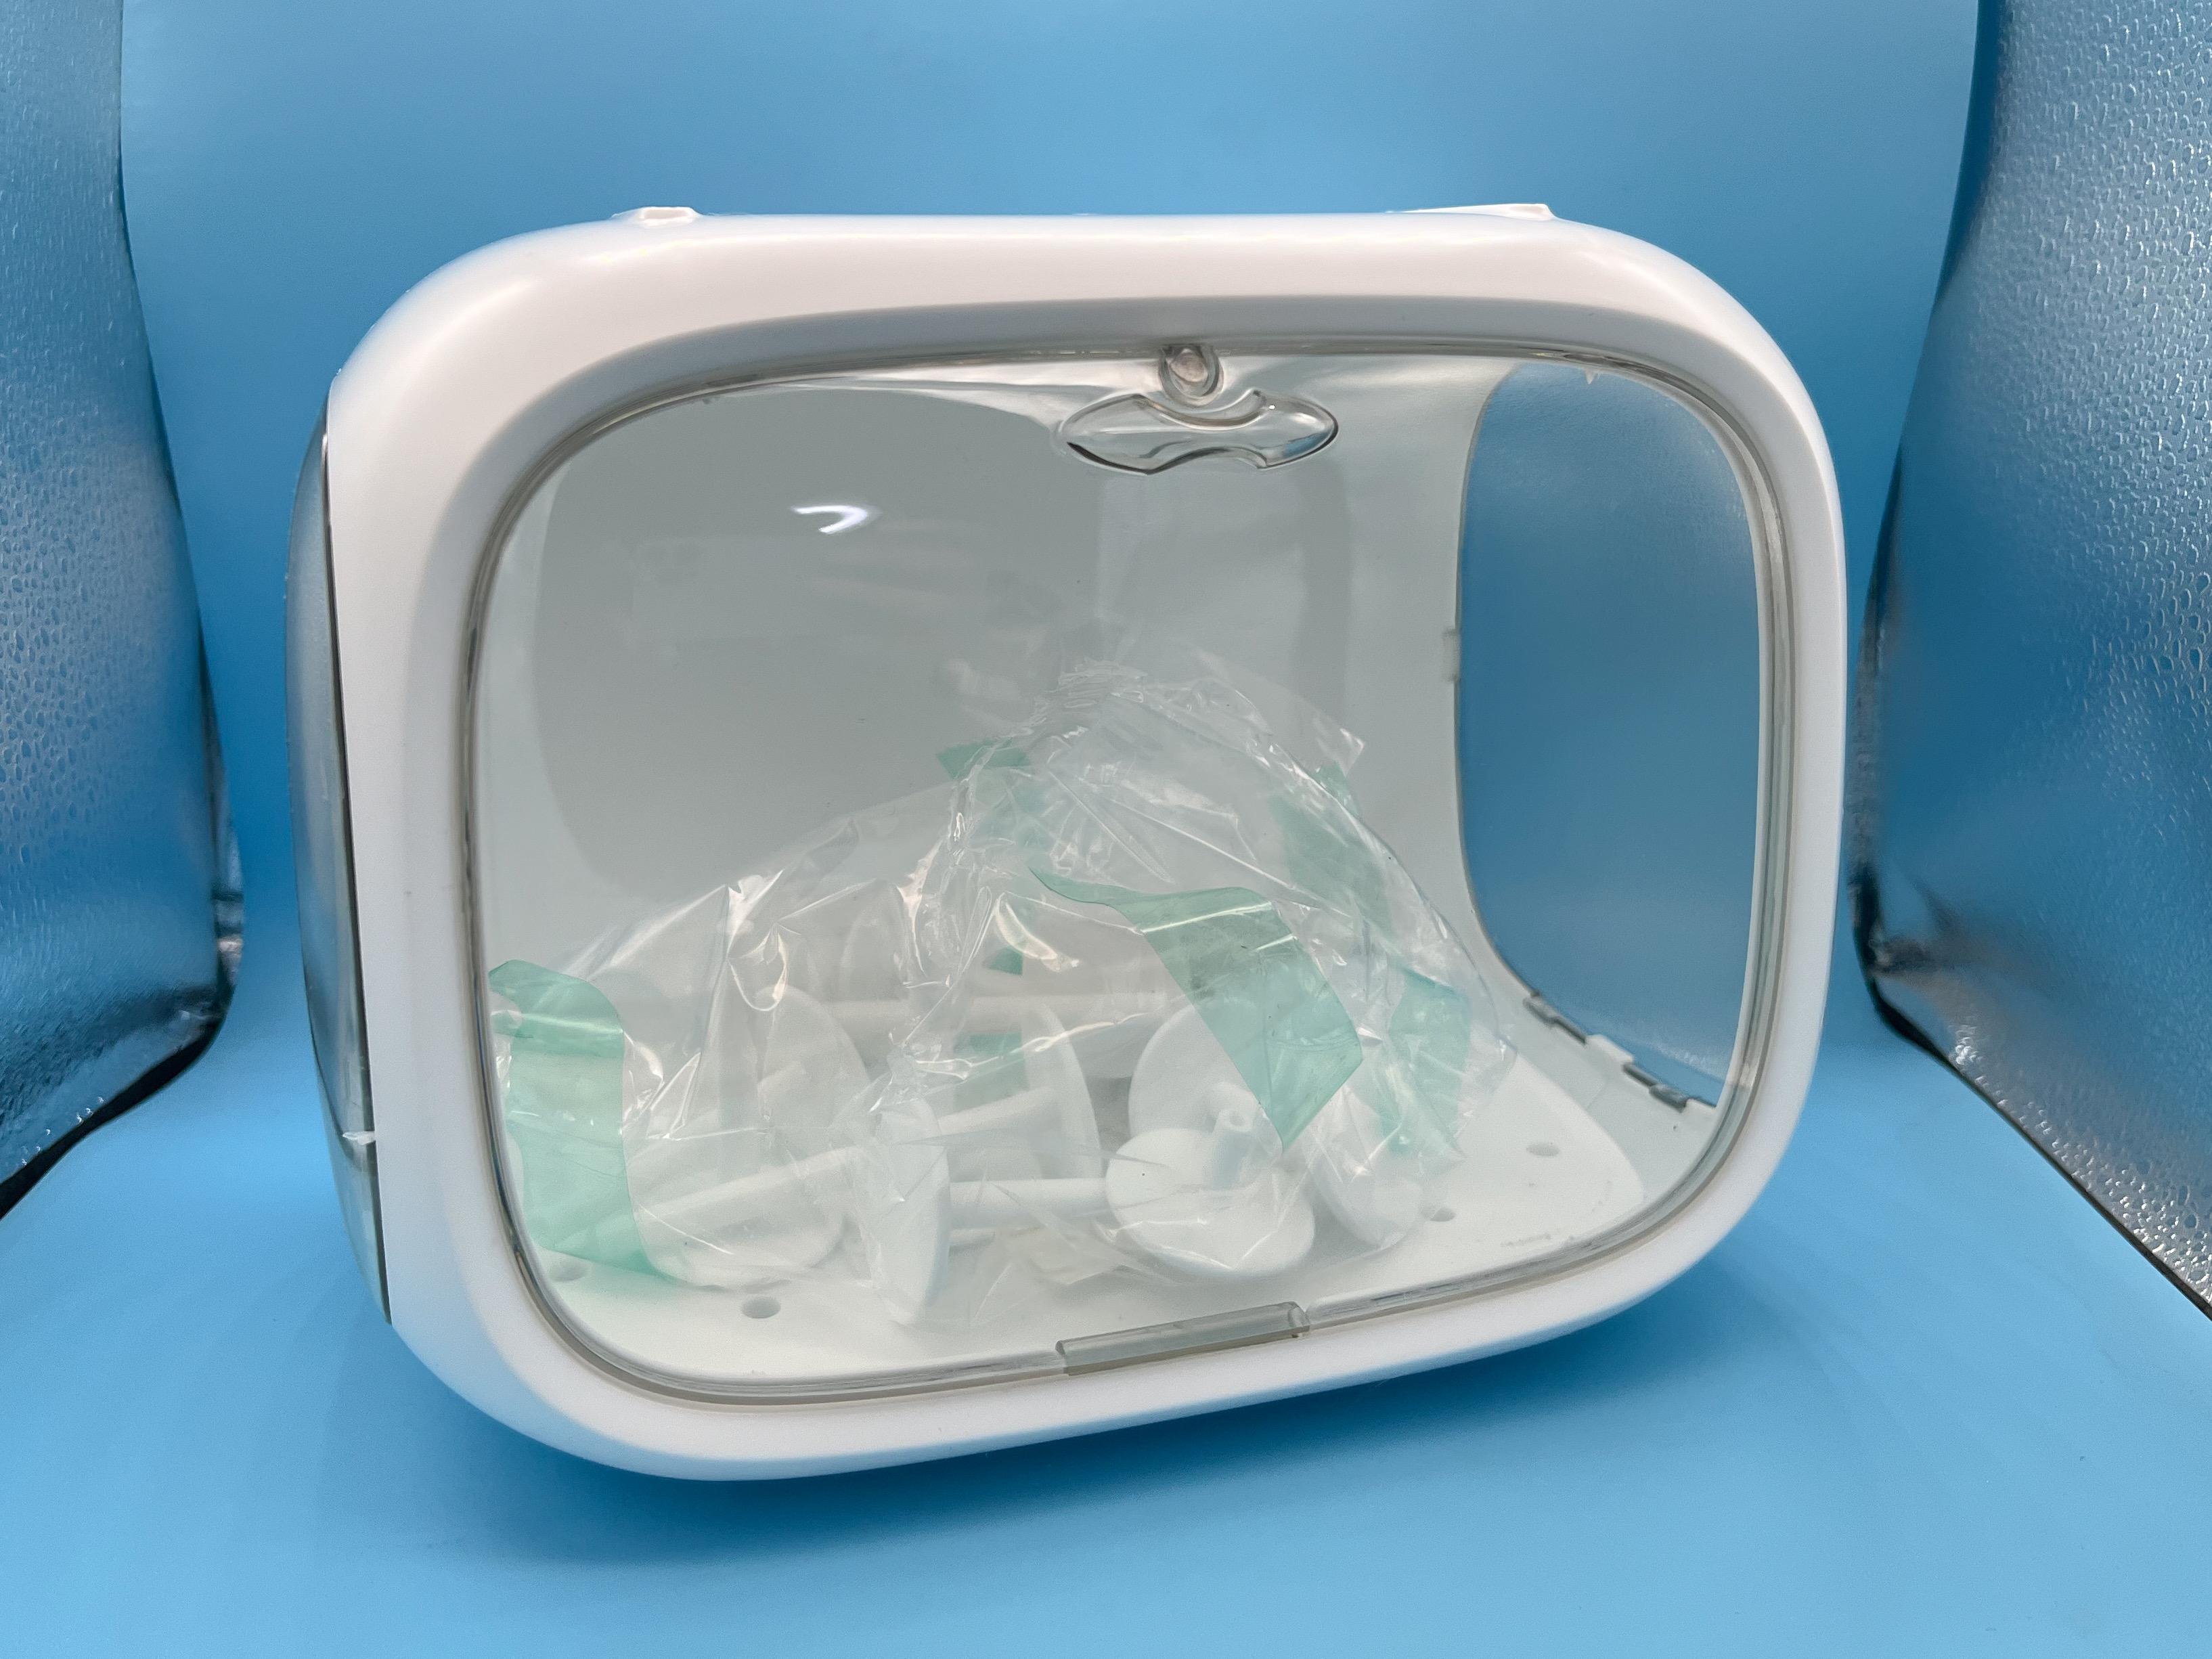
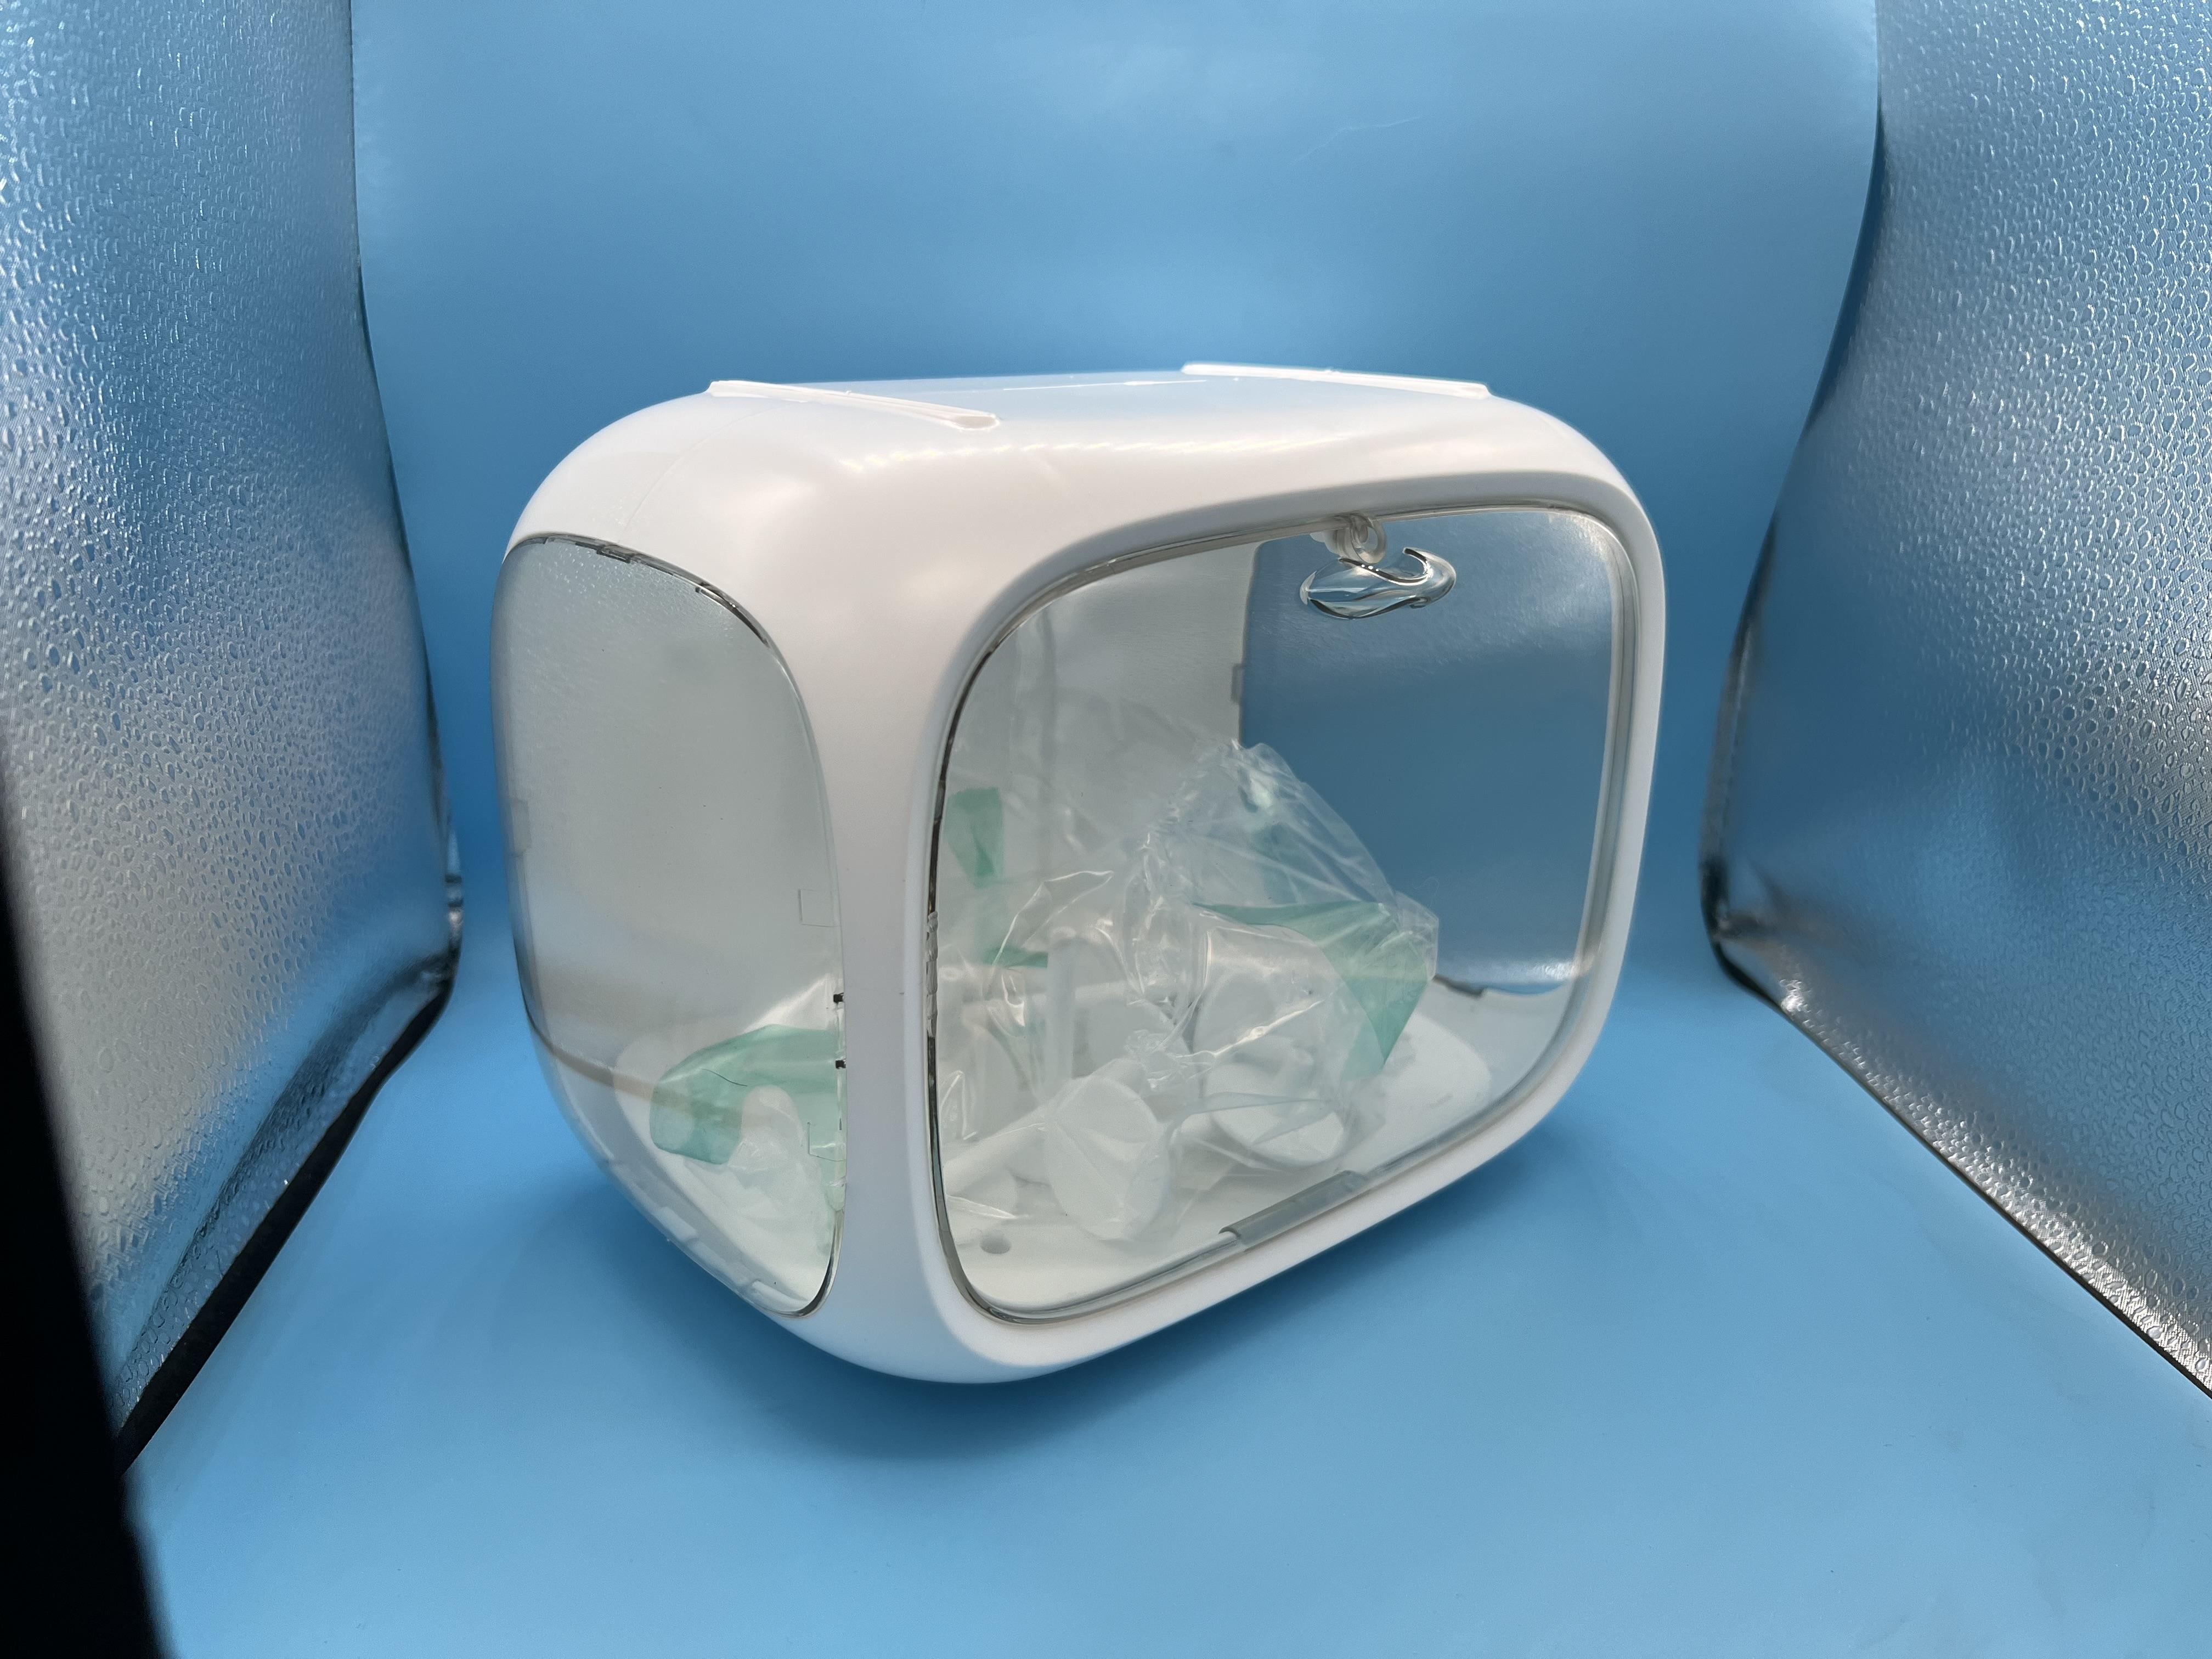
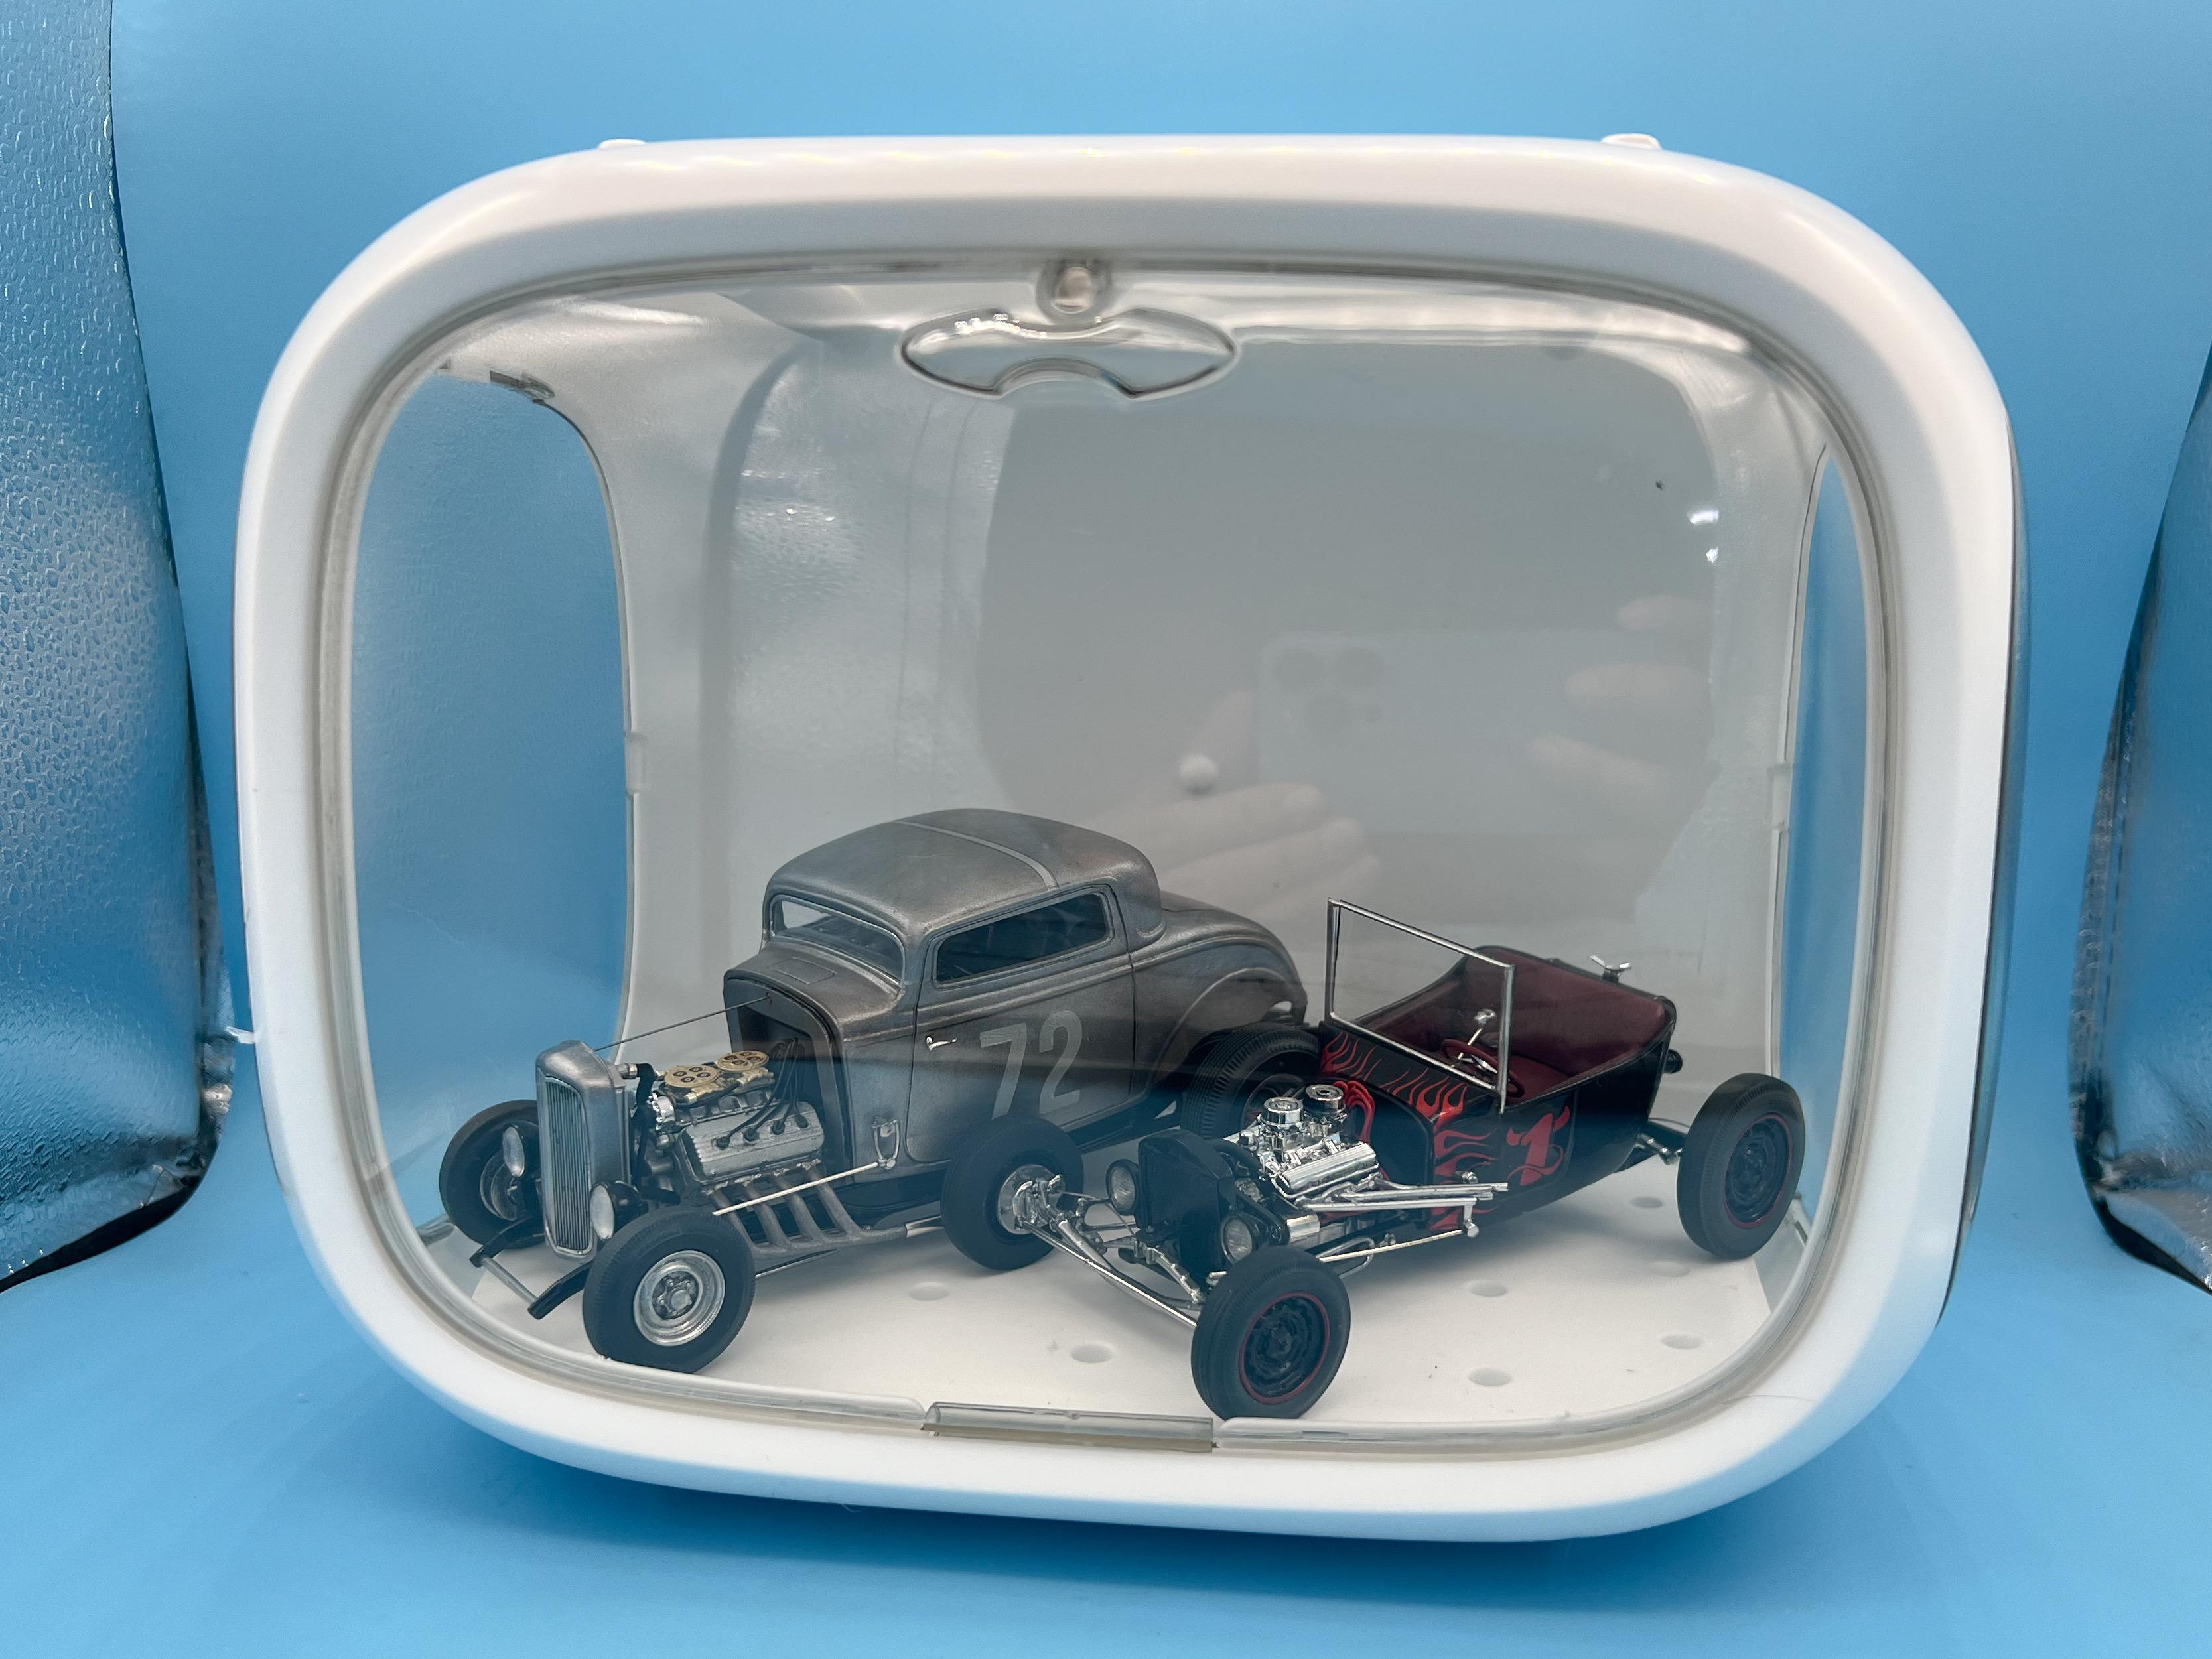
Spotted this cool display case on Amazon, and it was super cheap so I picked one up to see how it looked… (Only just fits in my photobooth so excuse the pics…) Looks kinda 60s-futuristic, which I liked - comes with some battery powered LEDs and some stand-offs so you can display whatever you put in it at an angle or elevated from the base. Plus, they’re stackable, which I liked…it’s a little too tall for one regular car build, and a little too tight for two, but I got a Deuce and a T Bucket in there ok Would make a cool little display for the right project…
-
1/12 Tamiya Williams FW14B
OldNYJim replied to okazaki0511's topic in WIP: Other Racing: Road Racing, Land Speed Racers
Beautiful work! Look forward to the next update!! -
Nothing wrong with a small block! Staying tuned!!
-
Nice start - are you using the engine from the Infini-T, or something else?
-
Seeing as everyone seems to be building these lately…
- 38,867 replies
-
- 1
-
-
- johan
- glue bombs
- (and 1 more)
-
T-Bucket (the pickup kind)
OldNYJim replied to OldNYJim's topic in WIP: Model Trucks: Pickups, Vans, SUVs, Light Commercial
Oops, forgot to reply to this one, sorry….I really like Aleen’s tacky glue for stuff that I CAN’T pin in place (or don’t want to permanently glue yet) but anywhere I can I’m starting to use as many pins as I can. Those headers were a bear to drill for pins, but I was glad I did because they fit right in the block and hold in place perfectly everytime without even a drop of glue. This poster tack is SUPER useful too: https://a.co/d/4ZVorrd It’s endlessly readable and you can ball it up to be just the right size to support whatever you need it to - and it’ll hold about anything to about anything else and pull right off when you’re done -
T-Bucket (the pickup kind)
OldNYJim replied to OldNYJim's topic in WIP: Model Trucks: Pickups, Vans, SUVs, Light Commercial
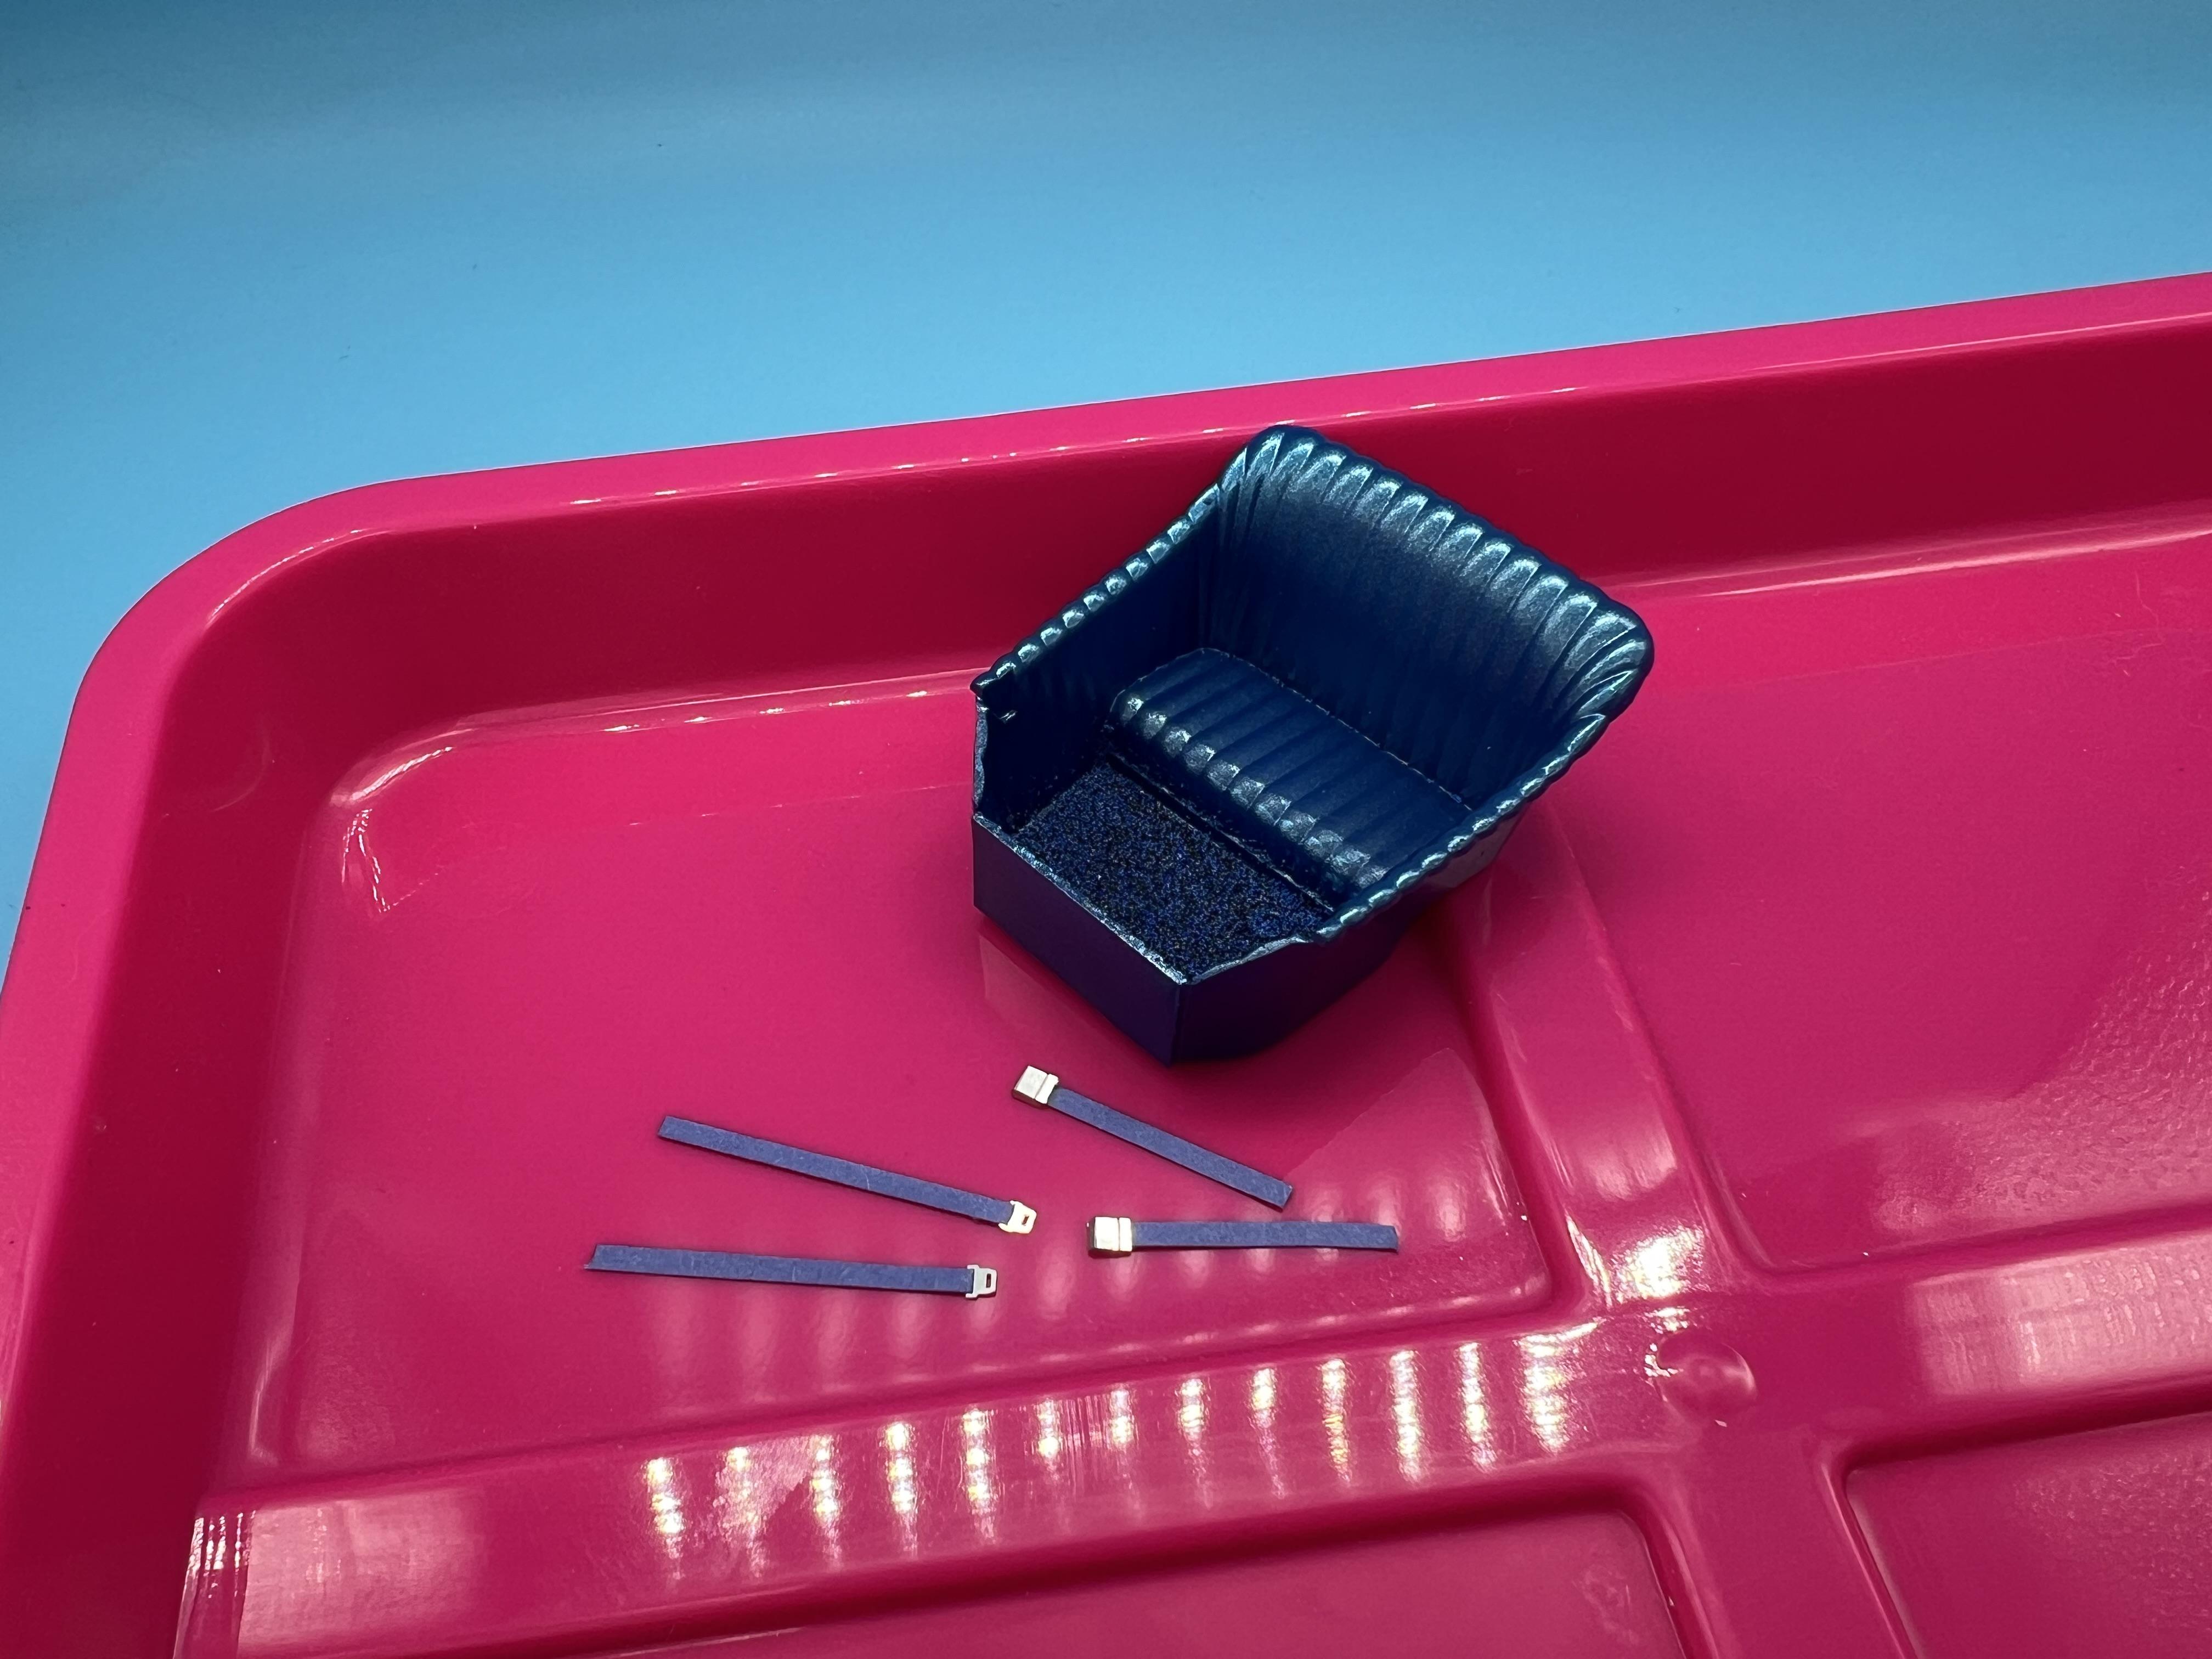
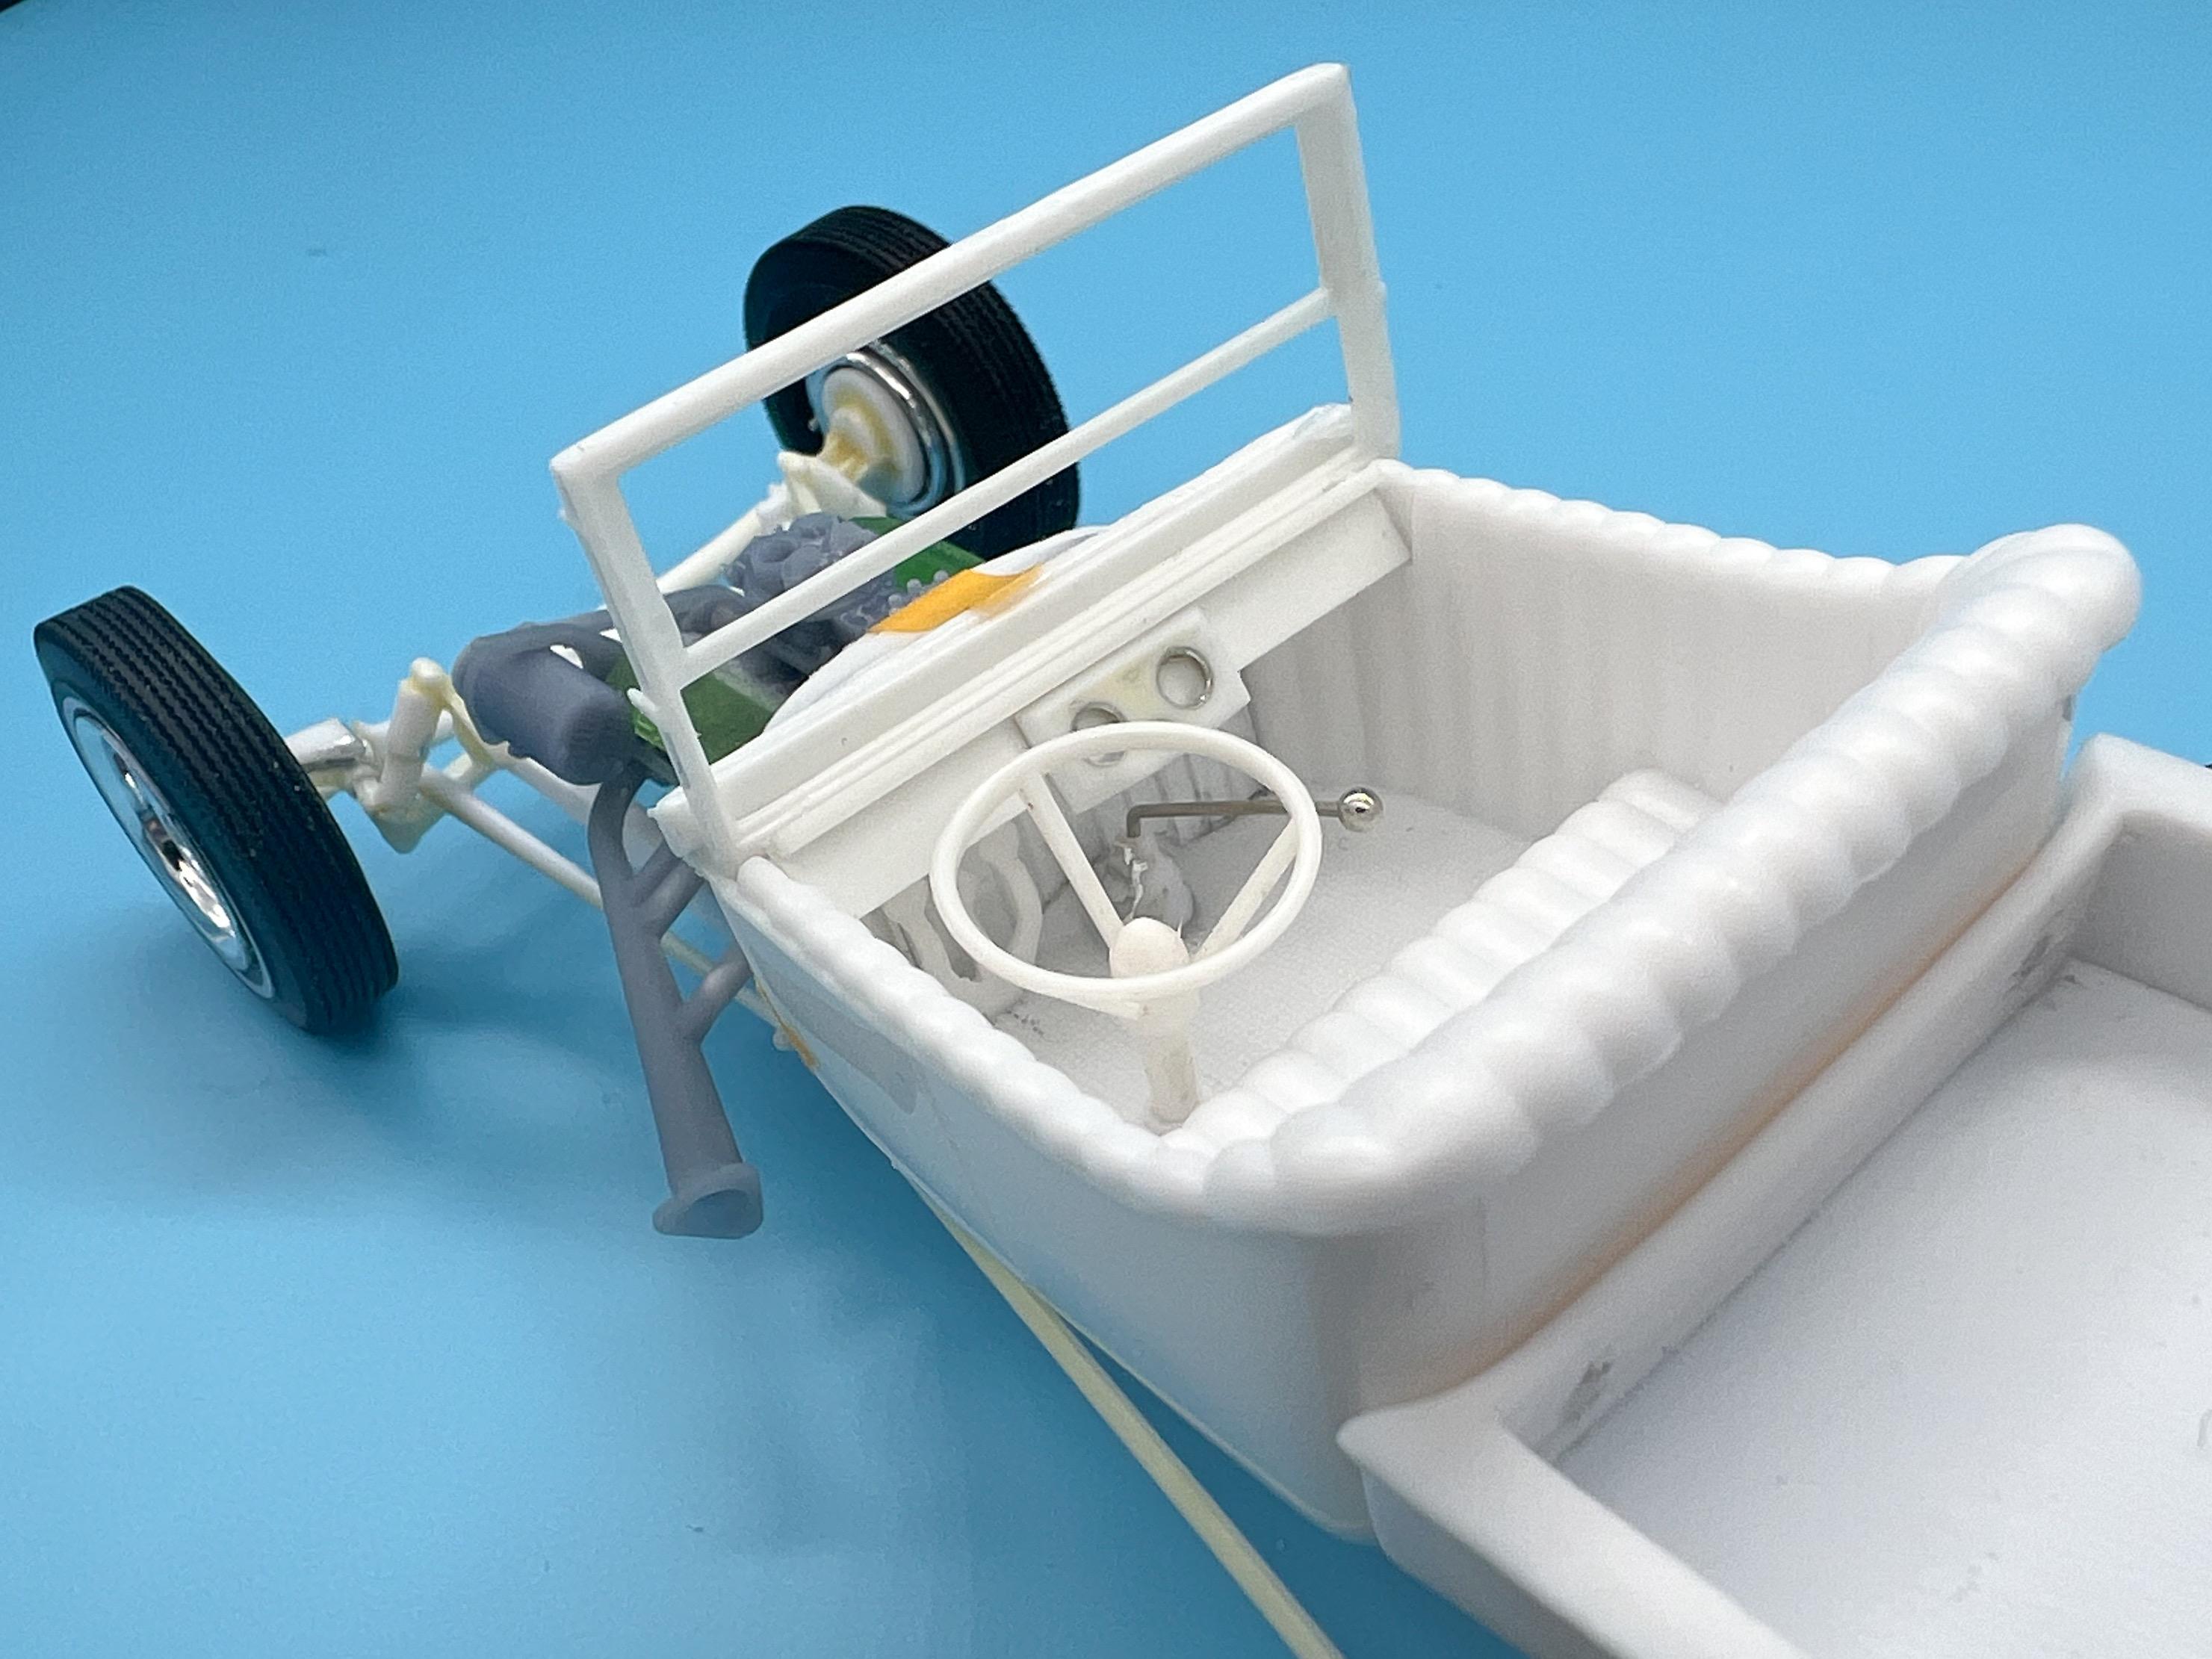
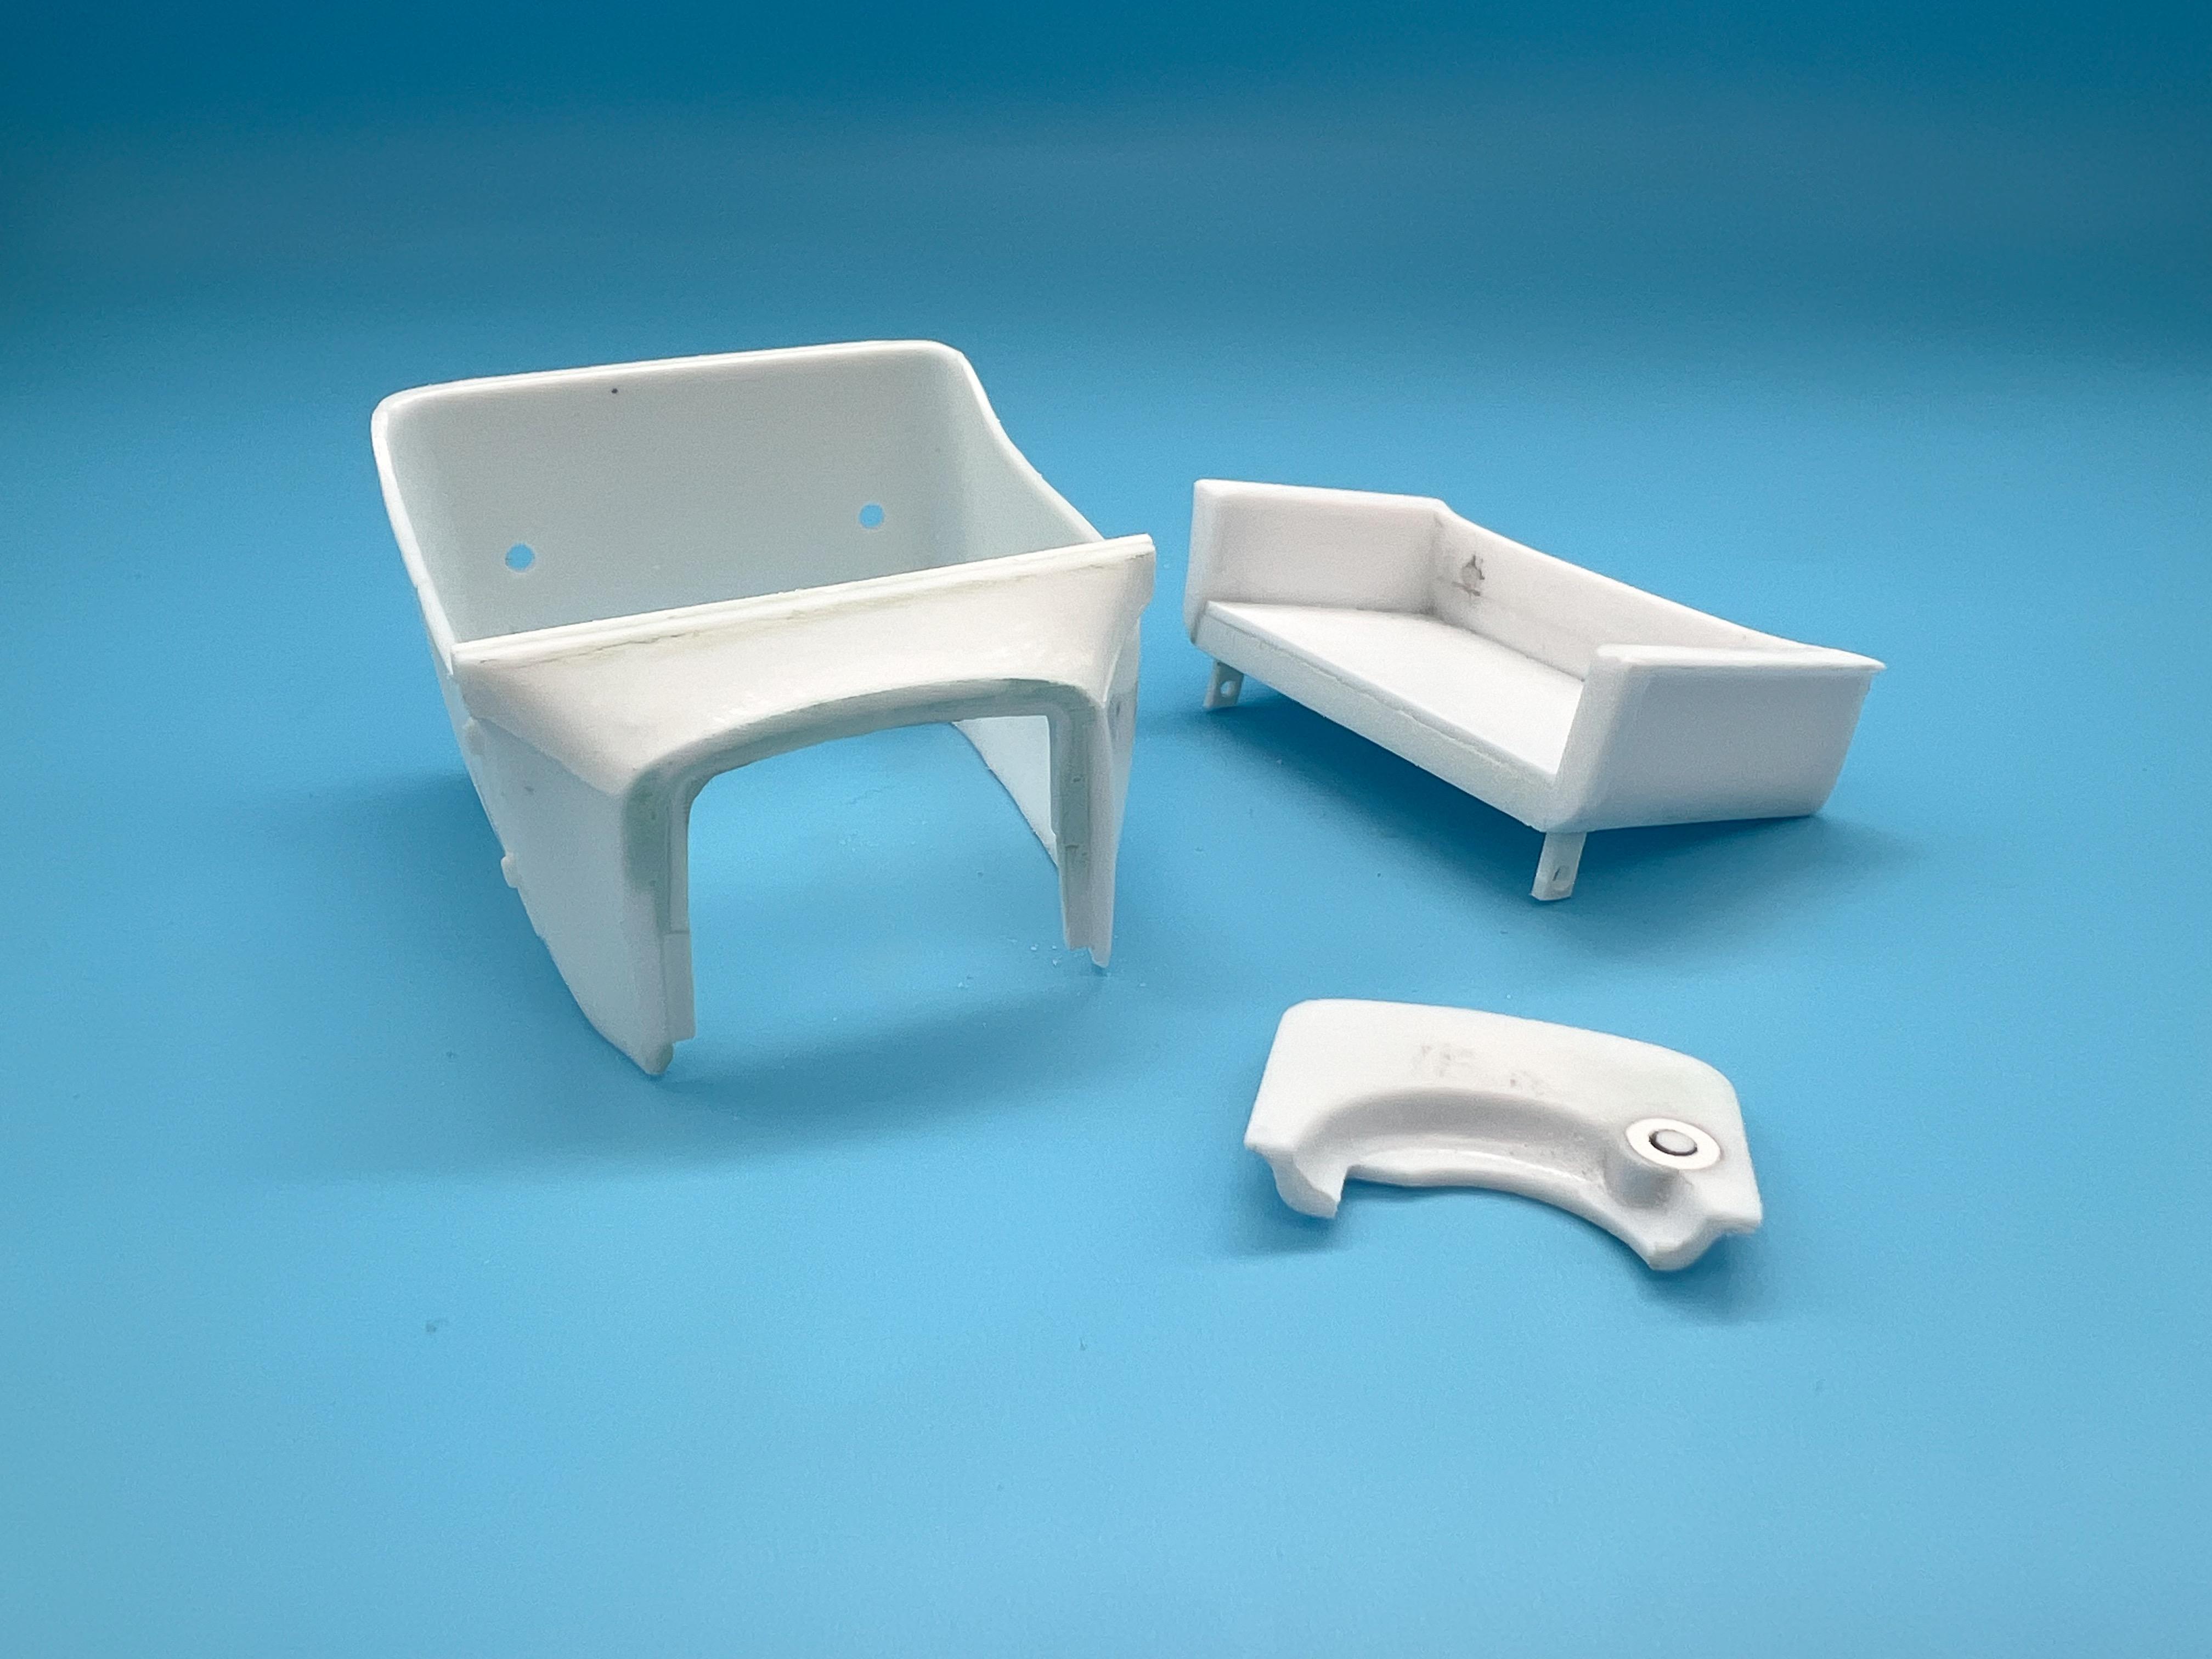
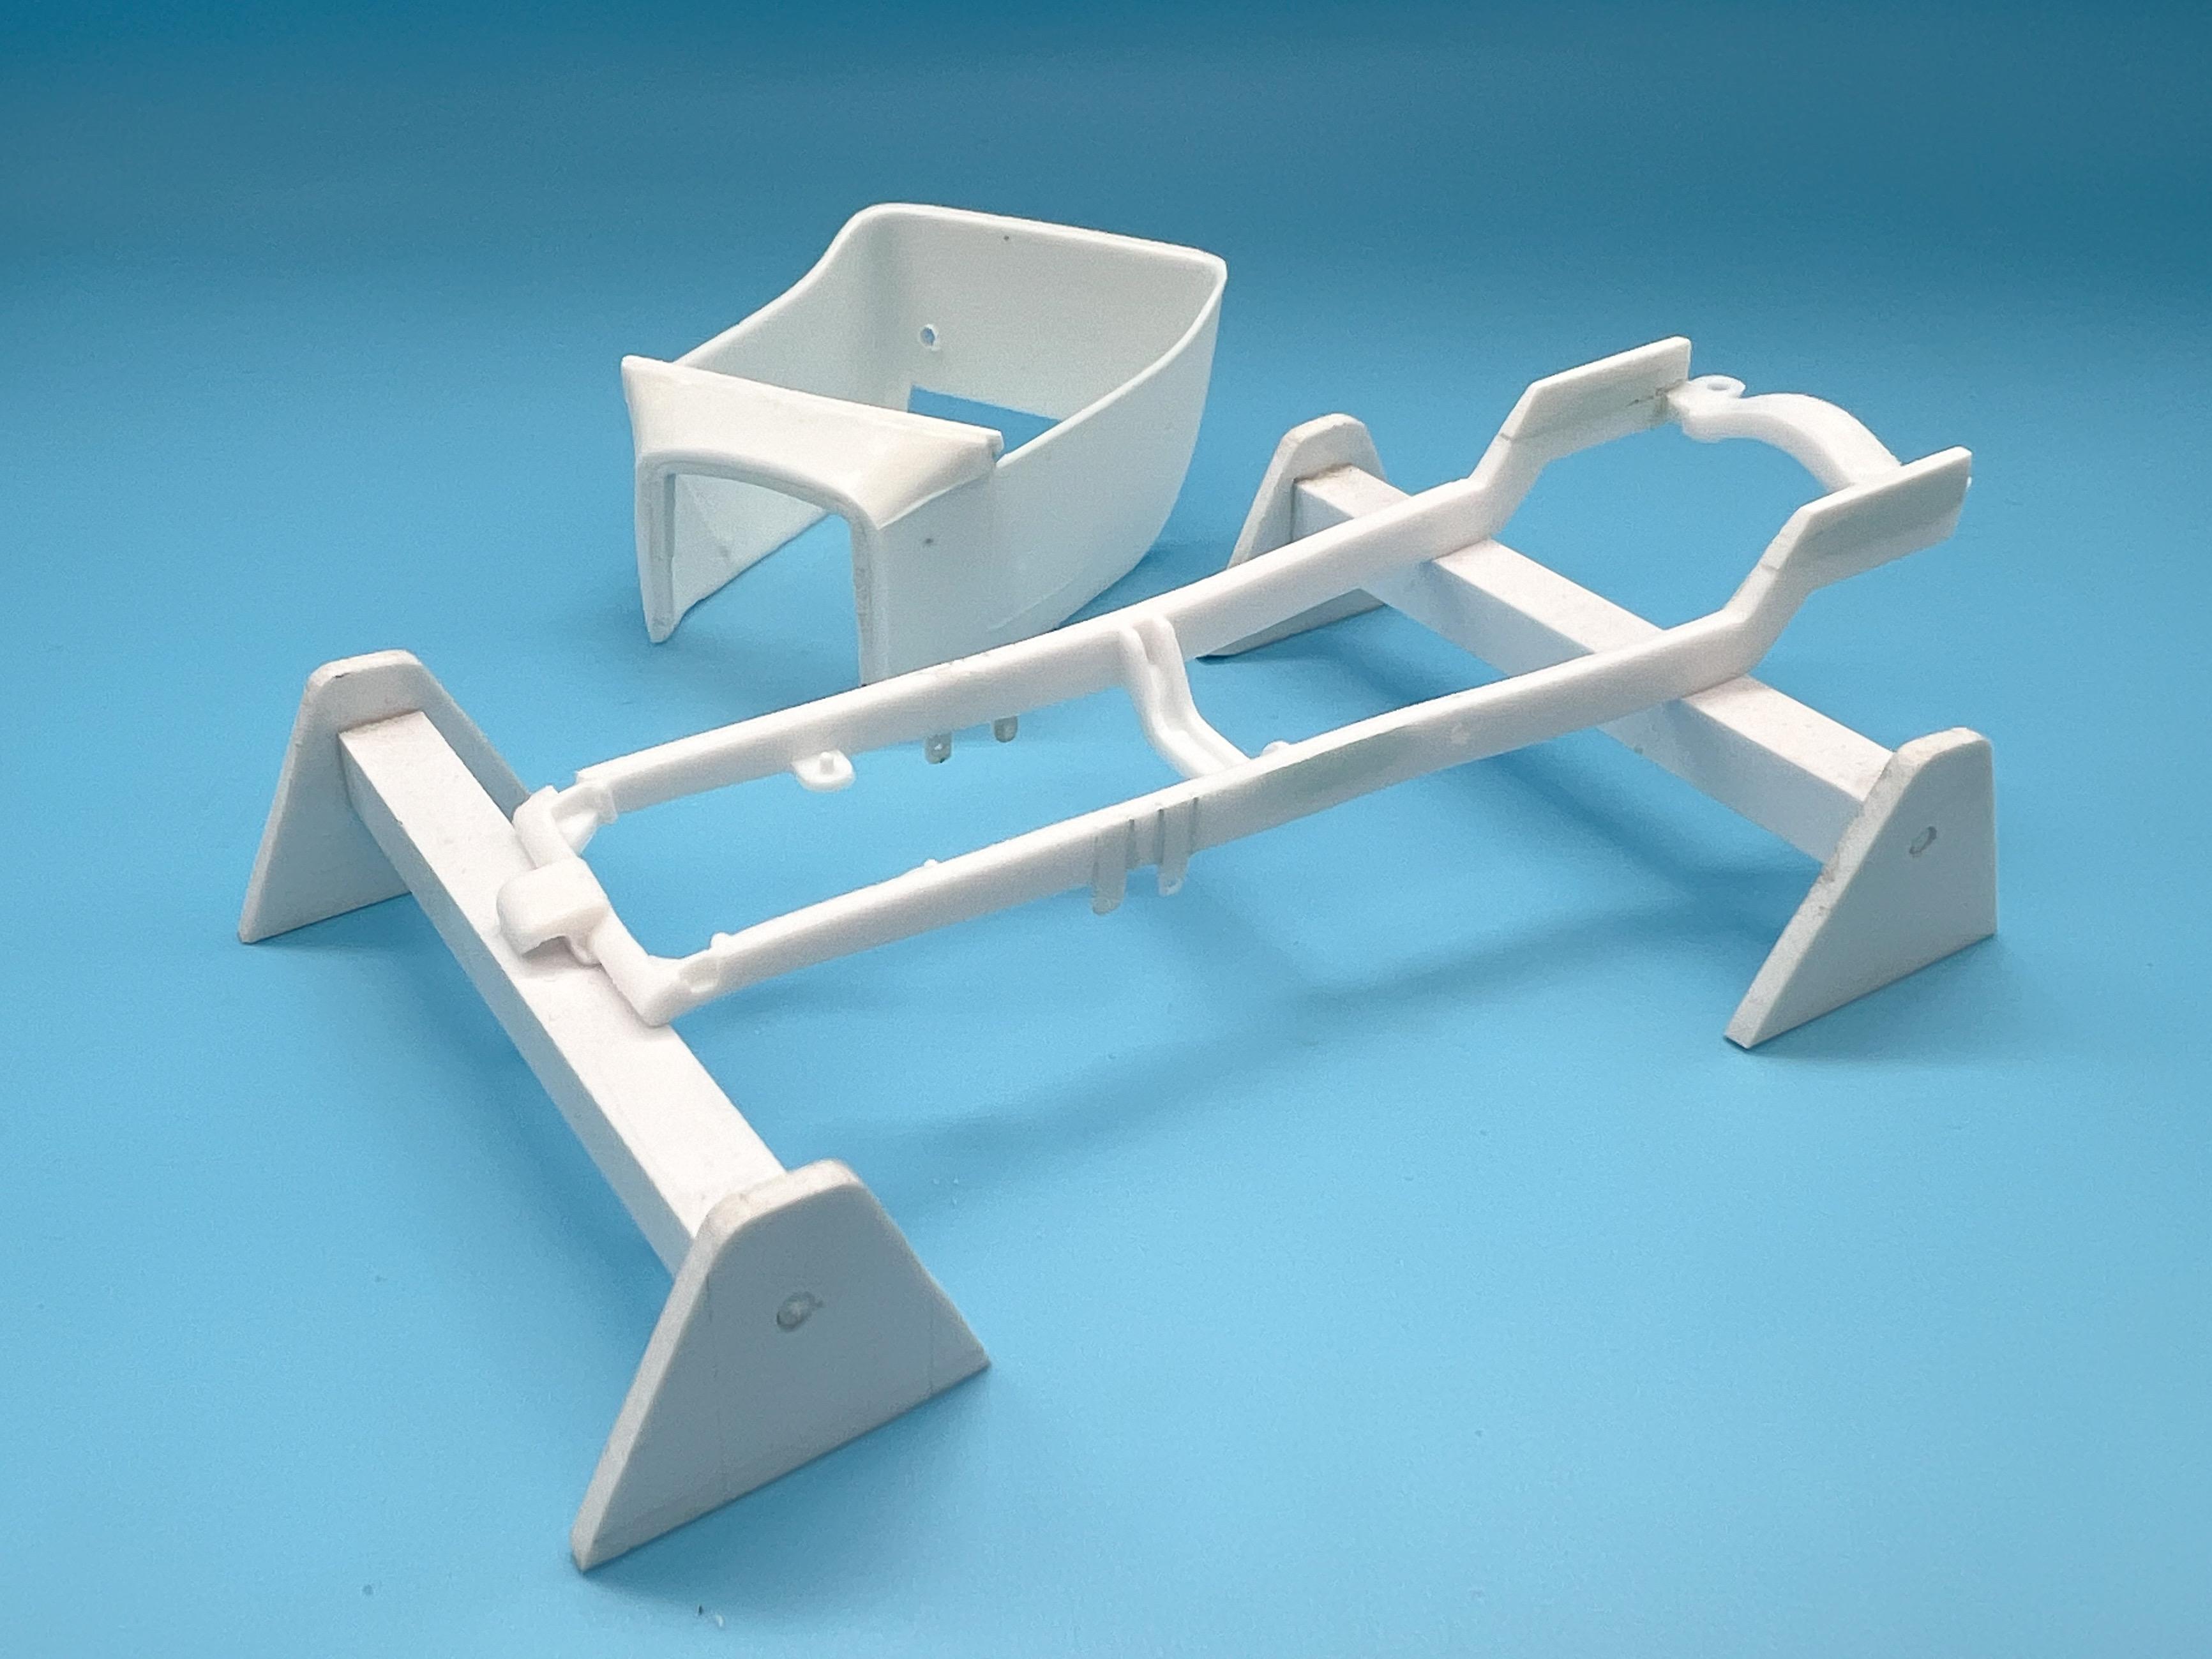
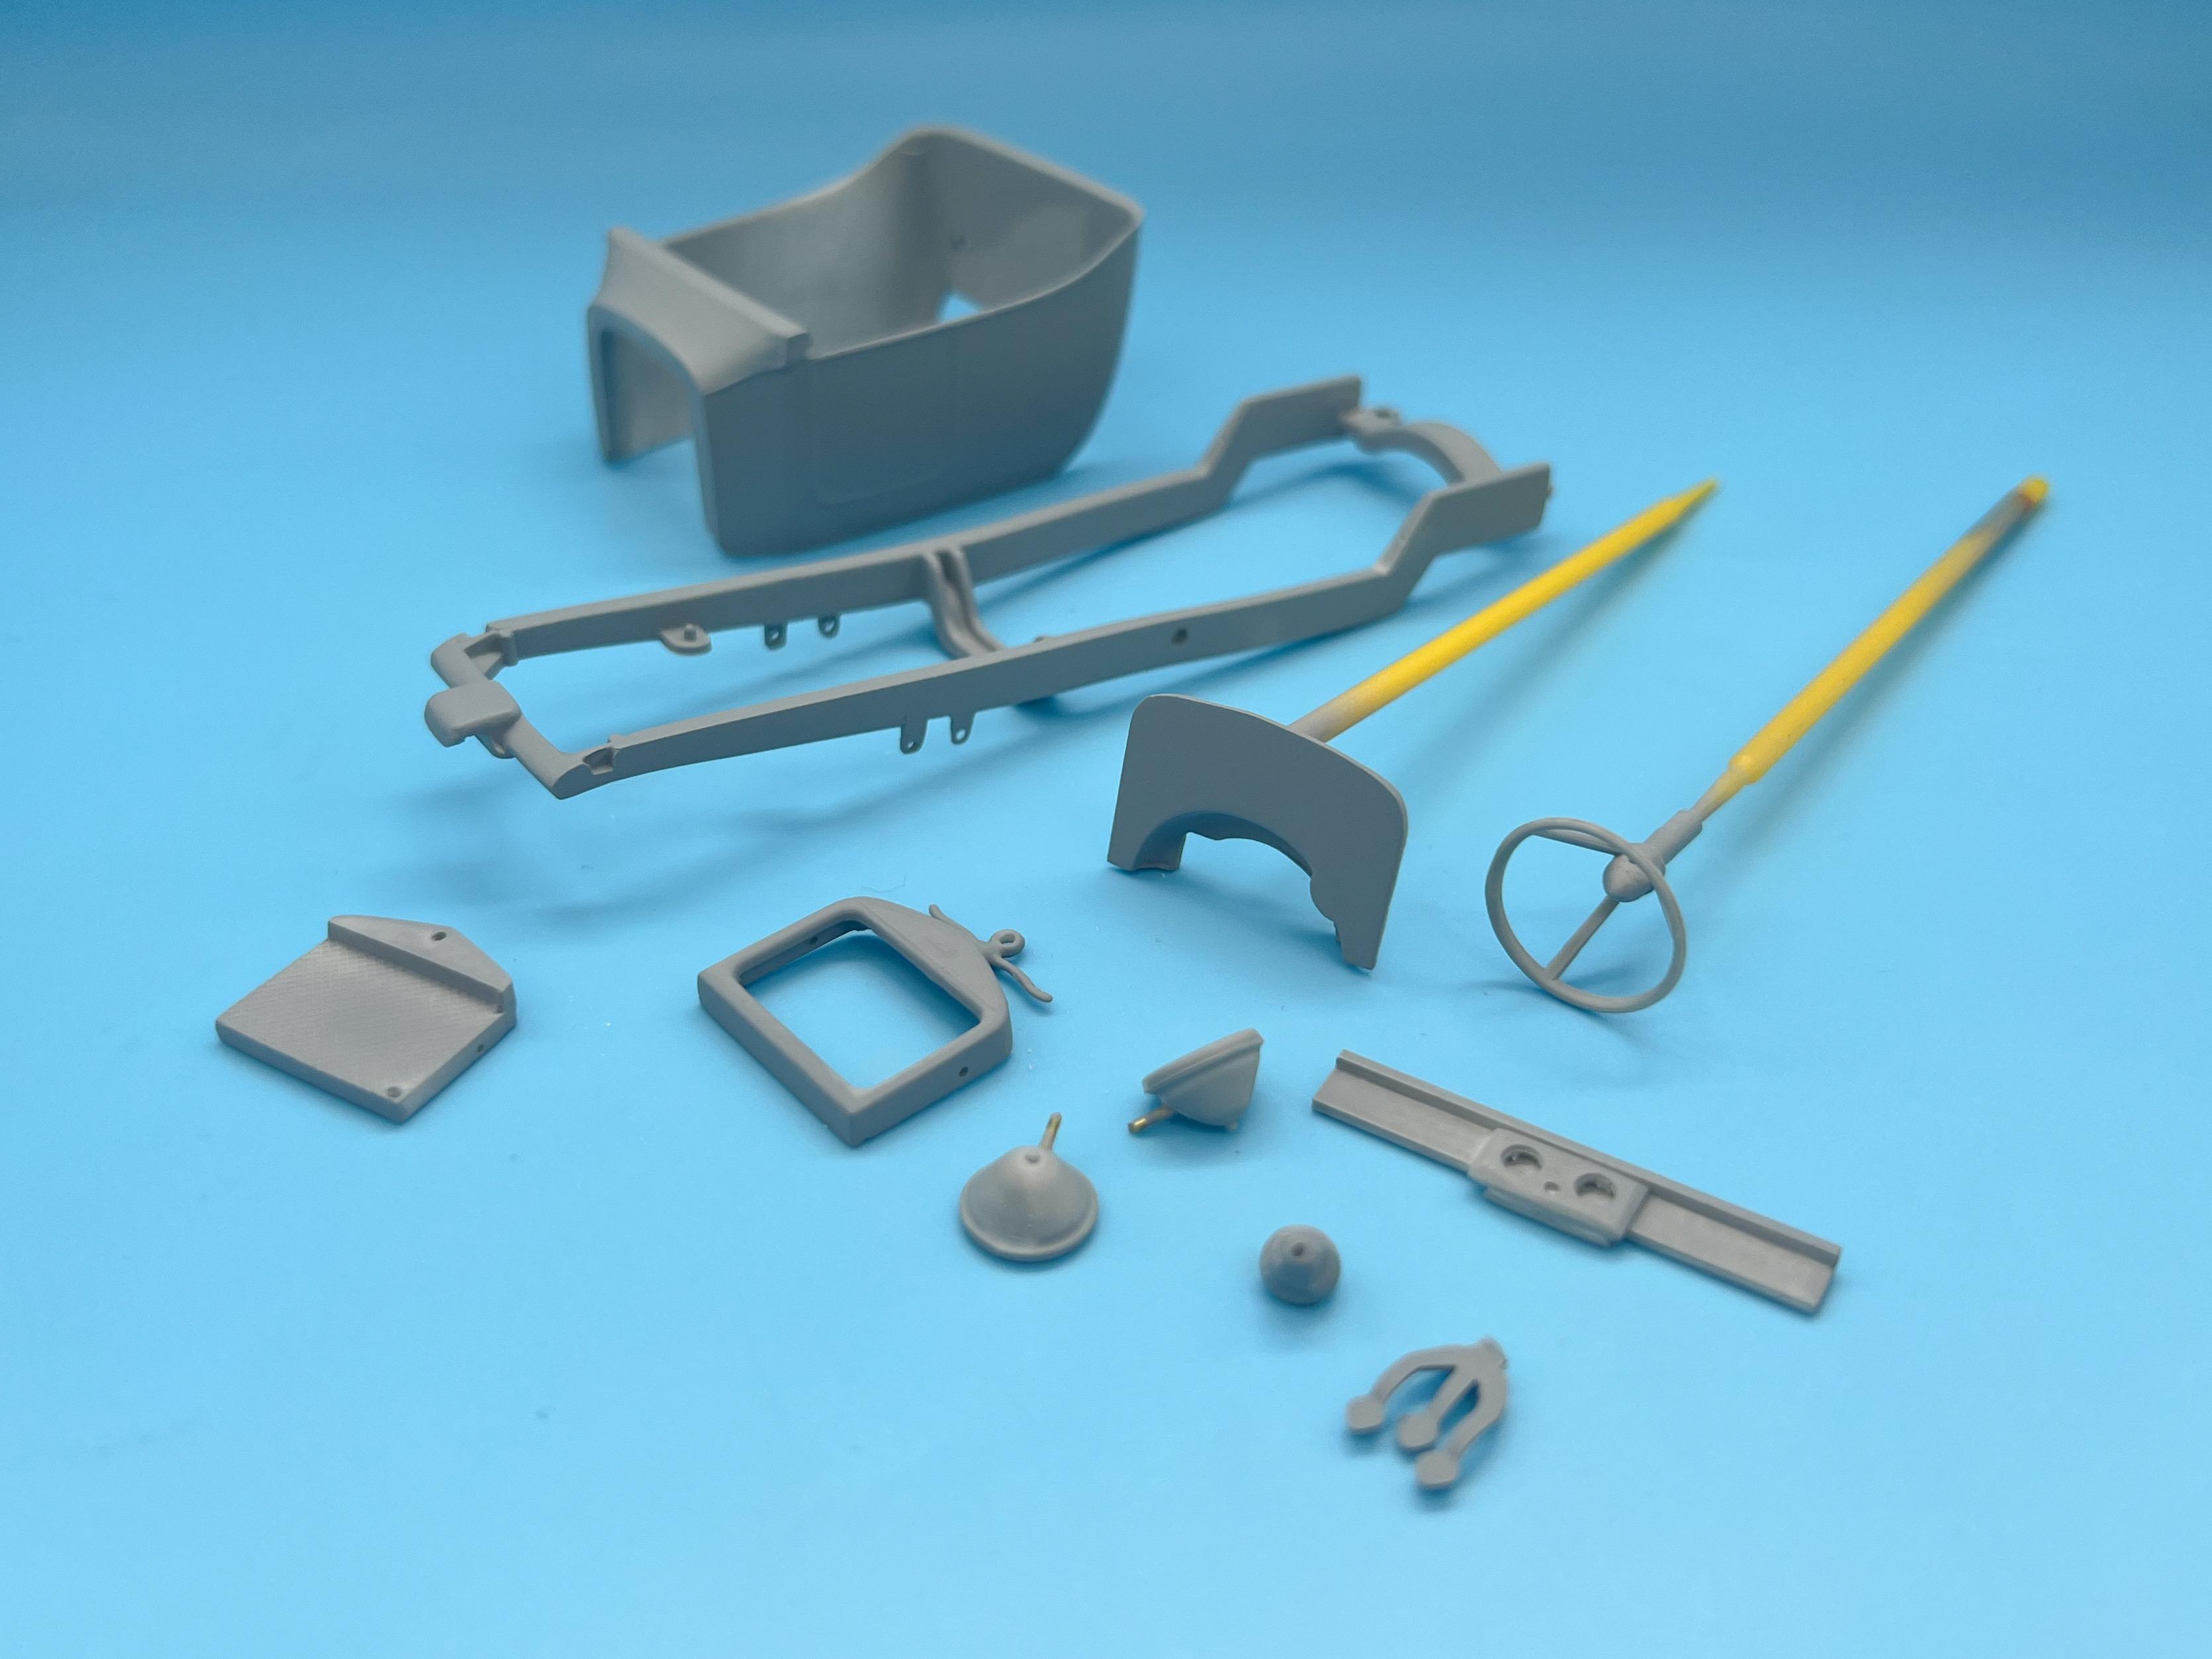
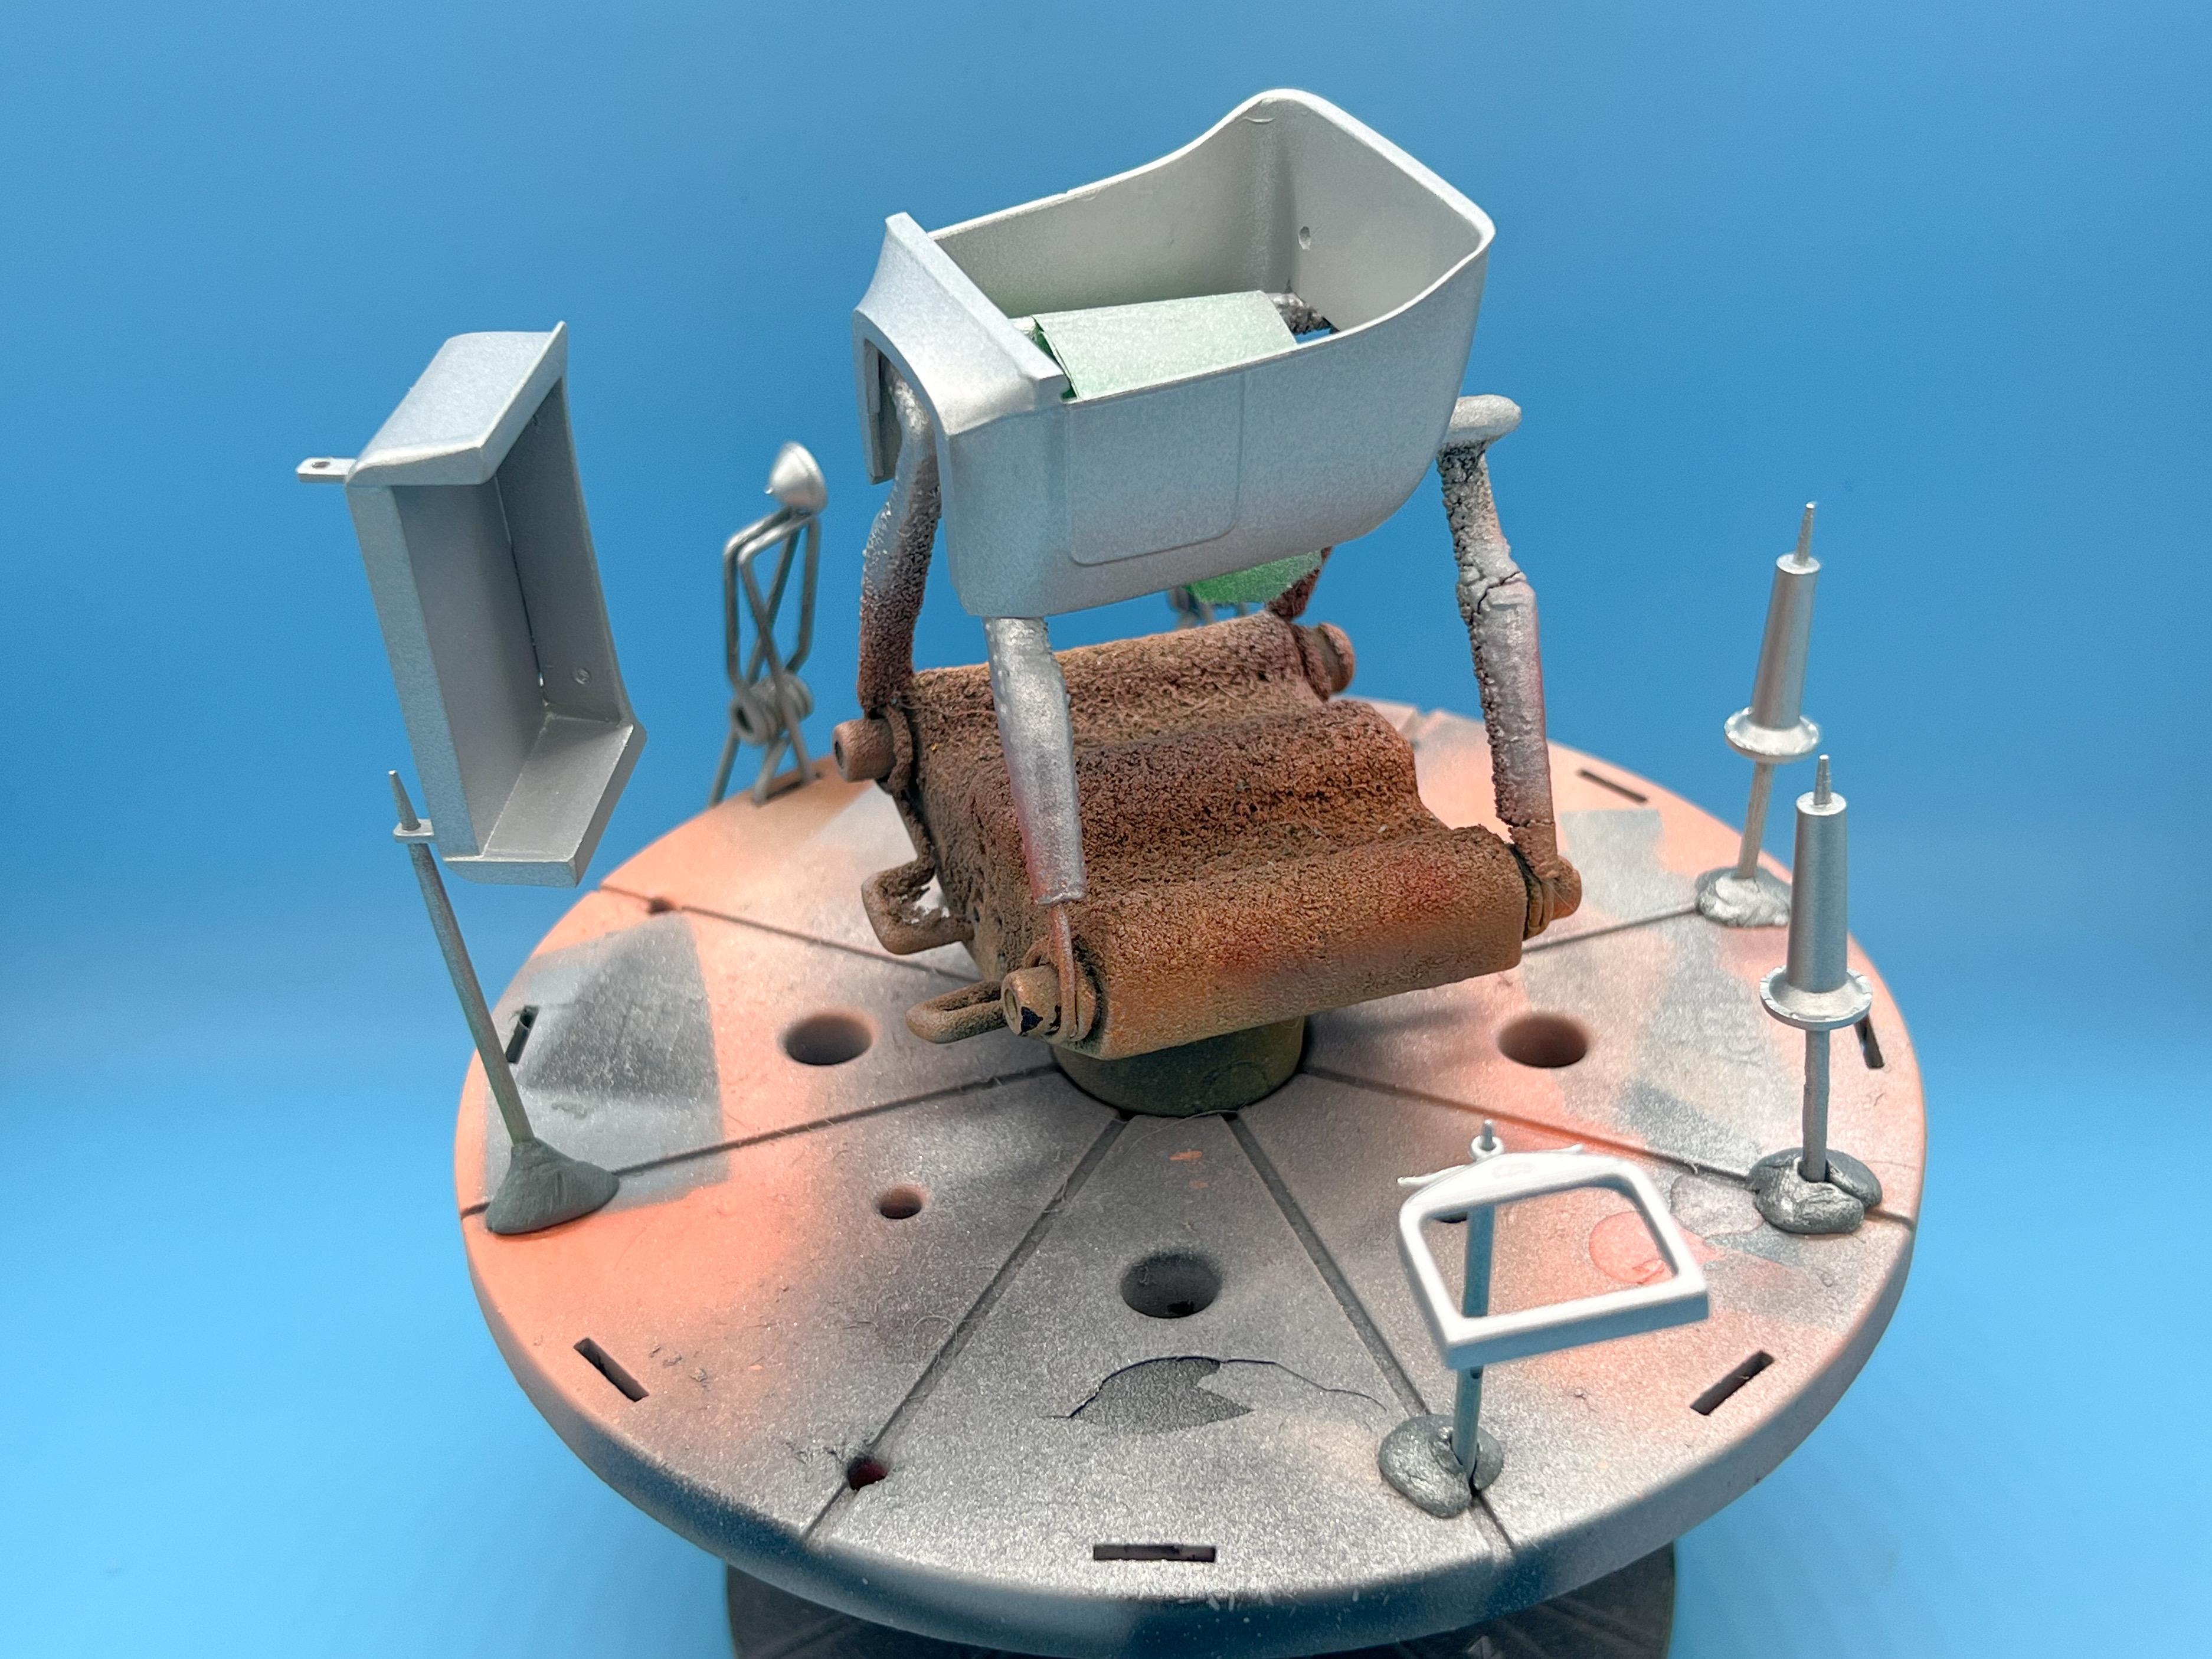
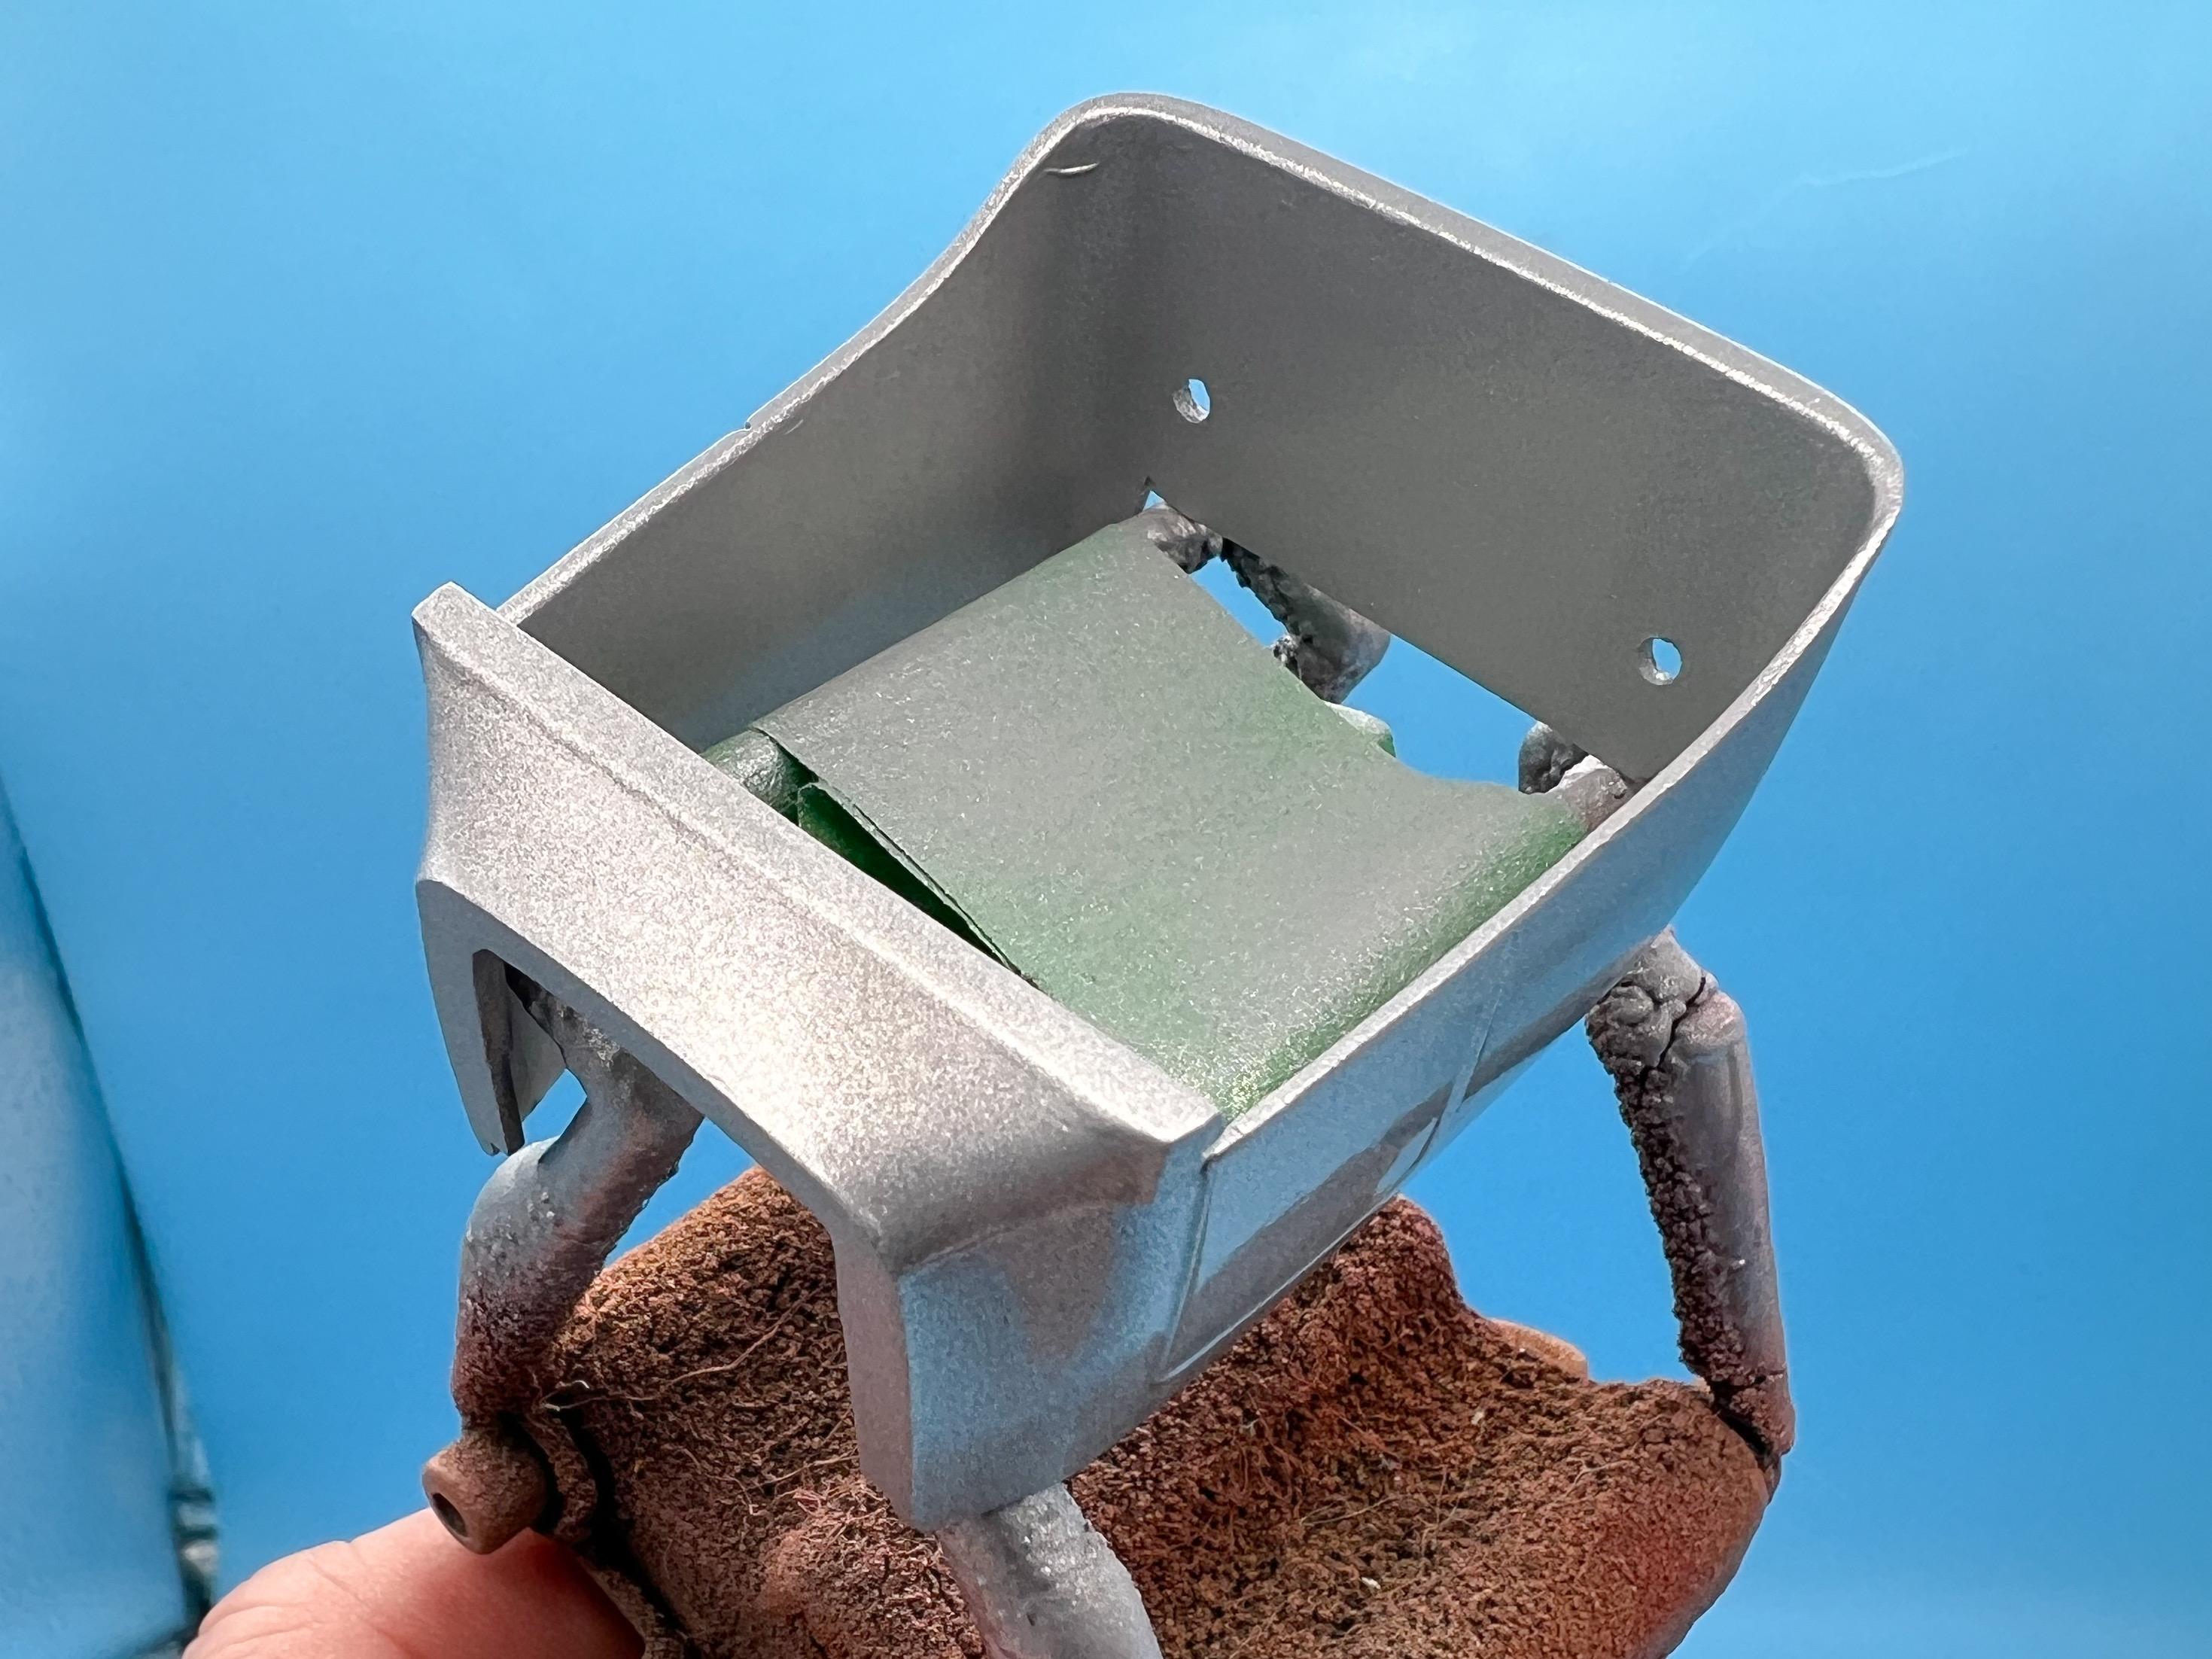
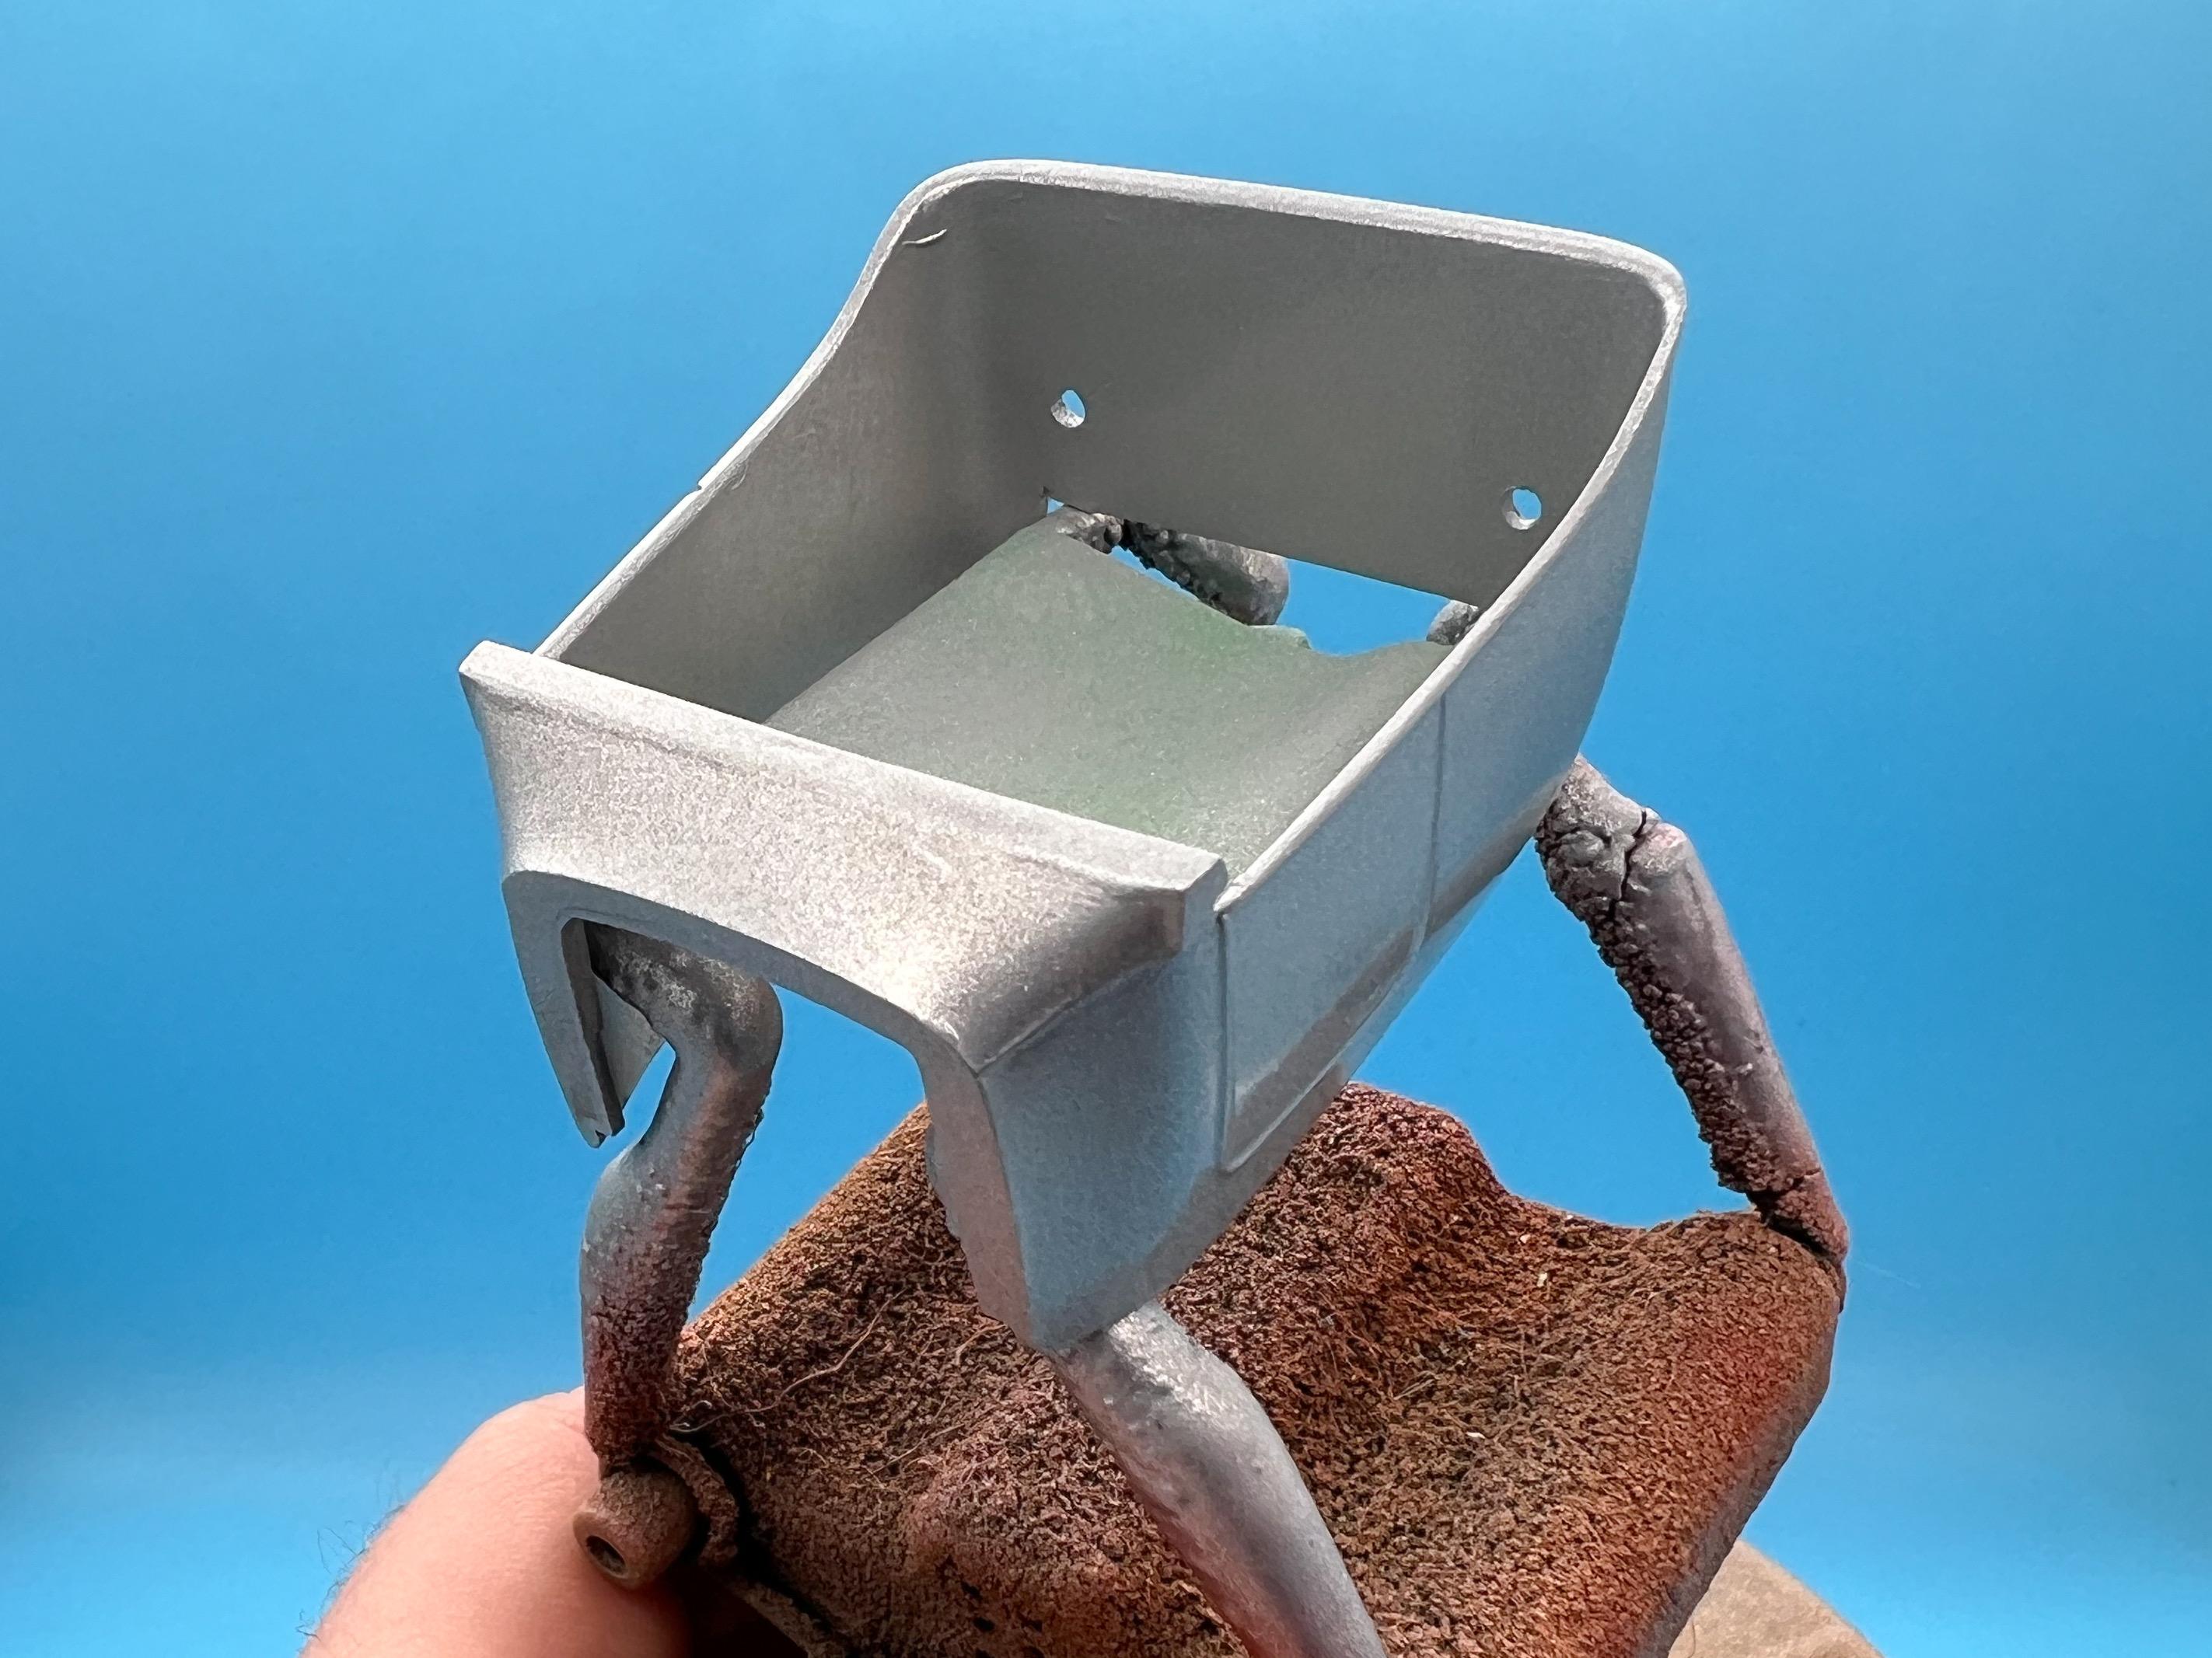
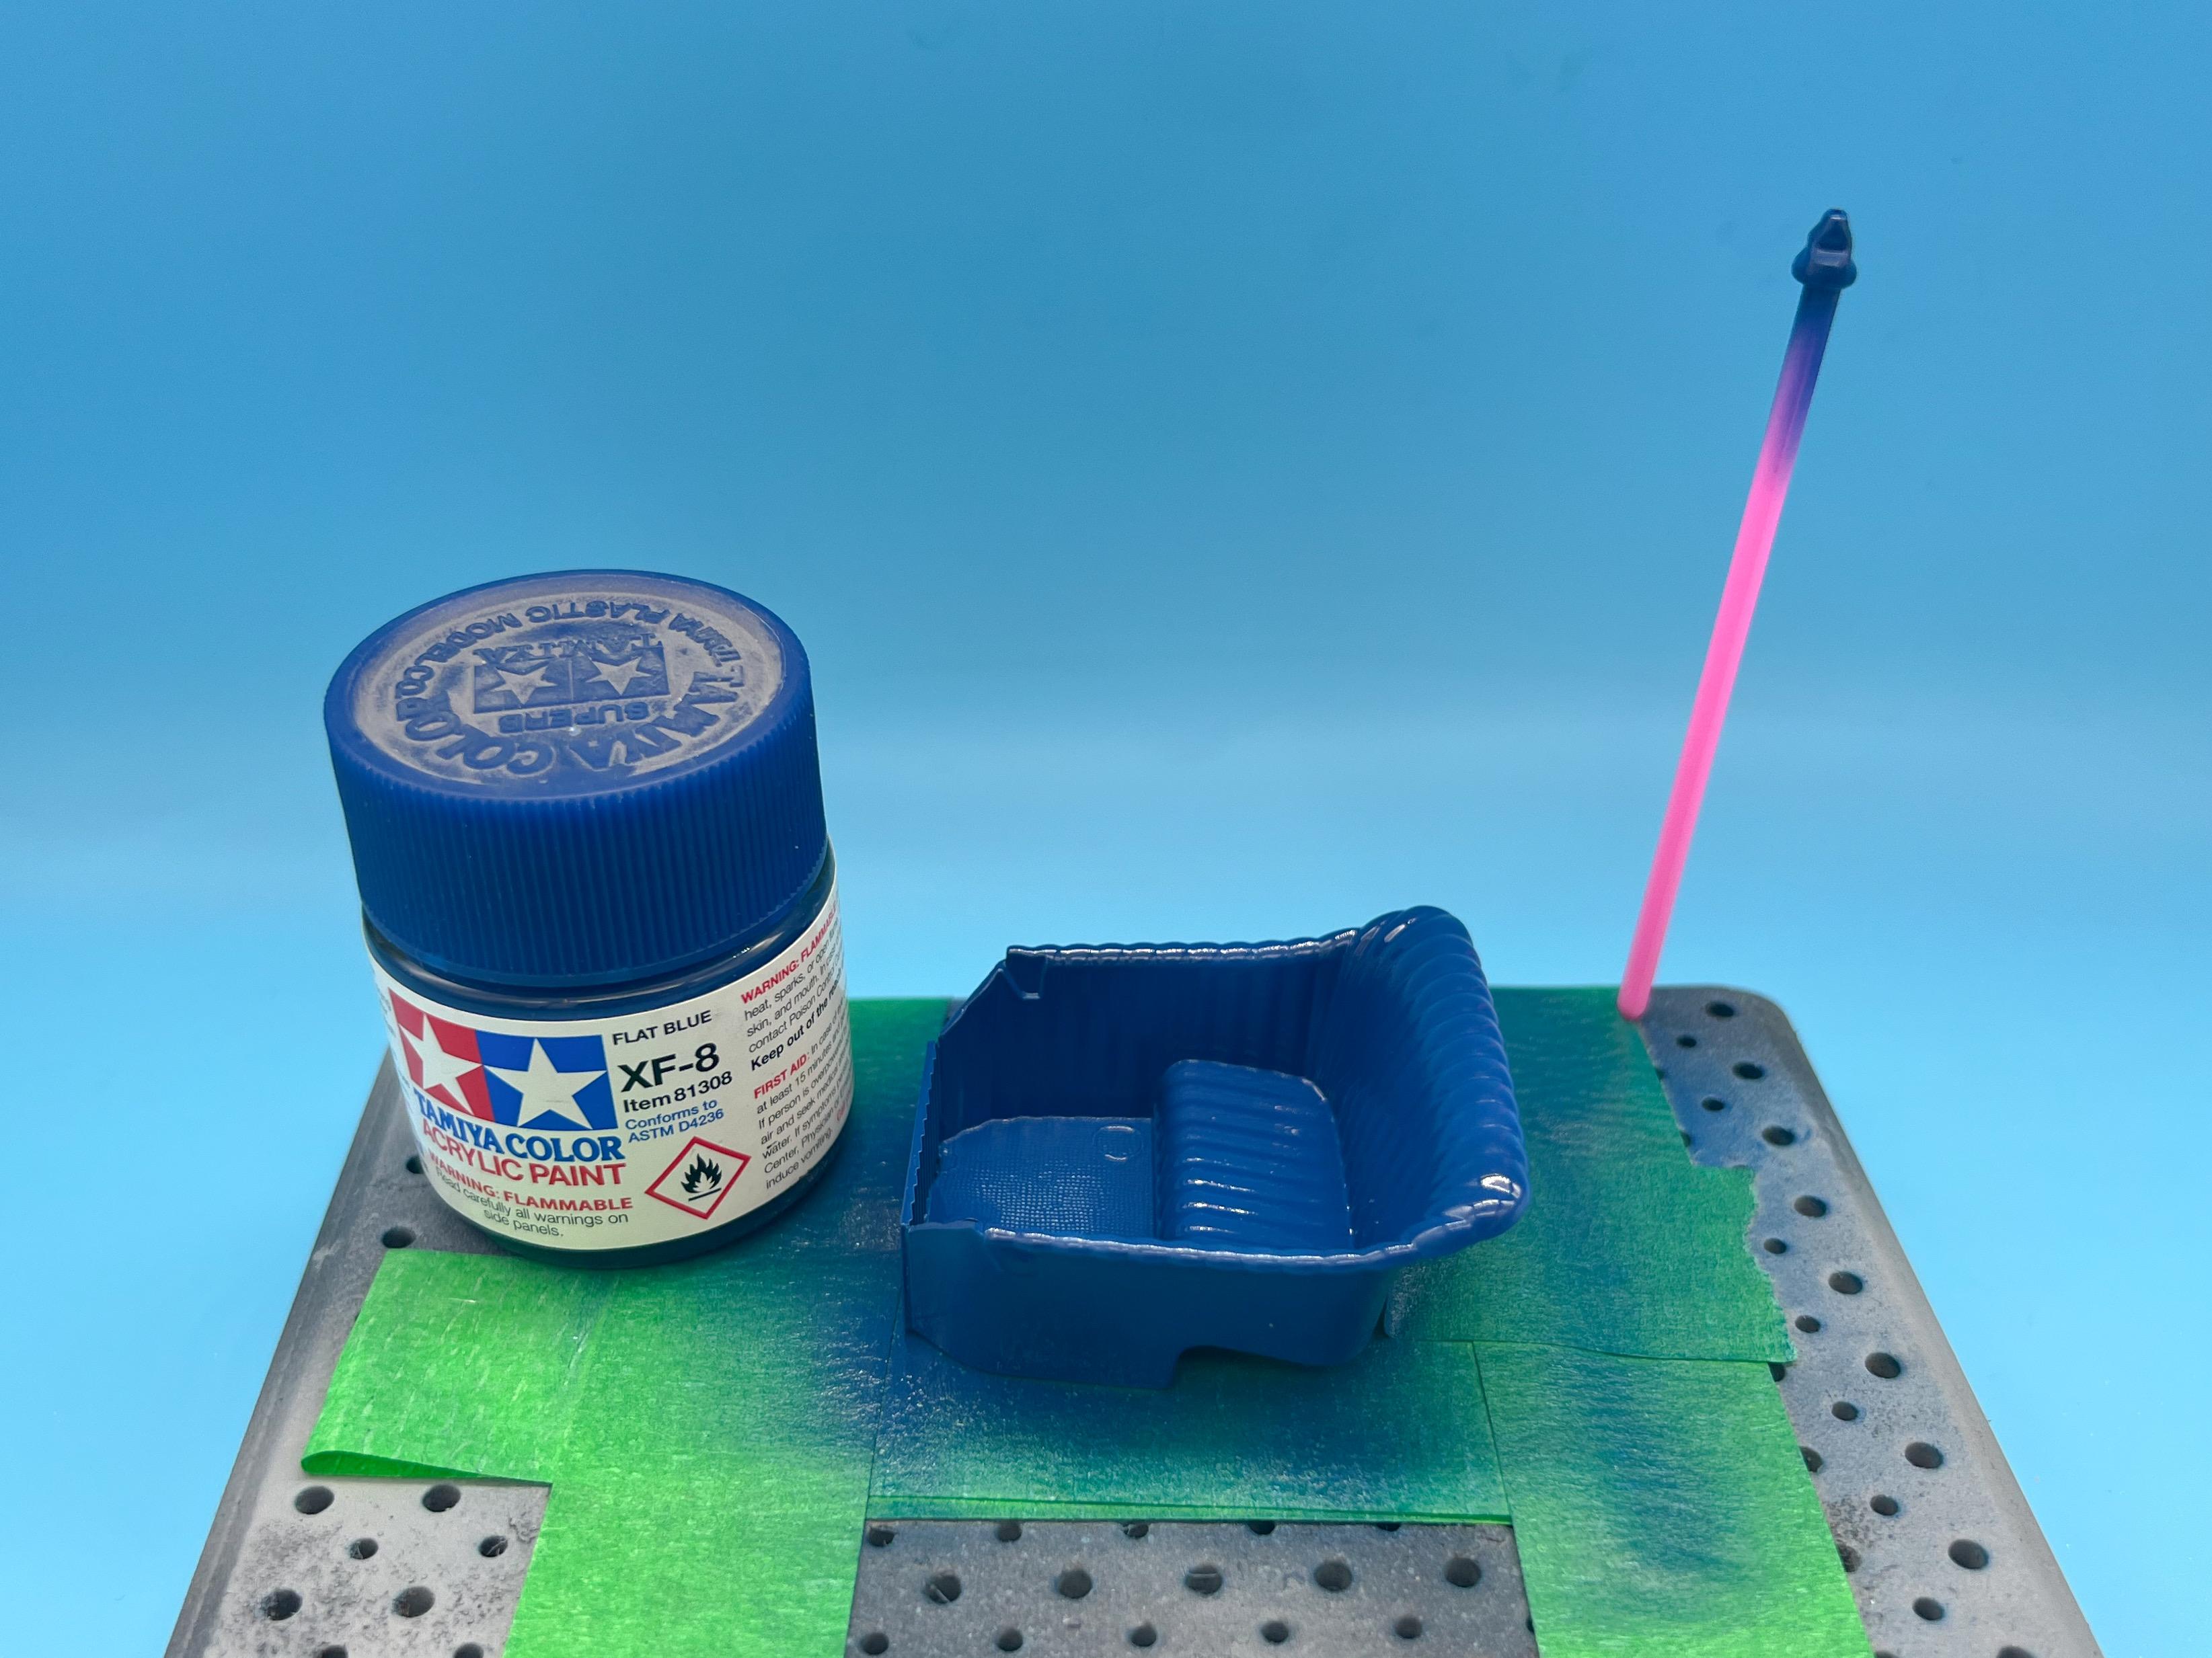
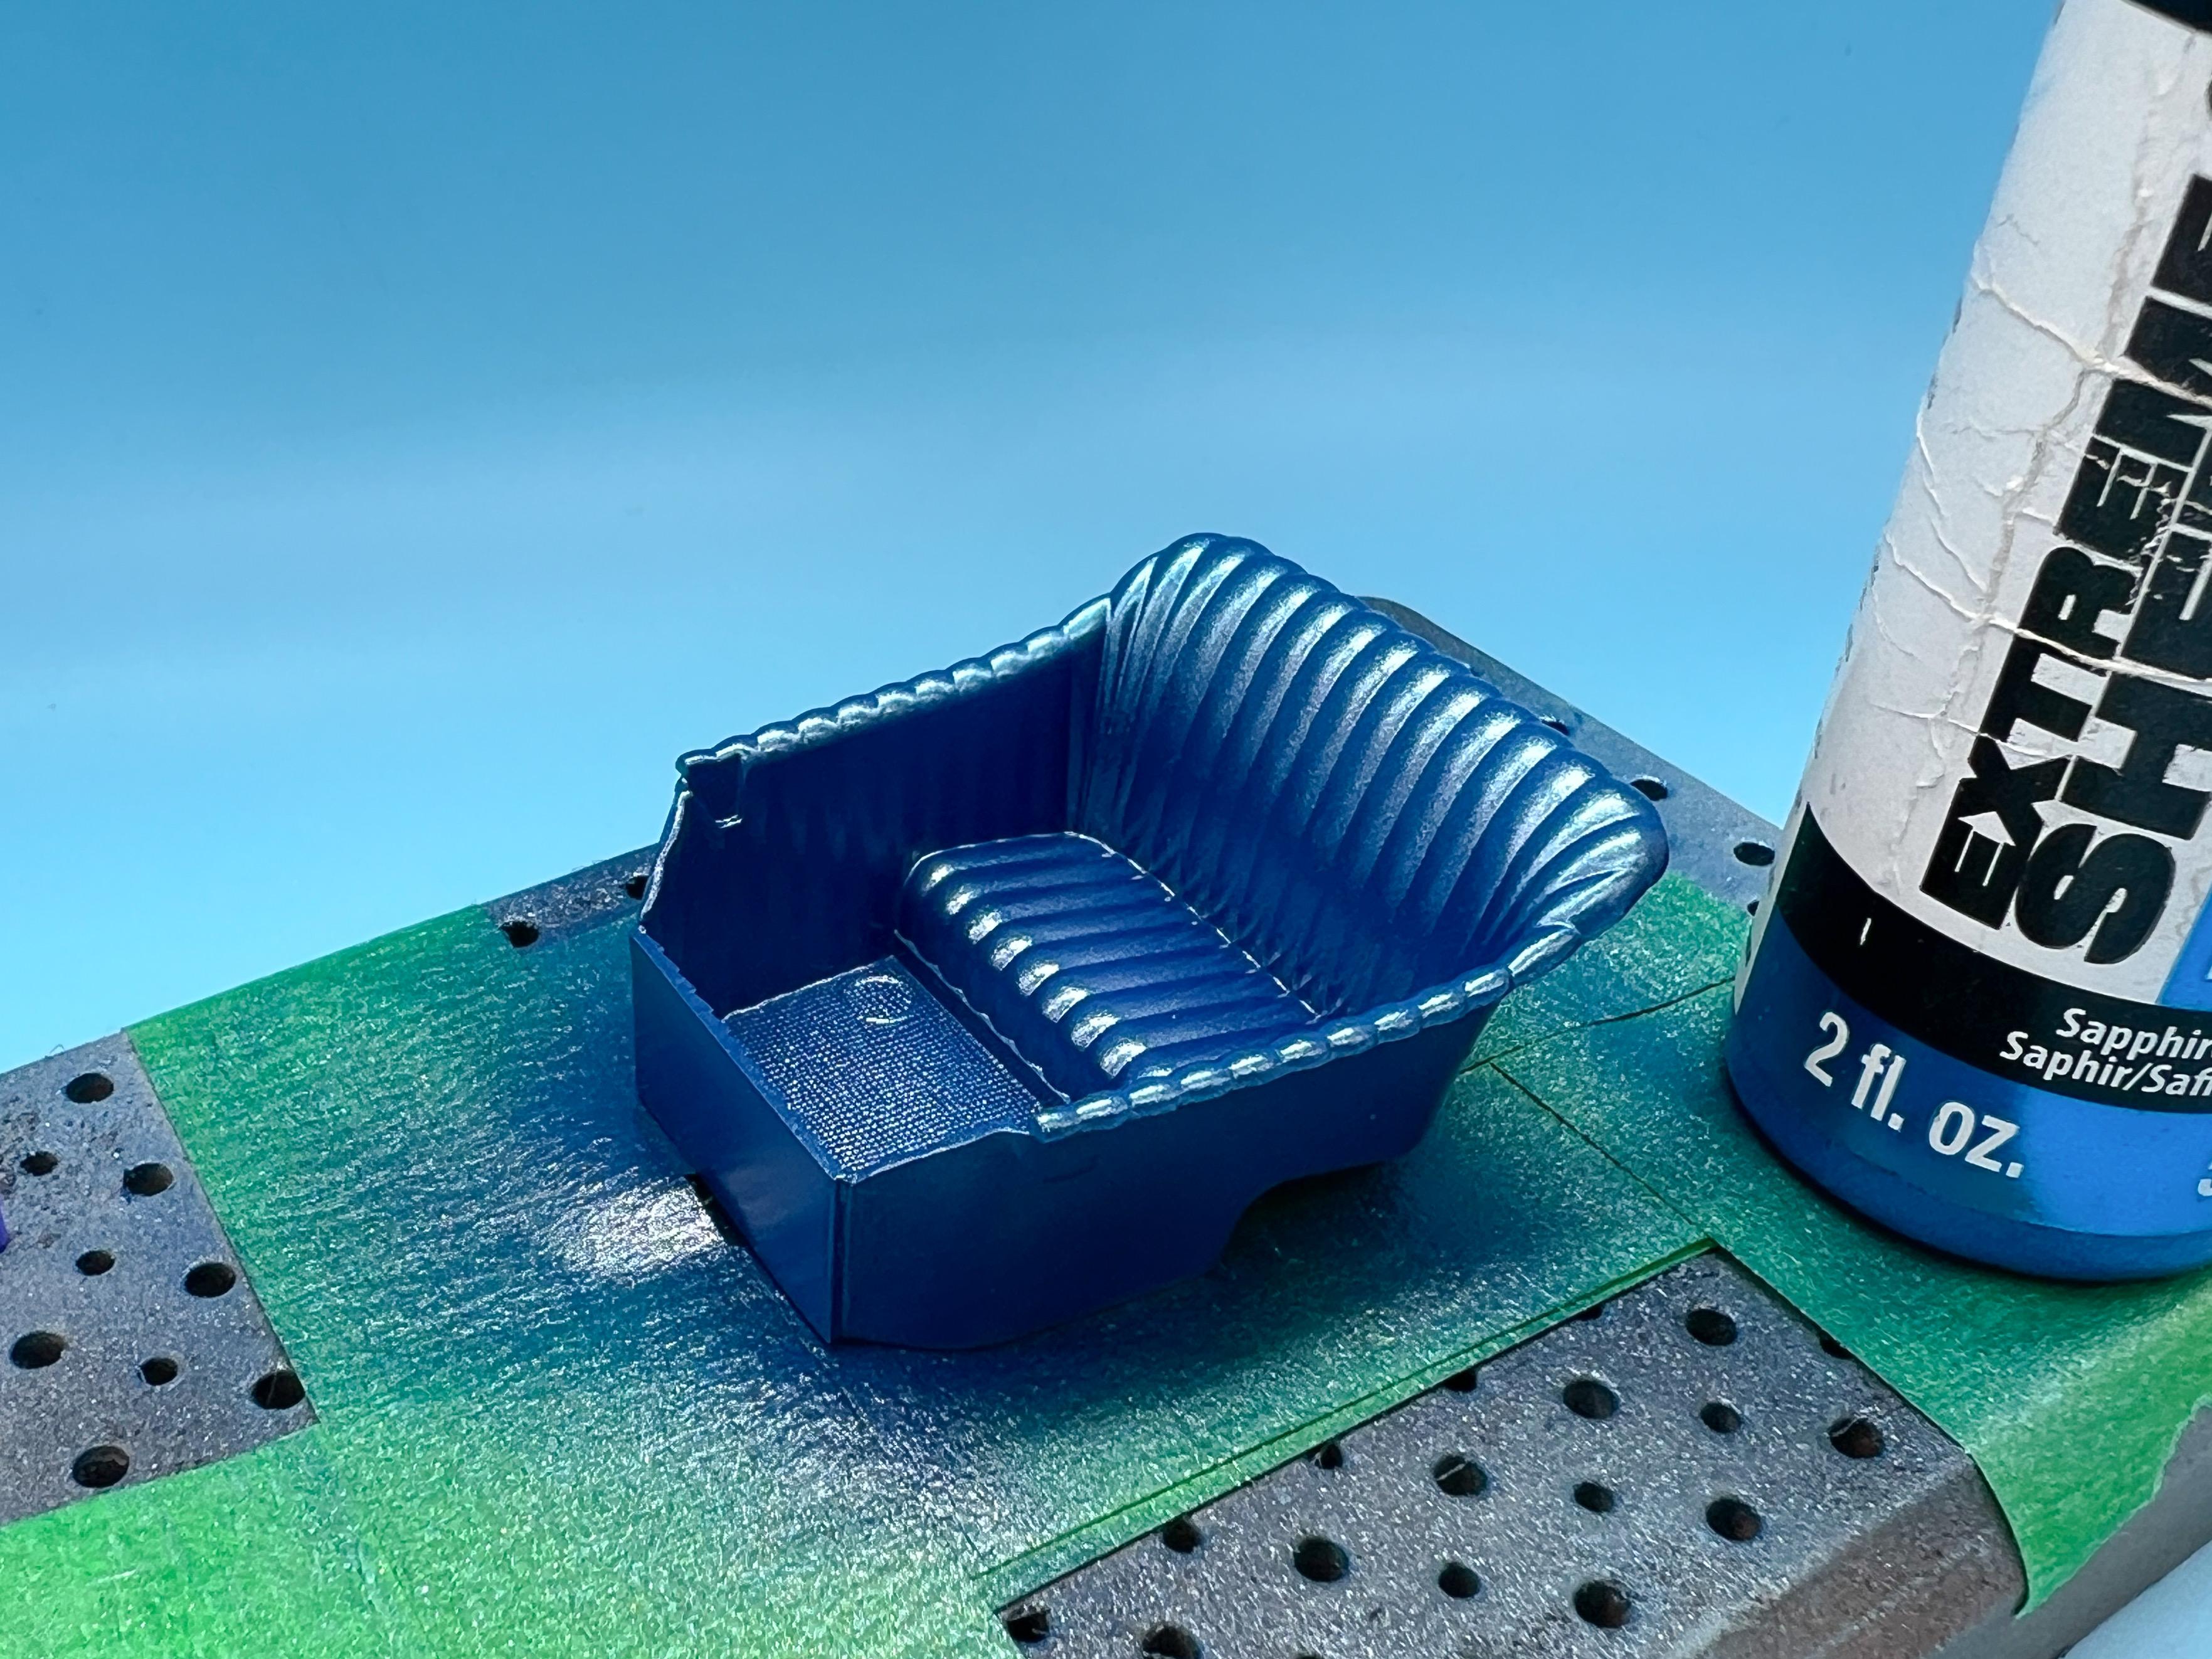
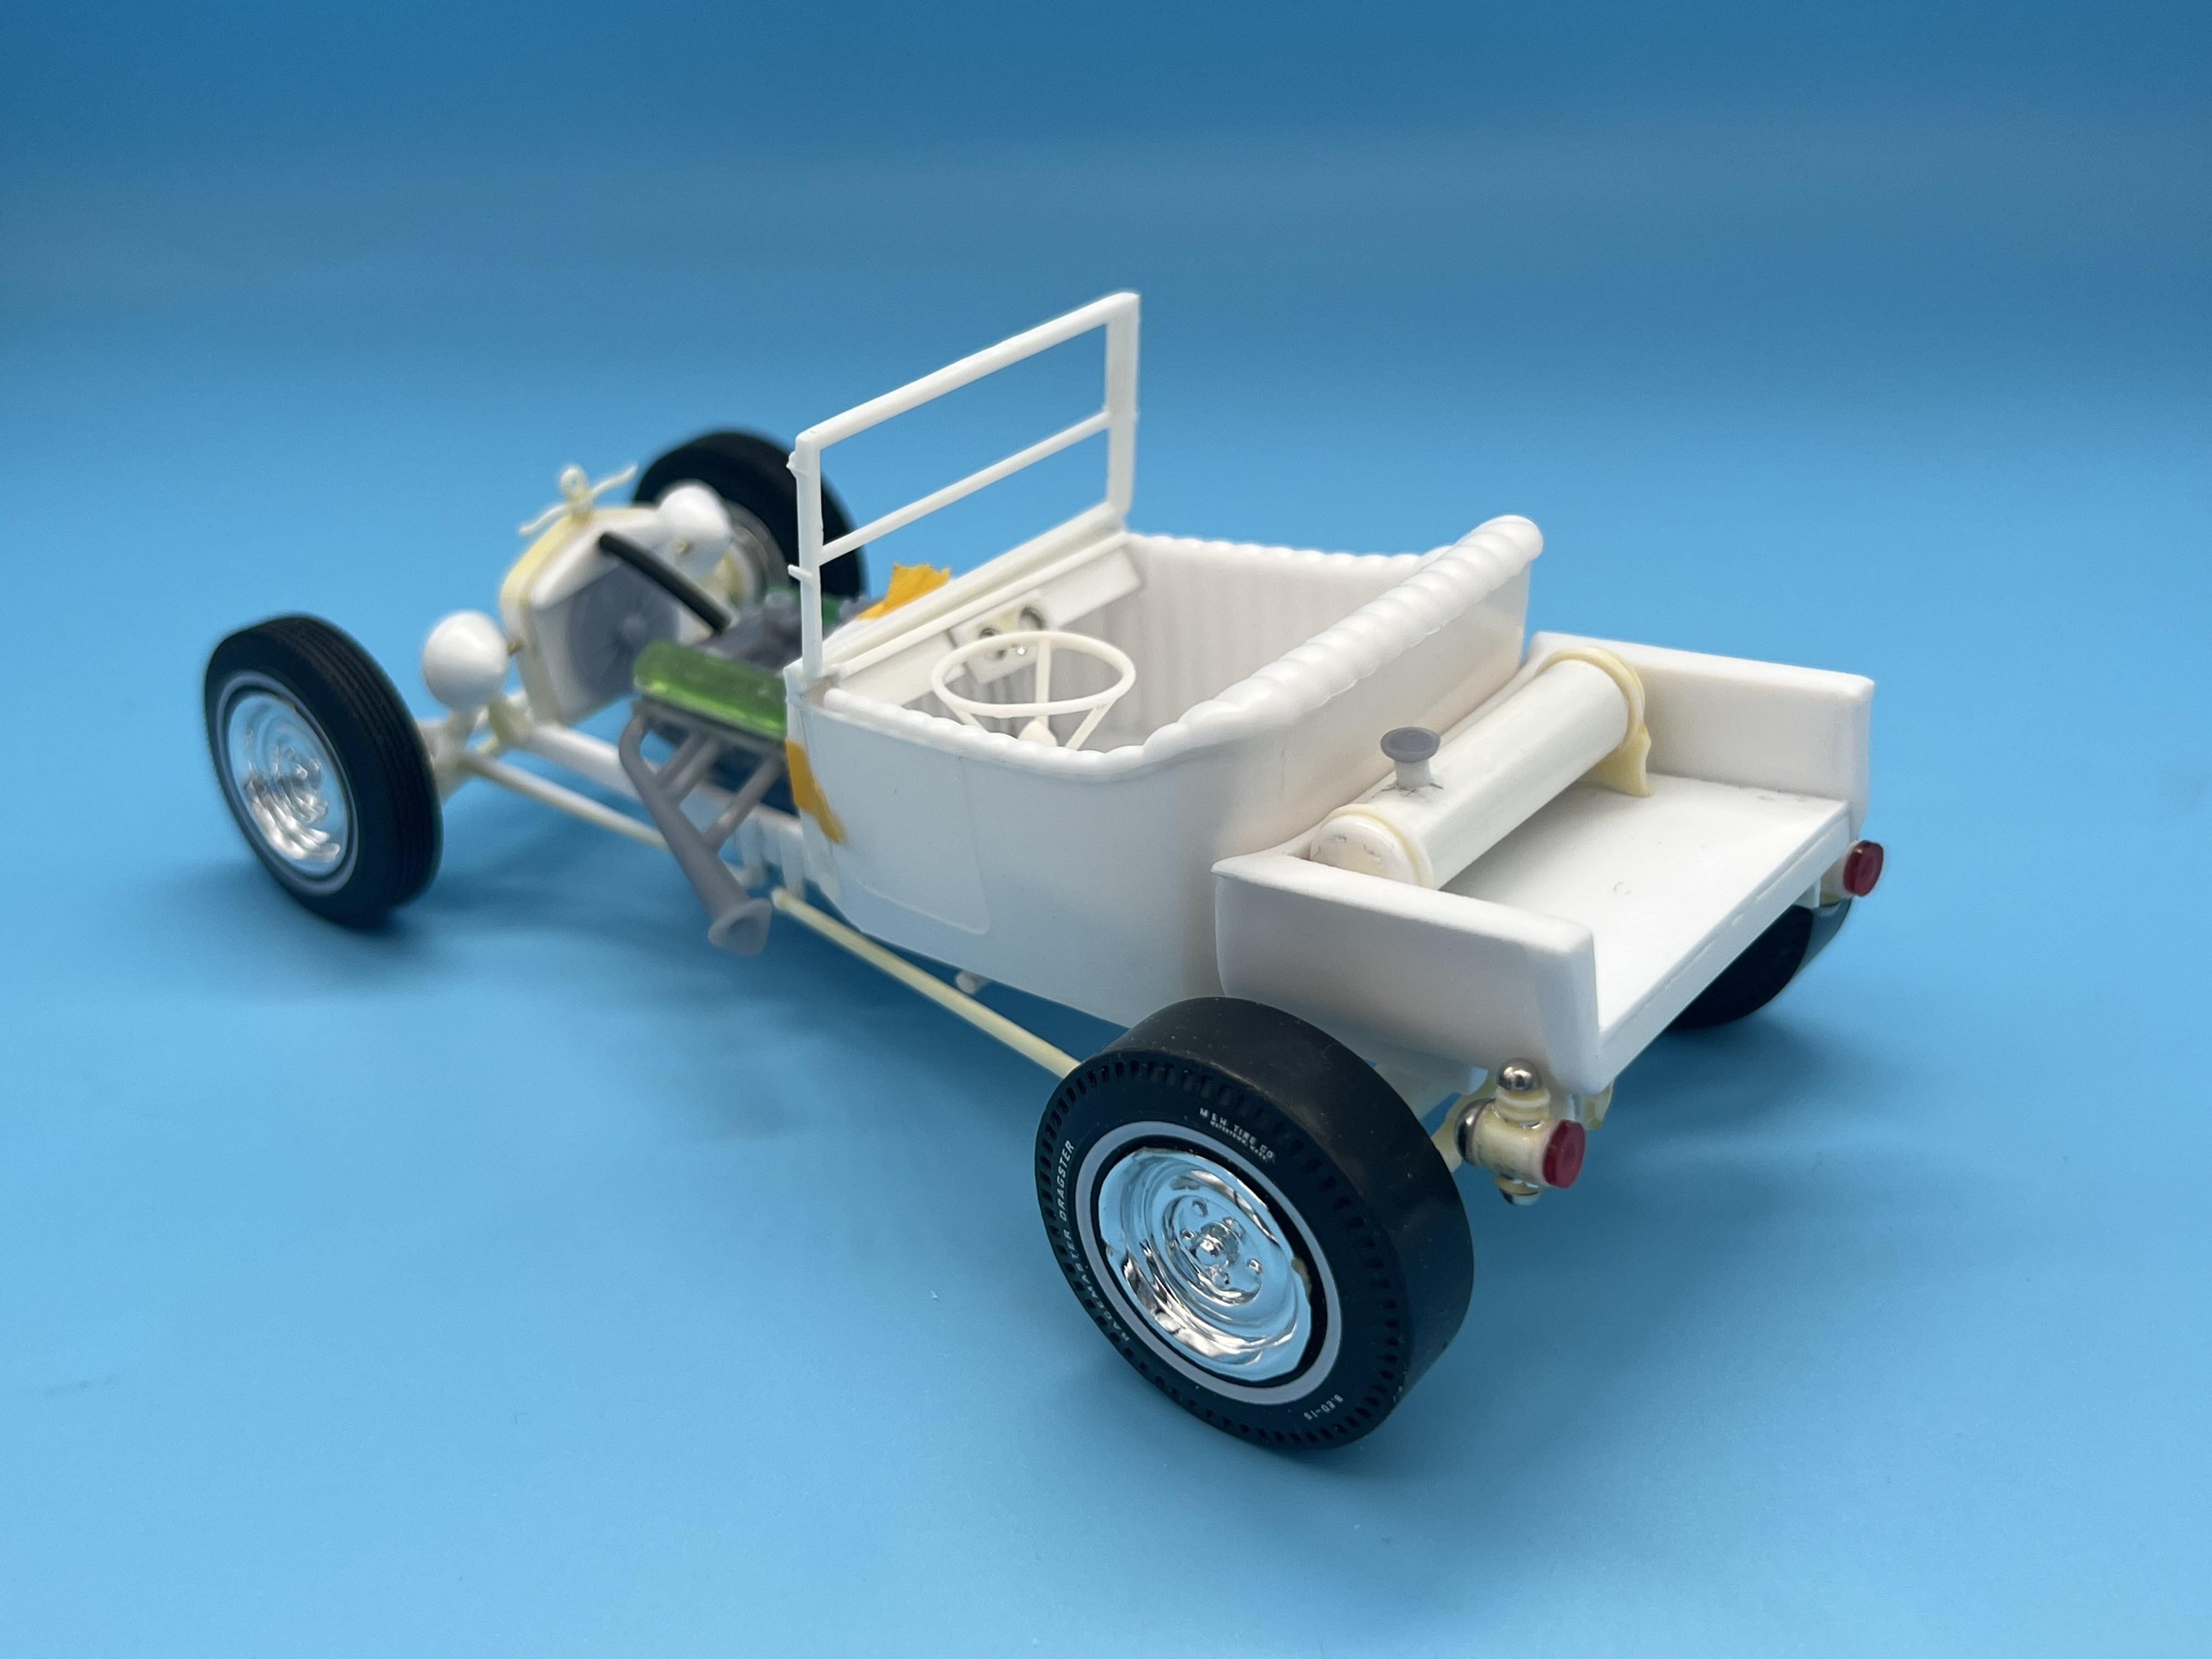
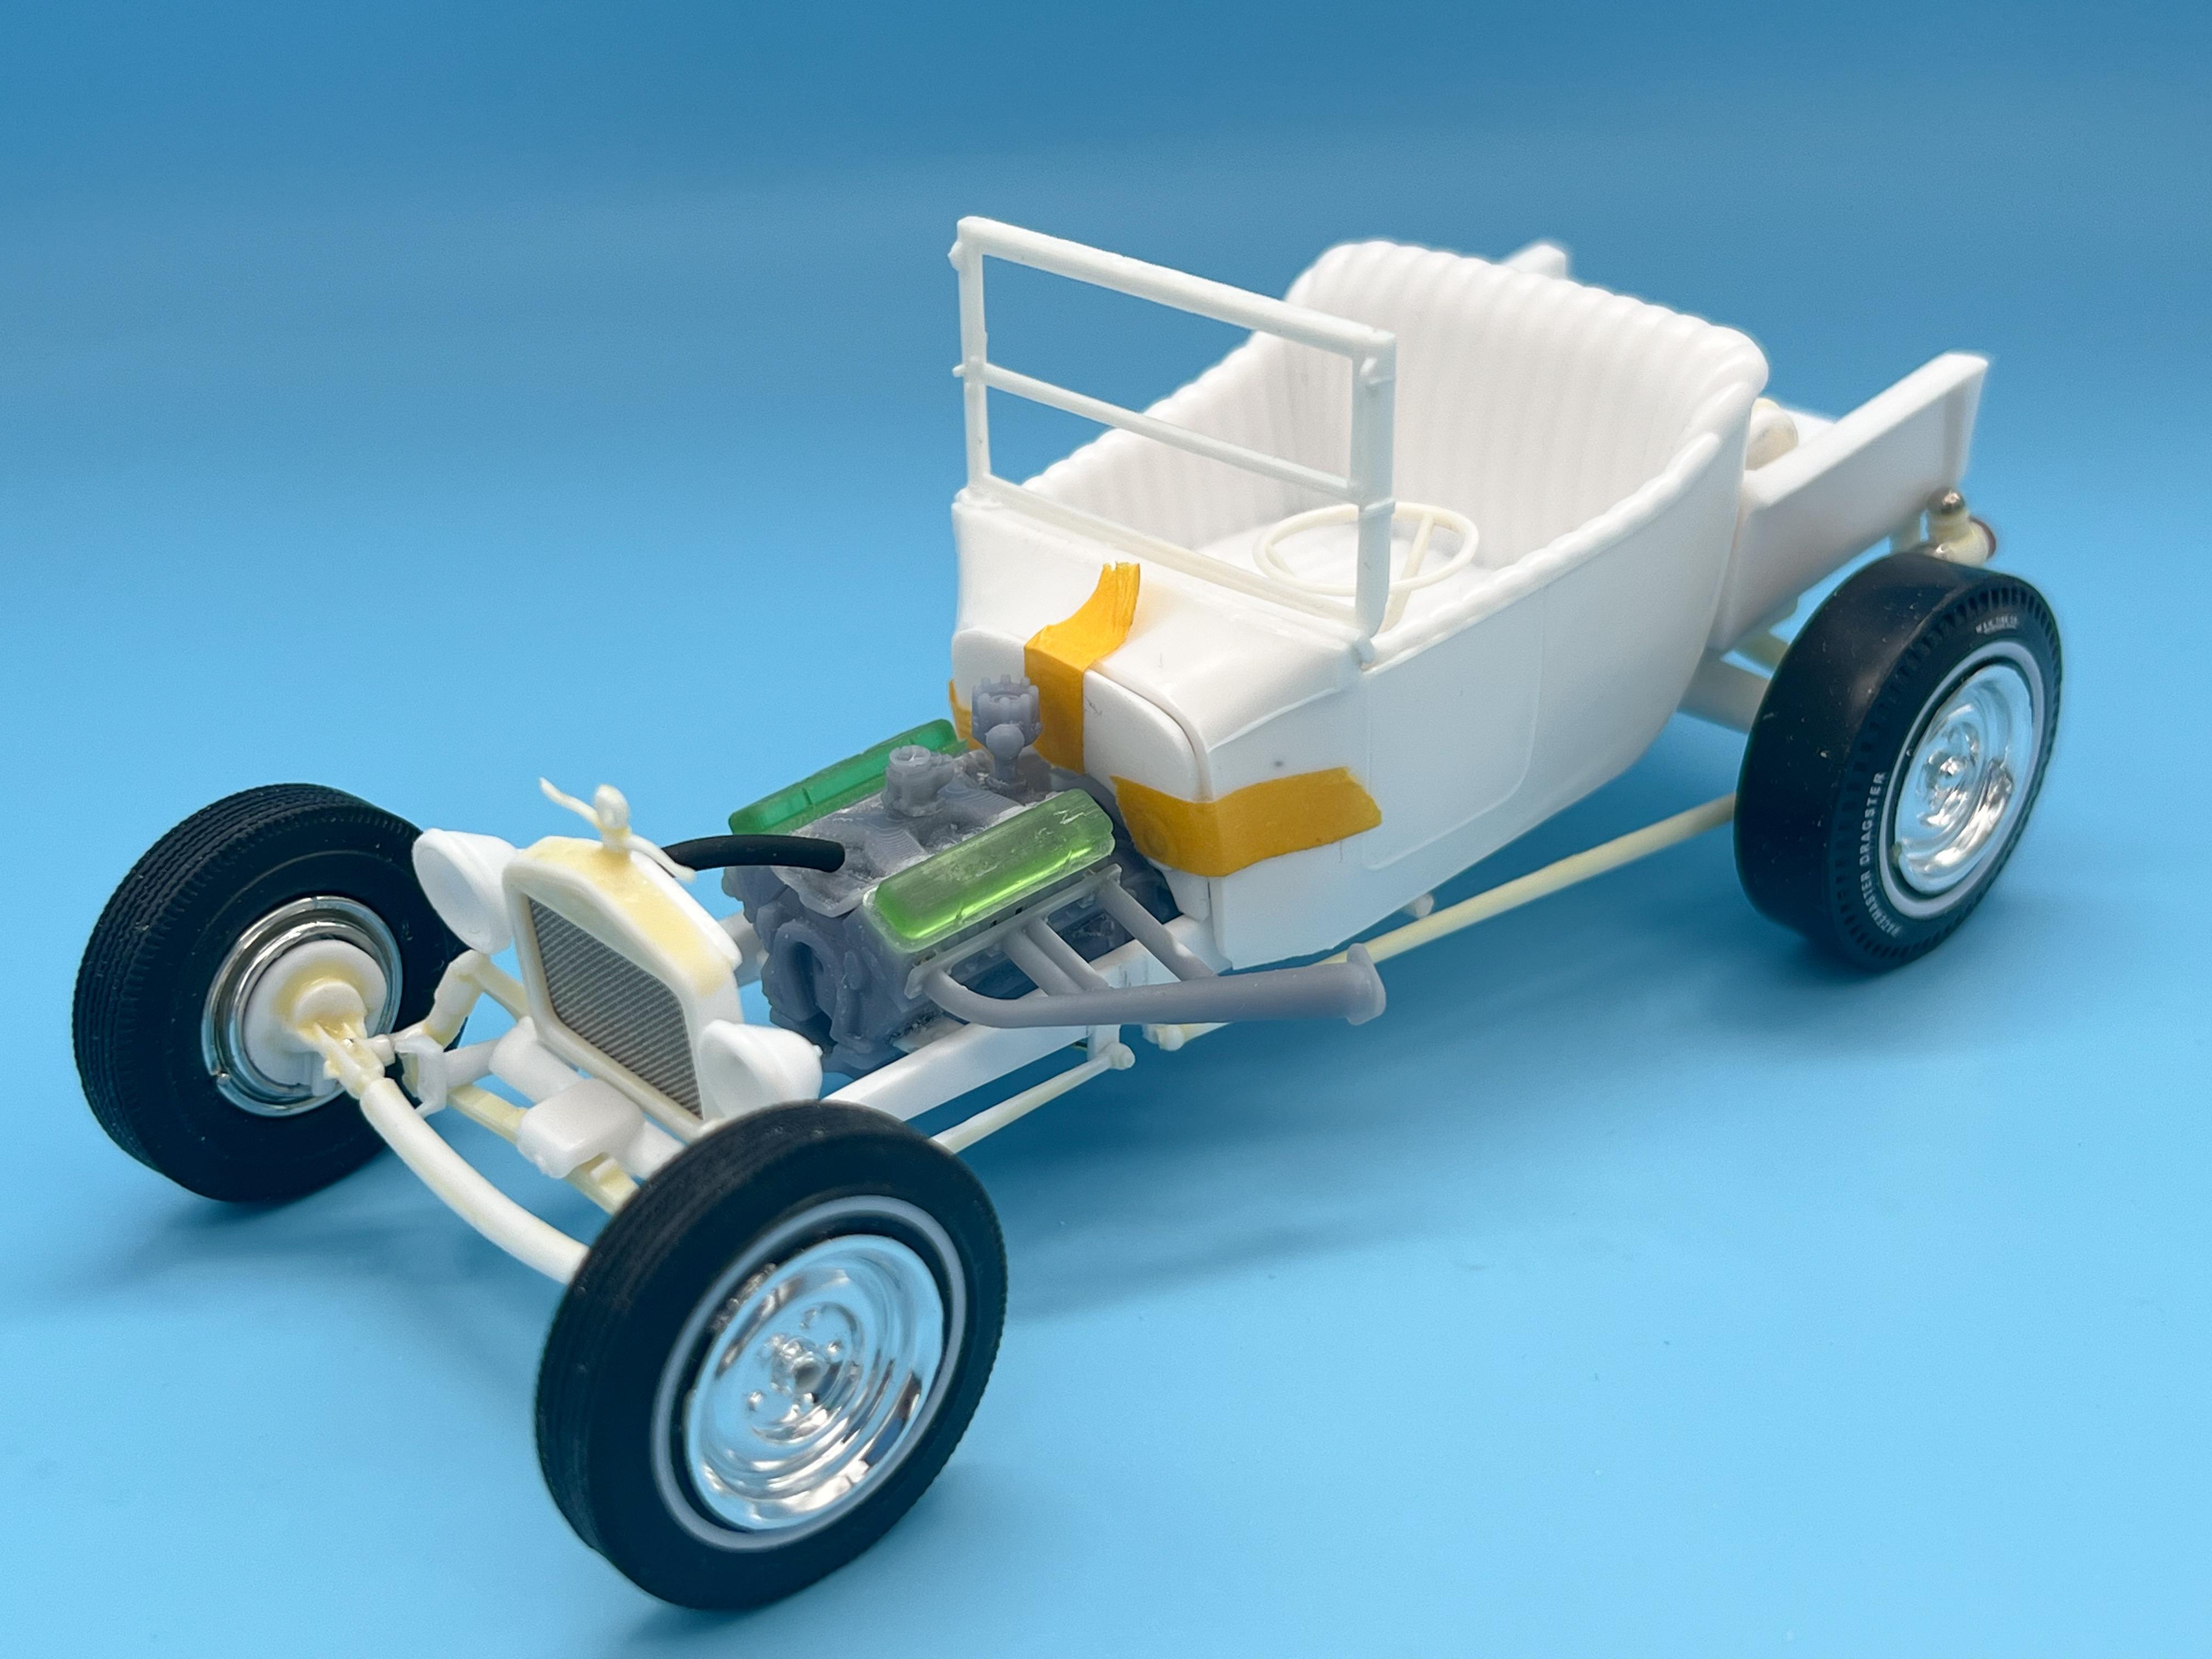
Thank you sir! They make a bunch of these little dots - I always check the card marking aisle in Hobby Lobby for anything useful…occasionally they have some domed clear ones that are good for gauge glass or even some types of light…plus I recently picked up some more dish-shaped ones that look like Baby Moon hubcaps. Love grabbing potential scratchbuilding supplies, even if I don’t need them right away! Frame is slightly longer than is really needed - the Coupe version has a similar long-nosed look to it too…but I don’t hate it, just part of the look of this particular kit… Agreed! (Although I have seen some ‘wrong’ in my time too…but it was right to someone ?) Thanks for all the nice comments fellas! This week was prepping-for-paint week…not the most interesting, once I had wrapped up a couple of loose ends… That unusual back-on-the-frame body position means that the shifter would exit close to the firewall, so I borrowed a boot from a Revell 29/30 kit and mocked up a shifter that would clear ok…for my own amusement I also used the stock T pedals. I’m not sure if anyone ever modified a set to work ‘conventionally’ (they’re not clutch, brake gas in a stock T) but I’m sure you could if so inclined - and if I’m wrong you can barely see them anyway ? The hole in the body for the firewall is bigger than the firewall, so ran some strip in there so I’d have something to glue to, and smoothed it all out and made it flat: Levelled out the frame rails with a touch of Bondo ready for paint: And after a few hours of messing with the frame and the body got far enough along today to get a bunch of stuff in primer: A coupla three rounds of tweaking and fine-tuning (mainly on the body) and it’s time for color! I had a colorscheme in mind for this one since before I started it…now I just have to hit the colors in my head and hope it looks ok when it’s all together… The body, grillshell, headlamps, dash and some other parts are going silver…I wanted a fairly coarse flake but not too dark and not bass-boaty….settled on Wicked Colors Aluminum which is a nice bright silver with a large (but not TOO large flake to it): Closeup: Flake is probably a little large for the era I have in my head, but I do like actually being able to SEE it - plus I think T buckets are more fun when they’re a little cartoony anyway… For the interior, rather than the standard black I wanted to do something a little inspired by the old 60s Cadillacs that had a blue interior - something fairly eye catching and unusual that you don’t usually see in a T bucket. I had a particular shade and look I was trying to hit, so I did some paint experimentations today and then shot a Tamiya dark blue base… Then, once that had dried, some light mists of a pearl artist’s acrylic by Decoart: The darker base color not only allowed me to tone the finished color to where I imagined it, but I could also feather on the pearl heavier around the top edges of the tub to lighten them up more than the lower portions to force some ‘shadow’ and depth to the tub somewhat…kinda worked I think… More on that (and everything else) soon…ran out of weekend already, but I’m excited to be laying paint! Thanks for looking - more soon, soon as I’ve done more!
-
That’s awesome, nice idea ??
-
Awesome looking build - love that color especially! And I don’t remember seeing another one of these that had a chop. Killer!
-
One of my favorites! Great looking build! I built the full-detail version of this kit too, and despite endless mockups and tweaks to TRY and get it together nicely, it still didn’t go together too well in the end…I seem to remember the hood being problematic, and the interior tub maybe? Regardless, great looking build - nice work!
-
“ THE COMING ATTRACTIONS “ A COUPLE OF AMT MODEL T’s
OldNYJim replied to M W Elky's topic in WIP: Drag Racing Models
These kits are fun huh? Great start! -
They’re good for wheel tubs too, if you’re into building things that need new (larger) wheel tubs
-
Oh man, those orange colors ???
-
This is a great looking build - one of the best I’ve seen of this kit, I think LOVE those wheels!
-
I think you’re doing a fine job of beating this one into submission…thanks for detailed step-by-step on the improvements you’ve made!
-
Tint looks good David! Tamiya Clear Blue acrylic is another option that works well - but yours looks good! Making good progress, keep going!
-
T-Bucket (the pickup kind)
OldNYJim replied to OldNYJim's topic in WIP: Model Trucks: Pickups, Vans, SUVs, Light Commercial
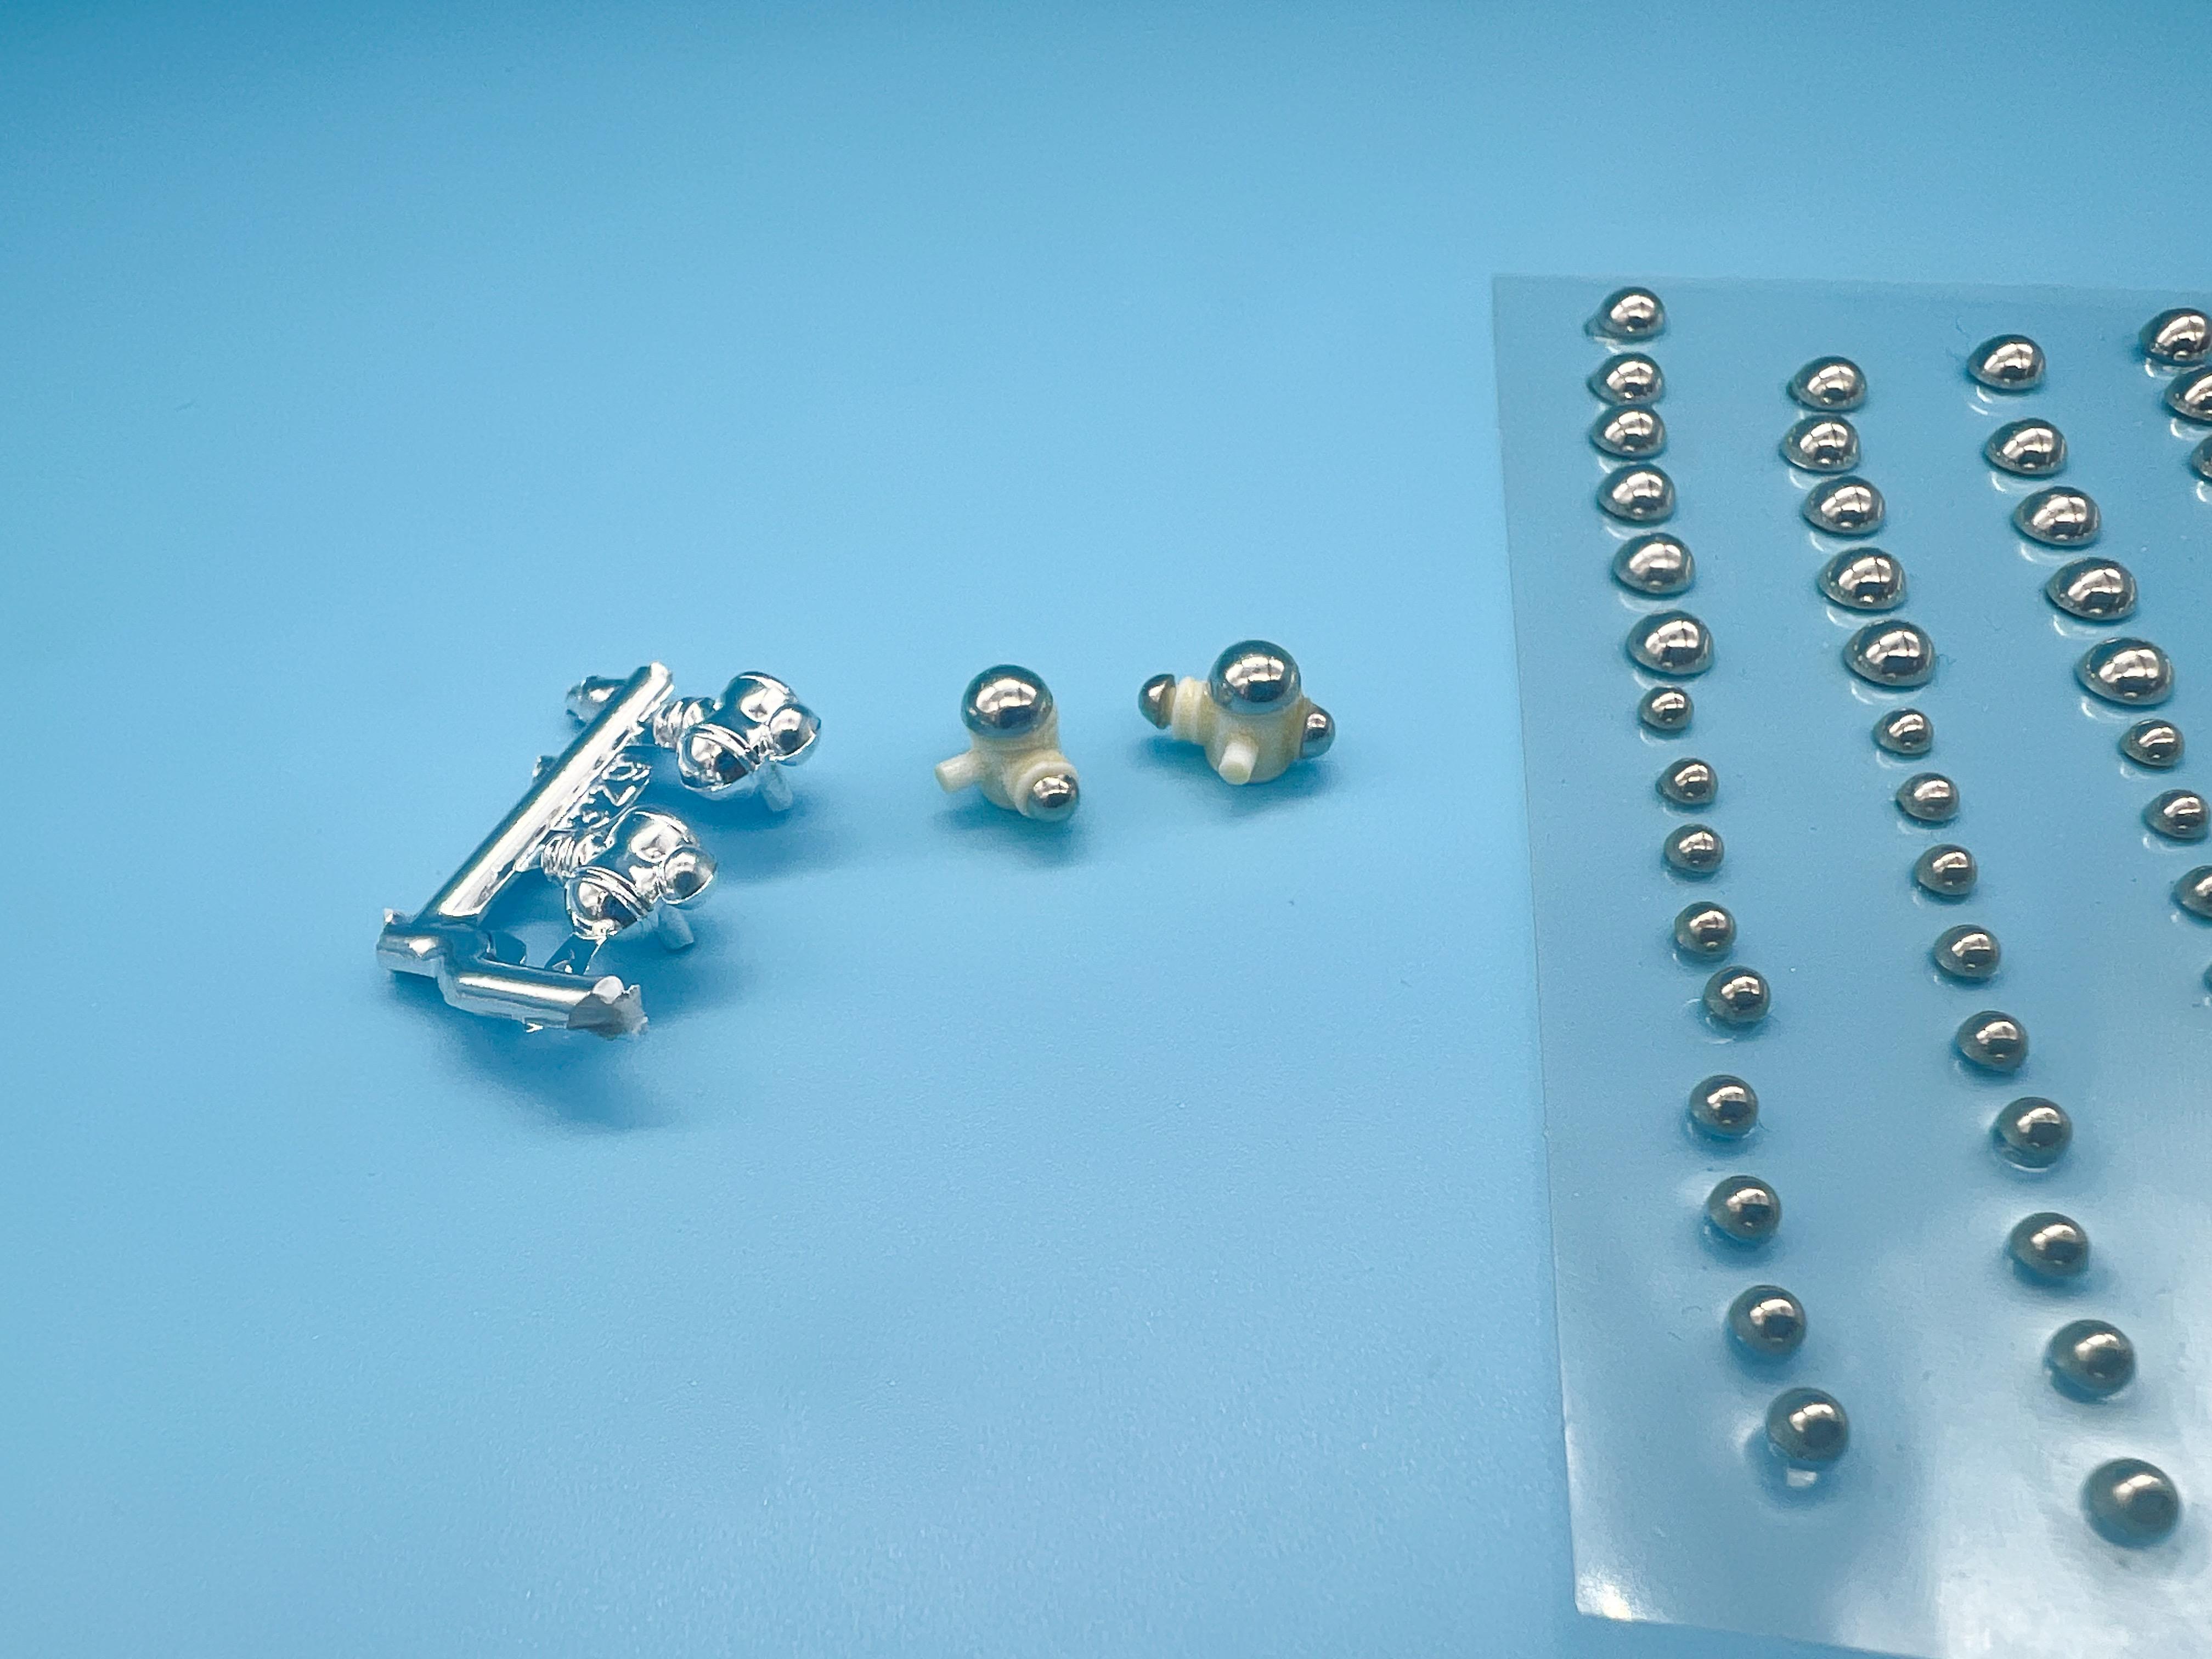
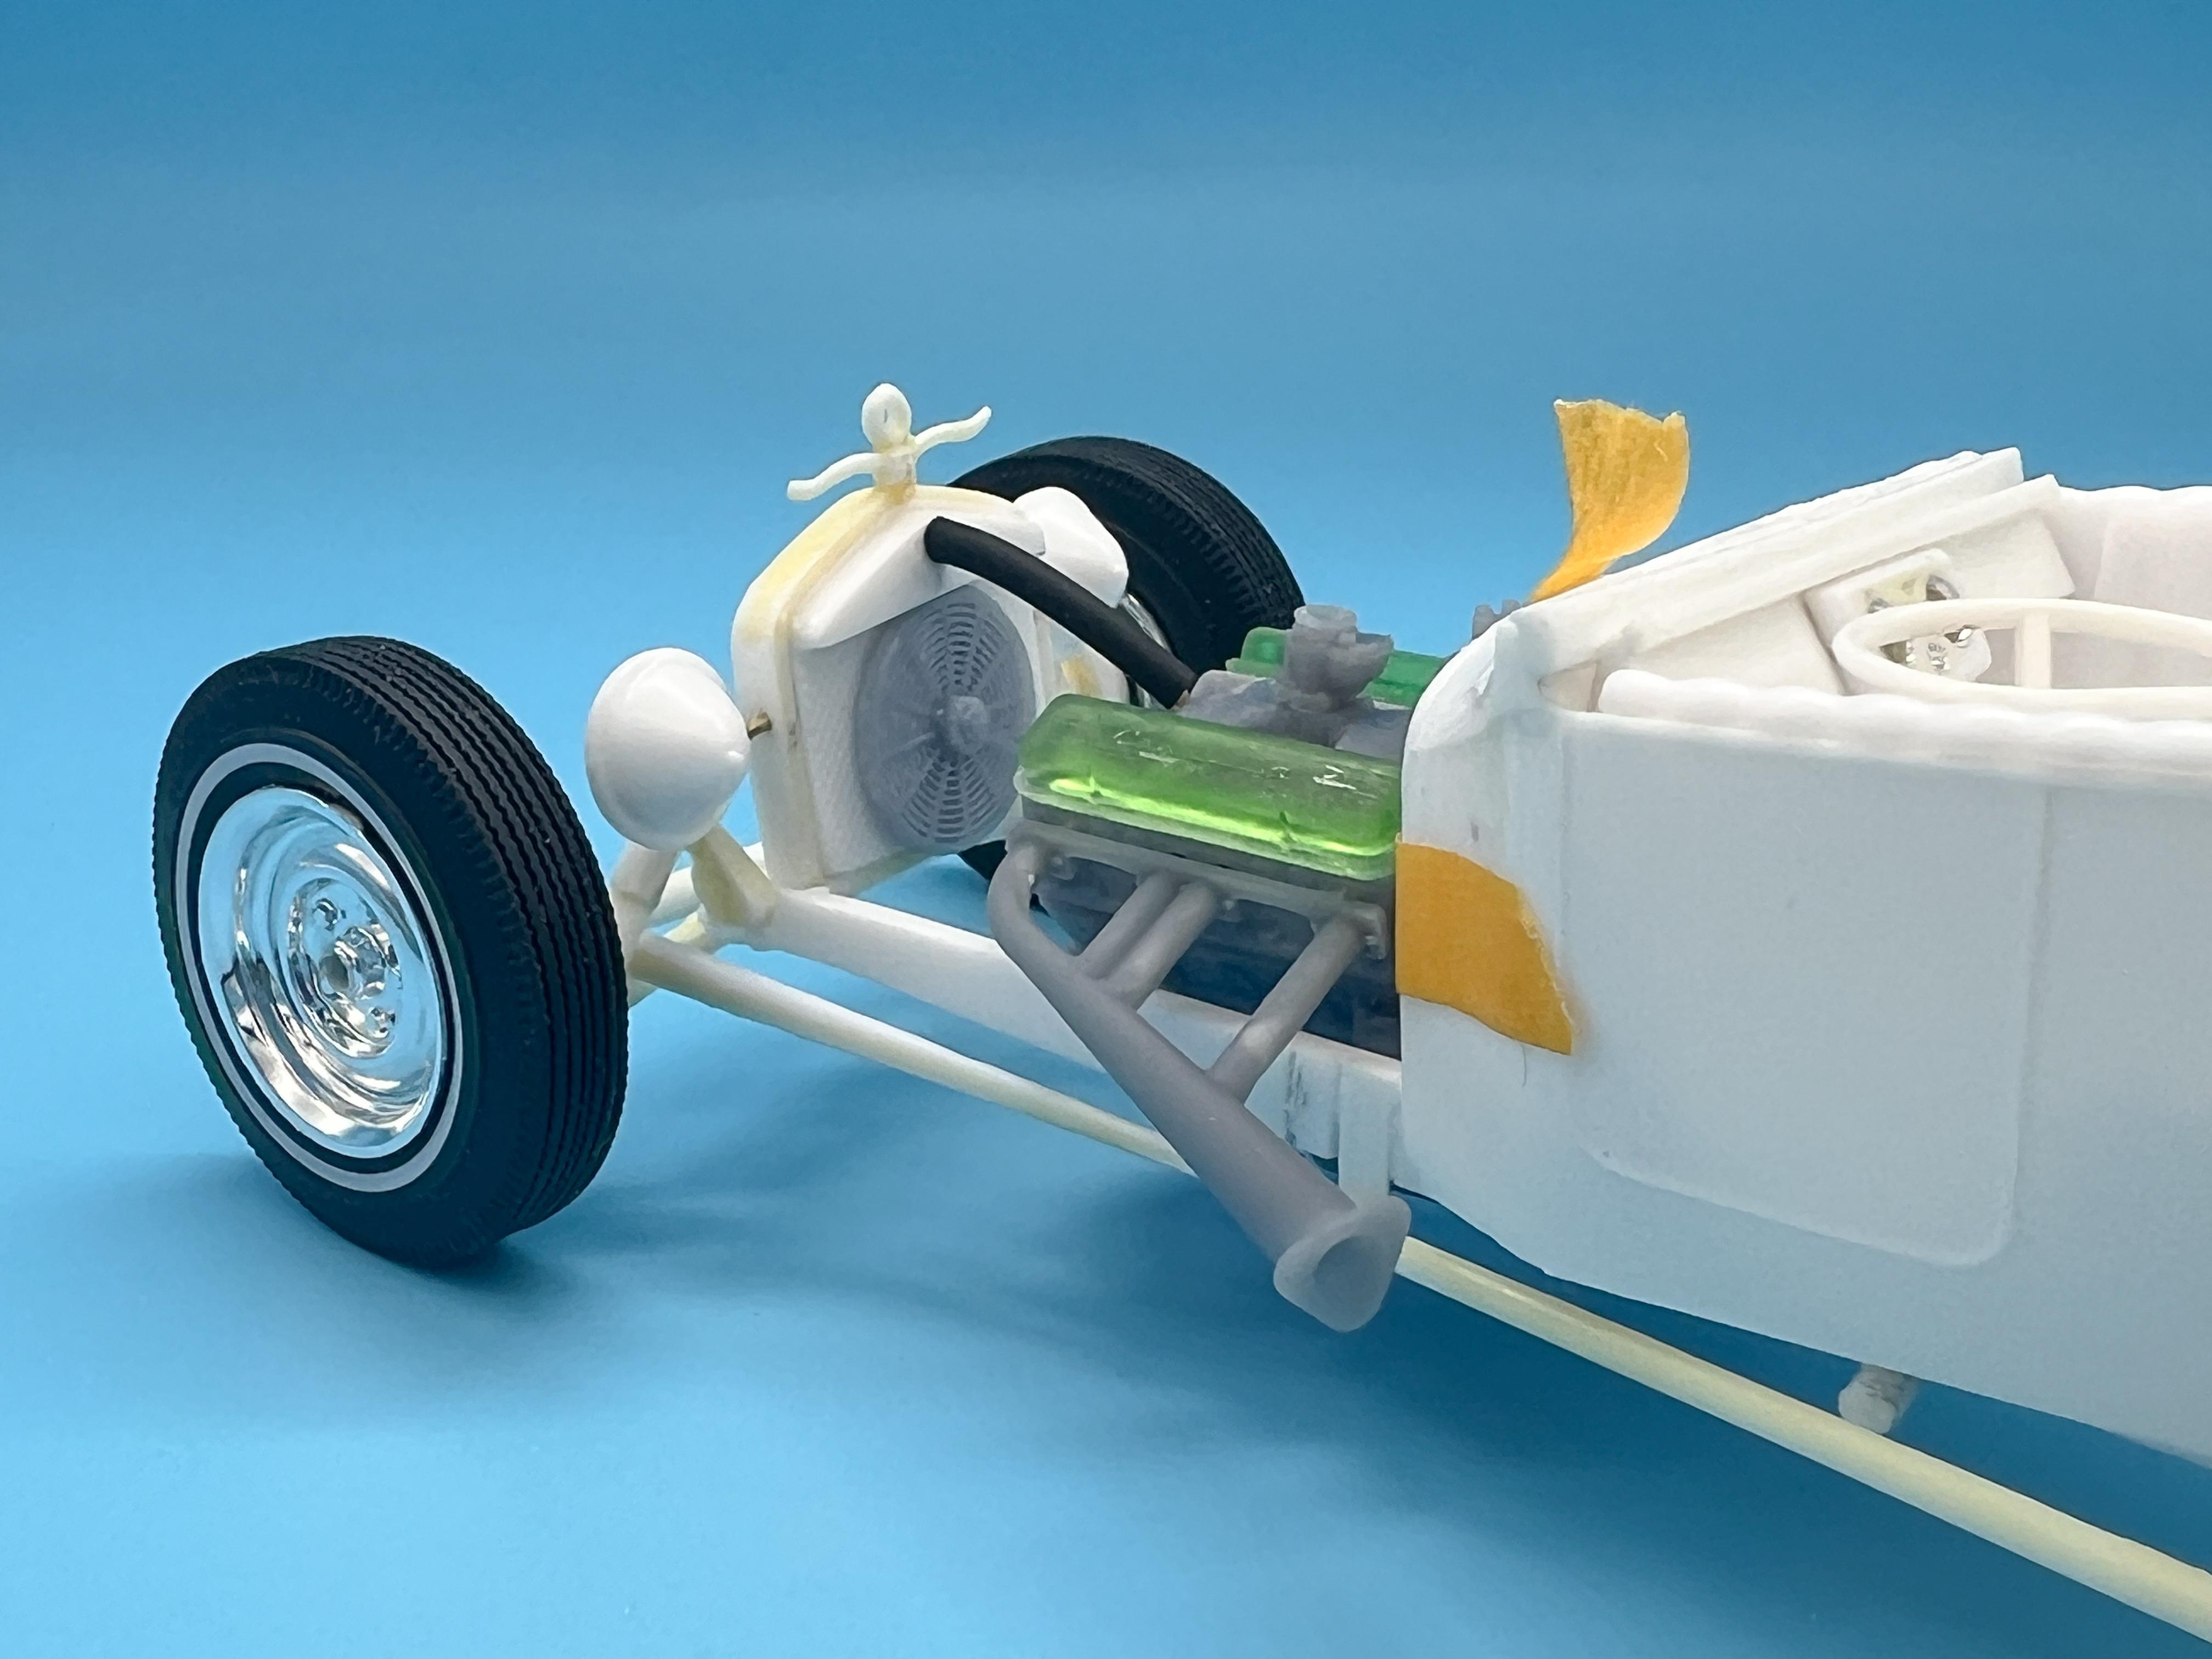
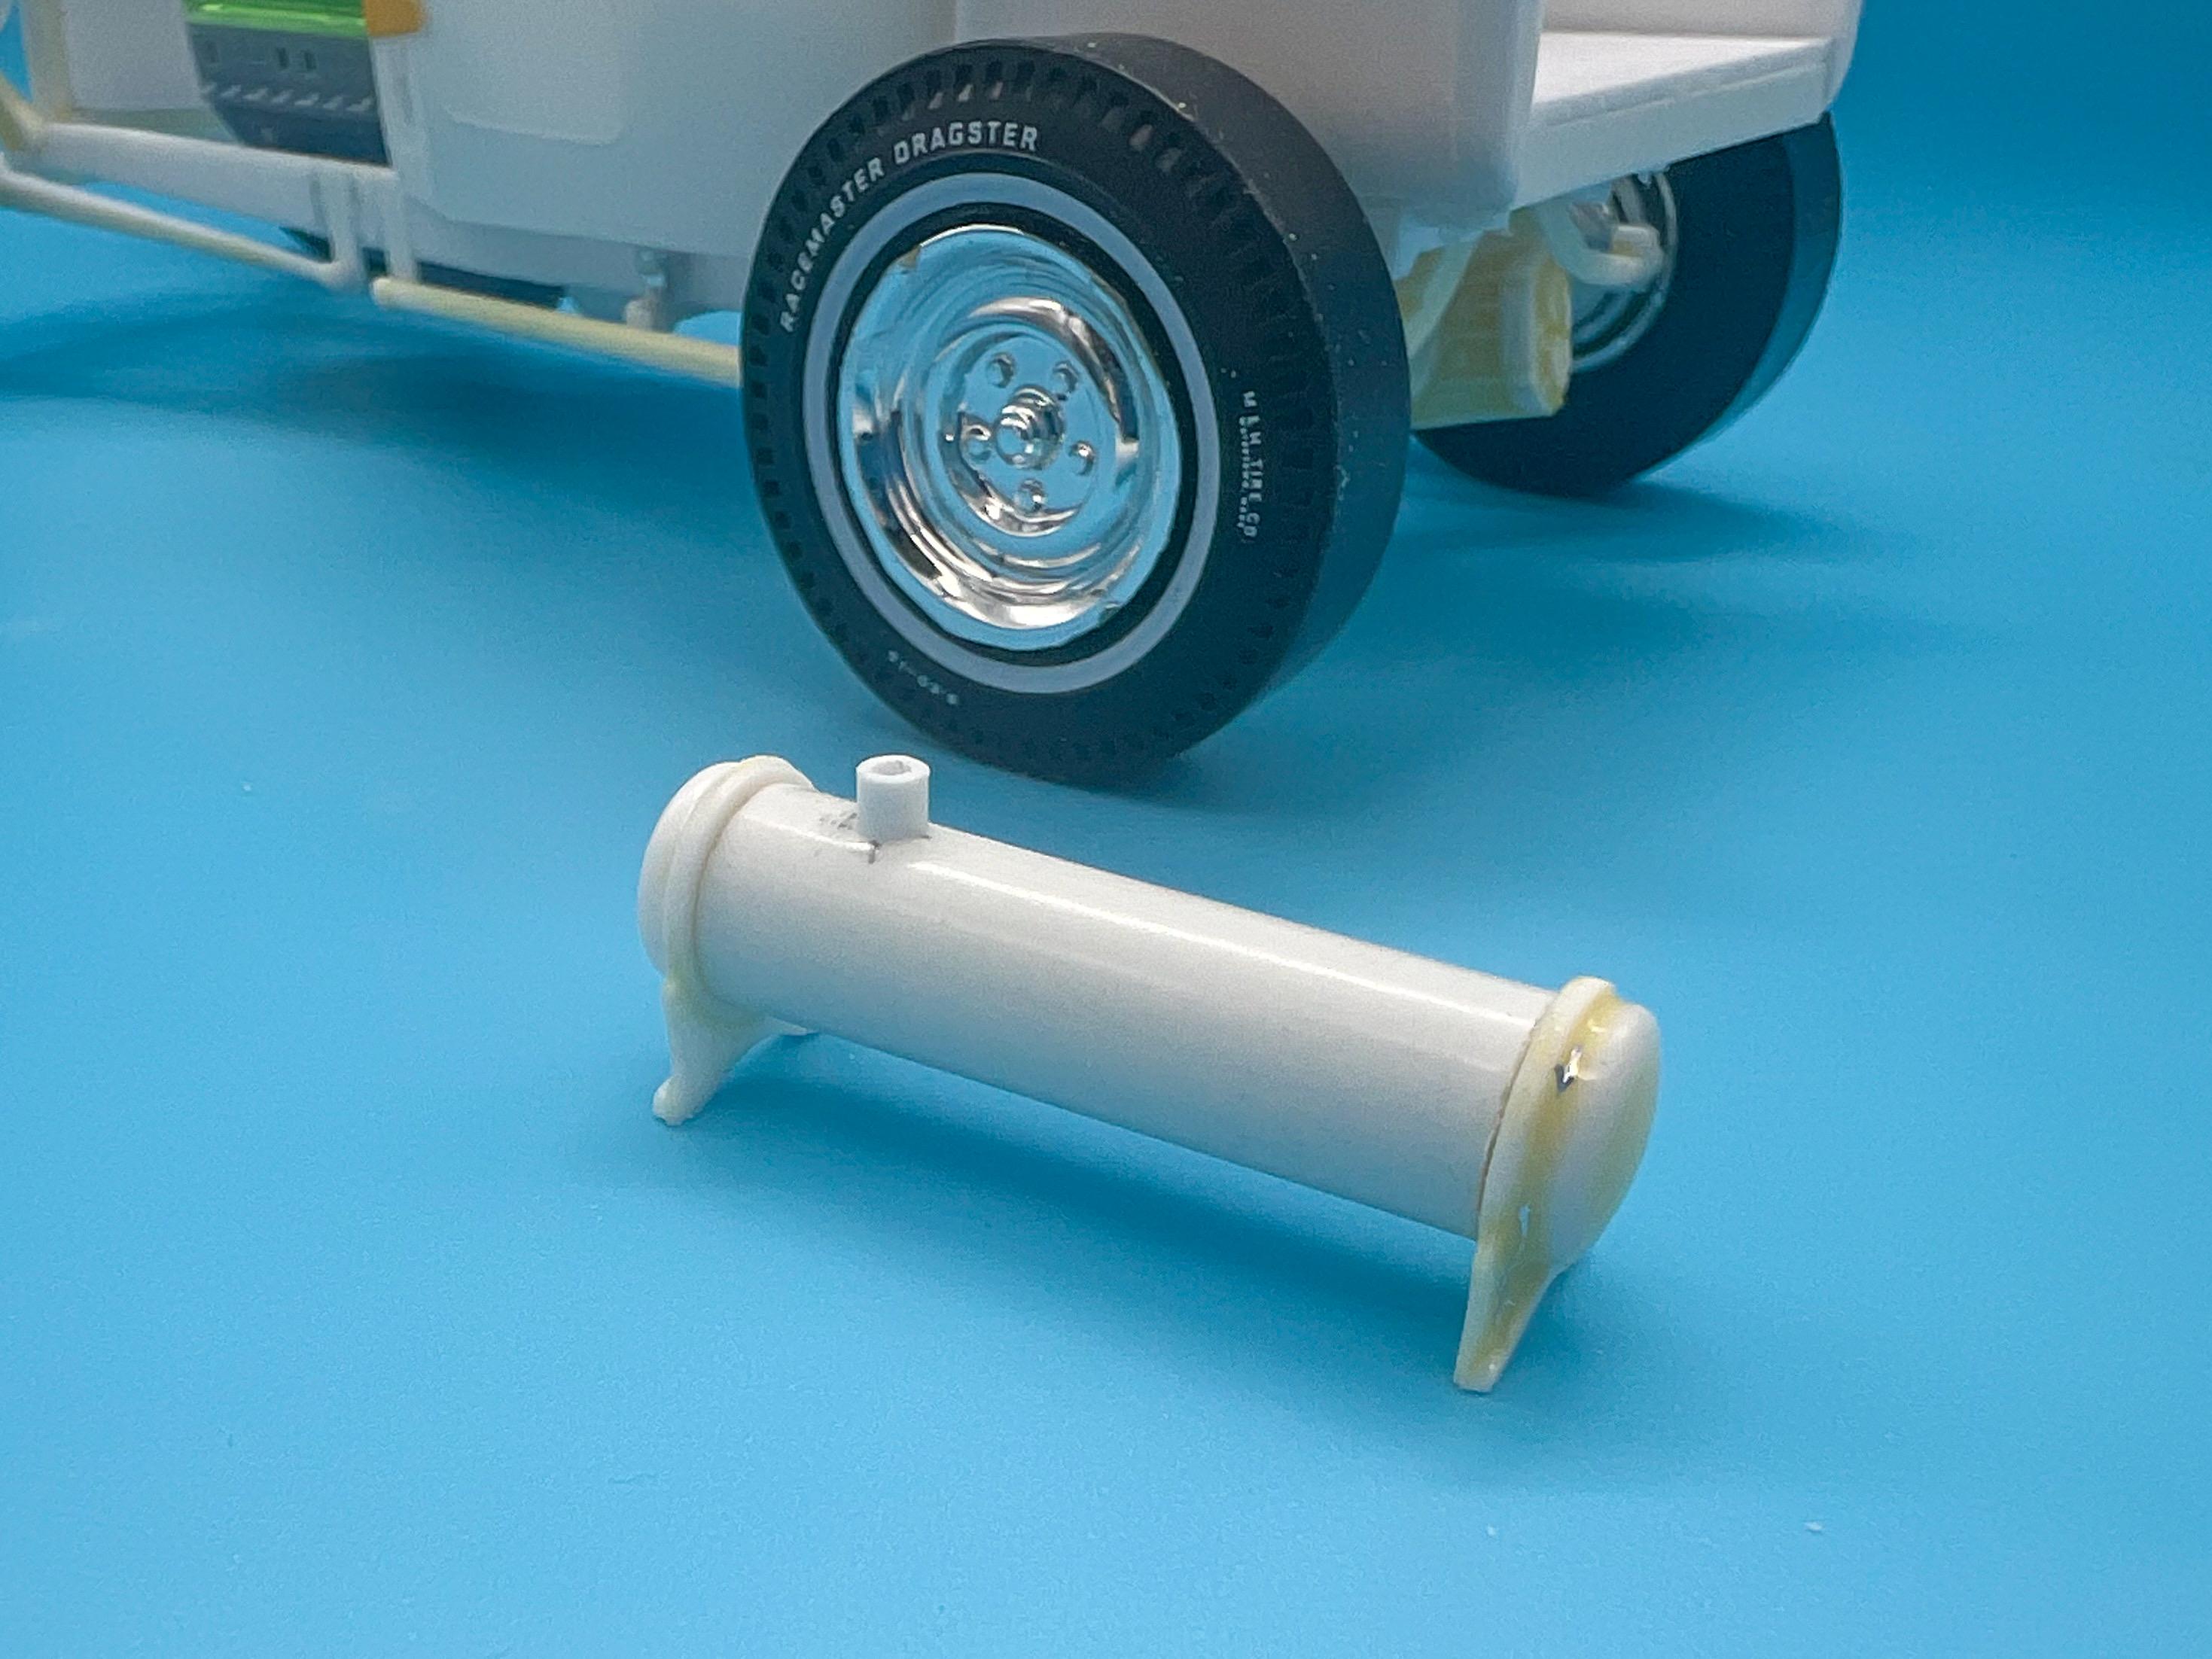
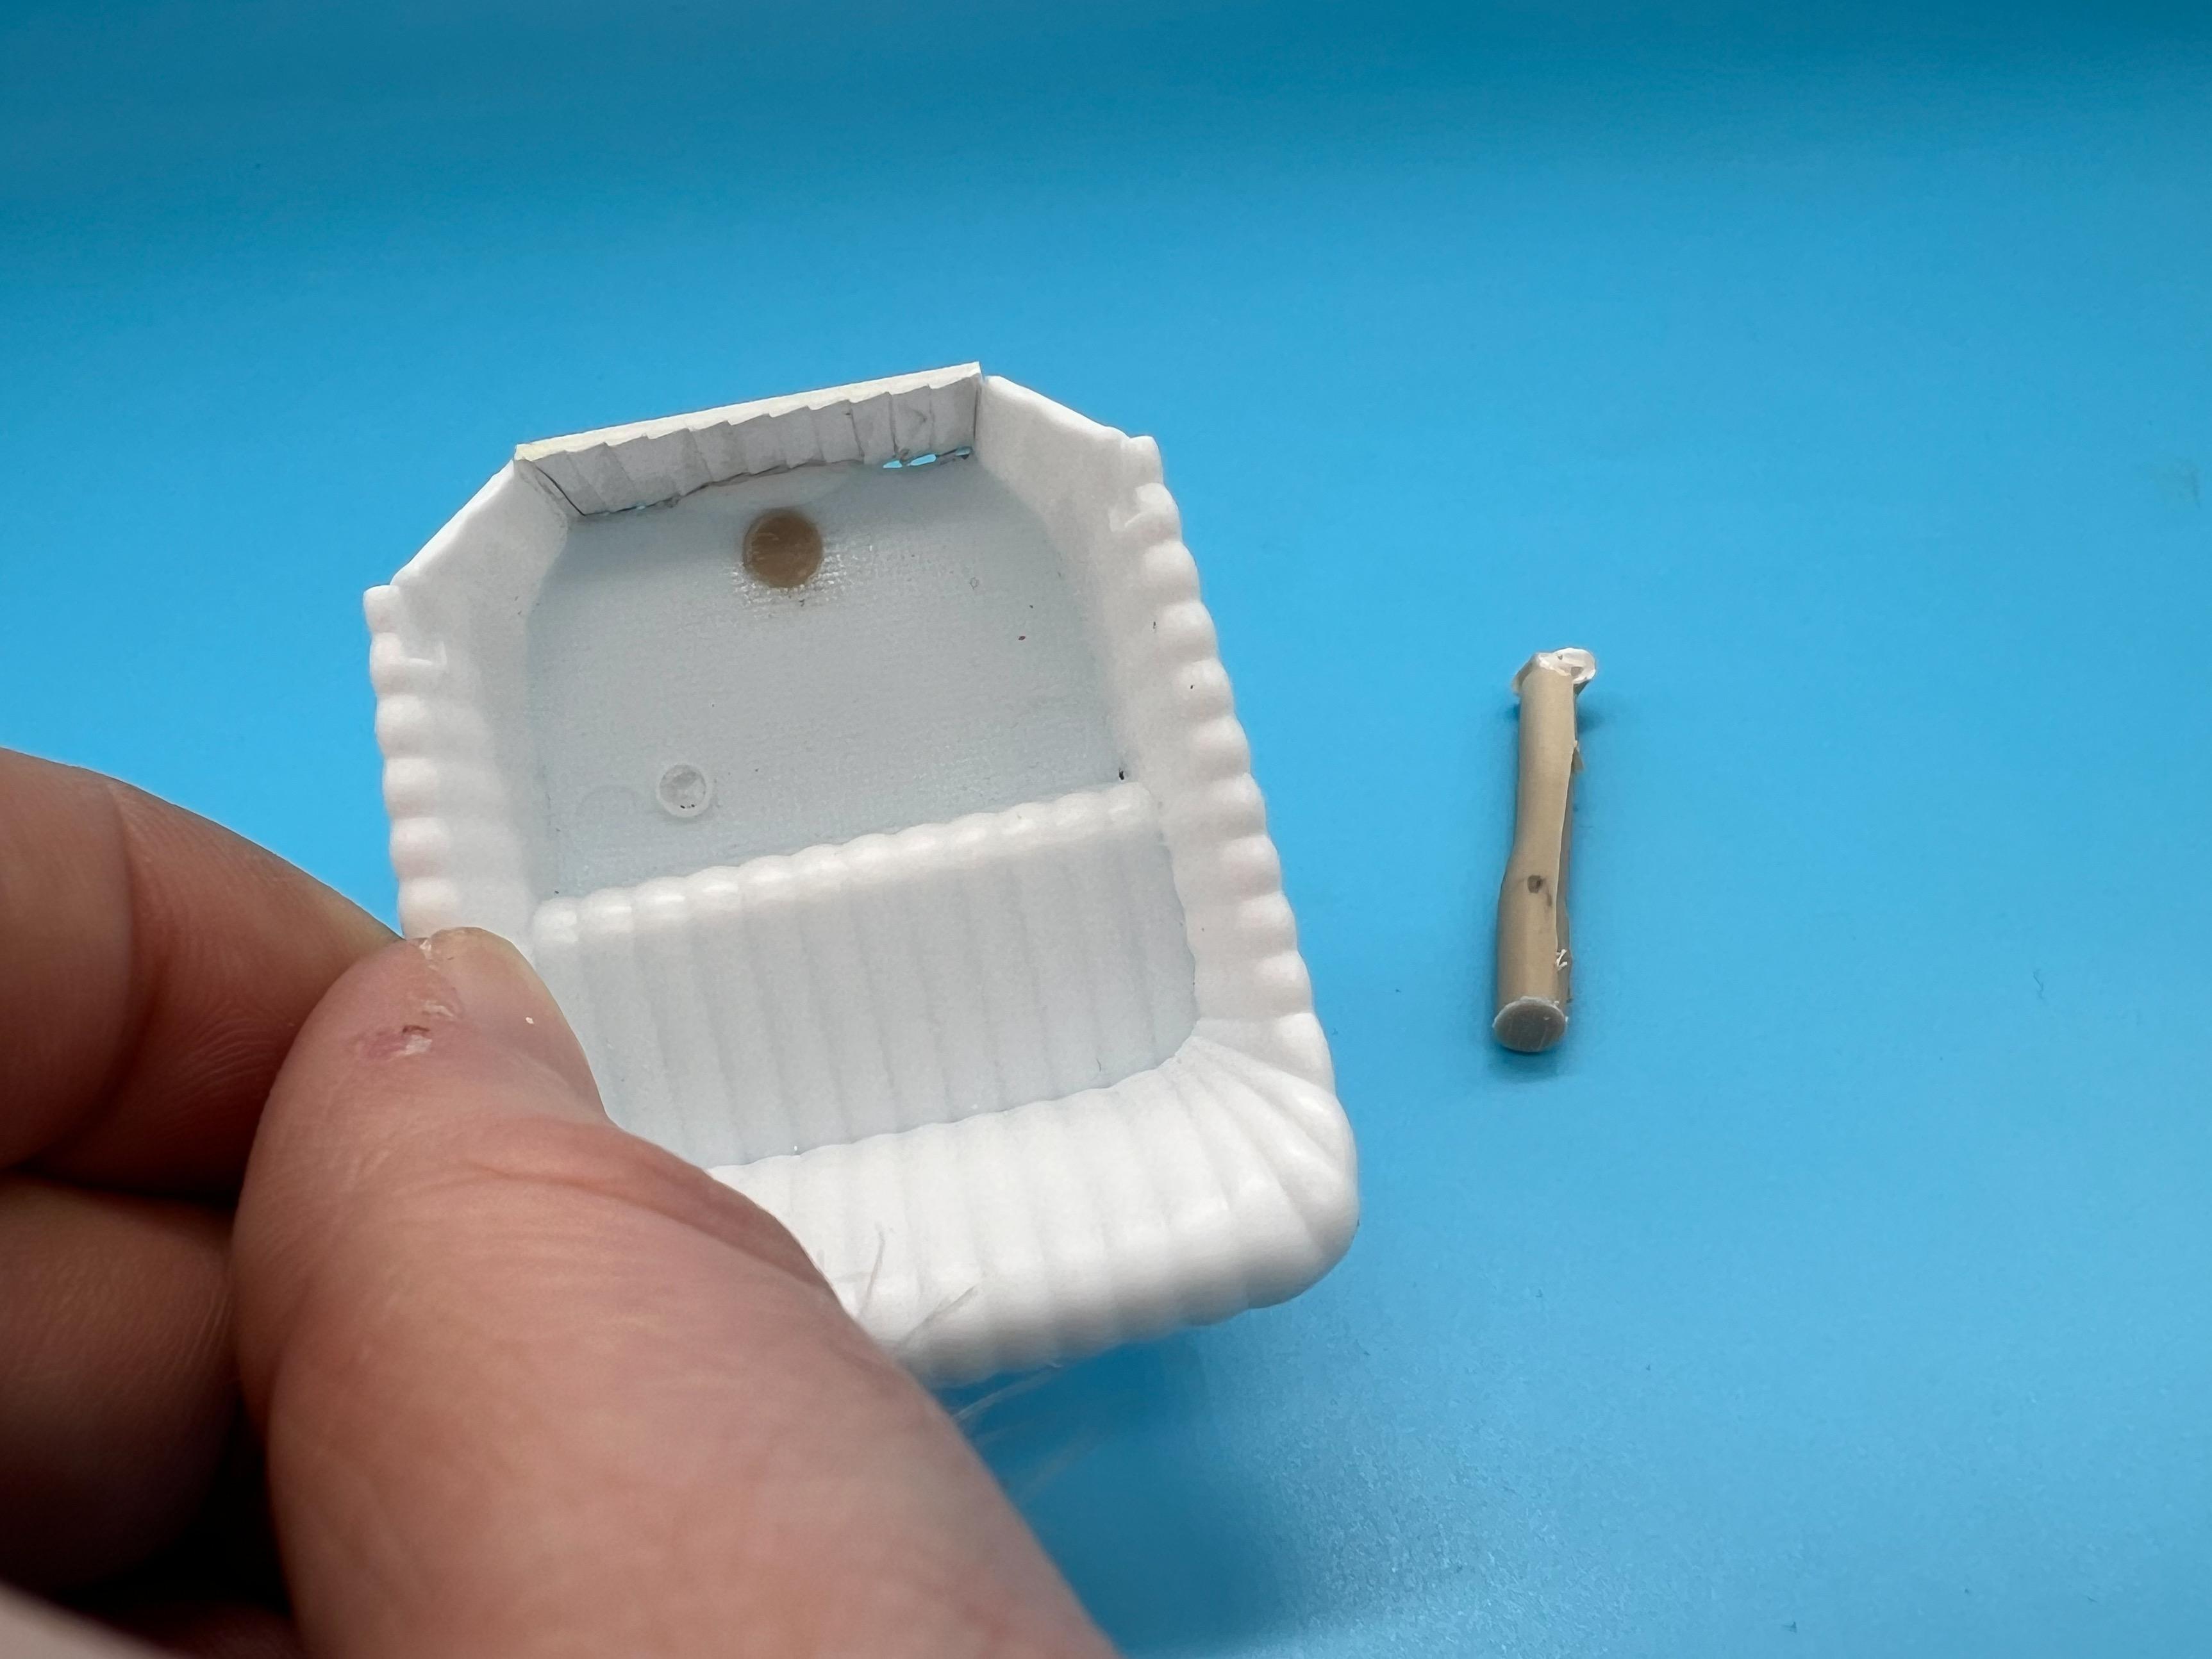
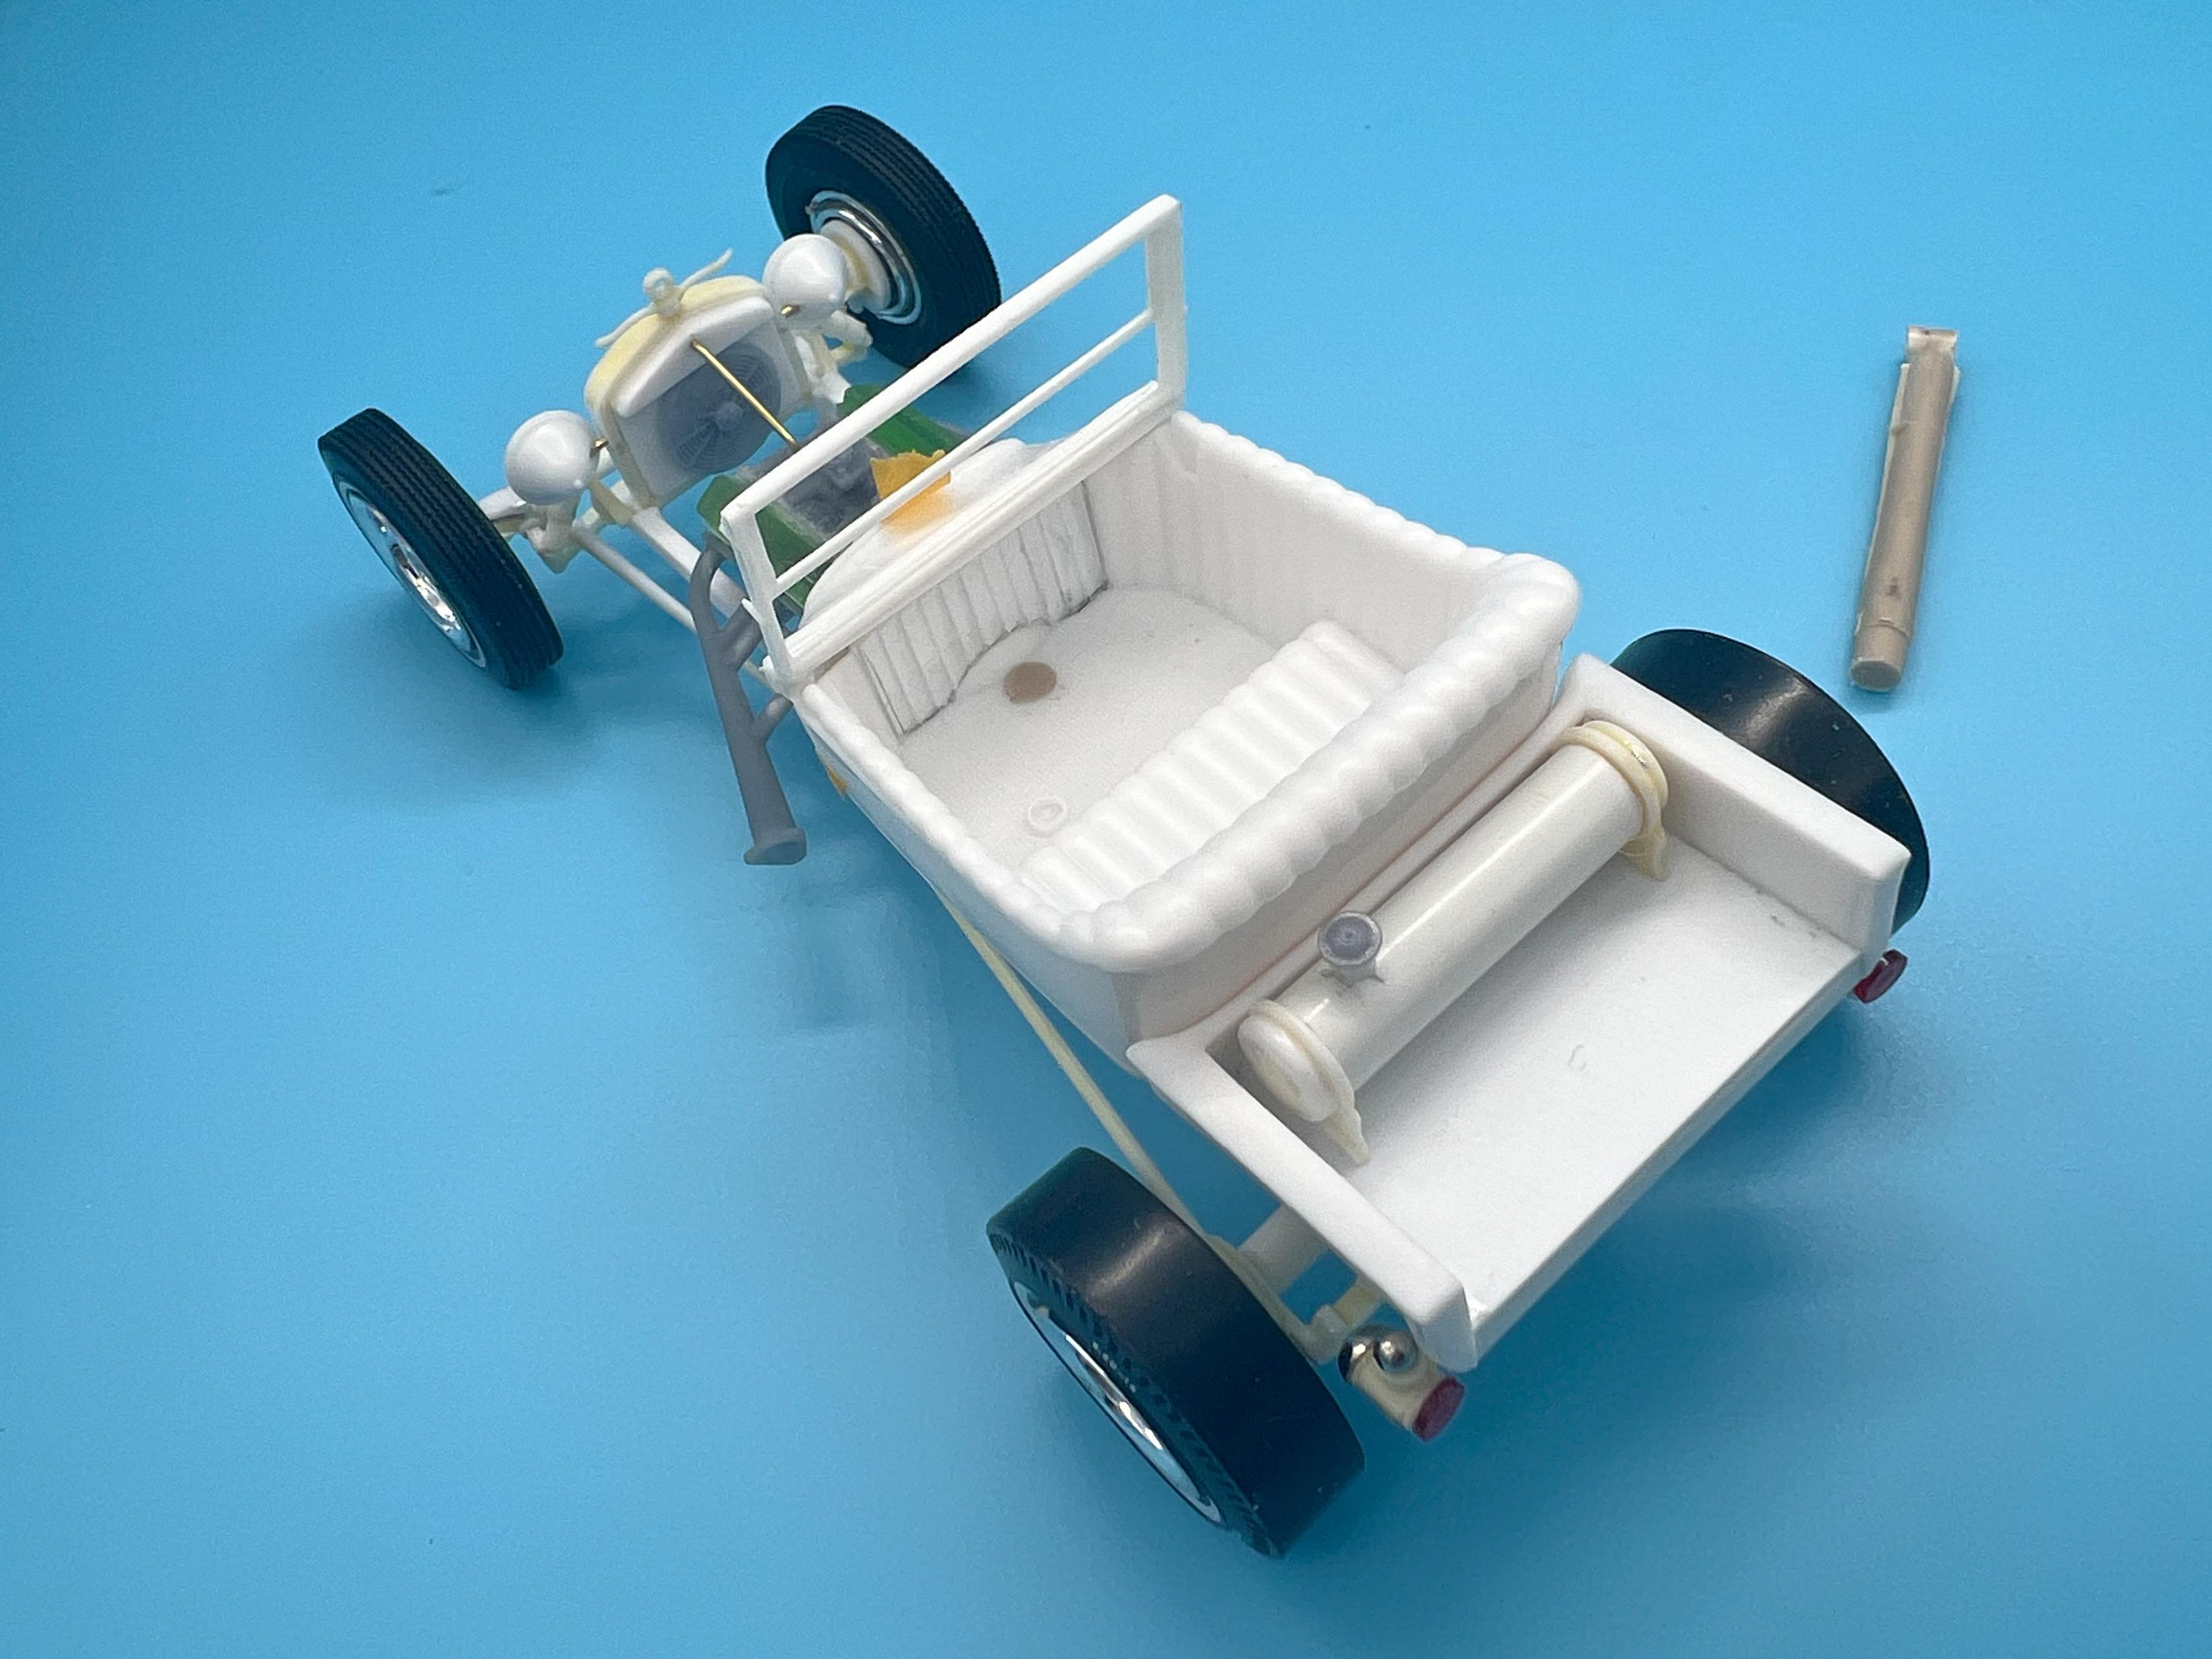
Thanks fellas! You’re right - they DO have the body sit way back…that’s something that, if I were designing this, I would change too - it looks more ‘right’ to me with the body forward a little. That said, I really wanted to build a loosely (!!) box-stock T Bucket from each of the available kits for my shelf, and that long-snout look is definitely a distinctive feature of these. Of course, ‘loosely’ box stock means I’m also changing a BUNCH of stuff on this, but I’m trying to keep the bones mostly as it comes out of the box ? A little more progress today…first up was figuring out the tail lights. I wanted to use the old lantern-style ones that come with the kit, but the detail is pretty soft. Stripped the chrome, sanded flat the domes and replaced with with some scrapbooking half-spheres that were about the perfect size: They’ll mount to the bedside like so: Lenses are from the parts box…there was some old semi kit that came with trees and trees of little round red and amber lenses of various sizes, and these are from what, whatever it was…super useful to have in the stash if you ever see them… I wanted to make some brackets to mount the fuel tank, and then realized that the kit COMES with the perfect part, assuming you have two of these kits on your shelf… there’s a little two-part Moon tank in this kit, and I used the end piece (just a tank-end and a bracket) times two: I had some engine parts to print, so I printed a cap…this is SUPPOSED to be a Ford Falcon radiator cap, but it made a nice cap for the gas tank instead… Also fresh off the printer today was all the bolt-on stuff to finish the engine, besides one piece I forgot…dohhh. I did print up some headers though: Plus, I don’t know how legit an electric fan would be for a mid-sixties period guide but I didn’t want a mechanical fan on there so I printed an electric one: That kit radiator is crying out for some more detail, so I’ll probably work on that this coming week…I also need to figure out the pedals and shifter, but before I could do that I had a big hole to fill in the floor…couldn’t find a perfect diameter piece of styrene rod so I spun up a scrap piece of sprue to make a plug instead: Plenty more to do, but I’m pleased with my weekend’s progress…more soon, soon as I’ve done more!