OldNYJim
-
Posts
247 -
Joined
-
Last visited
Content Type
Profiles
Forums
Events
Gallery
Everything posted by OldNYJim
-
This is awesome, nice work Dann!
-
 Interesting! Thank you - didn’t know that! So…it came with an entire parts tree from a completely different kit…but not the wheels on the box? Awesome ??
- 38,867 replies
-
- 1
-

-
- johan
- glue bombs
- (and 1 more)
-
Atlantis Models has bought another lot of tooling/molds.....
OldNYJim replied to Dave Van's topic in Car Kit News & Reviews
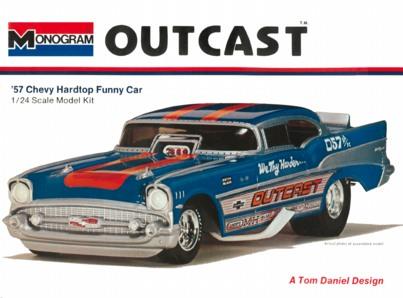
Edit - the 57 is a DIFFERENT 57 Funny Car I think…
-
Atlantis Models has bought another lot of tooling/molds.....
OldNYJim replied to Dave Van's topic in Car Kit News & Reviews
That’s really interesting - unless there were two tools I guess? I THINK the Cop Out shares the frame and engine with the 57 Funnycar that Atlantis has already reissued…but that begs the question of what the kit Revell released recently is? I might pick up the new Revell kit just so I can see (I have a Cop Out too, but it’s in storage 700 miles away right now…) -
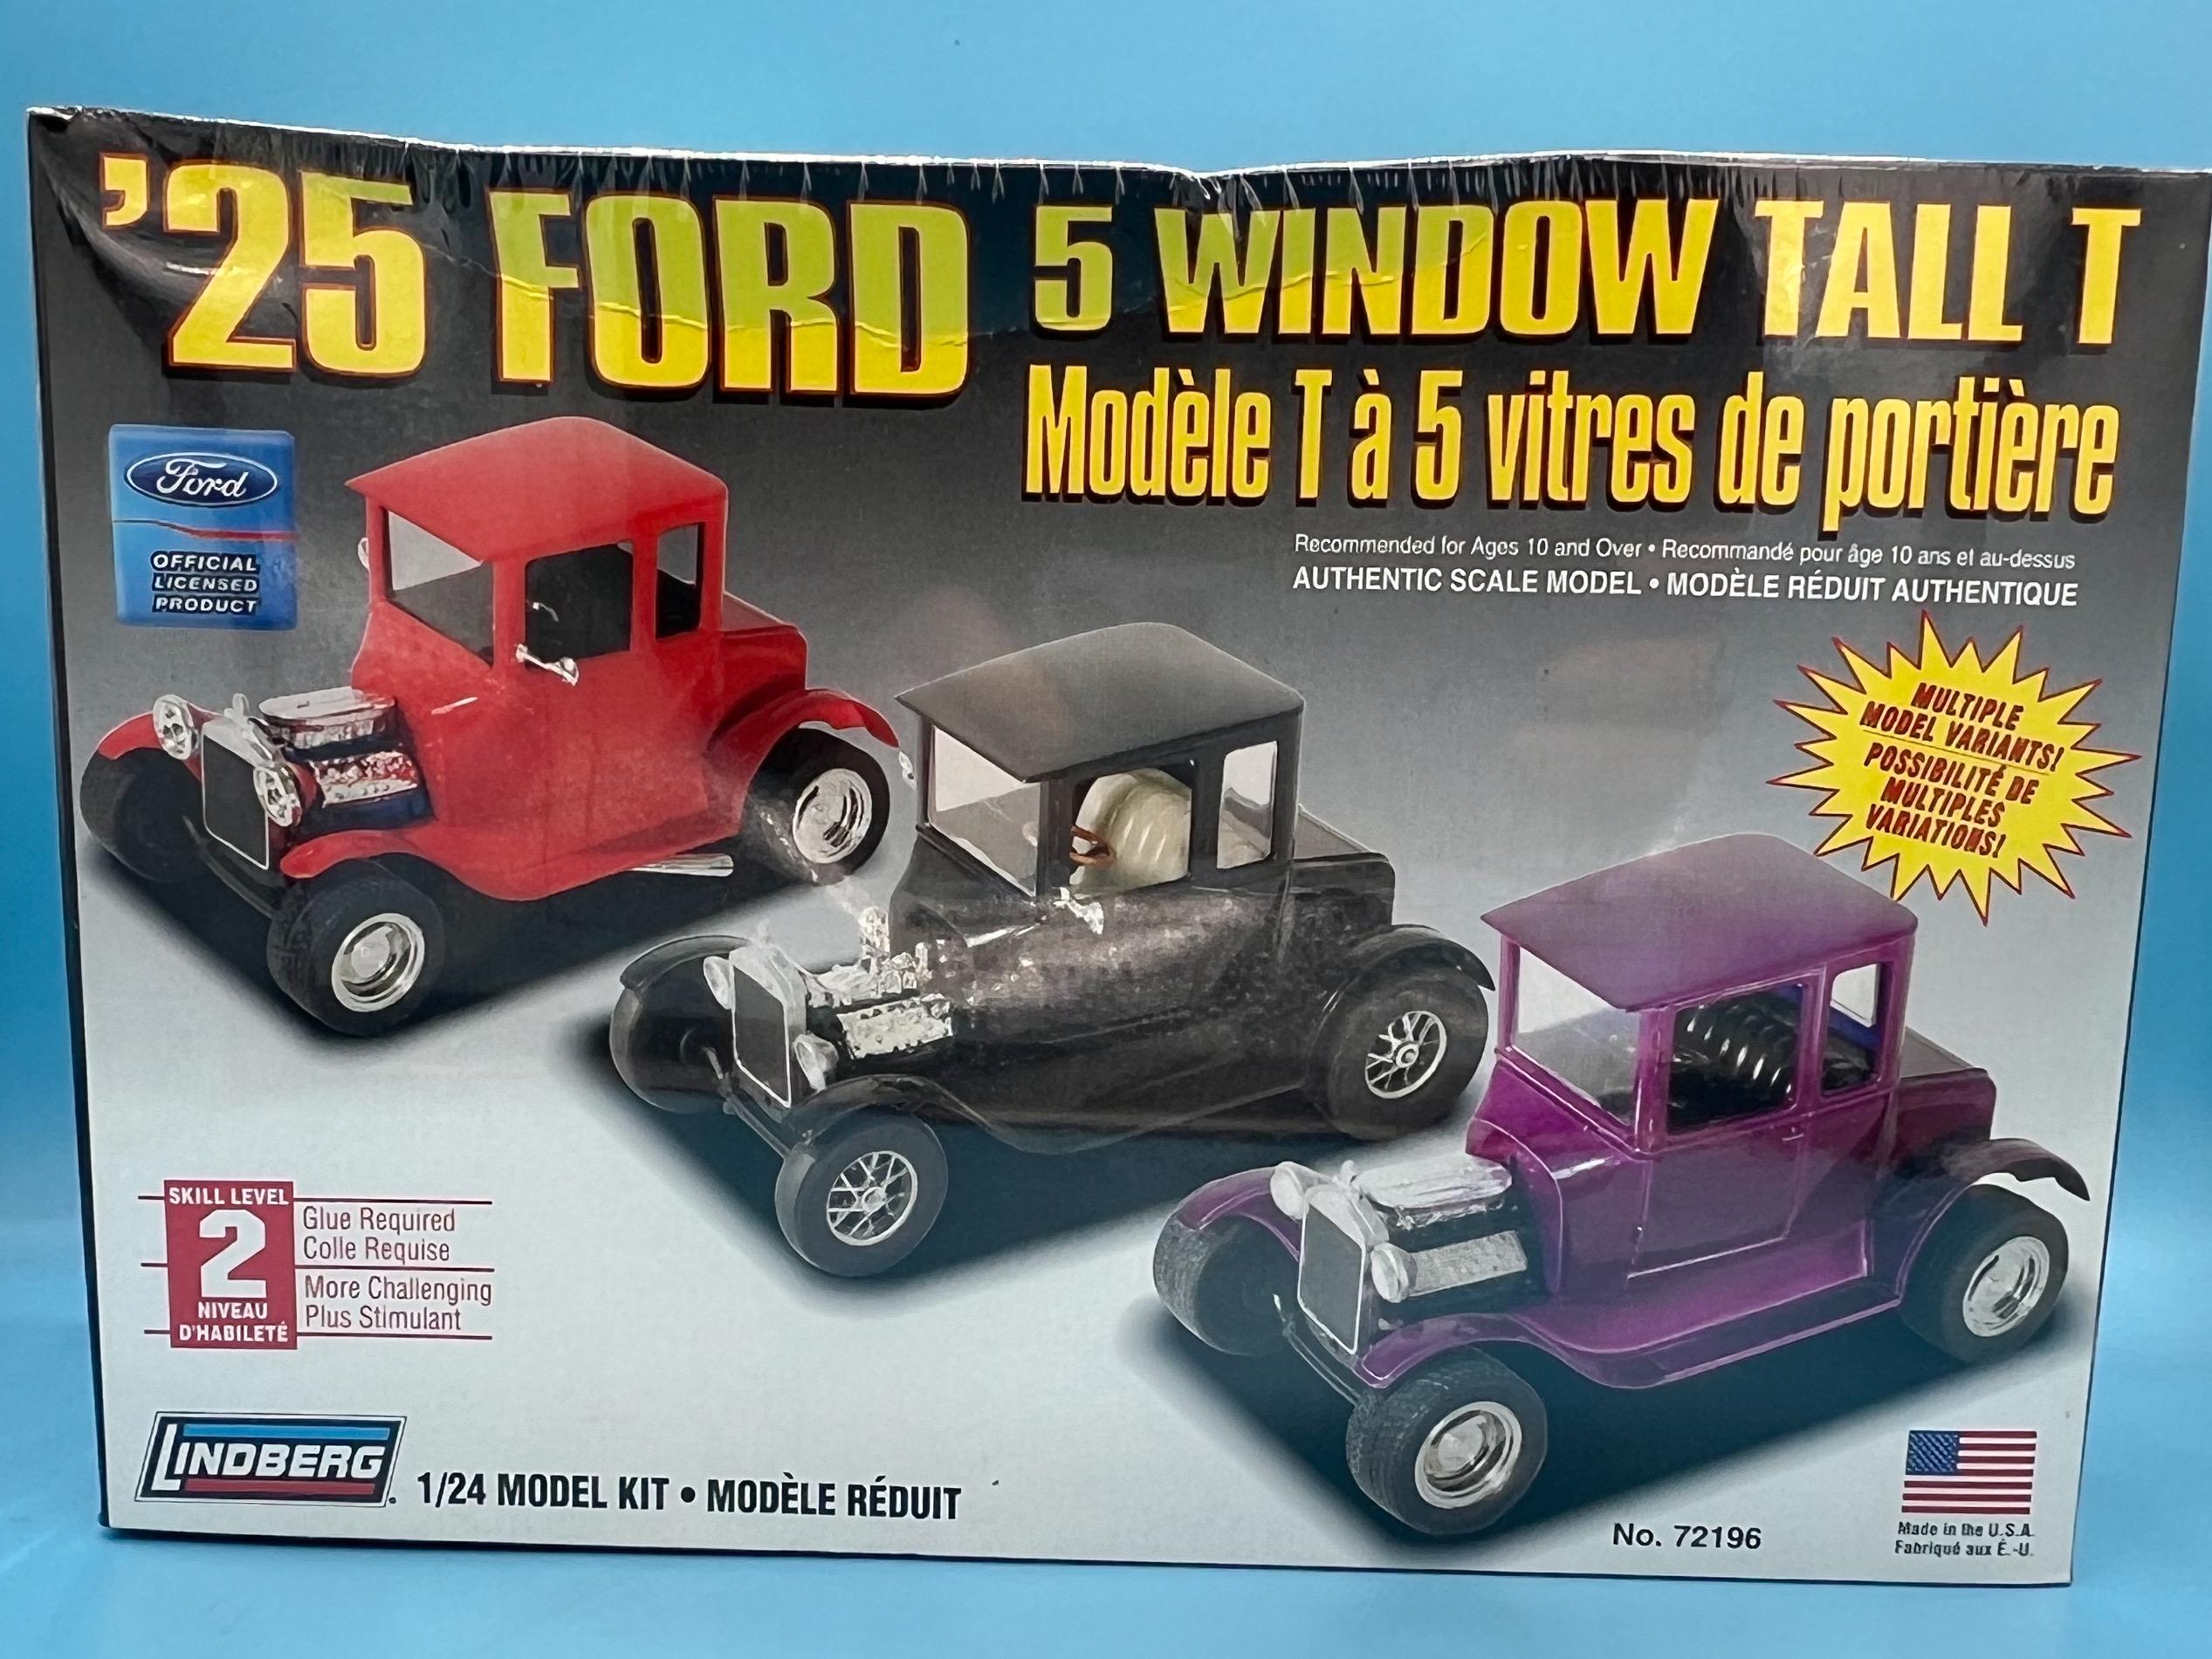
I have a suspicion that it’s somewhat underscale for 1:25 (although the body is comparable to an AMT T coupe) - but as long as I know that going in it doesn’t concern me too much…
-
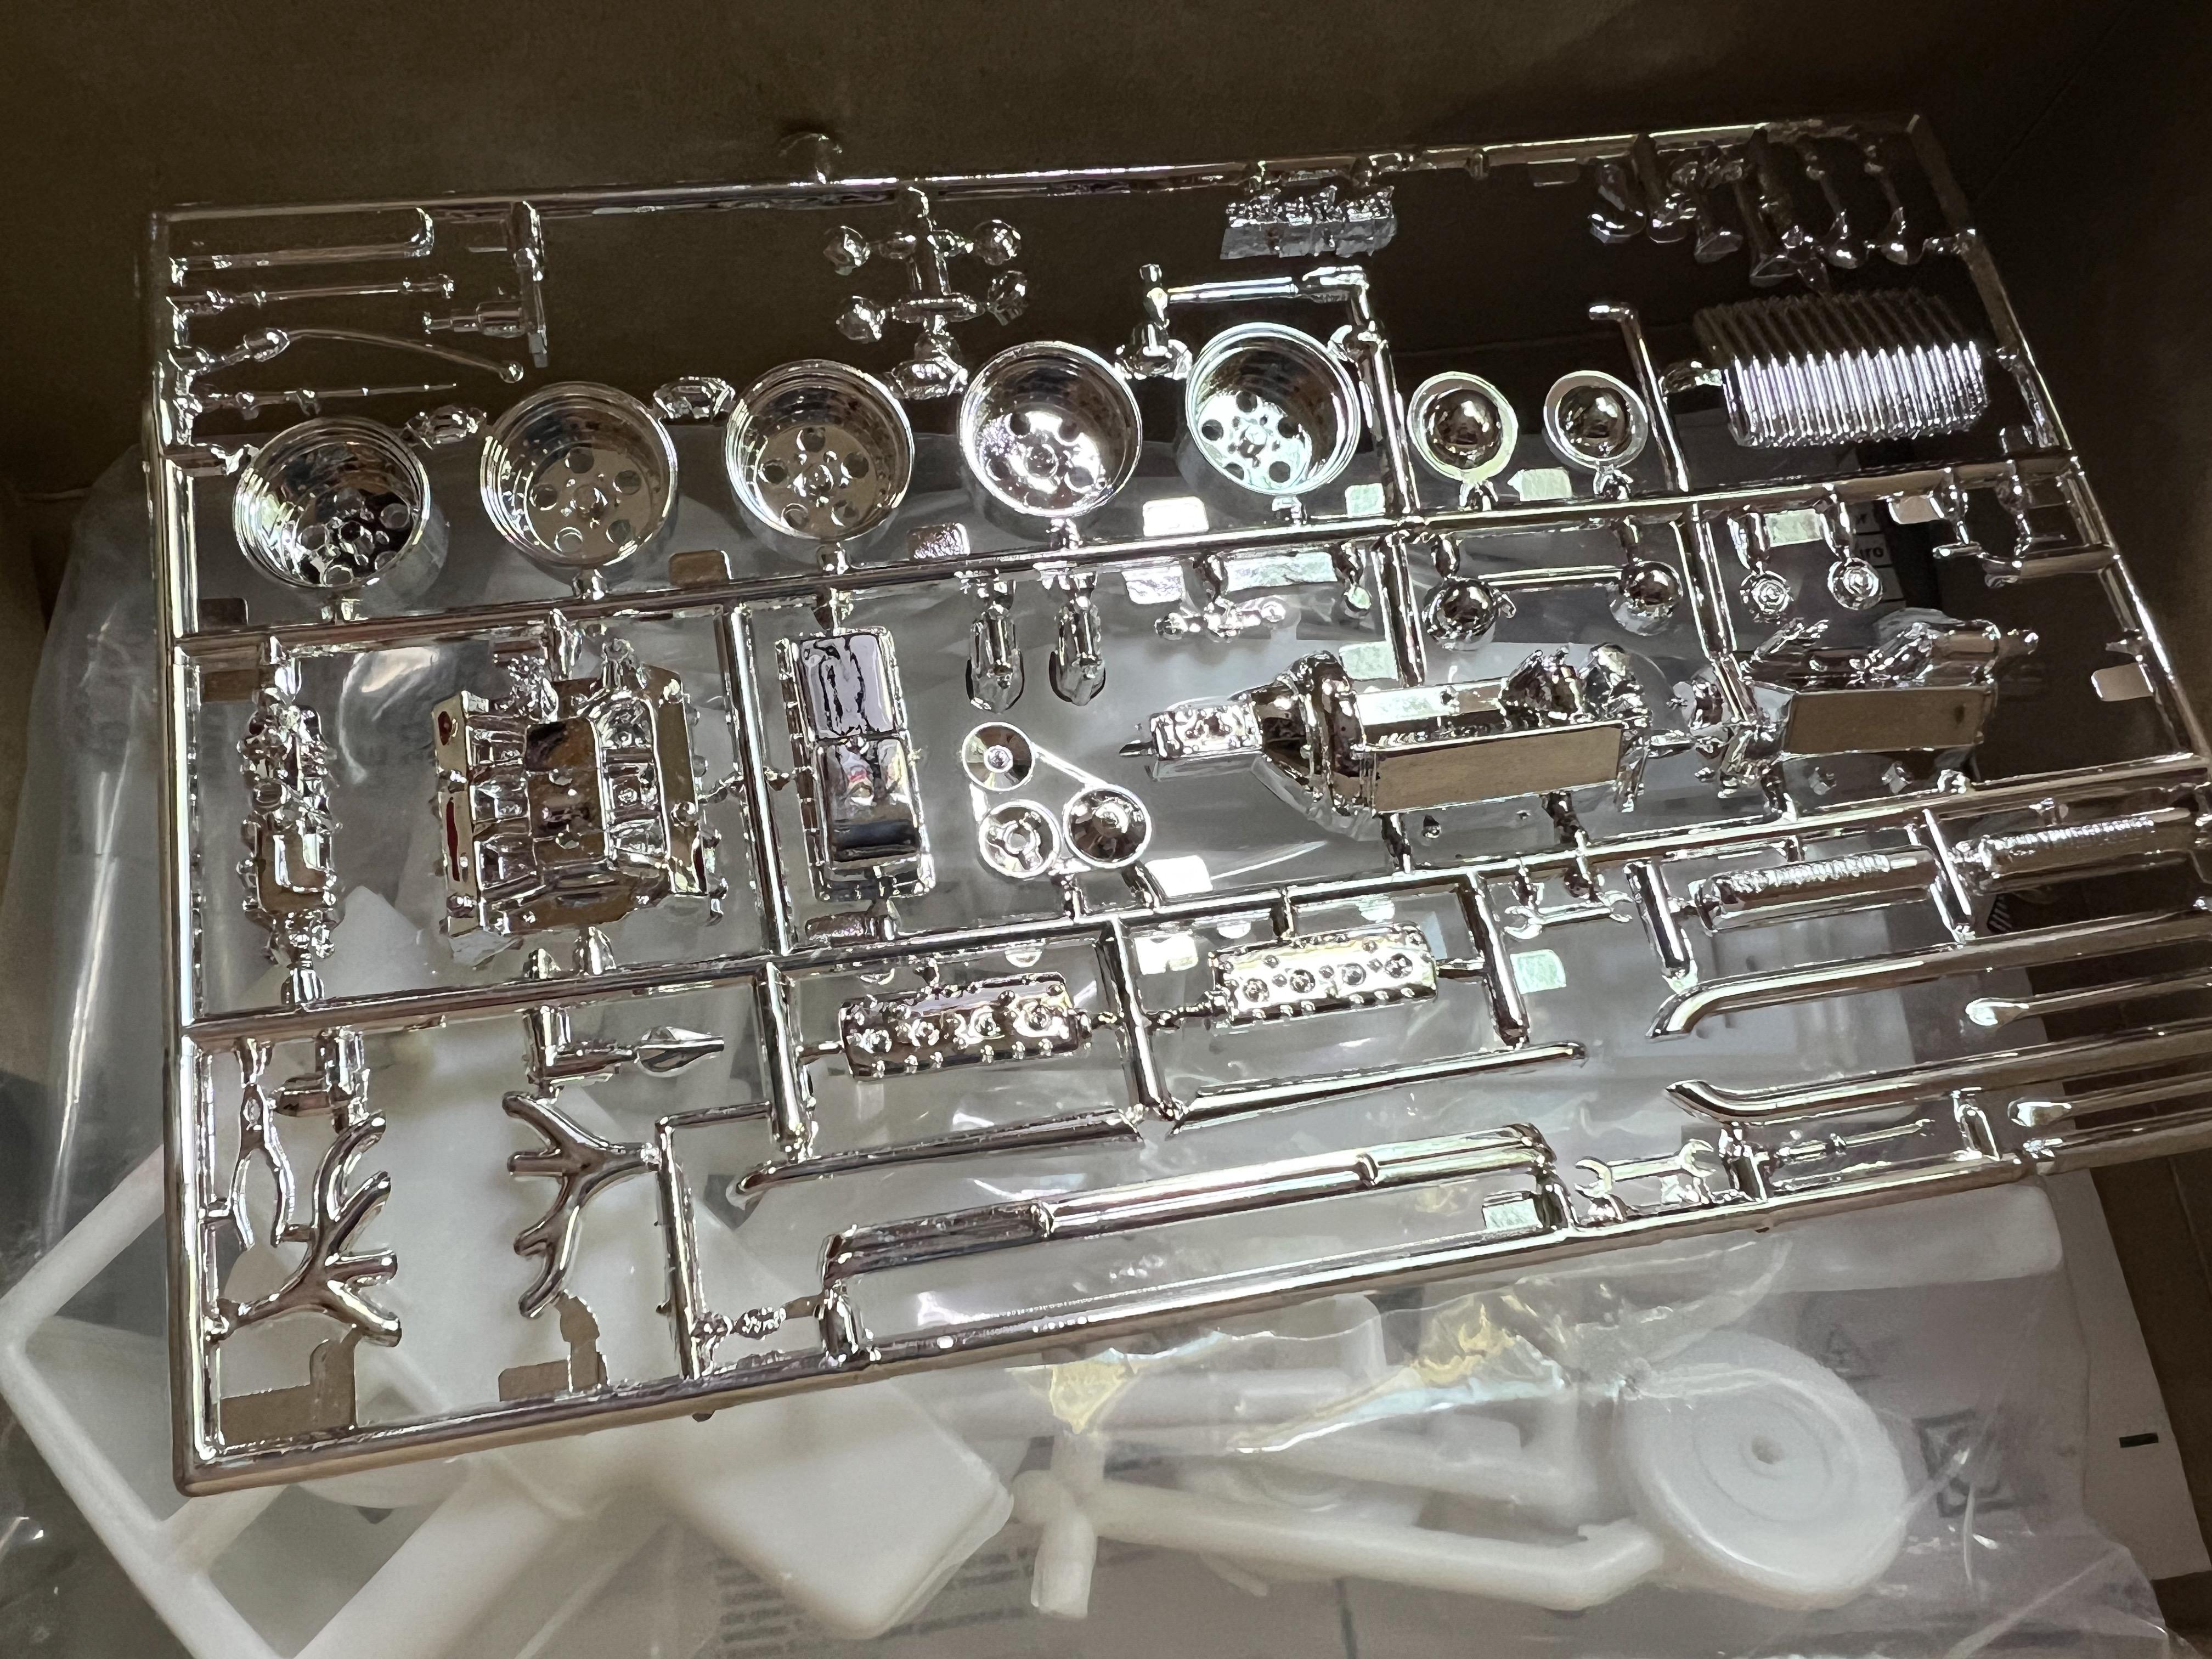
Picked up one of these on eBay for $10, shipped (which may have made the seller a loss…) - not the most amazing hot rod kit in the world but I built one way-back and felt like having another: Weird thing tho…this sealed kit had the wrong chrome sprue in the box: Right manufacturer, it’s from the Lindberg 34 truck…but not super useful for the T kit. Never had a kit with a complete wrong sprue in before ?
- 38,867 replies
-
- 3
-

-
- johan
- glue bombs
- (and 1 more)
-
I was thinking 4-5 bucks would be fair ?. Thanks for the info - I’ll definitely be watching for these at the shows this year!
-
I never even saw one of these kits before - but it looks fun! I want one! Great start!
-
Exciting! I have the 1/24 Tamiya kit to build here but I’d love to build this version too - I’ll be watching!
-
Wrapped this one up this past weekend - didn’t take a bunch of pics because most of the last stages weee just gluing things together…a few finished pics: Thanks to all who followed along! This was a fun one to get out of my head and onto my shelf!
-
What Did You Get Today? (Not Model Related)
OldNYJim replied to LOBBS's topic in The Off-Topic Lounge
It’s a fairly common problem in NY now where people are burning their buildings down with those e-bikes and scooters - the MTA banned a lot of these devices from the subway too for a while (not sure if they still are…) You’re right, they definitely require respect: https://ny1.com/nyc/all-boroughs/public-safety/2023/06/24/third-fire-in-four-days-breaks-out-inside-same-e-bike-shop-in-manhattan I’ve been charging mine outside - better safe than sorry! -
A fine and fitting tribute!!! Well deserved!
-
70s Era Asphalt Modified
OldNYJim replied to OldNYJim's topic in WIP: Stock Cars (NASCAR, Super Stock, Late Model, etc.)
I finished it a page back… ? I LOVE hearing all these stories and stuff tho…so feel free to keep it going everyone…I’ve got more of these to build and all the pointers are interesting and helpful! -
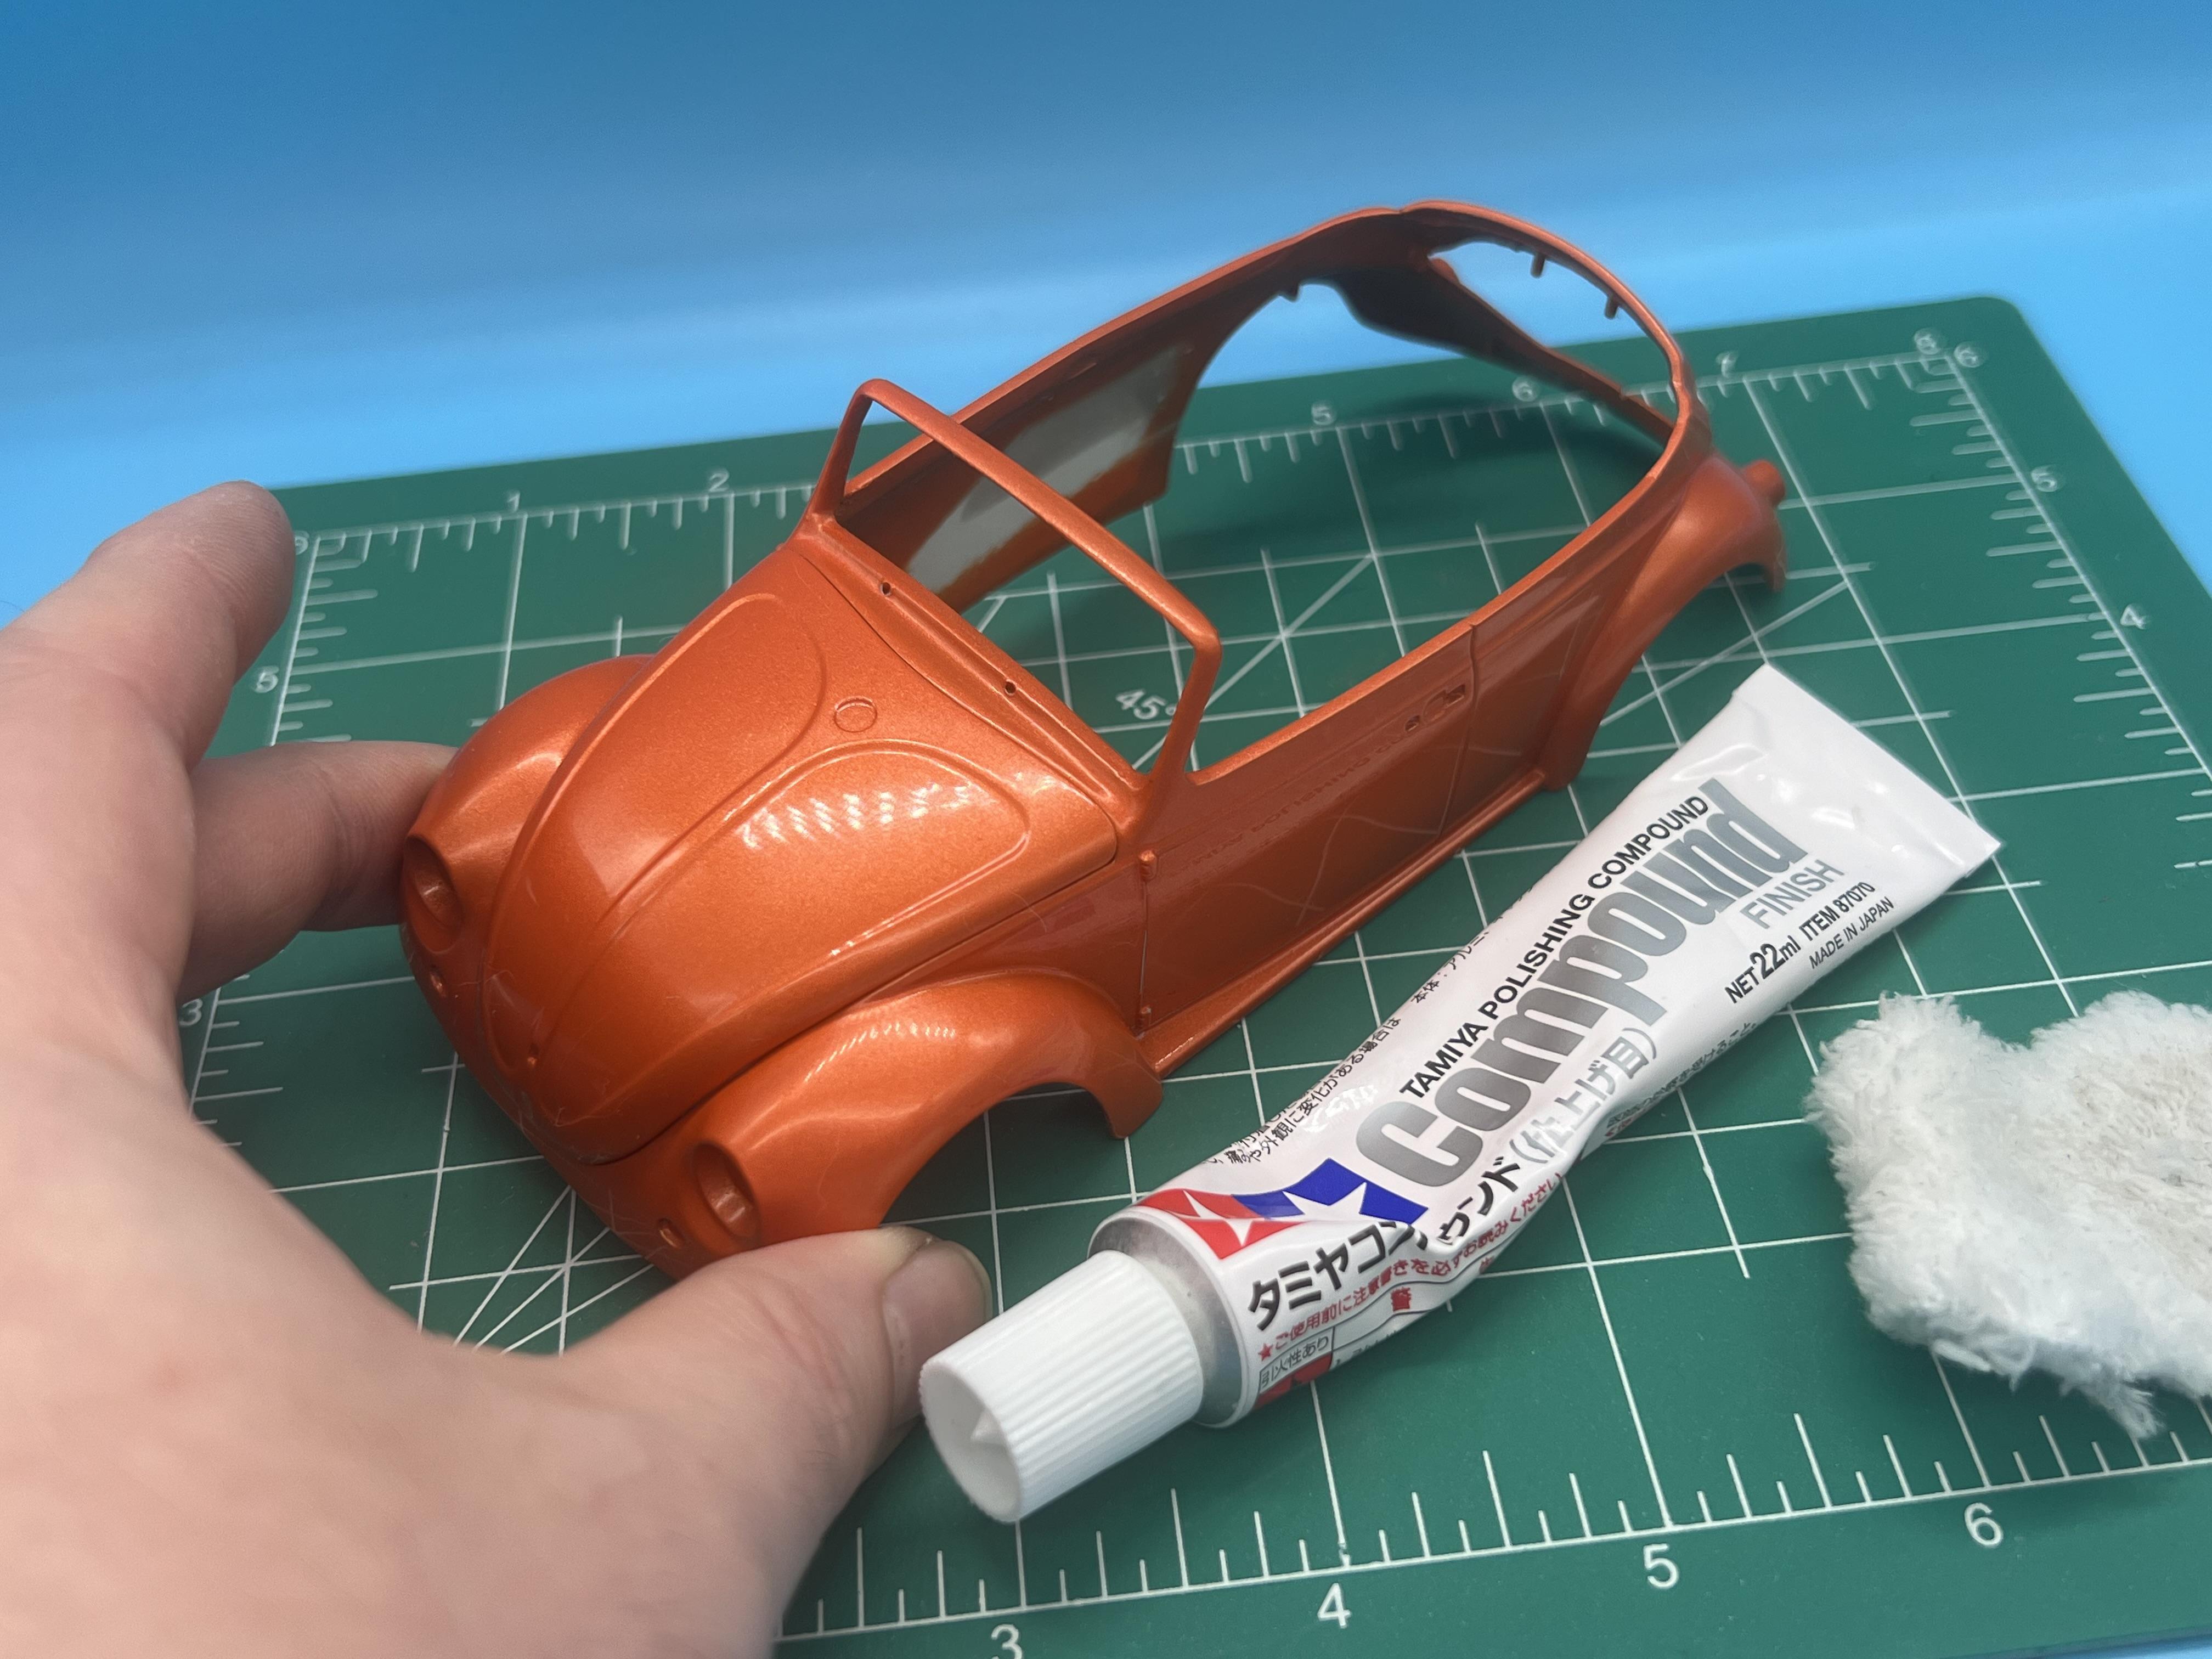
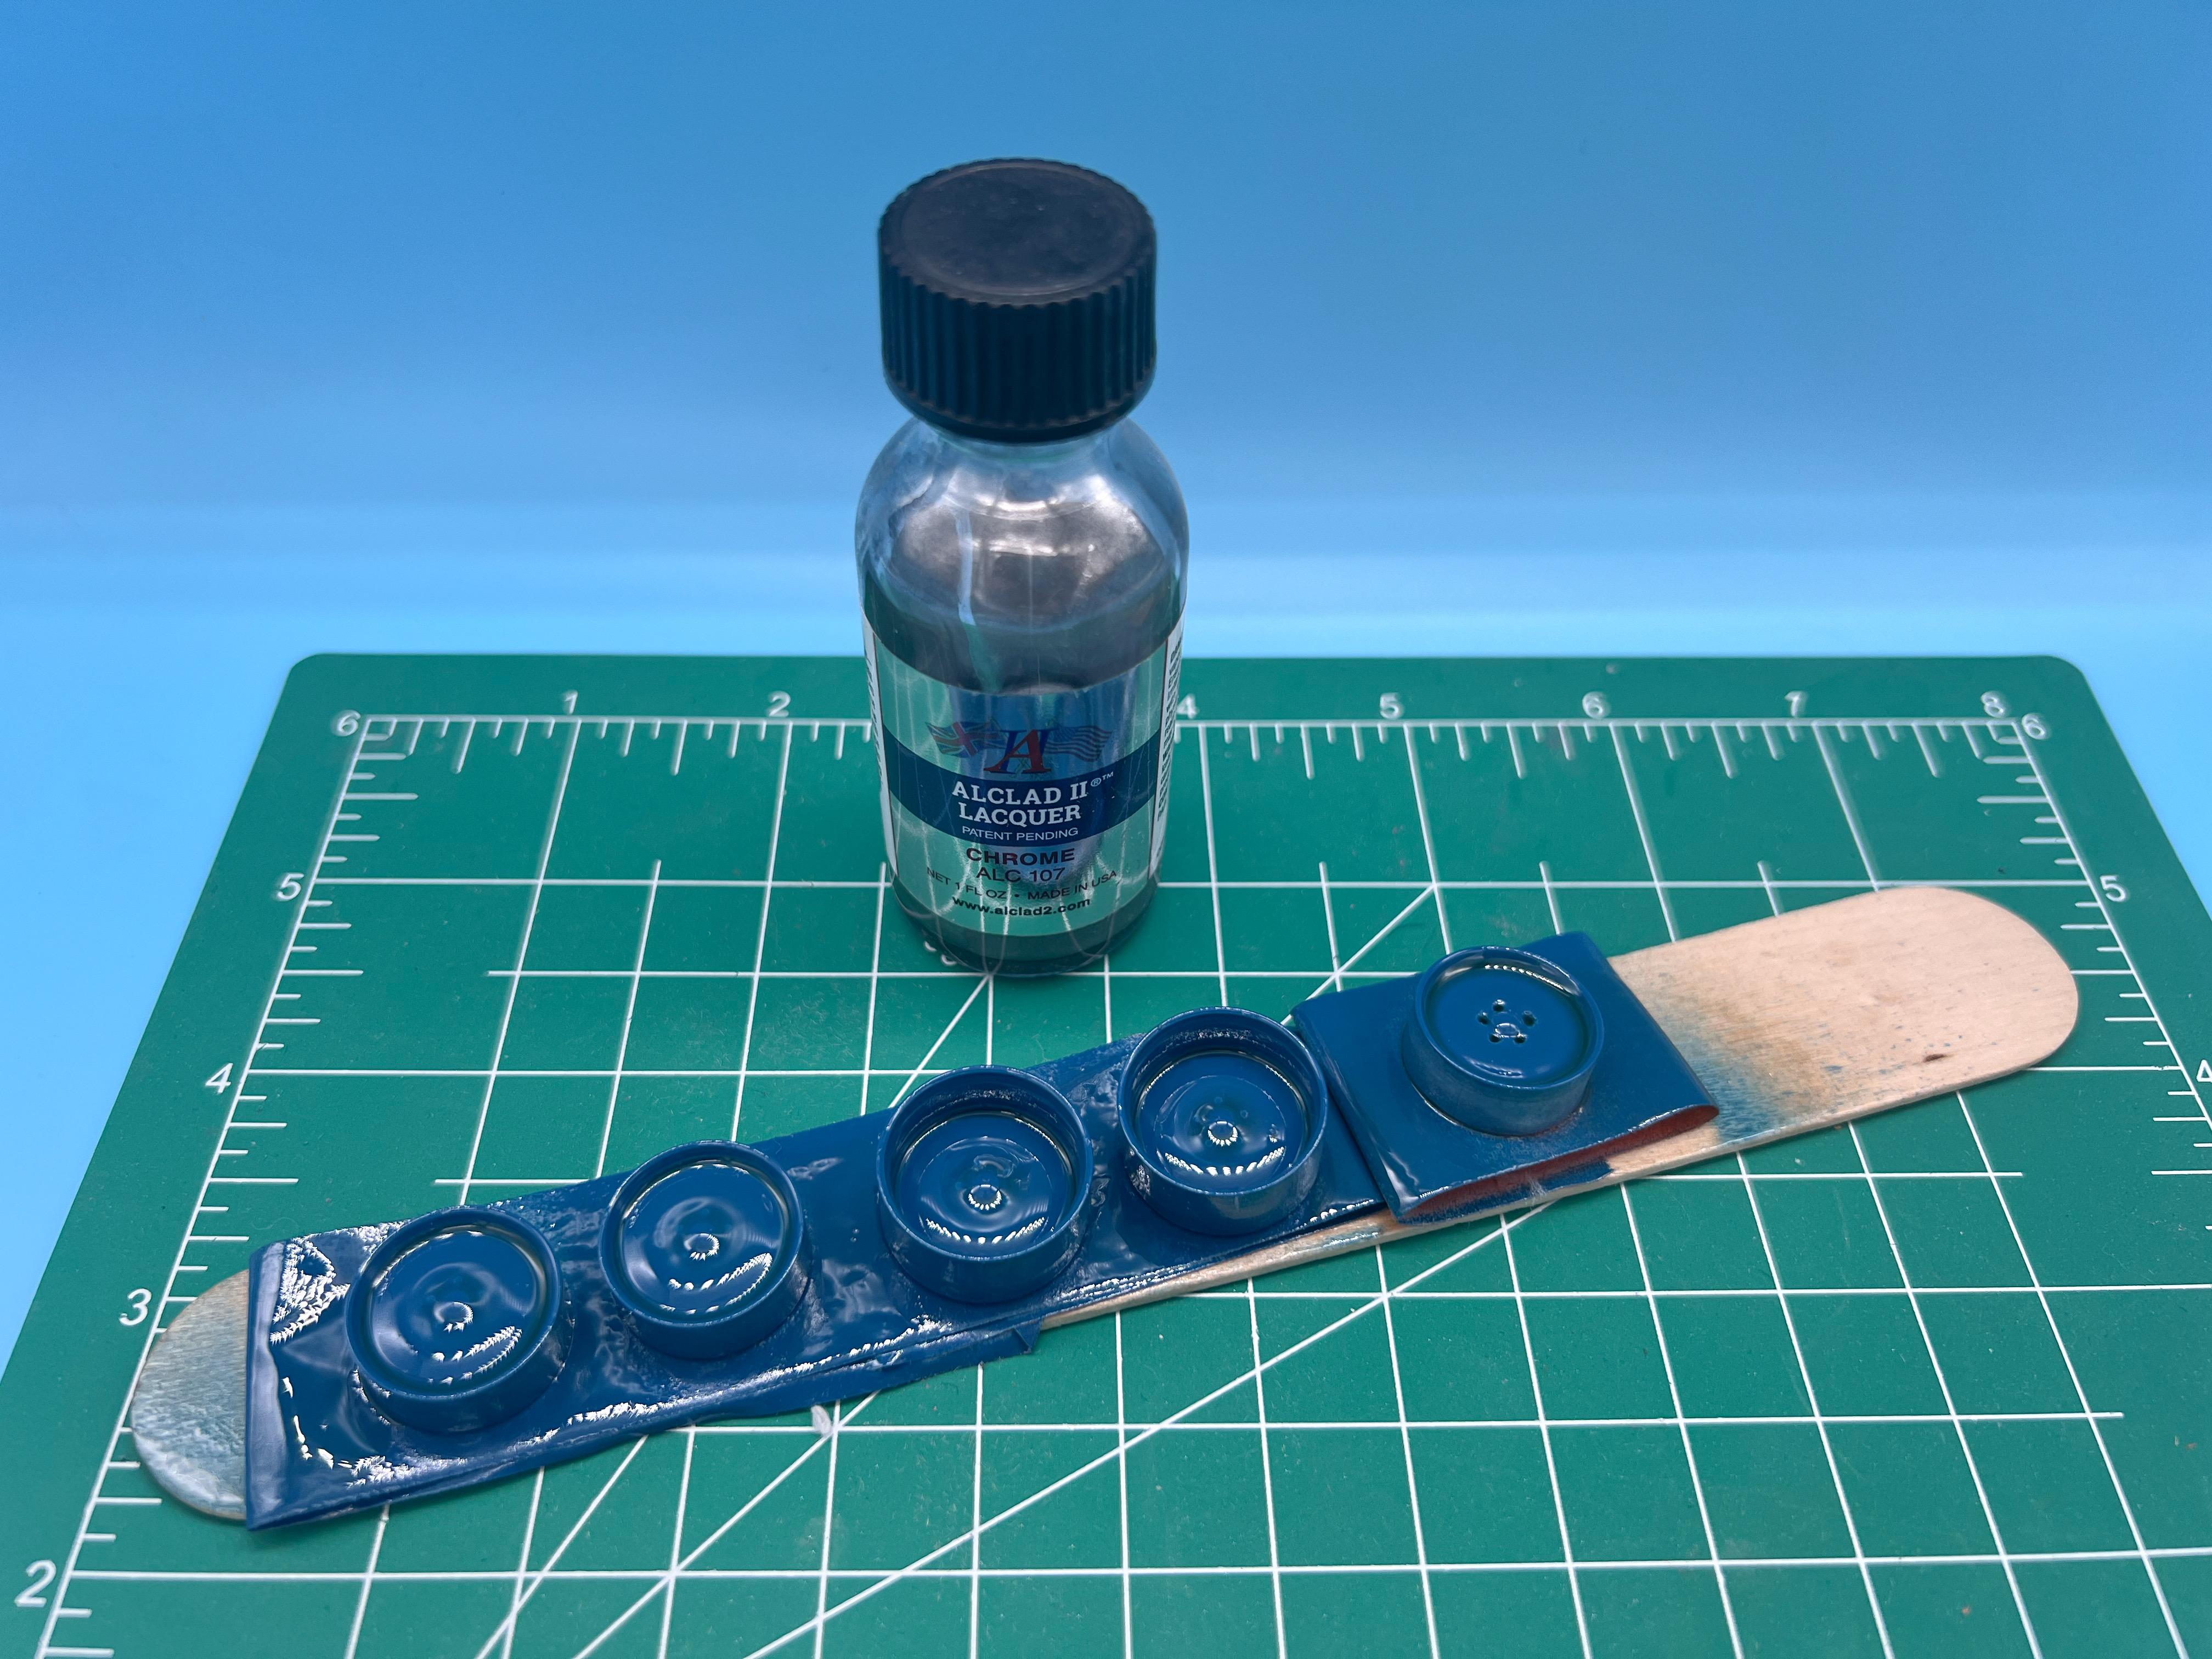
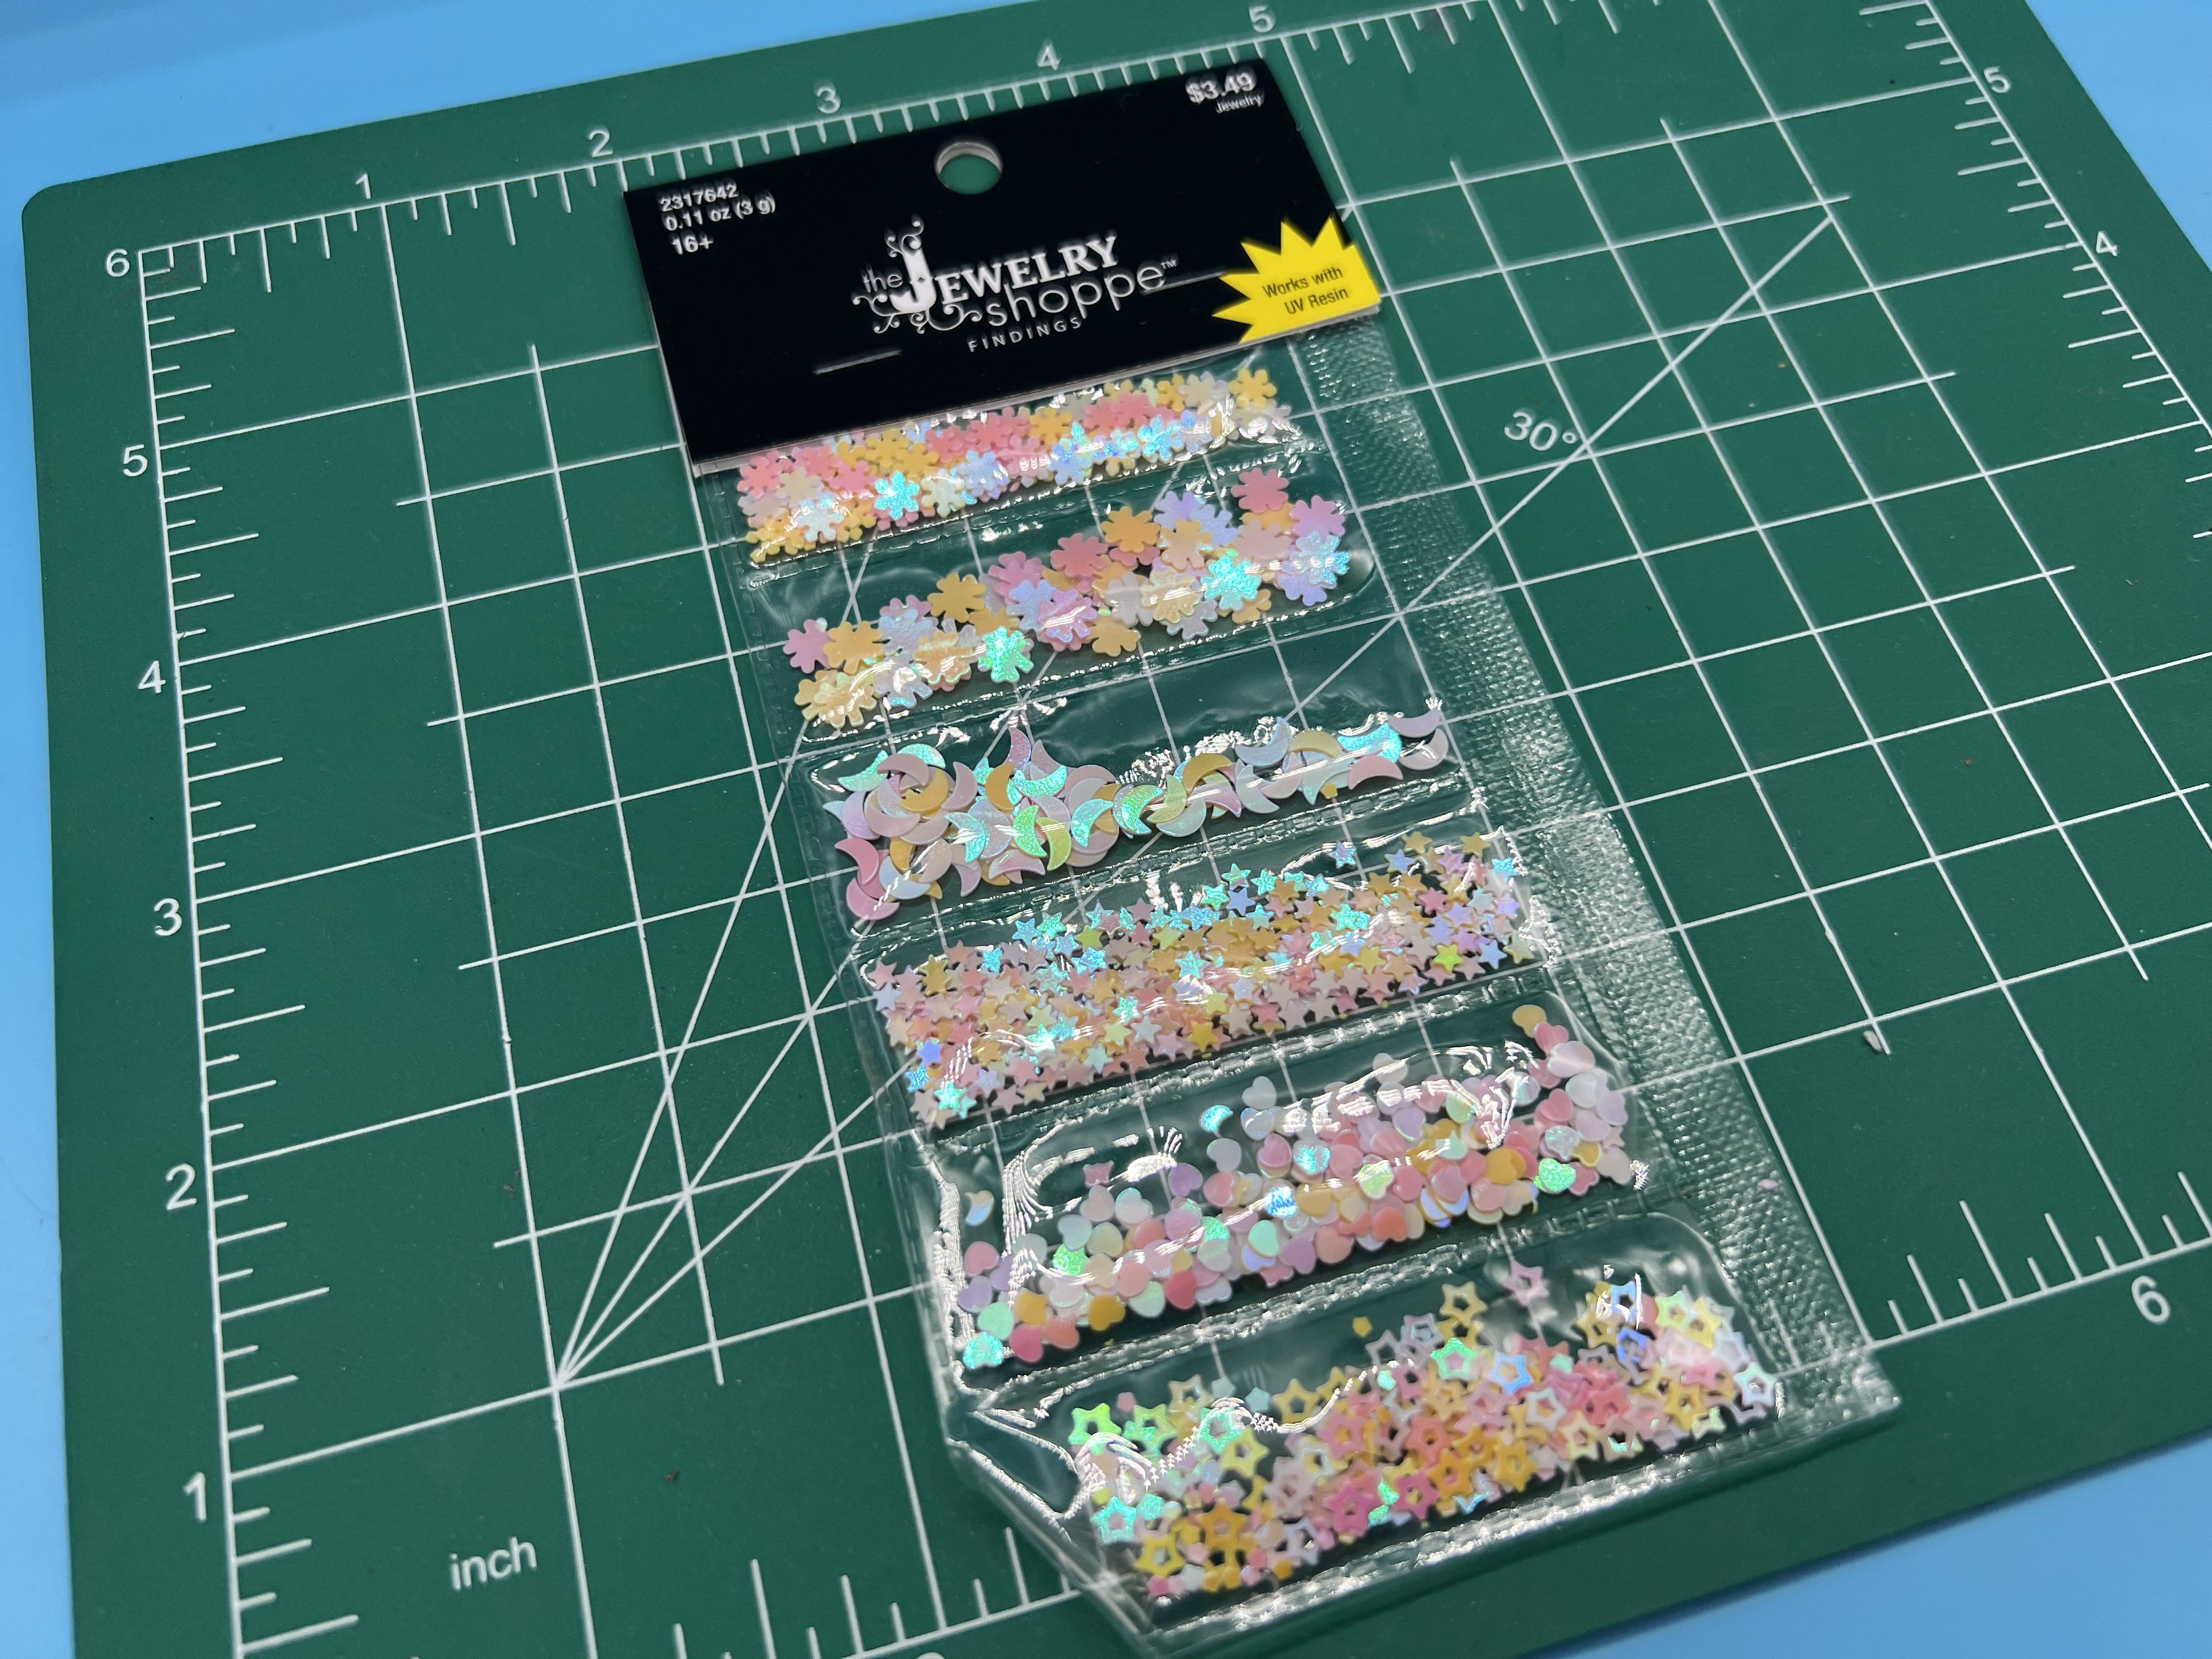
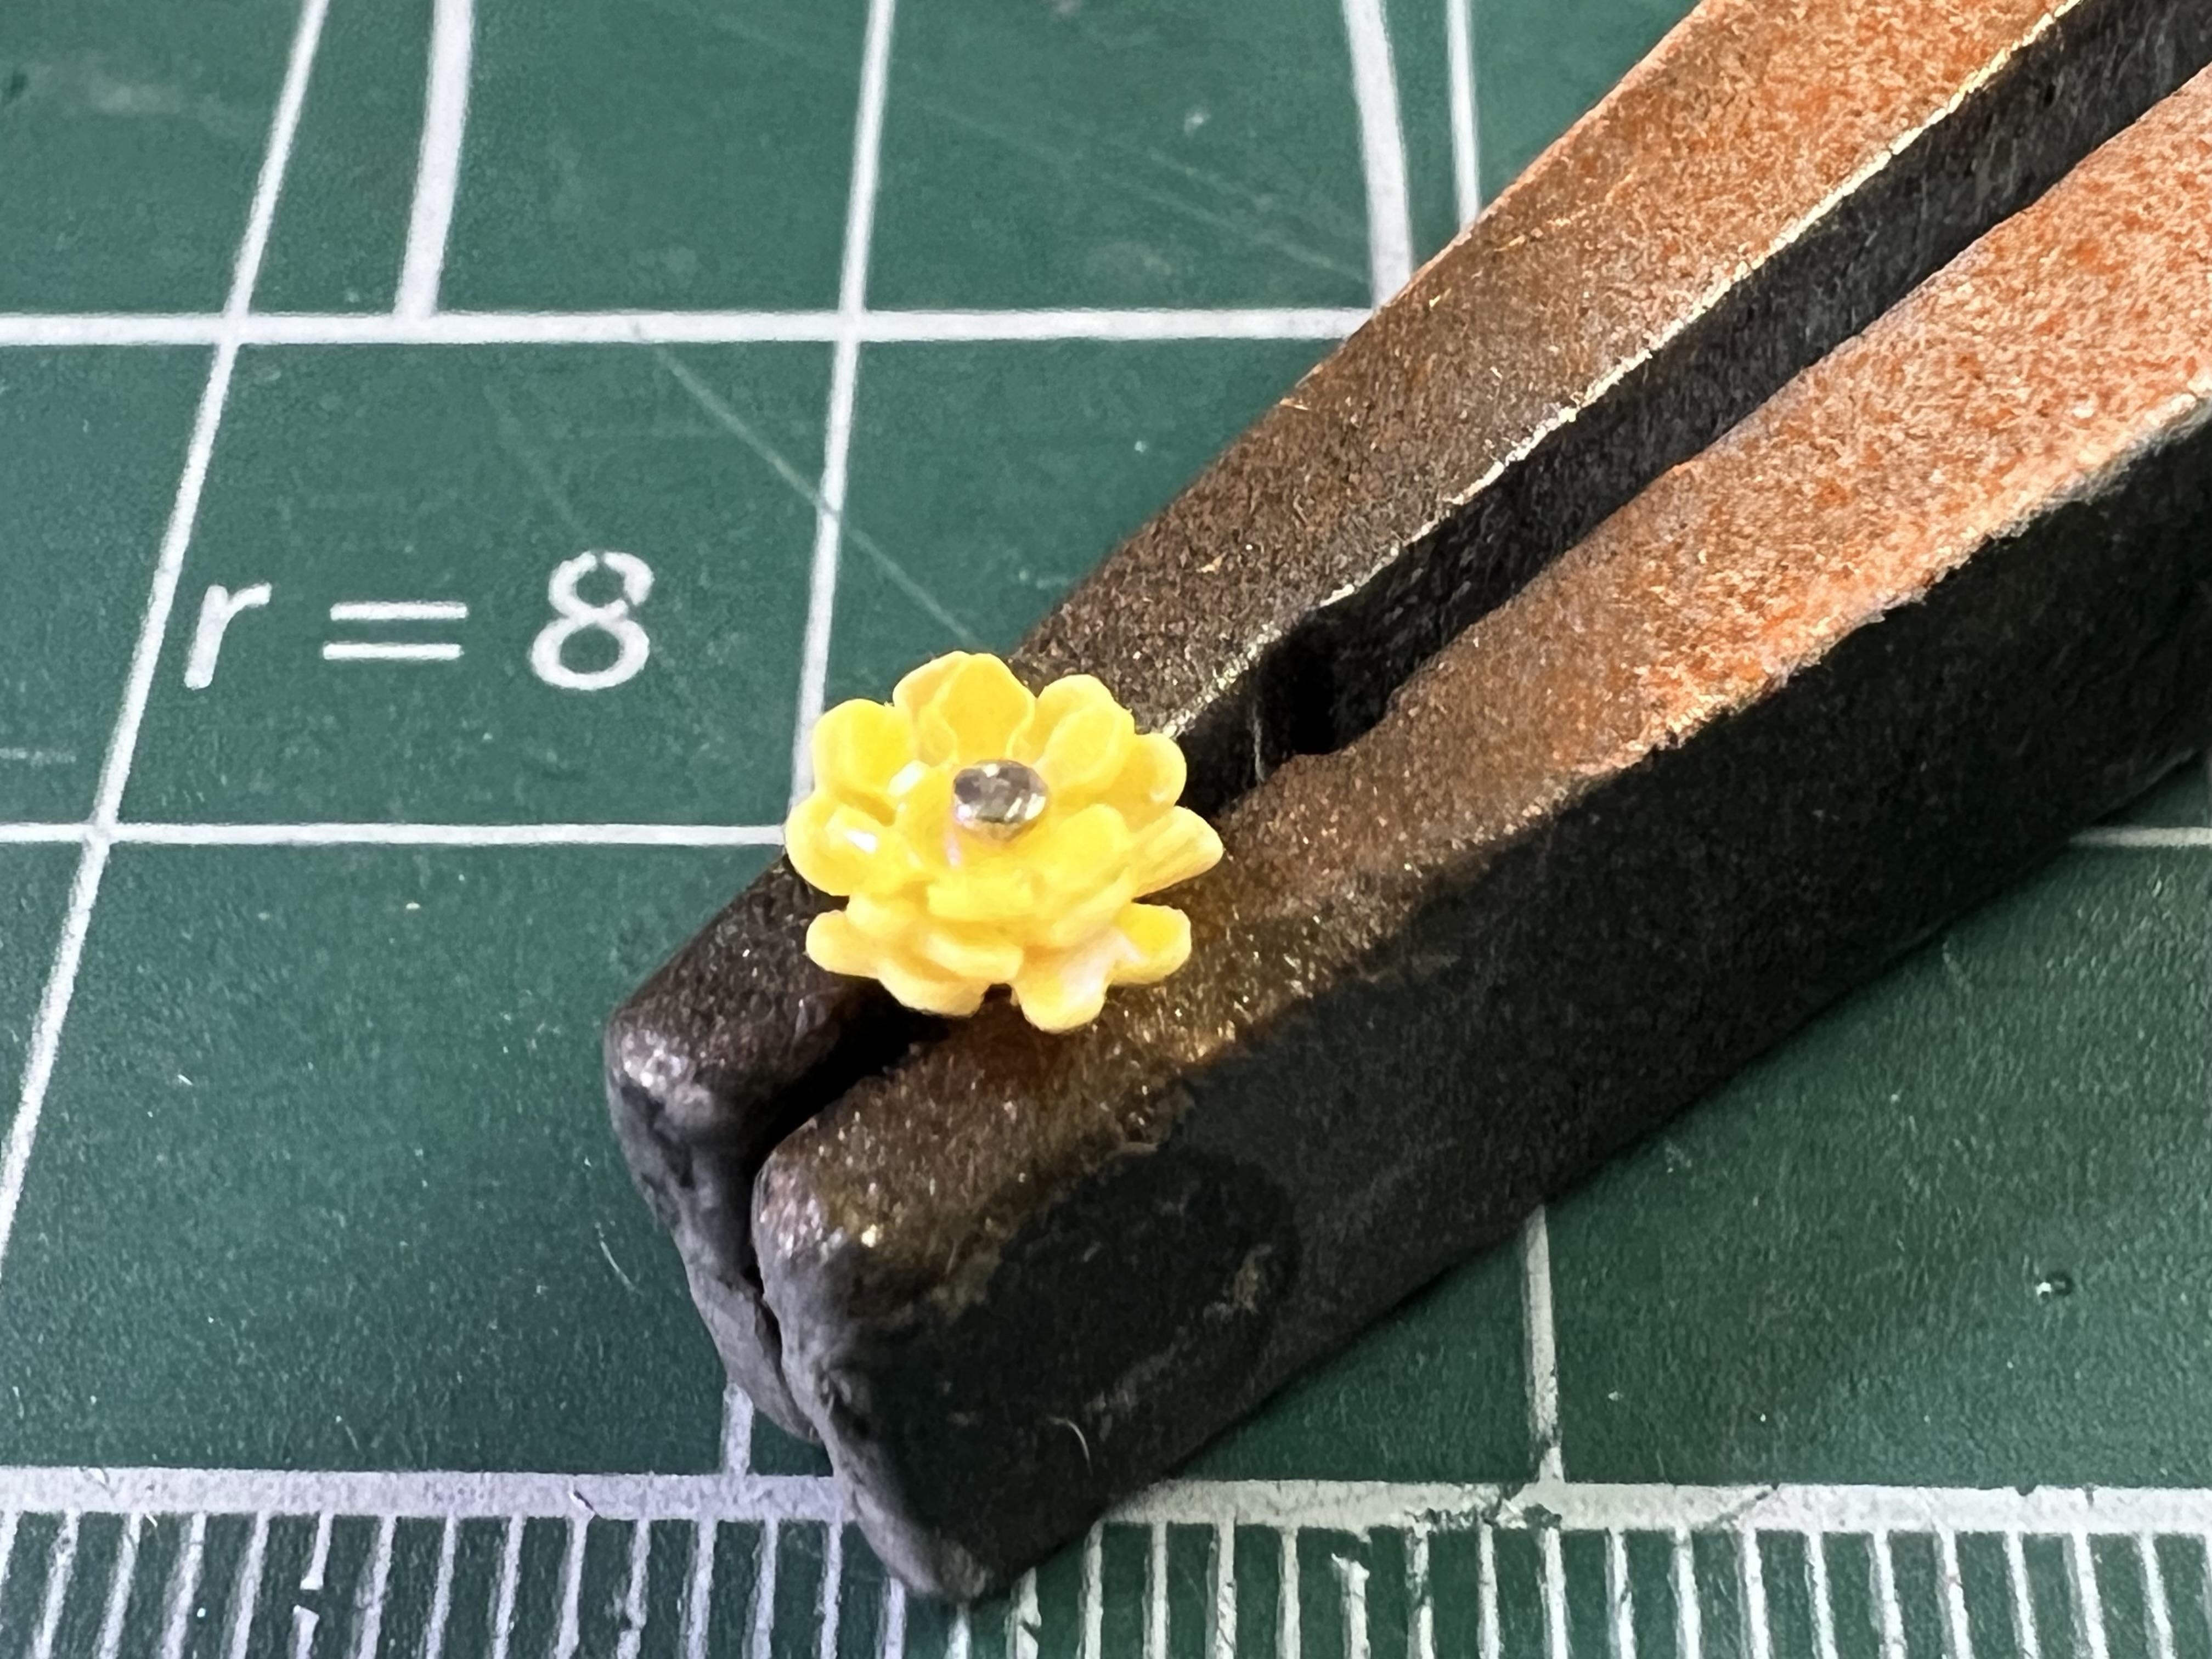
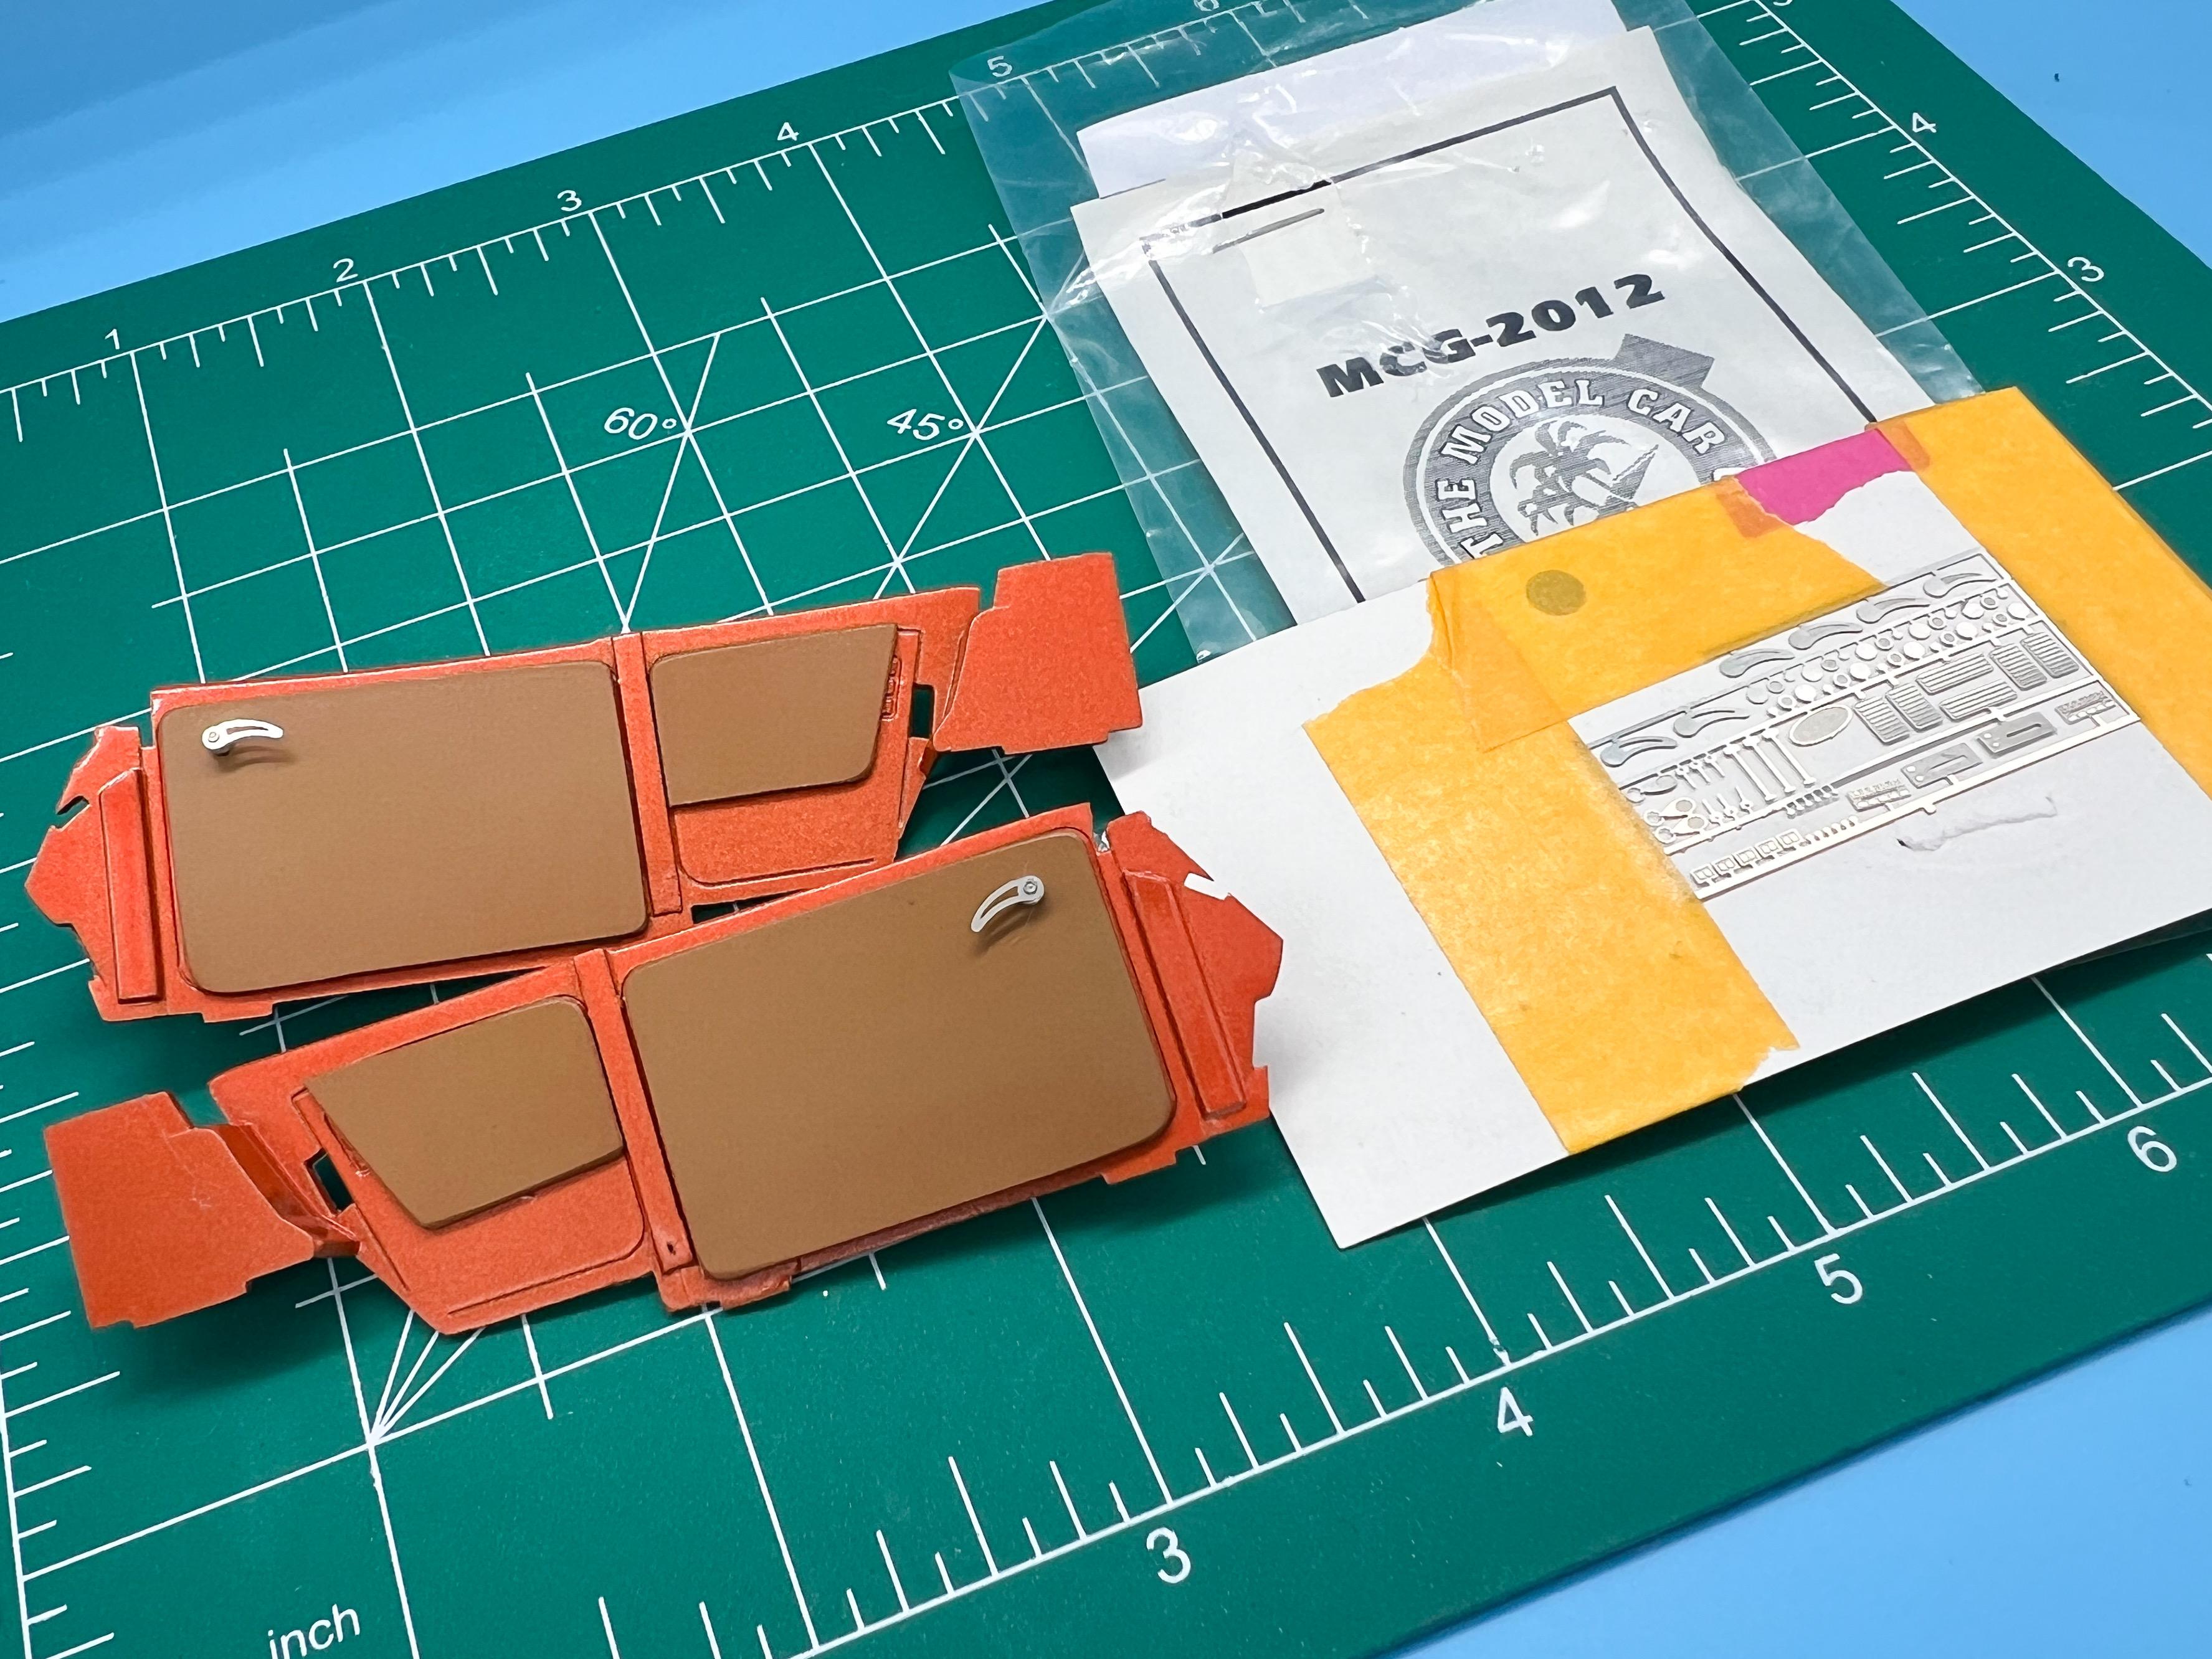
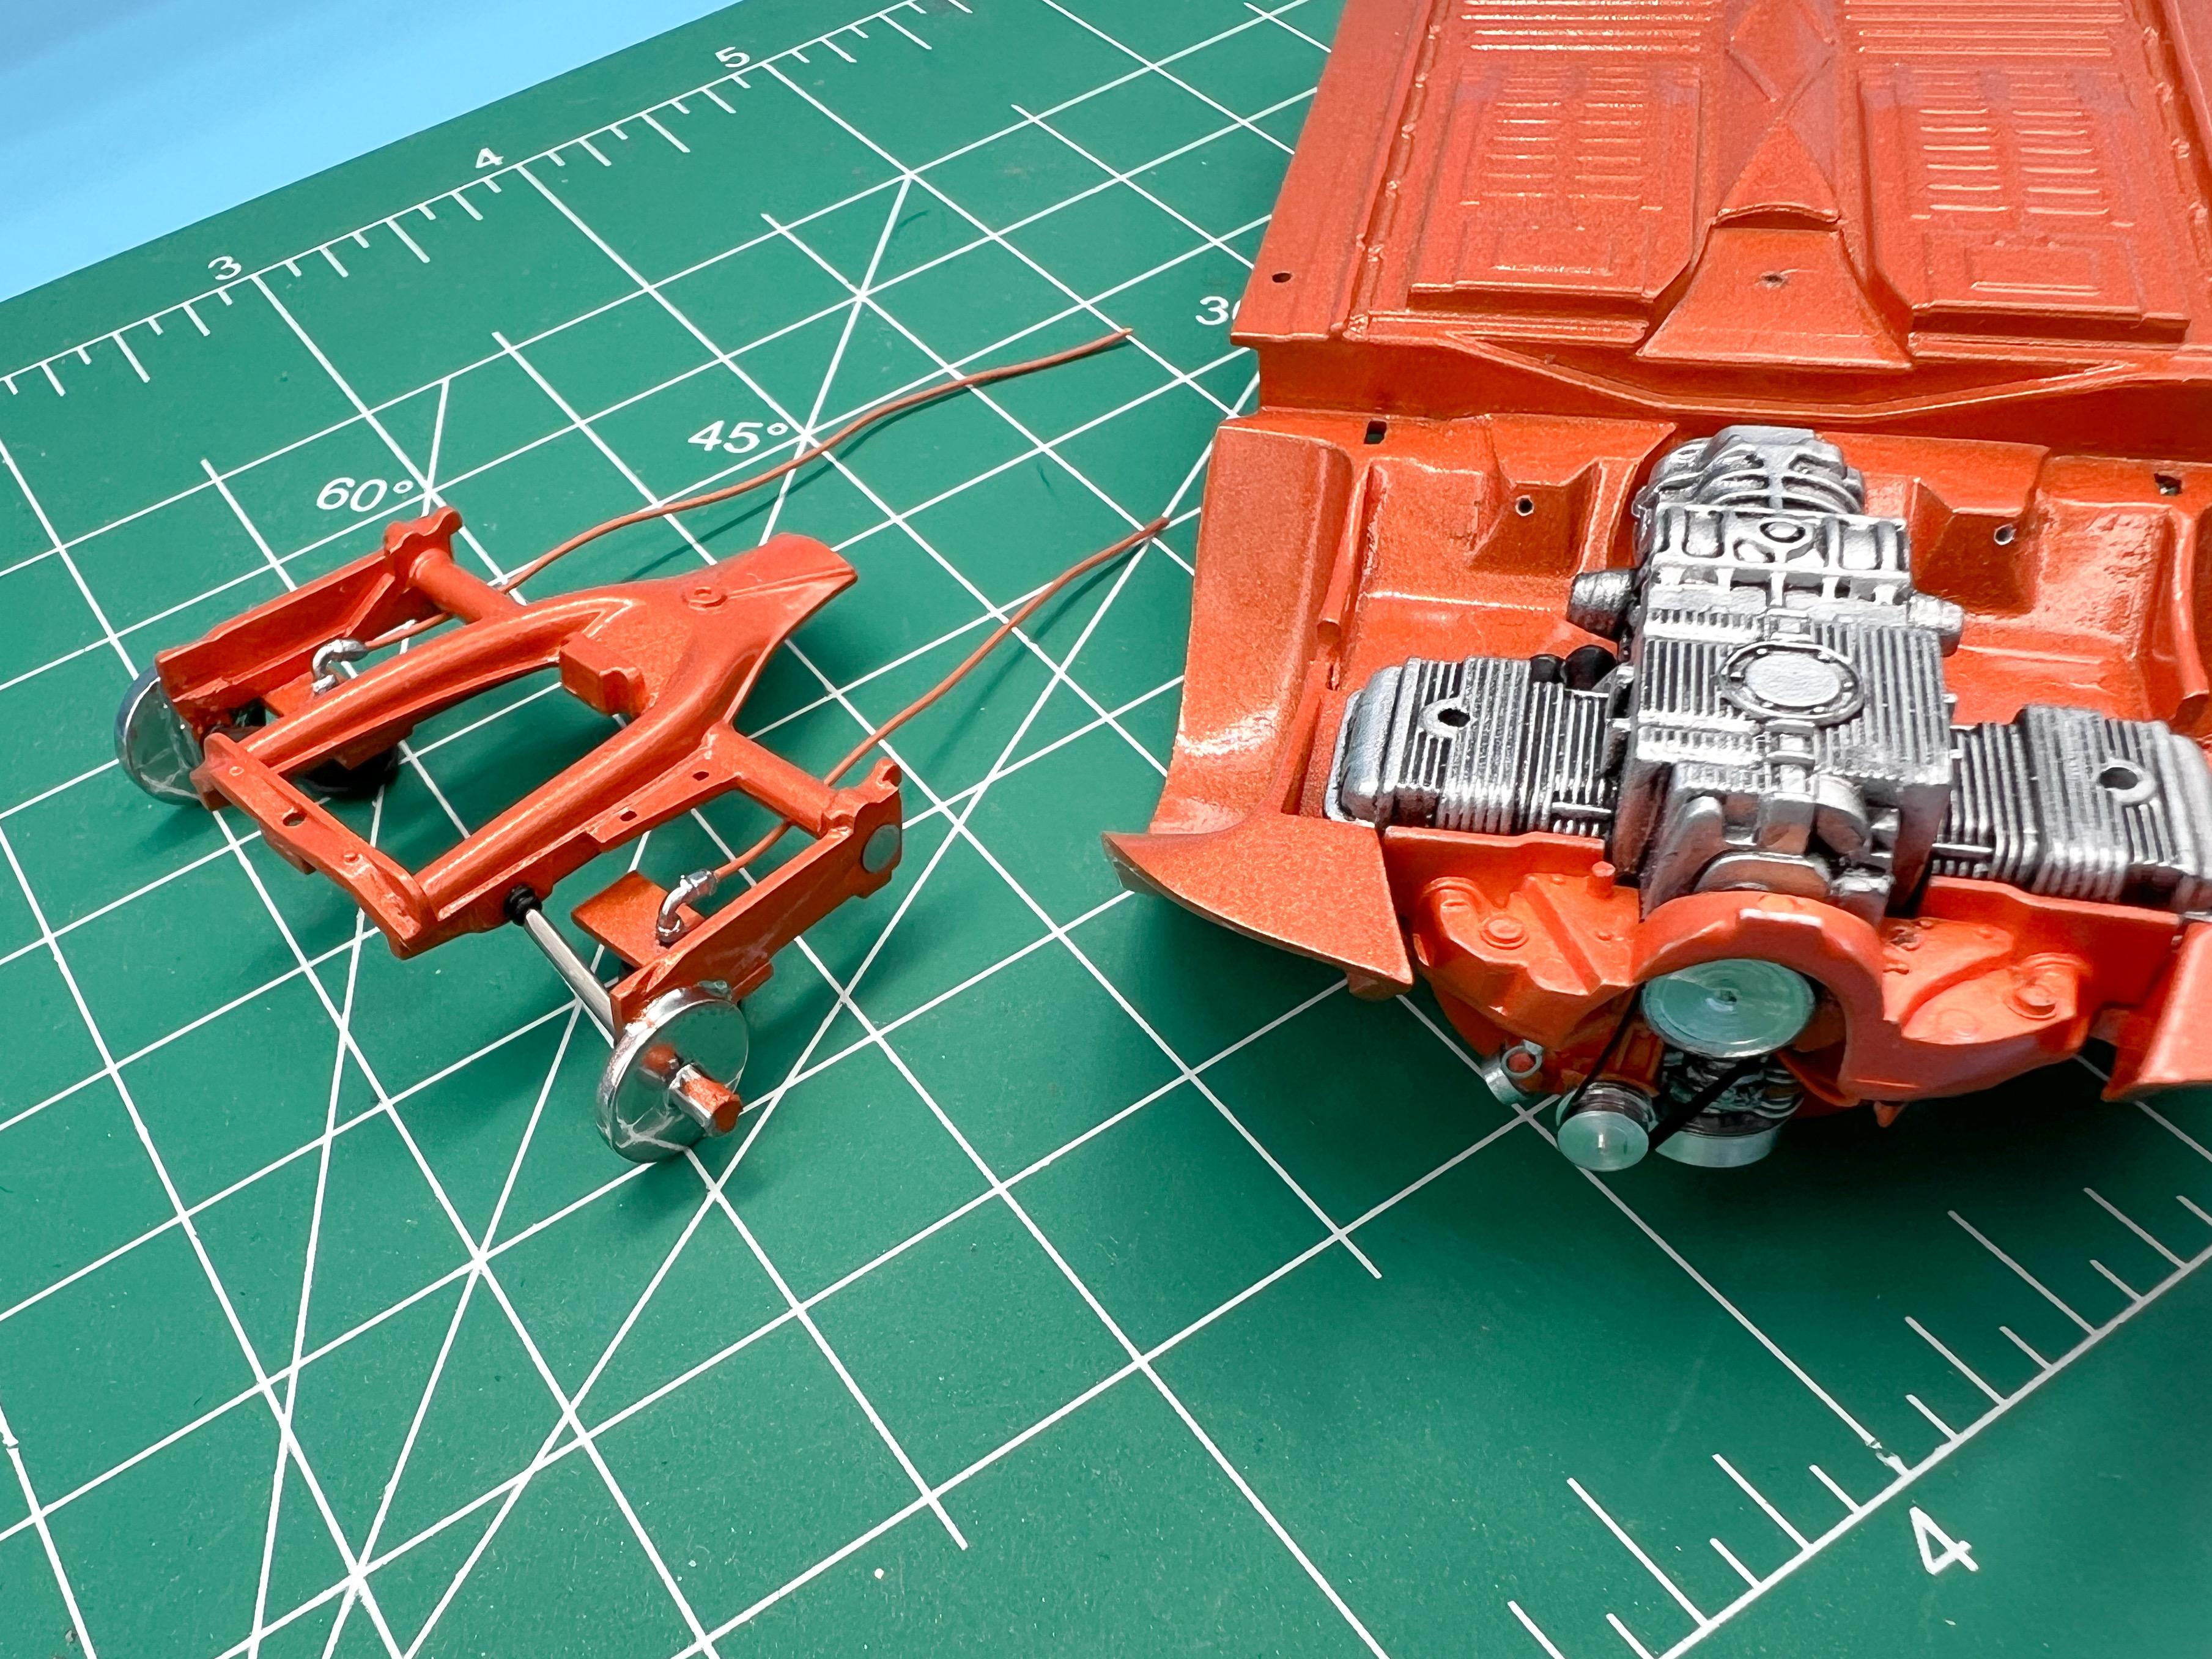
A little more progress…engine assembled and (mostly) ready for installation… Because of the slightly unusual way this kit assembles, I can’t finish up the plug wires until it’s in place, but no biggie… Shot some enamel ready to chrome the wheels - I think these will really pop in bright mirror chrome (and Rusto tractor paint levels out really nicely…) Pinstriped the little vase I made for the dash: I wanted to add a flower, but didn’t want to 3D print one - felt like challenging myself to make it myself…went to Hobby Lobby and looked around for a starting point and found these whatever they ares… Drilled out a few of the shapes and attached them to a ‘stem’ and then painted…looks ok I think: Meanwhile on the interior, added the door cards with just some PE handles for the smoothed out kinda street-roddy look: Started working on getting the rear end together - used some 3d printed fittings for the airlines: Detailed up the shifter - cut the knob from the kit piece plus the cool little plate that attaches to the floor, and made everything in between the two: And spent a couple of evenings polishing out the body: The pile of parts gets bigger and bigger… Got a coupla three parts to print and make (mostly front steering stuff) and then it’s basically ready to assemble! Thanks for looking…more soon!
-
Those color choices are great! Nice work!
-
I’m glad you said…that saves me driving there to see if they have them ?
-
Those tires look great…but that wicker seat is amazing! Nice work!
-
Cool pics! I wonder what those rear wheels are on the first pic?
-
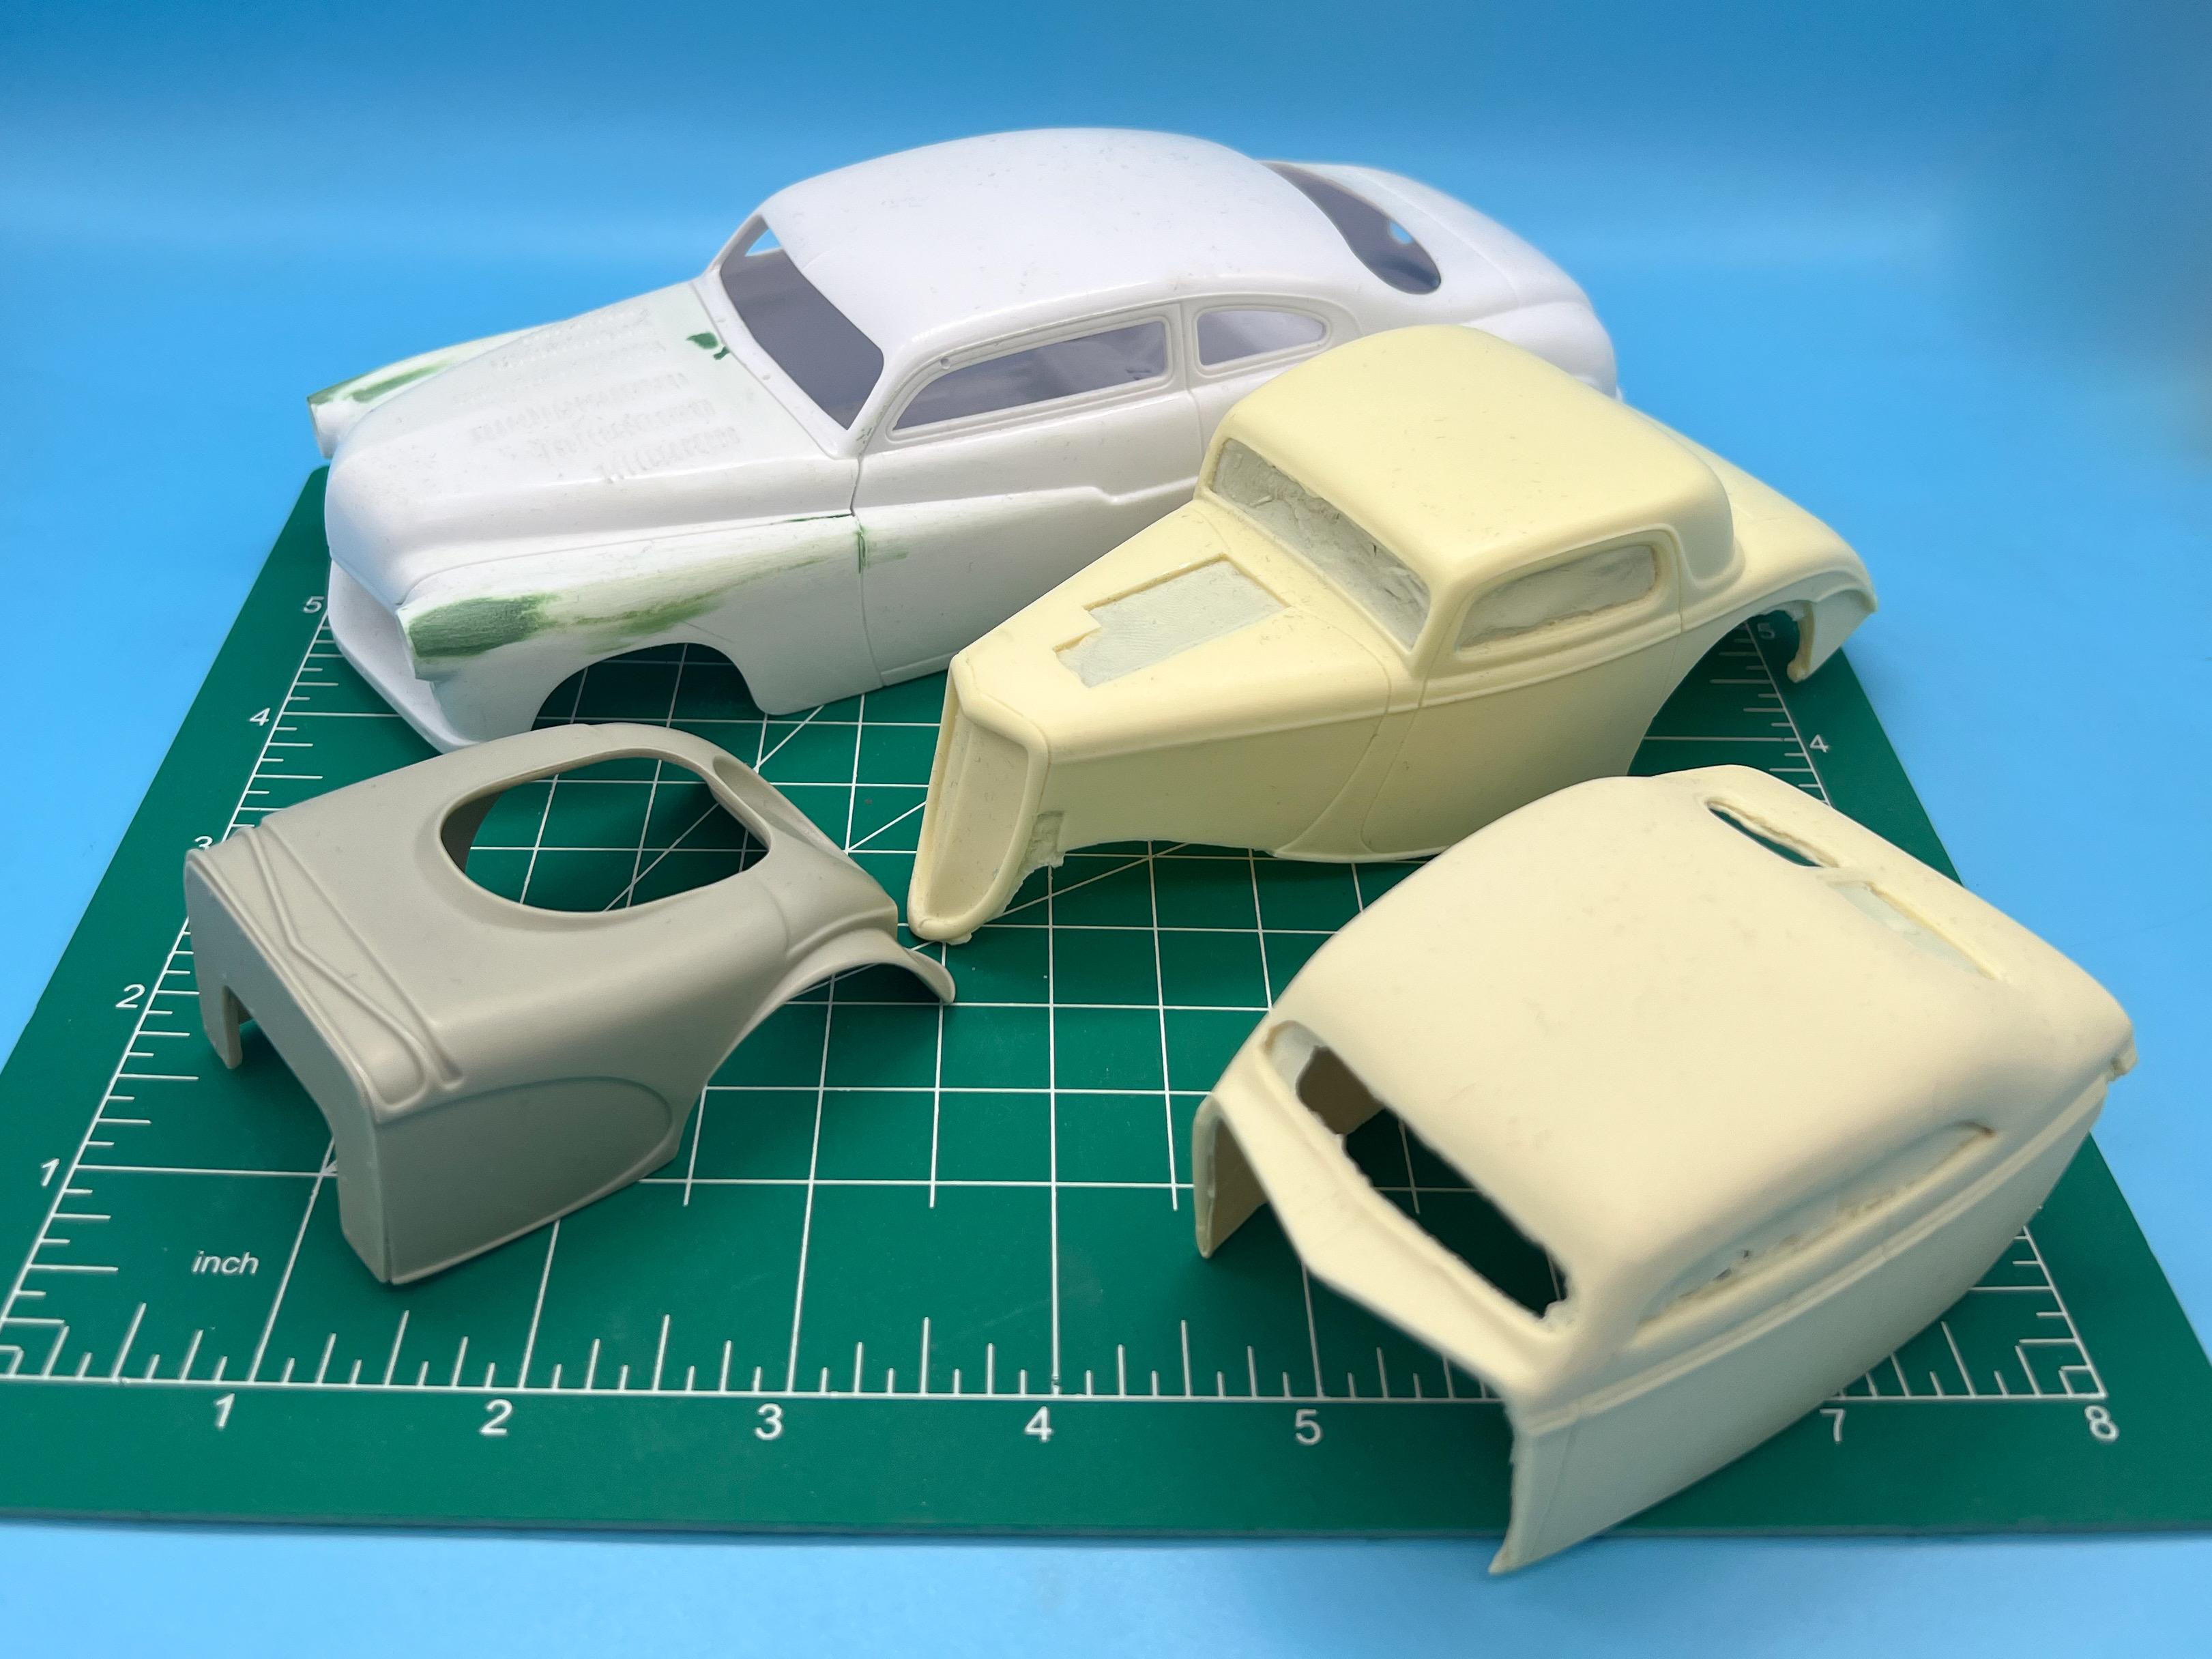
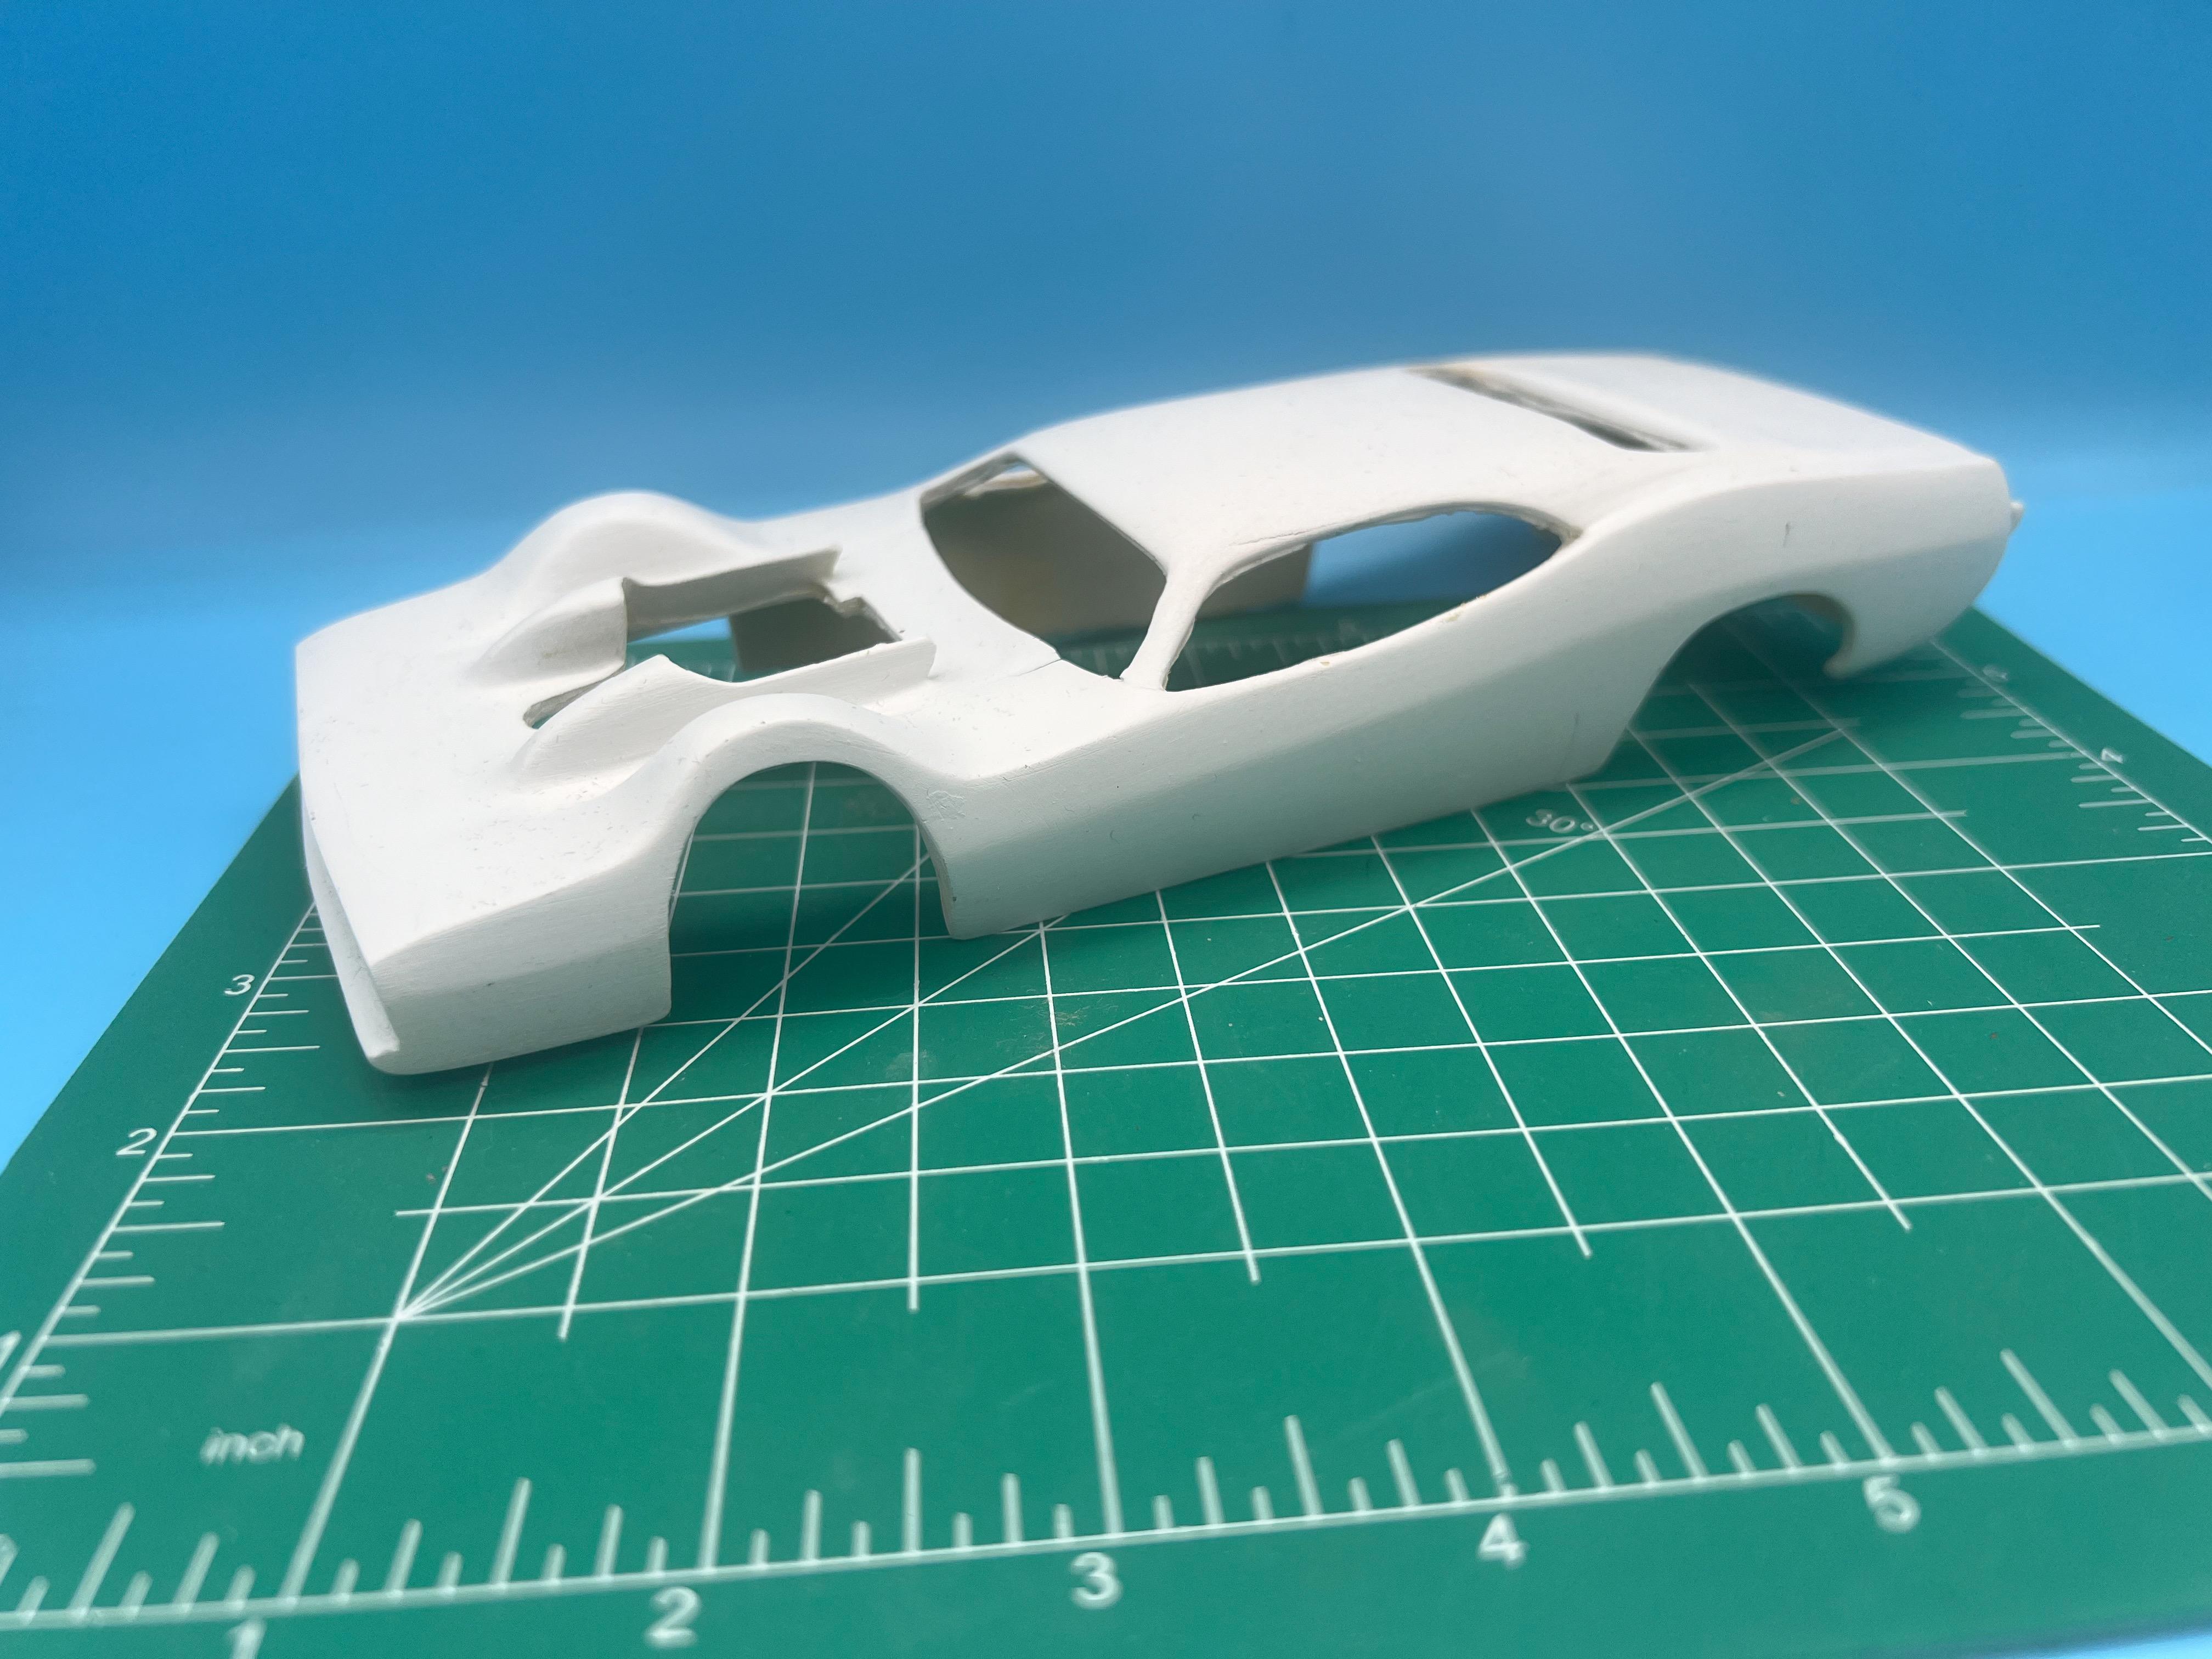
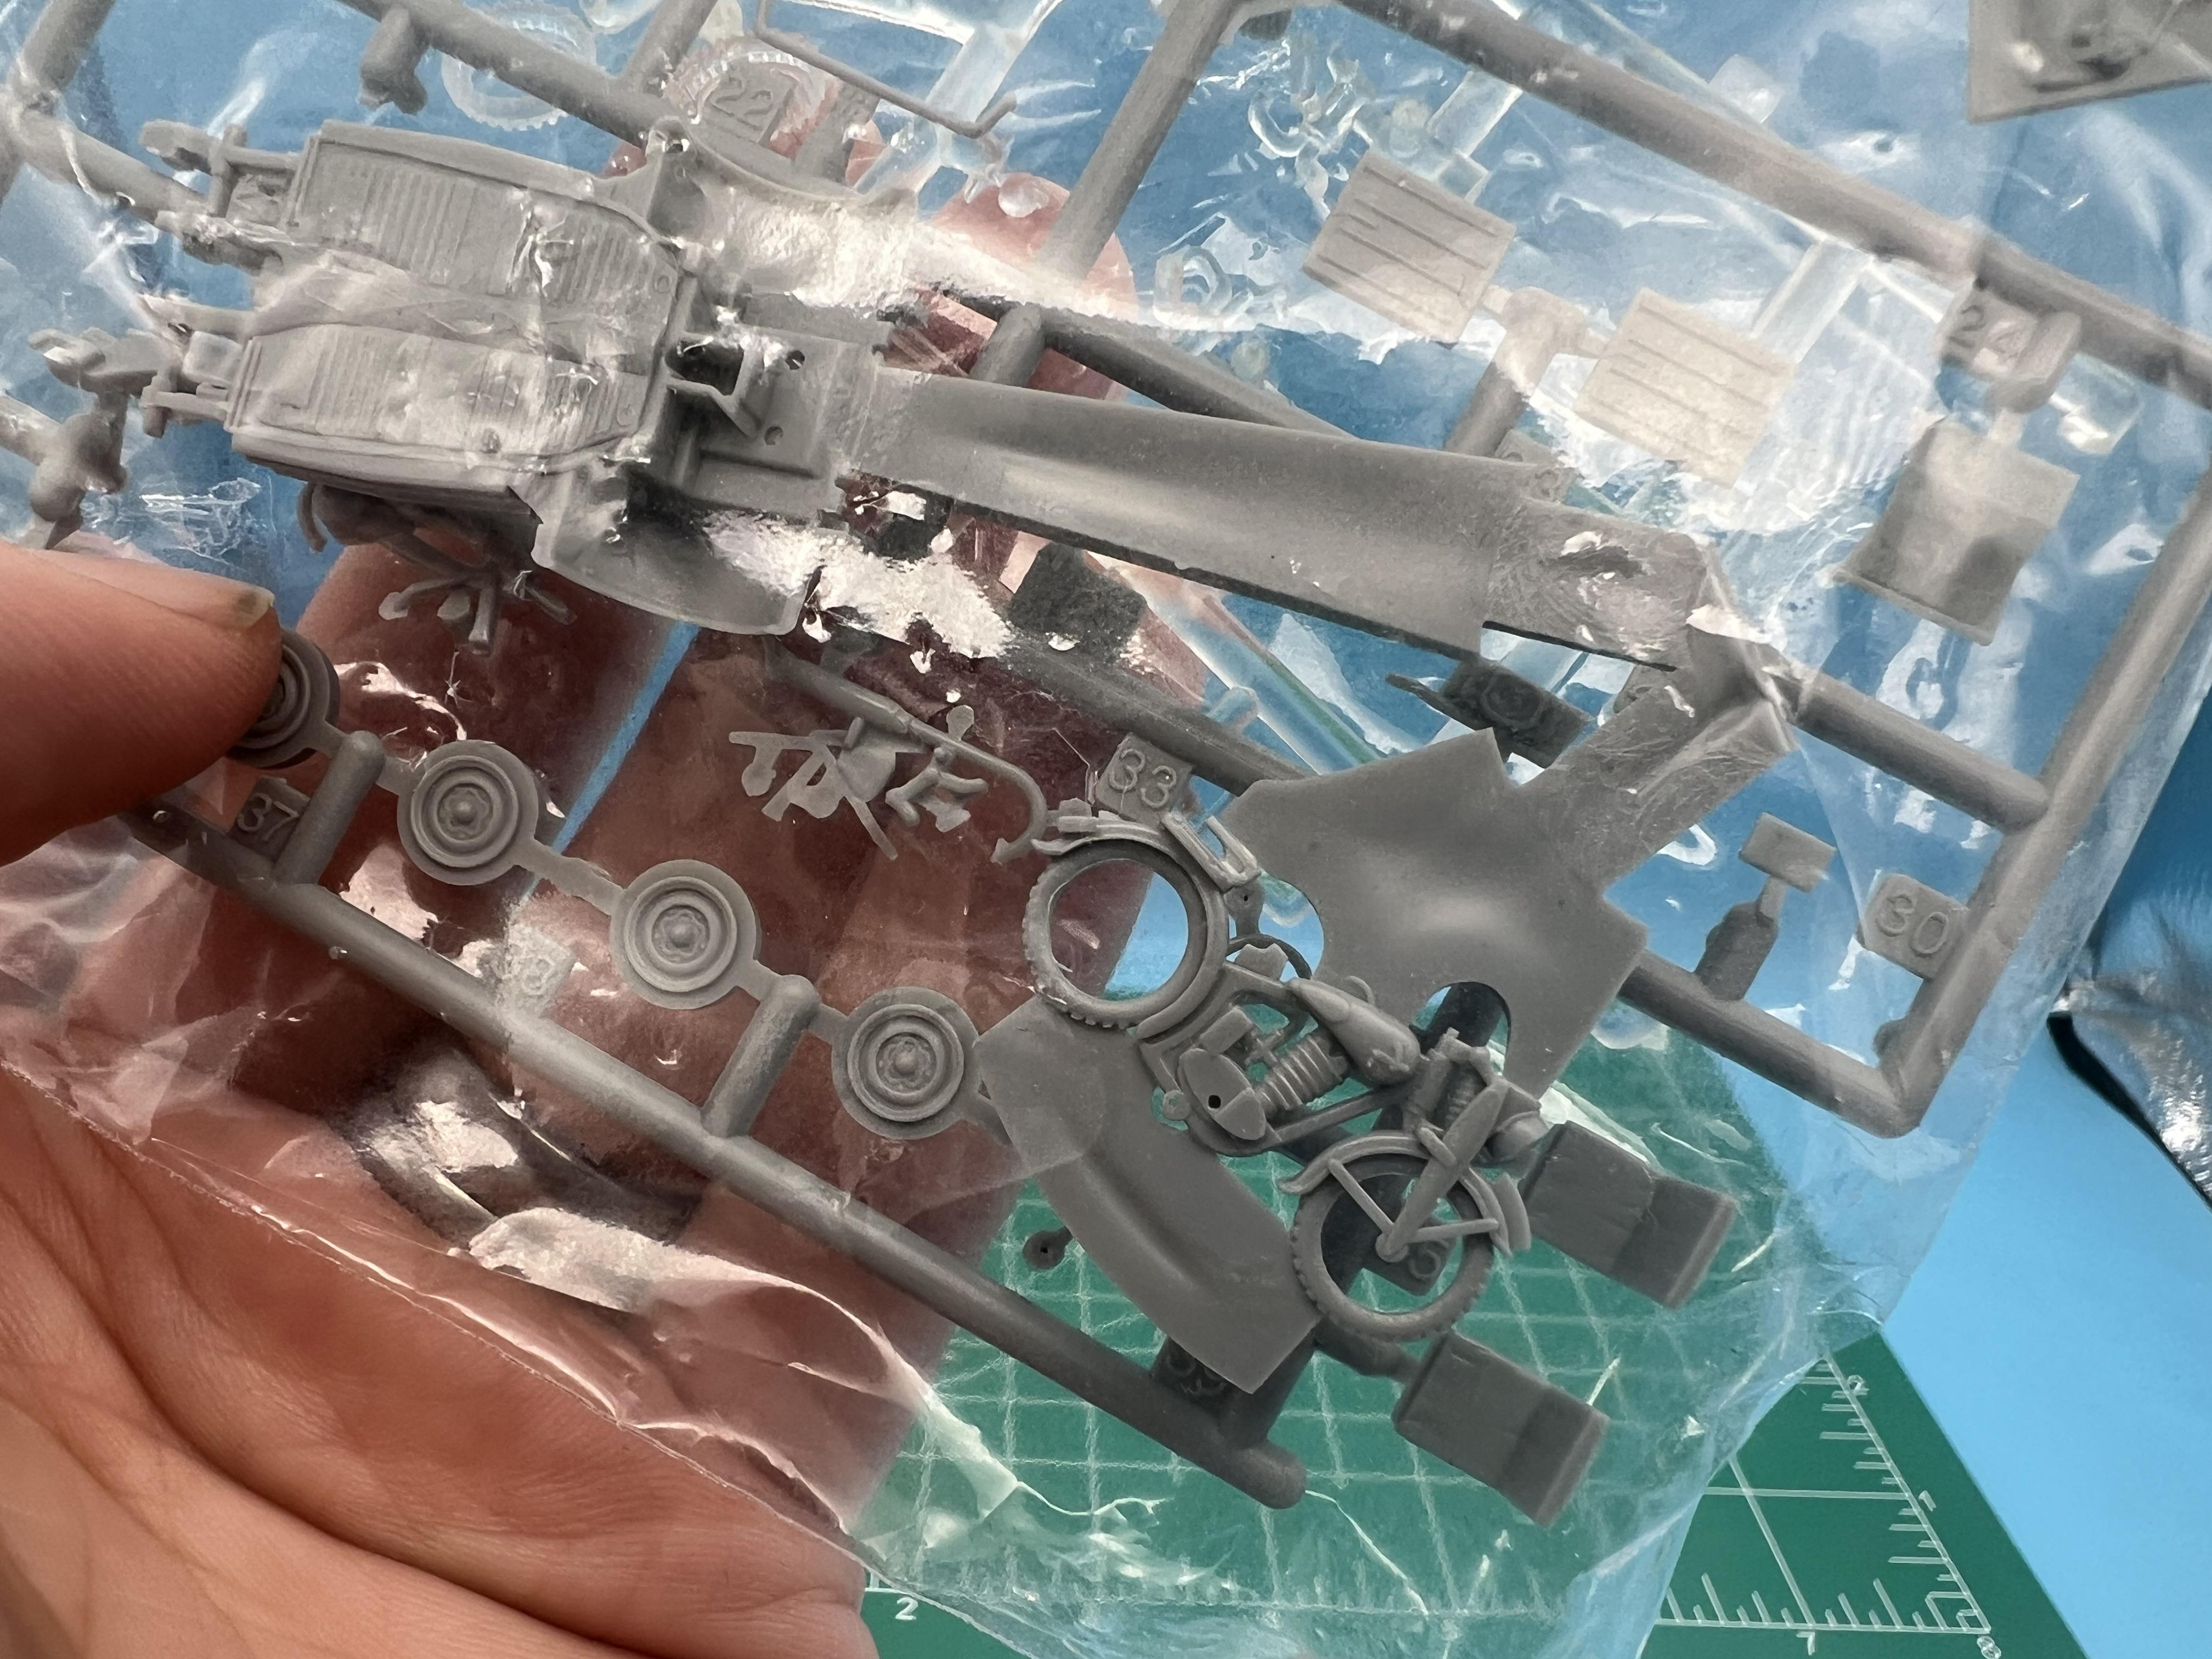
Got a belated birthday gift from a modeling buddy today…he builds mostly armor stuff but had some cool car ‘junk’ he sent my way… Box full of various loose parts and sprues and goodies… Some cool resin, plus most of a Revell 49 Merc: I think this Bantam is resin - anyone know who made it? Ricky Couch Badfish body, cast by Jimmy Flintstone: I suspect this is a Flintstone body too, but I have NO IDEA what it is…any ideas anyone? And this is cool - we’re (apparently) doing a build off of these 1/72 VW Kubelwagens for an upcoming show…scared to open it in case I lose a part already… Has a 1/72 motorcycle in there too!
- 38,867 replies
-
- 5
-
-
- johan
- glue bombs
- (and 1 more)
-
70s Era Asphalt Modified
OldNYJim replied to OldNYJim's topic in WIP: Stock Cars (NASCAR, Super Stock, Late Model, etc.)
I love first-hand information like this…I store it all away for the next one. THANK YOU!! ? -
These are all cool, but I REALLY like the flamed one!
-
That would explain it - that’s the transparent version of that color. W084 is the opaque version…and covers like a dream, for reference…
-
I’m sure there IS a kit that includes these parts that can make for a relatively easy conversion to backdate these Revell Deuce kits to a more traditional rear suspension setup, maybe even with a 32 frame, but I can’t think of one right now… The AMT T 2-in-1 T kits have the Quickchange and a suitable rear spring (and are easily available) but I wonder if there’s anything better out there as a parts source for someone who wants to take the street-rod out and put the ‘traditional’ into these kit? The Atlantis (Revell) Mooneyes kit is probably a good parts source too, if you don’t mind fabricating the Model A crossmember… Any ideas Tim? I remember you backdating a Revell Deuce in the final Scale Auto I think, but I don’t have it to hand right now to recall how you did it…
-
Looks awesome Matt! What trick do you like for those nice crisp dark panel lines?
-
Is that Phthalo green the W009 part number or the W084 part number on the bottle? Ive had GREAT results with Wicked / Createx so I’m curious which one exactly you had there…