OldNYJim
-
Posts
247 -
Joined
-
Last visited
Content Type
Profiles
Forums
Events
Gallery
Everything posted by OldNYJim
-

Color Changing paint pigments for your models
OldNYJim replied to SolarColorDust's topic in Tips, Tricks, and Tutorials
You realize this post is 13 years old, right? -
I don’t watch Stranger Things, but I’m in for one of the VW buses! If it’s anything like the Revell ‘68 Beetle then I’ll definitely enjoy it - those basically fall together
-
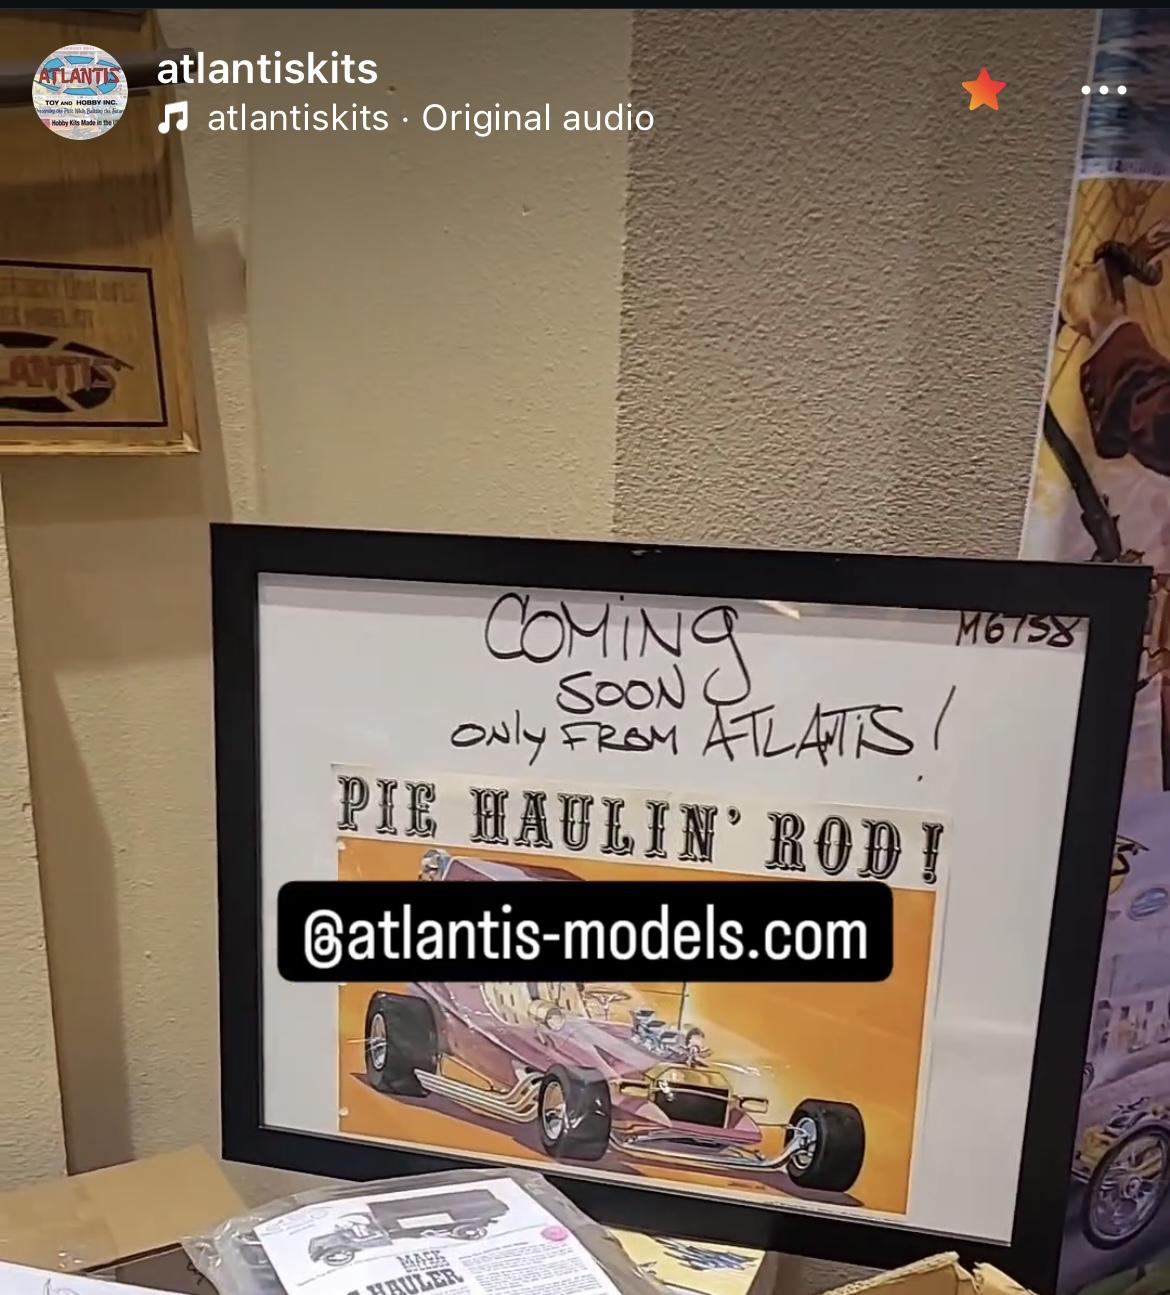
Atlantis is doing the T.D. Pie wagon.
OldNYJim replied to Mr mopar's topic in Car Kit News & Reviews
Looks like it’ll be named the “Pie Haulin’ Rod”:
-
Atlantis is doing the T.D. Pie wagon.
OldNYJim replied to Mr mopar's topic in Car Kit News & Reviews
Did they announce this at the big IPMS show recently? I forget where it was… -
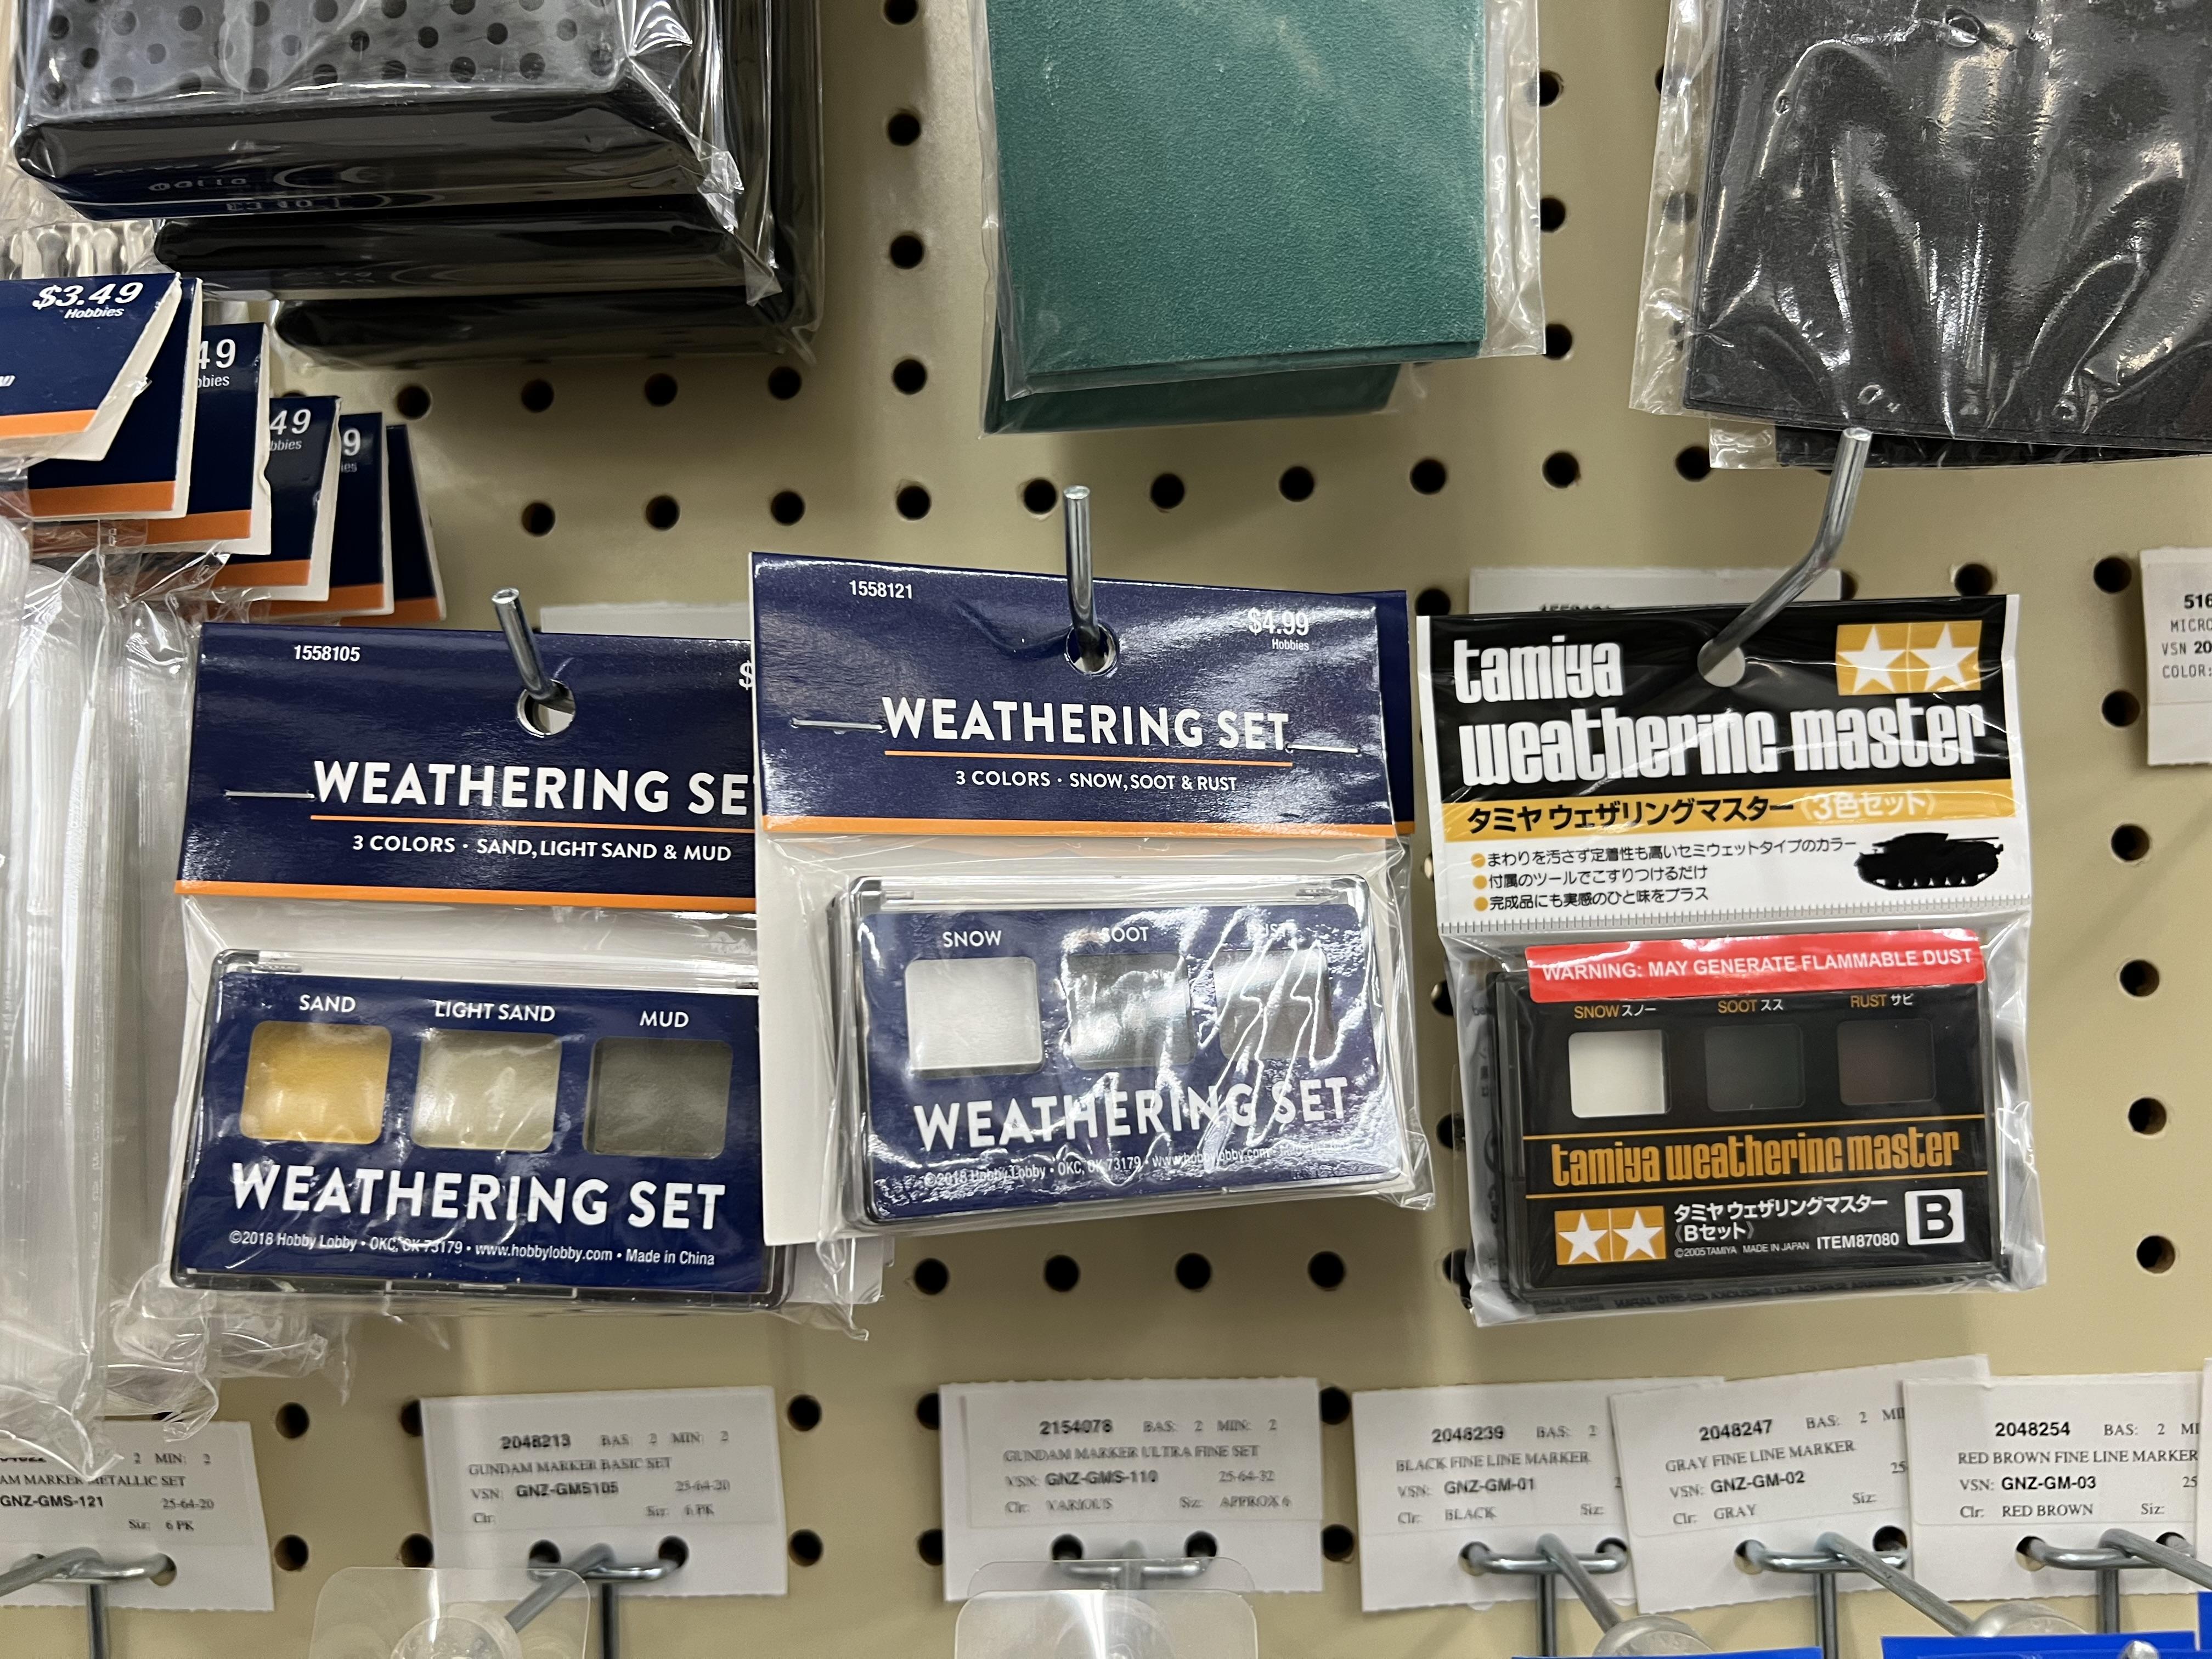
I went hunting for the 60 Ford this evening but came up short…plenty of other stuff on the shelves tho! Hadn’t noticed these before - looks like HL is making their own version of the Tamiya weathering powders:
-
I wondered that too - the Glass Slipper is WAY prettier tho - AMT’s effort is a little clunky by comparison…
-
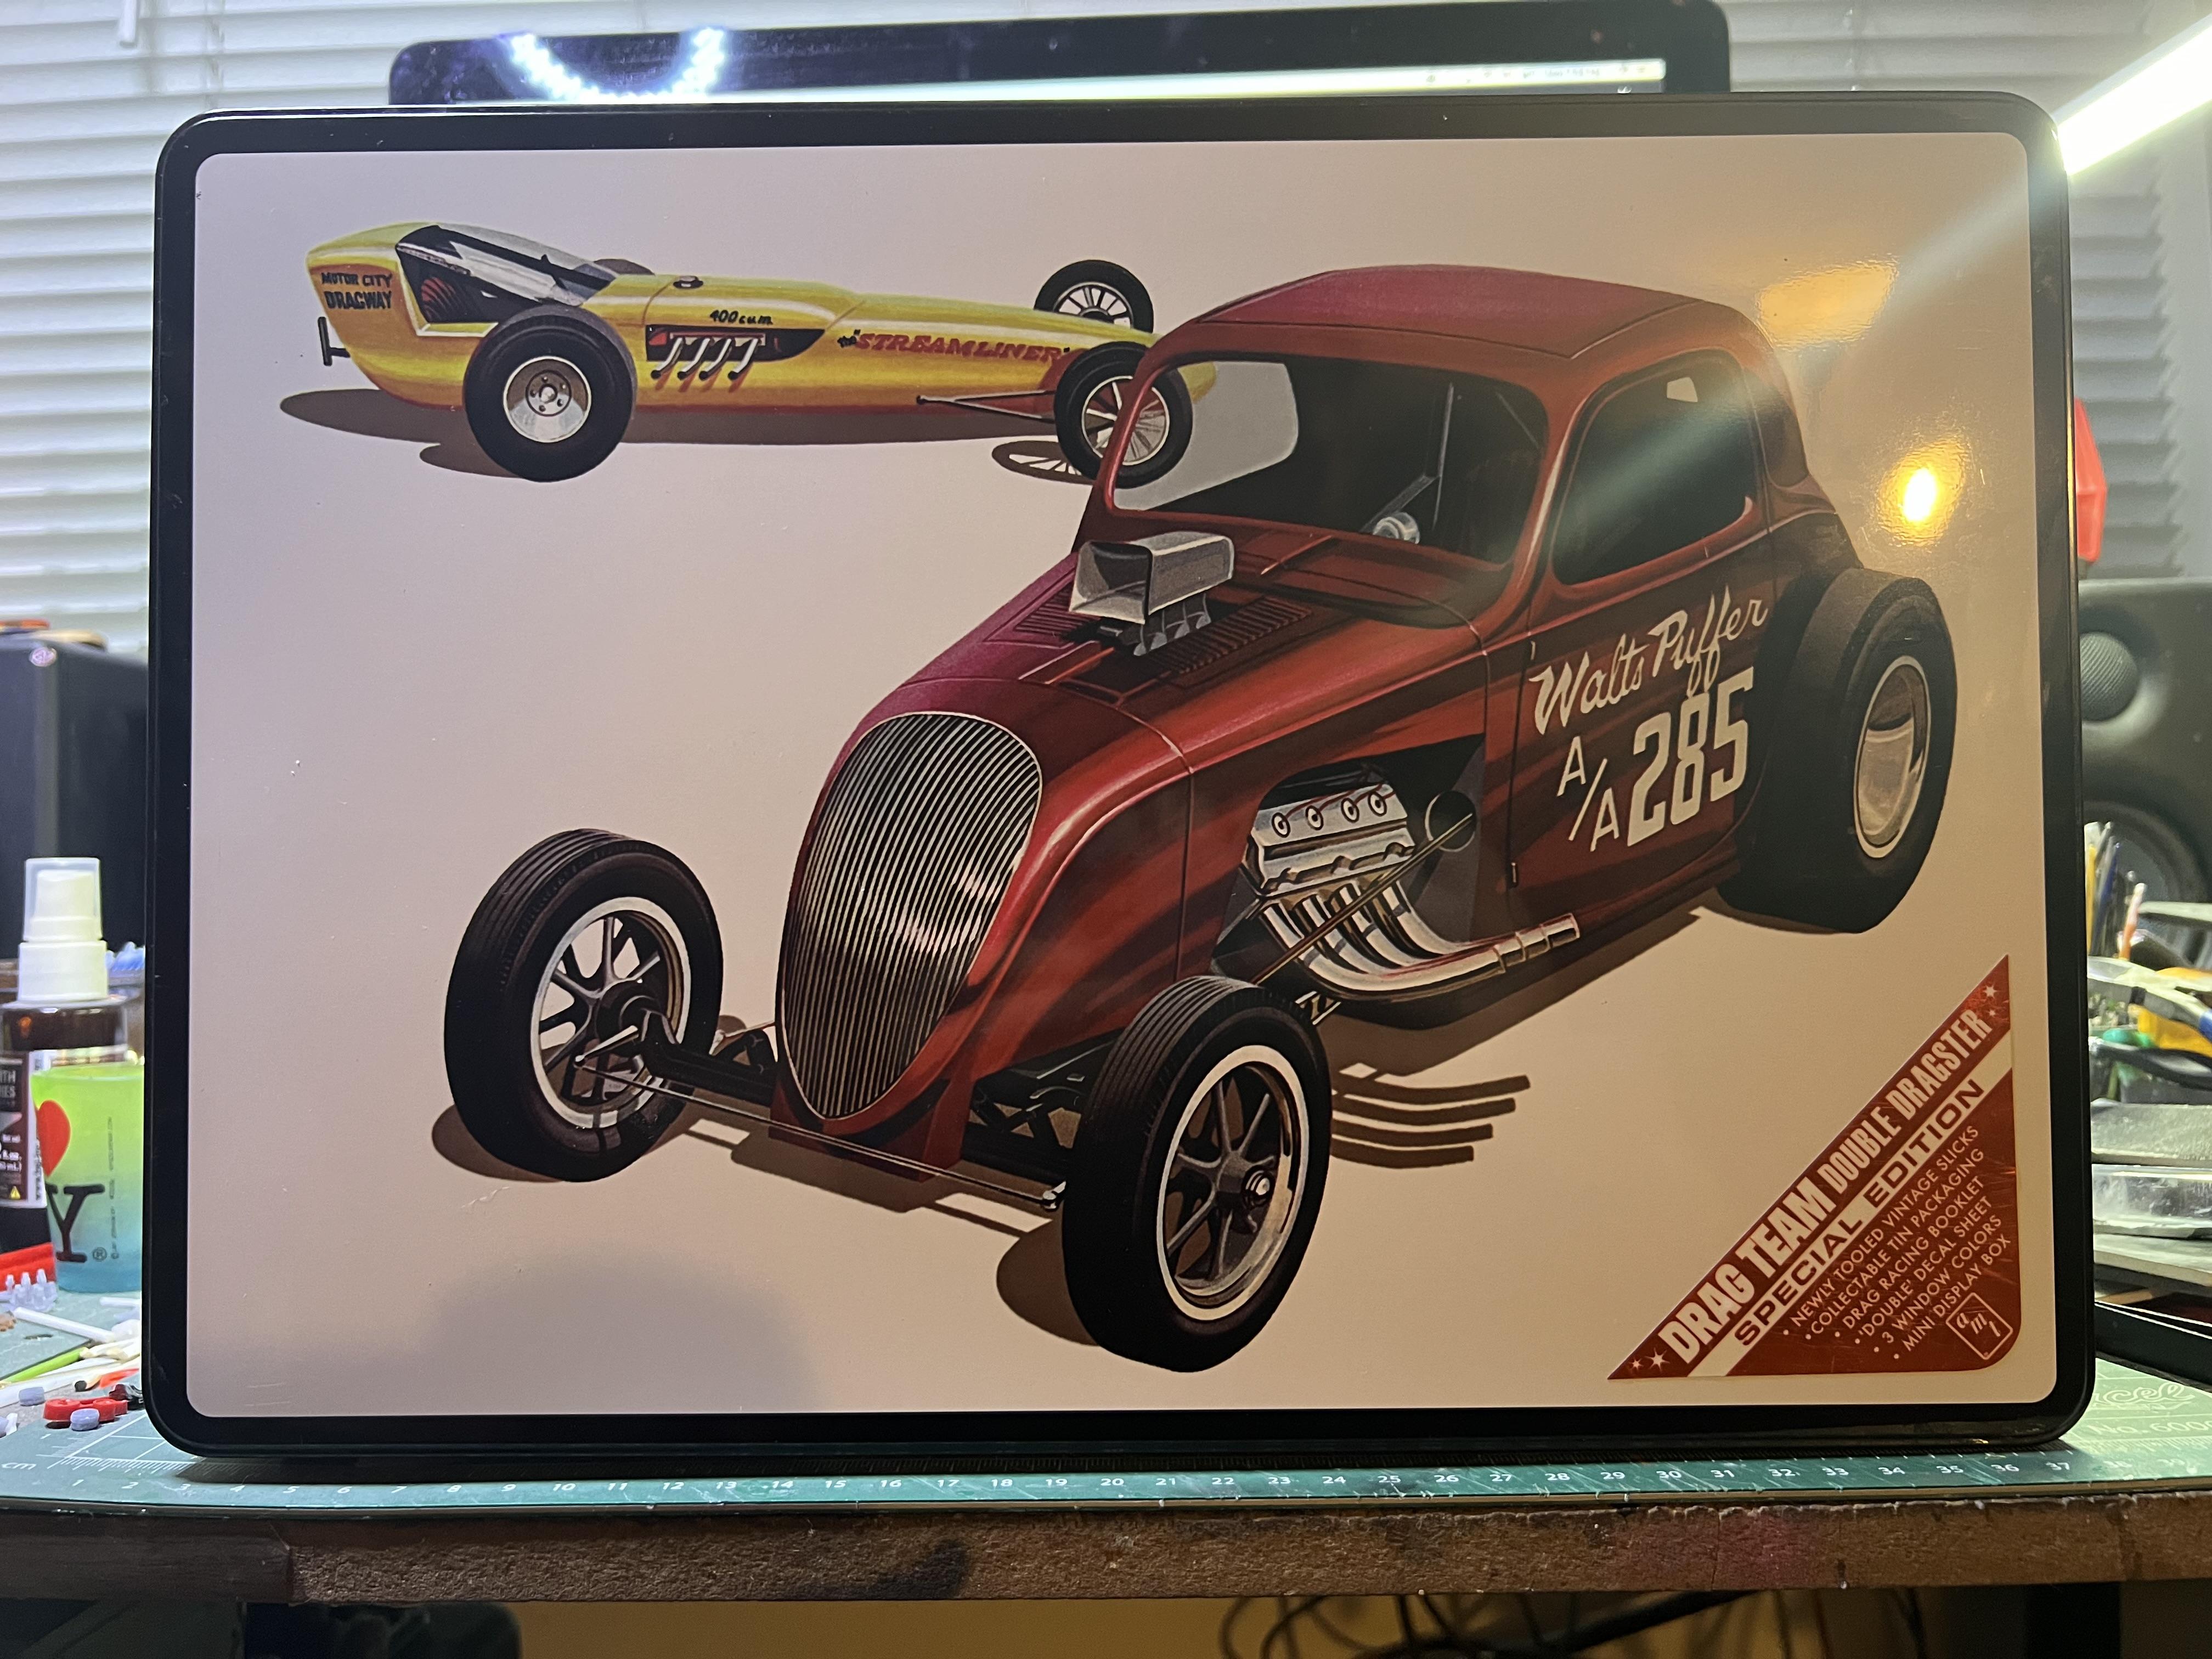
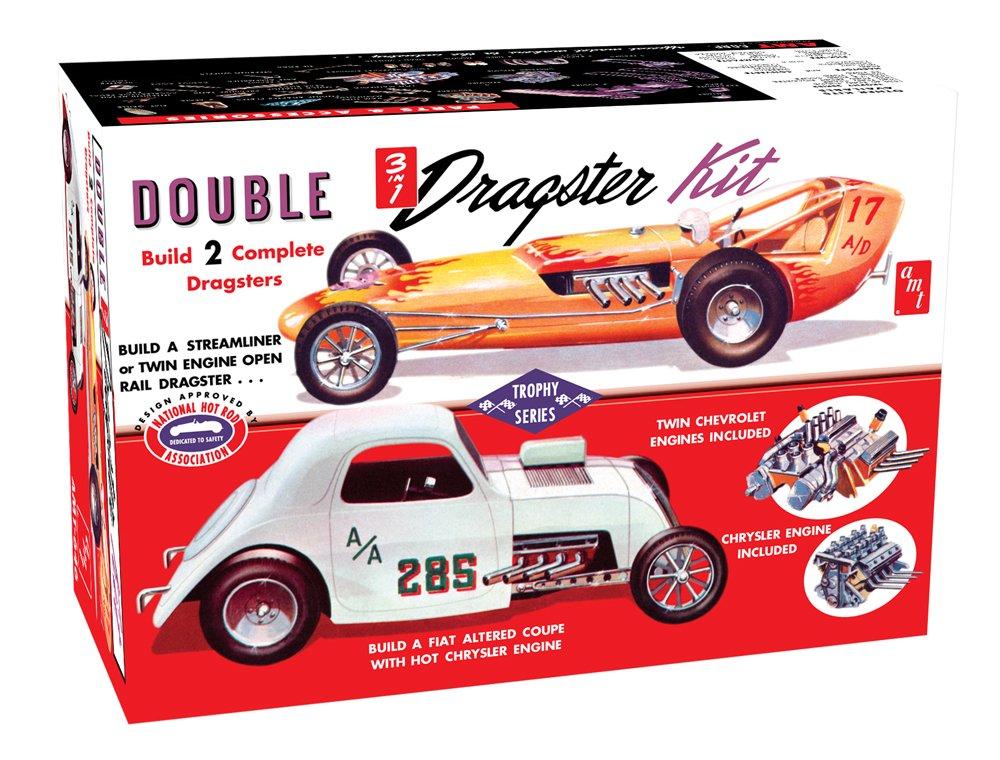
Picked up the metal-tin edition of the AMT Double Dragster - I’ve been watching for a good deal on one of these for a few months and finally found one…
- 38,867 replies
-
- 1
-

-
- johan
- glue bombs
- (and 1 more)
-
Thank you! I actually meant the other car though - the top car on the box art:
-
Just picked up the tin box version of this kit, and I’ve been researching early 60s streamliner dragsters…was the full-bodied car in this set based on a particular 1:1? Didn’t find any particularly close matches to it in my research…
-
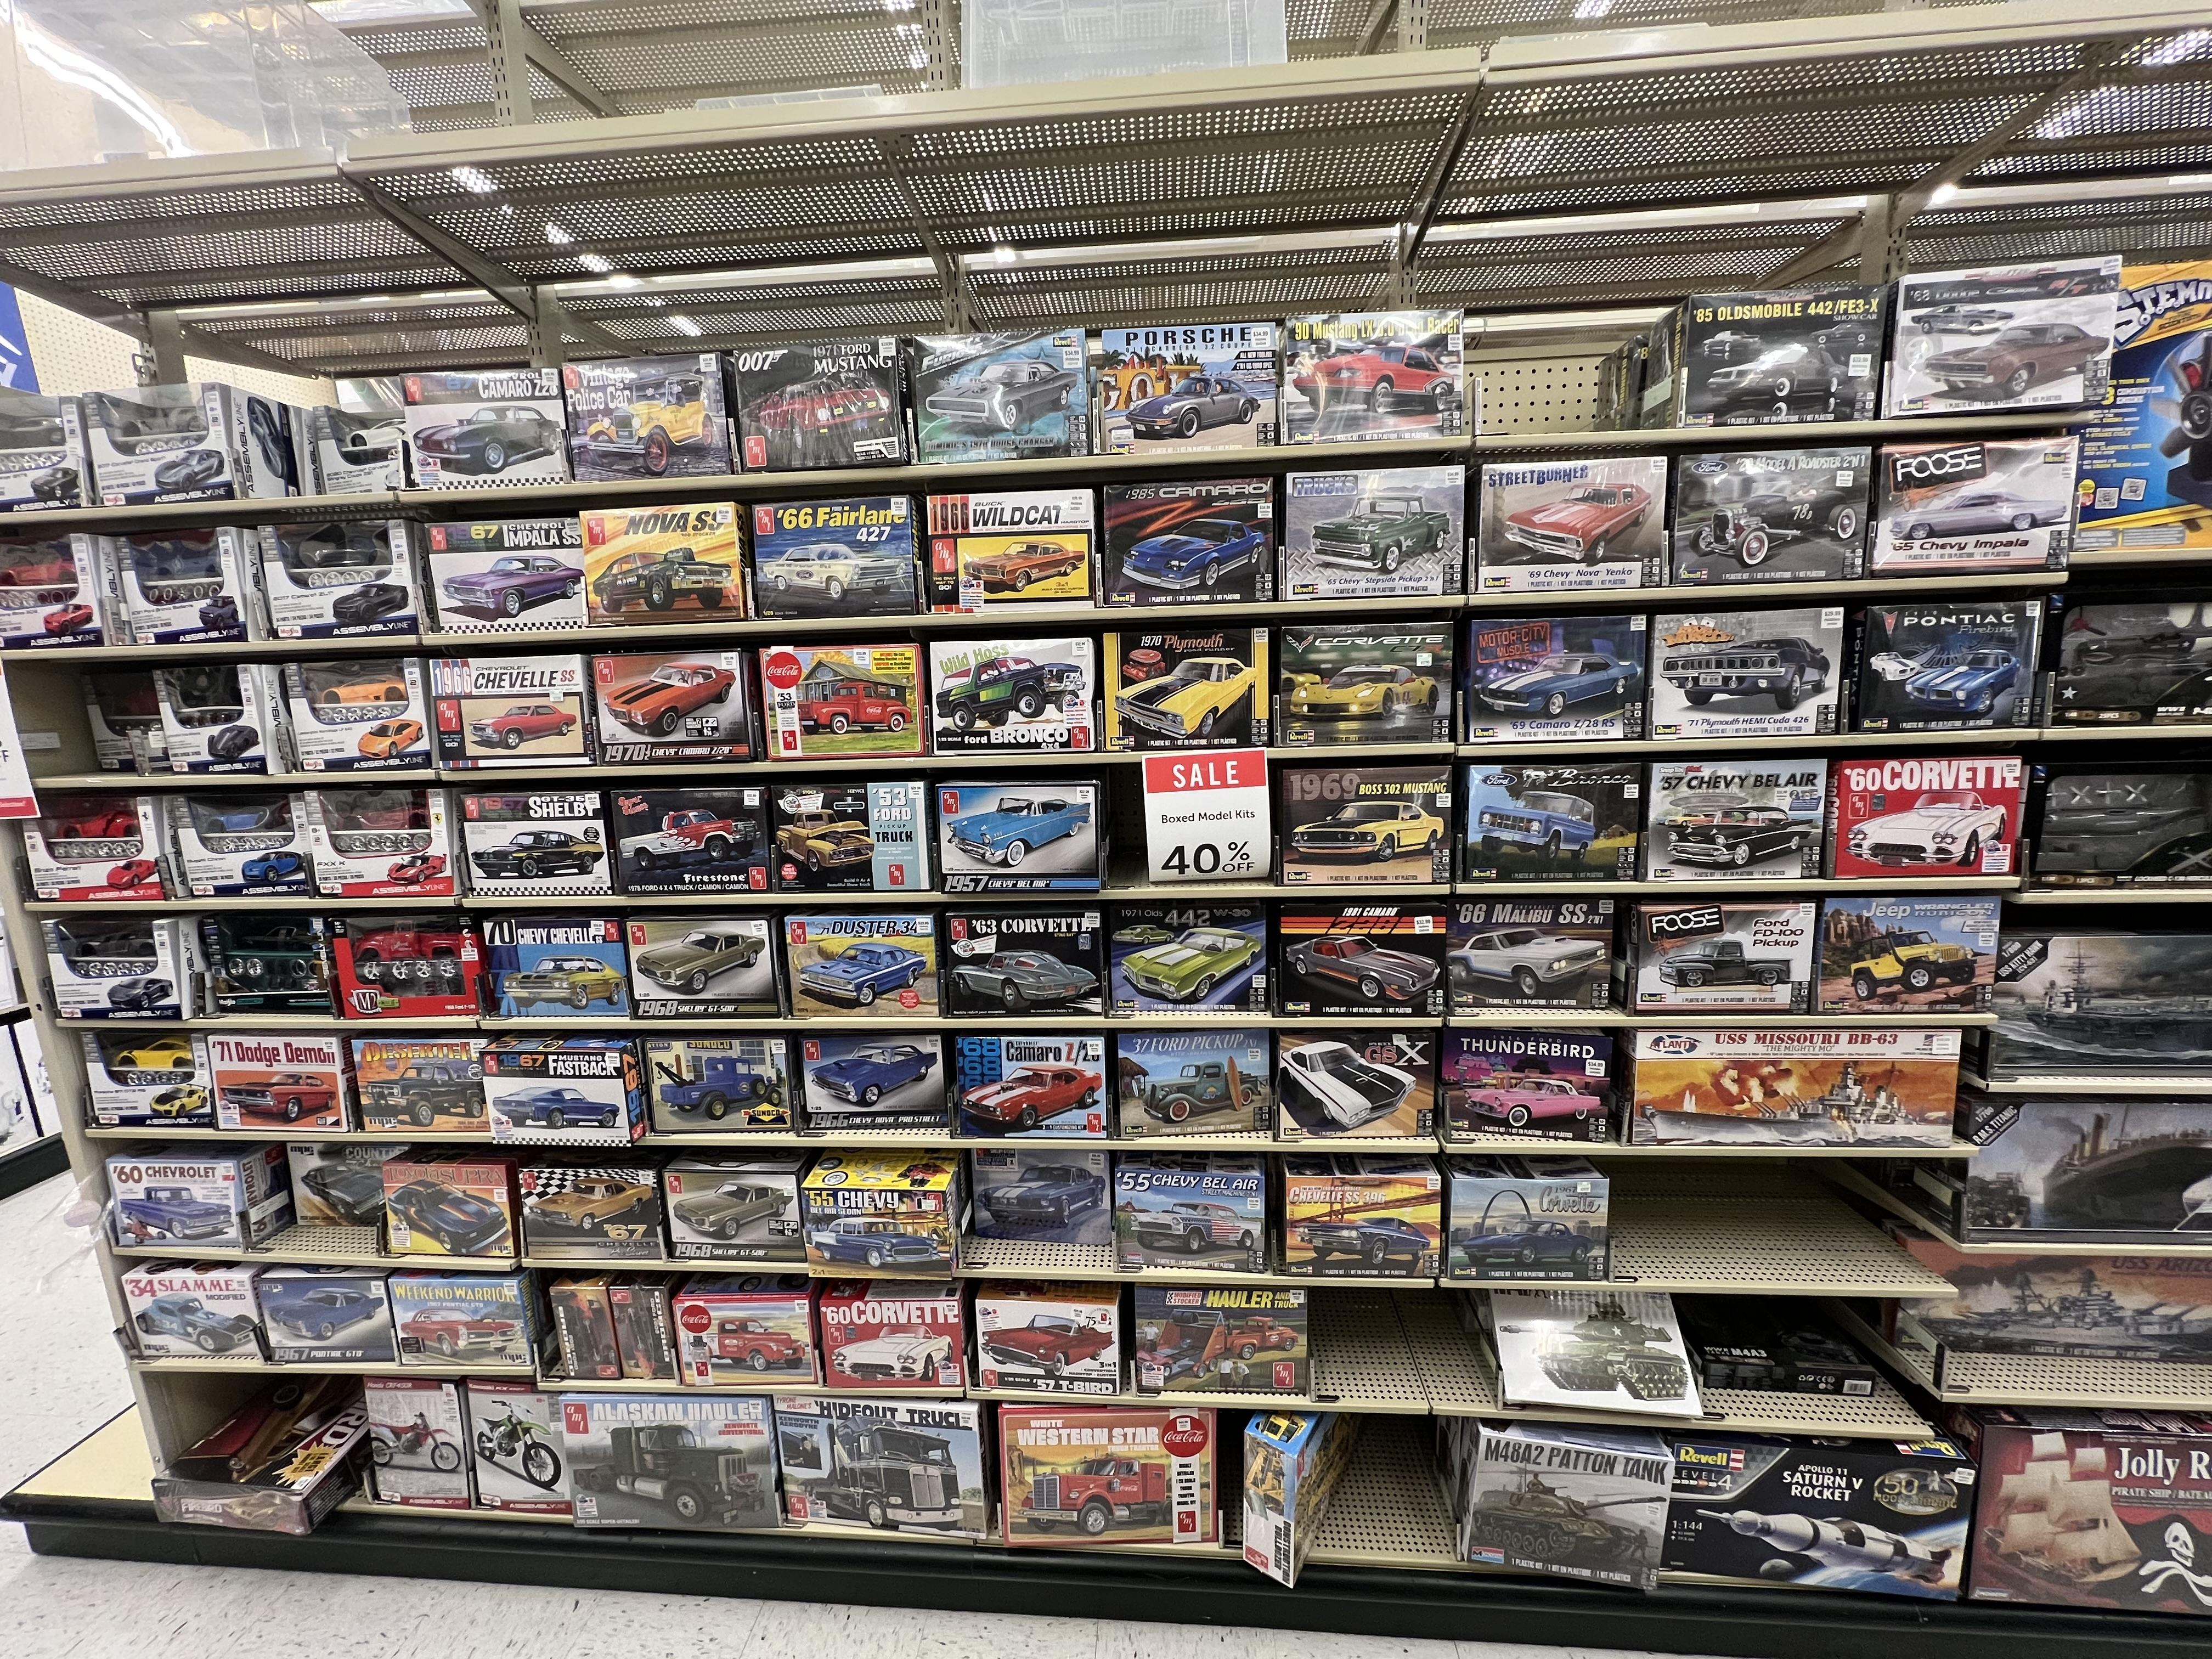
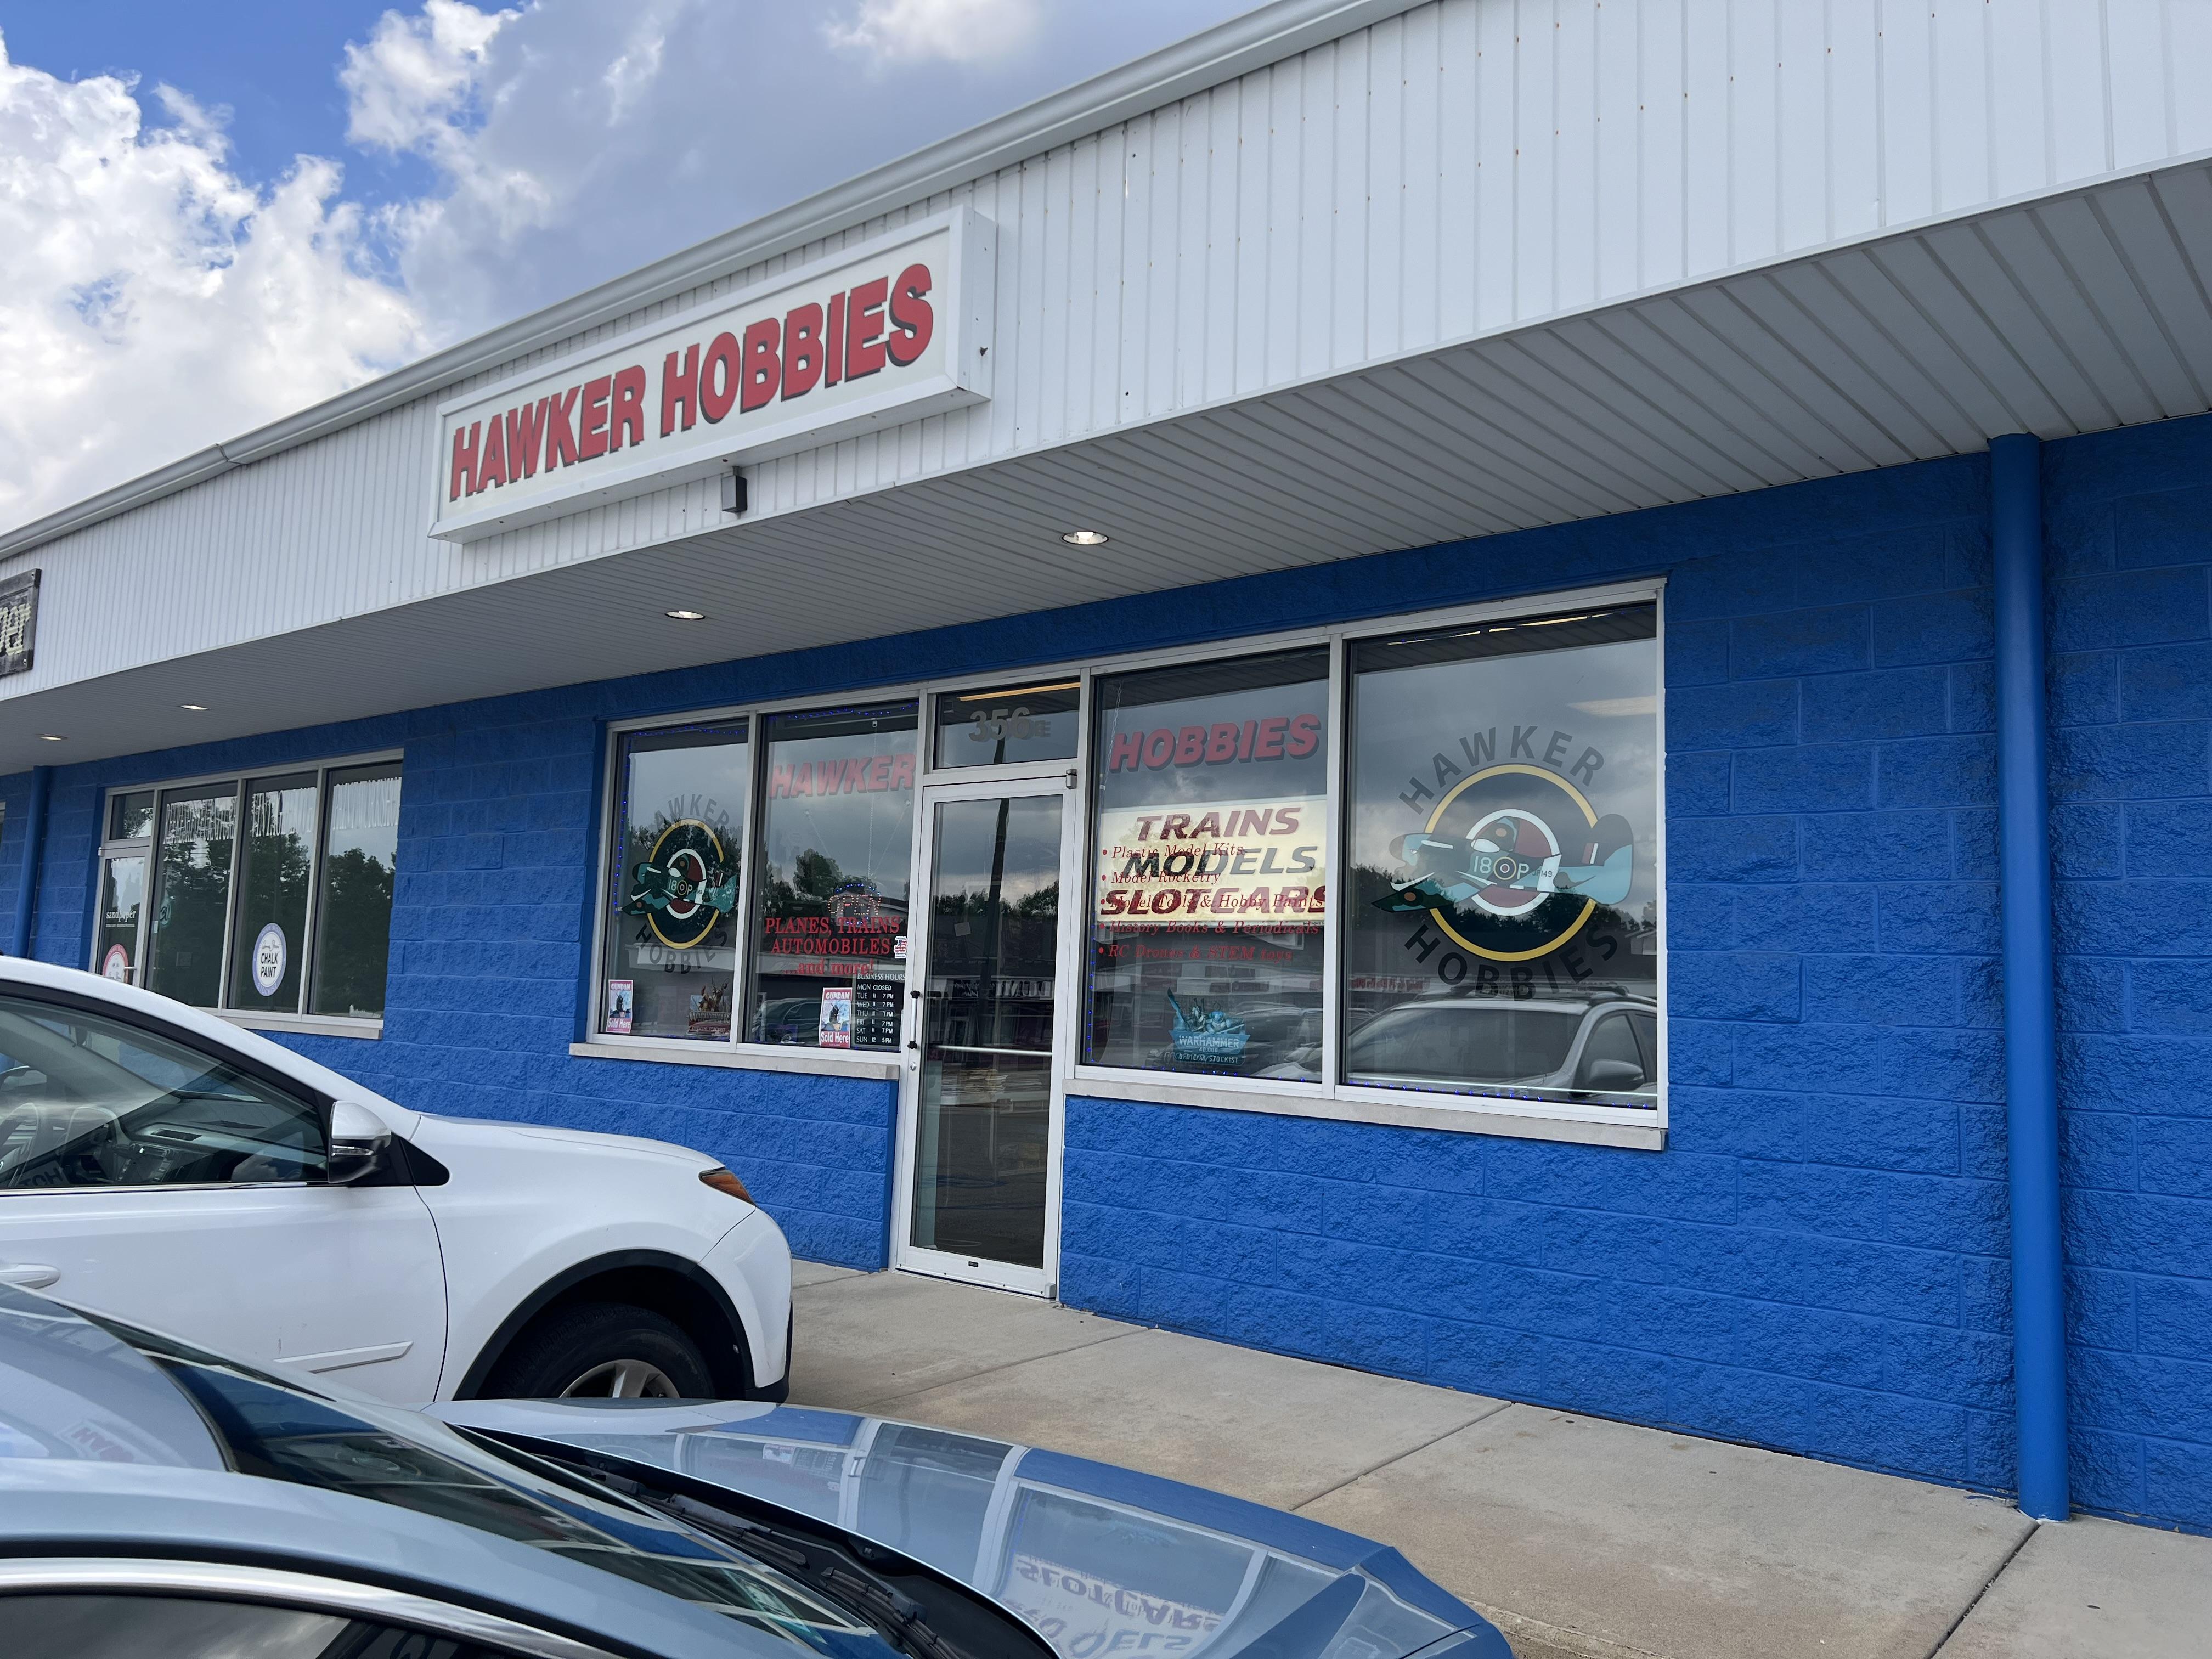
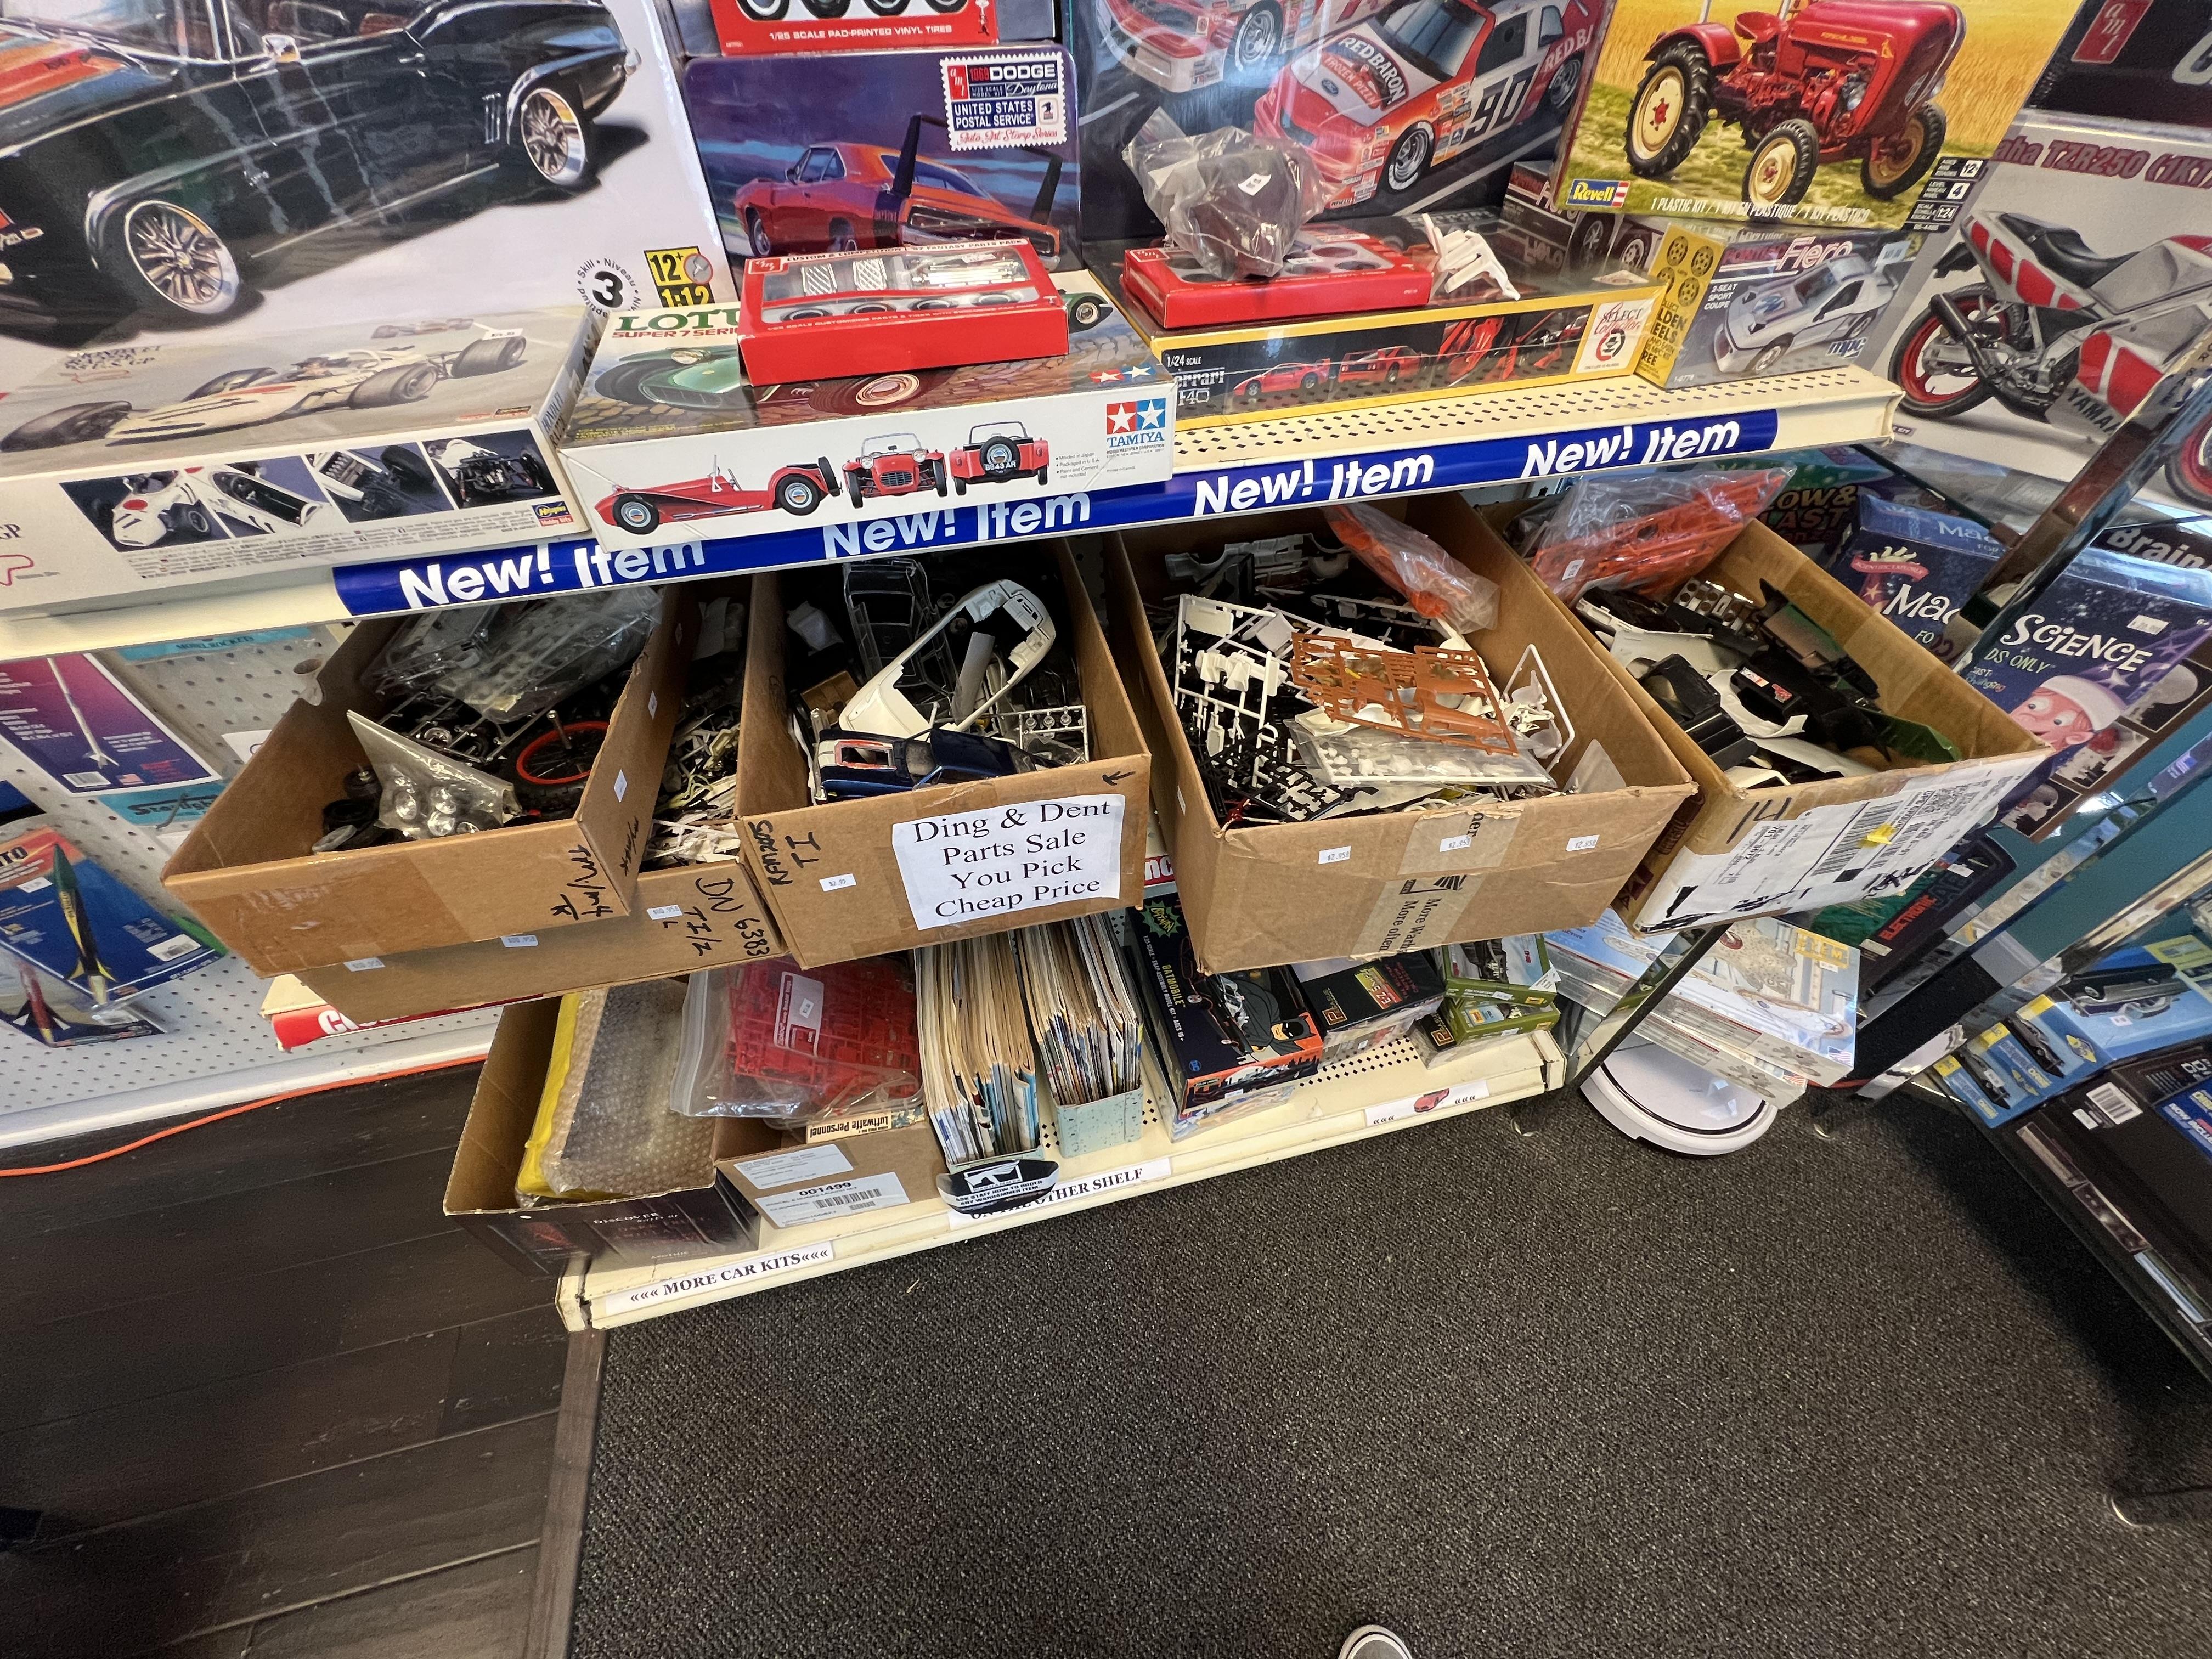
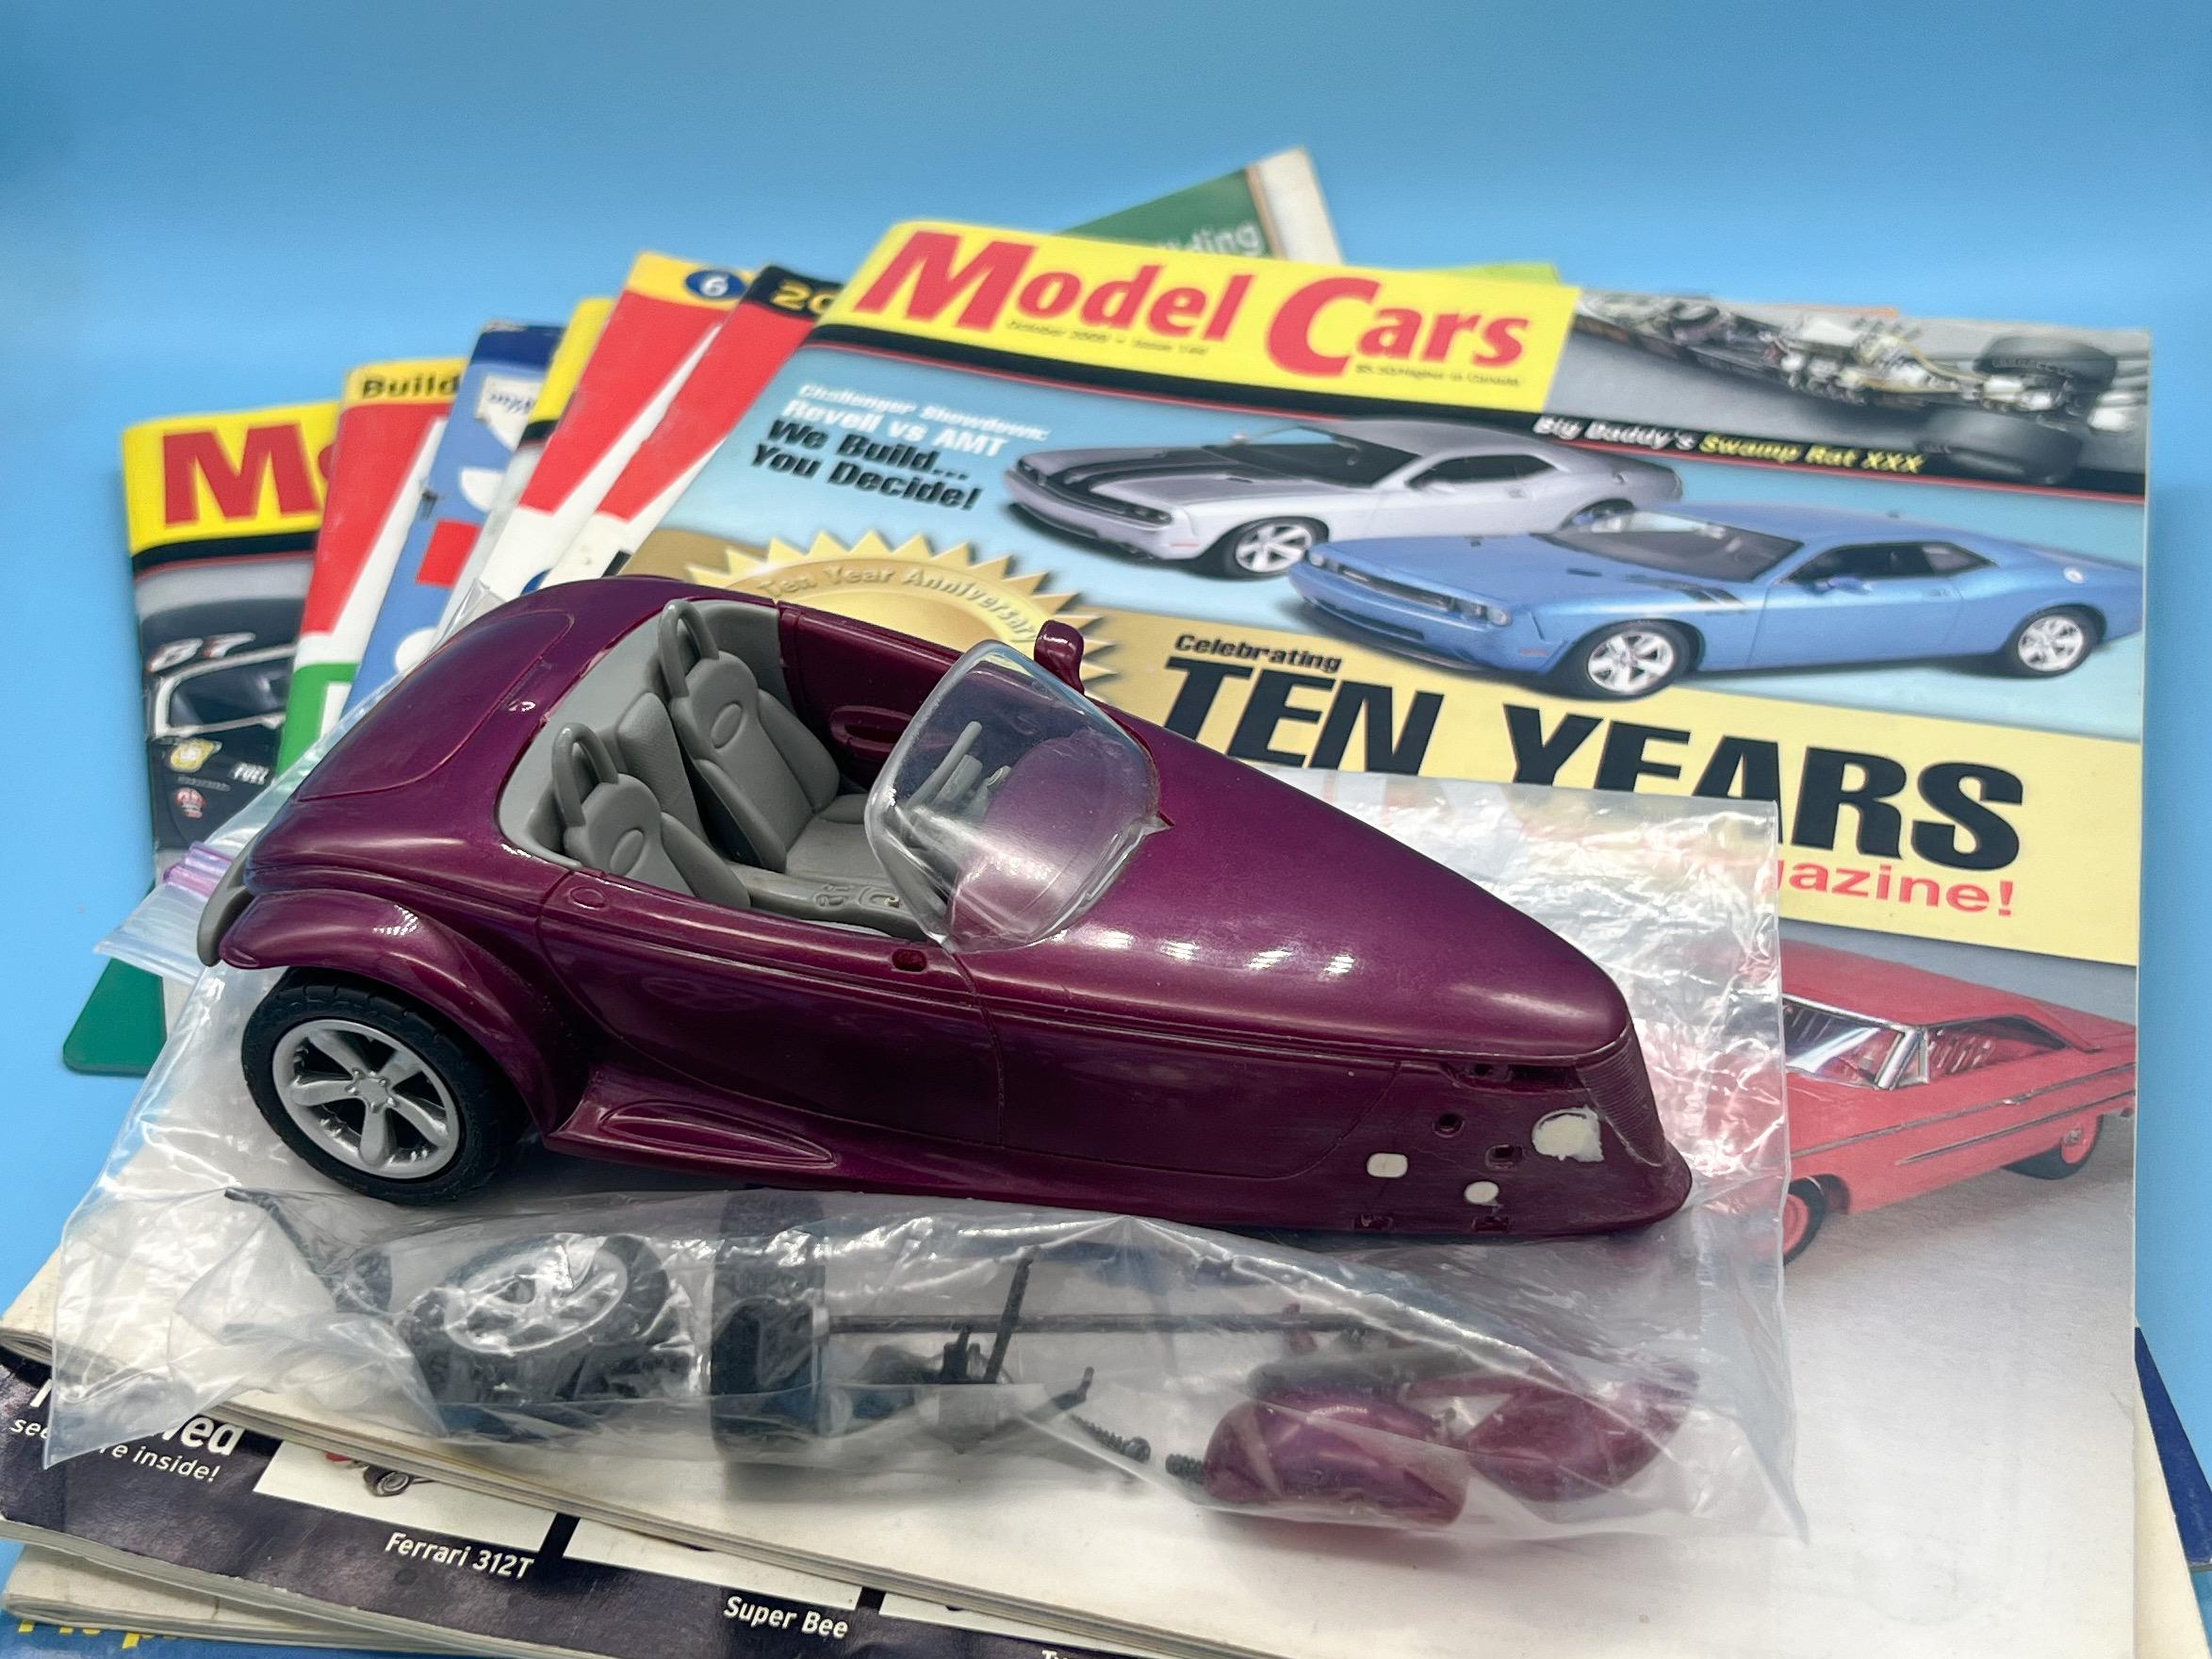
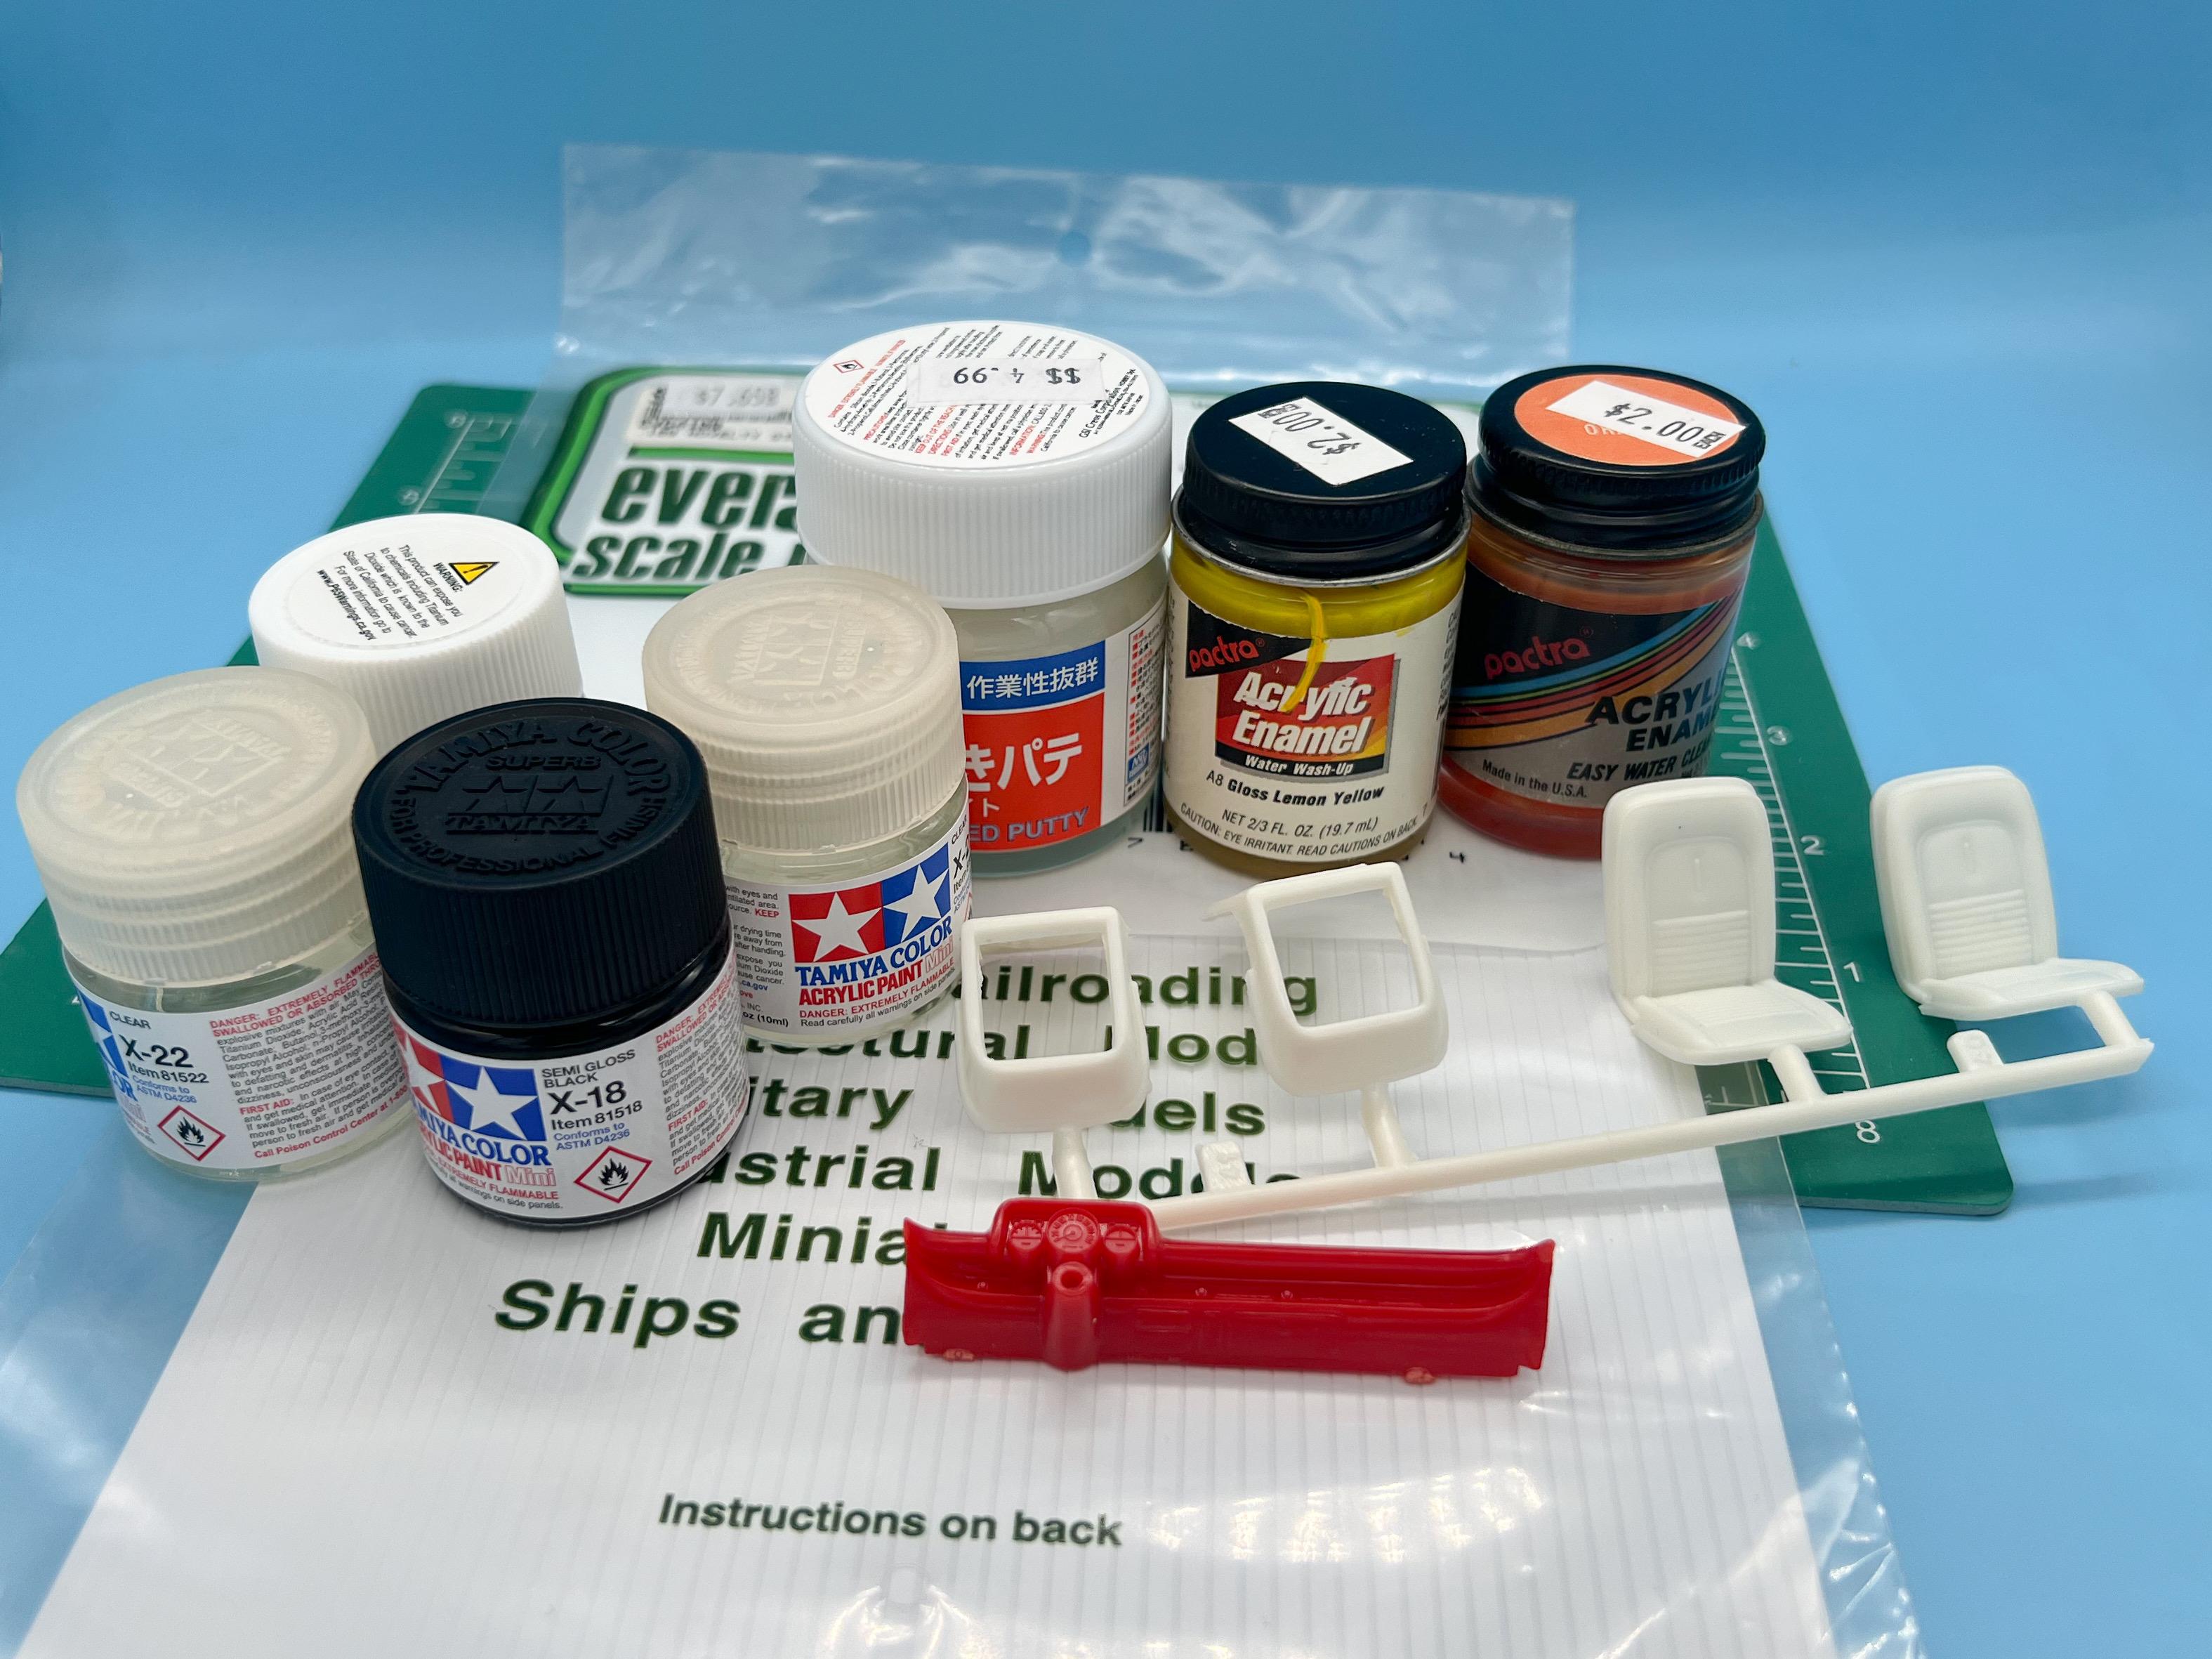
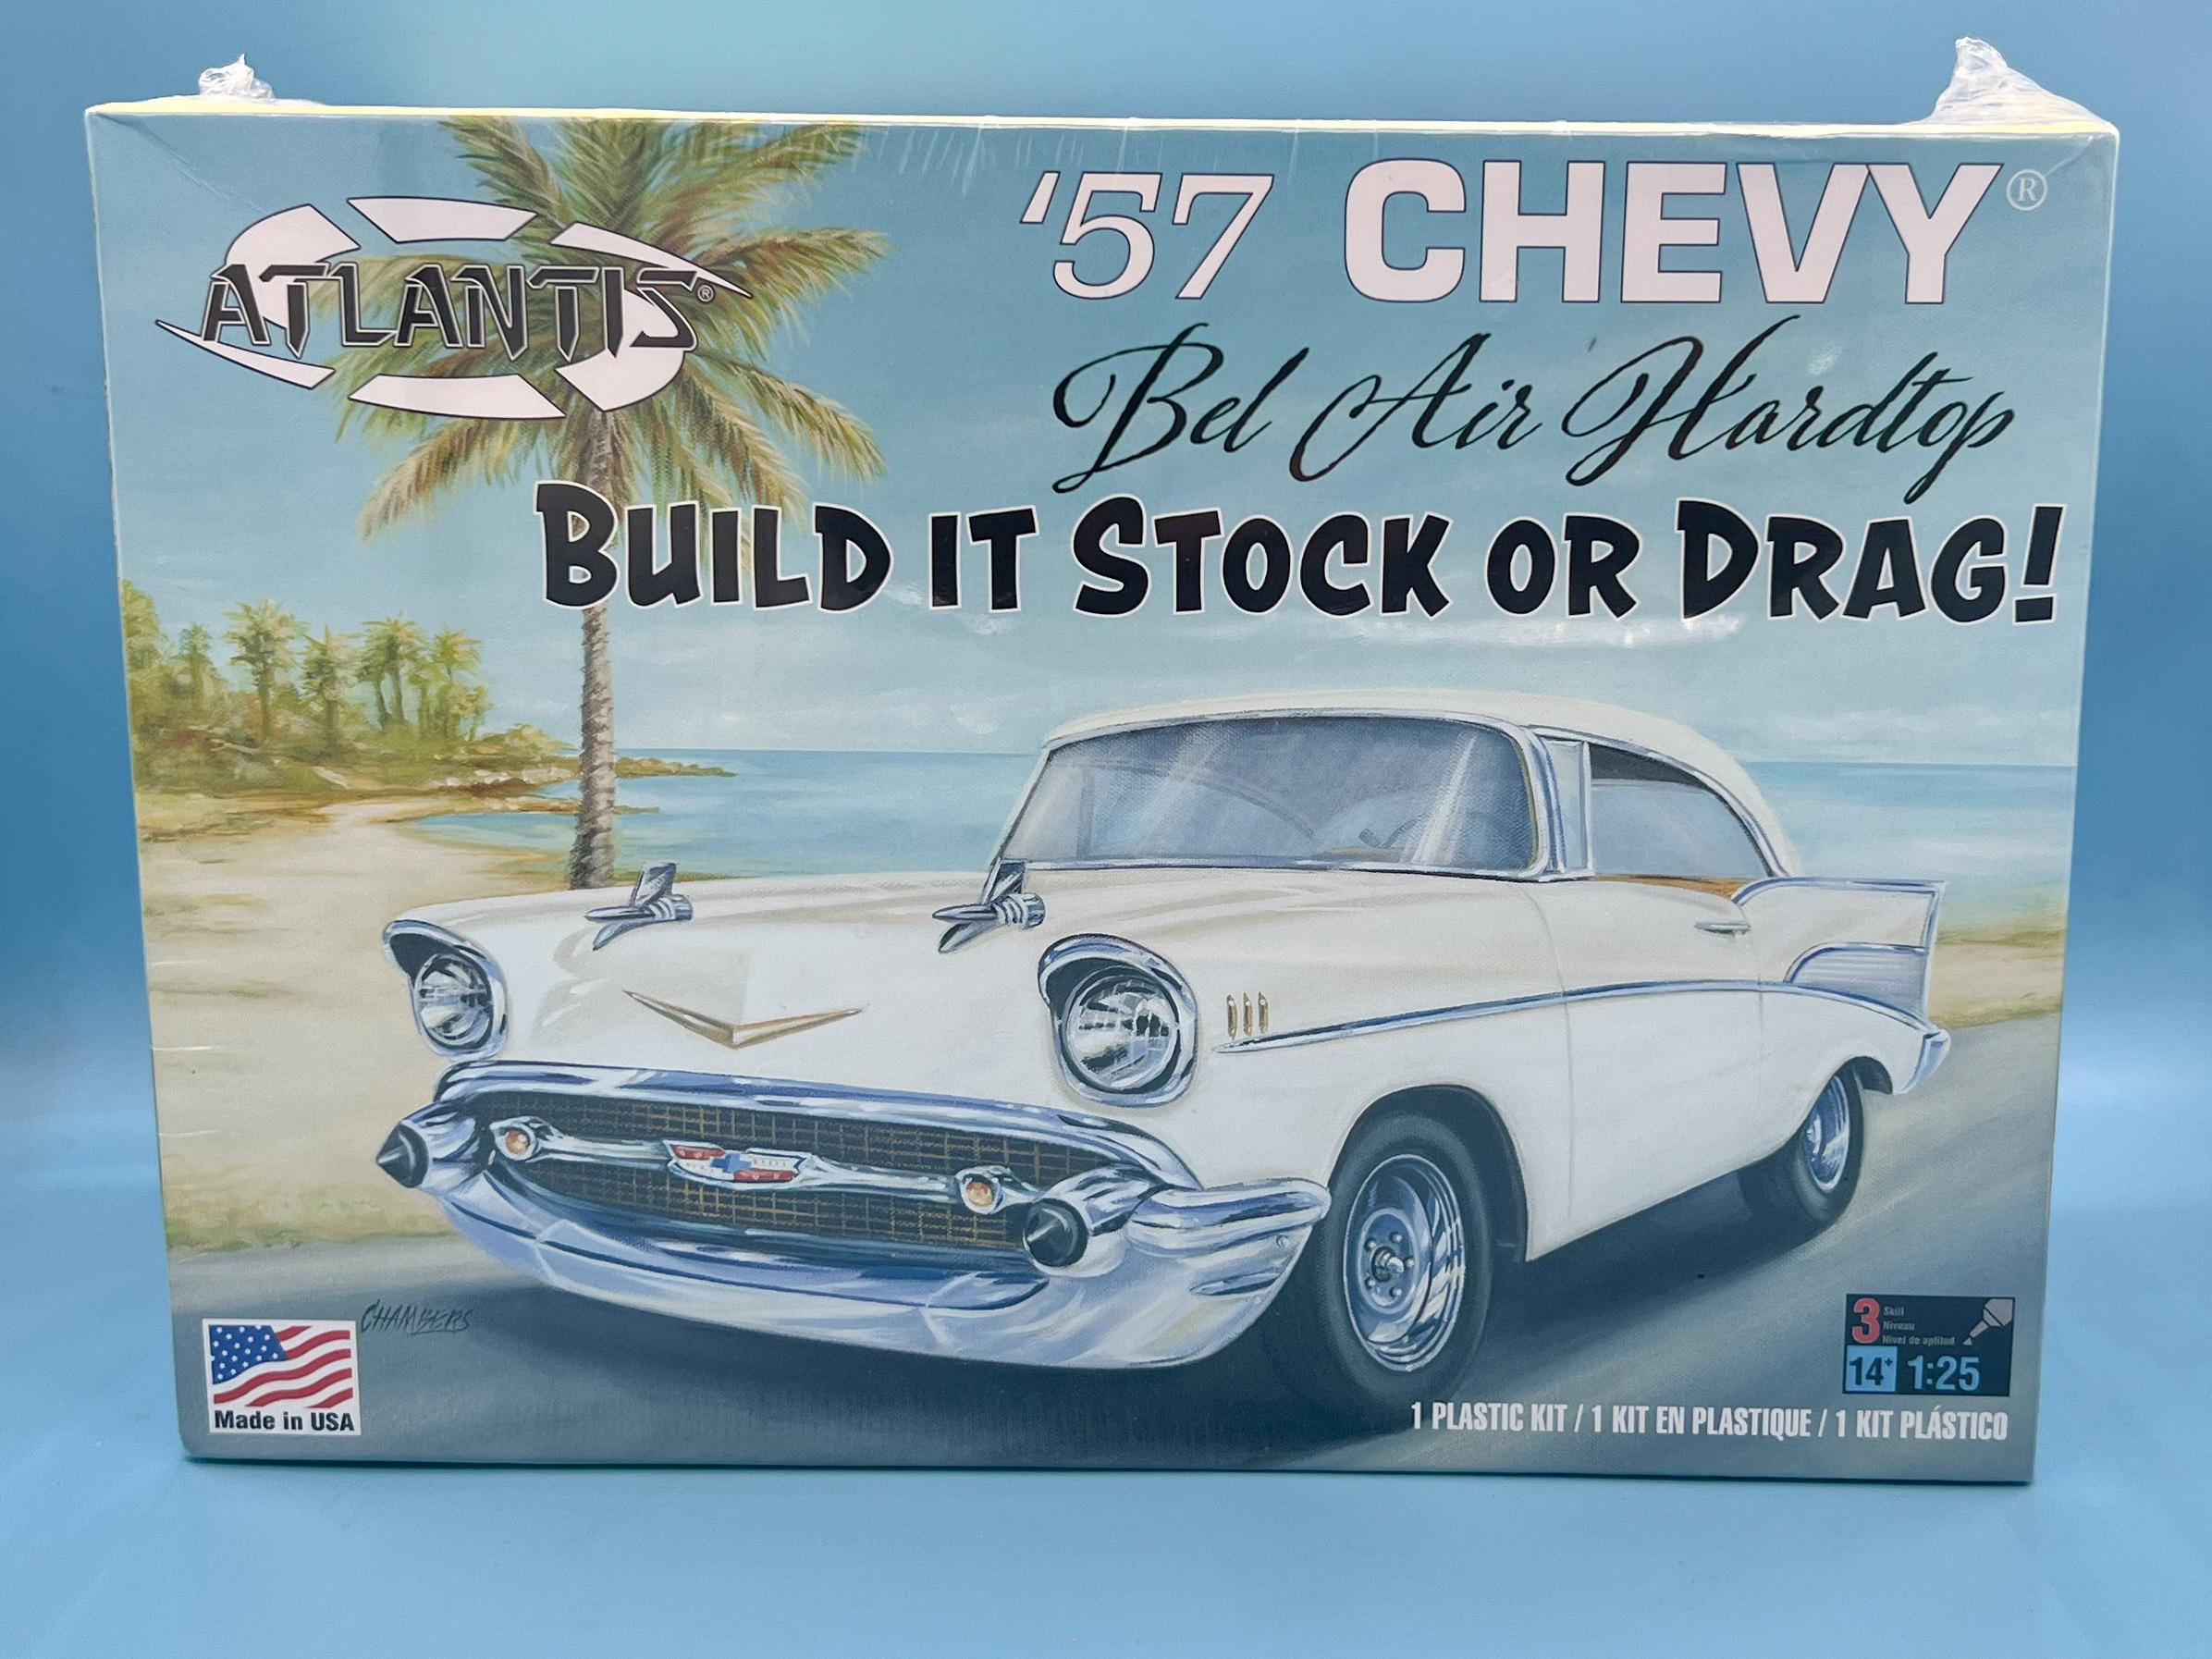
Hit the (only) local hobby store this morning… Needed some paint, but I dug thru their parts junkyard and found a couple of little bits… Bunch of old MCMs and Scale Autos for a couple of bucks each, plus a Prowler snapper that I don’t really have a specific use for, but I’ll get my $5s worth of fun out of it somehow… Plus they had some vintage Pactra paint, some patterned sheet that I wanted and some Tamiya and Mr Hobby stuff that was on my grocery list: Then my wife wanted to hit Joann so I grabbed one of these with their 40% off coupon: And I passed on this jacket at the thrift store, on my wife’s recommendation ?
- 38,867 replies
-
- 2
-
-
- johan
- glue bombs
- (and 1 more)
-
Winged Express Fan
OldNYJim replied to Michael Orzolick's topic in General Automotive Talk (Trucks and Cars)
The Winged Express was my favorite of the fuel altereds - I’m going to do a replica of it someday I think…would have loved to have seen it in person! -
How did you like the one you built?
-
https://simplecirc.com/subscribe/model-cars-magazine?c=international Same link as I posted last time you said the magazine wasn’t available overseas…it absolutely is, and a digital subscription is even cheaper (and better than trying to read a magazine thru a YouTube video)
-
Amazon occasionally has products where you can get free Prime delivery even though they’re shipping from another country…some good deals it seems like, if you don’t mind a few weeks for shipping…$18 for this, shipped to my door…
- 38,867 replies
-
- 3
-
-
- johan
- glue bombs
- (and 1 more)
-
What did you see on the road today?
OldNYJim replied to Harry P.'s topic in General Automotive Talk (Trucks and Cars)
The potholes near where I work are BRUTAL
-
Chopped, Channeled Tracknose '32 Tudor Sedan
OldNYJim replied to Ace-Garageguy's topic in WIP: Model Cars
That gives me some really good guidance - thank you so much for taking the time Bill! -
Chopped, Channeled Tracknose '32 Tudor Sedan
OldNYJim replied to Ace-Garageguy's topic in WIP: Model Cars
The magic of a good power-to-weight ratio! I drove a Lotus 7-inspired kitcar that had some kind of modern 4-cylinder Ford engine and it was a BLAST even with a relatively small engine. That was some really helpful info - thank you so much for for your always insightful, umm, insight ?? How would you tackle running an alternator on an Offie? Or what would you do for an electrical system? It looks harder than just adding a bracket to mount one and changing the belt… -
Ahh yes, that popular 1:1 trend of putting a Model A grille on a 32 ?
-
1935 Ford pickup
OldNYJim replied to Maindrian Pace's topic in WIP: Model Trucks: Pickups, Vans, SUVs, Light Commercial
He had worse issues than just his health: -
Chopped, Channeled Tracknose '32 Tudor Sedan
OldNYJim replied to Ace-Garageguy's topic in WIP: Model Cars
I’m glad you linked to this one Bill, as I hadn’t seen it before. Cool project! I’ve long planned to learn about converting an Offie to a ‘streetable’ configuration, but despite a few attempts at research I’ve struggled to figure out how it’s best accomplished. I’d love to hear any insight you might have! -
The Dezerland Park car museum in Orlando is WELL worth a visit - all kinds of cool stuff to see…plus their gift shop has model kits! Atlantis and AMT stuff mostly, as I recall…
-
1/12 Tamiya Williams FW14B
OldNYJim replied to okazaki0511's topic in WIP: Other Racing: Road Racing, Land Speed Racers
Beautiful work on one of my favorite racecars! Thanks for sharing!! -
Looking GREAT! Those google-eyes make good lenses for gauges too!
-
I love this idea - like a scale version of fibreglass!
-
Here you go: https://cults3d.com/en/3d-model/various/front-lowered-suspension-for-volkswagen-beetle-1300-by-tamiya (You can order prints through that site too)