

Modlbldr
-
Posts
6,876 -
Joined
-
Last visited
Content Type
Profiles
Forums
Events
Gallery
Posts posted by Modlbldr
-
-
34 minutes ago, T-Ray said:
I was gonna say, I think I've seen people use the chassis from the AMT Jimmy. I think anyways
Not a bad idea. I hadn't thought about that. Thanks!
Later-
-
 1
1
-
-
12 hours ago, T-Ray said:
Looks good. Are you going to keep the promo style chassis or go to a more realistic one?
I'm not set at the moment on that. The timeline on this is sometime in March. Depending on how long it takes to do the top I may stick with the promo chassis but I have a 3D printed lowered chassis that I'd like to use.
10 hours ago, NOBLNG said:Ambitious project…I like it.?
Thanks. I'm hoping I don't lose steam. Lol.
Later-
-
3 hours ago, espo said:
Like the hood. The rear portion of the roof the angle going toward the front looks as if the rear part is pointed downhill in the picture anyway.
Thanks for the reply. Yeah, it's not sitting exactly where it needs to be yet. That pic was taken right beforw heading to bed and I just have it tacked in place.
Later-
-
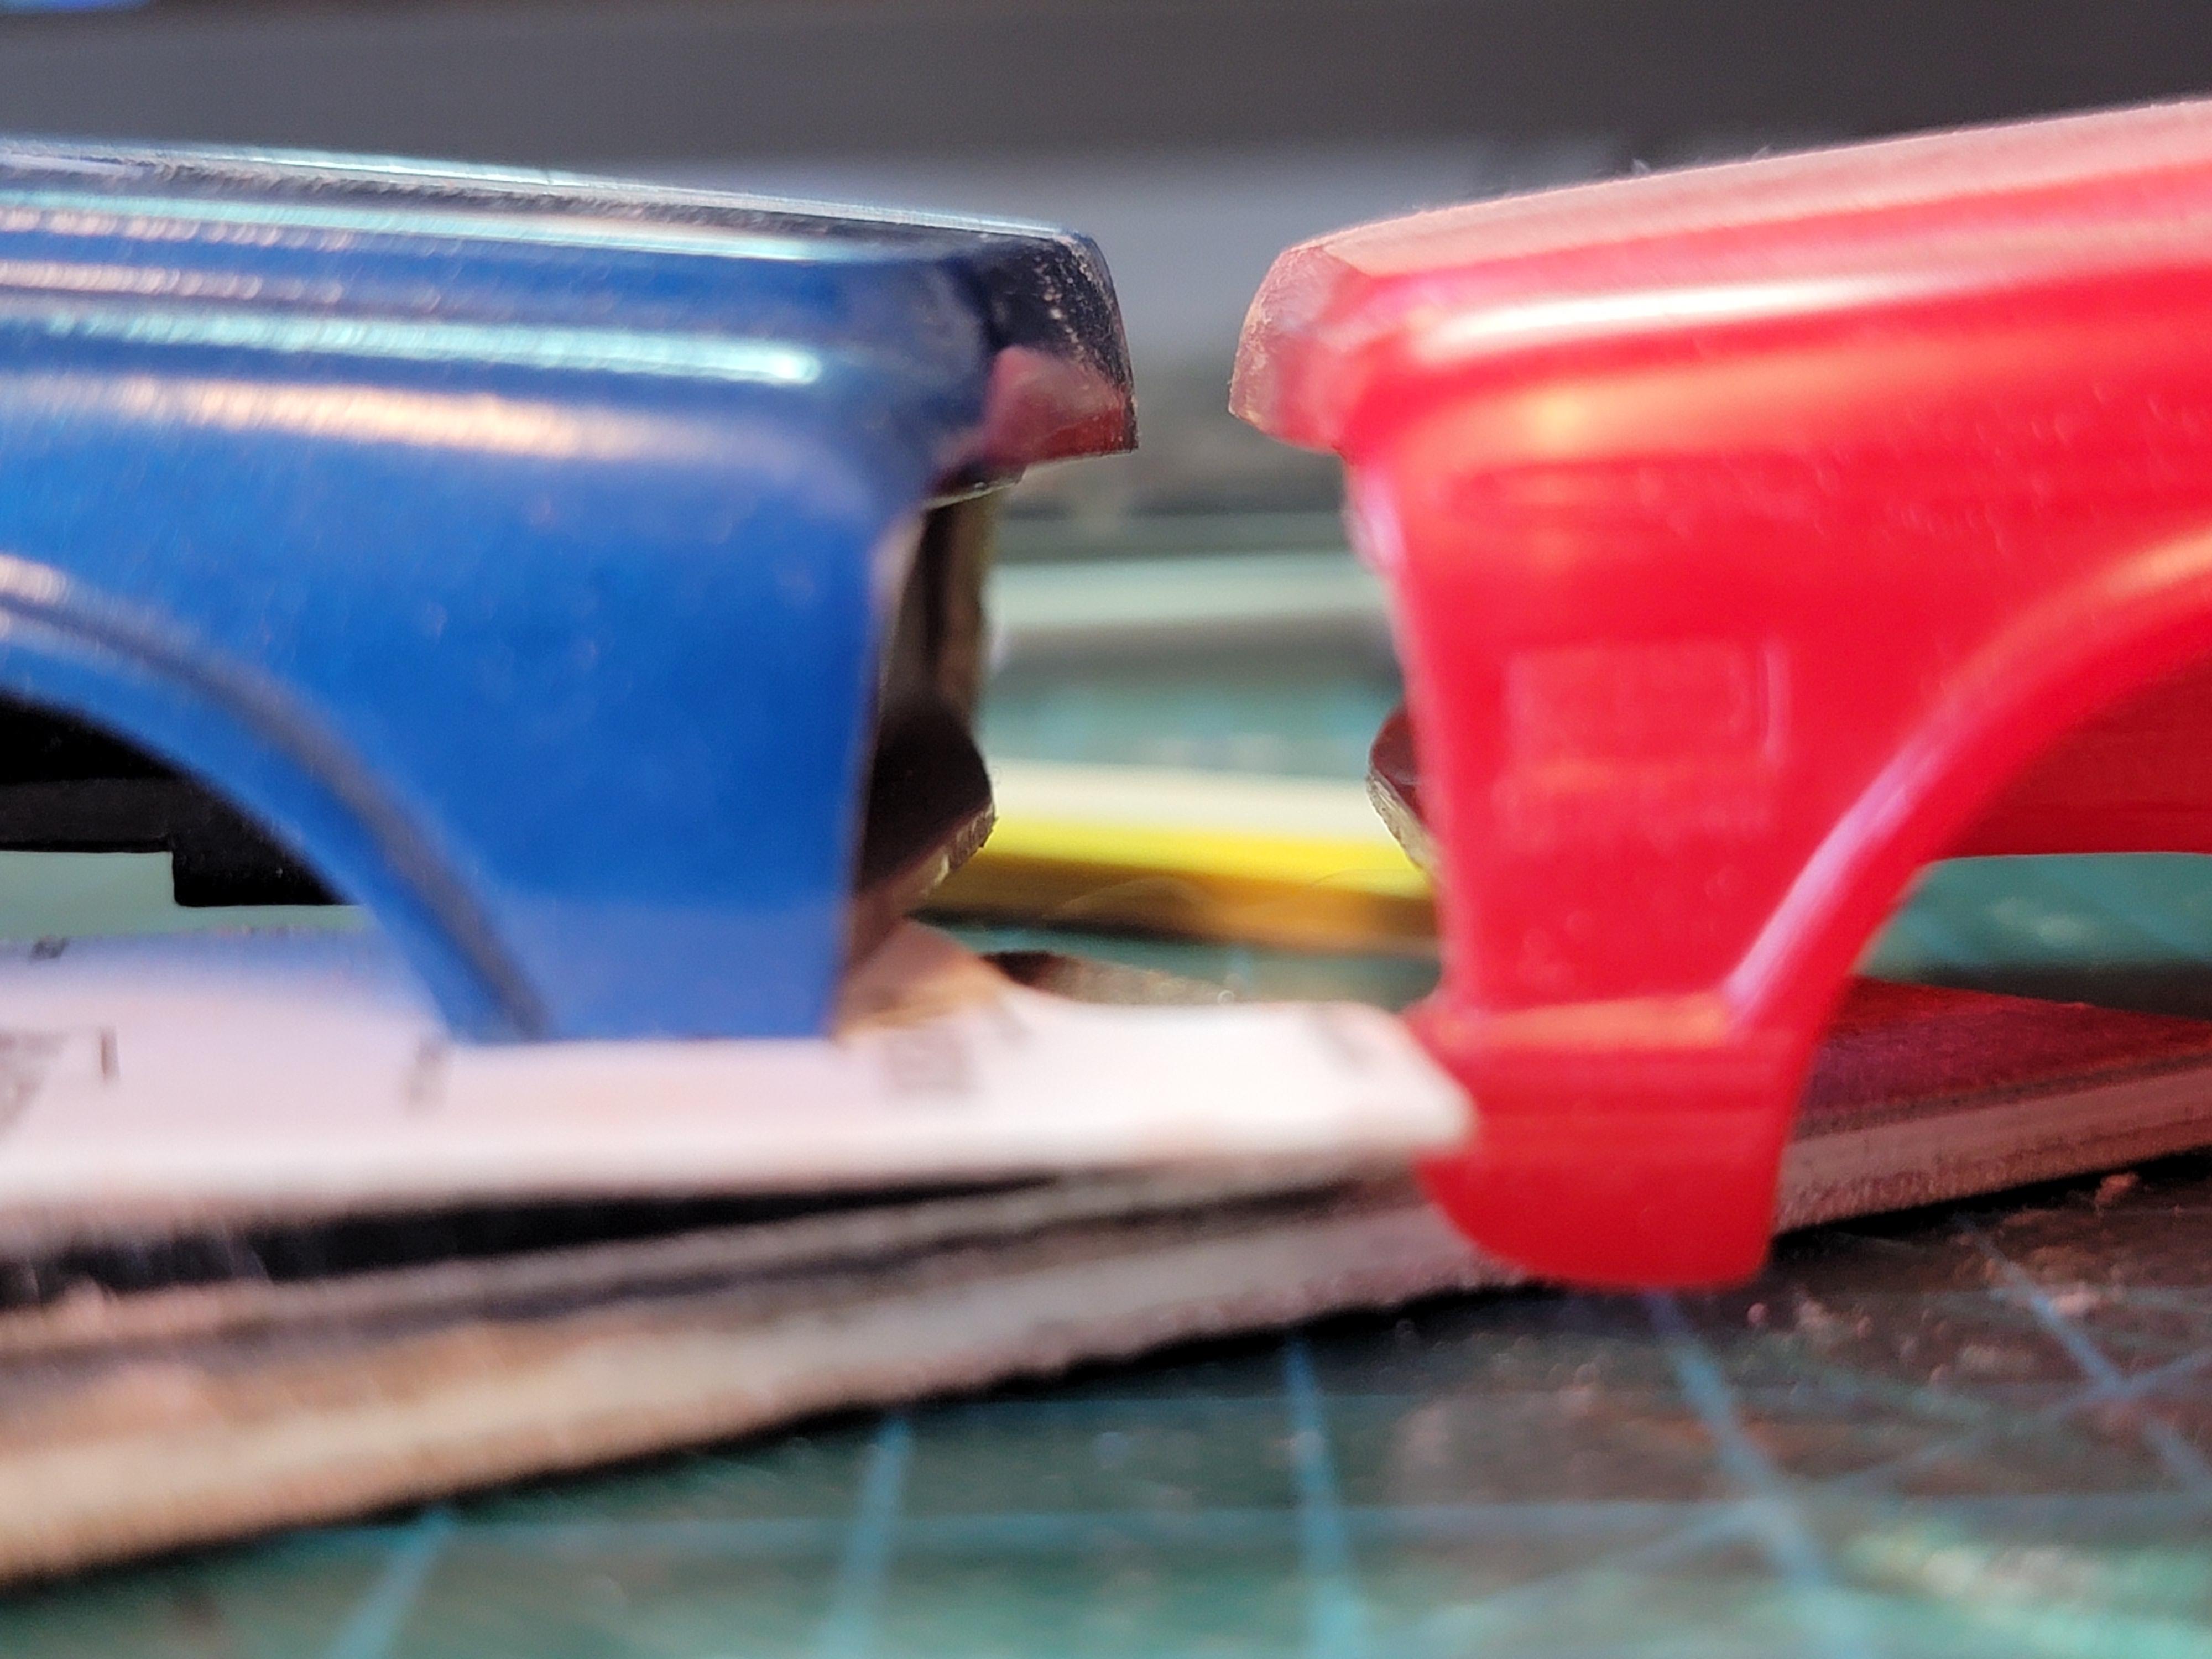
While waiting for things to dry on my 65 Chevelle I have another "common kit" build for our club. The chosen kit is the re-release of the 72 Chevy pickup.
As my normal plan is I am always looking for something a bit different than what other guys in the club will do. I landed on building a Suburban from the kit.

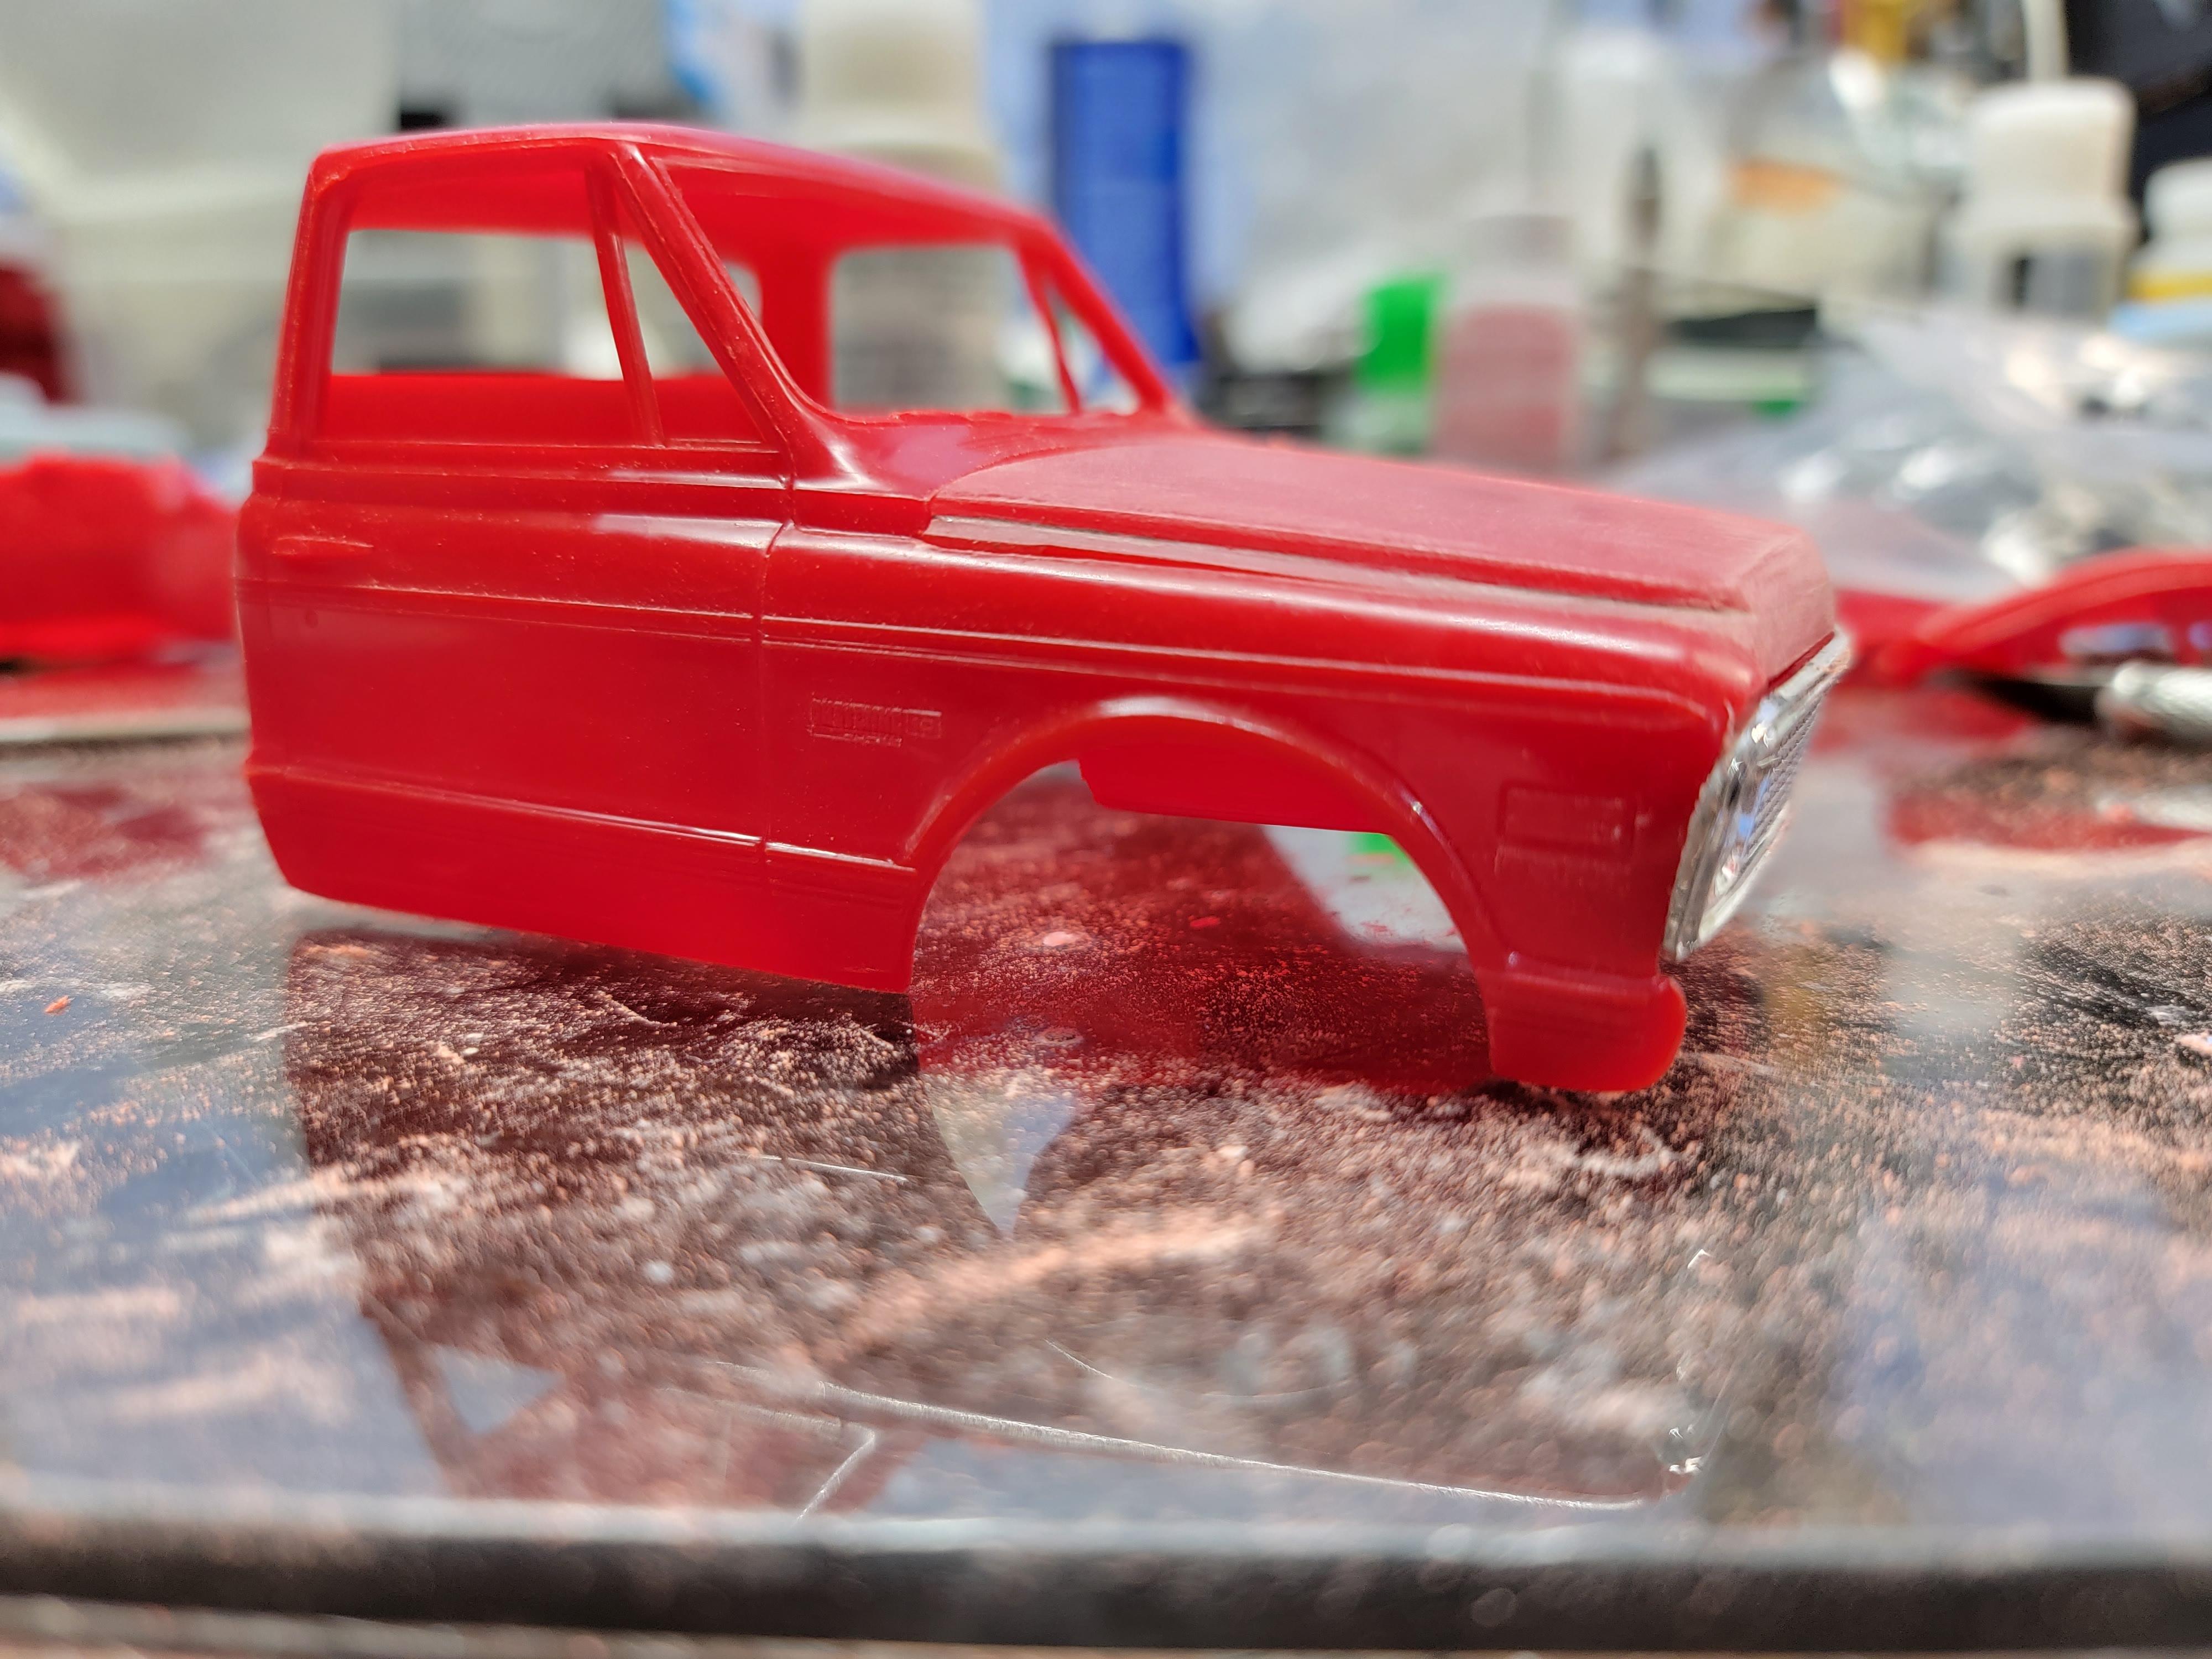
I began by removing all of the body side trim.
Before I started the mods I had a plan to lower the front of the hood (pancake). I sliced the bottom off and sanded what I felt was a considerable amount and then reattached the bottom. I also sanded the front to lean the leading edge back a bit. After getting it all back together I can't tell much difference. It's noticable enough next to the stock hood but as a stand alone it isn't very noticable.
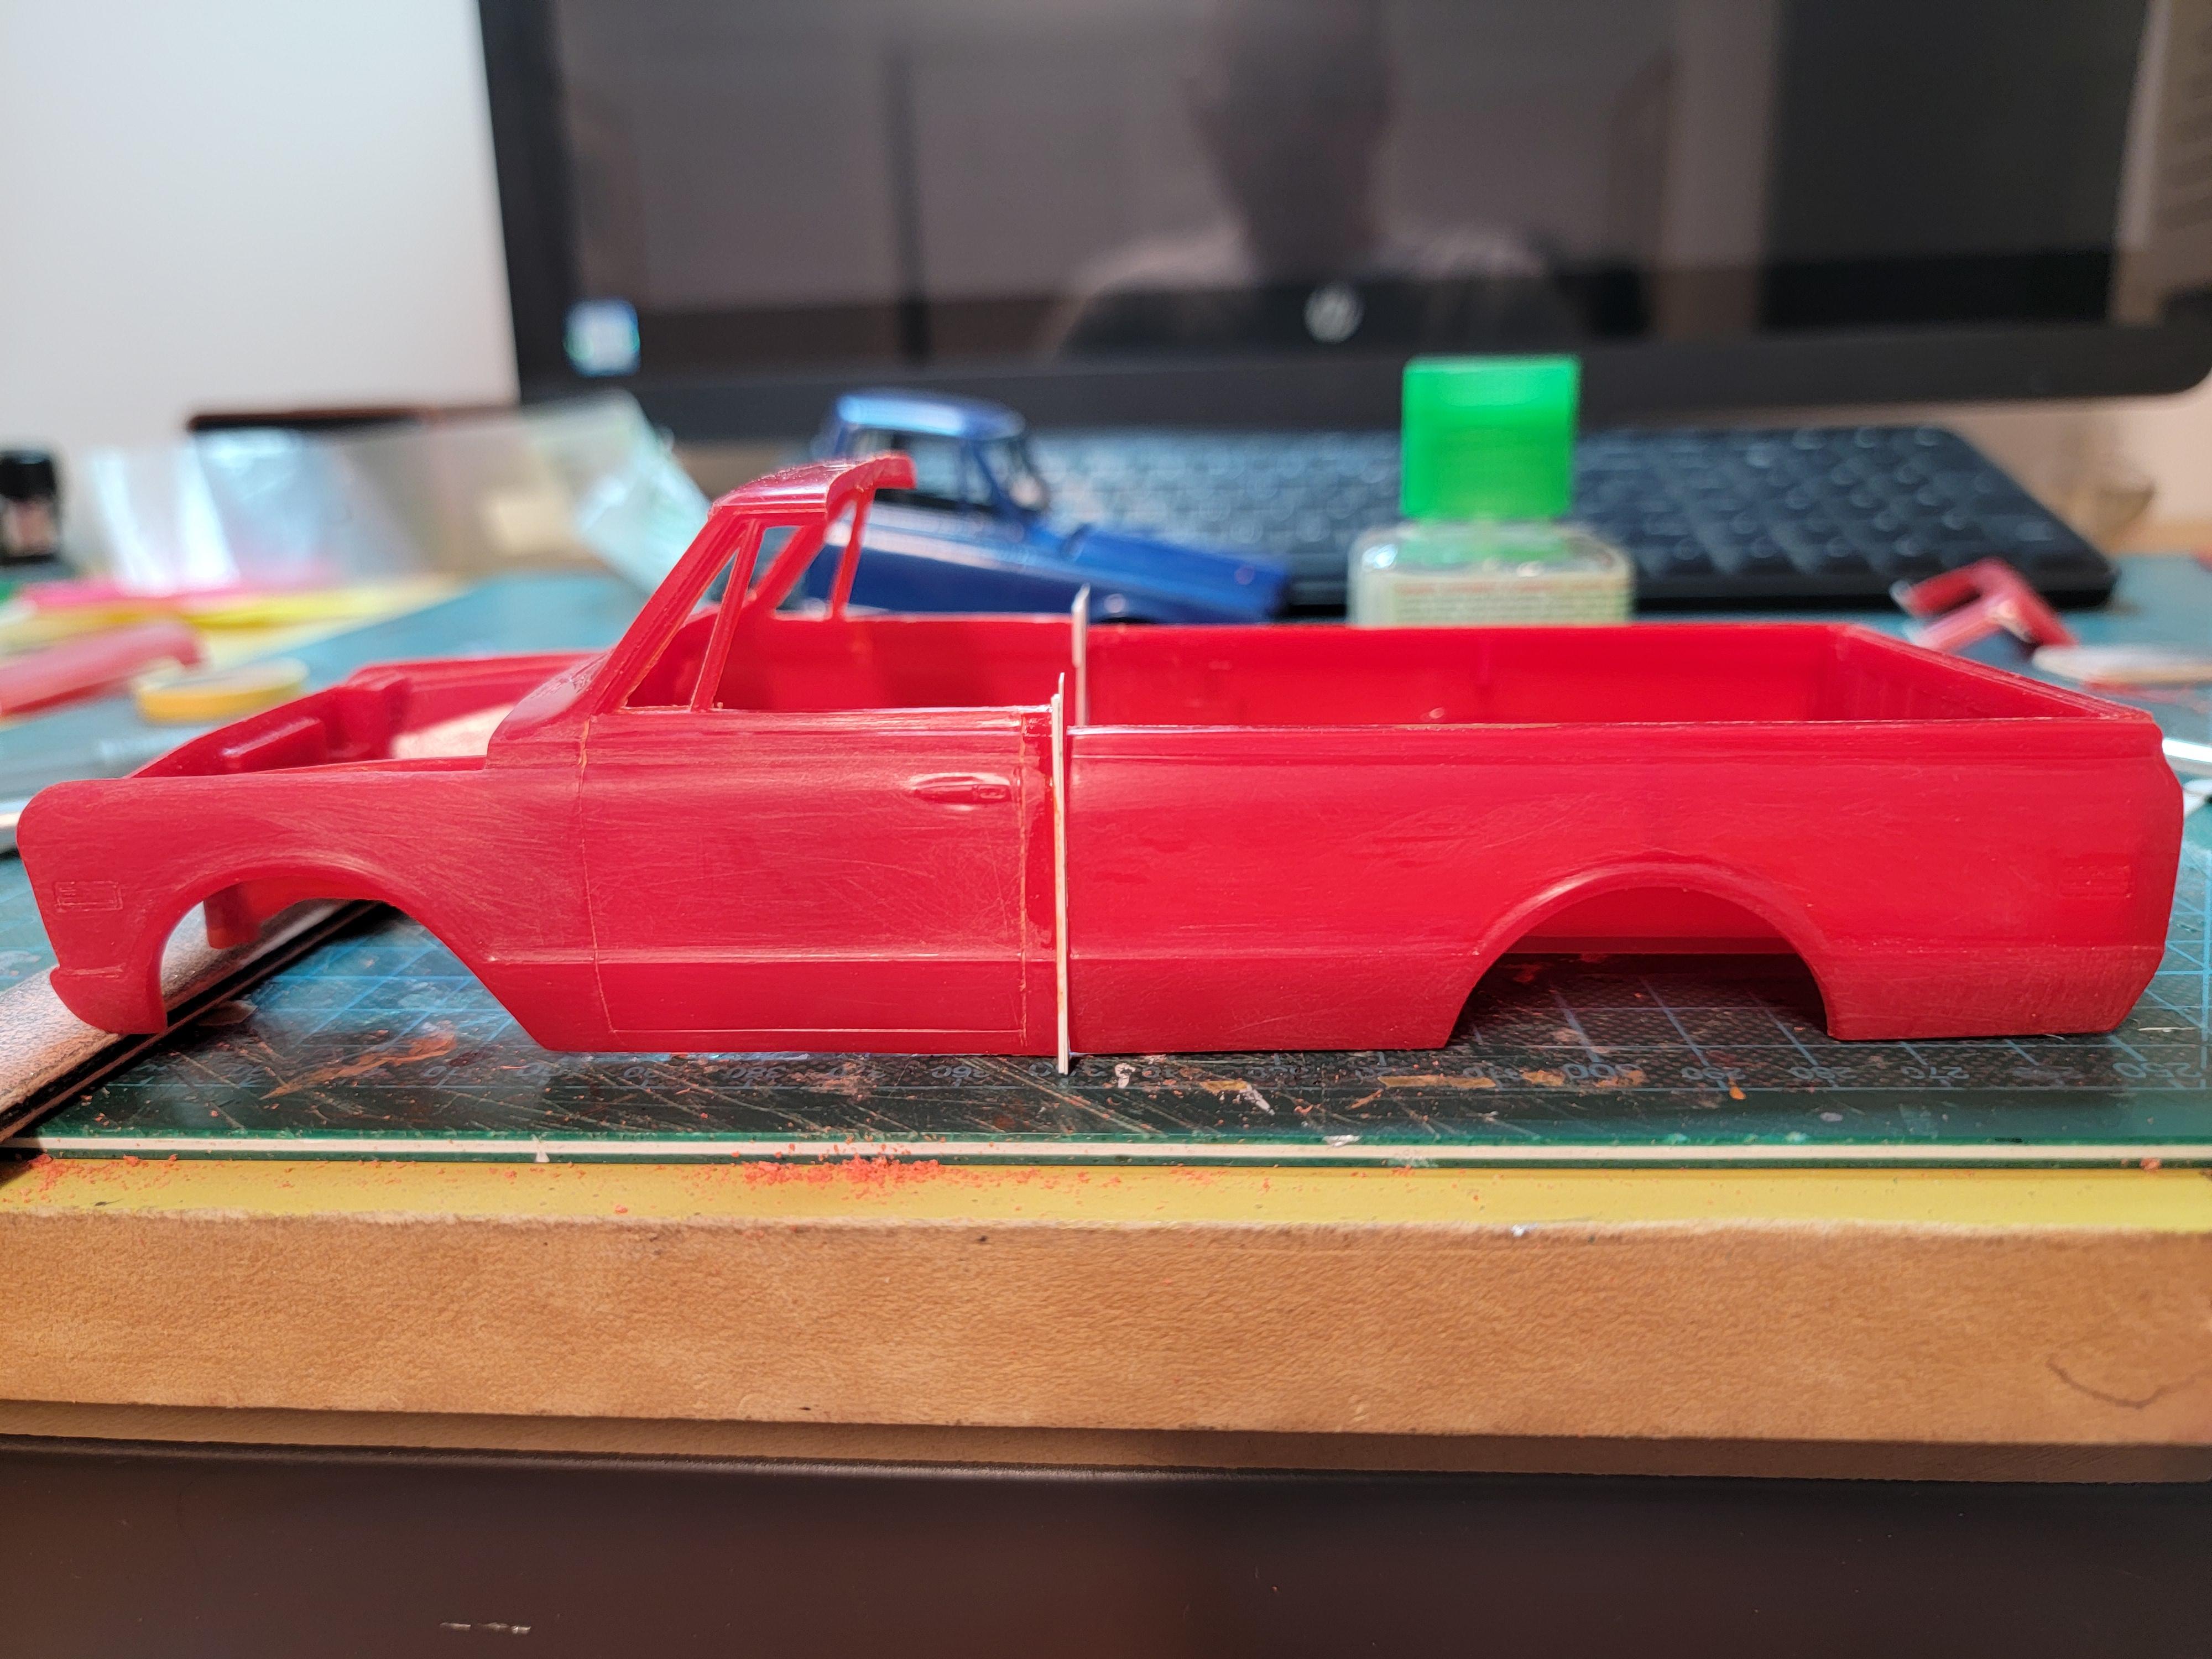
I began by cutting off the rear of the cab to use as the rear of the Suburban top. As I looked at the picture of the 1:1 Suburban I saw that the slope of the rea pillars was more angled than the rear of the stock pickup cab. So, I made a relief slice in the pillar a d added a bit of styrene sheet to change the angle. This angle was just eyeballed.
I calculated some measurements of the wheelbase of the Suburban and it appeared to be no different than the wheelbase of the longbed version (right about 5 inches in scale) so I only needed to add a bit of sheet plastic between the cab and bed due to length removed from removing the rear cab wall. I am not going for complete accuracy here anyway. I then glued the cab and bed together.
Next I had to add a piece of styrene square stock to the top of the bed rails to make it the same height of the top of the pickup doors. This really bothered me because in the pictures of the Suburban it doesn't appear that it is that tall through that area (directly below the side windows above where the body makes its first bump out). Oh well. As I said, I'm not going for complete accuracy.
I then tacked in place the rear cab piece I removed to see if the height was anywhere close to the same as the height of the front of the cab. Looks pretty good to me. That's where I stoped for the night.
Later-

-
6
-
-
Finished and installed the engine today. Added an alternator bracket, spark plug wires and the visible parts of the fuel line for some added interest. I will be painting the headliner and the engine bay next, then polishing the body and adding the emblems.
Later-
-
3
-
-
16 minutes ago, Zippi said:
Everything is looking pretty nice there Tom.
Thanks! I keep thinking that there isn't much left to do but then I wake up....
Later-
-
Interior is finished. On to the engine while the body cures.
Later-
-
6
-
-
Getting progress made. Got the dash done. Wetsanded the clearcoat today and sprayed the final coat of clear. Now to head back down and assemble the interior.
Later-
-
5
-
-
5 hours ago, espo said:
Bonus that the original builder didn't paint anything except the top.
Yes. Made it easy on me.
Later-
-
Picked this up recently. Not sure when it will get done but had to have it.
Later-
-
3
-
-
Got this yesterday in a trade. Complete/sealed inside.
Later-
-
5
-
-
21 hours ago, TarheelRick said:
OK, you had me with "65 Chevelle. I owned one, not a Z16, but a 283 4 speed, and it was just about the same color, although not as metallic. I have two of these in my stash and am planning on building one to replicate the one I owned. I really like your idea with the holes for the PE. I have that PE set and was under the impression you had to remove the complete grille section then bend the PE to shape to fit the hole. I like your approach better and may make me move my build up the ladder quicker. Will definitely be following this build watching for any problem areas.
Thanks! I bet that was an enjoyable ride. You have me wondering now if I missed a part of the grill on the fret. Lol. I'll have to look again.
Later-
-
Spent some time last night on the engine and dash. One of my dash decals disintegrated on me. Moving along pretty good on this one. Today I am going to polish the PE sheet so I can start adding them to the mix.
Later-
-
4
-
-
More progress today. Got the tires and wheels decaled, the interior floor embossed and the seats in. Then I had to mock the body up on the completed chassis to see how the paint looked against the tires and wheels. I'm liking the look.
Later-
-
6
-
-
Chassis is mostly completed and the wheels and tires just need decals.
Later-
-
1
-
-
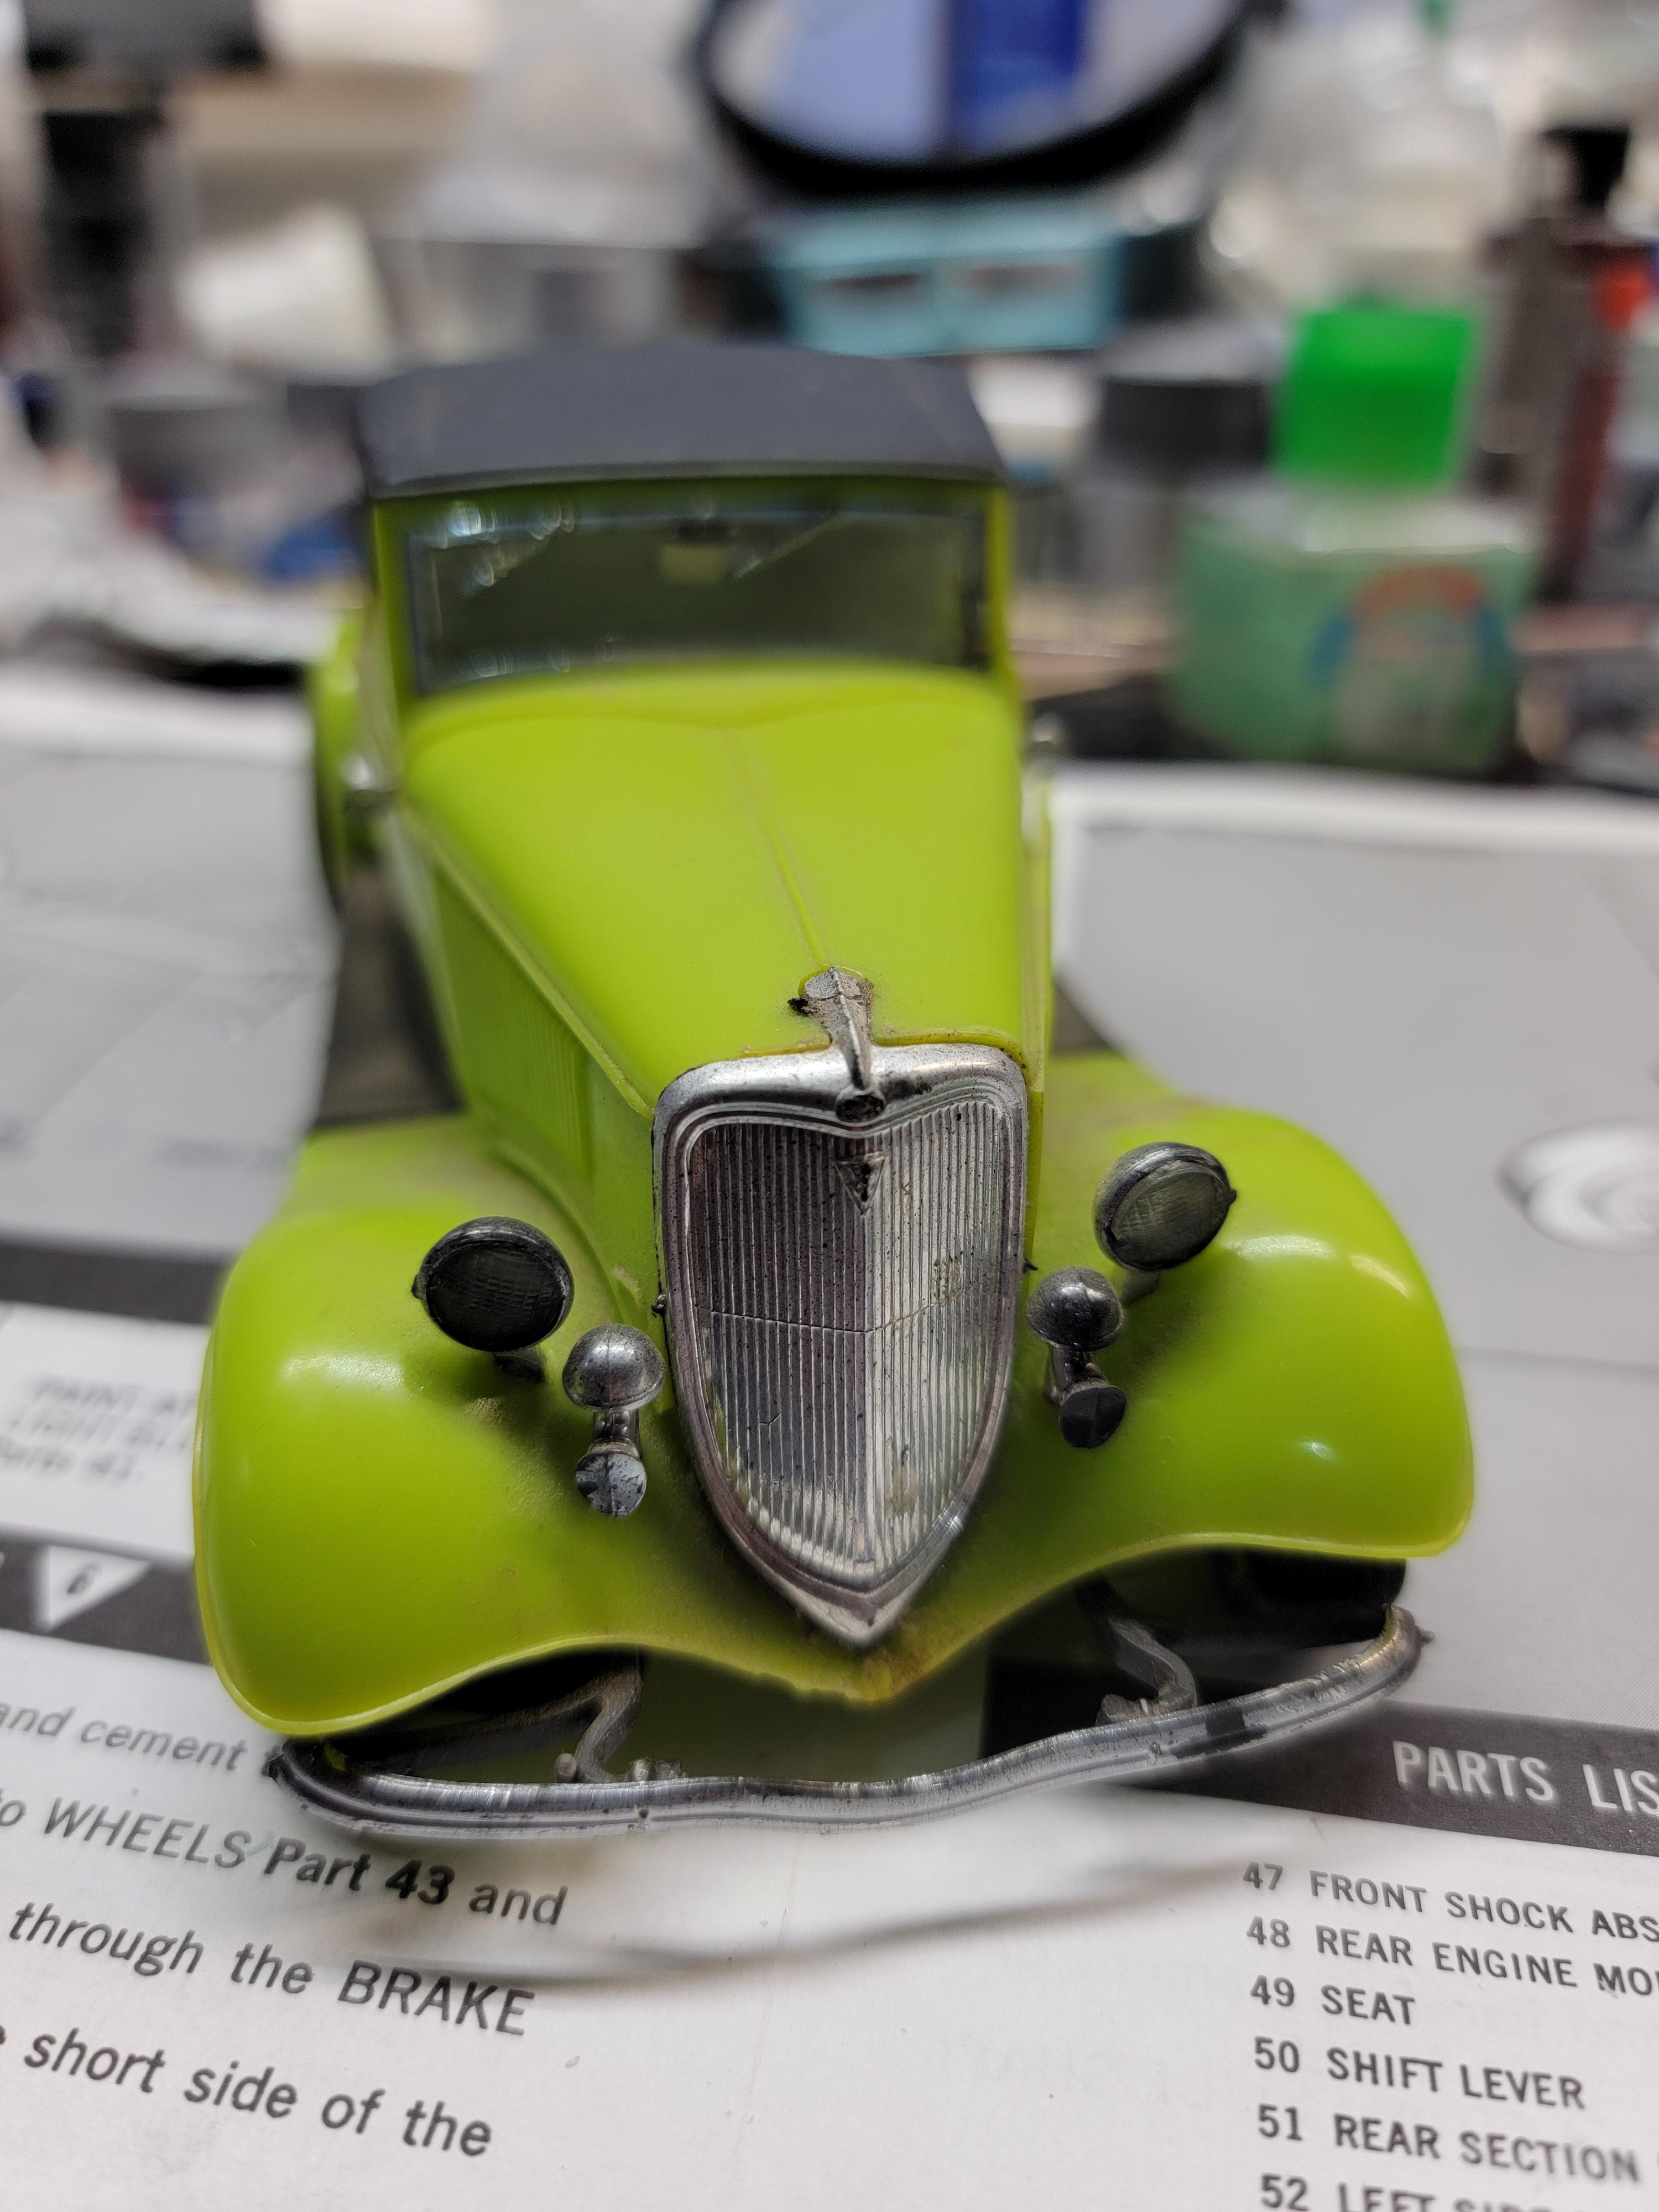
36 Ford!! One of my favorites. Your box art build looks great!
Later-
-
1
-
-
Thanks to everyone who has posted a reply. I appreciate it very much. Unfortunately the "reactions" button is still failing to work all of the time.
Later-
-
12 hours ago, Brockc said:
I have to say that colour green is a real period 60s car colour and interior combo is killer by the looks of it. Keep up the great work!
Thank you!
Later-
-
1
-
-
On 11/15/2023 at 9:50 AM, Slotto said:
Looking good Tom
Thank you!
I got just about all of the chassis painted and the bulk of the interior. Still need to assemble the parts and detail everything. Progress has been slow this week. The seats are just sitting in.place for now. I bought some metal polish yesterday in order to polish the PE pieces to a chrome finish using my Dremel. Hopefully I don't bend them up.
Later-
-
4
-
-
On 11/13/2023 at 10:07 PM, Sam I Am said:
Great job bringing this one across the finish line.
On 11/14/2023 at 6:15 AM, Zippi said:Haha...that's pretty kewl looking tom. I remember you showing me that body at the Model car show in Ownensboro. I like the foot out the back.
4 hours ago, Sledsel said:Sweet looking build. I have one of these in my stash but am sure it will not come out this nice.
On a kit note, Revell made some really heavy duty steering linkage!!!! LOL
Thanks guys!
Yeah, that is probably the body support bracket you're seeing. It is pretty hefty. The steering linkage was not that beefy, however, I still managed to thin it down a bit for more realism.
Later-
-
Gorgeous build! I jist read through all of it and your mods were perfect. Love the color and stripe pattern too.
Later-
-
 1
1
-
-
Looks like you have an excellent plan and are off to a great start. Can't wait to see the following updates and your finished product. Great work!
Later-
-
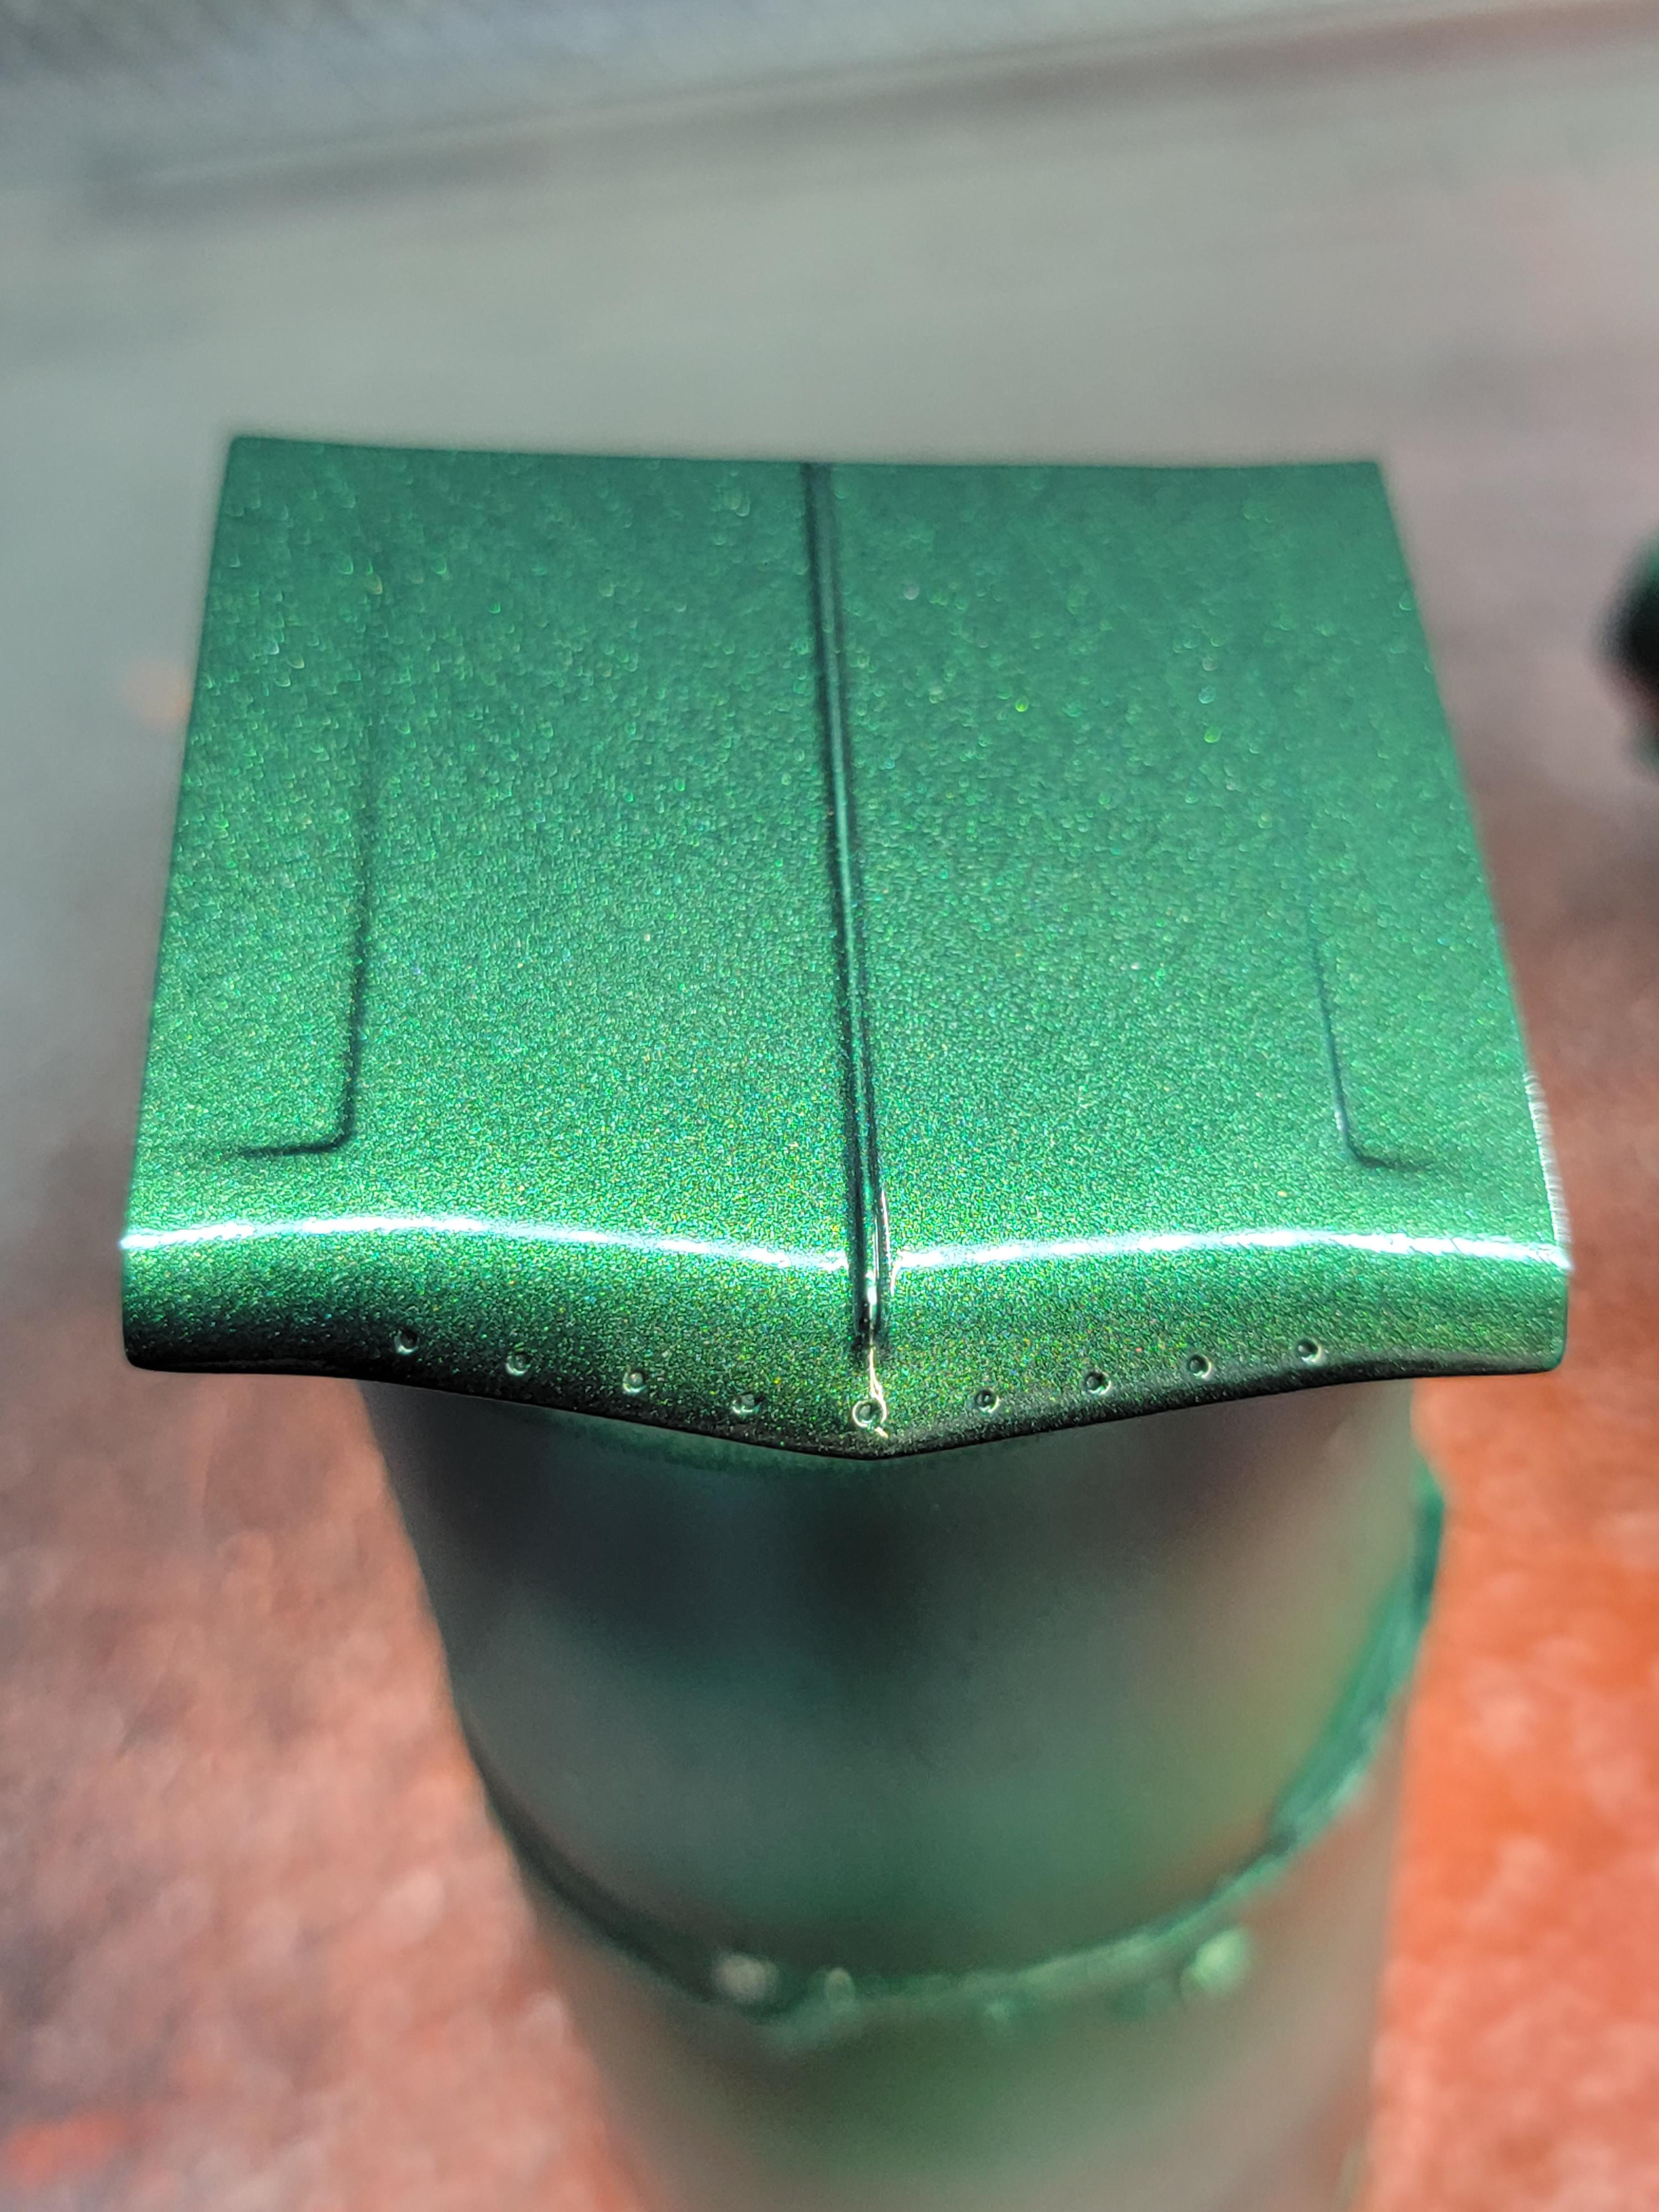
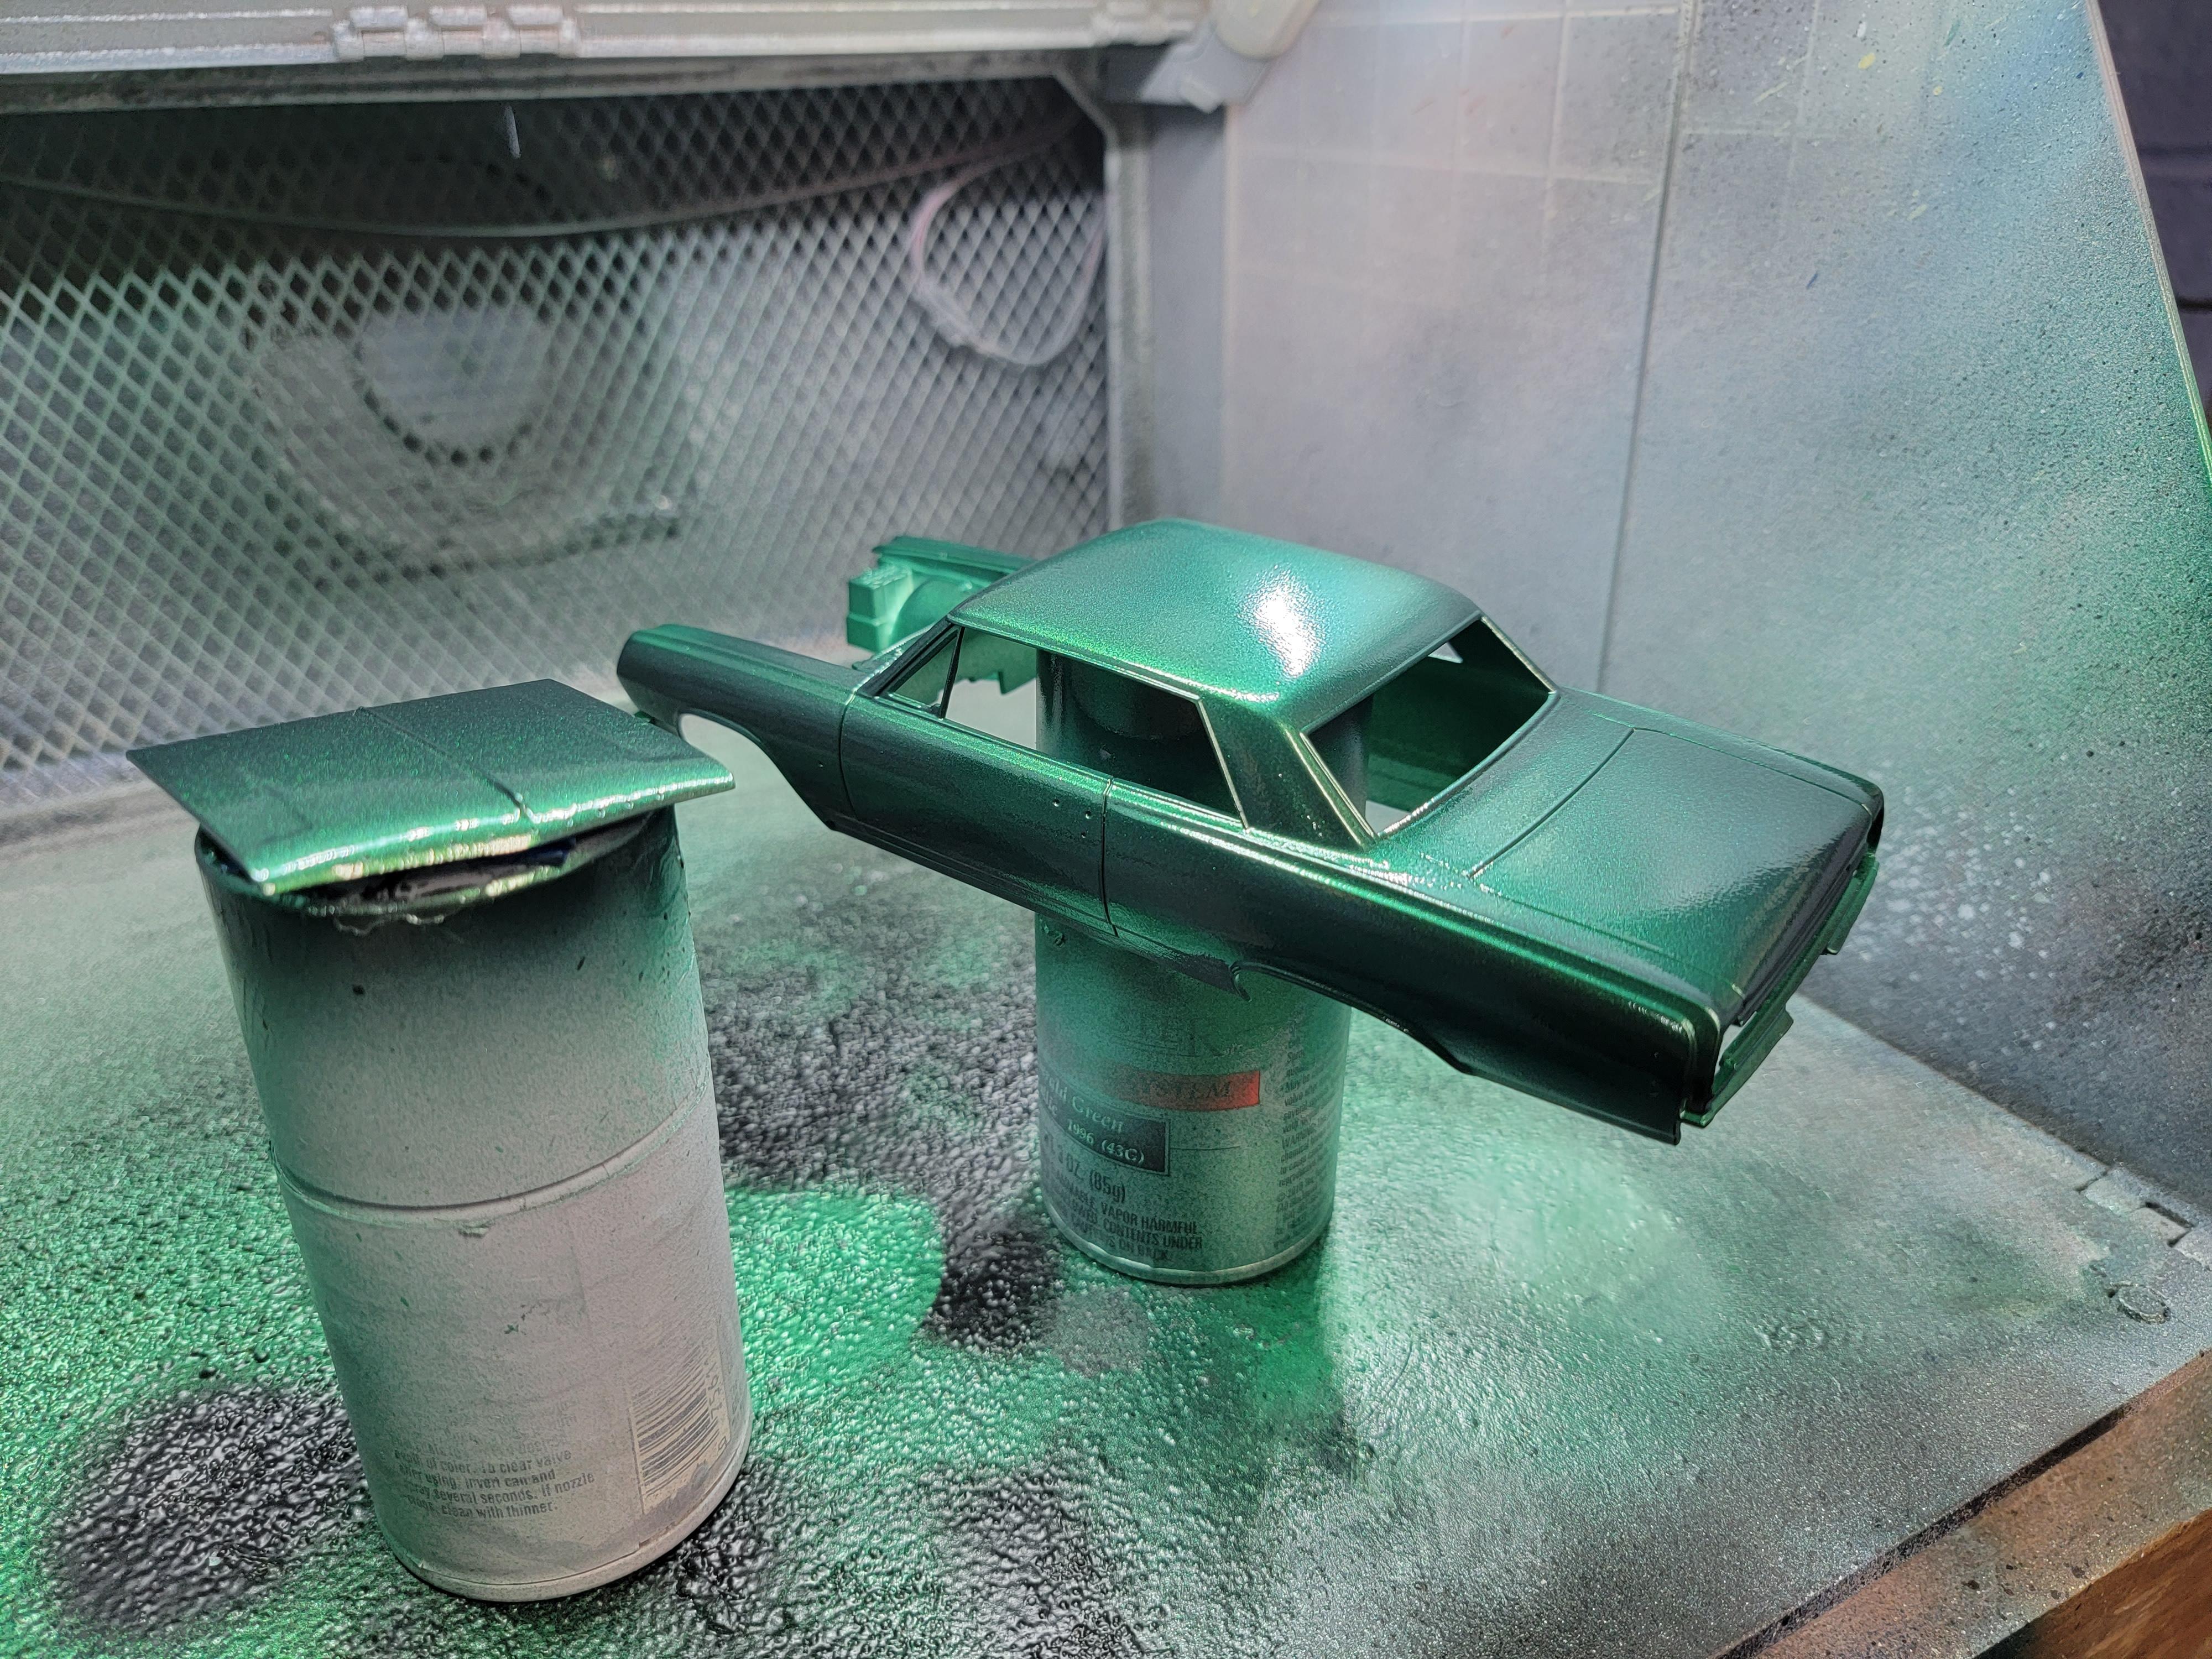
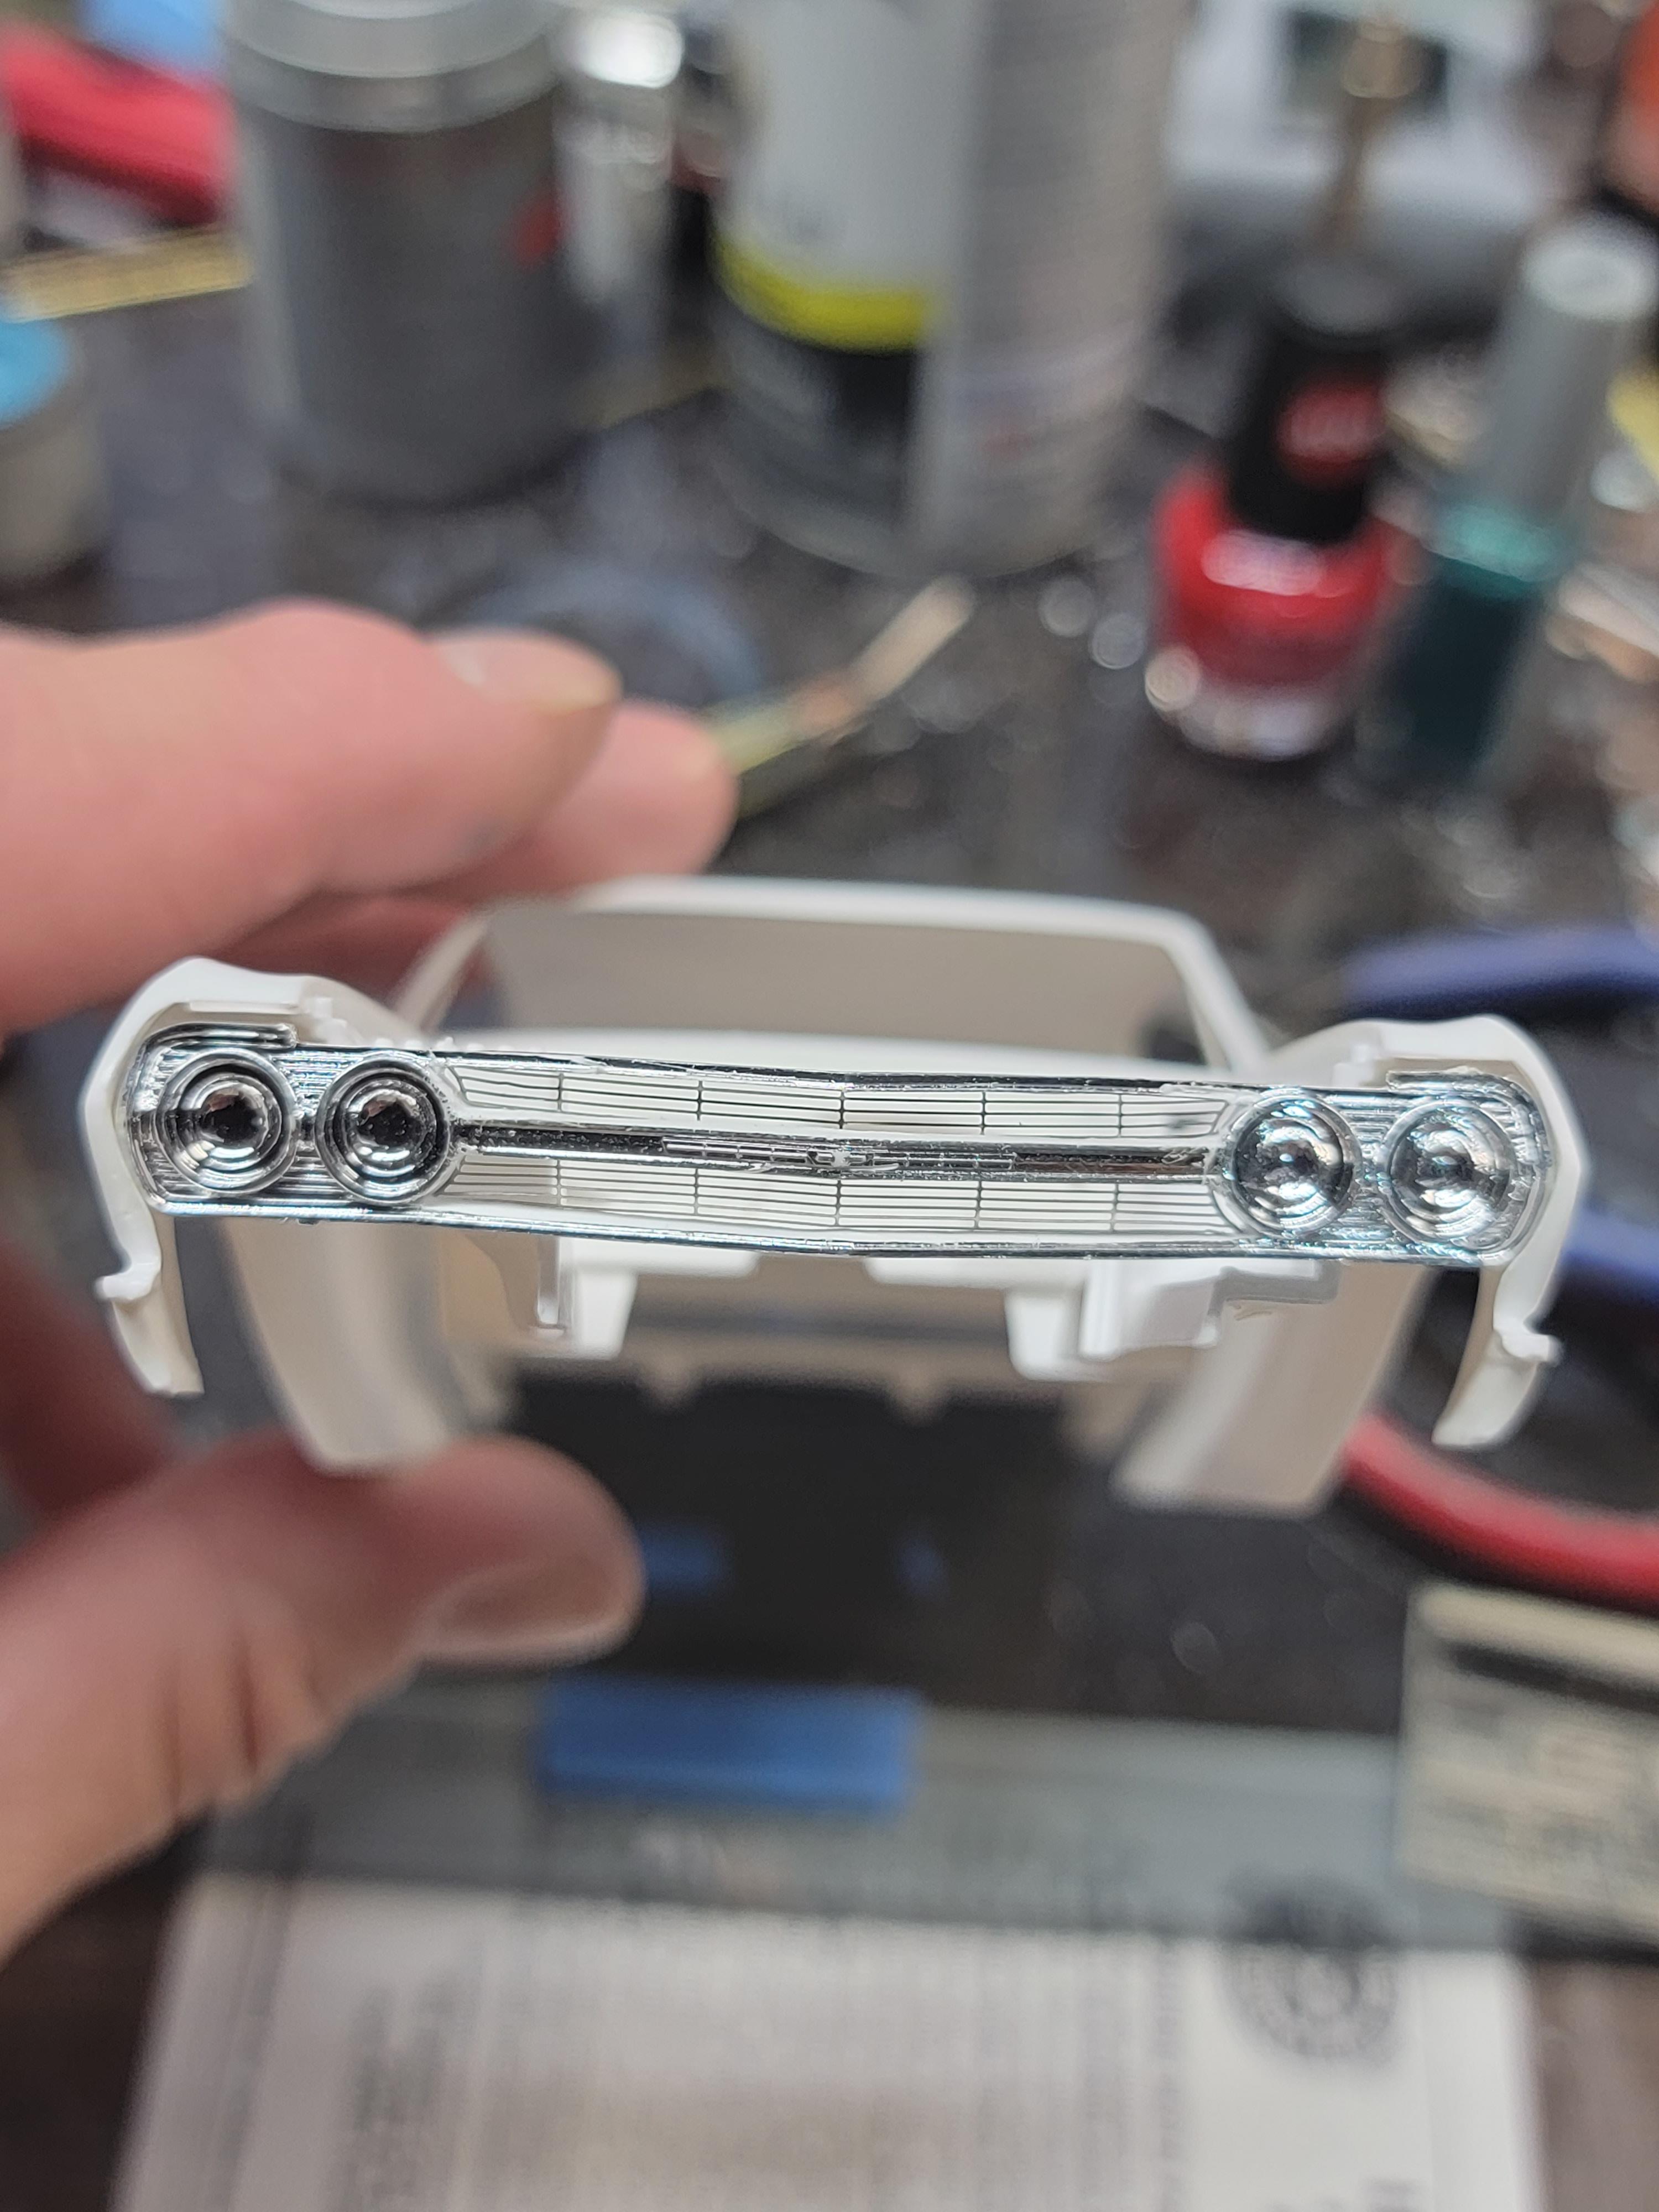
Wet sanded the body yesterday and sprayed the new mix on the body. Hard to tell the difference in this light but it is considerably darker. Now to let it sit a couple of days before clearing.
I figured I'll throw in a pic of the PE I added to the grill. I should have thinned the back of the grill a bit after opening it but once I get the Molotow and black wash on I think it will look fine.
Later-
-
7
-
-
3 hours ago, bill-e-boy said:
Only sometimes things are available then they all of a sudden disappear and become "no longer available"
Sounds like what we deal with at Costco here in the states. Just about the time you get hooked on a product they stop carrying it.
Later-
-
 1
1
-


Funniest thing I've read in quite a while
in The Off-Topic Lounge
Posted
Had a good chuckle on this one.
Later-