

Modlbldr
-
Posts
6,876 -
Joined
-
Last visited
Content Type
Profiles
Forums
Events
Gallery
Posts posted by Modlbldr
-
-
Great work on that Caddy! I love this style and era of vehicles. I have a couple on my shelves to build someday.
The nightclub and figures are a perfect addition to the car and tell a great story.
Later-
-
 1
1
-
-
Wow! Museum quality builds on each of those. I was loving the work on the Nissan Z and then I scrolled down to the Bugatti and was floored by the quality of work and detailed realism on it!! Beautiful work on each one.
I'd be inerested to see whatever the red car is in the display case above the Bugatti too.
Later-
-
Nice work on that kit. Polishing the plastic was a great idea David.
Later-
-
A wide variety of subjects and all very well built. I'm partial to the Porsche and the F100.
Later-
-
 1
1
-
-
Beautiful builds you have there! What color is that on the 29 Woodie? I need that color for one of my builds.
Later-
-
1
-
-
5 hours ago, ewetwo said:
Wonderful Tom. Love the Mini.
Thanks! That was last year's 24 hr build.
Later-
-
Cool looking builds and nice weathering. I love the Imperialrod too.
Later-
-
Nice work! Hard to pick a favorite.
Later-
-
Beautiful builds! The drag cars and that Monogram Classic (I presume?) look amazing!
Later-
-
Wow! Those are great looking builds! Looking forward to what comes next.
Later-
-
Boy, those are some nice, clean builds! Love that 32 sedan.
Later-
-
Nice looking builds! I like the wheels and stance on that 40 Ford.
Later-
-
1
-
-
1 hour ago, Claude Thibodeau said:
Hi Tom!
Great year, whatever the colour palette! LOL
If I may: what are those wheels on the 39 Chevy Wagonrod? I don't recall ever seeing them... They look fantastic and very contemporary.
CT
Thanks Claude. Those wheels and tires are 3D printed items from an eBay seller named Jays Resin Wheels 1948.
Later-
-
What an amazing build of such an iconic car! That paintjob is gorgeous too!
Later-
-
Thank you all very much! Means a lot.
Later-
-
13 hours ago, redscampi said:
Both of them look great. I particularly like the sedan. Where did you get the rims?
I have had the artillery wheels and tires for a long time. They came off of an old die-cast. Here is a new mock up with my plans for the grill.
Later-

-
6
-
-
Every one of them a winner! Nice builds.
Later-
-
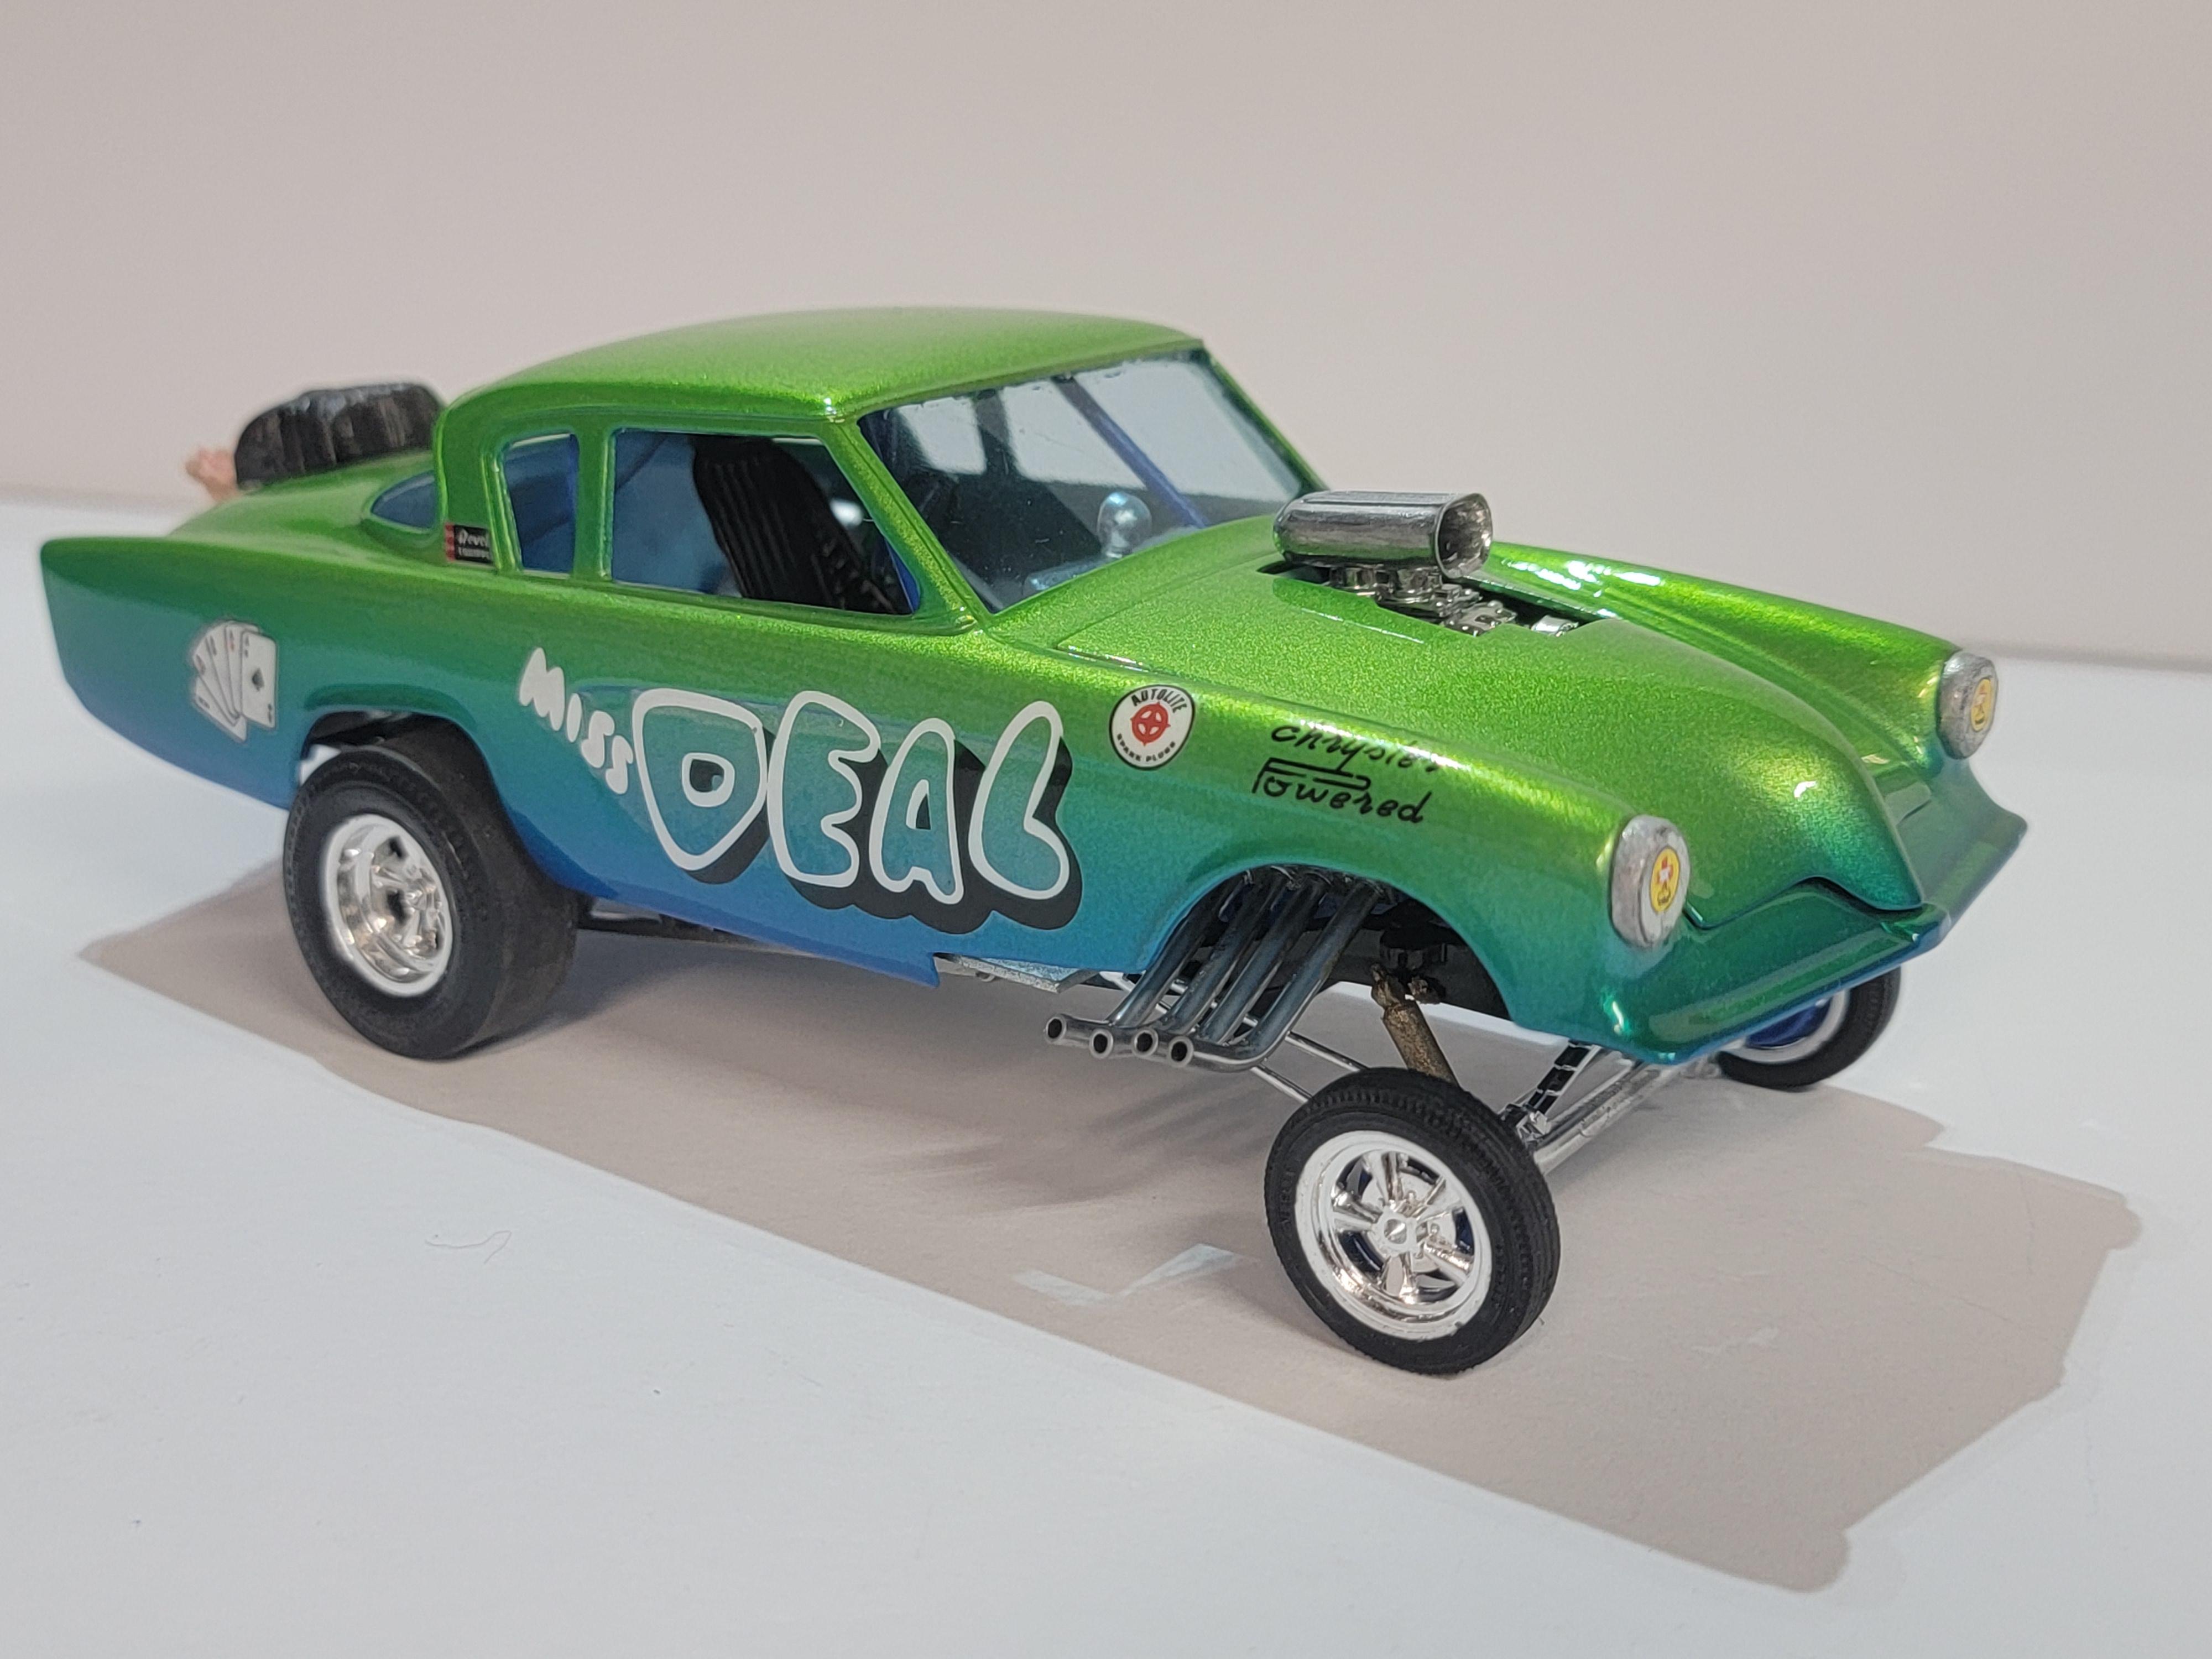
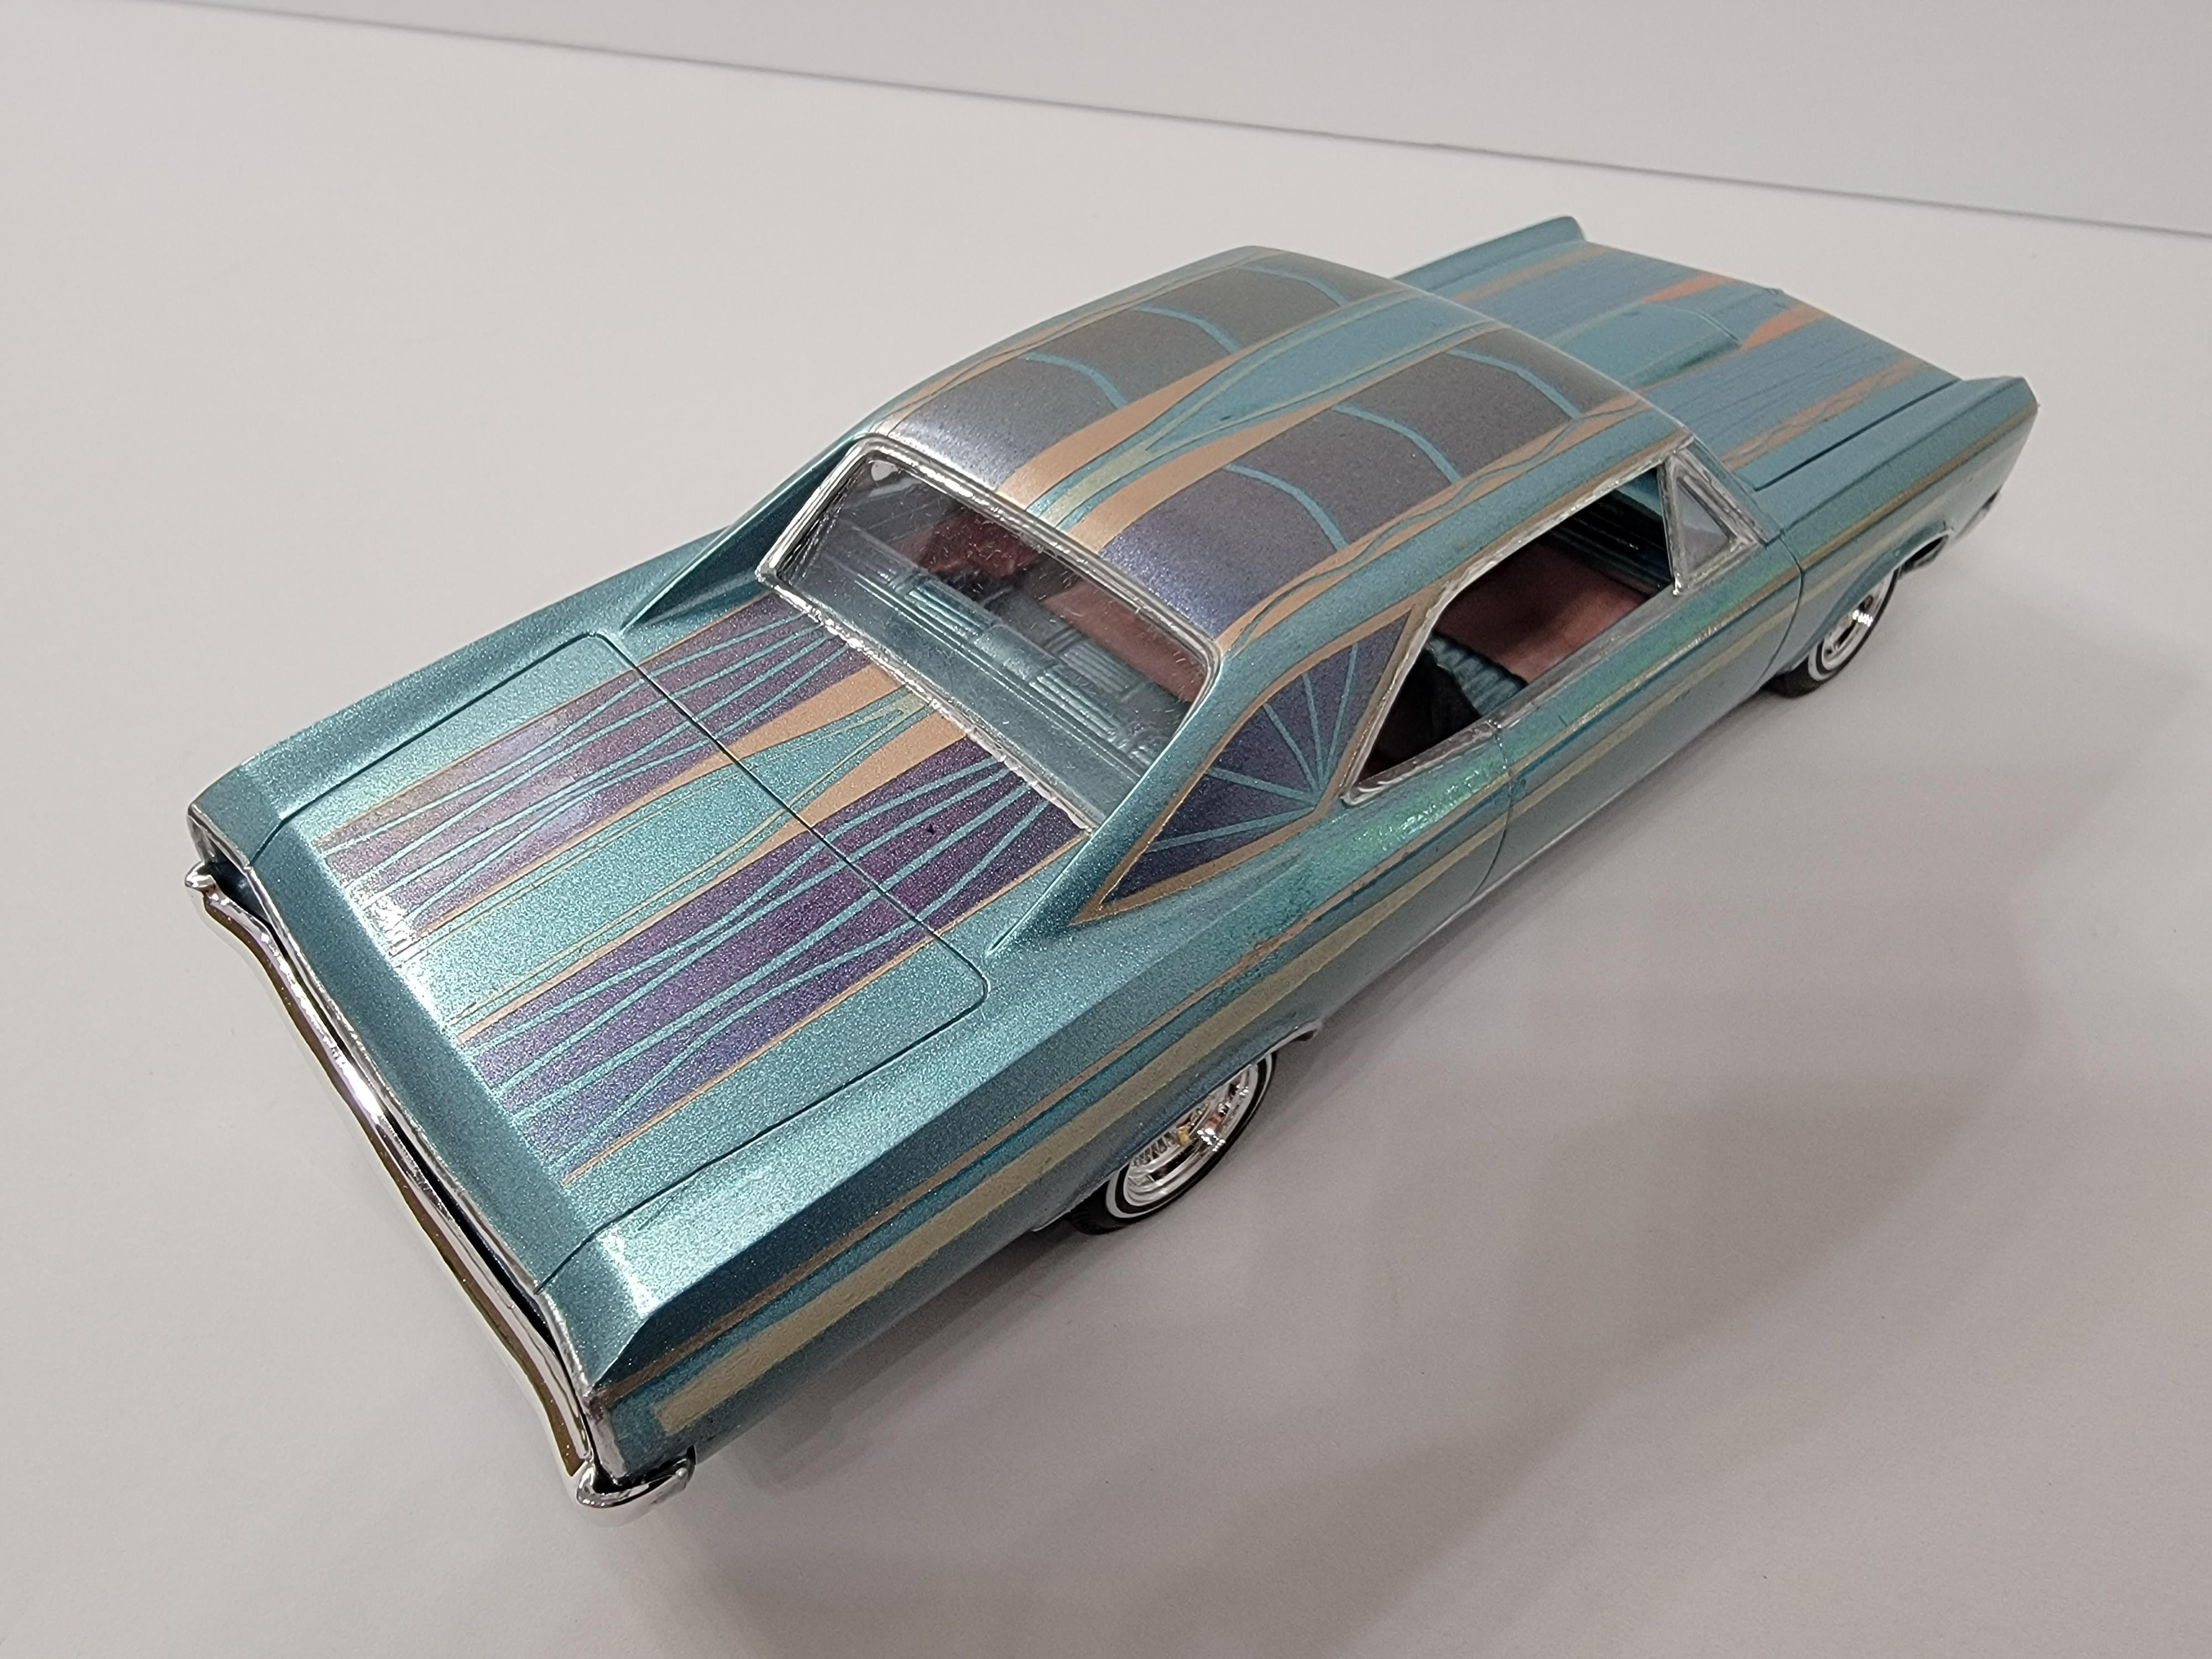
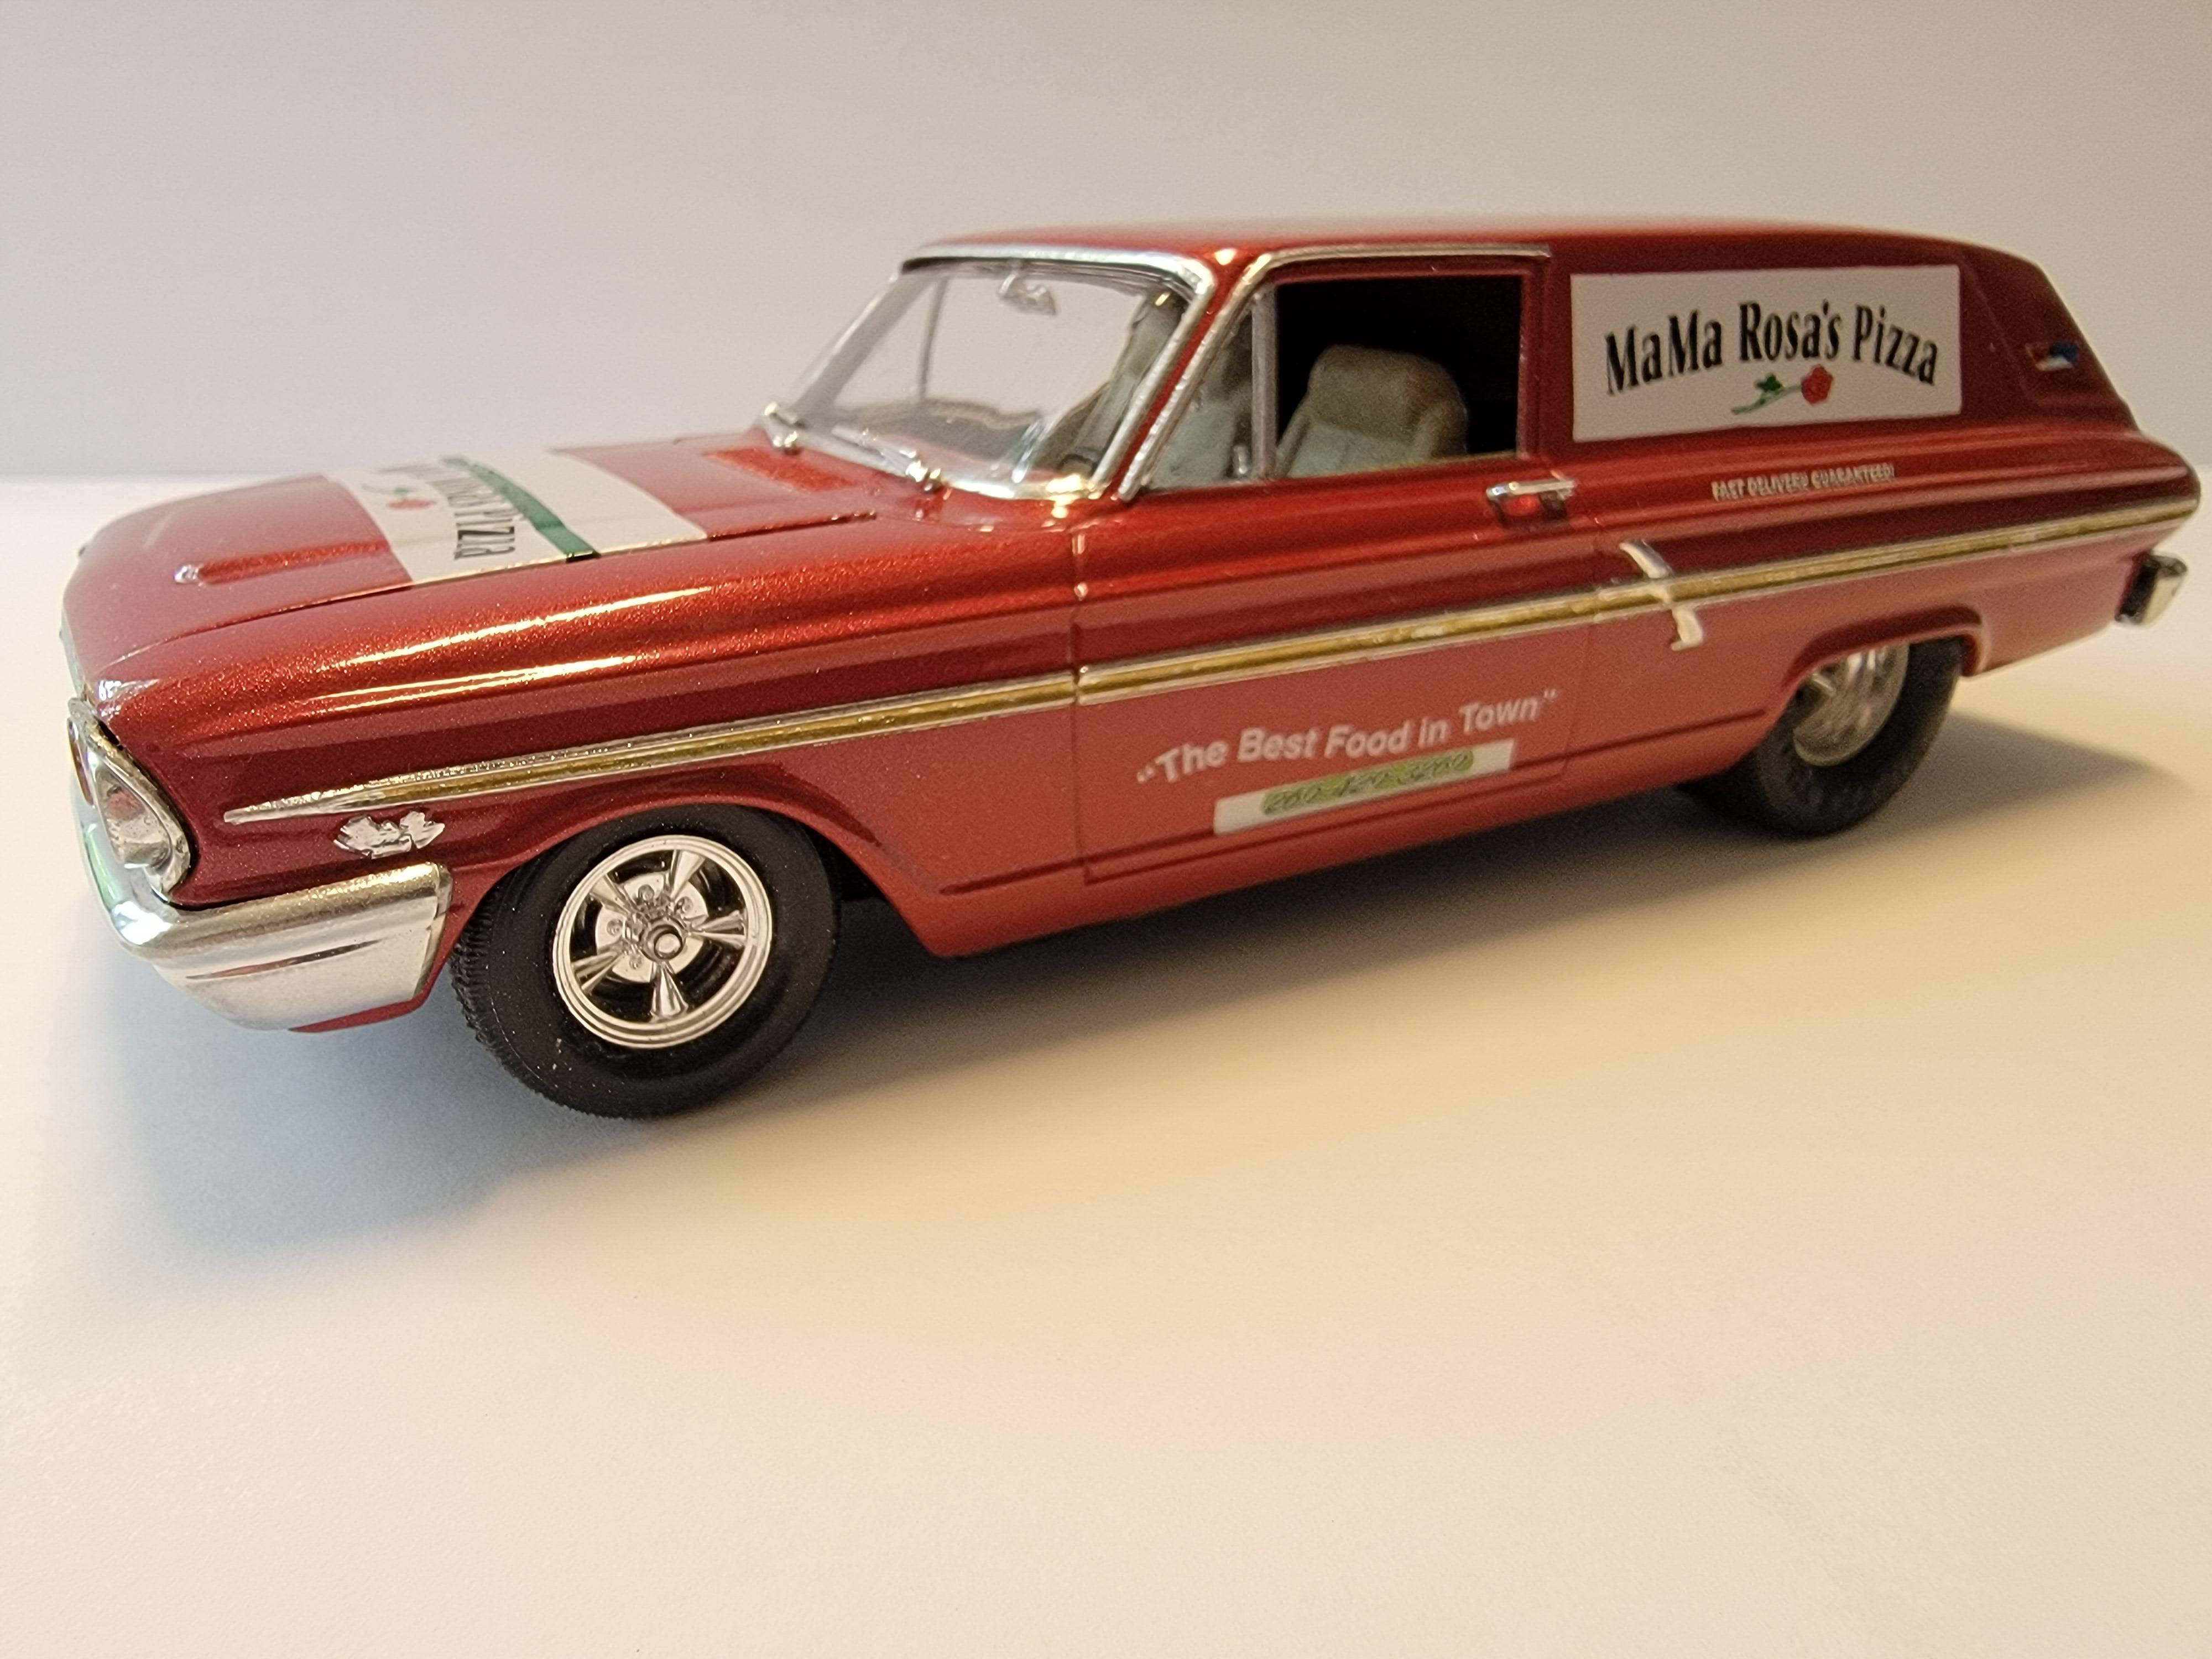
Here they are. Another semi-productive year. I see a definite color pallet. Got to change that up in '24.
Later-
-
11
-
-
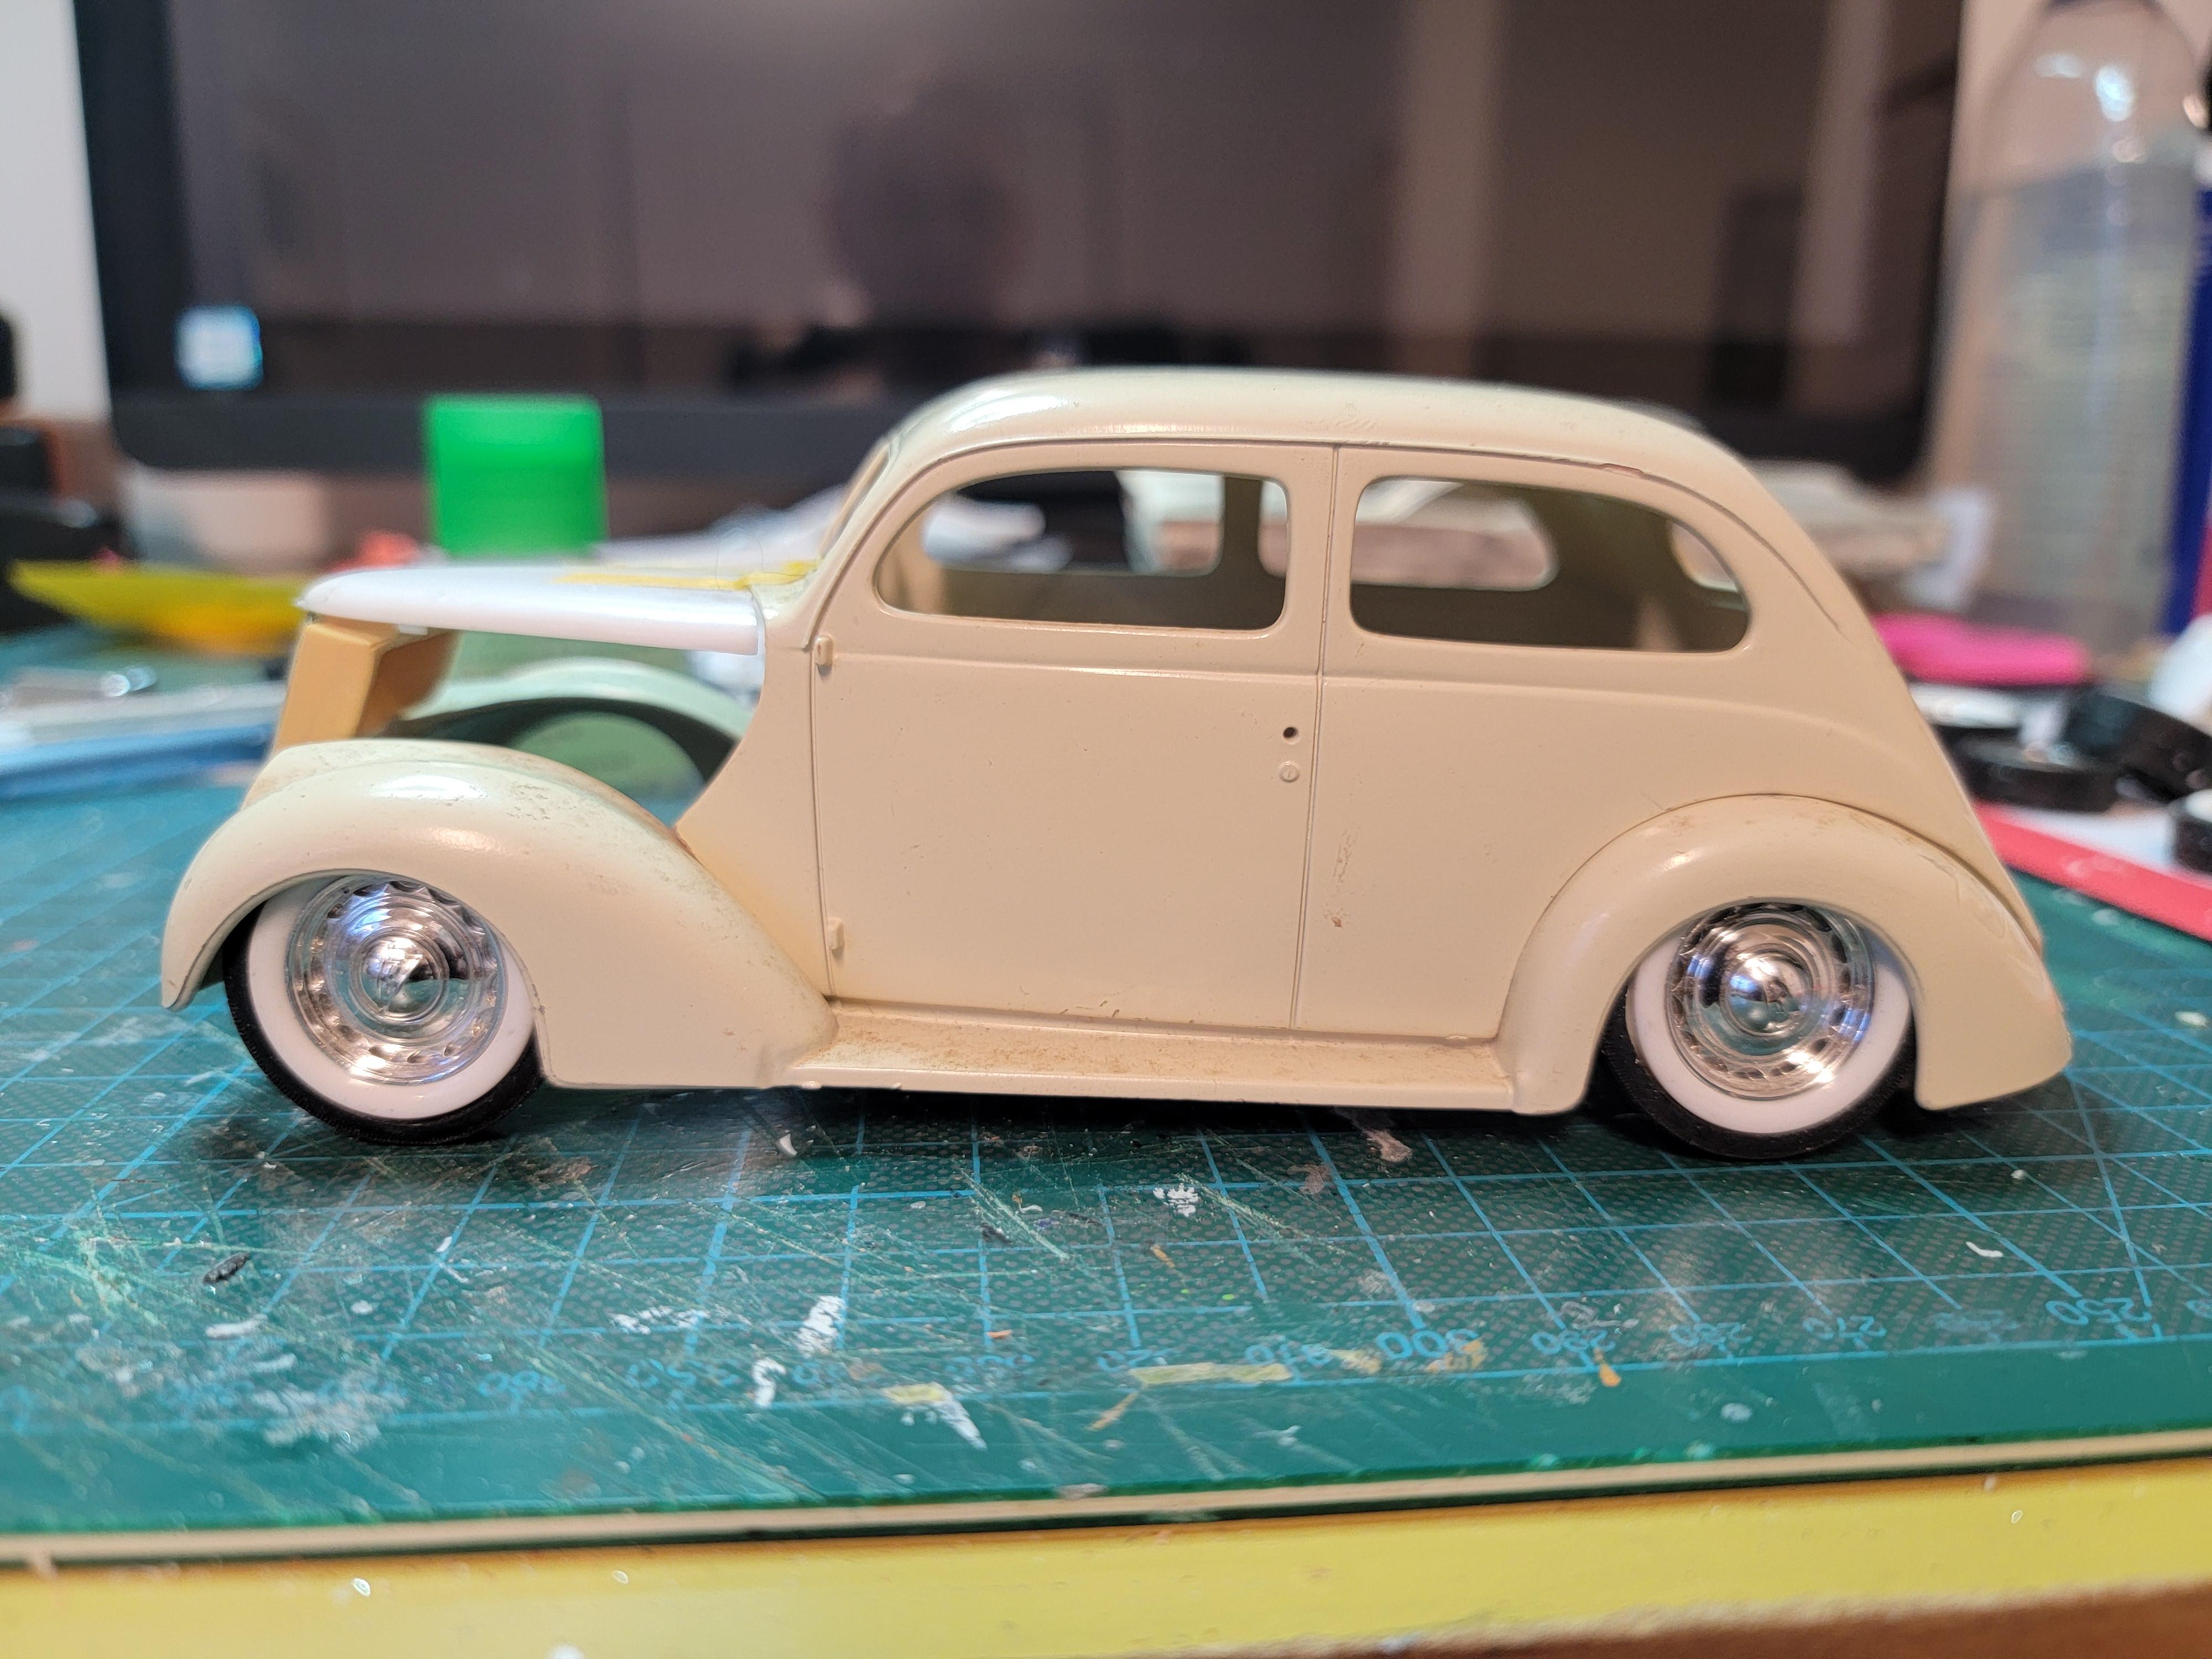
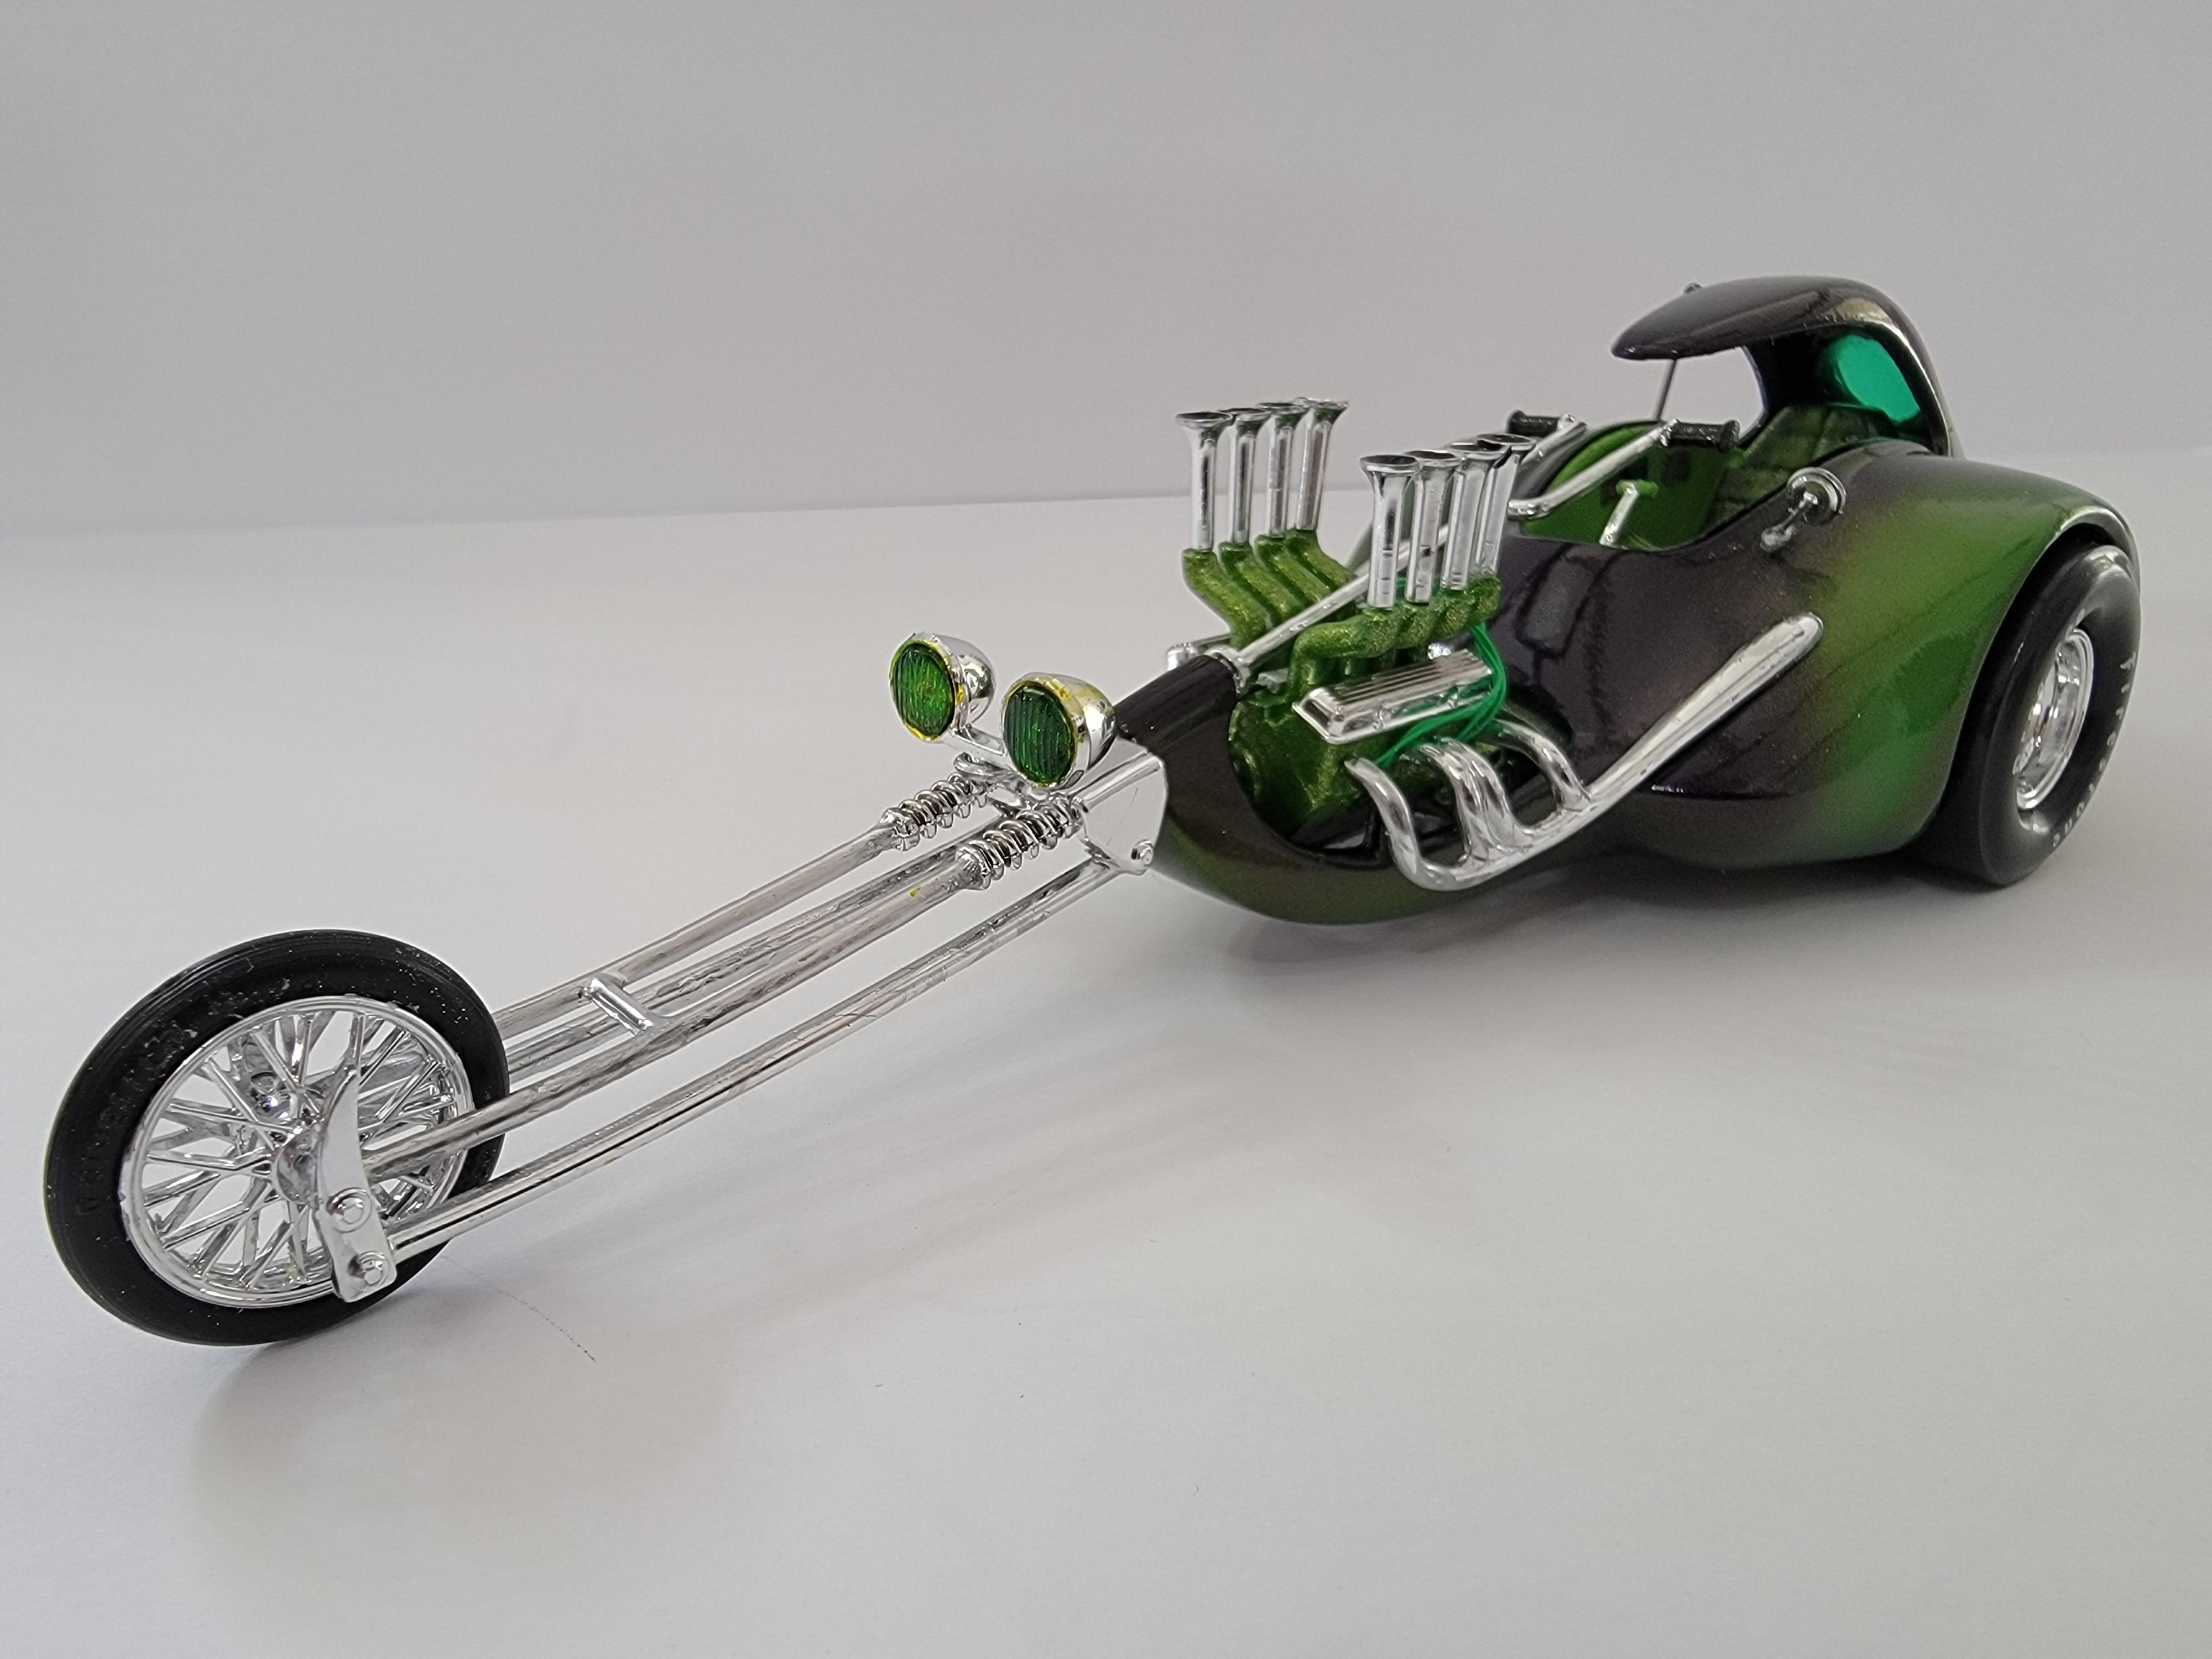
A bit of a different take on my last mock up. Think I'll build them both. This one and the Sedan. Got the front suspension already together on this one.
Later-
-
2
-
-
Thank you all for the nice comments. And you too Sam....Lol?
Later-
-
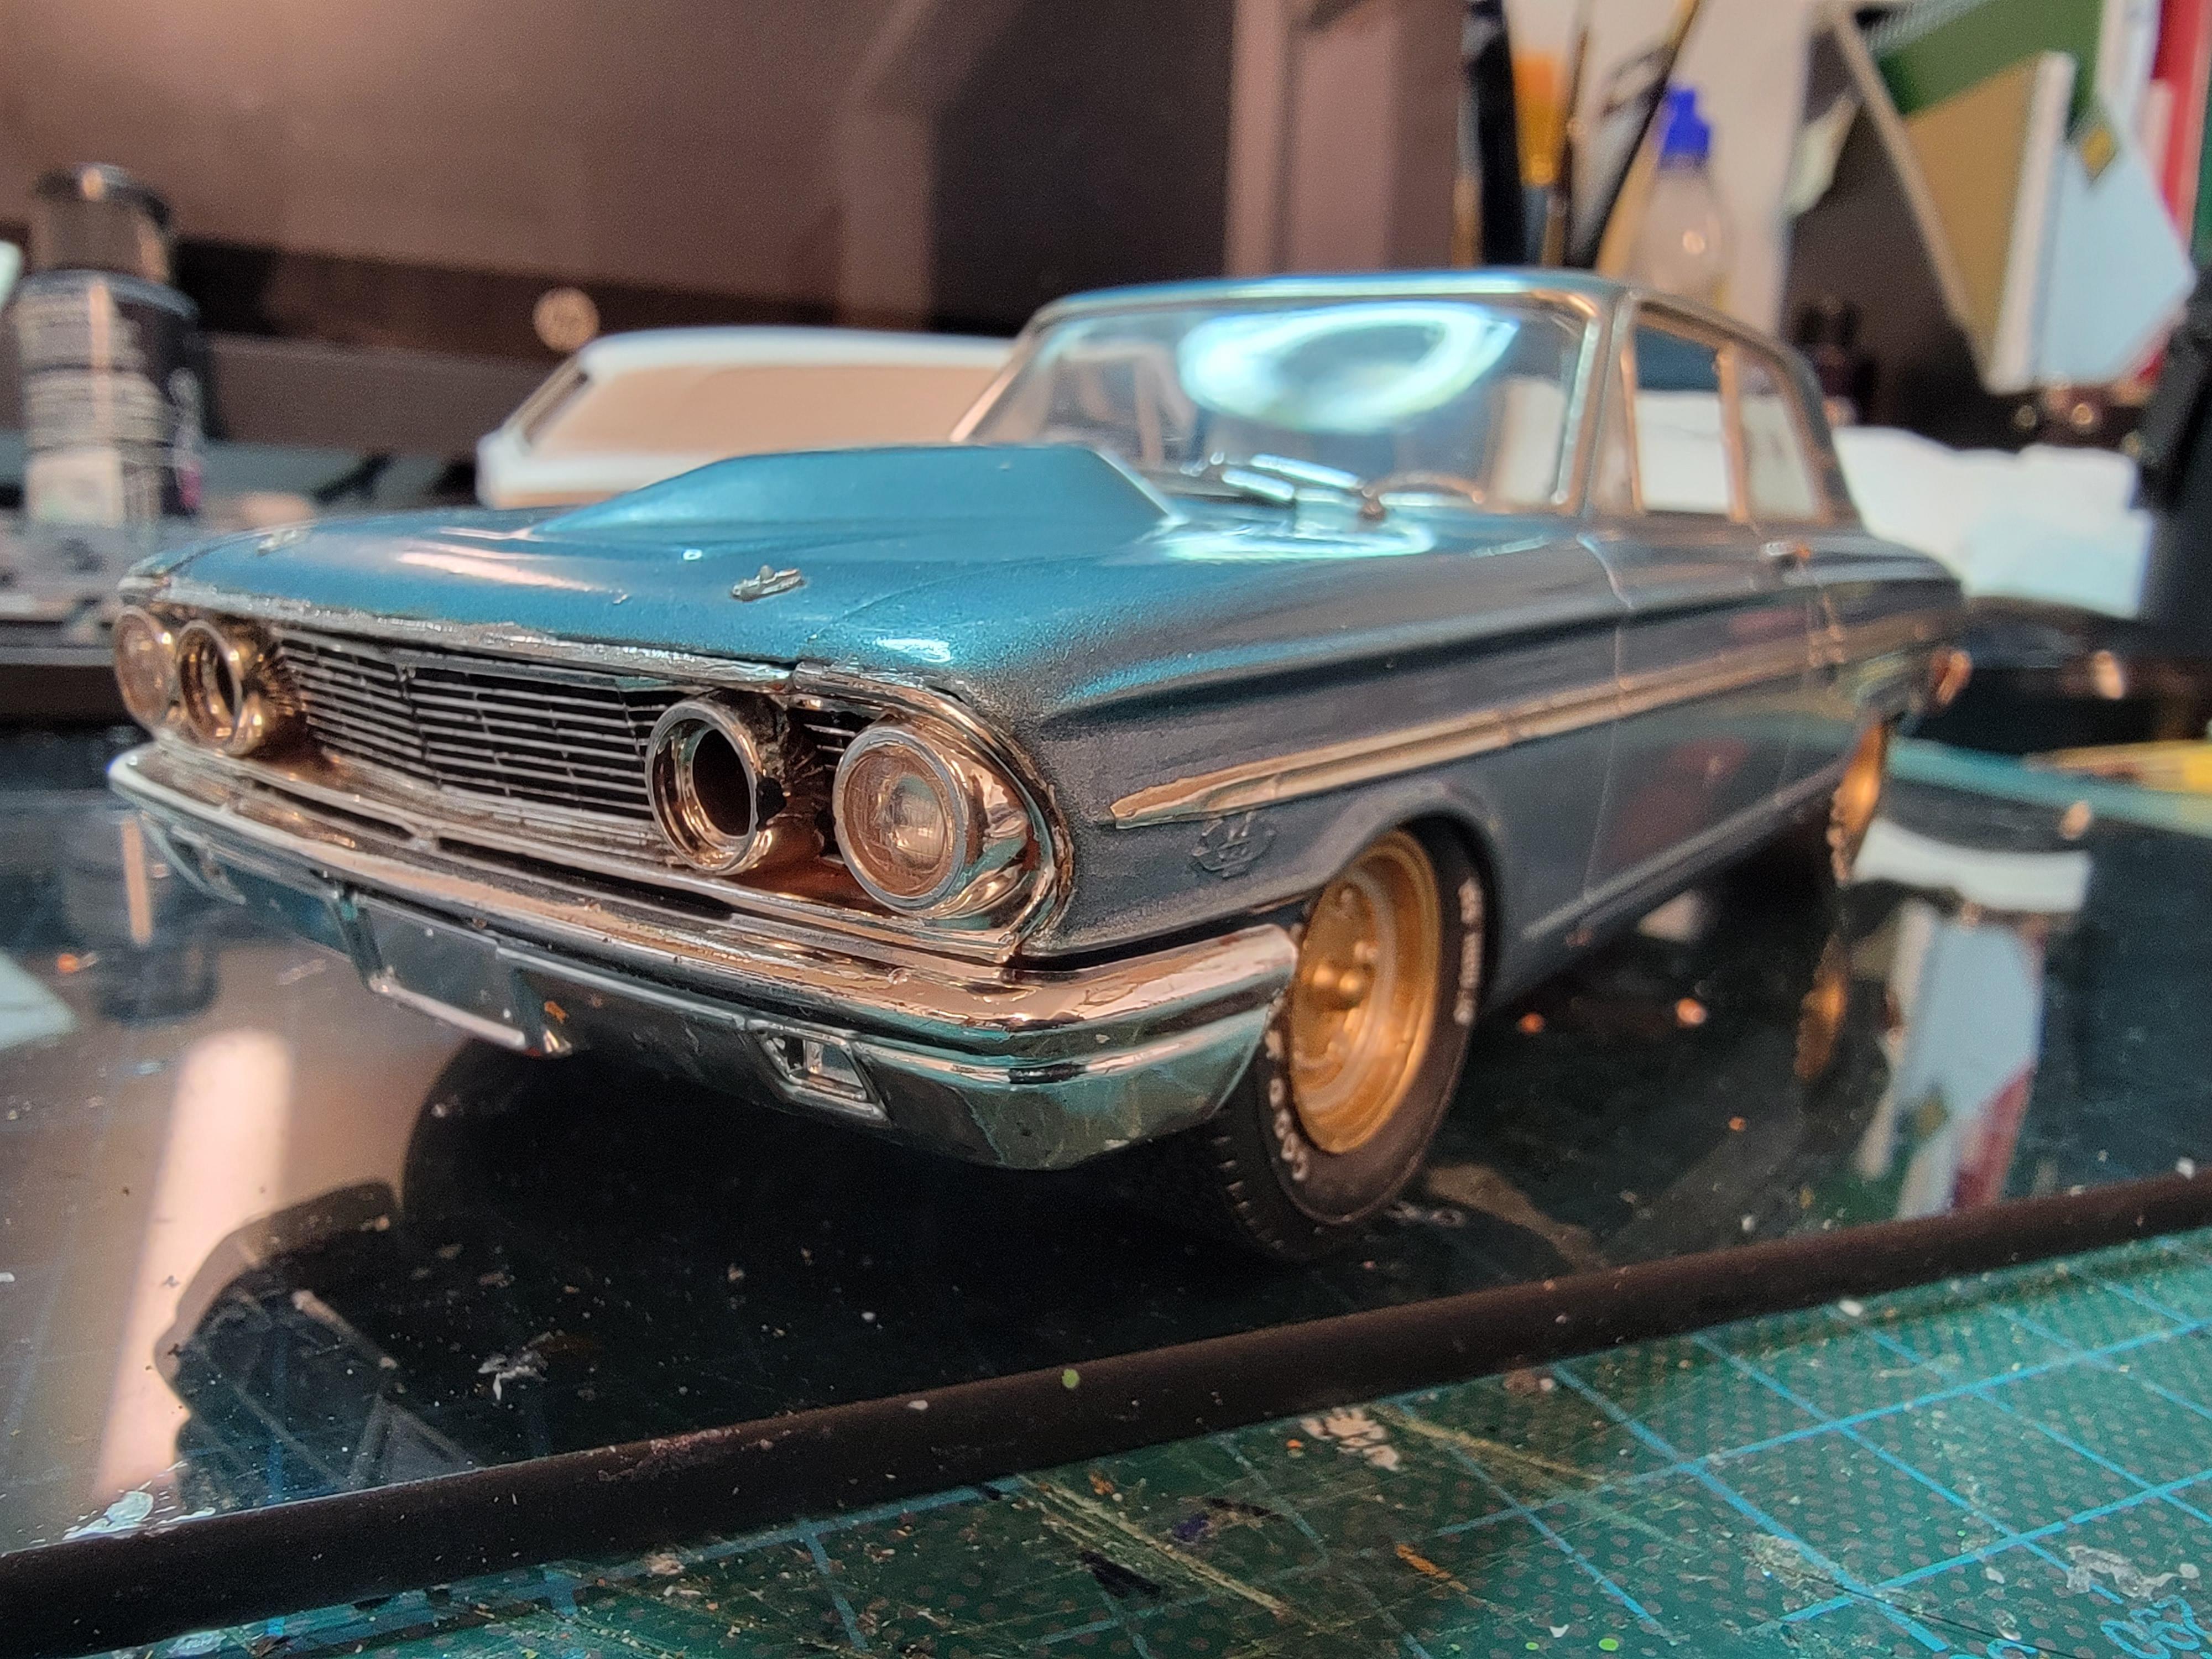
Just finished this one for a Face Book site buildoff. Added PE pieces. Everything else is pretty much Out of Box. Paint is a mix of two colors of nail polish. Clearcoat is also clear nail polish. Less than $3 in paint on this. The build took about a month.
Later-
-
8
-
-
Got this one finished. Moved to "Under Glass".
Later-
-
1
-
-
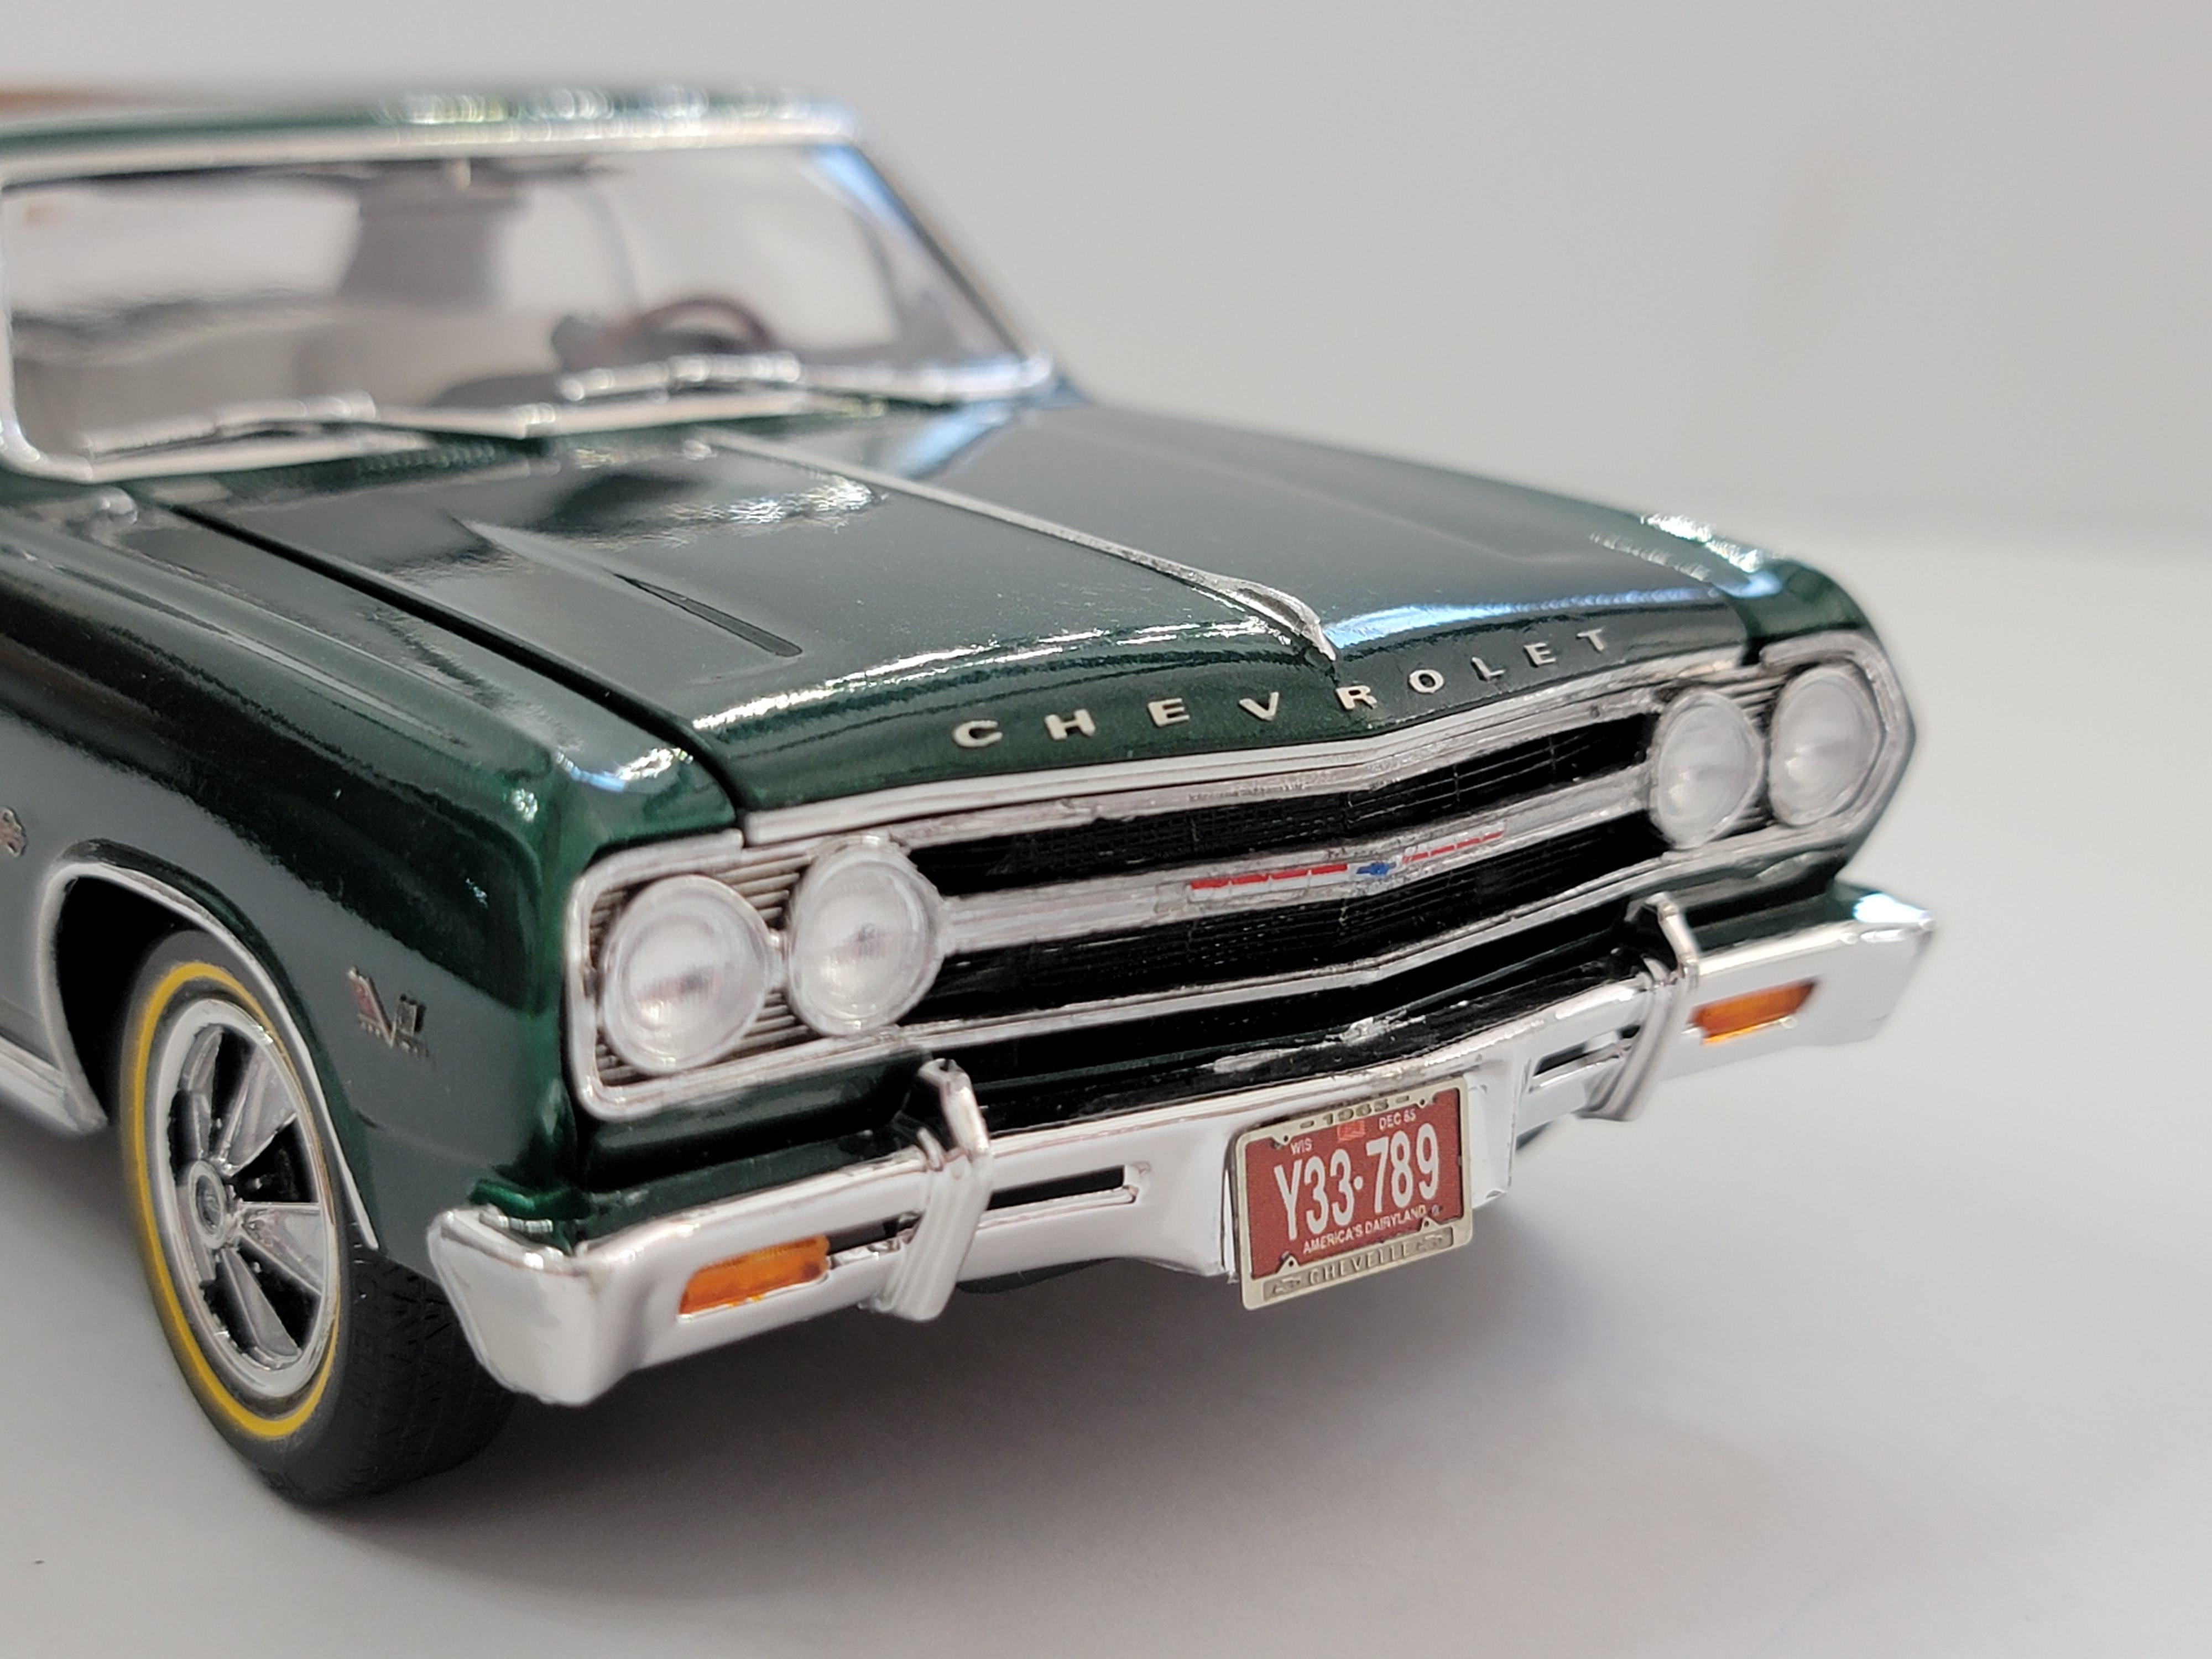
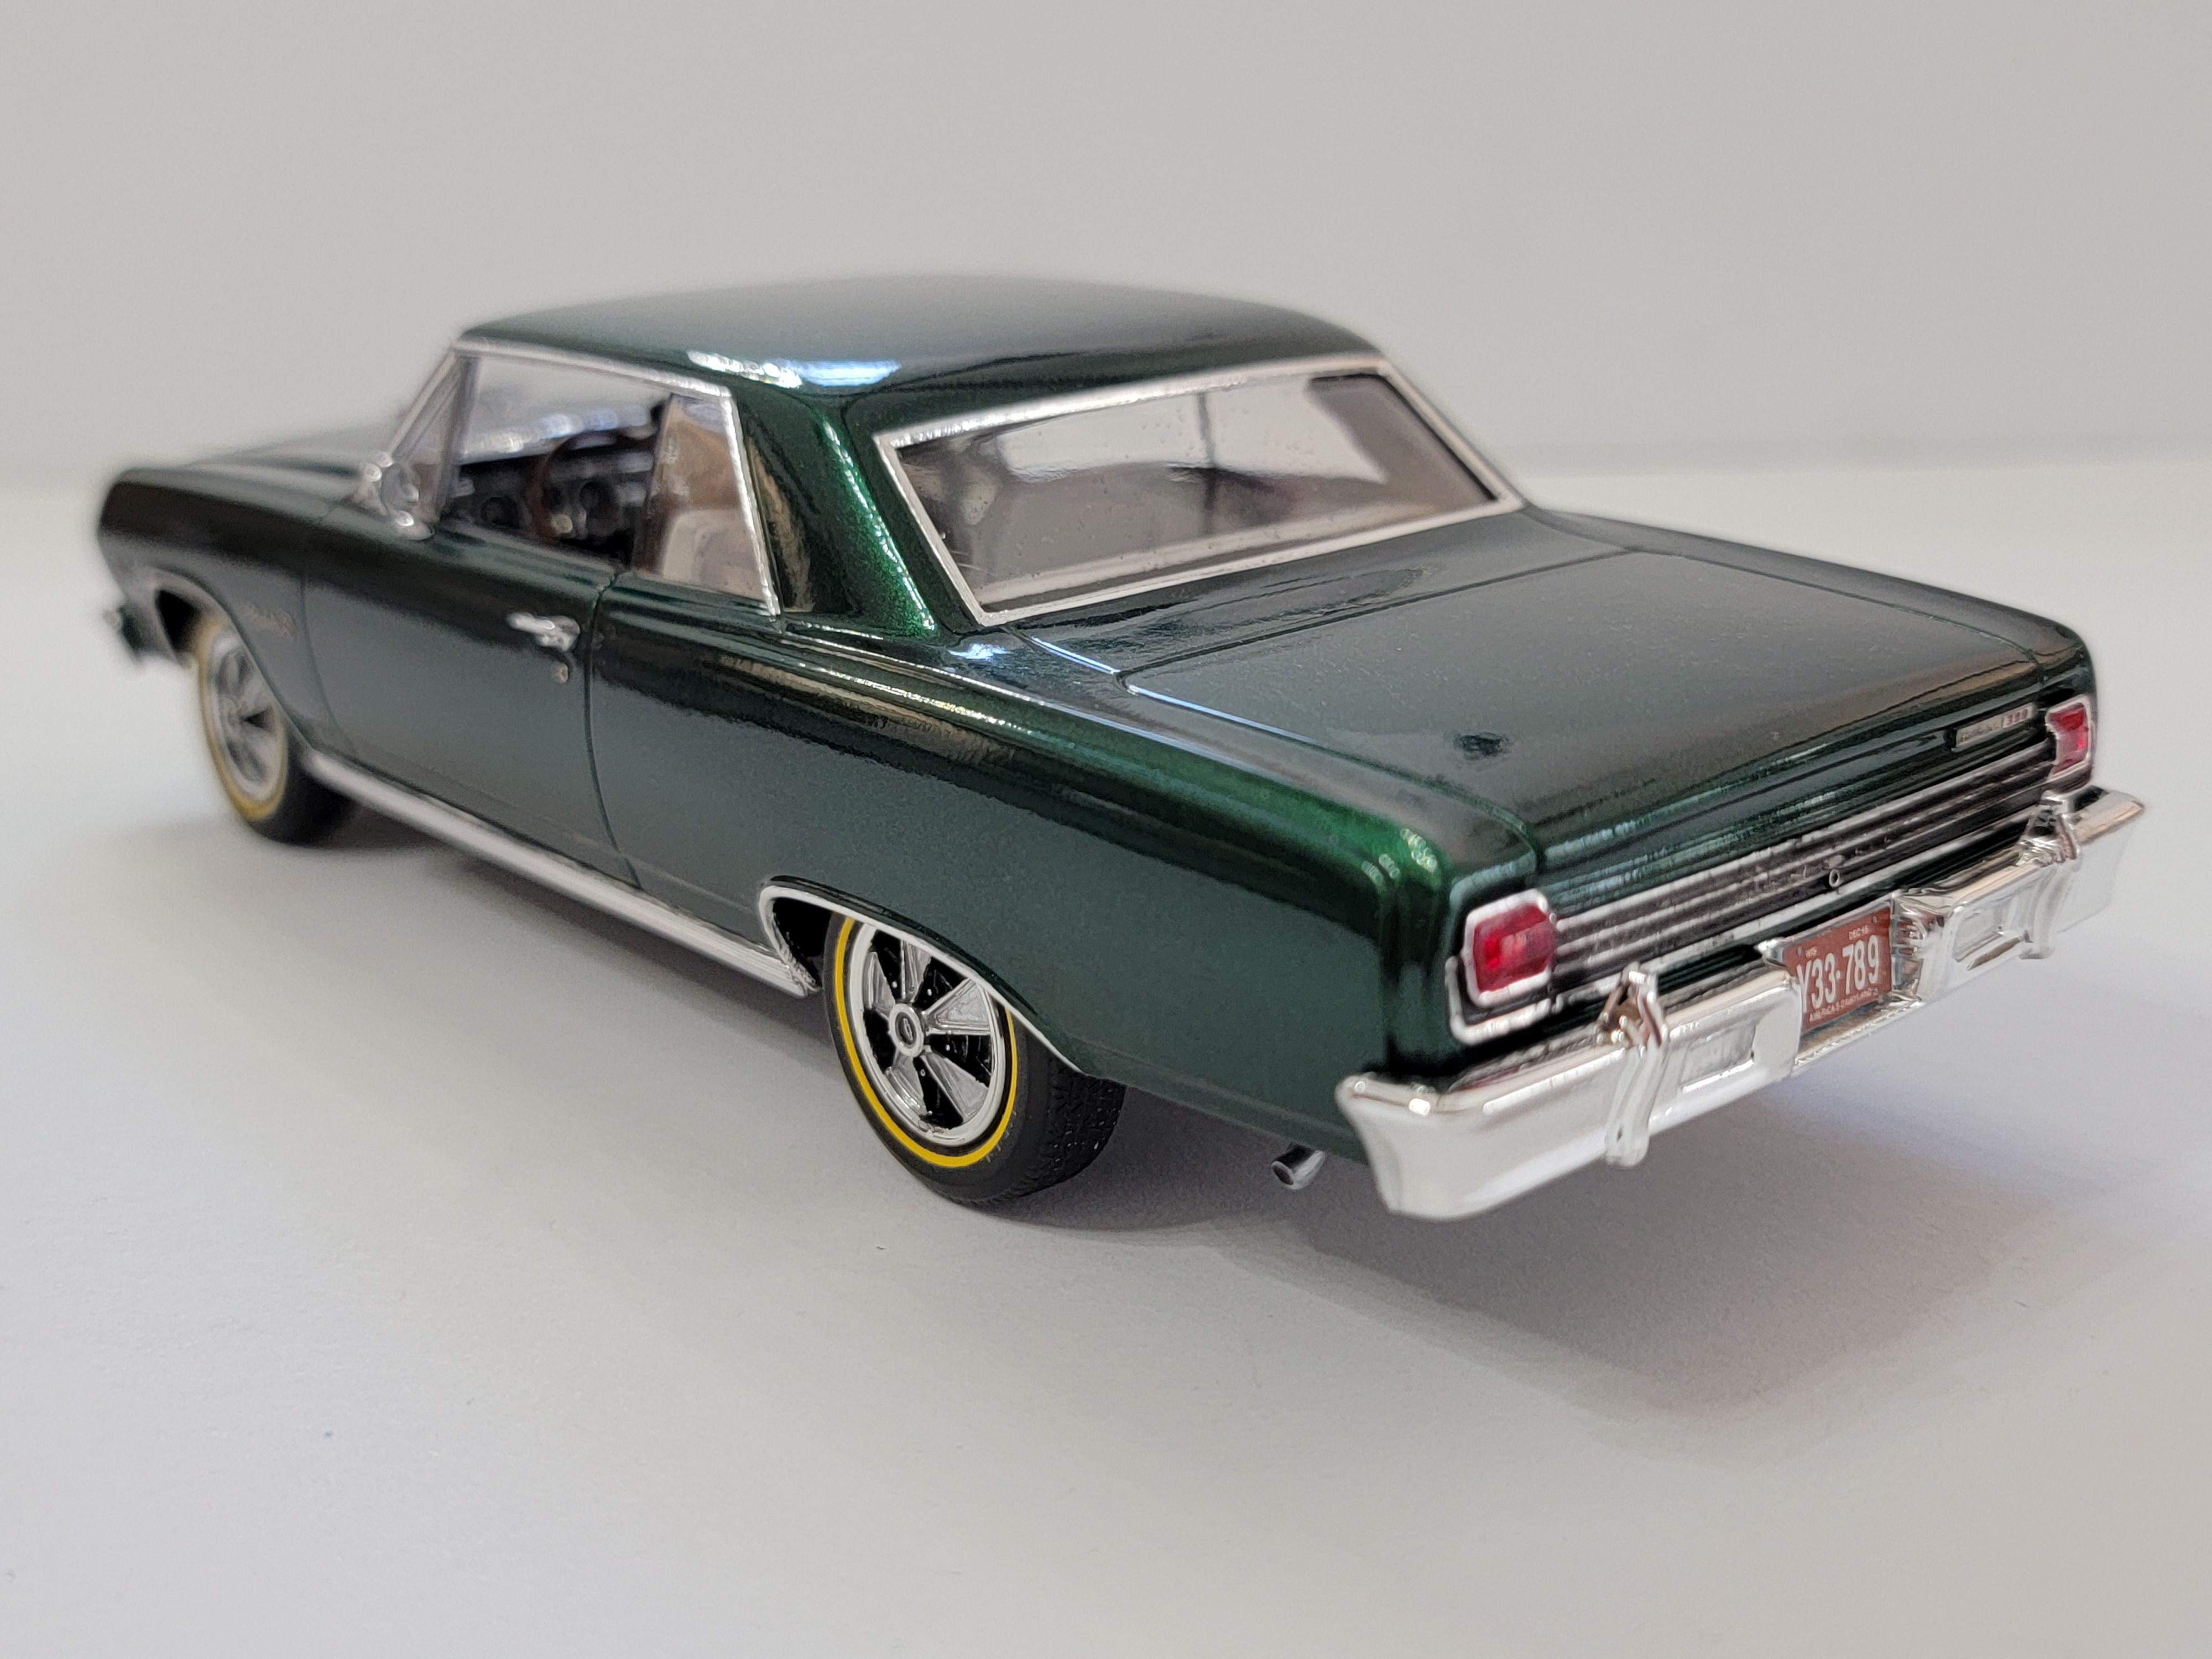
5 hours ago, TransAmMike said:
As I recall those "wheels" were actually optional wheel covers but only late in the model year as was the Z16.
Sam is actually talking about the yellow lined tires. They are supposed to be gold lined but they are more yellow. It's what was provided on "The Last Detail" decal sheet. I used them because the vrey first "experimental" Z-16 had gold line tires.
Later-
-
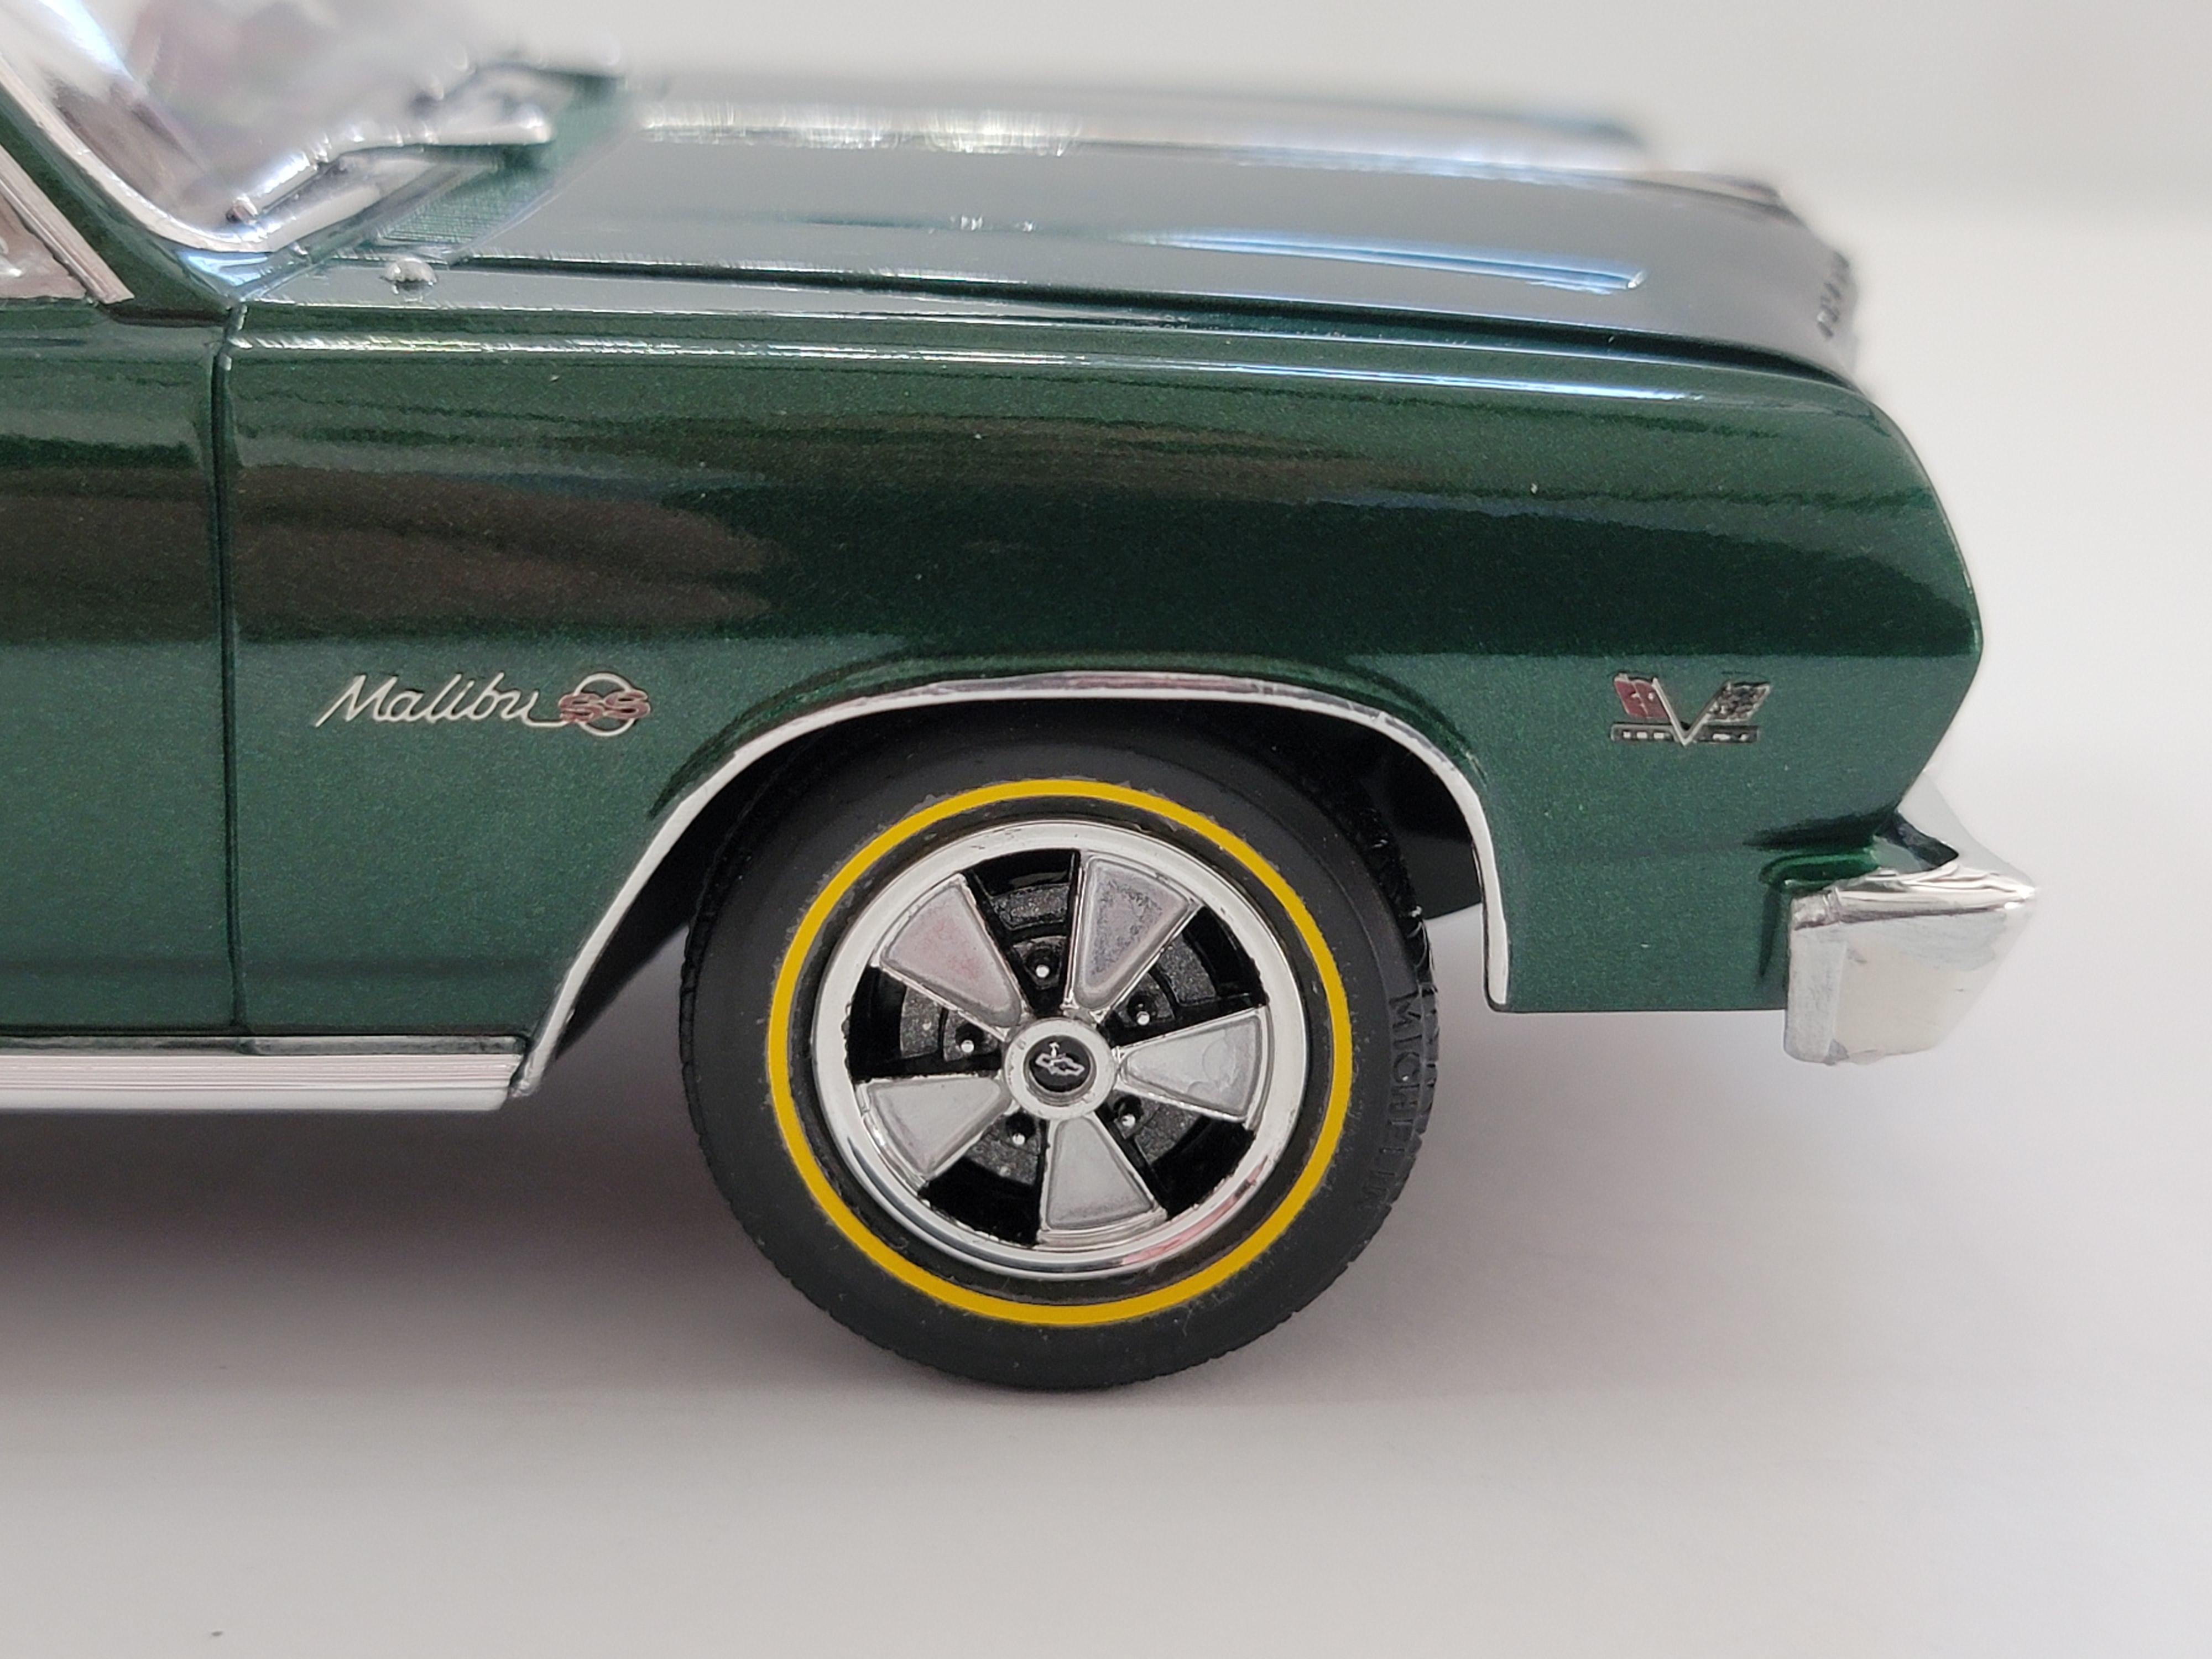
26 minutes ago, Sam I Am said:
Lose the wheels Tom. ?
Sorry. They're staying.
Later-


2023 IN REVIEW
in Model Cars
Posted
Those all look very impressive. Nice clean work.
Later-