krassandbernie
-
Posts
227 -
Joined
-
Last visited
Content Type
Profiles
Forums
Events
Gallery
Everything posted by krassandbernie
-
1974 Corvette Resto------Update! 12/31/18
krassandbernie replied to MrObsessive's topic in WIP: Model Cars
Bill, I forgot to ask you about the origins of the tires? They look just like the Goodyears found in the mid year MPC Corvette kits with the exception of having the thin white walls. Mine are all black walls; while the '68-'72 (?) annuals have the older Goodyear thin white wall tires that MPC was putting in their kits prior. Did you paint the white walls on, use the stick-on ones, or are these Modelhaus tires? I read through your entire thread; but might have missed this detail if you mentioned it. -
1974 Corvette Resto------Update! 12/31/18
krassandbernie replied to MrObsessive's topic in WIP: Model Cars
I would have noted the valve stems right off if the ones Bill used had them; which is part of the reason I initially thought they were original MPC rally wheels. I also never had the Monte Carlo kit; so this is the first time I have seen or taken notice of the rally wheels in this kit. Thanks for sharing the info/pics Dominick! -
1974 Corvette Resto------Update! 12/31/18
krassandbernie replied to MrObsessive's topic in WIP: Model Cars
Thanks for the lead Bill! I'll track down some photos of the reissued '75 and see if they look the same. At least I now know my eye wasn't lying and they are different than the rally wheels found in the '68-'74 annuals that I have! -
1974 Corvette Resto------Update! 12/31/18
krassandbernie replied to MrObsessive's topic in WIP: Model Cars
Bill, are the rally wheels on your '74 Corvette original MPC issue ('68-'74) tooling; or from a different source? At first glance they appear to be original MPC wheels; but the outer rim is what's throwing me off here. They almost appear to have a bevel in them; which the original ones do not; but sometimes the reflections can play tricks on you! LOL! Ed -
Sounds good Steve! I have no problem with the things that you mentioned being a concern; and I would do my best to get everything taken care of in a timely manner. The only thing to keep in mind is that most guys who get a resin copy are then going to be inclined to put a coat of primer on it before they paint it.............so there will essentially be twice the number of primer coats as what would normally be on the parts had they been the originals........make sense? Basically, the least amount of primer the better so as little detail gets lost by the time the last coat of paint is applied (to the castings). Also, the best way for you and I to communicate further on this would be through e-mail. It will save your thread from getting cluttered up; and it will save me time having to log into the forum just to reply to a private message repeatedly. And by all means, feel free to ask any questions you might have. There are a few little things worth discussing off the board as far as making sure the parts are mold worthy (nothing major). I would suggest affixing the arm rests to the door panels; but obviously leave the door handles and window cranks off to be molded separately. Thanks, Ed (lowcab36@epix.net)
-
Steve, your interior just keeps getting better with every post! I love that you kept the back seat as two parts like the 1:1! I have 4 of these '68's..........two of which are just bodies I am restoring; and I figured I would end up just molding the interior parts and possibly the bright work (grille and bumpers) down the line to complete them. If you are still looking to have your interior parts molded I would be willing to work with you. I also have 16+ years in the casting business so you can be rest assured I wouldn't run off with your parts. By the way, do you plan on keeping the door handles and window cranks separate (to be painted and glued on after the door panels are painted); or were you planning on mounting them to the door panels at this time? I offer the door handles and window cranks separately for the custom tuck'n roll interiors I mastered and still offer in resin. I would think we could come up with a decent source for interior door handles and window cranks to be made separate from the door panels and keep with the over all level of detail you've put into this interior so far...............Ed (Drag City Casting).
-
Steve has only gotten the one side done at this point! LOL! He basically said as much............at least the way I read it.
-
I think you've out Boyd-ed the Tim here Dennis! He's going to have to tribute your building style next! LOL! It's a killer build and it's not even finished! I can hear Tim Allen grunting already!
-
Your roadster really looks cool and unique Mike! I can't wait to see the finished photos of it! Btw, I replied to you in our personal conversation over on Facebook...........doesn't look like you've seen it yet.....Ed
-
Looks great built like this! What kit did the Cragars come from if not this kit? The Firestone tires are a new pad printed tire found in this kit from what I've read; but I don't recall seeing the Cragars in this kit............although I could have just forgotten about them?
-
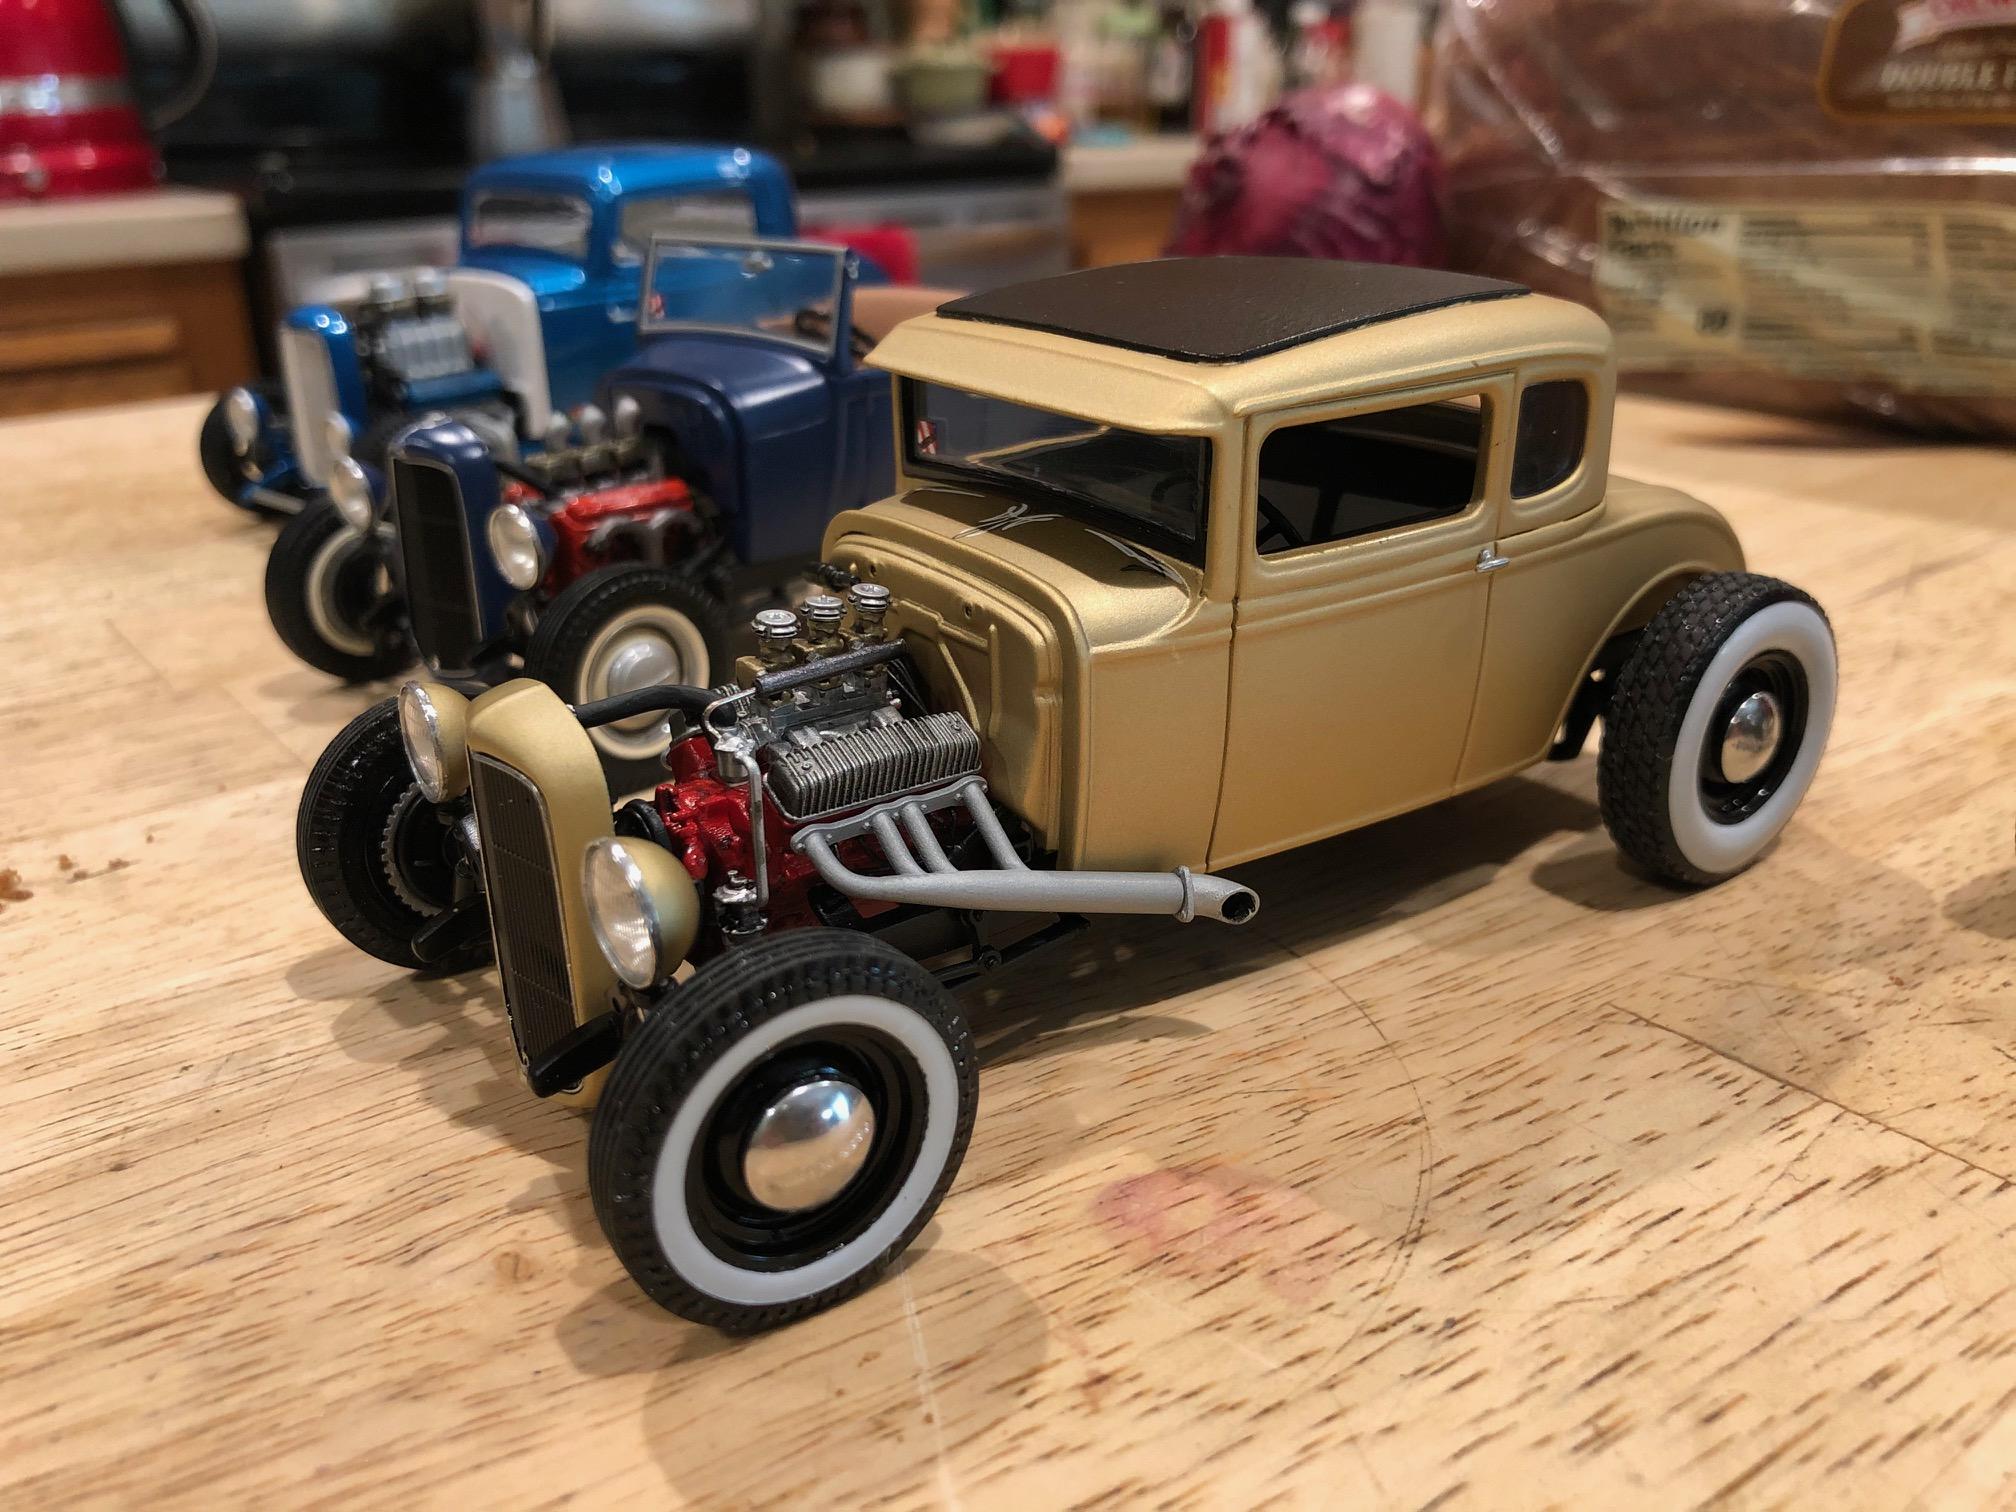
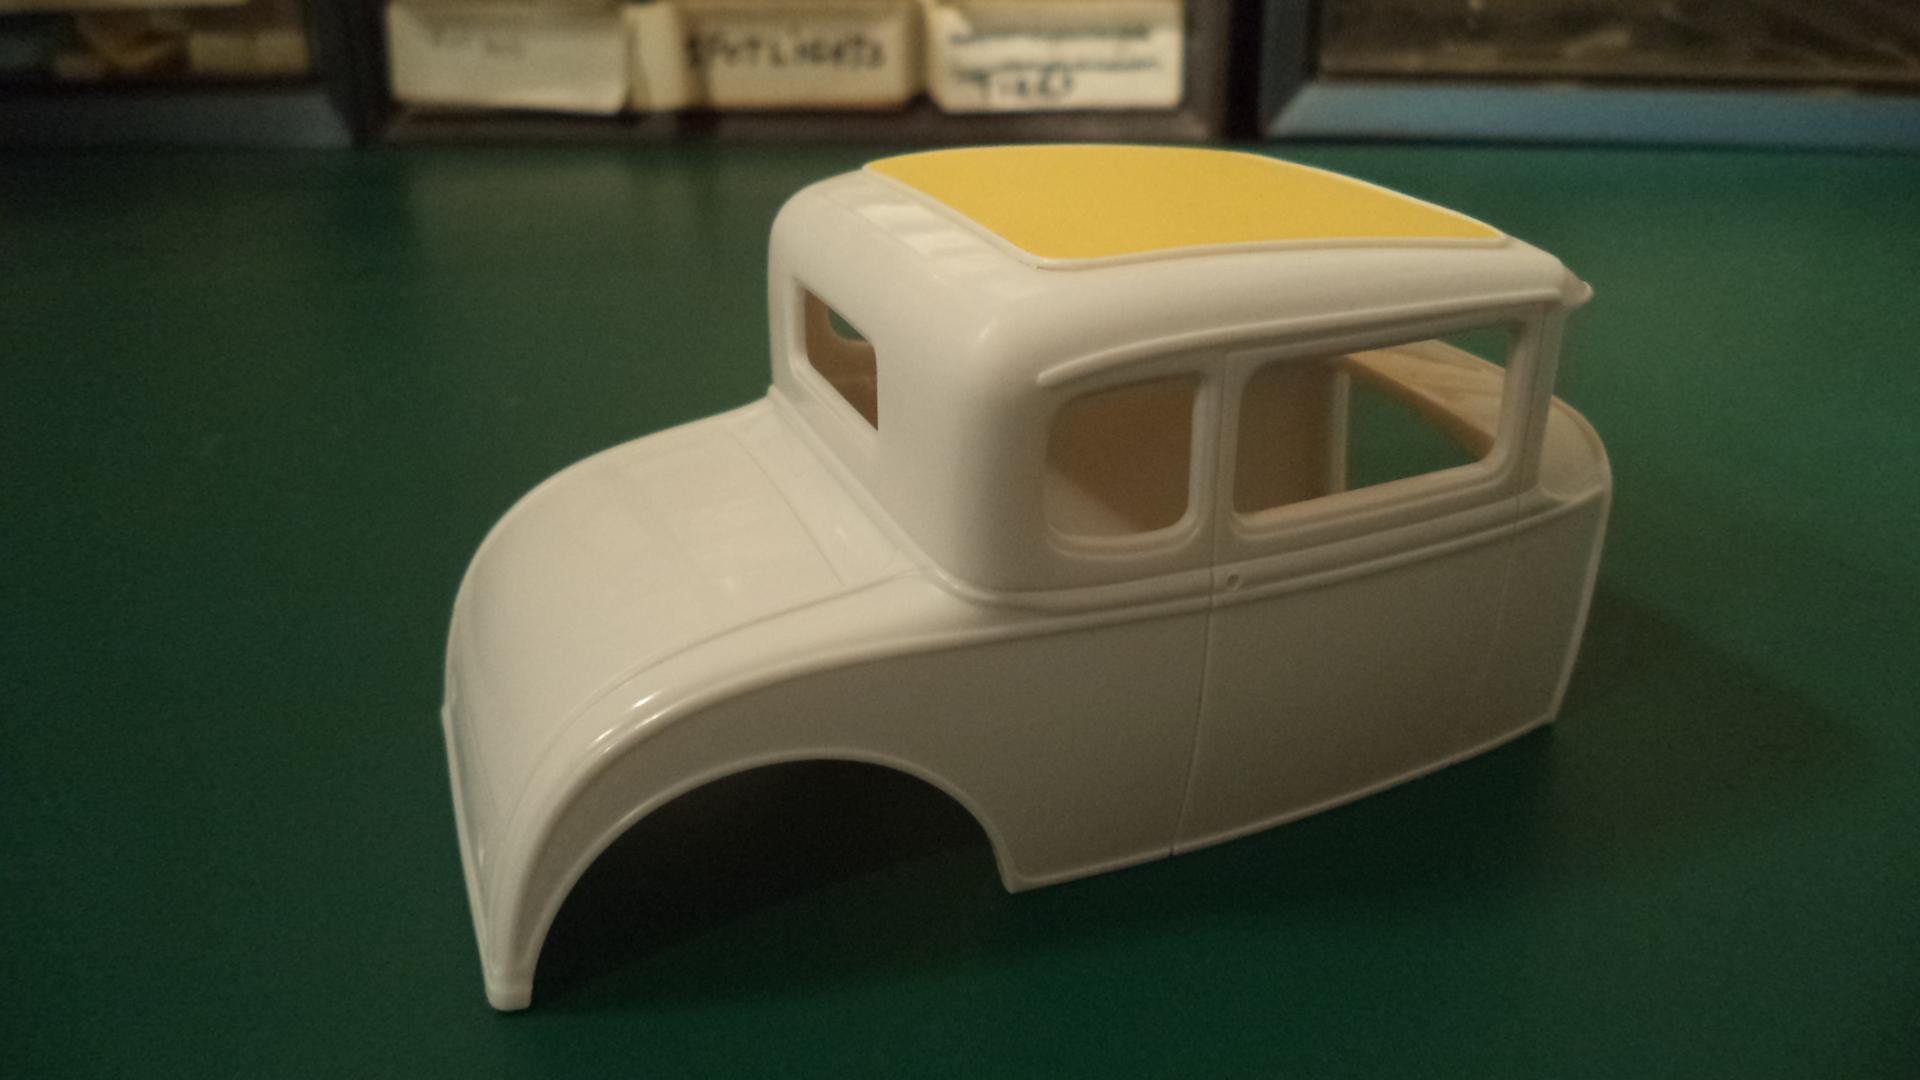
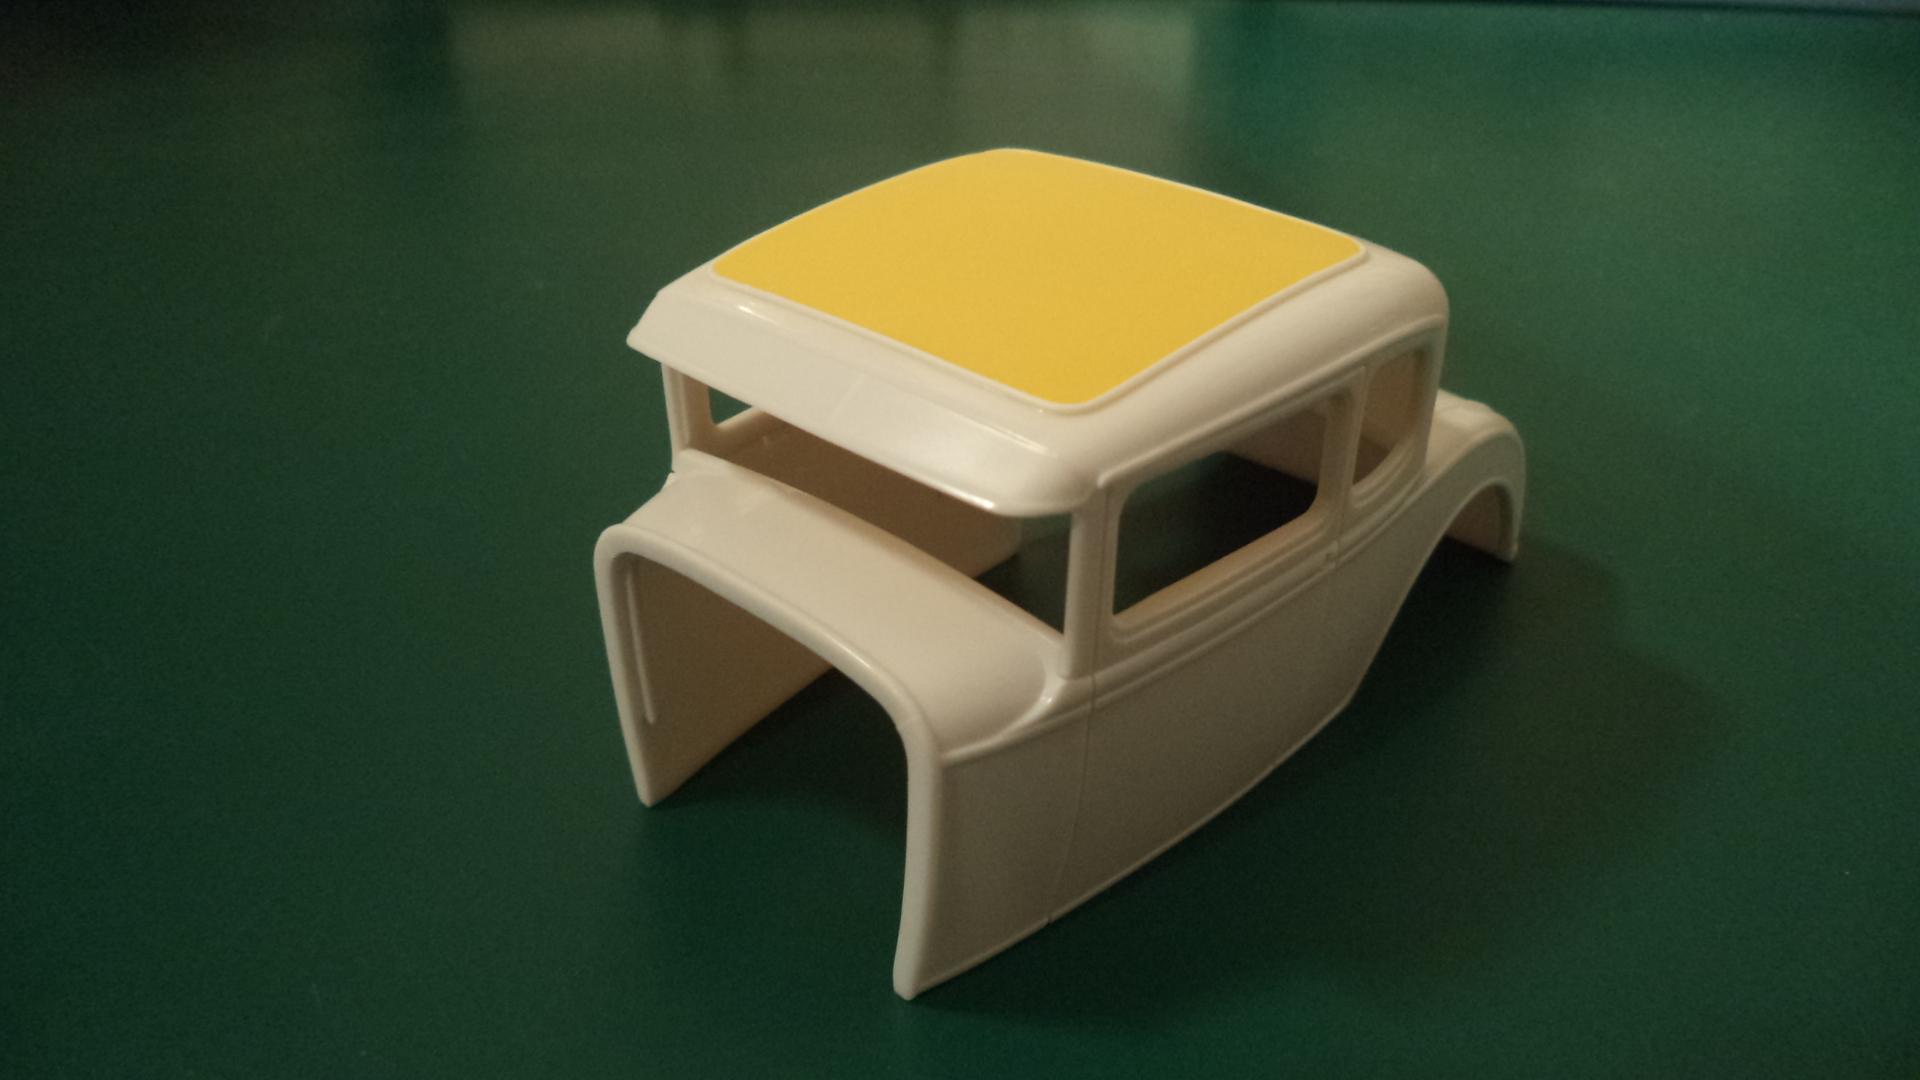
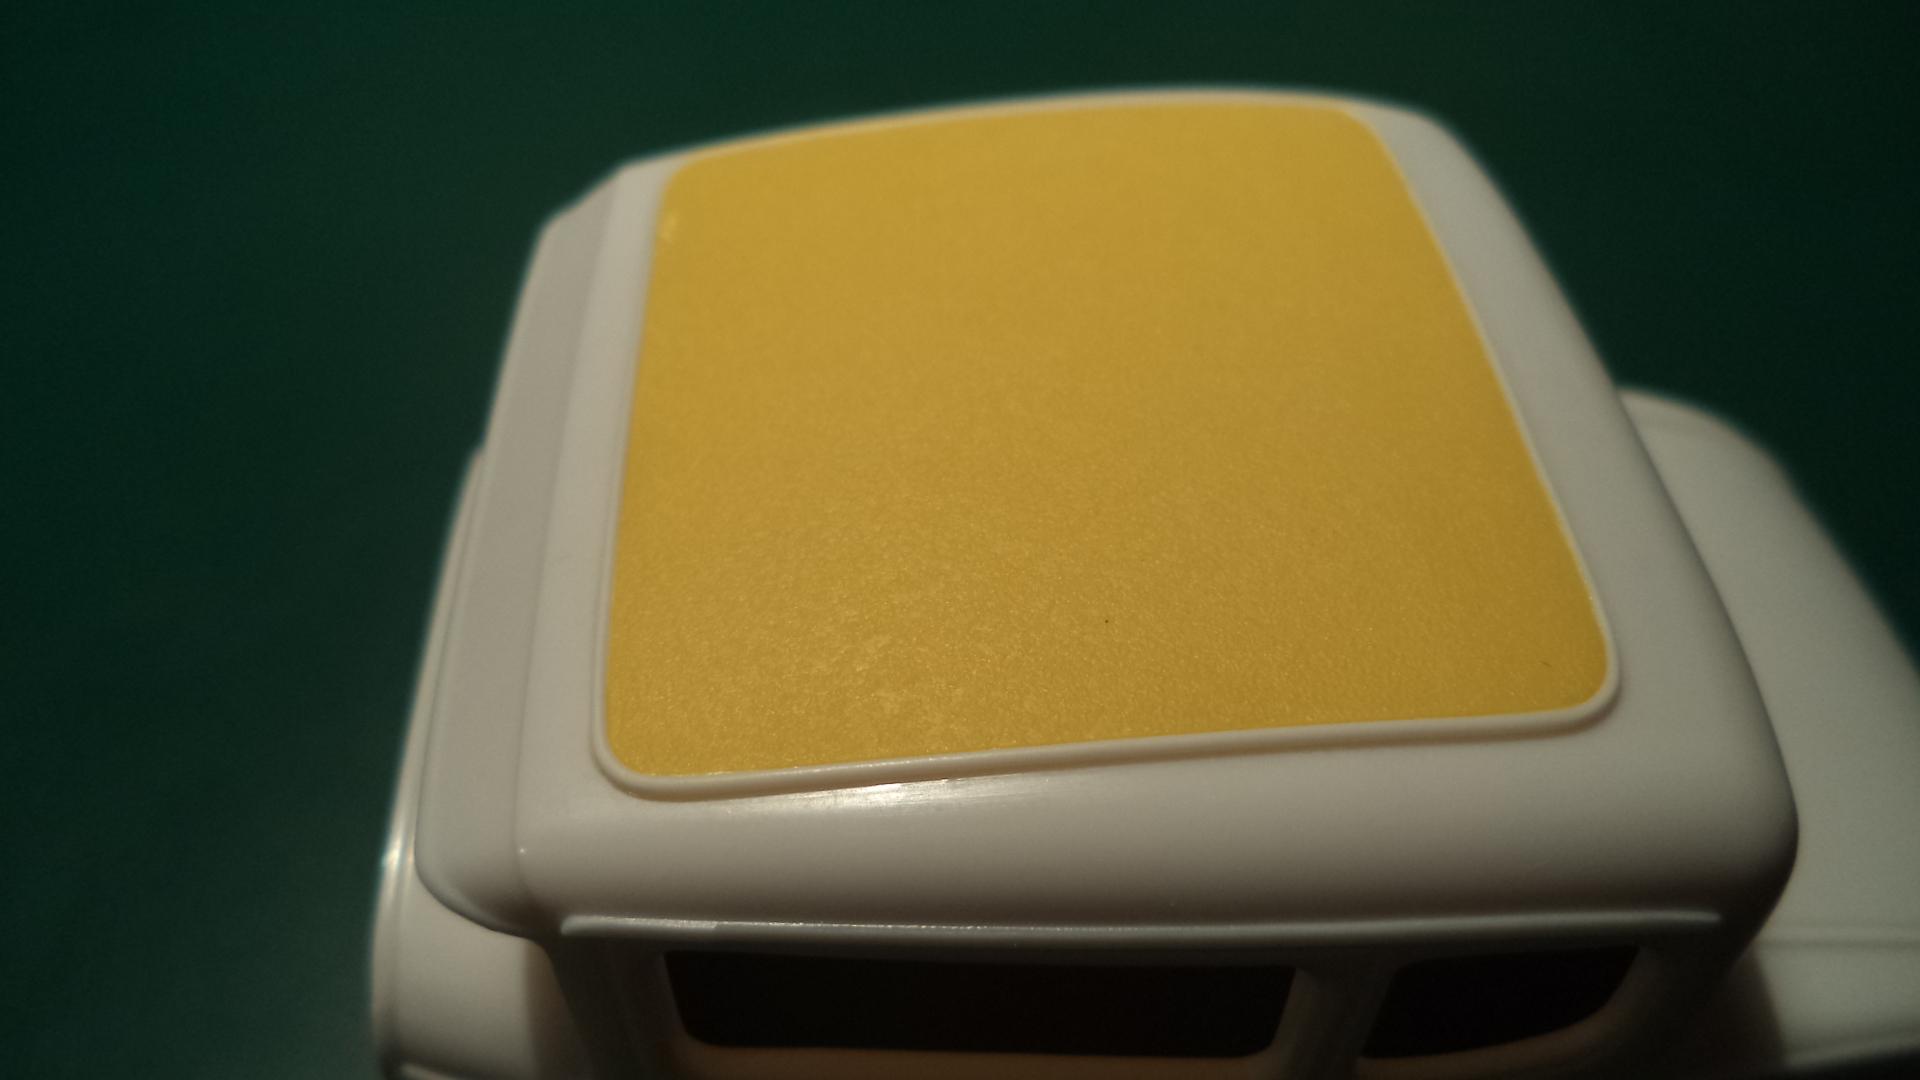
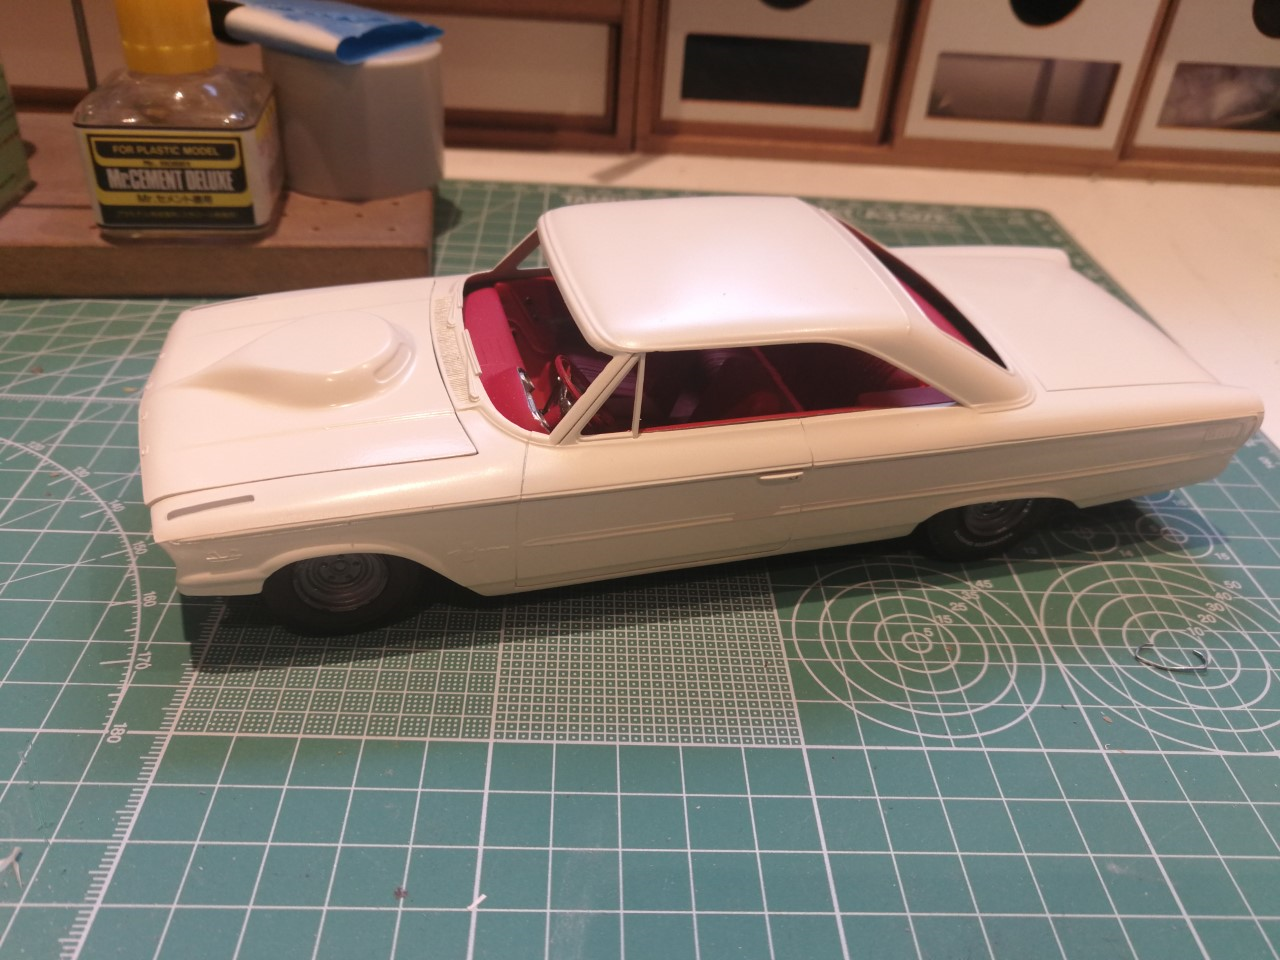
Last set of photos.................this is one of Dennis Lacy's latest builds. He swapped the roof from one of my resin bodies he received from me onto an original Revell bodied project he had underway since he liked the textured roof insert so much. Here you can see what it looks like painted.

-
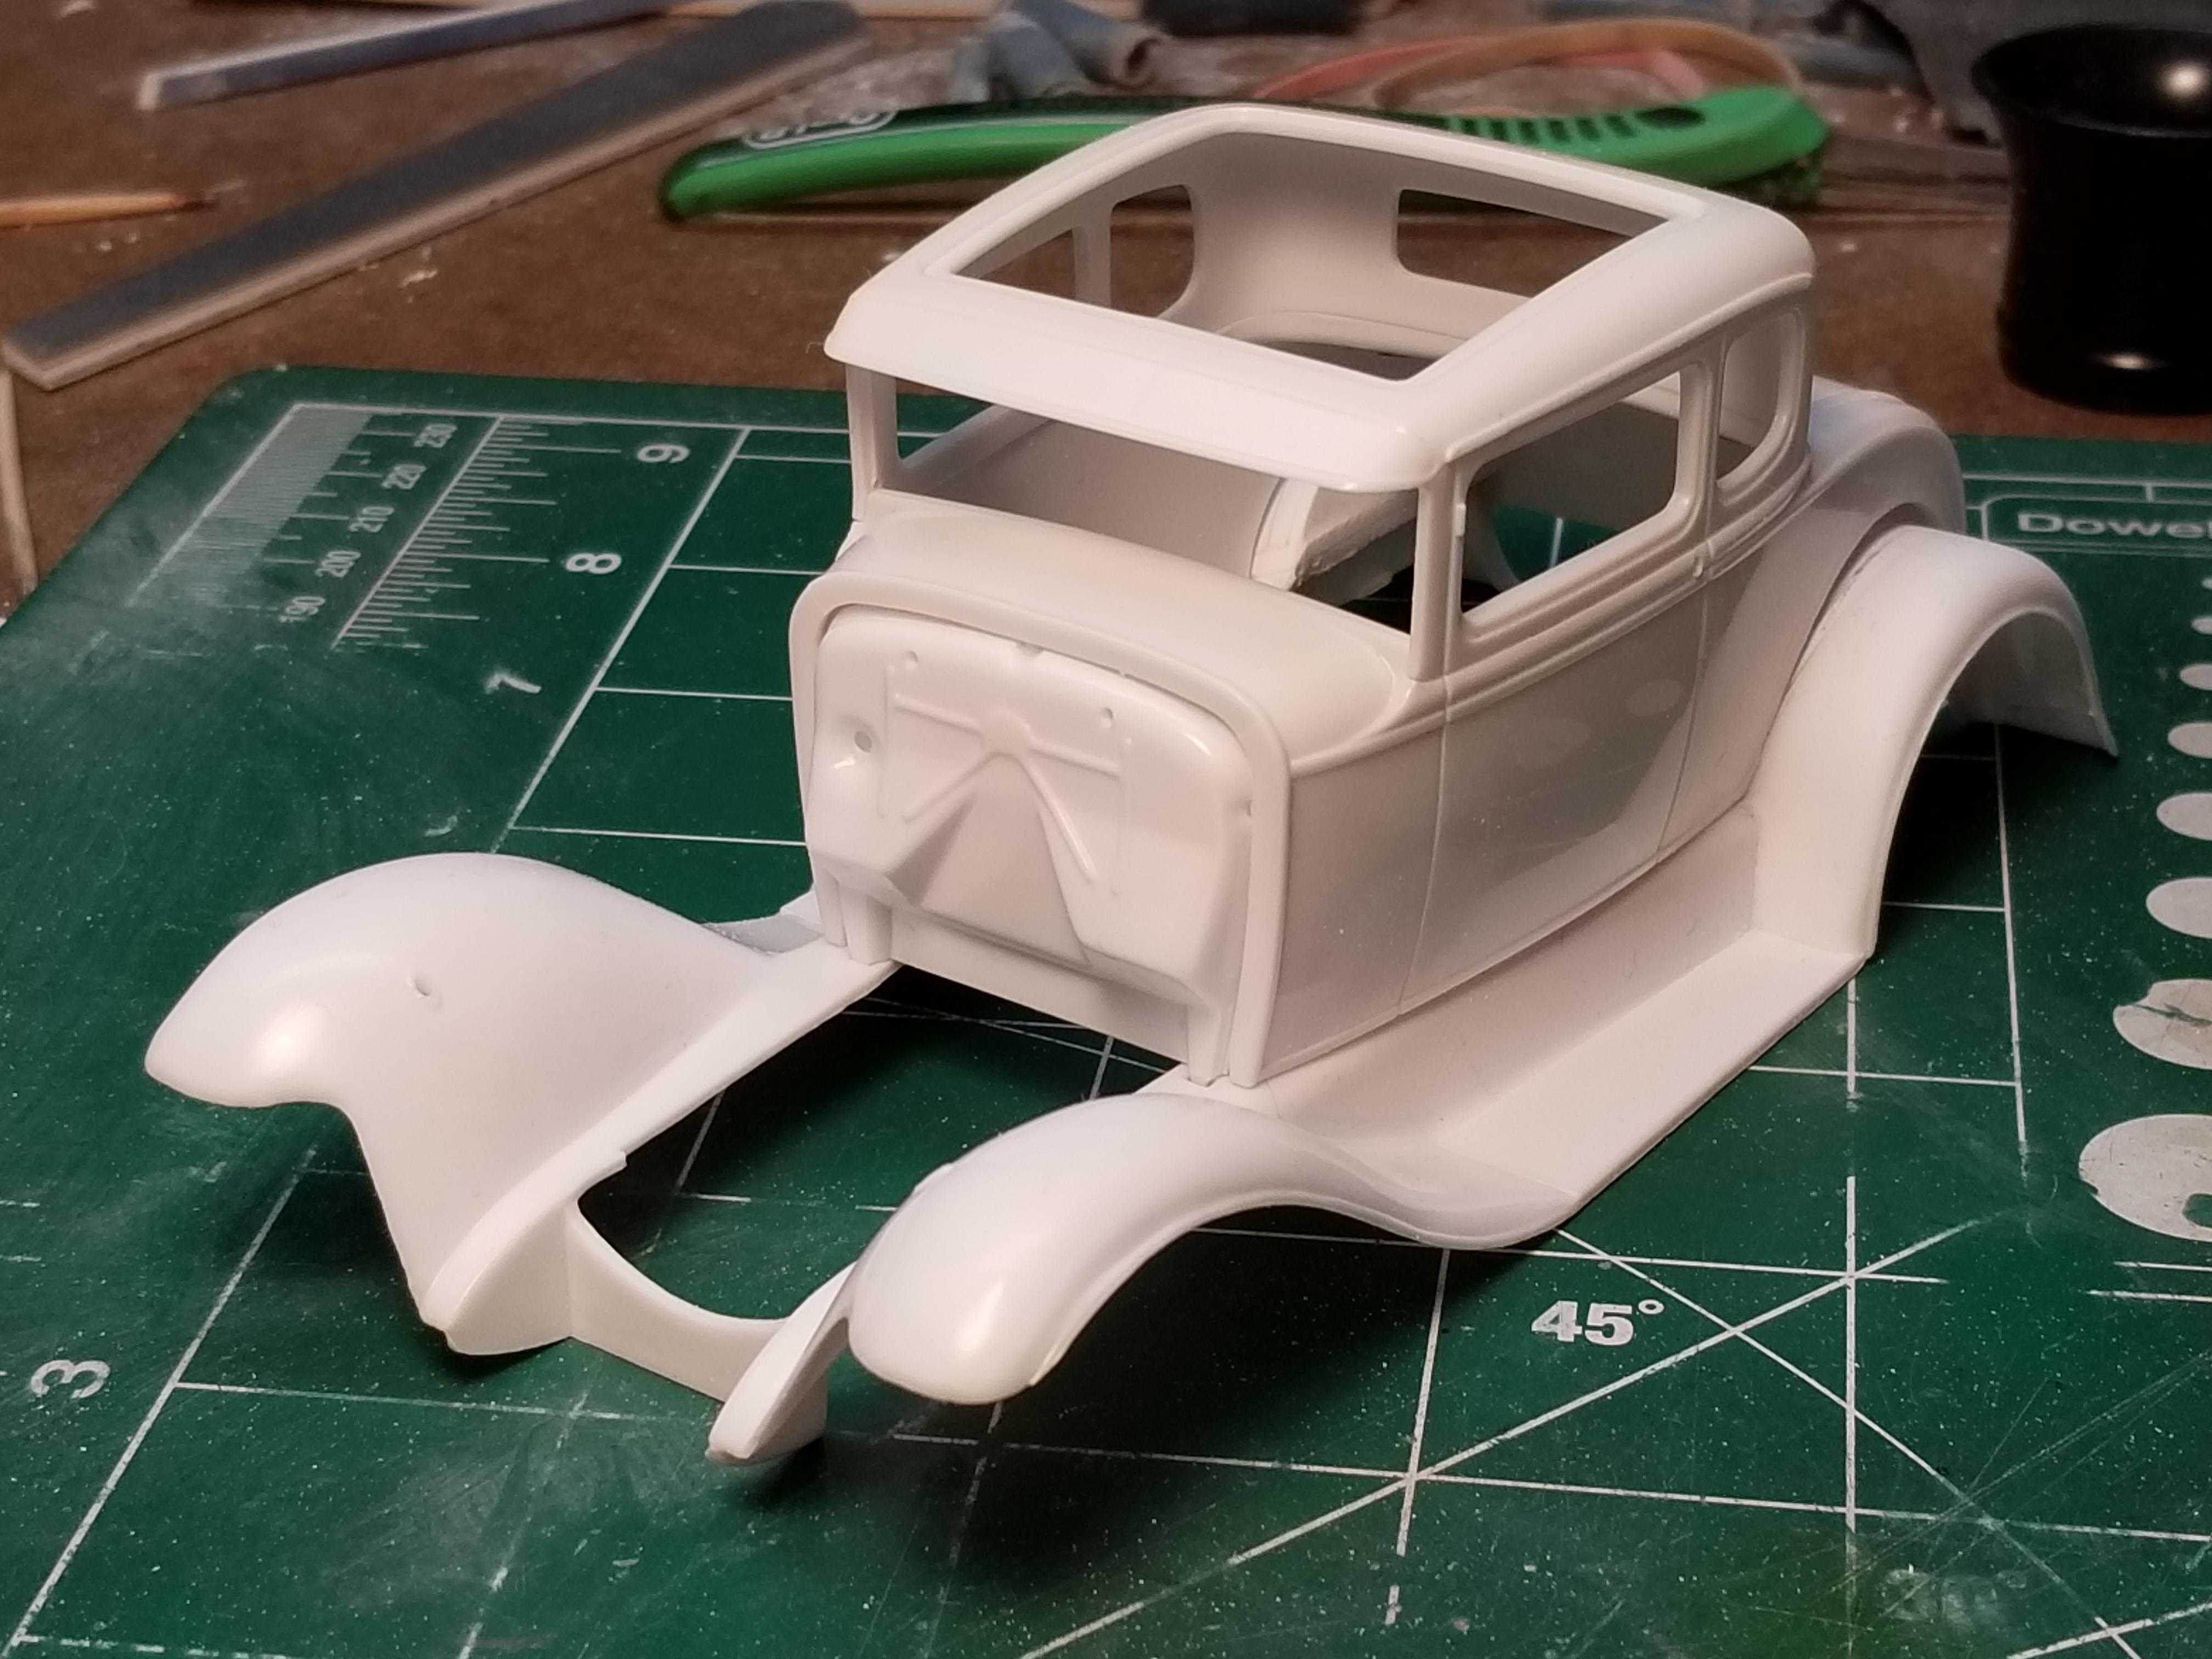
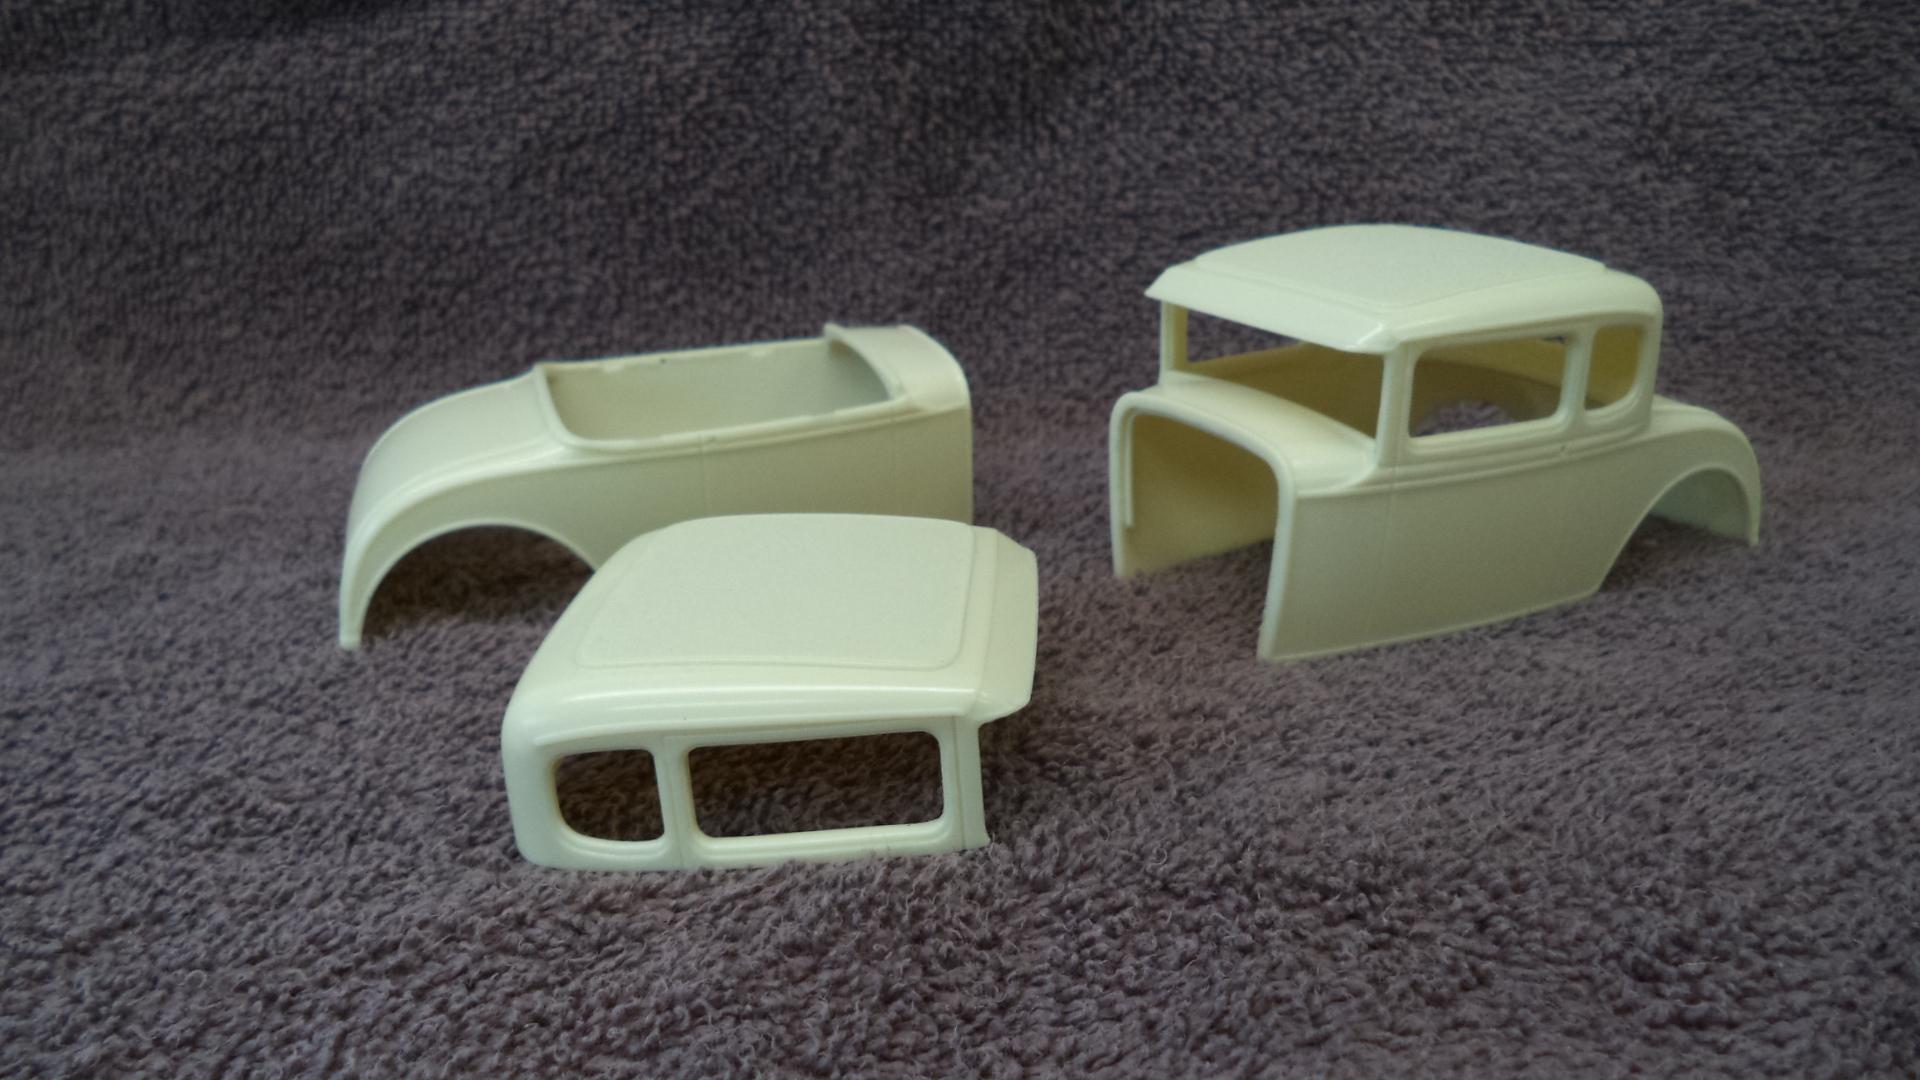
This is another friend's project using the original Revell Model A coupe body. You can see that he was able to make it fit the Revell '30 Model A sedan fenders by filling in the raised rear wheel wells. I will be offering a Model A coupe body with the rear wheel wells reworked to the stock configuration so you will not have to do it yourself.
-
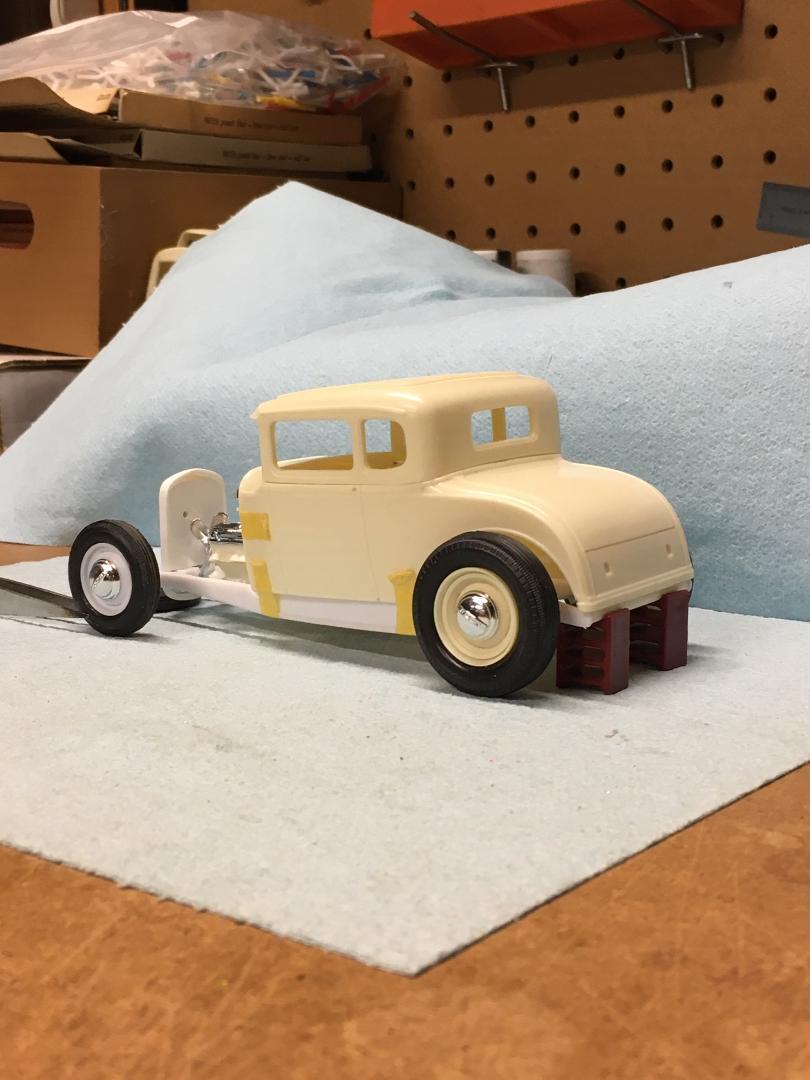
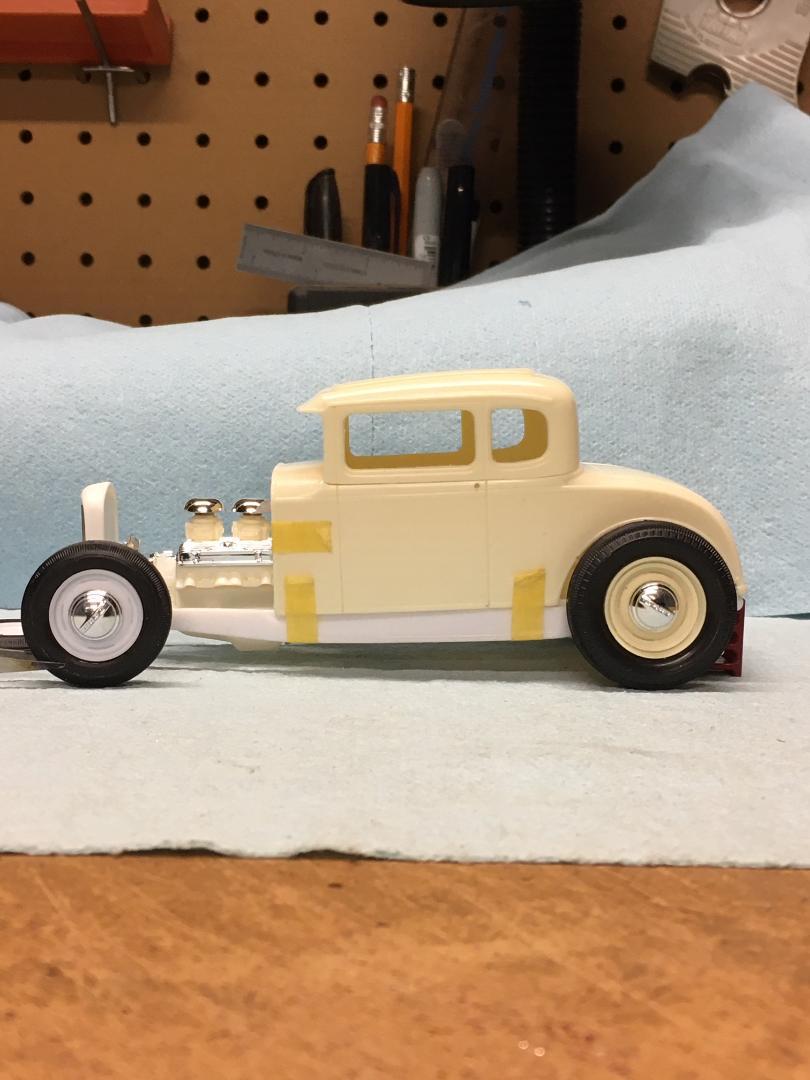
Here are a couple of photos of one of my customer's builds. He used the 'sister' kit ('29 roadster) for the donor since they share much of the same tooling.
-
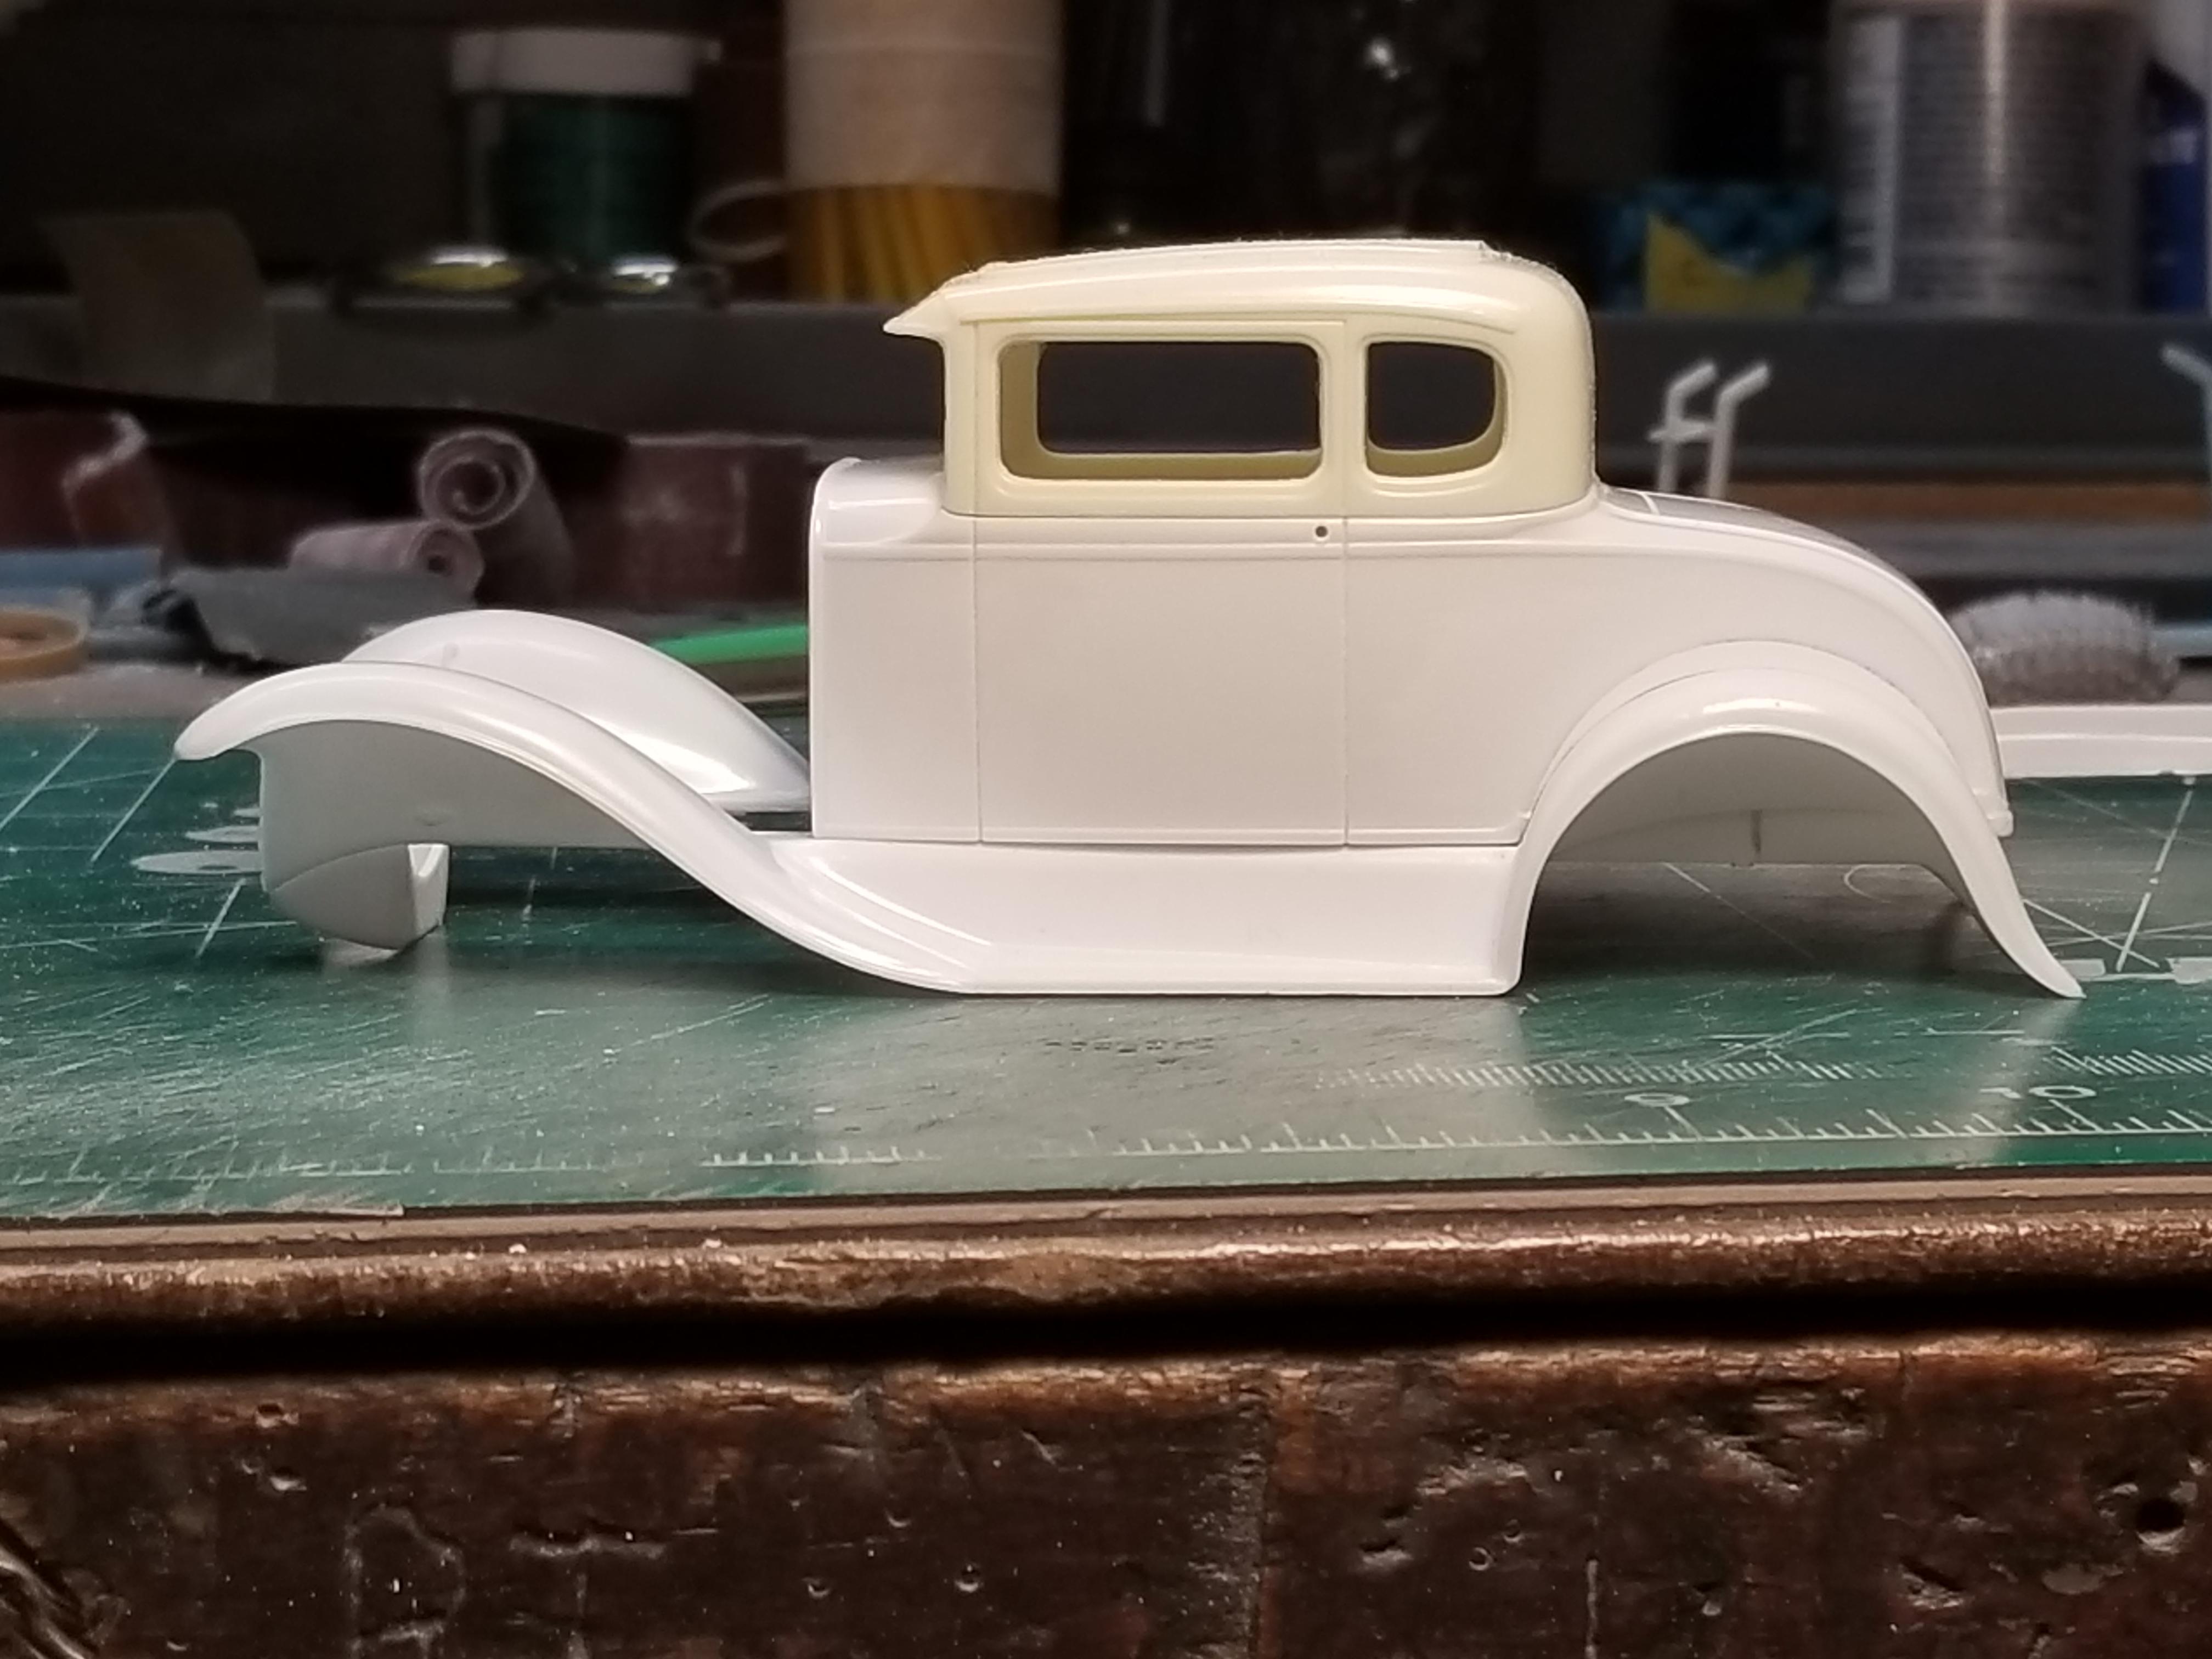
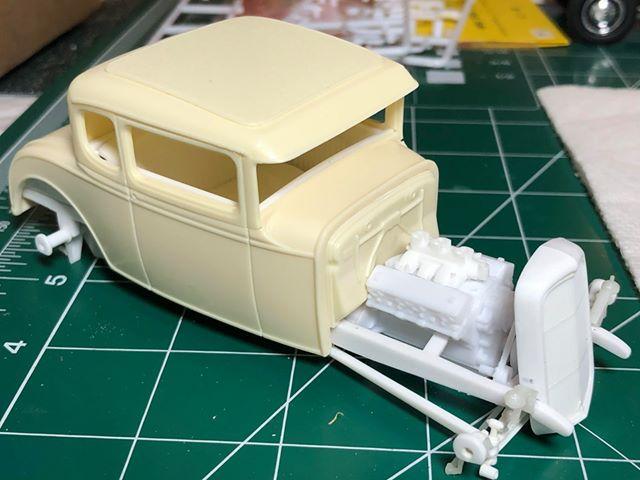
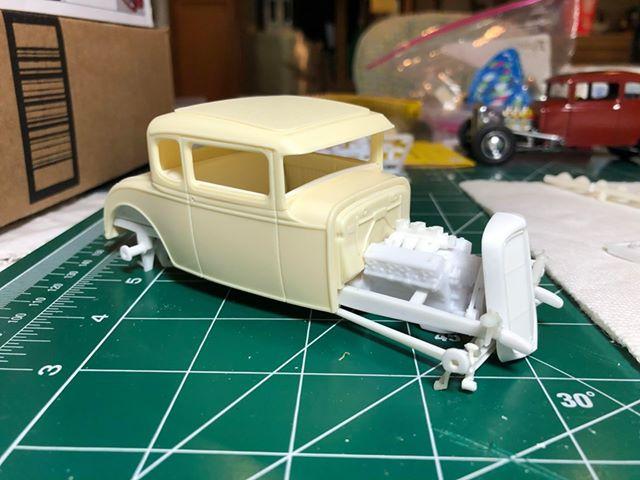
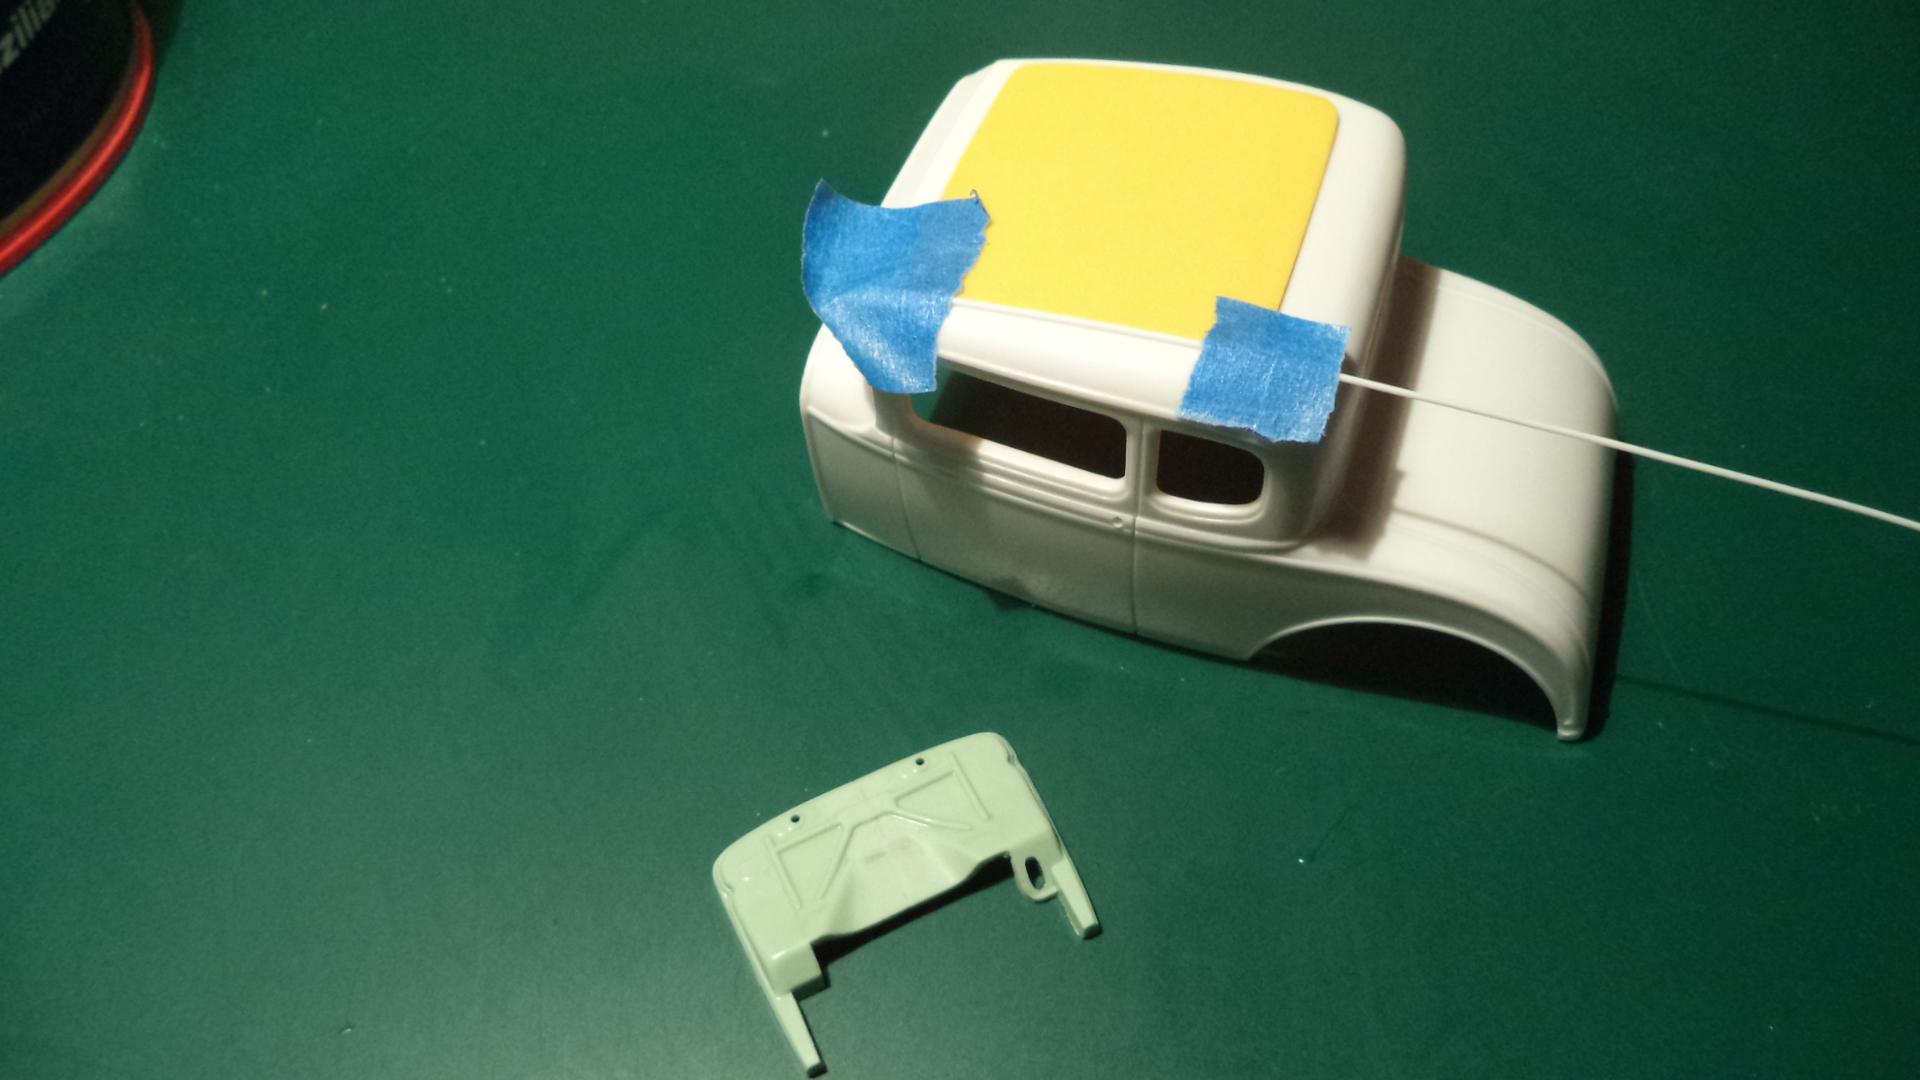
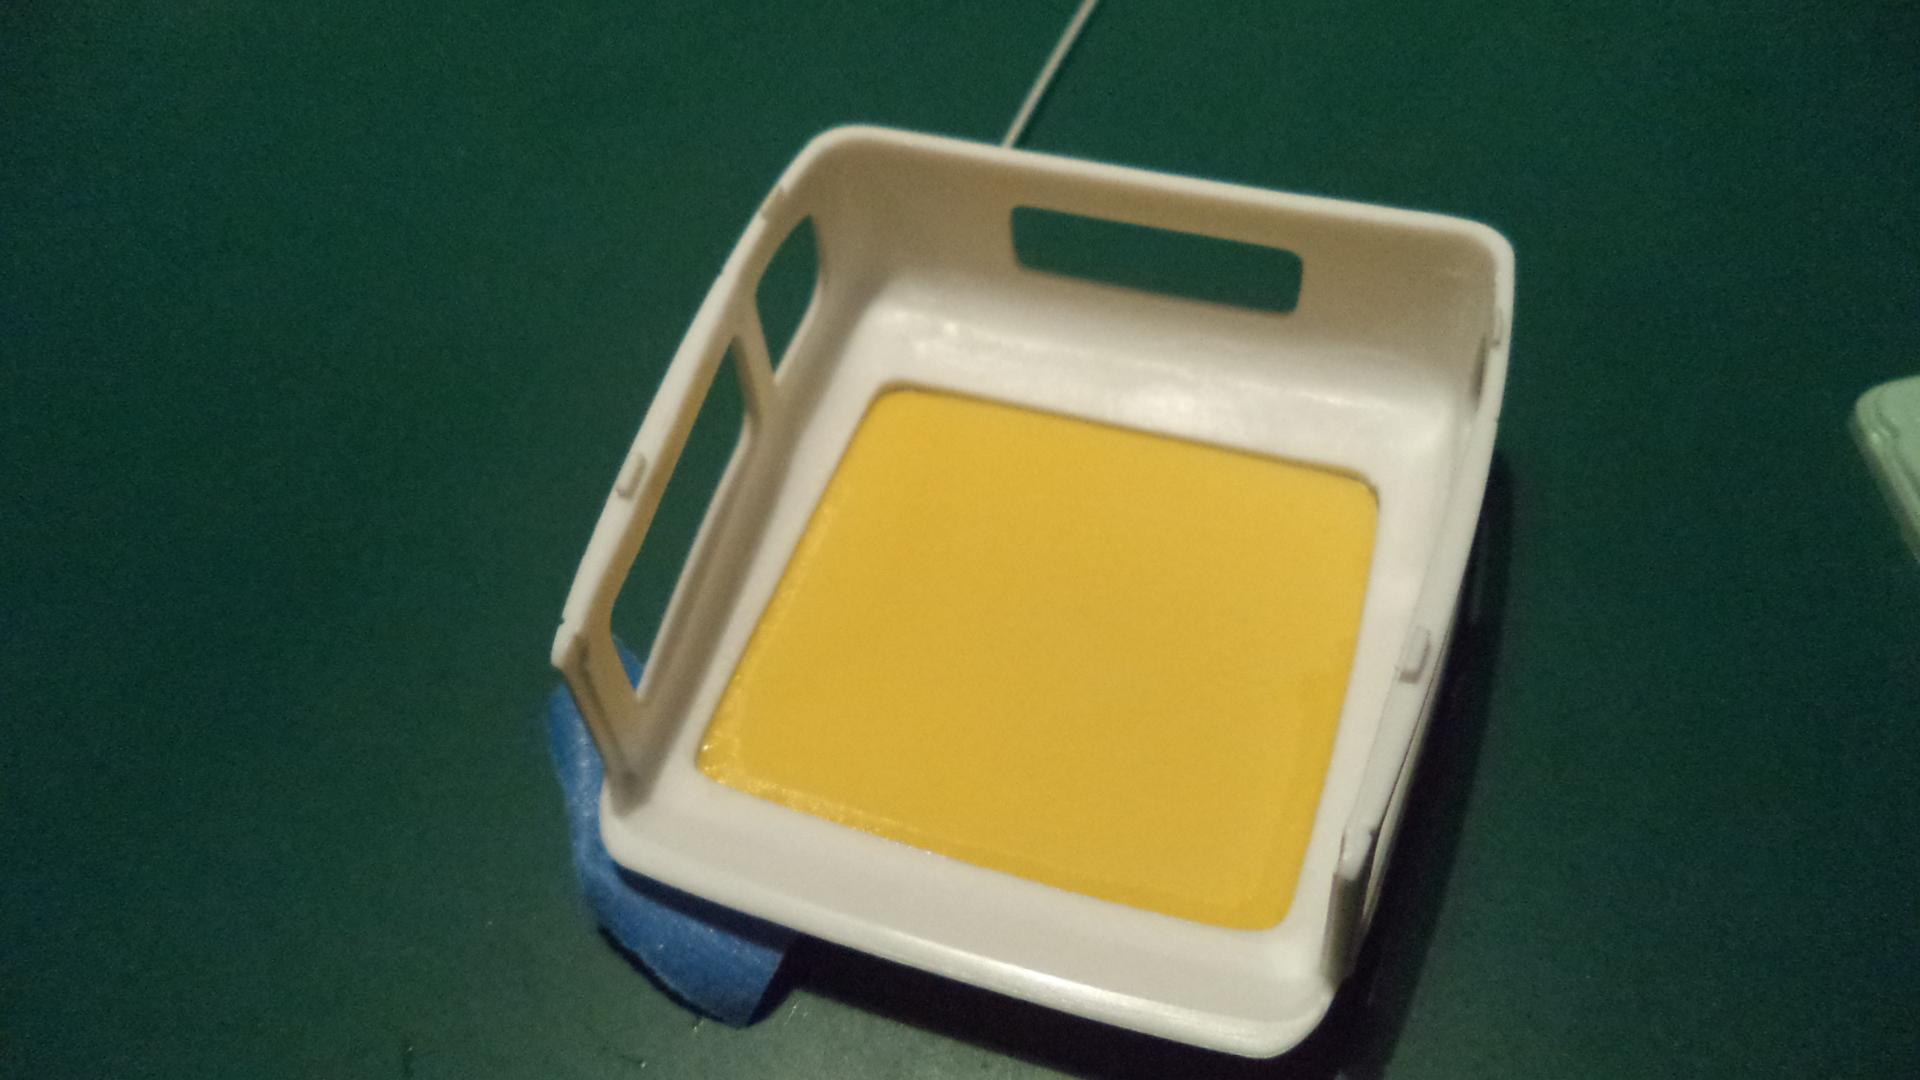
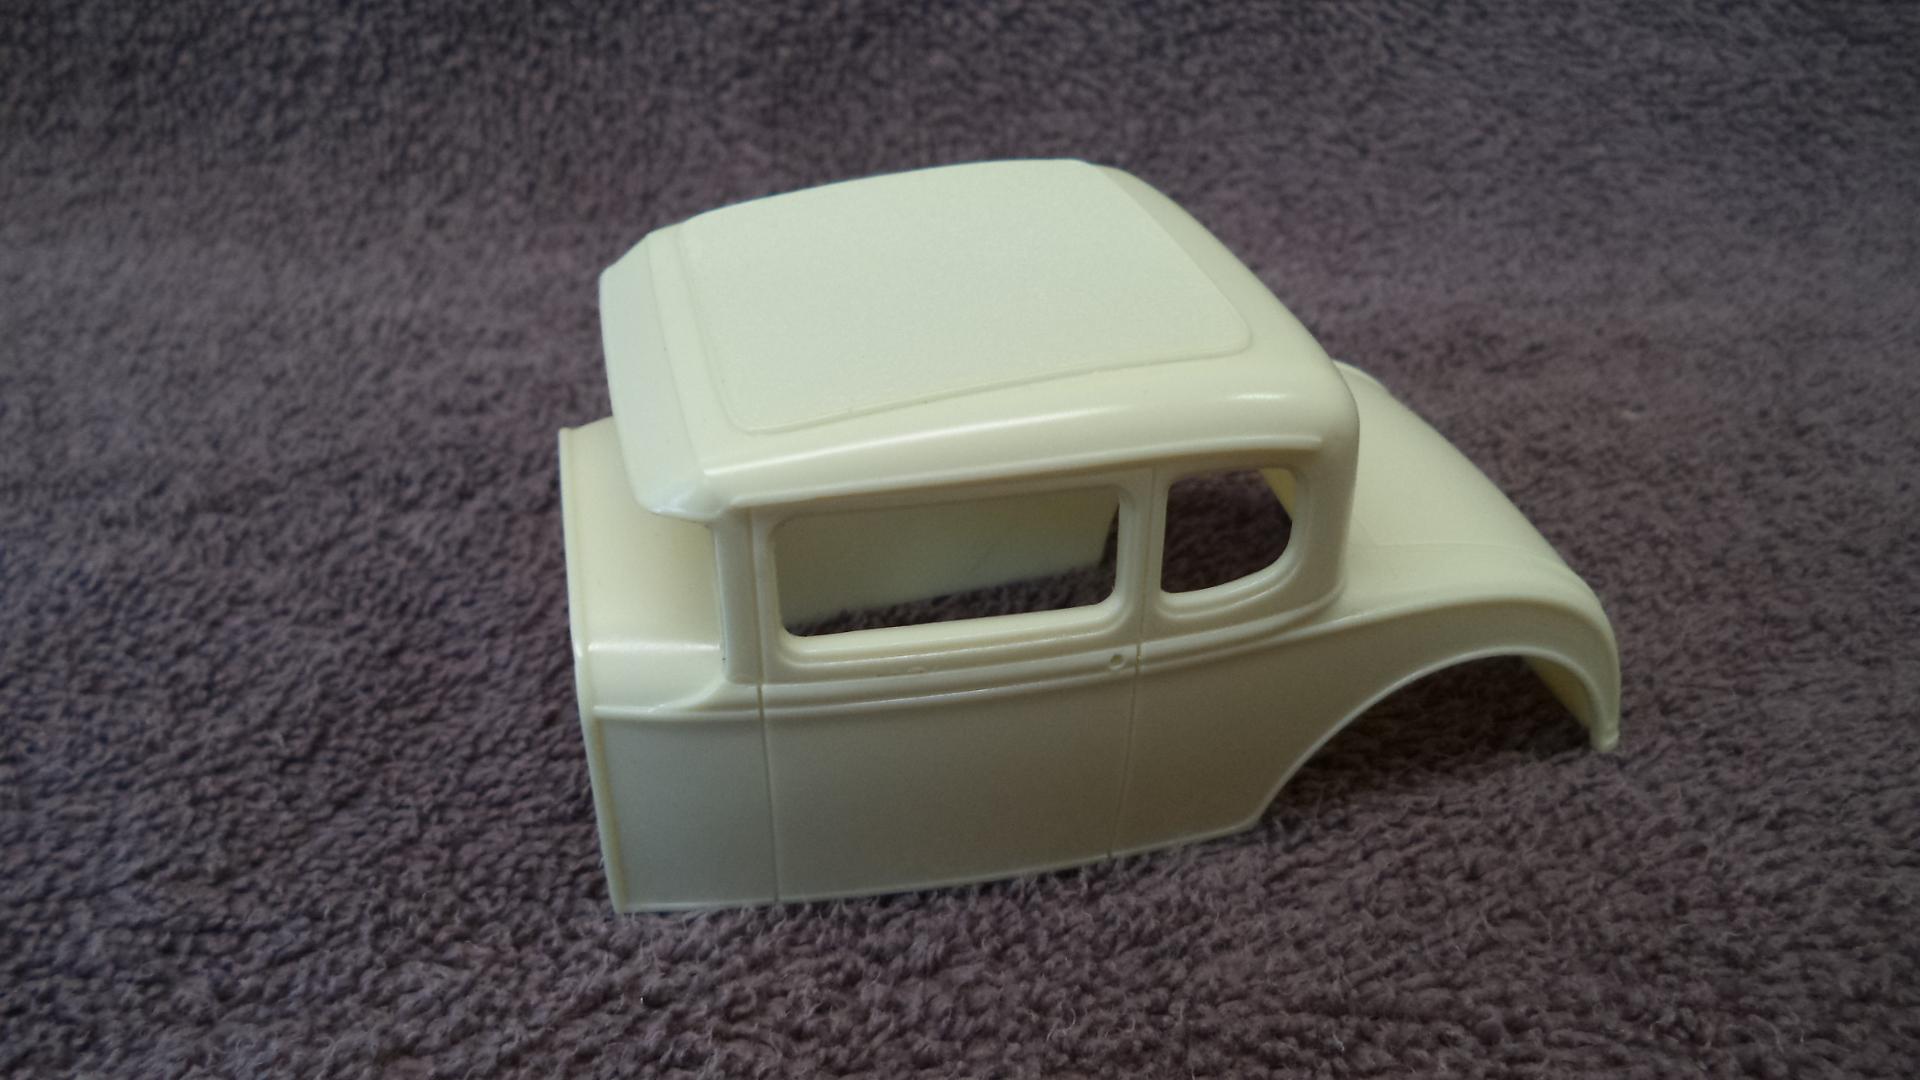
I am only offering the firewall with the bodies at this time or it will throw off the number of castings per body out of the molds. The roof insert is molded into the roof; not a separate part like originally in the kit. Here you can see more clearly what it looked like when I was doing the master work. This is actually the second time I've molded this body (as is).
-
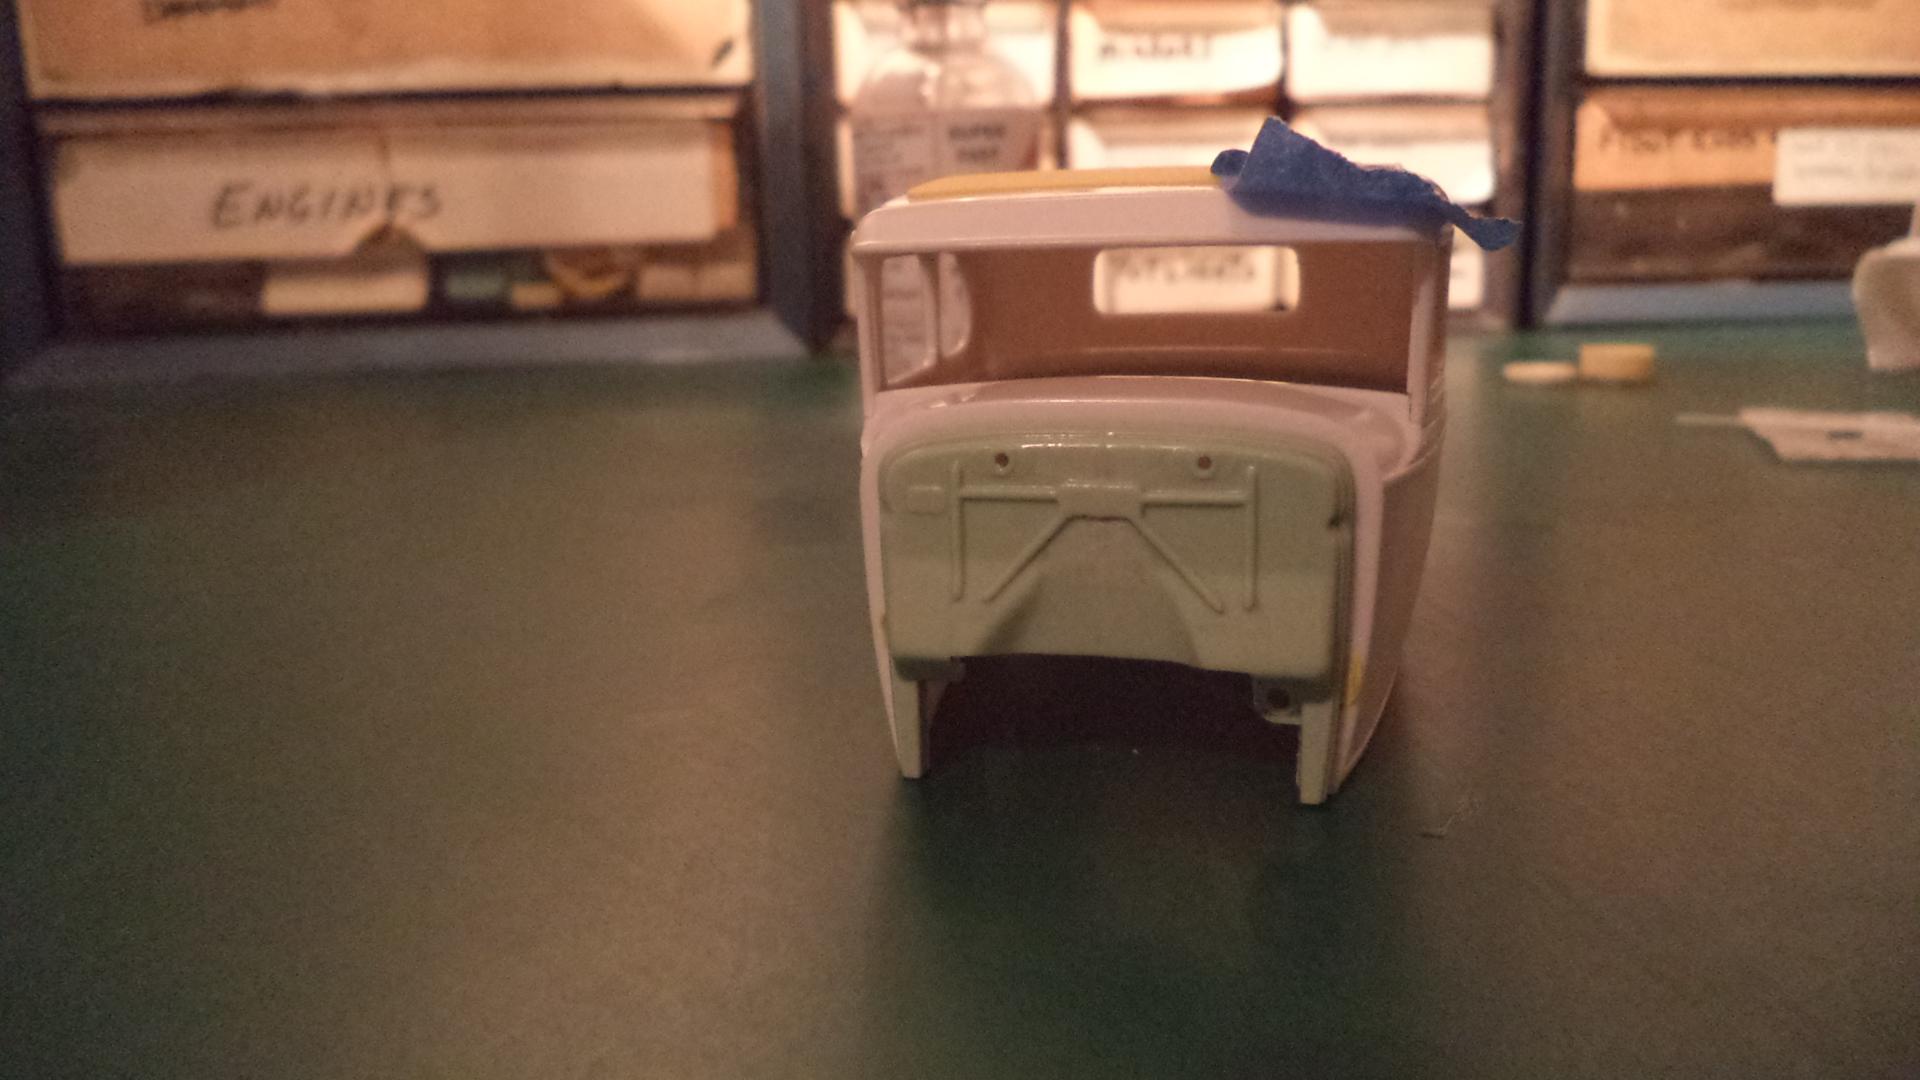
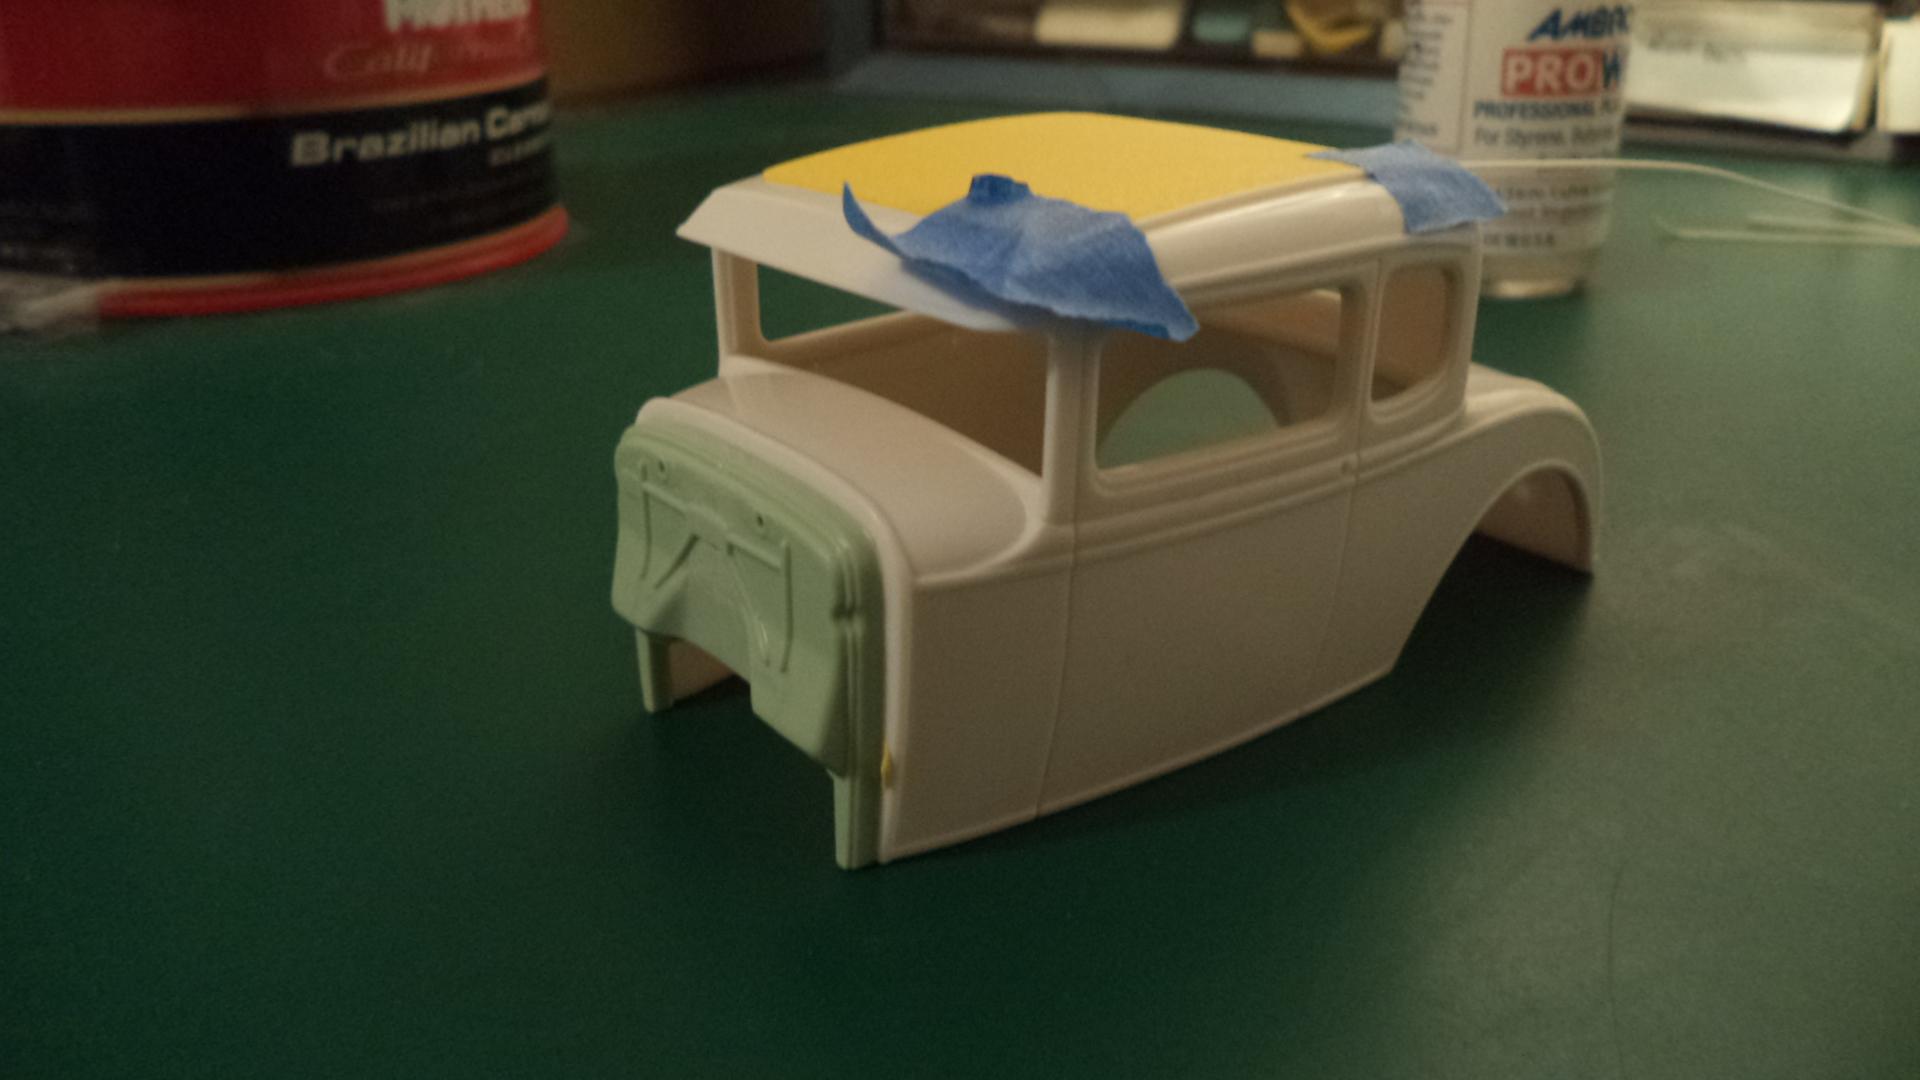
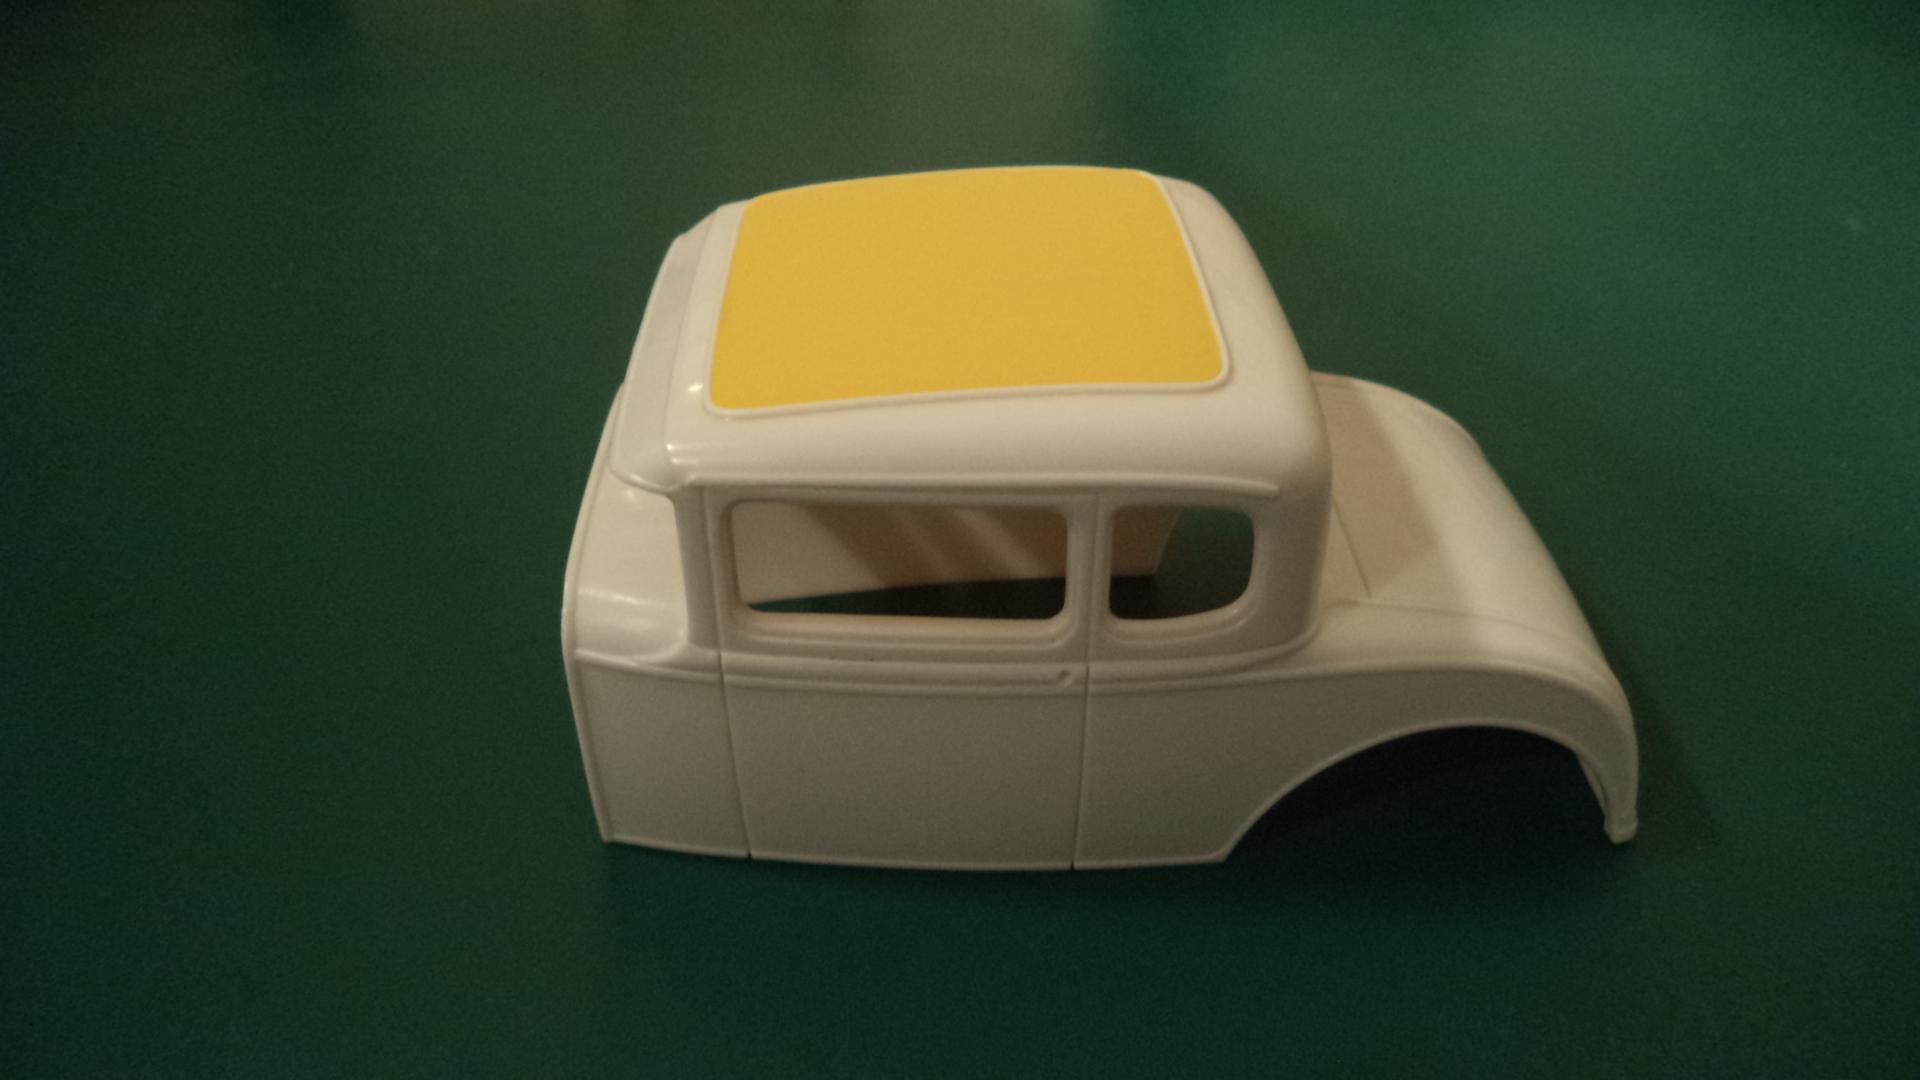
It's been posted in the Aftermarket section on the forum by a customer of mine and shown by Dennis Lacy on the forum before. Here are a few photos of it. I removed the door hinges so the body would not tear up the mold faster, filled in the two little holes below the deck lid, cleaned up the gigantic injector pins on the underside of the body and roof, and make a more pleasing 'hot rod' style roof insert with textured detail and piping around the perimeter. While not correct for a stock roof insert, it is still much better than the smooth insert piece Revell tooled up. I also ditched the toy-like firewall in favor of one I modified from a personal project of mine......a widened Monogram Model A firewall. The windshield frame and firewall are included with the coupe body.
-
Dennis and I should have that covered. He is reworking a Revell Model a coupe body so that the rear wheel wells are stock. I am just waiting for him to put the finishing touches on it and send it out to me to mold. Apparently, it doesn't really interest anyone on this forum that I have been offering an improved casting of the Revell Model A coupe body to date though.
-
63 Ford teardrop hood
krassandbernie replied to RichCostello's topic in Car Aftermarket / Resin / 3D Printed
I still offer this teardrop hood for the AMT '63 Ford Galaxie kit. You can send me a PM for more information.
-
The style that marks this era makes me throw up in my mouth a little; while simultaneously bringing up memories of "Hot Rod Magazine" issues from my prepubescent years! Talk about mixed emotions! LOL! But, your talent and craftsmanship keep me checking up on this thread (like every other model you carefully and meticulously construct!) Please take photos of the finished chassis (once painted and up on the rolling stock) before you mount the body. It's a work of art in and of itself; and many hot rods featured in "Hot Rod" often had a full page or double page spread showing the rolling chassis with the body lifted off as I recall! If I could muster up an '80's build it would have to be a loose replica of the "Lime Fire" deuce roadster. I think that was completed in '87..........in 79 days if I recall correctly.
-
When I test fit the uptop on the untouched (molded in black) Monogram body it fit a lot better than you show here Dennis. The interior tub was even taped up inside of the body. I know that not every single kit body is going to be exactly the same...........after all, look at all the brand new kits we've opened where one body was warped or spread further apart at the bottom. Either way, it doesn't look like it would take much for even the average modeler to make this uptop work on the Monogram body if there's a slight discrepancy in fit.
-
It appears to fit fairly well! I put the original master uptop on a black issued Monogram deuce roadster body; and don't see any issues. There's no unsightly gaps along the back edge where it meets the body; and it fits generally the same as the uptop does on the Revell bodies Dennis posted above. At worst you may decide to sand just a smidge off the inside of the top where it wraps around the side of the body; but I'm not convinced this is necessary........just showing you were to look if you think the fit is off a hair.
-
You are correct, I failed to mention it! LOL! Subconsciously I knew you already corrected this on your '69 Coronet R/T; so it would be a bit redundant to bring it up again! LOL!
-
I agree with you here; having studied these cars for quite some time.......and the MPC kits. The early production '68 bodies have a more accurate shape to the bottom edge of the rear quarter windows; but it was altered to have that goofy sweeping upward curve by the time they came out with the "Feverbee" funnycar kit; and this change stayed put right on through the '69 and '70 bodies. I believe Steve corrected this to some degree on his '69 Coronet R/T build. One other area that is off on the MPC '68-'69 Coronet bodies is the two little indented 'coves' at the front of the quarter panel. They're too large......or long to be a bit more accurate. I plan on attempting to graft the 'coves' from a Monogram '69 Super bee into a junk '70 Super bee body first to see if I run into any issues with the contour of the surrounding 'sheet metal' before cutting on one of my '68 or '69 MPC bodies. Visually, the 'coves' look about the right size despite the Monogram body being 1/24th scale. Back to the '68 grille...........it is also not set into the opening deep enough compared to the 1:1. There's more 'material' on the inside of the fender/grille opening; where it looks more carved out at the deepest area on the sides on the MPC body instead of having a slight angle inward to meet the grille. Since there already appears to be a slight gap around the sides of the grille a little plastic sheet stock glued and reshaped might be all that is needed here to correct this proportional error.
-
No problem!
-
The only way around it is to completely scratch build a new grille by cutting out everything but the outer 'frame', laying the appropriate shaped photo etch screen mesh in place with bracing on the backside, using headlight rings and buckets from another source, and then gluing the R/T emblem from the Revell '68 or '69 Charger (for example) onto the grille if you were sticking with building an R/T instead of a Super bee; which would require further scratch building on the taillight panel. The taillights are actually quite different between the R/T and Super bee in '68; yet look similar.
-
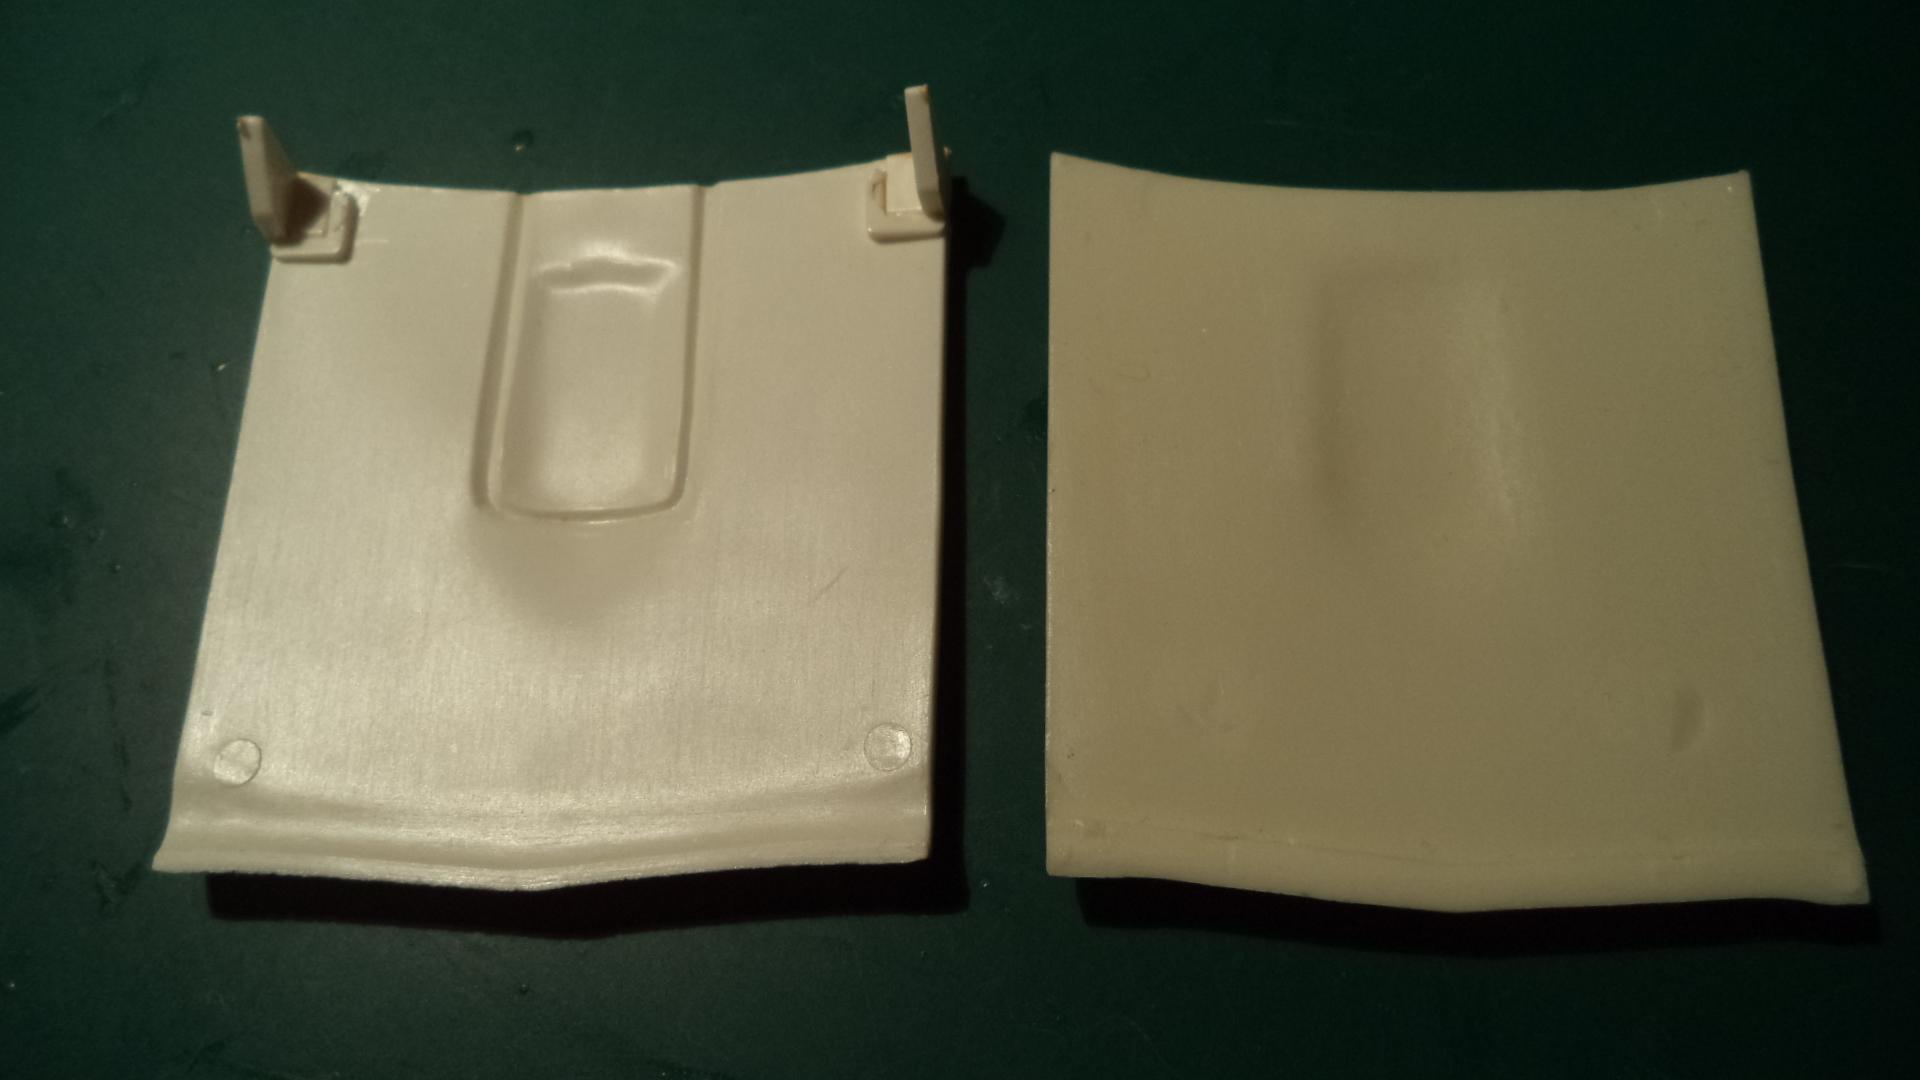
Looking good so far! Here's the hood I offer in resin that Wayne mentioned earlier. It is molded from one cut out of the "Feverbee" funnycar issue; so the fit is as good if not better than the original kit hood (I used a thin photo etch blade to remove the hood before I molded it); and as Wayne pointed out there are no blower hole cut-out marks on the underside of the hood to contend with on the top surface. The first attached photo is of the kit hood on one of my '68 Coronets.....the rest are of the resin hood I offer for comparison.