wgflatliner
-
Posts
856 -
Joined
-
Last visited
Content Type
Profiles
Forums
Events
Gallery
Everything posted by wgflatliner
-
Ladies and Gents, This will be the official Lowrider Tour that will cover lowriders. The CBP will go from 10/1/16 to 10/1/17. It will be long enough for all those who wish to participate, and long enough for those who love to take their time on models! rules: 1) must be a lowrider, for obvious reasons. This means, it must have lowrider wheels (spokes).2) you can build it out of the box or you can go all out custom.3) the build must be a brand new build or barely started, please post pictures4) the build will start on 10/1/16 and last through 10/1/175) have fun!we can have public voting or a photo album for all of the cars in the CBP once it's over, and i would even go as far as getting a trophy or something made for the winner.
-

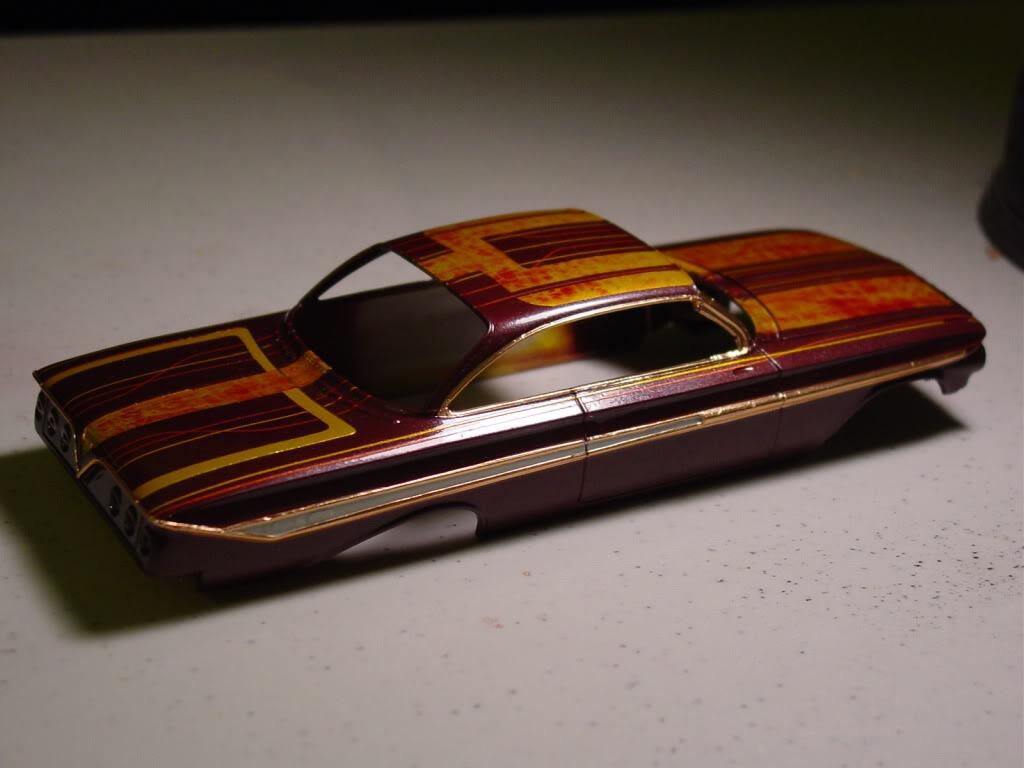
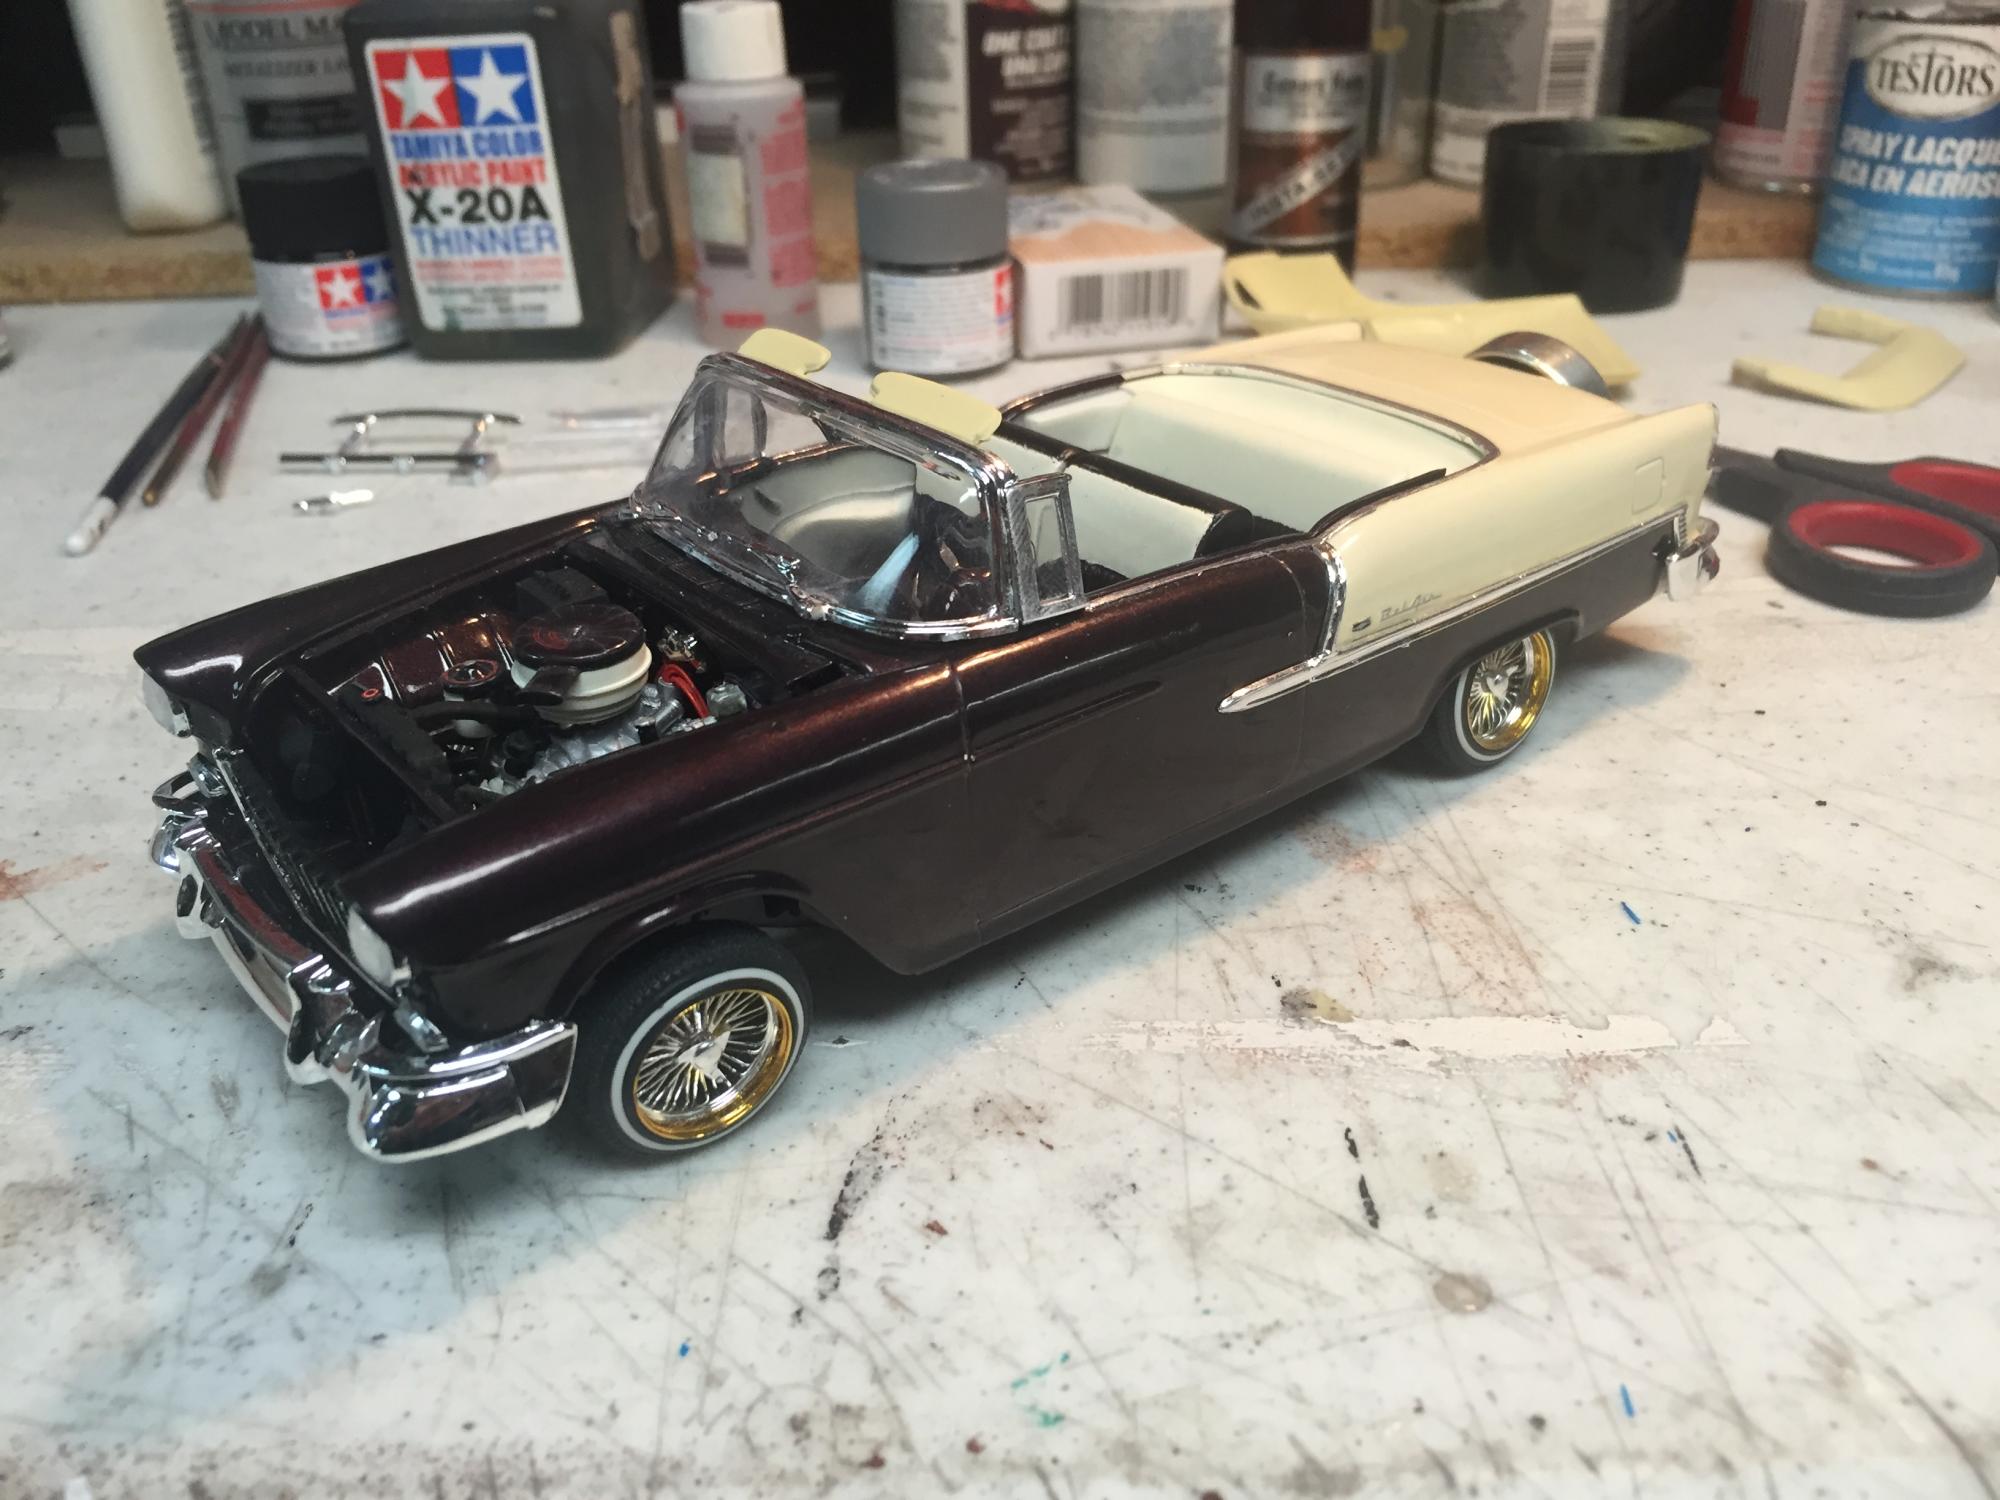
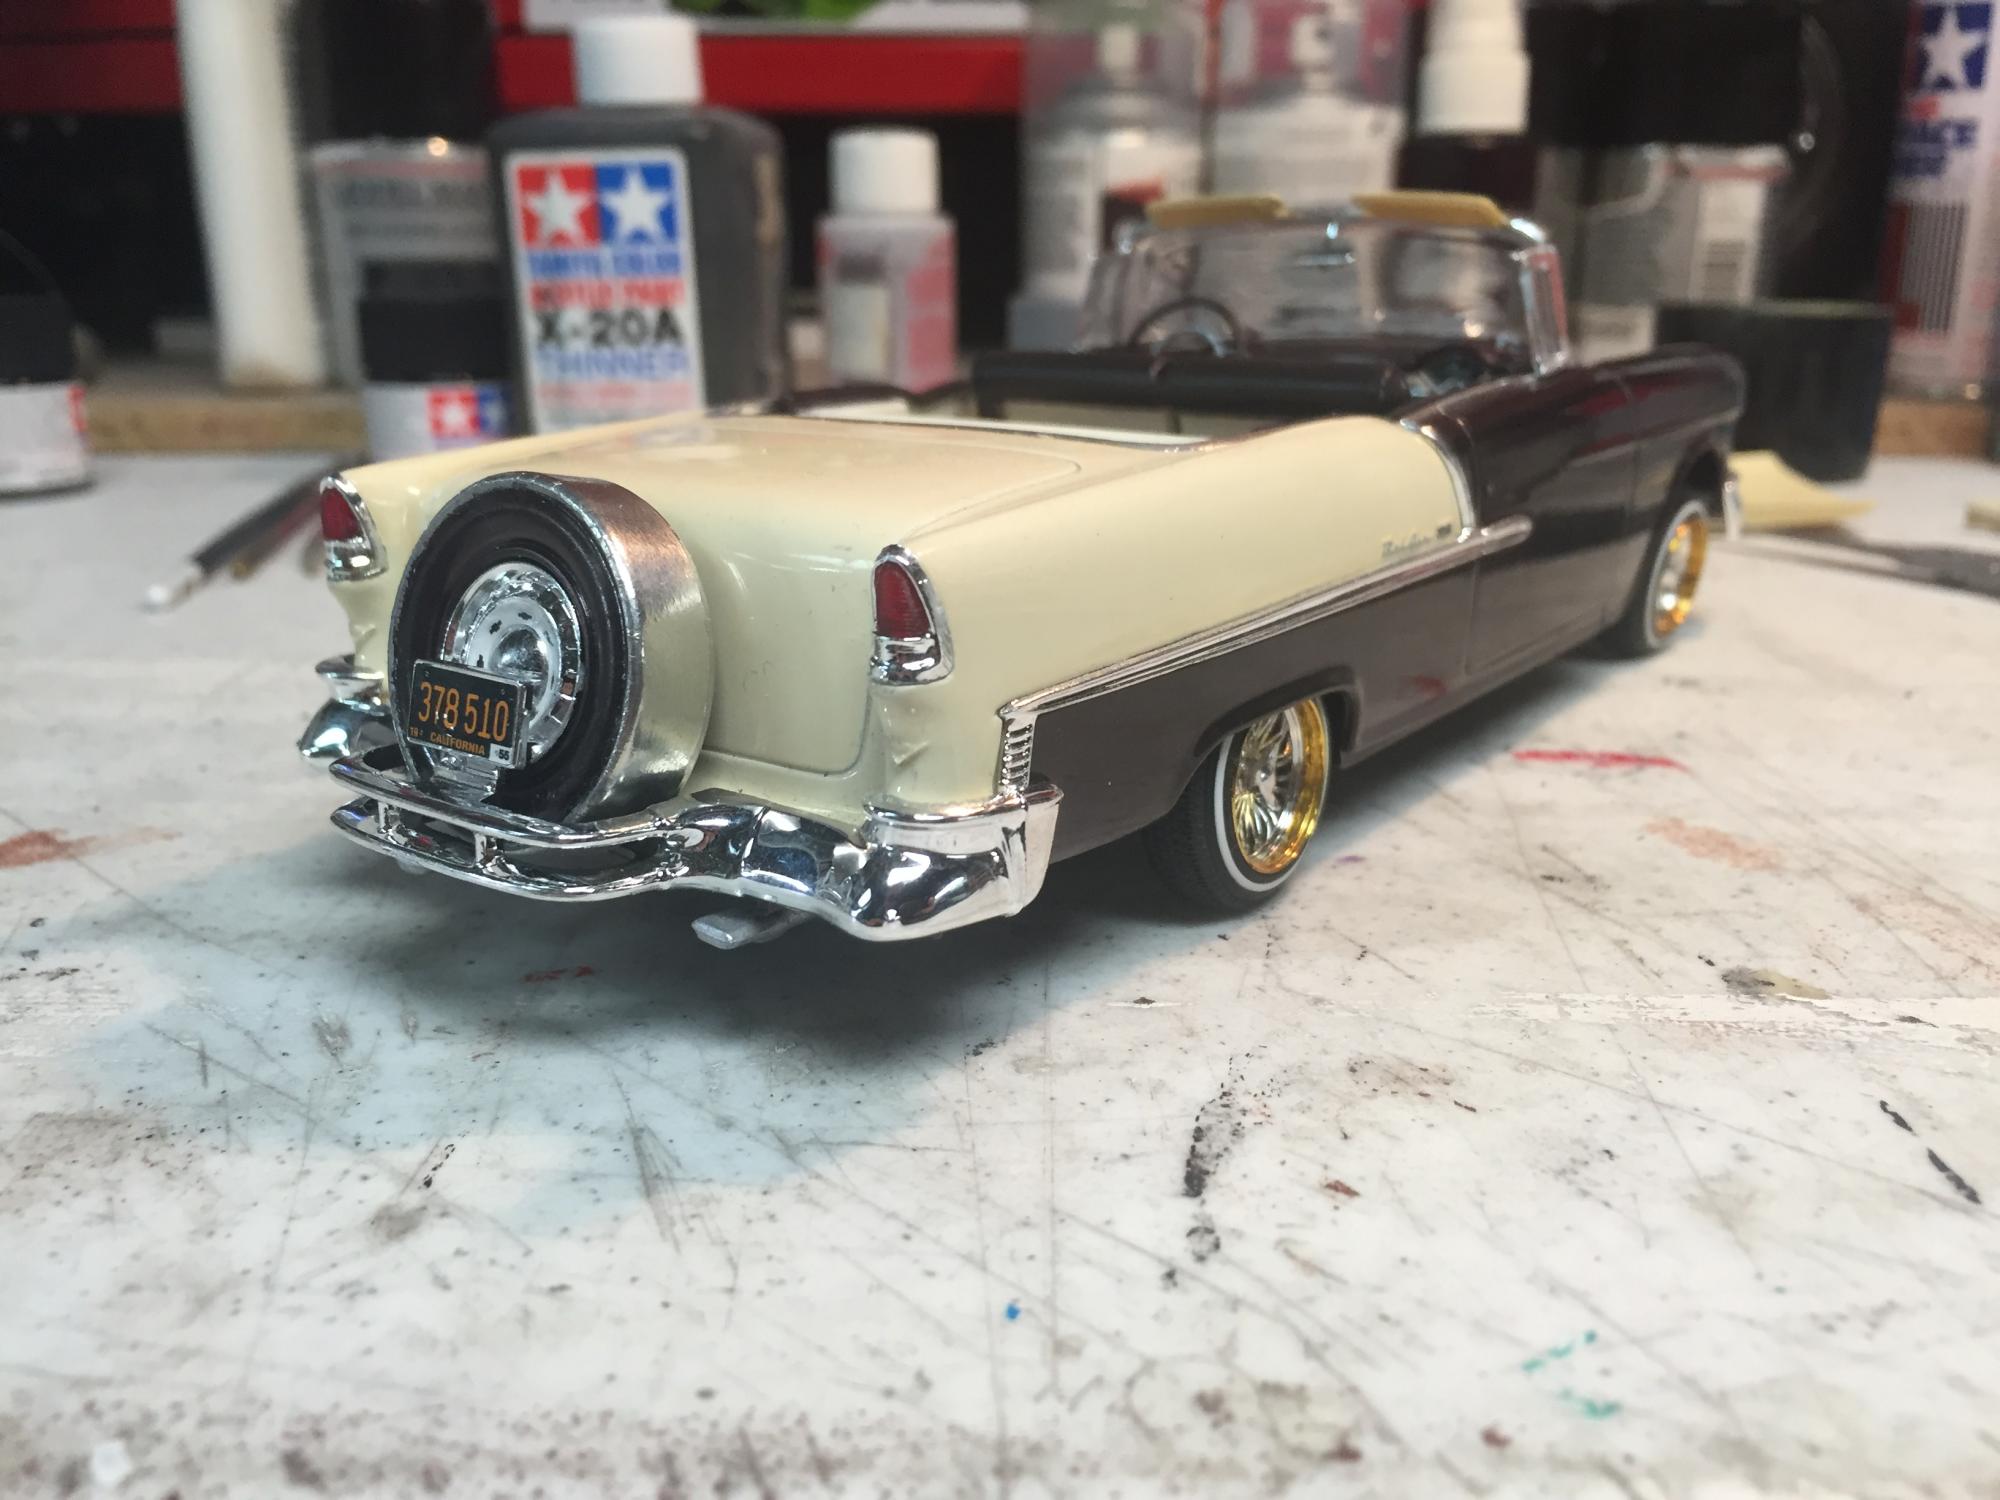
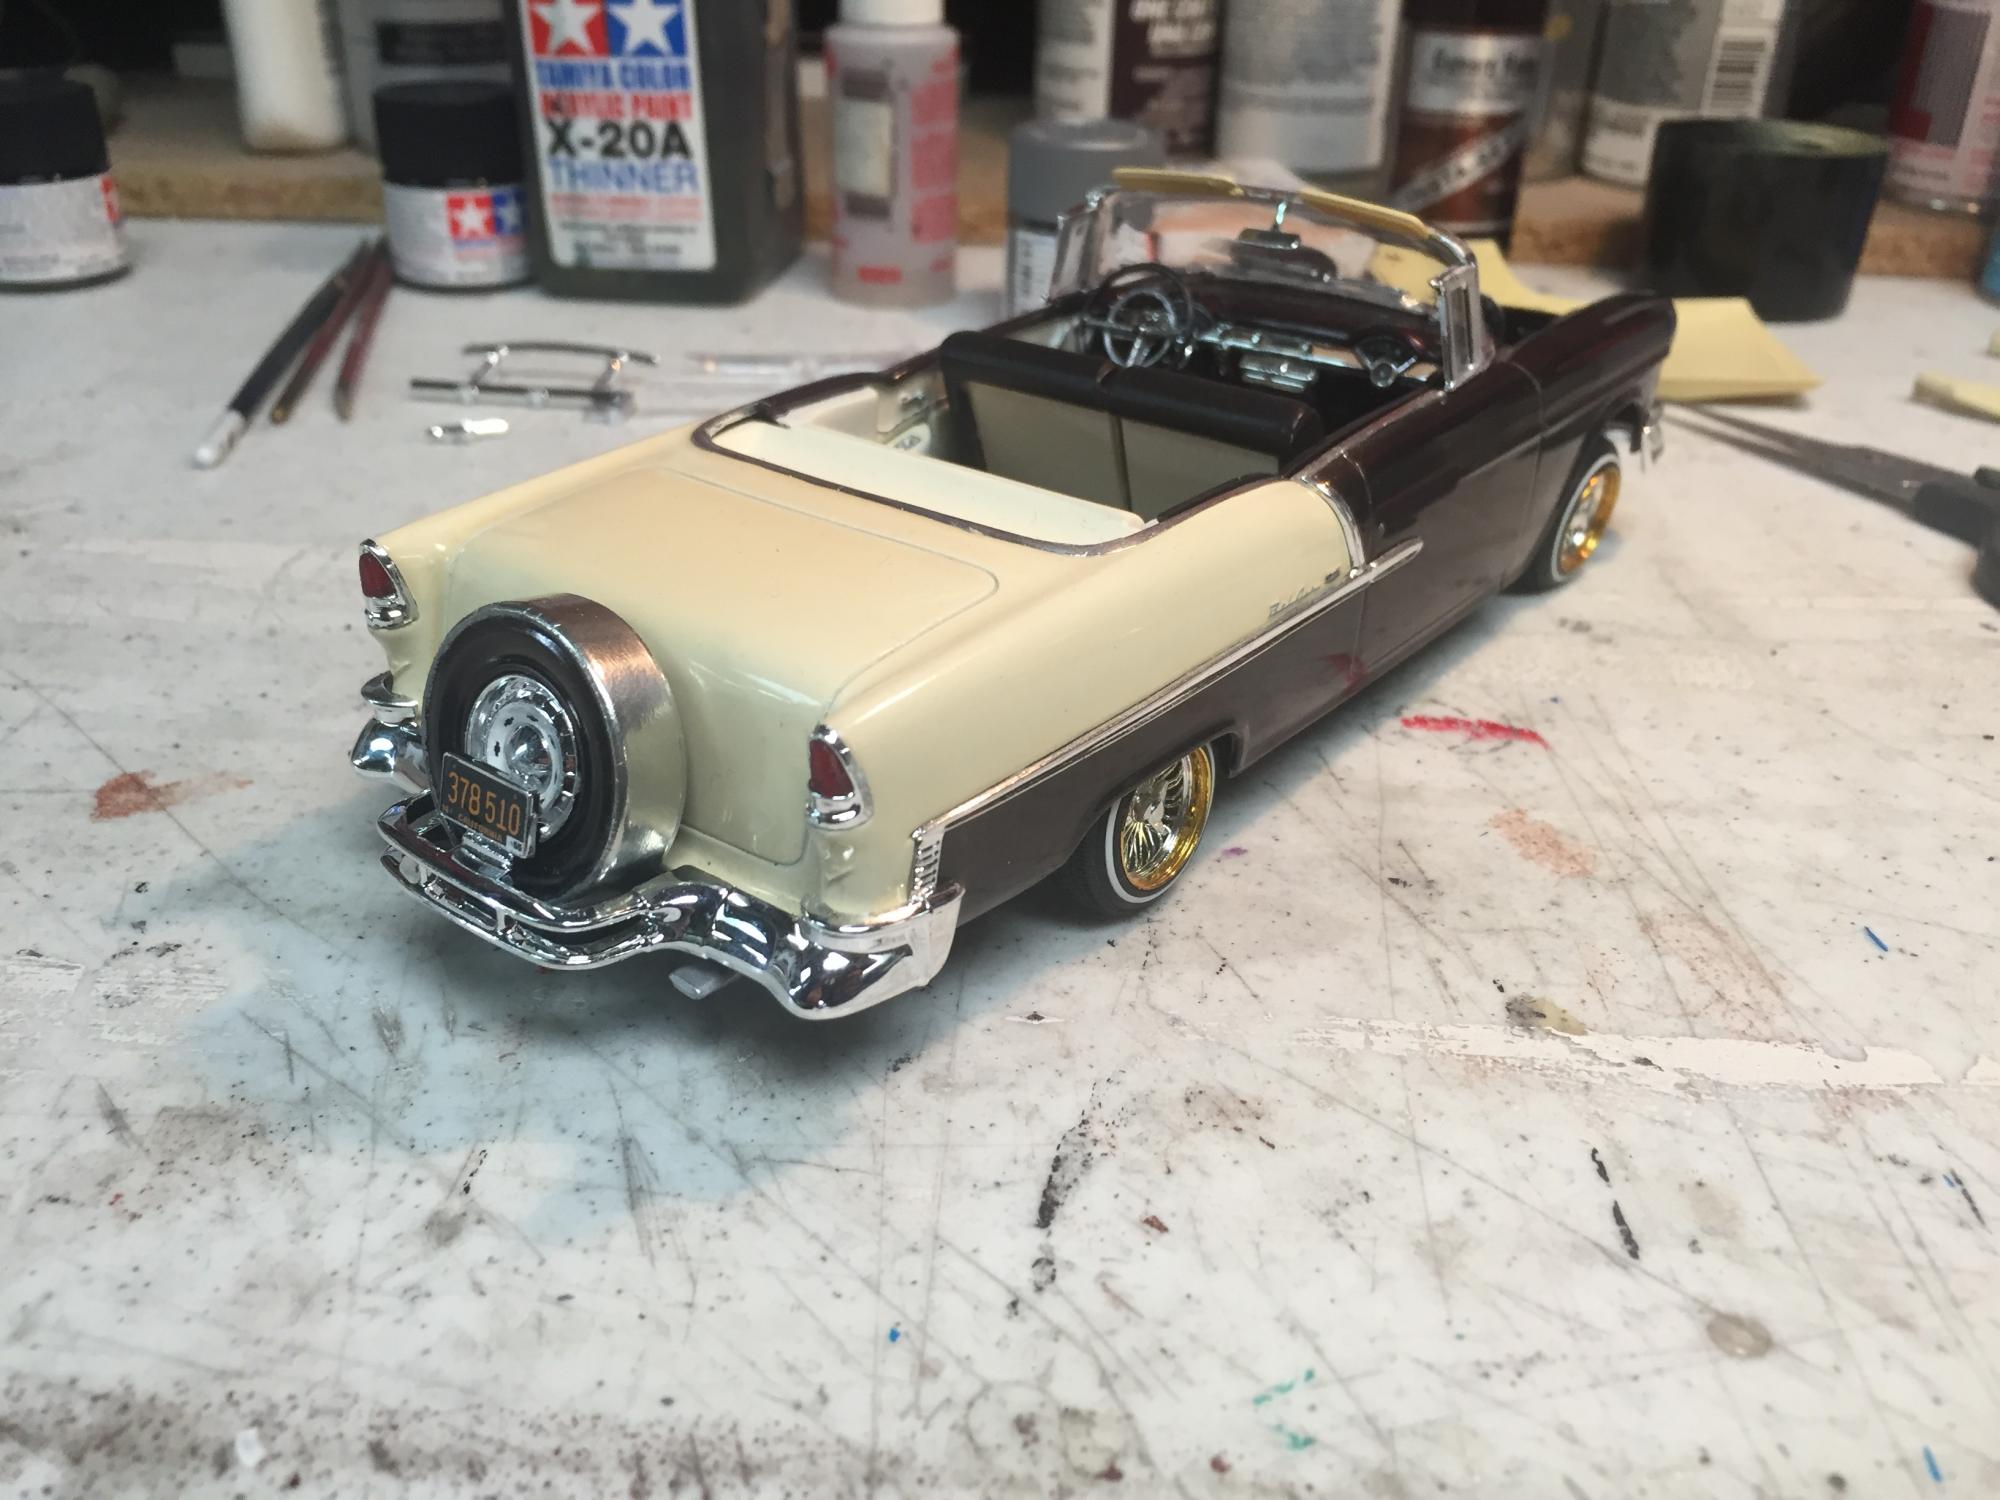
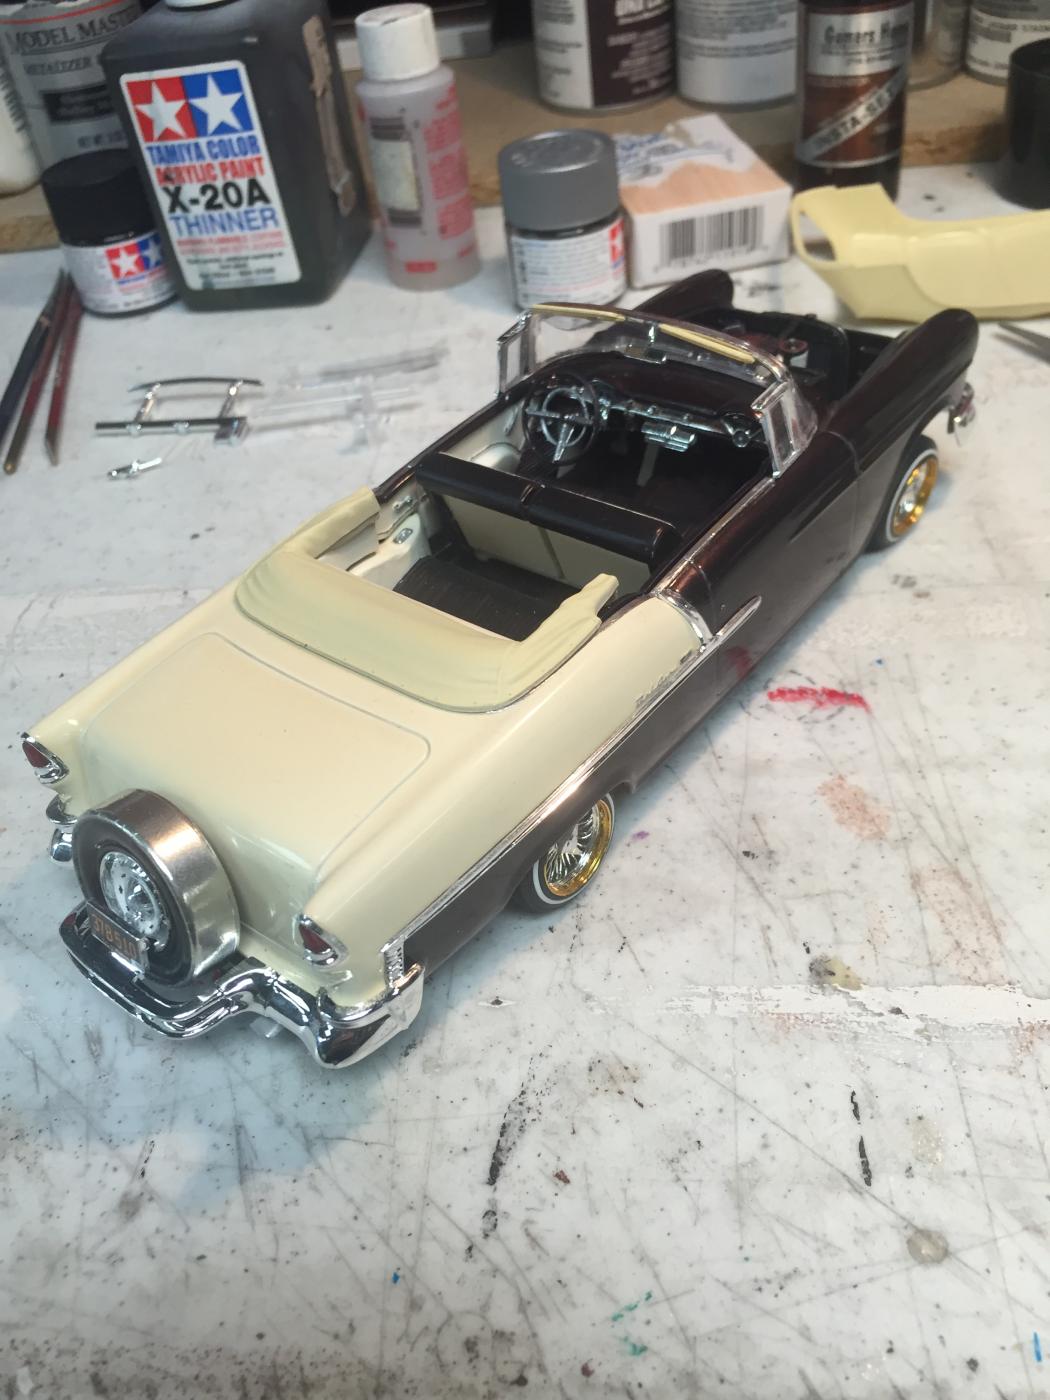
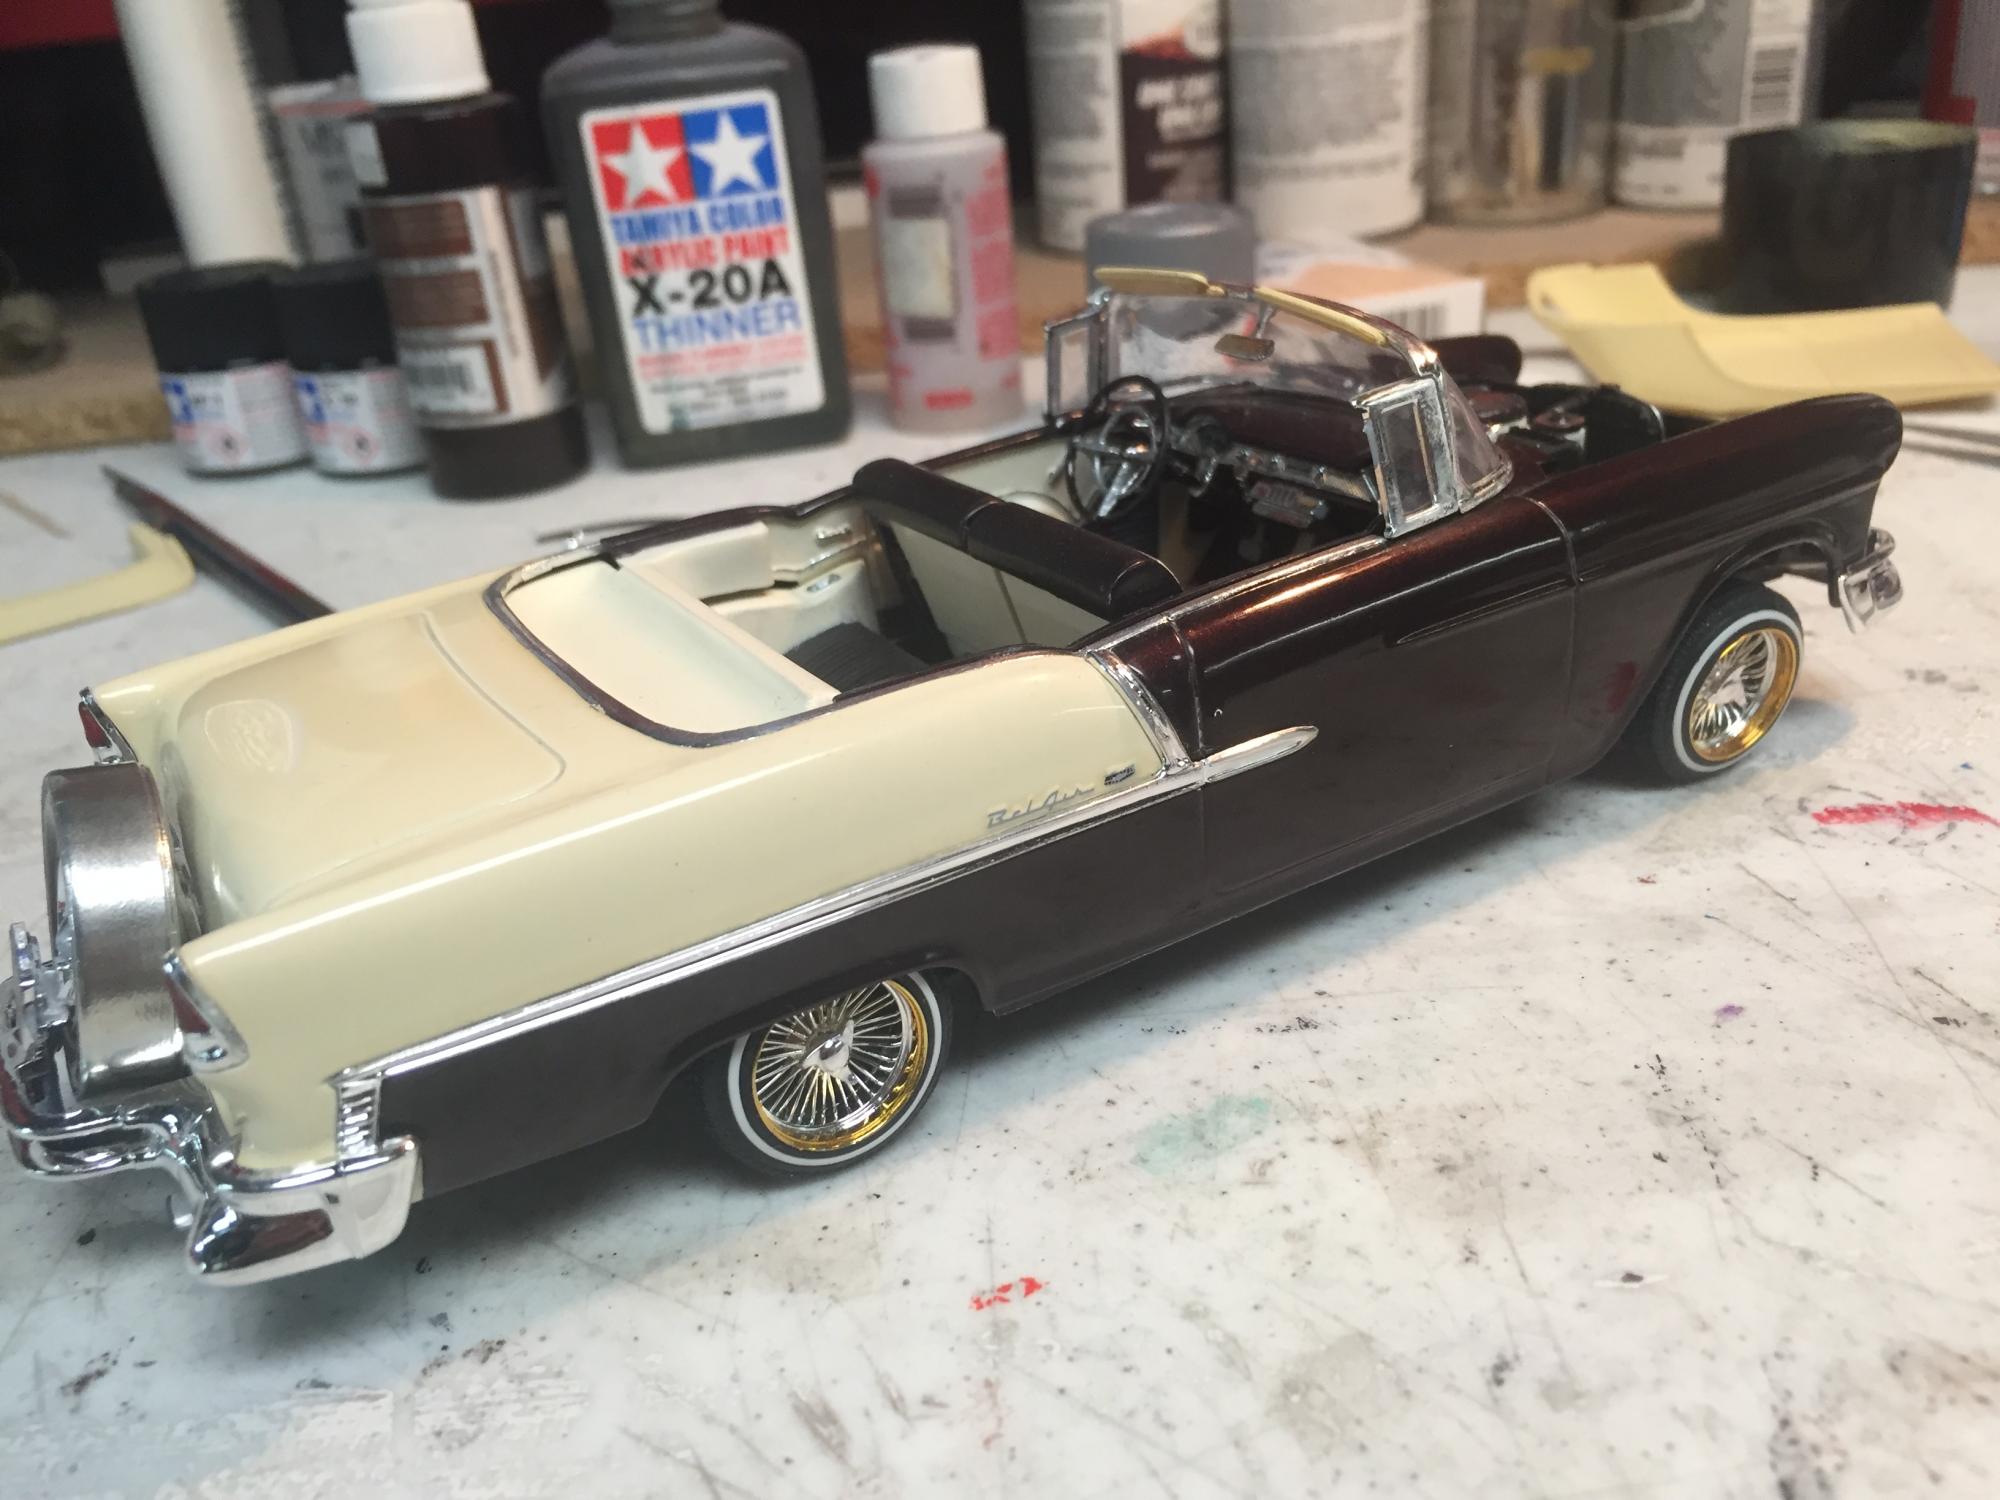
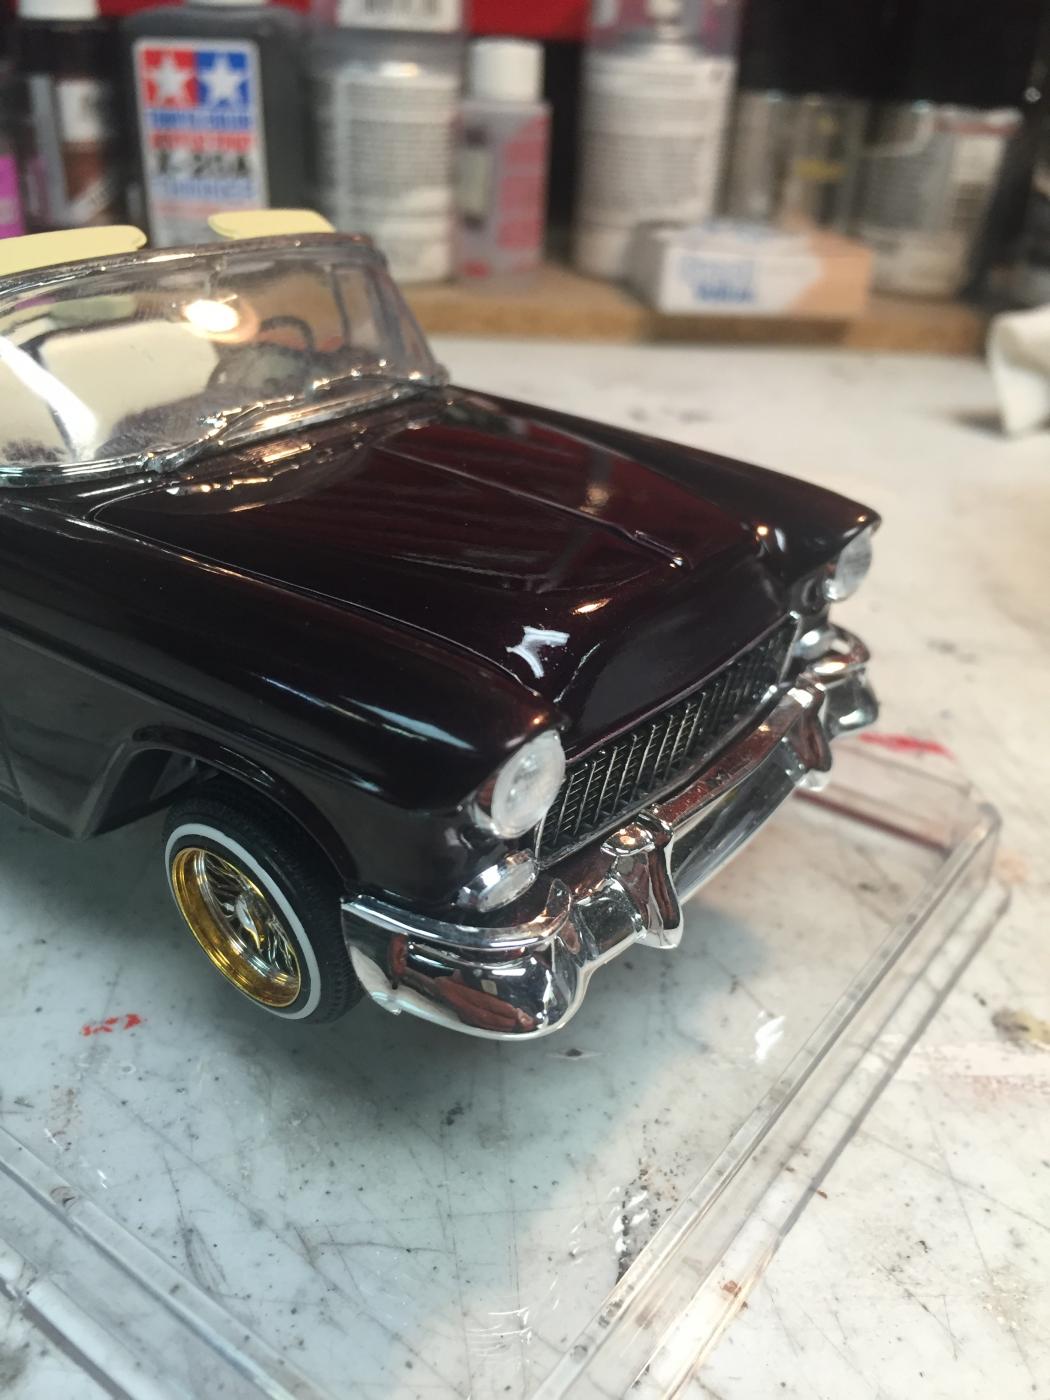
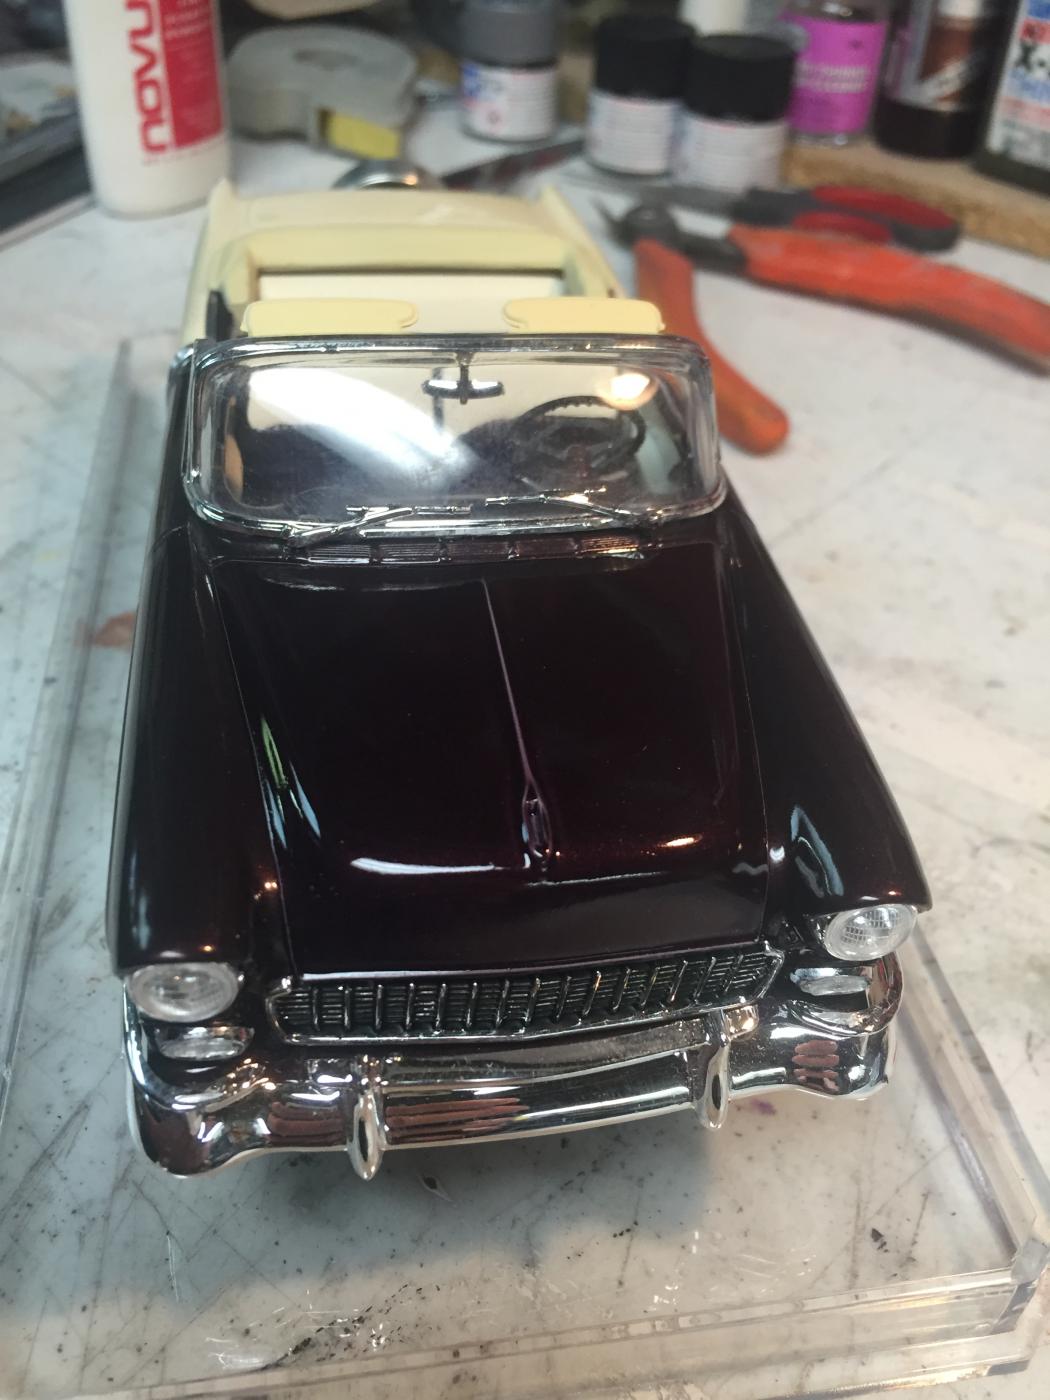
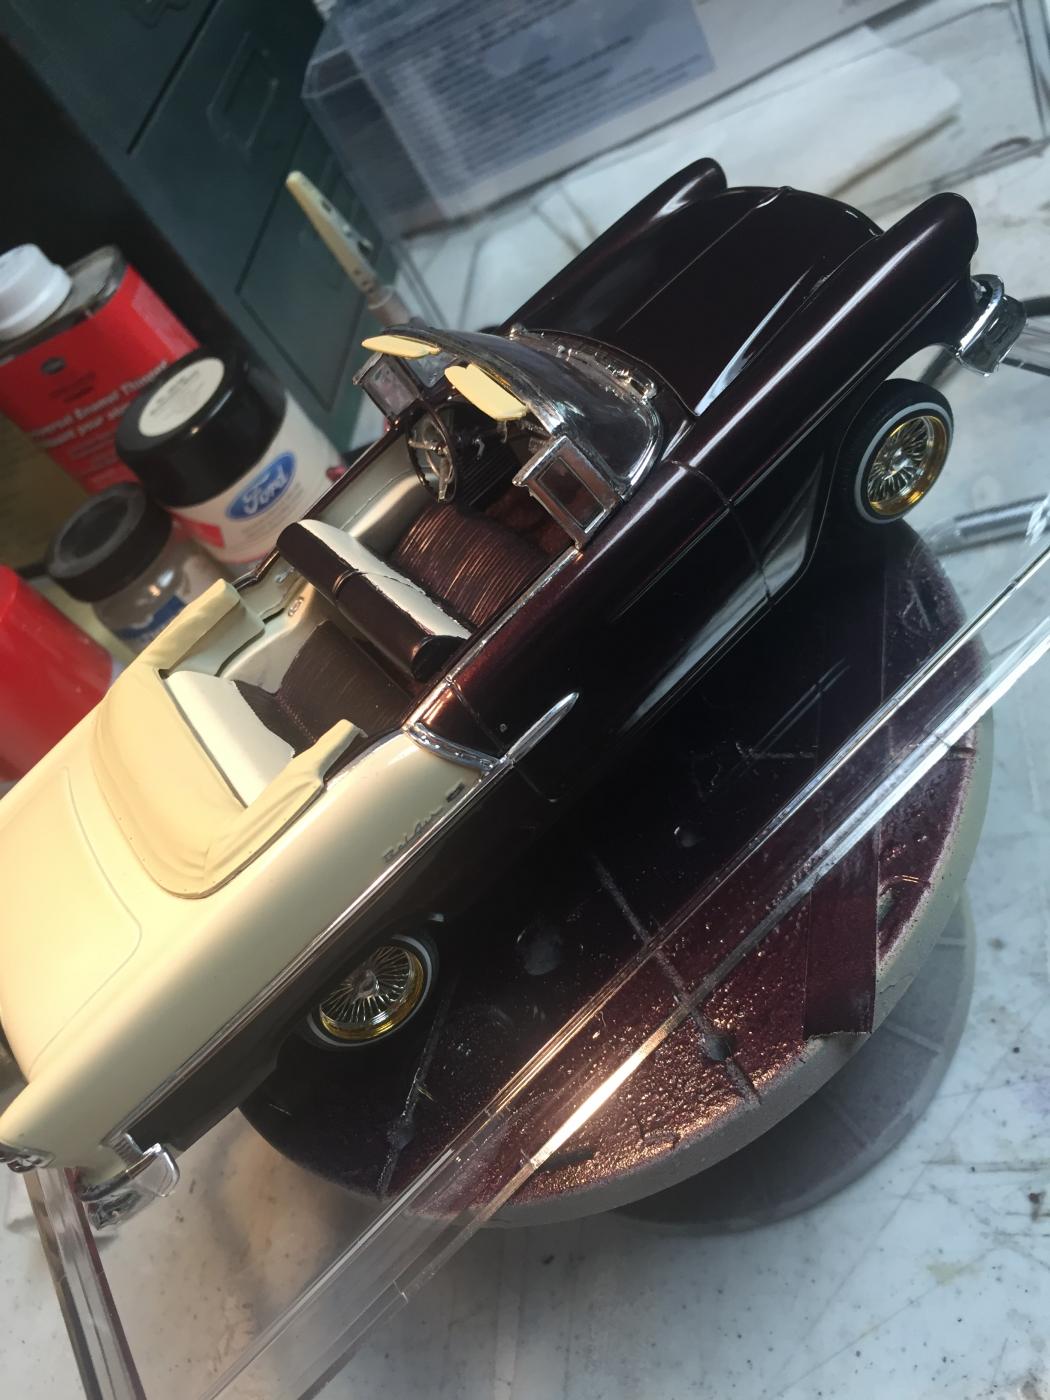
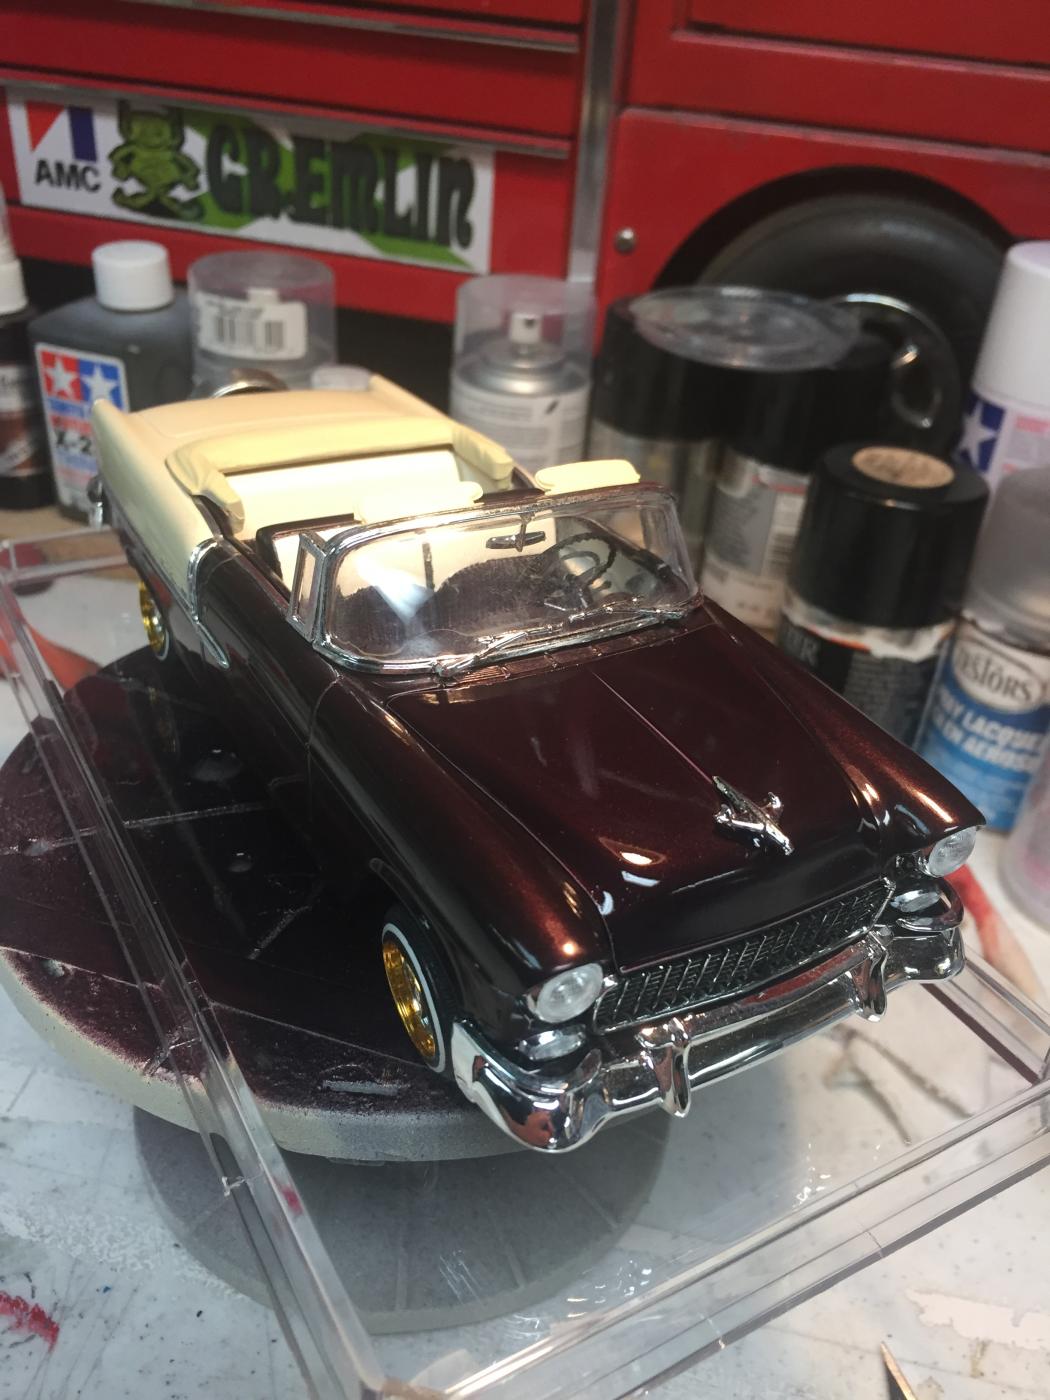
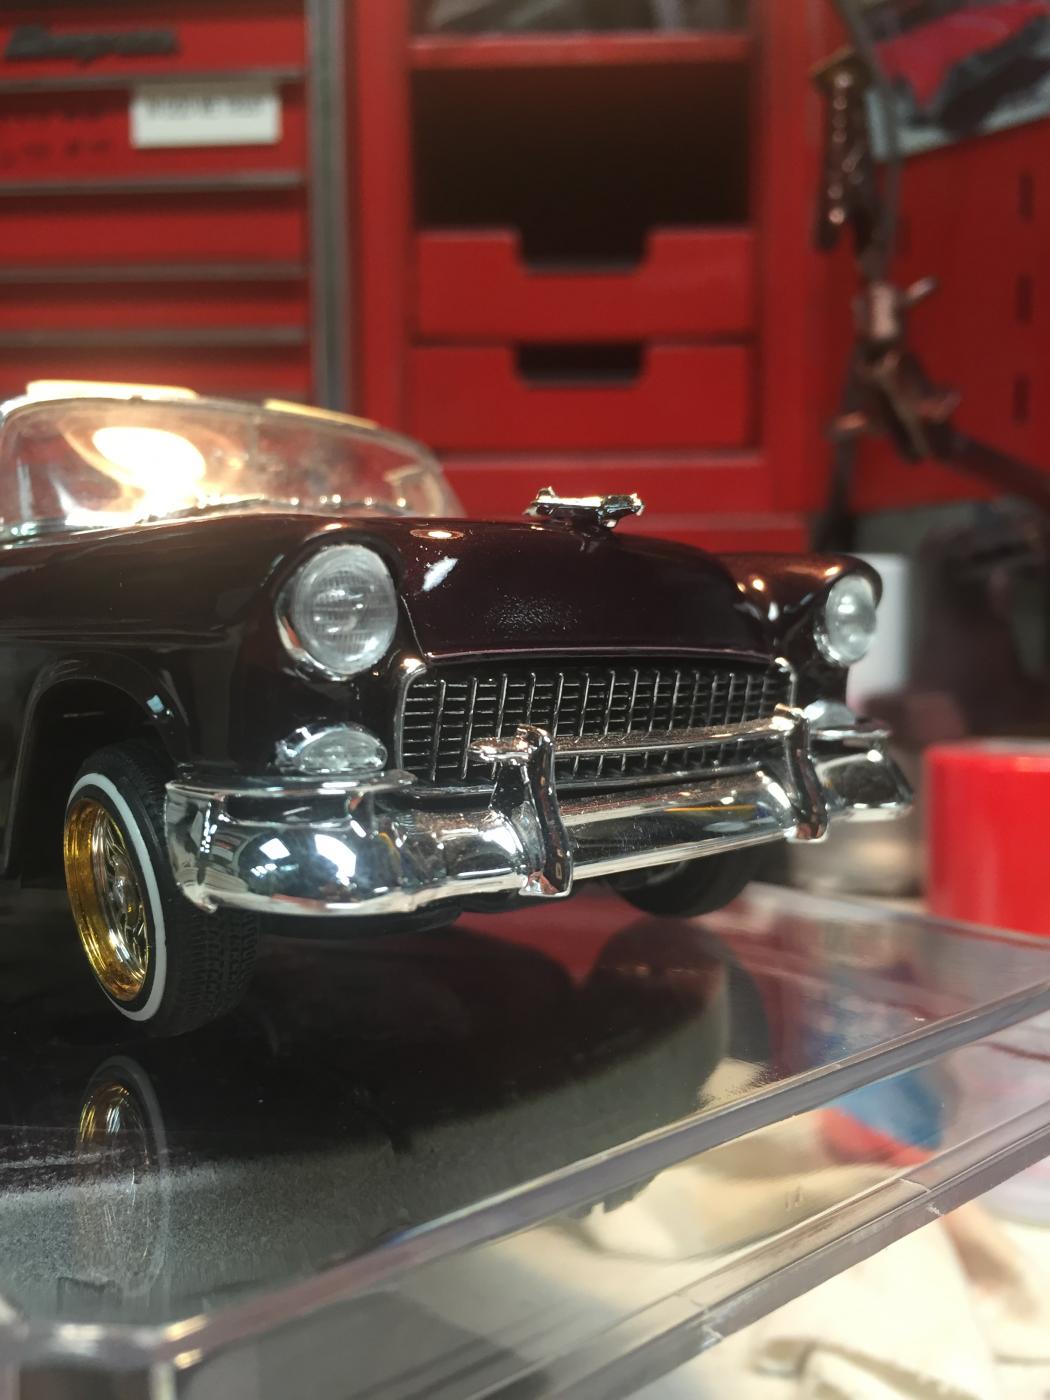
Under glass 1955 Chevy convertible lowrider
wgflatliner replied to wgflatliner's topic in Model Cars
thanks everybody! first one back in to the hobby after a year or so hiatus. -
100% spray paint. And the one shot stuff at that!

-
So this is my finished 1955 Chevrolet Bel Air convertible. I wanted to try something between box stock and lightly modified. Only added plug wires and radiator overflow tube. Colors are in the model master lacquer lineup and I used black cherry pearl and Wimbledon white with a pearl clear. The convertible top was a light sand color. I am getting back in to the hobby after a long hiatus, so be gentle!
-
So I'm going to be building a twin turbo 427 Impala and need advice. i would love to be able to fit some slicks under it, and would prefer to scratch build a chassis for it. I'm not sure how to solder so brass is not an option. So styrene tubes and rods are going to be used. I have never built a chassis, so maybe doing a back-half chassis to fit massive slicks is a good place to begin. Any advice for beginners in this area of building? i want the slammed and raked look to this build. Any other advice or ideas I can incorporate to make this build stand out? I'm fairly versed in model building and some scratch building, just not frames.
-
i know, crazy bump, but i sent a PM asking for the info on this as the pictures are no longer working.
-
I can honestly say it's been far too long since I've been around these parts. I still have a lot of models, and might start getting back in to the swing of things. I got to looking at pictures of my previous builds and I'm getting that itch again... How's everybody doing???
-
Alright, so a good friend of mine has given me the task of building him a tribute build in memory of his father who he says worked on Terry Labonte's Monte Carlo, seen in the 1984 era. Being that his father worked on the cars, and the fact that his father started building the model, he had also written down a couple notes pertaining to correct colors. Specifically, he noted that the roll cage is red and netting is blue. If the cage is red, would the floor and undercarriage also be red? I'm trying to be accurate with the colors on this and need some help. photos for reference: https://www.google.com/search?q=AH-1Z+Viper&es_sm=122&source=lnms&tbm=isch&sa=X&ei=GJwaVcDaHouzoQTM6YDYCw&ved=0CAcQ_AUoAQ&biw=1280&bih=920#tbm=isch&q=terry+labonte+1984 thanks in advance for any tips.
-
Anybody gonna be going to this?
-
Hey guys, just wanted to let you know that next weekend is IPMS Nationals being held at The Ranch in Loveland Colorado. I plan on being there Saturday to check things out. Let me know if you'll be there!
-
Ok so I'm in Colorado Springs. Usually every Wednesday and Saturday we meet at hobby town south academy to build. You wanna hang out, send me a pm! Edit: that goes for anybody
-
When I get back in town I will start a 64 impala.
-
i had Jameston custom mix a paint for me - the price is awesome for airbrush ready paints, and the paint match is also good. i'm happy with the results so far.
-
BMF some Paint some.
wgflatliner replied to '08SEAL's topic in General Automotive Talk (Trucks and Cars)
i've seen people use a silver paint pen to paint trim, then BMF over that. apparently it's meant for those cases if the BMF messes up, then the silver underneath offsets that or something. -
doh. ok - i guess i need a new hood lol
-
the dry transfers are a little too small for the 58 washboard hood. I'll check out the sheet styrene when i get home and see if i can get it to work. thanks
-
i tried the scribing process, but the louvers on the top don't match the louvers under the hood. so it's in need of all new louvers. skip, i'll check that other thing out.
-
I'm working on a 58 vette and thought it'd be a good idea to open up the vents on the hood. needless to say, now i have a big squarish hole on the hood where the louvers used to be lol.. so how would/should i go about creating new louvers? what thickness sheet styrene would be to scale?
-
as far as cure times: get a dehydrator and set it in there a couple hours and call it good.
-
mom and pop vs. big hobby shop
wgflatliner replied to Q tip's topic in General Automotive Talk (Trucks and Cars)
i like a combination of LHS and online. LHS for the local groups, builds, and bonding, etc. Convenience of getting stuff like paints and stuff on a whim is nice. but i also like the online experience for the fact that i can look for something and chances are, somewhere in the world, it WILL be available. -
So why do you or we stash kits?
wgflatliner replied to greymack's topic in General Automotive Talk (Trucks and Cars)
i'm thinking about the completed builds here. i'm just running out of room! i'd like to get some decent builds done before i start just giving them away. i'd hate to send poor builds to anybody with the knowledge that i was the person that sent them. hope that makes sense -
the info i've received via email: you can use tamiya primer. one-shot wet look clear can be sprayed over this paint. I got a couple bottles for a couple corvettes, and look forward to getting more!
-
my other hobby is working on my 1:1 project car. been working on it for about 8 years, literally paycheck to paycheck.
-
to answer the question on the dehydrators: the typical time it takes to dry for an enamel paint job if done from spray can is about 7 days max. if you get a dehydrator, and you can get one cheap from wally world, you can cut that curing time down to a couple hours. just make sure to leave the model in the dehydrator after you turn it off for about 5-10 minutes so it cools off. I got an Oster dehydrator and it has about 7 or 8 different platforms. i cut the webbing out of all but one of the platforms. i kept the outer part of the rings in tact, and the reason for that was so i can fit models and stuff in the dehydrator without it getting bumped by the lid. you also want to keep the parts on the top level so the plastic doesn't warp. Another good tip i have learned with the dehydrator is this: i have had models where there's wide white wall decals that go on the tires, and also other decals that refuse to conform to the part it's supposed to adhere to. Using some of the clear/red bottle of the decal setting solution, get the decal where you want it, and use a Q-tip to take away some of the solution that takes up a lot of the excess liquid. put the part in the dehydrator for about 10 to 20 minutes, and take it out. the decals will conform to the parts reeeeeeeally nice! the wide whites on the 50 olds look like they're painted on!! So to me, a dehydrator is an absolute necessity. i'll get pics of what i did to my dehydrator and add it to this thread some time tonight if you'd like.
-
Revell, lets see a kit of this
wgflatliner replied to martinfan5's topic in General Automotive Talk (Trucks and Cars)
This is like Gumby's car. except Gumby is embarrassed by this car.