mrmike
-
Posts
5,325 -
Joined
-
Last visited
Content Type
Profiles
Forums
Events
Gallery
Everything posted by mrmike
-
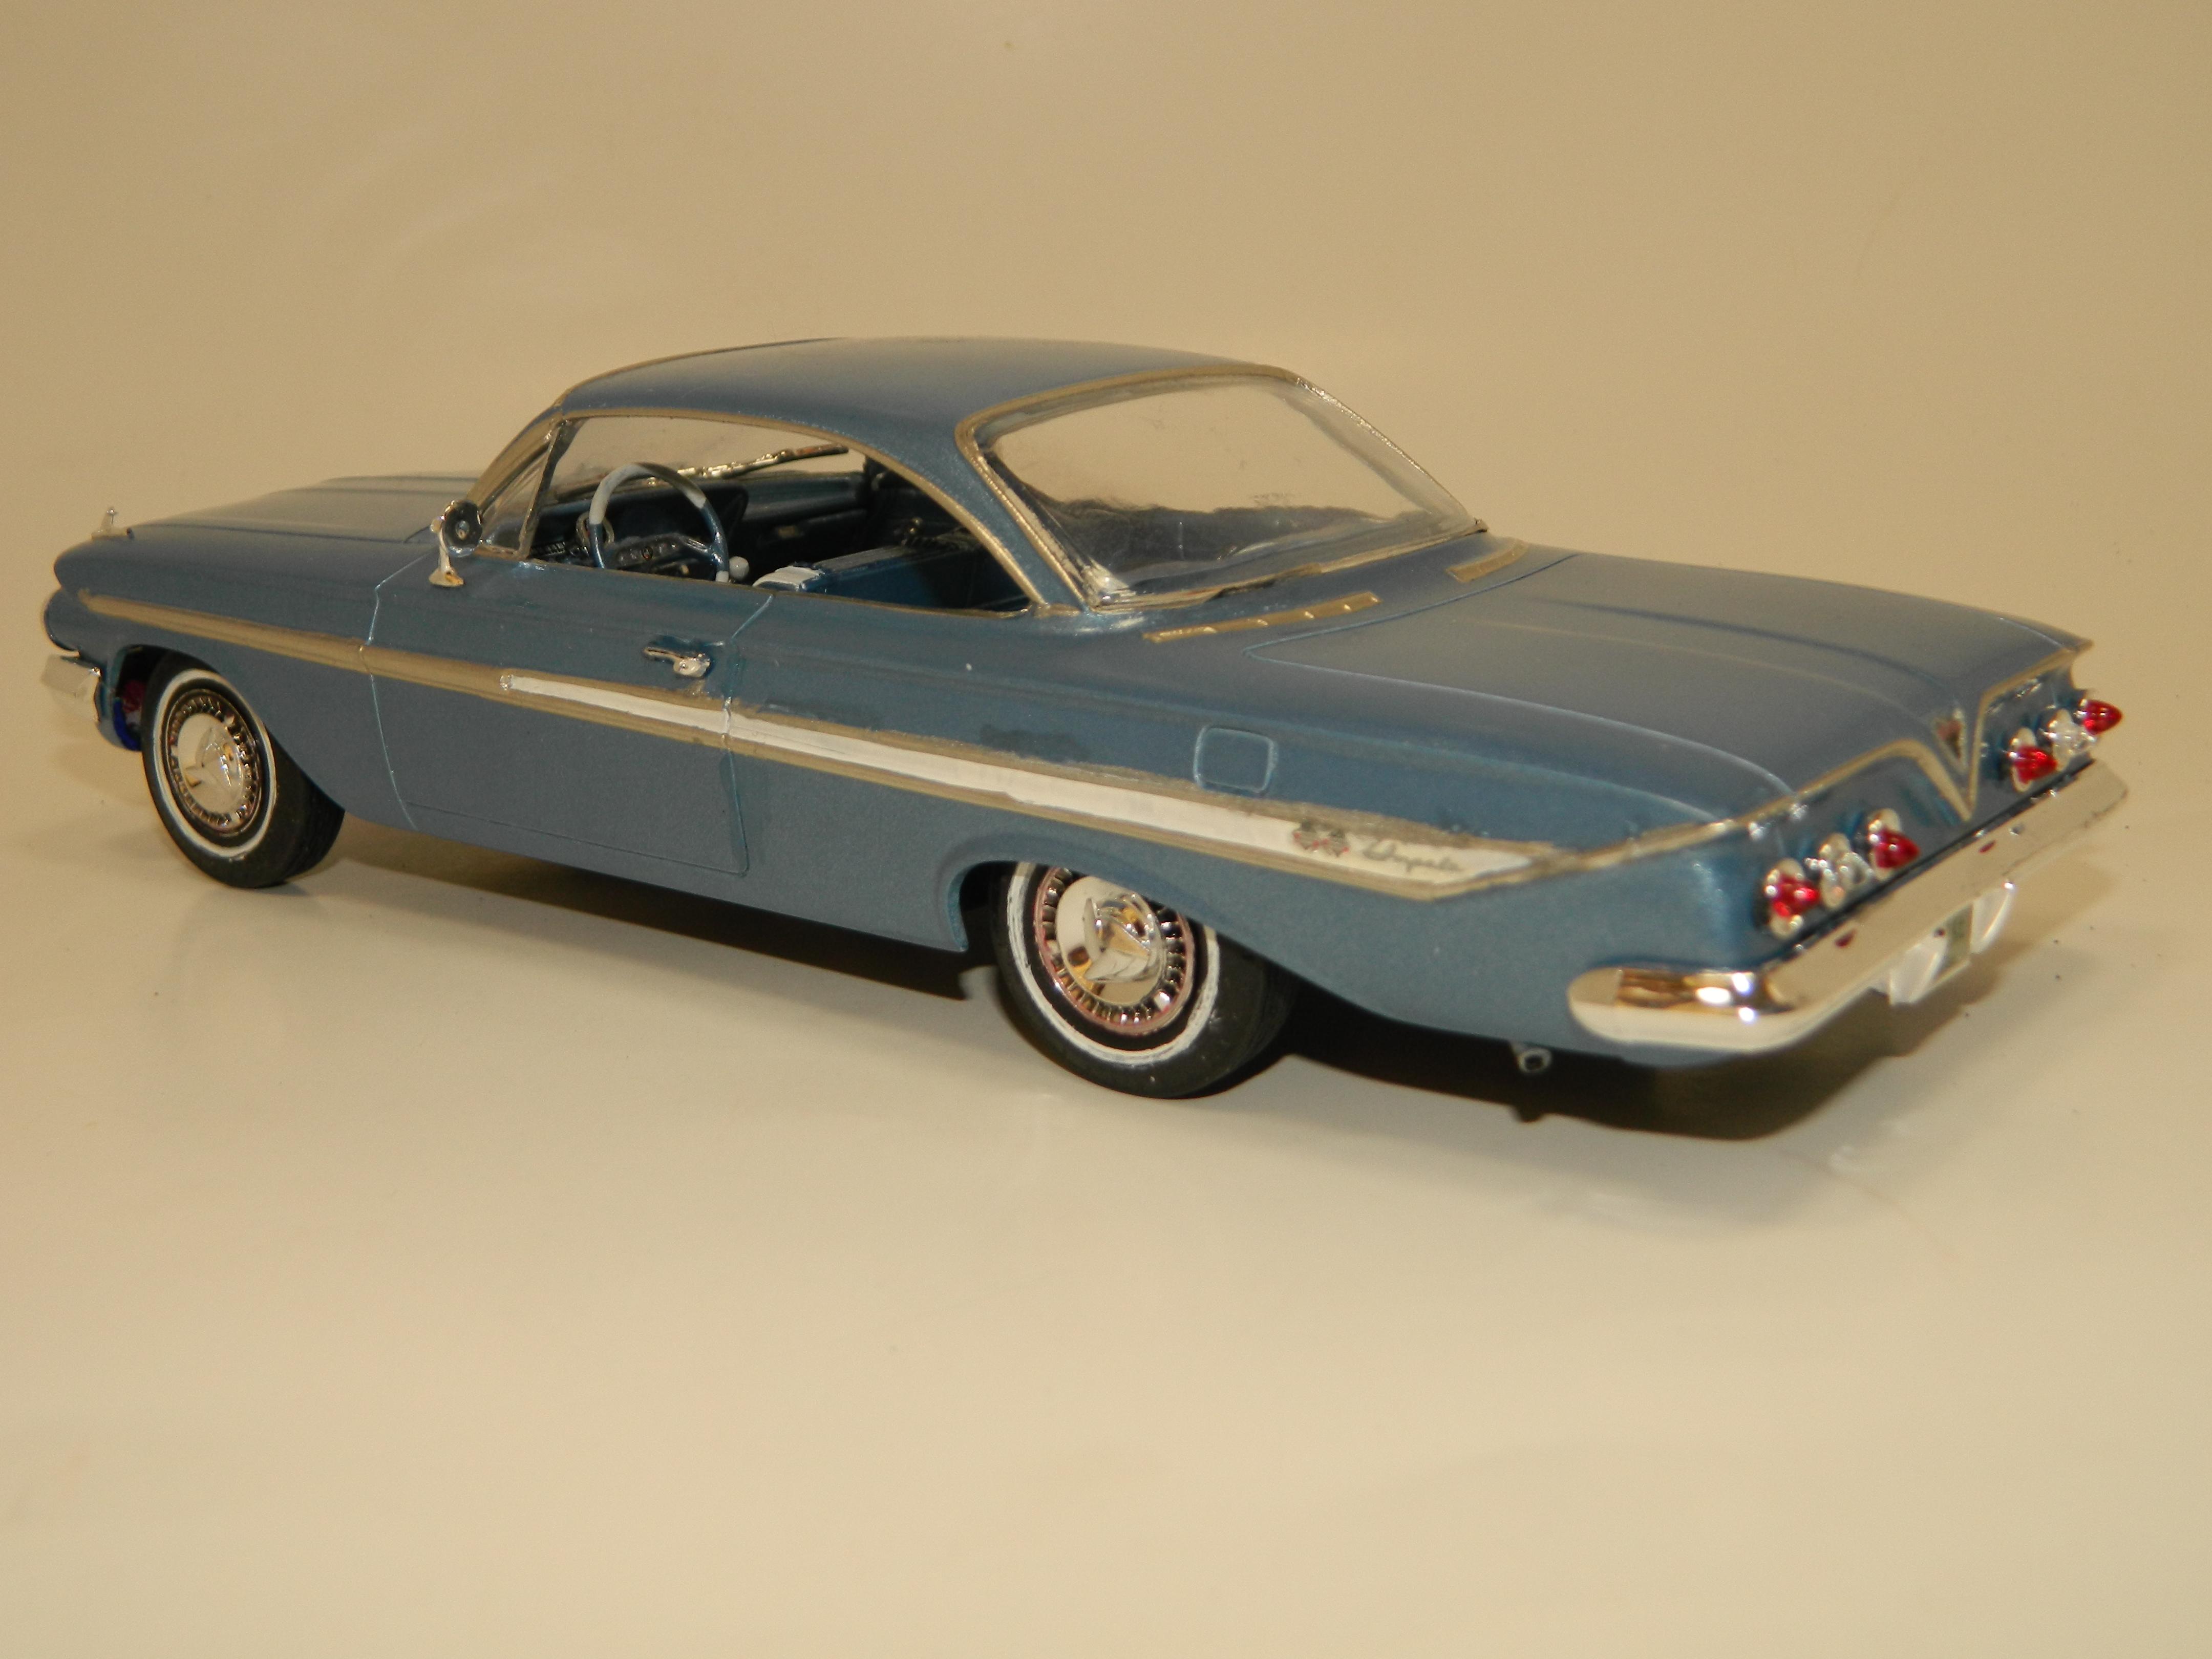
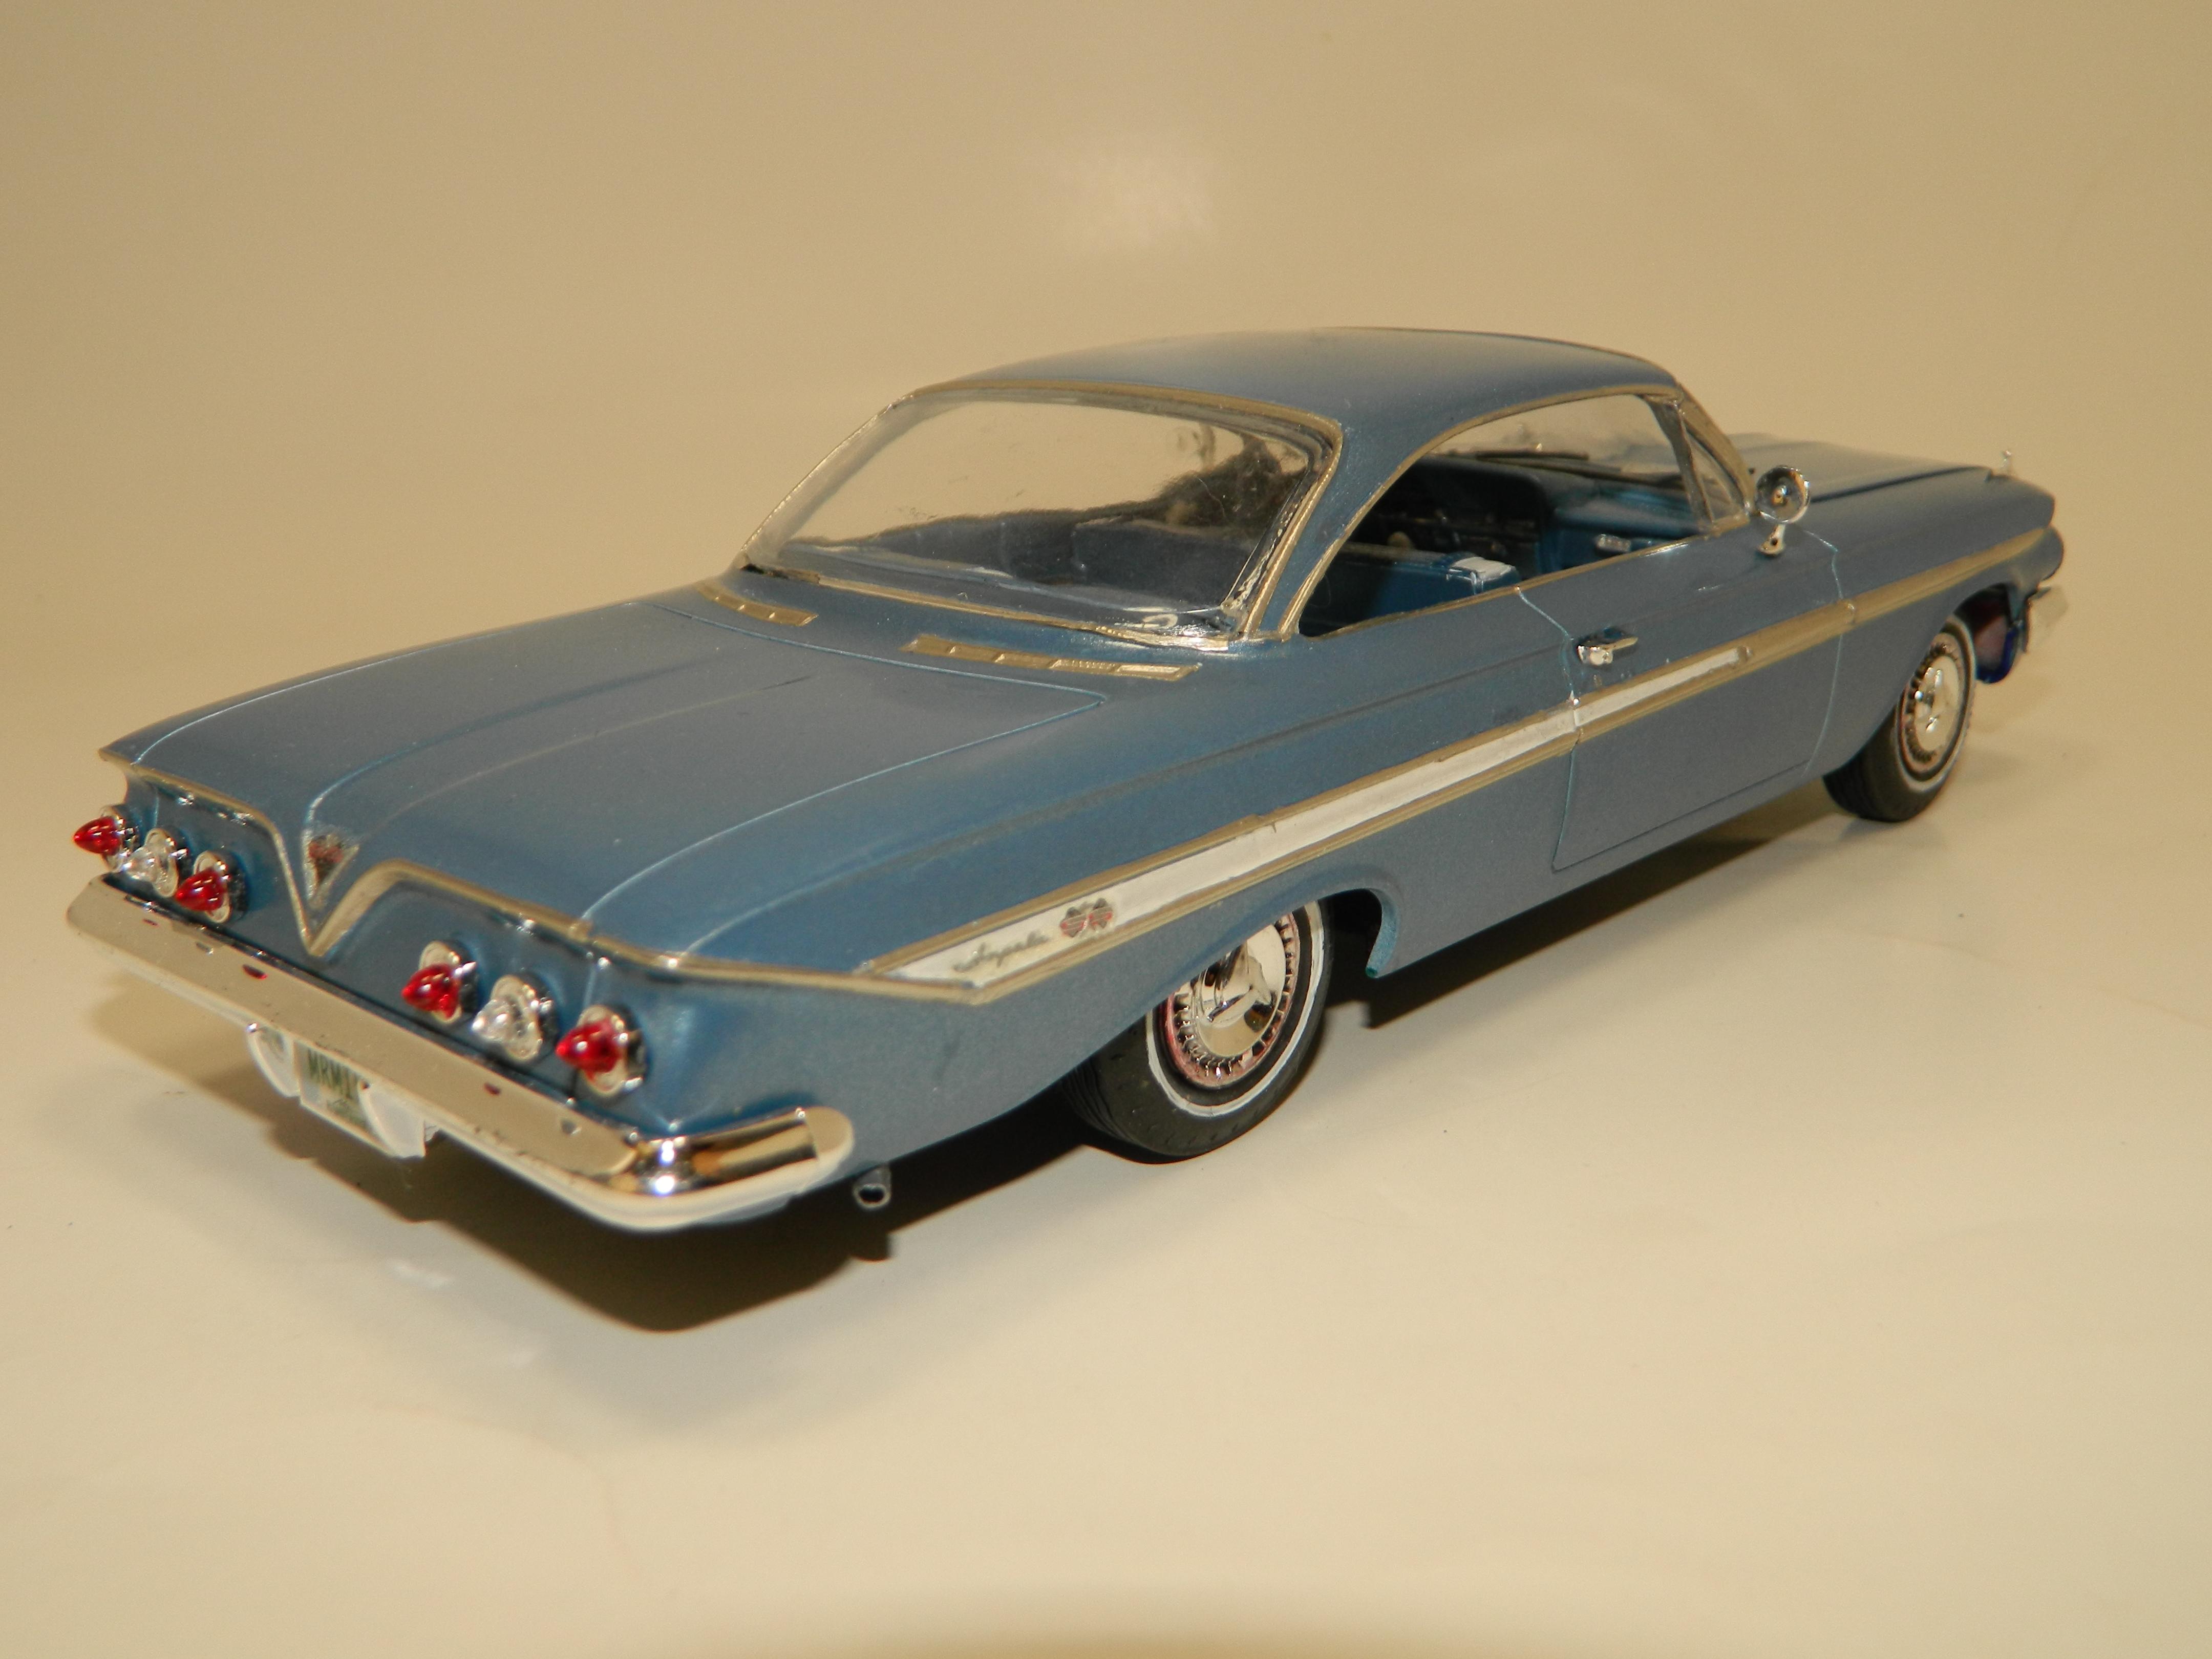
I have finished my '61 Impala SS 409 and it is posted in Under Glass. I would like to thank all those who have taken the time to view and to comment on my WIP.
-
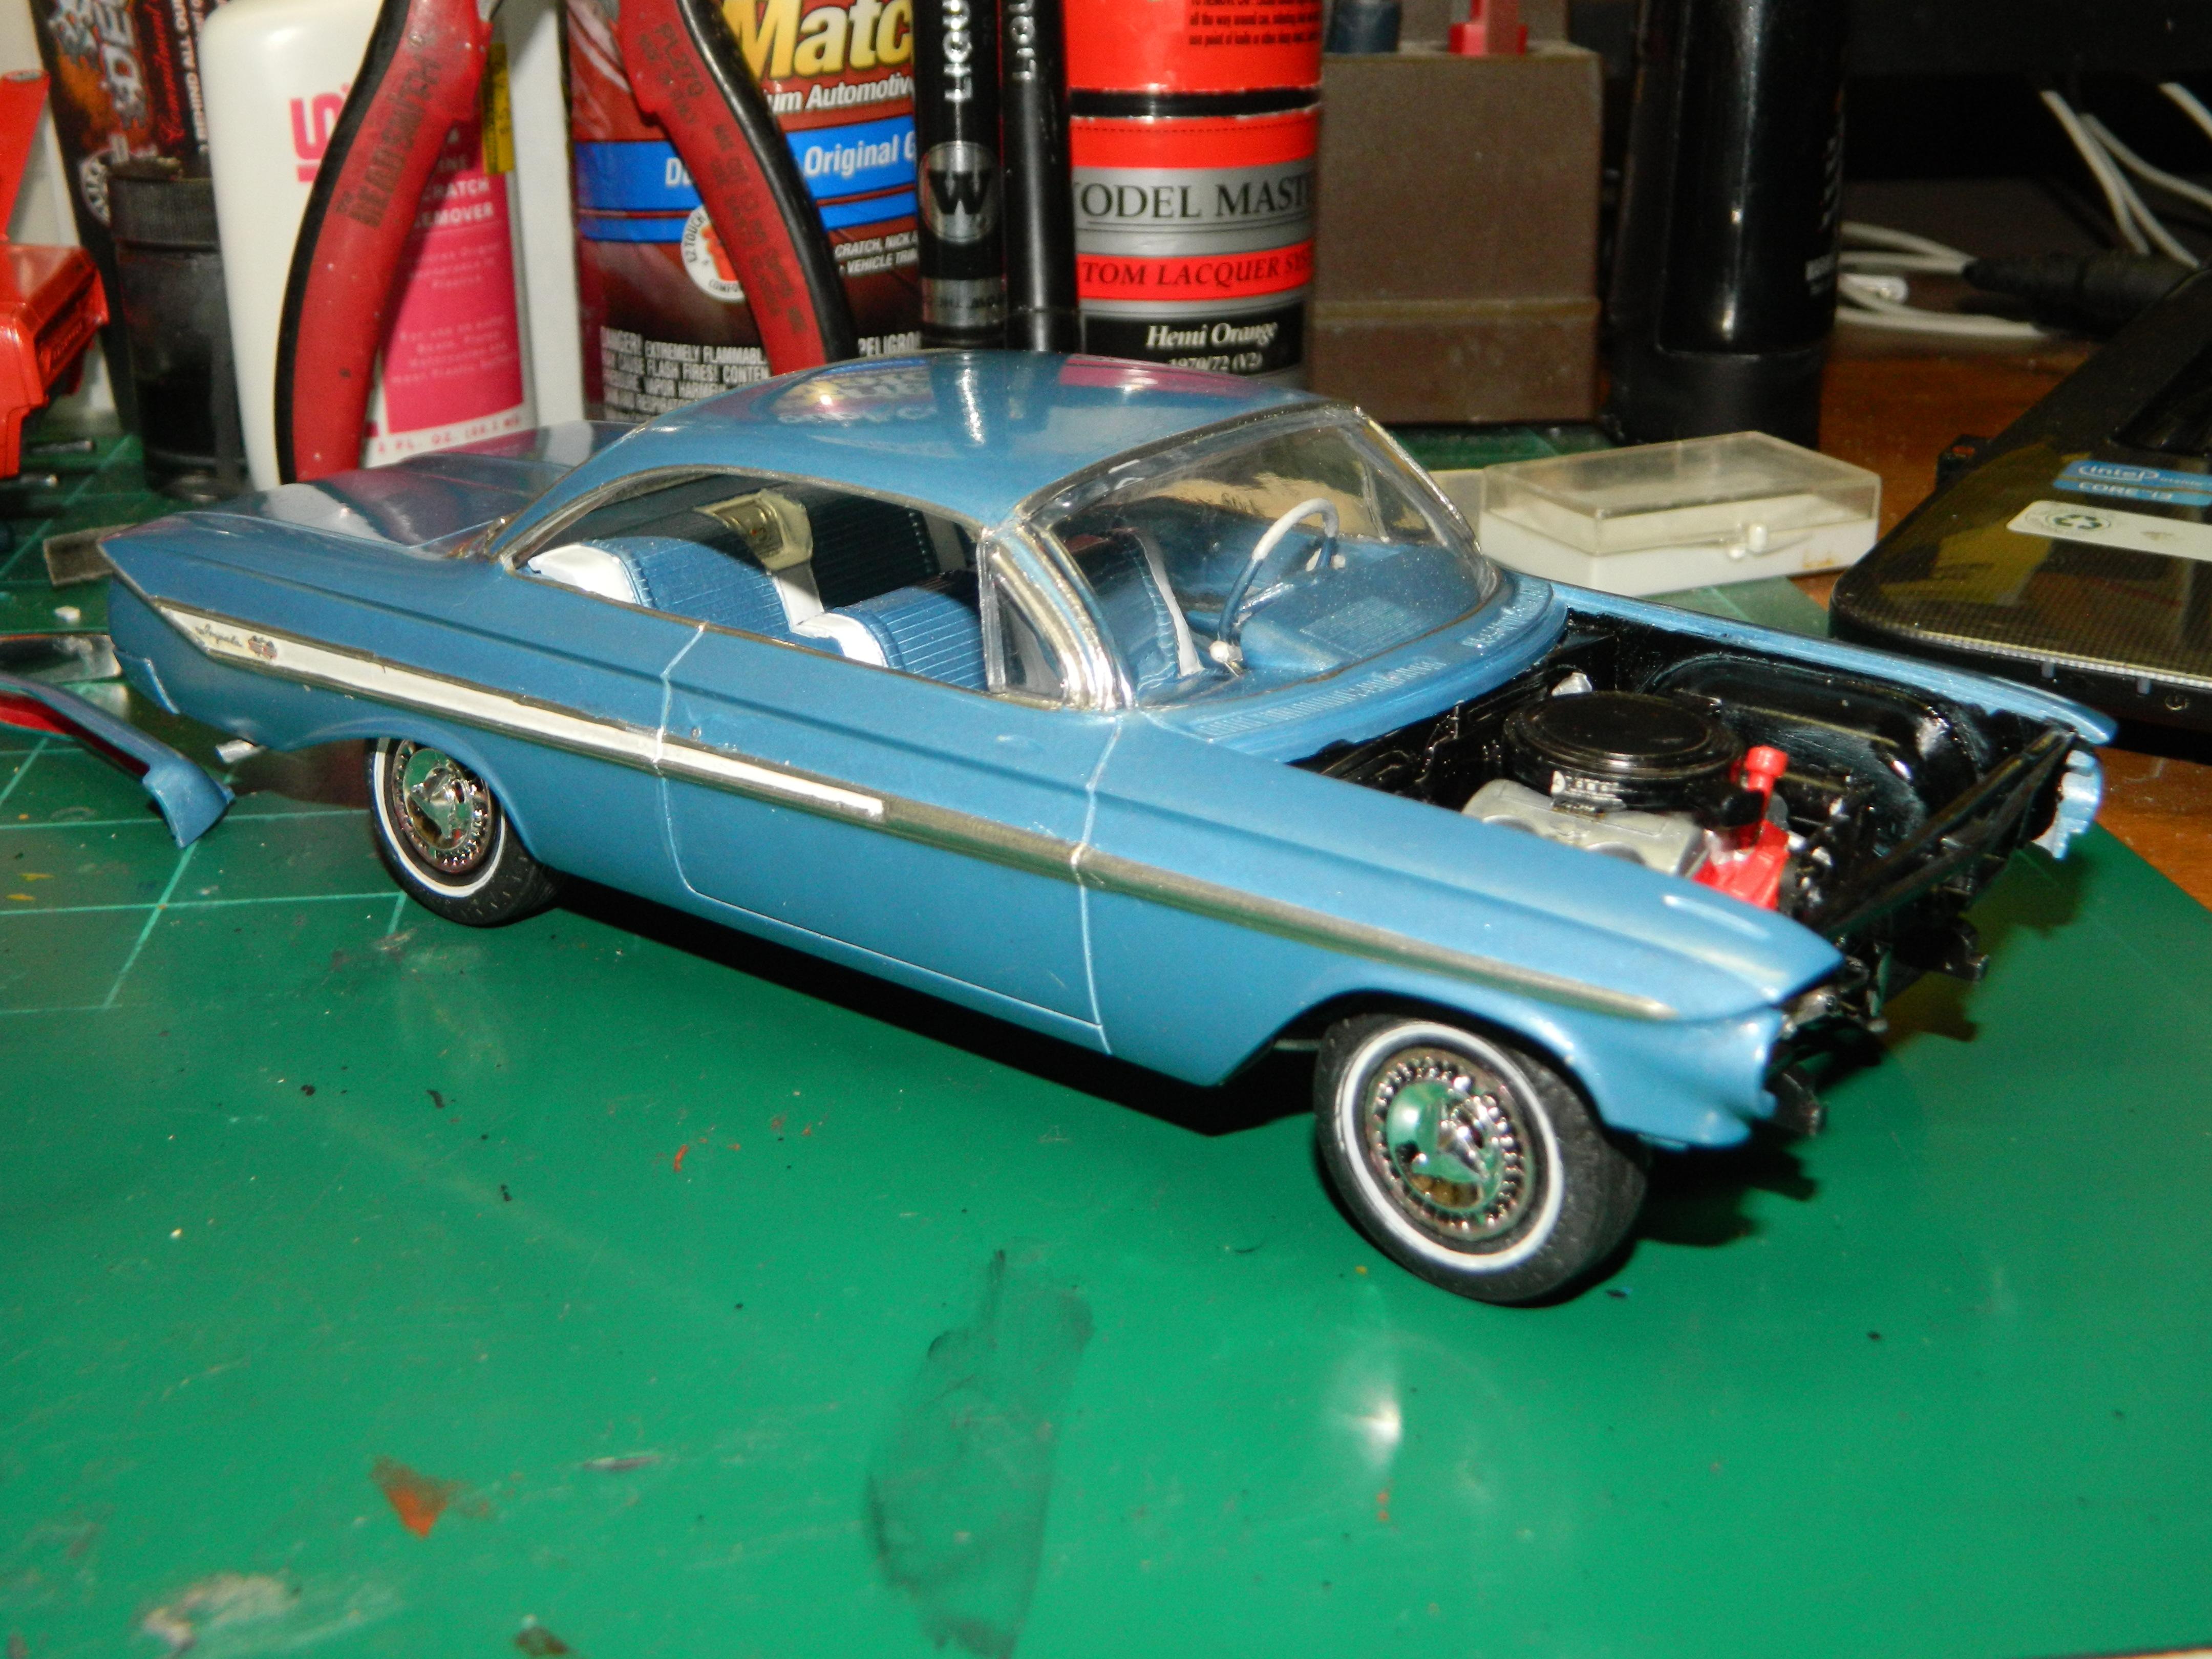
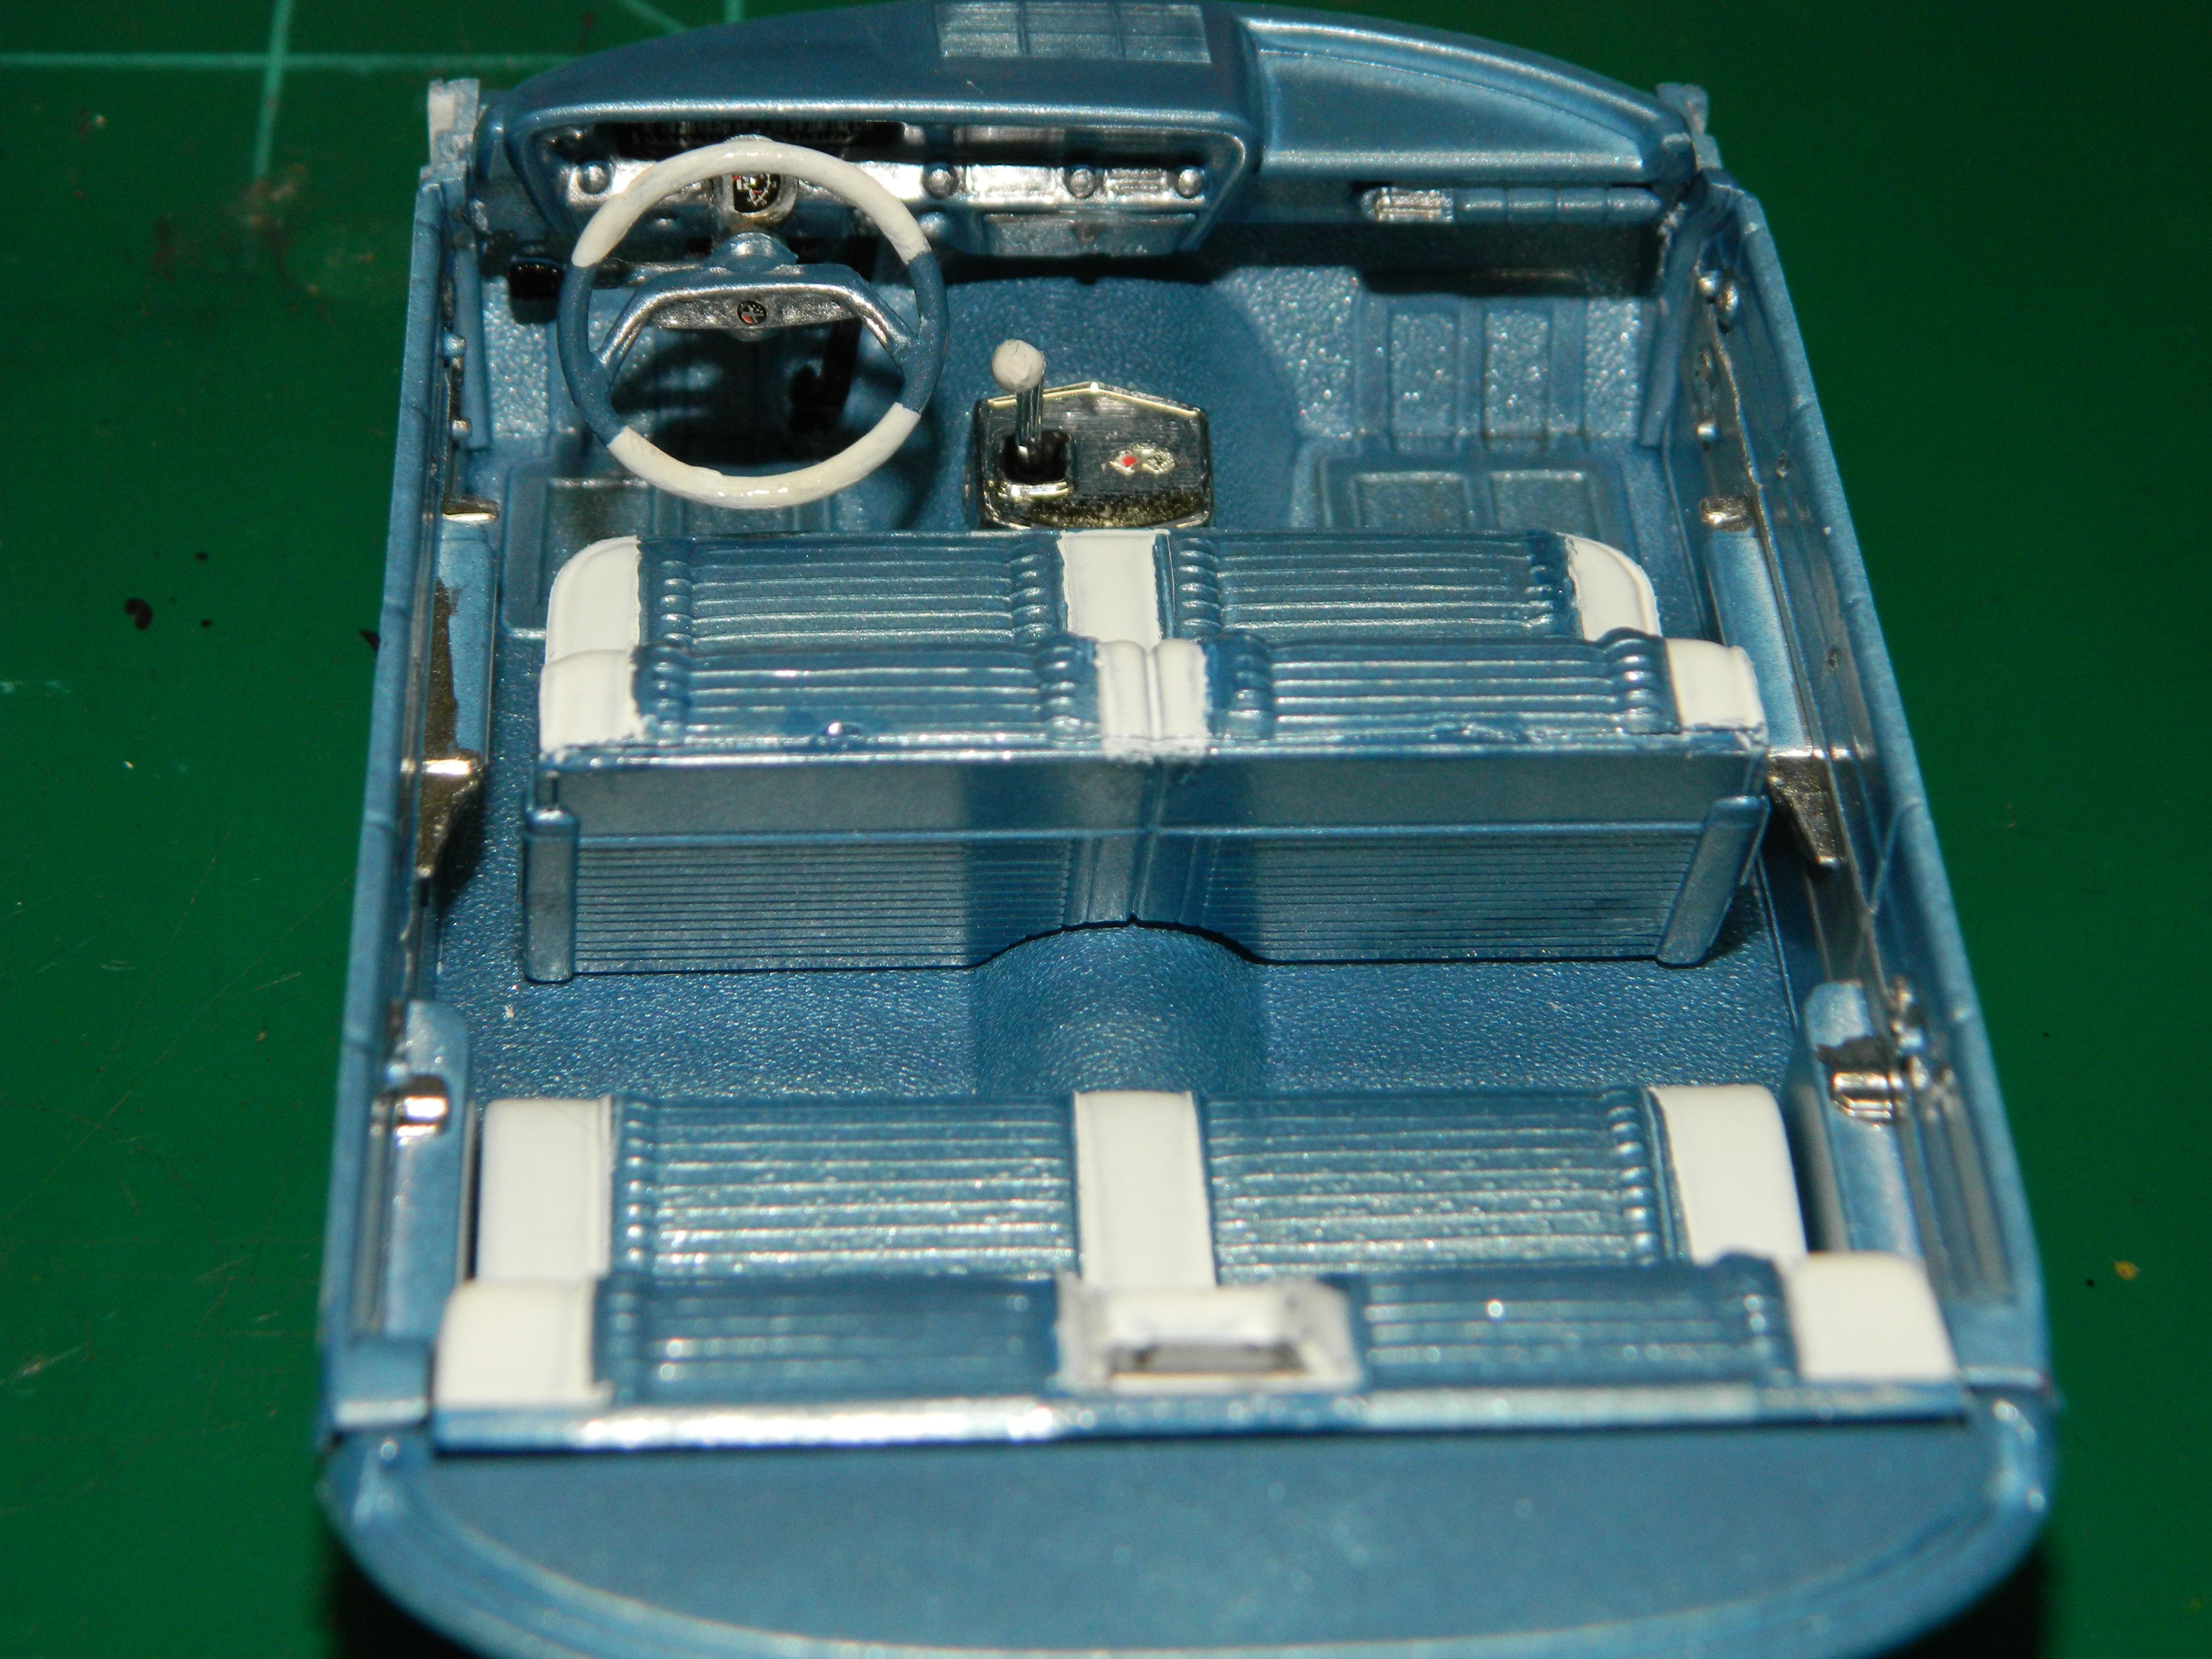
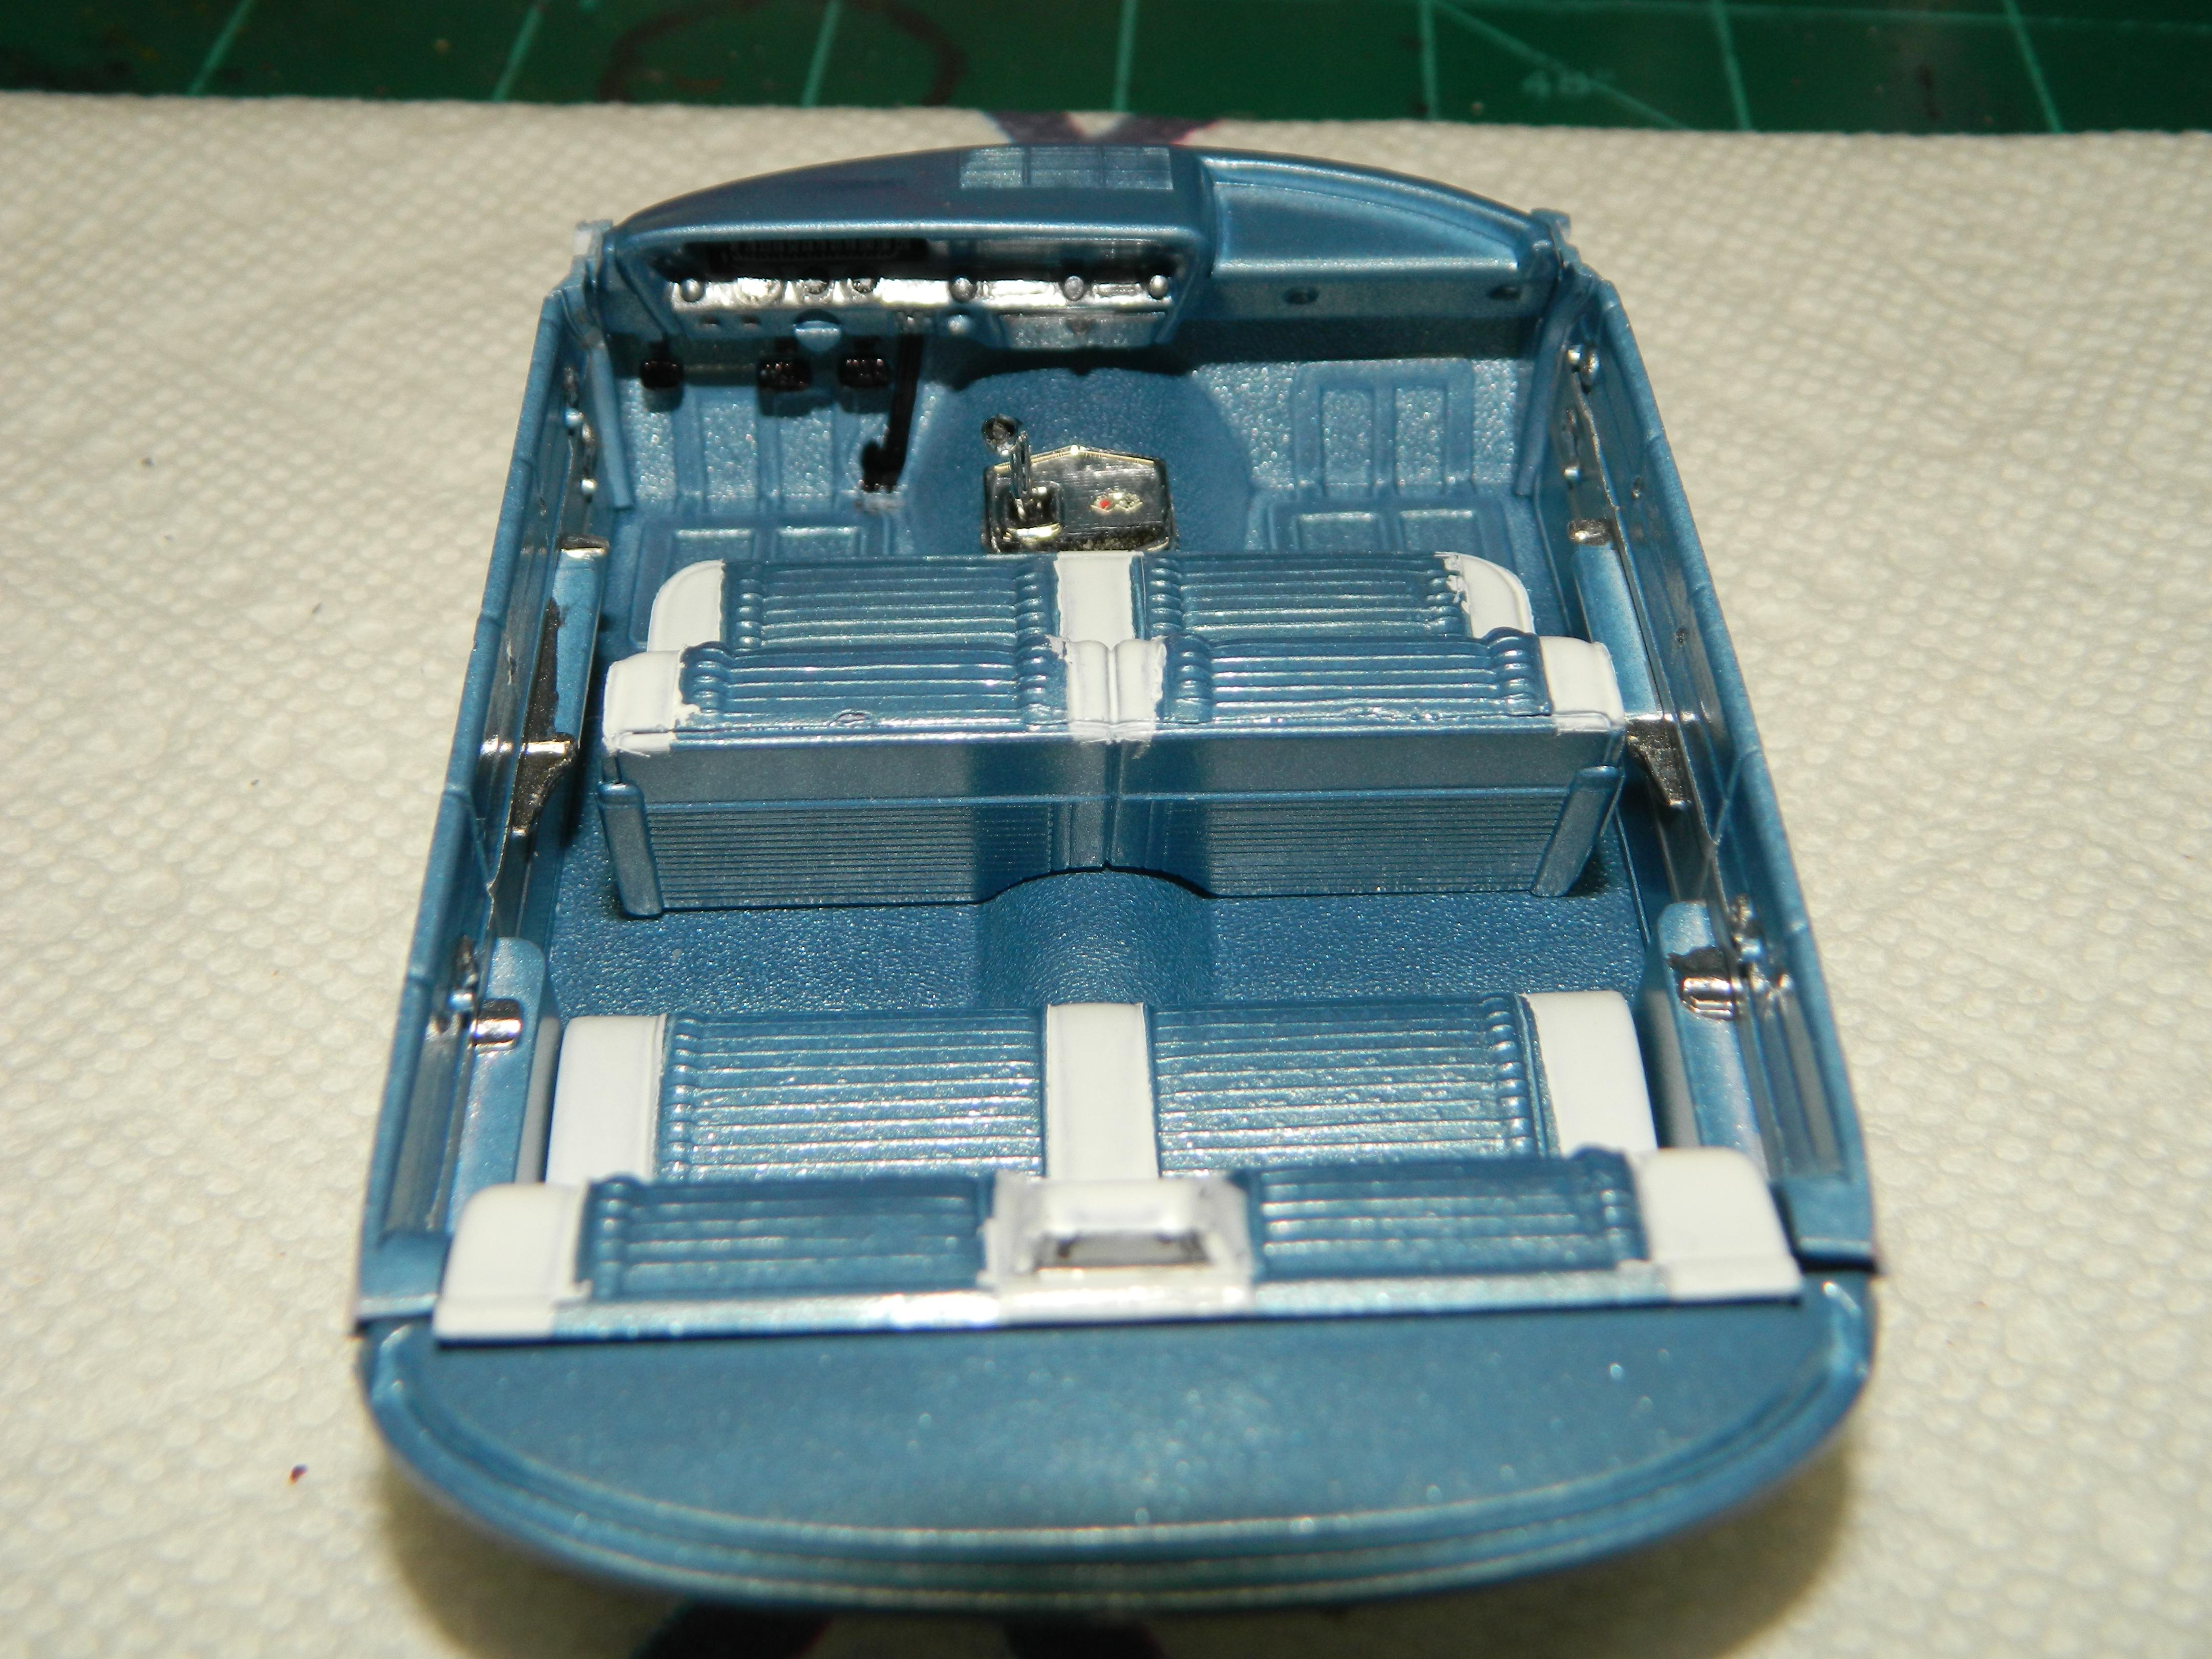
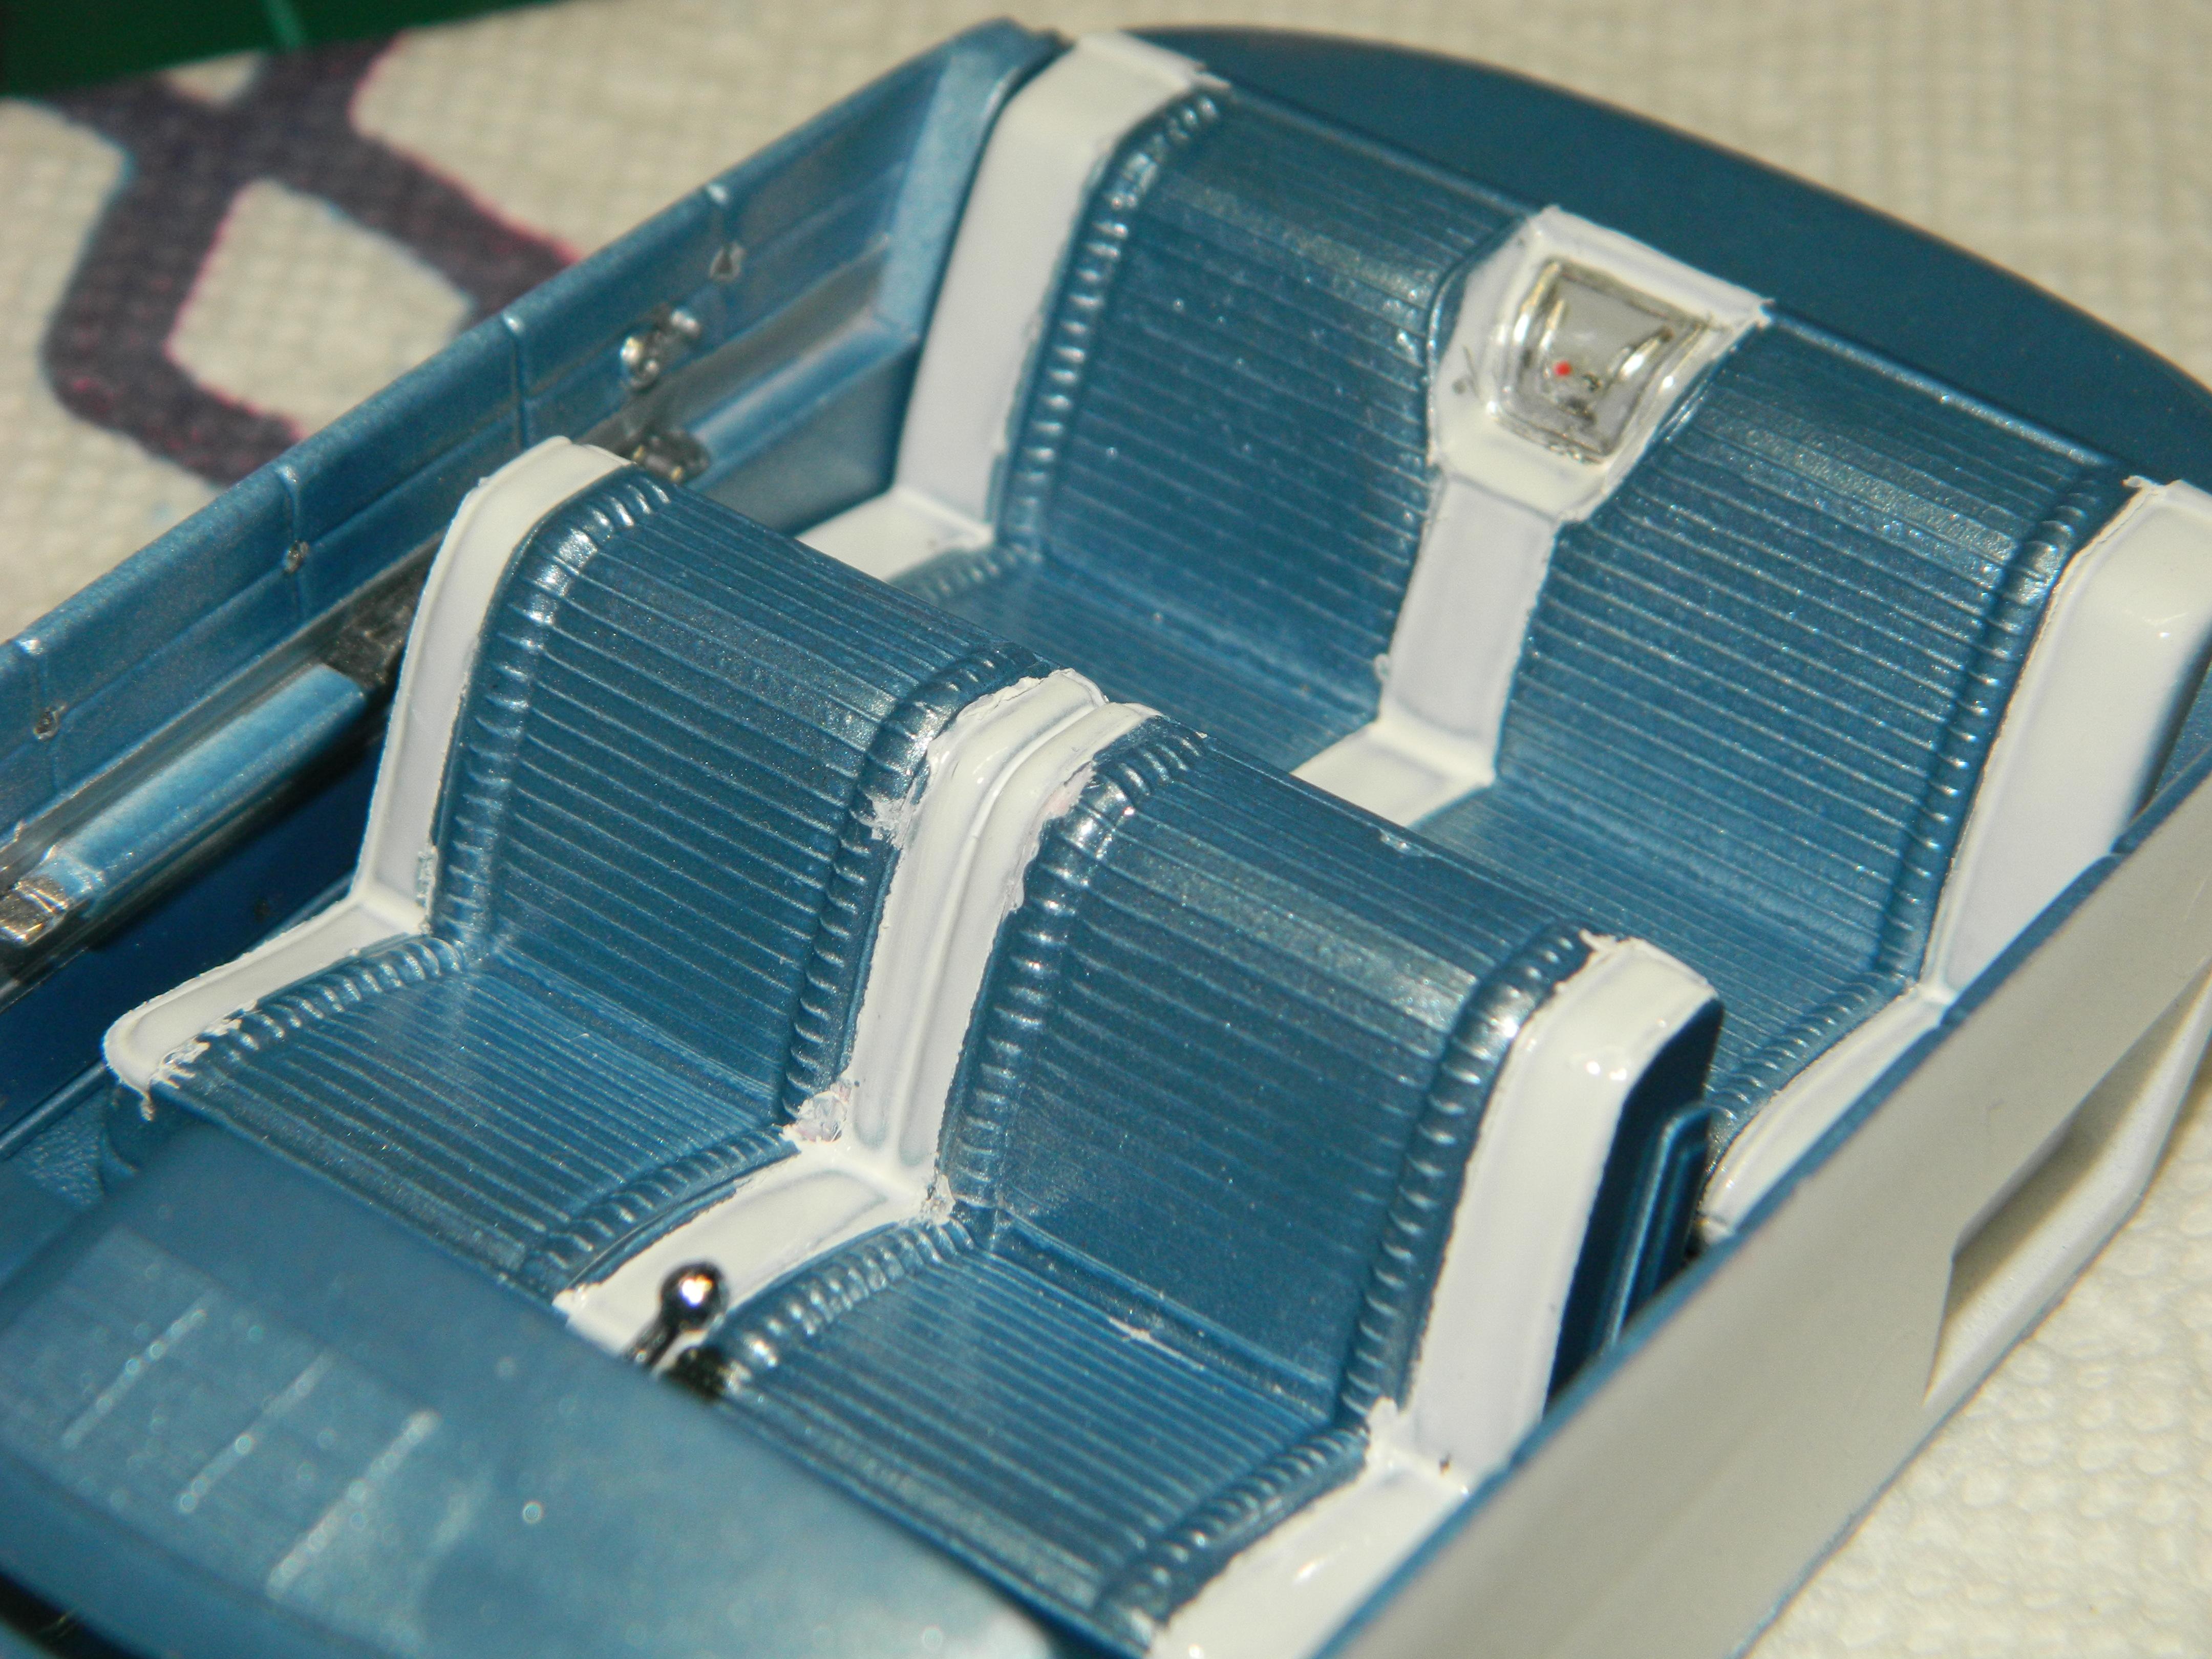
This is my '61 Impala SS 409 painted with Dupli-Color Light Blue Metallic with a matching interior and built out of box.

-
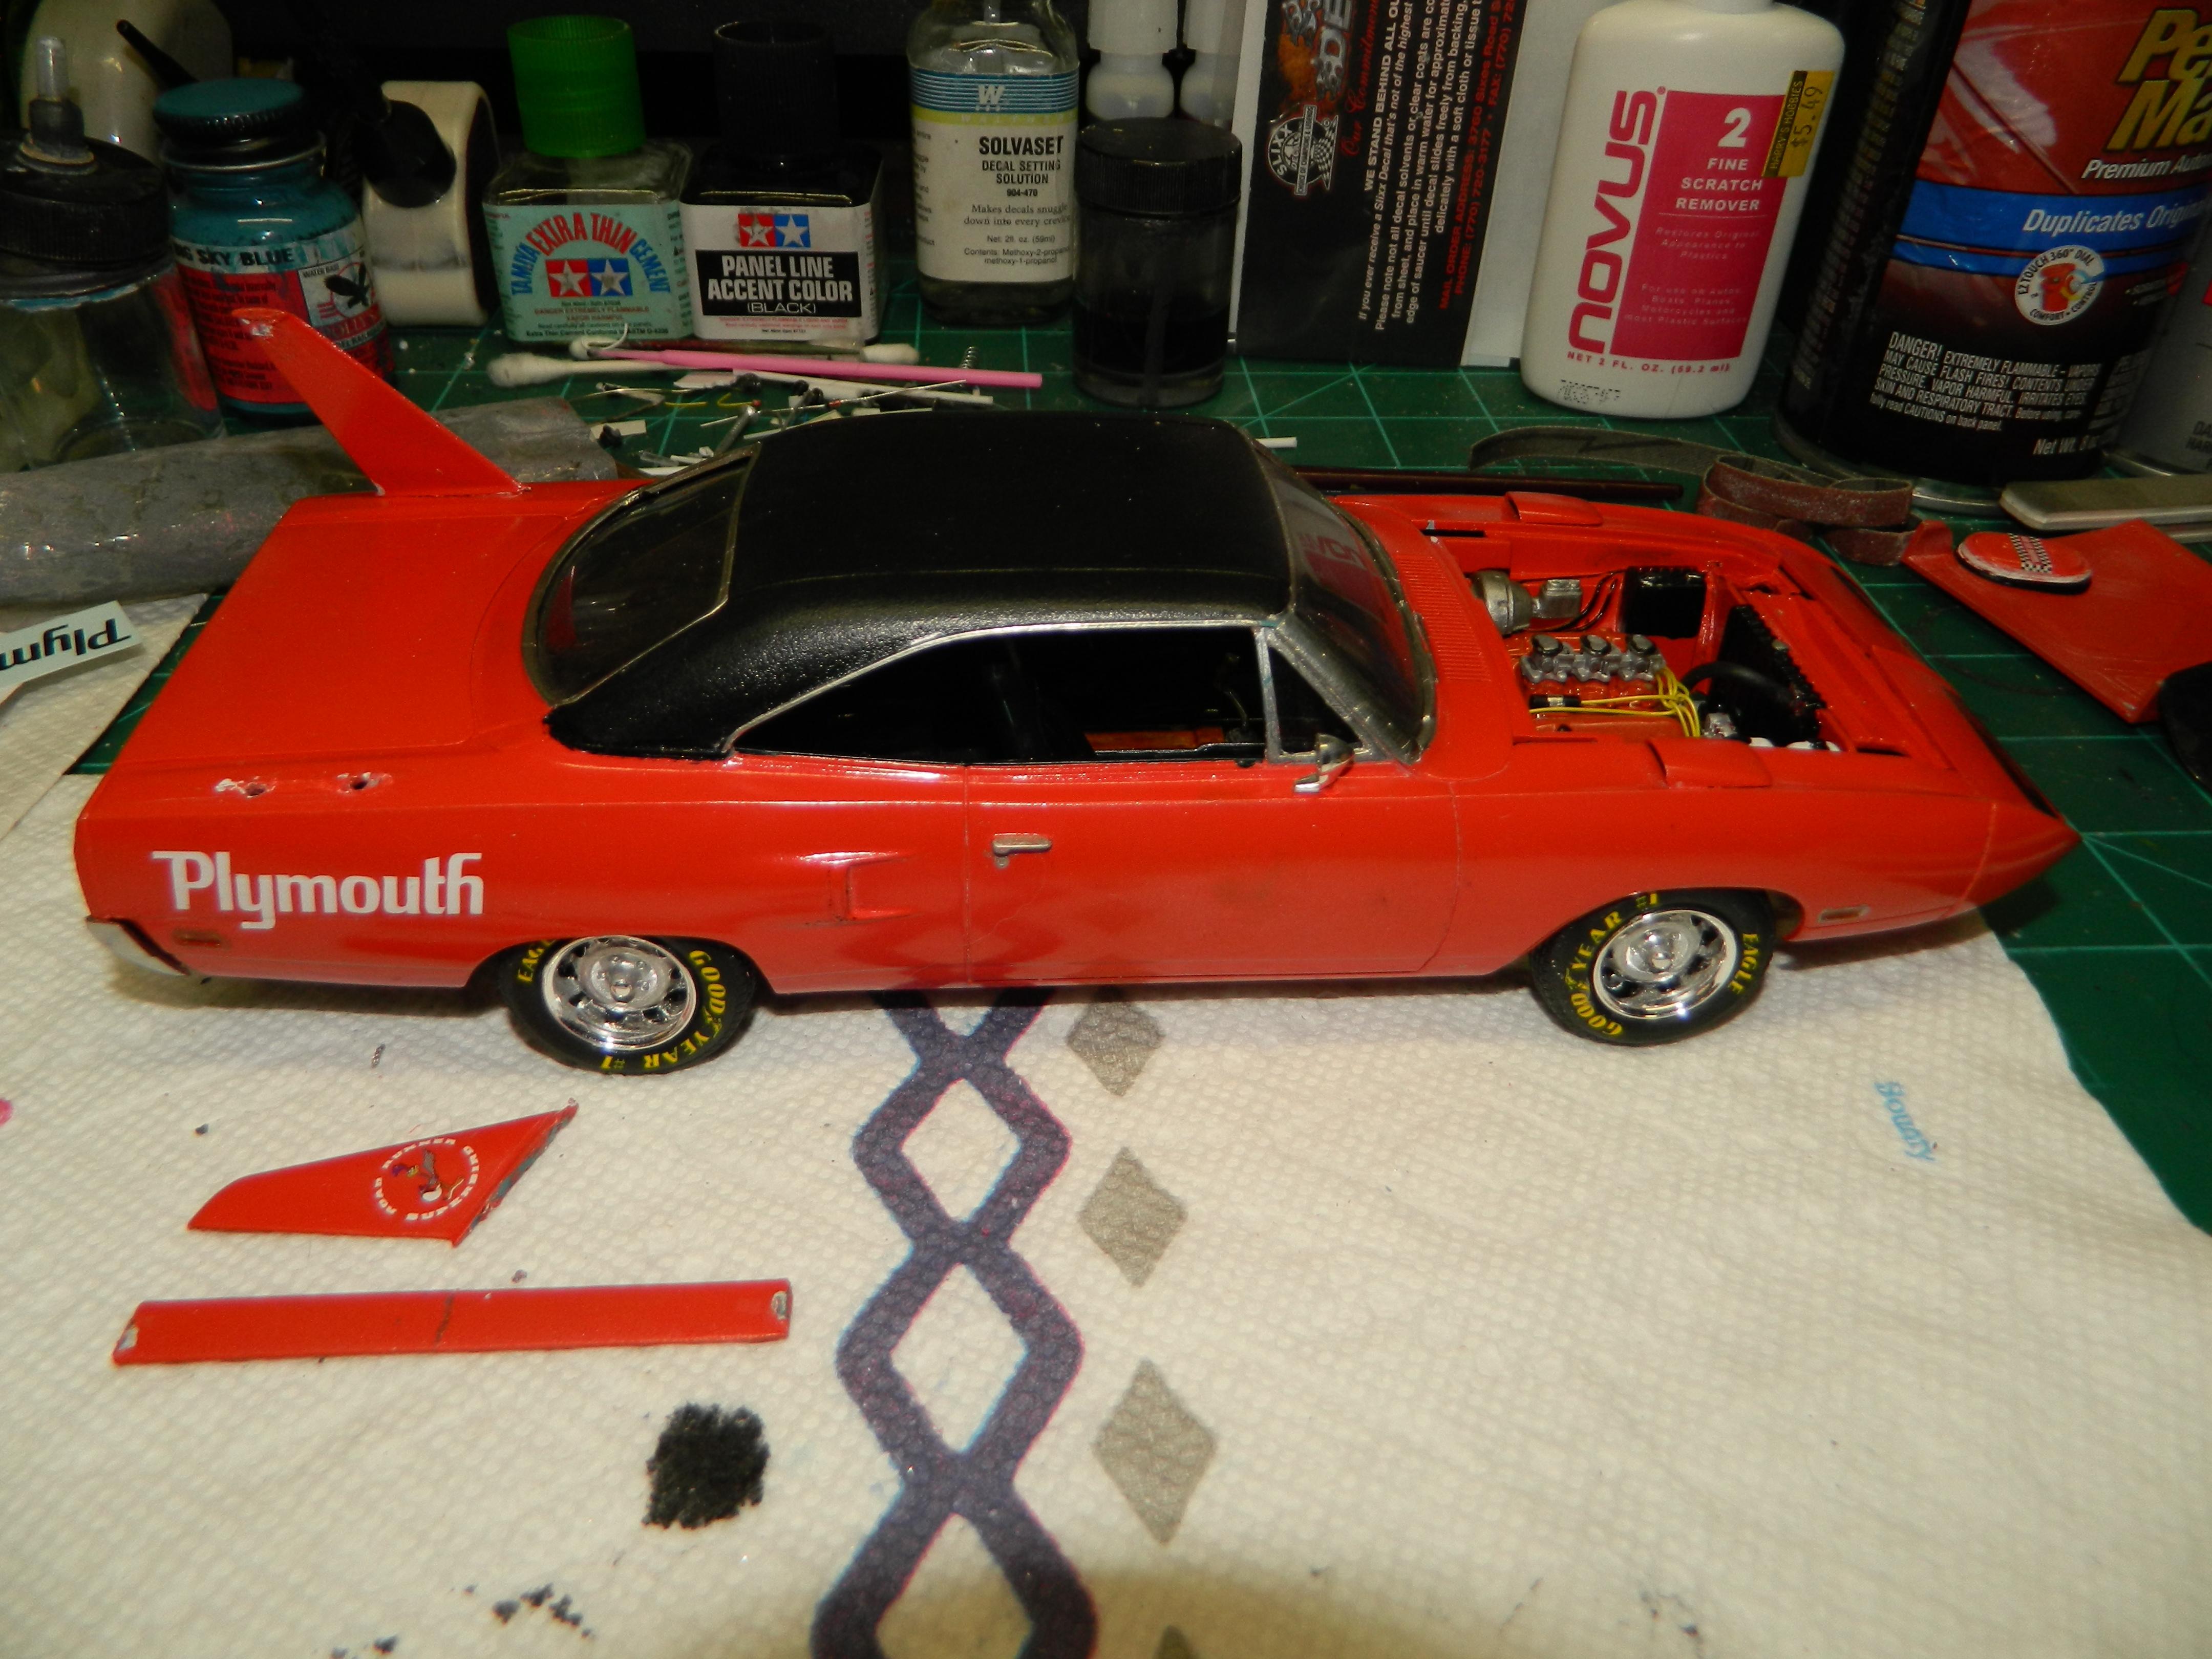
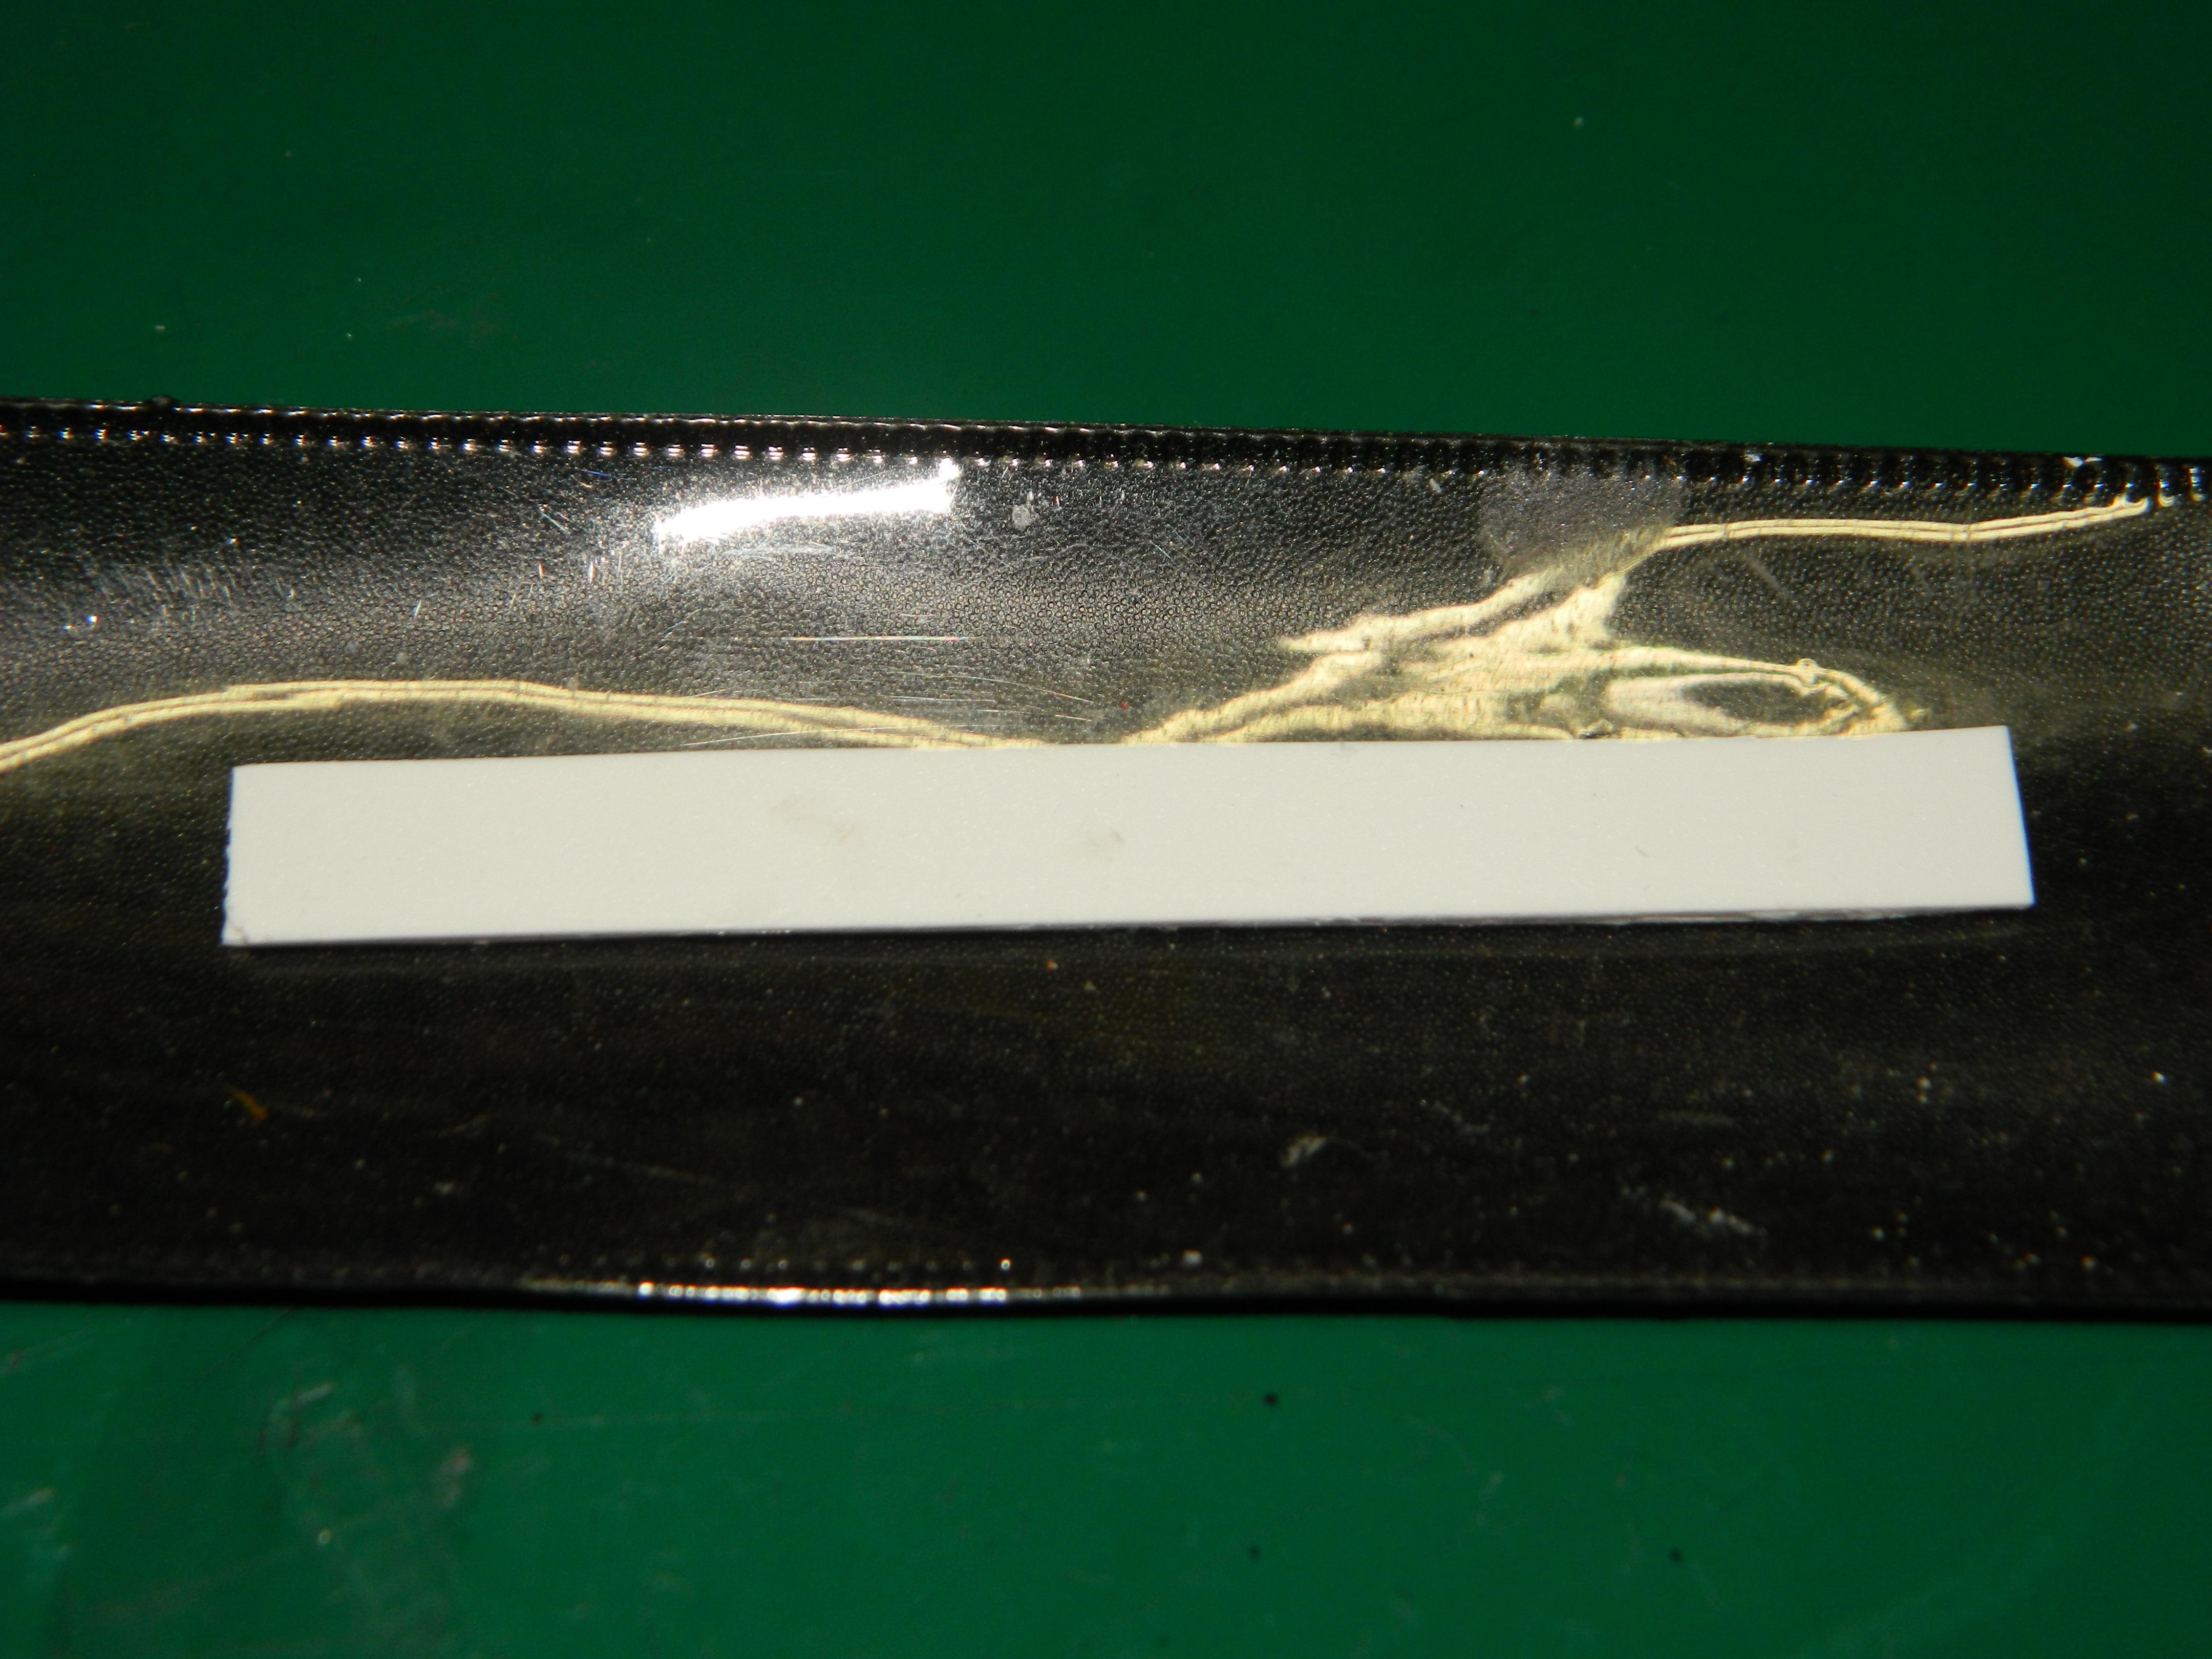
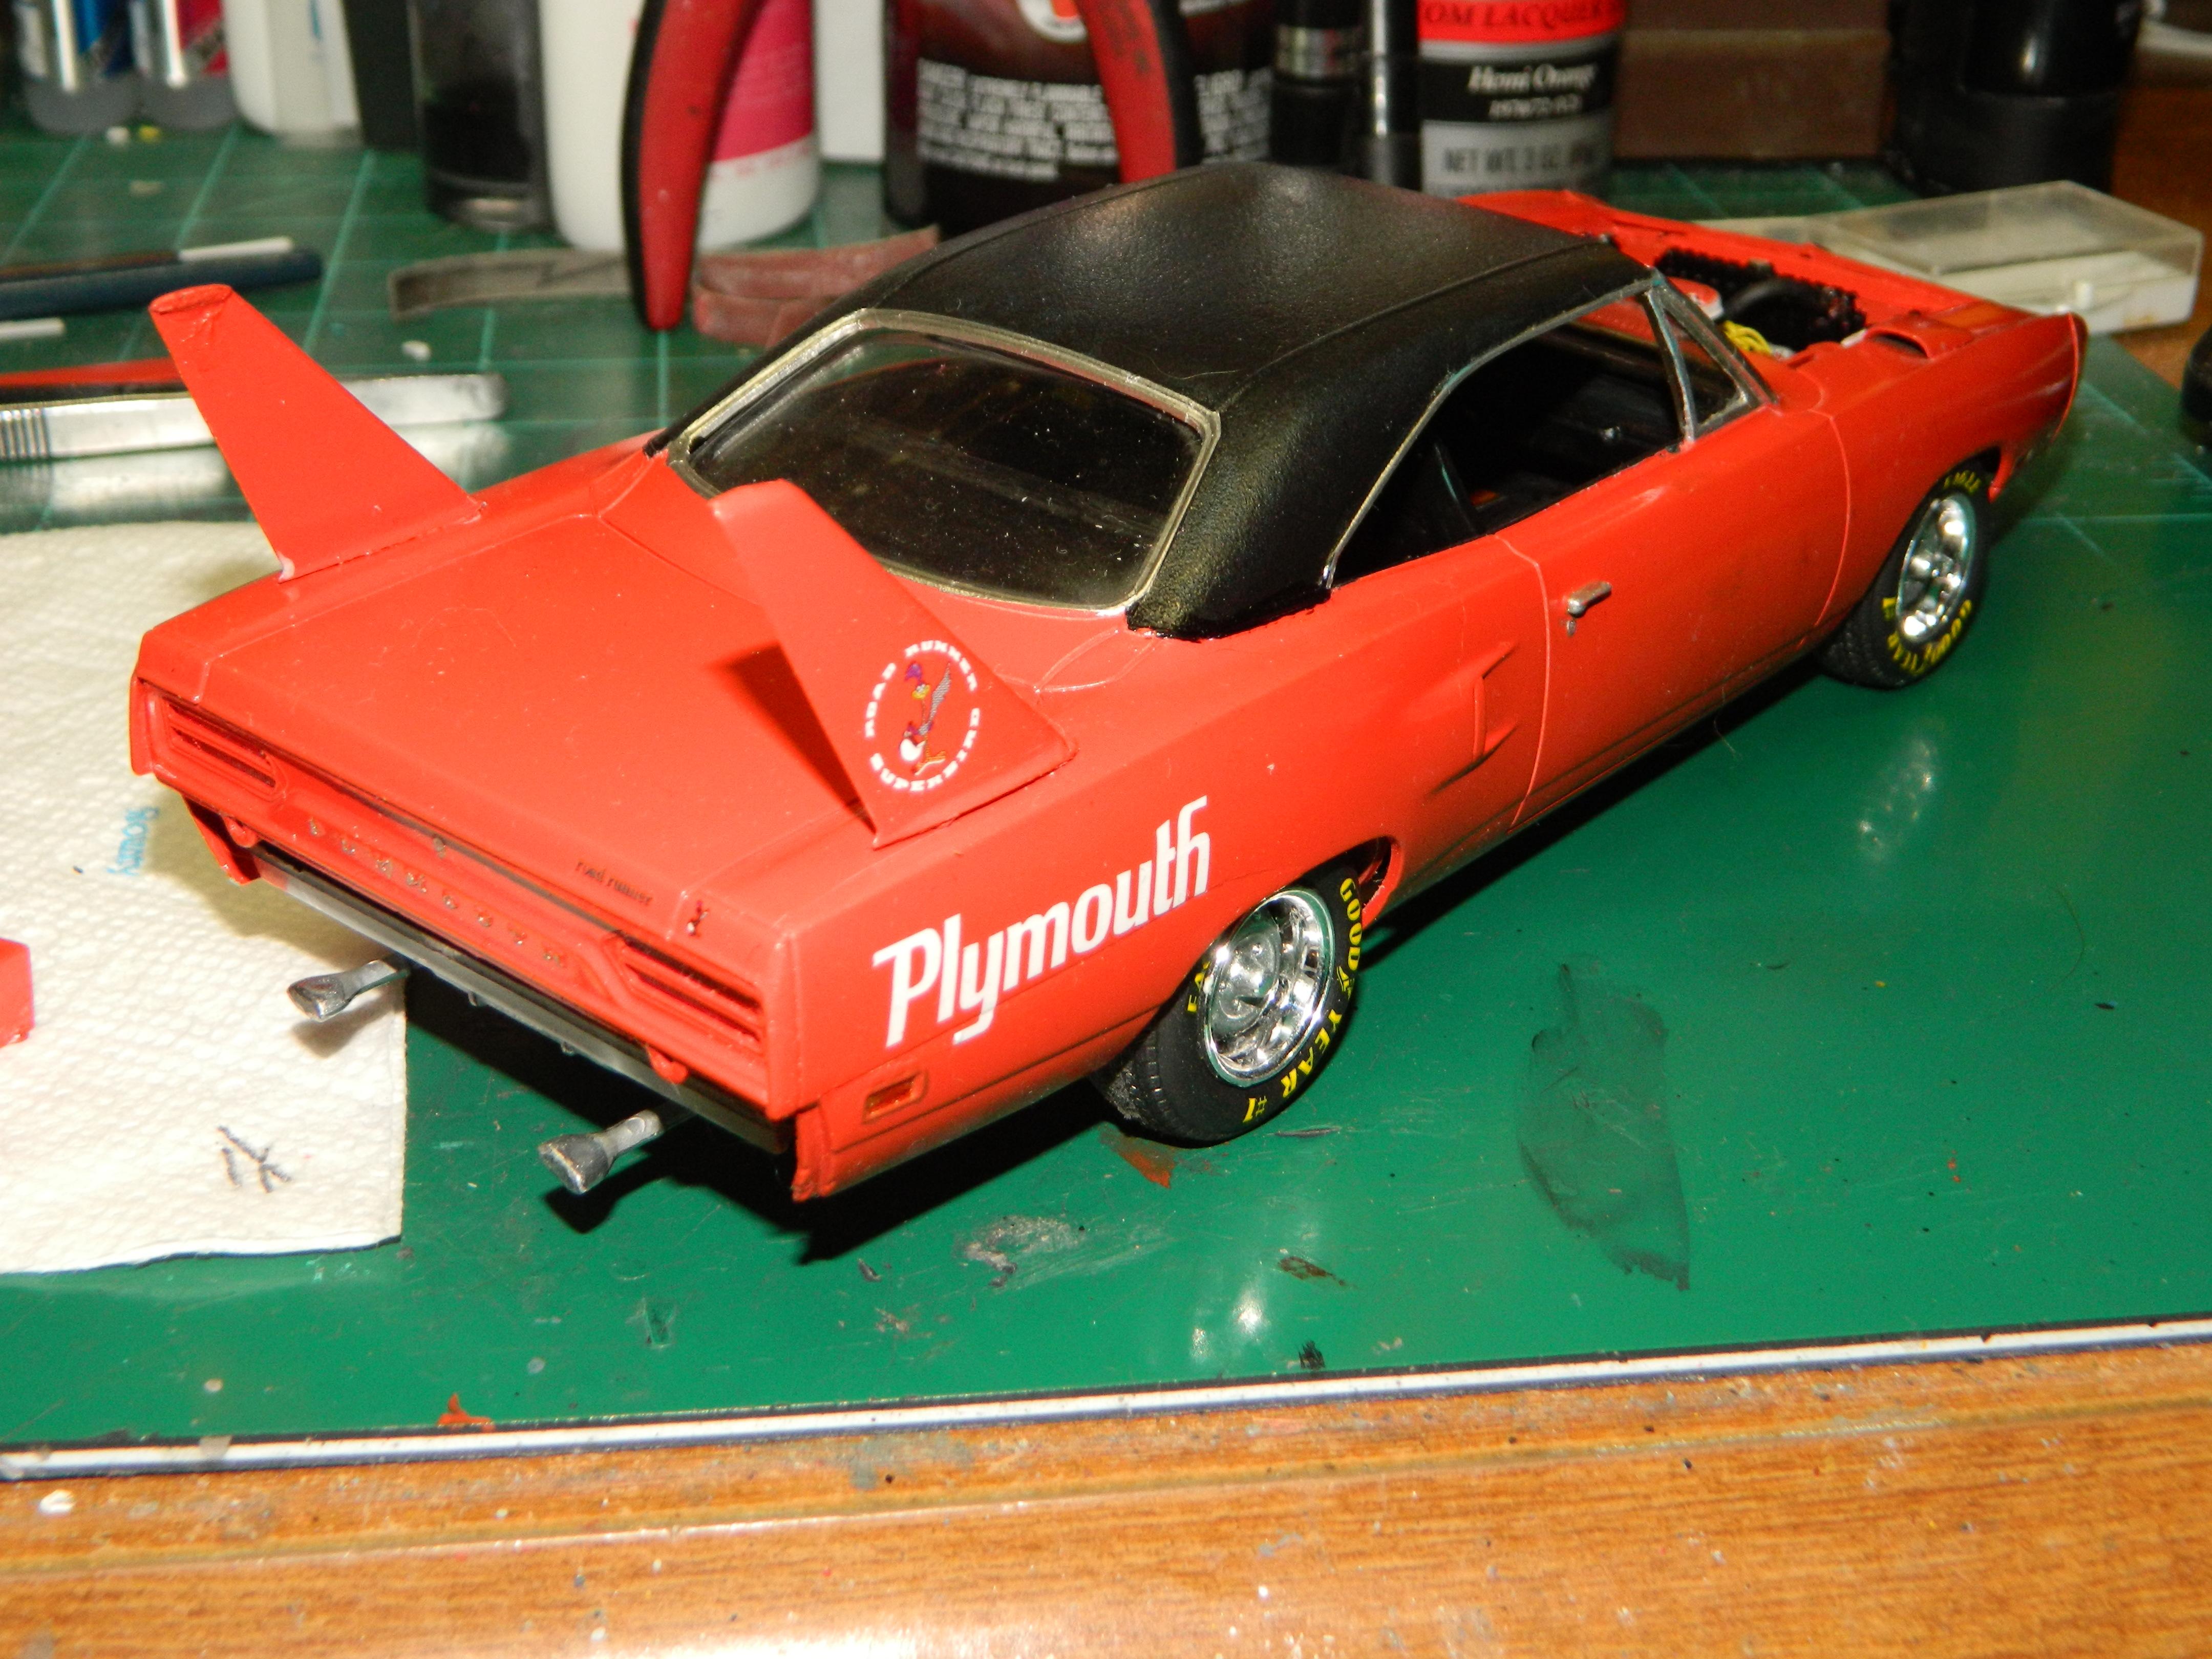
Thanks Jeff, but... I thought I had finished my Superbird yesterday and packed it for my Club meeting. When I unpacked the Superbird at the meeting, the rear spoiler had broken off in several places. My attempt at rejoining the spoiler produced a joint line that I didn't like. I traced out two pieces of .020 sheet styrene and glued them together. Now to sand and shape this into a spoiler. More Superbird to come...
-
Thanks Tommy and Jeremy!
-
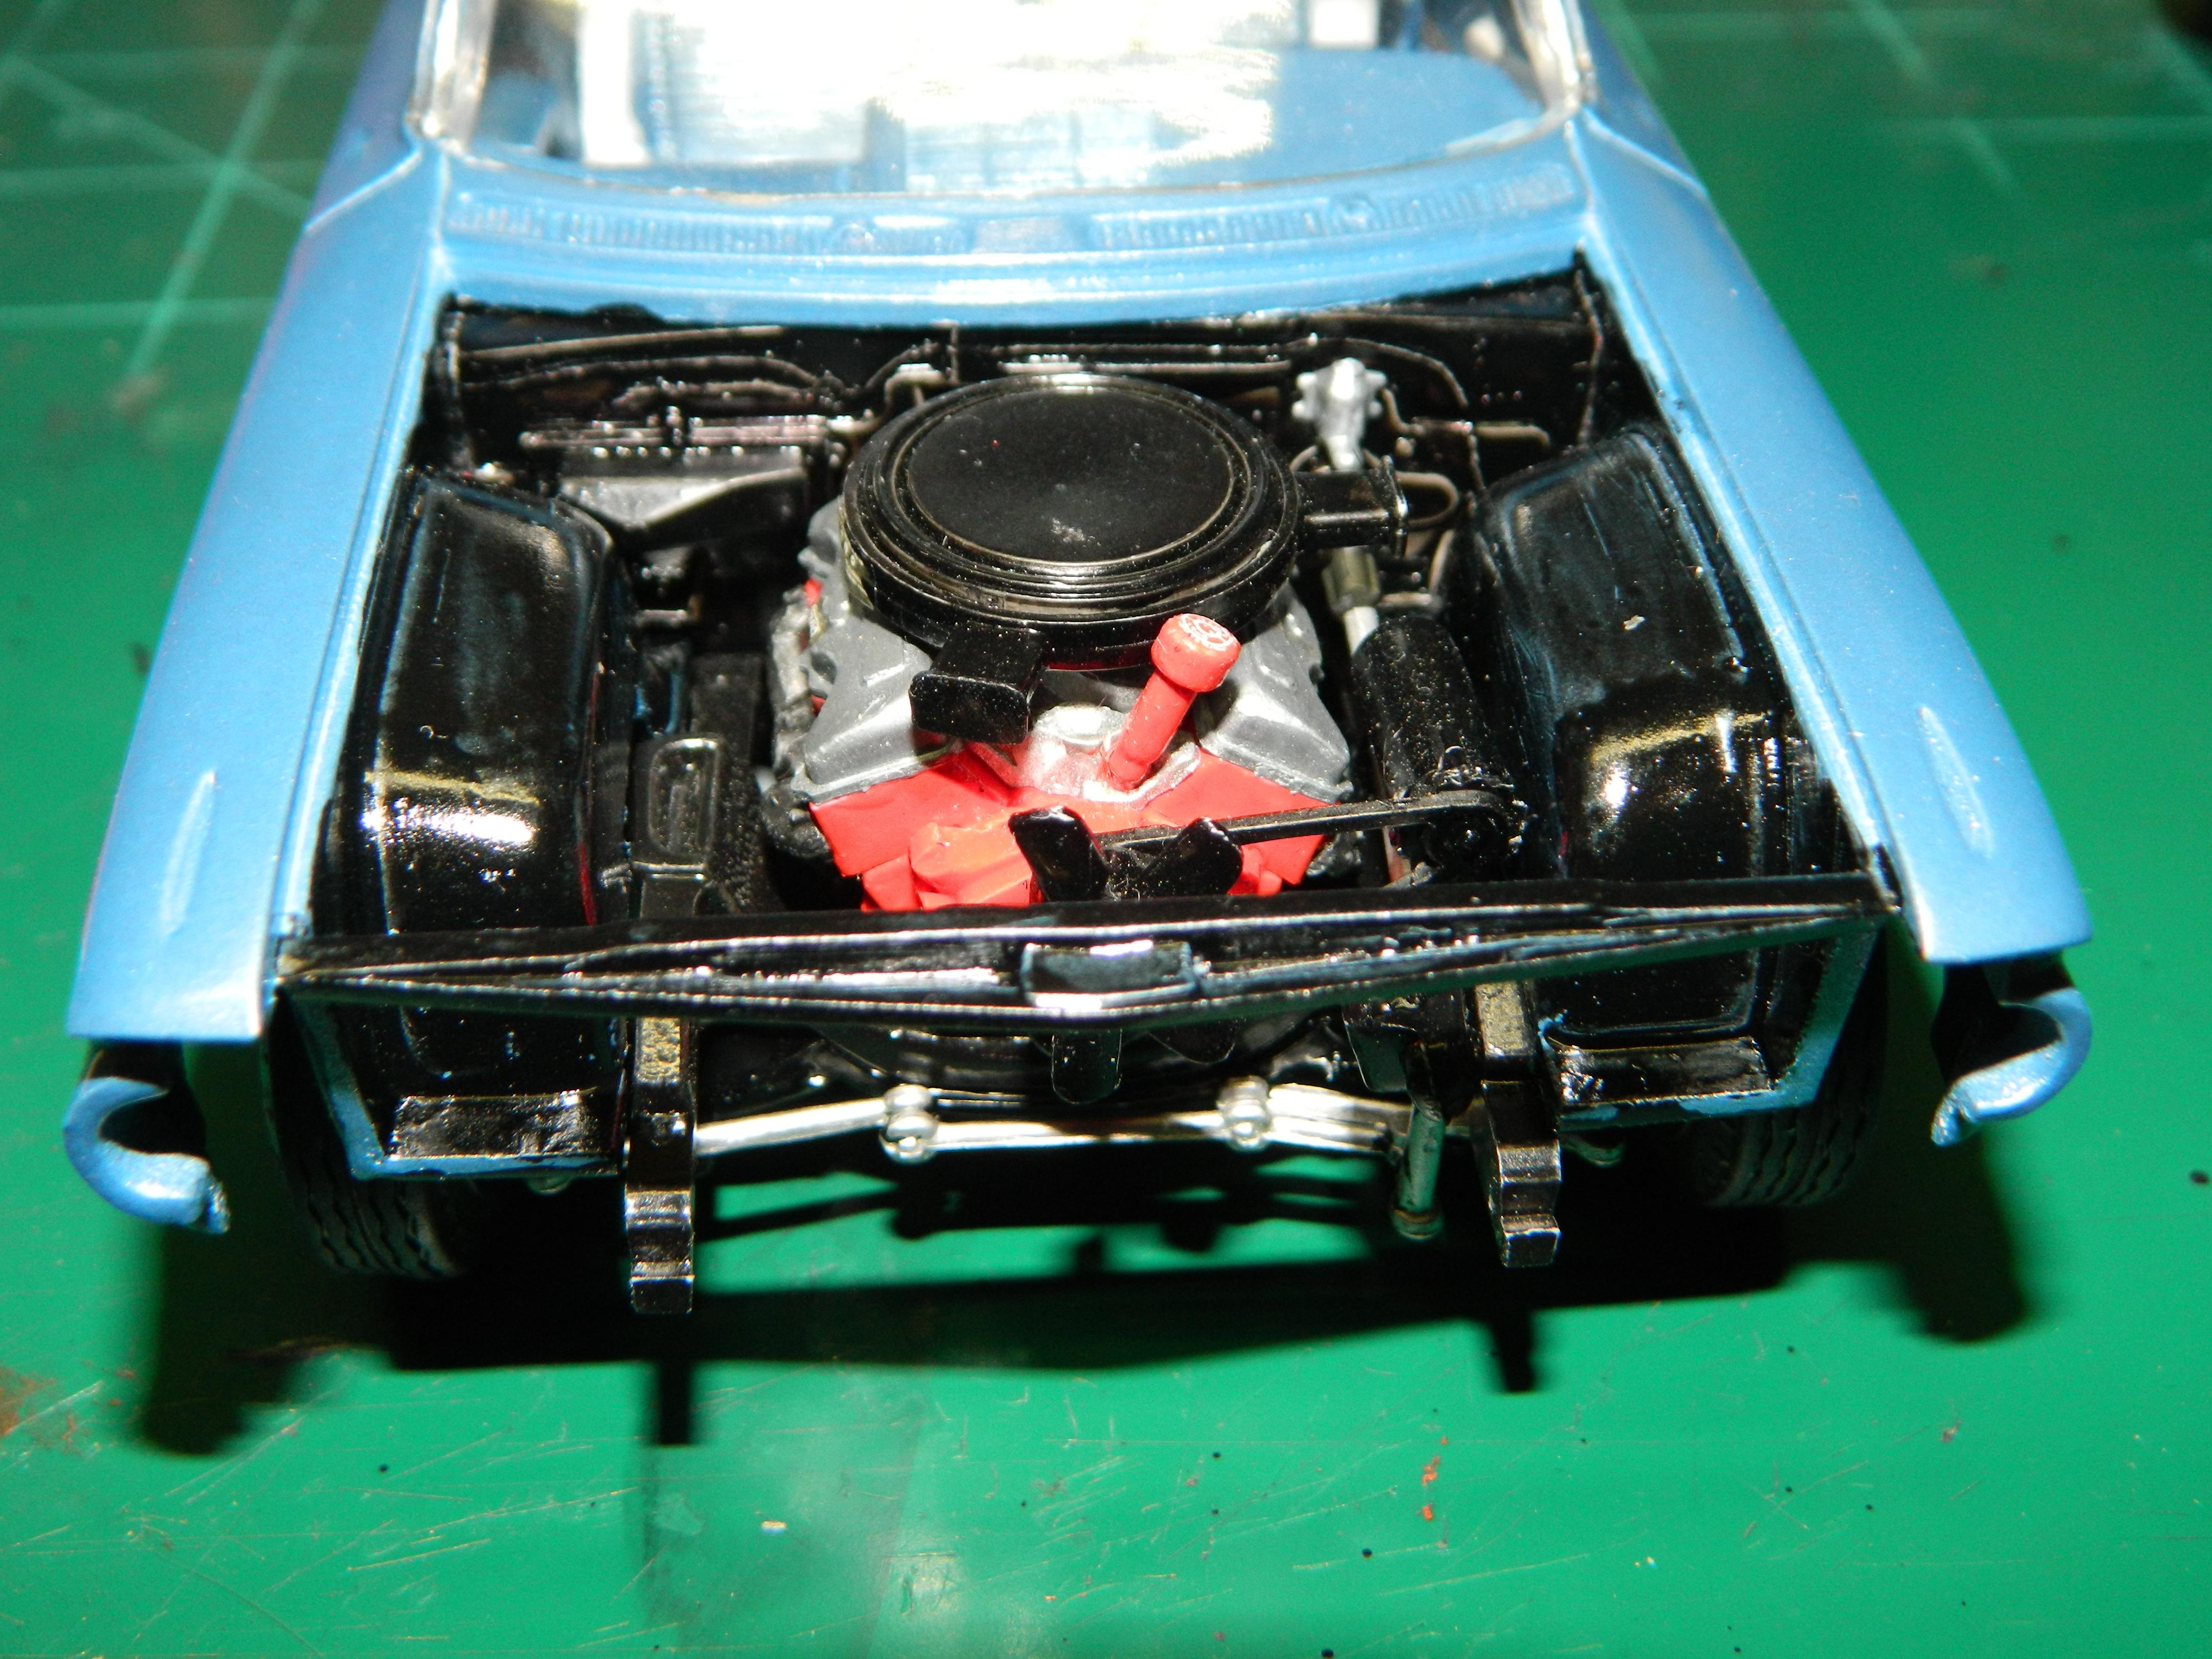
The Impala SS 409 is coming together with the interior, chassis and body mounted together. More Impala to come...
-
The Superbird is coming together. The rear bumper has been replated, but I'll add another coat or two of Alclad II to try and get a better shine. More Superbird to come...
-
Well Tommy, you are correct! The front had chrome bezels and the back didn't. I guess I'll have to correct that. Thanks!
-
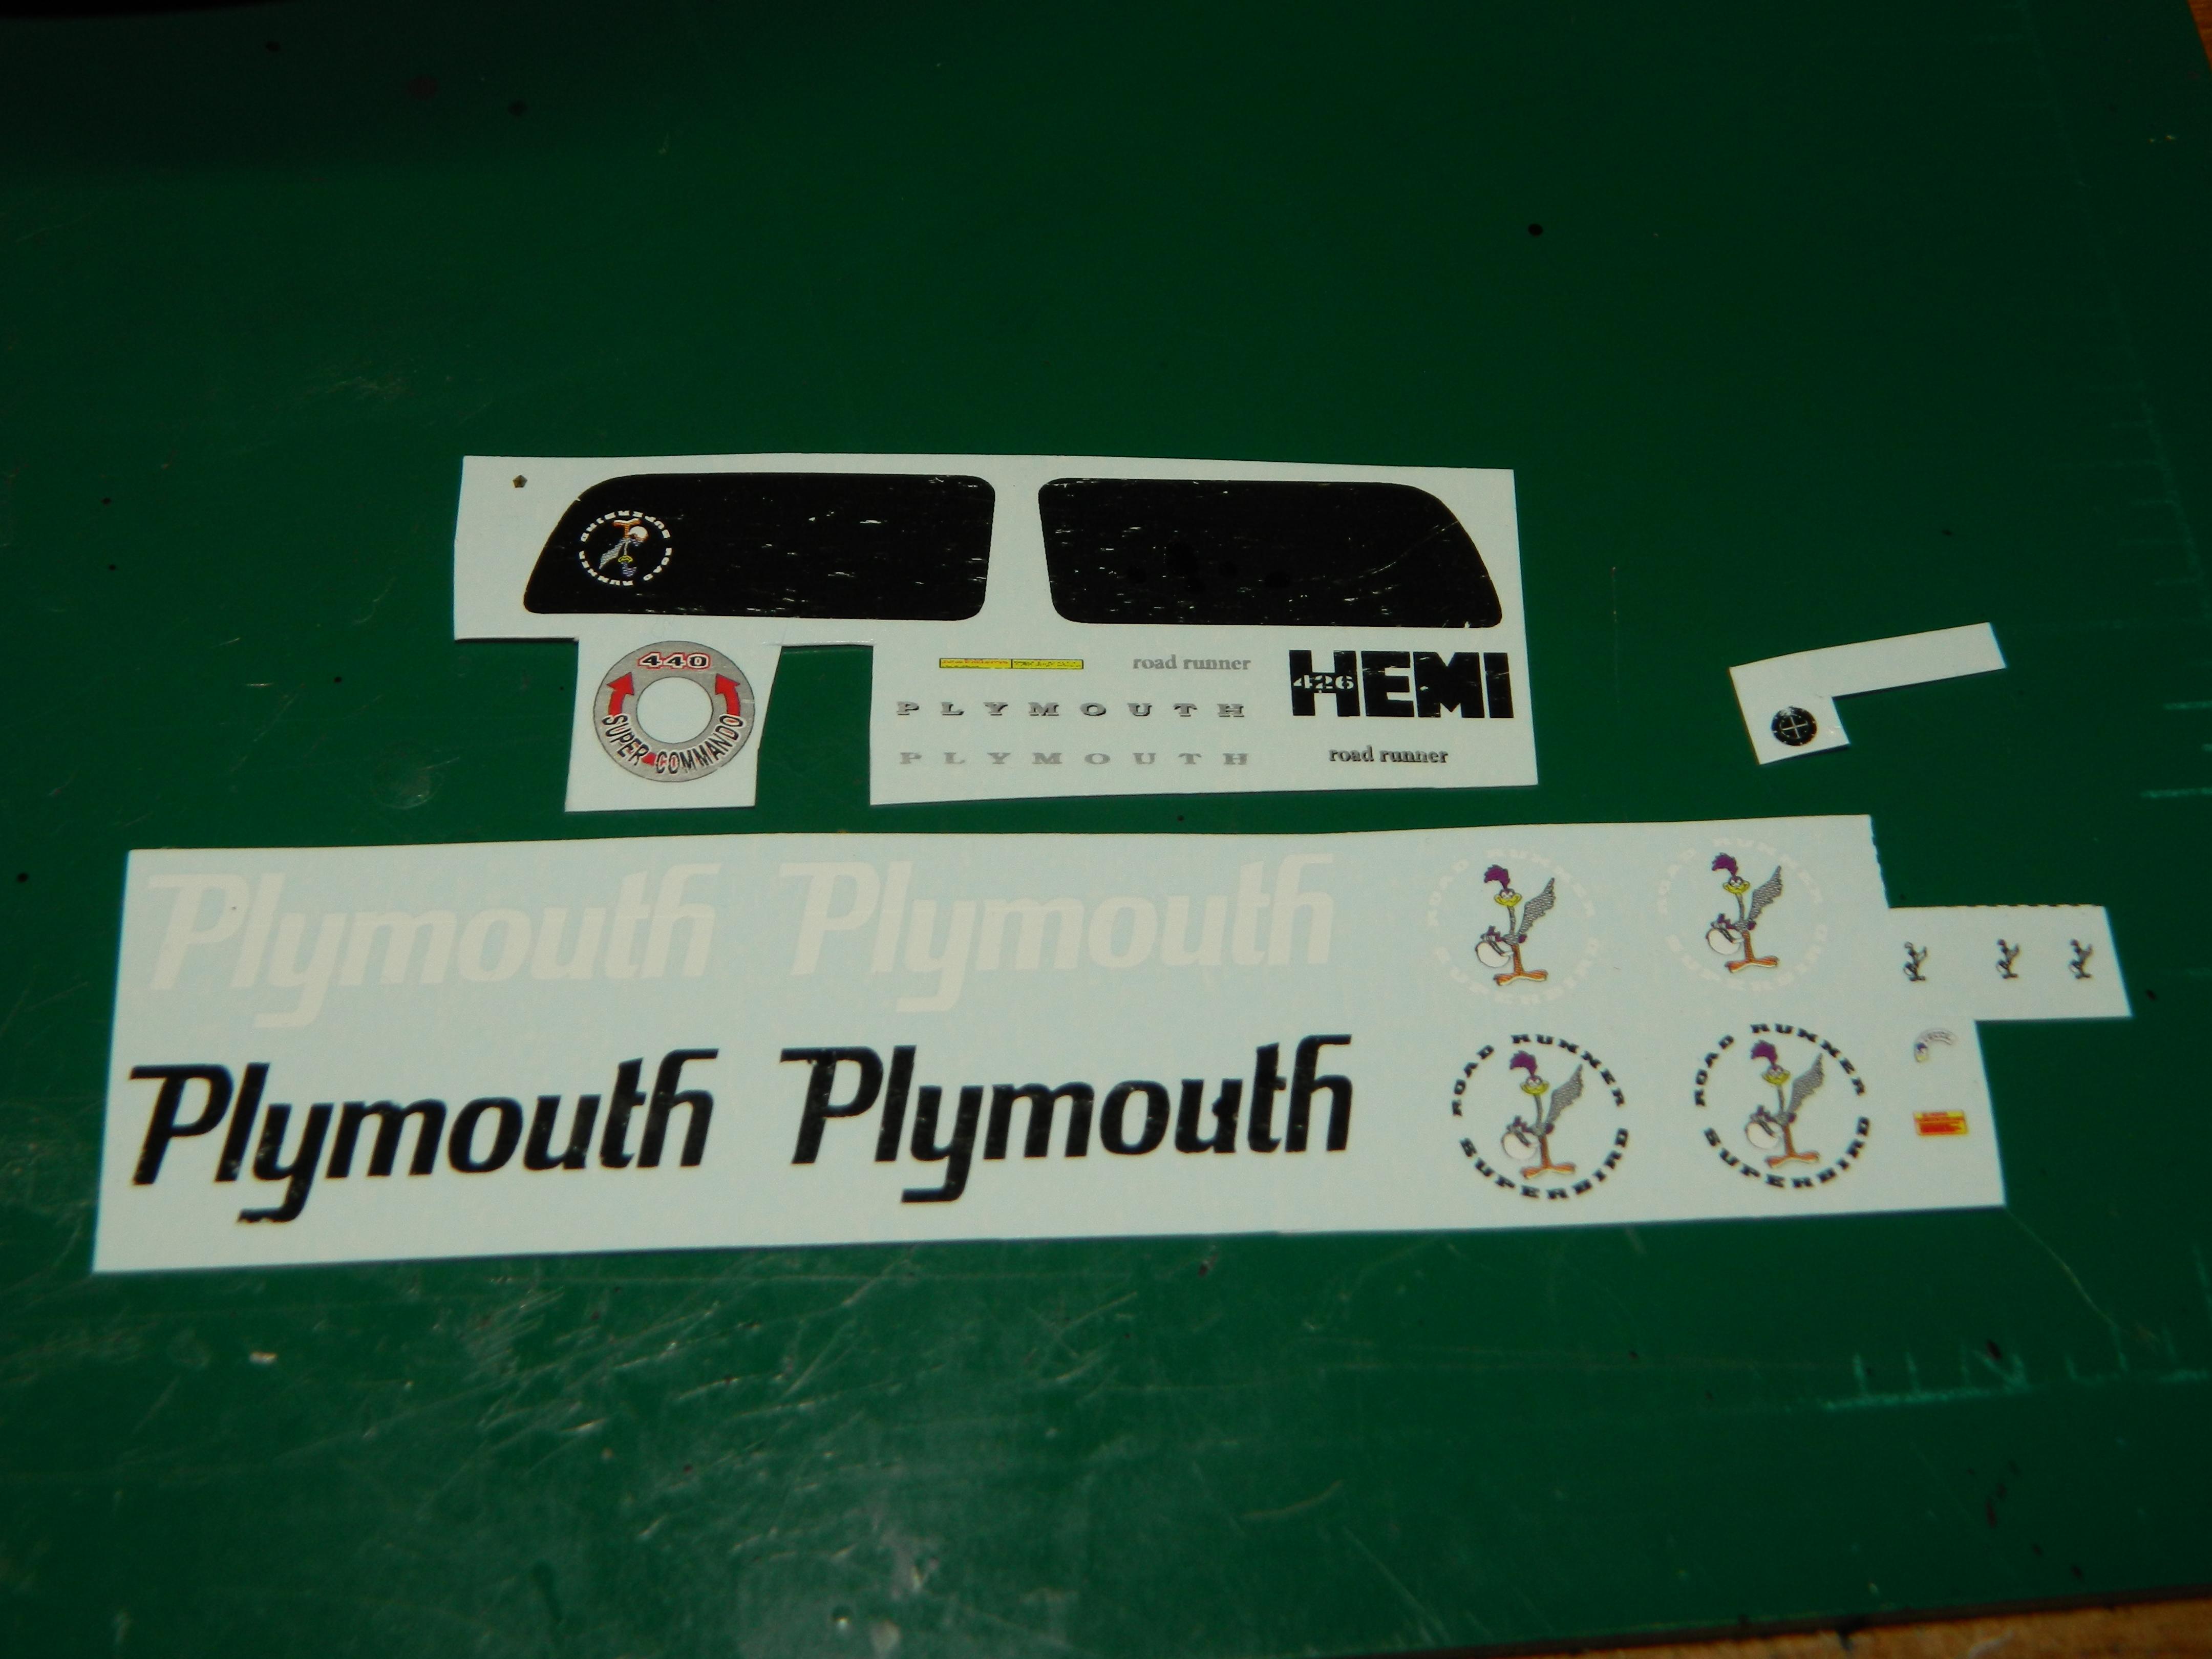
The decals are on the Superbird! Now it is on to clearcoat in a few days. I want these decals dry! More Superbird to come...
-
Thanks Trendsetta68 and Keith!
-
I sat down at the bench this morning and started applying the Superbird decals. I hate trying to cut out the small decals, but they are worth it. More Superbird to come...
-
Thanks Mario!
-

Land Rover
mrmike replied to mrmike's topic in WIP: Model Trucks: Pickups, Vans, SUVs, Light Commercial
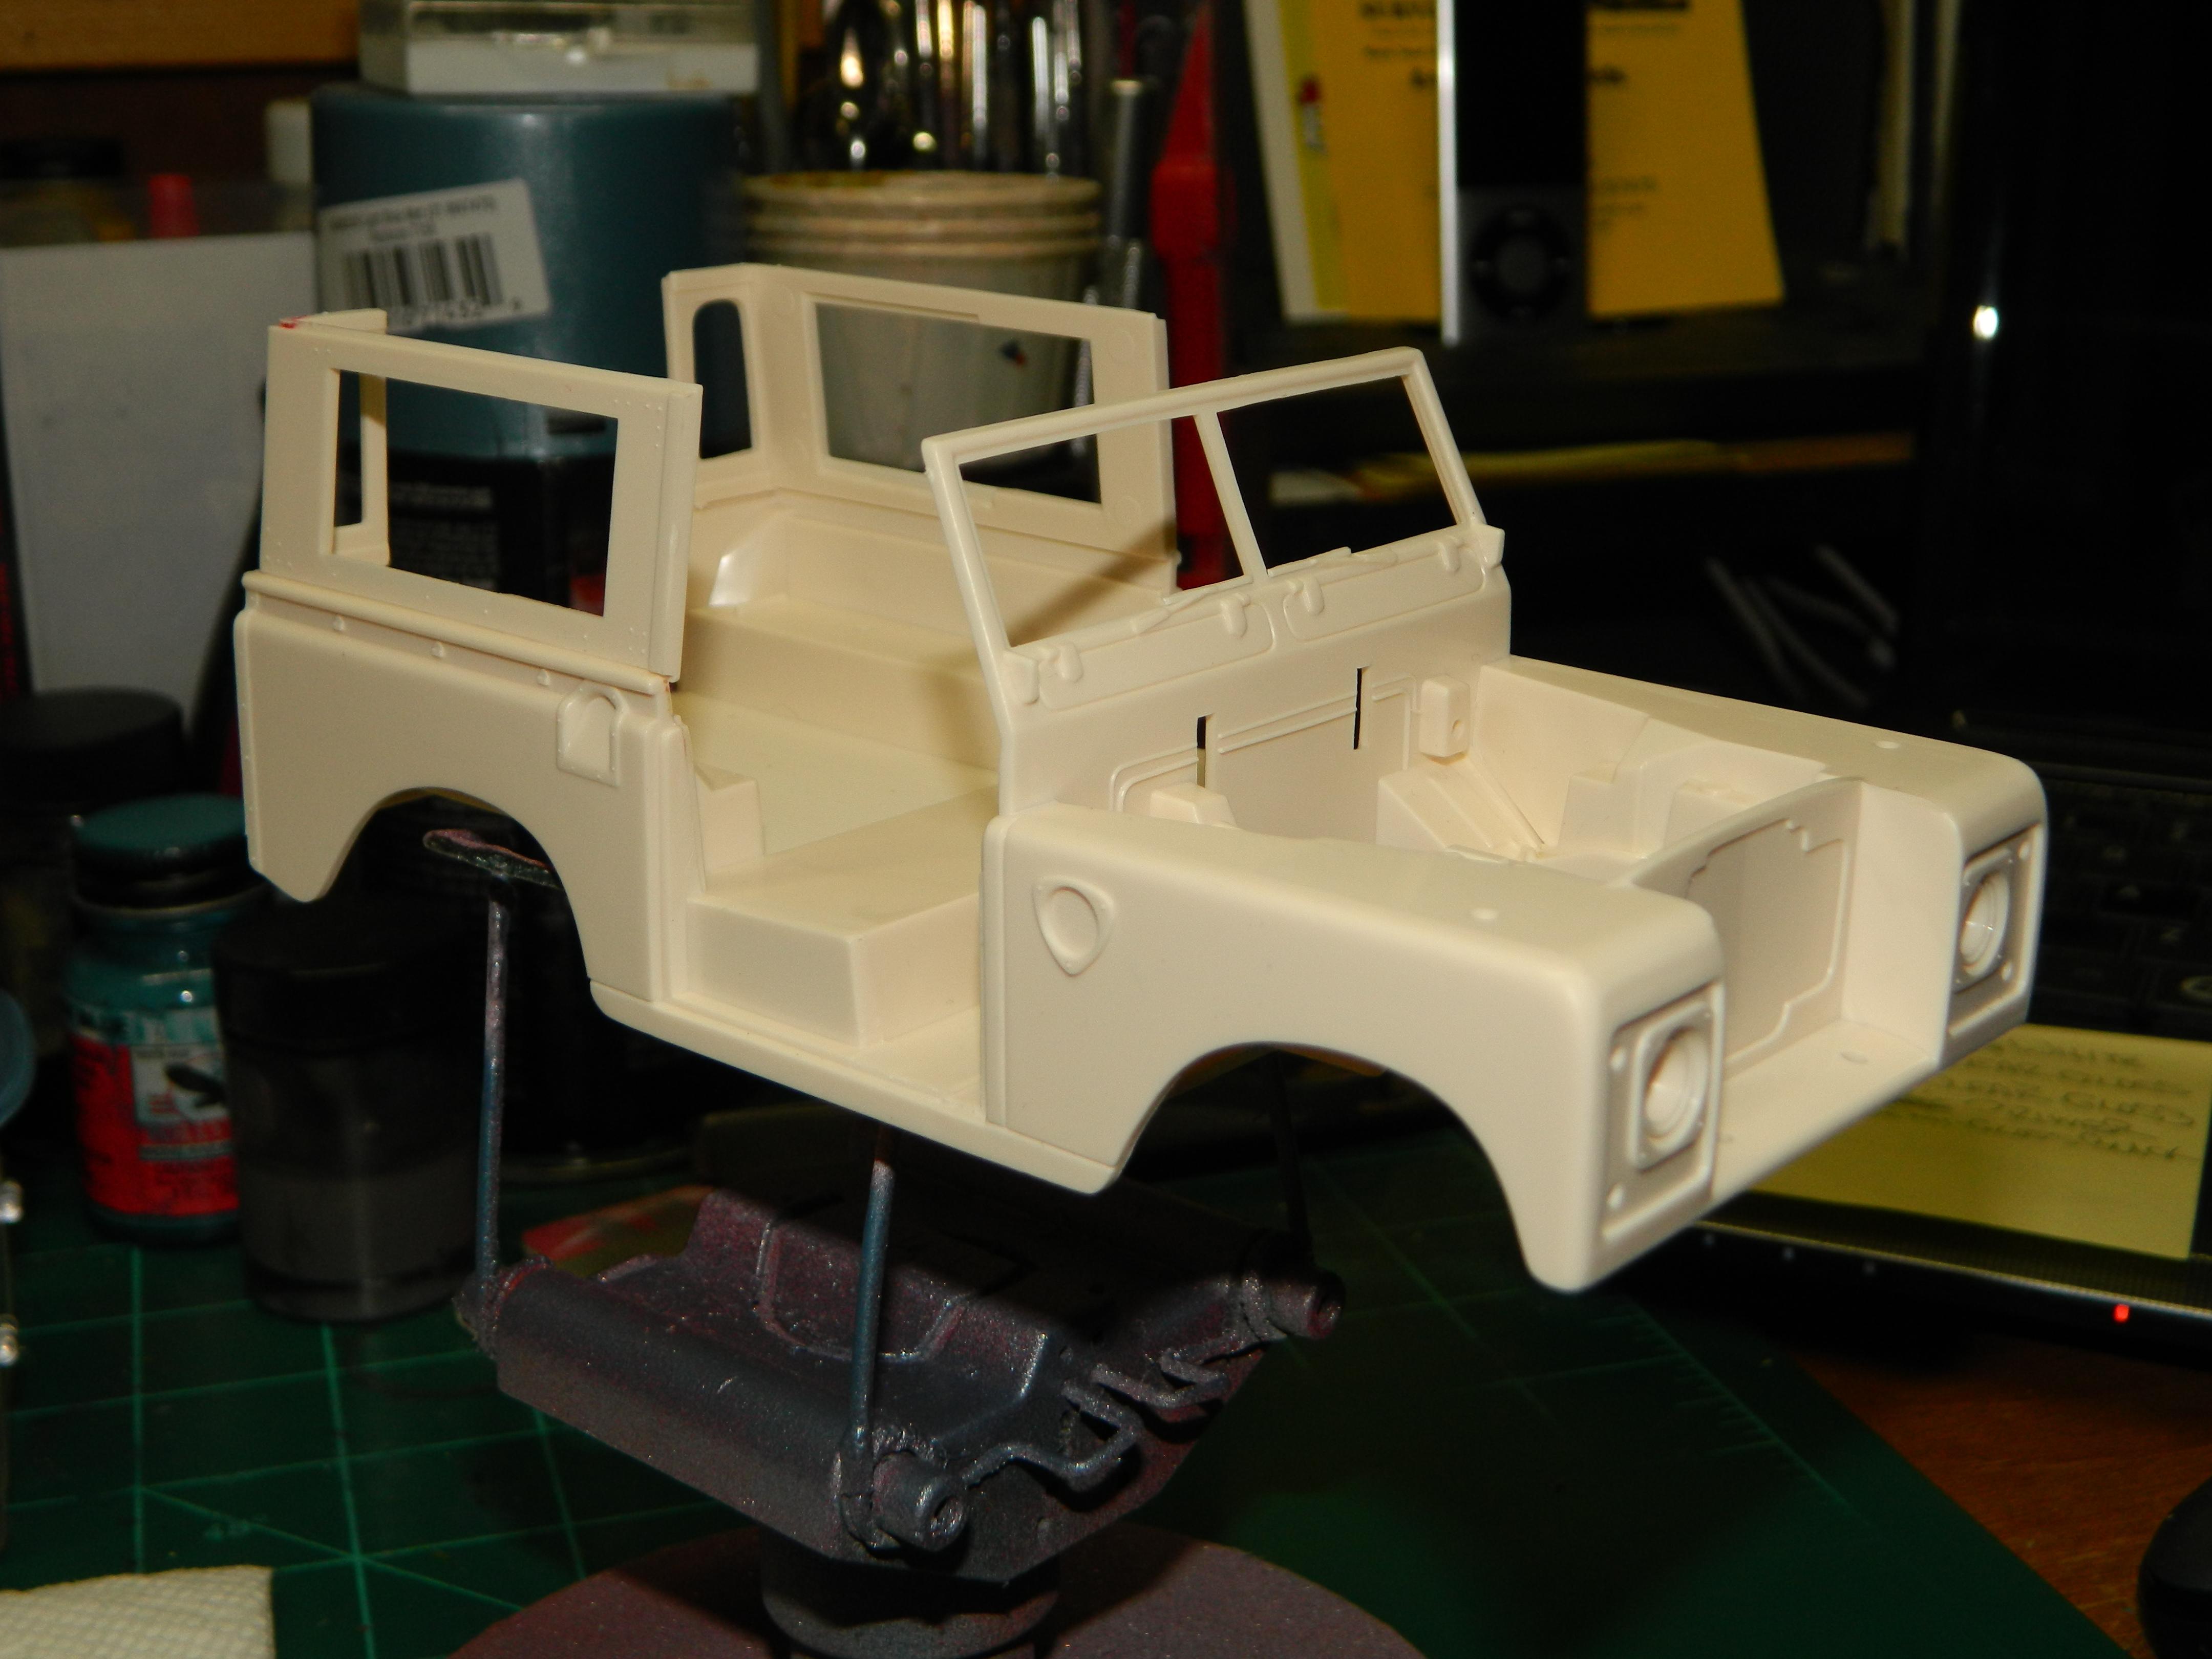
Looks nice! Good job! The chassis is done until I can paint the body and install it onto the chassis. The body is ready for primer and paint. More Land Rover to come...
-
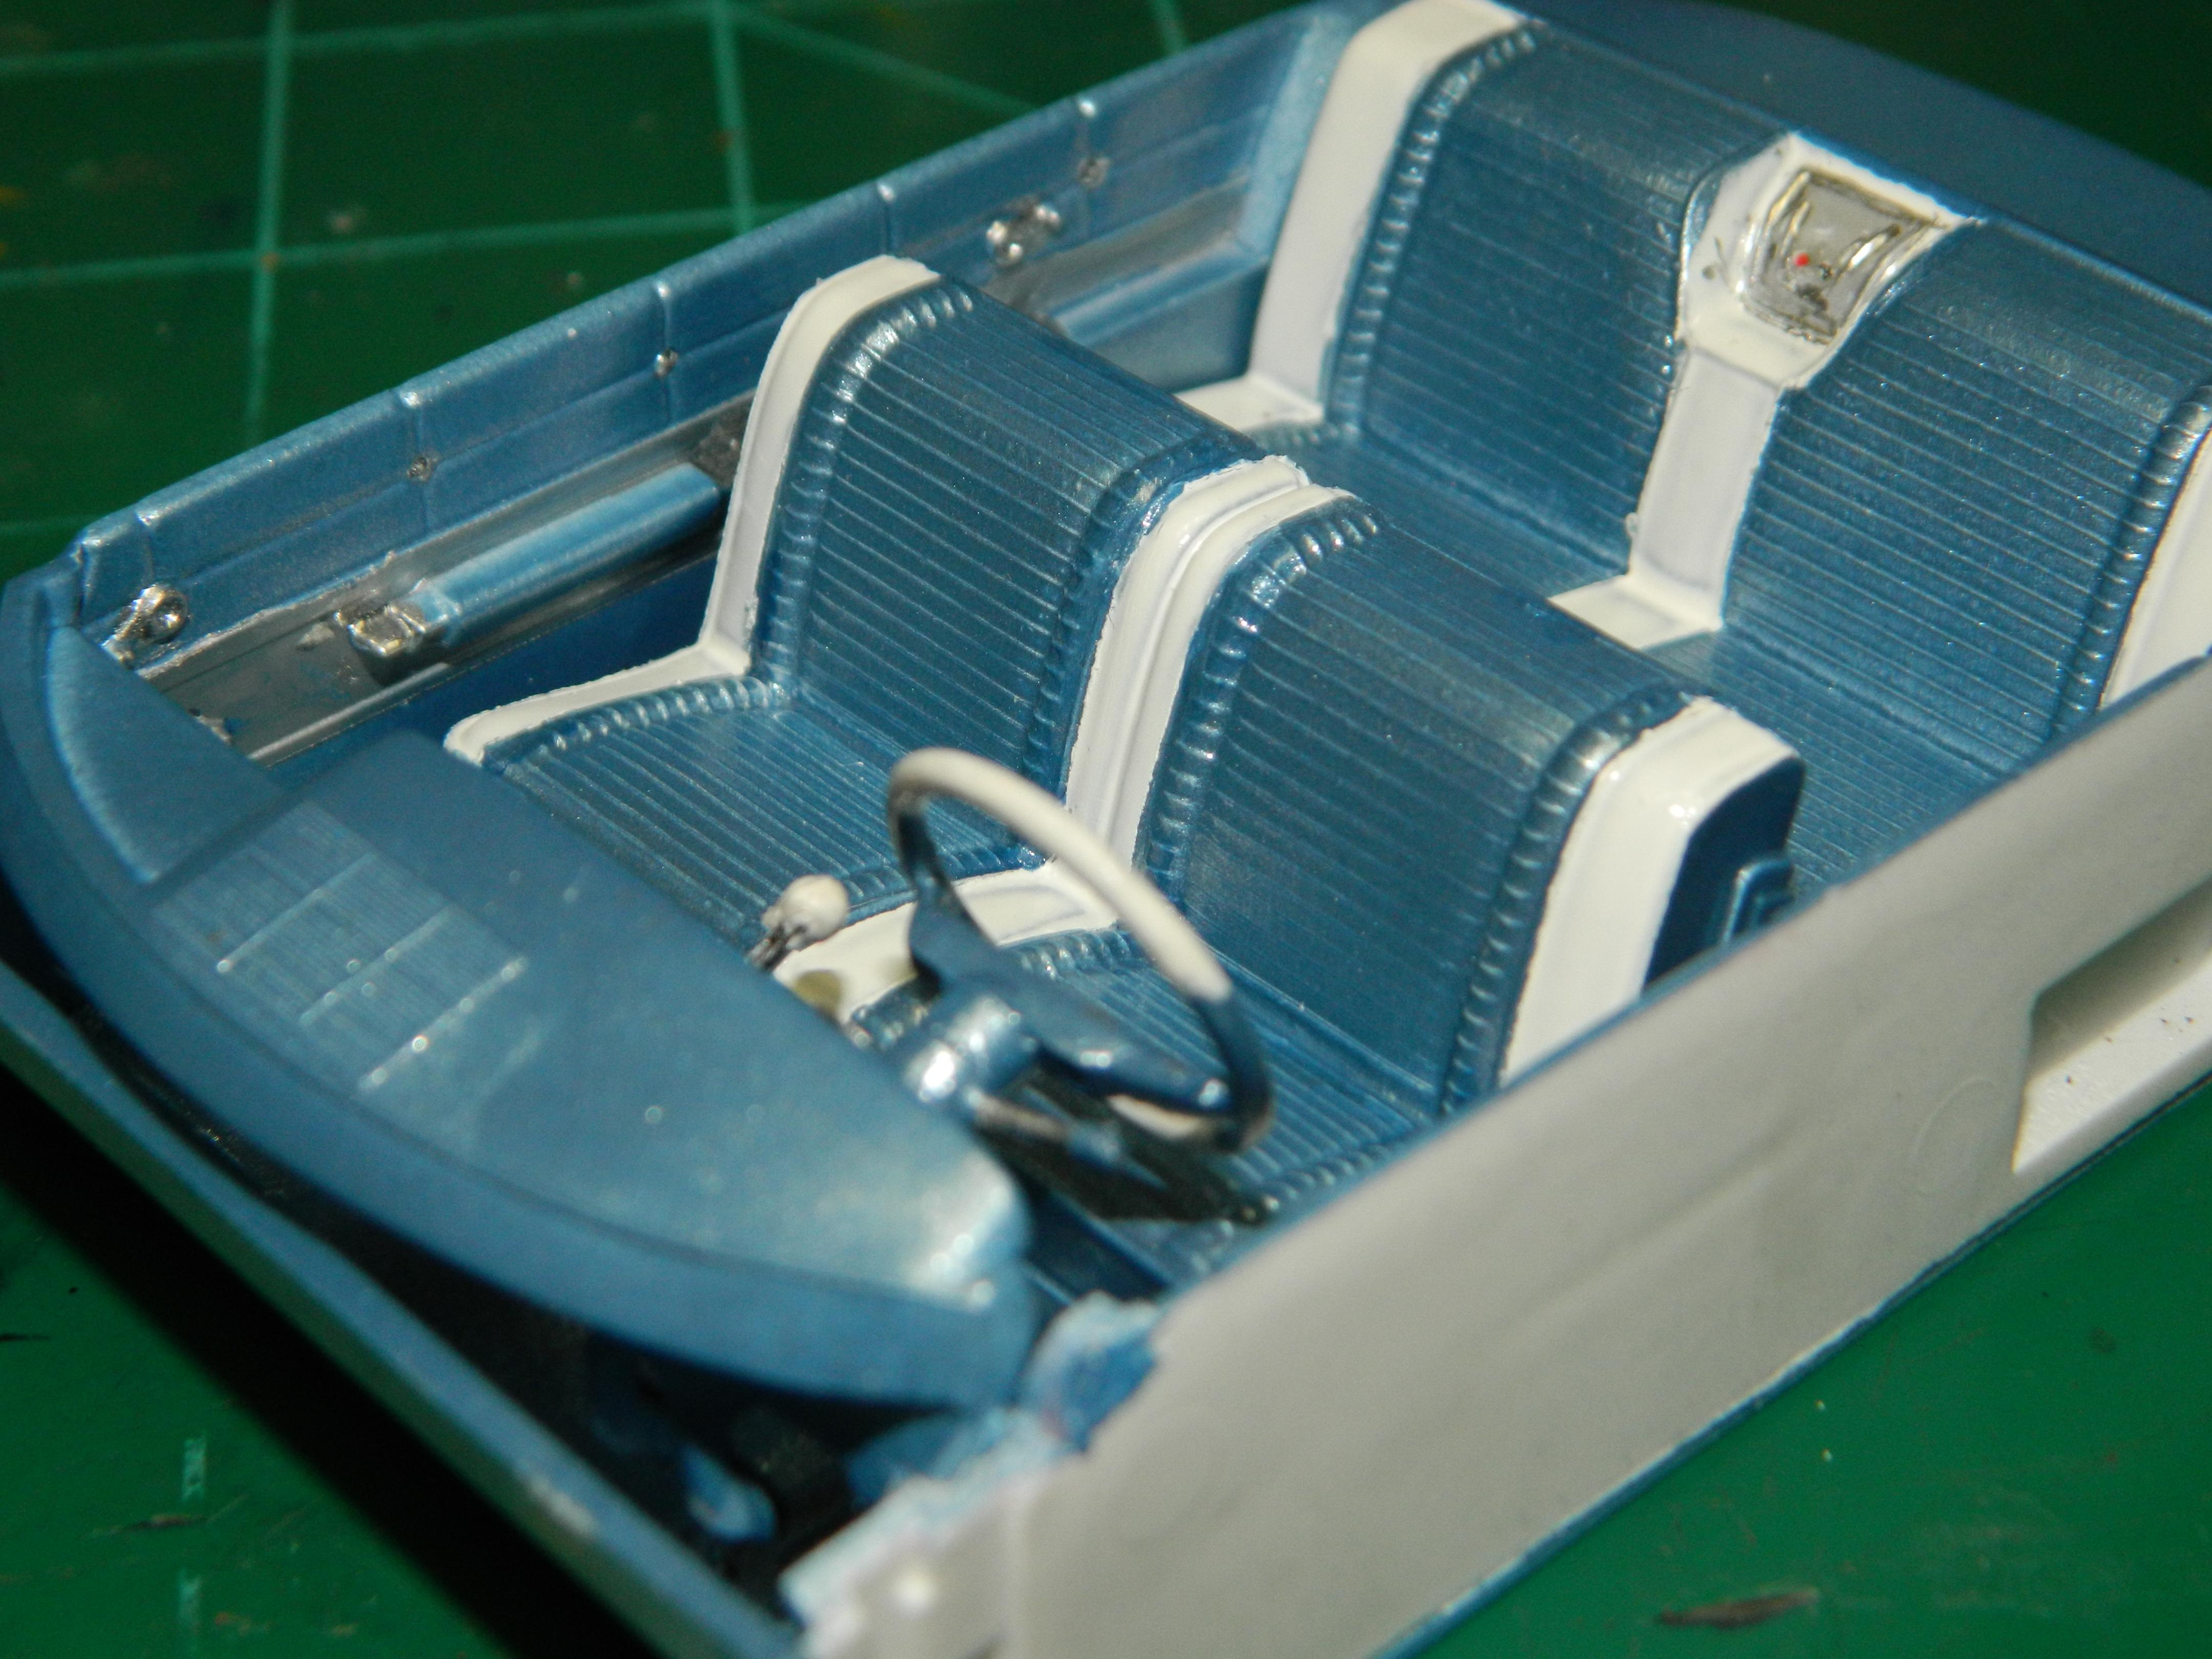
I have completed the interior. I added the steering wheel, passenger grab handle, touchup the shift knob and steering wheel and added a coat of gloss clear to the floor mats. More Impala to come...
-
Thanks Dennis and Tom! Dennis, thanks for the suggestion! The wheels and tires are permenantly on as far as they will go on. They look fine to me.
-
Thanks Bill! Weird is right as I have never had a problem like that before. A friend of mine had the same prolblem when he was building a Lindberg '66 Chevelle SS 396 years ago, so we must have had the same plastic in our kits.
-
Assembly of the interior is almost done. I need to touchup the white and install the steering wheel. More Impala to come...
-
Land Rover
mrmike replied to mrmike's topic in WIP: Model Trucks: Pickups, Vans, SUVs, Light Commercial
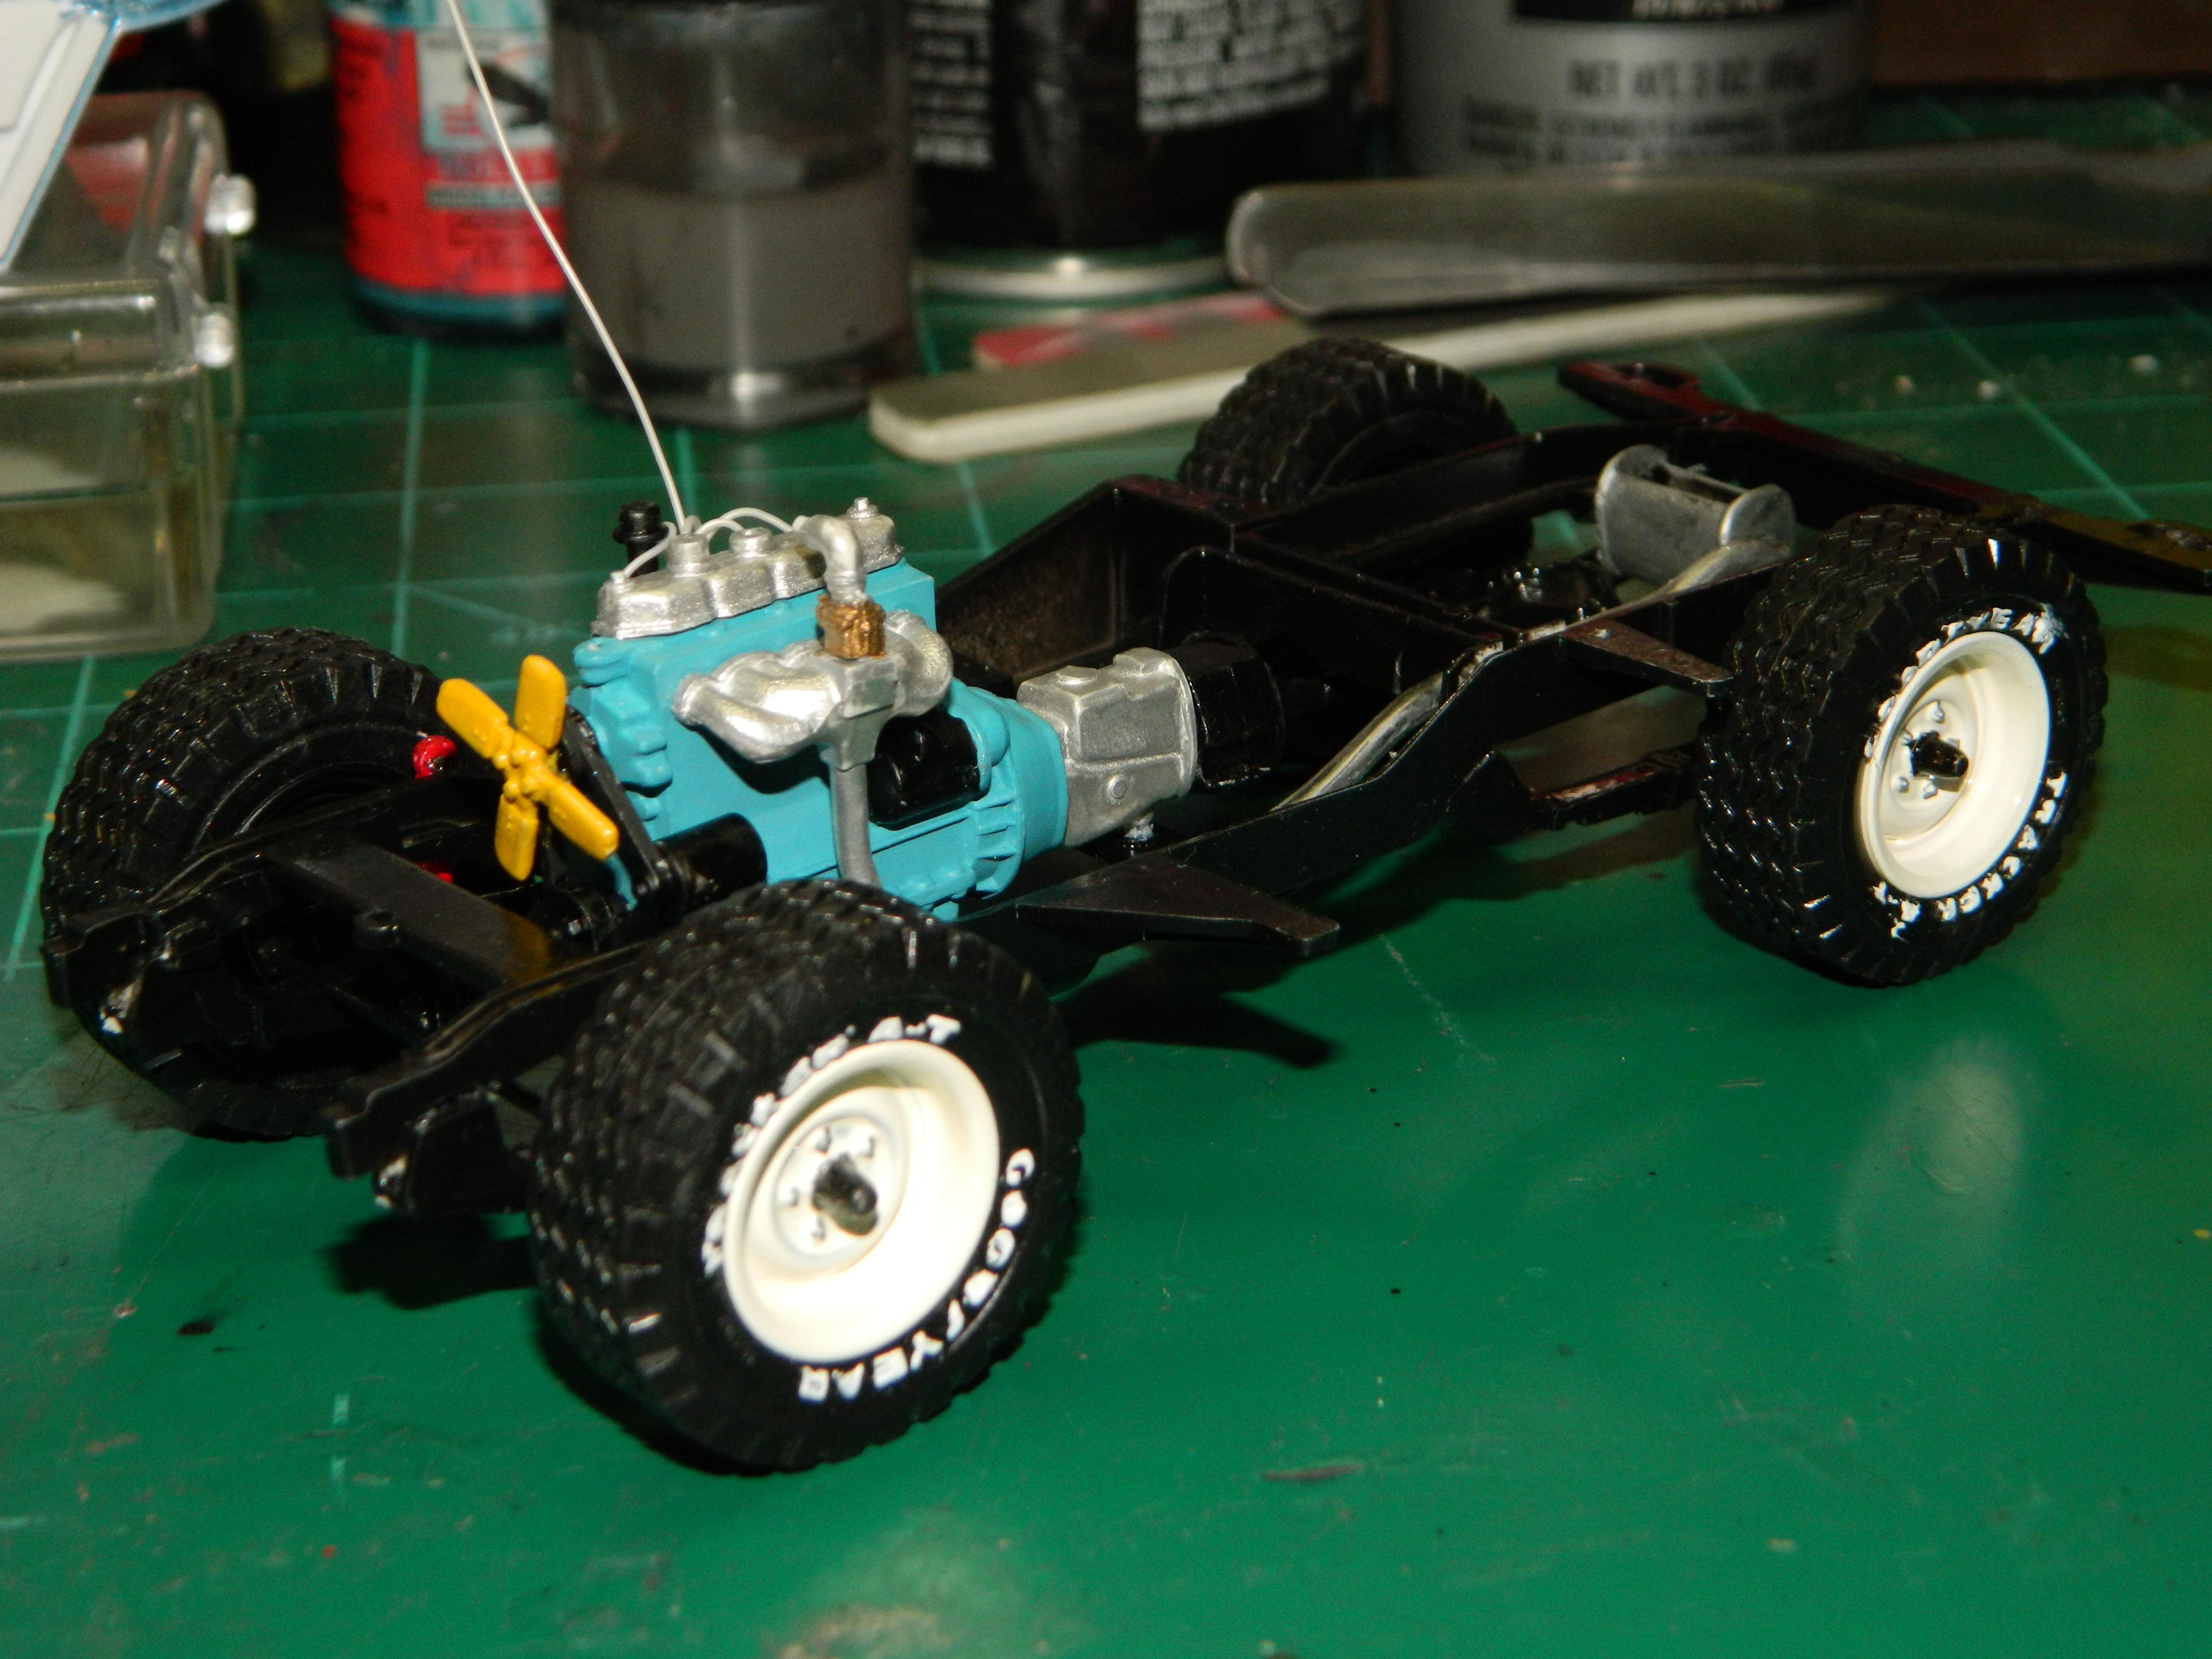
I got the chassis almost completed this morning before taking off for NH's Lakes Region. More Land Rover to come...
-
Land Rover
mrmike replied to mrmike's topic in WIP: Model Trucks: Pickups, Vans, SUVs, Light Commercial
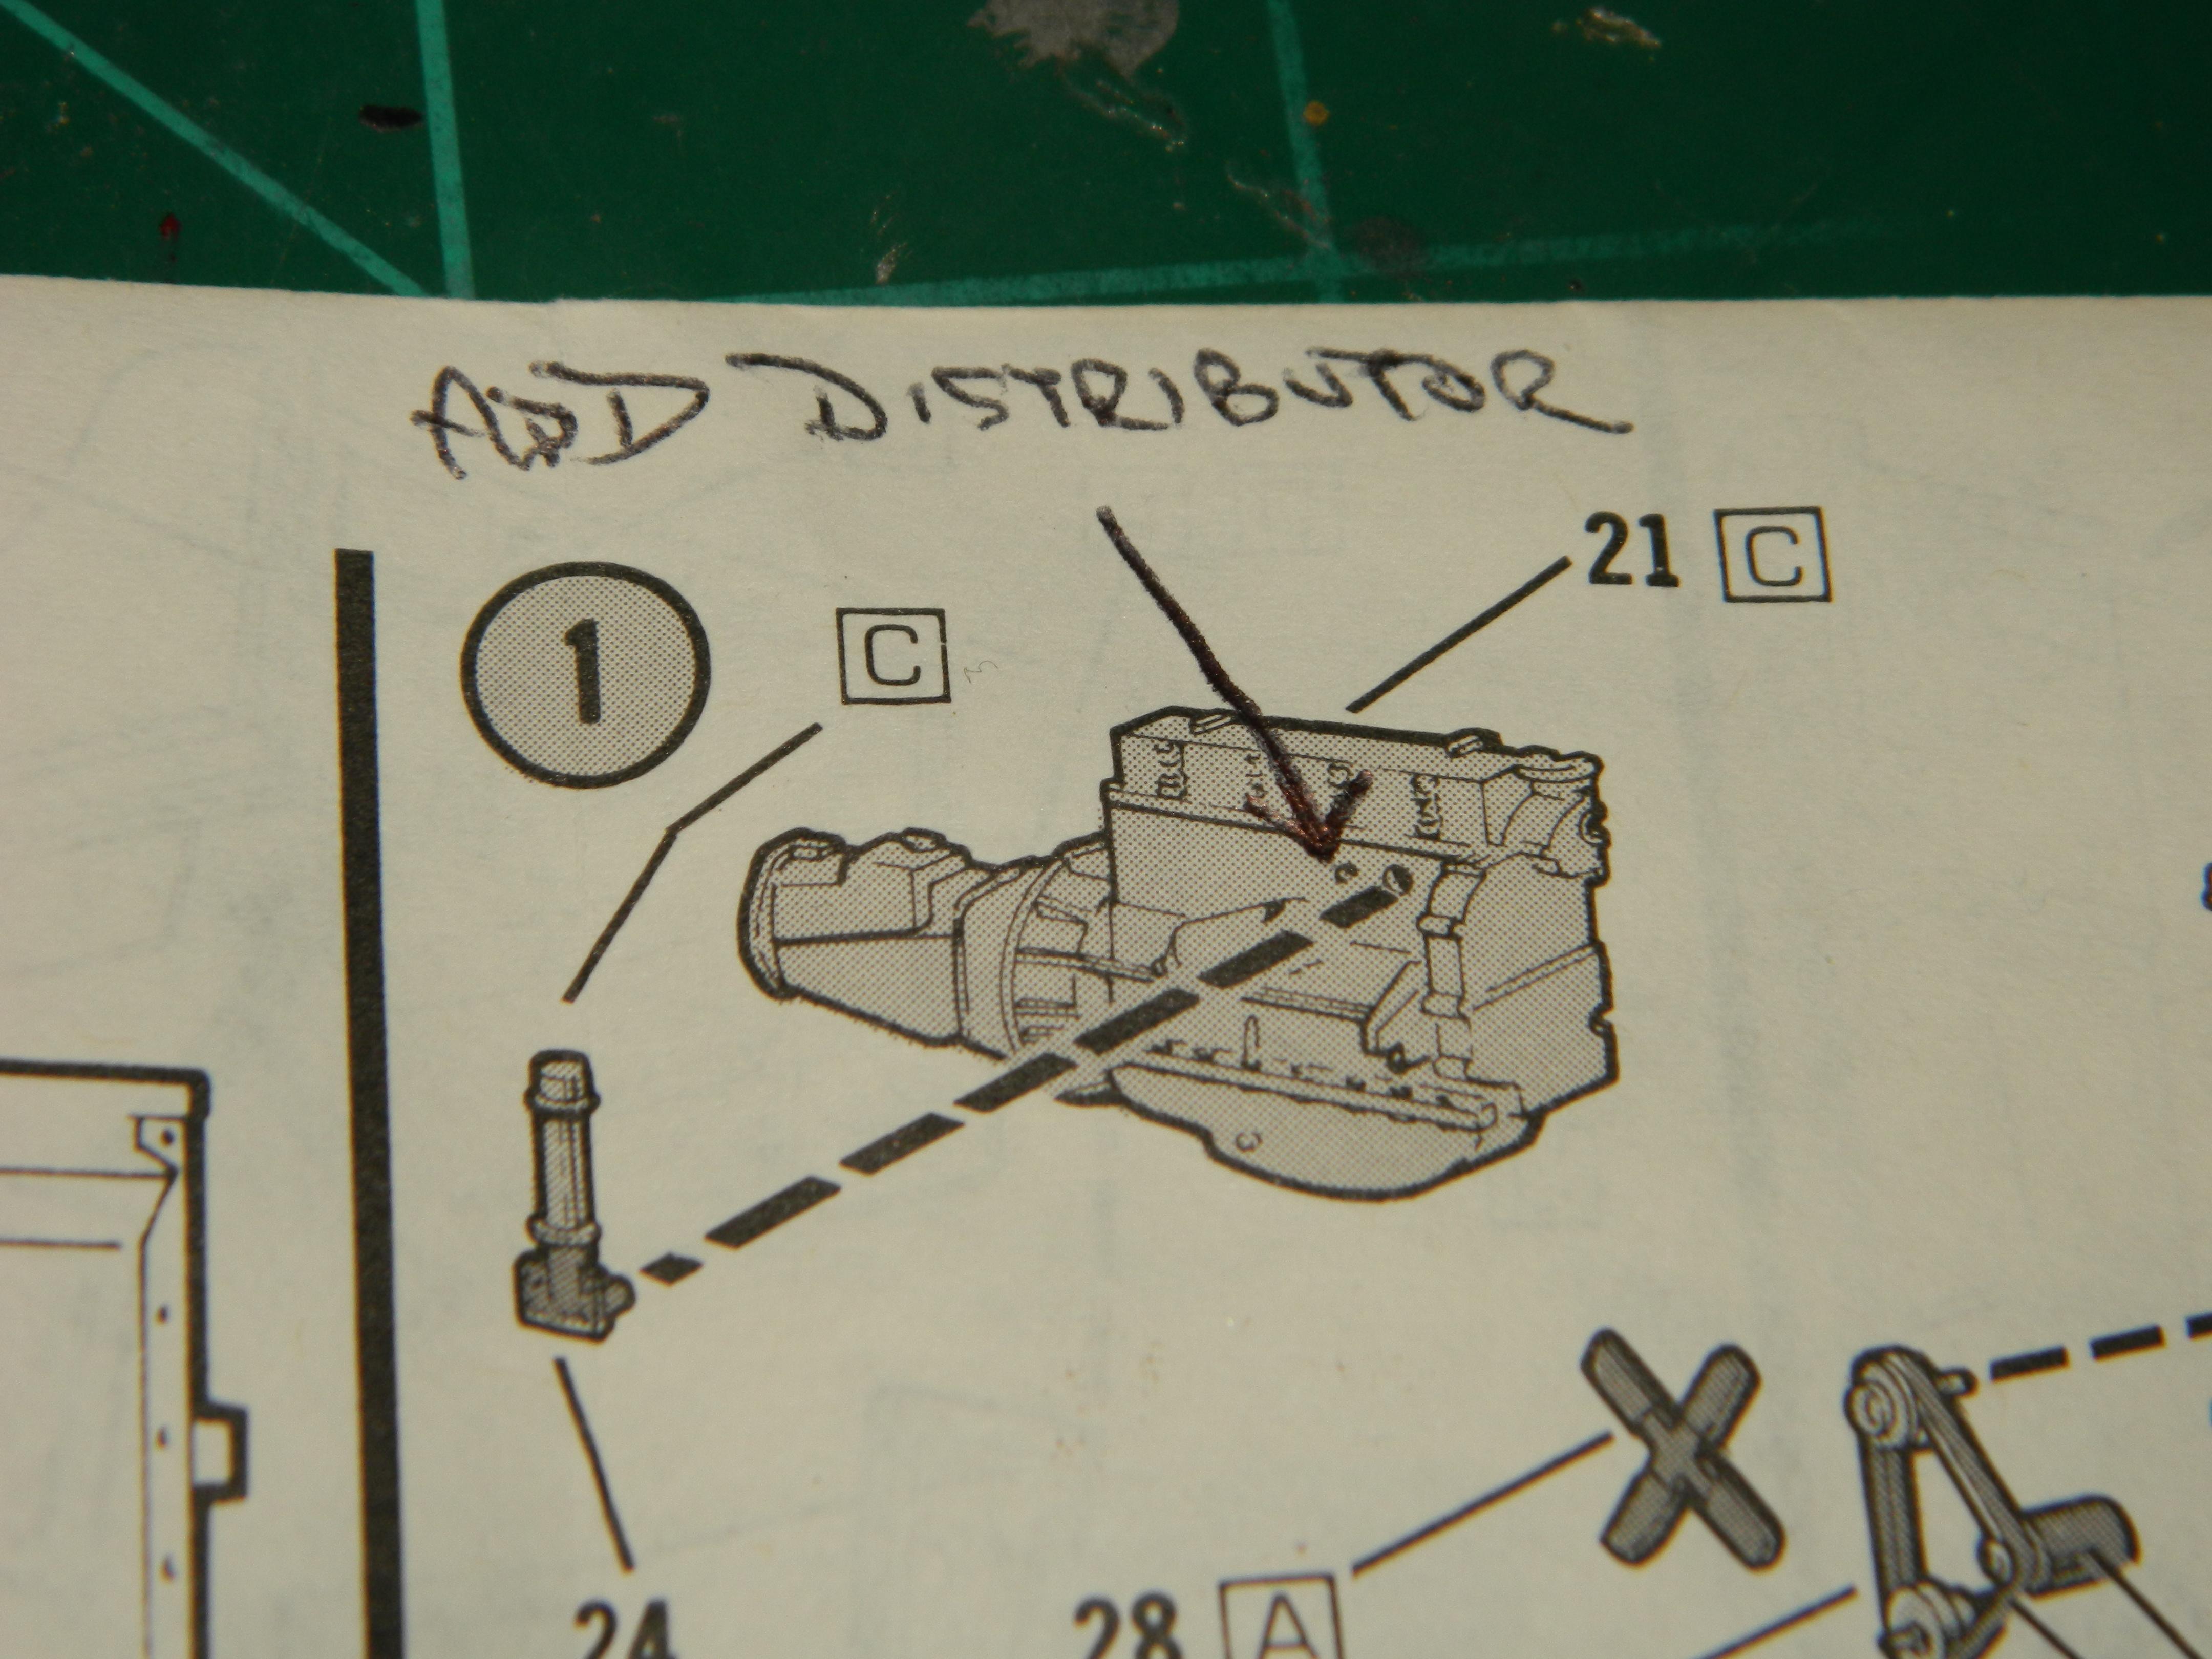
My sentiments exactly! I got the 2.25 Ltr. 4 cylinder engine wired and mostly assembled, I just need add the oil filler tube. Then I discovered what the second smaller hole was for in the engine block...there are two nubs on the back of the base of the oil filler tube! I guess I'll have to move the distributor over towards the center of the block and drill a hole for it. I must have been tired last night when I painted the exhaust system before I painted the frame. Well, I'll paint the frame and then paint the exhaust system...again! More Land Rover to come...
-
Land Rover
mrmike replied to mrmike's topic in WIP: Model Trucks: Pickups, Vans, SUVs, Light Commercial
Keep hoping, it'll never happen now that they have the 109 version coming out. -
Land Rover
mrmike replied to mrmike's topic in WIP: Model Trucks: Pickups, Vans, SUVs, Light Commercial
Revell is releasing a Land Rover 109 Station Wagon kit at some point. I prefer the shorter wheelbase 88 as this is what I think of when the name is mentioned. -
Land Rover
mrmike replied to mrmike's topic in WIP: Model Trucks: Pickups, Vans, SUVs, Light Commercial
That is a better picture than what I have been able to find lately. Most of the pictures I have found are in engine bays or are surrounded by junk. Thank you for posting that picture Geoff! -
Land Rover
mrmike replied to mrmike's topic in WIP: Model Trucks: Pickups, Vans, SUVs, Light Commercial
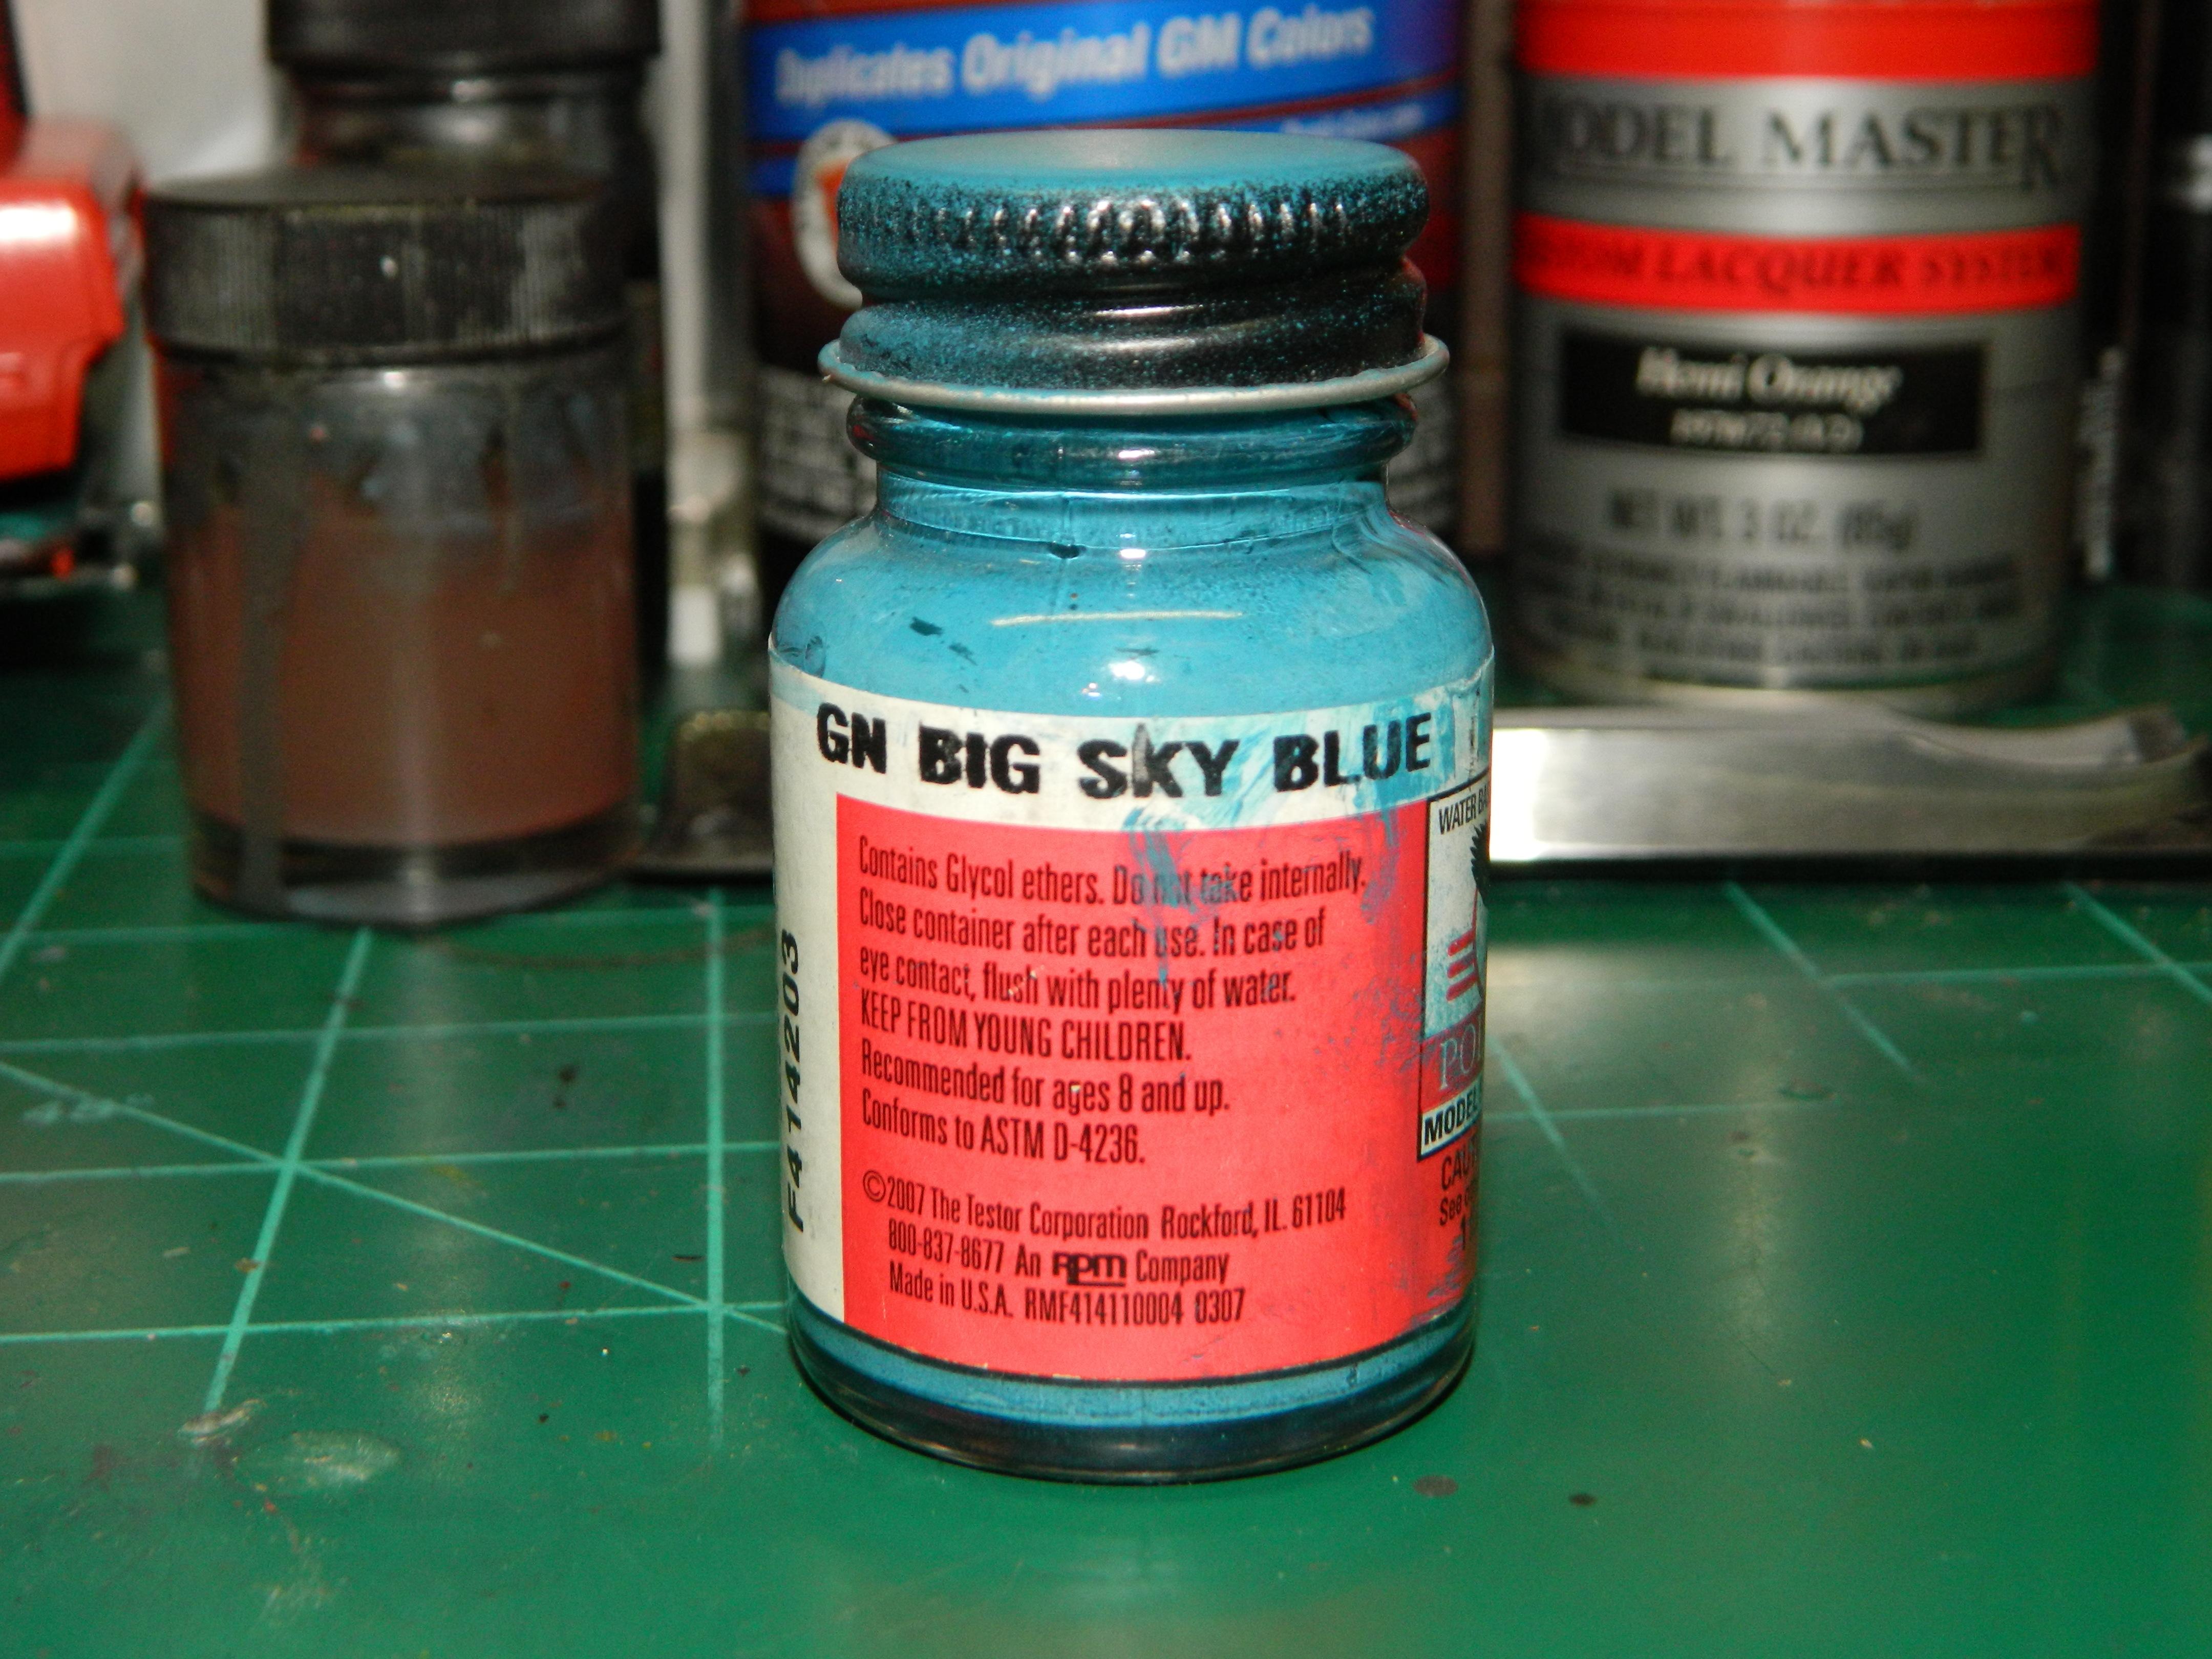
I have been rethinking my paint choice for the body. In my mind, the British Green is ultra glossy and I don't really want that. It needs to be a bit more subdued. I decided on changing from Tamiya British Green to Polly Scale GN Big Sky Blue with a Tamiya Gloss Clear coat. This color shouldn't be that glossy. I have been researching what engine is in this Land Rover and I have come to the conclusion that it is a 2.25 Ltr. Petrol (gasoline) engine. But, what is the second smaller hole in the engine block? Most of the pictures I have looked at don't show the side of the engine clearly. The larger front hole is for a oil tube which is in the kit, but the smaller hole is for a distributor that is not included in the kit or listed on the instructions. I can find a distributor and mount in my parts box and drill it for four plug wires and an ignition coil wire. More Land Rover to come...
-
Thanks Carl! When this is done, I'll have two color matching Impala SS on the shelf and a third '63 Impala to be built with the same color combo.
-
Thank you Geoff!
-
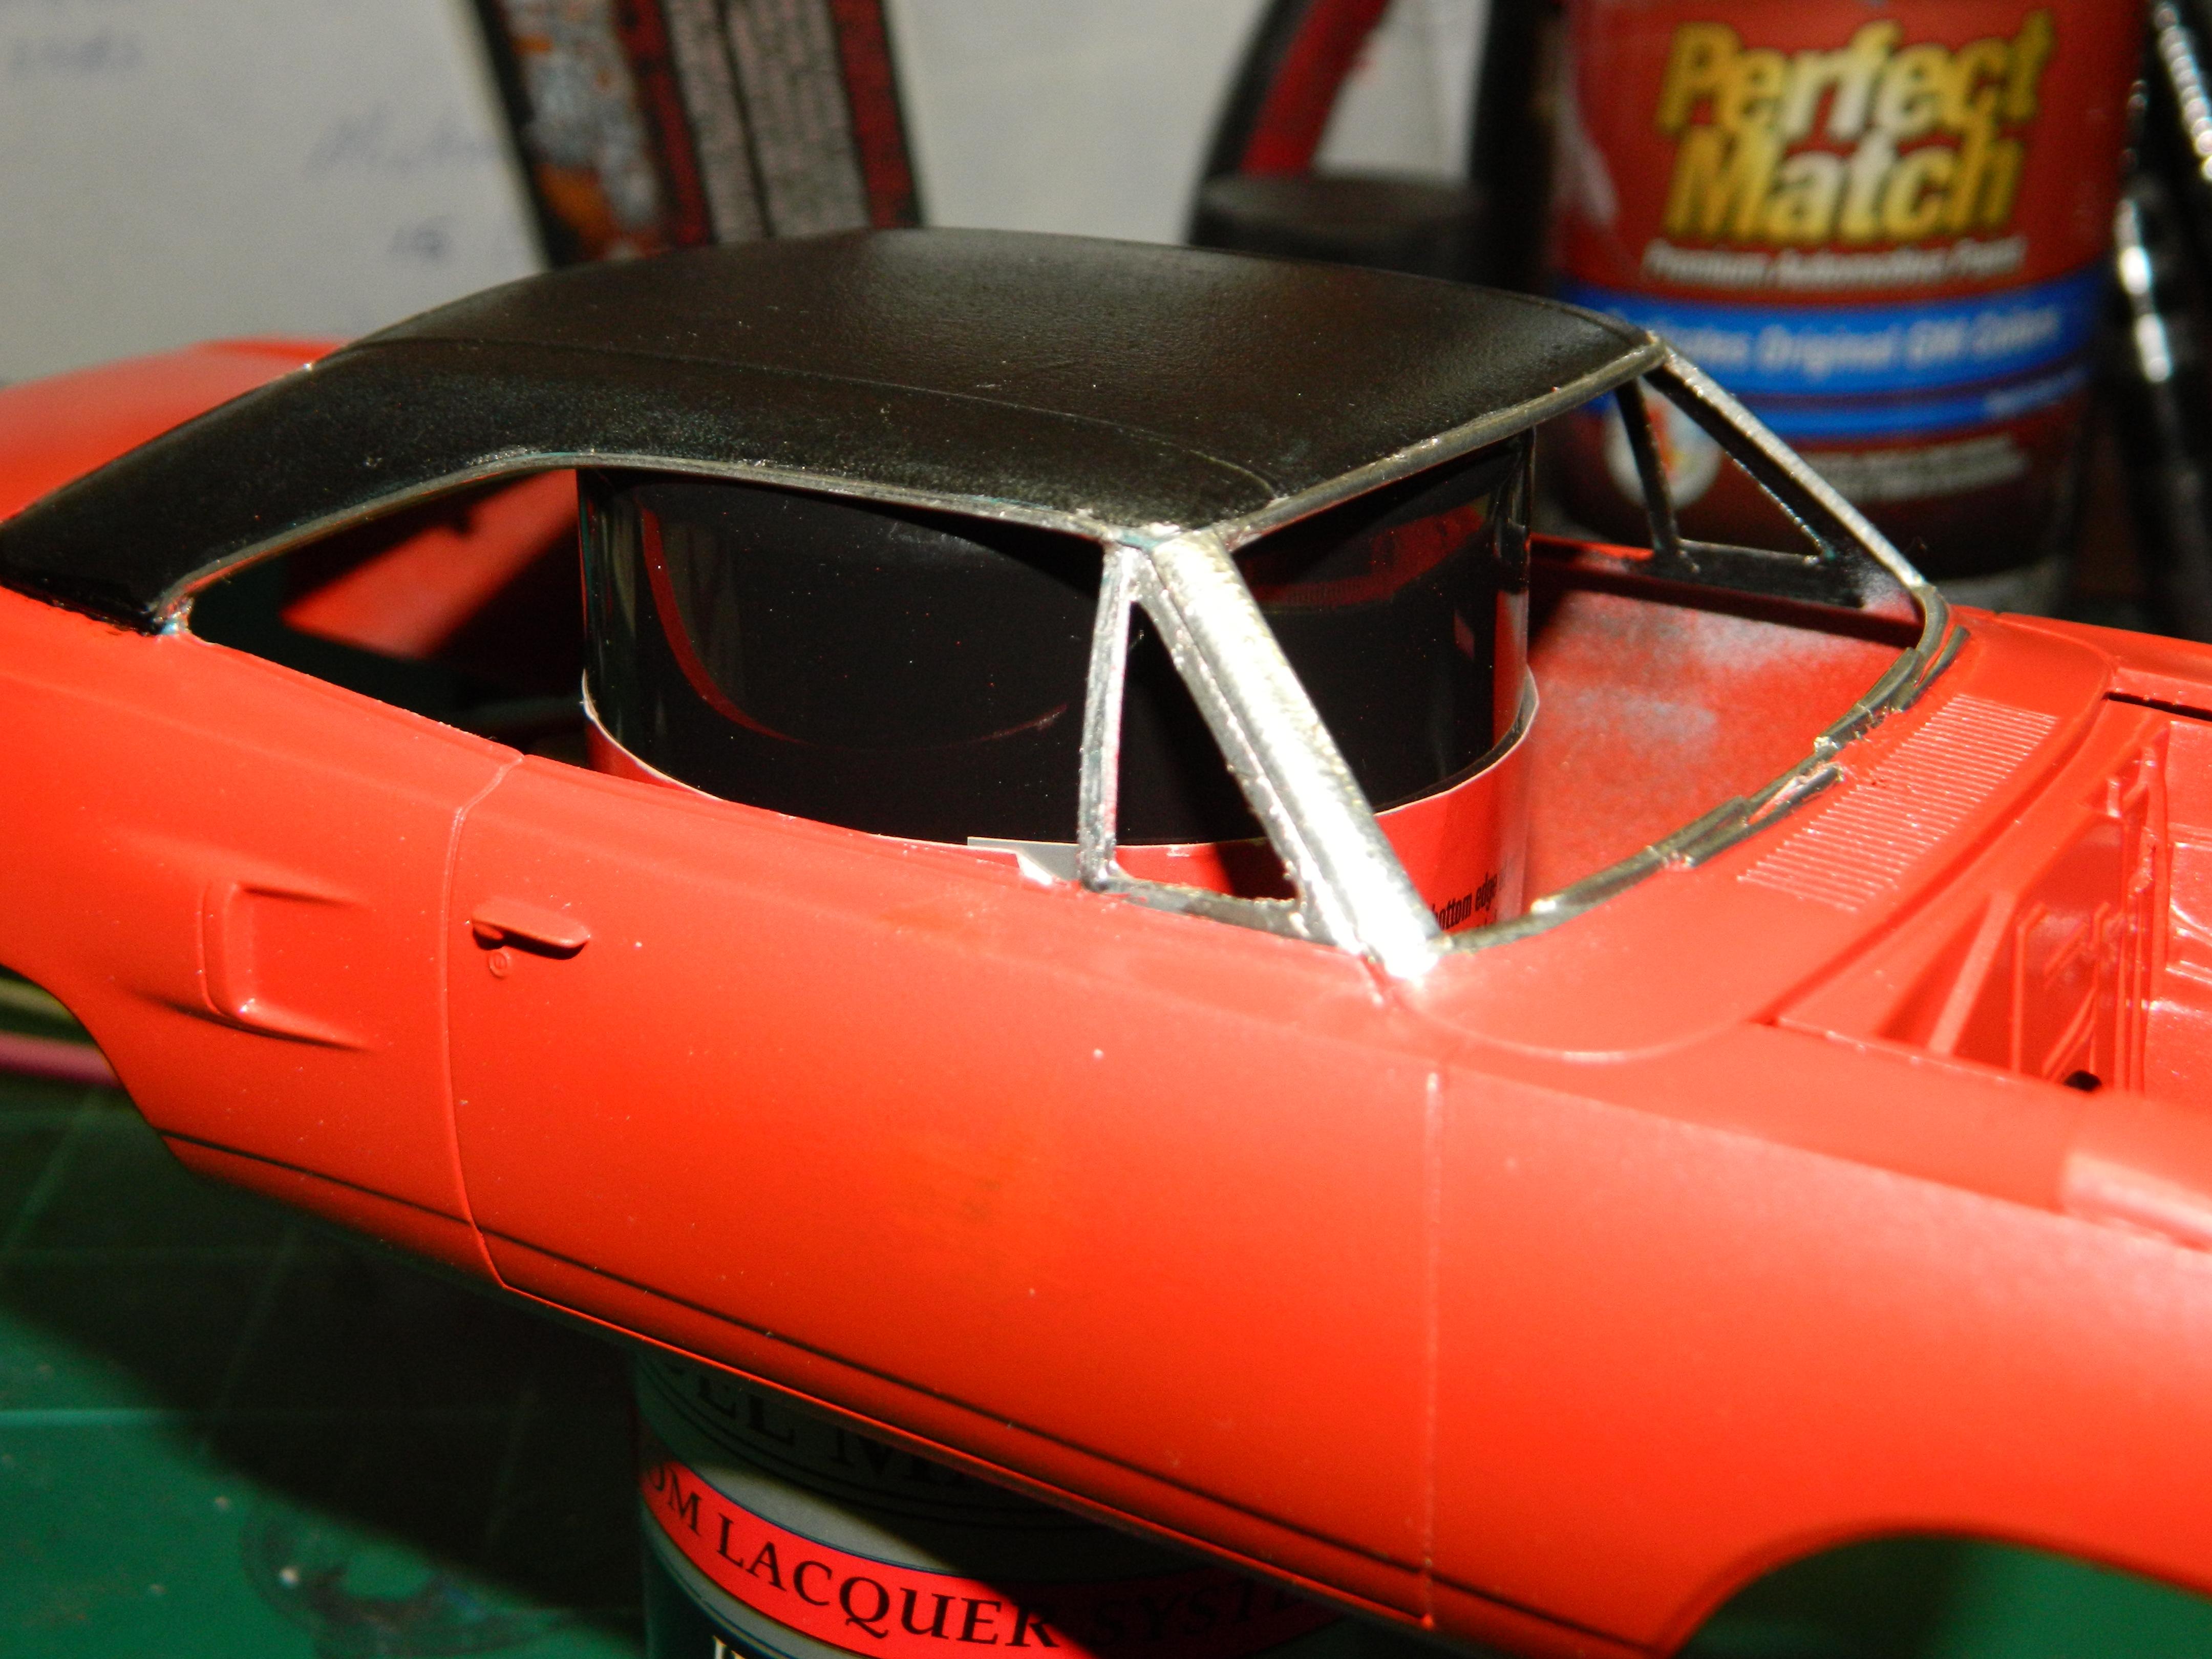
I foiled the Superbird this afternoon. Not exactly my best job, but it is done. I'll have to go back and clean it up some and touchup the vinyl roof. Decals are next! More Superbird to come...