mrmike
-
Posts
5,325 -
Joined
-
Last visited
Content Type
Profiles
Forums
Events
Gallery
Everything posted by mrmike
-
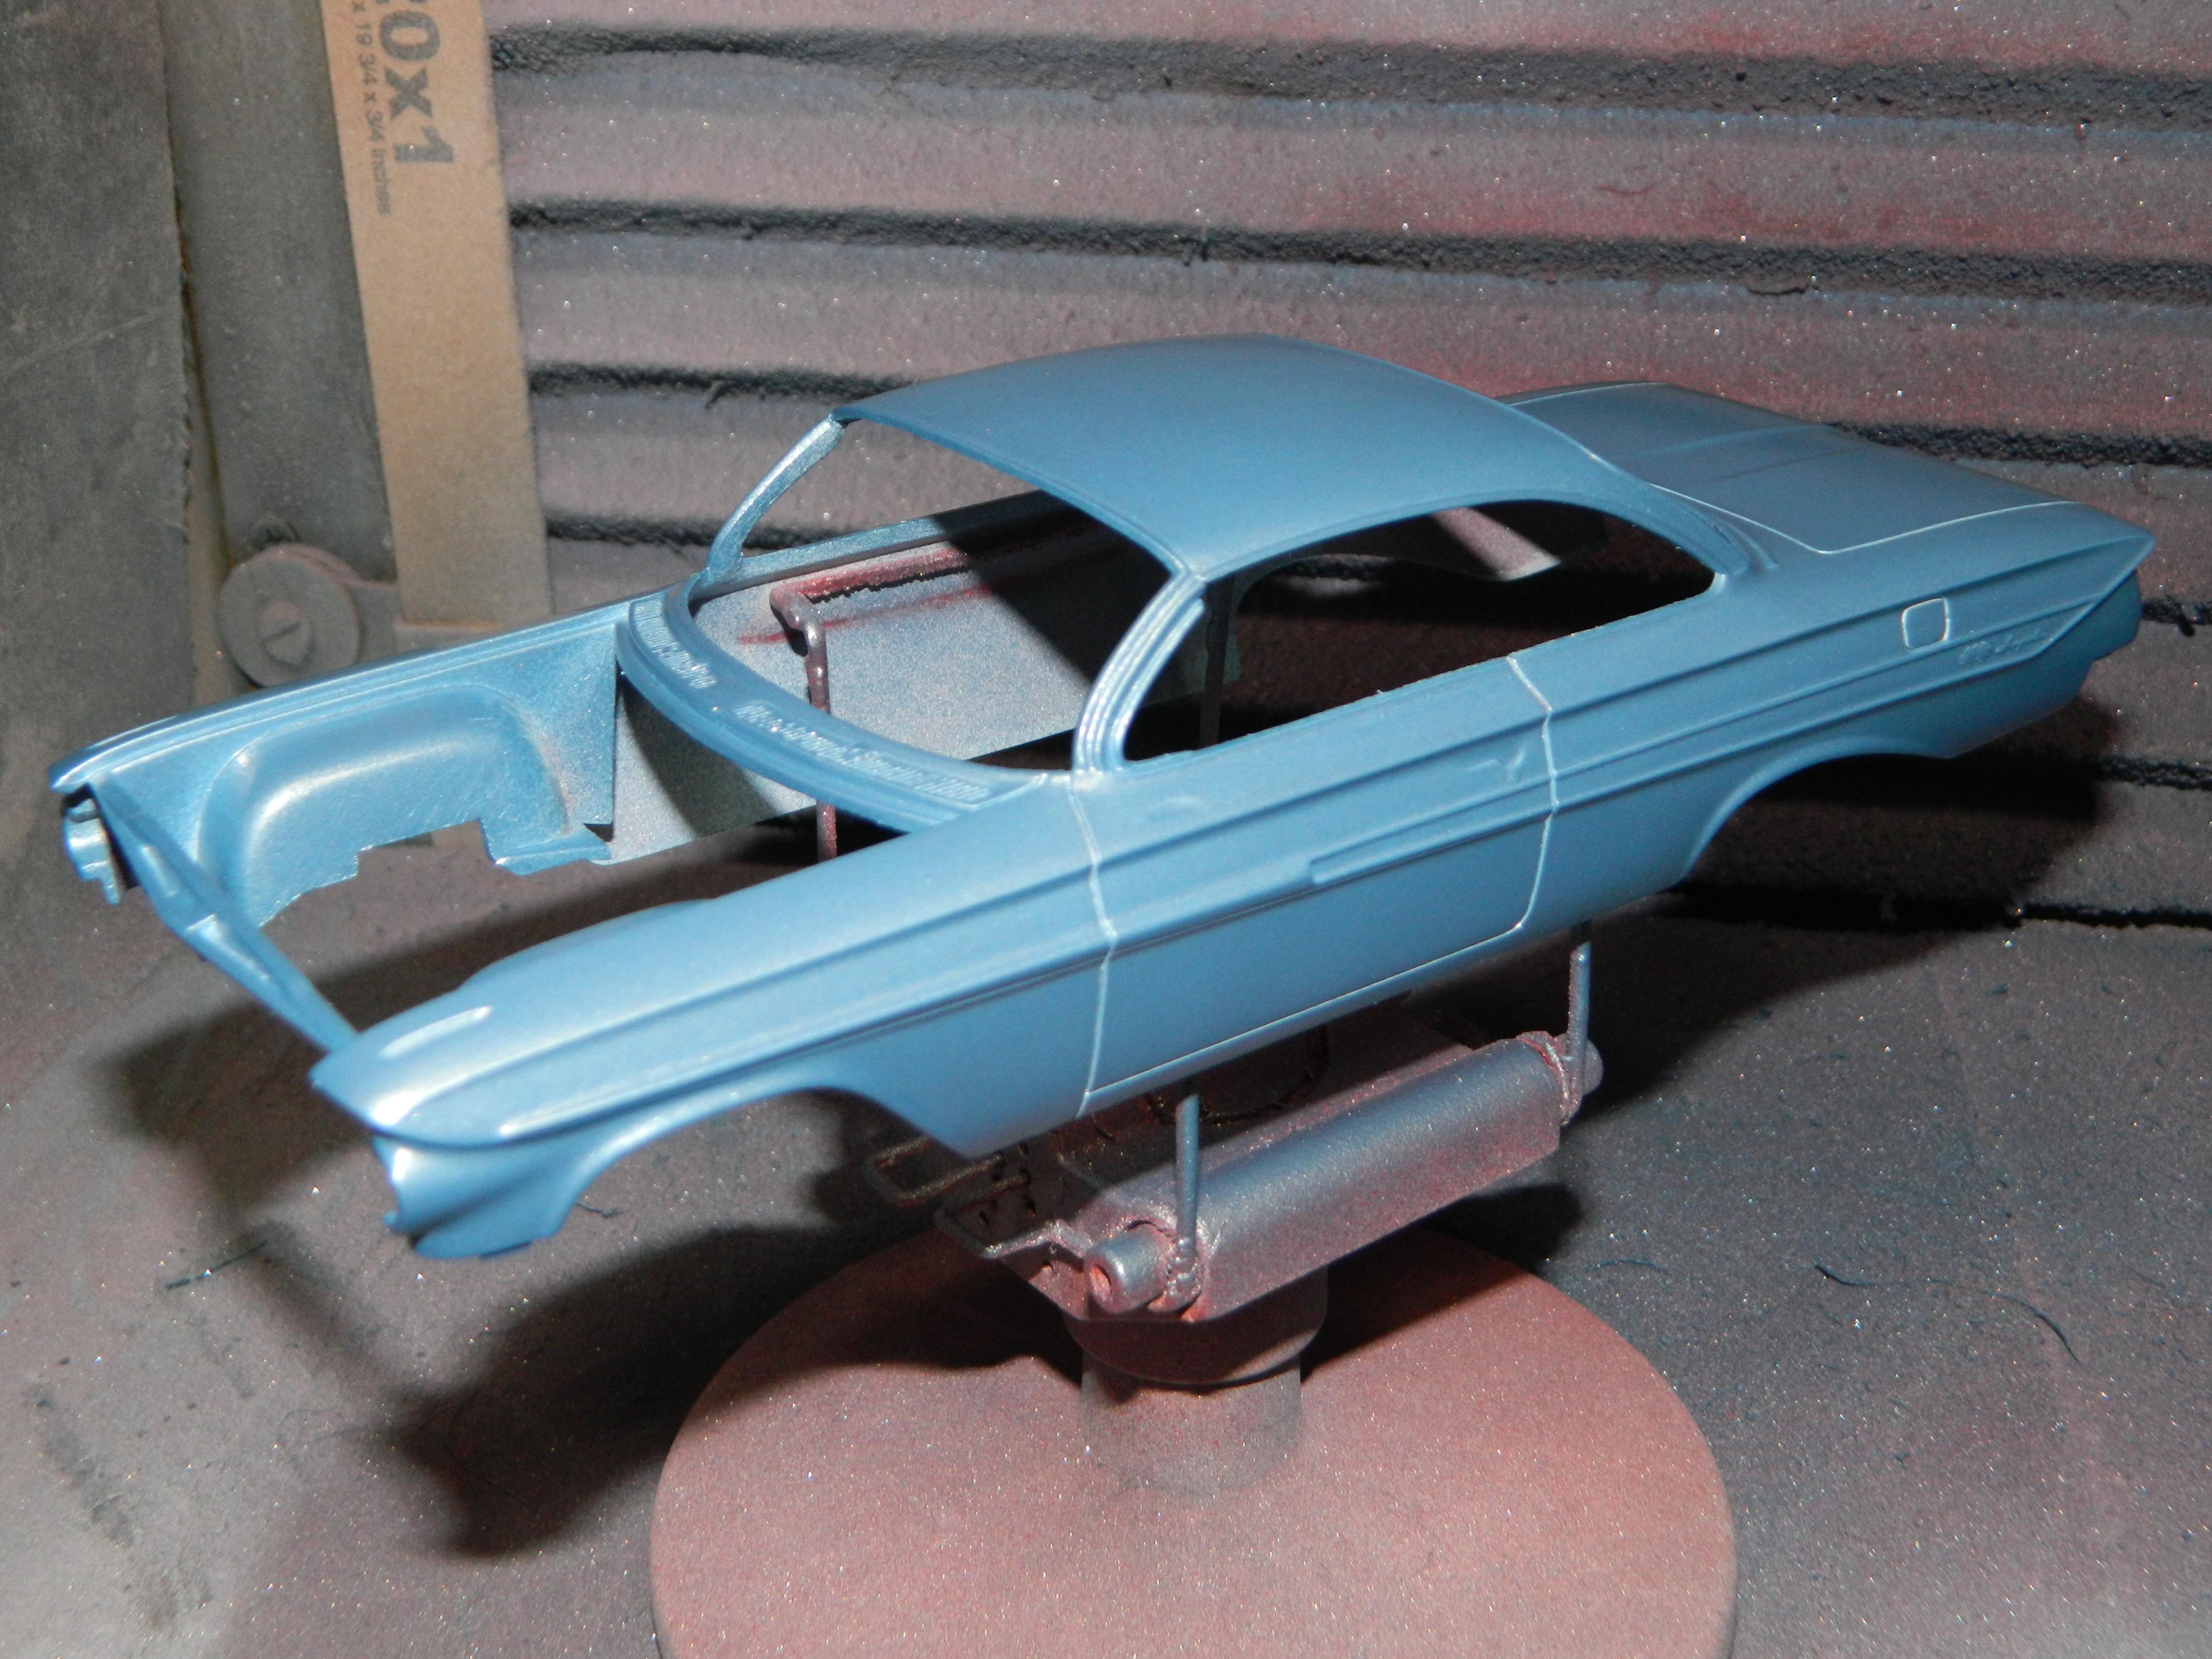
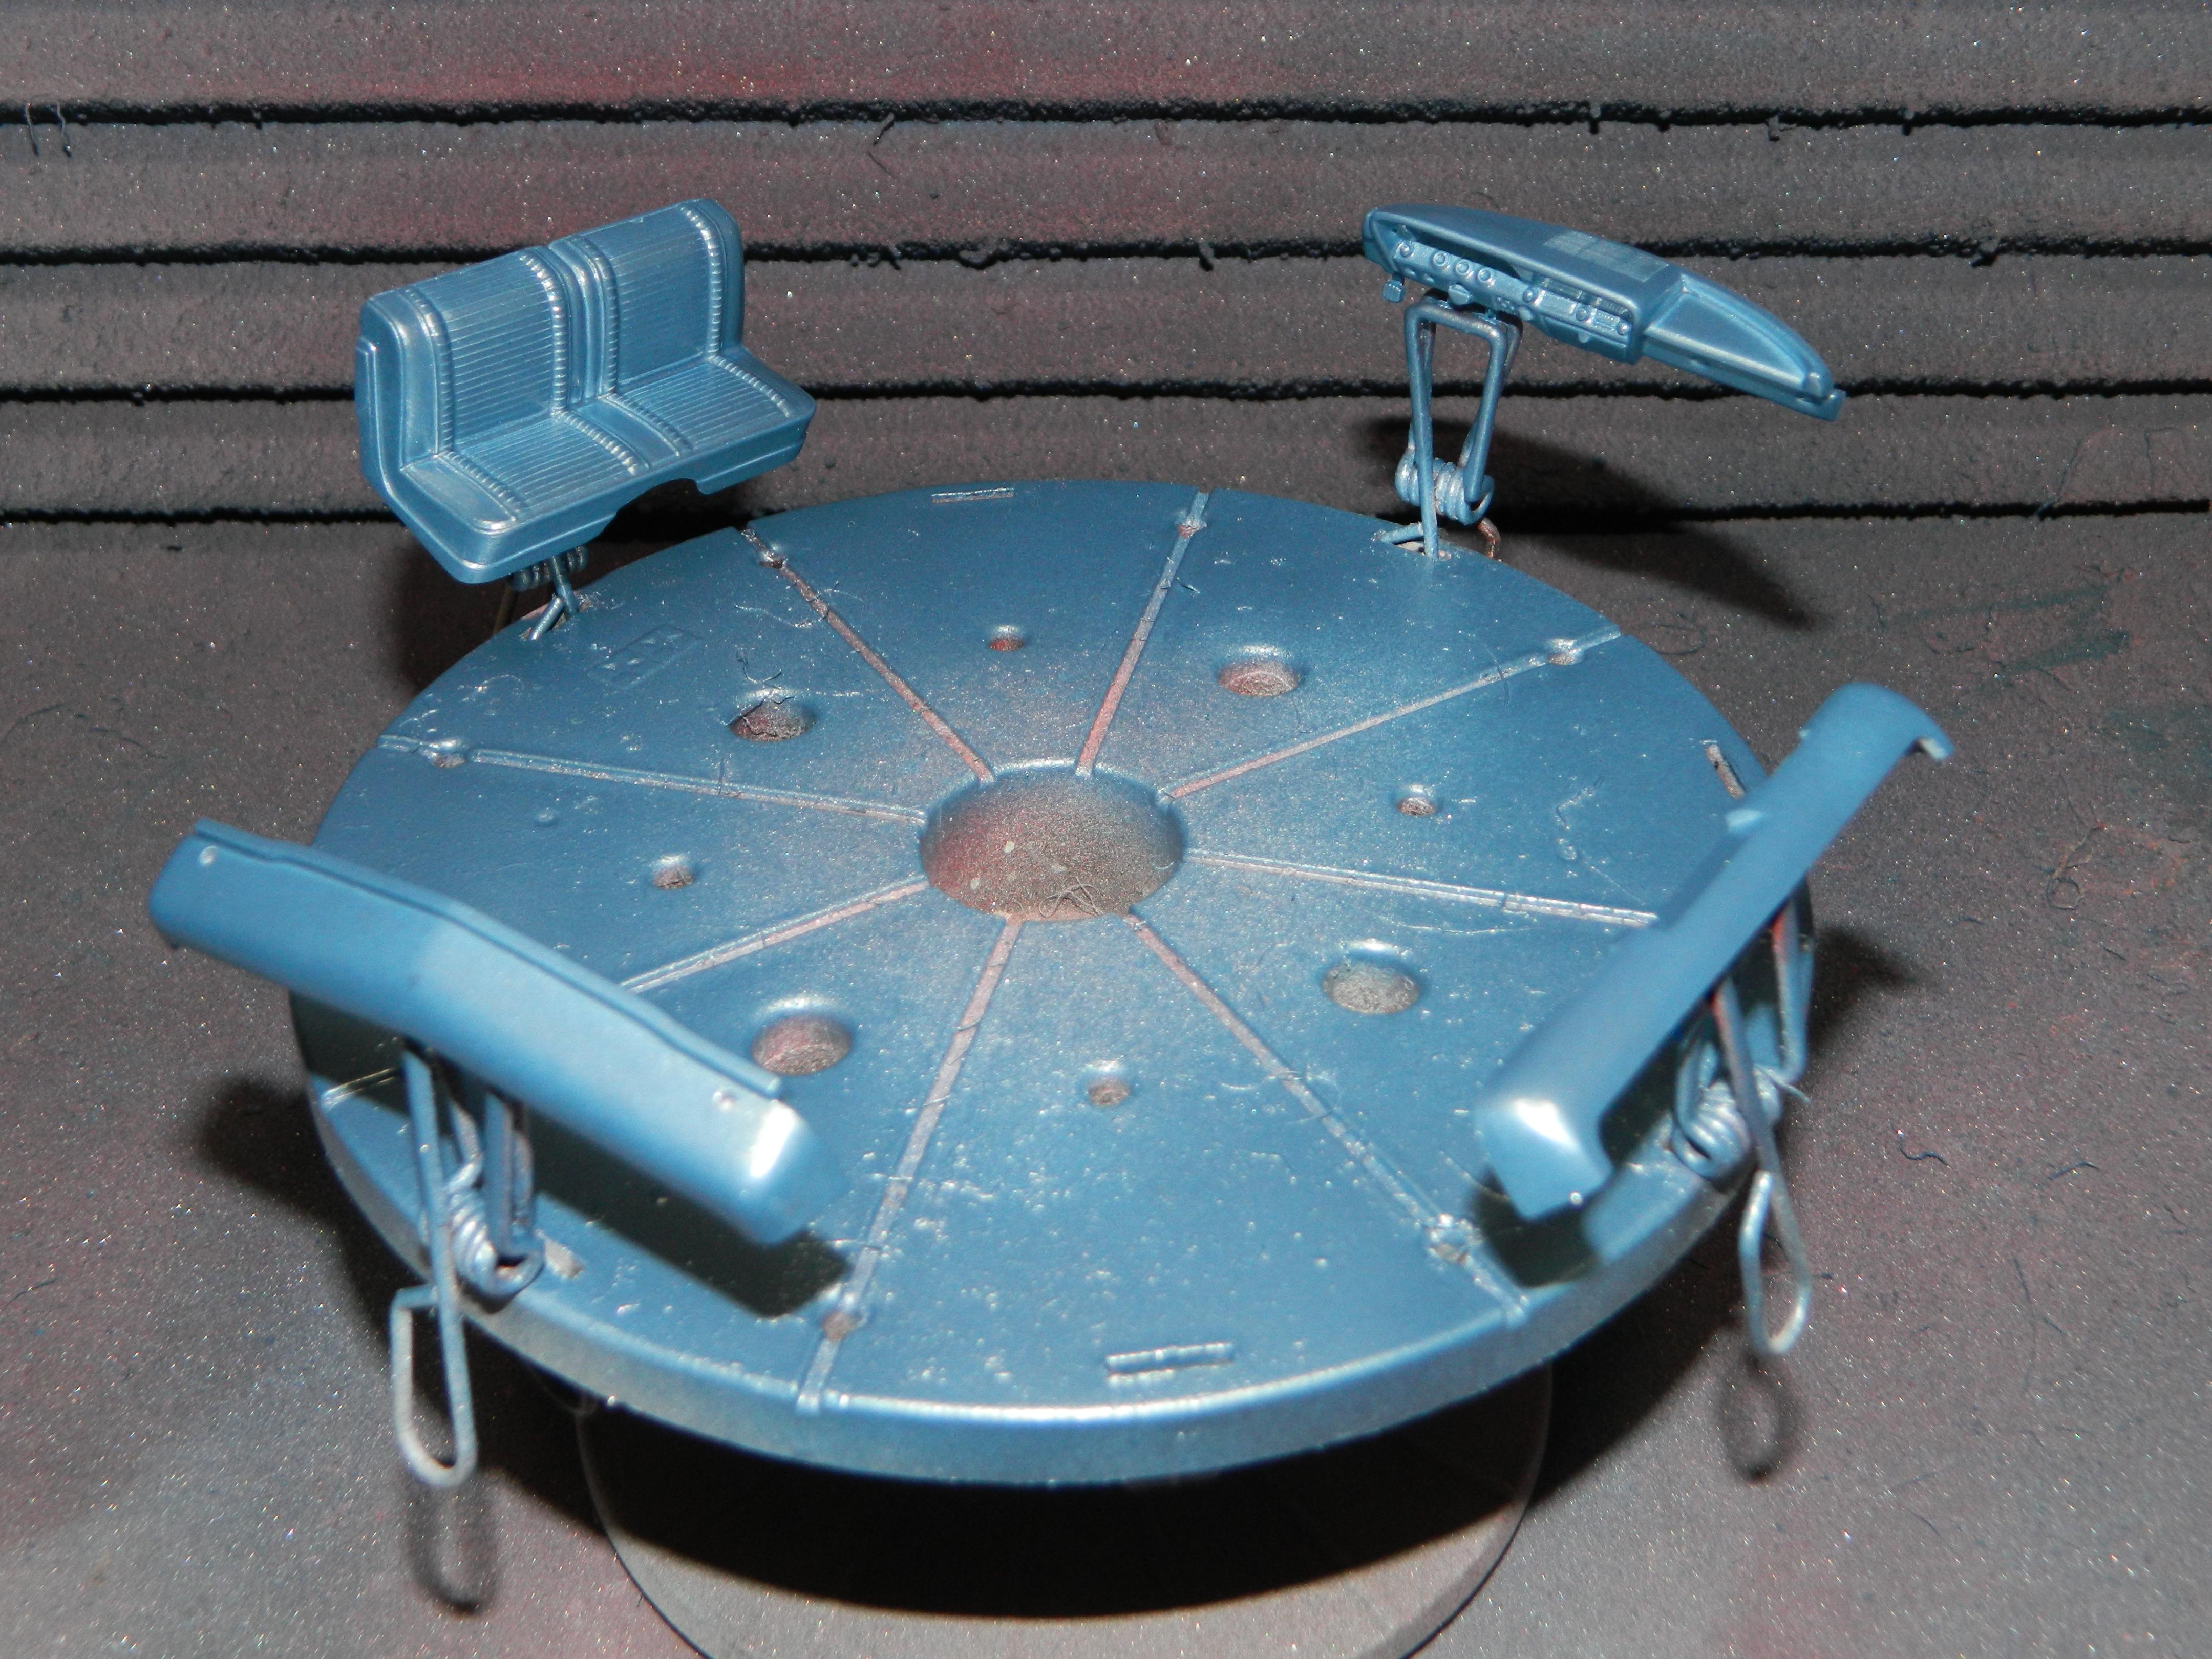
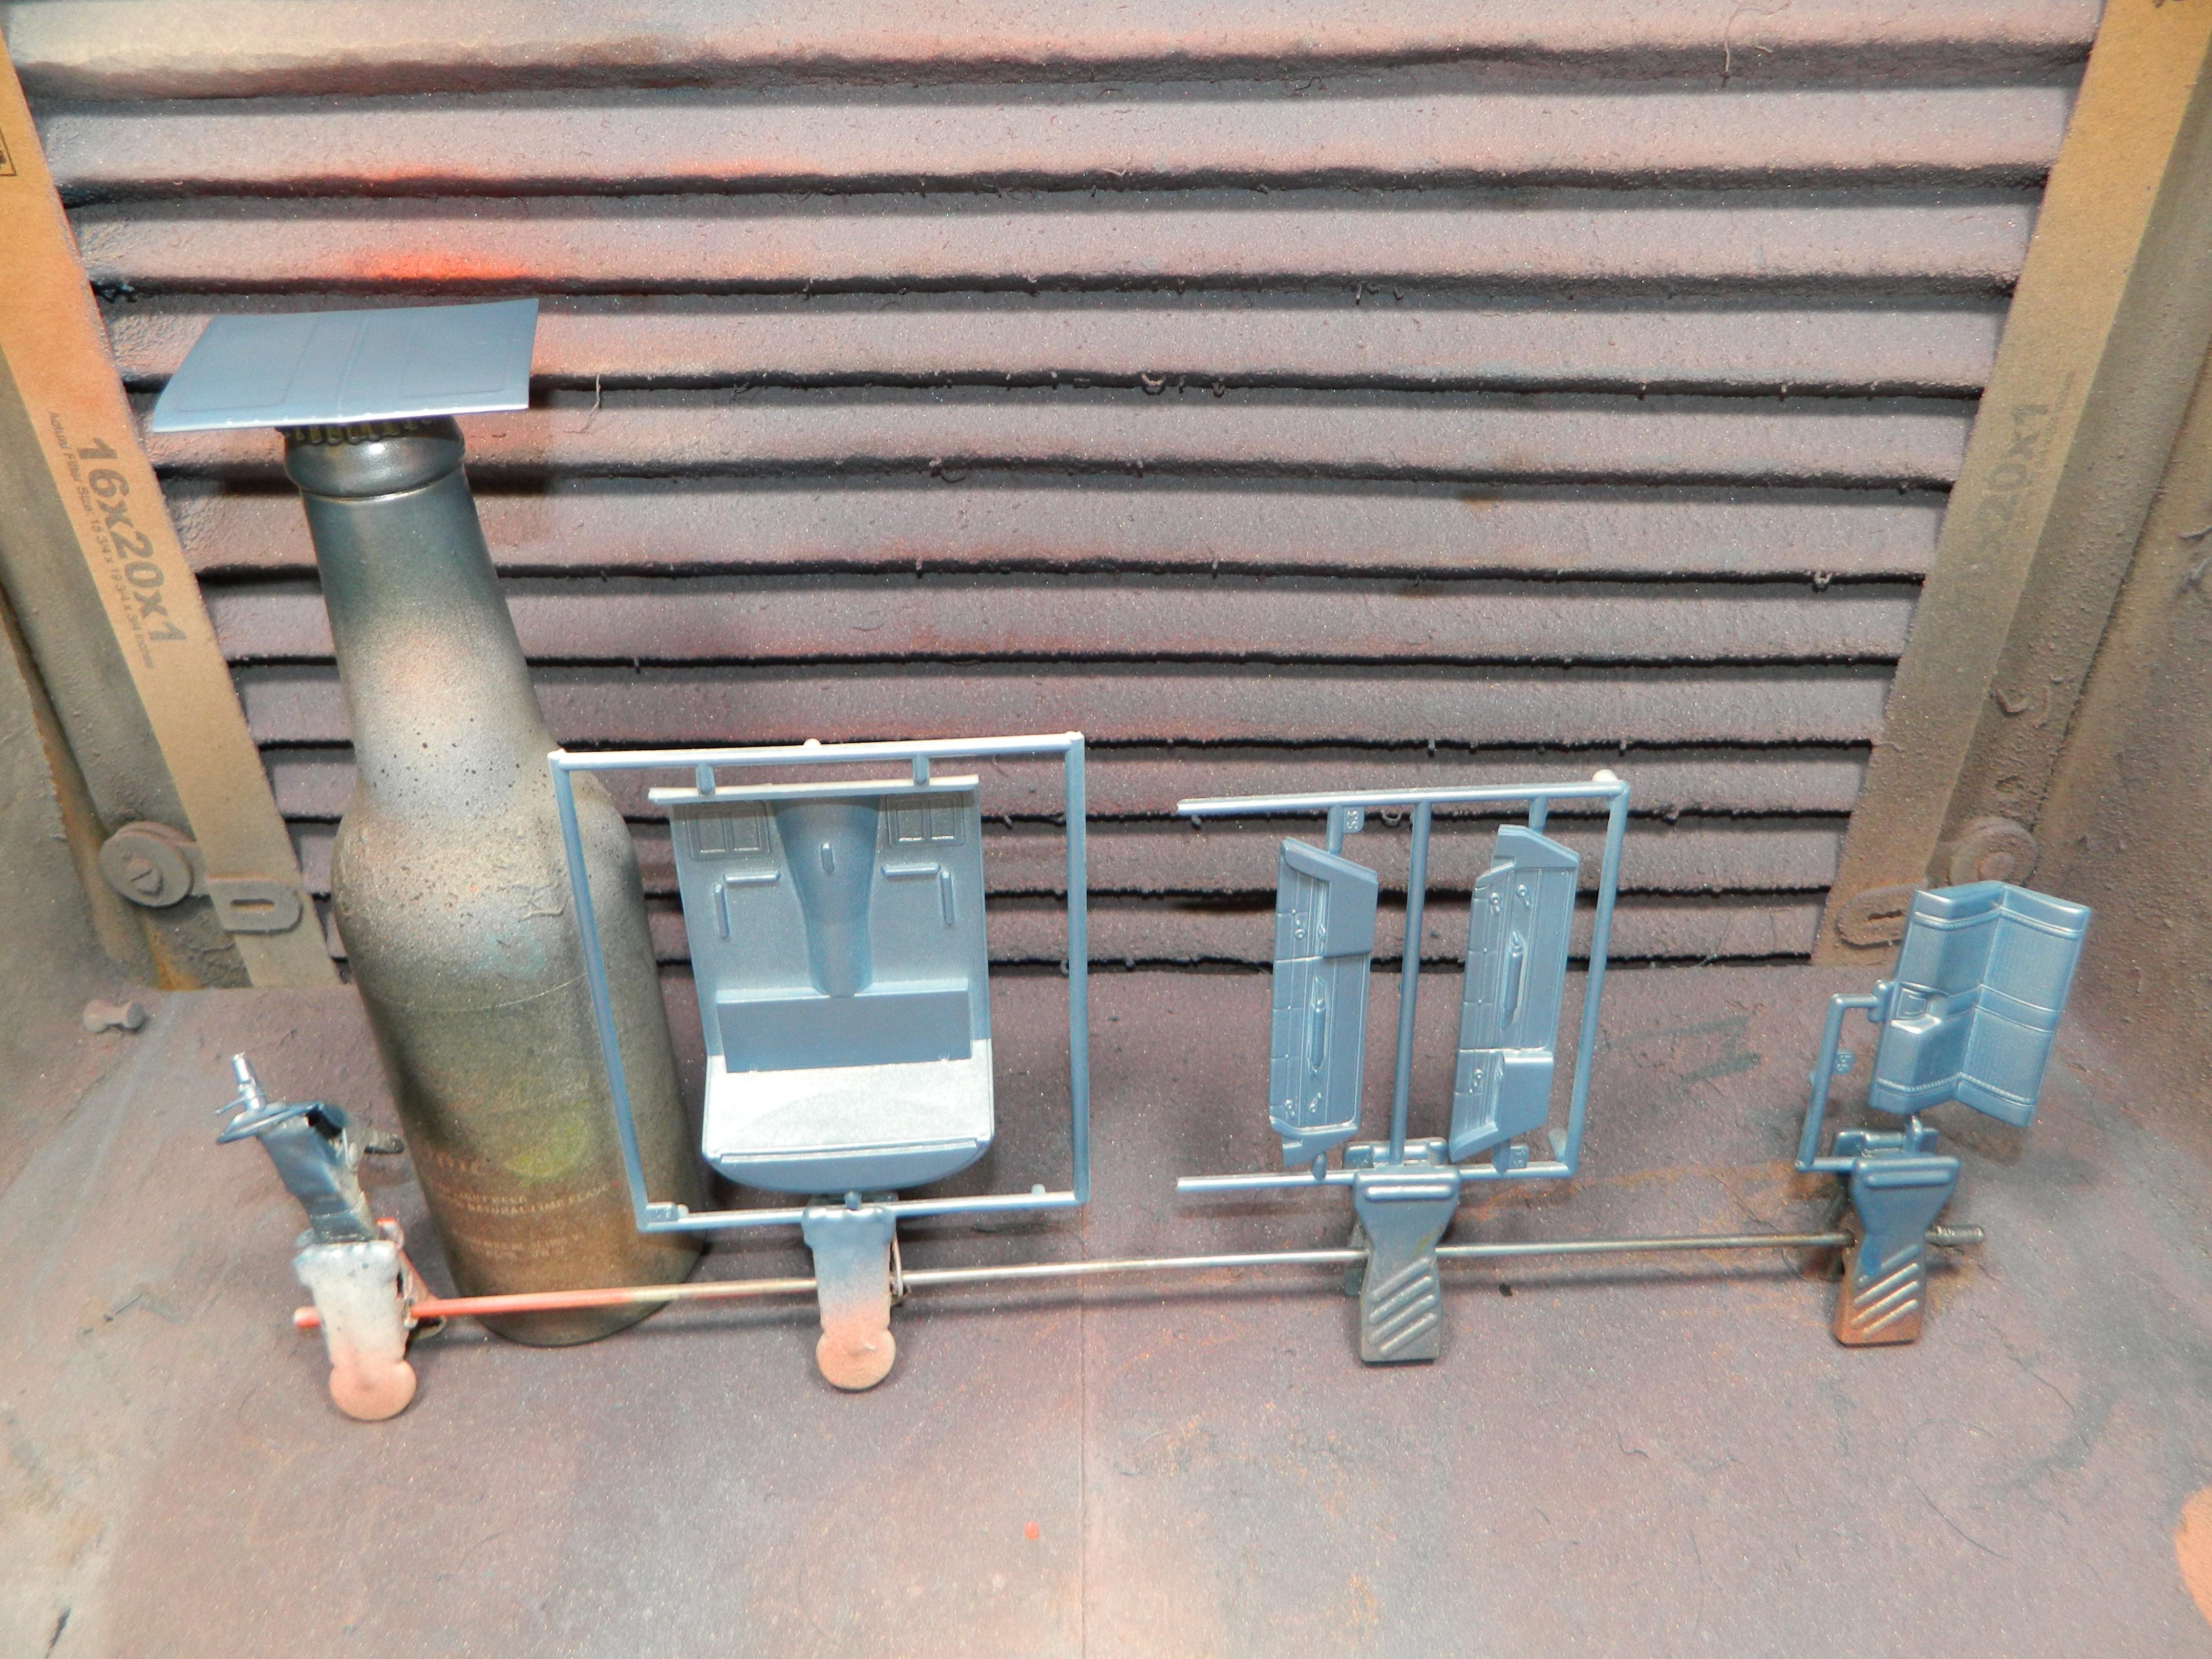
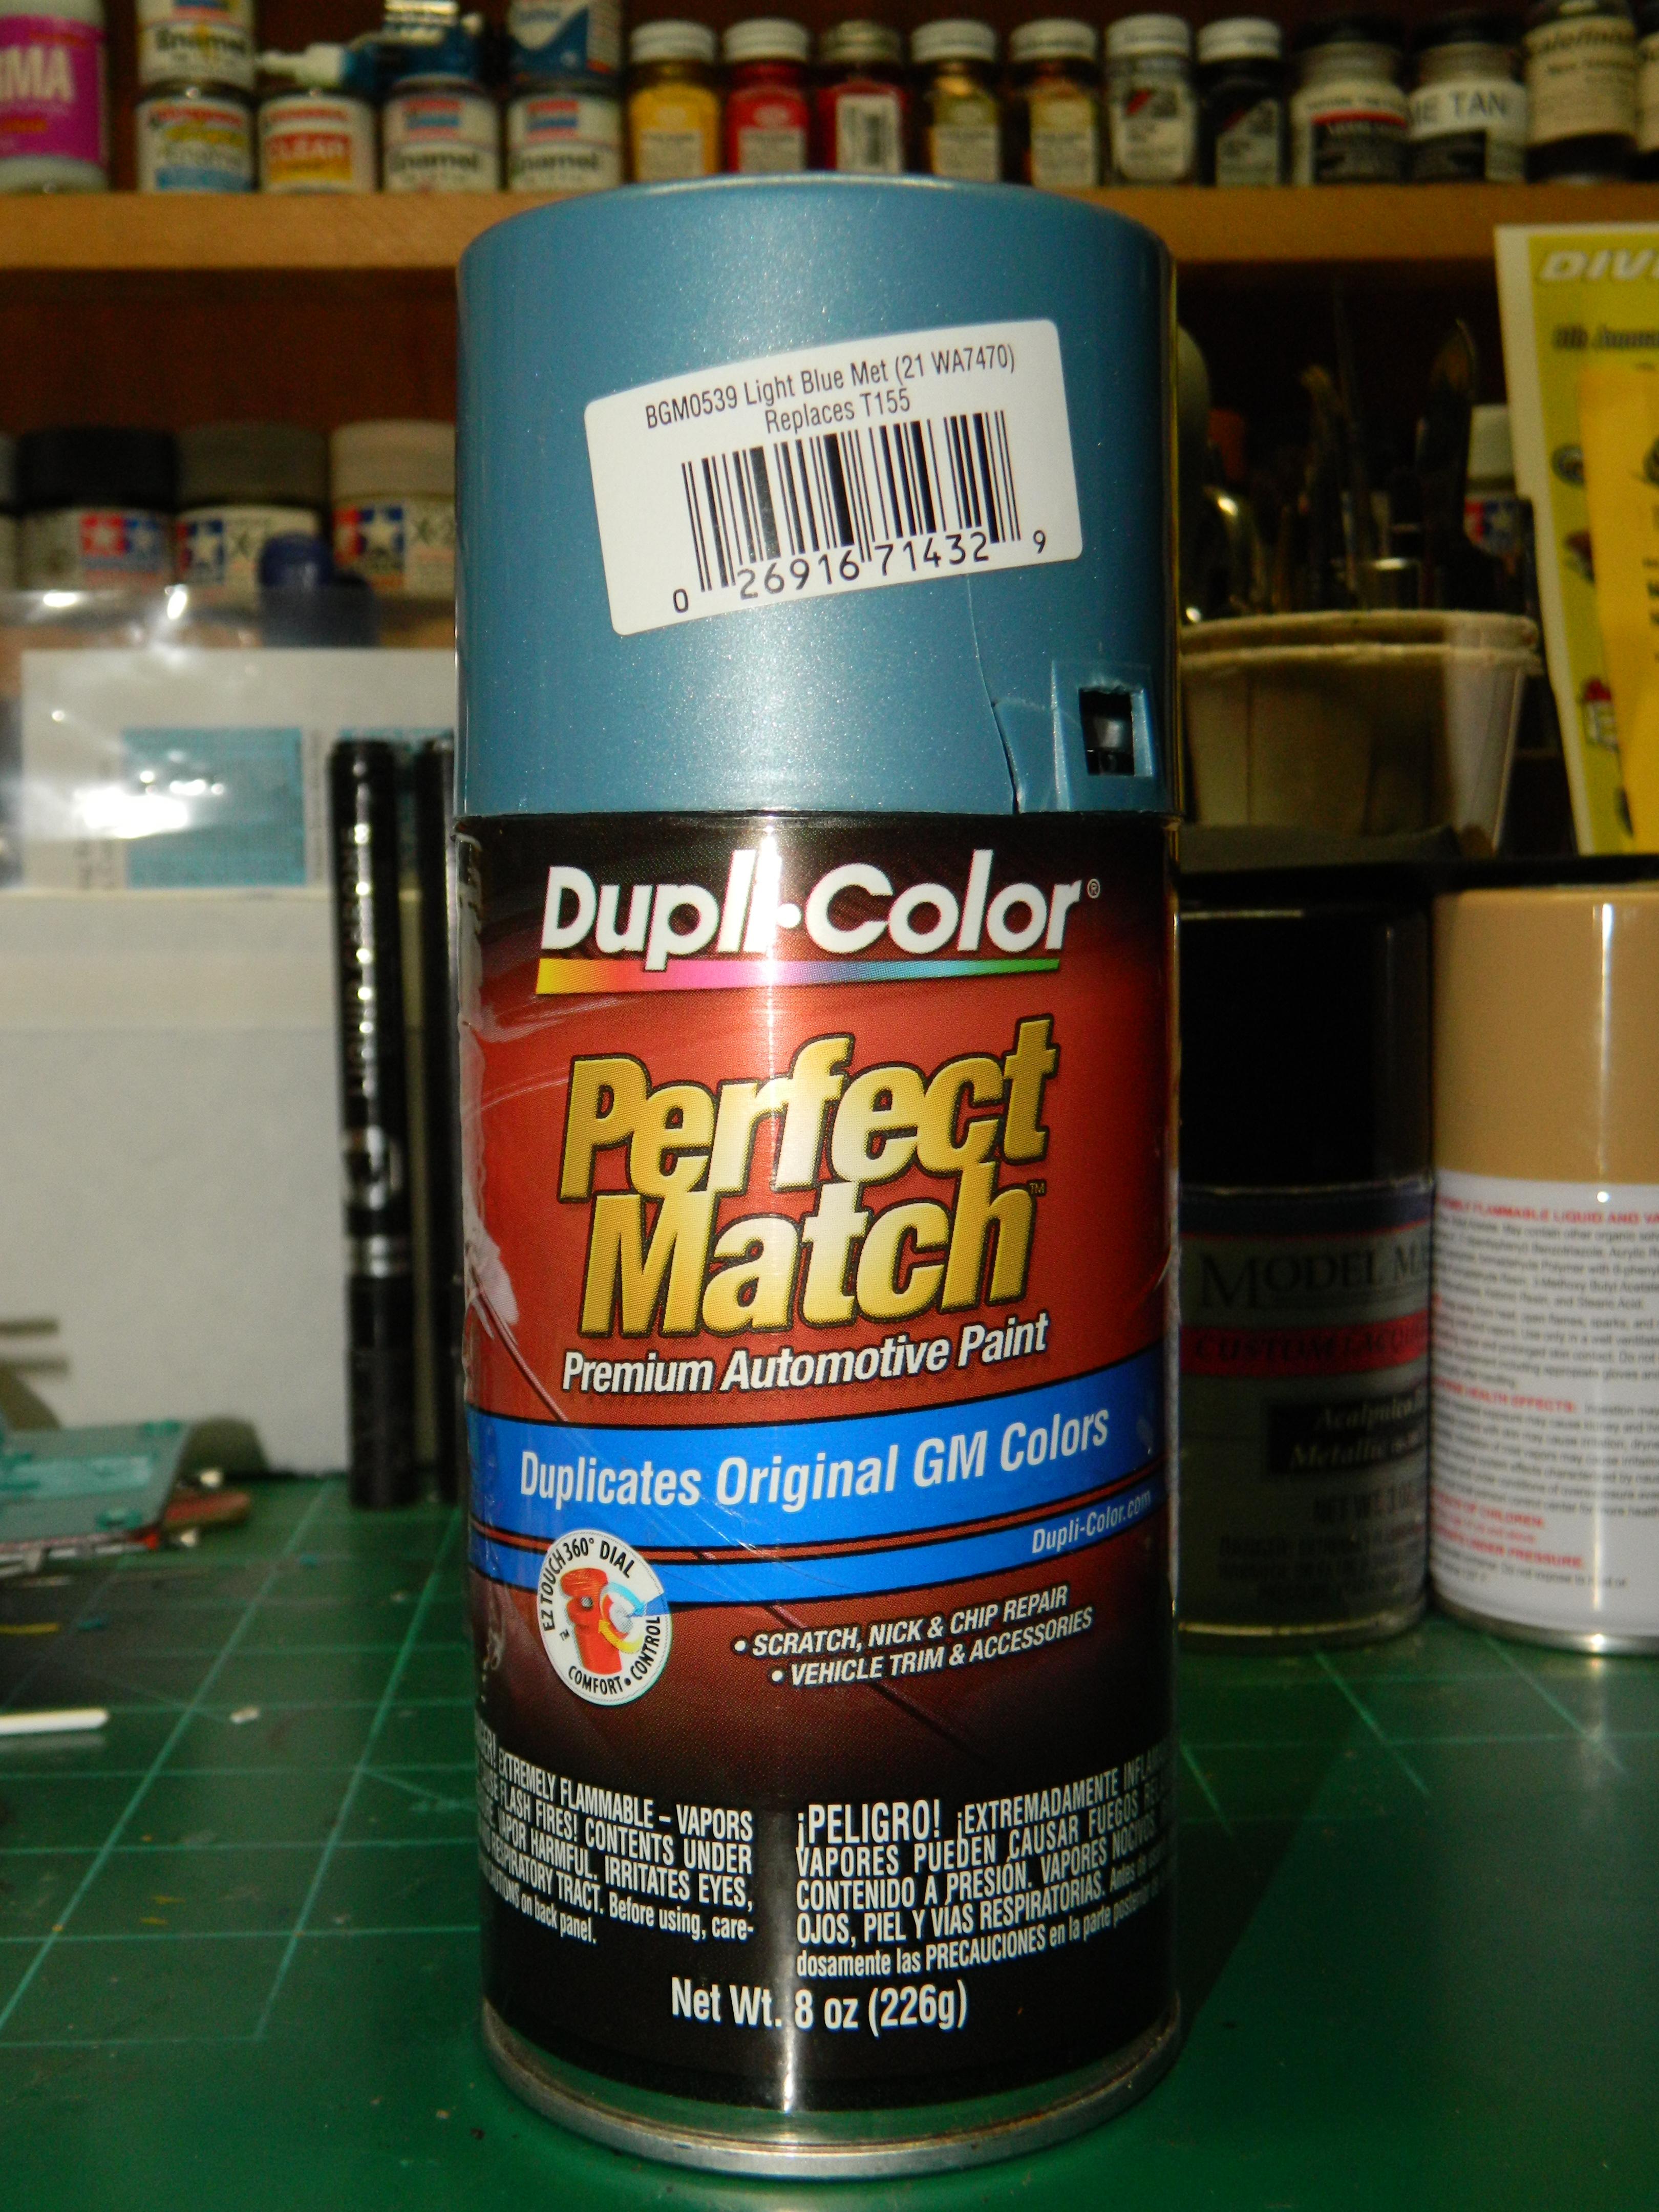
Now that the primer is nice and dry from sitting for a day in the dehydrator, I painted the '61 Impala this morning with Dupli-Color Light Blue Metallic and it looks pretty nice! More Impala to come...

-
Thank you Daniel!
-
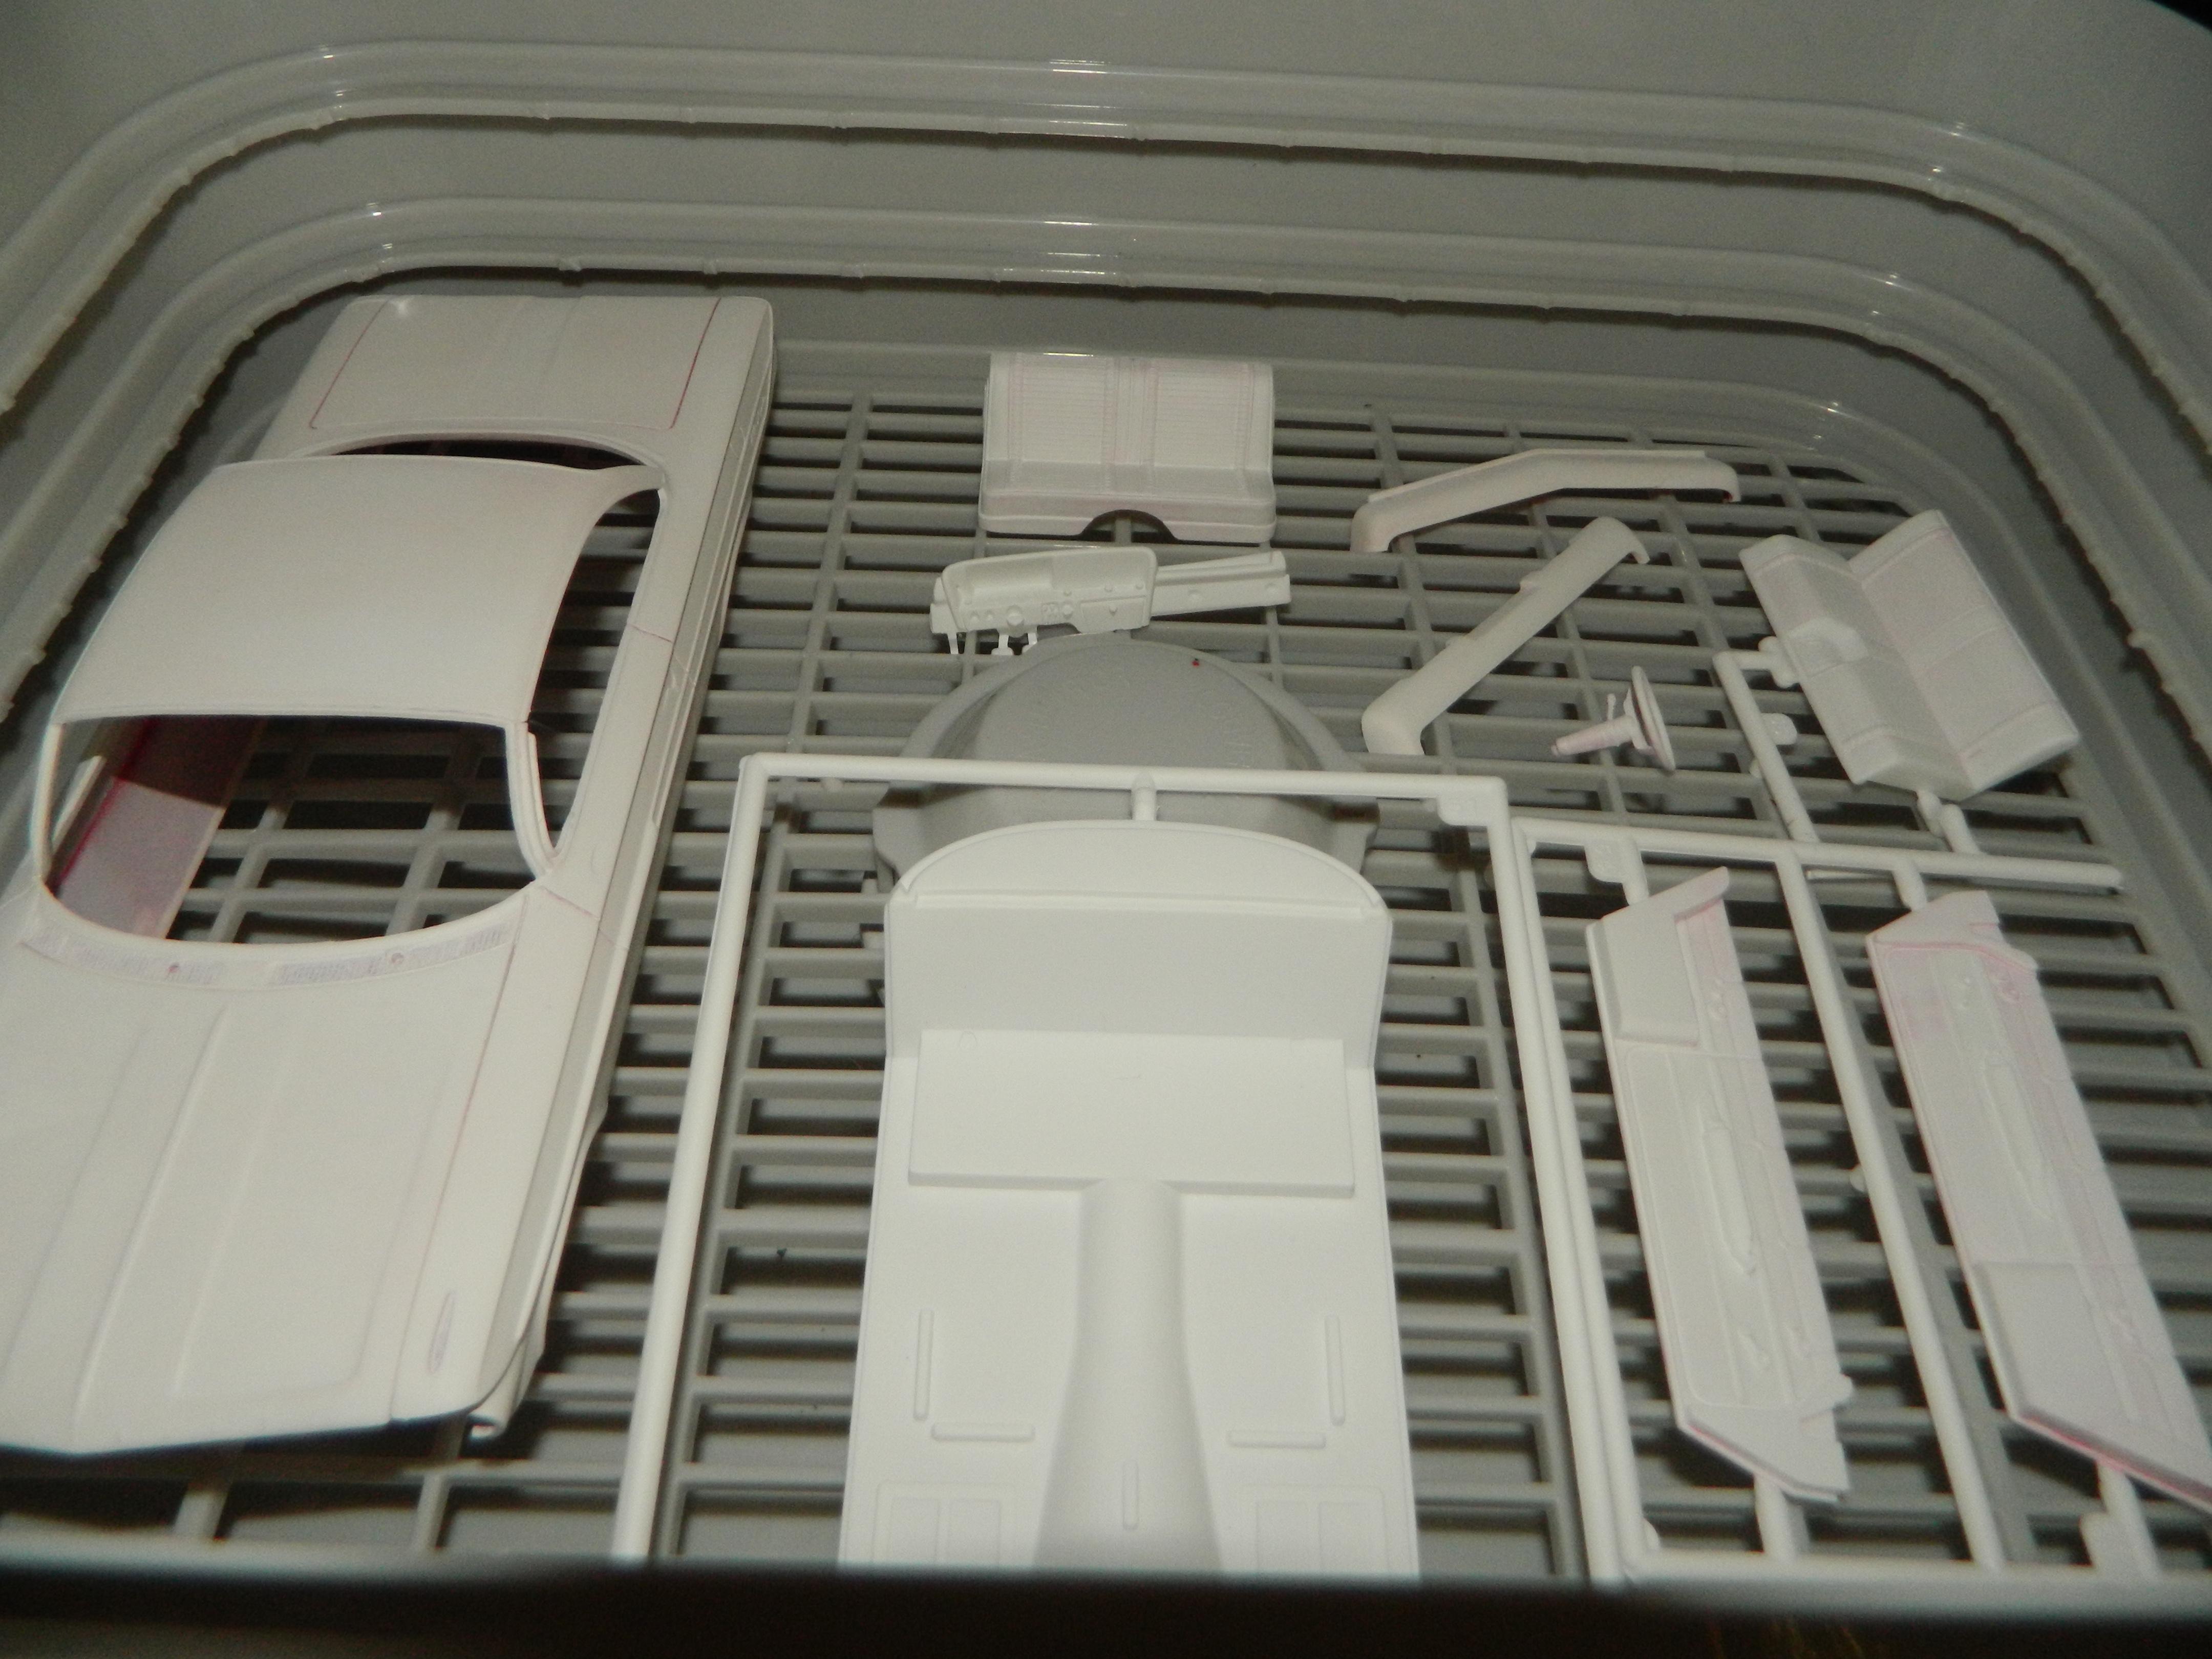
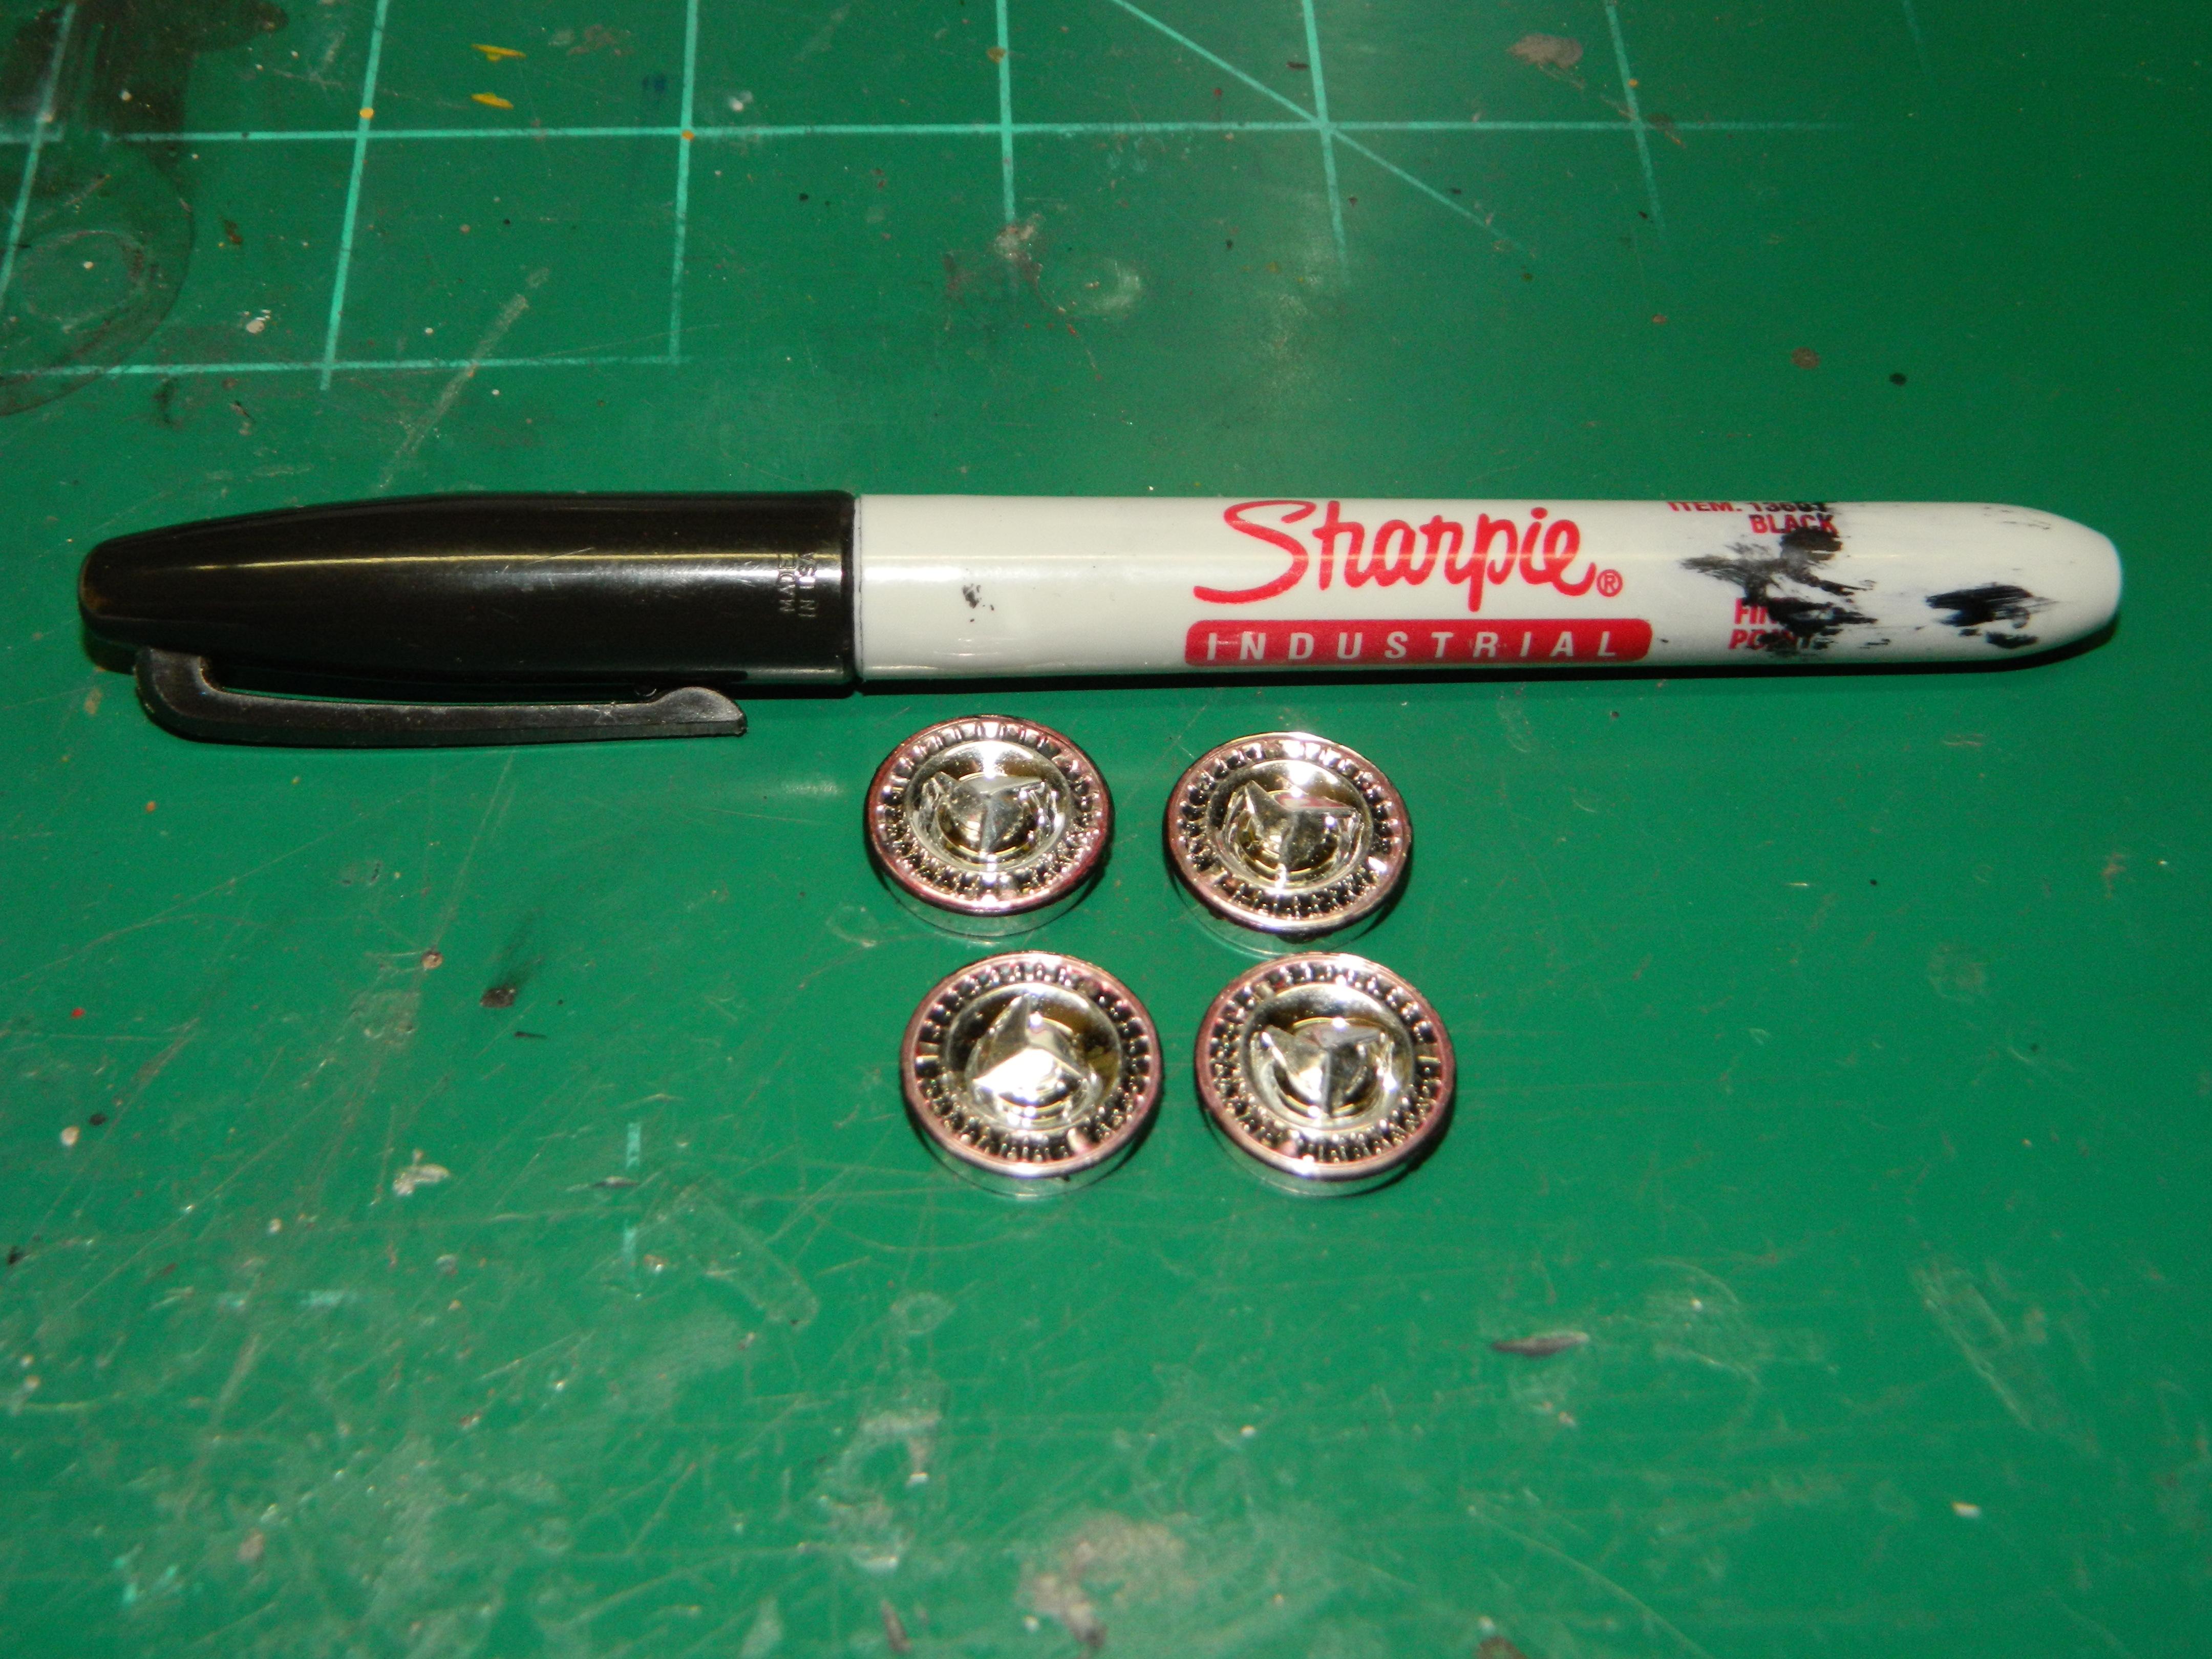
I primered the '61 Impala this morning with Dupli-Color White Sandable Primer and then I tossed everything into the dehydrator for the next 8+ hours. I had painted the wheel cover edges with a red Sharpie and the blue Impalas had black rims. I repainted the edges in black. More Impala to come...
-
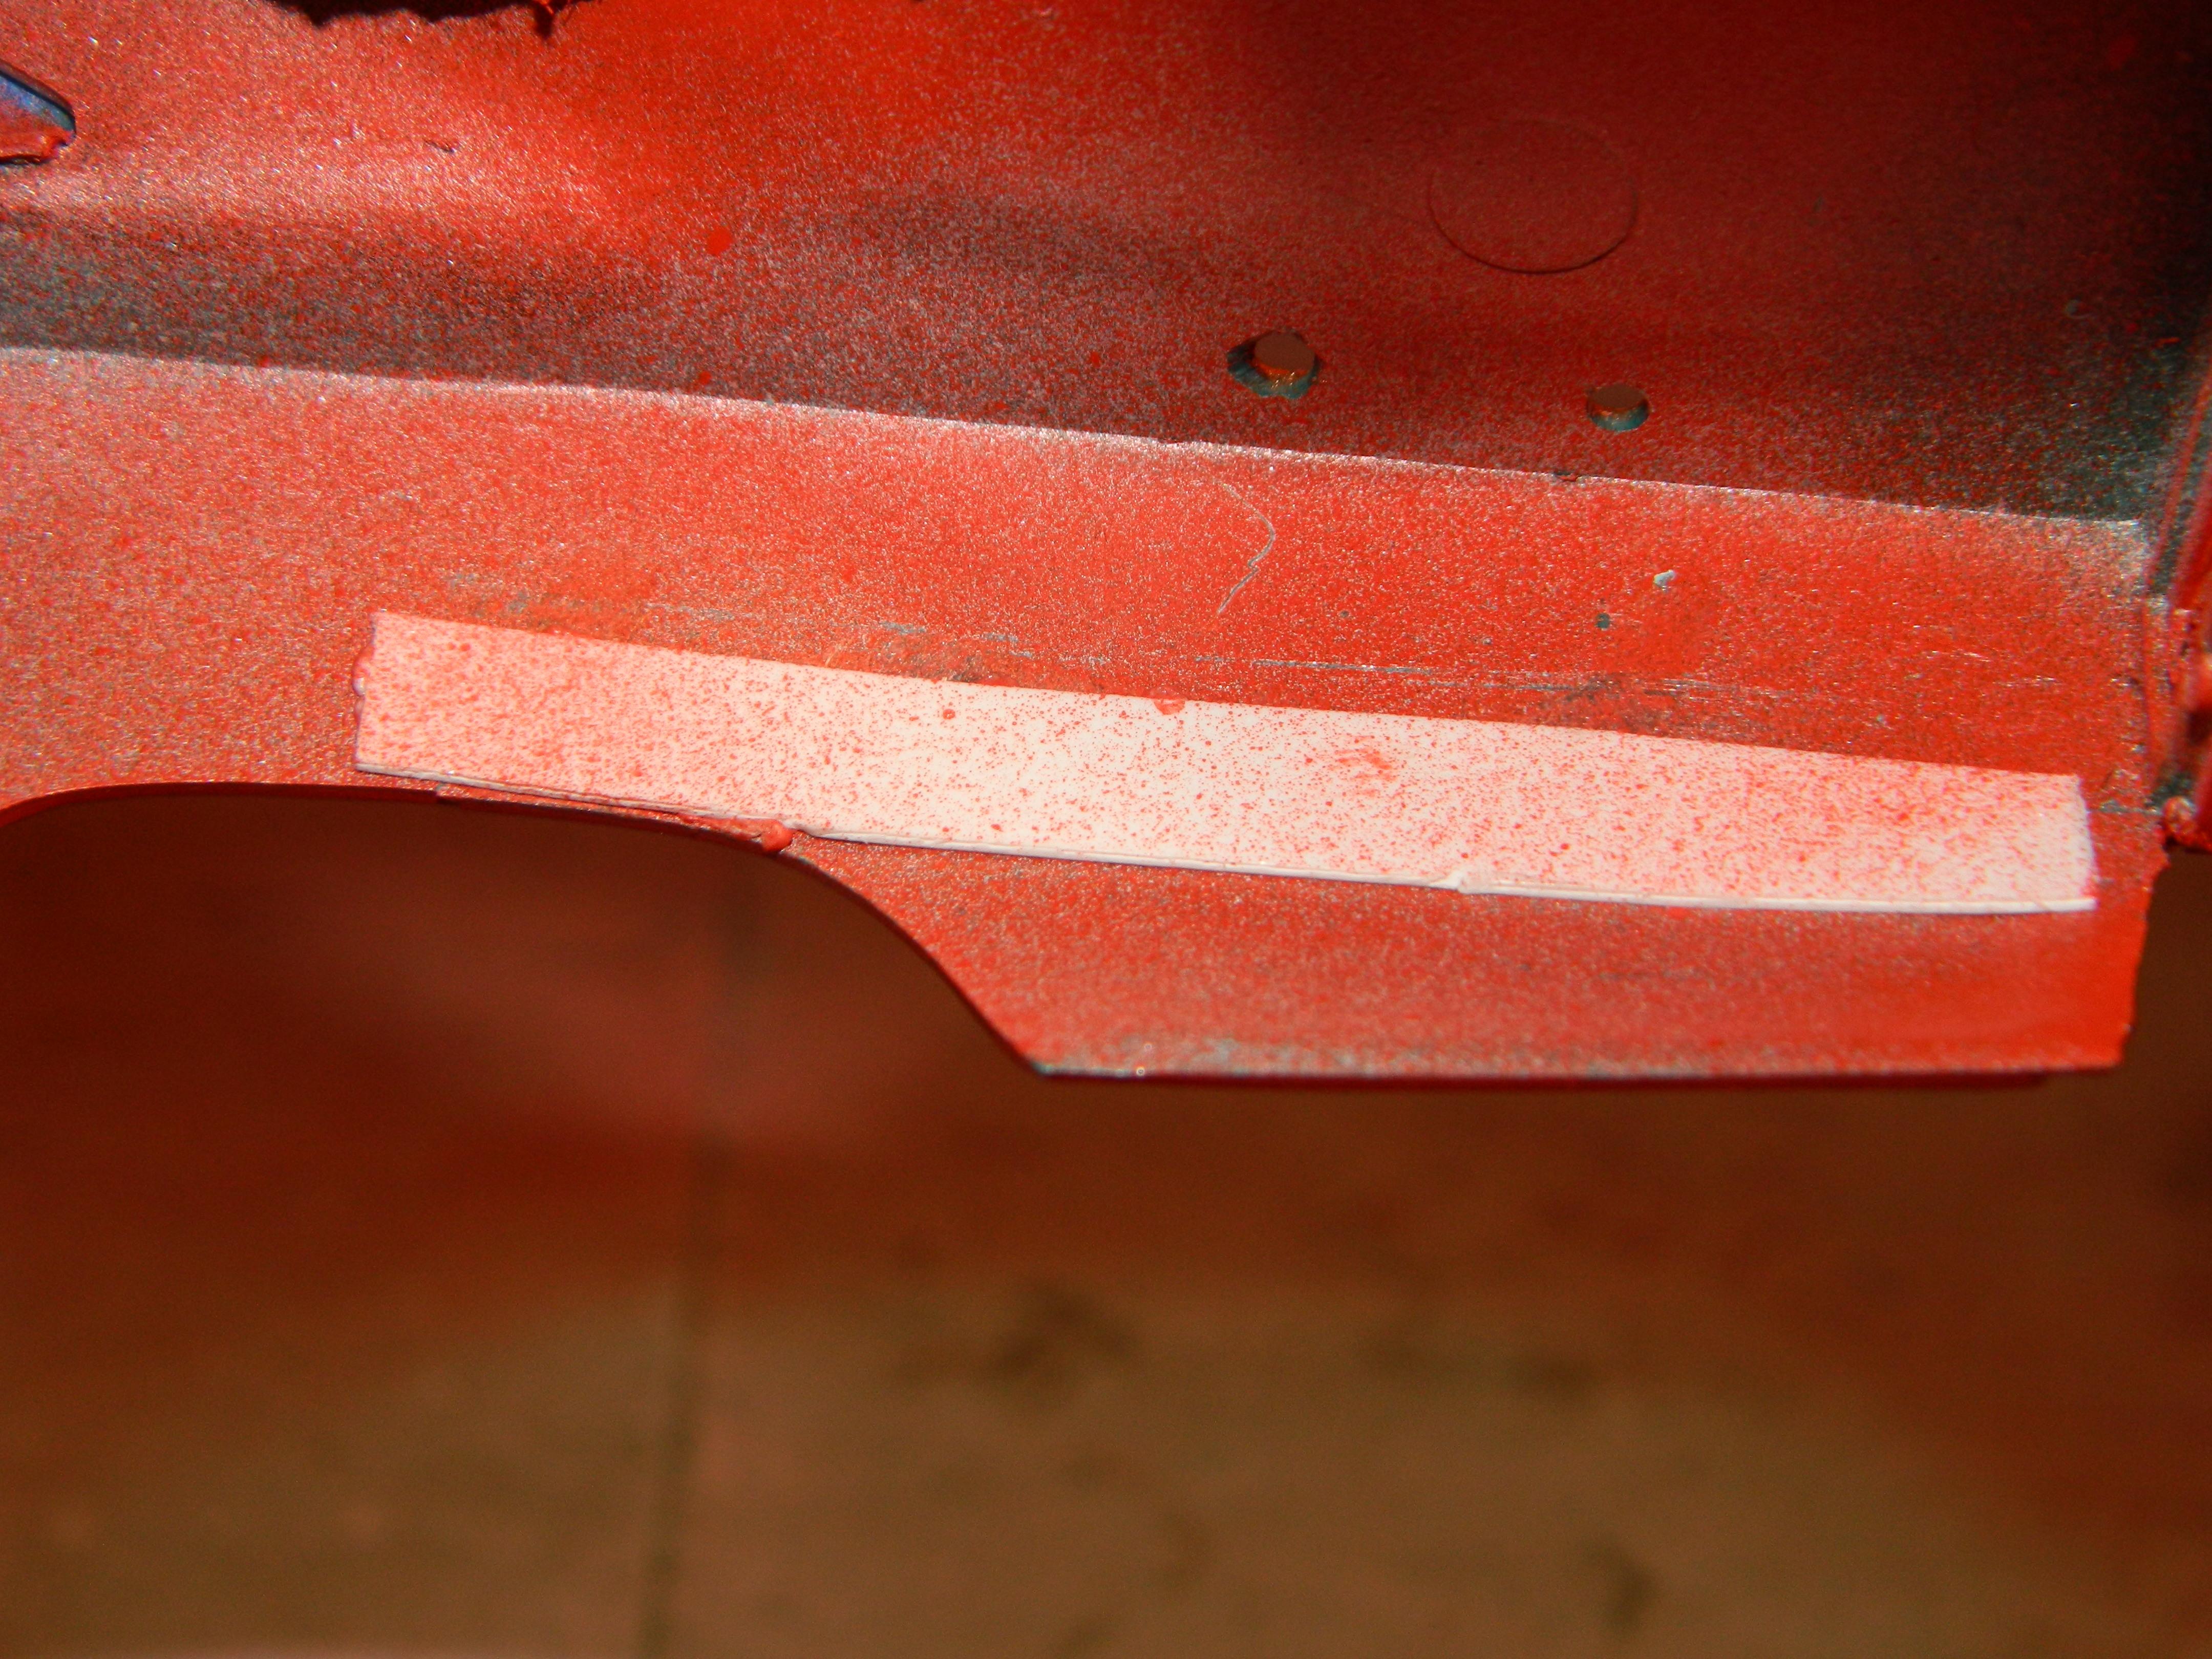
The plastic on this kit has gotten brittle over time. I was holding the body in my right hand and using a pinvise in my left hand trying to open up the holes for the rear wing when I heard "snap" and the lower right rear fender broke. My heart just sank since I just painted the body several days prior. This Superbird wasn't a show contender to begin with and I had decided to let it sit on the shelf unfinished. But, I just had to finish it and I glued the lower fender back on and added a strip of styrene to the back for support and repainted the body. I added several coats of Model Master Ultra Gloss Clearcoat to the hood. Looks pretty good, but it will look much better when it is polished! More Superbird to come...
-
Thank you Larry! A Modified Sport drag car would be a different kind of build for sure.
-

Changes in Revell's Skill Level Ratings
mrmike replied to JollySipper's topic in General Automotive Talk (Trucks and Cars)
Revell made the changes hoping that this would appeal to more people with little to no experience in model building. I think its a waste of time and effort on Revell's behalf. The more ratings or levels, the more it might confuse someone looking for a kit to build and not being able to find something they might want to build in their skill level. -
Thank you guys for the nice words! As usual, I spotted a couple of errors that I corrected afterwards. The left directional light was cockeyed and ready to fall off and the right headlight was off center. Both have been corrected.
-
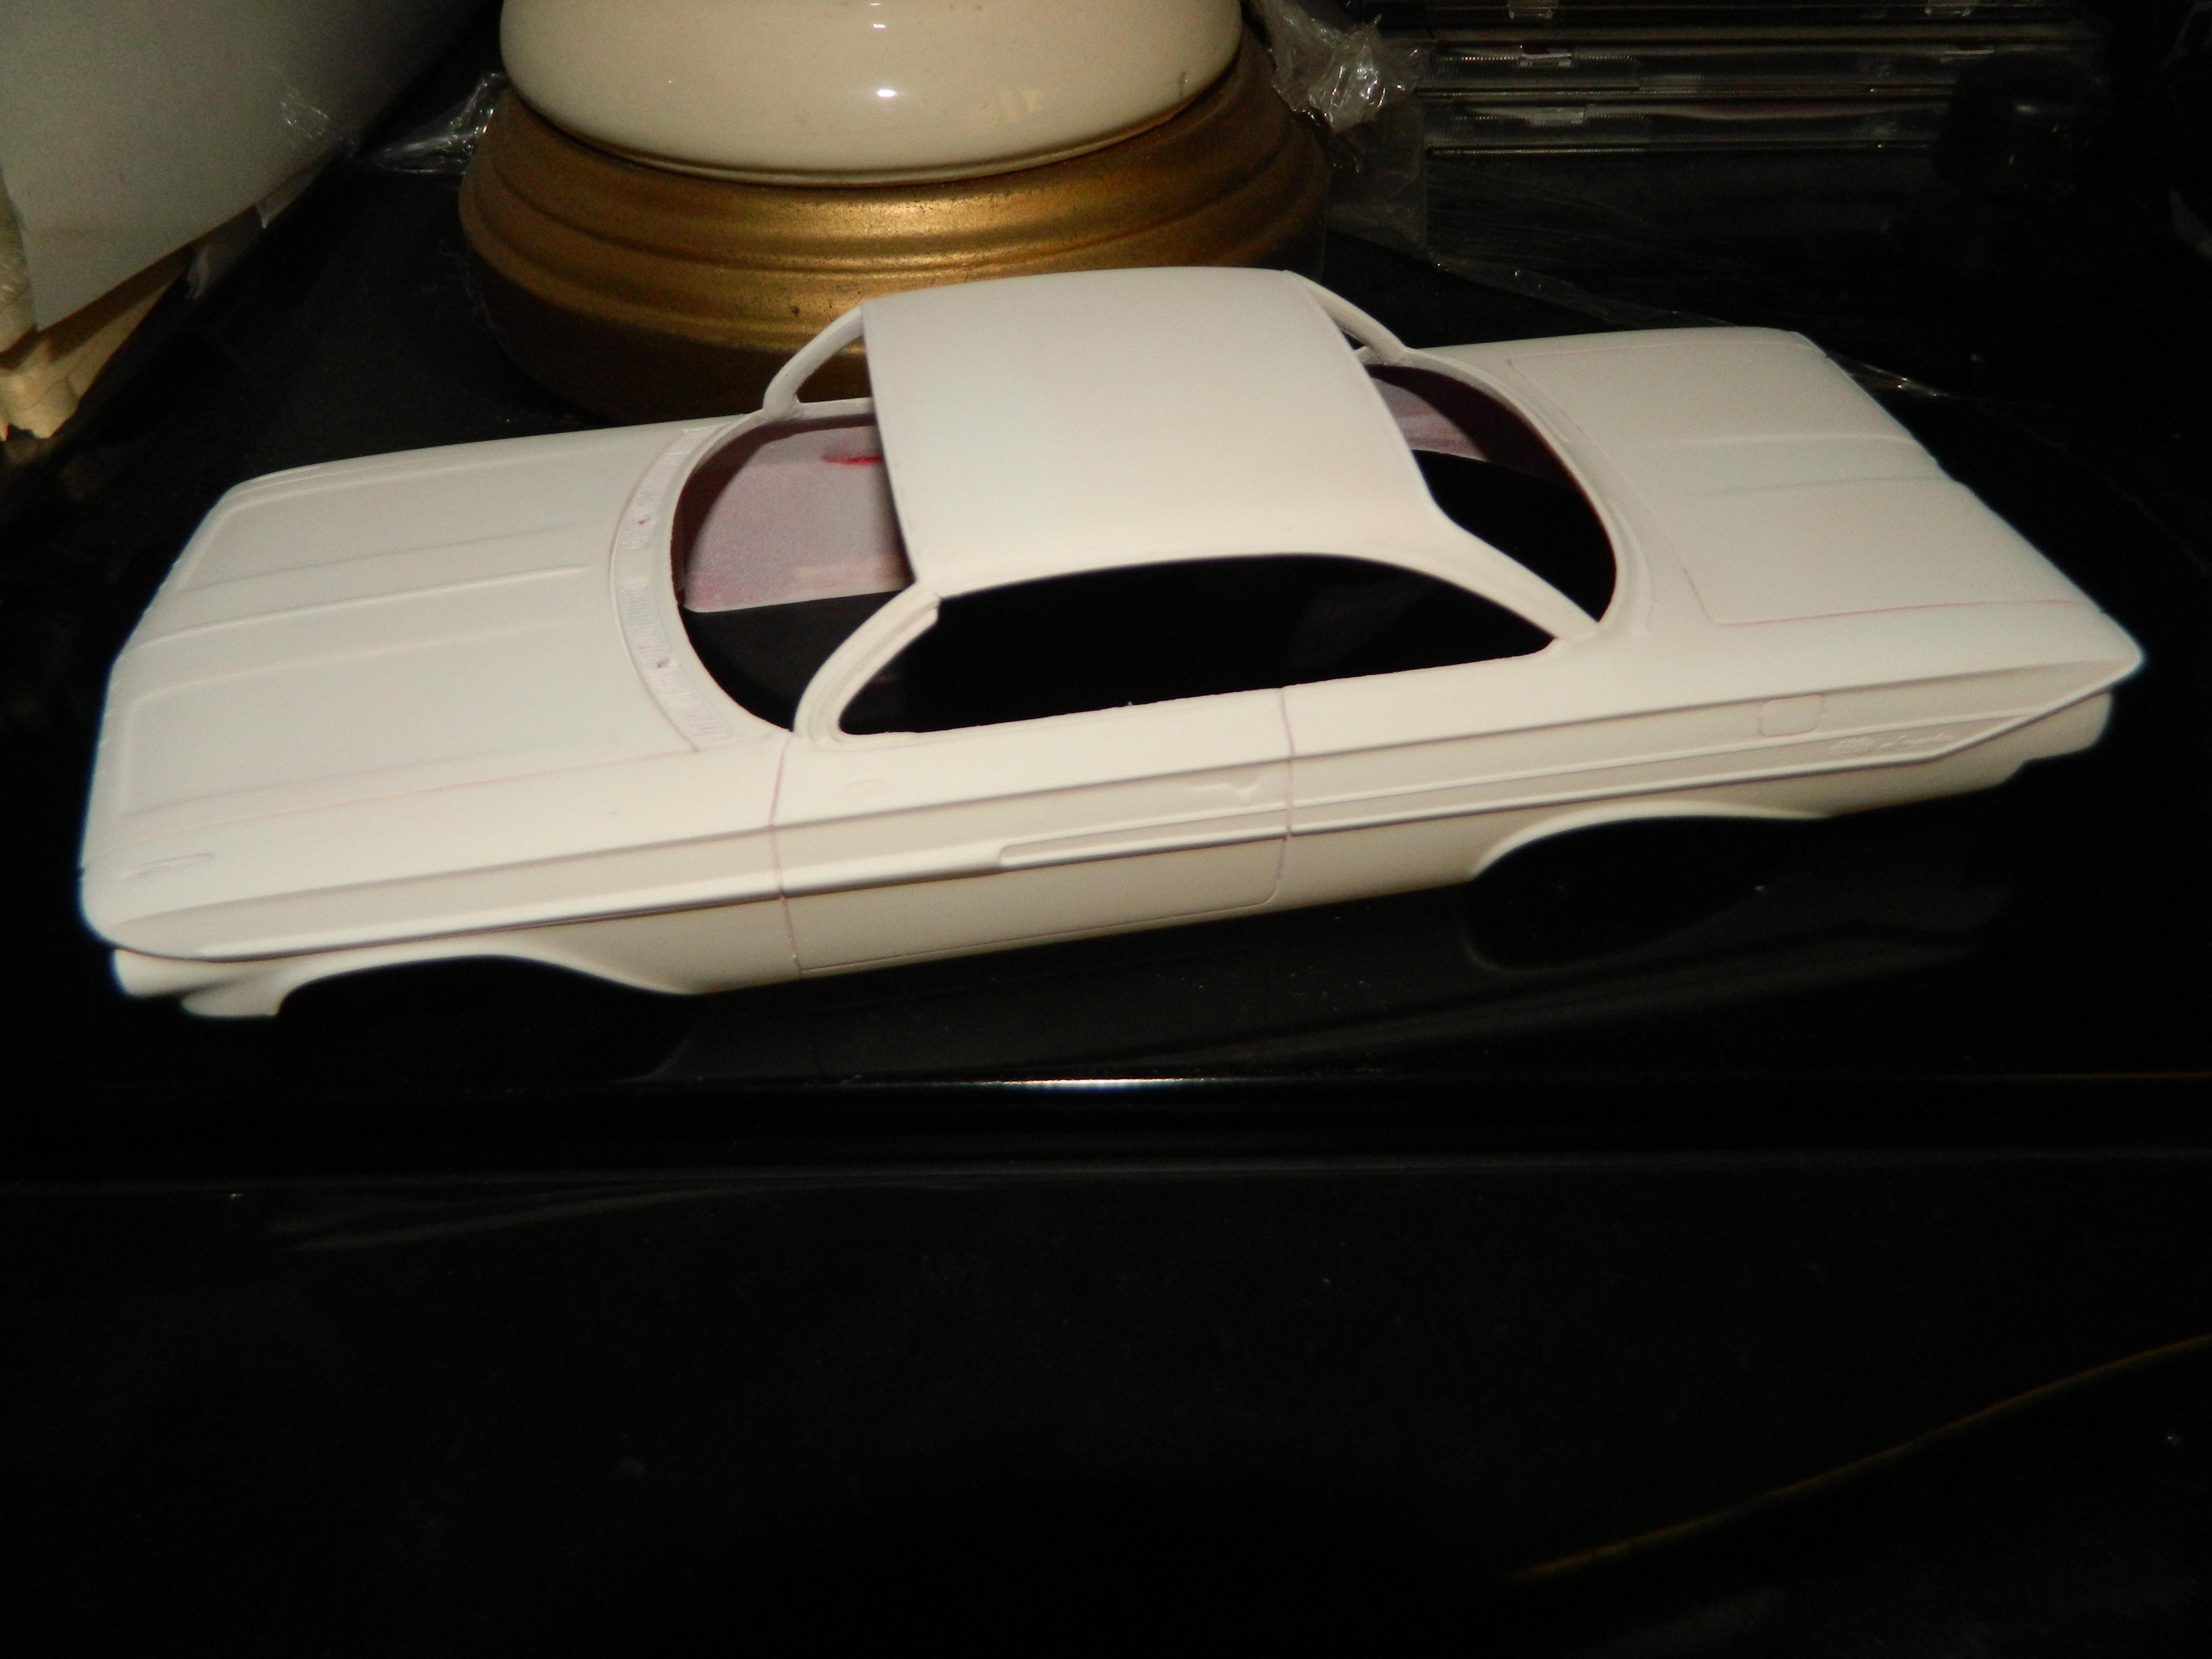
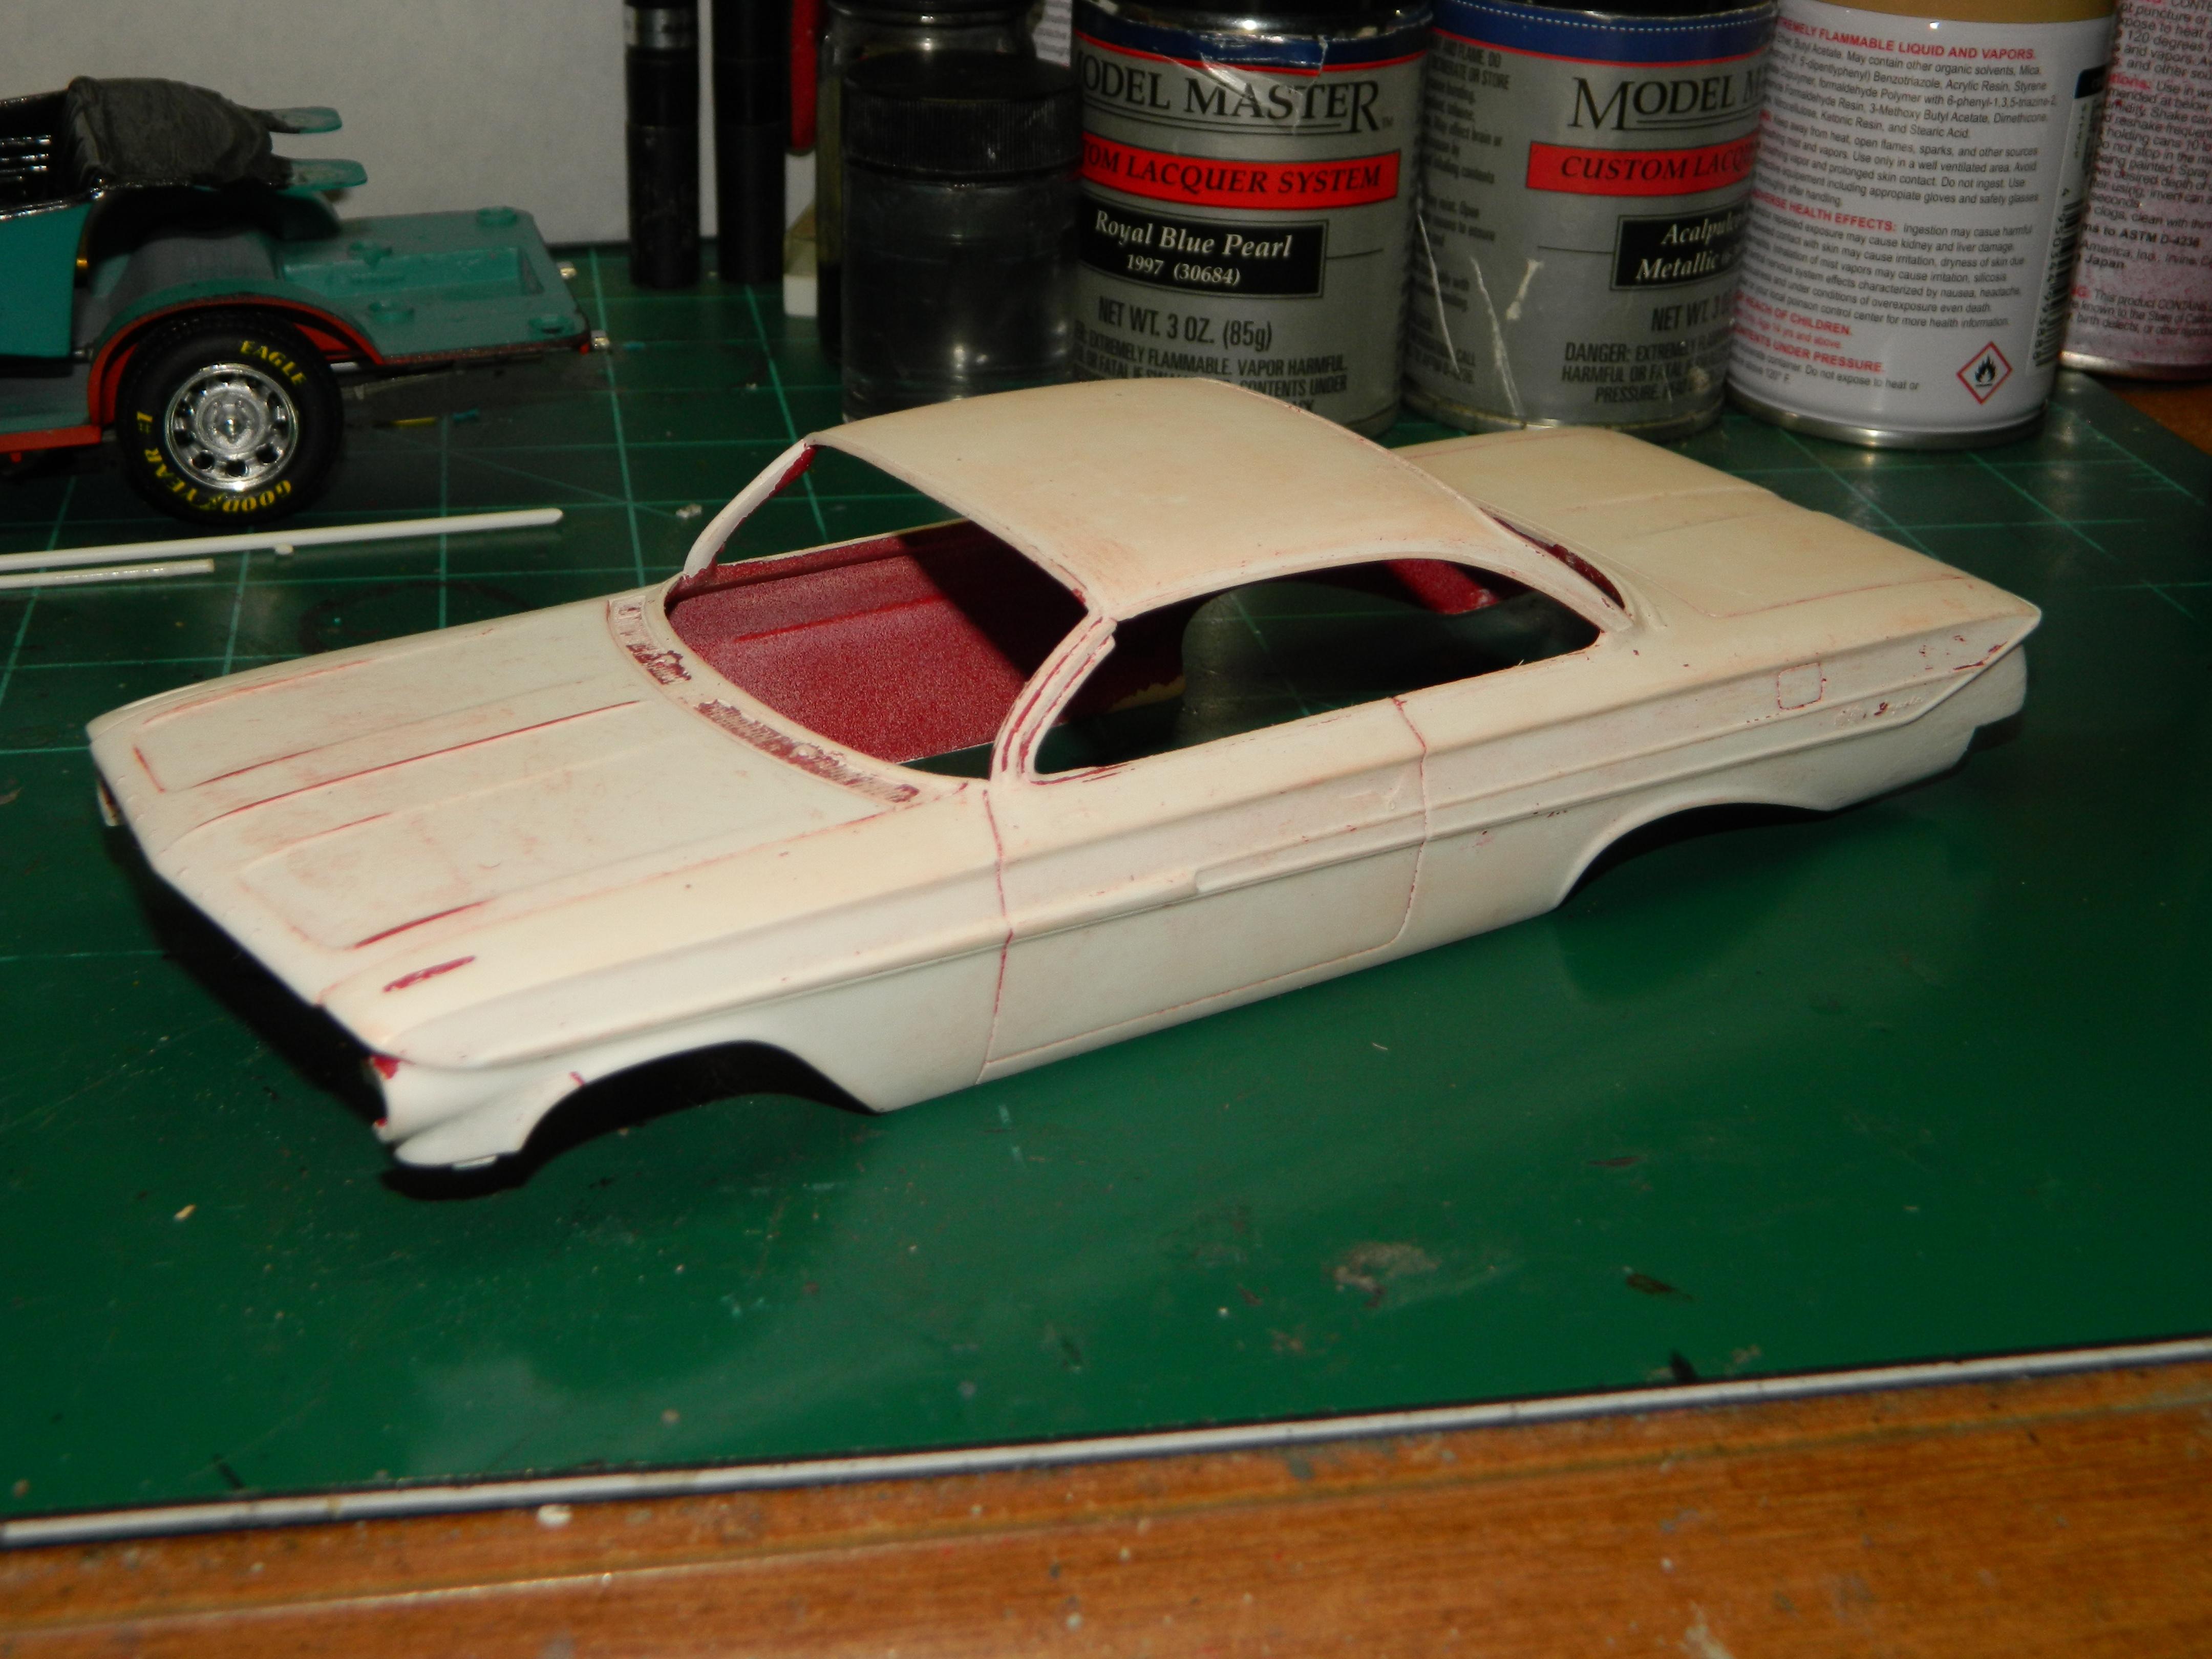
Remember me?!!! The '61 Impala SS409 was put away after I decided to strip the Flame Red paint since it had remained tacky to the touch. It has been out of sight, but not out of my mind. Tonight, I pulled the Impala off the shelf and started sanding and removing red paint from wherever I could...and I still have a long way to go. I am going to use Dupli-Color Light Blue Metallic for the body and interior. My goal is to have matching '61 and '62 Impalas. I have a '63 Impala SS in the stash and that will get the same color paint as the '61 and '62 Impalas. More Impala to come...
-
I sat down this morning and looked over the various parts of the Superbird that I painted and discovered that the rear wing didn't have much paint on the bottom of the wing. I repainted the rear wing top and bottom. The hood is looking good especially after I had detailed the hood pins and lanyards. The rear bumper is ready for some Alclad II Gloss Black and Chrome paint. More Superbird to come...
-
I have finished my MG-TC and it is posted in Under Glass. I would like to thank all those who have taken the time to view and to comment on my WIP.
-
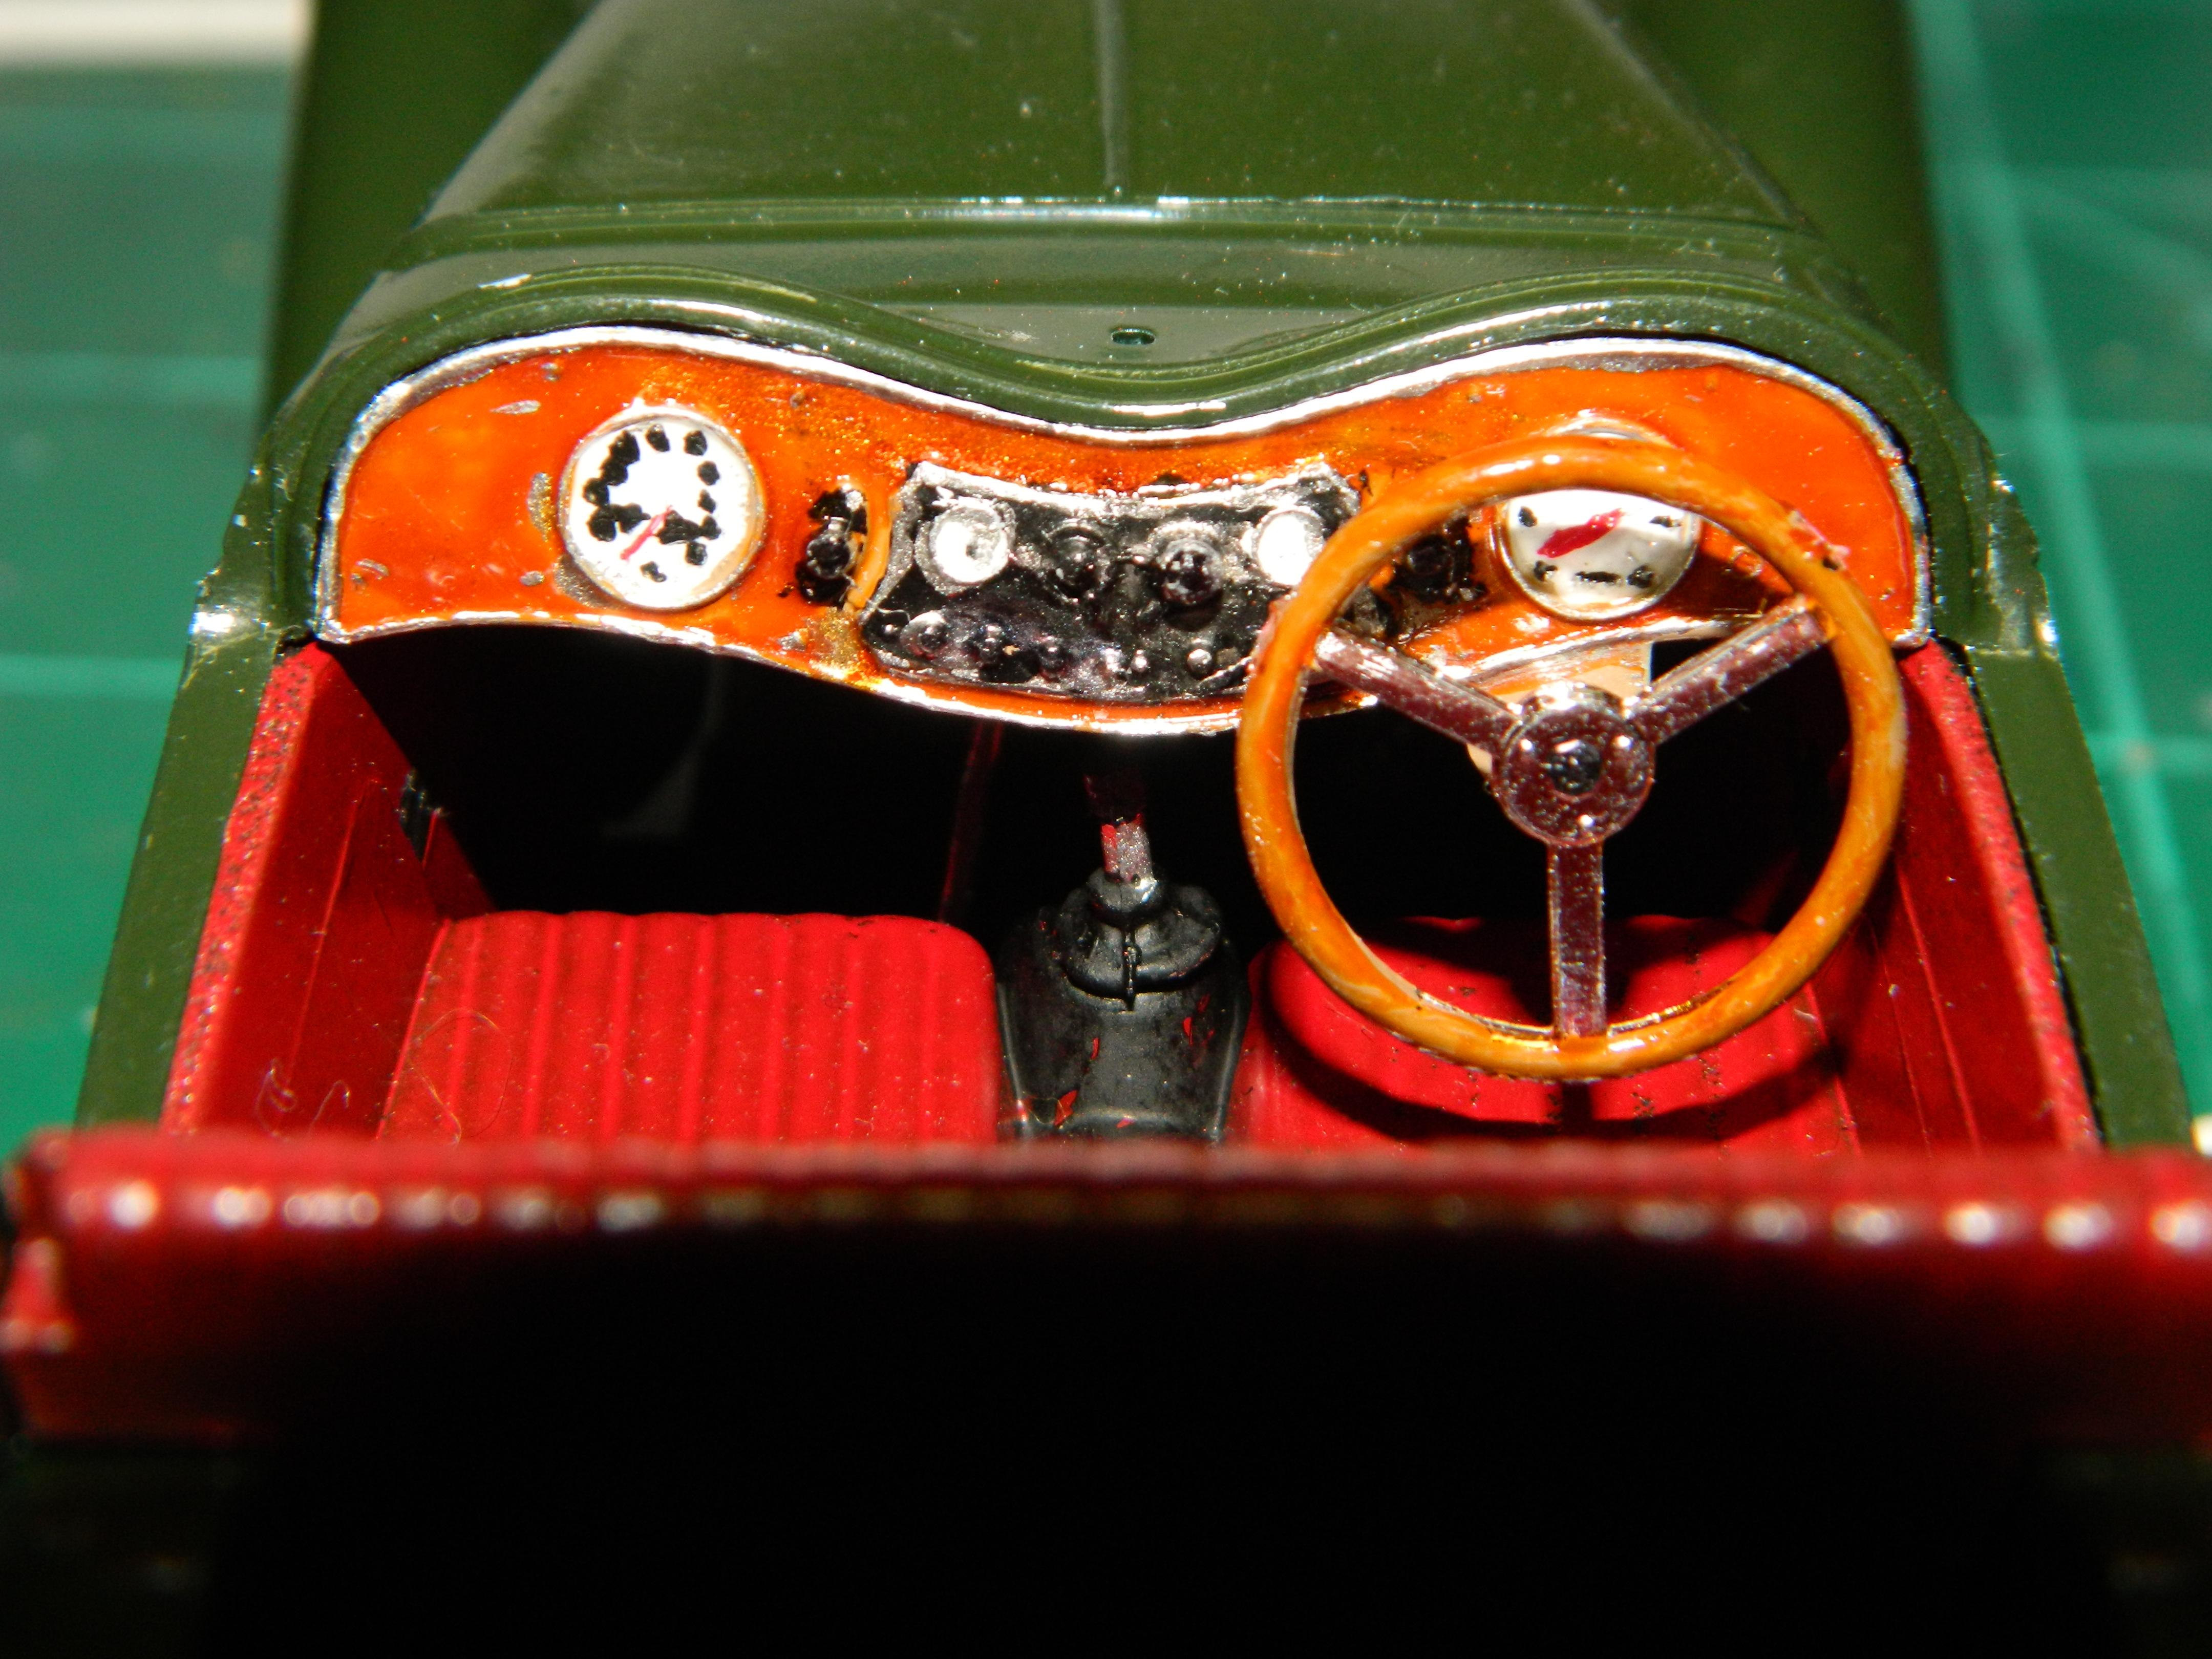
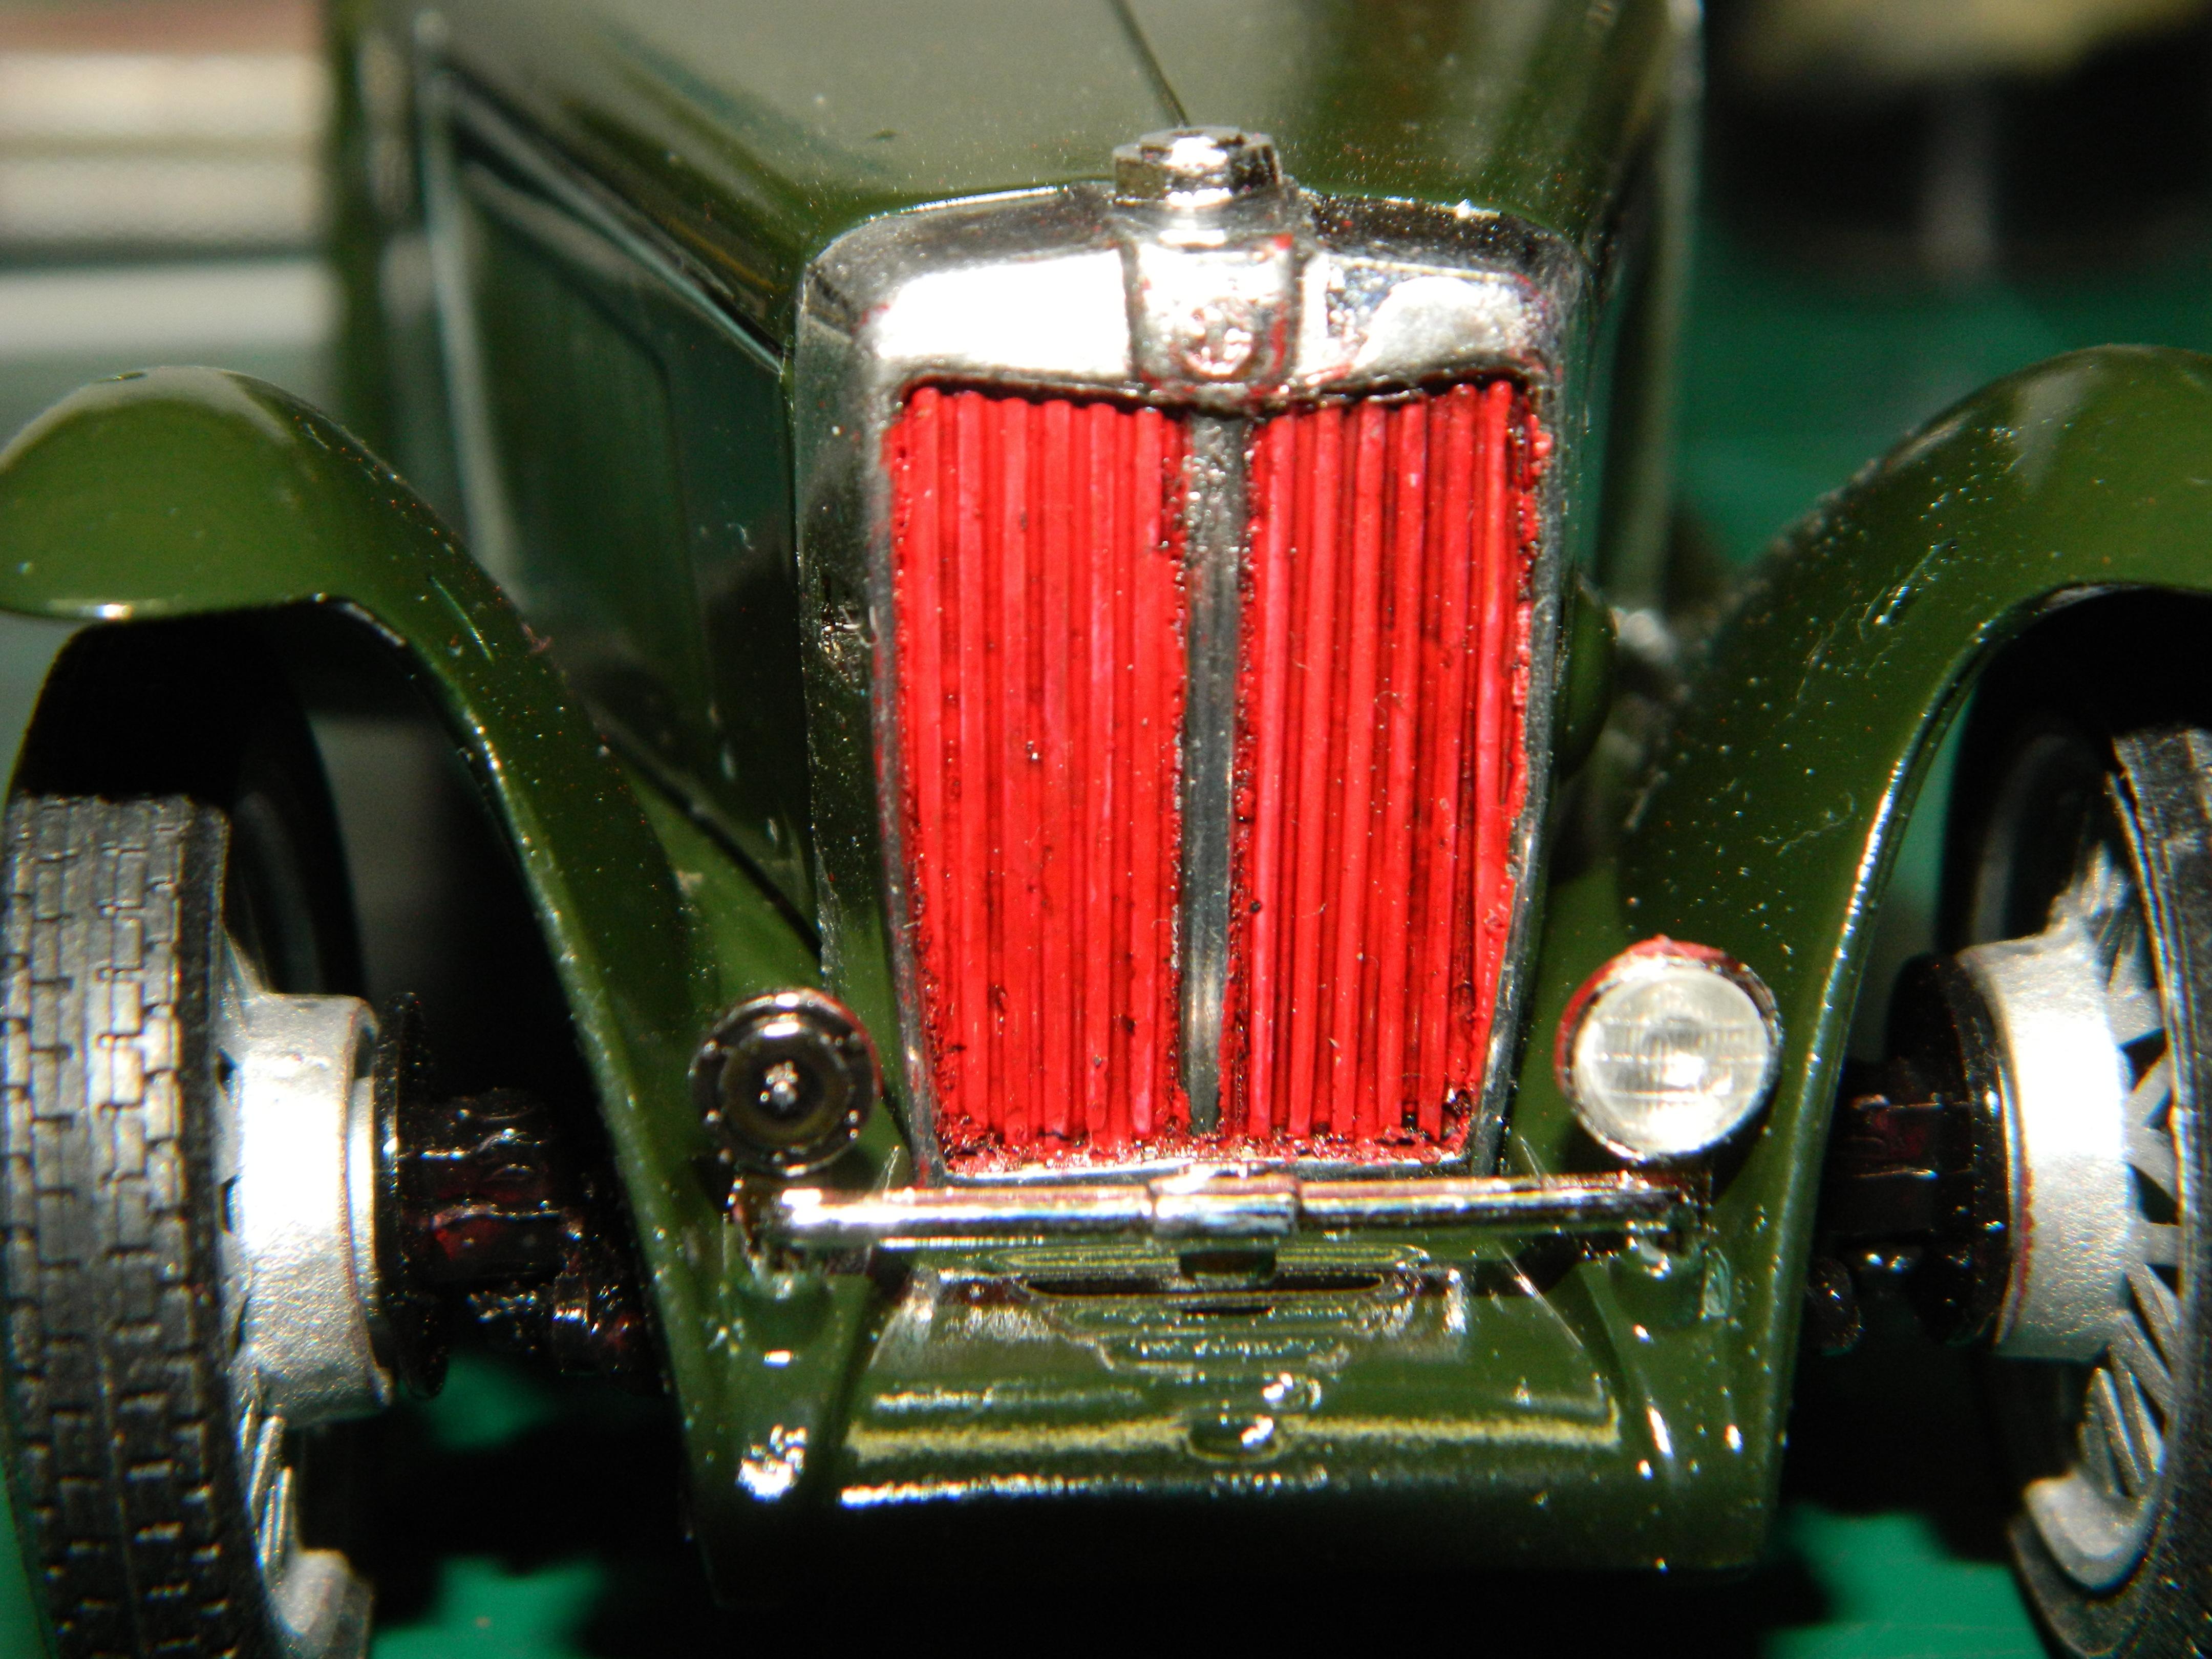
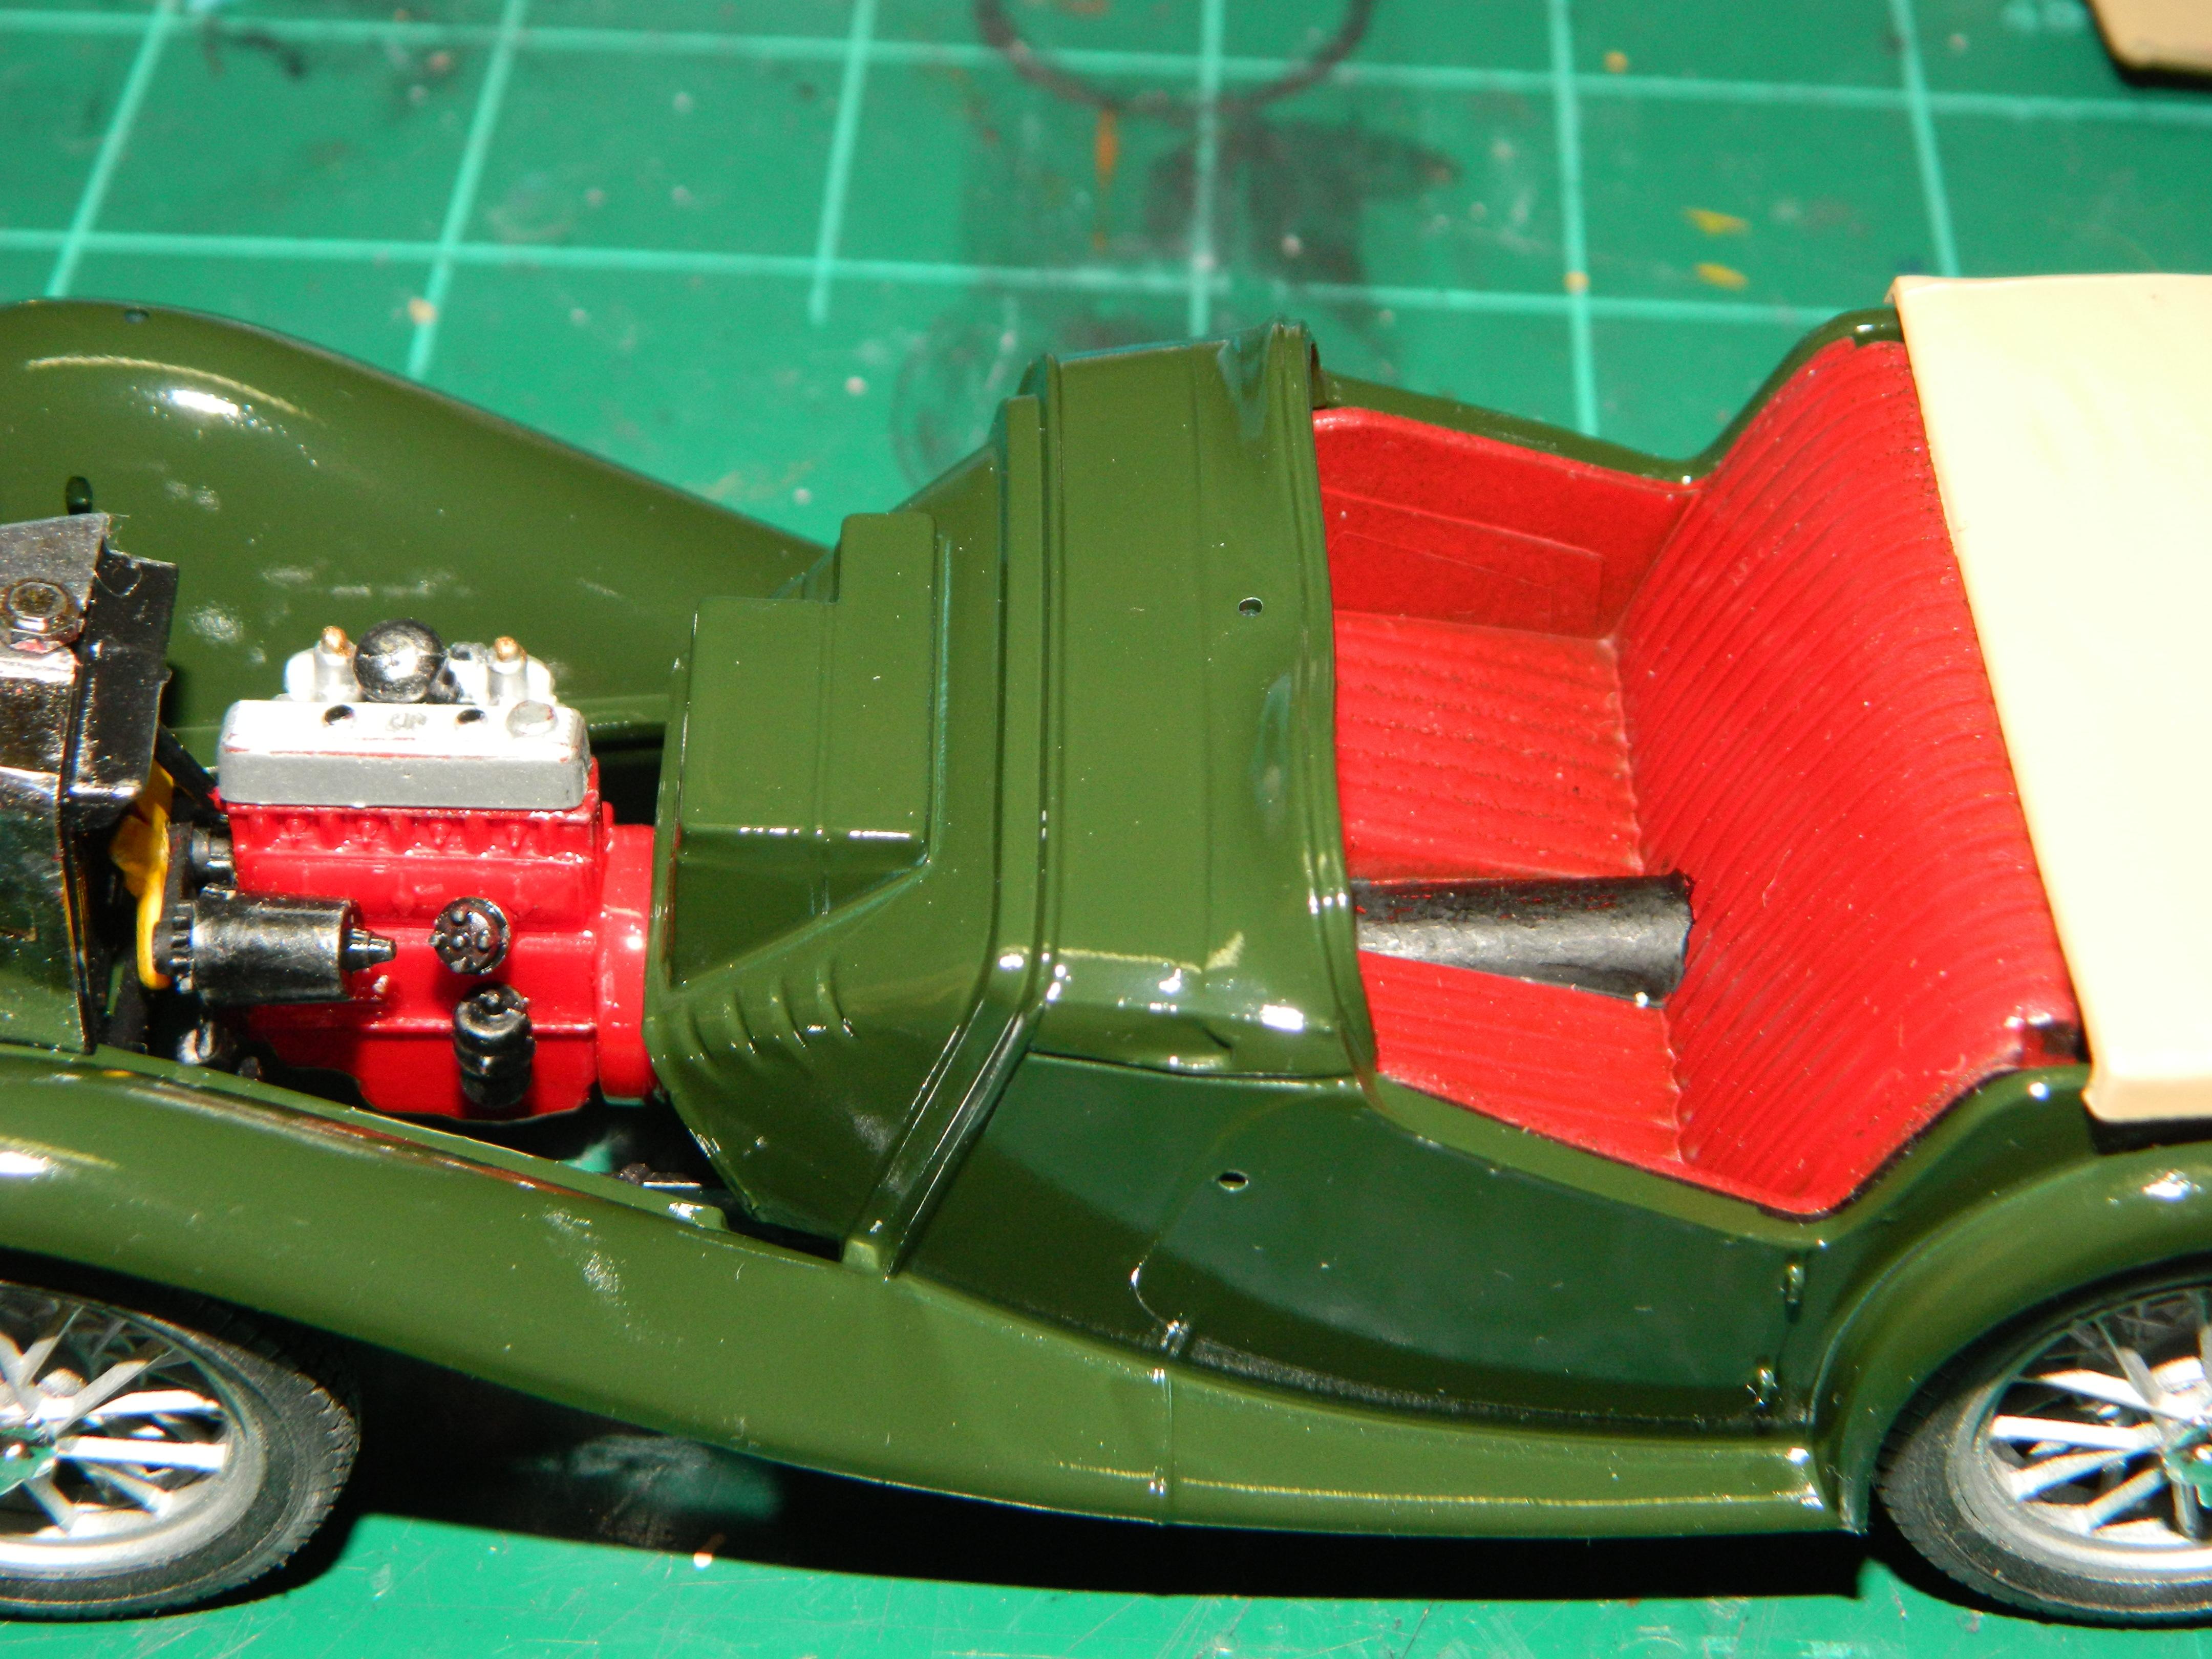
This is my Monogram MG-TC. It is painted with Tamiya TS-9 British Green with a Model Master Flame Red interior. It is built box stock with the addition of my license plate.
-
Thanks Christopher! The parts fix is rather good considering that this kit is from 1981. The instructions are fairly good with a couple of things a rather bit vague. Thanks Tom! I have seen the MG-TC go for upwards to $50.00 a kit. I can't complain as this kit was given to me for free. Now that the bug has bitten you, go out a get an MG-TC kit and build it!
-
Thanks David!
-
Thanks John! There was no paint, just an enamel clearcoat over the blue plastic that was starting to yellow. I used a medium-fine grit sandpaper to help rough up the surface, primer then paint.
-
I'm sure they will! Thanks again!!! I painted the Superbird this afternoon. Model Master Hemi Orange aka Mopar Tor-Red. More Superbird to come...
-
There are some wire wheels being produced, but you have to lace them like a real full-size wire wheel. Some work done on the MG-TC today. Dash installed along with some chrome pieces. More MG-TC to come...
-
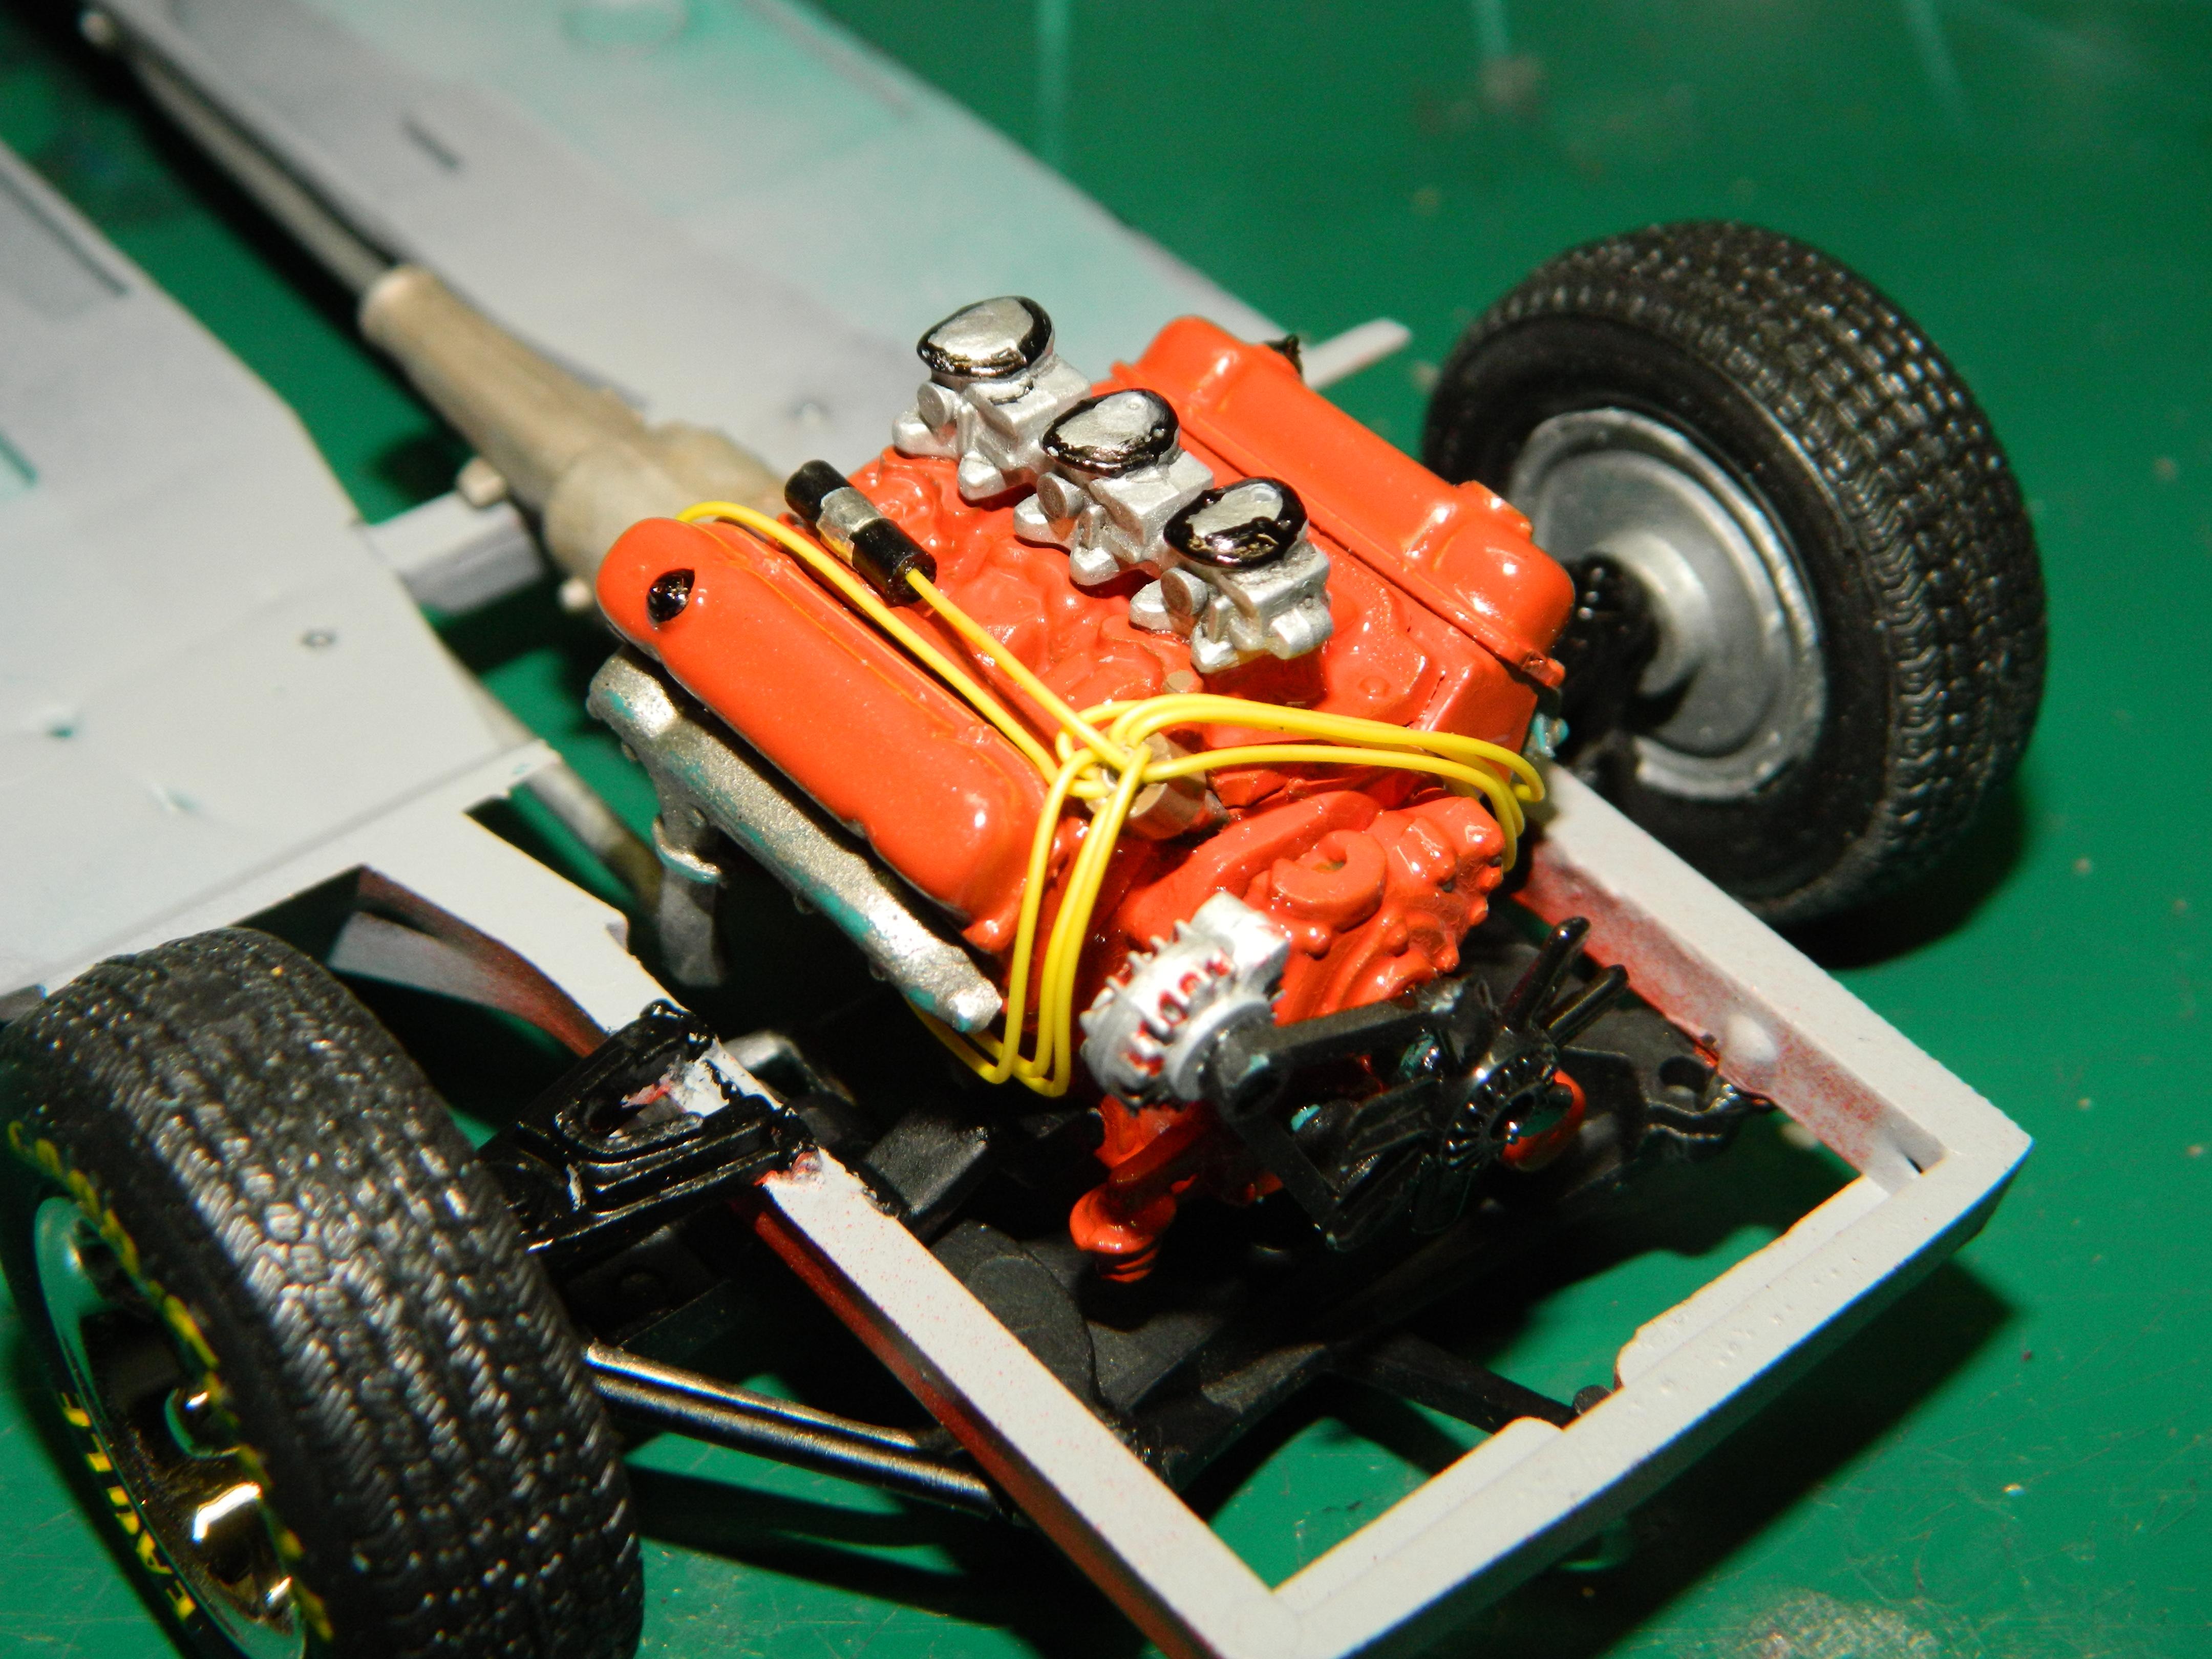
I finally got my decals today from KWT. Thanks KWT!!! I've been picking away at the interior. Still more detail to add. The 440 6-Barrel is nearly done. I painted the air cleaner with Testors Competition Orange enamel paint and it is in the dehydrator until tomorrow. It should be dry by then. More Superbird to come...
-
Thanks Randy! My only wish for the MG would be for it to have similarily molded wire wheels like the Morgan and the Jaguar Mk II from Tamiya.
-
I roughed up the surface with some sandpaper, washed and dried the body, primer and then paint. What you are looking at is the colored plastic with an enamel clearcoat over it and the clearcoat yellowed over the years. I sat down this evening with my Dremel Motor Tool and started grinding the excess plastic from the exhaust pipes to get them round and generally the same size. Then I mocked them up and applied a little more glue to help solidify the joints. Tomorrow, I'll repaint the exhaust system. The 440 6-Barrel has been painted and wired. I'll detail the carbs and install the air filter when I have finished detailing that. I wanted white letter tire markings, but I didn't have any. I remembered these yellow tire letters from my trips to NNL East and I cut them out, dipped them in water and applied them to the tires. Tomorrow, I'll coat them with flat clearcoat. More Superbird to come...
-
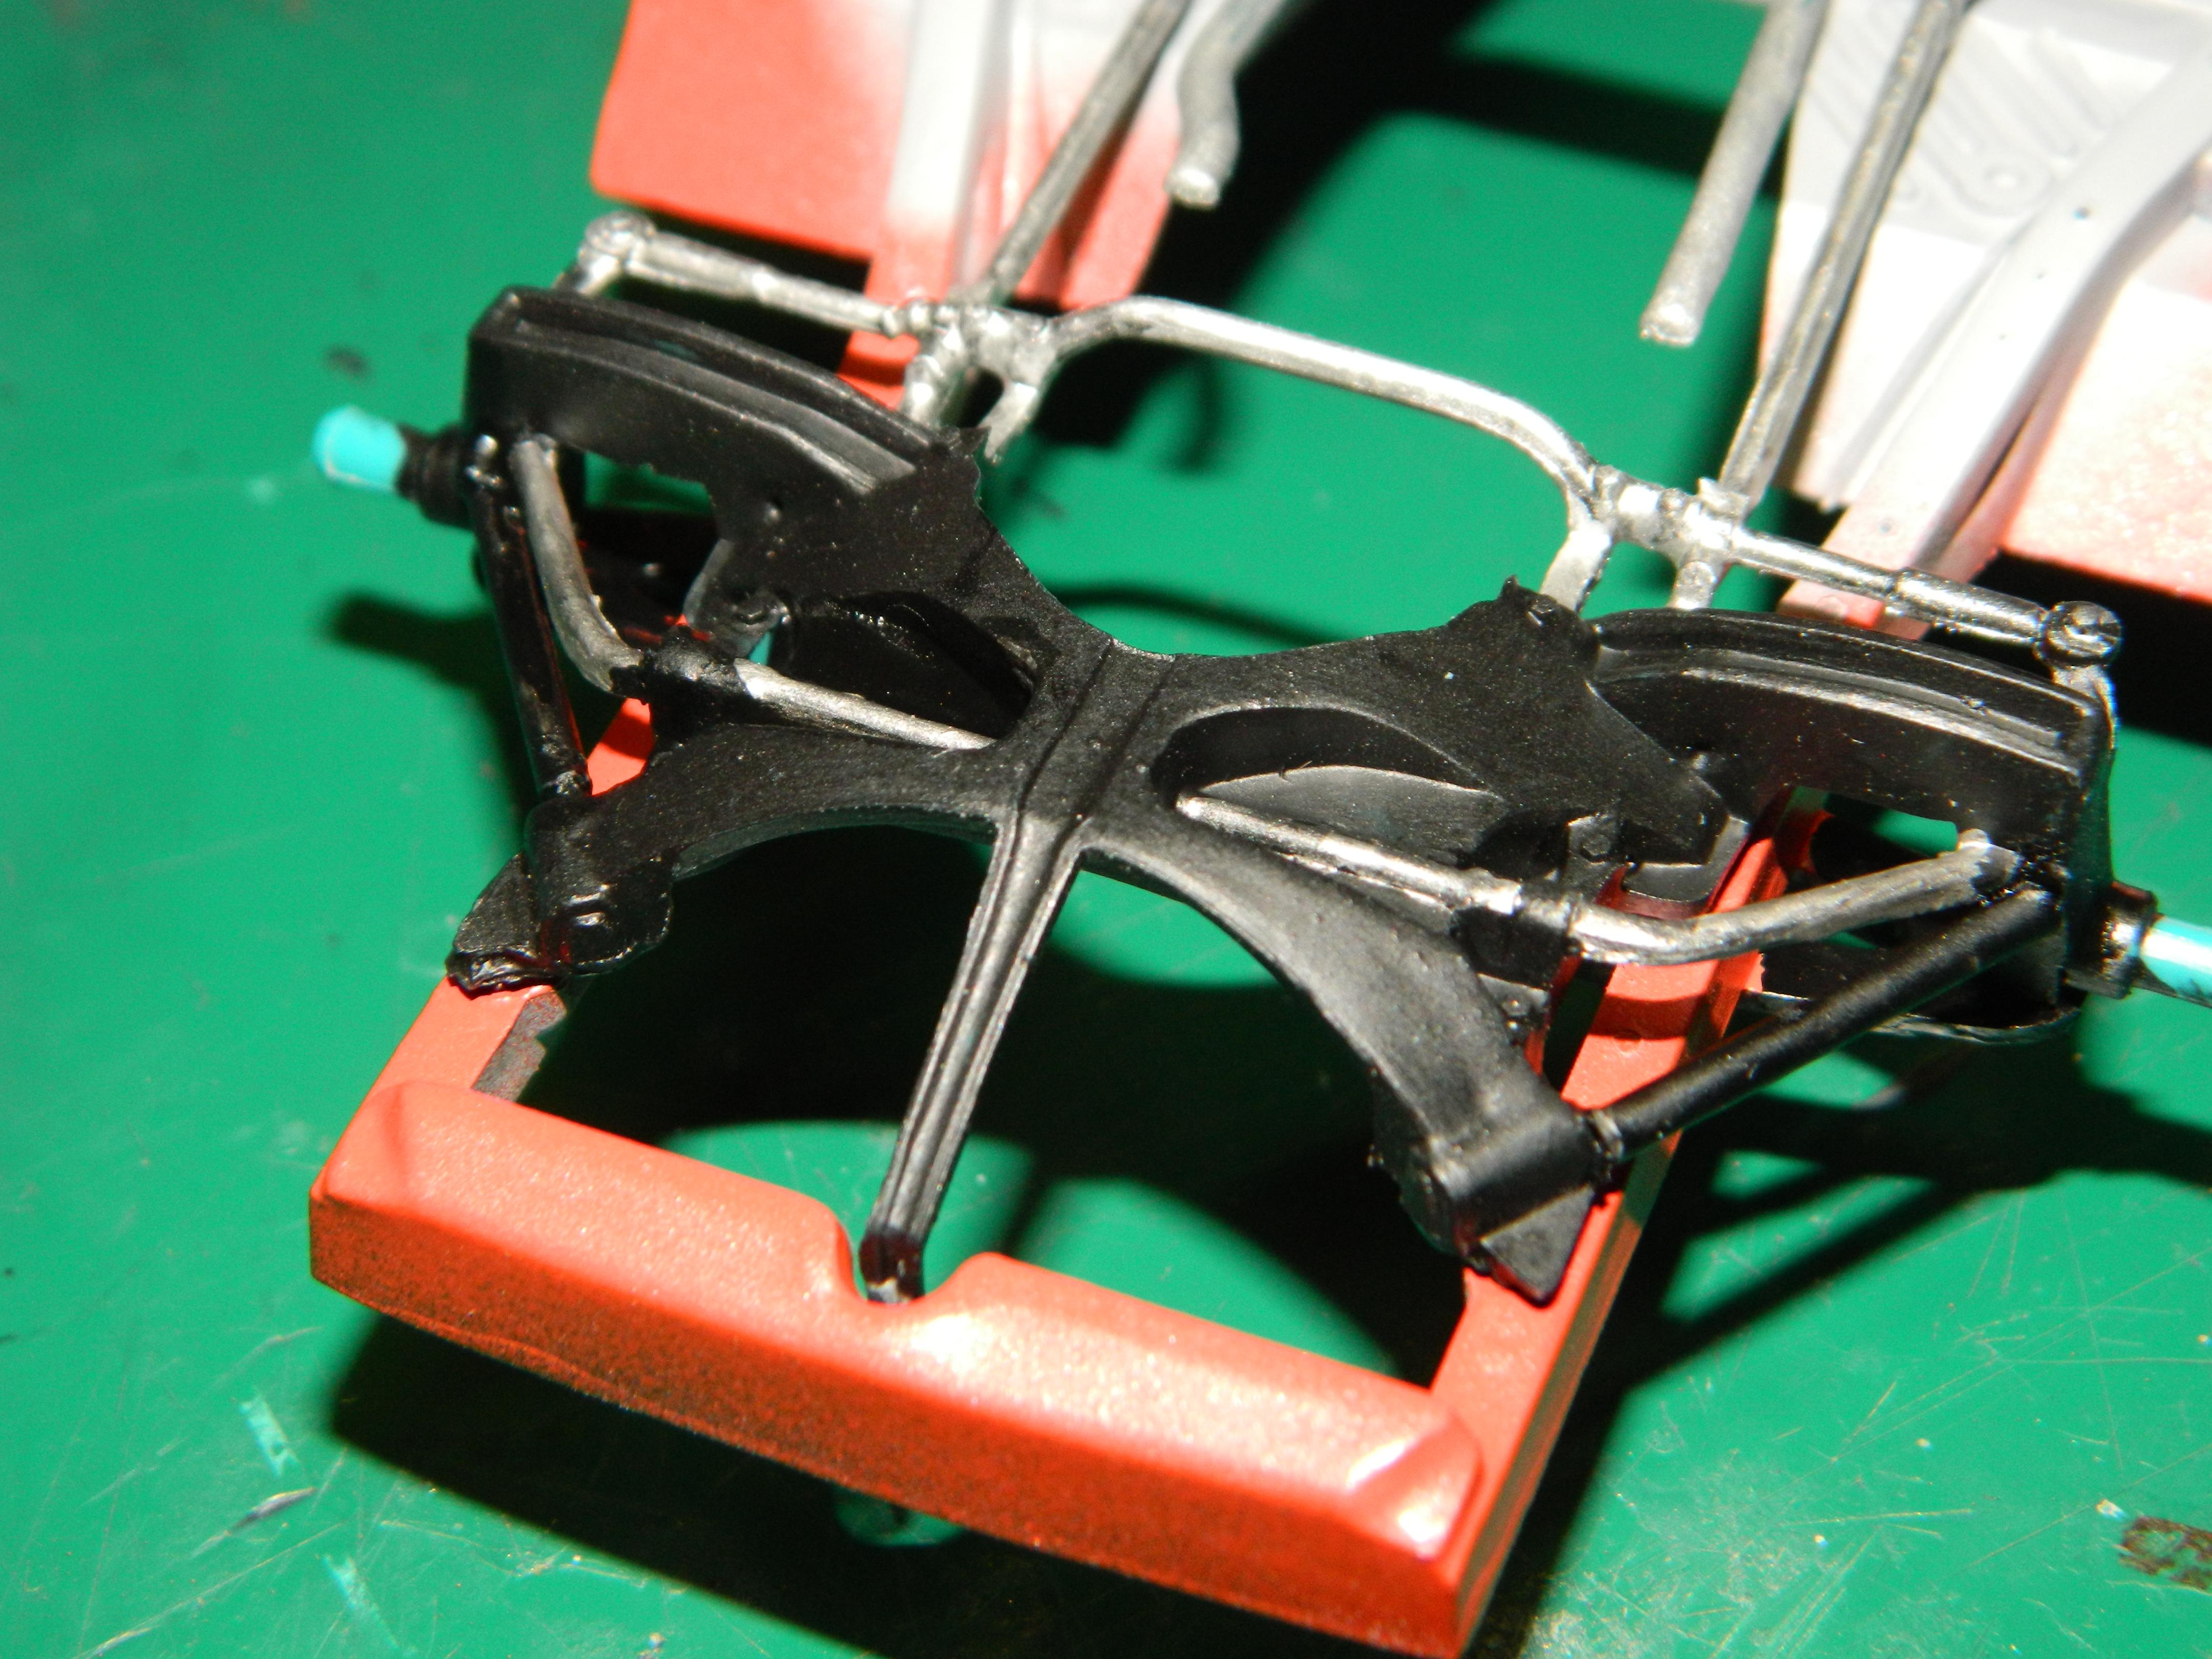
Thanks for the link, John! I looked at it some. Nice models! I removed the exhaust from the rear axle and of course, I broke them in two. Using the chassis as a jig, I clamped the exhaust onto the chassis and glued the exhaust back together. When they have dried, I'll remove them and clean up and paint the glue joint. I repainted the front suspension and added it to the chassis. I cleaned up the rear axle and repianted it. I need to make a set of rear shocks and mounts since this kit doesn't include them. More Superbird to come...
-
Thanks Mike!
-
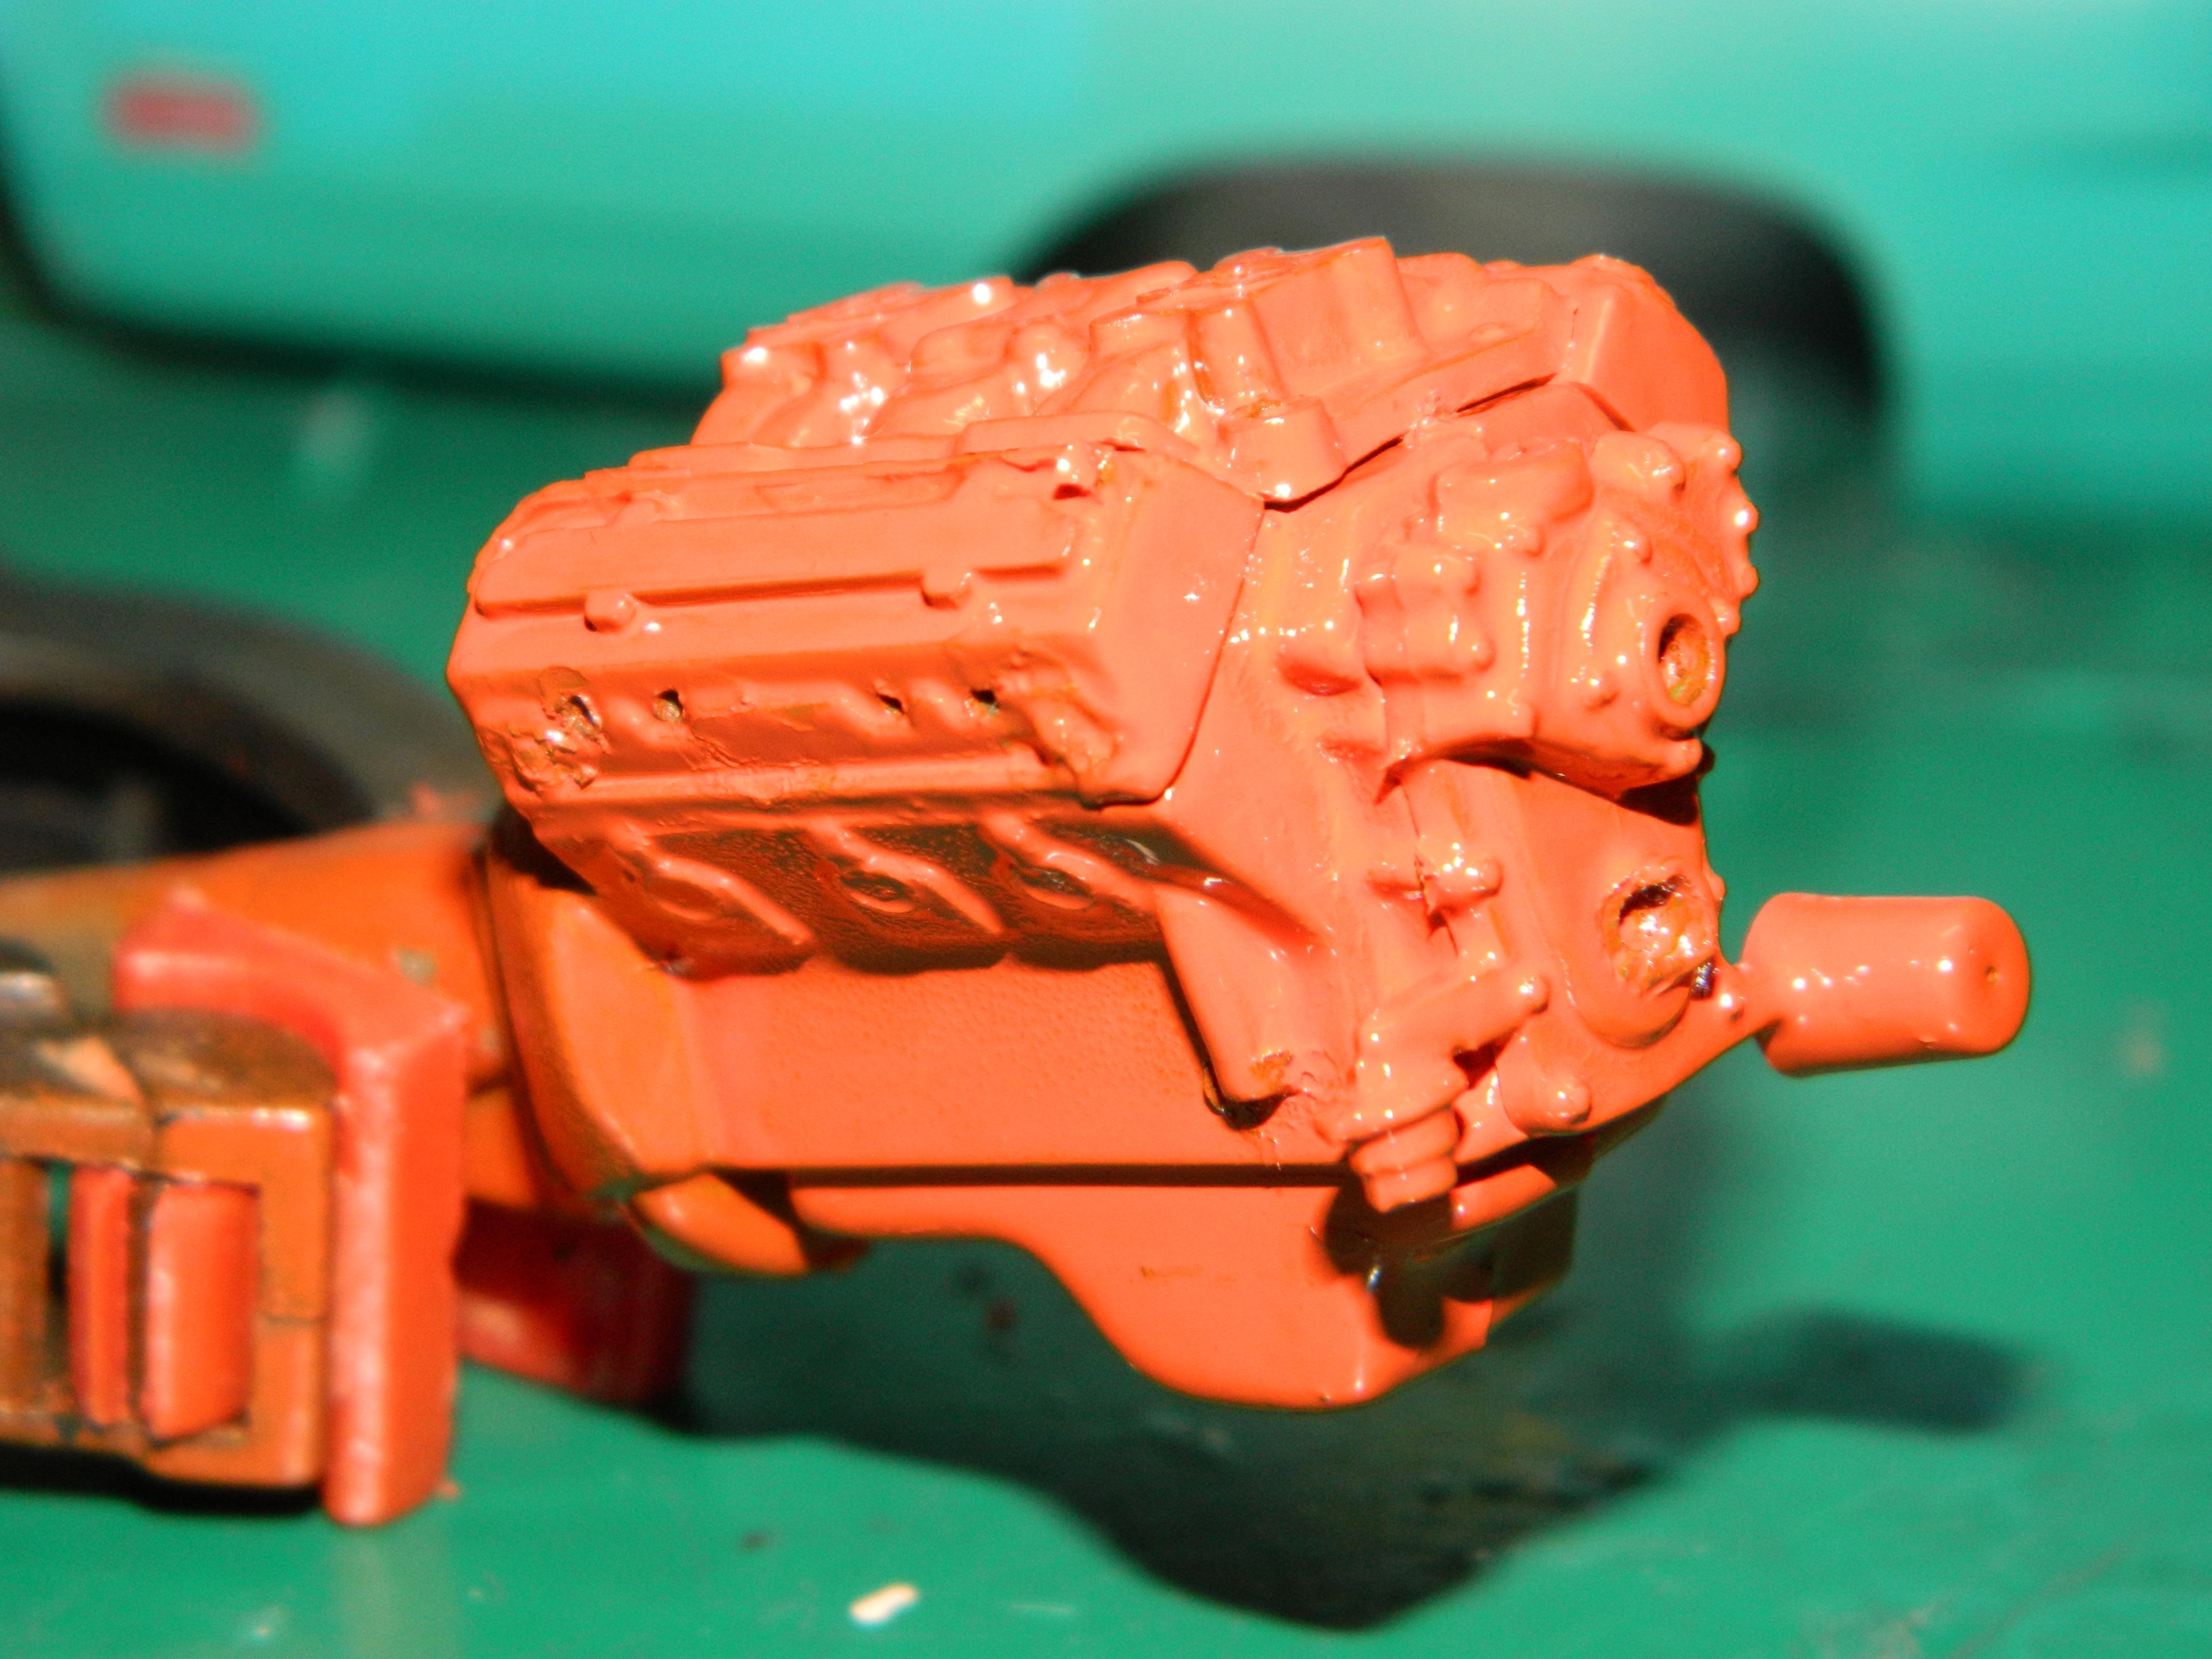
Maybe not the clearest picture, but you can see the round styrene I added under the rear wing supports. When I removed them as part of deconstruction, I broke the pins. This is to replace them. I drilled the cylinder heads for plug wires and them I painted the engine with Mopar Street Hemi Orange Engine Paint. I know, I usually do this procedure the other way around, so maybe there hope for me yet? More Superbird to come...
-
Land Rover
mrmike replied to mrmike's topic in WIP: Model Trucks: Pickups, Vans, SUVs, Light Commercial
It's okay Alan! Many people post before looking at all the previous comments. Thank you! -
Land Rover
mrmike replied to mrmike's topic in WIP: Model Trucks: Pickups, Vans, SUVs, Light Commercial
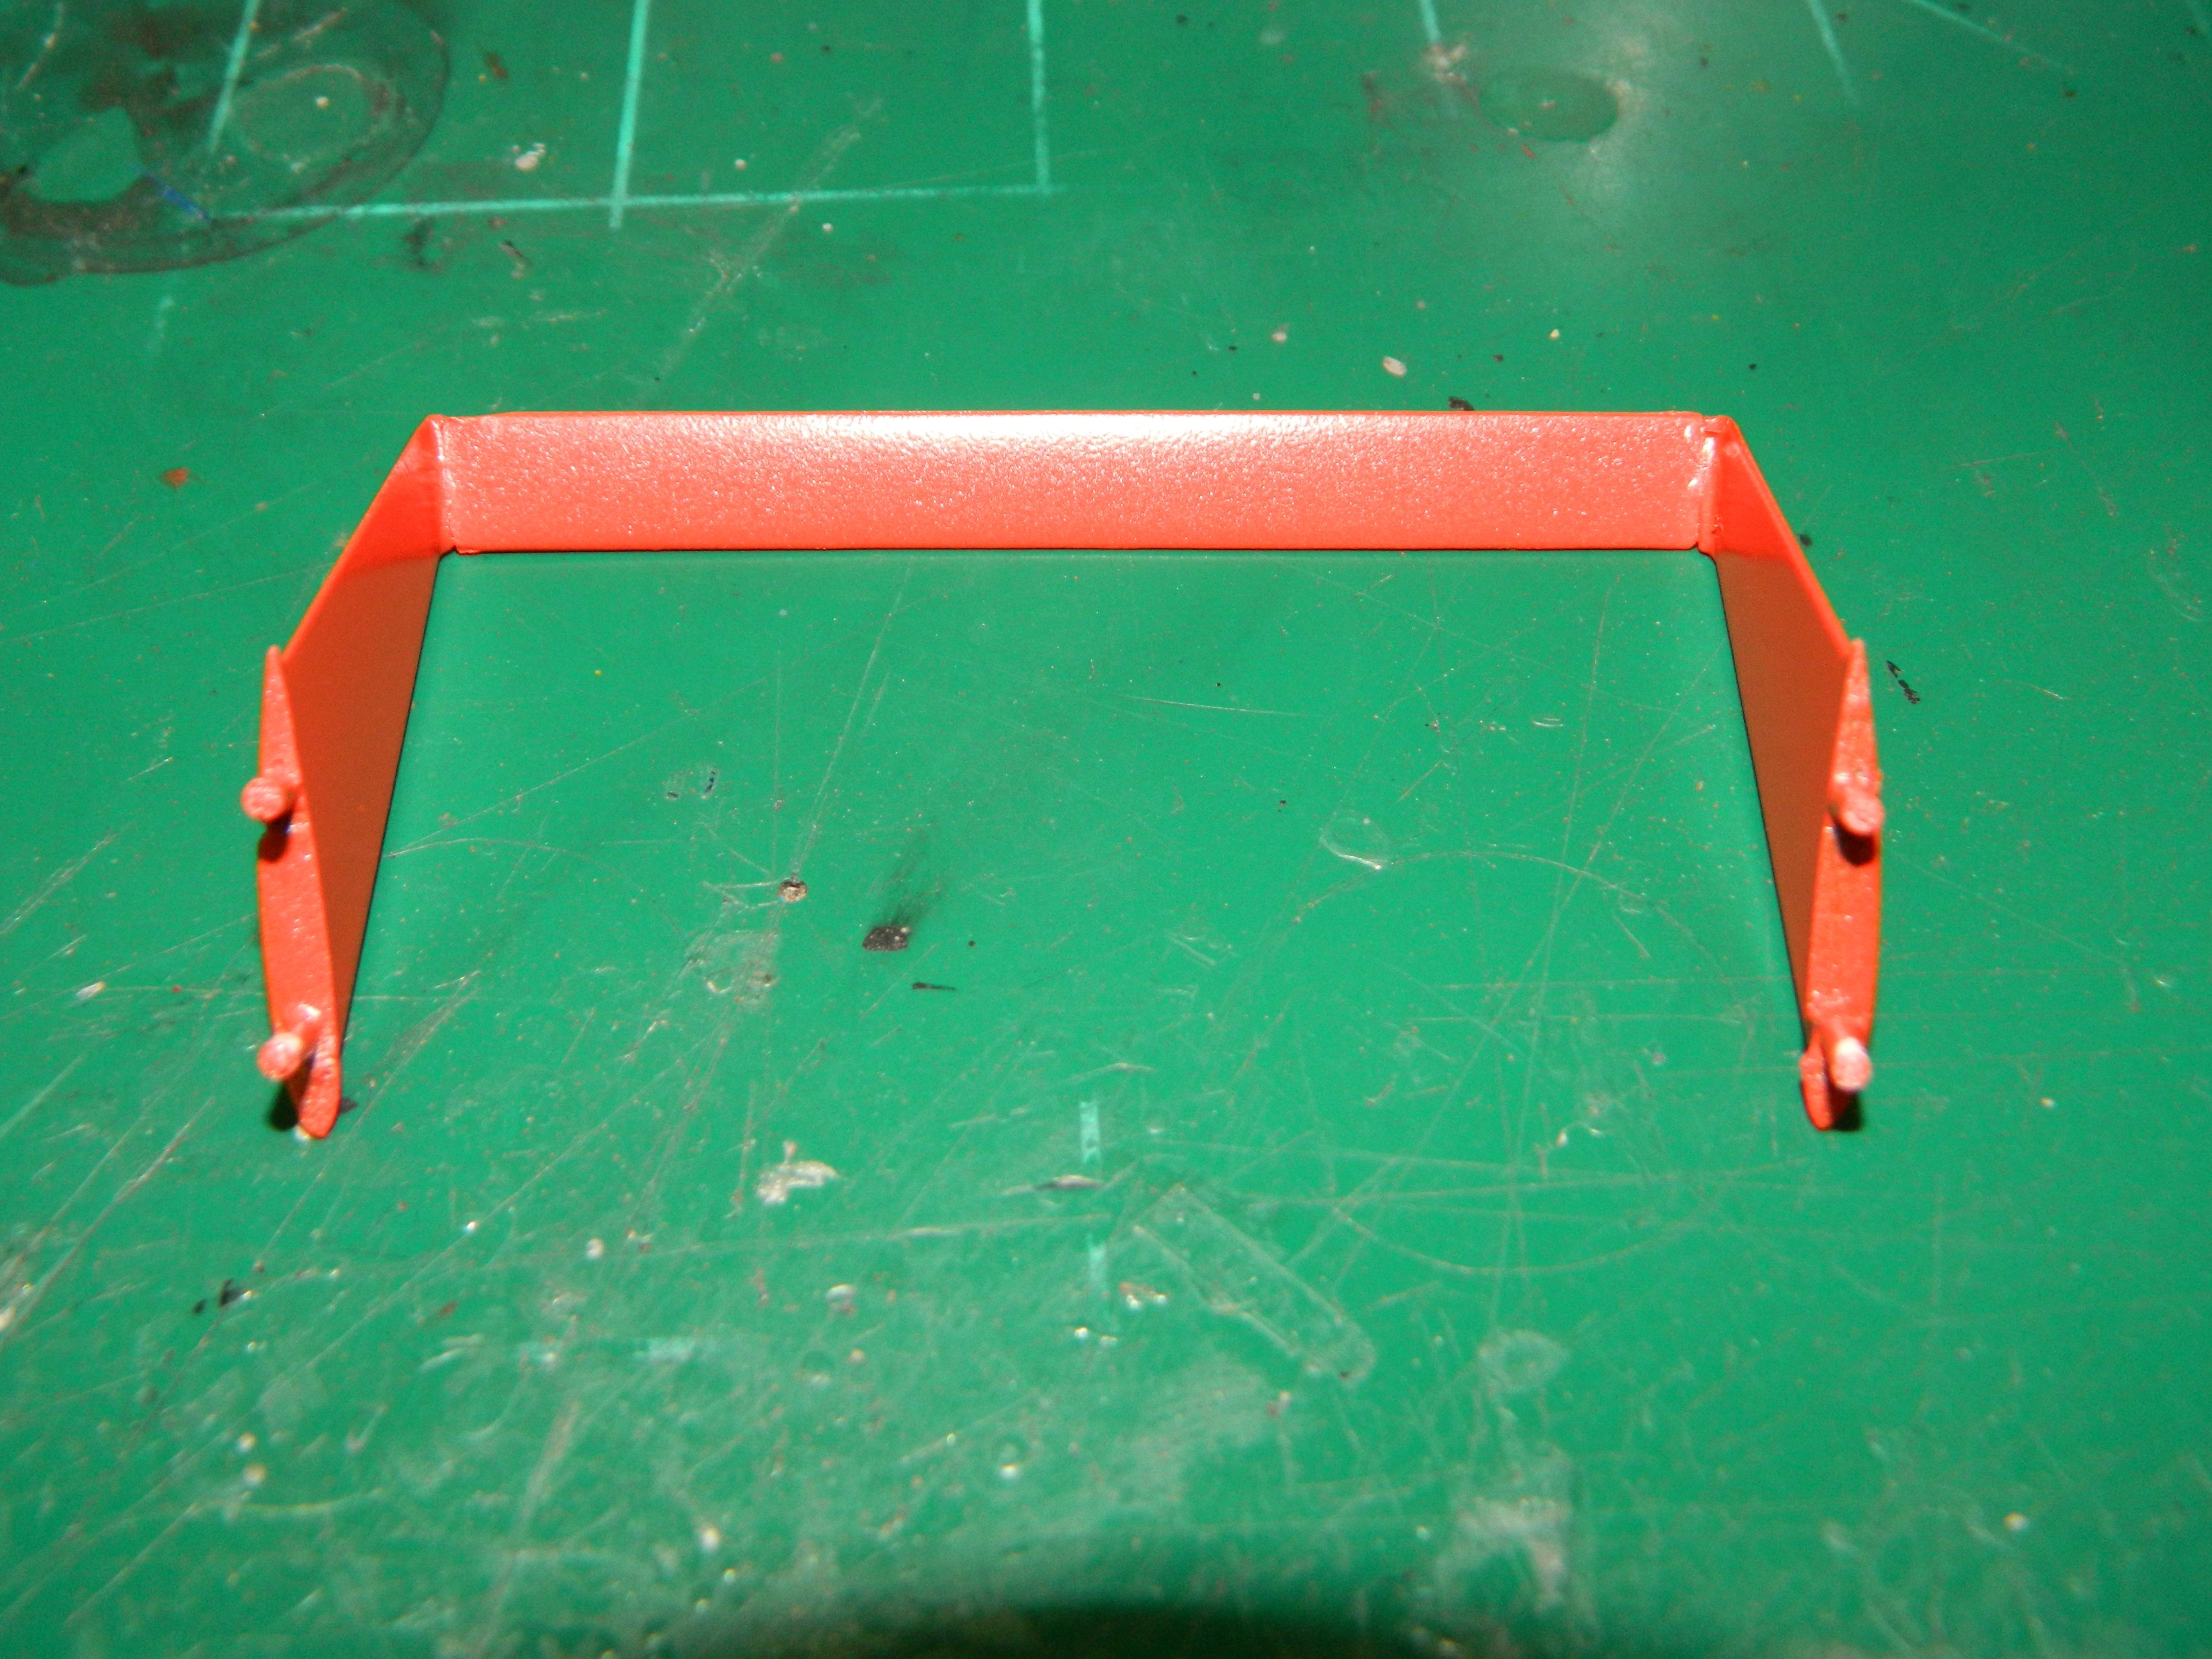
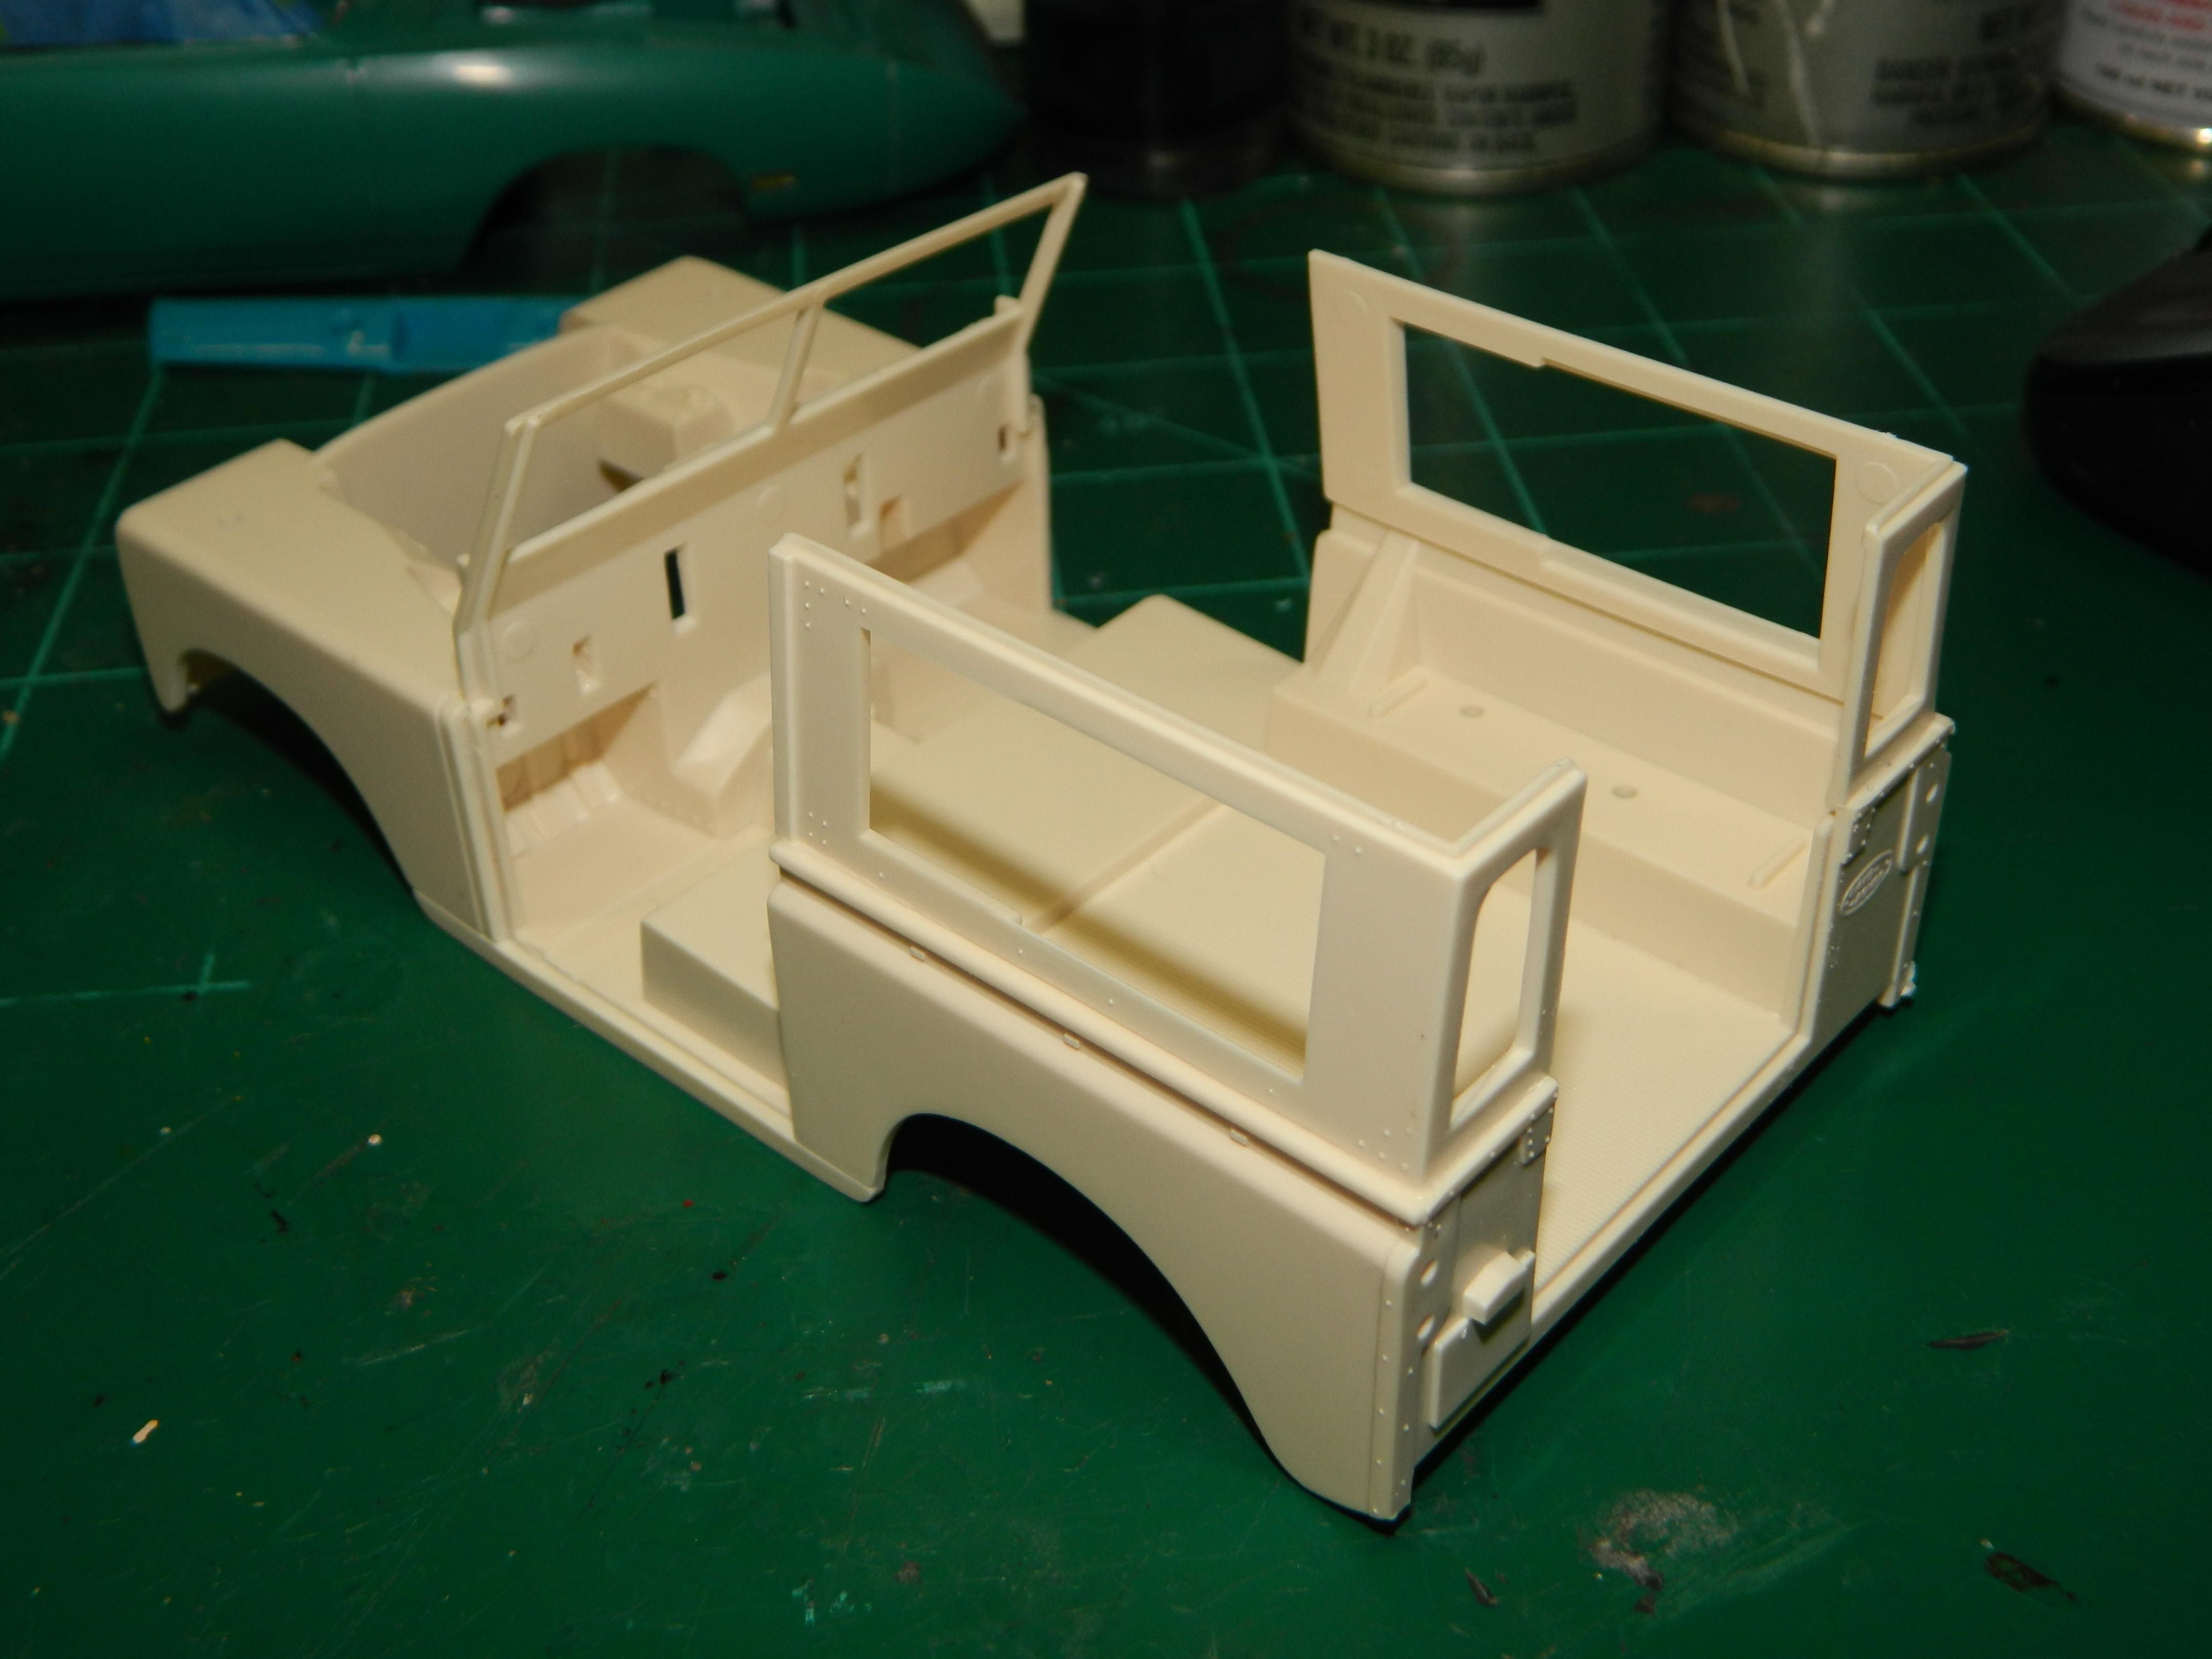
An opportunity to work on the Land Rover for a bit yesterday at my Play Date at Barry's house. I started off with gluing the engine block halves together and painting the engine with St. Lawrence Blue by Polly Scale. This will get a coating of Model Master Acryl Semi Gloss Clear to give it a slight gloss. Next, I moved to installing the front cowl and the upper bed sides to the body. My goal was to paint the body British Green and the top with white, but Barry, Paul and Pat are trying to get me to paint the body with another color. I'm thinking about it, but I may stay with the green. We shall see... More Land Rover to come...
-
A Play Date yesterday at streetrod's house with Paul, Pat, and myself gave me a chance to use streetrod's excellent paintbooth and put another two coats of Tamiya TS-9 British Green on the MG. I was able to cover all the thin spots that the paint had drained away from and to deepen the color. I'll let this dry for a day or two before I polish the paint. At this point I think I'll avoid using any clearcoat since the paint has a nice gloss and the clearcoat will make the MG-TC too shiny! More MG-TC to come...